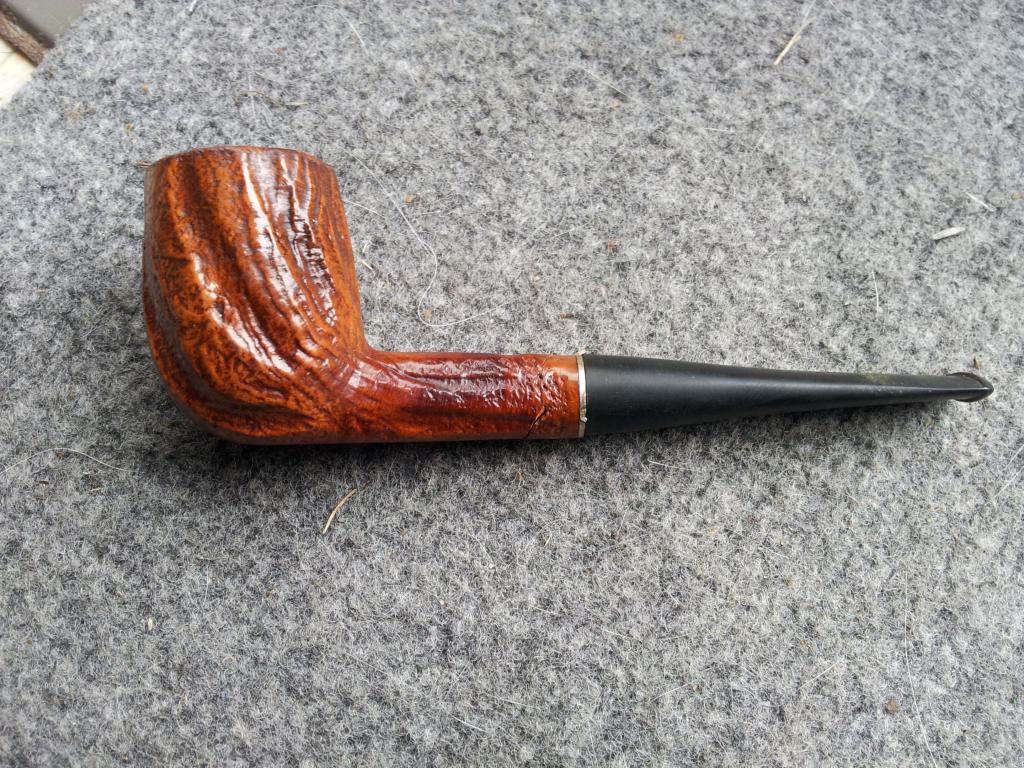
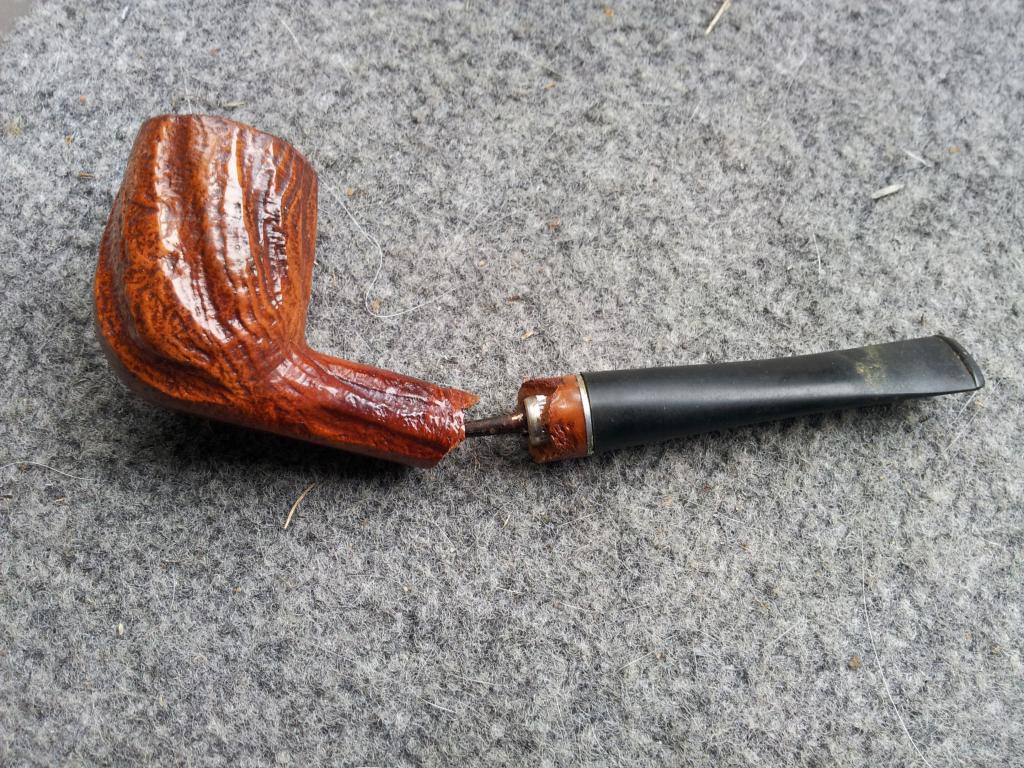
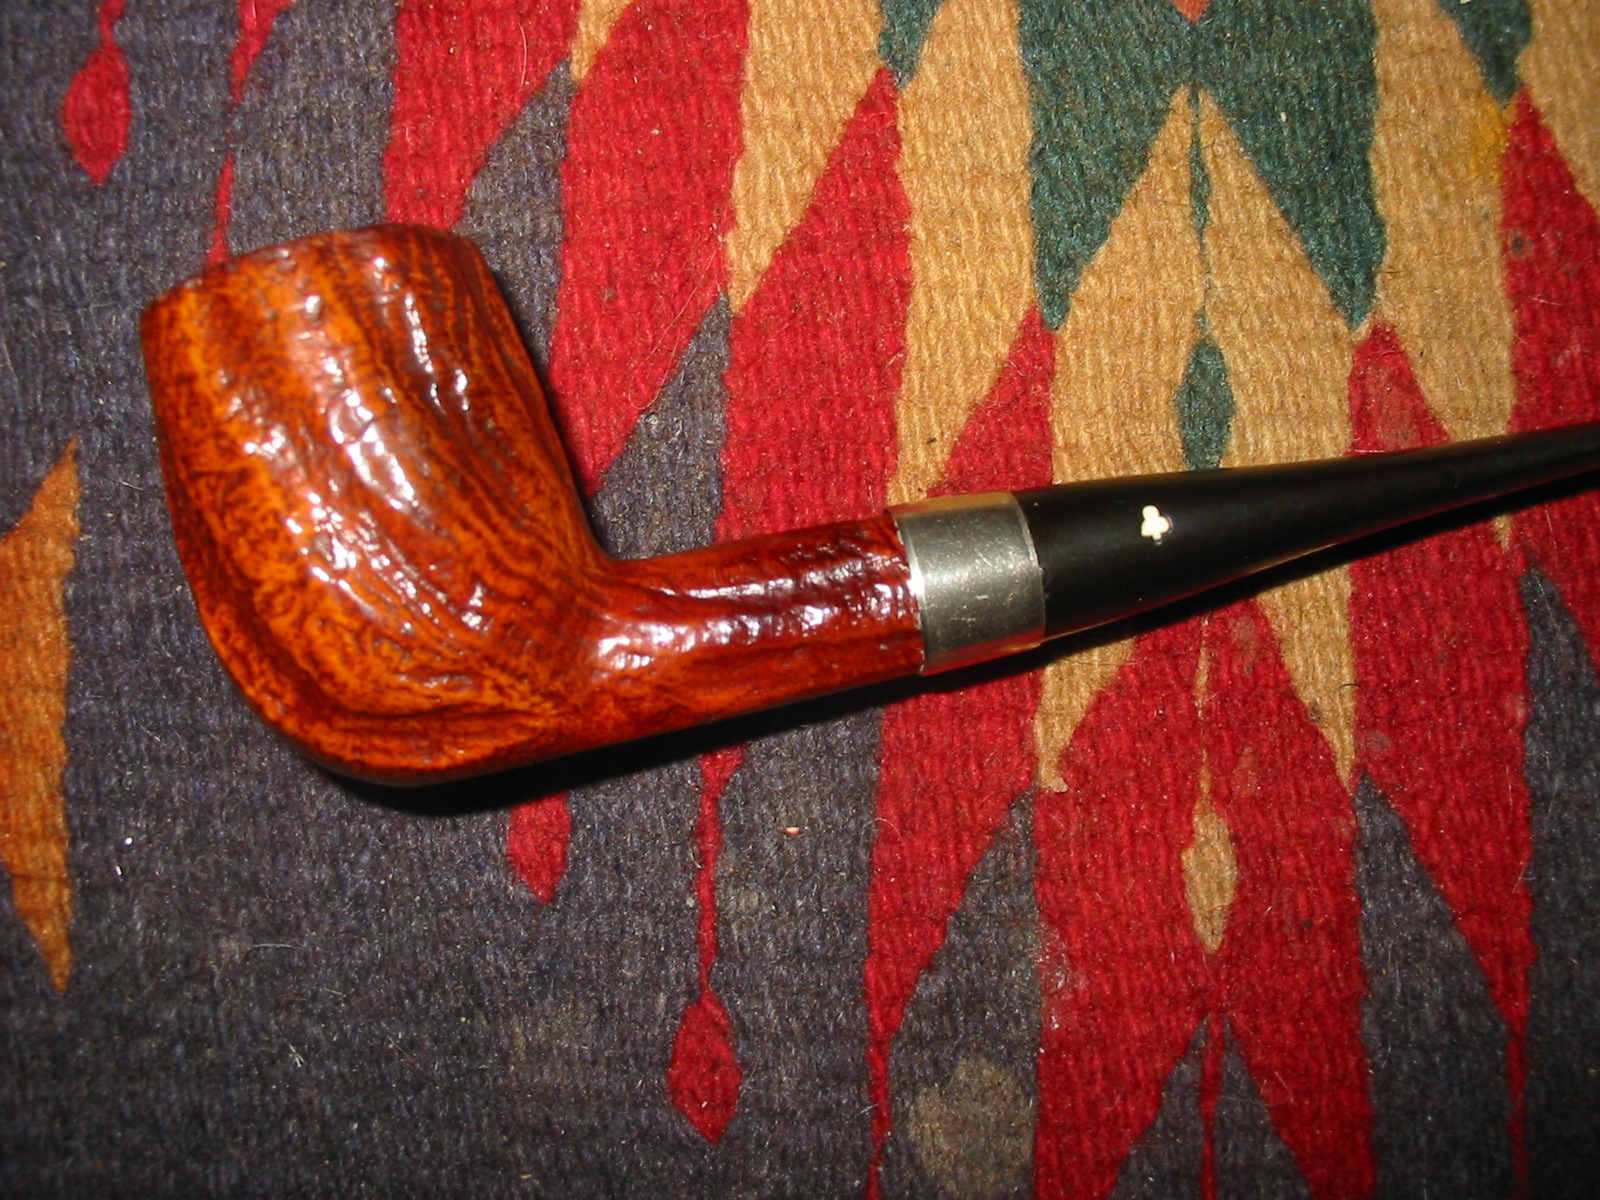
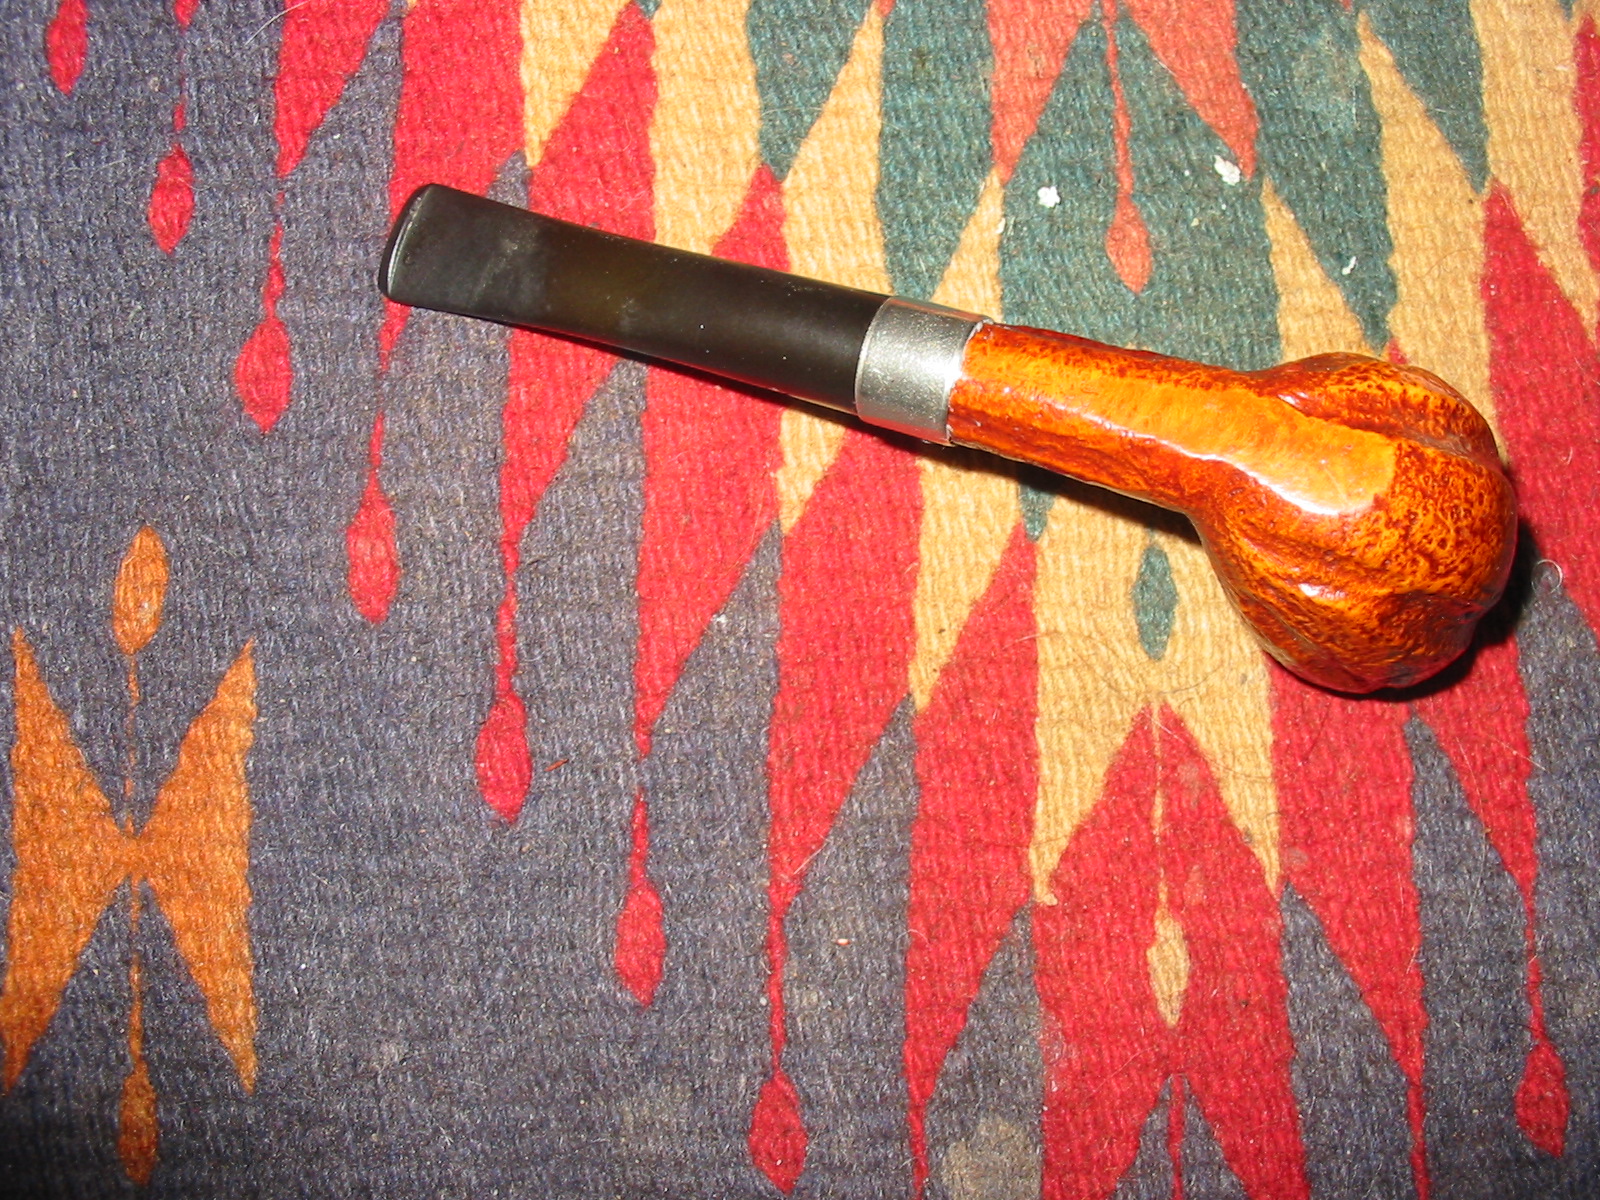
When I first saw this pipe it was on Pipe Smokers Unlimited online forum and Bill was lamenting the fact that when he was trying to unscrew the stem the shank had broken. The stinger was welded in place in the aluminum mortise insert and in twisting the stem it broke. What was odd was that the stem freely spun around on the stinger so evidently the glue had loosened enough to allow it to turn without it coming off. Bill posted these two photos on-line and asked for help.
It looked to me that there was darkening around the area of the break which suggest from the photos that a potential burn through was happening. The break was clean and the two pieces lent themselves to a potential repair. The metal shank insert would serve to strengthen the repair from the inside so I suggested that Bill put a silver band on the pipe and the combination of the internal metal tube and the band would provide stability to the repaired shank.
Bill thanked me for the suggestion and then shortly sent a message that the pipe was on its way to me and it was now mine.
When the pipe arrived it was indeed a clean break. The darkening on the shank near the break was not a burn through waiting to happening it was merely darkening. There were other spots on the pipe that makes me think that it was part of the finish. I took the pipe to the work table and tried to remove the stem from the piece of the shank. It did indeed freely twist in the mortise but the stem would not turn. The stinger stayed stationary while the stem turned. I used some WD40 to try to loosen the tarry build up on the stinger and penetrate into the joint. I let it sit and it still did not move. I thought about what to do next so I cleaned up the stinger and then used a Bic lighter to heat up the end of the stinger. My thinking was that the heat on the metal would also warm the tars that bound the stinger to the mortise. It worked better than I expected and in short order the stem was free. The bonus was that the glue that held the stinger in place in the stem also heated and when it cooled the stem no longer spun on the stinger.
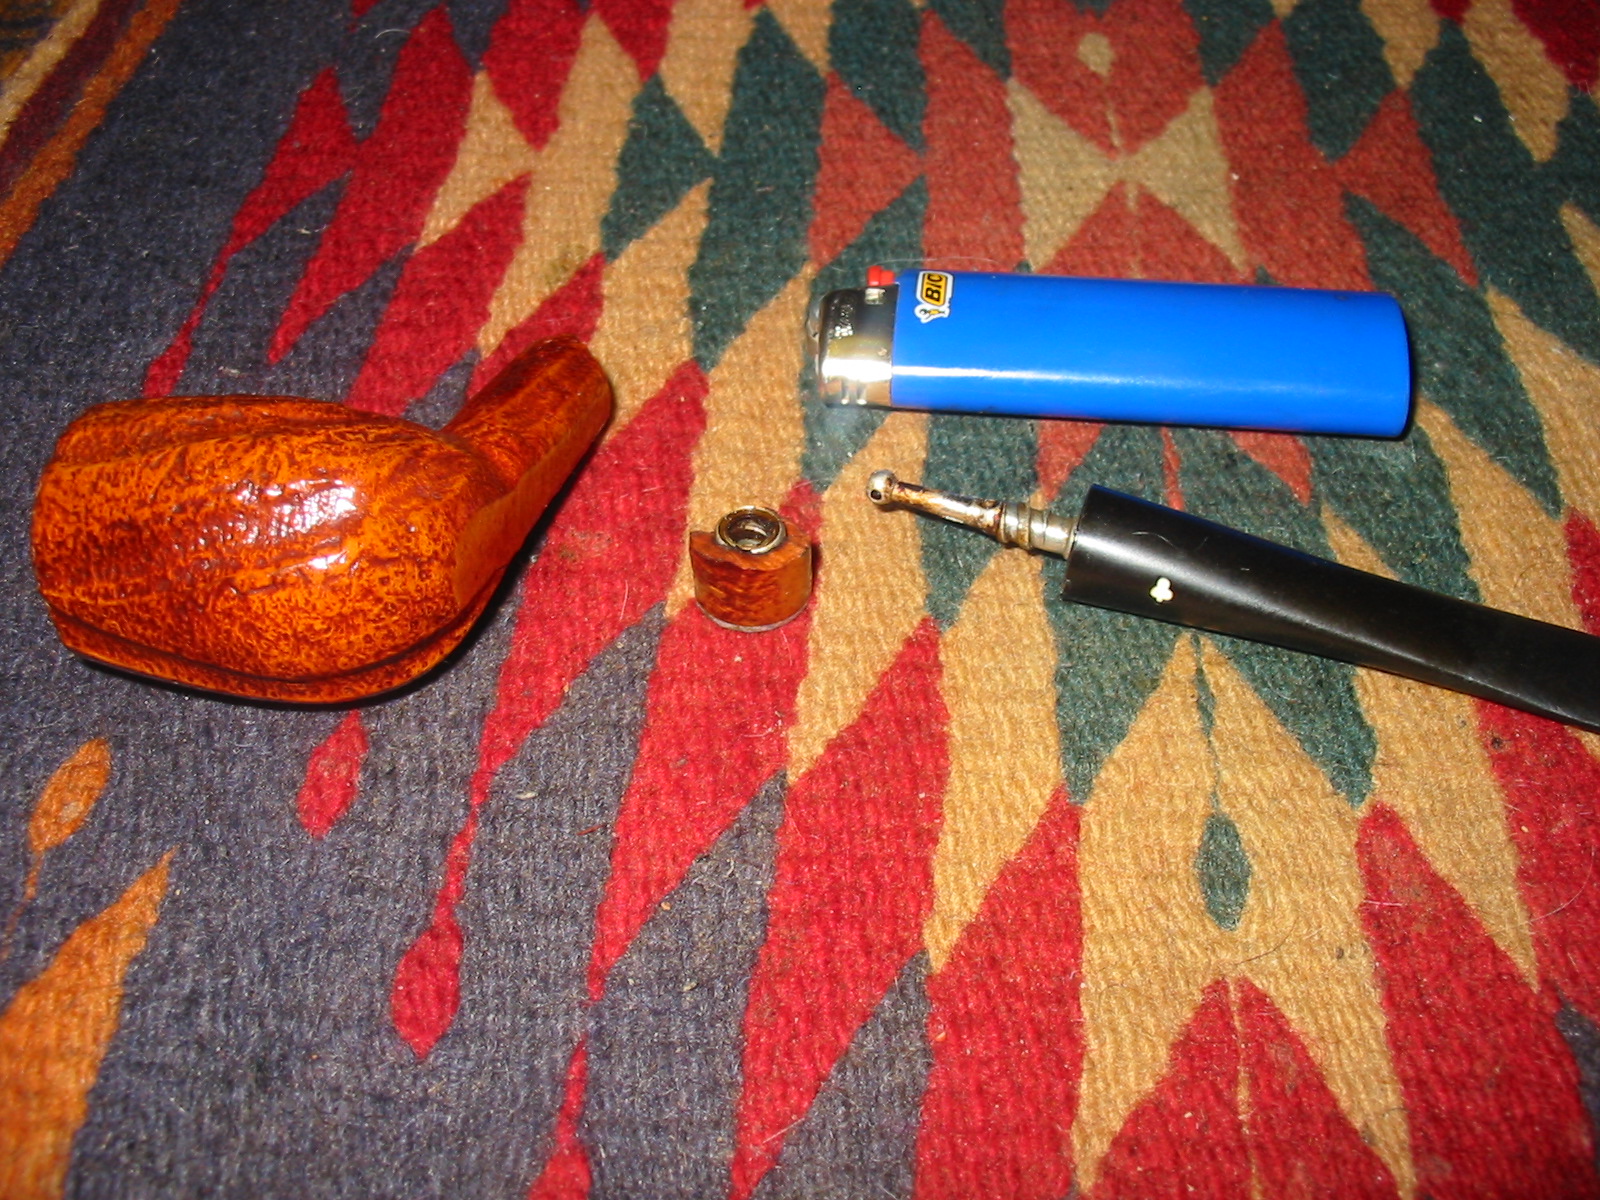
I cleaned up the broken ends of the shank and the visible end of the metal insert with acetone and qtips (cotton swabs) and then dried it and cleaned it again with isopropyl alcohol. I mixed up a two part epoxy and applied it to both sides of the broken shank and around the end of the inserted mortise. When the glue was tacky I pressed the two parts into place and held them tightly until the epoxy was initially set. That usually takes 3-5 minutes with the brand of epoxy that I am using so it is not a terribly long wait. I keep the pressure firm so that there is no give in the bond. I need to pick up some clamps that allow me the freedom to press it together and set it aside but I do not have them at the present. Before the epoxy dried hard I cleaned up the slight seepage at the joint with a soft cloth.
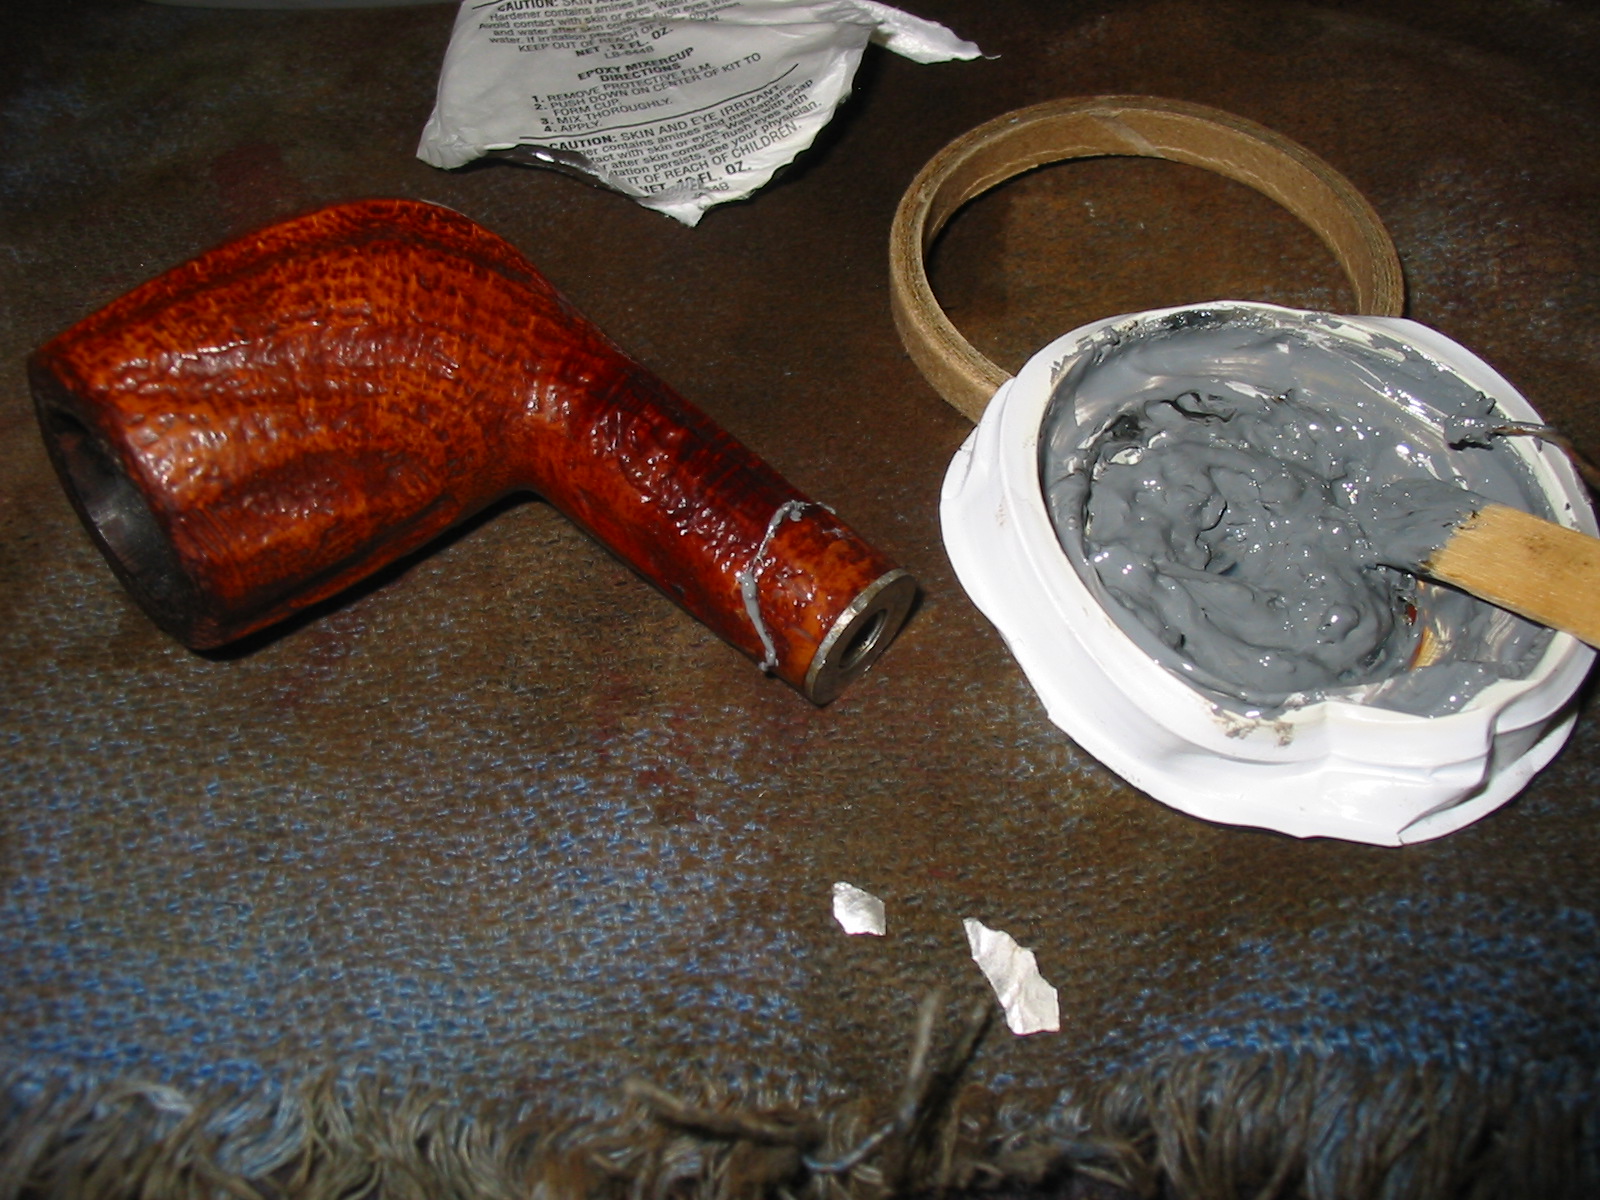
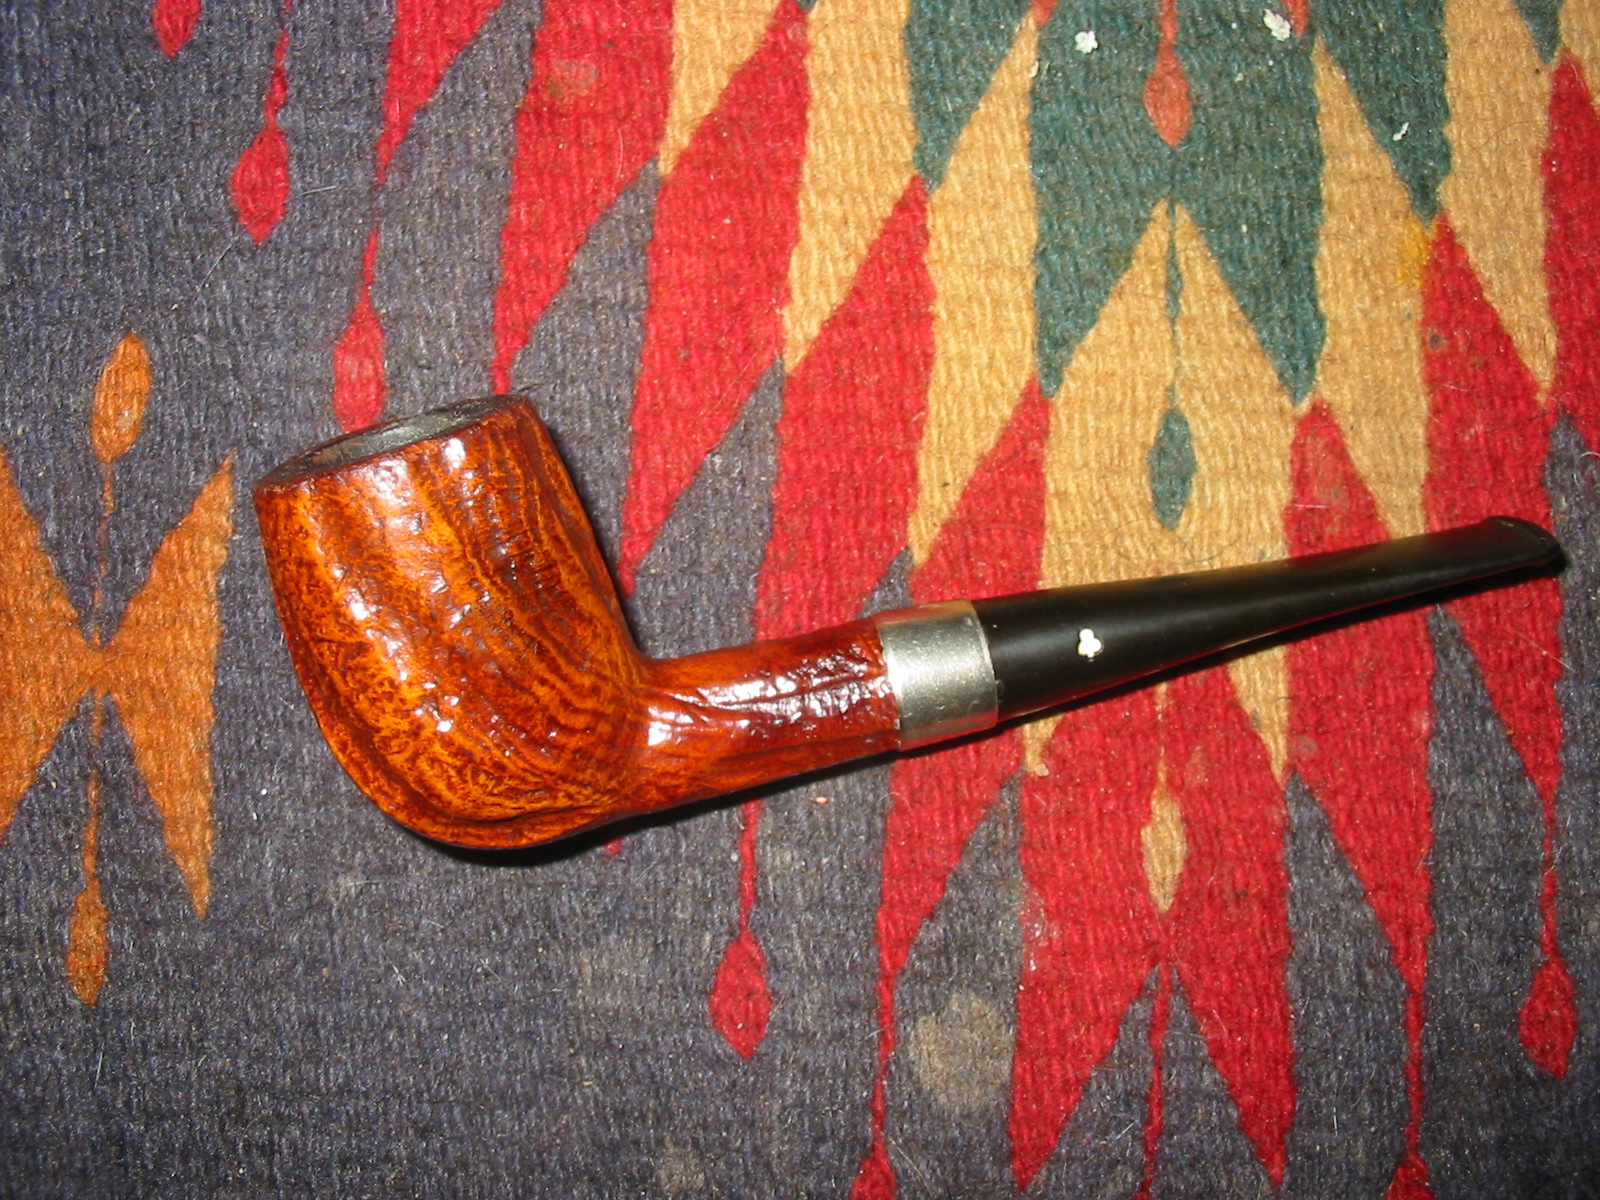
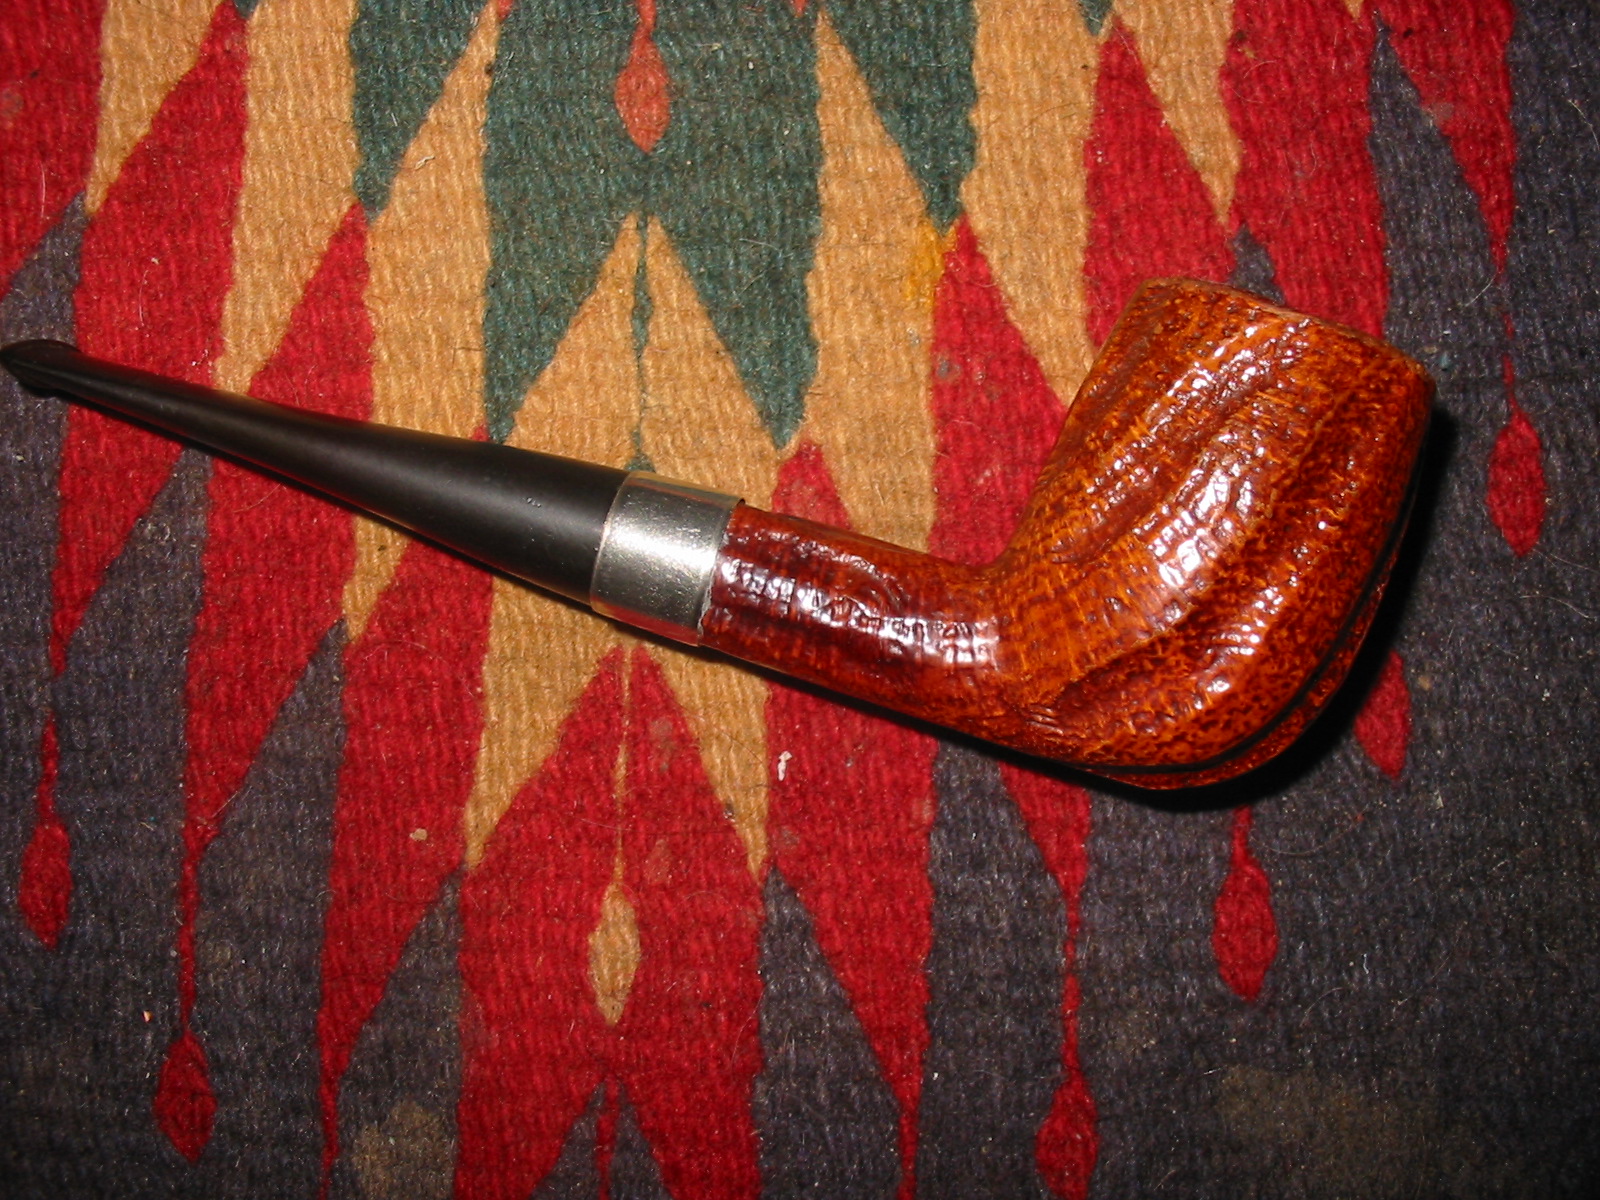
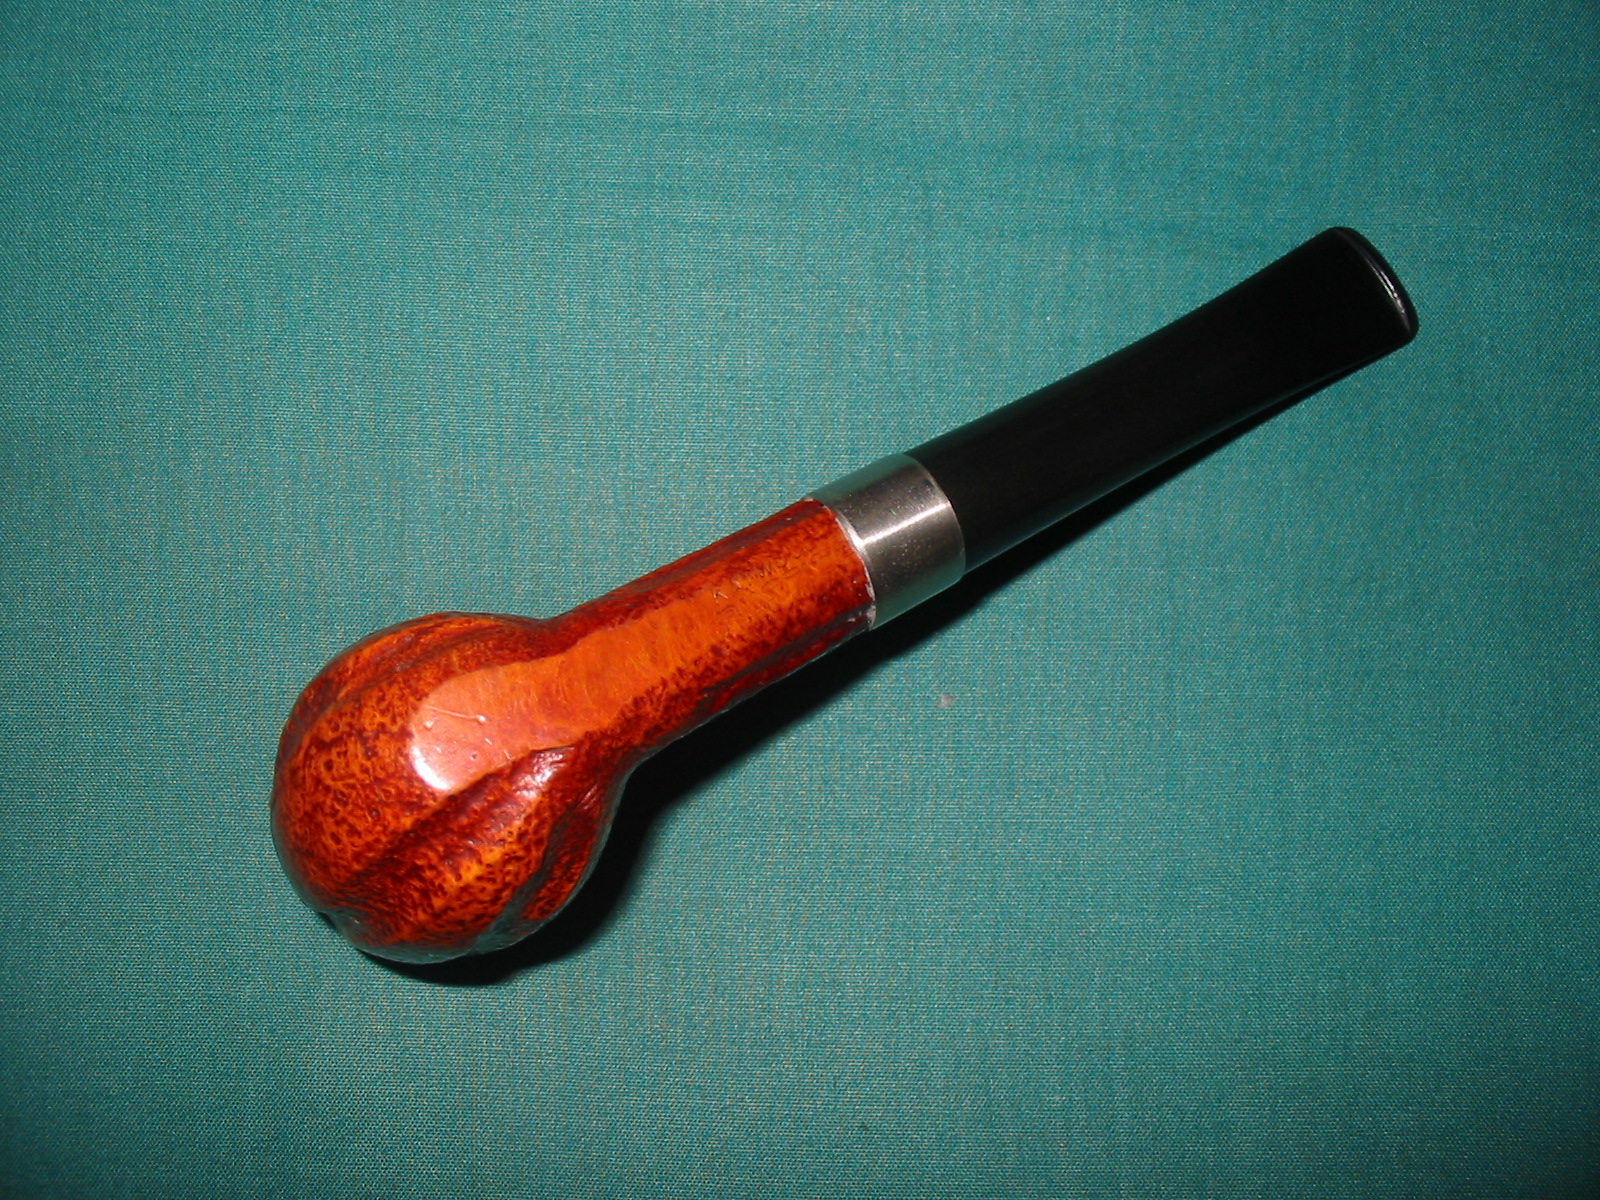
After the epoxy had cured several hours I put wood glue on the outside of the shank and pressure fit a nickel band in place on the shank. The band was not overly deep so it did not obscure the stamping on the underside of the shank and also did not go too deeply into the rustication on the shank. It extended just beyond the deepest point of the break. The combination of the band and the internal mortise would strengthen the repair. The next series of photos show the repaired shank with the band in place.
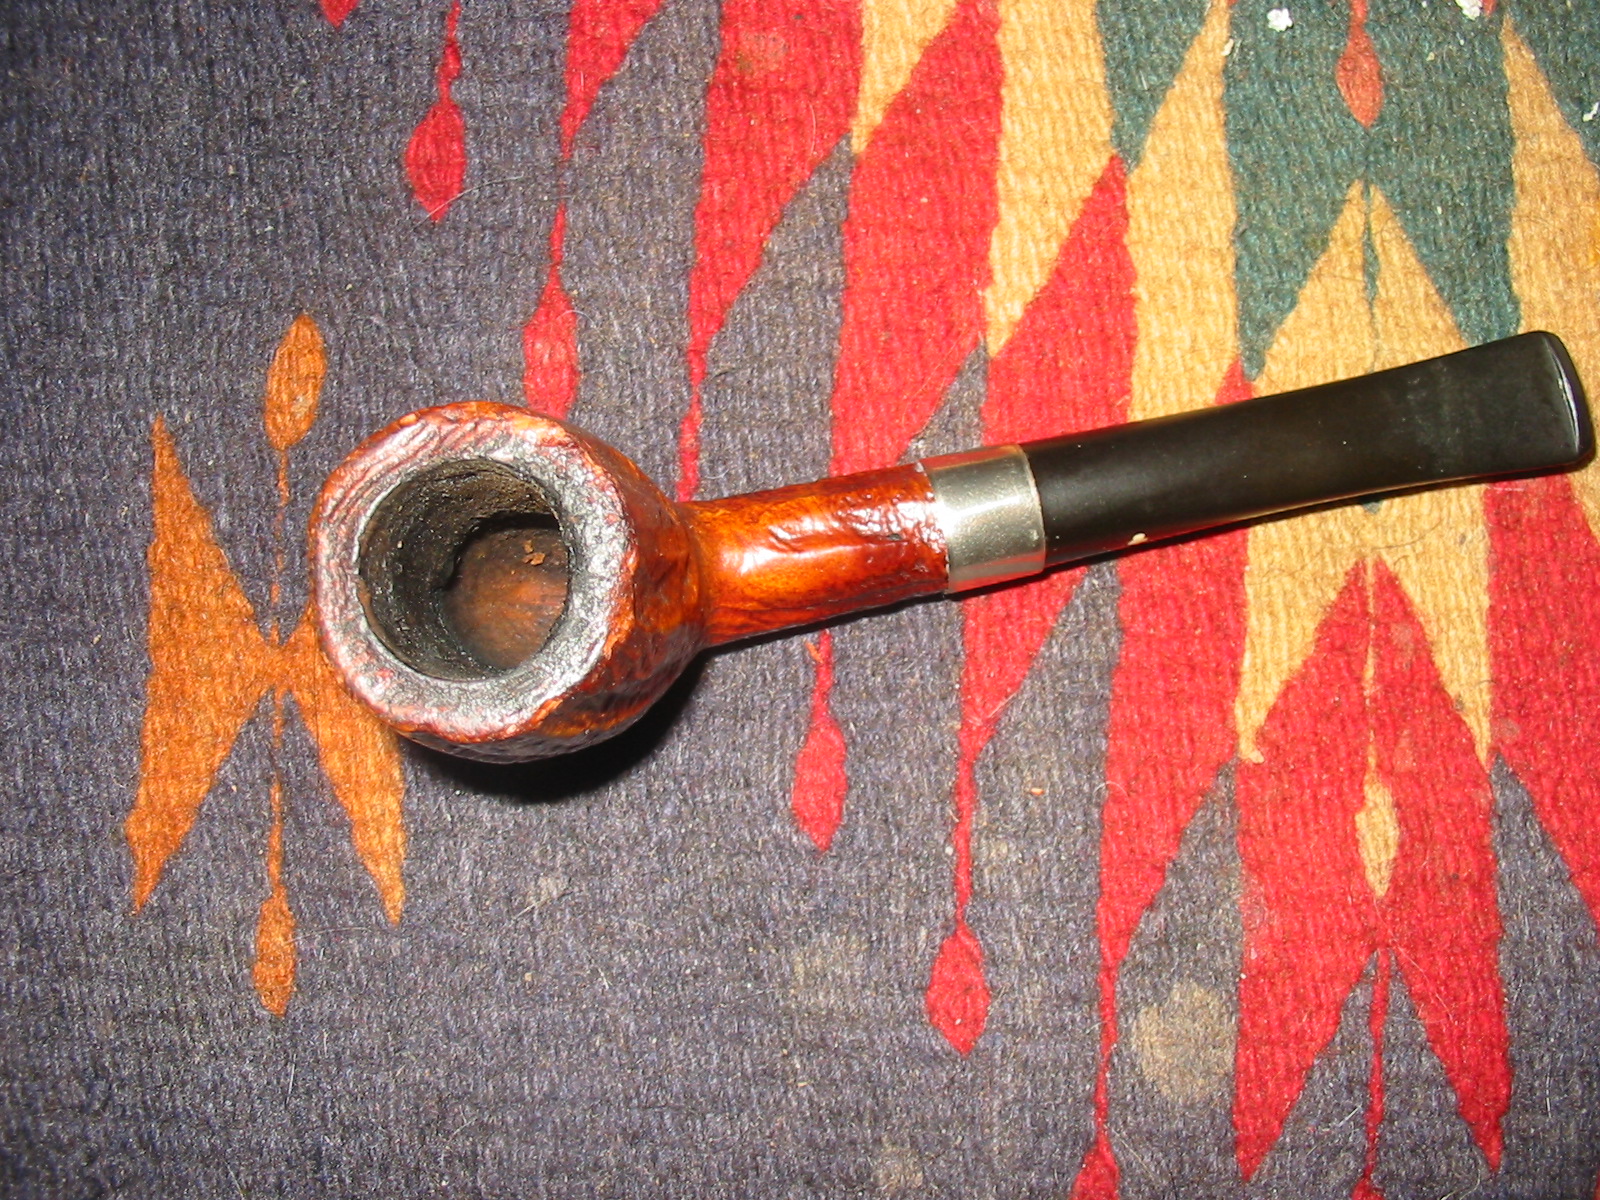
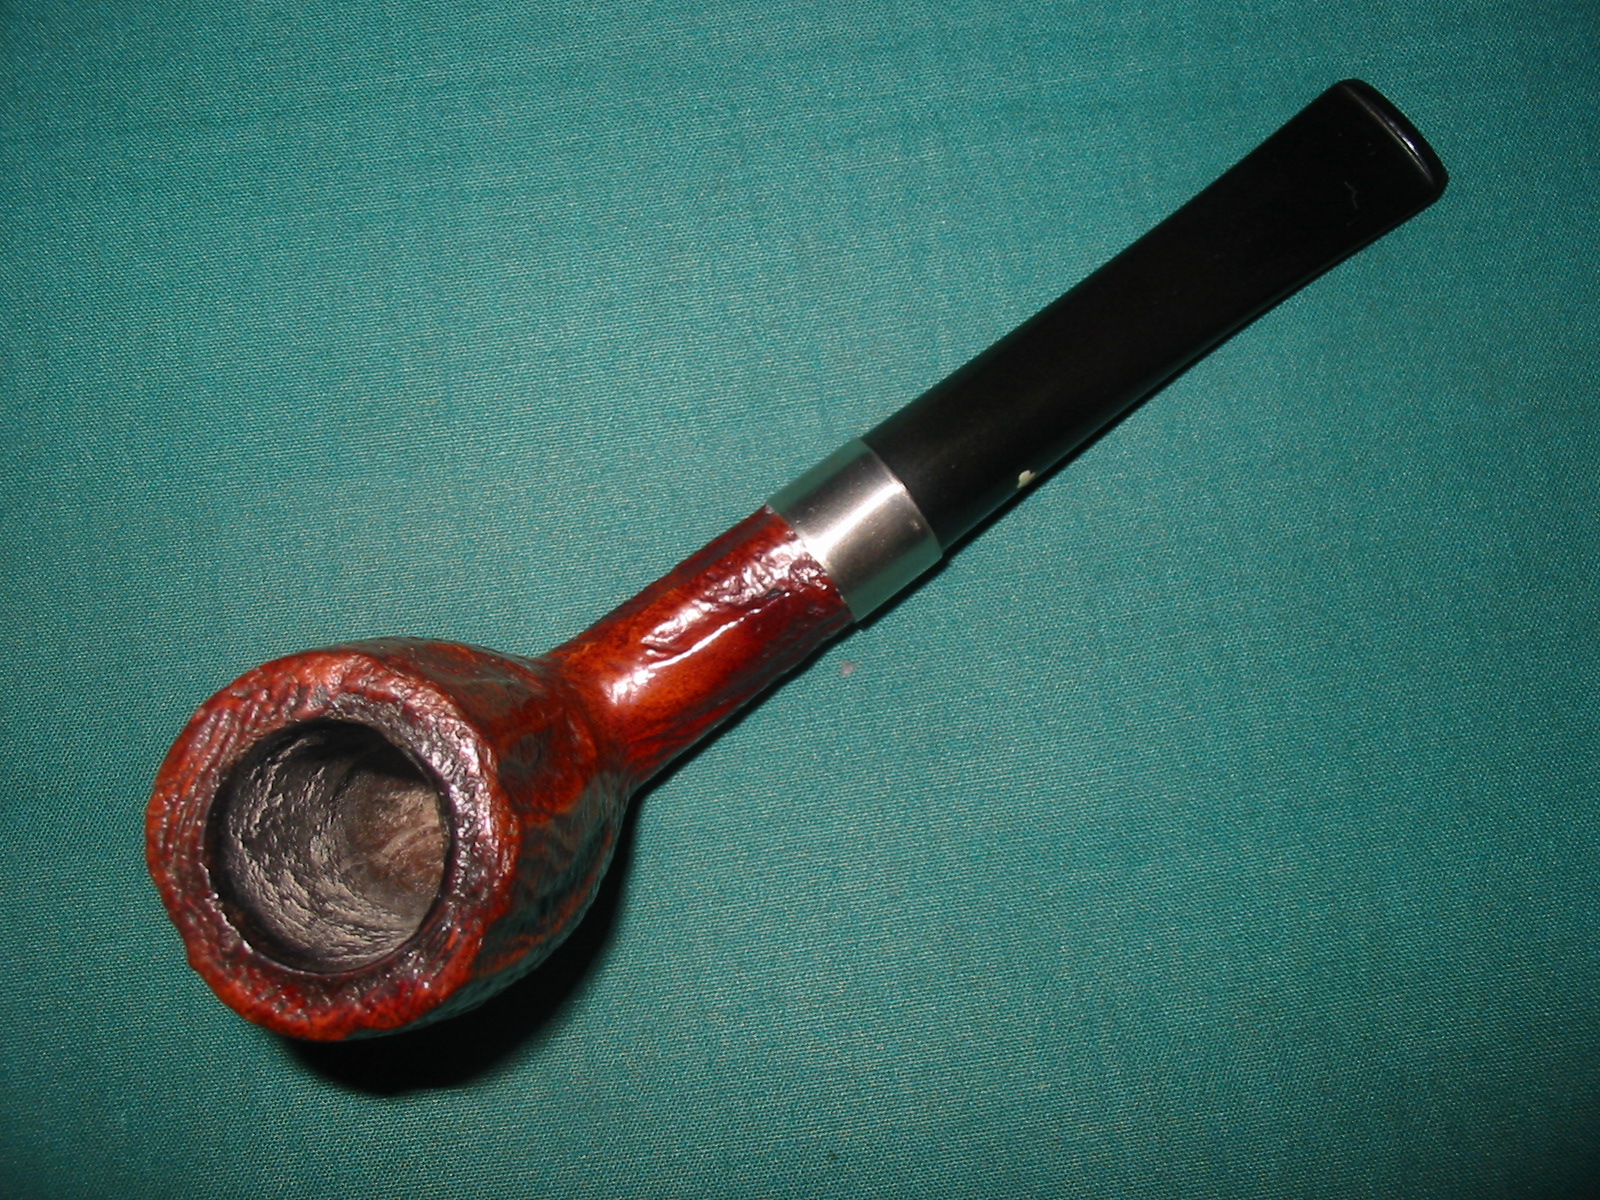
With the shank repair finished it was time to clean up the rest of the pipe. I reamed the bowl with a PipNet pipe reamer to take the cake back to the briar. I wanted to examine the walls of the bowl for potential damage so this was my means of doing so. There was a slight burned area on the inside edge of the rim at the back of the bowl that would need some attention. I used a brass tire brush to scrub the top of the rim as well as the inner edge to clean off the tars and carbon buildup. The soft brass bristles work very well with a rusticated finish. I was able to clean up the rim quite nicely with the brush.

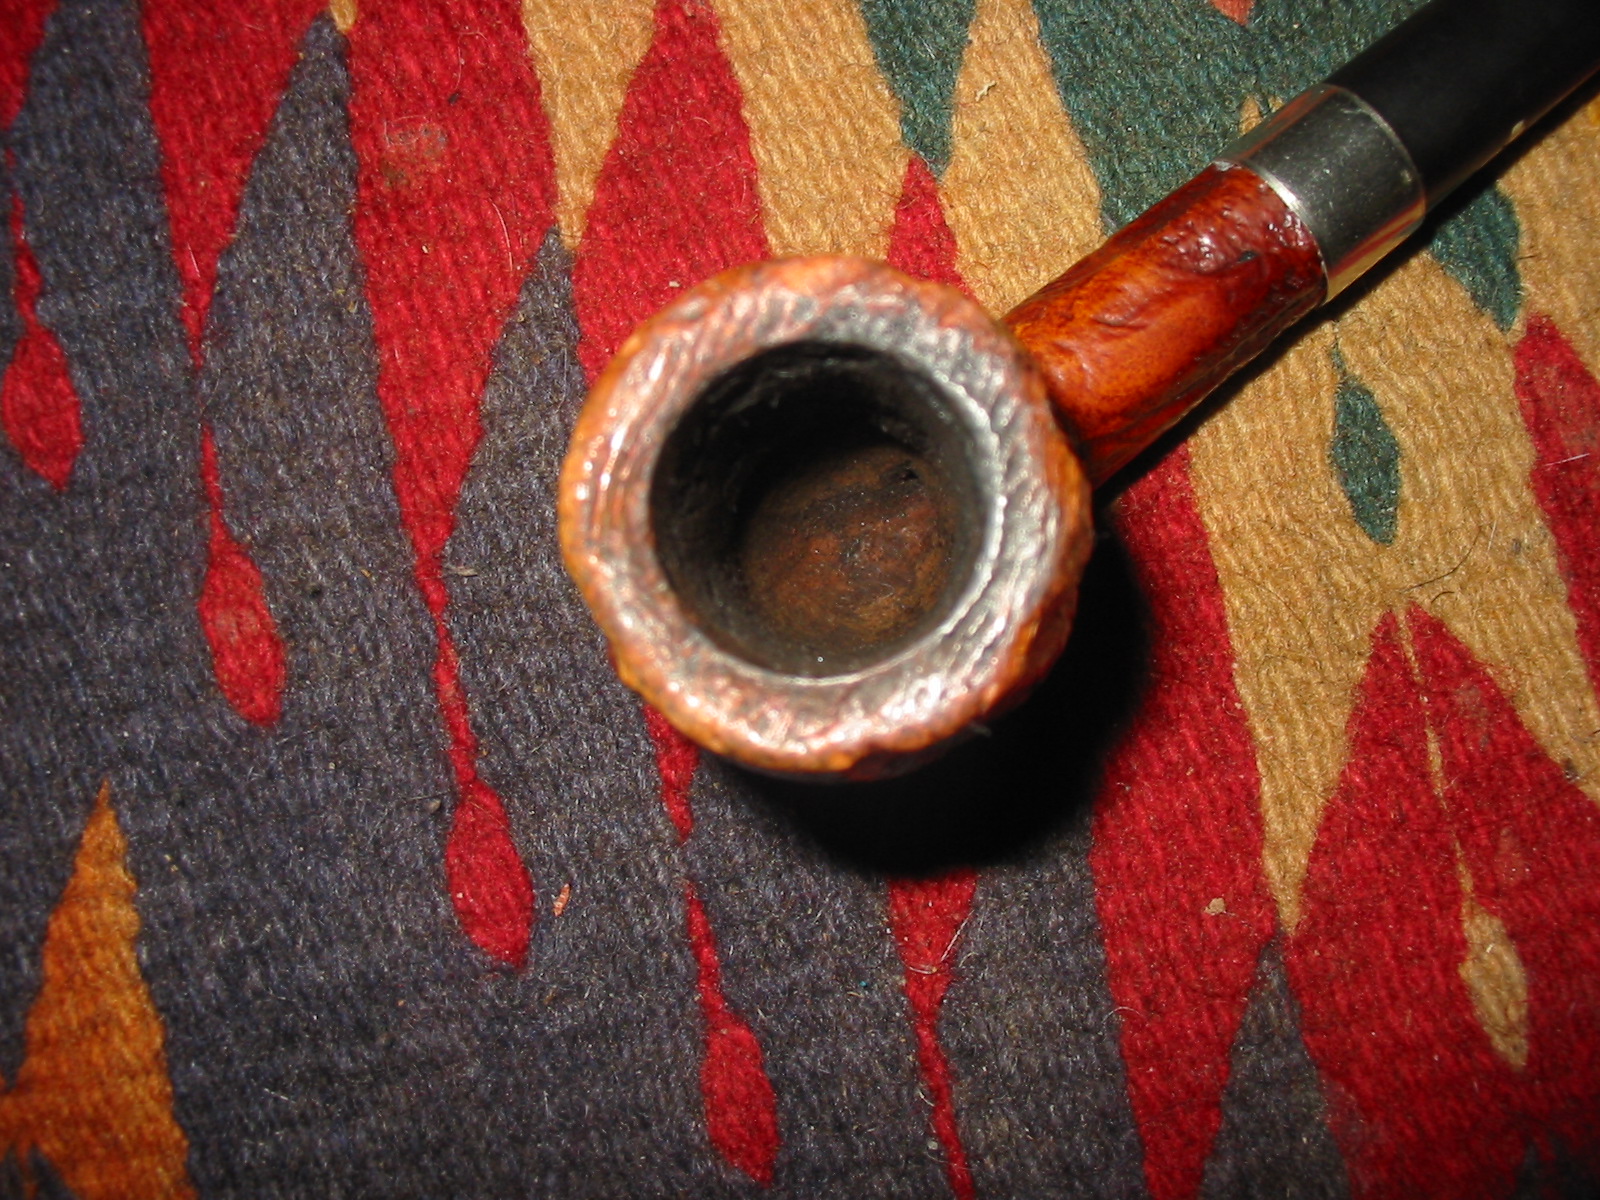
The exterior of the bowl had a thick coat of urethane on it that gave it a permanent shine. I tried to remove it with acetone but it did not even scratch the surface of the finish. I used several solvents and was not able to remove any of the finish so I decided to leave it alone. I used a lighter to brush flame over the rest of the bowl to further darken the crevices and grooves in the finish to highlight them. This seemed to work very well. I restained the rim with a dark brown aniline stain and repeated it until the surface was well covered. I wiped it down with alcohol on a cotton pad to thin it to match the colour of the bowl and then flamed the surface to darken it slightly. I finished by taking the bowl to the buffer and buffing it lightly with red Tripoli and White Diamond to polish and give the rim the same shine as the bowl.
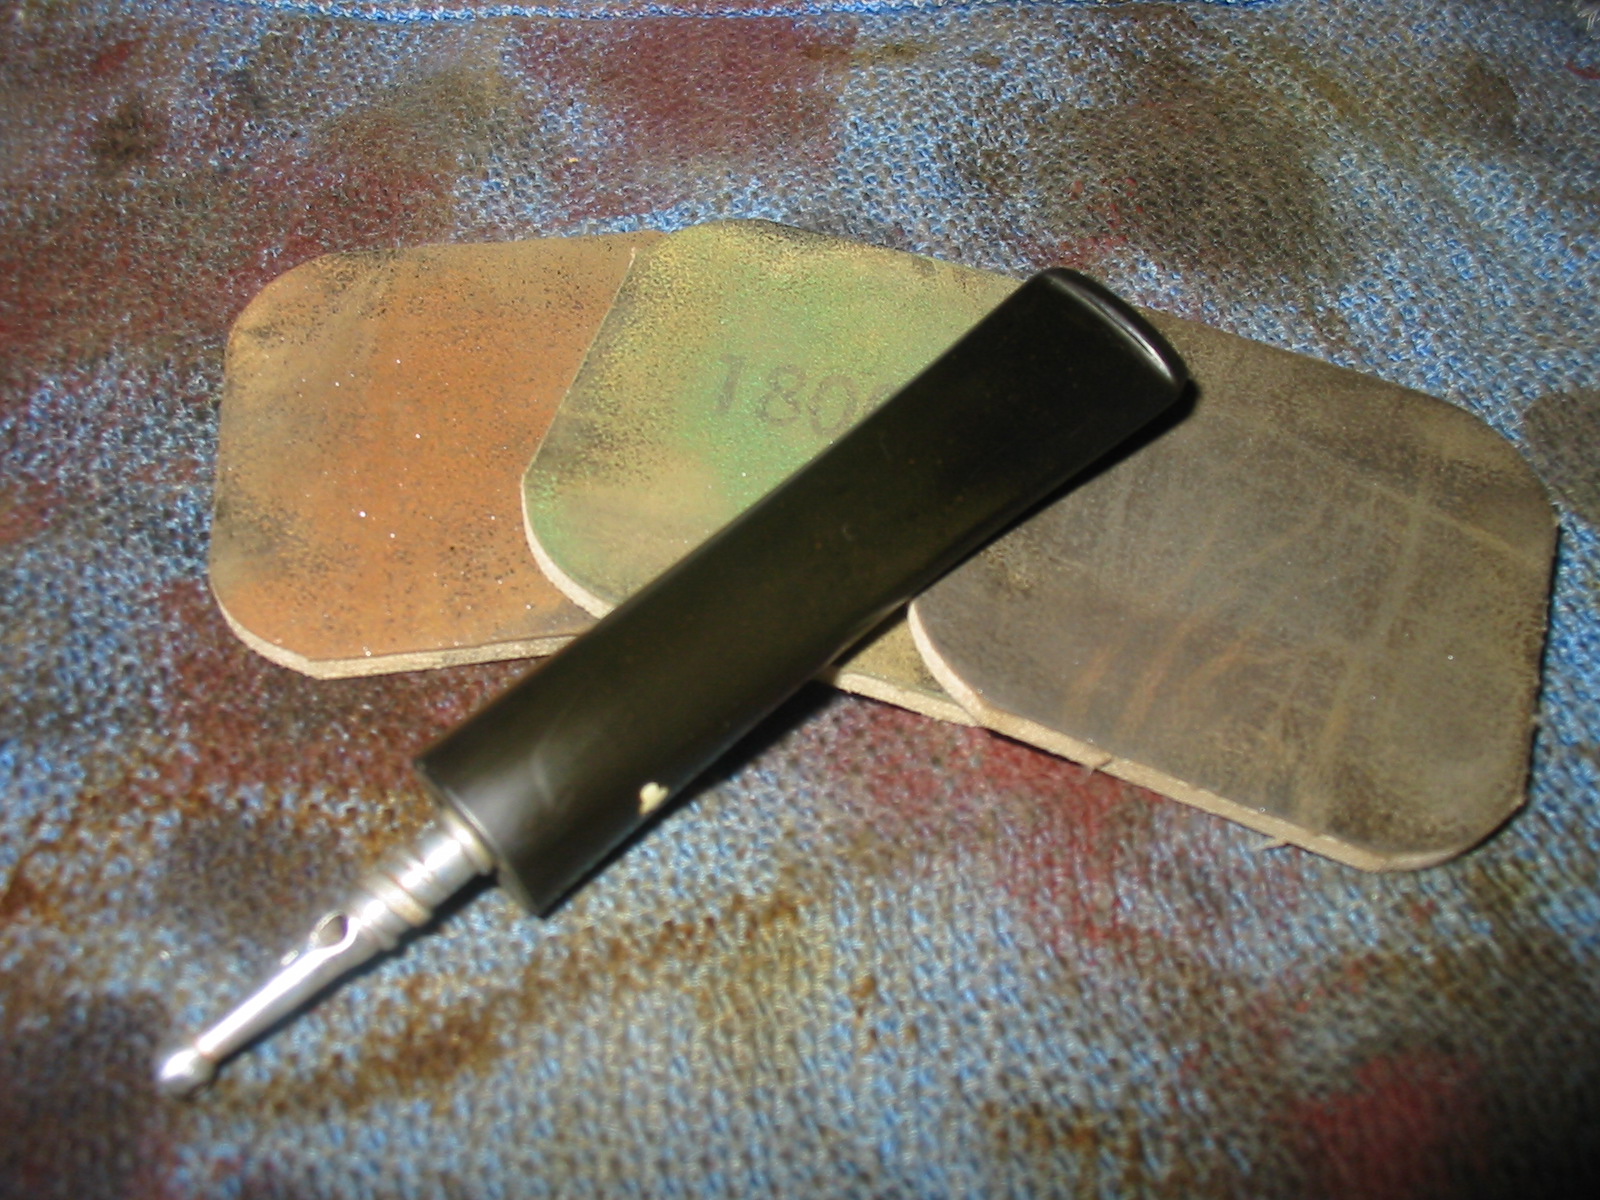
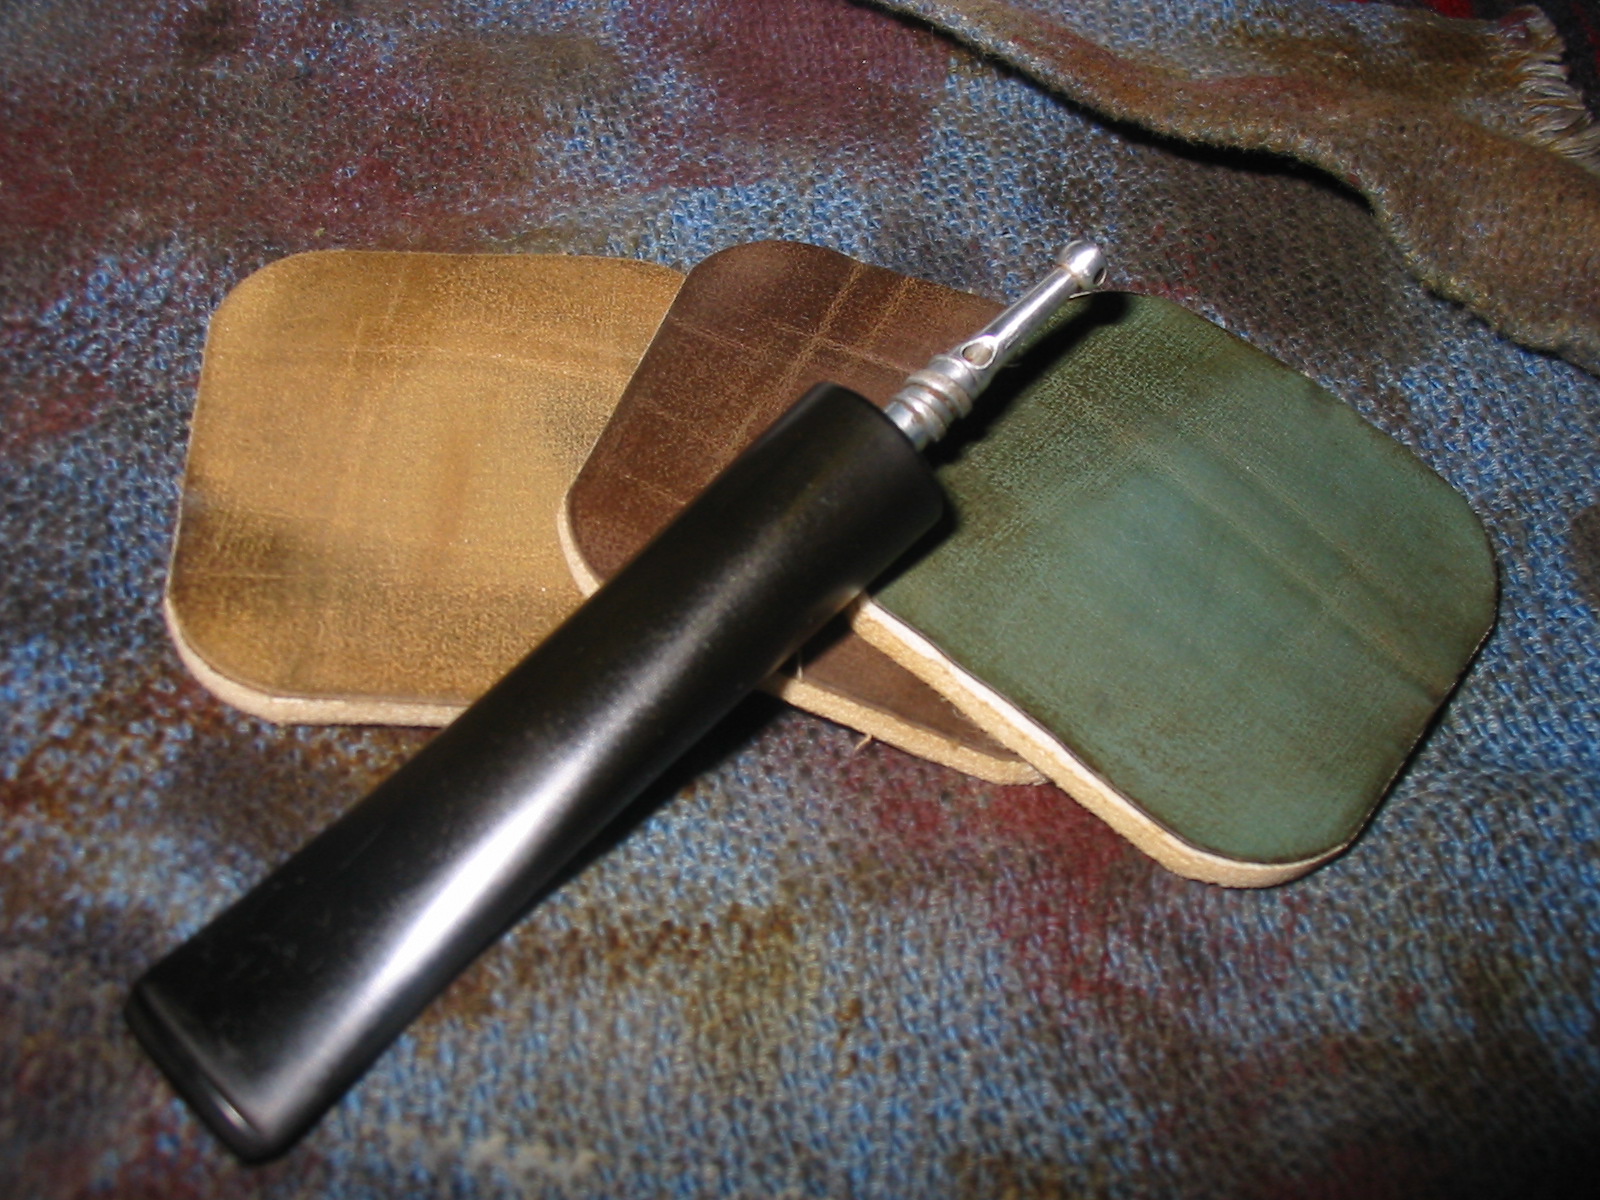
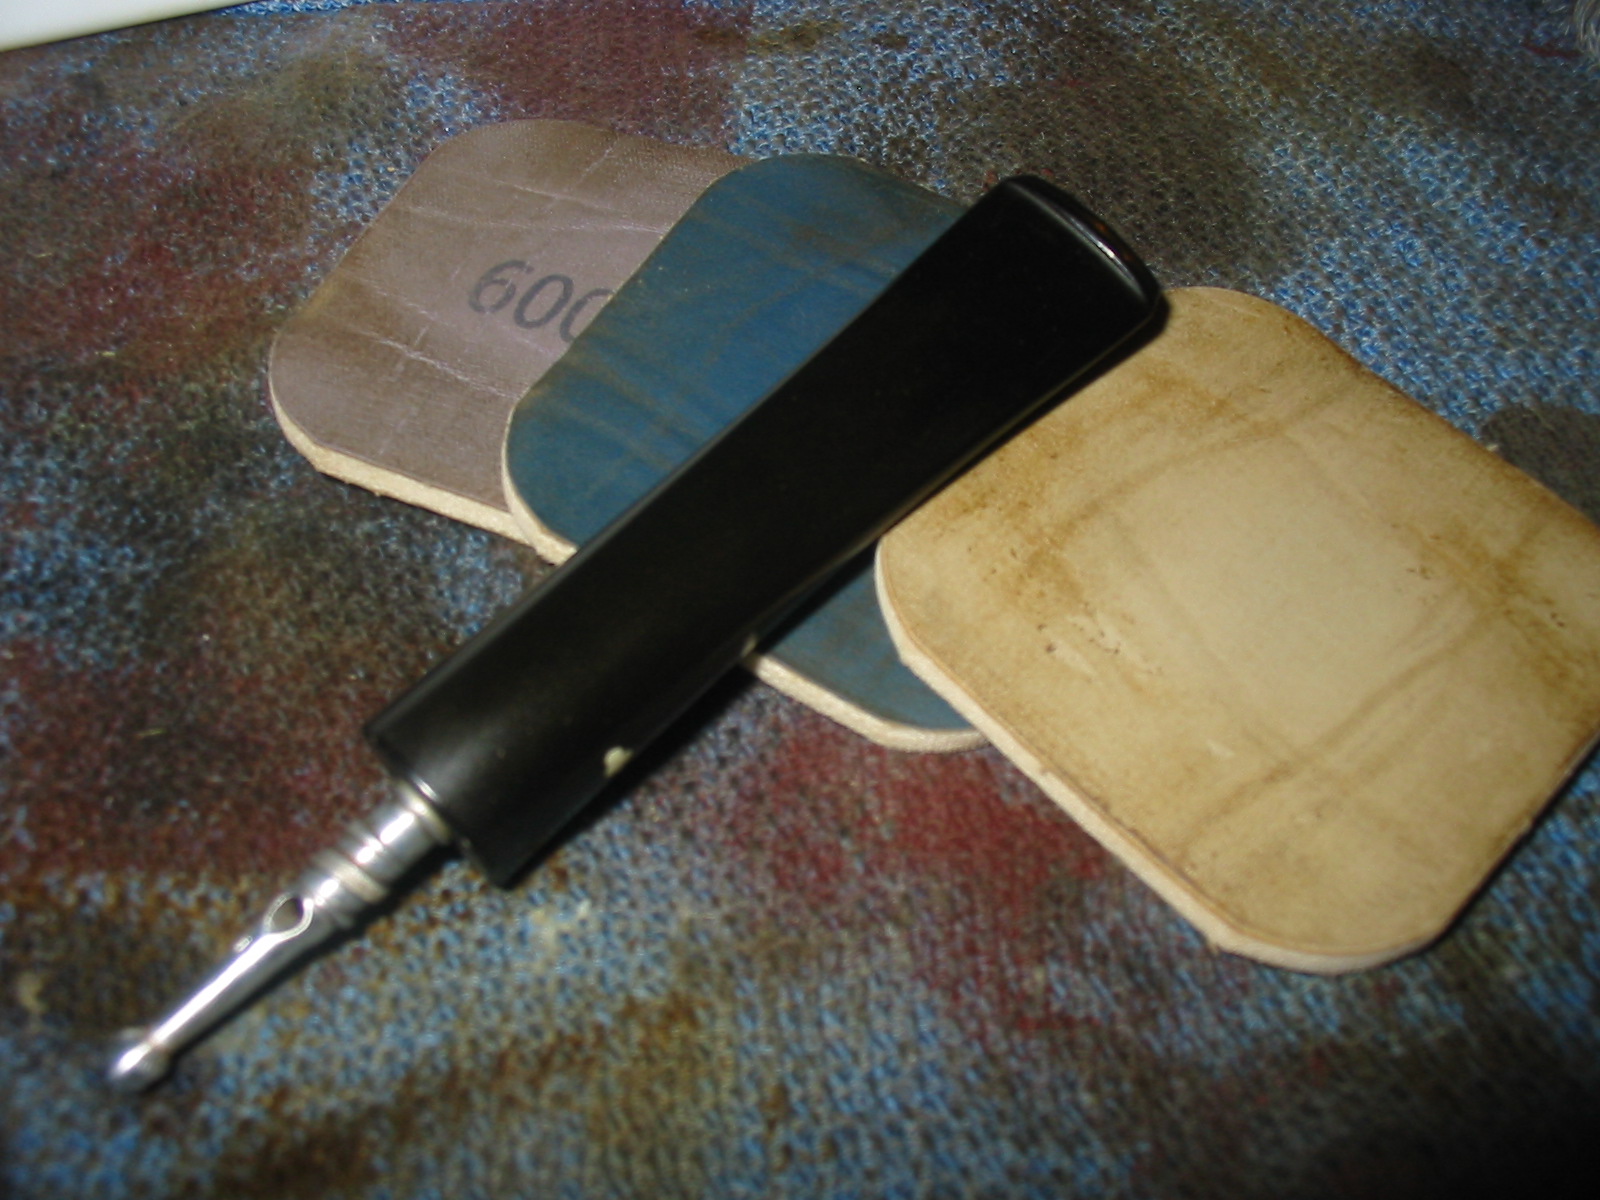
With the work on the bowl finished it was time to address some of the issues with the stem. There was light tooth chatter on the top and bottom of the stem next to the button and there was a slight oxidation to the overall stem. I cleaned out the internals of the stem and the stinger with isopropyl alcohol and pipe cleaners until I had removed all of the buildup inside. Then I sanded the stem with 220 grit sandpaper and a medium and fine grit sanding sponge to remove the tooth chatter and then followed that with my usual regimen of micromesh sanding pads. I wet sanded with the 1500-2400 grit sanding pads and dry sanded with the 3200-12,000 grit pads. I rubbed the stem down with Obsidian Oil.
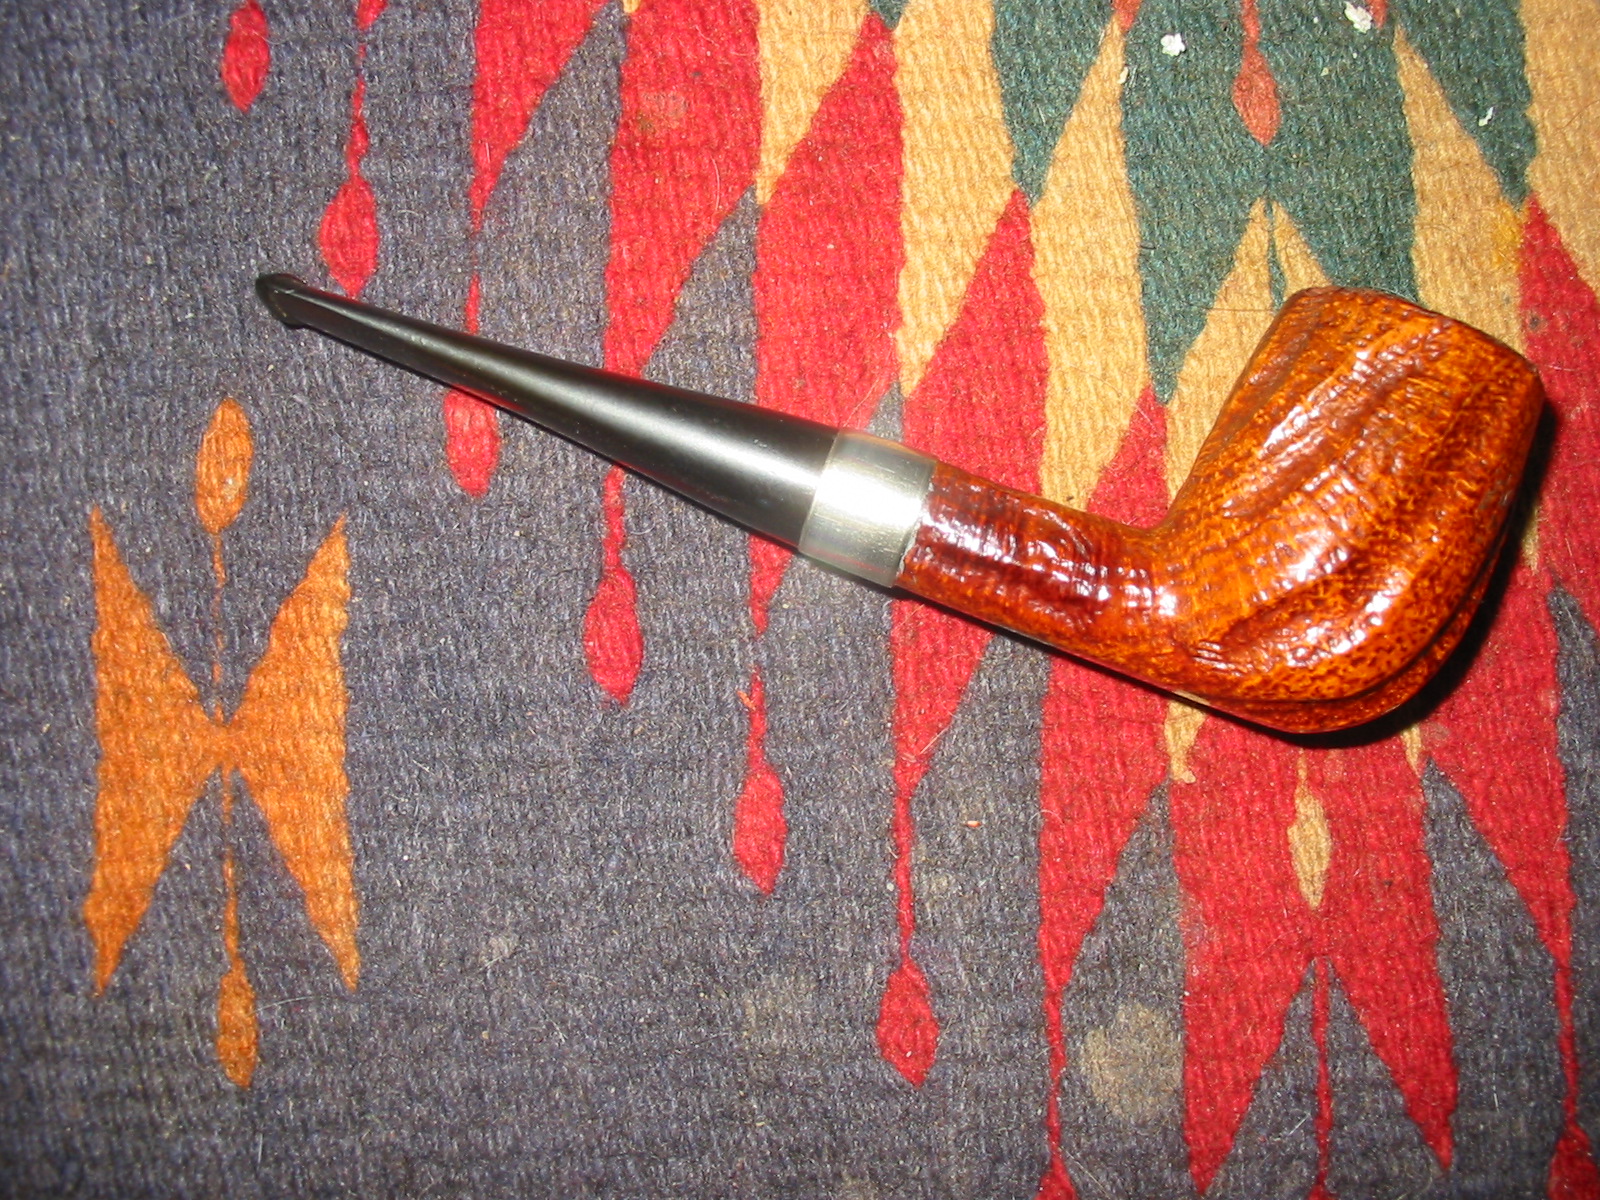
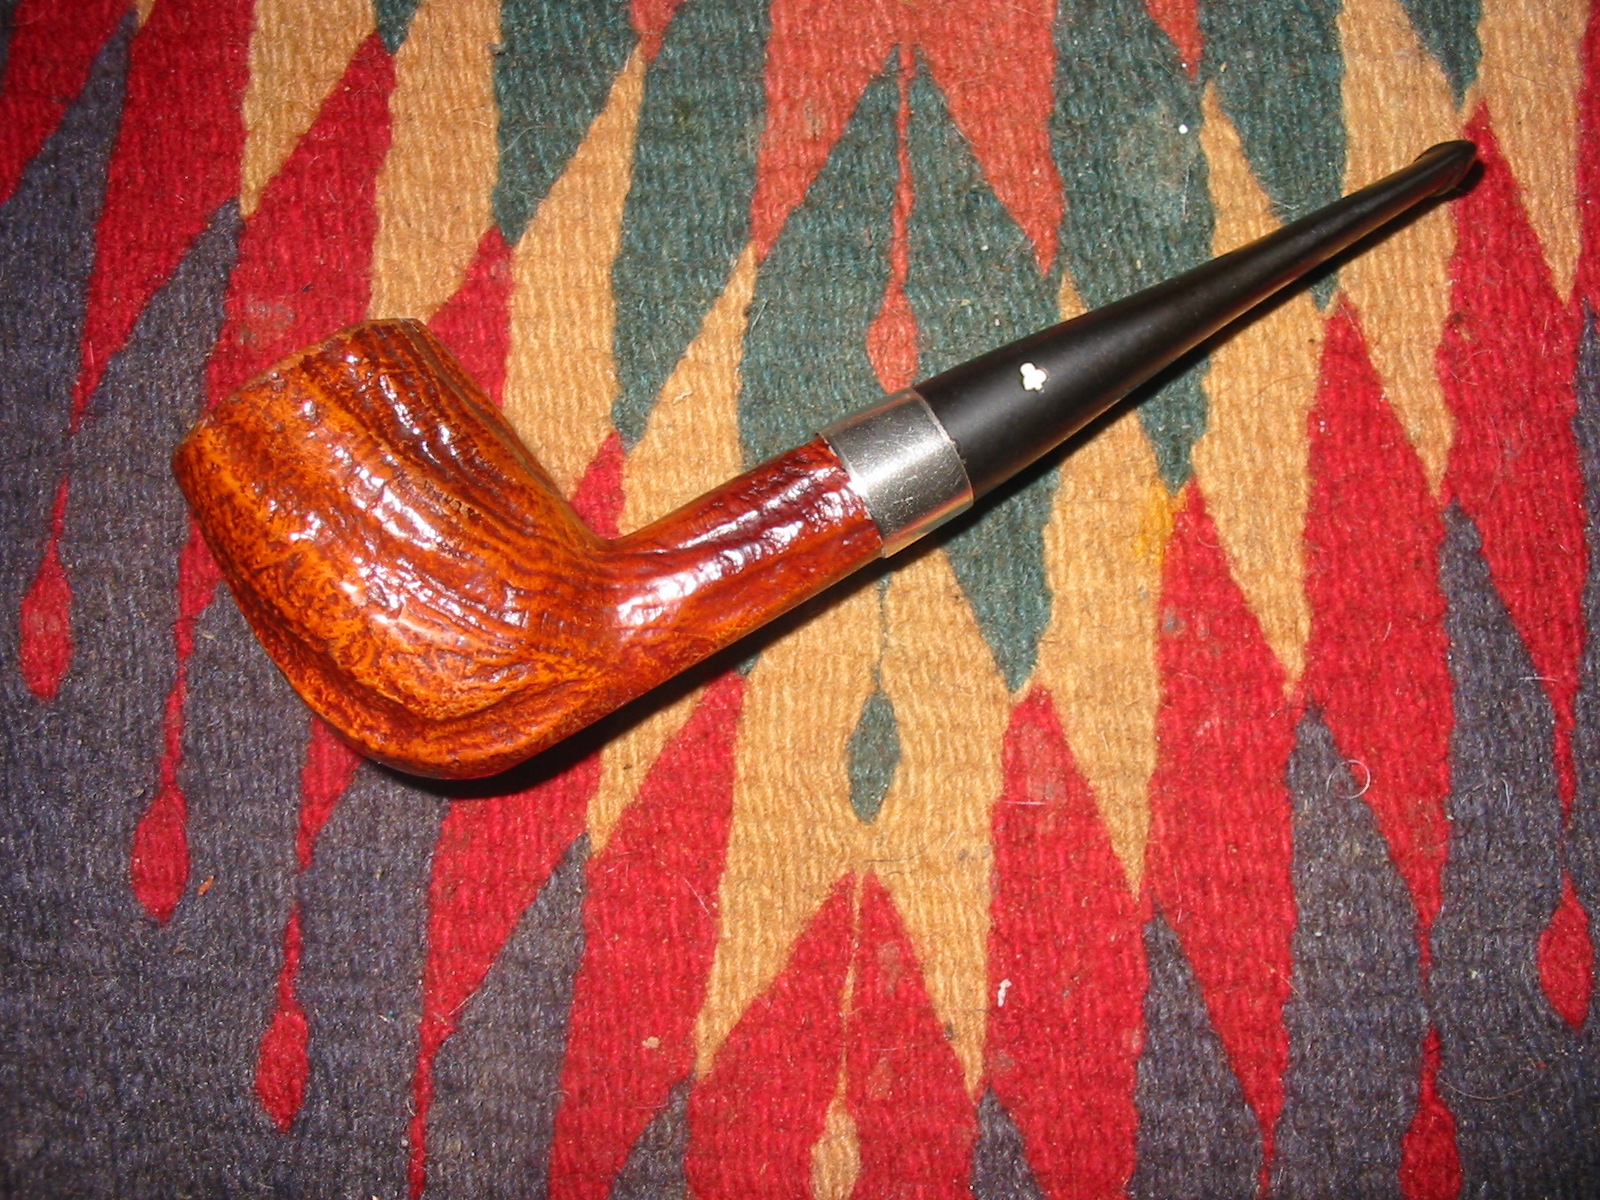
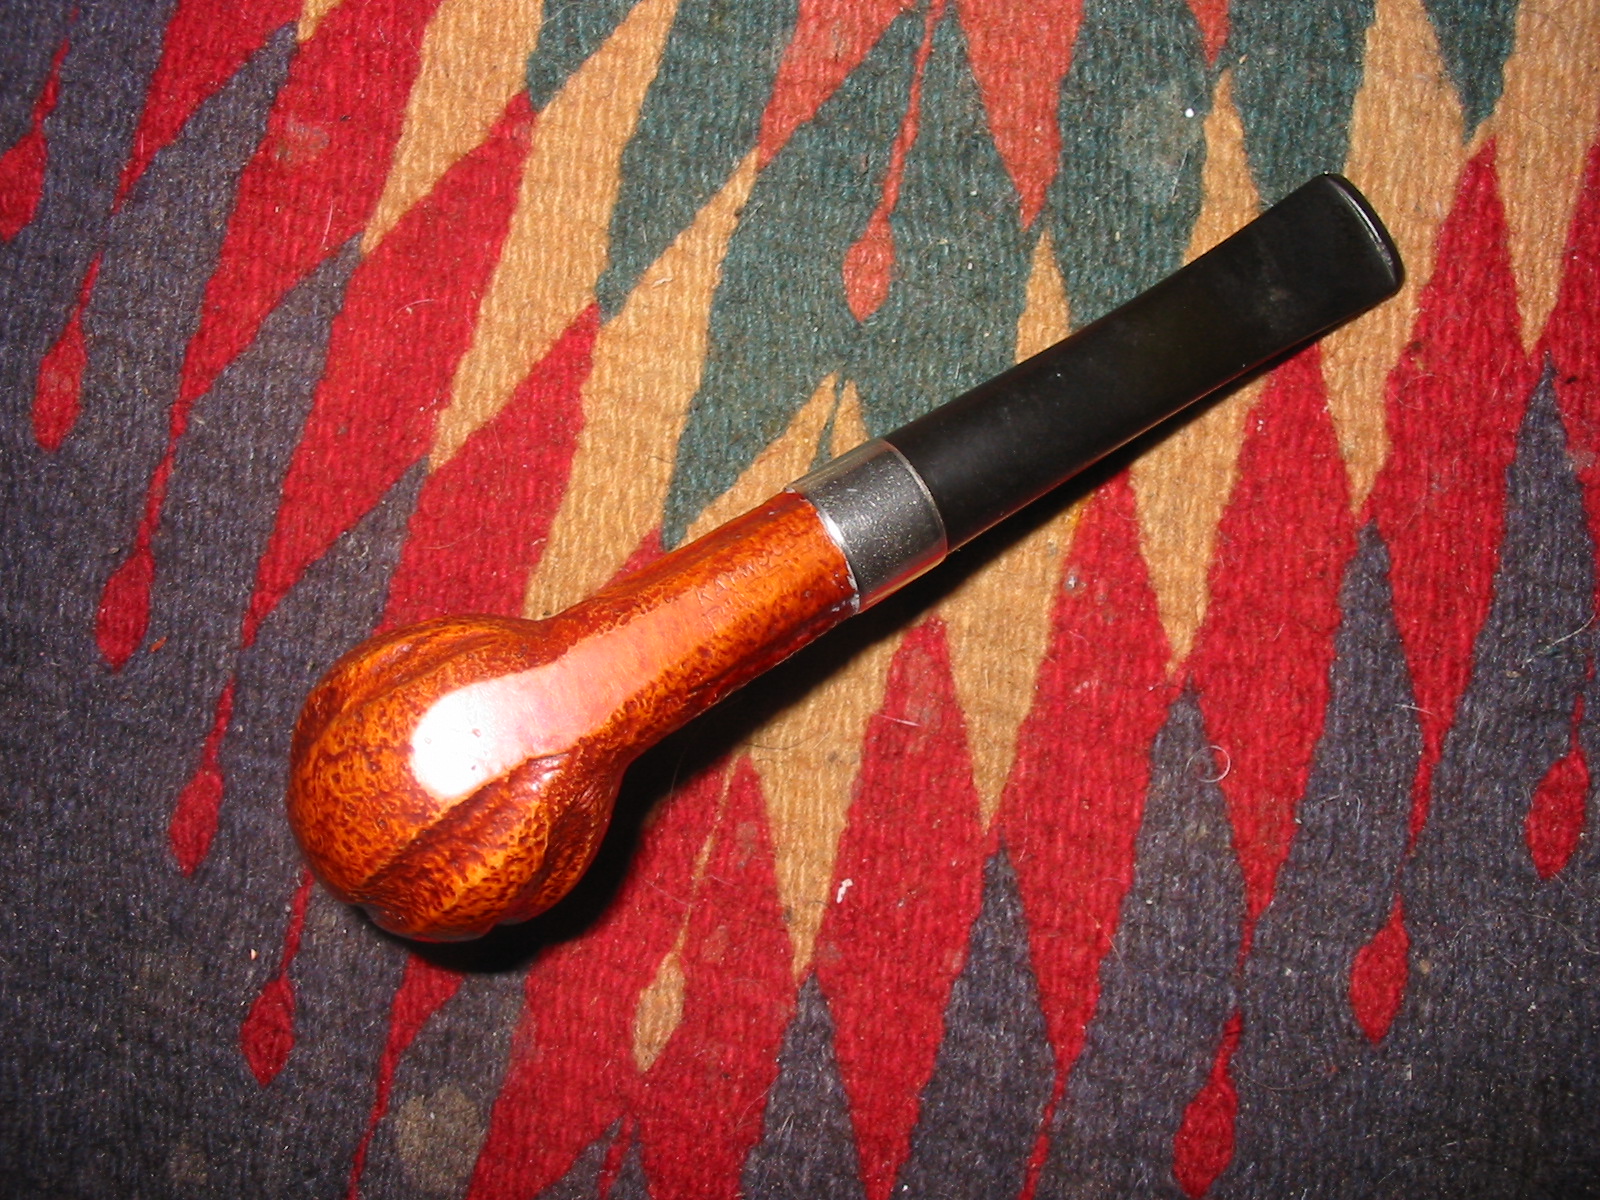
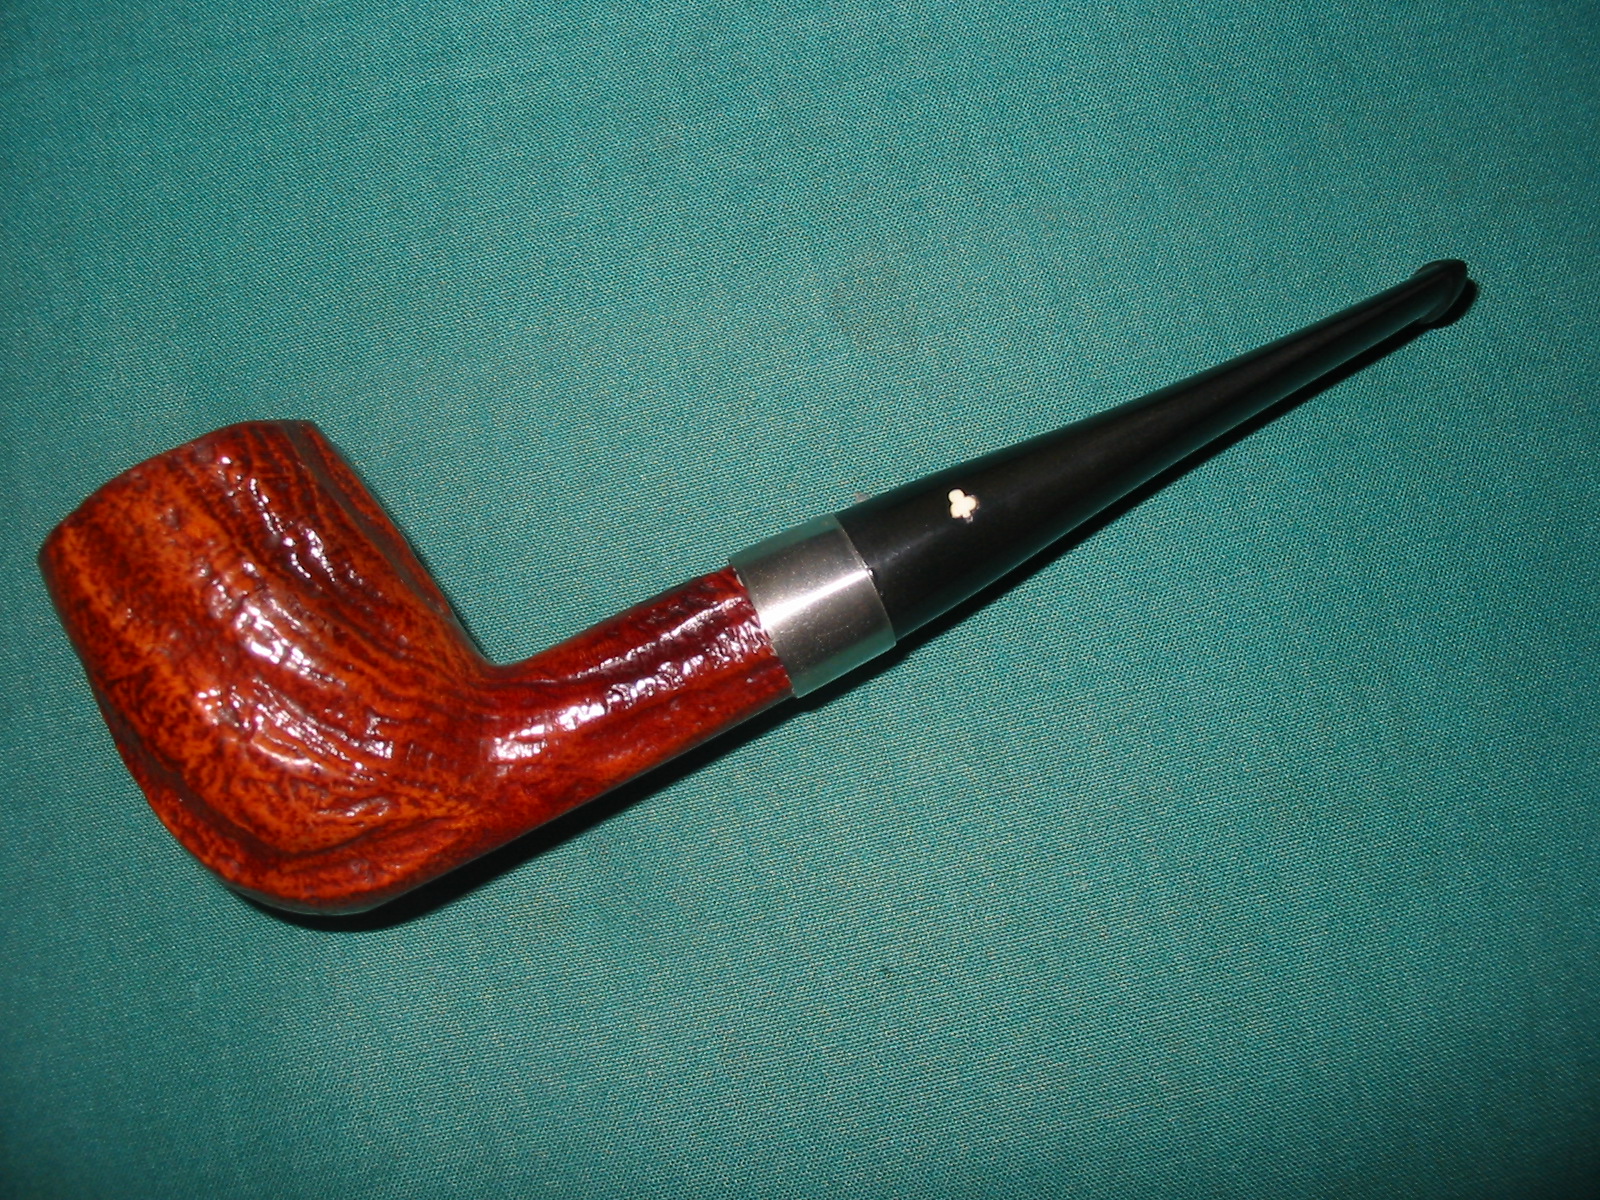
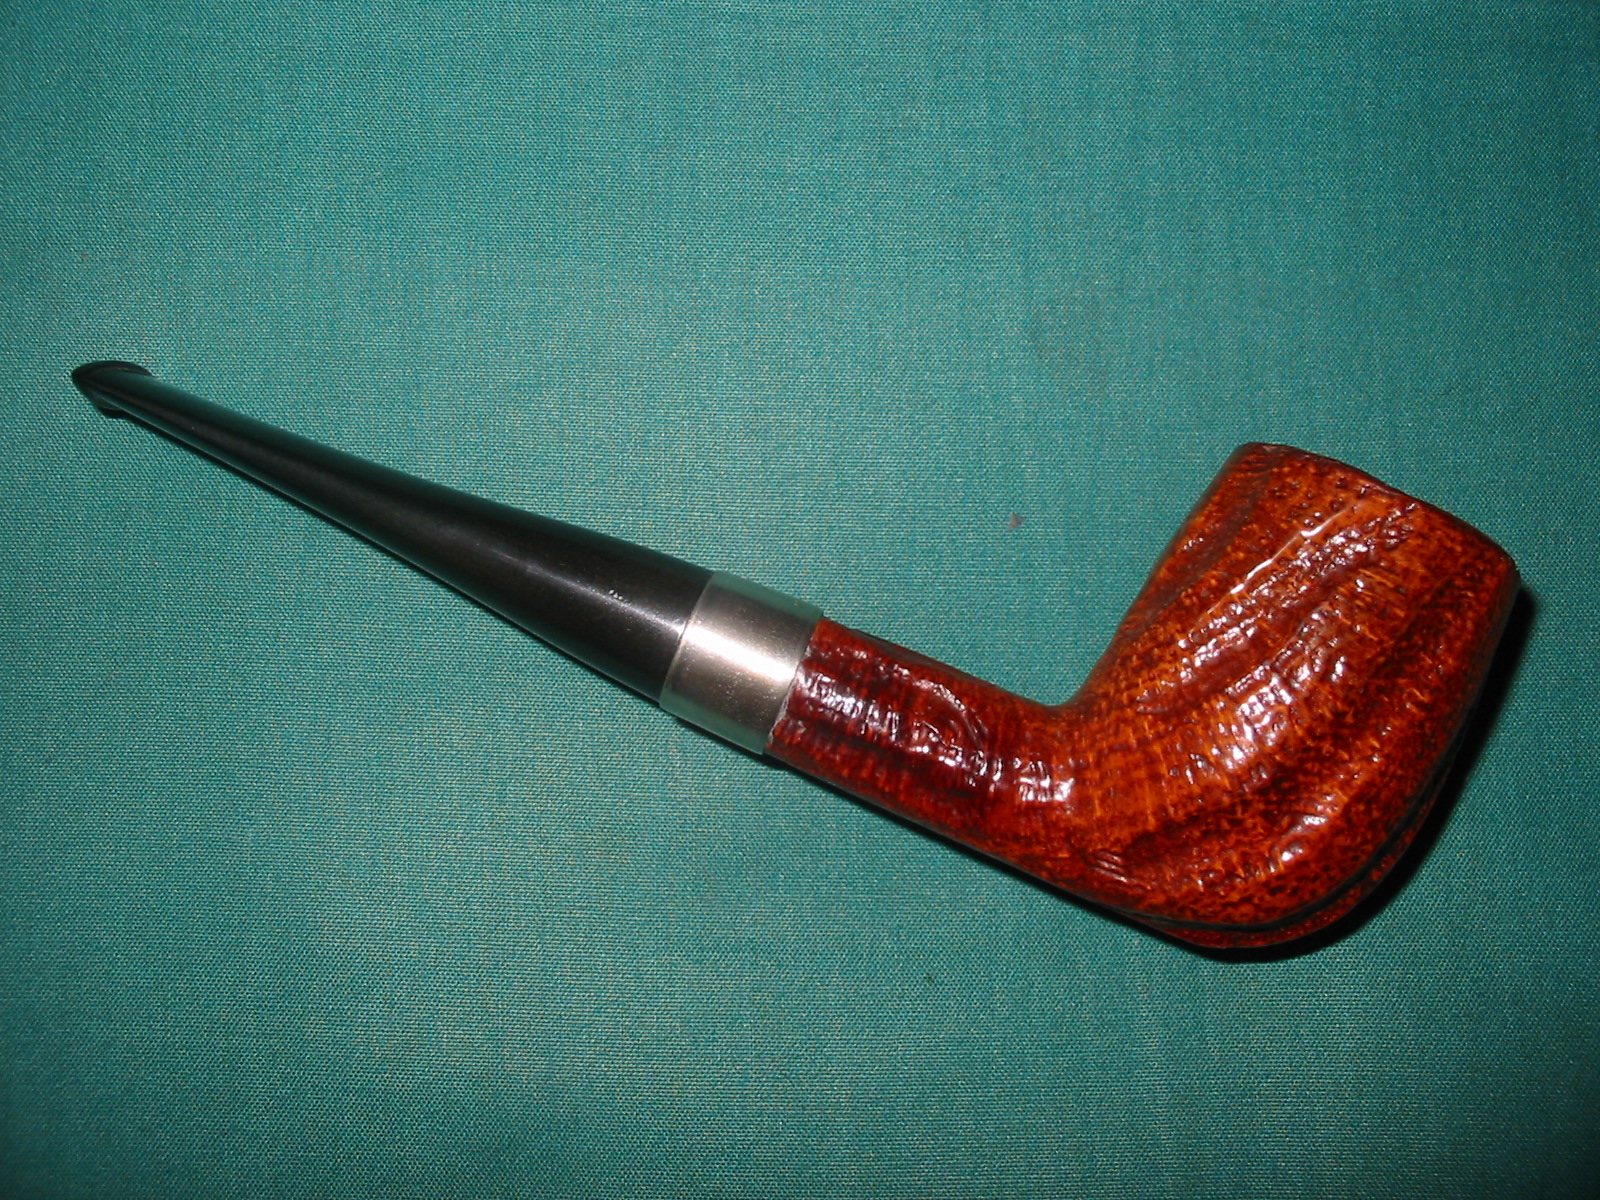
When the stem was dry I buffed it with White Diamond. I polished the nickel band with the higher grades of micromesh sanding pads and then silver polish. I put the pipe back together and gave it a light buff with White Diamond. I applied carnauba to the bowl and stem to protect and preserve the stem and rim. I was pretty certain that the hard finish on the bowl would last longer than I would so it did not need a lot of wax. The finished pipe is shown below. The shank repair is very stable and solid so I think the pipe will provide many more years of service. Thanks Bill for the challenge and the gift you sent my way. It is greatly appreciated.

That’s a beauty – though I must admit to being a lover of those old Kaywoodies! Great save on that great old gal.
LikeLike
A nifty repair!
LikeLike
You are very welcome and you did an awesome job Steve.
LikeLike
Yet another nice save!
LikeLike