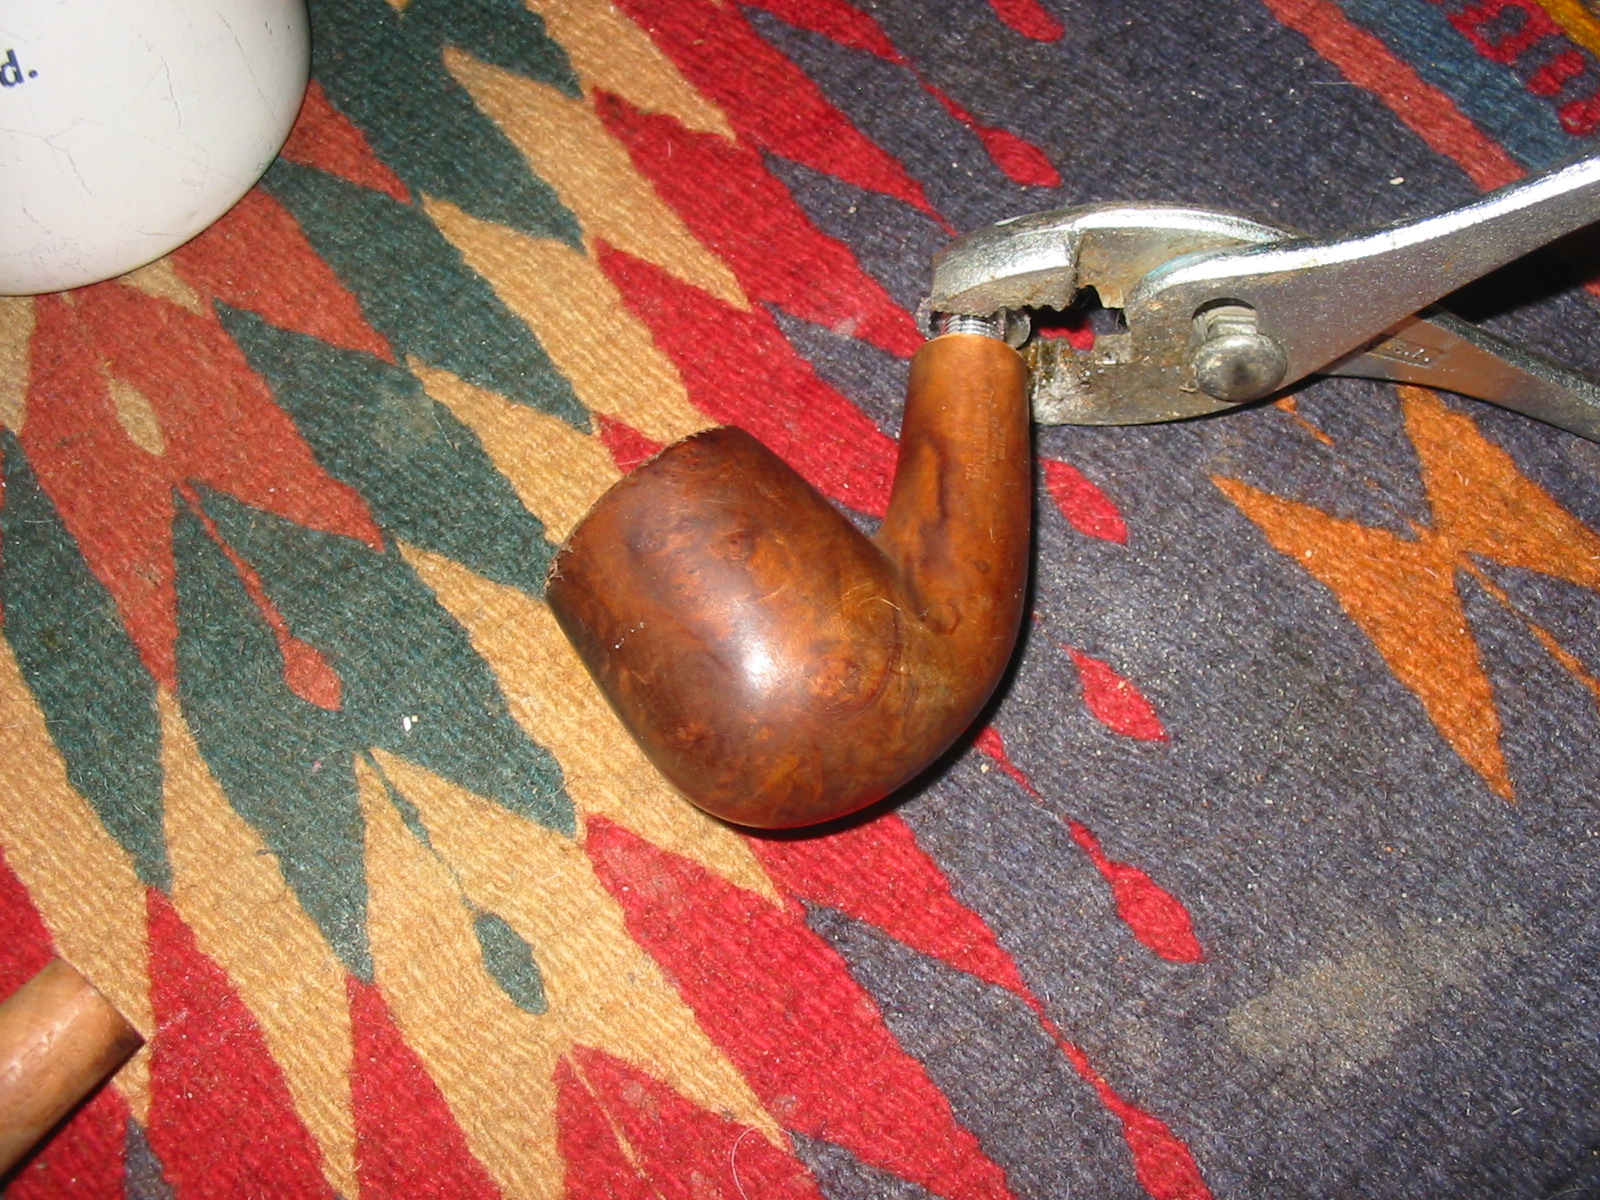
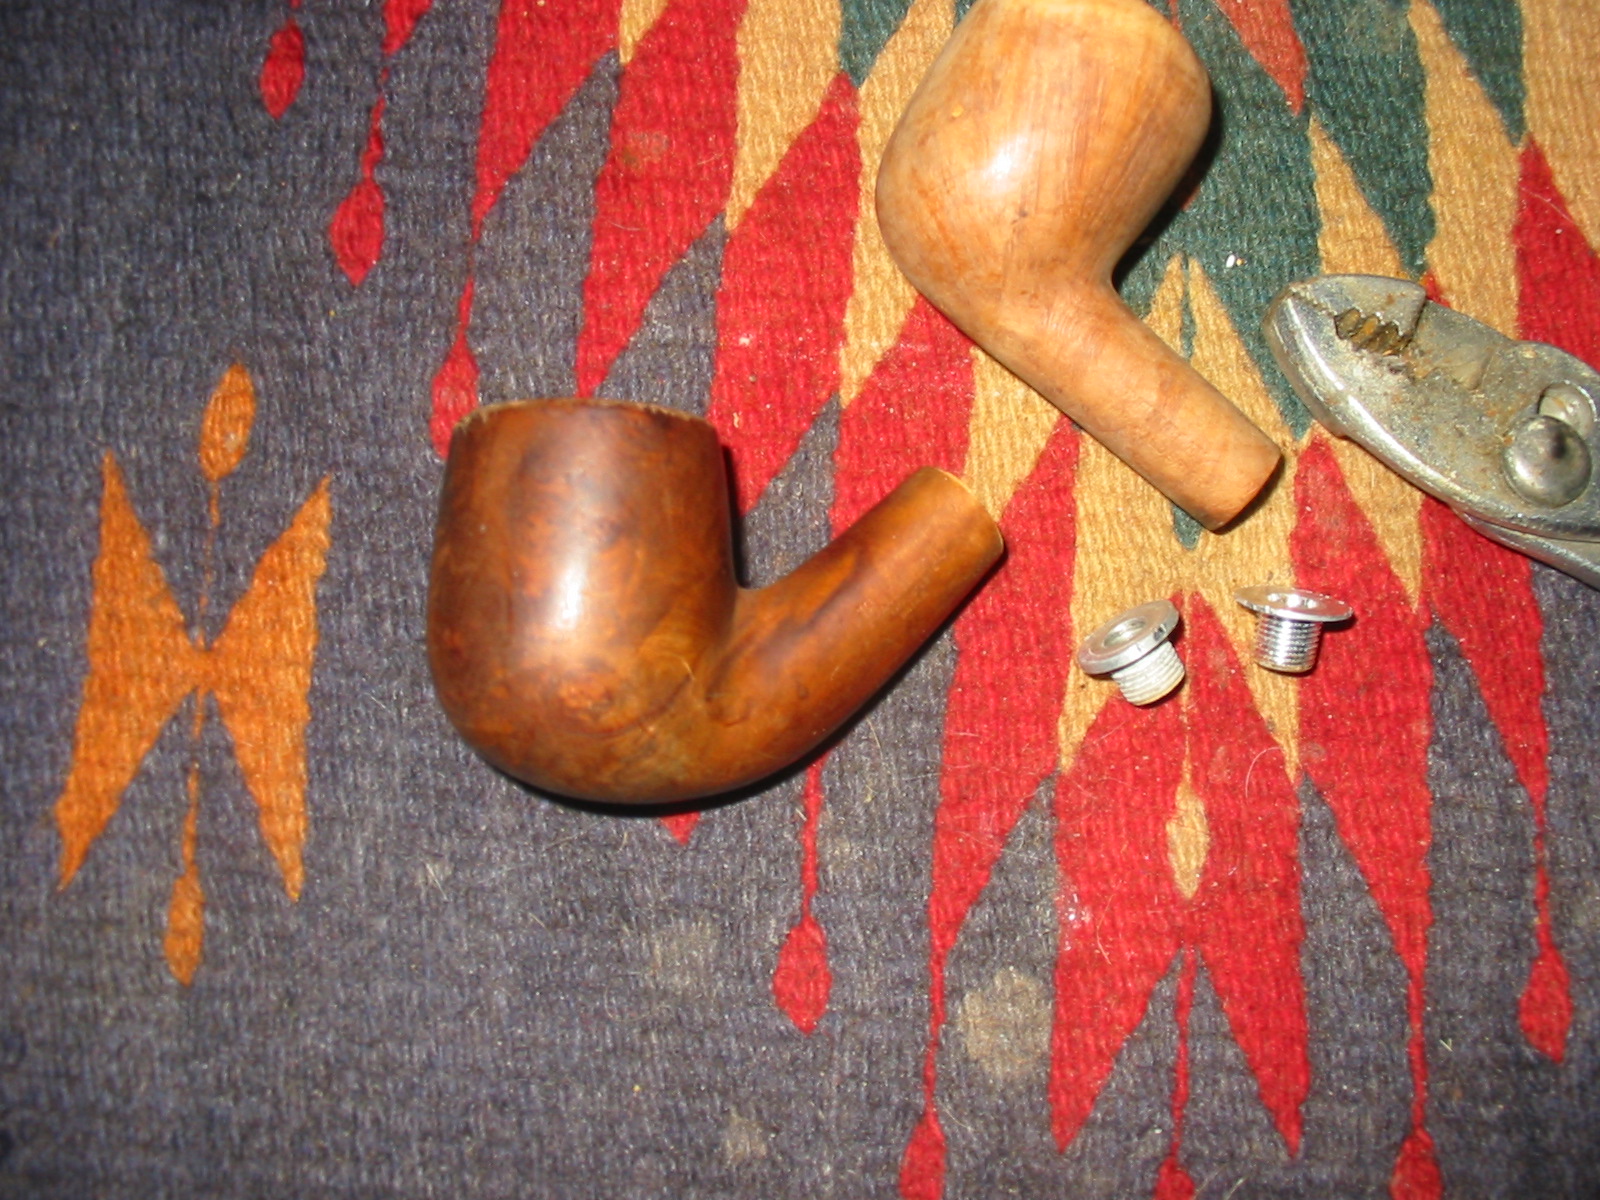
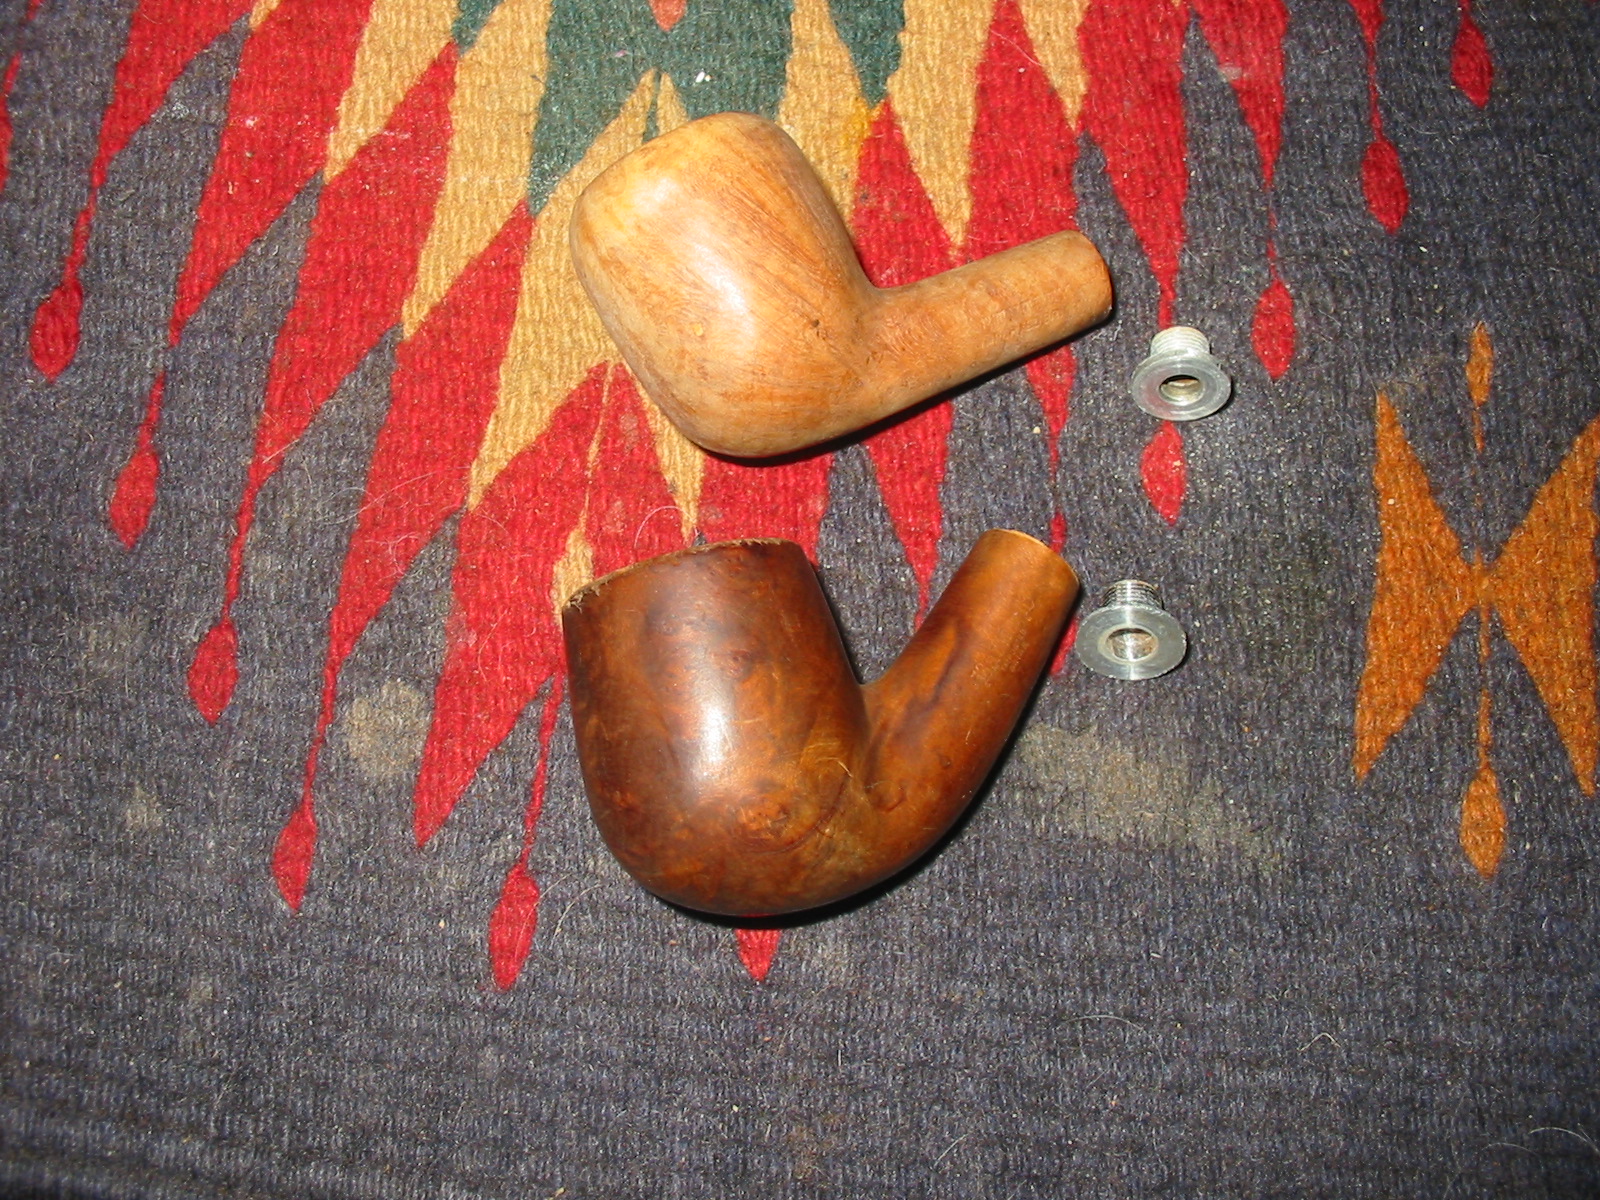
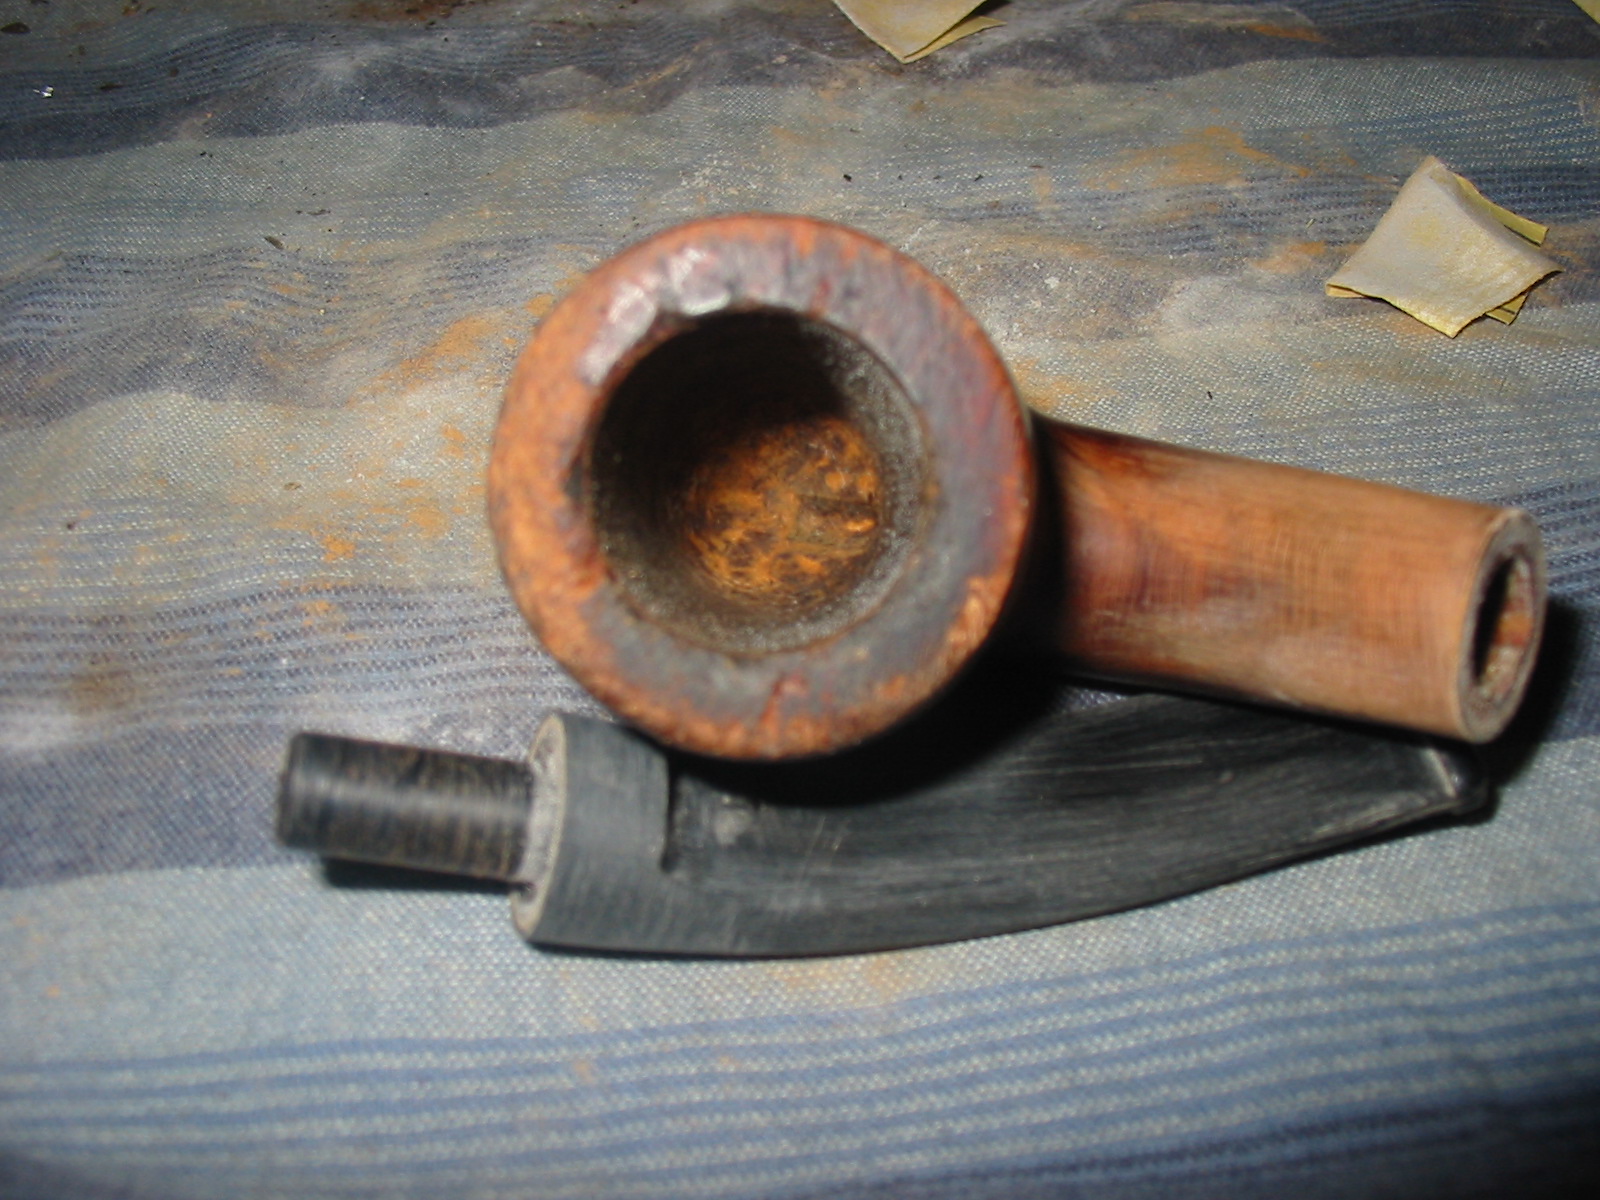
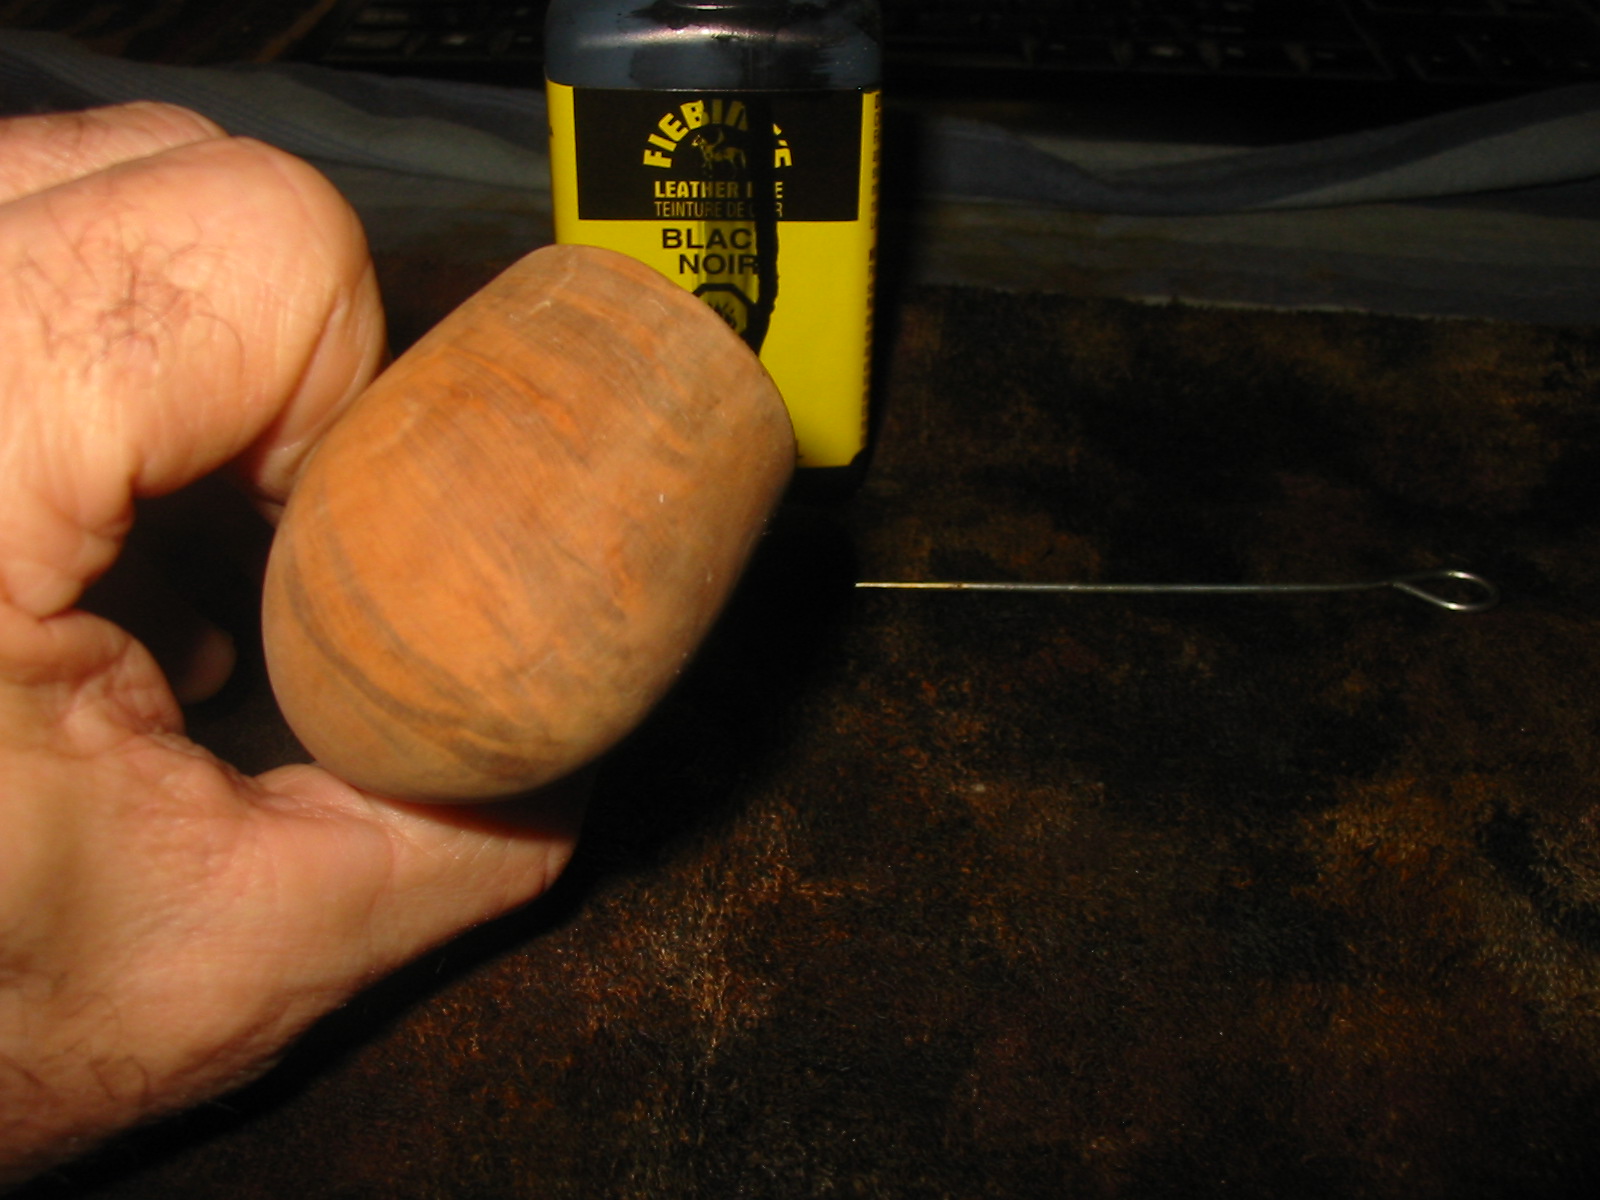
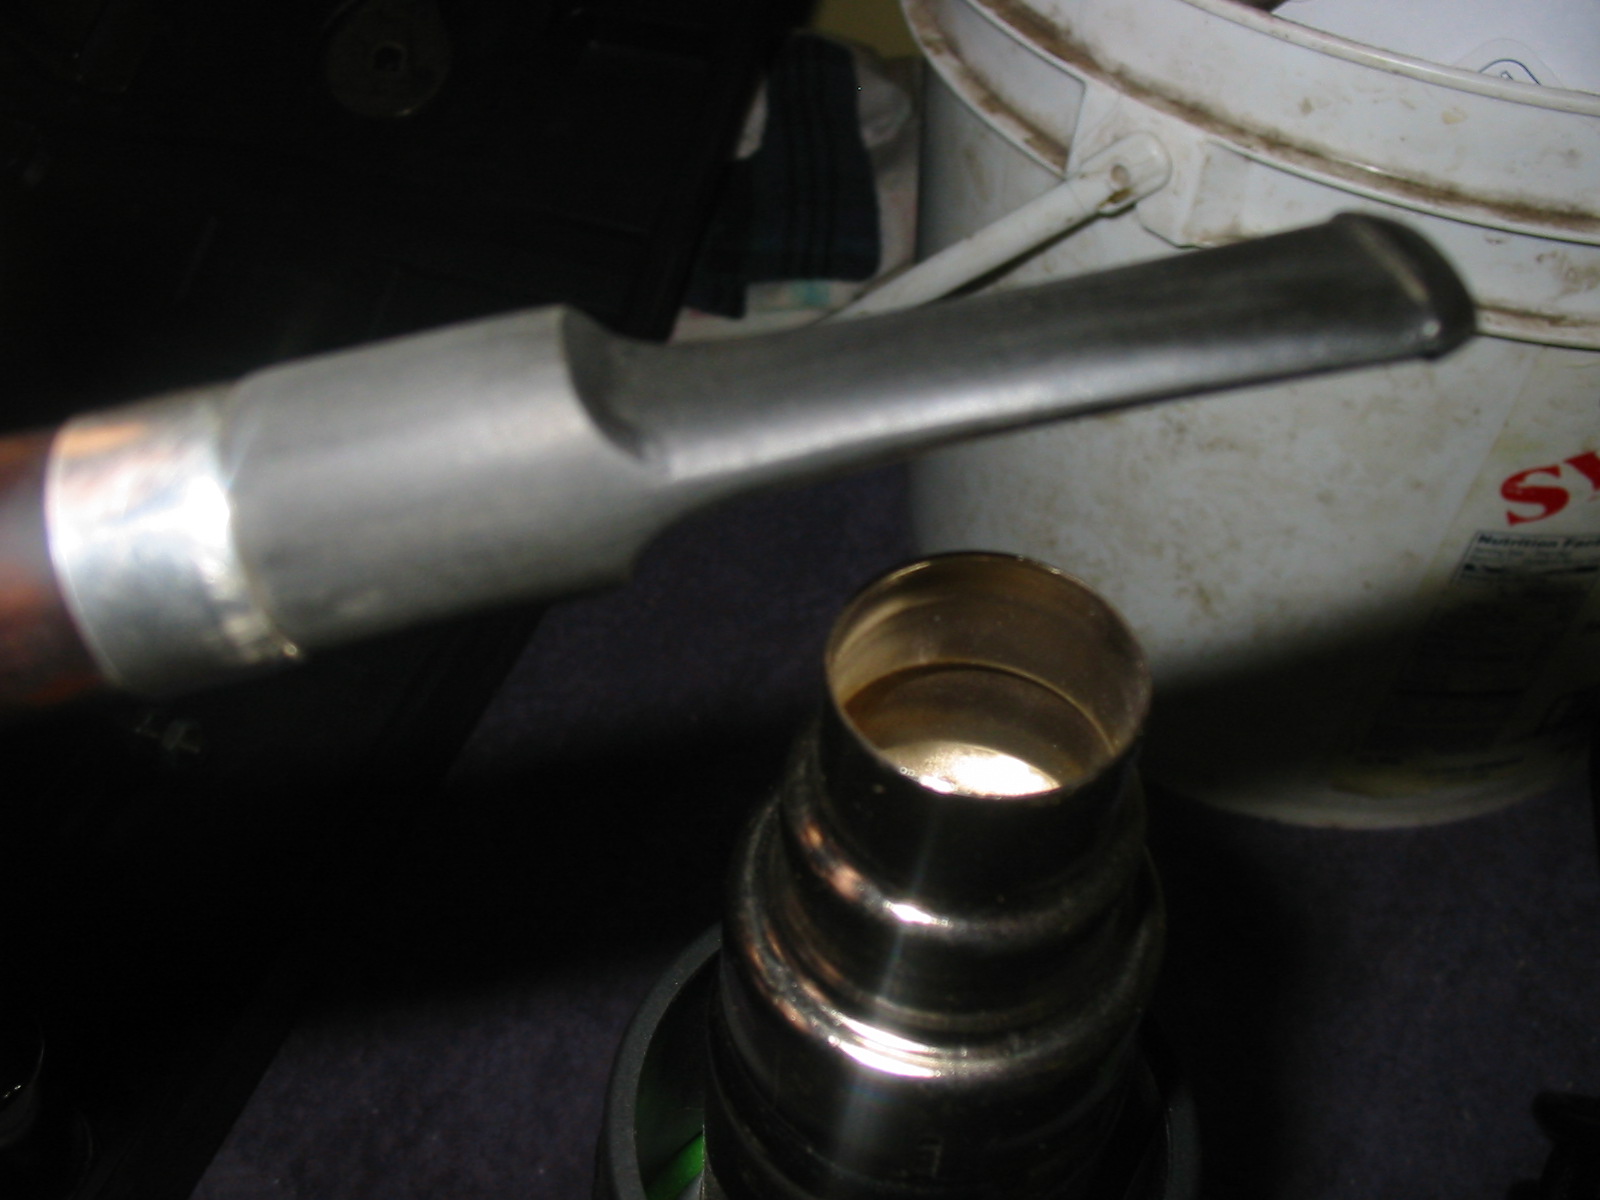
When I picked up these two pipes in the antique mall grab bag my intention was to hunt down threaded metal tenon stems for them both. But I soon finished cleaning up the rest of the lot and was down to these two and an old Medico. These two were in far better shape to start with than the old Medico so I looked them over for a while. I decided to drill out the threads on both of them and fit a push stem to the shank. I started with the bent billiard as it needed the most work to clean up the rim damage. While I was setting up to do it I got to thinking that the odds were very high that the inserts were reverse threaded into the shanks of the pipes. I took out a pair of pliers and carefully locked onto the metal edge of the insert on the bent billiard. I turned it counterclockwise and after a few moments of not moving it came loose and screwed out with ease. I did the second pipe bowl at the same time so I now have two pipe bowls that have been modified with a simple fix to that the mortises will accommodate a push stem.
I had a saddle bit in my can of stems that had a Delrin tenon and with a little sanding fit the shank perfectly. It had a short saddle and quite quickly went to a blade. It was still quite thick in the mouth so I would need to sand it thinner for comfort. The fit against the shank was snug and only the diameter of the stem would need to be adjusted to fit properly.

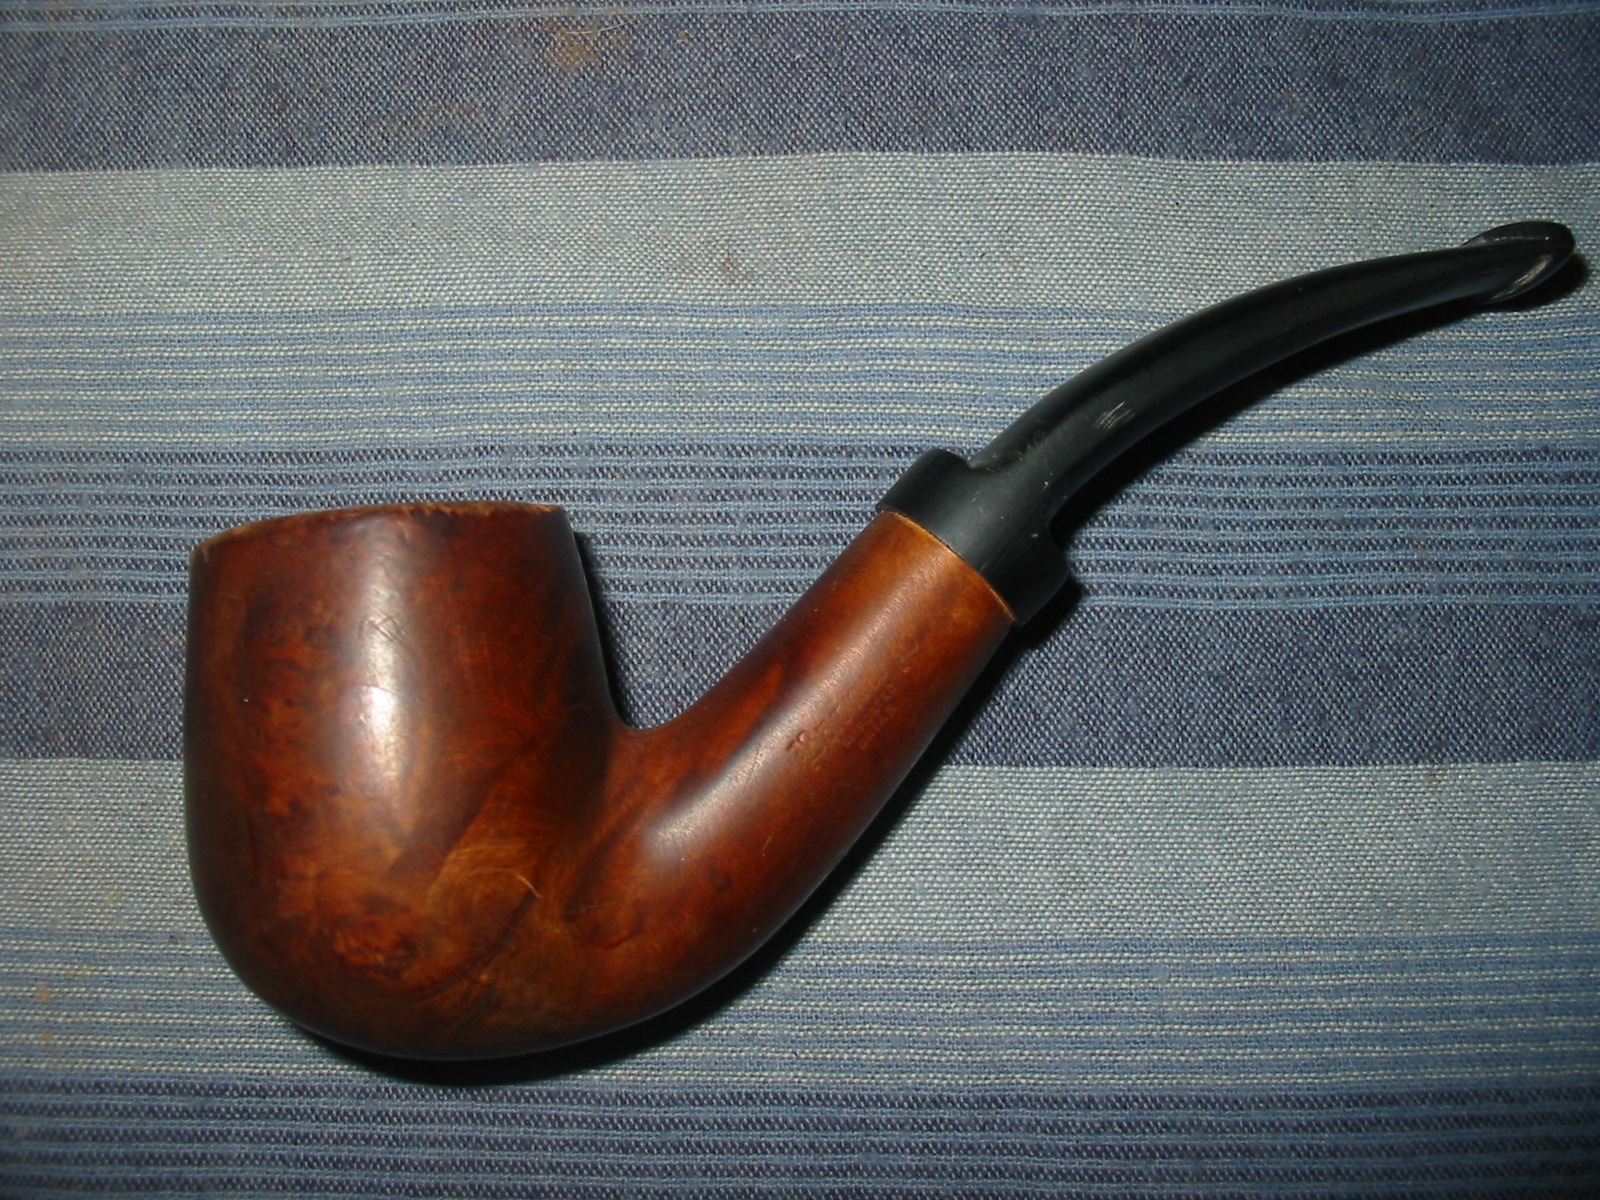
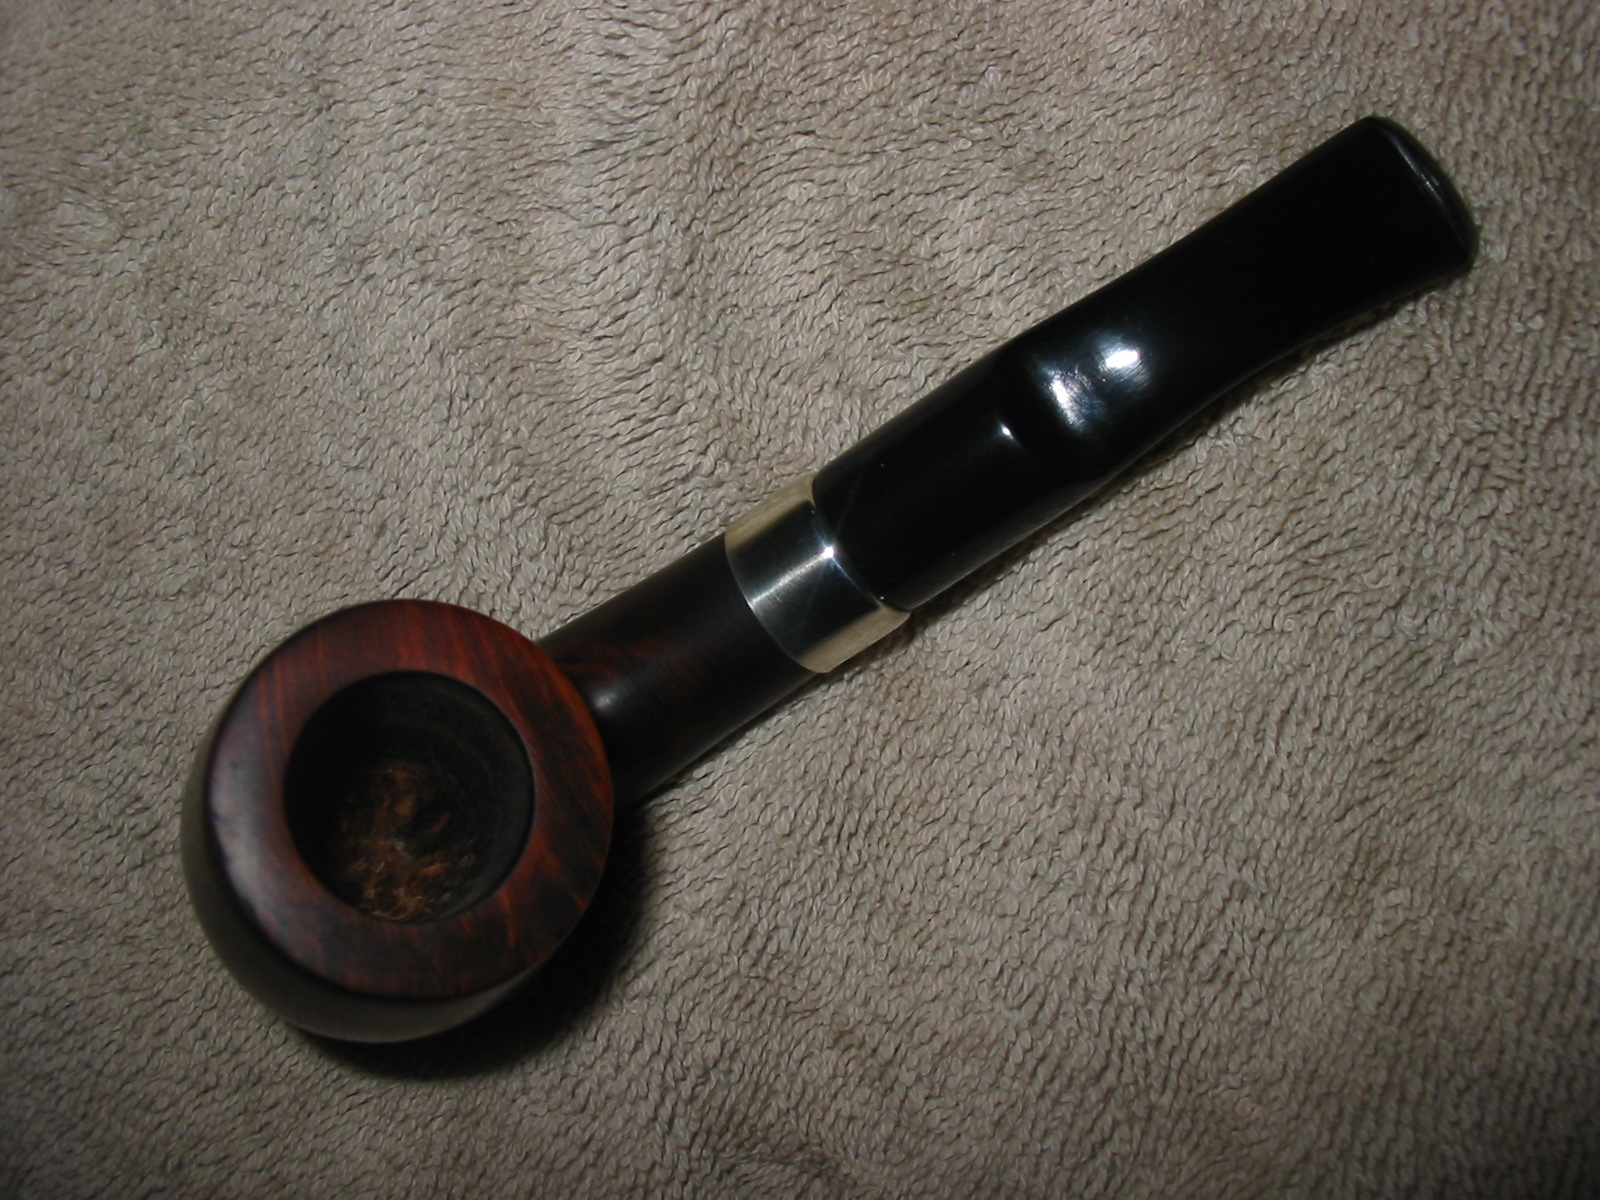
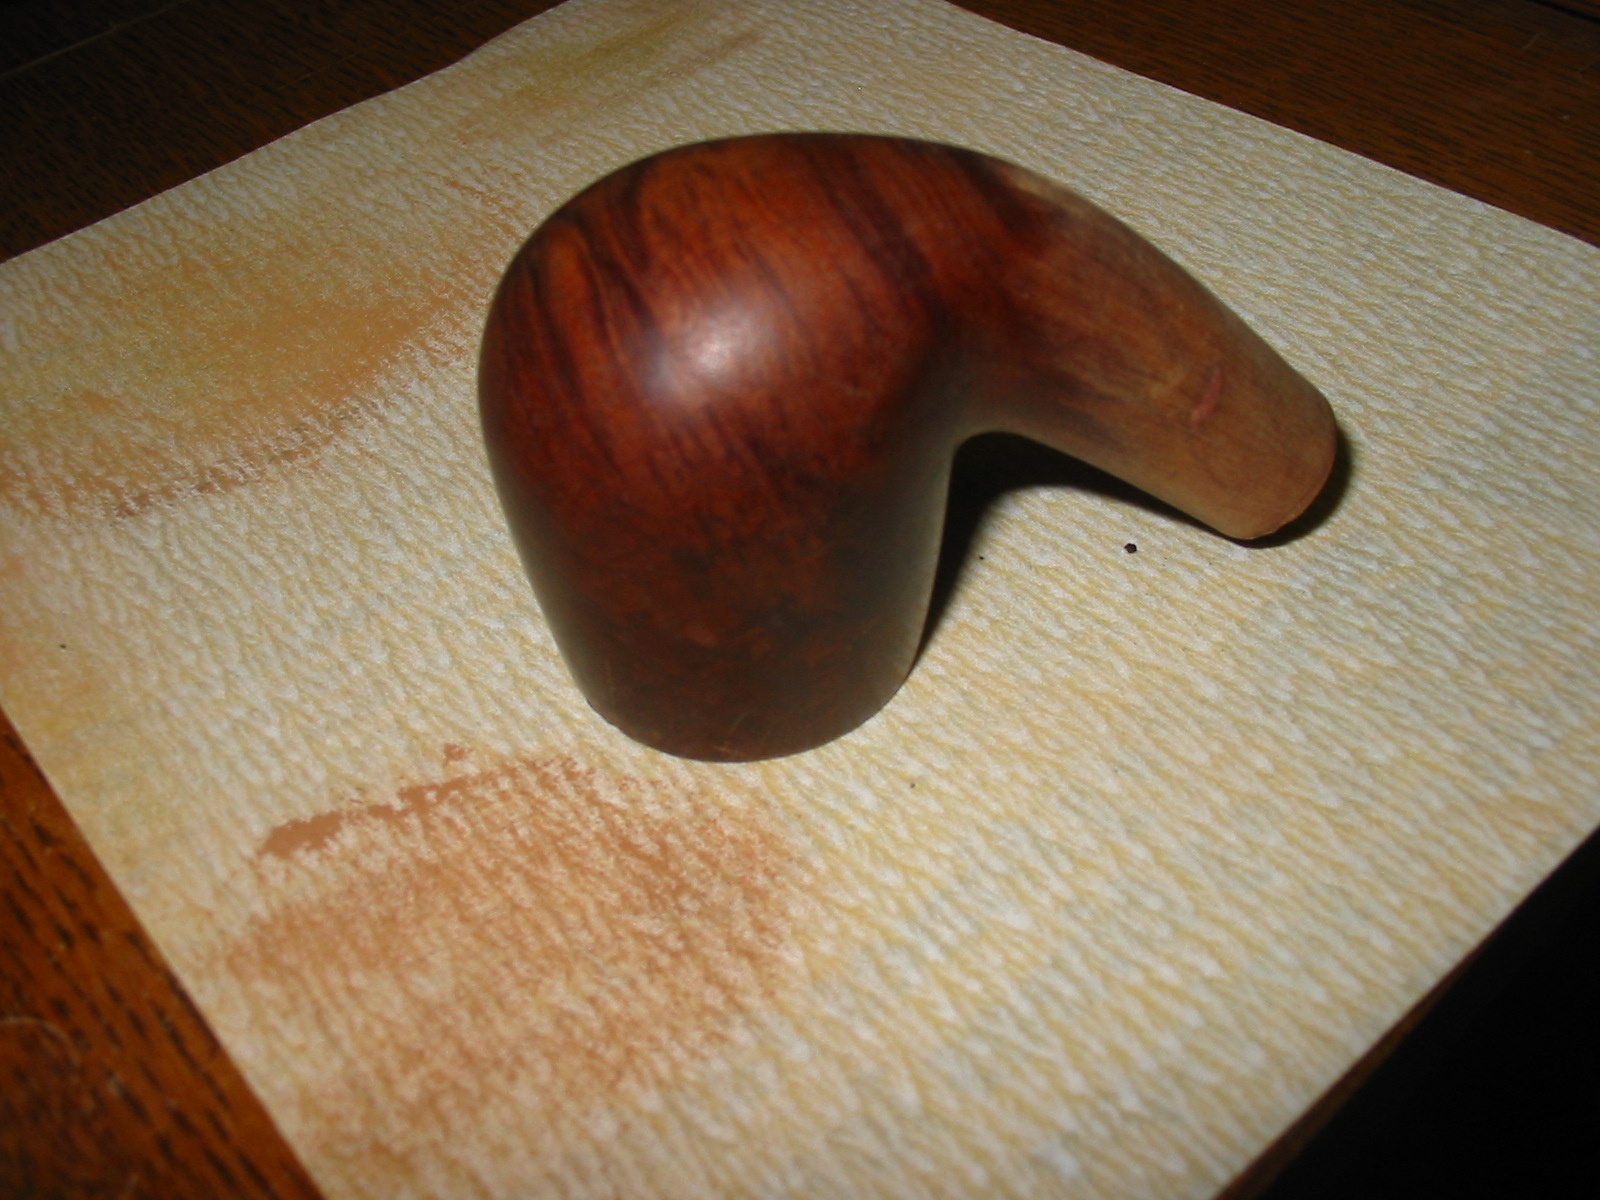
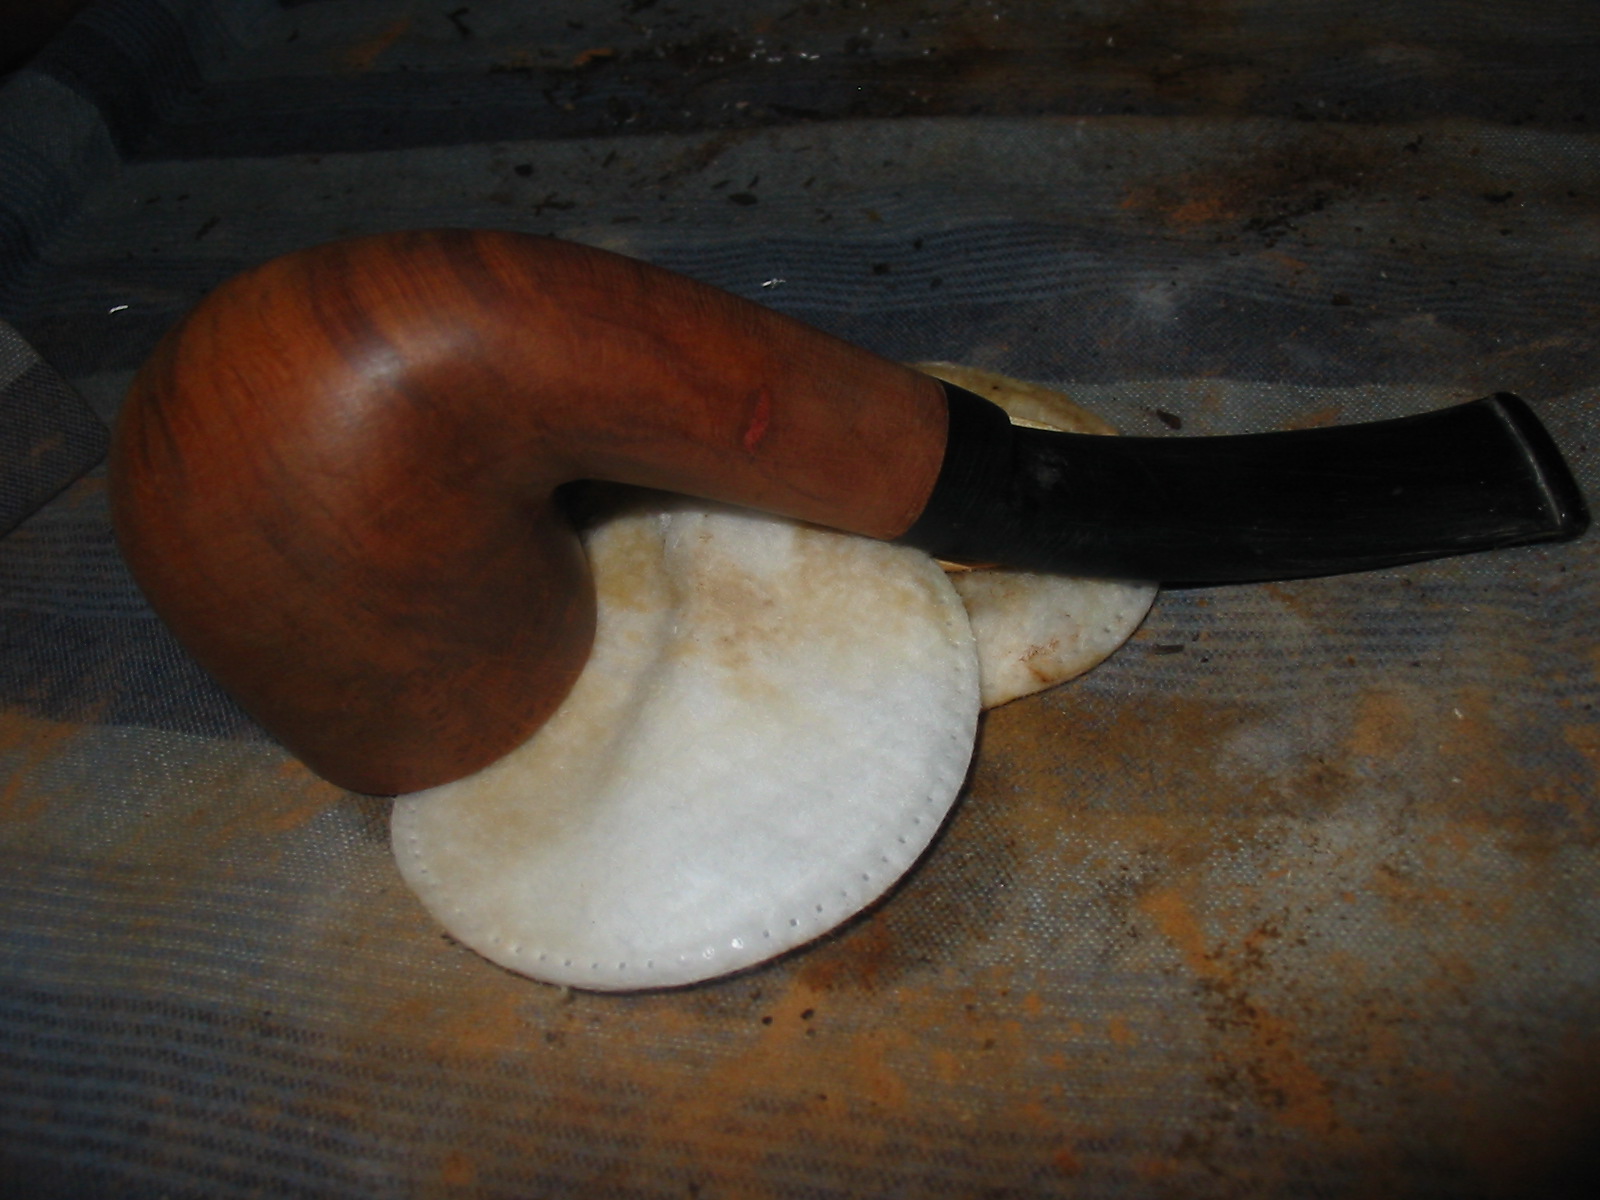
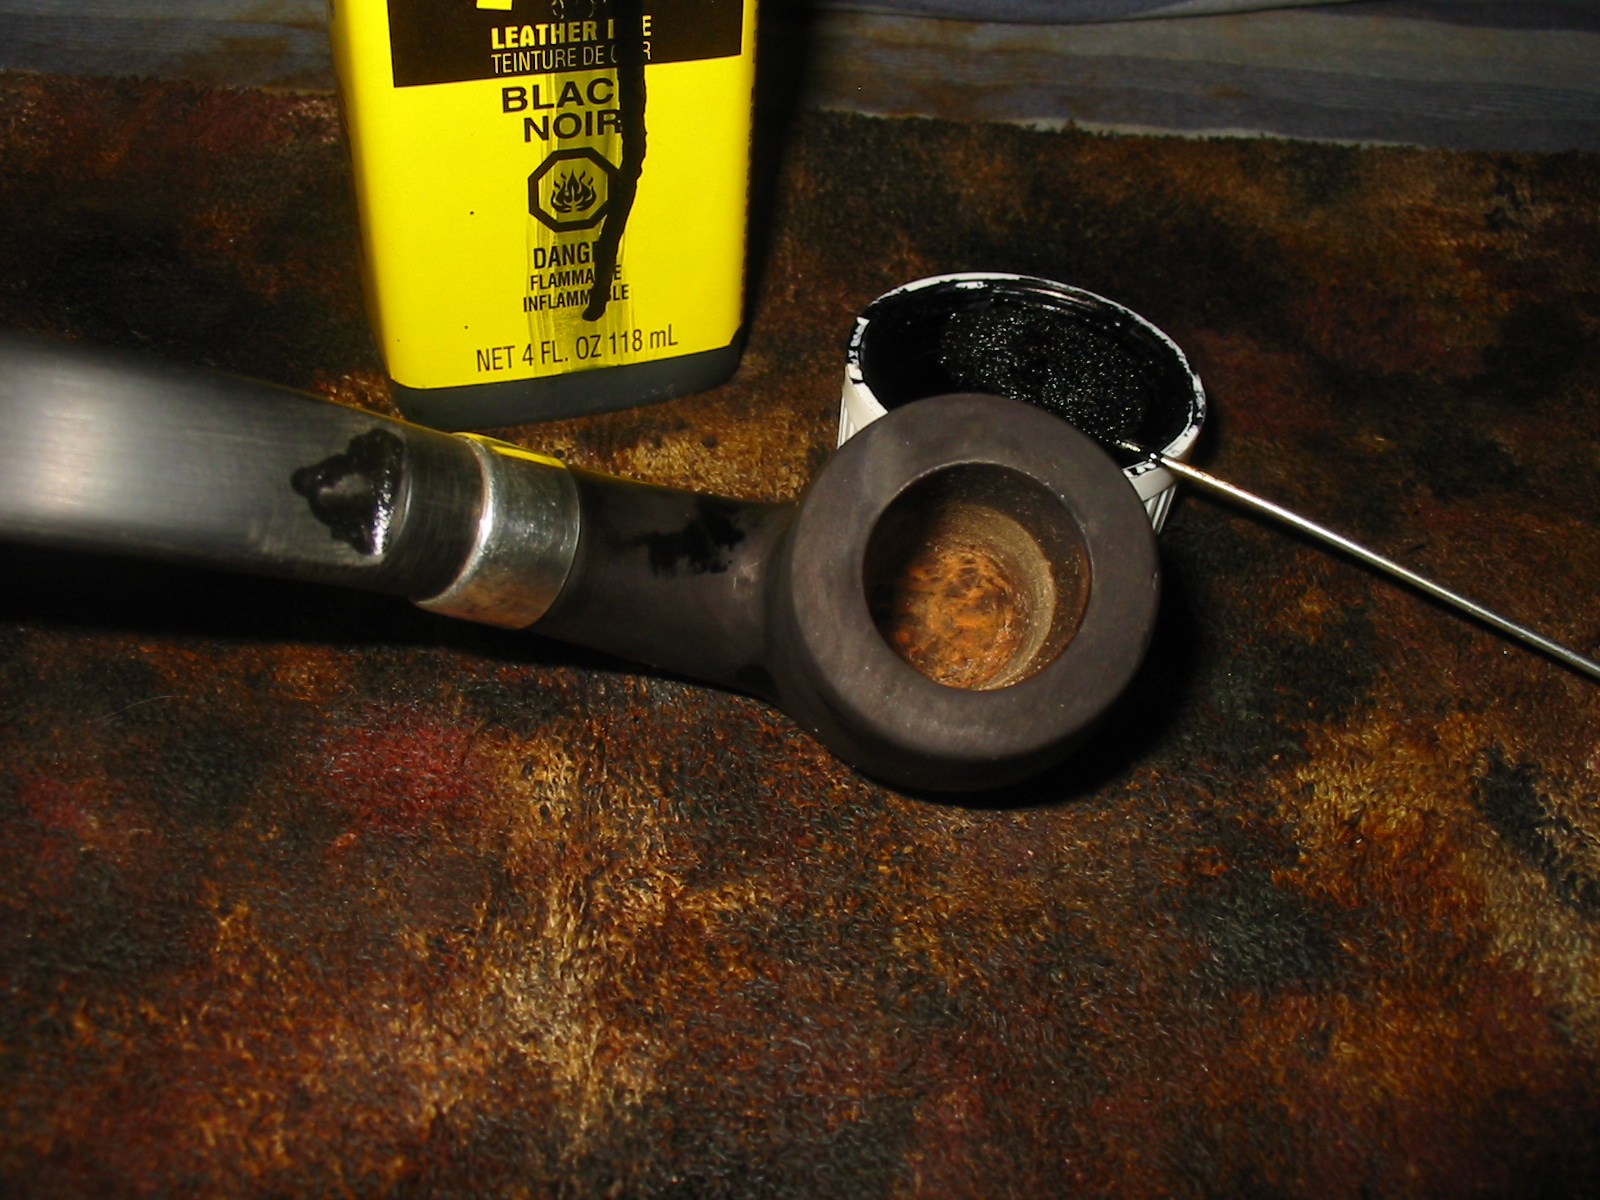
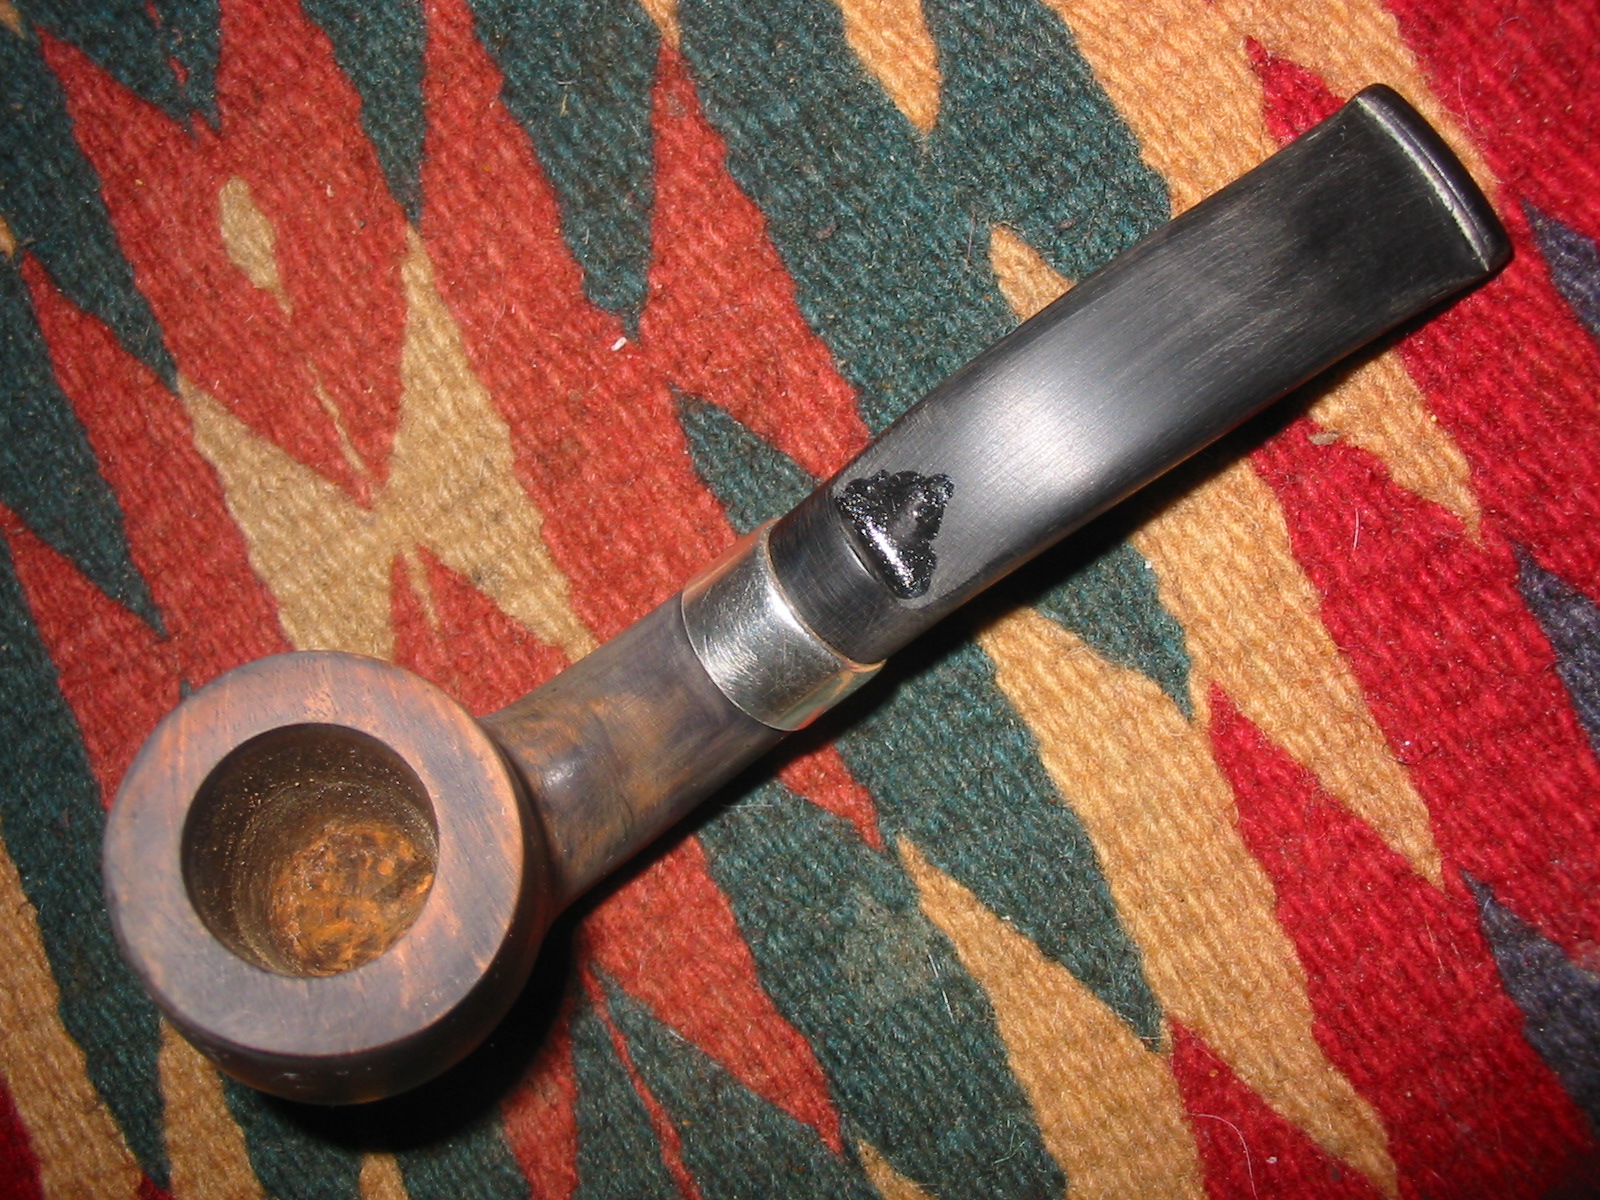
The pipe has some interesting grain on it and only one fill on the side of the shank. The stamping reads something like Barnard B over Imported Briar on the left side of the shank. The Barna is very clear the next two letters are faint and the end there is a Germanic Style B. Not much information available on the brand that I can find. The rim was really badly beaten up. It was rough and chewed up looking. The outer edge was ruined with chunks missing. The inner edge surprisingly enough was quite clean and in decent shape. There was a thin cake around the top half of the bowl while the bottom half was still unsmoked briar. The finish as worn around the rest of the bowl but surprisingly there were no nicks or dings on the rest of the briar.
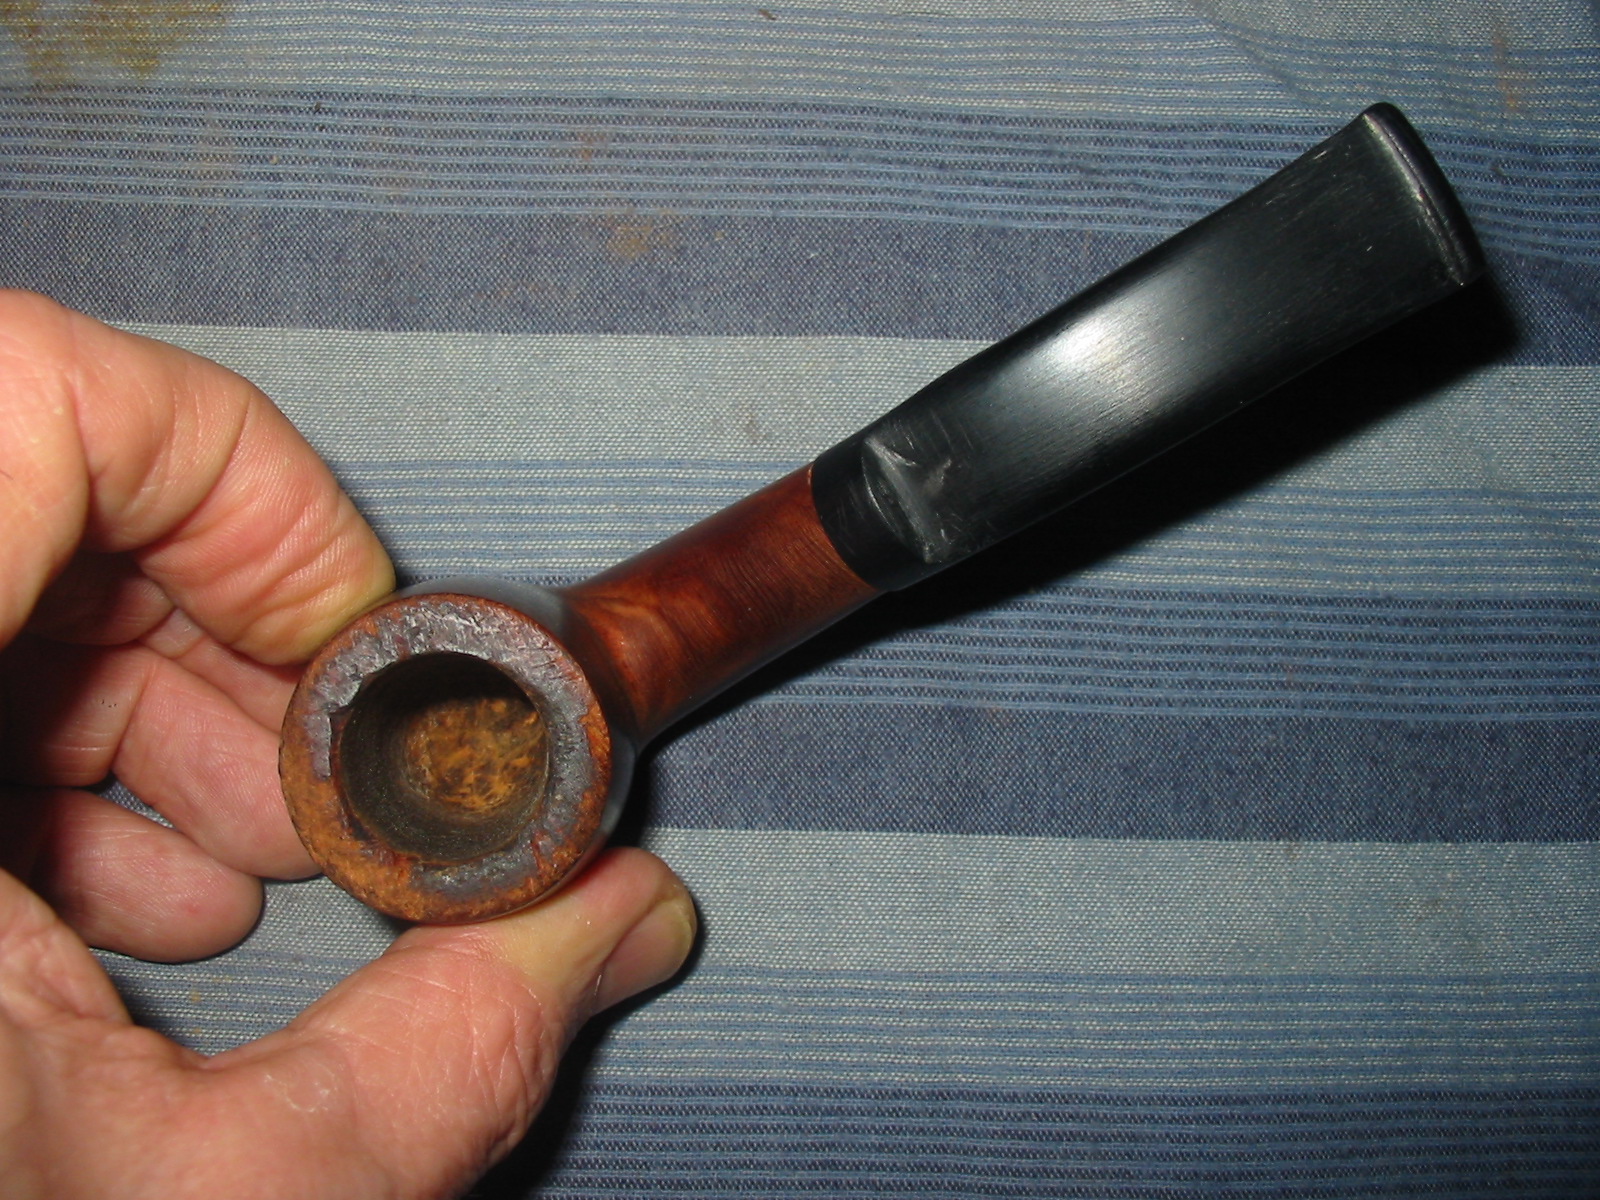

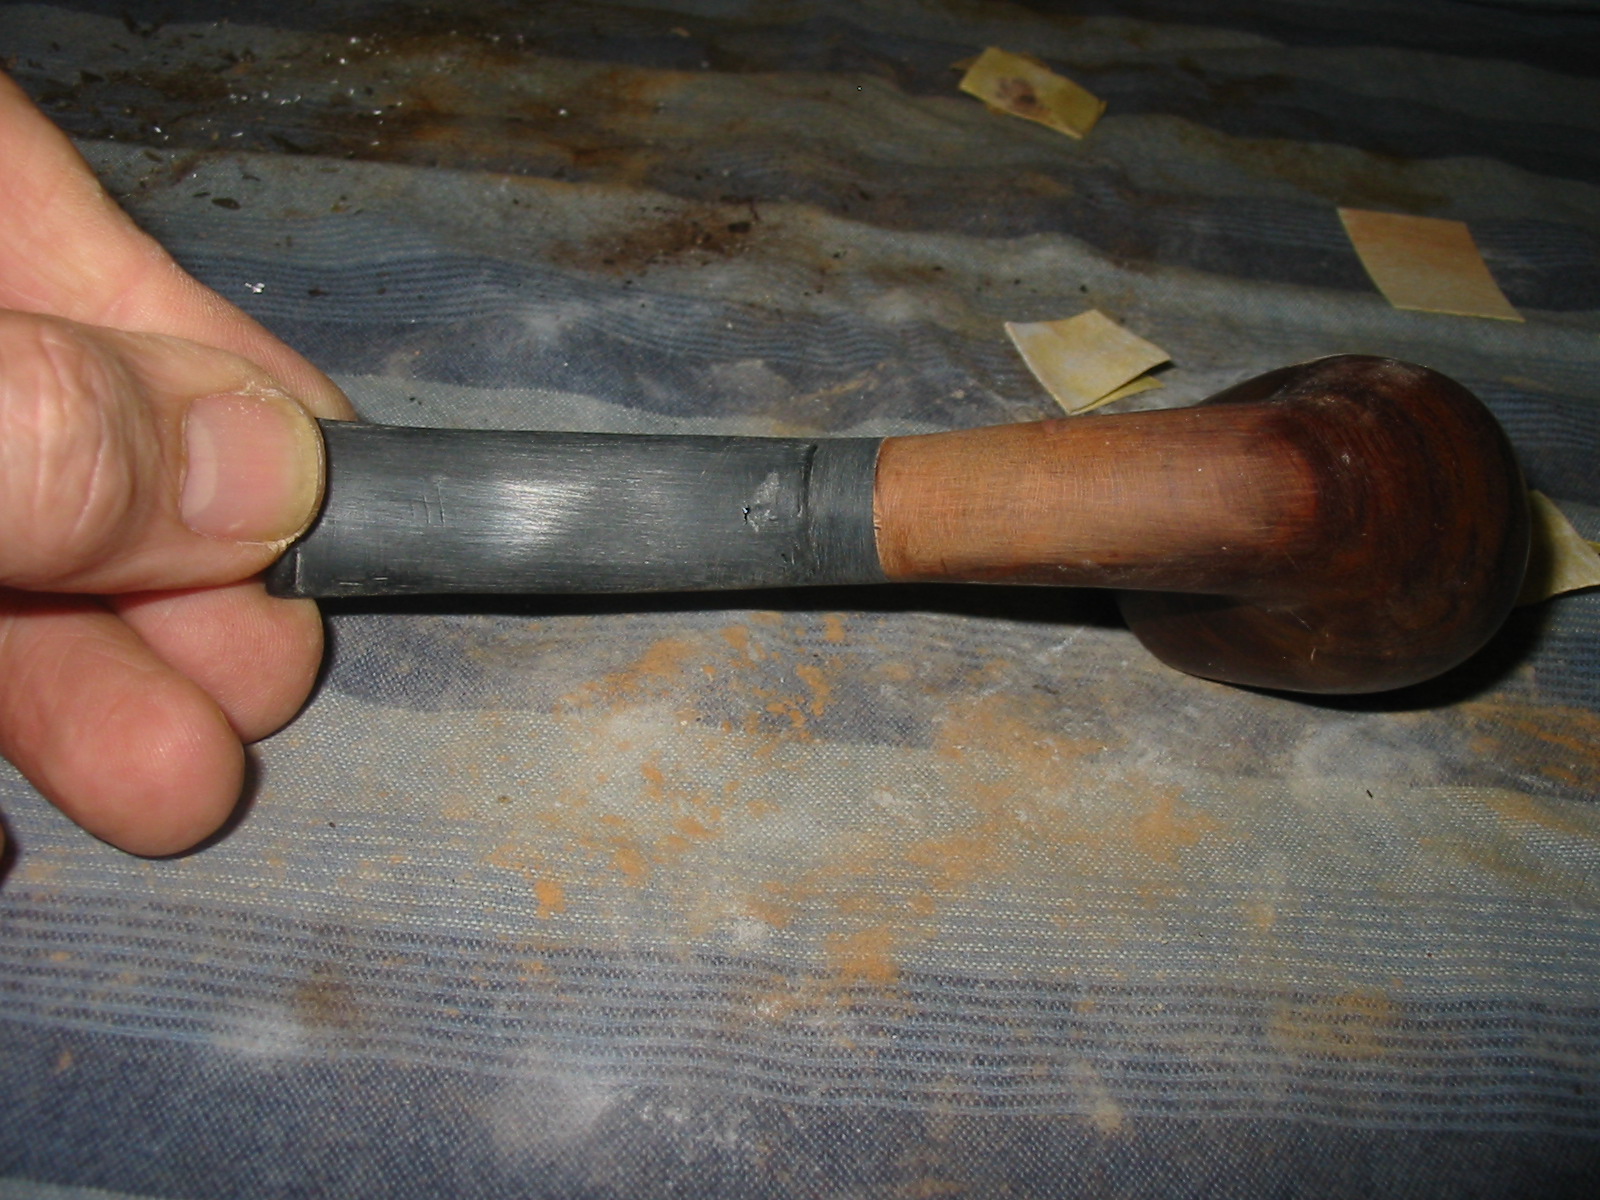
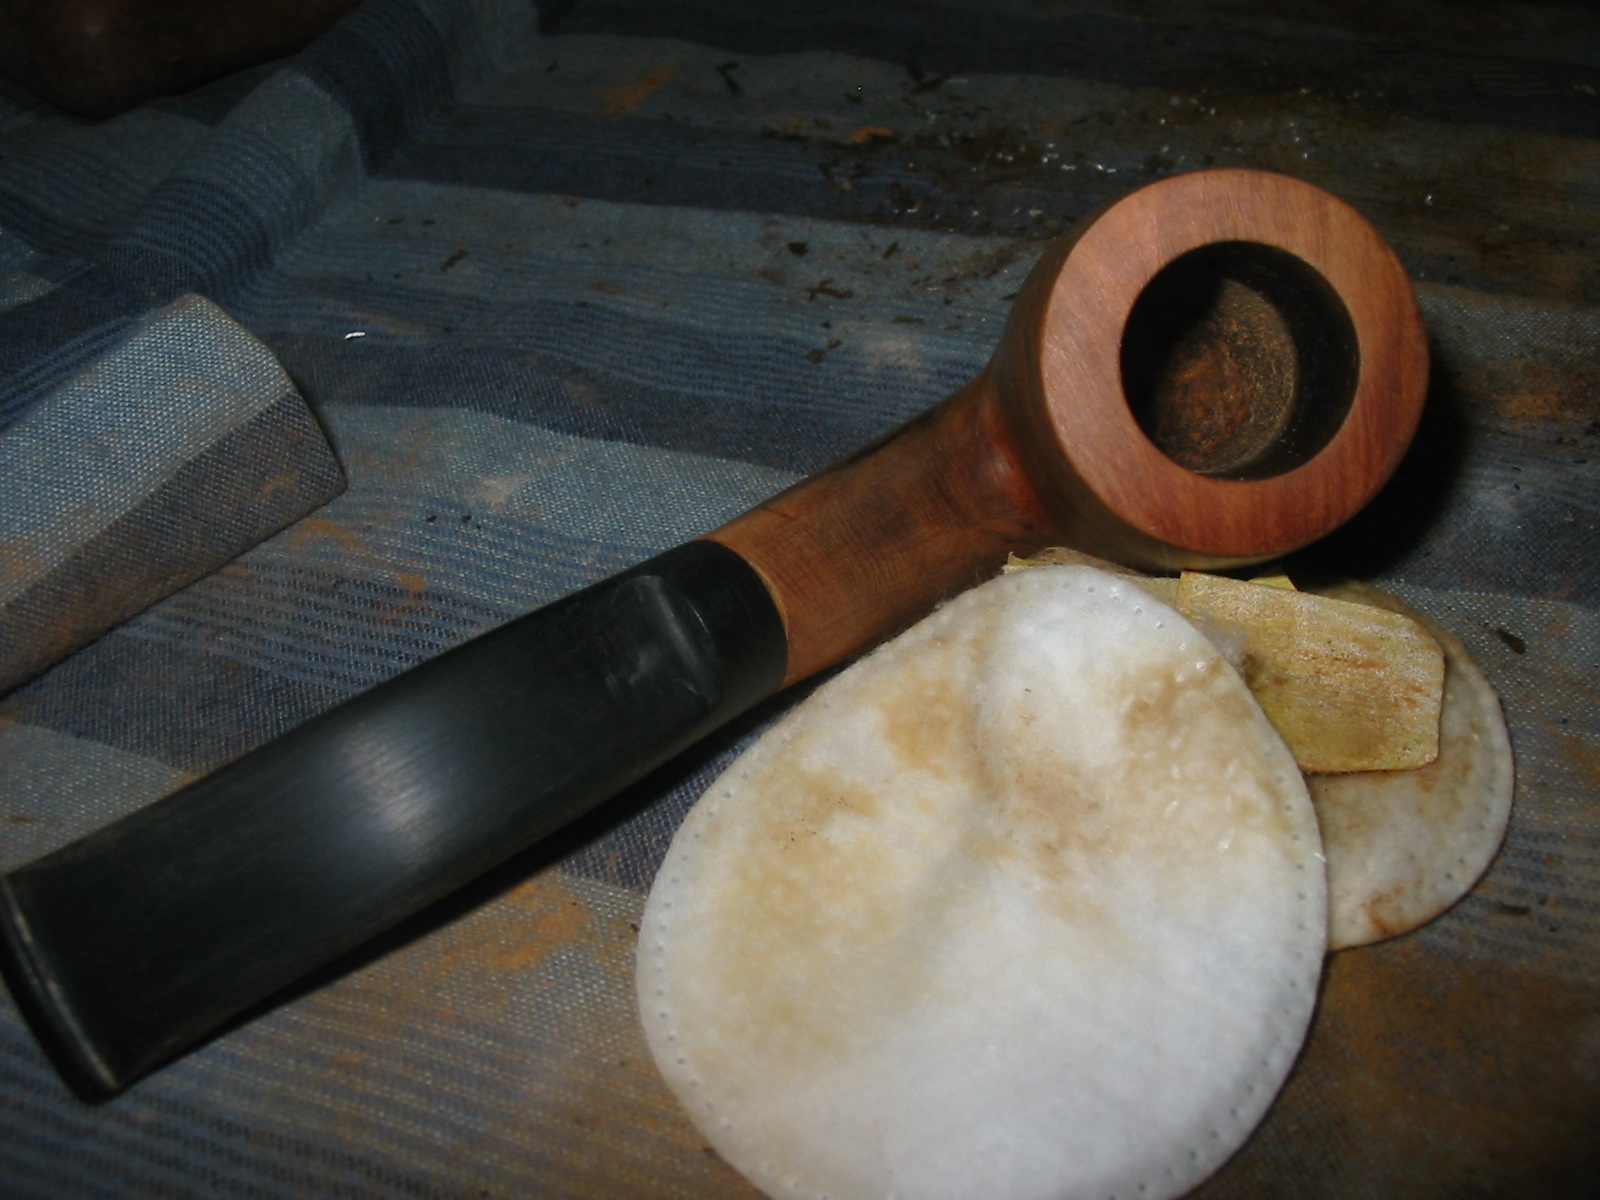
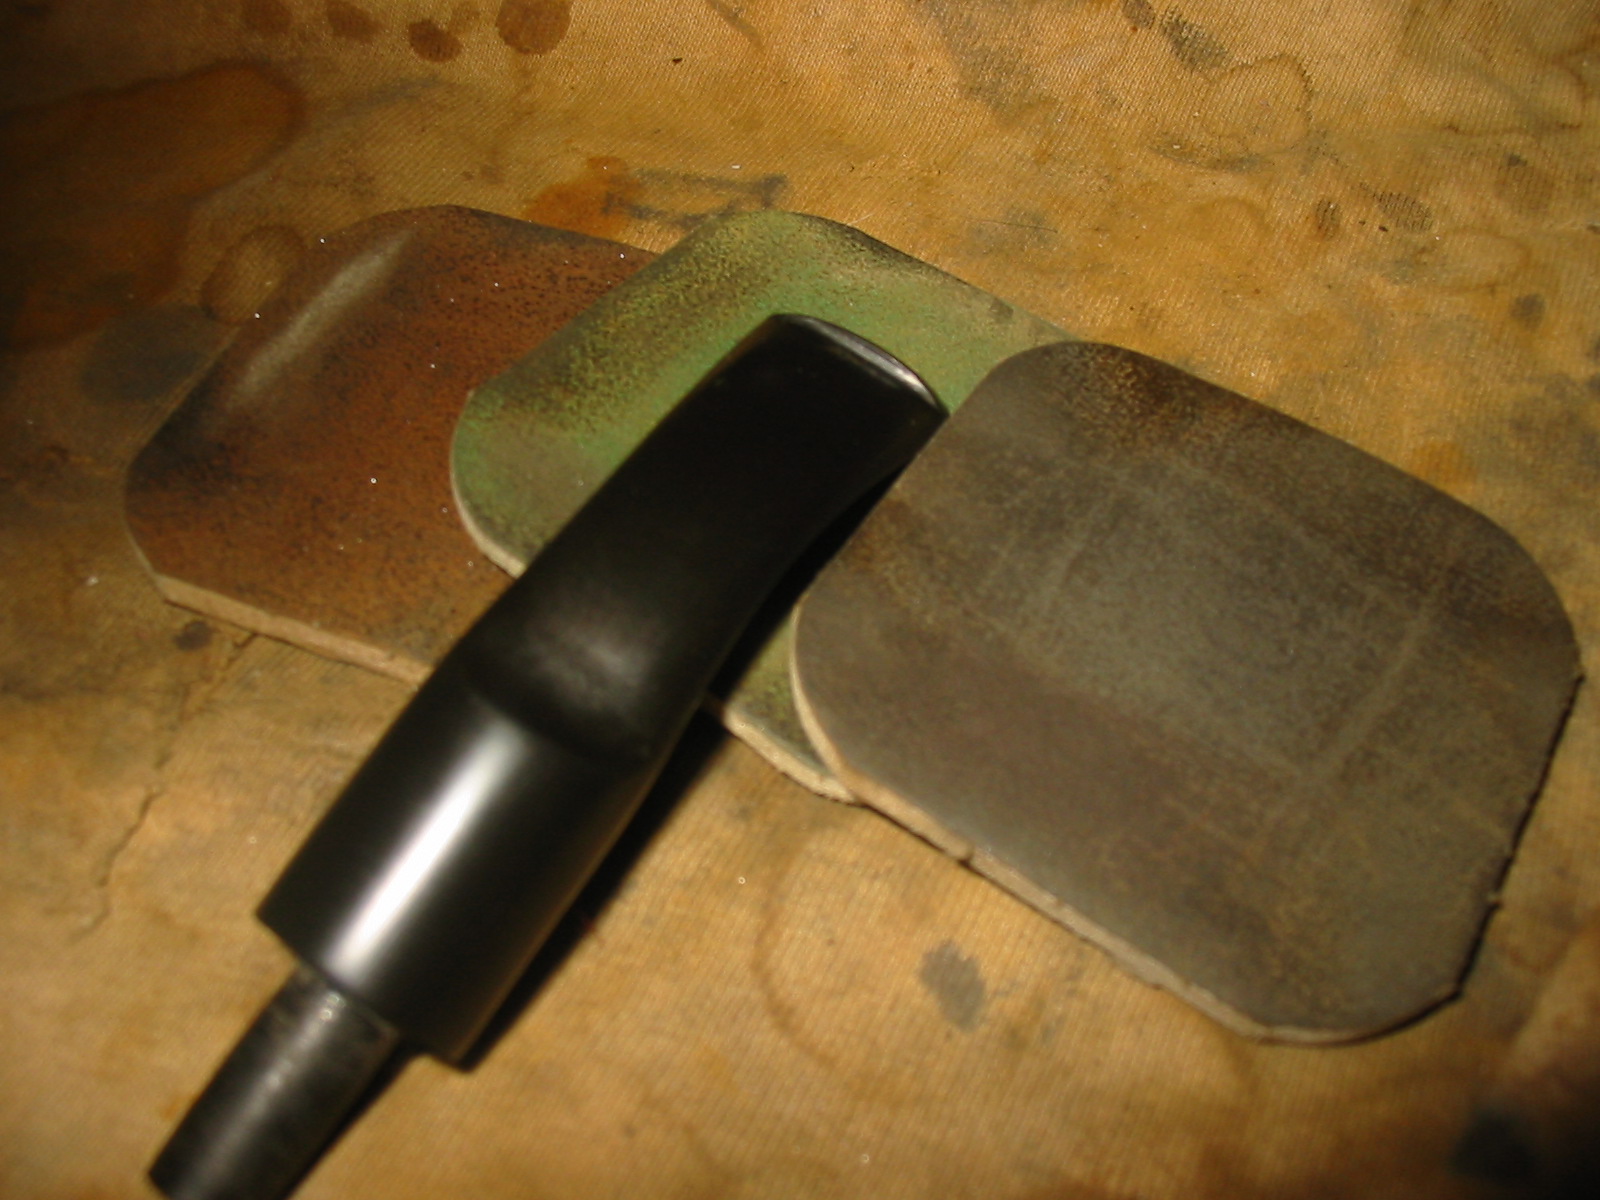
I took a close up photo of the top of the rim to give an idea of the condition it was in when it arrived at my work table. I fit the stem to the shank and then used the Dremel and sanding drum to take down the excess diameter of the stem. I then sanded the stem and shank with 220 grit sandpaper to make a smooth transition between the two materials. In the photos taken of the top and bottom you can begin to see the damage on the stem near the saddle. At this point it did not go through the Lucite material but it was definitely a grey colour instead of black.


With the fit of the stem finished I topped the bowl. I set up the topping board and the 220 grit sandpaper and turned the bowl into the sandpaper in a clockwise direction. I sanded the outer edge of the rim with a folded piece of sandpaper to smooth out the damage that the topping did not remove. I then wiped the bowl down with acetone to remove the finish and clean up the bowl.
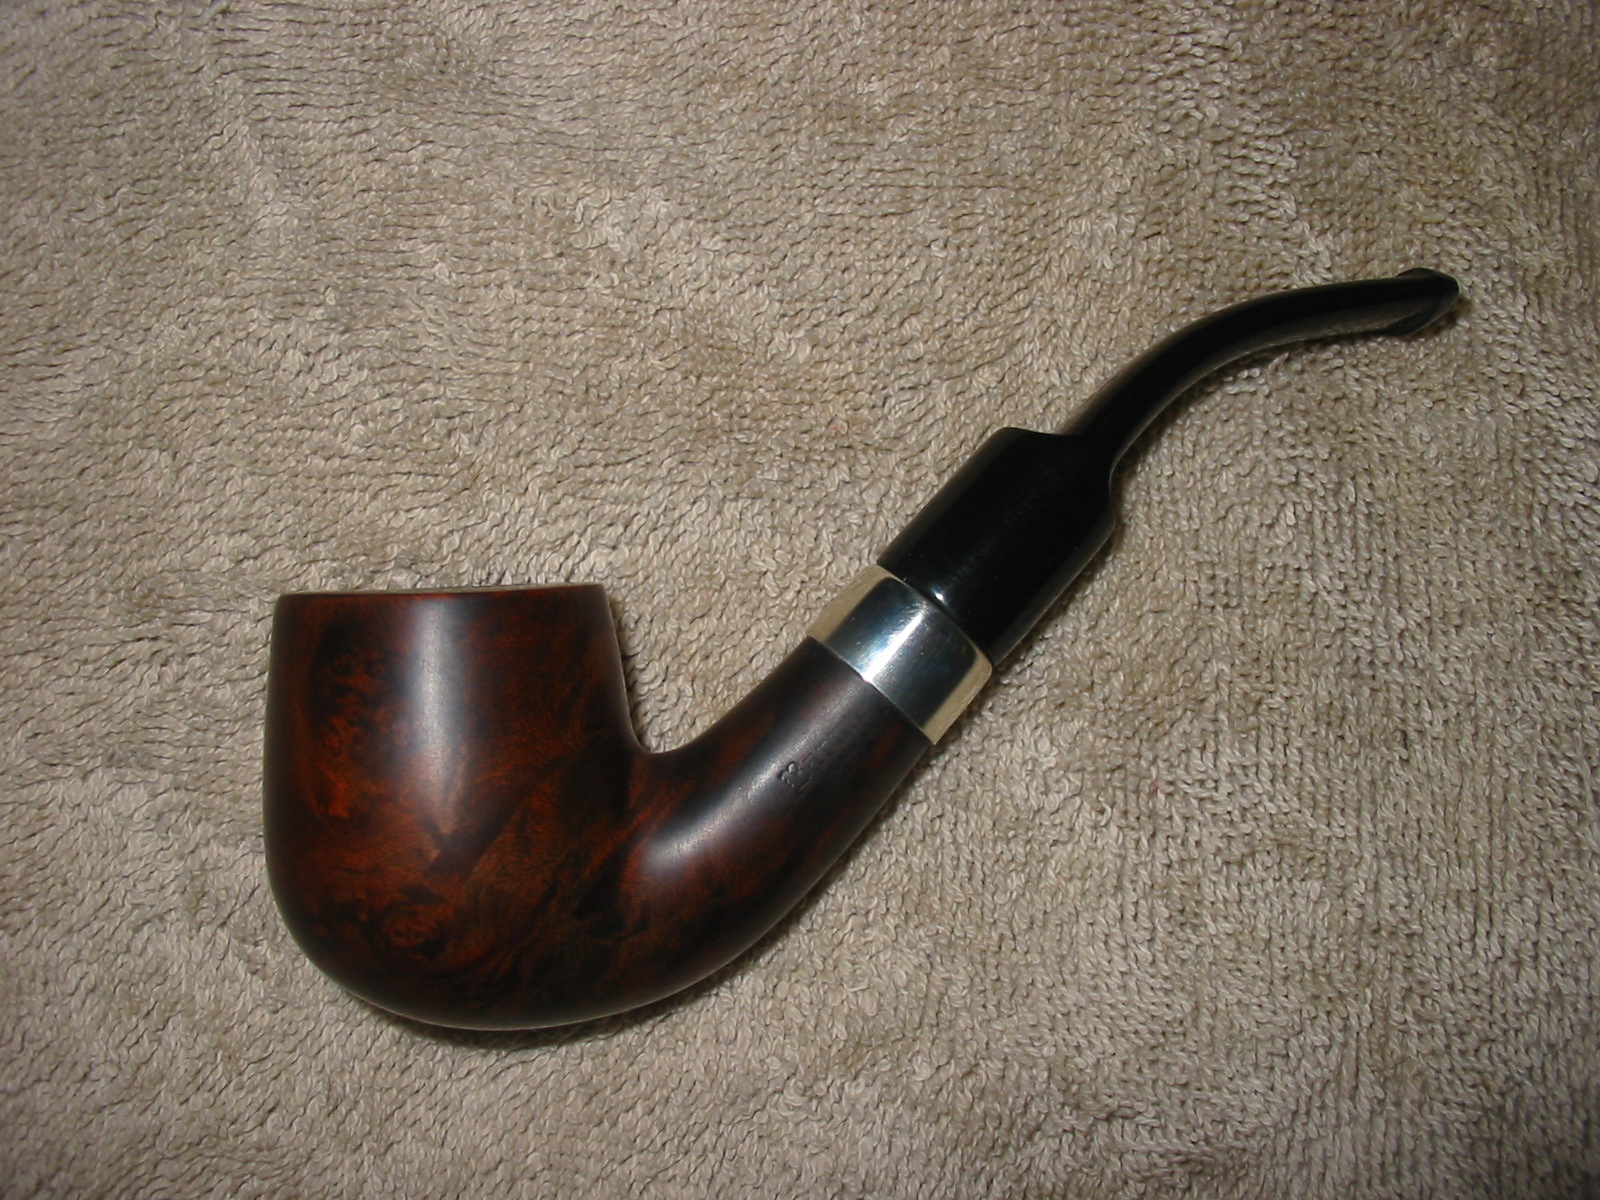
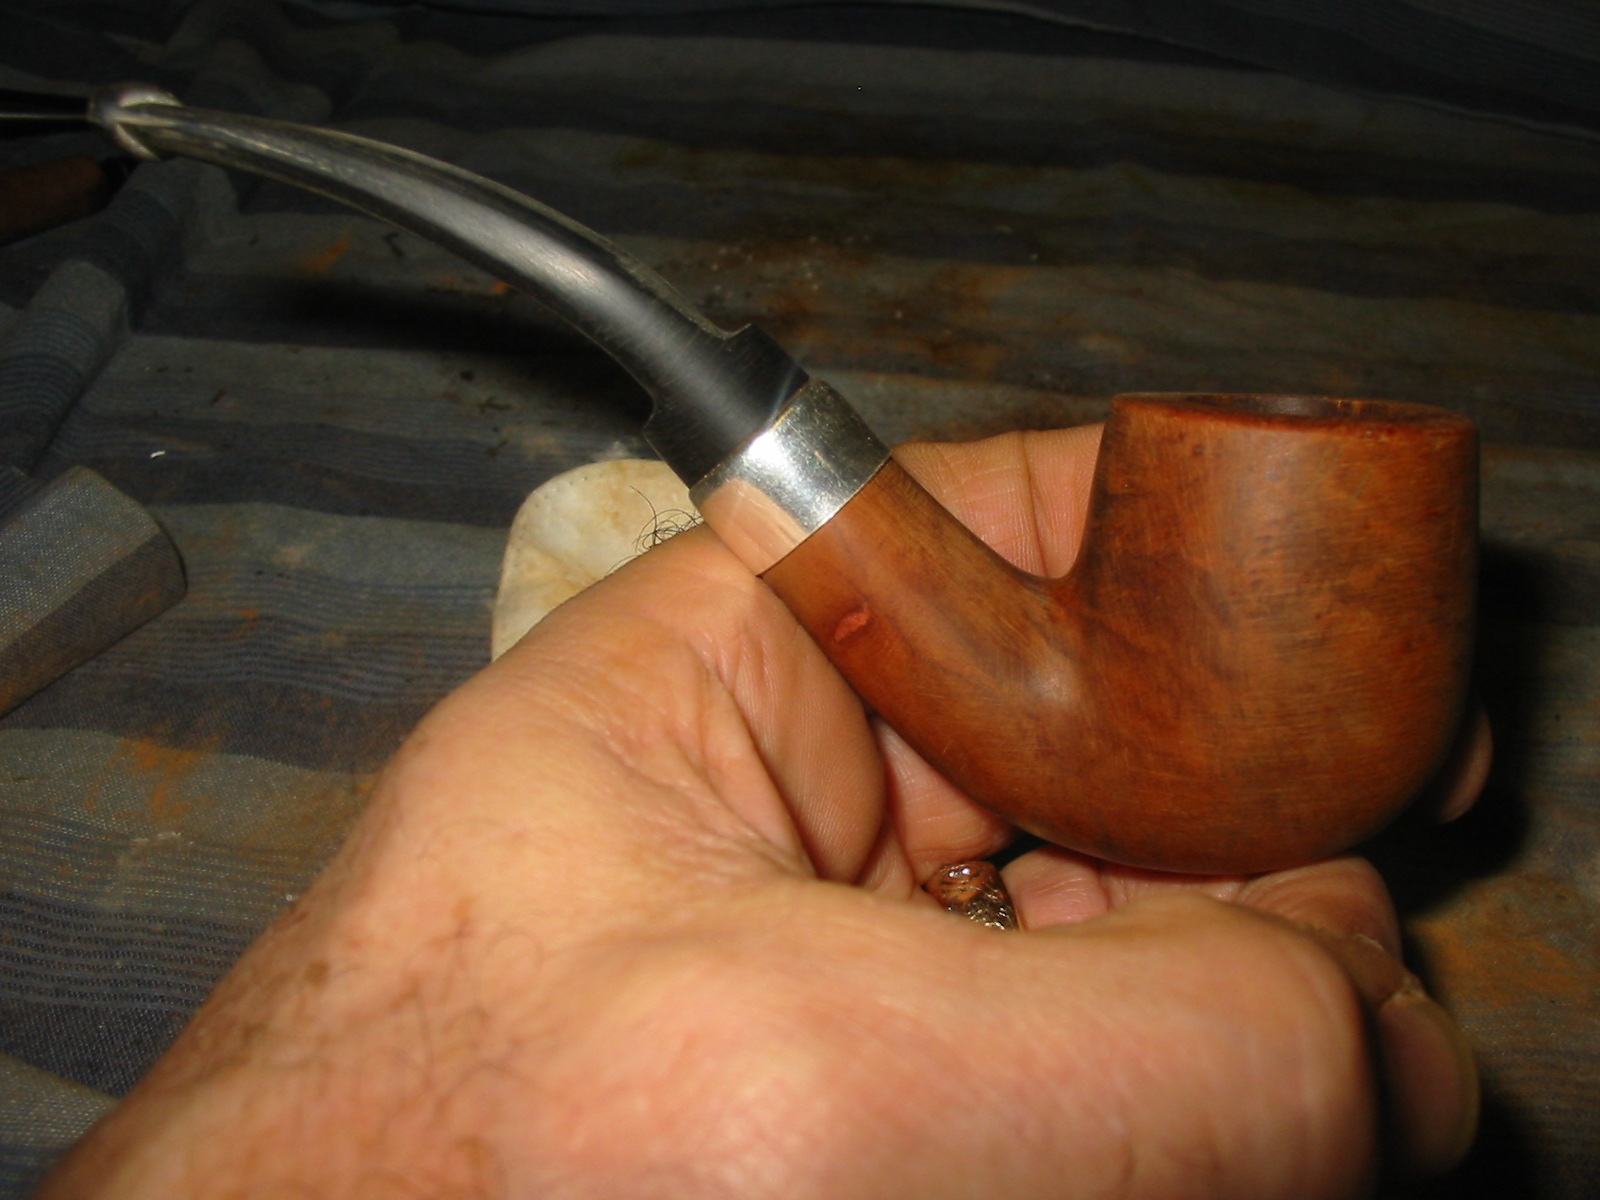
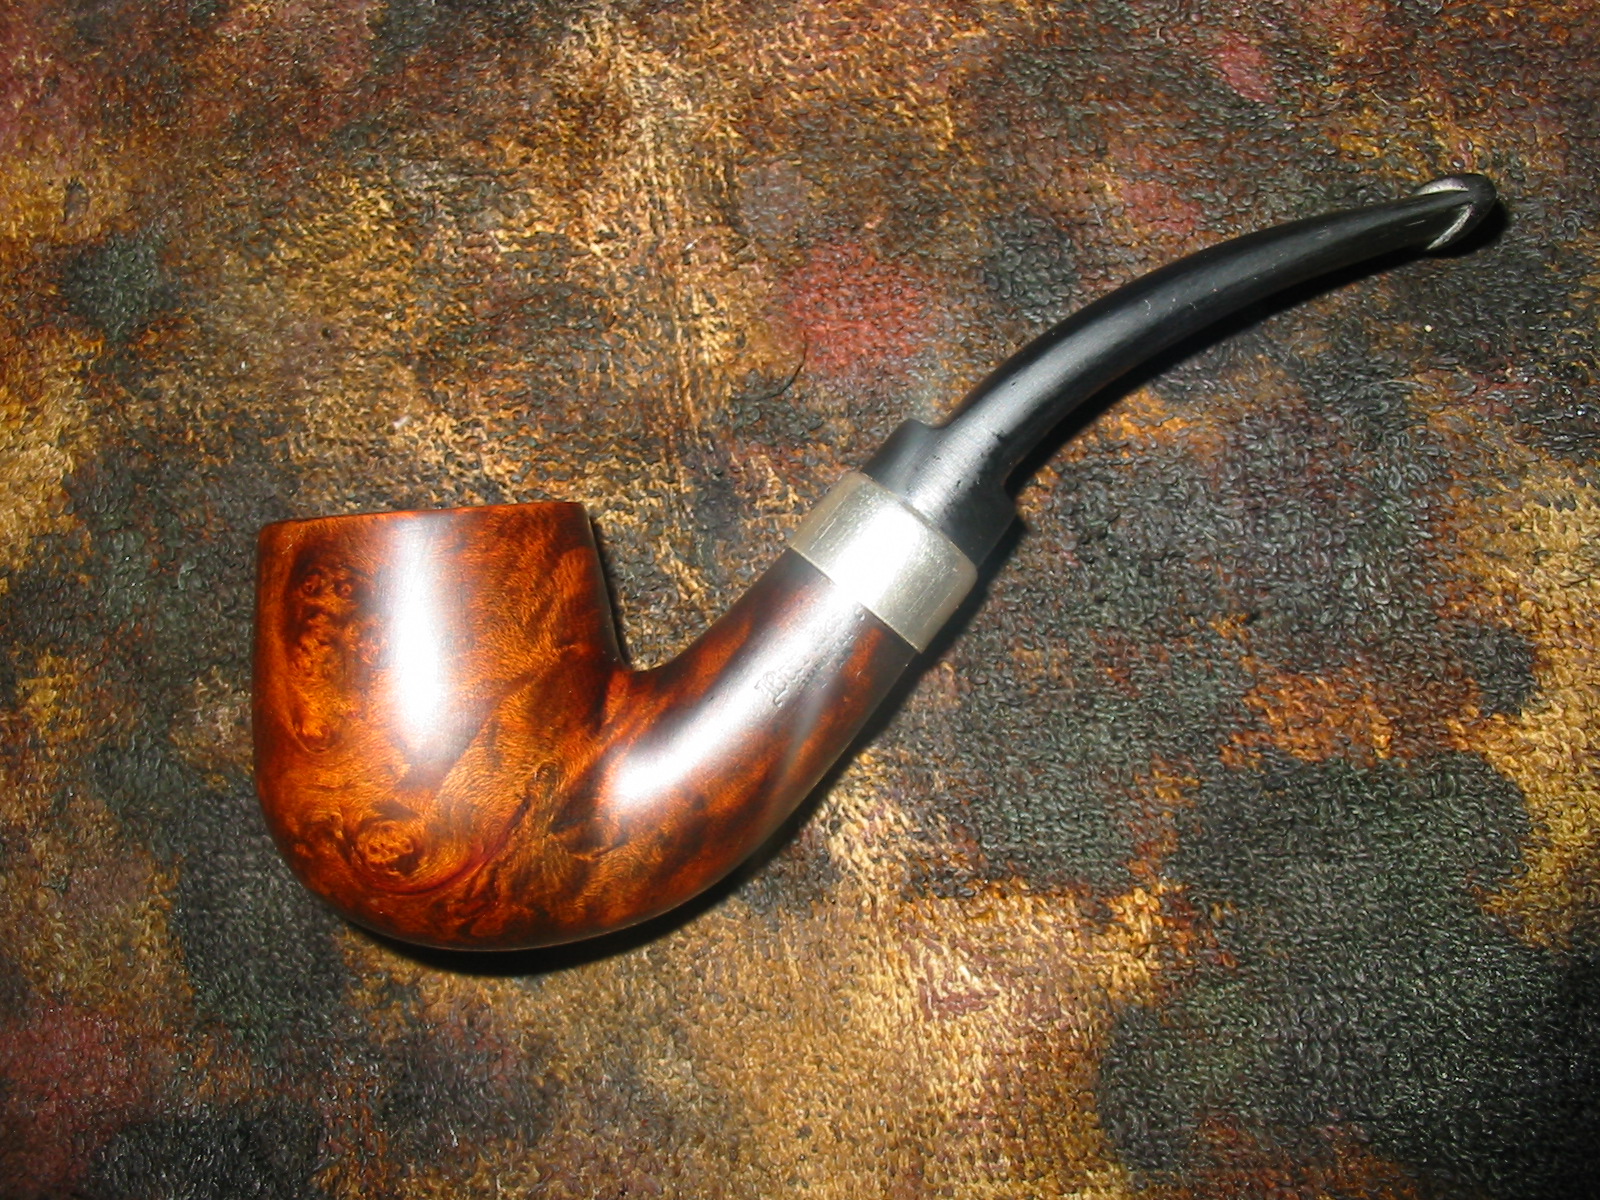
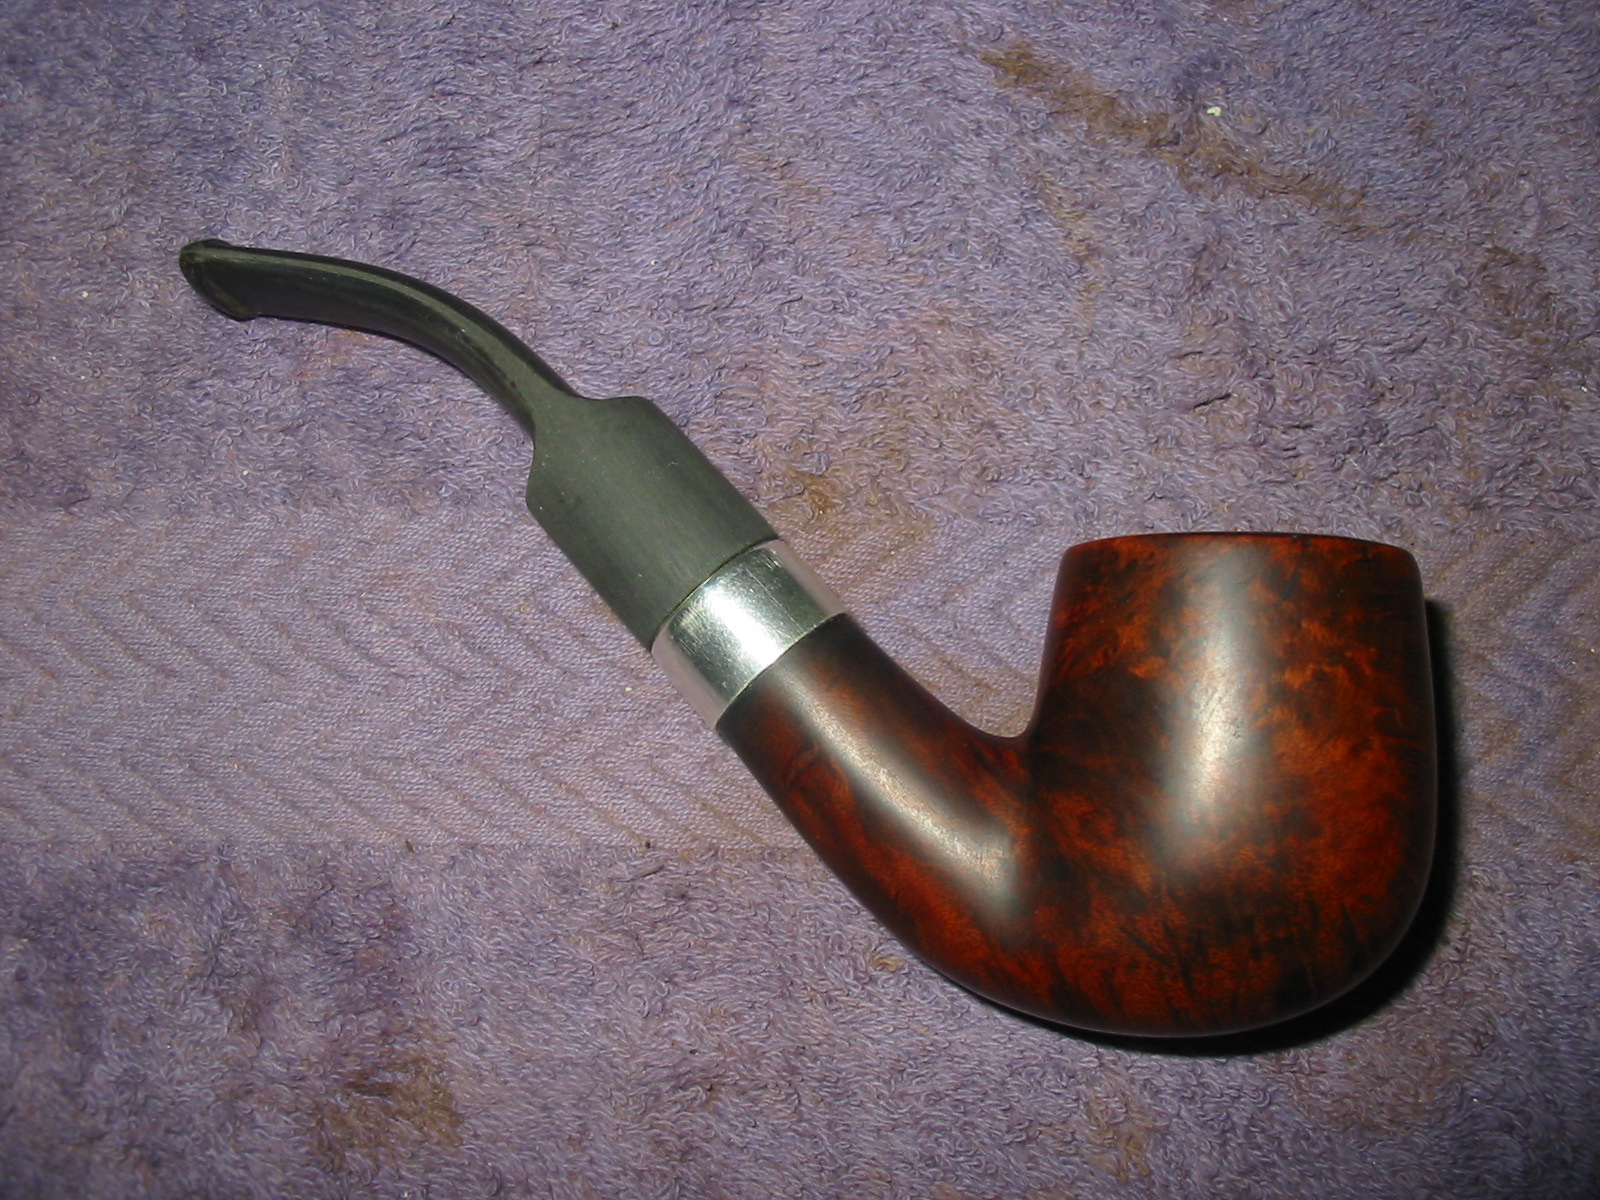
At this point I got an urge to put a silver band/end cap on the shank just to have a look. I liked the look of the cap but did not particularly like the look of the short saddle stem with the band. I almost pulled the band and decided against it but decided to leave it and stain the bowl to see what the finished look of the bowl would be. I could always make another stem for it should I desire to do so.


I sanded the bowl with medium and fine grit sanding sponges and then wet sanded the bowl with 400 grit wet dry sandpaper. Once the scratches were removed and the briar was smooth I stained it with a black aniline stain. I applied it, flamed it, applied it again and flamed it again. I then heated the bowl with a heat gun to further set the black stain in the grain.

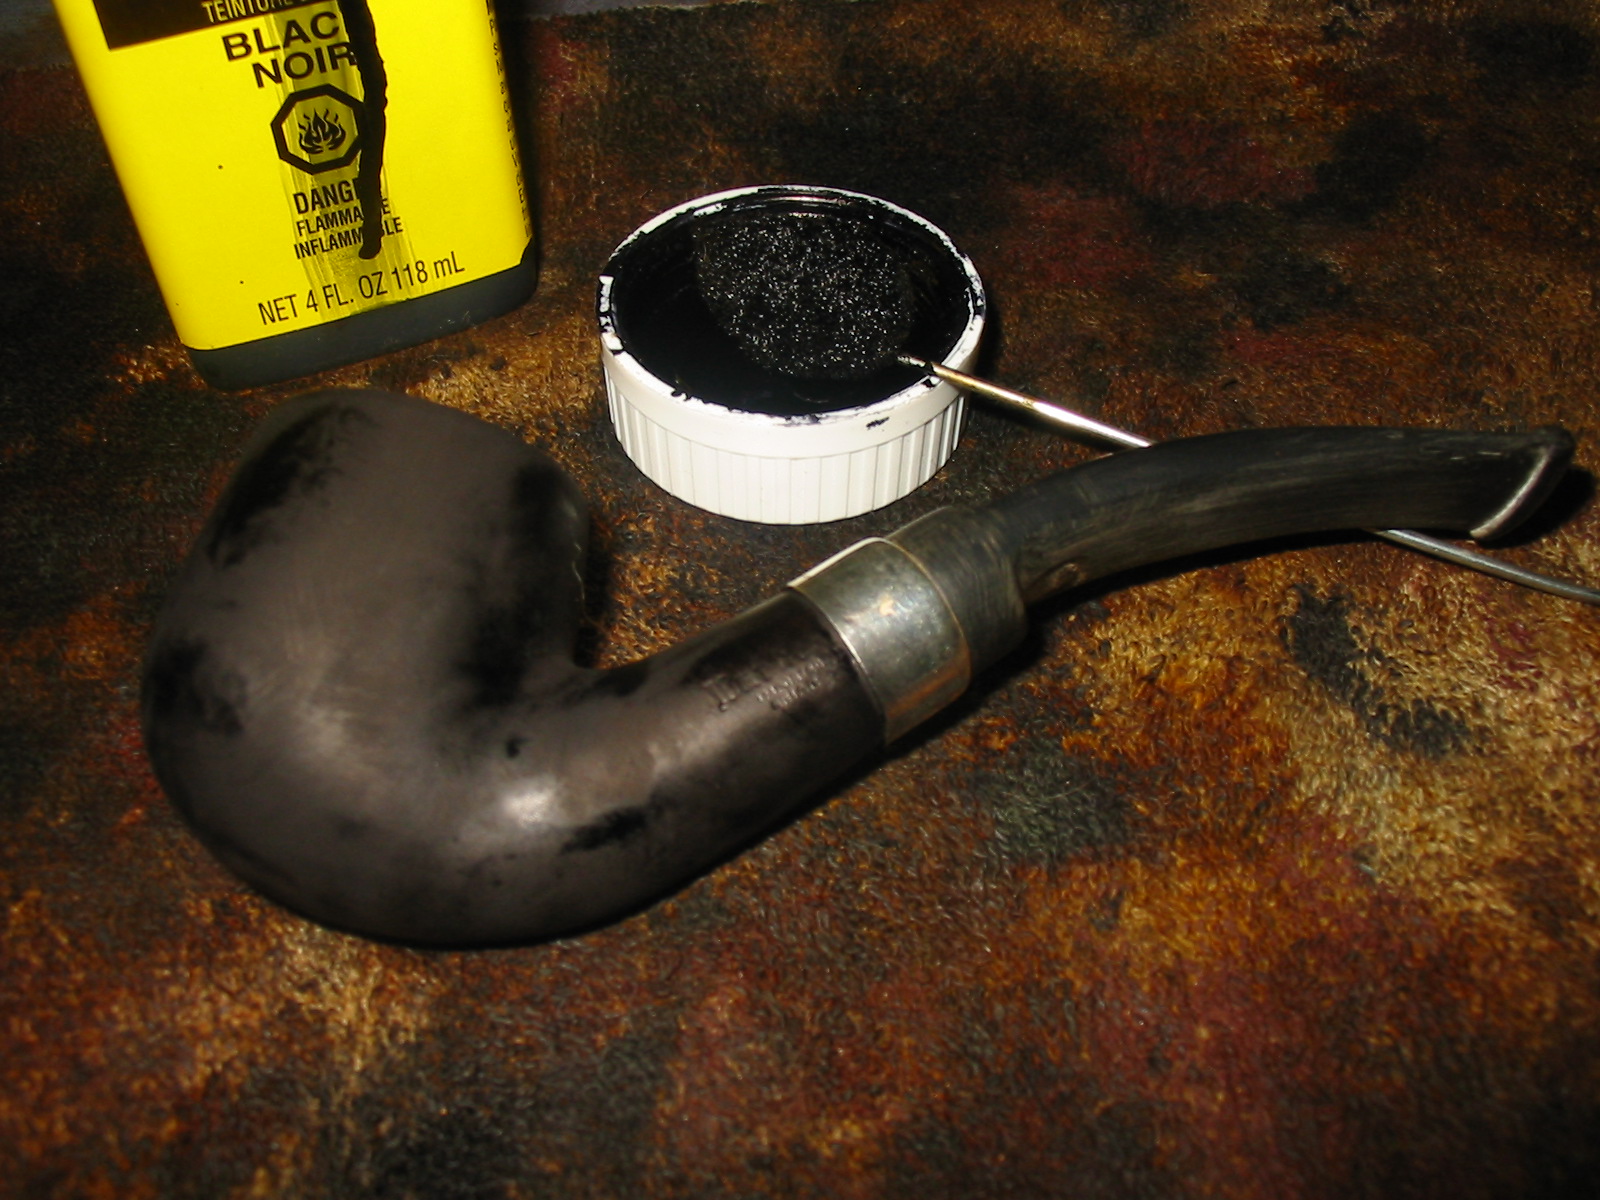

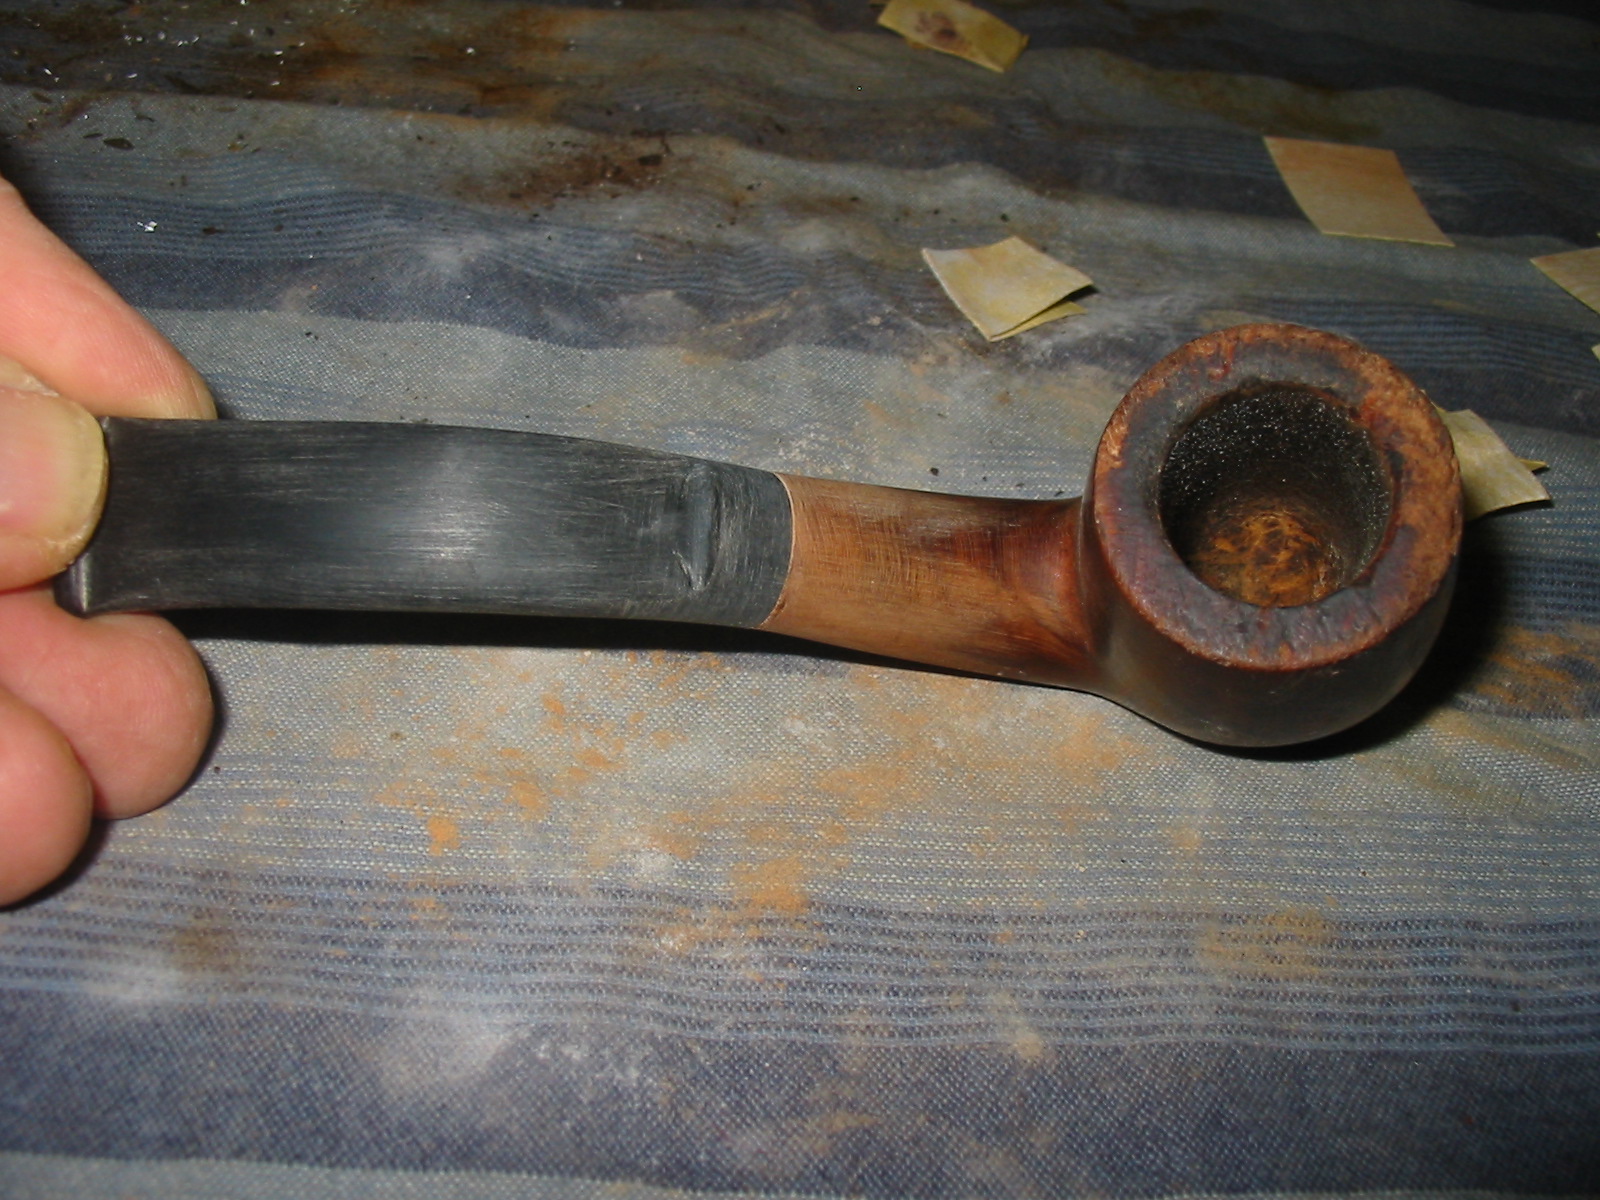
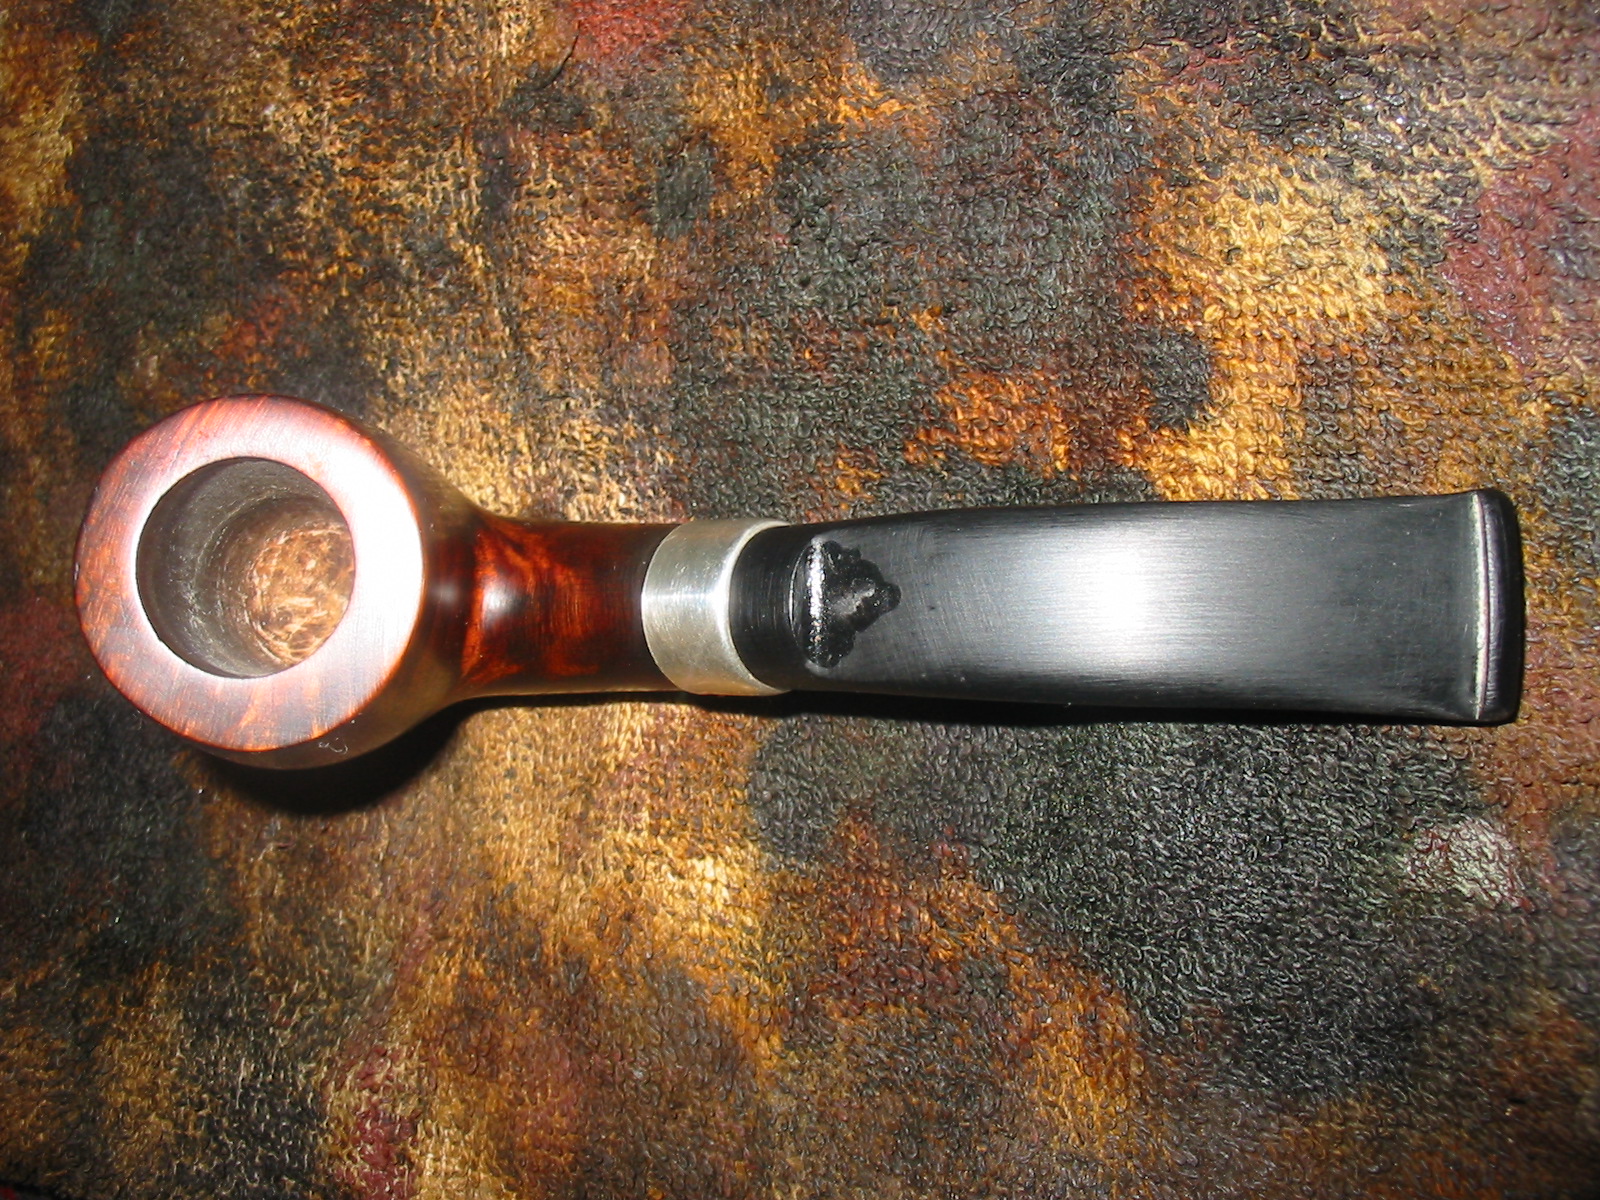
I wiped the bowl down with isopropyl alcohol and followed that with acetone on cotton pads to remove the excess stain. I wanted to leave it deep in the grain and remove it from the surface of the bowl. I sanded the bowl with medium and fine grit sanding sponges and then wet sanded it with 400 grit wet dry sandpaper. When I had finished the bowl looked almost grey and the dark striations of grain stood out on the heel and underside of the shank.


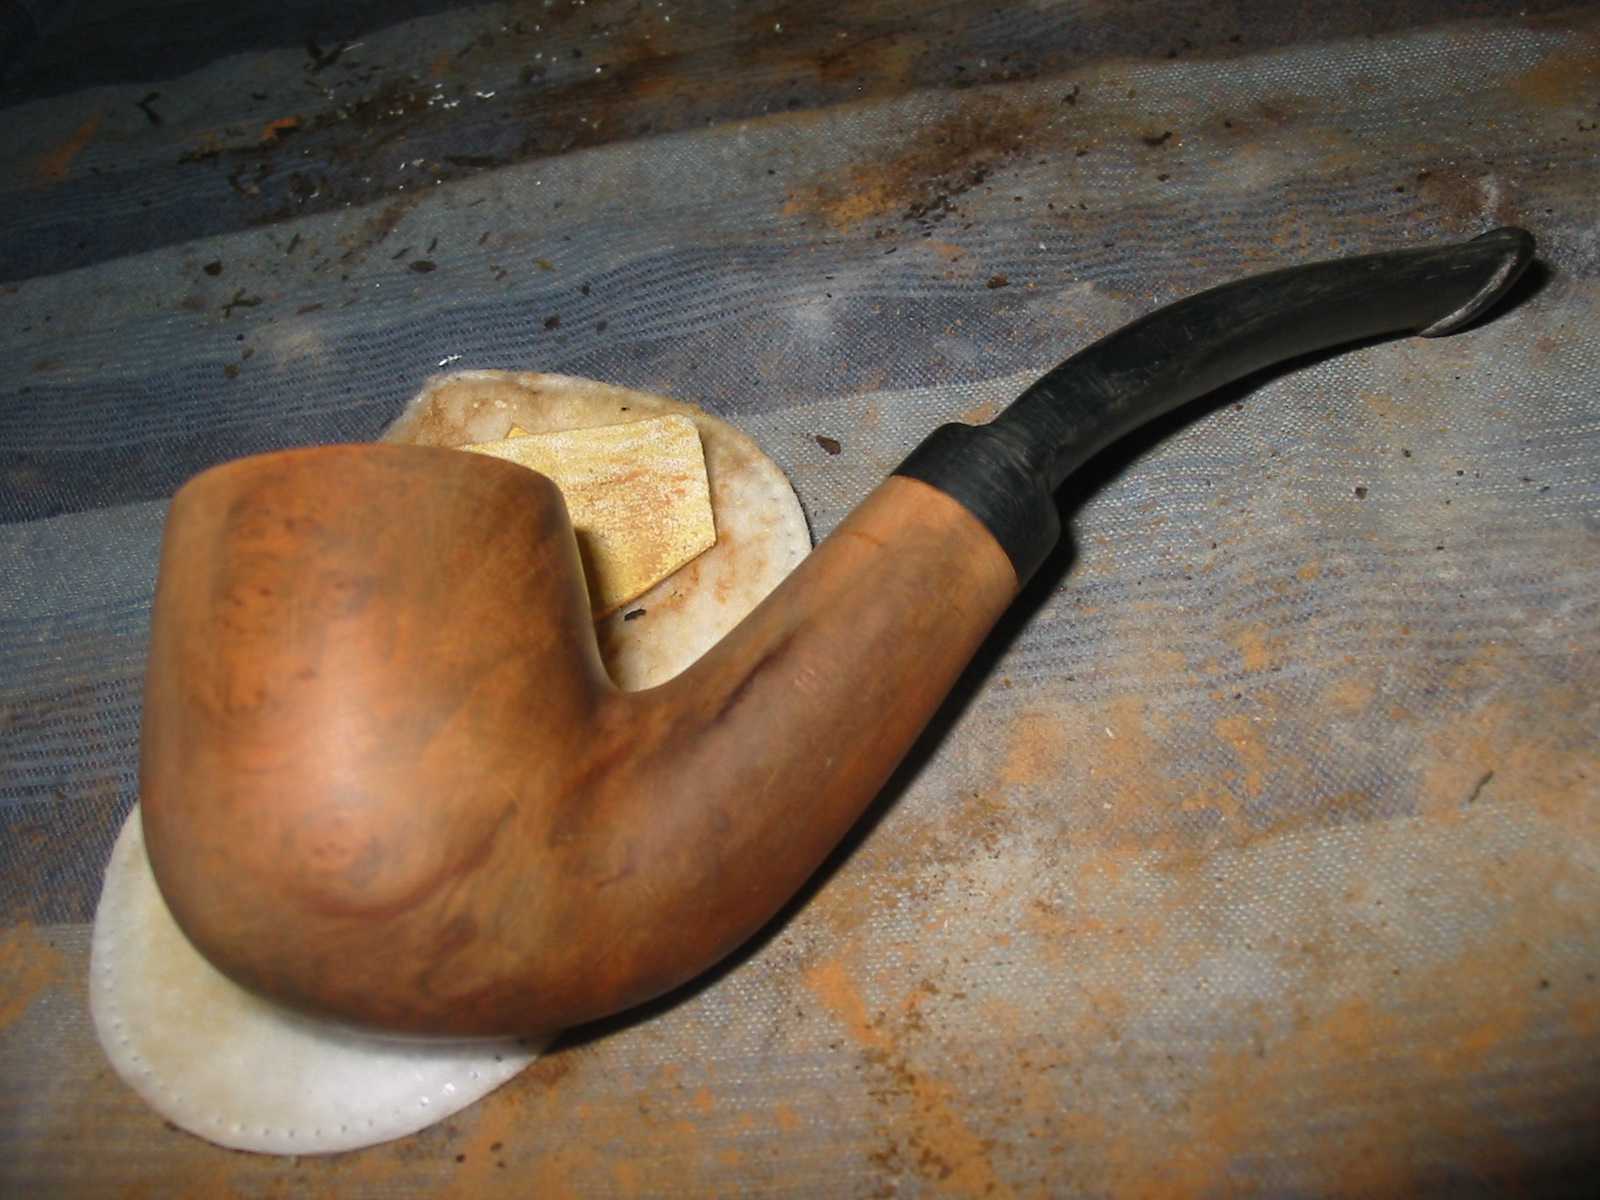
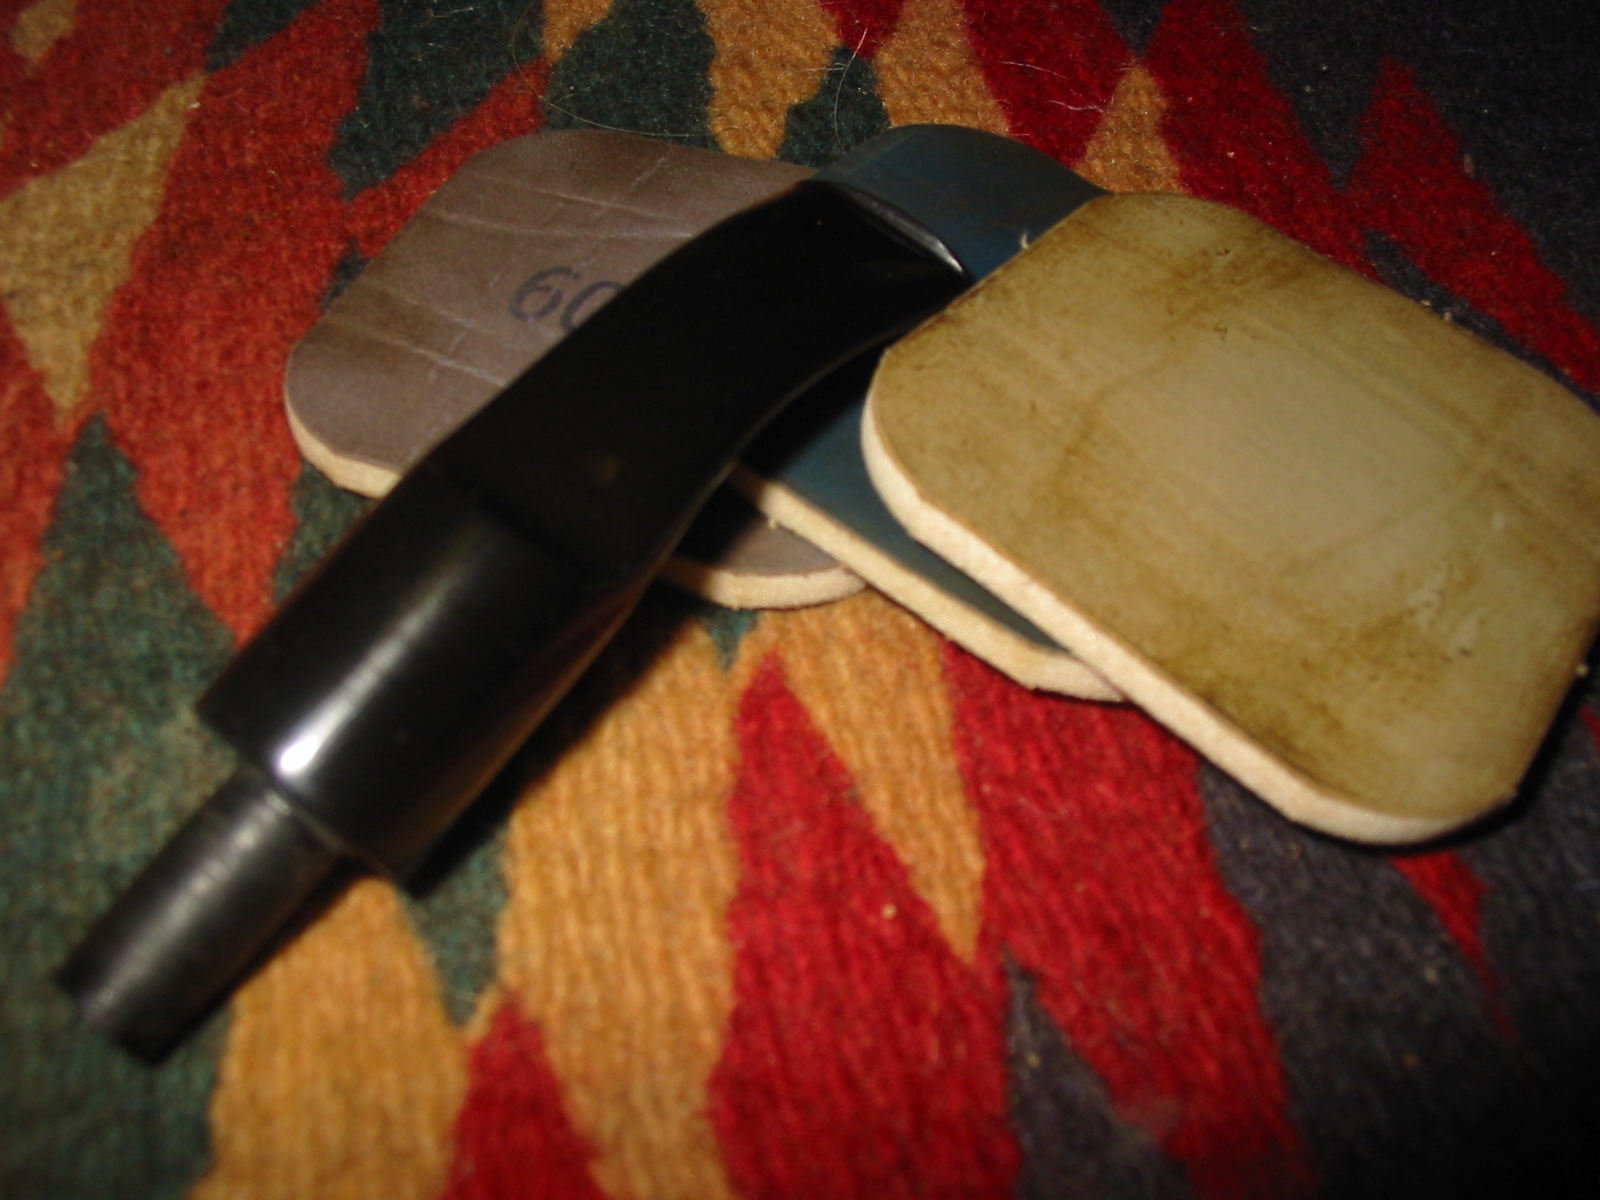
I wiped the bowl down with alcohol again and then restained it with a oxblood aniline stain to bring out the contrast in the briar. I really like the way the finish had turned out on the bowl. The stem was looking more and more problematic. It seemed that I had sanded through the blade next to the saddle and sanded into the Delrin tenon. In the top and bottom view photos below you can see the grey area in each of those spots next to the saddle. This stem was ruined and needed to be replaced.

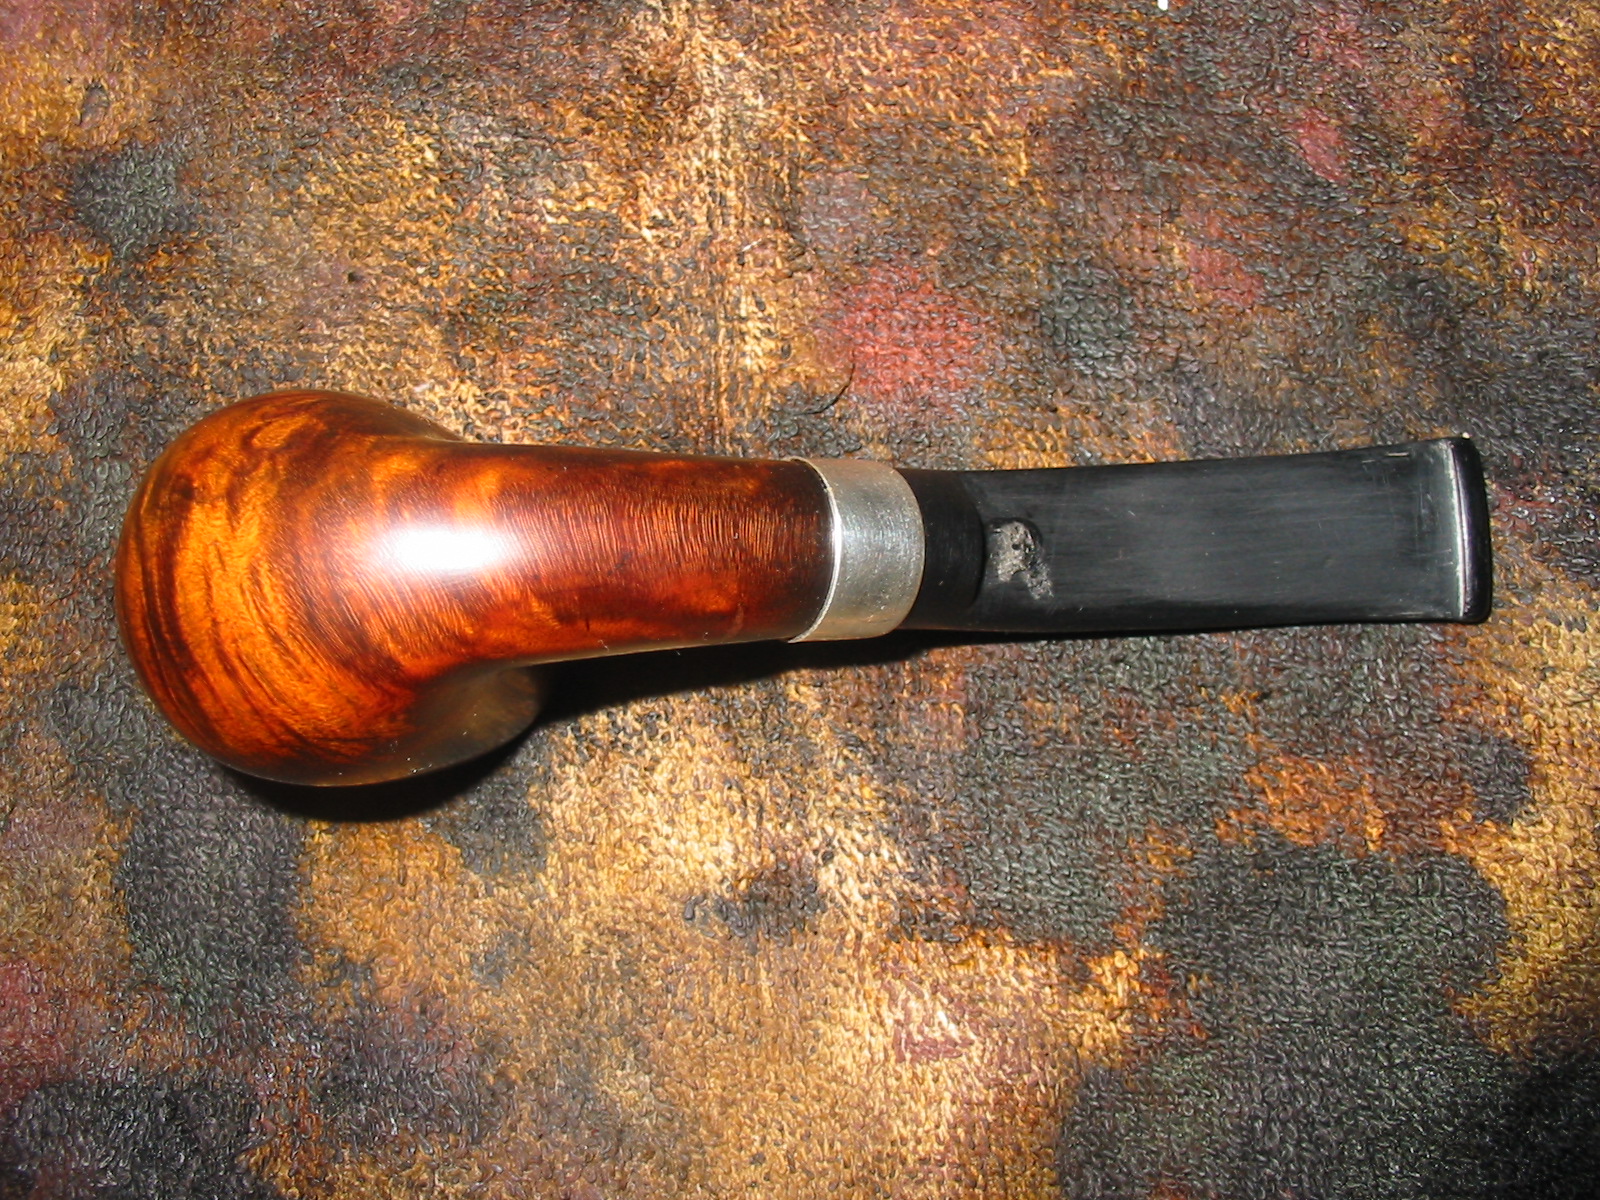
I took the stem off the pipe and sanded the two sides some more to see if I could feather out the damage or maybe repair it with a super glue patch. Looking at the photos you can see that patching and repairing the stem would not work.


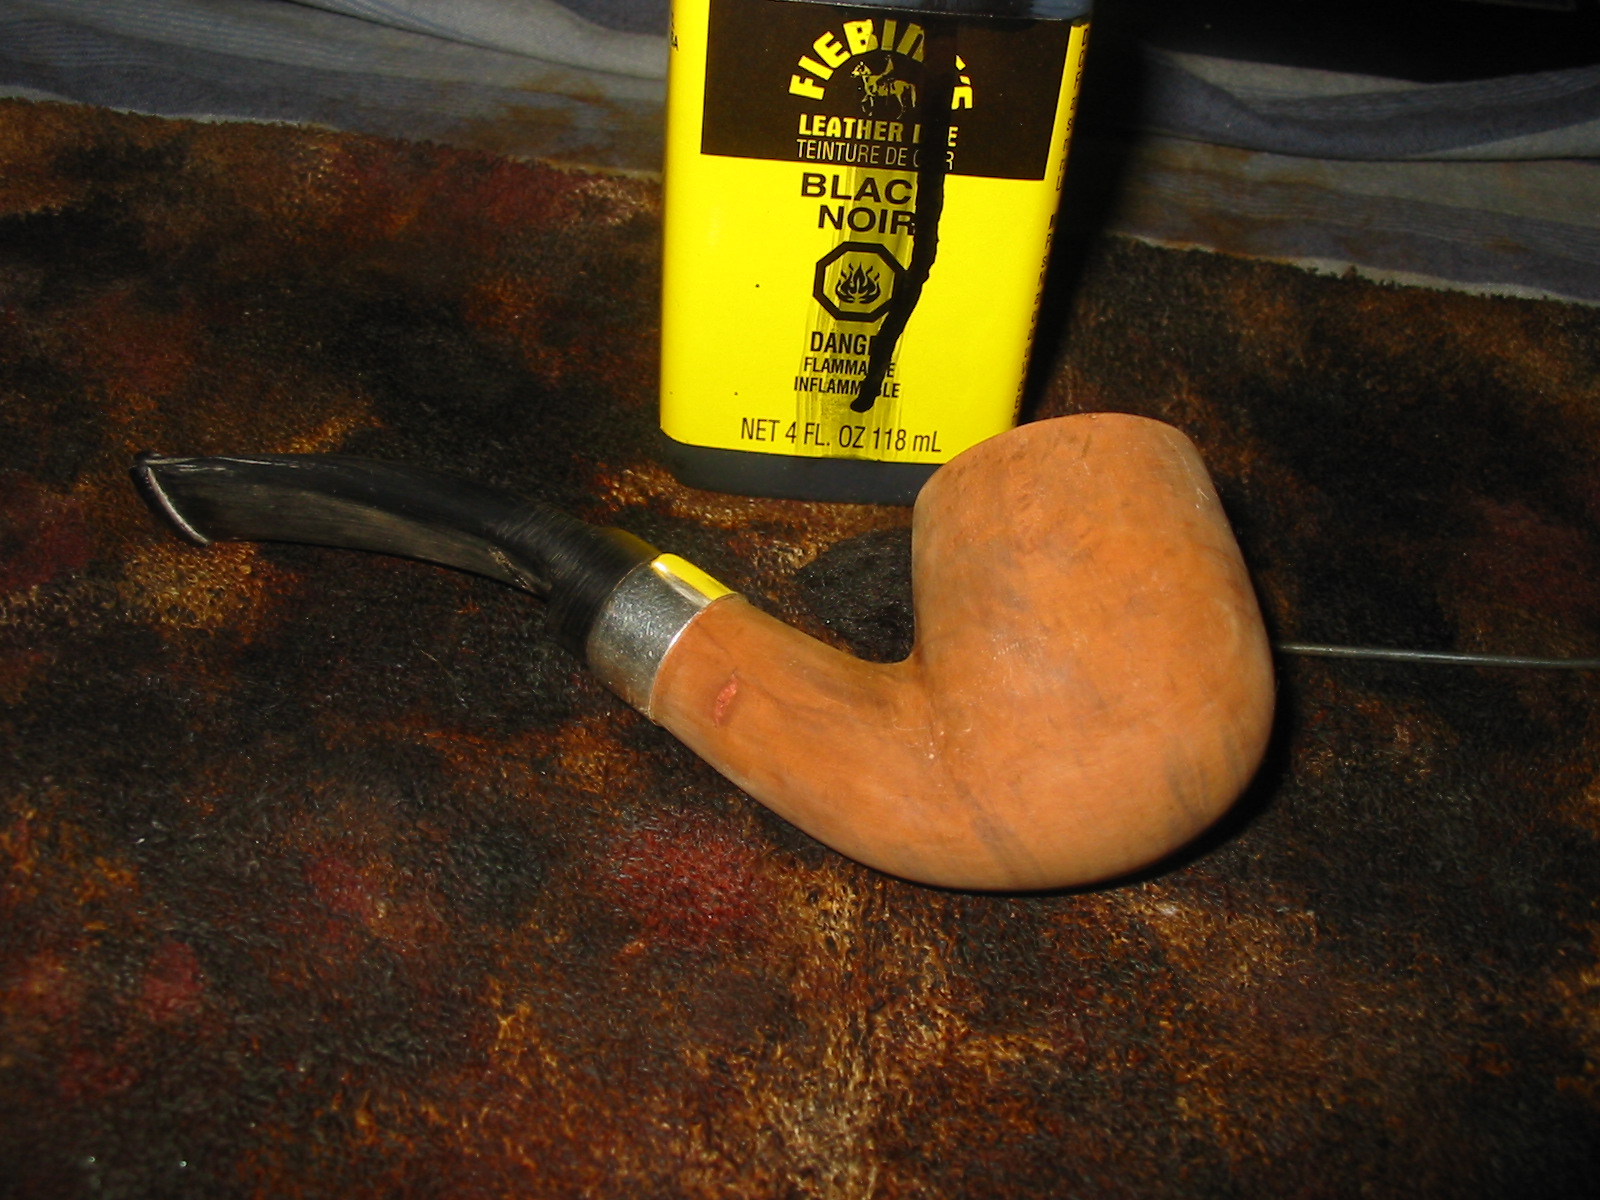
I found a vulcanite saddle stem in my can of stems that would fit the shank. I turned the tenon with a PIMO tenon turner and then sanded it until it fit snuggly in the shank. The outer diameter of the stem needed to have some of the vulcanite removed to center the stem against the silver end cap.

I sanded casting ridges off the stem and used a Dremel and sanding drum to remove the excess stem material. I sanded the diameter and the edges to remove all of the scratch marks. I used 220 grit sandpaper and then medium and fine grit sanding sponges to finish. I set up the heat gun and turned it on the low setting and held the stem over the heat. Once the stem was flexible I bent it carefully over an old rolling pin I use as a base until it was the correct angle. I set the angle with cold water.

I sanded the stem with micromesh sanding pads – wet sanding with 1500-2400 grit pads and dry sanded with 3200-12000 grit pads. I buffed it with White Diamond and then rubbed it down with Obsidian Oil and let it soak into the rubber of the stem.

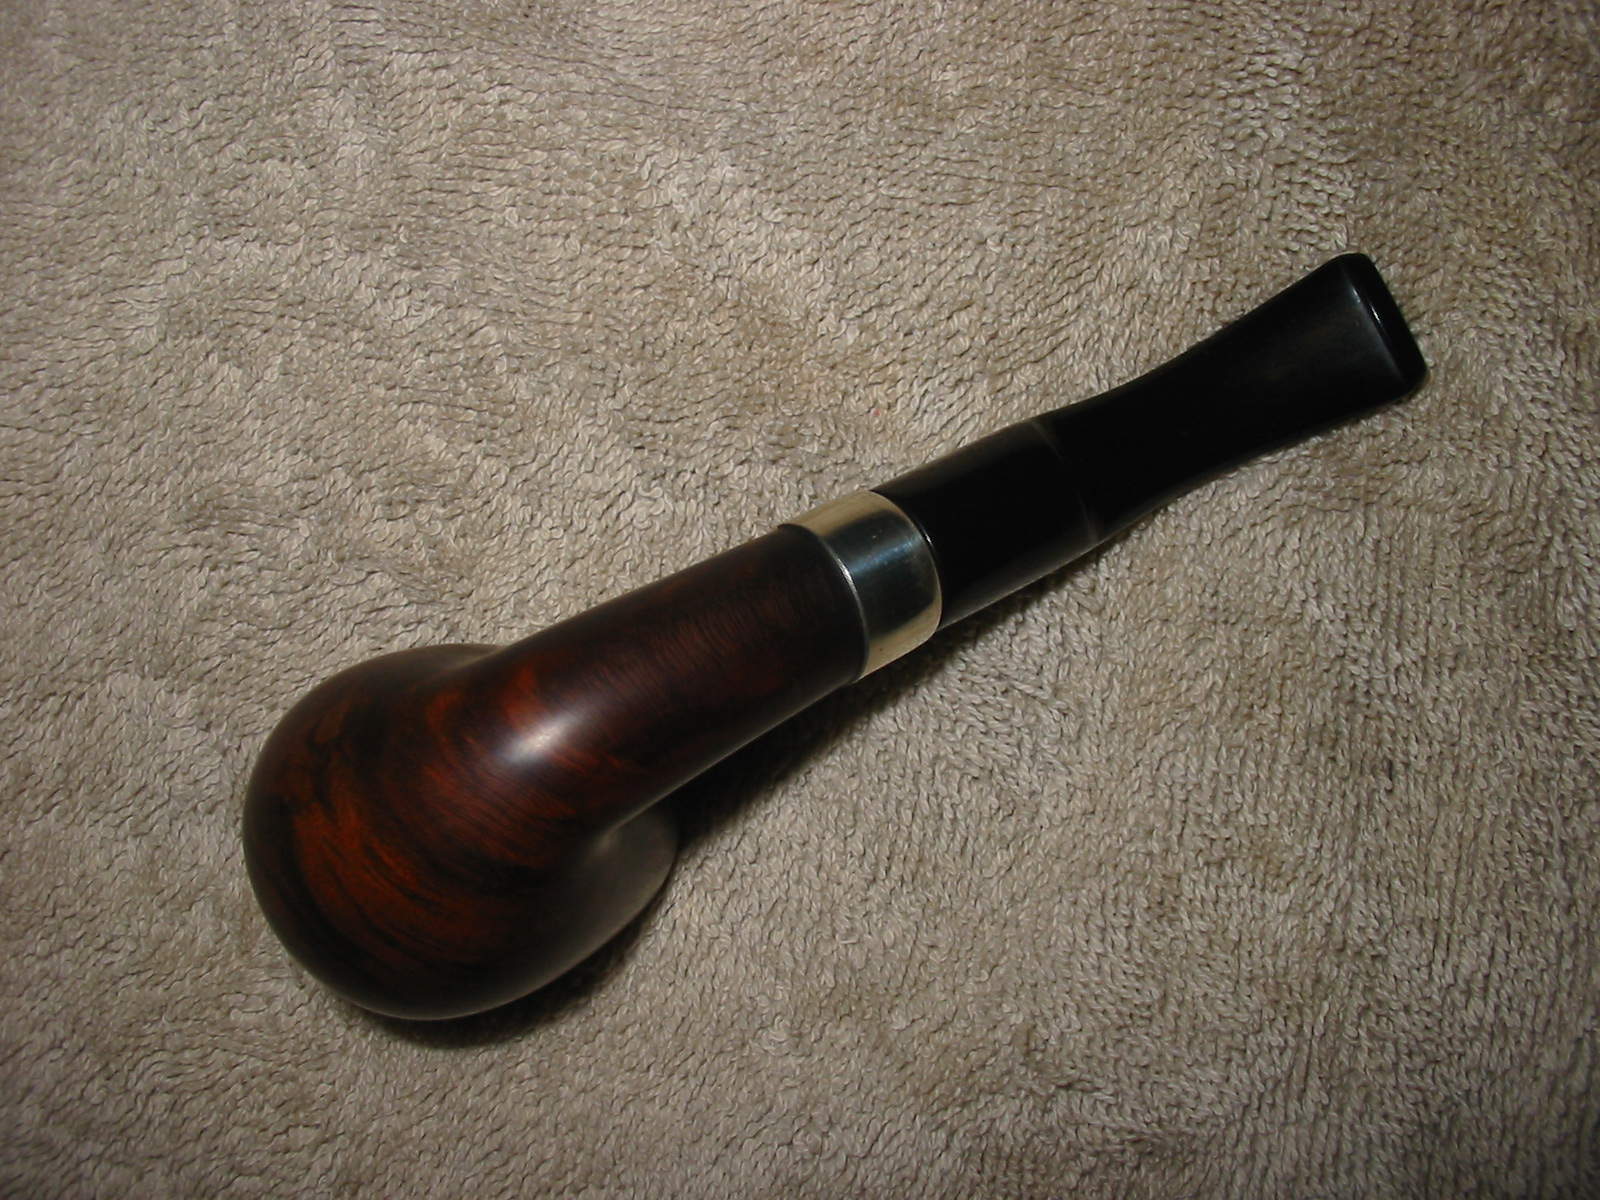
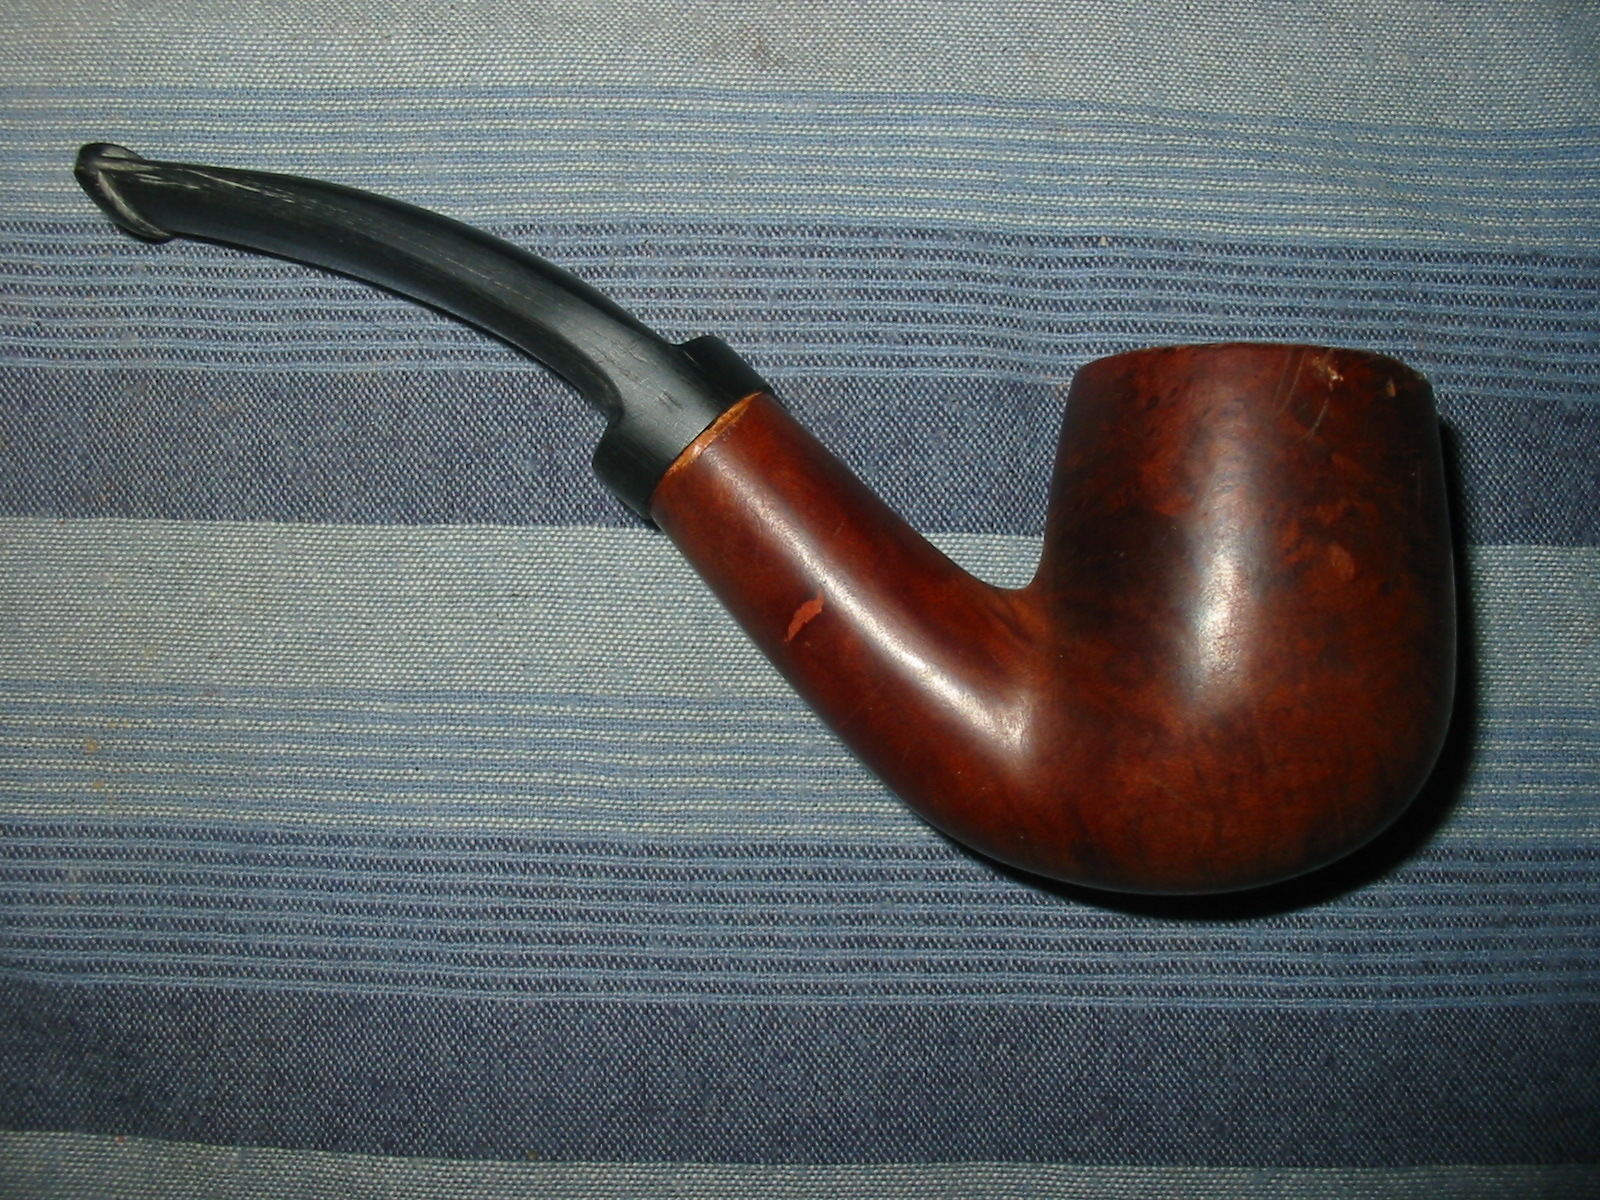
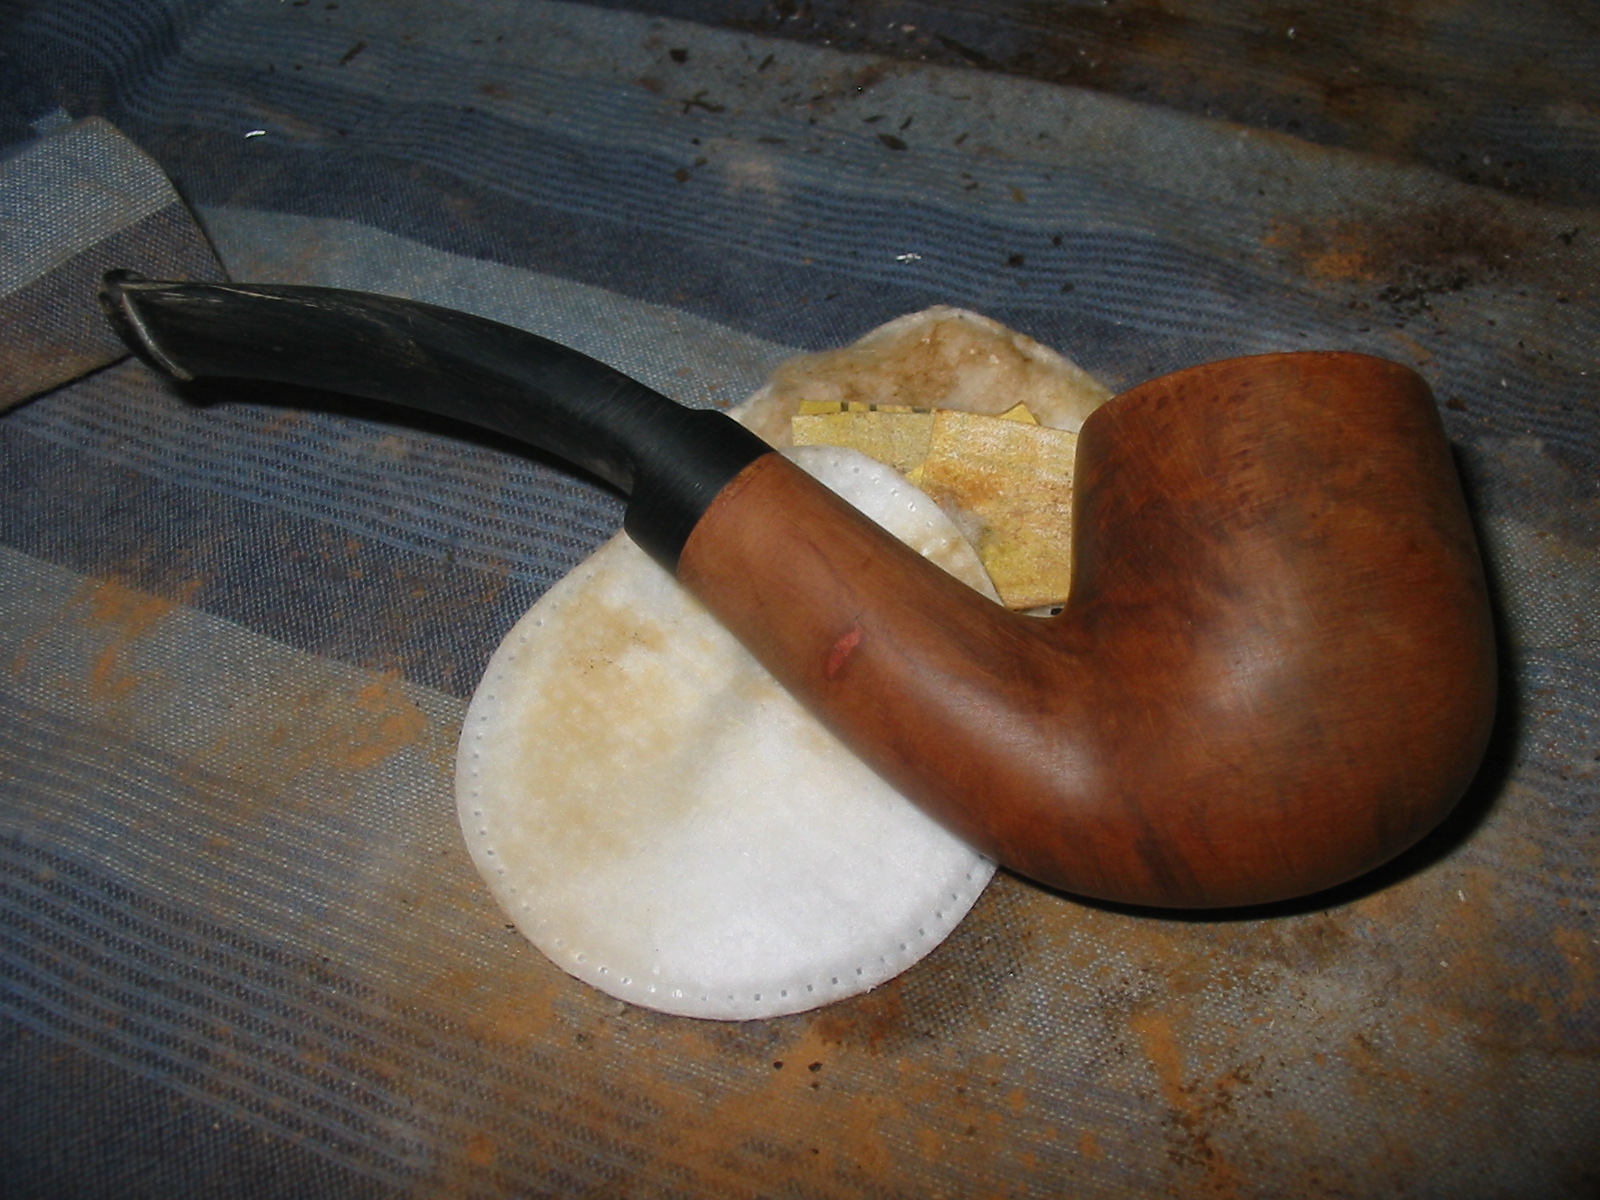
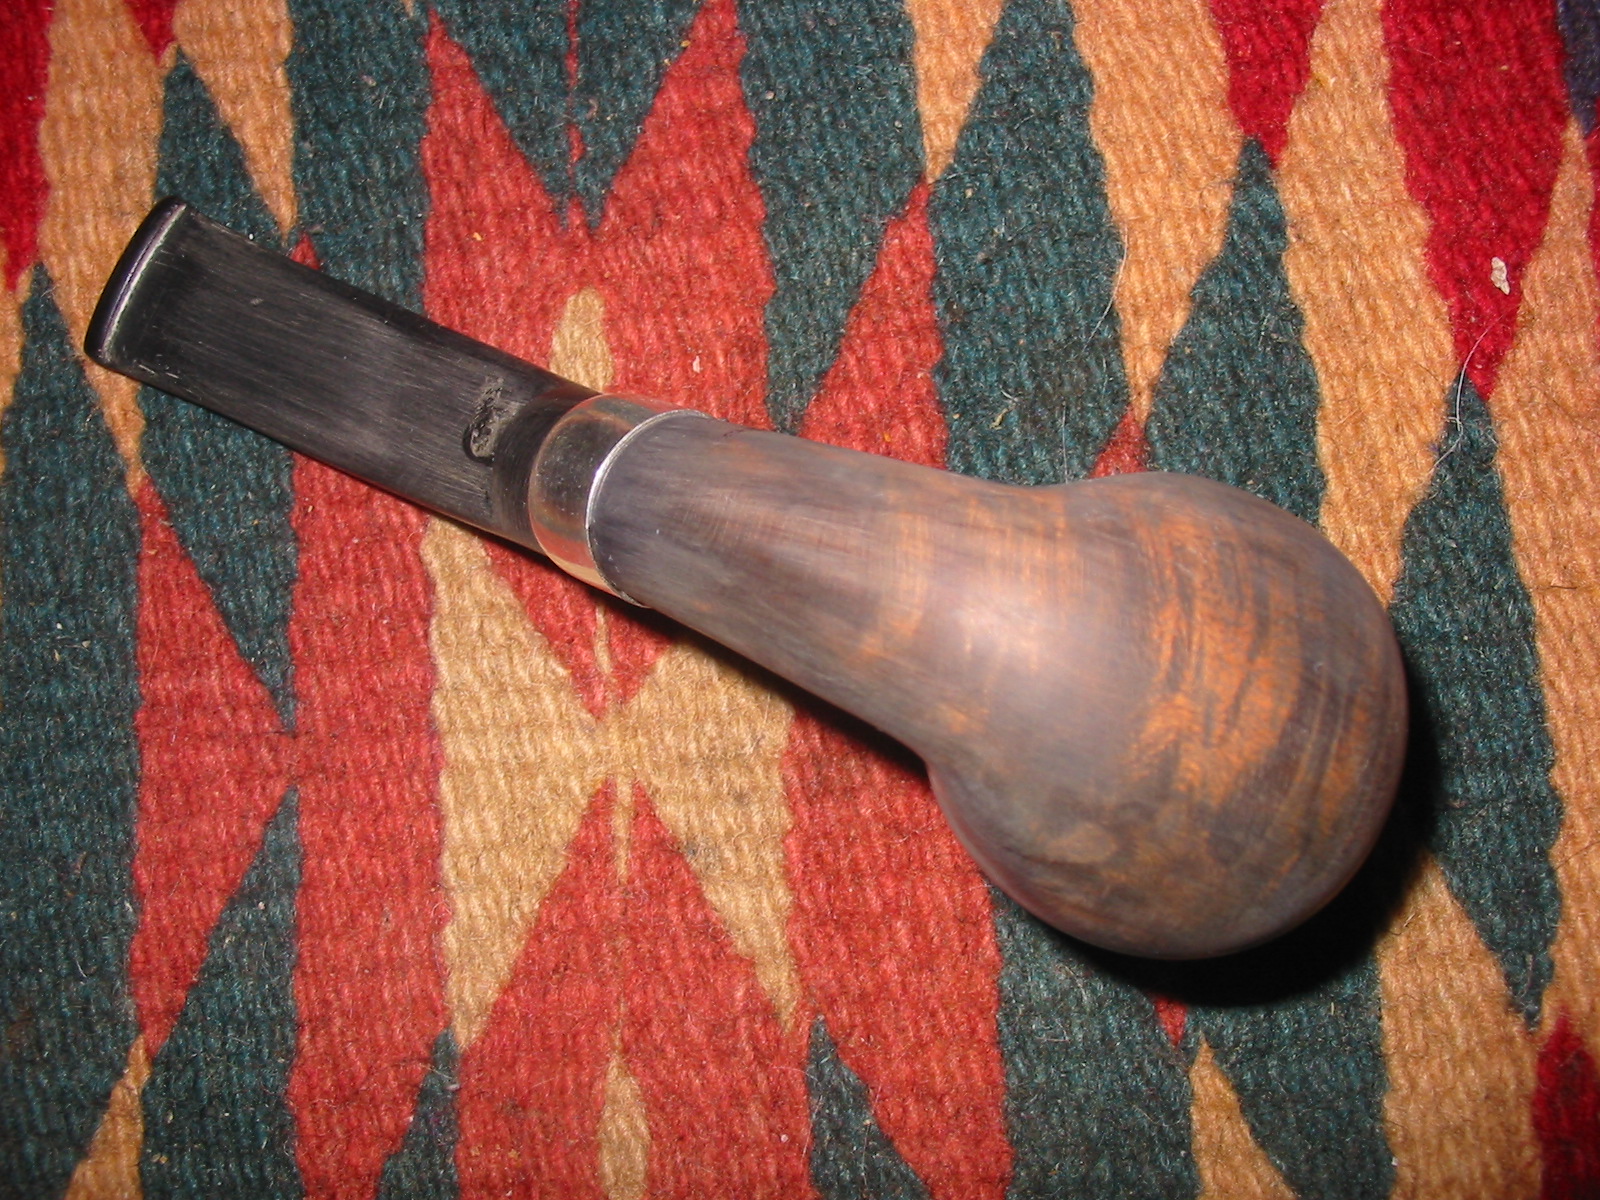
I buffed the pipe and stem with White Diamond and polished the silver band with silver polish. I gave the entire pipe multiple coats of carnauba wax to preserve and protect the finish. I finished by giving it a light buff with a soft flannel buffing pad. The finish pipe is shown in the photos below.