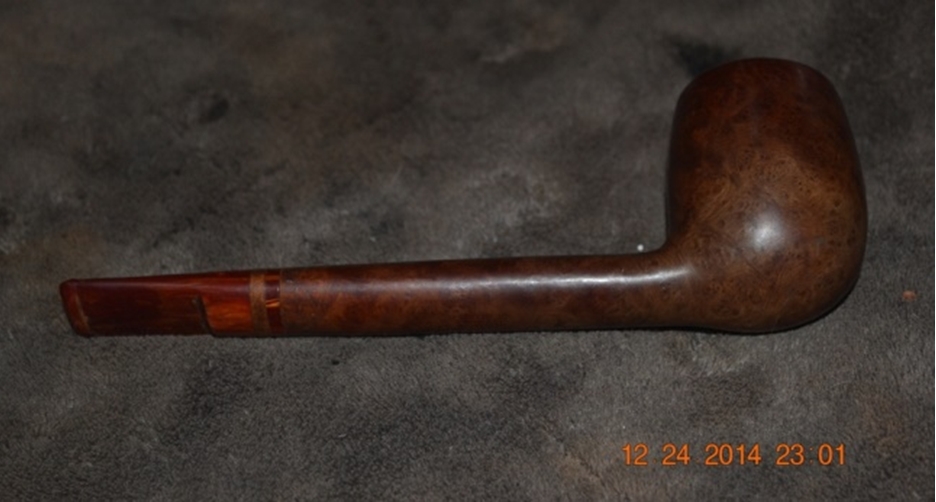
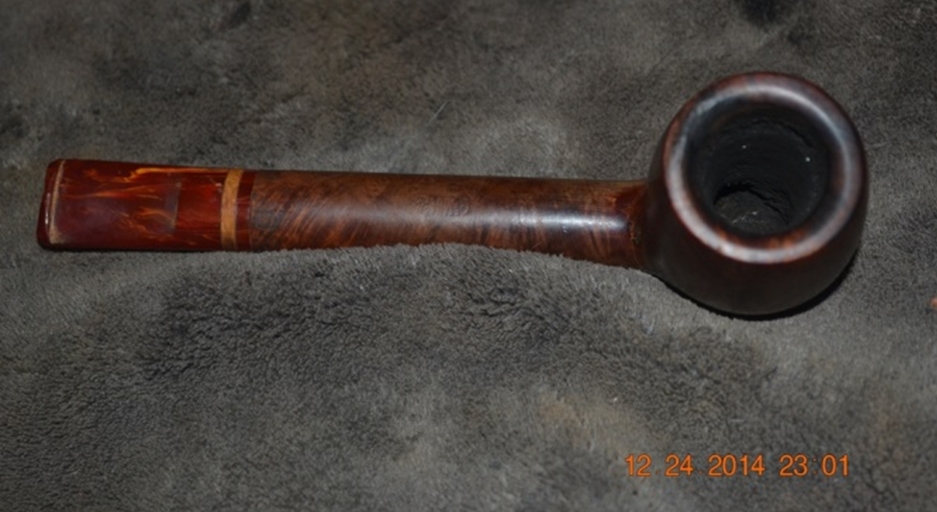
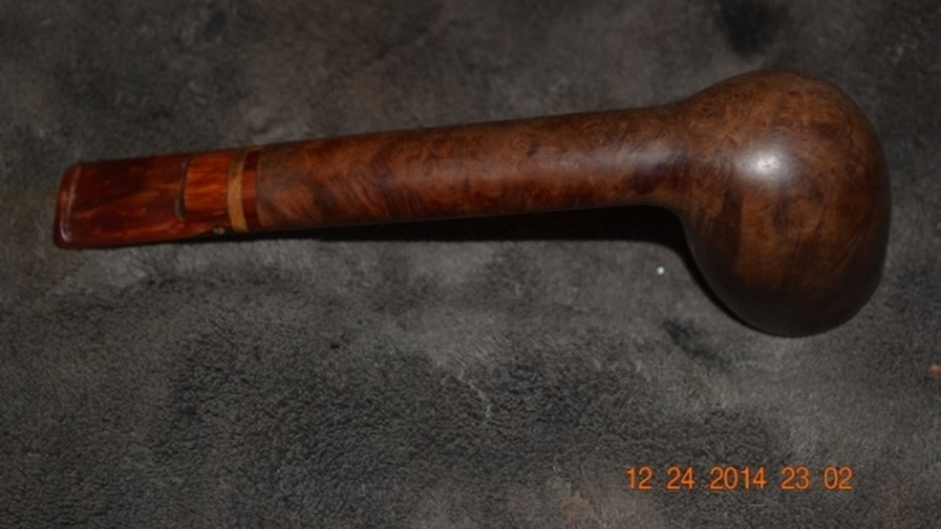
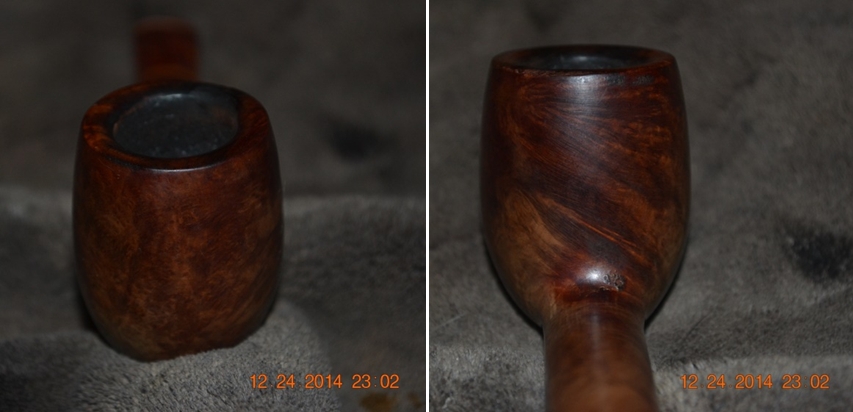
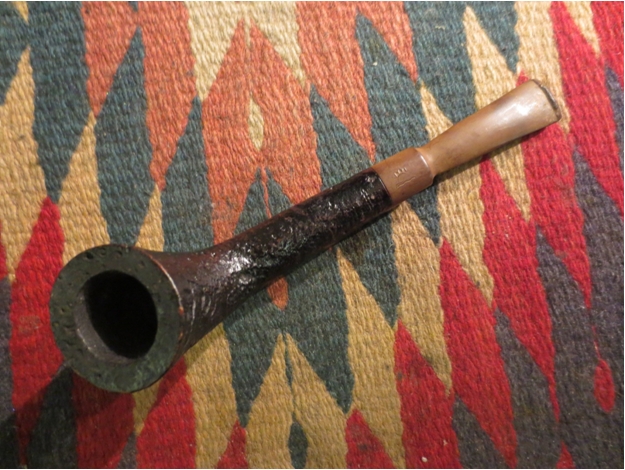
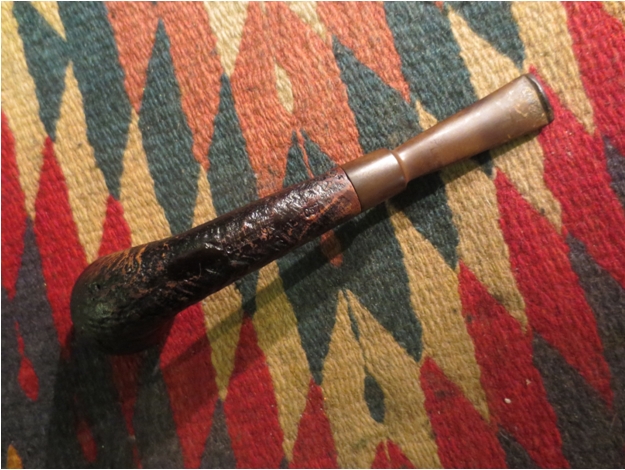
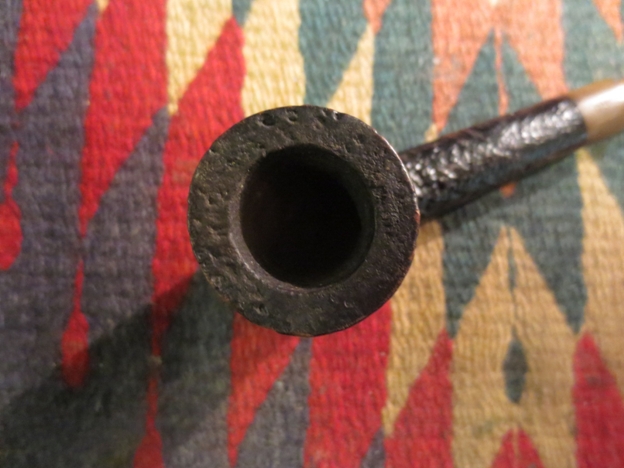
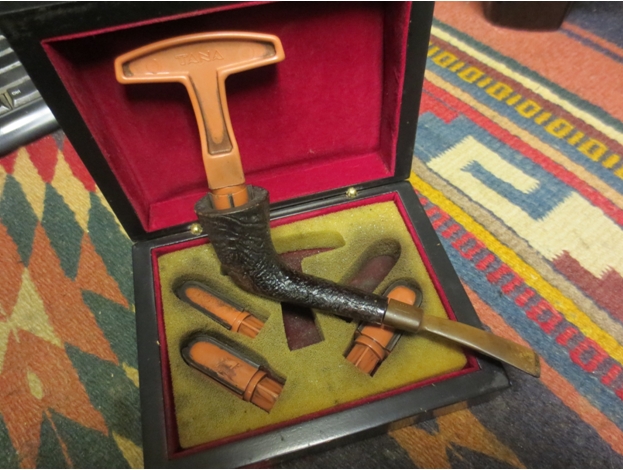
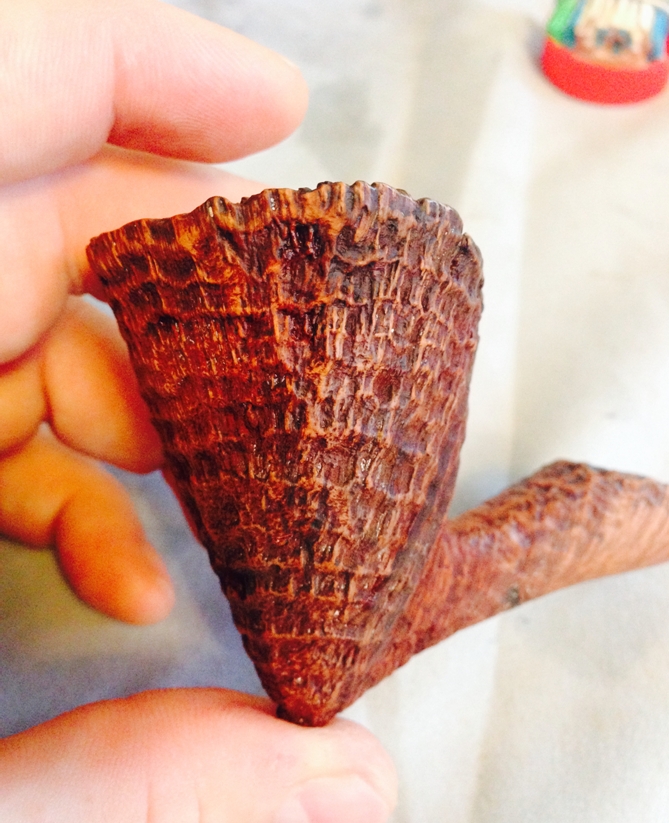
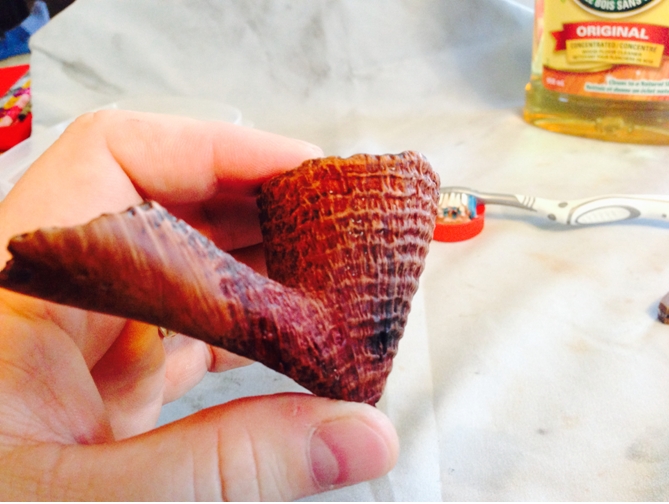
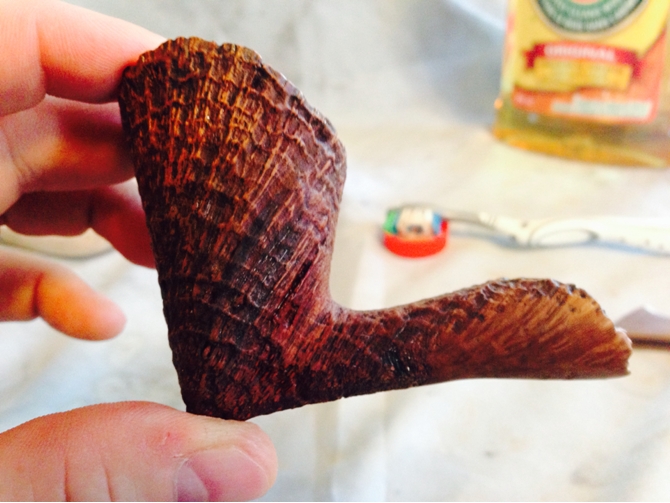
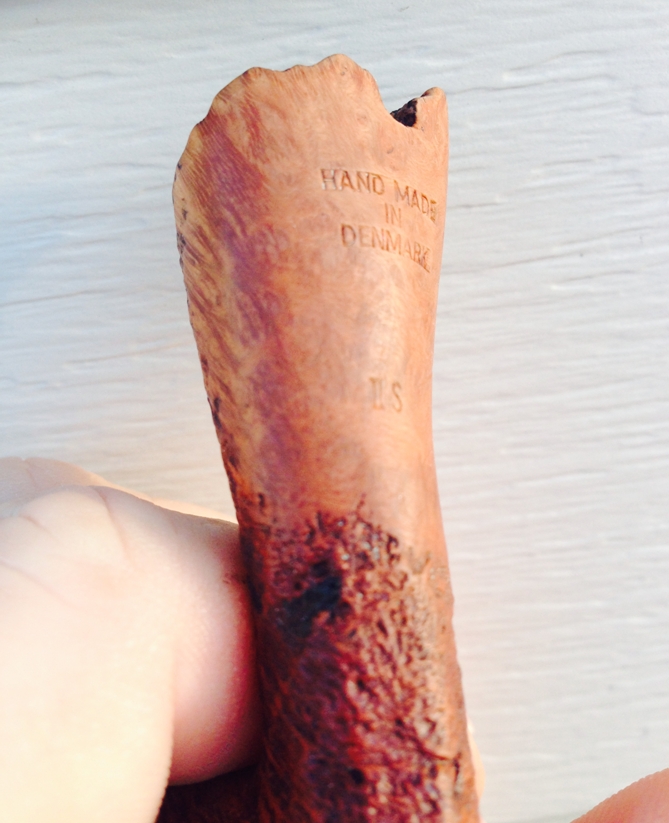
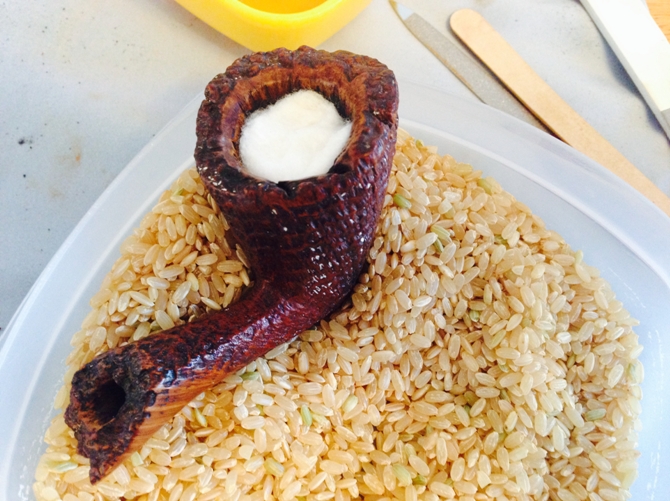
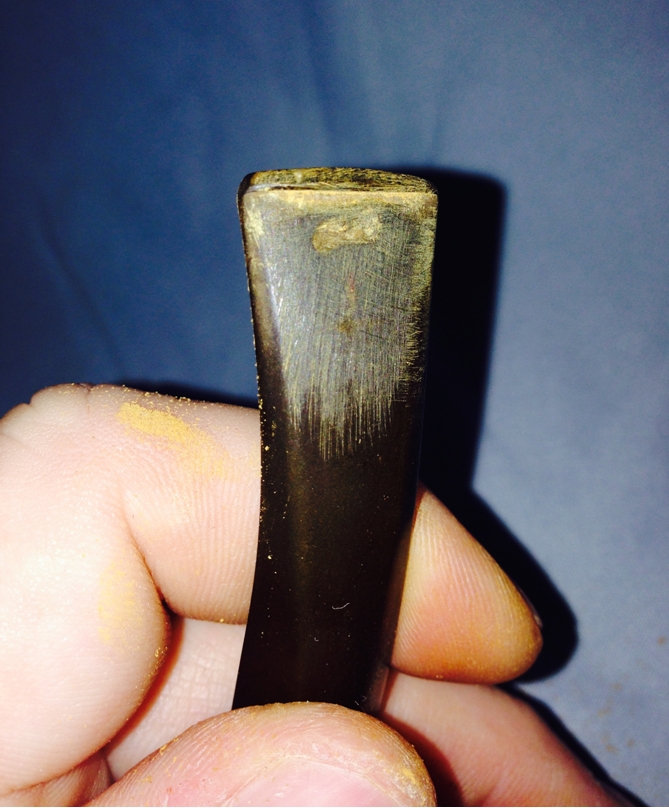
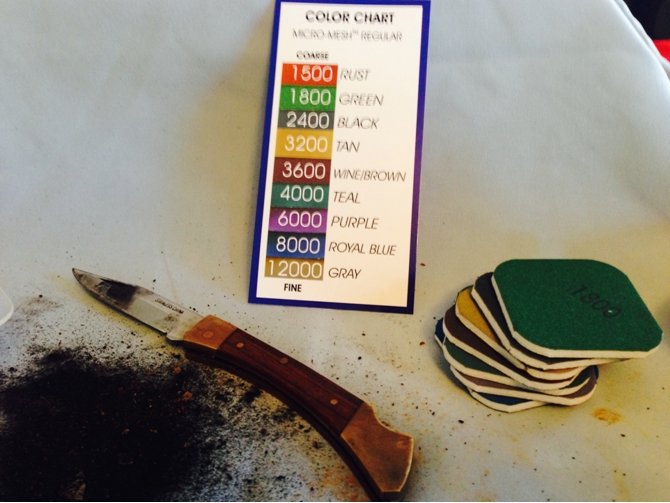
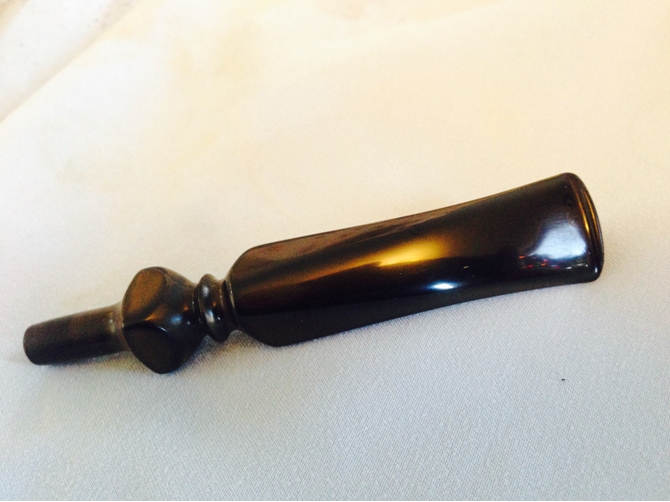
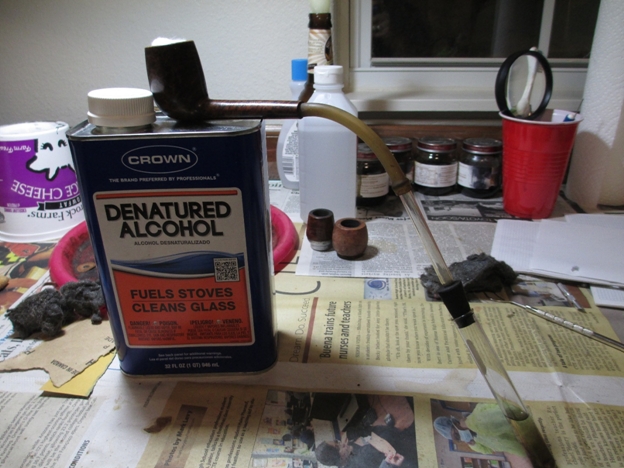
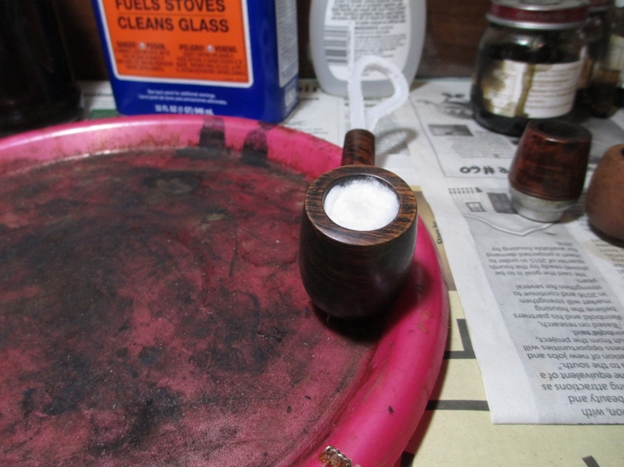
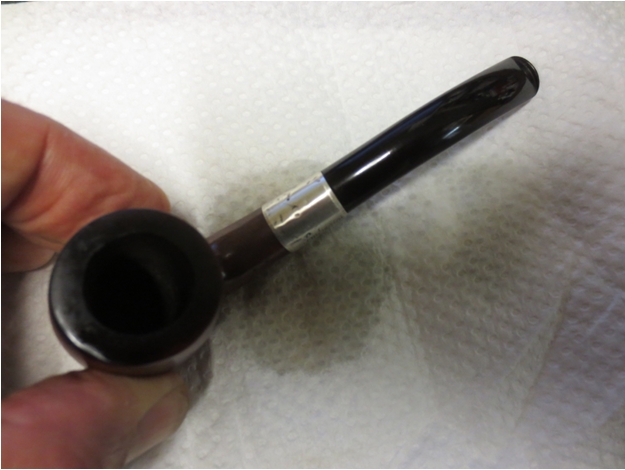
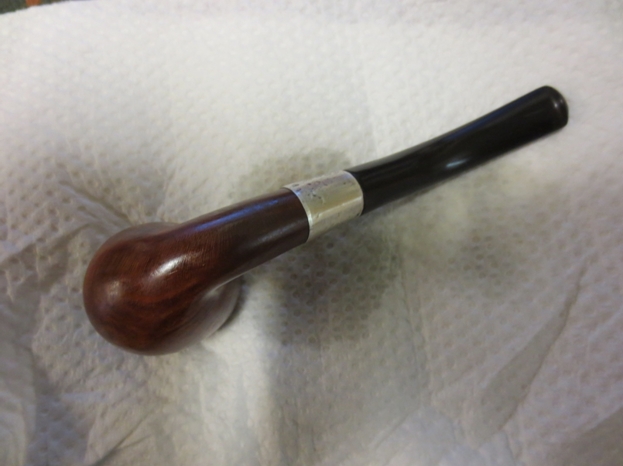
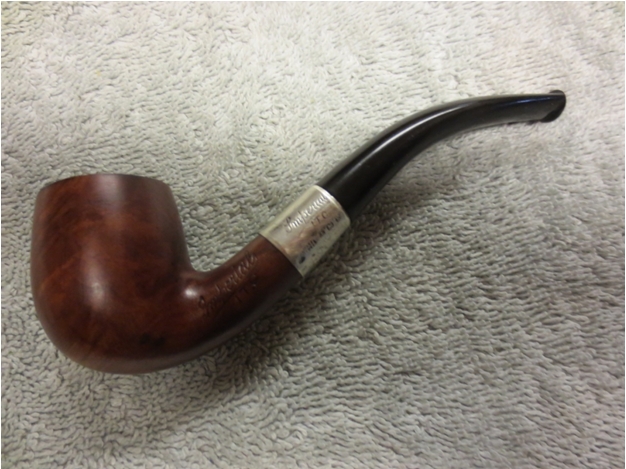
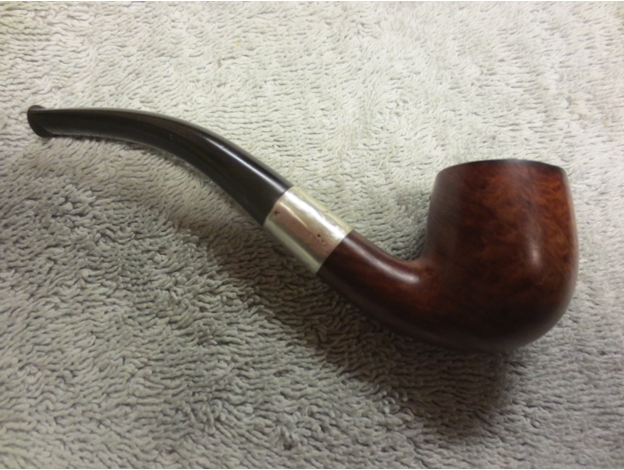
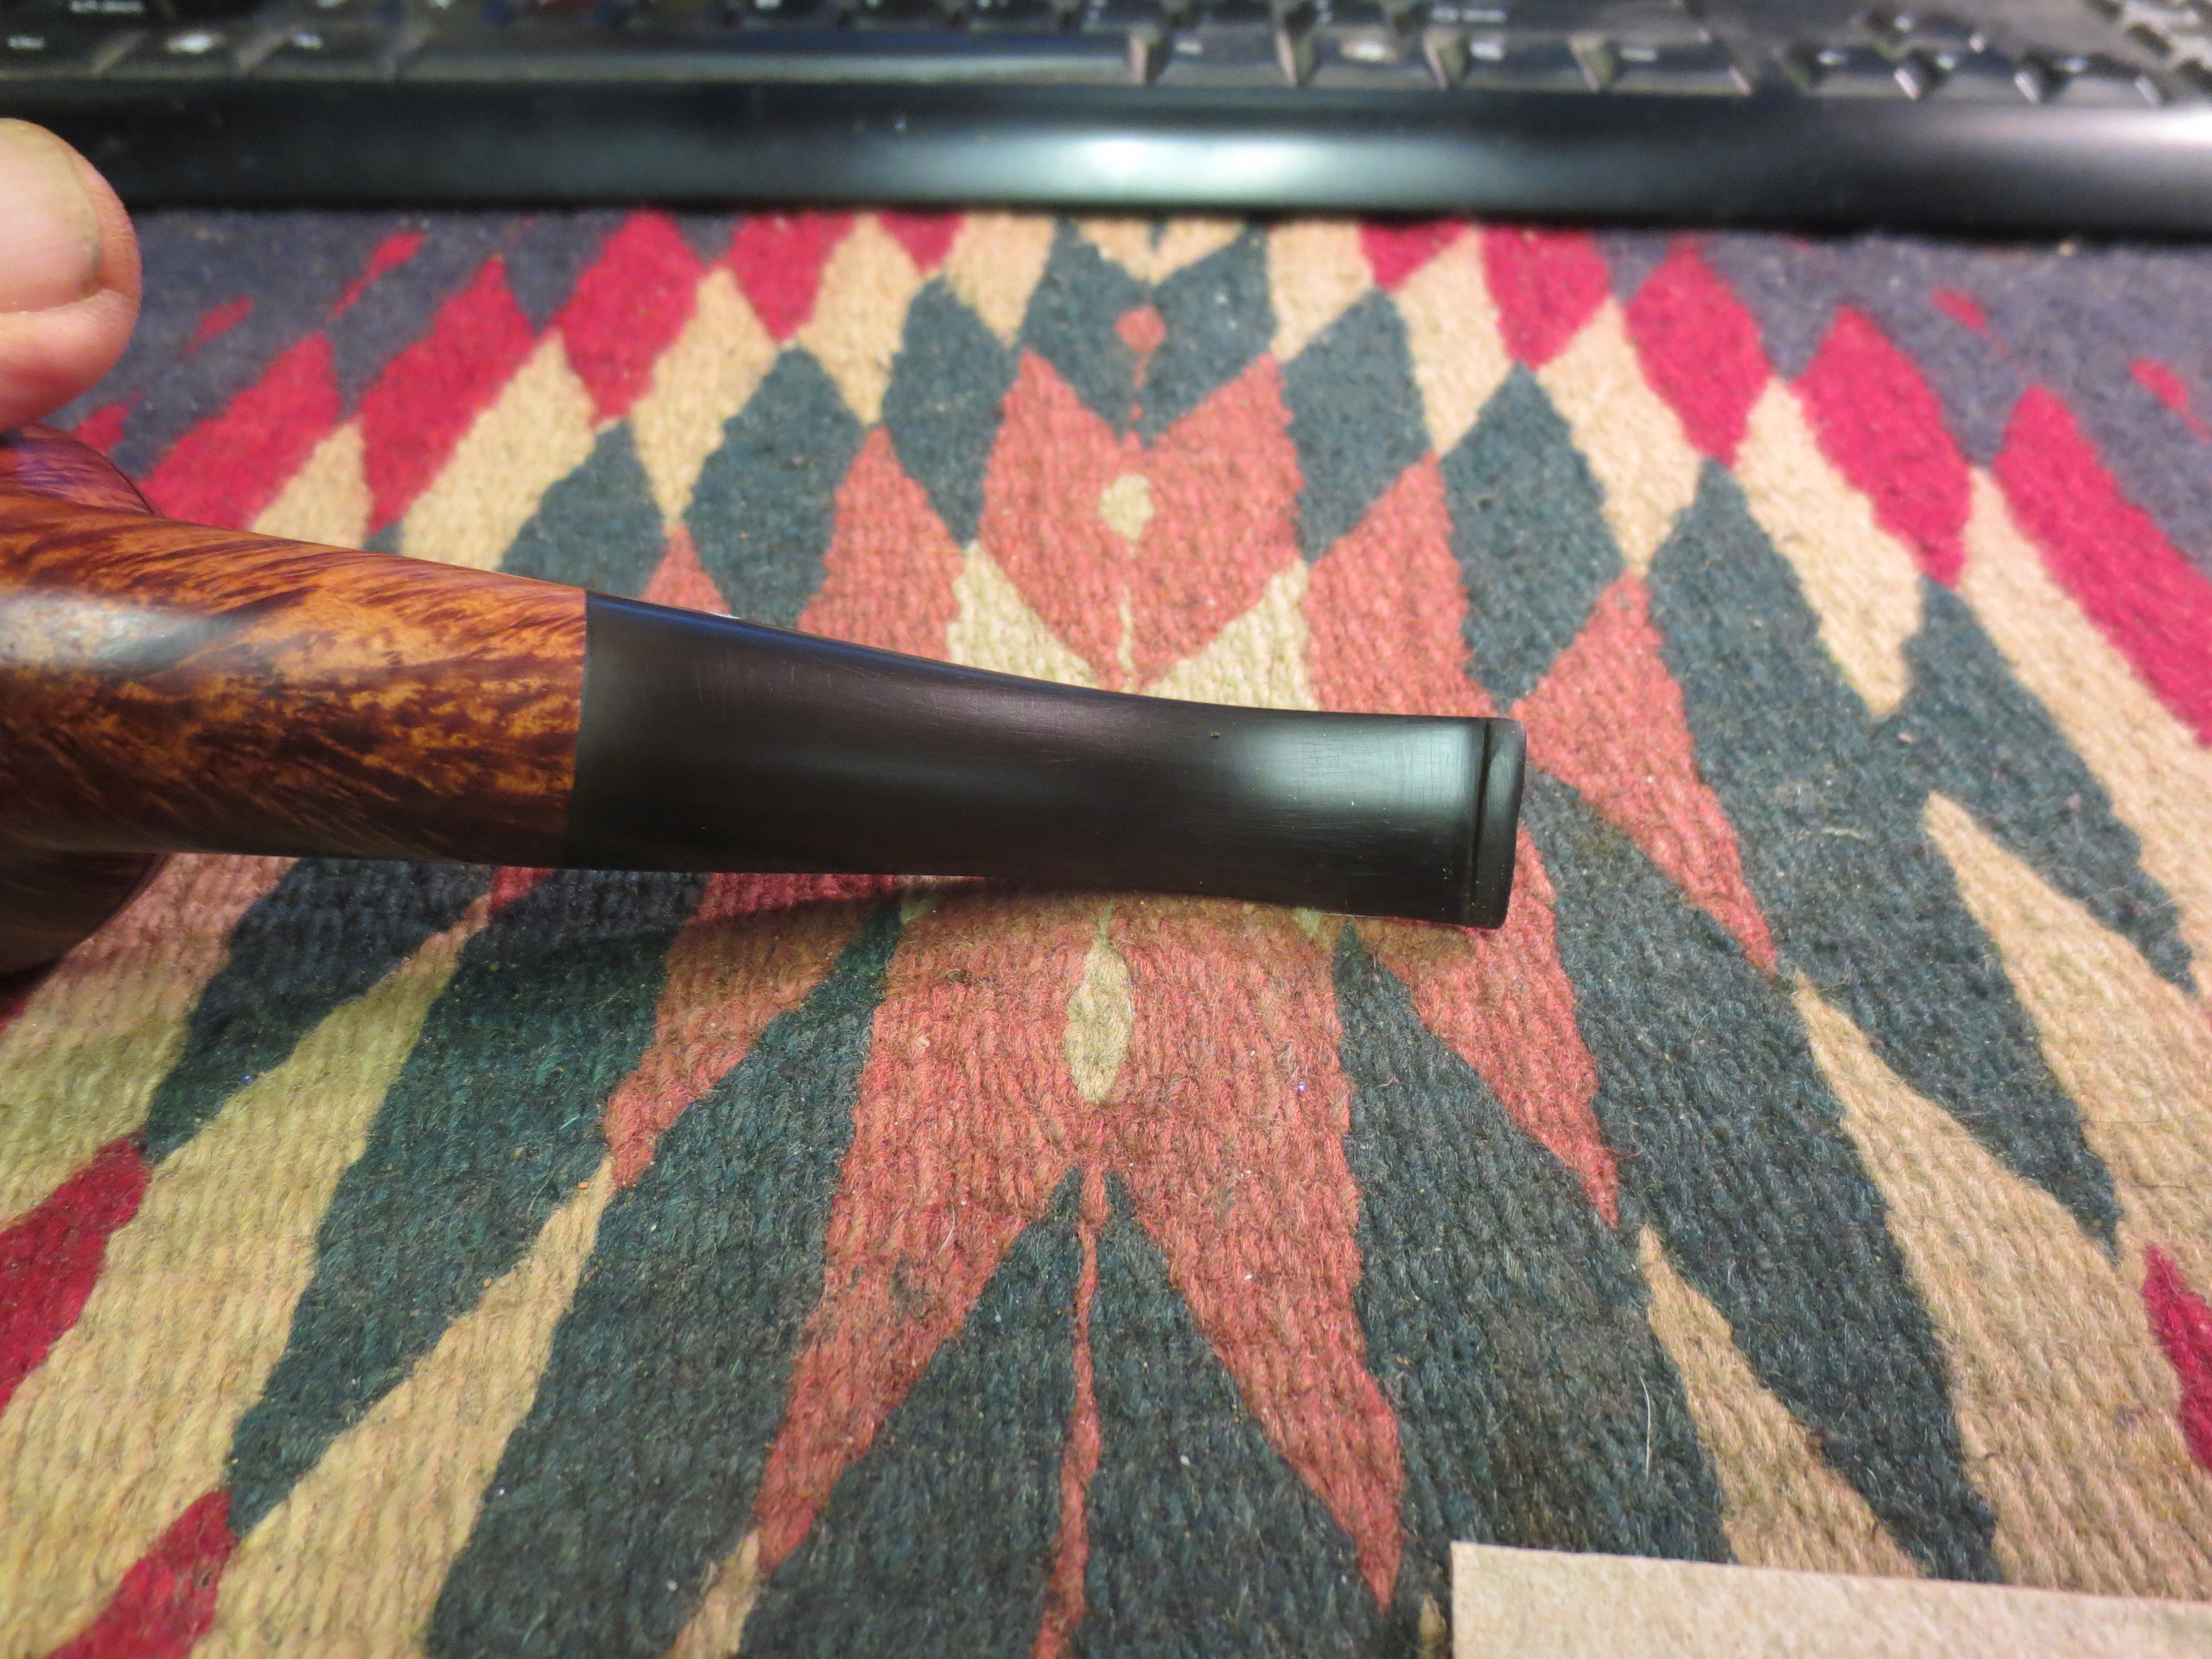
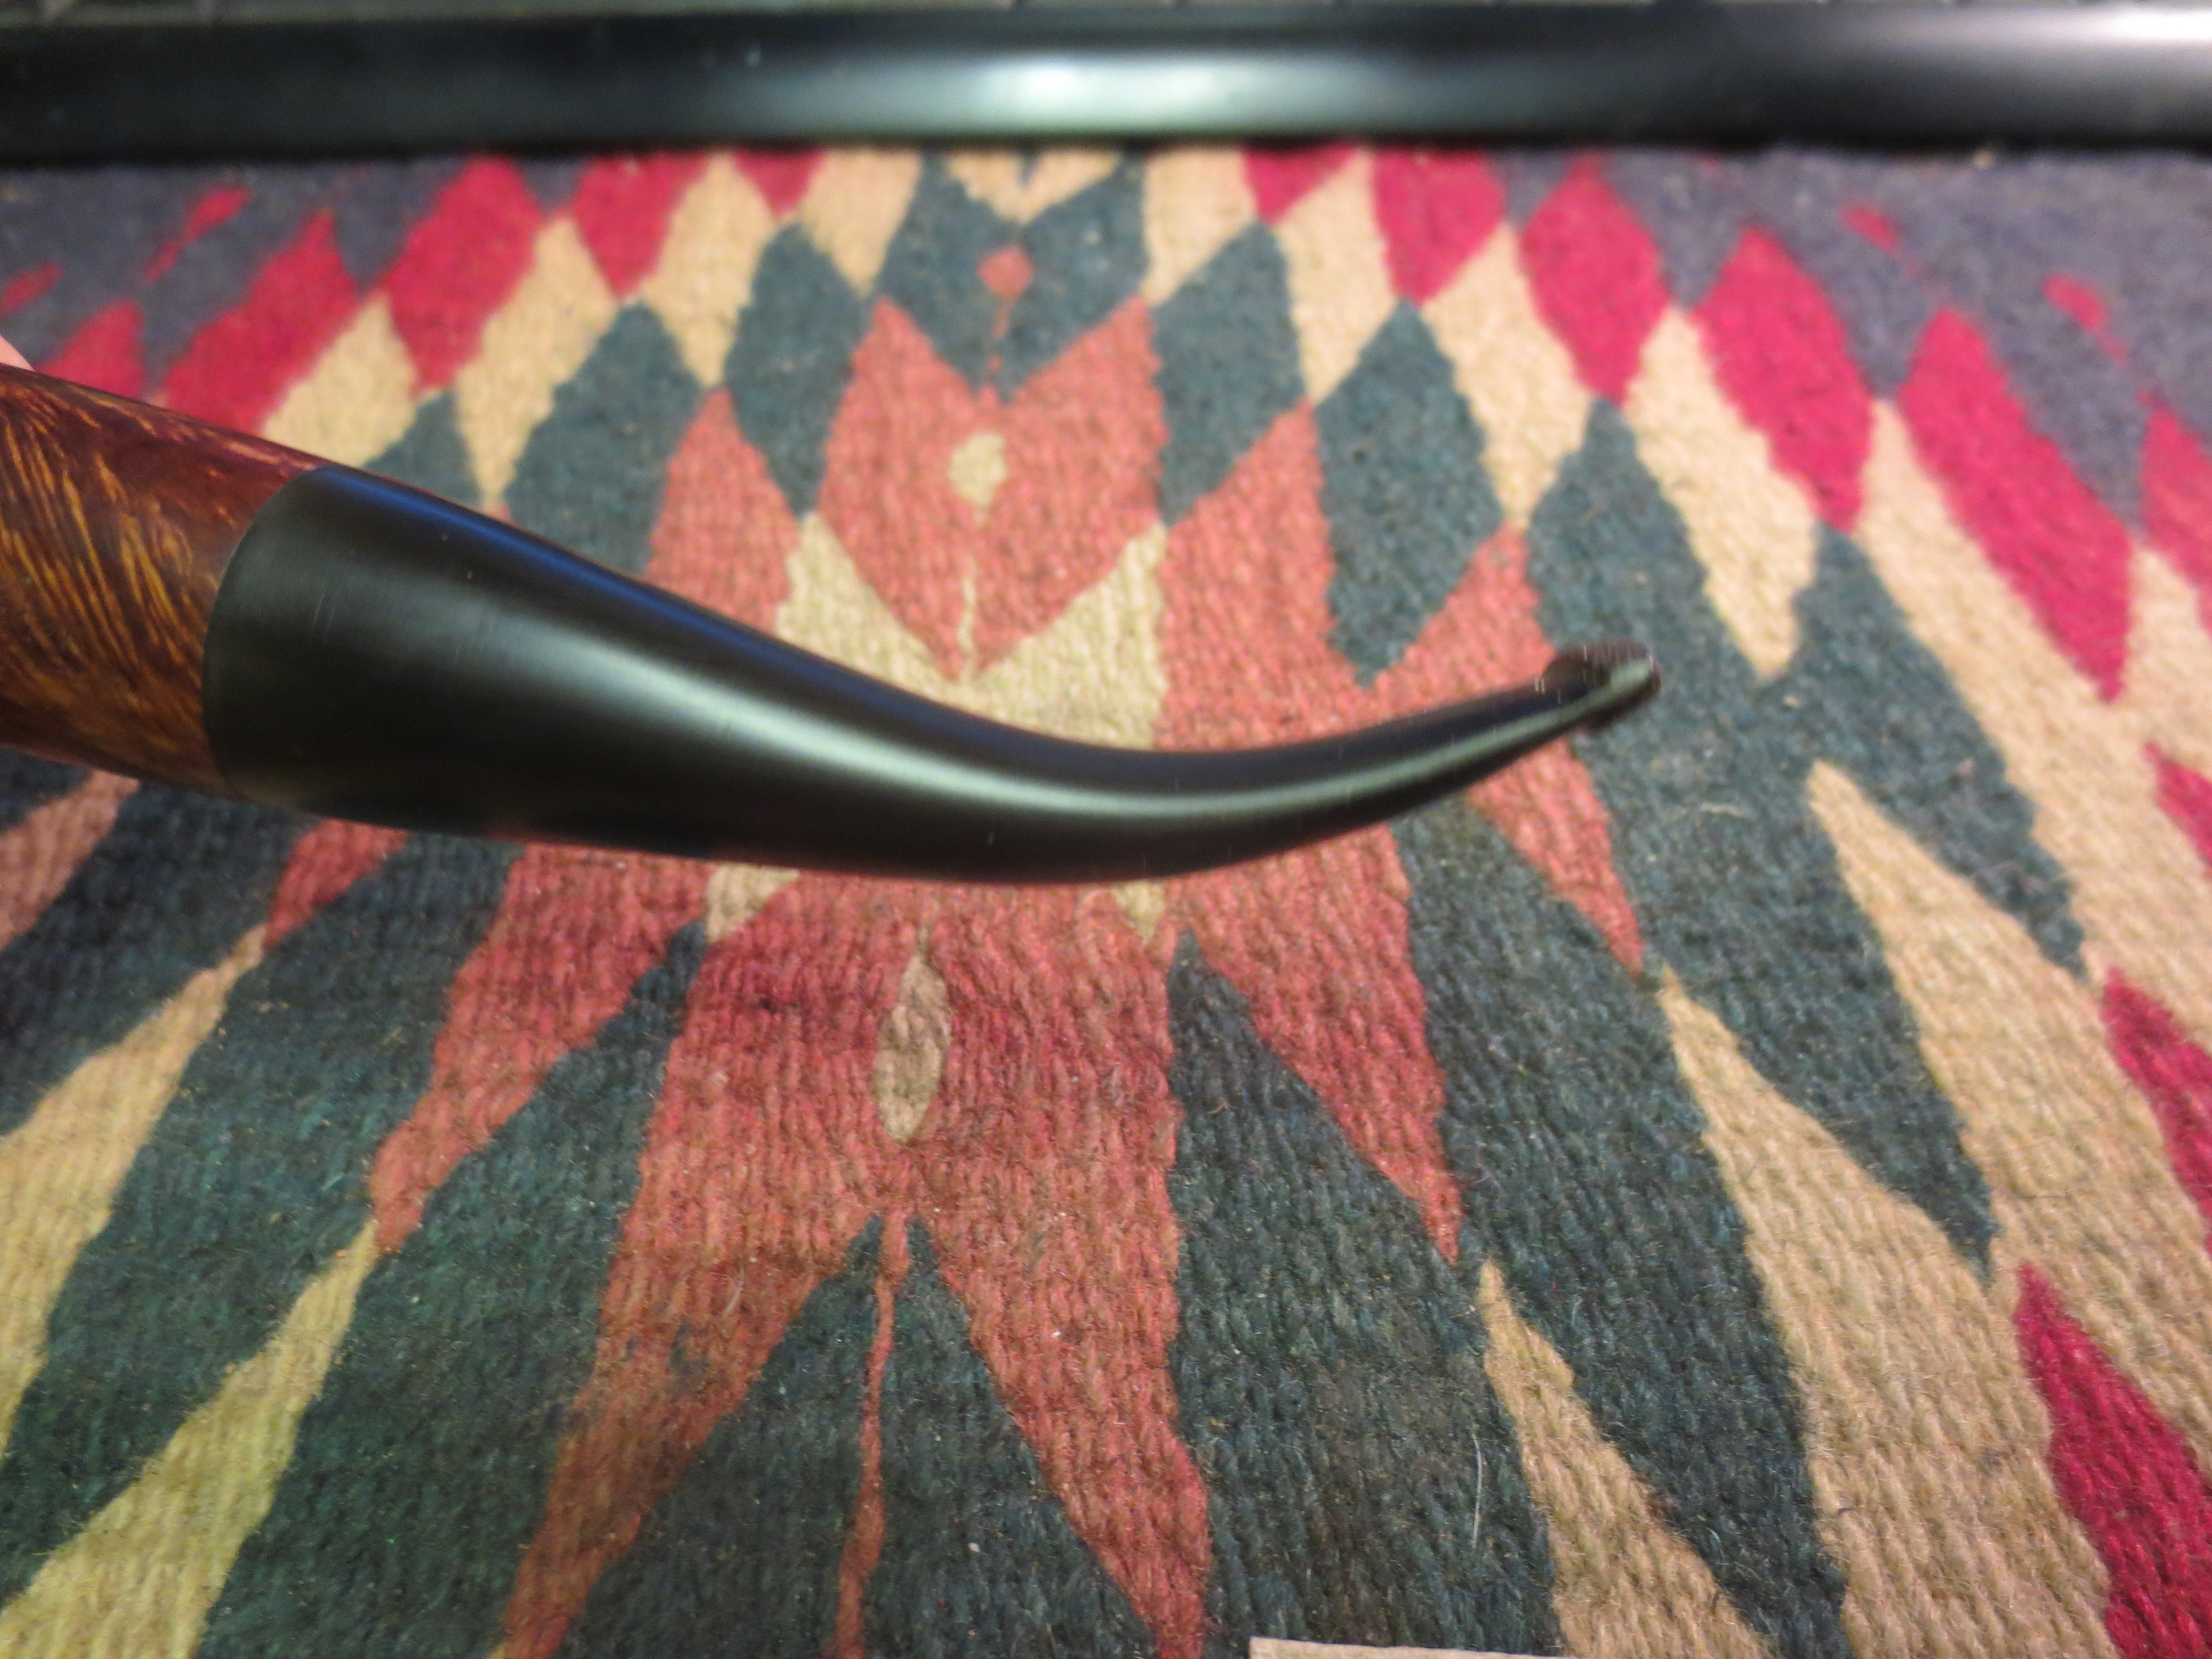
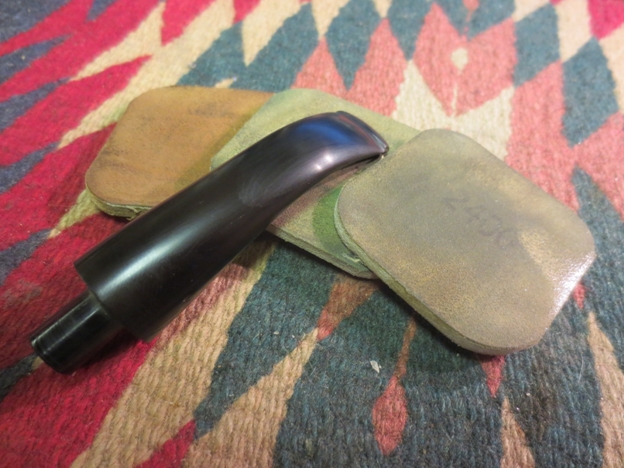
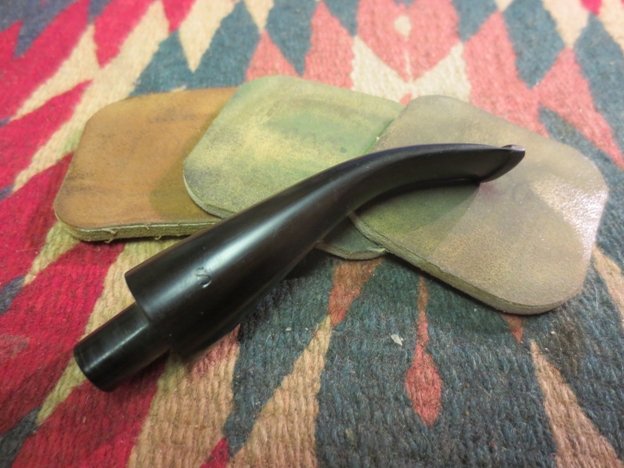
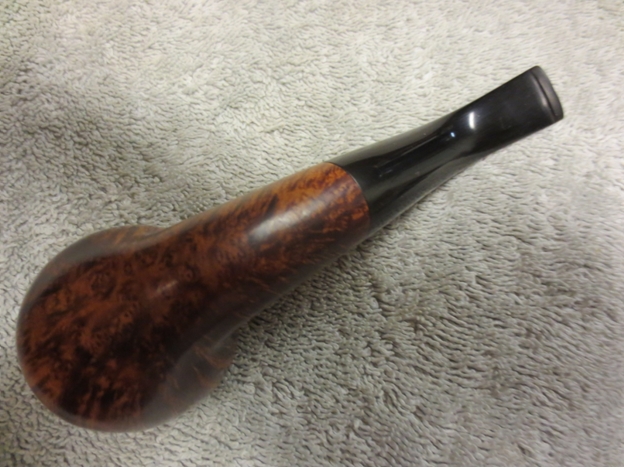
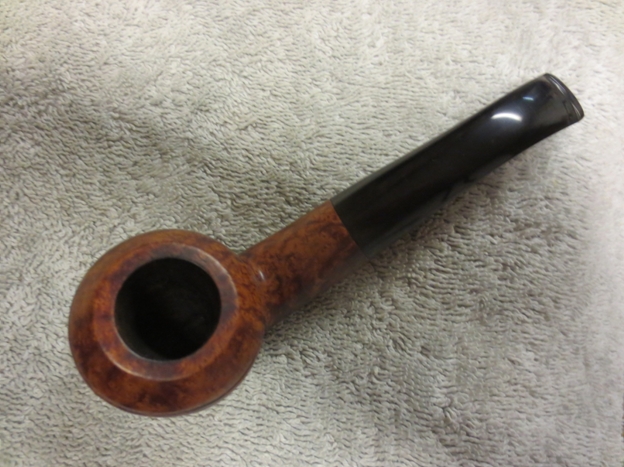
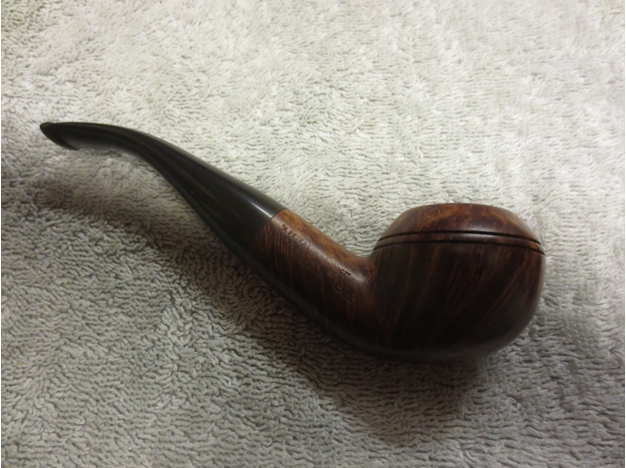
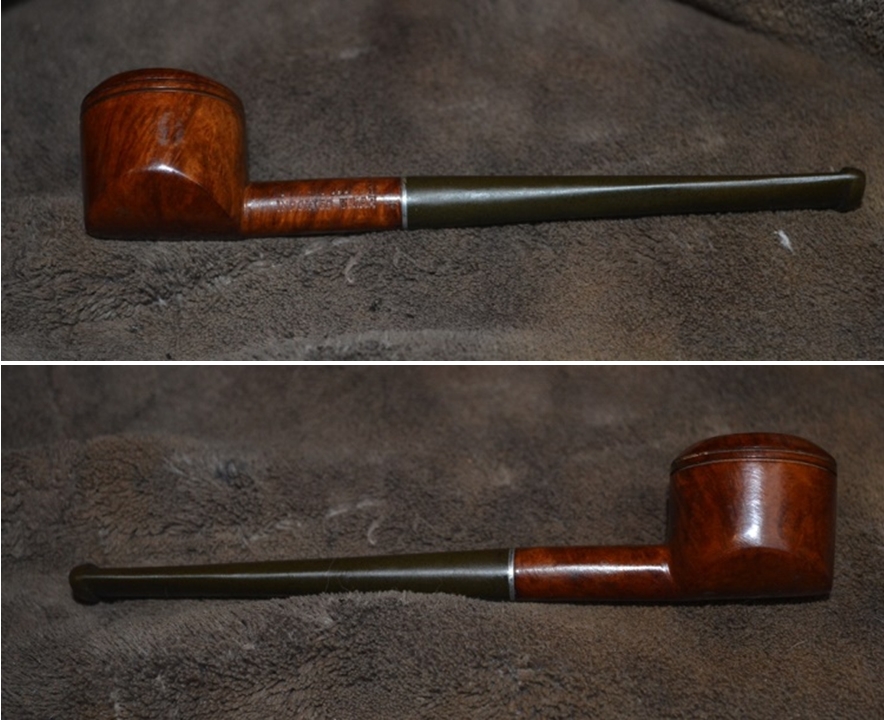
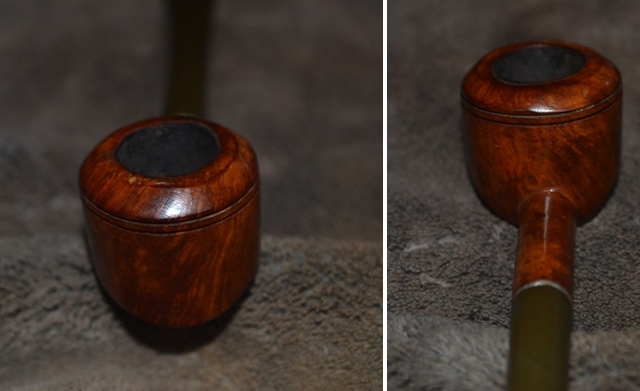
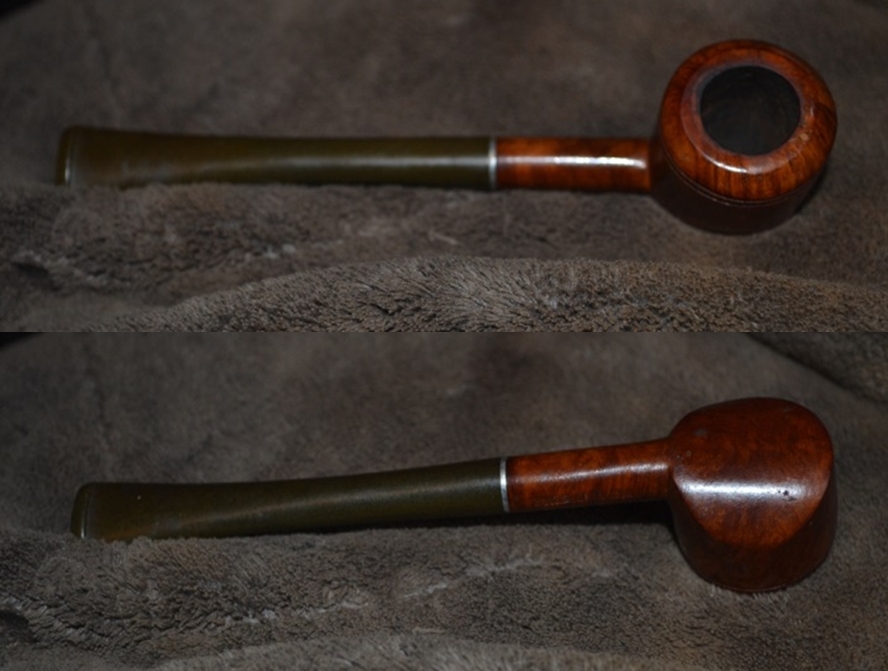
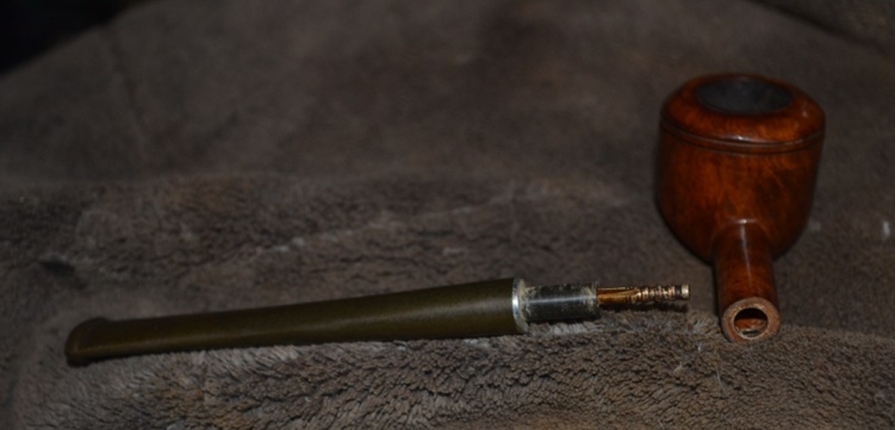
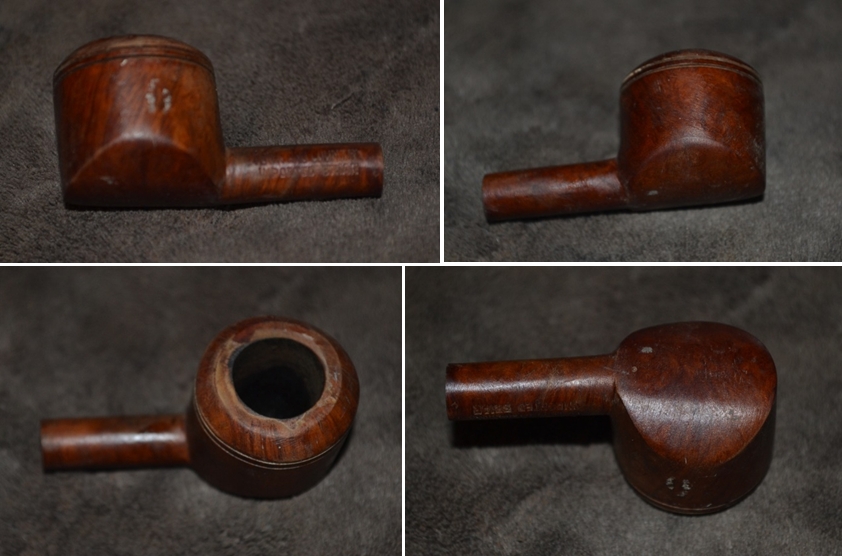
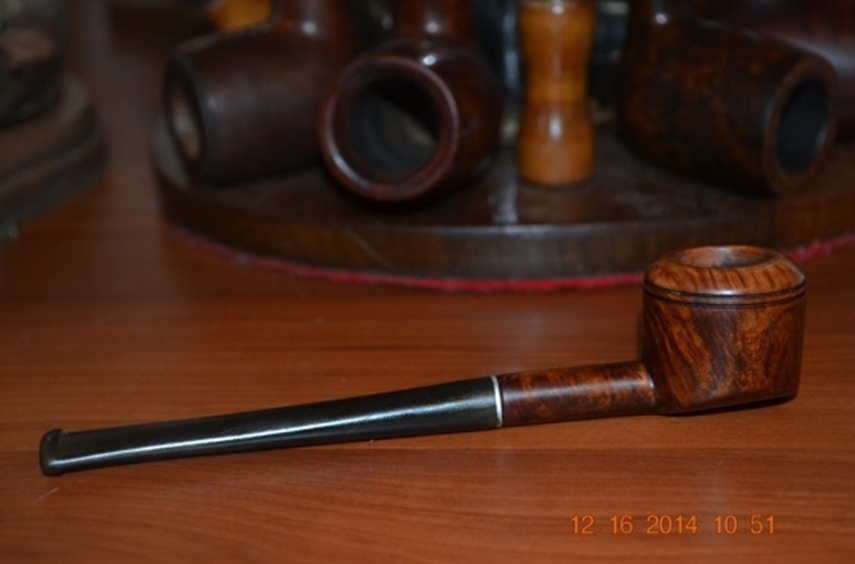
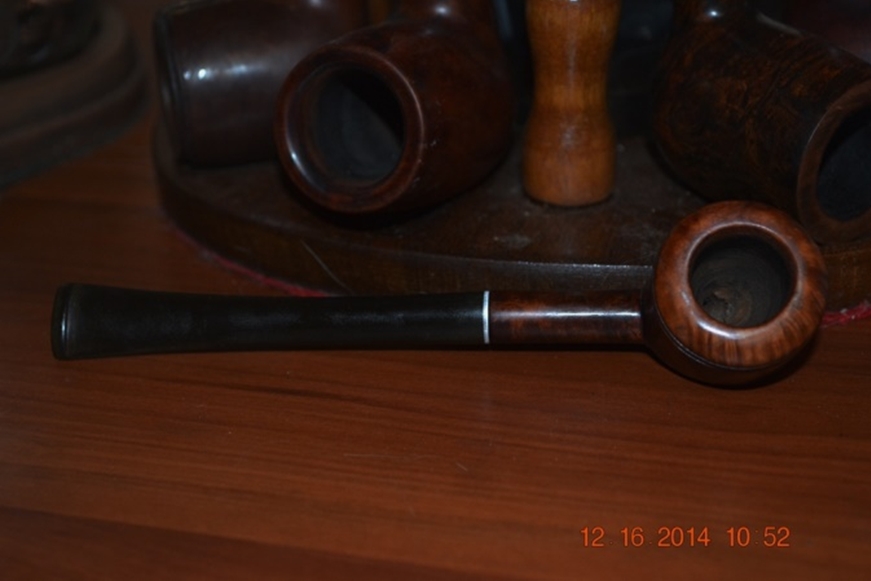
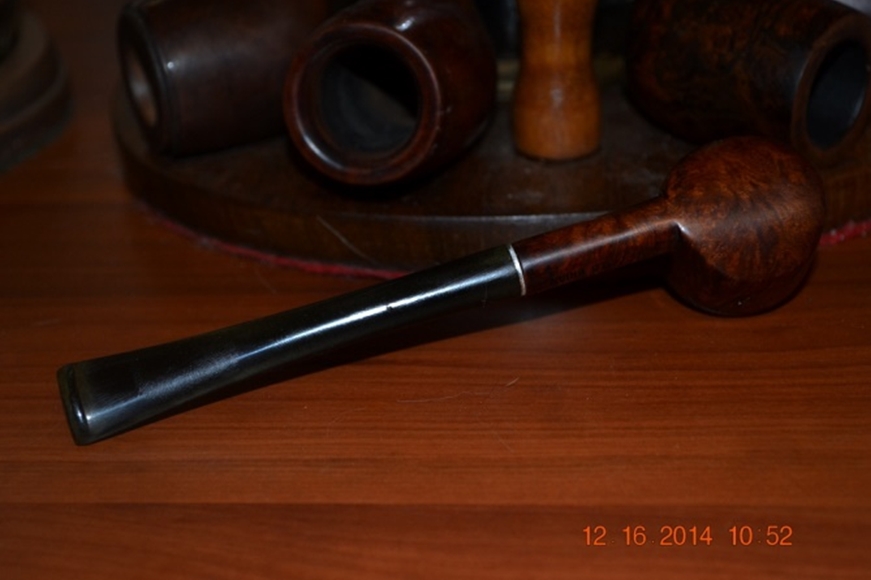
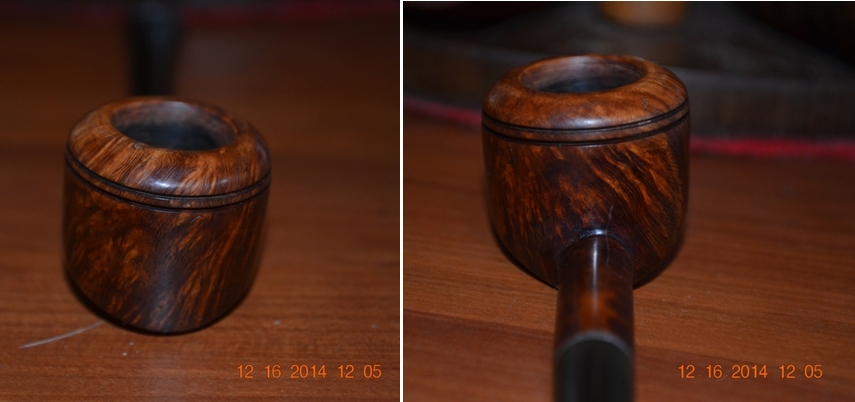
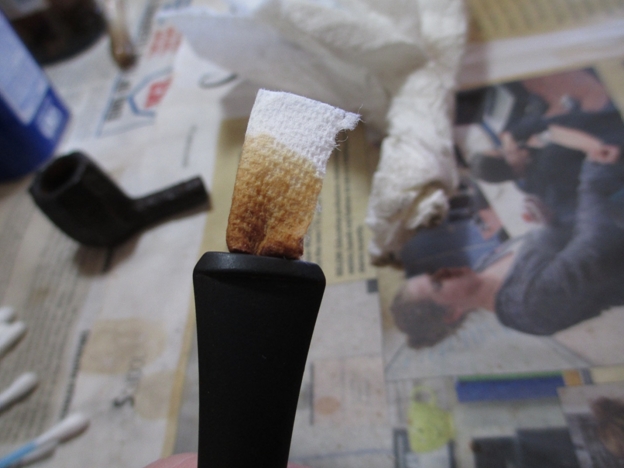
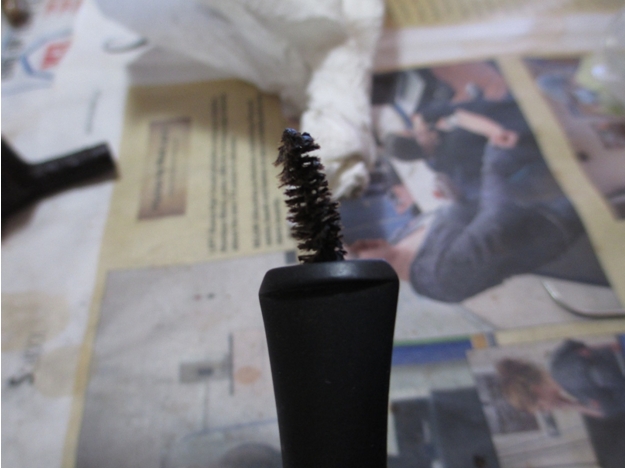
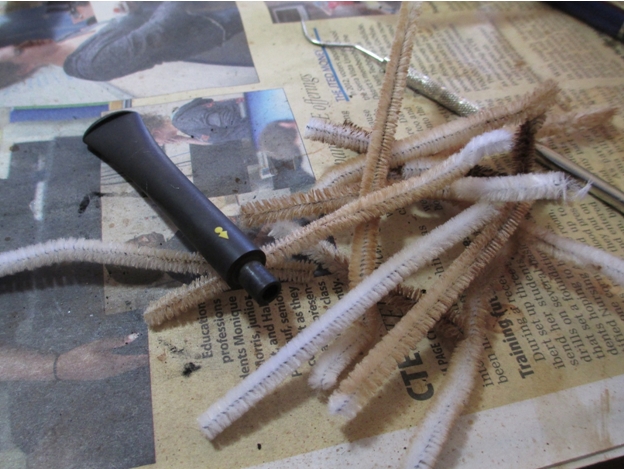
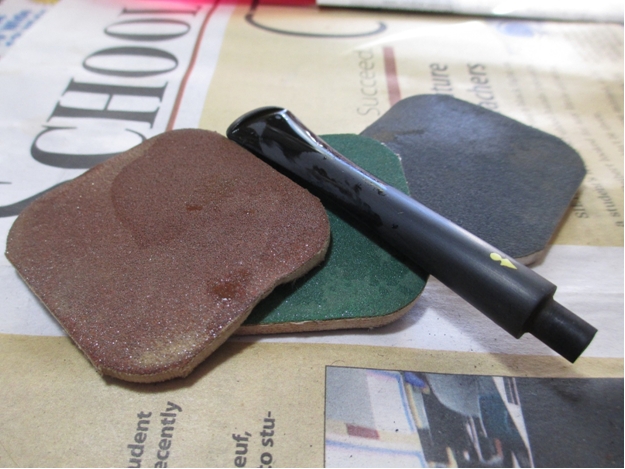
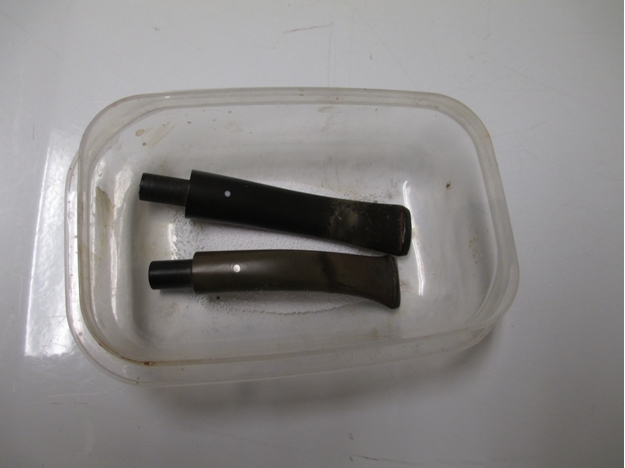
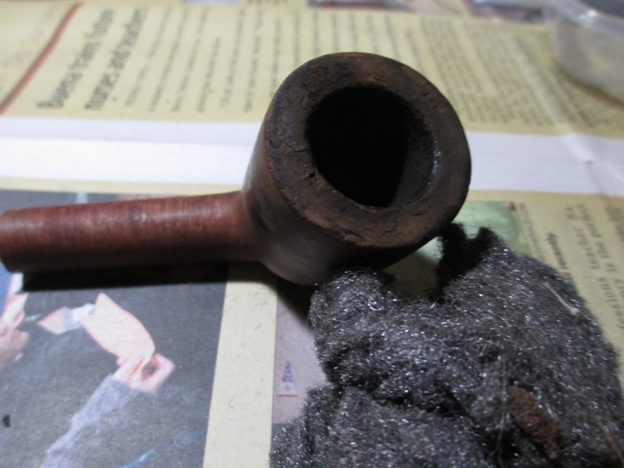
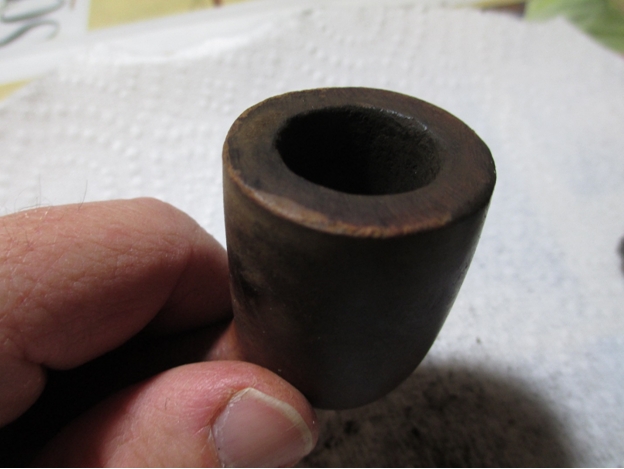
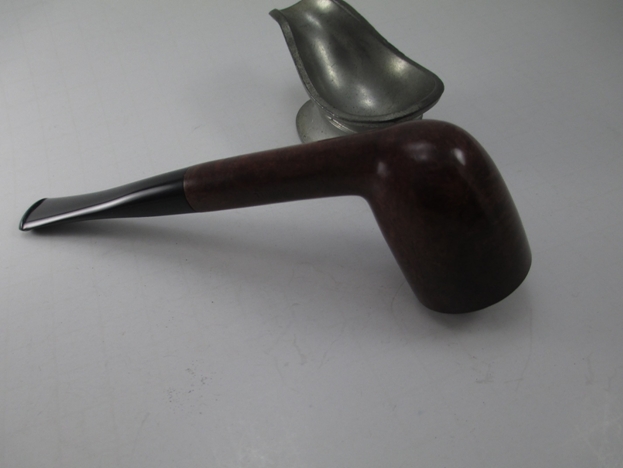
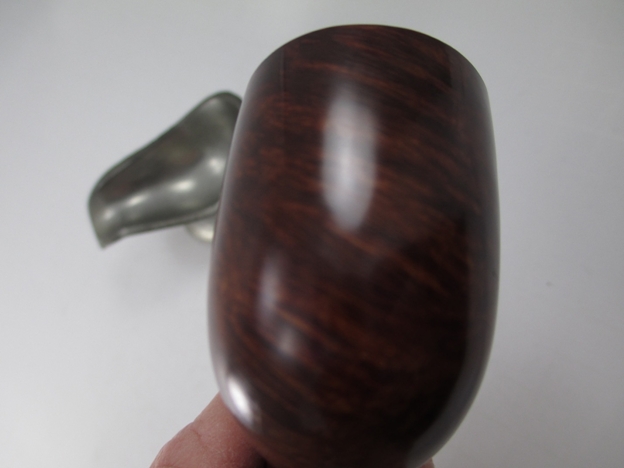
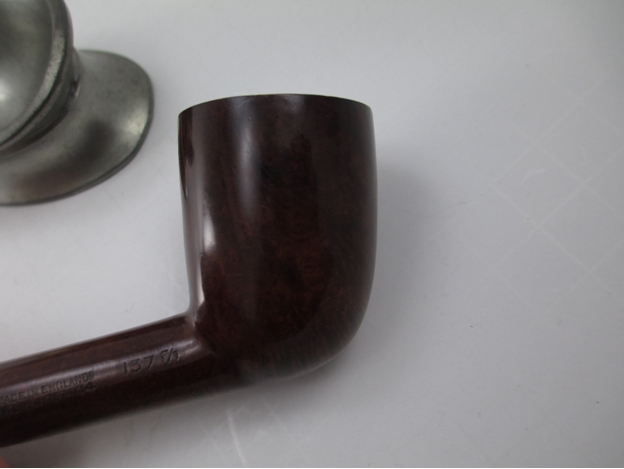
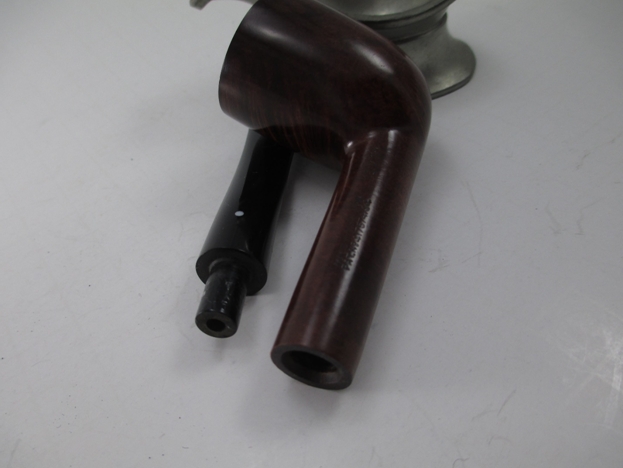
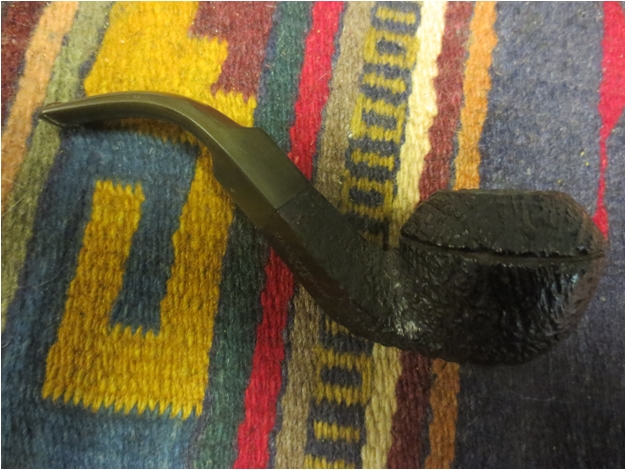
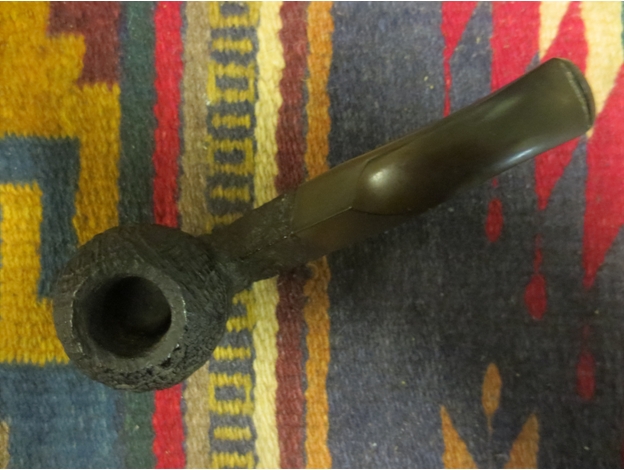
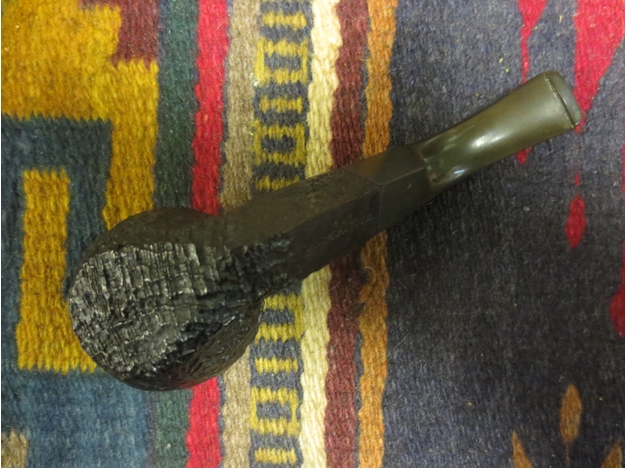
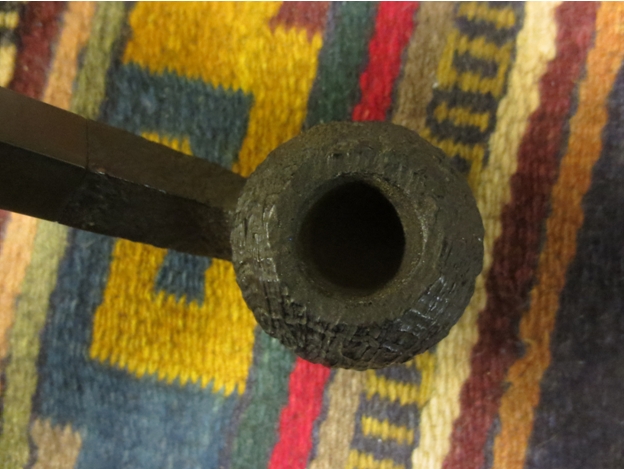
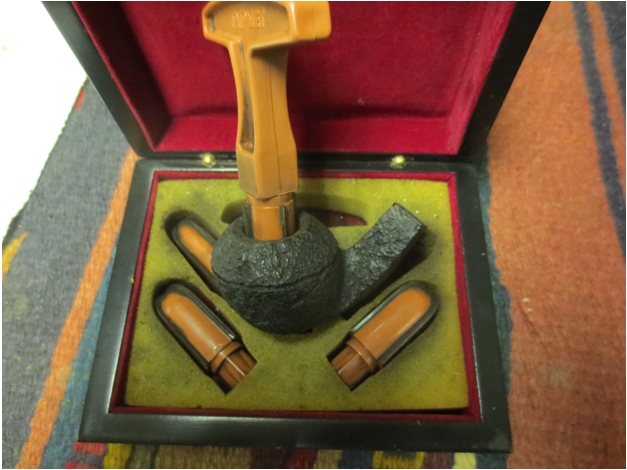
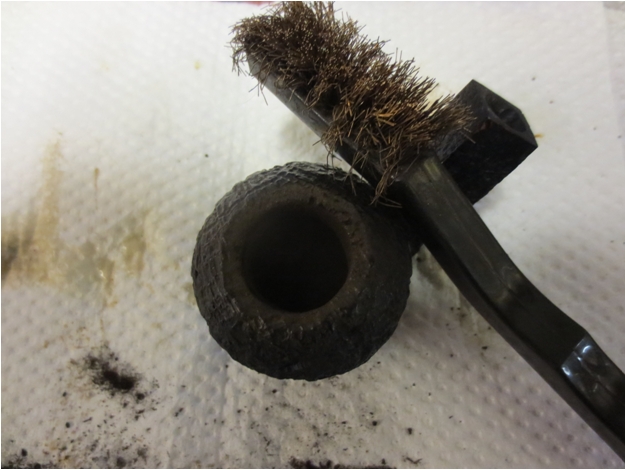
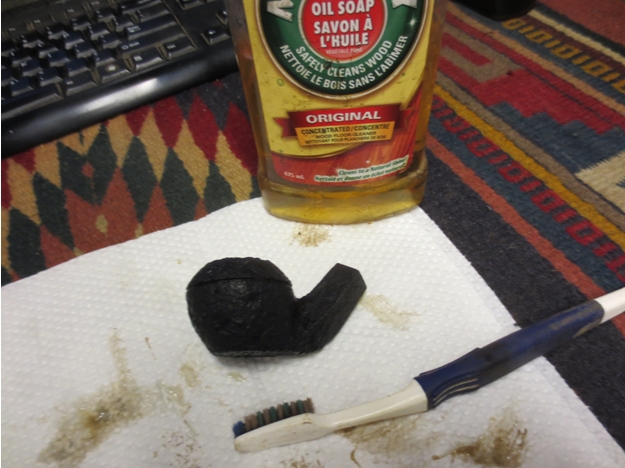
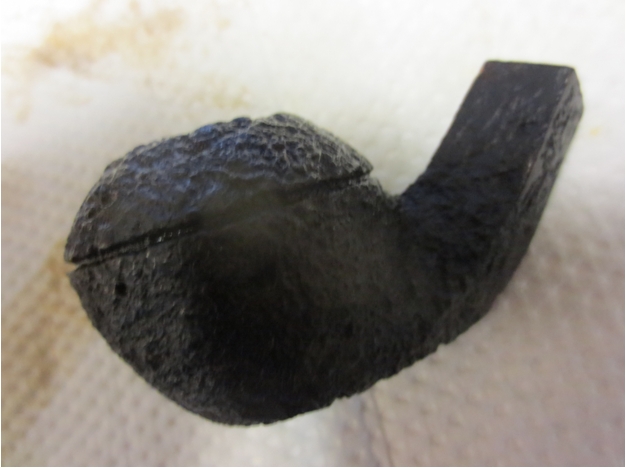
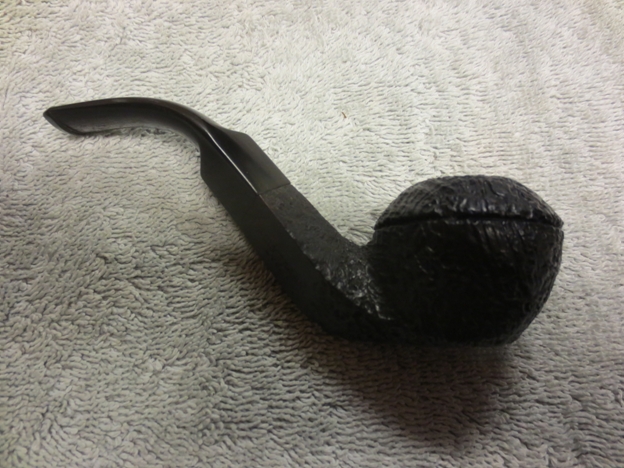
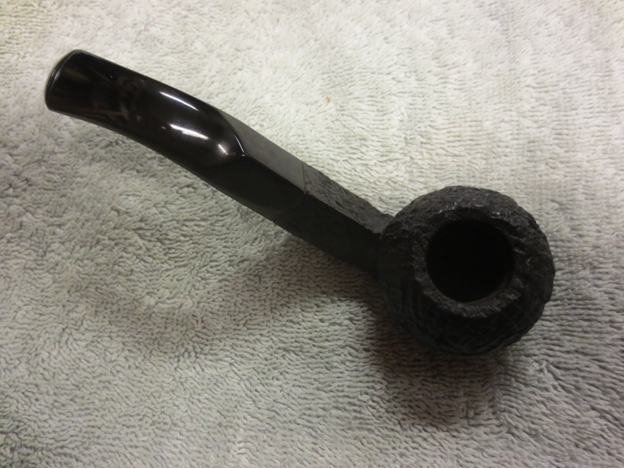
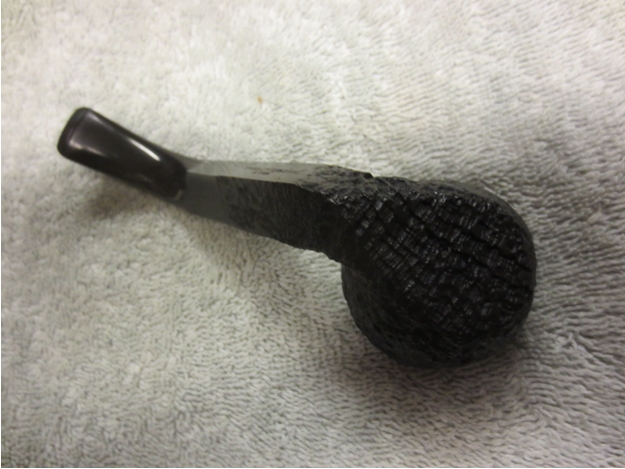
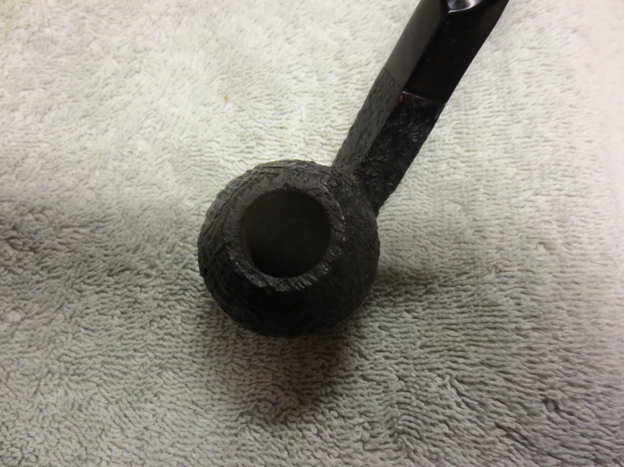
Tag Archives: micromesh sanding pads

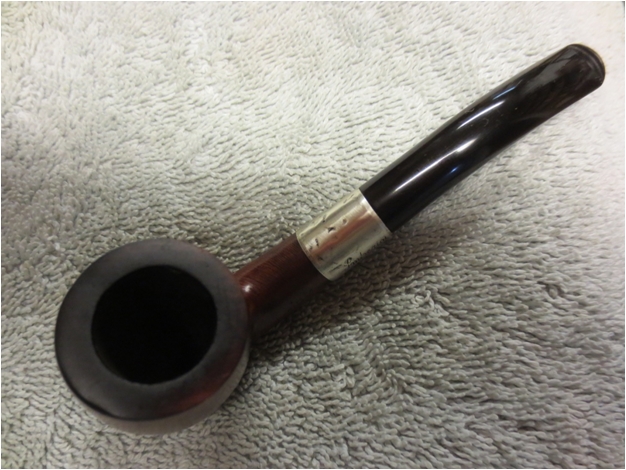
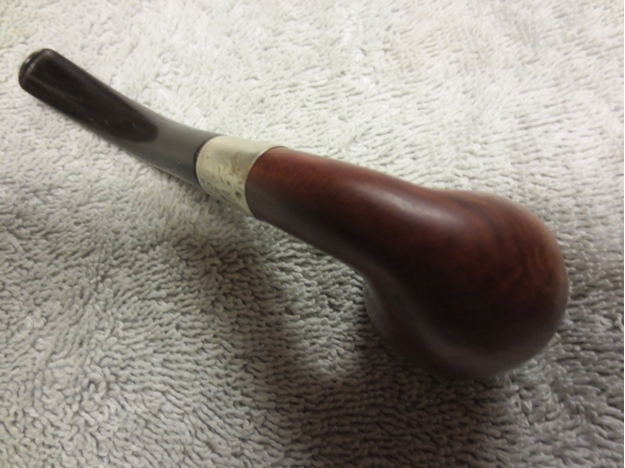
The Christmastime Joy of Refurbishing an Old Peterson


Guest Blog by Robert M. Boughton
Member, North American Society of Pipe Collectors
http://www.naspc.org
http://www.roadrunnerpipes.com
http://about.me/boughtonrobert

Photos © the Author

“Smoke your pipe and be silent; there’s only wind and smoke in the world.” – Irish Proverb

INTRODUCTION
Many of the pipe lots I purchased during the past few months were to spruce up and sell at my online restored pipe site, although I admit to liberating a few of the choicer finds here and there for my own collection. However,this fine example of a vintage classic Peterson and a number of other brands I bought as singles in more recent weeks were intended with lust a forethought for my own ultimate and lifelong use. As far as the Pete I just received is concerned, my decision to keep it was not based on the Peterson brand name, 22 of which I already owned.

In fact, I expected to add one of the Pete’s I ordered near the end of November to the trove, which seems to increase at an exponential rate and counts 23 now of this brand alone.I chose instead to list the fine pipe for sale for disparate reasons even I find difficult to explain. My penchant for anything Peterson is so well known that my announcement on the Smokers Forums of my plan to sell the K&P System Standard brought a humorous reply: “I thought you’d never say ‘Enough Petersons.’ ”

My decision to sell the basic K&P System Standard full bent which, when I at last held it in my hands, was similar to some I already have, was based in part on that factor but, more to the point, it somehow lacked the certain element of instant overwhelming attraction which is too complicated to describe in this forum, and besides, I am sure anyone who reads this already knows the butterfly effect all too well. I am also adding higher-end pipes to my site and concluded a shiny new-looking Peterson would provide a nice incentive to someone out there in Cyberland who possess the essential sense of captivation to give it the loving home it deserves and not enjoy it once or twice only to put it in the rack and almost never again give it a serious thought.
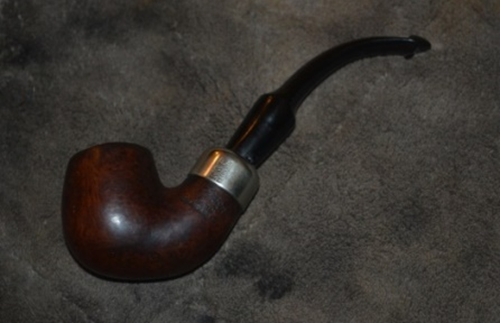
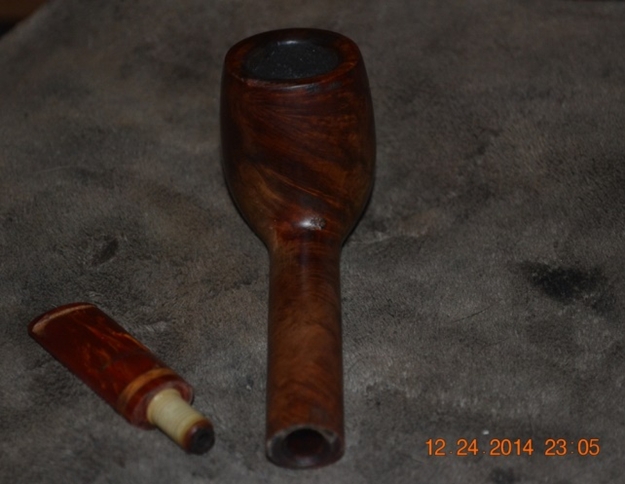
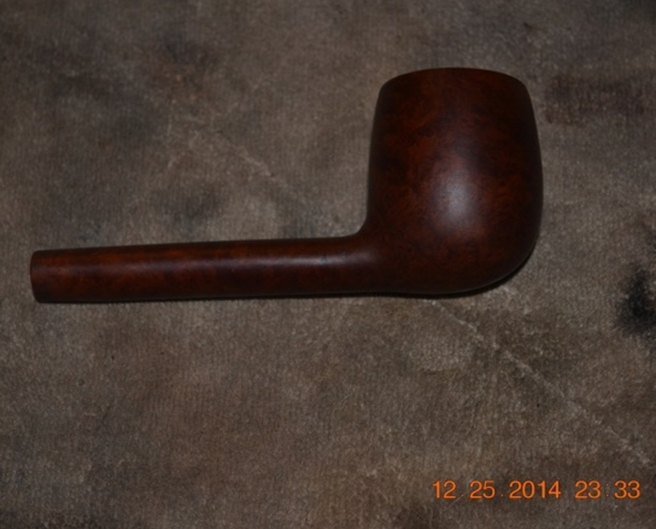
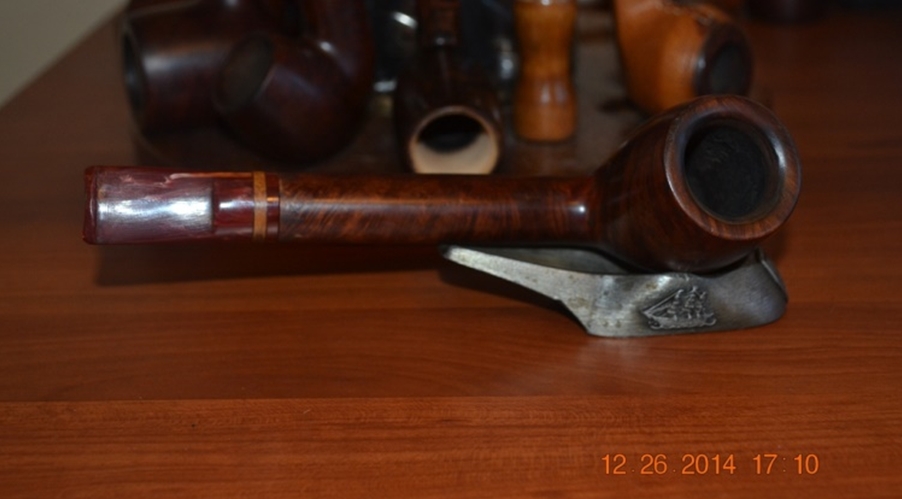
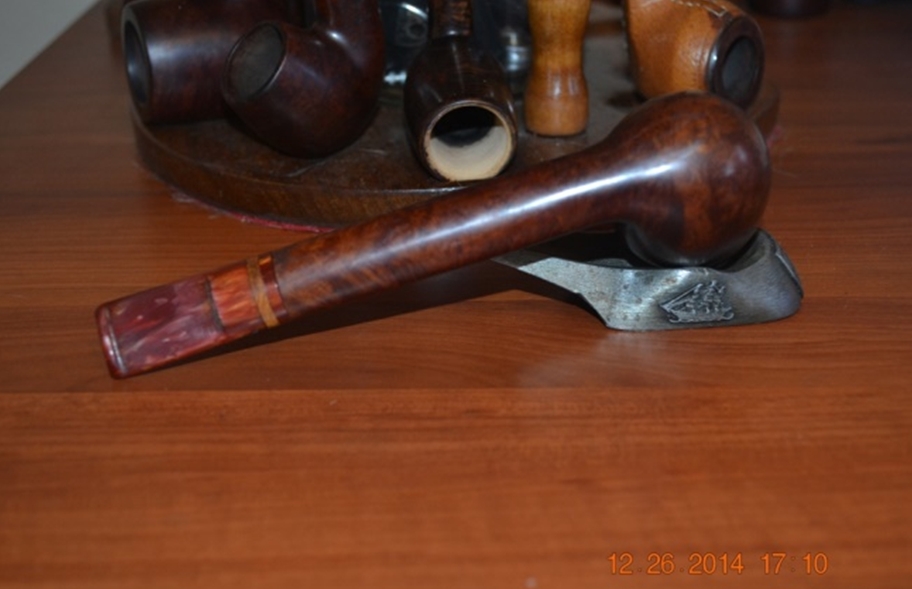
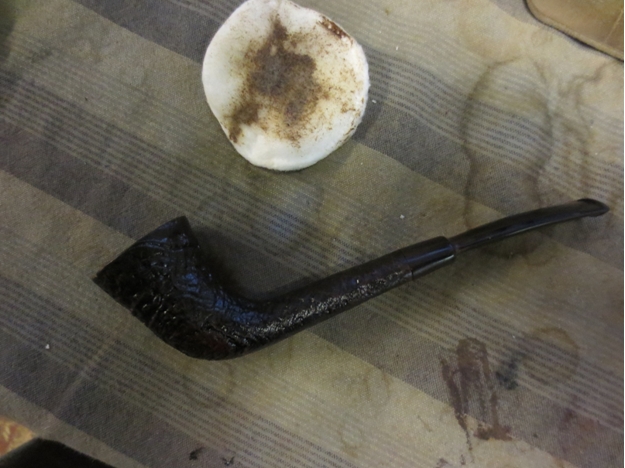
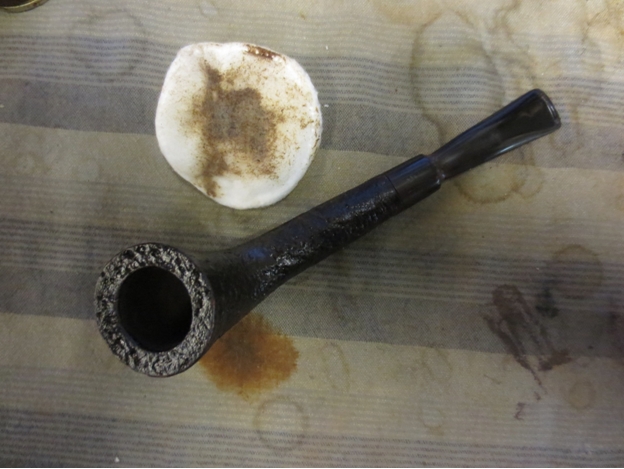
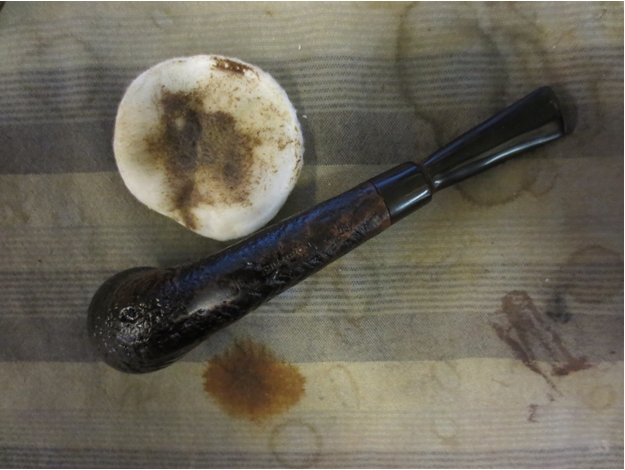
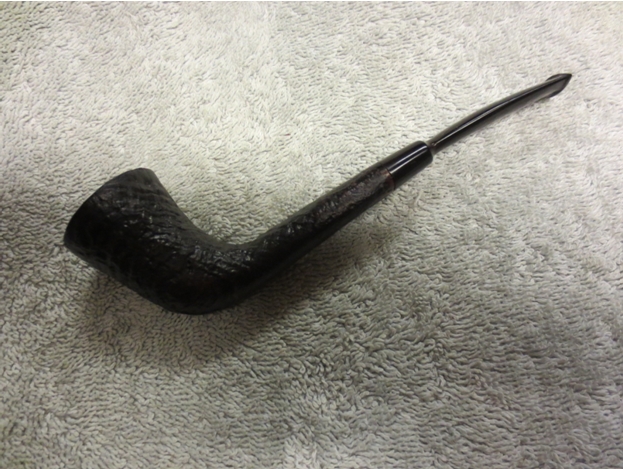
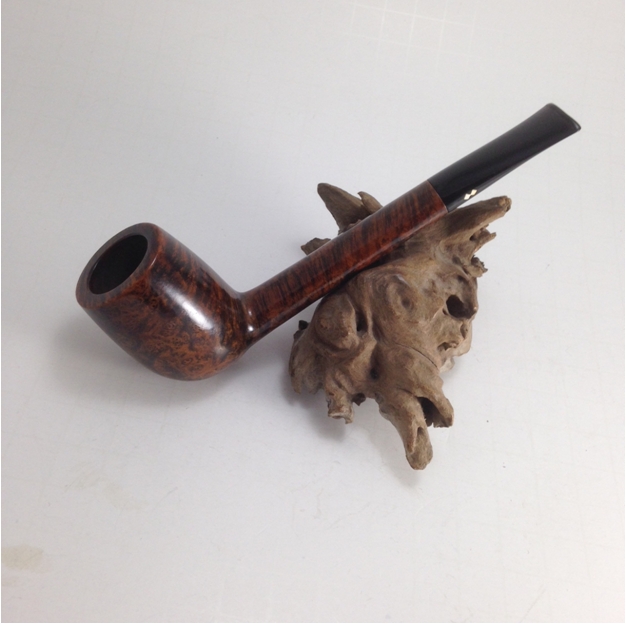
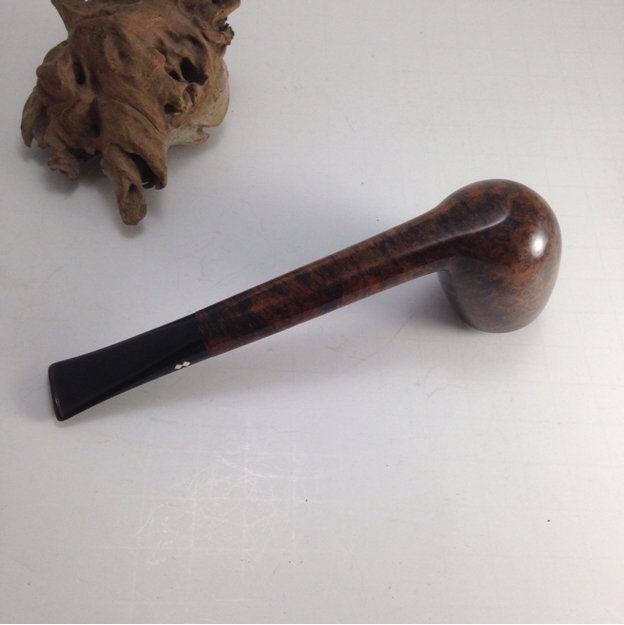
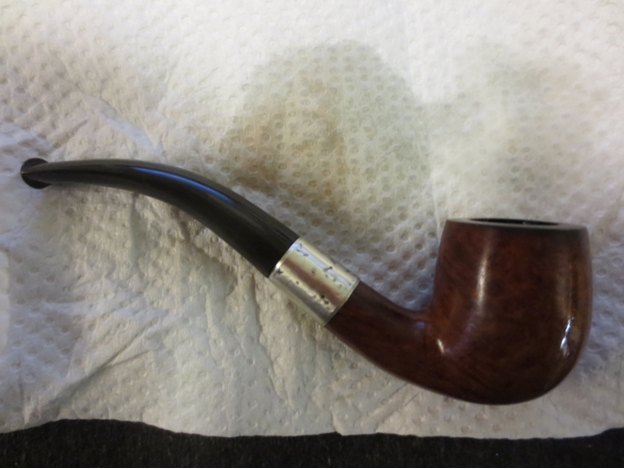
Robert1And I should add how any potential rarity or value of the engaging pipe shown here pre-restored is irrelevant to my sentiments for it. No, I reserved the Peterson Dublin Republic Era straight billiard for my own caring use even despite its mixed grain because it, well, possesses the right stuff as defined by my personal sensibilities. Who knows? Maybe the System Standard full bent is an extraordinary find. I just don’t have eyes for every pipe that comes my way as I do for the subject of this blog.Robert2
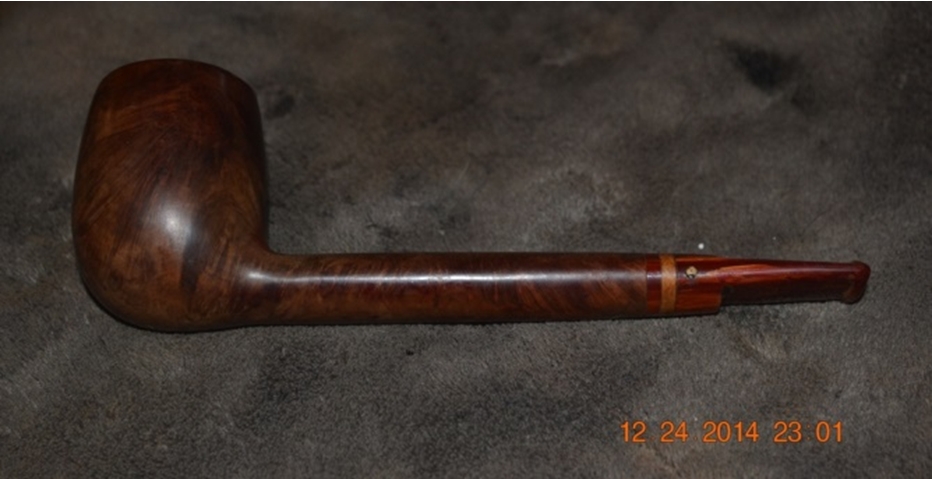
Robert3

Robert4

Robert5

Robert6

Robert7

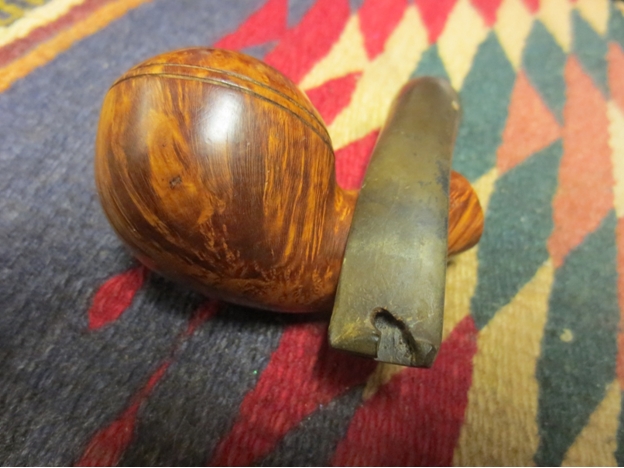
Perhaps the strongest tug at the curious side of me was the stem, which is perfect except for one tell-tale sign that it is not the original for this Made in the Republic of Ireland Peterson. Clear as day on the left side is the symbol that identifies it as a Peterson stem made for a pipe manufactured in France: Robert8
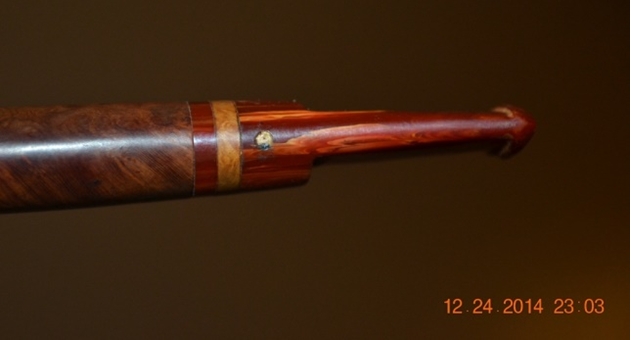
Now that’s one kind of oddity that always endears a pipe to me on first sight.

REFURBISH
First, as the word refurbish suggests, this was, for the most part, not a difficult task. The only actual problem was removing the cake buildup from the chamber, where I started.

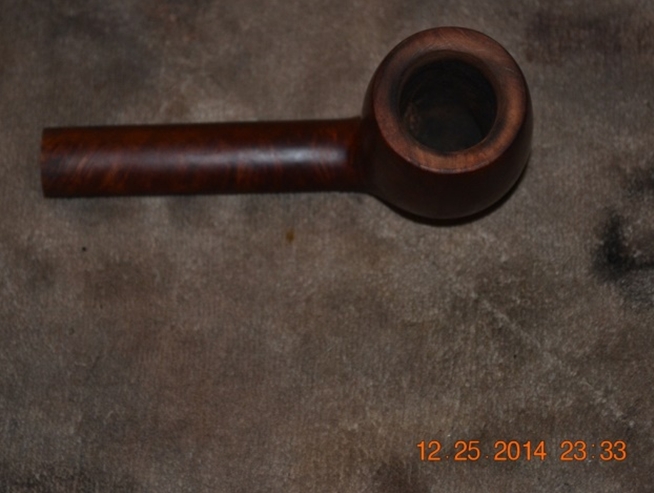
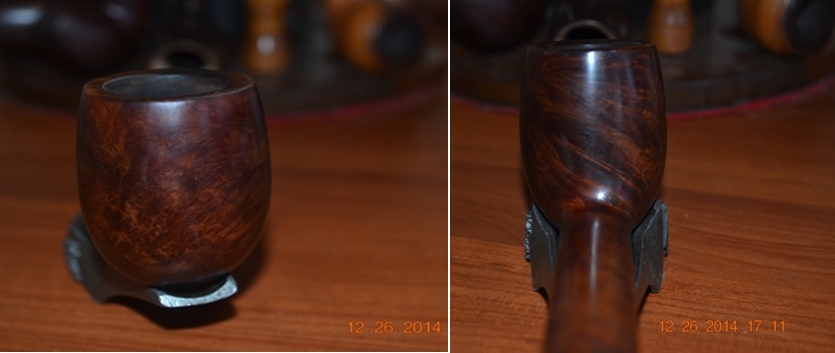
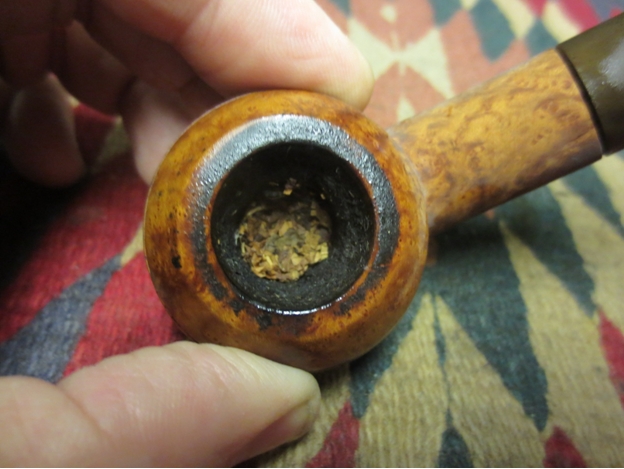
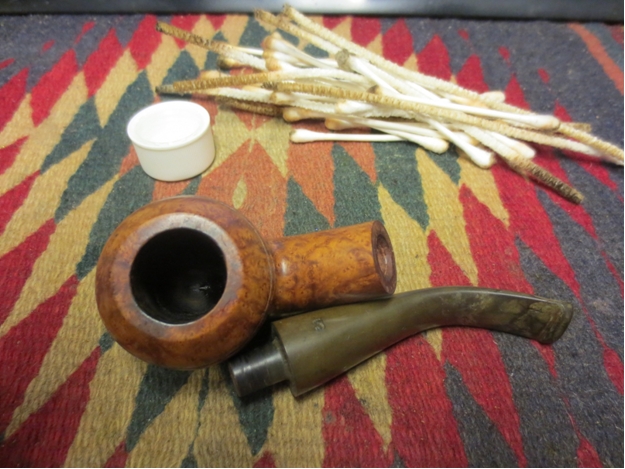
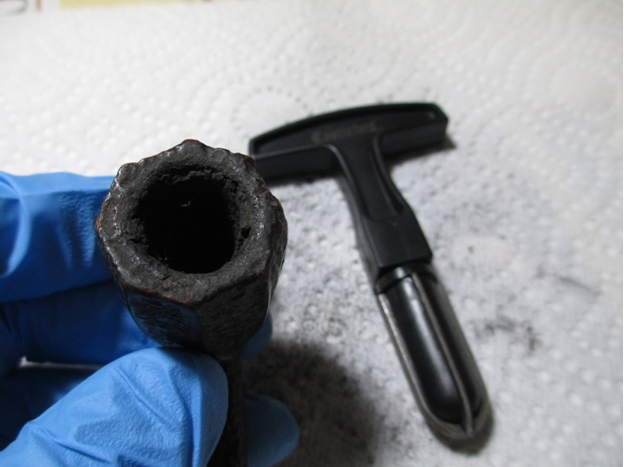
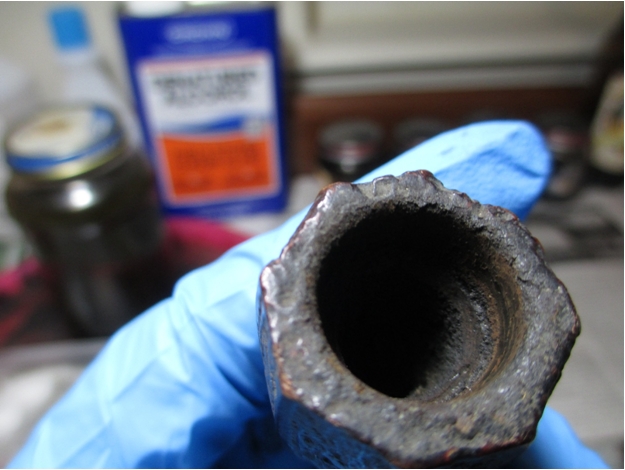
For the most part, in my experience at least, even cake this bad comes free without a fight and leaves the chamber relatively smooth. The third photo above does not do service to the way the cake tapered downward from more to less. This turned out to be one of the ordeal varieties, not a piece of cake at all. (I know, and tender my apology now.) I started with the 19mm reamer since most of the carbon mess was at the top, and it fit about halfway down with snugness. Several laborious full turns later, applying just enough force to see the reamer moving a bit lower, I paused to dump the carbon dust. Seeing the huge amount that fell out, I took another close look into the chamber and was amazed to see not only that the upper bowl needed much more work, but that the bottom was unfazed.

And so I switched to the 21mm reamer that was barely able to clear the inner diameter and gave the entire area a go with several more intense turns, using pressure again to reach the real bottom. Another massive amount of carbon fled the chamber as I turned it upside-down over a proper receptacle. Then, sticking with the bigger reamer, I engaged the entire enemy for the first time. The biggest load of carbon so far emptied out, and after I blew through the shank, a thick dark cloud of dust flew through the air, reminiscent of Victorian Era London skies as described by Charles Dickens with much greater skill.

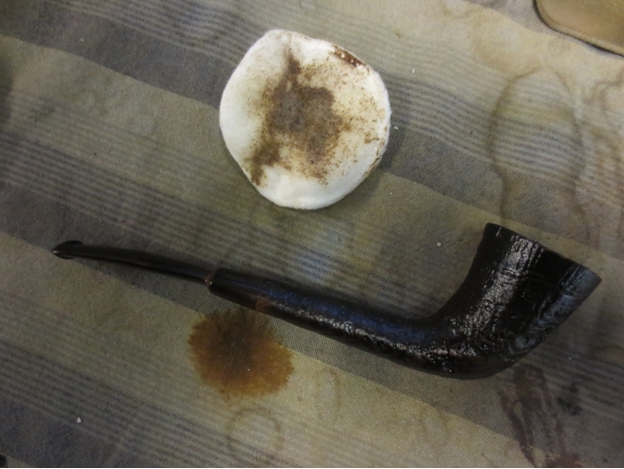
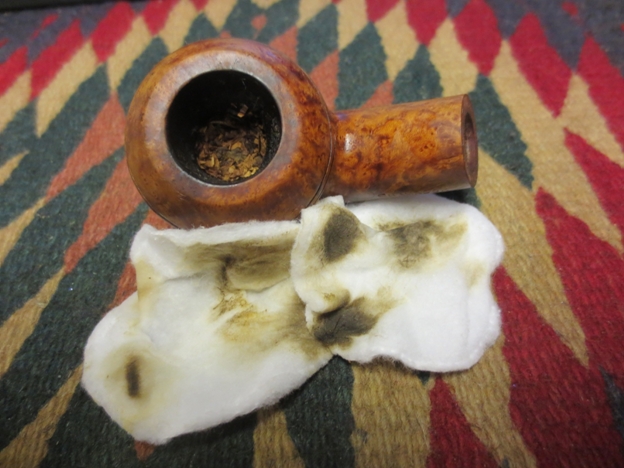
I soaked a couple of small squares of cotton cloth with Everclear and folded them around my middle finger to insert into the chamber and scrub away much of the residual grime. I did this with both sides of the cloths. Waste not, want not and all that. Of course the wet cotton came out soaked solid black along with part of my finger, but I allowed the alcohol to dry a little as I halfway cleaned my begrimed digit before sticking my clean index finger all the way in and feeling the walls. They were pocked all over.

Reattaching the 19mm blades, I angled them first against the upper half of the chamber before adjusting them to favor the lower half. Much more carbon was loosened, and more alcohol-soaked cotton cloths wiped away the excess. Again I inserted a clean finger and used it to dig out little chunks of carbon. The chamber was better but still needed work.

I turned to a small piece of 200-grit sandpaper long enough to reach the bottom of the chamber with a little above the rim and wide enough to cover half of the wall. With whatever finger fit inside the chamber leaving enough room to press down against the paper and turn it with roughness 360 degrees a few times, I heard that old familiar fingers-on-chalkboard screech the entire time. But I felt the wall smoothing. The paper came out black, and I wiped it over a rag to remove the dust. Still again, a small mountain of carbon fell from the inverted chamber. Feeling the wall with a bare finger, I knew I had to get rough at last.

A perfect old piece of 150-grit paper presented itself for my use, and I went at the chamber again with real gusto. The fact that another pile of carbon was removed dismayed and discouraged me. I repeated the process several times, cleaned the chamber with cotton cloths and Everclear, and believe it or not, got the reward I had awaited with a clean, smooth finger inspection. So that’s my page and a half on fixing the dang chamber.

Next up on my itinerary was beginning the cleaning process of the shank. After about ten minutes of running a wire-handled bristle cleaner dipped in alcohol over and over through the inner shank, I saw it was having an effect and stopped to prepare for the retort.

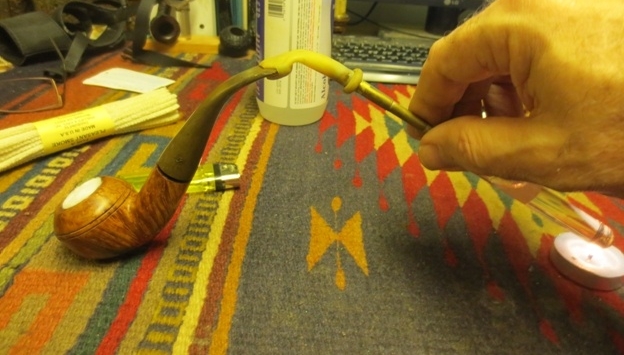
At this point I remembered the small stem was Lucite, which can be warped and ruined by alcohol. However, finding the task of attaching the rubber tube of the retort kit directly over the wide shank opening, and also locating no suitable temporary stem, I saw no choice but to take a chance. And so I connected the rubber over the lip of the stem and commenced the retort process.

Several test tubes of Everclear later, the shank at last came clean. Removing the stem as fast as I could and inserting a stem cleaner into it, where I let it stay long enough to dry, I found that it was intact. I completed the retort by removing the cotton balls from the chamber and using more cotton cloth to scour the chamber clean and dry and doing the same to the shank with a soft cleaner.

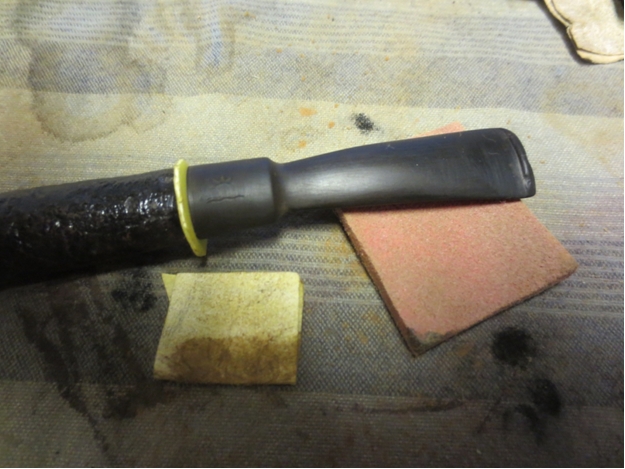
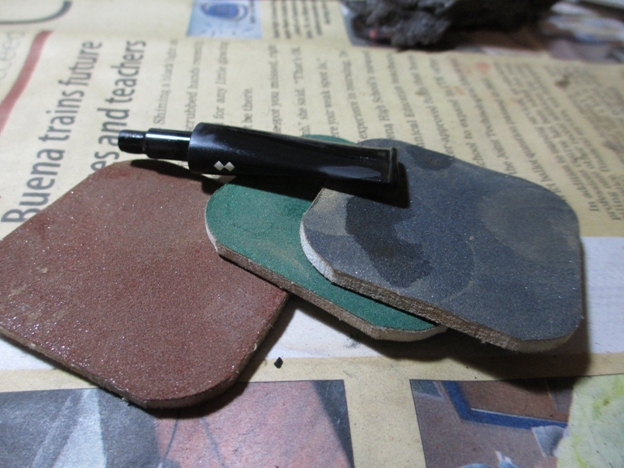
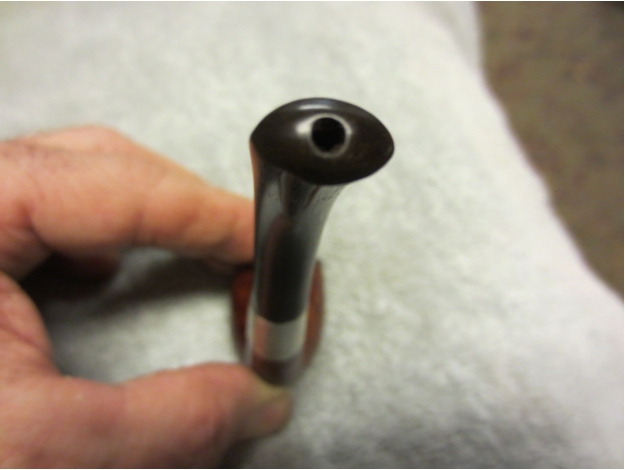
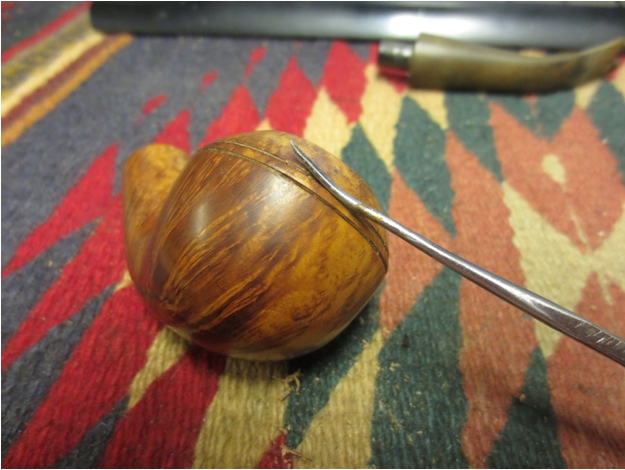
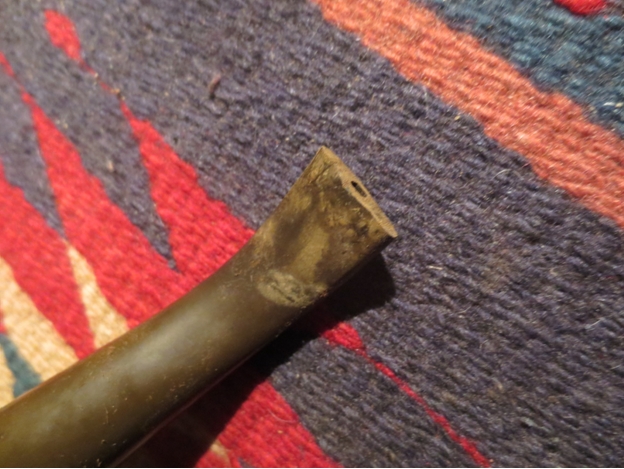
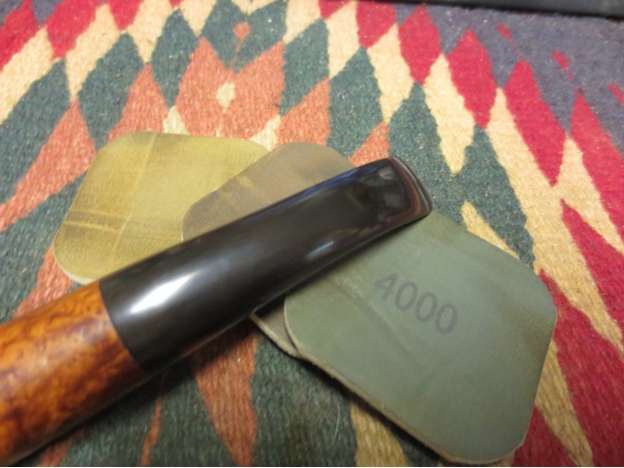
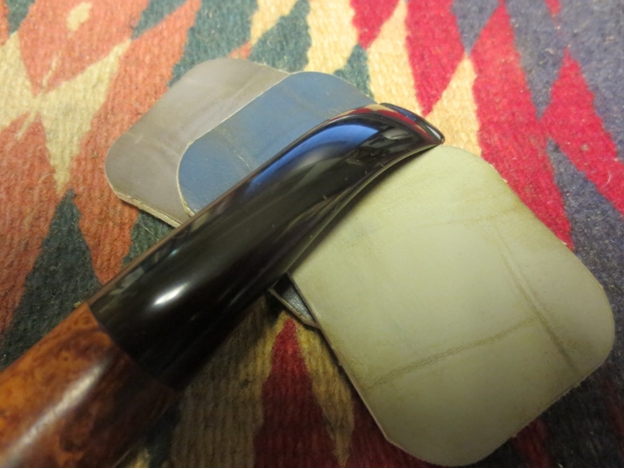
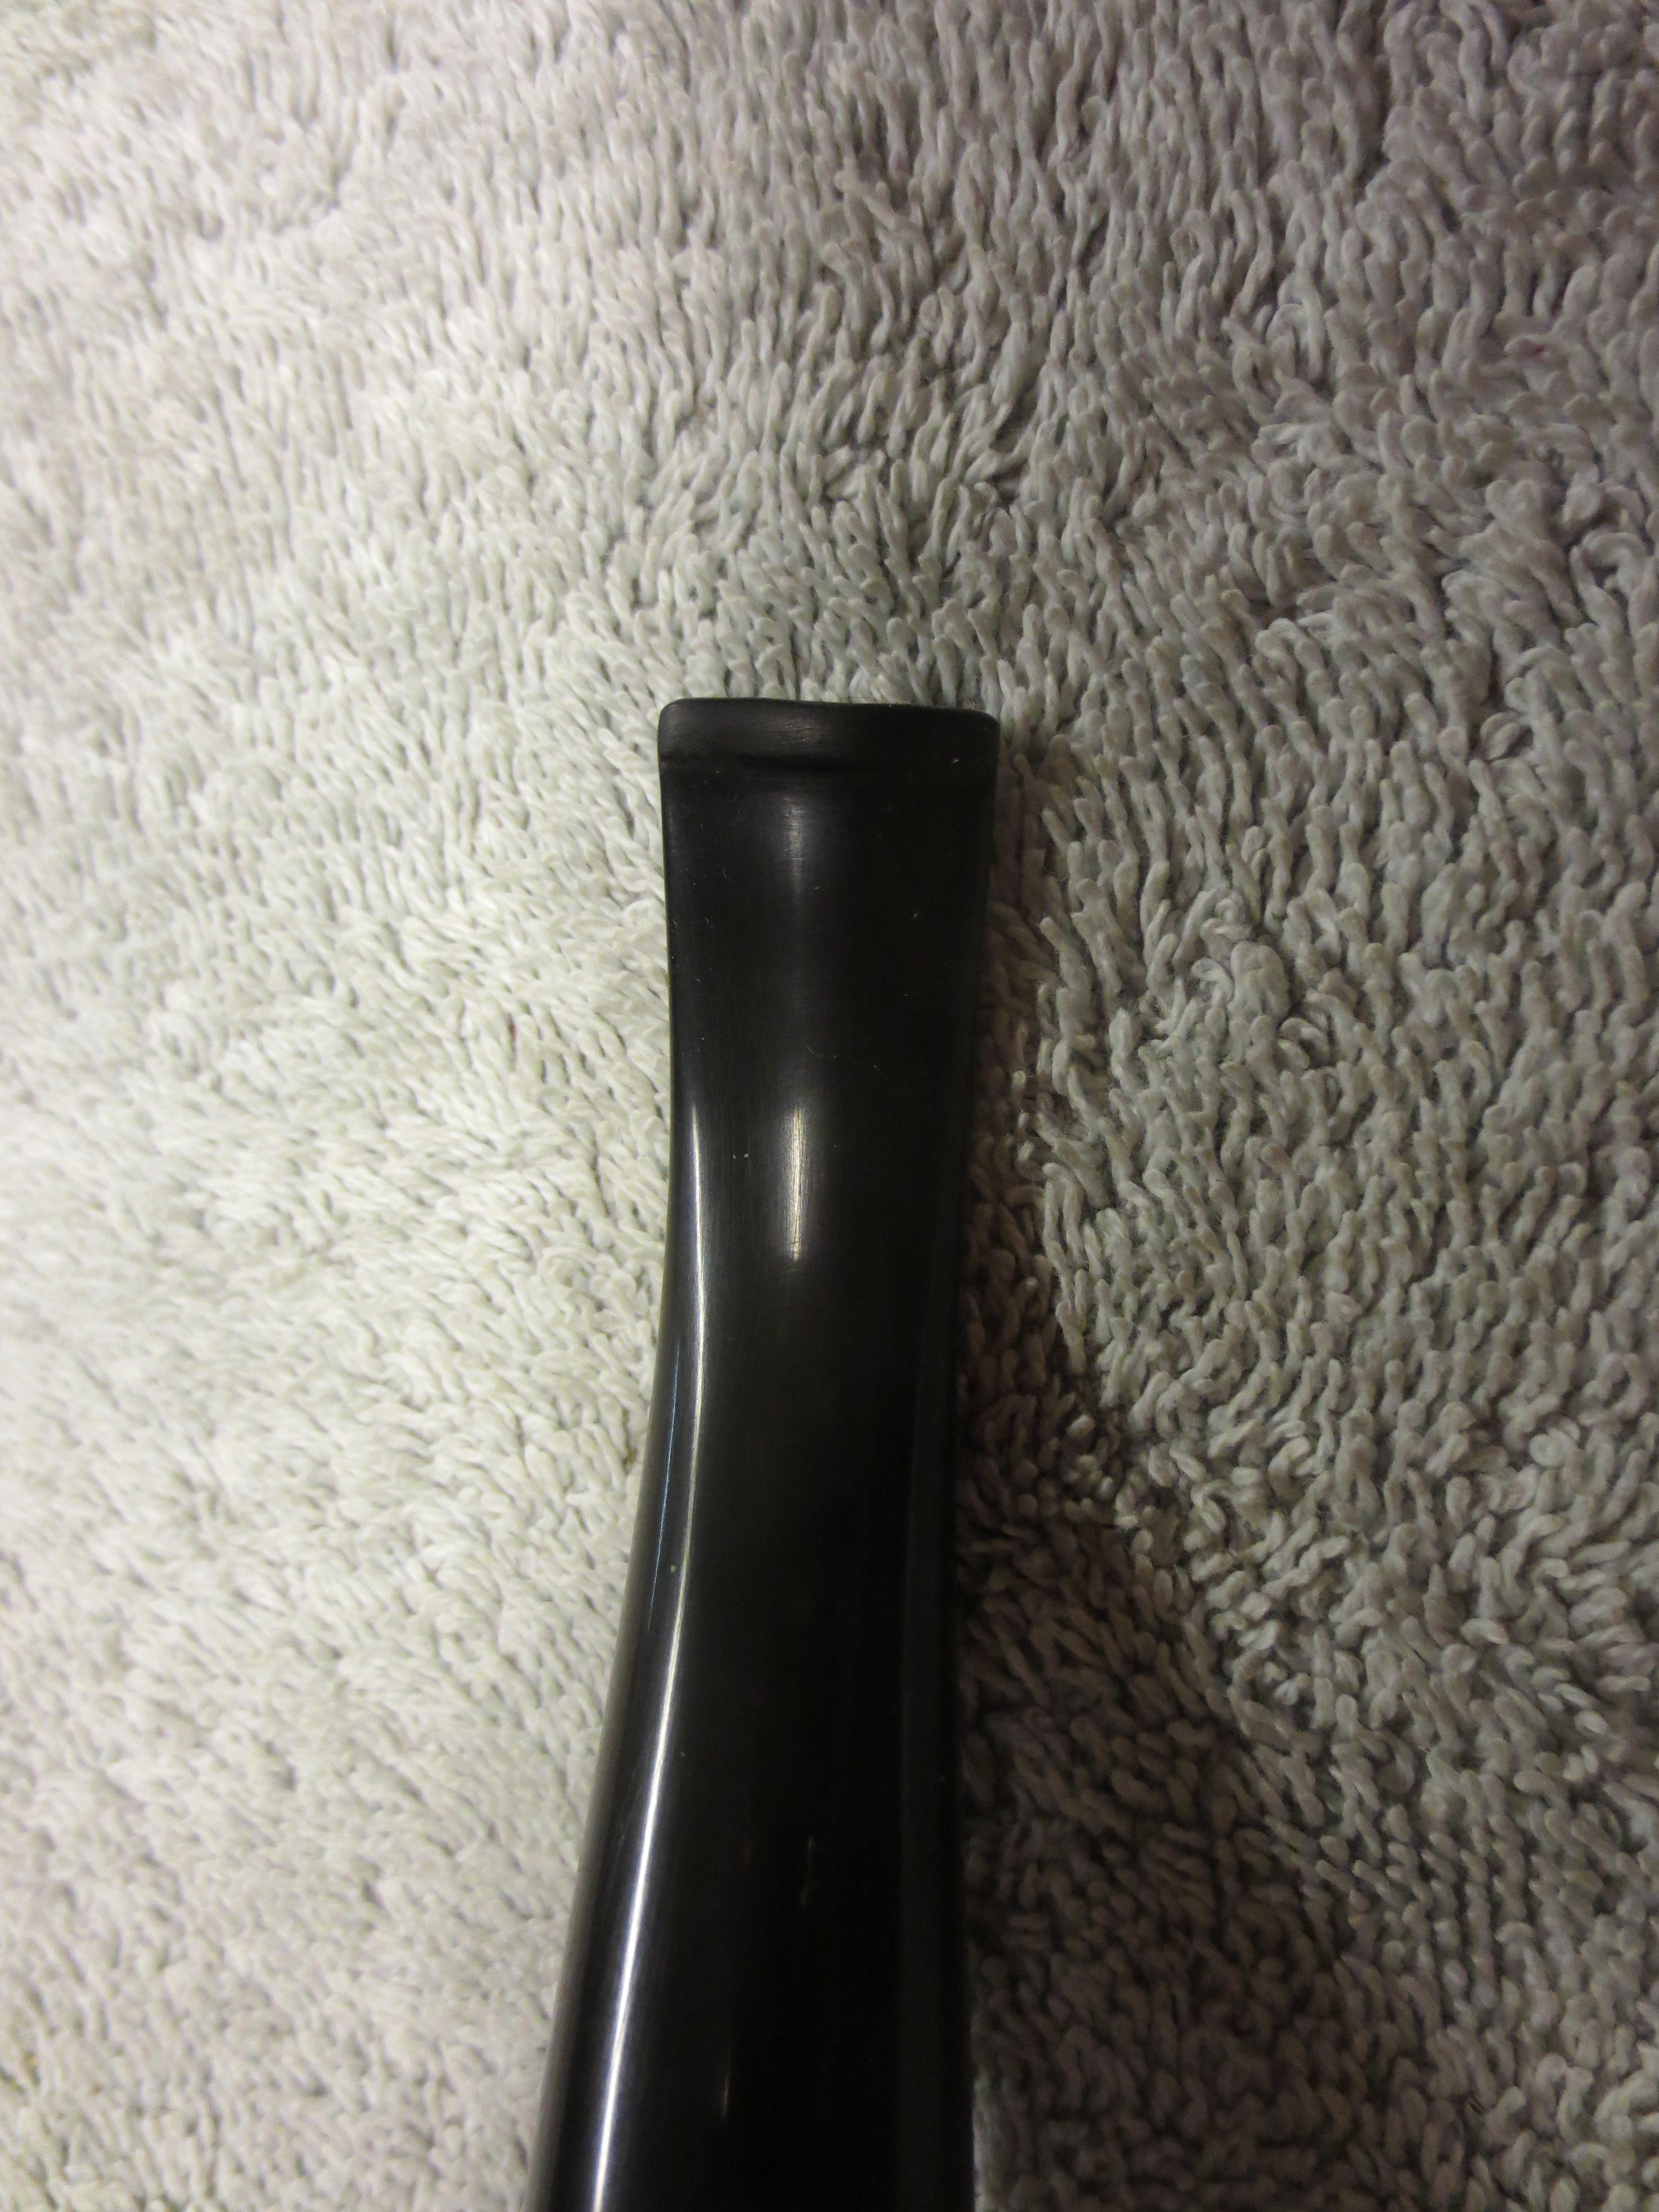
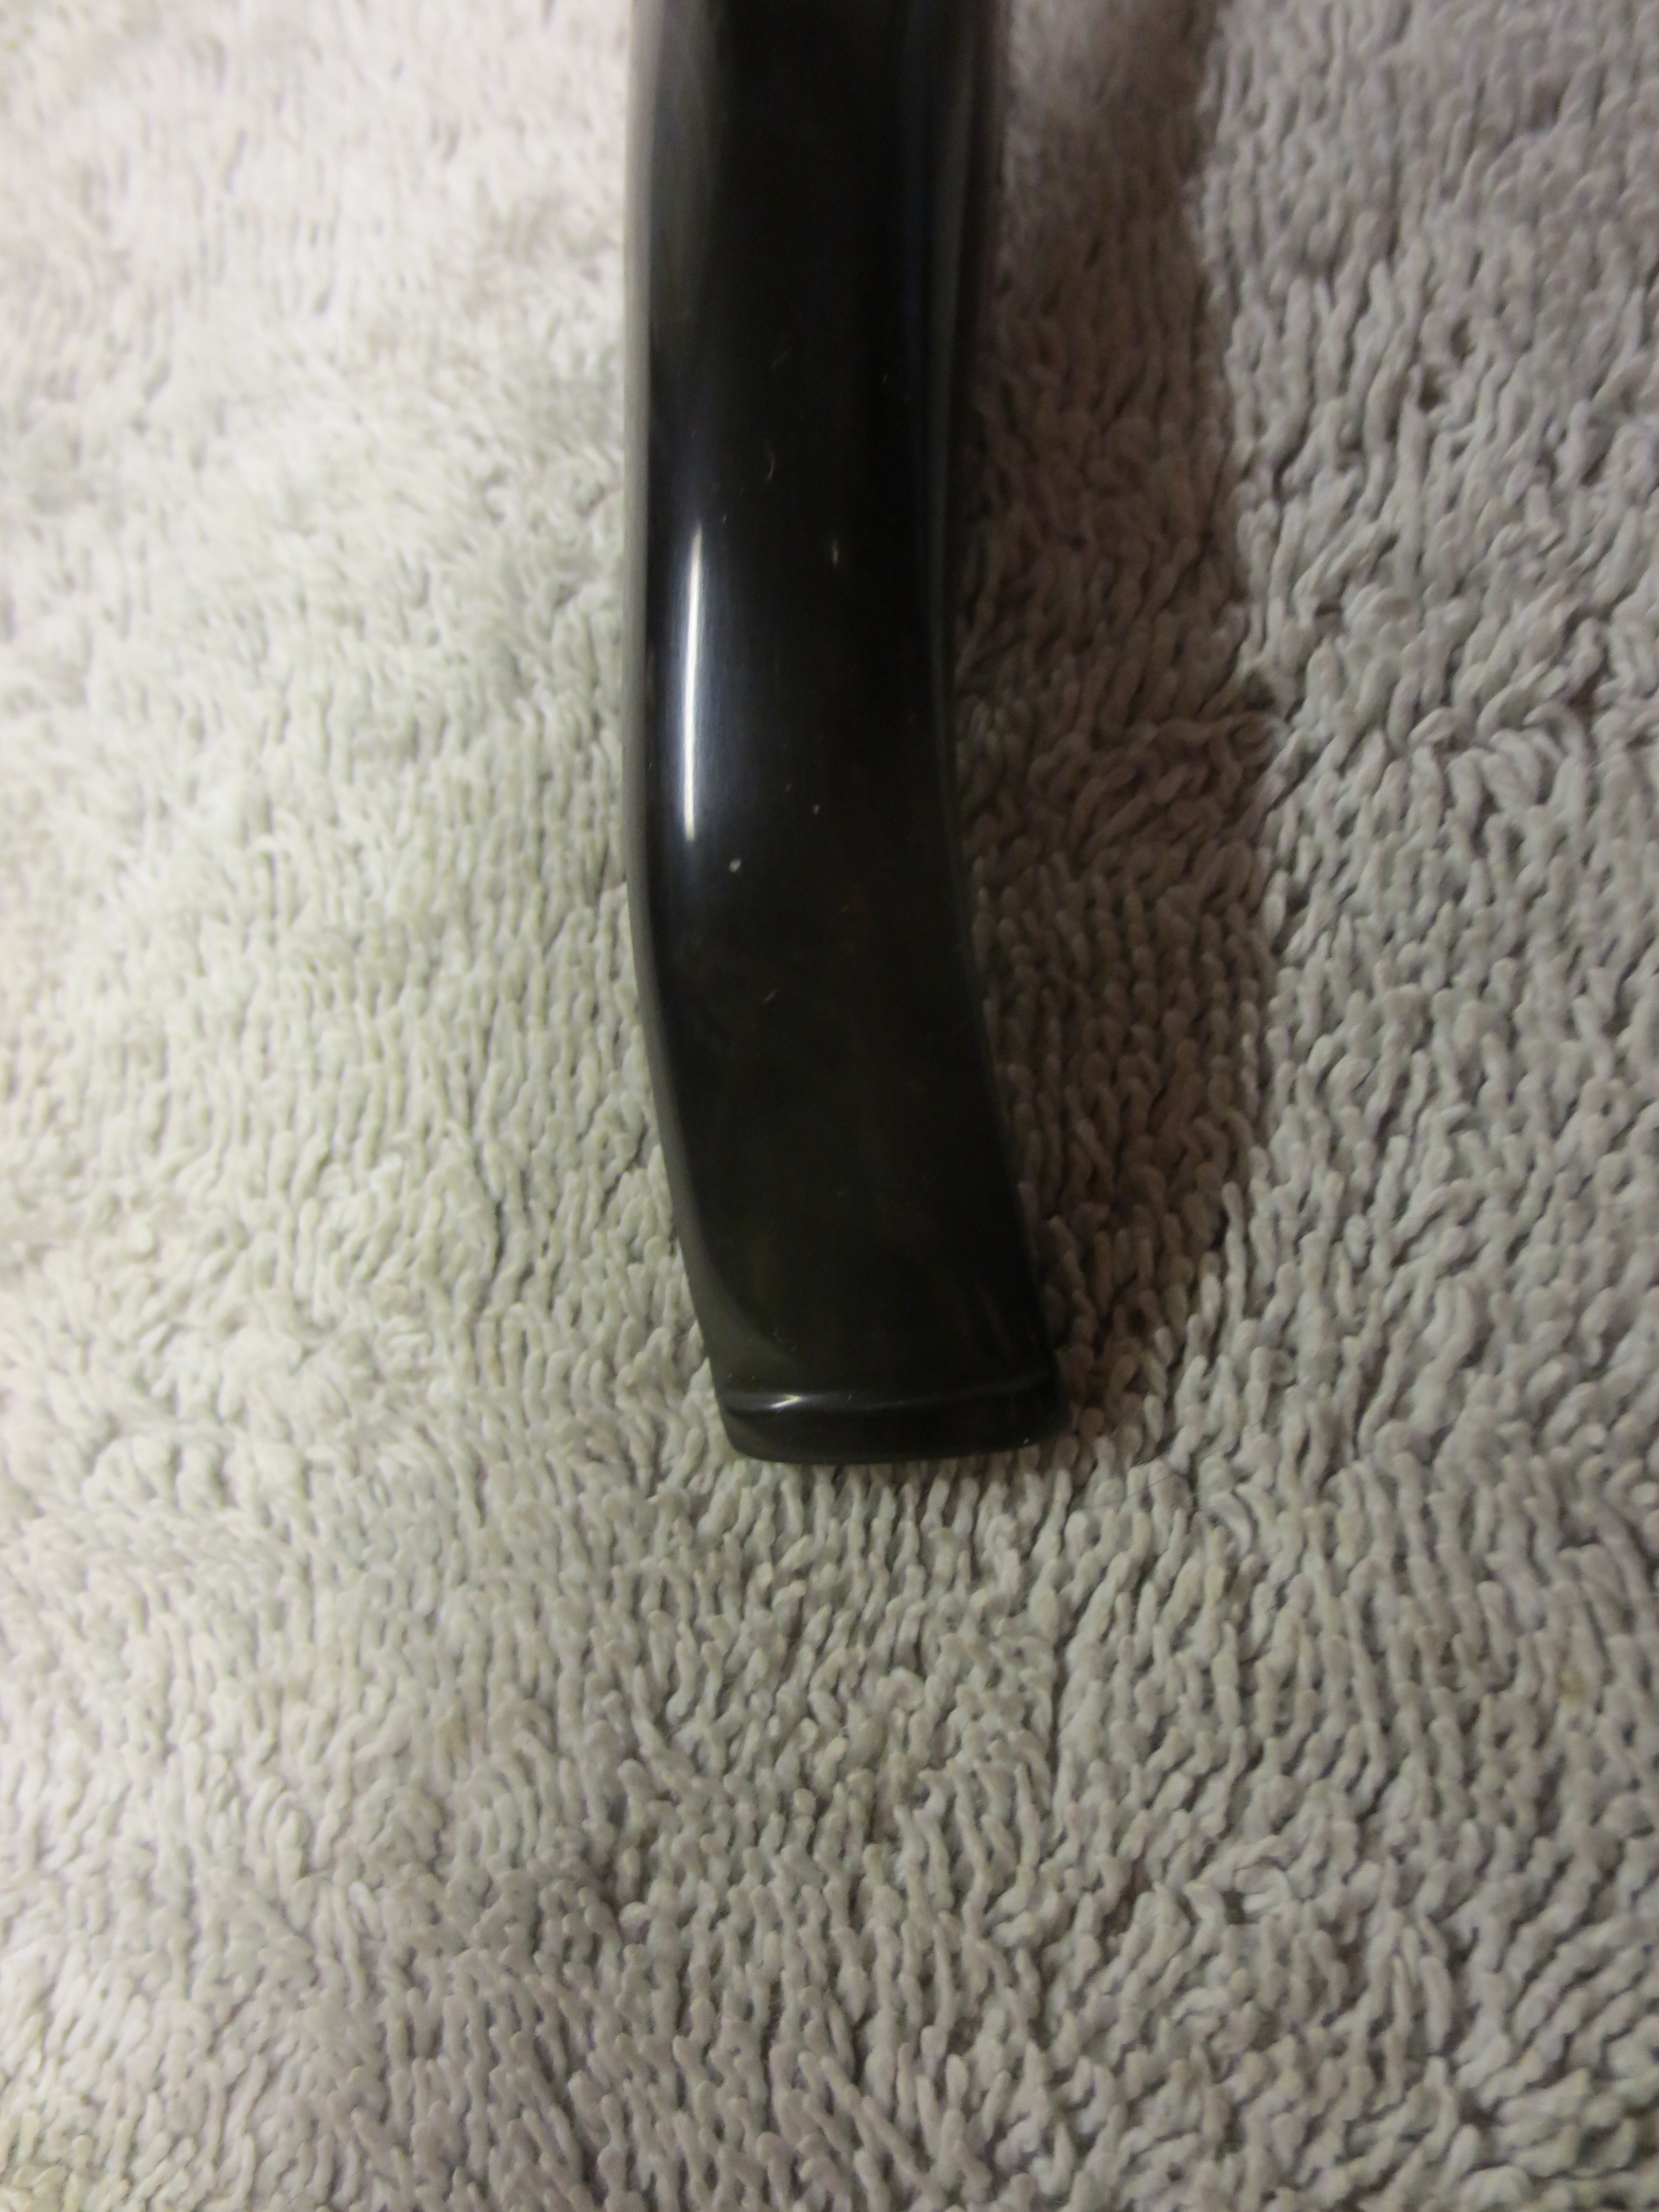
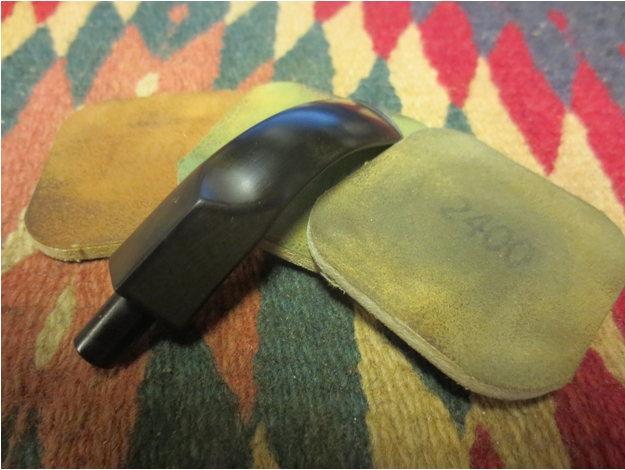
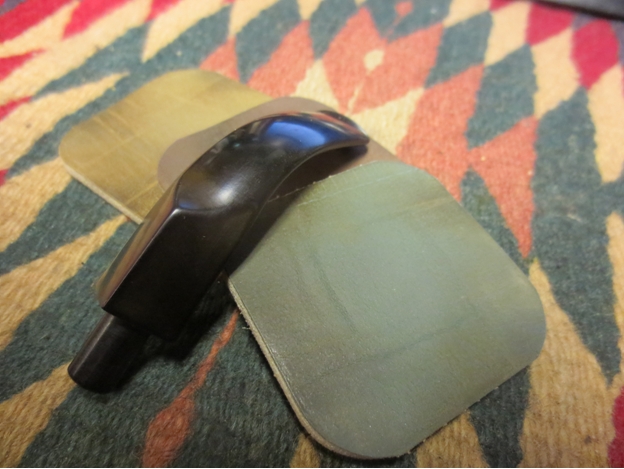
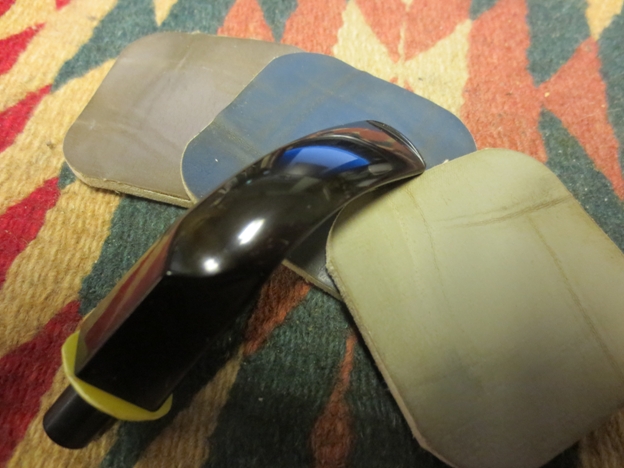
The stem, as nice as it was, still had a couple of minor bite marks and other blemishes I might have ignored with a pipe I was keeping, but I couldn’t do it.Robert9The ease of removing the bitemarks and other marks with 400-grit paper came as a happy surprise. While the sandpaper was handy, I cleaned the shank opening, as you will see below. After that all I needed to do was micromesh the bowl and shank with 1500, 2400 and 3200.
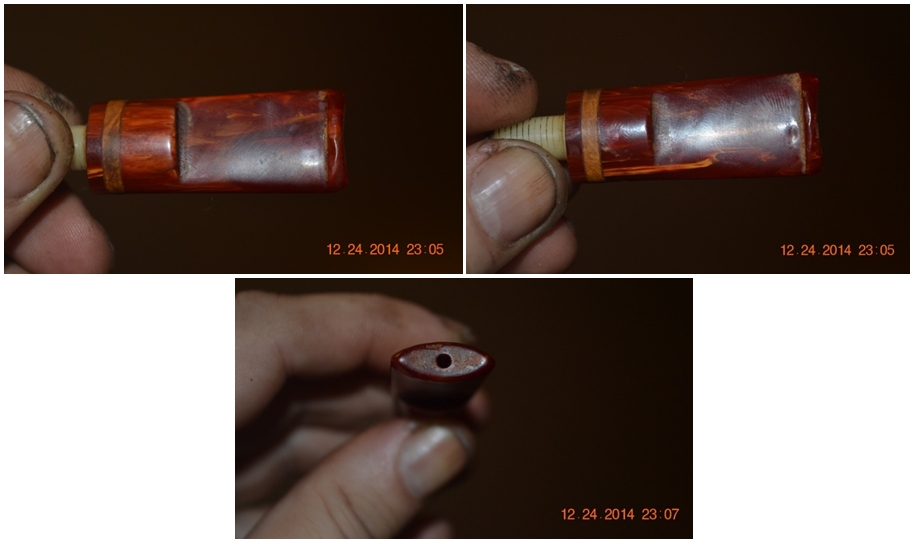
I was more reluctant than ever before to remove any of the original stain, but had no choice with the rim, which was blackened beyond the help of purified water, steel wool or micromesh. I chose 400-grit paper, which eliminated the blackening, before a three-step micromesh using 1500, 2400 and 3200. That done, I considered which of my modern day stains would best approximate the original, and decided to go with the medium brown. I flamed it and set it aside to cool. After a few minutes, I took out my 2400 micromesh pad and gently rubbed away the ash, followed by a quick wipe with a soft rag.

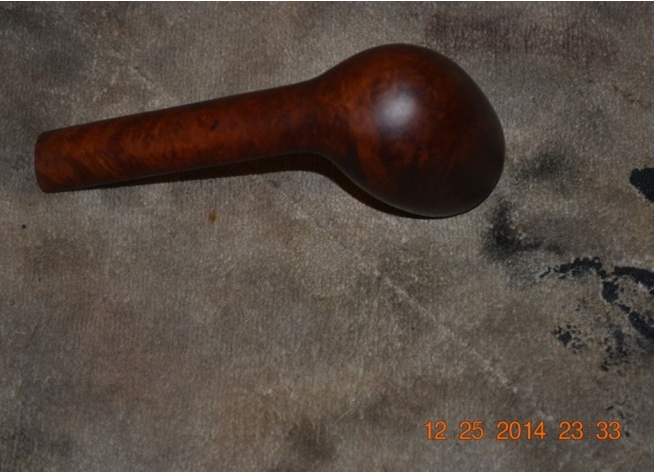
I’d have to say the greatest surprise with this old pipe was the flawless condition of the bowl and shank, with the exception of the rim as described. Based on the general design, the less familiar shade of brown and the grain that is not as uniform as pipe enjoyers today expect, I estimate that this pipe dates to the 1940s or 1950s. At first I believed the pipe was never waxed until I gave it a good wash with purified water and cotton cloth and was able to make out a couple of thin, shiny streaks on the top of the shank, where it appears its long-time previous owner seldom if ever touched the faithful companion.

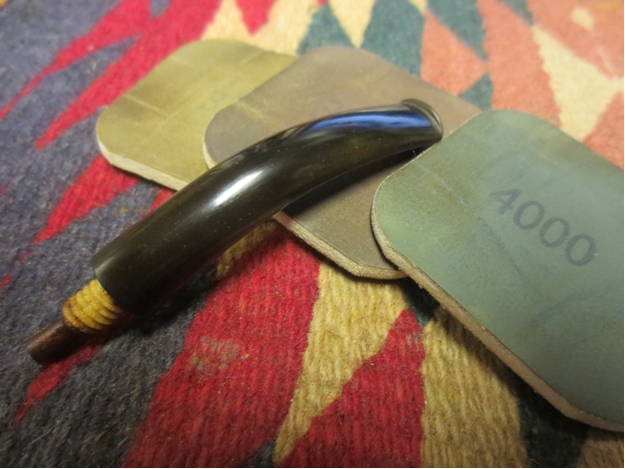
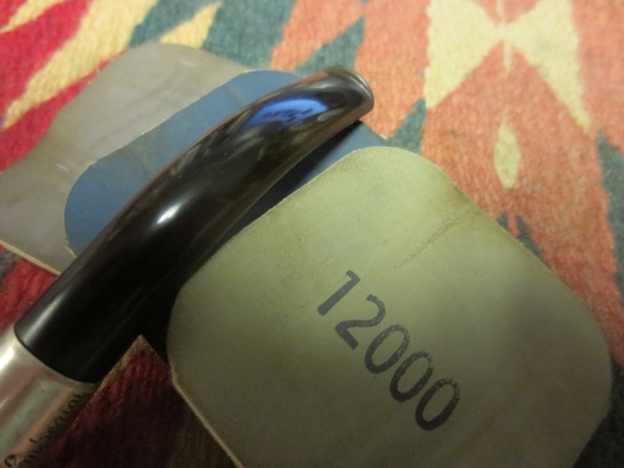
Still, to assure its readiness for a smooth buffing, I prepared the wood with micromesh progressing from 1500 to 2400 to 3200 and at last 4000.Robert10

Robert11

Robert12

Robert13

Robert14 Eager to try out this wondrous pipe that, as I noted, was created before I was, I found myself filled with more excitement than usual as the moment to buff the beauty with waxes arrived. Leaving the stem behind, having waxed it with red and white Tripoli followed by White Diamond while the new rim stain dried, I carried the smooth piece of old briar into my workroom. Wanting to bring out as much of the varied grain as possible, I decided to use the whole ball of wax. (I know, I know! Again, I apologize.) Starting with the red Tripoli wheel, I coated it with an easy, light touch before moving to the white Tripoli, followed by White Diamond, and to finish it off, carnauba.Robert15
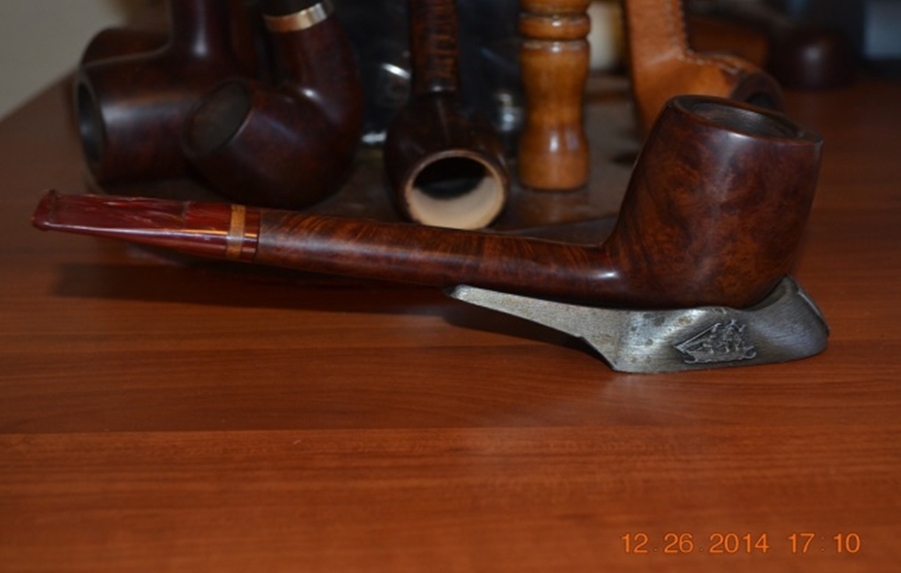
Robert16

Robert17

Robert18

Robert19 CONCLUSION
I could never describe what it is about a pipe that attracts me to it. My tastes are too eclectic. But when I see it, it is always like love at first sight. I mean that in the literal sense, as with two or three times in my life when I took one look at someone and was instantly light-headed with my stomach full of butterflies and found myself tongue-twisted. Alas, none of those relationships worked out in the end. With pipes, at least, love is forever – and perhaps a bit lecherously, I have quite the stable of mistresses.

The author enjoying the pipe.
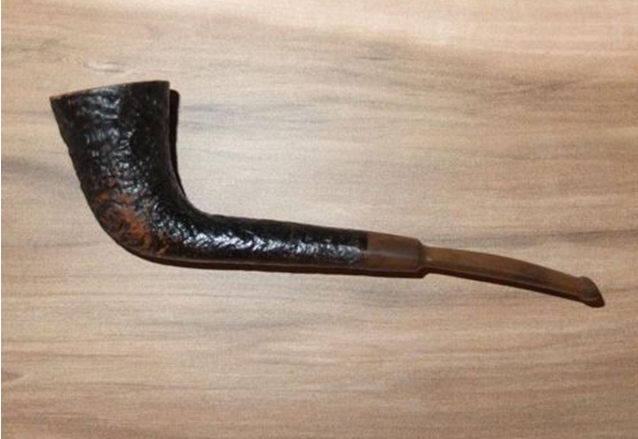
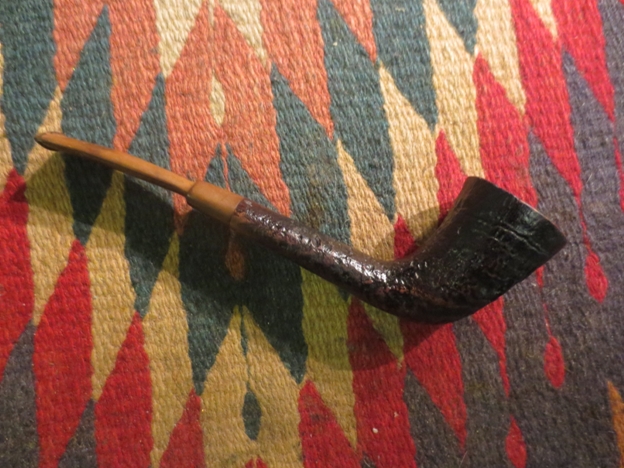
The author enjoying the pipe.
The Little Champion 057 Horn Reborn


Blog by Steve Laug

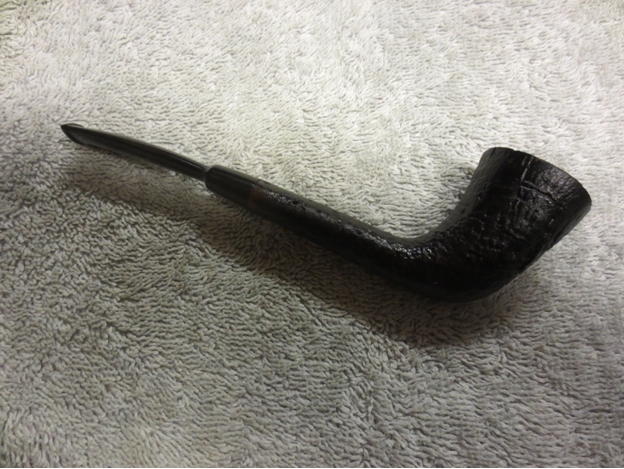
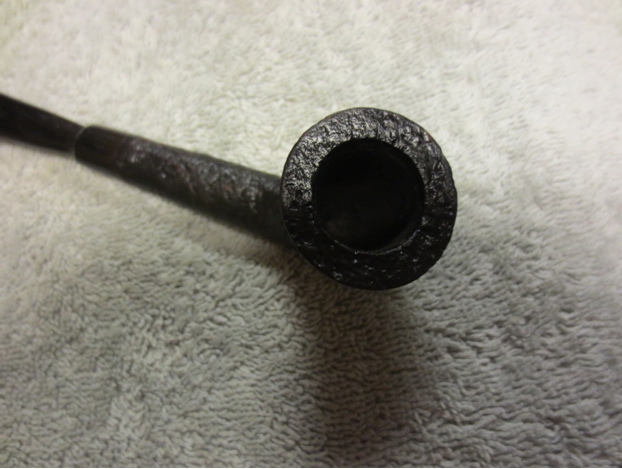
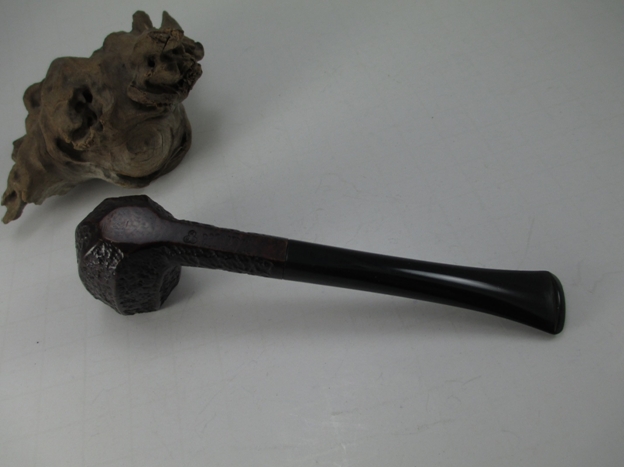
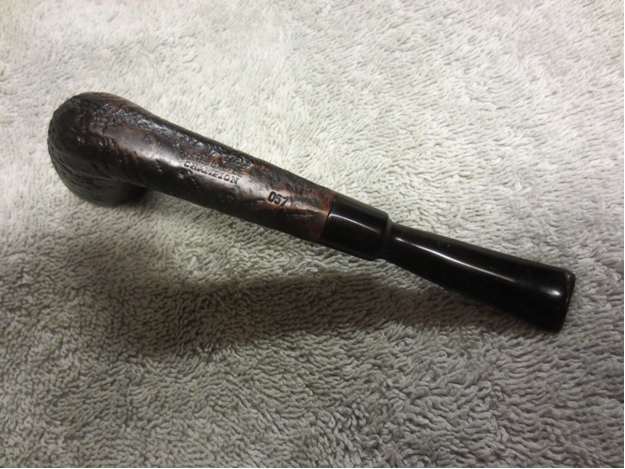
When I saw this old timer it reminded me of a Dunhill shape that I had seen though that one had had a taper stem. The seller was from Germany and the only photo included is the one below. The stem was badly oxidized in the photos and the finish on the bowl that showed was worn. I had no idea what the rim or the rest of the pipe looked like. The seller did not include any information on the stamping on the pipe so it was a bit of a blind bid. I decided to go for it and put in a low bid and won the pipe.Horn The pipe arrived this week and I was nervous when I saw the package that the postie delivered. It was totally smashed with the corners blown out on two sides. Someone had reconstructed the box with strapping tape but the crushed box was not repaired. I cut the tape and opened the box with fear and trembling. I was wondering if the pipe inside would be in pieces of if it would be unscathed. Inside the box were many crumpled newspaper pages. I dug through the pages and in the very middle was a bubble wrapped object. The stem was still in the shank of the pipe and looking through the bubble wrap it appeared unbroken. I cut the tape on the wrapping and took out the pipe. What I found is shown in the next four photos below.Champ1
Champ2

Champ3

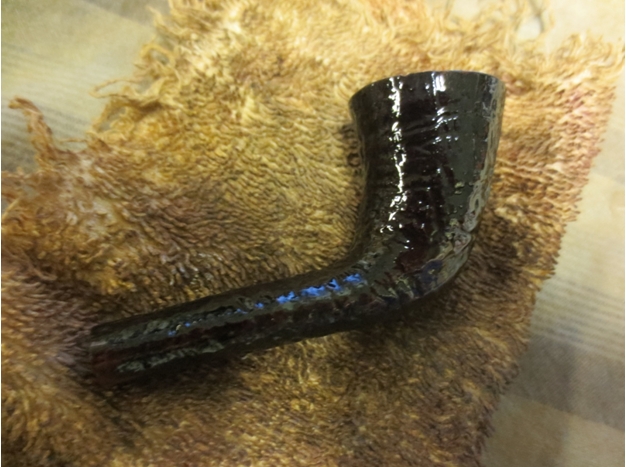
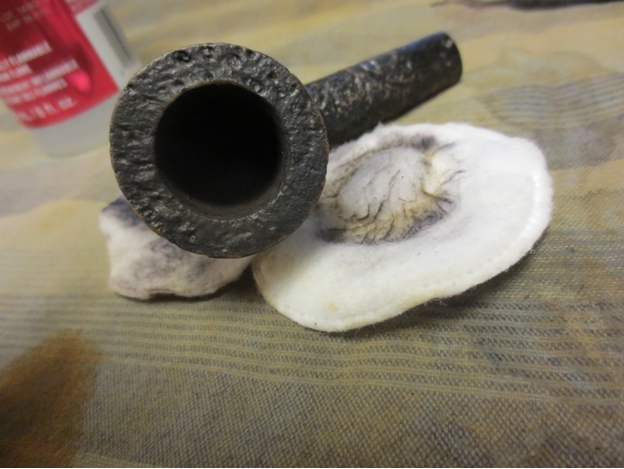
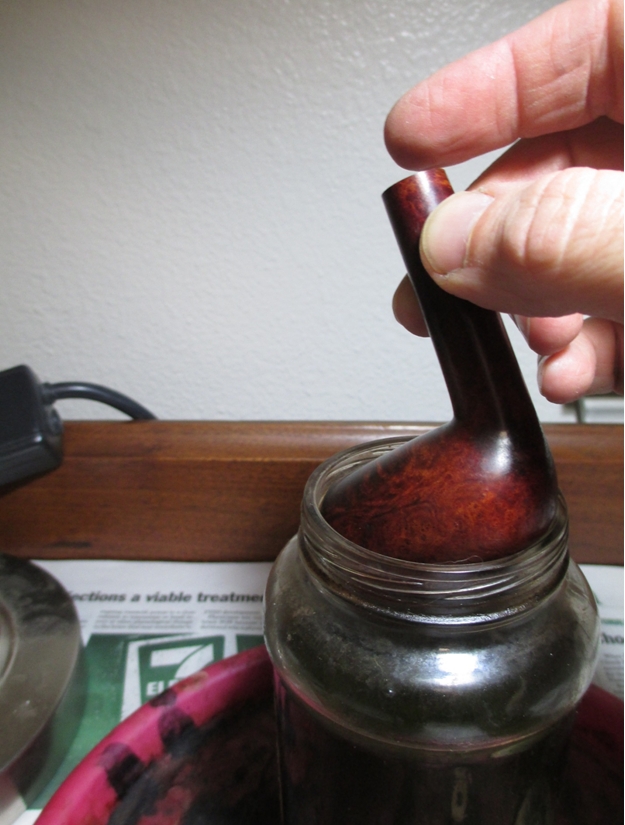
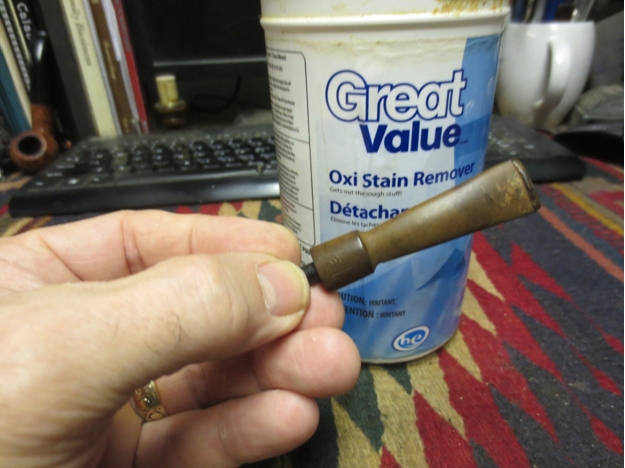
Champ4 The finish was much worn with much of the black overstain worn off. Someone had put a coat of varnish over the worn finish so it was very shiny. There was very little of the sandblast that was not worn. The odd thing was that the blast was still quite rugged and not flattened in the worn portions. The stem was oxidized and dirty. There was a faint logo on the stem of the pipe – a rising sun over a wavy line like a sun over water. On the bottom of the shank it was stamped “The Little Champion”. The bowl had some remnants of broken cake in the V shaped bowl. The rim had a build up tars and oils that had filled in the blast. The rim was slightly slanted inward and gave a dapper look to the old pipe.Champ5 I reamed the bowl with a PipNet reamer. For the upper portion of the bowl I used the second cutting head in the set and the smallest cutting head for the lower portion of the bowl. I evened out the section where the two cutting heads over lapped with a small pen knife.Champ6 Once the bowl was reamed I put the stem in jar of oxyclean to soak and the bowl in an alcohol bath to soak. I wanted to loosen the oils on the rim top and also see if the alcohol would begin to remove the varnish coat.Champ7

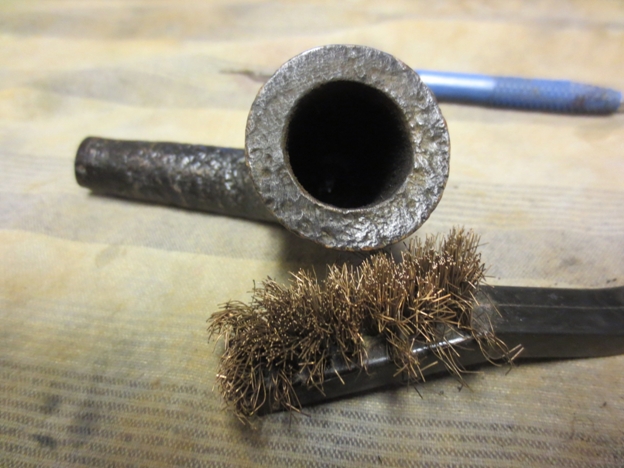
Champ8 Later in the day, after the bowl had soaked in the bath for several hours I took it out of the bath and dried it off with a cotton cloth. I used a soft bristled brass tire brush to scrub the rim and loosen the buildup.Champ9

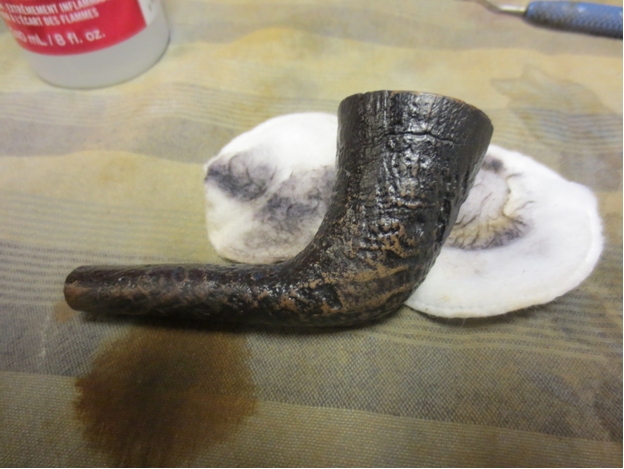
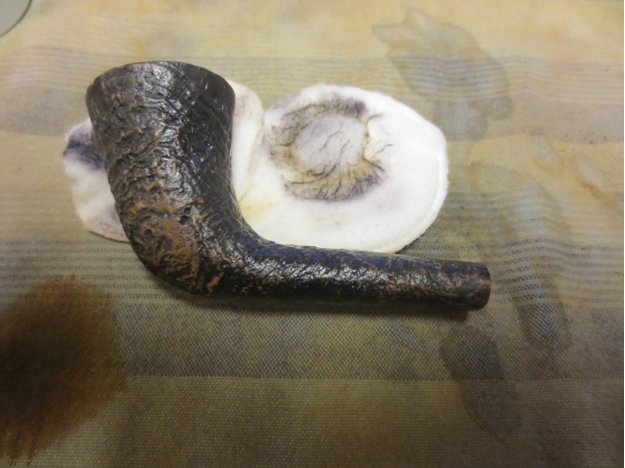
Champ10 I wiped down the bowl with acetone on cotton pads to further remove the varnish. Using the acetone I was able to take of the varnish coat and prep the bowl for restaining.Champ11

Champ12

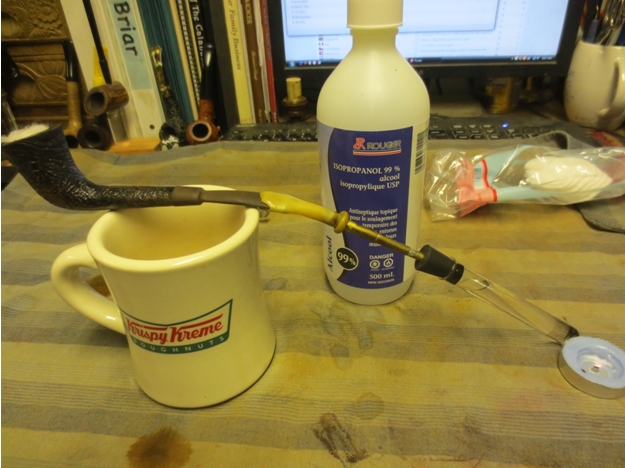
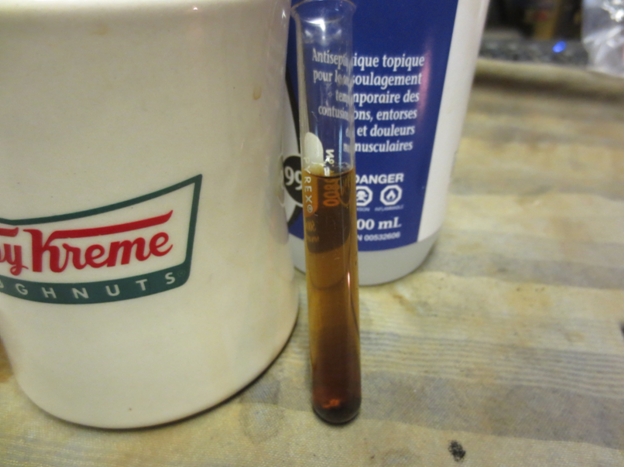
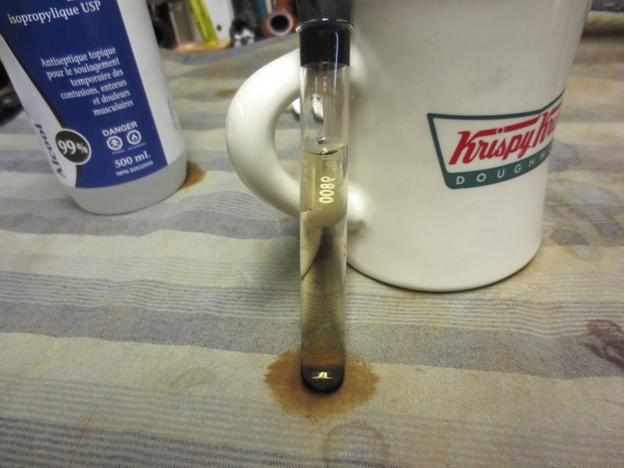
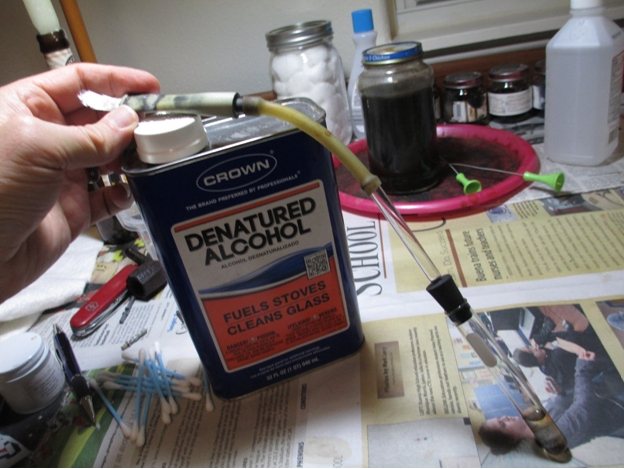
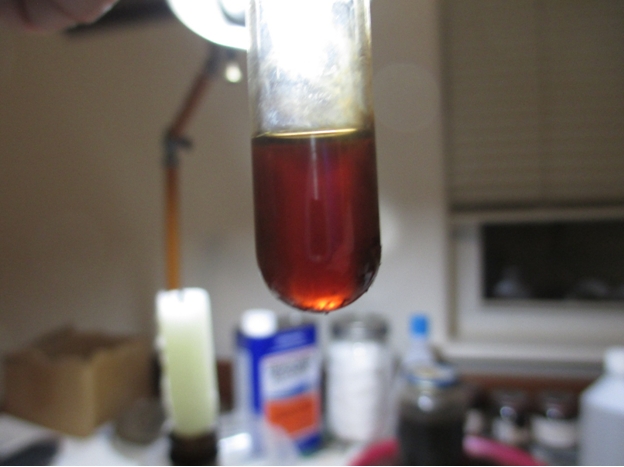
Champ13 I took the stem out of the oxyclean and dried it off. I put it back on the bowl and then set up a pipe retort to boil out the shank and stem. I put a cotton ball in the bowl and the surgical tube over the mouth piece. I heated the alcohol with a tea light candle.Champ14 The first boil through came out brown. The photo below shows the colour of the alcohol after the first tube boiled through. I dumped the alcohol out of the test tube and refilled it and repeated the process.Champ15

Champ16 I removed the stem and cleaned out the shank and stem with alcohol, pipe cleaners and cotton swabs. It took very little time to clean out what remained. I put a plastic washer in place between the shank and the stem and then sanded it lightly with 220 grit sandpaper to loosen the oxidation. I followed that by sanding with a medium and a fine grit sanding sponge.Champ17 I wet sanded the stem with 1500-2400 grit micromesh sanding pads and rubbed it down with Obsidian Oil when finished. I dry sanded with 3200-4000 grit pads and again rubbed it down with Obsidian Oil. I buffed the stem with red Tripoli and then finished sanding with 600-12,000 grit micromesh pads. I rubbed the stem down a final time with Obsidian Oil and then when dry buffed it lightly with White Diamond.Champ18

Champ19

Champ20 I stained the bowl with a mix of 50/50 alcohol and dark brown aniline stain. I applied it with a cotton swab, flamed it and then wiped it down with a cotton pad. The dark brown stain settled deeply into the blast. Some of the higher spots remained a lighter brown. The contrast came out looking quite nice.Champ21

Champ22

Champ23

Champ24 Once the stain had dried I buffed the bowl and stem lightly with White Diamond. I then gave both the stem and the bowl several coats of Halcyon II wax and buffed it with a shoe brush to raise the shine. The finished pipe is shown below. The pipe is ready to load and enjoy. I am planning on loading it up on Christmas morning with a bowl of Pilgrim’s Muse from the Country Squire shop in Jackson.Champ25

Champ26

Champ27

Champ28 The final photo shows the bottom of the shank and the stamping is very readable. Anyone with information on the brand please let us know in the comment section below and I will add it to the blog. Thanks ahead of time.Champ29

UPDATE:
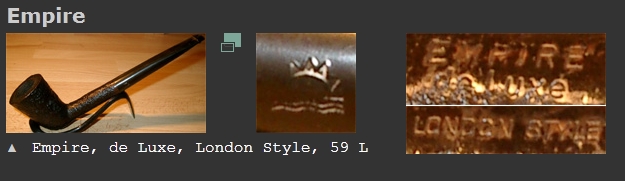
Yohanan sent me a note that he had found the same logo on PipePhil’s Logo site http://www.pipephil.eu/logos/en/logo-e3.html and once I checked it out it matches the stem logo exactly. Here is a photo.Noname

My First Solo Pipe Restoration – A Hand Made Preben Holm IIS – PART 1


Blog by John Ferguson

My friend John Ferguson, who I wrote regarding our pipe hunt and his learning to clean up estates, sent me an email a few days ago. In it he included some photos of a pipe that he picked up and was working on currently. He asked about the brand of the pipe so I did a bit of research on the pipe and found out that it was a Preben Holm pipe – the IIS stamping identifies it as such. Later he sent me a piece that he wrote about the find and his restoration work. Here are his words on this first restoration. It is great to have you posting regarding this pipe on rebornpipes John. Keep up the good work.

Ever since my friend, Steve, showed me how to restore my first estate pipe that I found in a batch of pipes at an antique store in Bellingham, WA, I’ve been itching to do some more hunting for pipes that would intrigue me.

I had the opportunity to do so on a recent trip to Texas to visit my family. One beautiful afternoon towards the end of November, my mother and I headed out to some antique stores to spend some time together. And of course, hunt for some pipes.

I found this pipe that intrigued me.
John1

John2

John3 It was stamped with the words, “Handmade in Denmark” with a “IIS” below it. I did a quick search on my smart phone, but couldn’t find any info quickly. With some help from Steve, we discovered that this was a Preben Holm Pipe.

It was only $10, and since my 19 year old son loves all things Scandinavian, and since it looked like something out of Lord of the Rings (another favourite of his), I decided to get it and restore it, and to give it to him as a Christmas gift this year.

It definitely needed some help. The stem had tooth marks plus calcification.John4

John5 And the bowl had what looked like paint chips embedded in the texture.John6

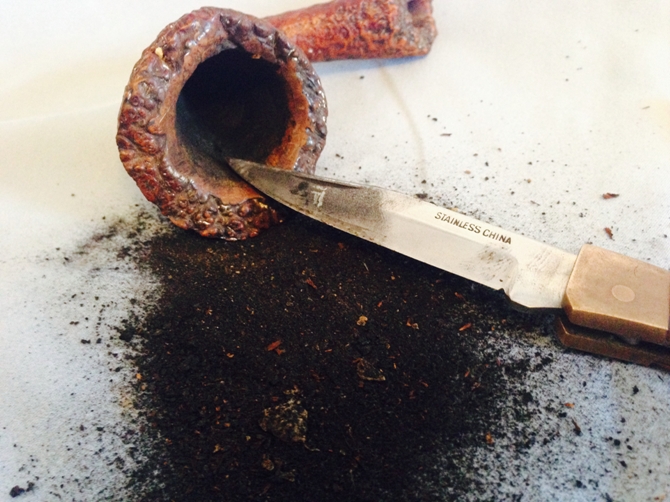
John7 There was a lot of cake built up on the inside of the bowl, so I took my grandfather’s pocket knife and began to ream it. Gently. I was careful not to damage the bowl.John8

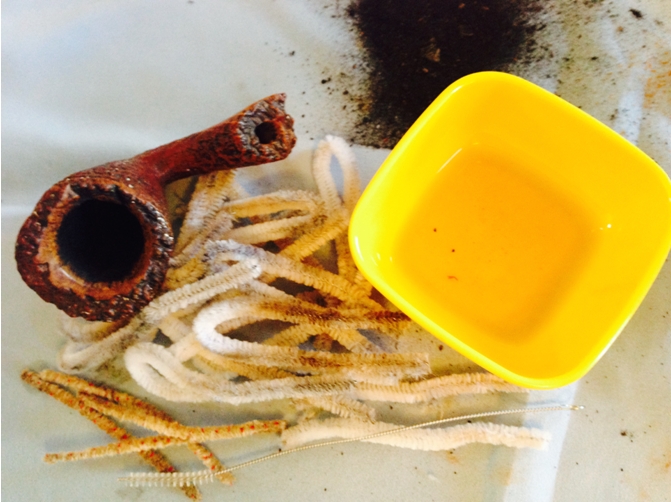
John9 I followed that up with pipe cleaners and alcohol to clean the shank. I used regular pipe cleaners, bristled pipe cleaners, and a pipe cleaning brush and worked until no more gunk came out and the pipe cleaners came out clean.John10 The next step was to clean the pipe with Murphy’s Oil Soap and an old toothbrush. I took several rounds of scrubbing to get most of the ‘paint flecks’ off of it, and what the brush didn’t get the tip of my pocket knife did. I think it turned out beautifully.John11

John12

John13

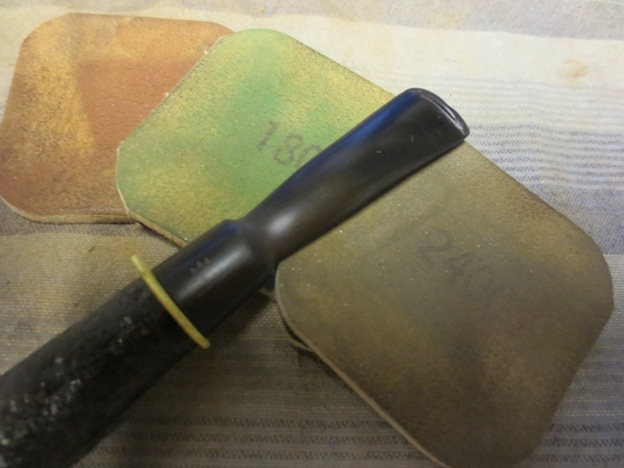
John14 Next came the cotton ball soak with alcohol on the inside of the bowl.John15 Then I turned to work on the stem. I began working on smoothing out the bite mark and removing the calcification by using 240 grit paper, followed by 180 grit. Then I began using micromesh pads working from the 1500 pad to the fine 12000 pad. After about an hour of work, I had a brand new looking stem.John16

John17

John18

John19 Stay tuned for Part 2!

Refurbishing a Heritage Heirloom


Blog by Andrew Selking

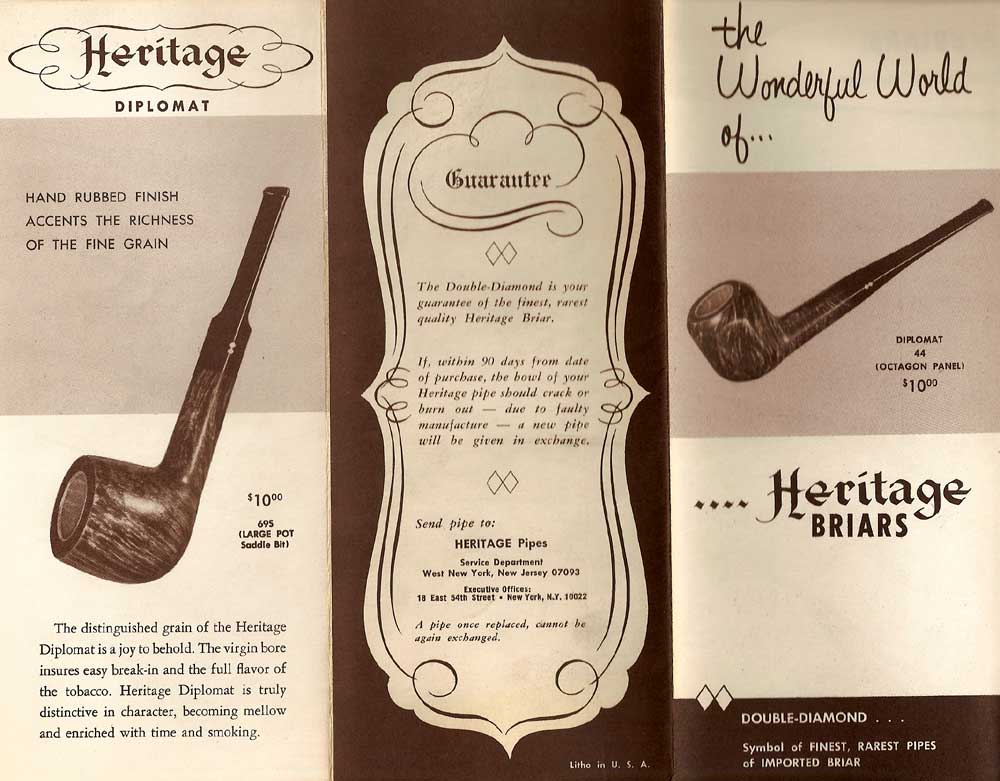
I recently stumbled across the Heritage line of pipes. These pipes were made in the Kaywoodie factory, but on a completely separate line. Heritage pipes were Kaywoodie’s answer to Dunhill. According to one of their brochures, Heritage pipes were made from “briar burls seasoned and cured for up to 8 months,” with only “one briar bowl in over 300 selected to bear the Heritage name.” “Heritage stems are custom fitted with the finest hand finished Para Rubber stems. Mouthpieces are wafer thin and concave.”

The Heritage line began in the early 1960’s, with the trademark issued in 1964. The line was started at the request of Stephen Ogdon, (who worked for Kaywoodie in 1962). Mr. Ogdon had previous experience working for Dunhill, either running the New York store or working for Dunhill North America. Mr. Ogden was made President of Heritage Pi pes, Inc., Kaywoodie Tobacco Co.,Inc. and Kaywoodie Products Inc. as well as a Vice President of S.M. Frank & Co. Heritage Pipes were produced from 1964 until 1970 (Source Kaywoodie.myfreeforum.org).

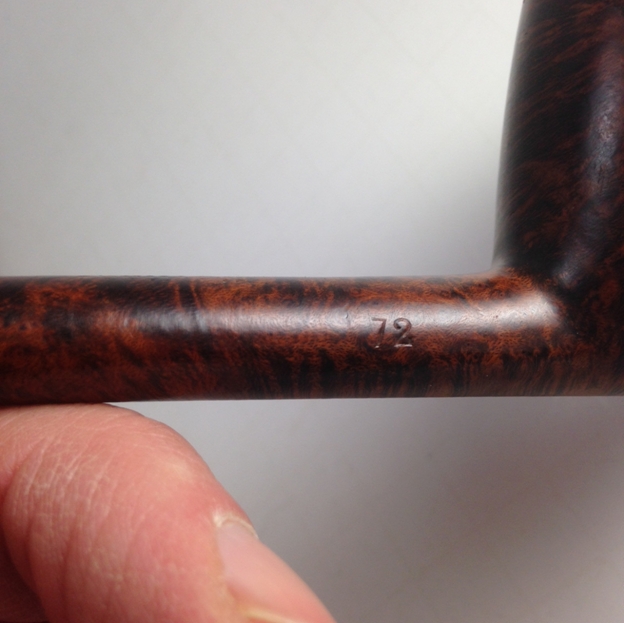
Here is a copy of the Heritage brochure. (Courtesy Kaywoodiemyfreeforum) heritage1_zps888f5f2b heritage2_zps0d4dc760 heritage3_zpsef2358c6 The pipe I found was the number 72 Medium Canadian, oval shank. Interestingly, the one thing the Heritage line shared with Kaywoodie was the size and shape numbers. Unlike Kaywoodies, the Heritage pipes are normal push tenons.

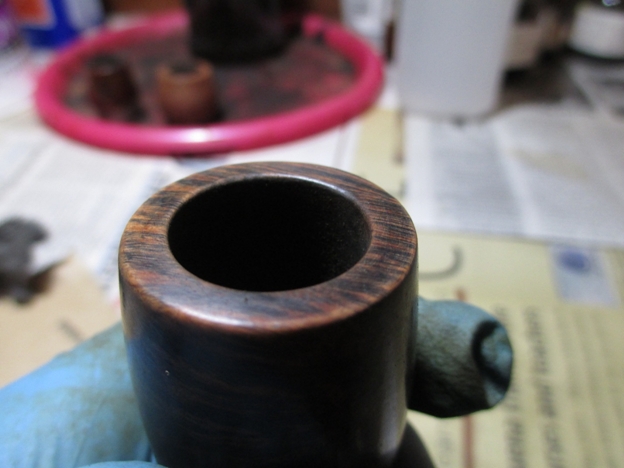
When the pipe arrived, it had some tar build up on the rim and a thick layer of cake.Andrew1

Andrew2 The stem had some oxidation, but minimal chatter.Andrew3

Andrew4

Andrew5 The finish was in nice condition, so I decided to forgo the alcohol bath and attempt to keep the original finish.Andrew6

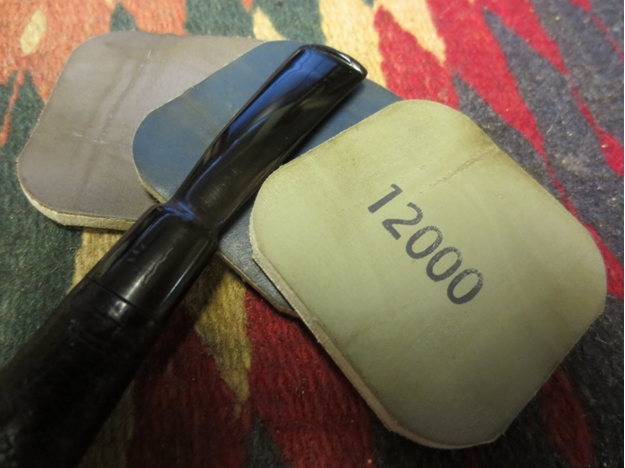
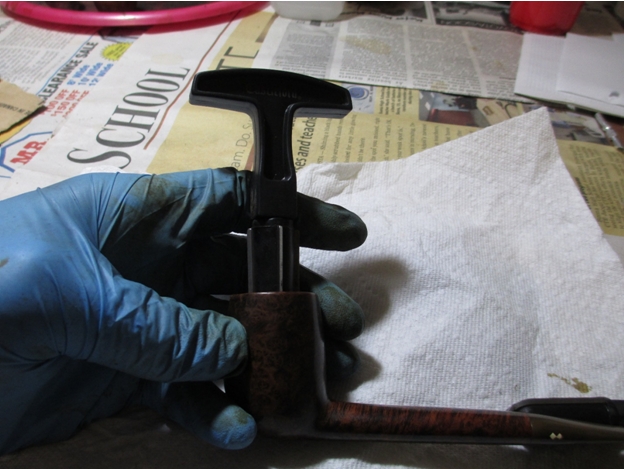
Andrew7 The first thing I did was ream the bowl. I used my Castleford reamer and was delighted to find that the cake was very loose, mostly old tobacco, and it easily cleaned back to the wood.Andrew8 Next I decided to find out how the bad the rim was under the tar build up.Andrew9 After a light buffing with 0000 steel wool, the tar was gone and I could see a pristine rim.Andrew10 Since I was on a roll, I decided to re-tort the shank.Andrew11 I normally show pictures of a brush loaded with gunk, but in this case the brush came clean on the first pass. I proceeded to use some q-tips and fuzzy sticks on the shank. Most of the tar came off with the first couple of q-tips, after that it was just a matter of a few more and the shank was clean.Andrew12 Since I didn’t soak the bowl in alcohol, I decided to soak it with some alcohol soaked cotton balls.Andrew13 While the bowl soaked, I retorted the stem.Andrew14 It was just as clean as the shank (this was the first fuzzy stick I passed through after the retort).Andrew15This was the cleanest “dirty” pipe I’ve ever had. Since the stem was so clean inside, I skipped the Oxyclean bath and tackled the oxidation. I used my normal progression of 400 grit wet/dry sandpaper with water, followed by 1500-2400 grit micro mesh pads with water.Andrew16 The finish seemed really dark, probably the result of oil from the previous owner’s hands, so I used some 0000 steel wool and acetone to clean the outside of the bowl and shank.Andrew17 The steel wool worked well on the bowl, so I skipped the 1500-2400 grit micro mesh and started at 3200. I used a progression of 3200-12,000 grit micro mesh for the bowl and stem in preparation for the buffing wheel.Andrew18 After an uneventful spin on the buffer, here is the finished pipe.Andrew19

Andrew20

Andrew21

Andrew22

Andrew23 This line of pipes might be one of the best kept secrets out there. I find that the quality of the stem compares to Dunhills and the wood is spectacular. I highly recommend these pipes.heritage4_zpsdc6295ef

Carrying on the story of a 1905 Imperial ITC Bent Billiard


Blog by Steve Laug

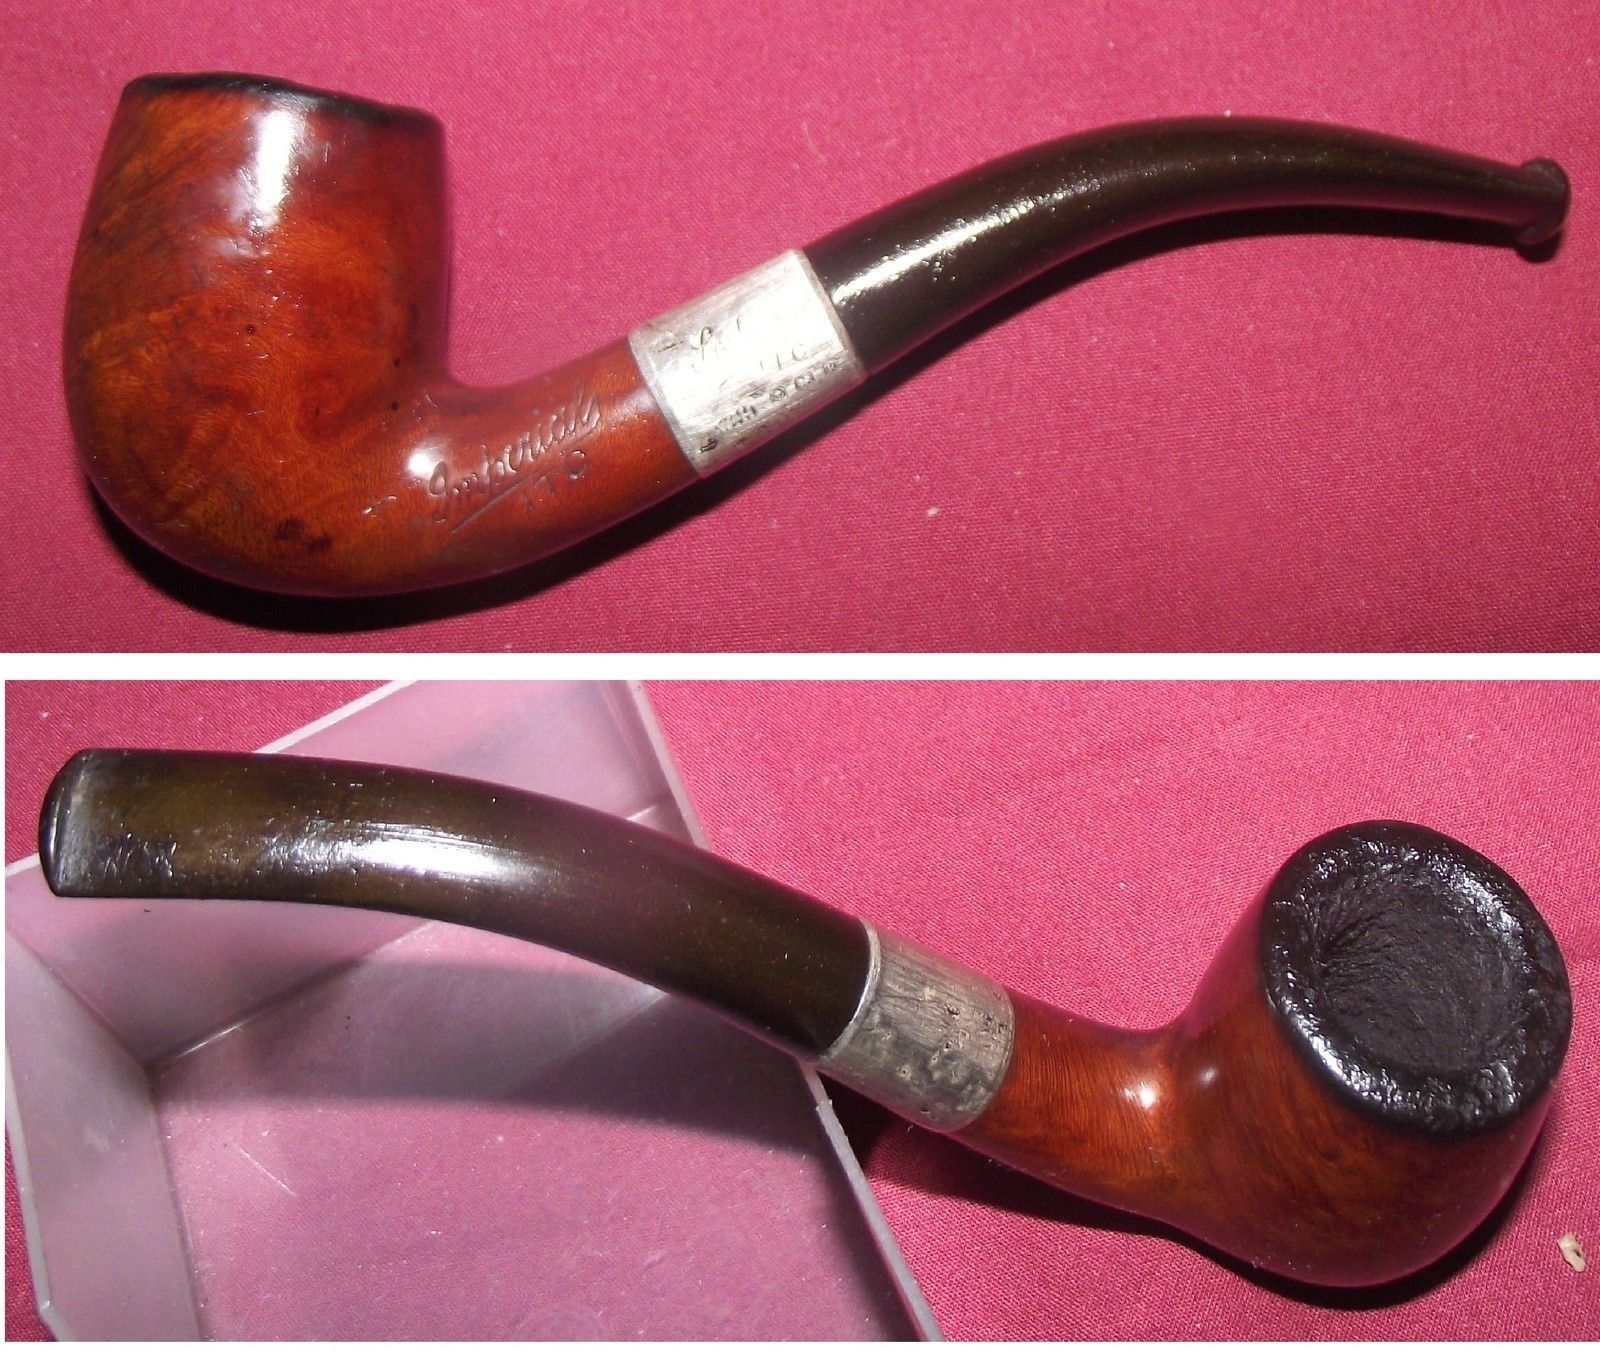
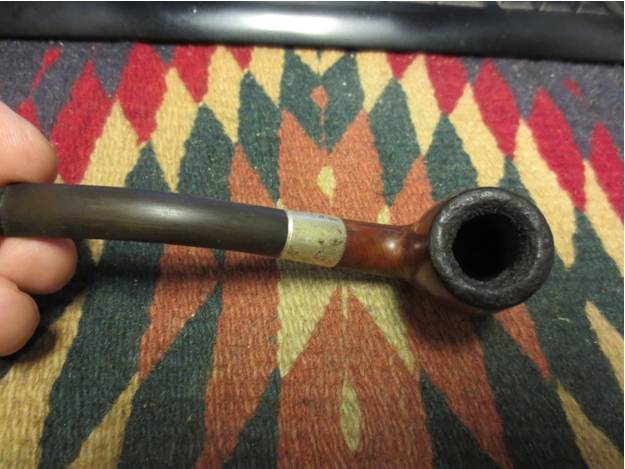
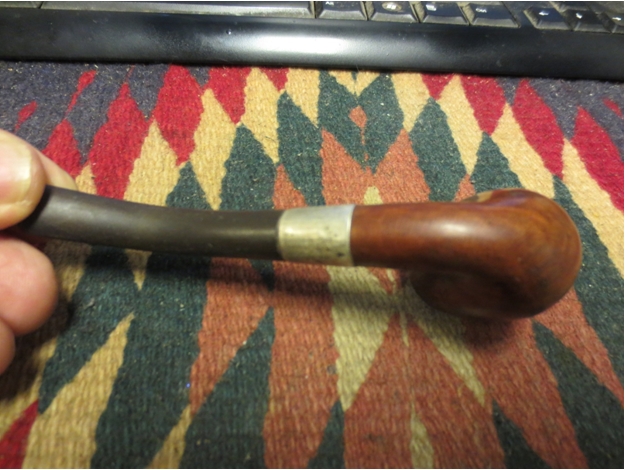
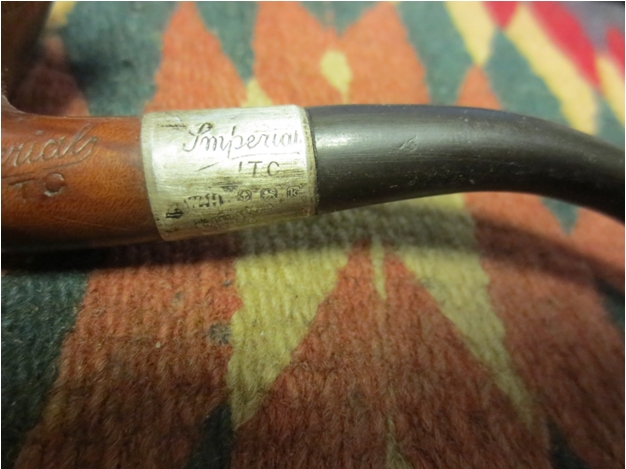
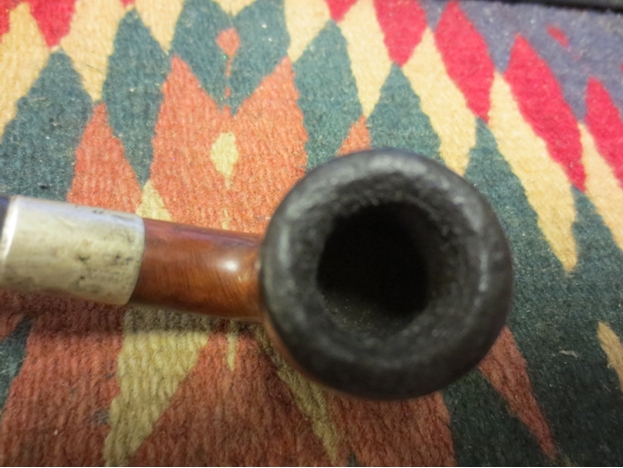
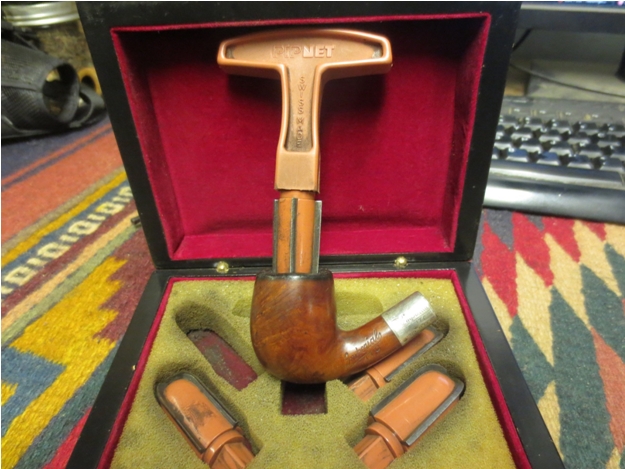
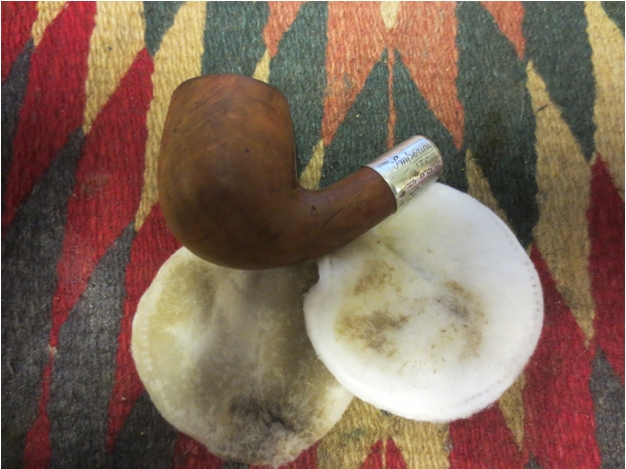
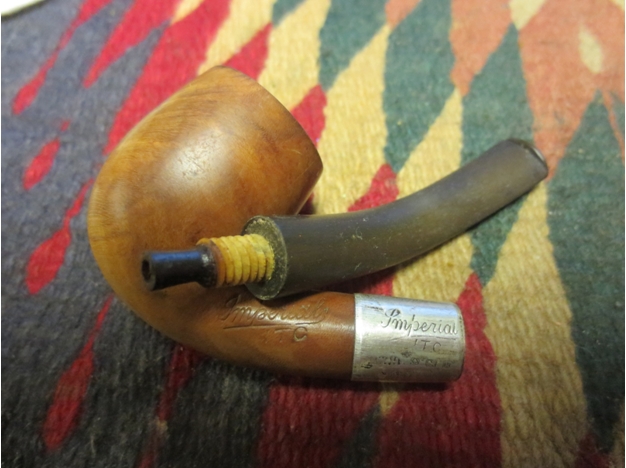
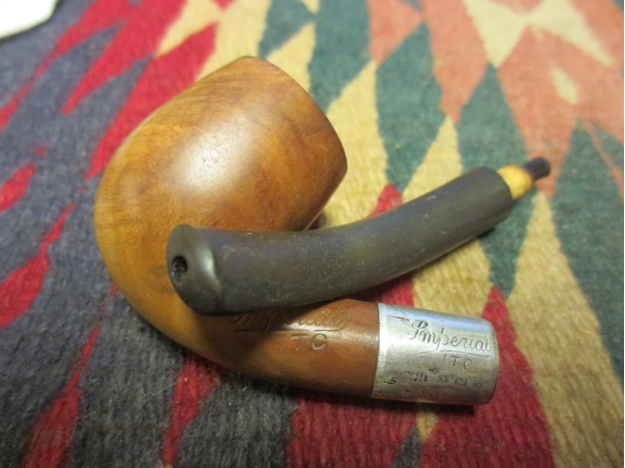
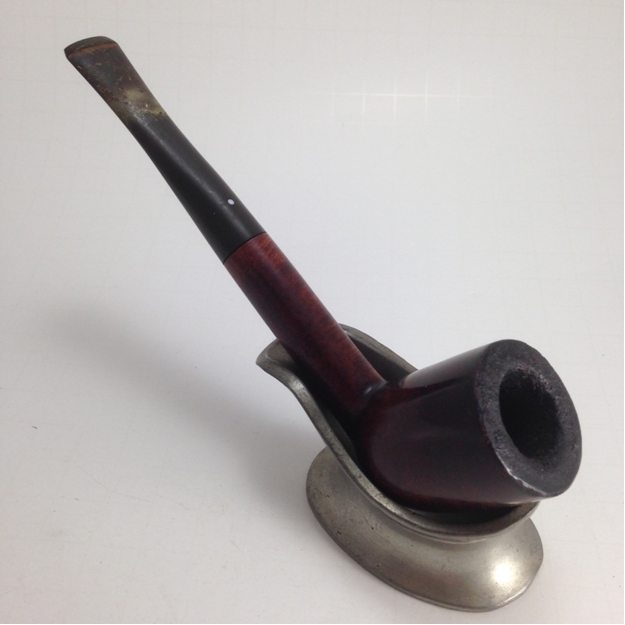
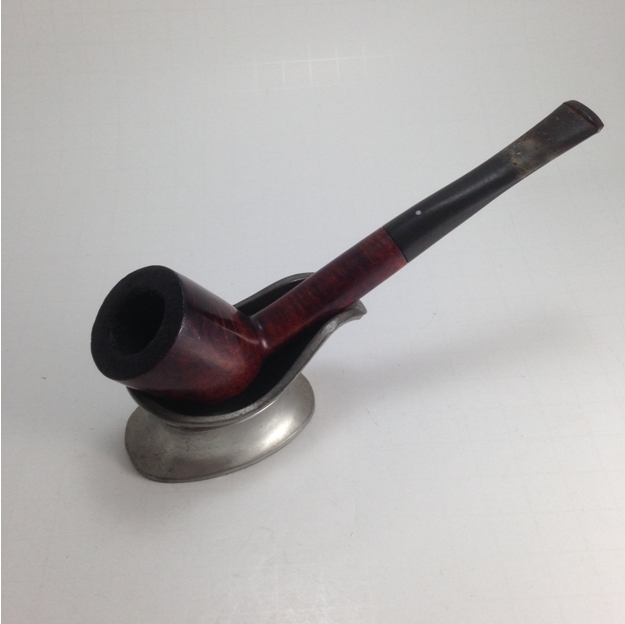
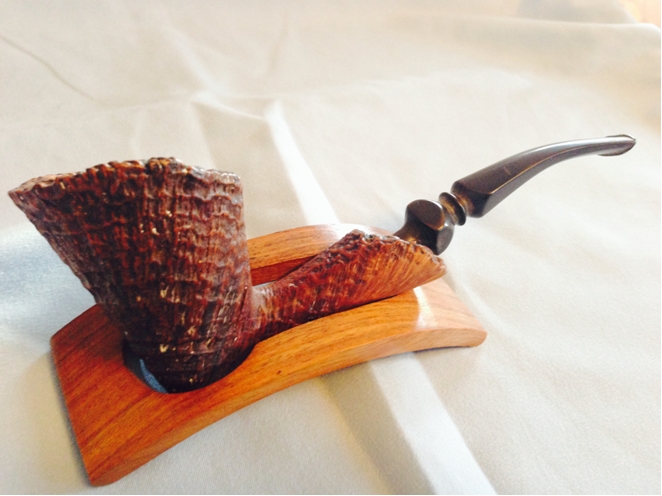
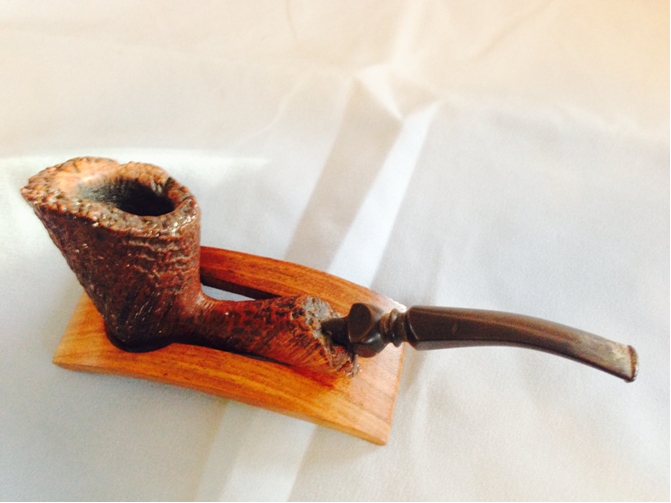
The seller had marked this little pipe an Imperial ITC Silver Mount Birmingham 1934. Something about the gentle bend of the stem and shank, the shape and wear on the bowl made me want to have this diminutive pipe as my own. I bid on it and was the only bidder picking it up for about $22 Canadian. I think the seller wet down the stem and bowl for the photos because it is far too shiny looking. When I see an old pipe like this I immediately begin to wonder about the gent who owned the pipe. What was he like? What did he smoke in it? When did he purchase it and what did he smoke in it? Many of those questions can of course be answered by the pipe itself. The date in this case was suspect and would be formalized once I had it here. The vulcanite stem appeared to have an older rounded button that let me to surmise that it has an orifice button – a single round hole in the end of the button rather than a flared airway. The bowl was obviously well smoked telling me that it was a good smoking pipe. The stem unchewed telling me that the owner had cared for it well. Other than that I was left wondering about the last owner, was he the purchaser? How had the seller come into possession of the pipe? Questions for which I will not have an answer.Imperial ITC When the pipe arrived I opened the box and excitedly cut through the layers of tape that held the pipe captive in the bubble wrap that protected it. I was proven correct in my assumption regarding the state of the pipe. The finish was indeed wetted for the photos of the seller as the pipe did not glisten like the photos. The bowl was in decent shape, the finish worn and tired. The rim was shot with built up tars and damage from tapping the bowl out. The silver had multitudes of dents and pock marks in it that showed its carriage in a coat or vest pocket and was tarnished. The stem was clean a lightly oxidized but showed no tooth damage. The bowl was caked with a thick build up of carbons but did not have a sweet or smokey smell so it was likely a Virginia pipe. The curve of the stem matched the curve of the bowl. The stamping was clear and readable – Imperial in script at an angle with ITC underneath the underline of Imperial. There was no other stamping on the briar.Imp1
Imp2

Imp3

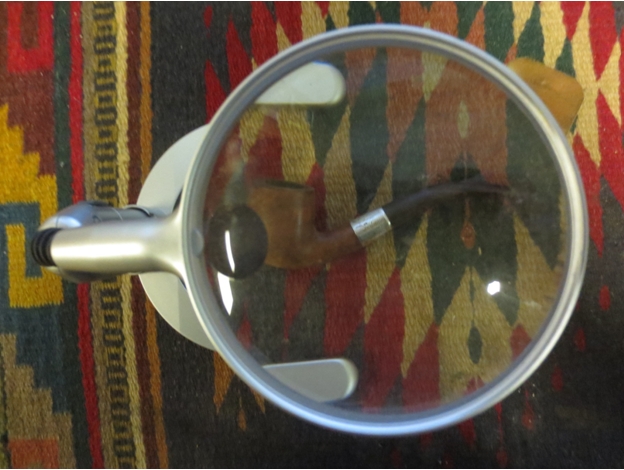
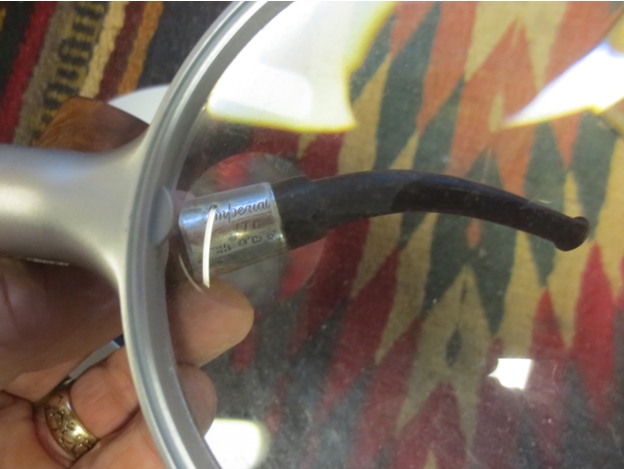
Imp4 I wanted to check out the date given by the seller as I suspected it was somewhat earlier than the 1934 date given by the seller. The stem and button shape and the threaded bone tenon all pointed to an earlier date in my opinion. The hallmarks on the silver band would allow me to do that with some precision as they were not badly worn. I wiped down the band with a silver polishing cloth to remove the tarnish enough that I could read the stamping. To the naked eye it appeared to have a W.H. in an oval followed by an anchor, a lion and a lower case k.Imp5 I brought home a magnifying glass from work that had a built in light. I put the pipe under the lens and turned on the light. I lifted it to get the clearest magnification I could get on the silver hallmarks and what I had seen was indeed correct. It was a WH in two interlocking circles and the three hallmarks were correct.Imp6

Imp7 I took this information to one of my favourite websites to process the information and gather what I could from the stamping http://www.silvercollection.it/englishsilverhallmarks.html. There I found the following data. The anchor stamp told me that the pipe or at least the silver band came from Birmingham, England. The lion told me I was dealing with sterling silver. And the k told me the date – 1905 not 1934. The pipe was significantly older than the seller had noted. That excited me as I love these older briar pipes.Imp8 I also wanted to know what the W.H. in the oval could tell me about the pipe. I dug a little deeper on the English silver marks page and found more information.Imp9 The maker of the silver band was a William Harrison who was active in London. Various copies of Harrison’s marks in Chester Assay Office were registered by Imperial Tobacco Co between 1907 and 1916. The mark above shows a Birmingham 1908 hallmark. From that information I gathered that the W.H. was William Harrison and that the Birmingham Assay Office had stamped the band in 1905.
I unscrewed the stem from the shank in order to work on the bowl. The cake was thick and crumbling in the bowl so I reamed it back to bare wood with a PipNet reamer.Imp10

Imp11

Imp12 The rim would take some serious work to get it back to workable condition. I set up a topping board and carefully worked the top of the bowl against the sandpaper. The surface of the rim was not even so this took some care so as not to angle the rim. I sanded the rim until the surface was flat and the damage was removed. There was still some darkening to the briar but I chose to leave that rather than to remove more of the briar from the rim.Imp13

Imp14 To remove the spotty and damaged finish on the bowl I wiped it down with acetone on cotton pads and was able to take it back to the unfinished briar. The brown patina of the briar was not removed in the process and once finished would clean up well and still show some age.Imp15 I wanted to take photos of the stem and tenon so that you could see the age and shape it was in. It was a bone tenon, threaded to match the threads in the shank. The end of the tenon has a funnel or tube that is part of the tenon to capture the smoke and bring it into the airway. The other end of the stem is the rounded orific button that I have come to expect on pipes from this time period.Imp16

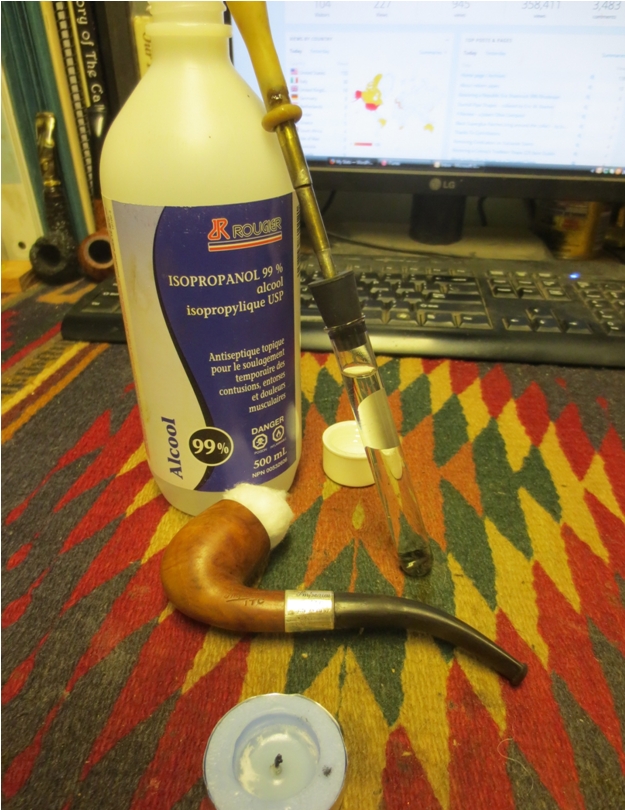
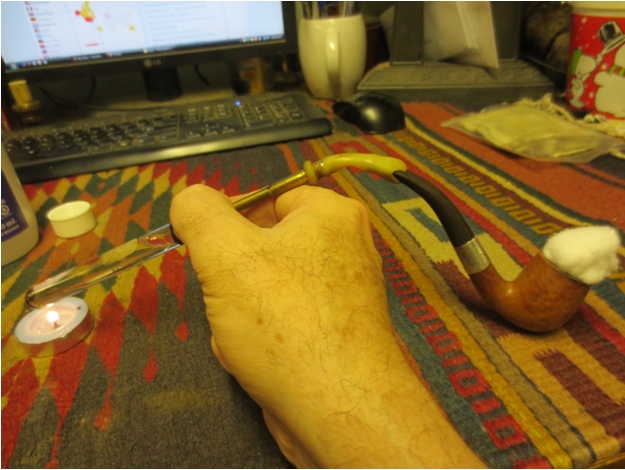
Imp17 Once the exterior surfaces were clean it was time to work on the interior of the shank and stem. I put the pipe back together and set up a retort. I filled the test tube with 99% isopropyl alcohol and put the stopper and apparatus in place. I stuffed a cotton ball in the bowl to keep the alcohol that was boiled through the pipe in the pipe and not all over the desk top. I use a small tea light candle to heat the alcohol and boil it through the pipe. I repeat the process twice, changing the alcohol between procedures to remove the tars and oils from the shank and stem. Once I removed the retort I cleaned out the shank and stem with pipe cleaners, cotton swabs and isopropyl alcohol. It takes far less pipe cleaners once the retort has finished its work.Imp18

Imp19 I decided to stain the briar using the stain pens instead of the usual aniline stains. I wiped down the surface of the bowl with alcohol and then used the stain the medium brown stain pen to stain the bowl. When applied the stain is streaked but that is easily taken care of with a quick buff with a cotton cloth. I also cleaned the silver with a silver polish and a jeweler’s polishing cloth to remove the tarnish and bring up the shine.Imp20 I removed the stem and sanded it with a medium and a fine grit sanding sponge to address the light oxidation. I then sanded it with micromesh sanding pads – wet sanding with 1500-2400 grit pads and dry sanding with 3200-12000 grit pads. I rubbed down the stem between each set of three pads with Obsidian Oil. When I finished sanding with the 12000 grit pad I also gave it a final coat of Obsidian Oil and when dry took it to the buffer and buffed it with White Diamond and then carnauba wax to protect the stem.Imp21

Imp22

Imp23

Imp24 I decided to rub down the bowl with a light coat of olive oil. I find that on these older pipes it brings out the patina nicely. I put some oil on a paper towel and then rub down the pipe, wipe off the excess and repeat the process until it shines.Imp25

Imp26

Imp27

Imp28 When the olive oil was absorbed and the bowl was dry to touch I took the pipe to the buffer and lightly buffed it with White Diamond. I gave the entire pipe several coats of carnauba wax, buffing the silver with a very light touch so as not to damage the hallmarks and stamping. I finished by buffing it lightly with a soft flannel buffing pad to raise the shine. The finished pipe is shown below. It is ready to go back into service. I intend to enjoy it for many more years. I always enjoy smoking these old timers and only wish they could tell their stories. It is amazing to be able to load a bowl and smoke a pipe that is almost 110 years old. Speak to me, I am listening I want to hear your stories… and add my own to the saga you could tell.Imp29

Imp30

Imp31

Imp32

Restoring a Republic Era Shamrock 999 Rhodesian


Blog by Steve Laug

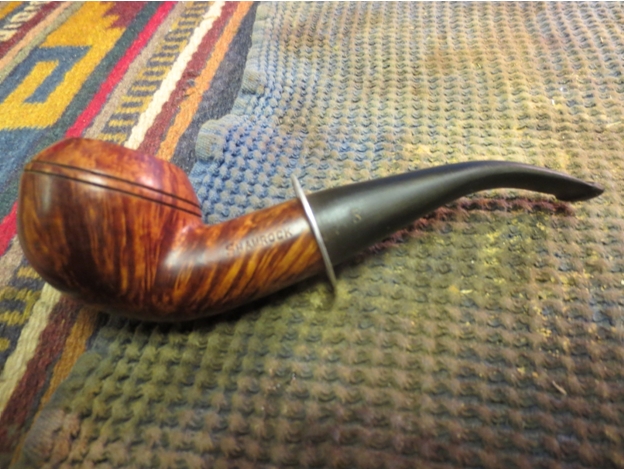
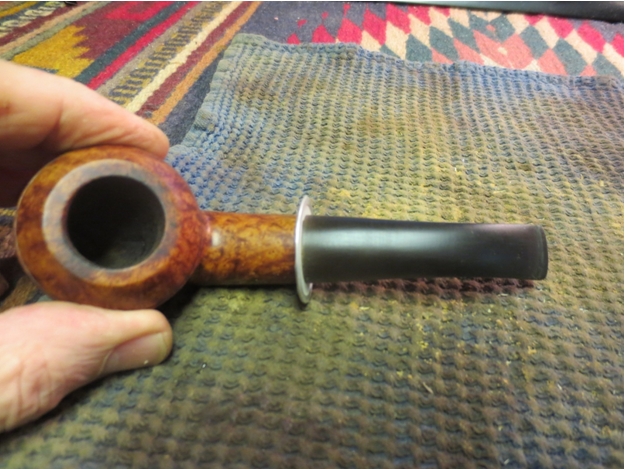
peterson When I saw this pipe on Ebay I immediately threw in a low bid. The seller included two photos the clear side view of the pipe shown below and the second photo below – an out of focus picture of the stem end. It was obvious there was damage to the stem and that it would take some work but it was still interesting to me. I was the only bidder so the pipe became mine.Shamrock1

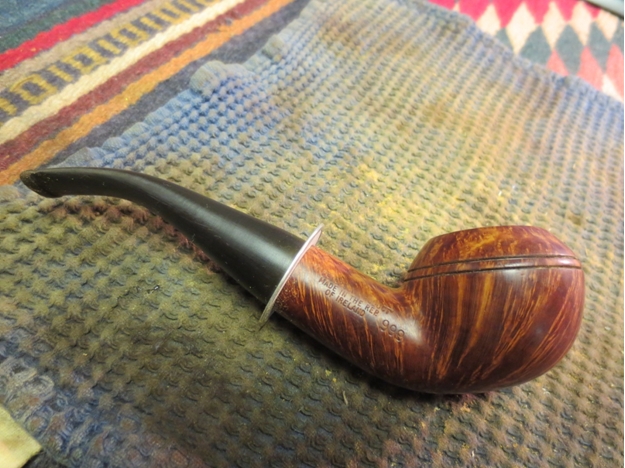
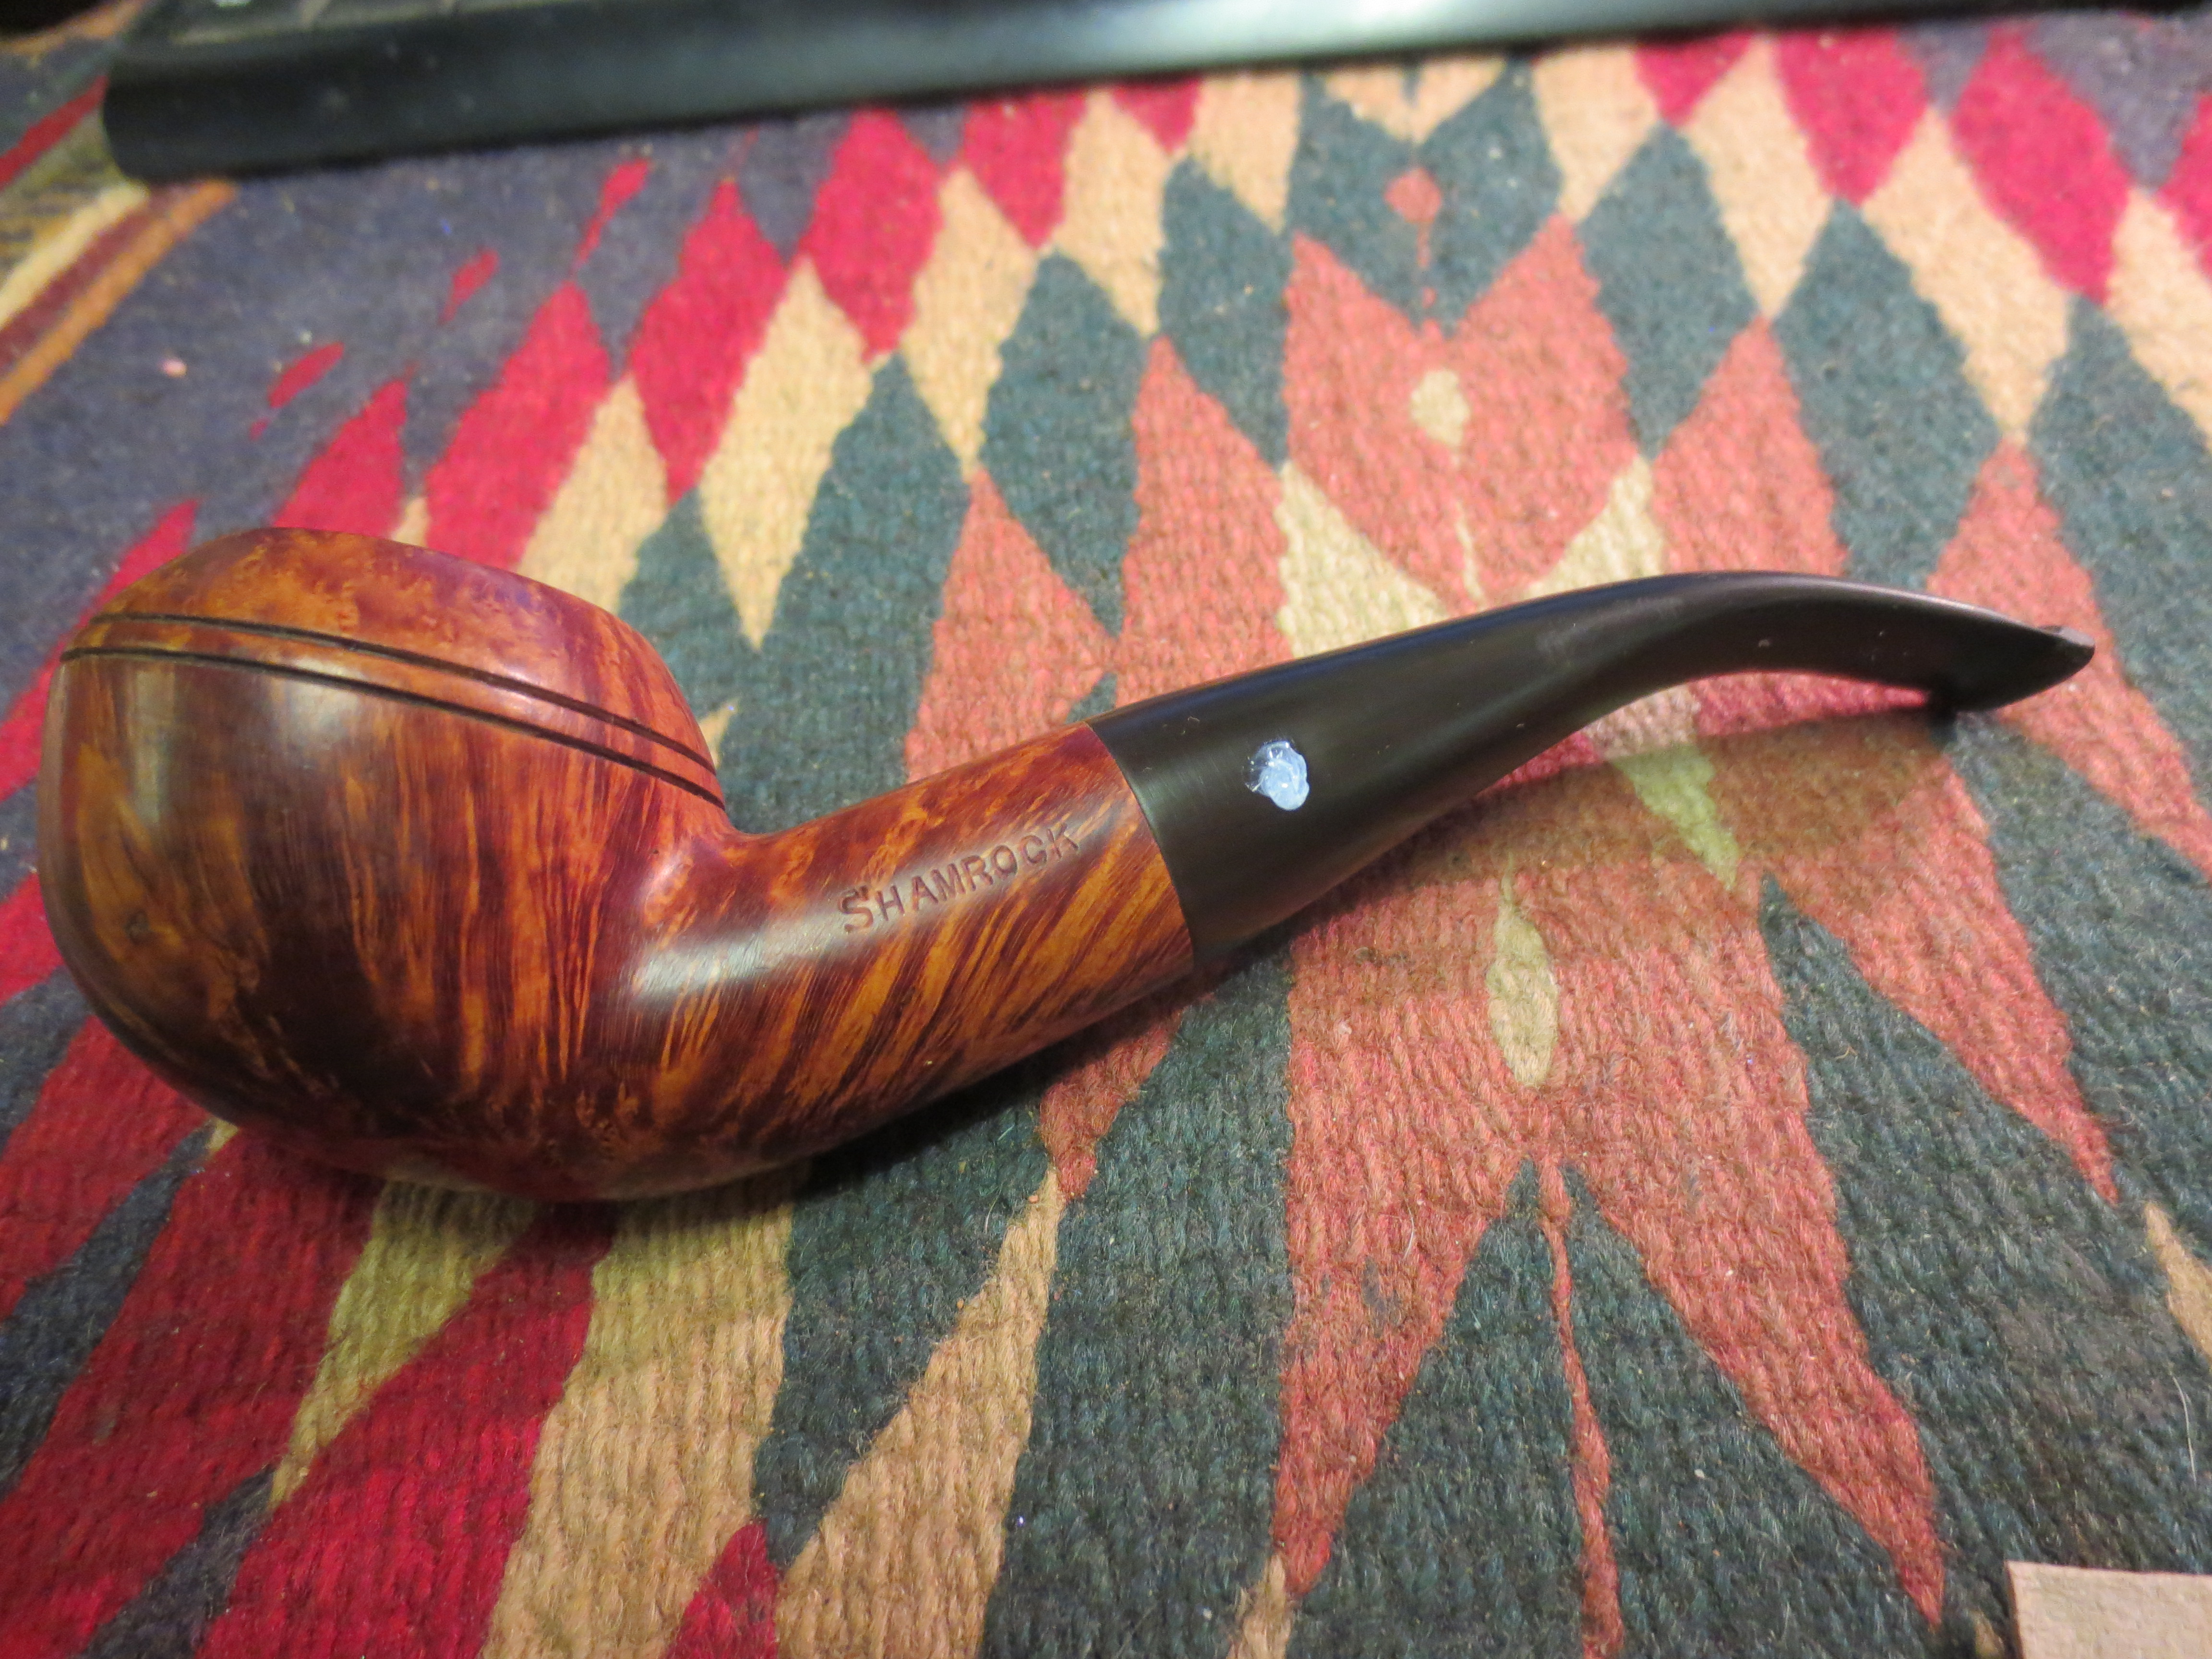
Shamrock2 It was stamped Shamrock on the left side of the shank in capital letters (once it arrived I saw that on the right side of the shank it bore the stamping “A Peterson Product” over Made in the Republic of Ireland with 999 stamped next to that). While the seller never revealed the data stamped on the right side of the shank or the shape number it was clearly a Peterson 999 – one of my favourite shapes. I am particularly fond of the thick shanked older versions of the shape but this one looked workable. While I waited for it I did some research on the brand. I have several Shamrock pipes and fortunately all of them are very nicely grained briar.

I wrote to a favourite source of all things Peterson, Mark Irwin, to inquire about the mark. He responded with the following helpful information. “There were two Shamrock lines—the Rogers Import U.S.-only line with the nickel band, and the Peterson unmounted line with a white “S” stamped on the mouthpiece. This line—which is what your pipe is from—debuted in the 1945 catalog in the 30 classic shapes then being offered, in both smooth and sandblast, always with a fishtail mouthpiece, and continued with the same finish and “S” stamp until the 1975 catalog. It was a “Product” line, so look carefully for fills, as Peterson always strives to get the most mileage out of their briar. If it does indeed lack fills, someone messed up in the workshop, as it would normally have been released in a much higher line. The name was subsequently used on newer “Shamrock” lines with various finishes and stains until very recently, but always as an entry-grade line.”

I also was a bit more information on the stamping on the other side of the shank so I read more on dating Peterson Pipes in an article here on the blog by Mike Leverette. In it I found that pipes that bore the Republic of Ireland stamping came from the Republic Era which extended from 1949 until the present. “The Republic of Ireland was formed on 17 April 1949. From 1949 to present the stamp for this era is “Made in the Republic of Ireland” in a block format generally in three lines but two lines have been used with or without Republic being abbreviated.”

Mike also addressed a further question on the stamping “A Peterson Product”. He wrote: “Also, we must address the stamp “A Peterson Product.” During the last few years of the Pre-Republic era and throughout the Republic era, Peterson began stamping their other lines, such as Shamrocks and Killarneys, with “A Peterson Product” over the COM stamp. So a pipe stamped thusly will have been made say from 1948 to the present with the COM stamp identifying it as a pre-Republic or a Republic pipe.”

That was helpful information. With Mark’s and Mike’s information I had learned a lot about my pipe even before it arrived. It came from the earlier Shamrock line which debuted in 1945 and continued until 1975. It certainly fit in the description of a classic shape and an unmounted line with a white S on the stem. It was a Republic Era pipe which put it after 1949 and bore the Peterson Product stamp which put it in the same time frame. That is as specific as I can get in dating this pipe.
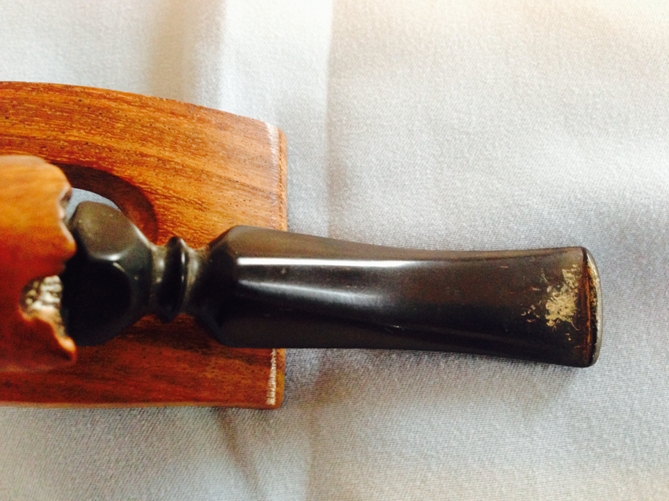
When the pipe arrived I opened the box and took it out of the bubble wrap. The stem was frozen in the shank and did not fit against the shank. The grain was beautiful and the natural finish was dirty. The bowl had a thick cake and still had a half bowl of unsmoked tobacco. The rim had a build up of tar on it that was thick. The inner and outer edge of the rim was undamaged and the bowl was still round. The stem was oxidized and the button end had significant damage as can be seen in the third photo below.Shamrock3

Shamrock4

Shamrock5

Shamrock6 I put the pipe in the freezer and left it overnight so that the temperature change would do its magic and loosen the stem in the shank. In the morning I took it out and was able to remove the stem with no problems. The photo below shows the damage to the button very clearly. There is also a sand pit visible in the side of the bowl. It is unfilled and from what I could see of the rest of the bowl there were not any fills.Shamrock7 I left the tobacco in the bowl while I worked on the rim. I scrubbed it with saliva and cotton pads until I was able to remove all of the tarry build up. I also scrubbed down the rest of the exterior of the bowl and shank.Shamrock8 I removed the tobacco with a dental pick and then reamed the pipe with a PipNet reamer and took the cake back to bare wood.Shamrock9 I used the dental pick to also clean out the twin rings around the bowl. These were packed with dust and wax from previous buffing.Shamrock10I set up my retort and put the tube on the broken stem. I loosely stuff a cotton ball in the bowl and heated the alcohol over a tea light candle. I ran the alcohol through until it came out a rich brown. I emptied the test tube and refilled it with alcohol and repeated the process. The second time the alcohol came out clean. I removed the retort and cleaned out the shank and bowl with cotton swabs and pipe cleaners.Shamrock11

Shamrock11a

Shamrock12 I debated for a long time what to do with the damaged stem. I could try a stem splice or replace the stem. I could also cut off the stem and reshape the button. In looking over the stem I decided there was enough length and material to allow me to cut if off and reshape it. I used a Dremel with a sanding drum to remove the broken part of the stem. I squared it off on the topping board and I was ready to recut the button.Shamrock13

Shamrock14

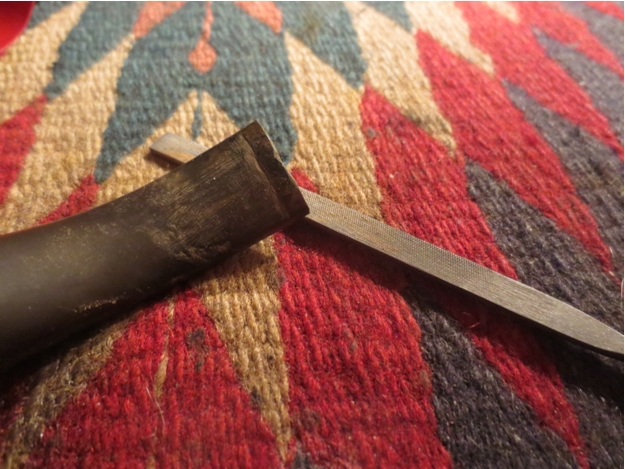
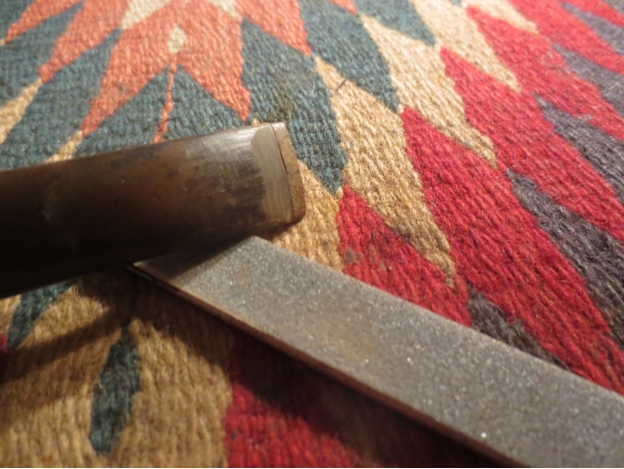
Shamrock15 I use needle files to cut the lines of the new button. They give me a good square edge and let me cut the basic shape of the button.Shamrock16

Shamrock17 Once the line is cut I use a variety of tools to trim back the taper from the line back toward the shank. I used an emery board to work on the shape of the stem. Often this is all I need but in this case it was not enough.Shamrock18

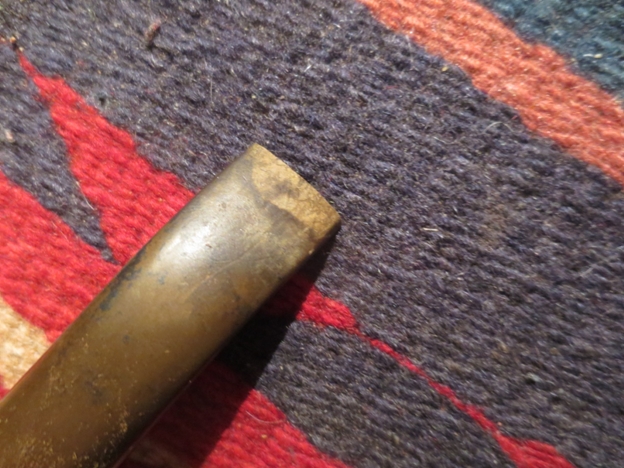
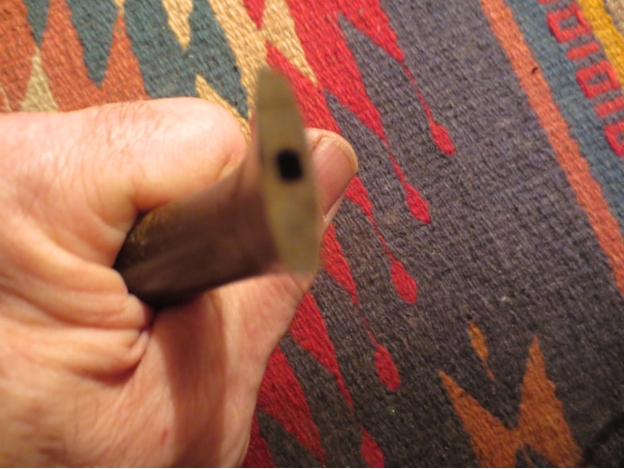
Shamrock19 I used a knife blade shaped needle file to shave the stem back to the button. With this blade I removed a lot of the excess material and the button began to take shape. I also used the file to begin to shape the oval of the button and to open up the slot in the end of the button. I continued to work on the taper of the stem and smoothed out the flow o the stem to the button using 220 grit sandpaper.Shamrock20

Shamrock21

Shamrock22 Once I had the shape and the taper of the stem correct I put a washer on the tenon and inserted it in the shank so that I could work on the stem. I sanded the stem with 220 grit sandpaper to remove the oxidation and then sanded it with a medium and a fine grit sanding sponge. I carefully avoided damaging the logo stamp on the stem. I also rubbed the bowl down with a little olive oil on a cotton pad. It really enlivened the grain on the pipe. I buffed it lightly with White Diamond and then gave it several coats of carnauba wax.Shamrock23
Shamrock24

Shamrock25

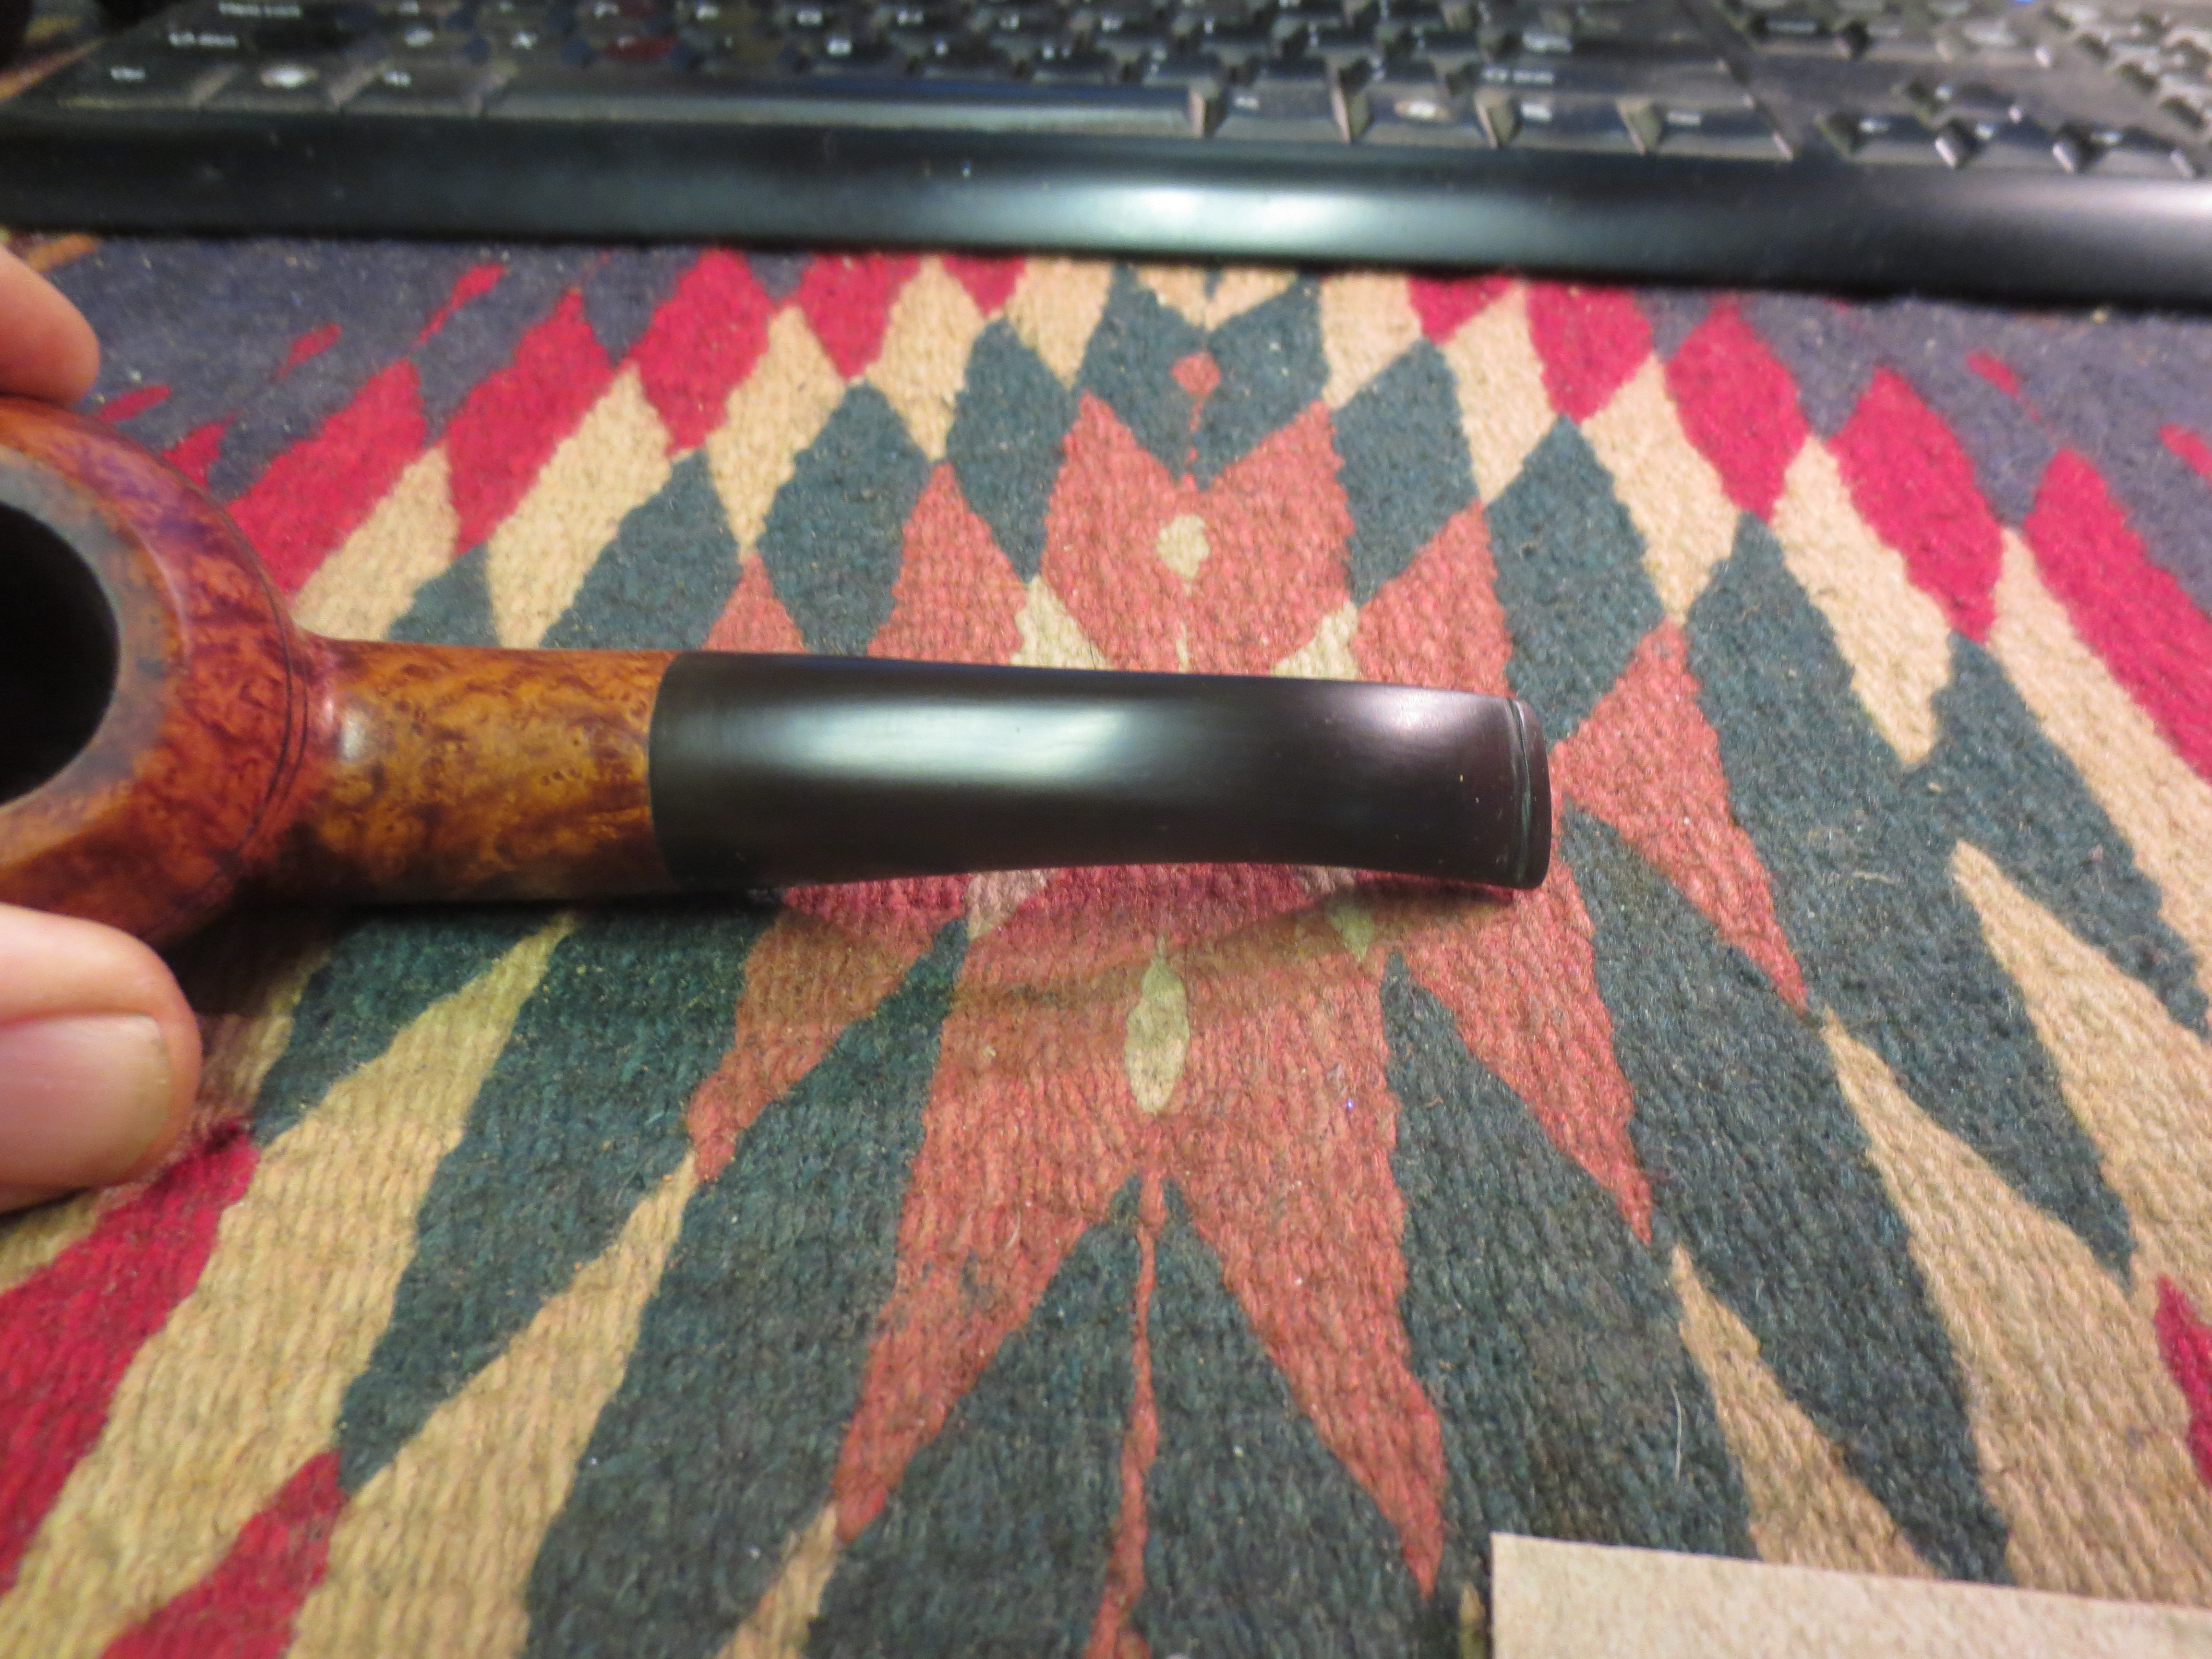
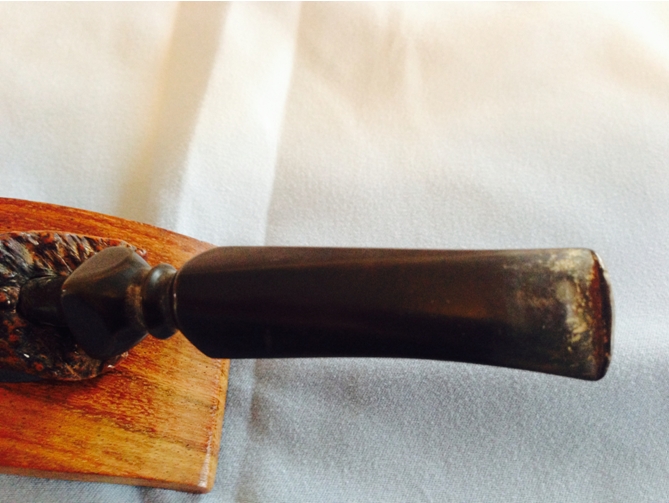
Shamrock26 Once the oxidation was taken care of I used some liquid paper to re-whiten the S on the stem. The photos below show the shape of the button and the stem at this point in the process. The new button works well and the shortening of the stem did not too seriously damage the appearance of the pipe.IMG_3070

IMG_3071

IMG_3072

IMG_3073 I wet sanded the stem with 1500-2400 grit micromesh sanding pads and dry sanded it with 3200-12,000 grit pads. I rubbed the stem down with Obsidian Oil between each set of three grits of micromesh sanding pads.Shamrock31

Shamrock32

Shamrock33

Shamrock34 I rubbed it down with a final coat of Obsidian Oil and once it had been absorbed into the vulcanite I hand buffed it with a soft cloth and took the next two photos to show the finished look of the stem.IMG_3091

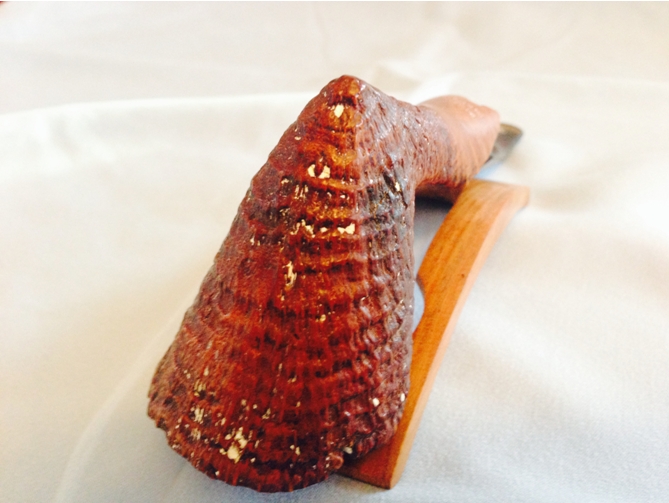
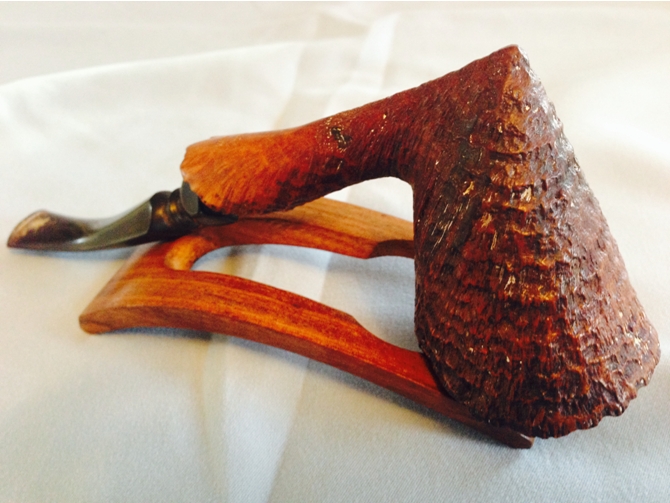
IMG_3092 The finished pipe is shown below. The two profile photos show the look of the new button and the revised taper of the stem. It feels great in the hand and in the mouth. The bend matches my other 999 pipes and the overall length actually is the same as the chunkier stemmed early 999s that I have in my collection. I buffed the pipe and stem with White Diamond and gave it several coats of carnauba wax. I buffed it with a soft flannel buff to raise the shine on the pipe. It looks and smells fresh and clean. It is ready to load with a bowl of Virginia and give an inaugural smoke. In closing look at the grain on this old Shamrock – for the life of me I can find no fills in the briar. It is clean – two or three smalls sandpits but they in no way effect the overall look of the pipe. Amazing, I think that it did indeed slip through during production. No problem for me, I will enjoy it.Shamrock37
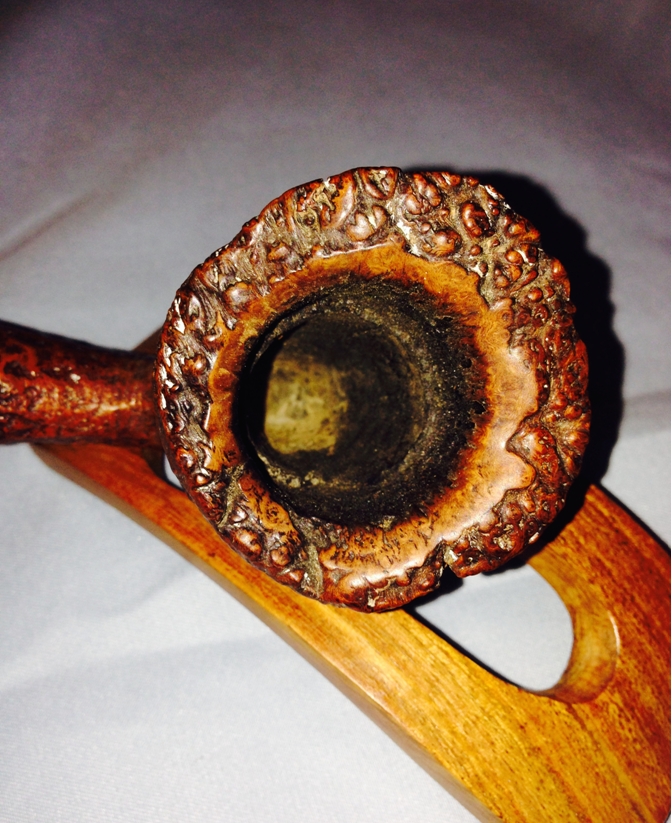
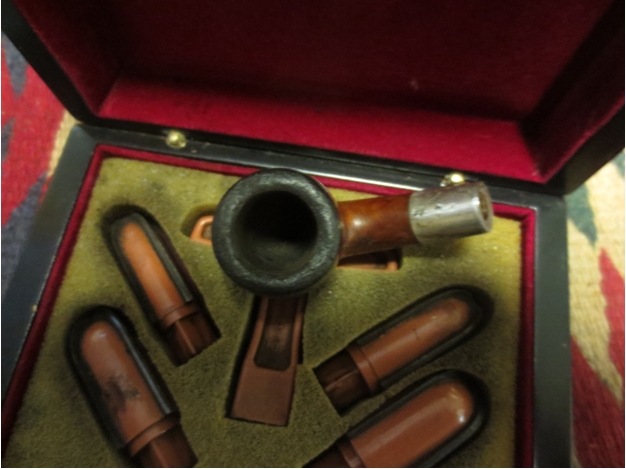
Shamrock40

Shamrock39

Shamrock38

A Unique Town and Country Squat Round Bottom Rhodesian – Robert M. Boughton


Guest Blog by Robert M. Boughton
Member, North American Society of Pipe Collectors
http://www.naspc.org
http://www.roadrunnerpipes.com
http://about.me/boughtonrobert
Photos © the Author

The pipe with solemn interposing puff,
Makes half a sentence at a time enough;
The dozing sages drop the drowsy strain,
Then, pause and puff – and speak, and pause again.
— William Cowper (1731-1800), English poet, in “Conversation,” 1782

INTRODUCTION
When this odd little pipe arrived in the mail a couple of months ago, as part of an estate lot, it stood out, to be sure. Amongst a beautiful Kaywoodie Standard mixed Sandblast/Smooth Grain Billiard, an elegant LHS Park Lane DeLuxe Dublin, a vintage WDC Full Bent Billiard with 14K ring, an Ehrlich Rusticated Billiard and two others – yes, it stood out. I will leave it to the reader to determine the nature of the deviation.

Still, it did force me to reconsider the true form and figure of a Rhodesian, and to imagine the turmoil I could incite if I threw this pipe as an example into the ongoing brouhaha that is the Bulldog versus Rhodesian debate. I do have a touch of Old Nick in me that way (and I don’t mean St. Nick).

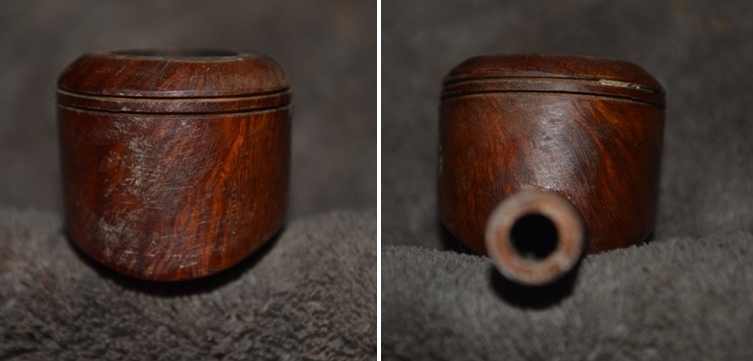
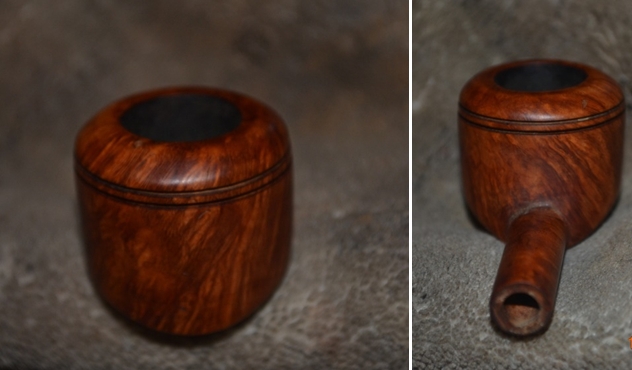
Yet how else can I describe this weird pipe, at its basest, but as a Rhodesian, despite the squatness of its stature and the roundness of the bottom of the bowl? The fact is that this Town and Country (made by the Bradberry Briar Pipe Corp. of New York) has a rounded bowl with two slits carved into its upper end below the rim and a round shank.Rob1

Rob2

Rob3

Rob4 RESTORATION
Part of me did not want to mess with the original stain, but some impulse screamed at me, “Drown this thing in Everclear and see what lies beneath!” And so, that I did. As it turned out, the voice was right. All kinds of scratches and other flaws became apparent where they were obscured before.Rob5

Rob6 Beginning the process of removing the various blemishes with a thorough sanding (except for the nomenclature)using 220-grit paper, I was careful to make smooth, even runs in the directions of the grain. After some time at this task, rubbing the fine briar dust away with a rag as I progressed, I was at last satisfied with the results.

To prep the wood for staining, I brushed the surface with super fine steel wool, which returned the natural color of the briar and created a light sheen. Then I commenced a thorough de-wrinkling treatment with micromesh pads, starting with 1500, then 1800, 2400, 3200 and 4000. Again, I rubbed the wood clear of any residue between each micromesh pad.Rob7

Rob8 The obvious next step seemed to be a full cleaning of the pipe’s interior. Expecting to find the usual massive buildup of crud associated with the shanks of most estate pipes, I was in fact shocked to see the wire-handled, heavy-duty bristly cleaner, dipped in Everclear, emerge from the exercise almost un-befouled the first time and spotless the second.

Still wary, I sanded the pinky-sized circumference of the chamber with a Lilliputian-sized scrap of 220-grit paper and succeeded in removing a fair amount of carbon. Then I inserted an alcohol-soaked square of gun cleaning cotton cloth and twirled it with the aforementioned pinky until most of the carbon residue was cleared from the chamber.

Despite the failure of the wire cleaner to dig up more than trace elements of old tobacco, and determined to assure the shank was truly ready to pass anyone’s test, I employed my newly acquired proficiency in retorting. To my utter dismay, despite my certainty that I had performed the retort without error, the remainder of the boiling alcohol – which had surged all the way into the chamber and left the cotton there somewhat dirtier than it started – returned to the Pyrex test tube clear enough to drink, if I were so inclined. Disbelieving the unheard of result, I re-boiled the alcohol in a second and sent it packing again whence it had returned once empty-handed, so to speak. The second try came back as clean as the first.

At last, my mind exploded in dizzying exultation, a clean shank at the outset!

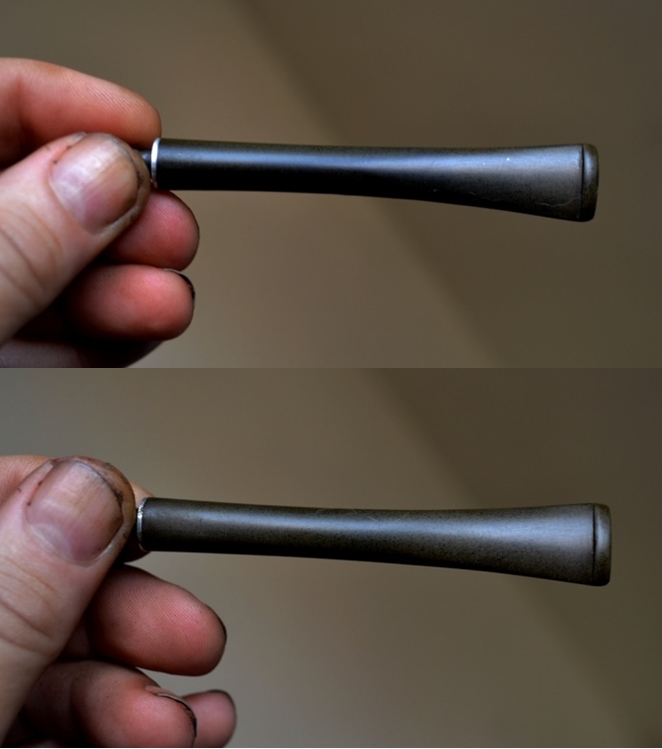
I turned to the stem, which, other than being a uniform military green, was all but devoid of scratches or chatter. There was one small ding, but given the usual mauling of stems I encounter, this one was a gift from Heaven. As I have yet to come up with a formula for a solution in which to treat stems, I was compelled to do it the old fashioned way: by hand, using 320-grit paper to restore the stem from green to black. This step required several passes, more and more localized each time.

Next I turned to micromesh and gave the stem the same care I provided the wood: 1500, 1800, 2400, 3200 and 4000.Rob9 I tend to enjoy re-staining the wood of a pipe when necessary, and my biggest question so far had been what shade of brown to use if not marine (burgundy) red. This pipe I wanted to do as a two-tone, with the beautiful natural color and grain of the rounded rim left unchanged and the rest of the bowl and shank dark enough to show the difference. And so the only question was whether to use medium brown, which is darker than it sounds, or marine? I admit to having a fluttery, nervous feeling in my stomach when I opted for the marine. Although the result was better than okay, I won’t be showing it here for reasons that will soon be apparent.

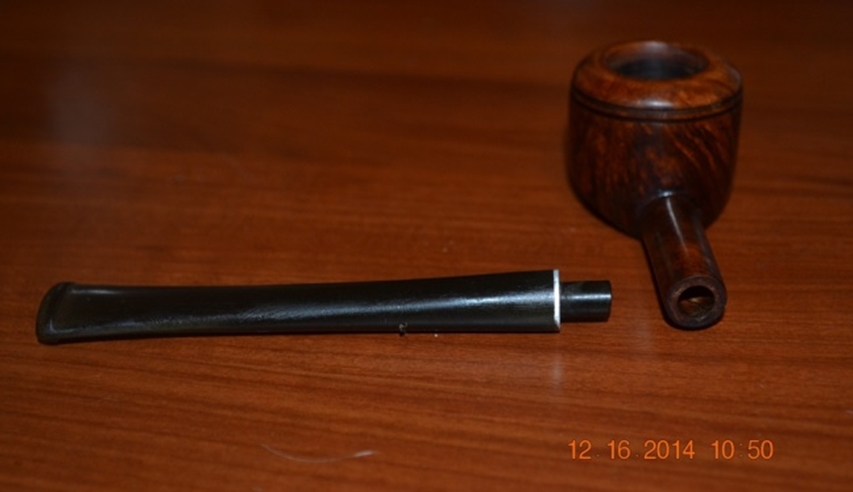
Having stained the majority of the wood marine and left the round rim plain, I flamed out the alcohol from the boot stain, buffed the greater part of the wood with its resulting ash using 3200 micromesh and then waxed the wood and stem – from which I had removed the superfluous metal tenon extension by heating it with my Bic and yanking it out – and achieved a definite high contrast. The grain still showed through the stain, but I knew it wasn’t right.

Therefore, wishing to have a little fun and test my mentor, Chuck Richards, I took the “almost finished” product to him for his opinion. True to form, Chuck scrutinized every angle of the pipe through his glasses and handed it back to me. His critique was like the ultimate New Yorker bad book review: no comment. He still has no idea how good that made me feel!

Pleased with myself, I later returned home with the dark red body of the pipe topped by a blond head and with care again applied the super fine steel wool to remove the wax and stain on all of the wood but the rim. Ready for the correct approach, I re-stained most of the wood medium brown, went through all of the steps as before to prepare it for waxing on my two buffer machines, and applied white and red Tripoli, White Diamond and carnauba. The result was much more satisfying, and I felt no need to run it by Chuck again before submitting this blog, as I had already messed with him enough, albeit unbeknownst to my good friend.Rob10

Rob11

Rob12

Rob13

Rob14

Rob15 CONCLUSION
All fun and pranks with my big-hearted but not coddling mentor aside, I ended this restoration with more work than was necessary. I should have learned by now not to disregard the advice of that little fluttery feeling of unease I had in my stomach when I chose marine over medium brown. In the end, the stomach almost always wins in all matters over the mind.

Restoring a KB&B Doc Watson – Andrew Selking


Blog by Andrew Selking

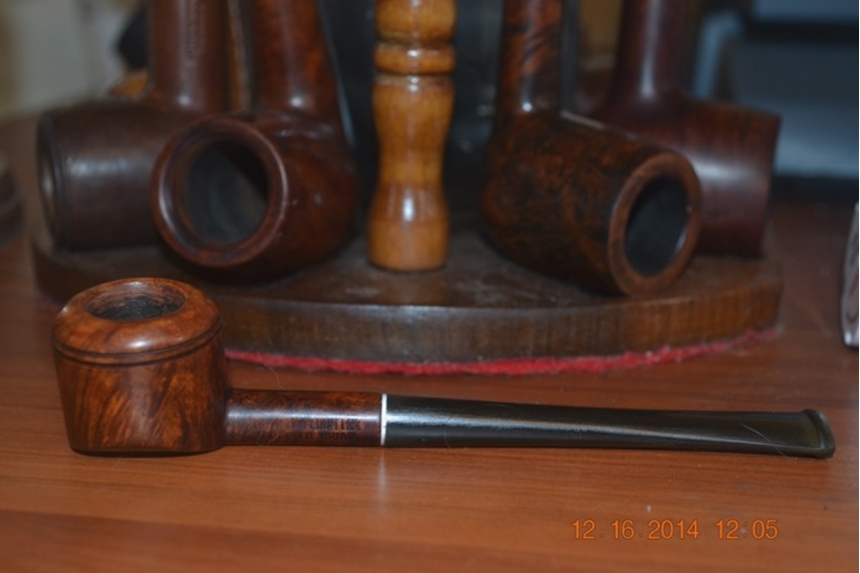
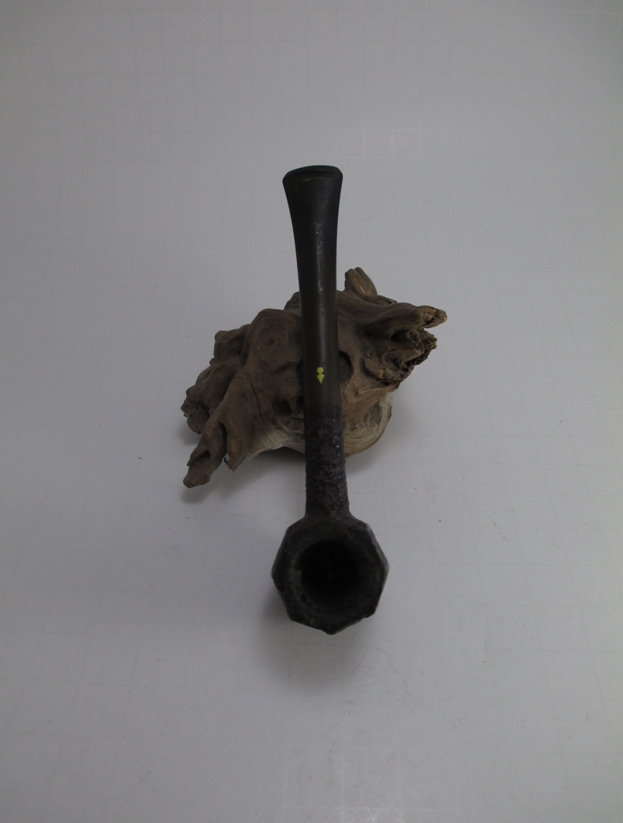
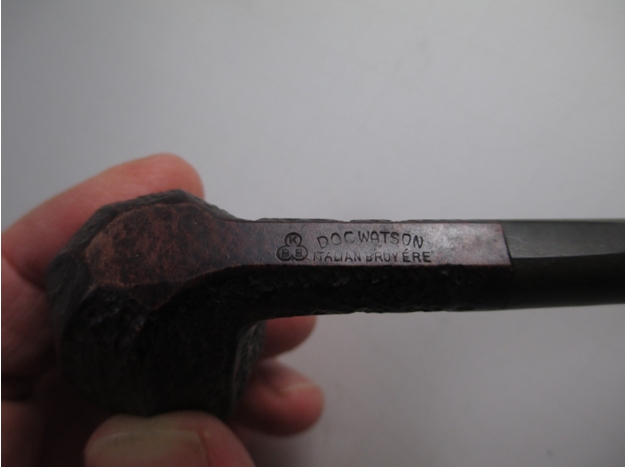
My wife and I enjoy browsing antique shops and last weekend checked out a new shop. They didn’t have many pipes, most were worn out drug store pipes, but this one little pipe stood out. The first thing I notices was the fantail stem and interesting inlay on the stem. I picked it up and discovered that it was a rusticated panel billiard shape, unlike anything I’ve ever seen. I pulled the stem from the shank and saw a very unusual stinger/tube apparatus. The stem looked like it was hand cut, very thin and the button had nice clean angles. From what I found out about KB&B pipes, the clover leaf without the ampersand was from the 1930s. The best part was the price, $4.95! Here is what the pipe looked like, thick cake, but otherwise not too bad.KBB1

KBB2

KBB3 I missed some of the documentation process, but I cleaned the bowl with undiluted Murphy’s Oil Soap and a toothbrush. I decided to remove the stinger, which I accomplished with a heat gun, but still save it for the historical value. I then soaked the stem in Oxyclean. It had a lot of tar build up as you can see from this picture.KBB4 Next I turned my attention to the bowl. This is a very small bowl, my smallest reamer didn’t fit, so I ended up using a pen knife to carefully remove the cake.KBB5

KBB6

KBB7 With the bowl clean and the stem started, it was time for the retort. Normally when I put cotton balls in the bowl I can fit three or four, this bowl only fits one.KBB8 Although the stinger allowed for a lot of tar build up, it kept the shank much cleaner than most. After a few q-tips it was clean.KBB9 The stem was just as dirty as the shank, but the retort made the job of removing tar a breeze.KBB10 You can see from what boiled out just how much tar the stem had.KBB11 The first couple of fuzzy sticks dipped in rubbing alcohol came out very dirty, but it was mostly tar and it didn’t take long before they came out clean.KBB12

KBB13 Since the outside of the bowl was already clean, I used a progression of micro mesh pads, starting at 6000 and worked up to 12,000 to polish the bottom of the shank and the high spots on the bowl. I used 400 grit wet/dry with water to remove the oxidation from the stem then switched to micro mesh pads (1500-2200) with water.KBB14 I finished the stem with the full progression of micro mesh pads through 12,000 grit to get a nice polished finish to the stem. I tried something different this time. Rather than use the buffing wheel I just used the Halcyon II wax and a soft cloth. We’ll see how that holds up. Here’s what the finished pipe looks like.KBB15

KBB16

KBB17

KBB18

KBB19

KBB20

Restoring a Patent-era Dunhill 137 – Andrew Selking


Blog by Andrew Selking

I stumbled across this Dunhill while browsing eBay. A little bit of research indicated this was a desirable patent-era pipe from the collector’s range, which used a better of briar. The pictures indicated a lot of tar build-up (I actually don’t mind tar, it seems to protect the rim from some of the abuse of knocking out the pipe) and some dark spots that might hide scorch marks or burn through. The stem looked decent, free of significant chatter or bite through, so I decided to take a chance.

Here’s what the pipe looked like when it arrived.Dun1

Dun2 The first order of business was to loosen the tar and heave cake, so I dropped the bowl in the alcohol bath.Dun3 Next I turned my attention to the stem with the Oxyclean bath (yes it is taking a bath with another Dunhill stem, which I will write about later).Dun4 After a good long soak, I broke out my Castleford reamer and removed the cake back to the wood.Dun5 After cleaning the inside of the bowl, I used some 0000 grade steel wool in an attempt to remove the tar.Dun6 Usually that works, but there was some rim damage that necessitated topping. Dun7 I use a piece of glass that I found to ensure an even surface when topping.Dun8 I also use a relatively fine grit (400 grit) paper when doing something like this. I find that it makes the final sanding easier and I don’t inadvertently remove more than I wanted to. Here is what the bowl looked like after topping.Dun9 Next I tackled the inside of the shank using the retort.Dun10 There is nothing like boiling alcohol to loosen up built up tar and tobacco. This is what the brush looked like after the first pass.Dun11 In case you’re wondering what I do to clean the brush in between passes, I swish it in the jar I use for soaking the bowls. The sediment settles to the bottom and since soaking in alcohol is only one step in the process, I don’t worry too much about it.

Once the brush no longer captured a bunch of gunk, I moved on to q-tips dipped in rubbing alcohol. In my opinion, rubbing alcohol works fine for general cleaning, but it does not work well for mixing with stain or for doing the retort. As you can see, it took a good amount of q-tips before the shank came clean.Dun12 Next I used the retort on the stem. As always, I made sure to plug the end to ensure the dirty alcohol didn’t boil over and shoot out the end (that’s always hard to explain to your significant other).Dun13 The stem was pretty nasty, as you can see from the residual alcohol in the test tube.Dun14 After using a pile of fuzzy sticks (I get them in the craft section at Wal Mart, they’re cheaper than pipe cleaners and longer), the inside of the stem was finally clean.Dun15 Starting with the stem, I used 400 grit wet/dry sandpaper with water to remove the oxidation. I then moved on to 1500-2400 grit micro-mesh pads with water. I find that the wet sandpaper does a good job getting into the little crease on the underside of the button. It’s also helpful to occasionally dry the stem off and see if there’s still any oxidation left, it’s easy to overlook when the stem is wet.Dun16 I use the same progression of micromesh on both the bowl and the stem, although I don’t use water with the bowl. Here is the pipe after going through the entire progression 15000 through 12,000.Dun17 I stained the bowl with Pimo Pipe Supply’s mahogany stain, diluted with denatured alcohol and flamed to set.

Next I took the bowl and stem to the buffing wheel, where I used some white diamond and a couple of coats of carnauba wax. Here is the finished result.Dun18

Dun19

Dun20

Dun21

Dun22

Dun23

Dun24

Dun25

Dun26

DUN27

Dun28

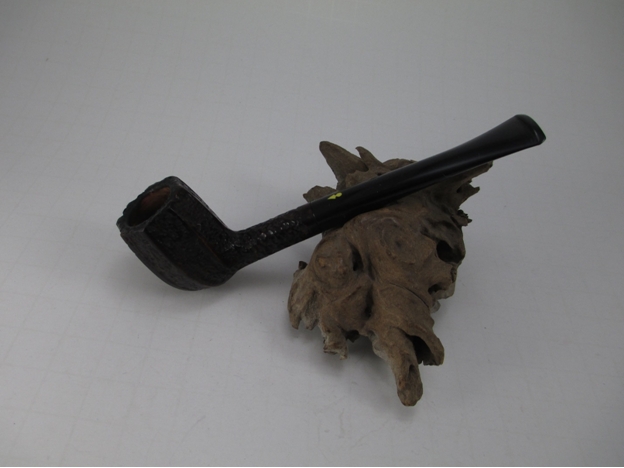
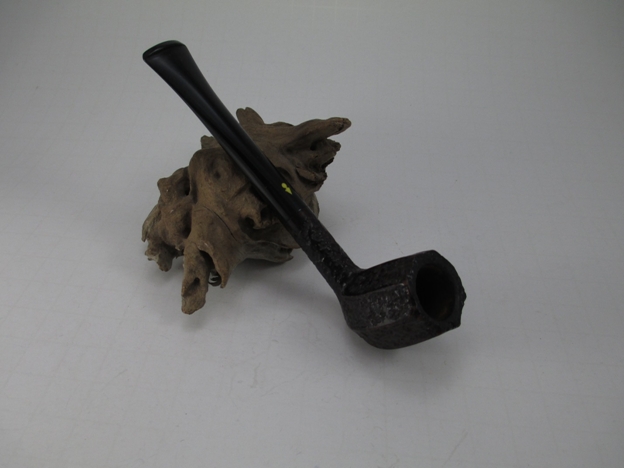
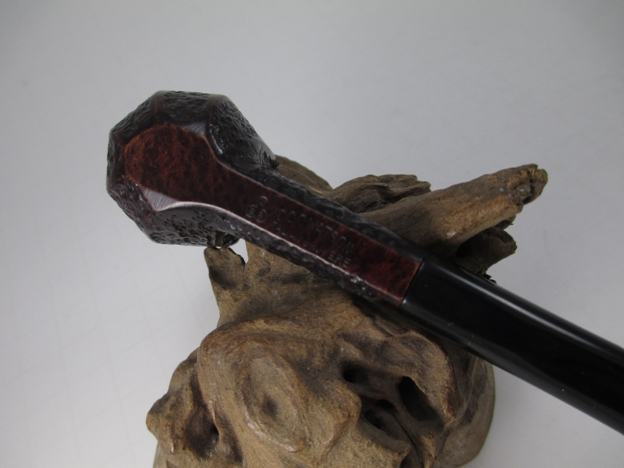
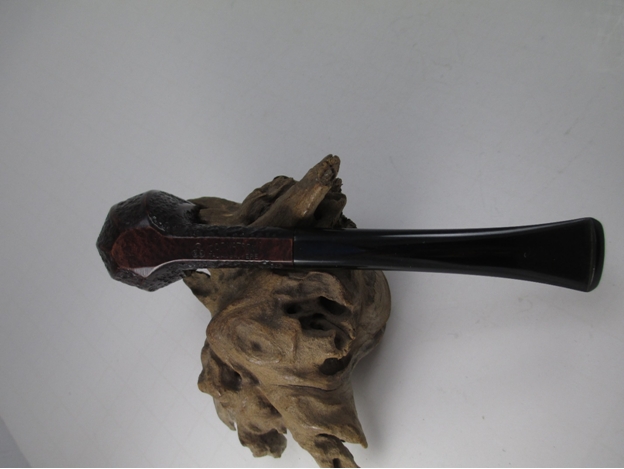
A Wally Frank Sandblast Unique Sitter Reborn


Blog by Steve Laug

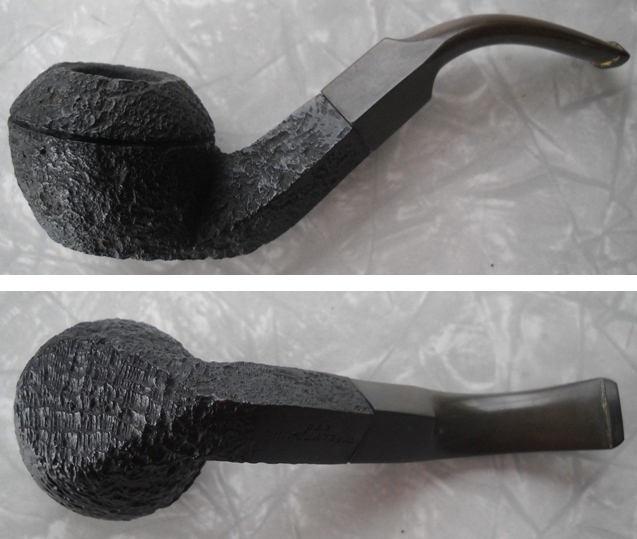
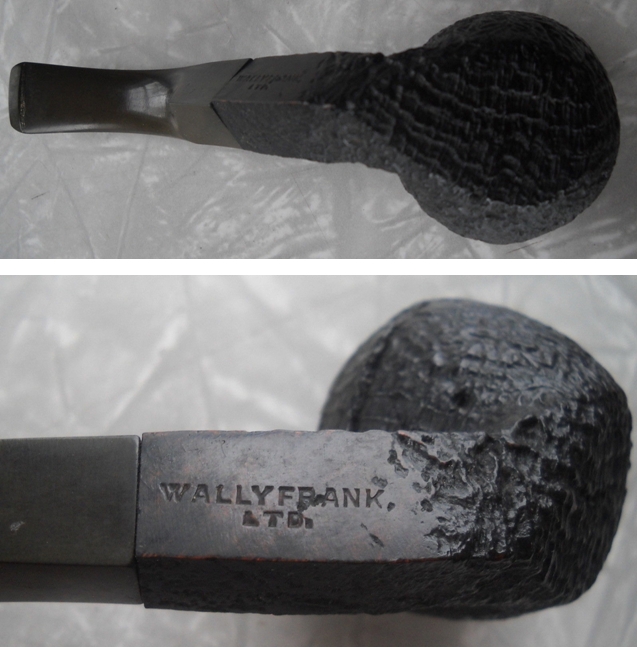
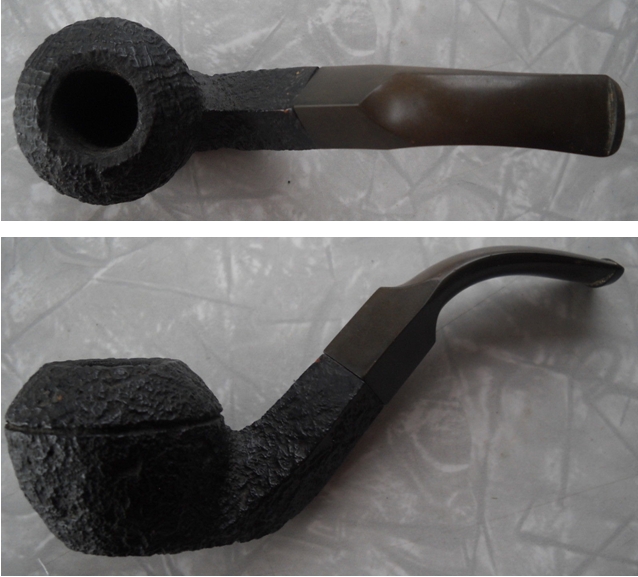
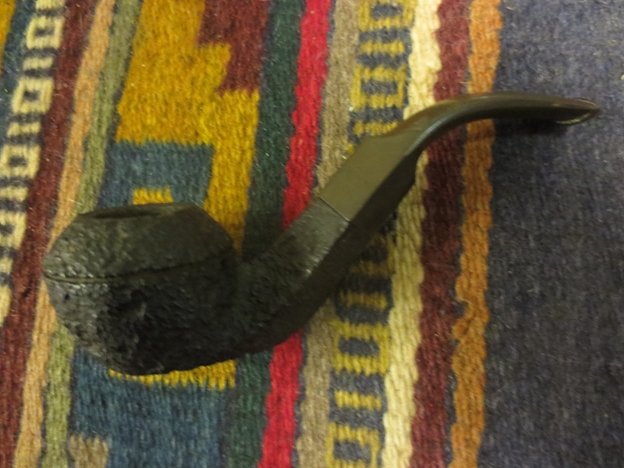
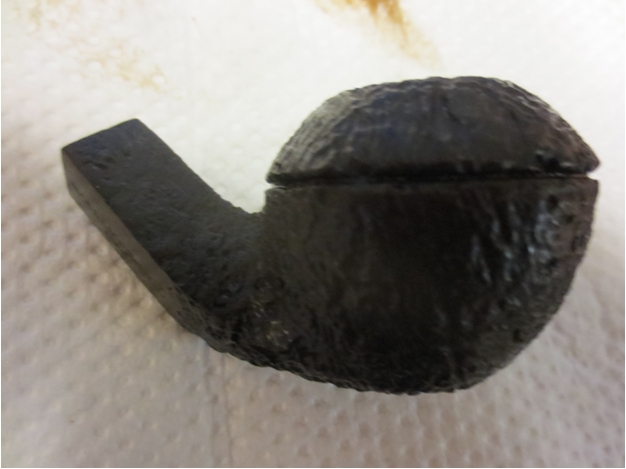
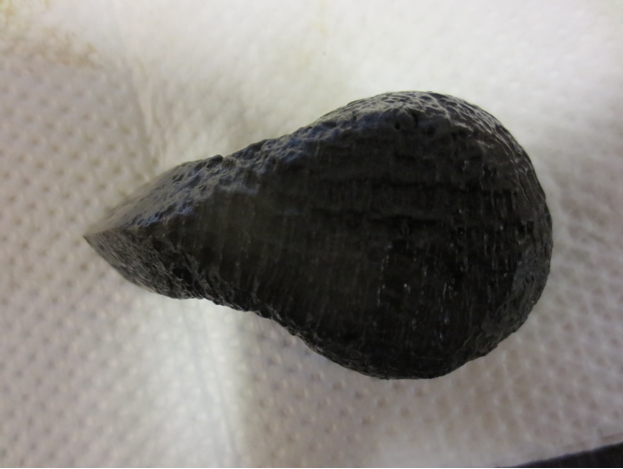
Every once in a while I get the urge to just sit and work my way through the estate pipes on the various Ebay sites. I rarely if ever pick anything up anymore unless it is something that is unique and just grabs me. The last time I did the scan of the various sales I came across this old Wally Frank sitter. It combined the look of a Rhodesian with a diamond shank like a Bulldog and a sitter base. It had a very English made pipe look in my opinion. The sandblast on the bowl and front portion of the shank appeared to be deep and craggy. The rustication of the last third of the shank, a feature that I find often on sandblasted Wally Frank pipes, looked good and the stamping was clear and readable. The bowl appeared to be in decent shape and finish looked good in the photos. The stem was oxidized and the seller noted that it sat off centre slightly or did not line up with the shank. I figured if it had a metal tenon that was fixable and if it was a push tenon it was a non-issue. I was hooked. I bid on it and won, only to find out that the shipper never shipped out of the US. We corresponded and he decided to send it on to me. For that I thank him. The next series of six photos were included by the seller in the Ebay write-up.Frank1

Frank2

Frank3 When the pipe arrived, I opened the box and removed the pipe. The blast was even better than the photos had shown. The stem oxidation was pretty much as shown above. The misaligned stem was no issue as the stem had a push tenon and was only a matter of turning the stem slightly. The airway was open but dirty with tars and grime. The bowl had a light cake that thickened toward the bottom of the bowl. The edges of the shank and the stem were sharp and clean showing that it had not been buffed much in its history. There were a couple of spots on the edge of the rim and shank at the union next to the stem where the stain was worn or missing. The rim itself was dirty with tars. The stem was clean though oxidized with no tooth marks or chatter. The button was crisp and sharp and the slot was an open oval that flared into the stem opening up into the airway like a funnel. I took a few photos of the pipe when I took it out of the box.Frank4
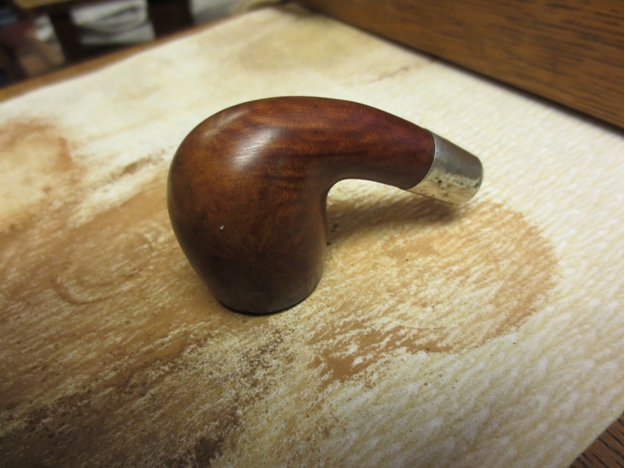
Frank5

Frank6

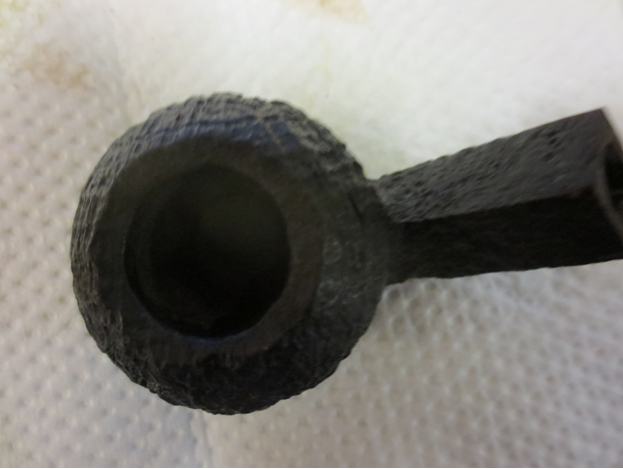
Frank7 The photo below shows the situation with the cake in the bowl. It was not centered or evenly built up around the bowl so it would need to be cleaned up and adjusted.Frank8 I reamed the bowl with a PipNet reamer and took the uneven cake back to bare wood. I used the smallest cutting head to begin with and worked my way up to the second cutting head. With these two I was able to clean out the cake. The bowl shape is kind of combination of a V and U shape. The sides are U-shaped to about a half-inch from the bottom of the bowl where it shifts to a V shape. I scrubbed the rim surface with a soft bristle brass tire brush to clean off the tars and oils built up there.Frank9

Frank10 I scrubbed the bowl and rim with Murphy’s Oil Soap and a tooth brush. Once I had scoured it with the soap I put a thumb over the bowl and rinsed off the soap with running water. The photos below show the pipe after I had scrubbed, rinsed it and dried it off with a soft cloth.Frank11

Frank12

Frank13

Frank14

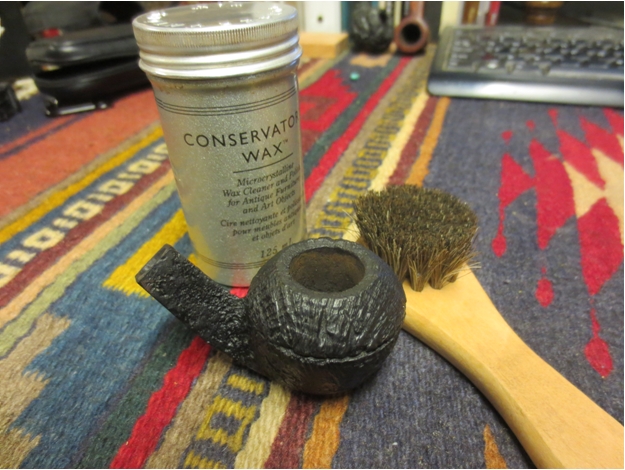
Frank15 After cleaning the briar I gave it a coat of Conservators Wax which is a microcrystalline wax cleaner. I buffed it with a shoe brush to bring a shine to the bowl.Frank16 I put the stem in a jar of Oxyclean to soak and raise the oxidation to the surface. I let it sit overnight to soak. I then returned to the inside of the bowl. (NOTE: The reason I give the bowl a coat of wax before cleaning the inside of the shank and bowl is because I want to protect the finish when I am cleaning out the inside).Frank17

Frank18 I cleaned out the shank with isopropyl alcohol and cotton swabs and the airway with pipe cleaners. I cleaned it until the cleaners came out with no grime on them.Frank19 In the morning I took the stem out of the oxyclean and dried it off with a paper towel. The roughness of the paper towel removes the oxidation that has been raised to the surface of the stem. Once it was dry I slipped a plastic washer on the tenon and reinserted it into the shank of the pipe. The washer allows me to sand all the way to the edges of the stem without rounding the edges at the shank junction. I started with a medium grit sanding sponge and worked through a fine grit sponge and fine grit sanding block. I then wet sanded with 1500-2400 grit micromesh pads and dry sanded with 3200-12,000 grit pads. I rubbed down the stem between each group of three pads with Obsidian Oil and then moved onto the next set of three. When I finished I buffed the stem with White Diamond and gave it a final coat of Obsidian Oil and let it sit until it had dried.Frank20
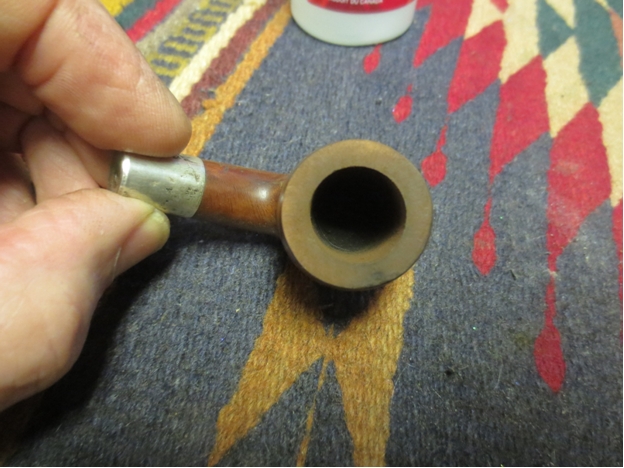
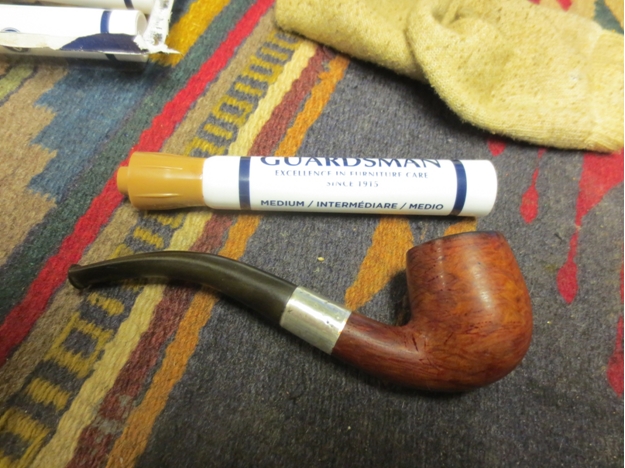
Frank21

Frank22 (NB In the photo below I left the plastic washer in place on the stem while in the two above I removed it for the photo)Frank23 I put the stem back on the bowl and gave it a final buff with a blue polishing bar on the buffer. This polishing compound is a plastic polishing compound (Blue Diamond maybe, can’t remember the name). I finished by giving the bowl a buff of carnauba wax (light touch so as not to gum up the blast finish) and then multiple coats of the wax on the stem. I buffed the whole pipe with a soft flannel buff for the finished shine on the stem and the bowl shown in the photos below. The pipe is ready to be christened with its inaugural smoke this afternoon while I go for a walk in the neighbourhood. I have chosen a Virginia Perique blend called Pilgrim’s Muse that I purchased from the Country Squire Tobacconist. It is a great smoking tobacco with a good flavour.Frank24
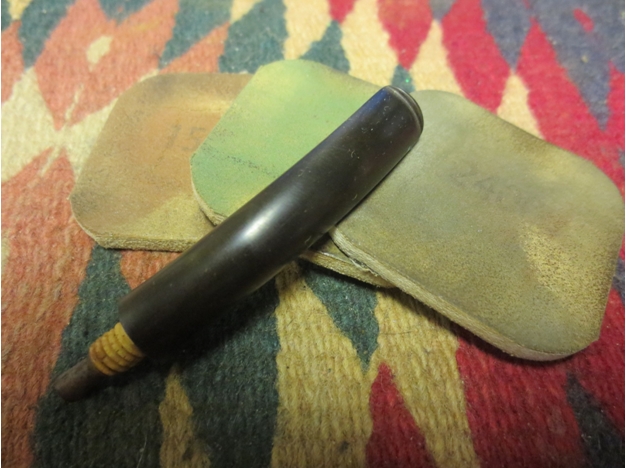
Frank25

Frank26

Frank27

Frank28