Tag Archives: Obsidian Oil

A Comparison Review – Briarville’s No Oxy Pipe Stem Oil and Obsidian Pipe Stem Oil


Blog by Steve Laug

Several months ago I received and email from Rich at Briarville about a new product he had developed called No Oxy Oil to help deal with oxidation. He offered me a bottle of the oil to experiment with and wanted to get my feed back on the product. I wrote and asked him how it compared with Obsidian Oil which I have used for quite a few years now. His response was interesting to me in that he said his product contains all food grade ingredients which he stated was not true of Obsidian Oil. He also said that it was proven effective in combatting oxidation and preventing damage to the stem by UV rays. I thought it would be worth experimenting with for comparison sake. Both products are similarly priced so price point was not the issue for me. I was looking at effectiveness and usability.

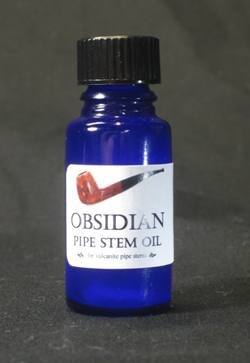
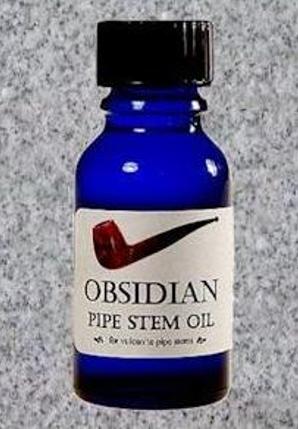
The advertisements for Obsidian Pipe Stem Oil are clear that it isn’t a wax or a cleaner. It was specifically designed to help keep vulcanite, ebonite or Cumberland stems from oxidizing, and help keep them looking newer for longer. In addition to conditioning and sealing the pores of the vulcanite, thus resulting in much less oxidation, Obsidian also contains small amounts of organic quality UVA/UVB protection. It is also billed as being great for new pipes or freshly buffed pipes and slow down the frequency of having to buff the stem to remove the green/gray oxidation that occurs on rubber based stems.

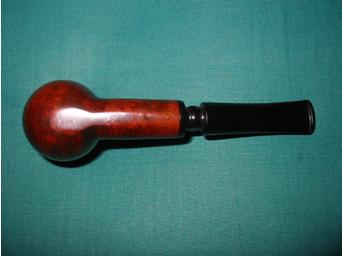
I have used Obsidian Oil on my stems as part of the process of restoring pipes. I put a few drops on a cloth reserved for it and rub down the stems with it. I never put a lot of the oil on the surface as I do not like to leave any kind of coat on the stem. I wipe it on and wiped it off within a few moments as it seems to absorb into the surface fairly quickly. I also find that doing it this way it leaves no residual taste on the stem surface but still works to protect the stem from the harmful UV rays and slows down oxidation.

I have ready many comments since the product was released both singing its praises and questioning its value. I have found that when it is used after cleaning and buffing a pipe it delivers what it promises. It does not remove oxidation that is already present and it actually never promised that in its advertising. It is a preventative and protective product that slows down further oxidation rather than a cleaning or polishing product that removes oxidation. If it is used with that expectation clearly understood I find that the product works very well. If it is applied with expectations of removing oxidation it truly is useless – even though it was never intended to be used in that manner.

Armed with over a years of experience with this product (in both its testing period and since its release) on my own pipes and the pipes that I repair and restore I was ready to try out the new product and compare it with Obsidian Oil. The questions that I began with were very simple. Would the No Oxy Pipe Stem Oil prove to be superior to Obsidian Oil or would they be equally effective? Would they be in essence the same product made for the same usage and be equally effective? Would the only real difference be the “food grade” components used in the Oxy Pipe Stem Oil vs. the organic UVA/UVB protection that is used in Obsidian Oil? My methodology would be simple. I would work with the product for a few months and see what would happen. I would use it the same way I used Obsidian Oil – my adaptation to the process and see how it works.

Here is the press release concerning the No Oxy Pipe Stem Oil.

Ok so here is the latest news. I am a retired pharmacist with an extensive background in chemistry. Through the years working at Briarville I have invented a superior pipe stem oil that we have used on thousands of pipes. It is all natural, food grade, antioxidant, and UV protectant. Shelf life is 5 yrs. Some of our clients have tried it and loved it! I have been asked by many to market this product. Your wish is my command! So here is our new No Oxy Pipe Stem Oil. Our first batch will be available to anyone on our email list for $10.99 with free shipping for 25ml bottle and a free buffing cloth. Ingredient list provided for those who ask. No secrets here. Just a superior product that will keep your stems looking new. Just place a drop on your vulcanite or ebonite stem after each use and keep your stem looking great. Rub on and buff with included cloth. This product will not remove oxidation but will keep new oxidation from forming. Try it and see for yourself what others have been raving about. I will post a video on it soon. If you’re not on our email list, go to our briarville.com page and sign up to get this special release of our new product. Any questions feel free to email me at rich@briarville.com

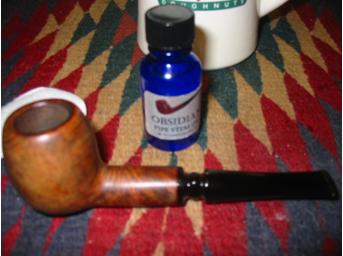
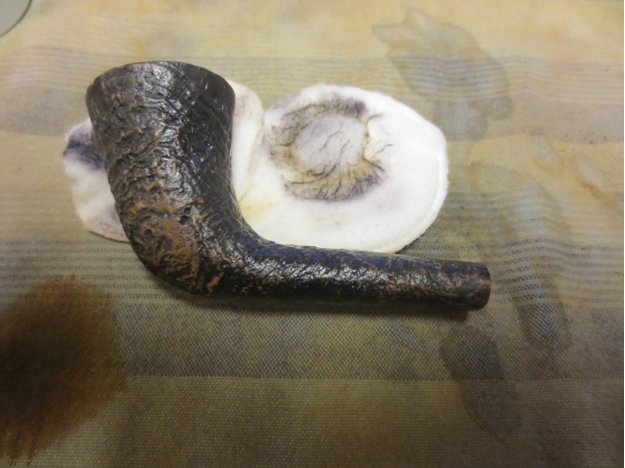
Now on to the comparison and the review. Both products promise the same thing – while they will not remove oxidation from a stem they will both keep new oxidation from forming. So dispense with any illusions of a softer and easier way of removing oxidation from your stems. This product not only will not do that but it was not made for that. Lets walk through the products as they arrived.

Comparison of packaging and instructions

Both of the oils came with almost identical directions. Obsidian Oil was very specific in terms of how the oil was applied. After smoking the pipe it was to be wiped clean of saliva or debris from the smoker (in other words it needed to be clean). A few drops of the oil were to be applied to the stem and rubbed in. After 30 minutes, wipe the stem with a soft cloth and store as usual. Each 15ml bottle should last for many months/years with regular use.

No Oxy Oil was also very specific in terms of the use of the oil. I assume that the necessity of having a clean stem, newly wiped down was presumed. The instructions just said to place a drop on your vulcanite or ebonite stem after each use and keep your stem looking great. Rub on and buff with included cloth. There is no time frame mentioned for leaving the product on the stem like there was with the Obsidian Oil.

The packing of both products was also similar. Both were clear cobalt blue glass bottles. The Obsidian Oil came in a 15ml bottle and had a nipple/dropper built into the top of the bottle under the screw on lid. This made it easy to apply and also was good for a klutz like me who is prone to knock things over on the desk. If that happens with this bottle – and it has for me – the product stays in the bottle and does not drain out. Obsidian Oil costs $12.50USD per bottle on Amazon.

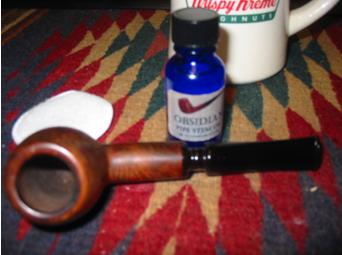
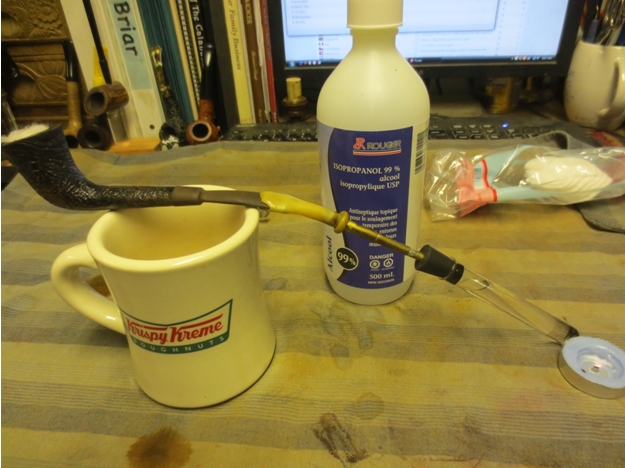
No Oxy Oil came in a 25ml bottle and had an rubber bulb eye dropper built into the lid. To use it you unscrew the lid and squeeze the dropper to load some of the product. Place the drops on the stem surface and rub it in with the cloth. It is not quite as easy as the Obsidian Oil applicator which measures a mere drop. This product requires that you carefully place a drop on the stem and then put the dropper back in the bottle. I have to remind myself to screw on the lid so as not to knock it over and spill it all over the desk top. No Oxy Oil costs $11.99 per bottle on EBay.

I personally like the applicator of the Obsidian Oil over the bulb dropper of the No Oxy Oil. I find it easier to use and more controllable. It is also less likely to be knocked over and spill the product than the No Oxy Oil.

Comparison of the oils

This comparison is not scientific in any way. It does not compare what the products are made of as that is not listed. Rather, I looked at the texture, smell and residual taste of each and give my comparison.

The texture of both oils is identical. They are slick and both give a good shine to the surface of a polished vulcanite stem. Both seem to in some way mask any deep oxidation that has not been removed under the shine of the product as least initially. The smell of both oils is basically neutral. Using both on a cloth they also smell identical and leave the same oily residue. The residual taste on a stem that is treated with both products is interestingly neutral. I have read some who have said that Obsidian Oil leaves a residual taste on the stem that is rancid tasting. I have tried to reproduce that taste on the stems I have worked on and have been unable to reproduce that taste. With the No Oxy Oil I have read of no issues with a rancid or even a residual taste on the stem and have not experienced it over the 3 months I have been using the product. I have not been able to find any taste on a treated stem with either product. In terms of texture, taste and smell both products perform equally.

I applied both oils to the stems following the directions given. One thing I have learned in the process is that both cloths that I used – one of my own for the Obsidian Oil and the one included with the No Oxy Oil – soon became impregnated with the oil and I was able to wipe off the stem with the impregnated cloth instead of new drops each time I worked on a stem. For me this is a bonus as it makes the application much simpler for either product and also extends the life of a bottle of oil.

Using Both Products For Comparison Sake

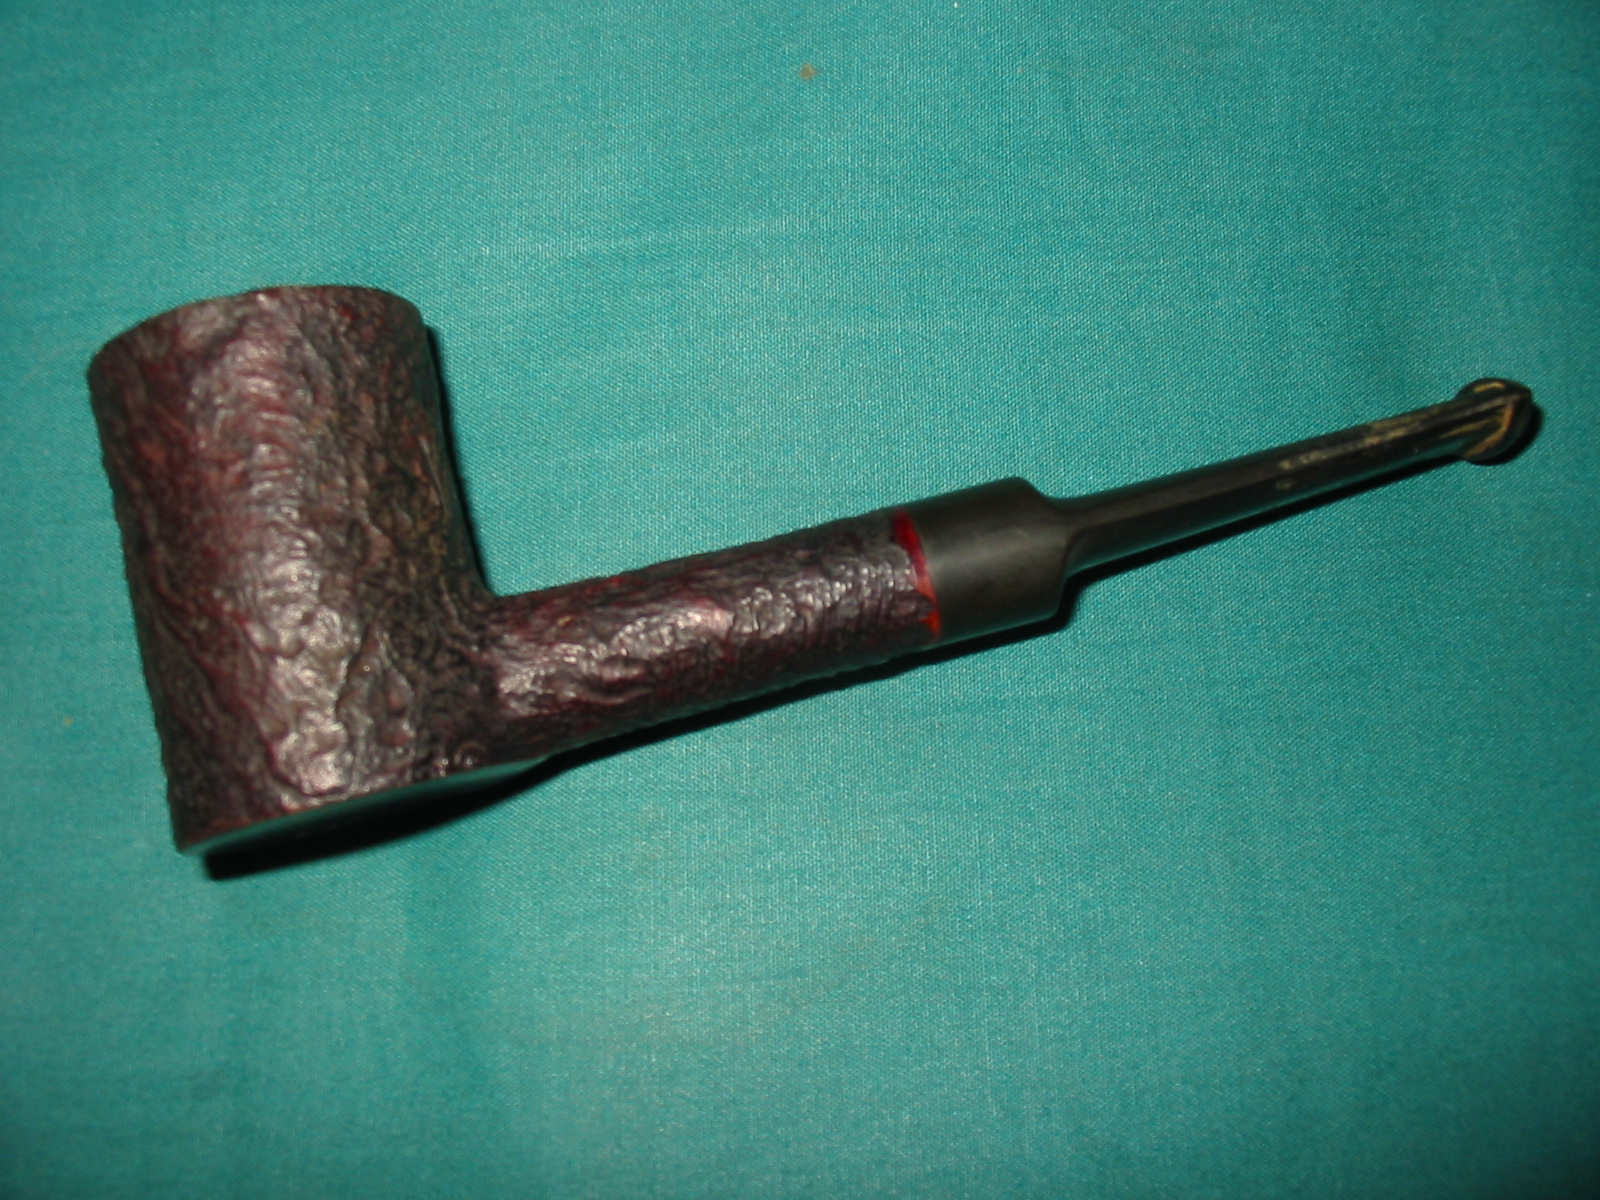
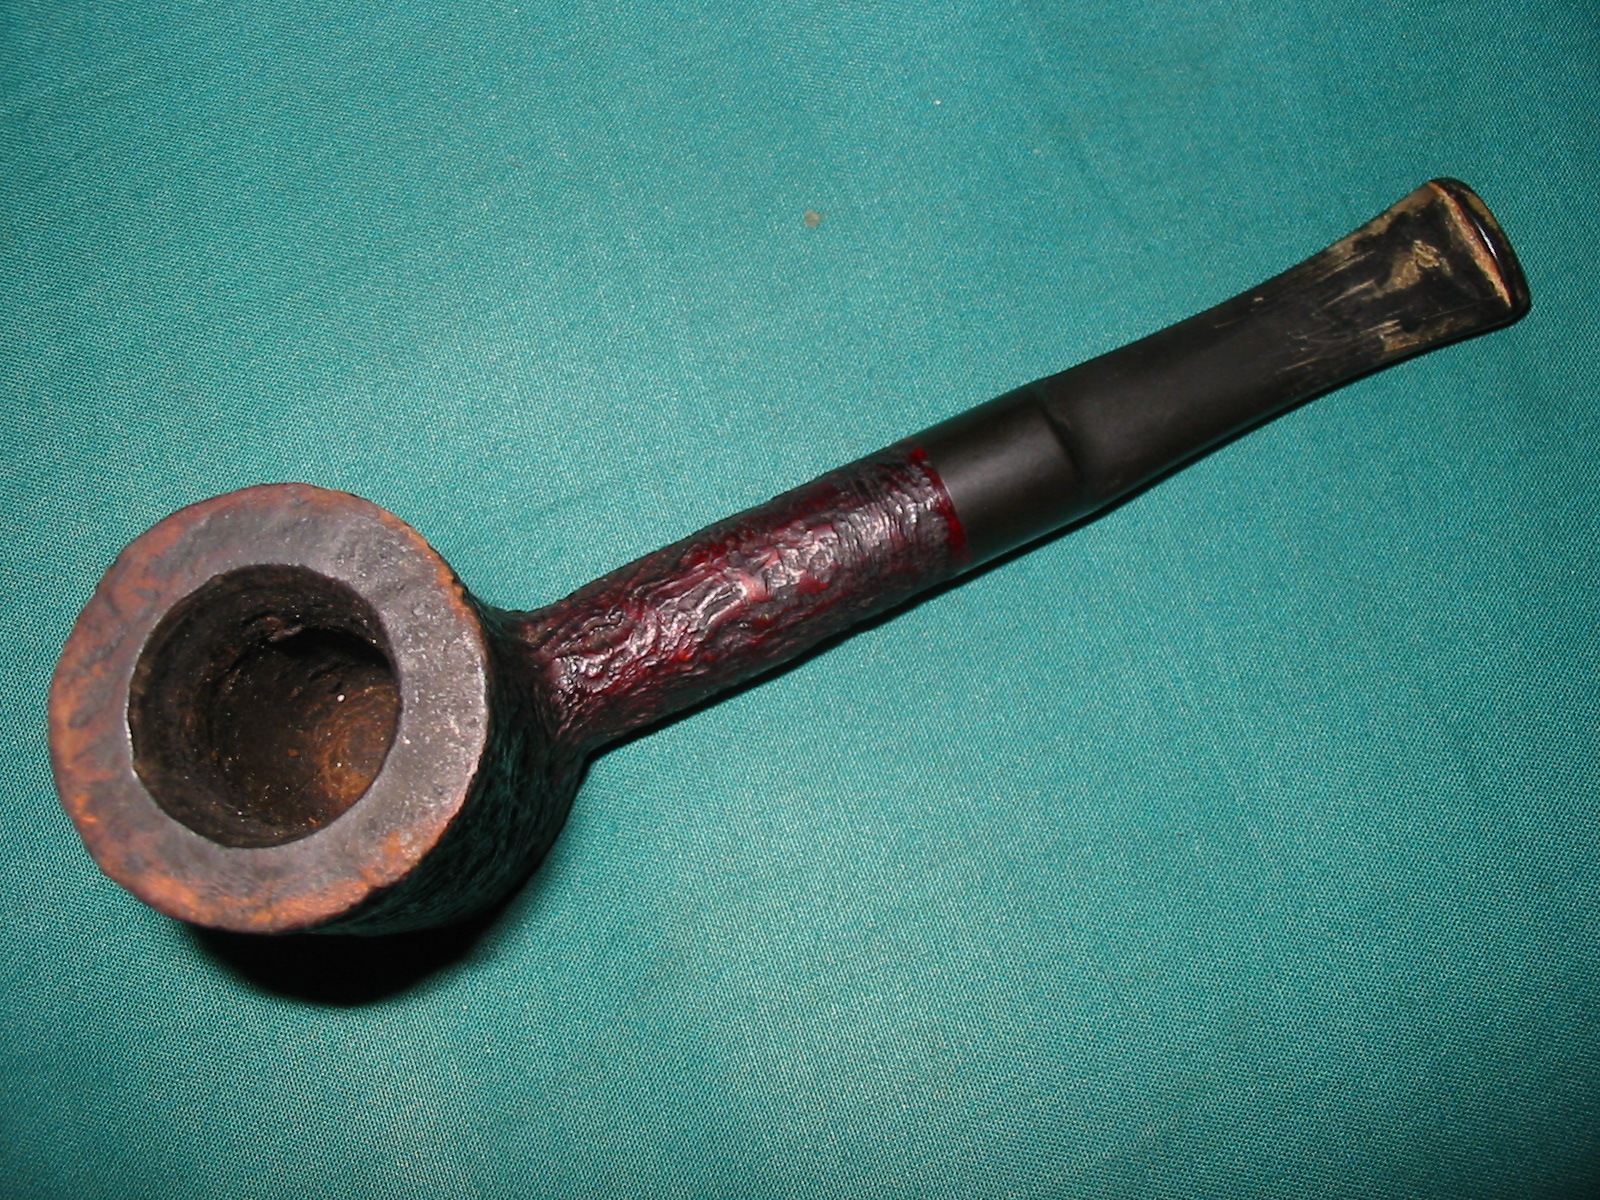
For a fair sense of comparison it was imperative for me to use the products as specified by the makers. Remember they were not designed to remove oxidation but to protect a cleaned stem from reoxidizing as quickly! To me that is key to remember. They were designed to protect a cleaned stem and slow oxidation. At this point I can speak for Obsidian Oil that it does indeed do this. I have been using it since it came out and it works well to slow down the process of oxidation. I have worked on stems, cleaned, polished and rubbed them down with Obsidian Oil and left them sitting on my work table for months without oxidation reforming. In essence the pipe is in a harsh environment – fluorescent light, ambient light from a window and dust and has remained oxidation free. I have also kept them in a pipe cupboard with the same results. With regard to No Oxy Oil I do not have that kind of history with the product yet, but it seems in the short time I have used it to do the same.

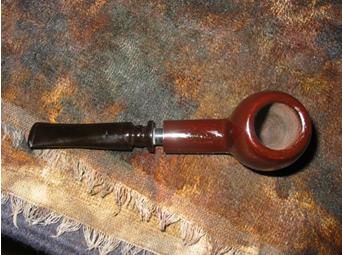
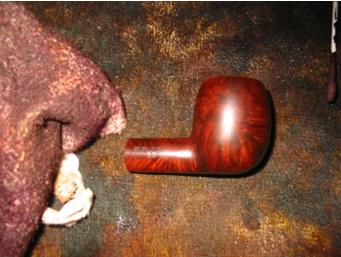
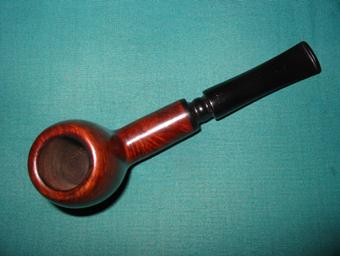
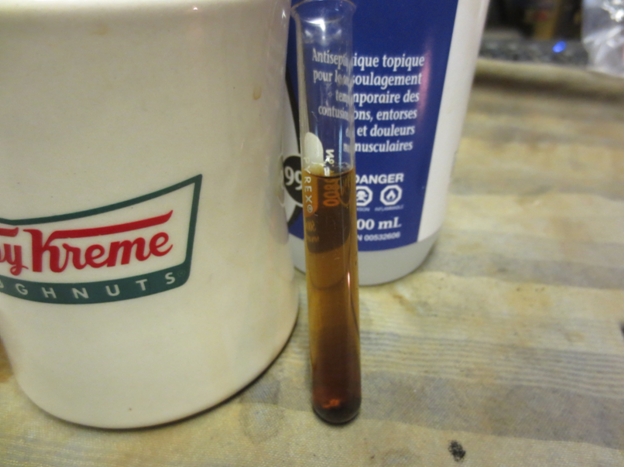
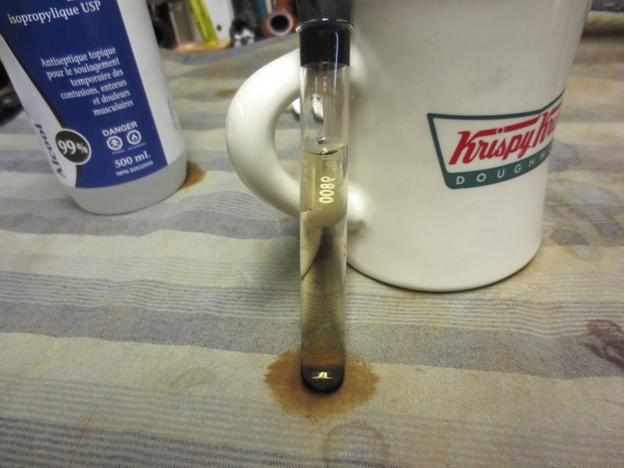
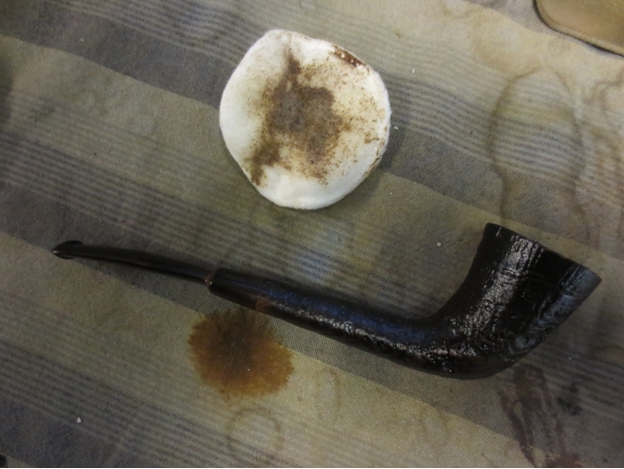
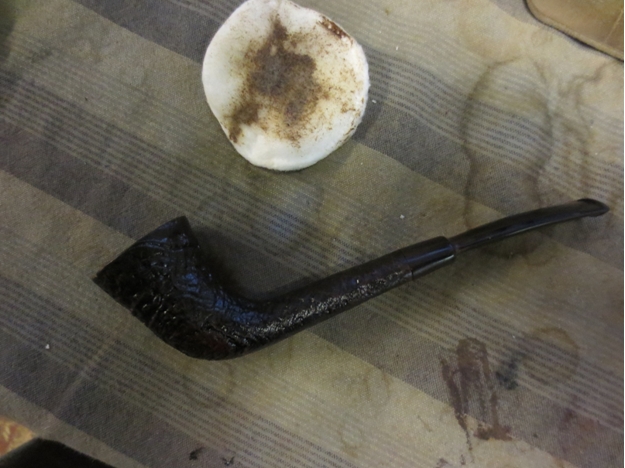
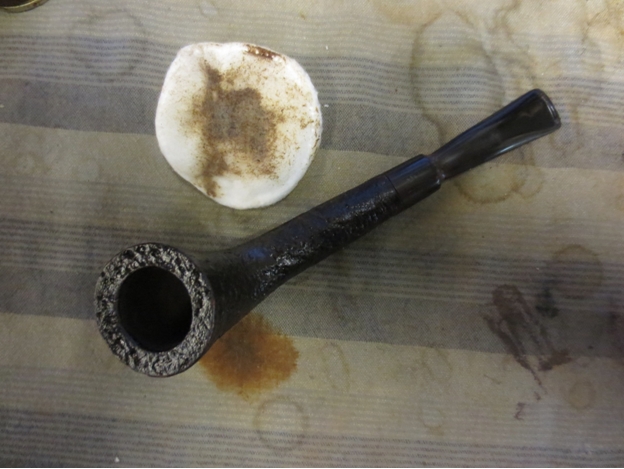
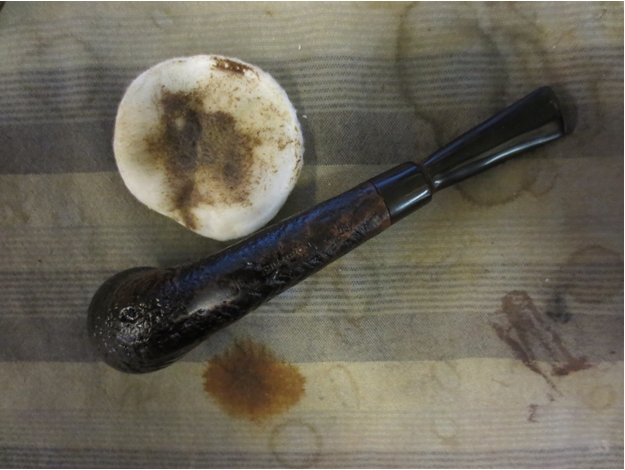
My process with both products has been the same – parallel for the sake of the experiment. I have not varied it at all. I cleaned the stems of oxidation using my normal methods and after the stem is cleaned and buffed I apply the oil to the surface of the stem. I rub it into the vulcanite with the cloth or my finger tips and let it sit. After a short while I buff it off with a cloth. I have a cotton cloth I use for the Obsidian Oil and the cloth that was provided with the No Oxy Oil. Both products give the stem a slick coat on the surface and when polished a deep shine. I have also found that both have the ability to mask light oxidation that will show up through the shine after a short time. Thus cleaning the stem of oxidation is imperative before you set the stem aside. If oxidation shows up in bright light after using either product I go back to the work table and remove the offending oxidation and repeat the process. Once the oil has been absorbed by both products I buffed them with carnauba wax and polished them. There were no issues with either Carnuaba wax or Conservator’s Wax.

Conclusion

Concluding this comparison review of the two products I will summarize what I have found in using them both under identical conditions, with identical procedure and application of the product to vulcanite or rubber stems. I have tried both on acrylic stems in the interest of being thorough. Neither oil is absorbed by the acrylic and the oil has no impact on the acrylic as it does not have the properties of vulcanized rubber. Note that neither manufacturer recommends their product for Lucite or acrylic stems as it was designed for rubber or vulcanized rubber stems.

I have been using Obsidian Oil for several years and have gone through about 3 bottles. I have used it on over 300 pipes. Over time I have developed a rhythm using the product. I have a dedicated cloth that is used to rub down the stem surface with the product. I am pleased with the results of this excellent product. When it is used as directed the results are stellar. I have had none of the negative issues that others have cited online regarding this product. Obsidian Oil produces the results that it claims when application directions are followed.

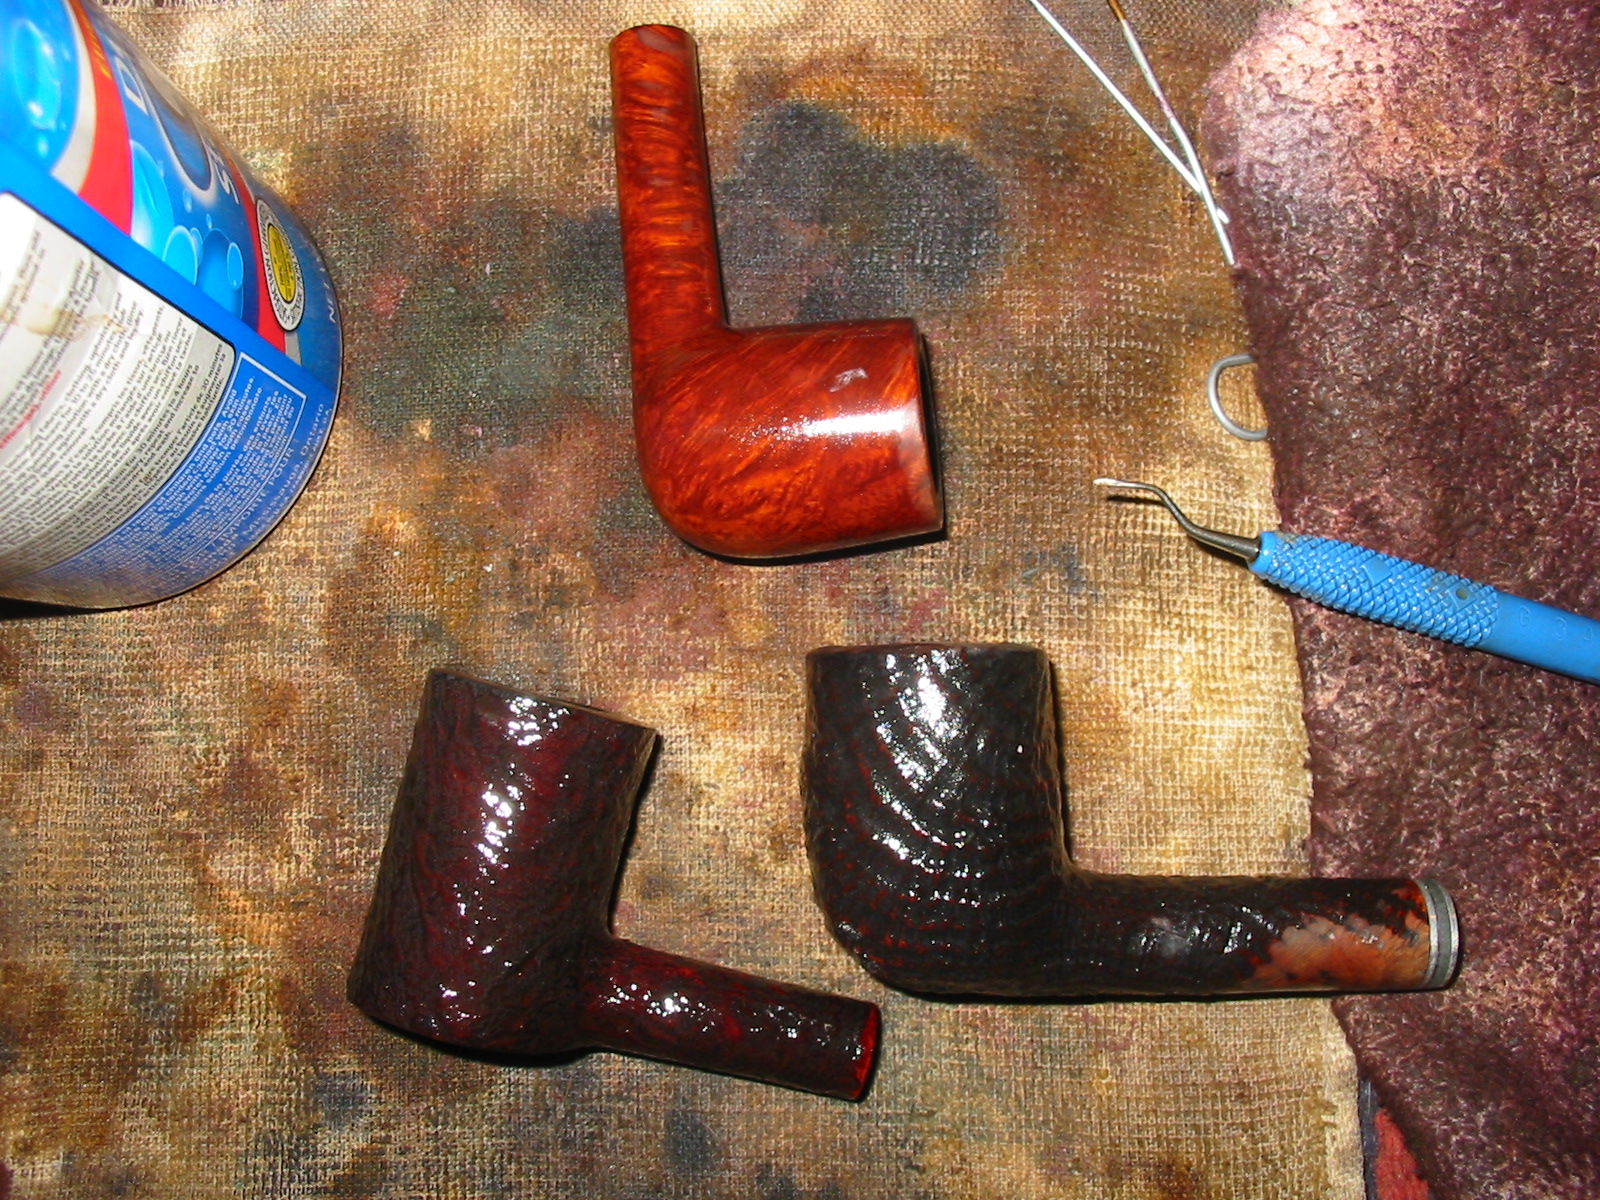
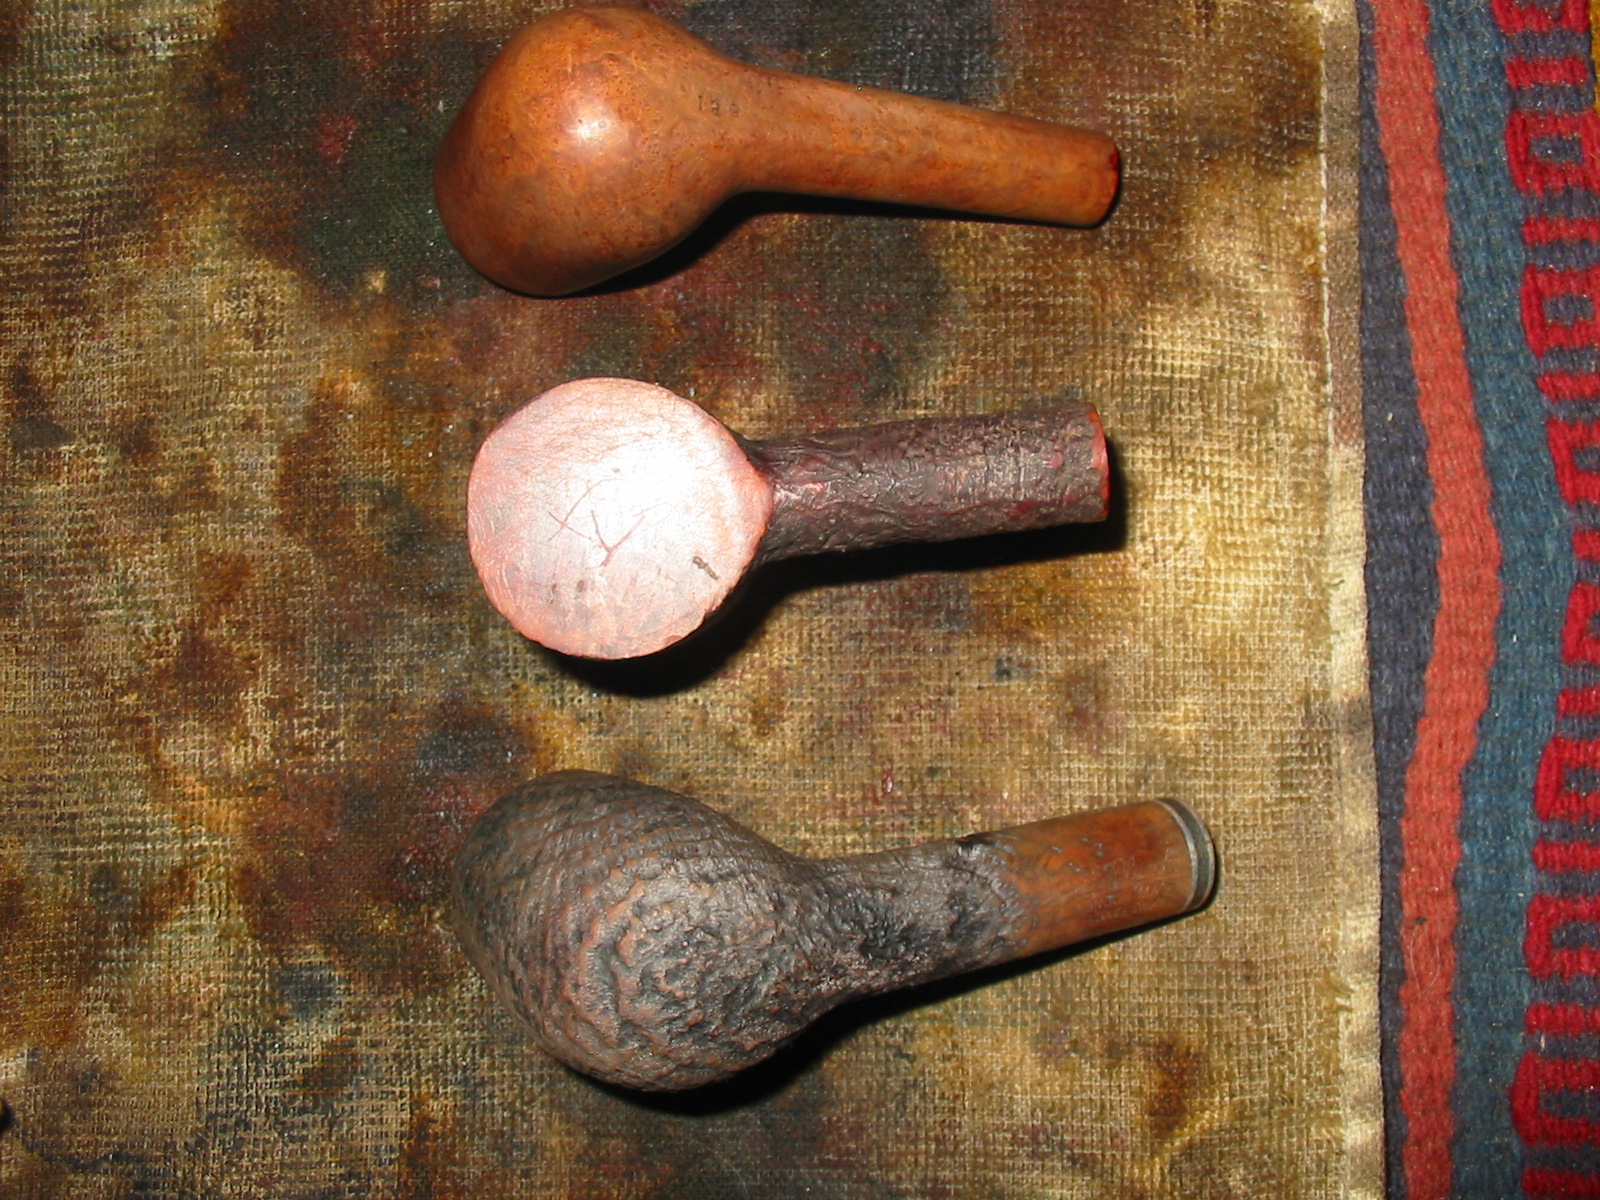
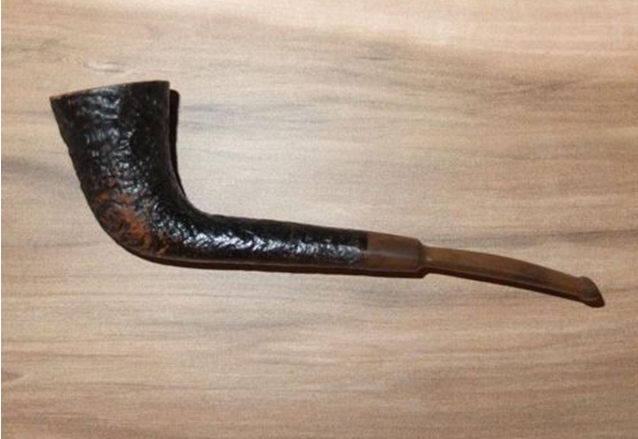
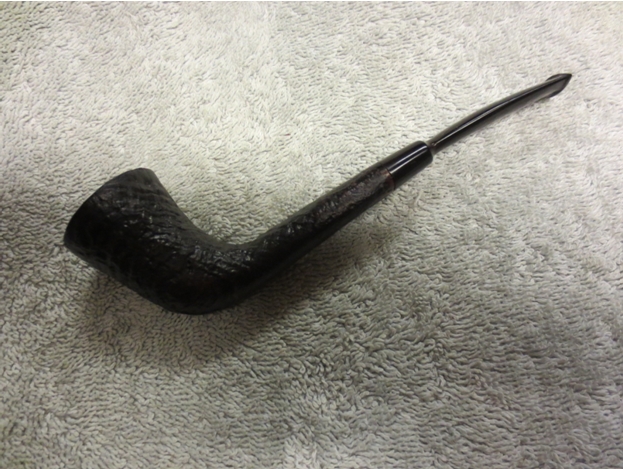
For the sake of comparison I have used No Oxy Oil for 3 months on half of the pipes I have worked on. I follow the same rhythm as the Obsidian Oil. I have used it on over 30 stems –bent, straight and fancy and have found that the results are identical to those I have had with Obsidian Oil. I am happy with the results of using this product so far. I will continue to experiment with it and test it over time with the same light exposure issues that I have done with Obsidian Oil. I suspect that it will have the same results. To date, No Oxy Oil produces its promised results when application directions are followed.

The bottom line for me is that honestly, I have not found any significant difference between the two products. Both  products achieve the advertised results when used as directed. The caveat for both is that they are best used on a clean or new pipe for protection. NEITHER PRODUCT WILL REMOVE OXIDATION! I will use the product that is easiest for me to obtain here in Canada when I have run out of my current supply. To date that has been Obsidian Oil. I am not convinced to make a change based on the results that I have seen from using the No Oxy Oil over the past three months. With both products achieving the same results at this point I see no reason to shift my brand. Thanks for taking time to read this comparison.


The Little Champion 057 Horn Reborn


Blog by Steve Laug

When I saw this old timer it reminded me of a Dunhill shape that I had seen though that one had had a taper stem. The seller was from Germany and the only photo included is the one below. The stem was badly oxidized in the photos and the finish on the bowl that showed was worn. I had no idea what the rim or the rest of the pipe looked like. The seller did not include any information on the stamping on the pipe so it was a bit of a blind bid. I decided to go for it and put in a low bid and won the pipe.Horn The pipe arrived this week and I was nervous when I saw the package that the postie delivered. It was totally smashed with the corners blown out on two sides. Someone had reconstructed the box with strapping tape but the crushed box was not repaired. I cut the tape and opened the box with fear and trembling. I was wondering if the pipe inside would be in pieces of if it would be unscathed. Inside the box were many crumpled newspaper pages. I dug through the pages and in the very middle was a bubble wrapped object. The stem was still in the shank of the pipe and looking through the bubble wrap it appeared unbroken. I cut the tape on the wrapping and took out the pipe. What I found is shown in the next four photos below.Champ1

Champ2

Champ3

Champ4 The finish was much worn with much of the black overstain worn off. Someone had put a coat of varnish over the worn finish so it was very shiny. There was very little of the sandblast that was not worn. The odd thing was that the blast was still quite rugged and not flattened in the worn portions. The stem was oxidized and dirty. There was a faint logo on the stem of the pipe – a rising sun over a wavy line like a sun over water. On the bottom of the shank it was stamped “The Little Champion”. The bowl had some remnants of broken cake in the V shaped bowl. The rim had a build up tars and oils that had filled in the blast. The rim was slightly slanted inward and gave a dapper look to the old pipe.Champ5 I reamed the bowl with a PipNet reamer. For the upper portion of the bowl I used the second cutting head in the set and the smallest cutting head for the lower portion of the bowl. I evened out the section where the two cutting heads over lapped with a small pen knife.Champ6 Once the bowl was reamed I put the stem in jar of oxyclean to soak and the bowl in an alcohol bath to soak. I wanted to loosen the oils on the rim top and also see if the alcohol would begin to remove the varnish coat.Champ7

Champ8 Later in the day, after the bowl had soaked in the bath for several hours I took it out of the bath and dried it off with a cotton cloth. I used a soft bristled brass tire brush to scrub the rim and loosen the buildup.Champ9

Champ10 I wiped down the bowl with acetone on cotton pads to further remove the varnish. Using the acetone I was able to take of the varnish coat and prep the bowl for restaining.Champ11

Champ12

Champ13 I took the stem out of the oxyclean and dried it off. I put it back on the bowl and then set up a pipe retort to boil out the shank and stem. I put a cotton ball in the bowl and the surgical tube over the mouth piece. I heated the alcohol with a tea light candle.Champ14 The first boil through came out brown. The photo below shows the colour of the alcohol after the first tube boiled through. I dumped the alcohol out of the test tube and refilled it and repeated the process.Champ15

Champ16 I removed the stem and cleaned out the shank and stem with alcohol, pipe cleaners and cotton swabs. It took very little time to clean out what remained. I put a plastic washer in place between the shank and the stem and then sanded it lightly with 220 grit sandpaper to loosen the oxidation. I followed that by sanding with a medium and a fine grit sanding sponge.Champ17 I wet sanded the stem with 1500-2400 grit micromesh sanding pads and rubbed it down with Obsidian Oil when finished. I dry sanded with 3200-4000 grit pads and again rubbed it down with Obsidian Oil. I buffed the stem with red Tripoli and then finished sanding with 600-12,000 grit micromesh pads. I rubbed the stem down a final time with Obsidian Oil and then when dry buffed it lightly with White Diamond.Champ18

Champ19

Champ20 I stained the bowl with a mix of 50/50 alcohol and dark brown aniline stain. I applied it with a cotton swab, flamed it and then wiped it down with a cotton pad. The dark brown stain settled deeply into the blast. Some of the higher spots remained a lighter brown. The contrast came out looking quite nice.Champ21

Champ22

Champ23

Champ24 Once the stain had dried I buffed the bowl and stem lightly with White Diamond. I then gave both the stem and the bowl several coats of Halcyon II wax and buffed it with a shoe brush to raise the shine. The finished pipe is shown below. The pipe is ready to load and enjoy. I am planning on loading it up on Christmas morning with a bowl of Pilgrim’s Muse from the Country Squire shop in Jackson.Champ25

Champ26

Champ27

Champ28 The final photo shows the bottom of the shank and the stamping is very readable. Anyone with information on the brand please let us know in the comment section below and I will add it to the blog. Thanks ahead of time.Champ29

UPDATE:
Yohanan sent me a note that he had found the same logo on PipePhil’s Logo site http://www.pipephil.eu/logos/en/logo-e3.html and once I checked it out it matches the stem logo exactly. Here is a photo.Noname

Maintaining Vulcanite Stems – Ric Farrah Of Briarville Pipe Repair & Restoration


bvlogo1I have chatted with Ric from Briarville several times on Skype and not only found him great to talk with and full of ideas but also that we share the same passion for pipe refurbishing and restoration. I visited his website http://www.briarville.com/briarvilleblog.htm and found not only a great service that is offered to those who do not wish to repair or refurbish their own pipes but also much helpful advice in his blog. The following article is reproduced here with Ric’s permission. Thanks Ric for what you provide and for the permission to reprint your blog post here on rebornpipes.

As you probably already know there are two primary materials used for making pipe stems, acrylic and vulcanite. The brand names for these materials are Lucite and Ebonite respectively.

Vulcanite starts as a powdered rubber substance that is vulcanized and molded into rods for hand cutting stems or poured into molds of various stem shapes and sizes to be fitted as replacements when an original stem breaks.

Unlike acrylic, a hard plastic that can be either molded or hand cut into stems, vulcanite oxidizes which causes a bitter taste and changes colors anywhere from white, brown or even green. Consequently vulcanite requires a little maintenance whereas acrylic, not so much.
stem-beforeLG
Nevertheless, because of tradition and a more comfortable smoke, vulcanite is still a favorite for about half of us. I’ve seen many polls and enjoyed many debates about the best pipe stem material and it’s always pretty close with perhaps acrylic gaining very slight favor.

Maintenance before the stem oxidizes is the best way to keep vulcanite from oxidizing at all. Obsidian Oil is the best product I’ve found to prevent oxidation. After smoking, simply wipe a few drops on the stem, let stand for about 30 minutes and buff clean with an old cotton tee shirt. Follow this regiment and your stems will never oxidize. obsidian oil2

But what to do with your estate purchases or when some of the stems in your own collection are already oxidized? For the do-it-yourself guys without professional buffing mandrels, tripoli and white diamond, a little elbow-grease and a few easily obtained materials are all that’s needed.

Vulcanite oxidation, like rust to ferrous metals, feeds off the rubber. It grows into the stem and must be removed. You can remove or at least soften the oxidation by soaking your stems in either OxyClean or bleach. I prefer bleach but be aware, bleach will eat away stamping, logo inlays, threaded metal tenons and stingers! I would advise against using bleach with stems fitted with metal parts as are common with Kaywoodie pipes. Stamping and logos can be protected with a dollop of petroleum jelly applied over the top of them.

Let your stems soak overnight and then rinse them with water. They will dry to a pale gray. What has happened is the beach has eaten away the oxidation leaving your stem covered with microscopic peaks and valleys. In fact, under a microscope they’d look like the Himalayas. Those peaks and valleys absorb light and the stem appears dull.

Light being reflected back off the stem is what we perceive as a shine so the peaks and valleys must go. In the shop we use a buffing mandrel with 500 grit tripoli applied to the wheel spinning on the lathe at 1800 RPM to re-smooth the stem and then follow up with white diamond to bring out the glass-like appearance of a new, finely polished stem.

Our buffing promicromesh1
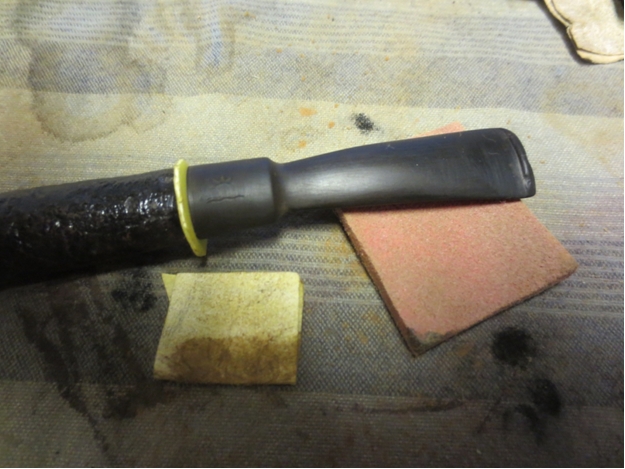
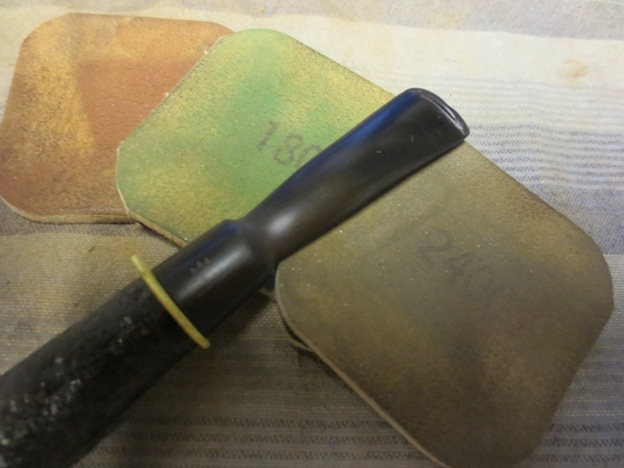
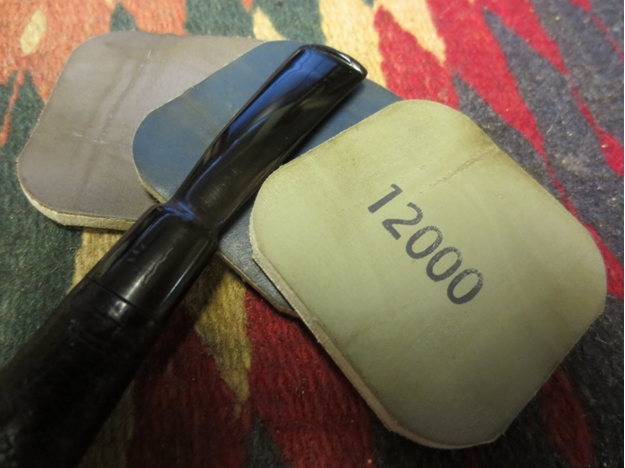
cess can be reasonably replicated with micro mesh pads, wet and dry sanding pads in various grits. A set of micro mesh pads can be ordered on Amazon or eBay. The grits range is 1500, 1800, 2400, 3200, 3600, 4000, 6000, 8000, 12000. Have a bowl water handy to wet sand the stem through the various grits. The magic comes between 6000 and 12,000 grits.

Once the outside of your stem is to your satisfaction use some pipe cleaners soaked in denatured alcohol or your favorite high proof booze to clean the inside of the oils and gunk the bleach didn’t remove. Finally, apply the Obsidian Oil and buff with a cotton cloth.

stem-afterWhile this method won’t bring the stems to “as new”, it will get them close.

Of course, you can save yourself the hassle… (Here comes the shameless plug) …send your pipes for a quick visit to Briarville. Starting February Briarville is an online retailer of Obsidian Oil and all repaired and refurbished pipes with vulcanite stems will leave the shop with an application to retard future oxidation.

Reworking a Dr. Plumb Statesman


The second pipe in the lot of three pipes I picked up on EBay was this long shanked billiard. The first one I refurbished and posted about was the no name poker that I wrote about here. This one was stamped Dr. Plumb over London Made over Statesman on the underside of the shank. The sand blast was very nice on it. In fact I like the deep grooves and flow of the blast on the briar. The rim was shot. It had been sanded smooth (may have been smooth originally to match the smooth portions of the bowl). It was also no longer flat. When the pipe was laid down on the rim it rocked in every direction. It was rough and pitted from tapping the pipe out. The bowl was a bit out of round and the previous owner had reamed the inner rim with a knife at an angle that really damaged the inside rim and the roundness of the bowl. The stem had the same white calcification on it as the poker. This one also had teeth marks and dents in it. The slot on the stem was closed with the white calcified material and there was no open airway in the stem. The shank was dirty and clogged and the bowl needed to be reamed in the lower portion. The first four picture show the pipe as it was when it came to me.

ImageImageImageImage

It had the same alcohol bath as the poker and I am including the same photos of that process I included in the previous post. It soaked for two hours and then I took it out and dried the bowls off with a soft cloth. I also soaked the stem in Oxyclean to soften the calcification on the button area.

Image

In the photo below you can clearly see the flaw in the briar of the Dr. Plumb (the pipe on the right side of the photo). The alcohol bath softened the fill and it fell out of the crevice. It was quite large but not deep. It appears to me that it opened up larger as the pipe was blasted. You can also see in the second photo below the shape of the bowl and rim of the pipe.

ImageImage

The first thing that I decided to address with regard to this pipe was the rim. I set up my board for sanding the top. I anchored the sandpaper to it. I used a pretty heavy grit for this one because I needed to remove quite a bit of the top to smooth it out and remove the rockiness of the pipe. I used a medium grit emery paper. I hold the pipe flat against the board and sandpaper and sand it in a circular fashion clockwise. I don’t know what the point is of that but that has been my practice for as long as I remember. The next two photos show that process. Once I had the top level once again I sanded it in the same manner using 240 grit sandpaper and then 400 and 600 wet dry sandpaper and water. I finished sanding the top with the micromesh sanding pads from 1500 – 12,000 grit.

ImageImage

The next photo shows the finished topping of the bowl. The grain is quite nice and will stain well in contrast to the roughness of the blast. The second and third photo below show the repaired fill in the shank. I used briar dust from the topping of the bowl and packed it into the crevice with a dental pick. When it was full I dripped super glue into the dust. Once it was dry I used a wire brush on the shank rather than sandpaper. I wanted to remove the signs of my repair without sanding the fill. The shank looked really good when that job was done. The pipe was basically ready for a coat of brown aniline stain.

ImageImageImage

I used my dental pick for a handle by inserting it into the mortise and then used Fiebing’s Dark Brown Leather Dye. I diluted it 2 to 1 with Isopropyl alcohol to get the colour I was aiming for. Once I coated it with the stain I flamed the stain to set it in the grain. I repeated this several times to make certain I had stained all the crevices and blast. The first picture below is of the wet pipe. The second is of the bowl after flaming the stain. I light wooden matches and ignite the stain. The alcohol burns off and the pipe then is dry to touch.

ImageImage

At this point in my refurbishing process I took the bowl to the buffer and buffed the bowl lightly with Tripoli and the repeated it with White Diamond. My goal was to buff of the high areas and make a bit of contrast. I also wanted to buff the rim to make it a bit lighter than the blast and have it match the smooth patch on the bottom of the shank.

I then went to work on the stem. I heated the dents to raise them as much as possible and then sanded the stem with 220 grit sandpaper to remove the remaining tooth chatter and also to remove the calcified area around the button. I cleaned out the stem with pipe cleaners and a shank brush to remove the tars and oils and to open the stem. I used the dental pick to clean out the slot in the button. Once that was done I sanded the stem with a fine grit sanding pad and then progressed through 1500, 1600, and 2400 grit micromesh before scrubbing the stem with Maguiar’s X2.0 scratch polish. I rub it on with a cotton pad and let it dry a bit before rubbing it off. I finished sanding the stem with 3200 – 12,000 grit micromesh pads and then buffed the stem with White Diamond. I coated it with Obsidian Oil and then when it dried I coated it with multiple coats of carnauba wax. I waxed the rim and the smooth part with carnauba and then used Halcyon II wax on the sandblast. I buffed the pipe with a light touch on the cotton buffing wheel to polish and then hand buffed it with a shoe brush. Here is the final product – ready to fire up!

ImageImageImageImage

Once I had posted the pictures of the pipe above when I blew them up to see them more clearly the top of the rim was full of scratches and obviously to me needed more work so I just finished reworking the rim and restaining it. IMG_9265IMG_9264

IMG_9263

A No Name Sandblasted Poker Restored


I picked up this threesome pictured below on EBay. The first photo is the one posted by the seller to show the pipes that were for sale. I bid and won the auction. The threesome arrived this week and I decided to tackle the refurb on the poker first. Something about it grabbed my interest.

Image

When it arrived I unpacked the box to find that the three pipes were a bit worse for wear than the original picture above. The side shot of the photo obscured the tooth marks and oxidation of the stems. The poker had a white build up on the stem, almost a calcification that was rock hard and would need a soak to deal with. The finish was not too bad on the bowl – just a little spotty and dirty. The finish is a sandblast on the bowl that is quite deep and nicely done. The shank has a combination sandblast and rustication on it. The bottom of the bowl is smooth and there is a small ring of smooth briar next to the stem on the shank. The rim had originally been rusticated but appeared to have been sanded virtually smooth. It had a slight build up of tars and oils on it. There was a faint rustication pattern but the stain was gone under the grime. It looked as if the owner had sanded the rim clean and then left it to smoke it as it was.

ImageImageImage

I decided to ream the bowls on all three pipes. Once that was done I put all three in an alcohol bath – a jar with isopropyl alcohol. I leave the alcohol and replenish it as it evaporates or is used up. Once a month I pour it off and clean out the sediment in the bottom of the jar. The alcohol is dark and seems to give the briar a good patina as it soaks in it. It removes the stain a bit and also the grime and grit of the finish. I let all three bowls soak for several hours and then removed them and dried them off before setting them aside for the night. I also soaked the stems in a bath of Oxyclean while the bowls soaked. I find that this soak softens the calcification on the stems and also loosens the oxidation making it easier to deal with once I work on the stems. The picture below shows the bowls just after I removed them from the bath and had not dried them off.

Image

The next four pictures show the bowls after they have been dried off and you can see the state of the finish on each of the pipes. The first one on the left side of the first picture is the little patent Brigham Lovat. The finish is clean and ready to work on. The middle pipe is the no name poker. The last pipe on the right is the Dr. Plumb Statesman long shanked billiard.

Image

The poker came out very clean. The finish was ready to rework. The bowl had an undercoat of oxblood stain that is clearly visible and would pretty much determine the colour I would use in restaining it. In the photo below you can see the bowl rim of the poker in the middle. The faint rustication is visible and you can see that the rim had been sanded. In the second photo below you can see the smooth bottom on the poker and see the scratches in the briar that will need to be dealt with.

ImageImageImage

I used my rustication tool, the modified Philips screwdriver and reworked the rustication on the rim following the faint pattern that was visible. Once I had it way I wanted I worked on teh scratches on the bottom of the bowl. I sanded the bottom with micromesh pads 1500, 1800 and 2400 as the scratches were not deep. When I was finished and they were smooth I decided to restain the bowl with oxblood coloured aniline stain. I applied the stain with the dauber that came with the stain, making sure to get the stain in all of the crevices of the blast and the rustication. Once it was applied I flamed the stain and then set it aside to dry. I took it to the buffer once it was dry and buffed the bowl with Tripoli and White Diamond to polish the stain and give some depth to the finish. At this point in the process the pipe bowl was laid aside and I worked on the stem.

ImageImageImageImage

The stem took quite a bit of work. Not only was it calcified at the bit end but it also had some fairly deep scratches on the top of the stem. These needed to be sanded out to remove them. The stem also had some of the bevel of what appears to be a replacement stem blank. It may not be but it has all the look of one. It fits well but the edge bevels on the sides of the stem rather than a smooth transition from top to edge show the lack of finish to me. I wanted to sand out the scratches and the bevels and smooth the transition to a smooth edge with no bevels. I used some 280 grit sandpaper to begin with and progress through a medium grit sanding pad, a fine grit sanding pad, 400 and 600 wet dry sandpaper and water. Once I had the finish smooth and the bevels removed I then worked on the stem with the micromesh sanding pads from 1500 – 12,000 grit. I used 1500 – 2400 grit with water and was able to remove the remaining scratches. After that I used the Maguiar’s Scratch X2.0 polish on a cotton pad and rubbed the stem until it was smooth. I wiped off the polish and then proceeded to use the remainder of the micromesh pads. I gave the stem a coat of Obsidian Oil and set it aside to dry. I then used some Halcyon II wax on the bowl and hand polished it with a soft cotton buff. Once I finished that I wiped down the stem and gave it a buff with White Diamond and then gave the entire pipe multiple coats of carnauba wax until it glowed.

ImageImageImageImage

Refurbishing a GBD Penthouse with a Chairleg Stem


While scanning EBay for interesting old pipes to work on I came across a pipe for sale with the stamping Penthouse. There was little other information on the advert regarding the pipe but it looked interesting to me. The chairleg type stem made me think of the series of pipes that Al (upshalfan) has restored so I put a bid in for the pipe. I contacted Al and he sent me the following picture from a Tinderbox catalogue showing that indeed the pipe was a GBD line. (NOTE: The GBD catalog page came courtesy of Jerry Hannah. Jerry created the GBD Shapes/Model page that I frequently use for reference. I’m not sure if he reads this blog, but if so, thanks!) The headline on the page says that GBD breaks with tradition and forges bold new designs. Pipes marked J, K, and L in the picture below are all Penthouse pipes. I have no idea where they took the name but let imaginations rest, the pipes are stunning and the stems are uniquely beautiful.
Pent1

The Penthouse pipe that I bid on and subsequently won is an apple shape. The first six photos below are the seller’s pictures. It was these pictures that tempted me to place my initial bid on this pipe. As it turned out I was the sole bidder. The stem was badly oxidized and had some tooth chatter at the button. The stamping showed up but was not as deep as it appears in the photos. The rim appears to be darkened but not charred in the photos and the finish appeared to be dirty but not dented or scratched deeply. It was stamped on the left side- Penthouse in script over Made in England in block letters. On the right side it was stamped London England over 347. Now the wait began.
pent2

pent3

pent4

pent5

pent6

Pent7

When the pipe arrived it was much as the pictures had shown. I am never sure what to expect when I bid on these old pipes as I have been utterly surprised both ways – they have shown up in much worse shape than the photos showed or in much better shape. The next four photos show it as it appeared when I removed it from the box.
pent8

Pent9

Pent10

Pent11

The finish was actually quite dirty. Many of the dark areas of the finish were actually grime and grit and not the understain on the pipe. I wiped the pipe down with acetone to remove the grime. I also used a battery terminal brush to clean out the remaining cake remnants in the bowl. Then I dropped the bowl in the alcohol bath and the stem in a bath of Oxyclean. The bowl sat for about an hour in the alcohol bath and the stem sat in the bath overnight. When I removed them I cleaned out the shank and the inside of the stem until the pipe cleaners and cotton swabs came out clean. I wiped the entirety with a soft cotton pad and acetone to remove any remaining grime and the next series of four photos show the state of the pipe at this point in the process. The alcohol bath and acetone had successfully removed the remaining finish and the grime on the surface of the pipe. The Oxyclean had done a great job on the oxidation. You will notice the shiny areas on the top of the stem – I had run my fingernail across the surface to show how the oxidation had softened. It was ready for the next step in the process of cleaning the stem.
Pent12

Pent13

Pent14

Pent15

The next two photos show the stem after I had scrubbed it with a Magic Eraser. The stem was wet and shiny and you can see the oxidation on the Magic Eraser under the stem. I continued to scrub the stem with the Magic Eraser until it came out clean.
Pent16

Pent17

The oxidation was greatly decreased at this point but there was more work to be done on the stem. The hard points on the stem were obviously around the chairleg section. The grooves were difficult to get to with the Magic Eraser. I decided to use some Meguiar’s Scractch X 2.0 which is a scratch and blemish remover for auto paint finishes. I used soft cotton pads (makeup removal pads) with a spot of the Scratch X 2.0 on them to scrub the grooves and the area around the button as well. The next series of three photos show the stem after the scrubbing with X 2.0. The oxidation is further removed but still evident.
Pent18

Pent19

Pent20

At this point I continued to scrub with the X 2.0 until the stem was once again black. I buffed the stems with White Diamond on my buffer once that was finished. The next two photos (please forgive the blurry focus) show the stem after the application of Obsidian Oil to the clean stem. I left the Obsidian Oil on the stem until it was absorbed and then coated the stem with an initial coating of carnauba wax to protect it while I went to work on the bowl.
Pent21

Pent22

I coated the bowl with an oxblood aniline stain. The next two photos show the coated bowl before I flamed the stain to set it in the grain. The stem appears to be brown again but I had coated it with wax and left it to dry while I worked on the bowl.
Pent23

Pent24

I buffed off the stain with a soft flannel cloth that is pictured below. I wanted to highlight the variety of grain in the pipe so that is why I chose the stain I did. It also shows that the black understain that appeared in the original photos still remained and makes the grain very visible in the pictures below.
Pent25

Pent26

Pent27

Once the stain was dry I put the pipe back together and took it to my buffer. I buffed the stem and bowl with White Diamond until is shone. Then I moved on to a soft flannel buff with carnauba wax and a final polishing buff with a clean soft flannel buff. The finished pipe is pictured below. All that remains is to fire it up and enjoy a bowl in the “new” Penthouse pipe. The stamping on the stem is still present and not harmed by the work but it is light and will not hold any whitening product.
Pent28

Pent29

Pent30

Pent31