by Steve Laug
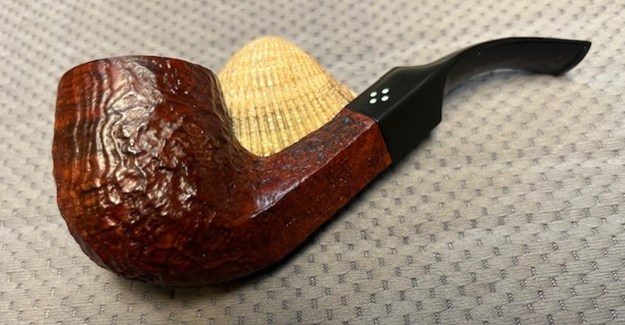
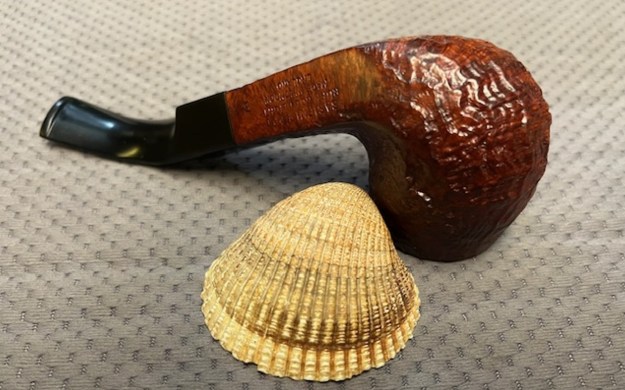
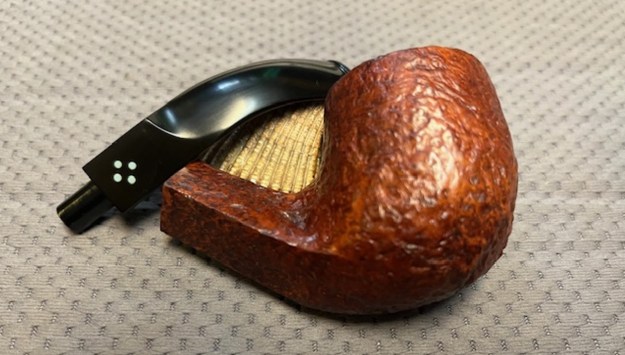
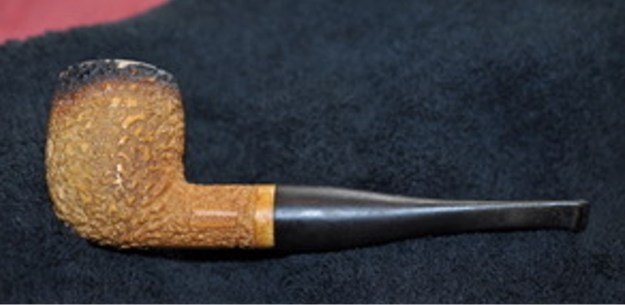
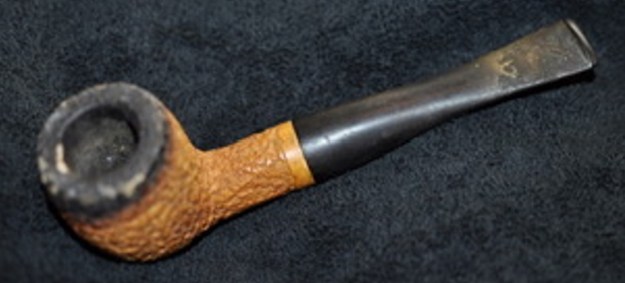
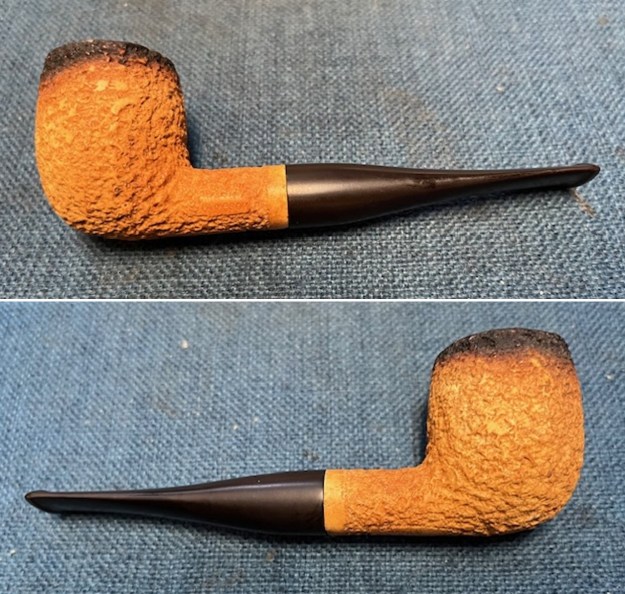
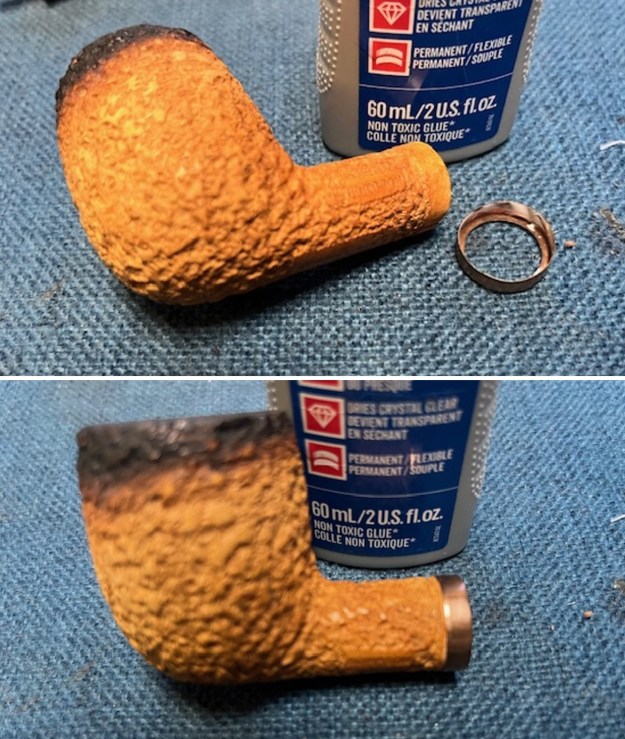
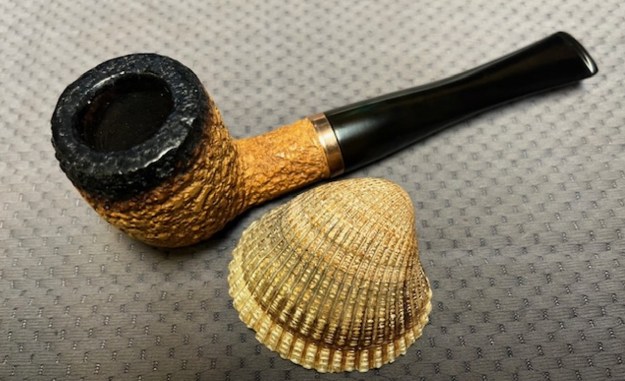
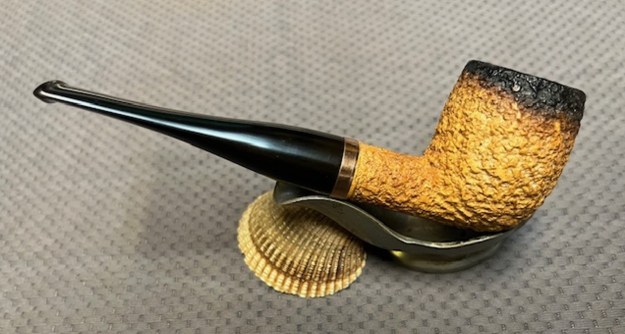
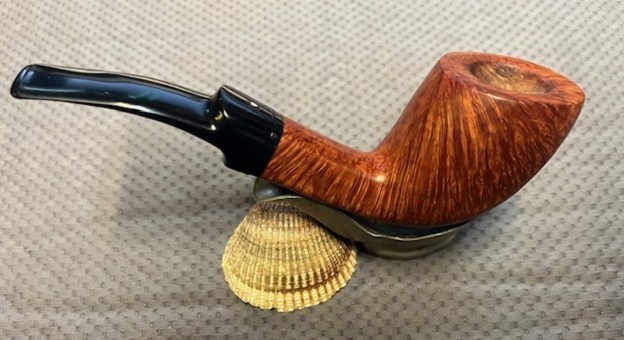
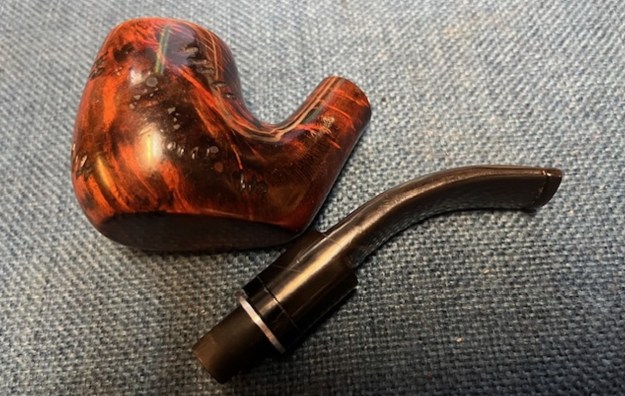
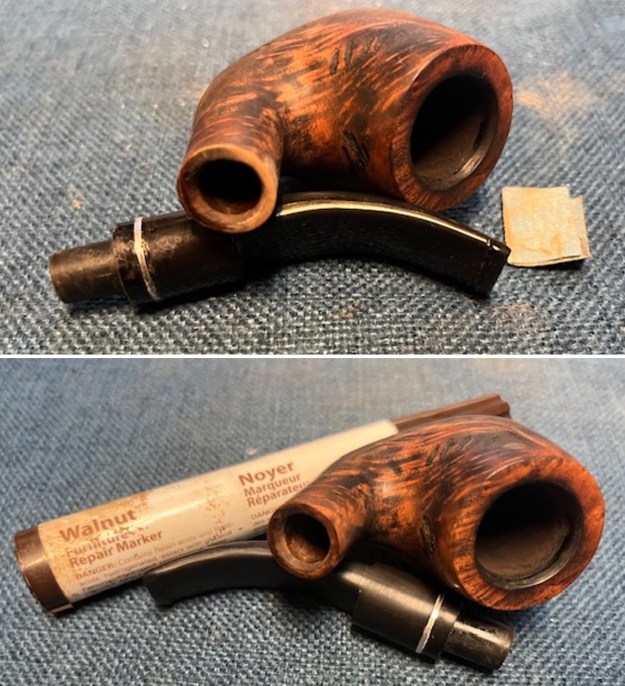
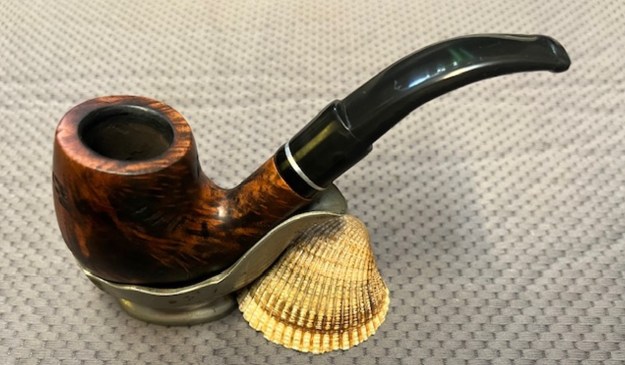
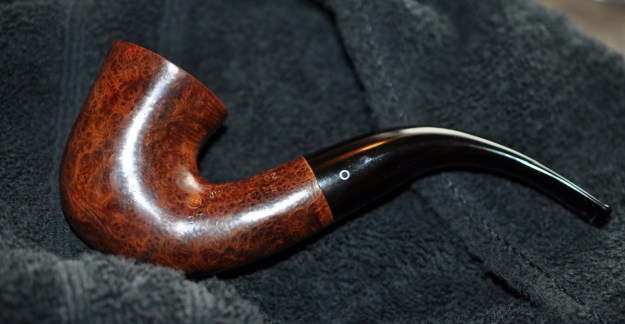
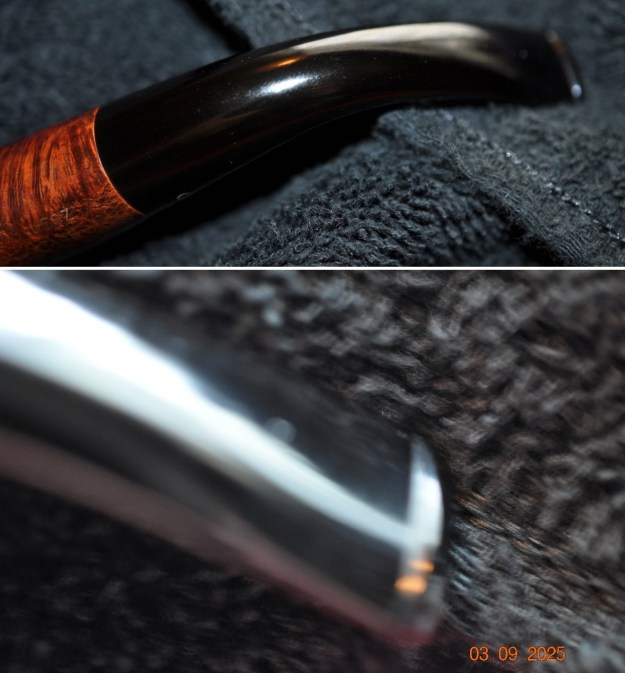
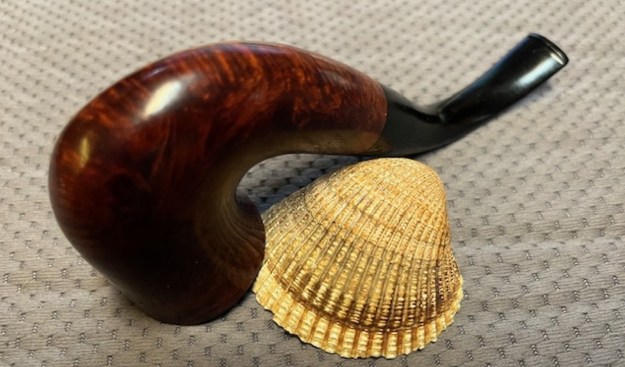
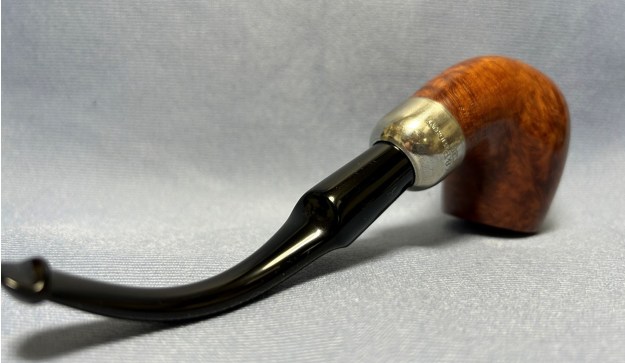
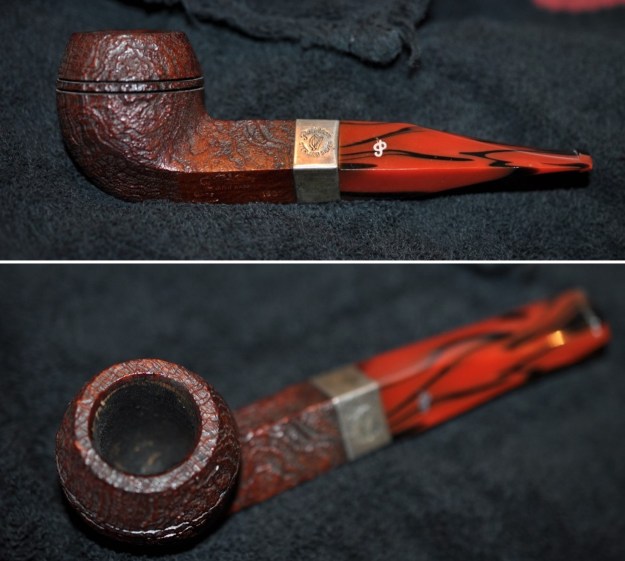
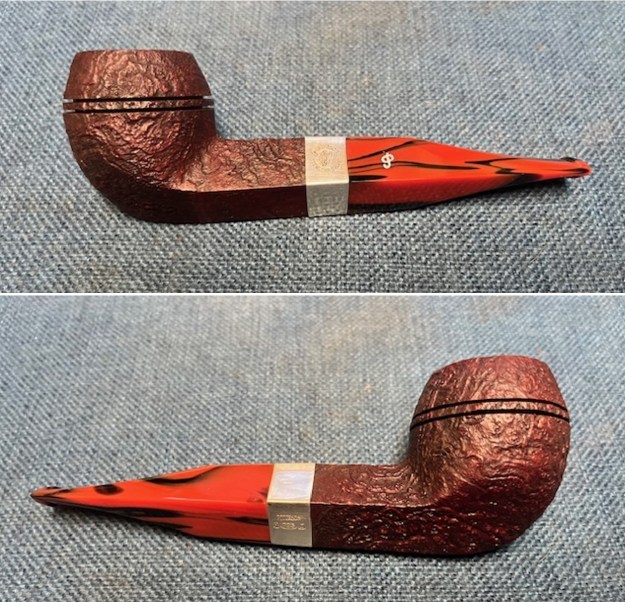
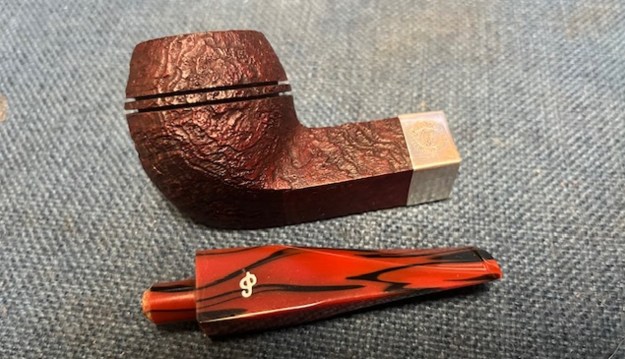
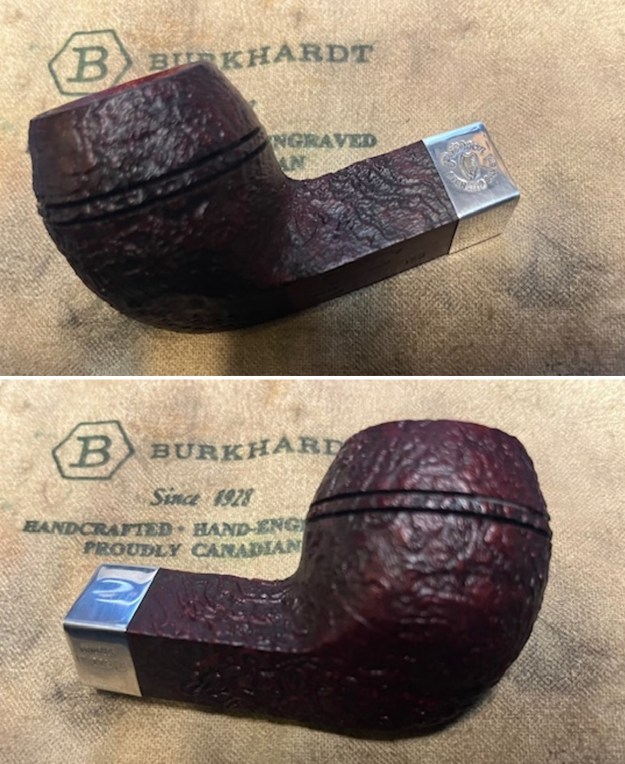
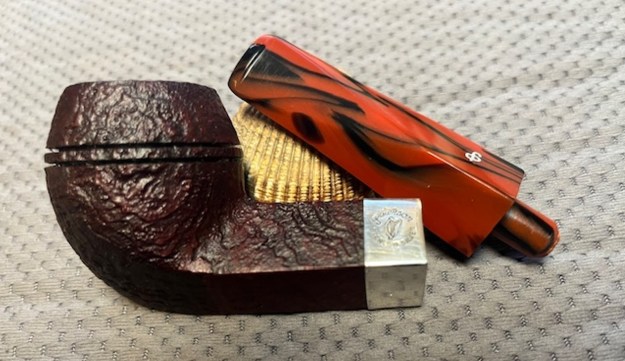
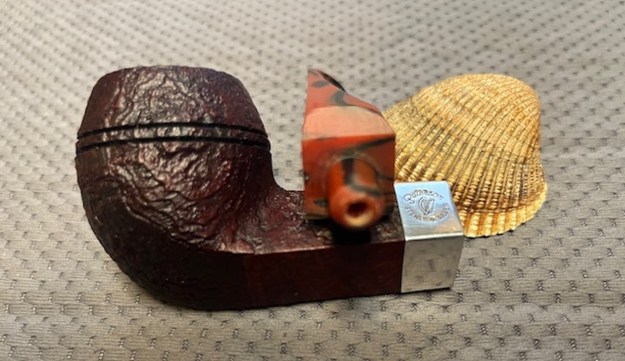
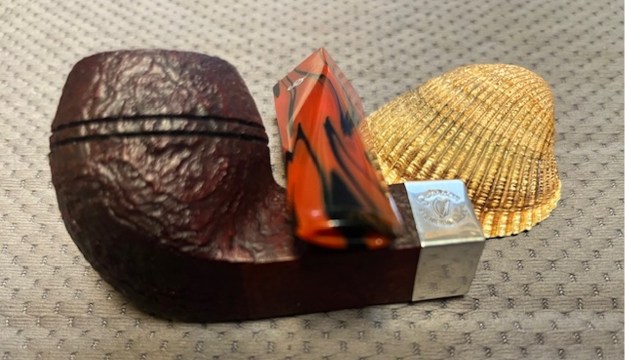
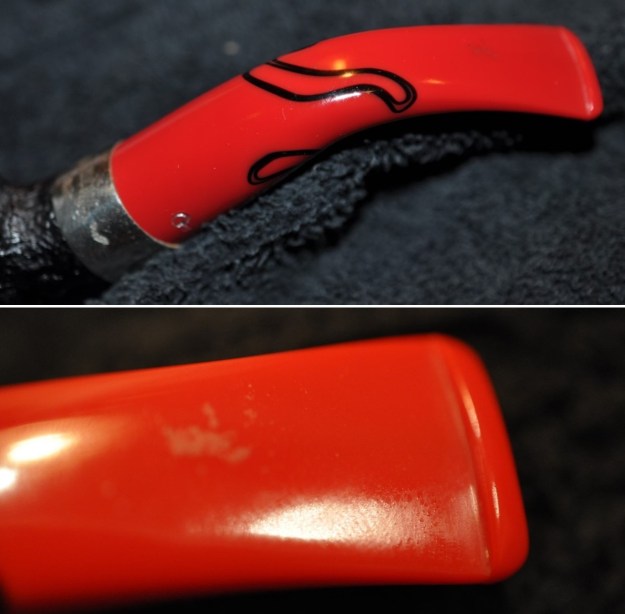
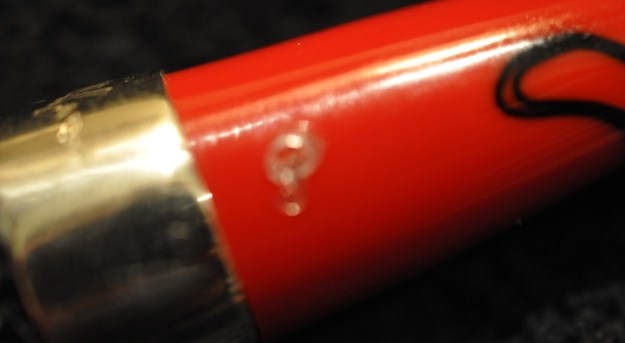
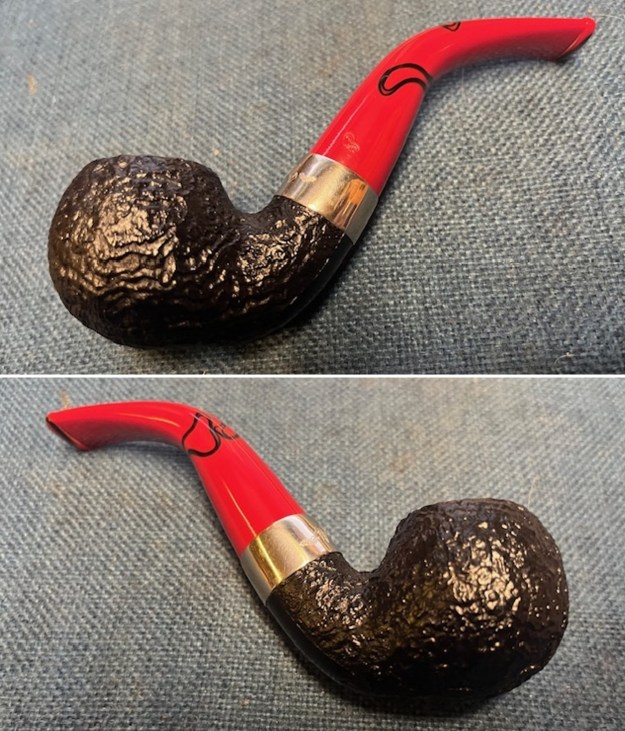
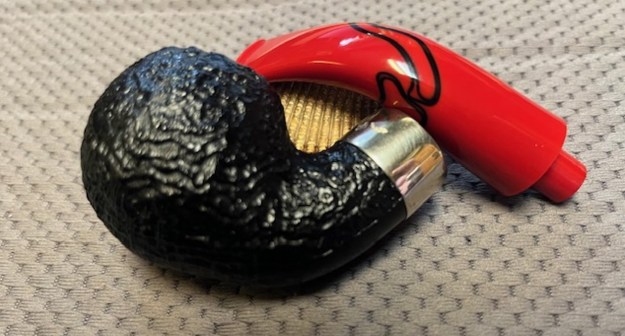
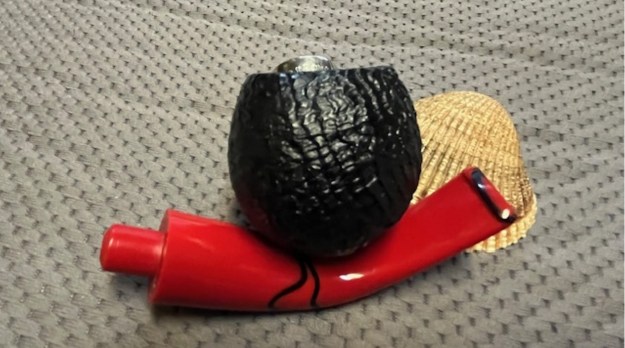
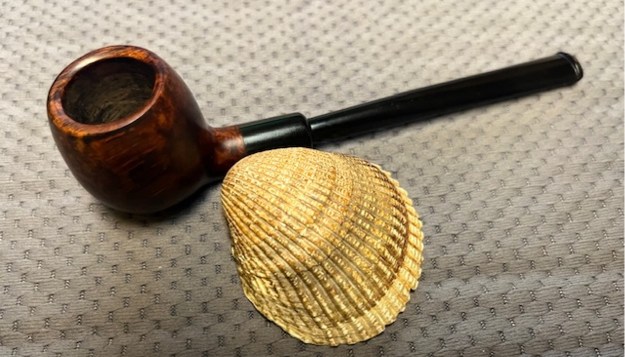
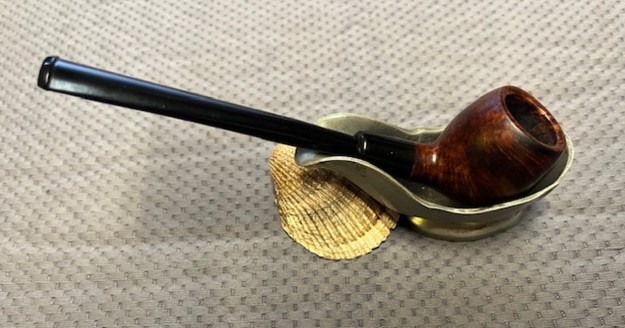
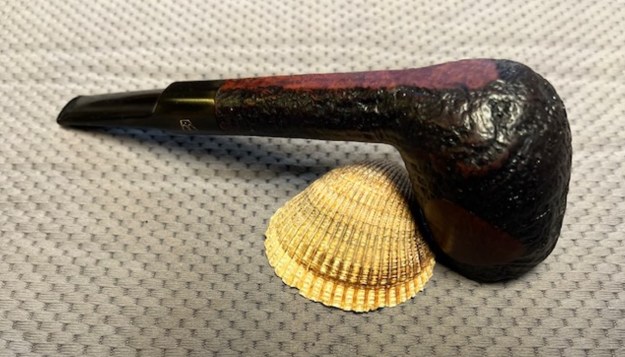
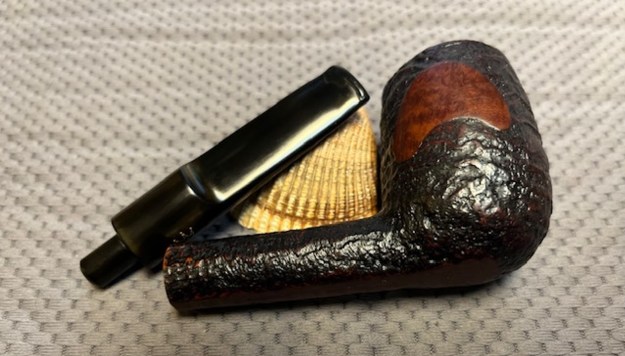
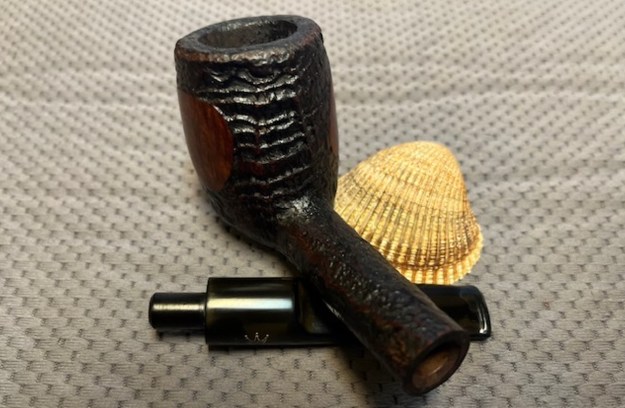
The next pipe on the table is one that we picked up in the lot from an eBay seller in Harrison Township, Michigan, USA on 08/22/2024. The sandblast finish on this English made pipe and the four blue dots on the side of the saddle stem are what caught our eye. It is stamped on the left underside of the diamond shank and reads Sasieni 4 Dot [over] Ruff Root Light [over] Made in London [over] England. That is followed by the shape number 5 or possibly the size number near the stem/shank joint. It has a classic Reddish Brown stain on the sandblast finish that is a stark contrast to the black vulcanite saddle stem. It has a deep sandblast finish on a bent Billiard. The bowl was heavily caked and the inner edge and the top were covered with a thick lava coat in the blast. The stem was oxidized, calcified and had tooth marks and chatter on both sides ahead of the button. The Sasieni 4 Dot four blue dots logo on the left side of the saddle stem looks to be in good condition. Jeff took some photos of the pipe to show the general condition of the pipe before he started his clean up.
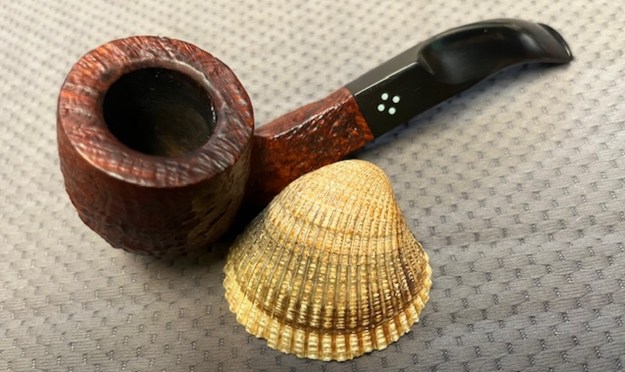
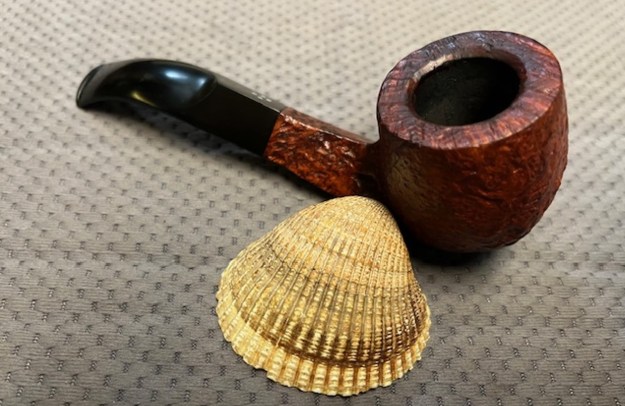
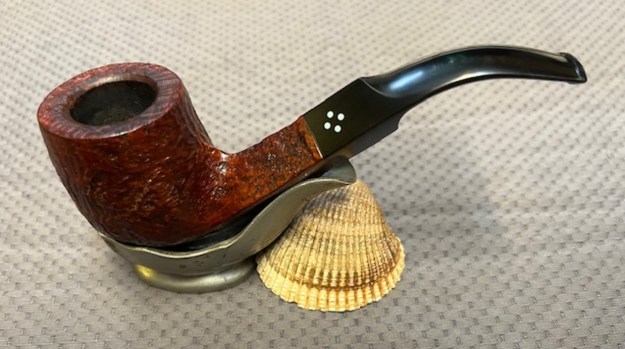
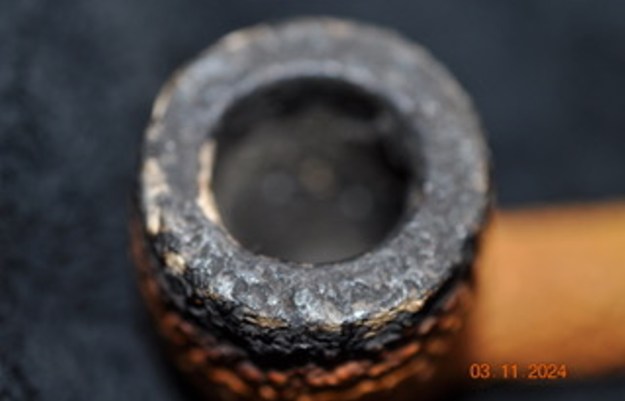
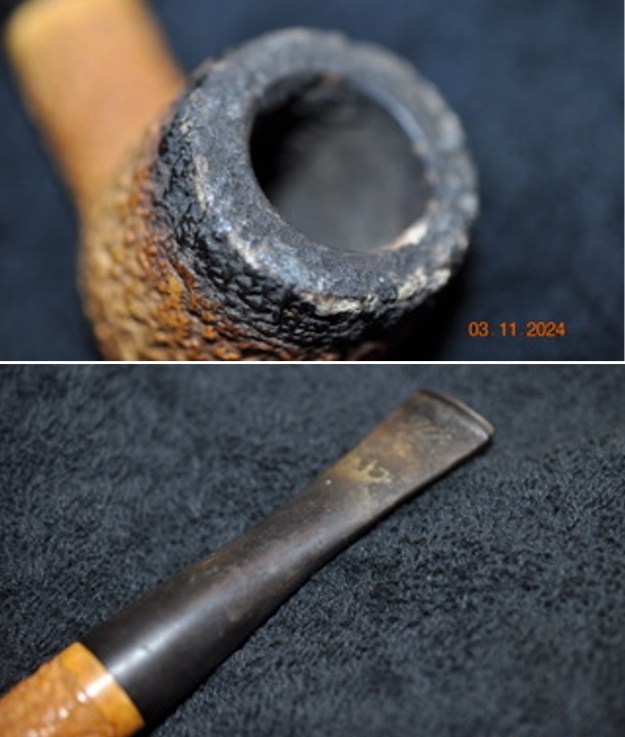
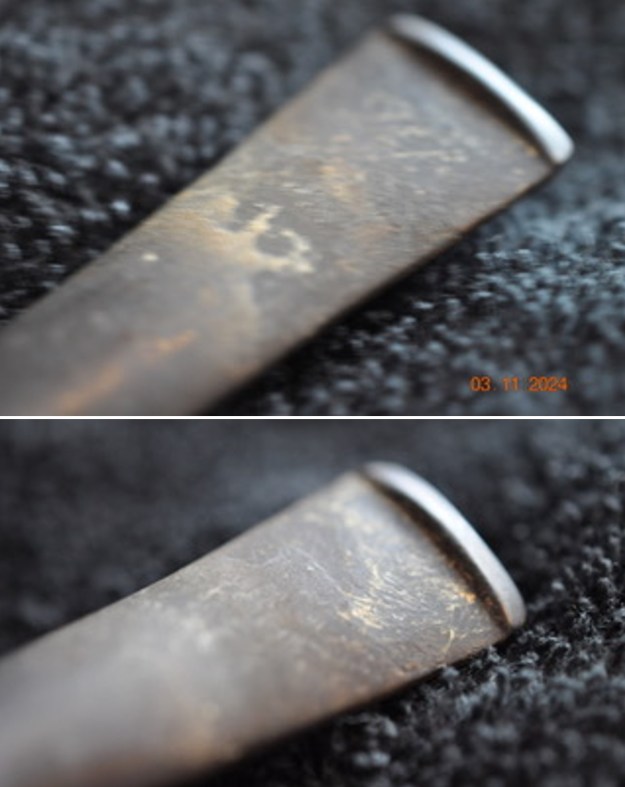
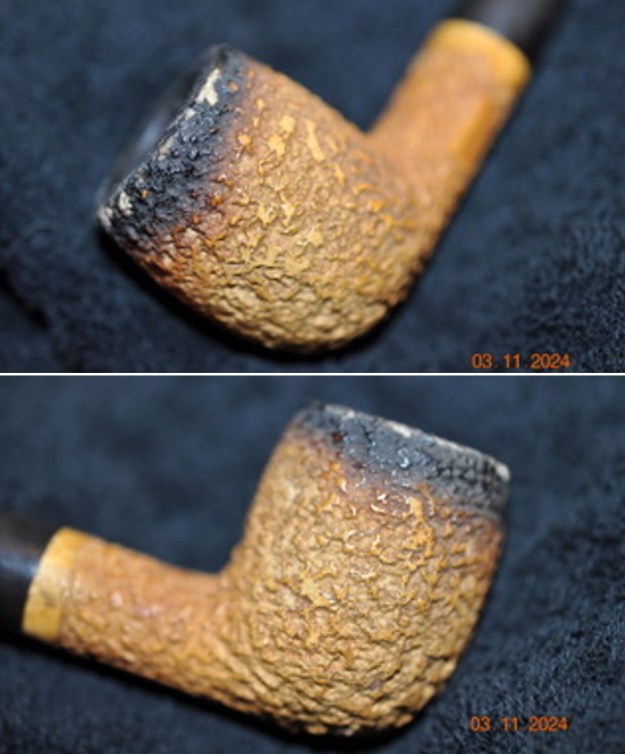
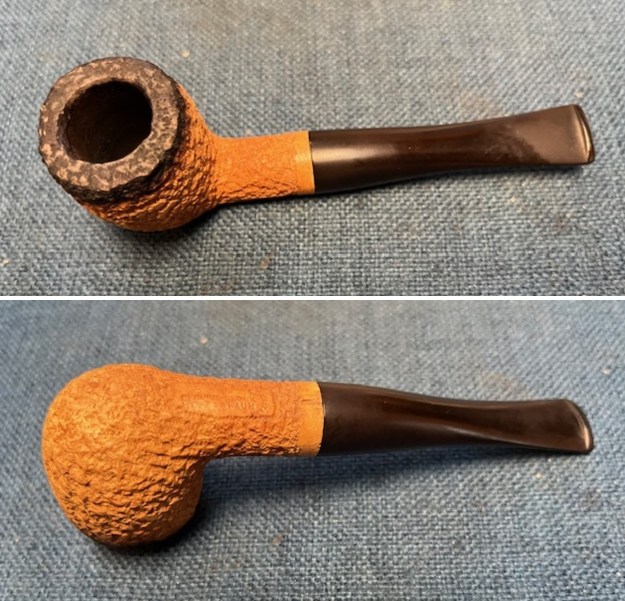
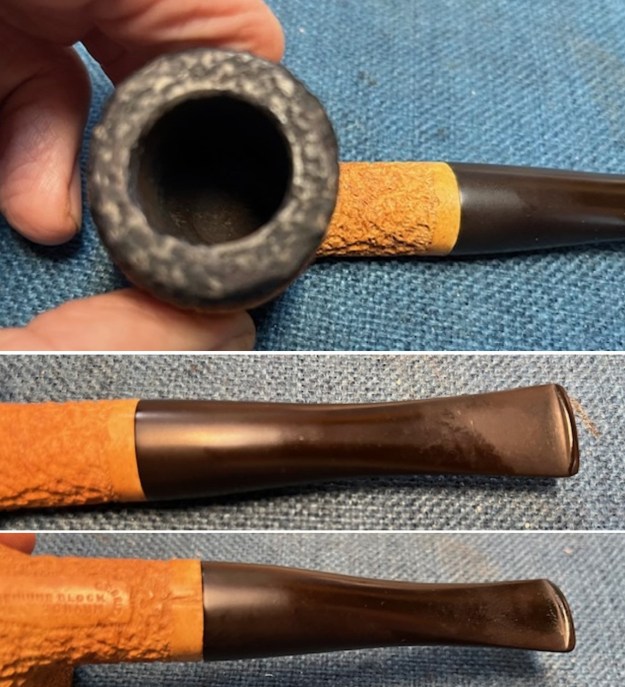
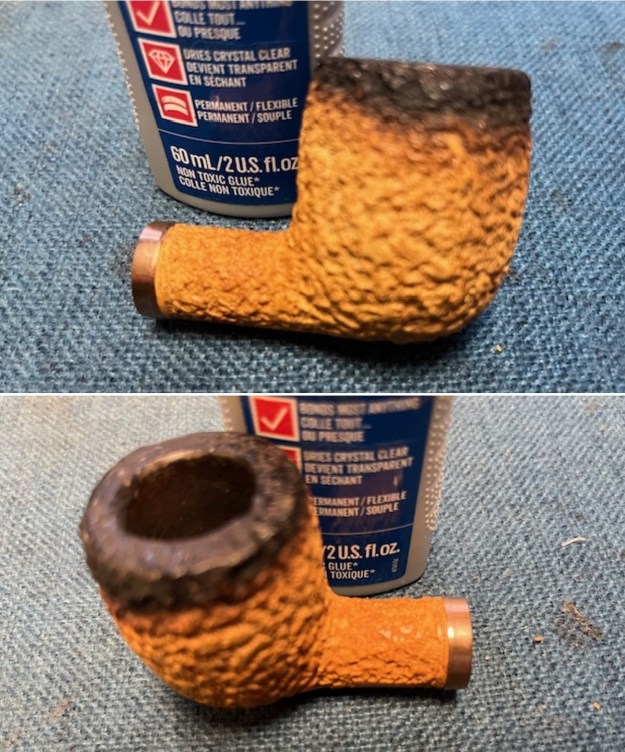
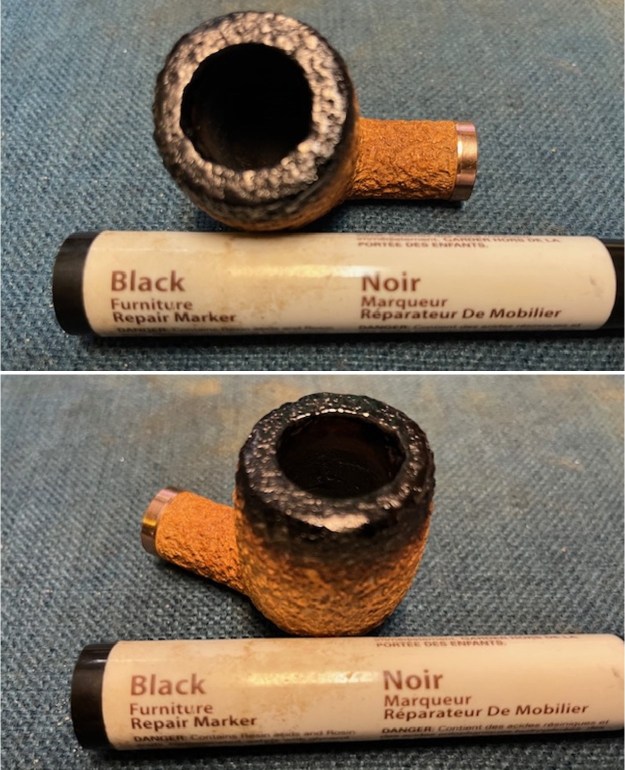
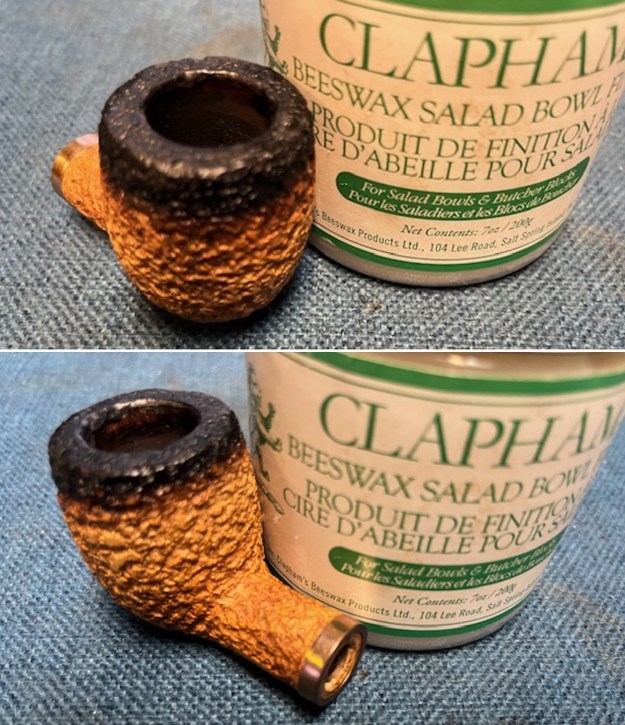
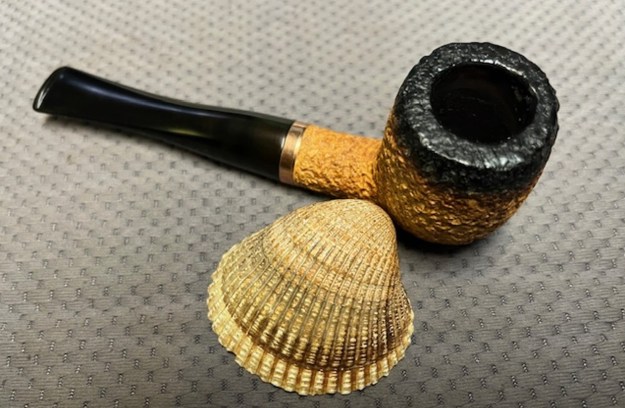
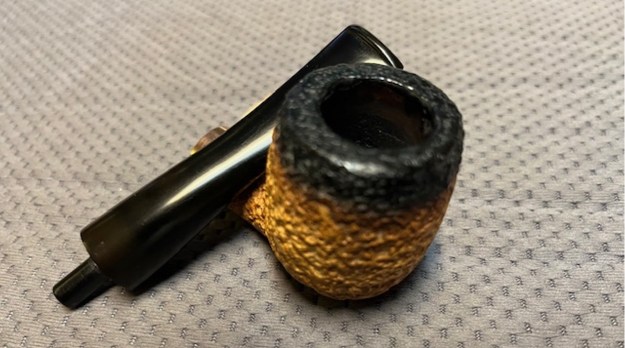
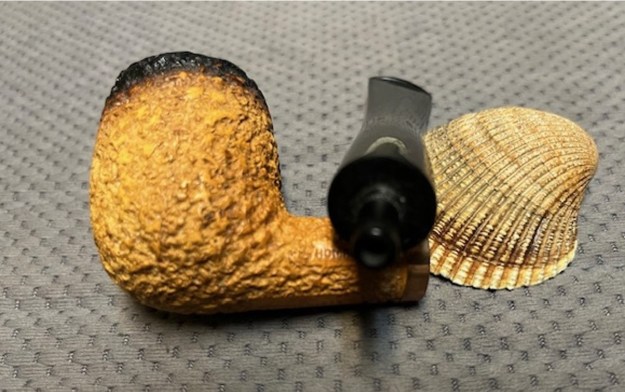
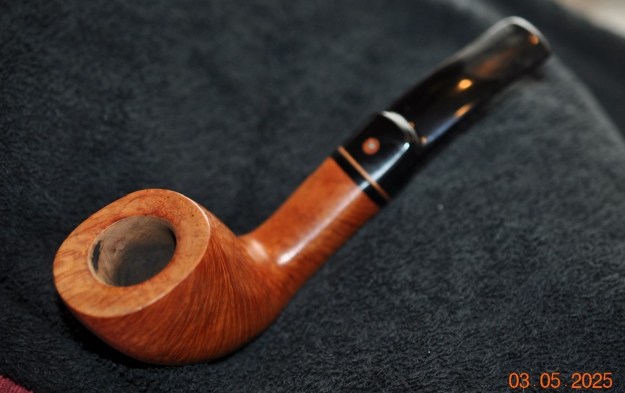
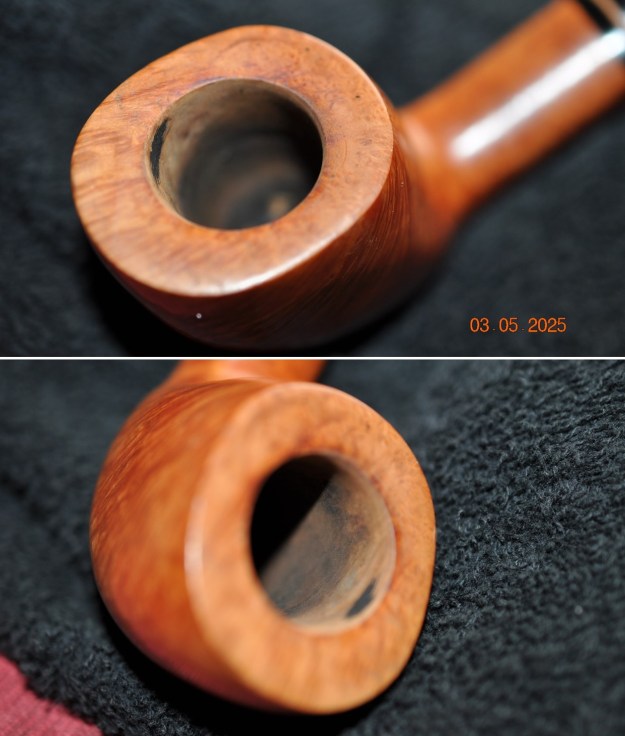
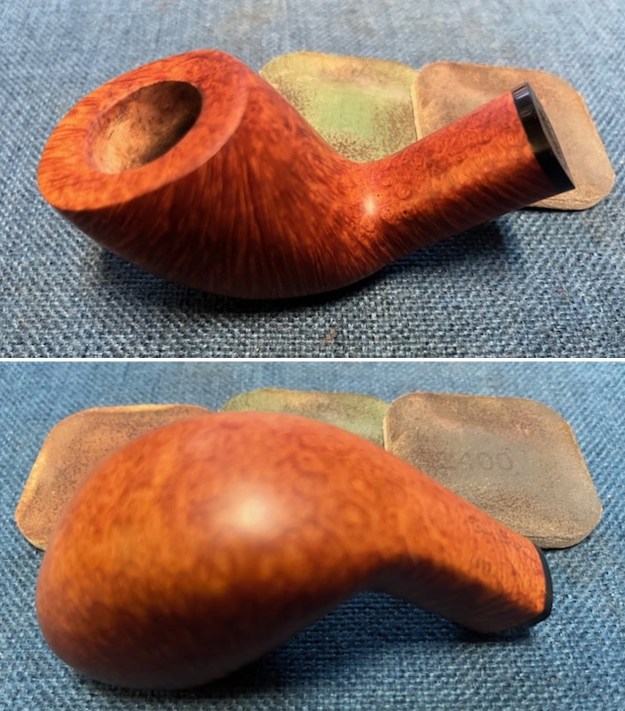
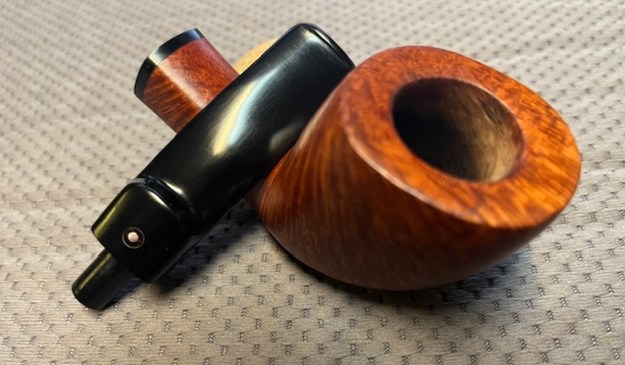
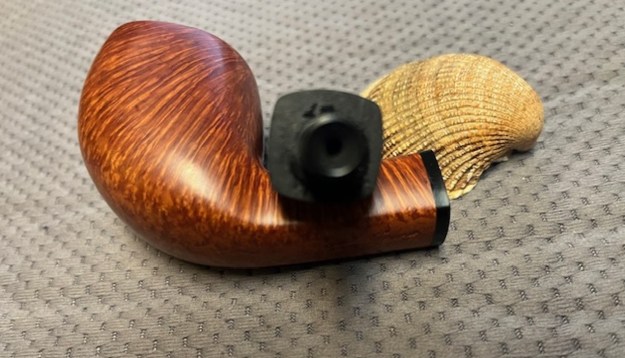
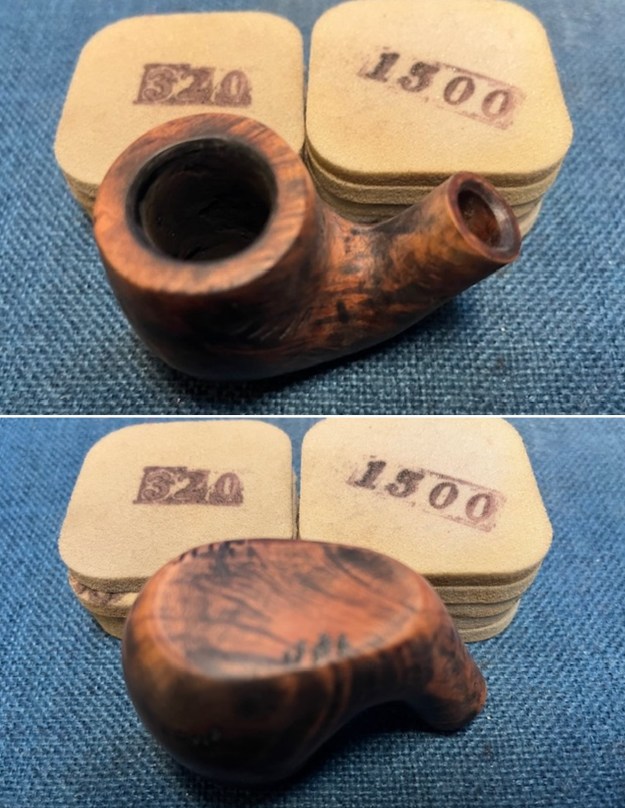
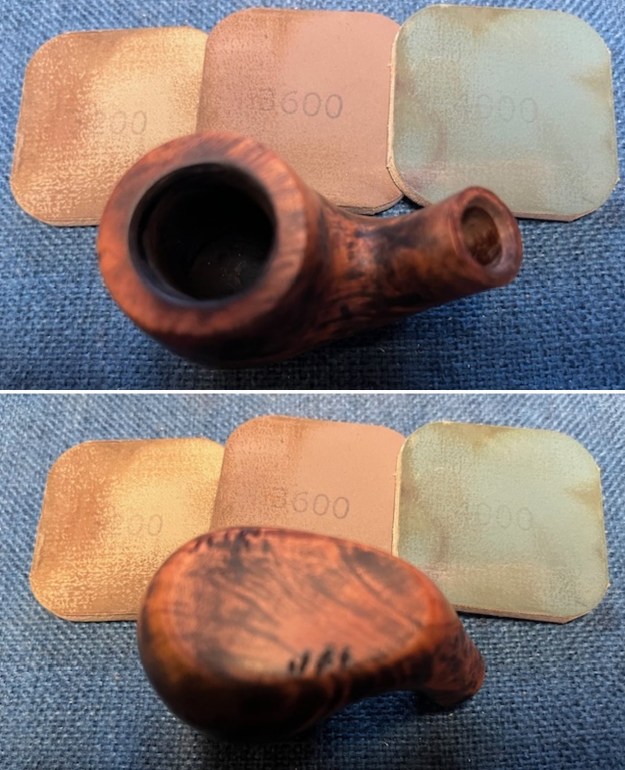
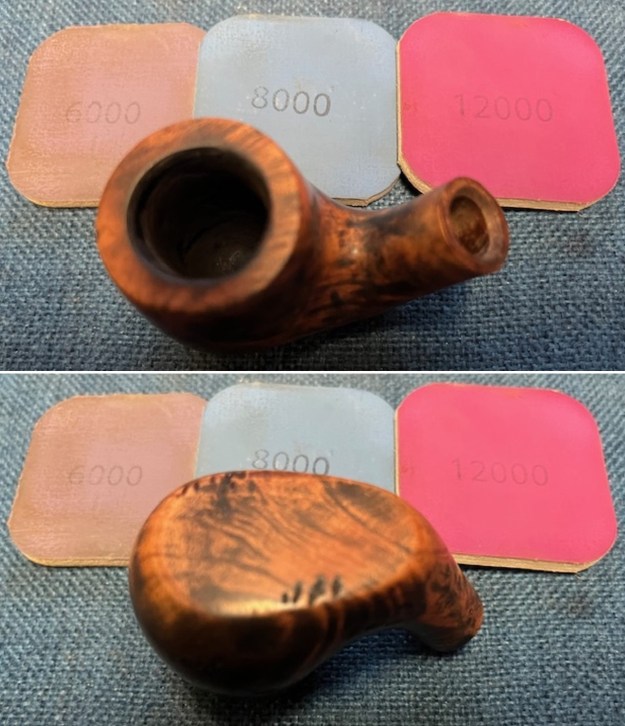
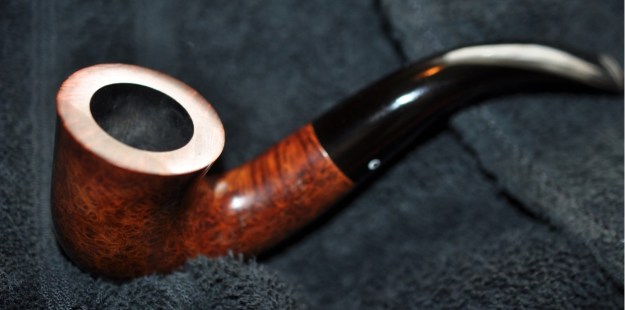
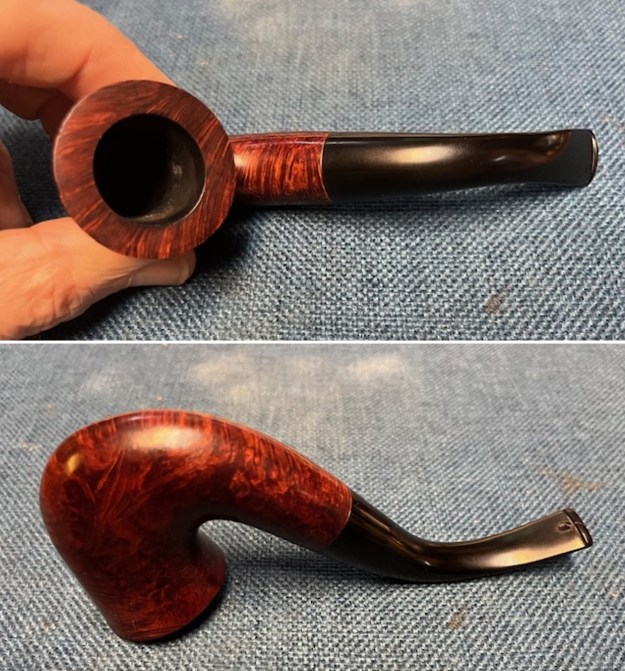
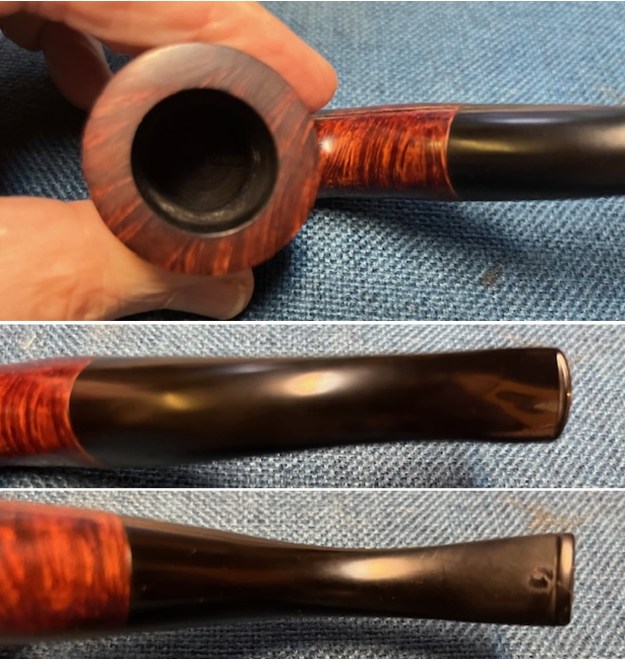
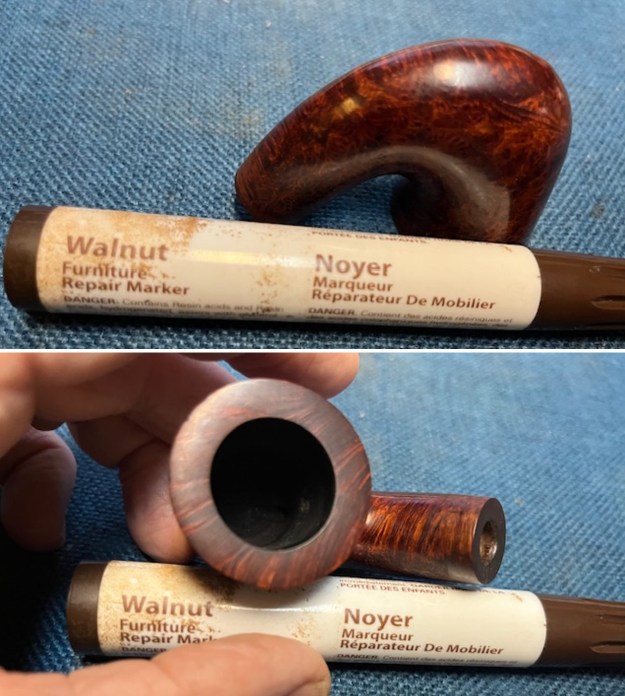
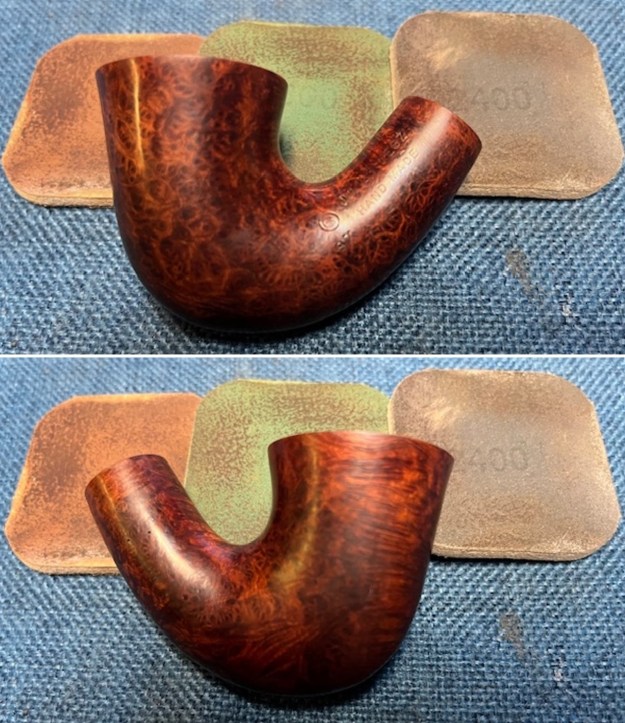
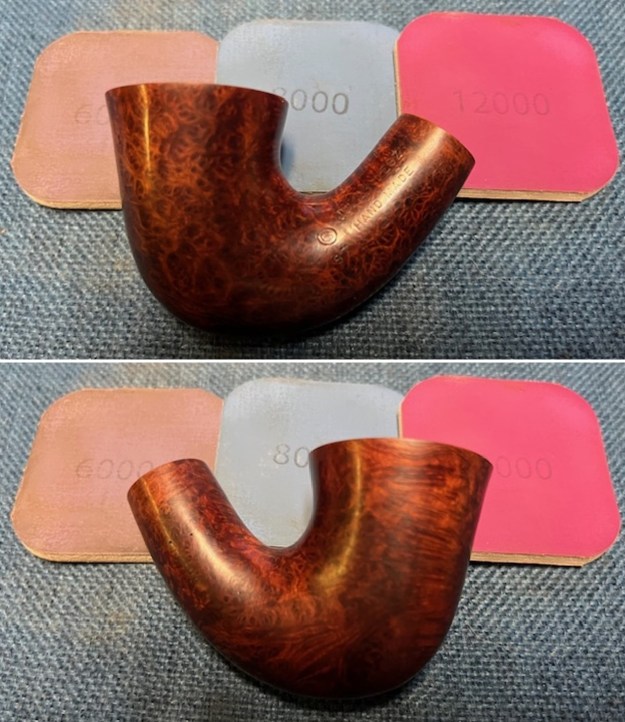
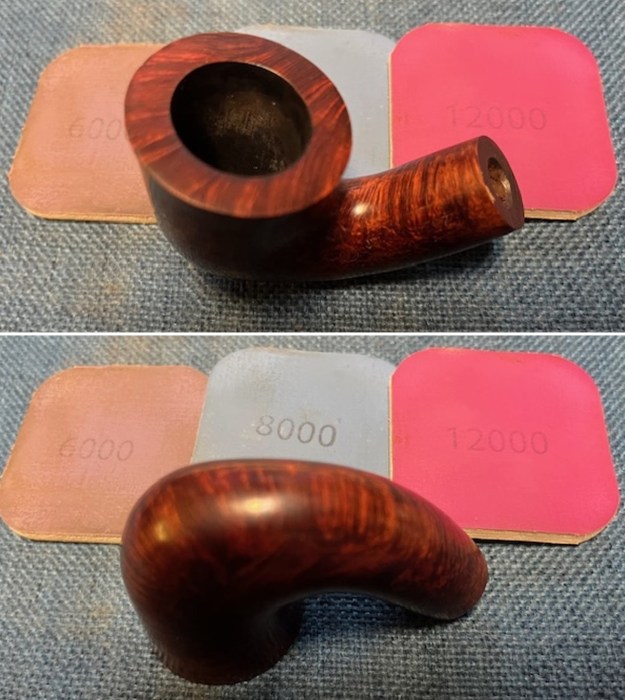
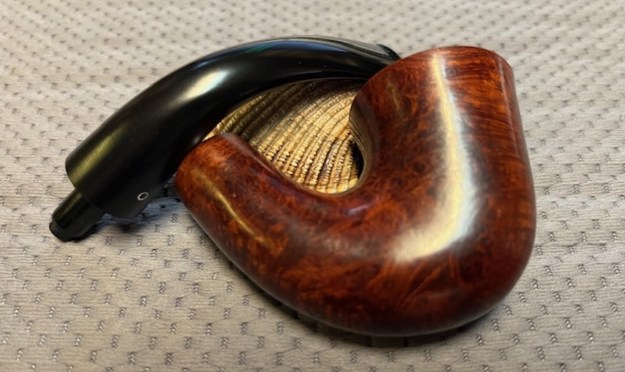
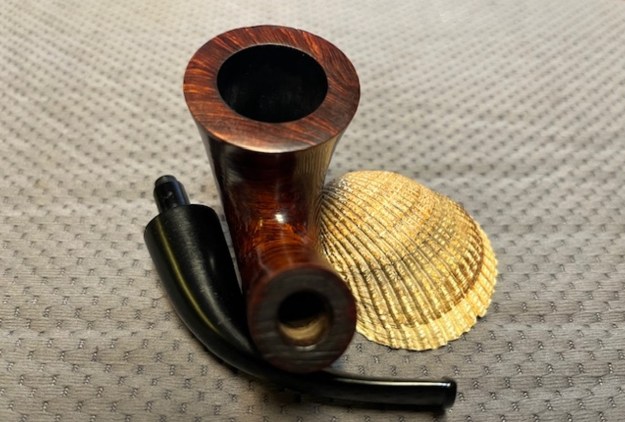
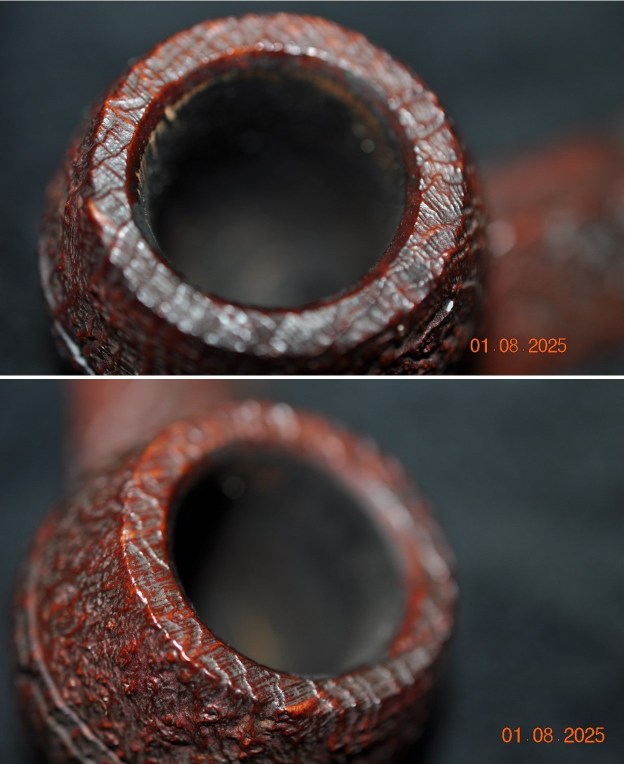
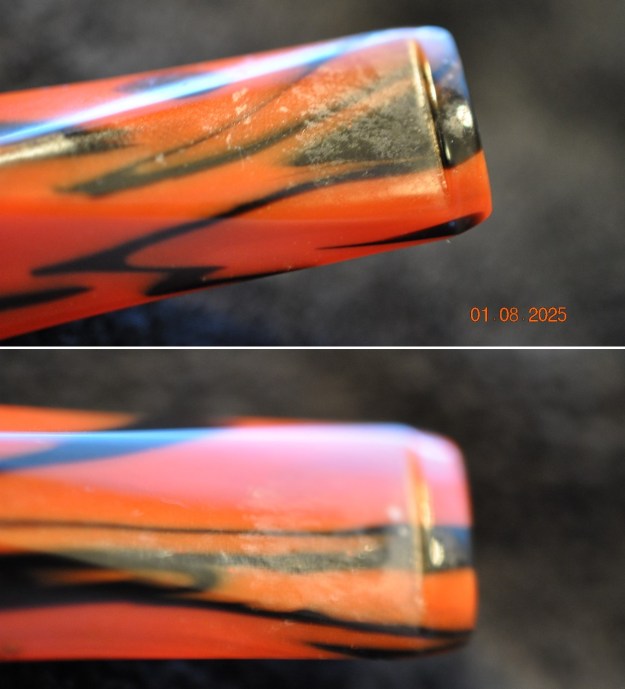
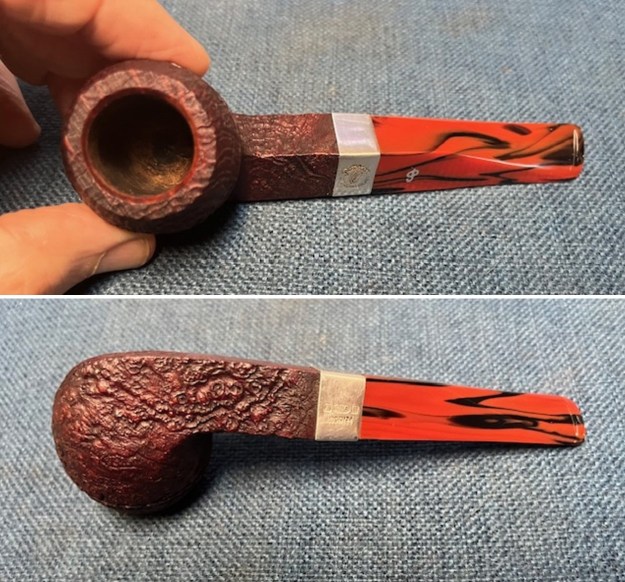
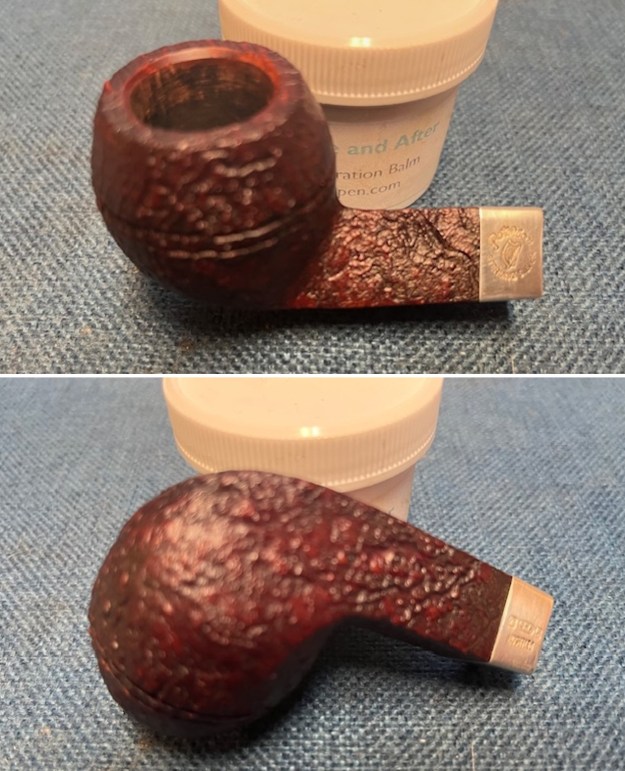
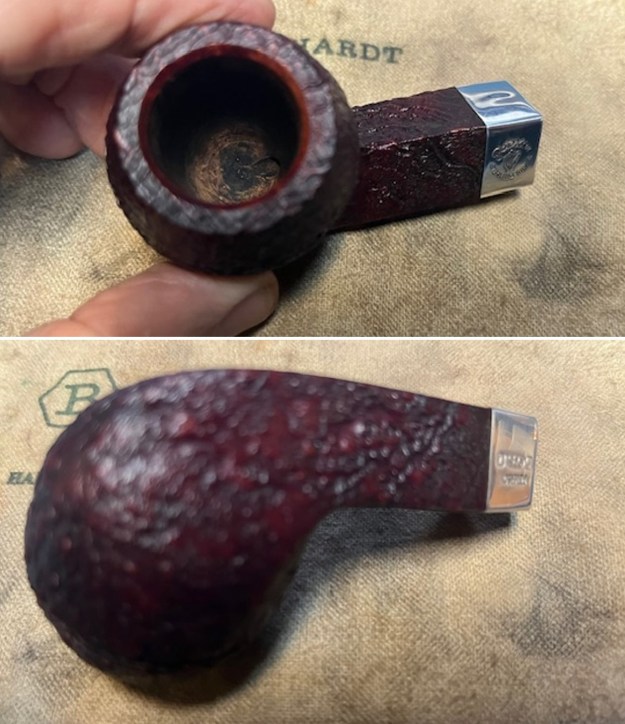
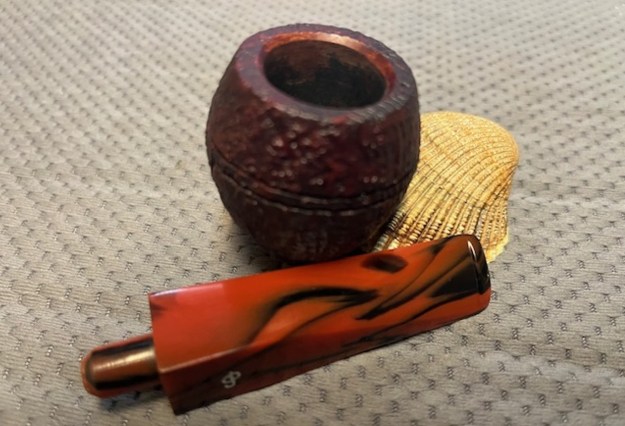
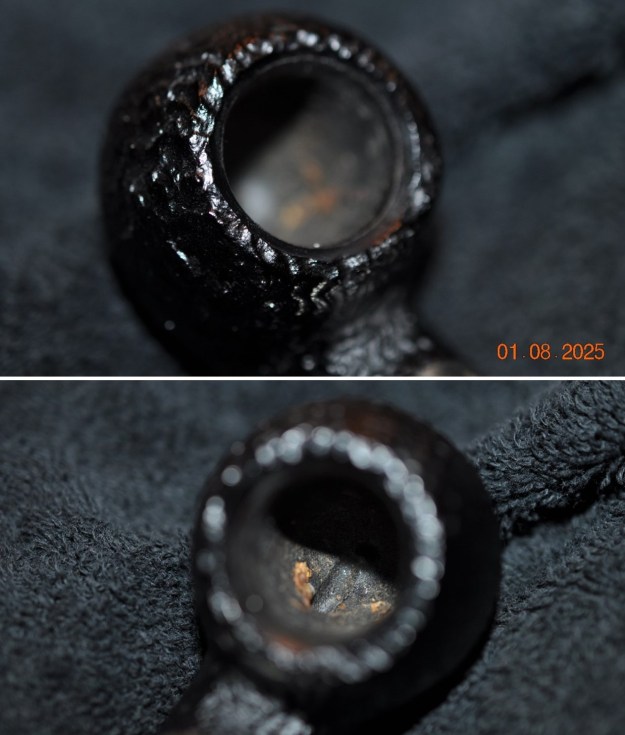
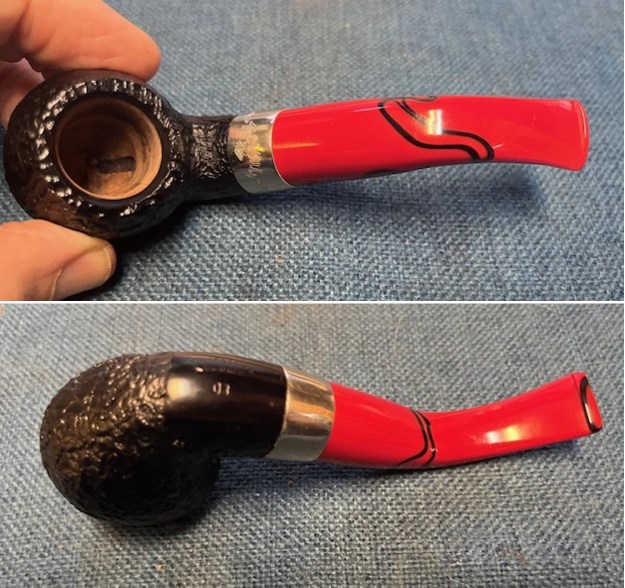
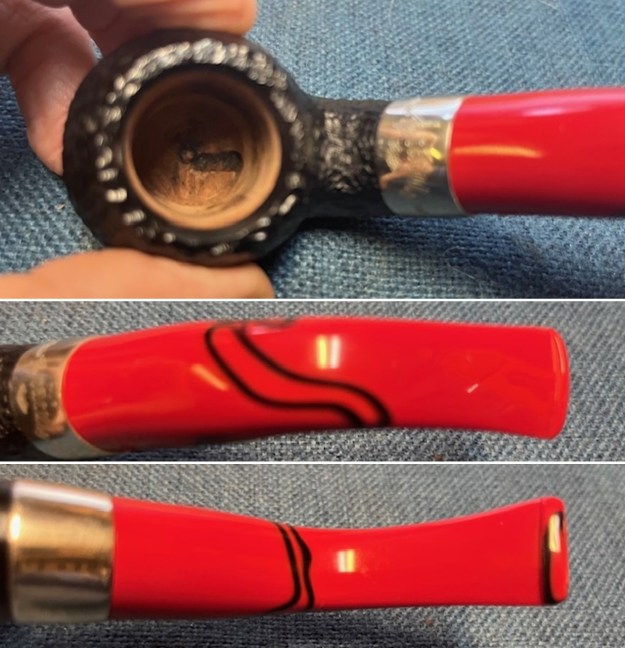
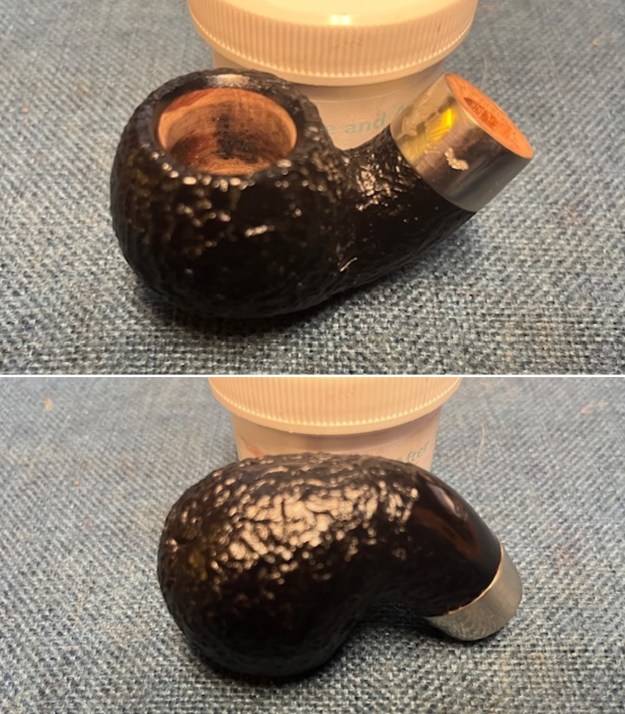
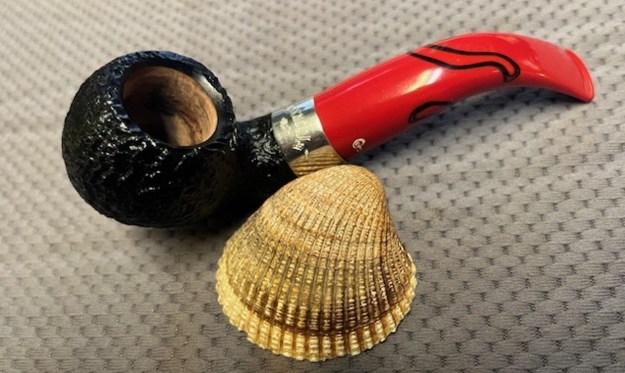
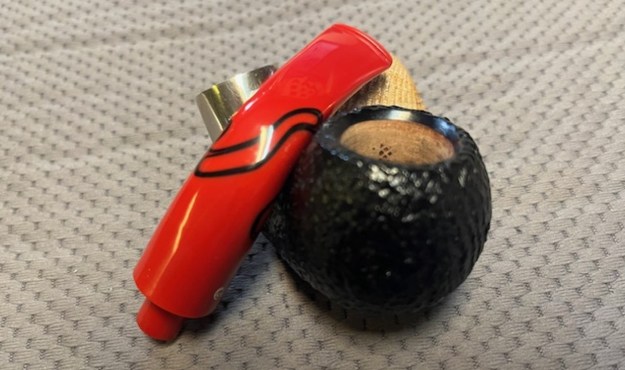
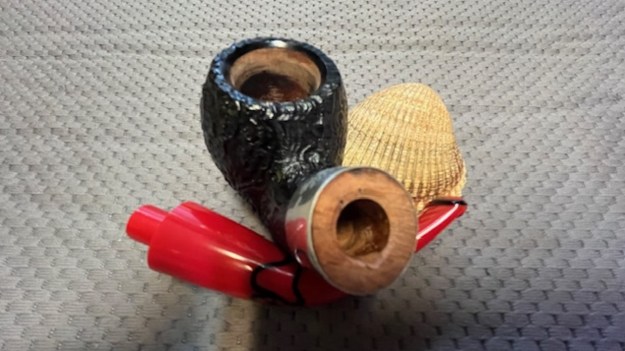
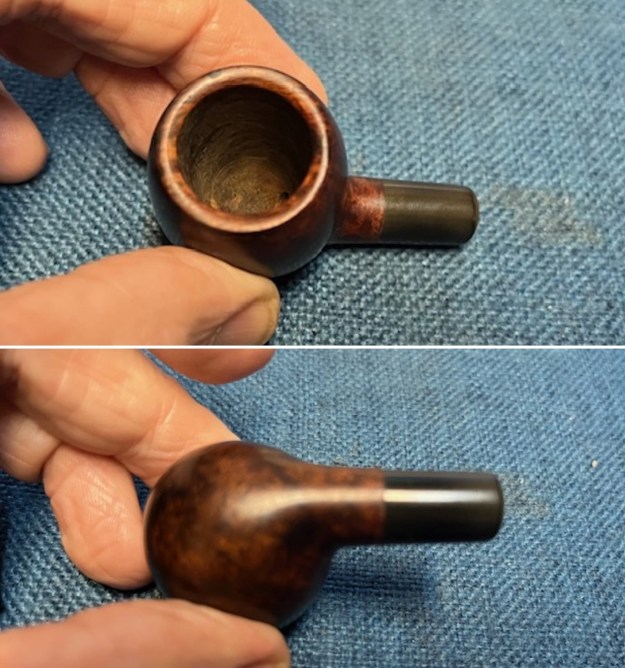
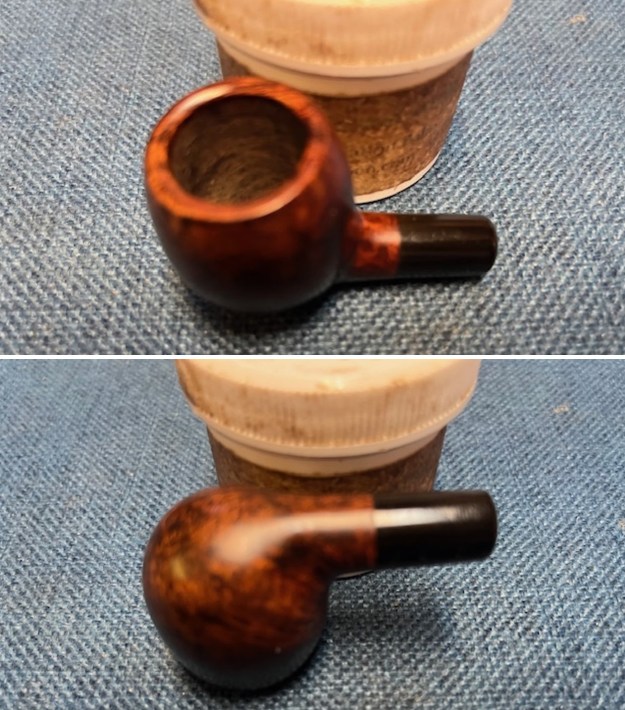
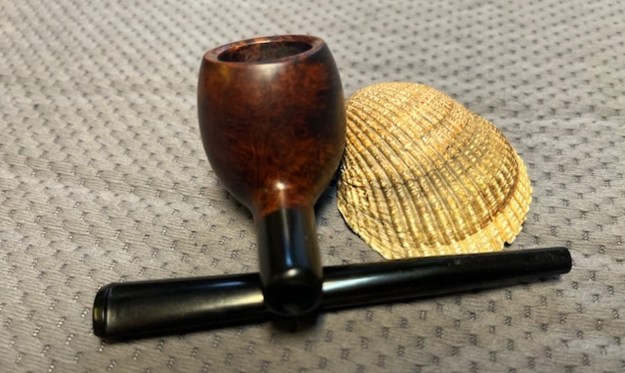
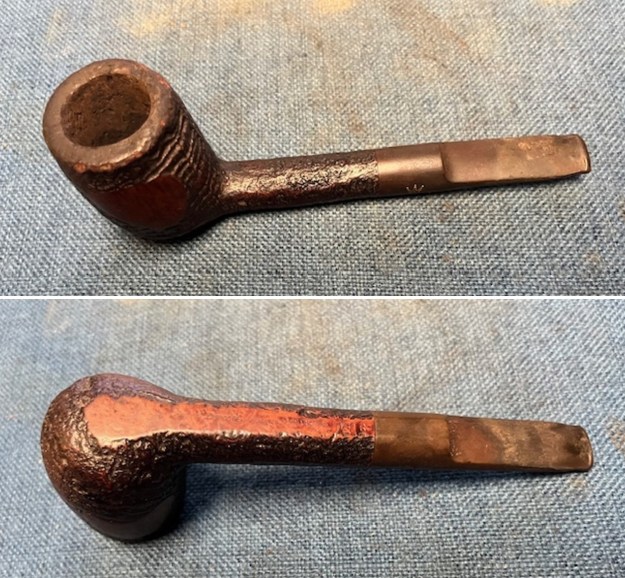
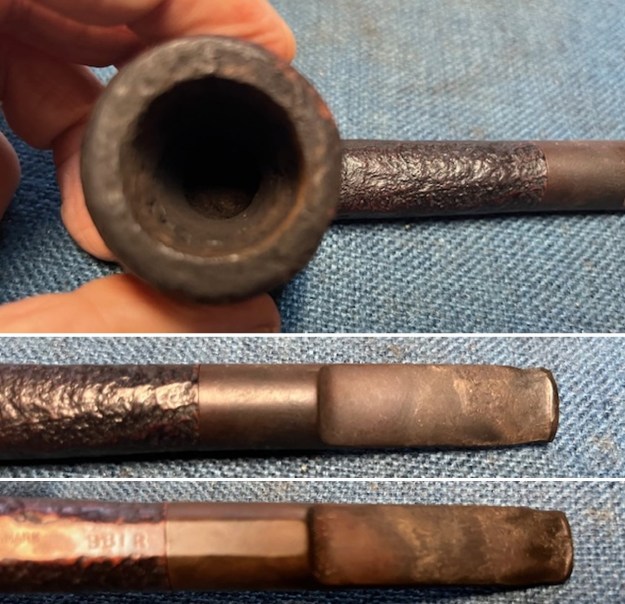
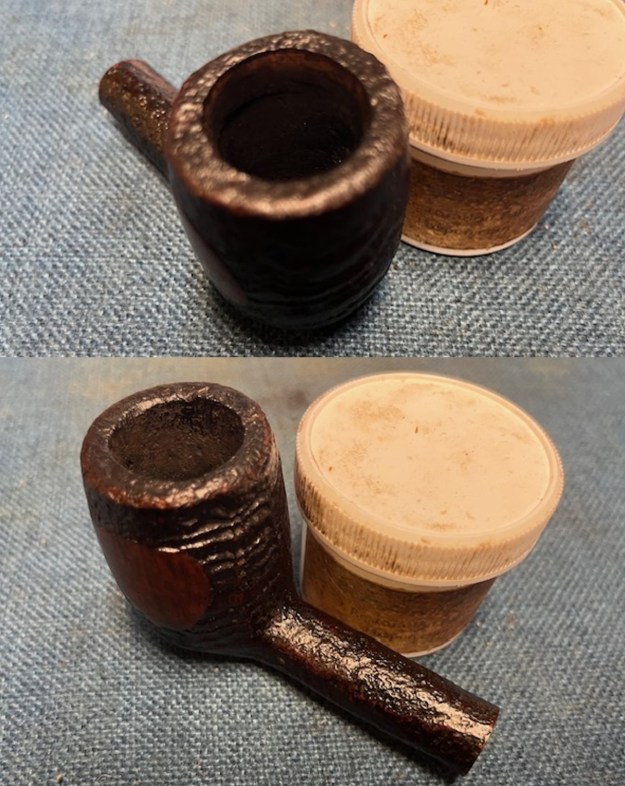
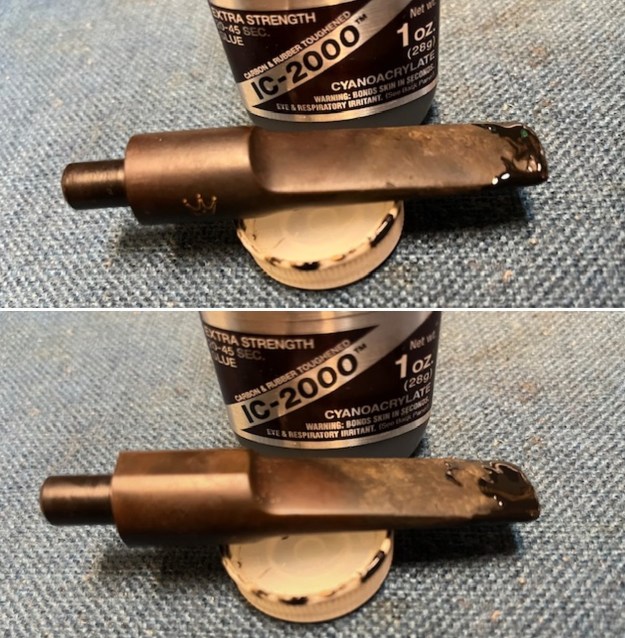
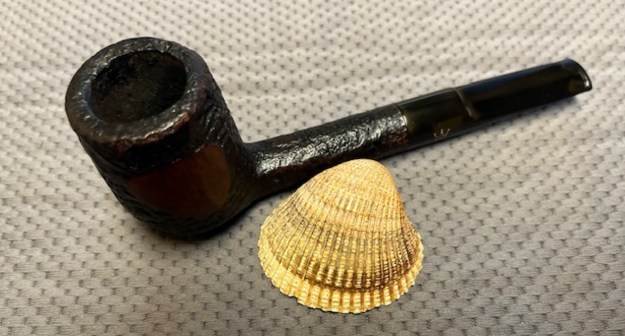
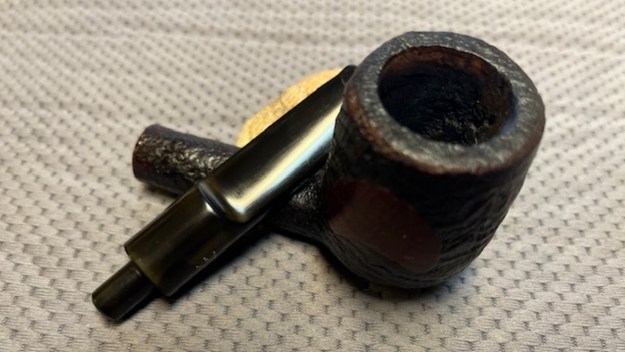
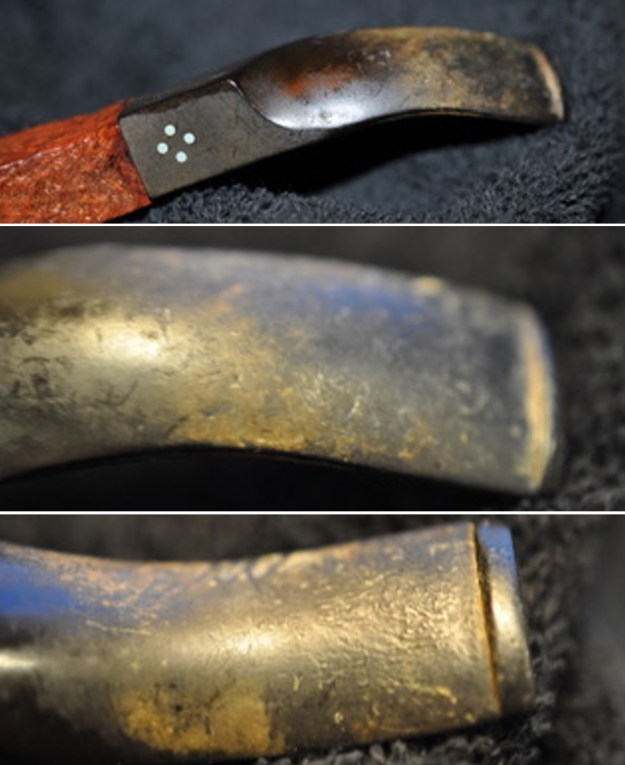
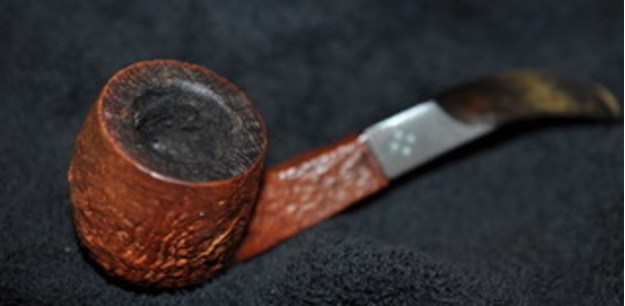 He took some photos of the rim top and bowl from various angles to give me a clear picture of the condition of the rim top and bowl. The inside of the bowl is heavily caked with lava on the inner edge and in the sandblast on the rim top. He included photos that show the top and underside of the stem. It is as described above.
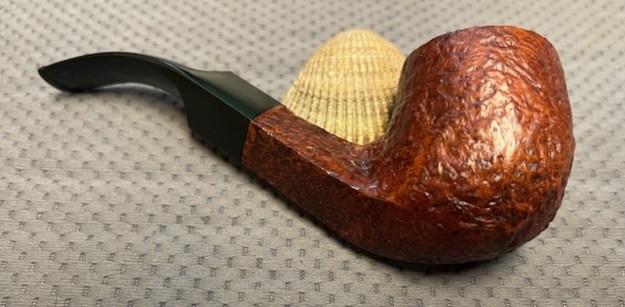
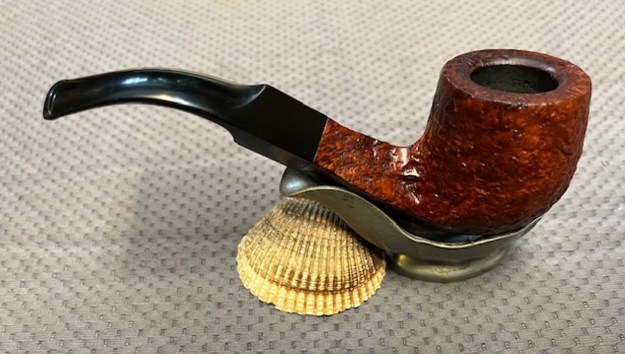
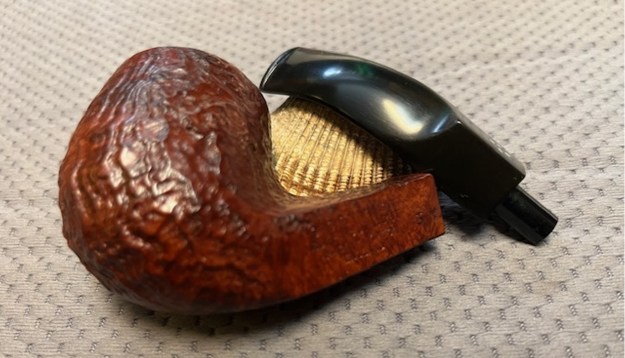
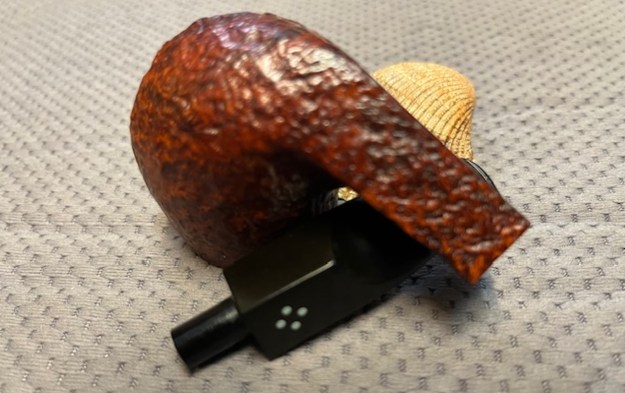
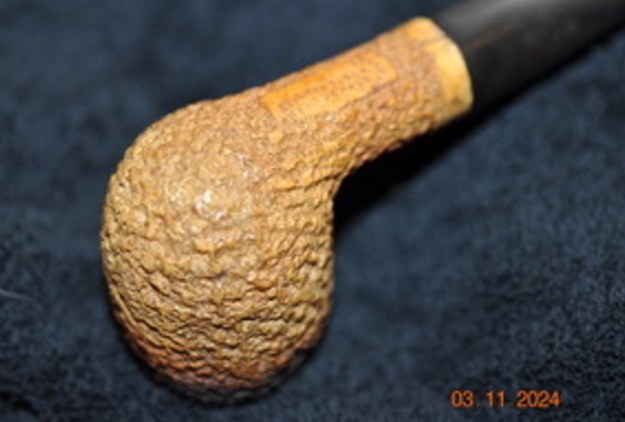
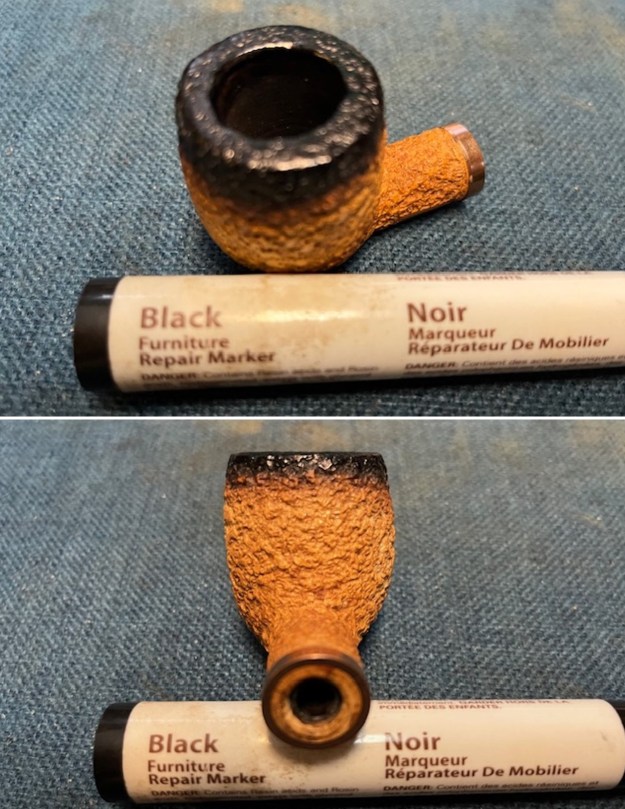
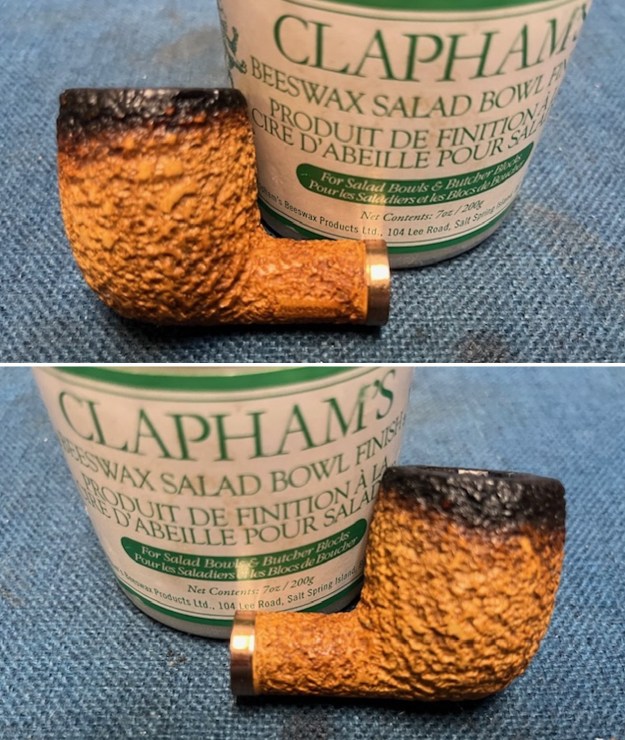
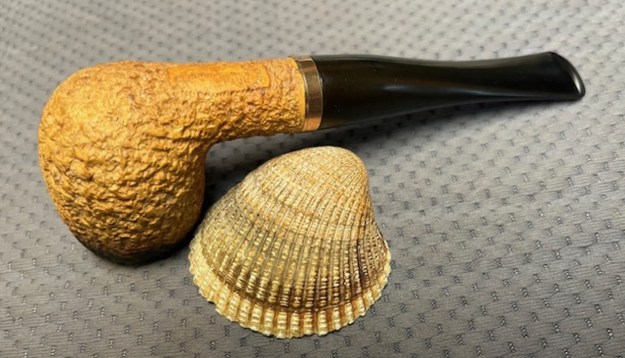
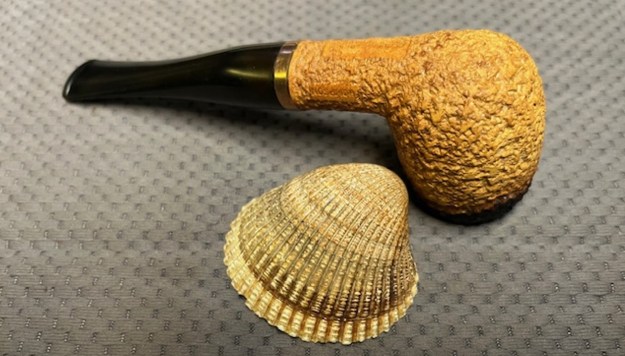
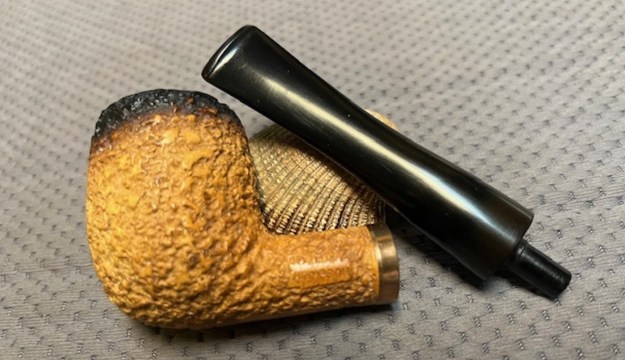
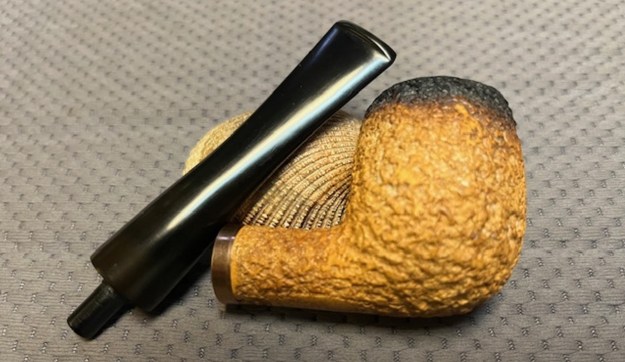
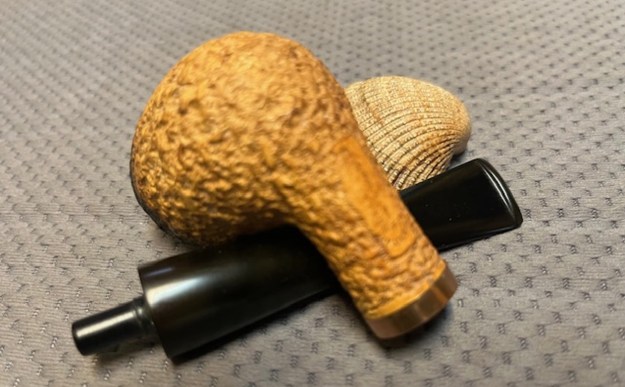
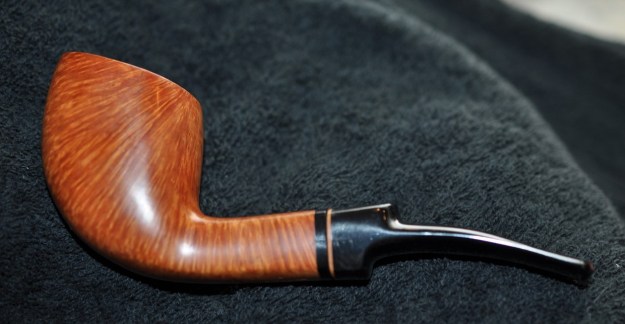
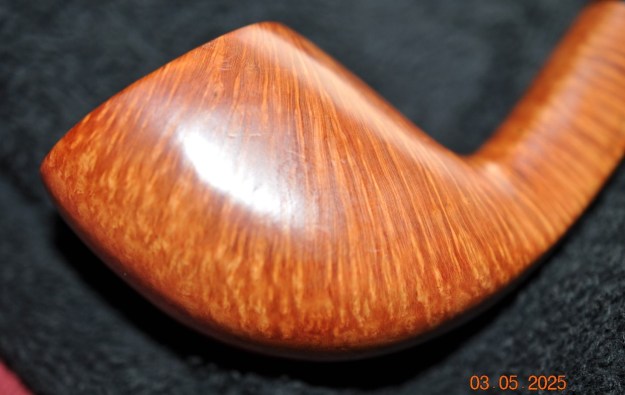
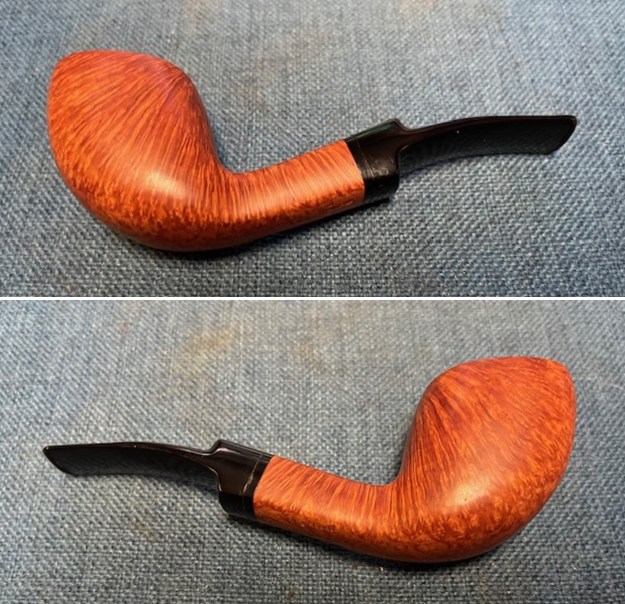
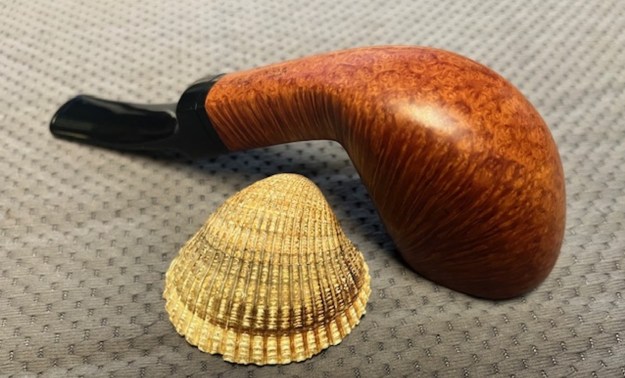
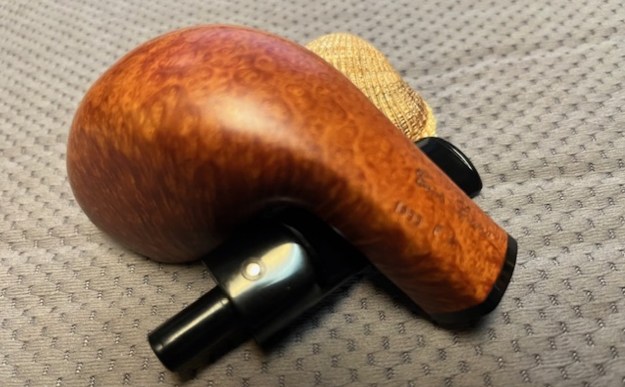
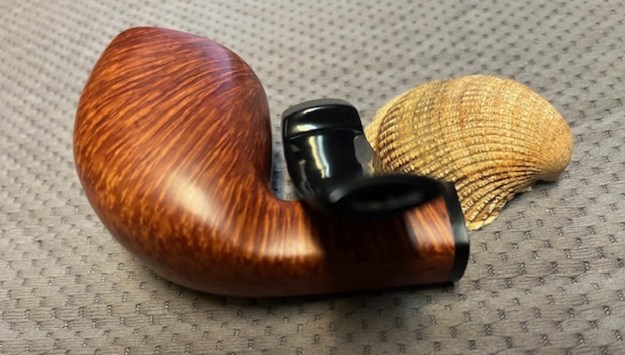
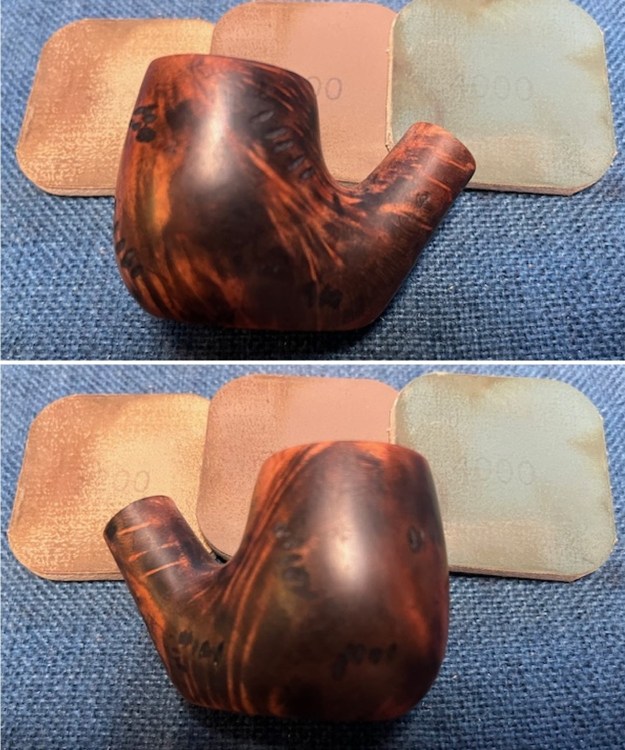
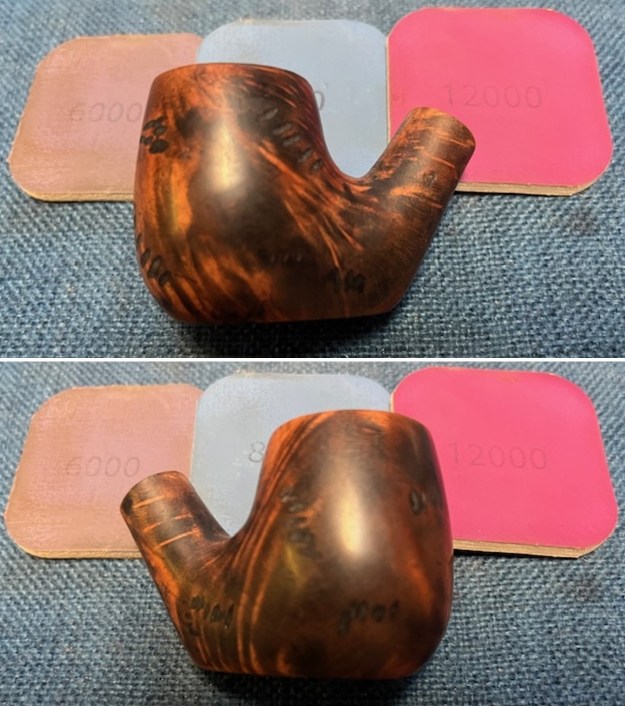
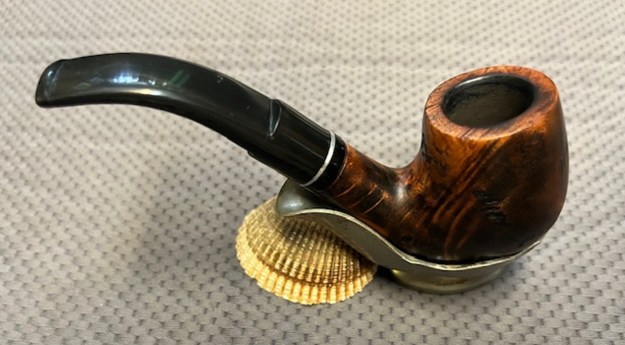
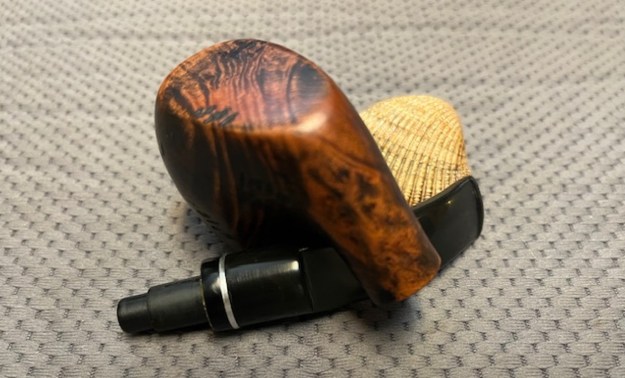
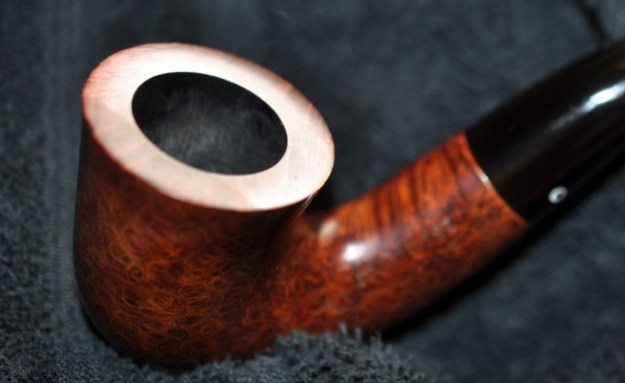
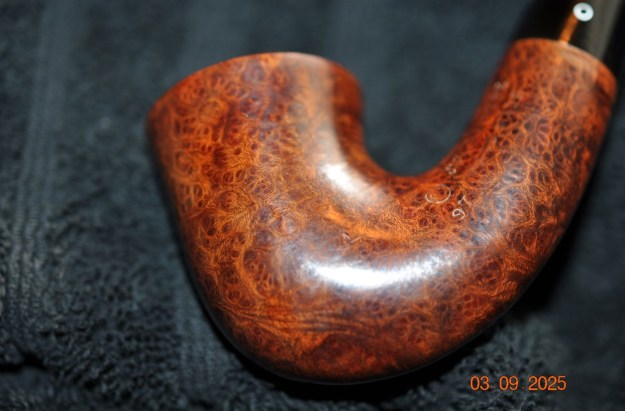
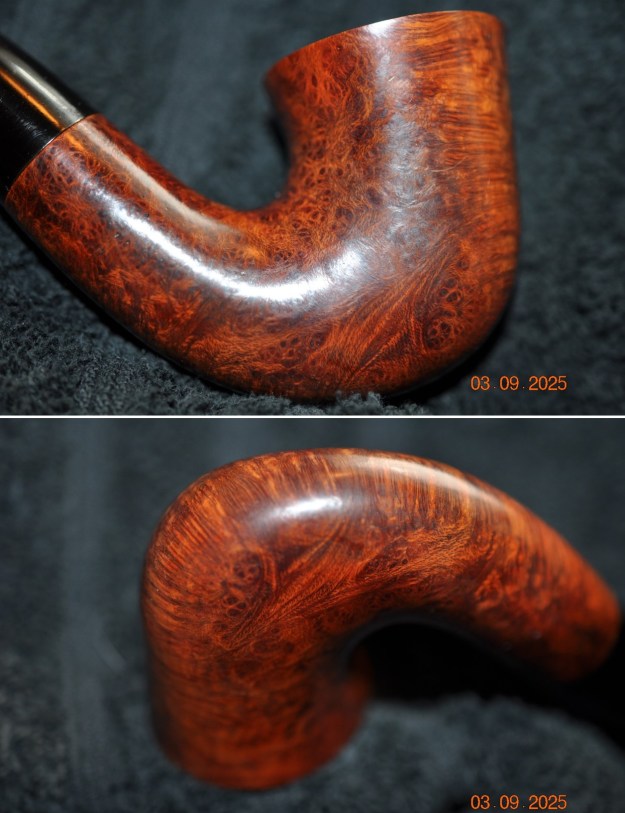
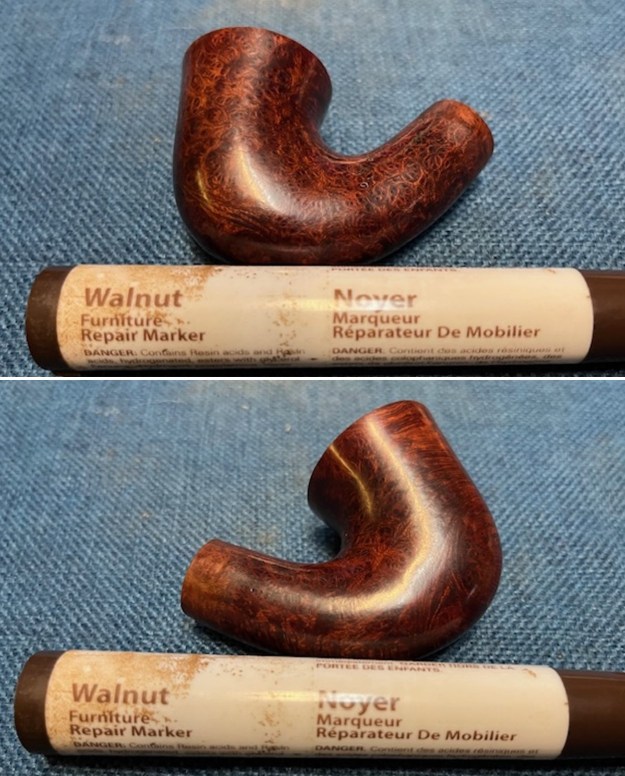
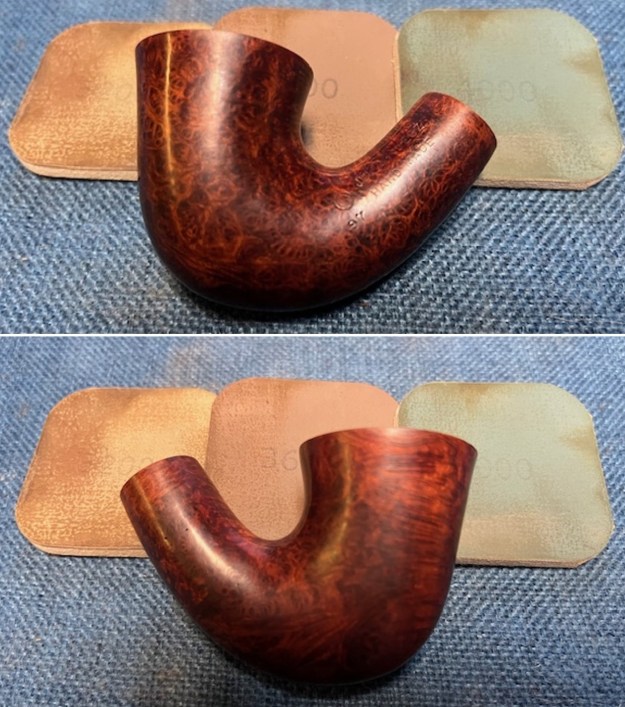
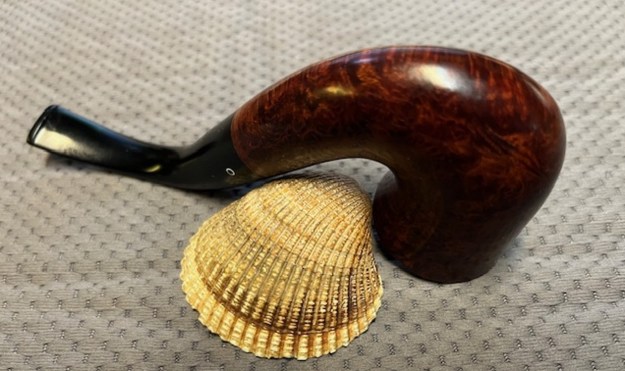
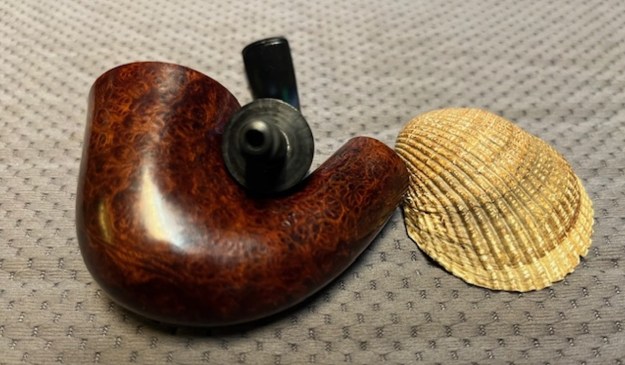
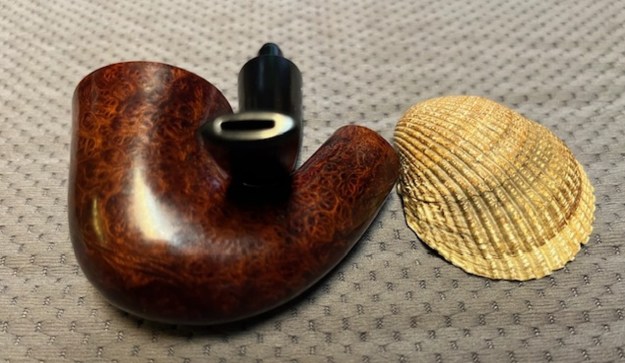
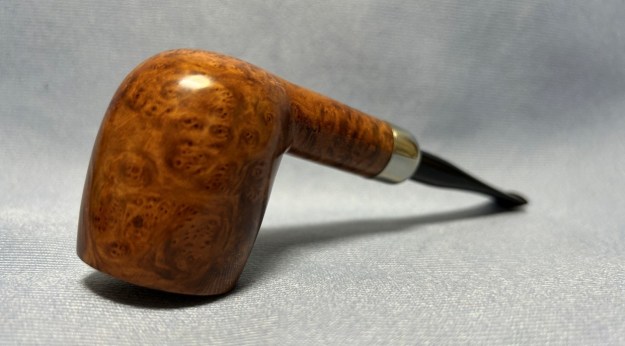
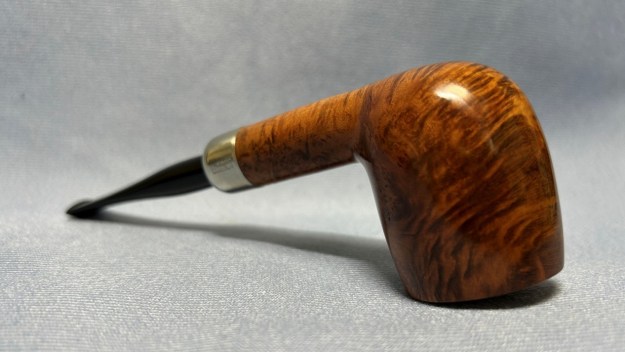
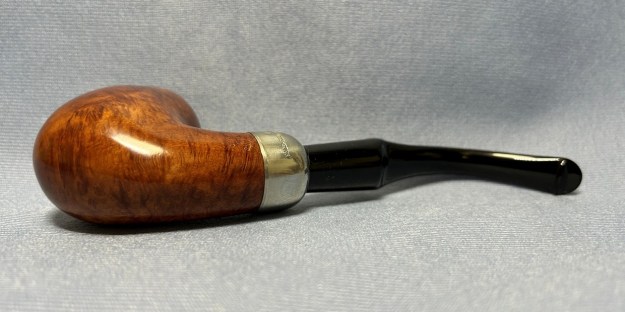
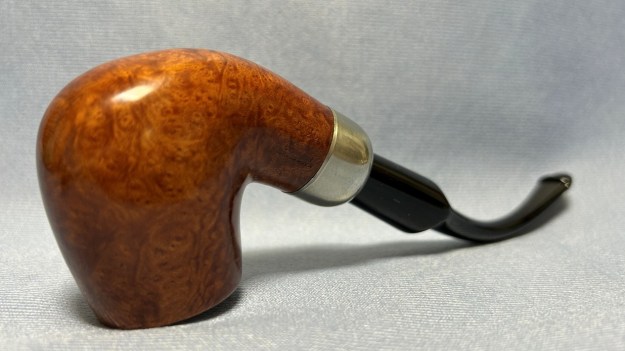
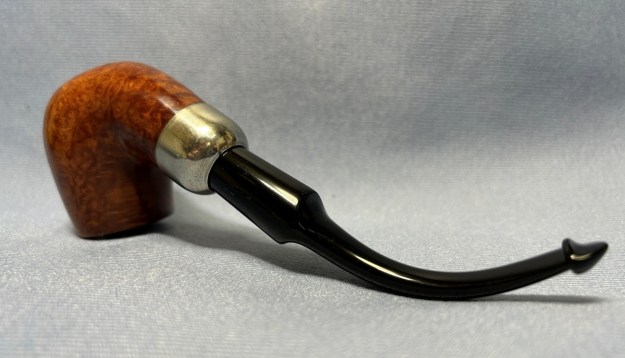
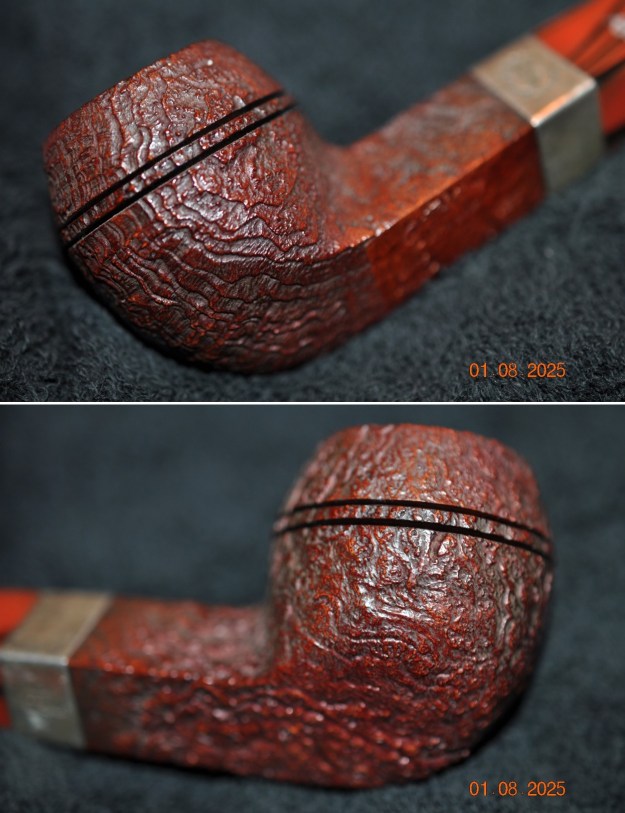
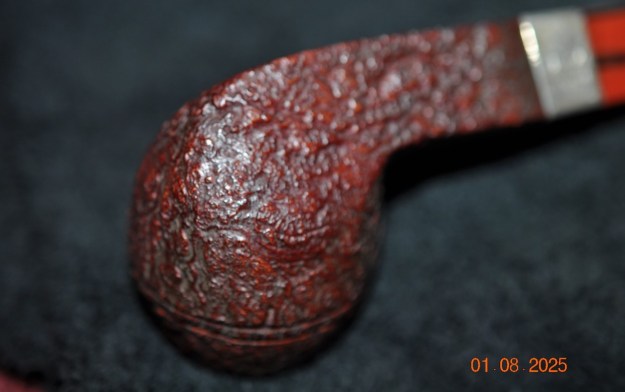
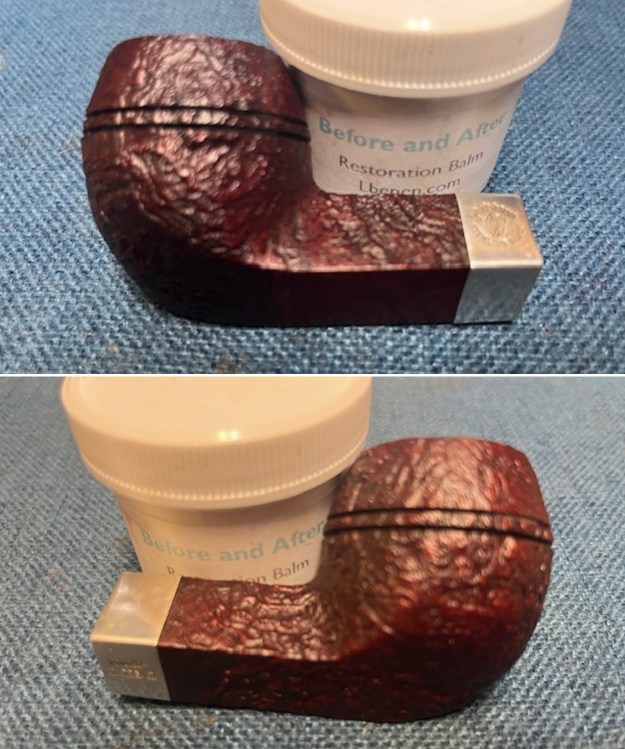
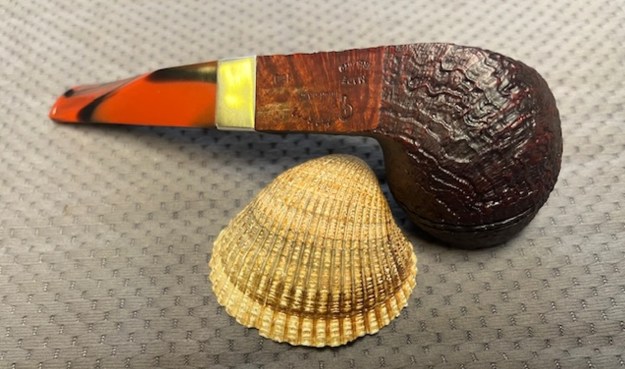
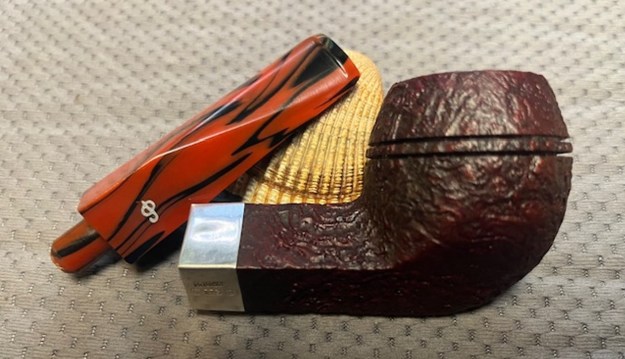
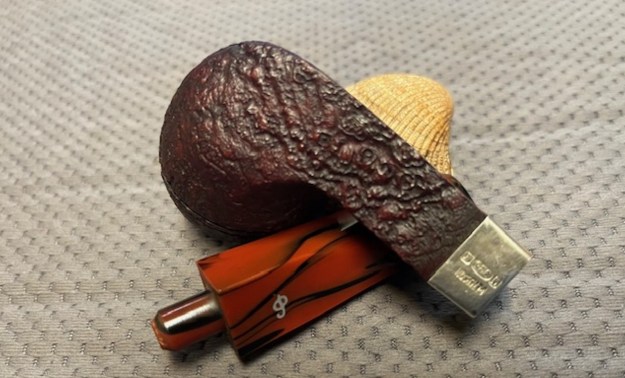
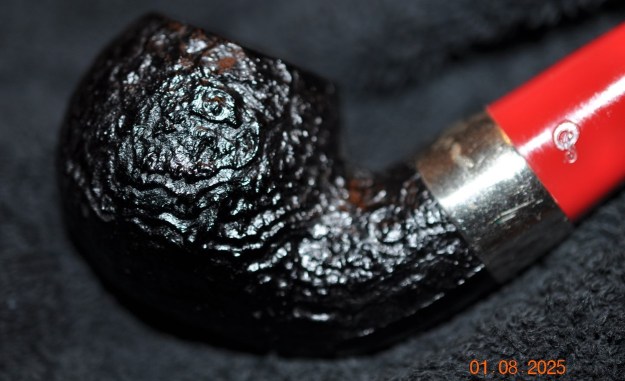
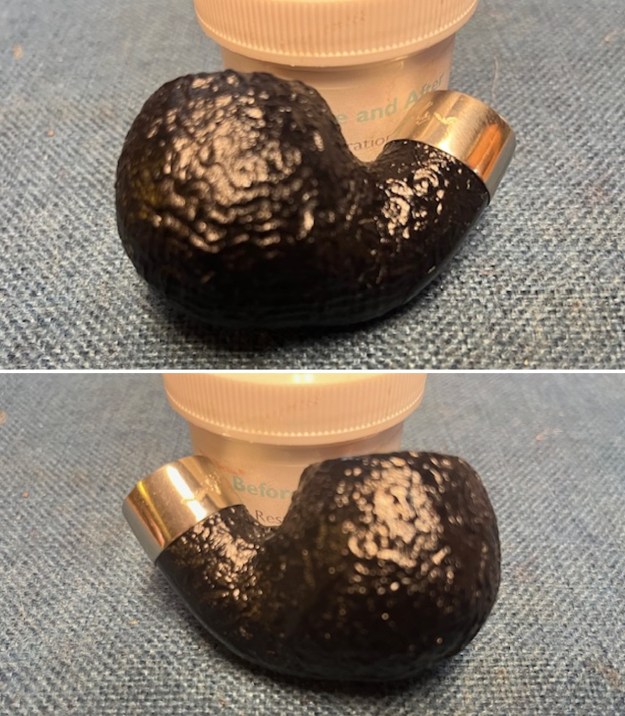
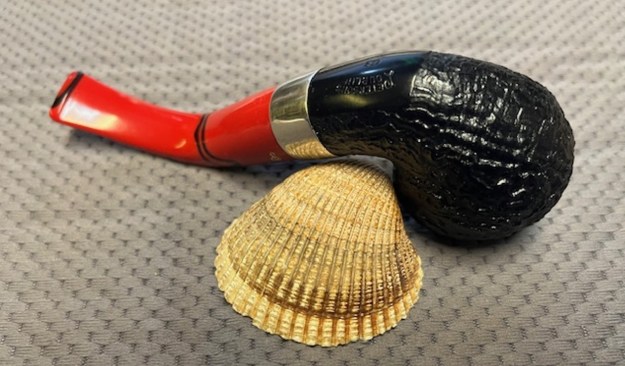
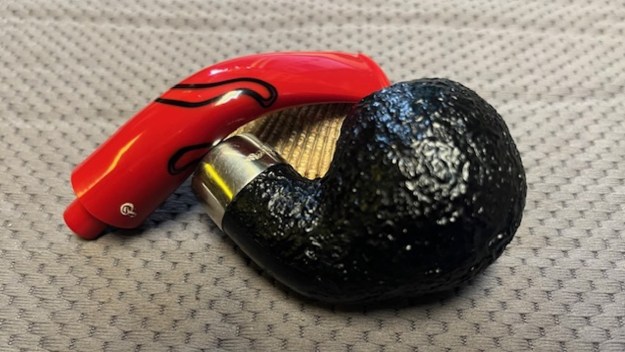
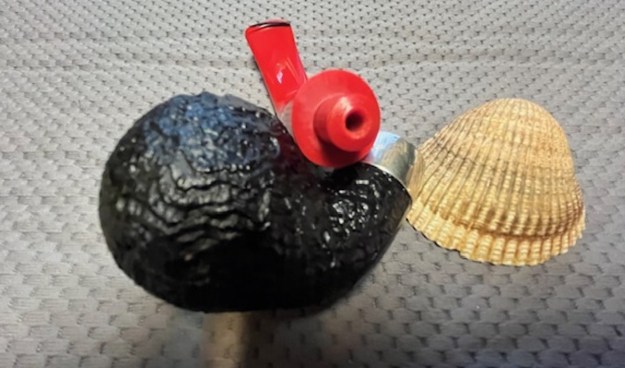
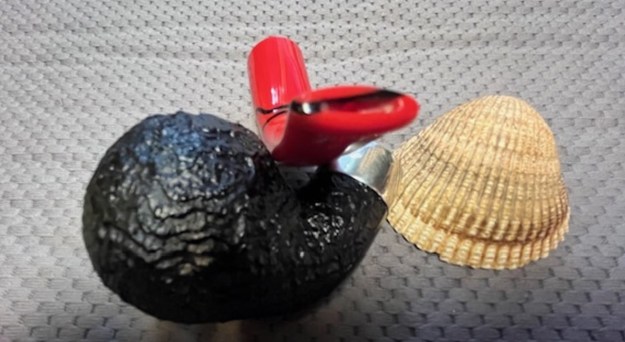
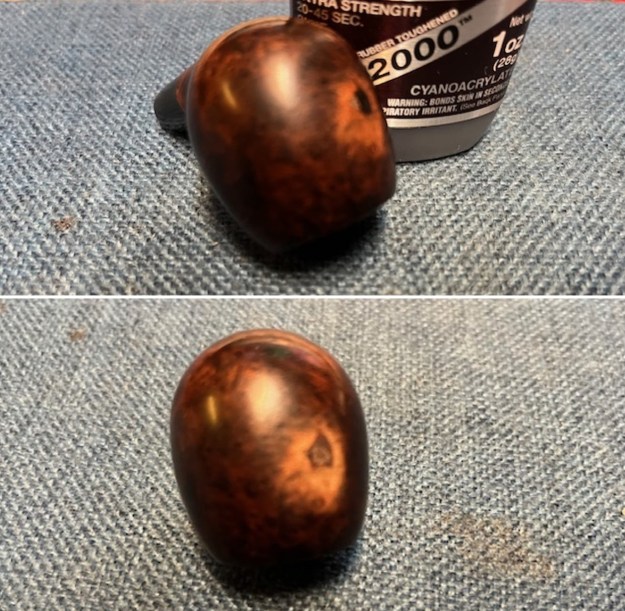
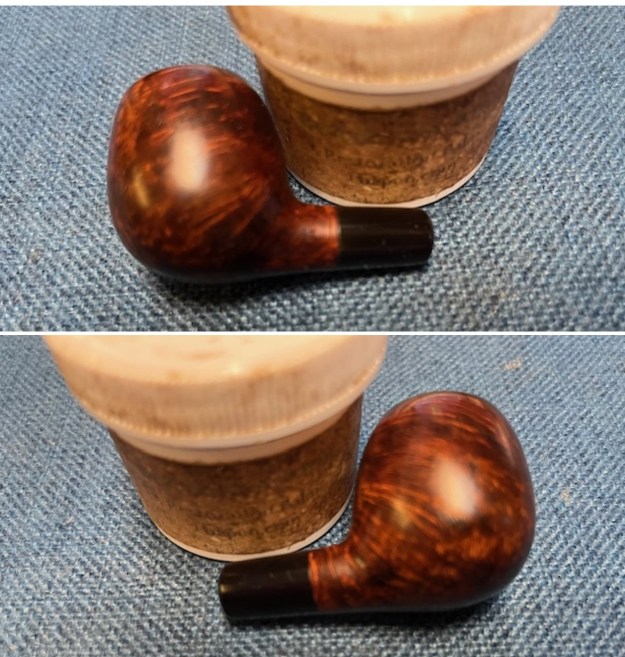
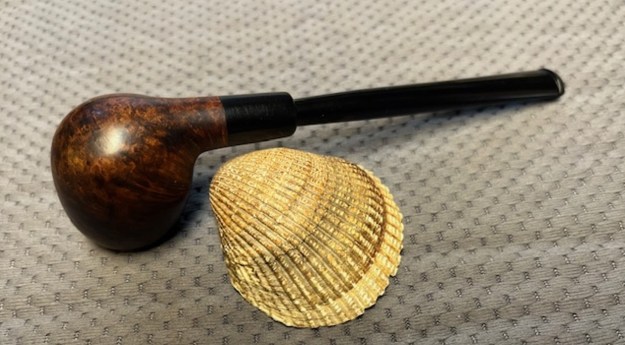
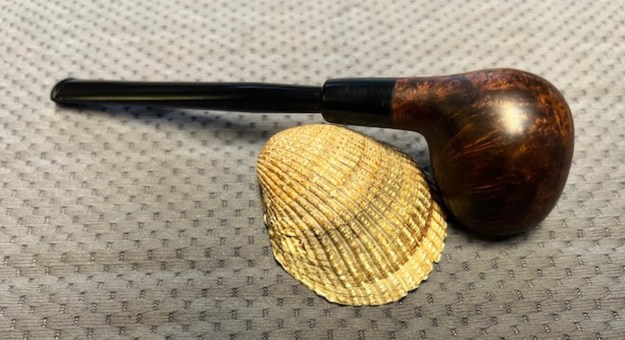
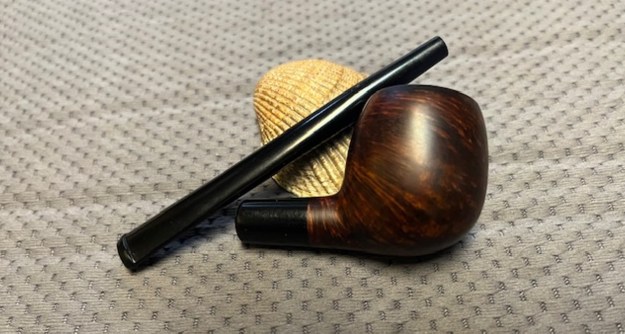
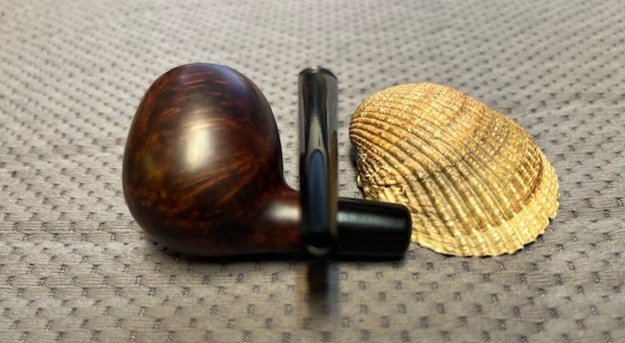
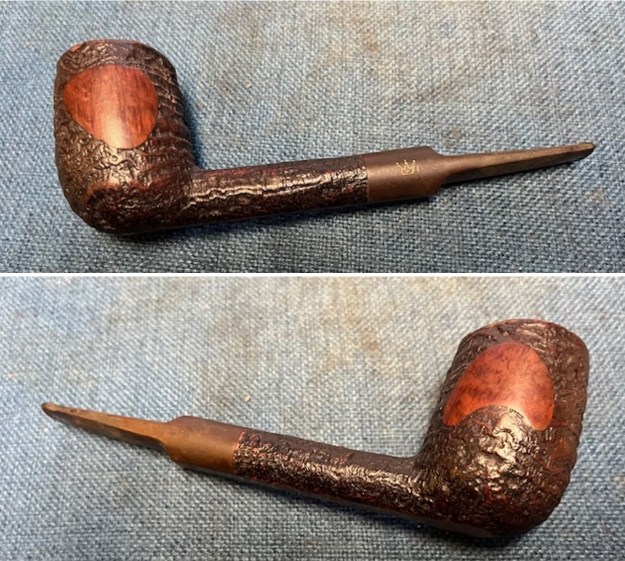
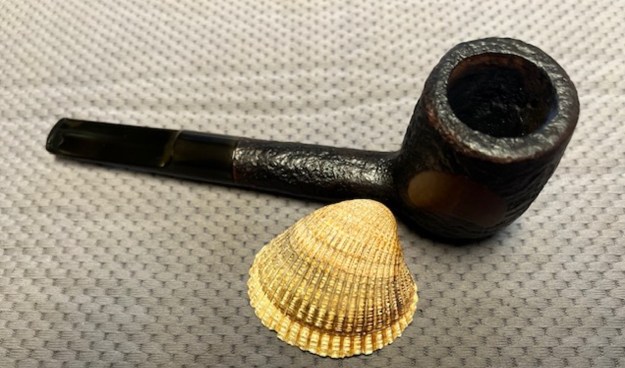
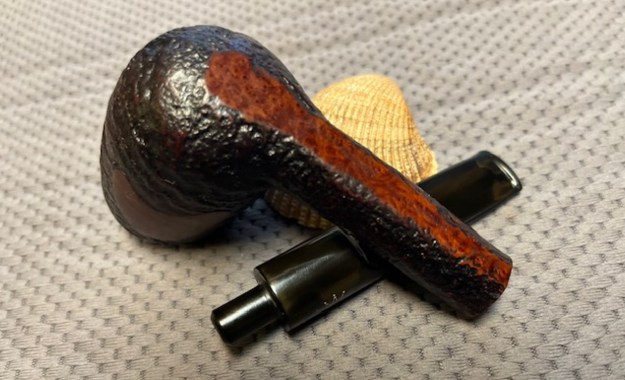
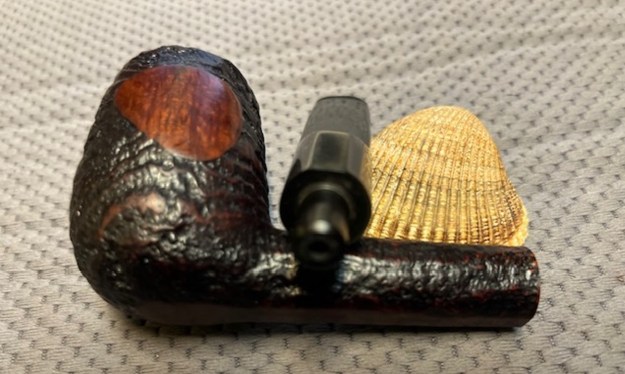
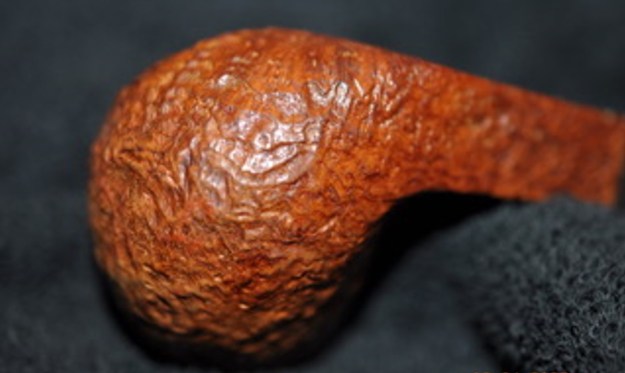
 Jeff took some photos of the sides and heel of the bowl to show the condition of the sandblast finish on the pipe. The photos showed some great grain around the bowl and shank even with the grime in the finish. It is a great looking piece of briar.
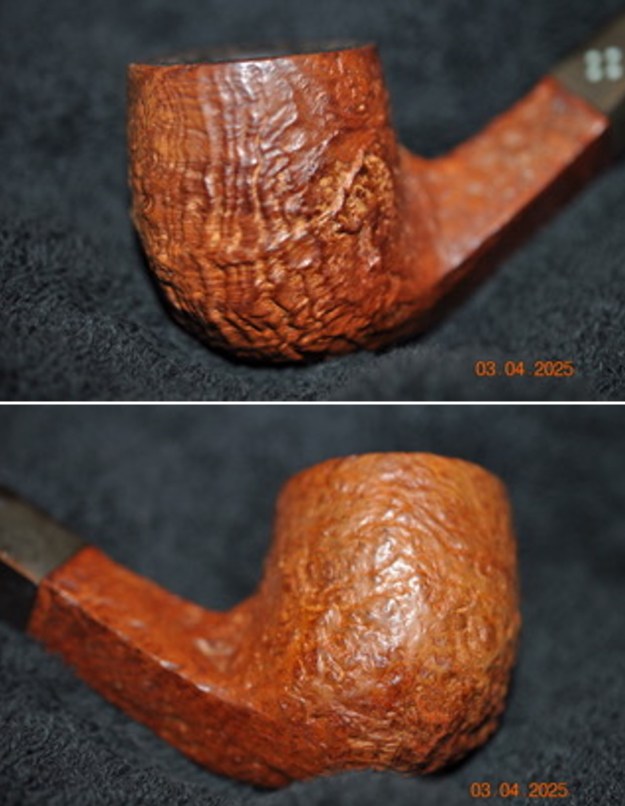
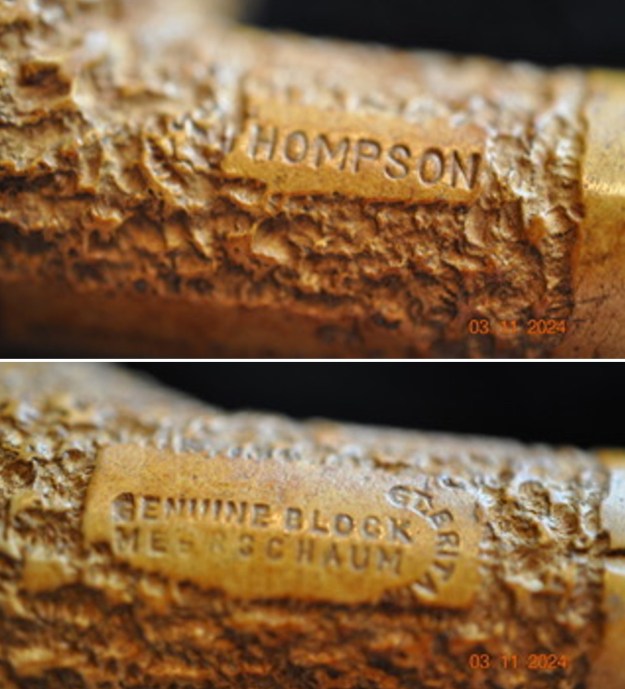
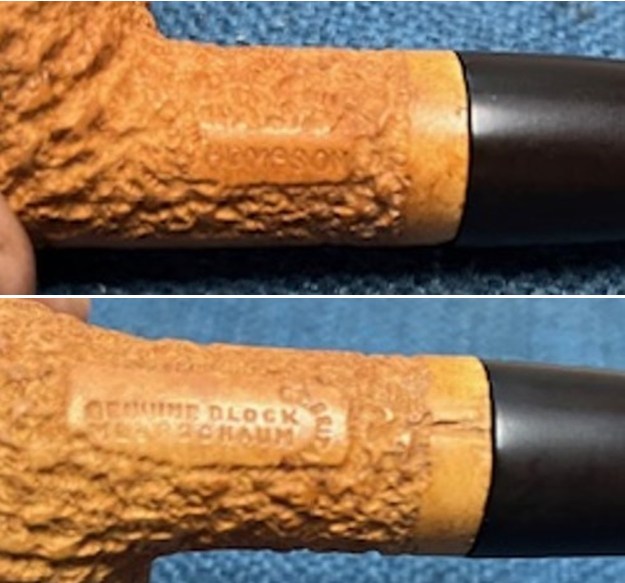
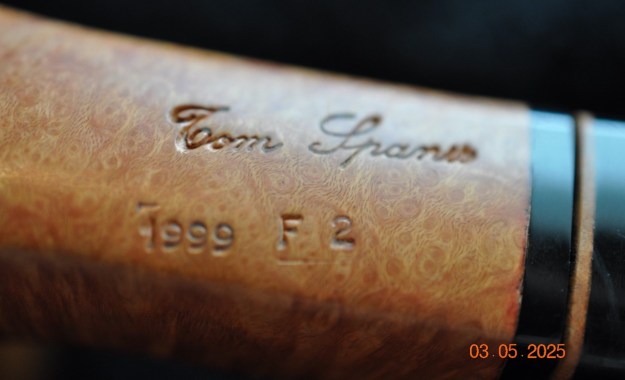
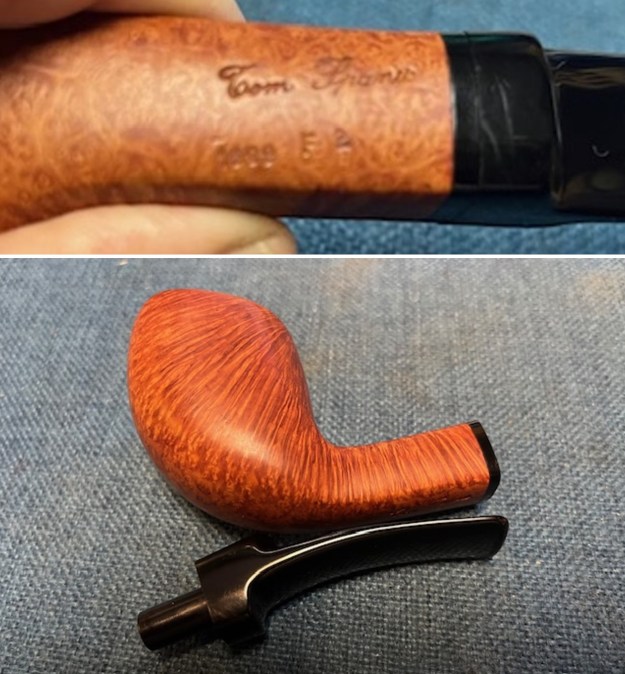
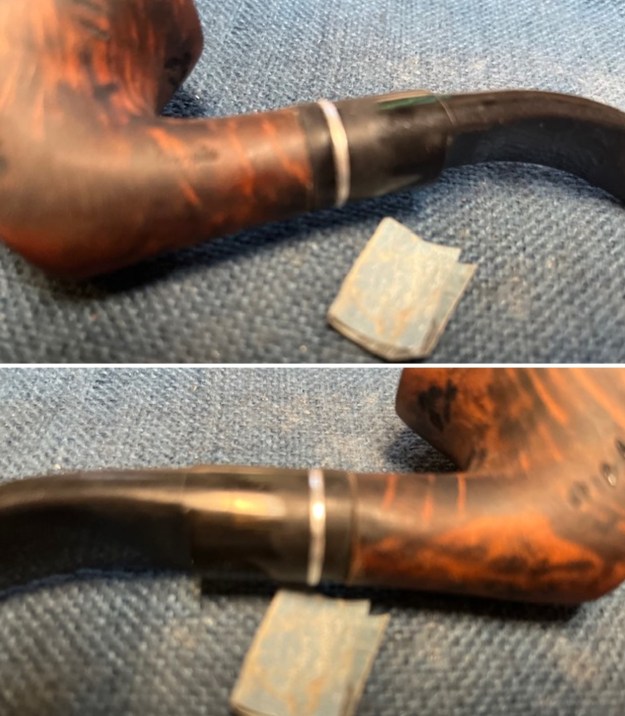
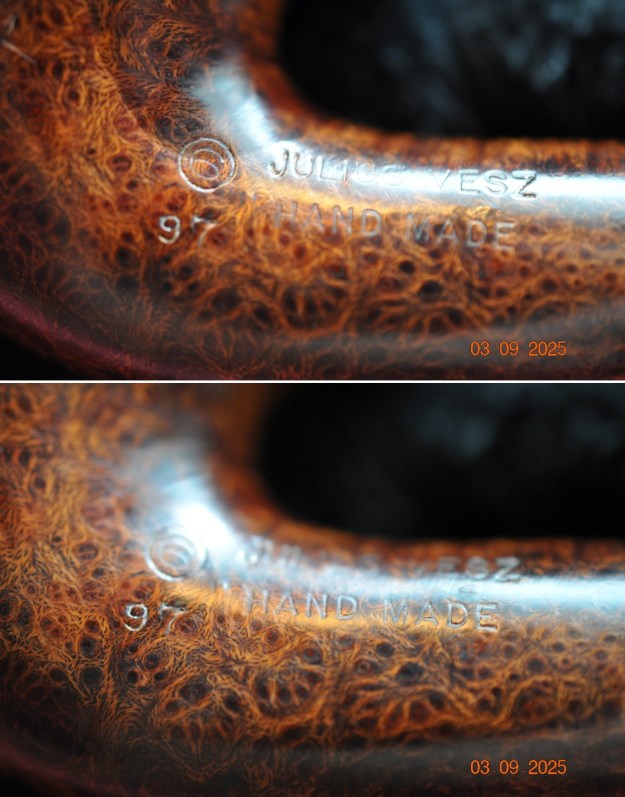
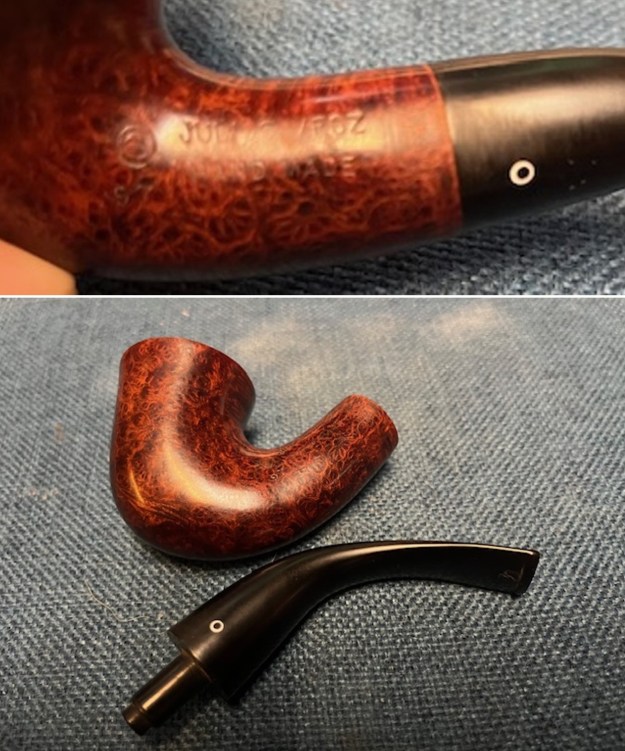
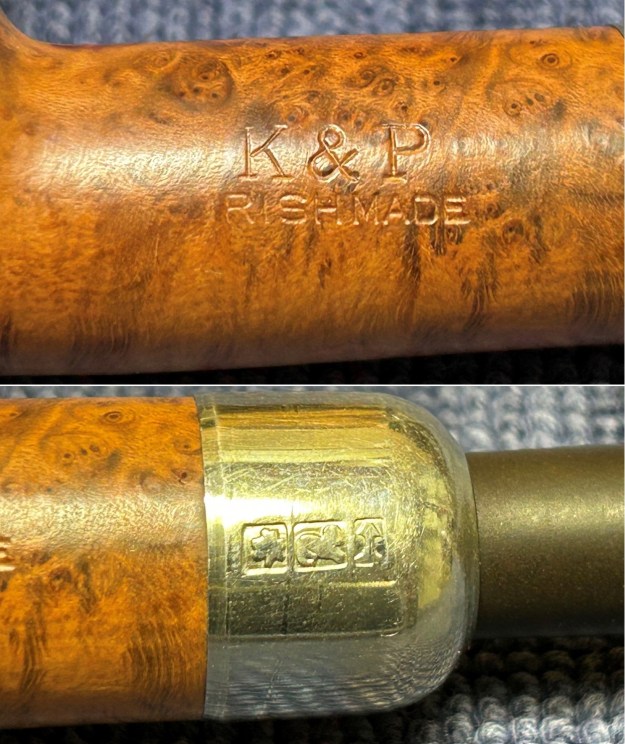
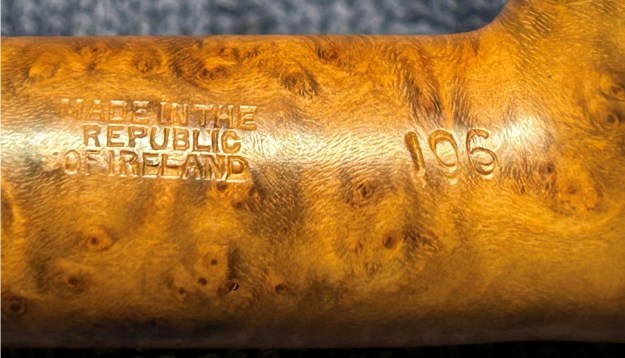
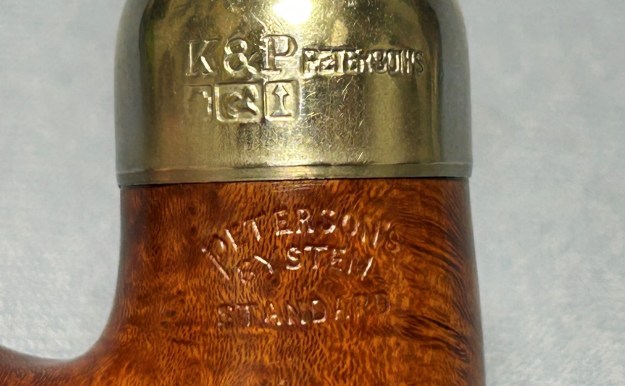
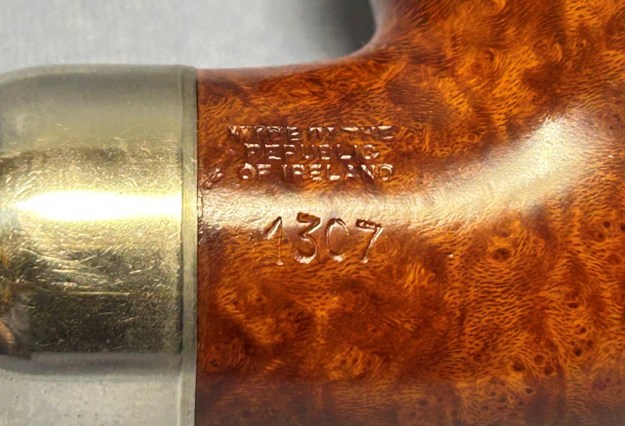
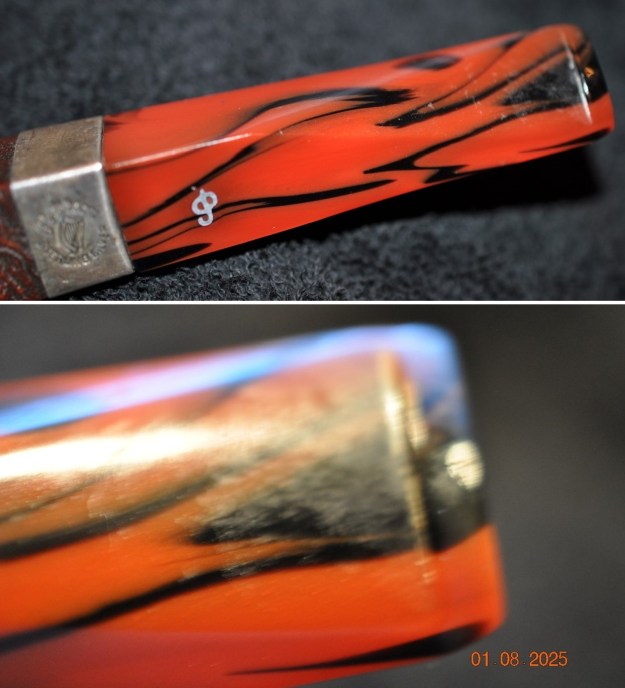
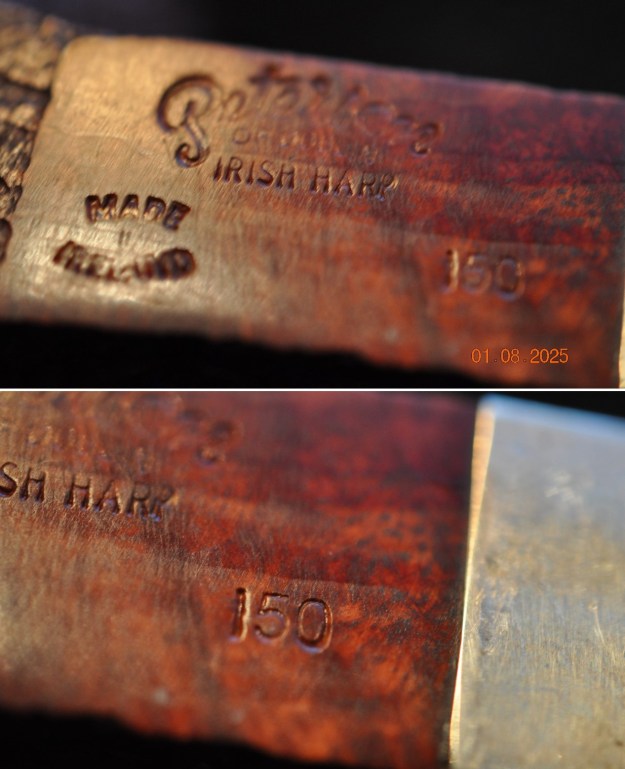
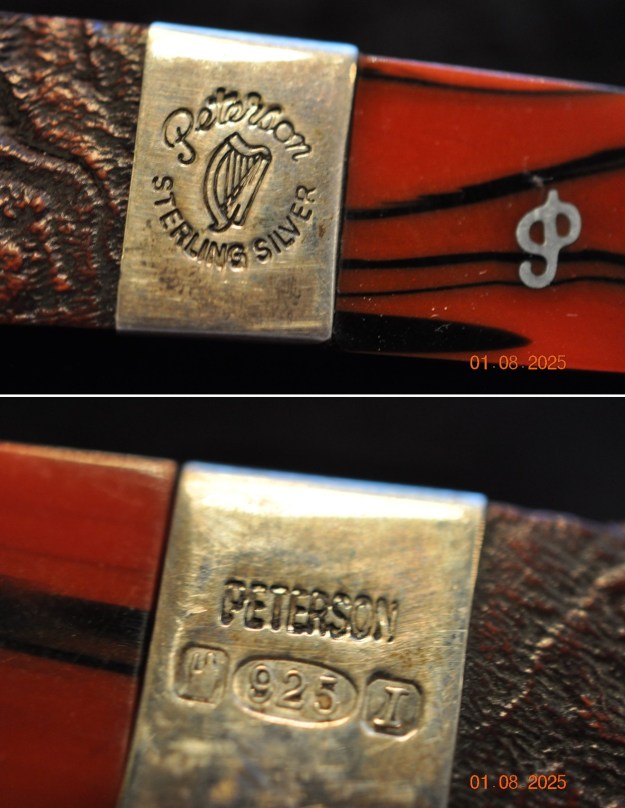
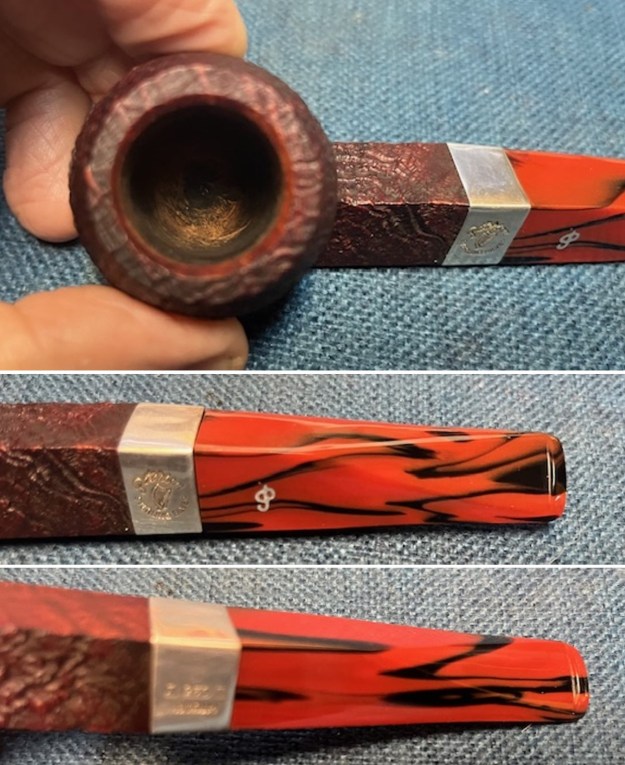
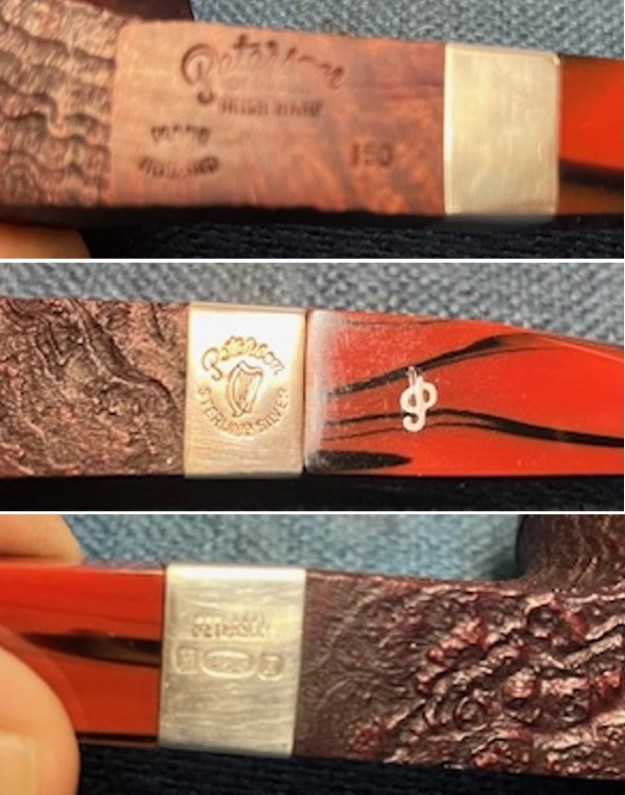
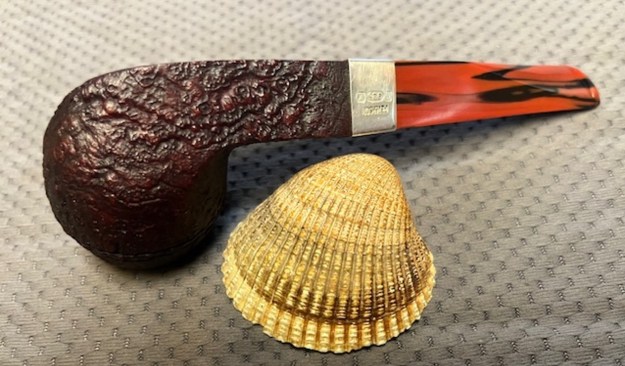
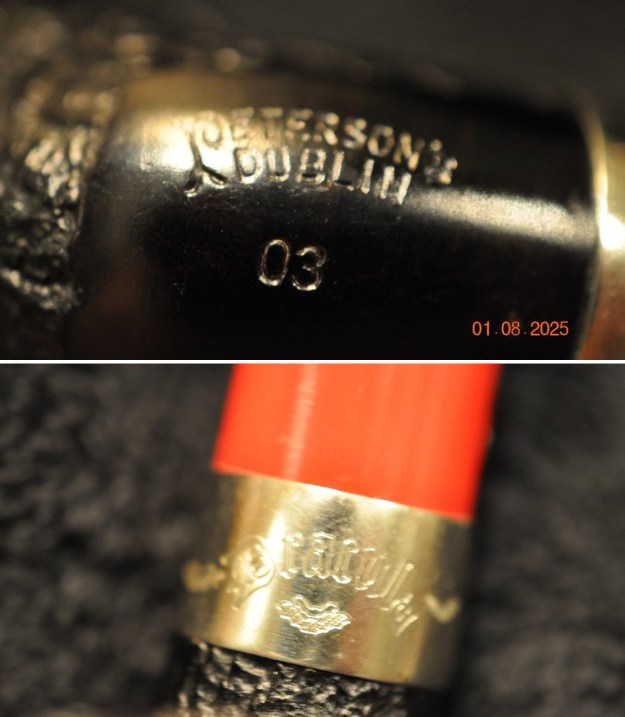
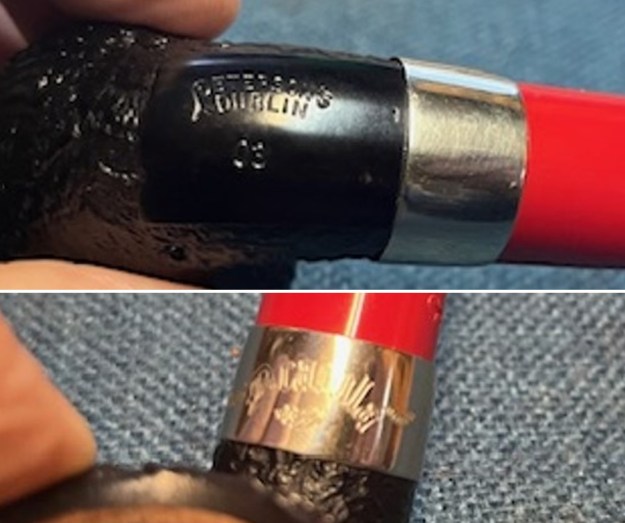
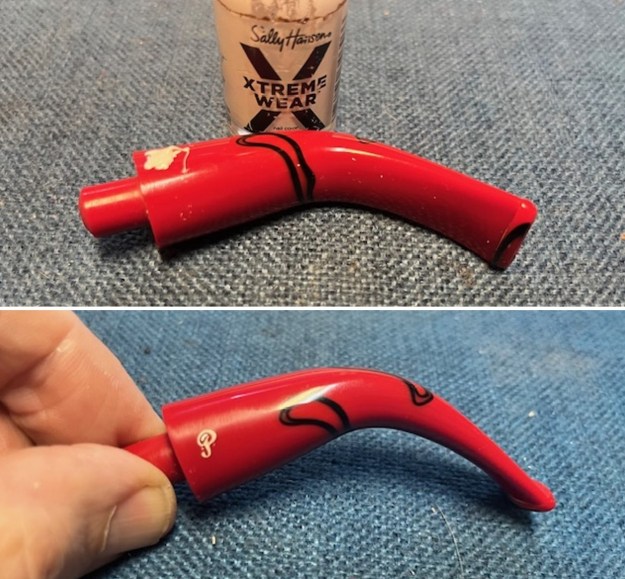
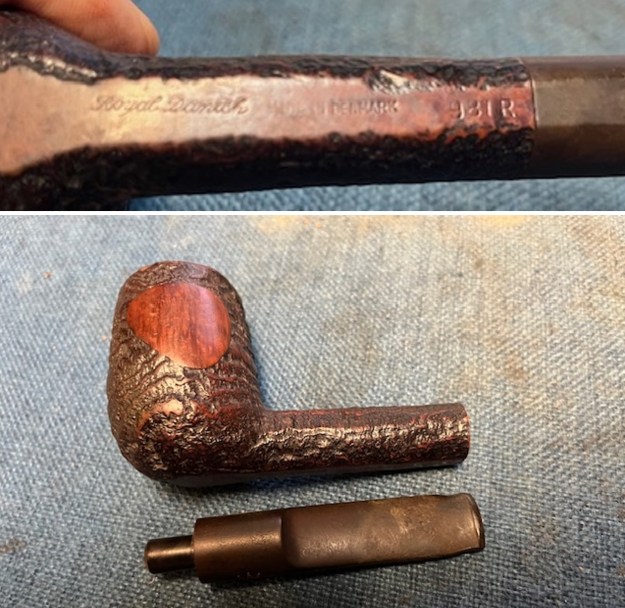
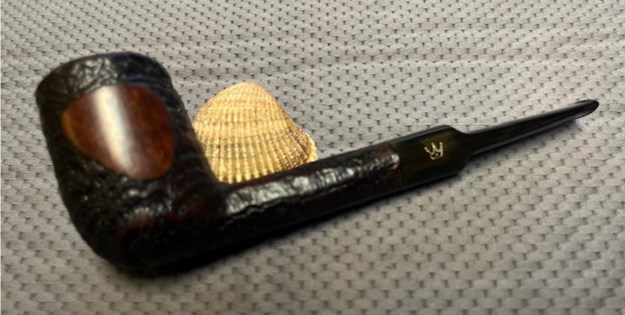
 He took a photo of the stamping on the left underside of the diamond shank. It was clear and readable as noted above. He also photographed the 4 dot pattern on the side of the stem.
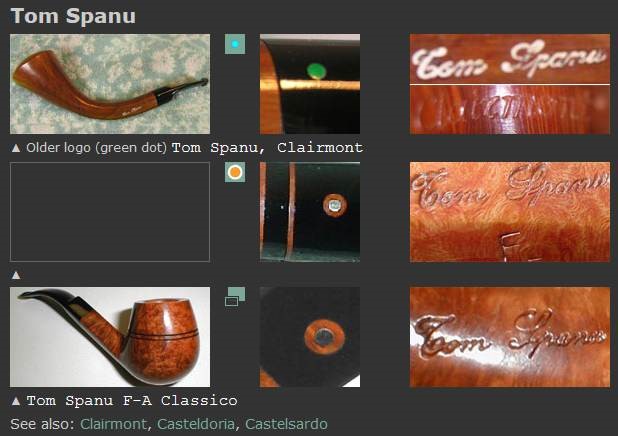
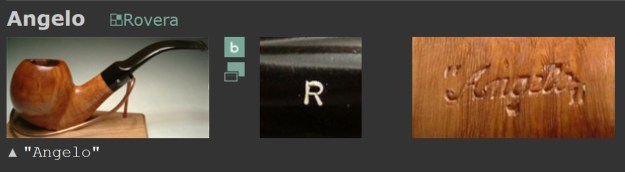
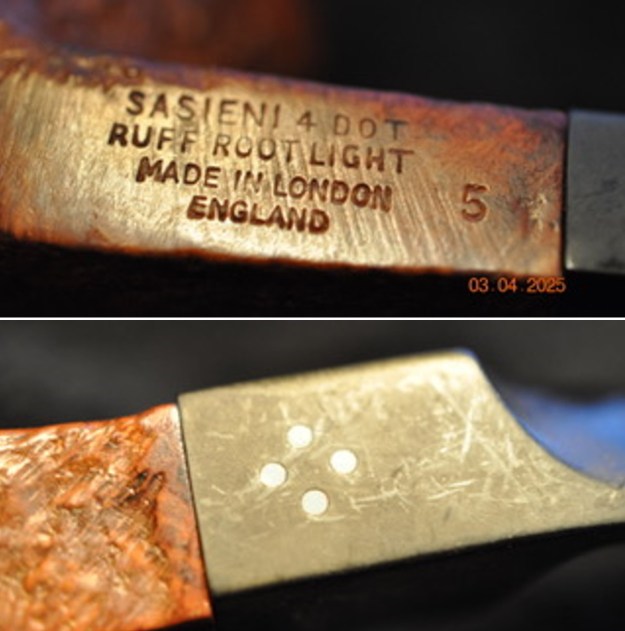 I decided to do some work on the stamping of this pipe to get an idea of the time period it was carved. I turned first to Pipephil’s site to see what I could learn (http://pipephil.eu/logos/en/logo-sasieni.html). I found a pipe that was shaped and stamped similarly to the one I am working on. It is stamped on the underside of the shank and reads like the first two lines on the one in the screen capture photo below. Mine is stamped the same way Sasieni in upper case letters without the flourish. It is followed by 4 DOT [over] Ruff Root Light [over] 5. I included the side bar notes below the picture. From that I knew that the pipe was made during Post-transition Period 1986-today.
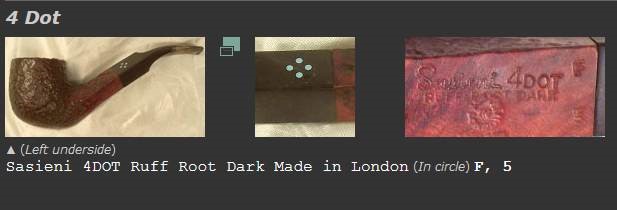 Post transition, 1986 – today, “4 dot”. Ruff Root Dark: Name for a sandblasted finish. Notice the 4DOT stamping replacing the FOUR DOT from 1986.
I then turned to Pipedia for more detailed information (https://pipedia.org/wiki/Sasieni). I quote a section of that article below. It refers to the Patent Number that is on the pipe I have on the table. The underlined portion below is particular pertinent to this pipe.
To begin with, there are three main elements to dating the Sasieni pipe, the patent number, the style of the name “Sasieni” as it appears on the shank, and the Dots themselves. Naturally, there are exceptions to these rules (this hobby would be boring without them), but for the most part these guidelines apply better than 95% of the time. All Sasieni One, Four, and Eight Dot pipes made before W.W.II and destined for the U. S. market carried a patent number on the shank which usually started with the numbers “15″, with 150221/20 and 1513428 being representative of the group. Also, the name “Sasieni” was stamped on the shank in a very florid manner, with the tail of the last “i” sweeping underneath the name forming a shape which has been compared to a fish by more than one collector. This script was discontinued by Alfred almost immediately after he took over the company, so this alone tells you your pipe is pre W.W.II. Underneath in block lettering are the words “London Made”, with the patent number making the third line…
…The nomenclature changed again in 1986, with the sale of the company to the Post-Transition firm. The three line nomenclature was changed to two lines, with the first reading “Sasieni 4 Dot” and the second identifying the finish, e.g. Natural, Walnut, or Ruff Root. Note how 4 Dot is spelled, using an Arabic numeral 4, as opposed to spelling out the word “four”. This is the easiest way to spot a Post-Transition Sasieni, as the new company has used both script and block lettering to spell the word “Sasieni” on the shank.
The pipe I have is one that does not have a flourished “i” as that was discontinued by Alfred so that confirms that the pipe was made Post-transition, 1986 forward. The stamping shows the Sasieni name and the 4 Dot stamp on one line. Underneath it bears the finish Ruff Root Light stamp. With all that information I knew that my pipe was from the period after the transition (Post Transition) so it was a newer one.
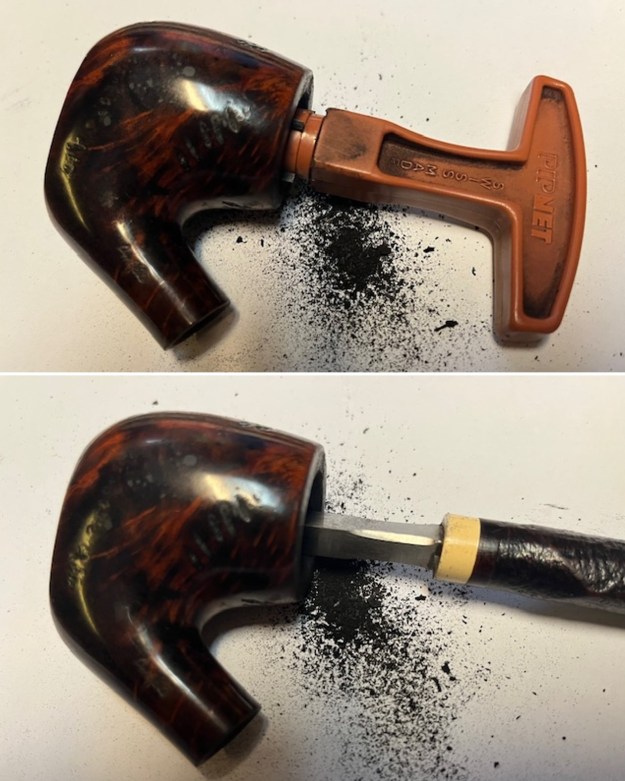
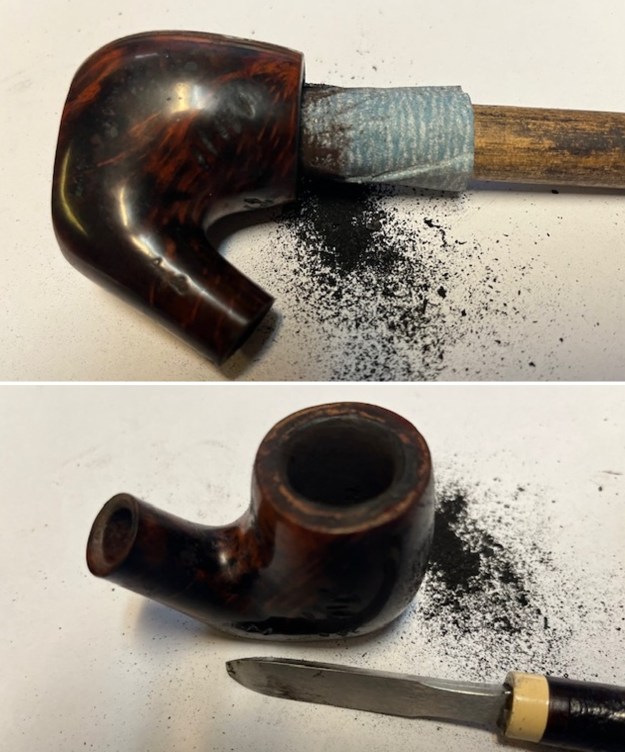
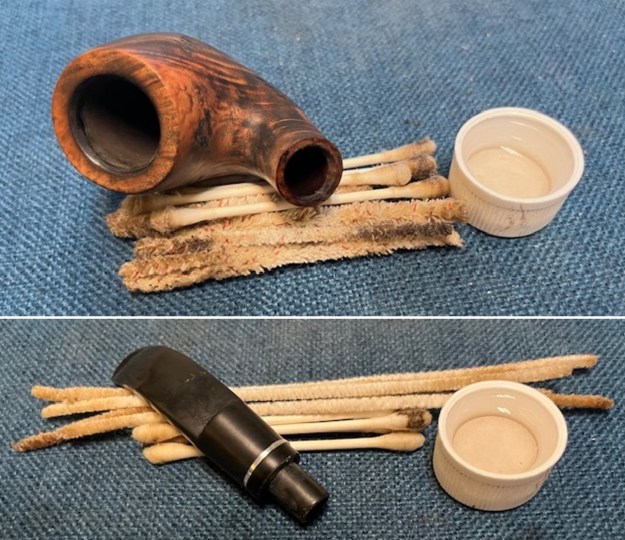
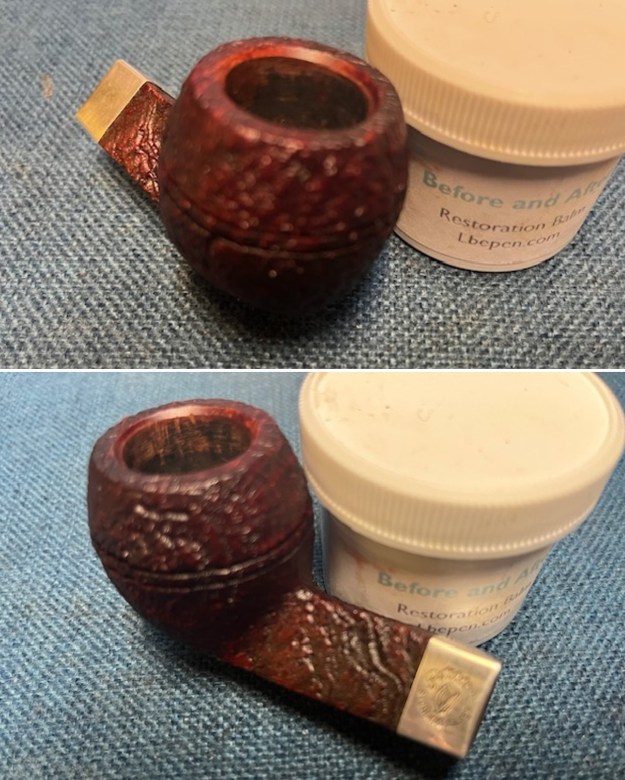
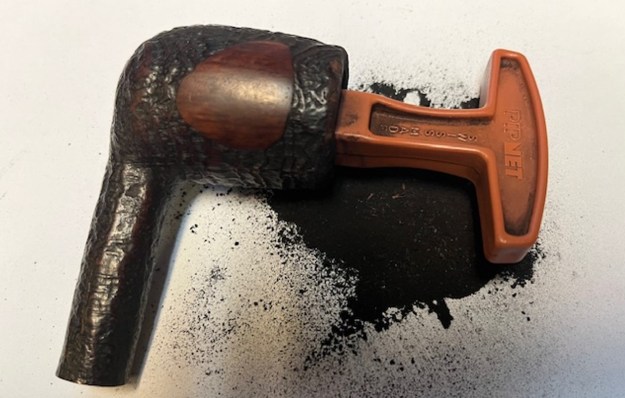
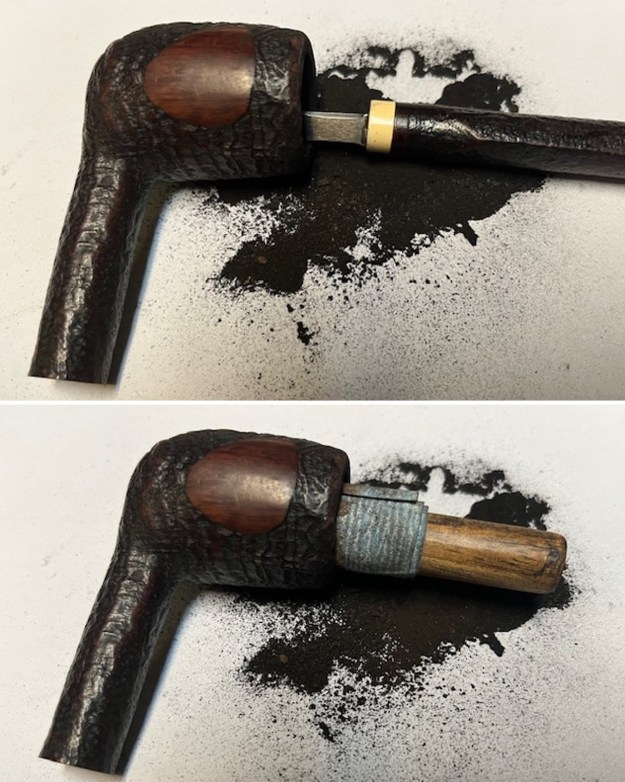
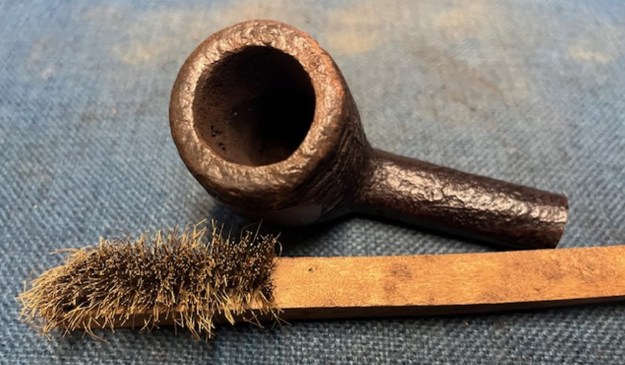
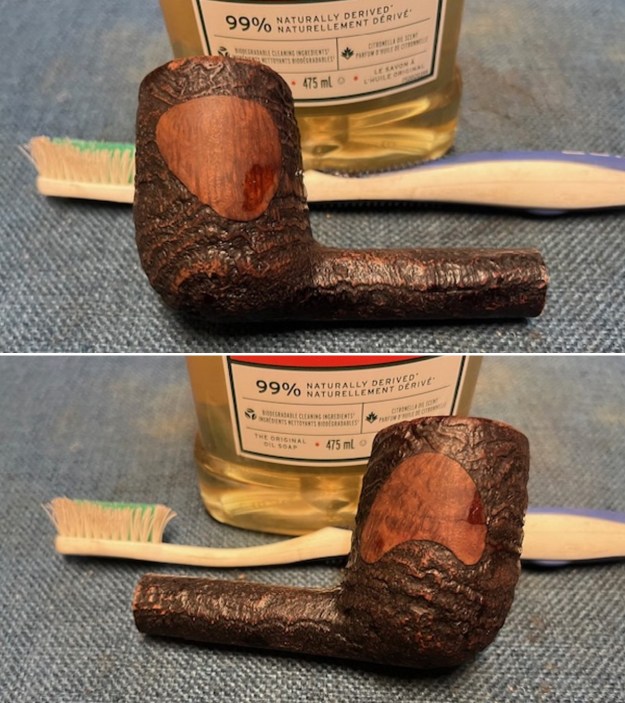
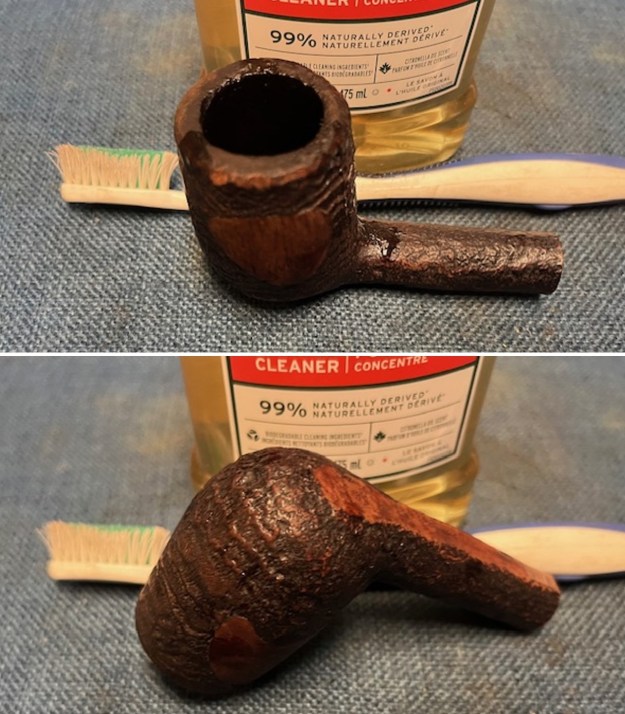
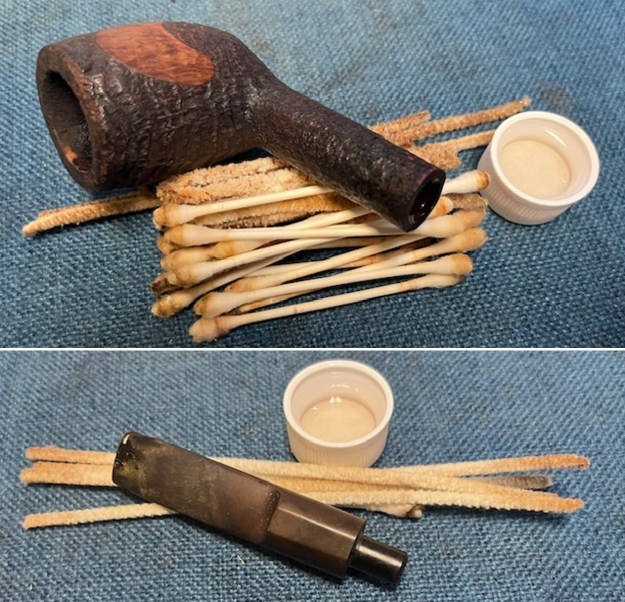
Since Jeff always follows the same pattern of work in his cleanup we do not include photos but rather just a simple summary. Jeff reamed the bowl with a PipNet pipe reamer and followed up with a Savinelli Fitsall pipe knife to remove the cake. He scrubbed out the mortise and the airway in the shank and the stem with alcohol, cotton swabs and pipe cleaners. He scrubbed the exterior of the bowl, rim, shank and stem with a tooth brush and Murphy’s Oil Soap to remove the oils and tars on the rim and the grime on the finish of the bowl. He rinsed it under running water. He dried it off with a soft cloth. He was able to remove the lava build up on the rim top and you could see the damages to the top and edges of the rim. I think this pipe may well been before we worked with Mark Hoover’s Before & After Deoxidizer so he cleaned the internals and externals. The stem was clean but lightly oxidized. I took photos of what the pipe looked like when I brought to my worktable. 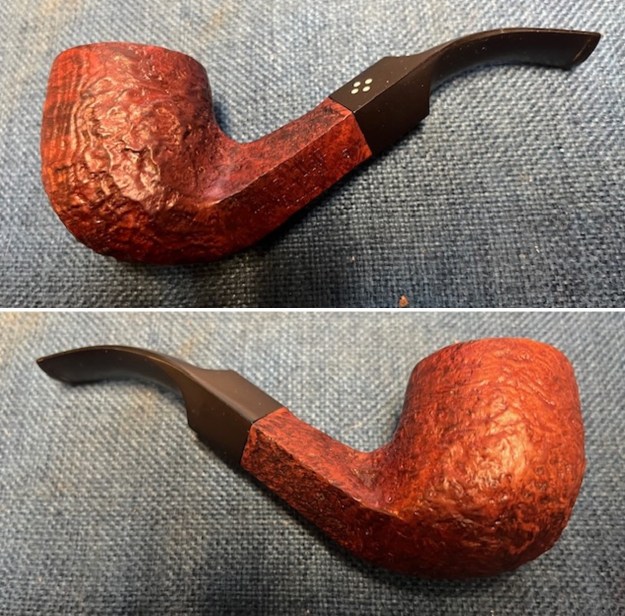
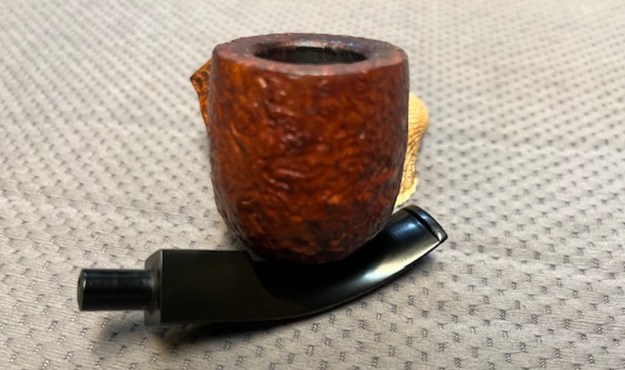
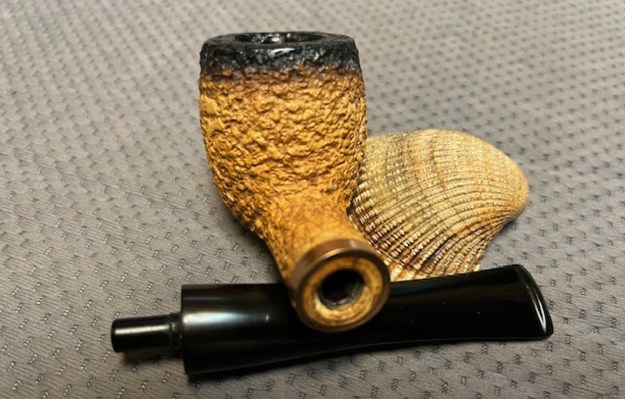
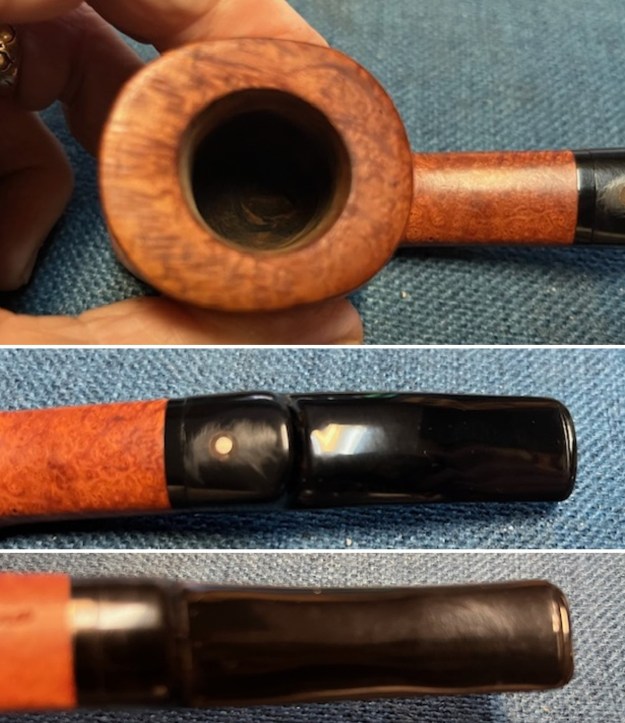
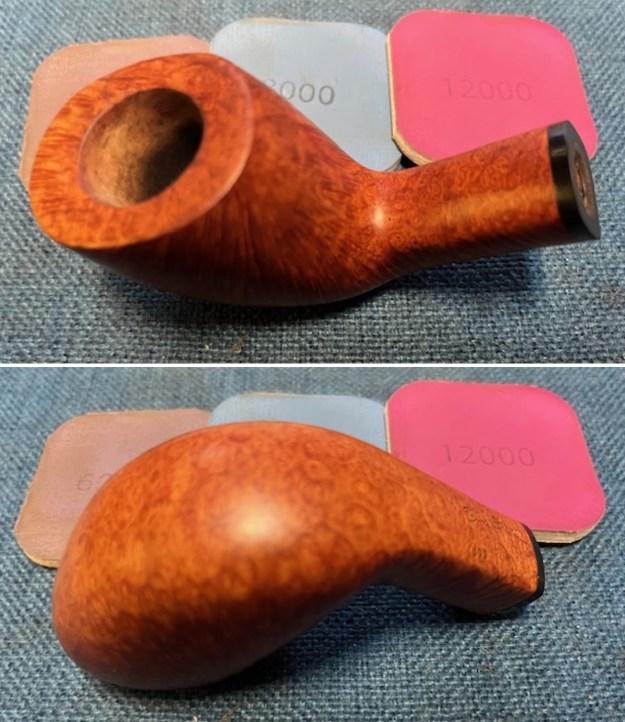
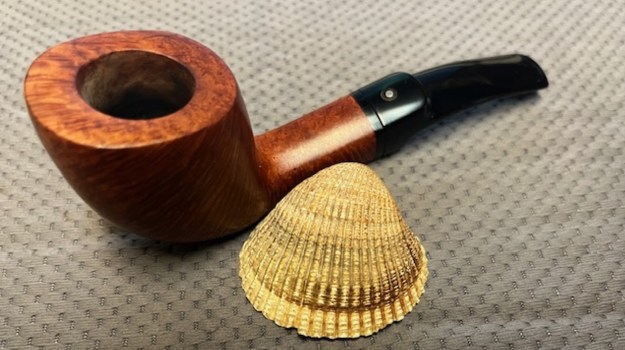
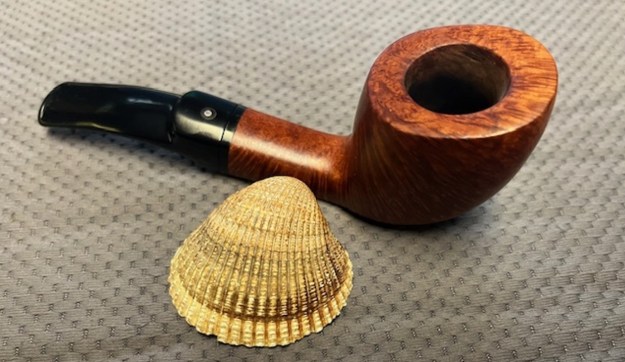
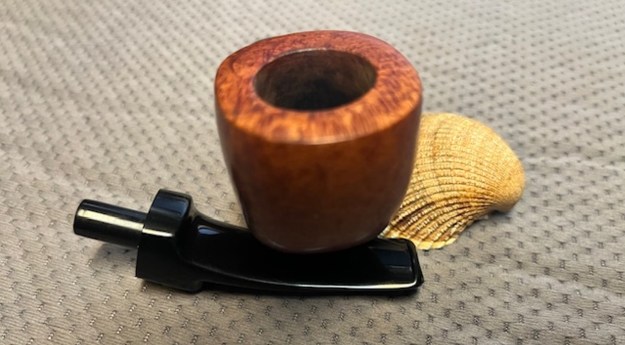
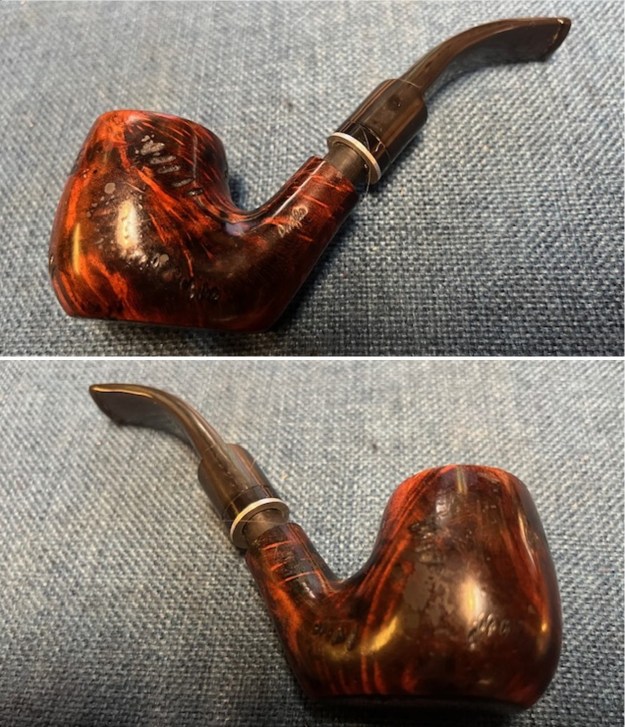
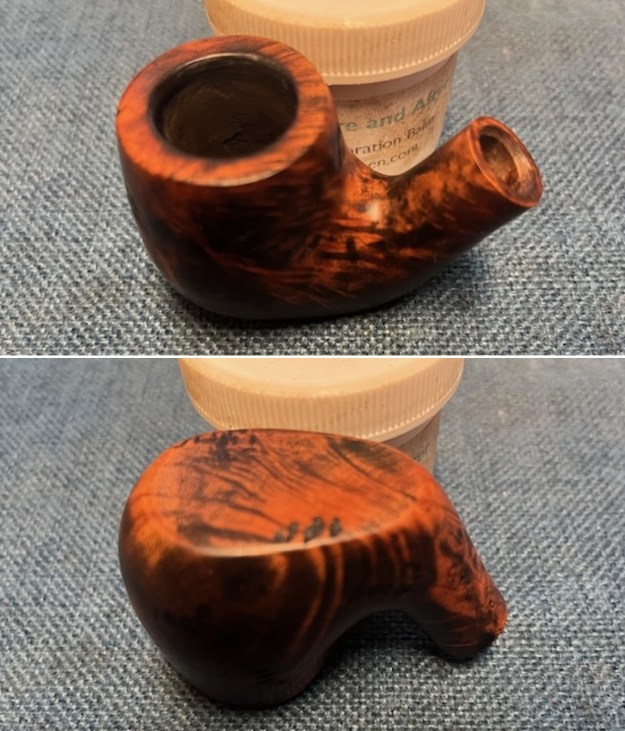
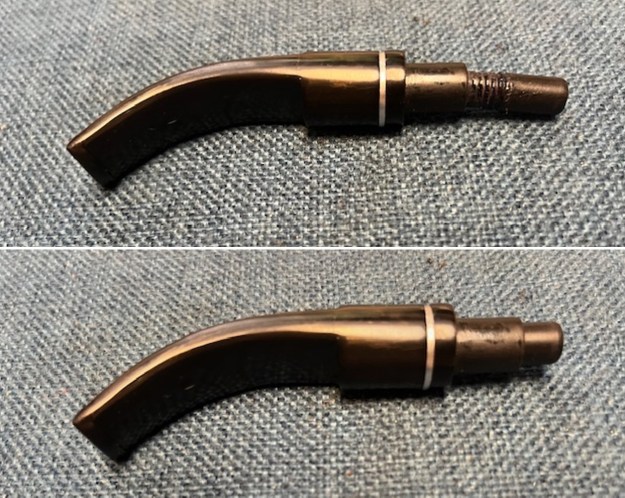
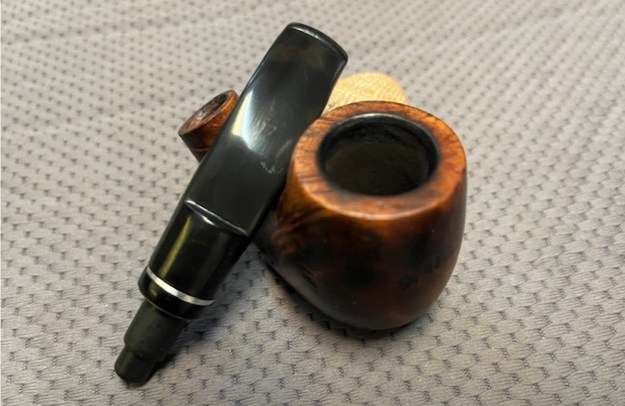
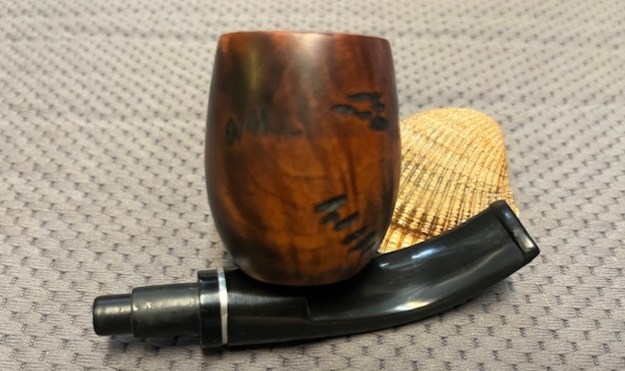
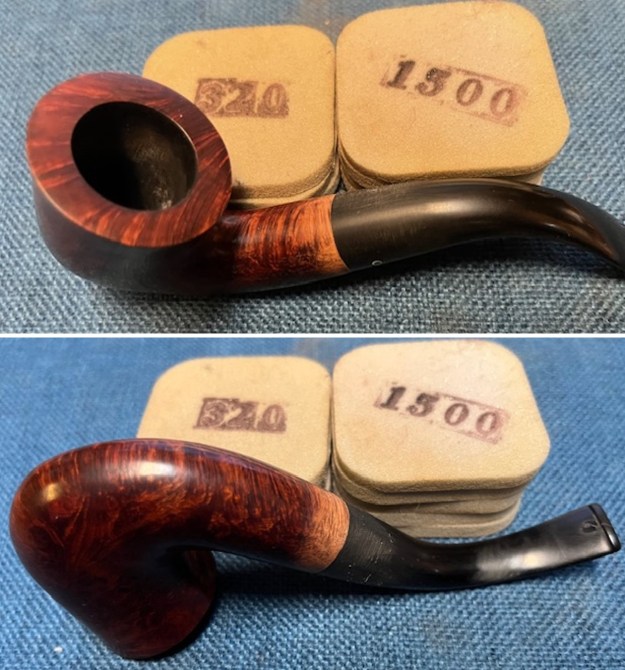
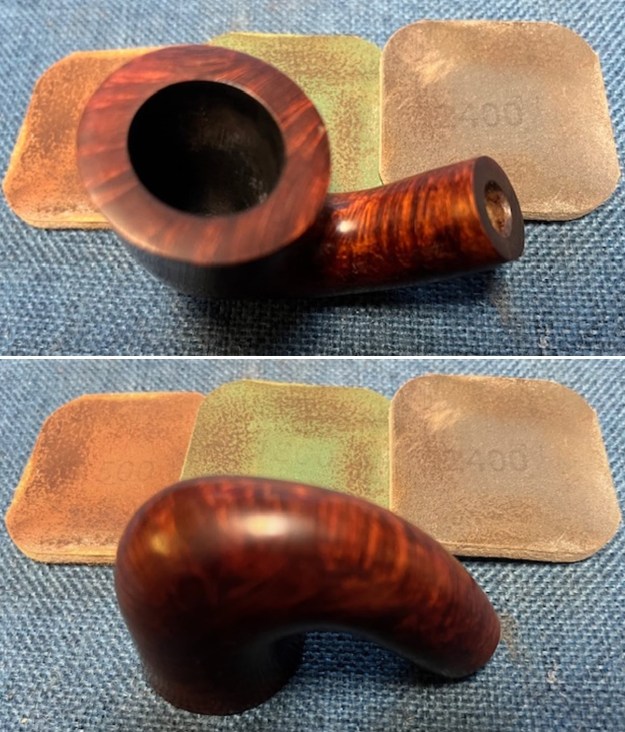
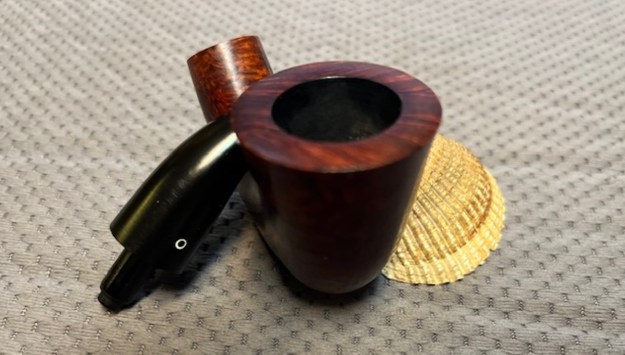
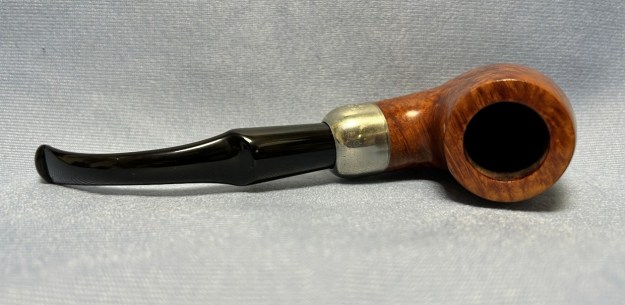
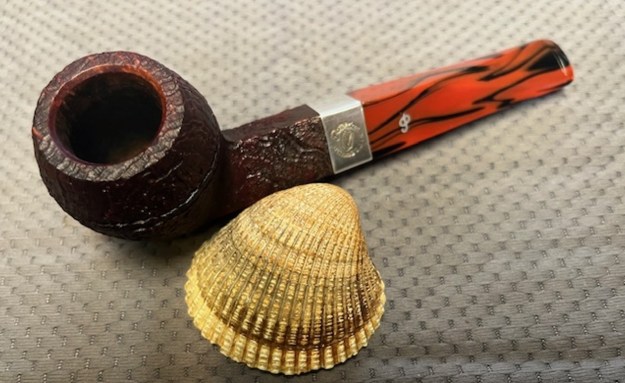
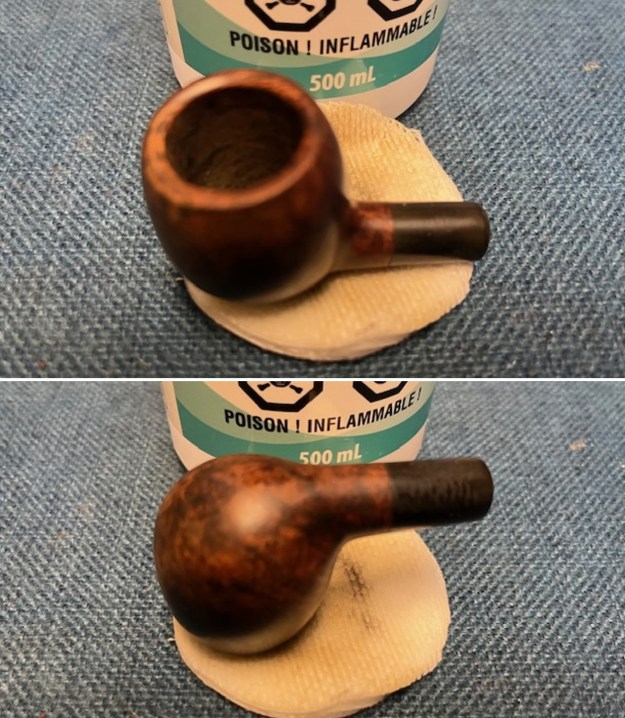
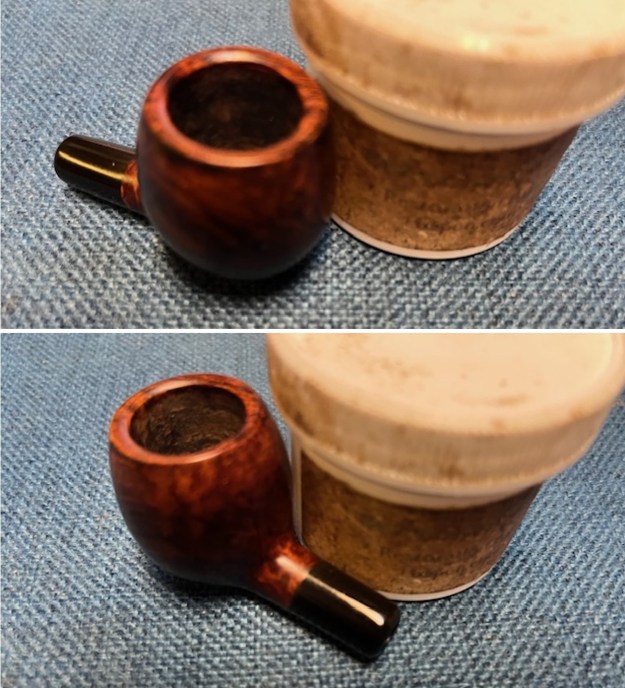
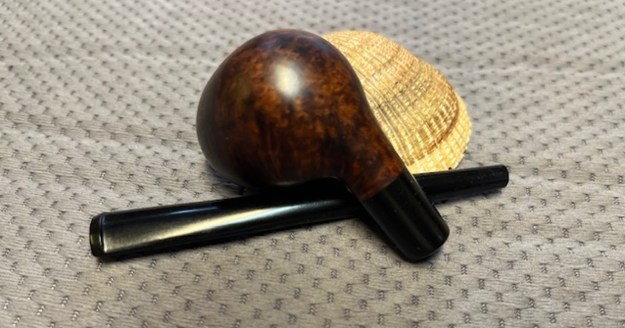
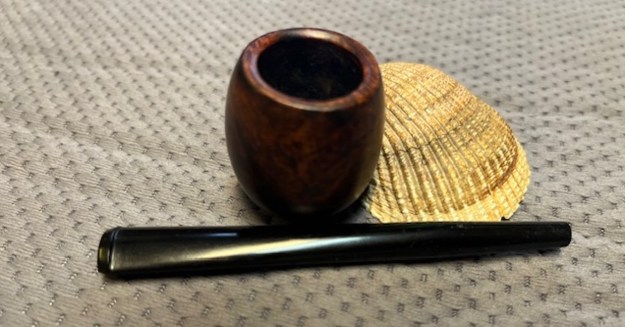
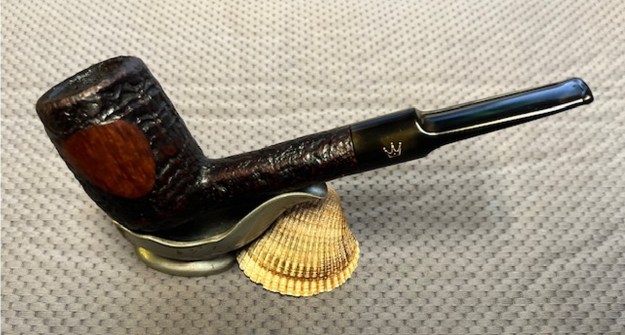
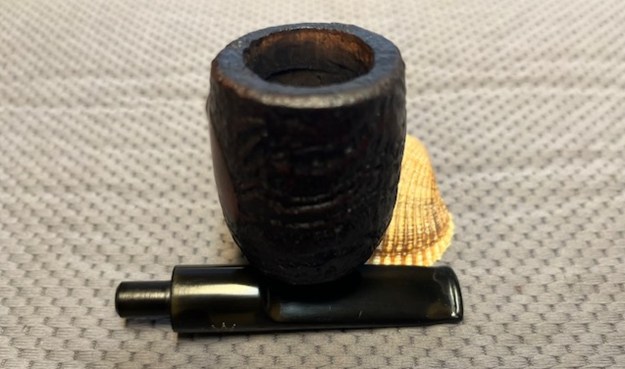
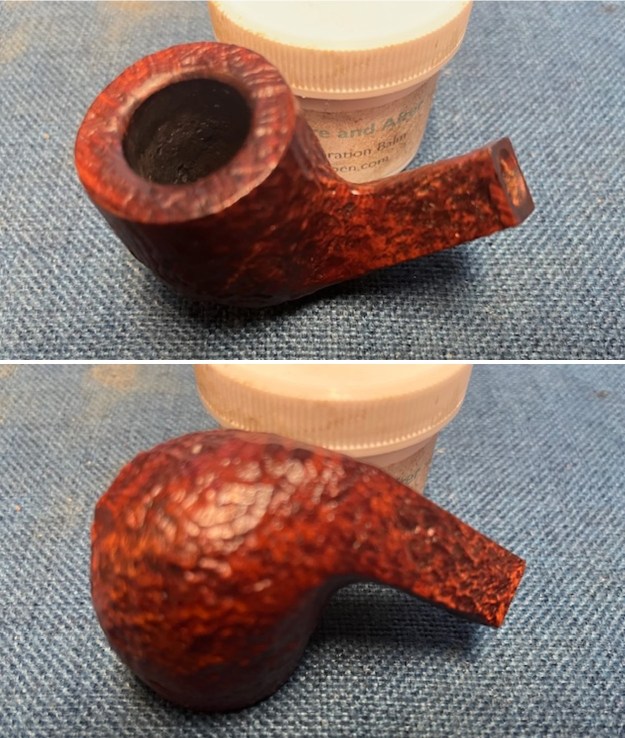
 I took close up photos of the bowl, rim top and stem to show how clean the pipe was. The bowl was clean and the rim top and the inner edge look beautiful. The stem was clean and the tooth marks on the topside are visible. The chatter is light and hardly visible.
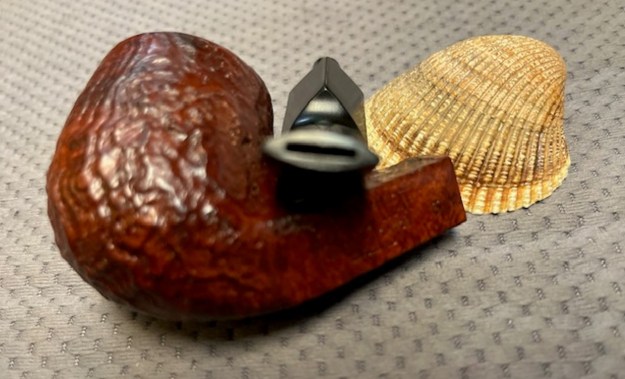
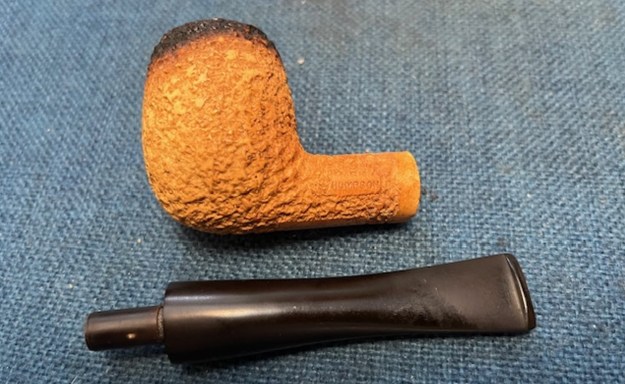
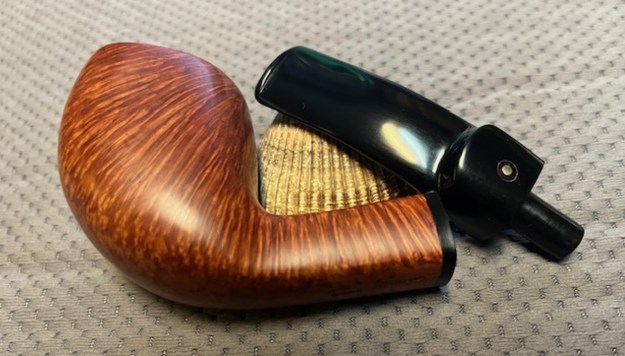
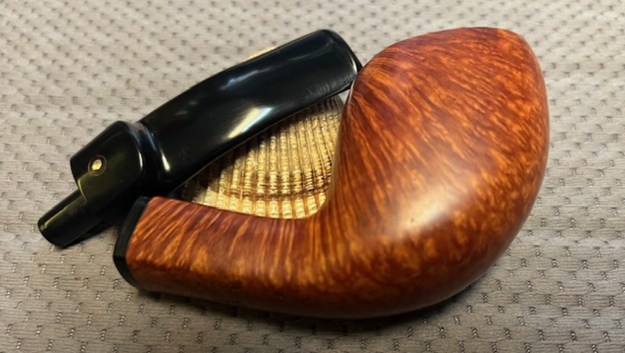
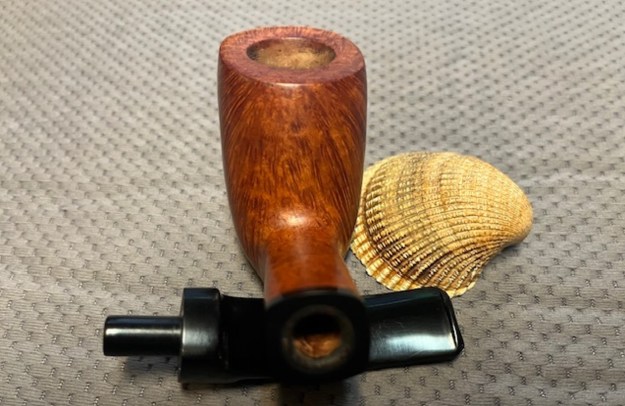
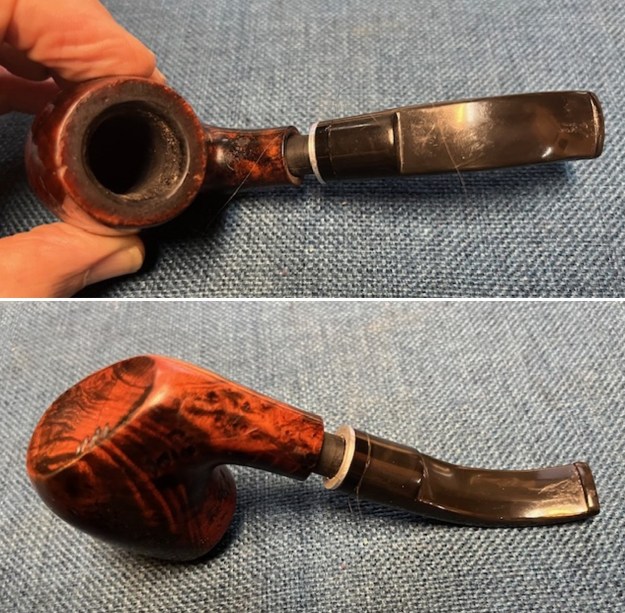
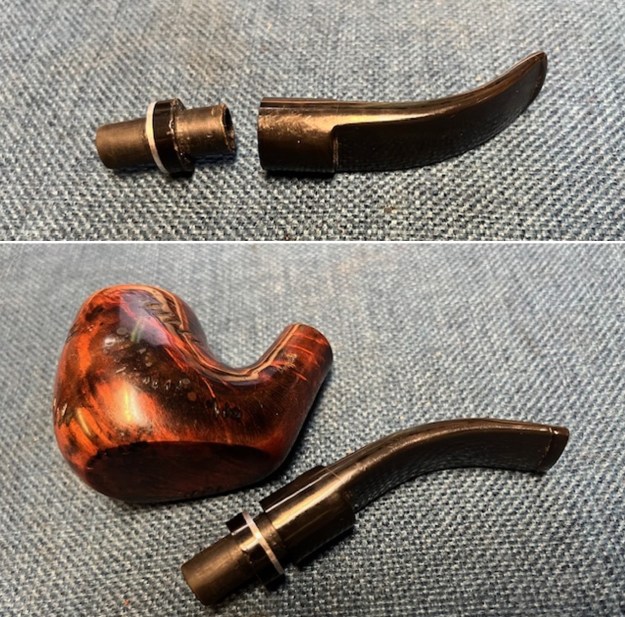
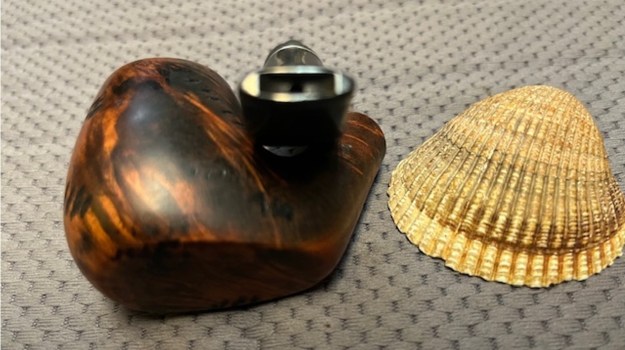
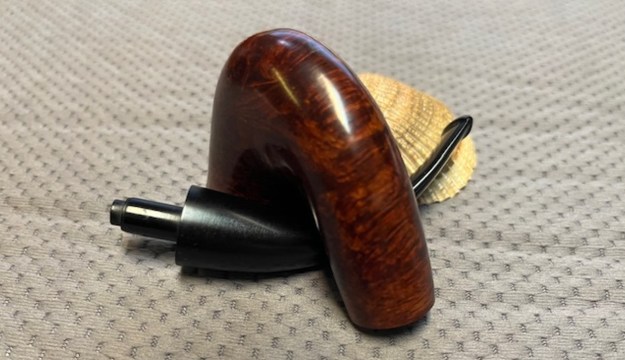
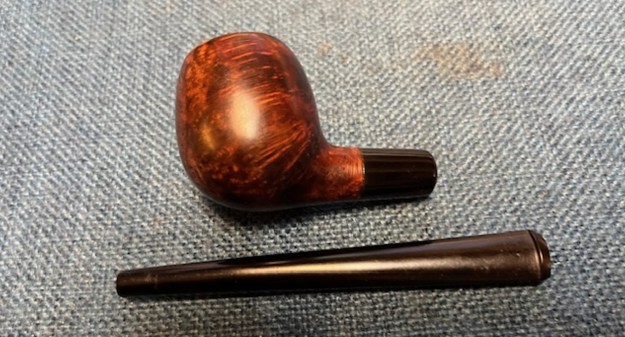
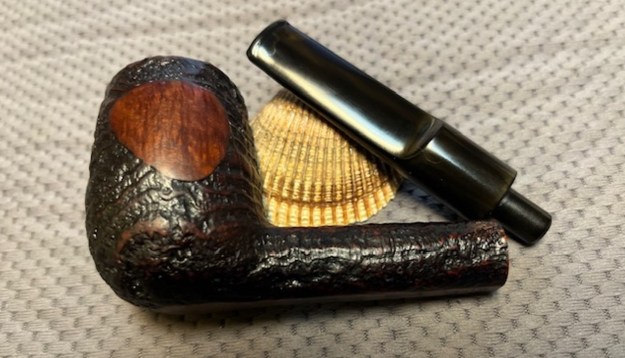
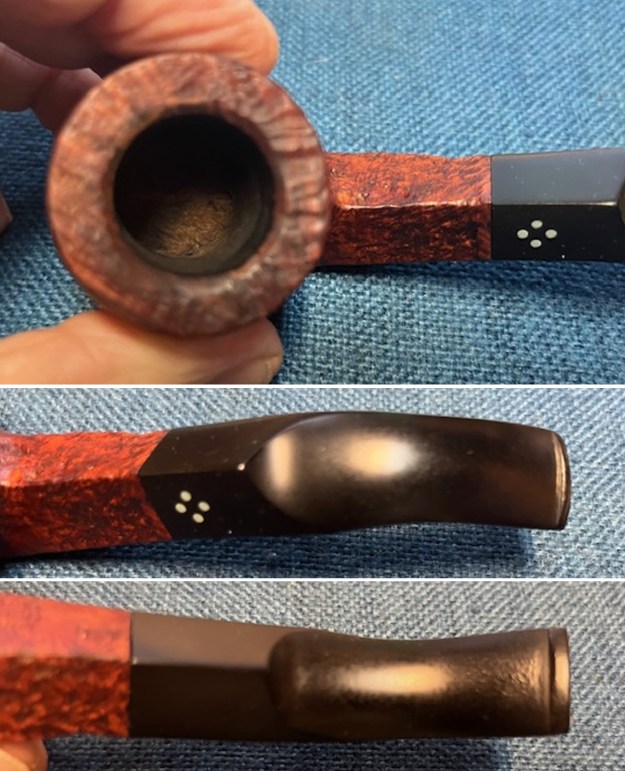 I took a photo of the stamping on the underside of the left diamond shank. It is very clear and readable and read as noted above. I also removed the stem from the shank and took photos of the pipe to show the look of the parts.
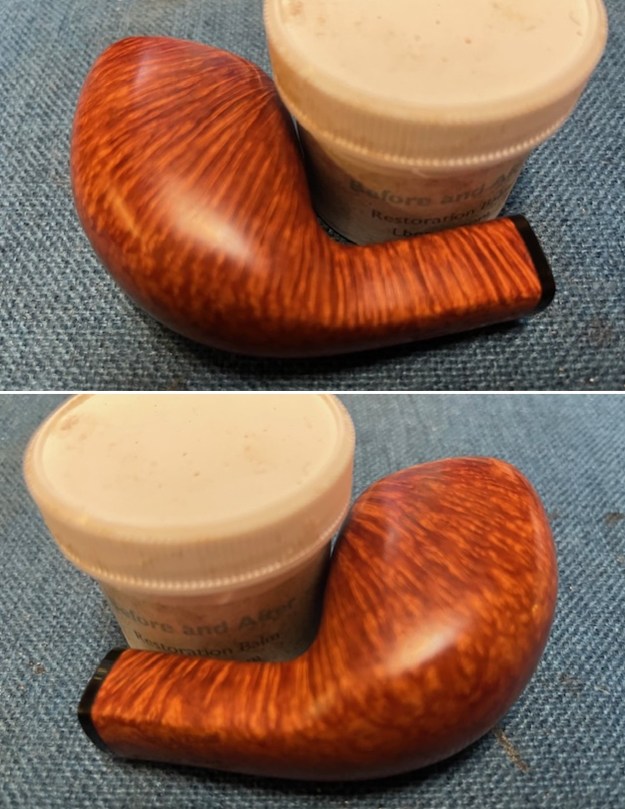
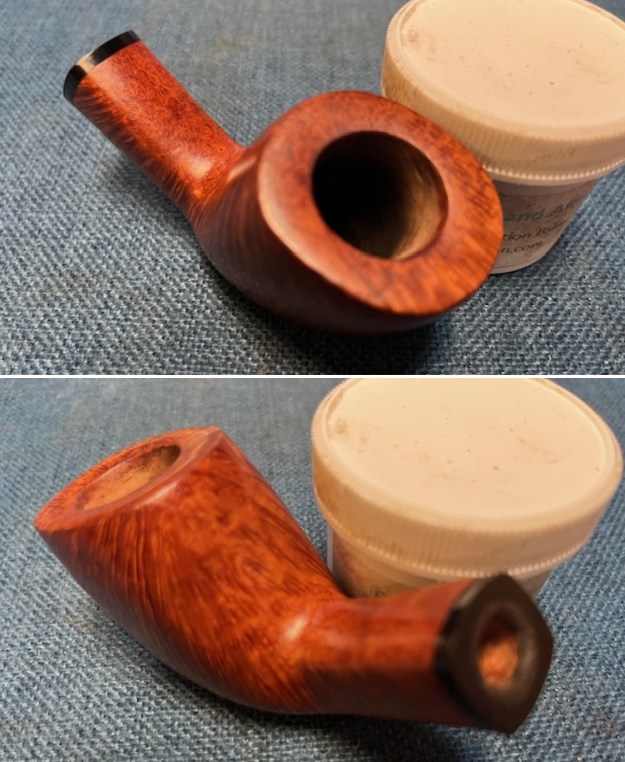
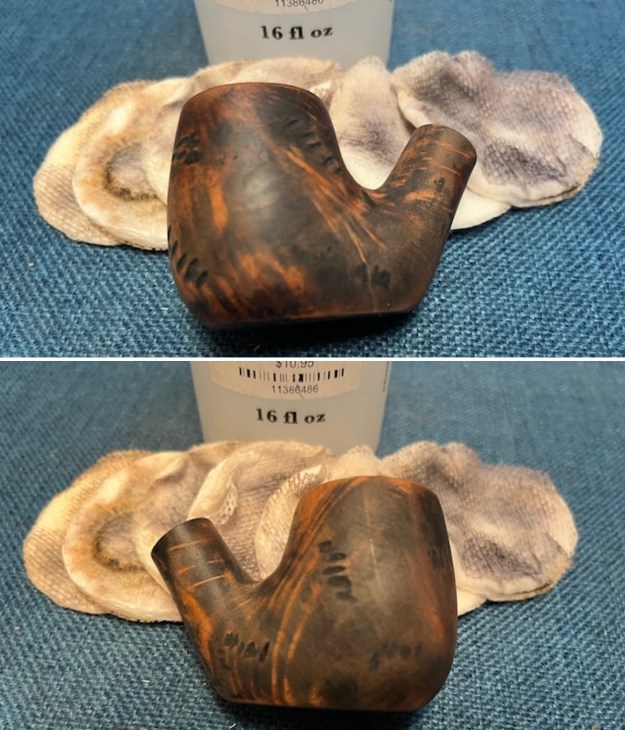
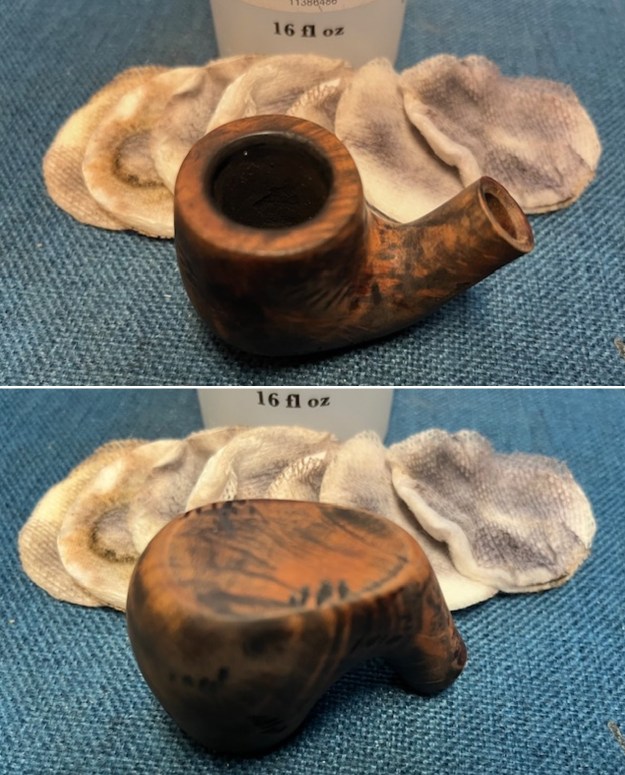
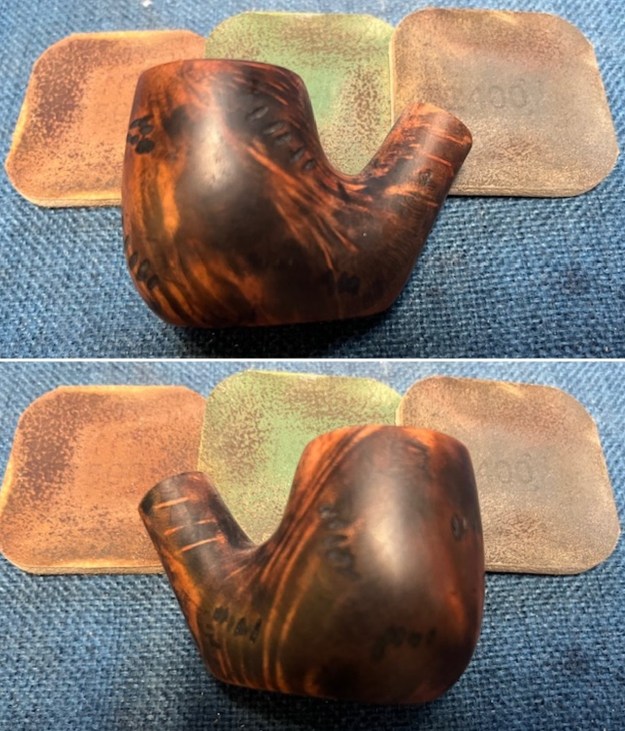
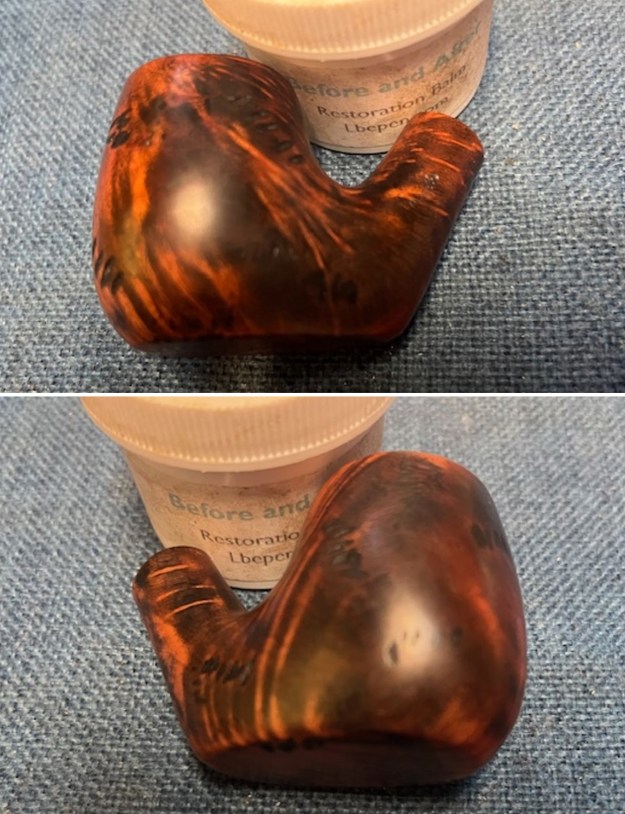
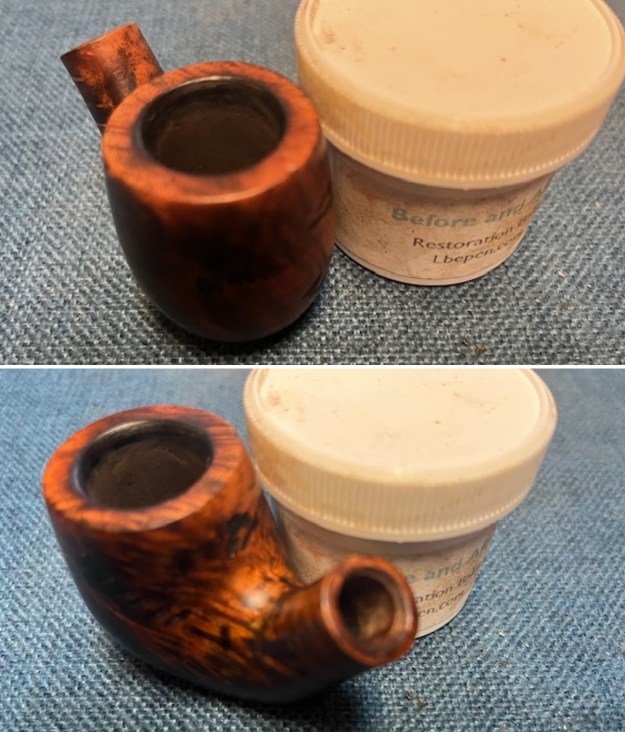
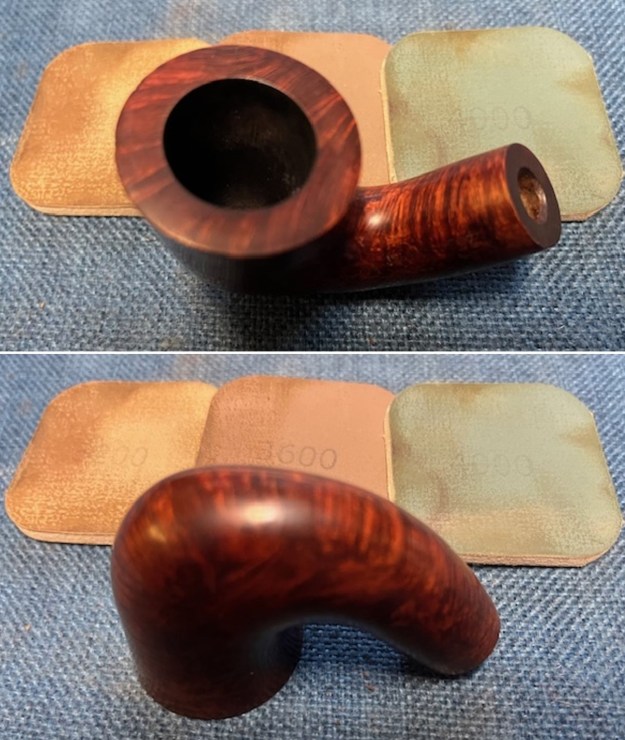
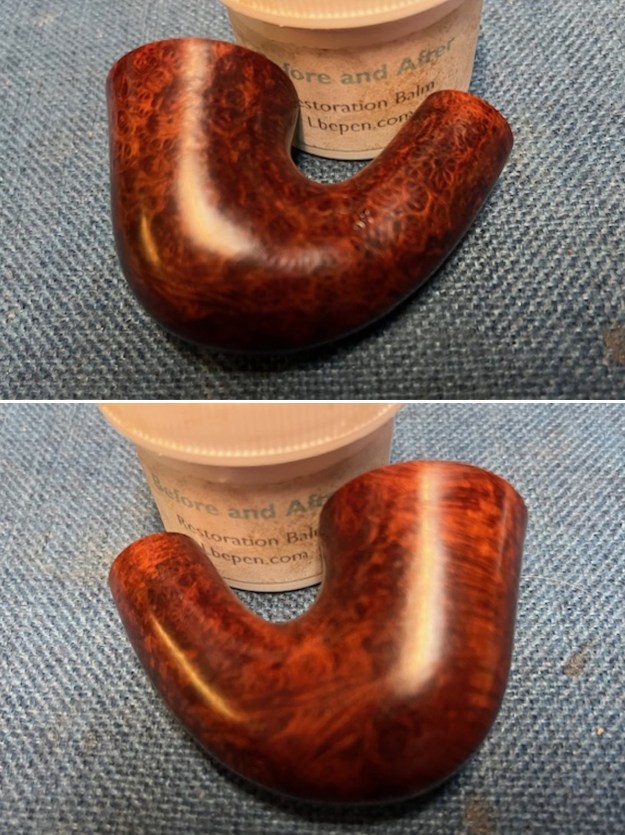
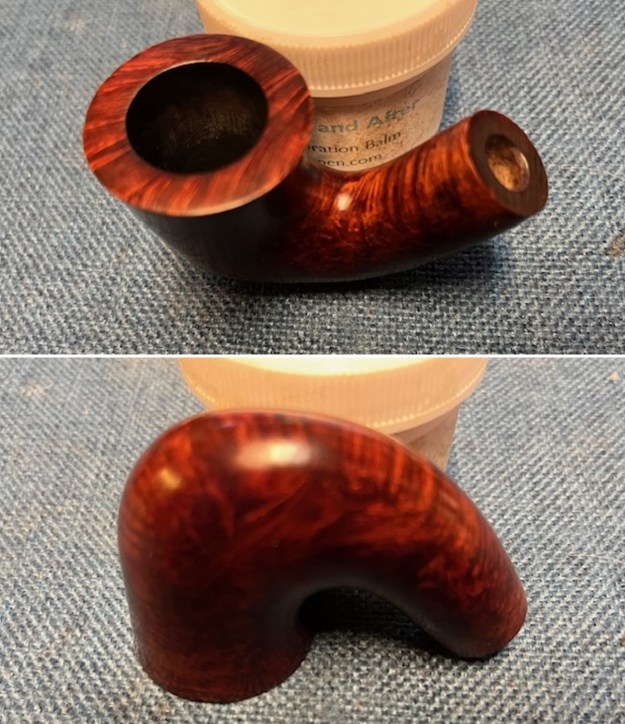
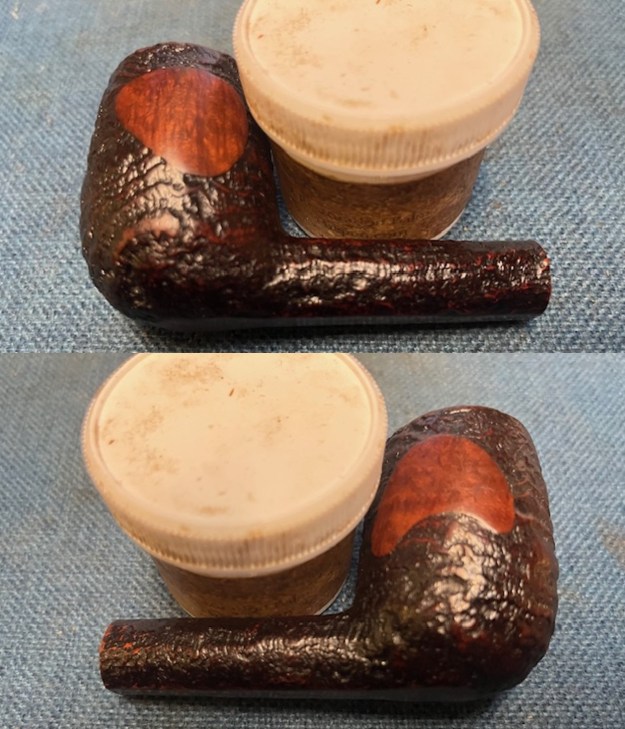
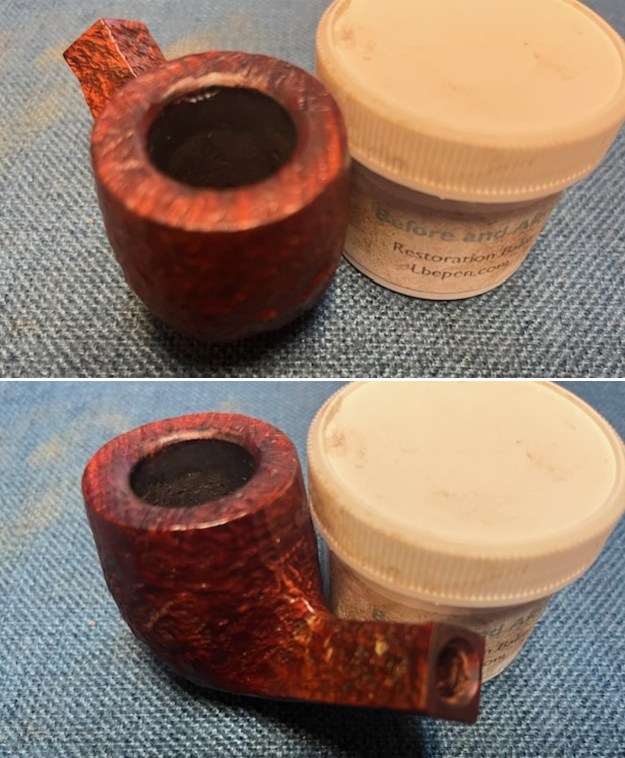
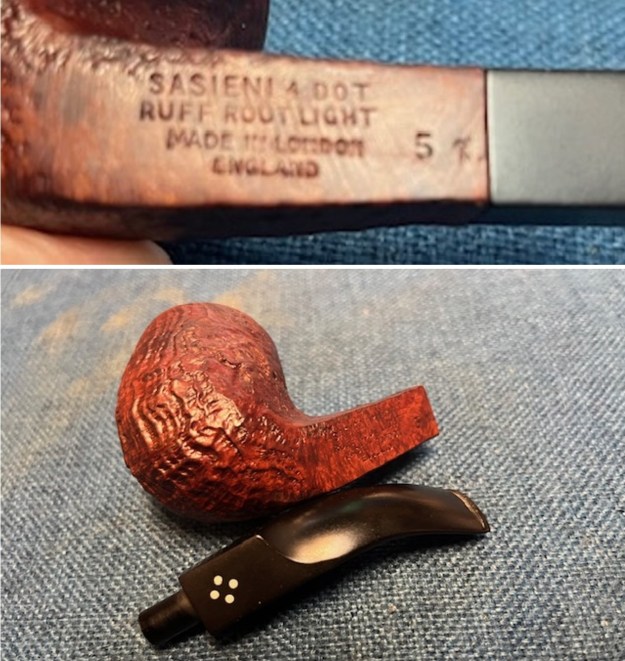 The exterior of the bowl looked amazing. I worked some Before & After Restoration Balm into the briar with my finger tips and a shoe brush. I let it sit on the bowl for 10 minutes and then buffed it off with a paper towel and soft cloth. The product is a great addition to the restoration work. It enlivens, enriches and protects the briar while giving it a deep glow. It is a product I use on every pipe I restore.
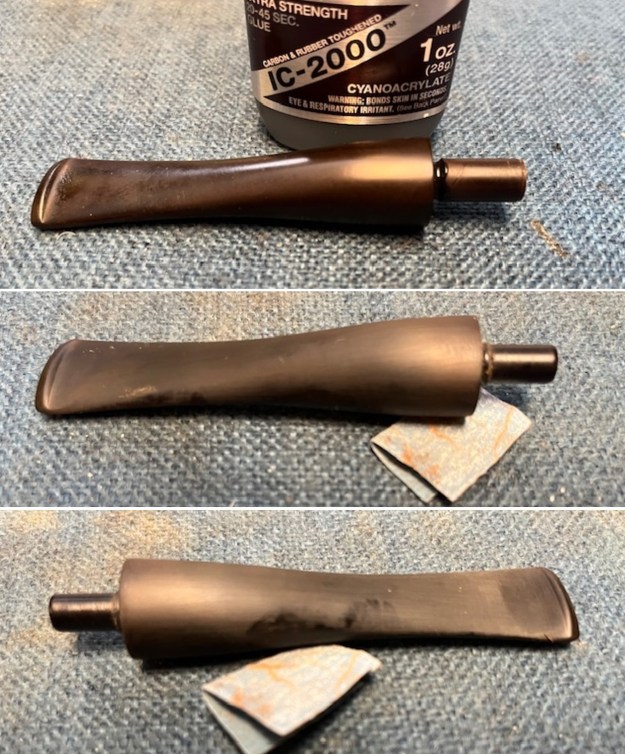
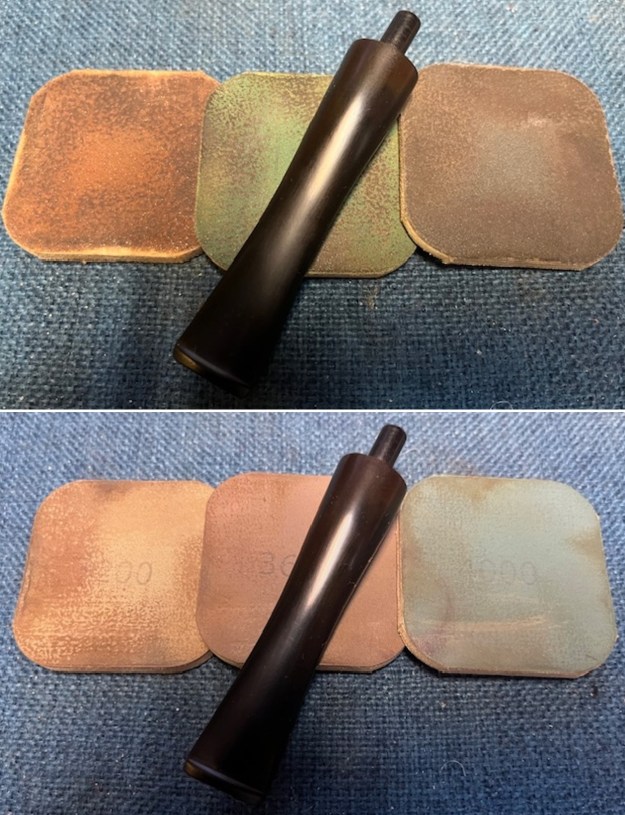
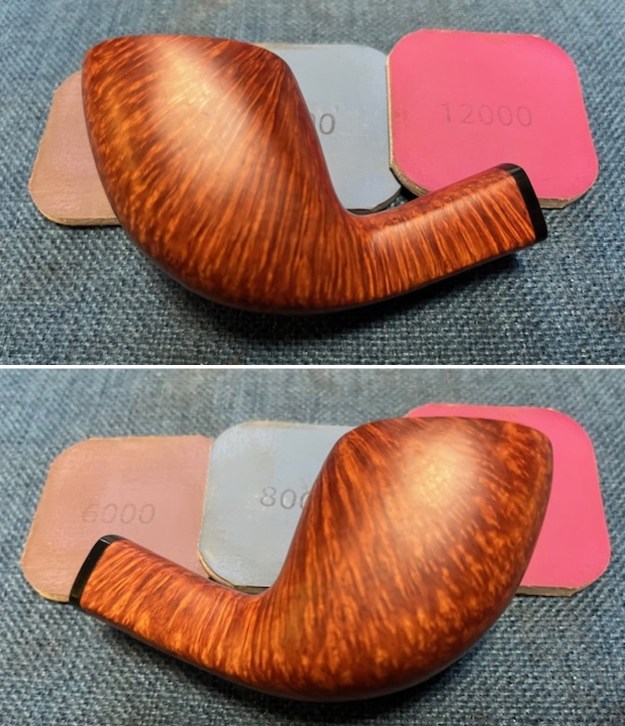
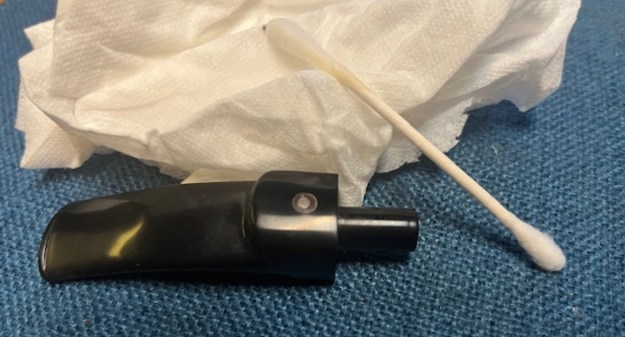
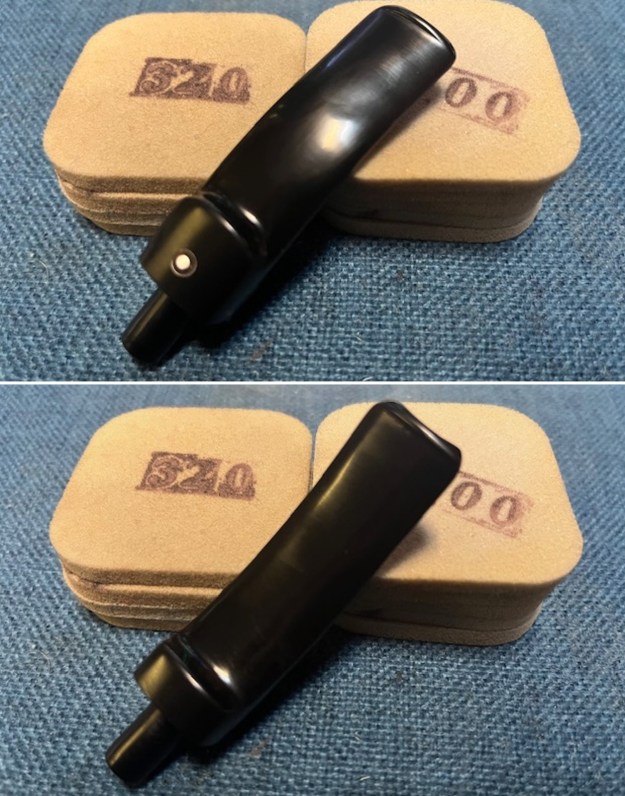
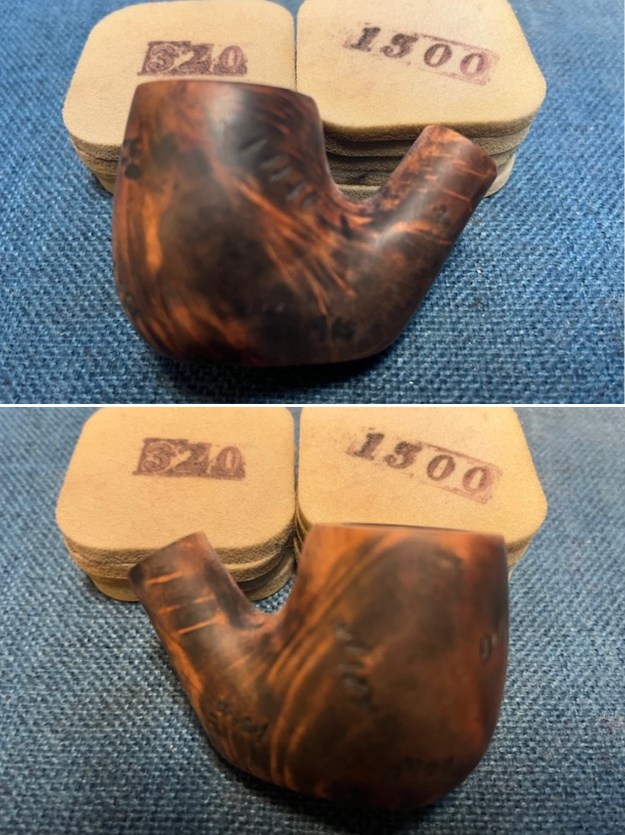
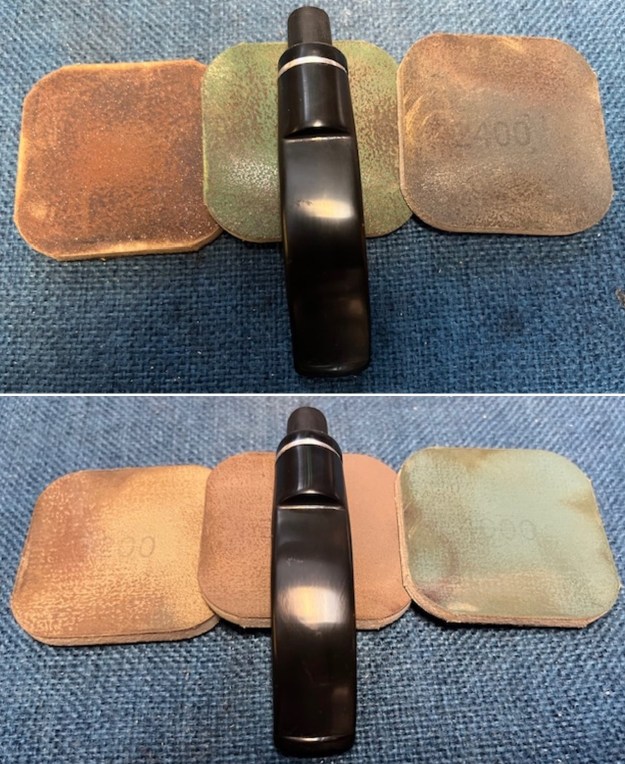
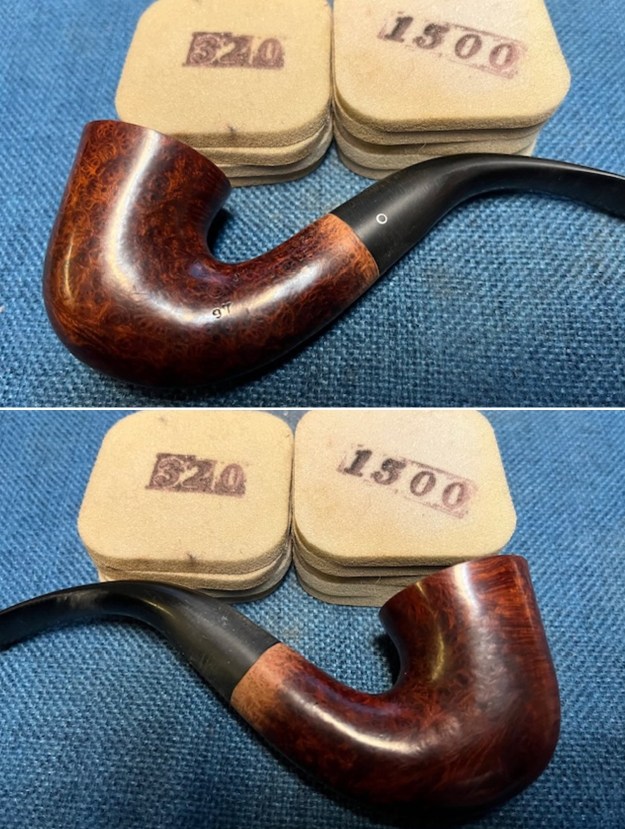
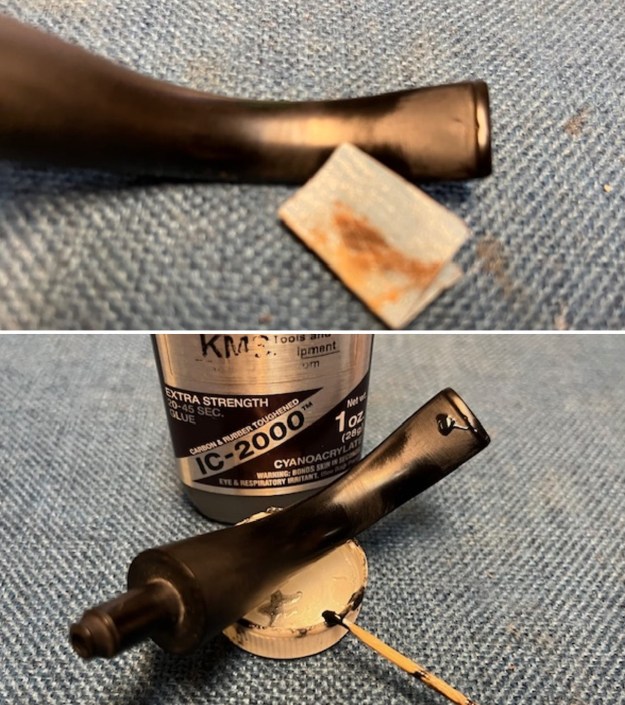
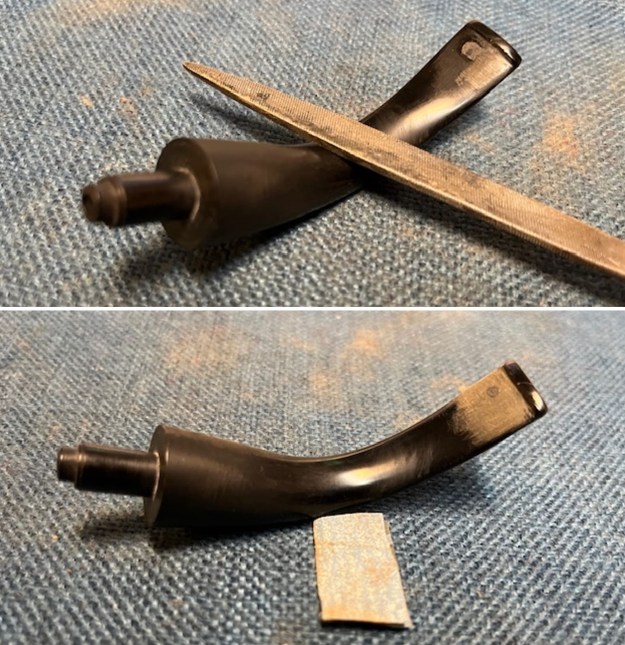
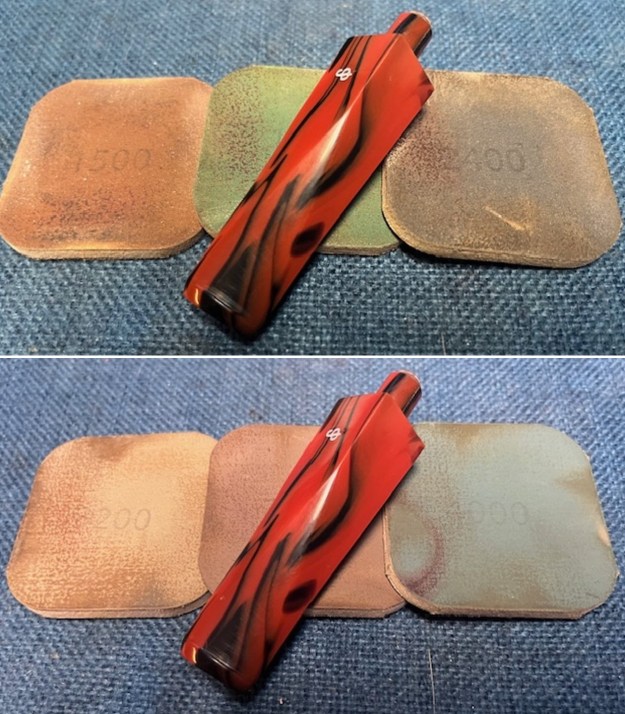
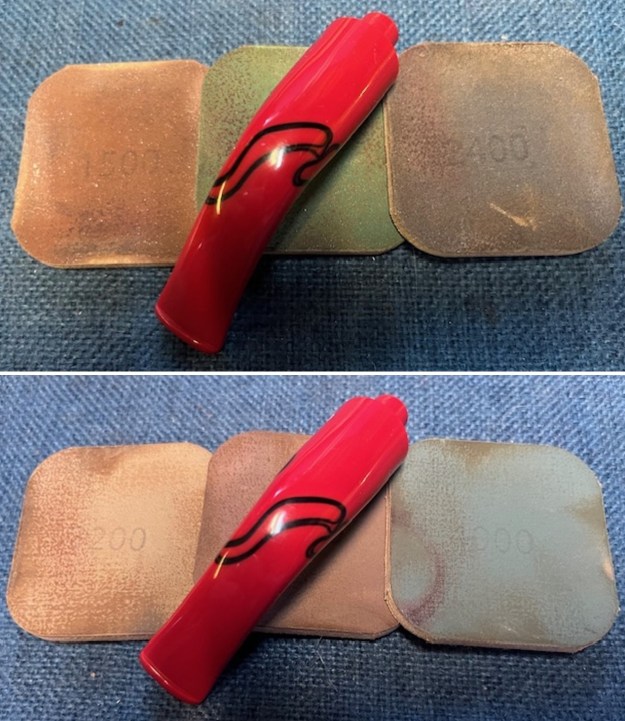
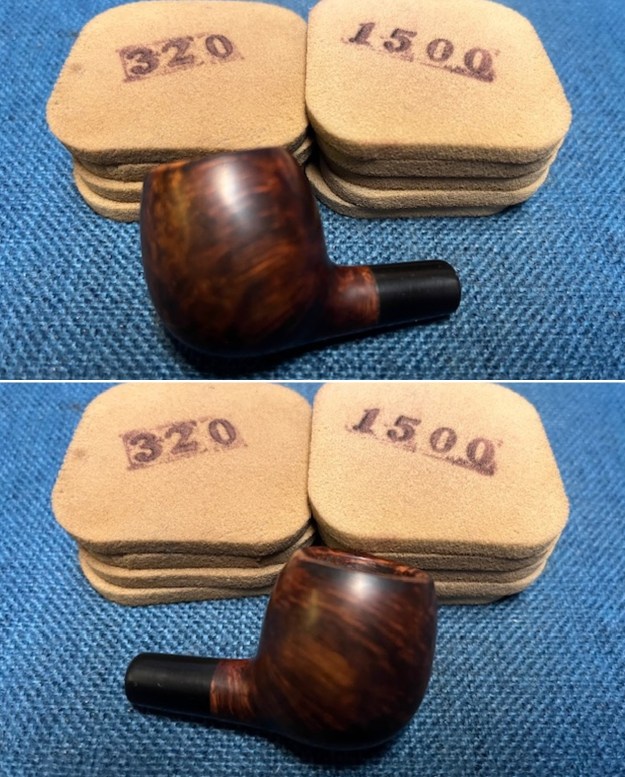
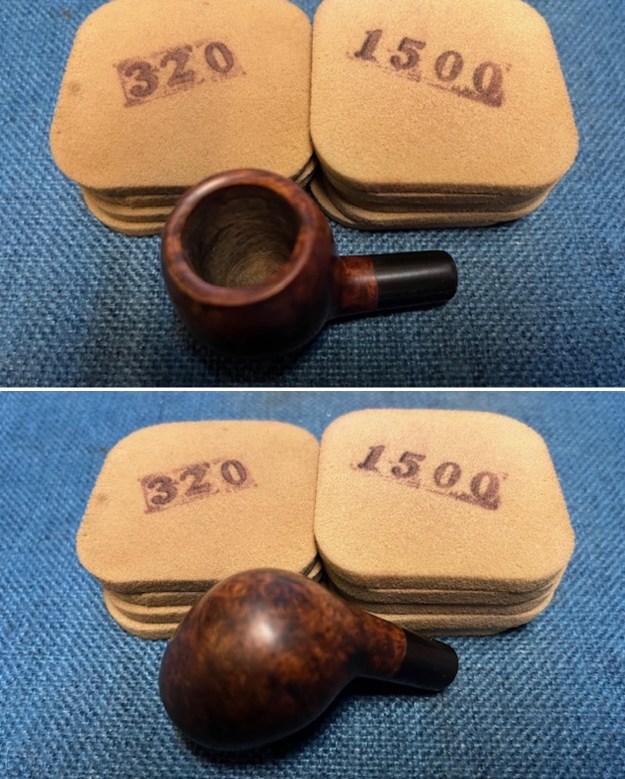
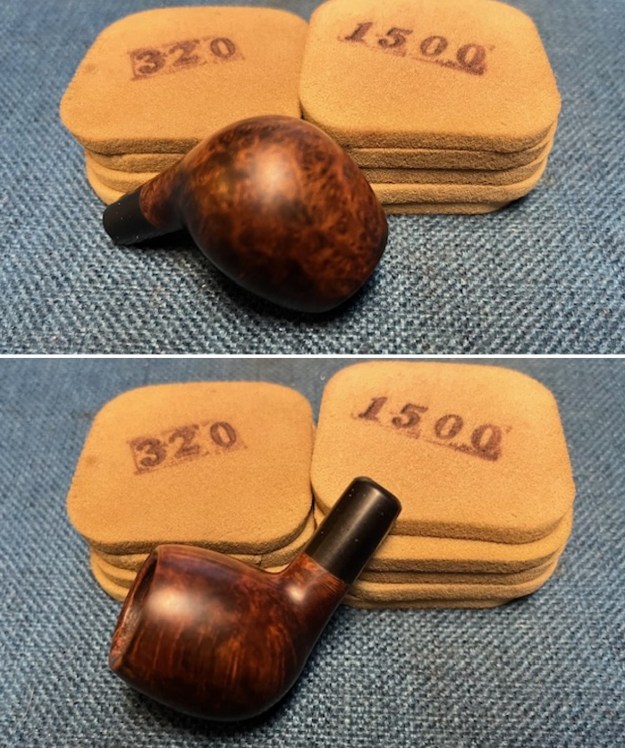
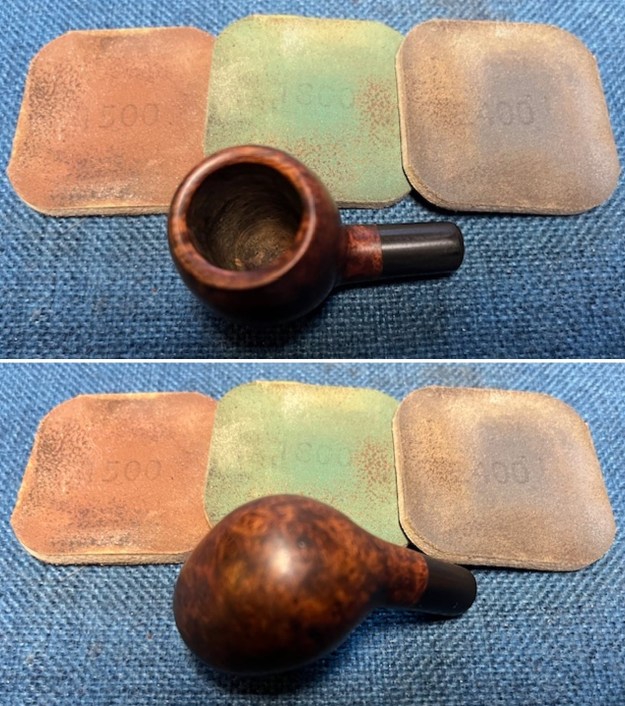
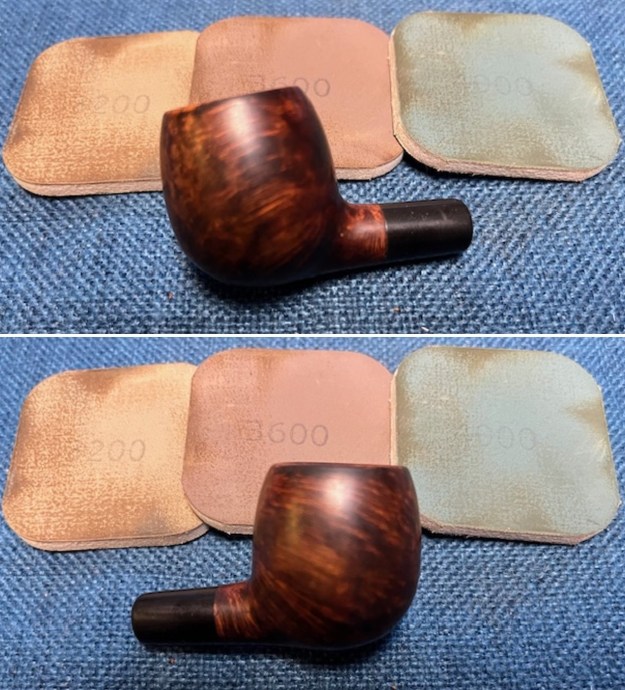
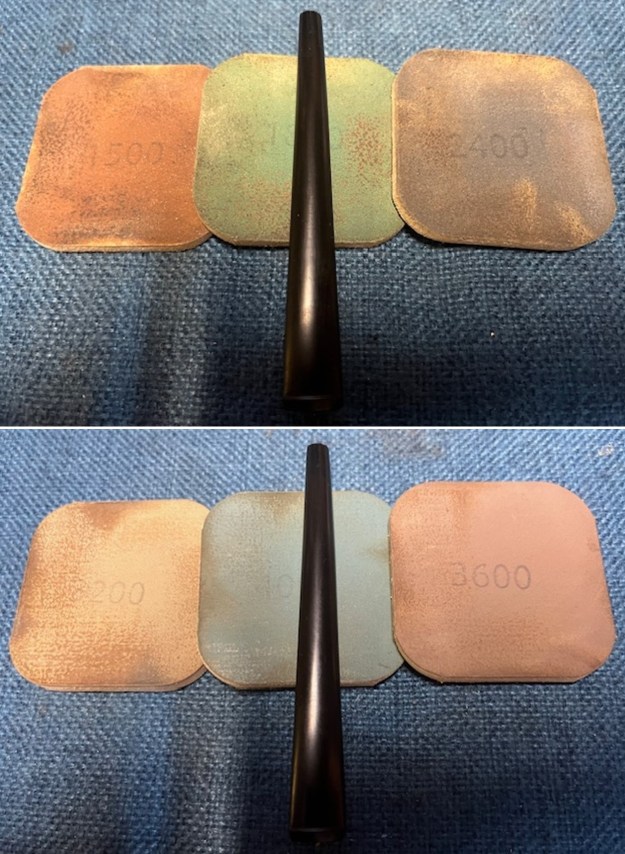
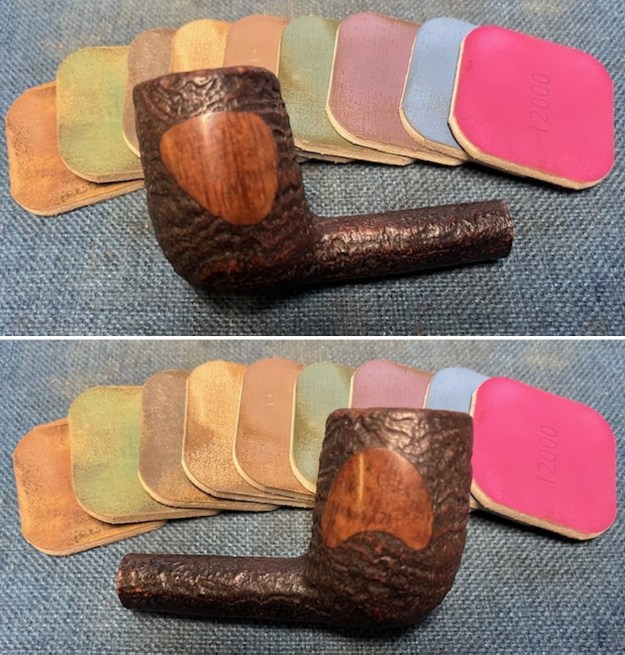
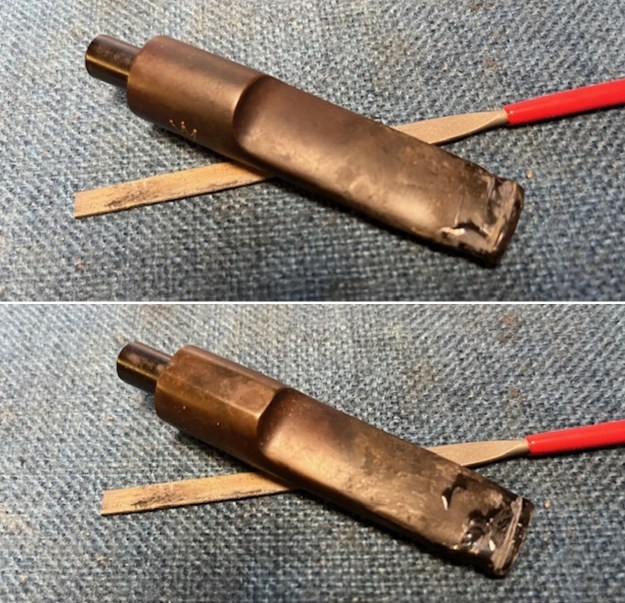
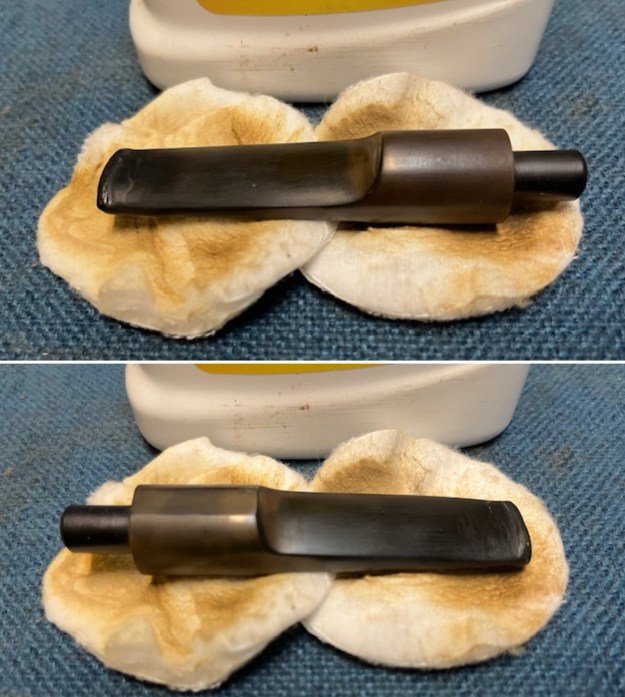
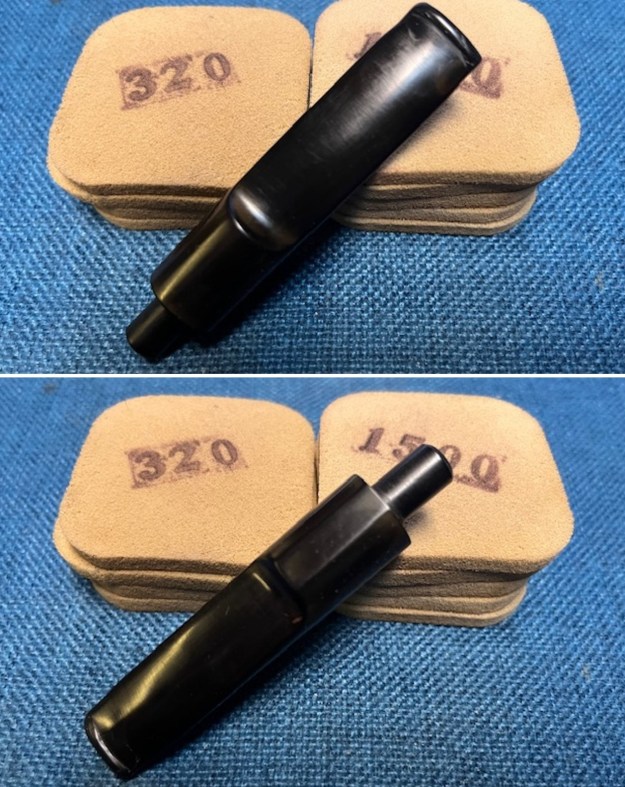
 I set the bowl aside and turned to the stem. I sanded the it with 320-3500 grit sanding pads and wiped the stem down after each pad with some Obsidian Oil on a cloth. The shine is coming back beautifully.
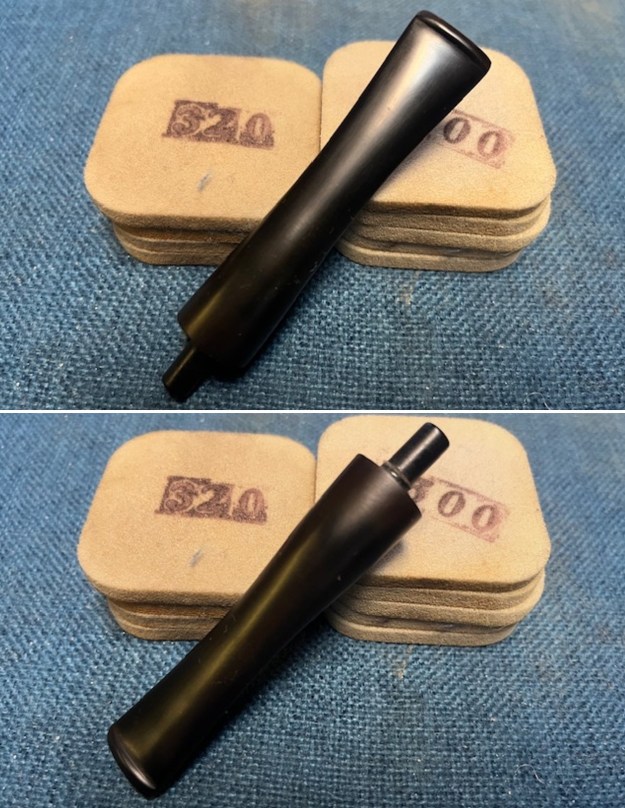
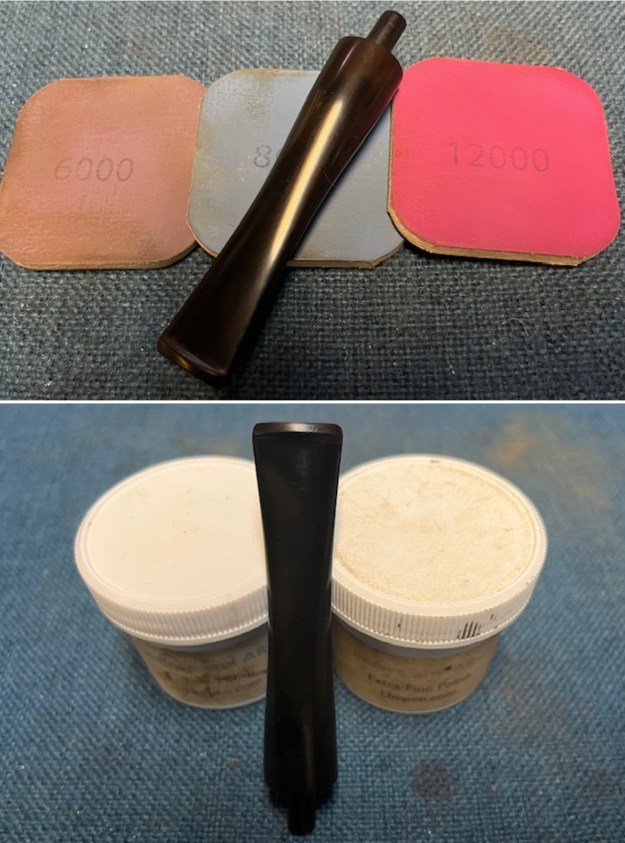
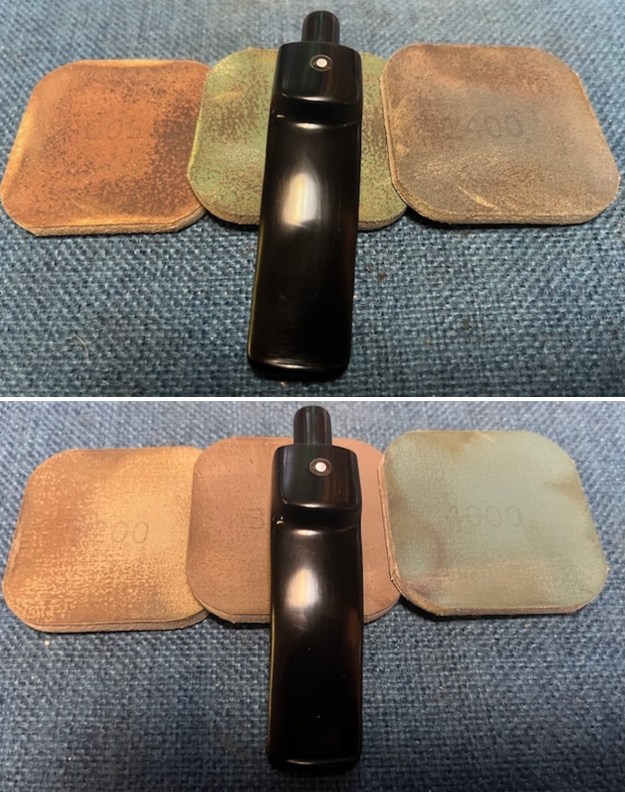
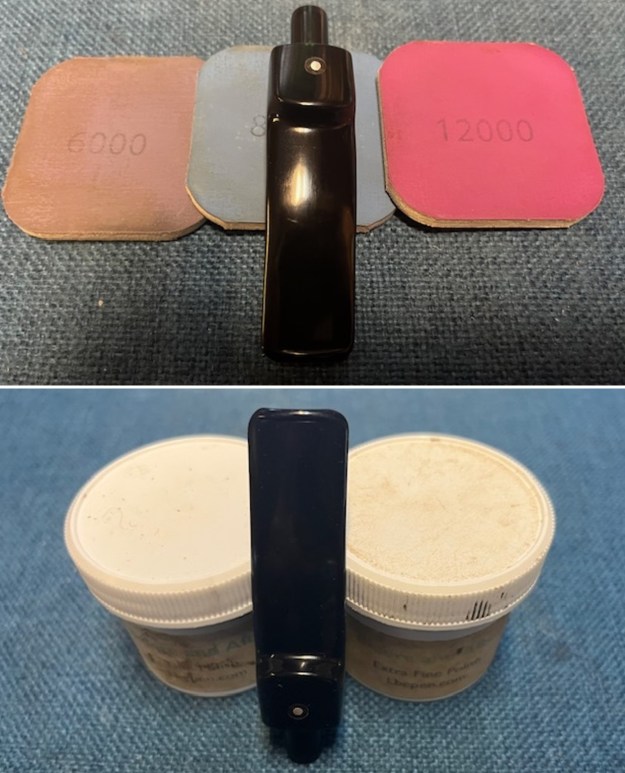
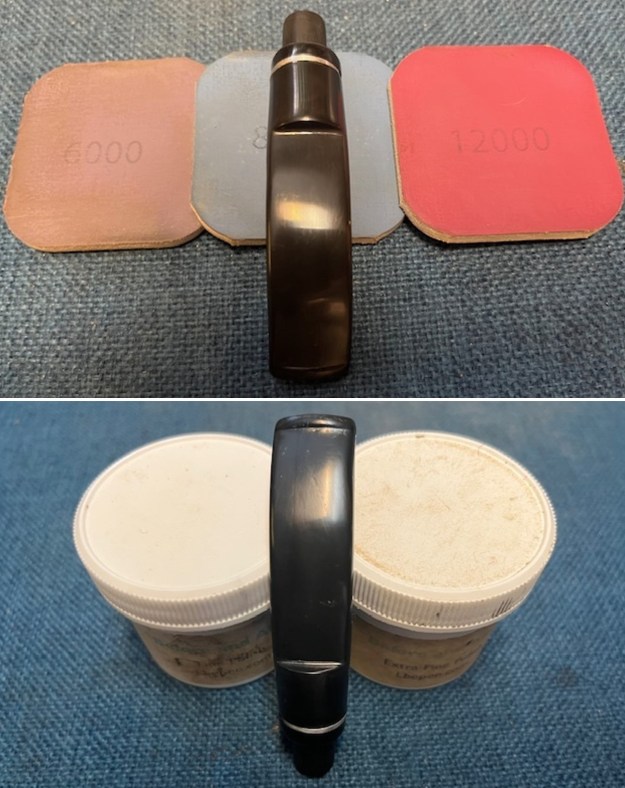
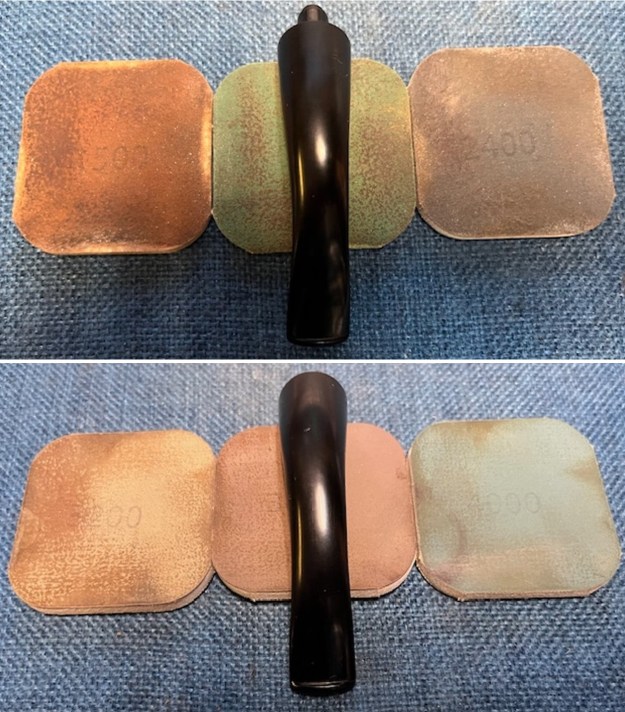
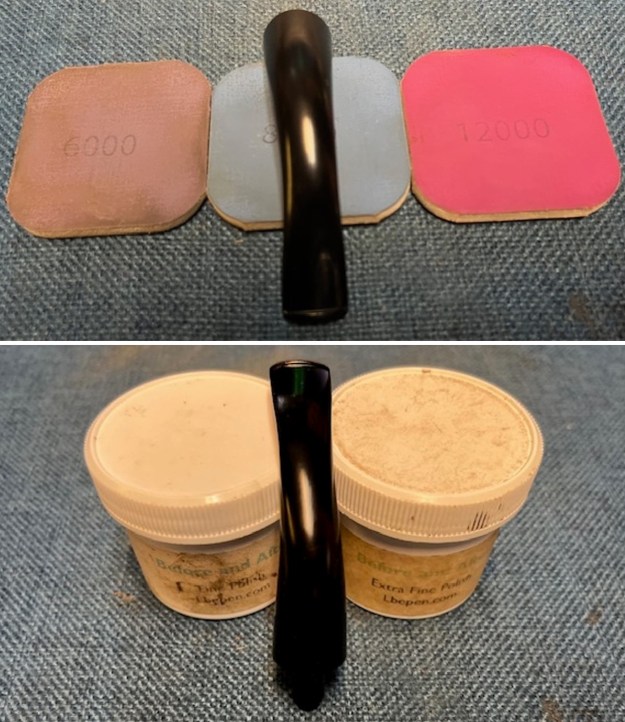
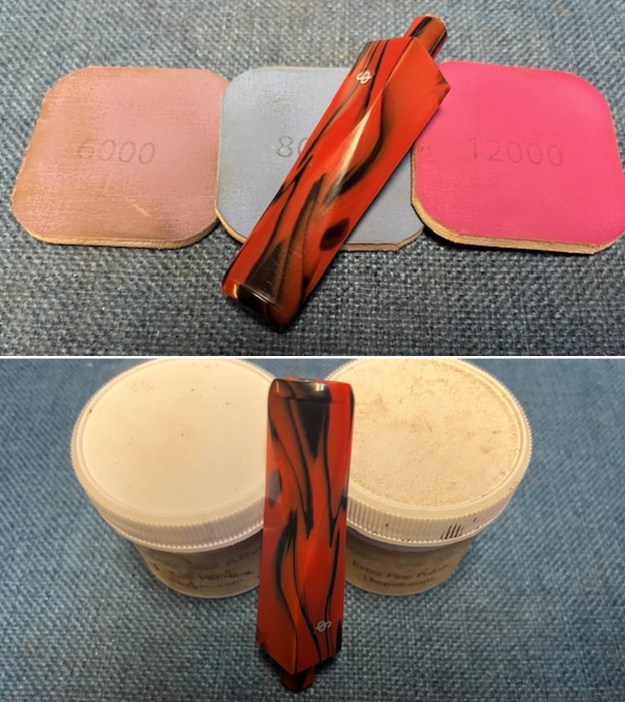
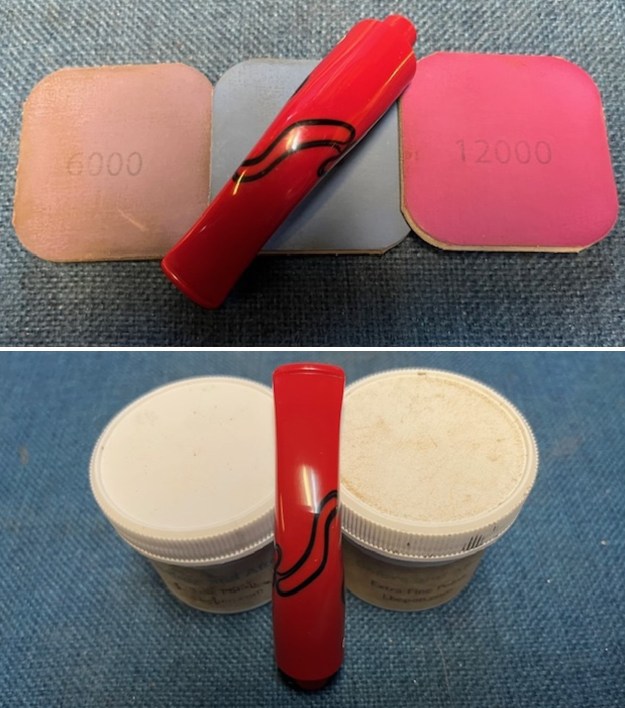
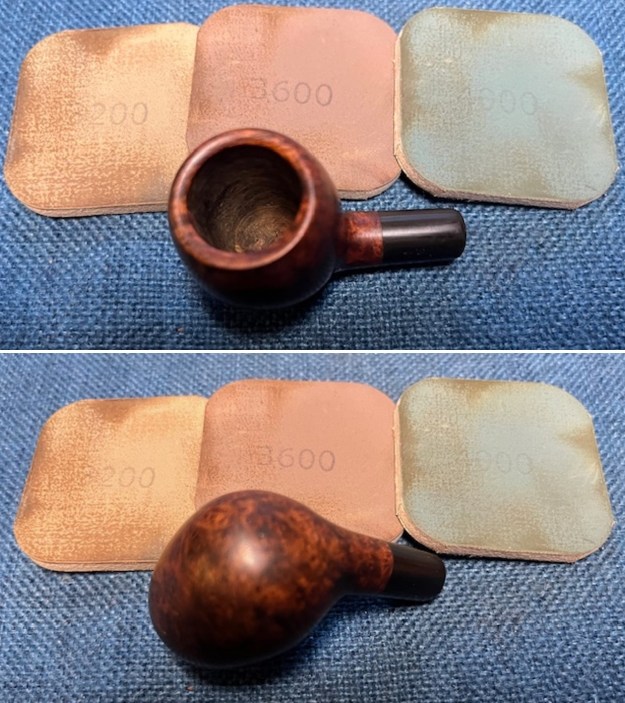
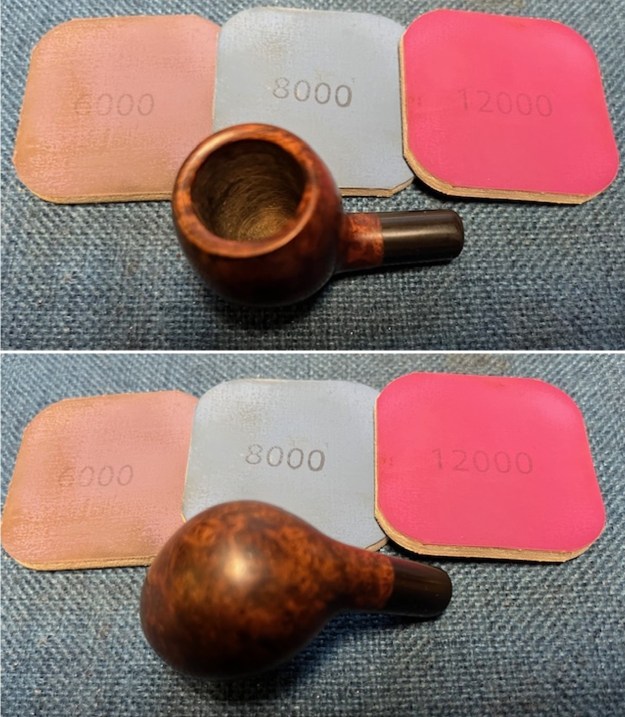
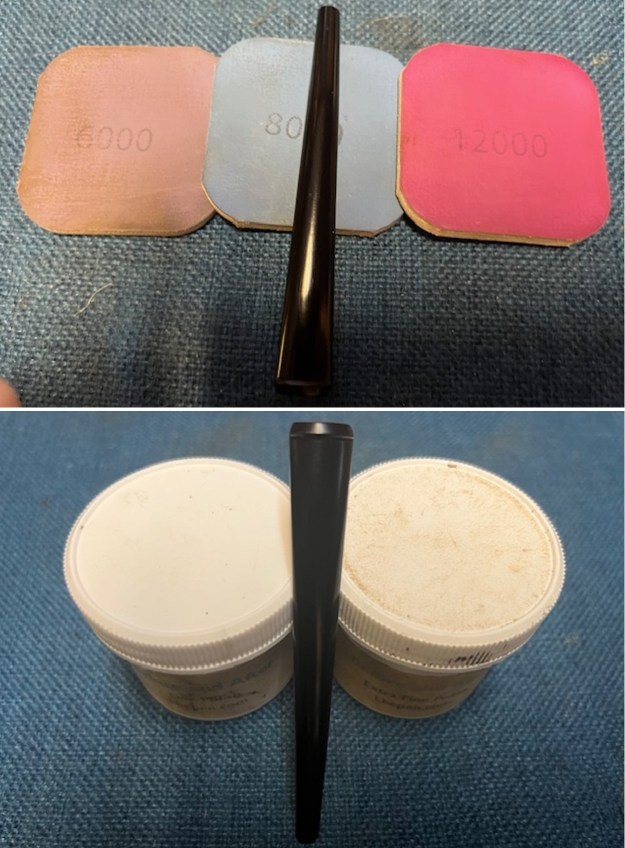
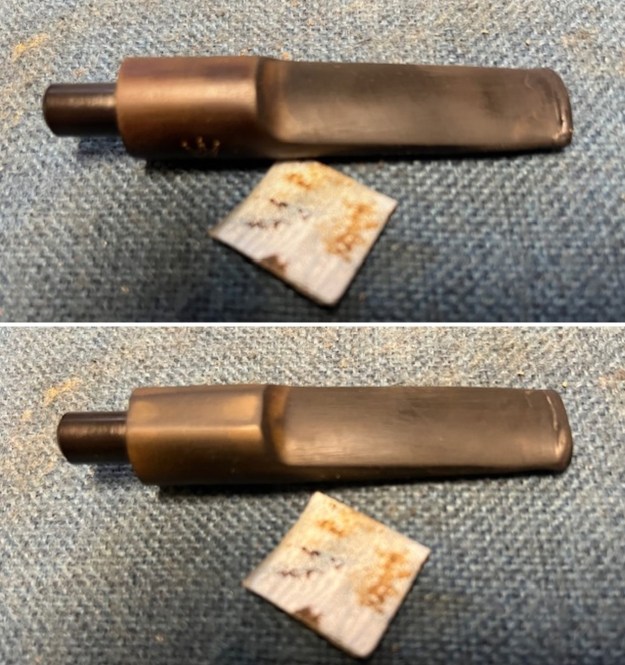
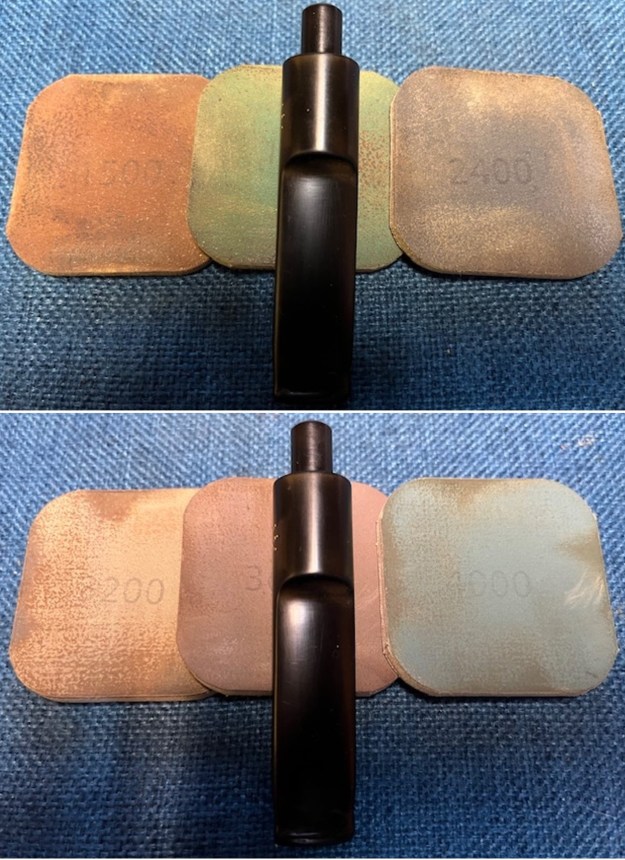
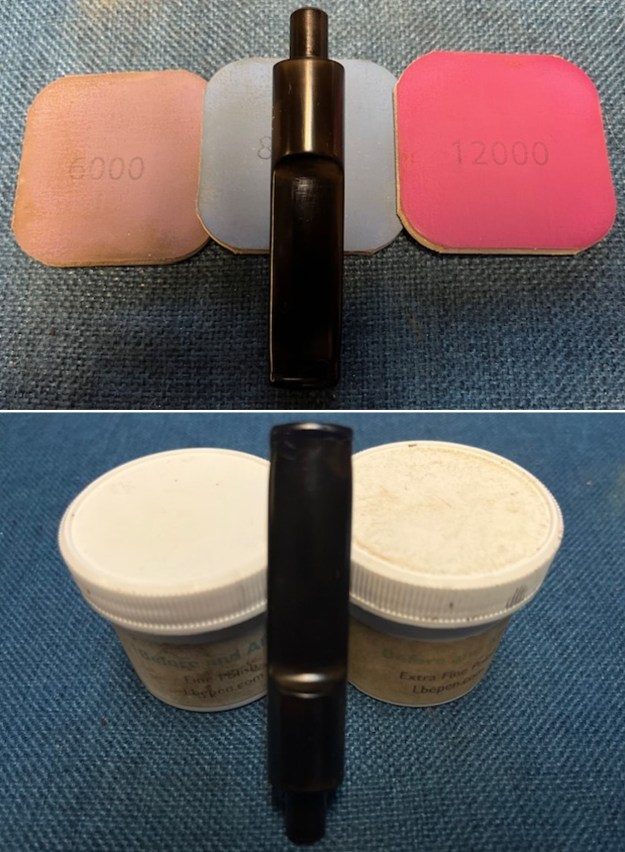
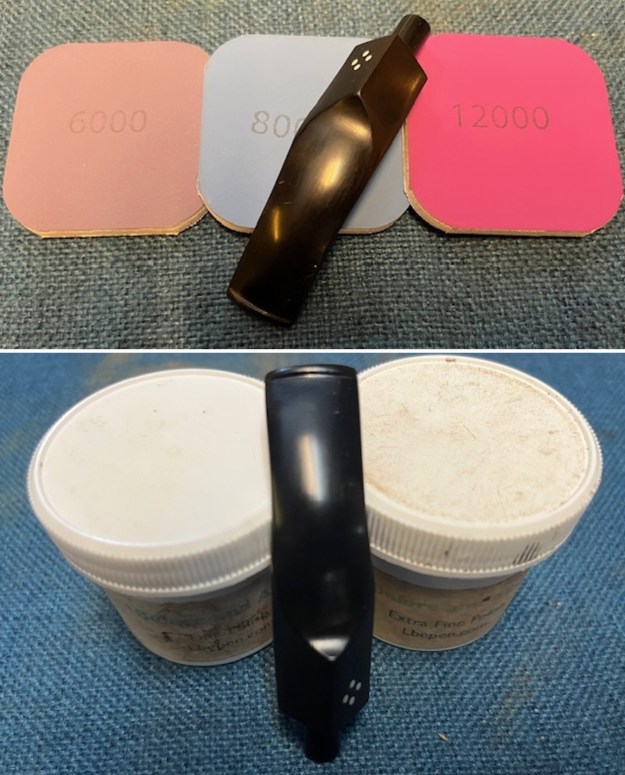
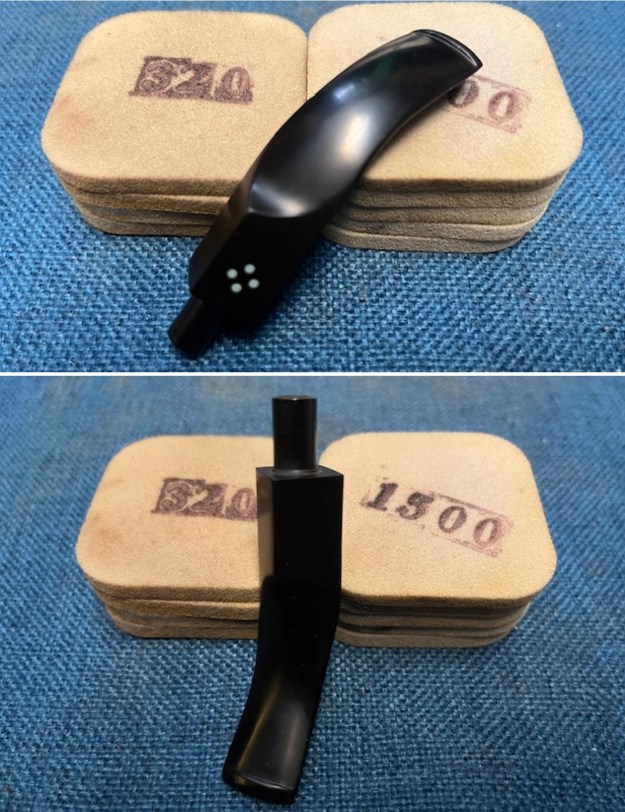 I polished it with micromesh sanding pads – dry sanding with 1500-12000 grit pads and wiping the surface down with Obsidian Oil after each sanding pad. It is really shining. I polished it further with Before & After Stem Polish – both Fine and Extra Fine. I gave it another coat of Obsidian Oil to finish this step.
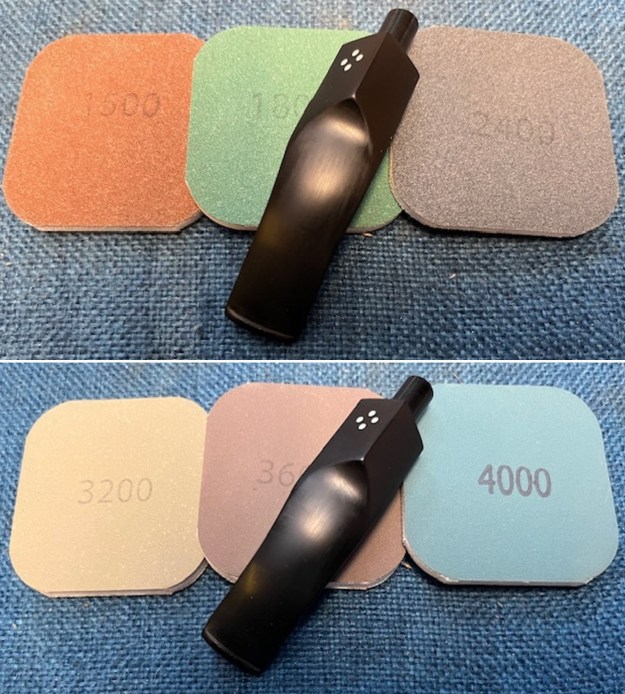
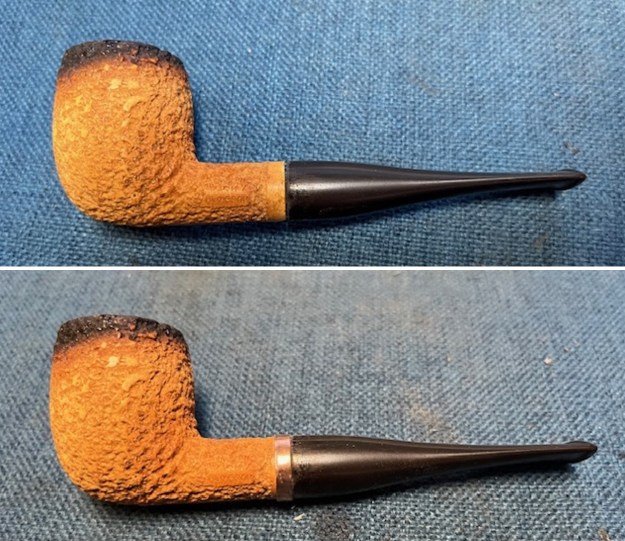
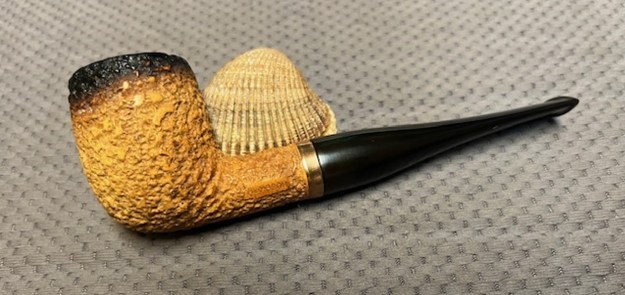
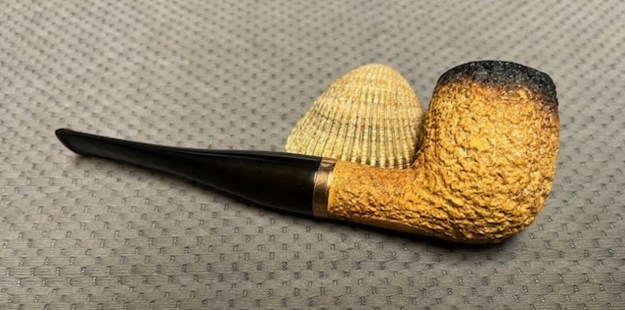
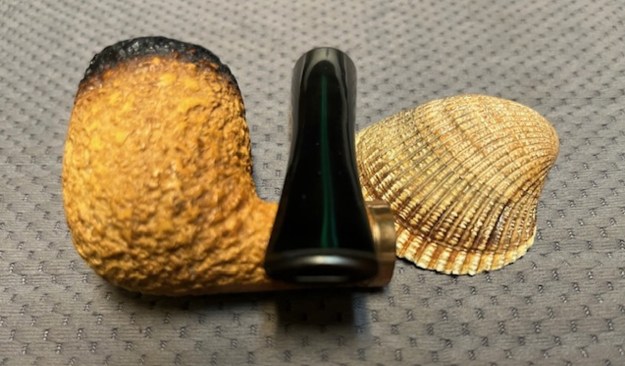
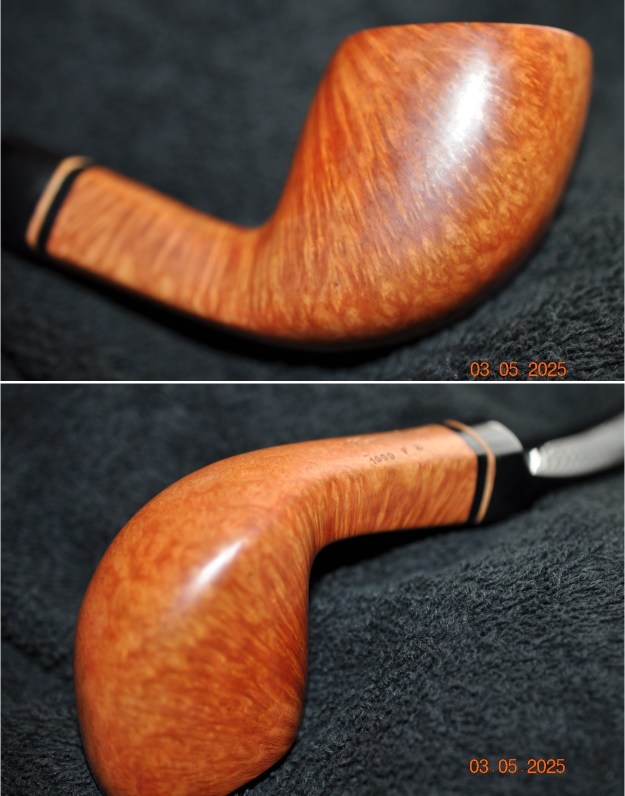
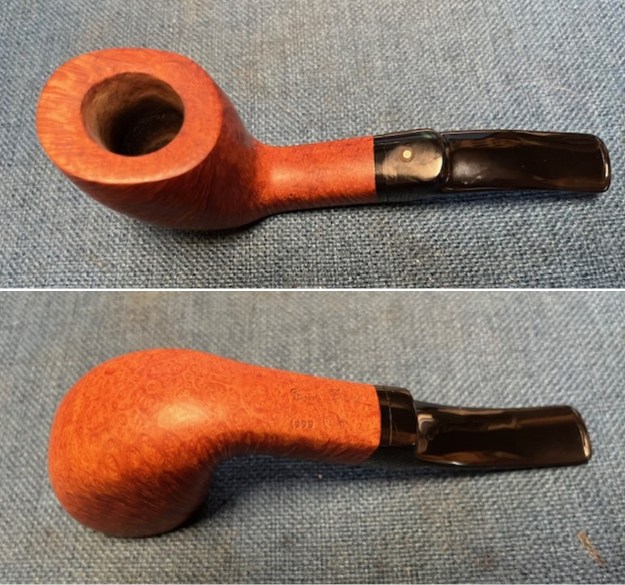
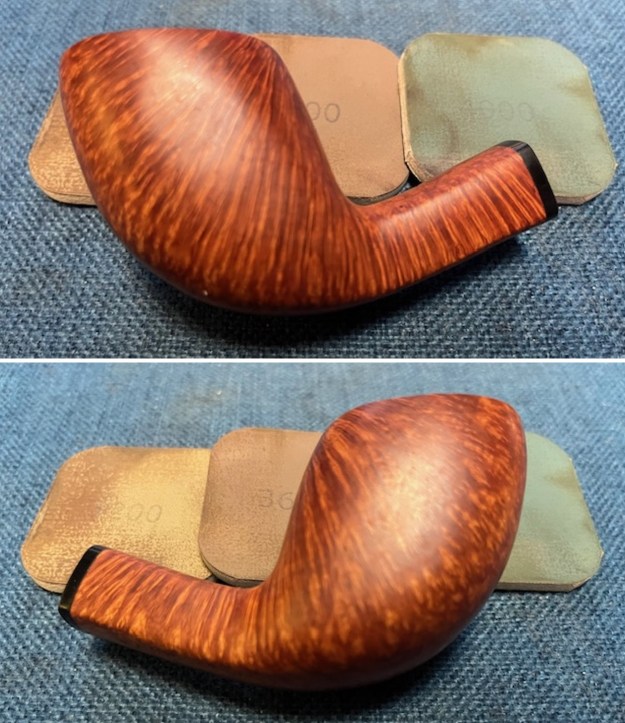
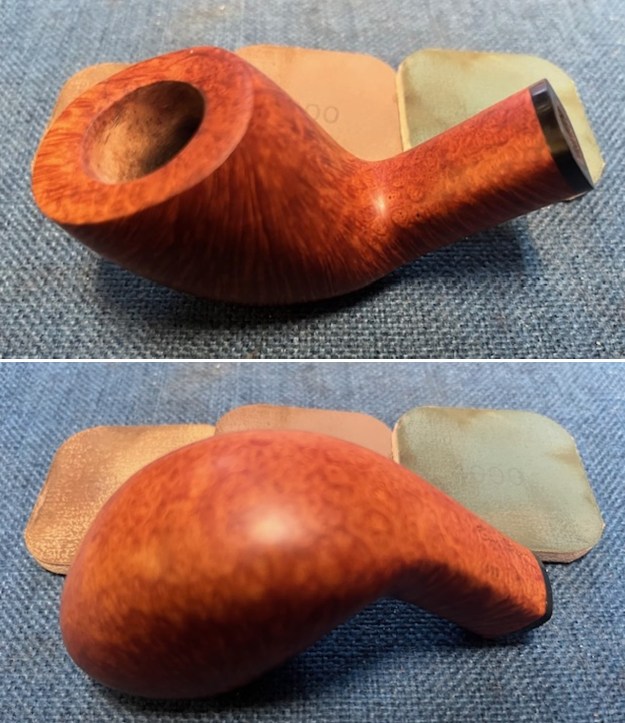
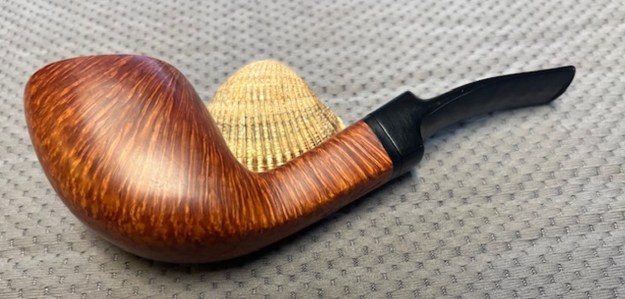
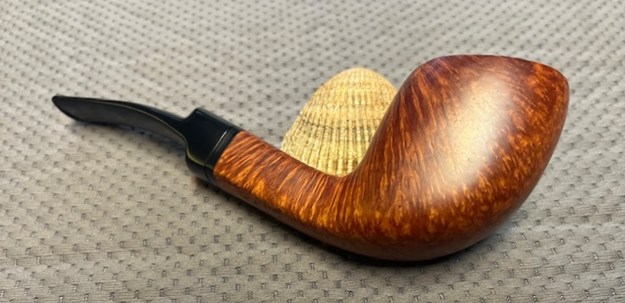
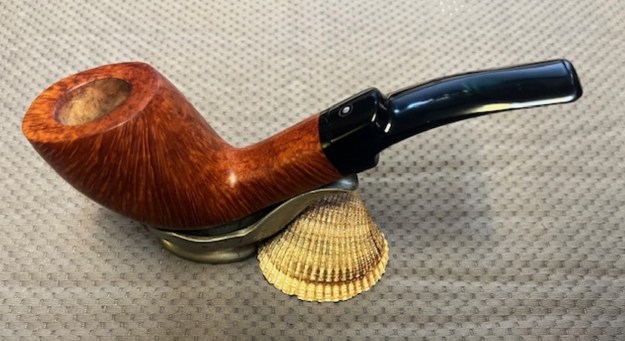
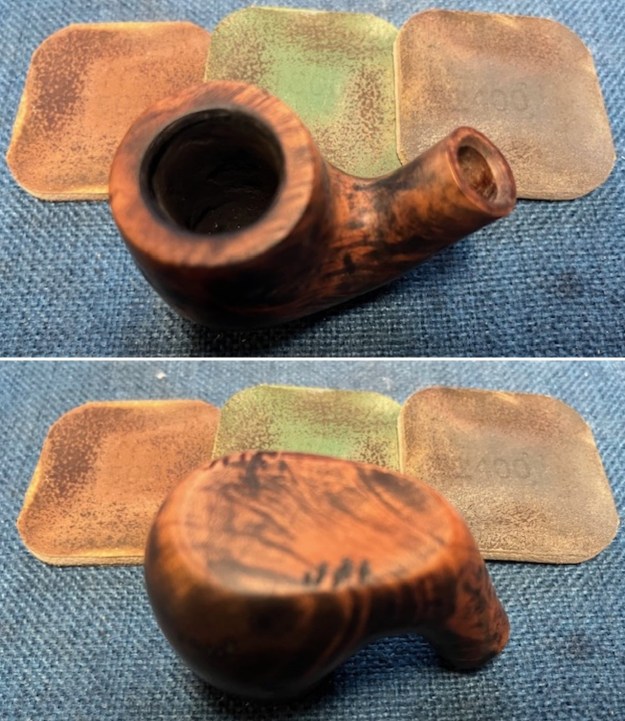
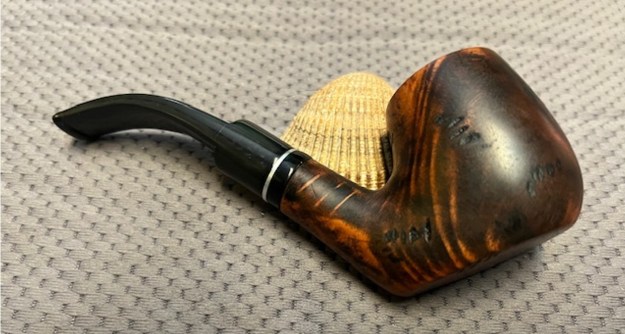
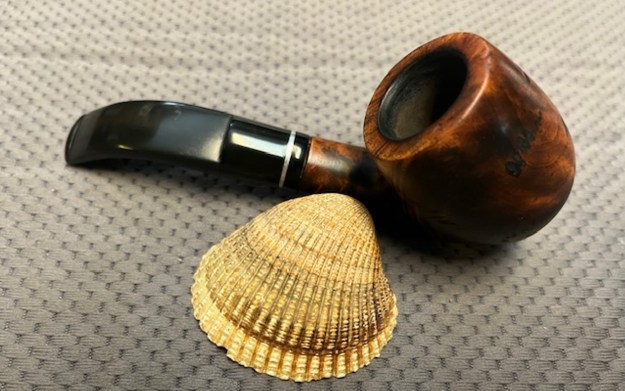
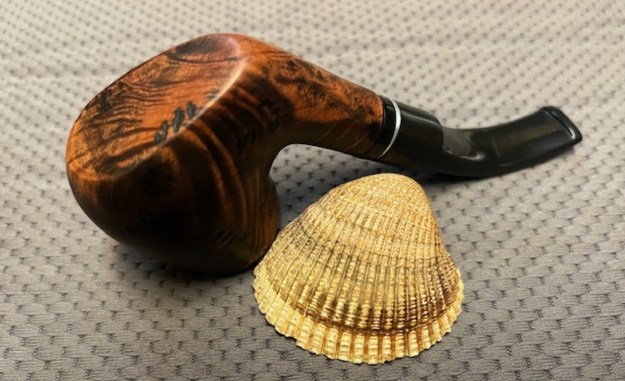
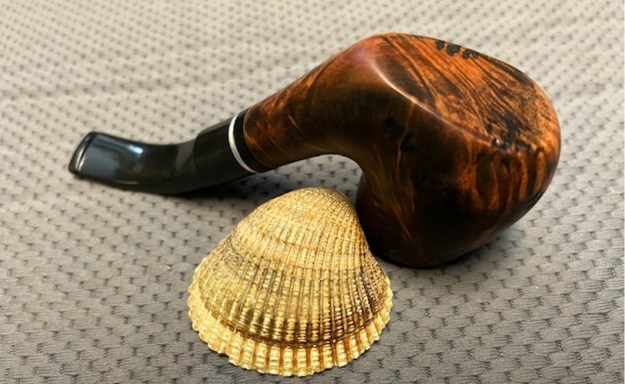
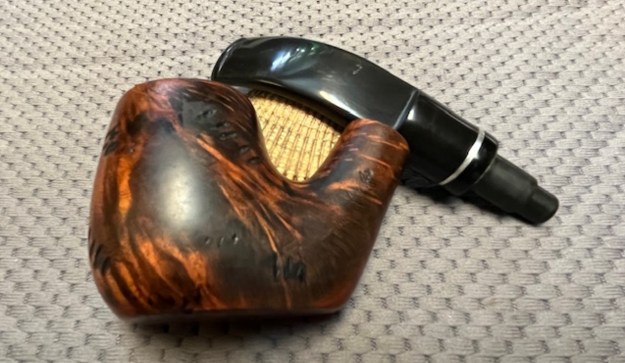
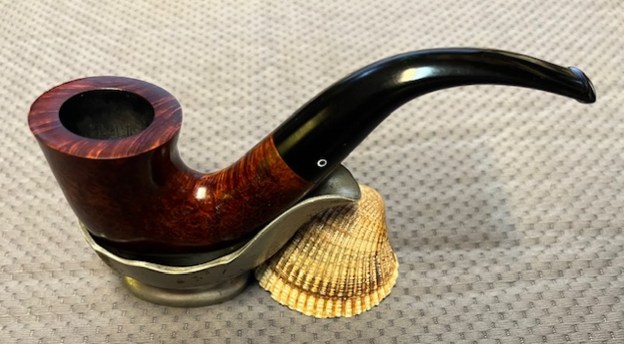
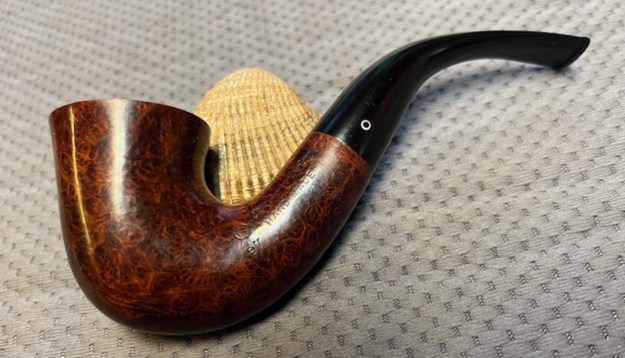
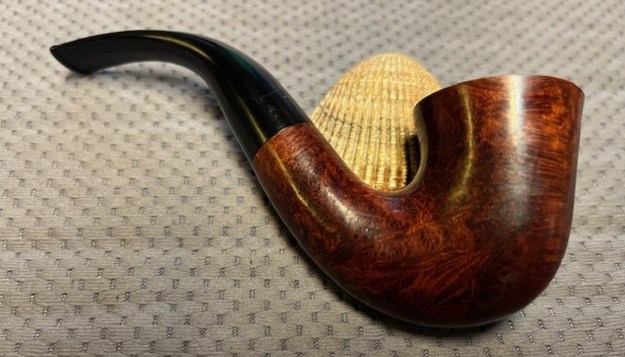
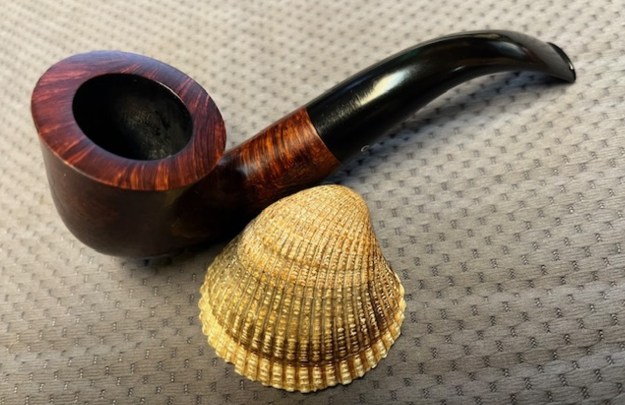
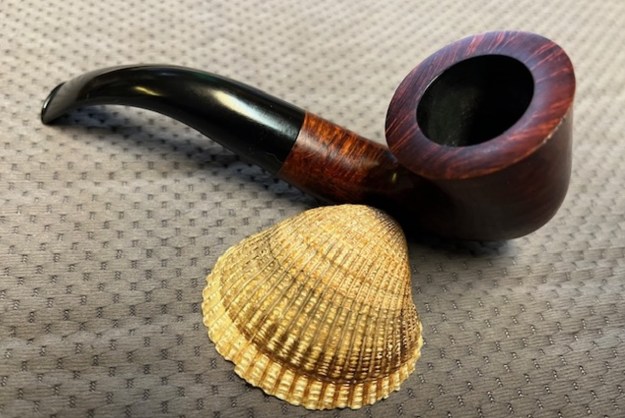
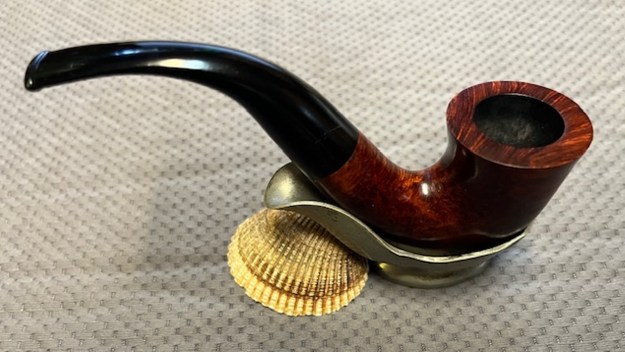
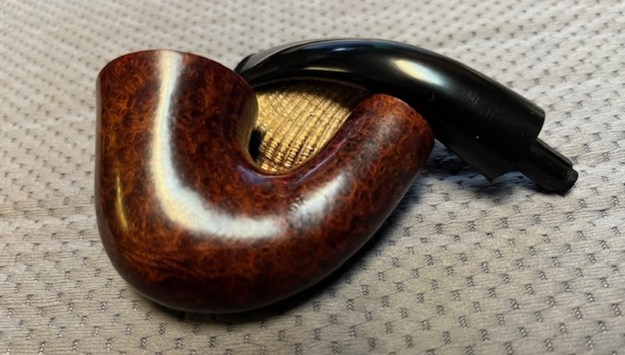
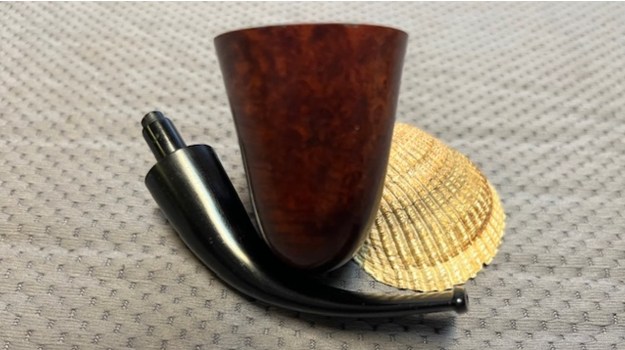
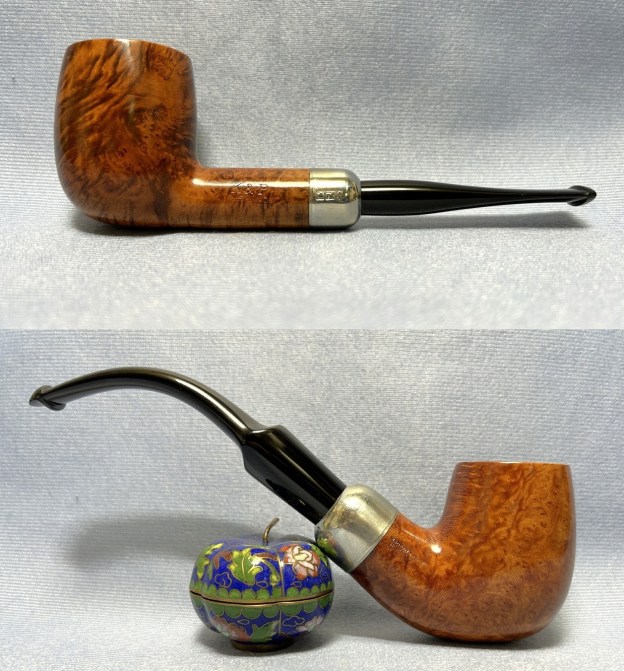
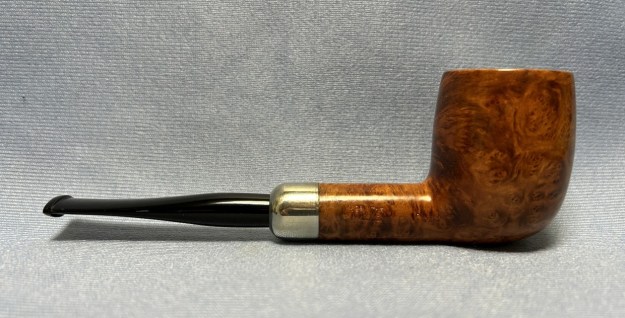
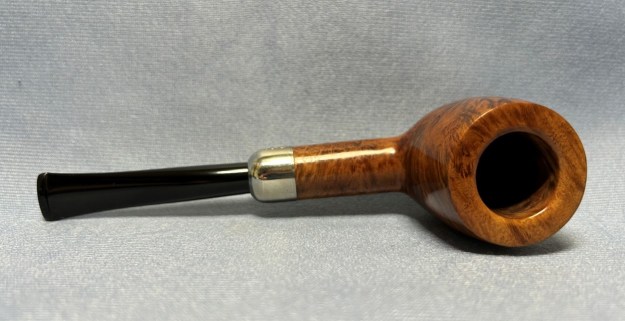
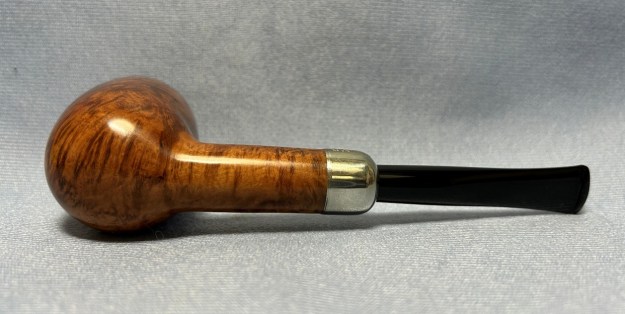
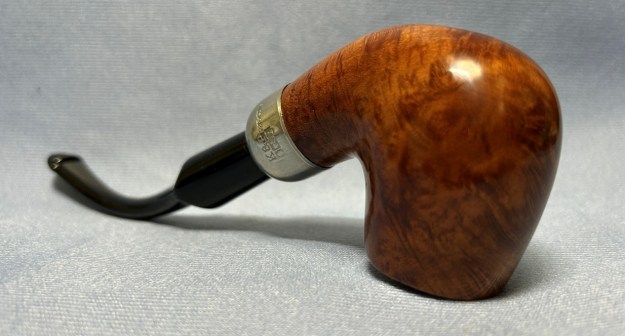
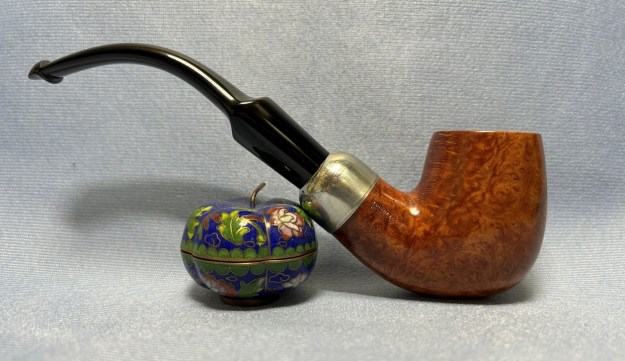
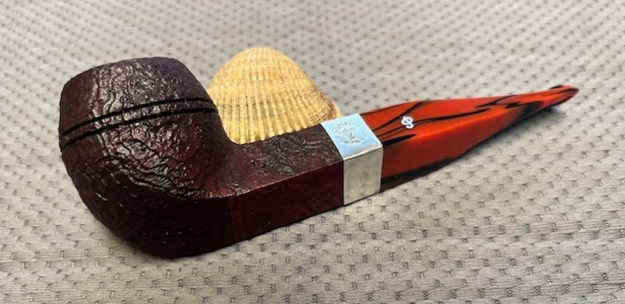
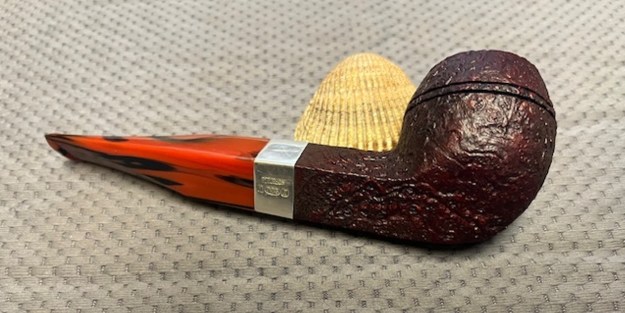
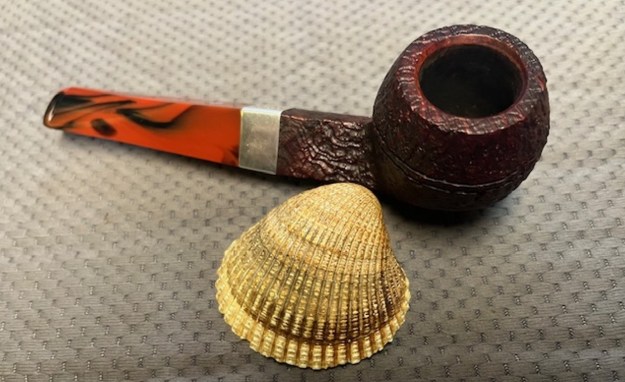
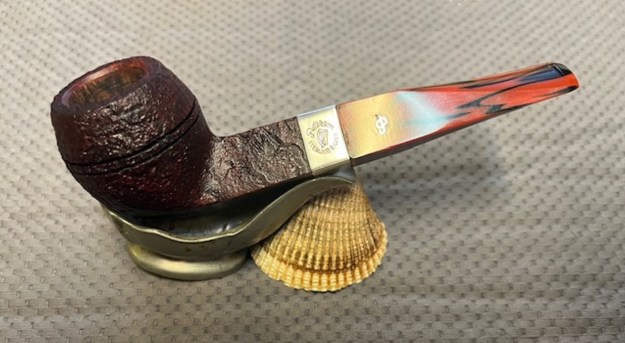
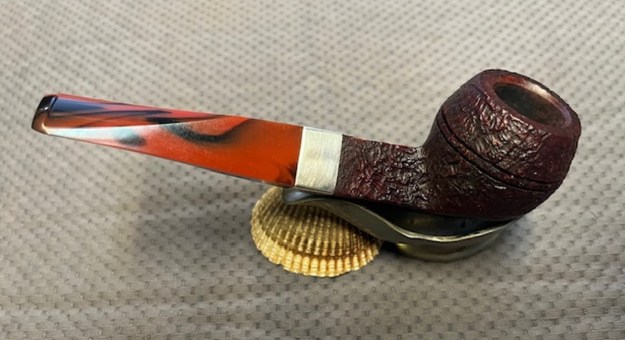
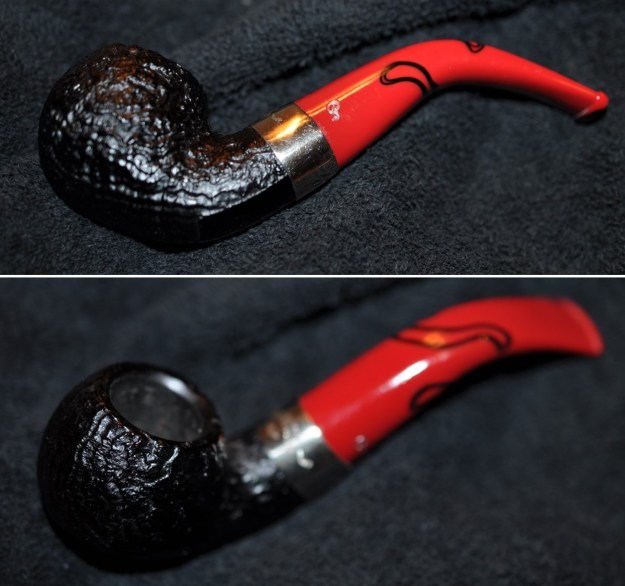
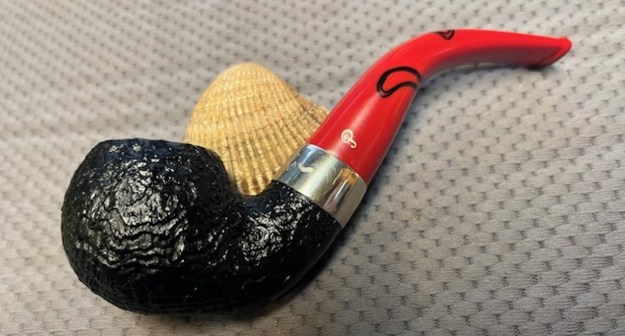
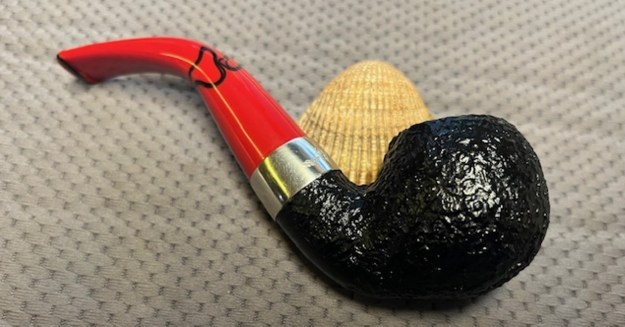
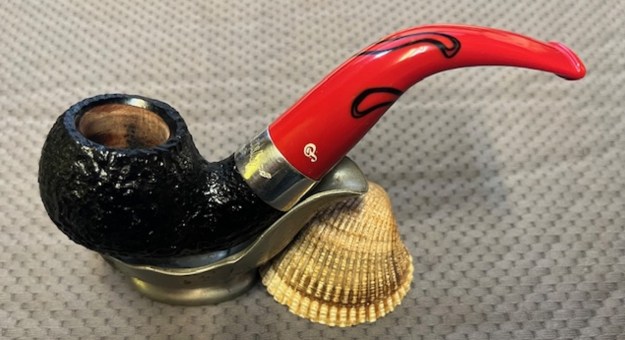
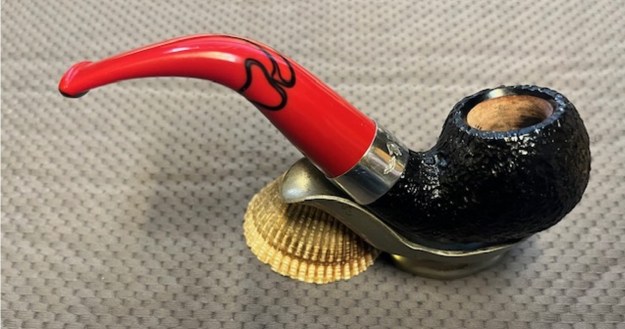
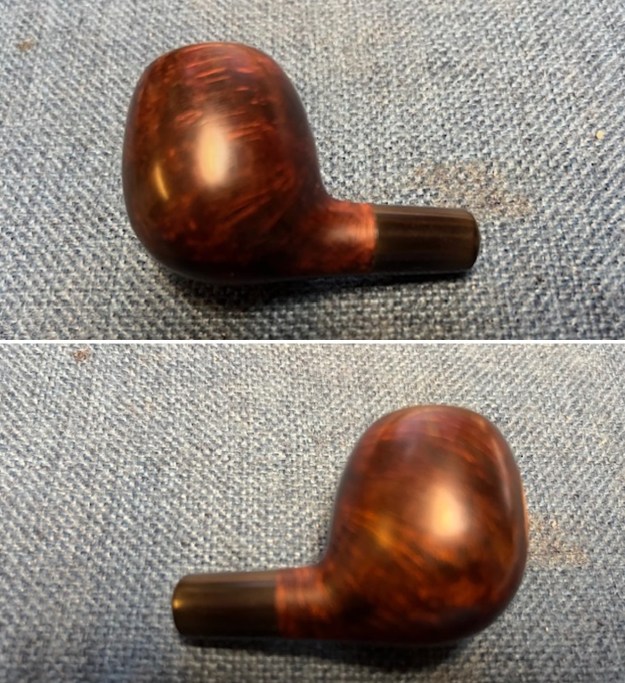
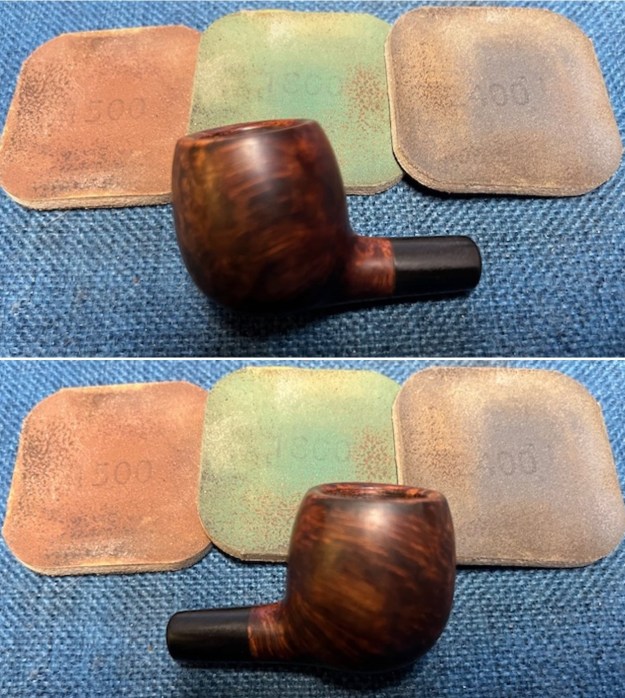
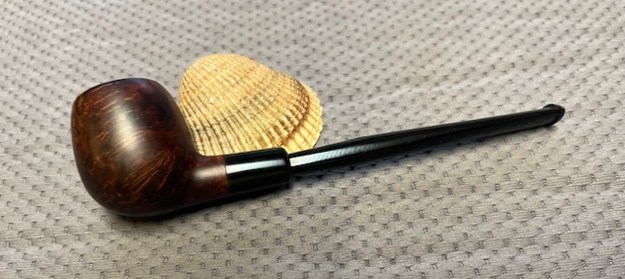
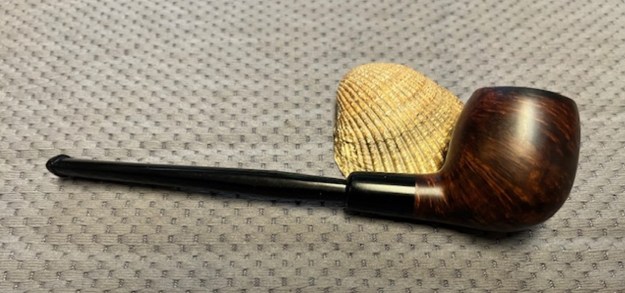
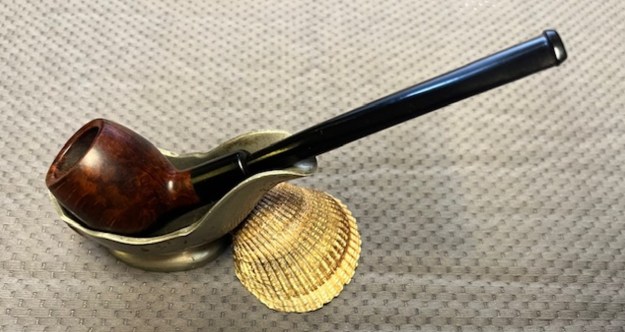
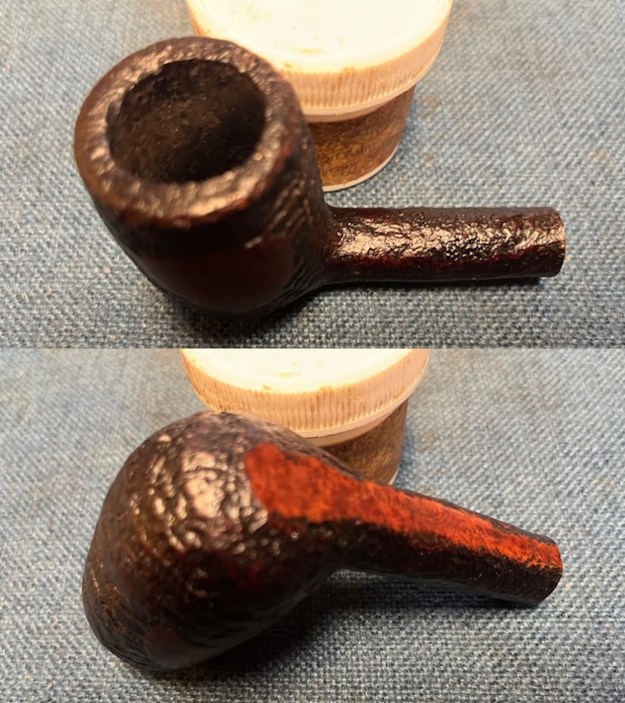
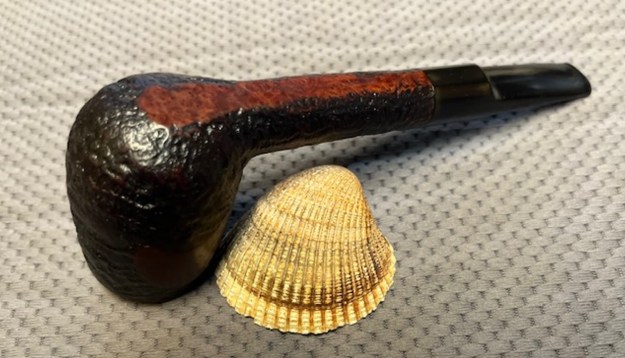
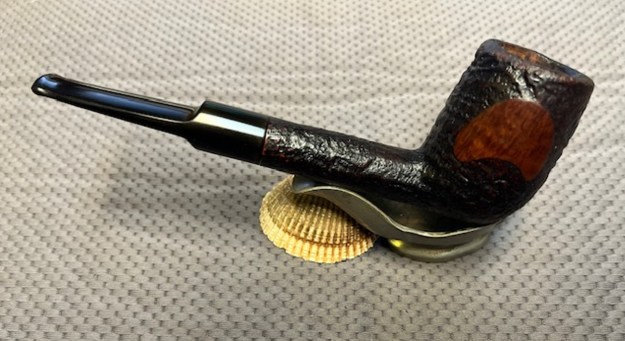
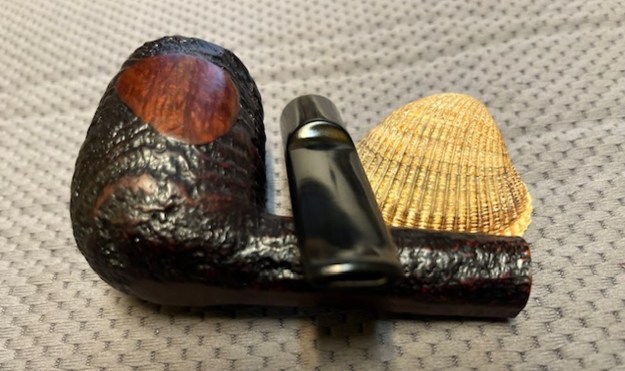
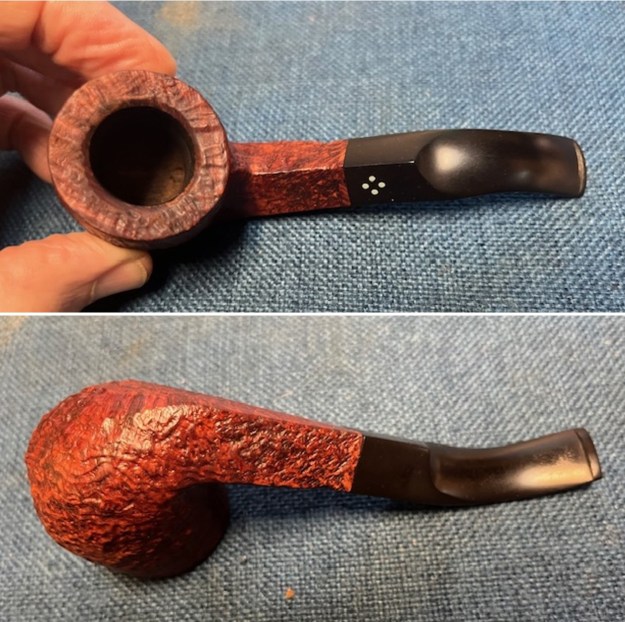
 This Sasieni 4 Dot Ruff Root Light 5 Diamond Shank Bent Billiard with a vulcanite saddle stem is a great looking pipe now that it has been restored. The beautifully grained sandblast finish really works well with the shape and the polished finish is stunning. I put the stem back on the bowl and carefully buffed the bowl and the stem with Blue Diamond on the buffing wheel. I gave the bowl and the stem multiple coats of carnauba wax on the buffing wheel and followed that by buffing the entire pipe with a clean buffing pad. I hand buffed the pipe with a microfiber cloth to deepen the shine. I wiped down the Sterling Silver band with a jeweller’s cloth to protect and polish it. The finished Sasieni 4 Dot Ruff Root Bent Billiard 5 fits nicely in the hand and feels great. Give the finished pipe a look in the photos below. The dimensions of the pipe are Length: 5 ½ inches, Height: 2 inches, Outside diameter of the bowl: 1 ½ inches, Chamber diameter: 7/8 of an inch. The weight of the pipe is 50 grams /1.76 ounces. I will be putting it on the rebornpipes store in the British Pipe Makers Section shortly. Let me know via email or a message if you are interested in adding this pipe to your collection.
As always, I encourage your questions and comments as you read the blog. Thanks to each of you who are reading this blog. Remember we are not pipe owners; we are pipe men and women who hold our pipes in trust until they pass on into the trust of those who follow us.