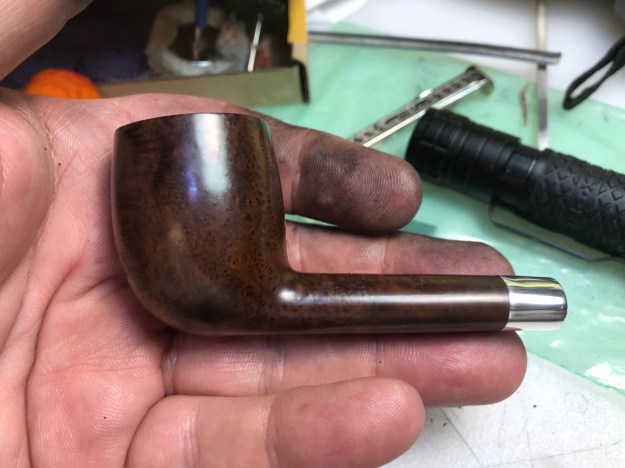
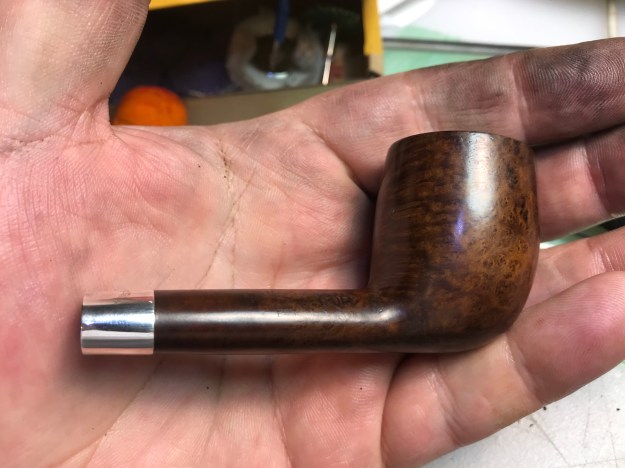
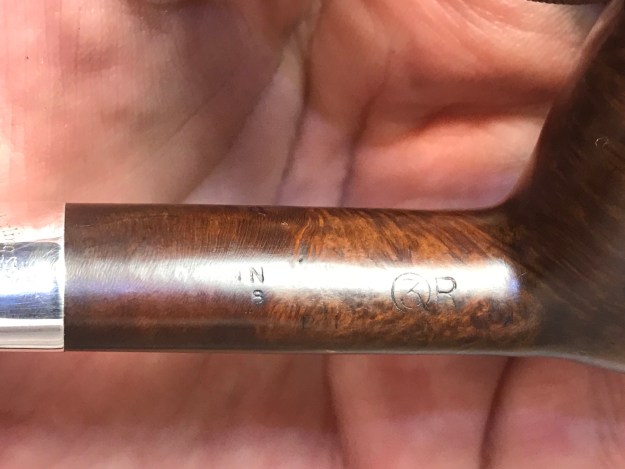
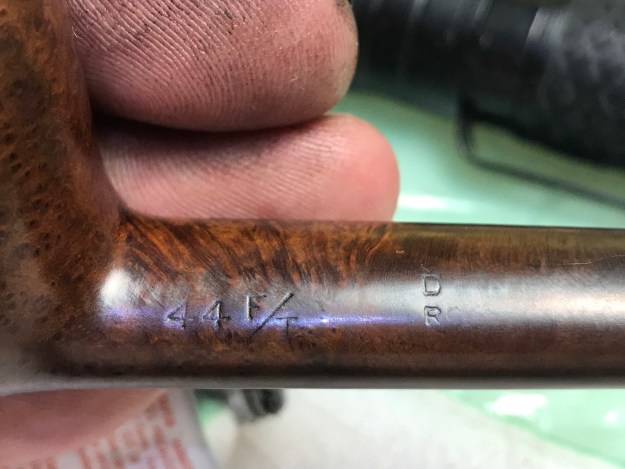
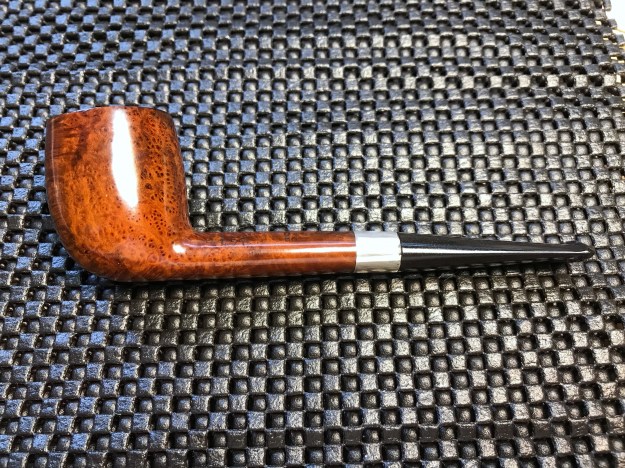
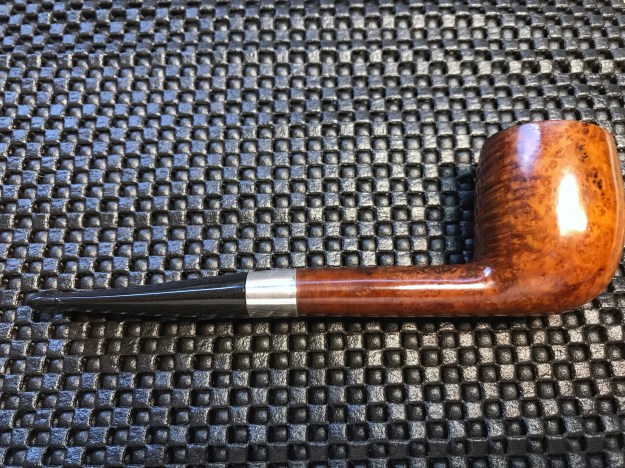
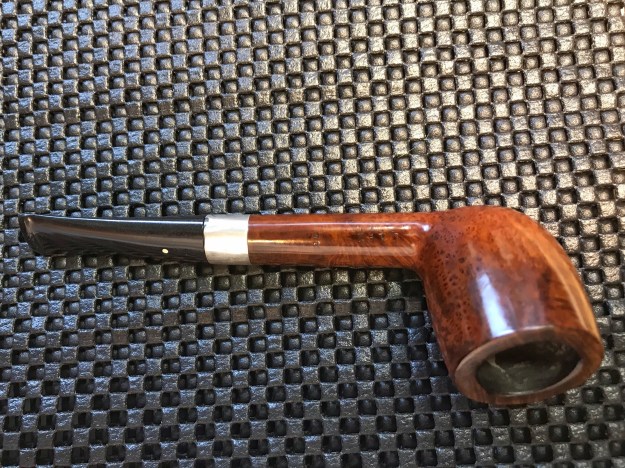
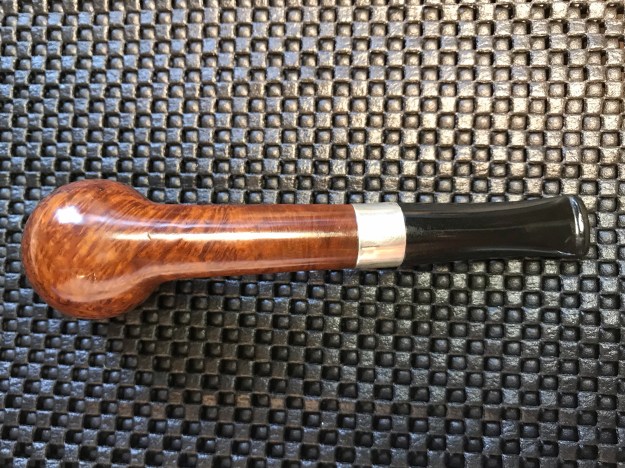
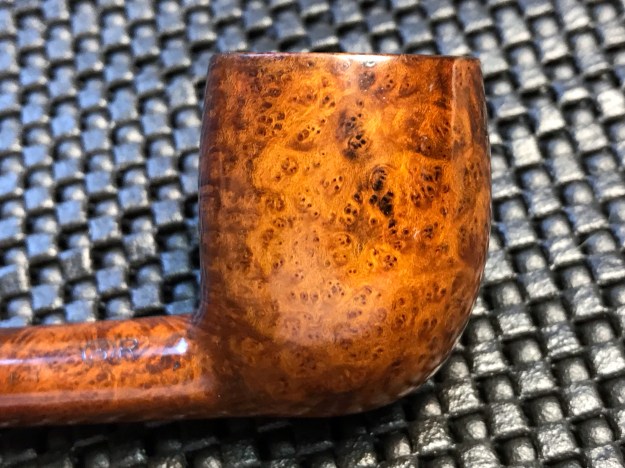
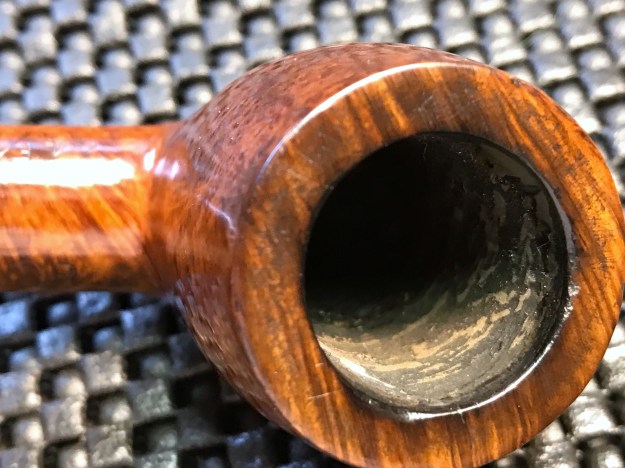
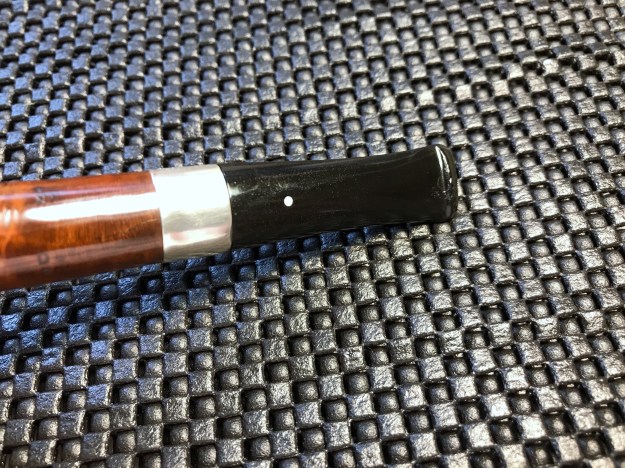
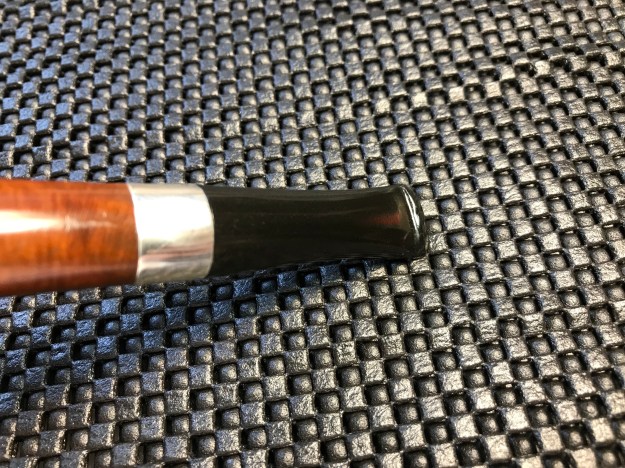
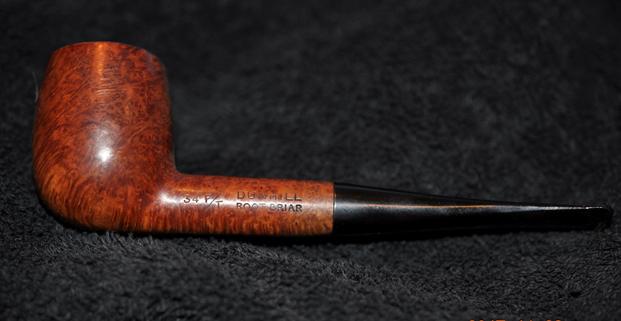
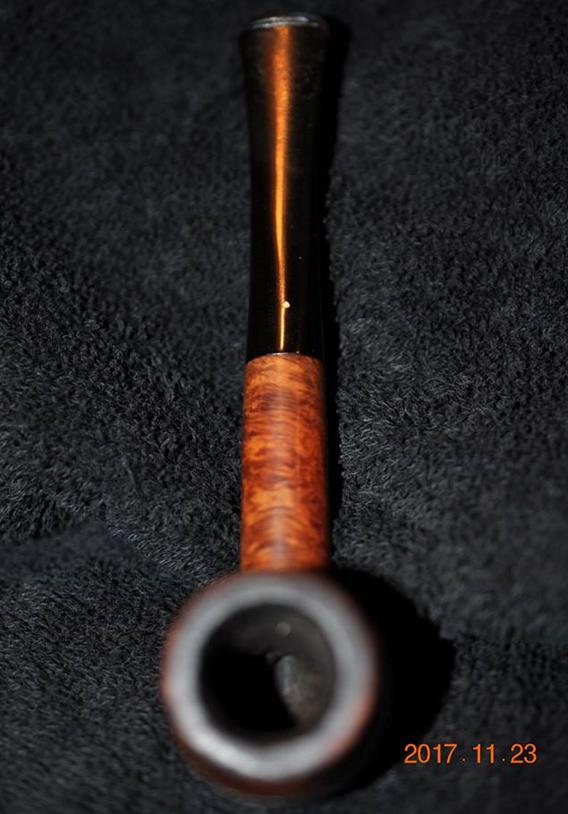
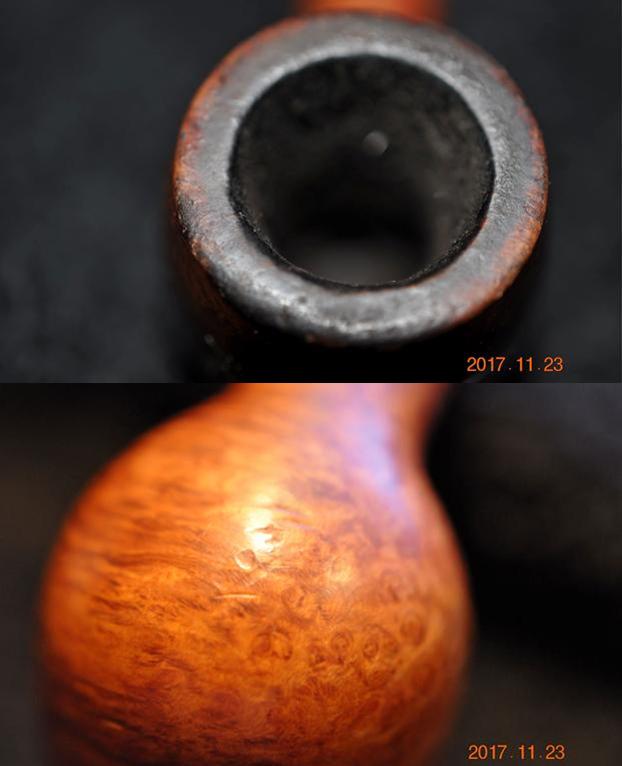
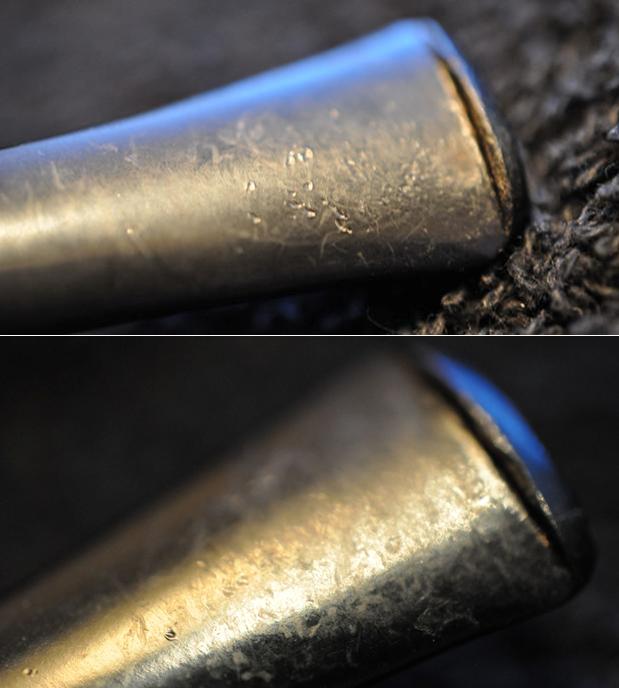
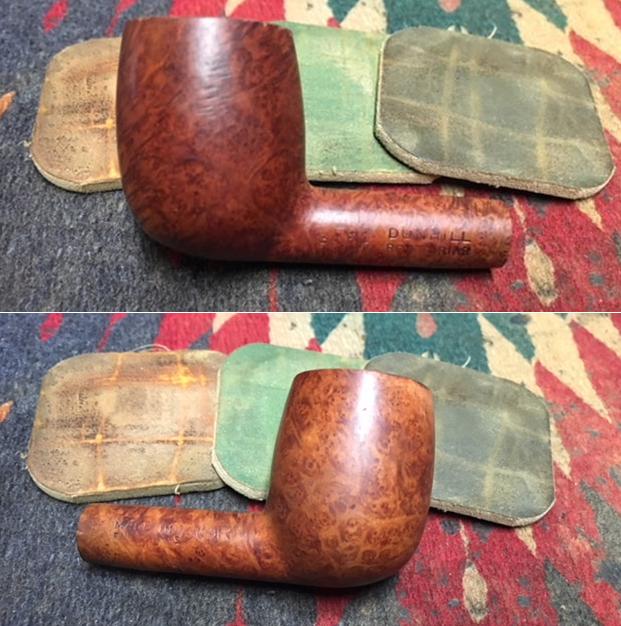
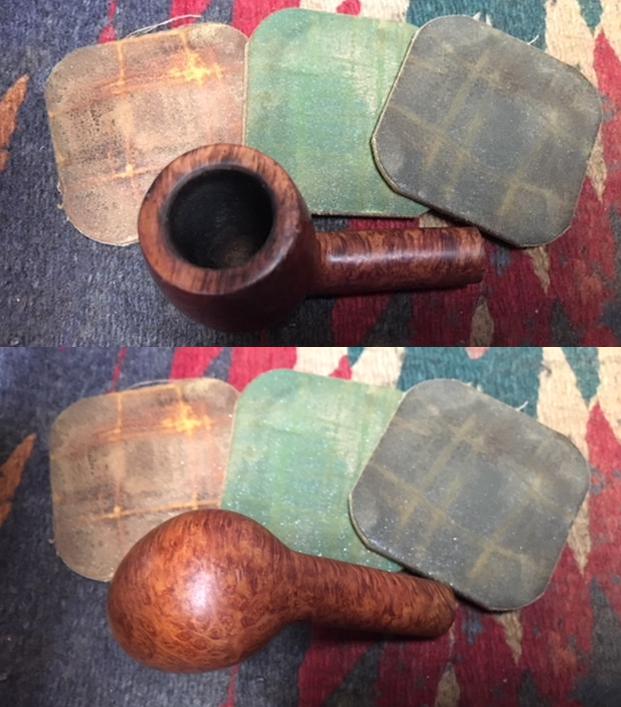
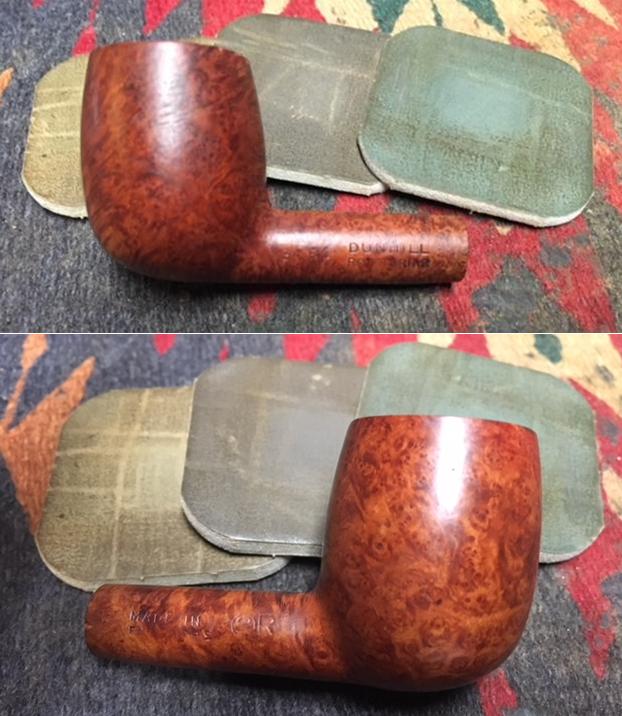
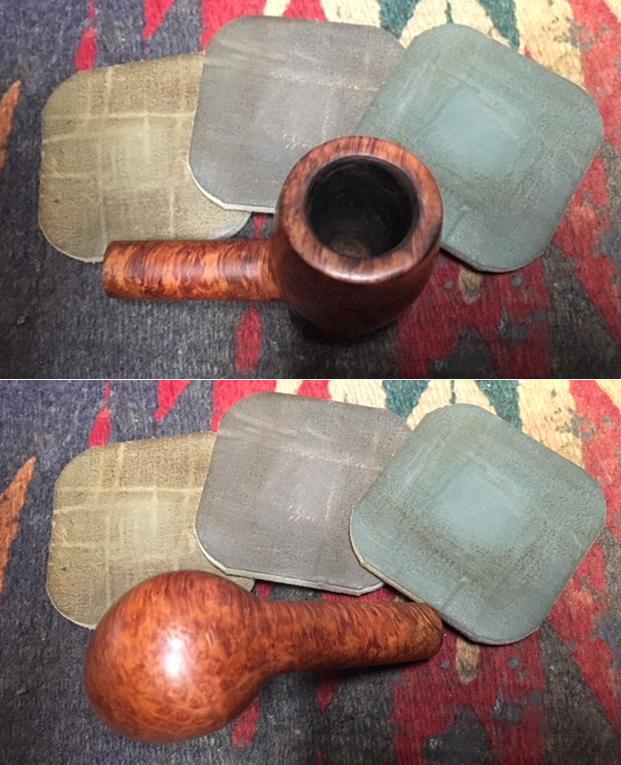
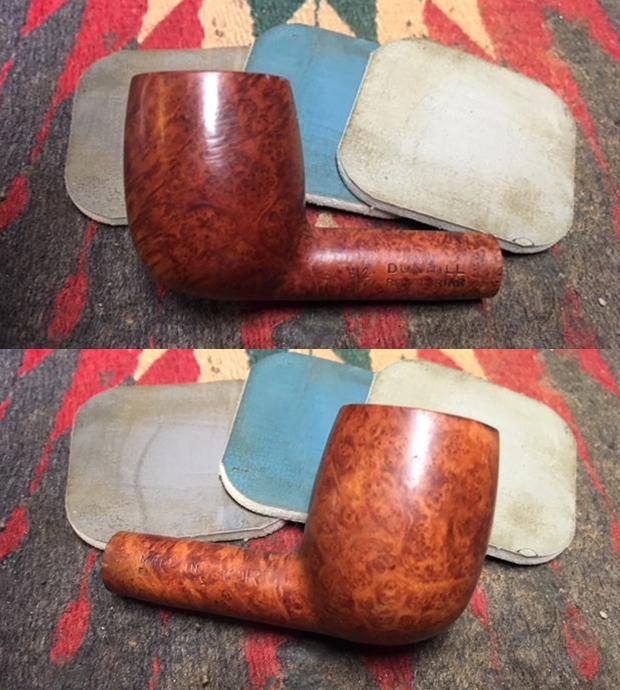
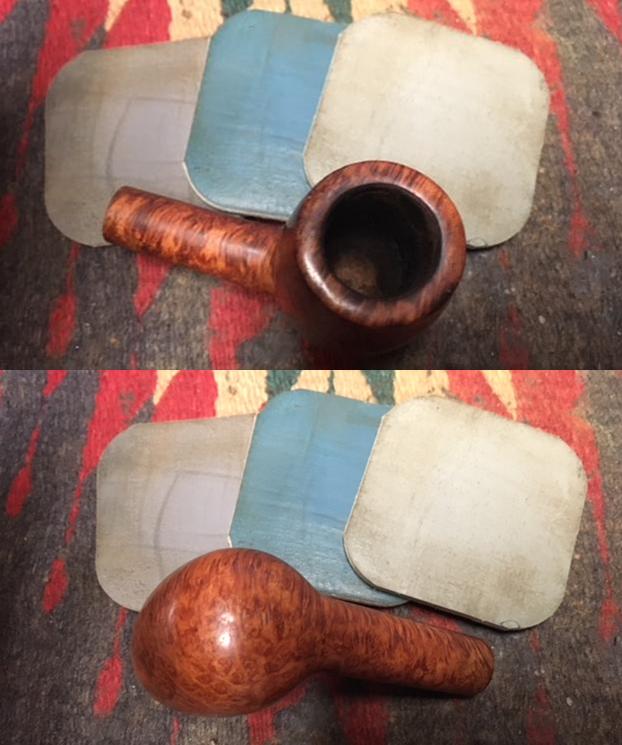
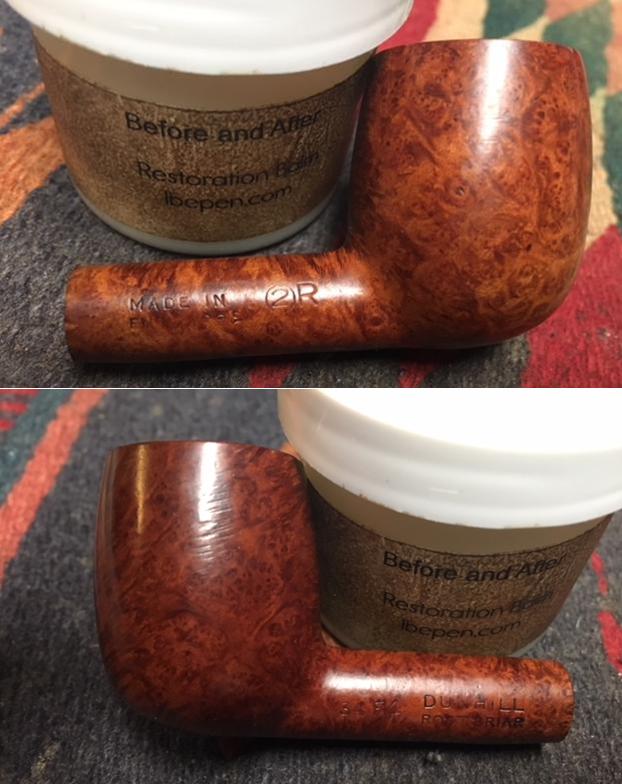
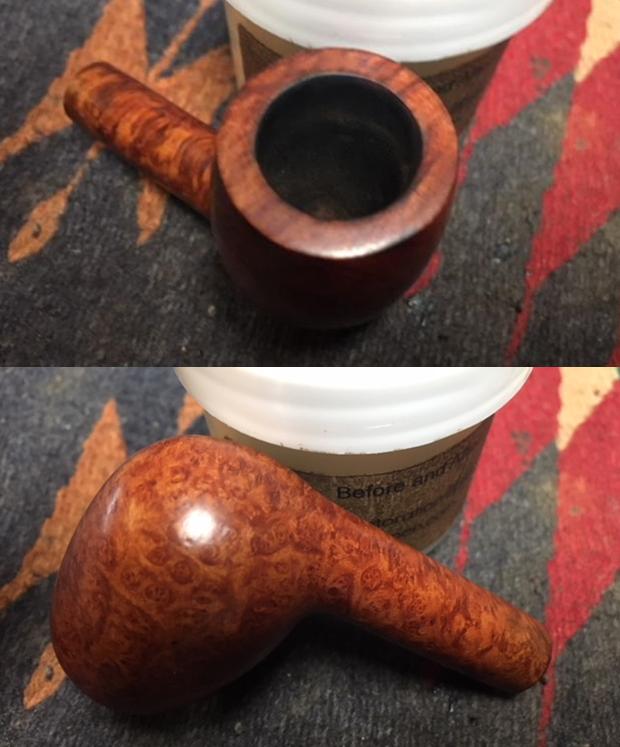
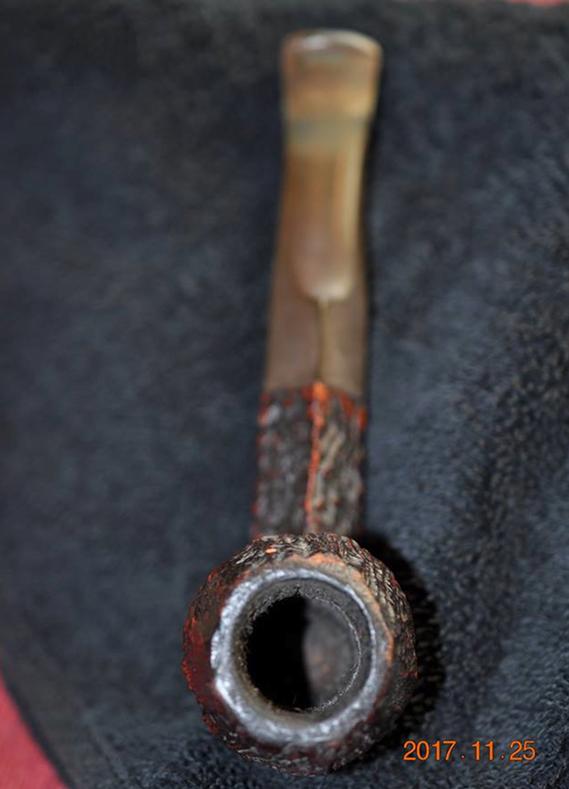
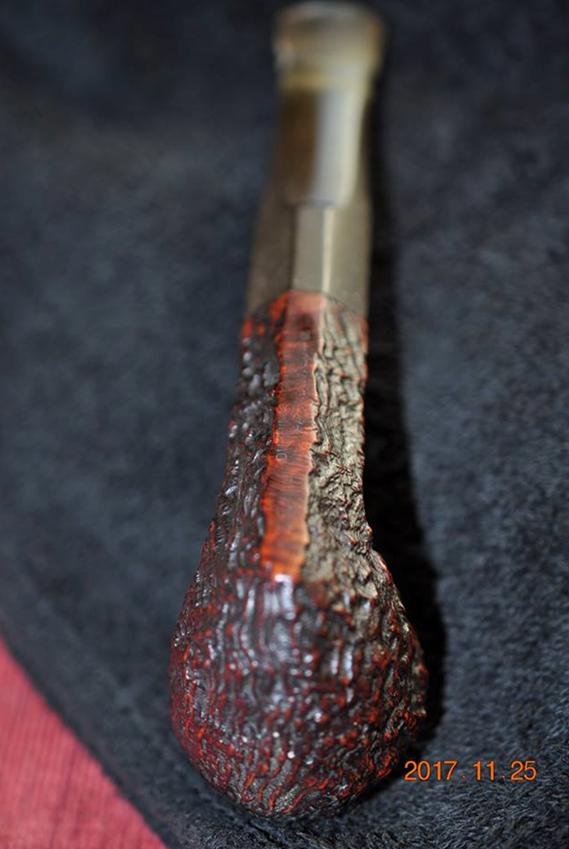
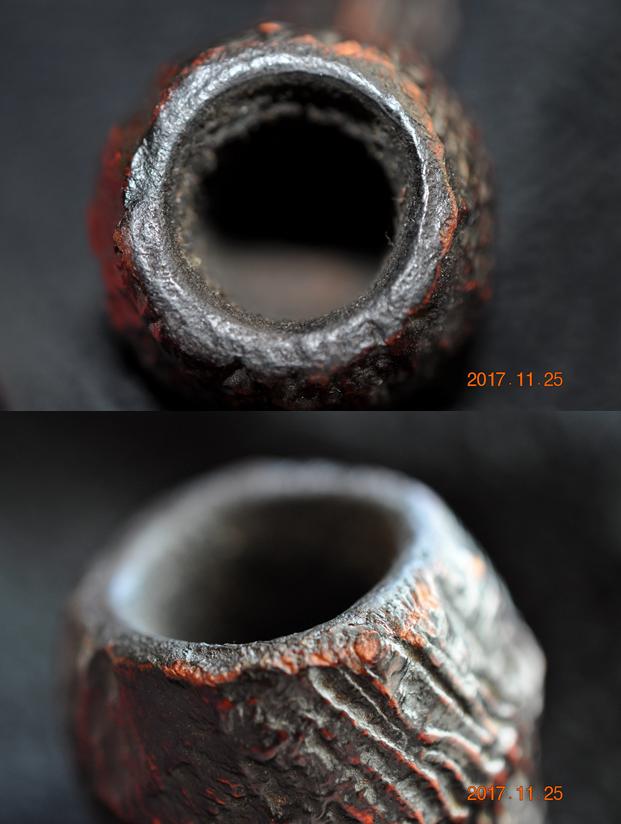
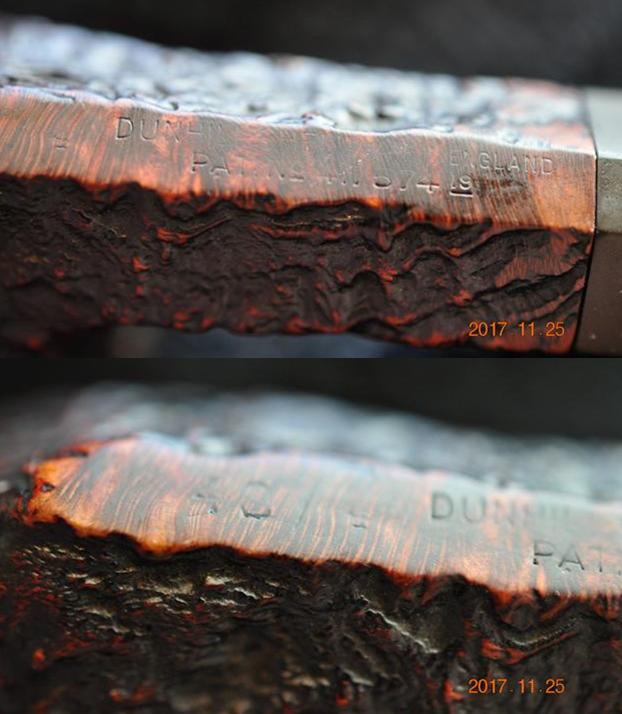
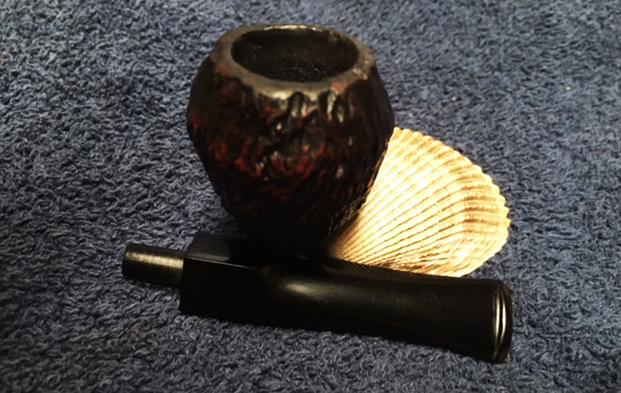
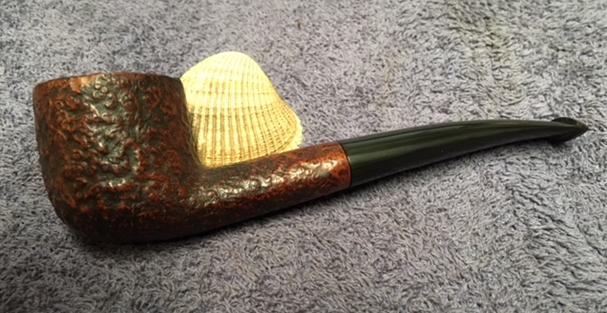
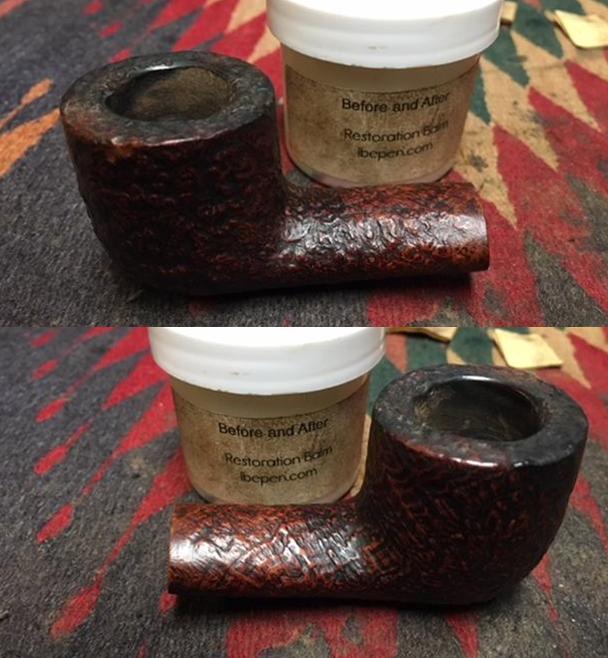
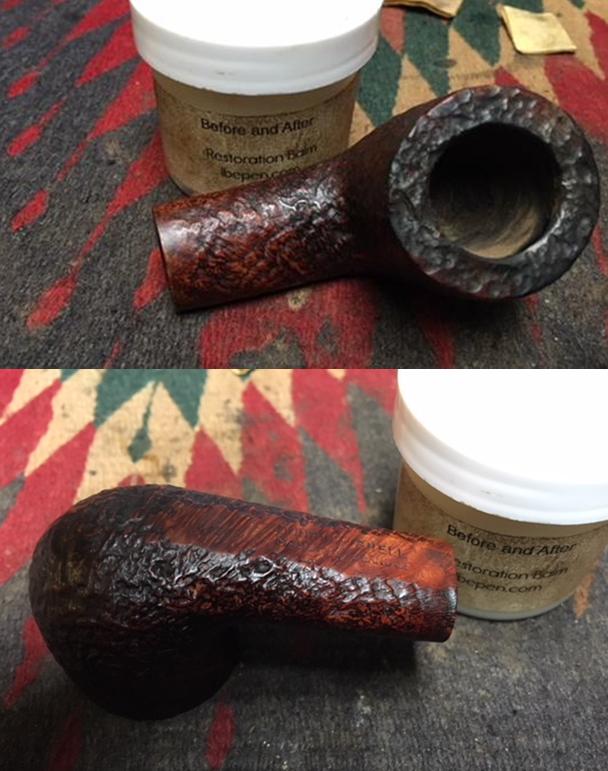
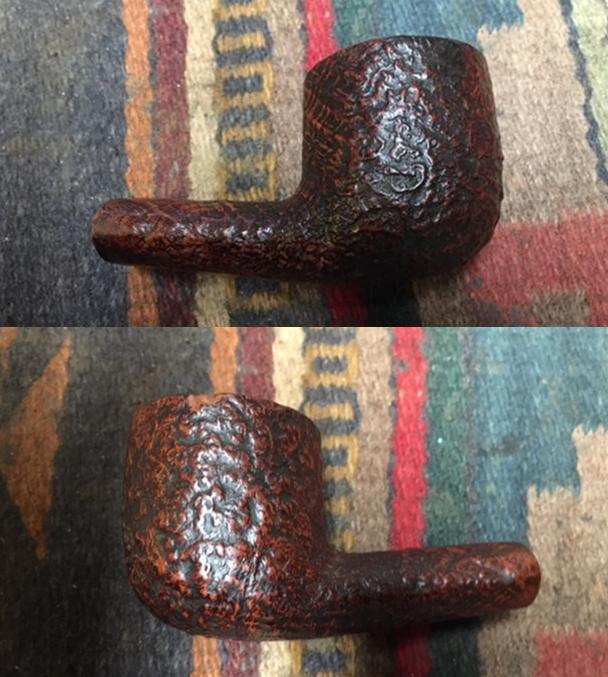
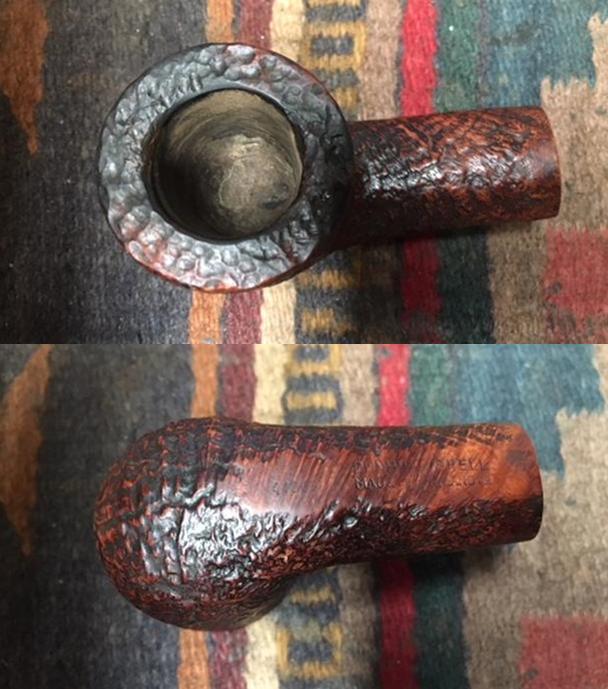
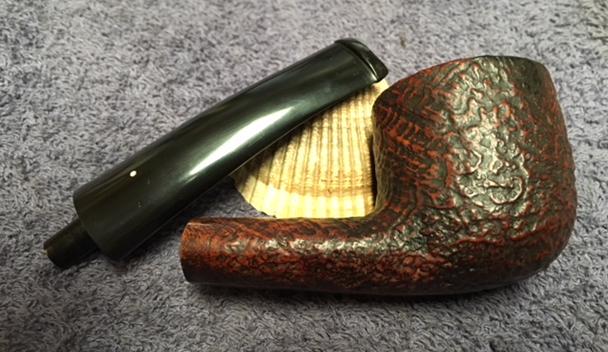
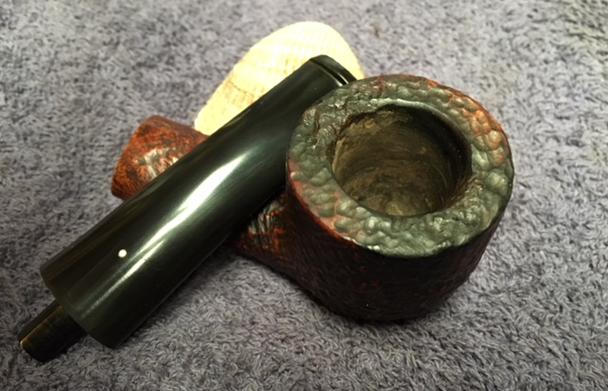
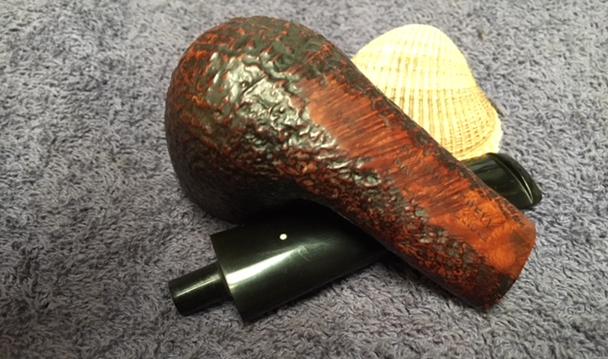
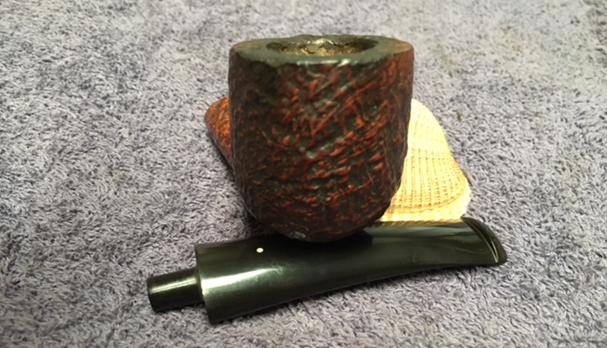
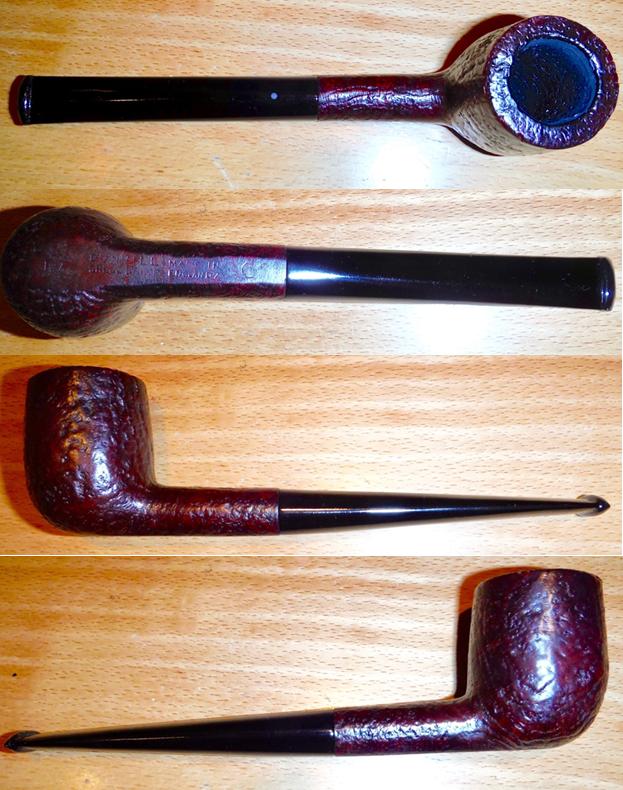
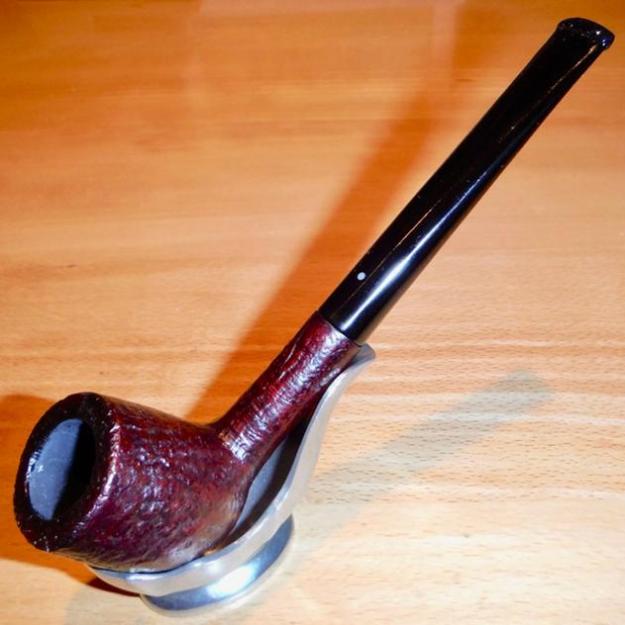
Tag Archives: Dunhill pipes

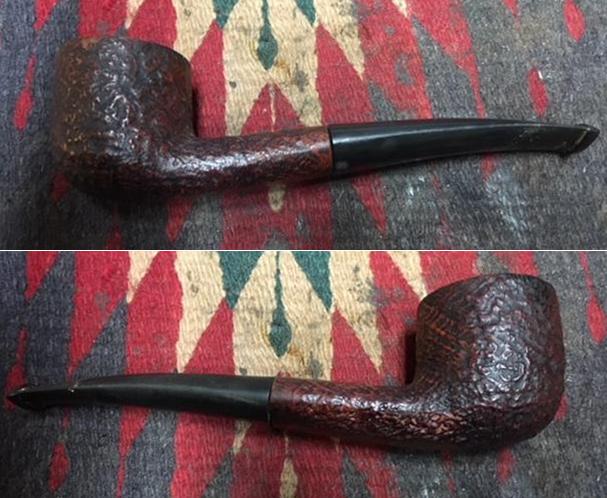
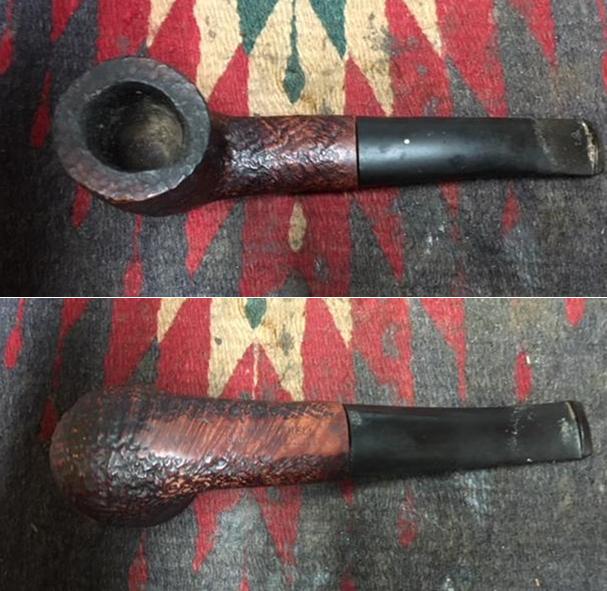
The Resurrection Special: Part 1


A few years back there was a thread on Pipes Magazine’s repair and restoration forum about three lots of pipes a member was giving away. The first lot was a very easy “beginner” lot, the second was slightly more challenging, and the last was called The Resurrection Special and had the most challenges. No information was given about the pipes or (as far as I recall) their issues.

The first two lots were spoken for fairly quickly but the third sat there, unloved, for a little while. After looking at the post for as long as I could stand I sent a PM to the original poster and said “I’ll bite; send them my way and I’ll see what I can do”.

When the long, medium sized box arrived on my doorstep I was excited to see what I had gotten myself into. I took them straight to the kitchen table (my wife wasn’t home so I could do that lol) and cut open the box. The contents were carefully packed in newspaper which held three bubble wrapped pipes. I was like a kid on Christmas morning getting ready to open each one!

The first pipe I opened was a lovely old Tracey Mincer Bulldog -type shape. I had seen photos of and read about Mincer’s different pipes but had never held or owned one yet.

The second pipe turned out to be a Peterson System pipe, my first both of this historic marquee and type. It was hallmarked 1973 and looked every day of it. I was a little intimidated by the work this one would take.

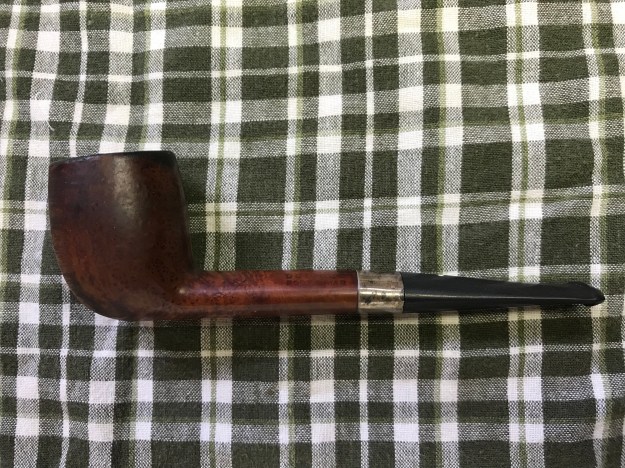
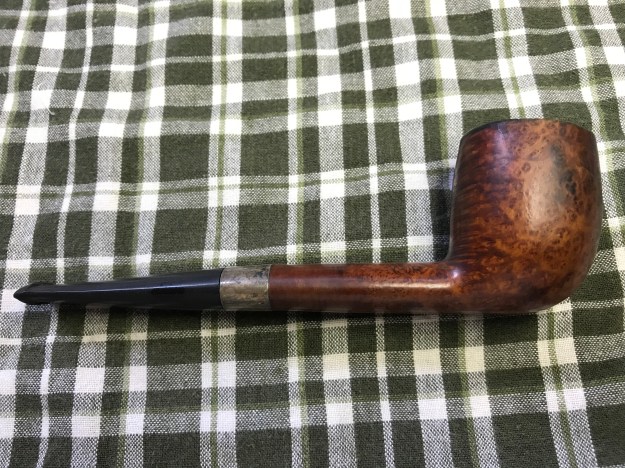
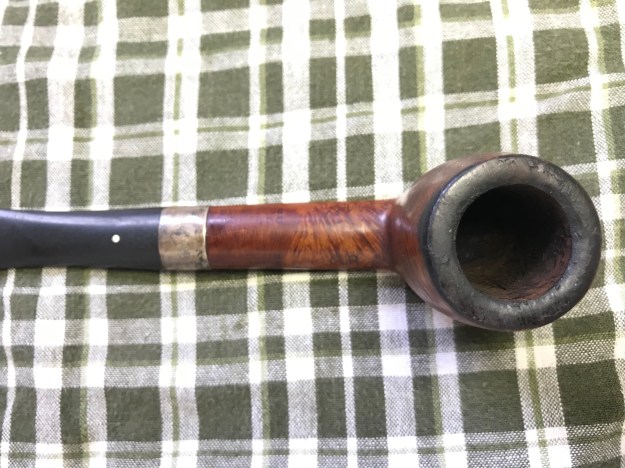
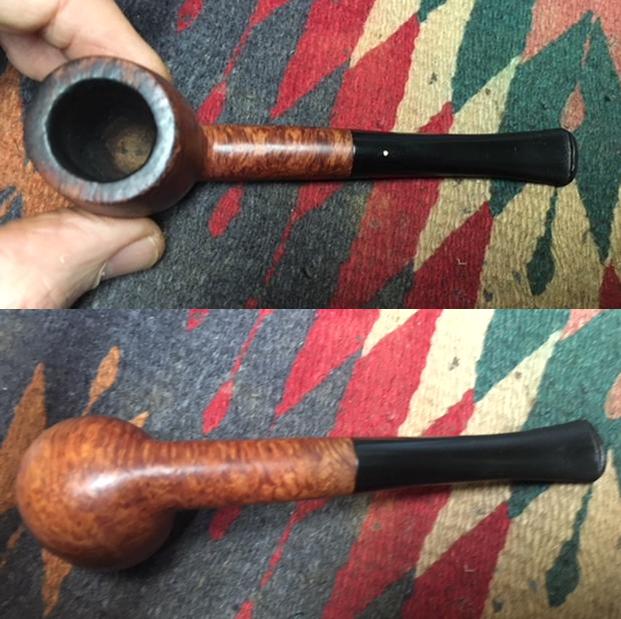
As I unwrapped the third pipe my mind was still on the Peterson and what a great pipe I hoped it would be after a lot of work went into it. The last pipe was just over medium in size I noted as the bubble wrap was peeled away. A silver band was the first thing to catch my attention, looking at the pipe upside down when it was finally out of its protective shroud.

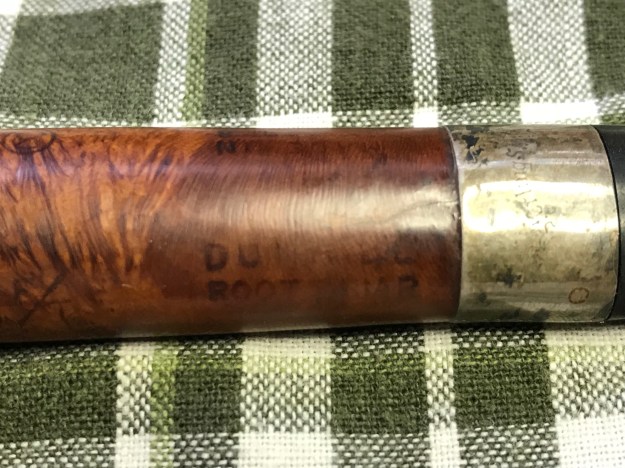
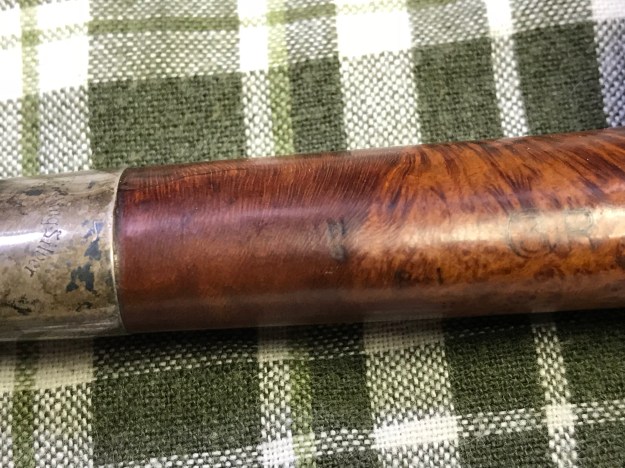
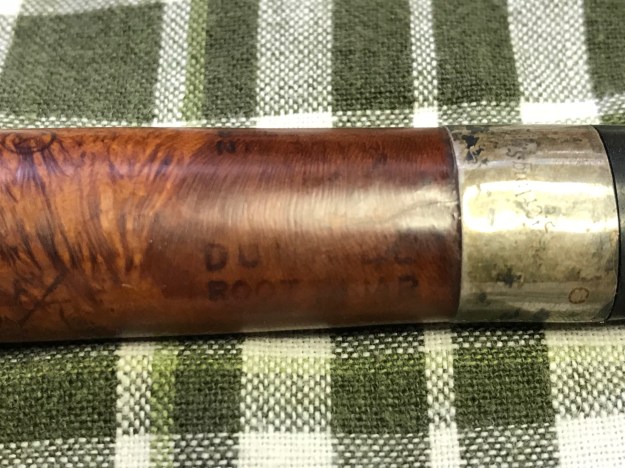
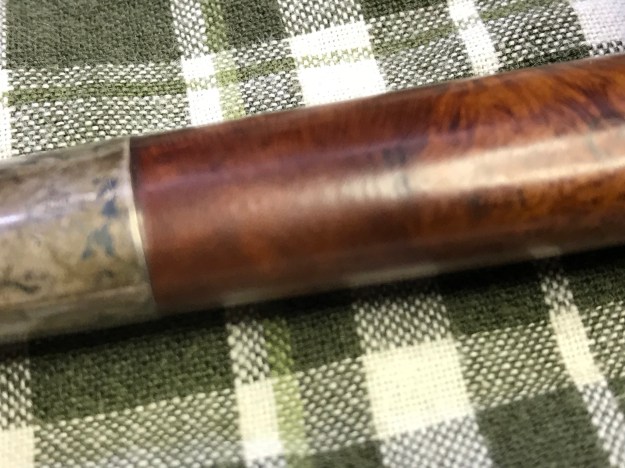
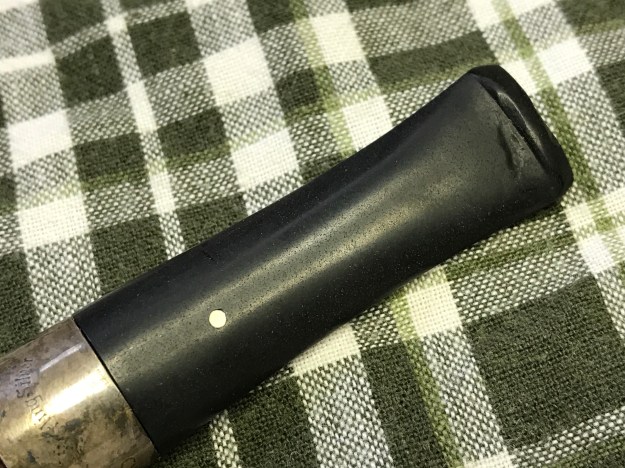
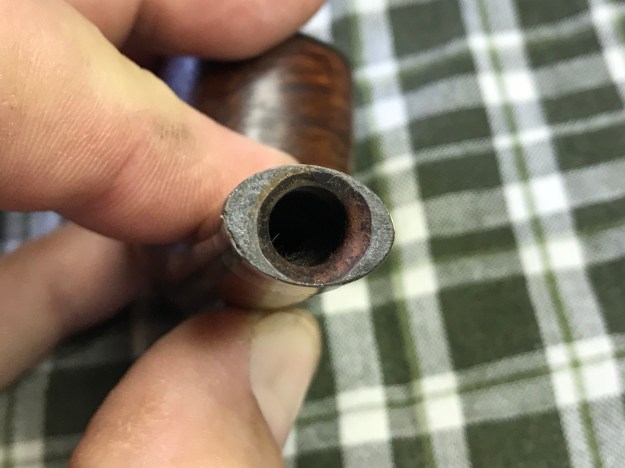
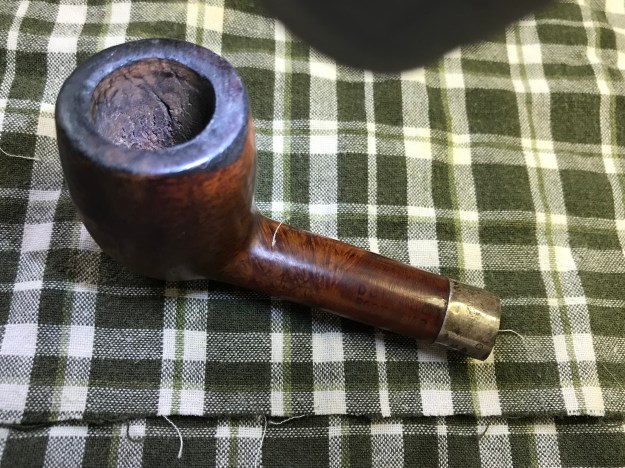
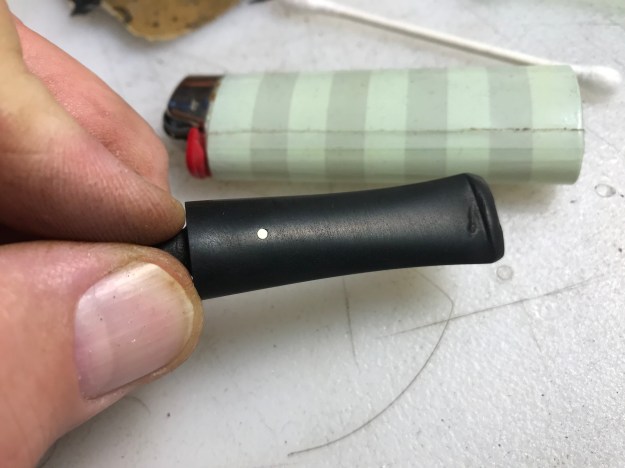
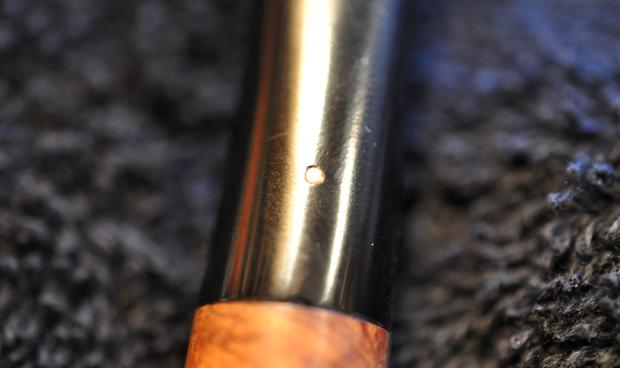
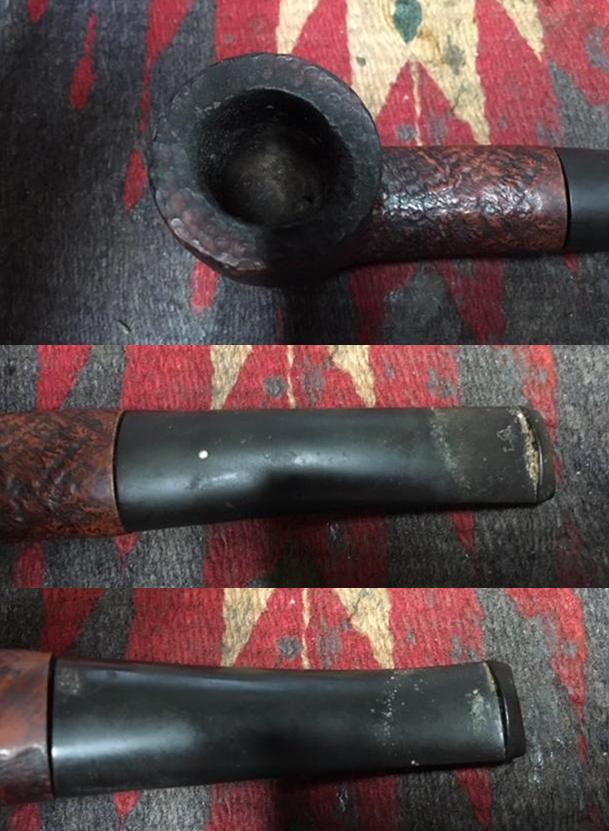
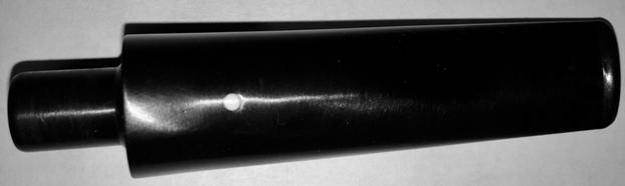
I rolled the pipe over to look for it’s stamping. That’s when I saw it: A White Dot in the stem! “Surely not”, I thought to myself, “this can’t be a Dunhill, can it?” The nomenclature was very worn but readable enough to see it was a Dunhill. I immediately went to get my loupe to see what year the pipe was made, if possible. Looking it over under magnification I found two things I’d not yet seen: enough stamping to date the pipe and that the silver band was a repair for a cracked shank.

The discovery of the crack slowed me down a bit. I went to get a flashlight to inspect the pipe closer. The crack seemed to be well repaired with the band; that was a good find. But looking at the bowl I realized there was a pretty big crack in it, too. So much for my bit of relief … I decided to check the year of the pipe’s manufacture and leave the repair thoughts aside for now.

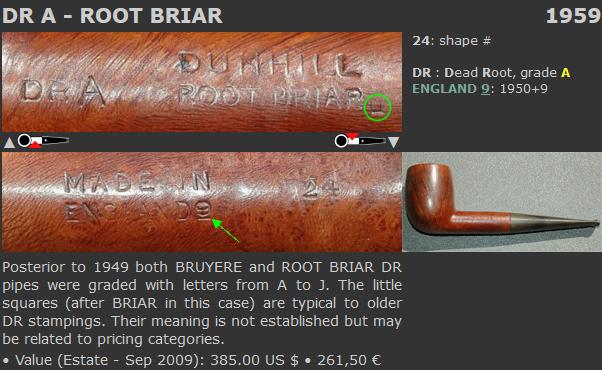
After a quick internet search I came up with a link to a Dunhill dating chart on Pipephil’s site. It took only a moment or so to find the results but it took a bit longer for the results to sink in. If I was reading everything right, this pipe dated to 1968, which is my birth year! I was giddy as a schoolgirl at this moment… and nervous as a cat at the same time.

At this point I had not worked on any pipe as (potentially) valuable as these. I also hadn’t tried to undertake any repairs as extensive as these looked to be. After a lot of debate, I finally decided to put the lot away until I’d tackled a few more repairs and had more experience under my belt and tools in my arsenal. Over time as I repaired and restored more pipes I began to raise my confidence levels. Each project I completed had as the goal getting me ready for the Resurrection Special lot.

About when I felt it was time to take on these challenges life threw a few curveballs at me, personal issues that put most of my hobby time on hold. Fast-forward a few years, it’s time to get to the Resurrection Special lot.

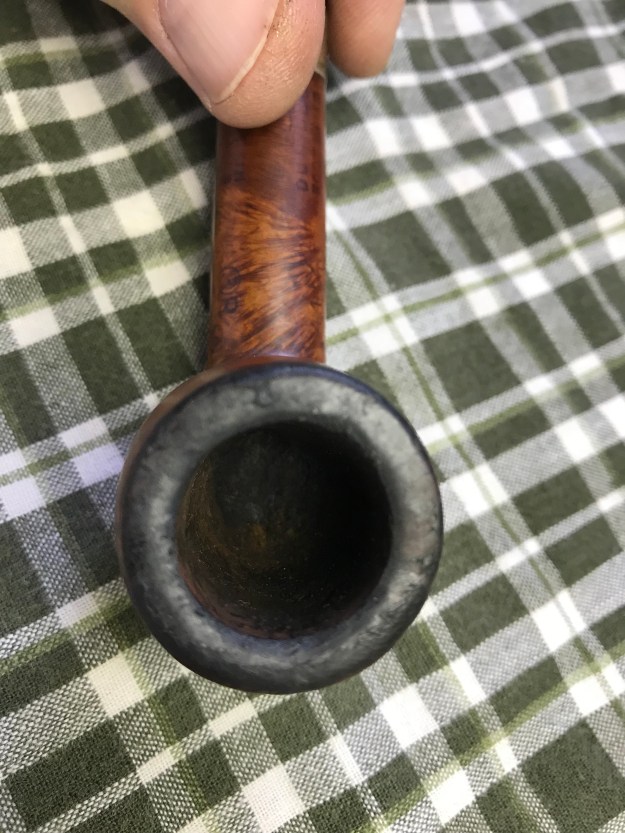
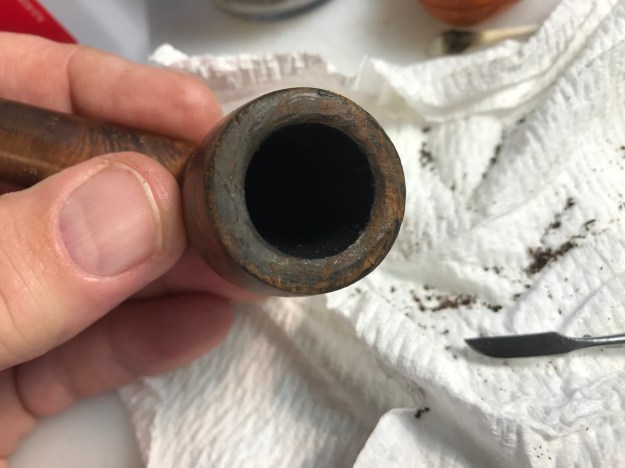
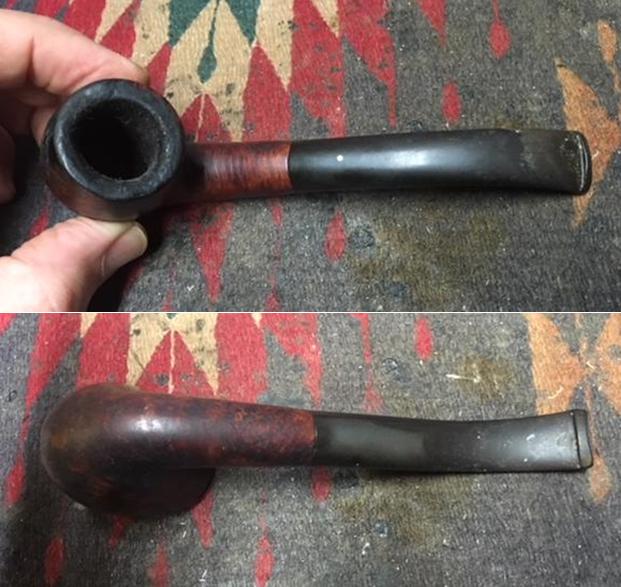
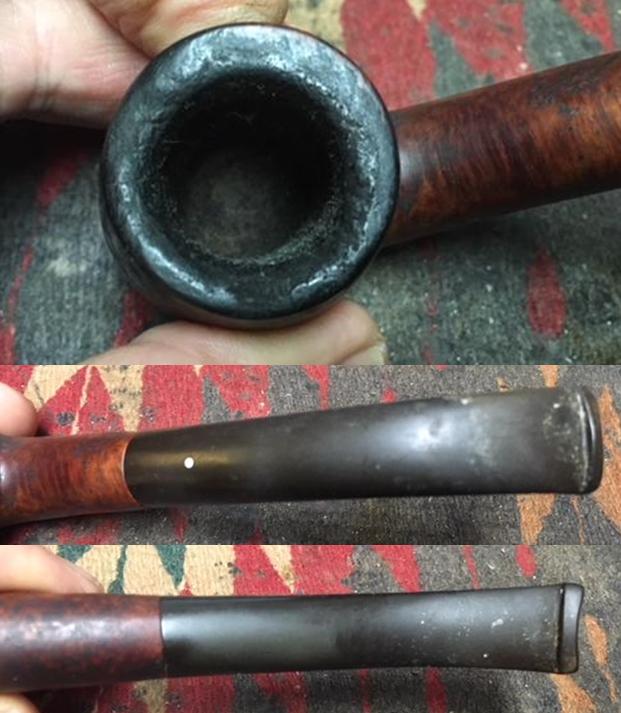
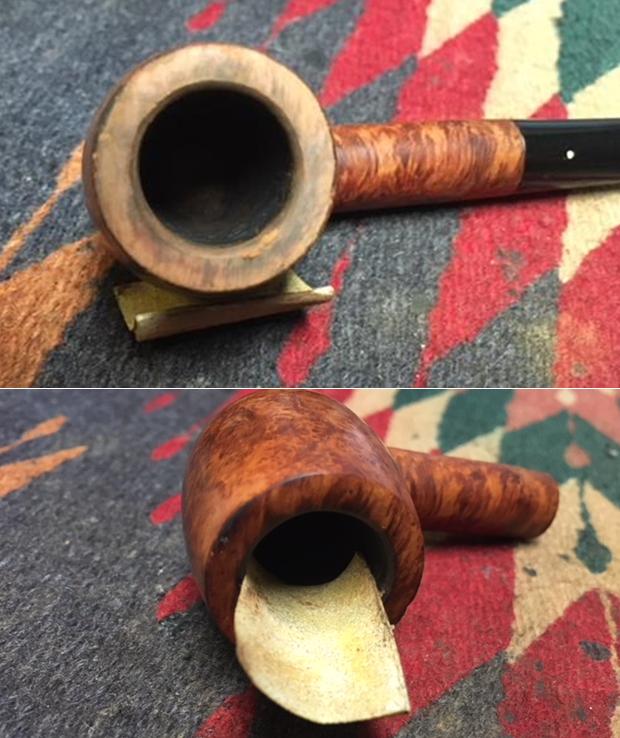
Looking more closely at the pipe when I unpacked it again I saw that much of my past inspection was correct: the shank repair and band were tight and holding well with no “feel” when I rubbed a fingernail over it, the pipe did date to 1968 as I thought, and the bowl would need work, though not as much as I thought. The pipe was very dirty, the rim being covered in a thick layer of lava. The stem had a little oxidation and some tooth dents. The silver band was tarnished.

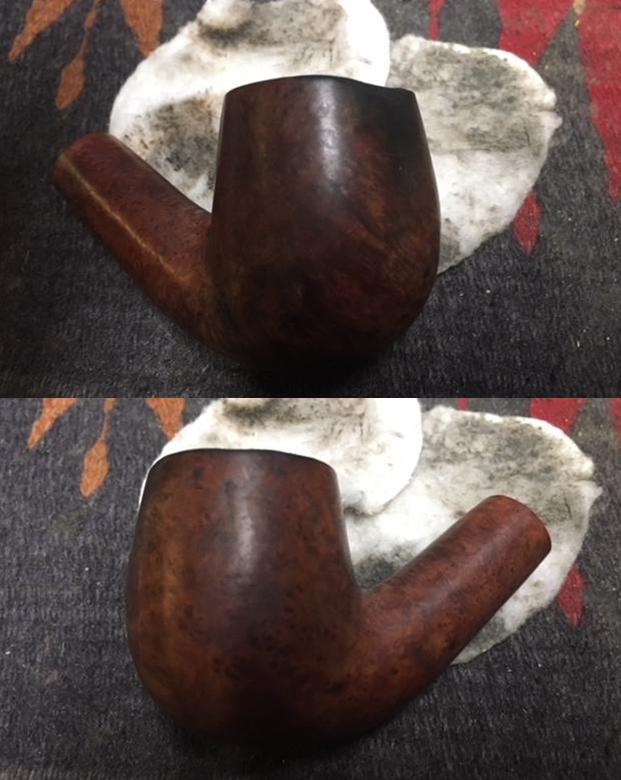
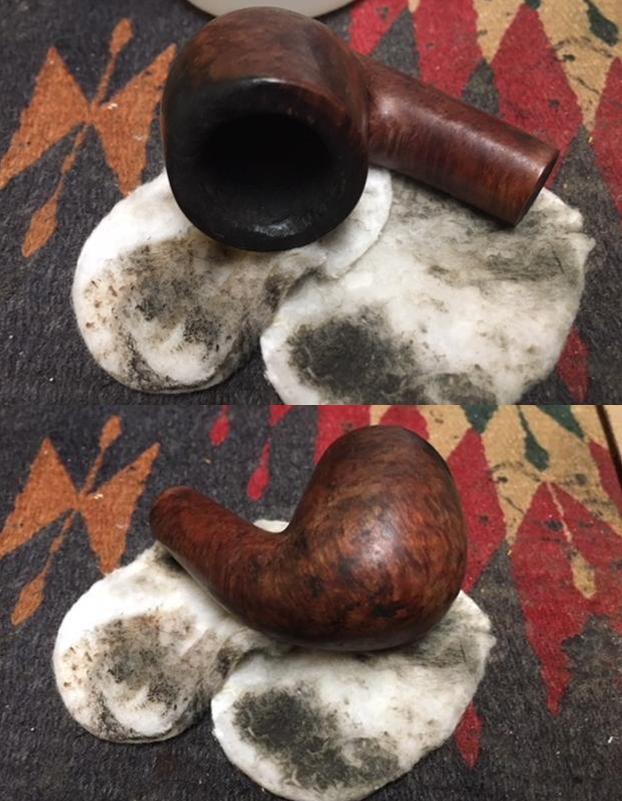
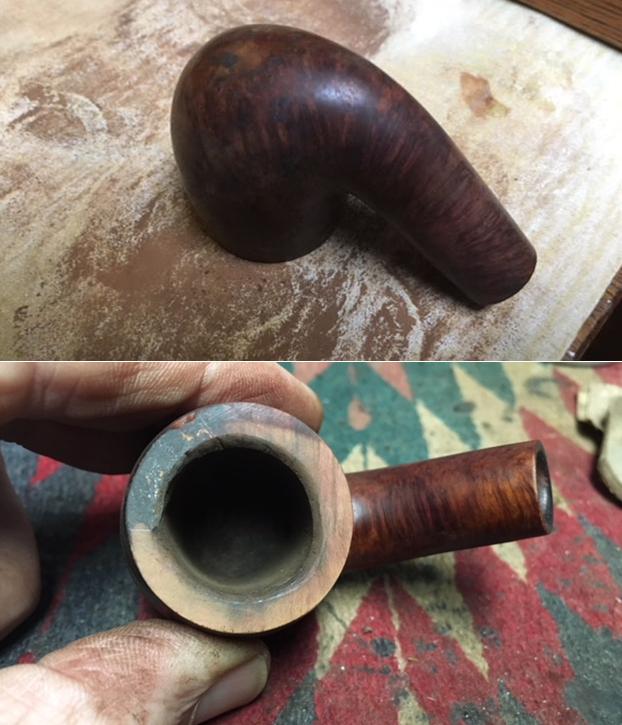
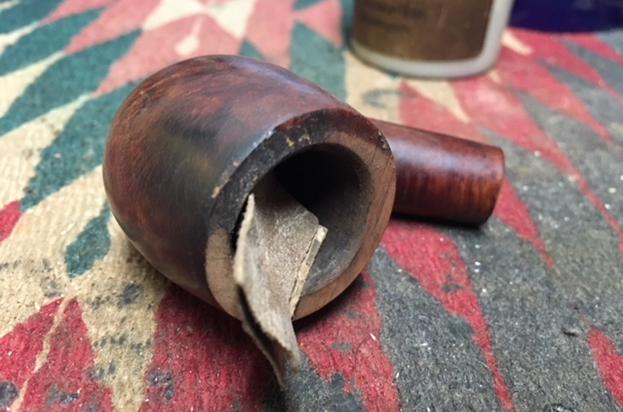
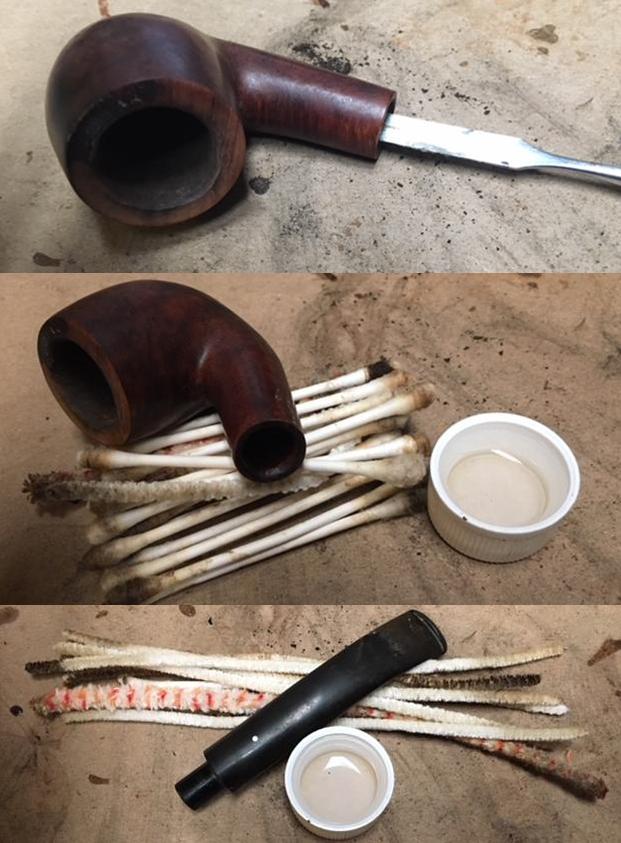
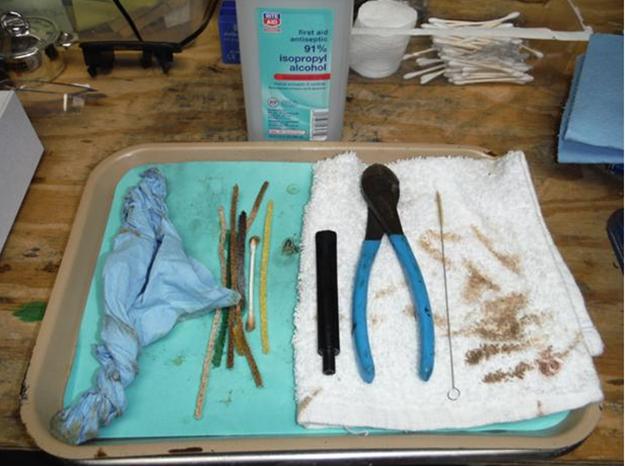
I began with the rim; I had no idea of it’s condition under the lava and I wanted to see what I was dealing with. I used alcohol dipped cotton swabs to begin breaking down the thick layer. Once it was softened up some I used a knife-blade wax carving tool to scrape away the gunk. The rim was damaged under the lava, as I expected it to be; it would need to be topped. I decided here that I would take off as little wood as possible when I topped the bowl since I wanted to keep the shape as true as possible. I also decided that this wouldn’t be an attempt to make the pipe perfect; it (like me) had battle the scars of it’s life and I wanted to retain that character, too.

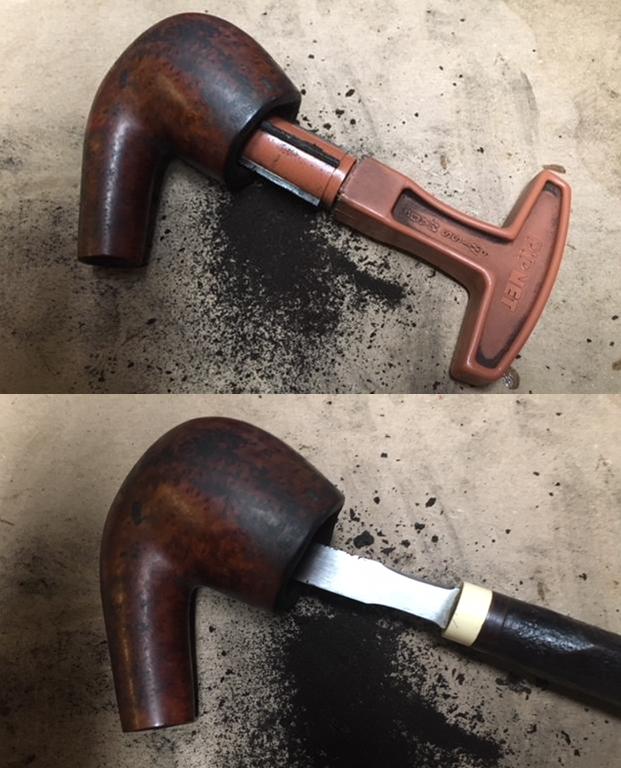
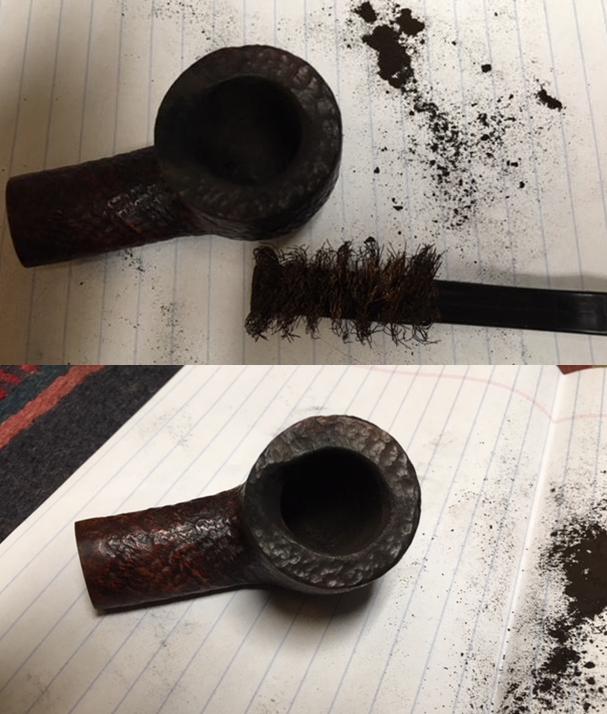
The bowl had been reamed before I received the pipe, most likely when the issue was discovered. What I had thought was a crack actually was heat fissures; they didn’t go all the way through the bowl. The outside of the bowl did have what appeared to be burns though; more on these in a bit.

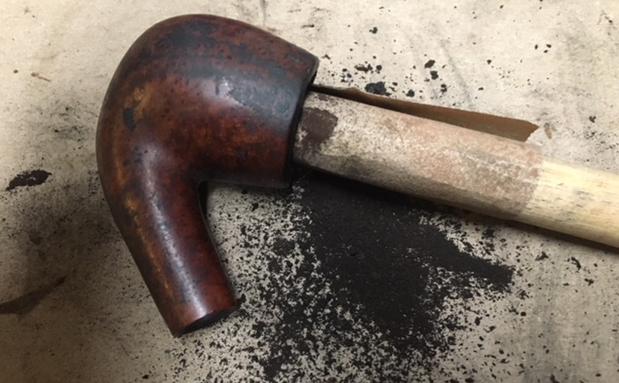
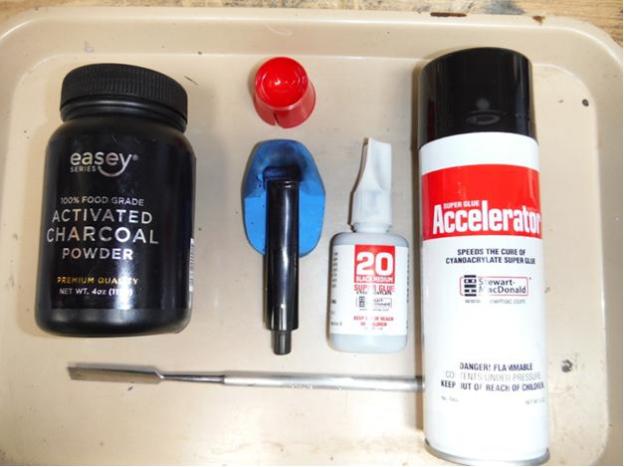
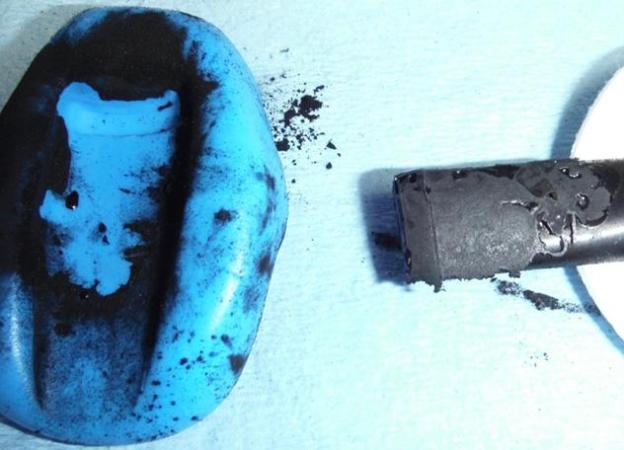
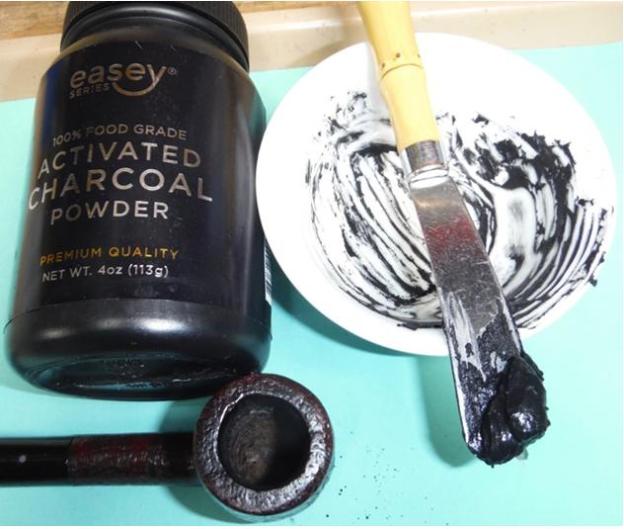
I had read how Charles Lemon of Dad’s Pipes had done several successful bowl repairs with JBWeld and his own bowl coating. I messaged Charles and also looked up his article on bowl coating to try it myself. The recipe is simple: coat the bowl with maple syrup, fill it with activated charcoal powder, and wait for it to dry. (Actually there are a couple more steps, like putting a pipe cleaner in the stem, so make sure you read Charles’ article if you’re interested in trying this method.)

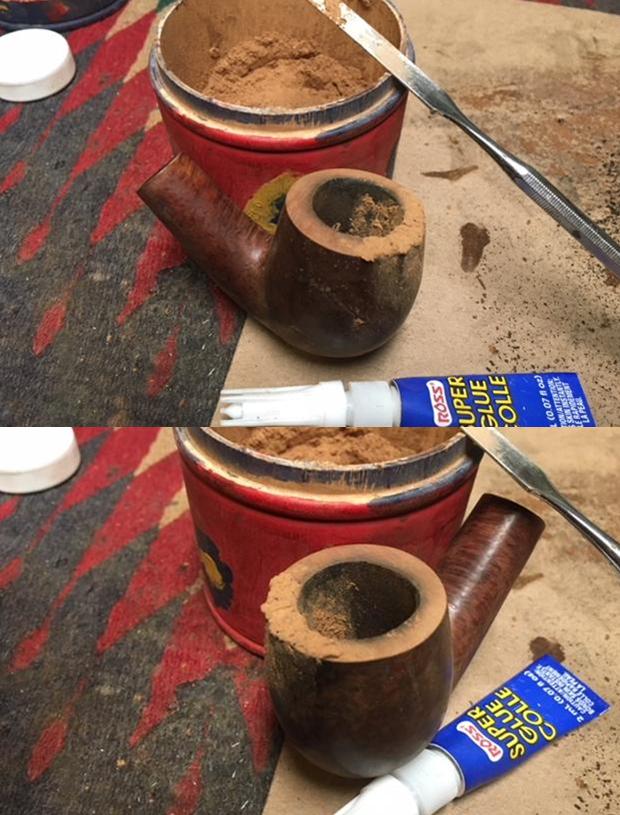
I mixed up some JBWeld and coated the area where the fissures were, using a toothpick to push the epoxy back into the cracks, after inserting a pipe cleaner in the shank through the air hole to keep it open. I used a pipe cleaner and my finger to smooth the repair out as well as I could. Then I sprinkled some activated charcoal powder on the wet repair and set the bowl aside for the epoxy to cure until the next day.

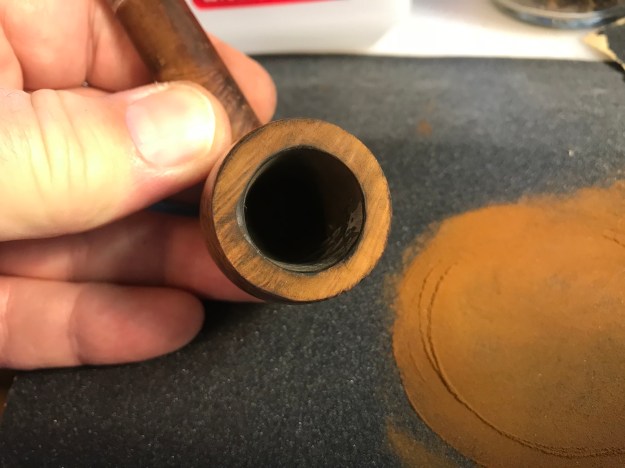
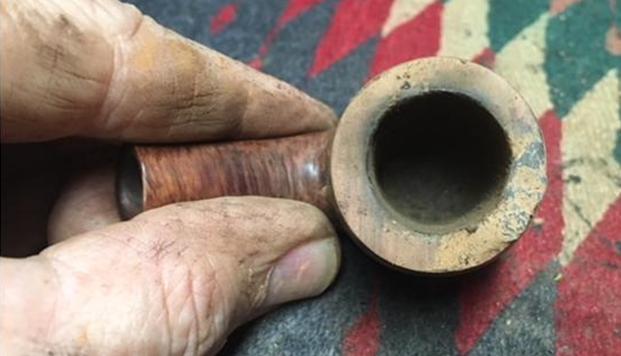
After the repair was dry I sanded it a little smoother with 220-grit paper. Unfortunately this took out most of the carbon I had applied so the full bowl coating would have to be done. But I waited until after all the work was completed to do that. I also topped the bowl to remove most of the rim damage using 220-grit paper.

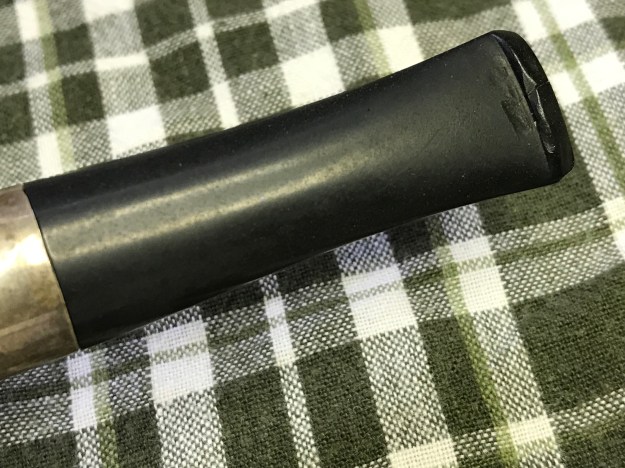
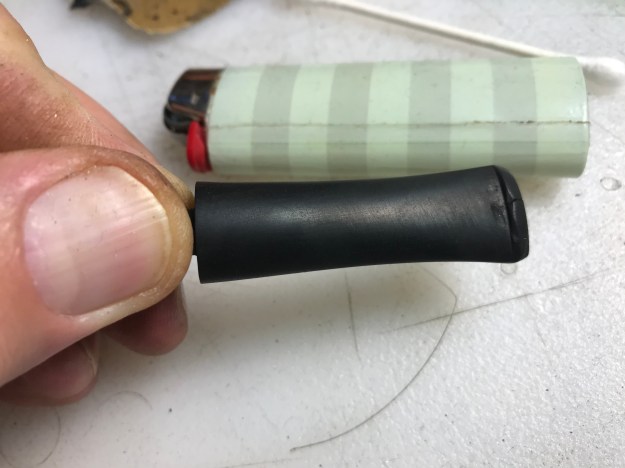
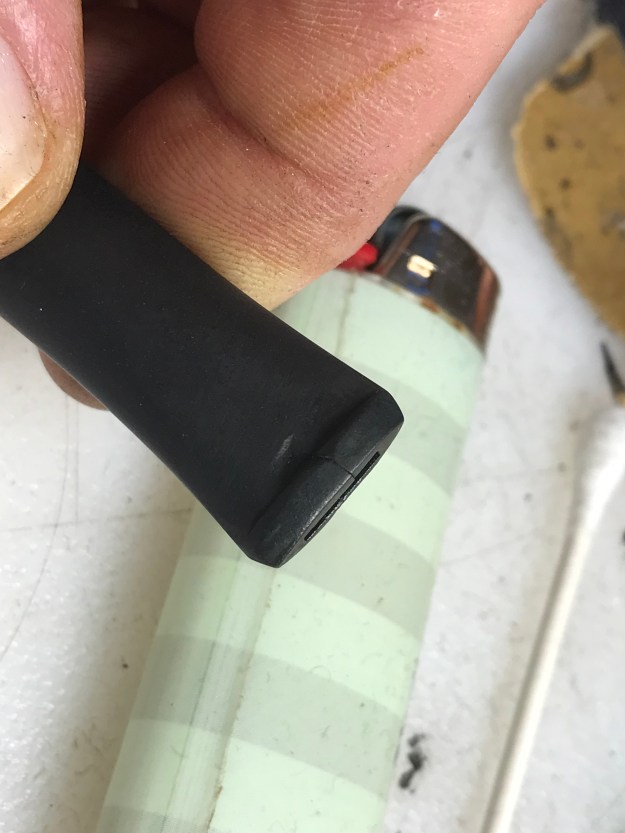
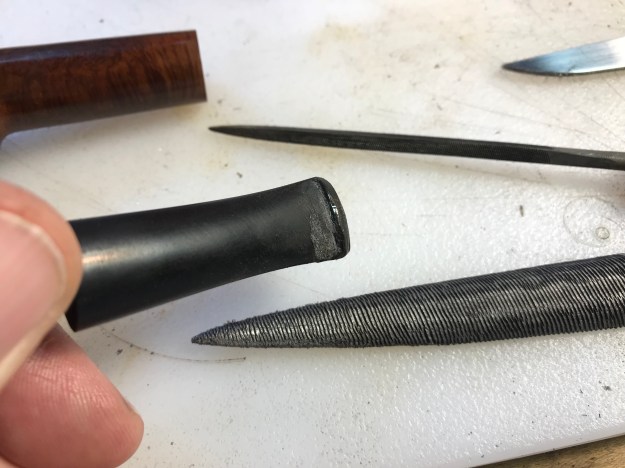
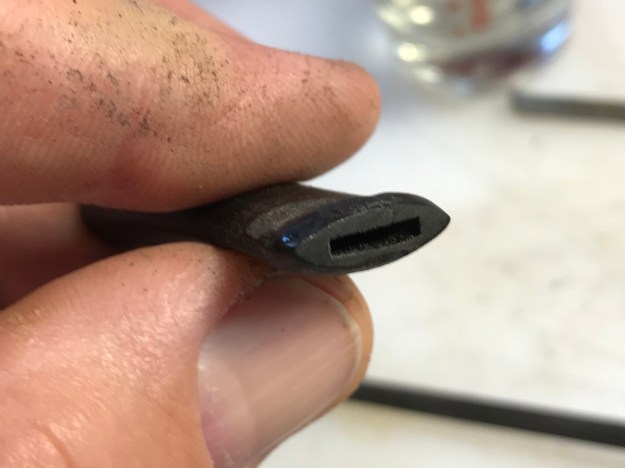
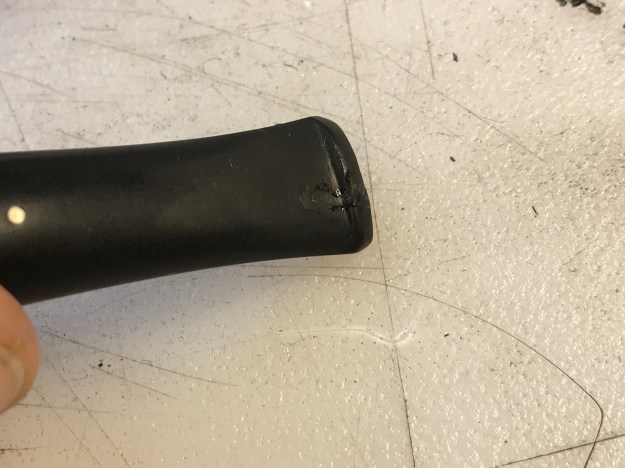
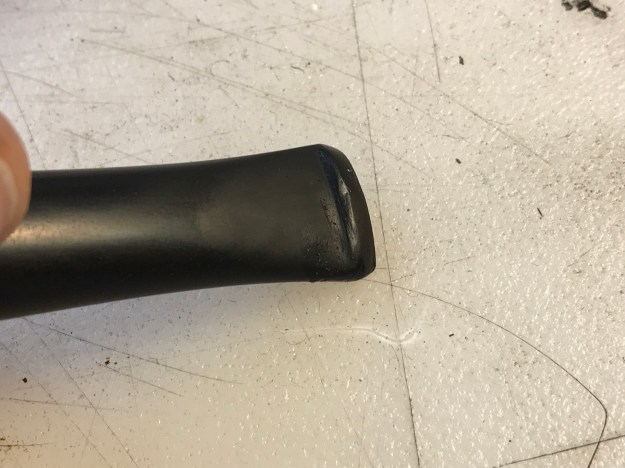
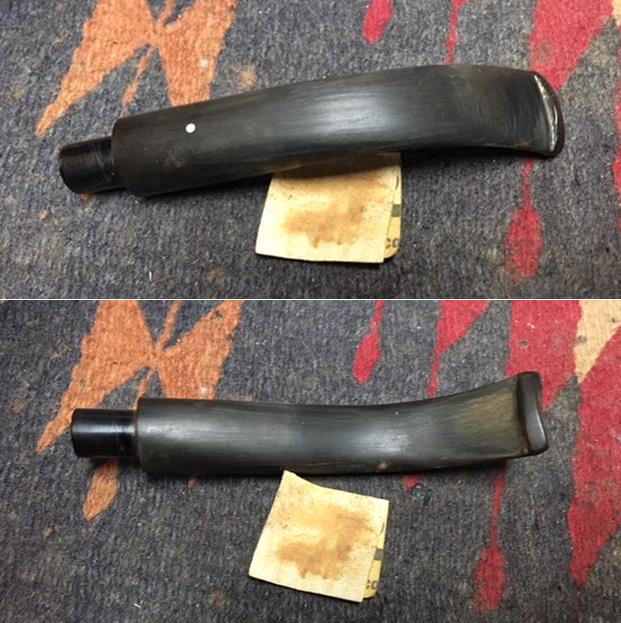
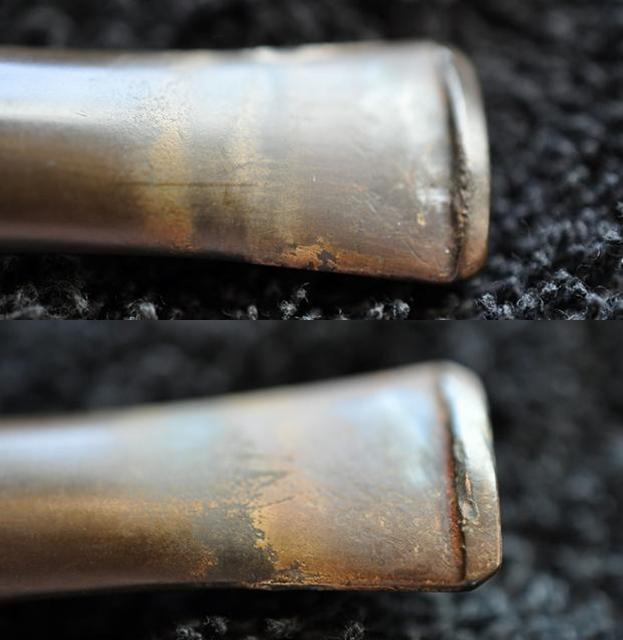
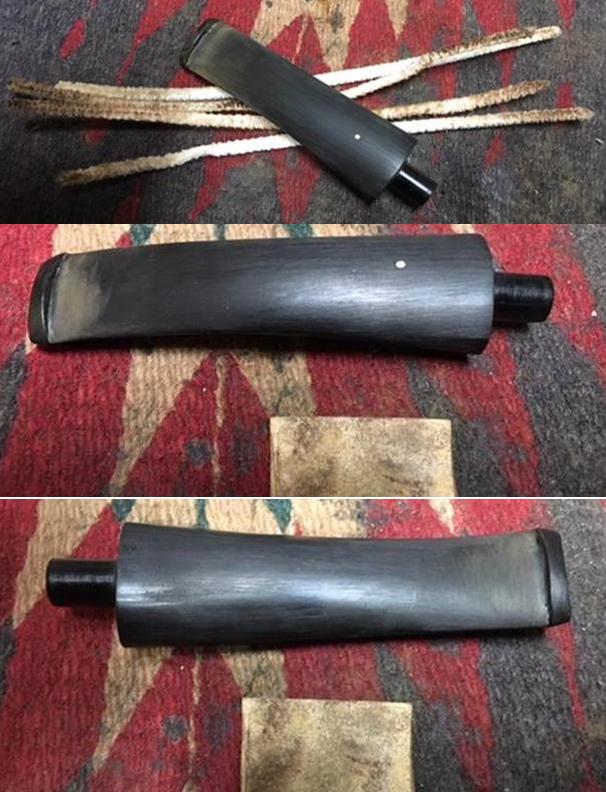
While the bowl repair was curing I worked on the stem. I started with painting the stem with a Bic lighter to raise the dents as much as possible. You can see in the photos that there were still significant dents after flaming the stem. A crack in the underside of the button also appeared after the flaming. I began filling the dents and repairing the crack/button with black CA glue at this point. The climate has been very humid here so the CA glue cured extremely slowly.

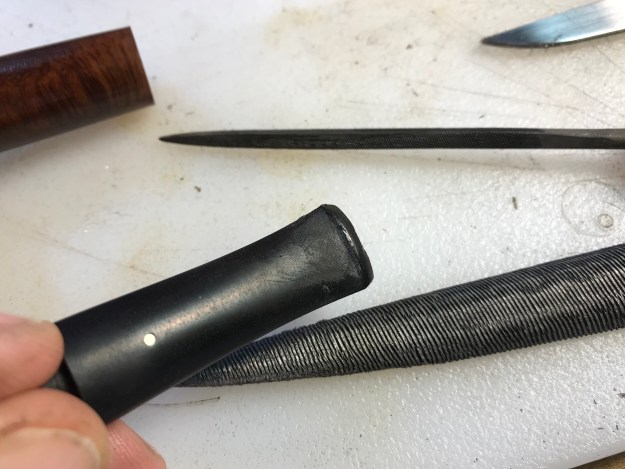
I worked on the stem in multiple sessions over a period of days to complete it due to the slow curing time. Multiple patch layers were applied and shaped with needle files, a vulcrylic file, and sandpaper until I had an acceptable repair.

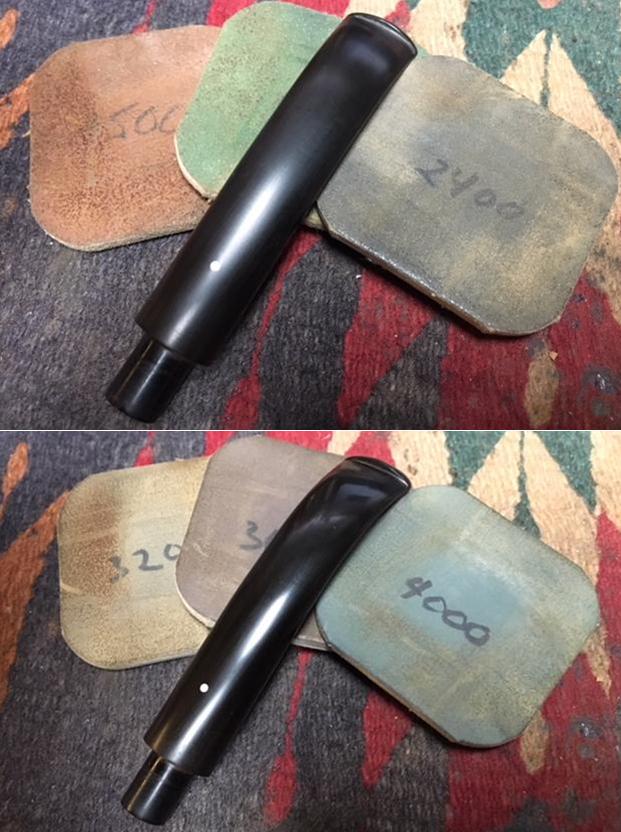
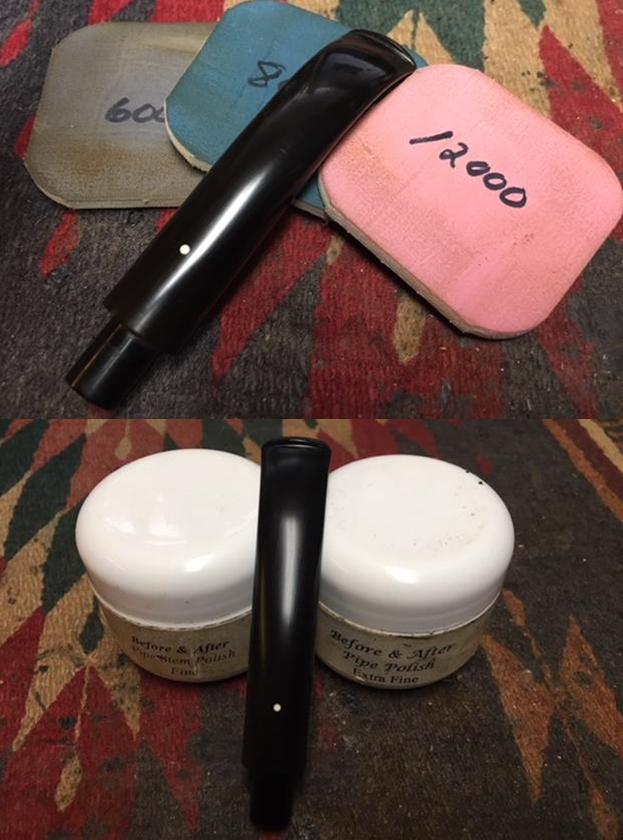
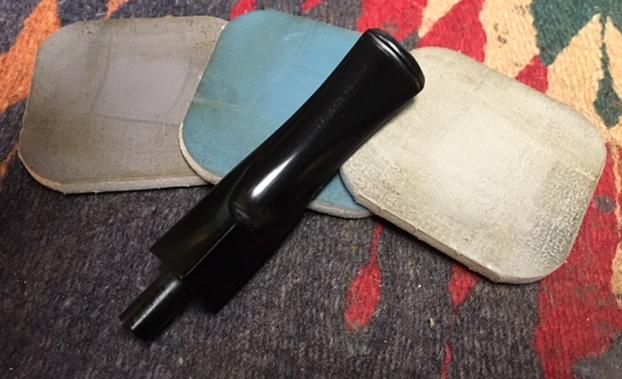
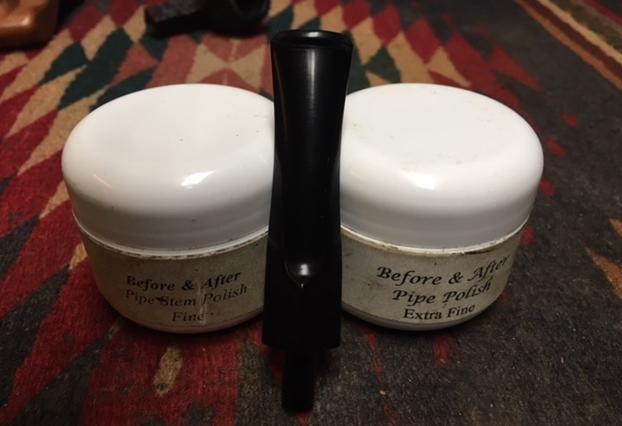
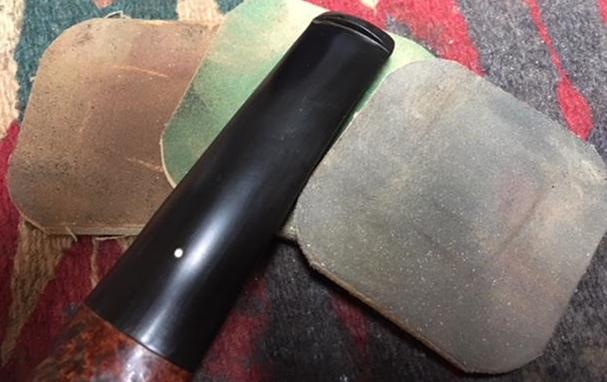
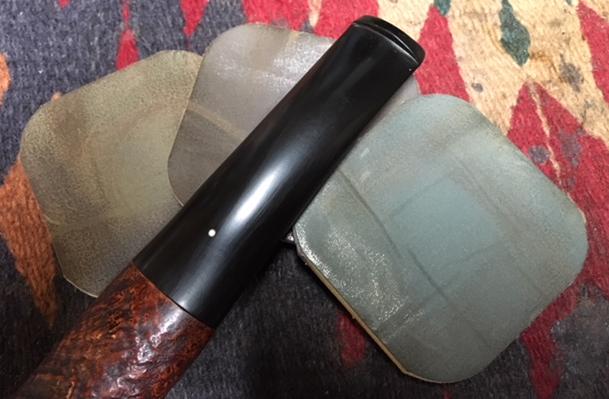
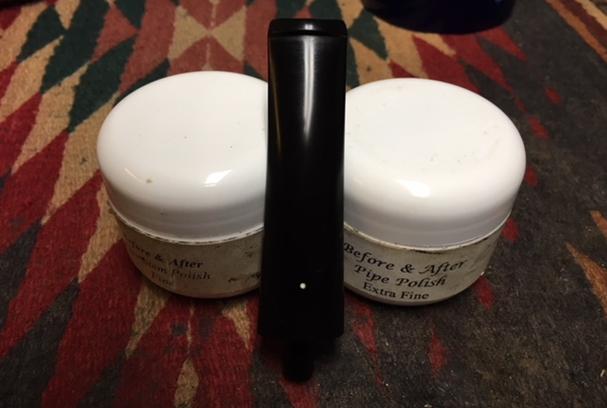
The next step was to wet sand the stem with the full range of micro mesh pads. Then I used both the fine and extra-fine Before and After Stem Polish. I buffed the stem with blue compound using a 1″ cotton wheel on my Dremel at about 13k RMP. While the stem wasn’t “perfect” it was very improved, definitely something I could live with and what I thought would go well with my goal for this restoration. It was time to get back to the stummel now.

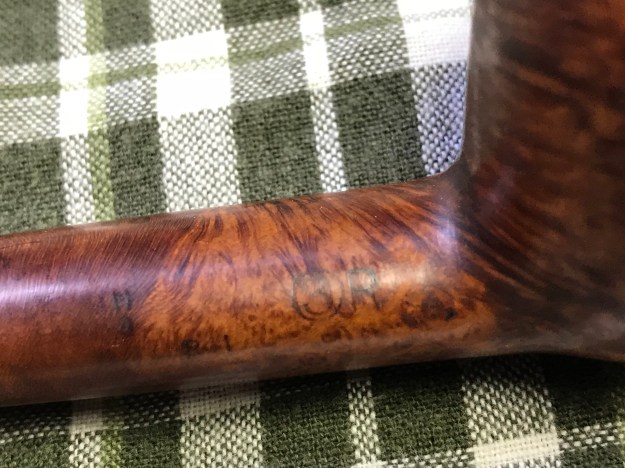
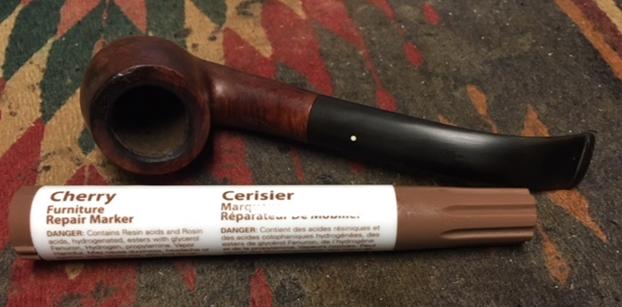
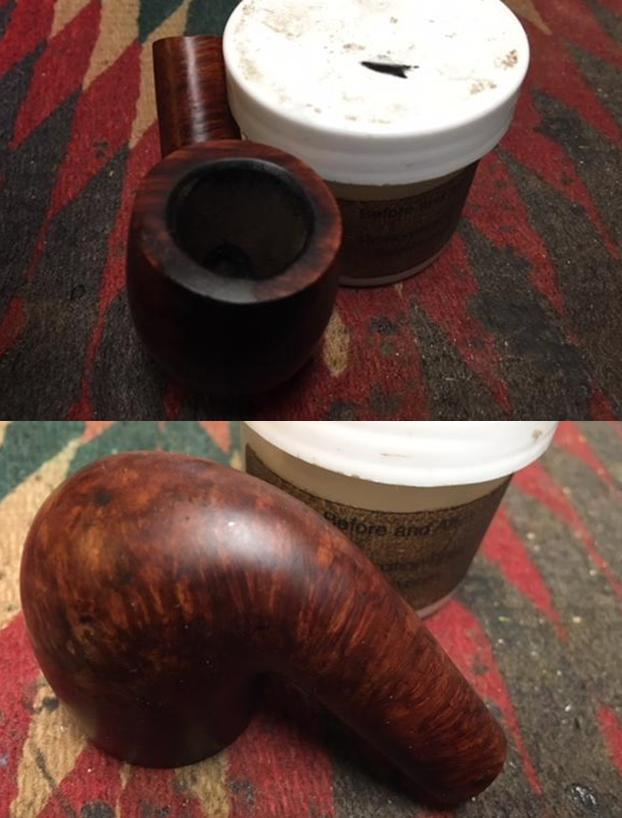
I cleaned the surface of the briar with cotton pads and alcohol, removing the grime covering its surface. I decided to see what the pipe would look like with a gentle sanding. With 400-grit wet/dry paper I began with the rim, sanding out the scratches from topping the bowl. I began to work around the bowl with the 400- grit paper and noticed the burn mark on the side of the heat fissures seemed to be lightening so I started working at that spot. In short order the burn was all but gone. Apparently it wasn’t a burn at all but some kind of stain on the briar. As I sanded the stummel I avoided the nomenclature, and effectively the entire shank. The stamping was already terribly weak and I was not going to make it worse.

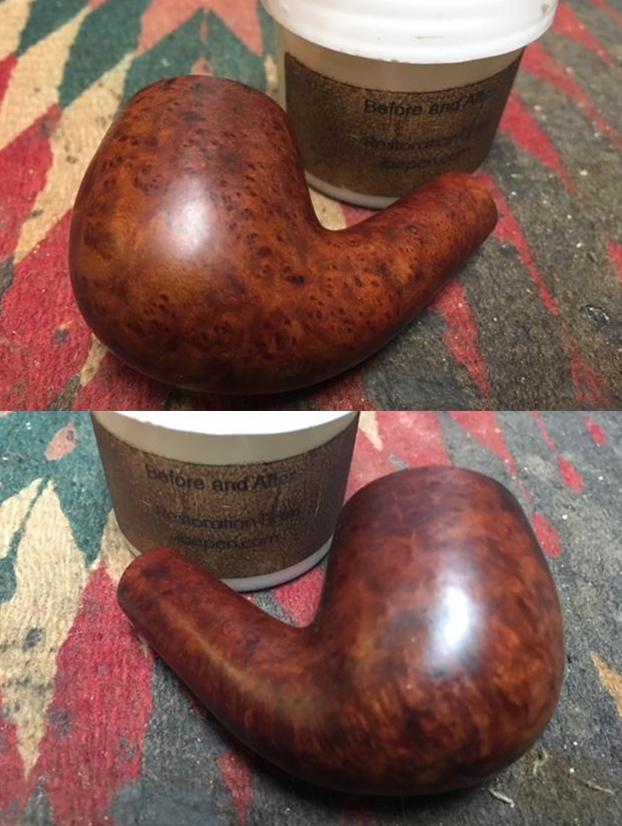
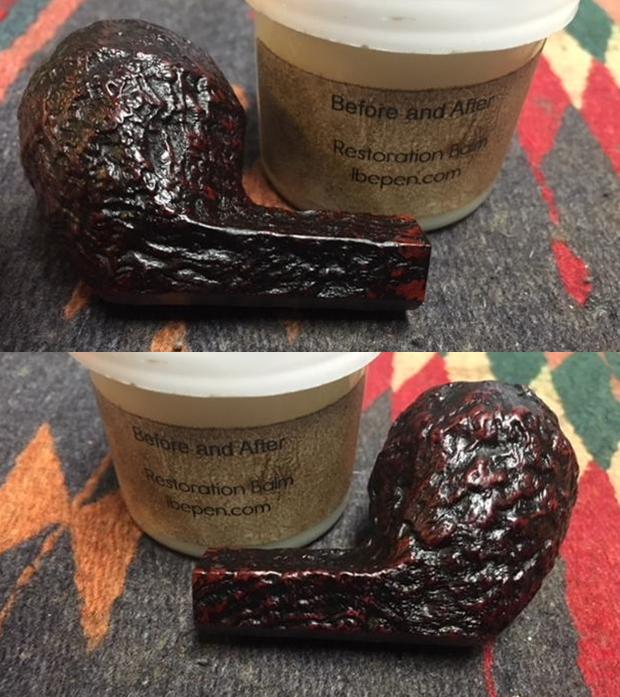
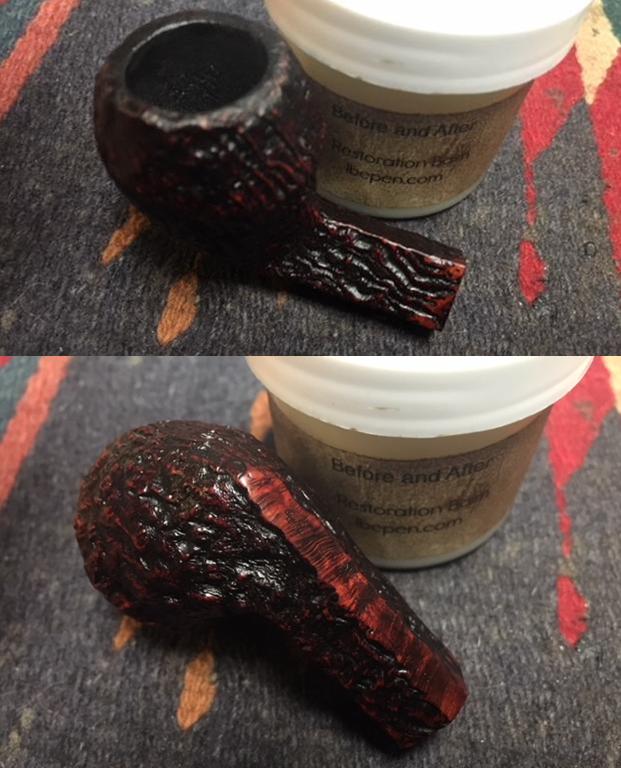
Avoiding the stamping presented another challenge: Now the shank was a different color than the bowl. I didn’t want to re-stain the pipe so I applied Before and After Restoration Balm to the wood and set it aside to work its magic for a bit.

I was surprised how well the wood blended in color after I hand buffed the balm off. It was now uniformly darkened, even the topped rim.

I had an idea that had been in the back of my head for a little while that I wanted to try on this pipe. The nomenclature being so weak, I wanted to try to enhance it if I could. But I didn’t want to try to deepen the stamping or anything of that sort. What I decided to try was applying some Rub’N Buff ebony wax. This was a brand new idea (to me) and I really didn’t know if it would work or not.

I put a small amount of the ebony wax on the shank and spread it thinly over the entire shank, continuing to buff it with my thumb until the color went from opaque to translucent. I then applied a couple of coats to the rest of the pipe until I had even coverage.

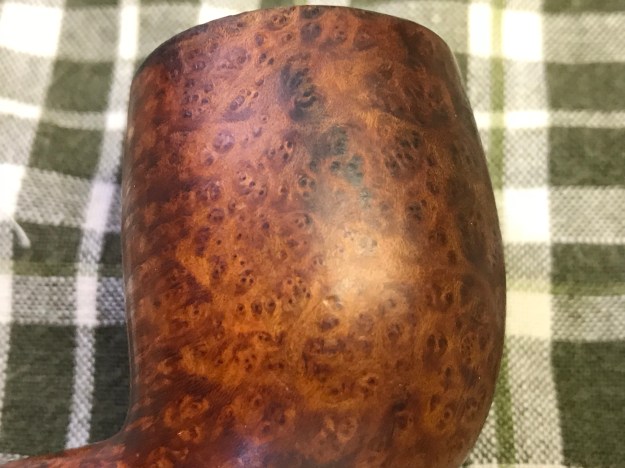
I was really happy with the results. The color was even and highlighted the grain a bit. The stamping was also strengthened I think, much better than it had started out. While still not “strong” (I don’t think that can ever be restored) it was more readable.

I buffed the stummel with Tripoli and then white diamond, both using the Dremel and 1″ cotton wheels at about 13k RMP. I then put the stem back on the pipe and gave the entire pipe several coats of Carnuaba Wax, again with the Dremel and a 1″ cotton wheel at about 15k RPM. (I find the slightly faster speed does a far better job for the Carnuaba Wax.)

I’m still waiting for the bowl coating to cure so I’ve yet to christen the pipe. But I’m very happy with the results of this project. While it may not be a perfect specimen nor hold a lot of monetary value, to me it is a prize possession; my first Dunhill, and a birth-year Dunny to boot!

Farida’s Dad’s Pipes #5 – Restoring a Dunhill Root Briar 56 Bent Billiard


Blog by Steve Laug

I am back working on a of pipes that comes from the estate of an elderly gentleman here in Vancouver. I met with his daughter Farida last summer and we looked at his pipes and talked about them then. Over the Christmas holiday she brought them by for me to work on, restore and then sell for her. There are 10 pipes in all – 7 Dunhills (one of them, a Shell Bulldog, has a burned out bowl), 2 Charatans, and a Savinelli Autograph. His pipes are worn and dirty and for some folks they have a lot of damage and wear that reduce their value. To me each one tells a story. I only wish they could speak and talk about the travels they have had with Farida’s Dad.

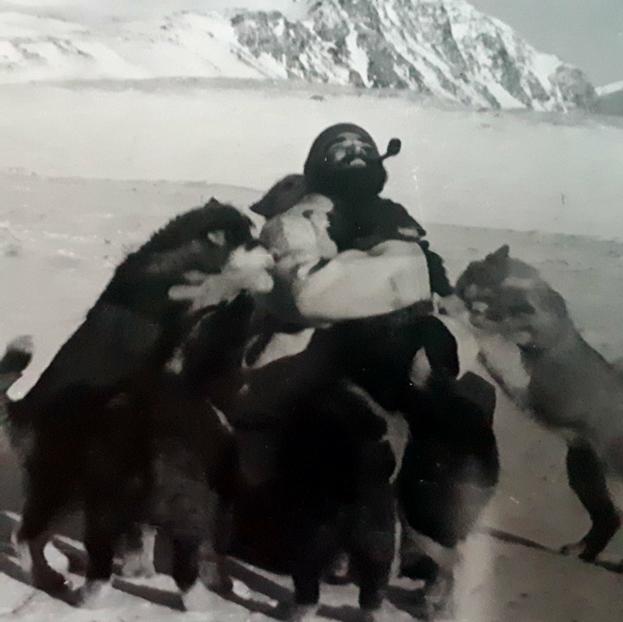
When I wrote the blog on the Classic Series Dunhill and thinking about its travels, Farida sent me an email with a short write up on her Dad. She remembered that I had asked her for it so that I could have a sense of the stories of her Dad’s pipes. Here is what she wrote: My dad, John Barber, loved his pipes. He was a huge fan of Dunhill and his favourite smoke was St. Bruno. No one ever complained of the smell of St. Bruno, we all loved it. I see the bowls and they’re large because he had big hands. When he was finished with his couple of puffs, he would grasp the bowl in the palm of his hand, holding the warmth as the embers faded. The rough bowled pipes were for daytime and especially if he was fixing something. The smooth bowled pipes were for an evening with a glass of brandy and a good movie. In his 20s, he was an adventurer travelling the world on ships as their radio operator. He spent a year in the Antarctic, a year in the Arctic and stopped in most ports in all the other continents. He immigrated to Canada in the mid-fifties, working on the BC Ferries earning money to pay for his education. He graduated from UBC as an engineer and spent the rest of his working life as a consultant, mostly to the mining companies. Whatever he was doing though, his pipe was always close by. 

She sent along this photo of him with his sled dogs in the Antarctic sometime in 1953-1954. It is a fascinating photo showing him with a pipe in his mouth. He is happily rough housing with his dogs. As a true pipeman the cold does not seem to bother him at all.Thank you Farida for sending the photo and the background story on your Dad for me to use on the blog. I find that it really explains a lot about their condition and gives me a sense of who Dad was. If your Dad was rarely without a pipe I can certainly tell which pipes were his favourites. As I looked over the pipes I noted that each of them had extensive rim damage and some had deeply burned gouges in the rim tops. The bowls seemed to have been reamed not too long ago because they did not show the amount of cake I would have expected. The stems were all covered with deep tooth marks and chatter and were oxidized and dirty. The internals of the mortise, the airway in the shank and stem were filled with tars and oils. These were nice looking pipes when her Dad bought them and they would be nice looking one more when I finished.

I finished two of the pipes and have written a blog on each of them. The first one was the Dunhill Shell with the oval shank pot (https://rebornpipes.com/2018/02/04/restoring-a-1983-dunhill-shell-41009-oval-shank-pot/) and the second was the Dunhill Classic Series Shell Billiard (https://rebornpipes.com/2018/02/08/faridas-dads-pipes-2-restoring-a-1990-lbs-classic-series-dunhill-shell-billiard/). The third pipe I restored from the estate was a Savinelli Autograph (https://rebornpipes.com/2018/02/15/faridas-dads-pipes-3-restoring-a-savinelli-autograph-4/). The fourth pipe of his that I worked on was a Dunhill Red Bark Pot that was in rough shape (https://rebornpipes.com/2018/03/10/faridas-dads-pipes-4-restoring-a-dunhill-red-bark-pot-43061/).

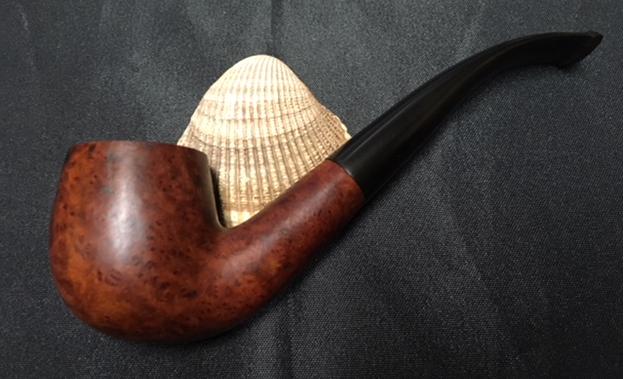
I went back to the remaining two Dunhills in the collection today and chose to work on a Dunhill Root Briar 56 Bent Billiard. It was so dirty it was hard to read the stamping on the sides. I could see that it was worn but I could not tell much else looking through the thick grime. The smooth finish sticky with oils and thick grime and the bowl felt oily to touch. I wiped off the oils and grime on the shank sides to see the stamping. It was worn but readable. On the left side of the shank it reads Dunhill over Root Briar. To the left of the stamping is the shape number 56. On the right side of the shank there is a faint stamp R with 4 in a circle. The rest of the stamping is very faint.

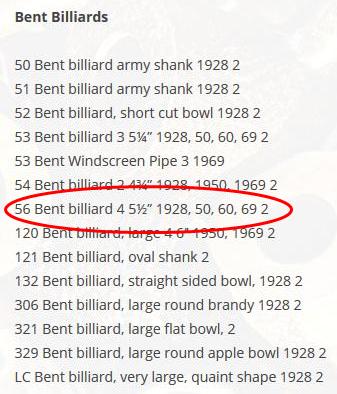
I turned to a blog I have on rebornpipes by Eric Boehme on Dunhill Shapes and looked for the shape number stamped on this pipe. Here is the link. https://rebornpipes.com/2012/11/01/dunhill-pipe-shapes-collated-by-eric-w-boehm/. I did a screen capture of the section on Bent Billiards and circled the pipe I have in hand in red. The shape number 56 is noted as a bent billiard size 4. It is noted as 5 ½ inches long just as the one I have is. It is listed as coming out in 1928, 1950, 1960 and 1969. The spread of dating was pretty large and the stamping so unreadable that I could not determine the date with that normal help. It was time to move on and look for other helpful information to see if I could narrow things down a bit.

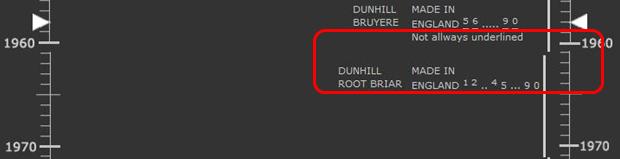
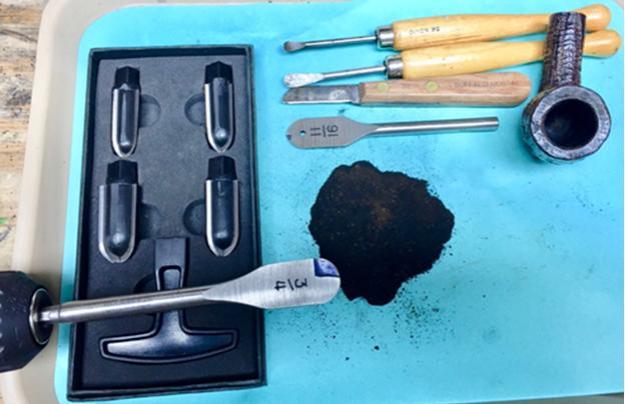
I turned to another site that I use often – the pipephil website on Logos and Stampings because there is some really helpful information on when each of the lines of Dunhill pipes entered the market. Here is the link to the section of the site that I turned to, http://www.pipephil.eu/logos/en/dunhill/root-bru-guide.html. I did a screen capture of a portion of the chart that gave me the time frame for this particular pipe. I circled the date and brand in red in the photo below. It looks like the Root Briar came out between 1960 and 1970. Now I knew that one I was working on a pipe that came from that era – which incidentally matched the other pipes in Farida’s Dad’s estate collection.The bowl was thickly caked and the cake had flowed over onto the smooth Root Briar finish on the rim top forming hard lava that made the top uneven. The inner and outer edges of the rim were both damaged. On the right front of the bowl the rim had been scraped and damaged and then burned. On the back edge there was the same kind of damage that was on the other Dunhill pipes in this estate. This one however was not quite as deep so it would need to be dealt with a bit differently when I got to that point. The stem was lightly oxidized but otherwise in good condition. There were light tooth marks and chatter on both sides in front of the button. The Dunhill white spot was intact on the top of the stem. I took photos of the pipe to show what it looked like before I started the cleanup work. I took close up photos of the bowl and rim top as well as the stem. You can see the condition of the rim top and bowl in the first photo. The outer edge has damage on the front right – burn damage and wear that comes from lighting a pipe repeatedly in the same spot. The back left side also shows damage on the inner edge. There was damage from what looked like a poor rim job. The stem has tooth chatter and some bite marks on the top and the underside of the stem just ahead of the button.I reamed the bowl with a PipNet reamer and used two of the four cutting heads to clean out the cake. The bowl thickly caked so I started with the smaller of the two and worked my way up to the second one which was about the same size as the bowl diameter. I cleaned up the reaming with a Savinelli Fitsall Pipe Knife to remove the remnants of cake. I finished by sanding the inside of the bowl with a dowel wrapped in sandpaper. I scrubbed the surface of the briar with alcohol and cotton pads. I scrubbed until I had removed the sticky tars and oils on the finish. I worked on the top of the rim with the edge of the Savinelli Fitsall Pipe Knife. I scraped the heavy buildup that was there. I scrubbed the scraped rim top with alcohol and cotton pads to remove the debris. I dried off the bowl with a soft rag. The cleaned and scrubbed pipe really made the rim top damage very clear. It looked to me that I would need to top the bowl. I topped the bowl on a topping board with 220 grit sandpaper to remove the damage to the top surface of the rim and clean up the damage to the edges. I did not have to remove a lot and repeatedly checked it to make sure that I had removed enough but not too much. I wanted to take the top down until it was smooth up to the burn damaged area on the rim top.I wiped down the rim top with alcohol and cotton pads to remove the sanding dust. I built up the damaged area on the rim with clear super glue and briar dust. I layered it until the height of the damaged area was roughly equal to the rim top. The third photo below shows the top at this point in the process. I took photos of the repaired bowl from a variety of angles to show what the repair looked like before I sanded and cleaned it up. I would need to top the bowl again to smooth things out and work on the edges. I topped the bowl again to remove the excess repair material. I worked it over the sandpaper on the board until the surface was smooth. I used a folded piece of 150 and 220 grit sandpaper to bevel the inside edge of the bowl. With the externals clean it was time to clean out the mortise and shank and airway into the bowl and the airway in the stem with alcohol, cotton swabs and pipe cleaners. I scraped the mortise with a dental spatula to loosen the tars before cleaning. I worked on the bowl and stem until the insides were clean.I used a Cherry stain pen to touch up the rim and match the colour of the rest of the pipe.I rubbed down the briar with Before & After Restoration Balm. I worked it into the smooth finish to clean, enliven and protect the new finish. It also evened out the stain coat and gave the stain a dimensional feel. I let the balm sit for a little wall and then buffed it with a horsehair shoe brush. I buffed the bowl with a cotton cloth to raise the shine. There was some darkening on the bowl front but the briar was solid. Overall the bowl looked really good. I set it aside and turned my attention to the stem. I sanded out the tooth chatter on both sides with a folded piece of 220 grit sandpaper.I polished the stem with micromesh sanding pads – wet sanding with 1500-2400 grit micromesh sanding pads and dry sanding it with 3200-12000 grit pads. I rubbed the stem down with Obsidian Oil after each pad. I polished it further with Before & After Pipe Polish, using both the Fine and Extra Fine polishes to further protect and polish out the scratches. When I finished with those I gave it a final rub down with the oil and set it aside to dry.  With the stem polished I put it back on the pipe and lightly buffed the bowl with Blue Diamond. I buffed the stem with a more aggressive buff of Blue Diamond. I gave the bowl several coats of Conservator’s Wax and the stem several coats of carnauba wax and buffed the pipe with a clean buffing pad to raise the shine. I hand buffed it with a microfiber cloth to deepen the shine. The pipe polished up pretty nicely. The finished pipe is shown in the photos below. This is the fifth of Farida’s Dad’s pipes that I am restoring from his collection. I am looking forward to hearing what Farida thinks once she sees the finished pipe on the blog. This one is already sold to a fellow in India. It will soon be on its way to him to carry on the trust from Farida’s father. The dimensions are Length: 5 1/2 inches, Height: 1 3/4 inches, Outside diameter of the bowl: 1 1/8 inches, Chamber diameter: ¾ inches. Thanks for walking through the restoration with me as I worked over another of the Dunhills. More of his pipes will follow including some one more Dunhill and two Charatans. The last photo of the front of the bowl shows the darkening to the briar that remains. It is solid and the burn mark does not compromise the briar. It looks worse in this photo than it does in reality. It is a dark spot that is solid.

The Case of the Murdered Dunhill


Blog by Robert M. Boughton

Copyright © Reborn Pipes and the Author except as cited

https://www.facebook.com/roadrunnerpipes/

It is my belief, Watson, founded upon my experience, that the lowest and vilest alleys in London do not present a more dreadful record of sin than does the smiling and beautiful countryside. — From Sir Arthur Conan Doyle’s “The Adventure of the Copper Beeches,” in The Adventures of Sherlock Holmes (1892)

NOTE: I owe the singular logic and chronicle of this story to the author of a French blog upon which I had the good fortune and immense pleasure of discovering, quite by chance, in the course of a search for other, more mundane instruction on Dunhill pipes.  The credit for the blog, almost hidden at the bottom of the page, attributes the work to “pipephil,” whose nationality and working name being identical to that of a certain devoted and well-known researcher of pipes and their histories, I can only surmise is one and the same.  This story is based on an unequal blending of fact and fiction and might better be approached as the latter.   Acknowledgement to Sir Arthur Conan Doyle (1859-1930) is likewise in order, and, if prevailing opinion of this willing suspension of disbelief warrants, apologies.  Names have been changed to protect the real and imagined

(Being a reprint from the personal blogs of JAMES BOSWELL)

CHAPTER I. MR. SHERRINFORD CAVISH

At the age of twenty-six, early in the year of 1989, I was considered an old man to be commencing studies as an undergraduate at New Mexico State University in Las Cruces and was branded non-traditional, a distinction which stirs not a grain of animosity in my mind.  The principal difference between the average teenager fresh from the crucible of high school and myself, during my first semester of courses prescribed for those desiring to specialize in journalism, was my already appreciable experience in the workforce I sought to continue.  I had under my belt a solid grounding in the old school style of newspaper writing, owing to an early tossing into the cesspool when I was a mere fifteen-year-old.  Already I was squared away in the requisite determined and, when necessary, obdurate nature to survive the initial condescending underestimation of my ability to recognize obfuscation when I heard it.  These traits were of invaluable help in eliciting a modicum of legitimate answers from the police officers, politicians and other authorities who became the salt and pepper on the main fare of official reports that fed my regular police and city hall beats.

Quartered at first in one of the better dormitories and accustomed to taking my meals at the campus cafeteria, an establishment that over-favored a form of creamed chipped beef on toast that exemplified the military term for that menu item which I will for the sake of good form abbreviate as S.O.S., I straight away took up the tobacco pipe.  As well as soothing my nerves and allowing an air of contemplation conducive to my studies, the pipe expelled the unfortunate after taste of the gruel the school called food.  Pipes were also a family tradition on the paternal side, and so I embraced them with alacrity.  Smoking, of course, was prohibited in the dormitories, but I dismissed the absurdity as did all but a poignant minority of the other inhabitants.

Finding disagreeable the cramped suite of rooms that allowed no privacy and which I shared with three adolescent males who were more interested in beer kegs, parties and all of the other inclinations wholly natural to youngsters, I reached the inevitable conclusion that I must secure a more mature roommate off-campus.  The very same night, while strolling the university grounds taking the long course to the student union building, where I had planned to brush up on the Associated Press Style Book tucked under an arm, and puffing contentedly on the single pipe I then owned, I heard my name called from nearby.

“Boswell!  James Boswell!”

Glancing in the direction of the greeting, I found the young man smiling and waving at me vaguely familiar, but only a name came to mind.

“Beall!” I said, relieved to have no need to fumble with that social awkwardness.

Trapped, I found myself engaged in small talk.

“Wherever have you been hiding?” Beall asked.  “I haven’t seen you in dog’s years!”

Not caring for the suggestion that I in any way skulk and thinking that dogs tend to age with rather unfortunate rapidity, I was off-put before I could answer but endeavored to be civil.

“Off fighting the good fight, Beall,” I said.  “Just at the moment I’m considering how to move out of my dormitory but can’t afford a place of my own on my income.”
Where I met Beall and why the devil I let slip my need for a proper roommate eluded me, and I would have kicked myself had that colloquial expression been possible.  With all the delicacy I can muster, I found young Beall to be a nice enough fellow but rather insipid and a bit too friendly.  I braced in anticipation of his putting himself forward as a candidate, and indeed, having among other faults a distressing clutching habit, he seized me by an arm.

“Why, I have just the person for you!  I’ve known him forever, and he’s absolutely perfect!”

Not caring a bit for the sound of any of that and being dubious of Beall’s judgment, my aversion to conspicuous rudeness prevented me from declaring so.  By my own fault, therefore, Beall, still clutching my arm, compelled both of us at once in a straight line toward the north edge of the campus, obviously the direction of the friend’s place of residence.  I managed with some dexterity to dislodge my arm from his grip and counted myself fortunate beyond words that the mysterious dwelling was within easy walking distance.  My subsequent introduction to the man who, though five years my junior, was gifted with the most singular and brilliant deductive powers I have ever encountered, can only be attributed to fate.

When at last we found ourselves on the step and the door to the apartment opened, I had the first dreaded look at my proposed new roommate.  The appearance of Mr. Sherrinford Cavish was altogether the opposite of my preconceived image.  Standing three inches taller than six feet in height, Cavish towered over Beall, whom I had spent most of our walk struggling to devise a means of escaping, and had several inches on me.  His stature had none of the typical lankiness associated with very tall men and was instead complemented by a husky but fit build.  He wore an expensive powder blue dress shirt with the top two buttons undone, medium brown wool slacks appropriate for the season that appeared to be tailored, leather loafers with tassels and no jewelry whatsoever, not even a watch.  His longish brown, wavy and un-brushed hair, wild, for lack of a better word, was the oddest feature I noted.  The old, blackened clay pipe between his lips seemed a natural extension of his mouth and the highest testament thus far of his suitability as a fellow lodger. Then, ignoring poor Beall beside me altogether, his sharp blue and acute eyes narrowed and took in the whole of me with a glance.  I admit I was more than a little disconcerted by the scrutiny I thought rude.  His greeting astounded me.

“Have you been a reporter for any publications I may have read?”

The ensuing dumfounded silence prompted the otherwise meek and silent Beall, who still stood to my side, to remark, “Yes, he’s always like that.”

“Ah!  But you’re here about the room for rent, no doubt eager to quit the dreary conditions of the dormitories,” Cavish said before I answered, astounding me once again.

The man who introduced himself to me by his full first and last name the moment I stepped inside his apartment pursed his lips in a peculiar grin I have come to know well.  One corner of his mouth rose a tad and the other fell.  Initially viewing the practice as a sort of conceited smirk, I soon came to recognize it as an outward sign of the constant processing of simultaneous and unfathomable amounts of complex mental data related to the unparalleled fields of study of which Cavish can only be described as an expert.  Well into that first night, I learned of a comparative few of these, but our mutual fondness for pipes and shared interest in matters of crime were enough for me.  That grin of his meant that Cavish was in good spirits, working out the various enigmas he undertakes to solve for his own odd pleasure and at the request of others.  He calls them cases, but to me they are worse than giant white table puzzles.  Cavish invariably examines each piece with pure logic and science as his only tools.  On my word, I do believe he relishes scrambling the parts of the puzzles his clients – again, as he calls them – believe they have put together.  To Cavish, each piece of the puzzle must be probed from both sides and every angle regardless of how closely it may seem to fit.

“Excuse me,” I said, no longer able to contain my curiosity, “but how did you know I was a reporter?”

Cavish looked me in the eye.  “Elementary,” he said.  “Even without the well-thumbed AP guide under your arm the conclusion is inescapable.  Your red-striped Oxford with its frayed button collar doesn’t go with the ruffled tan corduroy blazer and dark brown elbow patches, as well as the mismatched light blue cord pants.  And that ancient polyester tie is enough to give an epileptic a fit.  Who but a reporter dresses in that style?  Then there are the light smudges of news print on your fingers and the cuffs of your shirt sleeves, not to mention the small note pad and flowy pen in your front coat pocket, icing on the cake, as it were.”

However accurate the conclusions Cavish reached, I still wondered if his lack of tact might be distasteful after all but resisted the urge to do an about-face and march out.

“Very well, then, what about the fact that I live in a dormitory?”

“Good God, man!” he said with alarming drama.  “Only a new student living in the dorms, regardless of age, would eat all of his meals in the cafeteria.”  Reading my face like a newspaper headline, he interrupted the protest I was about to make.  “My exhaustive research of every restaurant menu in Cruces tells me that none of them serves creamed chipped beef such as that which caused the spot on your tie.  I’m happy to say the dish is unique to that venue.”

In this disturbingly fascinating manner was I introduced to the deductive skills of Mr. Sherrinford Cavish.

“Interesting pipe,” Cavish said as he saw me to the door, speaking of the bulldog of which I was rather proud.  “An Italian no-name, I see.  Well, we’ll have to do something about that.”

The following morning, ignoring my petty misgivings as to my new roommate, I fled the dormitory.  I confess with some remorse that I left my affable yet erstwhile fellow cellmates understandably dazed and confused, not to mention sad in a manner that was touching, to see me depart.

CHAPTER II. WHAT THE MAIL HAD TO SAY
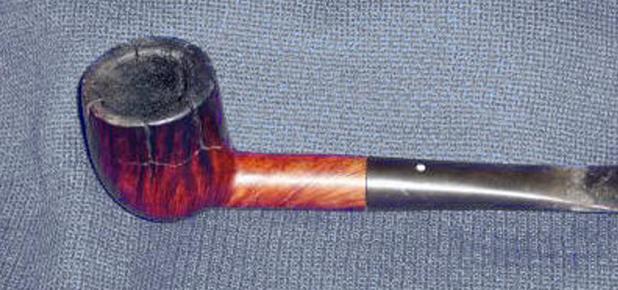
Dunhill pipe courtesy These Pipes Like No Others

Sooner than later, I learned of the flipside of the unusual grin I noted.  When Cavish was without a case, he fell into periods of deep broodings and profound depressions that lasted until some new mystery he deemed worthy of his time presented itself.  At the low point of one of these bouts of sheer, unbearable boredom, a piece of mail arrived that Cavish was too despondent to consider.  I took the liberty of cutting open the end for him and found a single small photograph of a smoking pipe in utter ruin, accompanied by a letter imploring Cavish to investigate the matter and some pages printed from a website.

Reading the letter to my lackluster friend did not even make him stir.  Knowing the somewhat perverse delight Cavish takes in the most dreadful horrors this world has to offer, and also taking into consideration his deep love of smoking pipes, I concluded the only hope of rousing him from the lethargic stupor in which he was trapped might be the sight of the desecrated pipe.  I tossed the photograph and printout on his chest that might have been that of a corpse.  As I turned away, I heard Cavish sit up on the couch.  Turning back to face him the next instant, I saw him hunched over his laptop on the coffee table cluttered with many documents only he was permitted to touch.  Moving so that I could watch over his shoulder, I noticed he had pulled up the website from which the printout was made so that he could read the entire text in its original French, which he spoke fluently in addition to Latin, German, Dutch, Italian and Iranian, to name those I have identified.

“The game is afoot!” Cavish said with refreshed vigor.  I shook my head and sighed with no small amount of relief as he stood and began pacing in excitement.  I, on the other hand, needed a break and decided I deserved one for the part I played in reviving him.  Retiring to the comfort of my armchair, I took up an elegant new briar wood prince possessing the tightest vertical grain that I found at my local shop and filled it with a handy Balkan blend.  Already, I had a fine beginning of a collection thanks to a certain compulsion to acquire more and more that I blamed on the bad influence Cavish had on me.  Indeed, the compulsion verged on a disorder.

 CHAPTER III. CES PIPES PAS COMME LES AUTRES

The masthead of the site, Cavish translated, read “These Pipes Like No Others.”  Succumbing to an uncontrollable urge, I wagered the Dunhill displayed in the blog and photograph just arrived in the mail was clearly well smoked and previously lightly enjoyed. *  I shall savor for the rest of my life the rare flash of utter incredulity on my friend’s face that dissolved back into his typical working countenance of gravest contemplation when he deduced I had to be joking.

“She is extraordinary,” Cavish said, almost in a whisper.  I took a moment to realize he was speaking of the pipe.  “The outer simplicity obscures an inner complexity.”

“No doubt,” I said for the sake of good manners.

Still pacing about the room, Cavish recited the entire text of the blog from memory after his single reading of it online.  In the interest of brevity, I will paraphrase the key points of interest in the blogger’s quite stylish and eloquent narrative detailing his theories relating to the cause of the Dunhill’s destruction.  The general theme as stated in the second sentence was that, whatever act of brutality indeed brought about the end of the pipe’s days of usefulness to anyone, the once noble but now wretched thing was murdered.  Counting myself an aficionado of tobacco pipes, I appreciated the writer’s dramatic use of personification.

When the gruesome remains were discovered, two immediate types of suspects were considered, the more likely being a lone assassin acting on his own insane motives, and the other a terrorist group.  The latter theory raised the possibility of a political link, perhaps the Front de Lutte Anti-Tabac (F.L.A.T.), in English the Fight Against Tobacco Front.  Whoever ended the pipe’s life, the blogger concluded, chose Dunhill rather than any other brand for the general regard of the old British house as perhaps the world’s most iconic maker.  The impact of the act of extreme violence would therefore engender outrage and consternation among pipe enjoyers everywhere.

“It is quite a two-pipe problem, and I beg that you won’t speak to me for thirty minutes,” Cavish said in characteristically blunt form.  Even with what I knew of his machine-like reasoning ability, I was impressed with the time in which he expected to solve the mystery.

CHAPTER IV. THE TRUTH UNRAVELED

I can only conjecture that Cavish chose a striking natural finish Dunhill Canadian as his own way of paying respect to the victim.  In silence, as requested, and as unobtrusively as possible, I watched while he loaded the pipe with Dunhill White Spot, an English blend not available in this country that he somehow managed to acquire, no doubt through one of his many private sources.  He lay back in the chair, stretching his legs out before him and crossing his ankles as was his habit when formulating his inscrutable conclusions.  After savoring the one fill, he repeated the process.  When the last of the smoke trailed off, I glanced at the clock and observed the prescribed half-hour had passed to the minute.  My friend sat bolt upright and, his eyes glinting through narrow slits, stood.  I waited with greater than average anticipation for him to begin.

“The deplorable annihilation of this ill-fated Dunhill billiard was not an act of murder, as conjectured by the blogger with eloquence that was nevertheless the product of typical human emotion,” Cavish said in an even tone that belied the passion I alone knew him well enough to detect from the deliberate choice of such strong terms.

“That much I myself concluded,” I replied.

“Indeed, as you well know, the inherent inanimateness of the briar wood forming the chief constituent of the whole, by definition, precludes the possibility of homicide.”

“Indeed,” I muttered for lack of anything more substantial to contribute.

“Nor was this the work of any terrorist organization, the blogger’s brio, however excessive, notwithstanding.”

“Oh?  How so?”

“Contrary to popular misconception, terrorists are not as secretive as they would have us believe,” Cavish stated in the form of a thesis.  “Why else would they invariably claim credit for their foul and pusillanimous deeds sparked by a sense of impotence?”  Knowing the last part was only rhetorical punctuation, I waited for him to continue.  “No such communication has been attempted.”

“I see,” I said.  “But wait, Cavish.  There is one thing I still cannot comprehend.”

“Only one?” he asked, again not expecting a direct response but with the annoying twist of his mouth that so infuriated me at times.

“Yes, for the moment at least, only one,” I said in a pointless attempt to defend my honor that was not lost on the great detective.

“Pray tell, my dear Boswell, let’s hear the singular point of your confusion.”

Once more, I knew enough of the man to recognize a note of reconciliation, however feeble I thought it.  “What about the Frenchman’s keen observation that in order to burn briar, how did he put it, ‘extraordinary temperatures are needed which cannot be reached in the combustion of even a dry tobacco’?”

“Aha!” Cavish exclaimed, triumphant.  “There you have it!  Once again, you see, yet you do not observe.  Any careless smoker can burn a pipe made of any material, briar by no means excluded, even to the point of creating a hole through the bowl.  One sees such uncouth damages all the time.  Just ask anyone who restores smoking pipes for a living.”

Cavish continued before I could register a protest.

“The operative word is burn, which is altogether different than incinerate, the latter being the choice our French blogger doubtless meant.  Based on my study of the incineration points of thousands of wood types, I can tell you with authority that briar can only be reduced to ashes, that being the definition of incinerate, at temperatures sometimes exceeding 1,292 degrees Fahrenheit.”

“Good lord!”

“Quite so,” Cavish went on.  “As you will recollect from the photograph, the Dunhill, though burned more severely than any other specimen I have ever seen, which is no trivial claim, and to the point where evenly spaced horizontal cracks encircle the bowl through to the chamber, the pipe is nowhere near disincorporation into a pile of ashes.”

“Amazing, Cavish!  Simply amazing!  But what does it all mean?”

“It means, my obtuse friend, that the theory of some person or persons unknown filling the Dunhill with a fuel or other accelerant, intent on exploding or vaporizing the pipe, is erroneous.”

Bringing to bear the full powers of my brain to determine possible explanations, all I achieved was a pulsating headache.

“I surrender, Cavish!  How on Earth was the Dunhill destroyed, and by whom?”

Cavish has described himself as a high-functioning sociopath, a self-diagnosis with which I would not have argued until that moment.  The years I have known him, it was the first time he displayed what I would call a normal sign of humanity, the instance being a profound sense of grief manifested in his entire physical demeanor.  I was almost overwhelmed by a foreboding of some cataclysmic doom.  When he did speak at last, he sounded tired, but his usual veil of absolute self-control, dispassion and supreme objectivity was again in place.

“Never indulge in the delusion that the whole of mankind is not, in its most base state of consciousness, a species unequaled for its most natural instincts of callous cruelty and neglect for the welfare of others,” he said, pausing as though in emphasis of his perceived status of being separate from the rest of the world.  I wanted to disagree but held my tongue, letting Cavish expand on his point.  Whether he was aware of the repeated use of personal pronouns usually reserved for beings endowed with life, I could not say.  “Have no doubt, Boswell, she was tortured for some years.  Indeed, her neglect would be criminal were she, to employ a deliberate contradiction in terms, more that a work of art.  I agree with our French friend, the blogger, that the Dunhill was desecrated, and should like to believe his assertion that the act was premeditated.”

Unable to bear the ensuing silence longer, I prompted him.  “But?”

“Premeditation, my dear Boswell, implies a certain amount of forethought.  The atrocities committed against the once beautiful and vibrant example of skilled craftsmanship, created with the sole purpose of providing pleasure to a man, demonstrate the wanton kind of thoughtless, careless disregard for all but the self.”

“Really, Cavish, I think you’re being too harsh,” I interjected.

“In that case, Boswell, why did you acquire so many new pipes of which you could scarcely keep track?  I seem to recall your frequent agitation lest one of them end up falling to the floor, from wherever you happened to set it down, and breaking.  You even went to some expense to commission your carpenter friend to fashion an exceedingly large, elaborate cabinet made more of glass than wood, and filled with separate beveled holders so that you could display even more pipes than you already own.  Whatever possessed you to go to this trouble?”

My blood beginning to boil, I replied in hardly contained anger, “Because I care for them!  And besides, I got the idea for the cabinet from your own!”

“Quite so!” Cavish said with such pleasure he even let slip the rarest of smiles.  I must say that took the wind out of me, and I felt quite the fool.  My good friend had tricked me again.

“Point taken,” I conceded with a sheepish grin.  “But when are you going to reveal the identity of the scoundrel who so monstrously destroyed the excellent Dunhill?”

Cavish turned and resumed his former languid position in the armchair.  I stood there awaiting his solution to the puzzle while he loaded his pipe once more and leaned back, puffing away with a peculiar air of satisfaction.

“The culprit, Boswell, was no monster or group of terrorists.  The person who snuffed out the life of the Dunhill billiard was a common pipe smoker, one who considers these delightful instruments of divine contemplation to be as disposable as a Bic lighter.”

I was flabbergasted.  “Then you have no idea who did it?”

“Thankfully, no, or else I would have to track him down wherever he might live, if indeed he still does, and give him some lessons.  But I can say for certain that the unknown perpetrator of this loathsome deed prefers cigars to pipes.”

“How can you possibly deduce that?”

“Elementary,” Cavish said.  “He used a cigar torch to light his pipe.”

I took a seat in my chair across from him, sighed and filled my well-tended pipe, thinking the end of this mystery a bit disappointing, but pleased the case was closed.

“She is still a beautiful pipe,” Cavish said in a quiet tone.  “She shall always be the woman to me.”

AFTERWORD

I will leave my changing of name to the deductive powers of any readers who may be devotees of the great consulting detective, Sherlock Holmes.  The simplest way to sum up my little homage to the genius of the character and writing of the many Holmes adventures is to quote a funnier Holmesian anecdote, by Thomas Cathcart, another great author, who is still alive at 78.

Holmes and Watson are on a camping trip.  In the middle of the night Holmes wakes up and gives Dr. Watson a nudge.  “Watson,” he says, “look up in the sky and tell me what you see.”

“I see millions of stars, Holmes,” says Watson.

“And what do you conclude from that, Watson?”

Watson thinks for a moment.  “Well,” he says, “astronomically, it tells me that there are millions of galaxies and potentially billions of planets.  Astrologically, I observe that Saturn is in Leo.  Horologically, I deduce that the time is approximately a quarter past three.  Meteorologically, I suspect that we will have a beautiful day tomorrow.  Theologically, I see that God is all-powerful, and we are small and insignificant.  Uh, what does it tell you, Holmes?”

“Watson, you idiot!  Someone has stolen our tent!”

* I owe the wry comments of two friends on the Smokers Forums UK, where I posted the graphic photograph of the horribly abused Dunhill, a note of gratitude for the inspiration of these words.

SOURCES

http://pipes.over-blog.com/article-3152955.html
http://www.pipephil.eu/logos/en/index-en.html
https://en.wikipedia.org/wiki/Holmes_(surname)
https://en.wikipedia.org/wiki/Sherlock_Holmes

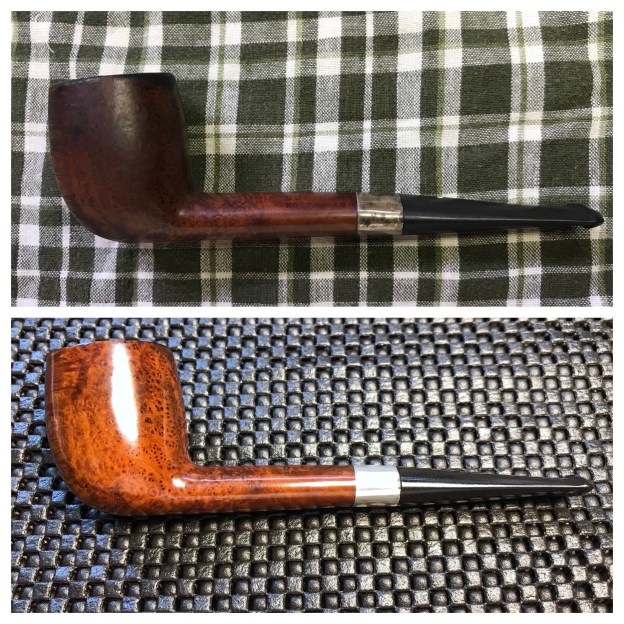
Restoring Barry’s Dad’s Pipes #6 – a Dunhill Root Briar 34 F/T Billiard


Blog by Steve Laug

I have been including some of the back story in each of the restorations of these pipes because to me the story gives colour to the pipe as I work on it. I am including it once again. Skip over it if you want to. Late in the summer of 2017 I received an email on rebornpipes blog from Barry in Portland, Oregon. He wanted to know if I would be interested in purchasing his Dad’s pipes. I have finished four of them so far, a 1939 Dunhill Patent Shell Bulldog, a Comoy’s Grand Slam Zulu, a Comoy’s London Pride Liverpool and a 1959 Dunhill Root Briar Billiard. After I finished the second pipe Barry wrote me an email that gave me a little more information on his Dad and incidentally on himself as this pipe was one of his own. Here is what he wrote me.

Steve, — Another great restoration and writing to go with it. I appreciate these pipes more watching the work it takes to get them in good condition.

Your (mine?) floral words about my father are perhaps a little deceptive. Inside that man was a lifelong Bolshevik. Who yearned for the revolution and settled for the party of Roosevelt. His parents were born in the Russian Empire (Ukraine), his father having escaped after brief detention during the 1905 failed uprising and to avoid conscription. His father was gruff, a bit crude and all politics. Given those origins he made the best of himself, had tons of friends and would have been a great social worker.

I misled you on the origin of his pipe conversion. It seems clear based on the 1939 pipe that he smoked a pipe in college, returning to them after the 1964 Surgeon General ‘s report on the danger of cigarettes. After that he only reverted to cigarettes at moments of great stress, a death, business setback or a fight with his wife.

He gave me two pipes in college – the GBD bulldog and a “Parker”. The latter I used to smoke a few times but found I was allergic to it, fortunately. The GBD was to get girls with an MGB, a Harris Tweed sport coat with leather elbow patches and jug wine. Didn’t work. Stanford women were in revolt and saw through the pretense. I put both pipes away for nearly fifty years and now they are in your good hands. — Barry
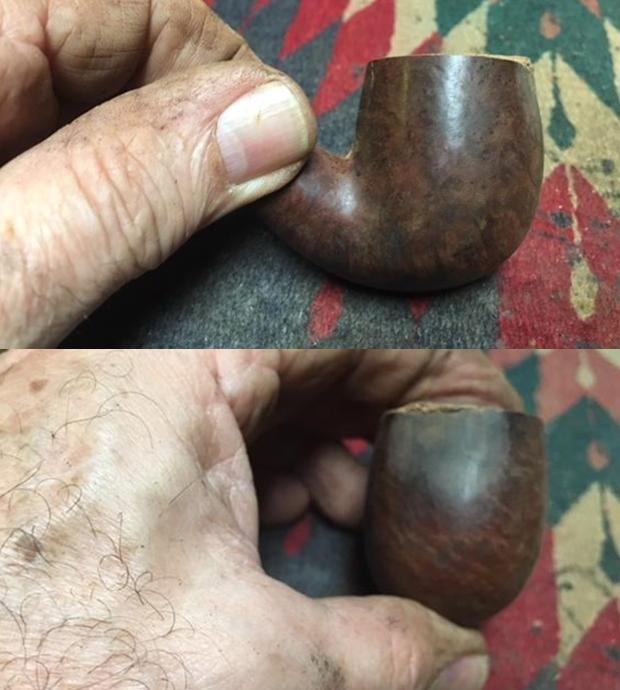
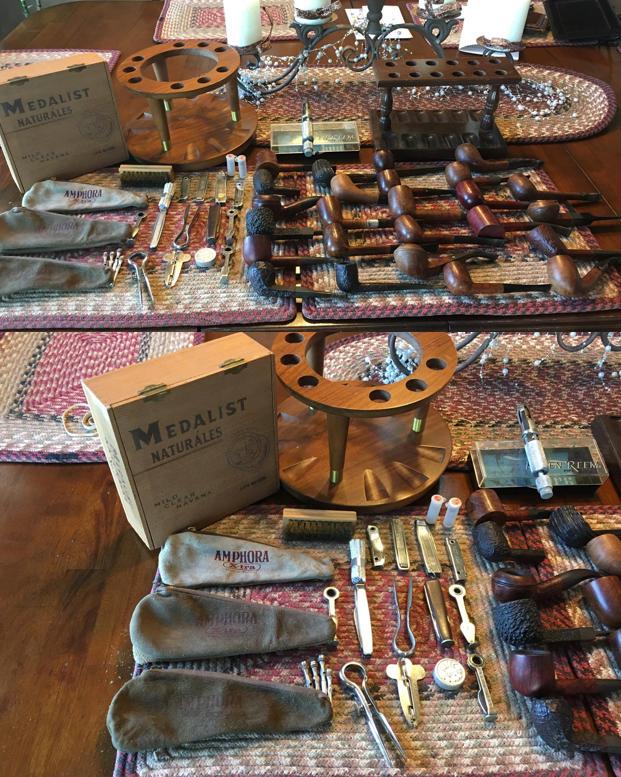
Barry and I corresponded back and forth and concluded our deal. I became the proud owner of his Dad’s pipes. The inventory of the pipes he would be sending included some real beauties – Comoy’s, Parkers, Dunhills and some no name brands. They were beautiful and I could not wait to see them. I had him send them to Jeff where he would clean them up before I received them. Jeff took some photos of the lot as he opened the box. Each pipe was individually wrapped with bubble wrap and taped to protect them. There were 25 bubble wrapped packages and a lot of pipe accessories included – pipe racks, reamers, scrapers and Comoy’s filters and washers. There were pipe pouches and a wooden cigar box that held all of the accessories and reamers. There was a boxed KleenReem pipe reamer that was virtually unused. Jeff unwrapped the pipes and took pictures of the estate showing both the pipes and the accessories. Barry had labeled each pipe with a sticky note. It was an amazing addition to my pipe and tool collection. The next pipe I chose to work on from the collection was the Dunhill Root Briar billiard that is the third pipe down in the photo above. It was in decent condition with dents and wear of the years on briar but the stem was un-oxidized. The pipe is stamped on the left side of the shank with the shape number 34 followed by F/T which is the style of stem (fish tail). I looked up the shape number on a previous blog on rebornpipes (https://rebornpipes.com/2012/11/01/dunhill-pipe-shapes-collated-by-eric-w-boehm/). The shape number 34 is a Billiard. Next to that it reads Dunhill over Root Briar. On the right side of the shank it reads Made in over England with a superscript 9 and a c. Next to that is the familiar 2 in a circle for the size of the pipe followed by a capital R for the Root Briar finish.

This petite billiard was interesting to me in that it was a unique little Root Briar with a mystery stamping next to the Made in England stamp. The superscript underlined 9 gives a potential date of 1959 but the mystery to me is the superscript underlined c next to that. I had not seen that before on any of the Dunhill pipes that I have worked on. The finish was dirty but in decent condition and the stamping was very readable. The bowl was caked and had an overflow of lava on the rim top as well as some darkening. The outer edges of the rim had some rough spots from knocking the pipe against something hard. There was a burn mark on the front right side of the bowl and the rim top. Even through the grime and grit the amazing birdseye on the sides and cross grain on the front and back of the bowl. The stem was in excellent condition with no oxidation and some tooth chatter both sides of the stem at the button. Jeff took photos of the pipe before he cleaned it up. As usual the photos tell the story better than my words can. Jeff took some close up photos of the bowl and rim top to show the cake and the overall condition of the bow and rim top. Both the outer edges and inner edges of the rim show damage. The top of the rim had some lava build up and had scratches and nicks in the surface. He also took a photo of the underside of the bowl to show the grain and the small dents. It is a really nice piece of briar and should clean up well. The stem was made of hard rubber and was barely oxidized as mentioned above and had tooth chatter on both sides near the button. Jeff took photos of both sides of the stem to capture their condition before he cleaned the pipe. The small white spot on the top of the stem was in good condition and slightly indented. Jeff once again did his usual great job on cleaning this pipe, leaving it pristine and without damage to the finish. He reamed the bowl with a PipNet pipe reamer and cleaned up the remnants with the Savinelli Fitsall Pipe Knife. He scrubbed out the mortise and the airway in the shank and the stem with alcohol, cotton swabs and pipe cleaners. He scrubbed the exterior of the bowl, rim and shank with a tooth brush and Murphy’s Oil Soap to remove the grime of the smooth finish on the bowl and shank. He was able to remove the tars and oil on the rim but the darkening and damage to the surfaced would need to be addressed. He rinsed it under running water. He dried it off with a soft cloth. Once the dust and debris were removed the finish looked very good. He soaked the stem in Before & After Pipe Stem Deoxidizer to remove the light oxidation, rinsed it with warm water and dried it off. I took photos of the pipe to show its condition before I started my work on it.   I took some close up photos of the bowl, rim top and damaged areas around the outer edge of the bowl. The front outer edge has a burn mark. The bowl was very clean and the rim top had some nicks on both the inner and outer, some scorching and general darkening. Jeff had been able to remove the lava from the finish. The inner edge had some damage and nicks and the roughness of the rim top and outer edge was visible. The stem was barely oxidized as can be seen in the photos and has tooth chatter near the button on both sides.Before I did and restoration work on the bowl or stem I decided to pin down the date a bit more. I knew that the pipe was made after the patent era pipes as there was no patent number on the shank but I wanted to narrow that down more. One of the beauties of Dunhill pipes is that the stamping can give you a precise date of manufacture. In this case I wanted to work on the stamping Dunhill Root Briar on the left side of the shank and the Made in England9 c  on the right side of the shank. I looked up the brand on the Pipephil website as he has very helpful photos and information in dating and interpreting the stamping on Dunhill pipes. On one of the supplemental pages associated with Dunhill pipes he has a page on the Patent era pipes. I find that this page is particularly helpful when I am trying to properly identify a pipe. Here is the link to the page: http://www.pipephil.eu/logos/en/dunhill/root-briar1.html.

The stamping on this one is similar to the one I am working on. Though the one I have in hand is not a DR A.  The one I have is stamped 34 F/T. The Made in England marking on the pipe in the photo on the right side of the shank is similar as well. The 9 on mine is more of a superscript than this one but the underscore is the same. There is also a 1969 version that is similar but it does not have the underscore on the 9. So the pipe I have is either a 1959 or a 1969 Root Briar. What is also unique on the one I have is the superscript underlined c next to the 9. I cannot find any information on what that means.Jeff photographed the stamping on the right side the shank to show what it read and the condition of the stamping. You can see the underscored superscript 9 matches the one above. The formula is simple – the base number is either1950 or 1960 and you add the underscored superscript 9 to that number. It is either 1969 or 1959. The parallels to the photo above leads me to think it is probably a 1959 pipe. Any help on this would be greatly appreciated.To remove the damage on the rim I decided to top the bowl. I used 220 grit sandpaper on a topping board to remove the damage. I worked on it until the top was smooth and the damage on the outer edge of the bowl was minimized. I used a folded piece of 220 grit sandpaper to smooth out the damages along the outer rim. I used it to also work on the inner edge of the bowl. I gave the inner edge a slight bevel like it original had before I started.  I polished the rim with micromesh sanding pads – 1500-12000 grit micromesh sanding pads. I wiped it down after each pad to check on the progress. I used a maple stain pen to touch up the rim top to match the colour on the rest of the bowl. With the touch ups the rim matches the rest of the bowl colour.I worked Before & After Restoration Balm deep into the briar on the smooth finish to clean, enliven and protect it. I wiped it off with a soft cloth. I buffed the bowl with a cotton cloth to polish it. It really began to have a deep shine in the briar. I took some photos of the bowl at this point to mark the progress in the restoration. The grain on the bowl is really beginning to stand out and will only do so more as the pipe is waxed. I started working on the stem next. I sanded out the tooth chatter next to the button on both sides with 220 grit sandpaper. I wiped the stem surface clean with a damp cloth. I sanded it with 400 grit wet/dry sandpaper to blend the scratches left behind by the sandpaper and blended the scratches into the surface of the vulcanite.  I polished stem with micromesh sanding pads – wet sanding with 1500-2400 grit pads and dry sanding with 3200-12000 grit pads. I wiped the stem down with Obsidian Oil after each pad. I polished it with Before & After Pipe Stem Polish, both Fine and Extra Fine. I gave it a final coat of Obsidian Oil and set it aside to dry. This small Dunhill Root Briar is a real beauty with straight grain on the back and front and beautiful birdseye on both sides of the bowl and shank. The grain really is quite stunning. The rim top looks much better. The Dunhill vulcanite stem is high quality and shined up well. I buffed the bowl and the stem with Blue Diamond polish to raise the shine on the briar and the vulcanite. I was careful to not buff the stamping and damage it. I gave the bowl and stem multiple coats of carnauba wax. I buffed the entire pipe with a clean buffing pad to raise the shine. I hand buffed it with a microfiber cloth to deepen the shine. The finished pipe is shown in the photos below. The rich brown stain allows the grain to really stand out on this little pipe and it works well with the rich black of the vulcanite stem. The dimensions of the pipe are: Length: 5 inches, Height: 1 1/2 inches, Outside Diameter: 1 1/8 inches, Diameter of the chamber: 5/8 inches. This little Dunhill will fit really nicely into the collection of a friend of mine, Henry who has been looking for a pipe this size. I will sending it to him soon and I know that he is looking forward to enjoying his first bowl in it. Thanks for walking through the restoration with me.
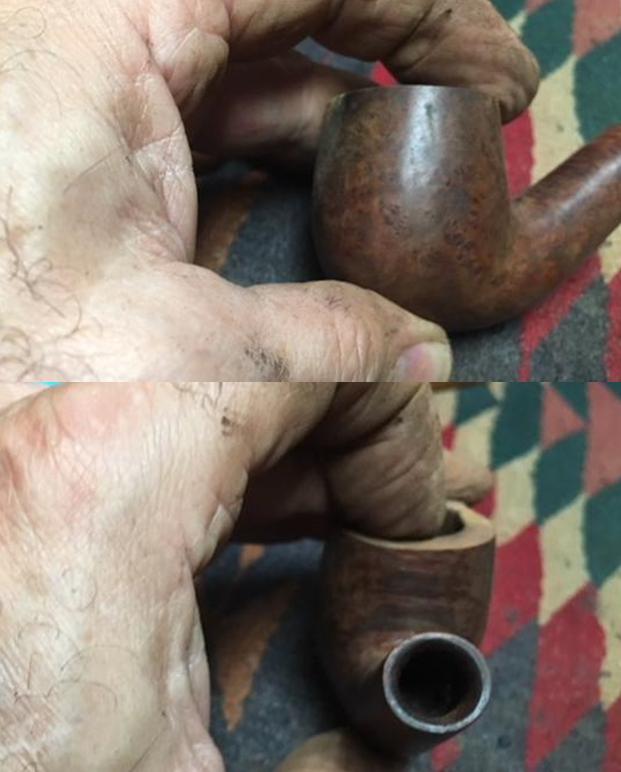
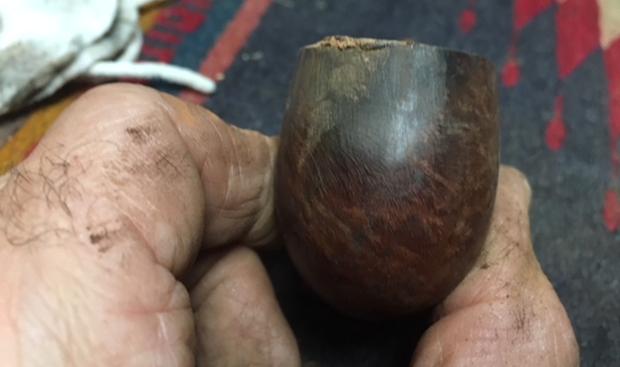
Restoring Barry’s Dad’s Patent Era Dunhill Shell Bulldog


Blog by Steve Laug

Late in the summer of 2017 I received an email on rebornpipes blog from Barry in Portland, Oregon. He wanted to know if I would be interested in purchasing his father’s pipes. He wrote that his Dad was a gracious, dignified and dedicated father, businessman and community leader for many years in Fresno, California where he was raised. He acquired his pipes when he gave up smoking cigarettes in the 1960s. There wasn’t an ounce of pretense in the man and he smoked his pipes for pleasure and as a pass-time while reading, enjoying company or watching sports on TV. Barry and I corresponded back and forth and concluded our deal. I became the proud owner of his Dad’s pipes. The inventory of the pipes he would be sending included some real beauties – Comoy’s, Parkers, Dunhills and some no name brands. They were beautiful and I could not wait to see them. I had him send them to Jeff where he would clean them up before I received them. Jeff took some photos of the lot as he opened the box. Each pipe was individually wrapped with bubble wrap and taped to protect them. There were 25 bubble wrapped packages and a lot of pipe accessories included – pipe racks, reamers, scrapers and Comoy’s filters and washers. There were pipe pouches and a wooden cigar box that held all of the accessories and reamers. There was a boxed KleenReem pipe reamer that was virtually unused. Jeff unwrapped the pipes and took pictures of the estate showing both the pipes and the accessories. Barry had labeled each pipe with a sticky note. It was an amazing addition to my pipe and tool collection. The first pipe I chose to work on from the collection was a small Dunhill Shell Patent Straight Bulldog. It was missing the original stem but the sandblast on the bowl and shank was deep and tactile. The shape was a classic straight Bulldog that was elegant and graceful. The bottom of the shank had been flattened making it a sitter. The sandblast was dirty and filled with the detritus of years of use followed by sitting. The bowl was thickly caked and had an overflow of lava on the rim top. Even through the grime and grit you can see that this was a beautiful pipe. The replacement stem told me that the pipe had been a favourite and that the original stem had been either gnawed or broken and replaced. The new stem had some use and was both oxidized and had tooth chatter and marks on both sides of the stem at the button. The surface edges of the button also had tooth marks that were present. There as some calcification around the button as well that made me think that perhaps the stem had once sported a softee bit. Jeff took photos of the pipe before he cleaned it up. The photos tell the story better than my words can. He took some close up photos of the bowl and rim top to show the cake and their condition. He also photographed the stamping on the underside of the shank to show what it read and the condition of the stamping. The first one shows the words Dunhill Shell and next to that Made in England. Under that it reads Patent No. 41757419. I would need to look that up to date the pipe but the patent number told me that it was made prior to 1954 which was the last year the patent number was stamped on the shank. The second photo shows the shape number of the pipe and the size – 48/4. The shape number 48 designates a straight shank Bulldog with a diamond shank. The /4 is the group size of the pipe which to my mind is strange as the pipe is small. (https://rebornpipes.com/2012/11/01/dunhill-pipe-shapes-collated-by-eric-w-boehm/)The replacement stem was oxidized as mentioned above and had tooth chatter and marks. Jeff took photos of both sides of the stem to capture their condition before he cleaned the pipe. Jeff did his usual stellar clean up job on the pipe leaving it pristine and without damage to the finish. He reamed the bowl with a PipNet pipe reamer and cleaned up the remnants with the Savinelli Fitsall Pipe Knife. He scrubbed out the mortise and the airway in the shank and the stem with alcohol, cotton swabs and pipe cleaners. He scrubbed the exterior of the bowl, rim and shank with a tooth brush and Murphy’s Oil Soap to remove the dust in the sandblast on the bowl and shank. He rinsed it under running water. He dried it off with a soft cloth. Once the dust and debris were removed the finish looked very good. I took photos of the pipe to show its condition before I started my work on it. I took some close up photos of the bowl and rim top as well as both sides of the stem to show their condition. The bowl was very clean and the rim top looked good. He had been able to remove the lava from the finish. The inner edge was in excellent condition and the roughness of the outer edge in the early pictures above actually blended into the sandblast finish of the bowl. The stem is lightly oxidized as can be seen in the photos and has small tooth marks near the button on both sides.Before I did and restoration work on the bowl or stem I decided to pin down the date a bit more. I knew that it was pre-1954 but I wanted to narrow that down more. One of the beauties of Dunhill pipes is that the stamping can give you a precise date of manufacture. In this case I wanted to work on the stamping Dunhill Shell Made in England over Patent No. 41757419. I looked up the brand on the Pipephil website as he has very helpful photos and information in dating and interpreting the stamping on Dunhill pipes. On one of the supplemental pages associated with Dunhill pipes he has a page on the Patent era pipes. I find that this page is particularly helpful when I am trying to properly identify a pipe. Here is the link to the page: http://www.pipephil.eu/logos/en/dunhill/patent2.html#shell417574.

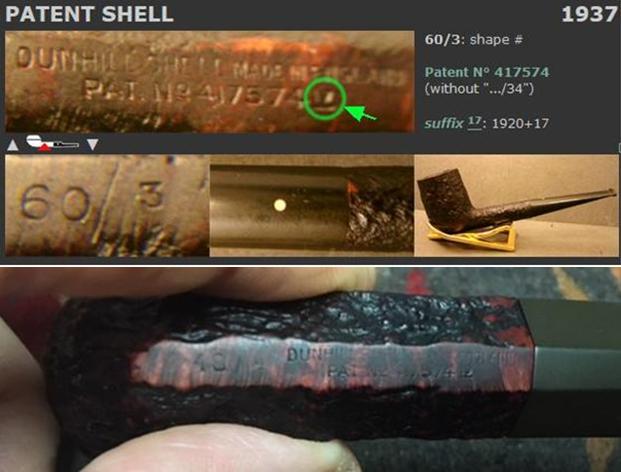
I looked under the section on Patent Shell pipes as that is what I had in hand. I found a photo of a pipe from 1937 that was stamped in the same manner as the one that I was working on. I took a screen capture of the photo and the information. The shape number 60/3 is in the same style and location as the 48/4 on my Dunhill. The Patent Number is identical to the number on my Dunhill. The suffix though in the same location and stamped in the same manner is different from mine. This one is the suffix 17 while mine is the suffix 19. The helpful part in the photo is the formula for determining the date from the suffix shown in the photo. In essence you add the date of the first patent 1920 to the suffix number and you arrive at the date. In my case Patent No. 417574(without “…/34) + suffix 19 = 1920+19 makes this a 1939 pipe. The next photo includes both the screen capture and the underside of the shank of the Bulldog I am working on.I started with the stem on this one. I sanded out the tooth chatter and the tooth marks next to the button on both sides with 220 grit sandpaper.I polished stem with micromesh sanding pads – wet sanding with 1500-2400 grit pads and dry sanding with 3200-12000 grit pads. I wiped the stem down with Obsidian Oil after each pad. I polished it with Before & After Pipe Stem Polish, both Fine and Extra Fine. I gave it a final coat of Obsidian Oil and set it aside to dry. I worked Before & After Restoration Balm deep into the nooks and crannies of the sandblast finish to clean, enliven and protect the briar. I hand rubbed it with my fingers and worked it into the finish with a horsehair shoe brush. I wiped it off with a soft cloth. I buffed the bowl with a cotton cloth to polish it. It really began to have a deep shine in the briar. I took some photos of the bowl at this point to mark the progress in the restoration. The deep grooves in the sandblast and the rugged look gave the pipe a very gnarly feel in the hand. The mix of black and dark brown stain worked well with the sandblast finish. I put the stem back on the bowl and worked the pipe over on the buffing wheel using Blue Diamond to polish the stem. I buffed the bowl with a light touch so as not to get any of the buffing compounds in nooks and crannies of the sandblast. I buffed the stem to raise the gloss on the vulcanite. I gave the bowl multiple coats of Conservator’s Wax and gave the stem multiple coats of carnauba wax. I buffed the entire pipe with a clean buffing pad to raise the shine. I hand buffed it with a microfiber cloth to deepen the shine. The finished pipe is shown in the photos below. The black and brown stains on the sandblast Dunhill Shell works well with the rich black of the polished vulcanite stem. This little Patent Shell is a beautiful and interesting looking pipe. The dimensions of the pipe are: Length: 5 inches, Height: 1 5/8 inches, Outside Diameter: 1 1/8 inches, Diameter of the chamber: 5/8 inches. This 1939 Dunhill is one that I am going to put in my own rack while I look for an original stem. Thanks for walking through the restoration with me.


Restoring a 1983 Dunhill Shell 41009 Oval Shank Pot


Blog by Steve Laug

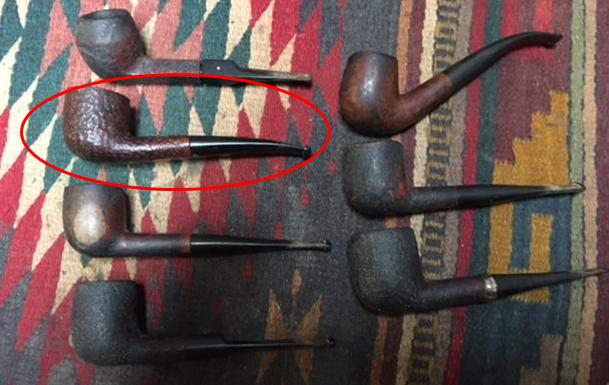
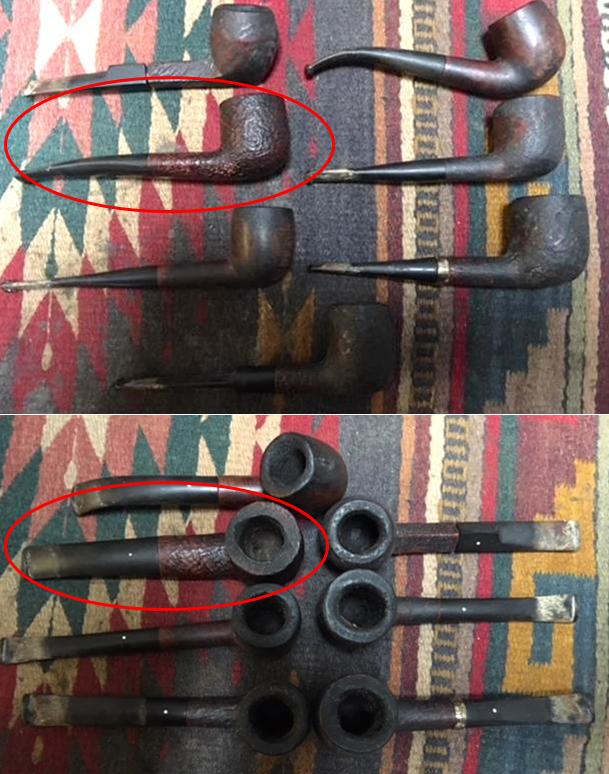
The next collection of pipes that I am working on comes from the estate of an elderly gentleman here in Vancouver. I met with his daughter Farida last summer and we looked at his pipes and talked about them then. Over the Christmas holiday she brought them by for me to work on, restore and then sell for her. There are 10 pipes in all – 7 Dunhills (one of them, a Shell Bulldog, has a burned out bowl), 2 Charatans, and a Savinelli Autograph.  He loved his pipes and she said that he was rarely seen without a pipe in his mouth. He traveled a lot and she remembers him having one of these pipes with him in the far north of Canada. His pipes are worn and dirty and for some they have a lot of damage and wear that reduce their value. To me each one tells a story. I only wish they could speak and talk about the travels they have had with Farida’s dad. Each of them has extensive rim damage and some have deeply burned gouges in the rim tops. The bowls were actually reamed not too long ago because they do not show the amount of cake I would have expected. The stems are all covered with deep tooth marks and chatter and are oxidized and dirty. The internals of the mortise, the airway in the shank and stem are filled with tars and oils. I took pictures of the Dunhill pipes in the collection. There are some nice looking pipes in the lot. The first pipe that I am working on is a Shell Oval Pot. I have circled in the above three photos in red to identify it for you. It is an interesting shape. The pipe is stamped on the underside of the shank with the shape number 41009 next to Dunhill Shell over Made in England 23. Dating this pipe is a fairly easy proposition. You take the two digits following the D in England and add them to 1960. In this case it is 1960+23= 1983. (Pipephil’s site has a helpful dating tool for Dunhill pipes that I use regularly http://www.pipephil.eu/logos/en/dunhill/shell-briar1.html). It was in pretty rough shape. The bowl itself looked good and the finish was in decent condition. The top of the rim was rough and the inner edge was badly damaged. There were spots on the front of the rim top and at the rear that had deep burns into the briar. The briar was burned to a point where I could pick it out with my fingernail. The shank was so dirty that the stem would not properly seat in the mortise. The stem was not too bad – tooth marks on the underside near the button and lots of chatter on both sides. It was lightly oxidized and there was some calcification on the first inch of the stem. I took some photos of the pipe before I started to clean it up. I took close up photos of the rim top, bowl and the stem to show the condition the pipe was in before I started my clean up. The first photo shows the damage on the top of the rim and particularly the inner edge of the bowl. You can see the damage on the front edge and the back edge of the bowl. There was some major burn damage on the inner edge of the bowl. The rim top also had some tars and lava on the surface that would need to be addressed before I could work on the burned areas. The surface of the bowl was dirty and grimy with dust and oils ground into the grooves of the sandblast. The photos show the light cake in the bowl and the dust and grime on the finish. The stem photos show the oxidation and the tooth chatter and tooth marks on the stem surface. You can also see that the stem does not seat in the shank well.I reamed the bowl with a PipNet pipe reamer to cut back the cake to bare briar. I finished cleaning up the remnants with a Savinelli Fitsall Pipe Knife. I used the knife to scrape away the soft briar from the burned areas of the rim top. I used a brass bristle wire brush to clean up the grooves in the good portion of the rim top. I also cleaned out the burned areas. I wiped out the burned areas with cotton swabs and alcohol to clean out the remaining dust and leave it clean. I built up both areas with briar dust and super glue. I used a dental spatula to apply the briar dust to the glue. I built it up in layers until it was level and the inner walls were round.I used a folded piece of 220 grit sandpaper to smooth out the inner edge of the bowl. I worked on it to round the edges. I used a Dremel and sanding drum to smooth out the hard spots of dried glue and dust. I used the brass bristle wire brush to clean out the grooves in the rustication on the rim top. With the rim top basically finished (other than rusticating it with a Dremel and burr) I worked on cleaning out the internals in the shank. I used a dental spatula to scrape out the hard tars and oils that had lined the walls in the mortise. I cleaned out the mortise and the airway in the shank with alcohol, pipe cleaners and cotton swabs until the shank was clean.I used a dental burr in my Dremel to rusticate the top of the rim. I wanted to match the repaired areas to the rest of the rim top. I slowly and carefully put divots in the surface to match the rest of the surface of the rim. I restained the rim with a dark brown aniline stain and a cotton swab to get the stain deep in the recesses of the repaired rim top.I rubbed Before & After Restoration Balm into the deep grooves and crevices of the sandblast on the rim and the rest of the bowl. I rubbed it until it was deep in the briar. It was amazing to see the grime and dirt on the cotton pad that I wiped it down with. The balm brought life and a rich glow to the briar. I rubbed the bowl down with Conservator’s Wax and buffed the pipe with a shoe brush. I took it to the buffer and buffed it with a clean buffing pad to raise the shine. I hand buffed it with a clean microfiber cloth to deepen the shine. The photos below show the repaired and restored bowl. It has come a long way from the damaged pipe I started with when I began. I laid the bowl aside and turned my attention to the stem. I cleaned the surface with alcohol and a cotton pad and cleaned out the airway with alcohol, cotton swabs and pipe cleaners. I scrubbed until the cleaners came out white. I sanded the stem with 220 grit sandpaper to smooth out the tooth chatter and remove the tooth marks. Fortunately they were not too deep so they came out with a little elbow grease.I polished the stem with micromesh sanding pads – wet sanding with 1500-2400 grit pads and dry sanding with 3200-12000 grit pads. I wiped them down after each pad with Obsidian Oil after each pad. I polished it with Before & After Pipe Stem Polish – both fine and extra fine to take out some of the tiny scratches in the vulcanite. I finished by rubbing it down with a final coat of Obsidian Oil and set it aside to dry. With the stem polished I put it back on the pipe and lightly buffed the bowl with Blue Diamond being careful to not fill the grooves in the blast with the polishing compound. I used a regular touch on the stem to polish out any remaining scratches. I gave the bowl several coats of Conservator’s Wax and the stem several coats of carnauba wax and buffed the pipe with a clean buffing pad to raise the shine. I hand buffed it with a microfiber cloth to deepen the shine. The pipe polished up pretty nicely. The finished pipe is shown in the photos below. This is the first of six Dunhill pipes that I am restoring from Farida’s dad’s collection. I am looking forward to hearing what Farida thinks once she sees the finished pipe on the blog. I will be posting it on the rebornpipes store as she wants to sell them for the estate. It should make a nice addition to a new pipeman’s rack that can carry on the trust from her father. The dimensions are; Length: 6 inches, Height: 1 ¾ inches, Outside diameter of the bowl: 1 ½ inches, Chamber diameter: 7/8 inches. Thanks for walking through the restoration with me it was a fun pipe to work on. Cheers.

Dent Steaming a 1932 PATENT DUNHILL T197 Billiard with a VERNON STEM


Blog by Henry Ramirez

Saw this mousey looking pipe with a clicker stem on EBay.  Nobody seemed to want it so I took it home to practice my dent steaming.  The stem attaches with a loud click and some research told me it was named after Vernon Dunhill, who was responsible for the fitment’s design.  It was designed  to allow the stem to be separated from the bowl even when the pipe was hot from recent smoking.  It had the earlier square tip tube rather than the later angled tip. The stem had a funky downward cant before the button and it strongly resembled my Kaywoodie Allbriars.  Boy they nailed that briar stain to the oxidized Cumberland stem color! The bowl rim was dented/chipped and the surface scratched. The stem and the button were in fine shape so the usual soak in Oxyclean to remove the smegma followed by a trip to the oven to allow the stem to straighten itself.The metal tube is removable from the keeper which is part of the stem.  I have seen examples of the opposite where the keeper is integral to the shank.  These pipes seem to have been mostly billiard Cumberlands but some exceptions exist.  Both the tube and the keeper were polished with fine brass wool.  I did reface the tube with a carborundum disk.The shank stampings were crisp but there seemed to be personalized script on the bottom long polished off.The dent on the bowl’s rim was the major distracting feature.  I didn’t want to top the bowl and the briar dust/CA mixtures never seemed seamless to me.  So I tried to fatten up the cellulose fibers with hot steam using my hand held steamer.  This worked somewhat and had the advantage of pin pointing the area to be steamed. Not satisfied, I decided to fall back on the hot iron on a wet kitchen towel technique.  This did a better job, I think because it affected a larger area.  The problem then became one of restaining this larger area to match the rest of the pipe.
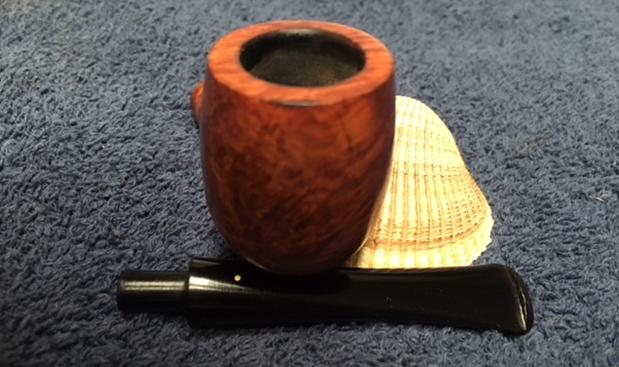
Restaining the pipe became somewhat of a chase your tail love’s labor, trying light brown, medium brown and the finally dark brown in various concentrations followed by isopropyl alcohol on a gauze sponge scrubbings.

So, I think I’m going to someday re-stain the whole pipe dark brown to try to better match the Cumberland stem while learning to love the residual dent on the rim.  The only home run here was the straightening of the stem to its original straight shape.  Thanks for looking, regards, Henry.

Stem Button TIME SAVER on a 1940’s Dunhill LB


Blog by Henry Ramirez

I was ghosting through Ebay listings looking for a cracked shank to experiment with when this old classic appeared.  The auction was won for a song because in addition to a cracked shank, the year stamping had been buffed off the shank. The usual whole lotta cake and dented stem story.I started with the stem, which was really in great shape.  I have come to love the stumpy profile of the patent LB’s with their constricted contour button.  An Oxyclean bath was followed by an isopropyl alcohol scrubbing with a shank brush and pipe cleaners. I wanted to use heat to raise the bite marks as much as possible to not only decrease my work load but to minimize the inclusion of foreign filler. To this end I also wanted to learn the proper temperature needed to reproduce my results consistently.

Using a heat gun, I took my time and warmed up the vulcanite until my nose told me it was getting close to burning.  If that happens the surface becomes a porous charred stinky mess!  I quickly used a laser temperature gun to obtain a surface reading of 275 degrees F.  Amazing how quickly the surface cooled off once the heat was removed.I was not impressed by the amount of rebound and it looked like filling and filing was in my future.

Having nothing to lose, I pressed my wife’s oven into service, knowing that I could set the temperature substantially higher than previous attempts without fear of ruination. I set the oven temperature at 265 degrees F to have a 10 degree safety zone and watched as the whole stem “stretched out”.  This was more like it! The dents were now depressions that needed the light to shine just so to be seen.  Little CA and polishing was needed.

I should mention that these values are for older Dunhill vulcanite only.  The composition of vulcanite has changed over the years, according to some posts I’ve read, and I’ve noticed it in the depth of polish ability.Now it was the time to clean and evaluate the briar. While I ream the mortise and bowl I am wishing that I had Steve’s magical Savinelli Pipe knife. Boy, those things are rarer than hen’s teeth and this old cake is super hard. That is followed by total immersion in an isopropyl bath with various scrub brushes stripping the briar. I couldn’t save the original finish because the shank crack needed to be clean and open as much as possible for the bonding. One of the perks of the alcohol bath is that after the bowl dries out, if there is any residual cake stuck to the chamber walls, it shrivels up and is easily removed.The shank crack was now very evident but the year stamping was not.Getting back to the stem, I wanted to know if the alcohol retort was worth the hassle.  I had been as meticulous as possible with the pipe cleaners and cold alcohol.  The color of the used alcohol in the distillation flask tells the story, close but no banana! I could now address the cracked shank.  I had previously repaired such a problem using a micro-screw and bonded dental composite resin.  I was concerned that threading the screw into old dry briar could start micro-fractures and crazing.

This time I elected to drill a channel spanning the crack and passively bond a post fabricated from longitudinal glass fibers encompassed in a strong composite resin matrix.  This would also provide some flex in the repair to accommodate the dimensional changes that briar goes through because of temperature changes during smoking.

At this time I also drilled a post hole at the end of the crack to prevent further spidering.  Because the crack was significantly wide I made sure to introduce my resin with a size 06 endodontic file.  I had planned to use a C clamp to close the gap but I chickened out when finger pressure did nothing.  Not sure how to make briar temporarily more flexible….

After filling the post hole and cementing the fiber post with dual cure composite resin, I trimmed off the post and blacked out the white resin with black CA.

Before beginning to start the staining process I wanted to open the pores of the cellulose to not only gain greater absorption of the dye but also improve the briar’s capacity to absorb tars for a sweeter smoke.  I had noticed such a phenomenon with the Missouri Meerschaum corn cob pipes.

I found that this particular wheel had already been invented by the folks who refinish wooden decks.  I tracked down some relatively non-toxic materials which did the job and whose run off wouldn’t hurt plants.

Sodium percarbonate does the cleaning and oxalic acid removes the smear layer, thus opening up the wood’s pores.  Looking around online for a source I realized that I already had both chemicals in the laundry room!  Oxyclean is the percarbonate and states on the container that it’s great for wood decks, siding and lawn furniture.  Bar Keeper’s Friend has oxalic acid as its active ingredient and states on the container that it works on teak wood.Indeed after scrubbing with both and rinsing with water, I noticed that the chamber’s surface looked and felt less dense.Now it was time to stain the briar with Oxblood diluted 50% with isopropyl alcohol in two coats, both flamed with the micro-torch.I was lucky that the original black stain in the depths of the blast remained.An overlay stain of light brown was applied in 2 coats.After a rub down with an old t-shirt to remove any xs dye, I applied 2 coats of Halcyon wax.  A quick buff on the lathe and then a hand strapping with a shoe bristle brush brought the shine up.  I want to mention that my wife gifted me her silver brush which is narrow and has long soft bristles which easily accesses the crotch of the pipe without fear of collision. This has proved most useful on bent pipes.Another very helpful tip came from a pipe maker’s blog about dead-faced files to add crispness to the button area.  They are the dead faced nut seating file by Stewart MacDonald, a luthier’s supply house and the pillar files which have the dead side on the edge from OttoFrei, a clock makers source.Well I’m now satisfied with the pipe but not finished. They say we abandon these projects because we reach a point where better becomes an enemy of good. Boy that was fun and I hope to share more adventures with these fabulous old pipes!  Regards, Henry


1967 DUNHILL 197 SHELL BRIAR Clean-up


Blog by Henry Ramirez

When surfing Ebay I noticed a very well smoked Shell billiard whose stem had lost its White Dot. It looked like it could be cleaned up to present an elegant addition to my collection. I anxiously awaited its arrival and immediately dunked the stem in an Oxyclean bath for a nite.

The next morning I pulled it out of the bath and wiped off the smegma for my first real look at the stem. The divots reminded me of a deflated balloon. Just what I was hoping for! Off to the buffer I went to buff off the sulfur discoloration with a wet rag wheel and pumice. Knowing what I know now, I should have popped this baby in the oven to raise the dents but instead I got to cleaning the stem’s airway and tenon. I bonded some shade A2 dental composite in the hole for the White Spot and was dismayed that it refracted the surrounding black vulcanite. Note to self, next time place a layer of opaque before the bulk fill. Luckily, when researching the earlier White Spots I came across examples of dots so dark they were black. I had made a silicone impression of a new pipe’s stem and used that as a mold to create a refurbishment of the button. What a mess! Next time I’ll mix the charcoal in with the composite resin rather than CA. I ended up recreating the button the way Steve has posted here on Reborn Pipes. OK, so now it’s the bowl’s turn. My armamentarium and procedure is pretty routine for cake and gunk removal. The rim’s blast was scorched but luckily, the rest of the pipe’s blast was vestigial. This was an opportunity to try out emulating a blast through rustication. Plus, since the pipe was stained rather darkly, it would help hide a myriad of sins. When polishing the chamber I noticed some alligatoring of the briar. Today I would probably schmeer some JB Weld into the cracks but what I did was a coating of Structural Sour Cream and charcoal. I played around with the button’s internals, polished with the usual green, red and white compounds (thanks Tim West), threw on some wax and called it a day! Thanks for looking, regards, Henry

Dunhill 1949 Patent 120 FrankenStem


Blog by Henry Ramirez

Cruising Ebay for a pipe to play with I came across a Shell bent which, as stated in the listing, had the stem bit completely chewed off. I’d been trying a mold technique to reconstruct the stem button with limited success, very limited. Anyway, this pipe’s stem had been chewed to the point where no pipe cleaner could negotiate the airway and tobacco dottle was packed in tight. Here is a photo of the listing.Dang me, the previous owner had a heck of an oral fixation!  This stem was exactly what I was looking for.While the stem soaked in the Oxyclean bath, I evaluated the briar. The cake in the chamber was so thick you could shake a stick at it but after removal proved to be the protection connection because the inner bowl was pristine. I don’t know what it is about old tobaccos but the cake is dry and pumice-like with a delightfully transporting aroma to another time. The bowl’s rim was likewise protected by the lava of cake and tar. When I use my augers and drill bits, it’s either by holding the bit by hand or using an electric drill to hold the spade bit and turning the pipe itself. I’m listening for the crunching sound of cake being cleaved rather than the squeaky sound of metal on briar. Full rotations are usually not possible until the very end.

The stain and finish on the briar had that great oxblood highlight color that I love but was tarnished with a river of muck. I decided to try using my micro etcher to preserve the blast on the rim but knowing that I would later have to re-stain. I didn’t want to use Murphy’s Oil Soap because it diminishes the intensity of the stain somewhat.  Regarding the River o” Muck, I tried using my steamer which has a gun for accurate aiming and a boiler which keeps up the psi.  This muck was visible in the blast’s valleys as a white deposit. I fished out the stem from the Oxyclean bath, scrubbed it with blue shop paper towels to remove the slimy coating and polished it with flour of pumice, green, red, white diamond and Bendix on the lathe with individual rag wheels.

When the stem airway is too congested or crimped to allow passage of even a bristle pipe cleaner, I use a base “E” guitar string. It has a stiff central core wire which is later wound with another thicker resilient wire to poke on through.  My intent is not to mechanically open the airway but to remove any remaining tobacco chattel that the steamer couldn’t dislodge.

Next, I want to straighten the stem in my Wife’s oven. Of course I do this when she’s not around and so far she has turned a blind eye towards this practice.  But if there is residual tobacco burnt in her oven, I don’t want to be around to explain! The vulcanite has a memory of its initial pre-bent and pre-chewed state which will allow ease of cleaning and repair. The only bugaboo is that tenon-mortise margin can open. I was fortunate to have that happen because I have an adjustment technique to fix that which I want to try out. Importantly, don’t forget to trace the initial outline of the bent stem on a piece of paper for a reference when re-bending.

The pipe stem is positioned on a sheet of aluminum foil on the middle shelf where it is easy access and can be well illuminated by the oven’s light, I have tried to use an aluminum pie plate but the higher sides obscure my viewing the stem. I set the temperature to 247 degrees using the Bake Convection mode. This oven is electric and if yours is gas, you may want to let it get up to temperature first before placing your stem. Gadzooks!  The tenon on the stem opened like a blunderbuss barrel and the stem won’t fully seat. More fun!

The cross section on either side of the air way seemed meaty enough for some pins and channeling to create a ferrule of composite resin. I made a silicone putty impression of an unsmoked stem which approximated the same size and shape of this pipe. I made sure to capture the airway’s interior.I then plugged the stem’s airway with wax; micro etched the exterior surface and bonded the composite. I’d gotten a black resin colorant online but found that it either accelerated the mix to a very short working time or inhibited the mix to not fully curing. To blacken my next mix I’m going back to activated charcoal. But although this bit is ivory colored, it is very strong and decently shaped so I decided to simply slather it with a coating of black CA.

When I placed the pipe back in the oven to re-bend it, I found that some of the CA had over heated and was bubbled up like road tar. Note to self, keep CA out of the oven. I had seen this happen with an infrared light in a previous experiment but thought the temp was sufficiently lower to prevent a recurrence. Oh well, just more fussin’.

By the way, when re-bending the stem I never seem to be able to wait long enough and go through several attempts before getting it right. If it doesn’t fully bend to the proper contour, you have to wait until it re-straightens itself and then some. If you get greedy you can snap stem in half. I’m looking forward to my next stem bending because I plan to chronicle the ideal temperature using my laser thermometer.Returning to the bowl’s rim, I stained it with a light brown, got the stem to fit better but haven’t yet dialed it in and polished the pipe.I noticed that the preliminary outline of the stem displayed the additional length that the new bit added.Here’s the semi-final result and I wonder if any of these projects are truly ended because to aspire to the superb craftsmanship of these old Dunhill artisans is a journey rather than an endpoint.