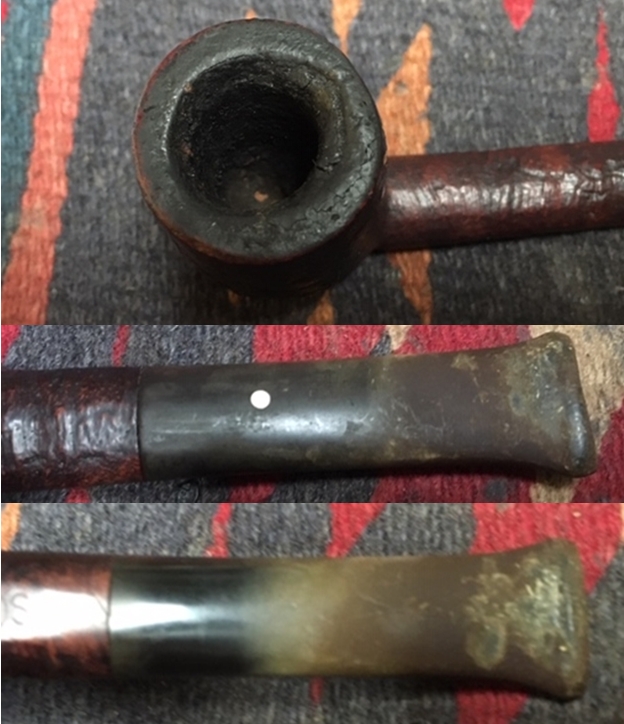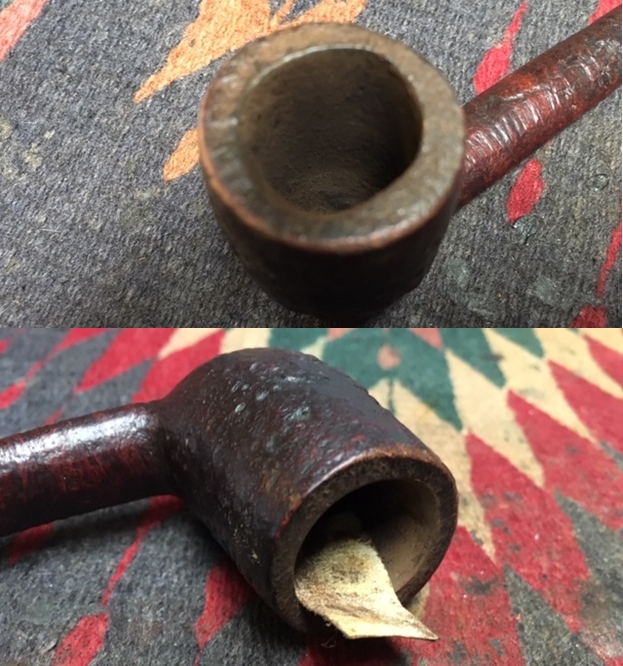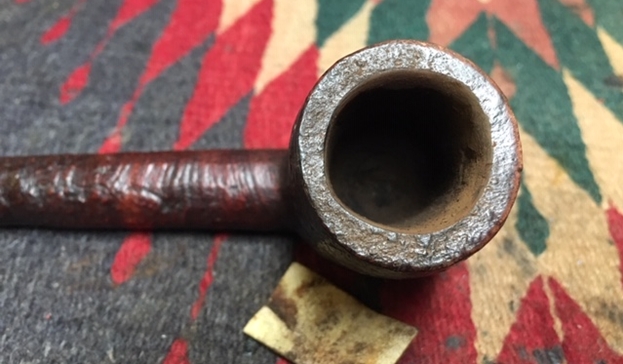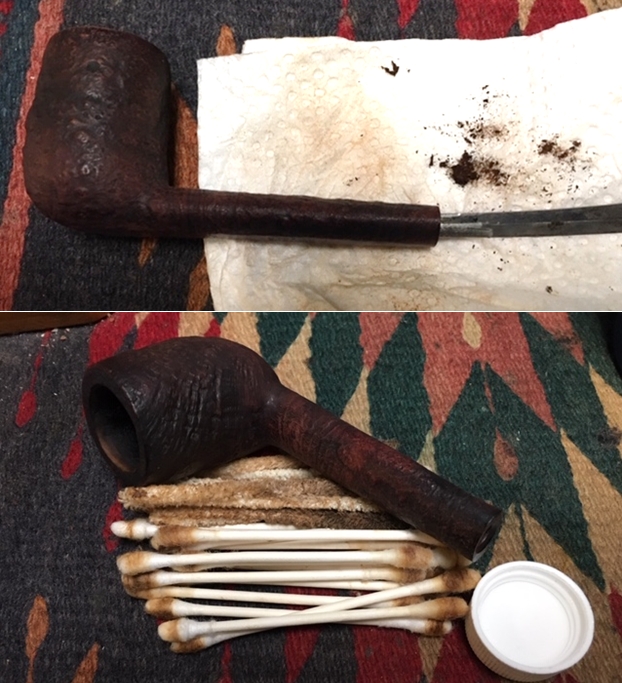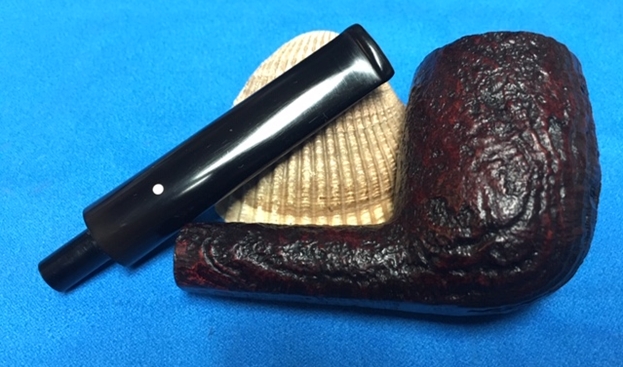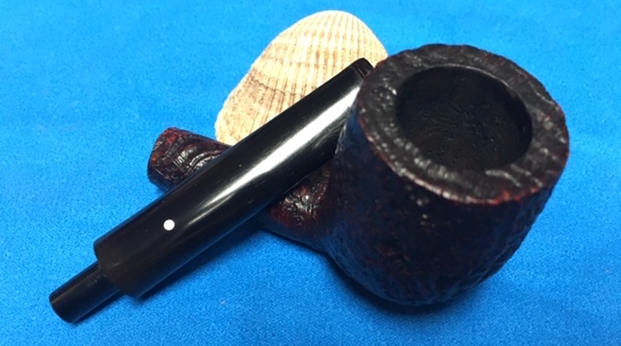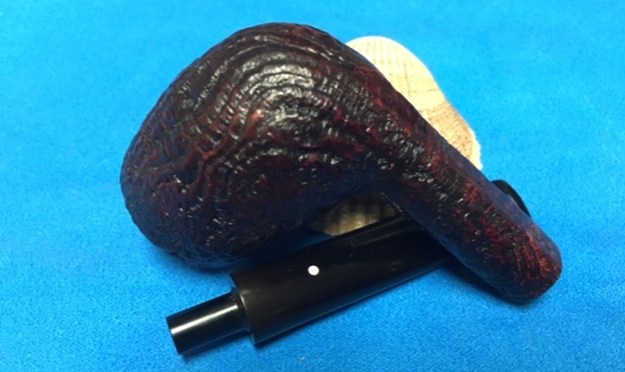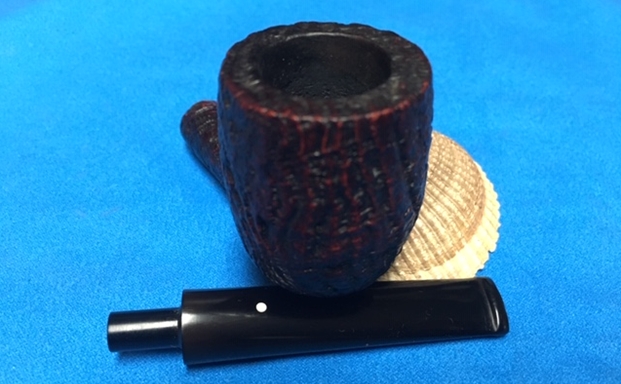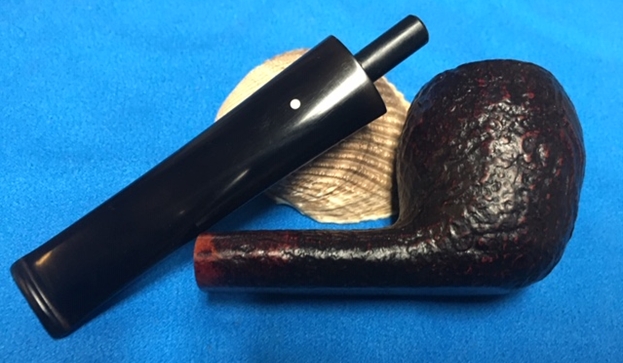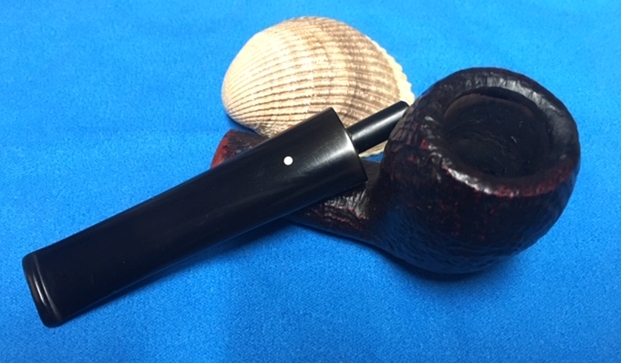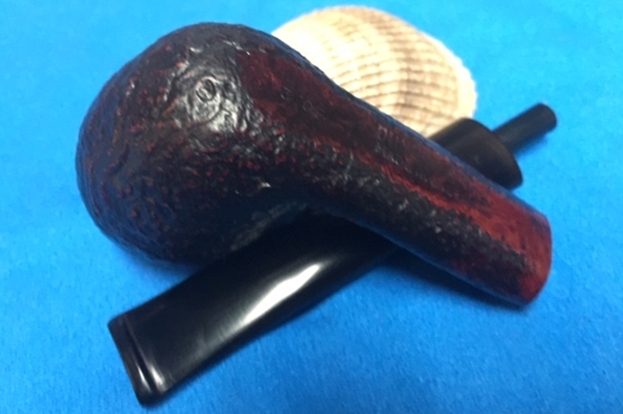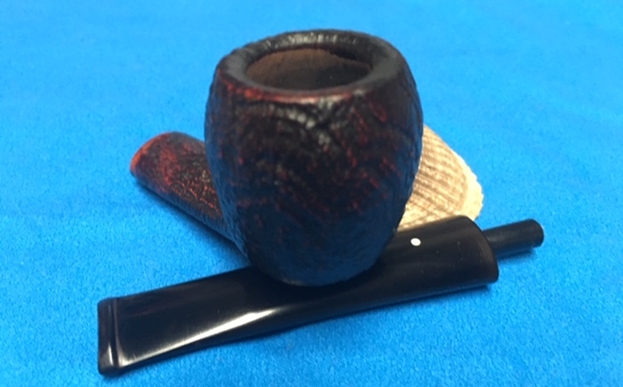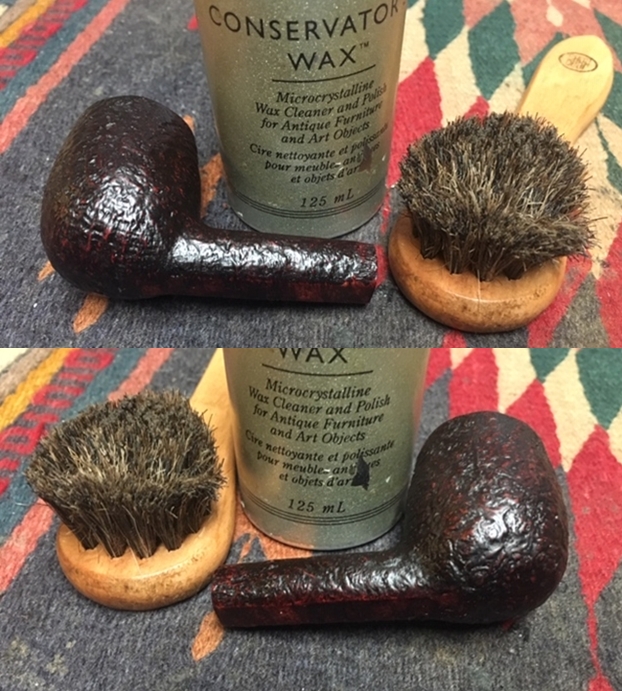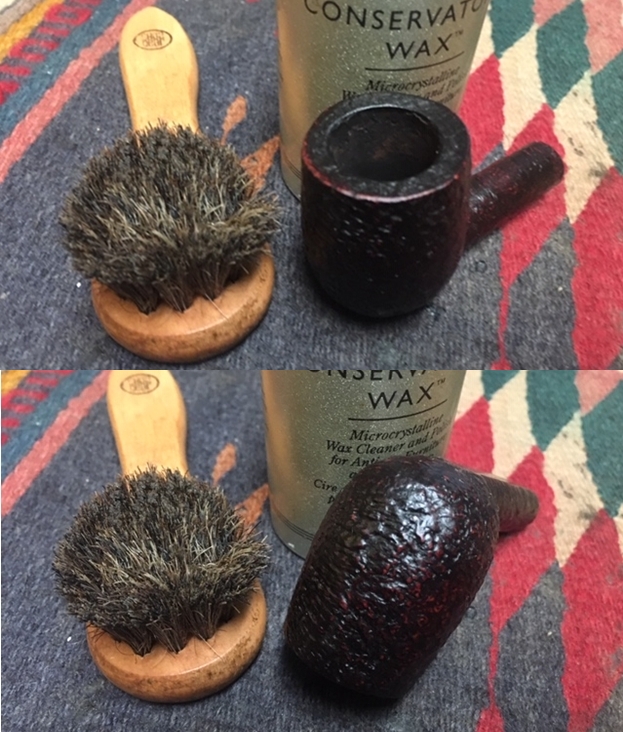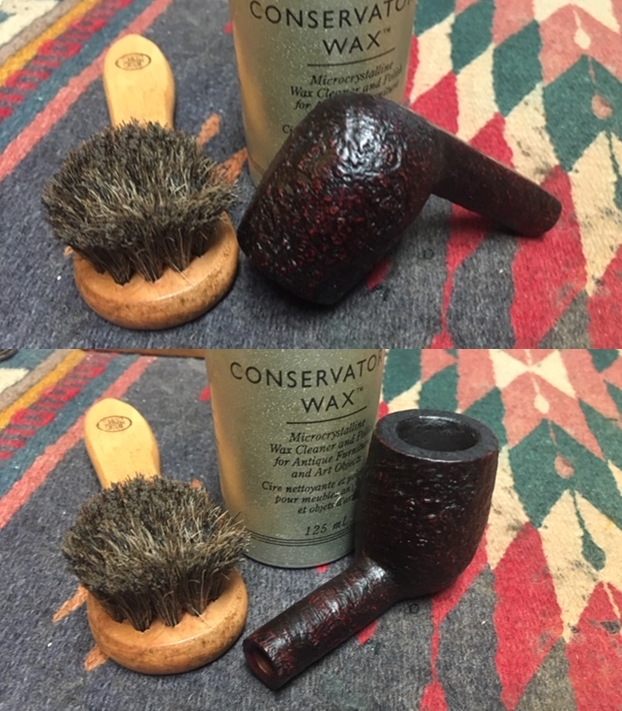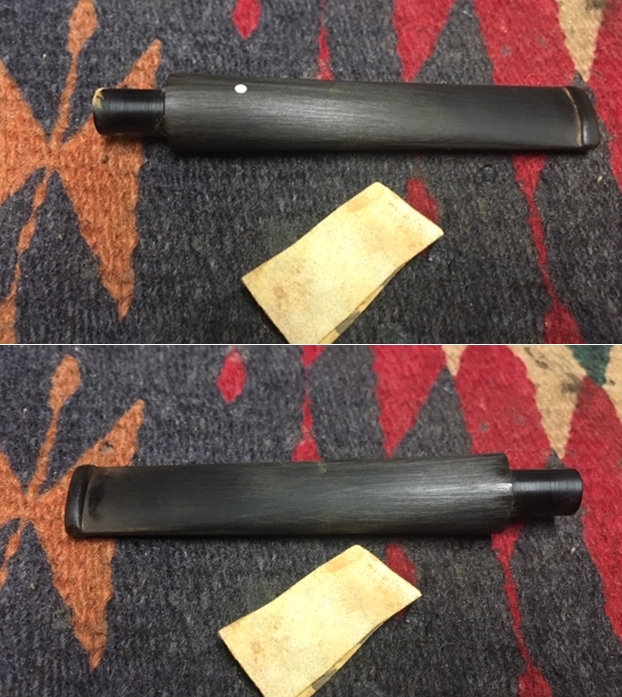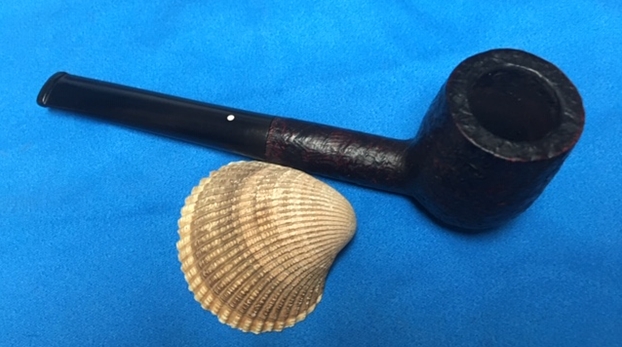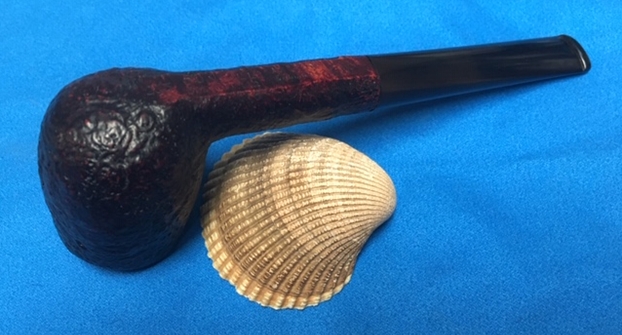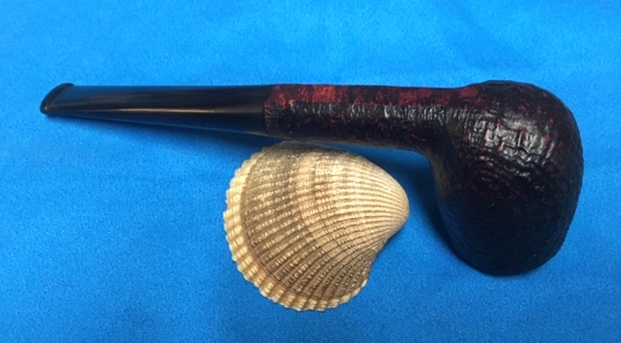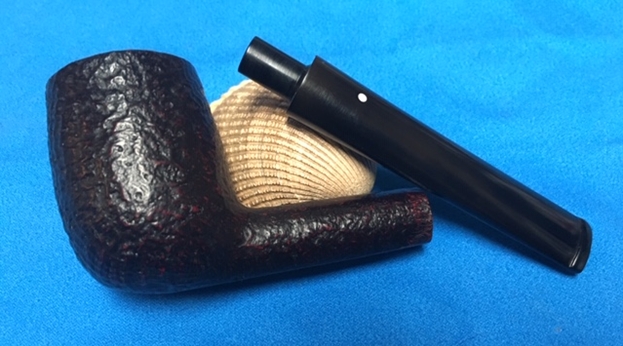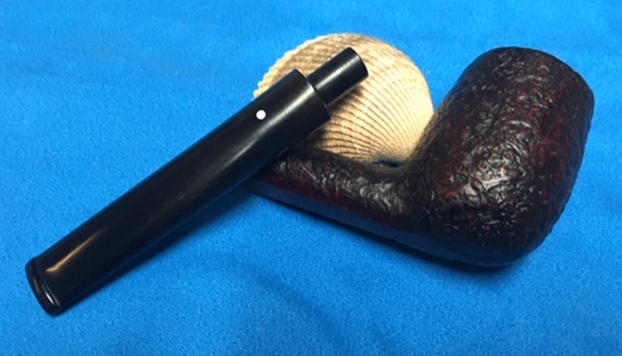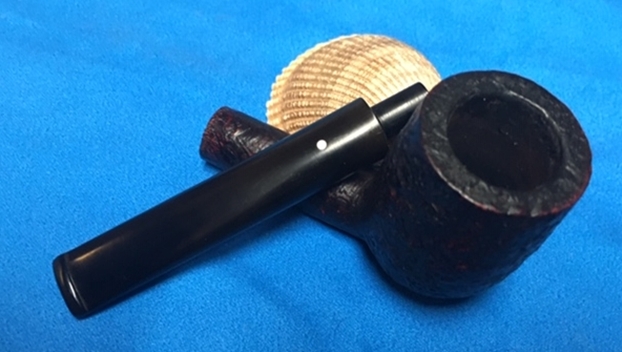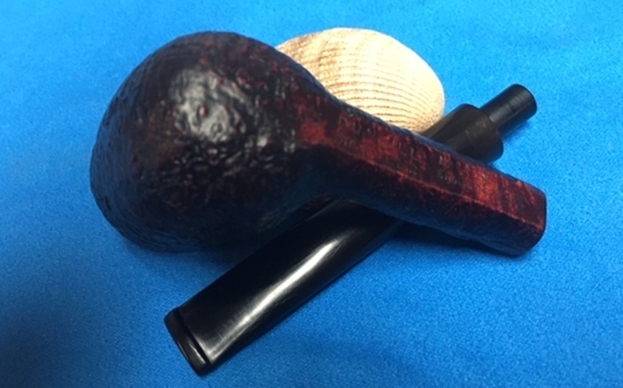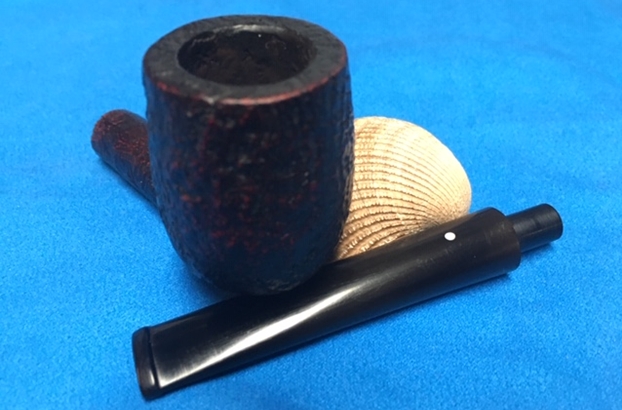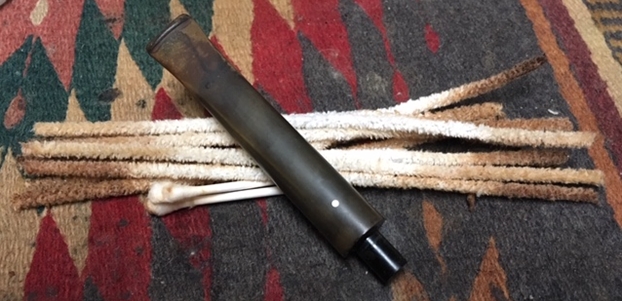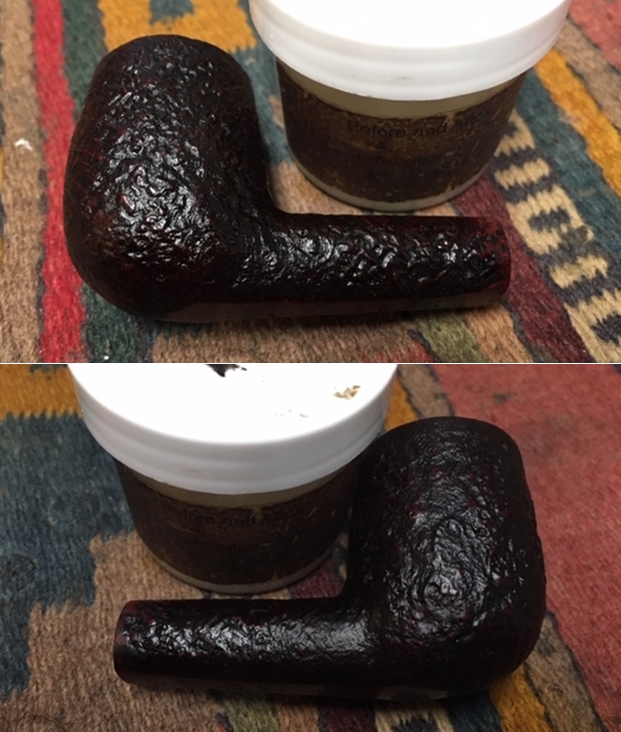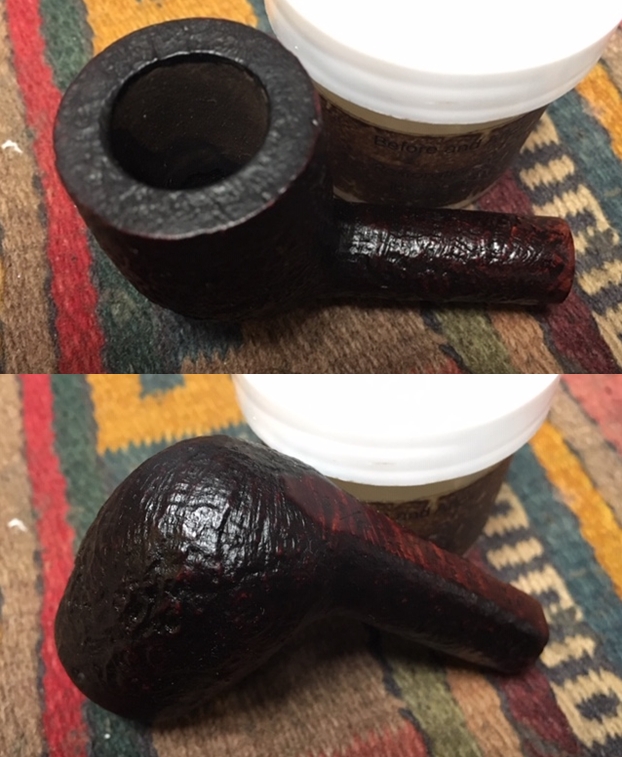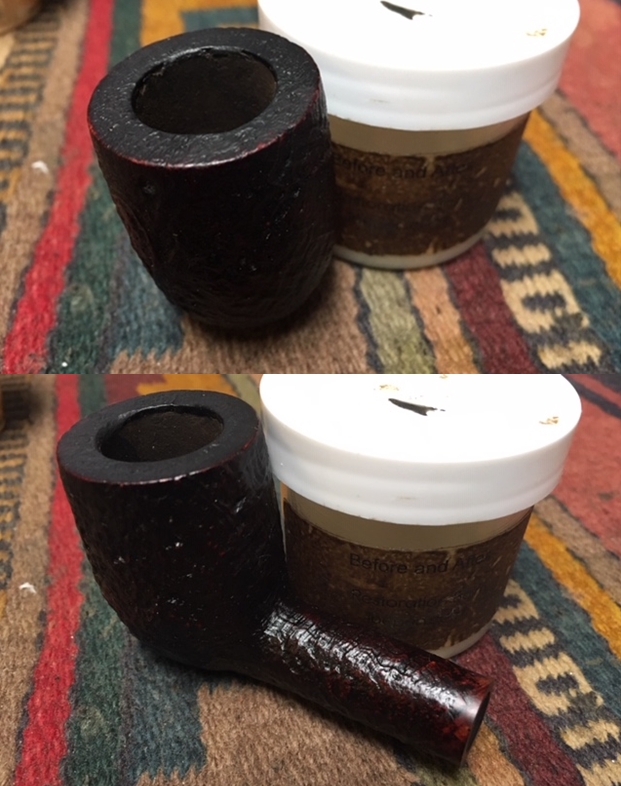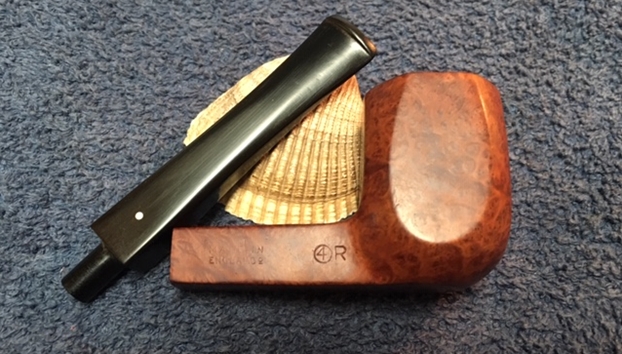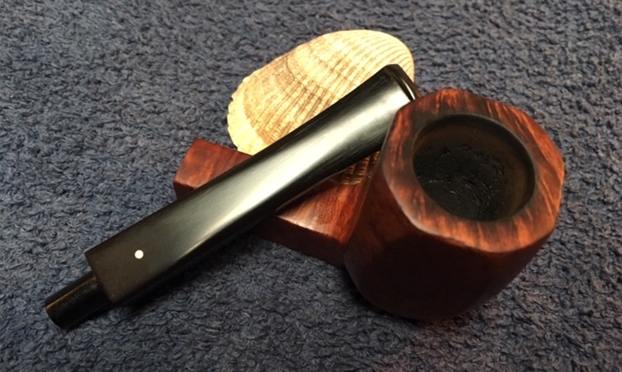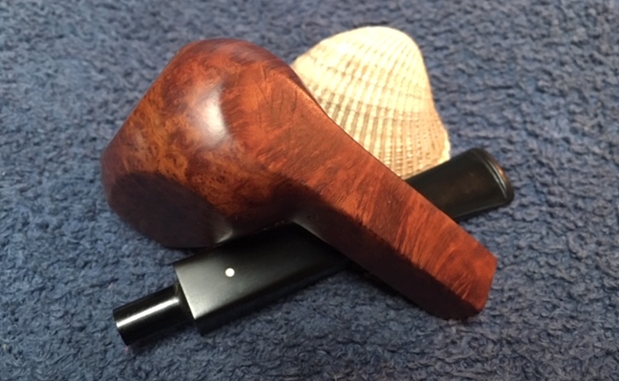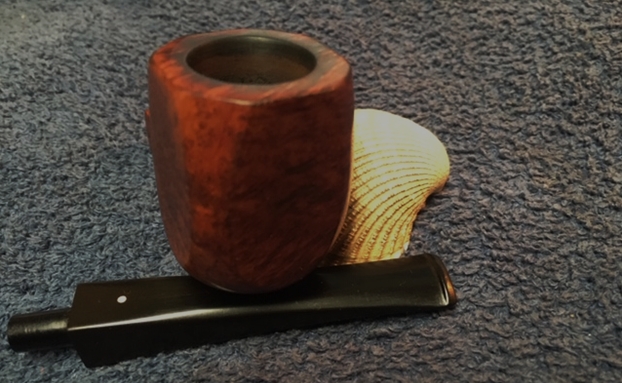
Tag Archives: Dunhill Pipes

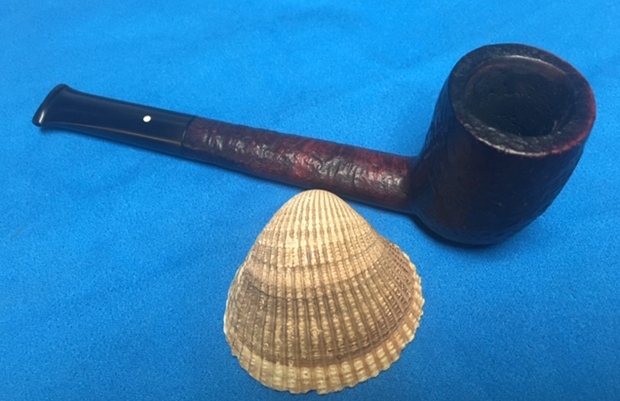
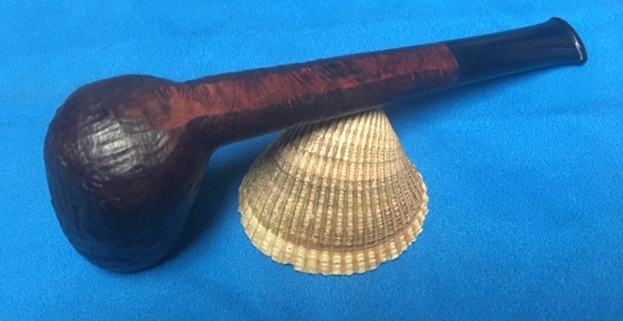
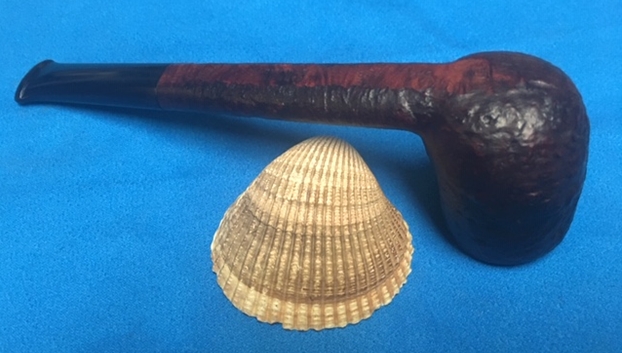
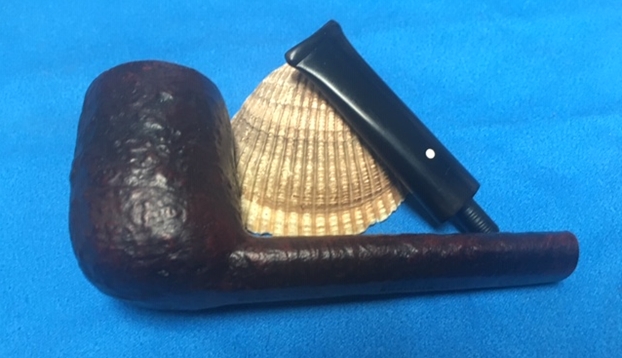
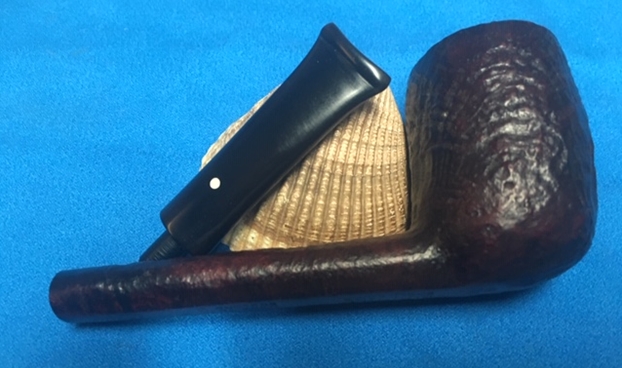
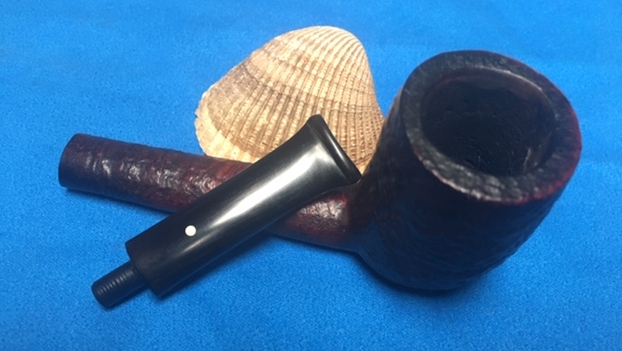
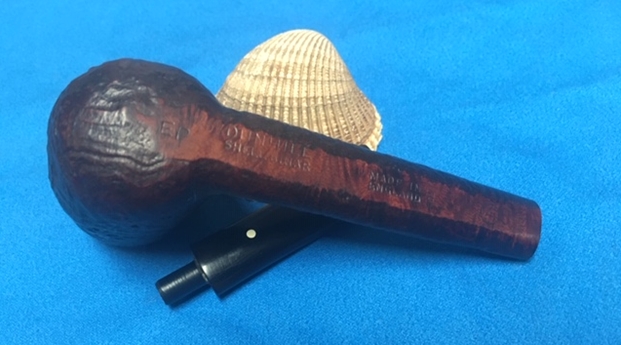
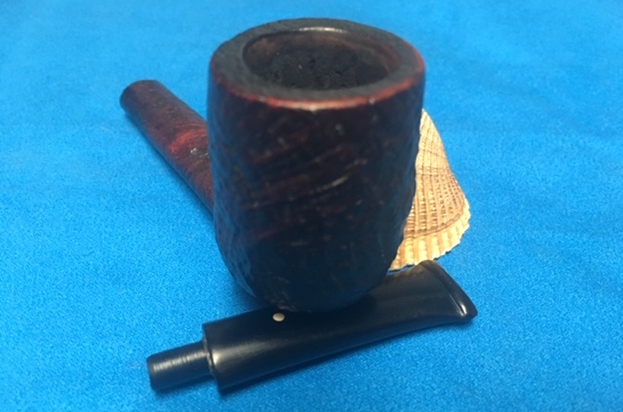
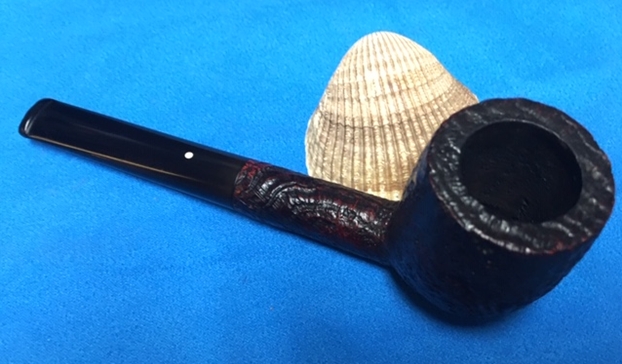
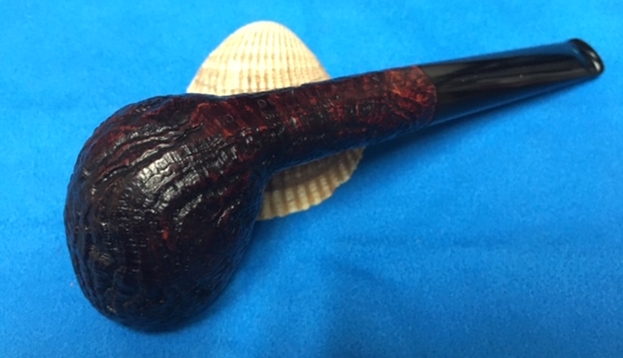
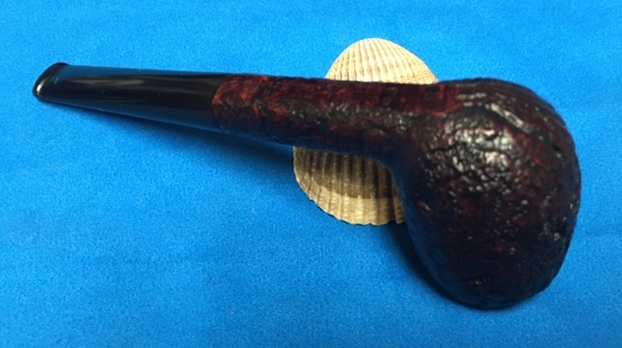
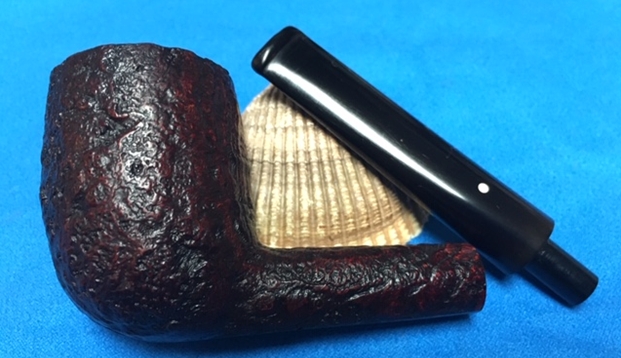
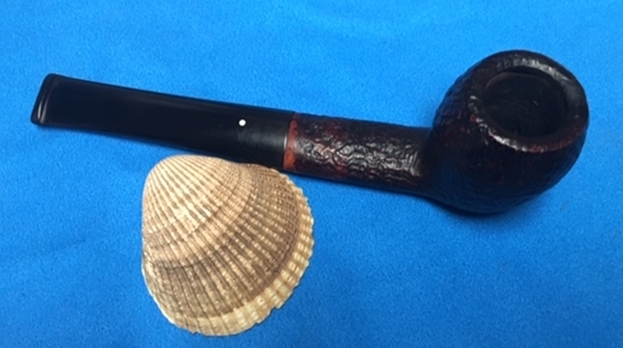
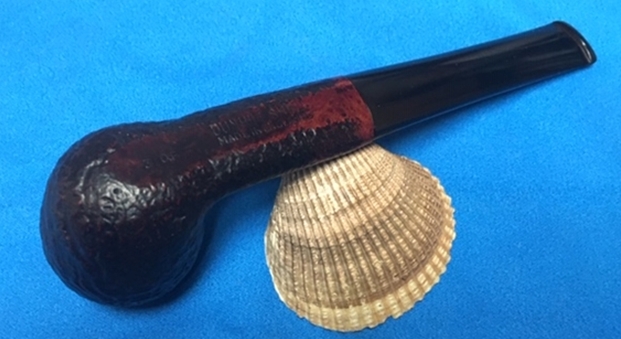
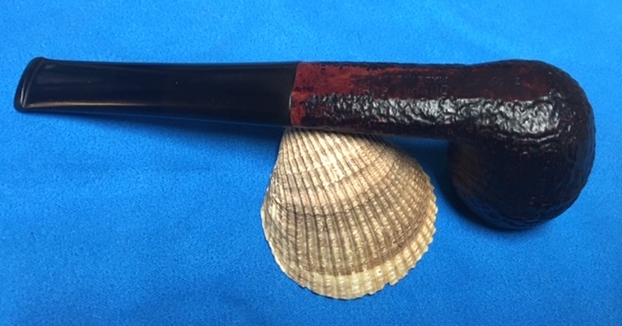
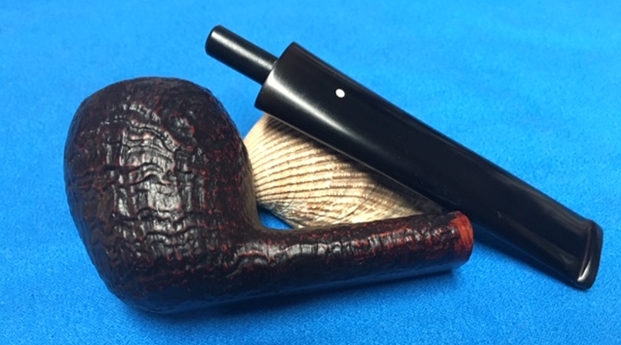
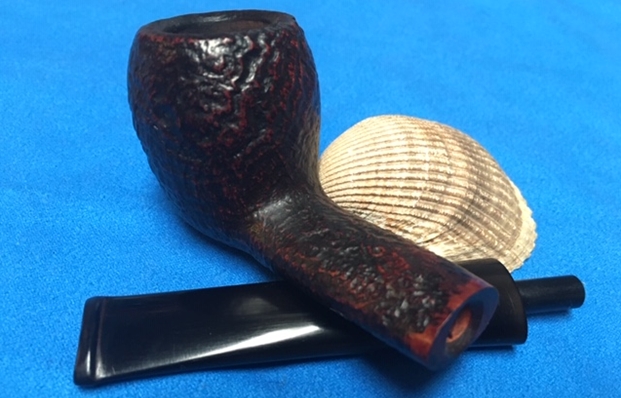
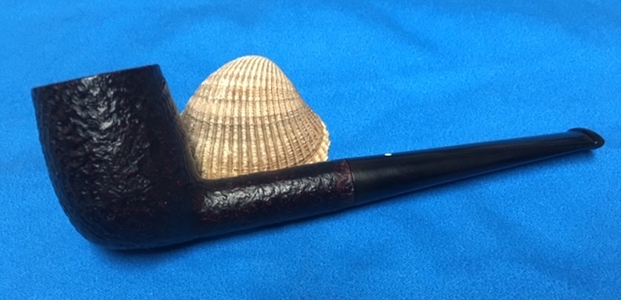
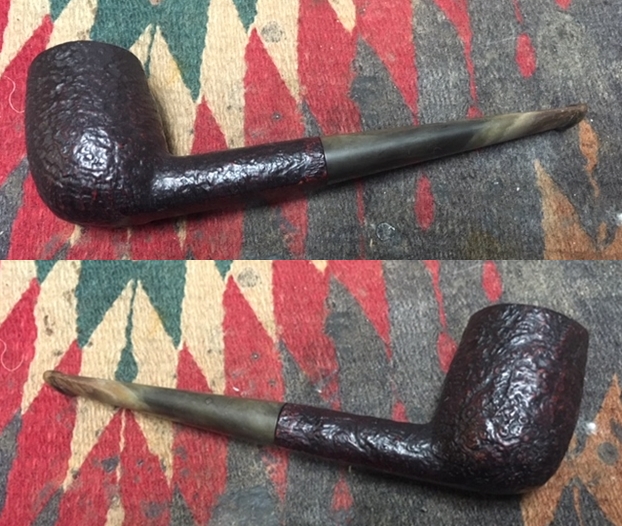
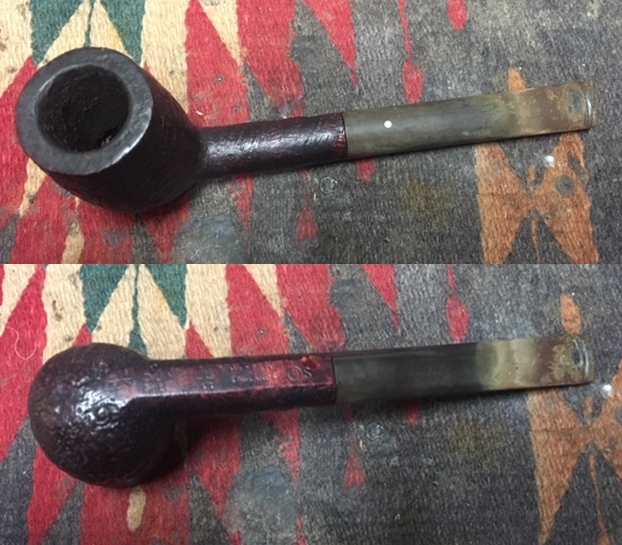
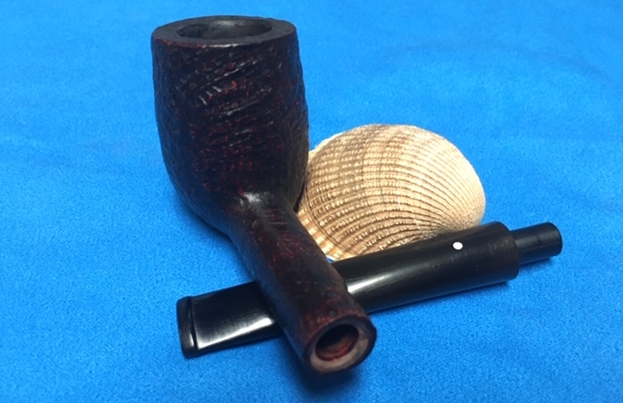
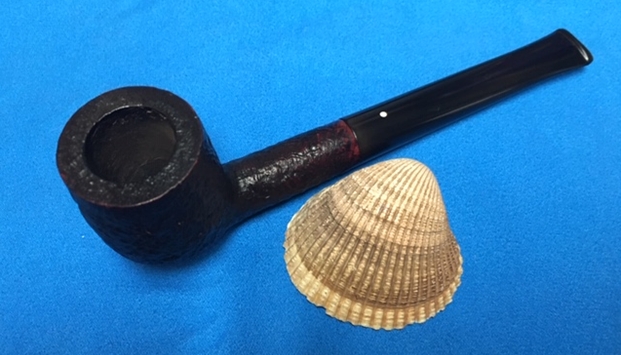
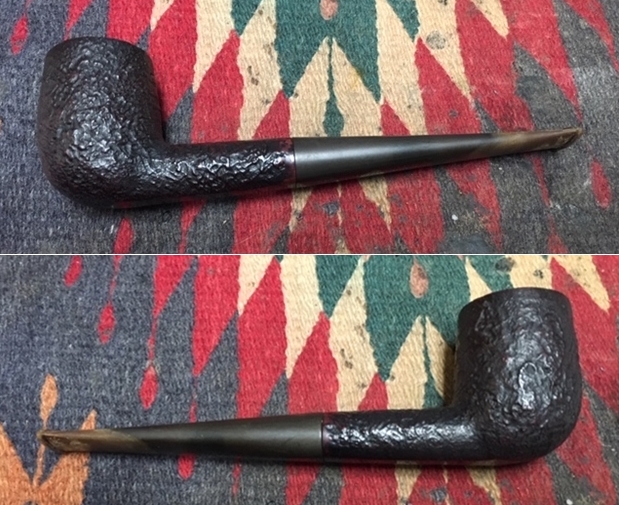
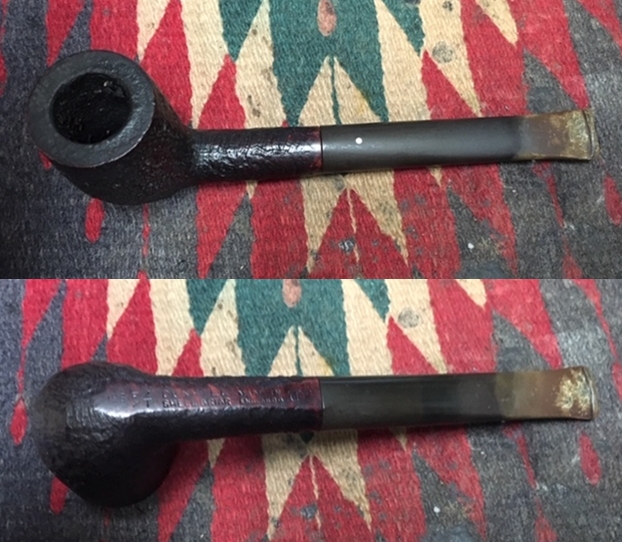
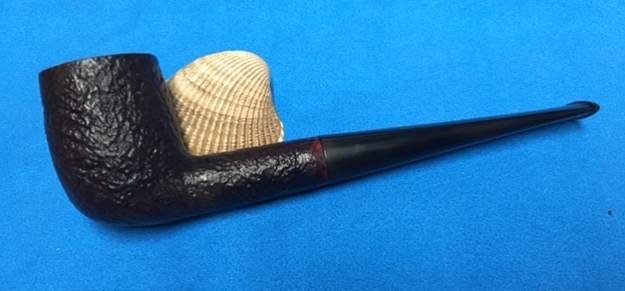
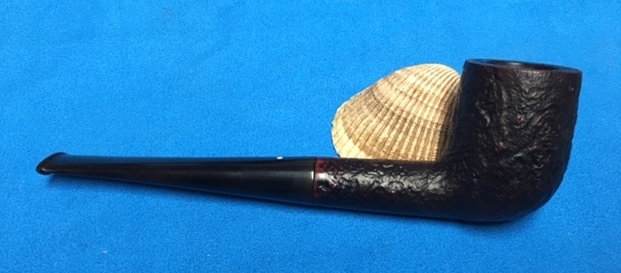
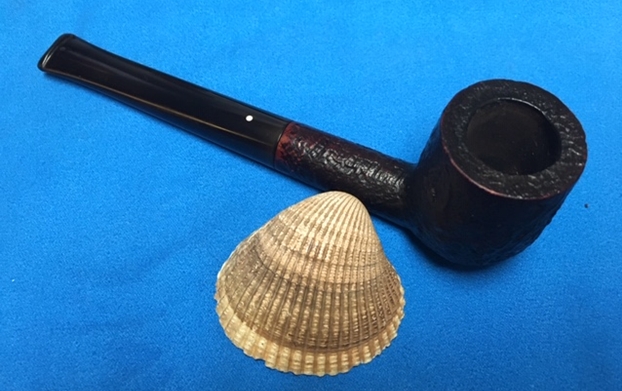
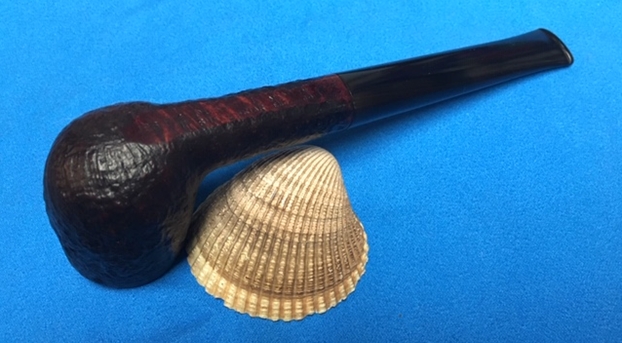
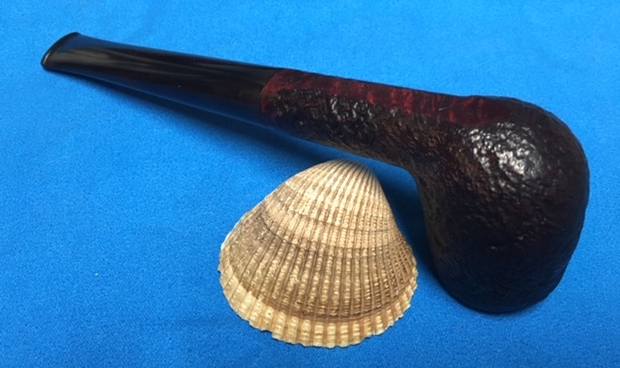
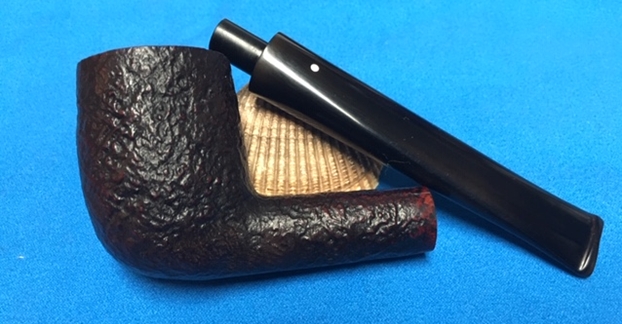
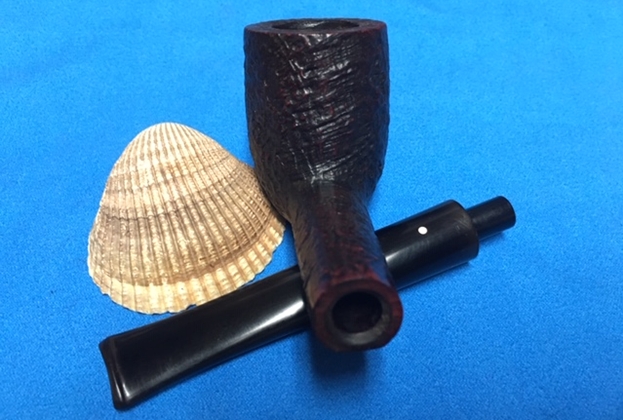
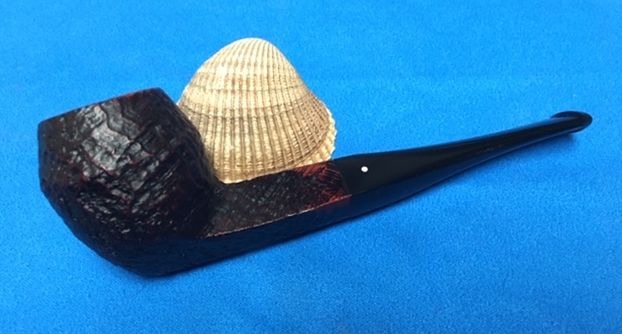
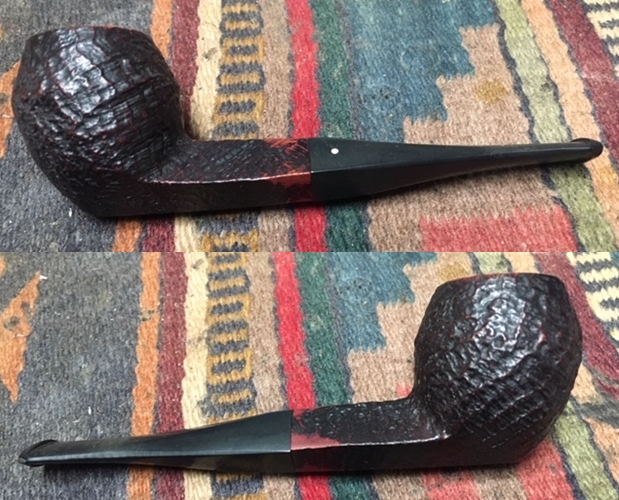
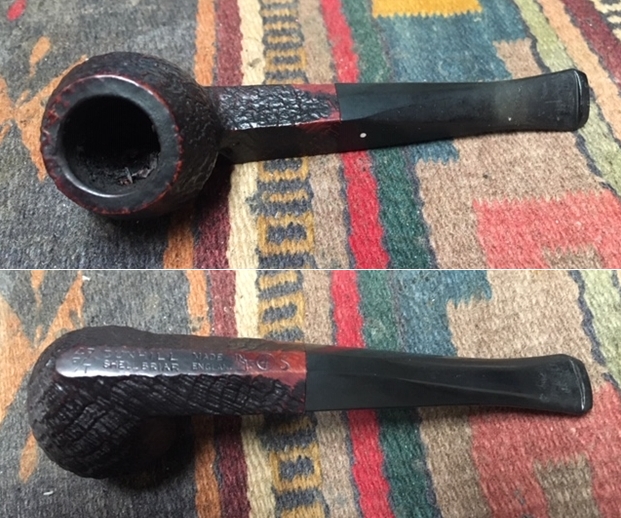
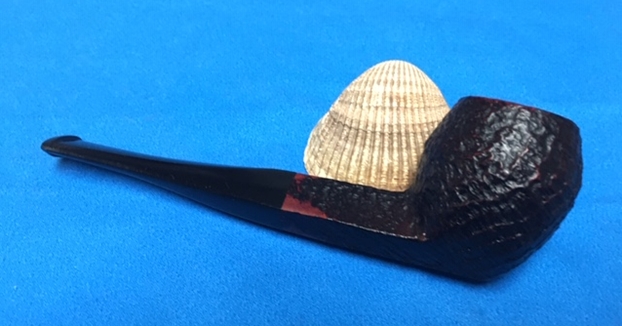
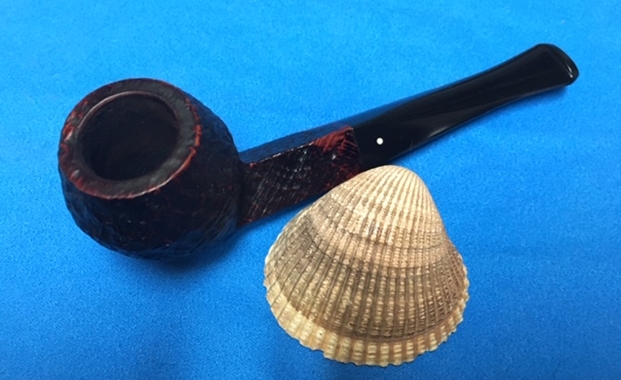
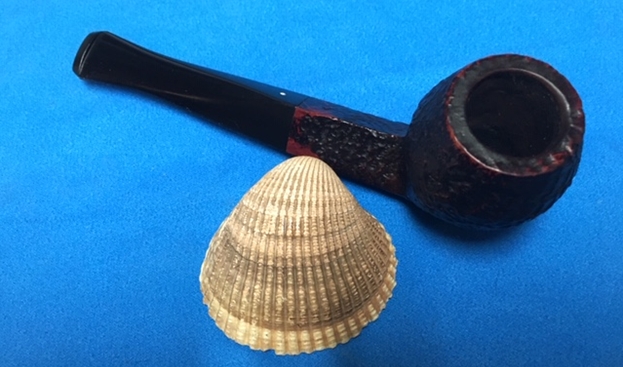
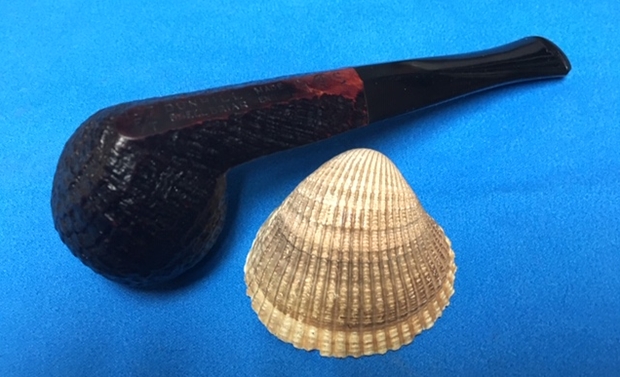
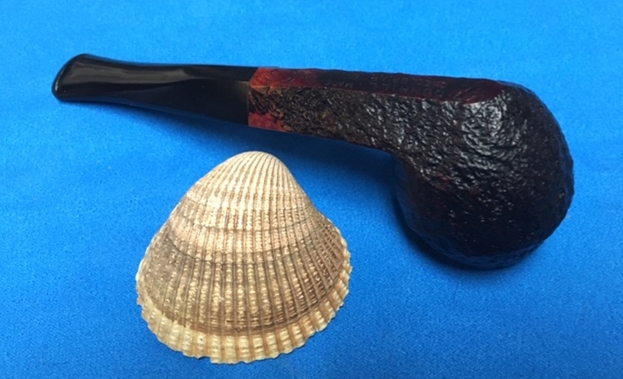
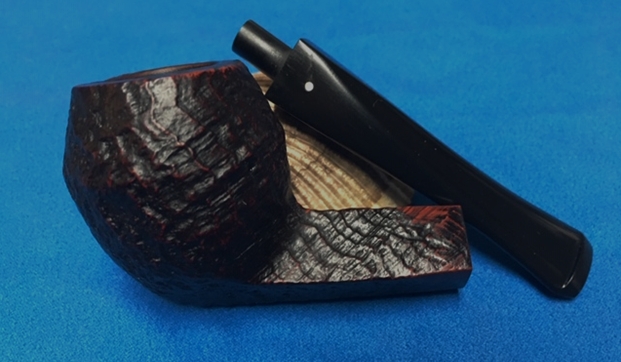
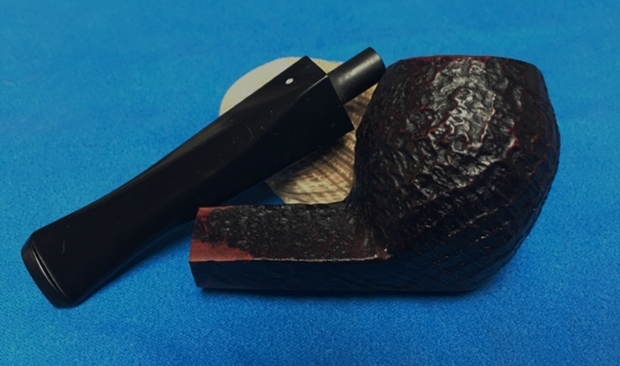
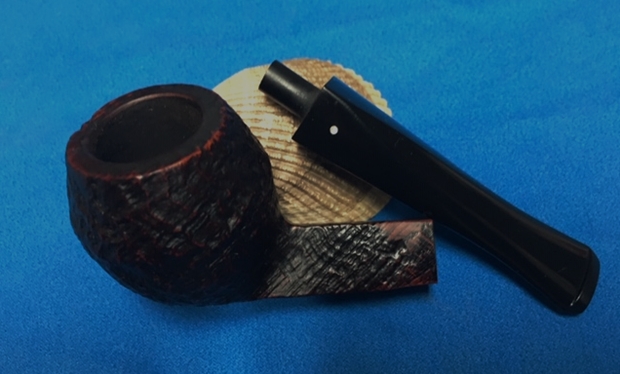
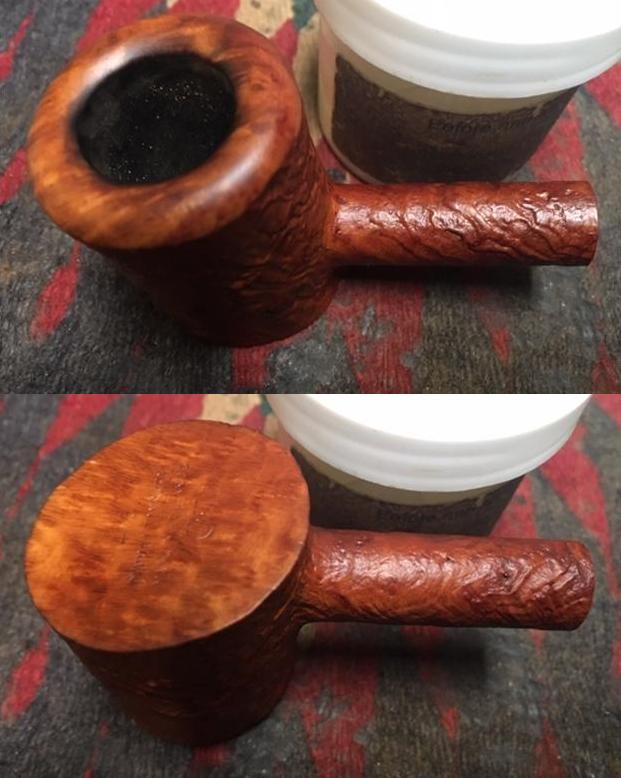
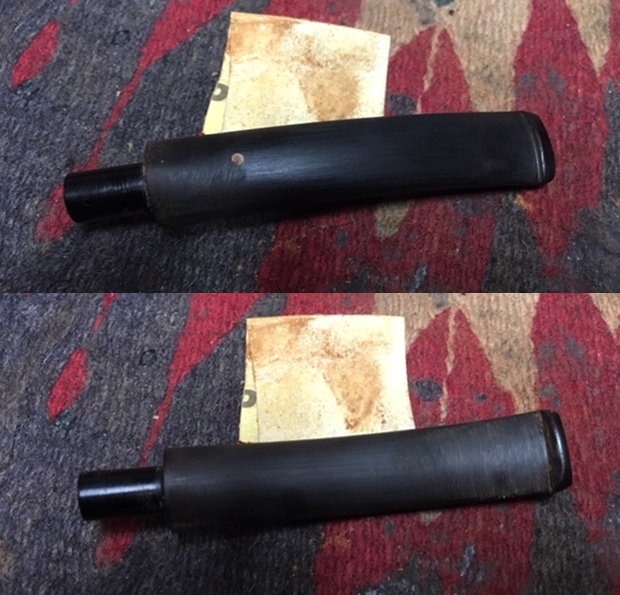
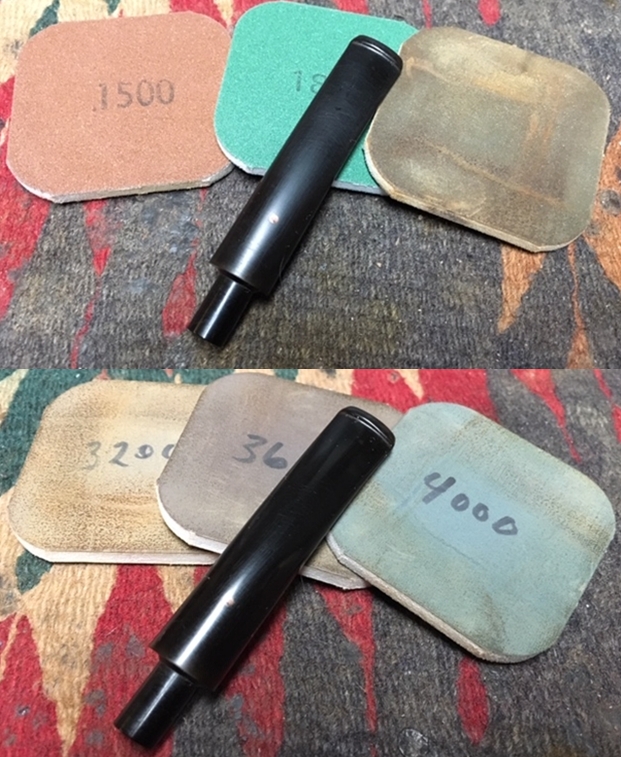
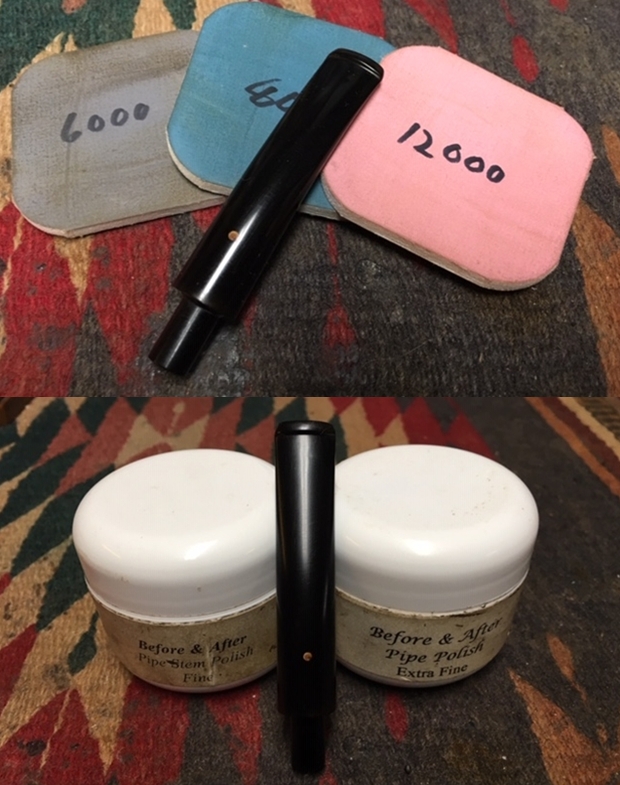
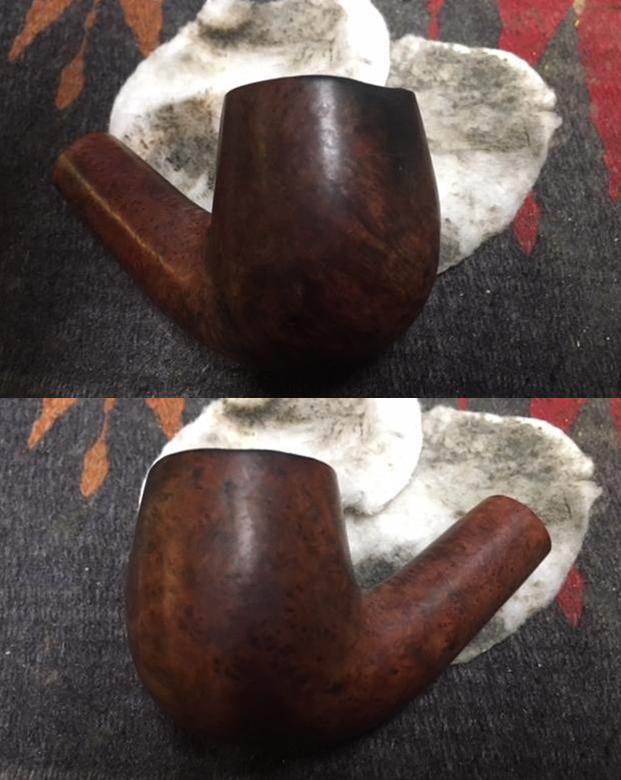
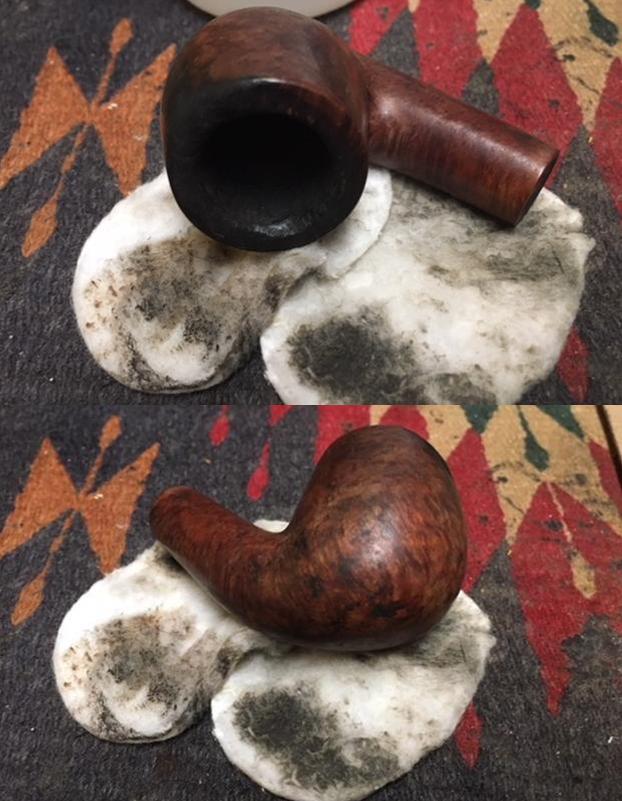
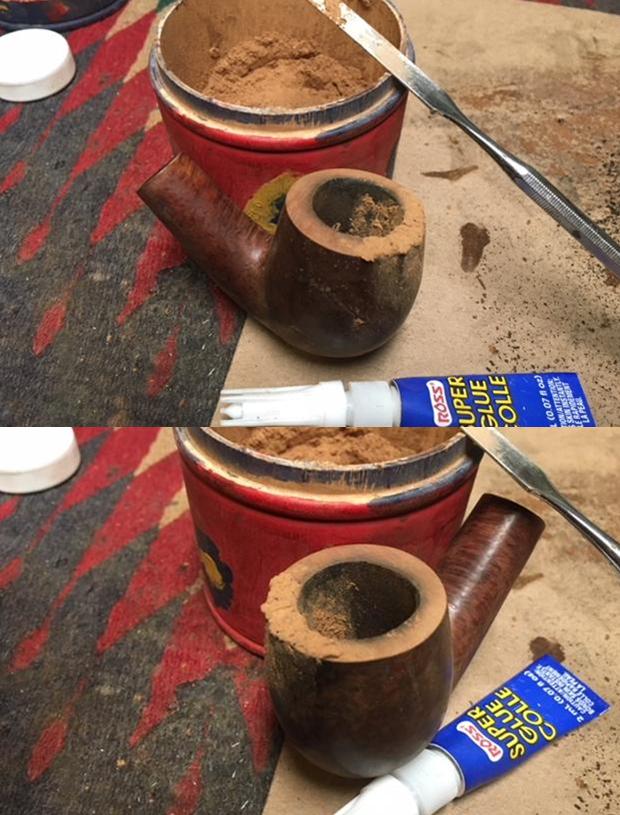
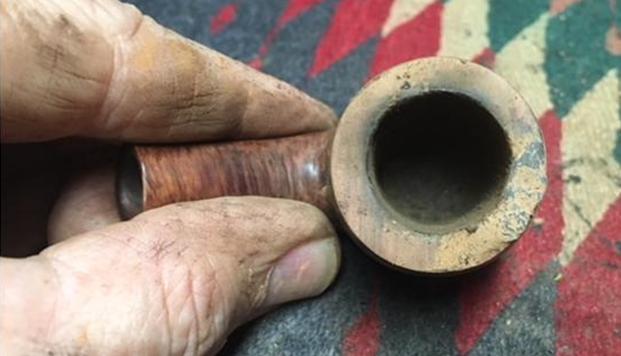
Restoring the 7th Pipe from Bob Kerr’s Estate – A Dunhill Shell Briar EP Canadian


Blog by Steve Laug

I am finally getting around to working on Bob Kerr’s Estate. His son-in-law, Brian contacted me a few months ago saying that the family needed to clean out the estate as they were getting the family home ready to move. He asked if I would be interested in restoring and selling the pipes for them. He brought what originally he said was a few pipes over to show me. When I opened the door Brian was there with a few flats of pipes. There were Dunhills, Petersons, Comoy’s Barlings and a lot of other pipes – a total of 125 pipes and a box of parts. That is the largest estate I had the opportunity to work on. I put together a spread sheet of the pipes and stampings to create an invoice. I was taking on what would take me a fair amount of time to clean up. I could not pass up the opportunity to work on these pipes though. They were just too tempting.

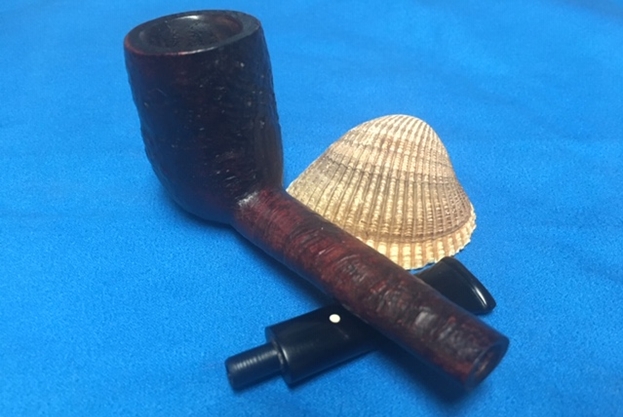
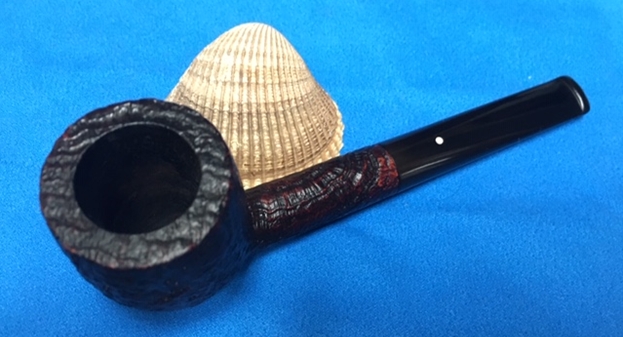
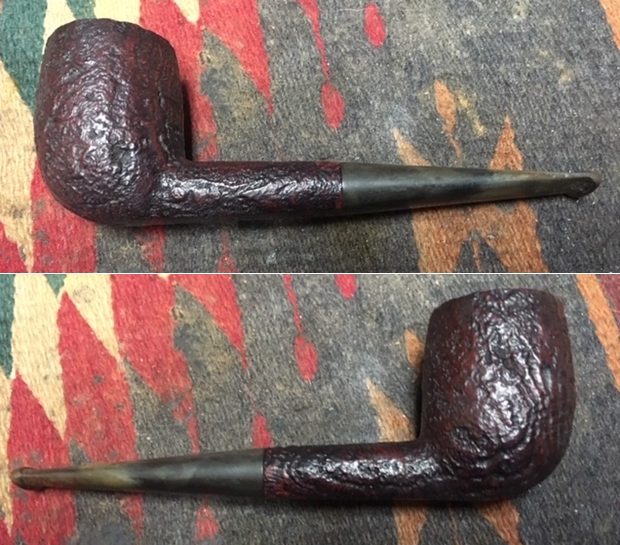
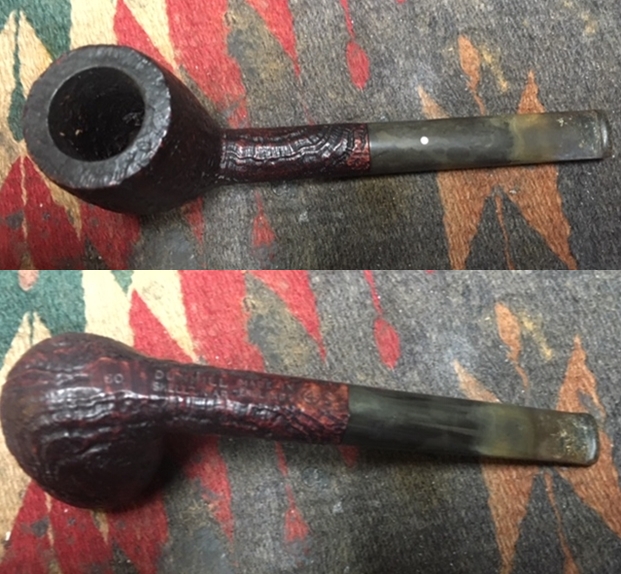
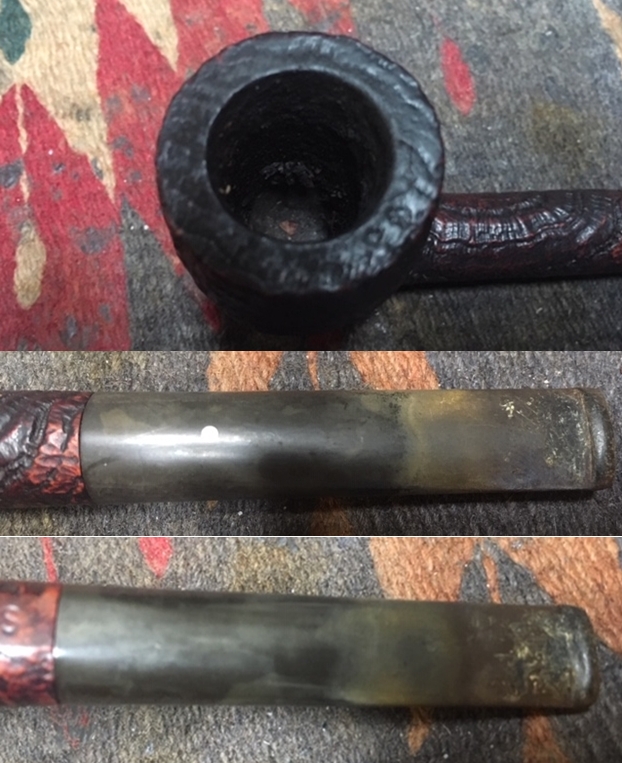
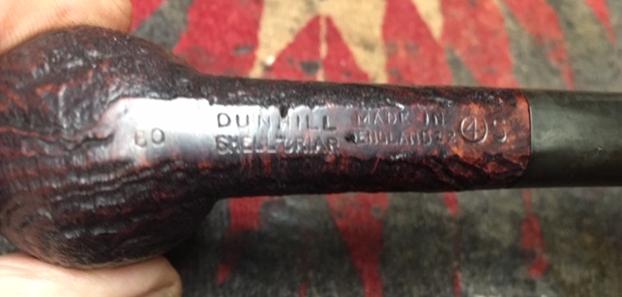
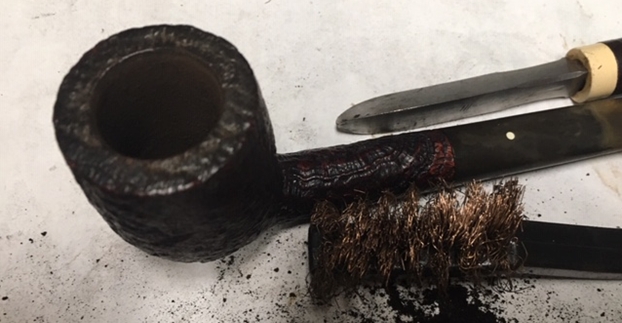
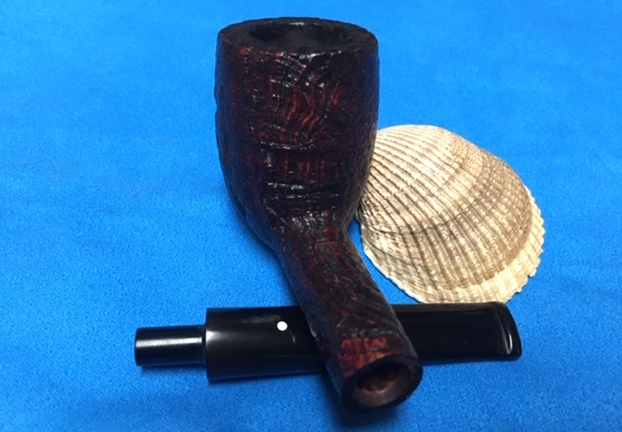
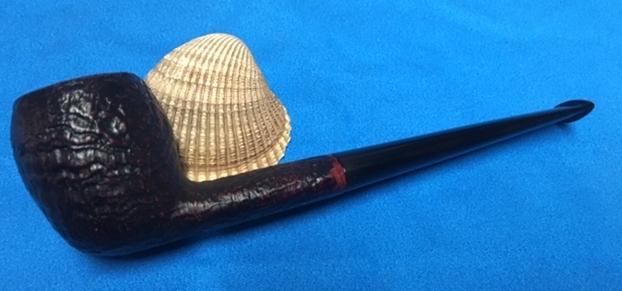
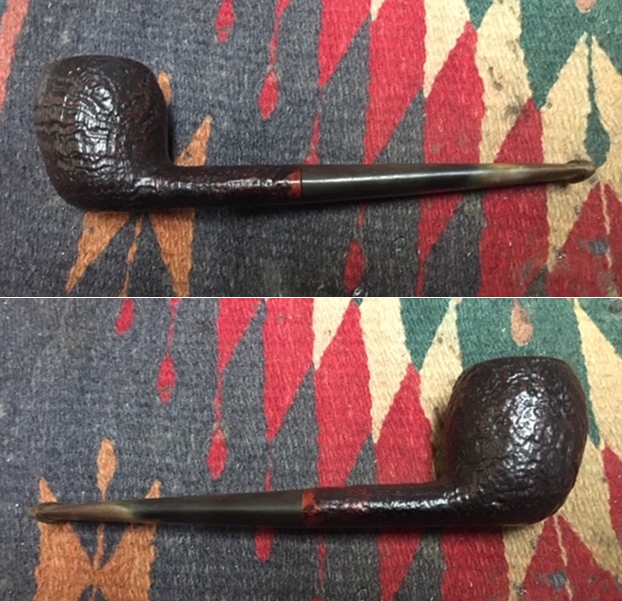
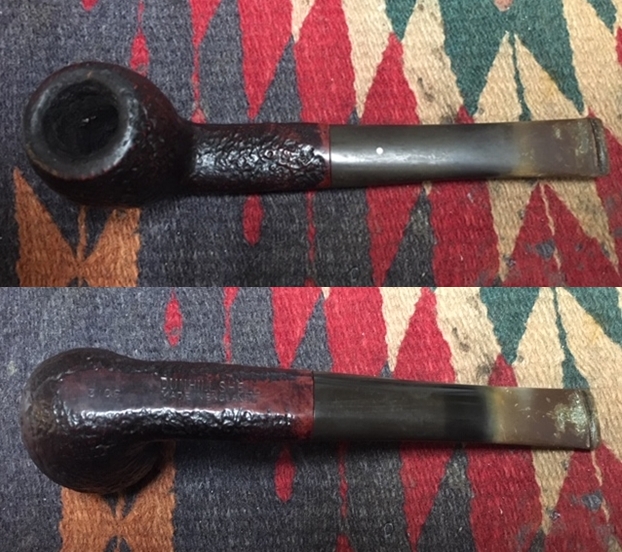
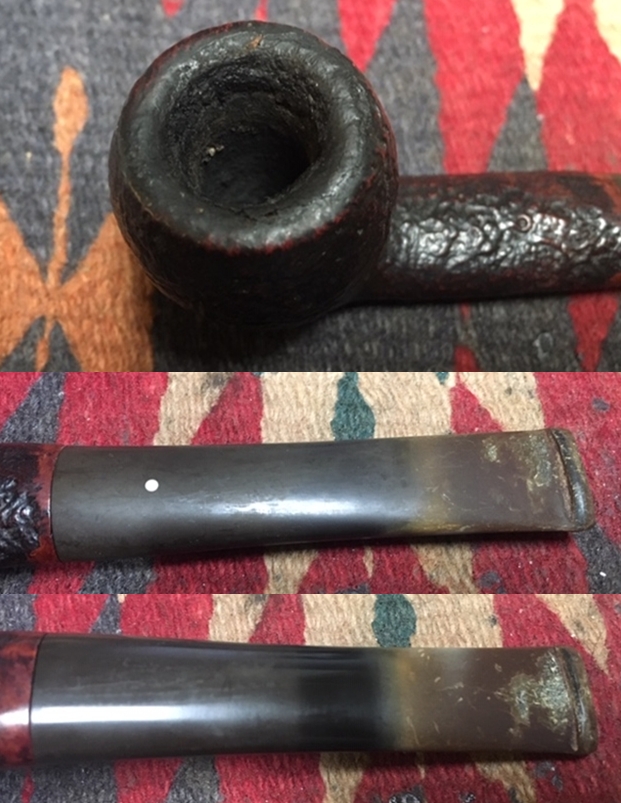
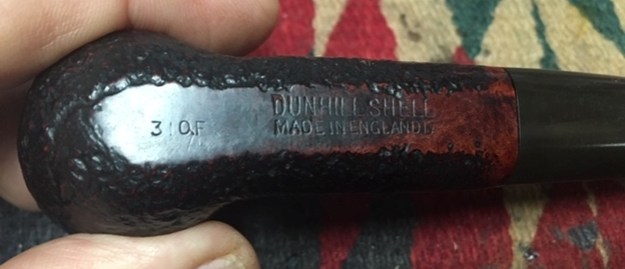
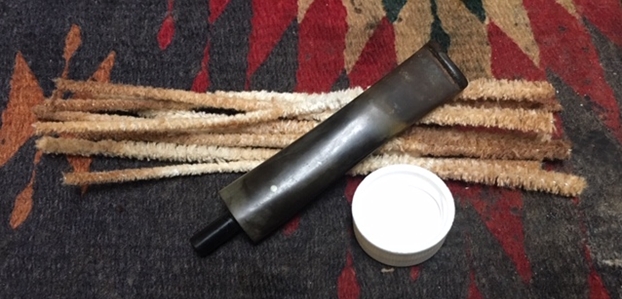
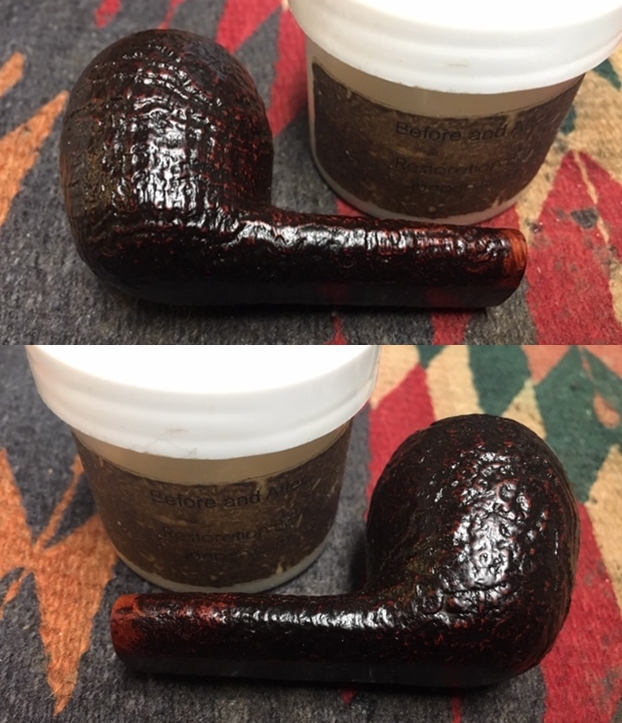
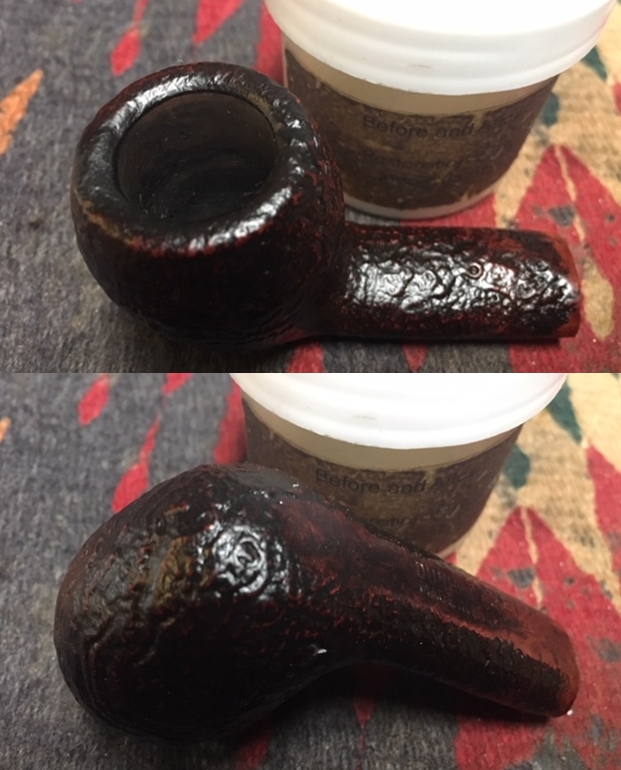
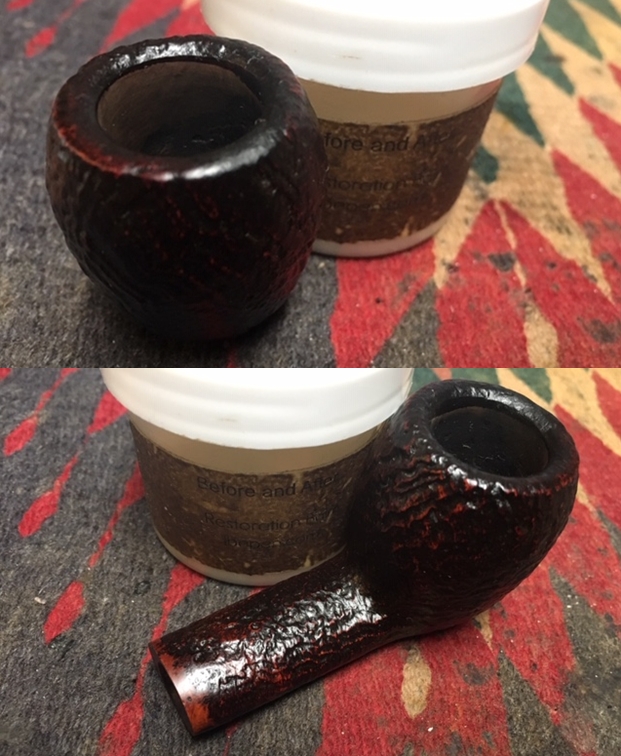
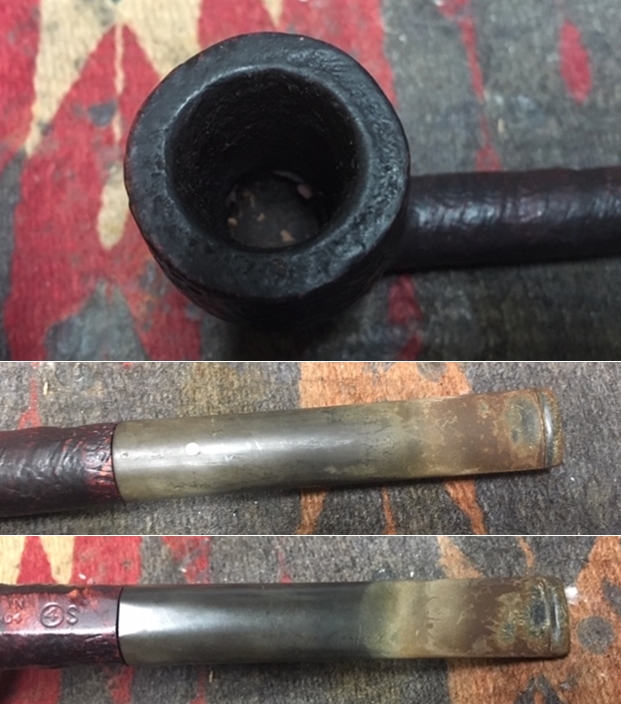
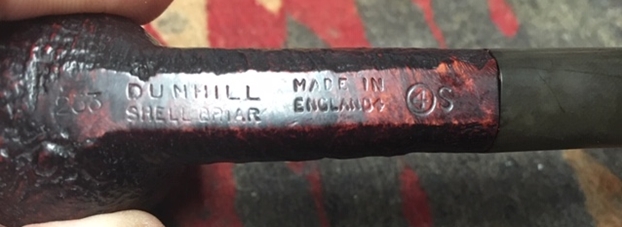
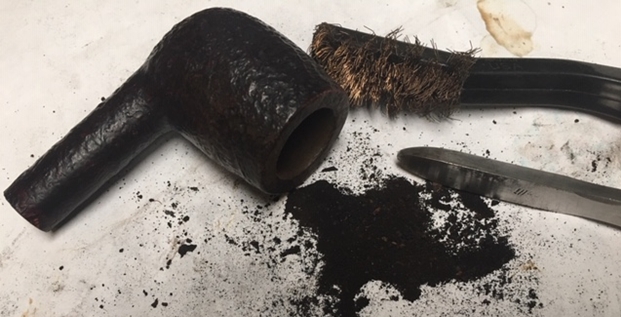
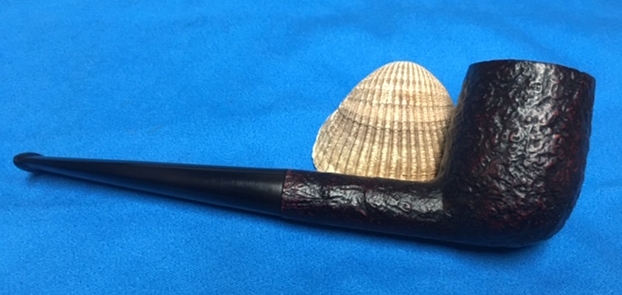
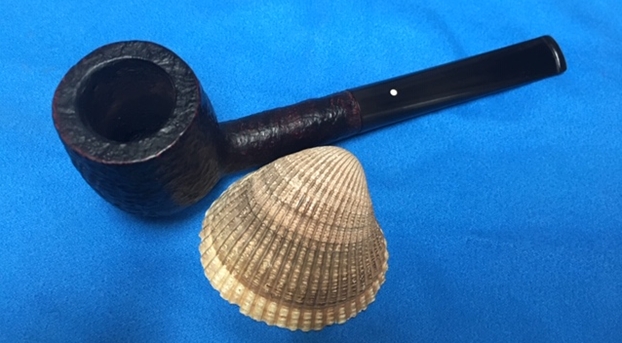
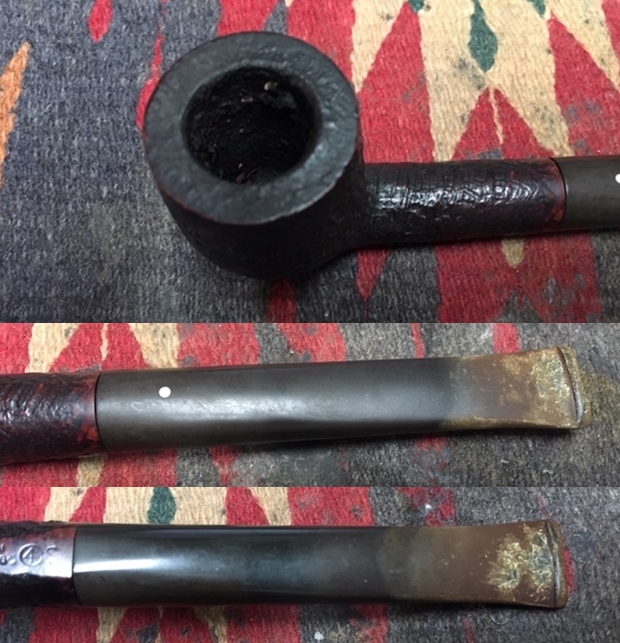
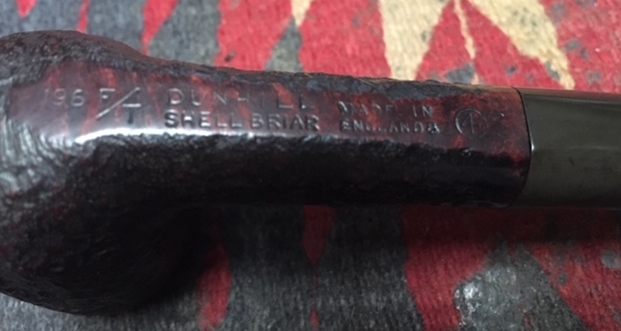
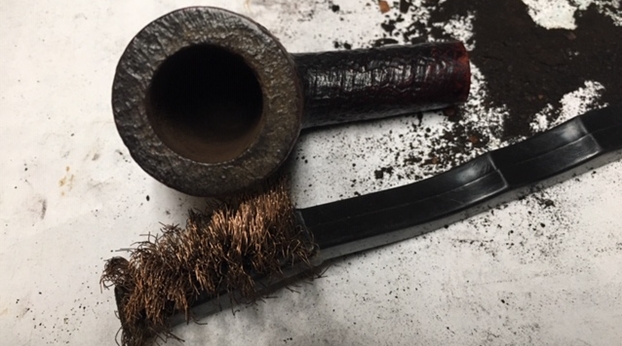
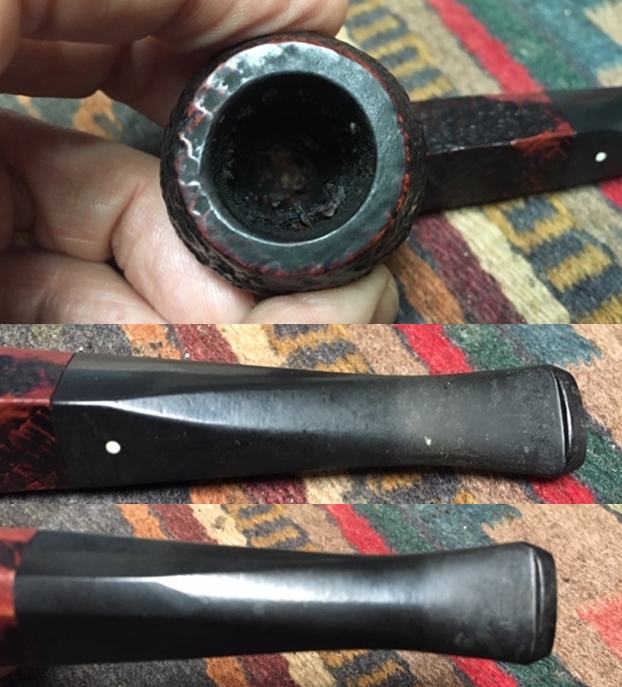
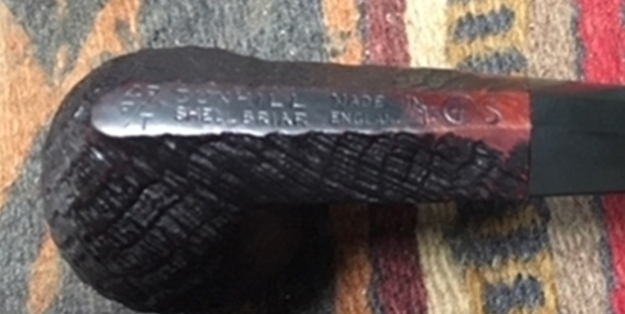
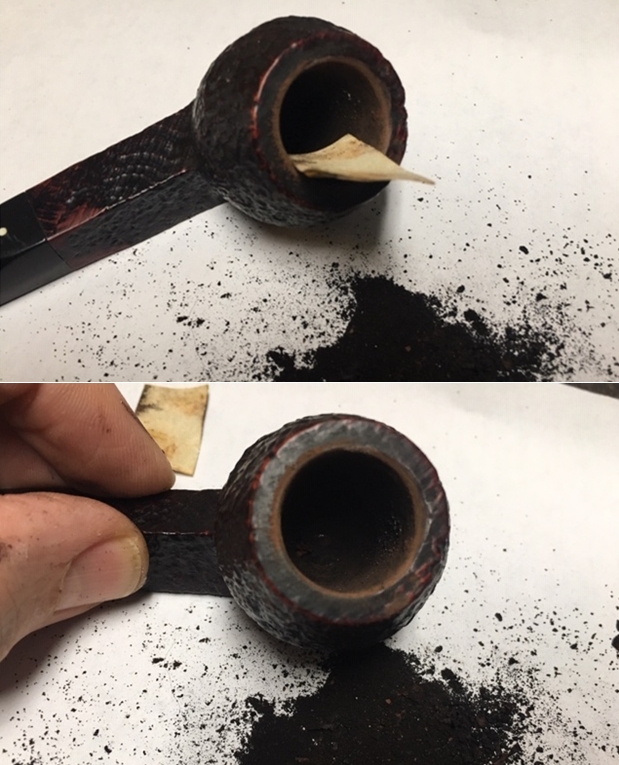
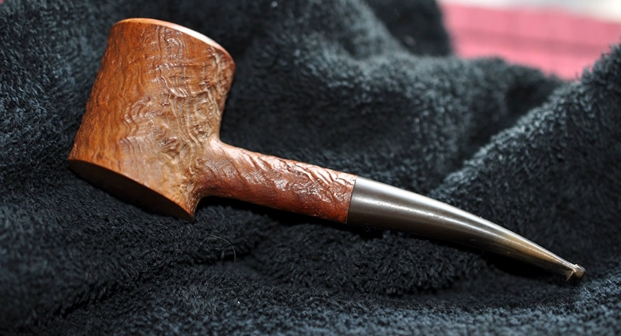
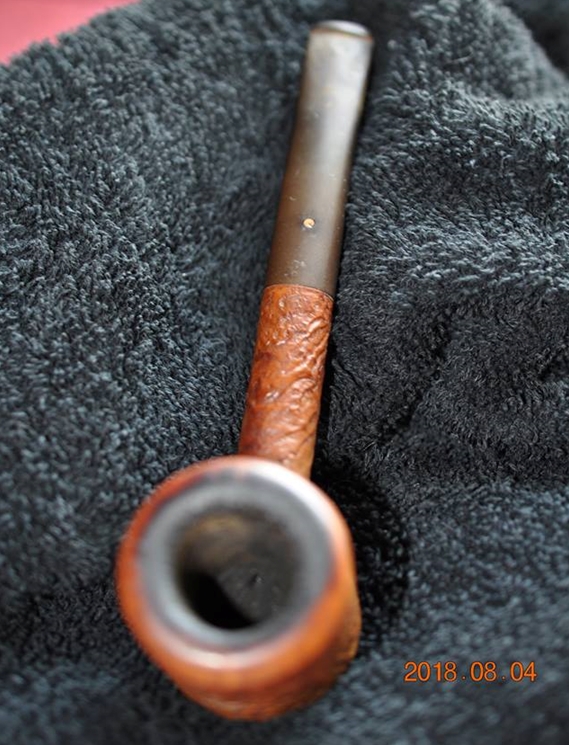
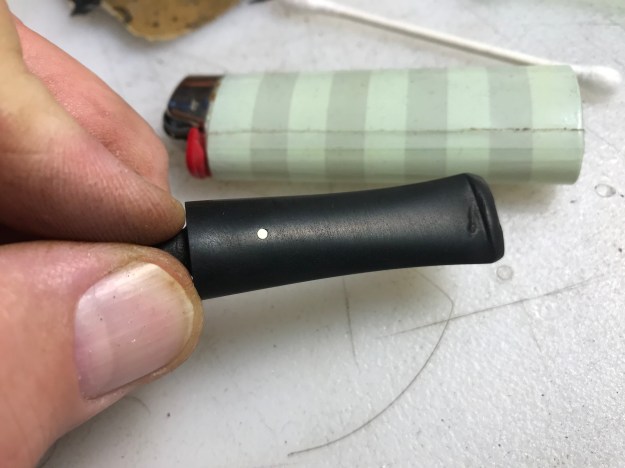
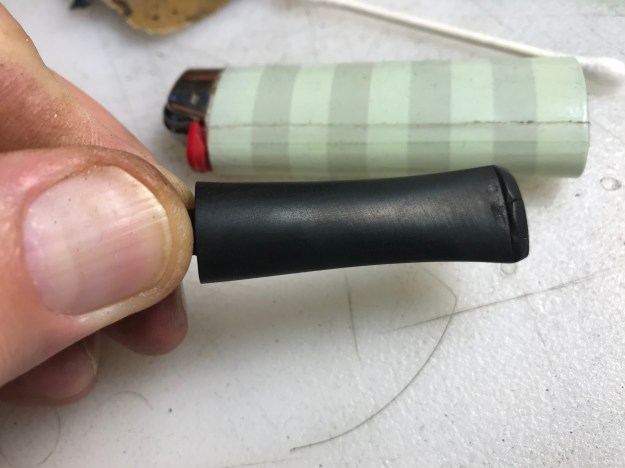
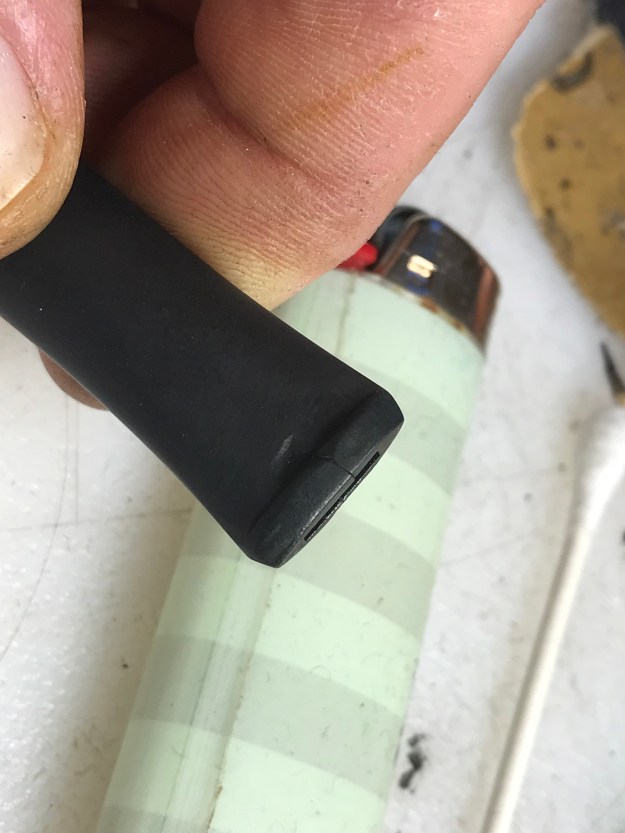
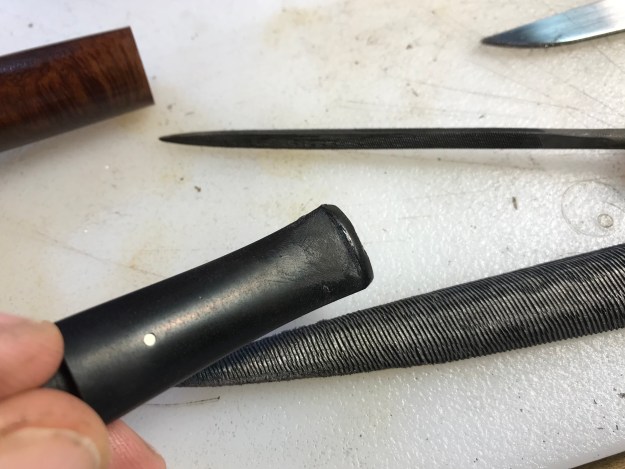
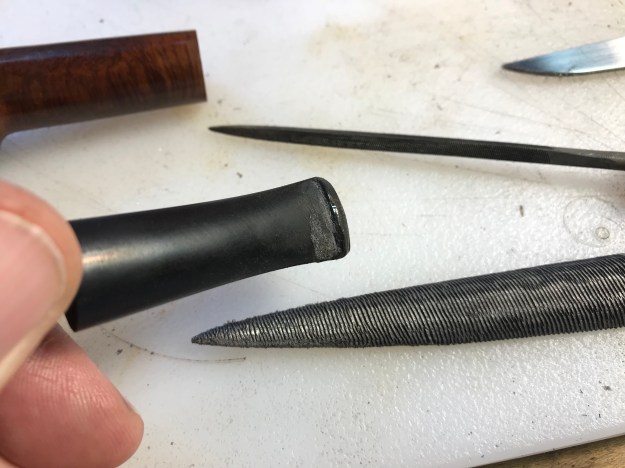
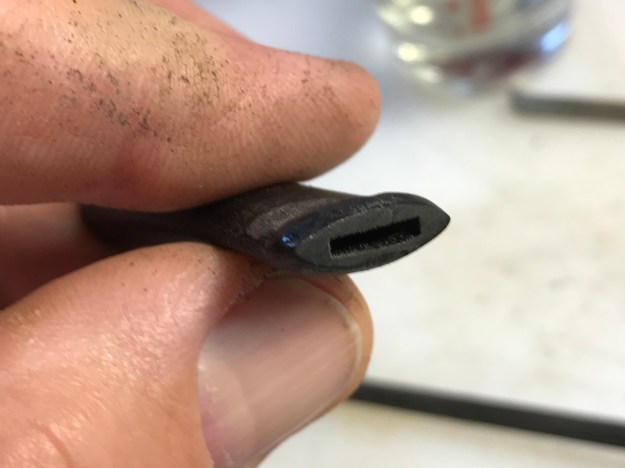
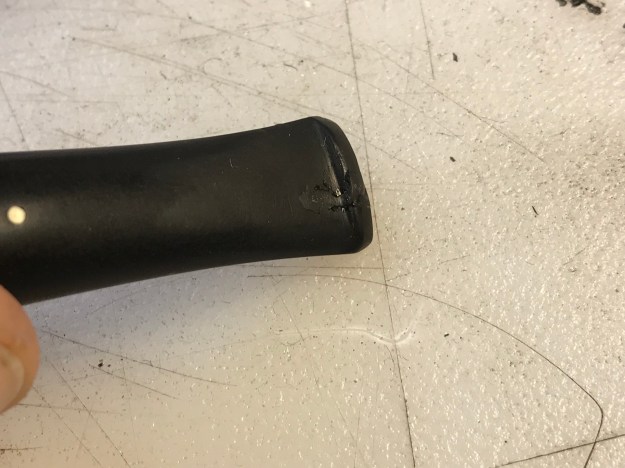
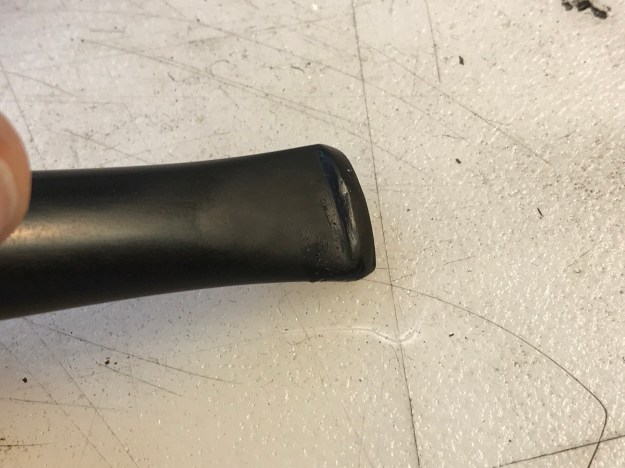
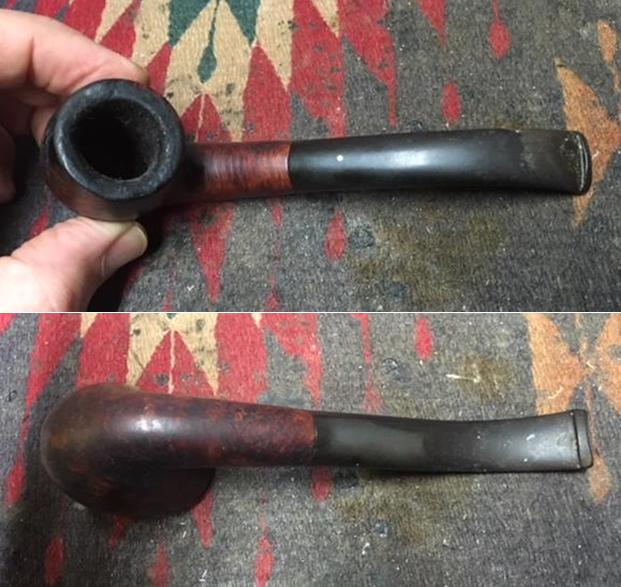
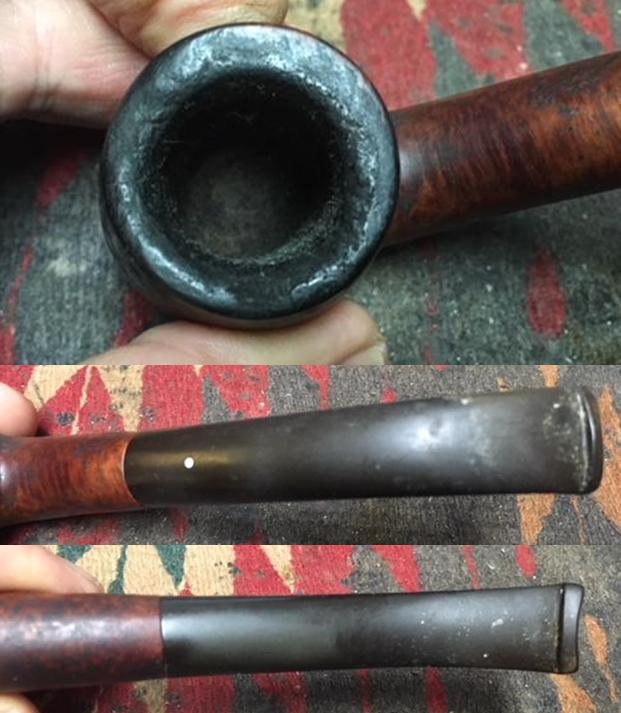
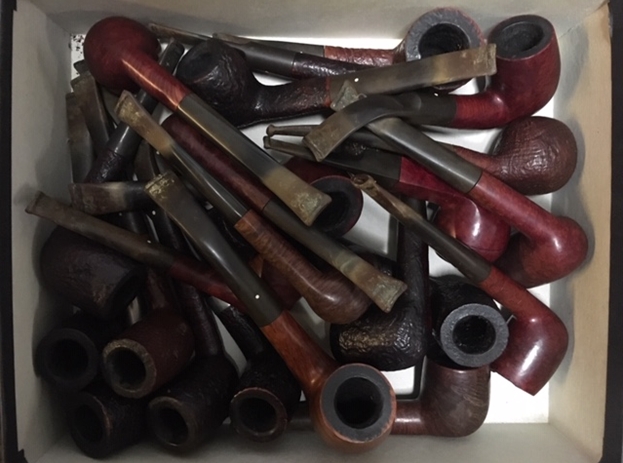
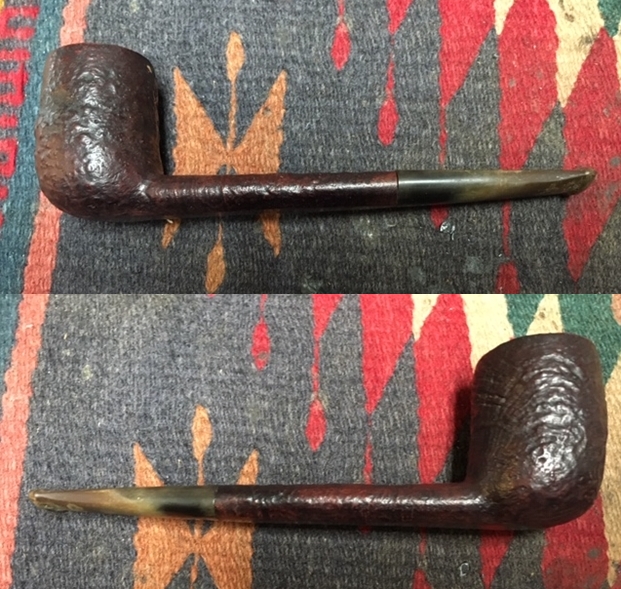
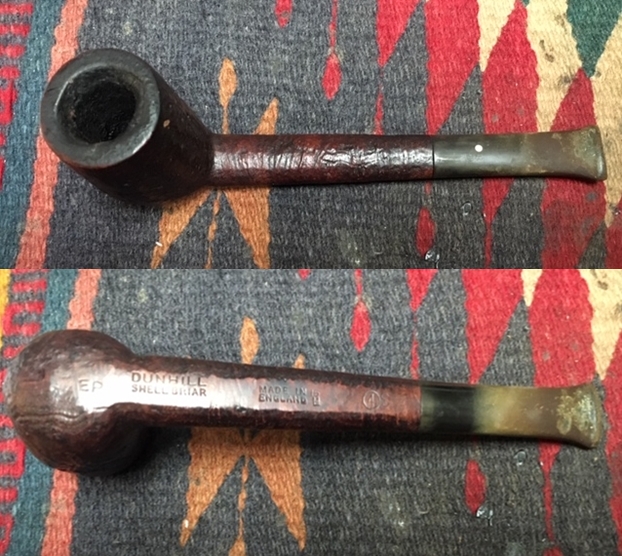
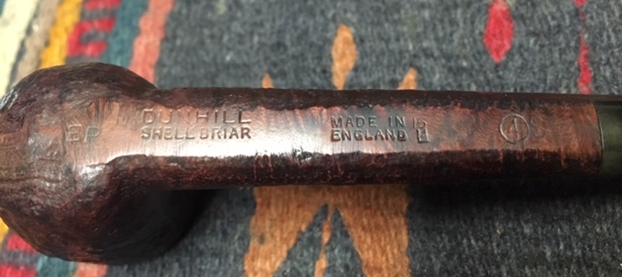
I sorted the pipes into groups of the various brands and had a box of 25 different Dunhill pipes in different shapes, styles and sizes. I decided to work on the Dunhills first. It was a great chance to see the shape variety up close and personal. The photo below shows the box of Dunhill pipes.I went through the box of Dunhills shown above and chose the 7th pipe to work on – a Group 4 sandblast Canadian. It is stamped on the heel and the shank EP and next to that it reads Dunhill over Shell Briar. That is followed by Made in England 14/15 and near the stem shank junction is  Circle 4S – Group 4 size. The stamping tells me that this Canadian Shell Briar was made in 1965 and sold in 1966. The oval shank of the Canadian flows into a nice tapered stem that is oxidized and has tooth marks and chatter near the button. There is some calcification on the first inch of the stem ahead of the button and there is some light damage to the button. The finish is dirty with grime and tars filling in much of the craggy finish. The bowl had a thick cake and lava overflowed on the rim top. The inner edge of the rim was in bad condition and out of round. It looked like it had been reamed with a knife at some time in its life. The bowl had tobacco stuck in the lava on the walls of the bowl like the other pipes from this estate. With a little work this pipe would look good once again. I took pictures of the pipe before I started working on it. I took some close up photos of the rim top and stem to show what I was dealing with. Judging from the condition this Canadian was in I think I can safely say that it was one of Bob’s favourite pipes. The cake in the bowl is the thickest of the lot so far and the lava on the rim top is also very thick. You can see the cake and tobacco in the bowl. You can also see that the inner edge of the bowl is out of round on the back right and the front left. It appears to have been reamed with a knife somewhere in the mix. I am assuming from the way Bob cared for his other pipes that this one came to him in that condition and it was one he used when working in his shop. The fishtail stem was dirty, oxidized, calcified and had a lot of tooth chatter on the top and underside for about an inch ahead of the button. The button surface was also marked with tooth chatter. The sharp edge defining the button was worn down and almost smoothed out. This pipe is by far in the roughest condition of the pipes I have worked on from the estate. It will be an interesting challenge to bring back to life.I took a photo of the stamping on the underside of the bowl and shank. It should be easier to read once I get it cleaned up a bit.I am sure if you have read the restoration work on the previous four pipes you have already read what I included about Bob Kerr, the pipeman who held these pipes in trust before I came to work on them. Also, if you have followed the blog for long you will already know that I like to include background information on the pipeman whose pipes I am restoring. For me, when I am working on an estate I really like to have a sense of the person who held the pipes in trust before I worked on them. It gives me another dimension of the restoration work. I asked Brian if he or his wife would like to write a brief biographical tribute to her father, Bob. His daughter worked on it and I received the following short write up on him and some pictures to go along with the words. Thank you Brian and tell your wife thank you as well.
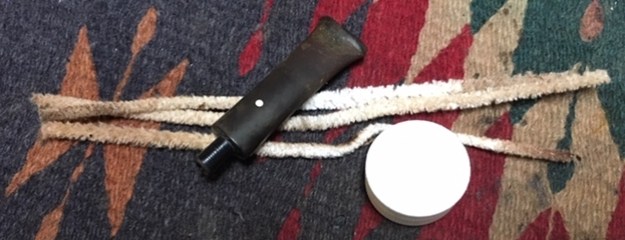
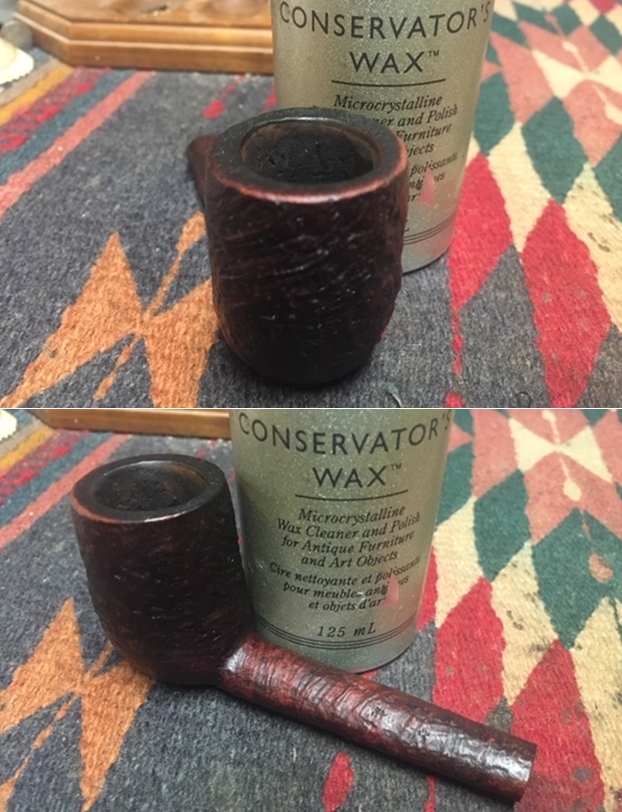
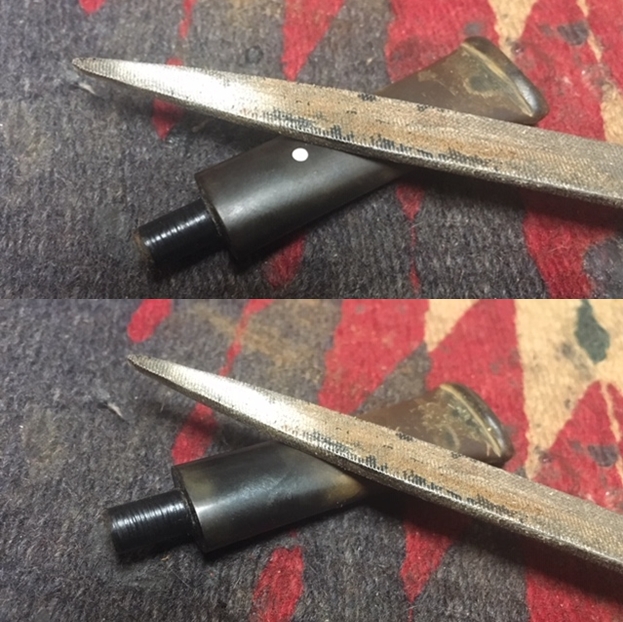
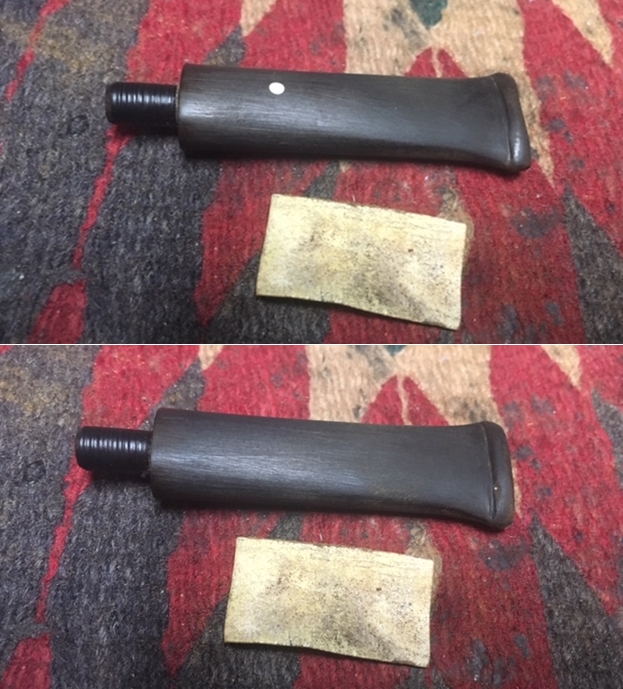
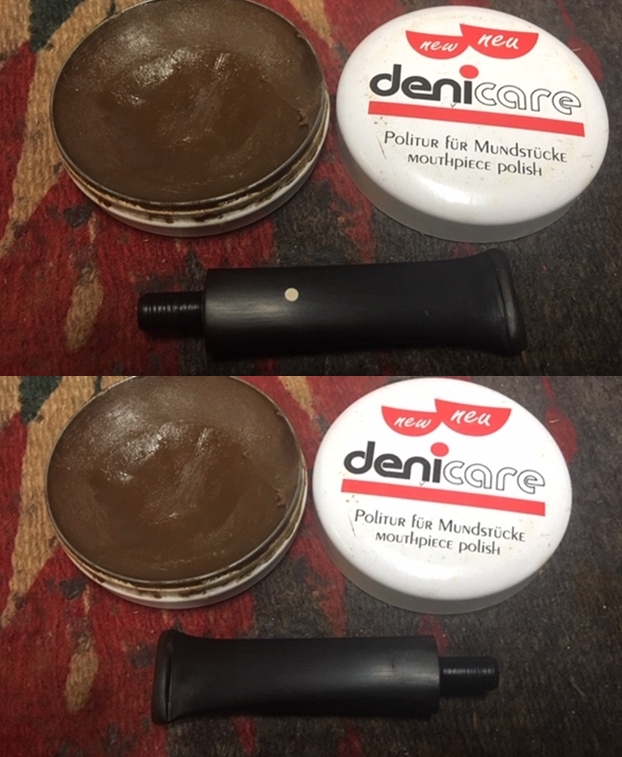
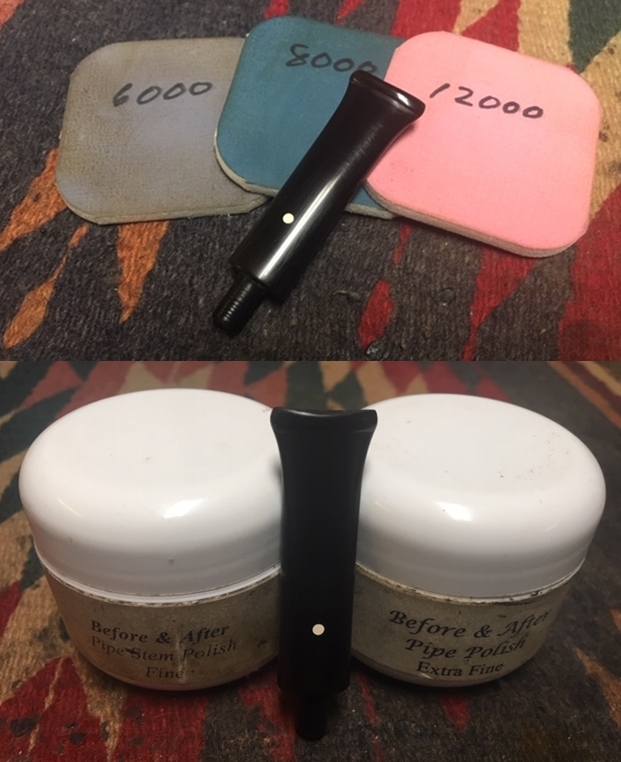
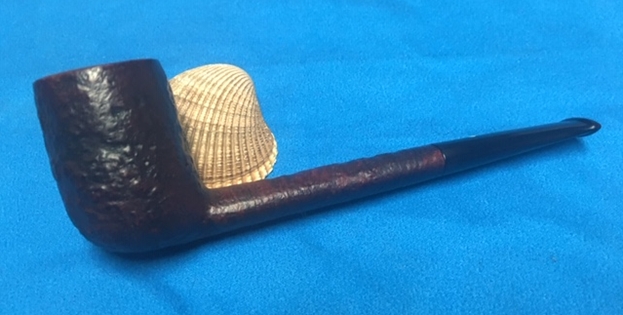
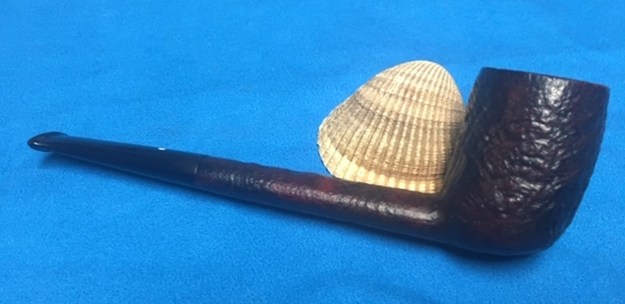
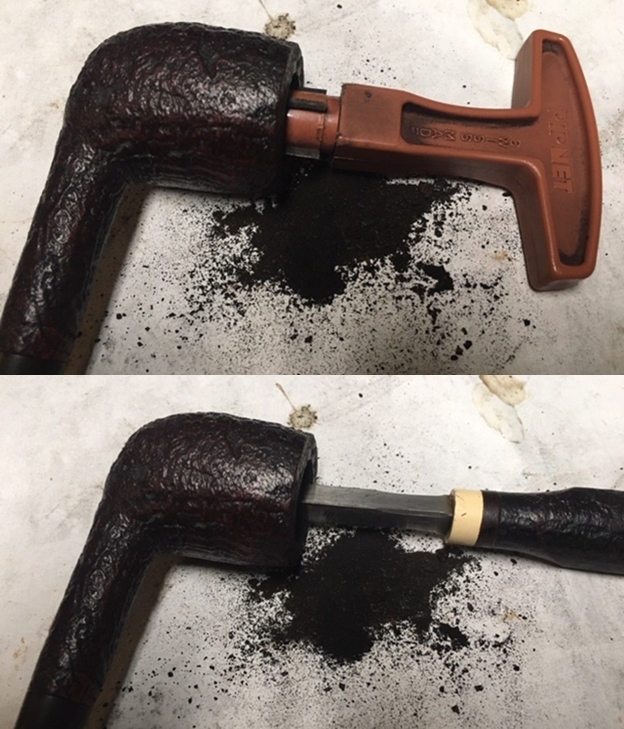
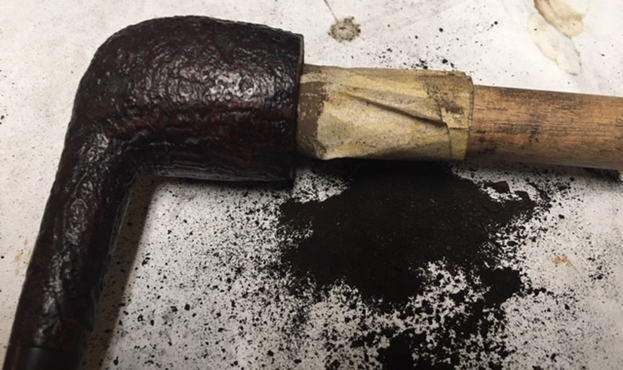
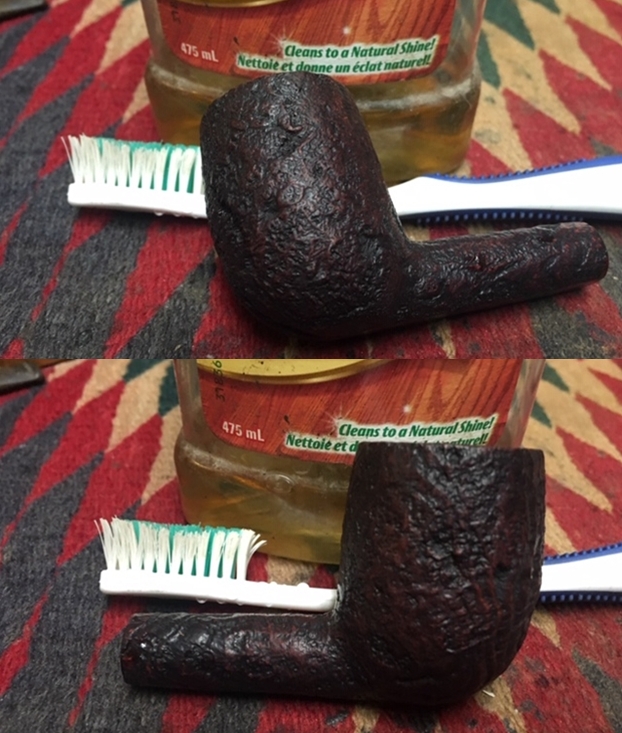
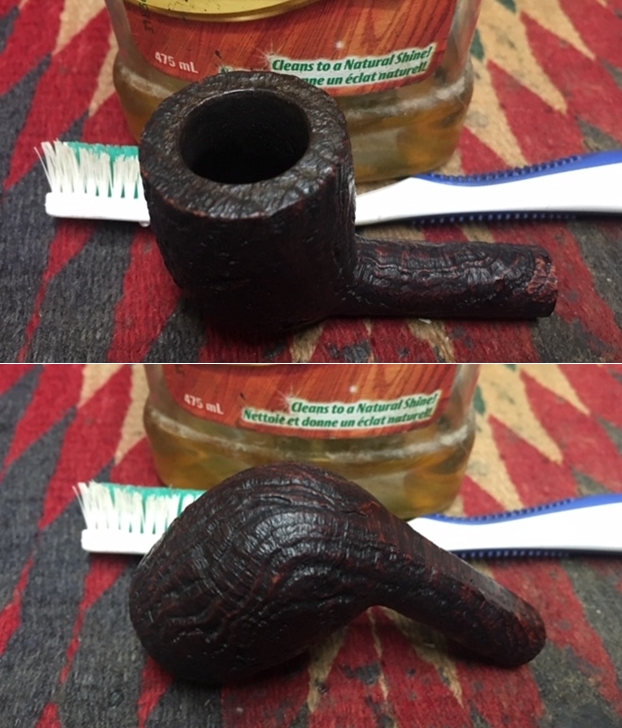
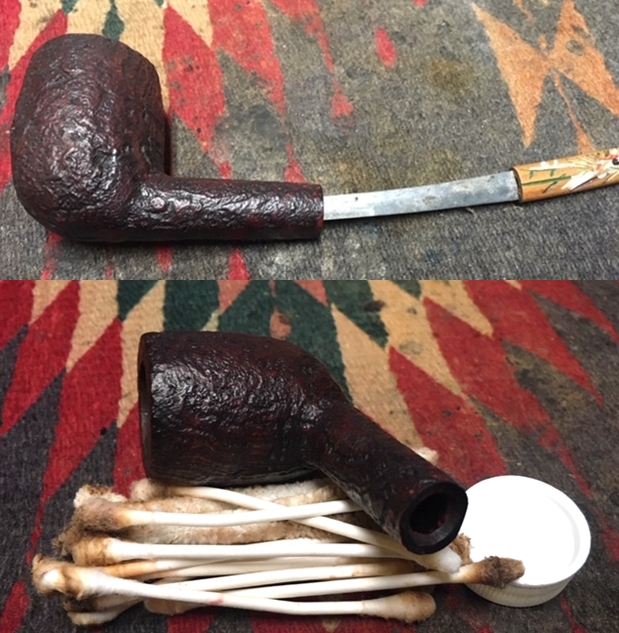
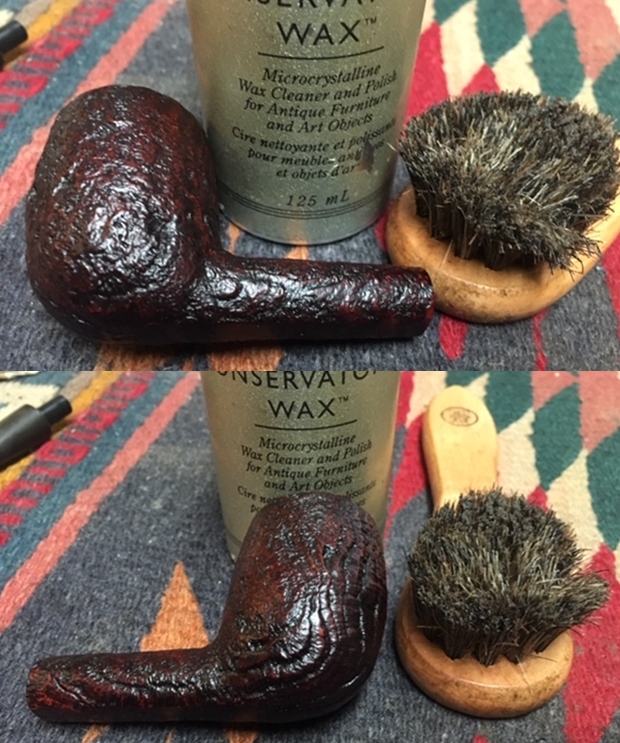
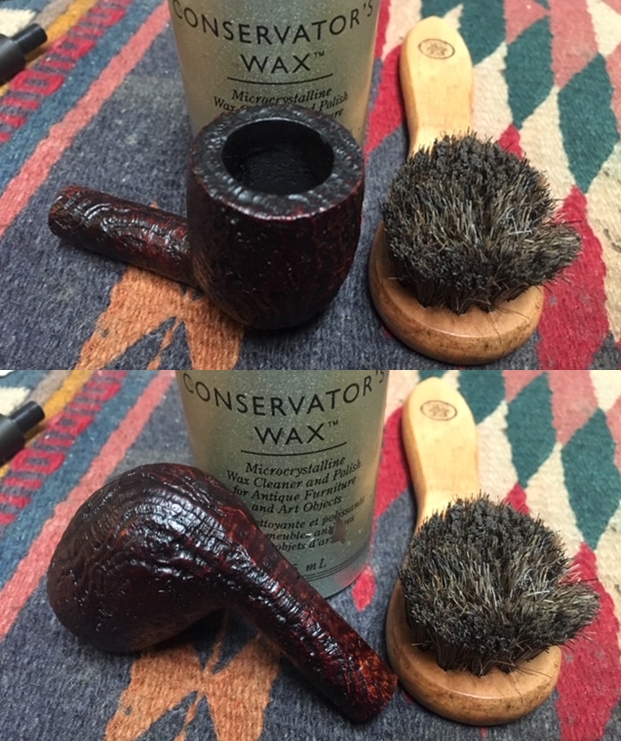
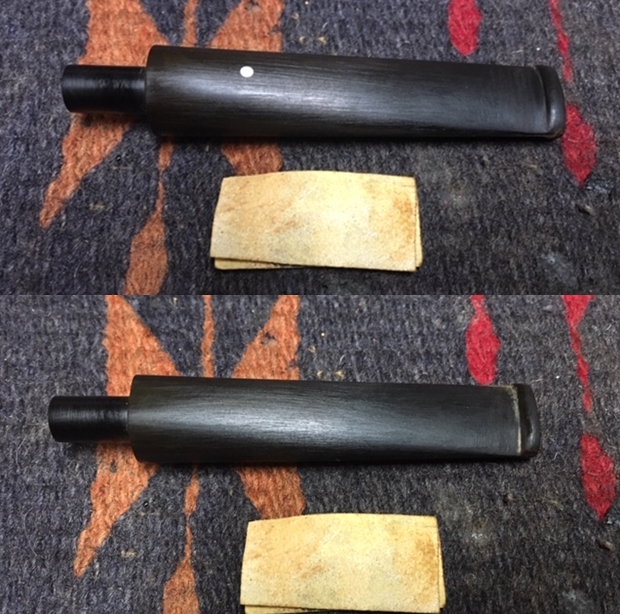
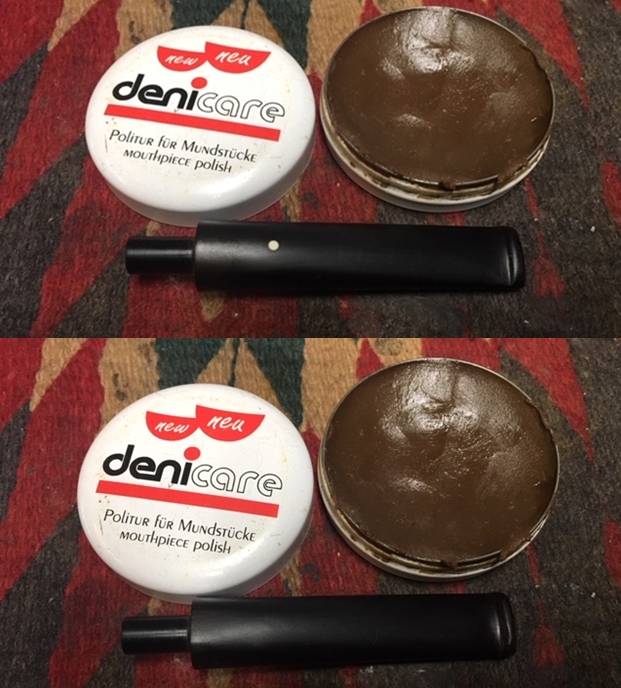
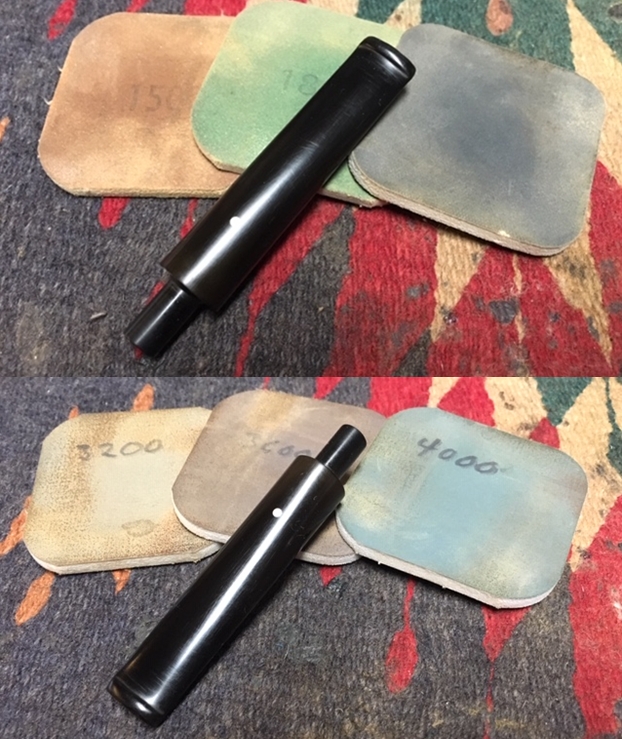
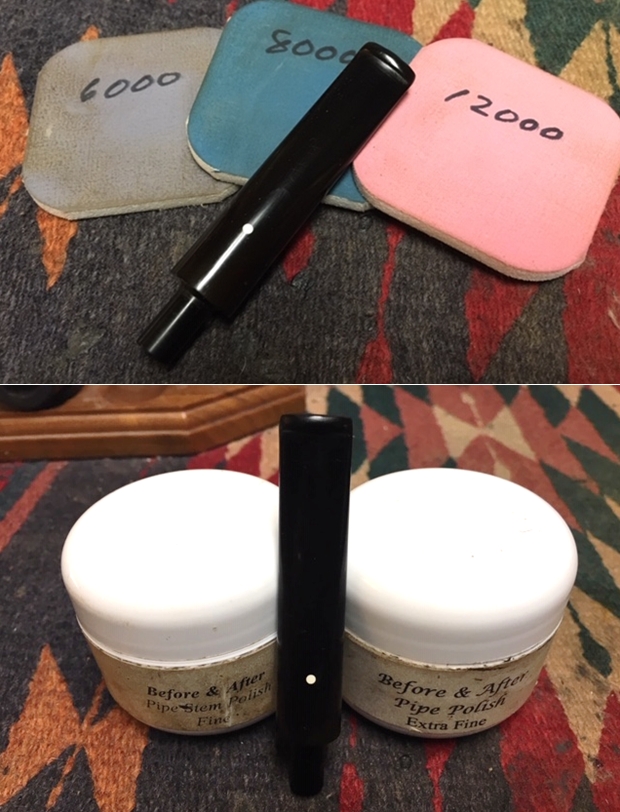
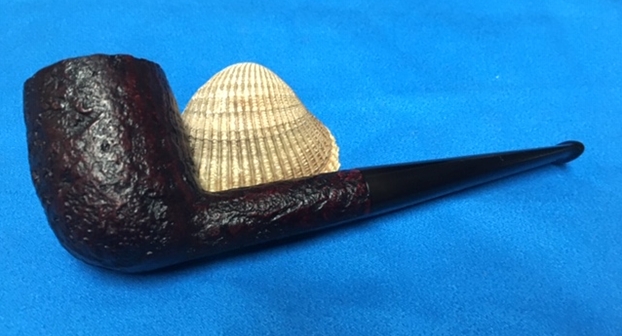
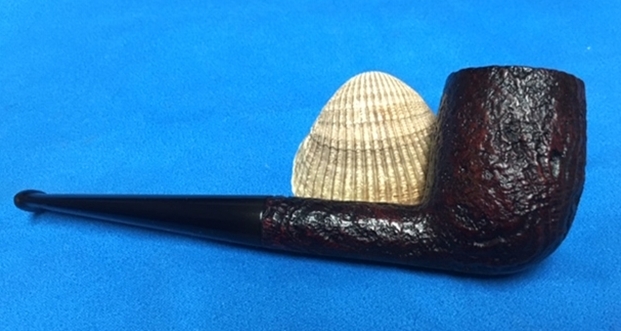
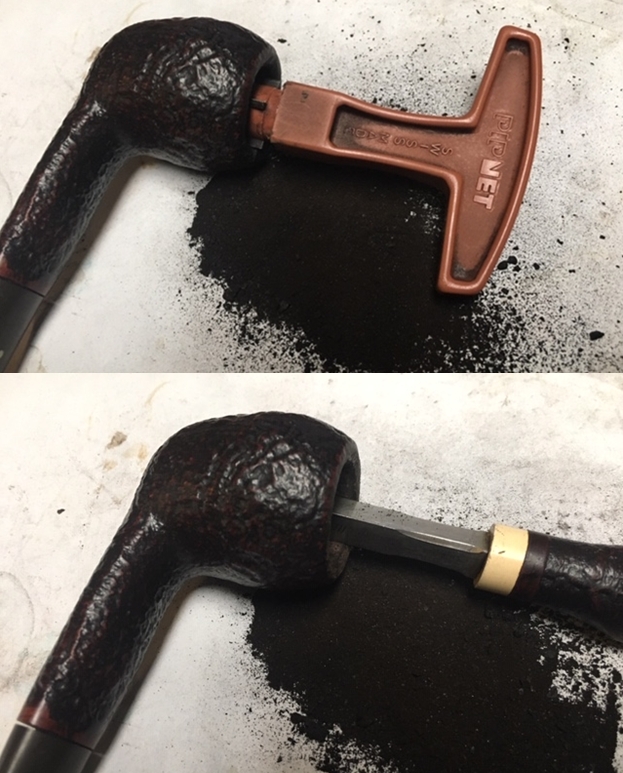
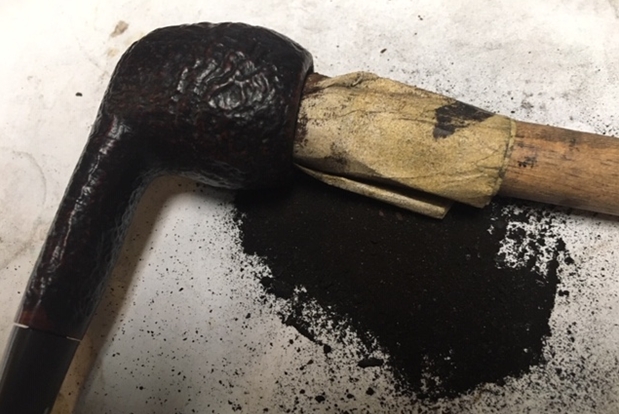
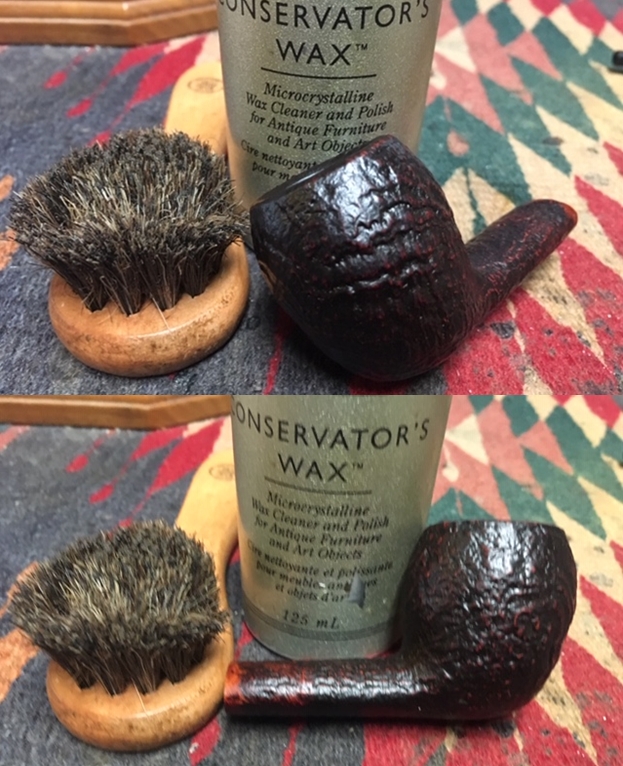
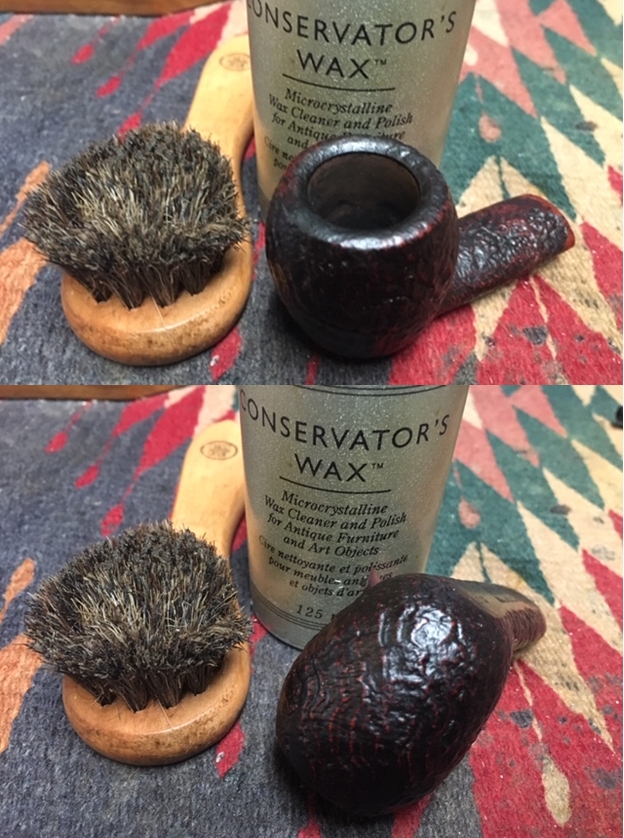
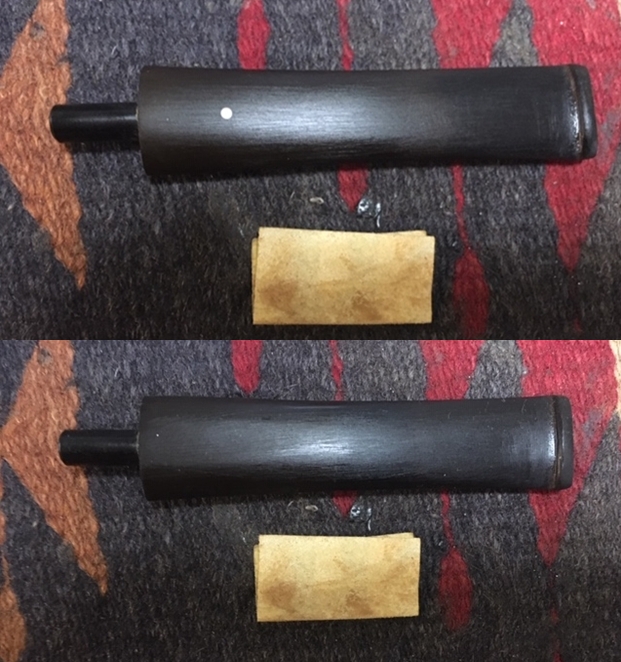
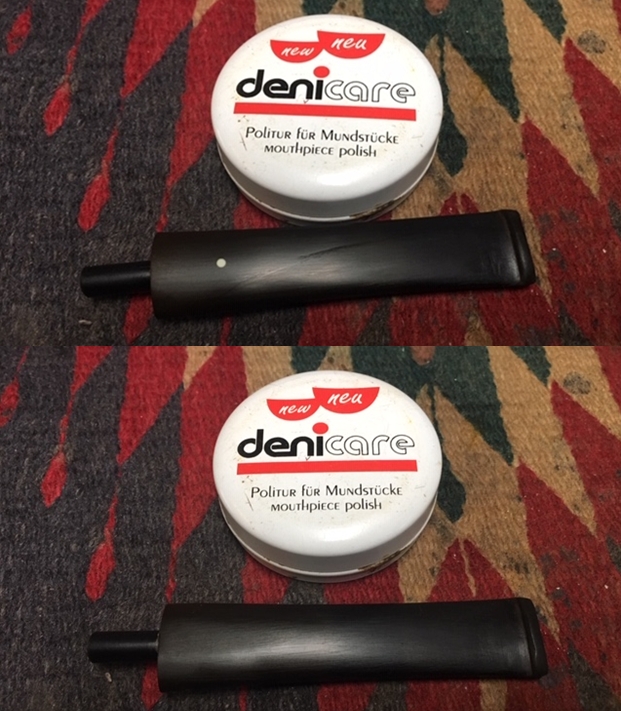
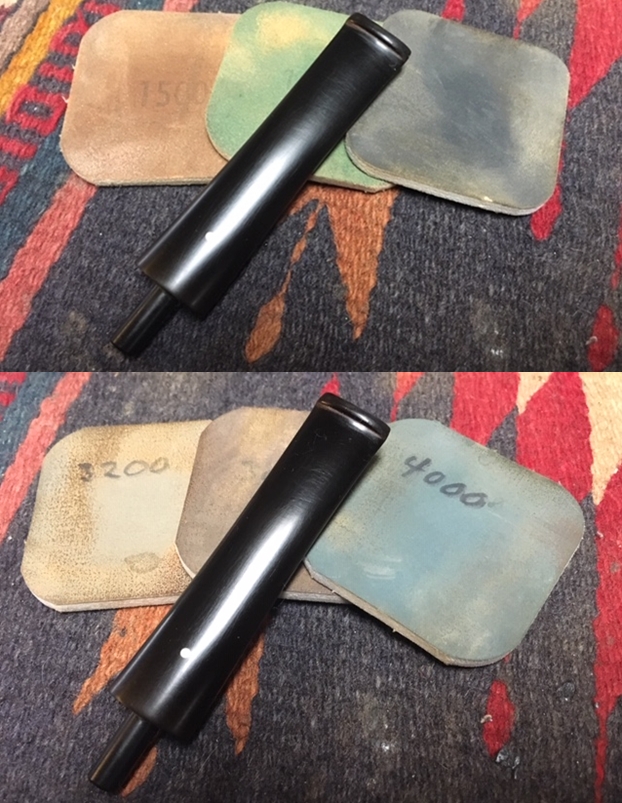
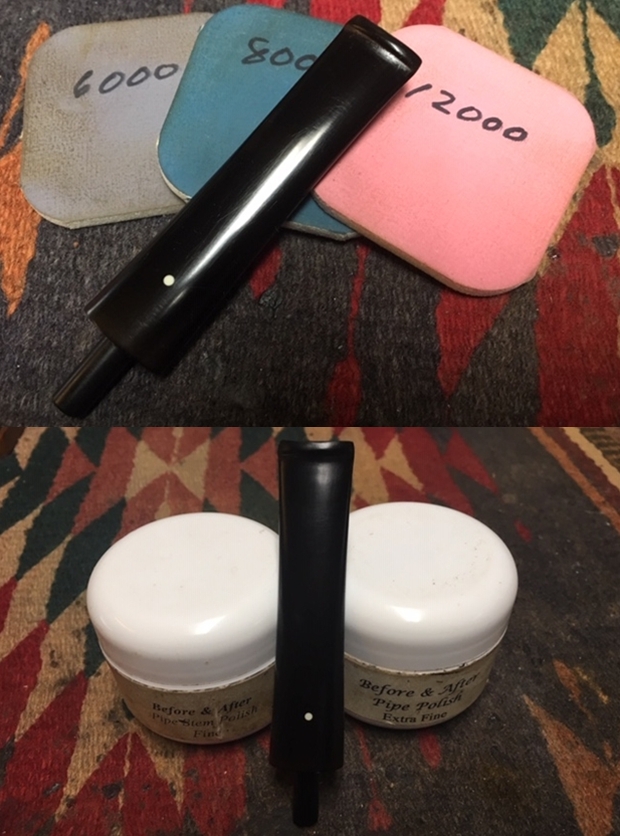
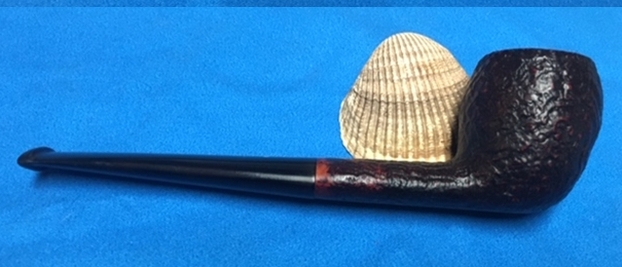
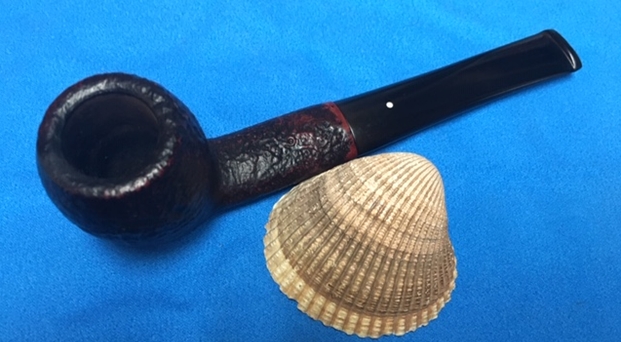
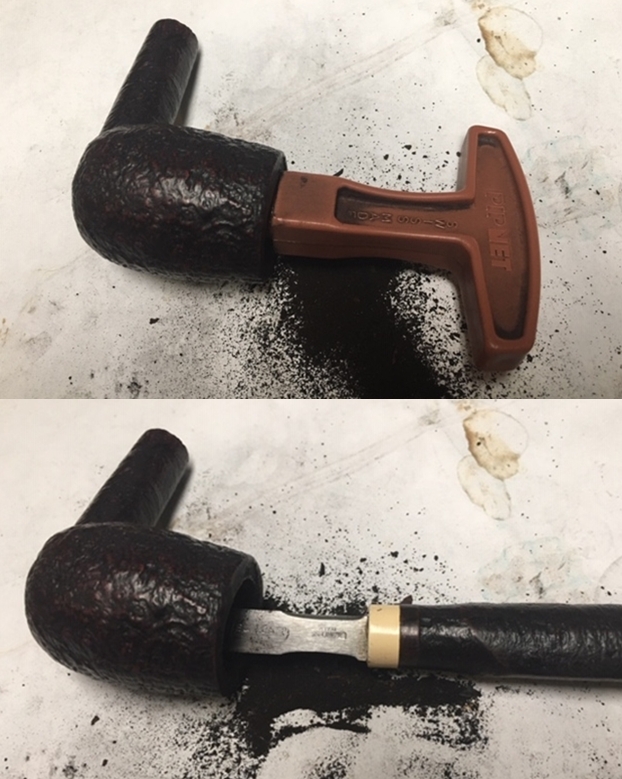
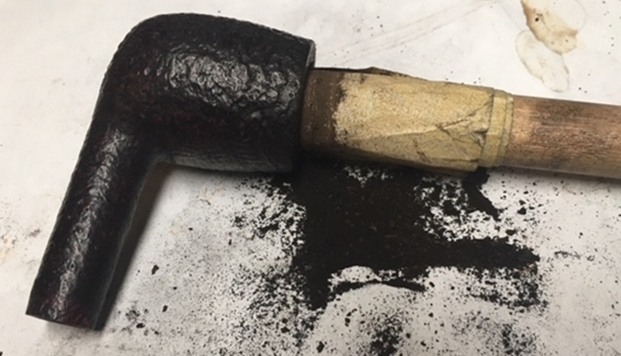
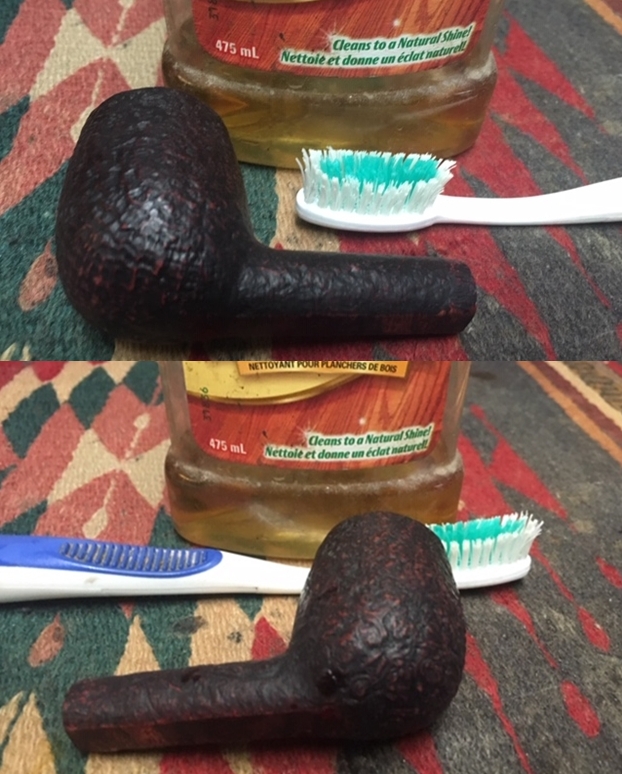
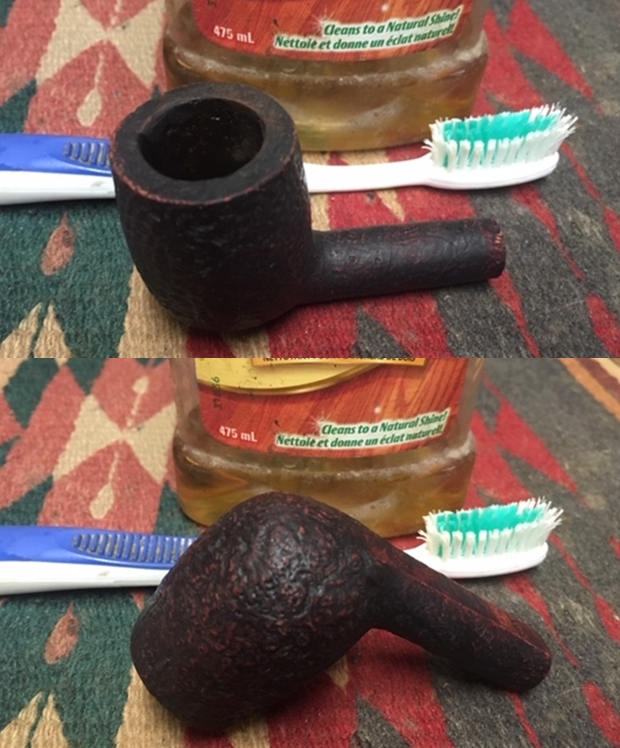
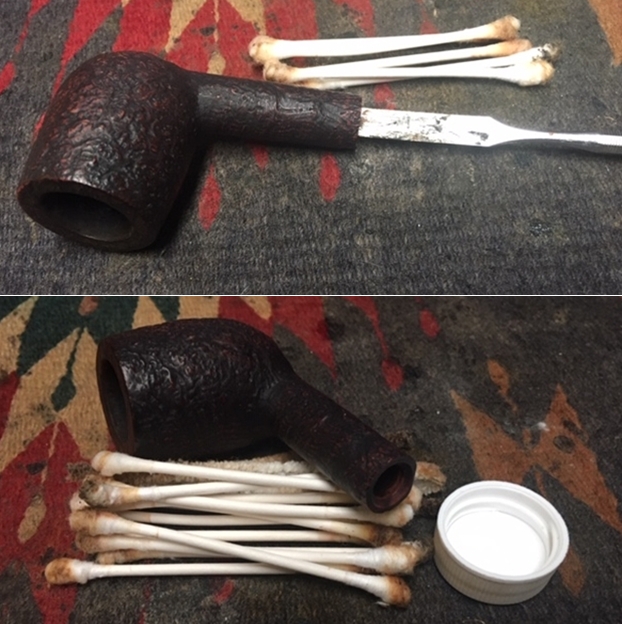
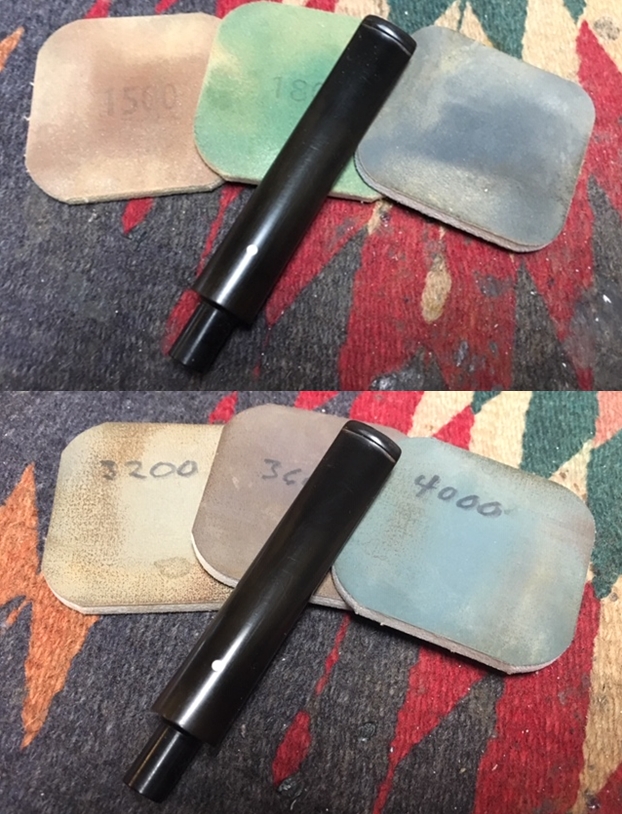
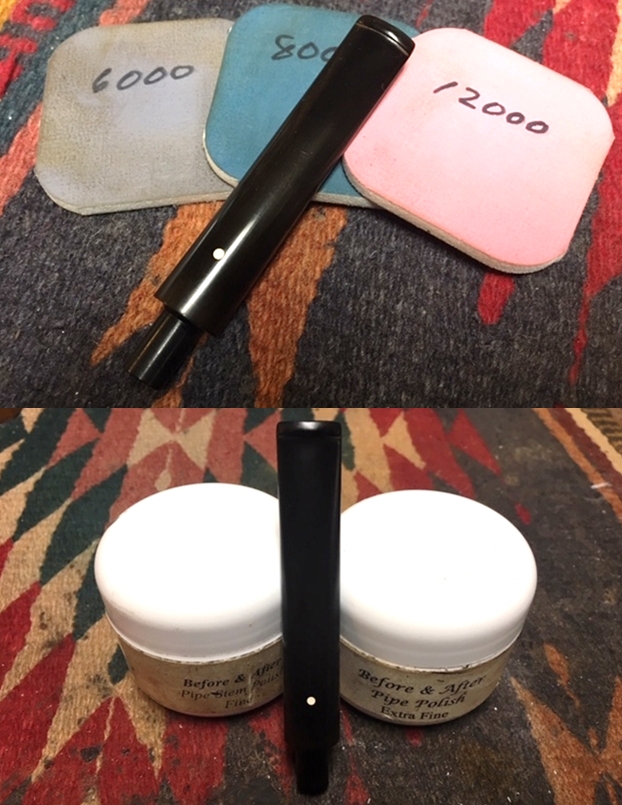
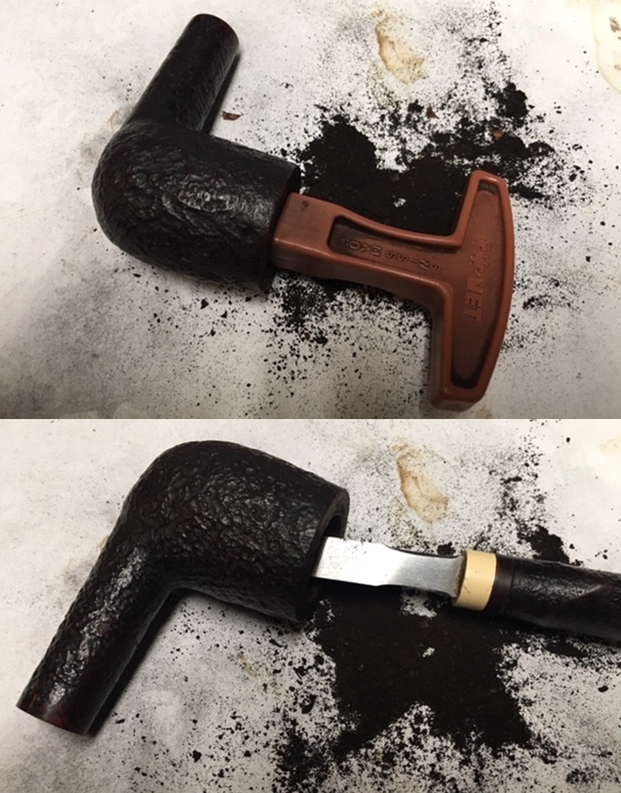
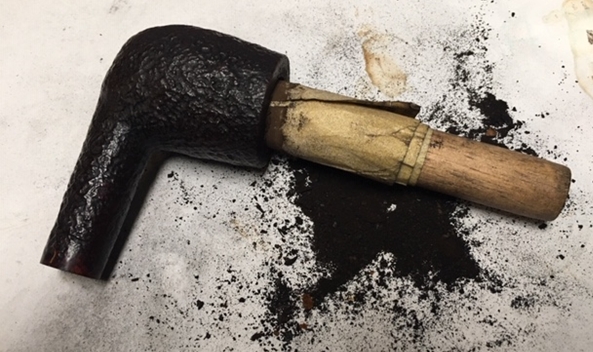
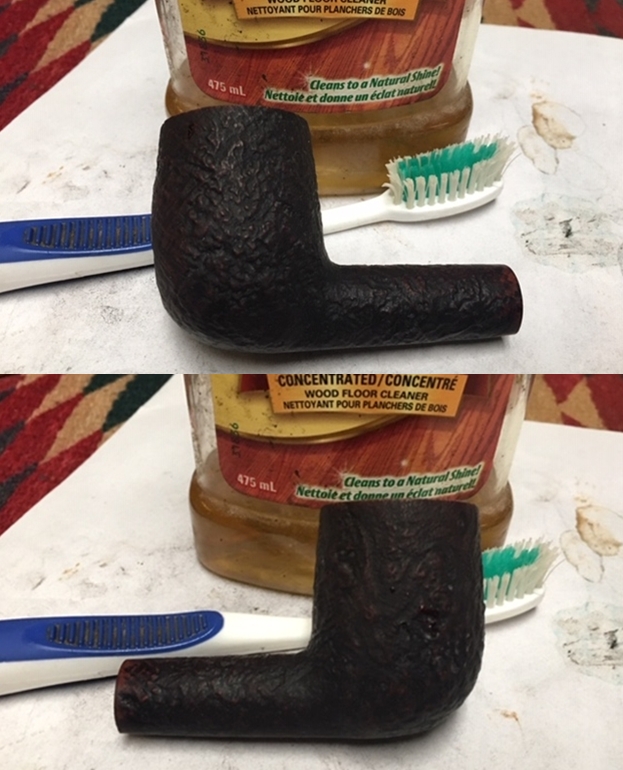
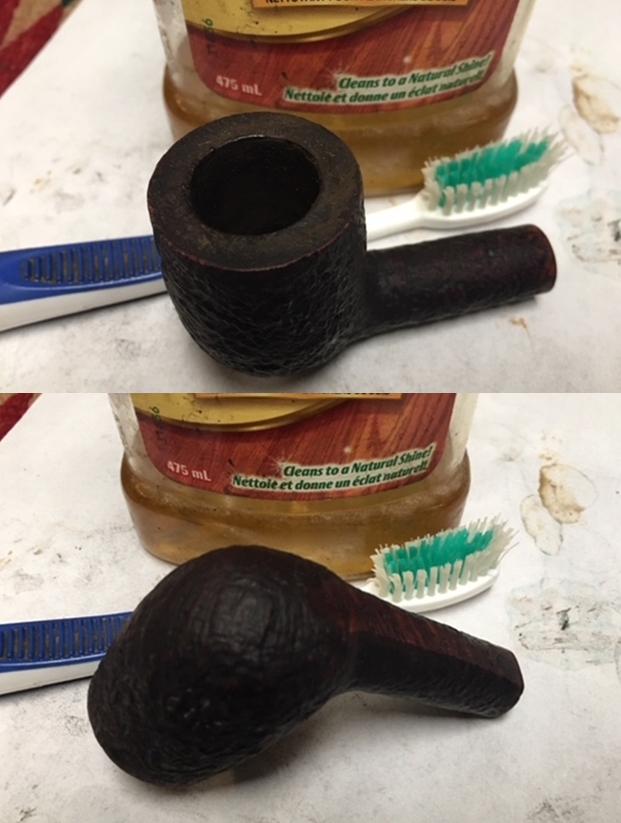
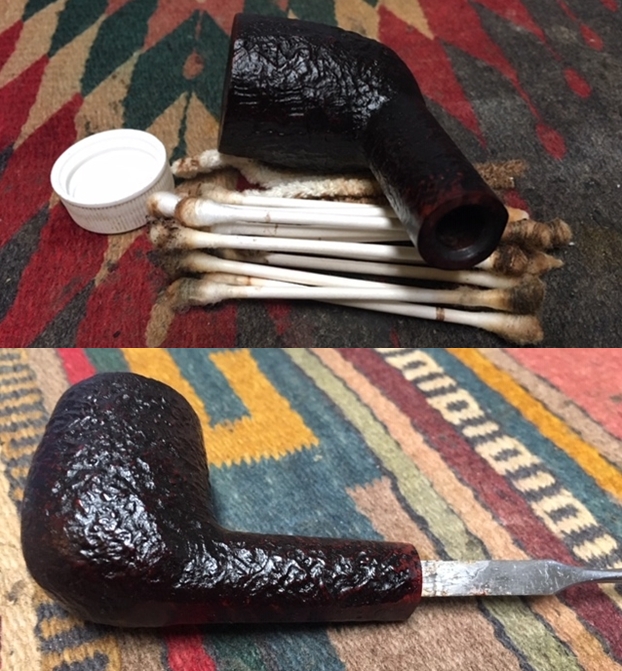
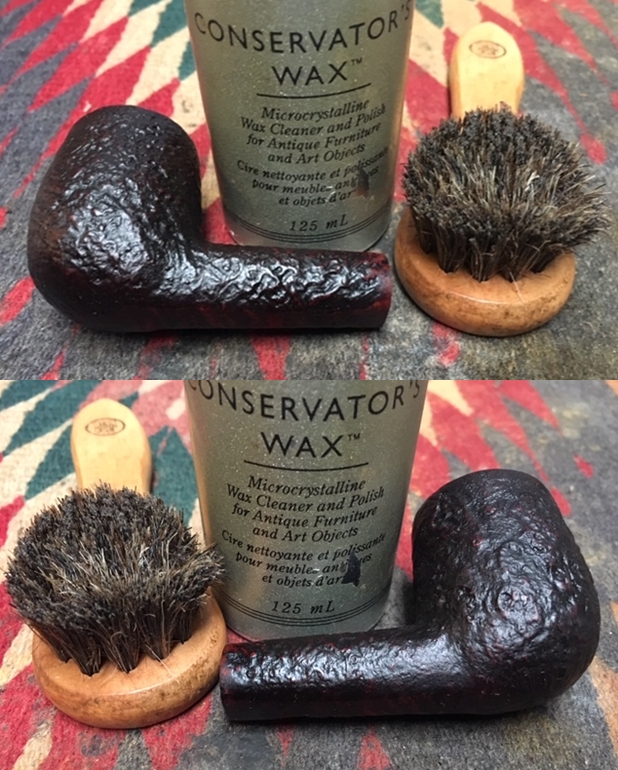
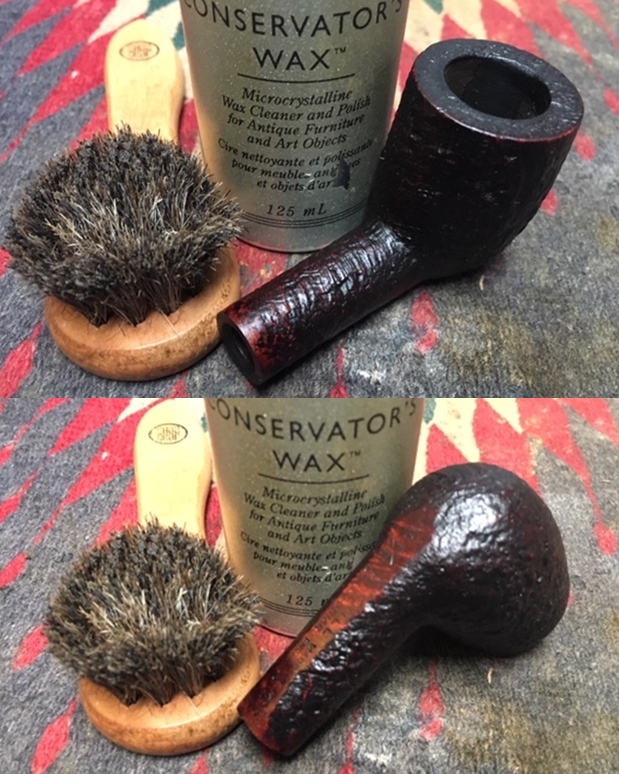
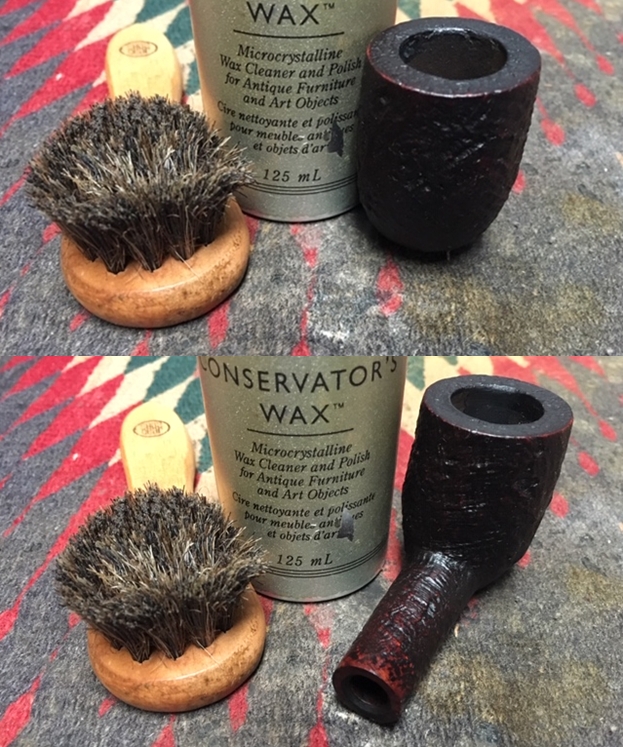
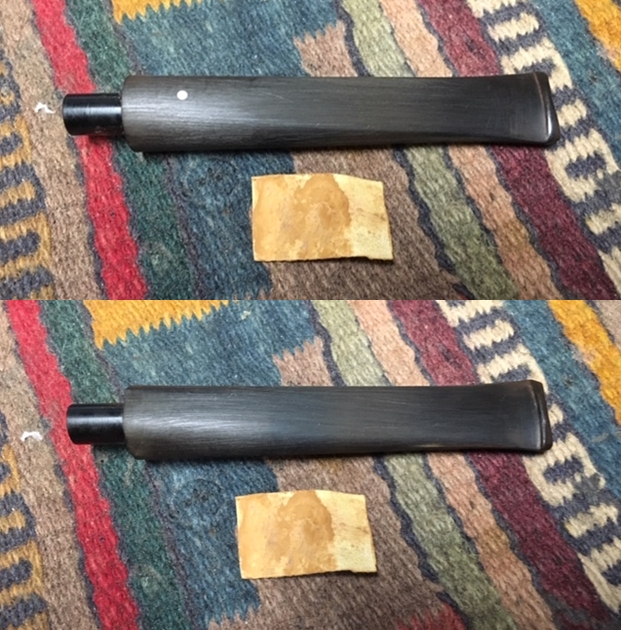
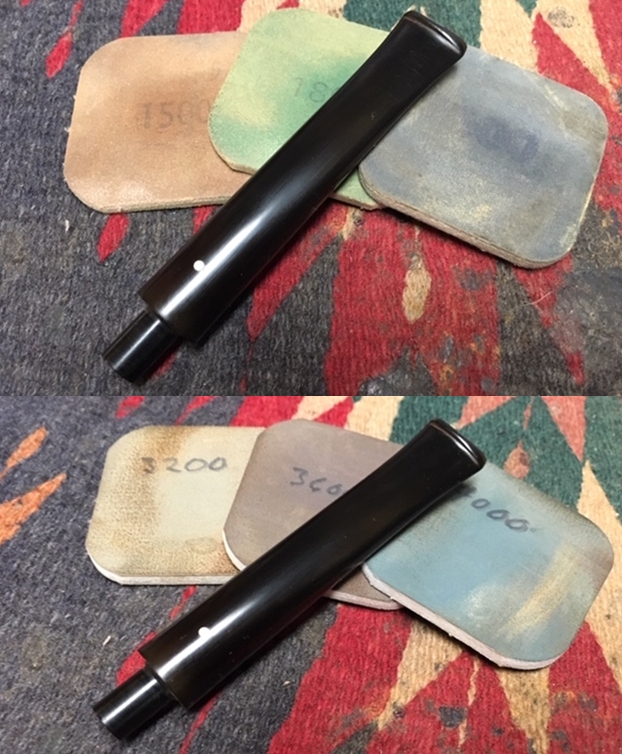
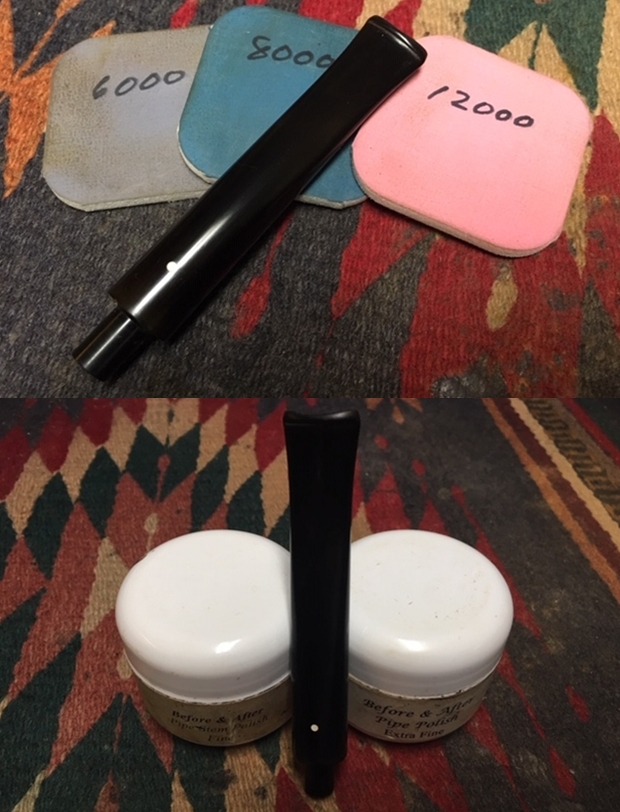
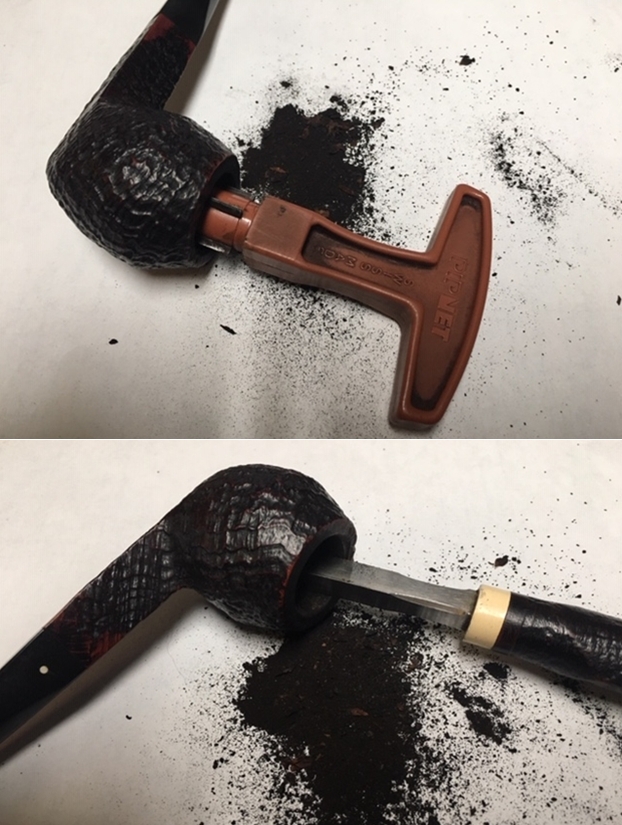
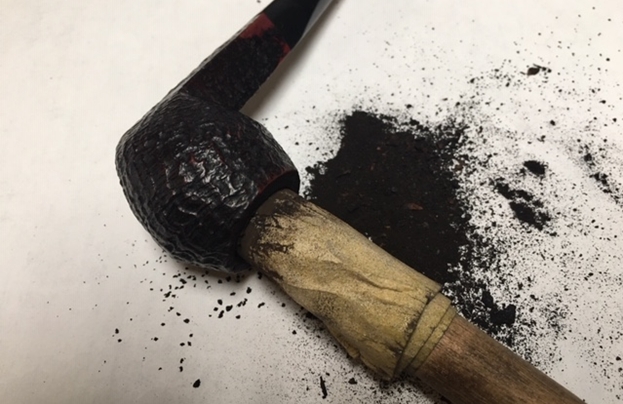
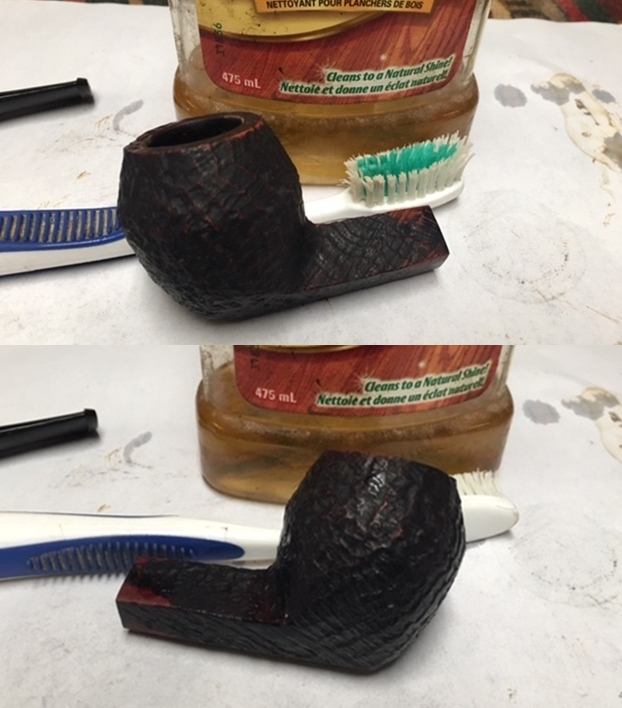
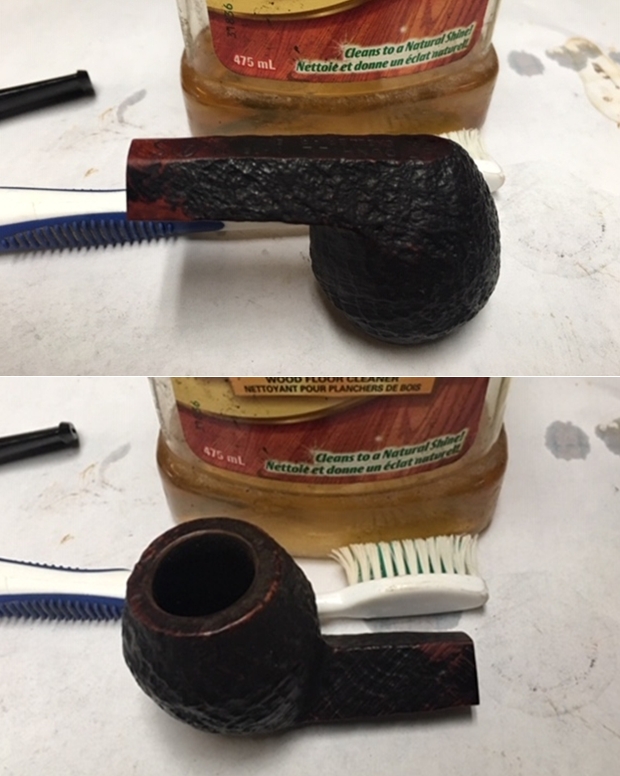
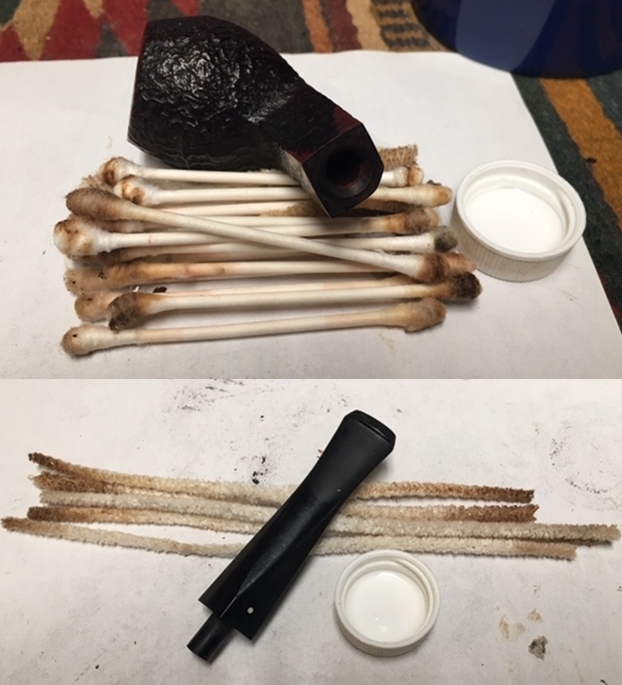
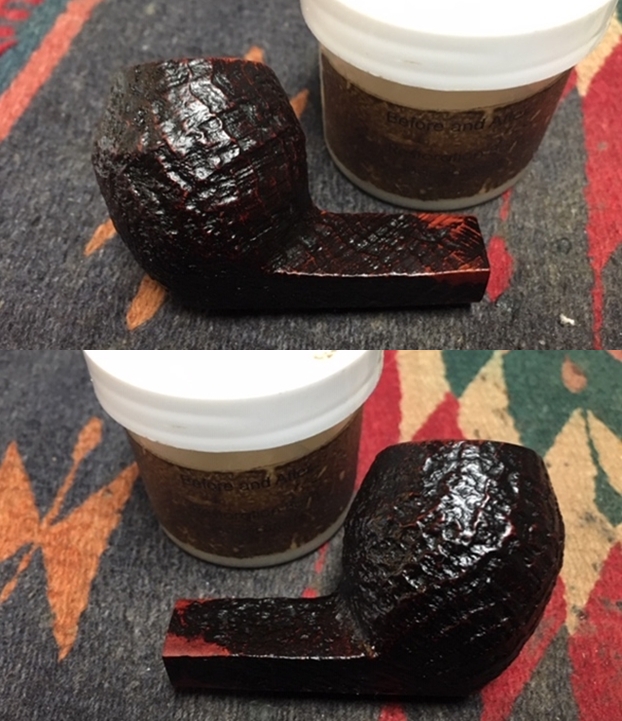
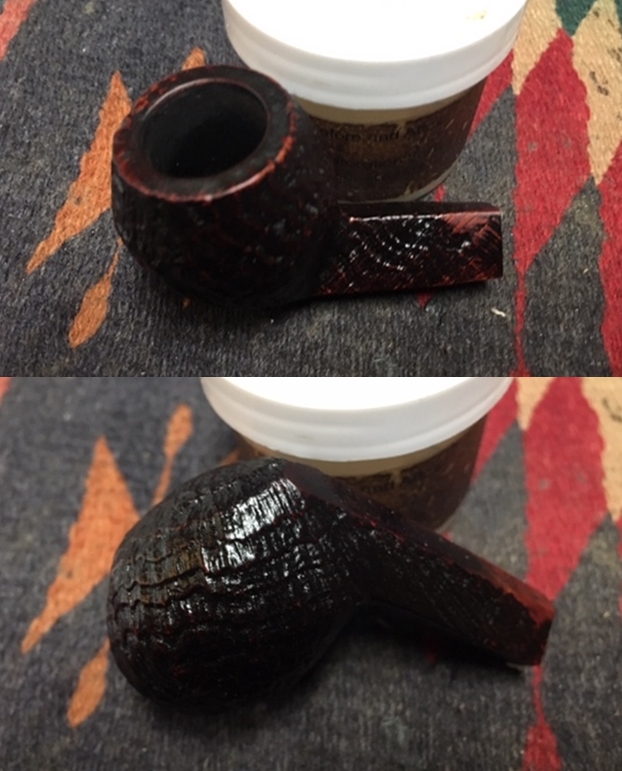
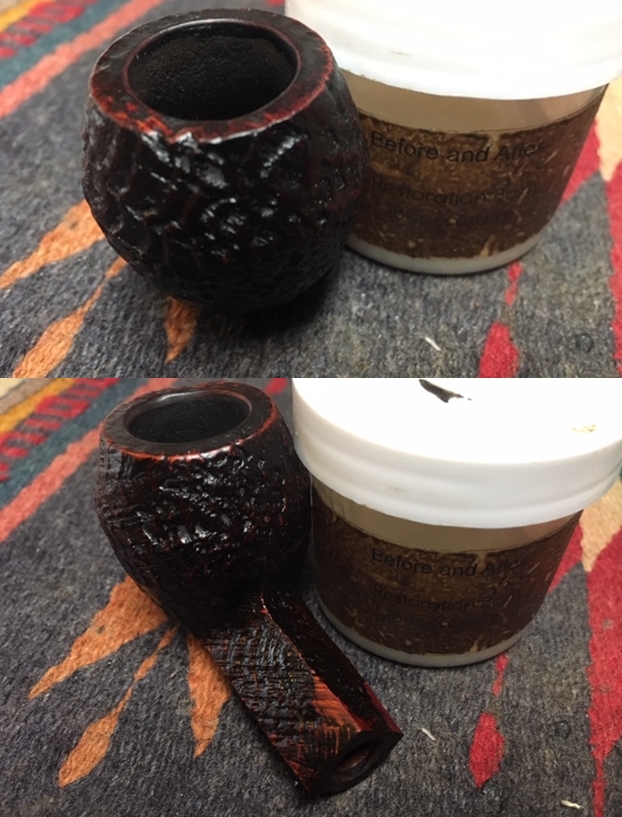
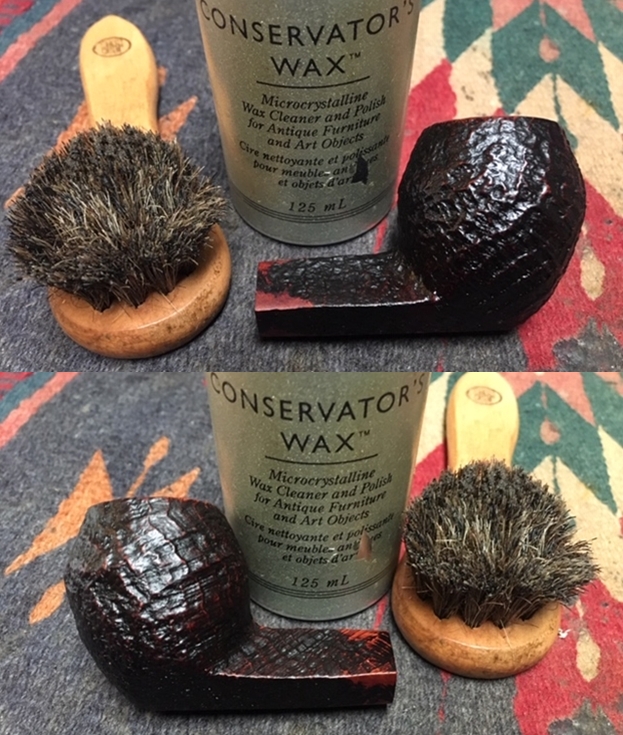
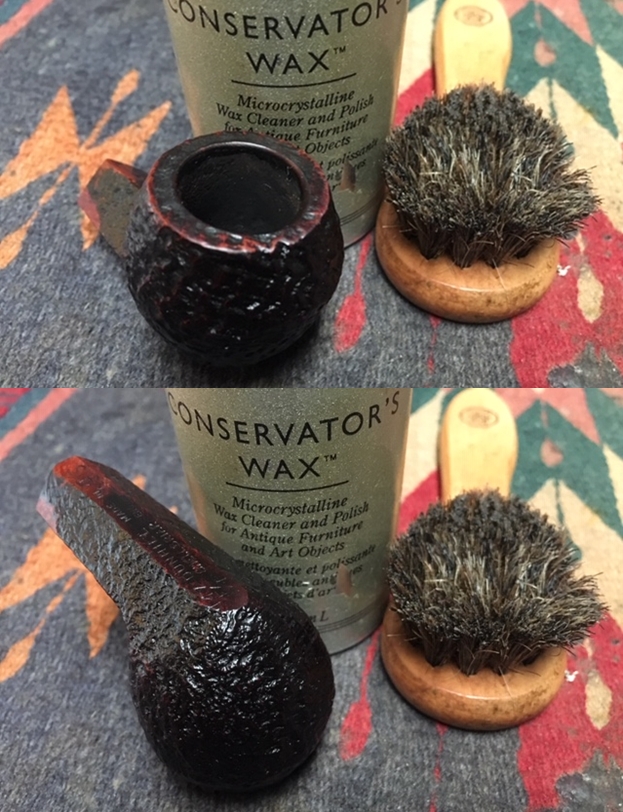
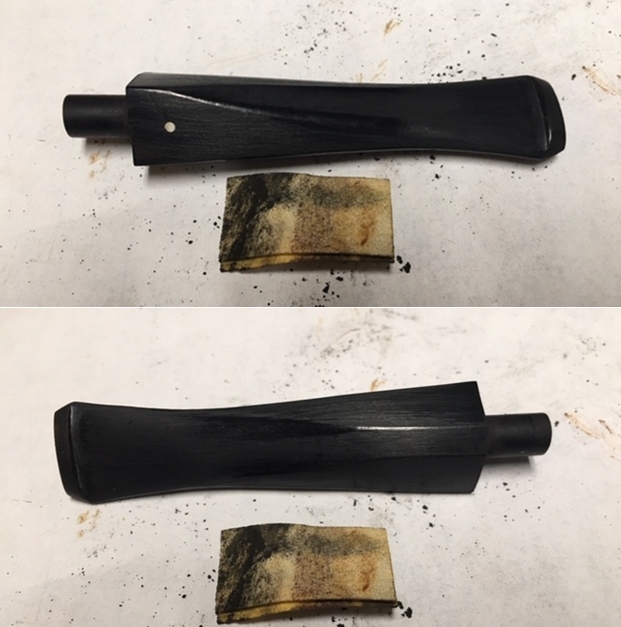
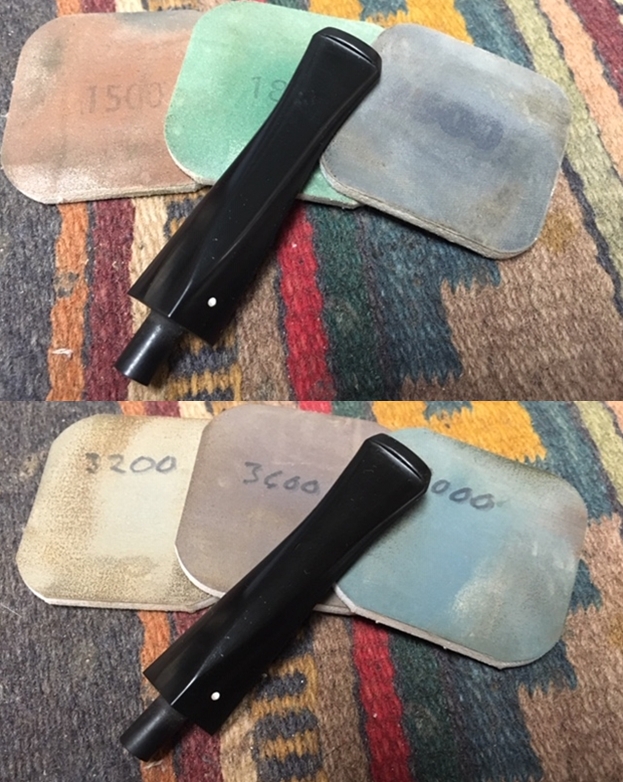
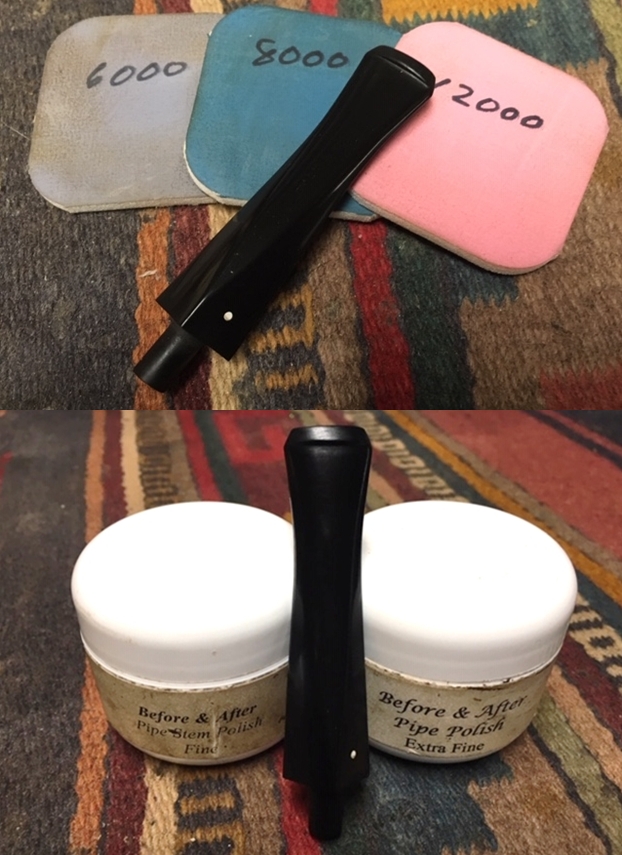
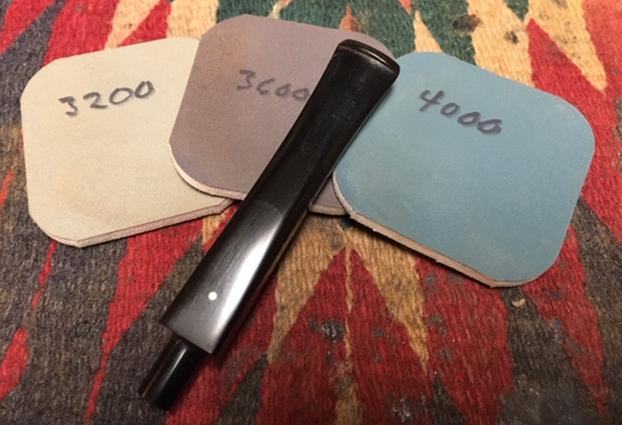
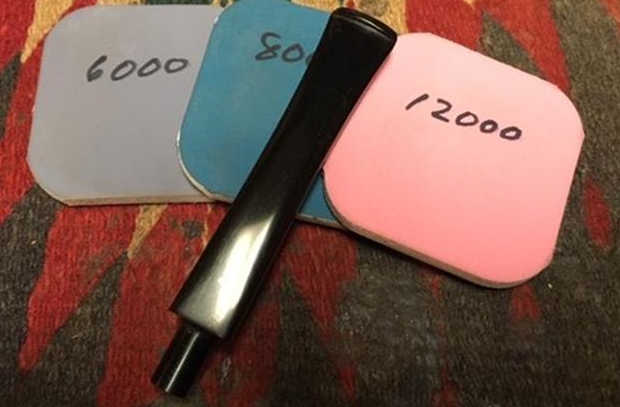
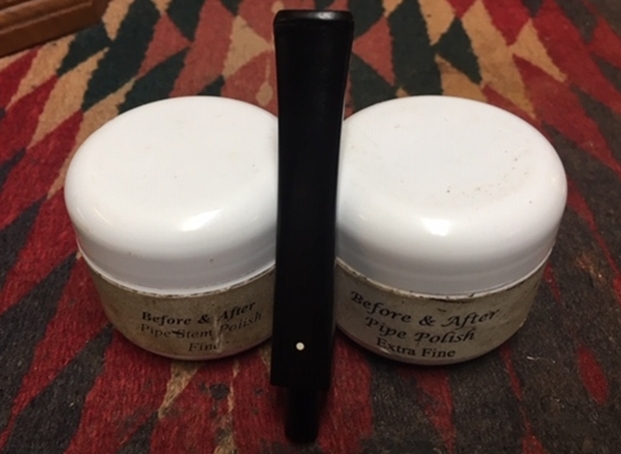
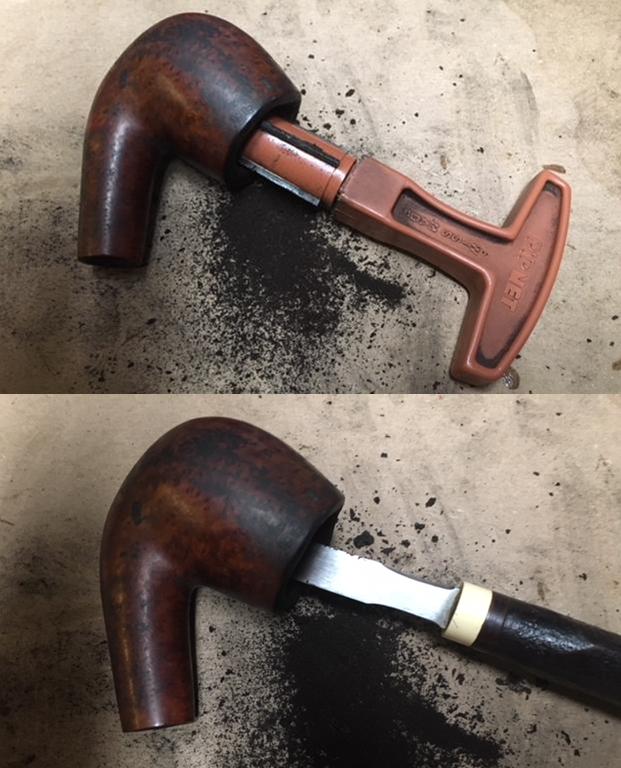
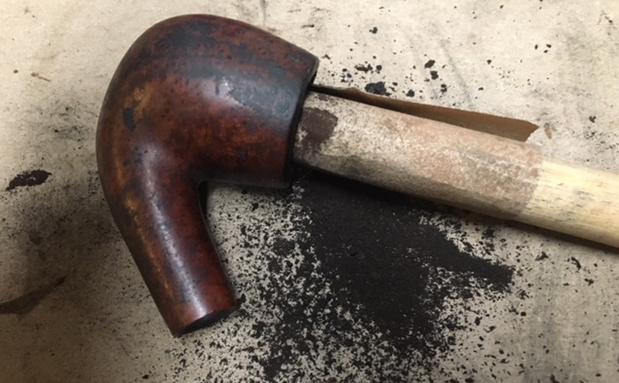
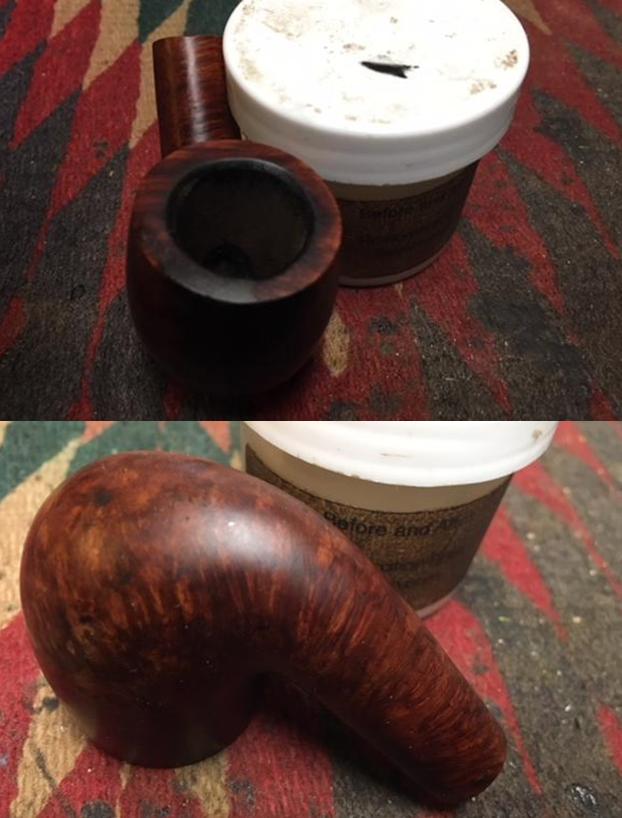
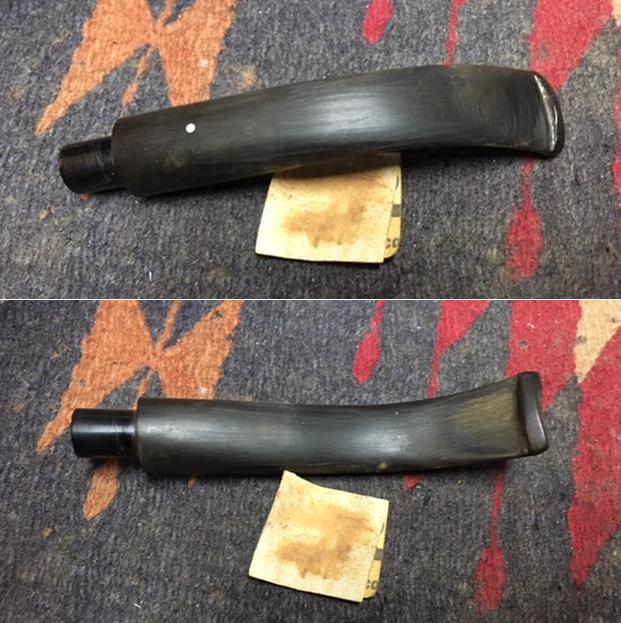
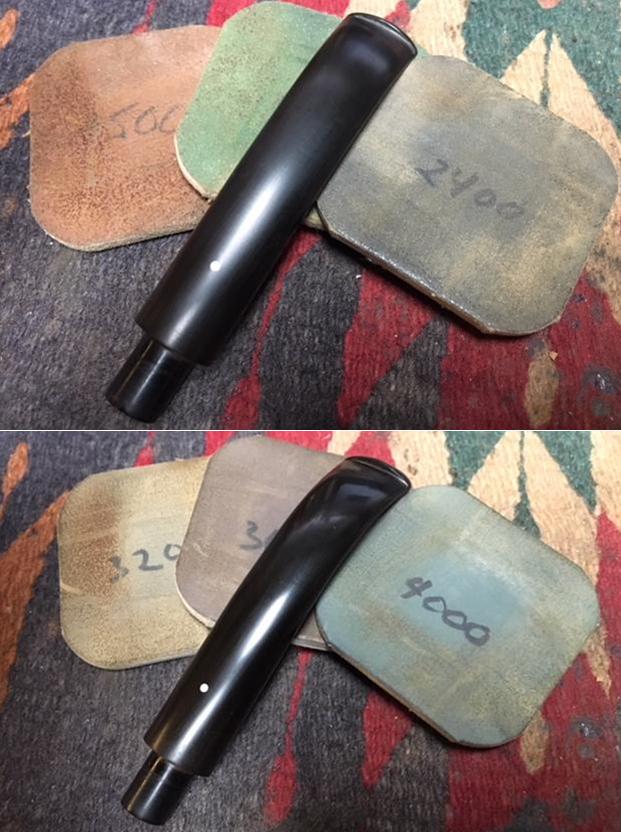
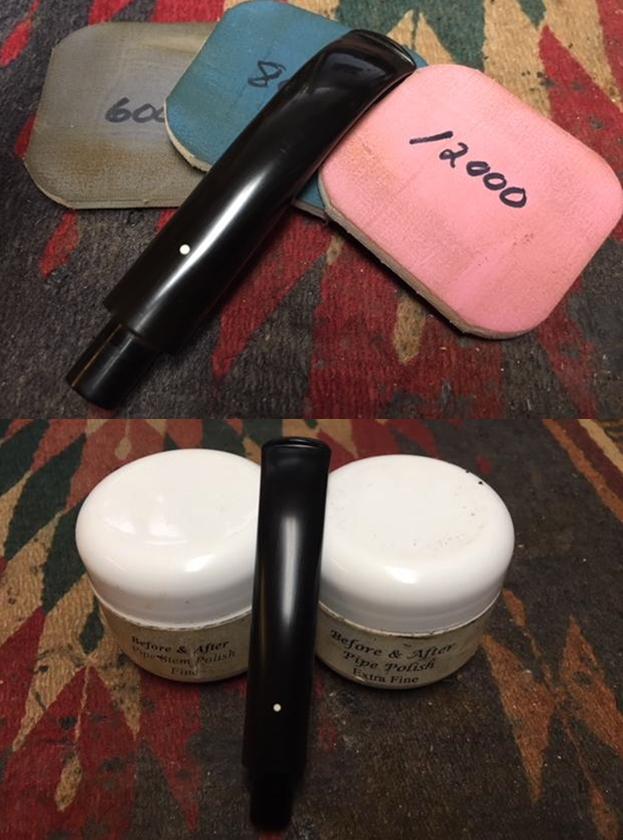
I am delighted to pass on these beloved pipes of my father’s. I hope each user gets many hours of contemplative pleasure as he did. I remember the aroma of tobacco in the rec room, as he put up his feet on his lazy boy. He’d be first at the paper then, no one could touch it before him. Maybe there would be a movie on with an actor smoking a pipe. He would have very definite opinions on whether the performer was a ‘real’ smoker or not, a distinction which I could never see but it would be very clear to him. He worked by day as a sales manager of a paper products company, a job he hated. What he longed for was the life of an artist, so on the weekends and sometimes mid-week evenings he would journey to his workshop and come out with wood sculptures, all of which he declared as crap but every one of them treasured by my sister and myself. Enjoy the pipes, and maybe a little of his creative spirit will enter you!Now that I had a sense of Bob’s spirit in my mind, I could work on his estate with a sense of his presence with me. I turned to work on the seventh of his pipes. I reamed the bowl to remove the cake on the walls and the debris of tobacco shards that still remained. I used a PipNet pipe reamer to start the process. I followed that with a Savinelli Fitsall Pipe Knife to clean up the remaining cake in the conical bottom of the bowl. I sanded the bowl with 220 grit sandpaper wrapped around a piece of dowel. It smooths out the walls and also helps bring the inner edges back to round. With the bowl reamed it was time to work on the rim top and remove the thick lava coat in the blast of the rim. I used the Savinelli Fitsall knife to scrape away the high spots of lava and a brass bristle tire brush to work on the rim top and remove the buildup there.With the rim top cleaned of the lava coat I decided to work on the out of round bowl. It would take some work to get the edge smoothed out and lessen the sharp edges of the knife damage. I sanded the edge with a folded piece of sandpaper. The first photo shows the edge before I started cleaning up the damage. The following photos show the result of the sanding. With the bowl reamed and rim top cleaned I scrubbed the sandblast finish. This is pretty much my process in cleaning either sandblast or rusticated finishes. I scrubbed it with undiluted Murphy’s Oil Soap and a tooth brush to remove the grime from the grooves and canyons of the blast. I worked over the tarry lava overflow on the rim with the tooth brush and a brass brush. I rinsed the pipe under running water to remove the grime. I dried it off with a soft towel. The pictures below show the finish after scrubbing and rinsing. I scraped out the inside of the mortise with a small pen knife to break away the tarry buildup on the walls of the shank. I cleaned out the internals of the bowl, shank and the airway in the shank and the stem with alcohol, pipe cleaners and cotton swabs until they came out clean. It was very dirty in the shank and stem but now it not only looks clean but smells clean. I worked some Before & After Restoration Balm into the briar on the bowl and the rim top. I worked it into the nooks and crannies of the sandblast surface with my fingertips to clean, enliven and protect the wood. I let the balm sit for about 20 minutes and buffed it off with a soft cotton cloth and then polished it with a horsehair shoe brush. I took photos of the pipe at this point in the process to show what the bowl looked like at this point. I gave the bowl several coats of Conservator’s Wax and buffed it with a shoe brush to raise the shine. The bowl looks really good at this point. The sandblast grain just shines and is showing all of the layers of colour that make up a Shell finish. I set the bowl aside and turned my attention to the stem. I used a needle file to recut the sharp edge of the button and give it back its definition on the stem. I sanded out the marks and tooth chatter on the surface of the vulcanite with a folded piece of 220 grit sandpaper. I wanted to reshape the edge in front of the button and also remove the oxidation on the surface of the stem.I polished the stem with Denicare Mouthpiece Polish to take out the oxidation at the button edge and on the end of the mouthpiece. I also worked hard to scrub it from the surface of the stem at the tenon end. I polished out the scratches with micromesh sanding pads – wet sanding with 1500-2400 grit pads and dry sanding with 3200-12000 grit pads. I wiped the stem down after each sanding pad with Obsidian Oil. I polished it with Before & After Pipe Stem Polish – both Fine and Extra Fine. Once I had finished the polishing I gave it a final coat of oil and set it aside to dry. I put the bowl and stem back together. I polished the bowl and stem with Blue Diamond to polish out the scratches in the briar and the vulcanite. I gave the bowl multiple coats of Conservator’s Wax and the stem multiple coats of carnauba wax. I buffed the pipe with a clean buffing pad to raise the shine. I hand buffed it with a microfiber cloth to deepen the shine. The pipe polished up pretty nicely. The contrast of colours that show up in the sandblast of the Shell briar bowl looked good with the polished black vulcanite. The Dunhill Shell EP Canadian turned out really well even with the slightly out of round bowl. It really has that classic Dunhill Canadian look that catches the eye. The finished pipe is shown in the photos below. The dimensions of the pipe are Length: 6 inches, Height: 1 7/8 inches, Outside diameter of the bowl: 1 1/4 inches, Chamber diameter: 3/4 of an inch. This is the seventh Dunhill Shell from the many pipes that will be coming onto the work table and eventually be posted on the rebornpipes store if you are interested in adding it to your collection. Thanks for reading this blog and my reflections on the pipe while I worked on it. I am having fun working on this estate.

Restoring the 5th Pipe from Bob Kerr’s Estate – A Dunhill Shell 60 Billiard


Blog by Steve Laug

I am finally getting around to working on Bob Kerr’s Estate. His son-in-law, Brian contacted me a few months ago saying that the family needed to clean out the estate as they were getting the family home ready to move. He asked if I would be interested in restoring and selling the pipes for them. He brought what originally he said was a few pipes over to show me. When I opened the door Brian was there with a few flats of pipes. There were Dunhills, Petersons, Comoy’s Barlings and a lot of other pipes – a total of 125 pipes and a box of parts. That is the largest estate I had the opportunity to work on. I put together a spread sheet of the pipes and stampings to create an invoice. I was taking on what would take me a fair amount of time to clean up. I could not pass up the opportunity to work on these pipes though. They were just too tempting.

I sorted the pipes into groups of the various brands and had a box of 25 different Dunhill pipes in different shapes, styles and sizes. I decided to work on the Dunhills first. It was a great chance to see the shape variety up close and personal. The photo below shows the box of Dunhill pipes.I went through the box of Dunhills shown above and chose the fifth pipe to work on – a Group 4 sandblast Billiard. It is stamped on the flat panel on the underside of the bowl and shank as follows. On the heel of the bowl is the shape number 60 followed by Dunhill over Shell Briar. Next to that it is stamped Made in England 12 followed by a Circle 4S – Group 4 size Shell made in 1973. The round shank flows into a nice tapered stem that is oxidized and has tooth marks and chatter near the button. There is some calcification on the first inch of the stem ahead of the button and there is some light damage to the button. Finish is dirty, the bowl was caked and lava overflowed on the rim top. It was a little less lava than the others but present nonetheless. Like the other pipes from this estate that I have worked on there was still tobacco in the bowl that was stuck in the cake on the walls. The inner edge of the bowl looked very good. Once again with a little work this pipe would show a beauty that shined forth once it was clean. I took pictures of the pipe before I started working on it. I took some close up photos of the rim top and stem to show what I was dealing with. You can see the cake and tobacco in the bowl. Like Bob’s other pipes I have worked on so far, it looks like he was in the habit of laying down his pipe after just finishing a bowl with the intention of picking it up and continuing later. The rim top shows a lighter buildup of lava over the entire surface of the rim. The stem was dirty, oxidized, calcified and had a lot of tooth chatter on the top and underside for about an inch ahead of the button. The button surface was also marked with tooth chatter.I took a photo of the stamping on the underside of the bowl and shank. It was quite readable and the stamping very clear.I am sure if you have read the restoration work on the previous four pipes you have already read what I included about Bob Kerr, the pipeman who held these pipes in trust before I came to work on them. Also, if you have followed the blog for long you will already know that I like to include background information on the pipeman whose pipes I am restoring. For me, when I am working on an estate I really like to have a sense of the person who held the pipes in trust before I worked on them. It gives me another dimension of the restoration work. I asked Brian if he or his wife would like to write a brief biographical tribute to her father, Bob. His daughter worked on it and I received the following short write up on him and some pictures to go along with the words. Thank you Brian and tell your wife thank you as well.
I am delighted to pass on these beloved pipes of my father’s. I hope each user gets many hours of contemplative pleasure as he did. I remember the aroma of tobacco in the rec room, as he put up his feet on his lazy boy. He’d be first at the paper then, no one could touch it before him. Maybe there would be a movie on with an actor smoking a pipe. He would have very definite opinions on whether the performer was a ‘real’ smoker or not, a distinction which I could never see but it would be very clear to him. He worked by day as a sales manager of a paper products company, a job he hated. What he longed for was the life of an artist, so on the weekends and sometimes mid-week evenings he would journey to his workshop and come out with wood sculptures, all of which he declared as crap but every one of them treasured by my sister and myself. Enjoy the pipes, and maybe a little of his creative spirit will enter you!

I have included one of Bob’s wood carvings to give you an idea of what he daughter wrote about above. You can see his artistry in the carving that is patterned after British Columbia’s Coastal First Nations people. To me this is a sea otter but perhaps a reader may enlighten us.Now that I had a sense of Bob’s spirit in my mind, I could work on his estate with a sense of his presence with me. I turned to work on the fifth of his pipes. I reamed the bowl to remove the cake on the walls and the debris of tobacco shards that still remained. I used a PipNet pipe reamer to start the process. I followed that with a Savinelli Fitsall Pipe Knife to clean up the remaining cake in the conical bottom of the bowl. I sanded the bowl with 220 grit sandpaper wrapped around a piece of dowel. It smooths out the walls and also helps bring the inner edges back to round. With the bowl reamed it was time to work on the rim top and remove the thick lava coat in the blast of the rim. I used the Savinelli Fitsall knife to scrape away the high spots of lava and a brass bristle tire brush to work on the rim top and remove the buildup there.With the bowl reamed and rim top cleaned I scrubbed the sandblast finish. This is pretty much my process in cleaning either sandblast or rusticated finishes. I scrubbed it with undiluted Murphy’s Oil Soap and a tooth brush to remove the grime from the grooves and canyons of the blast. I worked over the tarry lava overflow on the rim with the tooth brush and a brass brush. I rinsed the pipe under running water to remove the grime. I dried it off with a soft towel. The pictures below show the finish after scrubbing and rinsing. I scraped out the inside of the mortise with a small pen knife to break away the tarry buildup on the walls of the shank. I cleaned out the internals of the bowl, shank and the airway in the shank and the stem with alcohol, pipe cleaners and cotton swabs until they came out clean. It was very dirty in the shank and stem but now it not only looks clean but smells clean. I worked some Before & After Restoration Balm into the briar on the bowl and the rim top. I worked it into the nooks and crannies of the sandblast surface with my fingertips to clean, enliven and protect the wood. I let the balm sit for about 20 minutes and buffed it off with a soft cotton cloth and then polished it with a horsehair shoe brush. I took photos of the pipe at this point in the process to show what the bowl looked like at this point. I gave the bowl several coats of Conservator’s Wax and buffed it with a shoe brush to raise the shine. The bowl looks really good at this point. The sandblast grain just shines and is showing all of the layers of colour that make up a Shell finish. I set the bowl aside and turned my attention to the stem. I sanded out the marks and tooth chatter on the surface of the vulcanite with a folded piece of 220 grit sandpaper. Generally I find that these older Dunhill stems are made of very high quality vulcanite, but this one the sanding dust was brown from the oxidation. I polished the stem with Denicare Mouthpiece Polish to take out the oxidation at the button edge and on the end of the mouthpiece. I also worked hard to scrub it from the surface of the stem at the tenon end.  I polished out the scratches with micromesh sanding pads – wet sanding with 1500-2400 grit pads and dry sanding with 3200-12000 grit pads. I wiped the stem down after each sanding pad with Obsidian Oil. I polished it with Before & After Pipe Stem Polish – both Fine and Extra Fine. Once I had finished the polishing I gave it a final coat of oil and set it aside to dry. I put the bowl and stem back together. I polished the bowl and stem with Blue Diamond to polish out the scratches in the briar and the vulcanite. I gave the bowl multiple coats of Conservator’s Wax and the stem multiple coats of carnauba wax. I buffed the pipe with a clean buffing pad to raise the shine. I hand buffed it with a microfiber cloth to deepen the shine. The pipe polished up pretty nicely. The contrast of colours that show up in the sandblast of the Shell briar bowl looked good with the polished black vulcanite. The Dunhill Shell 60 Billiard turned out really well. I am astonished that in this collection of 25 most of the lot are billiards and over half of them are Shell Briars. I have yet to find a repeat shape number – just slight variations on size, shape and length. Really interesting. The pipe has that classic Dunhill look that catches the eye. The finished pipe is shown in the photos below. The dimensions of the pipe are Length: 5 1/2 inches, Height: 1 3/4 inches, Outside diameter of the bowl: 1 1/4 inches, Chamber diameter: 3/4 of an inch. This is the fifth Dunhill Shell from the many pipes that will be coming onto the work table and eventually be posted on the rebornpipes store if you are interested in adding it to your collection. Thanks for reading this blog and my reflections on the pipe while I worked on it. I am having fun working on this estate.

Restoring the 4th Pipe from Bob Kerr’s Estate – A Dunhill Shell 310 F Unique


Blog by Steve Laug

I am finally getting around to working on Bob Kerr’s Estate. His son-in-law, Brian contacted me a few months ago saying that the family needed to clean out the estate as they were getting the family home ready to move. He asked if I would be interested in restoring and selling the pipes for them. He brought what originally he said was a few pipes over to show me. When I opened the door Brian was there with a few flats of pipes. There were Dunhills, Petersons, Comoy’s Barlings and a lot of other pipes – a total of 125 pipes and a box of parts. That is the largest estate I had the opportunity to work on. I put together a spread sheet of the pipes and stampings to create an invoice. I was taking on what would take me a fair amount of time to clean up. I could not pass up the opportunity to work on these pipes though. They were just too tempting.

I sorted the pipes into groups of the various brands and had a box of 25 different Dunhill pipes in different shapes, styles and sizes. I decided to work on the Dunhills first. It was a great chance to see the shape variety up close and personal. The photo below shows the box of Dunhill pipes.I went through the box and chose the fourth pipe to work on – it looks to be a Group 4 sandblast oval shank Unique but it does not have the size stamp. It is stamped on the flat panel on the underside of the bowl and shank as follows. On the heel of the bowl it has the shape number 310F. That is followed by the stamping Dunhill Shell over Made in England 17. The Shell is the finish of the pipe and the 17 following the D in England gives the date of the pipe’s manufacture as 1968. The oval shank flows into a nice tapered stem that is oxidized and has tooth marks and chatter near the button. There is some calcification on the first inch of the stem ahead of the button and there is some light damage to the button. Finish is dirty, bowl caked and lava overflow on the rim top. Like the other pipes from this estate that I have worked on there was still tobacco in the bowl that was stuck in the cake on the walls. The inner edge of the bowl looked very good. This pipe would take some work but it was a beauty that would shine forth once it was clean. I took pictures of the pipe before I started working on it. I took some close up photos of the rim top and stem to show what I was dealing with. You can see the cake and tobacco in the bowl. Like Bob’s other pipes I have worked on so far, it looks like he was in the habit of laying down his pipe after just finishing a bowl with the intention of picking it up and continuing later. The rim top shows the buildup of lava over the entire surface of the rim. The stem was dirty, oxidized, calcified and had a lot of tooth chatter on the top and underside for about an inch ahead of the button. The button surface was also marked with tooth chatter.I took a photo of the stamping on the underside of the bowl and shank. It should be easier to read once I get it cleaned up a bit.I am sure if you have read the restoration work on the previous three pipes you have already read what I included about Bob Kerr, the pipeman who held these pipes in trust before I came to work on them. Also, if you have followed the blog for long you will already know that I like to include background information on the pipeman whose pipes I am restoring. For me, when I am working on an estate I really like to have a sense of the person who held the pipes in trust before I worked on them. It gives me another dimension of the restoration work. I asked Brian if he or his wife would like to write a brief biographical tribute to her father, Bob. His daughter worked on it and I received the following short write up on him and some pictures to go along with the words. Thank you Brian and tell your wife thank you as well.
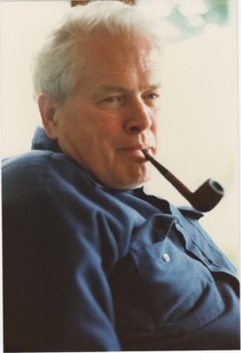
I am delighted to pass on these beloved pipes of my father’s. I hope each user gets many hours of contemplative pleasure as he did. I remember the aroma of tobacco in the rec room, as he put up his feet on his lazy boy. He’d be first at the paper then, no one could touch it before him. Maybe there would be a movie on with an actor smoking a pipe. He would have very definite opinions on whether the performer was a ‘real’ smoker or not, a distinction which I could never see but it would be very clear to him. He worked by day as a sales manager of a paper products company, a job he hated. What he longed for was the life of an artist, so on the weekends and sometimes mid-week evenings he would journey to his workshop and come out with wood sculptures, all of which he declared as crap but every one of them treasured by my sister and myself. Enjoy the pipes, and maybe a little of his creative spirit will enter you!
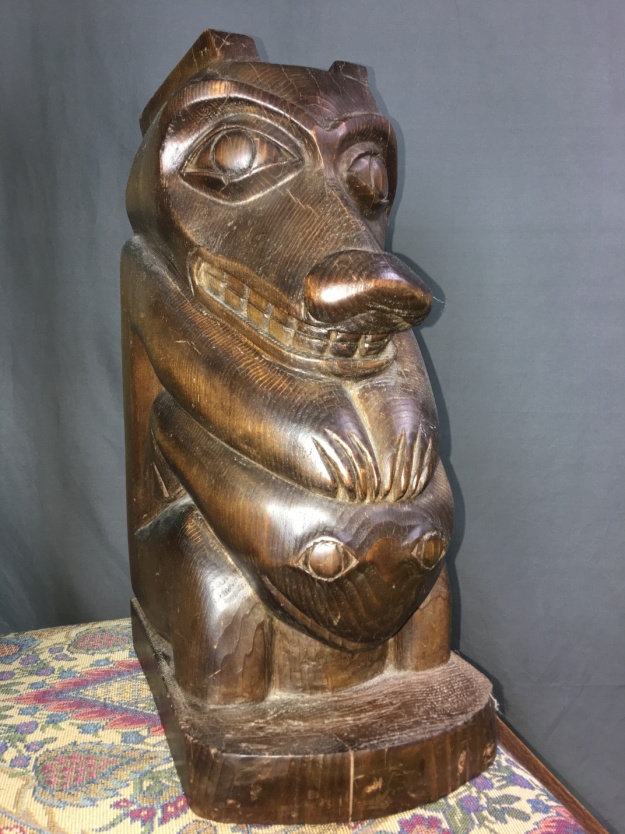
I have included one of Bob’s wood carvings to give you an idea of what he daughter wrote about above. You can see his artistry in the carving that is patterned after British Columbia’s Coastal First Nations people. To me this is a sea otter but perhaps a reader may enlighten us.Now that I had a sense of Bob’s spirit in my mind, I could work on his estate with a sense of his presence with me. I turned to work on the fourth of his pipes. I reamed the bowl to remove the cake on the walls and the debris of tobacco shards that still remained. I used a PipNet pipe reamer to start the process. I followed that with a Savinelli Fitsall Pipe Knife to clean up the remaining cake in the conical bottom of the bowl. I sanded the bowl with 220 grit sandpaper wrapped around a piece of dowel. It smooths out the walls and also helps bring the inner edges back to round. With the bowl reamed it was time to work on the rim top and remove the thick lava coat in the blast of the rim. I used the Savinelli Fitsall knife to scrape away the high spots of lava and a brass bristle tire brush to work on the rim top and remove the buildup there. With the bowl reamed and rim top cleaned I scrubbed the sandblast finish. This is pretty much my process in cleaning either sandblast or rusticated finishes. I scrubbed it with undiluted Murphy’s Oil Soap and a tooth brush to remove the grime from the grooves and canyons of the blast. I worked over the tarry lava overflow on the rim with the tooth brush and a brass brush. I rinsed the pipe under running water to remove the grime. I dried it off with a soft towel. The pictures below show the finish after scrubbing and rinsing. I scraped out the inside of the mortise with a small pen knife to break away the tarry buildup on the walls of the shank. I cleaned out the internals of the bowl, shank and the airway in the shank and the stem with alcohol, pipe cleaners and cotton swabs until they came out clean. It was very dirty in the shank and stem but it not only looks clean but smells clean now.   I worked some Before & After Restoration Balm into the briar on the bowl and the rim top. I worked it into the nooks and crannies of the sandblast surface with my fingertips to clean, enliven and protect the wood. I let the balm sit for about 20 minutes and buffed it off with a soft cotton cloth and then polished it with a horsehair shoe brush. I took photos of the pipe at this point in the process to show what the bowl looked like at this point. I gave the bowl several coats of Conservator’s Wax and buffed it with a shoe brush to raise the shine. The bowl looks really good at this point. The sandblast grain just shines and is showing all of the layers of colour that make up a Shell finish. I set the bowl aside and turned my attention to the stem. I sanded out the marks and tooth chatter on the surface of the vulcanite with a folded piece of 220 grit sandpaper. Generally I find that these older Dunhill stems are made of very high quality vulcanite, but this one the sanding dust was brown from the oxidation. I polished the stem with Denicare Mouthpiece Polish to take out the oxidation at the button edge and on the end of the mouthpiece. I also worked hard to scrub it from the surface of the stem at the tenon end.I polished out the scratches with micromesh sanding pads – wet sanding with 1500-2400 grit pads and dry sanding with 3200-12000 grit pads. I wiped the stem down after each sanding pad with Obsidian Oil. I polished it with Before & After Pipe Stem Polish – both Fine and Extra Fine. Once I had finished the polishing I gave it a final coat of oil and set it aside to dry. I put the bowl and stem back together. I polished the bowl and stem with Blue Diamond to polish out the scratches in the briar and the vulcanite. I gave the bowl multiple coats of Conservator’s Wax and the stem multiple coats of carnauba wax. I buffed the pipe with a clean buffing pad to raise the shine. I hand buffed it with a microfiber cloth to deepen the shine. The pipe polished up pretty nicely. The contrast of colours that show up in the sandblast of the Shell briar bowl looked good with the polished black vulcanite. The Dunhill Shell 310 F Unique looked really good. I am astonished that in this collection of 25 most of the lot are billiards and I have yet to find a repeat shape number. Just slight variations on size, shape and length. Really interesting. The pipe has that classic Dunhill look that catches the eye. The finished pipe is shown in the photos below. The dimensions of the pipe are Length: 6 inches, Height: 1 3/4 inches, Outside diameter of the bowl: 1 1/4 inches, Chamber diameter: 3/4 of an inch. This is the fourth Dunhill Shell from the many pipes that will be coming onto the work table and eventually be posted on the rebornpipes store if you are interested in adding it to your collection. Thanks for reading this blog and my reflections on the pipe while I worked on it. I am having fun working on this estate.
Restoring the 3rd Pipe from Bob Kerr’s Estate – A Dunhill Shell 253 Billiard


Blog by Steve Laug

I am finally getting around to working on Bob Kerr’s Estate. His son-in-law, Brian contacted me a few months ago saying that the family needed to clean out the estate as they were getting the family home ready to move. He asked if I would be interested in restoring and selling the pipes for them. He brought what originally he said was a few pipes over to show me. When I opened the door Brian was there with a few flats of pipes. There were Dunhills, Petersons, Comoy’s Barlings and a lot of other pipes – a total of 125 pipes and a box of parts. That is the largest estate I had seen. I put together a spread sheet of the pipes and stampings to create an invoice. I was taking on what would take me a fair amount of time to clean up. I could not pass up the opportunity to work on these pipes though. They were just too tempting.

I sorted the pipes into groups of the various brands and had a box of 25 different Dunhill pipes in different shapes, styles and sizes. I decided to work on the Dunhills first. It was a great chance to see the shape variety up close and personal. The photo below shows the box of Dunhill pipes.I went through the box and chose the third pipe to work on – an average Group 4 sandblast straight shank Billiard. It is stamped on the flat panel on the underside of the bowl and shank as follows. It is stamped with the shape number 253 followed by Dunhill over Shell  Briar. Next to that is stamped Made in England 4 Circle 4S – Group for size Shell made in 1965. The pipe was a shape 253 lightly smaller Billiard than the previous 196 with a regular tapered stem. The finish was a sandblast that Dunhill named a Shell Briar. It was a Group 4 size that was made in 1965. The finish was dirty with an overflow of the cake onto the rim top. There was still tobacco in the bowl that was stuck in the cake on the walls. The inner edge of the bowl looked very good. The stem was oxidized and had tooth marks and chatter near the button and on the button itself. There was also a buildup of calcification on the first inch of the stem ahead of the button. Overall the pipe would take some work but it was a beauty with solid bones. I took pictures of the pipe before I started working on it. I took some close up photos of the rim top and stem to show what I was dealing with. You can see the cake and tobacco in the bowl. It looks like Bob Kerr was in the habit of laying down his pipe after just finishing a bowl with the intention of picking it up and continuing later. The rim top shows the buildup of lava with heavier sediment on the back surface or the rim. The stem was dirty, oxidized, calcified and had a lot of tooth chatter on the top and underside for about an inch ahead of the button. The button surface was also marked with tooth chatter.I took a photo of the stamping on the underside of the bowl and shank. It should be easier to read once I get it cleaned up a bit.If you have followed the blog for long then you will not be surprised when I include information on the pipeman whose pipes I am restoring. For me, when I am working on an estate I really like to have a sense of the person who held the pipes in trust before I worked on them. It gives me another dimension of the restoration work. I asked Brian if he or his wife would like to write a brief biographical tribute to her father, Bob. His daughter worked on it and I received the following short write up on him and some pictures to go along with the words. Thank you Brian and tell your wife thank you as well.

I am delighted to pass on these beloved pipes of my father’s. I hope each user gets many hours of contemplative pleasure as he did. I remember the aroma of tobacco in the rec room, as he put up his feet on his lazy boy. He’d be first at the paper then, no one could touch it before him. Maybe there would be a movie on with an actor smoking a pipe. He would have very definite opinions on whether the performer was a ‘real’ smoker or not, a distinction which I could never see but it would be very clear to him. He worked by day as a sales manager of a paper products company, a job he hated. What he longed for was the life of an artist, so on the weekends and sometimes mid-week evenings he would journey to his workshop and come out with wood sculptures, all of which he declared as crap but every one of them treasured by my sister and myself. Enjoy the pipes, and maybe a little of his creative spirit will enter you!

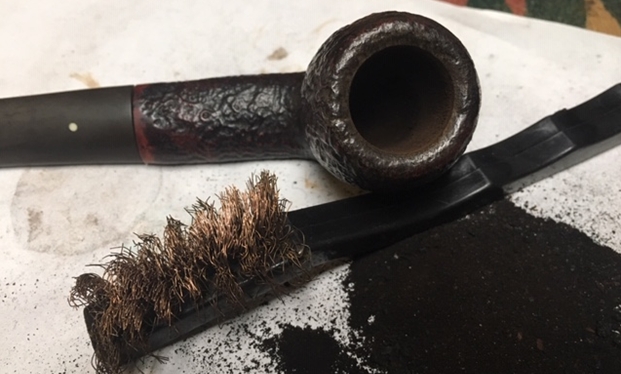
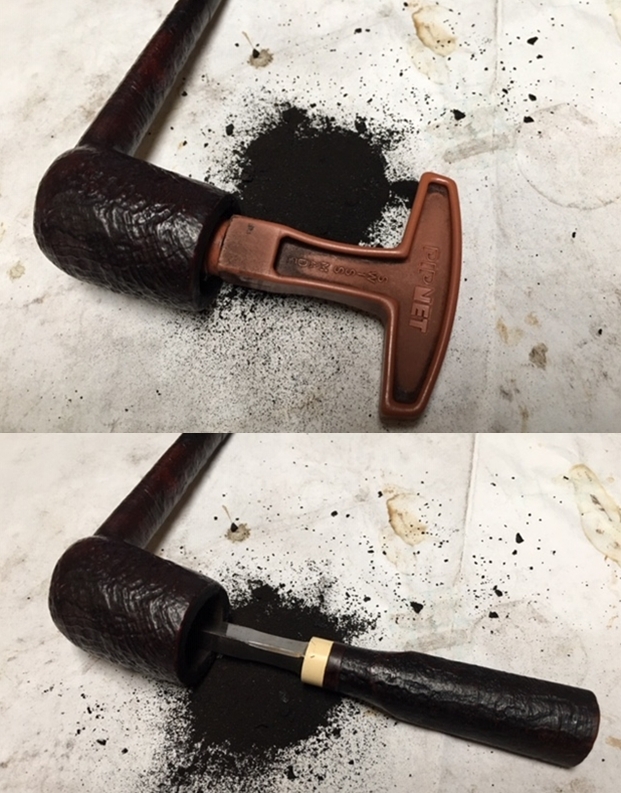
I have included one of Bob’s wood carvings to give you an idea of what he daughter wrote about above. You can see his artistry in the carving that is patterned after British Columbia’s Coastal First Nations people. To me this is a sea otter but perhaps a reader may enlighten us.With a sense of Bob’s spirit in mind, I turned to work on the third of his pipes. I reamed the bowl to remove the cake on the walls and the debris of tobacco shards that still remained. I used a PipNet pipe reamer to start the process. I followed that with a Savinelli Fitsall Pipe Knife to clean up the remaining cake in the conical bottom of the bowl. I sanded the bowl with 220 grit sandpaper wrapped around a piece of dowel. It smooths out the walls and also helps bring the inner edges back to round. With the bowl cleaned it was time to work on the top surface of the rim and remove the thick lava coat in the blast of the rim. I used the Savinelli Fitsall knife to scrape away the high spots of lava and a brass bristle tire brush to work on the rim top and remove the buildup there. The photo tells the story. With the bowl reamed and rim top cleaned I decided to scrub the sandblast finish. I scrubbed it with undiluted Murphy’s Oil Soap and a tooth brush to remove the grime from the grooves and canyons of the blast. I worked over the tarry lava overflow on the rim with the tooth brush and a brass brush. I rinsed the pipe under running water to remove the grime. I dried it off with a soft towel. The pictures below show the finish after scrubbing and rinsing. I scraped out the inside of the mortise with a dental spatula to break away the tarry buildup on the walls of the shank. I cleaned out the internals of the bowl, shank and the airway in the shank and the stem with alcohol, pipe cleaners and cotton swabs until they came out clean. It was very dirty in the shank and stem but it not only looks clean but smells clean now.   I worked some Before & After Restoration Balm into the briar on the bowl and the rim top. I worked it into the nooks and crannies of the sandblast surface with my fingertips to clean, enliven and protect the wood. I let the balm sit for about 20 minutes and buffed it off with a soft cotton cloth and then polished it with a horsehair shoe brush. I took photos of the pipe at this point in the process to show what the bowl looked like at this point. I gave the bowl several coats of Conservator’s Wax and buffed it with a shoe brush to raise the shine. The bowl looks really good at this point. The sandblast grain just shines and is showing all of the layers of colour that make up a Shell finish. I set the bowl aside and turned my attention to the stem. I sanded out the nicks and tooth chatter on the surface of the vulcanite with a folded piece of 220 grit sandpaper. I find that these older Dunhill stems are made of very high quality vulcanite, but this one the sanding dust was brown from the oxidation.I polished out the scratches with micromesh sanding pads – wet sanding with 1500-2400 grit pads and dry sanding with 3200-12000 grit pads. I wiped the stem down after each sanding pad with Obsidian Oil. I polished it with Before & After Pipe Stem Polish – both Fine and Extra Fine. Once I had finished the polishing I gave it a final coat of oil and set it aside to dry. I put the bowl and stem back together. I polished the bowl and stem with Blue Diamond to polish out the scratches in the briar and the vulcanite. I gave the bowl multiple coats of Conservator’s Wax and the stem multiple coats of carnauba wax. I buffed the pipe with a clean buffing pad to raise the shine. I hand buffed it with a microfiber cloth to deepen the shine. The pipe polished up pretty nicely. The contrast of colours that show up in the sandblast of the Shell briar bowl looked good with the polished black vulcanite. The Dunhill Shell Billiard 253 looked really good. I am astonished that in this collection of 25 most of the lot are billiards and I have yet to find a repeat shape number. Just slight variations on size, shape and length. Really interesting. The pipe has a that classic Dunhill look that catches the eye. The finished pipe is shown in the photos below. The dimensions of the pipe are Length: 5 3/4 inches, Height: 1 3/4 inches, Outside diameter of the bowl: 1 1/4 inches, Chamber diameter: 3/4 of an inch. This is the third of the many pipes that will be coming onto the work table and eventually be posted on the rebornpipes store if you are interested in adding it to your collection. Thanks for reading this blog and my reflections on the pipe while I worked on it. I am having fun working on this estate.
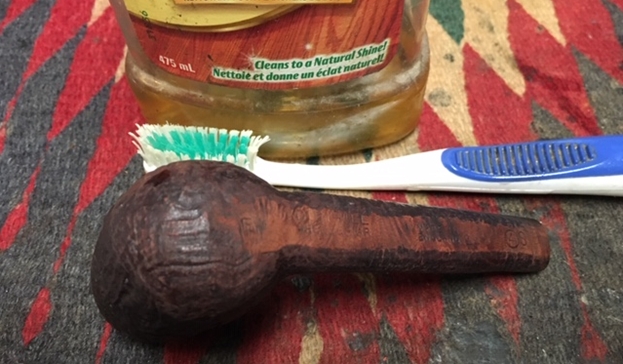
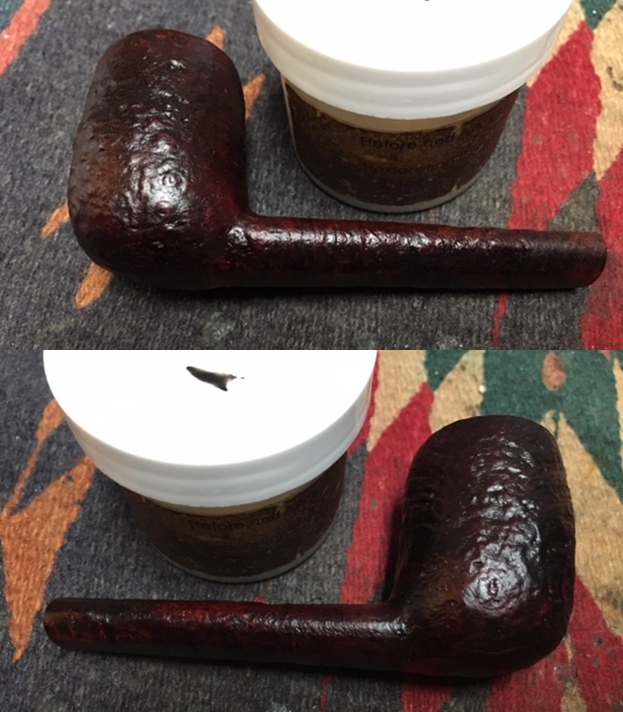
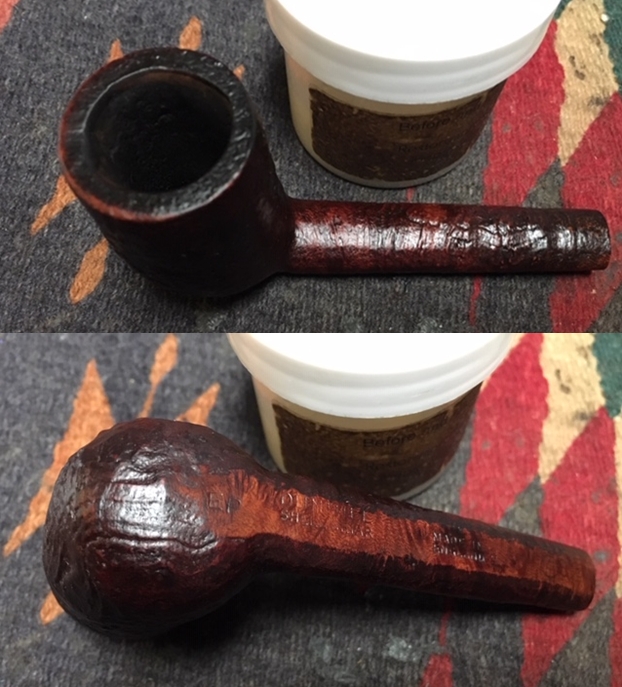
Restoring the 2nd Pipe from Bob Kerr’s Estate – A Dunhill Shell 196 FT Billiard


 Blog by Steve Laug

I am finally getting around to working on Bob Kerr’s Estate. His son-in-law, Brian contacted me a few months ago saying that the family needed to clean out the estate as they were getting the family home ready to move. He asked if I would be interested in restoring and selling the pipes for them. He brought what originally he said was a few pipes over to show me. When I opened the door Brian was there with a few flats of pipes. There were Dunhills, Petersons, Comoy’s Barlings and a lot of other pipes – a total of 125 pipes and a box of parts. That is the largest estate I had seen. I put together a spread sheet of the pipes and stampings to create an invoice. I was taking on what would take me a fair amount of time to clean up. I could not pass up the opportunity to work on these pipes though. They were just too tempting.

I sorted the pipes into groups of the various brands and had a box of 25 different Dunhill pipes in different shapes, styles and sizes. I decided to work on the Dunhills first. It was a great chance to see the shape variety up close and personal. The photo below shows the box of Dunhill pipes.I went through the box and chose the second pipe to work on – a larger sandblast straight shank Billiard. It is stamped on the flat panel on the underside of the bowl and shank as follows. 196F/T Dunhill over Shell Briar. Next to that it read Made in England 8 followed by Circle 4S. The pipe was a shape 196 Billiard with a fish tail stem (F/T). The finish was a sandblast that Dunhill named a Shell Briar. It was a Group 4 size that was made in 1969. The finish was dirty with an overflow of the cake onto the rim top. There was still tobacco in the bowl that was stuck in the cake on the walls. The inner edge of the bowl looked very good. The stem was oxidized and had tooth marks and chatter near the button and on the button itself. There was also a buildup of calcification on the first inch of the stem ahead of the button. Overall the pipe would take some work but it was a beauty with solid bones. I took pictures of the pipe before I started working on it. I took some close up photos of the rim top and stem to show what I was dealing with. You can see the cake and tobacco in the bowl. It looks like Bob Kerr was in the habit of laying down his pipe after just finishing a bowl with the intention of picking it up and continuing later. The rim top shows the buildup of lava with heavier sediment on the back surface or the rim. The stem was dirty, oxidized, calcified and had a lot of tooth chatter on the top and underside for about an inch ahead of the button. The button surface was also marked with tooth chatter.I took a photo of the stamping on the underside of the bowl and shank. It should be easier to read once I get it cleaned up a bit.If you have followed the blog for long then you will not be surprised when I include information on the pipeman whose pipes I am restoring. For me, when I am working on an estate I really like to have a sense of the person who held the pipes in trust before I worked on them. It gives me another dimension of the restoration work. I asked Brian if he or his wife would like to write a brief biographical tribute to her father, Bob. His daughter worked on it and I received the following short write up on him and some pictures to go along with the words. Thank you Brian and tell your wife thank you as well.

I am delighted to pass on these beloved pipes of my father’s. I hope each user gets many hours of contemplative pleasure as he did. I remember the aroma of tobacco in the rec room, as he put up his feet on his lazy boy. He’d be first at the paper then, no one could touch it before him. Maybe there would be a movie on with an actor smoking a pipe. He would have very definite opinions on whether the performer was a ‘real’ smoker or not, a distinction which I could never see but it would be very clear to him. He worked by day as a sales manager of a paper products company, a job he hated. What he longed for was the life of an artist, so on the weekends and sometimes mid-week evenings he would journey to his workshop and come out with wood sculptures, all of which he declared as crap but every one of them treasured by my sister and myself. Enjoy the pipes, and maybe a little of his creative spirit will enter you!

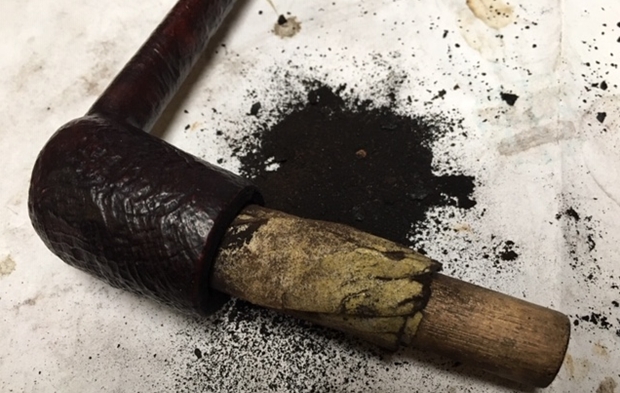
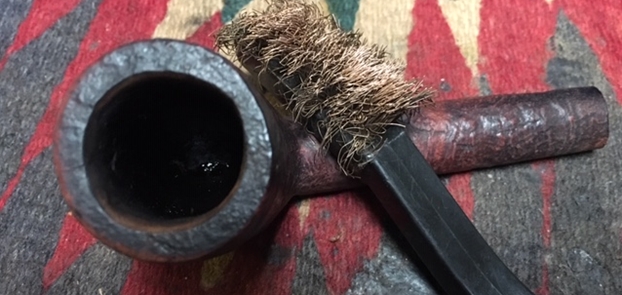
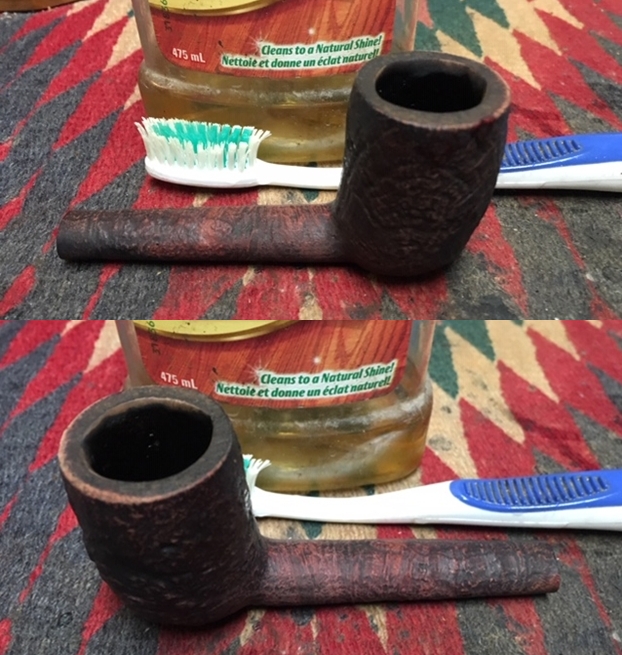
I have included one of Bob’s wood carvings to give you an idea of what he daughter wrote about above. You can see his artistry in the carving that is patterned after British Columbia’s Coastal First Nations people. To me this is a sea otter but perhaps a reader may enlighten us.With a sense of Bob’s spirit in mind, I turned to work on the second of his pipes. I reamed the bowl to remove the cake on the walls and the debris of tobacco shards that still remained. I used a PipNet pipe reamer to start the process. I followed that with a Savinelli Fitsall Pipe Knife to clean up the remaining cake in the conical bottom of the bowl. I sanded the bowl with 220 grit sandpaper wrapped around a piece of dowel. It smooths out the walls and also helps bring the inner edges back to round. With the bowl cleaned it was time to work on the top surface of the rim and remove the thick lava coat in the blast of the rim. I used a brass bristle tire brush to work on the rim top and remove the buildup there. The photo tells the story.With the bowl reamed and rim top cleaned I decided to scrub the sandblast finish. I scrubbed it with undiluted Murphy’s Oil Soap and a tooth brush to remove the grime from the grooves and canyons of the blast. I worked over the tarry lava overflow on the rim with the tooth brush and a brass brush. I rinsed the pipe under running water to remove the grime. I dried it off with a soft towel. The pictures below show the finish after scrubbing and rinsing. I cleaned out the internals of the bowl, shank and the airway in the shank and the stem with alcohol, pipe cleaners and cotton swabs until they came out clean. I scraped out the inside of the mortise with a dental spatula to break away the tarry buildup on the walls of the shank. It was very dirty in the shank and stem but it not only looks clean but smells clean now. I worked some Before & After Restoration Balm into the briar on the bowl and the rim top. I worked it into the nooks and crannies of the sandblast surface with my fingertips to clean, enliven and protect the wood. I let the balm sit for about 20 minutes and buffed it off with a soft cotton cloth and then polished it with a horsehair shoe brush. I took photos of the pipe at this point in the process to show what the bowl looked like at this point. I gave the bowl several coats of Conservator’s Wax and buffed it with a shoe brush to raise the shine. The bowl looks really good at this point. The grain just shines and the blast is showing all of the layers of colour that make up a Shell finish. With the bowl basically finished (I will buff it once the stem is finished and on the shank) I turned my attention to the stem. I sanded out the nicks and tooth chatter on the surface of the vulcanite with a folded piece of 220 grit sandpaper. I found that the vulcanite was different from the previous one and the sanding dust was brown. I polished out the scratches with micromesh sanding pads – wet sanding with 1500-2400 grit pads and dry sanding with 3200-12000 grit pads. I wiped the stem down after each sanding pad with Obsidian Oil. I polished it with Before & After Pipe Stem Polish – both Fine and Extra Fine. Once I had finished the polishing I gave it a final coat of oil and set it aside to dry. I put the bowl and stem back together. I polished the bowl and stem with Blue Diamond to polish out the scratches in the briar and the vulcanite. I gave the bowl multiple coats of Conservator’s Wax and the stem multiple coats of carnauba wax. I buffed the pipe with a clean buffing pad to raise the shine. I hand buffed it with a microfiber cloth to deepen the shine. The pipe polished up pretty nicely. The contrast of colours that show up in the sandblast of the Shell briar bowl looked good with the polished black vulcanite. The Dunhill Shell Billiard 196 F/T looked really good. The pipe has a unique look that catches the eye. The finished pipe is shown in the photos below. The dimensions of the pipe are Length: 6 1/2 inches, Height: 1 7/8 inches, Outside diameter of the bowl: 1 3/8 inches, Chamber diameter: 3/4 of an inch. This is the second of the many pipes that will be coming onto the work table and eventually be posted on the rebornpipes store if you are interested in adding it to your collection. Thanks for reading this while I worked on it. It was a fun pipe to restore and I am pleased with the finished pipe.
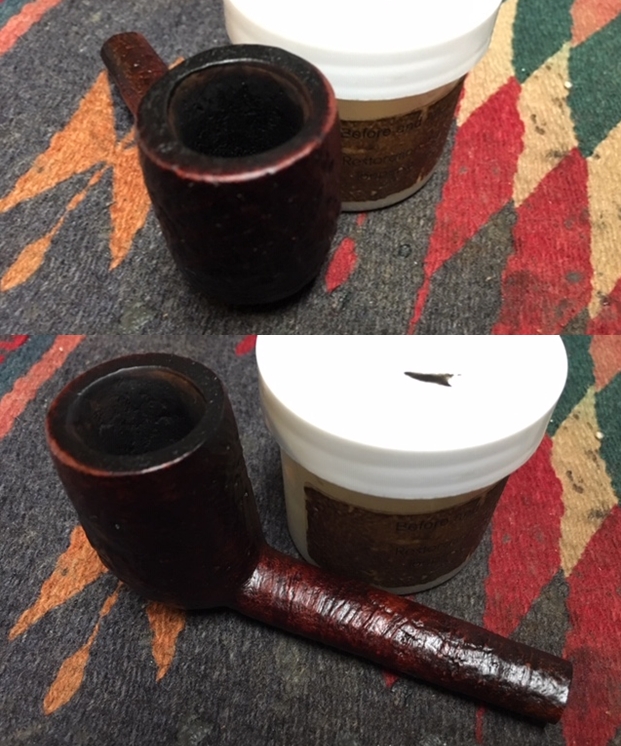
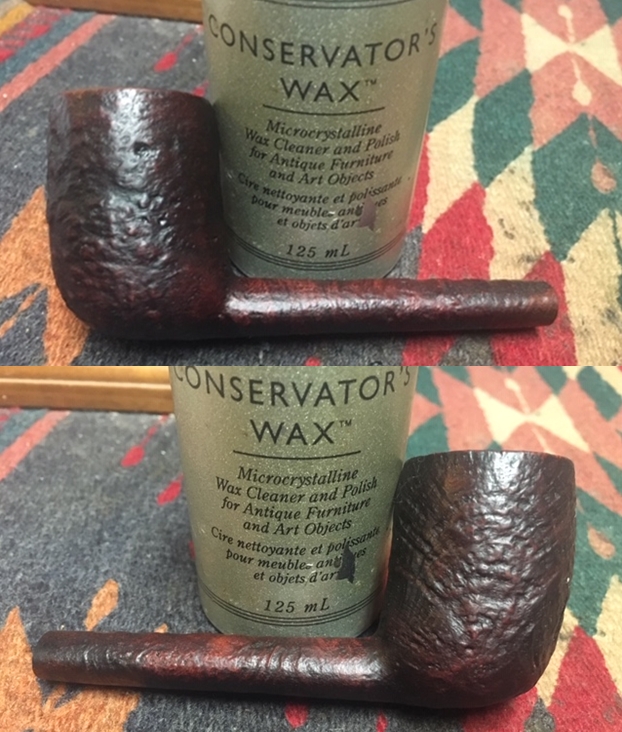
Restoring the 1st Pipe from Bob Kerr’s Estate – A Dunhill Shell 147 FT Bulldog


Blog by Steve Laug

I am finally getting around to working on Bob Kerr’s Estate. His son-in-law, Brian contacted me a few months ago saying that the family needed to clean out the estate as they were getting the family home ready to move. He asked if I would be interested in restoring and selling the pipes for them. He brought what originally he said was a few pipes over to show me. When I opened the door Brian was there with a few flats of pipes. There were Dunhills, Petersons, Comoy’s Barlings and a lot of other pipes – a total of 125 pipes and a box of parts. That is the largest estate I had seen. I put together a spread sheet of the pipes and stampings to create an invoice. I was taking on what would take me a fair amount of time to clean up. I could not pass up the opportunity to work on these pipes though. They were just too tempting.

I sorted the pipes into groups of the various brands and had a box of 25 different Dunhill pipes in different shapes, styles and sizes. I decided to work on the Dunhills first. It was a great chance to see the shape variety up close and personal. The photo below shows the box of Dunhill pipes.I went through the box and chose to work on a little sandblast straight shank bulldog. It is stamped on the flat panel on the underside of the bowl and shank as follows. 147F/T Dunhill over Shell Briar. Next to that it read Made in England 12/13 followed by Circle 4S. The pipe was a shape 147 Bulldog with a fish tail stem (F/T). The finish was a sandblast that Dunhill named a Shell Briar. It was a Group 4 size that was made in 1963 and sold in 1964. The finish was dirty with an overflow of the cake onto the rim top. There was still tobacco in the bowl that was stuck in the cake on the walls. The inner edge of the bowl showed a little damage toward the front. The stem was lightly oxidized and had tooth marks and chatter near the button and on the button itself. Overall the pipe would take some work but it was a beauty with solid bones. I took pictures of the pipe before I started working on it. I took some close up photos of the rim top and stem to show what I was dealing with. You can see the cake and tobacco in the bowl. It looks like Bob Kerr had laid down the pipe after just finishing a bowl with the intention of picking it up and continuing later. The rim top shows the buildup of lava particularly on the back edge. You can also see the damage at the front of the bowl on the inner edge of the rim. The stem was dirty, lightly oxidized and had a lot of tooth chatter on the top and underside for about an inch ahead of the button. The button surface was also marked with tooth chatter.I took a photo of the stamping on the underside of the bowl and shank. It should be easier to read once I get it cleaned up a bit.If you have followed the blog for long then you will not be surprised when I include information on the pipeman whose pipes I am restoring. For me, when I am working on an estate I really like to have a sense of the person who held the pipes in trust before I worked on them. It gives me another dimension of the restoration work. I asked Brian if he or his wife would like to write a brief biographical tribute to her father, Bob. His daughter worked on it and I received the following short write up on him and some pictures to go along with the words. Thank you Brian and tell your wife thank you as well.

I am delighted to pass on these beloved pipes of my father’s. I hope each user gets many hours of contemplative pleasure as he did. I remember the aroma of tobacco in the rec room, as he put up his feet on his lazy boy. He’d be first at the paper then, no one could touch it before him. Maybe there would be a movie on with an actor smoking a pipe. He would have very definite opinions on whether the performer was a ‘real’ smoker or not, a distinction which I could never see but it would be very clear to him. He worked by day as a sales manager of a paper products company, a job he hated. What he longed for was the life of an artist, so on the weekends and sometimes mid-week evenings he would journey to his workshop and come out with wood sculptures, all of which he declared as crap but every one of them treasured by my sister and myself. Enjoy the pipes, and maybe a little of his creative spirit will enter you!

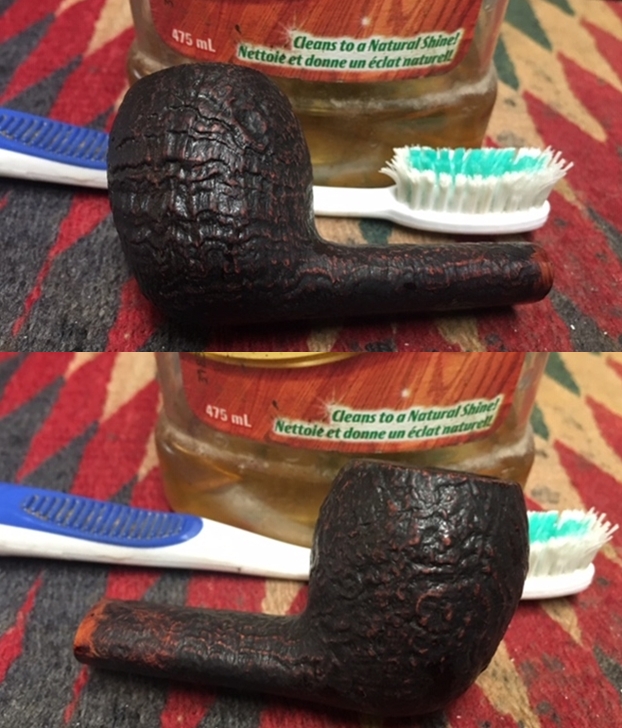
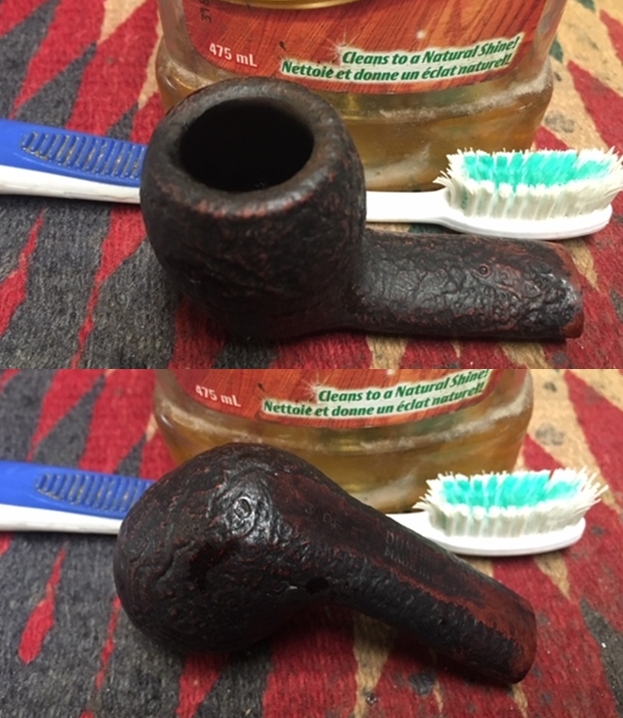
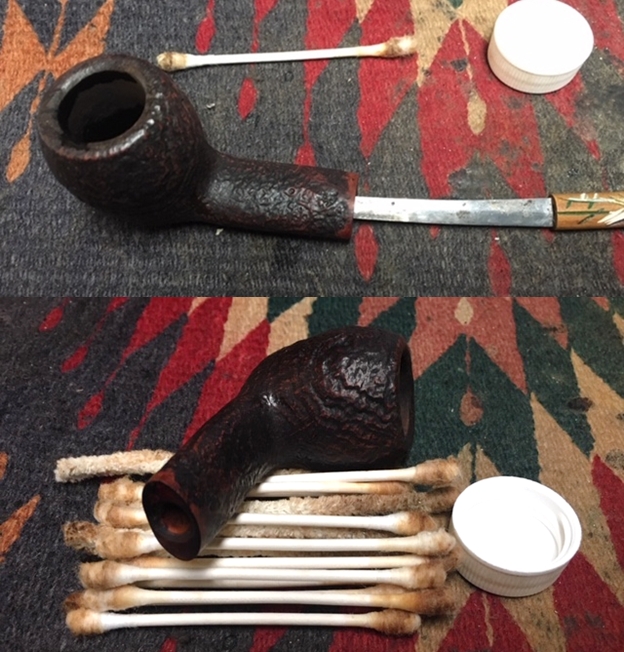
I have included one of Bob’s wood carvings to give you an idea of what he daughter wrote about above. You can see his artistry in the carving that is patterned after British Columbia’s Coastal First Nations people. To me this is a sea otter but perhaps a reader may enlighten us.Now I had a sense of Bob’s spirit as I turned to work on the first of his pipes. I reamed the bowl to remove the cake on the walls and the debris of tobacco shards that still remained. I used a PipNet pipe reamer to start the process. I followed that with a Savinelli Fitsall Pipe Knife to clean up the remaining cake in the conical bottom of the bowl. I sanded the bowl with 220 grit sandpaper wrapped around a piece of dowel. It smooths out the walls and also helps bring the inner edges back to round. With the bowl cleaned it was time to work on the inner edge of the rim. I used a folded piece of 220 grit sandpaper to smooth out the damaged area and give the edge a slight bevel to bring the bowl back to round as much as possible and remove the damage. The photos tell the story.With the bowl reamed I decided to scrub the sandblast finish. I scrubbed it with undiluted Murphy’s Oil Soap and a tooth brush to remove the grime from the grooves and canyons of the blast. I worked over the tarry lava overflow on the rim with the tooth brush and a brass brush. I rinsed the pipe under running water to remove the grime. I dried it off with a soft towel. I cleaned out the internals of the bowl, shank and the airway in the shank and the stem with alcohol, pipe cleaners and cotton swabs until they came out clean. It was very dirty in the shank and stem but it not only looks clean but smells clean now.I worked some Before & After Restoration Balm into the briar on the bowl and the rim top. I worked it into the nooks and crannies of the sandblast surface with my fingertips to clean, enliven and protect the wood. I let the balm sit for about 20 minutes and buffed it off with a soft cotton cloth and then polished it with a horsehair shoe brush. I took photos of the pipe at this point in the process to show what the bowl looked like at this point. I gave the bowl several coats of Conservator’s Wax and buffed it with a shoe brush to raise the shine. The bowl looks really good at this point. The grain just shines and the blast is showing all of the layers of colour that make up a Shell finish. With the bowl basically finished (I will buff it once the stem is finished and on the shank) I turned my attention to the stem. I sanded out the nicks and tooth chatter on the surface of the vulcanite with a folded piece of 220 grit sandpaper. I find that these older Dunhill stems are made of very high quality vulcanite and the sanding dust is black! Nice to work on. I polished out the scratches with micromesh sanding pads – wet sanding with 1500-2400 grit pads and dry sanding with 3200-12000 grit pads. I wiped the stem down after each sanding pad with Obsidian Oil. I polished it with Before & After Pipe Stem Polish – both Fine and Extra Fine. Once I had finished the polishing I gave it a final coat of oil and set it aside to dry. I put the bowl and stem back together. I polished the bowl and stem with Blue Diamond to polish out the scratches in the briar and the vulcanite. I gave the bowl multiple coats of Conservator’s Wax and the stem multiple coats of carnauba wax. I buffed the pipe with a clean buffing pad to raise the shine. I hand buffed it with a microfiber cloth to deepen the shine. The pipe polished up pretty nicely. The contrast of colours that show up in the sandblast of the Shell briar bowl looked good with the polished black vulcanite. The Dunhill Shell Bulldog 147F/T looked really good. The pipe has a unique look that catches the eye. The finished pipe is shown in the photos below. The dimensions of the pipe are Length: 5 1/2 inches, Height: 1 3/4 inches, Outside diameter of the bowl: 1 1/4 inches, Chamber diameter: 3/4 of an inch. This is the first of the many pipes that will be coming onto the work table and eventually be posted on the rebornpipes store if you are interested in adding it to your collection. Thanks for reading this while I worked on it. It was a fun pipe to restore and I am pleased with the finished pipe.
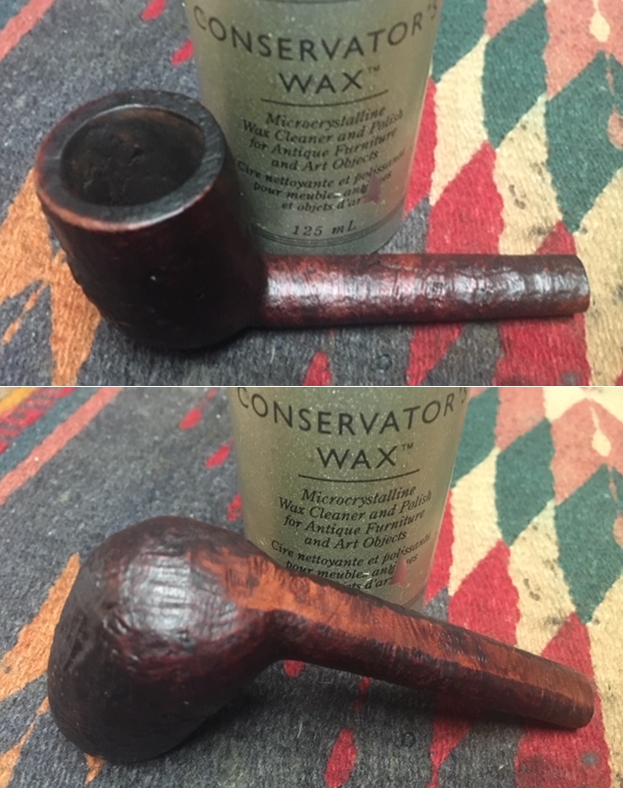
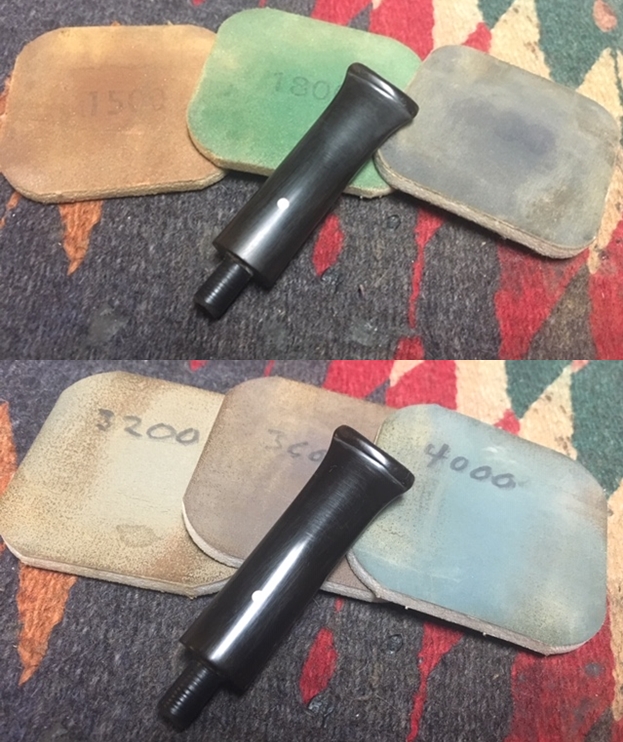
Restoring a Dunhill Root Briar EK Square Shank Panel Billiard


Blog by Steve Laug

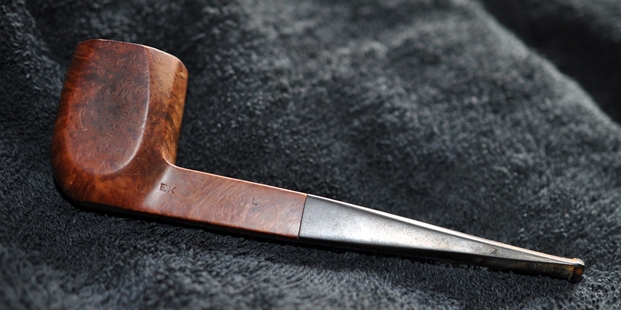
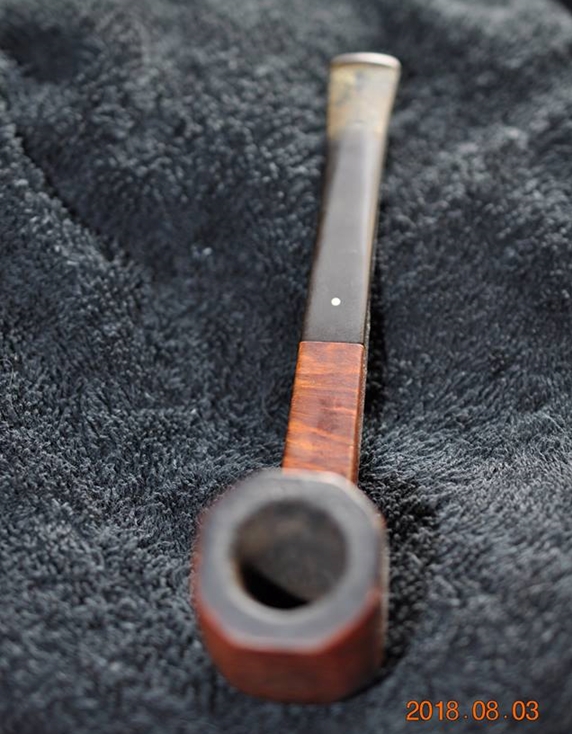
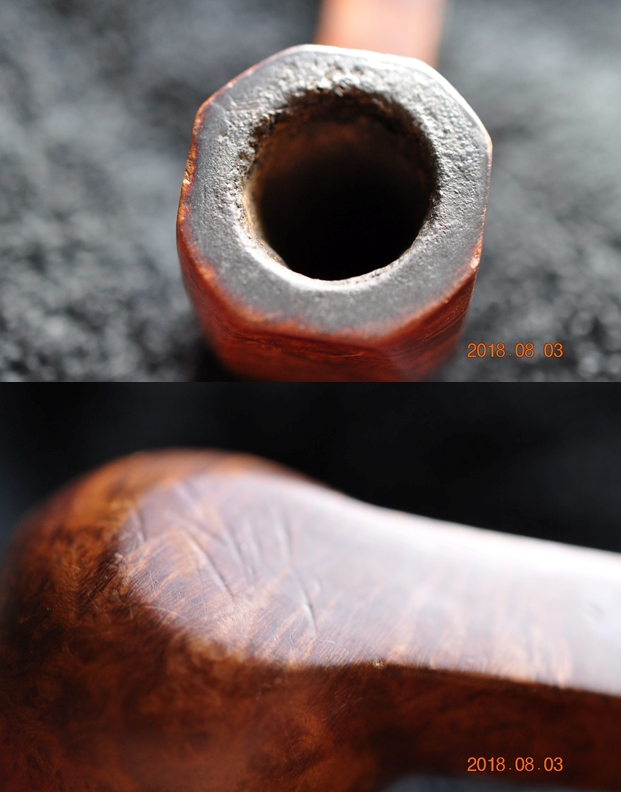
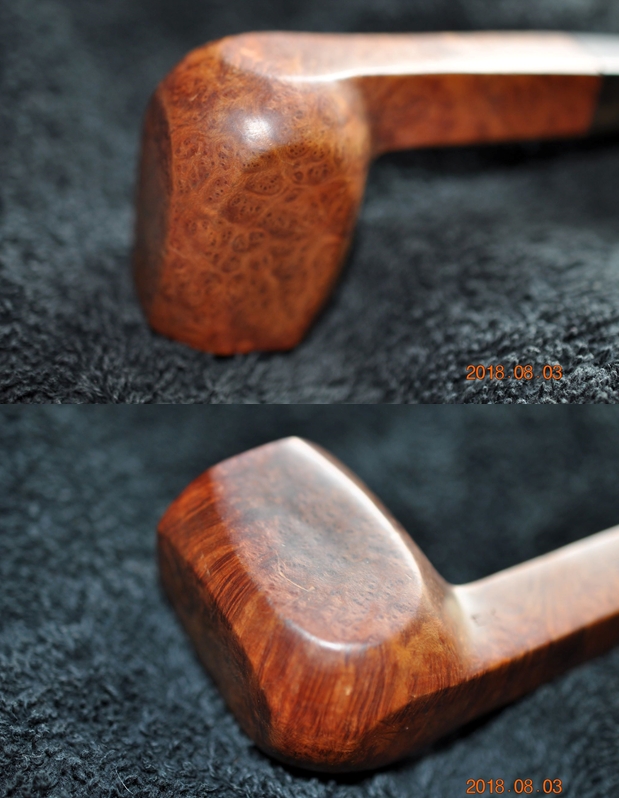
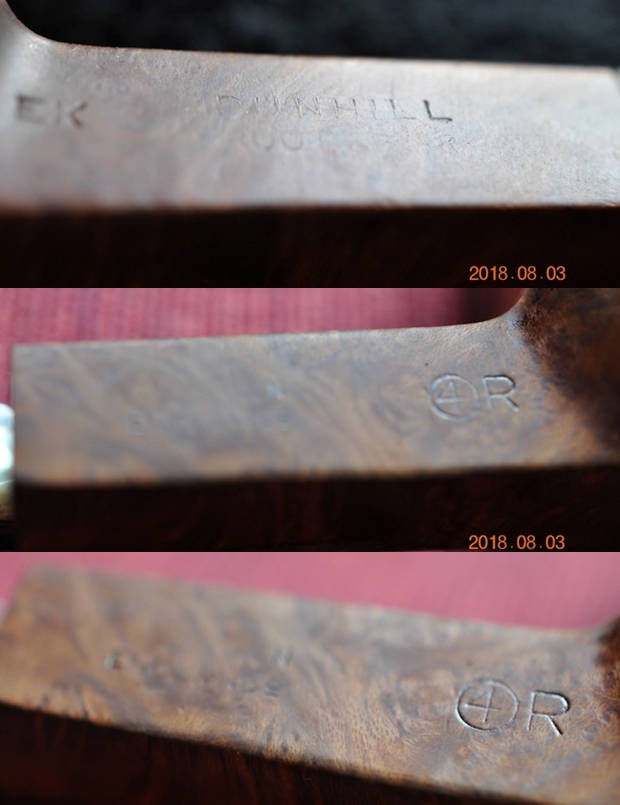
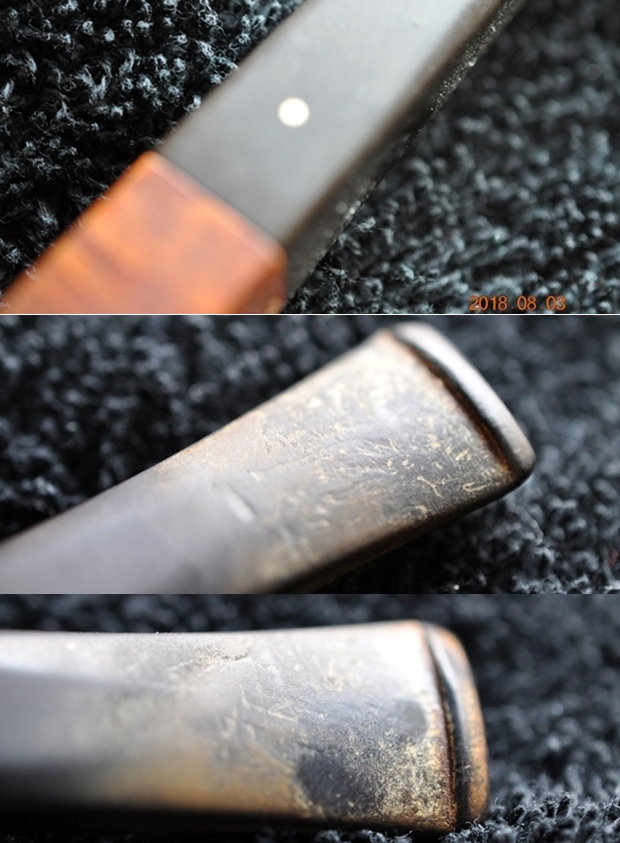
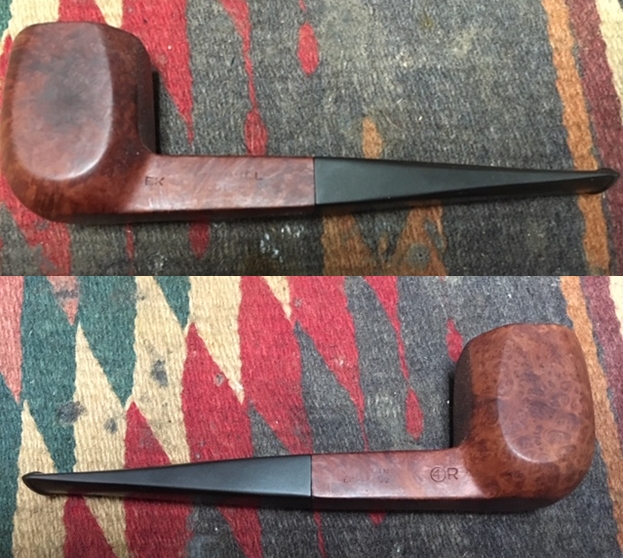
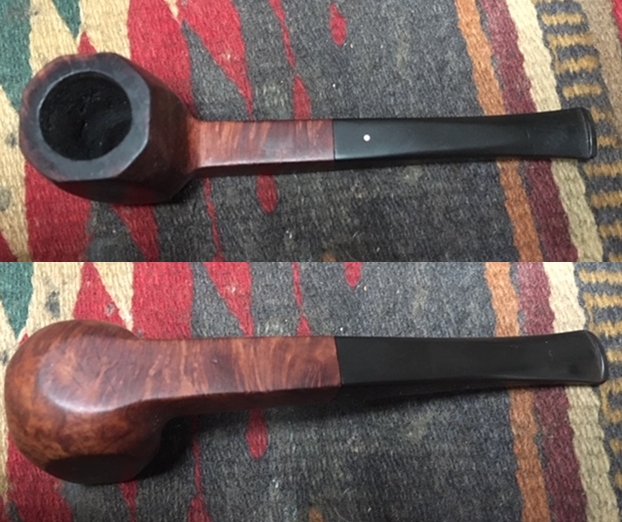
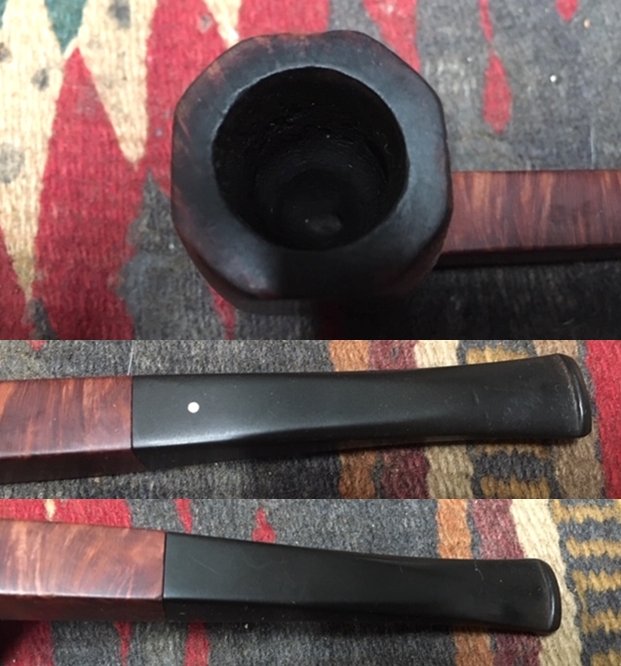
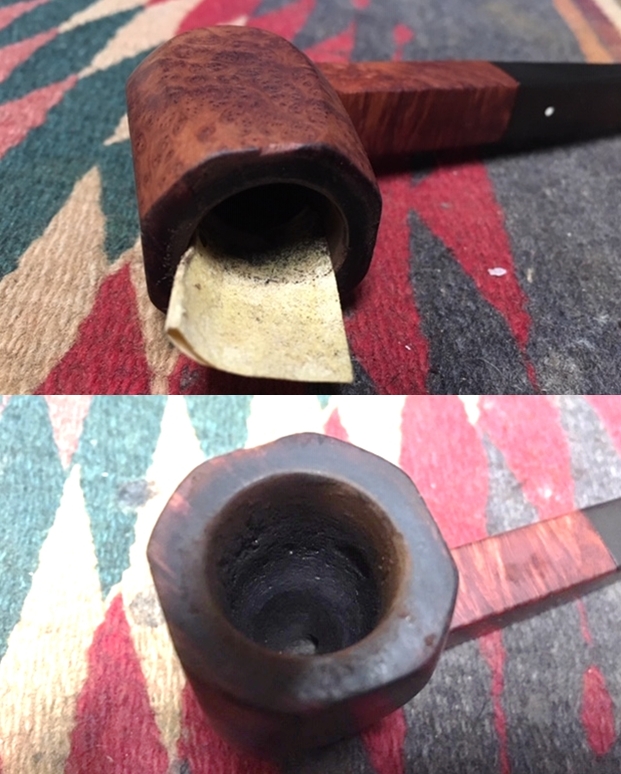
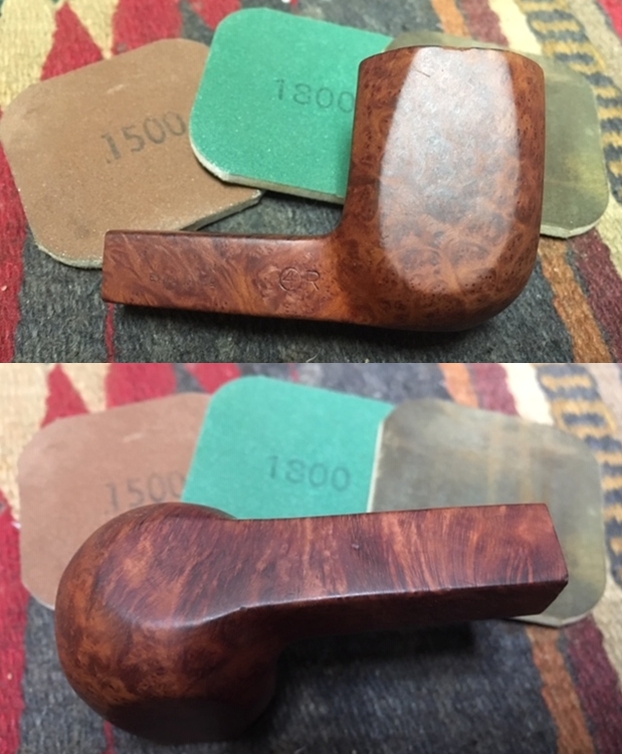
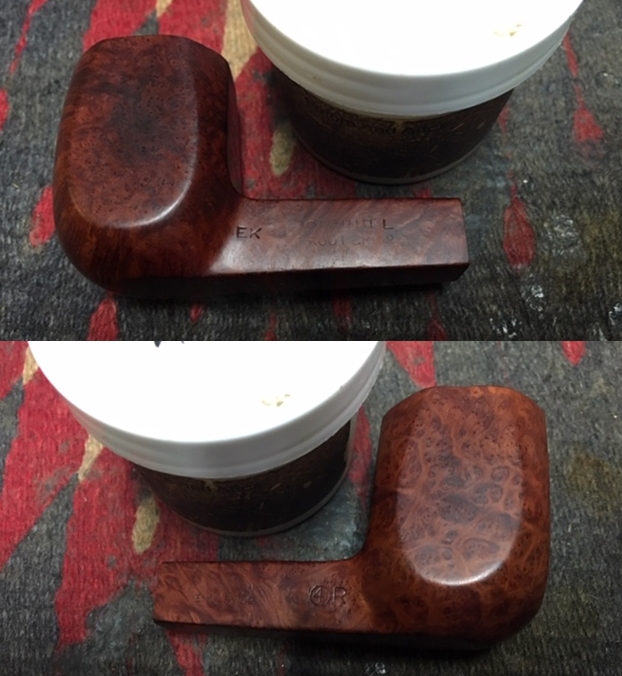
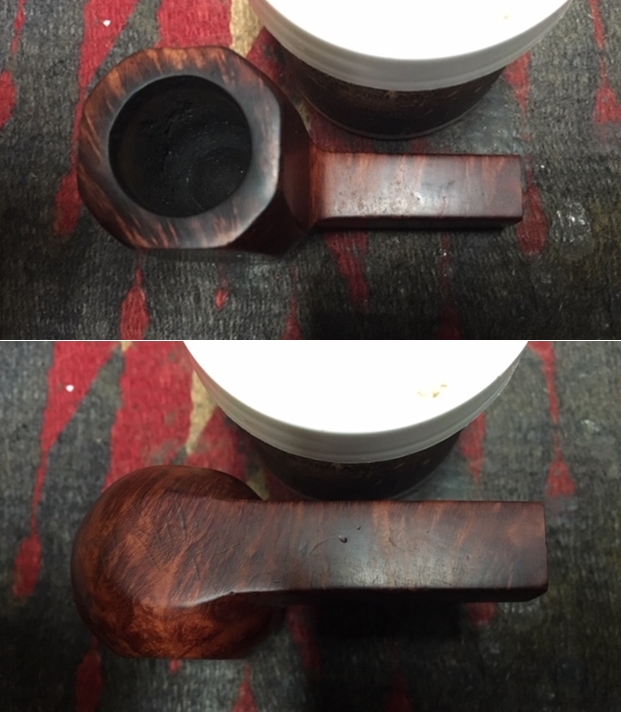
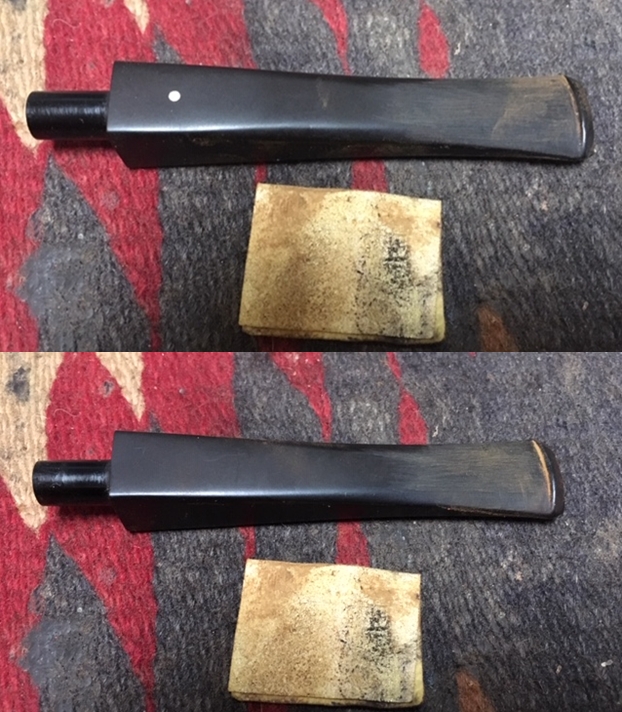
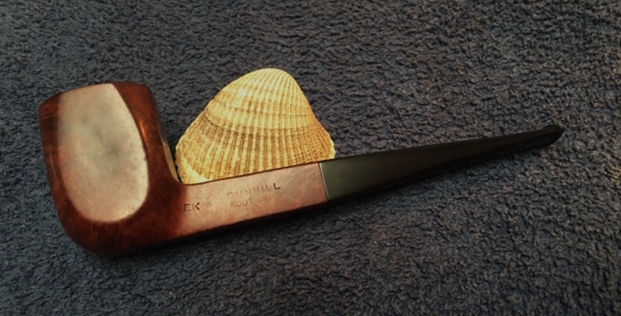
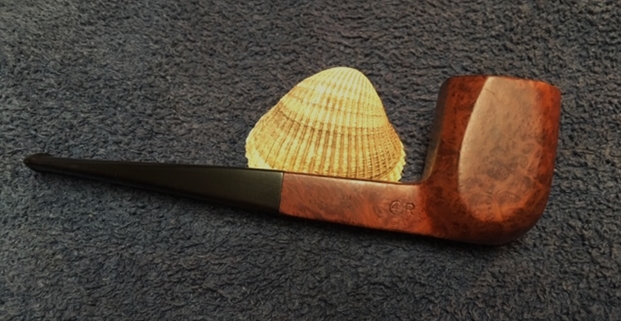
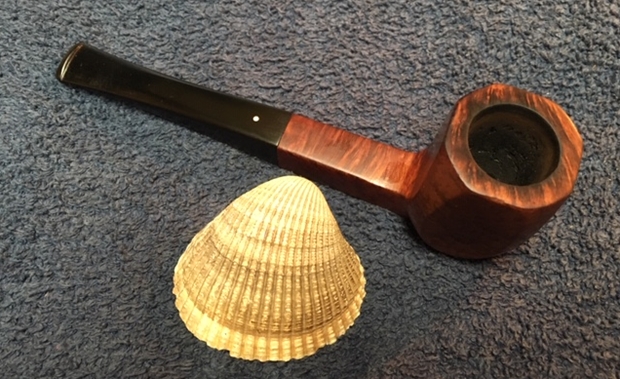
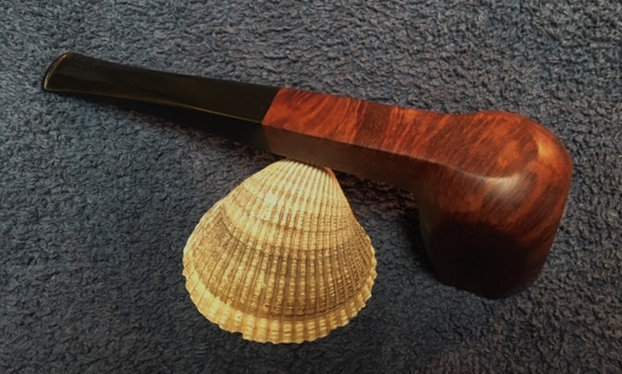
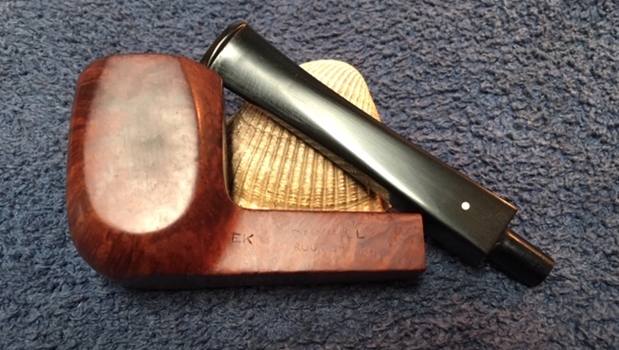
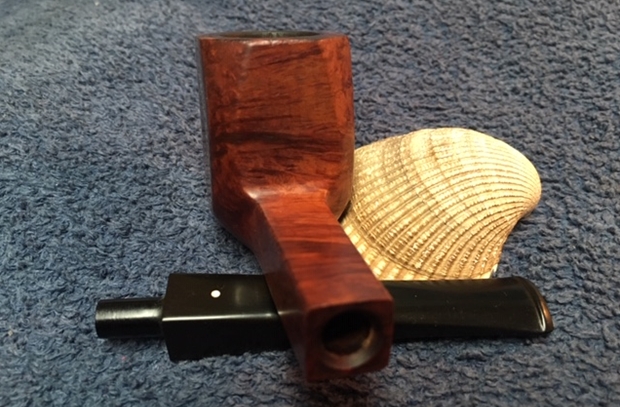
The next pipe on the work table is a Dunhill Panel Billiard. It is a smooth briar pipe that is very dirty. It has four panels around the bowl and the corners are rounded. The shank is square as well and ends with a square tapered stem. The briar is worn and tired with oils in the briar. The rim top had a build of tars and lave that flowed over it from a thick cake in the bowl. The shank is stamped on the left side EK followed by Dunhill over Root Briar. On the right side it is stamped Made in England with an underlined superscript 0 followed by a 4 circled followed by an R. The stem has the standard white spot on the top side. It was oxidized and had some calcification build up on the first inch of the stem that appeared to have come from a rubber pipe Softee bit. The stamping is easily interpreted. The left side EK is the shape stamp for a panel billiard. The ROOT BRIAR stamping is the line of Dunhill pipes. The right side stamp superscript O tells me that the pipe is dated to 1960. The circled 4 is the size of the pipe (group four) and the R is the stamping for a Root Briar. Jeff took photos of the pipe before he started his cleanup work. Jeff took photos of the top, sides and the bottom of the bowl to show the condition of the briar. The topside showed a thick lava build up flowing out of a thick cake in the bowl. It was hard to know if there was damage on the outer or inner edges of the rim. The sides of the bowl show dents and wear but also some stunning birdseye and cross grain. Jeff took photos of the stamping on the pipe shank. It is faint but readable. It is as I wrote about above.Jeff took a photo of the stem to show the fit against the shank and the white spot. He also took photos of the top and underside of the stem showing the tooth chatter and marks as well as the calcification on the surface of the stem.I wanted to certify the date for myself so I had a look at the PipePhil site and looked the dating and stamping information (http://www.pipephil.eu/logos/en/dunhill/cledat-en1a.html). Using the charts there I was able to confirm that pipe was made in 1960.

I also looked on the Pipedia site and read as much information as I could find regarding the Root Briar line (https://pipedia.org/wiki/Dunhill#Root_Briar). Here is what it said: The line was… Introduced in 1931 and highly prized because the grain is more pronounced in this finish. The Root Briar finish required a perfectly clean bowl with excellent graining. Therefore, it is the most expensive of the Dunhill pipes. Corsican briar was most often used for the Root finish, since it was generally more finely grained. This is a rare finish, due to the scarcity of briar suitable to achieve it. These pipes are normally only available at Company stores, or Principle Pipe Dealers…

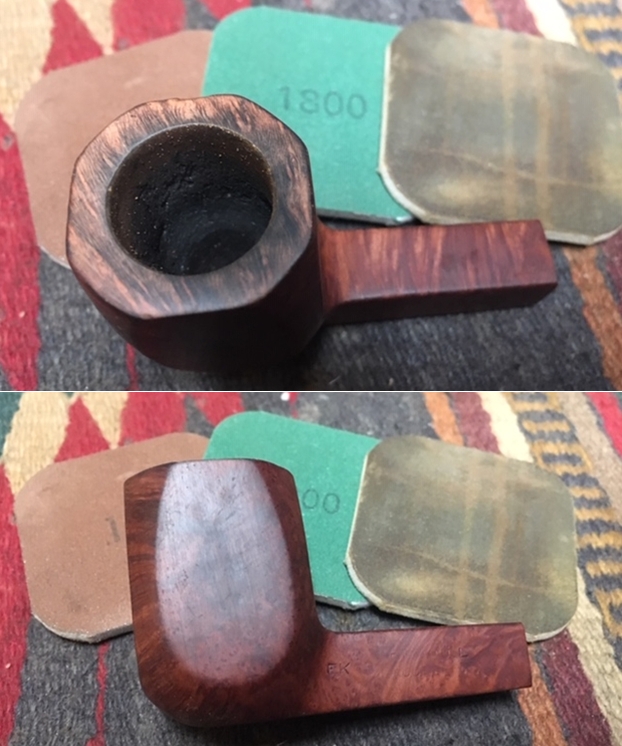
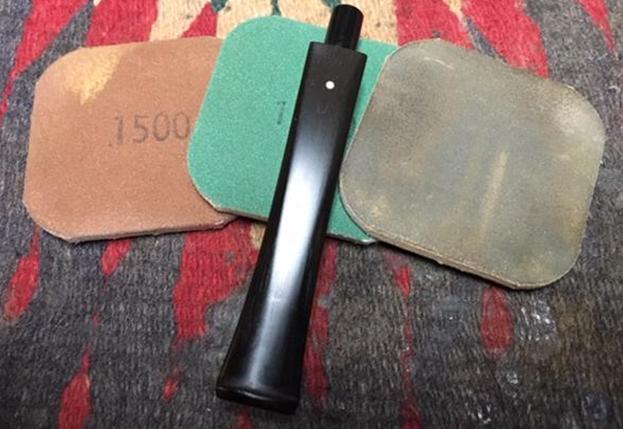
Jeff reamed the bowl with a PipNet pipe reamer and followed up with a Savinelli Fitsall pipe knife to remove the cake. He scrubbed out the mortise and the airway in the shank and the stem with alcohol, cotton swabs and pipe cleaners. He scrubbed the exterior of the bowl, rim, shank and stem with a tooth brush and Murphy’s Oil Soap to remove the oils, lava and tars on the rim and the grime on the finish of the bowl. He rinsed it under running water. He dried it off with a soft cloth. The rim was thoroughly cleaned and without the grime the finish had some rim darkening that hid the grain. The vulcanite stem would need to be worked on but I really like the profile it cast. I took photos of the pipe to show its condition before I started my work on it.  I took close up photos of the bowl and rim top as well as the stem. You can see the condition of the rim top and bowl in the first photo. Jeff was able to remove all of the tar and oils but you can now see the damage and darkening around the inner edge. The vulcanite stem had tooth chatter and some light tooth marks on the top and underside of the stem both on the surface of the button and just ahead it. There was one deeper tooth mark on the topside near the button.I started my refurbing work by addressing the darkening on the rim top and inner edge. I first sanded the inner edge with a folded piece of 220 grit sandpaper. I then lightly sanded the rim top with a worn piece of 220 grit sandpaper. I find that using a bit more tired piece of sandpaper works wonders on the dark edge without scratching the rim surface like a new piece. I followed that by wet sanding it with 1500-2400 grit micromesh. I sanded the rest of the pipe with the micromesh at the same time. I dry sanded it with 3200-12000 grit sanding pads. I wiped down the bowl after each pad with a damp cloth. The grain on the rim top began to shine through and the finish was in good condition under the darkened grain. I rubbed down the smooth briar with Before & After Restoration Balm. I worked it into the smooth surface of the briar on the rim, sides and the bottom of the bowl with my fingertips. I wanted to make sure that the balm got deep into the briar to do its work. The balm works to clean, enliven and protect the briar. I let it sit for a little while and then buffed with a cotton cloth to raise the shine. The following photos show the bowl at this point in the restoration process. The rim looks much better than when I started but still needs to be polished and buffed to raise a shine on it. I sanded out the tooth chatter and tooth marks on the stem surfaces. I sanded the rest of the stem with the sandpaper to remove the oxidation on the stem surface.I polished the vulcanite stem with micromesh sanding pads – wet sanding with 1500-2400 grit sanding pads and dry sanding it with 3200-12000 grit sanding pads. I wiped it down after each sanding pad with Obsidian Oil. I polished it further with Before & After Pipe Polish – both Fine and Extra Fine polishes and gave it a final coat of Obsidian Oil and set it aside to dry. I the polished stem and the bowl with Blue Diamond to polish out the remaining small scratches and raise the shine. I gave the bowl and the stem multiple coats of carnauba wax then buffed the pipe with a clean buffing pad to raise the shine. I hand buffed it with a microfiber cloth to deepen the shine. The pipe polished up pretty nicely. I left the some of the dents in place as I did not want to sand and ruin the patina. I think they are marks of the journey the pipe has taken. This turned out to be a beautiful pipe in terms of shape and finish. This is a nice looking Dunhill Panel Billiard pipe. The finished pipe is shown in the photos below. The dimensions are Length: 5 3/4 inches, Height: 1 3/4 inches, Outside diameter of the bowl: 1 1/4 inches, Chamber diameter: ¾ of an inch. Thanks for walking through the restoration with me as I worked this beautiful Dunhill Root Briar Panel. Thanks for looking.

Restoring an Amazing 1963 Dunhill Tanshell Cherrywood 475


Blog by Steve Laug

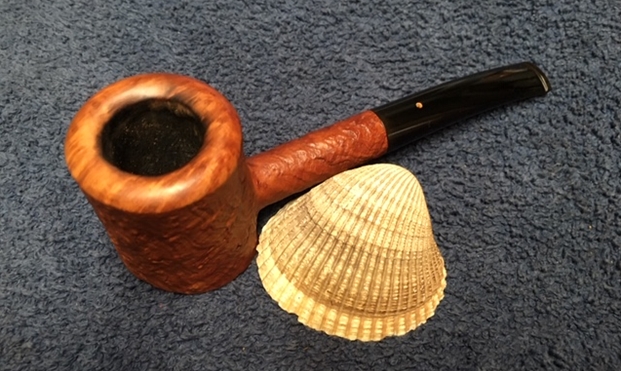
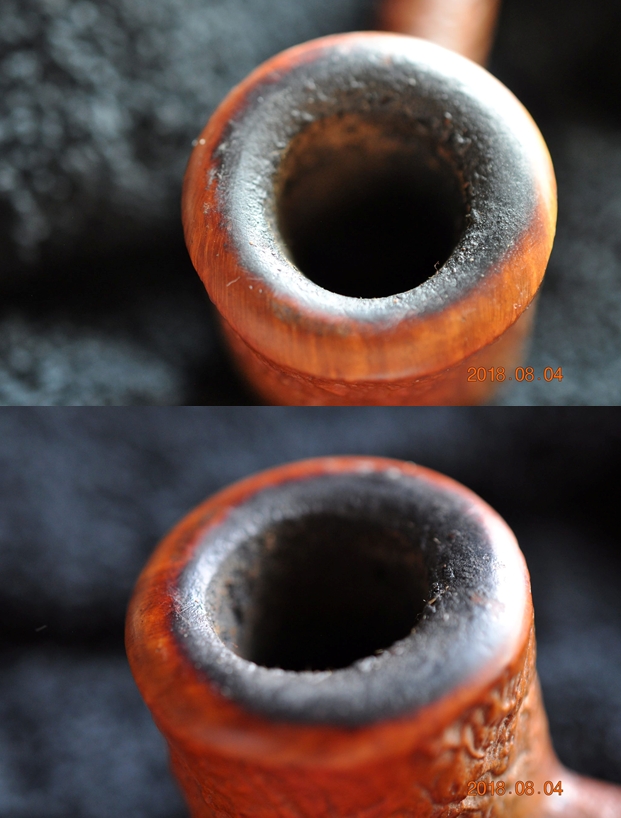
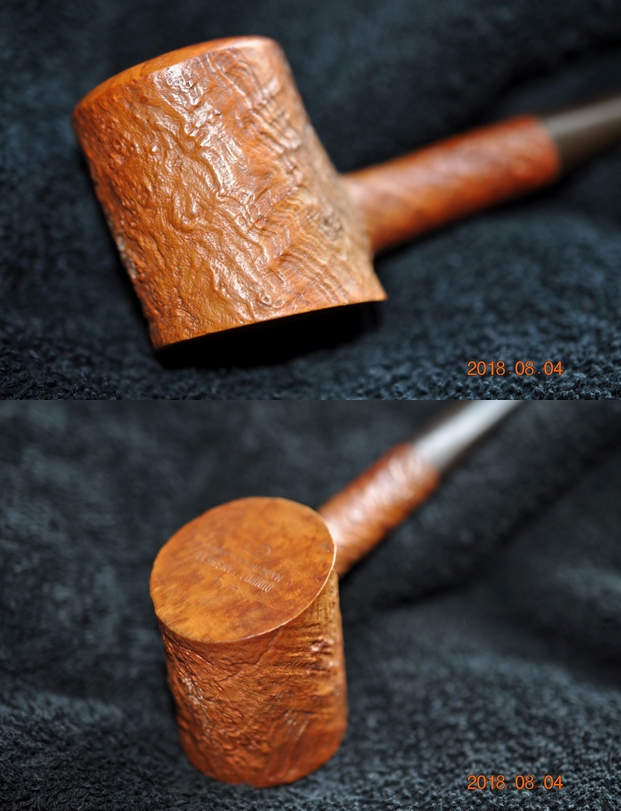
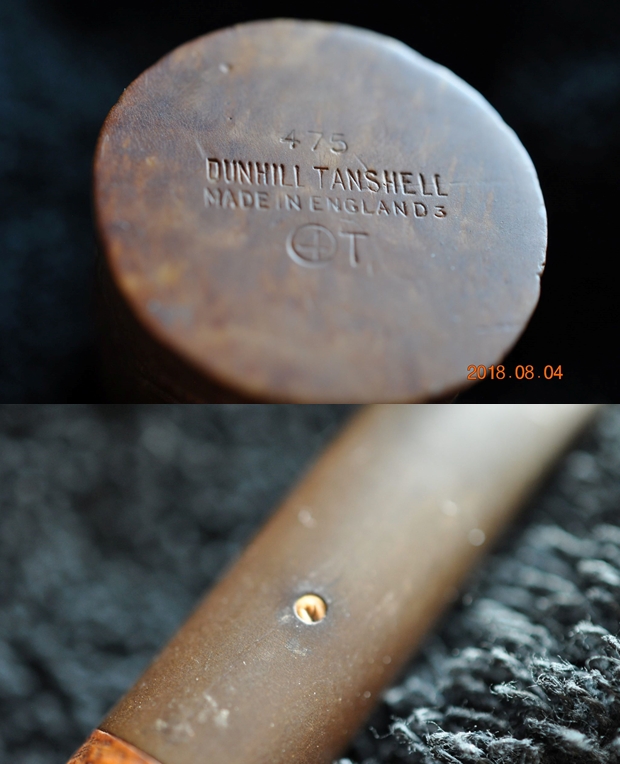
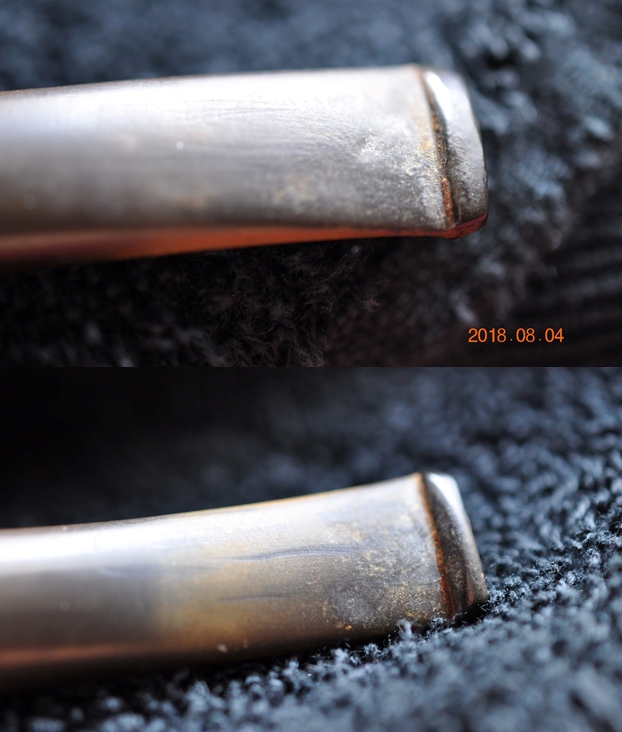
Jeff picked up a pair of Dunhill pipes somewhere on his journeys. He becoming a very selective Pipe Hunter and this twosome are really quite nice. I am working on the first one of those at this time. It is a Dunhill Sandblast in a Cherrywood/Poker shape. It has a nice rugged blast with a smooth, rounded rim top and bowl bottom. It is stamped on the bottom of the smooth bowl. It reads 475 (shape number) over Dunhill Tanshell. Under that is stamped Made in England followed by a 3. Underneath that it has a 4 in circle and a T next to that. The stamping tells me that the pipe is a Tanshell (both the name and the T). The 475 is the shape number (I wonder if the 4 on the front is the size). The circle 4 is the size of the pipe. The 3 following the England stamp tells me that the pipe was made in 1963. Jeff took the following photos to show the condition of the pipe. The finish is dirty as can be seen in this photo.The stem is oxidized and there was a chip missing out of the white spot. The finish is dirty as noted above. There is an overflow of lava on the crowned rim top and a thick cake in the bowl.He took two photos of the rim top to show the thick lava overflow on the inner edge of the rim and the top of the bowl itself. You can also see the thick cake in the bowl.The deep grooves of the sandblast are dirty and there is debris in the grooves and crevices of the finish.The stamping on the underside of the bowl is very readable and gives the information that is written in the opening paragraph of the blog. The photo of the stem shows the chip in the white spot on the top of the stem. The white spot was slightly yellowed.The stem showed tooth chatter, marks and wear on the button on both sides. Jeff had reamed the bowl with a PipNet pipe reamer and followed up with a Savinelli Fitsall pipe knife to remove the cake. He scrubbed out the mortise and the airway in the shank and the stem with alcohol, cotton swabs and pipe cleaners. He scrubbed the exterior of the bowl, rim, shank and stem with a tooth brush and Murphy’s Oil Soap to remove the oils, lava and tars on the rim and the grime on the finish of the bowl. He rinsed it under running water. He dried it off with a soft cloth. The rim was thoroughly cleaned and without the grime the finish looked really good.  The rim had some darkening around the inner edge of the bowl. The vulcanite stem would need to be worked on but I really like the profile it cast. I took photos of the pipe to show its condition before I started my work on it.  I took close up photos of the bowl and rim top as well as the stem. You can see the condition of the rim top and bowl in the first photo. Jeff was able to remove all of the tar and oils but you can now see the darkening around the inner edge. The vulcanite stem had tooth chatter and some light tooth marks on the top and underside of the stem both on the surface of the button and just ahead it. There was one deeper tooth mark on the topside near the button.I started my refurbishing work by addressing the darkening on the rim top and inner edge. I first lightly sanded it with a worn piece of 220 grit sandpaper. I find that using a bit more tired piece of sandpaper works wonders on the dark edge without scratching the rim surface like a new piece. I followed that by wet sanding it with 1500 grit micromesh.I rubbed down the smooth and the sandblast briar with Before & After Restoration Balm. I worked it into the smooth surface of the briar on the rim and the bottom of the bowl. I worked it into the nooks and crannies of the sandblast on the bowl and shank with my fingertips and with a horsehair shoe brush. I wanted to make sure that the balm got into the deep crevices to do its work. The balm works to clean, enliven and protect the briar. I let it sit for a little while and then buffed with a cotton cloth to raise the shine. The following photos show the bowl at this point in the restoration process. The rim looks much better than when I started but still needs to be polished and buffed to raise a shine on it. I sanded out the tooth chatter and tooth marks on the stem surfaces. I put a drop of clear superglue in the chip on the white spot and sanded it smooth.I polished the vulcanite stem with micromesh sanding pads – wet sanding with 1500-2400 grit sanding pads and dry sanding it with 3200-12000 grit sanding pads. I wiped it down after each sanding pad with Obsidian Oil. I polished it further with Before & After Pipe Polish – both Fine and Extra Fine polishes and gave it a final coat of Obsidian Oil and set it aside to dry. I the polished stem and the smooth portions of the bowl with Blue Diamond to polish out the remaining small scratches and raise the shine. I gave the stem several coats of carnauba wax and the bowl several coats of Conservator’s Wax then buffed the pipe with a clean buffing pad to raise the shine. I hand buffed it with a microfiber cloth to deepen the shine. The pipe polished up pretty nicely. This turned out to be a beautiful pipe in terms of shape and finish. This is a nice looking Dunhill Cherrywood pipe. The finished pipe is shown in the photos below. The dimensions are Length: 5 1/2 inches, Height: 1 3/4 inches, Outside diameter of the bowl: 1 1/2 inches, Chamber diameter: ¾ of an inch. Thanks for walking through the restoration with me as I worked this beautiful little Dunhill sandblast. It will soon be heading to India to join Paresh’s collection. Thanks for looking.

The Resurrection Special: Part 1


A few years back there was a thread on Pipes Magazine’s repair and restoration forum about three lots of pipes a member was giving away. The first lot was a very easy “beginner” lot, the second was slightly more challenging, and the last was called The Resurrection Special and had the most challenges. No information was given about the pipes or (as far as I recall) their issues.

The first two lots were spoken for fairly quickly but the third sat there, unloved, for a little while. After looking at the post for as long as I could stand I sent a PM to the original poster and said “I’ll bite; send them my way and I’ll see what I can do”.

When the long, medium sized box arrived on my doorstep I was excited to see what I had gotten myself into. I took them straight to the kitchen table (my wife wasn’t home so I could do that lol) and cut open the box. The contents were carefully packed in newspaper which held three bubble wrapped pipes. I was like a kid on Christmas morning getting ready to open each one!

The first pipe I opened was a lovely old Tracey Mincer Bulldog -type shape. I had seen photos of and read about Mincer’s different pipes but had never held or owned one yet.

The second pipe turned out to be a Peterson System pipe, my first both of this historic marquee and type. It was hallmarked 1973 and looked every day of it. I was a little intimidated by the work this one would take.

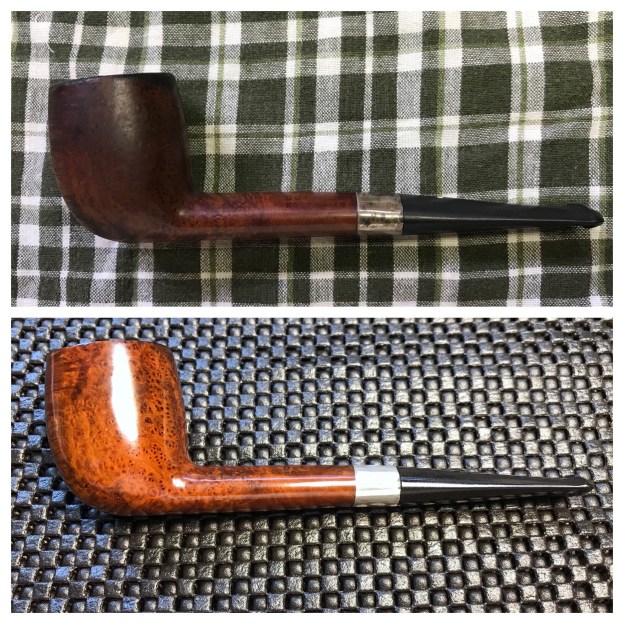
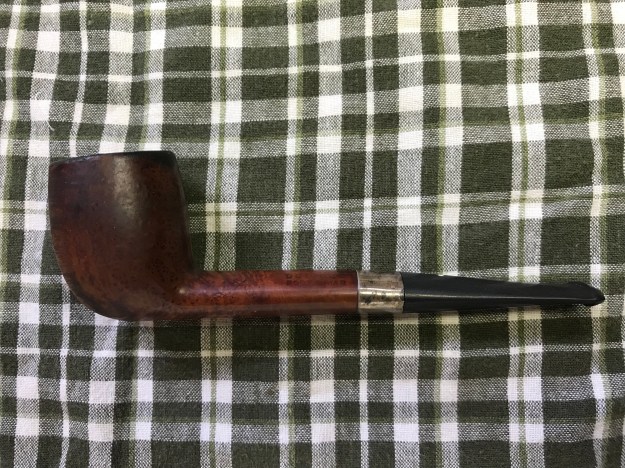
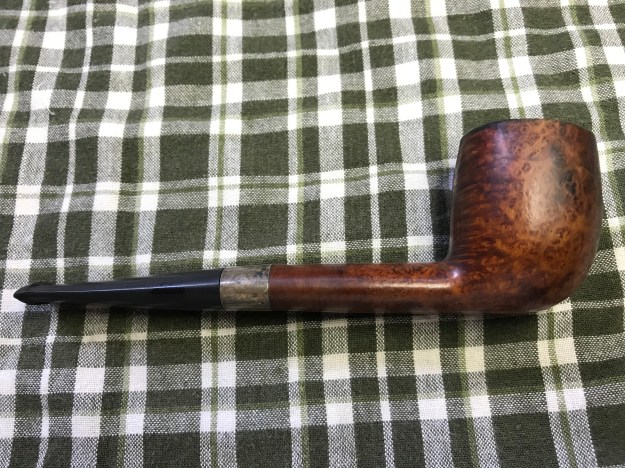
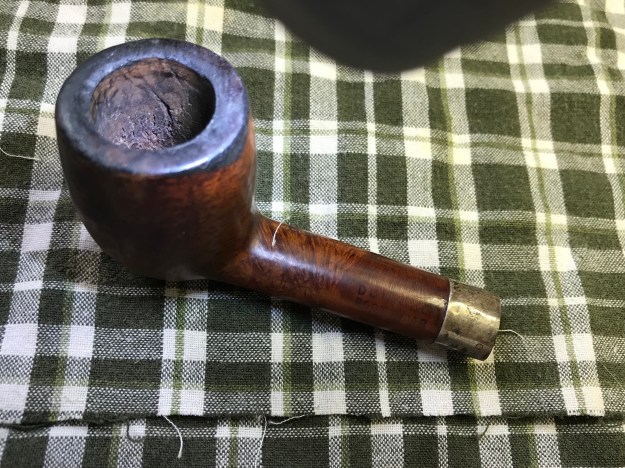
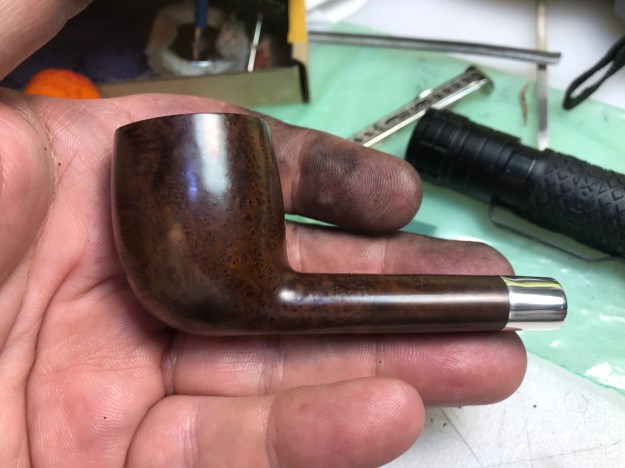
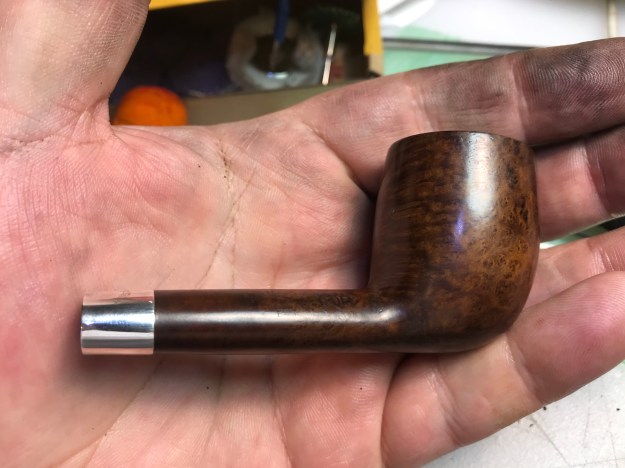
As I unwrapped the third pipe my mind was still on the Peterson and what a great pipe I hoped it would be after a lot of work went into it. The last pipe was just over medium in size I noted as the bubble wrap was peeled away. A silver band was the first thing to catch my attention, looking at the pipe upside down when it was finally out of its protective shroud.

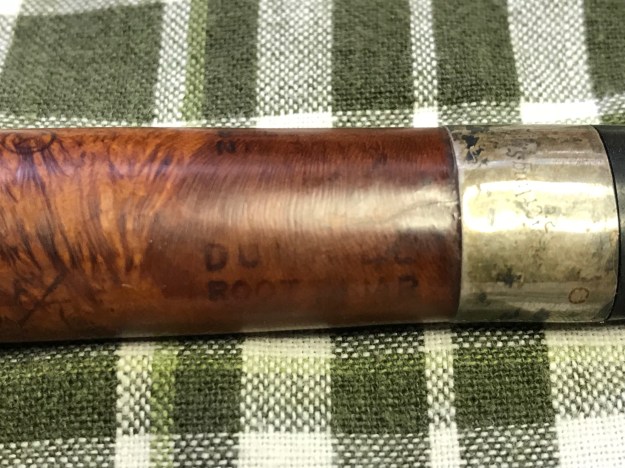
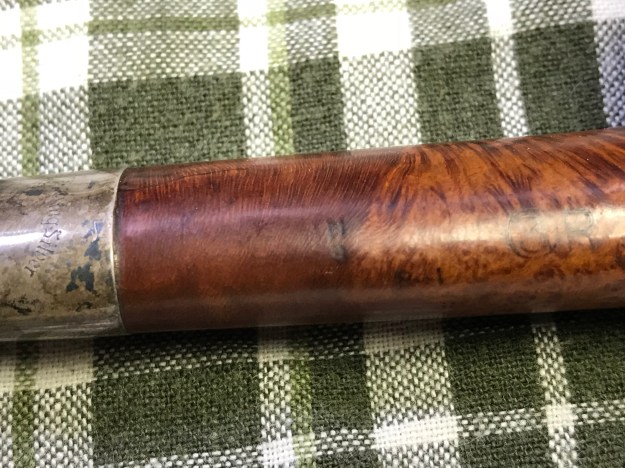
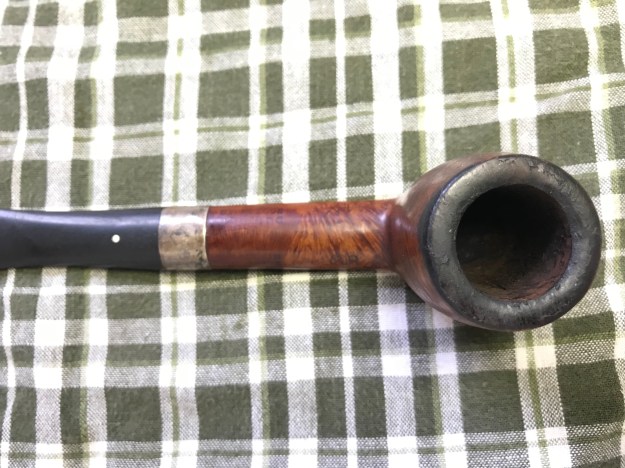
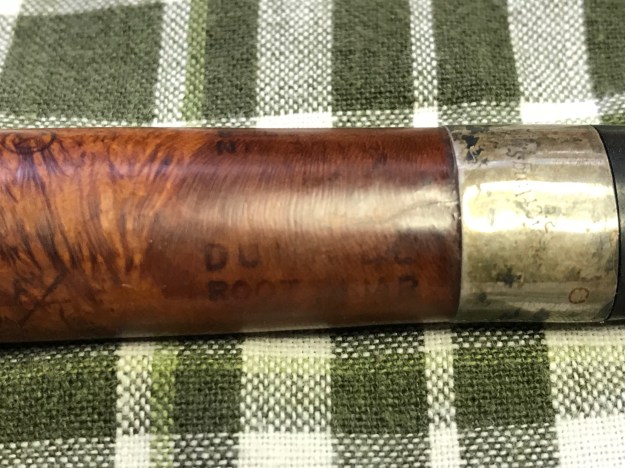
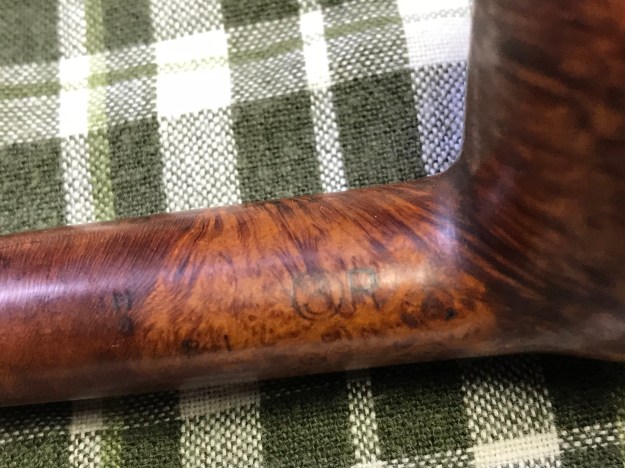
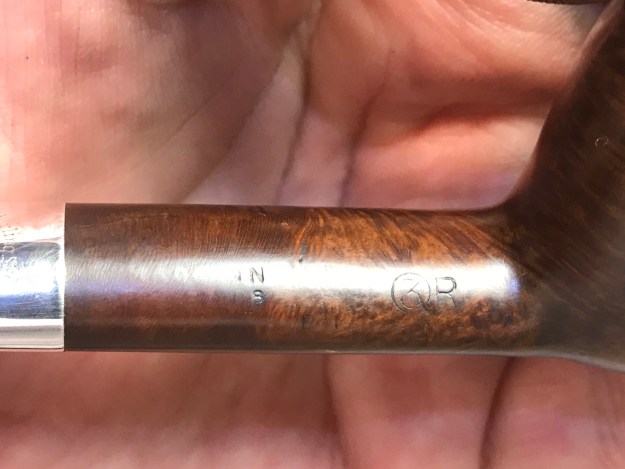
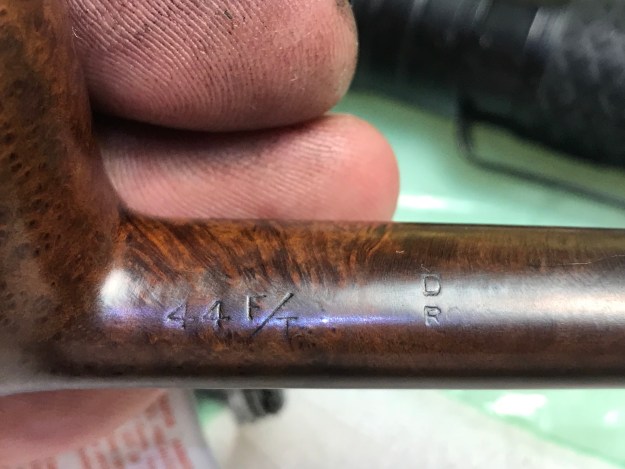
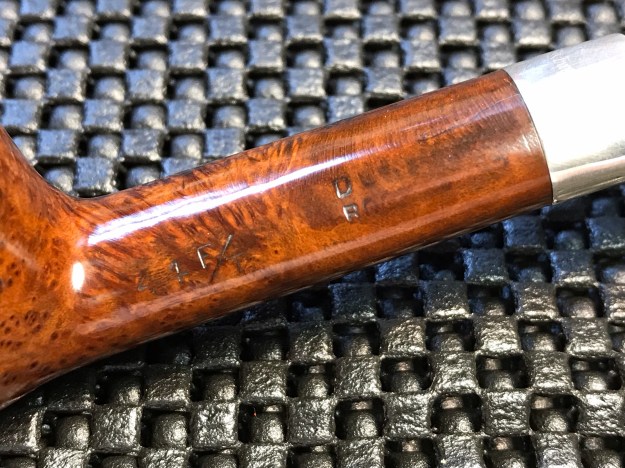
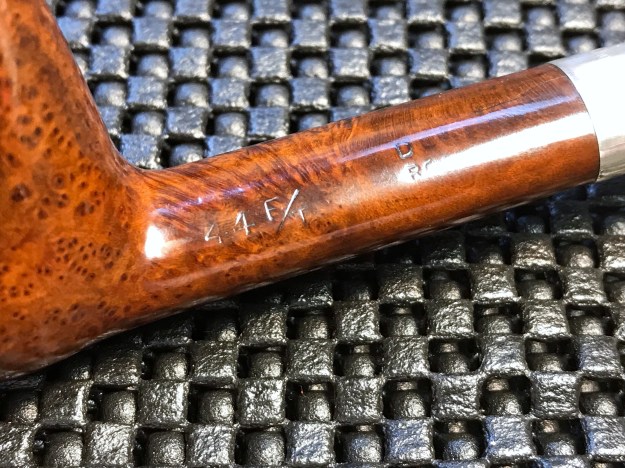
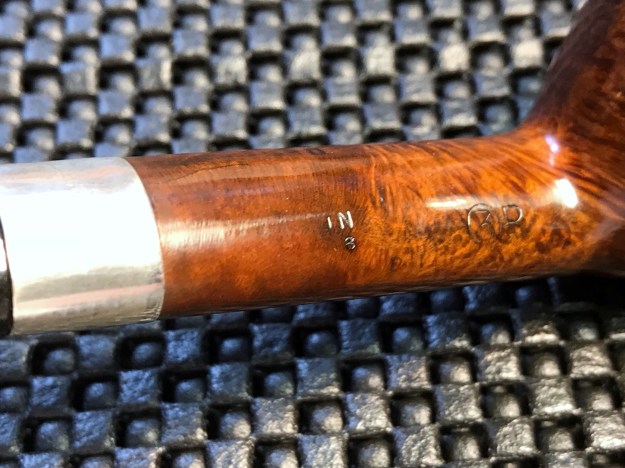
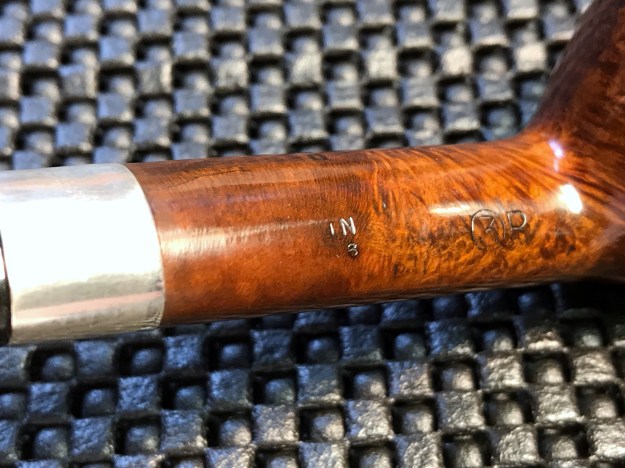
I rolled the pipe over to look for it’s stamping. That’s when I saw it: A White Dot in the stem! “Surely not”, I thought to myself, “this can’t be a Dunhill, can it?” The nomenclature was very worn but readable enough to see it was a Dunhill. I immediately went to get my loupe to see what year the pipe was made, if possible. Looking it over under magnification I found two things I’d not yet seen: enough stamping to date the pipe and that the silver band was a repair for a cracked shank.

The discovery of the crack slowed me down a bit. I went to get a flashlight to inspect the pipe closer. The crack seemed to be well repaired with the band; that was a good find. But looking at the bowl I realized there was a pretty big crack in it, too. So much for my bit of relief … I decided to check the year of the pipe’s manufacture and leave the repair thoughts aside for now.

After a quick internet search I came up with a link to a Dunhill dating chart on Pipephil’s site. It took only a moment or so to find the results but it took a bit longer for the results to sink in. If I was reading everything right, this pipe dated to 1968, which is my birth year! I was giddy as a schoolgirl at this moment… and nervous as a cat at the same time.

At this point I had not worked on any pipe as (potentially) valuable as these. I also hadn’t tried to undertake any repairs as extensive as these looked to be. After a lot of debate, I finally decided to put the lot away until I’d tackled a few more repairs and had more experience under my belt and tools in my arsenal. Over time as I repaired and restored more pipes I began to raise my confidence levels. Each project I completed had as the goal getting me ready for the Resurrection Special lot.

About when I felt it was time to take on these challenges life threw a few curveballs at me, personal issues that put most of my hobby time on hold. Fast-forward a few years, it’s time to get to the Resurrection Special lot.

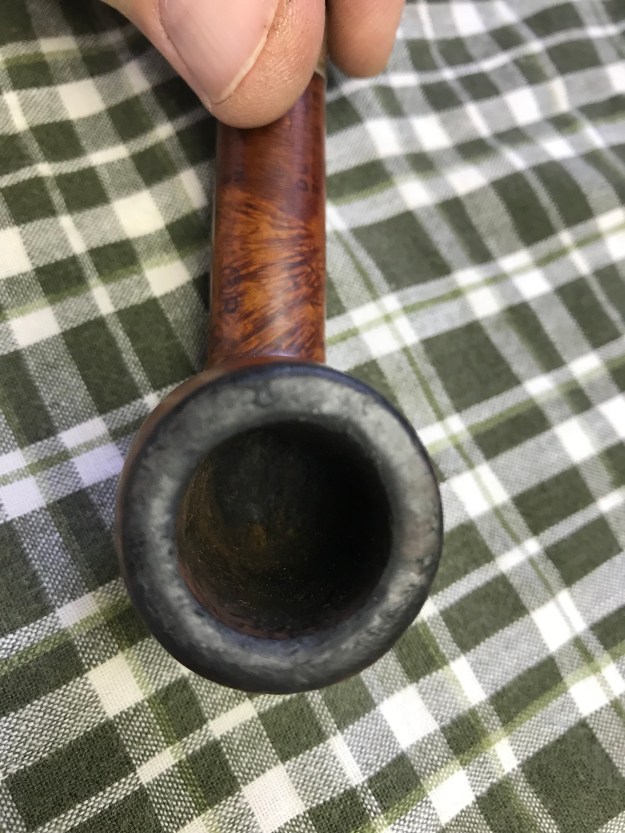
Looking more closely at the pipe when I unpacked it again I saw that much of my past inspection was correct: the shank repair and band were tight and holding well with no “feel” when I rubbed a fingernail over it, the pipe did date to 1968 as I thought, and the bowl would need work, though not as much as I thought. The pipe was very dirty, the rim being covered in a thick layer of lava. The stem had a little oxidation and some tooth dents. The silver band was tarnished.

I began with the rim; I had no idea of it’s condition under the lava and I wanted to see what I was dealing with. I used alcohol dipped cotton swabs to begin breaking down the thick layer. Once it was softened up some I used a knife-blade wax carving tool to scrape away the gunk. The rim was damaged under the lava, as I expected it to be; it would need to be topped. I decided here that I would take off as little wood as possible when I topped the bowl since I wanted to keep the shape as true as possible. I also decided that this wouldn’t be an attempt to make the pipe perfect; it (like me) had battle the scars of it’s life and I wanted to retain that character, too.

The bowl had been reamed before I received the pipe, most likely when the issue was discovered. What I had thought was a crack actually was heat fissures; they didn’t go all the way through the bowl. The outside of the bowl did have what appeared to be burns though; more on these in a bit.

I had read how Charles Lemon of Dad’s Pipes had done several successful bowl repairs with JBWeld and his own bowl coating. I messaged Charles and also looked up his article on bowl coating to try it myself. The recipe is simple: coat the bowl with maple syrup, fill it with activated charcoal powder, and wait for it to dry. (Actually there are a couple more steps, like putting a pipe cleaner in the stem, so make sure you read Charles’ article if you’re interested in trying this method.)

I mixed up some JBWeld and coated the area where the fissures were, using a toothpick to push the epoxy back into the cracks, after inserting a pipe cleaner in the shank through the air hole to keep it open. I used a pipe cleaner and my finger to smooth the repair out as well as I could. Then I sprinkled some activated charcoal powder on the wet repair and set the bowl aside for the epoxy to cure until the next day.

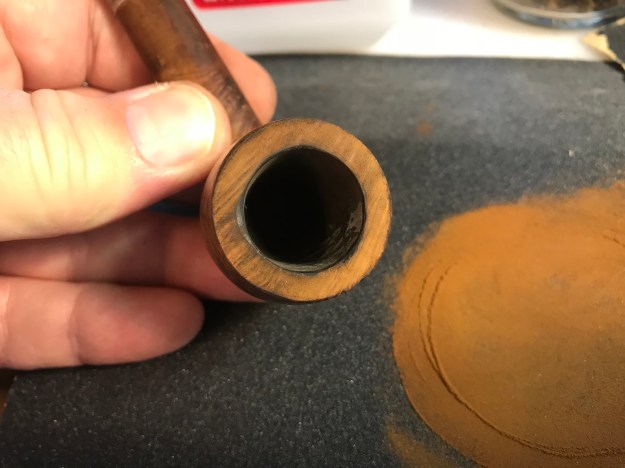
After the repair was dry I sanded it a little smoother with 220-grit paper. Unfortunately this took out most of the carbon I had applied so the full bowl coating would have to be done. But I waited until after all the work was completed to do that. I also topped the bowl to remove most of the rim damage using 220-grit paper.

While the bowl repair was curing I worked on the stem. I started with painting the stem with a Bic lighter to raise the dents as much as possible. You can see in the photos that there were still significant dents after flaming the stem. A crack in the underside of the button also appeared after the flaming. I began filling the dents and repairing the crack/button with black CA glue at this point. The climate has been very humid here so the CA glue cured extremely slowly.

I worked on the stem in multiple sessions over a period of days to complete it due to the slow curing time. Multiple patch layers were applied and shaped with needle files, a vulcrylic file, and sandpaper until I had an acceptable repair.

The next step was to wet sand the stem with the full range of micro mesh pads. Then I used both the fine and extra-fine Before and After Stem Polish. I buffed the stem with blue compound using a 1″ cotton wheel on my Dremel at about 13k RMP. While the stem wasn’t “perfect” it was very improved, definitely something I could live with and what I thought would go well with my goal for this restoration. It was time to get back to the stummel now.

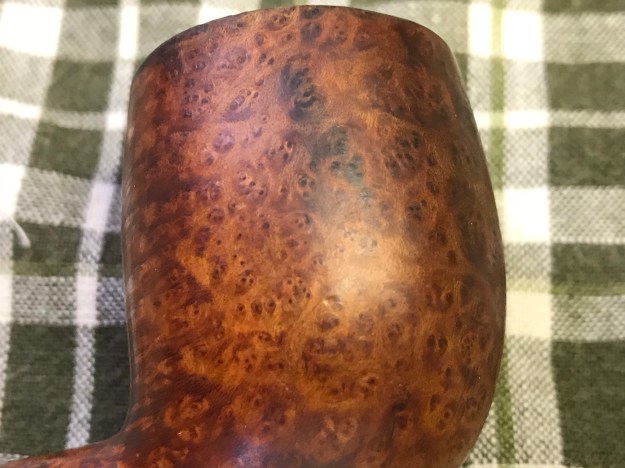
I cleaned the surface of the briar with cotton pads and alcohol, removing the grime covering its surface. I decided to see what the pipe would look like with a gentle sanding. With 400-grit wet/dry paper I began with the rim, sanding out the scratches from topping the bowl. I began to work around the bowl with the 400- grit paper and noticed the burn mark on the side of the heat fissures seemed to be lightening so I started working at that spot. In short order the burn was all but gone. Apparently it wasn’t a burn at all but some kind of stain on the briar. As I sanded the stummel I avoided the nomenclature, and effectively the entire shank. The stamping was already terribly weak and I was not going to make it worse.

Avoiding the stamping presented another challenge: Now the shank was a different color than the bowl. I didn’t want to re-stain the pipe so I applied Before and After Restoration Balm to the wood and set it aside to work its magic for a bit.

I was surprised how well the wood blended in color after I hand buffed the balm off. It was now uniformly darkened, even the topped rim.

I had an idea that had been in the back of my head for a little while that I wanted to try on this pipe. The nomenclature being so weak, I wanted to try to enhance it if I could. But I didn’t want to try to deepen the stamping or anything of that sort. What I decided to try was applying some Rub’N Buff ebony wax. This was a brand new idea (to me) and I really didn’t know if it would work or not.

I put a small amount of the ebony wax on the shank and spread it thinly over the entire shank, continuing to buff it with my thumb until the color went from opaque to translucent. I then applied a couple of coats to the rest of the pipe until I had even coverage.

I was really happy with the results. The color was even and highlighted the grain a bit. The stamping was also strengthened I think, much better than it had started out. While still not “strong” (I don’t think that can ever be restored) it was more readable.

I buffed the stummel with Tripoli and then white diamond, both using the Dremel and 1″ cotton wheels at about 13k RMP. I then put the stem back on the pipe and gave the entire pipe several coats of Carnuaba Wax, again with the Dremel and a 1″ cotton wheel at about 15k RPM. (I find the slightly faster speed does a far better job for the Carnuaba Wax.)

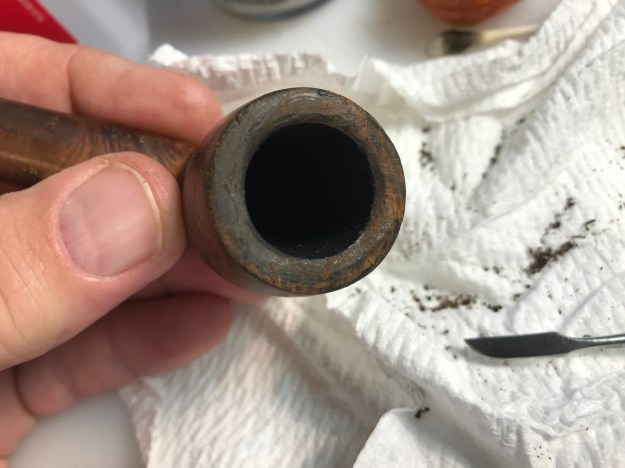
I’m still waiting for the bowl coating to cure so I’ve yet to christen the pipe. But I’m very happy with the results of this project. While it may not be a perfect specimen nor hold a lot of monetary value, to me it is a prize possession; my first Dunhill, and a birth-year Dunny to boot!

Farida’s Dad’s Pipes #5 – Restoring a Dunhill Root Briar 56 Bent Billiard


Blog by Steve Laug

I am back working on a of pipes that comes from the estate of an elderly gentleman here in Vancouver. I met with his daughter Farida last summer and we looked at his pipes and talked about them then. Over the Christmas holiday she brought them by for me to work on, restore and then sell for her. There are 10 pipes in all – 7 Dunhills (one of them, a Shell Bulldog, has a burned out bowl), 2 Charatans, and a Savinelli Autograph. His pipes are worn and dirty and for some folks they have a lot of damage and wear that reduce their value. To me each one tells a story. I only wish they could speak and talk about the travels they have had with Farida’s Dad.

When I wrote the blog on the Classic Series Dunhill and thinking about its travels, Farida sent me an email with a short write up on her Dad. She remembered that I had asked her for it so that I could have a sense of the stories of her Dad’s pipes. Here is what she wrote: My dad, John Barber, loved his pipes. He was a huge fan of Dunhill and his favourite smoke was St. Bruno. No one ever complained of the smell of St. Bruno, we all loved it. I see the bowls and they’re large because he had big hands. When he was finished with his couple of puffs, he would grasp the bowl in the palm of his hand, holding the warmth as the embers faded. The rough bowled pipes were for daytime and especially if he was fixing something. The smooth bowled pipes were for an evening with a glass of brandy and a good movie. In his 20s, he was an adventurer travelling the world on ships as their radio operator. He spent a year in the Antarctic, a year in the Arctic and stopped in most ports in all the other continents. He immigrated to Canada in the mid-fifties, working on the BC Ferries earning money to pay for his education. He graduated from UBC as an engineer and spent the rest of his working life as a consultant, mostly to the mining companies. Whatever he was doing though, his pipe was always close by. 

She sent along this photo of him with his sled dogs in the Antarctic sometime in 1953-1954. It is a fascinating photo showing him with a pipe in his mouth. He is happily rough housing with his dogs. As a true pipeman the cold does not seem to bother him at all.Thank you Farida for sending the photo and the background story on your Dad for me to use on the blog. I find that it really explains a lot about their condition and gives me a sense of who Dad was. If your Dad was rarely without a pipe I can certainly tell which pipes were his favourites. As I looked over the pipes I noted that each of them had extensive rim damage and some had deeply burned gouges in the rim tops. The bowls seemed to have been reamed not too long ago because they did not show the amount of cake I would have expected. The stems were all covered with deep tooth marks and chatter and were oxidized and dirty. The internals of the mortise, the airway in the shank and stem were filled with tars and oils. These were nice looking pipes when her Dad bought them and they would be nice looking one more when I finished.

I finished two of the pipes and have written a blog on each of them. The first one was the Dunhill Shell with the oval shank pot (https://rebornpipes.com/2018/02/04/restoring-a-1983-dunhill-shell-41009-oval-shank-pot/) and the second was the Dunhill Classic Series Shell Billiard (https://rebornpipes.com/2018/02/08/faridas-dads-pipes-2-restoring-a-1990-lbs-classic-series-dunhill-shell-billiard/). The third pipe I restored from the estate was a Savinelli Autograph (https://rebornpipes.com/2018/02/15/faridas-dads-pipes-3-restoring-a-savinelli-autograph-4/). The fourth pipe of his that I worked on was a Dunhill Red Bark Pot that was in rough shape (https://rebornpipes.com/2018/03/10/faridas-dads-pipes-4-restoring-a-dunhill-red-bark-pot-43061/).

I went back to the remaining two Dunhills in the collection today and chose to work on a Dunhill Root Briar 56 Bent Billiard. It was so dirty it was hard to read the stamping on the sides. I could see that it was worn but I could not tell much else looking through the thick grime. The smooth finish sticky with oils and thick grime and the bowl felt oily to touch. I wiped off the oils and grime on the shank sides to see the stamping. It was worn but readable. On the left side of the shank it reads Dunhill over Root Briar. To the left of the stamping is the shape number 56. On the right side of the shank there is a faint stamp R with 4 in a circle. The rest of the stamping is very faint.

I turned to a blog I have on rebornpipes by Eric Boehme on Dunhill Shapes and looked for the shape number stamped on this pipe. Here is the link. https://rebornpipes.com/2012/11/01/dunhill-pipe-shapes-collated-by-eric-w-boehm/. I did a screen capture of the section on Bent Billiards and circled the pipe I have in hand in red. The shape number 56 is noted as a bent billiard size 4. It is noted as 5 ½ inches long just as the one I have is. It is listed as coming out in 1928, 1950, 1960 and 1969. The spread of dating was pretty large and the stamping so unreadable that I could not determine the date with that normal help. It was time to move on and look for other helpful information to see if I could narrow things down a bit.

I turned to another site that I use often – the pipephil website on Logos and Stampings because there is some really helpful information on when each of the lines of Dunhill pipes entered the market. Here is the link to the section of the site that I turned to, http://www.pipephil.eu/logos/en/dunhill/root-bru-guide.html. I did a screen capture of a portion of the chart that gave me the time frame for this particular pipe. I circled the date and brand in red in the photo below. It looks like the Root Briar came out between 1960 and 1970. Now I knew that one I was working on a pipe that came from that era – which incidentally matched the other pipes in Farida’s Dad’s estate collection.The bowl was thickly caked and the cake had flowed over onto the smooth Root Briar finish on the rim top forming hard lava that made the top uneven. The inner and outer edges of the rim were both damaged. On the right front of the bowl the rim had been scraped and damaged and then burned. On the back edge there was the same kind of damage that was on the other Dunhill pipes in this estate. This one however was not quite as deep so it would need to be dealt with a bit differently when I got to that point. The stem was lightly oxidized but otherwise in good condition. There were light tooth marks and chatter on both sides in front of the button. The Dunhill white spot was intact on the top of the stem. I took photos of the pipe to show what it looked like before I started the cleanup work. I took close up photos of the bowl and rim top as well as the stem. You can see the condition of the rim top and bowl in the first photo. The outer edge has damage on the front right – burn damage and wear that comes from lighting a pipe repeatedly in the same spot. The back left side also shows damage on the inner edge. There was damage from what looked like a poor rim job. The stem has tooth chatter and some bite marks on the top and the underside of the stem just ahead of the button.I reamed the bowl with a PipNet reamer and used two of the four cutting heads to clean out the cake. The bowl thickly caked so I started with the smaller of the two and worked my way up to the second one which was about the same size as the bowl diameter. I cleaned up the reaming with a Savinelli Fitsall Pipe Knife to remove the remnants of cake. I finished by sanding the inside of the bowl with a dowel wrapped in sandpaper. I scrubbed the surface of the briar with alcohol and cotton pads. I scrubbed until I had removed the sticky tars and oils on the finish. I worked on the top of the rim with the edge of the Savinelli Fitsall Pipe Knife. I scraped the heavy buildup that was there. I scrubbed the scraped rim top with alcohol and cotton pads to remove the debris. I dried off the bowl with a soft rag. The cleaned and scrubbed pipe really made the rim top damage very clear. It looked to me that I would need to top the bowl. I topped the bowl on a topping board with 220 grit sandpaper to remove the damage to the top surface of the rim and clean up the damage to the edges. I did not have to remove a lot and repeatedly checked it to make sure that I had removed enough but not too much. I wanted to take the top down until it was smooth up to the burn damaged area on the rim top.I wiped down the rim top with alcohol and cotton pads to remove the sanding dust. I built up the damaged area on the rim with clear super glue and briar dust. I layered it until the height of the damaged area was roughly equal to the rim top. The third photo below shows the top at this point in the process. I took photos of the repaired bowl from a variety of angles to show what the repair looked like before I sanded and cleaned it up. I would need to top the bowl again to smooth things out and work on the edges. I topped the bowl again to remove the excess repair material. I worked it over the sandpaper on the board until the surface was smooth. I used a folded piece of 150 and 220 grit sandpaper to bevel the inside edge of the bowl. With the externals clean it was time to clean out the mortise and shank and airway into the bowl and the airway in the stem with alcohol, cotton swabs and pipe cleaners. I scraped the mortise with a dental spatula to loosen the tars before cleaning. I worked on the bowl and stem until the insides were clean.I used a Cherry stain pen to touch up the rim and match the colour of the rest of the pipe.I rubbed down the briar with Before & After Restoration Balm. I worked it into the smooth finish to clean, enliven and protect the new finish. It also evened out the stain coat and gave the stain a dimensional feel. I let the balm sit for a little wall and then buffed it with a horsehair shoe brush. I buffed the bowl with a cotton cloth to raise the shine. There was some darkening on the bowl front but the briar was solid. Overall the bowl looked really good. I set it aside and turned my attention to the stem. I sanded out the tooth chatter on both sides with a folded piece of 220 grit sandpaper.I polished the stem with micromesh sanding pads – wet sanding with 1500-2400 grit micromesh sanding pads and dry sanding it with 3200-12000 grit pads. I rubbed the stem down with Obsidian Oil after each pad. I polished it further with Before & After Pipe Polish, using both the Fine and Extra Fine polishes to further protect and polish out the scratches. When I finished with those I gave it a final rub down with the oil and set it aside to dry.  With the stem polished I put it back on the pipe and lightly buffed the bowl with Blue Diamond. I buffed the stem with a more aggressive buff of Blue Diamond. I gave the bowl several coats of Conservator’s Wax and the stem several coats of carnauba wax and buffed the pipe with a clean buffing pad to raise the shine. I hand buffed it with a microfiber cloth to deepen the shine. The pipe polished up pretty nicely. The finished pipe is shown in the photos below. This is the fifth of Farida’s Dad’s pipes that I am restoring from his collection. I am looking forward to hearing what Farida thinks once she sees the finished pipe on the blog. This one is already sold to a fellow in India. It will soon be on its way to him to carry on the trust from Farida’s father. The dimensions are Length: 5 1/2 inches, Height: 1 3/4 inches, Outside diameter of the bowl: 1 1/8 inches, Chamber diameter: ¾ inches. Thanks for walking through the restoration with me as I worked over another of the Dunhills. More of his pipes will follow including some one more Dunhill and two Charatans. The last photo of the front of the bowl shows the darkening to the briar that remains. It is solid and the burn mark does not compromise the briar. It looks worse in this photo than it does in reality. It is a dark spot that is solid.