by Kenneth Lieblich
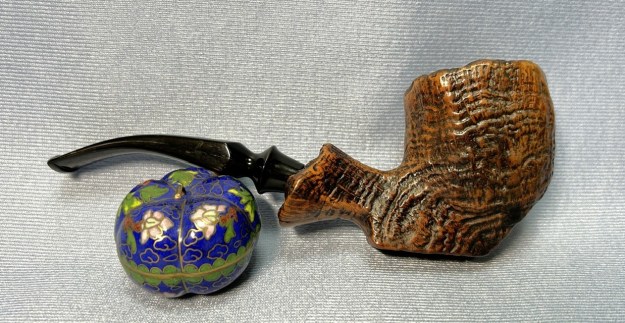
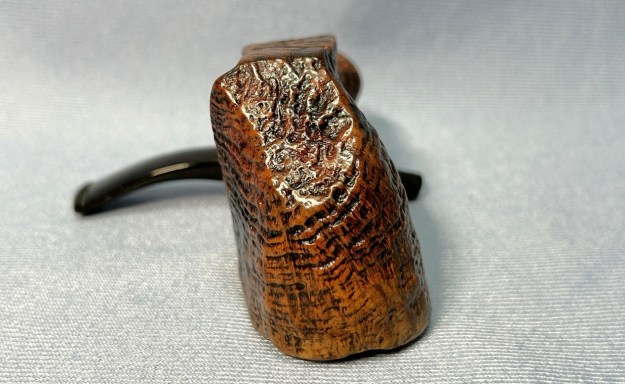
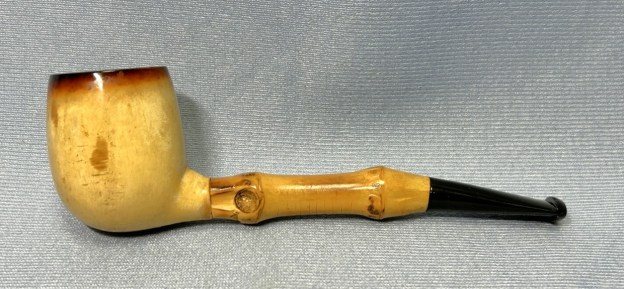
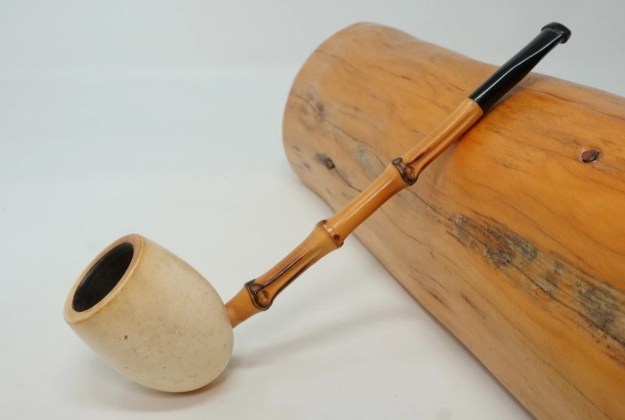
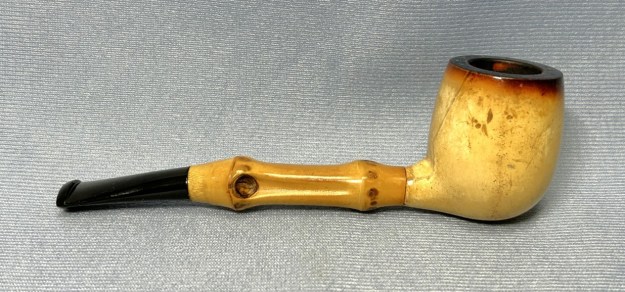
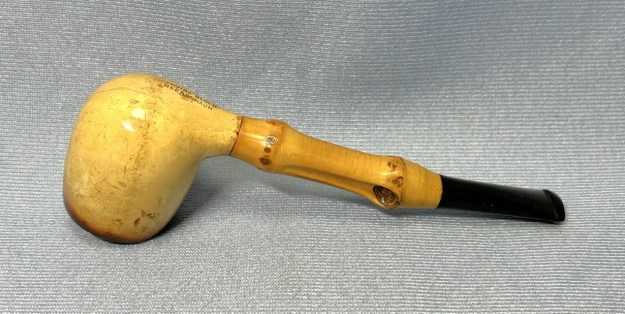
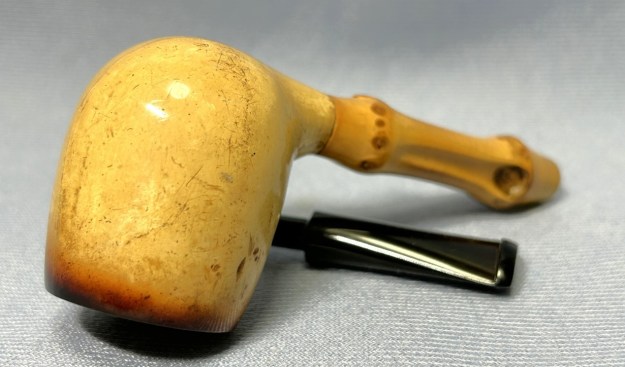
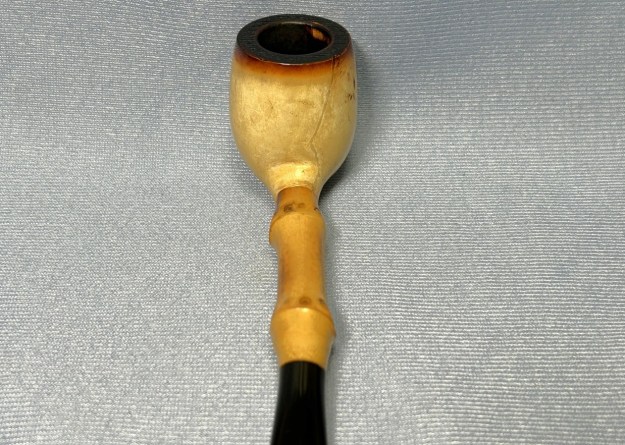
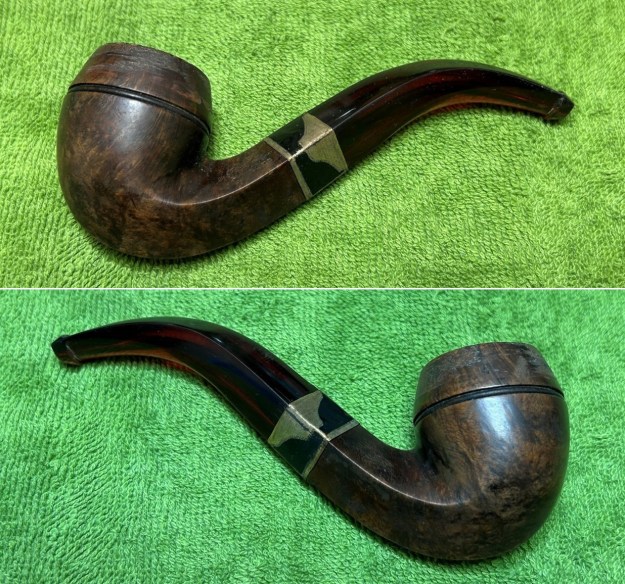
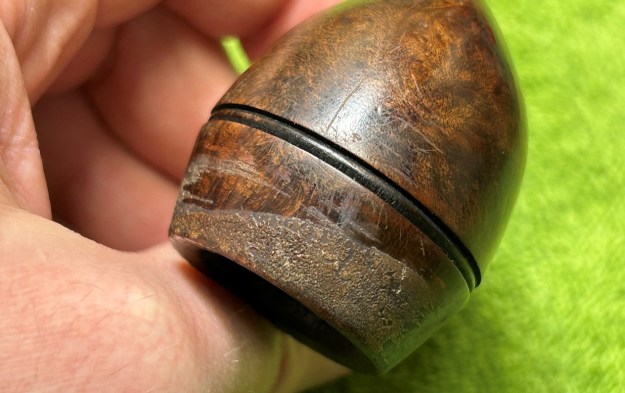
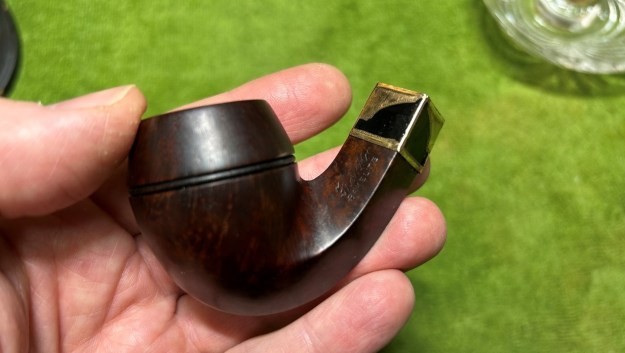
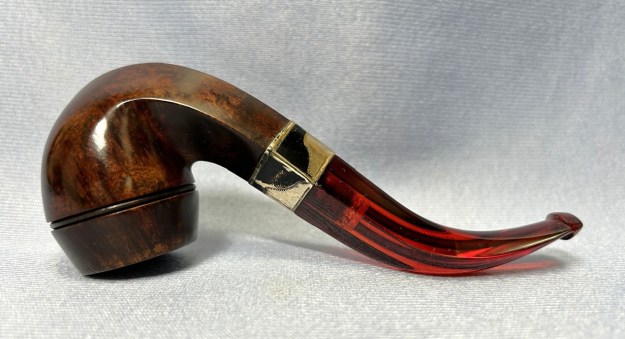
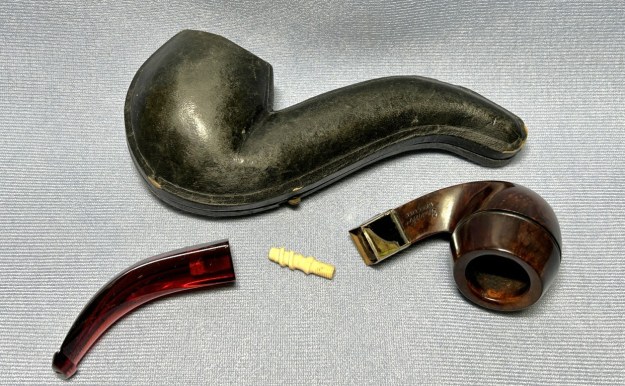
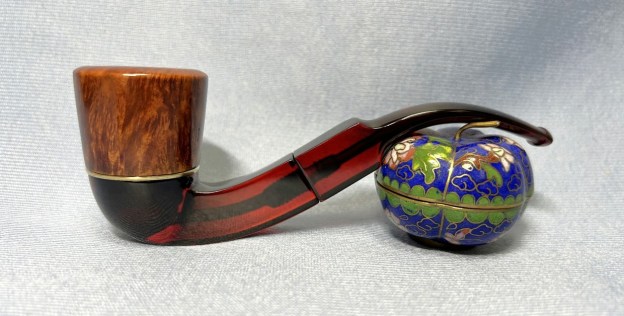
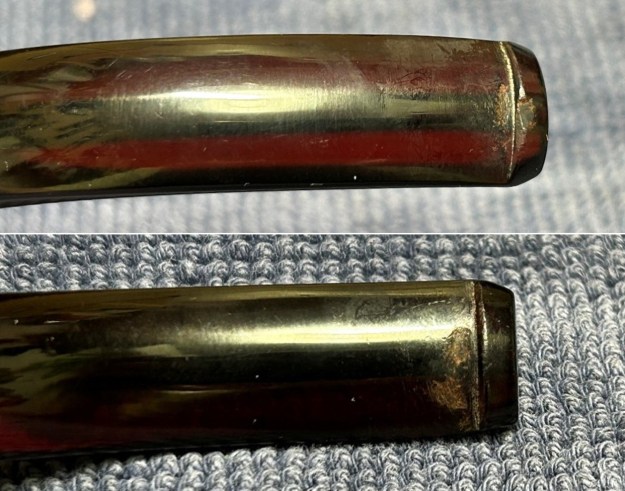
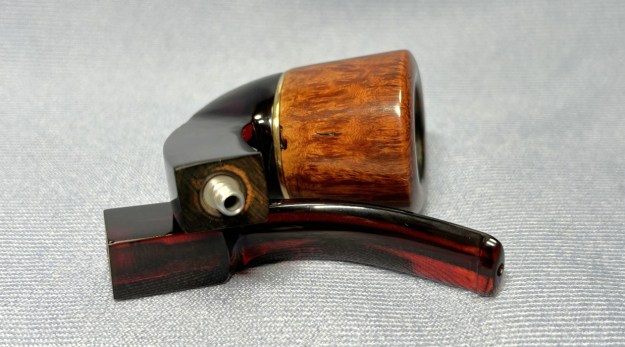
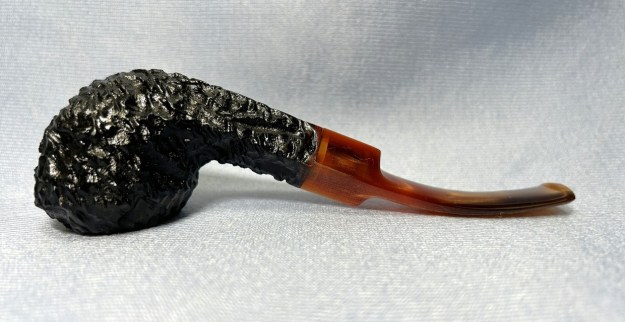
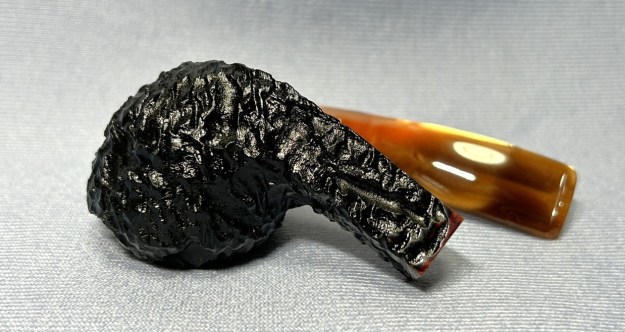
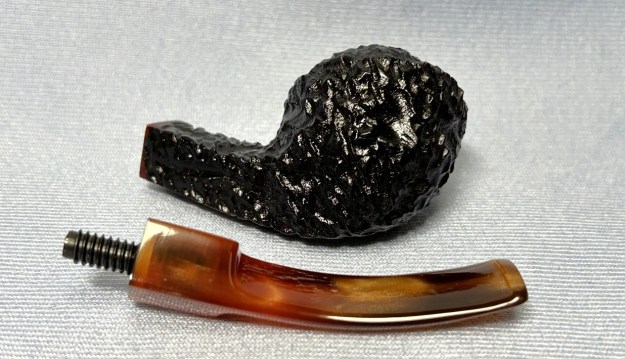
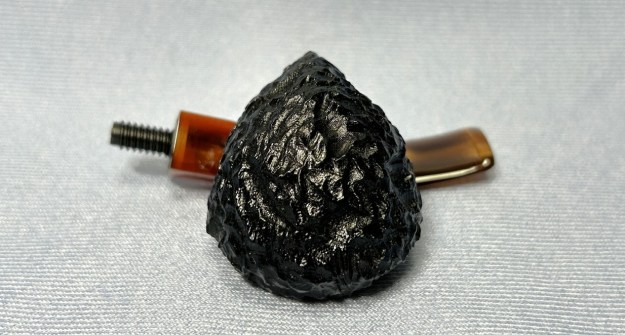
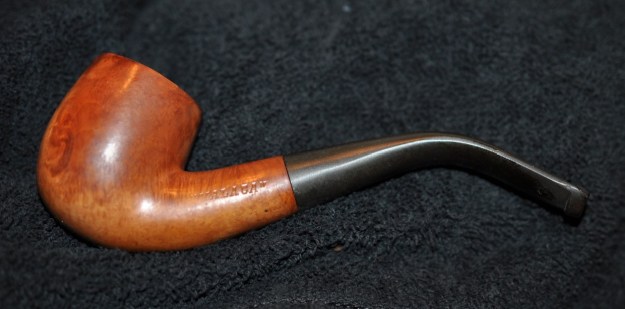
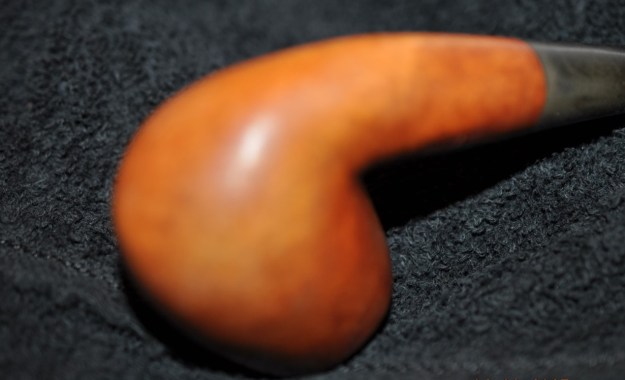
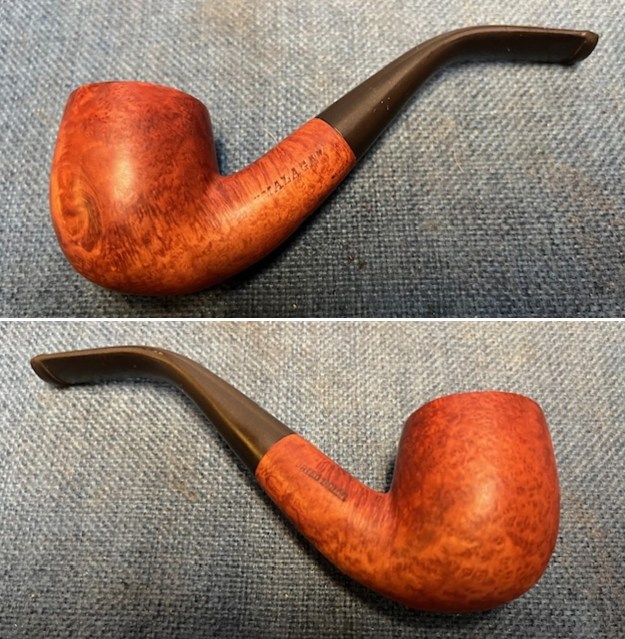
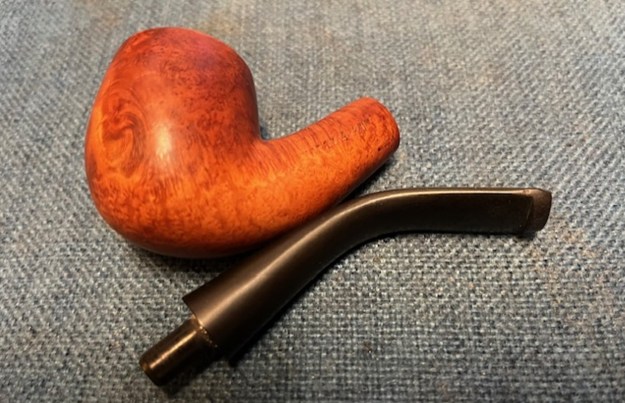
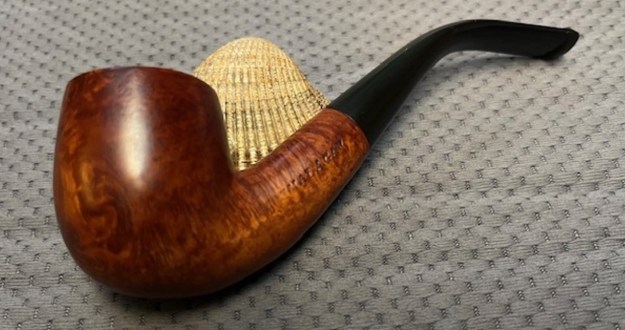
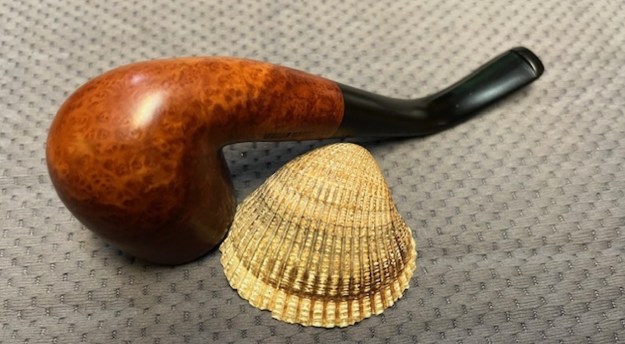
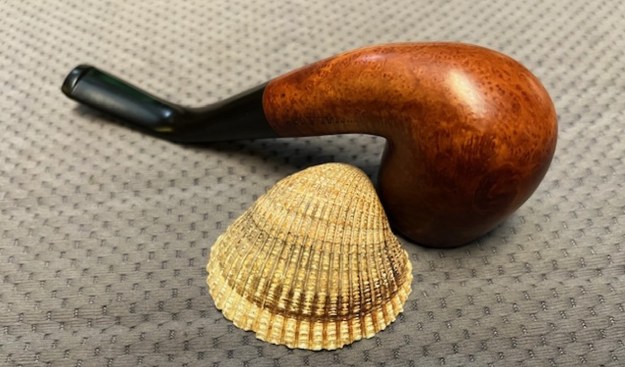
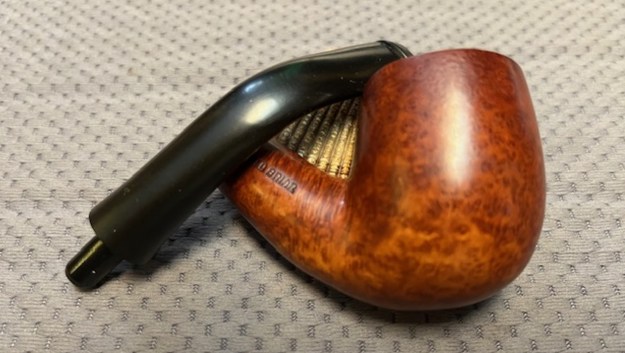
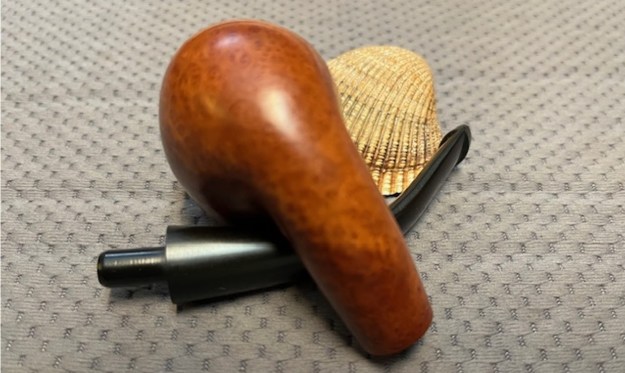
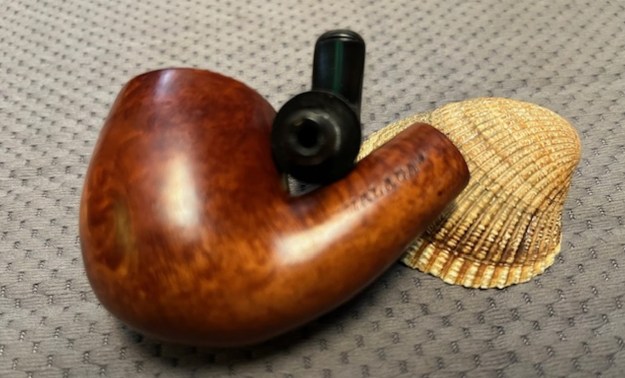
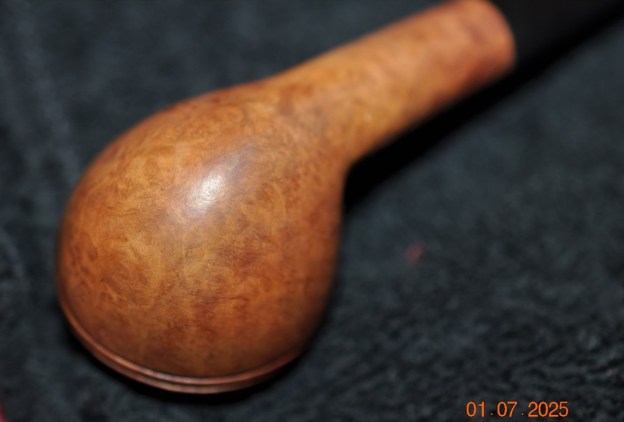
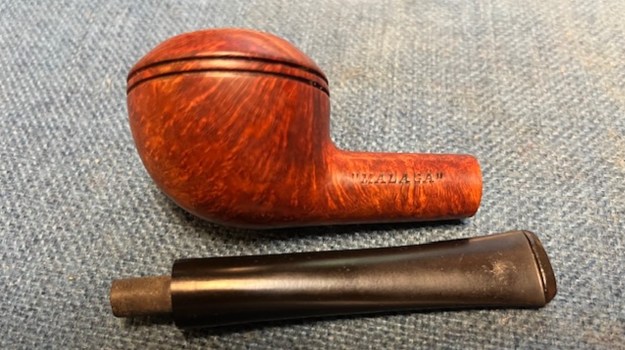
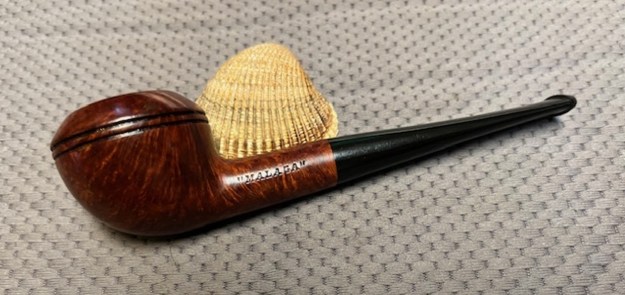
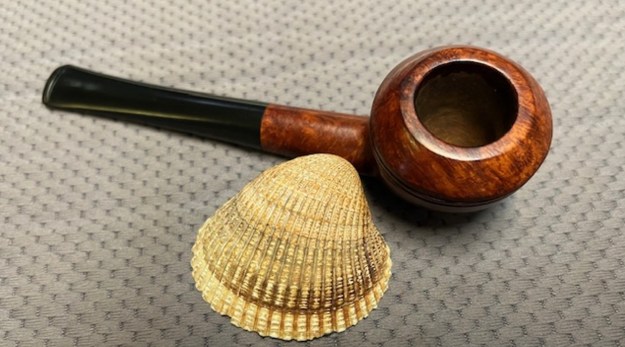
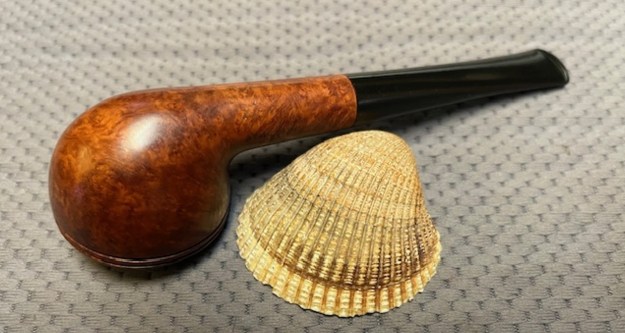
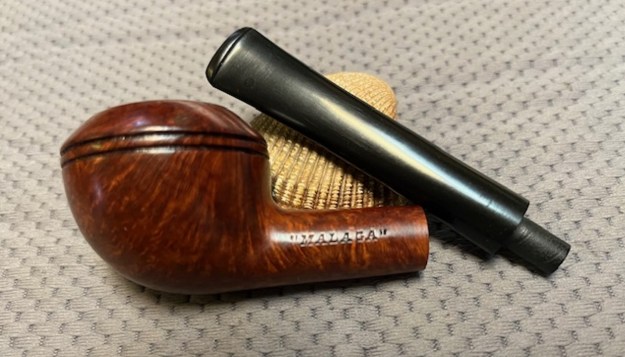
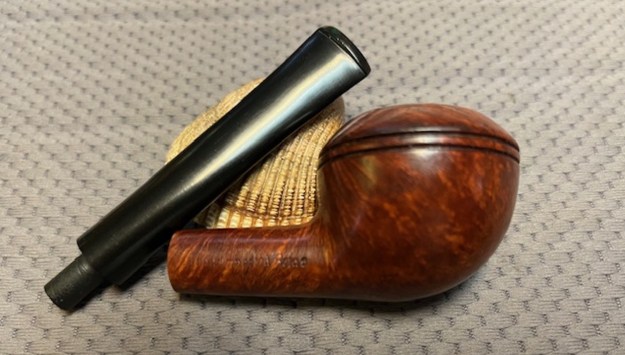
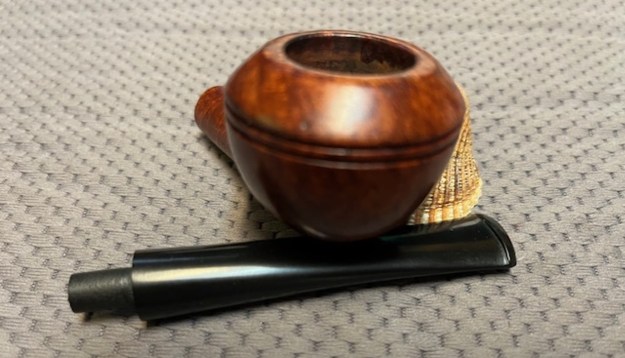
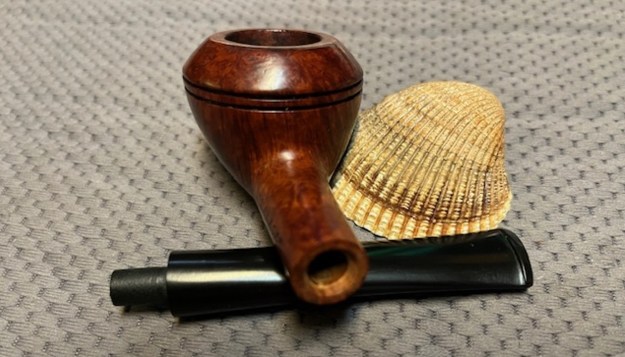
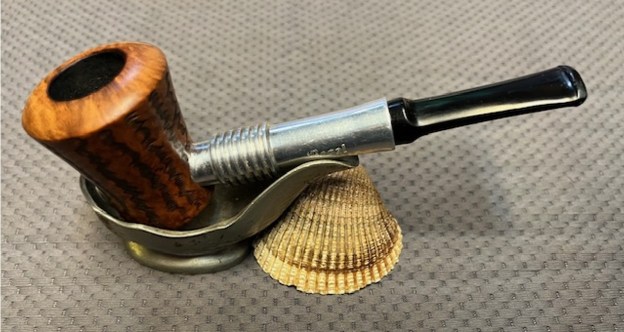
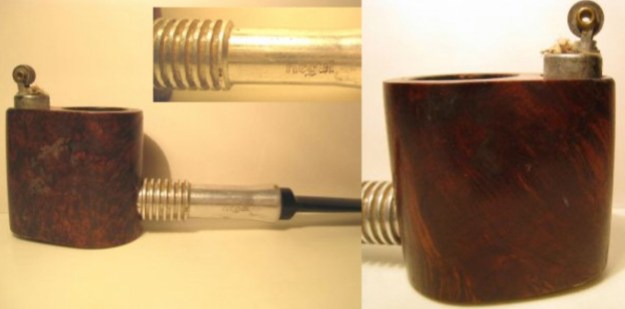
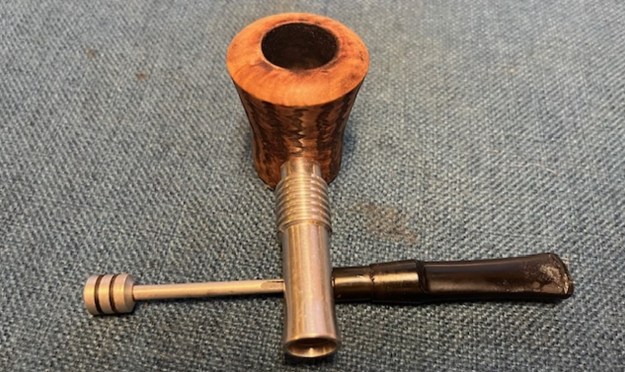
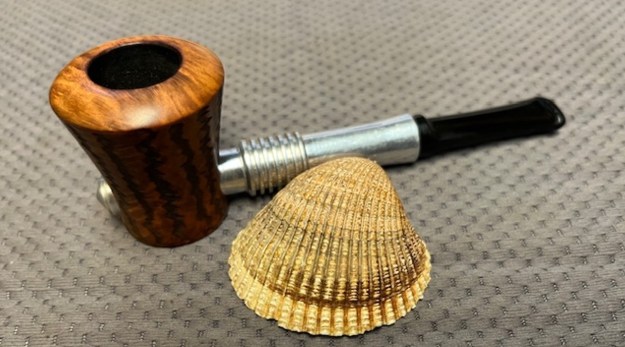
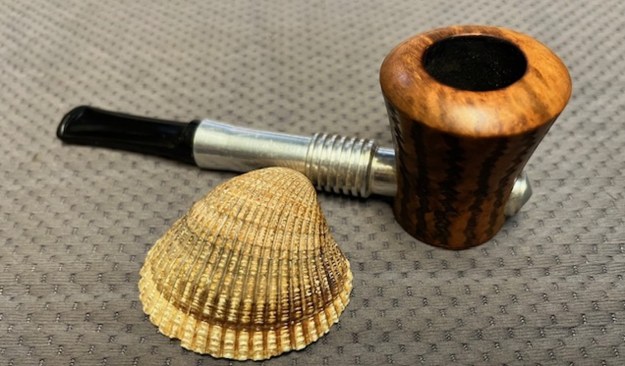
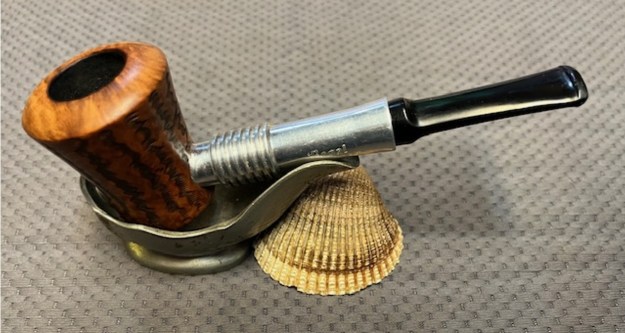
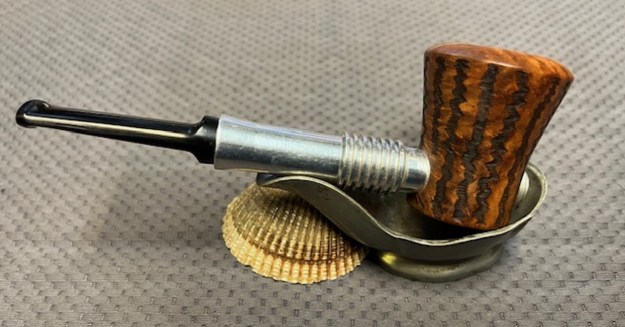
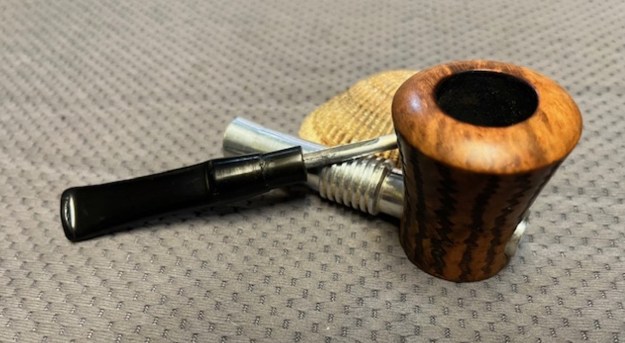
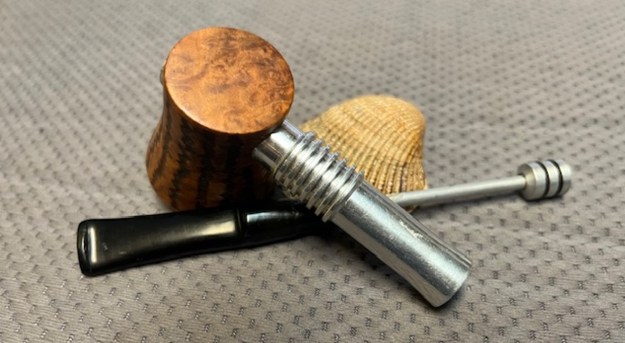
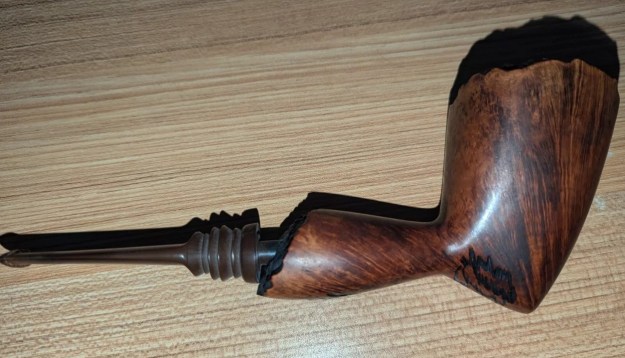
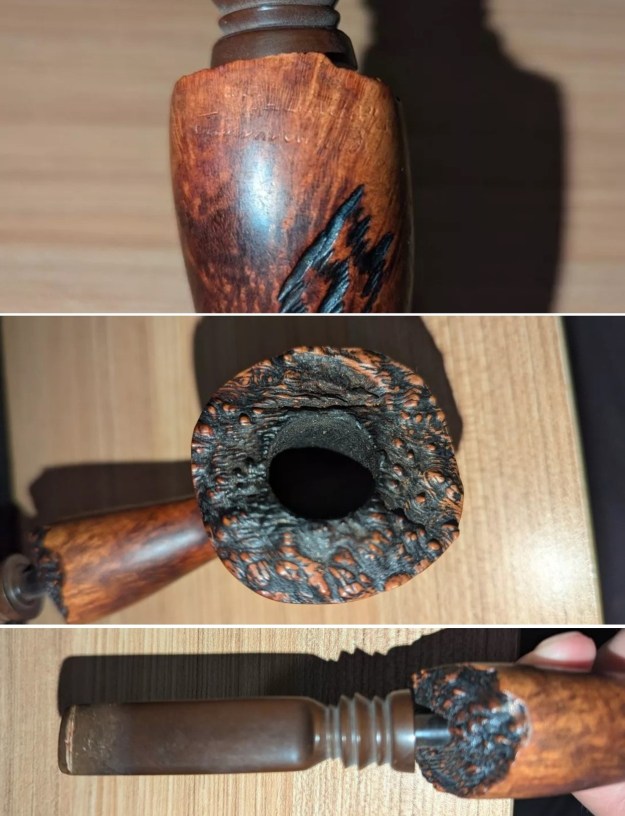
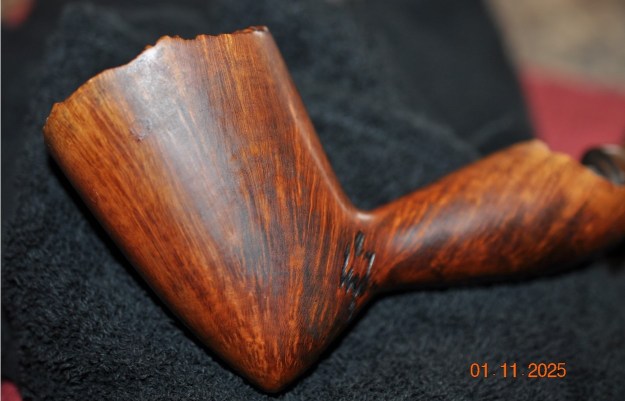
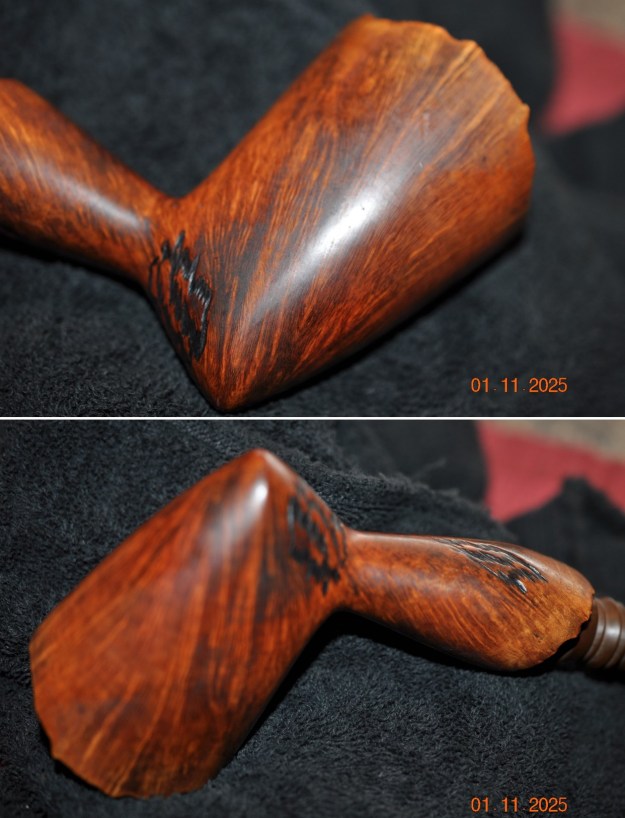
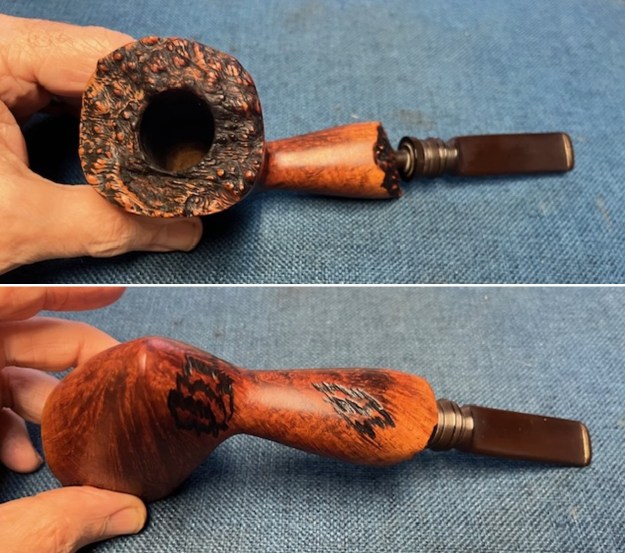
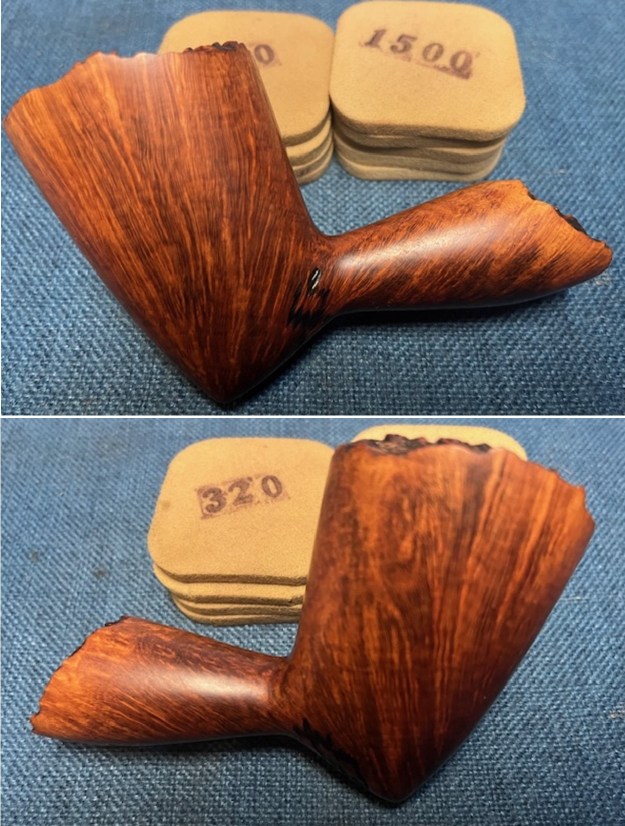
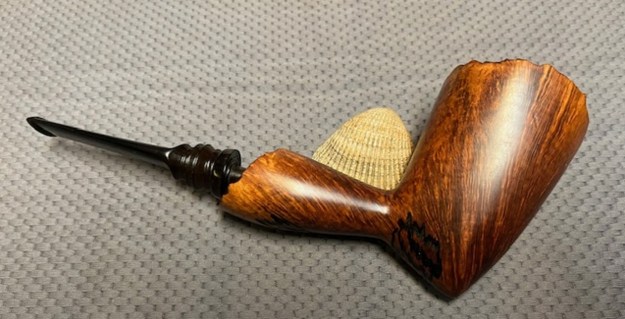
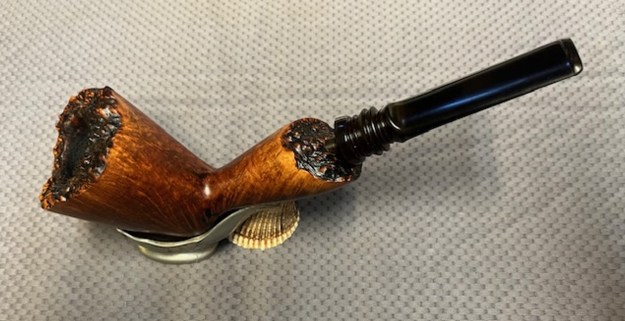
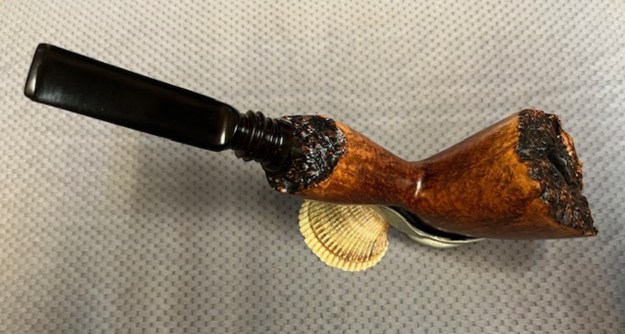
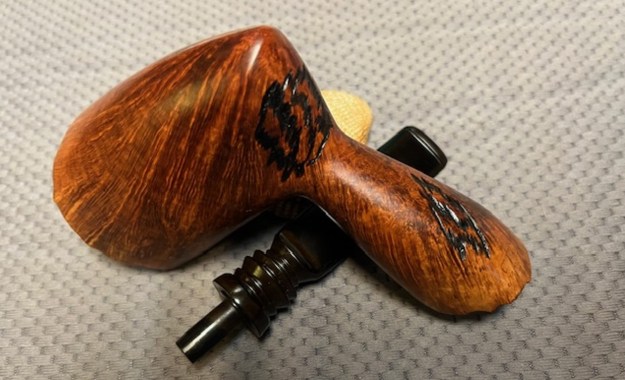
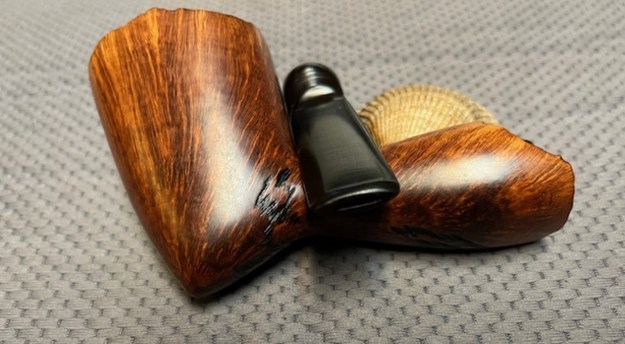
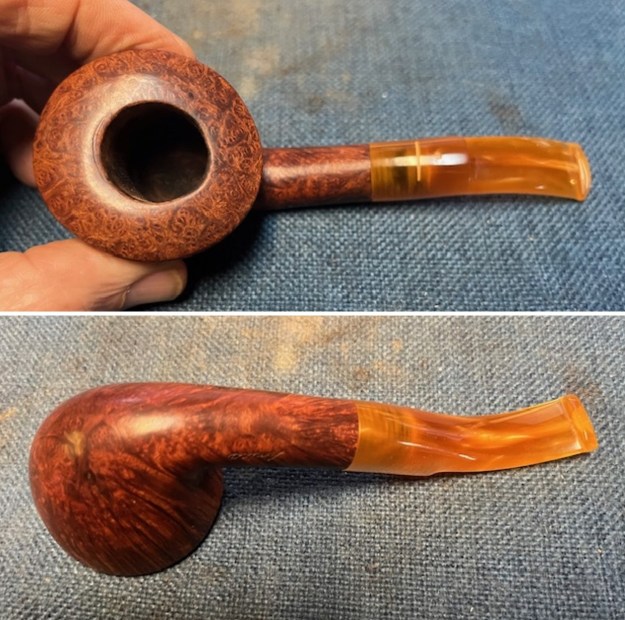
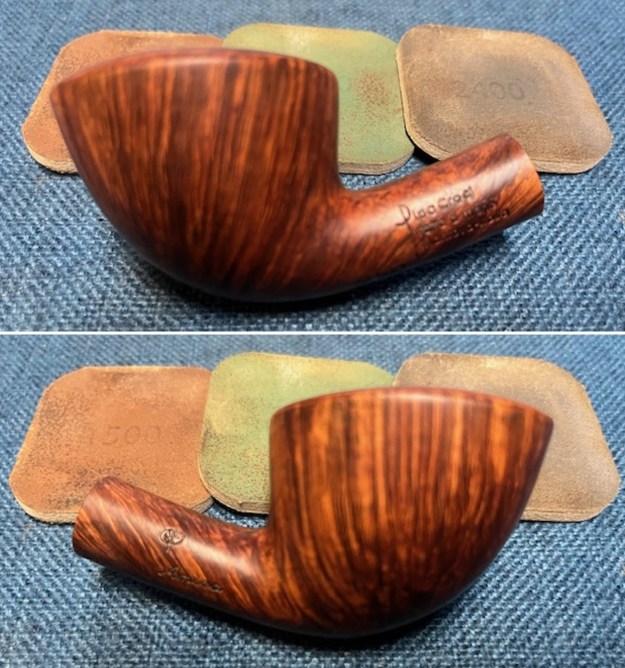
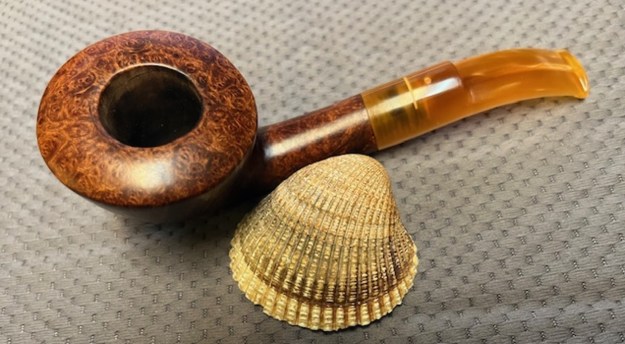
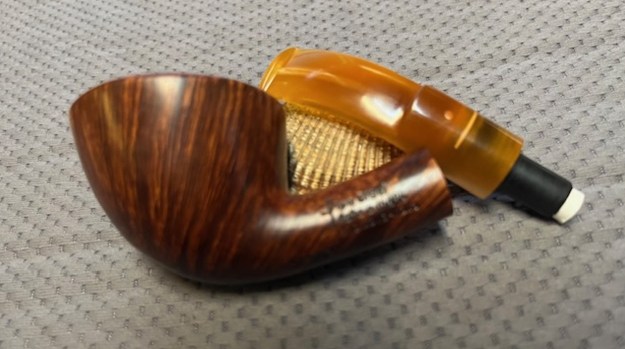
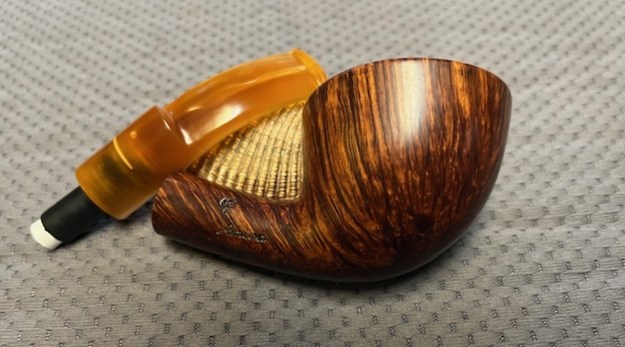
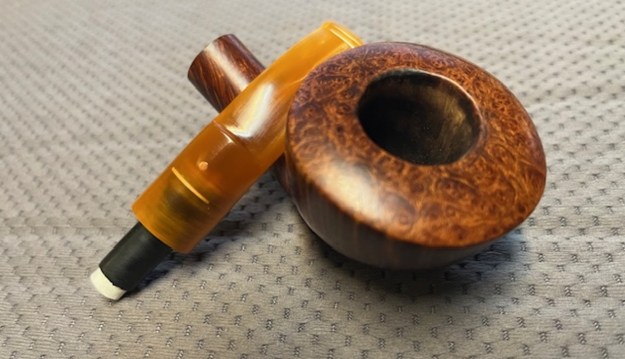
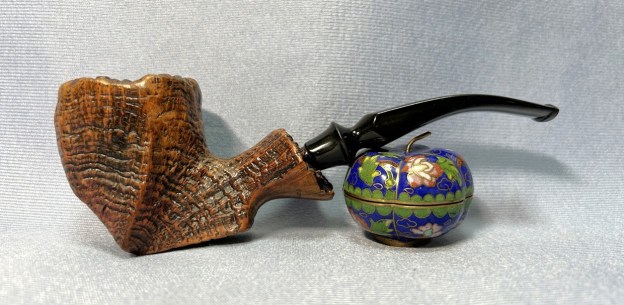
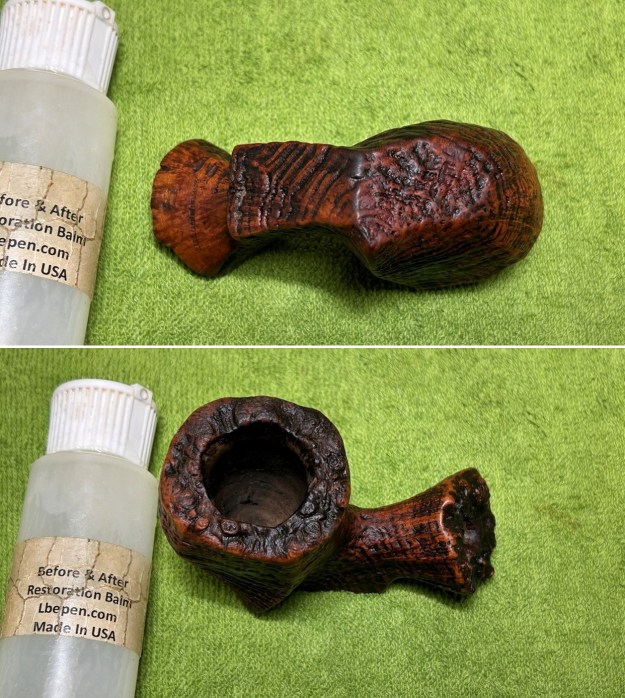
I found this stemless stummel in a lot of pipes I bought recently. It’s a really good-looking piece of wood and I felt sorry for this lonely hunk of briar. I have a good number of spare stems kicking around, and I figured that I could find one that would match well. One noticeable aspect of this pipe is that it was coated with something waxy and unattractive. This doesn’t seem like it would have been original to the pipe – perhaps it was added later. Regardless, I didn’t like it, as it detracted from the handsome wood. An attractive pipe was hidden under there and it was my job to find it.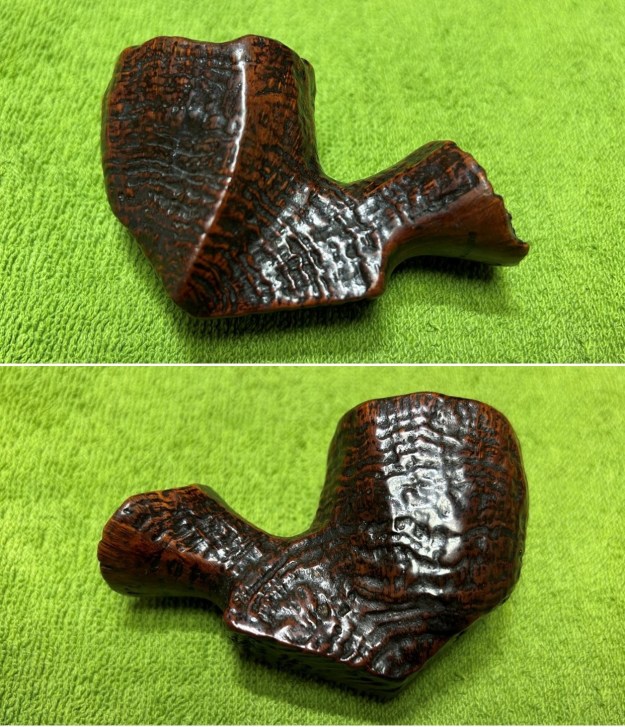
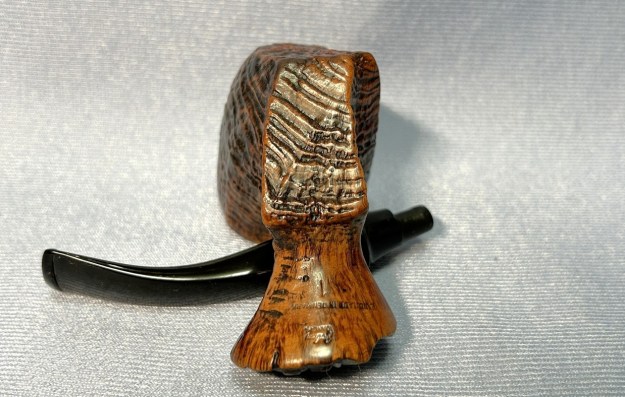
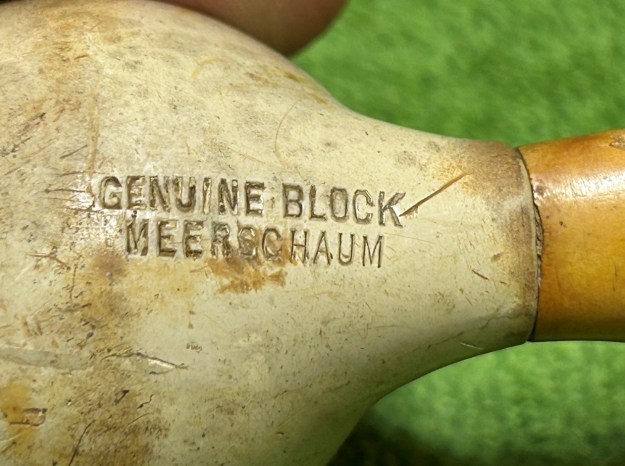
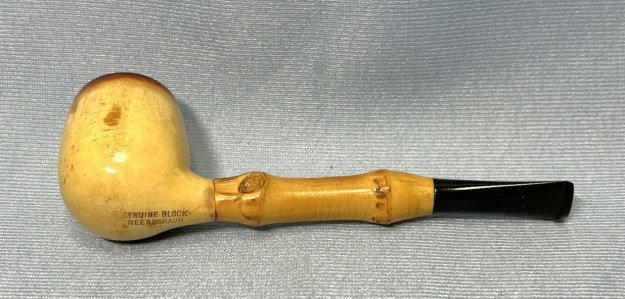
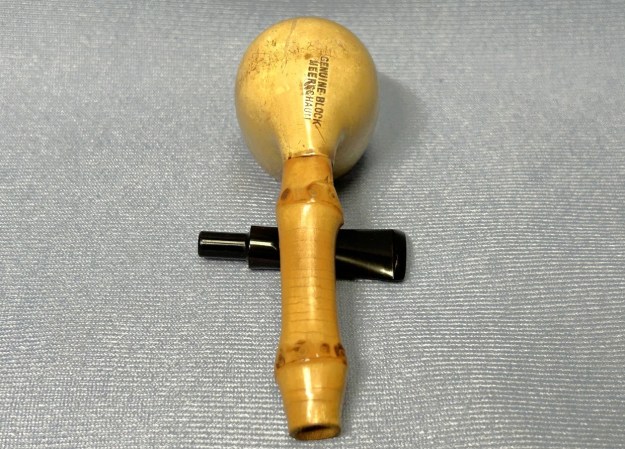
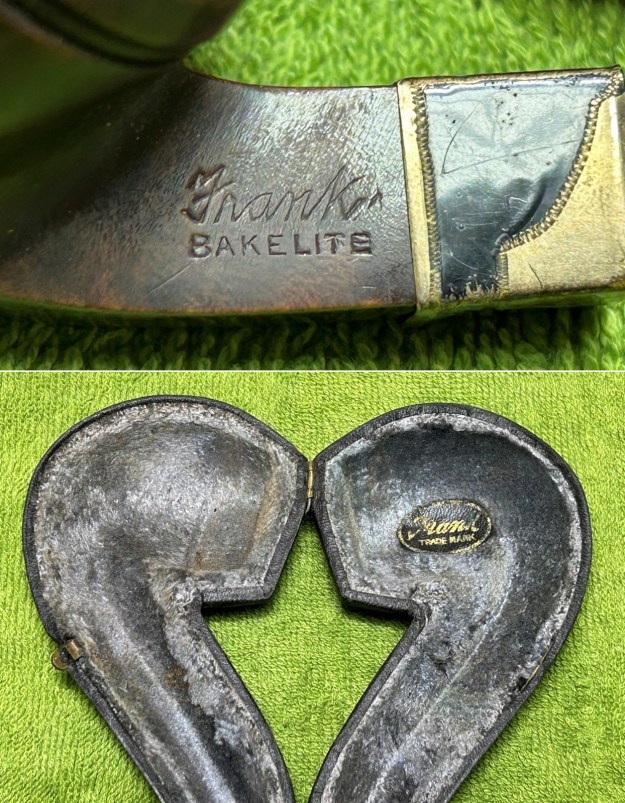
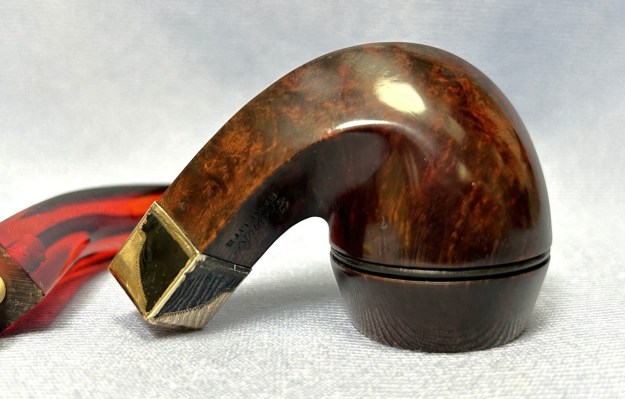
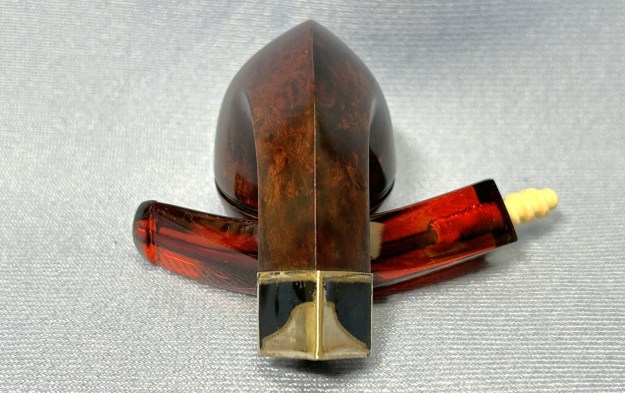
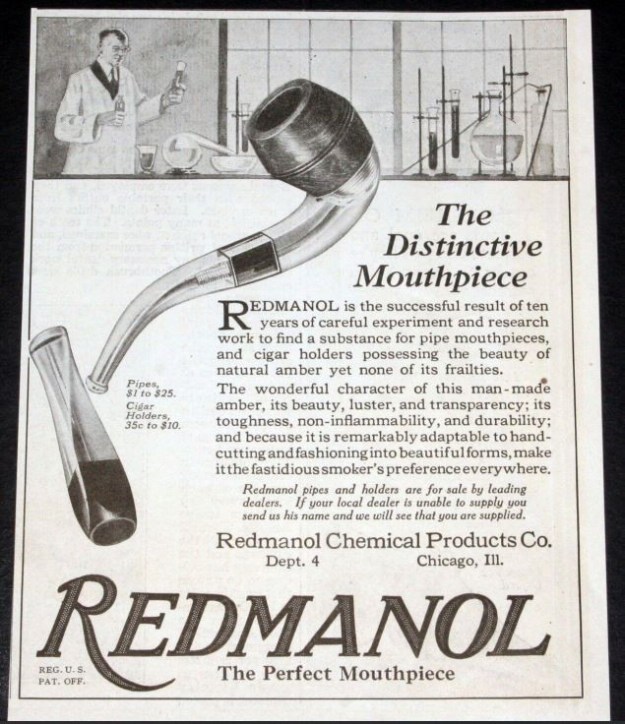
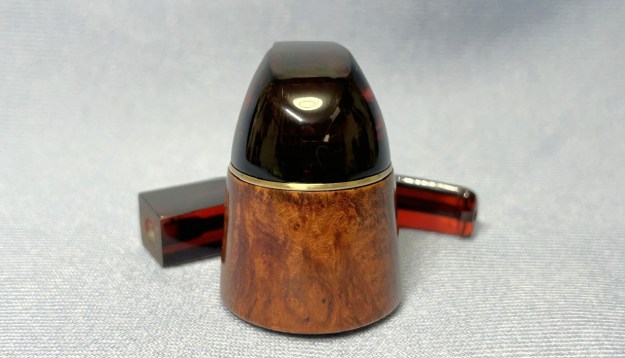
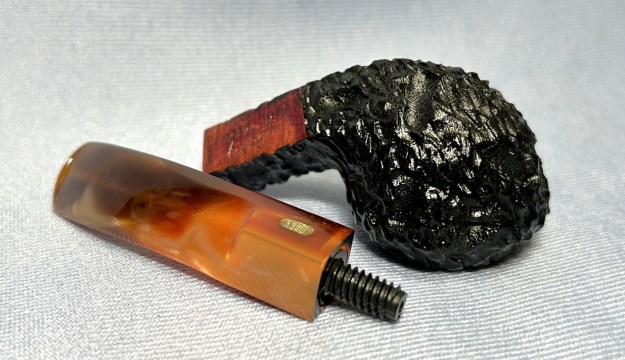
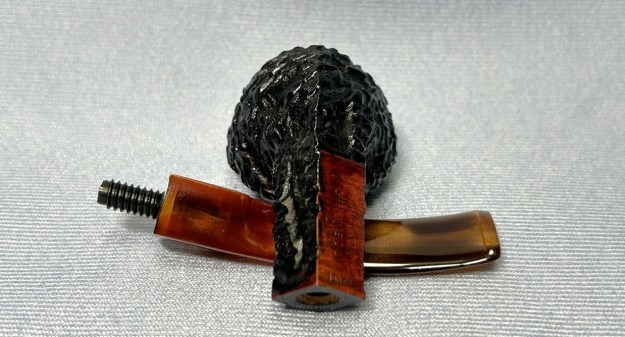
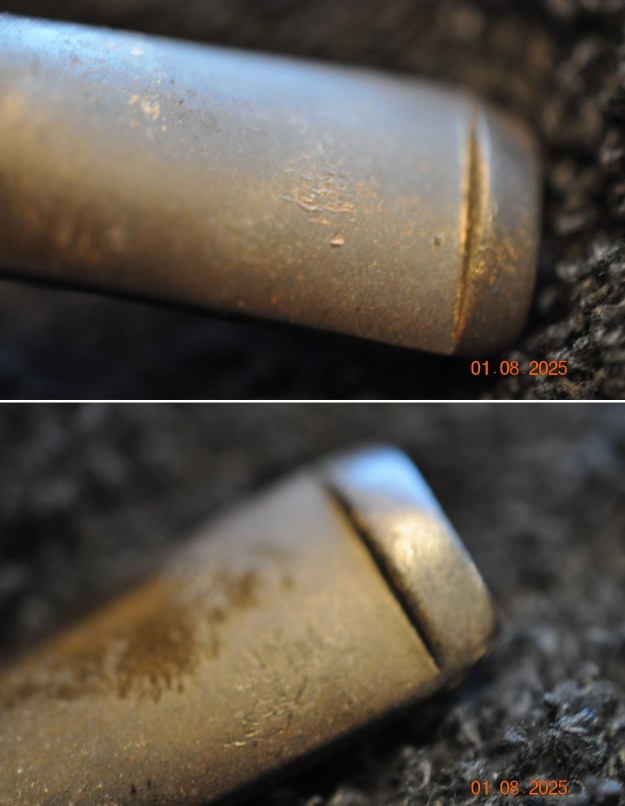
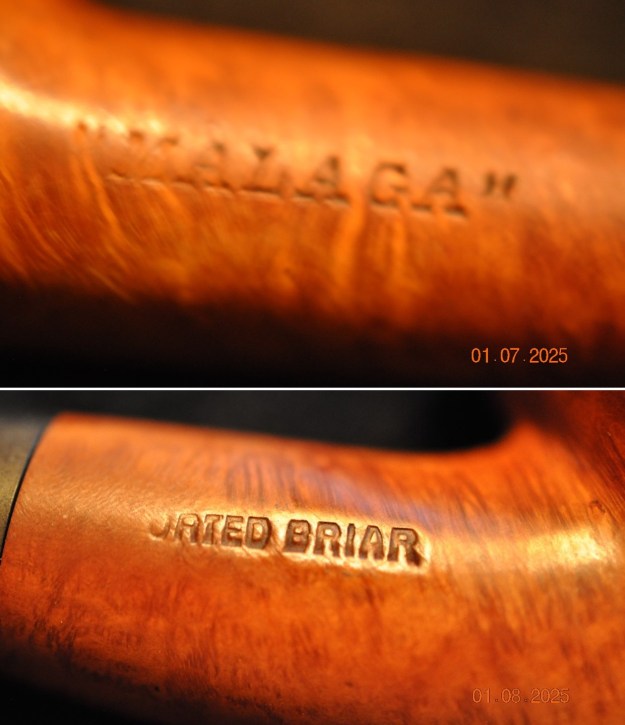
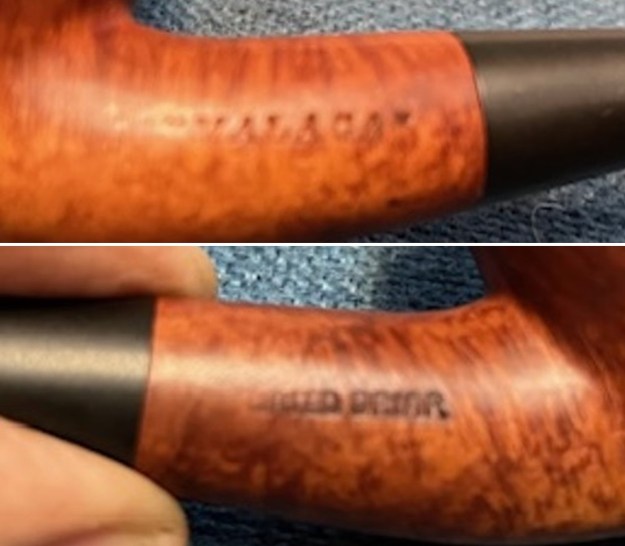
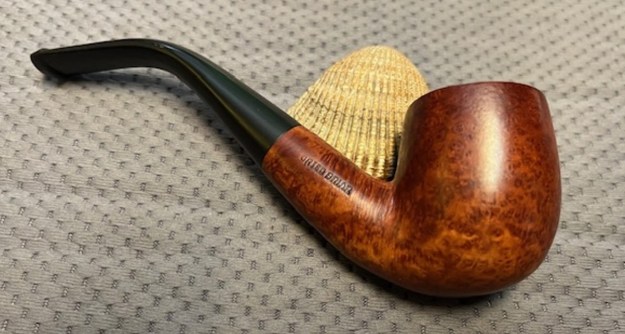
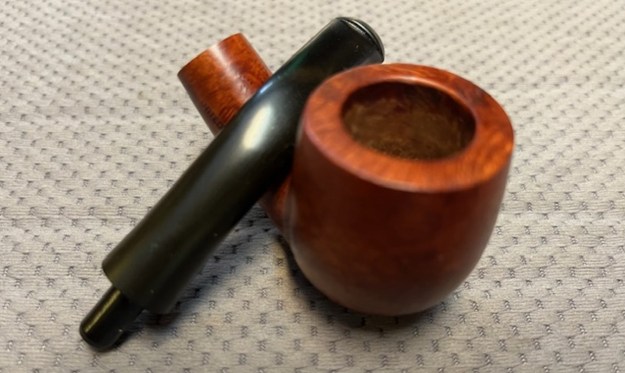
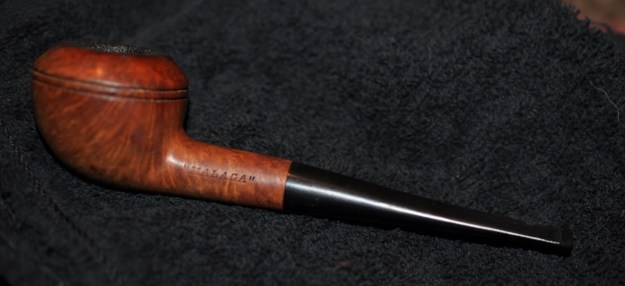
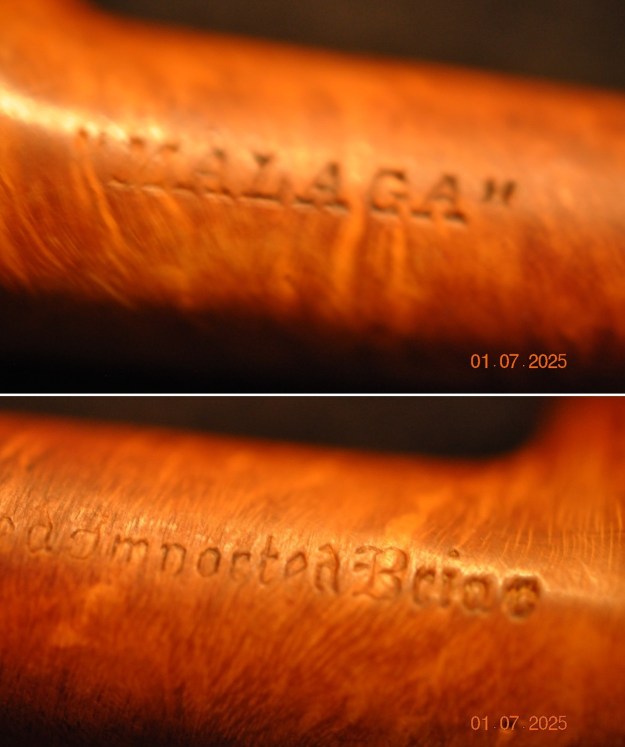
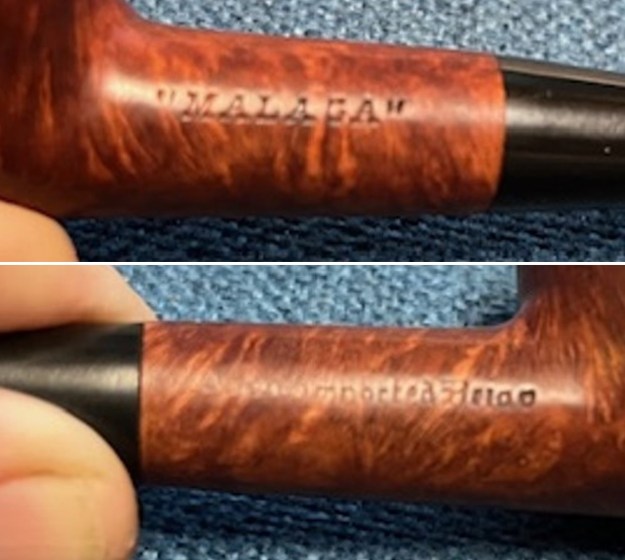
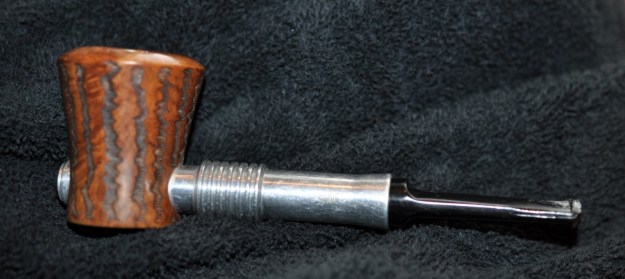
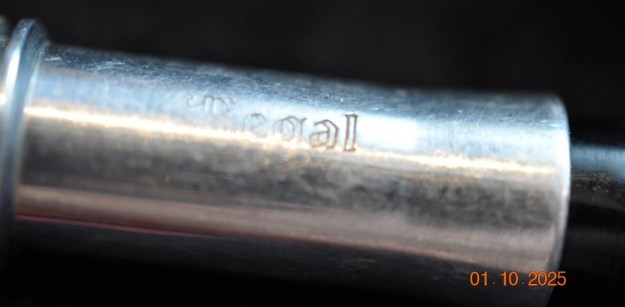
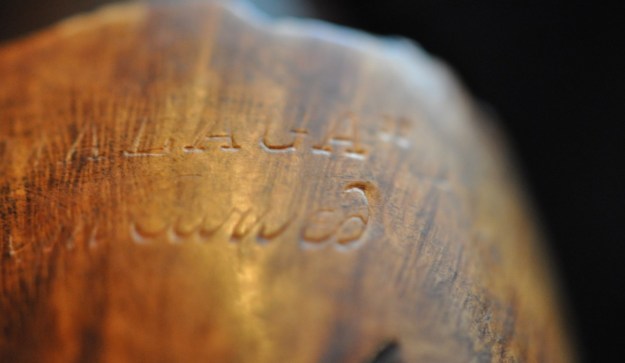
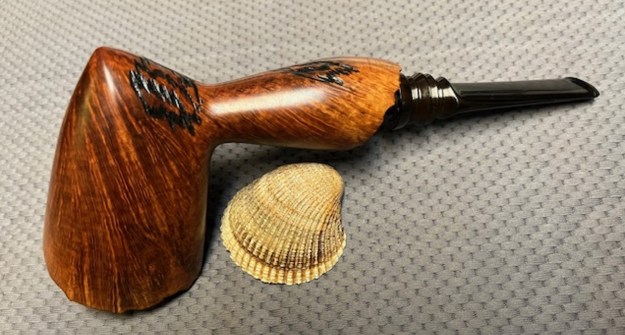
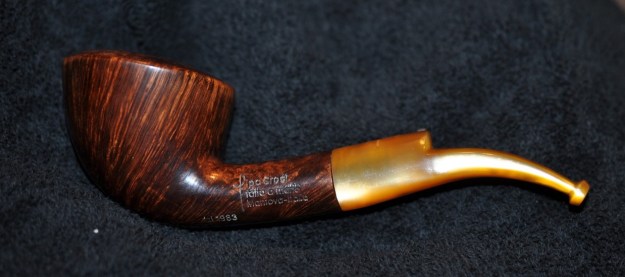
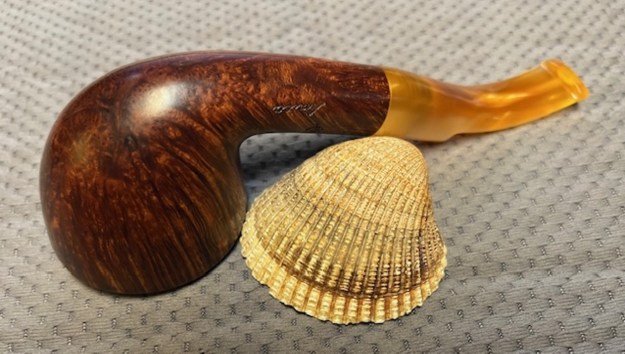
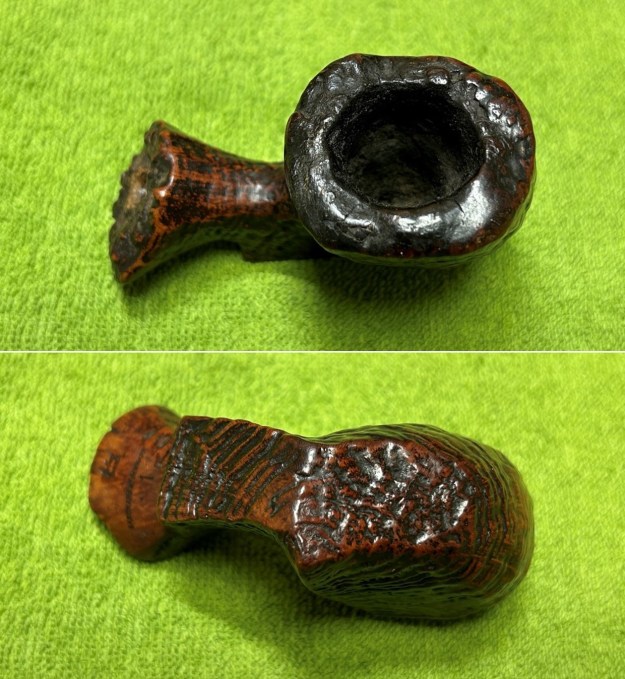 The markings on the pipe were clear enough. On the underside of the shank, read Jobey [over] Dansk [over] Handmade in Denmark [over] 1.
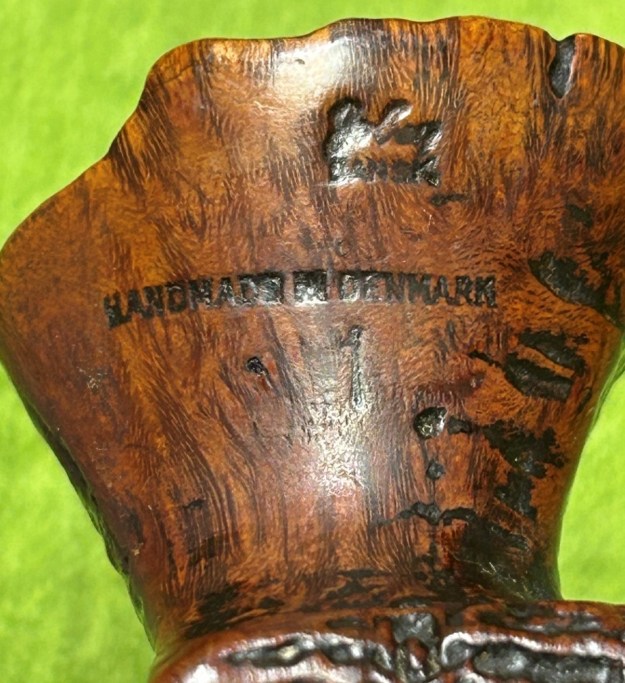 This was useful information, so I went looking into Jobey Dansk a bit more. Here is some of what Pipedia had to say:
Throughout decades Jobey pipes were mainly sold in the USA, Canada and England but remained almost unknown in continental Europe. The bulk of Jobeys were predominantly made according to classical patterns and mainly in the lower to middle price range. The predominant judgment of the pipe smokers reads: “A well made pipe for the price.” So there is hardly anything very special or exciting about Jobey pipes although a flyer from ca. 1970 assures: “The briar root Jobey insists upon for its peer of pipes is left untouched to grow, harden and sweeten for 100 years. […] Jobey uses only the heart of this century old briar and only one out of 500 bowls turned measures up to the rigid Jobey specifications.” 99.80% of cull… that makes the layman marveling! Yet then there are partially really exciting Freehands mainly in the seventies, that Jobey – Weber owned back then – bought from Danish pipe genius Karl Erik Ottendahl. These pipes were offered as Jobey Dansk – ’70’s pure! (BTW waning sales caused Ottendahl to discontinue exports to the United States in 1987.)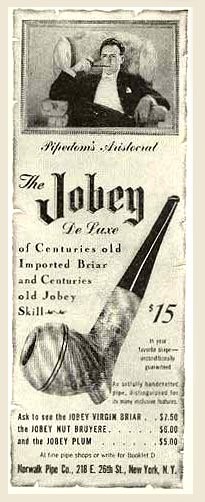 I read somewhere (can’t remember where) that the number on the shank indicates the grading. I wasn’t immediately sure if the ‘1’ on this pipe meant top of the line or bottom of the line. However, a page from an old 1979 Jobey catalogue provided the answer:
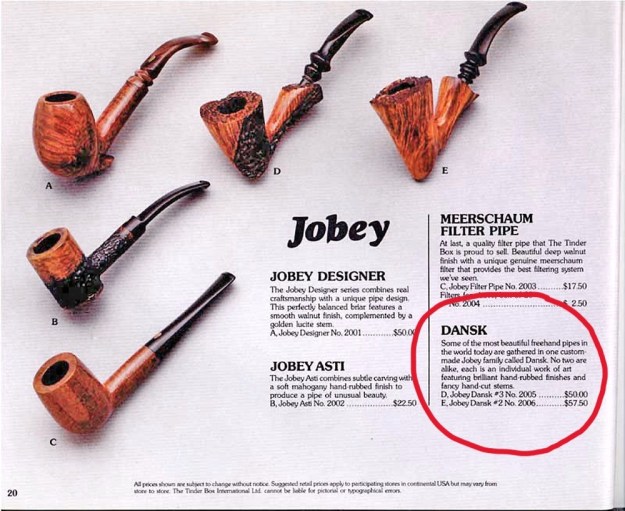 Here, you can see that the #2 is more expensive than the #3, which leads me to conclude that the #1 would be more expensive again. So, this would appear to be a top-of-the-line Jobey Dansk freehand. Excellent!
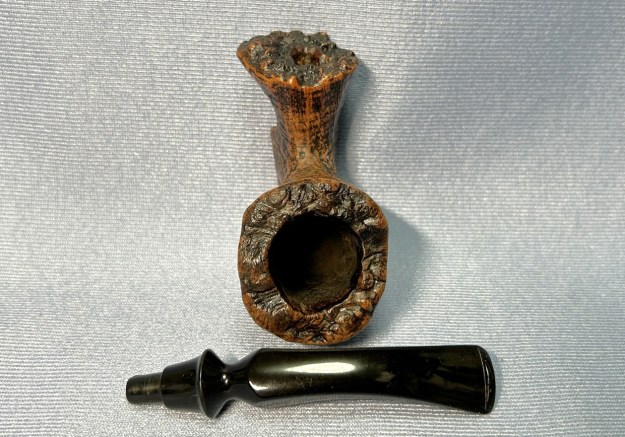
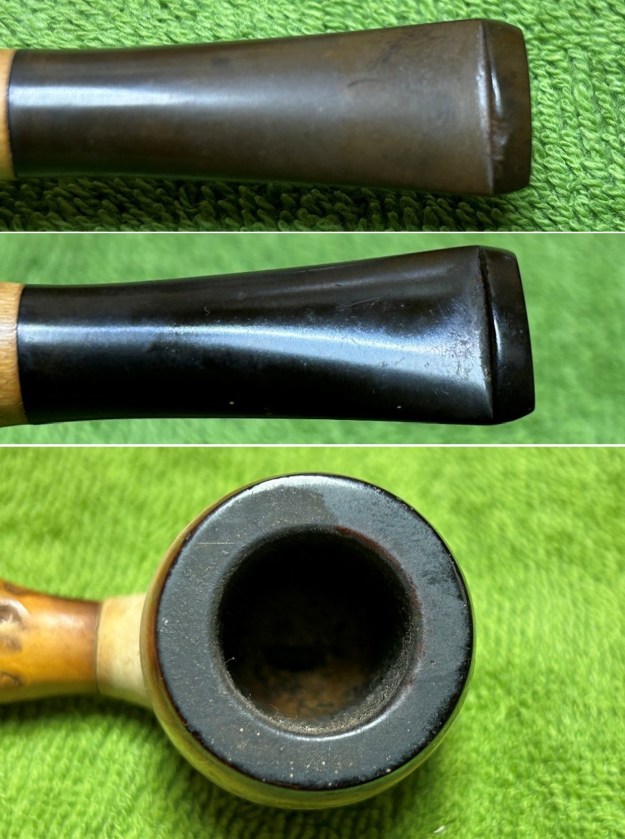
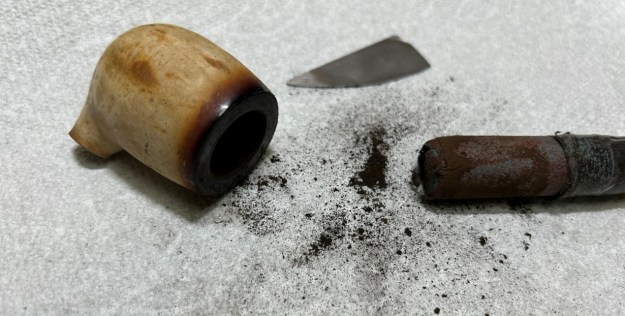
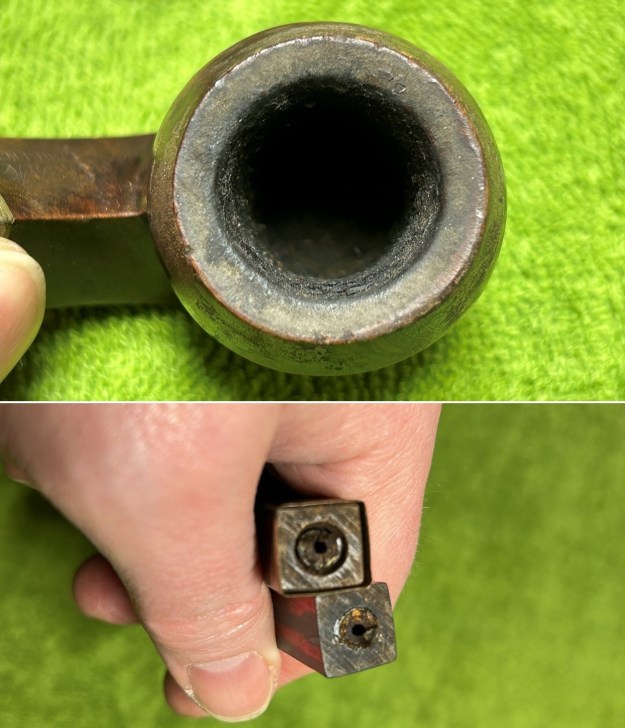
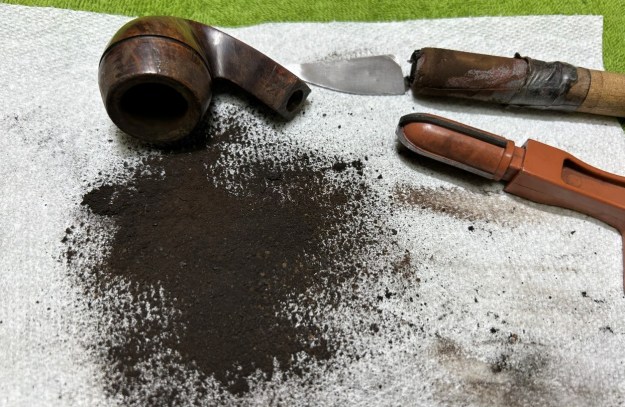
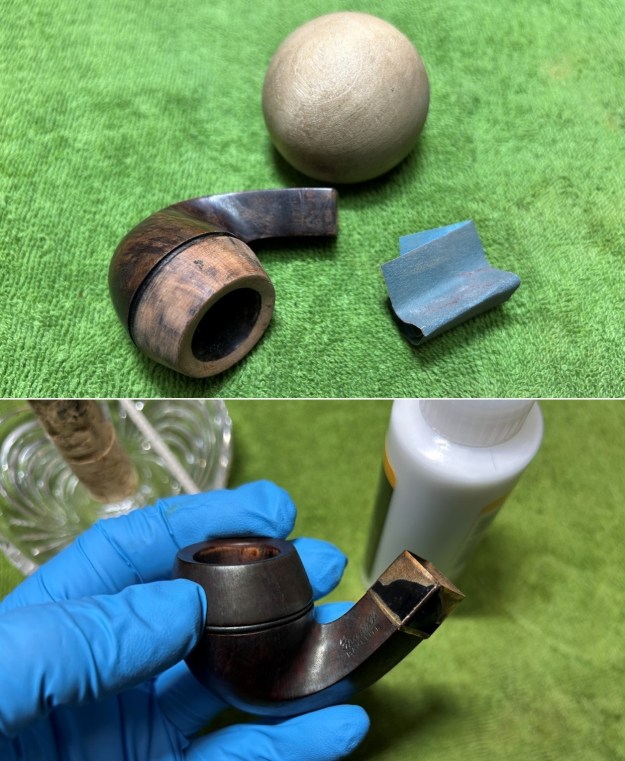
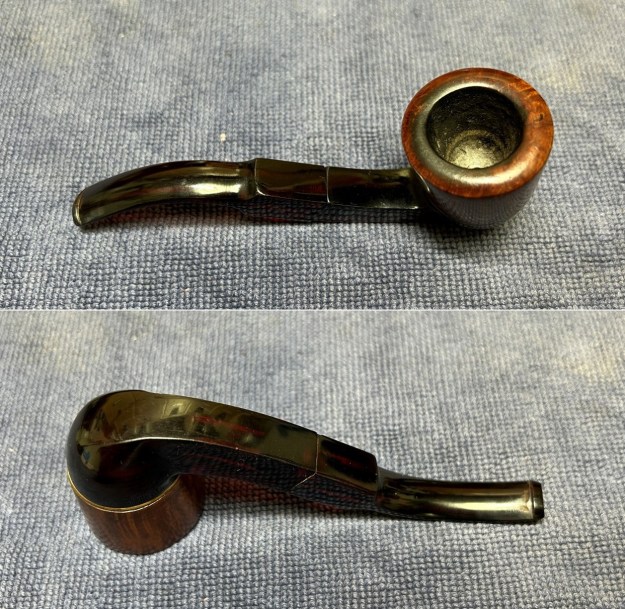
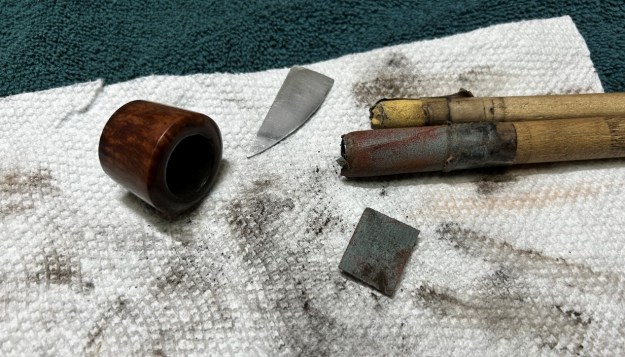
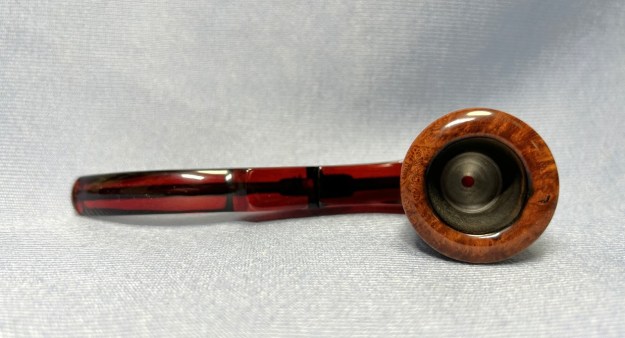
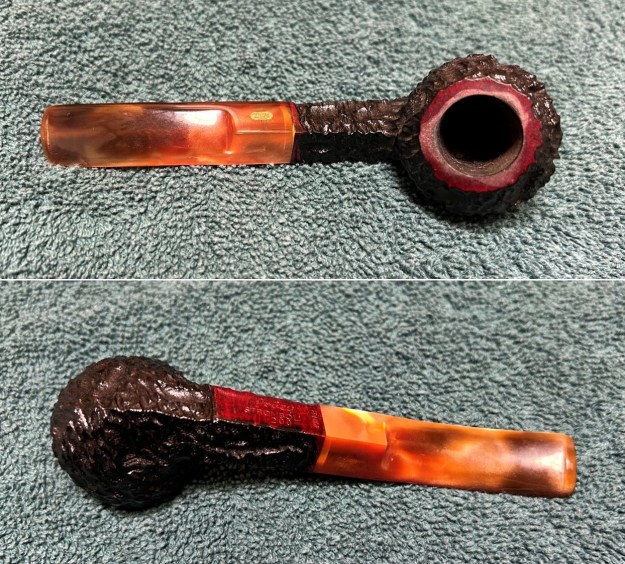
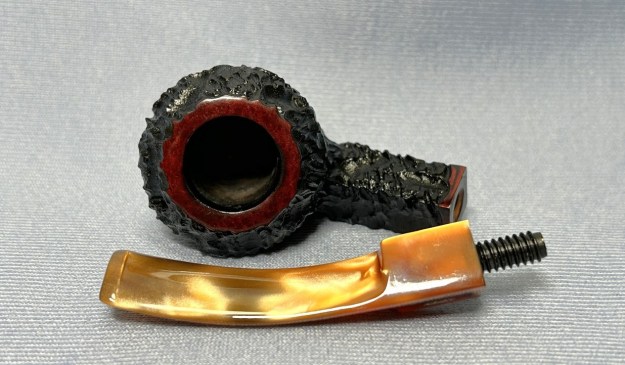
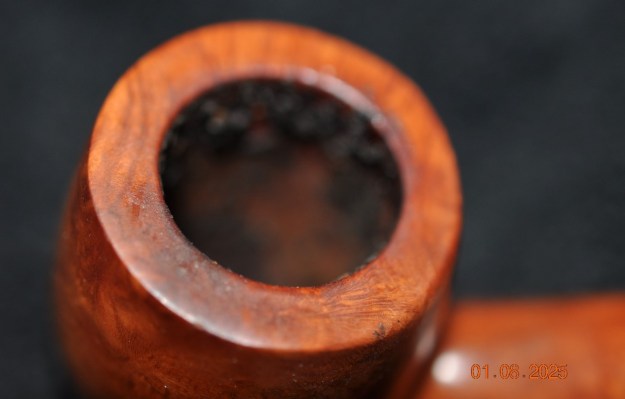
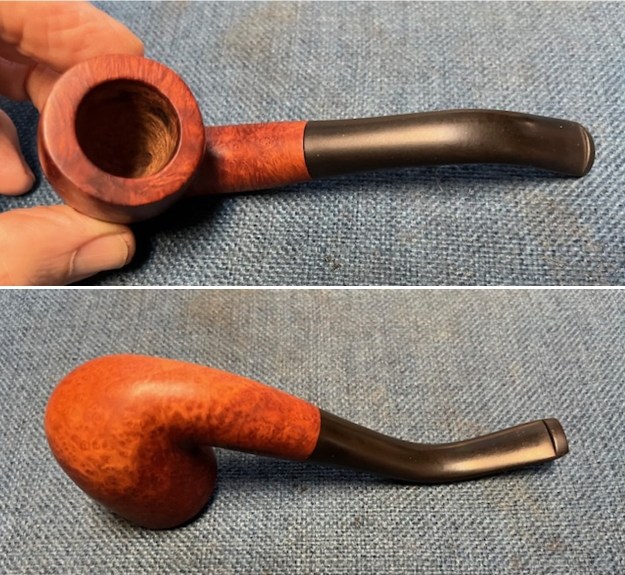
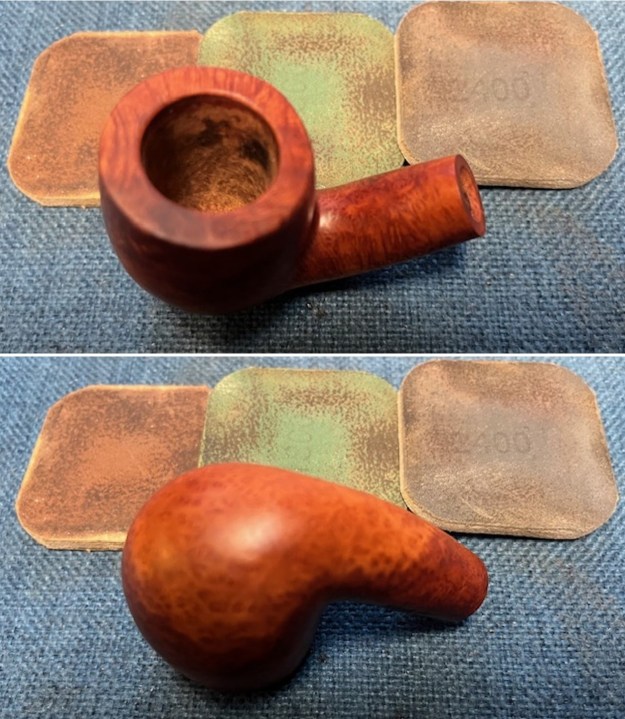
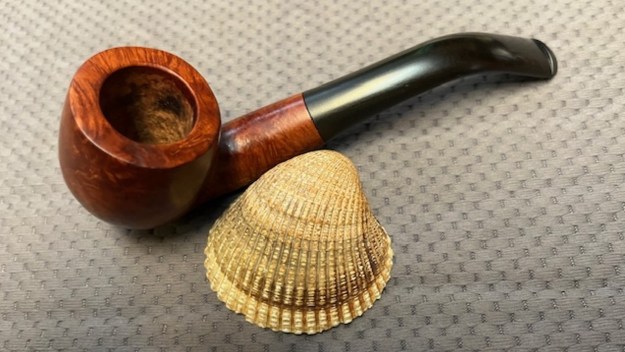
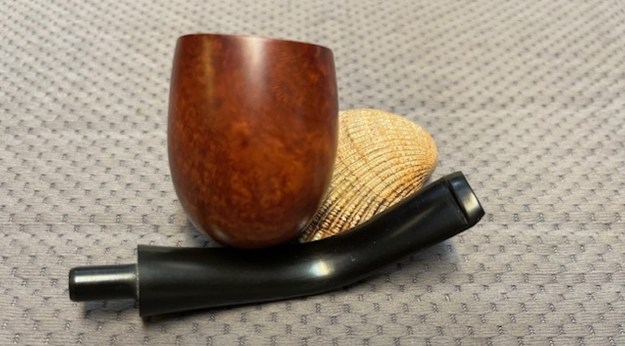
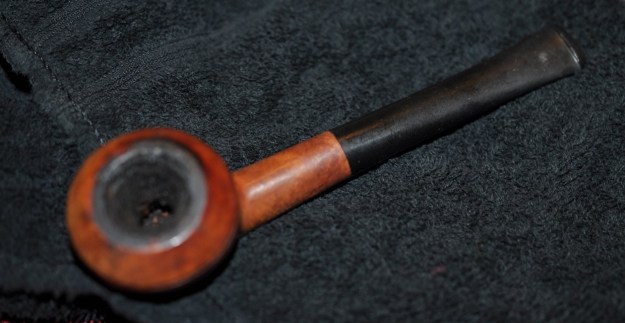
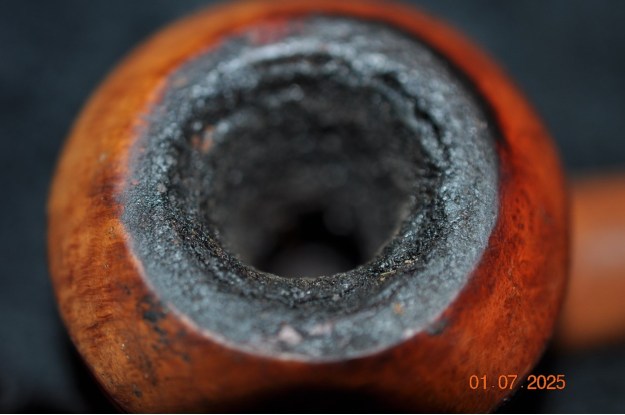
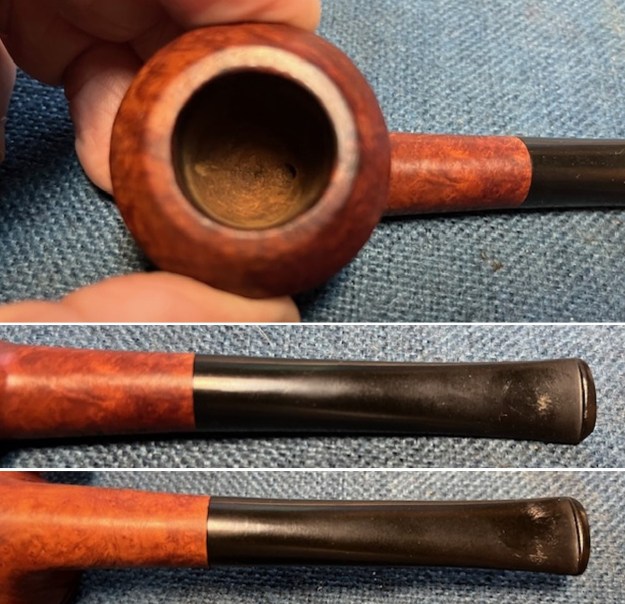
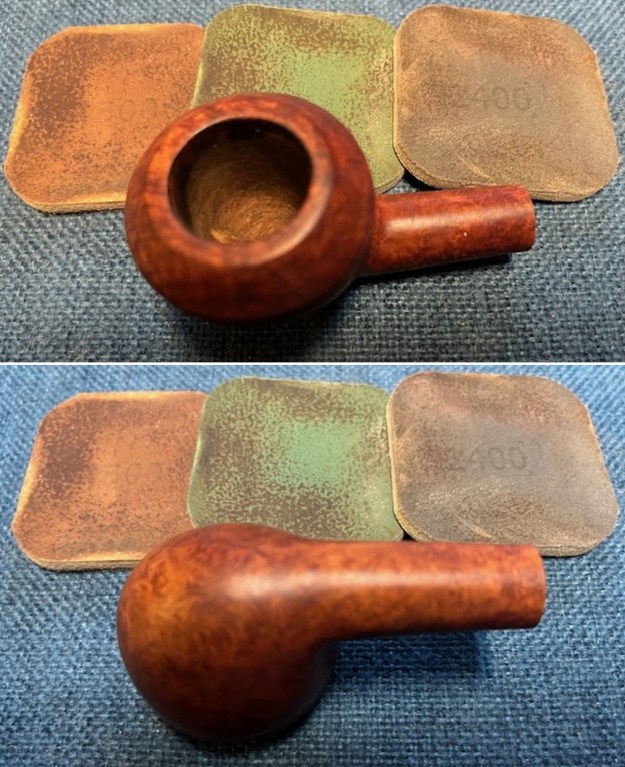
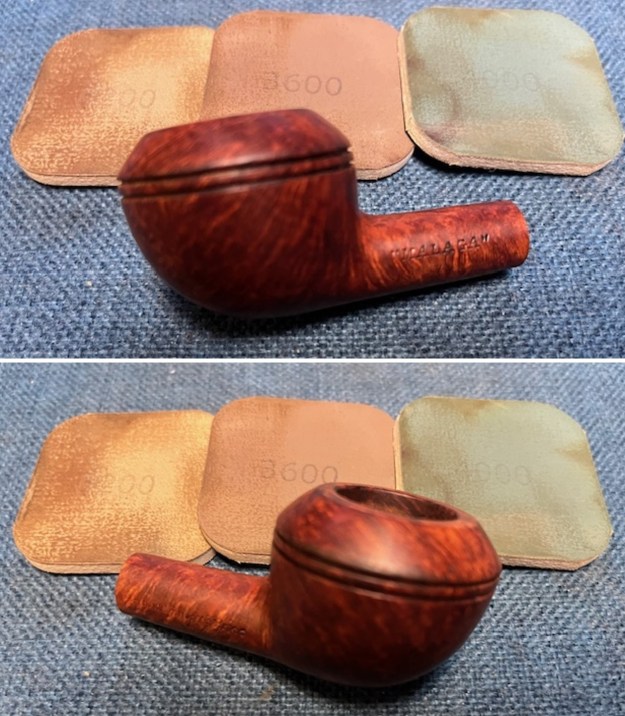
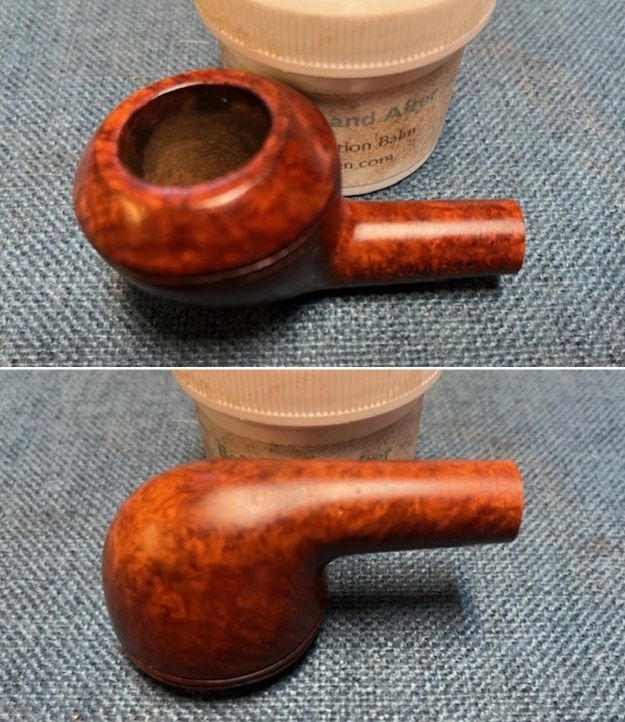
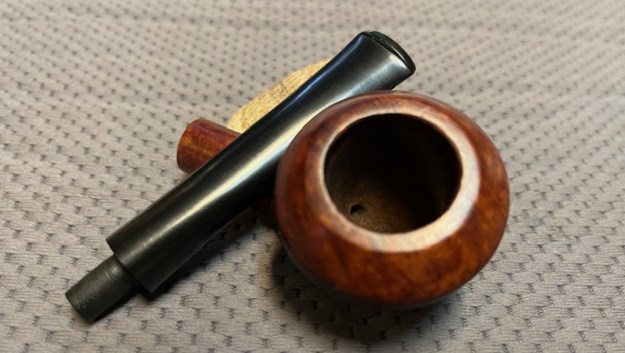
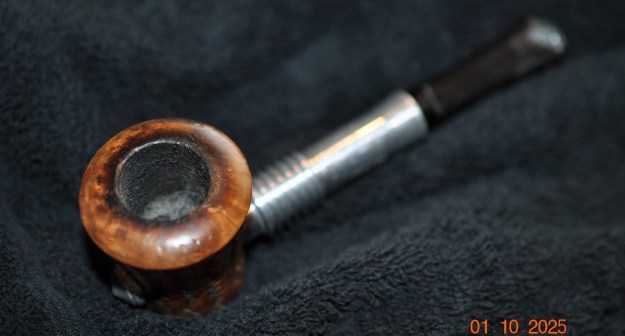
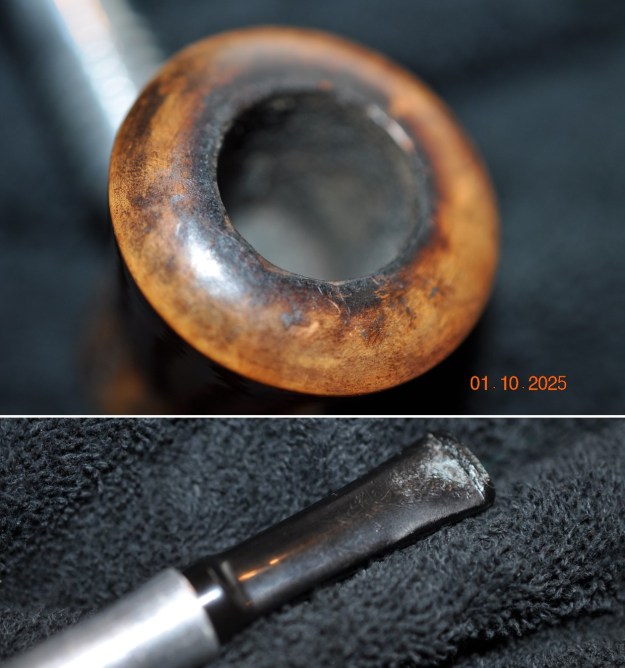
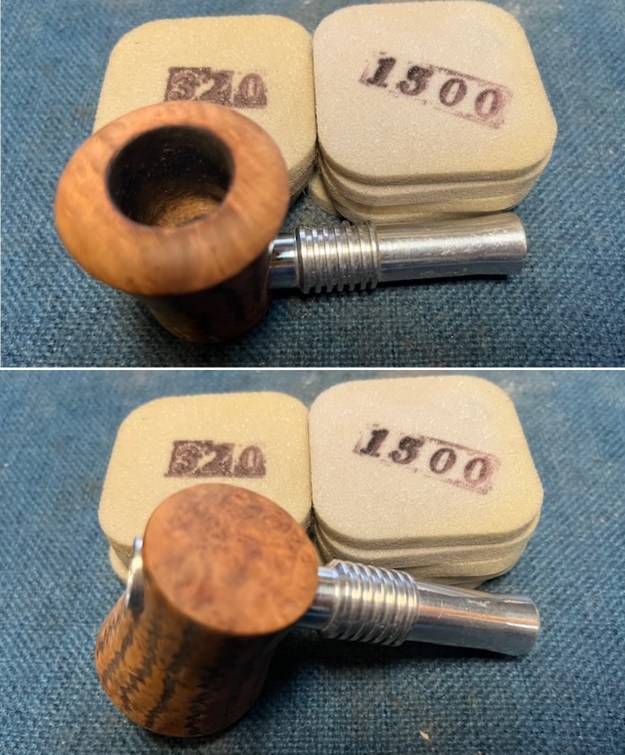
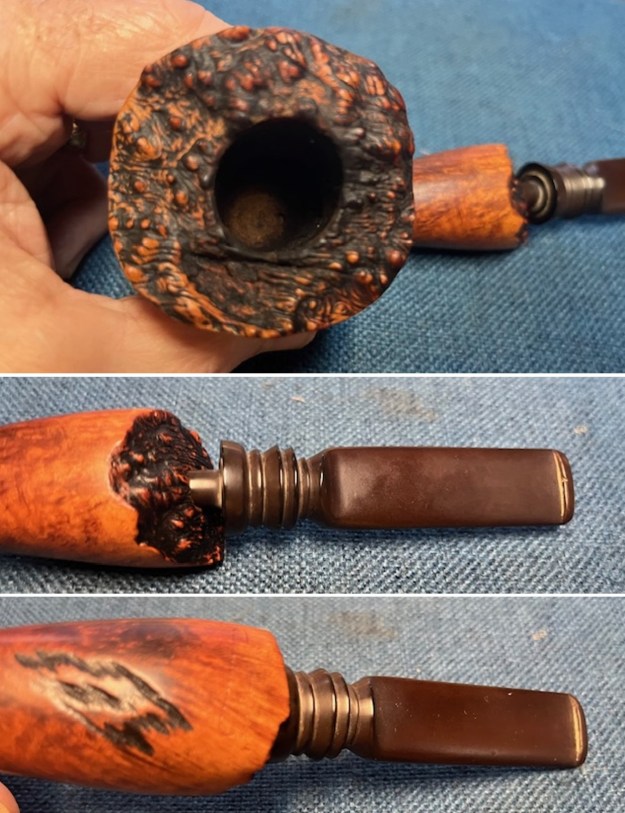
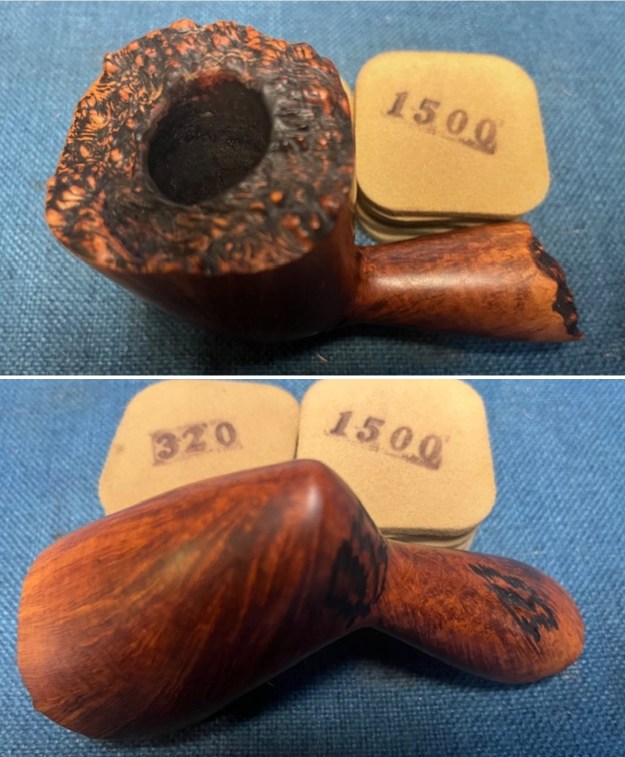
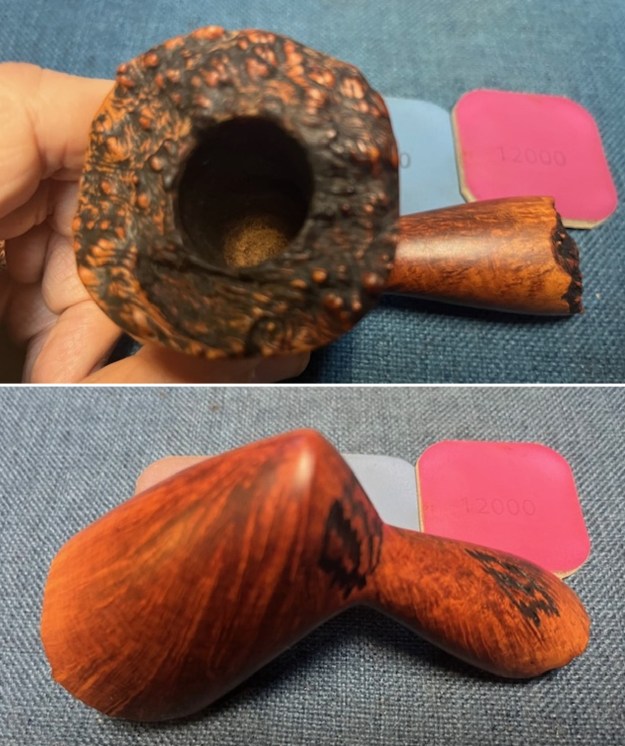
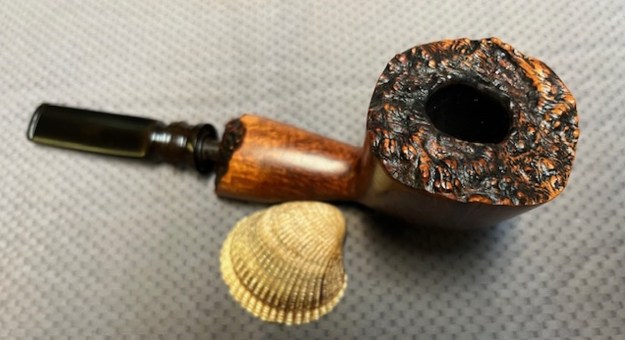
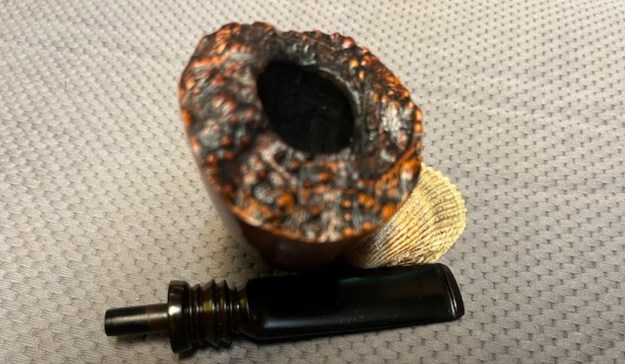
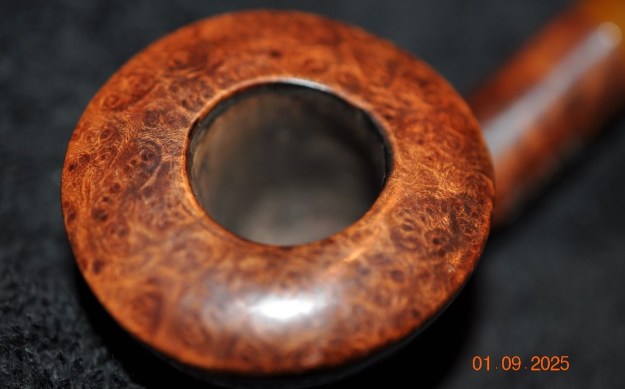
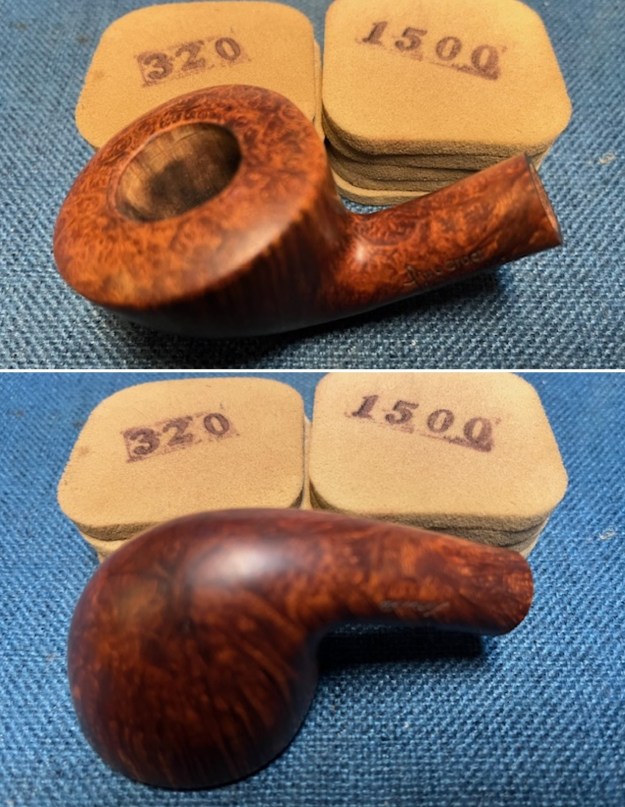
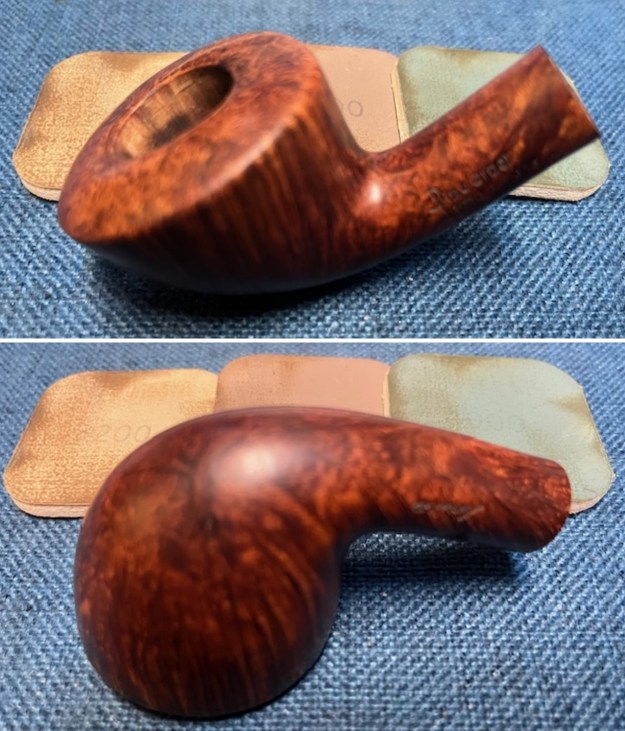
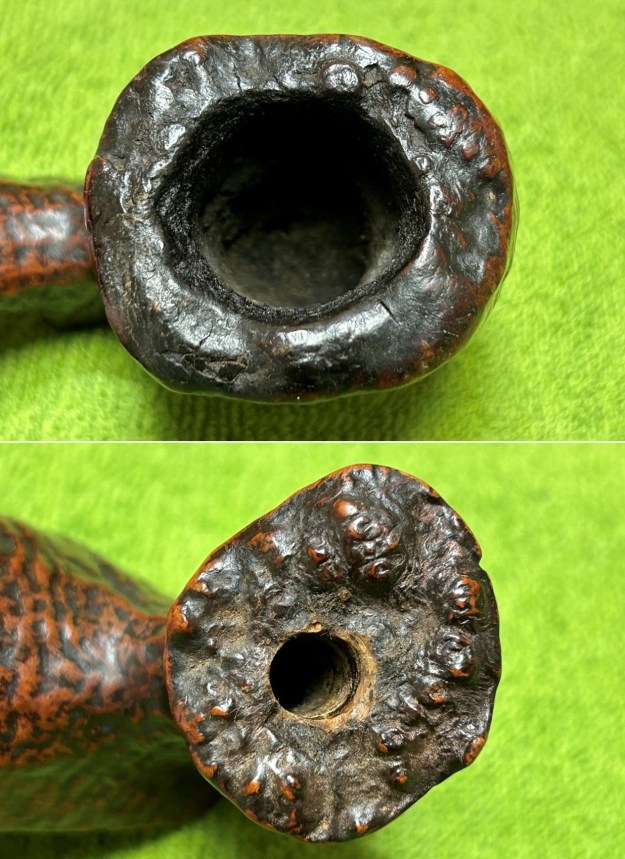 I began with the stummel. The first step was to ream out the bowl – that is to say, remove all the cake inside the bowl. This accomplished a couple of things. First (and most obviously), it cleaned the bowl and provided a refurbished chamber for future smoking. Second, when the old cake was removed, I could inspect the interior walls of the bowl and determine if there was damage or not. I used a reamer, a pipe knife, and a piece of sandpaper taped to a wooden dowel. Collectively, these ensured that all the debris was removed. The photo doesn’t quite communicate it, but there was an incredible amount of cake inside this pipe. Took ages to clean out.
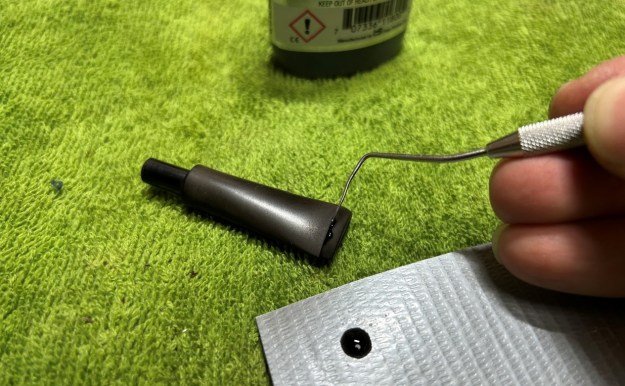
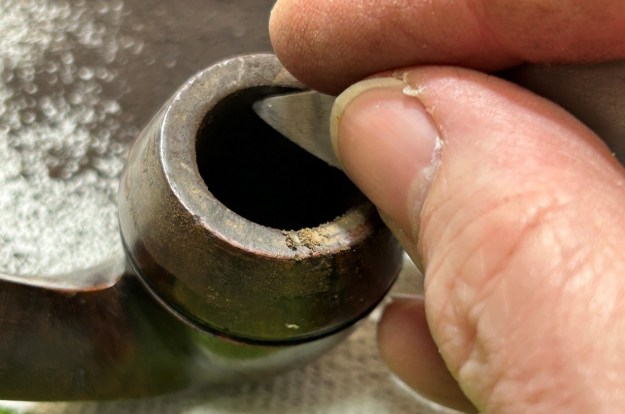
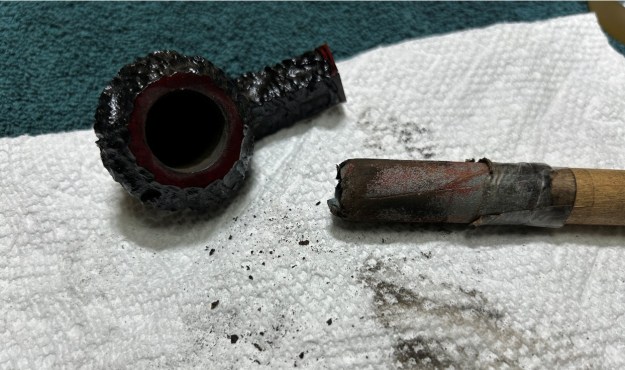
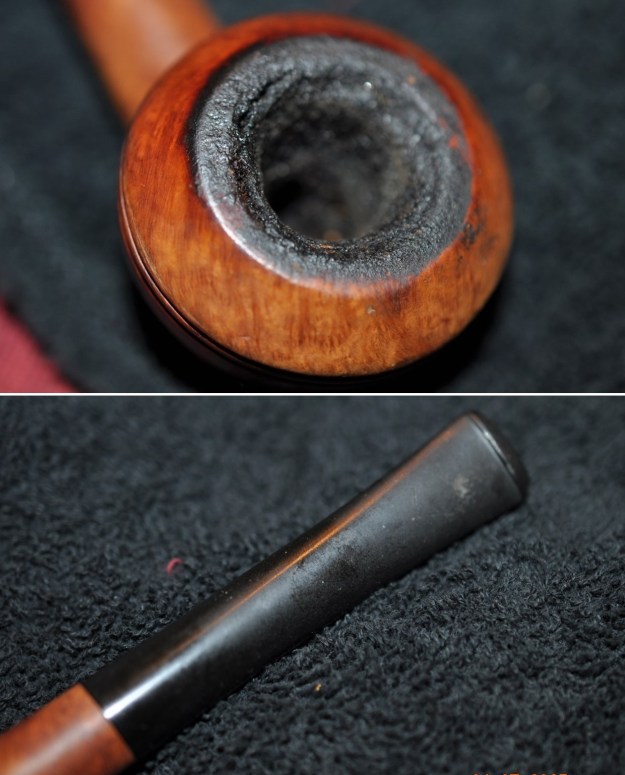
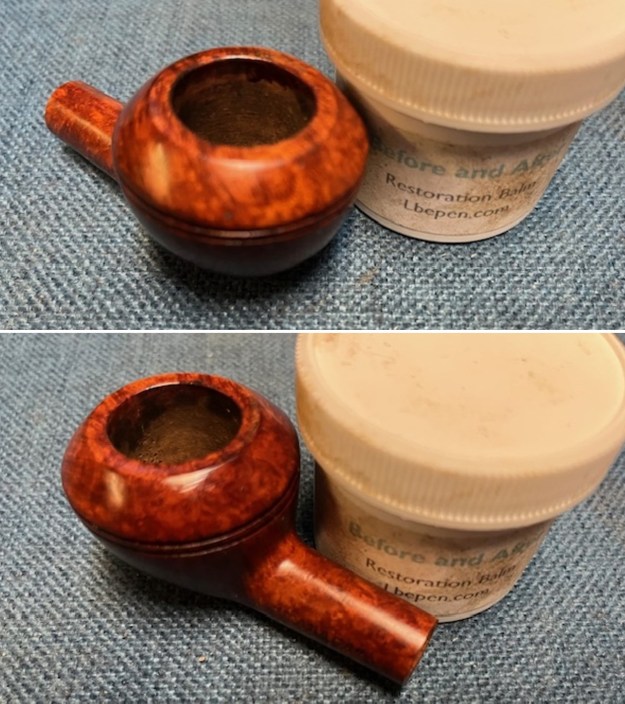
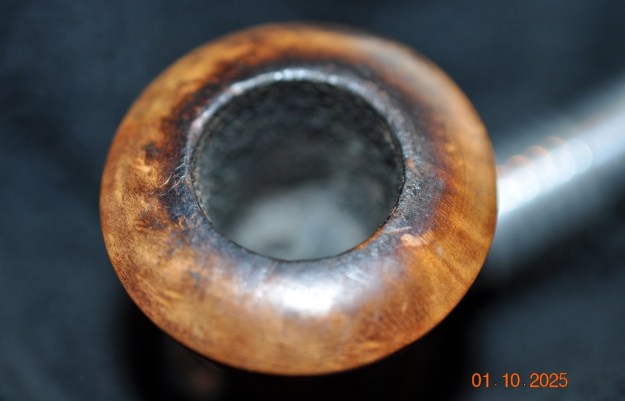
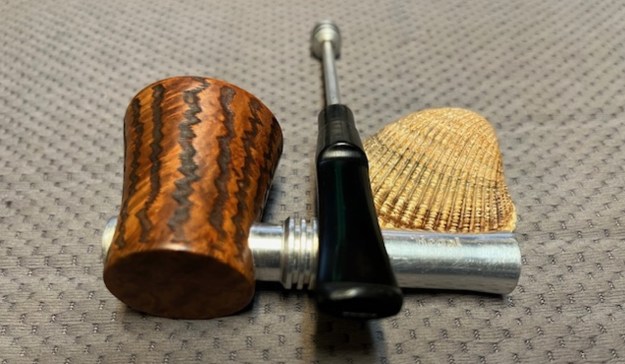
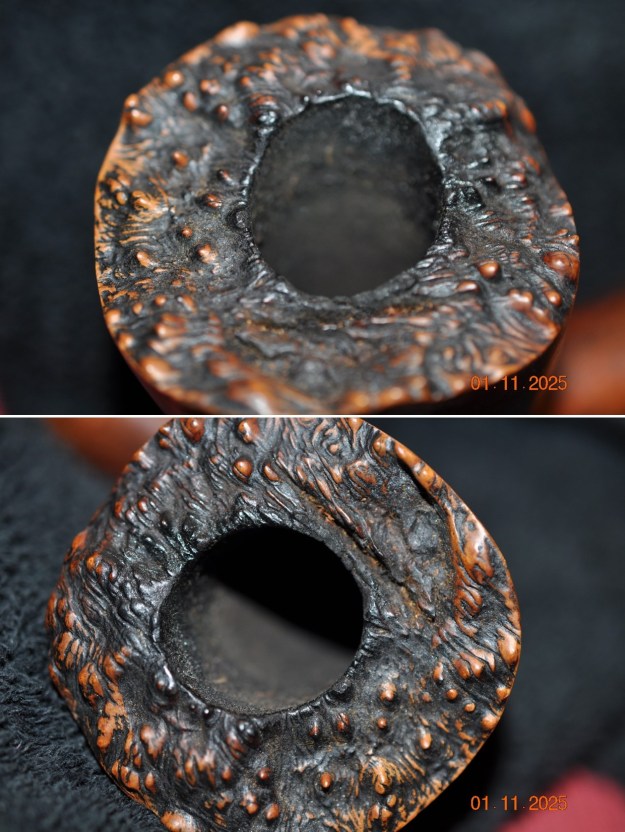
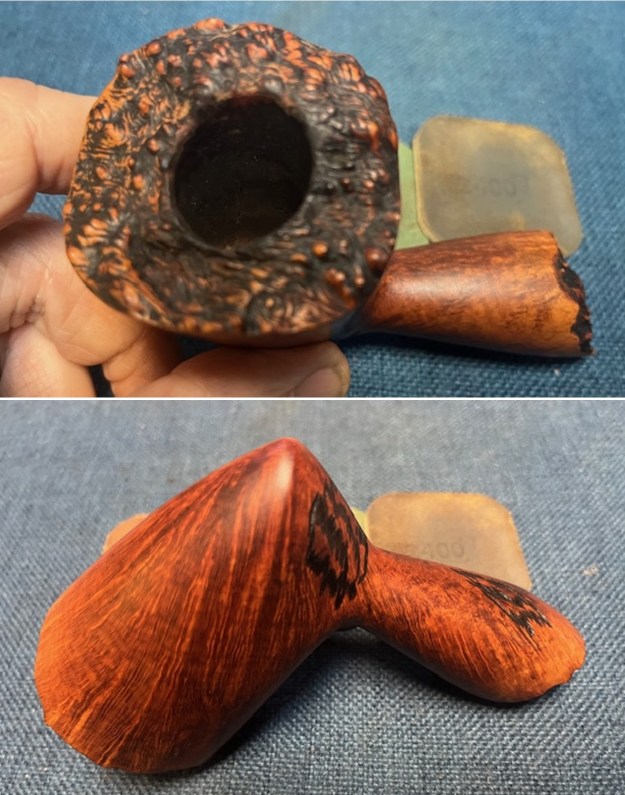
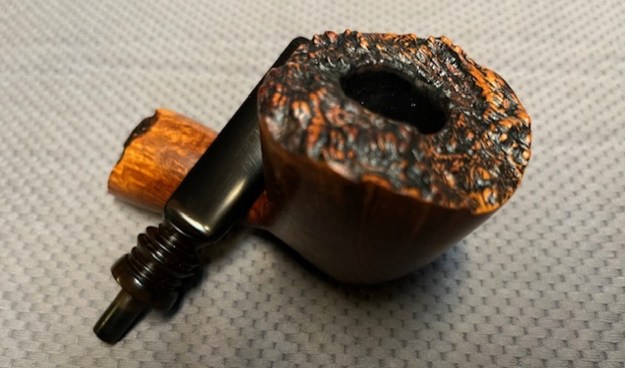
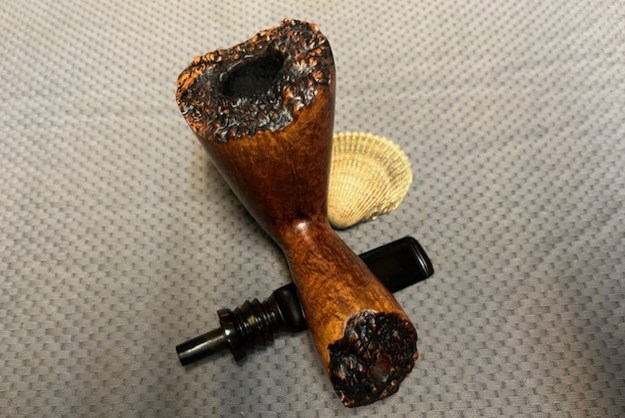
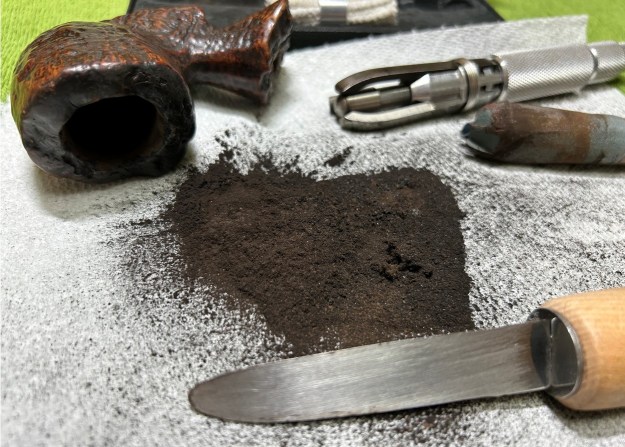 My next step was to remove the lava on the rim – and, boy, there was a lot. For this, I took a piece of machine steel and gently dug away at the lava. The metal’s edge is sharp enough to remove what I need, but not so sharp that it damages the rim. Quite frankly, this was insufficient, as there was just too much stuff here.
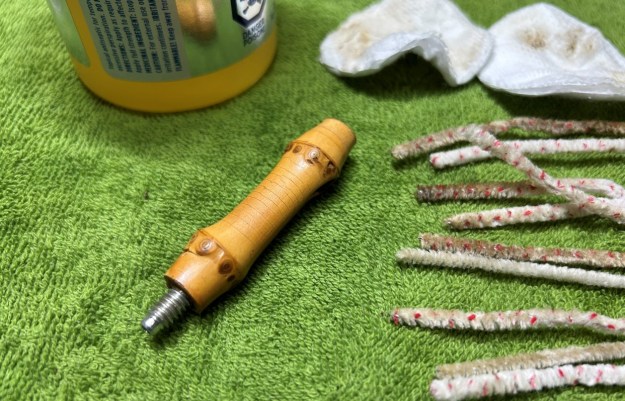
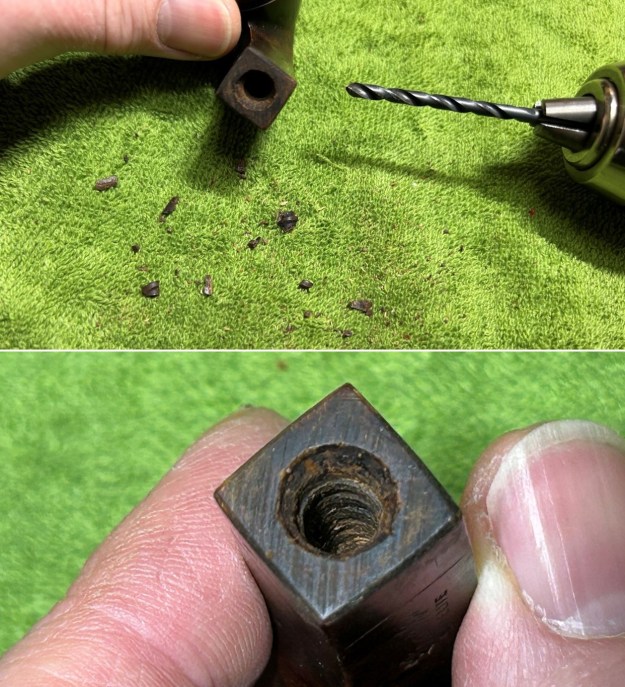
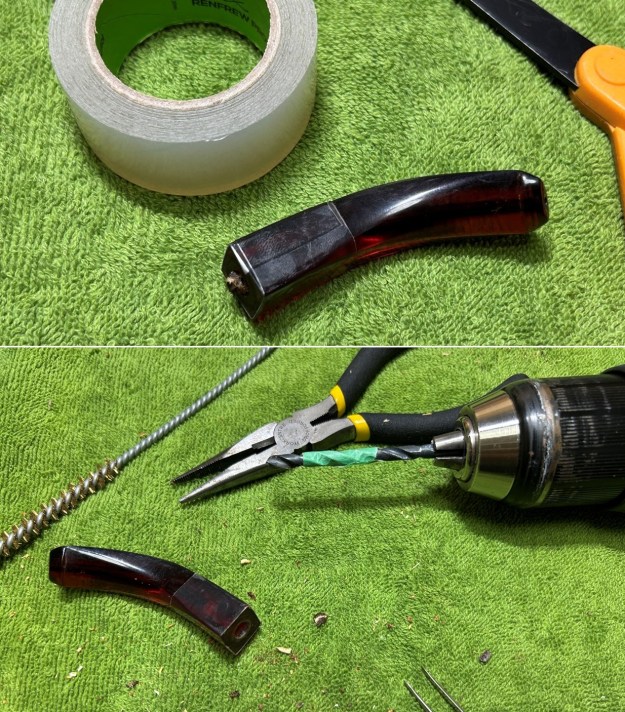
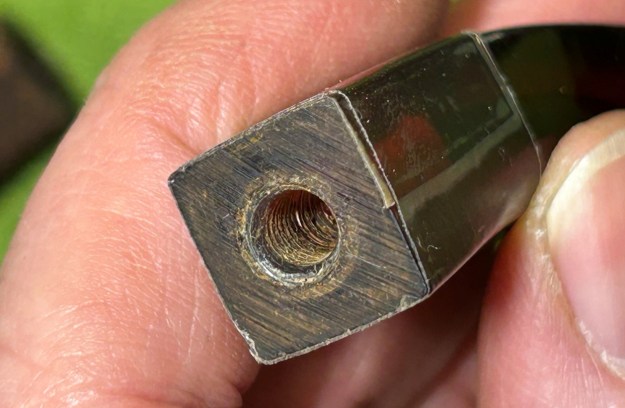
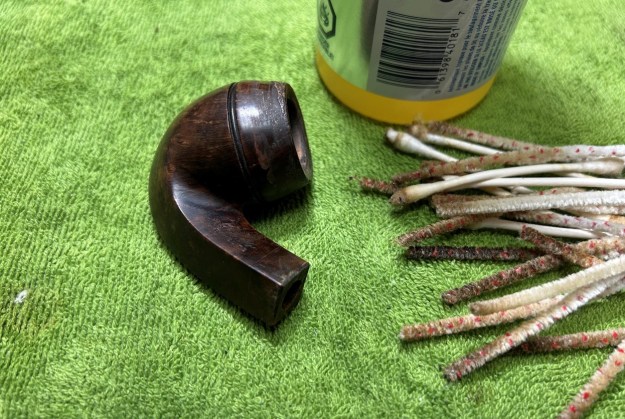
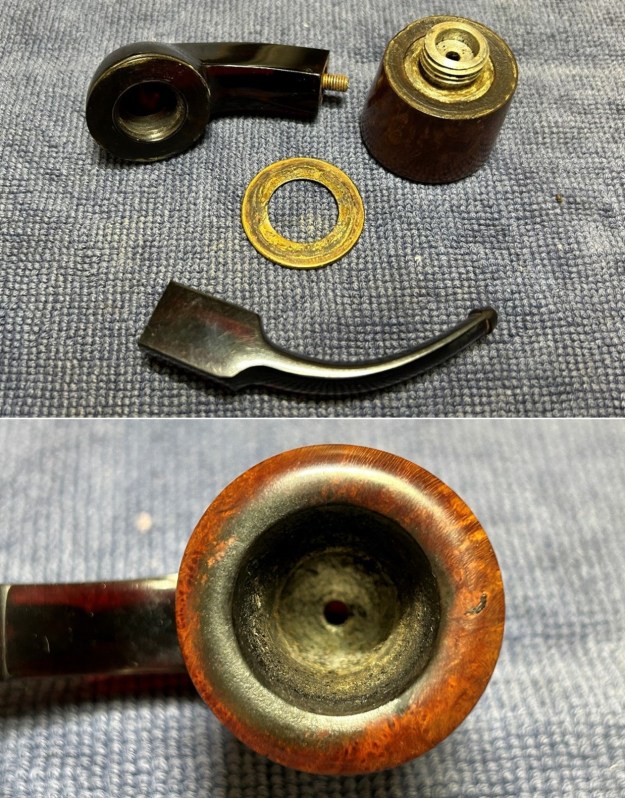
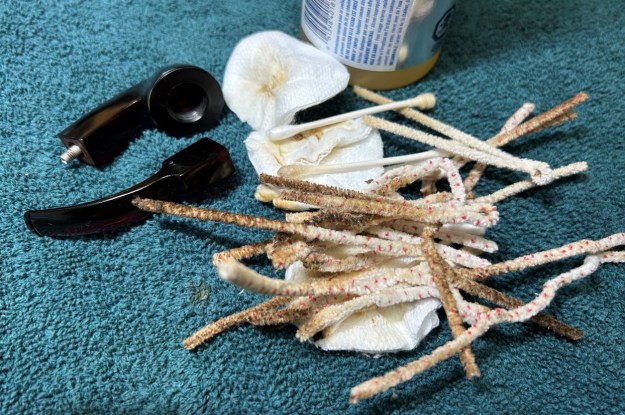
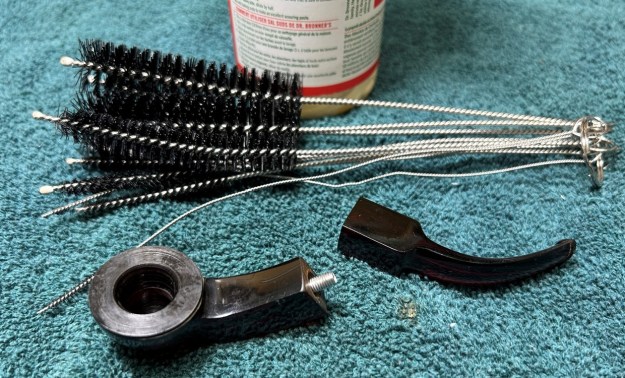
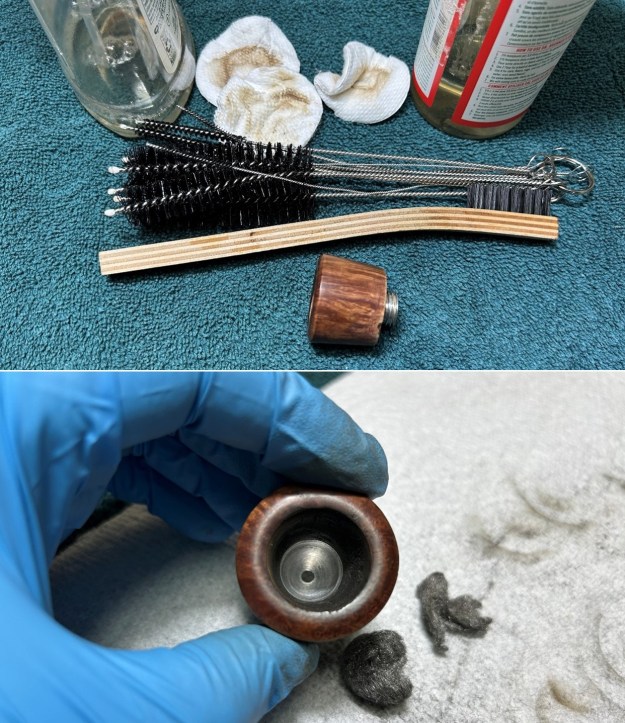
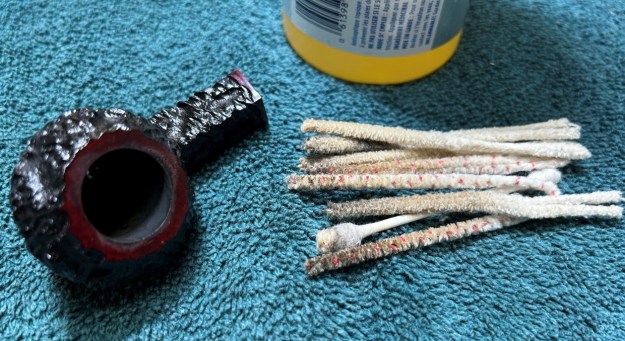
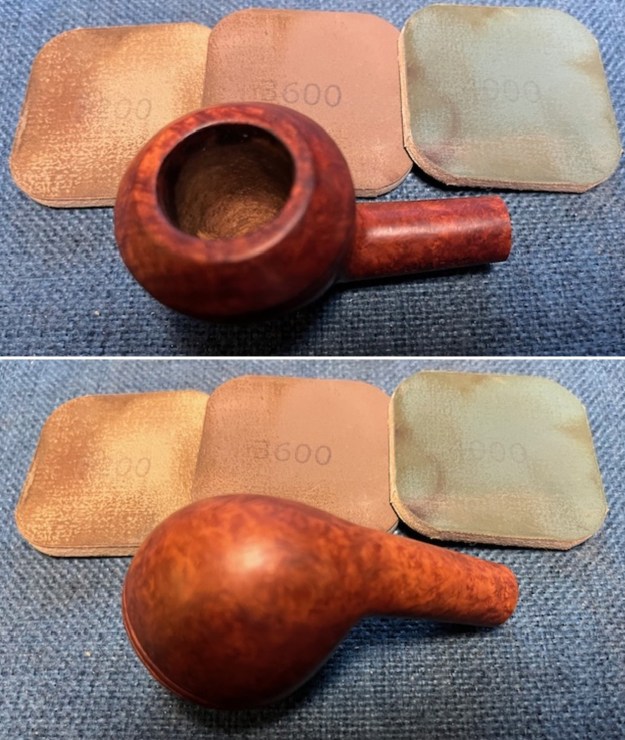
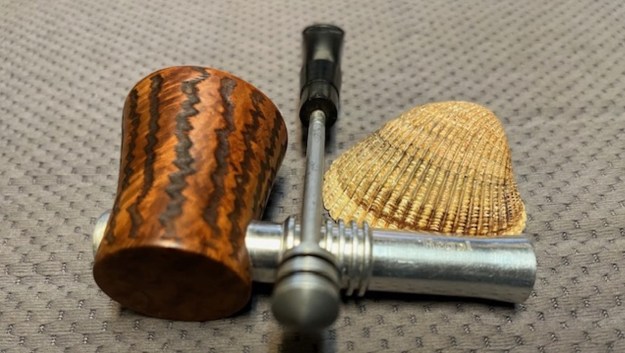
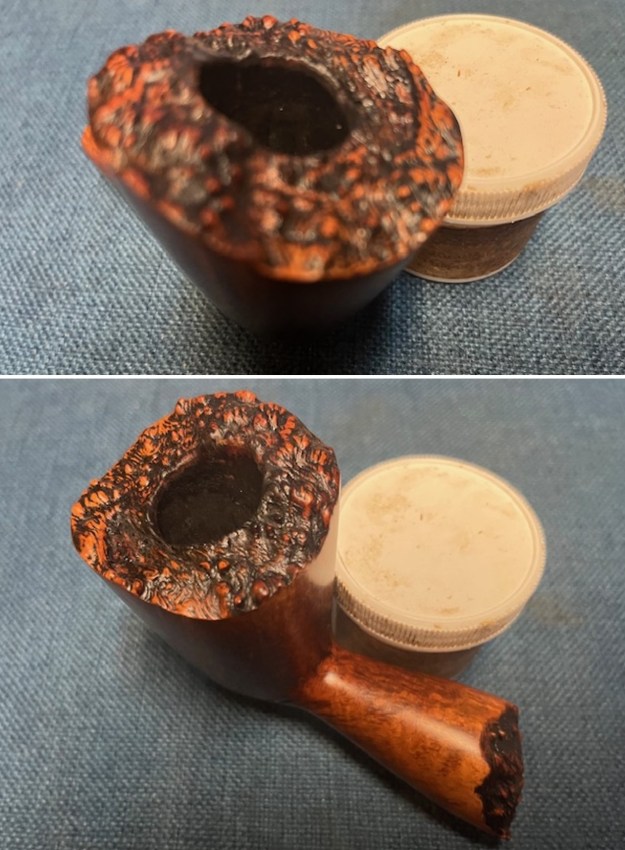
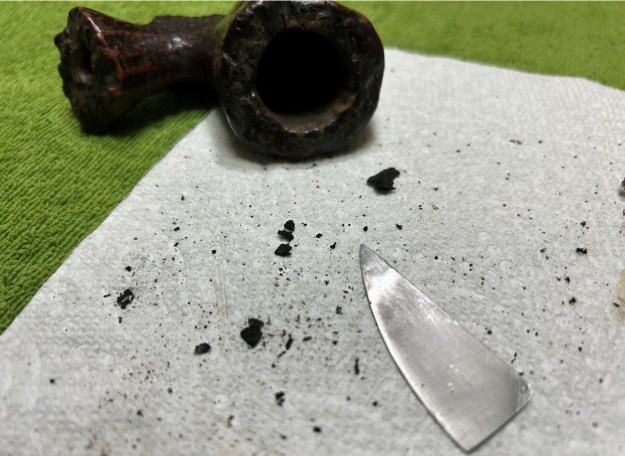 The inside of the stummel needed to be cleaned thoroughly. However, this pipe was so clogged, that I first needed to open the horribly occluded airway. So, I took a long drill bit, held in a drill chuck, and hand-cranked it to dislodge the dreadful detritus inside. Hand cranking is essential because it provides a precision and caution that a power drill cannot provide. I then cleaned the stummel with both pipe cleaners and cotton swabs dipped in lemon-infused 99% isopropyl alcohol. With a pipe this dirty, it took quite a while and much cotton to get clean.
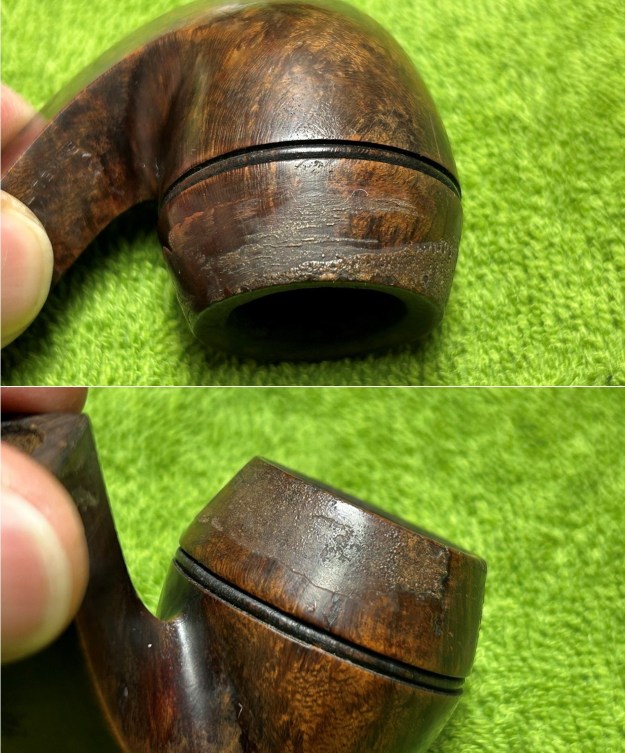
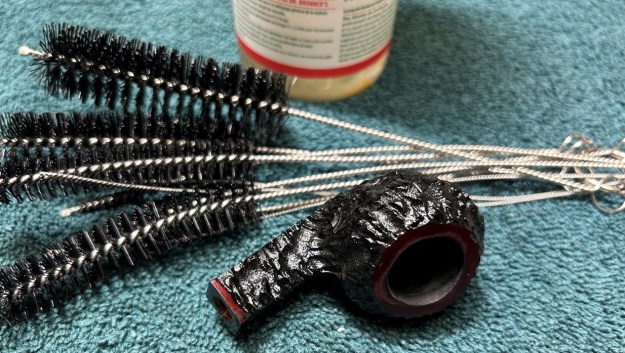
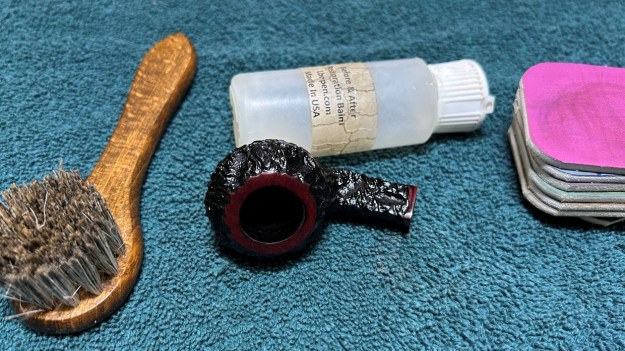
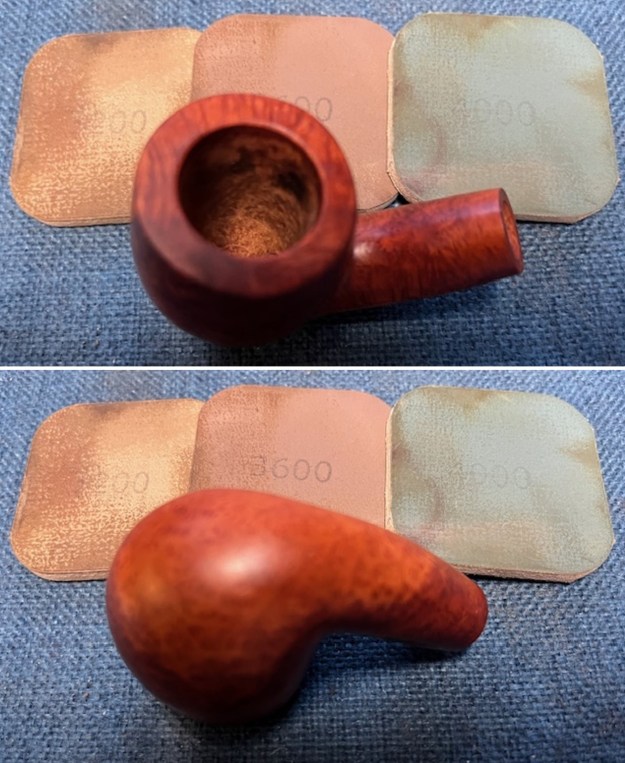
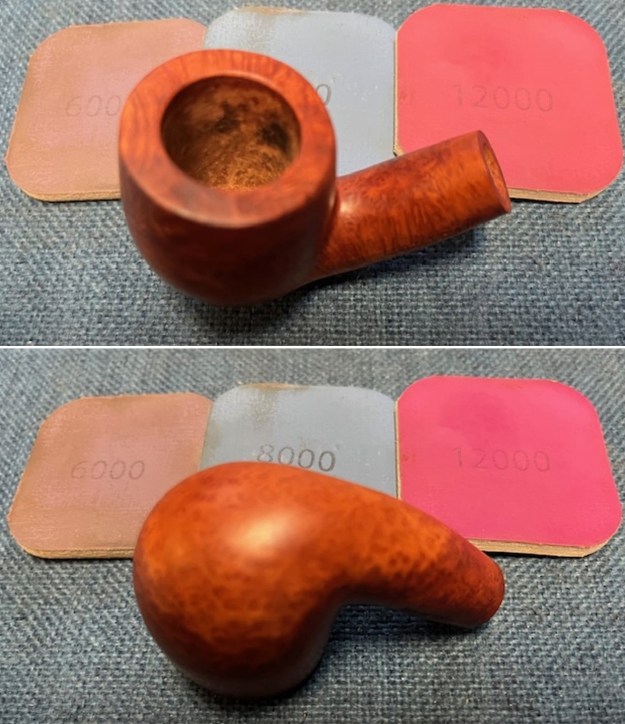
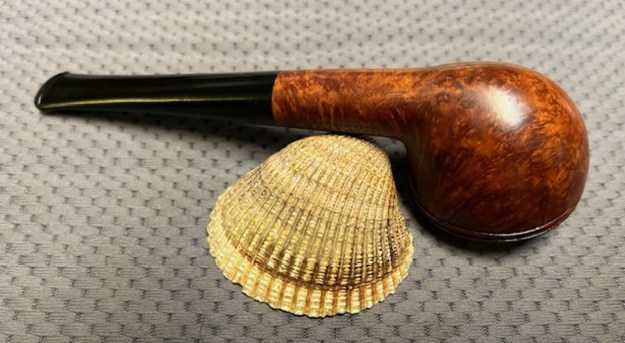
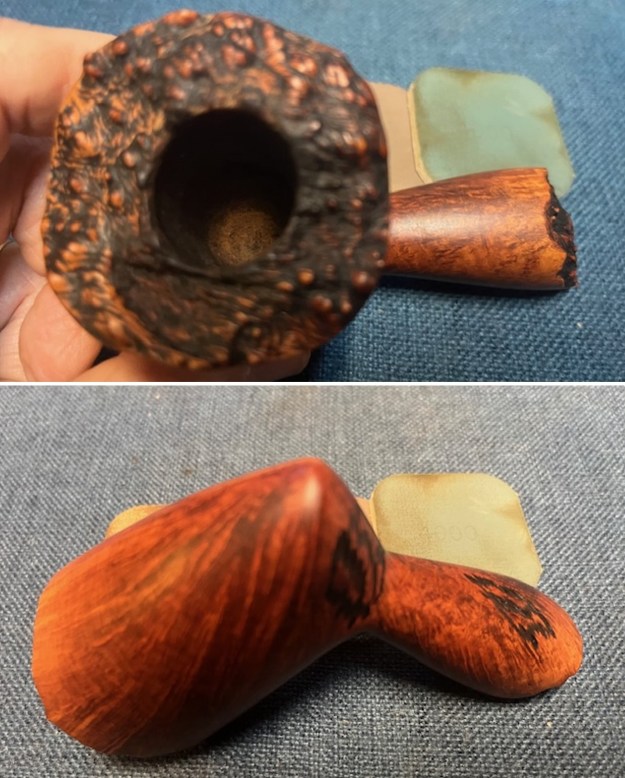
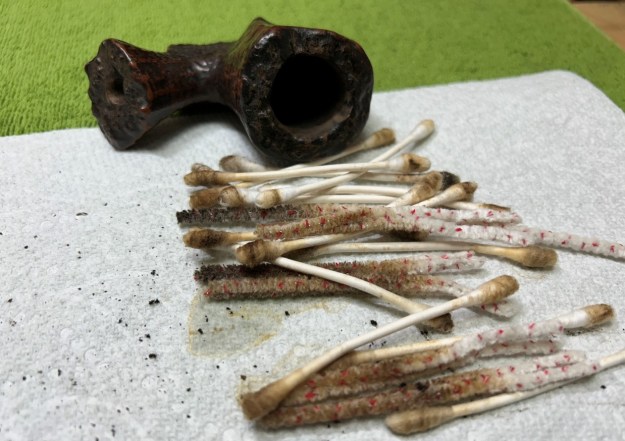 In order to advance on the rim, I soaked it in a dish of oil soap. I left it for 30ish minutes to soften up. I then took a nylon-bristle brush and scrubbed like crazy. I did this on the rim, of course, but also on the entire outside of the stummel to remove whatever goo and dirt had coated it. This worked well – despite the faded look to the pipe. I wasn’t worried about that at all. I knew that the colour and character was still there.
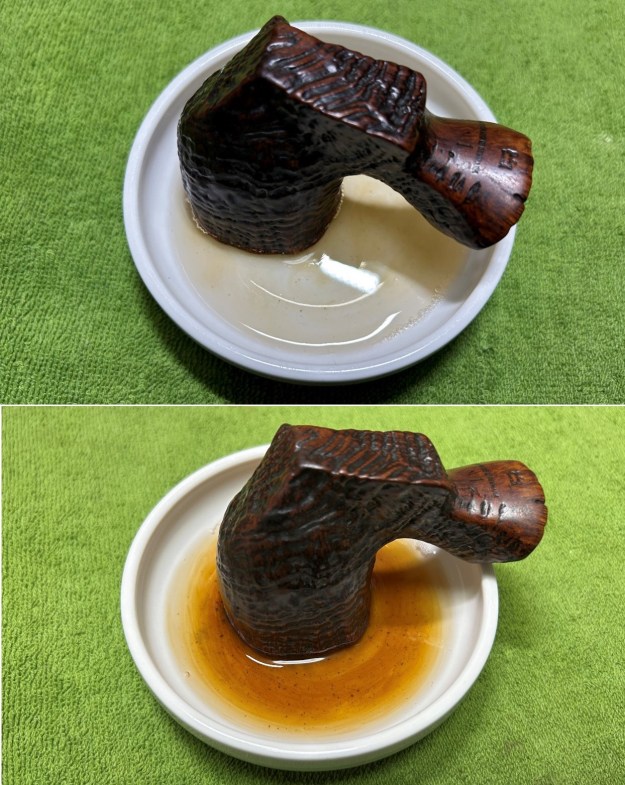
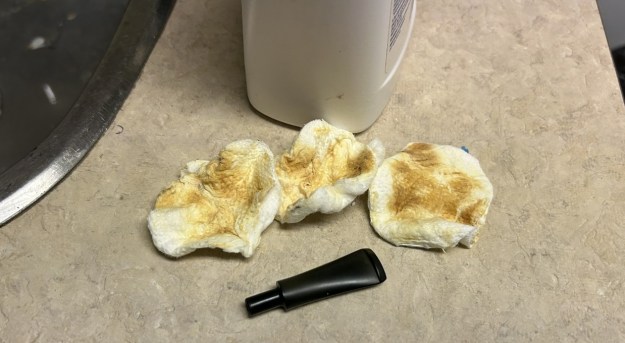
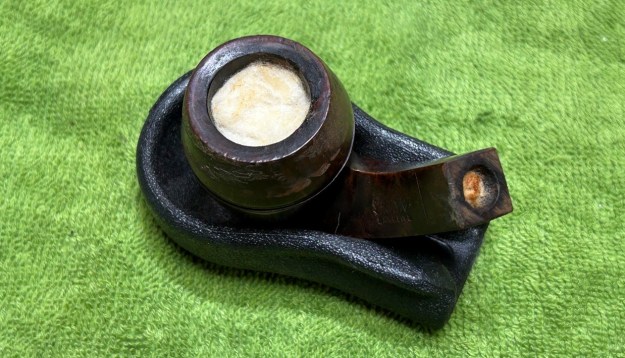
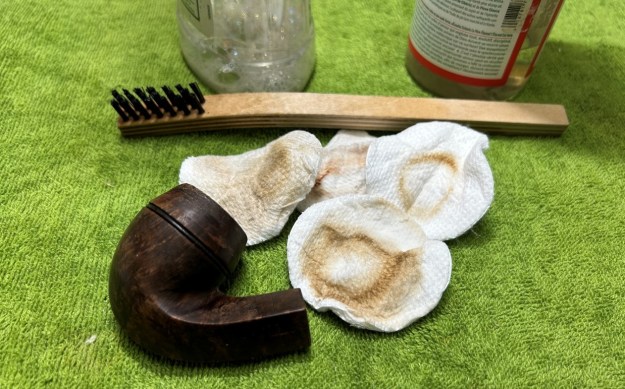
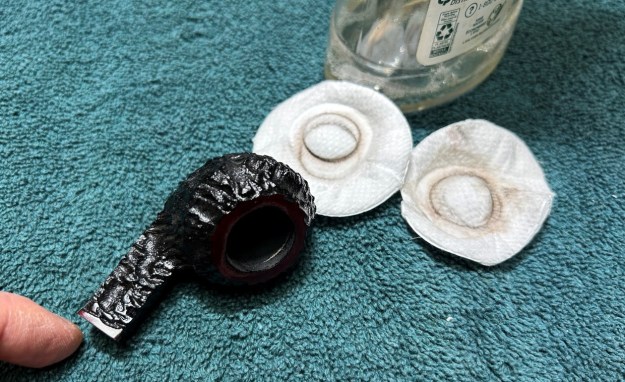
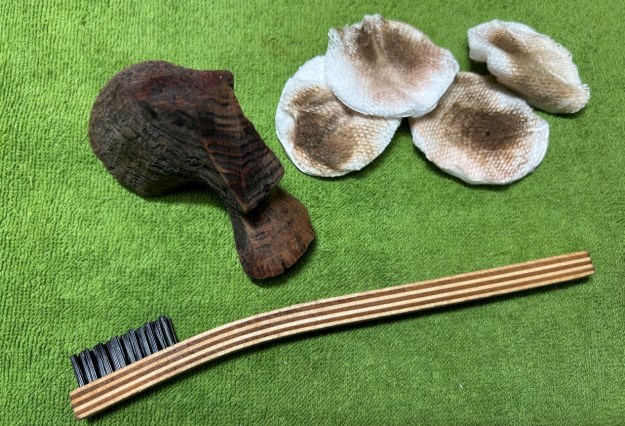 I then decided to ‘de-ghost’ the pipe – that is to say, exorcize the remaining filth from the briar. I filled the bowl and the shank with cotton balls, then saturated them with 99% isopropyl alcohol. I let the stummel sit overnight. This caused the remaining oils, tars and smells to leach out into the cotton.
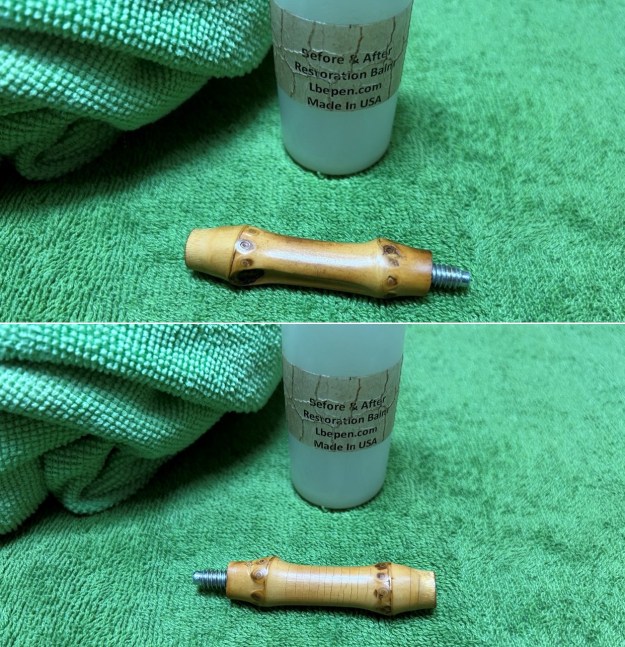
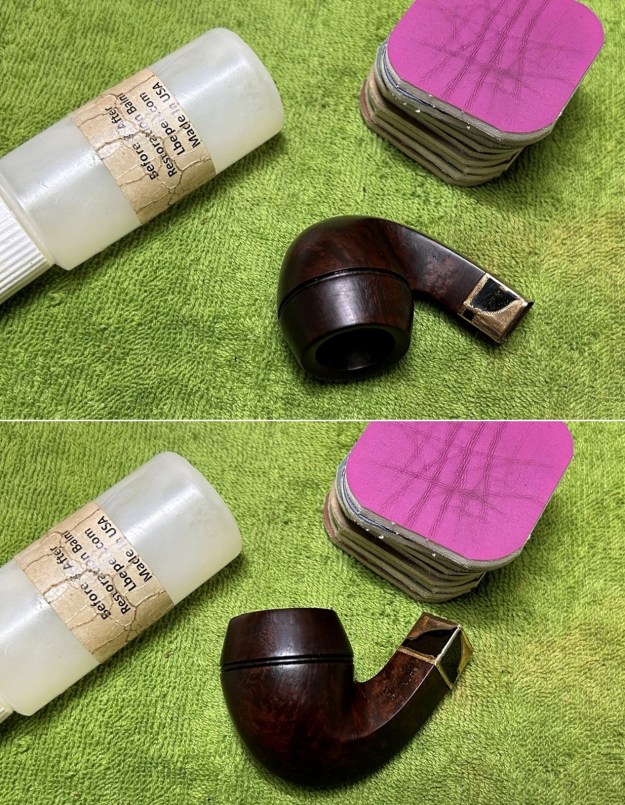
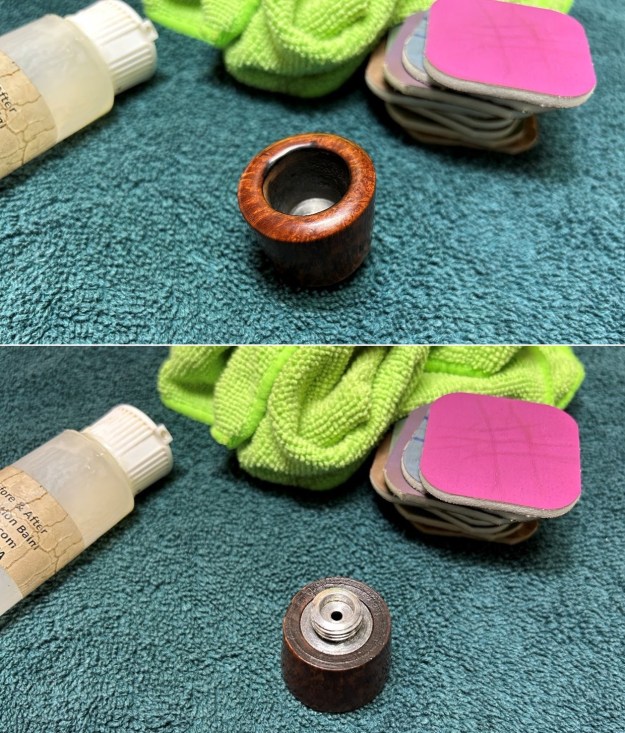
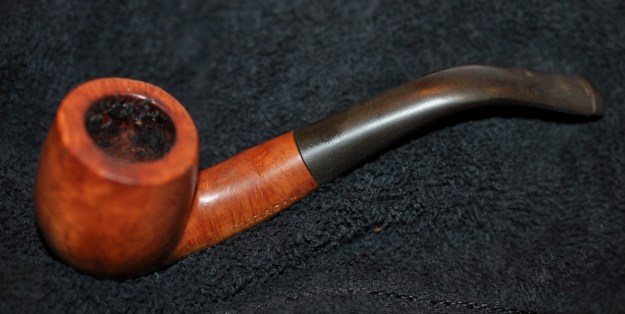
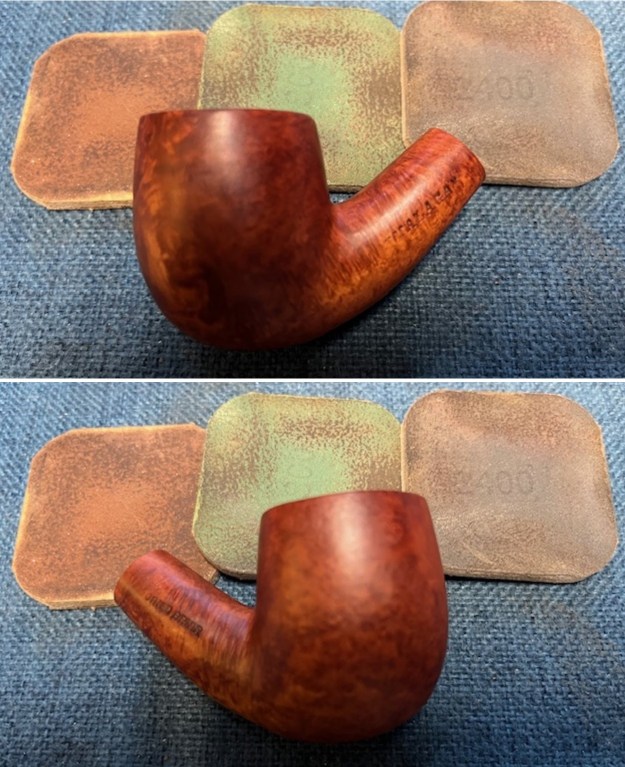
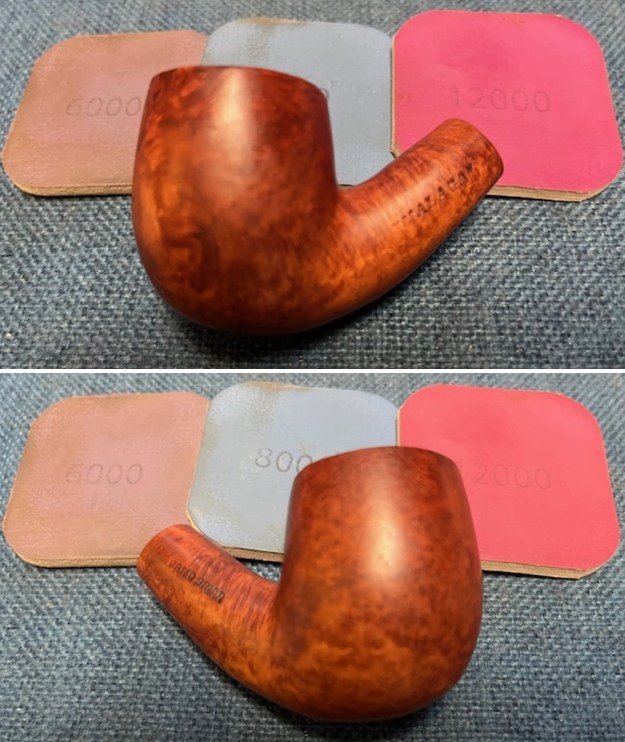
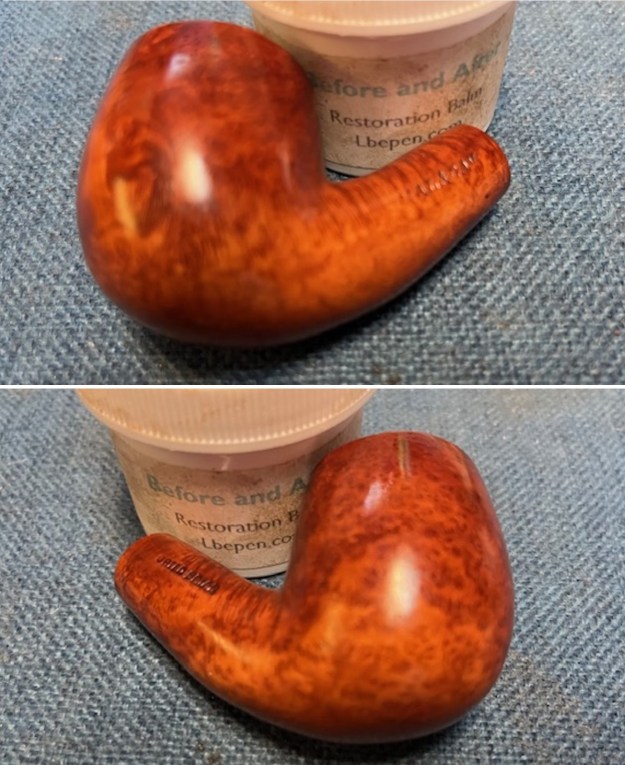
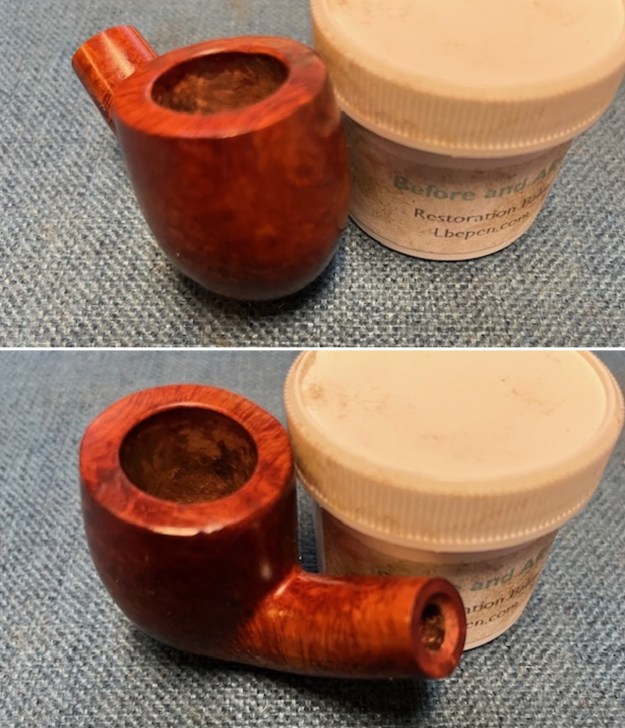
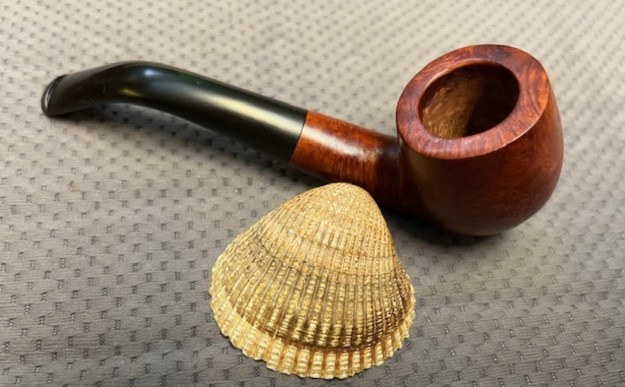
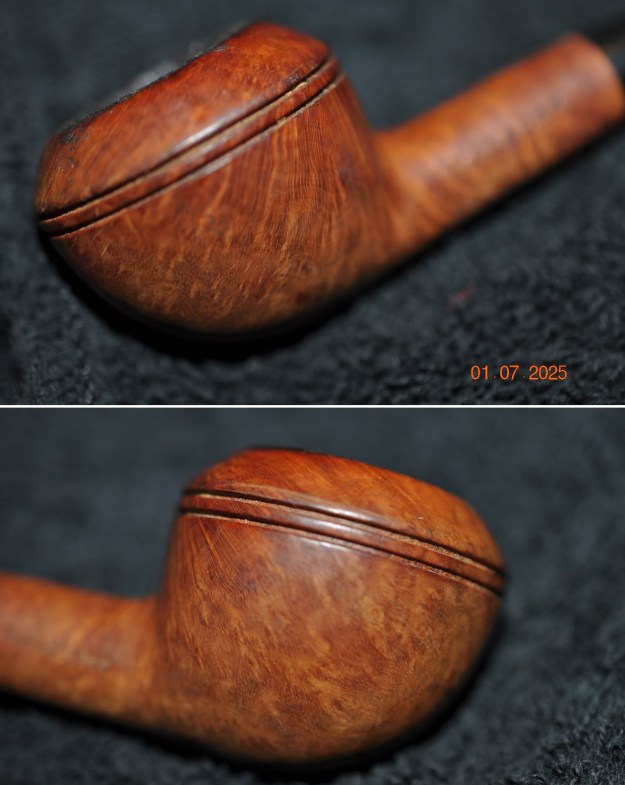
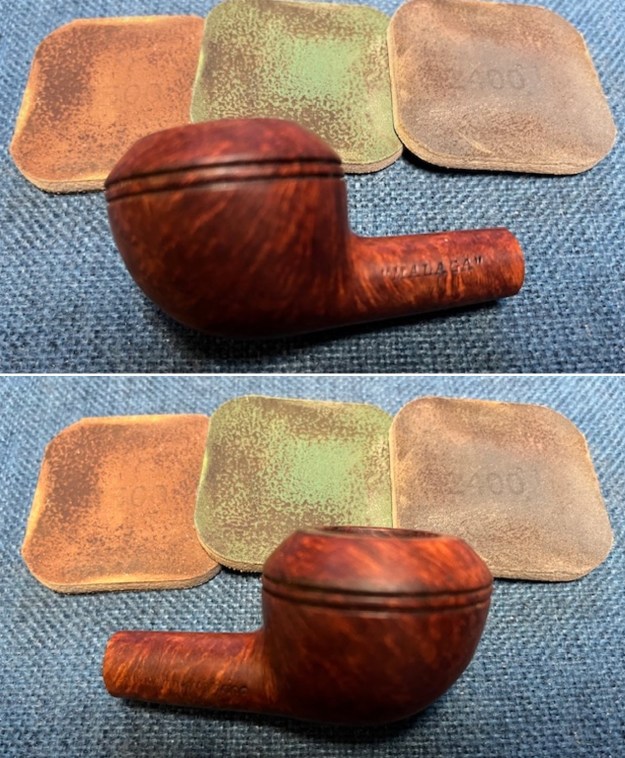
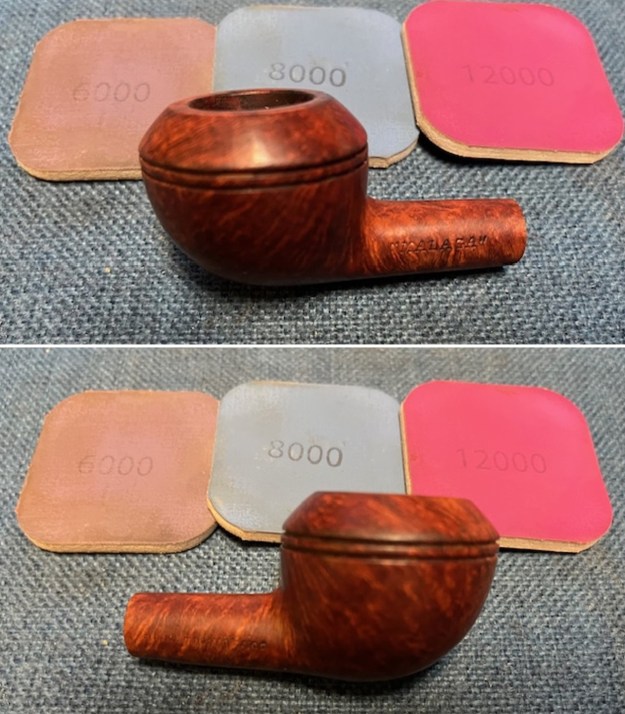
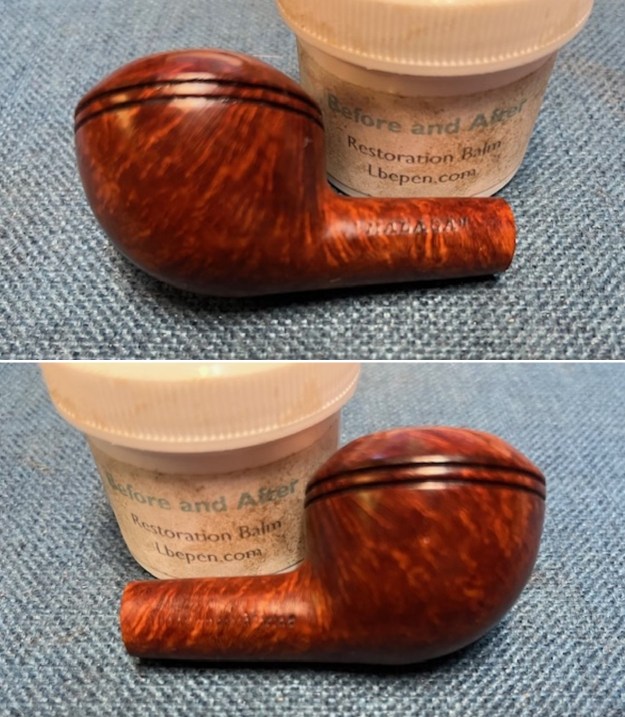
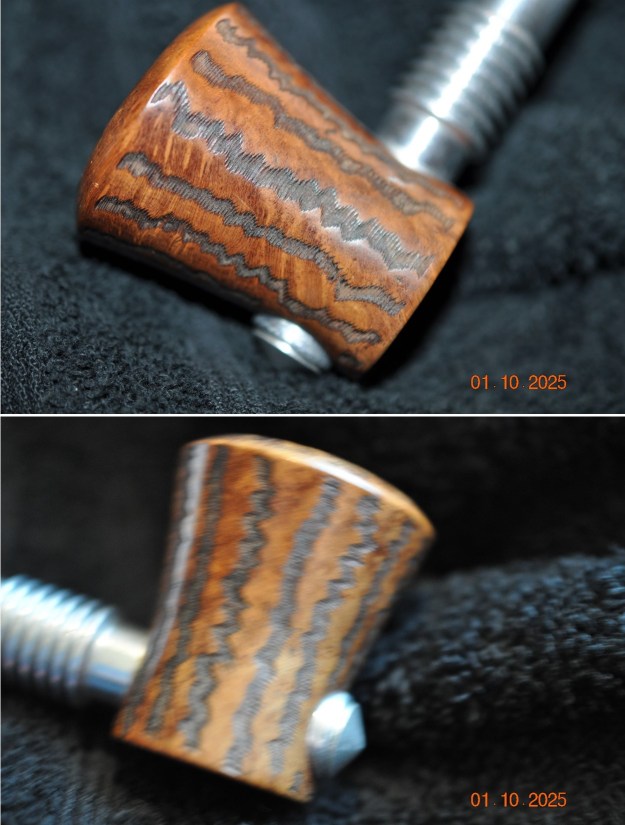
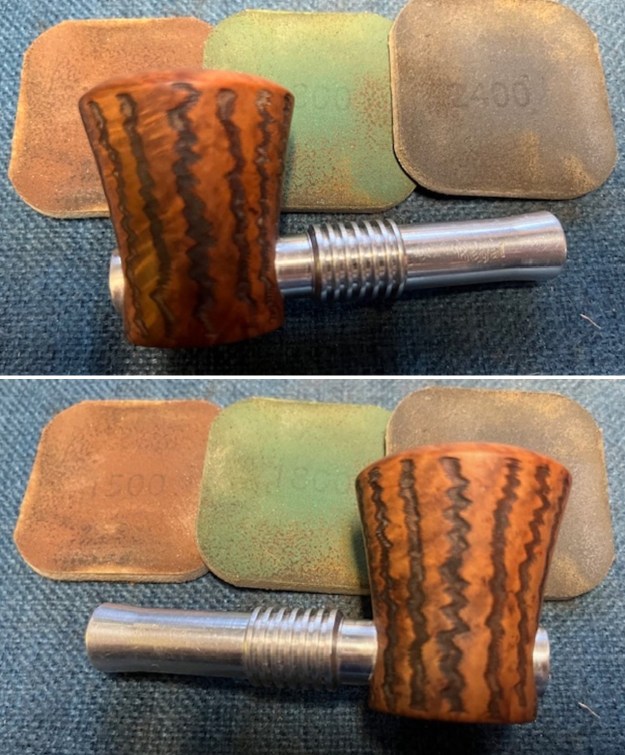
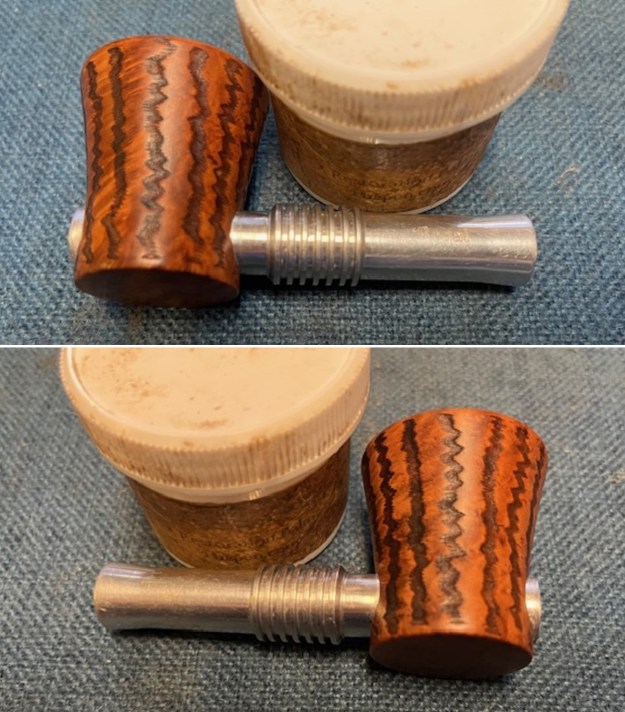
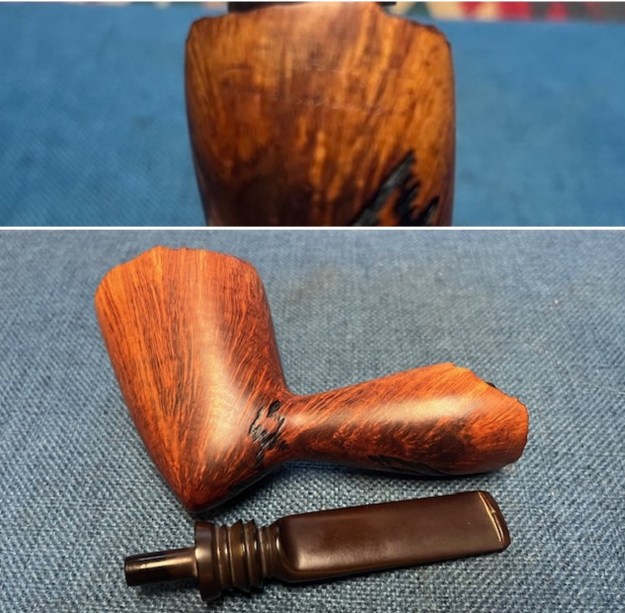
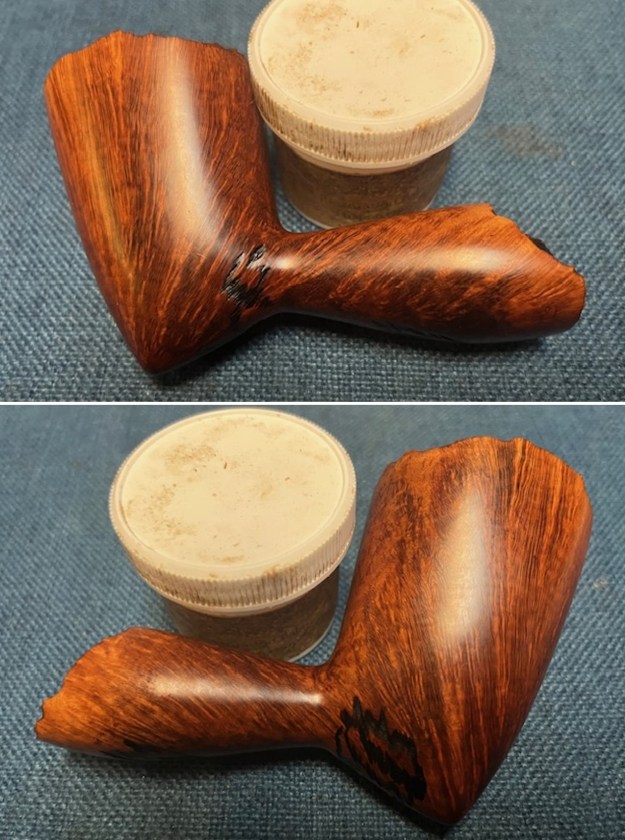
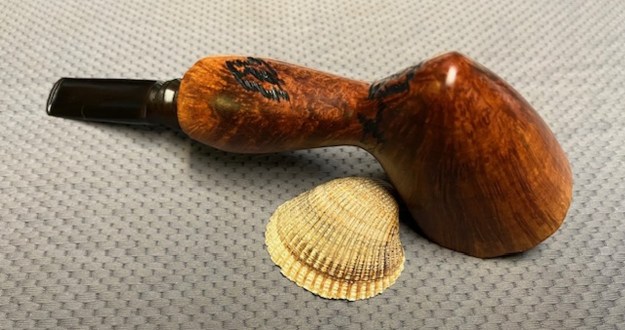
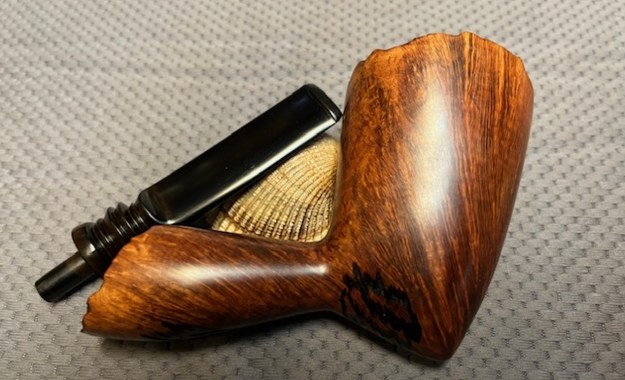
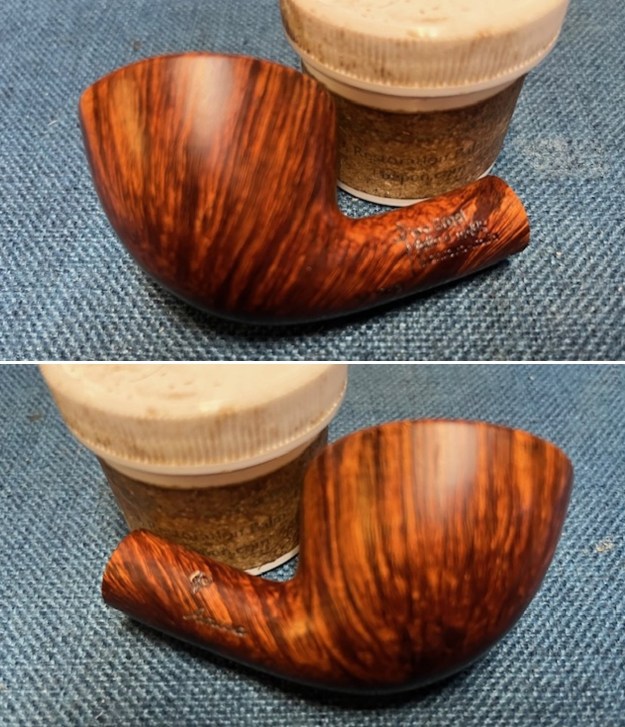
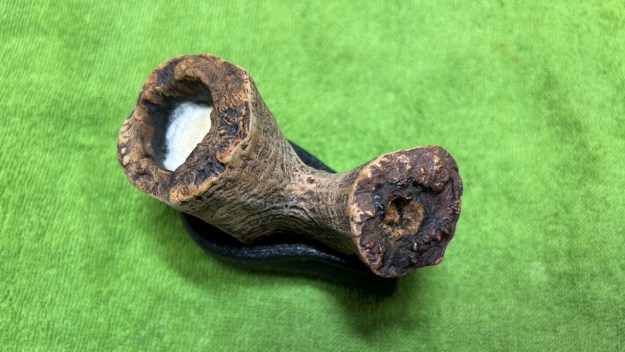 After that, some small spots on the wood needed to be touched up. I used some of my furniture pens (which is simply dye in pen form) to match the colours. I rubbed some LBE Before & After Restoration Balm into the briar and let it sit for 30 minutes or so. The balm moisturizes the wood and gives a beautiful depth to the briar. I then buffed the stummel with a microfibre cloth. Beauty!
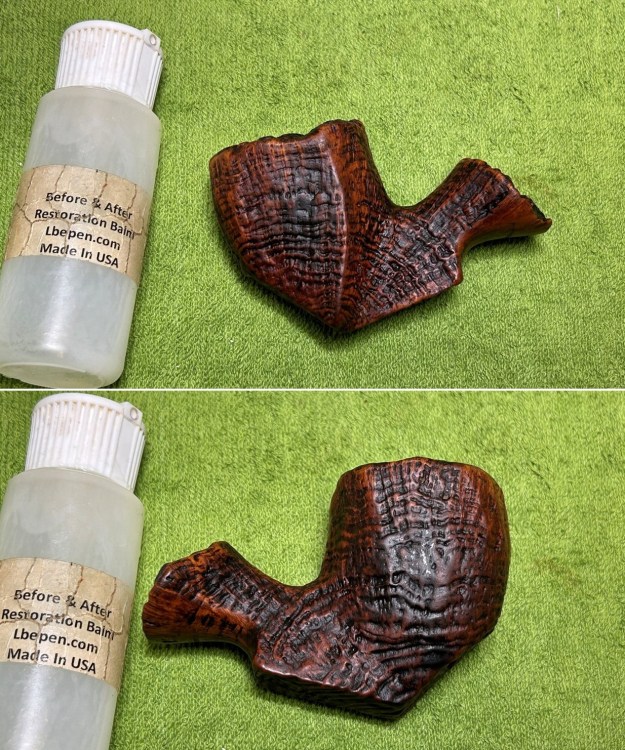
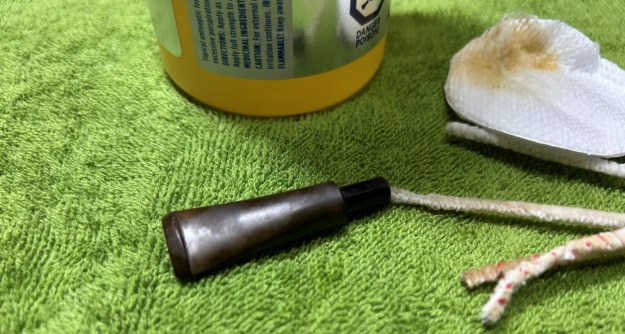
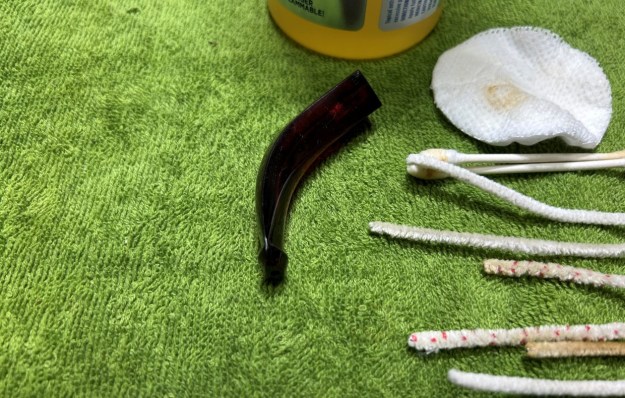
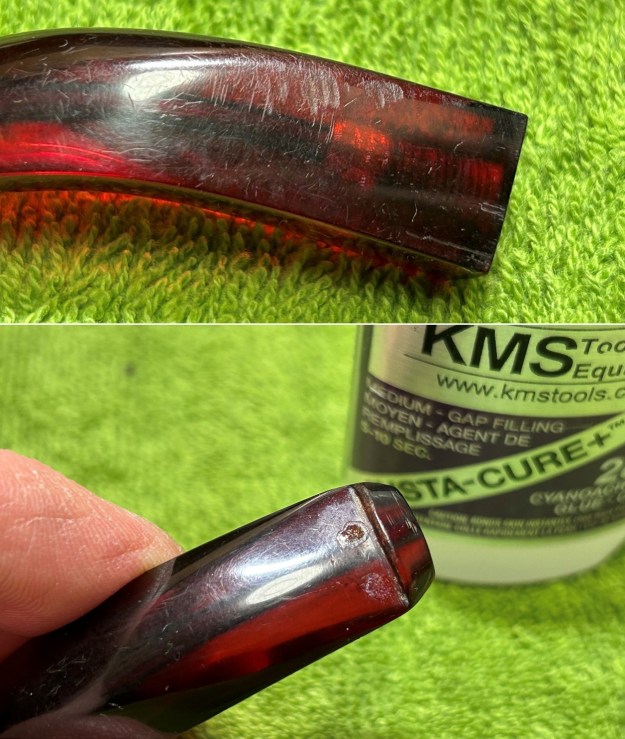
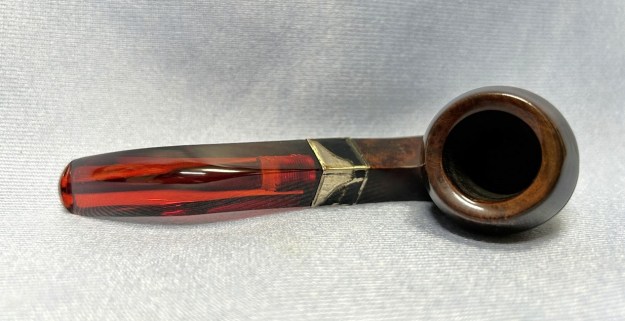
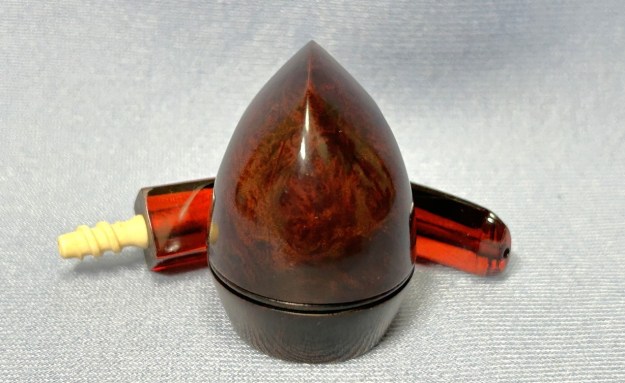
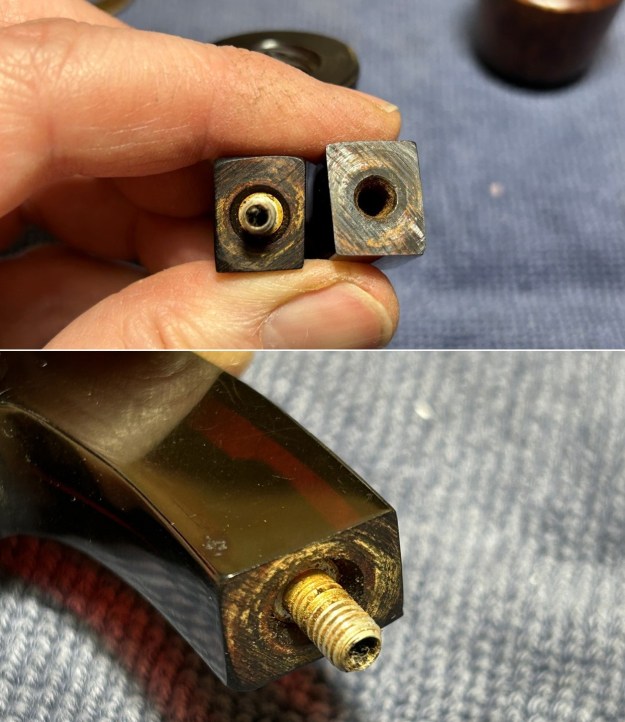
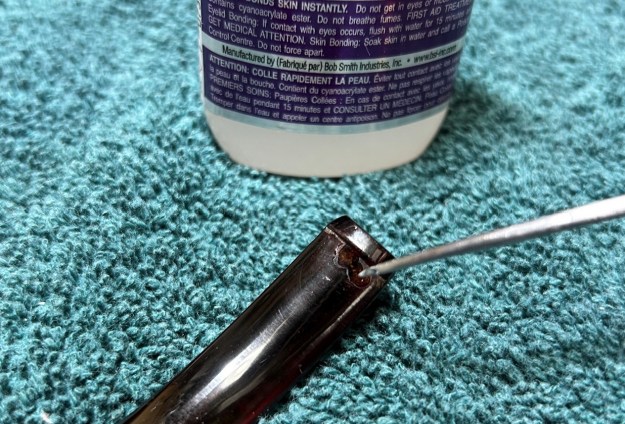
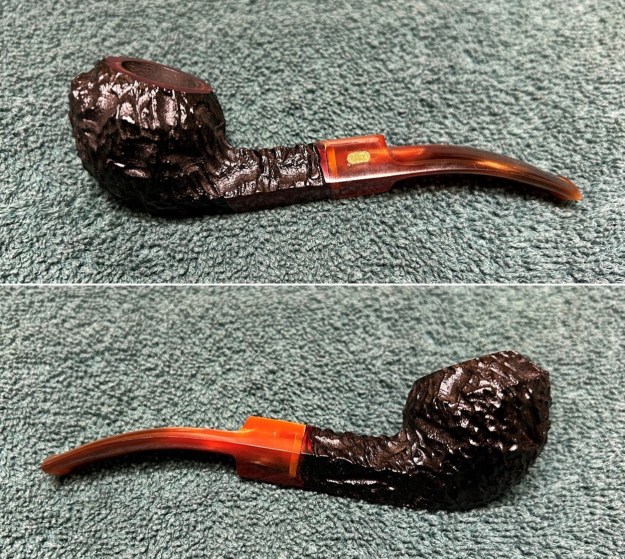
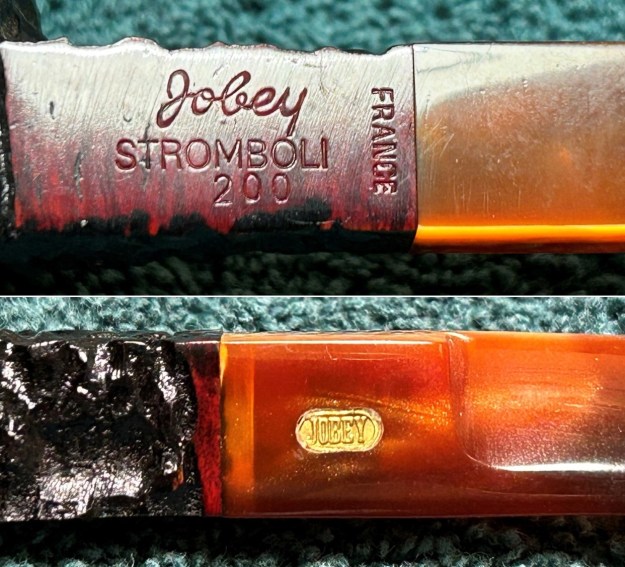
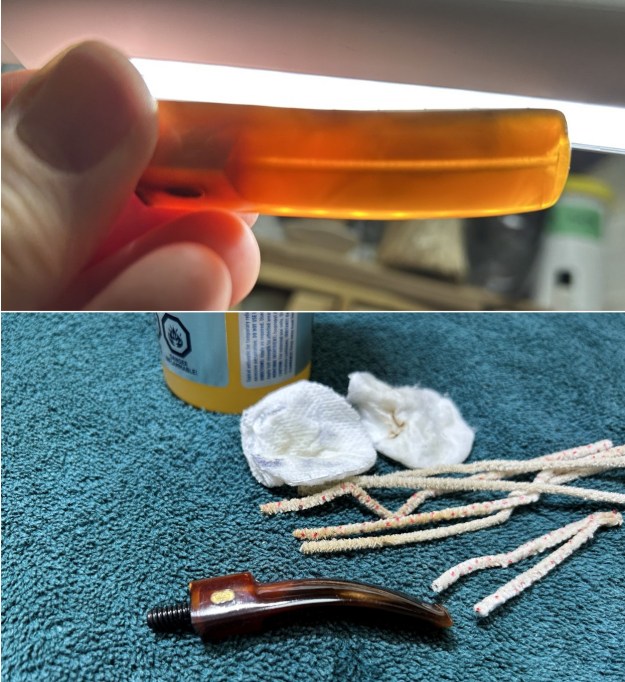
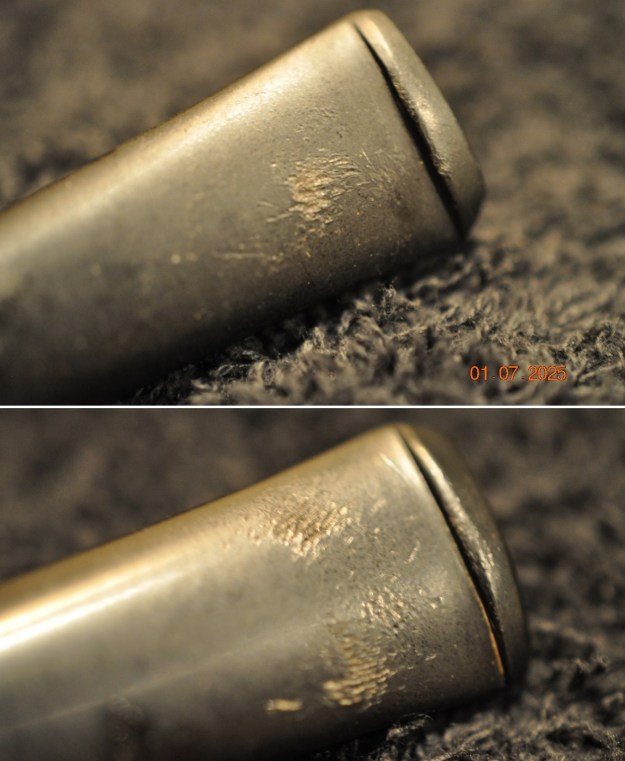
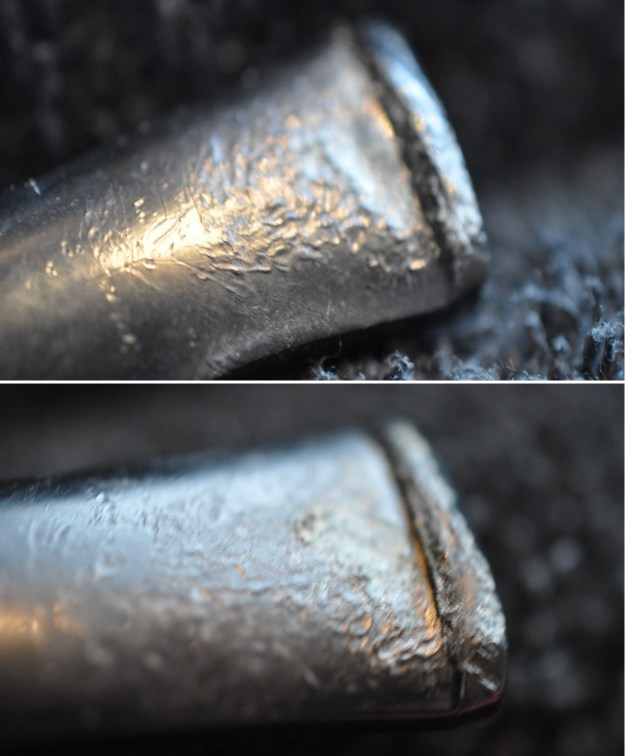
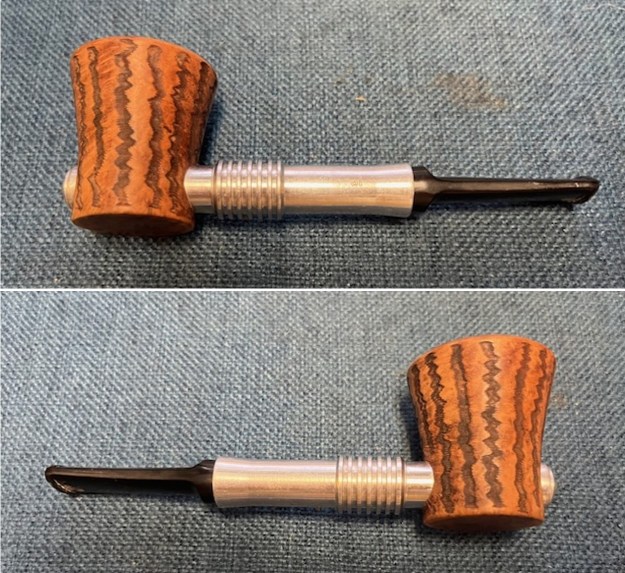
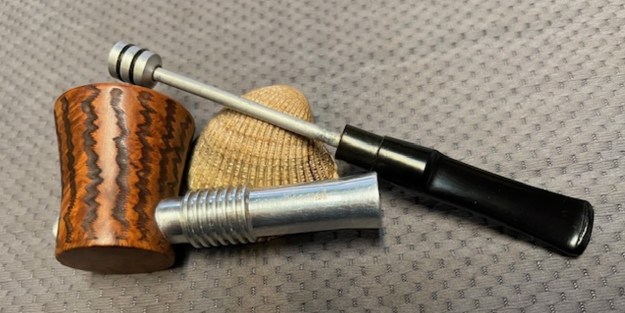
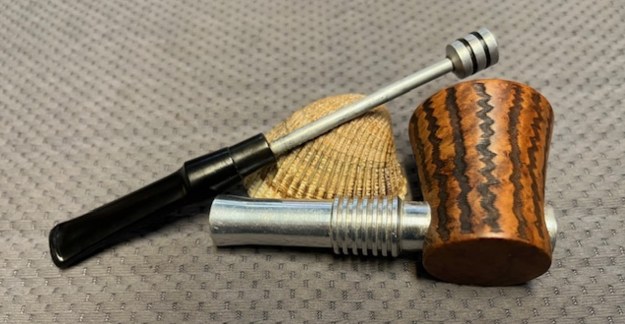
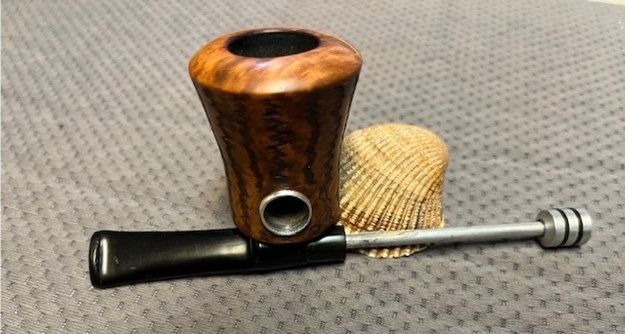
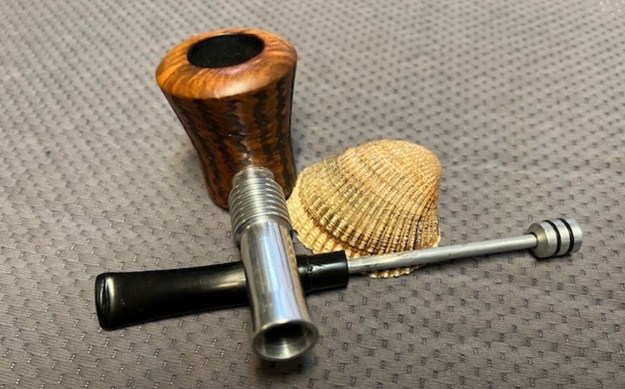
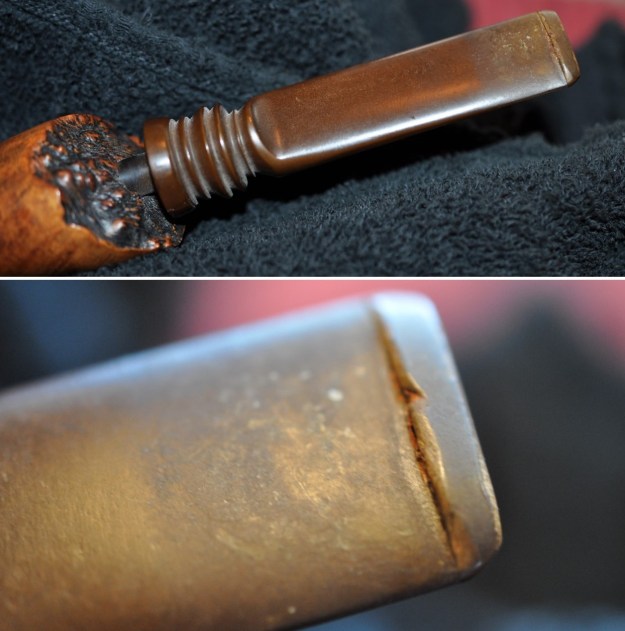
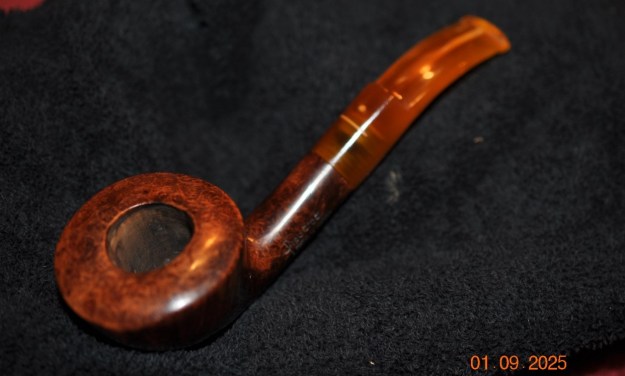
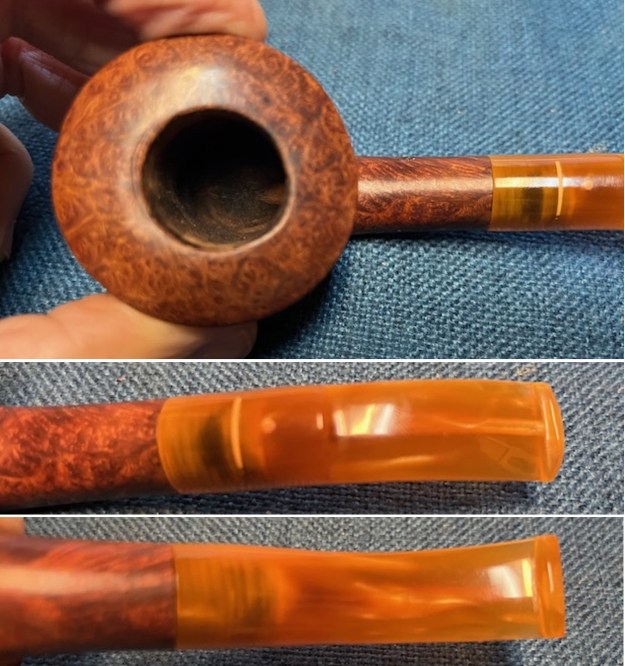
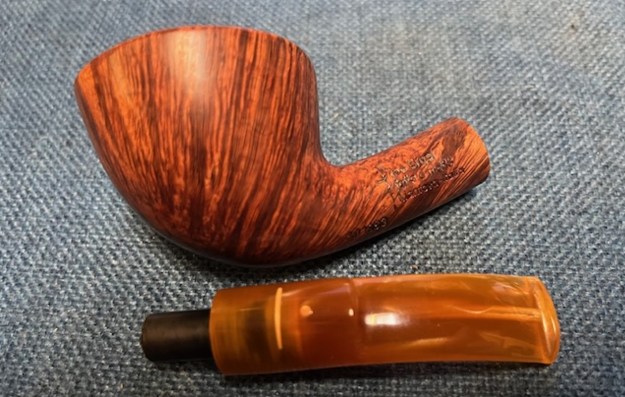
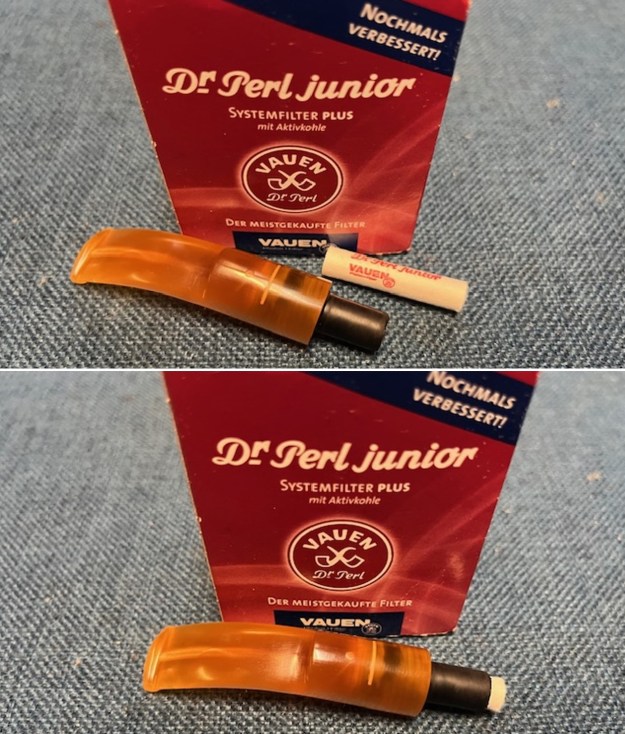
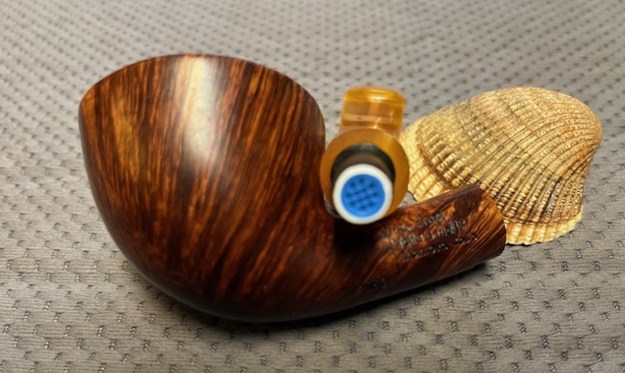
 I then went to my drawers of pipe stems and found the perfect one to complement this pipe. It was dirty and needed some TLC, but I really like the way it worked with the freehand stummel. I used oil soap on a few cotton rounds and wiped down the stem to provide an initial cleaning of filth before moving on to the next steps. The primary cleaning came next. I disinfected the inside of the stem with both pipe cleaners and cotton swabs dipped in lemon-infused 99% isopropyl alcohol. I scrubbed thoroughly to make sure the interior was very clean.
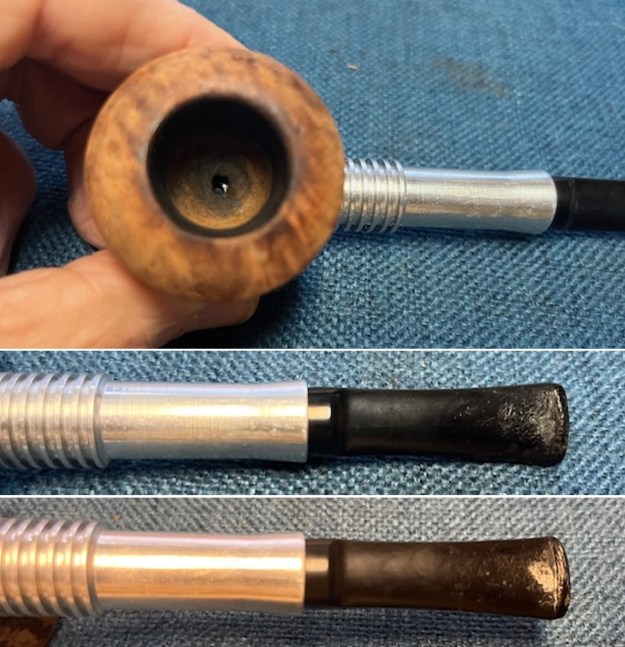
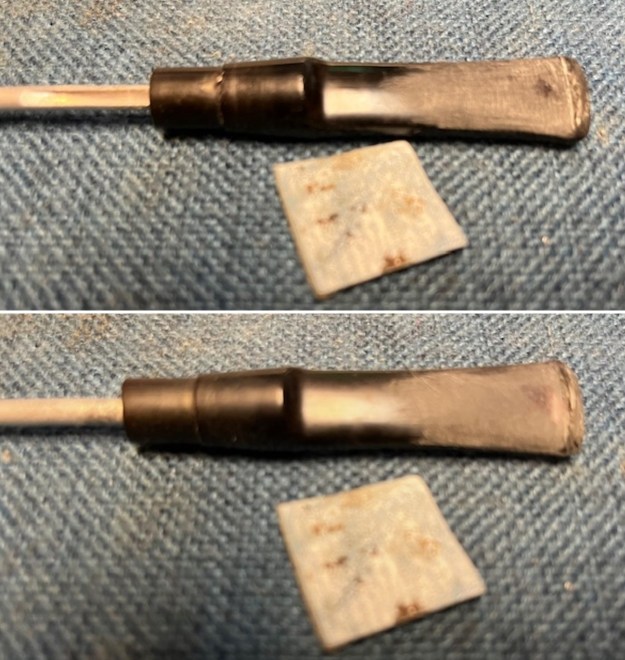
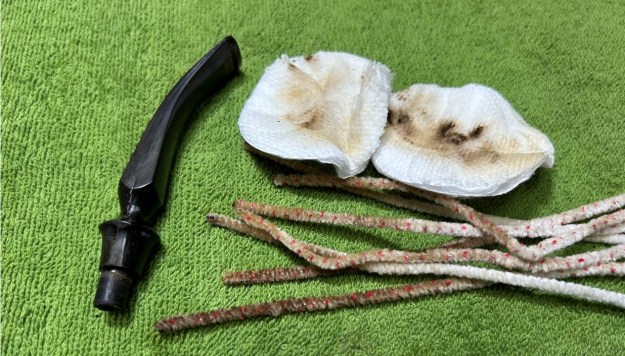 Once the stem was reasonably clean, I soaked it overnight in some Briarville Stem Oxidation Remover. This solution works to draw oxidation in the stem to the surface of the vulcanite. This is a major aid and an important step in ensuring a clean stem. The following day, I drew out the stem from its bath and scrubbed the lingering fluid with a toothbrush.
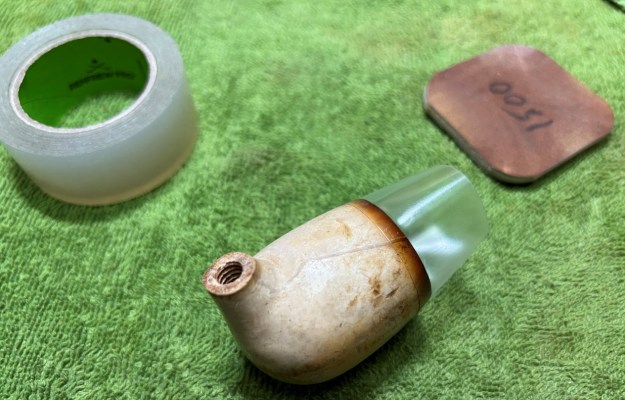
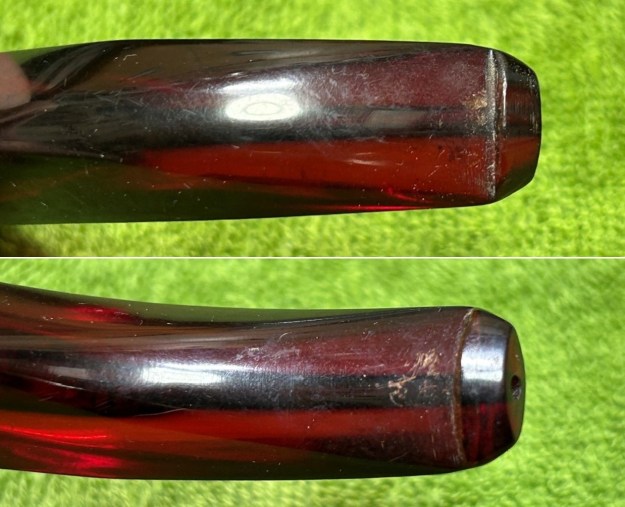
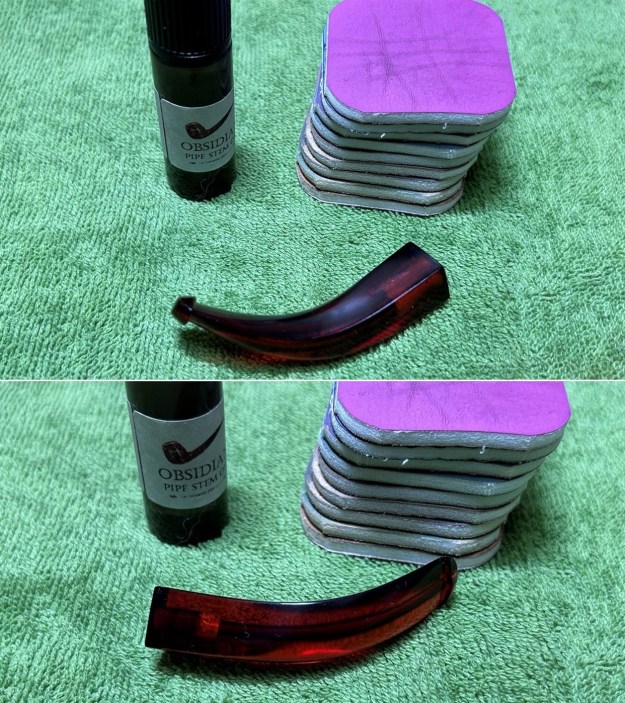
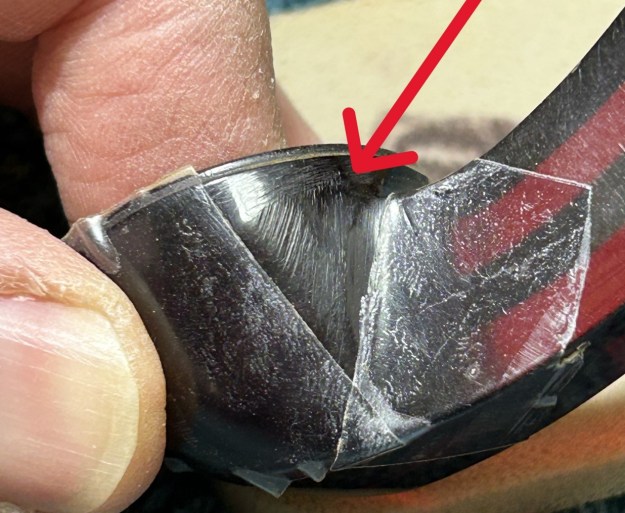
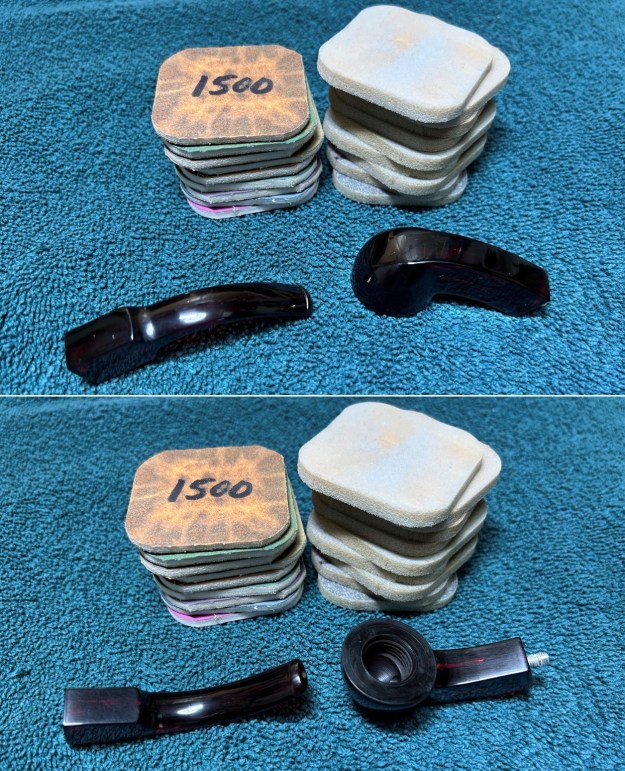
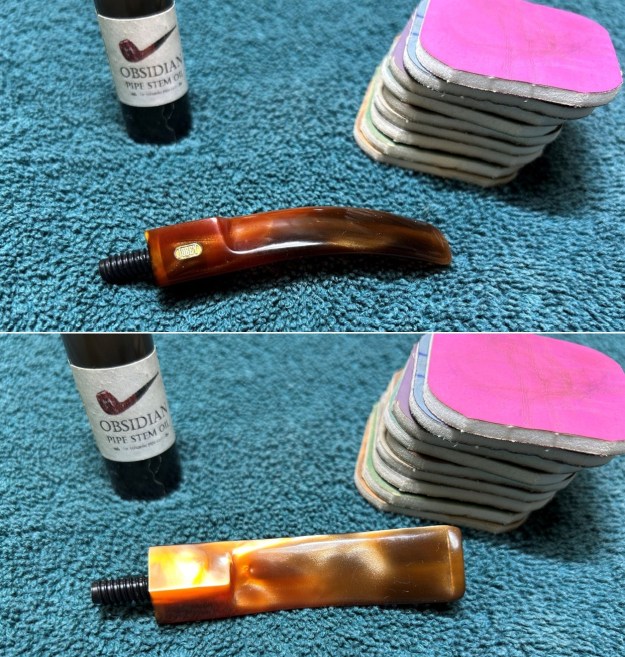
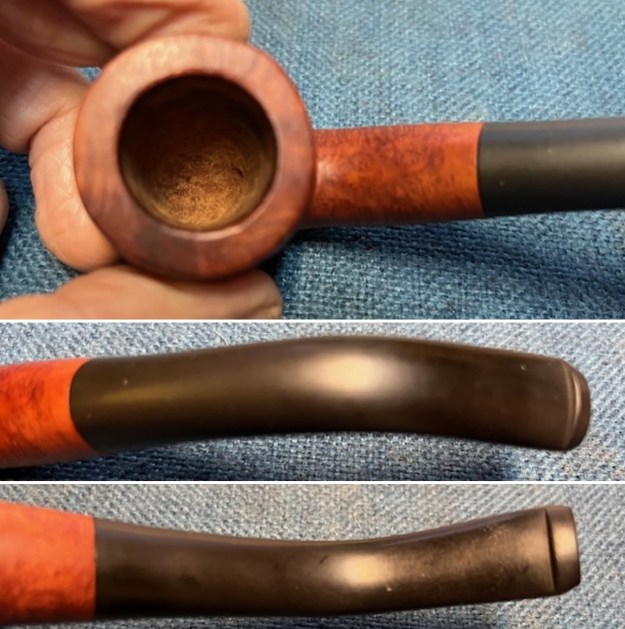
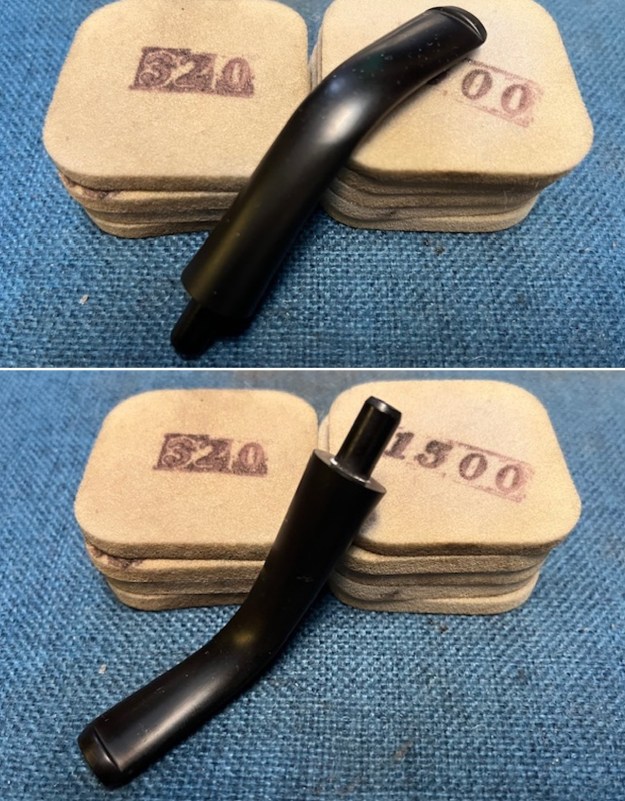
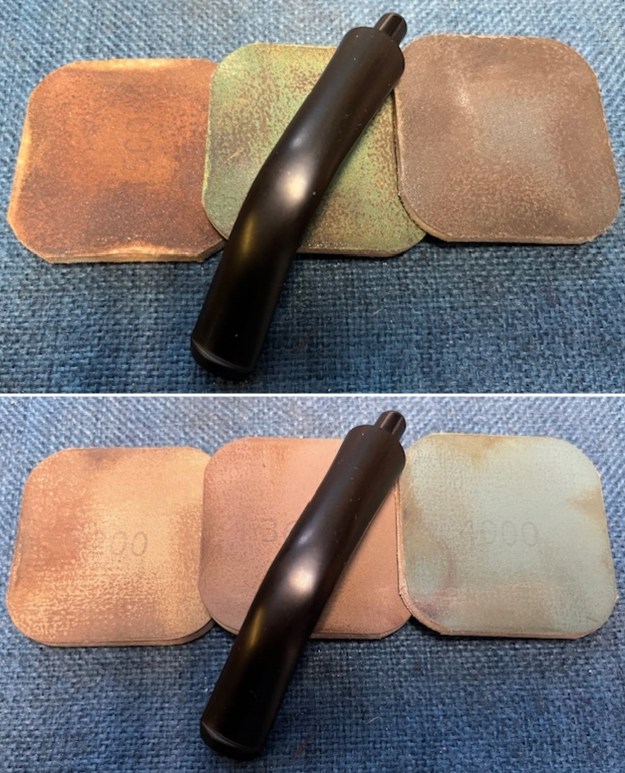
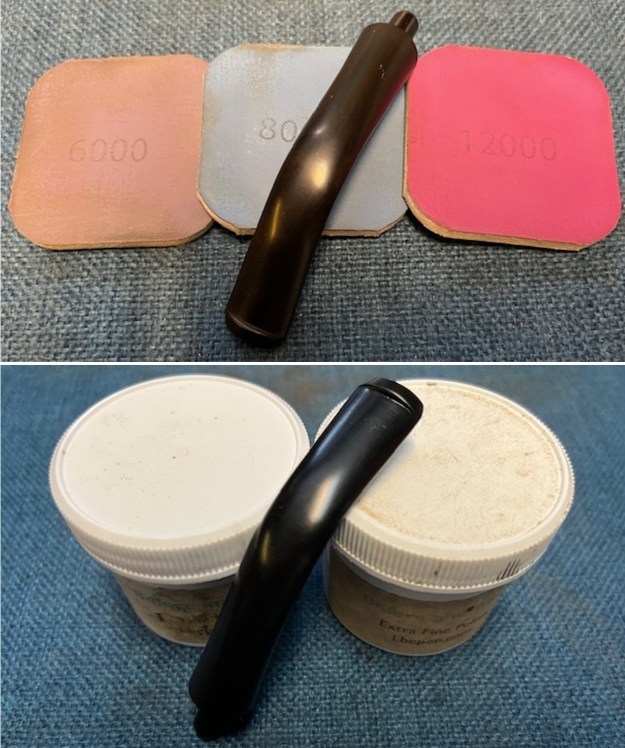
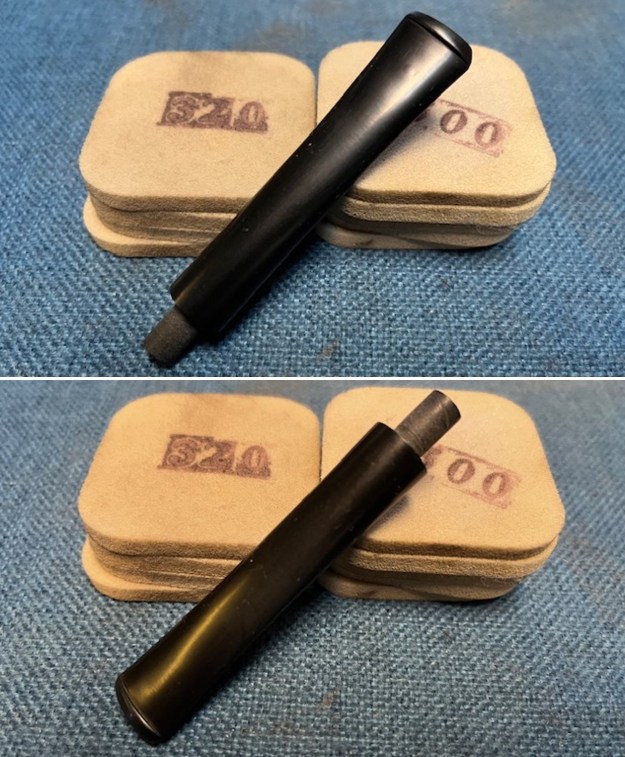
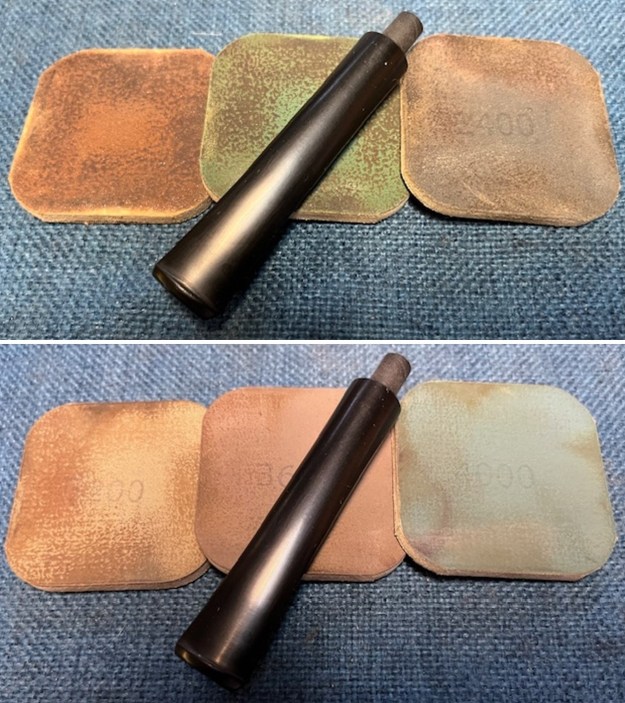
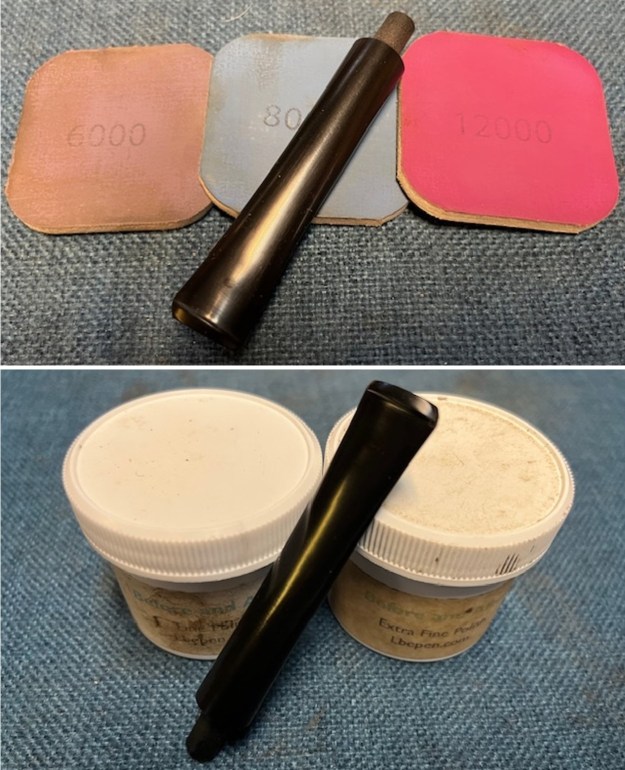
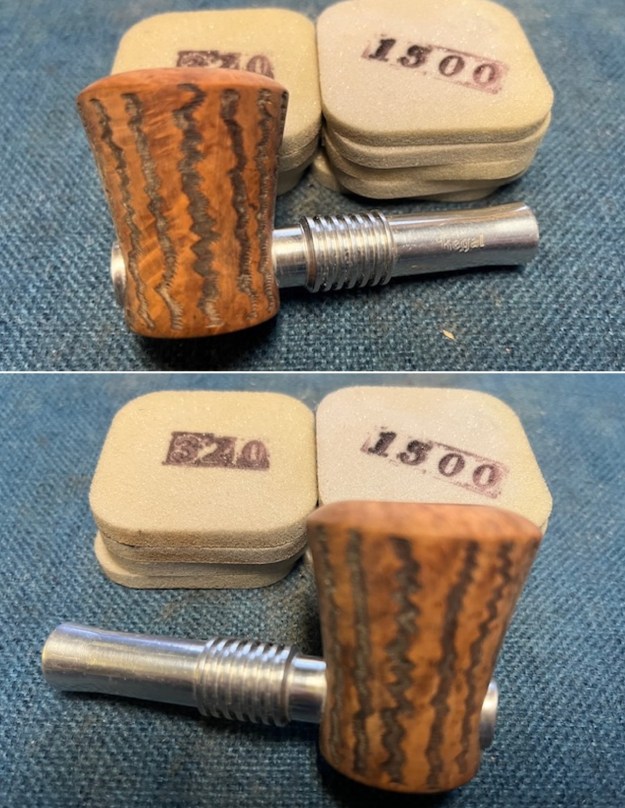
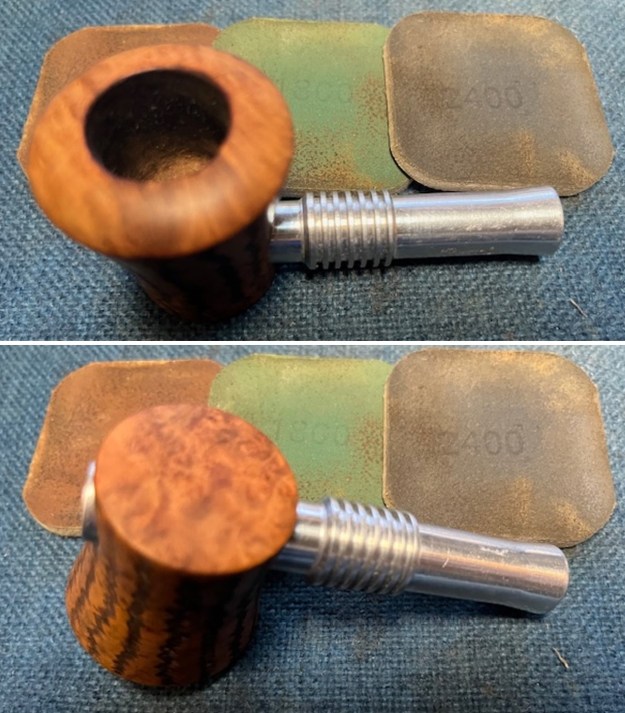
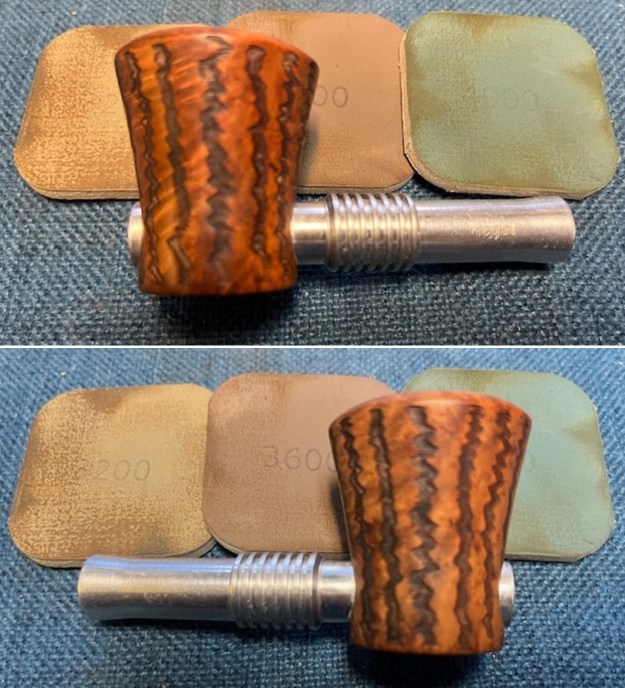
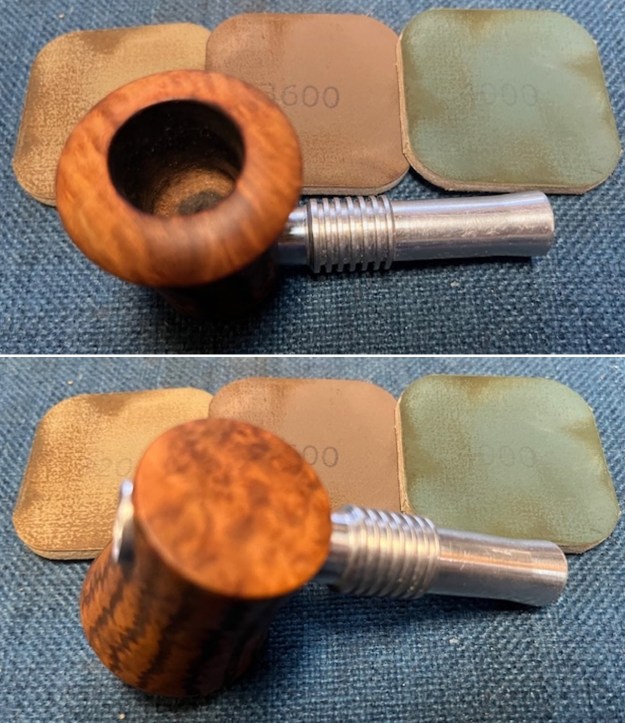
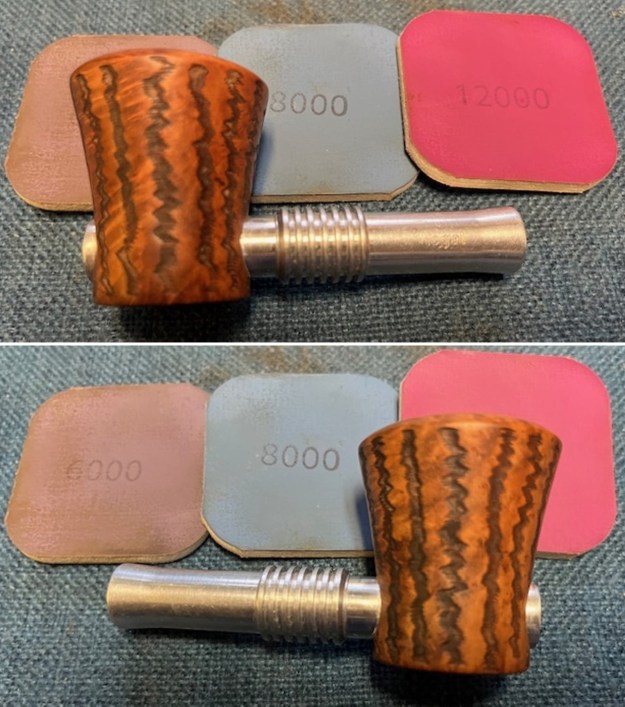
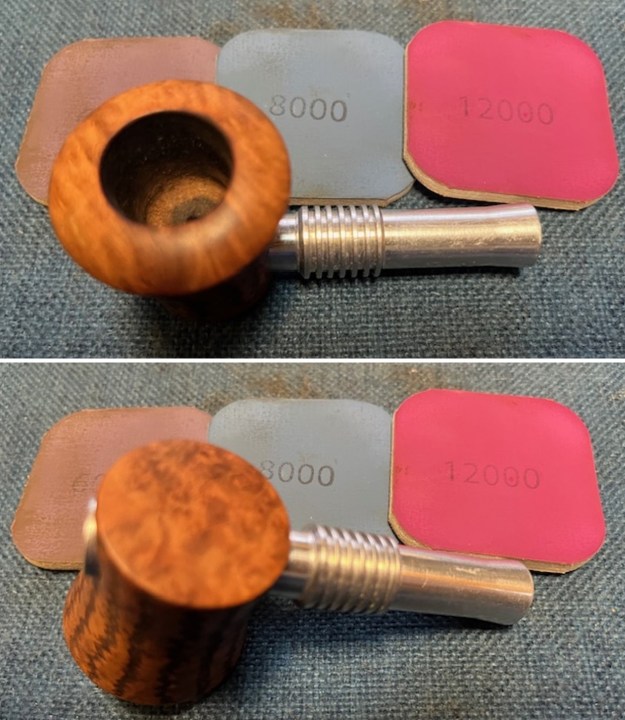
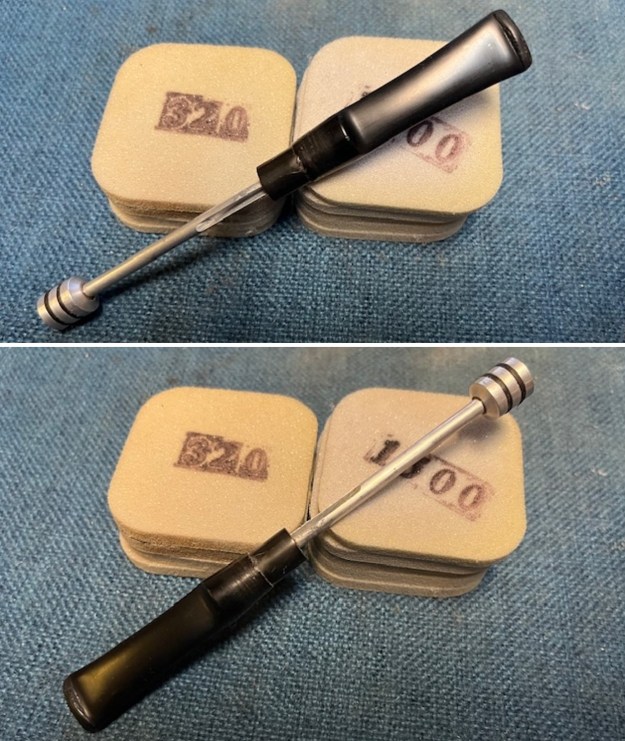
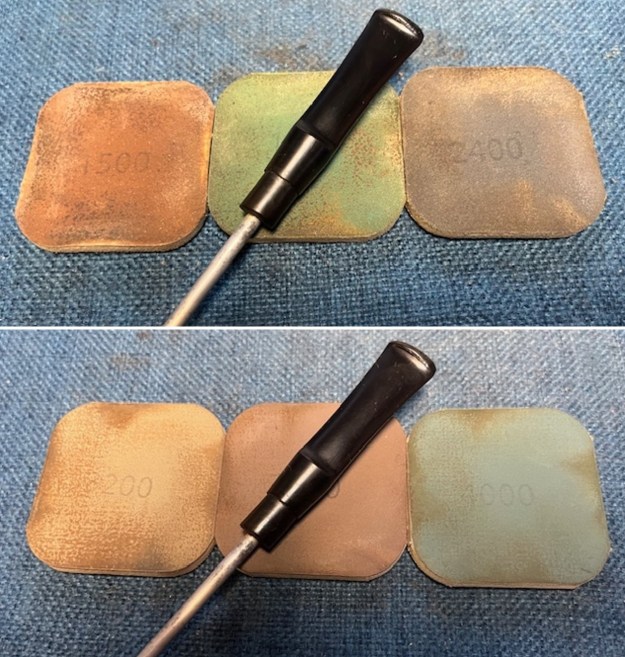
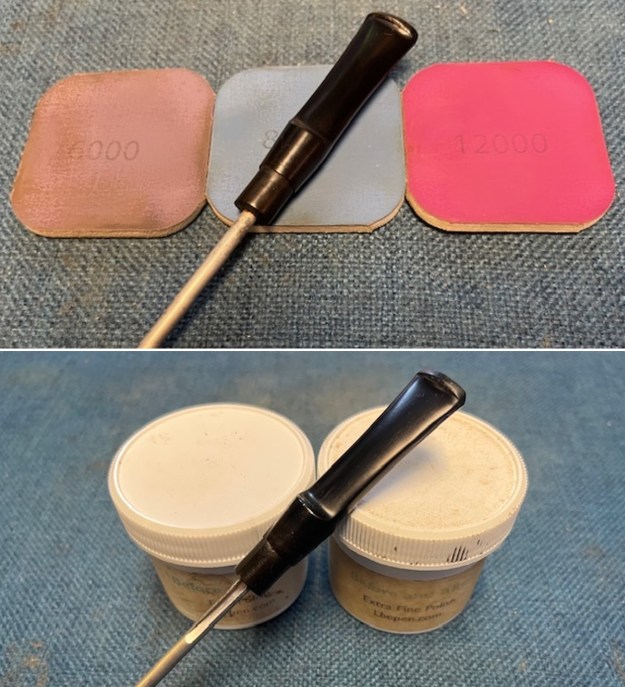
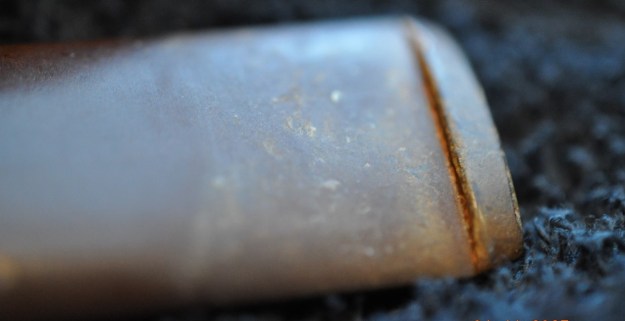
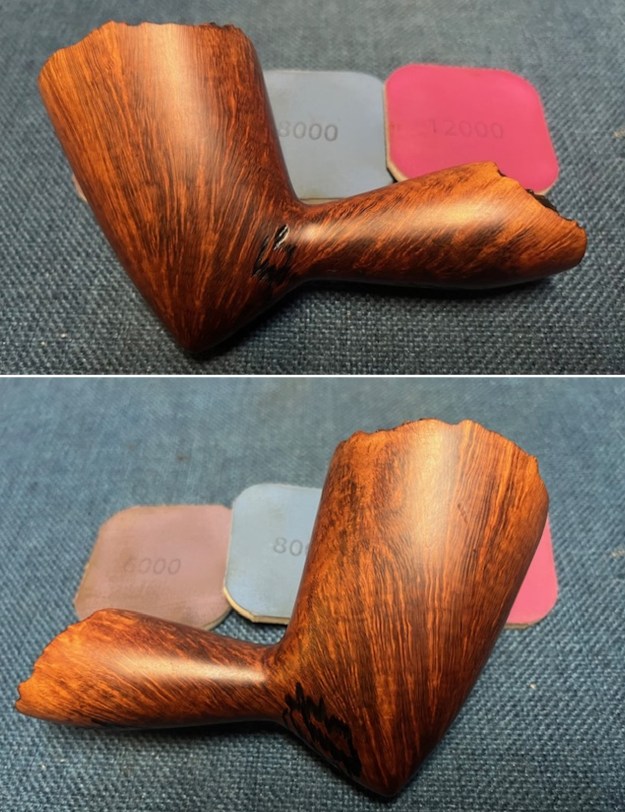
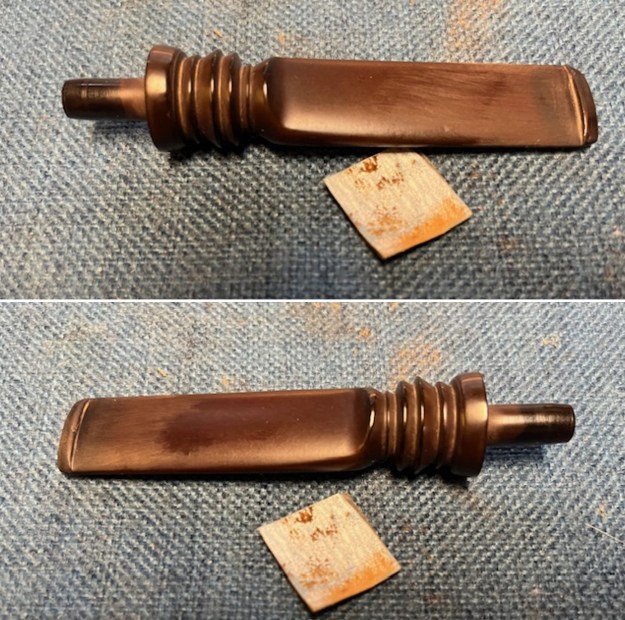
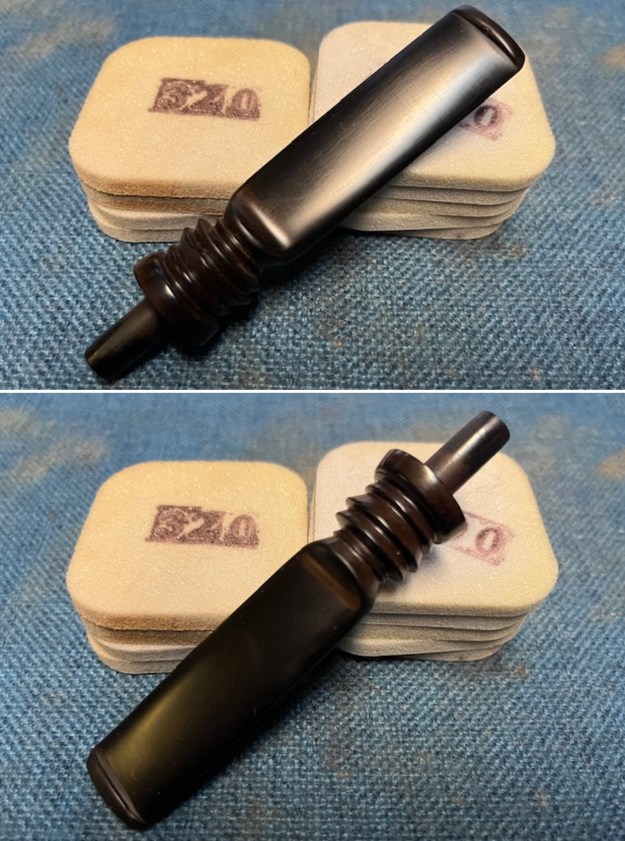
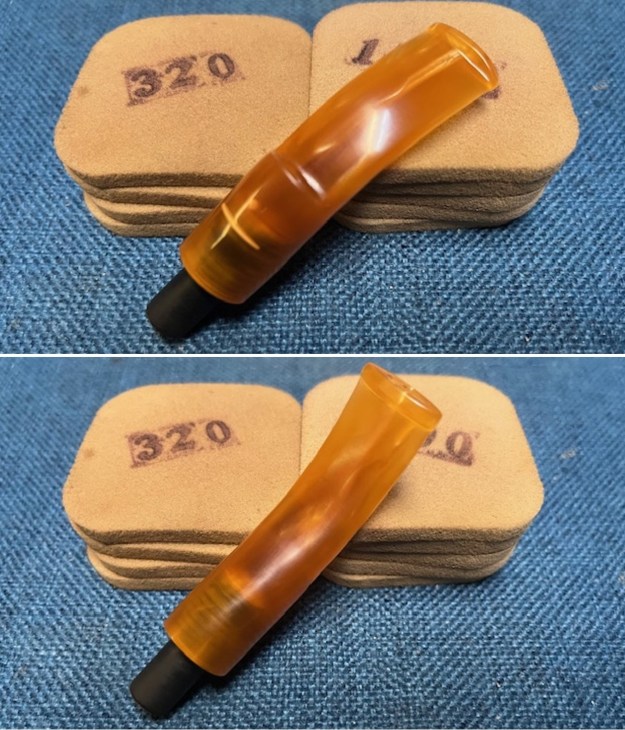
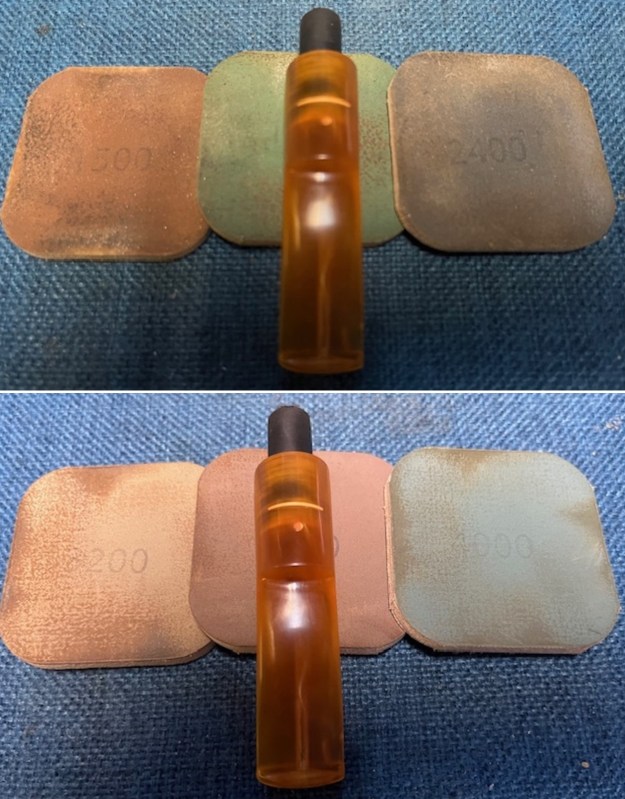
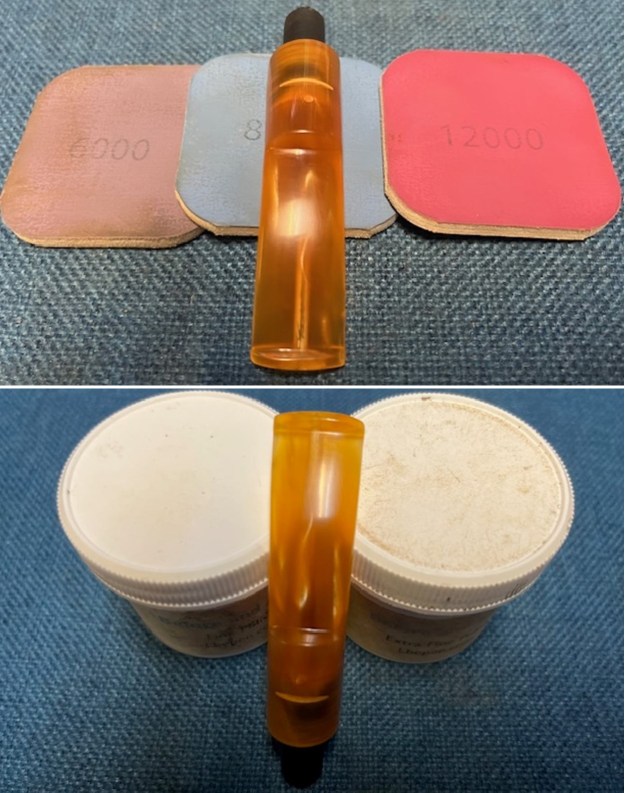
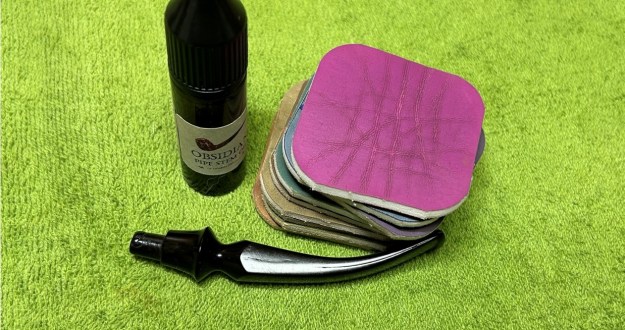
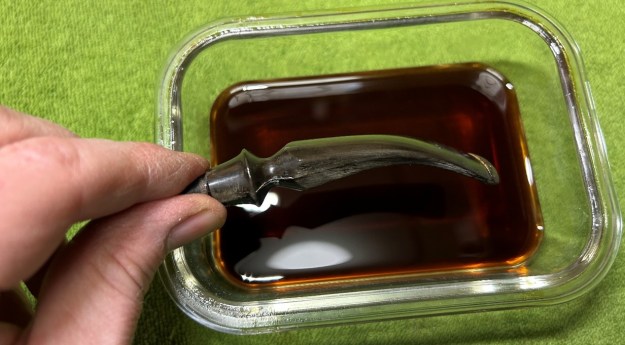 Following that, I used all nine of the micromesh sanding pads (1,500 through 12,000 grit) to sand out flaws, even out the vulcanite, and provide gentle polishing of the finished surface. I also applied pipe-stem oil while using the last five micromesh pads. There was a wonderful, deep black shine to the stem when I was done.
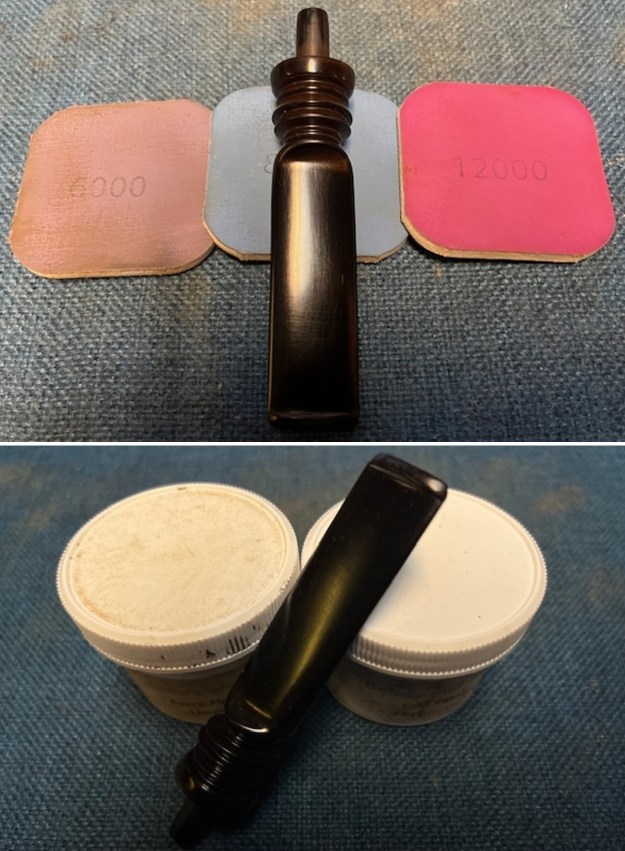
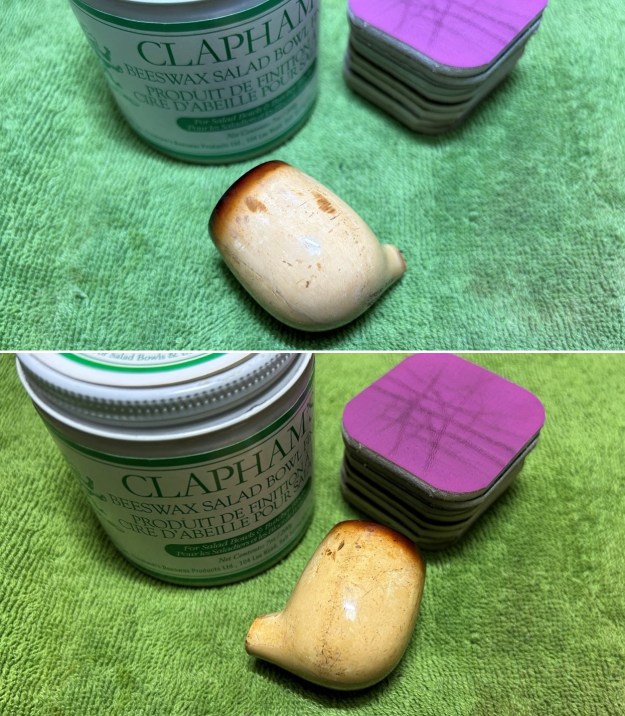
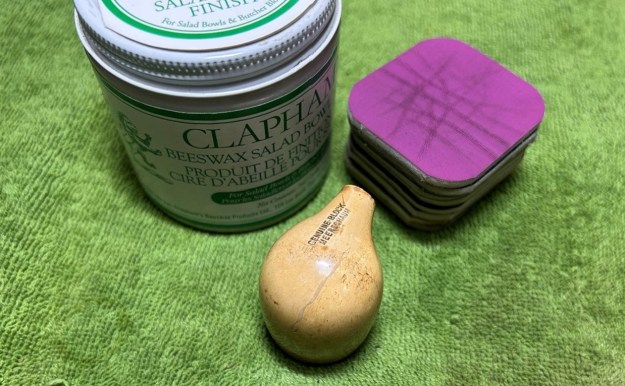
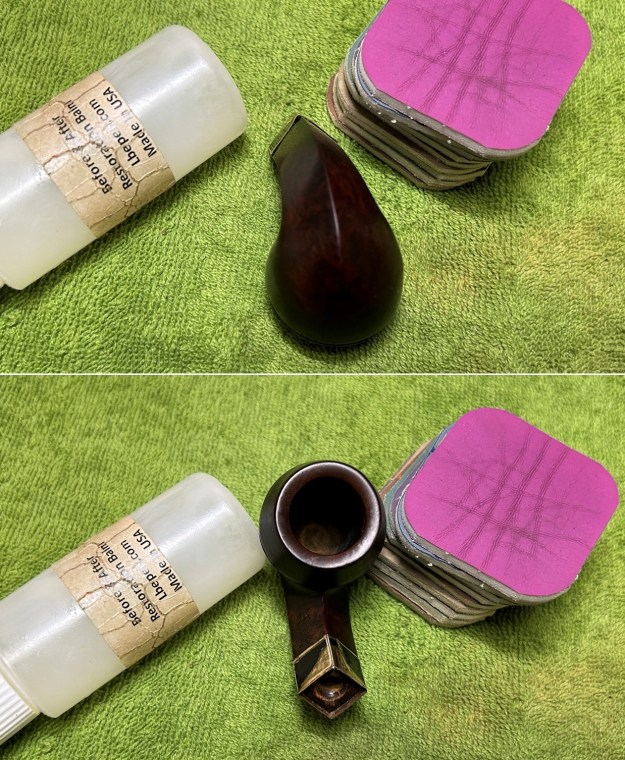
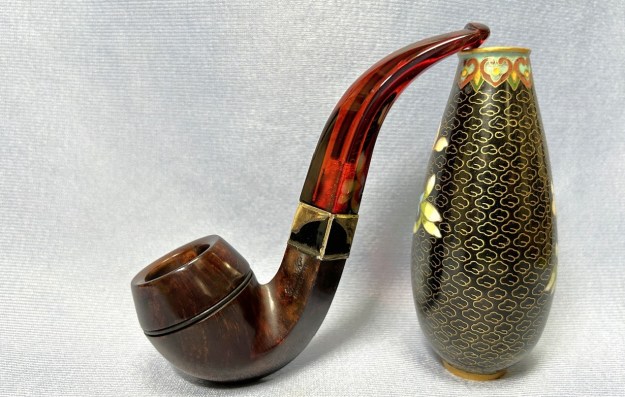
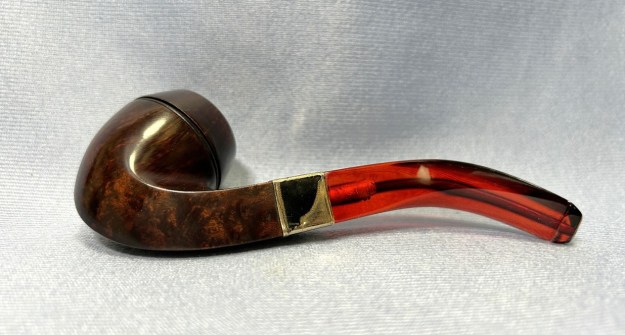
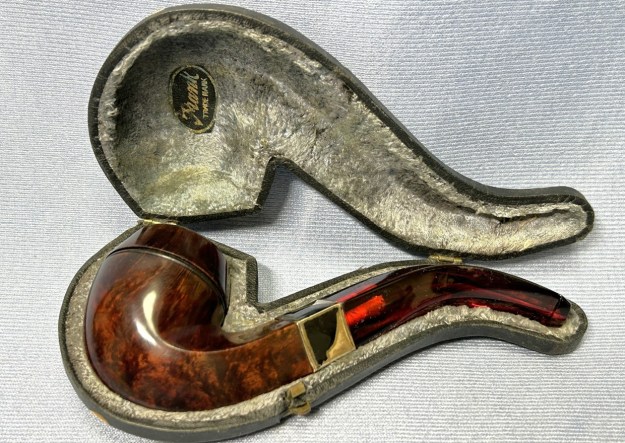
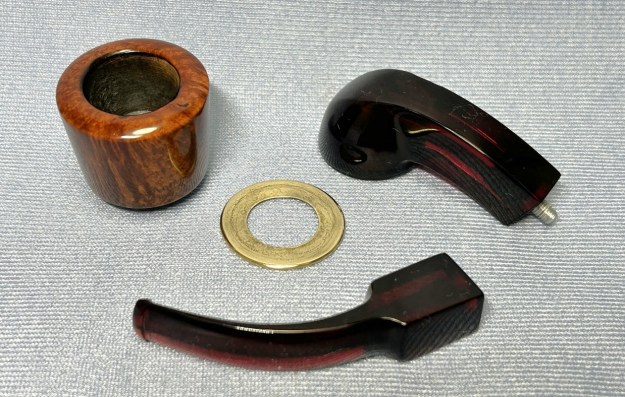
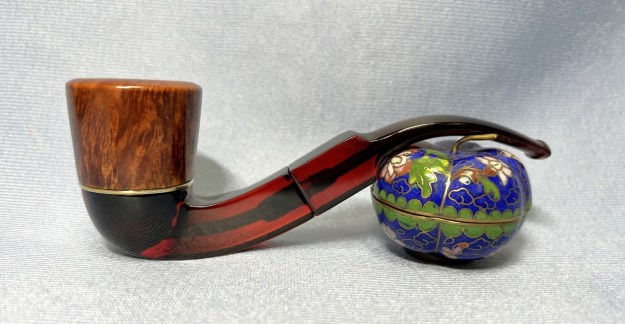
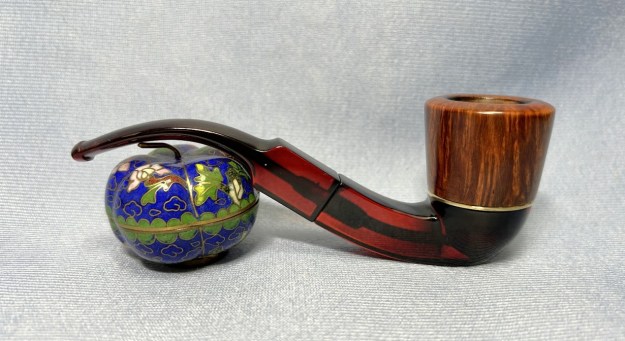
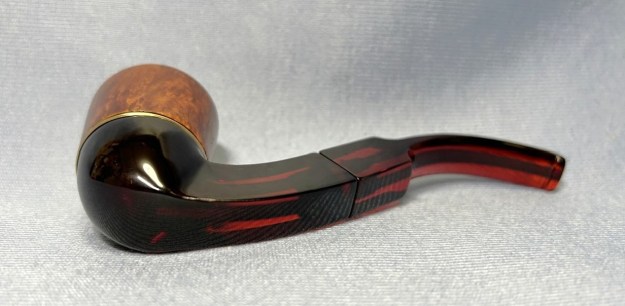
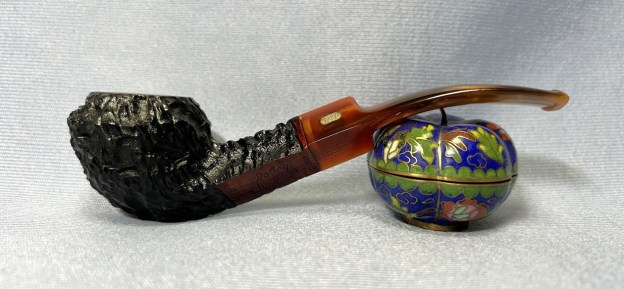
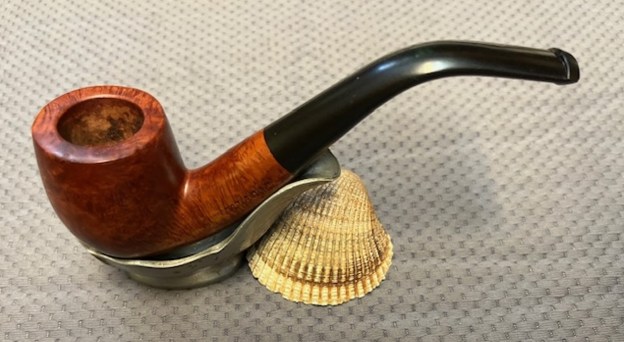
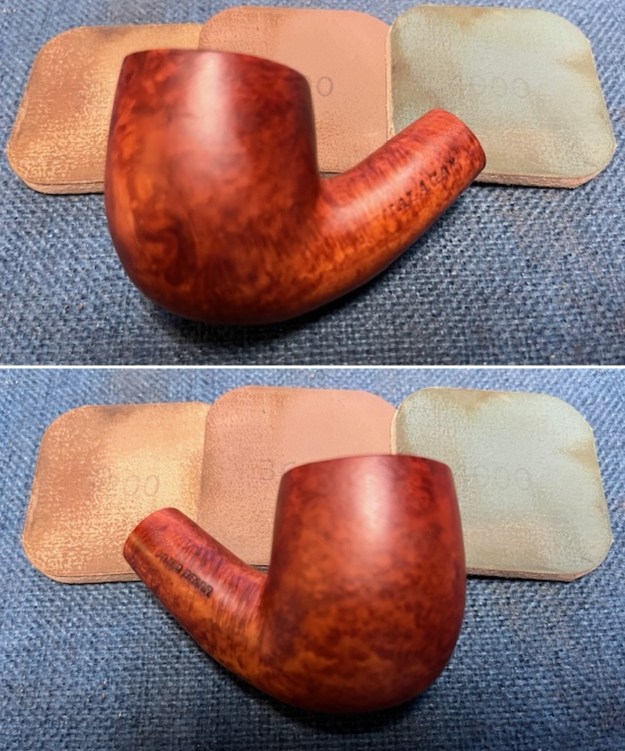
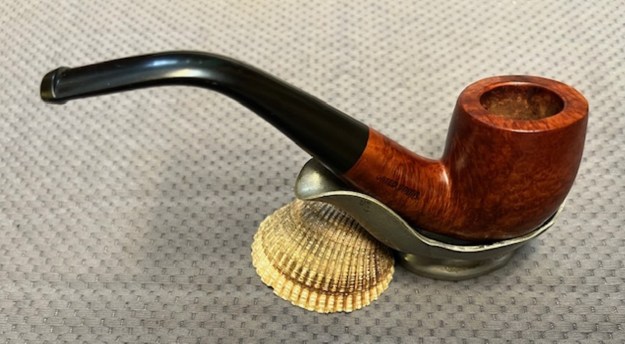
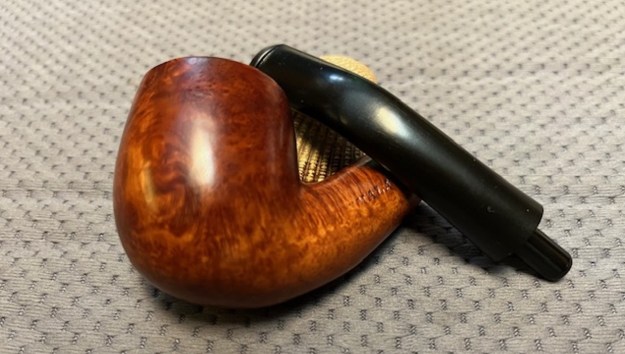
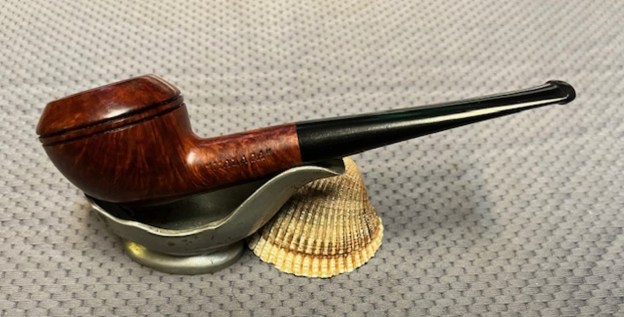
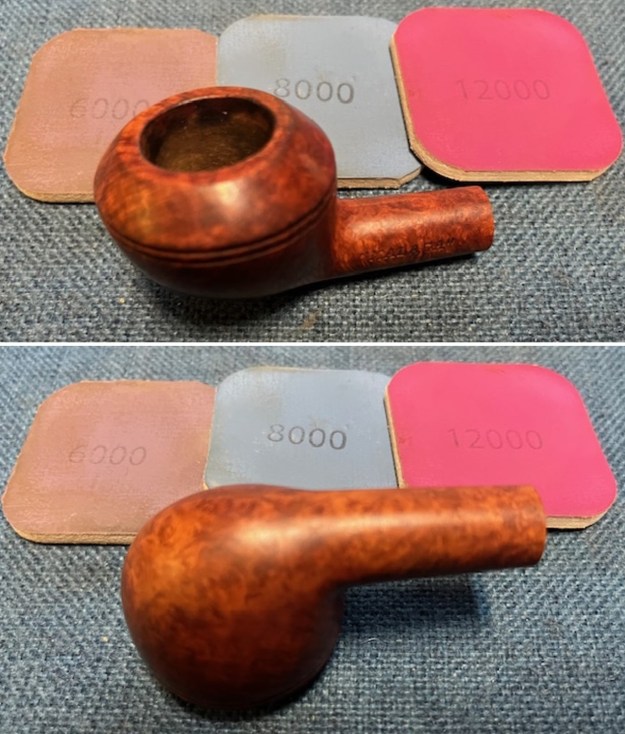
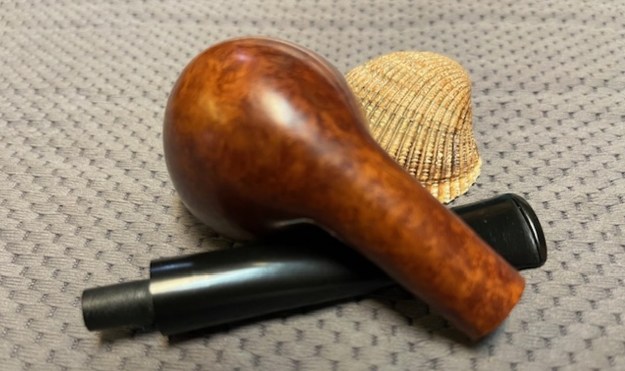
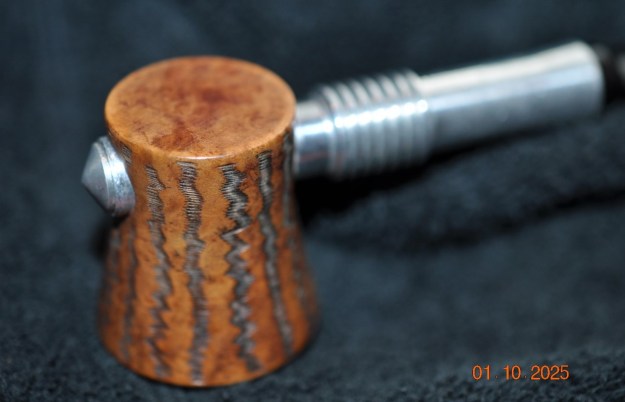
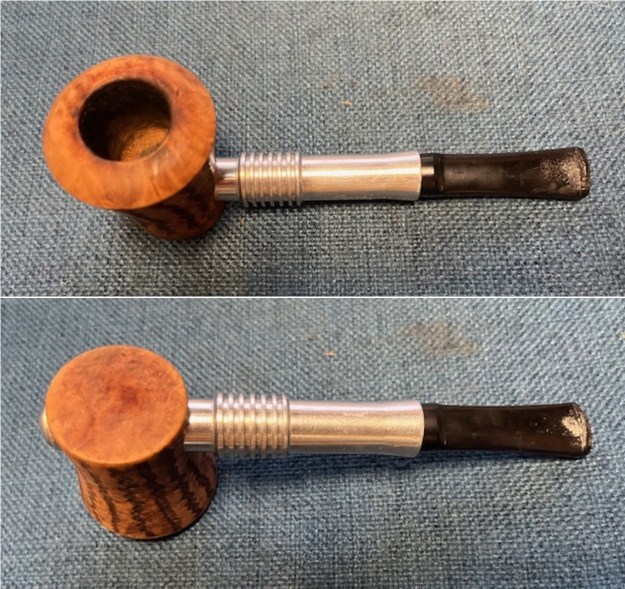
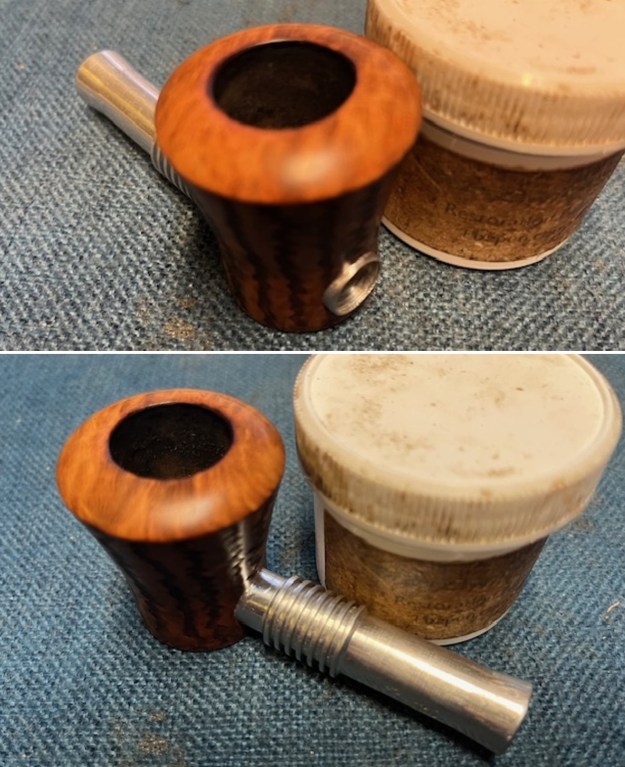
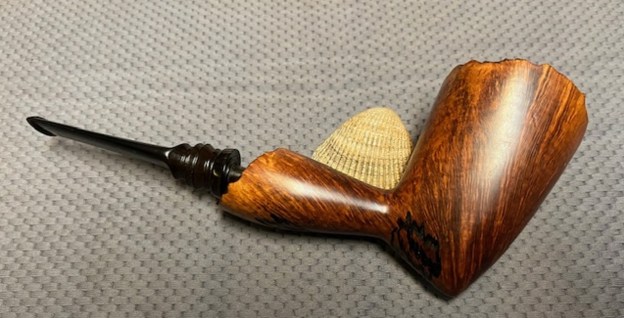
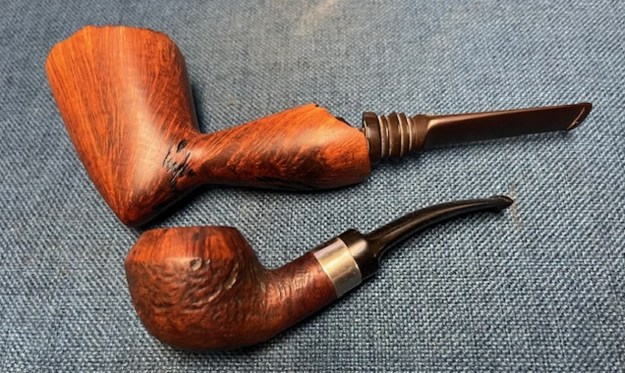
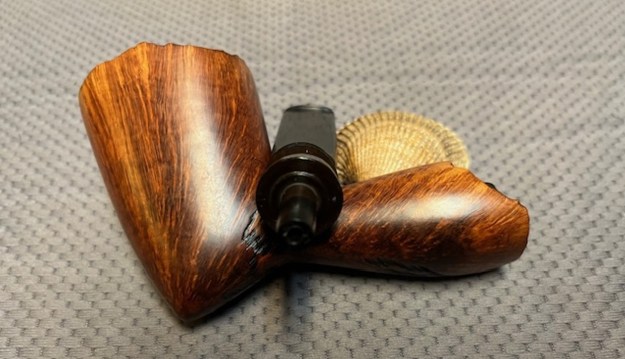
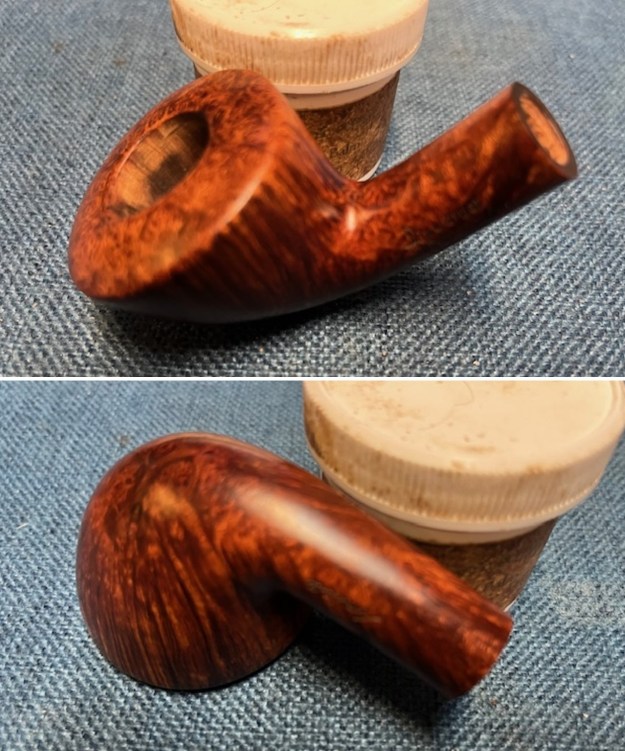
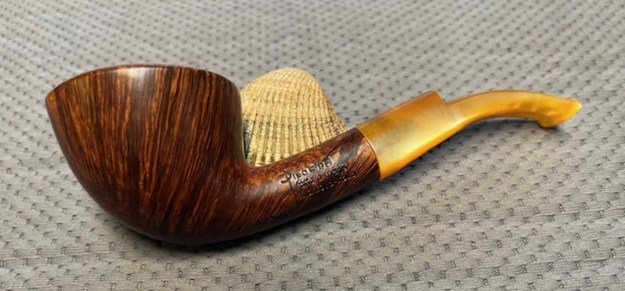
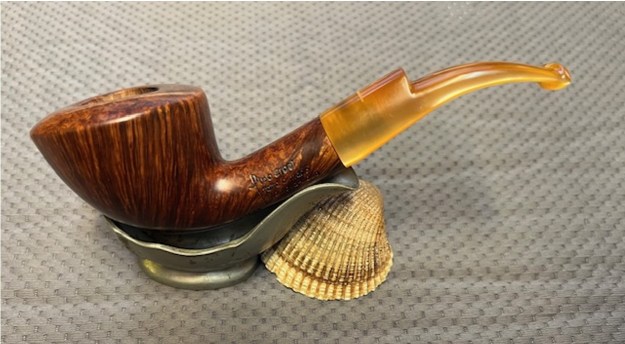
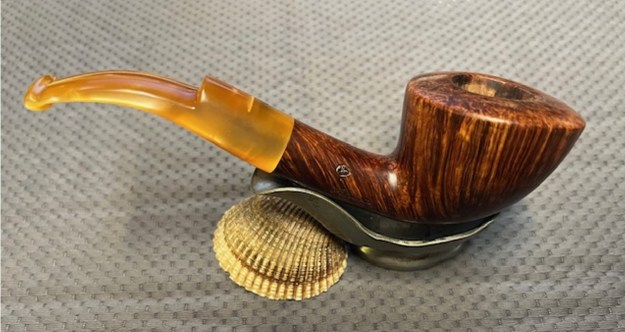
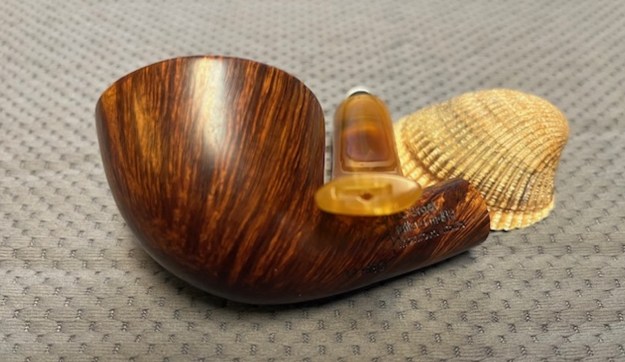
 For the final step, I took the pipe to my bench polisher and carefully buffed it – first with a blue diamond compound, then with three coats of conservator’s wax. This procedure makes the pipe look its best – the stummel sings and the stem glows.
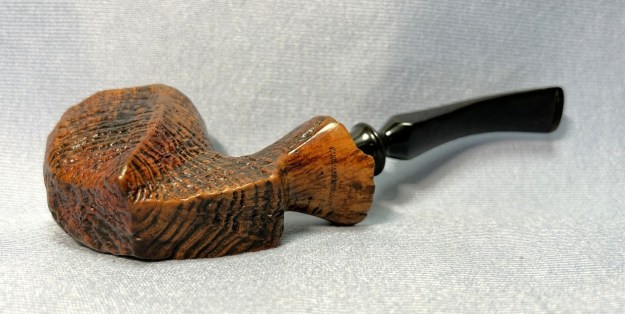
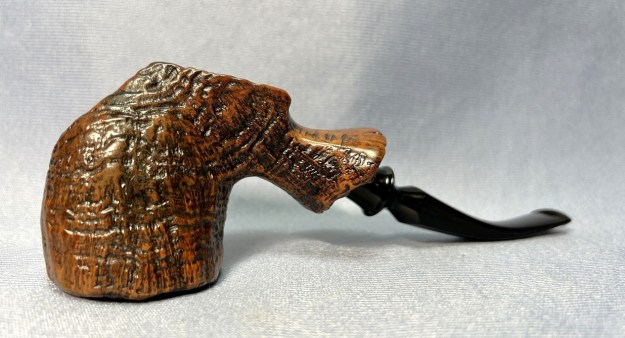
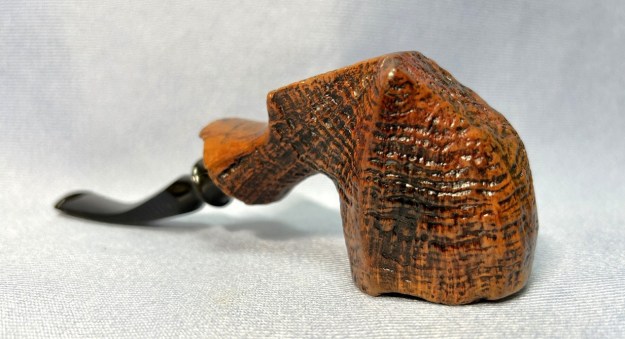
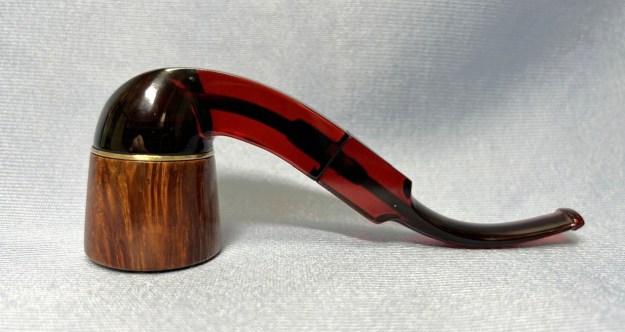
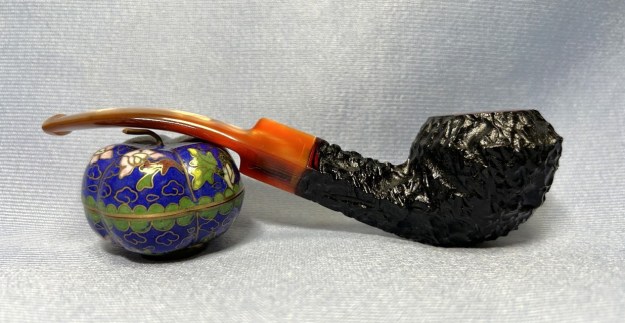
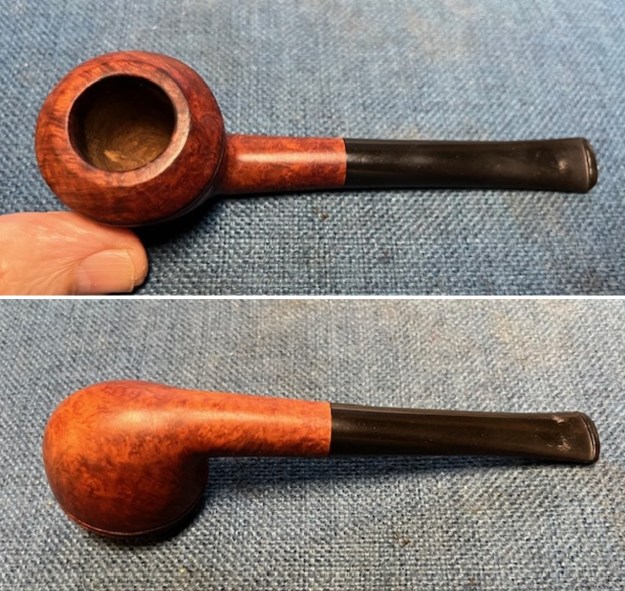
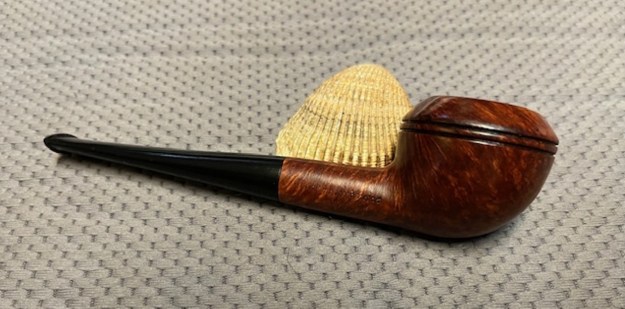
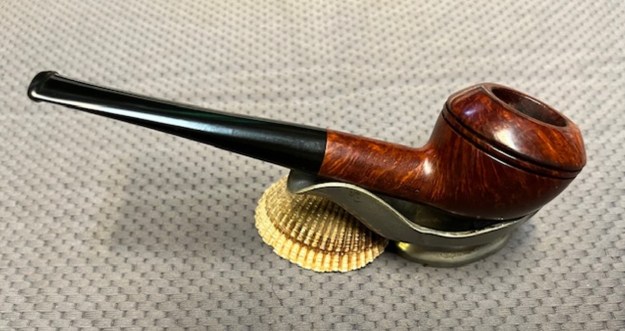
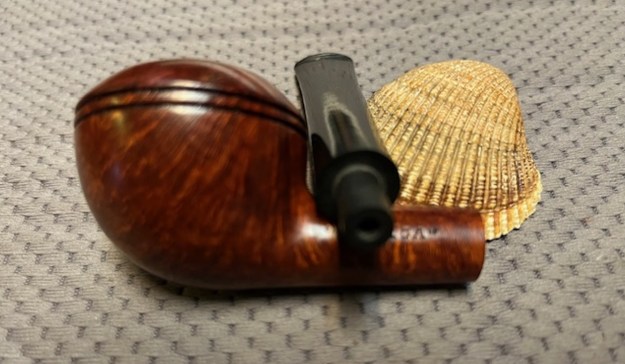
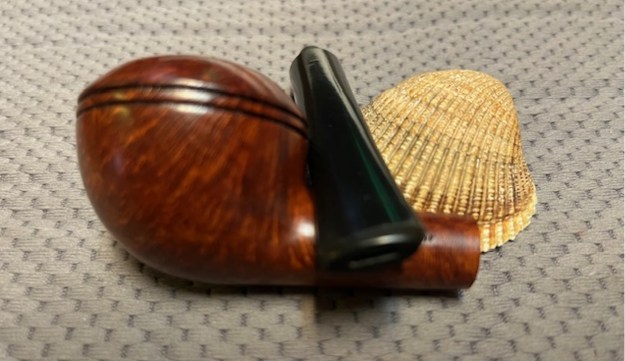
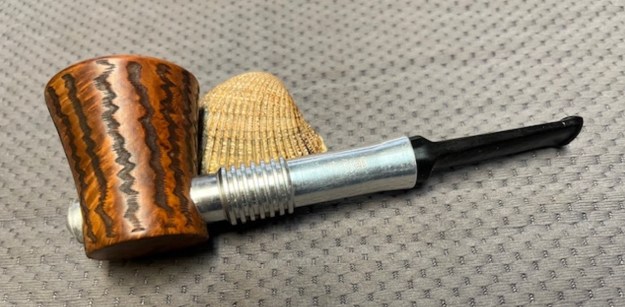
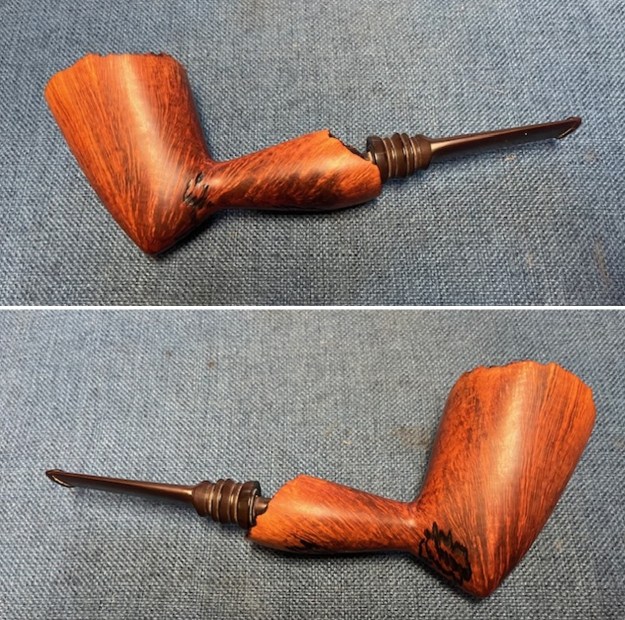
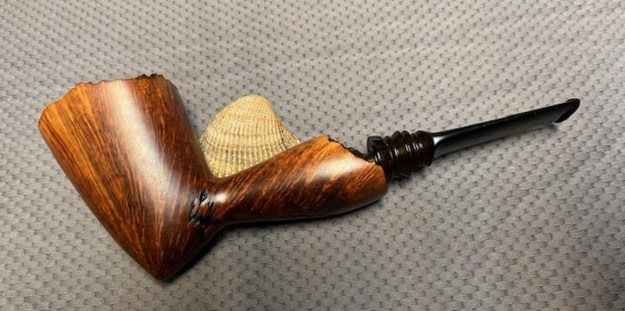
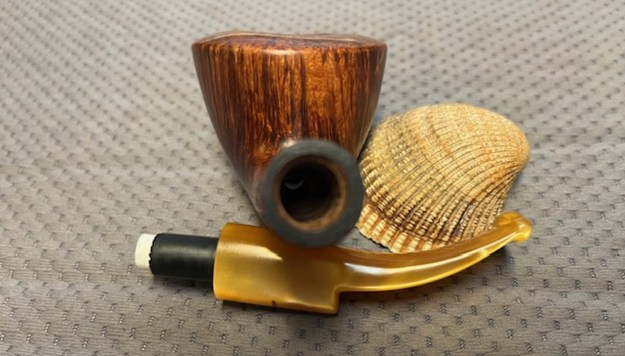
 All done! This Jobey Dansk #1 Freehand looks fantastic again and is ready to be enjoyed by its next owner. I am pleased to announce that this pipe is for sale! If you are interested in acquiring it for your collection, please have a look in the ‘Danish’ section of the store here on Steve’s website. You can also email me directly at kenneth@knightsofthepipe.com. The approximate dimensions of the pipe are as follows: length 6⅜ in. (162 mm); height 2⅛ in. (56 mm); bowl diameter 1¾ in. (45 mm); chamber diameter 1 in. (25 mm). The weight of the pipe is 2⅛ oz. (62 g). I hope you enjoyed reading the story of this pipe’s restoration as much as I enjoyed restoring it. If you are interested in more of my work, please follow me here on Steve’s website or send me an email. Thank you very much for reading and, as always, I welcome and encourage your comments.