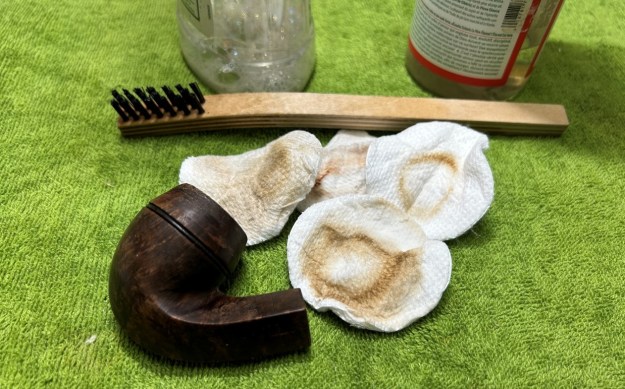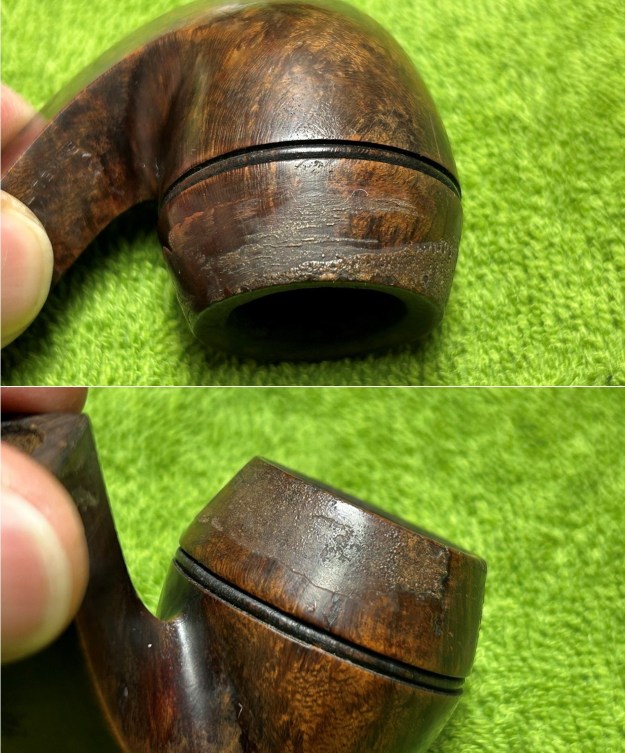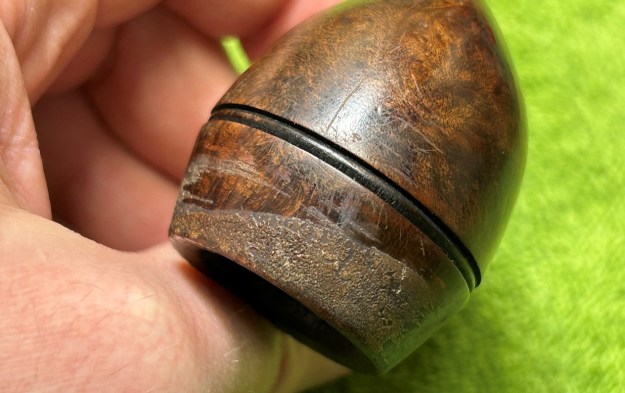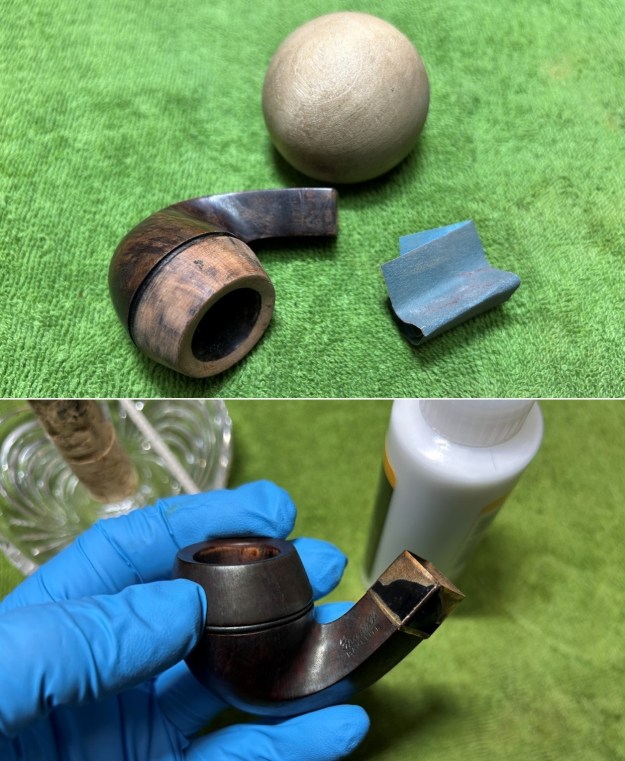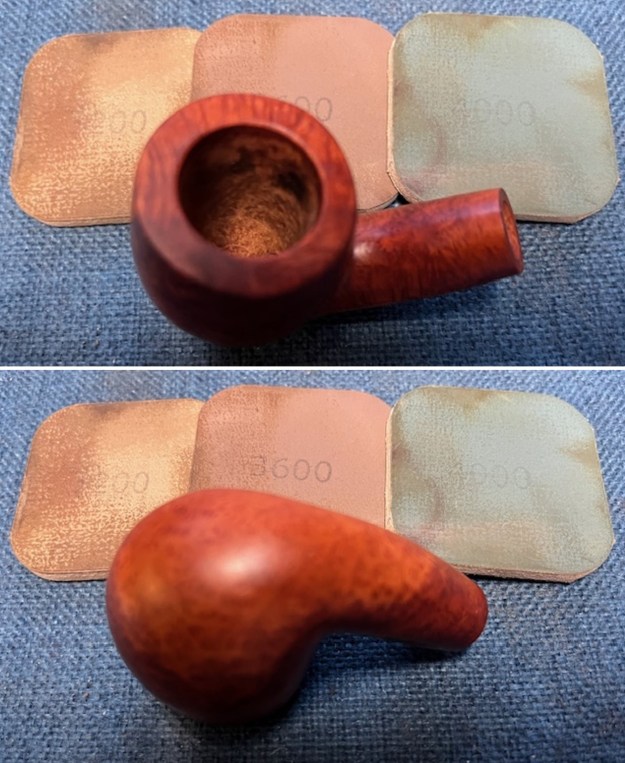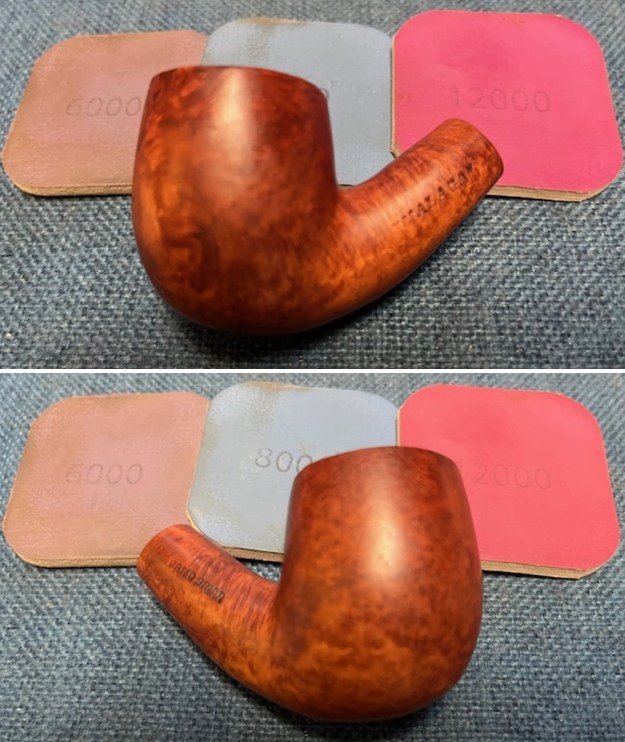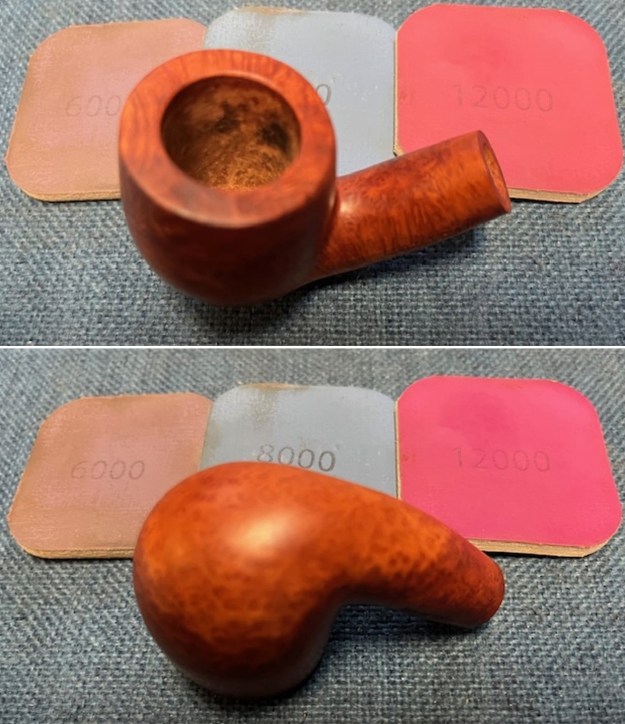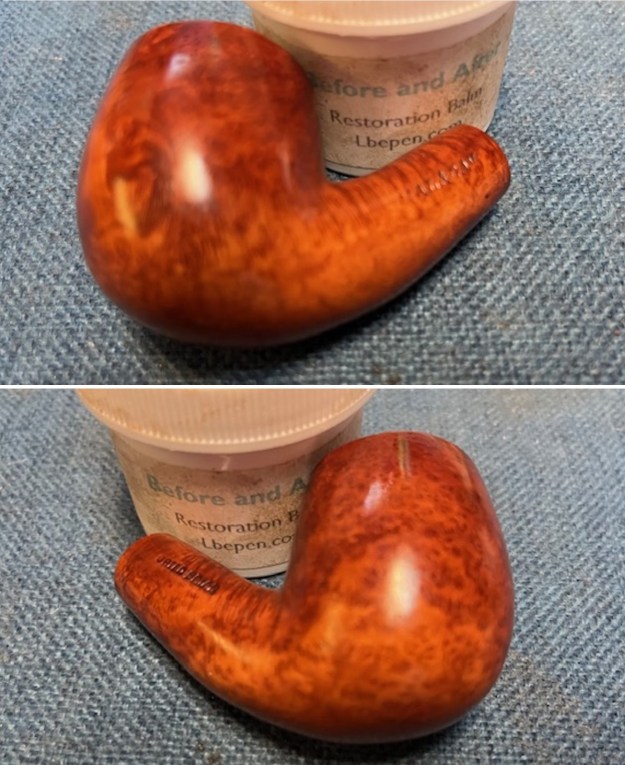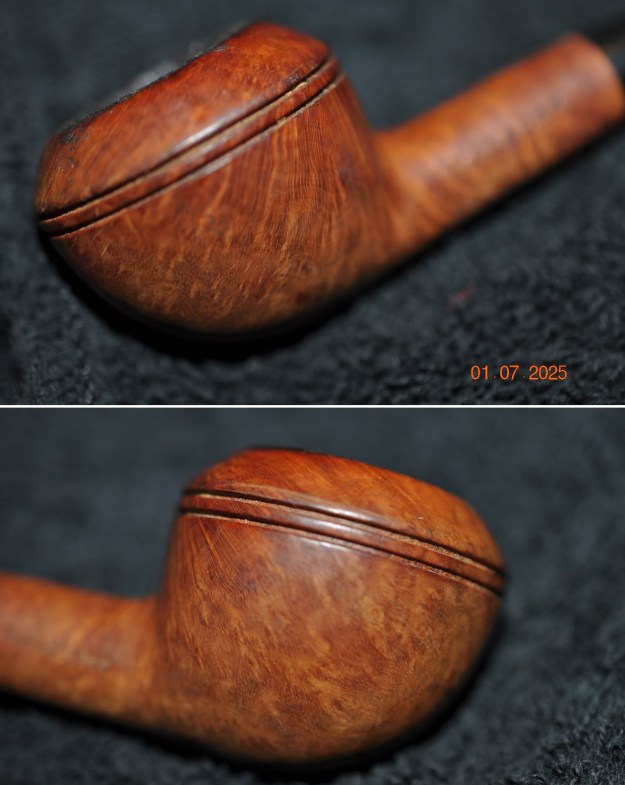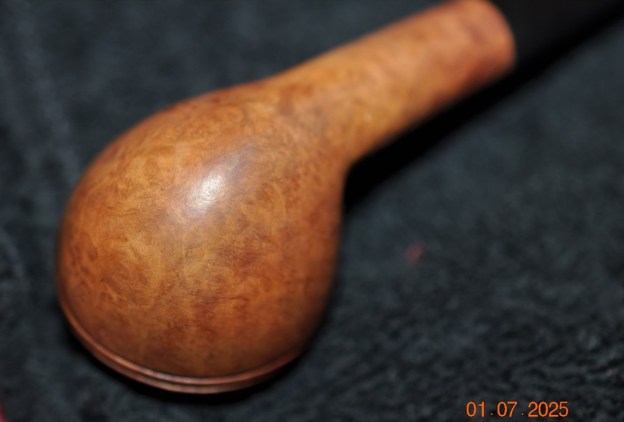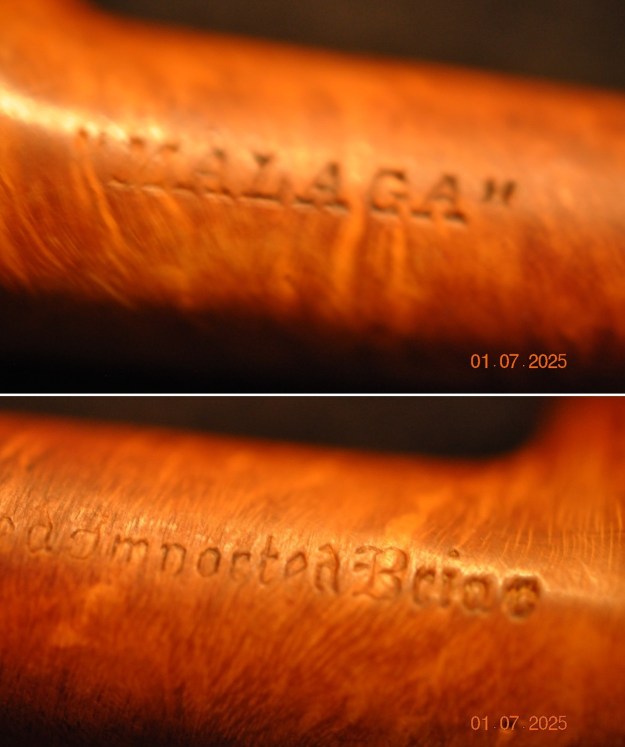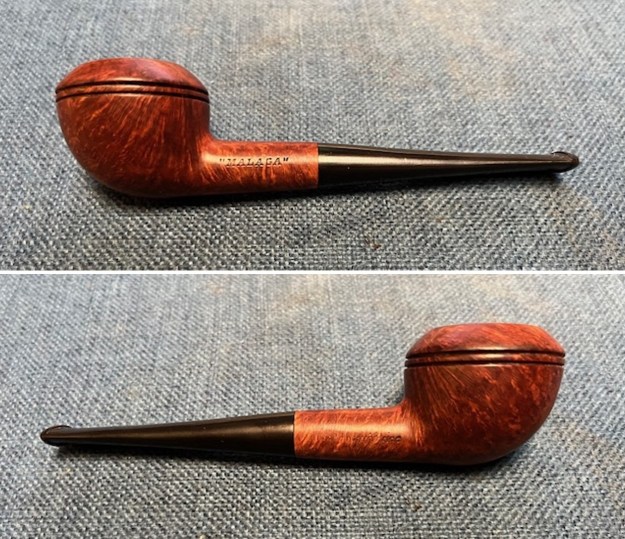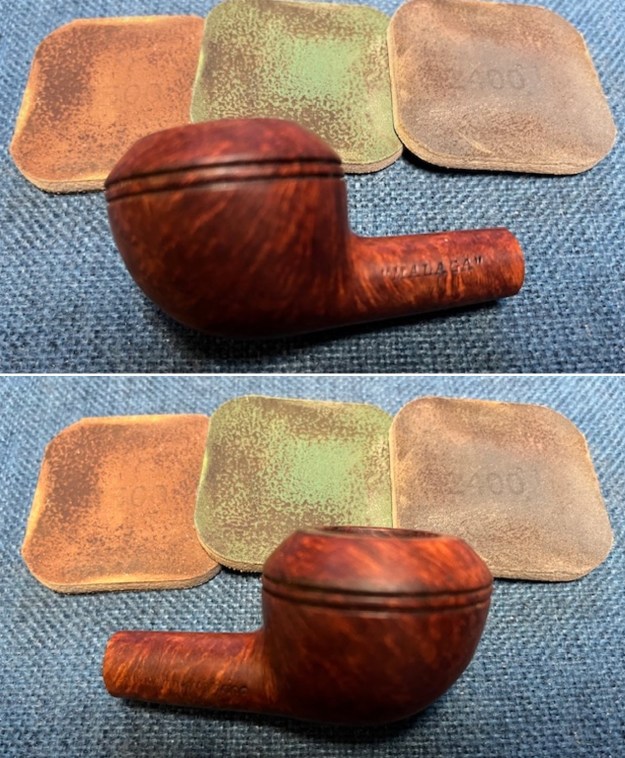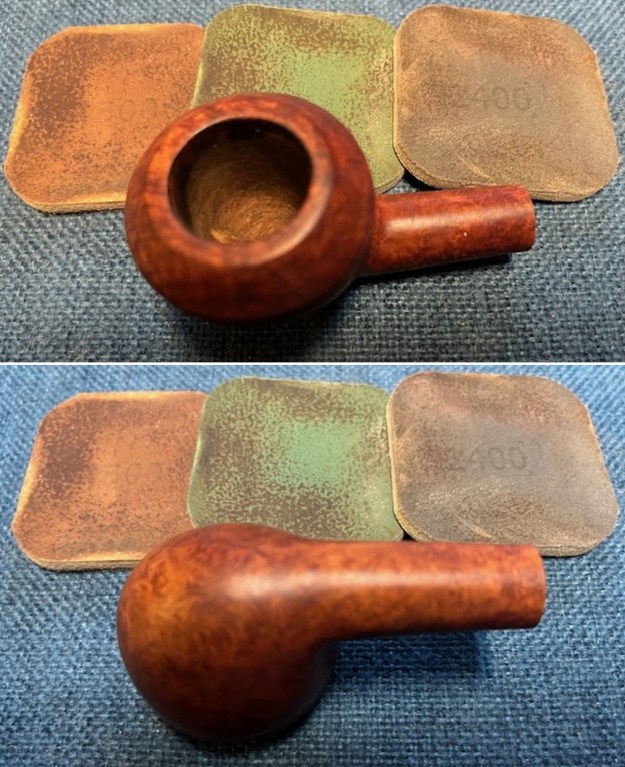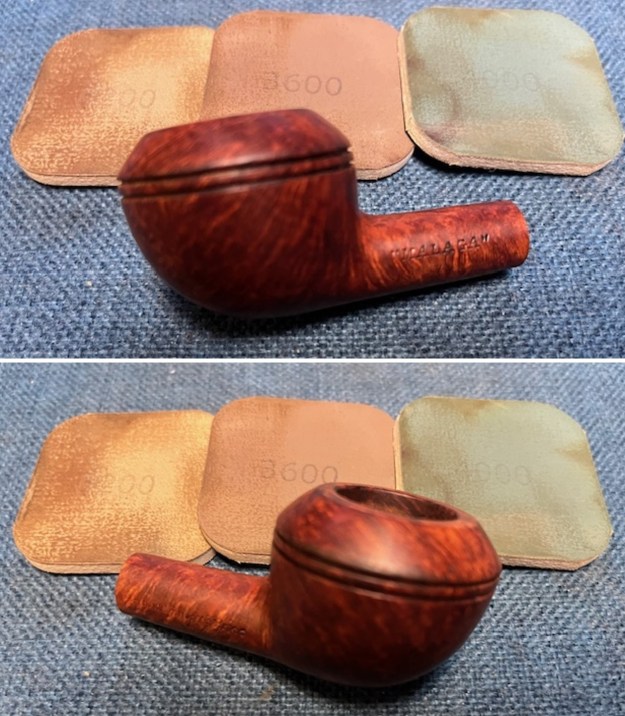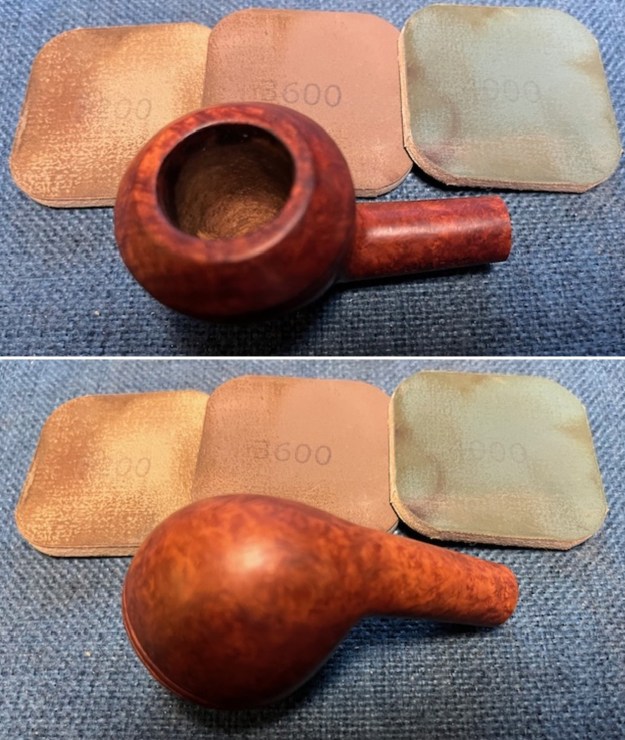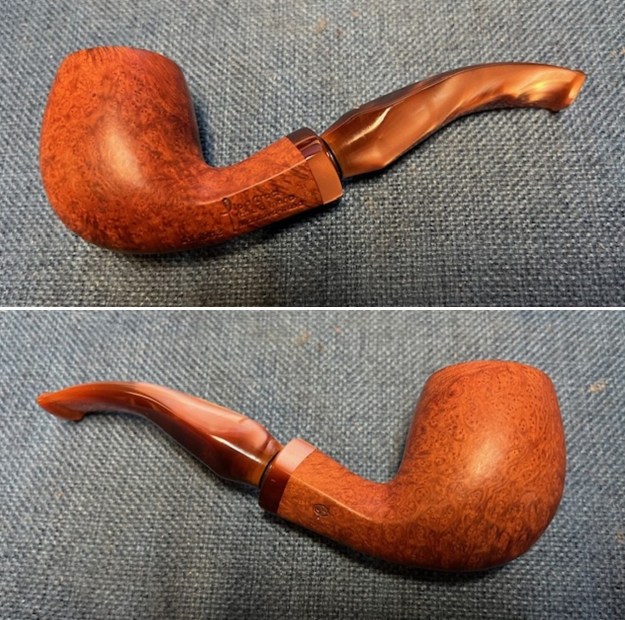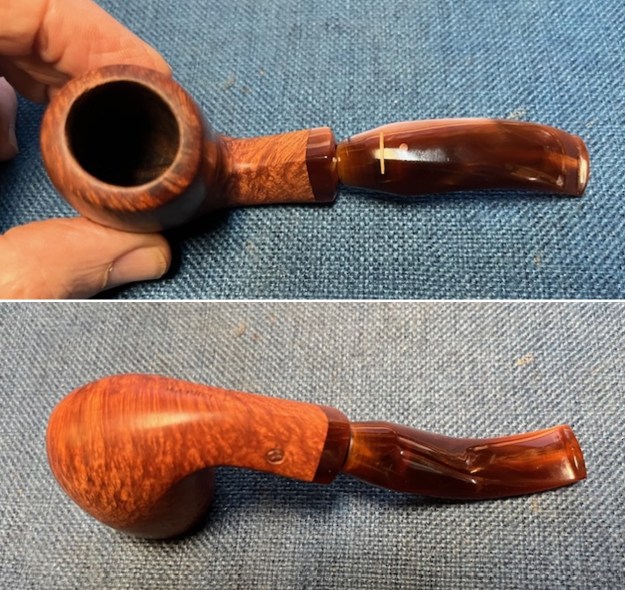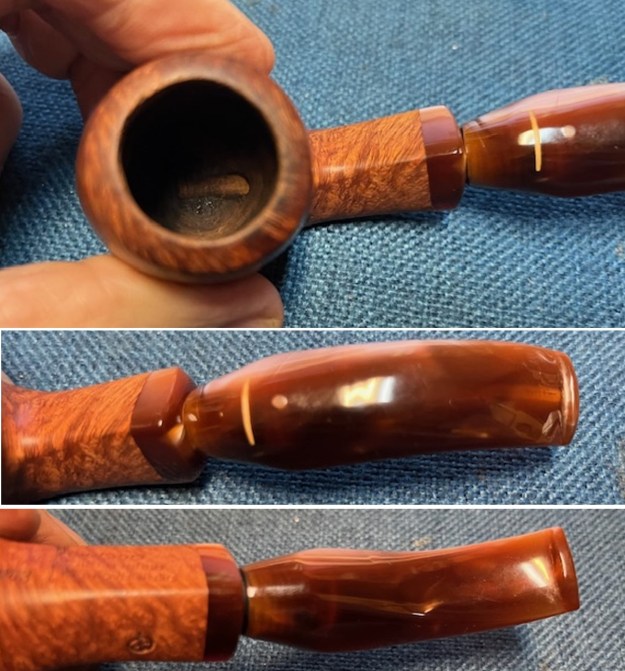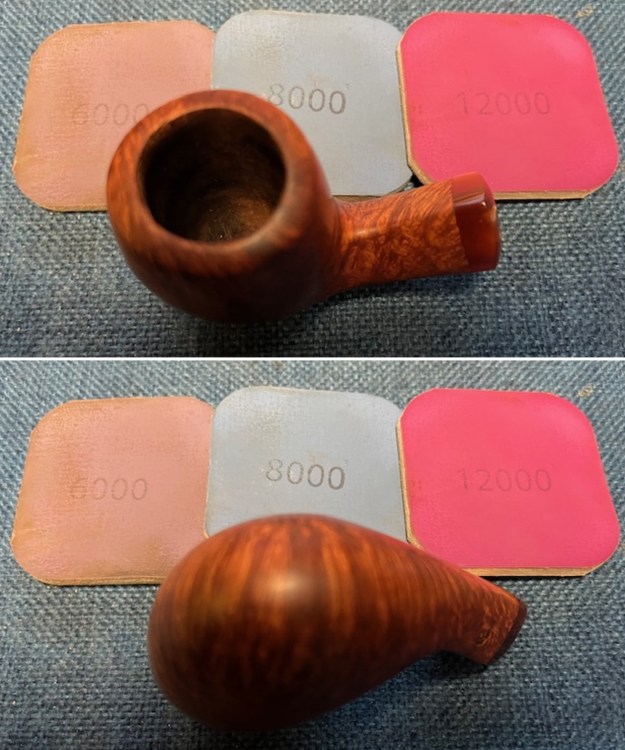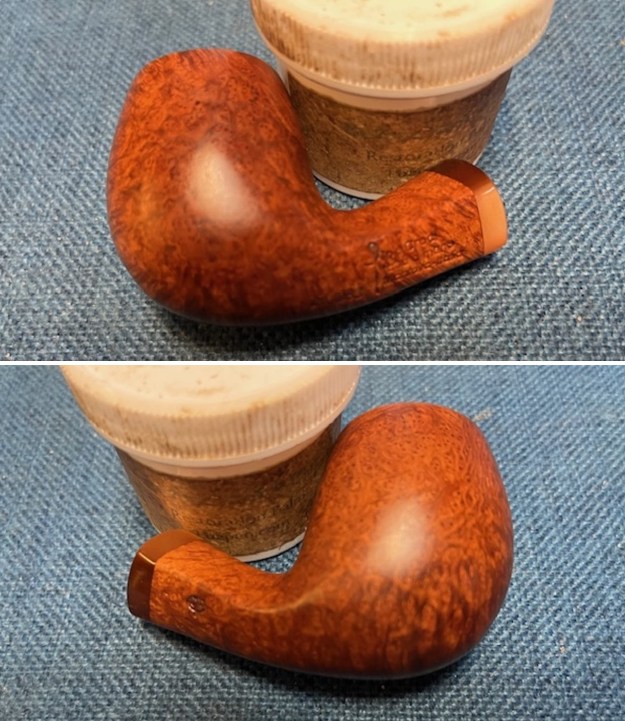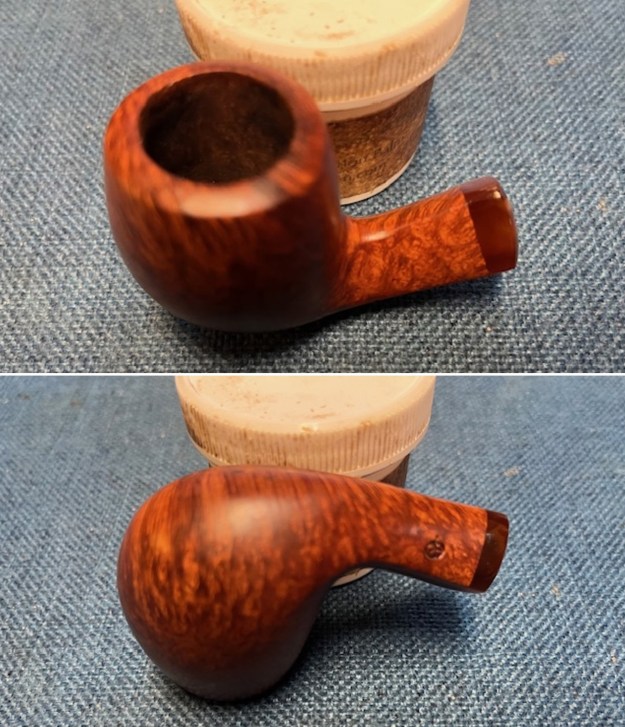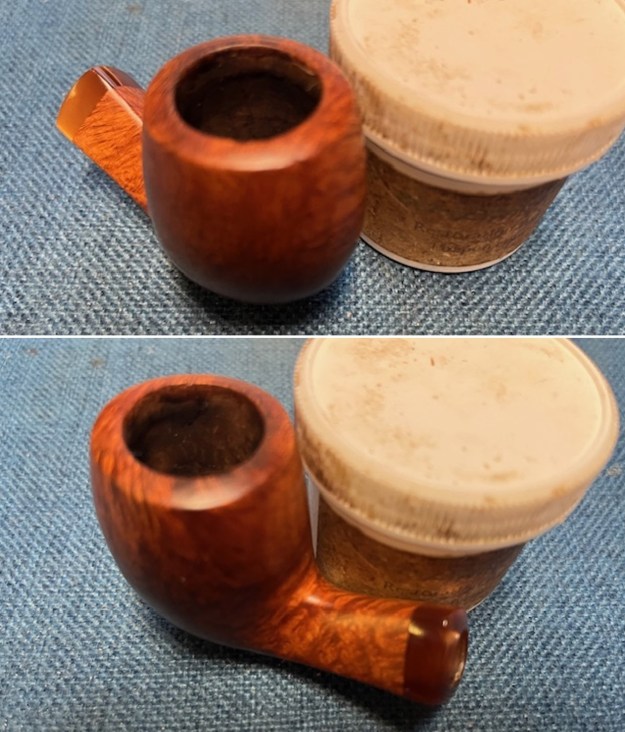
Tag Archives: cleaning up a rim top

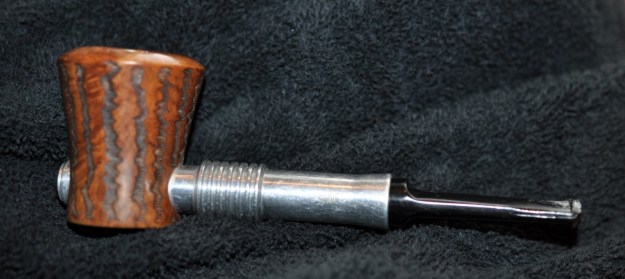
Restoring a Strangely, Unique Metal Pipe – a Regal Poker


by Steve Laug

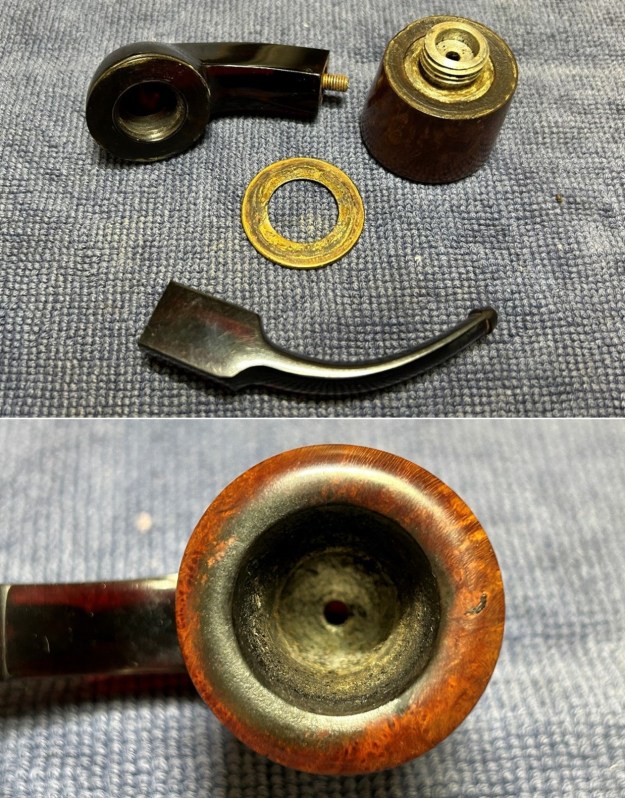
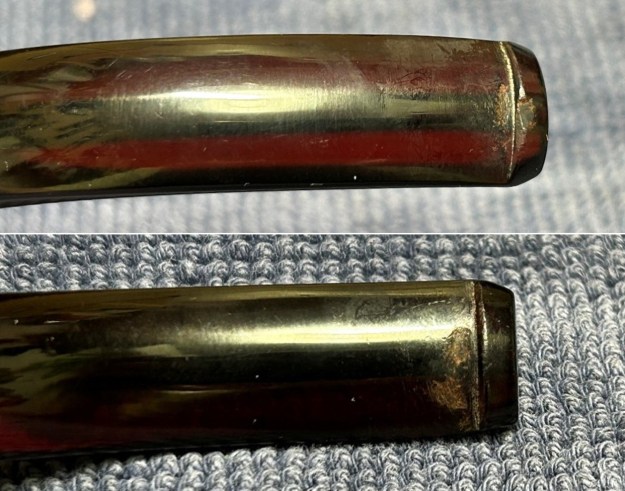
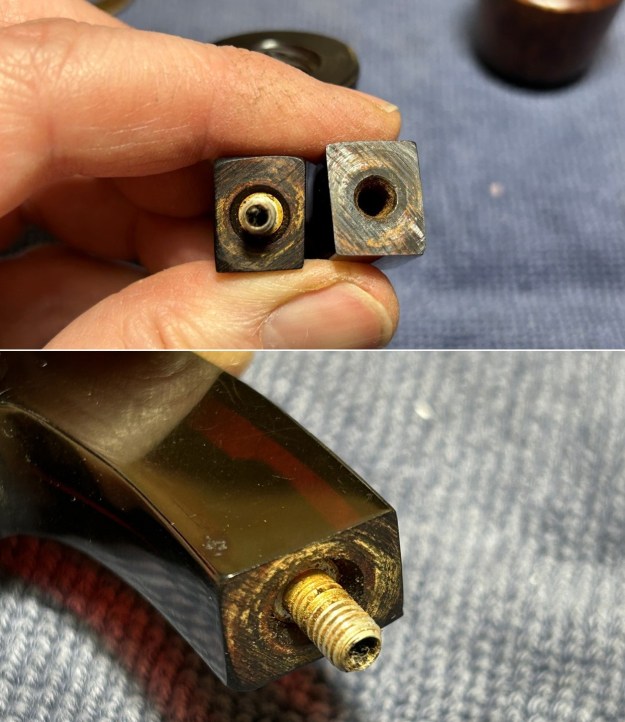
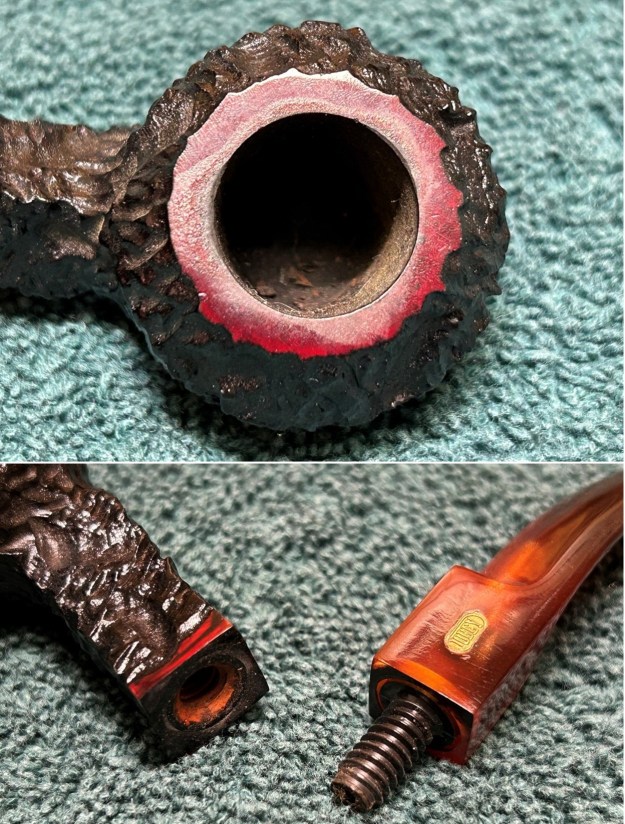
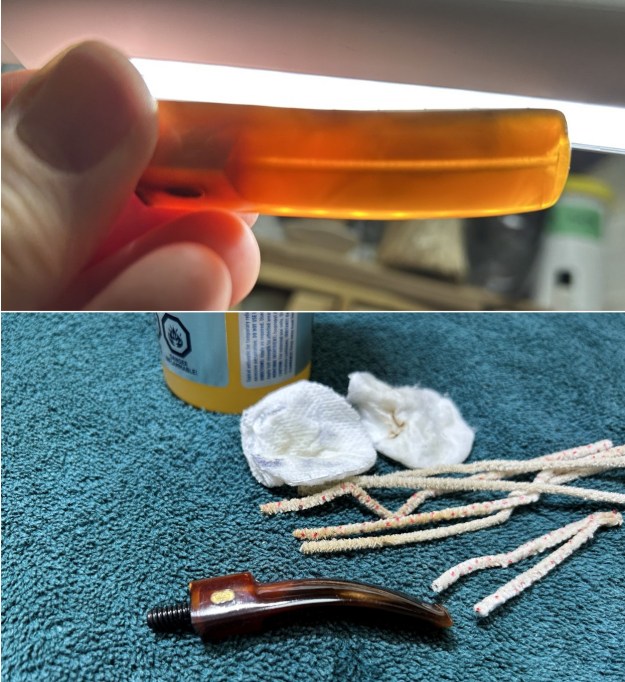
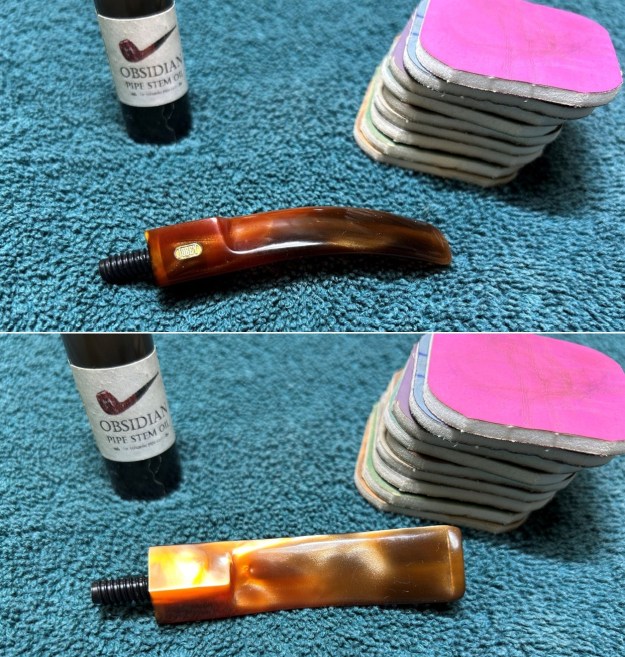
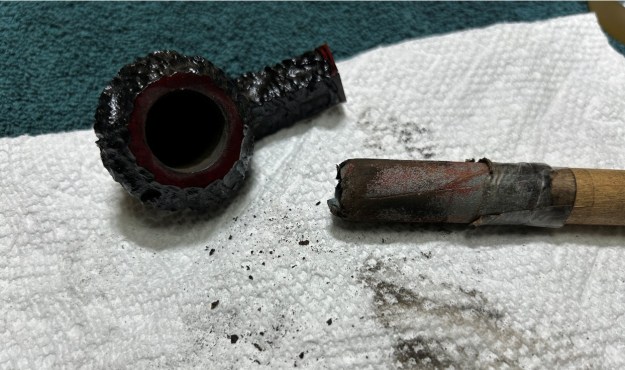
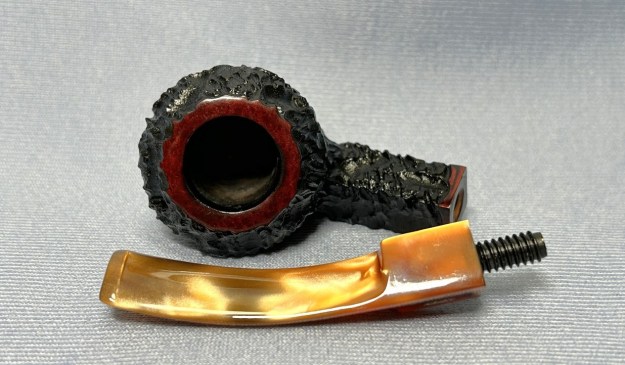
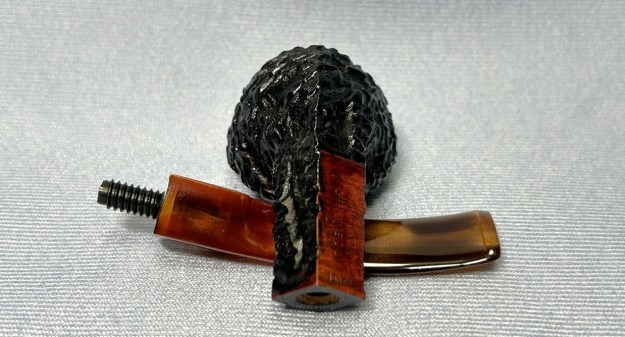
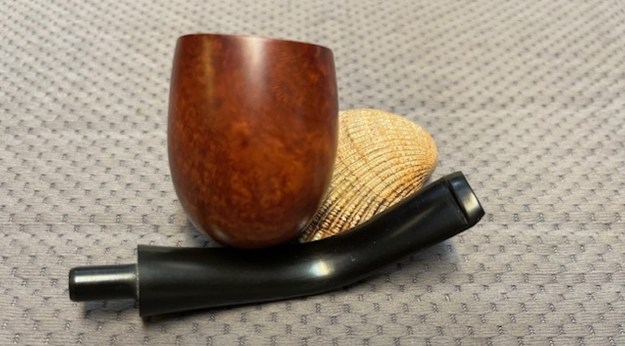
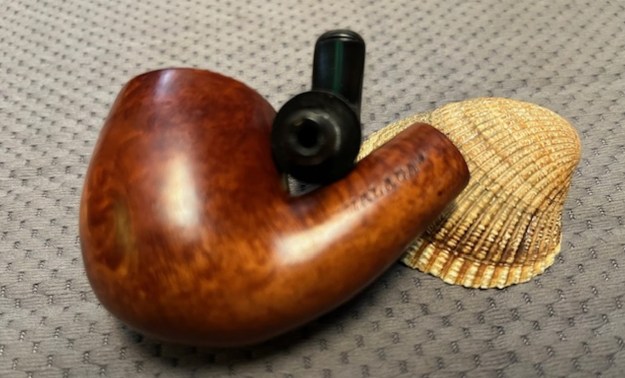
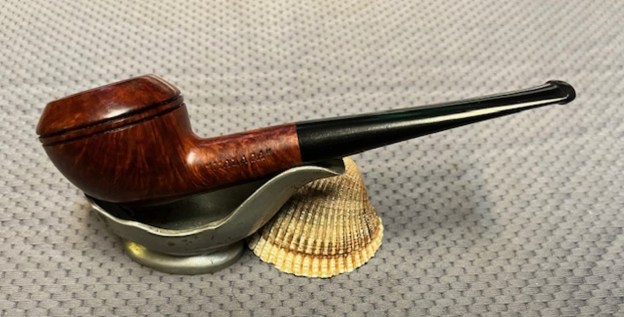
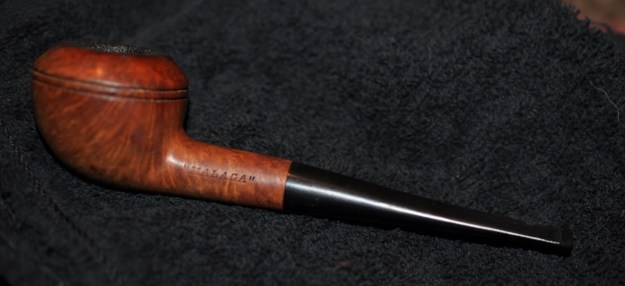
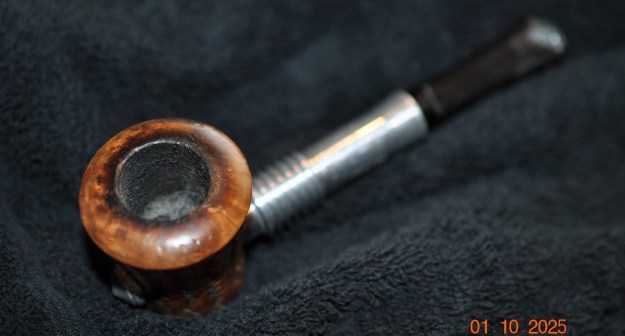
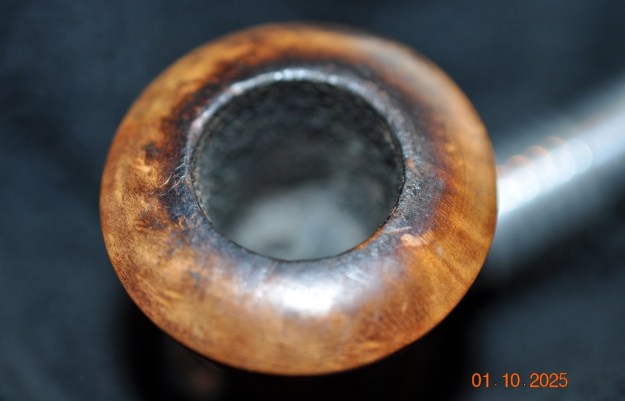
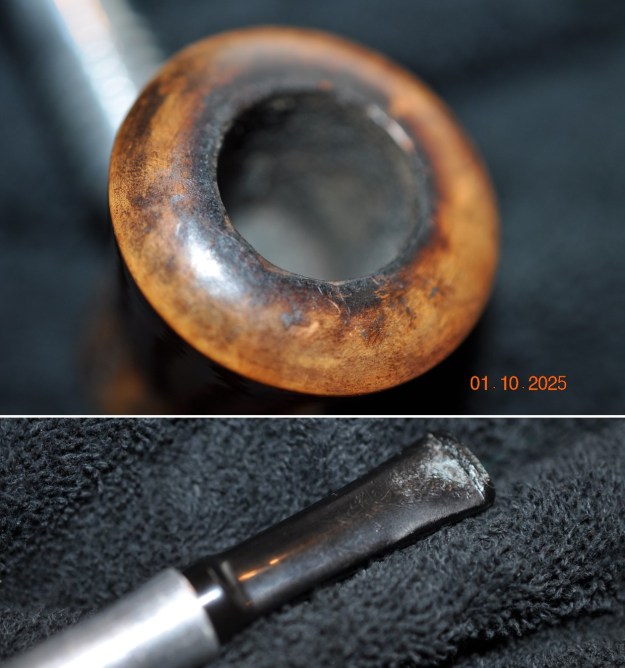
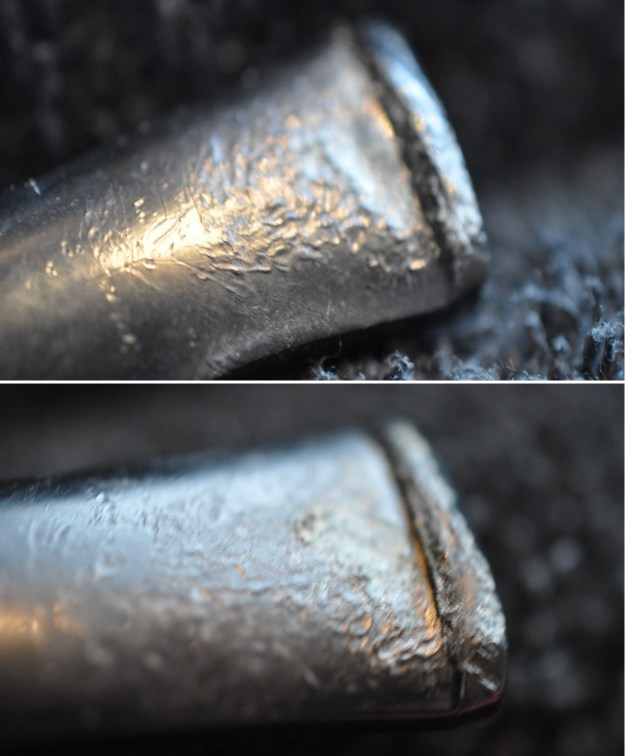
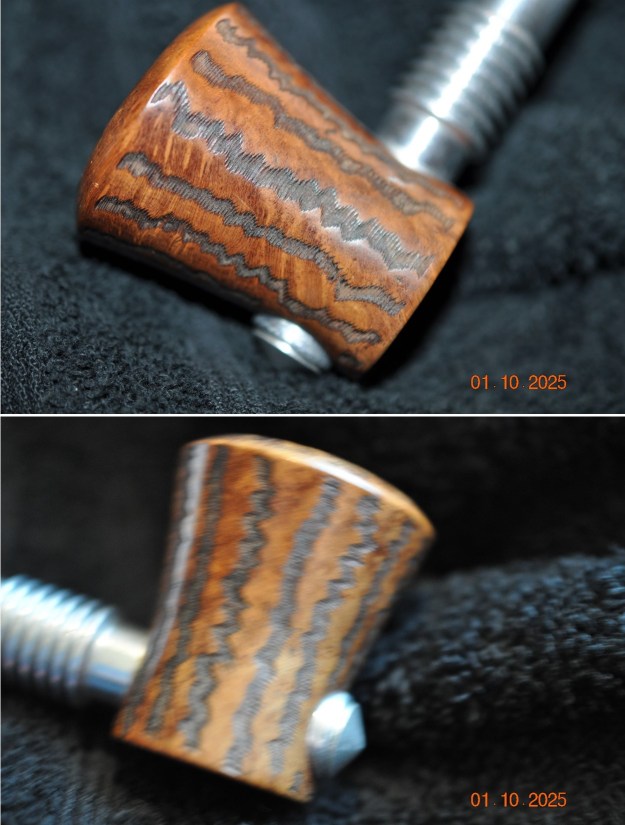
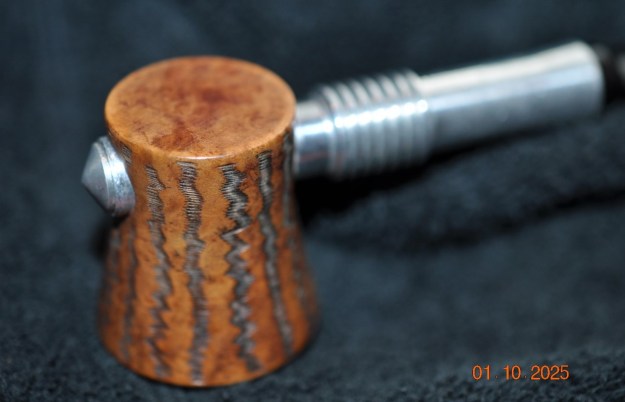
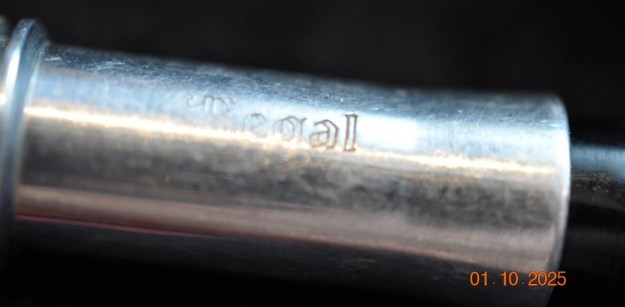
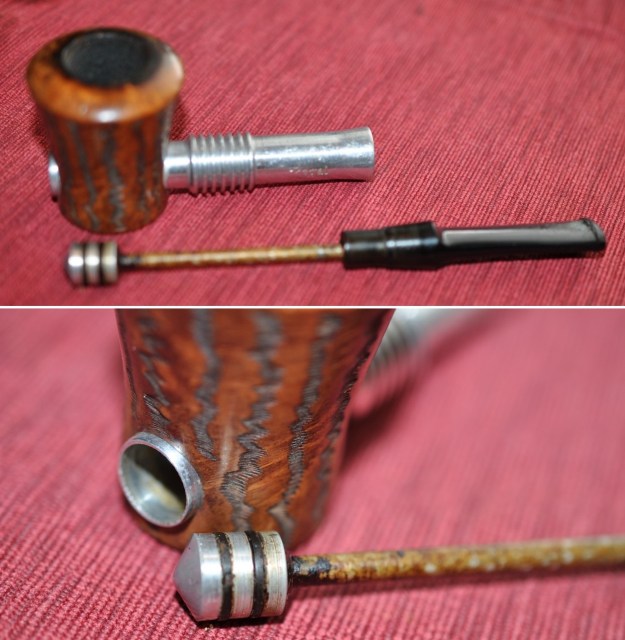
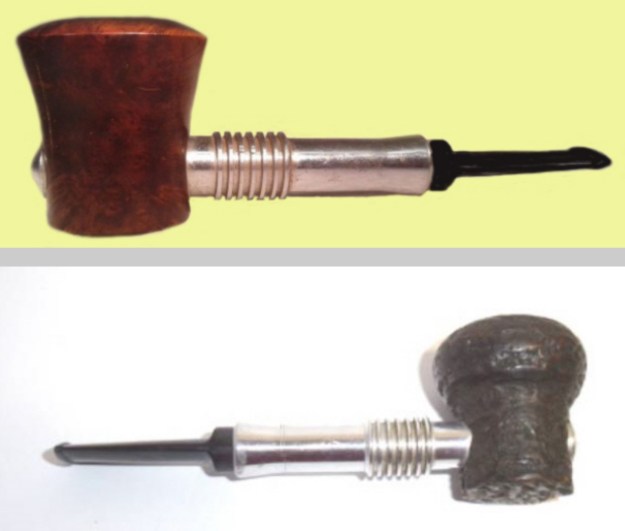
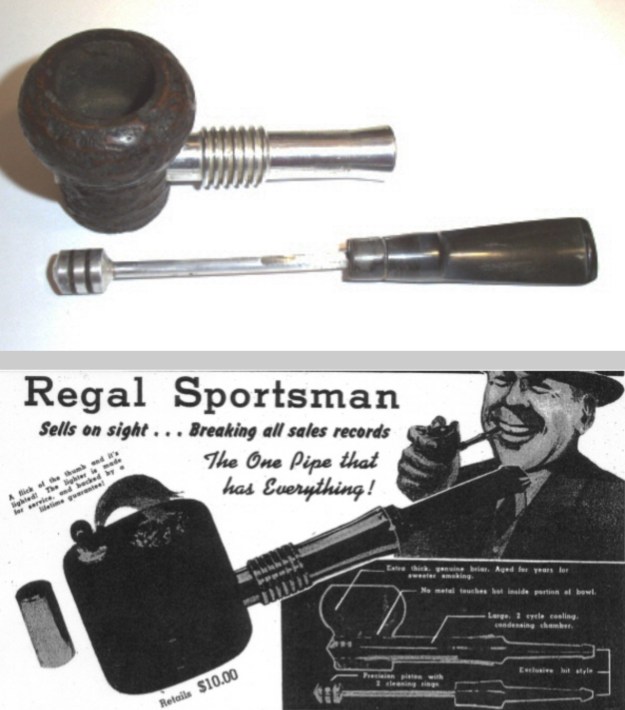
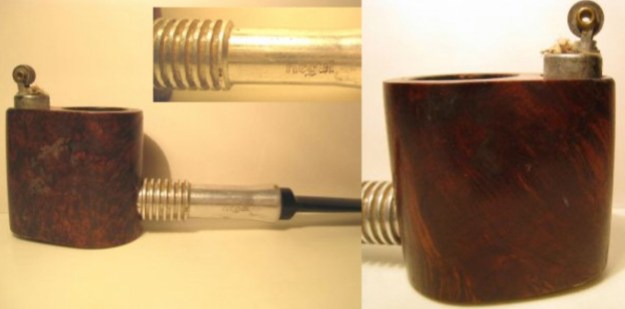
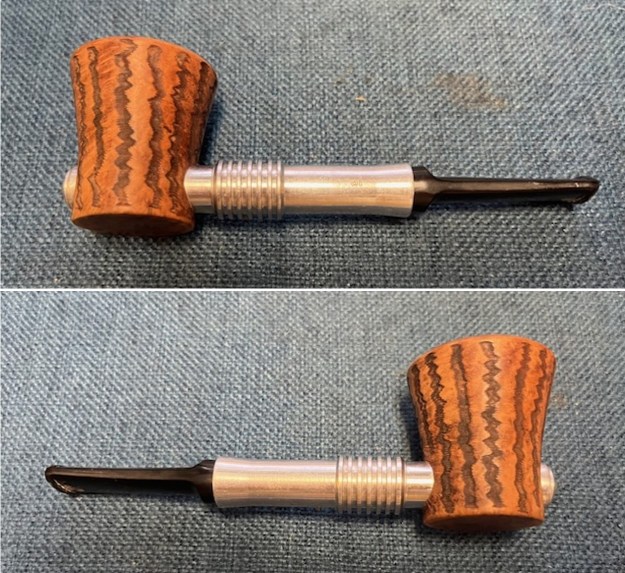
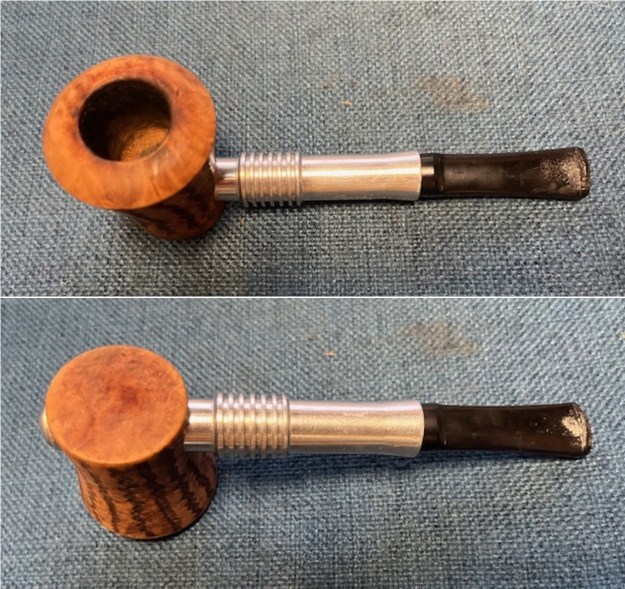
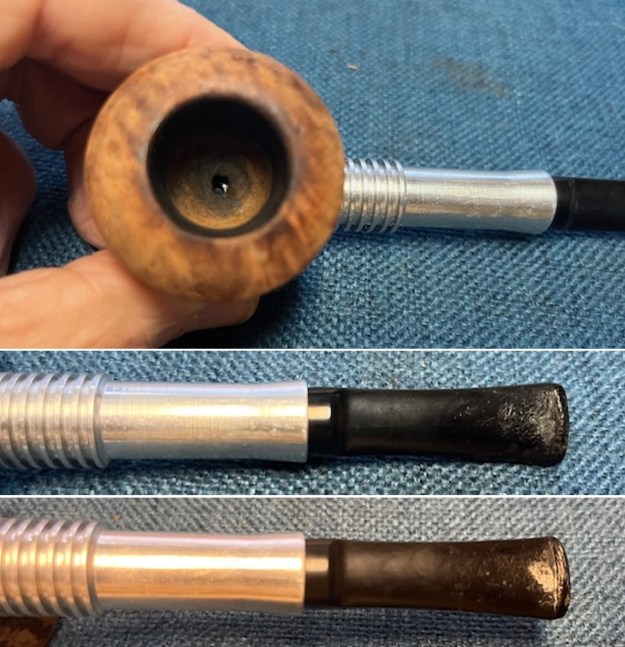
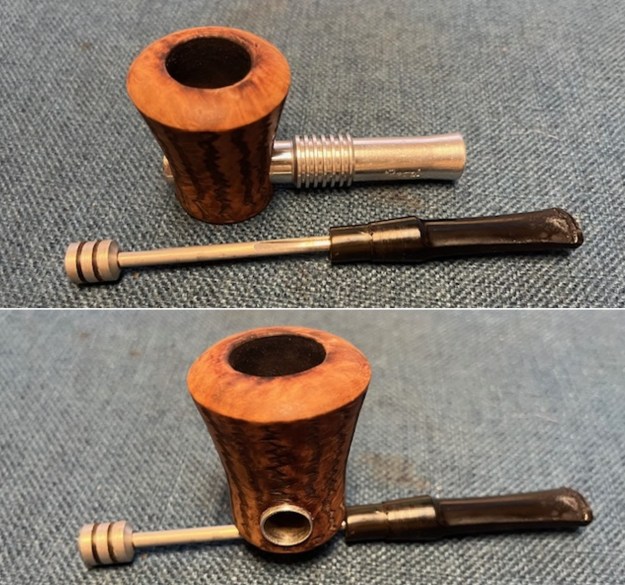
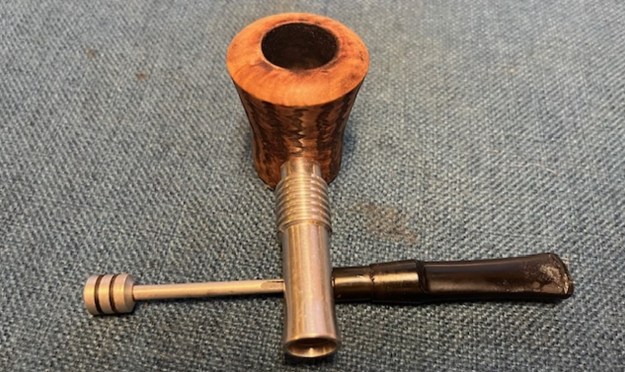
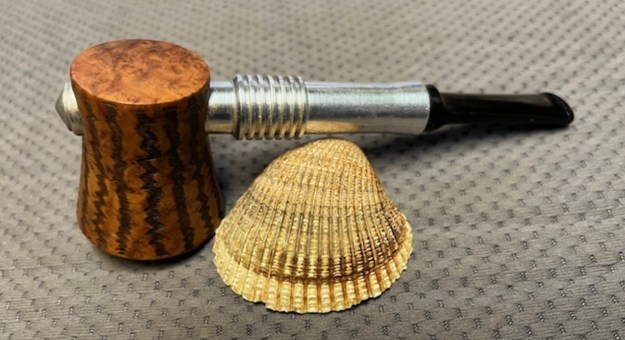
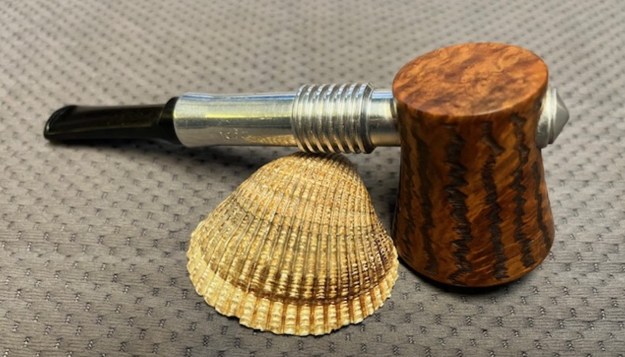
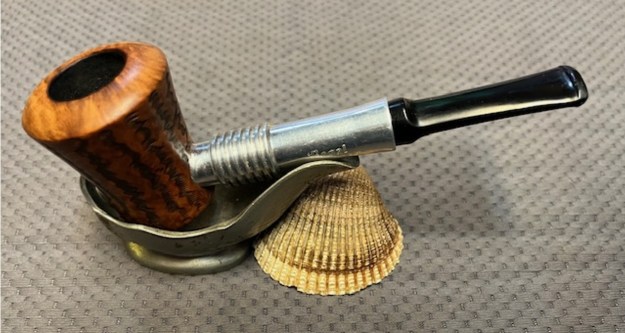
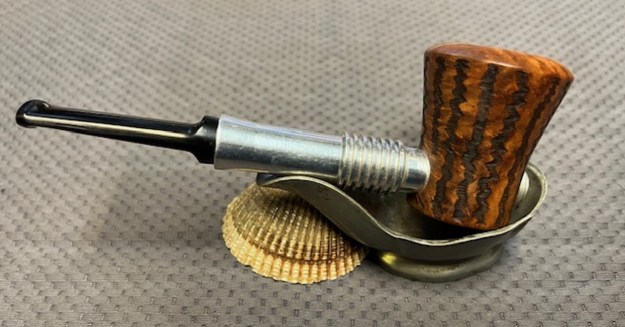
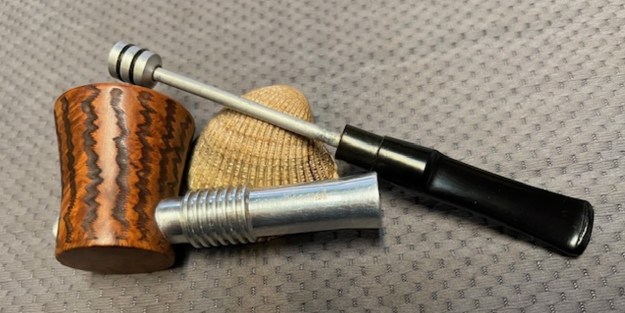
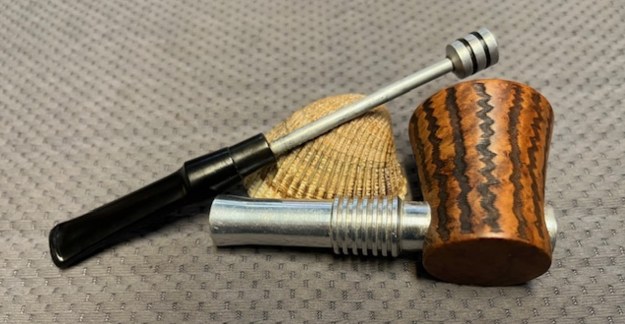
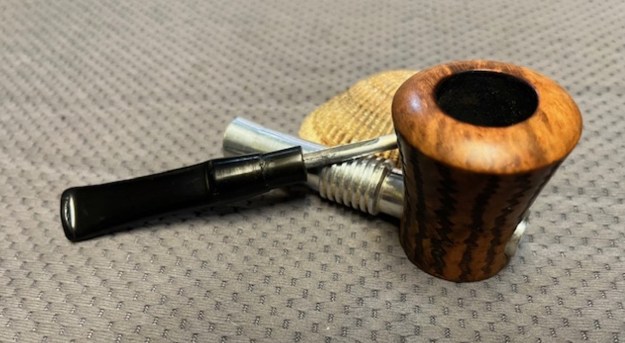
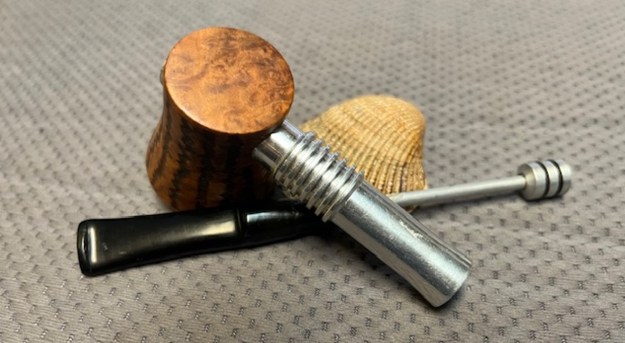
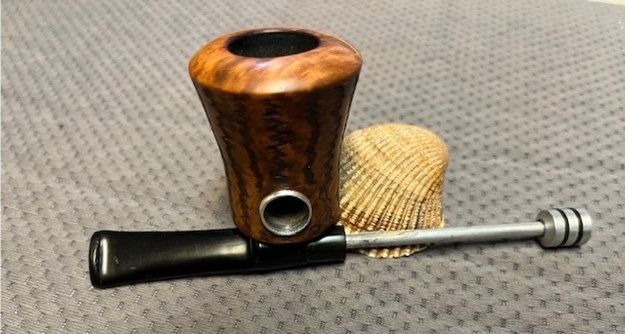
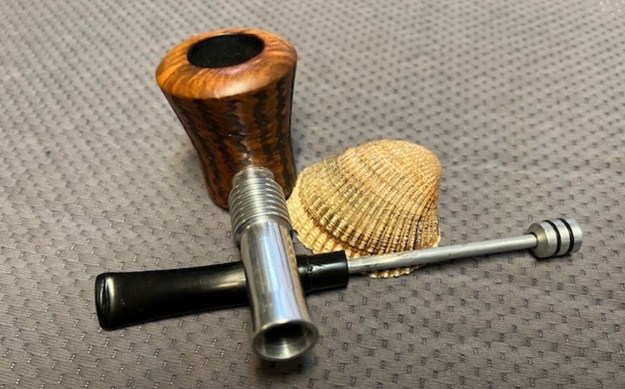
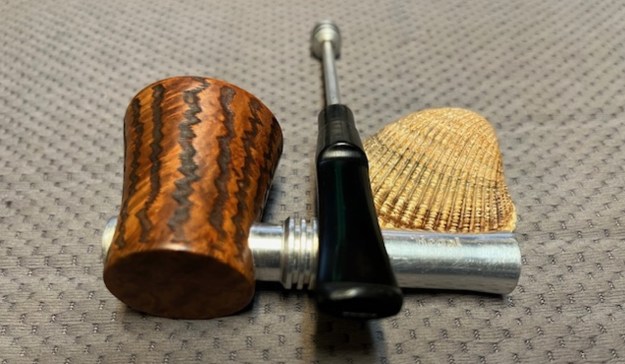
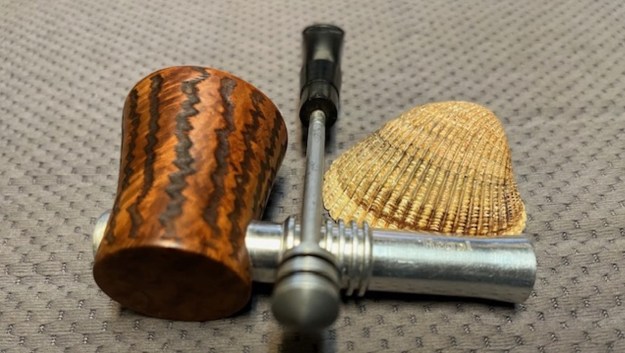
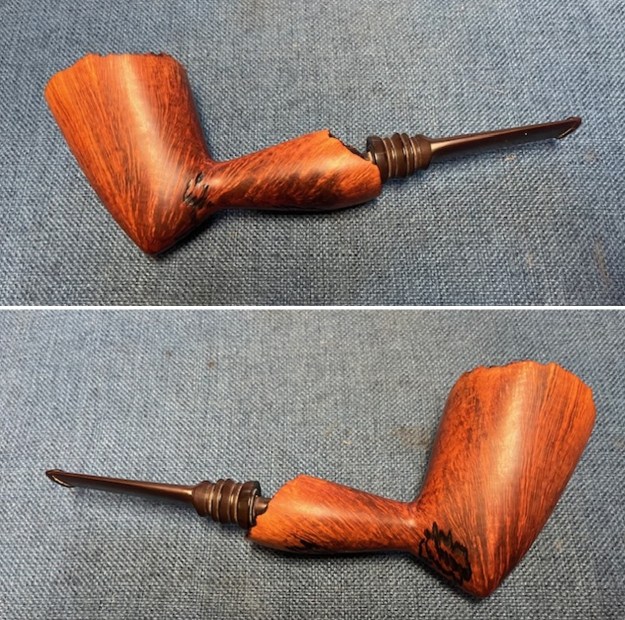
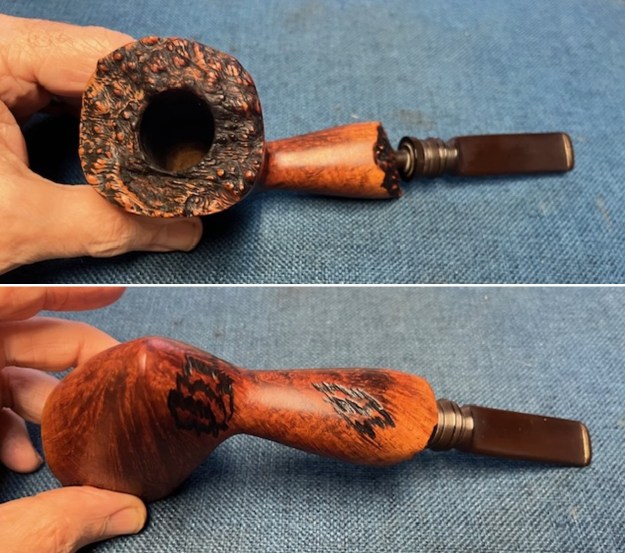
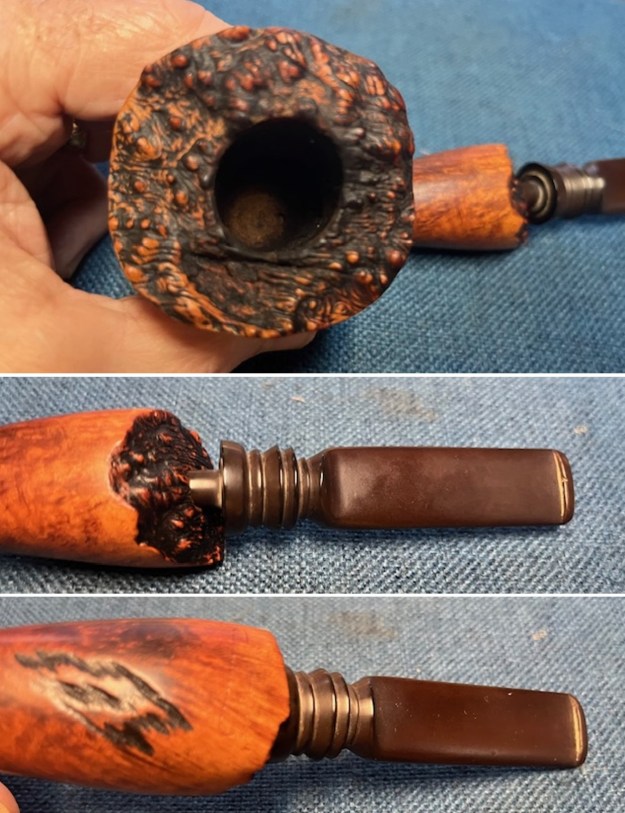
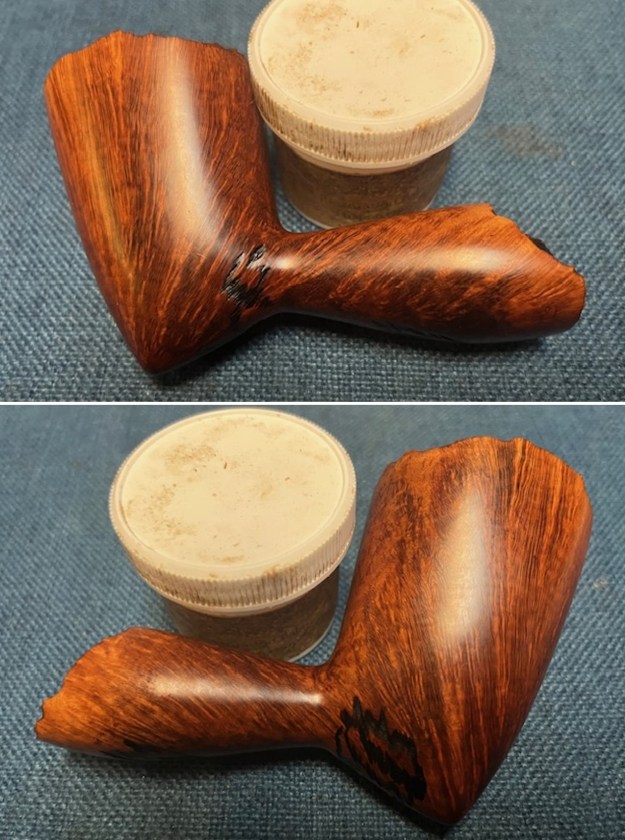
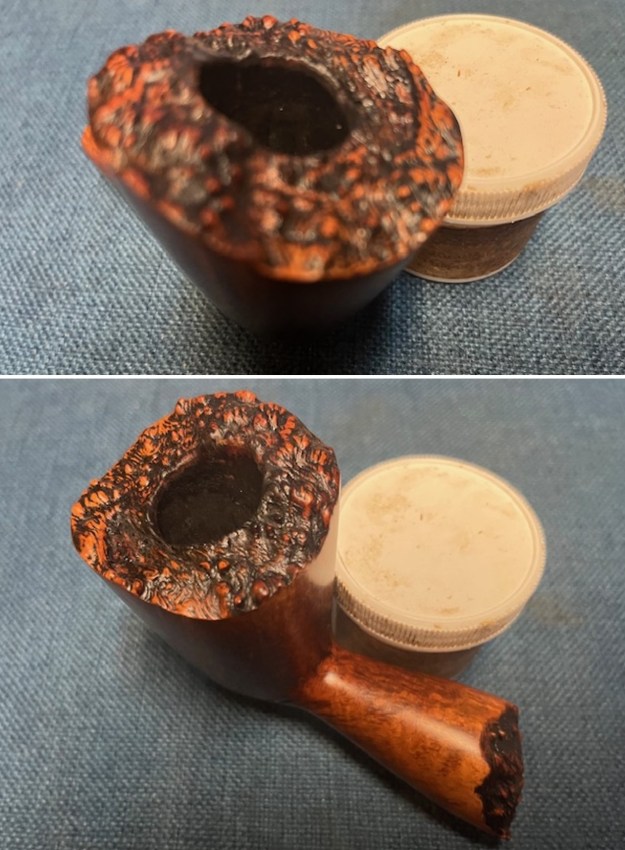
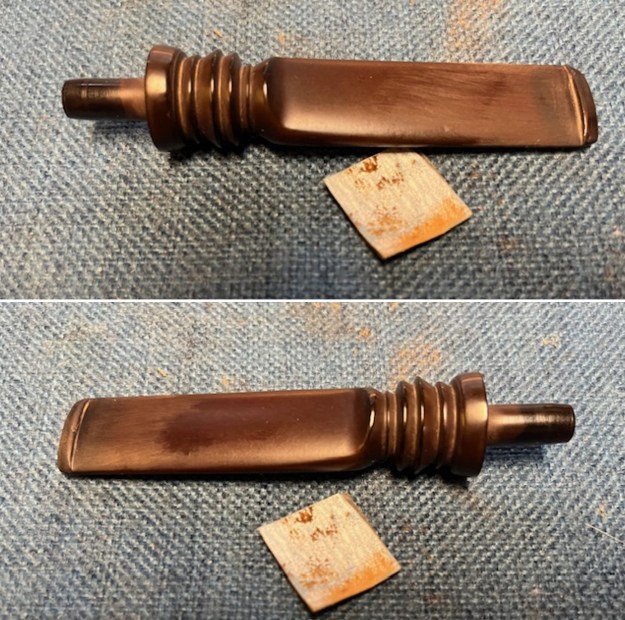
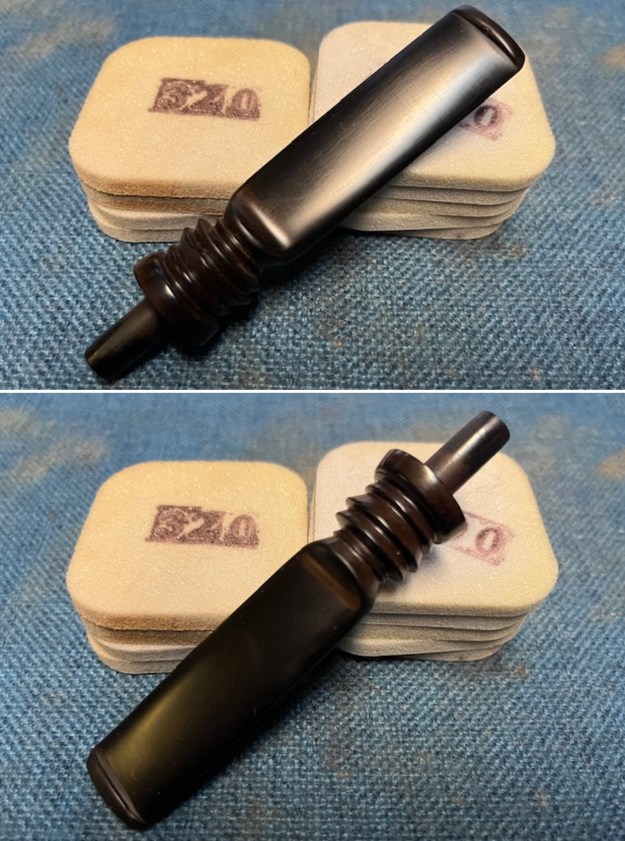
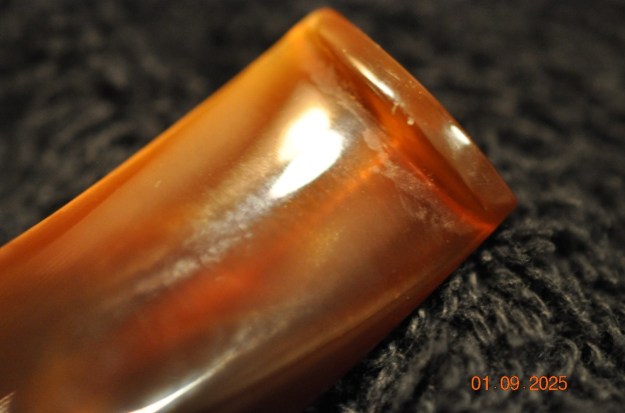
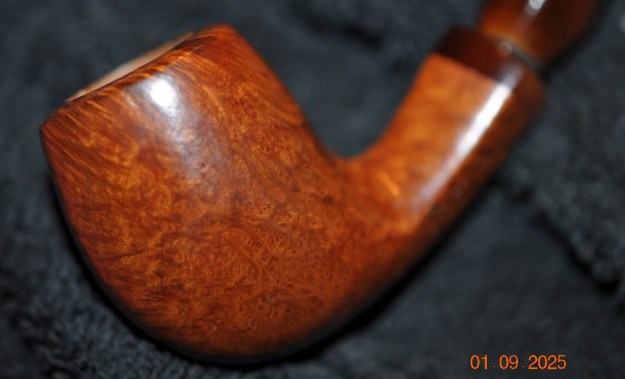
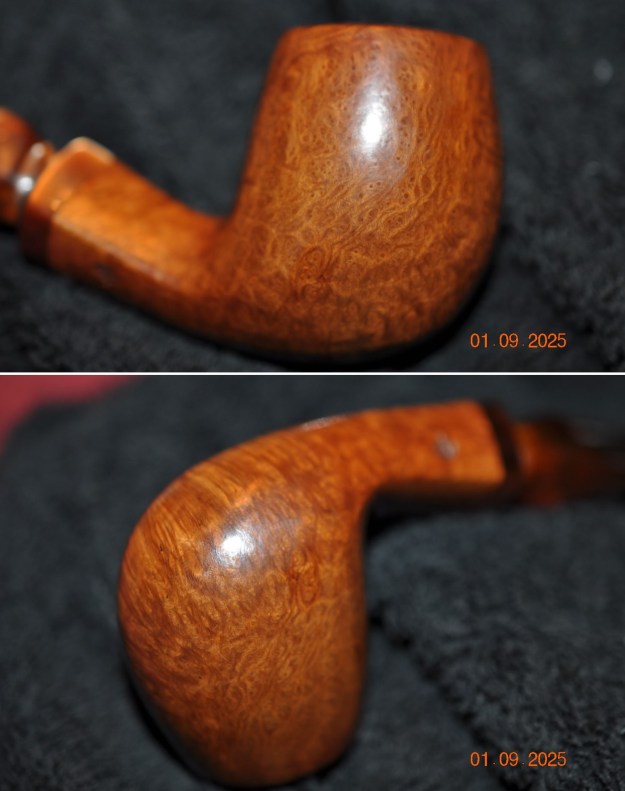
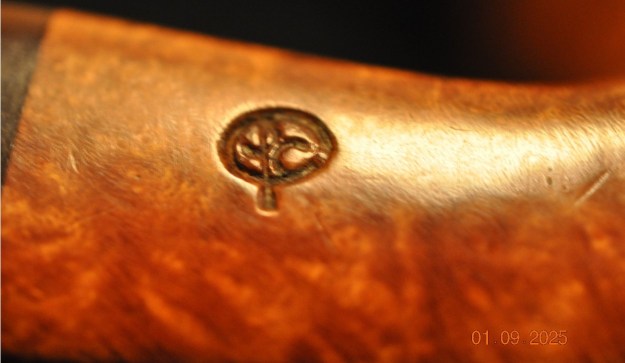
In the latest box of pipes, I received from Jeff was interesting and somewhat strange Pipe to work on. The pipe on the table has a briar bowl with the shank going through it. The shank has cooling fins and the briar bowl has rustication. It is a shape that I would call a Poker with a crowned rim top and unique rustication pattern. We purchased it on 12/12/24 from a seller in Ogden, Utah, USA. The grain on the smooth portions of this pipe is beautiful on the crowned rim top and the heel of the bowl. It was obviously a favourite of the previous pipeman. It is stamped on the left side of the shank and read Regal. The finish was dirty and worn. There were tars and oils ground into the surface of the briar. The bowl had a moderate cake that flowed over the top of the rim top. There was lava flowing over the inner edge. It was hard to clearly assess the damage to the inner edge. The condition of the rim edge and top would become clear in the cleaning process. The vulcanite fancy saddle stem was oxidized, calcified and there was chatter and heavy tooth marks on the top and the underside of the stem ahead of the button. Jeff took photos of the pipe before he started his clean up on the pipe. You can see the condition and the uniqueness of the pipe in the photos below. Jeff took photos of the rim top and bowl to give a sense of the thickness of the cake and the lava overflow on the rim top. It should clean up well as the edges do not seem damaged. The stem photos also show the tooth chatter and marks on the stem. I think it is vulcanite but I am unsure. He took photos of the rustication around the Poker shaped bowl sides. Both the rim top and heel of the bowl were smooth. The rustication is almost “Tracy Mincer” like in it patter in each groove. It is a unique finish. Jeff took a photo of the stamping on the metal shank Barrel of the pipe. It is readable though the RE are a bit faint. The next two photos show the part of the pipe. It has some unique plumbing. There is a plunger tube not unlike the plunger in Kirstens. However, the end of the plunger has a fitting that serves to close off the shank and has two rubber o-rings around it. It is quite different. The plunger and o-rings are very tarry and grimy.Before I started my clean up work on the pipe I wanted to know more about the brand. I turned to my go to site on metal pipes – Smokingmetal to see if they listed it and what information they gave on it (http://www.smokingmetal.co.uk/pipe.php?page=137). I have included the photos and the information below.
REGAL – Department : METAL STEM & Plug in bowls

Whilst not strictly speaking an easily replaceable bowl pipe, the principle is the same for cooling the smoke, a two cycle radiator stem of machined Dural with cooling vanes. The pipe is cleaned after the manner of the Spiral Kool, i,e, the bit is pulled out and with it comes a plunger with neoprene wedge shaped piston rings, cleaning the cylinder in one movement.

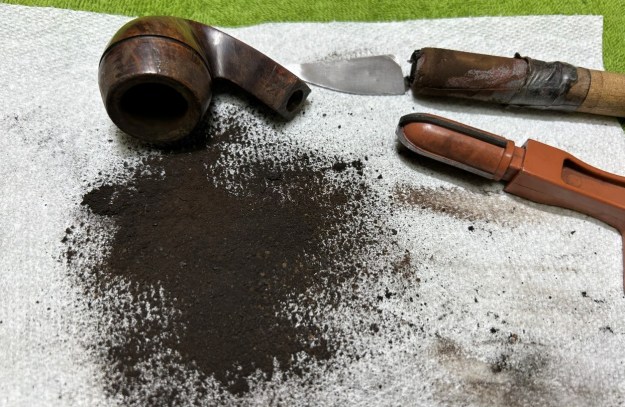
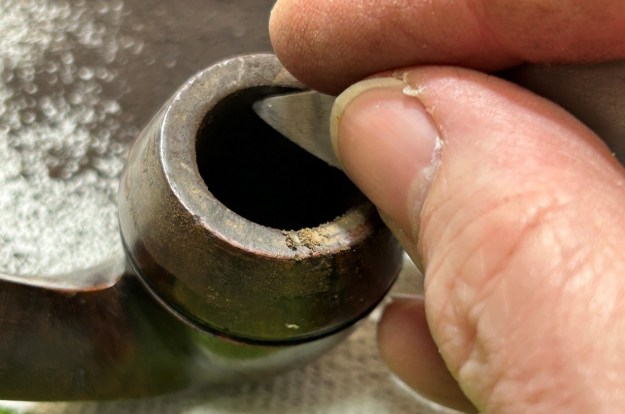
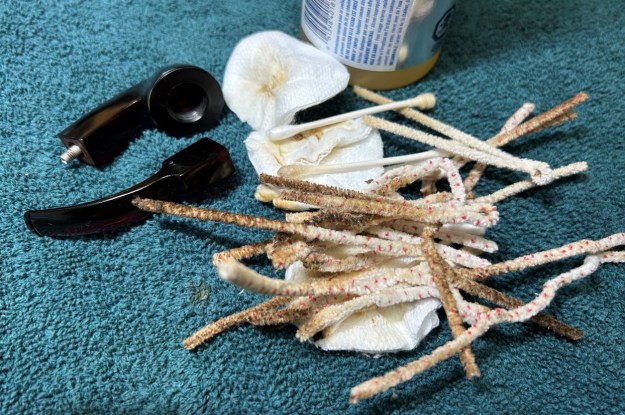
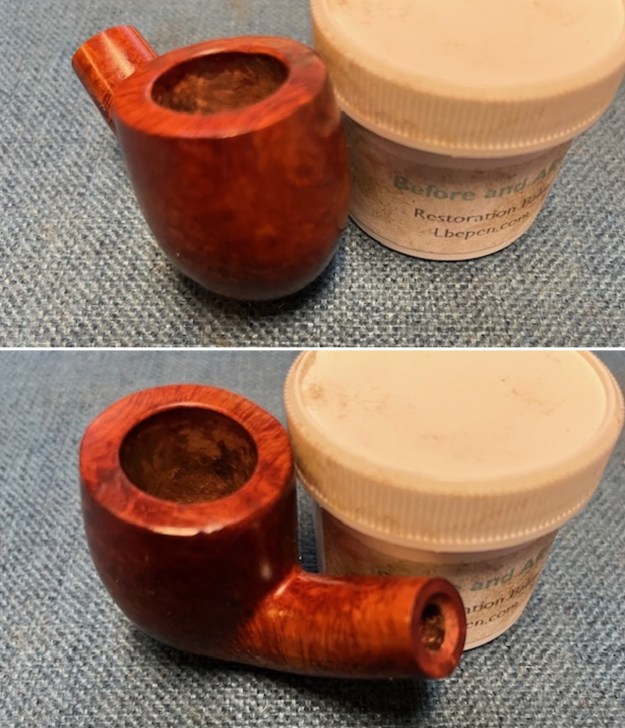
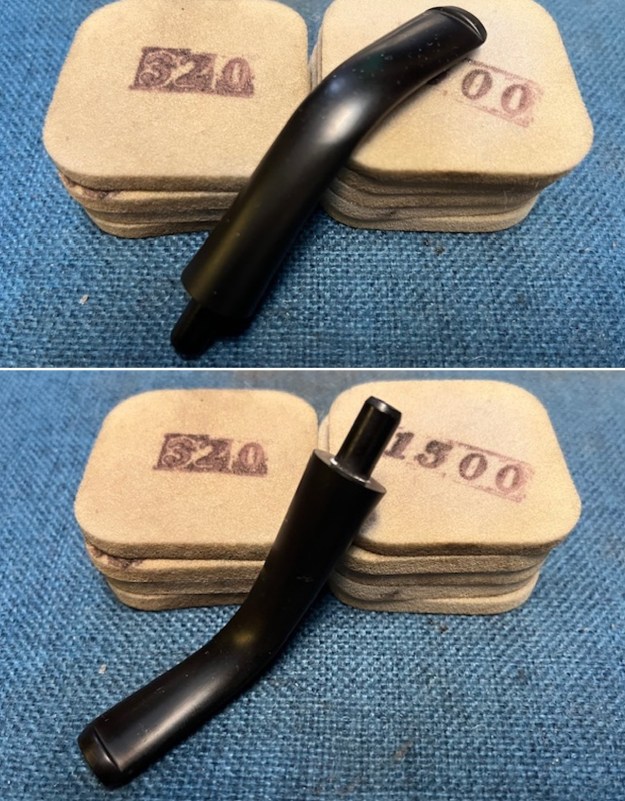
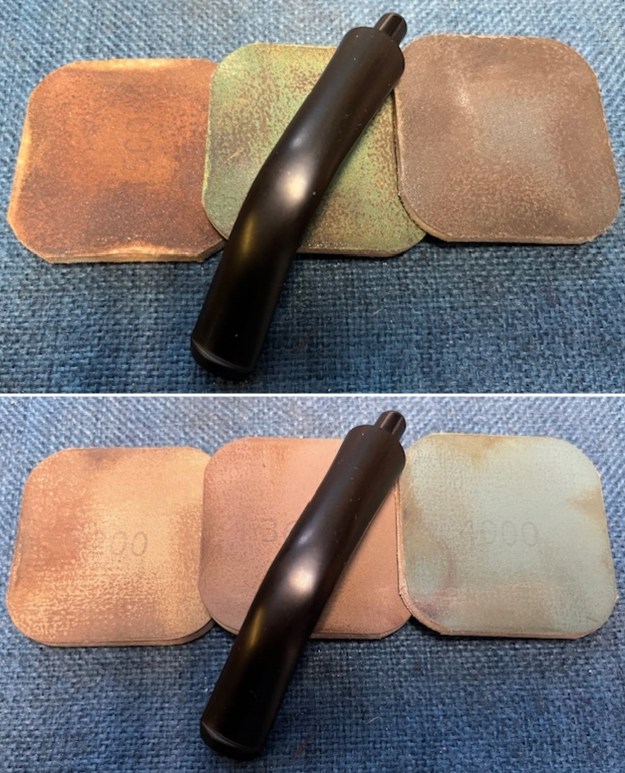
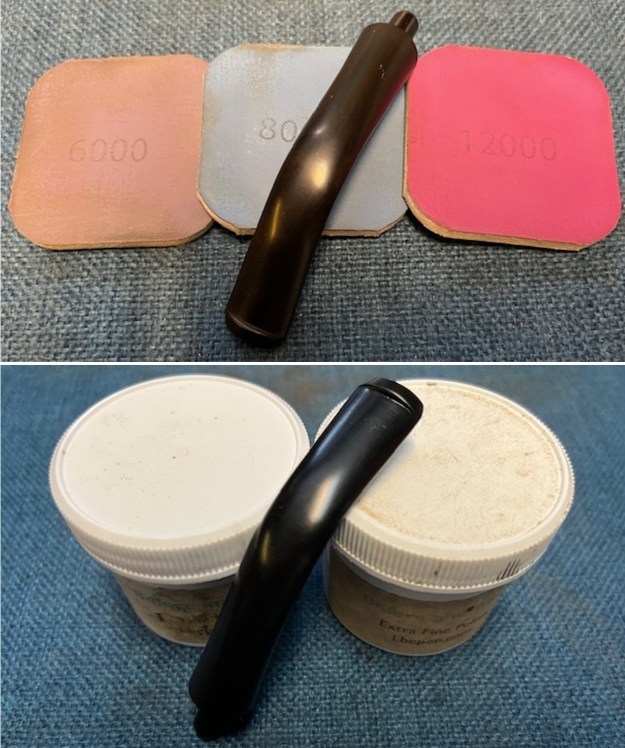
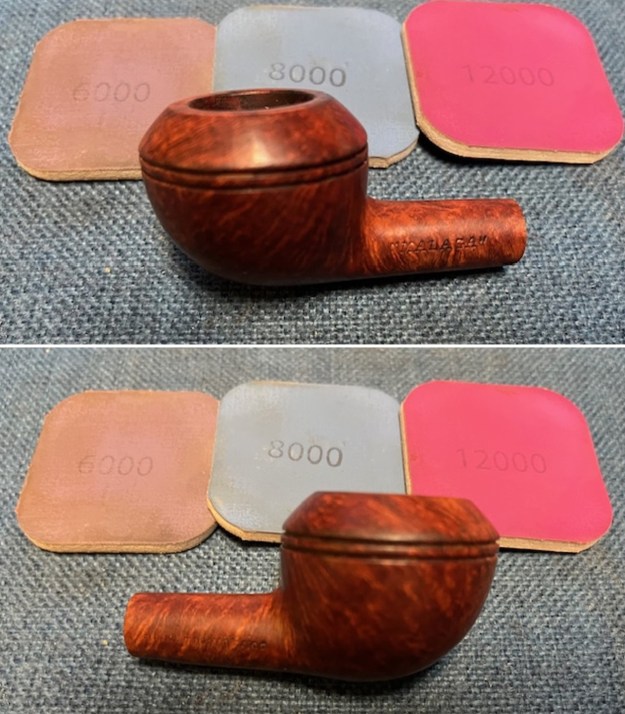
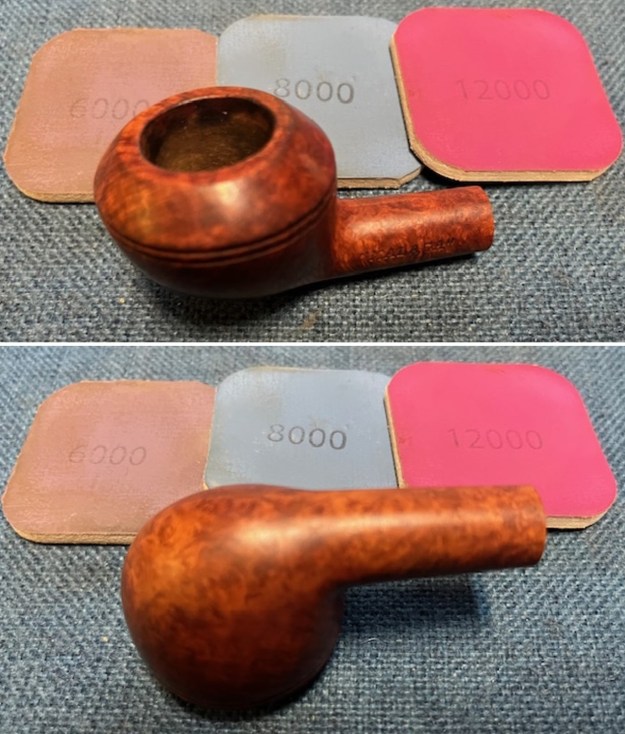
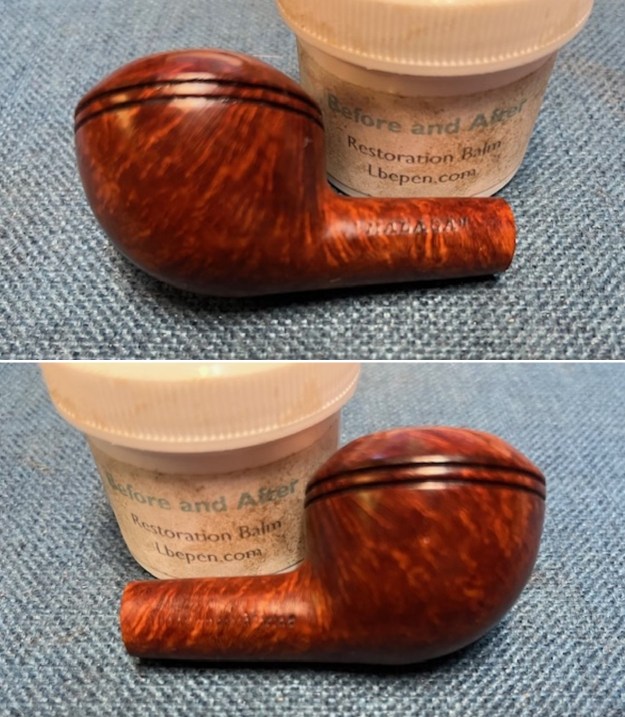
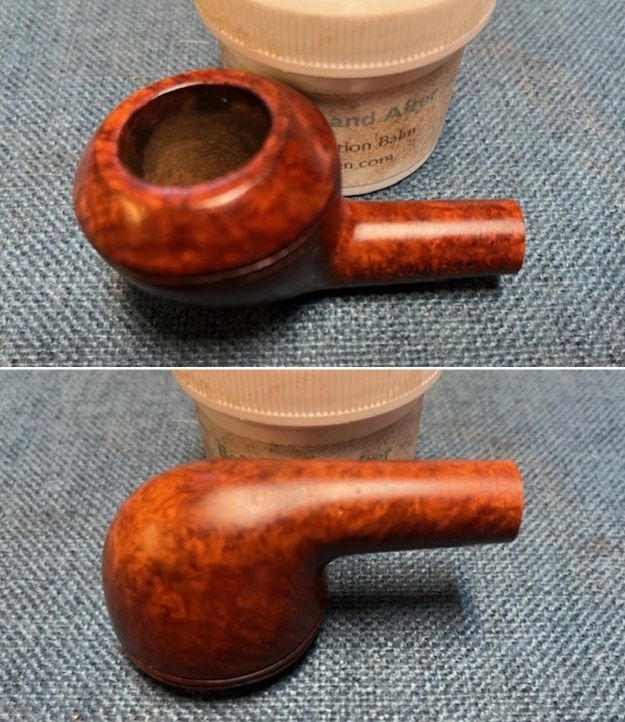
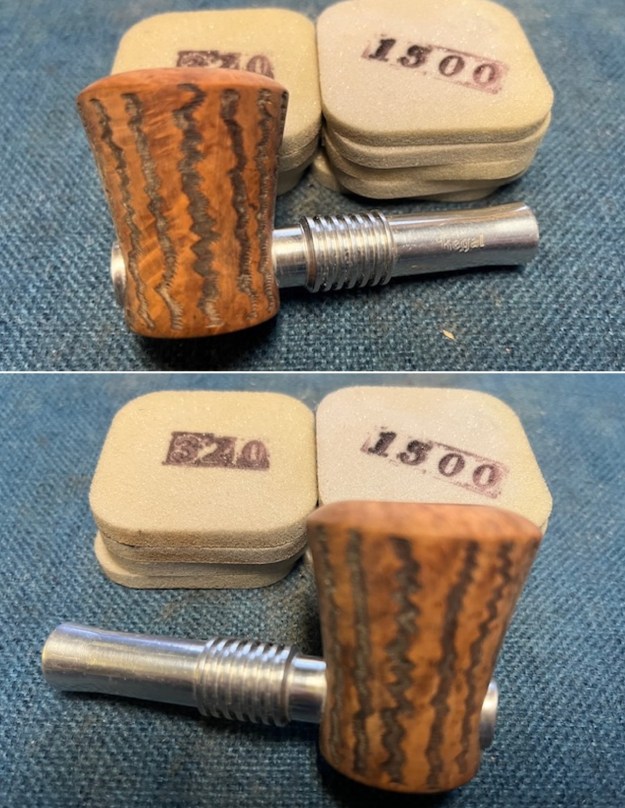
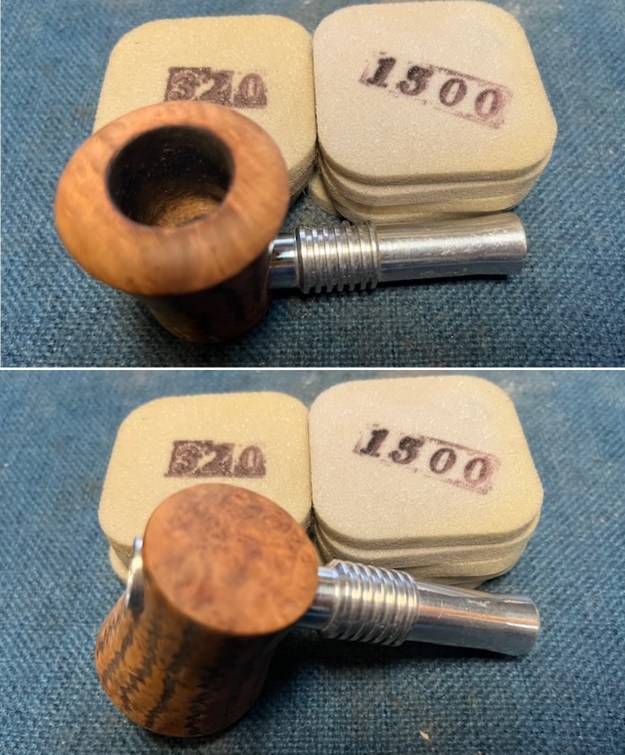
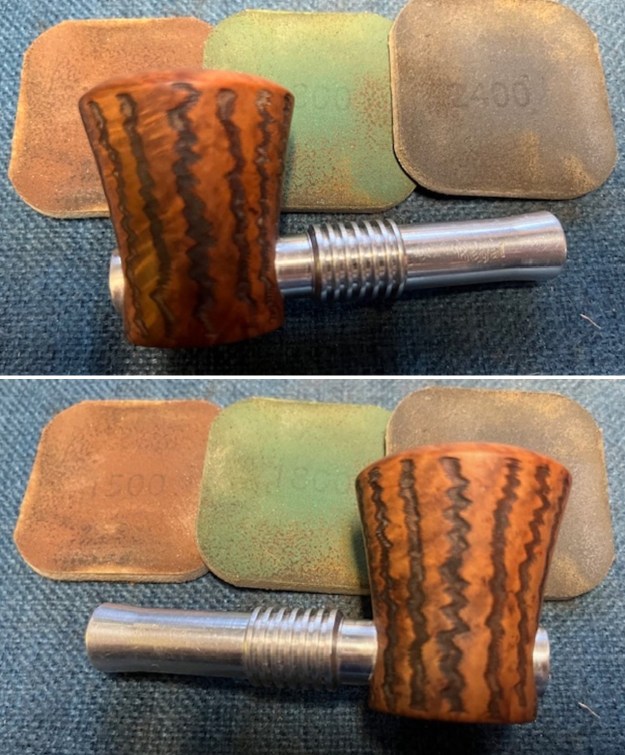
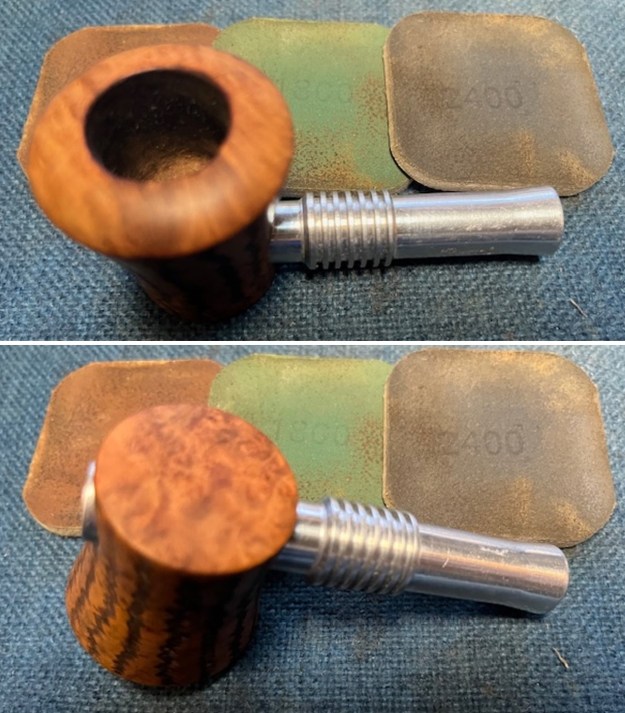
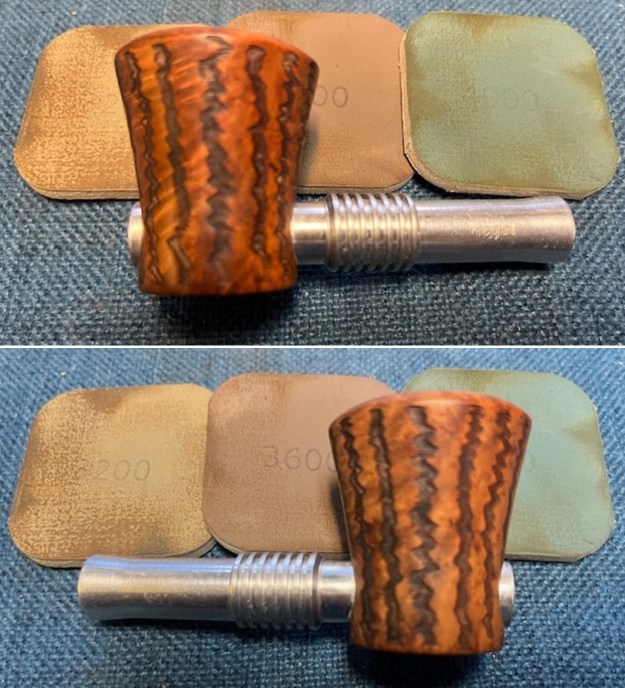
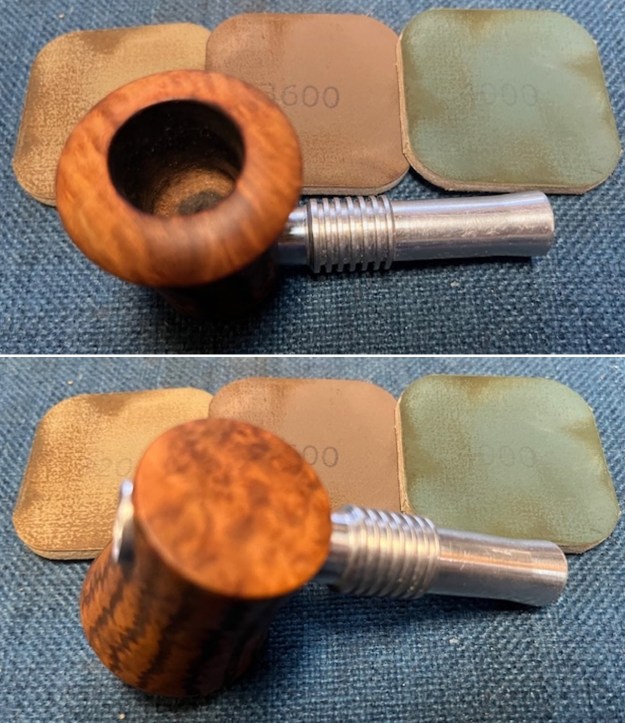
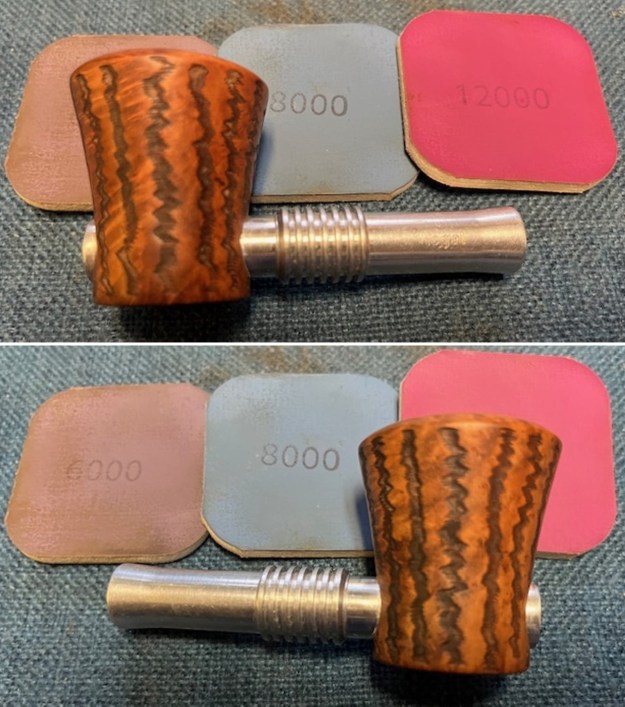
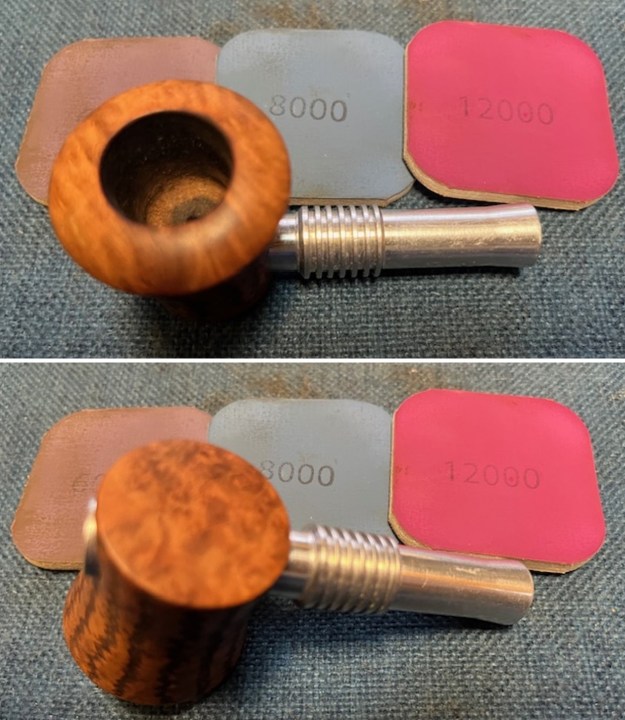
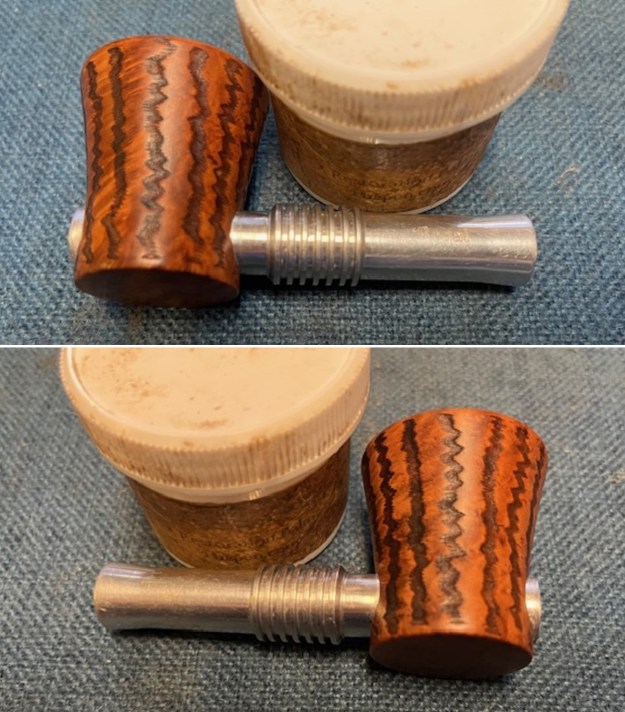
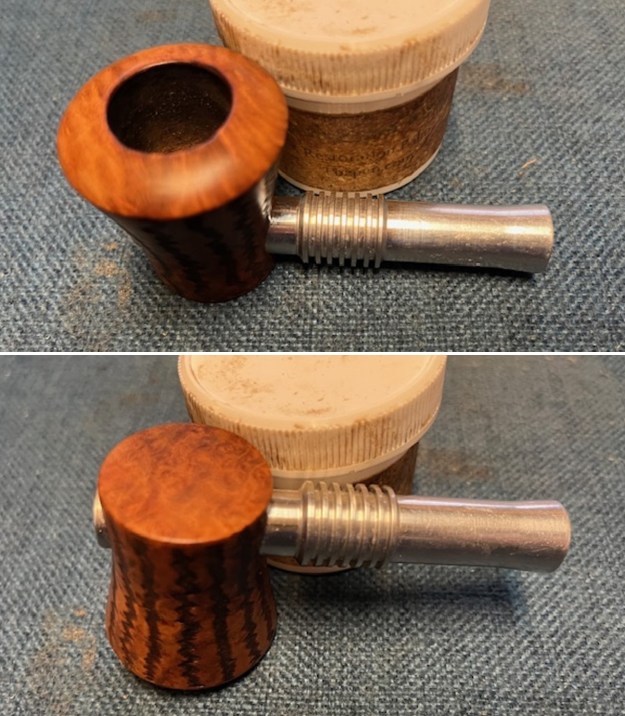
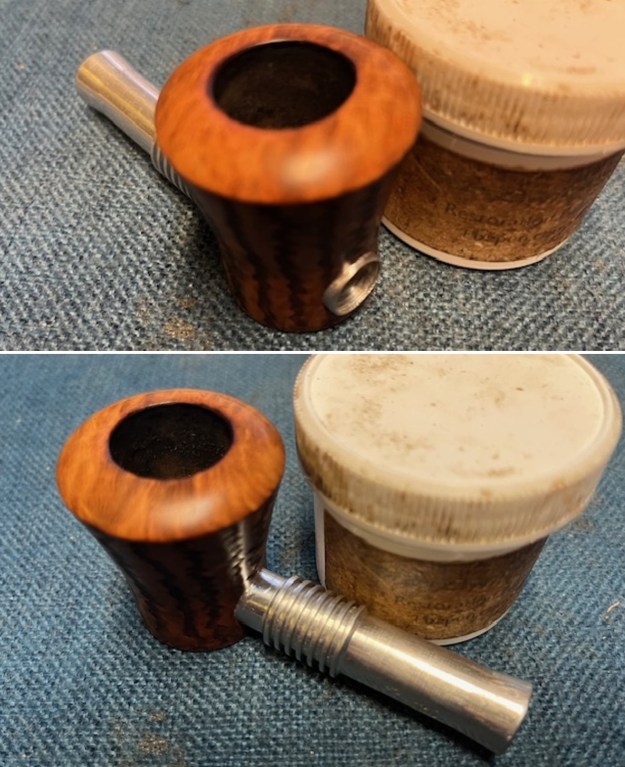
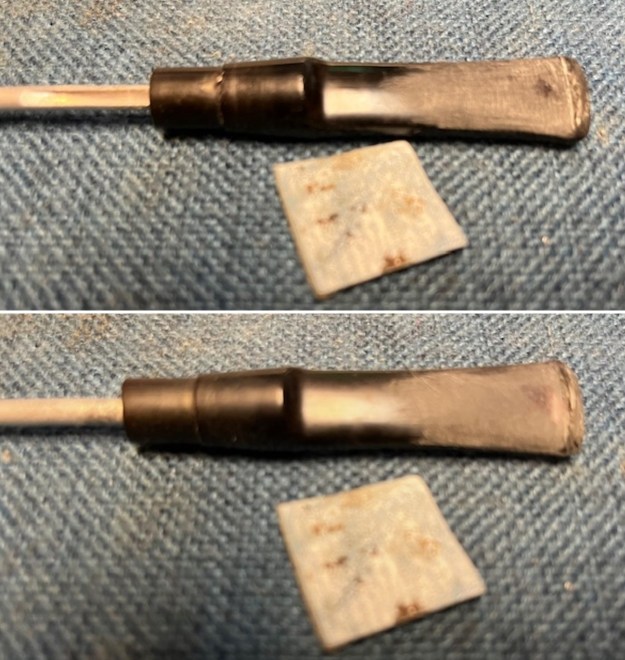
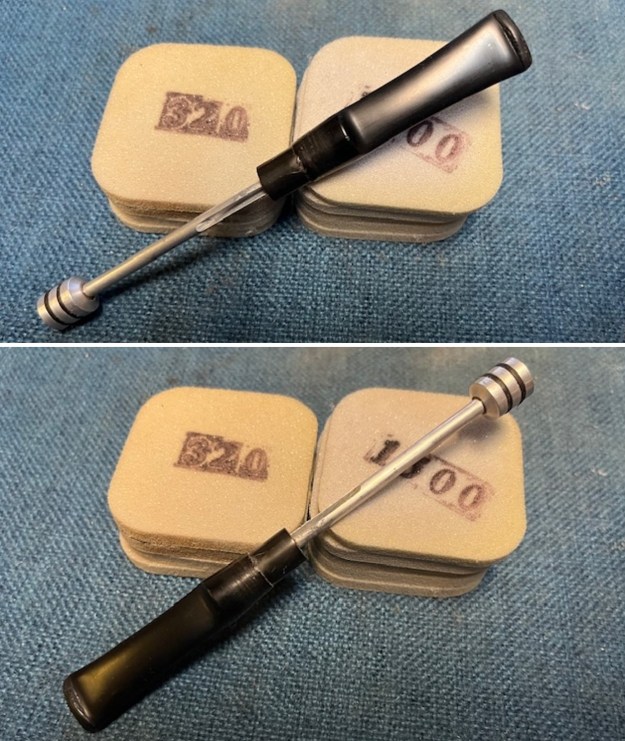
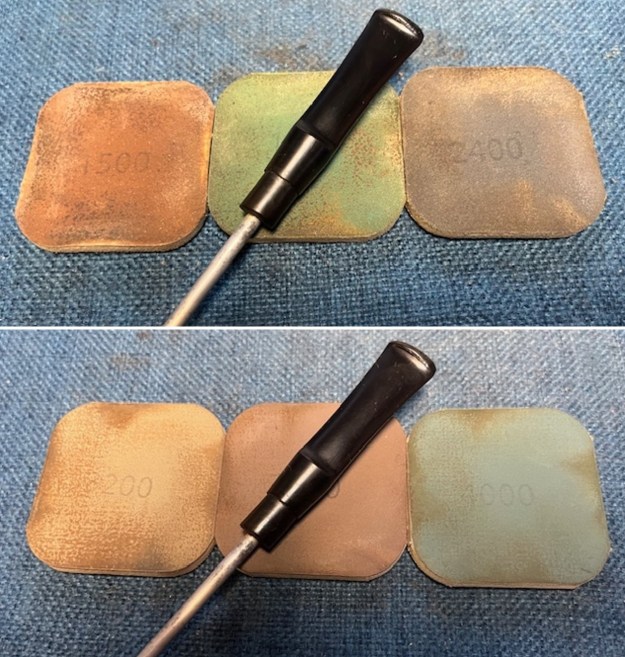
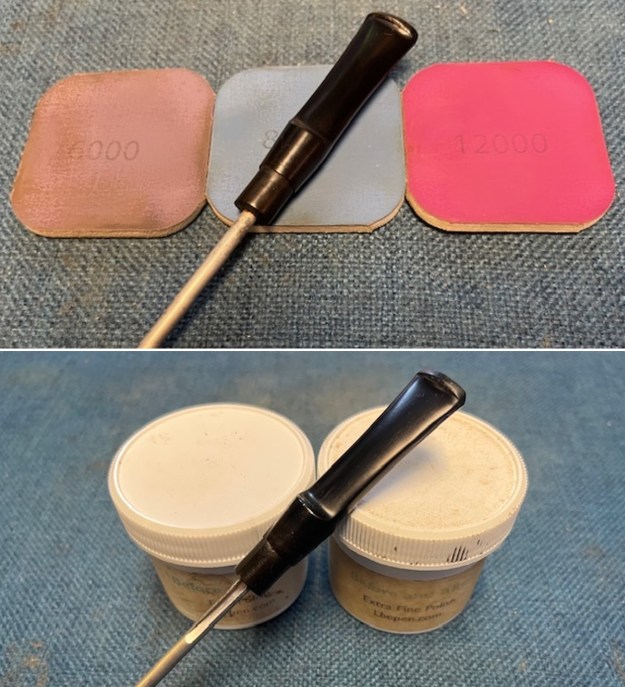
The Sportsman, in the lower image advert is a version that incorporates its own lighter. Jeff had cleaned up the pipe using his usual procedure. He reamed the pipe with a PipNet pipe reamer and removed the rest of it with a Savinelli Fitsall Pipe Knife. He scrubbed the bowl with undiluted Murphy’s Oil Soap with a tooth brush. He rinsed it under running warm water to remove the soap and grime from around the bowl sides. It looked better but the rim top and outer edge was darkened and burned. He cleaned out the inside of the shank and the airway with alcohol, cotton swabs and pipe cleaners. The stem looked better but there were a lot of tooth marks on both sides were still visible and would need work. I took photos of the pipe once I received it. I took a photo of the rim top and the stem to show their condition. Jeff was able to clean up the cake and the lava overflow that was shown in the rim and bowl photos above. The rim top and edges looked very good. The stem looked better, though there were many tooth marks and much chatter on both sides ahead of the button.I removed the stem and plunger and took photos of it from various angles. It is truly unique with the rubber o-rings on the end of the plunger. It is very clean now. The barrel has some darkening and wear on the inside but is clean. I started my work on the pipe by addressing the bowl. I sanded the rim top and inner edge with 320-3500 sanding pads. I wiped the briar down after each sanding pad. By the end it looked very good and the rim top really had some great grain. I polished the bowl sides and the smooth rim top with micromesh sanding pads. I dry sanded it with 1500-12000 grit micromesh pads. I wiped it down after each pad. It really began to be beautiful. I rubbed the bowl and shank down with Before & After Restoration Balm to deep clean the finish on the bowl and shank. The product works to clean, enliven and protect the briar. I worked it in with my fingers to get it into the briar. I worked it into the plateau on the rim top and shank end with a shoe brush to get deep in the valleys. I let it sit for 10 minutes then I wiped it off and buffed it with a soft cloth. The briar really began to have a rich shine. I took some photos of the bowl at this point to mark the progress in the restoration. It is a beautiful bowl. I set the bowl aside and turned my attention to the stem. I sanded the stem surface with 220 grit sandpaper to blend them into the stem.I sanded the stem with the 2 inch square 320-3500 grit sanding pads to remove the remnants of oxidation on the vulcanite. I wiped down the stem after each sanding pad with Obsidian Oil. I was able to remove the majority of the oxidation on both sides with the pads. The stem looked very good.I polished the stem with micromesh sanding pads – dry sanding with 1500-12000 grit pads. I wiped the stem down after each sanding pad with Obsidian Oil. I did a final hand polish of the stem with Before & After Pipe Stem Polish – both Fine and Extra Fine. I gave it a coat of Obsidian Pipe Stem Oil. It works to protect the stem from further oxidizing. I set it aside to dry. I put the stem and plunger back on the Regal Metal Poker with a rusticated Briar Bowl and took it to the buffer. I buffed the bowl and stem with Blue Diamond to polish the briar and the vulcanite. Blue Diamond does a great job on the smaller scratches that remain in both. I gave the bowl and the stem several coats of carnauba wax and buffed the pipe with a clean buffing pad to raise the shine. I hand buffed it with a microfiber cloth to deepen the shine. I am amazed at how well it turned out. The finished pipe is shown in the photos below. This is beautiful smooth finished Regal Metal Poker, the metal barrel, and vulcanite saddle stem combine to give the pipe a great look. The dimensions of the pipe are Length: 5 ½ inches, Height: 2 inches, Outside diameter of the bowl: 1 ½ inches, Chamber diameter: ¾ of an inch. The weight of the pipe is 1.55 ounces/44 grams. This is another pipe that I will be putting on the rebornpipes online store in the American Pipe Makers and Pipemaking Companies Section shortly, if you are interested in adding it to your collection. Thanks for walking through the restoration with me on this beauty!

As always, I encourage your questions and comments as you read the blog. Thanks to each of you who are reading this blog. Remember we are not pipe owners; we are pipe men and women who hold our pipes in trust until they pass on into the trust of those who follow us.

Restoring a Magnum Sized “Malaga” Custom Carved Freehand


by Steve Laug

In the latest box of pipes I received from Jeff was a large Malaga Freehand Pipe to work on. The pipe on the table is an interesting Malaga I would call a large Freehand with a plateau finish on the shank end and rim top. We purchased it on 10/23/2024 off eBay from a seller in Madison, Indiana, USA. The grain on the smooth portions of this pipe is beautiful and there are some small rustications on the heel of the bowl and the underside of the shank. It is a pattern of rustication that I have seen before on the Malaga pipes that I have worked on. It was obviously another favourite of the previous pipeman. It is stamped on the underside of the shank and read “MALAGA” [over] Custom Carved. The finish was dirty and worn. There were tars and oils ground into the surface of the briar. The bowl had a moderate cake that flowed over the top of the plateau rim top. There was lava flowing over the edges down the first 1/4 inch of the bowl. It was hard to clearly assess the damage to the inner edge. The condition of the rim edge and top would become clear in the cleaning process. The vulcanite fancy saddle stem was oxidized, calcified and there was chatter and tooth marks on the top and the underside of the stem ahead of the button. I have included photos that the seller provided on the pipe that caught our attention. You can see the condition and the amazing grain around the bowl. When the pipe arrived, it was in pretty much the condition that we expected and as I noted above. Jeff took photos of the pipes before he started his clean up work. It is even bigger in person than in the photos.Jeff took photos of the rim and bowl to show the cake and lava on the rim top and edges. The inner edge of the rim showed thick cake coming up to the top and flowing over the edge. The pipe was a dirty one but still a beauty. The vulcanite fancy saddle stem had tooth marks and chatter on the top and underside of the stem ahead of the button. The photos of the sides and heel of the bowl hint at the damage around the bowl sides from the rim top downward. The briar is quite nice all around the pipe. The oil curing/finish makes the grain really stand out on the bowl and shank. Jeff took a photo of the stamping on the underside of the shank. It read as noted above “MALAGA” [over]Custom Carved. The stamping was faint but still readable. For those of you who are unfamiliar with the brand, I am also including the link to a blog that I wrote that gives some of the history of the Malaga brand and the Malaga Pipe Shop in Royal Oak, Michigan in the USA. Here is the link – https://rebornpipes.com/2013/02/09/george-khoubesser-and-malaga-pipes/. That blog also includes links to a catalogue and the history of the pipemaker George Khoubesser. If you are interested to learn more then I invite you to follow the link to get a feel for the brand and the pipemaker.

I am also am including a link to some printed material on the Malaga brand that came to me from the daughter of George Koch (we purchased George’s pipes from his daughter) to help identify the particular stamping on the pipe. The link takes you to the entire collection of materials that were sent to me (https://rebornpipes.com/2019/02/27/malaga-pipes-catalogue-of-pipes-and-tobaccos/).

Jeff had cleaned up the pipe using his usual procedure. He reamed the pipe with a PipNet pipe reamer and removed the rest of it with a Savinelli Fitsall Pipe Knife. He scrubbed the bowl with undiluted Murphy’s Oil Soap with a tooth brush. He rinsed it under running warm water to remove the soap and grime from around the bowl sides. It looked better but the rim top and inner edge was darkened. He cleaned out the inside of the shank and the airway with alcohol, cotton swabs and pipe cleaners. The stem looked much better and the light tooth marks on both sides were still visible and would need a little work. I took photos of the pipe once I received it. I took a photo of the rim top and the stem to show their condition. Jeff was able to clean up the cake and the lava overflow that was shown in the rim and bowl photos above. The rim top and edges looked very good and the plateau was very clean. The stem looked better, though there were tooth marks and chatter on both sides ahead of the button.I took a photo of the stamping on the shank to show that the clean up had not damaged it at all. It looked was faint but still readable. I removed the stem from the shank and took a photo of the parts to give a sense of what the pipe looks like. To try and capture a sense of how large this pipe is I put a Rhodesian next to it. The Rhodesian is an average Group 4 sized pipe. It is dwarfed by this large Malaga. I wiped the bowl down with a damp cloth and sanded it with 320-3500 grit sanding pads to remove the surface scratches in the finish. I carefully avoided the stamping so as not to damage it. The briar began to have a rich shine and the bowl looked very good. I polished the bowl sides and the smooth rim top with micromesh sanding pads. I dry sanded it with 1500-12000 grit micromesh pads. I wiped it down after each pad. It really began to be beautiful. I rubbed the bowl and shank down with Before & After Restoration Balm to deep clean the finish on the bowl and shank. The product works to clean, enliven and protect the briar. I worked it in with my fingers to get it into the briar. I worked it into the plateau on the rim top and shank end with a shoe brush to get deep in the valleys. I let it sit for 10 minutes then I wiped it off and buffed it with a soft cloth. The briar really began to have a rich shine. I took some photos of the bowl at this point to mark the progress in the restoration. It is a beautiful bowl. I set the bowl aside and turned my attention to the stem. I “painted” the tooth marks with the flame of a lighter to lift them. I was able to lift them significantly. Even the ones on the button surface and edges lifted. I reshaped the button and sanded the stem surface with 220 grit sandpaper to blend them further into the stem. I sanded the stem with the 2 inch square 320-3500 grit sanding pads to remove the remnants of oxidation on the vulcanite. I wiped down the stem after each sanding pad with Obsidian Oil. I was able to remove the majority of the oxidation on both sides with the pads. The stem looked very good.I polished the stem with micromesh sanding pads – dry sanding with 1500-12000 grit pads. I wiped the stem down after each sanding pad with Obsidian Oil. I did a final hand polish of the stem with Before & After Pipe Stem Polish – both Fine and Extra Fine. I gave it a coat of Obsidian Pipe Stem Oil. It works to protect the stem from further oxidizing. I set it aside to dry. I put the stem back on the Magnum Sized “MALAGA” Custom Carved Freehand and took it to the buffer. I buffed the bowl and stem with Blue Diamond to polish the briar and the vulcanite. Blue Diamond does a great job on the smaller scratches that remain in both. I gave the bowl and the stem several coats of carnauba wax and buffed the pipe with a clean buffing pad to raise the shine. I hand buffed it with a microfiber cloth to deepen the shine. I am amazed at how well it turned out. The finished pipe is shown in the photos below. This is beautiful smooth finished “MALAGA” Custom Carved Freehand and the fancy vulcanite saddle stem combine to give the pipe a great look. The dimensions of the pipe are Length: 8 ½ inches, Height: 3 inches, Outside diameter of the bowl: 2 inches, Chamber diameter: ¾ of an inch. The weight of the pipe is 4.30 ounces/122 grams. This is another pipe that I will be putting on the rebornpipes online store in the American Pipe Makers and Pipemaking Companies Section shortly, if you are interested in adding it to your collection. Thanks for walking through the restoration with me on this beauty!

As always, I encourage your questions and comments as you read the blog. Thanks to each of you who are reading this blog. Remember we are not pipe owners; we are pipe men and women who hold our pipes in trust until they pass on into the trust of those who follow us.

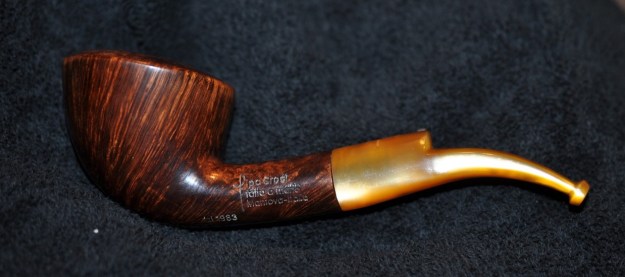
PipaCroci fatta a mano Manitova-Italia Amica Dublin


by Steve Laug

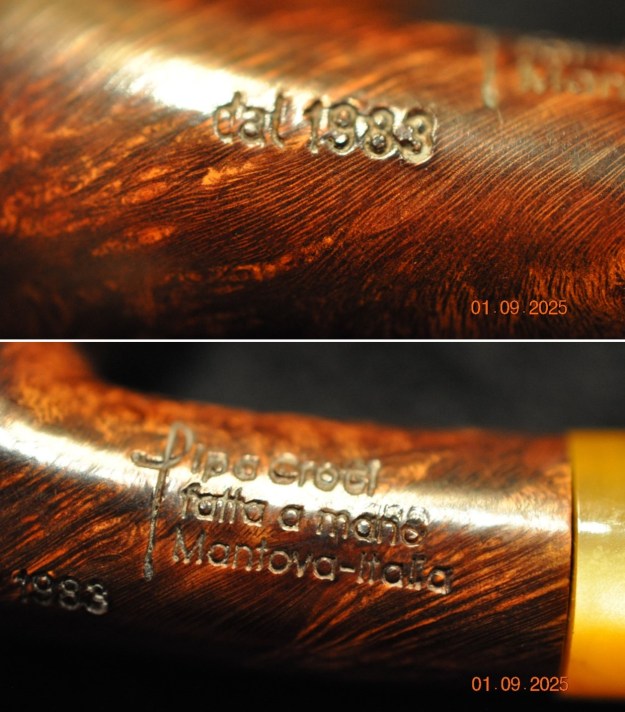
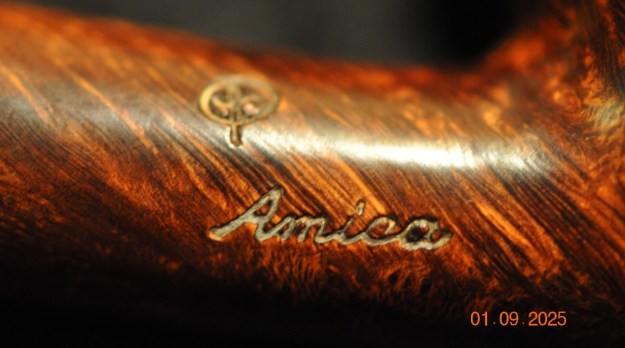
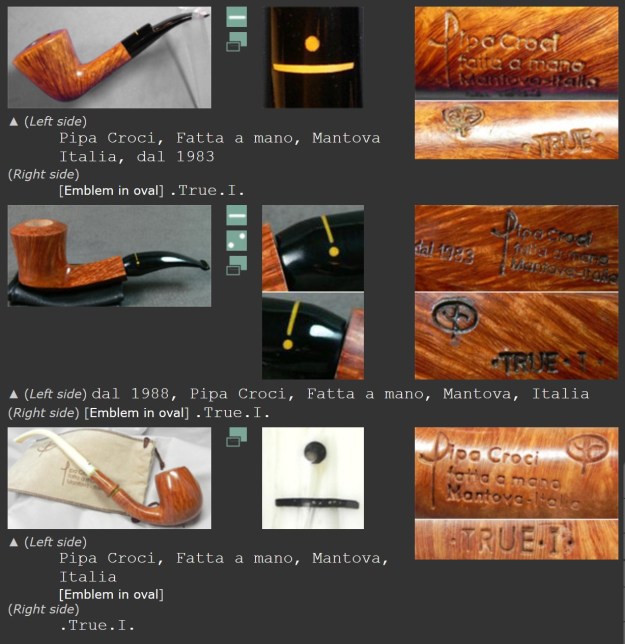
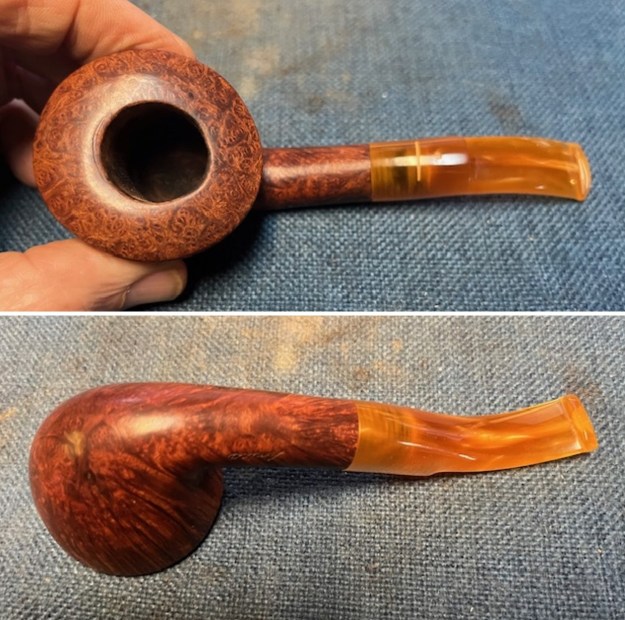
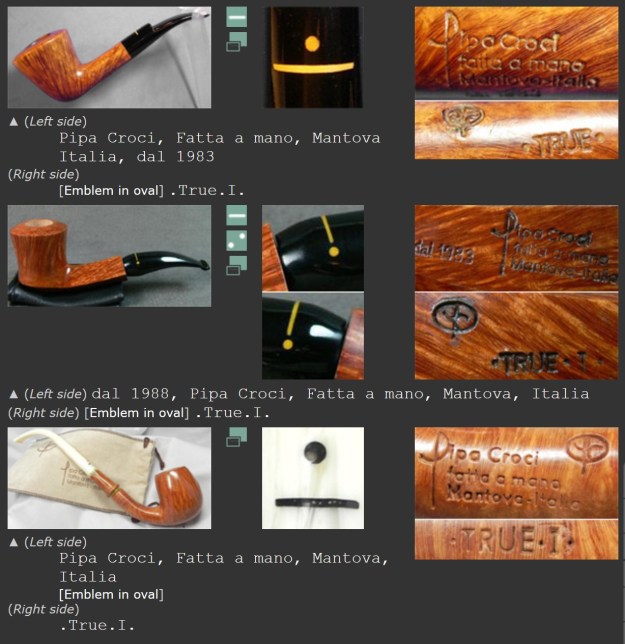
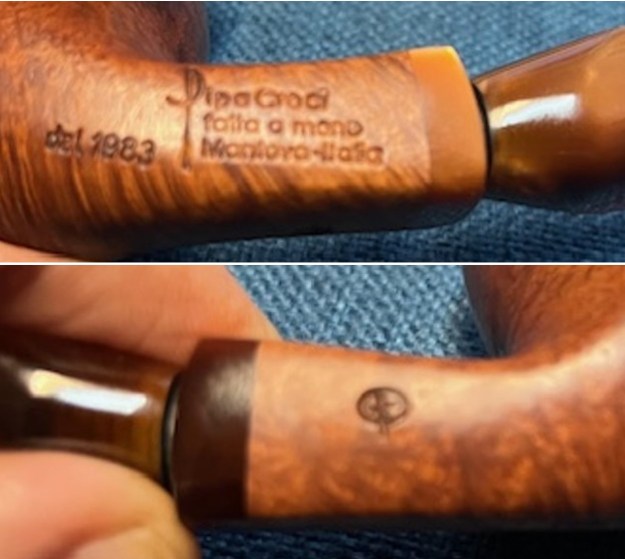
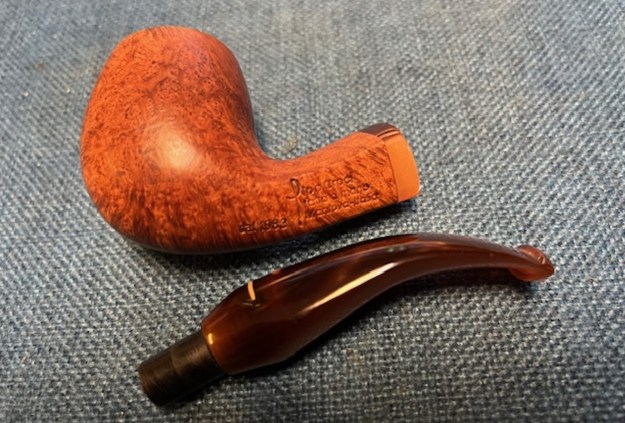
The pipe was a nice little Pipa Croci smooth, nicely grained Dublin. The bowl and rim were smooth. We purchased it 12/09/2024 via Facebook’s Pipe Exchange from a seller in Wellsville, Kansas, USA along with the other two previous Pipa Croci pipes I have written about. It is stamped on the left underside of the shank and reads Pipa Croci [over] Fatta A Mano [over] Mantova – Italia. Underneath and toward the bowl it is stamped Dal 1983 – the year that the company started. On the right underside it is stamped with the PC logo [over] Amica. It is a light weight well-made pipe with an amber/tan – coloured acrylic half saddle stem that fits against the shank end. The stem has the insert bar and dot logo on the top side. There were light tooth marks on both sides at the button but otherwise the stem was in good condition. The black Delrin tenon was in excellent condition. The tenon was made for a 9mm filter. Jeff took photos of the pipe before he started his cleanup work on the pipe. I have included those below. Jeff took photos of the rim top to show the condition. There is some darkening around the inner edge of the bowl and spots of lava on the rim top. He also captured the condition of the stem when it arrived. He took photos of the sides of the bowl and the heel to show the beautiful grain around the bowl. It really is a beautiful piece of briar that has a shape that follows the grain. The finish is nice but it also very dirty with grime and oils ground into it.Jeff took photos of the stamping on the shank sides. It is clear and readable and reads as noted above. Before I started working on my part of the restoration I decided to do a bit of research on the Pipa Croci brand. I wanted to clearly understand the stamping and possibly get date for the pipe and some background on the brand. I turned to Pipephil first to see what I could learn from there (http://www.pipephil.eu/logos/en/logo-c8.html). I have included a screen capture from the section on the brand and a few of the sidebar notes below that.Artisans: Paolo & Gianni. Grading (ascending): Pipa Croci, Amica, True, True I, Quality Street, Starlight, Golden Flame. Production (2007): ~ 3000 pipes/year. Pipa Croci is part of the Molina Group (2012)

I knew from that information that I was working on a grade two Amica pipe. I also learned that the pipe was made by Paolo and Gianni Croci. It is a great looking pipe and I was looking forward to seeing what Pipedia added to the information.

I turned to the link on Pipedia (https://pipedia.org/wiki/Pipa_Croci). I have included the article in part below.

Pipa Croci pipes are created by Paolo & Gianni Croci from Mantova, Lombardia. The company was founded in 1983 and on each pipe you will find the nomenclature reads “dal 1983”. Each and every pipe is hand crafted from aged Italian Plateau Briar. This is a company that makes no two pipes alike and they truly create some masterpieces. In their own words:

“The Pipa Croci is an artisan enterprise. The pipes which are born from our hands are all differnt from each other. This means that the owner of a Croci pipe possesses something totally unique. Keeping up with the avant-garde in styling and marketing, in addition to our Free Hand we have created the Classical Models. Furthermore, we produce several hand-carved objects related to the pipe smoker and made of briar.”

The quality classification of the pipes is as follows (ascending): Pipa Croci; Amica; True; True 1; Quality Street; Starlight; Golden Flame.

So the “Pipa Croci” is the least expensive and the “Gold Flame” the most costly, but the most exceptional. The classification takes place in a careful and accurate manner and the criteria for these choices are form, character of the briar and beauty of its grain.

The pipes are divided into groups according to their design; these groups or series have been given the following names: Normale; Artistica; Gran Camino; Gran Camino Artistica; Calumet; Calumet Artistica; Calumet Gran Camino; Calumet Gran Camino Artistica; Calumet 2000; Calumet 2000 Artistica; Calumet 2000 Gran Camino; Calumet 2000 Gran Camino Artistica.

The Classical models are hand-made reproductions of the traditional shapes. These well-known shapes have the following letter-number references: Billiard = A1; Apple = F1; Dublin = H1, etc…

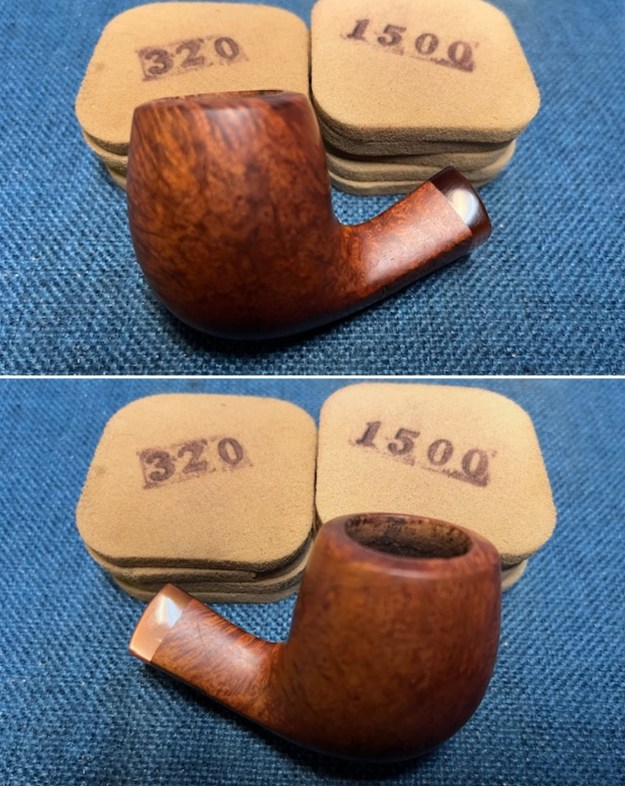
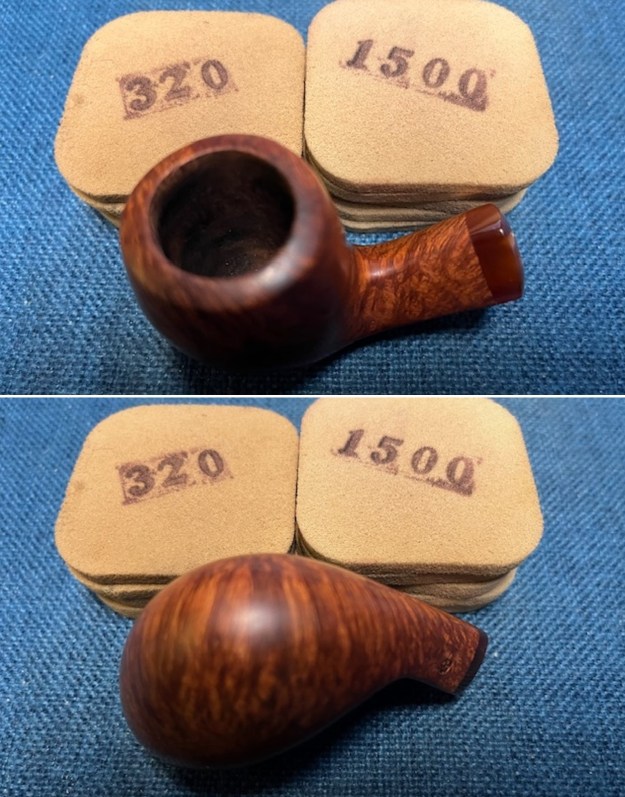
Armed with that information I turned to work on the pipe itself. Jeff had done a great job cleaning up the pipe as usual. He cleaned up the inside of the bowl with a PipNet reamer and a Savinelli Fitsall Pipe Knife. The bowl walls looked very good. He scrubbed the interior of the bowl and shank with pipe cleaners, cotton swabs and alcohol to remove the tars and oils. He scrubbed the exterior of the pipe with Murphy’s Oil Soap and a tooth brush to remove the grime from the finish. He worked on the rim top lava and darkening with the soap and tooth brush. He scrubbed the inside of the stem with alcohol and pipe cleaners. He scrubbed the exterior with Soft Scrub and then soaked it in Briarville’s Pipe Stem Deoxidizer. He washed it off with warm water to remove the deoxidizer. The pipe looked far better. I took photos of the pipe when I received it before I started working on it. I took photos of the bowl and rim top to show how clean it was. The top and the inner edge of the rim look very good. The stem looks clean of debris and grime. There are light tooth marks and chatter on both sides.I took photos of the stamping on the sides of shank. The stamping is clear and readable. I took a photo of the pipe with the stem removed to show the overall look of stem, tenon and profile of the pipe. Now it was time to work on the pipe. I sanded the briar with 320-3500 grit sanding pads. I wiped the bowl down with a damp cloth after each sanding pad. I polished the bowl with micromesh sanding pads – dry sanding with 1500-12000 grits sanding pads. Once again, I wiped it down with a damp cloth following each pad. I rubbed the bowl down with Before & After Restoration Balm. It is a paste/balm that works to deep clean the finish, enliven and protect the briar. I worked it into the briar with my finger tips to make sure that it covered every square inch of the pipe. I set it aside for 10 minutes to let it do its work. I buffed it with a cotton cloth. The briar really began to have a deep shine. The photos I took of the bowl at this point mark the progress in the restoration. I set the bowl aside and turned my attention to the stem. I sanded the stem with 320-3500 grit sanding pads to break up the remaining oxidation. I wiped it down after each sanding pad with an Obsidian Oil impregnated cloth. It began to look good.I polished the stem with micromesh sanding pads – dry sanding with 1500-12000 grit pads. I wiped the stem down after each sanding pad with Obsidian Oil. I polished it with Before & After Pipe Stem Polish – both Fine and Extra Fine. Once I had finished the polishing I gave it final coat of Obsidian Oil and set it aside to dry. I fit the stem with a 6mm filter and put it back on the shank. It fit well but if the next pipeman wishes, the pipe could be smoked filterless though it would have a wide-open draught.I put the Pipa Croci Hand Made, Manitova, Italia, Amica Dublin Freehand bowl and 9mm filter stem back together. I polished the bowl and stem with Blue Diamond to polish the briar and the acrylic. I gave the bowl and the stem multiple coats of carnauba wax. I buffed the pipe with a clean buffing pad to raise the shine. I hand buffed it with a microfiber cloth to deepen the shine. The pipe polished up pretty nicely. The rich brown stains worked amazingly well with the polished acrylic saddle stem. The grain around the bowl and shank and looks quite remarkable. This is truly a beautiful Pipa Croci Amica Dublin. The finished pipe is shown in the photos below. The dimensions of the pipe are Length: 6 inches, Height: 1 ¾ inches, Outside diameter of the bowl: 1 ¾ inches wide x 2 inches long, Chamber diameter: ¾ of an inch. The weight of the pipe is 1.87 ounces/54 grams. This beautiful, Italian Hand Made Pipa Croci will be added to the rebornpipes store in the Italian Pipe Makers Section. Let me know if you are interested in adding it to your collection. Thanks for walking through the restoration with me. Cheers.

As always, I encourage your questions and comments as you read the blog. Thanks to each of you who are reading this blog. Remember we are not pipe owners; we are pipe men and women who hold our pipes in trust until they pass on into the trust of those who follow us.

Pipa Croci fatta a mano Manitova-Italia dal 1983 Diamond Shank Billiard


by Steve Laug

The pipe was a nice little Pipa Croci smooth Diamond Shank Billiard. The bowl and rim were smooth. We purchased it 12/09/2024 via Facebook’s Pipe Exchange from a seller in Wellsville, Kansas, USA. It is stamped on the left underside of the shank and reads Pipa Croci [over] Fatta A Mano [over] Mantova – Italia. Underneath and toward the bowl it is stamped Dal 1983 – the year that the company started. On the right underside it is stamped with the PC logo. It is a light weight well-made pipe with a rose/amber – coloured acrylic stem that fits like a military bit into a matching shank extension. The stem has the insert bar and dot logo on the top side. There were light tooth marks on both sides at the button but otherwise the stem was in good condition. The black Delrin tenon was in excellent condition. The tenon was made for a 9mm filter. Jeff took photos of the pipe before he started his cleanup work on the pipe. I have included those below.Jeff took photos of the rim top to show the condition. There is some darkening around the inner edge of the bowl and spots of lava on the rim top. He also captured the condition of the stem when it arrived. He took photos of the sides of the bowl and the heel to show the beautiful grain around the bowl. It really is a beautiful piece of briar that has a shape that follows the grain. The finish is nice but it also very dirty with grime and oils ground into it. Jeff took photos of the stamping on the shank sides. It is clear and readable and reads as noted above. Before I started working on my part of the restoration I decided to do a bit of research on the Pipa Croci brand. I wanted to clearly understand the stamping and possibly get date for the pipe and some background on the brand. I turned to Pipephil first to see what I could learn from there (http://www.pipephil.eu/logos/en/logo-c8.html). I have included a screen capture from the section on the brand and a few of the sidebar notes below that.Artisans: Paolo & Gianni. Grading (ascending): Pipa Croci, Amica, True, True I, Quality Street, Starlight, Golden Flame. Production (2007): ~ 3000 pipes/year. Pipa Croci is part of the Molina Group (2012)

I knew from that information that I was working on a grade one Pipa Croci pipe. I also learned that the pipe was made by Paolo and Gianni Croci. It is a great looking pipe and I was looking forward to seeing what Pipedia added to the information.

I turned to the link on Pipedia (https://pipedia.org/wiki/Pipa_Croci). I have included the article in part below.

Pipa Croci pipes are created by Paolo & Gianni Croci from Mantova, Lombardia. The company was founded in 1983 and on each pipe you will find the nomenclature reads “dal 1983”. Each and every pipe is hand crafted from aged Italian Plateau Briar. This is a company that makes no two pipes alike and they truly create some masterpieces. In their own words:

“The Pipa Croci is an artisan enterprise. The pipes which are born from our hands are all differnt from each other. This means that the owner of a Croci pipe possesses something totally unique. Keeping up with the avant-garde in styling and marketing, in addition to our Free Hand we have created the Classical Models. Furthermore, we produce several hand-carved objects related to the pipe smoker and made of briar.”

The quality classification of the pipes is as follows (ascending): Pipa Croci; Amica; True; True 1; Quality Street; Starlight; Golden Flame.

So the “Pipa Croci” is the least expensive and the “Gold Flame” the most costly, but the most exceptional. The classification takes place in a careful and accurate manner and the criteria for these choices are form, character of the briar and beauty of its grain.

The pipes are divided into groups according to their design; these groups or series have been given the following names: Normale; Artistica; Gran Camino; Gran Camino Artistica; Calumet; Calumet Artistica; Calumet Gran Camino; Calumet Gran Camino Artistica; Calumet 2000; Calumet 2000 Artistica; Calumet 2000 Gran Camino; Calumet 2000 Gran Camino Artistica.

The Classical models are hand-made reproductions of the traditional shapes. These well-known shapes have the following letter-number references: Billiard = A1; Apple = F1; Dublin = H1, etc…

Armed with that information I turned to work on the pipe itself. Jeff had done a great job cleaning up the pipe as usual. He cleaned up the inside of the bowl with a PipNet reamer and a Savinelli Fitsall Pipe Knife. The bowl walls looked very good. He scrubbed the interior of the bowl and shank with pipe cleaners, cotton swabs and alcohol to remove the tars and oils. He scrubbed the exterior of the pipe with Murphy’s Oil Soap and a tooth brush to remove the grime from the finish. He worked on the rim top lava and darkening with the soap and tooth brush. He scrubbed the inside of the stem with alcohol and pipe cleaners. He scrubbed the exterior with Soft Scrub and then soaked it in Briarville’s Pipe Stem Deoxidizer. He washed it off with warm water to remove the deoxidizer. The pipe looked far better. I took photos of the pipe when I received it before I started working on it. I took photos of the bowl and rim top to show how clean it was. The top and the inner edge of the rim look very good. The stem looks clean of debris and grime. There are light tooth marks and chatter on both sides.I took photos of the stamping on the sides of shank. The stamping is clear and readable. I took a photo of the pipe with the stem removed to show the overall look of stem, tenon and profile of the pipe. Now it was time to work on the pipe. I sanded the briar with 320-3500 grit sanding pads. I wiped the bowl down with a damp cloth after each sanding pad. I polished the bowl with micromesh sanding pads – dry sanding with 1500-12000 grits sanding pads. Once again, I wiped it down with a damp cloth following each pad. I rubbed the bowl down with Before & After Restoration Balm. It is a paste/balm that works to deep clean the finish, enliven and protect the briar. I worked it into the briar with my finger tips to make sure that it covered every square inch of the pipe. I set it aside for 10 minutes to let it do its work. I buffed it with a cotton cloth. The briar really began to have a deep shine. The photos I took of the bowl at this point mark the progress in the restoration. I set the bowl aside and turned my attention to the stem. I sanded the stem with 320-3500 grit sanding pads to break up the remaining oxidation. I wiped it down after each sanding pad with an Obsidian Oil impregnated cloth. It began to look good.I polished the stem with micromesh sanding pads – dry sanding with 1500-12000 grit pads. I wiped the stem down after each sanding pad with Obsidian Oil. I polished it with Before & After Pipe Stem Polish – both Fine and Extra Fine. Once I had finished the polishing I gave it final coat of Obsidian Oil and set it aside to dry. I fit the stem with a 9mm filter and put it back on the shank. It fit well but if the next pipeman or woman wishes, the pipe could be smoked filterless though it would have a wide-open draught. I put the Pipa Croci Hand Made, Manitova, Italia, Diamond Shank Bent Billiard bowl and stem back together. I polished the bowl and stem with Blue Diamond to polish the briar and the acrylic. I gave the bowl and the stem multiple coats of carnauba wax. I buffed the pipe with a clean buffing pad to raise the shine. I hand buffed it with a microfiber cloth to deepen the shine. The pipe polished up pretty nicely. The rich brown stains worked amazingly well with the polished acrylic saddle stem. The grain around the bowl and shank and looks quite remarkable. This is truly a beautiful Pipa Croci Hand Made Bent Billiard. The finished pipe is shown in the photos below. The dimensions of the pipe are Length: 5 ½ inches, Height: 2 inches, Outside diameter of the bowl: 1 ¼ inches, Chamber diameter: ¾ of an inch. The weight of the pipe is 1.27 ounces/36 grams. This beautiful, Italian Hand Made Pipa Croci will be added to the rebornpipes store in the Italian Pipe Makers Section. Let me know if you are interested in adding it to your collection. Thanks for walking through the restoration with me. Cheers.

As always, I encourage your questions and comments as you read the blog. Thanks to each of you who are reading this blog. Remember we are not pipe owners; we are pipe men and women who hold our pipes in trust until they pass on into the trust of those who follow us.

Restoring a Pipa Croci fatta a mano Manitova-Italia – True – Dublin


by Steve Laug

The pipe was a nice little Pipa Croci smooth Dublin. The bowl and rim were smooth. We purchased it 12/09/2024 via Facebook’s Pipe Exchange from a seller in Wellsville, Kansas, USA. It is stamped on the left side of the shank and reads Pipa Croci [over] Fatta A Mano [over] Mantova – Italia. Underneath and toward the bowl it is stamped Dal 1983 – the year that the company started. On the right side it is stamped with the PC logo [over] TRUE. It is a light weight well-made pipe with a rose-coloured acrylic stem with a black thin line around the end next to the shank. The stem has the insert bar and dot logo on the top side. There were light tooth marks on both sides at the button but otherwise the stem was in good condition. The black Delrin tenon was in excellent condition. The tenon was made for a 6mm filter. Jeff took photos of the pipe before he started his cleanup work on the pipe. I have included those below.Jeff took photos of the rim top to show the condition. There is some darkening around the inner edge of the bowl and spots of lava on the rim top. He also capture the condition of the stem when it arrived. He took photos of the sides of the bowl and the heel to show the beautiful grain around the bowl. It really is a beautiful piece of briar that has a shape that follows the grain. The finish is nice but it also very dirty with grime and oils ground into it. Jeff took photos of the stamping on the shank sides. It is clear and readable and reads as noted above. Before I started working on my part of the restoration I decided to do a bit of research on the Pipa Croci brand. I wanted to clearly understand the stamping and possibly get date for the pipe and some background on the brand. I turned to Pipephil first to see what I could learn from there (http://www.pipephil.eu/logos/en/logo-c8.html). I have included a screen capture from the section on the brand and a few of the sidebar notes below that.Artisans: Paolo & Gianni. Grading (ascending): Pipa Croci, Amica, True, True I, Quality Street, Starlight, Golden Flame. Production (2007): ~ 3000 pipes/year. Pipa Croci is part of the Molina Group (2012)

I knew from that information that I was working on a grade three TRUE pipe. I also learned that the pipe was made by Paolo and Gianni Croci. It is a great looking pipe and I was looking forward to seeing what Pipedia added to the information.

I turned to the link on Pipedia (https://pipedia.org/wiki/Pipa_Croci). I have included the article in part below.

Pipa Croci pipes are created by Paolo & Gianni Croci from Mantova, Lombardia. The company was founded in 1983 and on each pipe you will find the nomenclature reads “dal 1983”. Each and every pipe is hand crafted from aged Italian Plateau Briar. This is a company that makes no two pipes alike and they truly create some masterpieces. In their own words:

“The Pipa Croci is an artisan enterprise. The pipes which are born from our hands are all differnt from each other. This means that the owner of a Croci pipe possesses something totally unique. Keeping up with the avant-garde in styling and marketing, in addition to our Free Hand we have created the Classical Models. Furthermore, we produce several hand-carved objects related to the pipe smoker and made of briar.”

The quality classification of the pipes is as follows (ascending): Pipa Croci; Amica; True; True 1; Quality Street; Starlight; Golden Flame.

So the “Pipa Croci” is the least expensive and the “Gold Flame” the most costly, but the most exceptional. The classification takes place in a careful and accurate manner and the criteria for these choices are form, character of the briar and beauty of its grain.

The pipes are divided into groups according to their design; these groups or series have been given the following names: Normale; Artistica; Gran Camino; Gran Camino Artistica; Calumet; Calumet Artistica; Calumet Gran Camino; Calumet Gran Camino Artistica; Calumet 2000; Calumet 2000 Artistica; Calumet 2000 Gran Camino; Calumet 2000 Gran Camino Artistica.

The Classical models are hand-made reproductions of the traditional shapes. These well-known shapes have the following letter-number references: Billiard = A1; Apple = F1; Dublin = H1, etc…

Armed with that information I turned to work on the pipe itself. Jeff had done a great job cleaning up the pipe as usual. He cleaned up the inside of the bowl with a PipNet reamer and a Savinelli Fitsall Pipe Knife. The bowl walls looked very good. He scrubbed the interior of the bowl and shank with pipe cleaners, cotton swabs and alcohol to remove the tars and oils. He scrubbed the exterior of the pipe with Murphy’s Oil Soap and a tooth brush to remove the grime from the finish. He worked on the rim top lava and darkening with the soap and tooth brush. He scrubbed the inside of the stem with alcohol and pipe cleaners. He scrubbed the exterior with Soft Scrub and then soaked it in Briarville’s Pipe Stem Deoxidizer. He washed it off with warm water to remove the deoxidizer. The pipe looked far better. I took photos of the pipe when I received it before I started working on it. I took photos of the bowl and rim top to show how clean it was. The top and the inner edge of the rim look very good. The stem looks clean of debris and grime. There are light tooth marks and chatter on both sides.I took photos of the stamping on the sides of shank. The stamping is clear and readable. I took a photo of the pipe with the stem removed to show the overall look of stem, tenon and profile of the pipe. Now it was time to work on the pipe. I sanded the briar with 320-3500 grit sanding pads. I wiped the bowl down with a damp cloth after each sanding pad. I polished the bowl with micromesh sanding pads – dry sanding with 1500-12000 grits sanding pads. Once again, I wiped it down with a damp cloth following each pad. I rubbed the bowl down with Before & After Restoration Balm. It is a paste/balm that works to deep clean the finish, enliven and protect the briar. I worked it into the briar with my finger tips to make sure that it covered every square inch of the pipe. I set it aside for 10 minutes to let it do its work. I buffed it with a cotton cloth. The briar really began to have a deep shine. The photos I took of the bowl at this point mark the progress in the restoration. I set the bowl aside and turned my attention to the stem. I sanded the stem with 320-3500 grit sanding pads to break up the remaining oxidation. I wiped it down after each sanding pad with an Obsidian Oil impregnated cloth. It began to look good.I polished the stem with micromesh sanding pads – dry sanding with 1500-12000 grit pads. I wiped the stem down after each sanding pad with Obsidian Oil. I polished it with Before & After Pipe Stem Polish – both Fine and Extra Fine. Once I had finished the polishing I gave it final coat of Obsidian Oil and set it aside to dry. I fit the stem with a 6mm filter and put it back on the shank. It fit well but if the next pipeman wishes, the pipe could be smoked filterless though it would have a wide-open draught.I put the Pipa Croci Hand Made, Manitova, Italia, True Dublin Freehand bowl and stem back together. I polished the bowl and stem with Blue Diamond to polish the briar and the acrylic. I gave the bowl and the stem multiple coats of carnauba wax. I buffed the pipe with a clean buffing pad to raise the shine. I hand buffed it with a microfiber cloth to deepen the shine. The pipe polished up pretty nicely. The rich brown stains worked amazingly well with the polished acrylic saddle stem. The grain around the bowl and shank and looks quite remarkable. This is truly a beautiful Pipa Croci True Dublin. The finished pipe is shown in the photos below. The dimensions of the pipe are Length: 6 inches, Height: 2 inches, Outside diameter of the bowl: 1 ¾ inches wide x 2 inches long, Chamber diameter: ¾ of an inch. The weight of the pipe is 2.12 ounces/61 grams. This beautiful, Italian Hand Made Pipa Croci will be added to the rebornpipes store in the Italian Pipe Makers Section. Let me know if you are interested in adding it to your collection. Thanks for walking through the restoration with me. Cheers.

As always, I encourage your questions and comments as you read the blog. Thanks to each of you who are reading this blog. Remember we are not pipe owners; we are pipe men and women who hold our pipes in trust until they pass on into the trust of those who follow us.

Restoring a tired Dunhill Shell Group 4 Diplomat


by Steve Laug

I have been working on the 12 pipe lot since I got back from Asia along with two other repairs that I took on before I left. I need a break to work on something of my own for a bit. I went through my boxes from Jeff here and chose a Dunhill to bring to the work table. It is a shape that I have not worked on before and it intrigued me. It was one that we had purchased from a fellow in Ogden, Utah on 12/12/24. It is a unique Dunhill Shell Diplomat with a great sandblast. The stamping on the underside of the shank had a Circle 4 on the heel of the bowl identifying it as a group 4 size pipe. That is followed by Dunhill Shell [over] Made in England followed by a number 21 to the right of the D in England that will help me date the pipe. The bowl had been reamed not long ago. There was some dust and debris in the sandblast on the rim but the inner and outer edge looked good. The sandblast finish was rugged and dirty but it could not hide the lovely blast around the bowl and shank. The stem was clean and there were light tooth marks on the top and underside ahead of the button. The classic Dunhill White Spot was on top of the taper stem. Jeff took photos of the pipe before he started his clean up work. I have included them below. He took photos of the pipe’s bowl and rim top to show the cake in the bowl and the lava coat overflowing onto the top. He also took photos to capture the tooth marks on the top and underside of the stem near the button. The stem is also oxidized and calcified. He took photos of the sides and heel of the bowl to show the interesting sandblast grain around the bowl and the amount of grime ground into the surface of the briar.   He took photos of the stamping underside of the shank. It is clear, though in some places it is faint. The overall text is still quite readable. As is my regular practice, before I started my work on the pipe, I turned to Pipedia’s section on Dunhill Shell Pipes to get a refresh the information I know regarding the Dunhill finishes (https://pipedia.org/wiki/Dunhill#Root_Briar). I quote:

Shell

A deep craggy sandblast with a black stain finish (usually made using Algerian briar) – the color of the stain used has varied over the years. Although there is some doubt as to them being the first to sandblast pipes, Dunhill’s Shell pipes, and the sandblasting techniques developed to create them are considered one of Dunhill’s greatest and most lasting contributions to the art of pipe making.

The documented history of Dunhill’s inception of the Shell is largely limited to patent applications — there are no catalog pages or advertisements promoting blasted pipes at the time. The preliminary work on the English patent (No. 1484/17) was submitted on October 13, 1917. The patent submission was completed half a year later, on April 12, 1918, followed by the granting of the English patent on October 14, 1918. This was less than a month before the end of The Great War on November 11th.

In 1986 Dunhill released a line of premium Shell finish pipes – “RING GRAIN”. These are high-quality straight grain pipes which are sandblasted. Initially only Ring Grain, but now in two different finishes. In 1995 the “Shilling” was introduced with Cumberland finish – it is an extremely rare series. These pipes exhibit a deeper blast characteristic of that of the 1930’s – mid-1960’s (and the limited ‘deep blast’ pipes of the early 1980s) and show a fine graining pattern. These are considered the best new Dunhills by many enthusiasts today and are very rare. The finish is sometimes described as tasting like vanilla at first, with the taste becoming more normal or good as the pipe breaks in.

There was also a link to a catalogue page that gave examples and dates that the various finishes were introduced (https://pipedia.org/wiki/File:Dunnypipescatalog-1.png).I turned to Pipephil’s dating guide to show how I arrived at the date of manufacture for this pipe (http://www.pipephil.eu/logos/en/dunhill/cledat-en1a.html). I am including the chart that is provided there for the dating a pipe. I have drawn a red box around the section. Since the pipe I am working on has a superscript suffix 21 after the D in England it points to the 1960 line on the chart below. To date it just add 1960 +21 for a date of 1981. I have drawn a red box around the pertinent section in the chart.I now knew that I was working on a Shell that came out in 1981 as far as I could tell by the faded date stamp. The shape of the pipe is called a Diplomat but there was no shape number stamped on the heel of the bowl. From the shape chart on the site I could know that I was dealing with a Diplomat (http://www.pipephil.eu/logos/en/dunhill/shapes.html).

Armed with that information I turned to work on the pipe itself. Jeff had done a great job cleaning up the pipe as usual. He cleaned up the inside of the bowl with a PipNet reamer and a Savinelli Fitsall Pipe Knife. The bowl walls looked very good. He scrubbed the interior of the bowl and shank with pipe cleaners, cotton swabs and alcohol to remove the tars and oils. He scrubbed the exterior of the pipe with Murphy’s Oil Soap and a tooth brush to remove the grime from the finish. He worked on the rim top lava and darkening with the soap and tooth brush. He scrubbed the inside of the stem with alcohol and pipe cleaners. He scrubbed the exterior with Soft Scrub and then soaked it in Briarville’s Pipe Stem Deoxidizer. He washed it off with warm water to remove the deoxidizer. The pipe looked far better. I took photos of the pipe when I received it before I started working on it. I took photos of the bowl and rim top to show how clean it was. The top and the inner edge of the rim look very good. The stem looks clean of debris and grime. There are light tooth marks and chatter on both sides.I took photos of the stamping on the underside of shank. The stamping is clear and readable (though in some spots it is faint). I took a photo of the pipe with the stem removed to show the overall look of stem, tenon and profile of the pipe. Now it was time to work on the pipe. The bowl was in excellent condition so it took little work to prepare it. It was very clean so I rubbed the bowl down with Before & After Restoration Balm. It is a paste/balm that works to deep clean the finish, enliven and protect the briar. I worked it into the briar with my finger tips to make sure that it covered every square inch of the pipe. I set it aside for 10 minutes to let it do its work. I buffed it with a cotton cloth. The briar really began to have a deep shine. The photos I took of the bowl at this point mark the progress in the restoration. I set the bowl aside and turned my attention to the stem. I “painted” the stem surface with the flame of a lighter to lift the tooth marks on the top and underside. It worked very well. I filled in the two remaining marks on the stem with rubberized black CA glue. I set the stem aside to let the repair cure. Once the repair had cured I sanded it smooth with a folded piece of 220 grit sandpaper. I was able to blend in the repair on the surface of the stem. It looked much better and the repair was solid.I sanded the stem with 320-3500 grit sanding pads to break up the remaining oxidation. I wiped it down after each sanding pad with an Obsidian Oil impregnated cloth. It began to look good.I polished the stem with micromesh sanding pads – dry sanding with 1500-12000 grit pads. I wiped the stem down after each sanding pad with Obsidian Oil. I polished it with Before & After Pipe Stem Polish – both Fine and Extra Fine. Once I had finished the polishing I gave it final coat of Obsidian Oil and set it aside to dry. I put the 1981 Dunhill Shell Diplomat bowl and stem back together. I polished the bowl and stem with Blue Diamond to polish the briar and the vulcanite. I gave the bowl multiple coats of Conservator’s Wax and the stem multiple coats of carnauba wax. I buffed the pipe with a clean buffing pad to raise the shine. I hand buffed it with a microfiber cloth to deepen the shine. The pipe polished up pretty nicely. The Shell Briar stains worked amazingly well with the polished vulcanite taper stem. The grain around the bowl and shank and looks quite remarkable. This is truly a beautiful Dunhill Shell Diplomat. The finished pipe is shown in the photos below. The dimensions of the pipe are Length: 6 inches, Height: 1 ½ inches, Outside diameter of the bowl: 1 inch, Chamber diameter: ¾ of an inch. The weight of the pipe is 1.59 ounces/45 grams. This is such a unique shape that I am going to enjoy it for awhile before deciding what to do with it. Thanks for walking through the restoration with me. Cheers.

As always, I encourage your questions and comments as you read the blog. Thanks to each of you who are reading this blog. Remember we are not pipe owners; we are pipe men and women who hold our pipes in trust until they pass on into the trust of those who follow us.

You Gotta Love a nice “Malaga” Bent Volcano


by Steve Laug

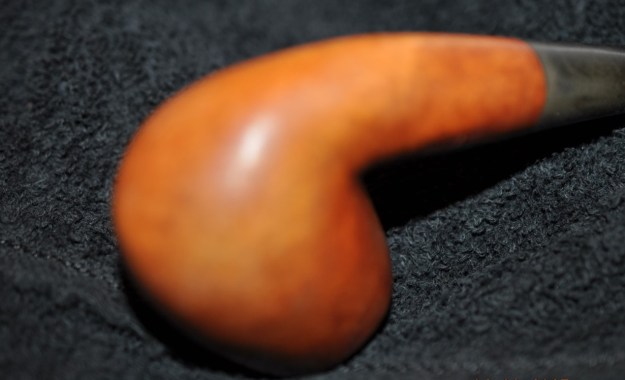
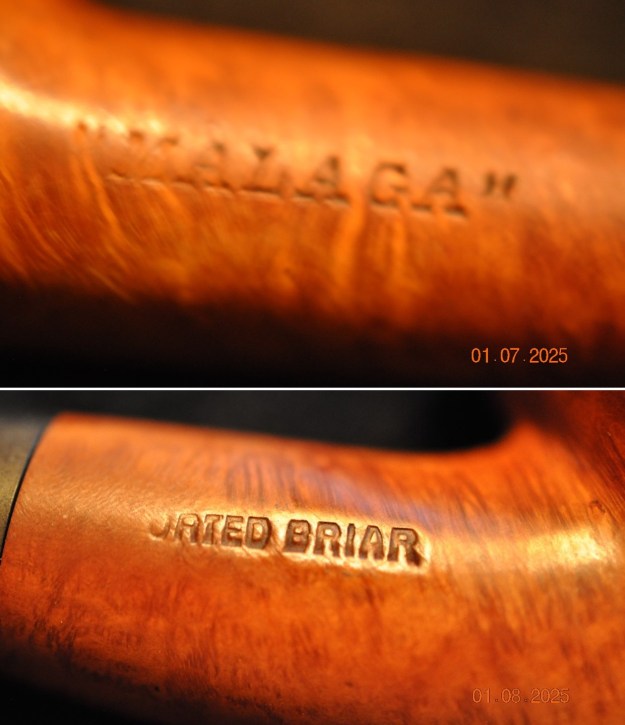
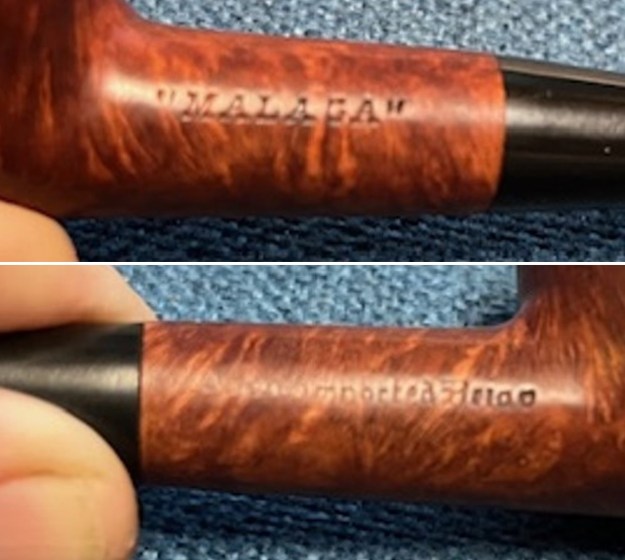
For a long time now, Jeff and I have been purchasing Malaga pipes. The shapes, the quality of craftsmanship, the oil finishing and their smokability all make them stand out. I can’t even remember how many we have cleaned and restored but there have been many. A quick search on Google will likely take you to our blog and at least one of the pipes that we have worked on. So when this pipe came up on eBay on 02/25/24 we bought it from the seller in Kentville, Nova Scotia, Canada and added it to the work queue. The grain on this pipe is quite nice. Once again it was obviously someone’s favourite smoker. The pipe is stamped on the underside of the shank next to the stem/shank junction and reads “MALAGA”. The smooth finish on the bowl and shank were dirty and worn. There were tars and oils ground into the surface of the briar. The bowl had a very thick cake that flowed over the top of the smooth rim in a lava coat. The cake in the bowl was thick right up to the top of the rim. It was hard to fully assess the condition of the inner edge. The condition of the rim edge and top would become clear in the cleaning process. The outer edge looked very good. The bent taper stem was vulcanite. The stem was lightly oxidized and had some calcification ahead of the button. There were light tooth marks on the top and the underside of the stem ahead of the button. Jeff took photos of the pipes before he started his clean up work. Jeff took photos of the rim and bowl to show the heavy cake and lava on the rim top and edges. The inner edge of the rim showed thick cake coming up to the top and flowing over the edge. It was a dirty pipe but still a beauty. The vulcanite thin taper stem had tooth marks and chatter on the top and underside of the stem ahead of the button. The photos of the sides and heel of the bowl show some stunning and unique grain all around the pipe. The oil curing/finish makes the grain really stand out under the grime on the bowl and shank. Jeff took photos of the stamping on the underside of the shank. It read “Malaga” on the underside as noted above. The stamping was clear and readable. For those of you who are unfamiliar with the brand, I am also including the link to a blog that I wrote that gives some of the history of the Malaga brand and the Malaga Pipe Shop in Royal Oak, Michigan in the USA. Here is the link – https://rebornpipes.com/2013/02/09/george-khoubesser-and-malaga-pipes/. That blog also includes links to a catalogue and the history of the pipemaker George Khoubesser. If you are interested to learn more then I invite you to follow the link to get a feel for the brand and the pipemaker.

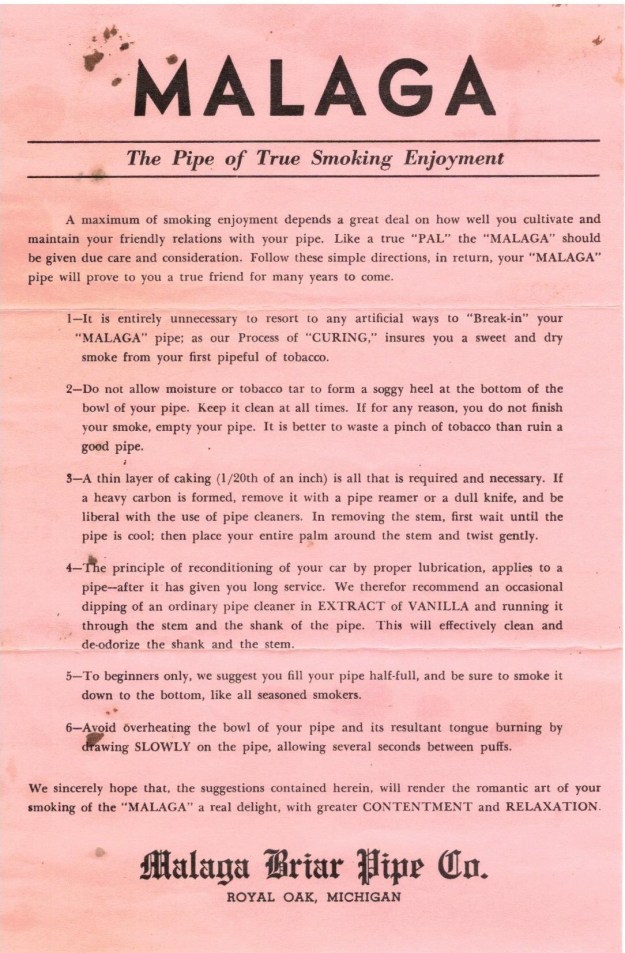
I am also am including a link to some printed material on the Malaga brand that came to me from the daughter of George Koch (we purchased George’s pipes from his daughter) to help identify the particular stamping on the pipe. The link takes you to the entire collection of materials that was sent to me (https://rebornpipes.com/2019/02/27/malaga-pipes-catalogue-of-pipes-and-tobaccos/).

Jeff had cleaned up the pipe with his usual procedure. He reamed the pipe with a PipNet pipe reamer and removed the rest of it with a Savinelli Fitsall Pipe Knife. He scrubbed the bowl with undiluted Murphy’s Oil Soap with a tooth brush. He rinsed it under running warm water to remove the soap and grime from around the bowl sides. It looked much better. He cleaned out the inside of the shank and the airway with alcohol, cotton swabs and pipe cleaners and shank brushes. He soaked the stem in Briarville’s Pipe Stem Deoxidizer and rinsed it with warm water. The stem looked much better and the light tooth marks on both sides were still visible and would need a little work. I took photos of the pipe once I received it. I took a photo of the rim top and the stem to show their condition. Jeff was able to clean up the cake and the lava overflow that was shown in the rim and bowl photos above. The rim top was clean but there were chips and nicks around the rim top and the inner edge of the bowl. The stem looked better, though there were tooth marks and chatter on both sides ahead of the button.I took a photo of the stamping on the underside of the shank to show that it was readable and undamaged by the cleanup work. I removed the stem from the shank and took a photo of the parts to give a sense of what the pipe looks like.I worked on the rim top and edges of the bowl to remove the damage and nicks on the surface and edges of the bowl. I lightly topped the bowl to smooth out the nicks and cuts in the top. I worked over the edge and top with a folded piece of 220 grit sandpaper and carefully brought the bowl back to round and removed the nicks in the top. It looked better.I sanded the bowl and shank it with 320-3500 grit sanding pads to clean up the marks and scratches in the bowl surface. I wiped it down with a damp cloth between each sanding pad to remove the debris left behind by sanding. Once finished it looked better. I polished the bowl sides with micromesh sanding pads. I dry sanded it with 1500-12000 grit micromesh pads. I wiped it down after each pad. It really began to take on a rich shine and the grain was quite beautiful. I rubbed the bowl and shank down with Before & After Restoration Balm to deep clean the finish on the bowl and shank. The product works to clean, enliven and protect the briar. I worked it in with my fingers to get it into the briar. I let it sit for 10 minutes then I wiped it off and buffed it with a soft cloth. The briar really began to have a rich shine. I took some photos of the bowl at this point to mark the progress in the restoration. It is a beautiful bowl. I set the bowl aside and turned my attention to the stem. I “painted” the stem with the flame of a lighter to lift the tooth marks. While I was able lift some of them there were deep ones that did not lift very much. I filled these in with black rubberized CA glue. Once the repairs cured I flattened them with a small file and then sanded them smooth with a folded piece of 220 grit sandpaper. I started the polishing of the stem with 2 x 2 inch sanding pads – dry sanding with 320-3500 grit pads and wiping it down after each pad. I was able to remove the light tooth marks and chatter on the stem surface on both sides.I polished the stem with micromesh sanding pads – dry sanding with 1500-12000 grit pads. I wiped the stem down after each sanding pad with Obsidian Oil. I did a final hand polish of the stem with Before & After Pipe Stem Polish – both Fine and Extra Fine. I gave it a coat of Obsidian Pipe Stem Oil. It works to protect the stem from oxidizing. I set it aside to dry. I put the stem back on the “Malaga” Bent Volcano and took it to the buffer. I buffed the bowl and stem with Blue Diamond to polish the briar and the vulcanite. Blue Diamond does a great job on the smaller scratches that remain in both. I gave the bowl and the stem several coats of carnauba wax and buffed the pipe with a clean buffing pad to raise the shine. I hand buffed it with a microfiber cloth to deepen the shine. I am amazed at how well it turned out. The finished pipe is shown in the photos below. This is a beautiful “Malaga” Bent Volcano and the vulcanite taper stem and smooth finish combine to give the pipe a great look. The dimensions of the pipe are Length: 5 ½ inches, Height: 1 ½ inches, Outside diameter of the bowl: 1 ¼ inches, Chamber diameter: ¾ of an inch. The weight of the pipe is 1.34 ounces/40 grams. This is another pipe that I will be putting on the rebornpipes online store in the American Pipe Makers and Pipemaking Companies Section shortly, if you are interested in adding it to your collection. Thanks for walking through the restoration with me on this beauty!

As always, I encourage your questions and comments as you read the blog. Thanks to each of you who are reading this blog. Remember we are not pipe owners; we are pipe men and women who hold our pipes in trust until they pass on into the trust of those who follow us.

New Life for a Malaga Custom Carved Egg


by Steve Laug

In the latest box of pipes I received from Jeff were two Malaga Pipes to work on. The first of those on the table was an interesting Malaga I would call a large decorative straight Egg (https://rebornpipes.com/2024/09/15/what-an-interesting-malaga-hand-made-egg-to-convert-to-an-egg/). The second one is a bent egg with rustication patterns around the bowl and shank. We purchased both on 06/23/24 off eBay from a seller in Farmington Hills, Michigan, USA. The grain on the smooth portions of this pipe is also quite nice. There was a rusticated leaf shape on the left side of the bowl curving from the top edge of the bowl down and over the underside of the bowl. There was also a rustication pattern on the right side of the shank end and on the underside. It is another pattern of rustication that I have never seen before on the Malaga pipes that I have worked on. It was obviously another favourite of the previous pipeman. It is stamped on the left side of the shank and read “MALAGA” [over] Custom Carved. The finish was dirty and worn. There were tars and oils ground into the surface of the briar. The bowl had a thick cake that flowed over the top of the rim top. The top, inner and outer edge has heavy damage on the right side of the bowl. There was lava flowing over the edges down the first 1/4 inch of the bowl. It was hard to clearly assess the damage to the inner edge. The condition of the rim edge and top would become clear in the cleaning process. The vulcanite taper stem was vulcanite. It was oxidized, calcified and there was chatter and tooth marks on the top and the underside of the stem ahead of the button. Jeff took photos of the pipes before he started his clean up work. Jeff took photos of the rim and bowl to show the cake and lava on the rim top and edges. The inner edge of the rim showed thick cake coming up to the top and flowing over the edge. The damage to the rim top is also very visible in the photo. The pipe was a dirty one but still a beauty. The vulcanite taper stem had tooth marks and chatter on the top and underside of the stem ahead of the button. The photos of the sides and heel of the bowl hint at the damage around the bowl sides from the rim top downward. The briar is quite nice all around the pipe. The oil curing/finish makes the grain really stand out on the bowl and shank. Jeff took a photo of the stamping on the left side of the shank. It read “MALAGA” [over]Custom Carved as noted above. The stamping was clear and readable. For those of you who are unfamiliar with the brand, I am also including the link to a blog that I wrote that gives some of the history of the Malaga brand and the Malaga Pipe Shop in Royal Oak, Michigan in the USA. Here is the link – https://rebornpipes.com/2013/02/09/george-khoubesser-and-malaga-pipes/. That blog also includes links to a catalogue and the history of the pipemaker George Khoubesser. If you are interested to learn more then I invite you to follow the link to get a feel for the brand and the pipemaker.

I am also am including a link to some printed material on the Malaga brand that came to me from the daughter of George Koch (we purchased George’s pipes from his daughter) to help identify the particular stamping on the pipe. The link takes you to the entire collection of materials that were sent to me (https://rebornpipes.com/2019/02/27/malaga-pipes-catalogue-of-pipes-and-tobaccos/).

Jeff had cleaned up the pipe using his usual procedure. He reamed the pipe with a PipNet pipe reamer and removed the rest of it with a Savinelli Fitsall Pipe Knife. He scrubbed the bowl with undiluted Murphy’s Oil Soap with a tooth brush. He rinsed it under running warm water to remove the soap and grime from around the bowl sides. It looked better but the rim top and outer edge was darkened and burned. He cleaned out the inside of the shank and the airway with alcohol, cotton swabs and pipe cleaners. The stem looked much better and the light tooth marks on both sides were still visible and would need a little work. I took photos of the pipe once I received it. I took a photo of the rim top and the stem to show their condition. Jeff was able to clean up the cake and the lava overflow that was shown in the rim and bowl photos above. The rim top was another major mess. It was chipped and burned and was quite charred and soft. It was going to take some work and some topping to remove the damaged portion of the rim top. There was some darkening around the bowl edges and top. The right side of the rim is quite thin and the bowl is out of round. The stem looked better, though there were tooth marks and chatter on both sides ahead of the button.I took a photo of the stamping on the shank to show that the clean up had not damaged it at all. It looked good. I removed the stem from the shank and took a photo of the parts to give a sense of what the pipe looks like.I started my work on the pipe by addressing the mess of the burned/charred rim top and edges. The briar was actually almost charcoal like and soft. The softness was not as deep as the previous one but the thin right side needed to be topped to added thickness. I topped it with a Dremel and sanding drum and then cleaned it up on a topping board with 220 grit sandpaper. The rim top was finally solid at this point as was the inner edge of the bowl. I worked on the inner edge of the rim with a wooden sphere and a piece of 220 grit sandpaper. It took some work to smooth out the edge and bring it back to round. It is significantly shorter in height but the soft wood is gone and the rim top is solid. I worked over the rim edge and top with a 320 grit sanding pad to smooth out the bevel. I was liking the way it turned out.I smoothed out the bevel of the rim top with a folded piece of 220 grit sandpaper and a 320 gir sanding pad. I stained the rim top with a Cherry stain pen to match the colour of the rest of the bowl. It is looking quite good at this point. I wiped the bowl down with a damp cloth and sanded the smooth portions of the bowl with 320-3500 grit sanding pads. The finish began to have a rich shine. I was able to blend the repairs on the rim top into the surrounding briar and the bowl looked very good. I polished the bowl sides and the smooth rim top with micromesh sanding pads. I dry sanded it with 1500-12000 grit micromesh pads (I forgot to take photos of the sanding with the micromesh pads). I wiped it down after each pad. It really began to be beautiful. I rubbed the bowl and shank down with Before & After Restoration Balm to deep clean the finish on the bowl and shank. The product works to clean, enliven and protect the briar. I worked it in with my fingers to get it into the briar. I worked it into the twin rings in the bowl cap with a shoe brush to get deep in the grooves. I let it sit for 10 minutes then I wiped it off and buffed it with a soft cloth. The briar really began to have a rich shine. I took some photos of the bowl at this point to mark the progress in the restoration. It is a beautiful bowl. I set the bowl aside and turned my attention to the stem. I heated the stem with a lighter to soften the vulcanite. Once it was flexible I bent it to the proper angle. It looked much better.I “painted” the tooth marks with the flame of a lighter to lift them. I was able to lift them significantly. There were several deeper ones that I filled with clear CA glue. Once the glue hardened I flattened them with a small file. I sanded them with 220 grit sandpaper to blend them further into the surface of the stem. I sanded the stem with the 2 inch square 320-3500 grit sanding pads. I wiped down the stem after each sanding pad. I was able to remove the tooth marks and chatter on both sides with the pads. The stem looked very good.I polished the stem with micromesh sanding pads – dry sanding with 1500-12000 grit pads. I wiped the stem down after each sanding pad with Obsidian Oil. I did a final hand polish of the stem with Before & After Pipe Stem Polish – both Fine and Extra Fine. I gave it a coat of Obsidian Pipe Stem Oil. It works to protect the stem from oxidizing. I set it aside to dry. I put the stem back on the reshaped bowl of this “MALAGA” Custom Carved Bent Egg and took it to the buffer. I buffed the bowl and stem with Blue Diamond to polish the briar and the vulcanite. Blue Diamond does a great job on the smaller scratches that remain in both. I gave the bowl and the stem several coats of carnauba wax and buffed the pipe with a clean buffing pad to raise the shine. I hand buffed it with a microfiber cloth to deepen the shine. I am amazed at how well it turned out. The finished pipe is shown in the photos below. This is beautiful smooth finished “MALAGA” Custom Carved Bent Egg and the vulcanite taper stem combine to give the pipe a great look. The dimensions of the pipe are Length: 5 ½ inches, Height: 2 inches, Outside diameter of the bowl: 1 ¼ inches, Chamber diameter: ¾ of an inch. The weight of the pipe is 1.87 ounces/53 grams. This is another pipe that I will be putting on the rebornpipes online store in the American Pipe Makers and Pipemaking Companies Section shortly, if you are interested in adding it to your collection. Thanks for walking through the restoration with me on this beauty! As always, I encourage your questions and comments as you read the blog. Thanks to each of you who are reading this blog. Remember we are not pipe owners; we are pipe men and women who hold our pipes in trust until they pass on into the trust of those who follow us.

What an Interesting Malaga Hand Made Egg to convert to an Apple


by Steve Laug

In the latest box of pipes I received from Jeff were two Malaga Pipes to work on. The first of those on the table this afternoon is an interesting Malaga I would call a large decorative Egg. We purchased it on 06/23/24 off eBay from a seller in Farmington Hills, Michigan, USA. The grain on the smooth portions of this pipe is quite nice. There are also some rusticated bands around the bowl and shank end that are quite unique. It is something that I have never seen before on the Malaga pipes that I have worked on. It was obviously someone’s favourite smoker. It is stamped on the underside of the shank and read “MALAGA” [over] Hand Made [over] an upper case “H”. The finish was dirty and worn. There were tars and oils ground into the surface of the briar. The bowl had a thick cake that flowed over the top of the rim top. The top, inner and outer edge has heavy damage on the back side of the bowl. There was lava flowing over the edges down the first 1/4 inch of the bowl. It was hard to clearly assess the damage to the inner edge. The condition of the rim edge and top would become clear in the cleaning process. The fancy turned saddle stem was vulcanite. It was oxidized, calcified and there was chatter and deep tooth marks on the top and the underside of the stem ahead of the button. Jeff took photos of the pipes before he started his clean up work. Jeff took photos of the rim and bowl to show the cake and lava on the rim top and edges. The inner edge of the rim showed thick cake coming up to the top and flowing over the edge. The damage to the rim top is also very visible in the photo. The pipe was a dirty one but still a beauty. The fancy vulcanite saddle stem had deep tooth marks and chatter on the top and underside of the stem ahead of the button. The photos of the sides and heel of the bowl hint at the damage around the bowl sides from teh rim top downward. The briar is quite nice all around the pipe. The oil curing/finish makes the grain really stand out on the bowl and shank. Jeff took photos of the stamping on the sides of the shank. On the left it read MALAGA as noted above. On the right it read Imported Briar. The stamping was clear and readable. For those of you who are unfamiliar with the brand, I am also including the link to a blog that I wrote that gives some of the history of the Malaga brand and the Malaga Pipe Shop in Royal Oak, Michigan in the USA. Here is the link – https://rebornpipes.com/2013/02/09/george-khoubesser-and-malaga-pipes/. That blog also includes links to a catalogue and the history of the pipemaker George Khoubesser. If you are interested to learn more then I invite you to follow the link to get a feel for the brand and the pipemaker.

I am also am including a link to some printed material on the Malaga brand that came to me from the daughter of George Koch (we purchased George’s pipes from his daughter) to help identify the particular stamping on the pipe. The link takes you to the entire collection of materials that were sent to me (https://rebornpipes.com/2019/02/27/malaga-pipes-catalogue-of-pipes-and-tobaccos/).

Jeff had cleaned up the pipe using his usual procedure. He reamed the pipe with a PipNet pipe reamer and removed the rest of it with a Savinelli Fitsall Pipe Knife. He scrubbed the bowl with undiluted Murphy’s Oil Soap with a tooth brush. He rinsed it under running warm water to remove the soap and grime from around the bowl sides. It looked much better. He cleaned out the inside of the shank and the airway with alcohol, cotton swabs and pipe cleaners. The stem looked much better and the light tooth marks on both sides were still visible and would need a little work. I took photos of the pipe once I received it.  I took a photo of the rim top and the stem to show their condition. Jeff was able to clean up the cake and the lava overflow that was shown in the rim and bowl photos above. The rim top was a major mess. It was chipped and burned and was quite charred and soft. It was going to take some work and some topping to remove the damaged portion of the rim top. There was some darkening around the bowl edges and top. The grain on it was quite nice. The stem looked better, though there were tooth marks and chatter on both sides ahead of the button.I took a photo of the stamping on the shank to show that the clean up had not damaged it at all. It looked good. I removed the stem from the shank and took a photo of the parts to give a sense of what the pipe looks like.I started my work on the pipe by addressing the mess of the burned/charred rim top and edges. The briar was actually almost charcoal like and soft. The softness went quite deep. I topped it significantly with a Dremel and sanding drum and then cleaned it up on a topping board with 220 grit sandpaper. The rim top was finally solid at this point as was the inner edge of the bowl.I worked on the inner edge of the rim with a wooden sphere and a piece of 220 grit sandpaper. It took some work to smooth out the edge and bring it back to round. It is significantly shorter in height but the soft wood is gone and the rim top is solid. There were two small hairline cracks on the rim top that would need to be repaired but it was looking better. I worked over the rim edge and top with a 320 grit sanding pad to smooth out the bevel. I was liking the way it turned out. I used some clear CA glue to fill in the small hairline cracks on the rim top.I wiped the bowl down with a light coat of olive oil and sanded the smooth portions of the bowl with 320-3500 grit sanding pads. The finish began to have a rich shine. I was able to blend the repairs on the rim top into the surrounding briar and the bowl looked very good. I polished the bowl sides and the smooth rim top with micromesh sanding pads. I dry sanded it with 1500-12000 grit micromesh pads (I forgot to take photos of the sanding with the micromesh pads). I wiped it down after each pad. It really began to be beautiful. I rubbed the bowl and shank down with Before & After Restoration Balm to deep clean the finish on the bowl and shank. The product works to clean, enliven and protect the briar. I worked it in with my fingers to get it into the briar. I worked it into the twin rings in the bowl cap with a shoe brush to get deep in the grooves. I let it sit for 10 minutes then I wiped it off and buffed it with a soft cloth. The briar really began to have a rich shine. I took some photos of the bowl at this point to mark the progress in the restoration. It is a beautiful bowl. I set the bowl aside and turned my attention to the stem. I “painted” the tooth marks with the flame of a lighter to lift them. I was able to lift them significantly. There were several deeper ones that I filled with clear CA glue. Once the glue hardened I flattened them with a small file. I sanded them with 220 grit sandpaper to blend them further into the surface of the stem. I scrubbed the remaining oxidation on the stem surface with Soft Scrub cleanser on a cotton pad and was able to remove what remained in the curves of the saddle portion of the stem. It looked better.I sanded the stem with the 2 inch square 320-3500 grit sanding pads. I wiped down the stem after each sanding pad. I was able to remove the tooth marks and chatter on both sides with the pads. The stem looked very good.I polished the stem with micromesh sanding pads – dry sanding with 1500-12000 grit pads. I wiped the stem down after each sanding pad with Obsidian Oil. I did a final hand polish of the stem with Before & After Pipe Stem Polish – both Fine and Extra Fine. I gave it a coat of Obsidian Pipe Stem Oil. It works to protect the stem from oxidizing. I set it aside to dry. I put the stem back on the reshaped bowl of this “MALAGA” Hand Made H Apple and took it to the buffer. I buffed the bowl and stem with Blue Diamond to polish the briar and the vulcanite. Blue Diamond does a great job on the smaller scratches that remain in both. I gave the bowl and the stem several coats of carnauba wax and buffed the pipe with a clean buffing pad to raise the shine. I hand buffed it with a microfiber cloth to deepen the shine. I am amazed at how well it turned out. The finished pipe is shown in the photos below. This is beautiful smooth finished “MALAGA” Hand Made H Apple and the vulcanite, fancy saddle stem combine to give the pipe a great look. The dimensions of the pipe are Length: 6 ½ inches, Height: 2 inches, Outside diameter of the bowl: 1 ¾ inches, Chamber diameter: 1 inch. The weight of the pipe is 2.29 ounces/66 grams. This is another pipe that I will be putting on the rebornpipes online store in the American Pipe Makers and Pipemaking Companies Section shortly, if you are interested in adding it to your collection. Thanks for walking through the restoration with me on this beauty!

As always, I encourage your questions and comments as you read the blog. Thanks to each of you who are reading this blog. Remember we are not pipe owners; we are pipe men and women who hold our pipes in trust until they pass on into the trust of those who follow us.

Bringing New Life to an Older BBB Gourd Calabash


by Steve Laug

I regularly am in correspondence with quite a few people through the reach of rebornpipes. This week alone I have received emails from Hungary, Slovakia, England, Australia to name a few. On top of those are the emails from the US and Canada. I received one from a Paul in Halifax, Nova Scotia, Canada about a pipe he recently picked up and he wrote to me after finding a similar one on rebornpipes. Here is his initial email:

I have purchased an old pipe. The case said BBB in it so I googled it. It is a Calabash like on your website, but the steel rim has an actual flap over the bowl that you can open or close with vent holes in it. It has three markings stamped on it, anchor-lion-n (not the “f”like yours). Can I send you a picture? – Paul

I wrote him back and asked him to send me the pictures. I was very curious to see the age of the pipe and perhaps help him that way. He sent me the following photos. The first two show the bowl as a whole. It was an interesting looking pipe. Paul also sent me photos of the rim cap and bowl cap so I could see how they function and could read the stamping on the silver of both. The stamping was as he noted in his first email.He also included photos of the case exterior and the inside. The inside of the case is stamped with a BBB Diamond logo in the lid of the case. I wrote Paul back about the pipe to help unpack the stamping on the top of the rim and cover. The stamps can be interpreted as follows:

The LB on the cover of the rim/windcap is for Louis Blumfield.

The other stamps are as follows:

Anchor is for Birmingham the city where the silver was made and fitted to the bowl.

Rampant lion is for the quality of the silver used in the rim cap and cover. It means that it is .925 sterling silver

The letter n is the date stamp. I included a copy of the Hallmark chart for British hallmarks. I can match your pipe’s stamp to 1912. I have marked it on the chart below in red.Paul responded with his thanks and a further email:

Hi Steve is it possible to give it a tune-up? professionally? And also, do you think I should just display it? Or is it ok to use? What would you do? – Paul

I wrote back and sent him my address and he mailed the pipe to me to work on. When I got it I opened the box and took some photos of the case and the pipe. The case is worn black leather with nicks and scuffs on it. The case is obviously hand fitted to the pipe. I took the pipe out of the case and took a look at what I had to work with. The gourd was dirty and had a burn mark on the underside at the bend. The shank end is Maple I believe and has some glue dried on from a silver shank band that was missing. The rim top had a silver rim cap and wind cap. It was loose on the top of the gourd. I removed it underneath the bowl lining appeared to be clay. It had some repaired cracks. It was sitting in a wood base that was inserted in the gourd. The base has pins snapped off in it that originally held the rim cap in place. The bowl itself had a large opening in the bottom but there was a lot of debris and clogging in the bowl. There was a rattle in the gourd itself. The stem was amber and was in very good condition. There were light tooth marks and chatter on the top and underside ahead of the button. The airway in the stem was very dirty and the shank was also very dirty. I took photos of the wind cap and rim cap to show the scratching and wear on the silver. It was worn and tired with a little bit of tarnish as well. I will need to polish both with some silver polish to remove the tarnish and the scratching. The amber stem looks good with some light chatter on the top and the underside ahead of the button.I removed the silver rim cap and windcap. I took a photo of the clay bowl insert. It is pitted and dirty but you can see what I have to work with. It is hard to see but the original pins that held the cap in place are all snapped off in the clay. I took a photo of the bowl with the cap and stem off. I carefully scraped out the clay bowl with a Savinelli Fitsall Pipe Knife to remove the cake build up in the bowl and also tobacco debris on the walls of the bowl. I sanded the walls smooth with a folded piece of 220 grit sandpaper.I cleaned the internals of the gourd shank and below the clay bowl with pipe cleaners and alcohol. I cleaned the amber stem at the same time with pipe cleaners and alcohol. Once it was clean the pipe smelled significantly better.The burn on the underside of the gourd had a burn mark and a gouge. I filled it in with clear CA glue. One it dried I sanded it smooth and polished it with 320-3500 grit sanding pads. Once finished it looked much better.I used four spots of all-purpose white glue on the inside of the silver rim cap. I pressed in place and set it upside to dry. I polished the scratches in the silver with micromesh sanding pads. I worked over the wind cap and all of the edges on the rim cap. I lightly polished them with the pads and wiped them down after each pad with a jeweller’s cloth. The cap and rim began to take on a very rich shine. The scratches were not all removed but they definitely looked much better when I finished with the last of the sanding pads. I rubbed the gourd and the maple shank extension down with Before & After Restoration Balm. I worked it into the surface with my finger tips. The product works to clean, enliven and preserve the wood and gourd surfaces. It gives a rich a glow. I let it sit on the surface for 10 minutes and then buffed it off with a soft cloth. The gourd began to take on a rich shine. Since I did not have a silver band that would fit the shank extension I decided to stain it. I gave it a coat of Maple stain and Cherry stain using stain pens. It brought out some nice grain patterns in the wood. I gave it another coat of Before & After Restoration Balm and buffed it off with a cloth. It really was looking great in contrast to the colour of the gourd.I set the bowl aside and turned my attention to the amber stem. I used 320-3500 grit sanding pads to dry sand the tooth chatter on both sides near the button. It took a bit of sanding but I was able to remove them all and start the polishing with the pads. I wiped the stem down after each sanding pad with an Obsidian Oil impregnated cloth. It really looked very good.I polished the stem with micromesh sanding pads – dry sanding with 1500-12000 grit pads. I wiped the stem down after each sanding pad with Obsidian Oil. I did a final hand polish of the stem with Before & After Pipe Stem Polish – both Fine and Extra Fine. I gave it a coat of Obsidian Pipe Stem Oil. It works to protect the stem from oxidizing. I set it aside to dry. The amber took on a rich glow by the end of the polishing. I put the stem back on the BBB Clay Gourd Calabash and took it to the buffer. I carefully buffed the gourd, the extension and the amber stem with Blue Diamond to polish the gourd and the amber. Blue Diamond does a great job raising more of the shine and smoothing out imperfections. I gave the bowl and the stem several coats of carnauba wax and buffed the pipe with a clean buffing pad to raise the shine. I hand buffed it with a microfiber cloth to deepen the shine. I am amazed at how well it turned out. The finished pipe is shown in the photos below. This is beautiful smooth finished 1912 BBB Gourd Calabash and the amber taper stem combine to give the pipe a great look. The finished pipe is shown in the photos below. The approximate dimensions of the pipe are Length: 7 inches, Height: 4 inches, Outside diameter of the bowl: 2 ¼ inches, Chamber diameter: ¾ of an inch. This beauty will be heading back to Paul in Halifax, Nova Scotia soon. I hope he will enjoy the pipe and enjoy smoking it. Thanks for walking through the restoration with me on this beauty!

As always, I encourage your questions and comments as you read the blog. Thanks to each of you who are reading this blog. Remember we are not pipe owners; we are pipe men and women who hold our pipes in trust until they pass on into the trust of those who follow us.