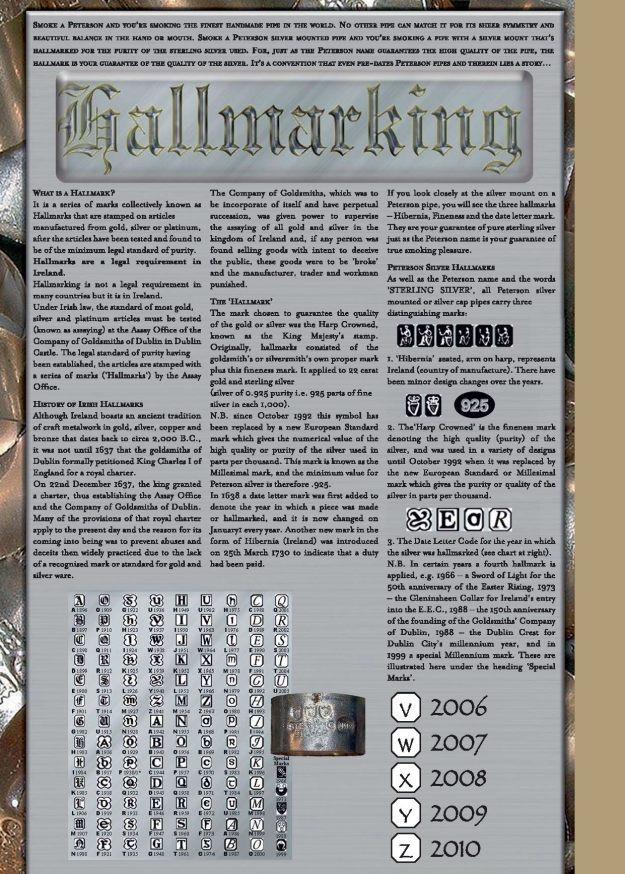
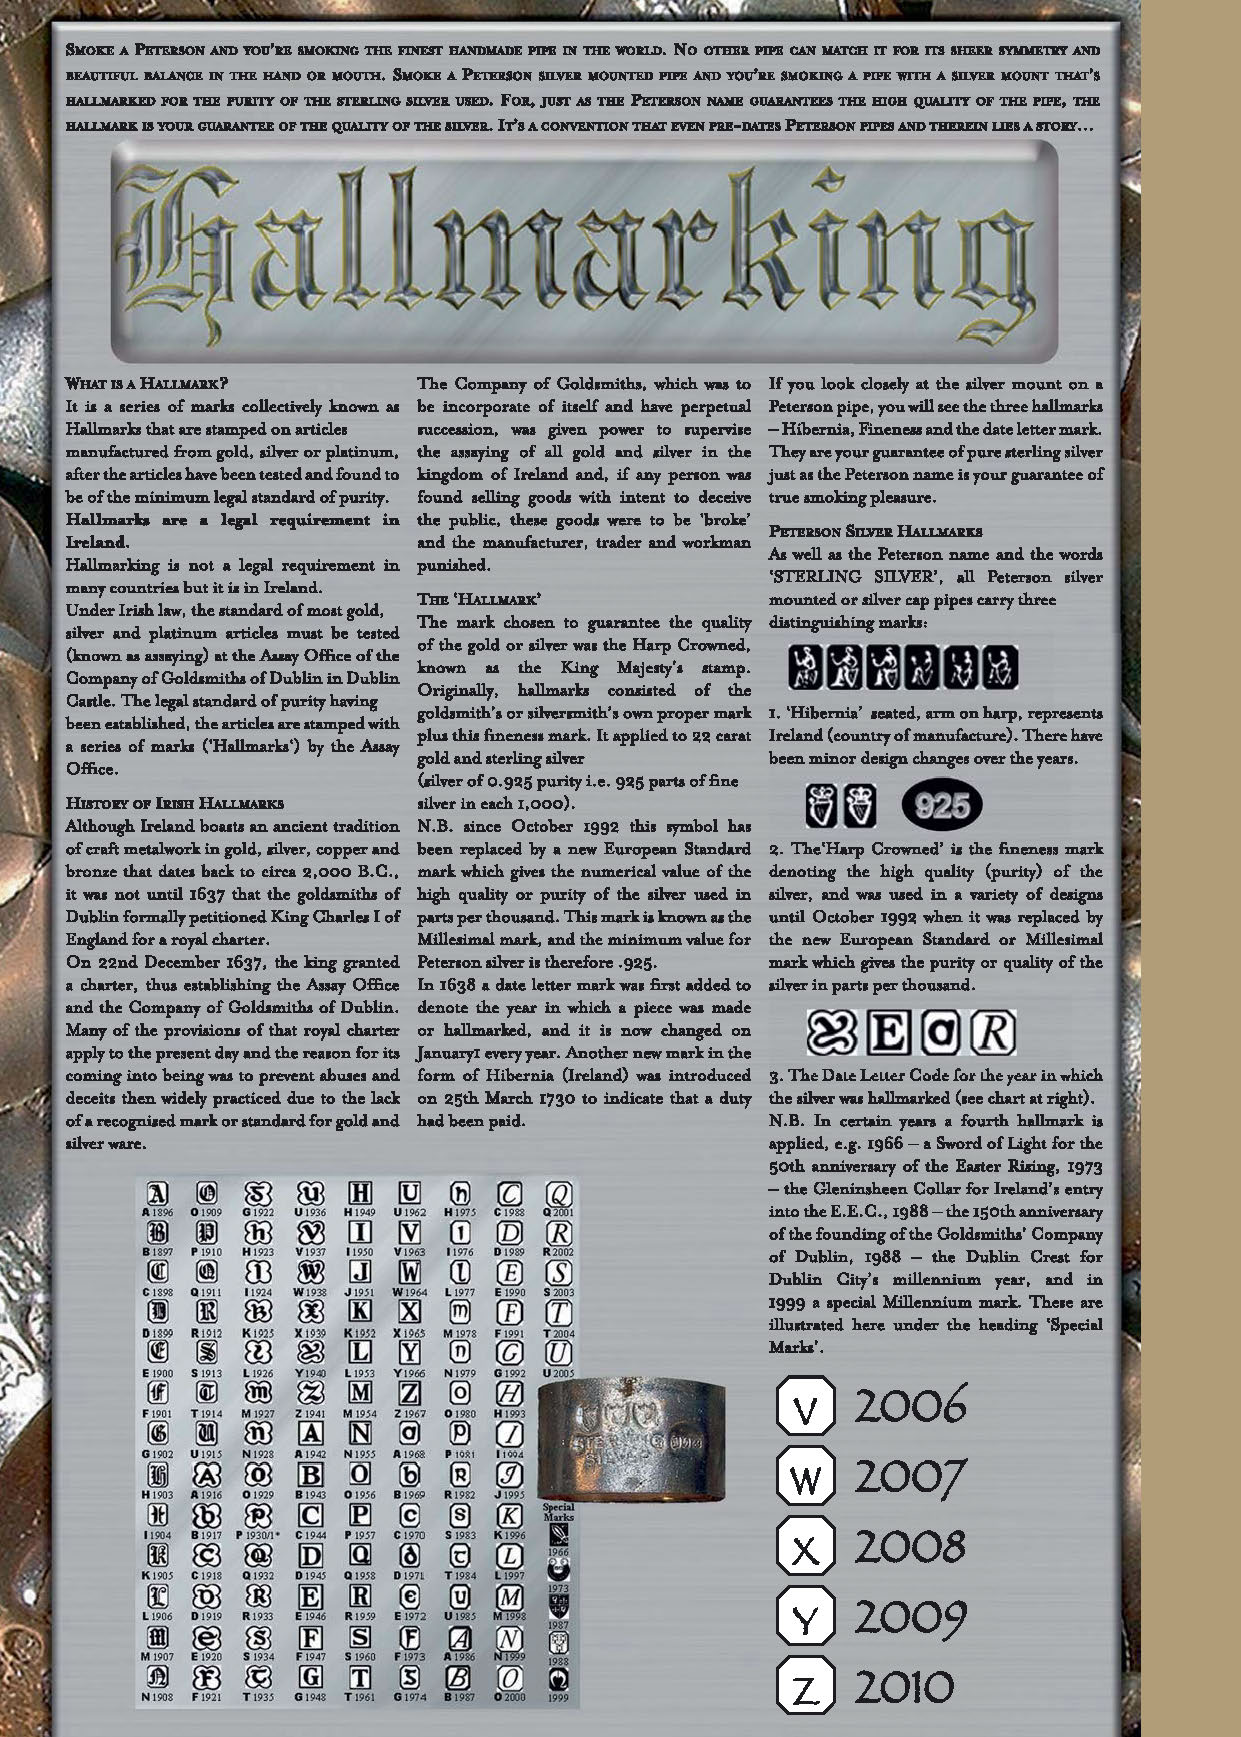
by Kenneth Lieblich
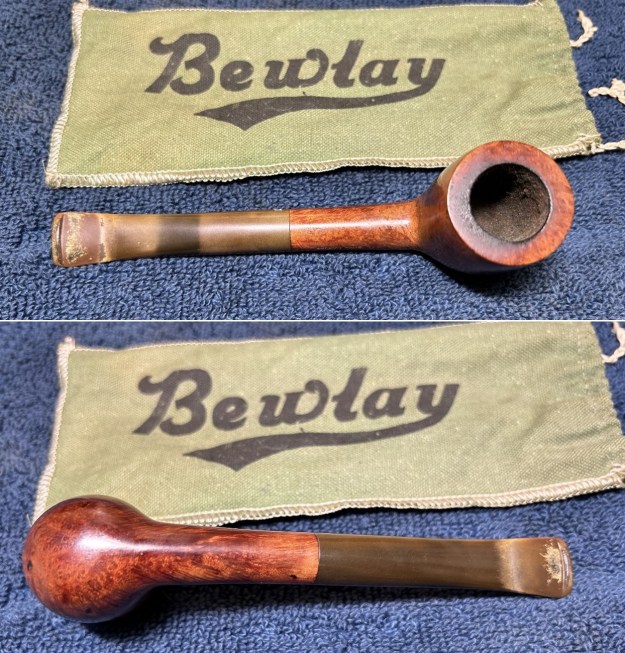
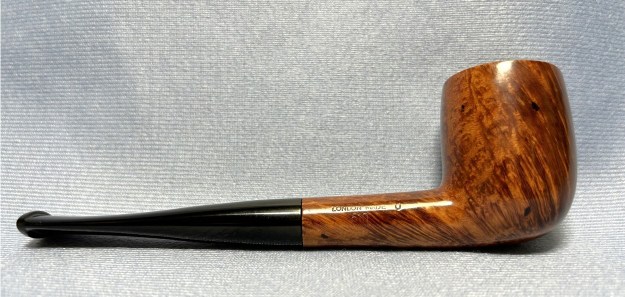
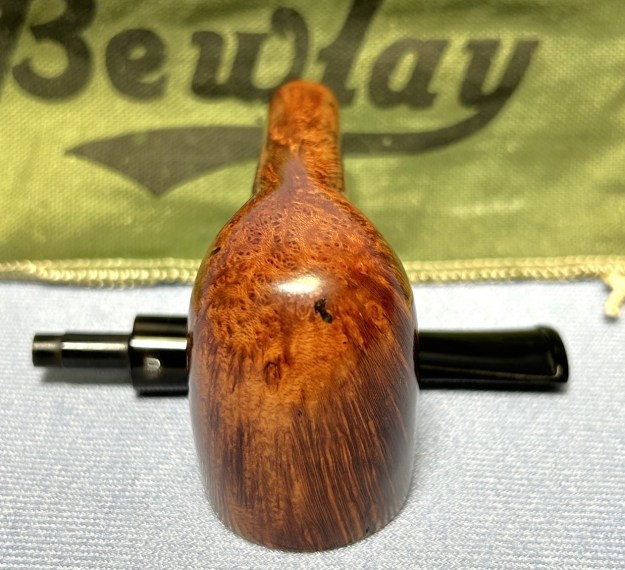
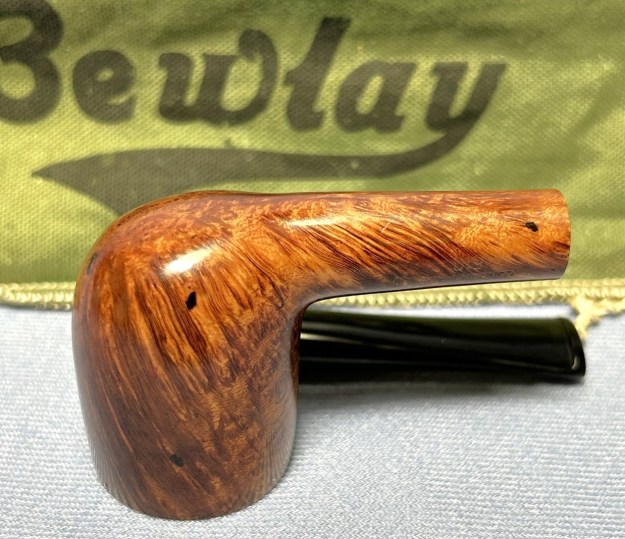
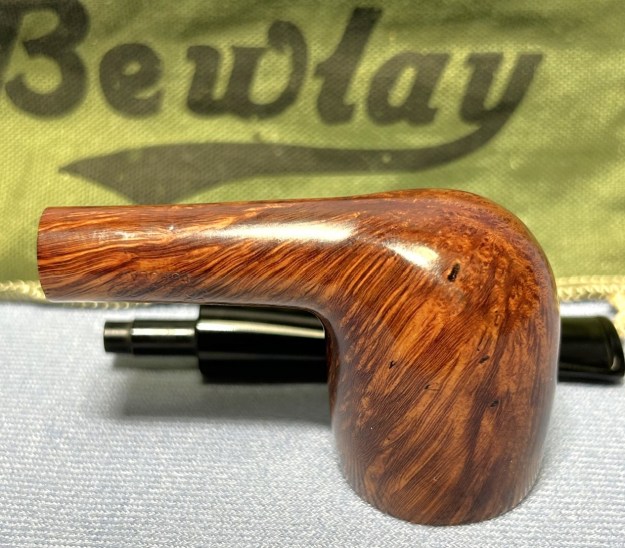
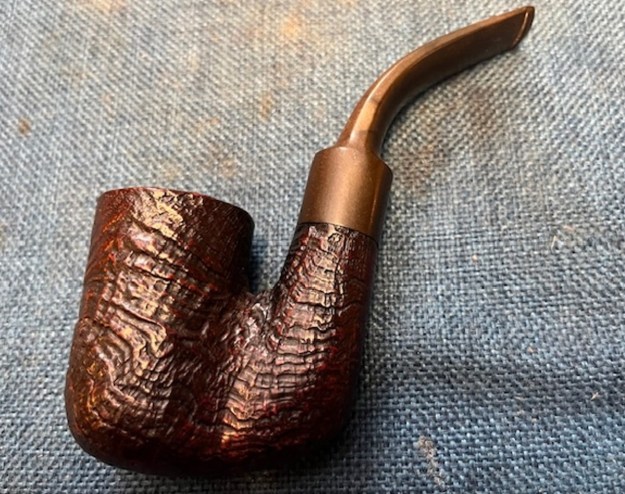
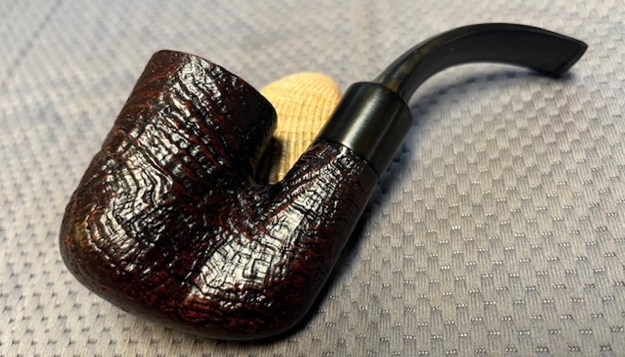
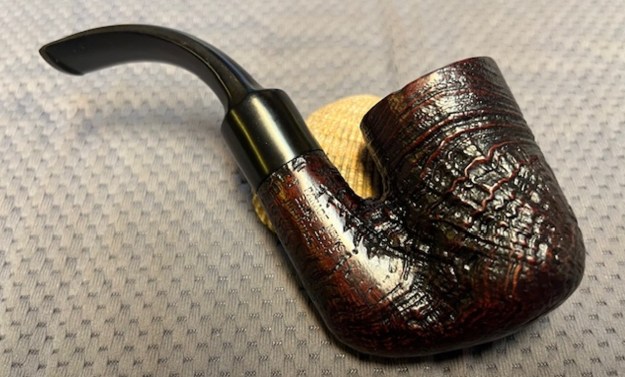
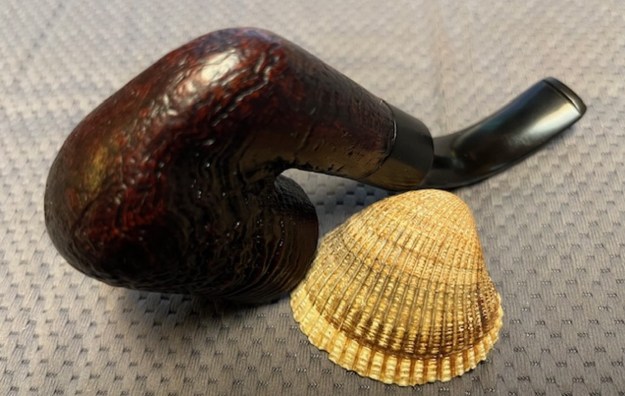
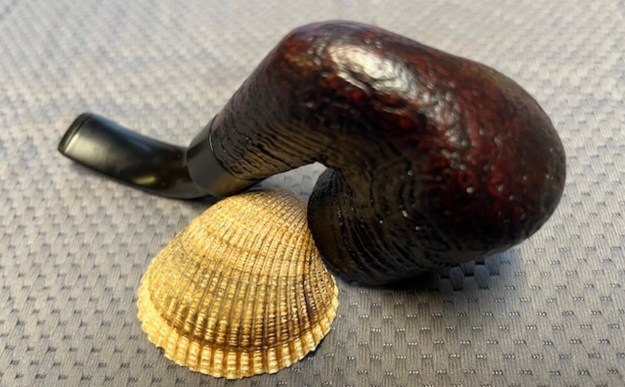
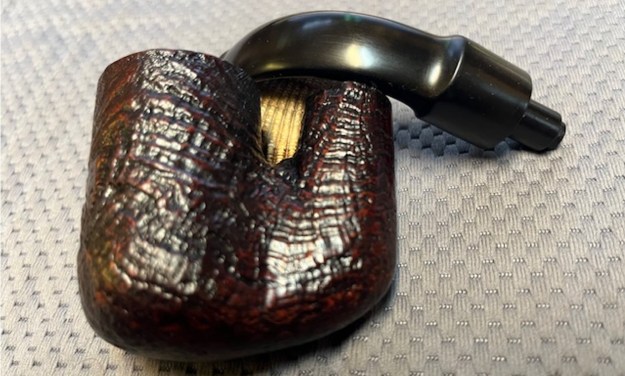
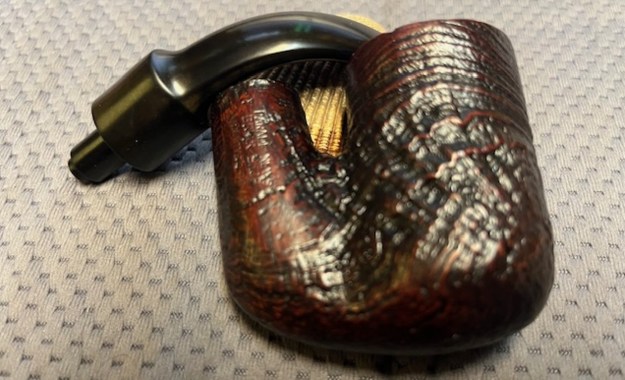
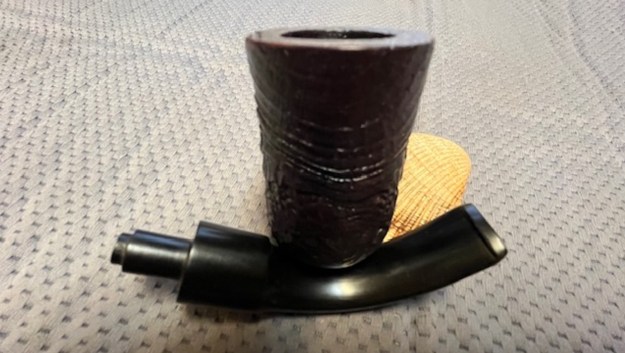
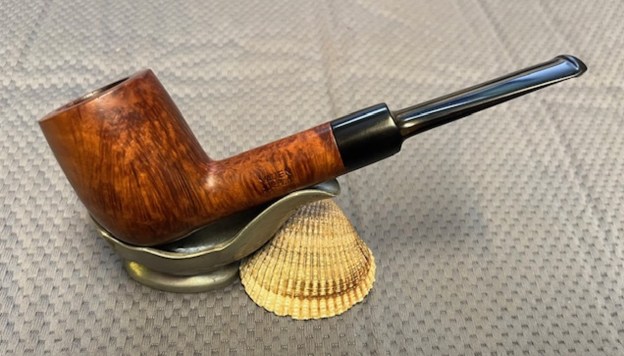
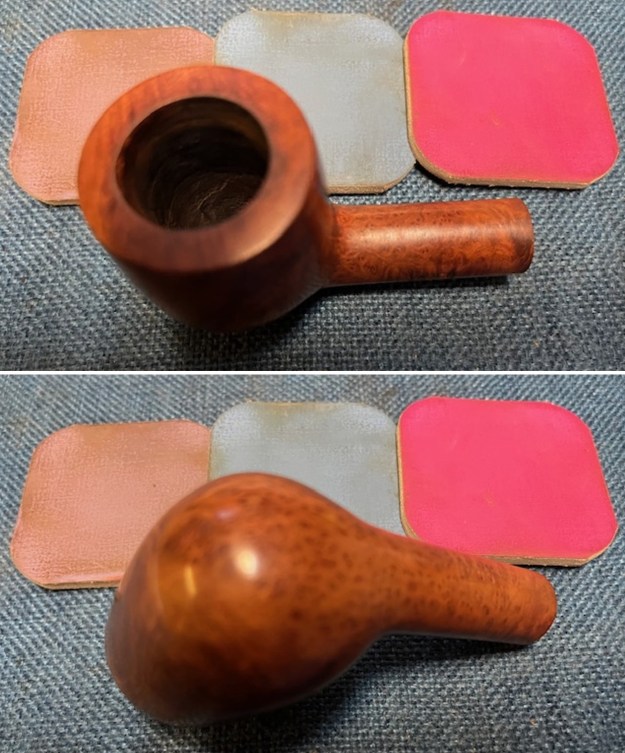
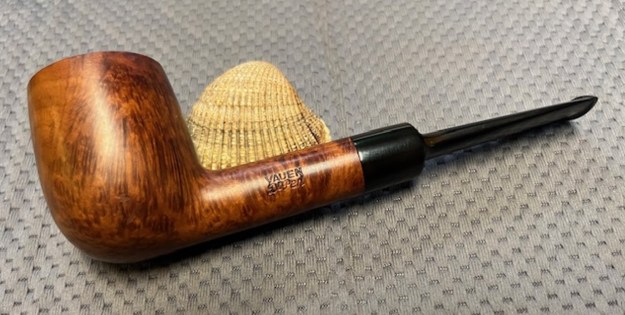
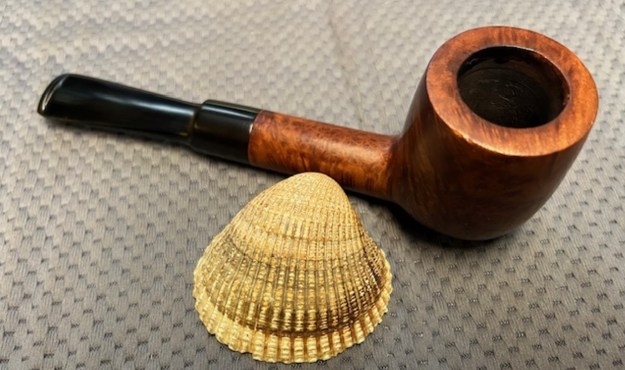
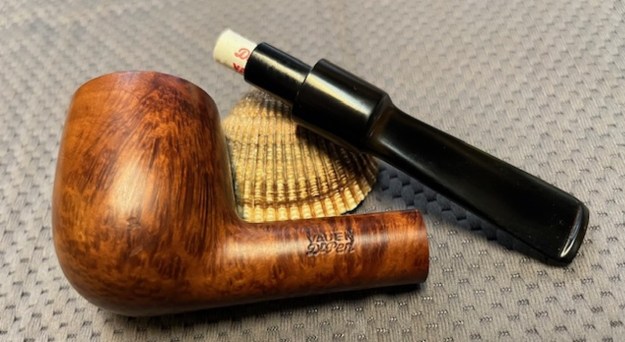
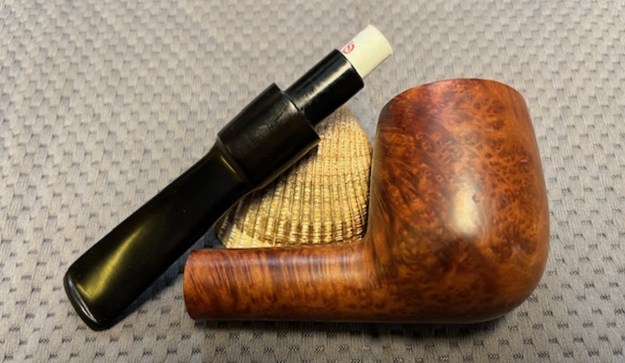
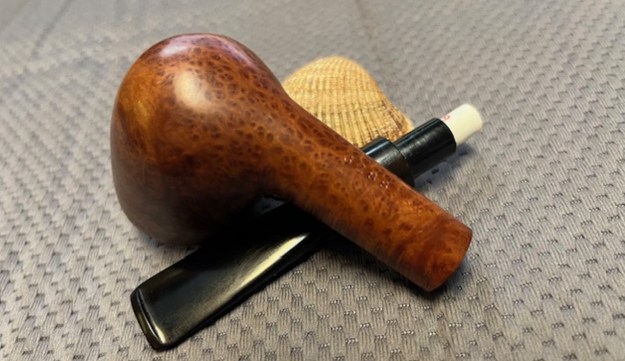
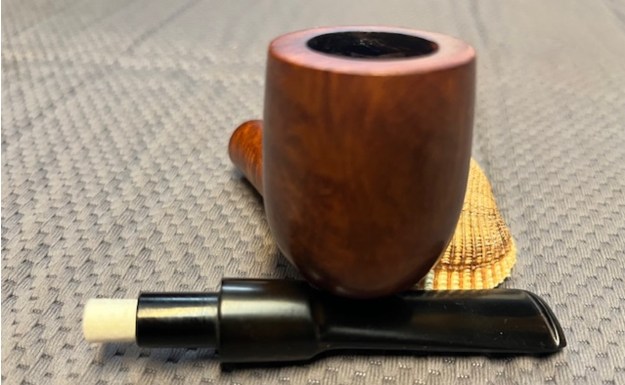
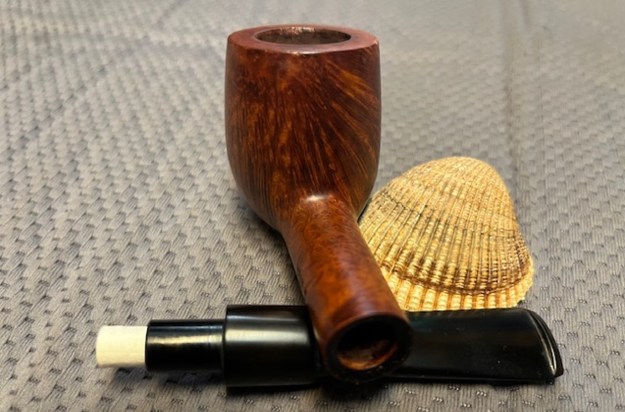
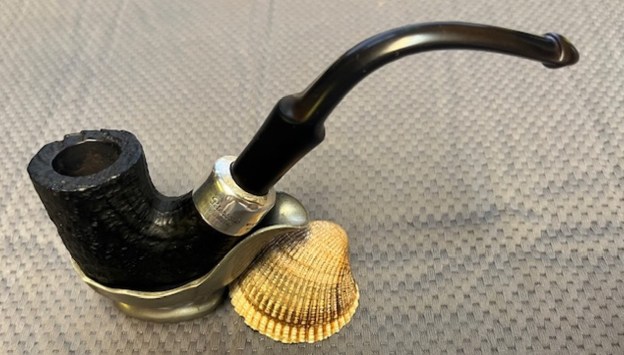
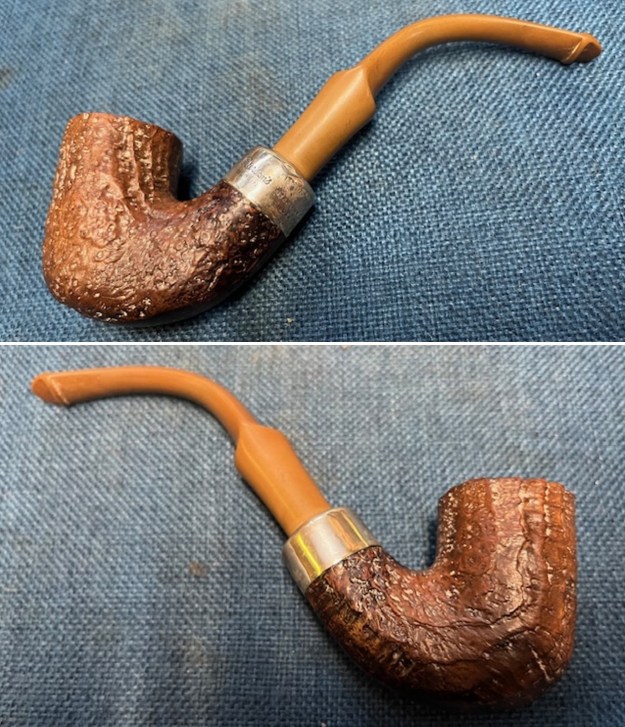
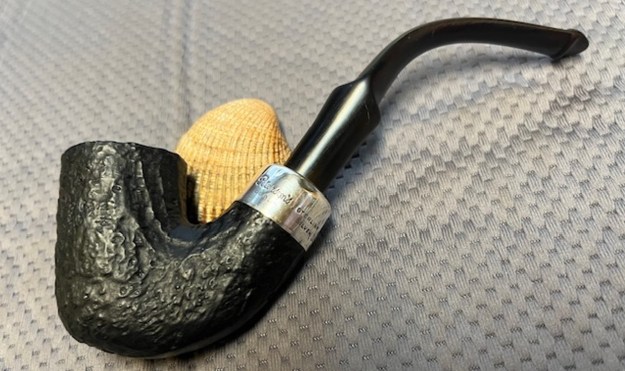
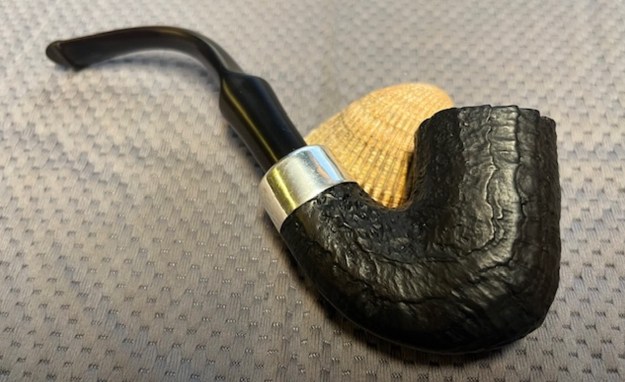
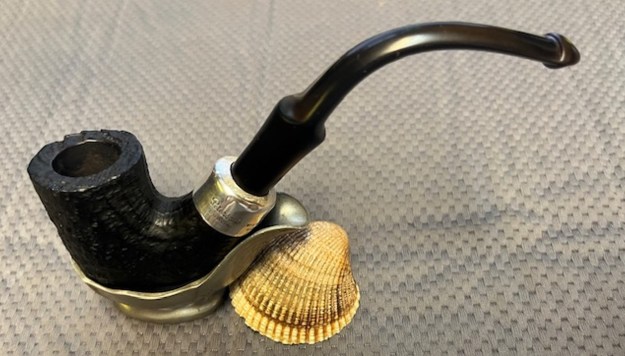
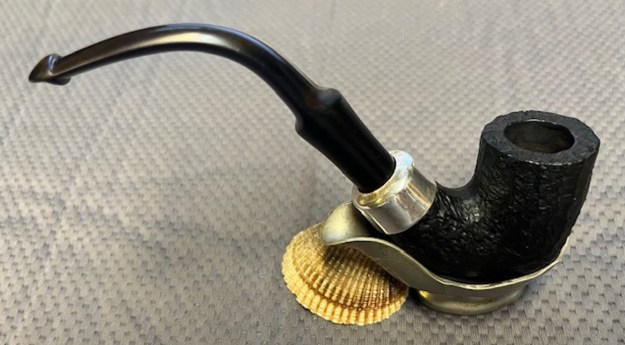
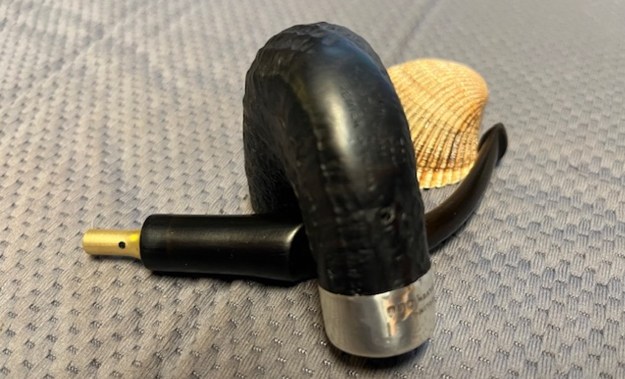
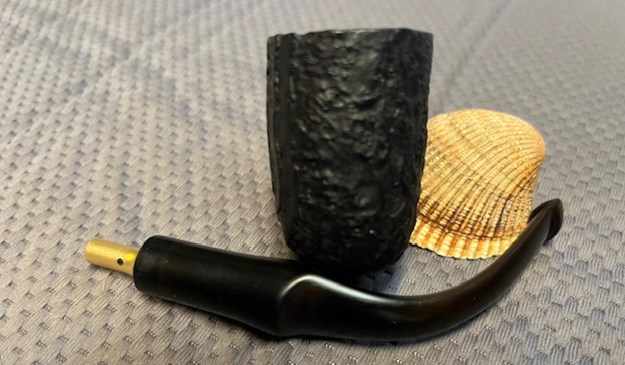
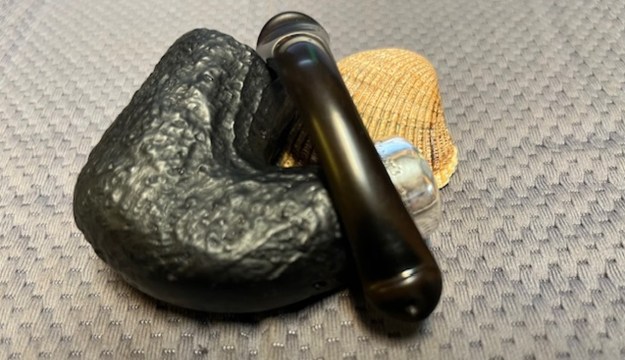
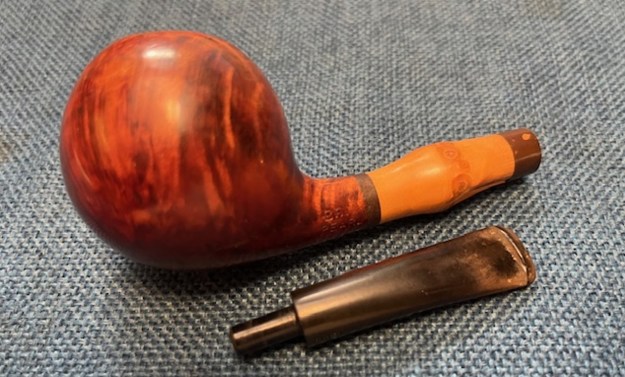
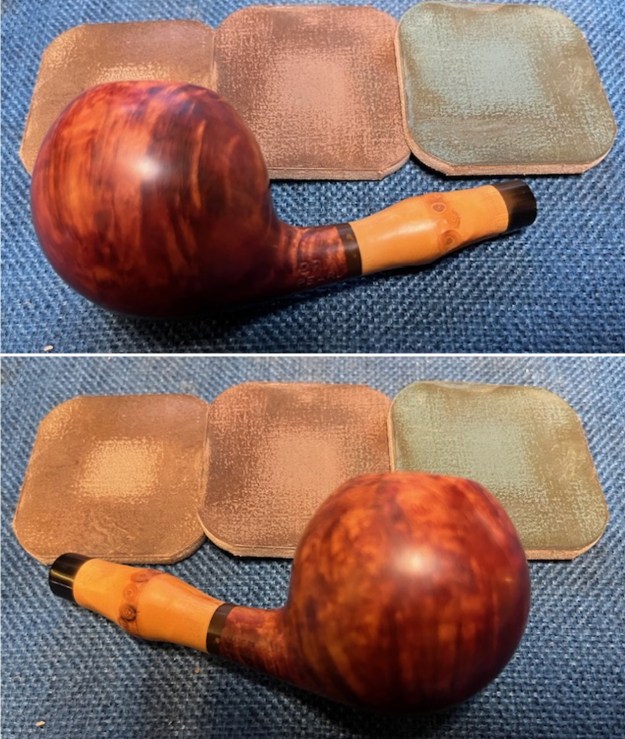
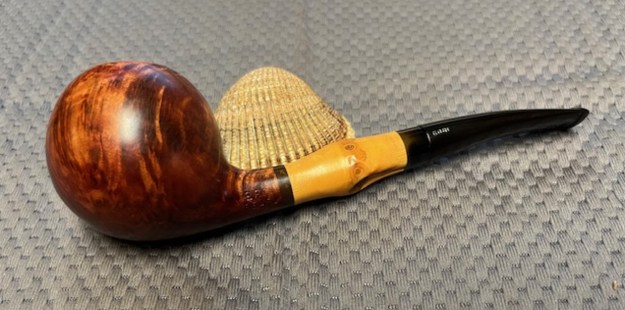
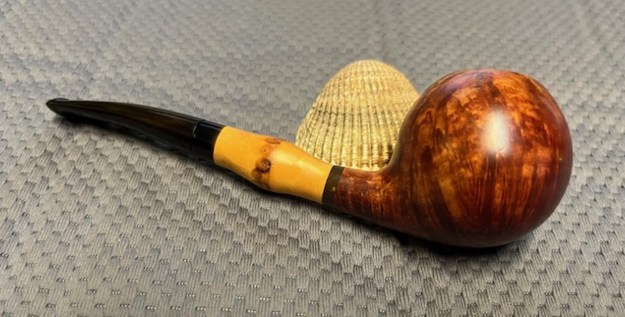
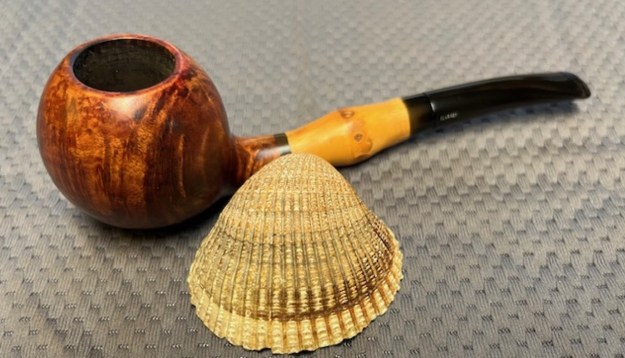
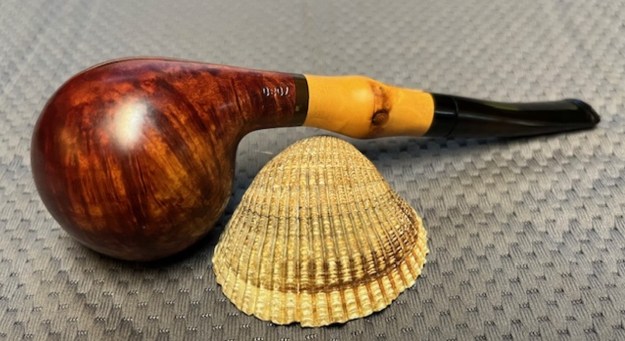
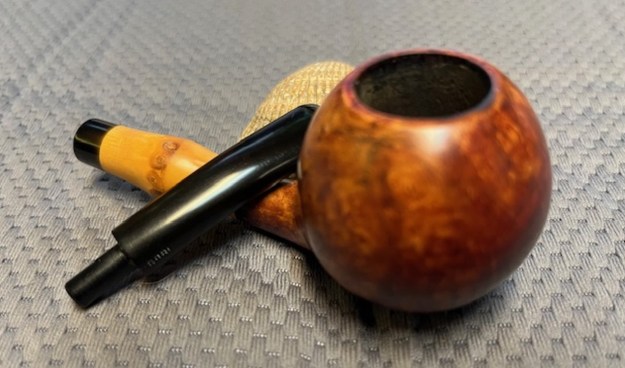
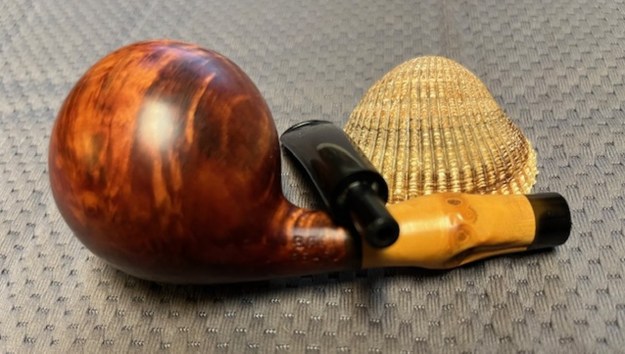
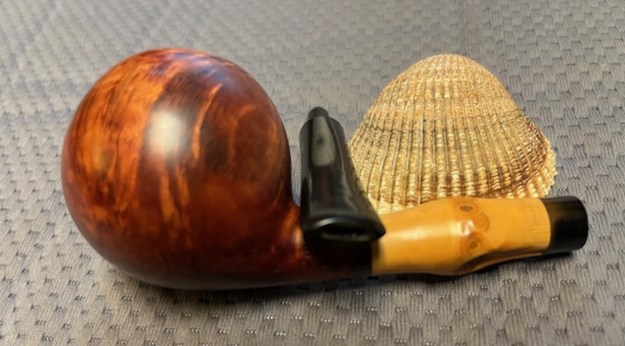
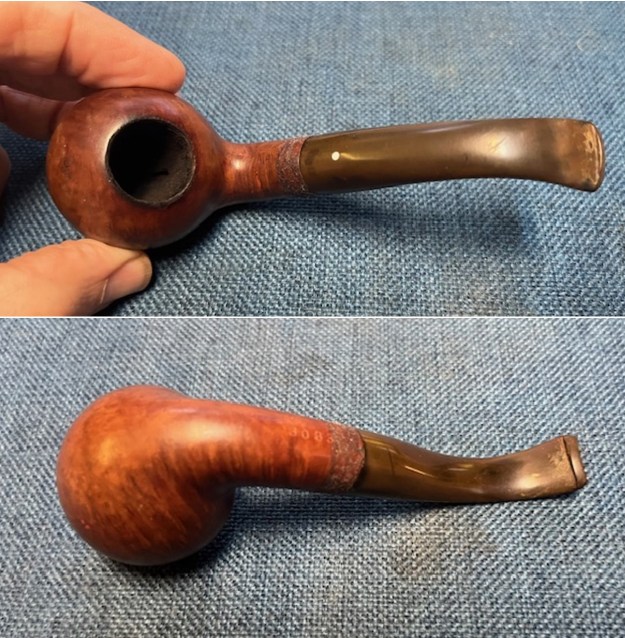
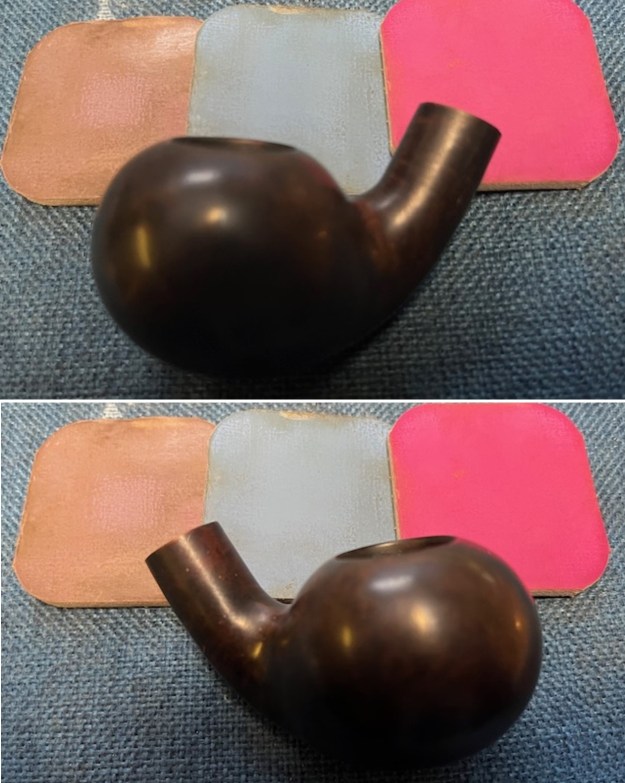
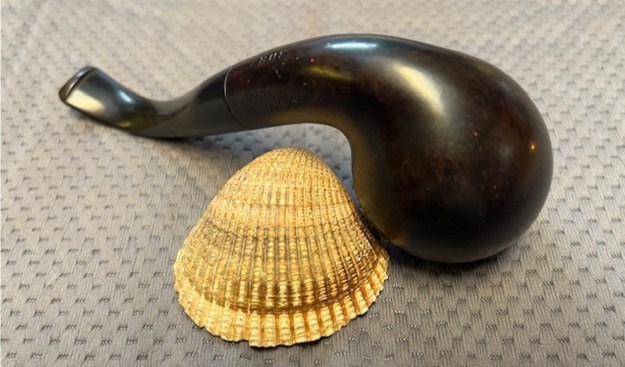
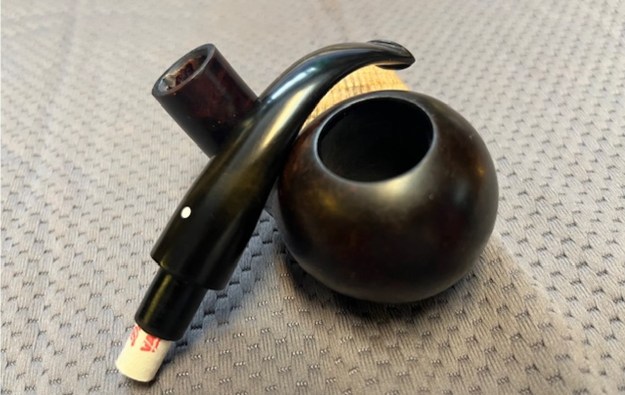
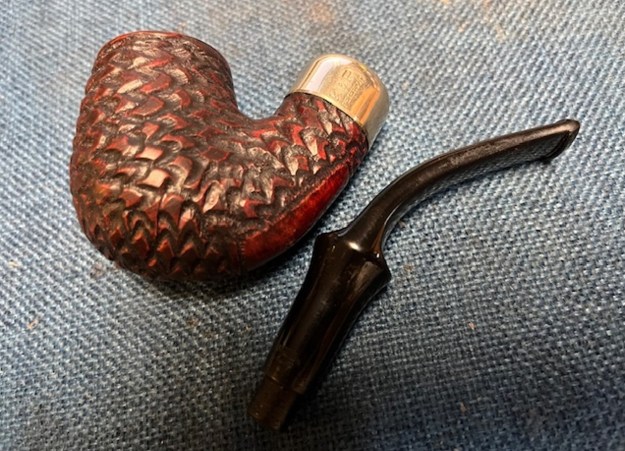
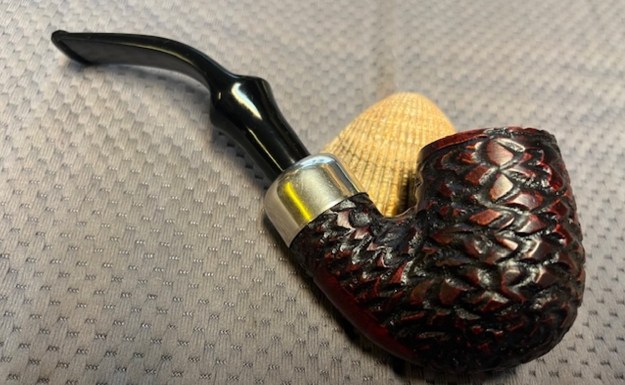
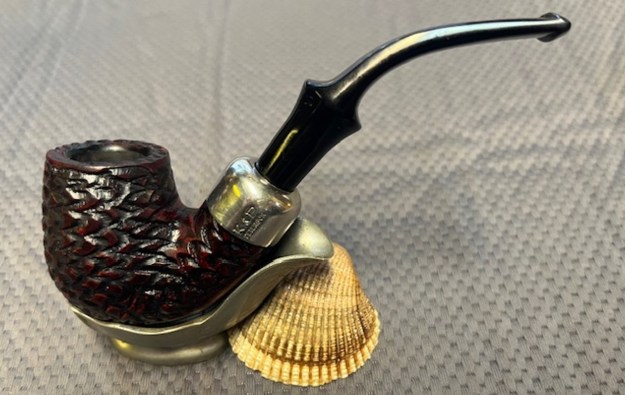
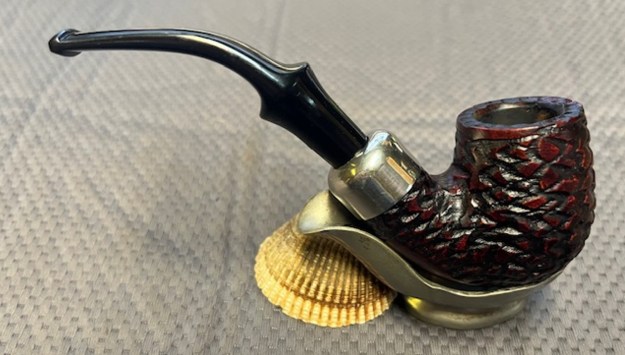
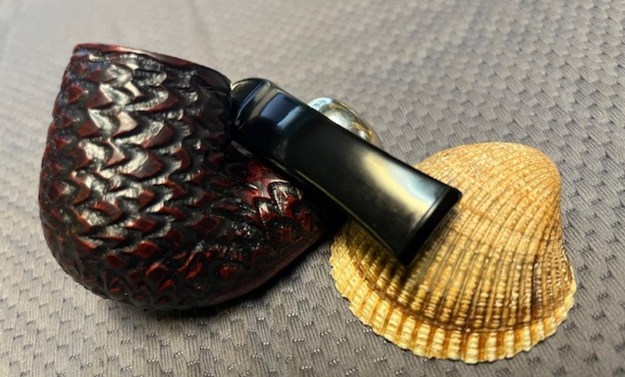
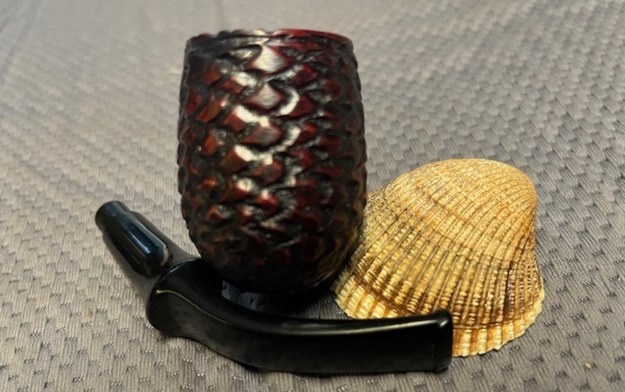
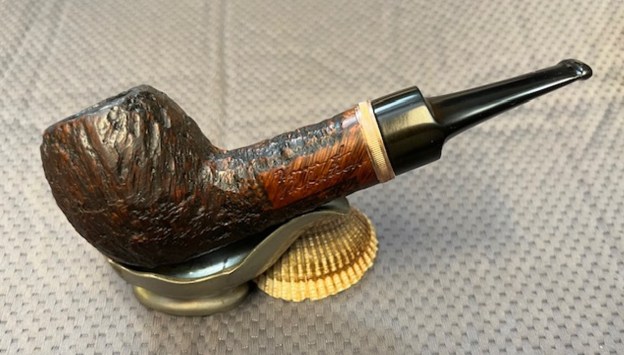
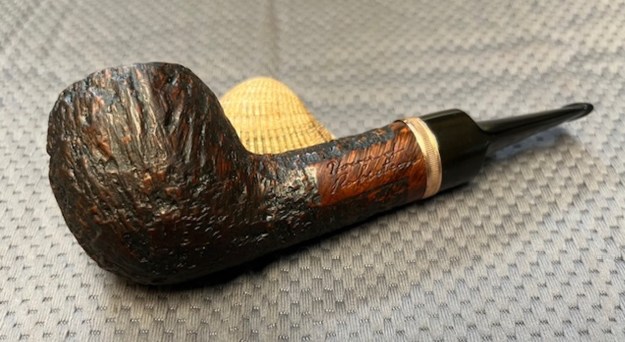
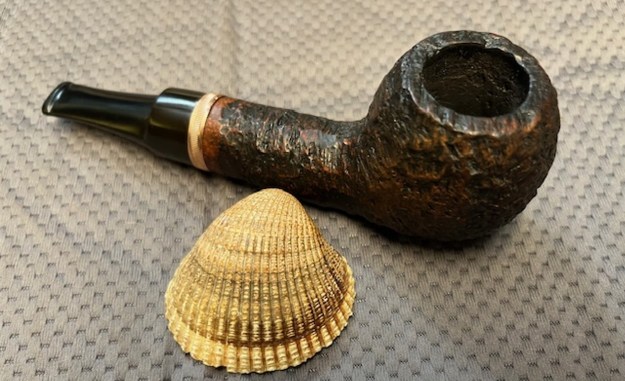
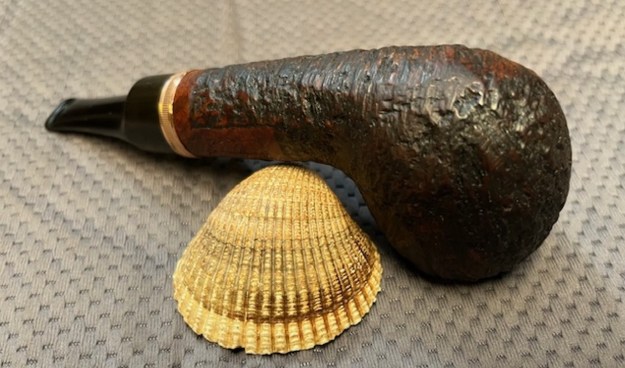
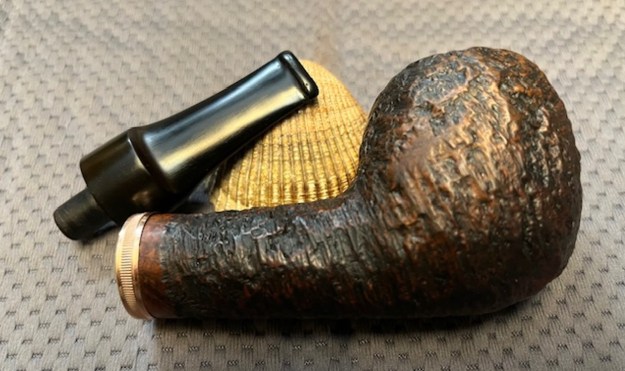
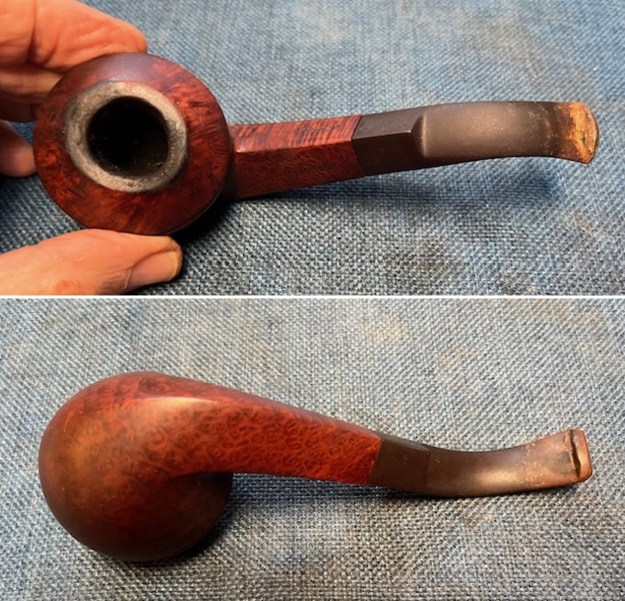
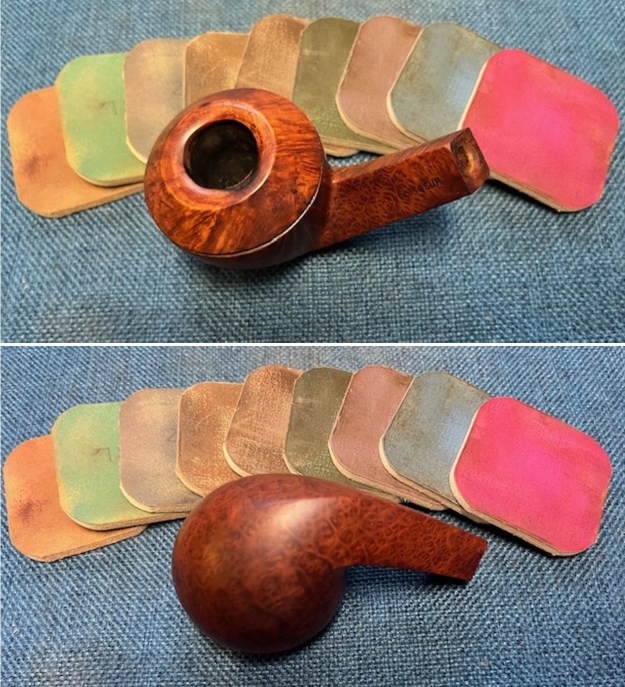
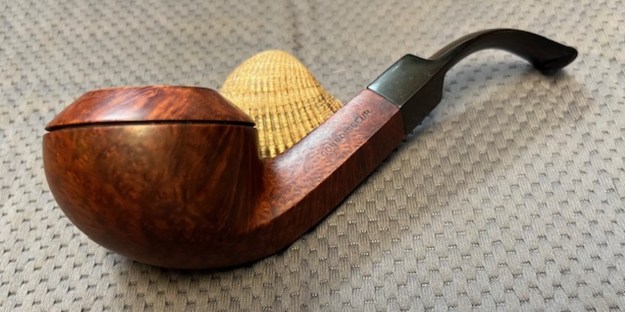
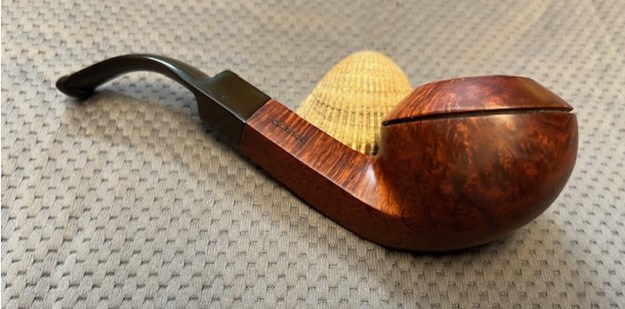
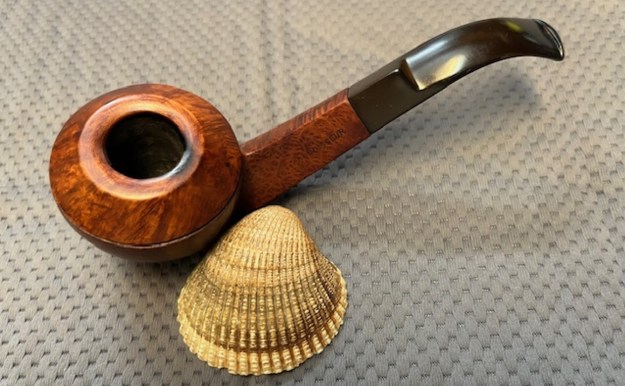
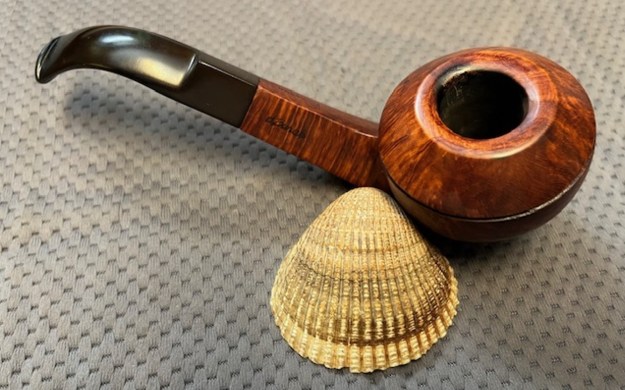
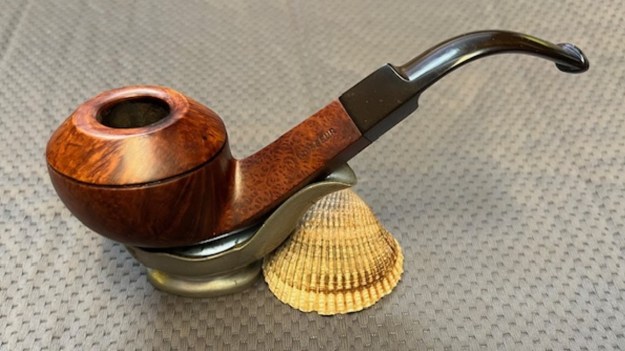
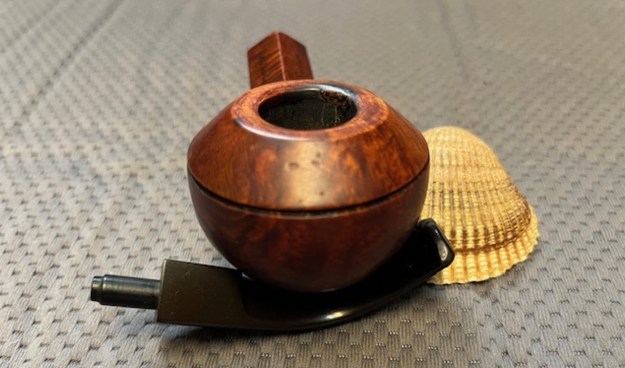
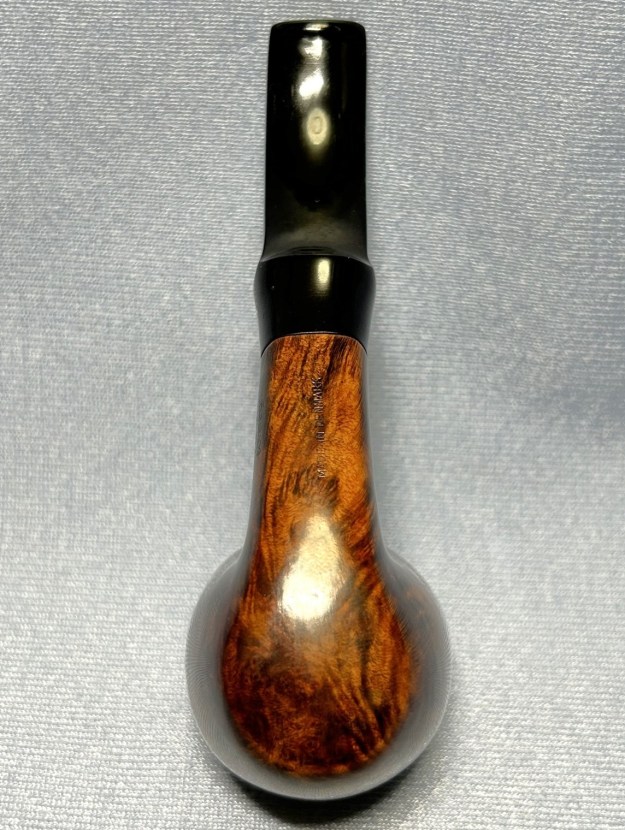
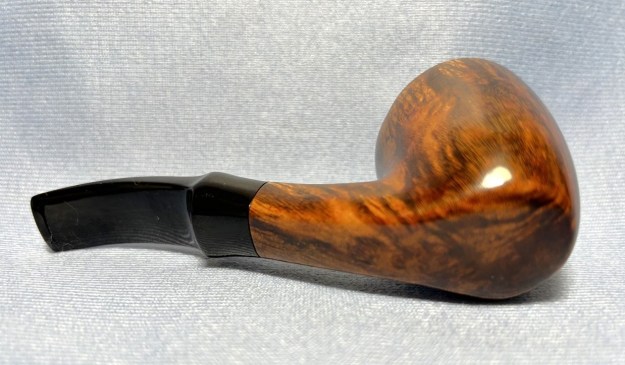
Next up is a handsome and modest Bewlay Popular 510 billiard. It is a simple, salt-of-the-earth type of pipe that I love. No muss, no fuss – just a solid, classic pipe. I acquired it from a local gentleman who had smoked a pipe once upon a time, but was finally divesting himself of his smoking paraphernalia. As some of the photos show, this one still has its original pipe sock to go along with it.
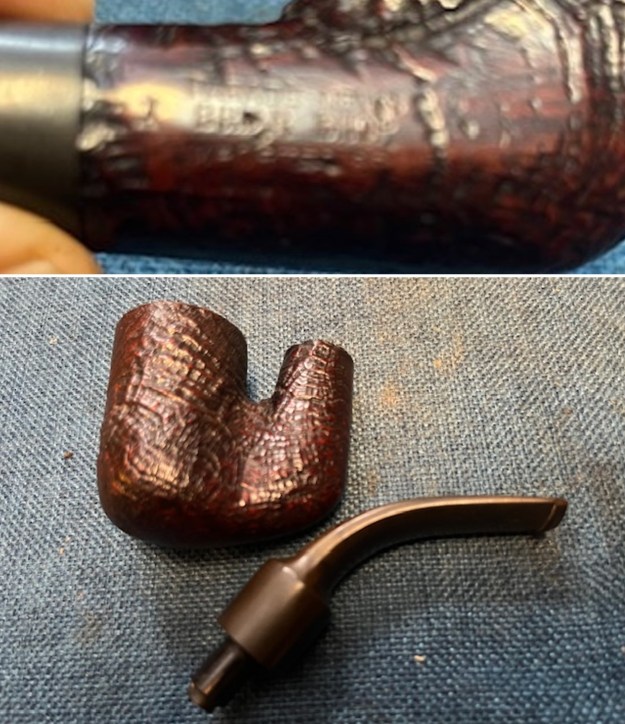
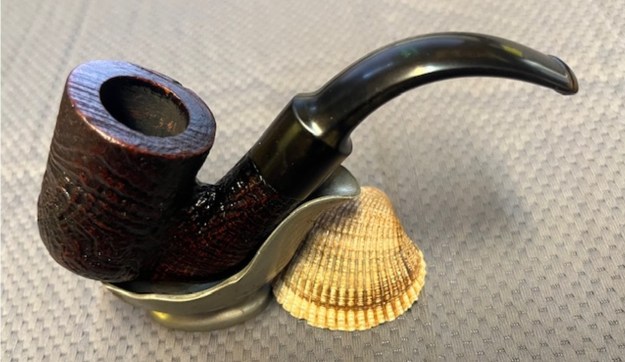
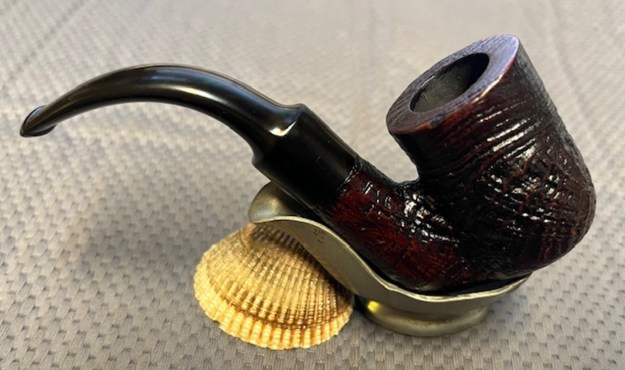
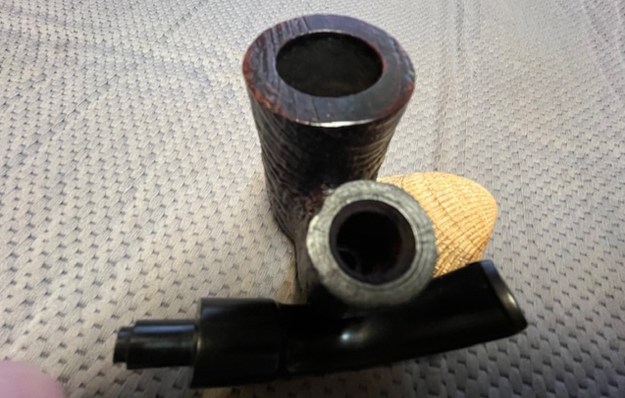
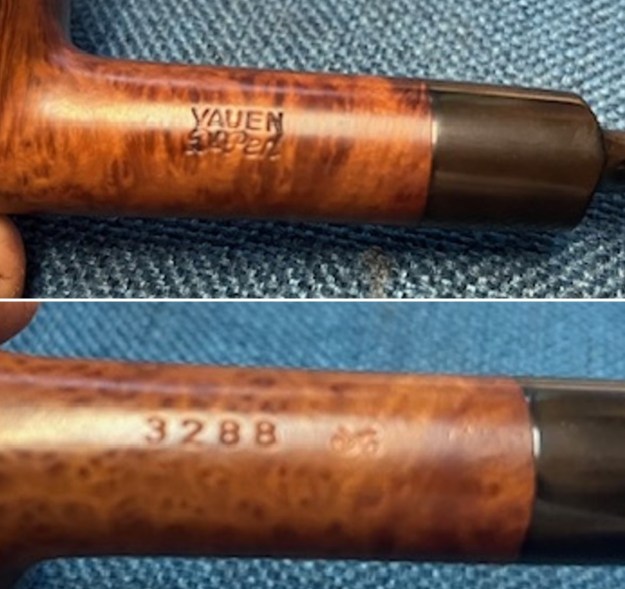
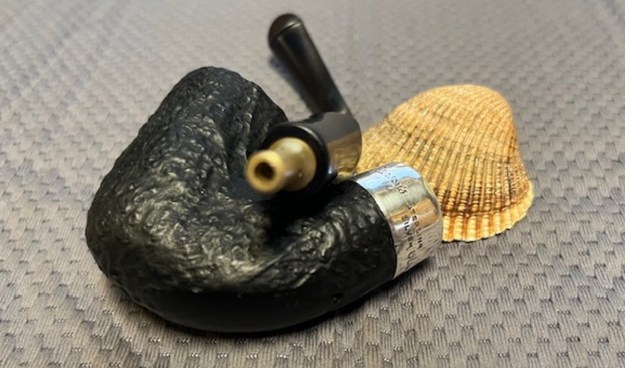
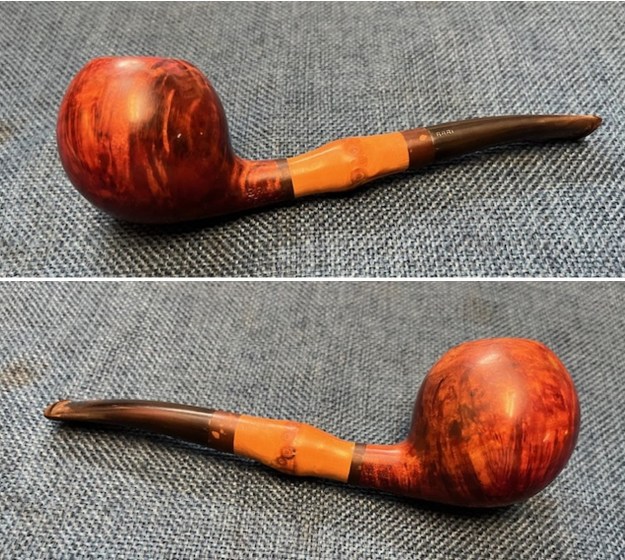
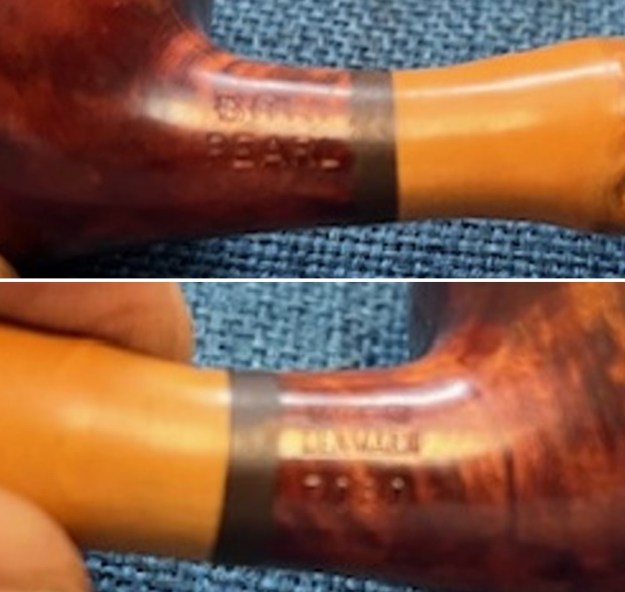
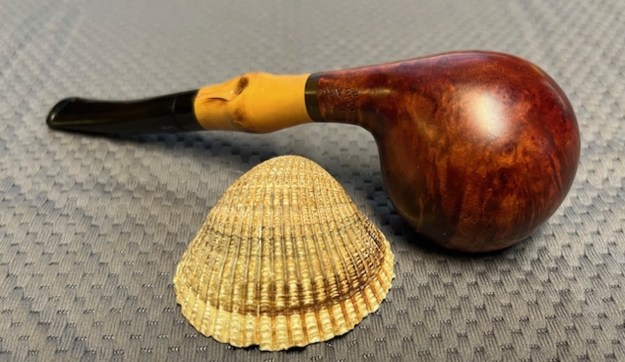
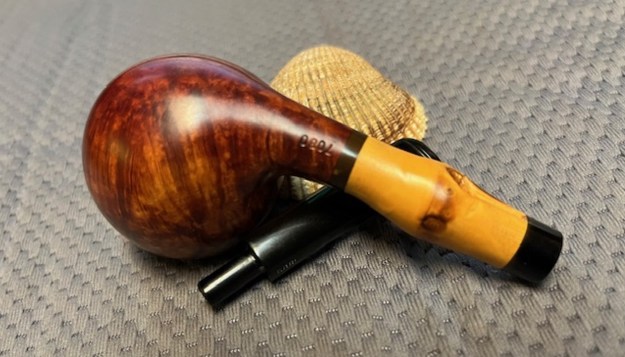
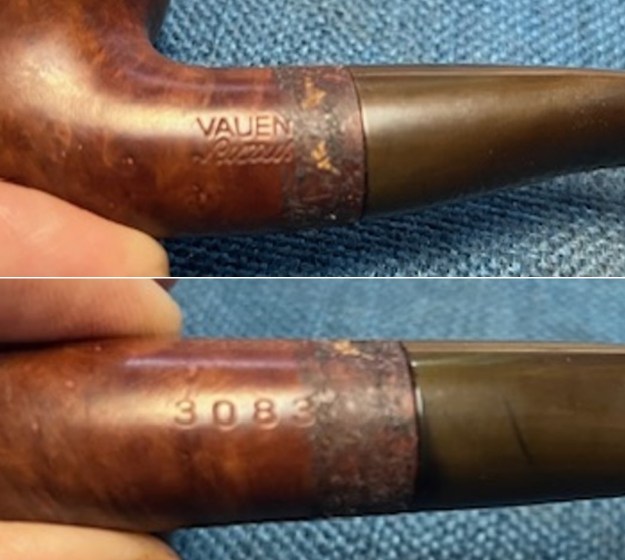
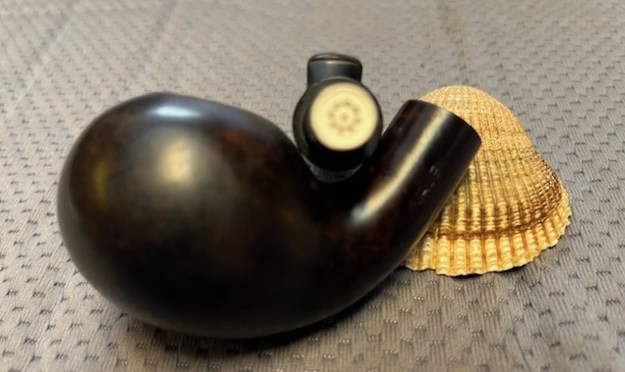
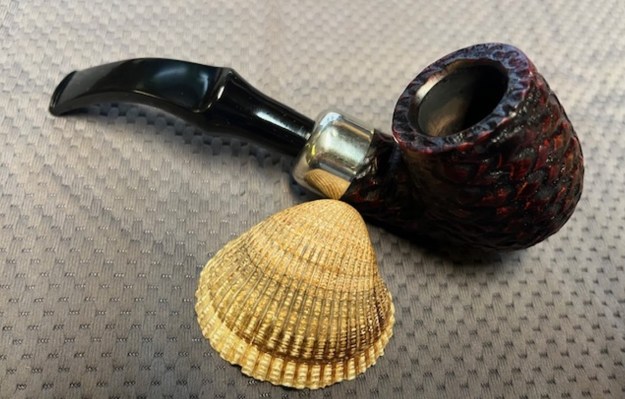
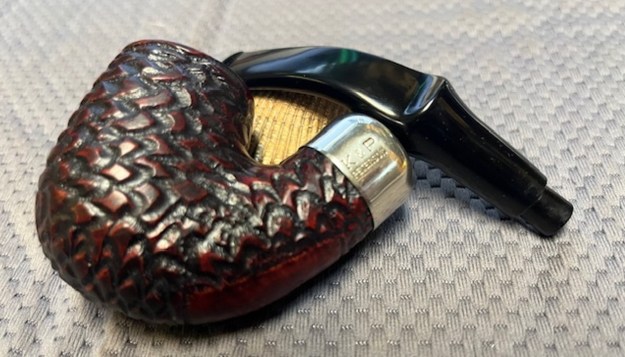
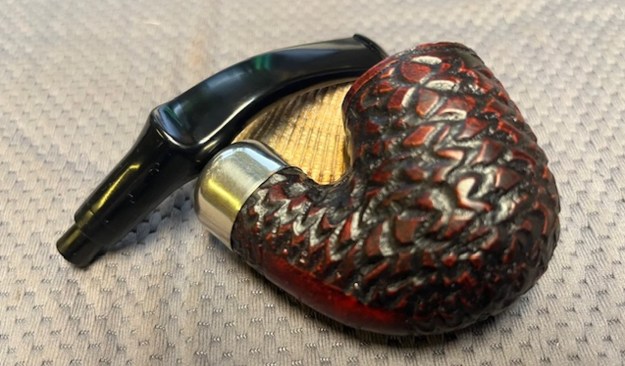
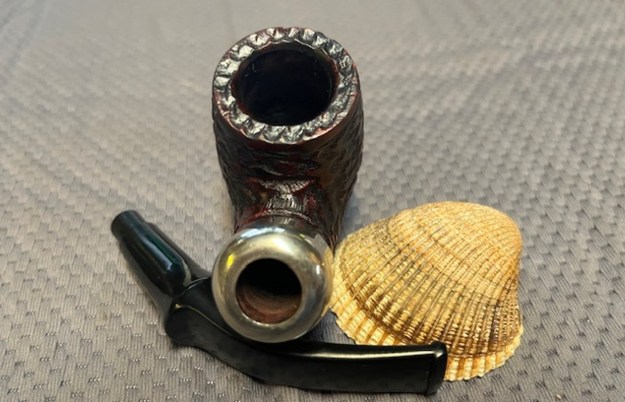
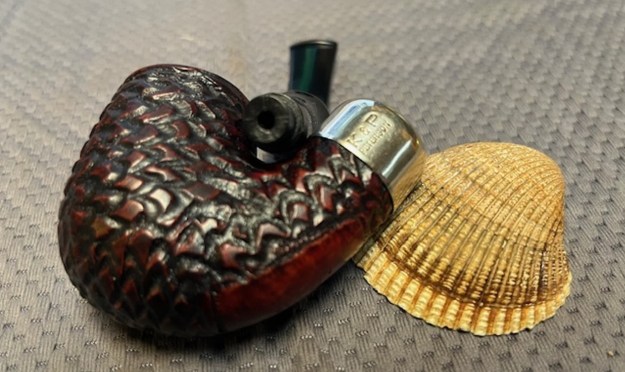
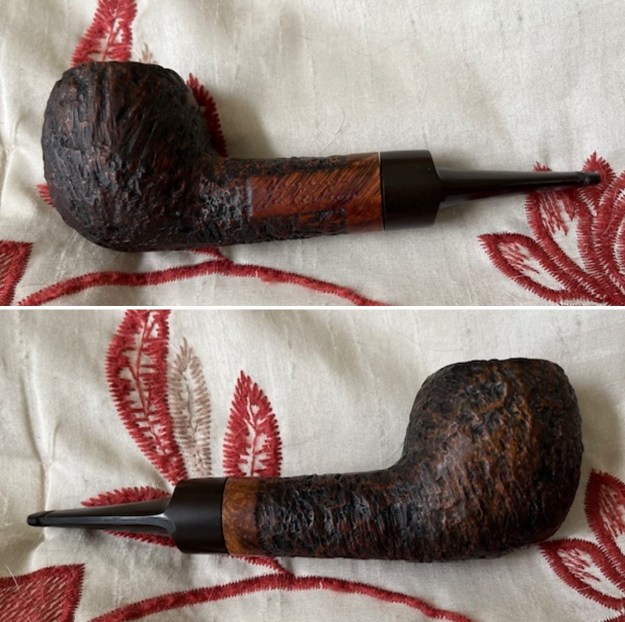
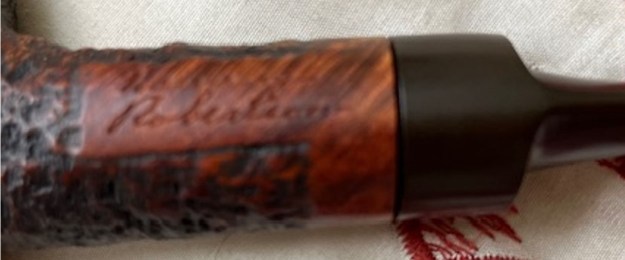
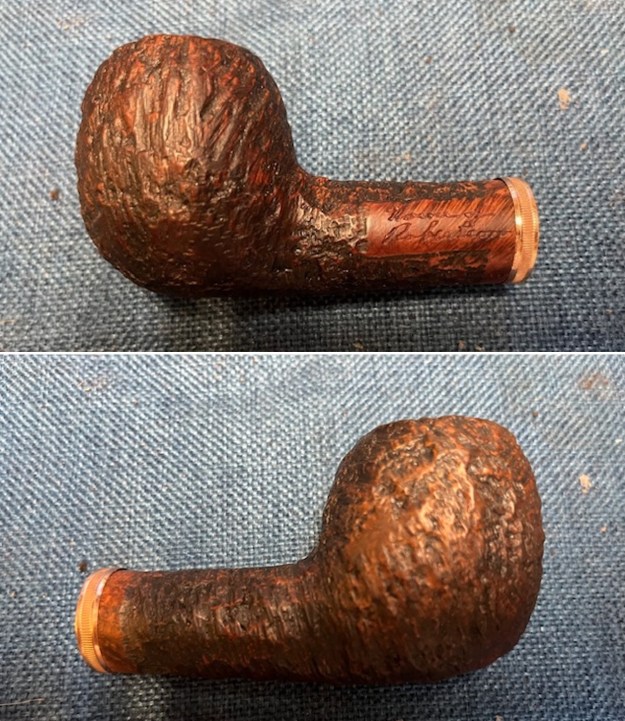
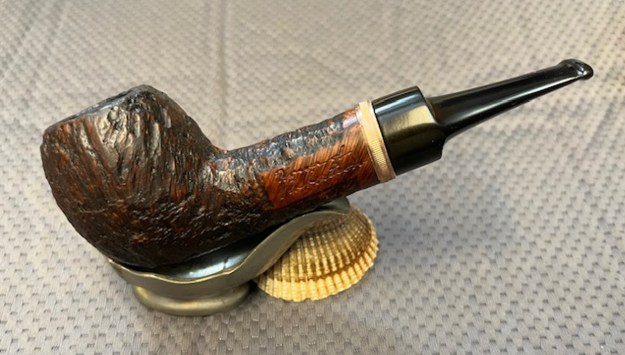
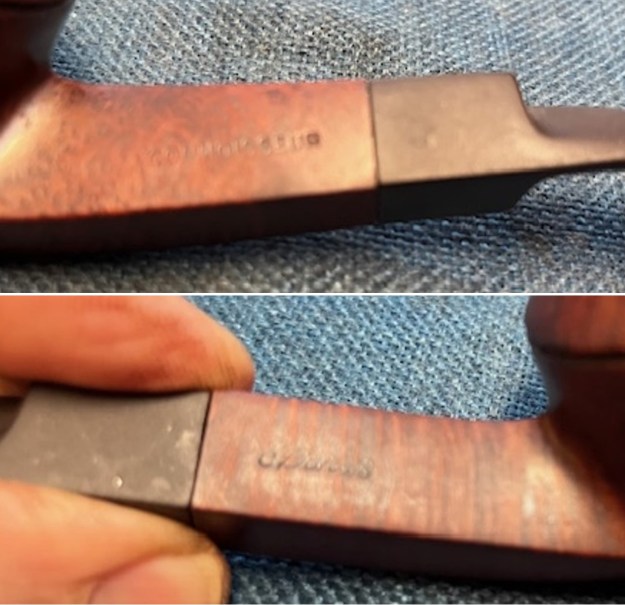
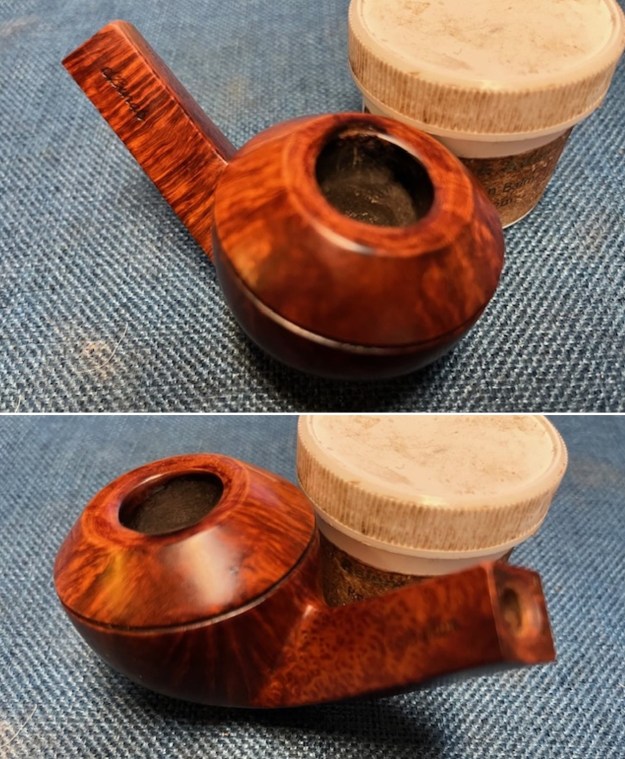
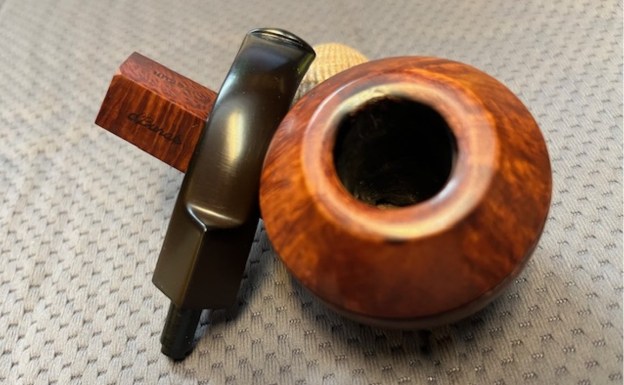
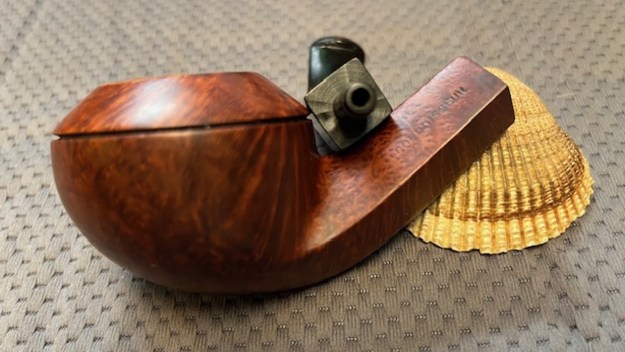
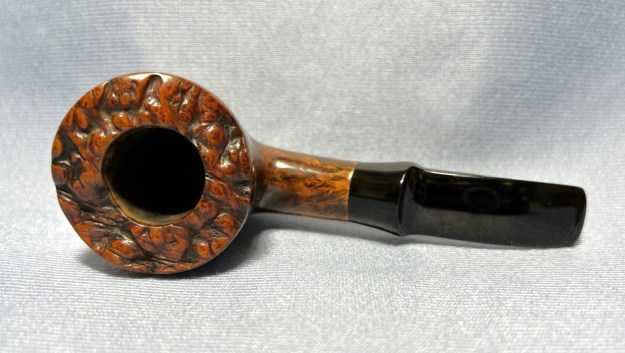
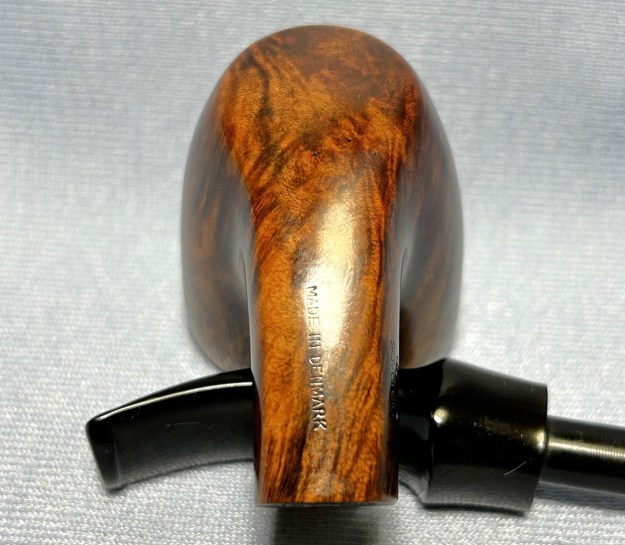
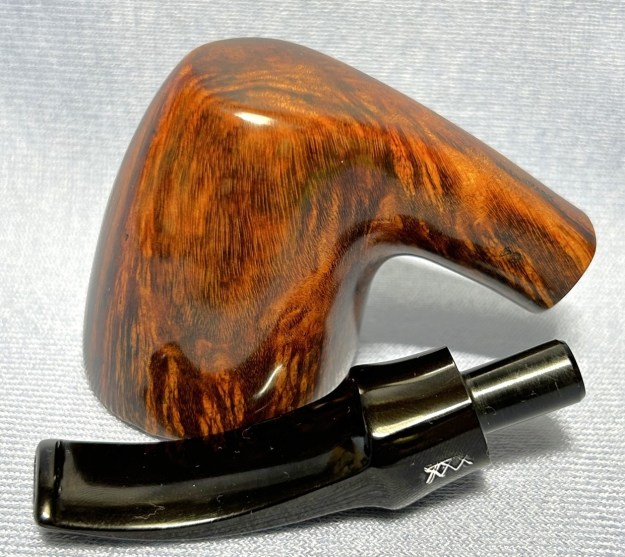
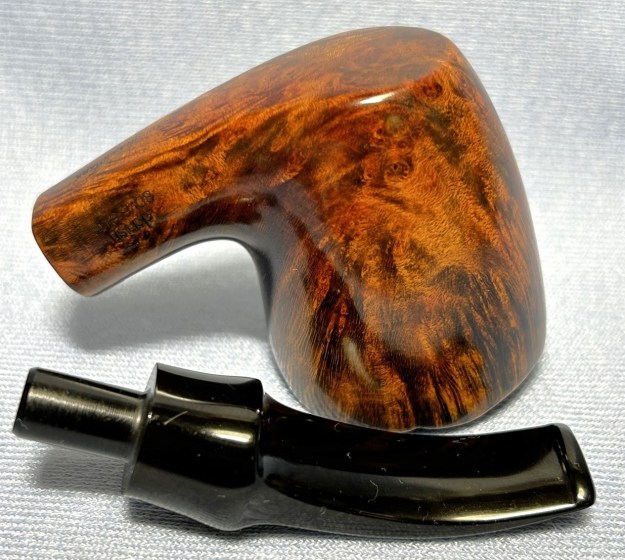
 The pipe is from The House of Bewlay – a chain of pipe stores and not a manufacturer itself – and is a classic billiard shape. The pipe’s markings on the left side of the shank read Bewlay [over] Popular. The right side of the pipe shows London Made [over] 510 (the shape number). Next to that is either a letter O or a number 0 (or maybe even a U) – it’s hard to know which, since it doesn’t look either like an O from the word “London”, nor like the 0 in the number “510”. Finally, there is a letter B on the left side of the stem.
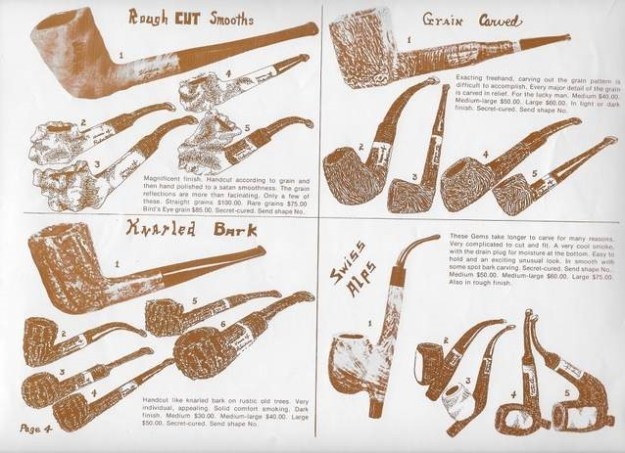
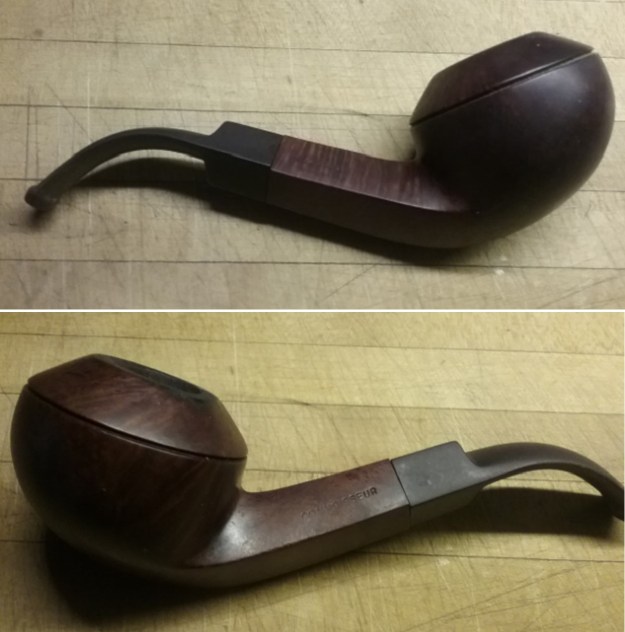
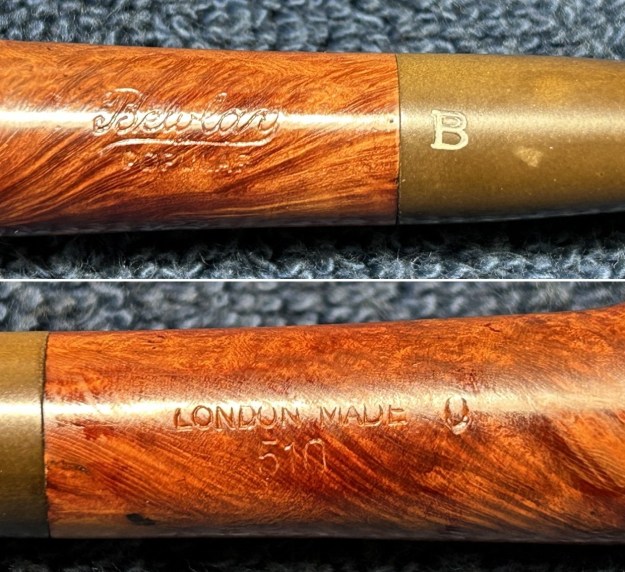 The shape number corresponds perfectly with a Bewlay catalogue from the late 60s, as you can see in the photo below. I do not know the exact date of the pipe, but it is likely from the 1960s or 70s.
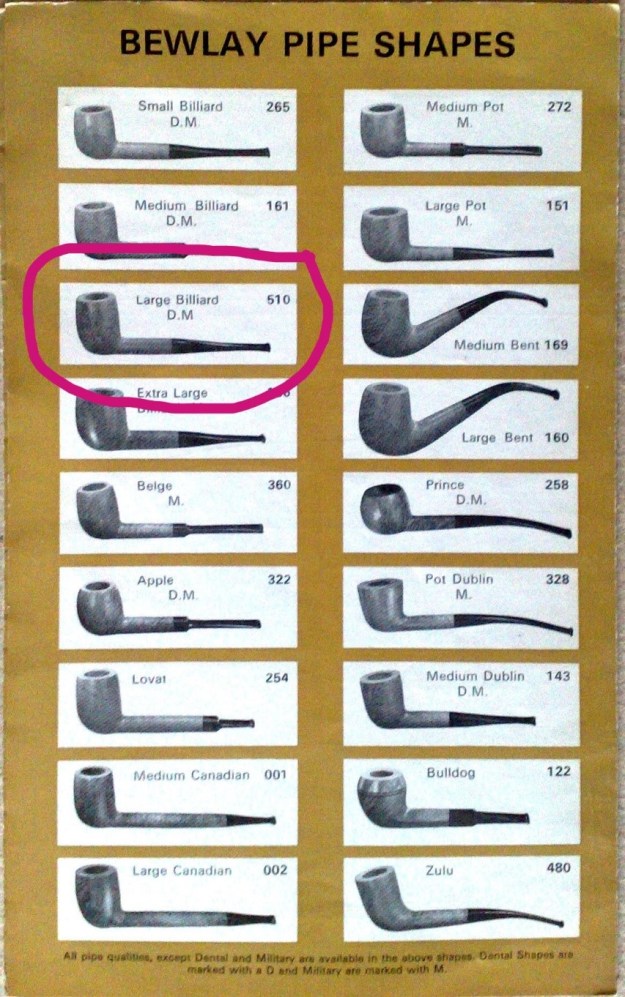 Let us read a bit more about Bewlay from the Pipedia article:
The English brand of Bewlay & Co. Ltd. (formerly Salmon & Gluckstein Ltd.), was in business from the early 20th century until the 1950s. The brand ended up being sold and taken over by Imperial Tobacco Co. The shop chain closed in the 1980s but there seems to be one shop still in business on Carr Lane in the city of Hull. Bewlay pipes were made by prestigious firms. Notably Barling, Charatan, Loewe & Co., Sasieni, Huybrecht, and Orlik. So understandably, the English considered a Bewlay pipe a quality pipe.
The website, Very Keen on Pipes, also includes the following information about Bewlay. I don’t know what the source of his information is, but I will reproduce here nonetheless:
One of the most famous English tobacco shops, Bewlay & Co. Ltd, was founded in 1870 at 49 W. Strand in London by the Jewish Elkan family, who immigrated from the Netherlands. At the initial stage, the business was positioned as retail trade in tobacco products; Bewley was one of the first to sell cigars. Of course, in the early 20th century, briar pipes became very popular, and Bewlay’s offered a range of Barling, Charatan’s, Loewe, Sasieni, and Orlik models. Bewlay’s was one of the first companies to export pipes to the United States. Some fans claim that Bewlay’s was the start of Joel Sasieni (Sassieni’s family were also Jewish immigrants, lived in the same area, and appear to have attended the same synagogue). In 1937, the family business was sold to Salmon & Gluckstein, which was already controlled by Imperial Tobacco. The chain of stores closed in the 1980s.
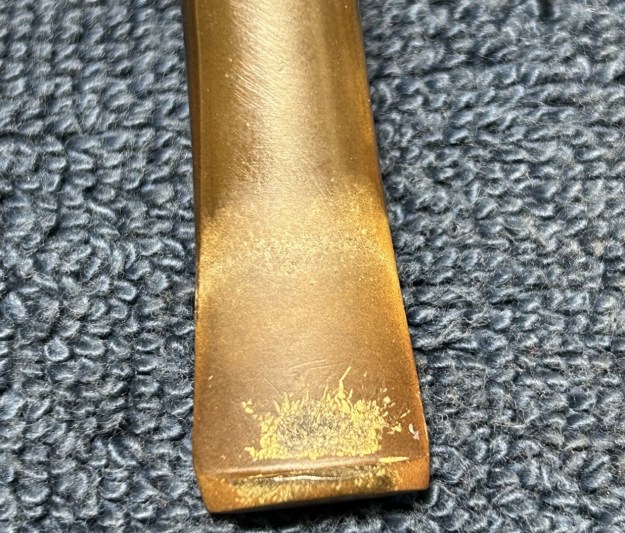
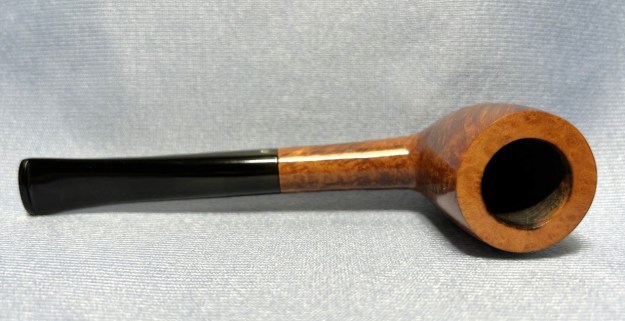
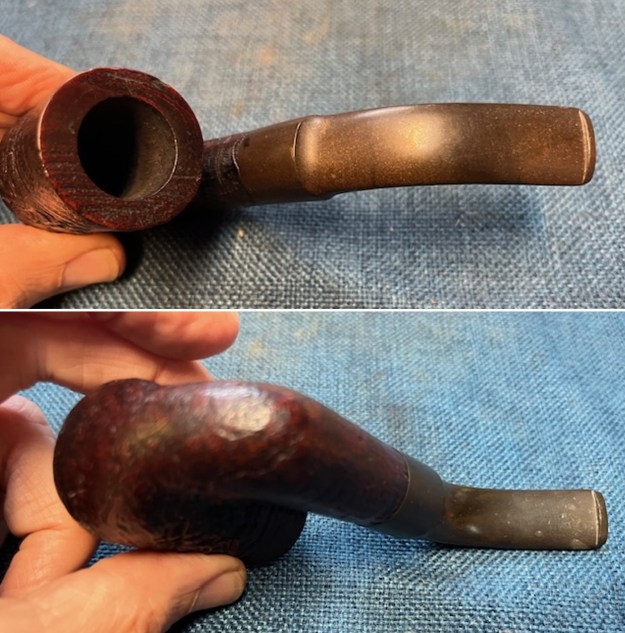
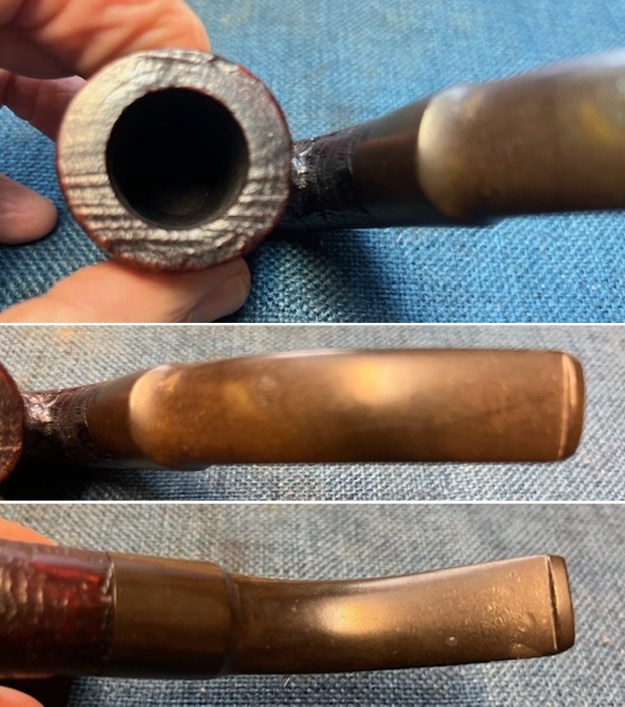
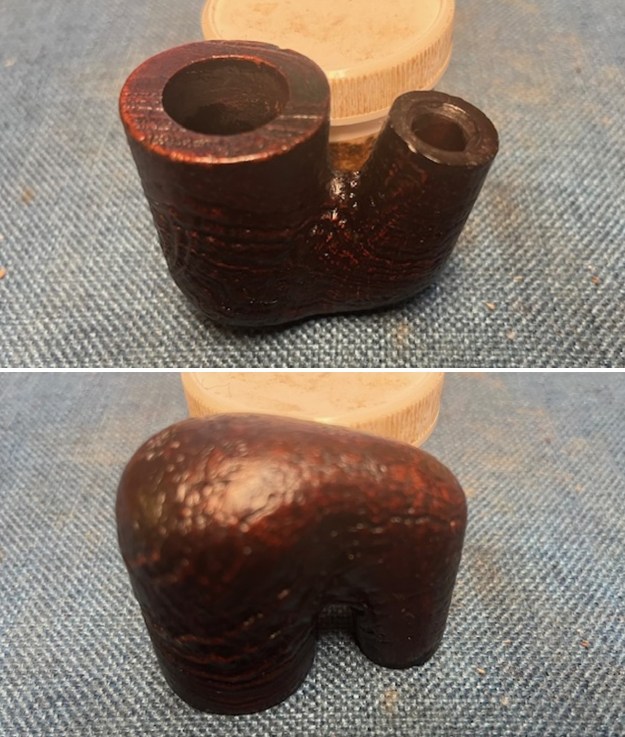
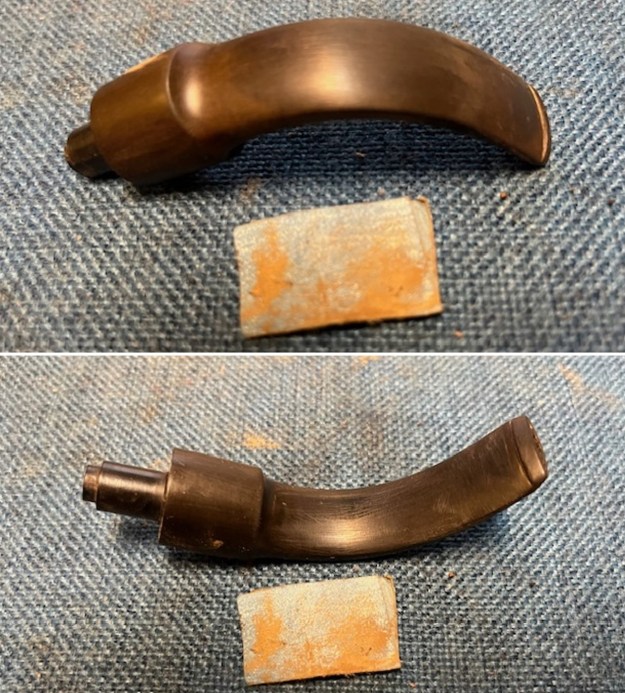
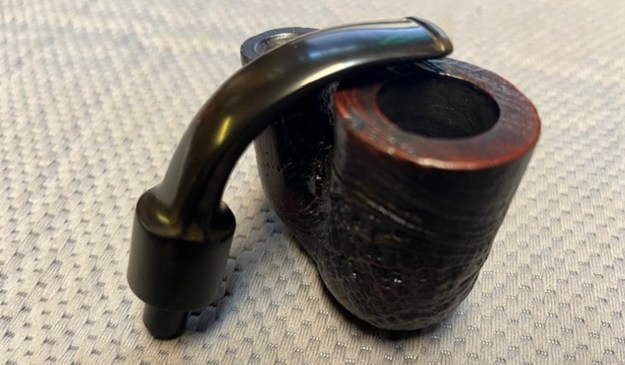
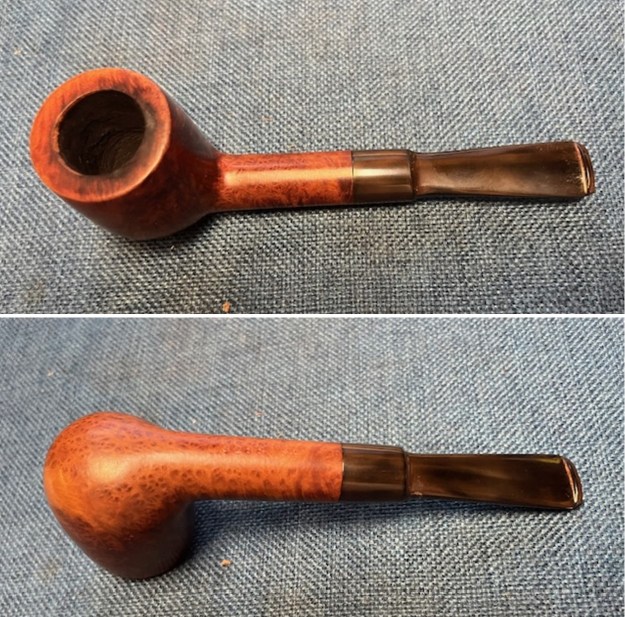
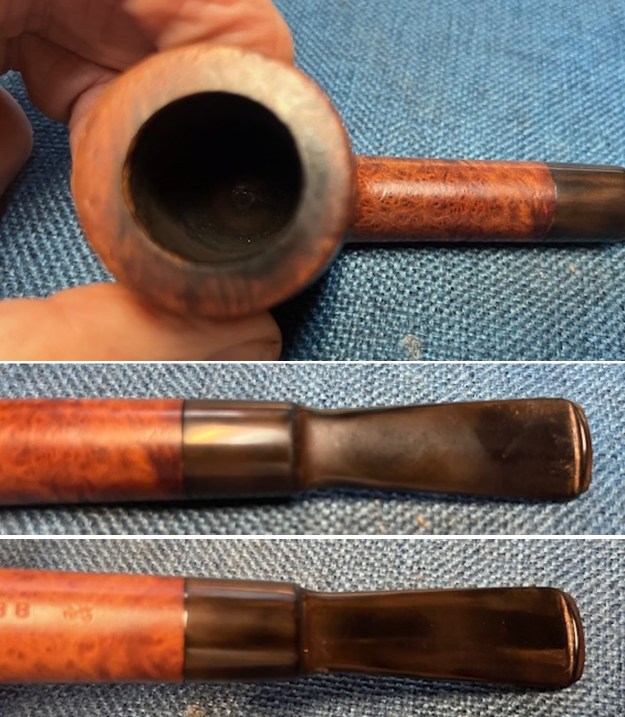
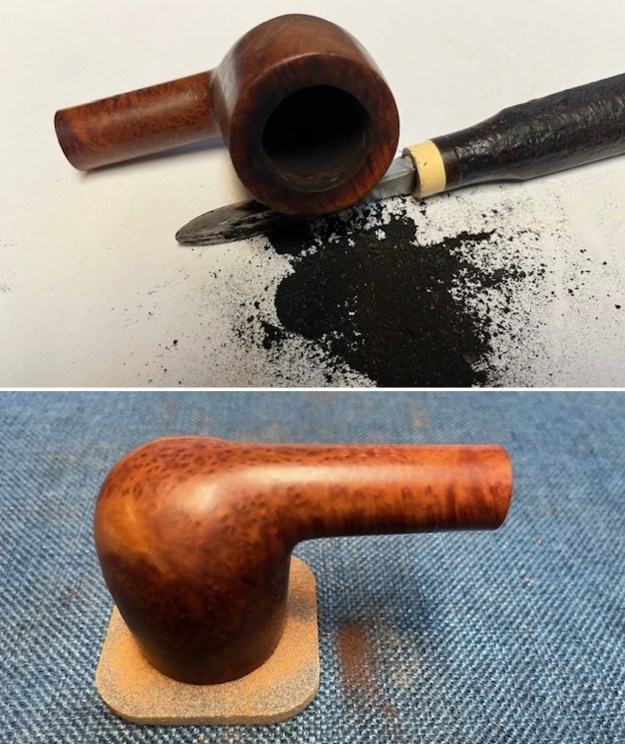
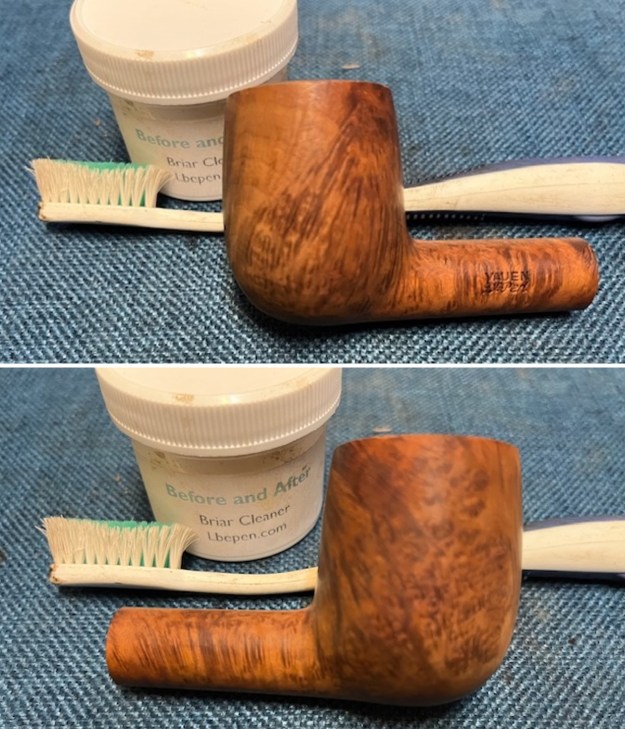
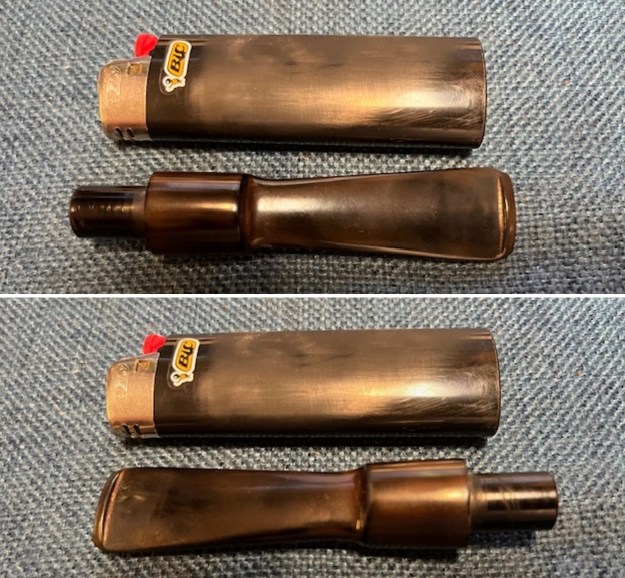
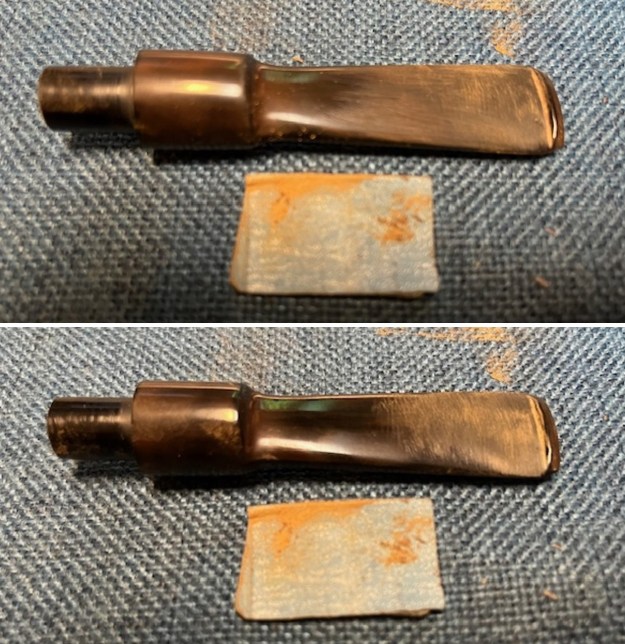
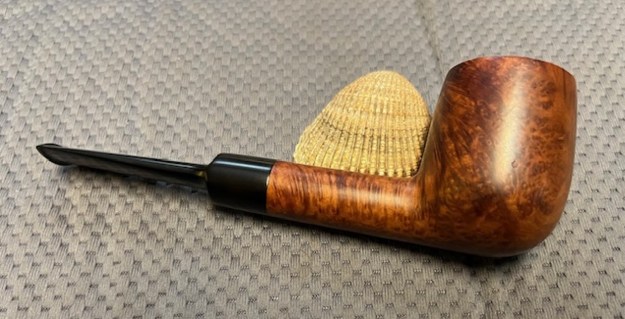
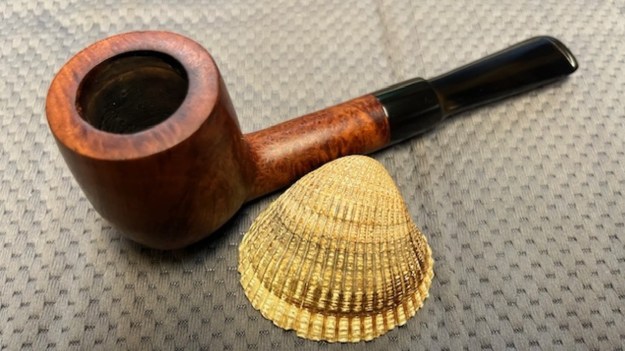
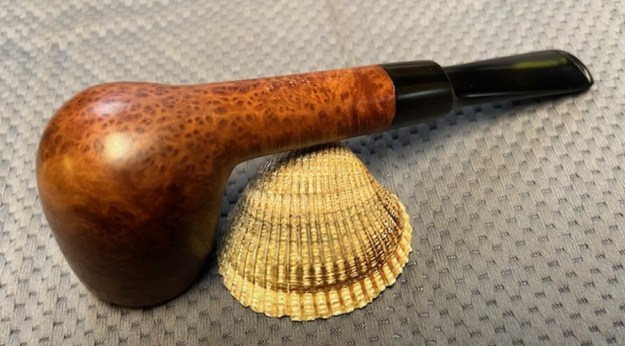
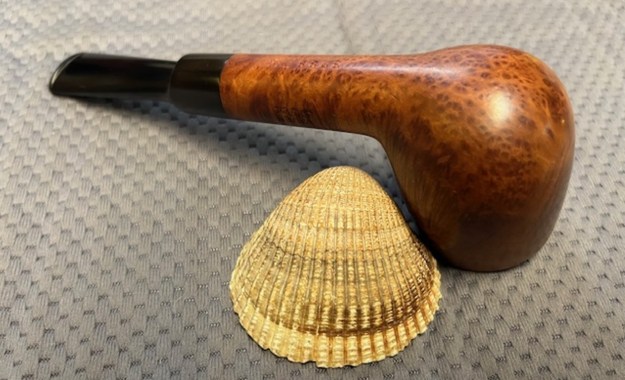
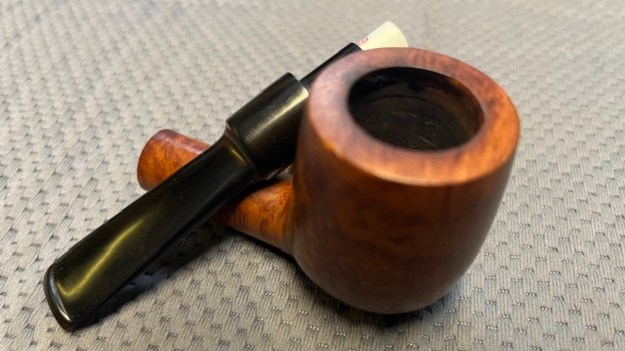
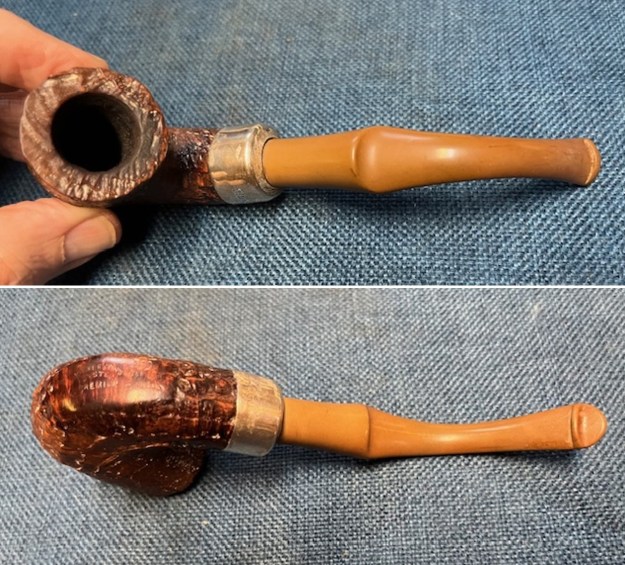
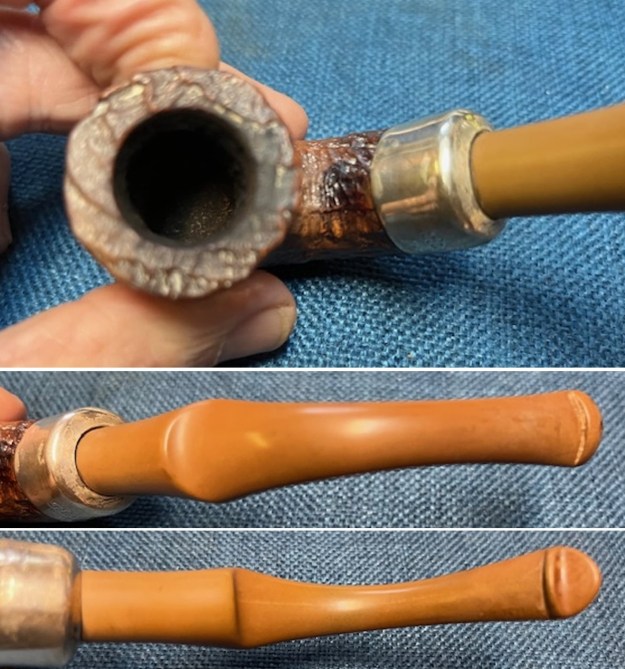
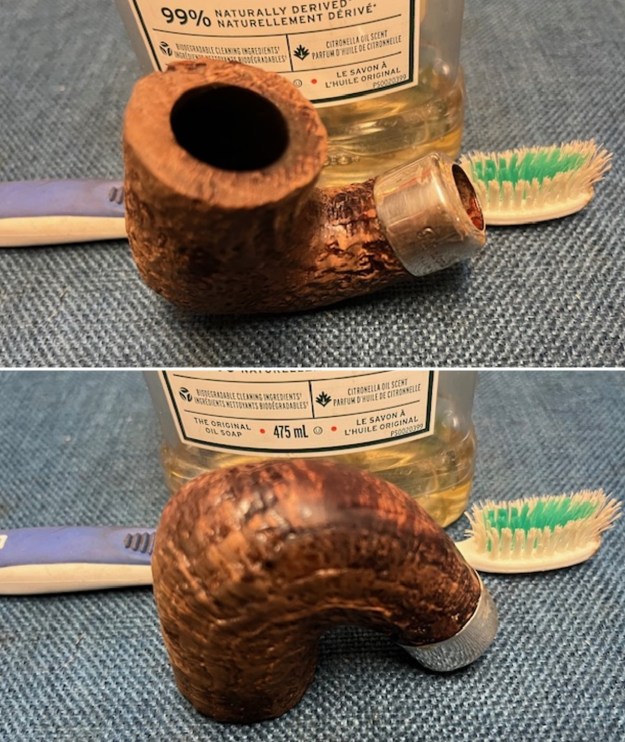
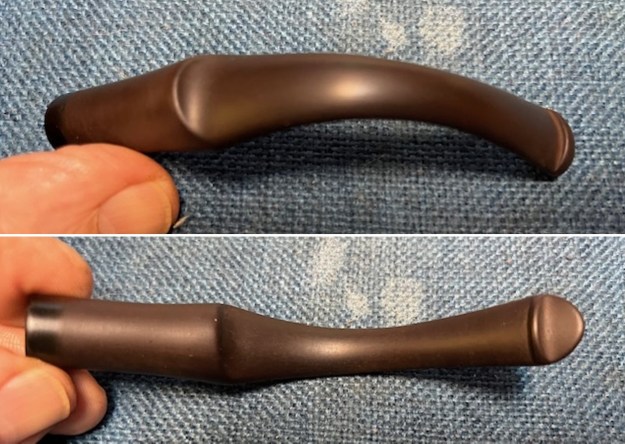
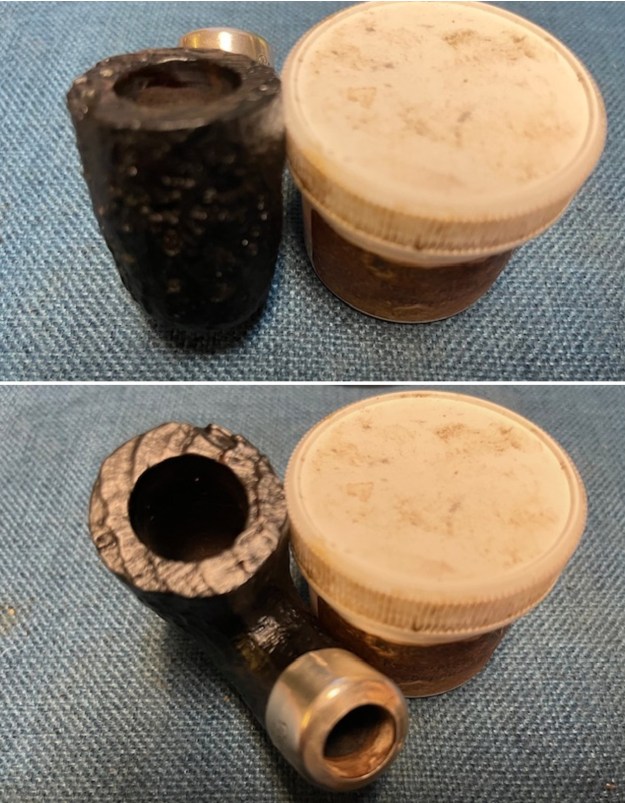
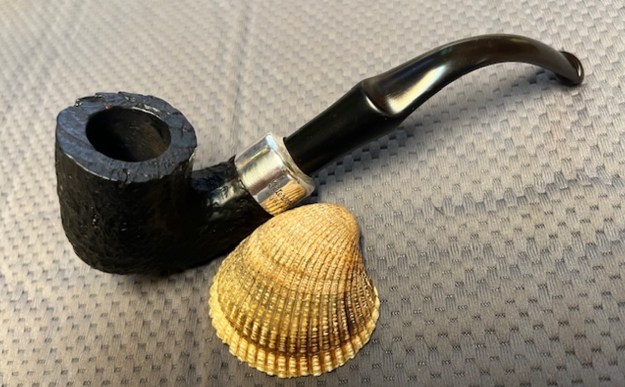
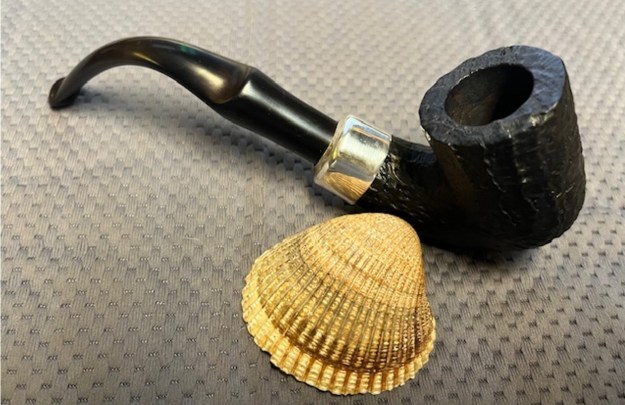
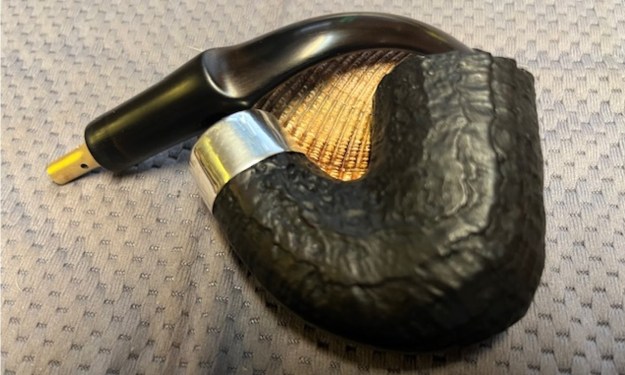
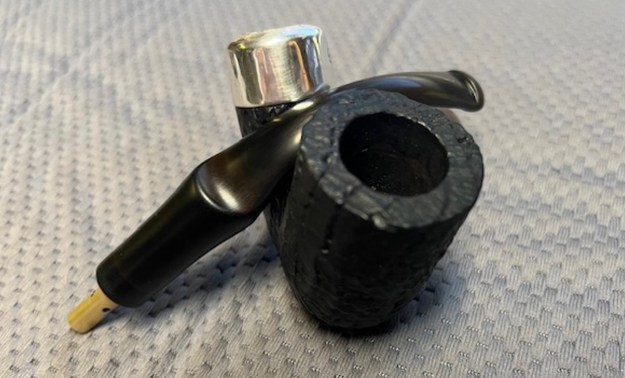
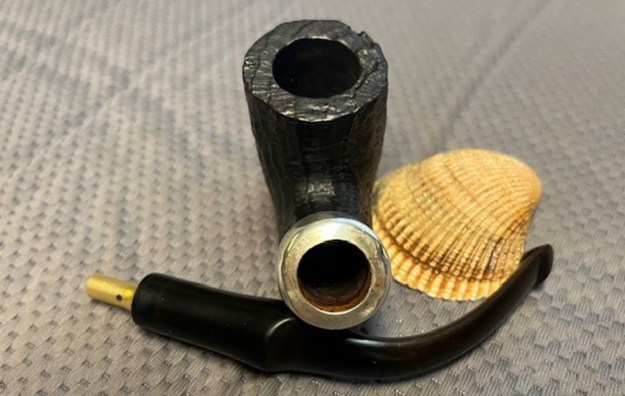
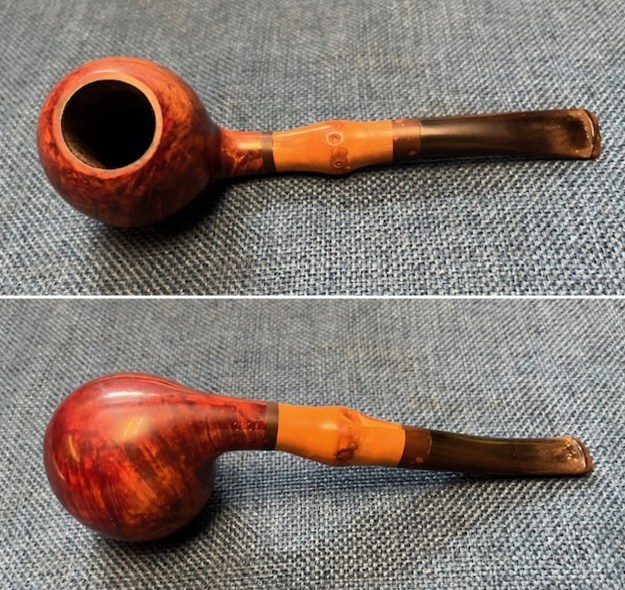
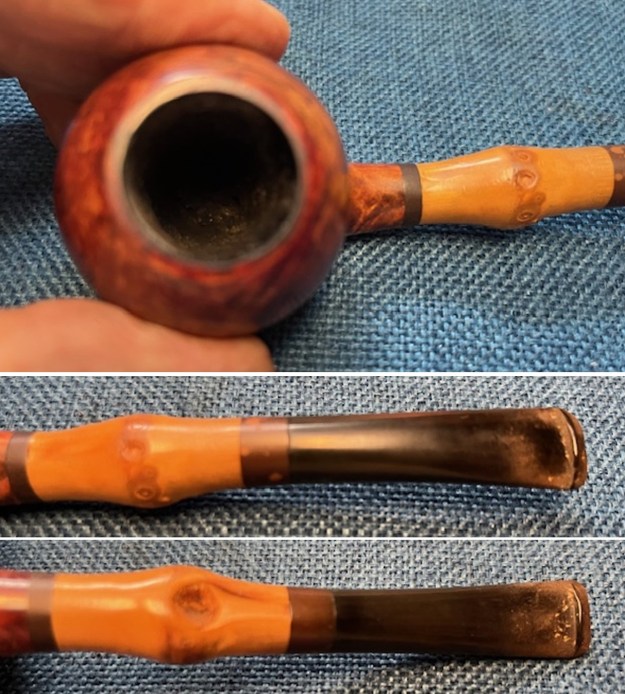
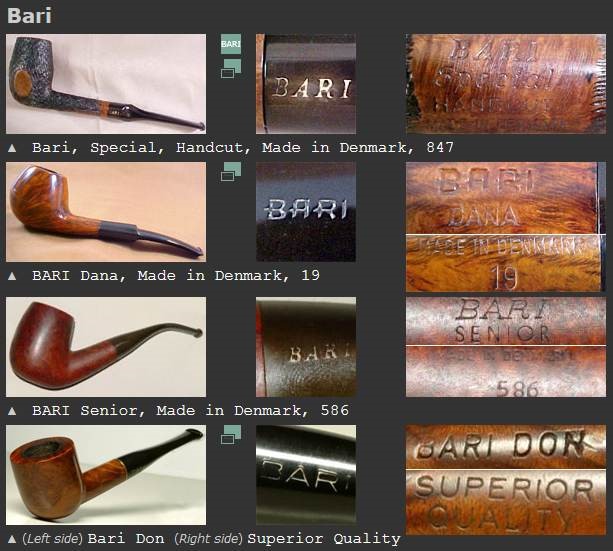
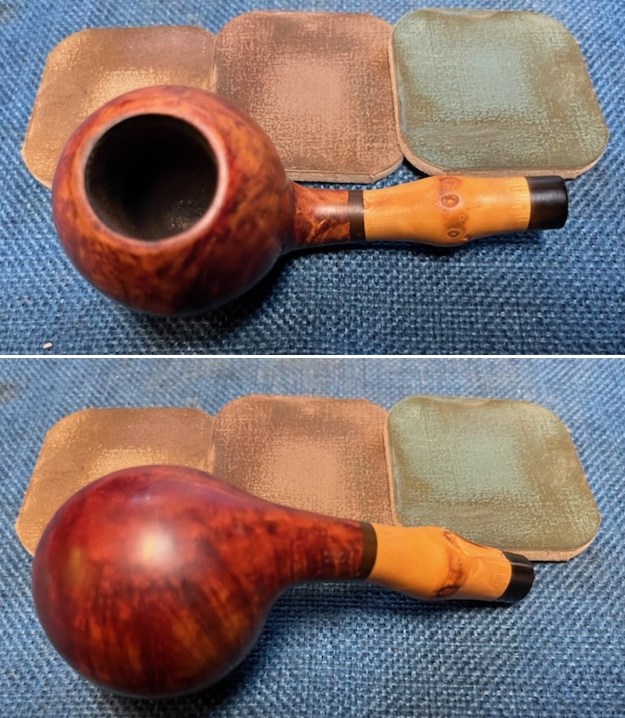
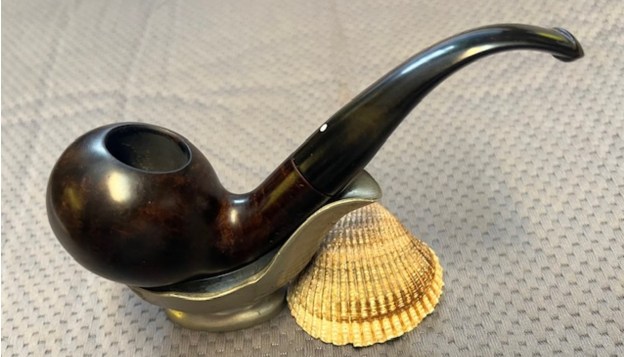
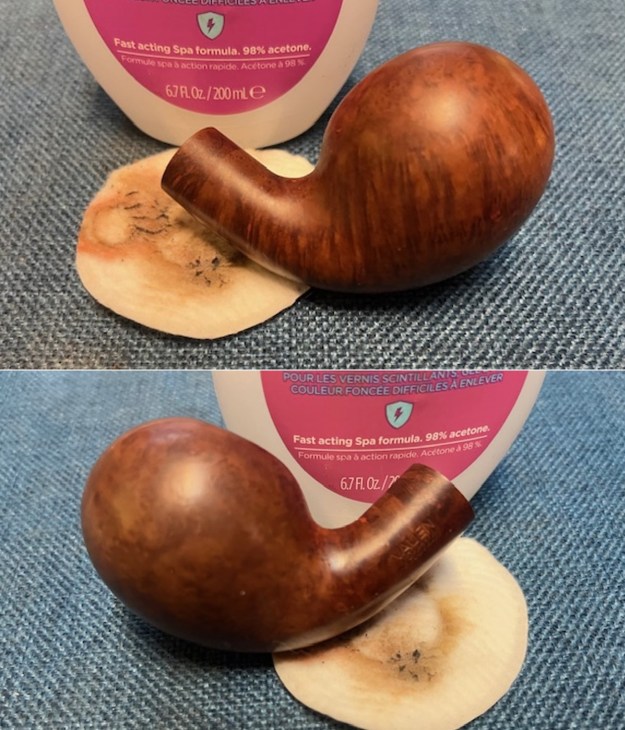
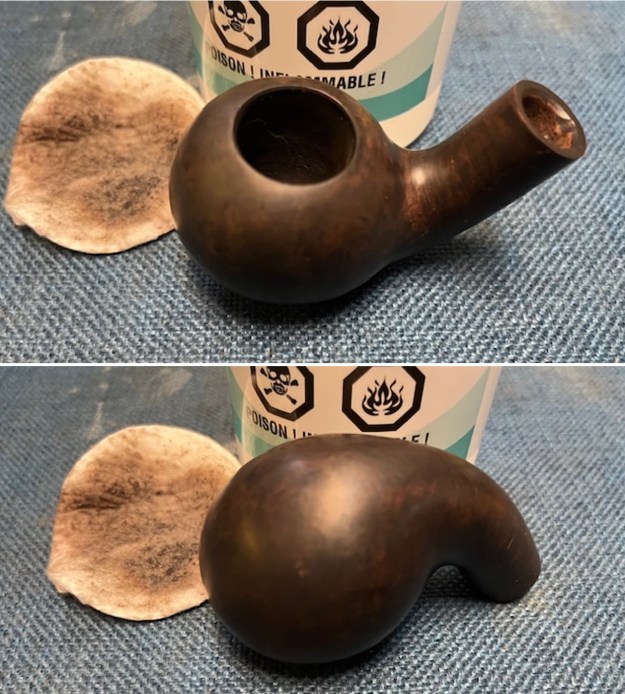
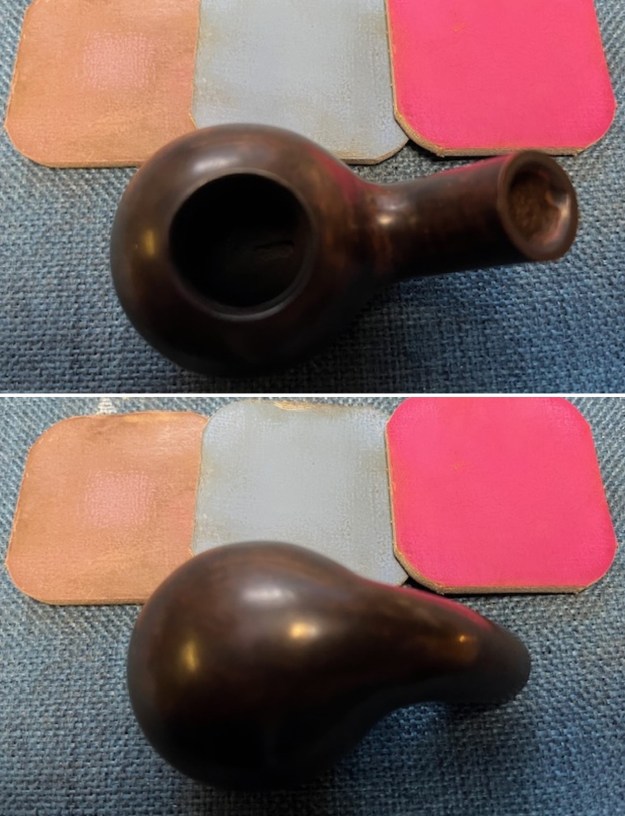
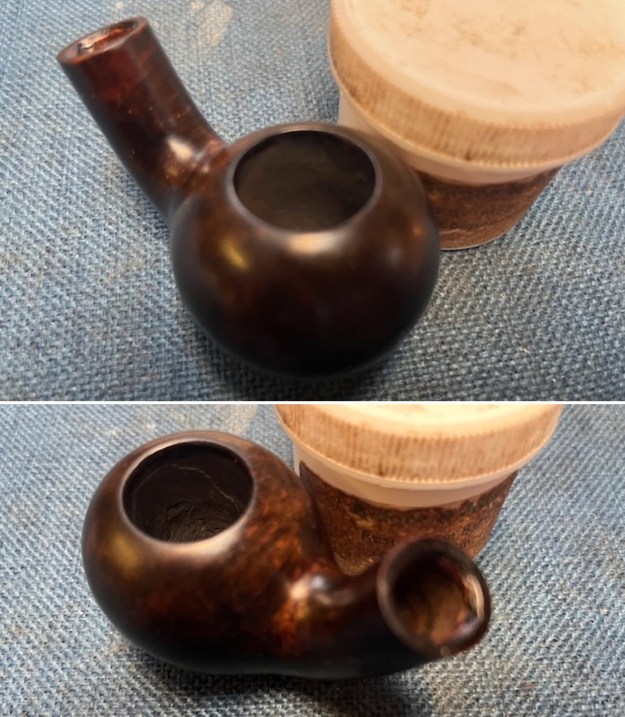
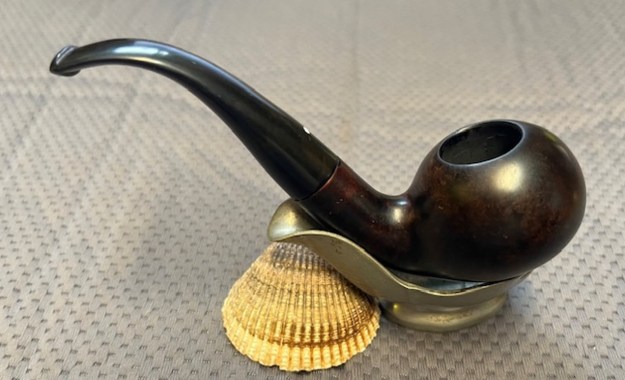
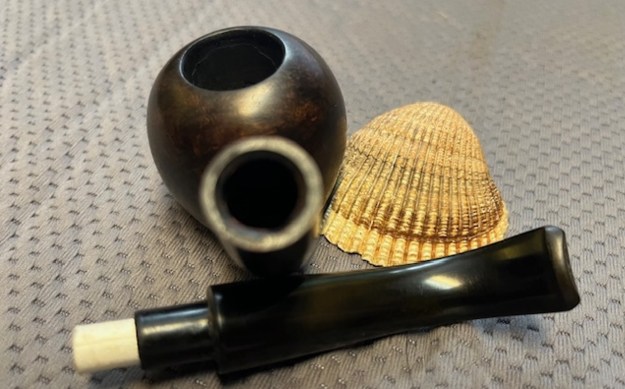
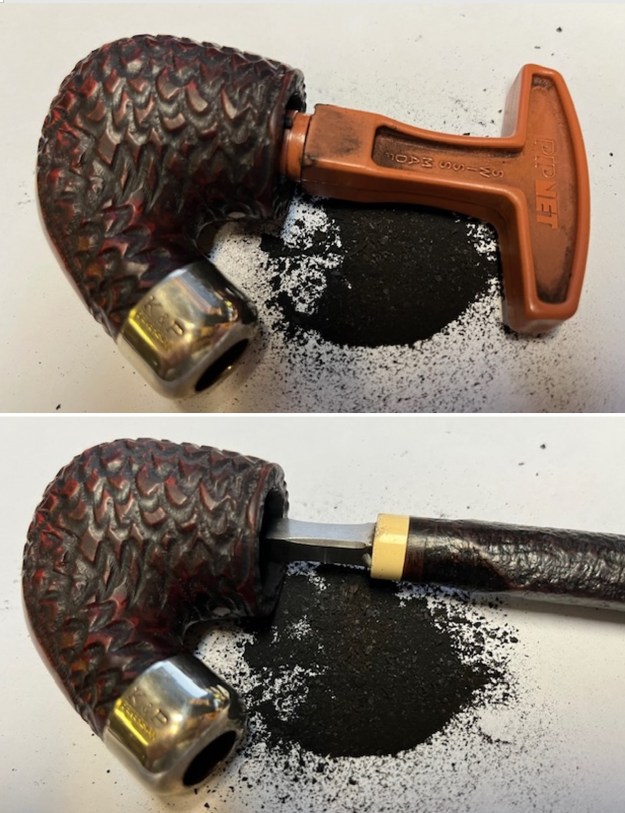
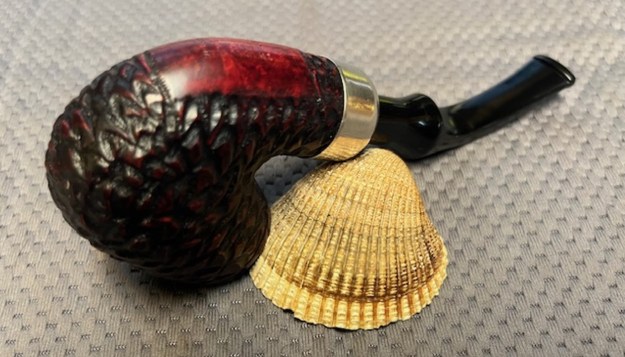
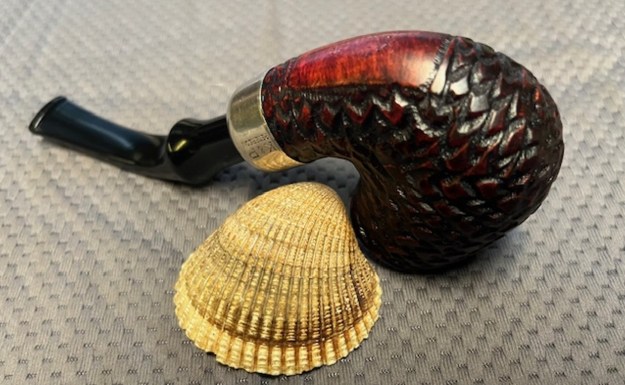
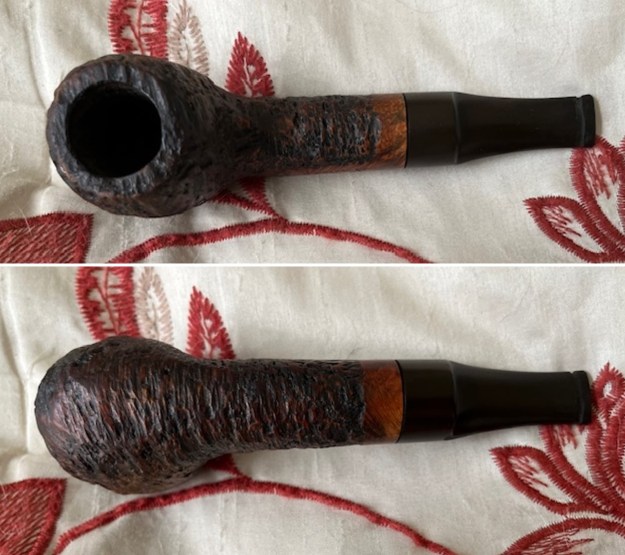
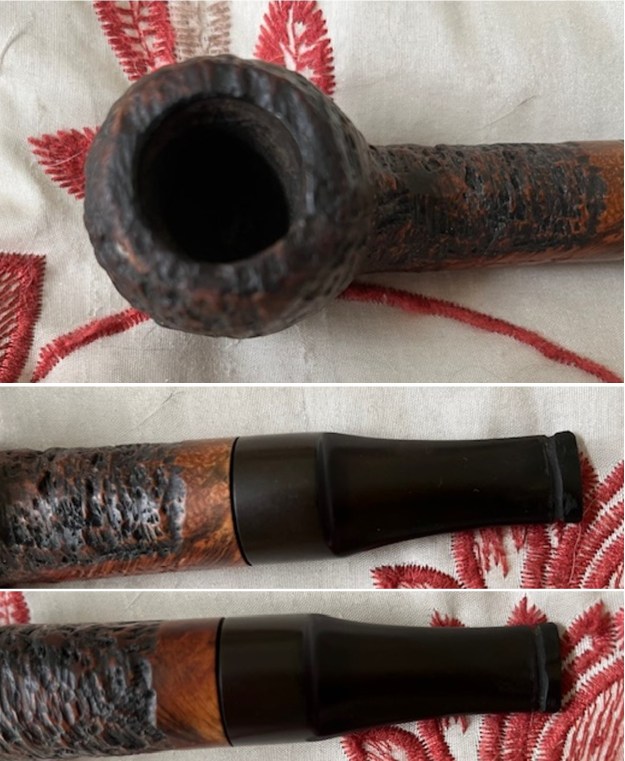
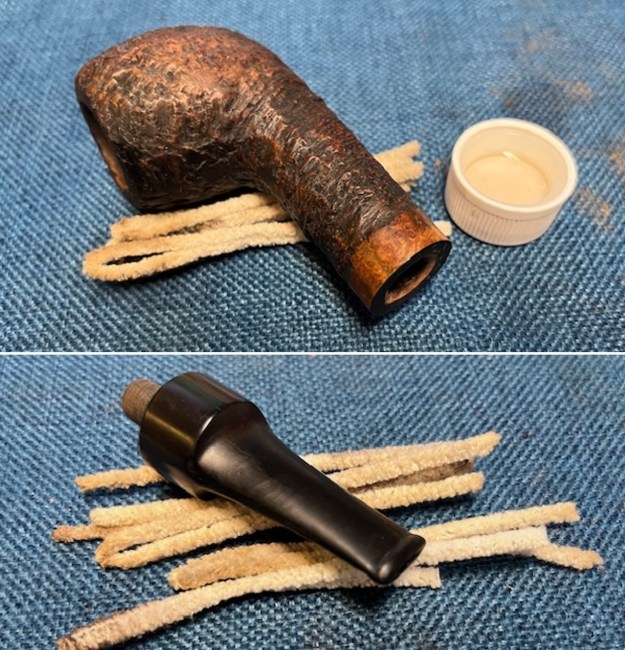
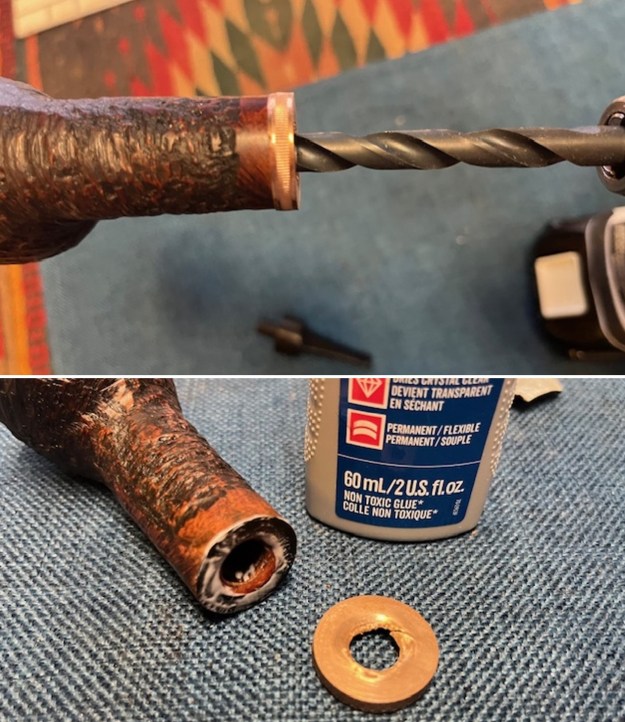
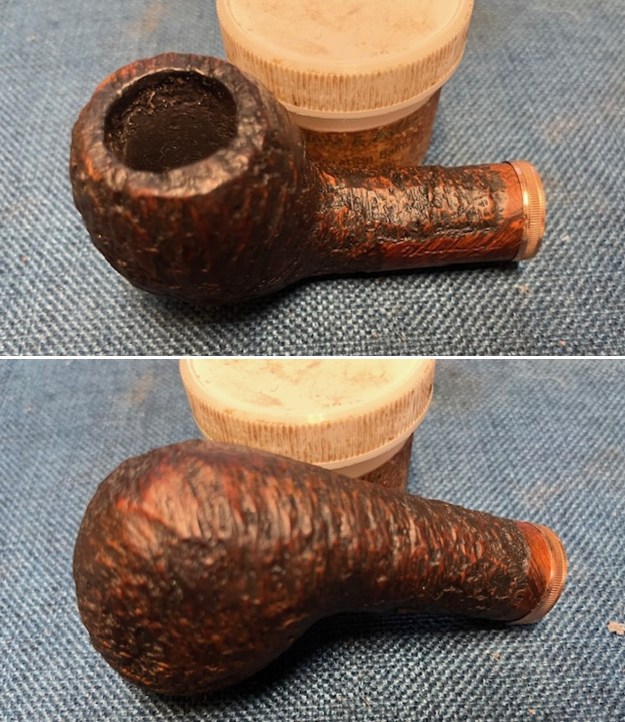
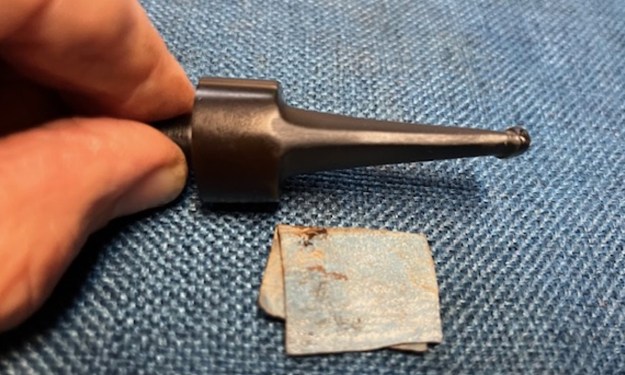
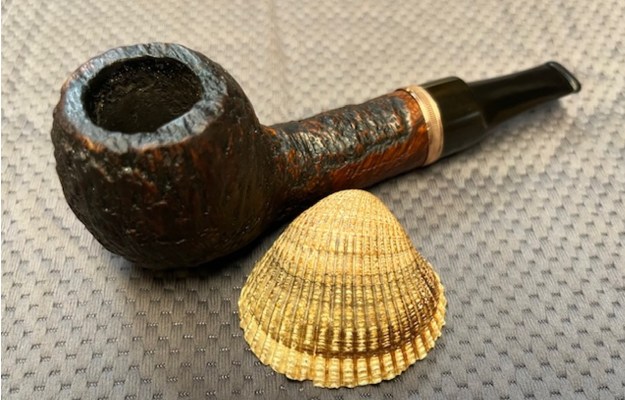
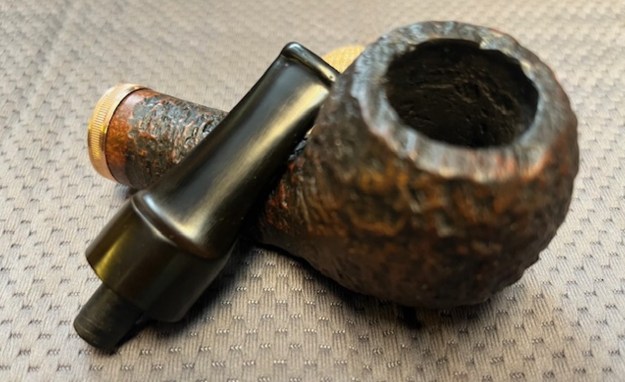
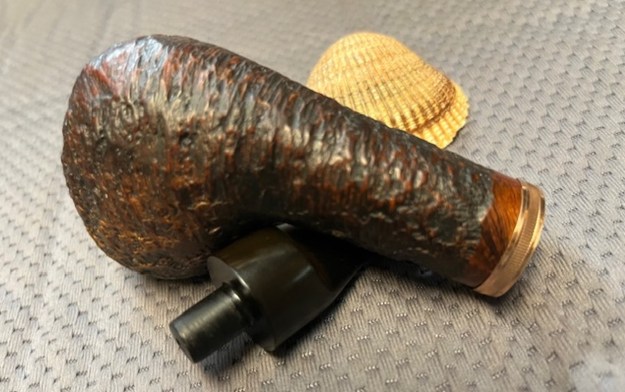
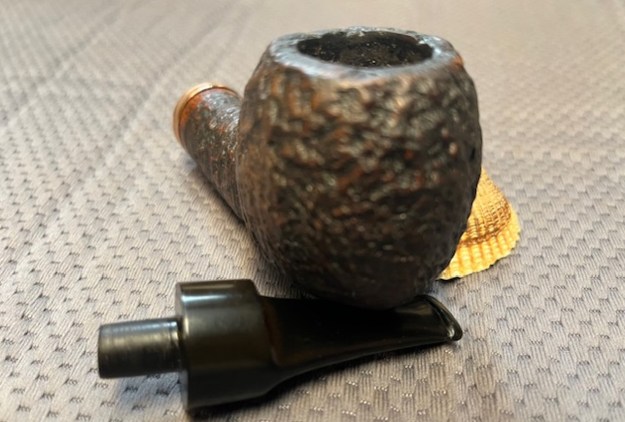
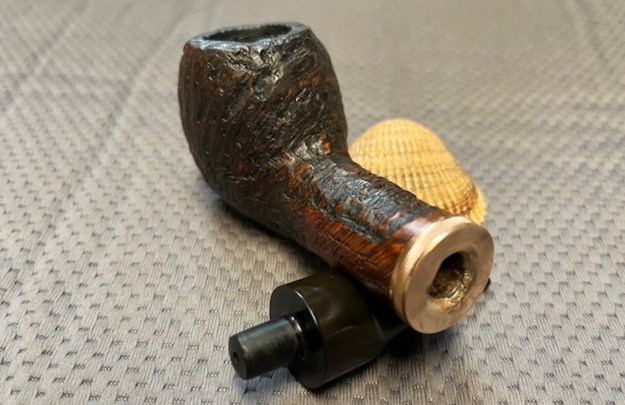
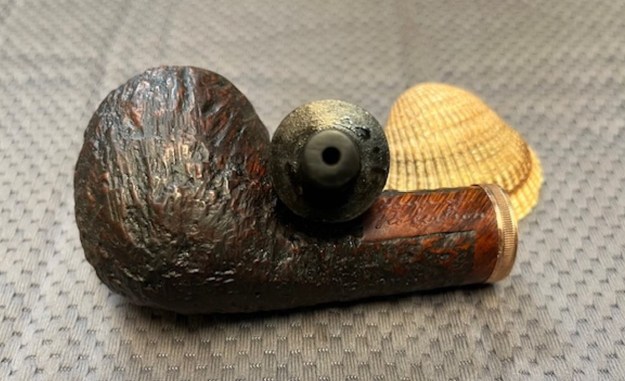
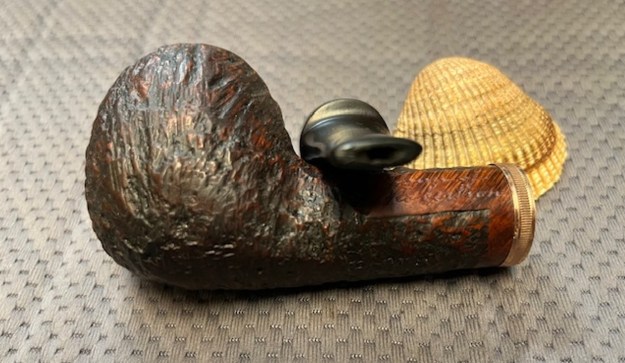
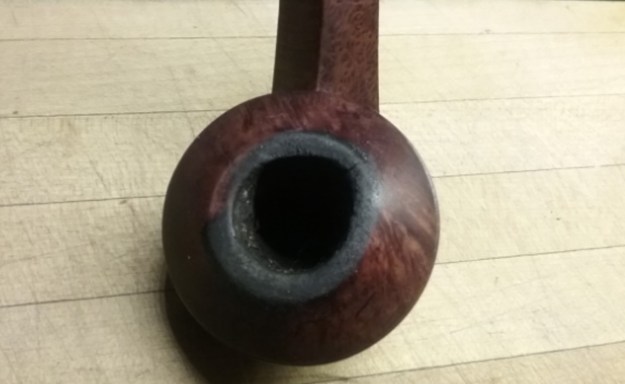
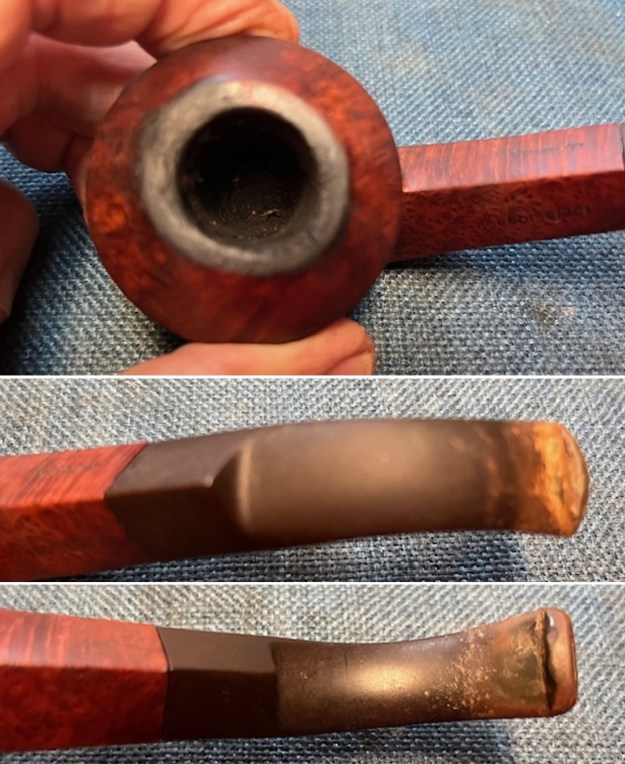
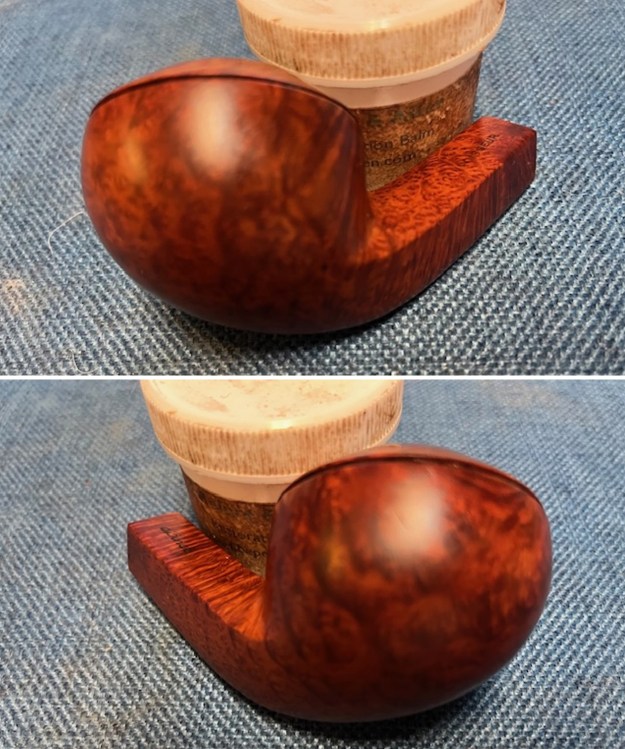
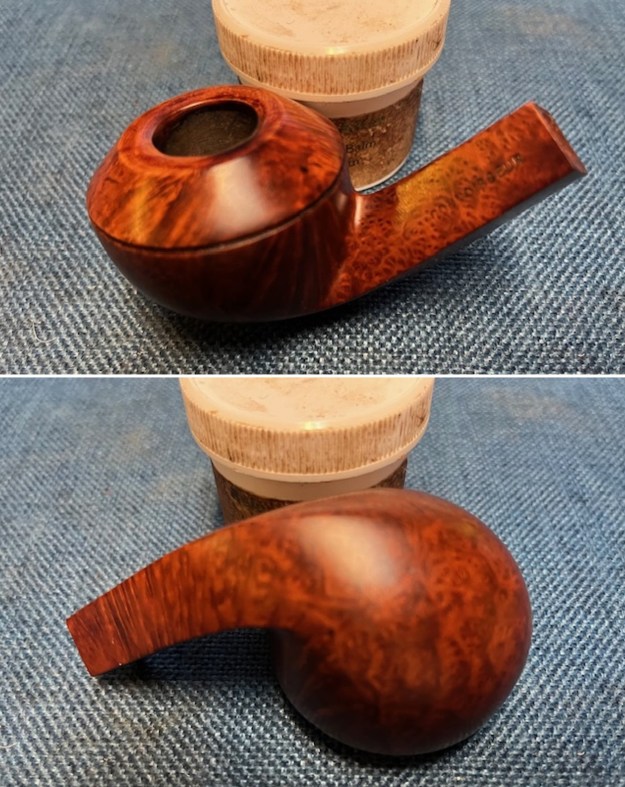
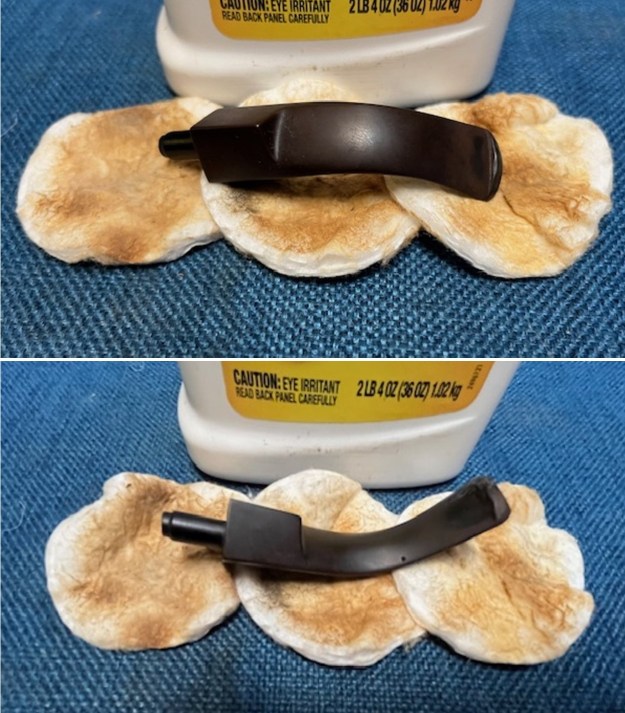
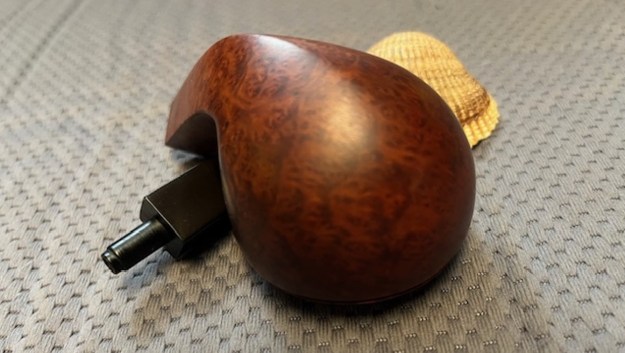
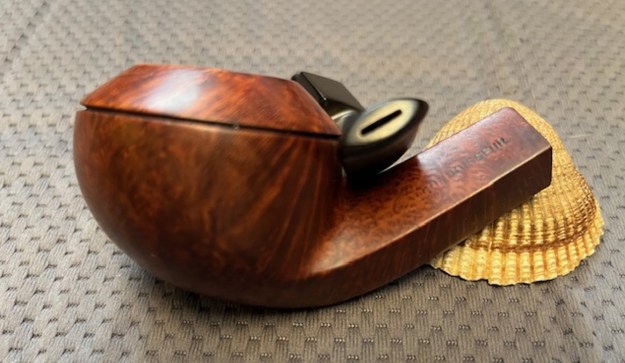
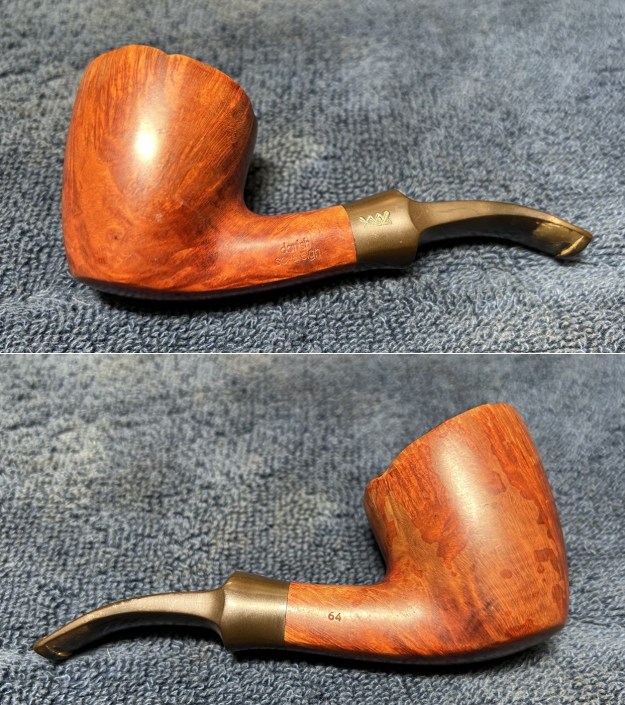
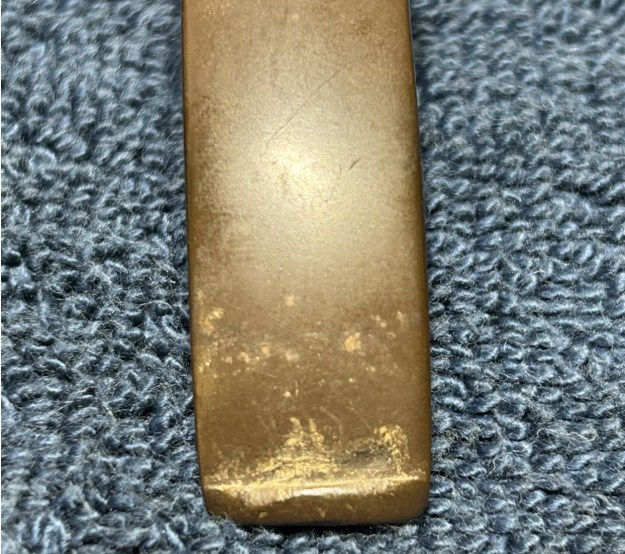
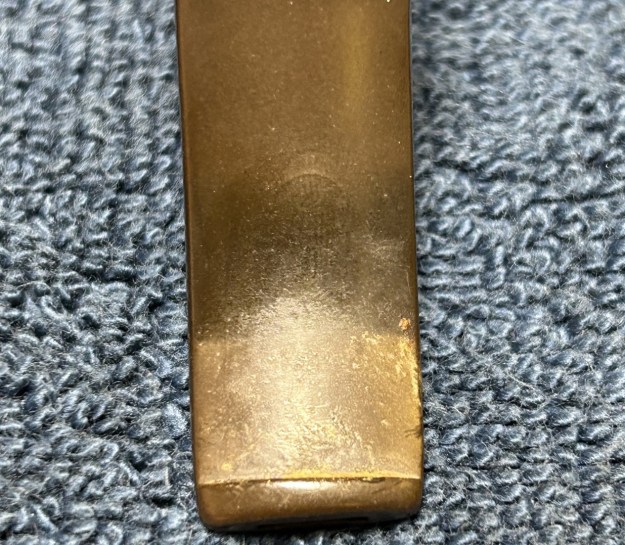
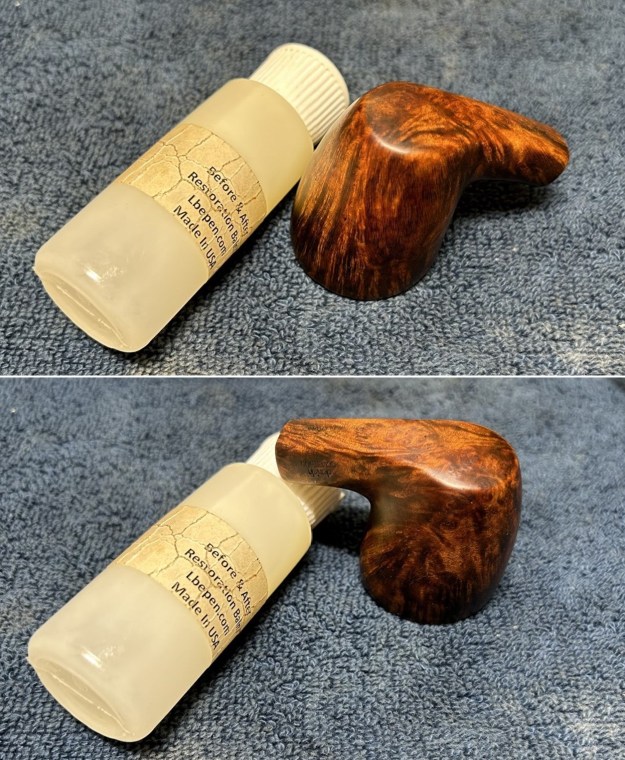
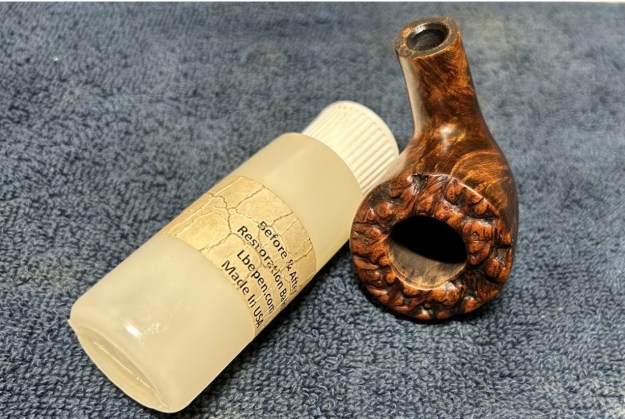
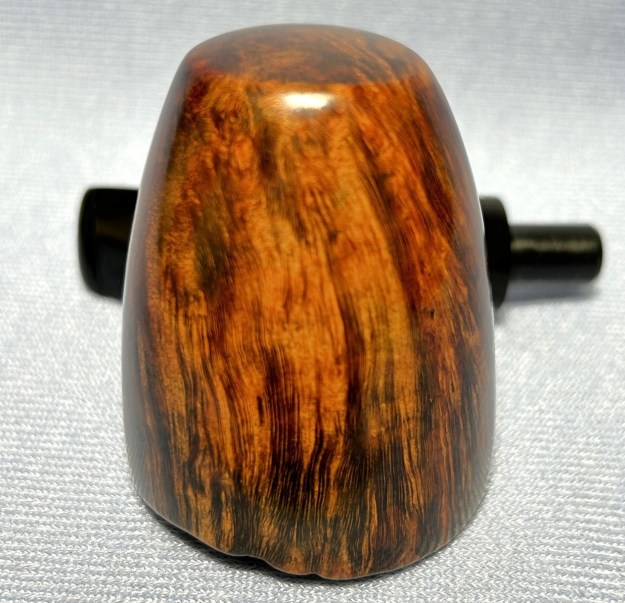
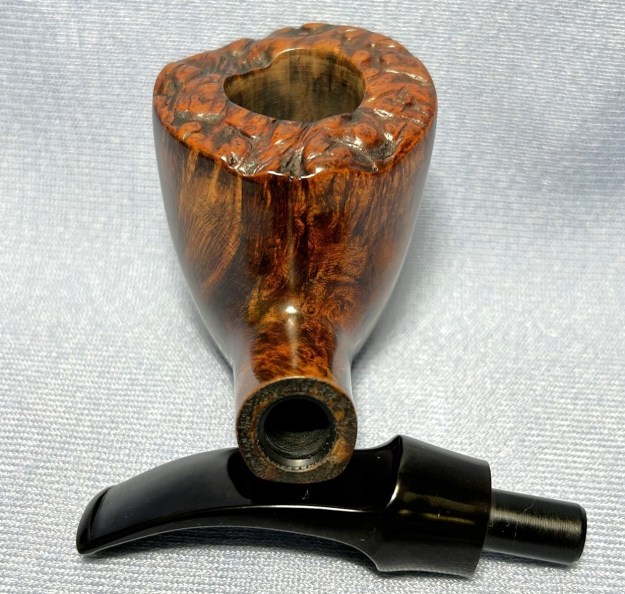
There is a long-standing confusion over determining who made which Bewlay pipes when. Bewlay used a several different fonts for the B of their logo. Equally, the pipes are marked with variations of “Made in England”, “London, England” and “London Made” (as this one is). The photo below is from Pipephil and the middle pipe is very similar to this one, in terms of markings. There is a multi-page thread in the forums of PipesMagazine.com on this topic and, if you’re interested, you can find it here. I’m not sure which of those companies might have made this pipe, but I would certainly welcome any information from someone who does know.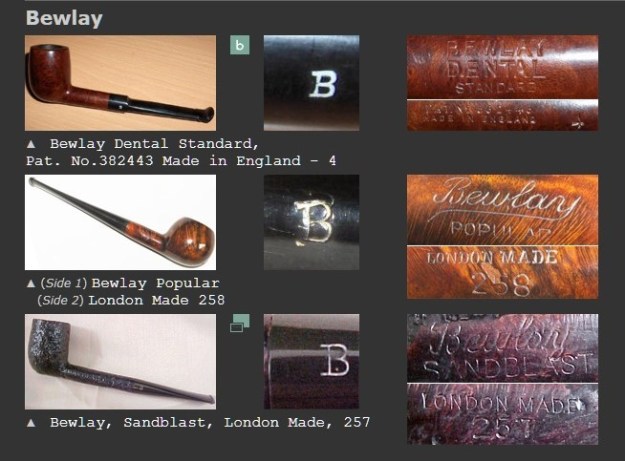 The pipe is in very nice shape and was well-loved. The stem had some tooth scratches and dents, plus it was coated with a lot of oxidation and calcification. The previous owner must have treated this one like a lollipop. There were no significant issues with the stummel, although it did have some lava on the lovely rim.
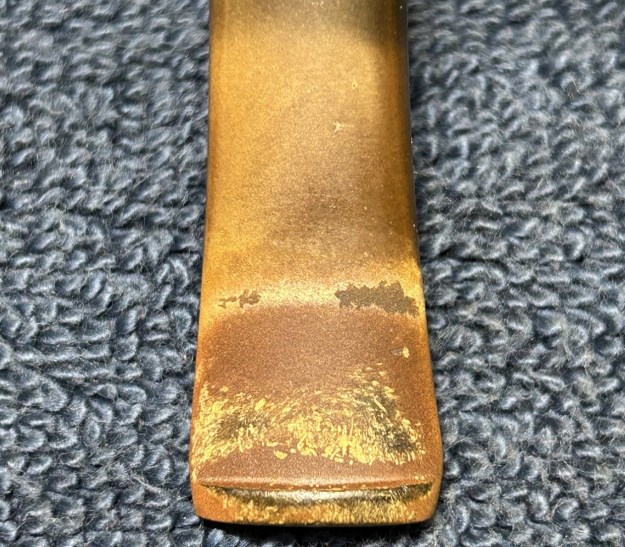
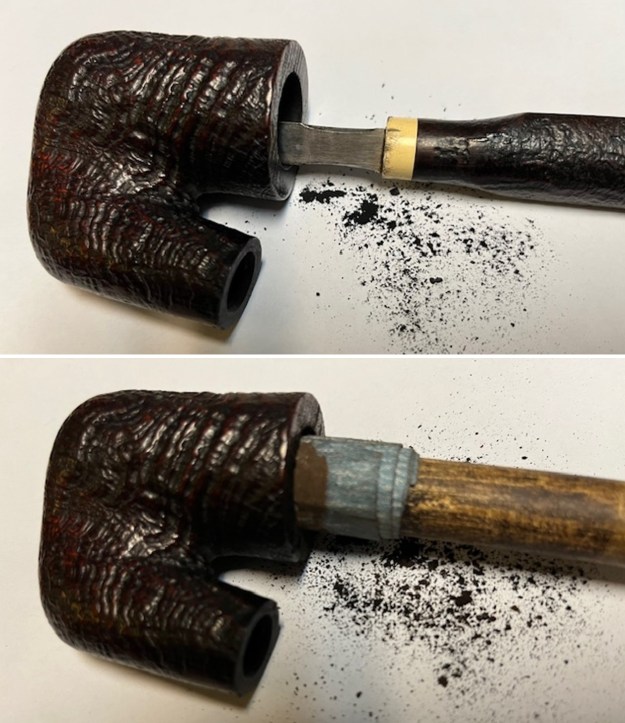
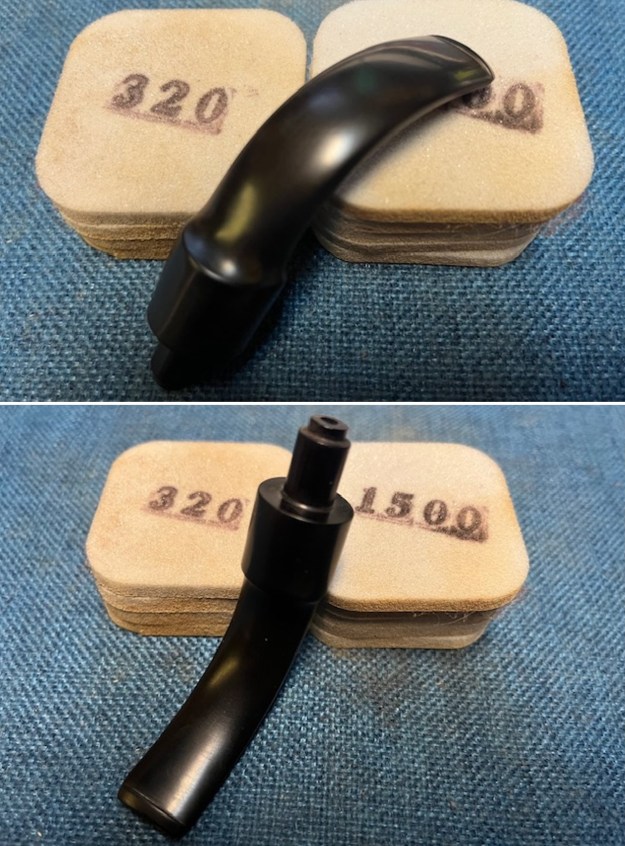
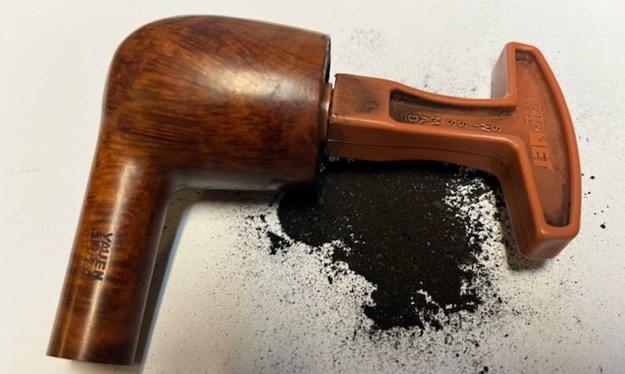
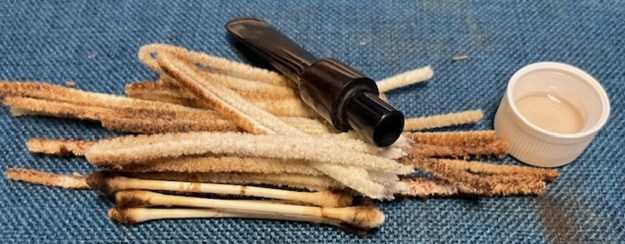
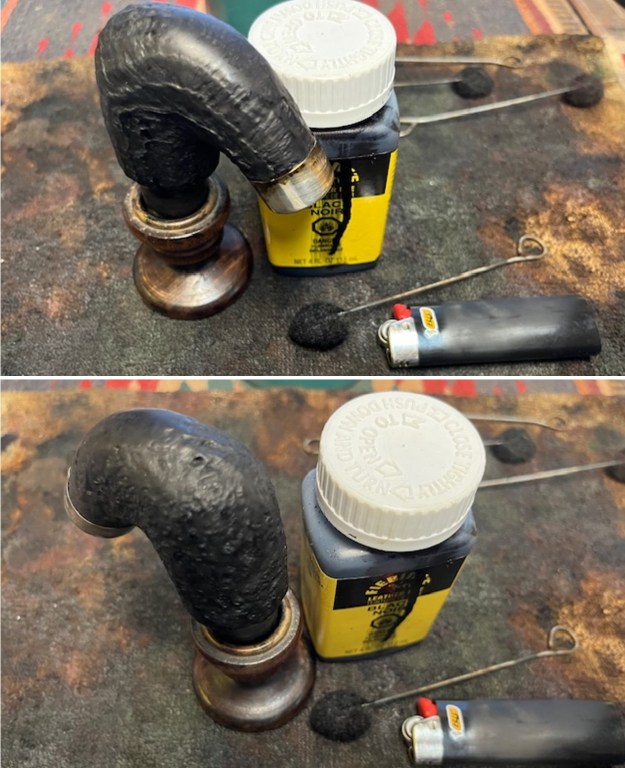
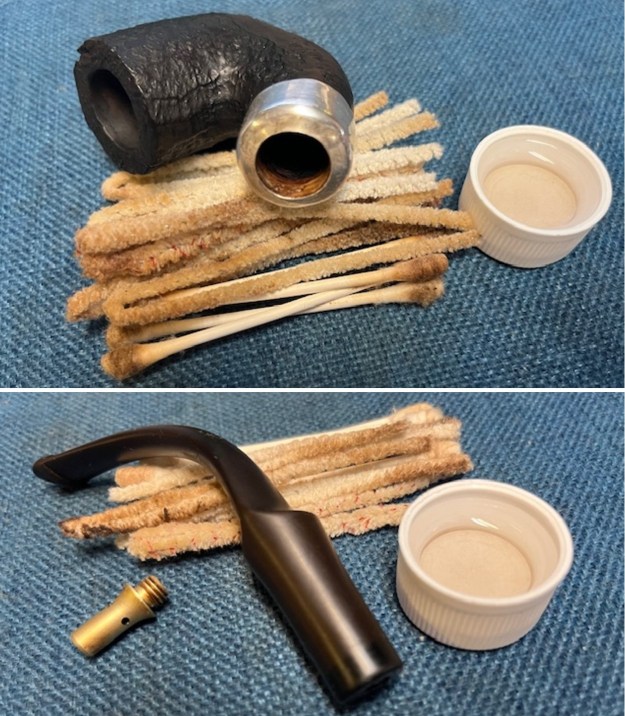
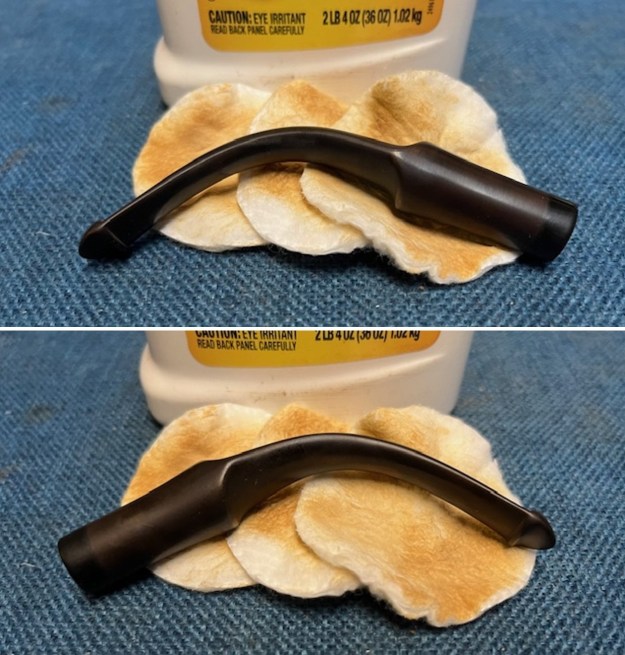
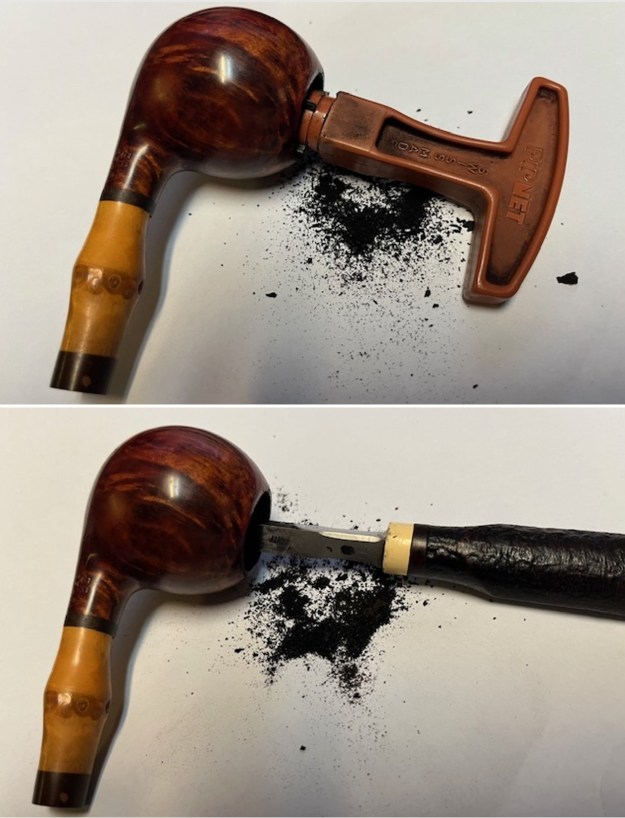
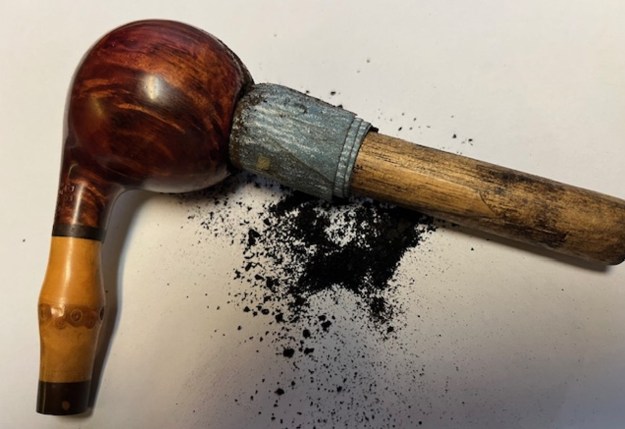
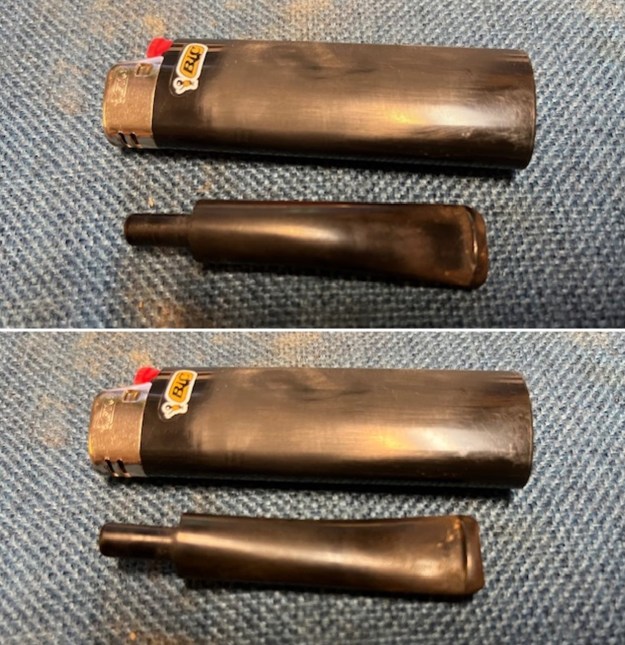
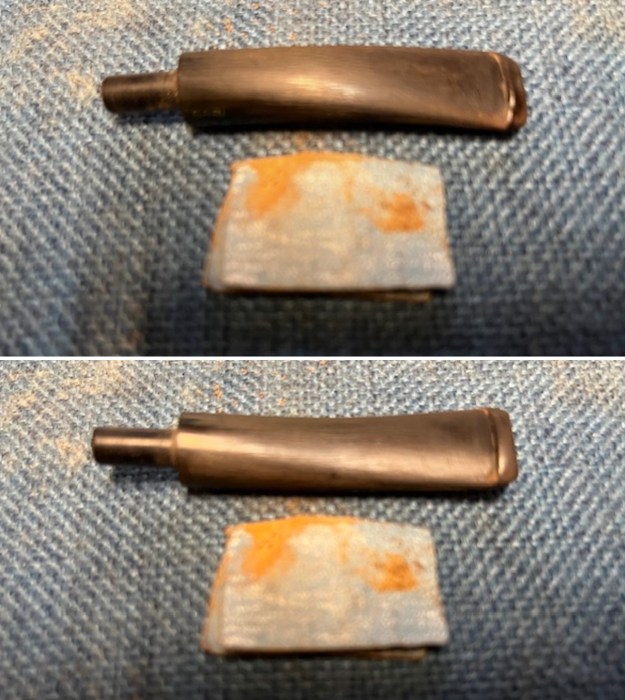
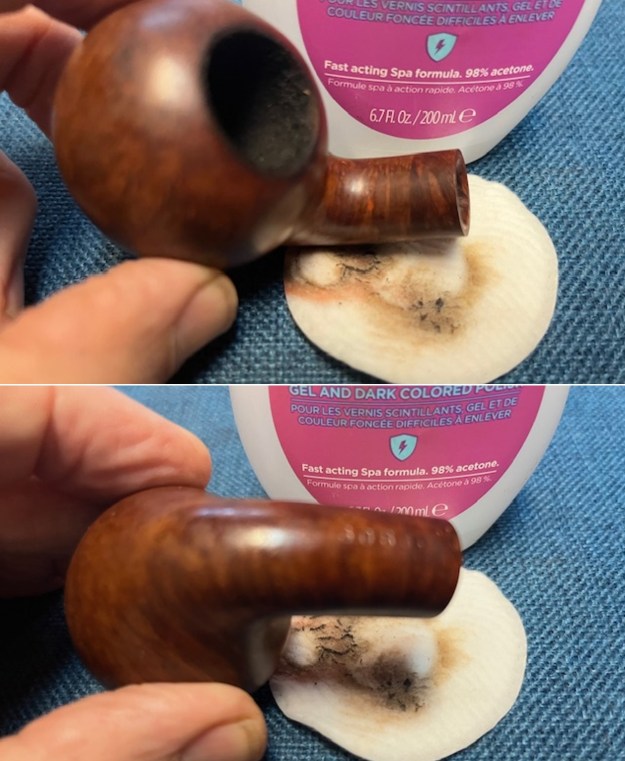
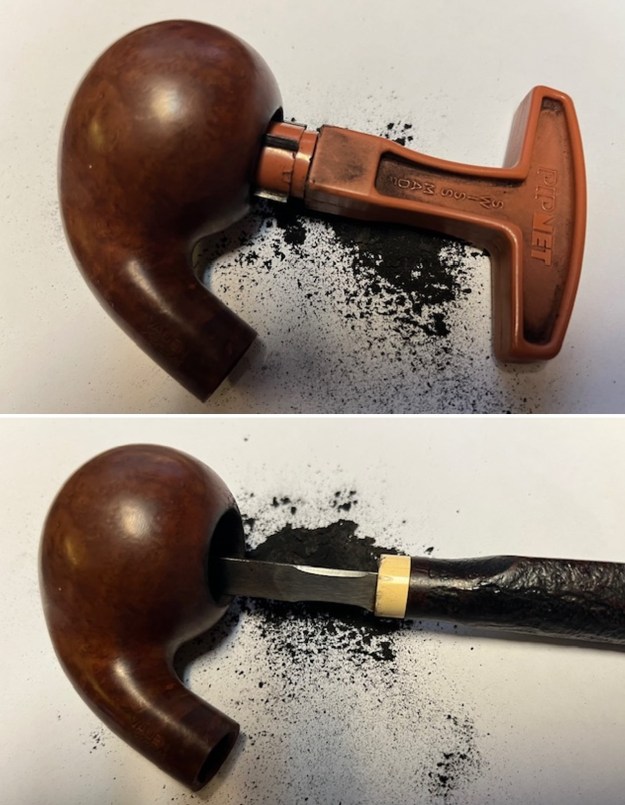
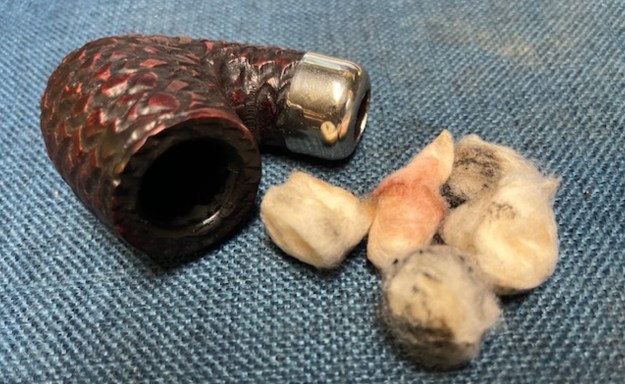
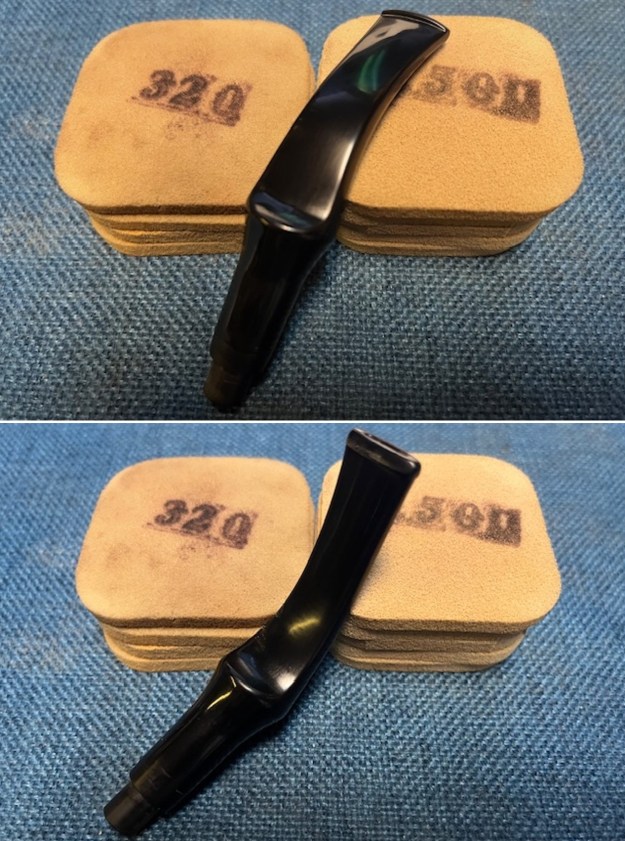
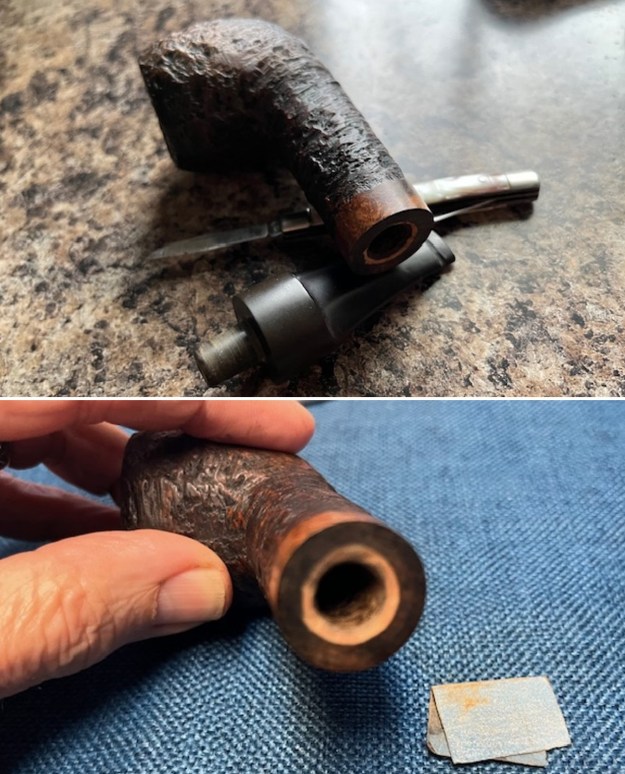
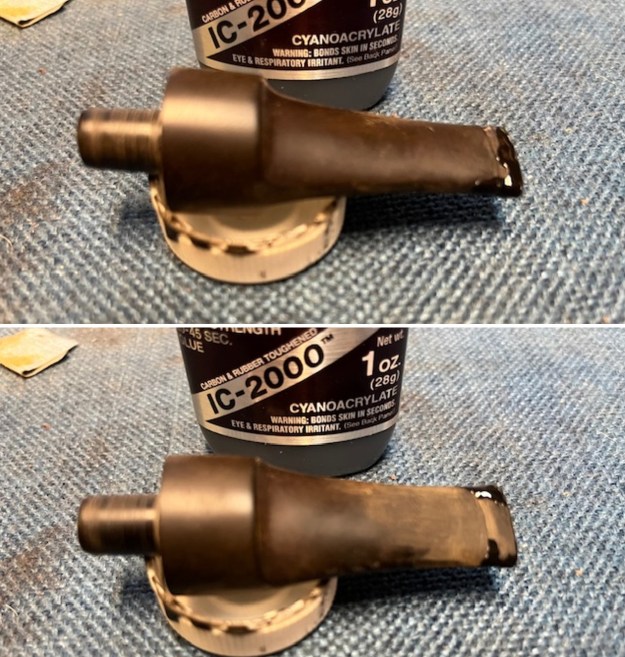
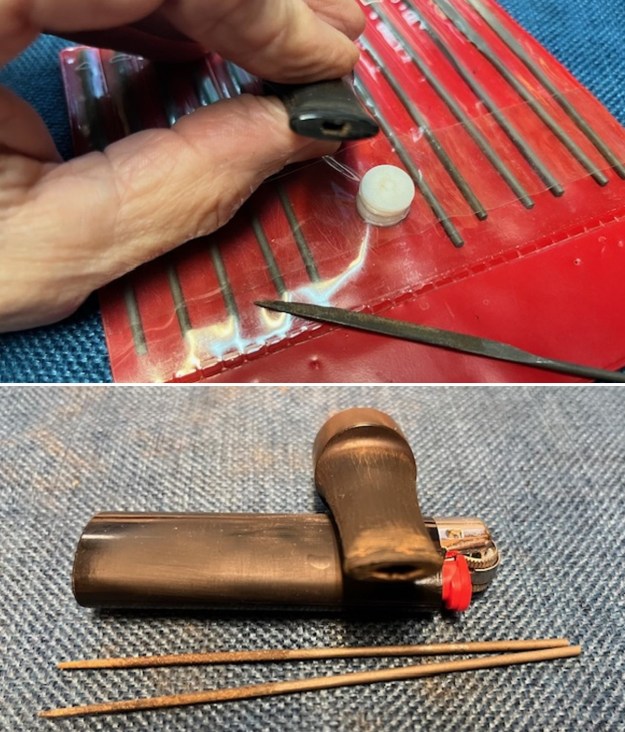
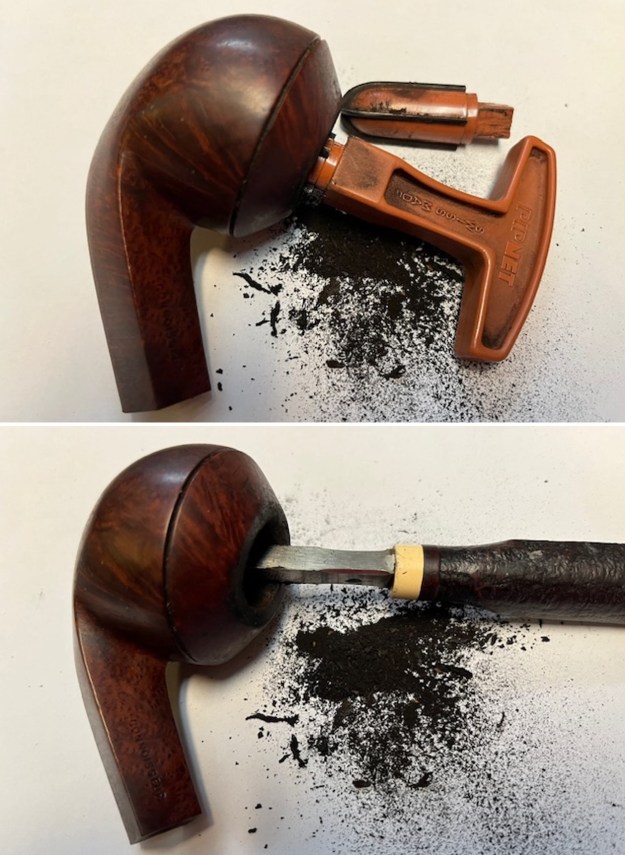
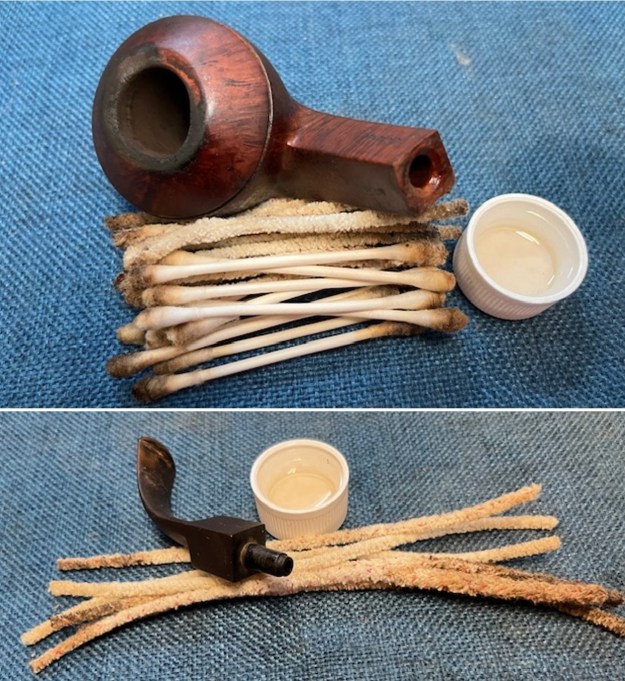
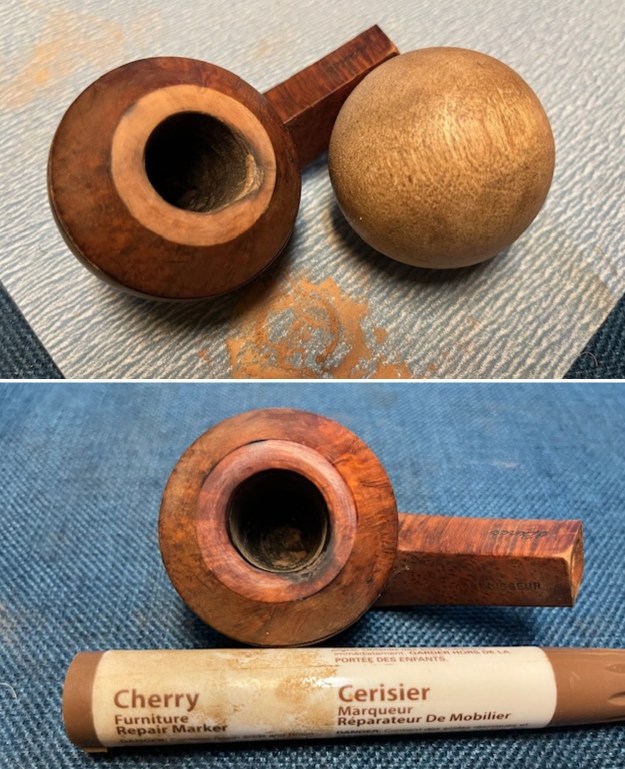
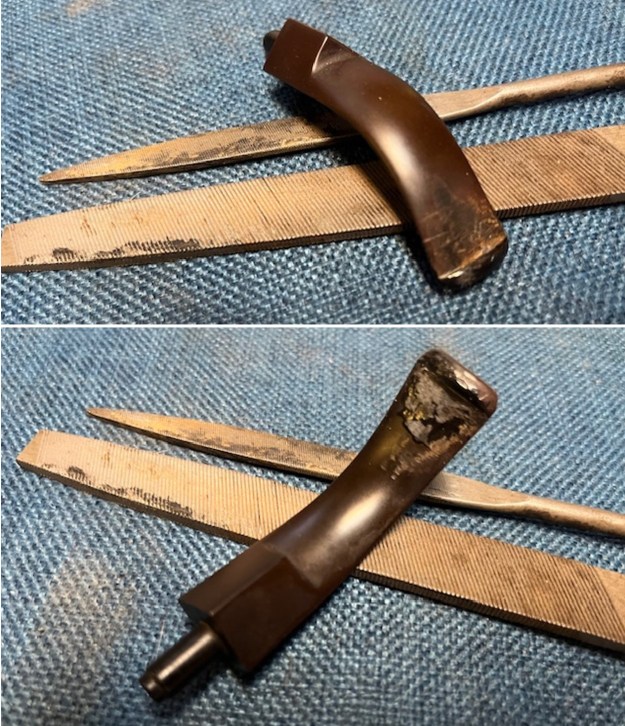
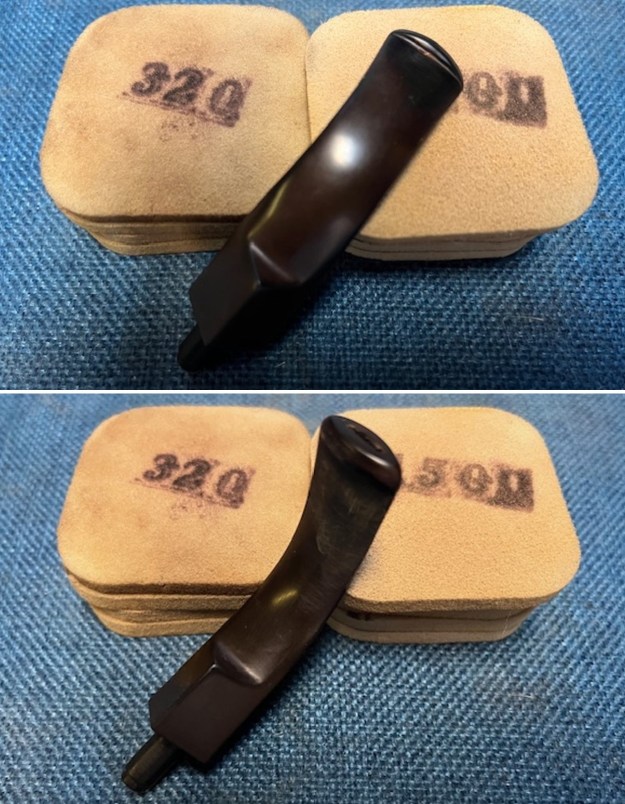
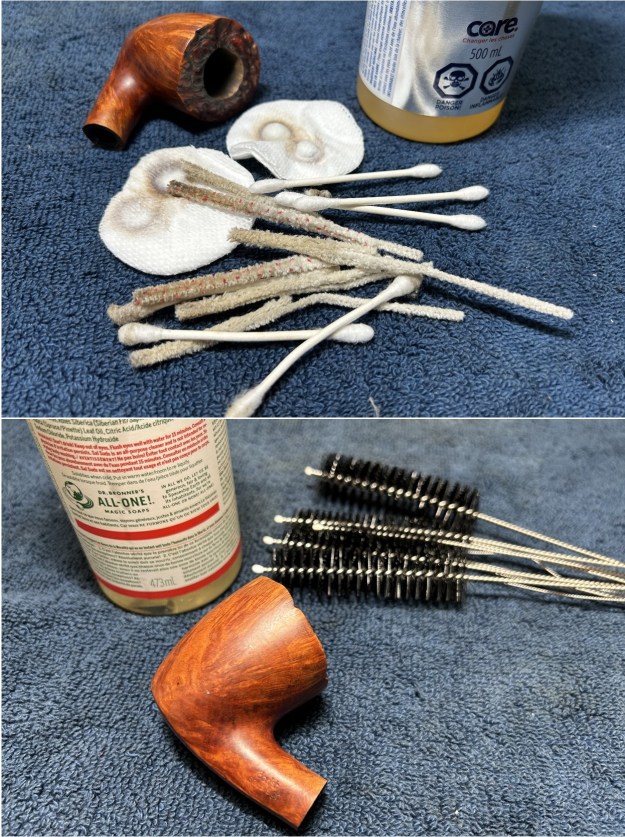
 I started out by gently and carefully scraping off some of the thick layer of calcification on the stem with a butter knife. You can see in the photos that this created quite a bit of debris.
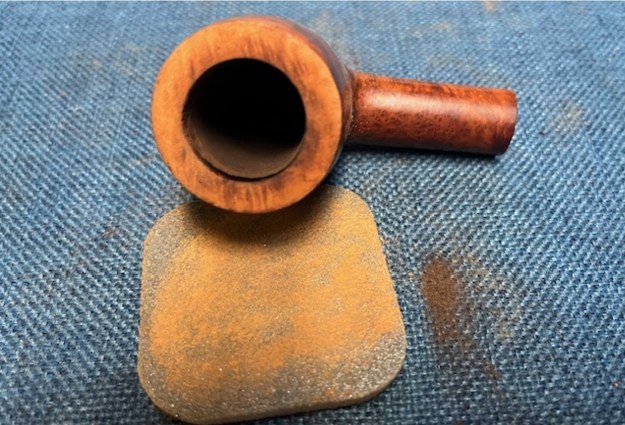
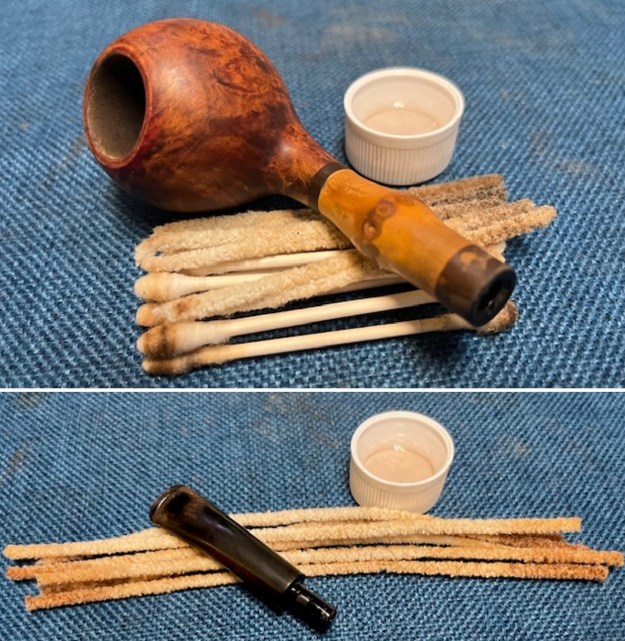
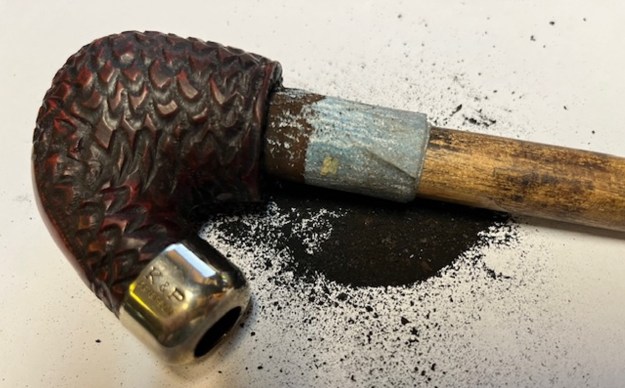
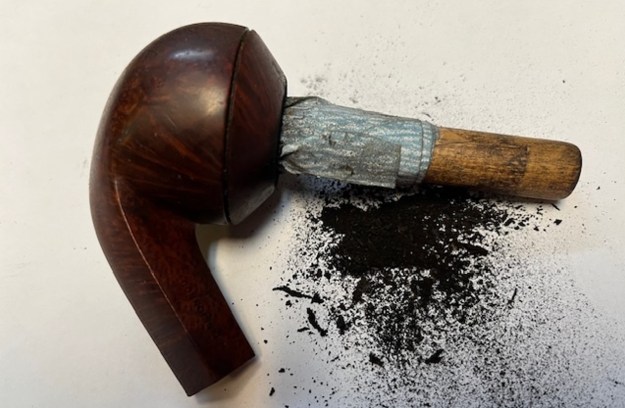
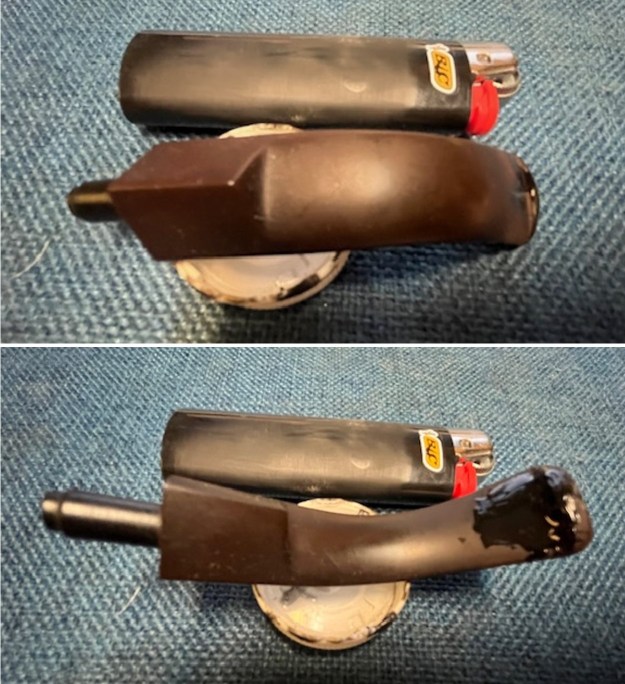
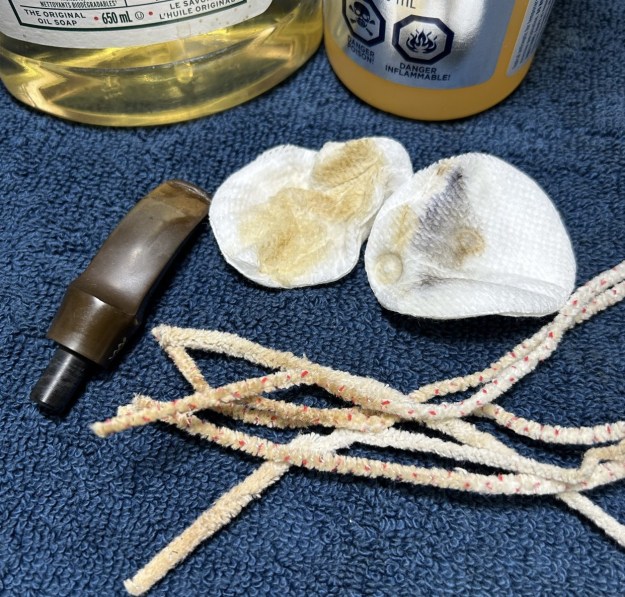
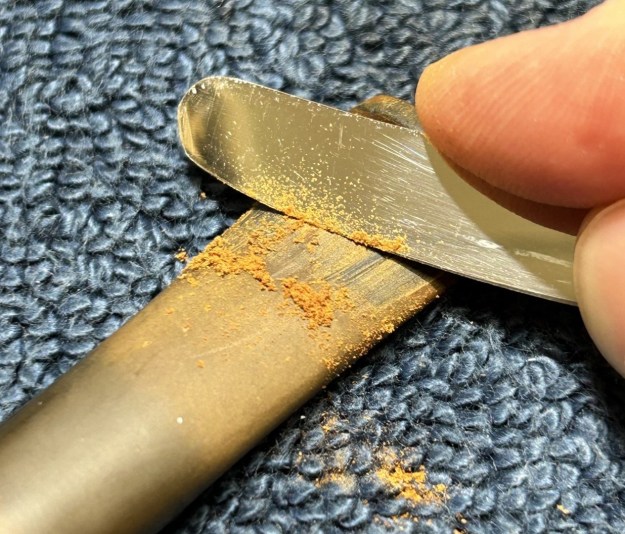 I then cleaned the inside of the stem with 99% isopropyl alcohol and some pipe cleaners. It was dirty, but not too bad. I also cleaned the stem with some Murphy’s on some cotton rounds. As you can see, the stem was pretty dirty, and will need a good soaking. In fact, it had a funny pattern of tiger stripes on the stem.
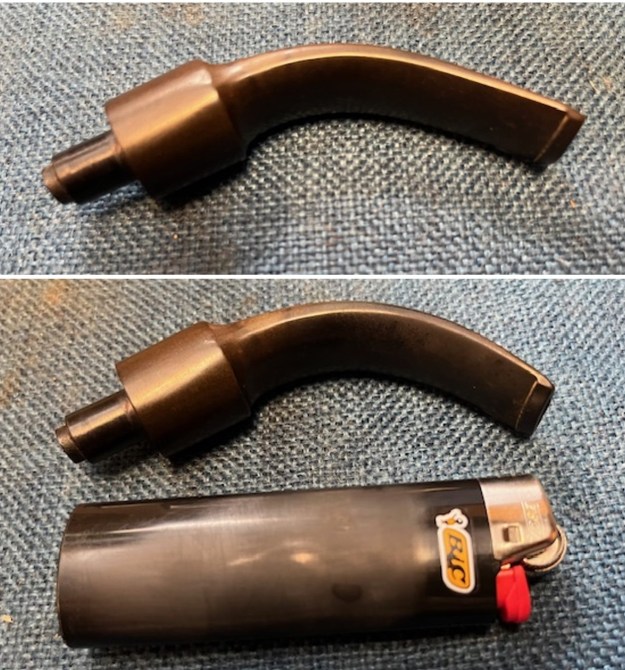
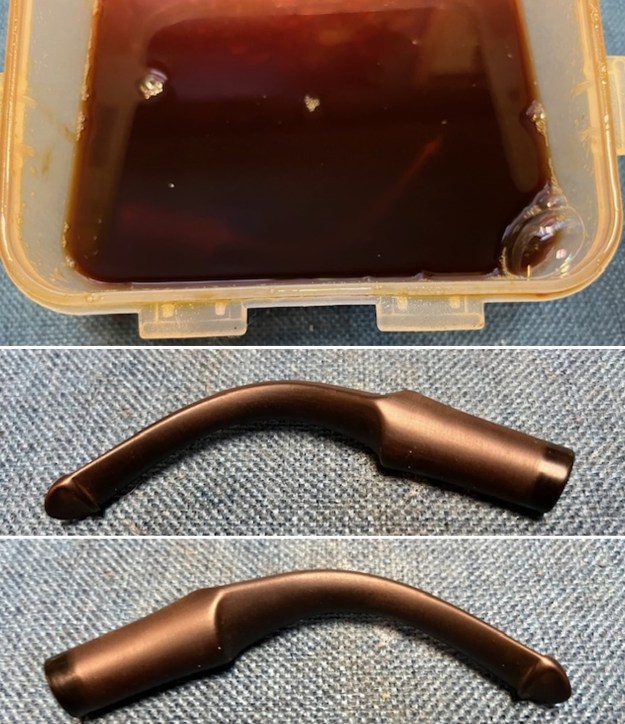
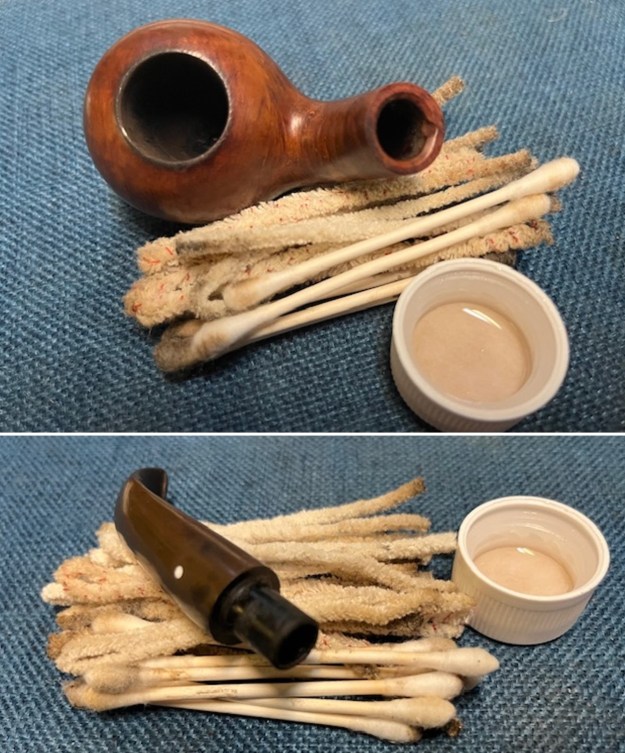
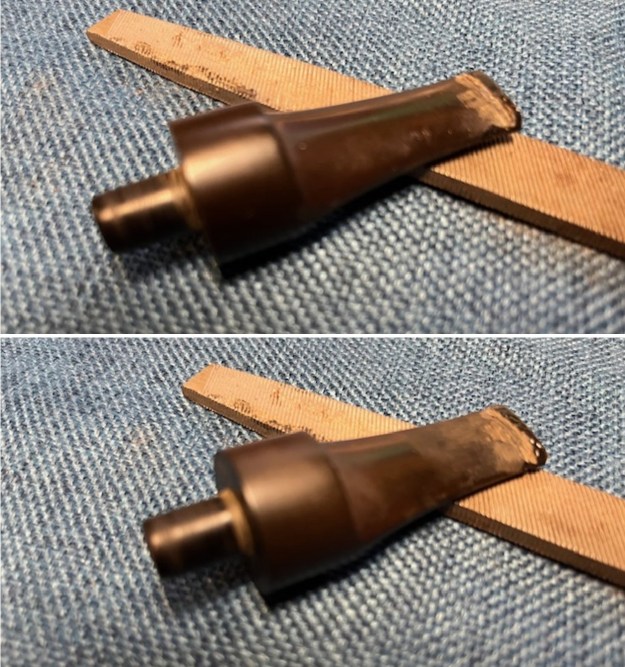
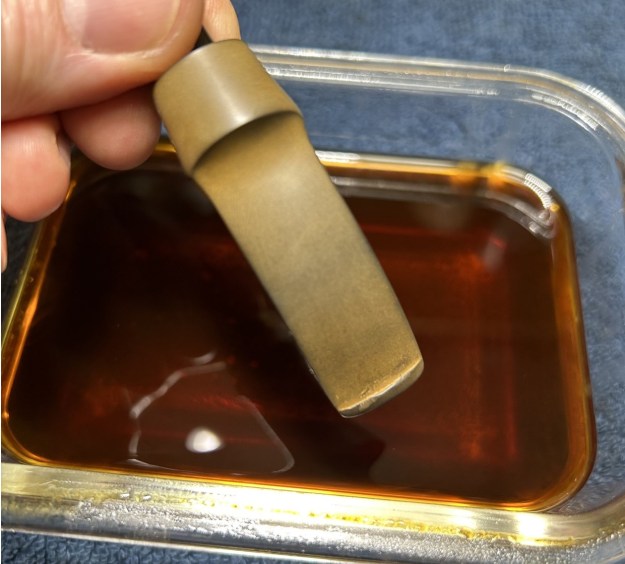
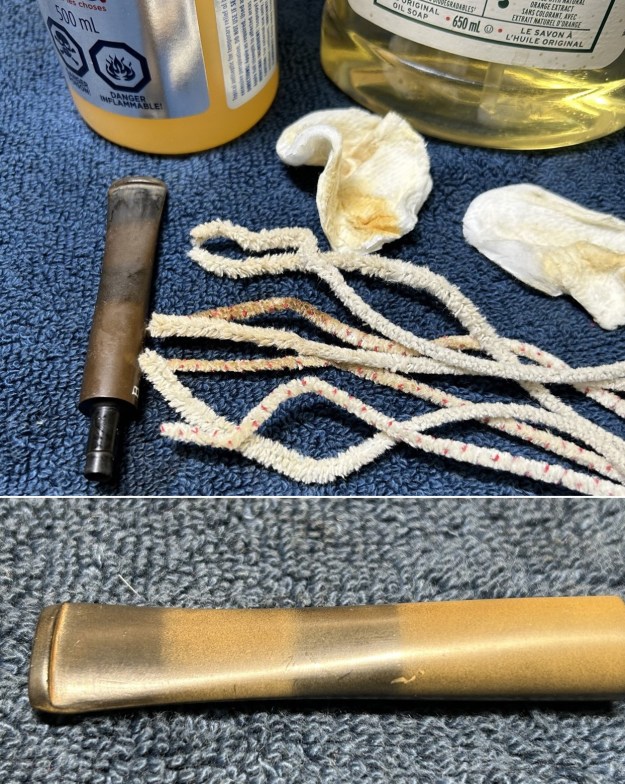 After all that, the stem went for a dip in the stem oxidation remover. I let it sit overnight, to allow all the oxidation to rise to the surface of the stem. The next day, I cleaned up the stem with some cleanser on some cotton pads. This took some considerable elbow grease, but, in the end, worked very nicely. Forgot to take a photo though.
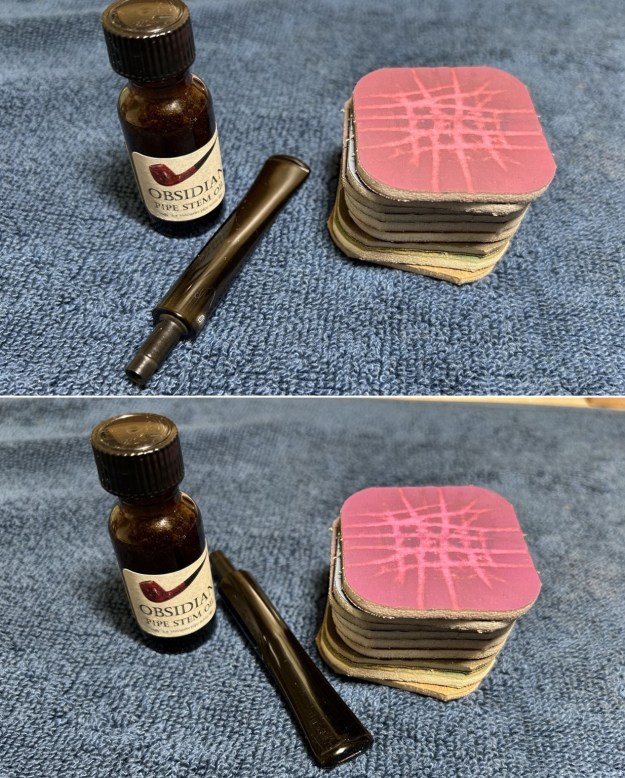
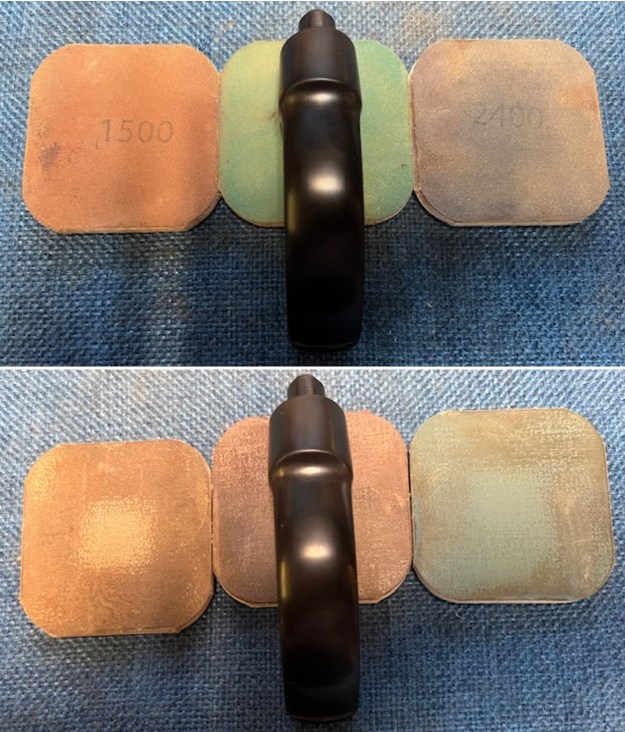
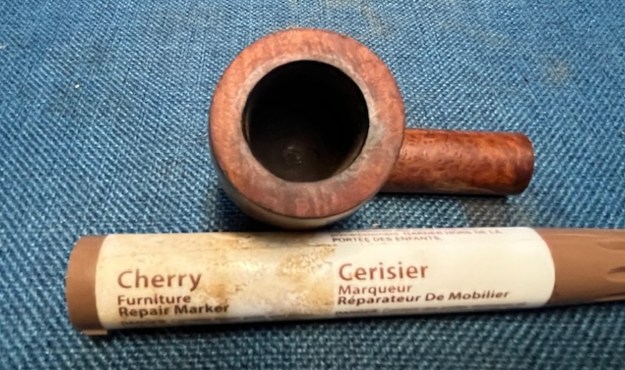
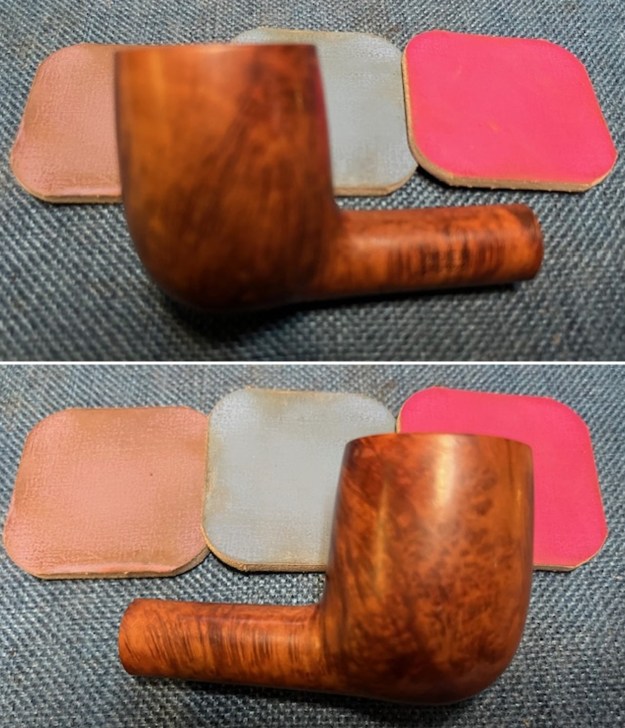
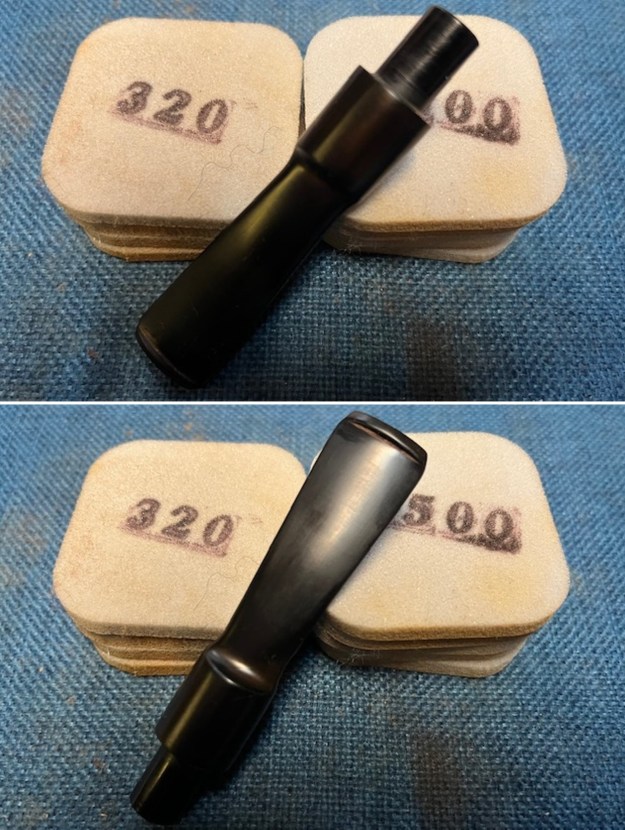
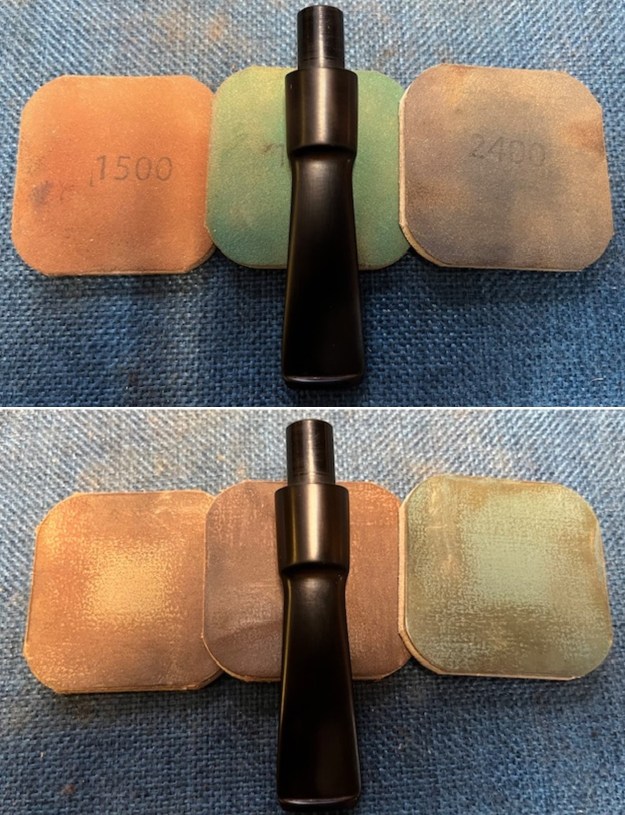
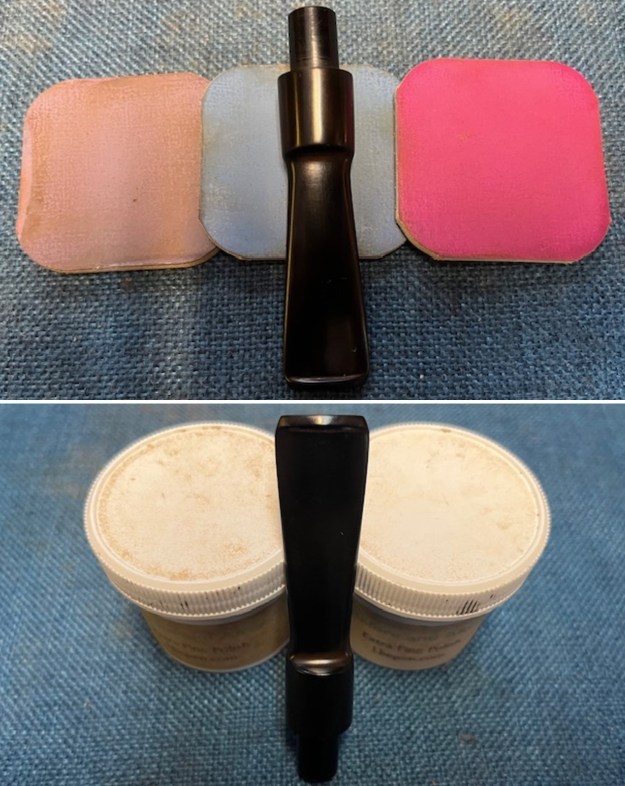
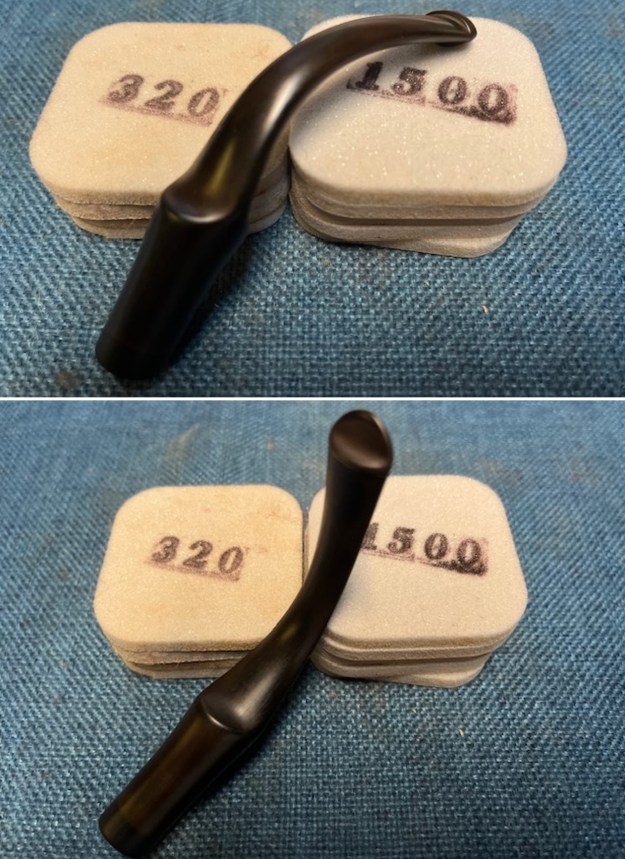
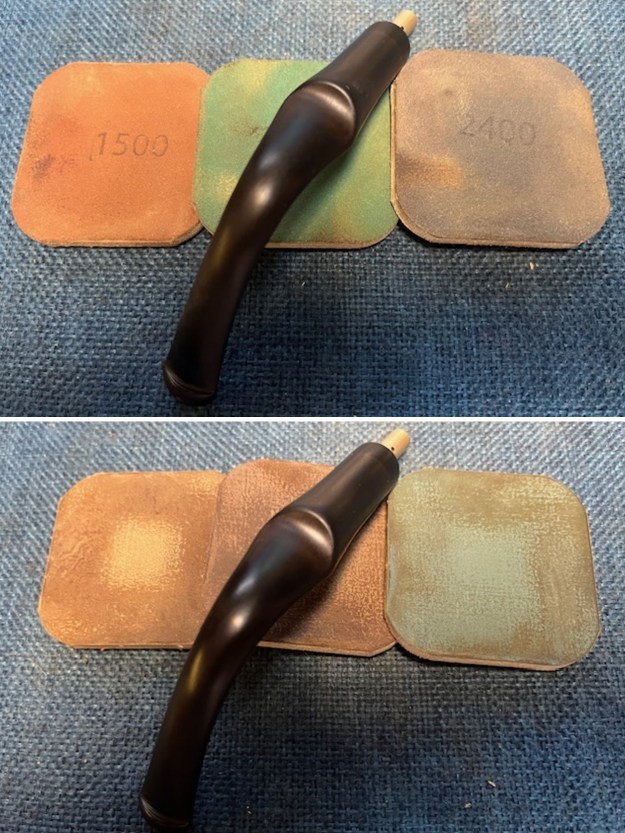
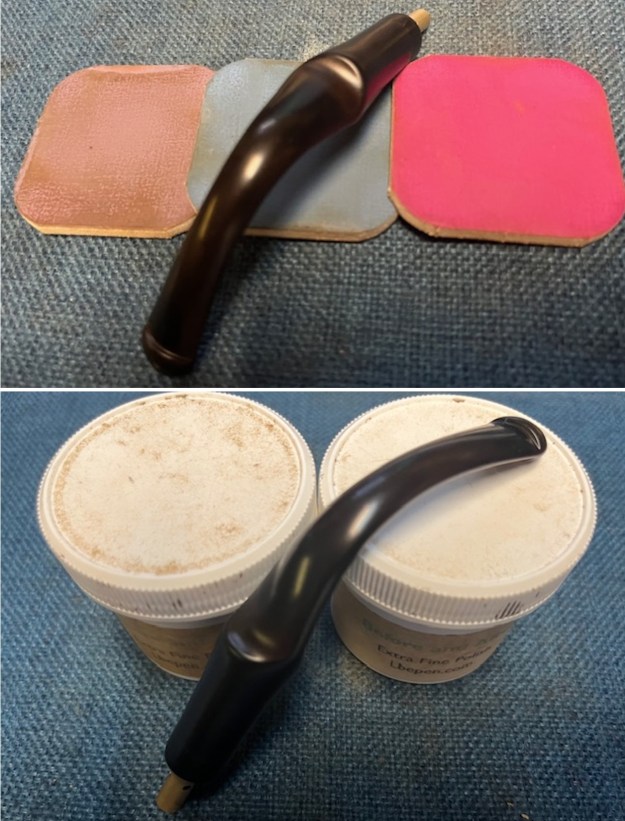
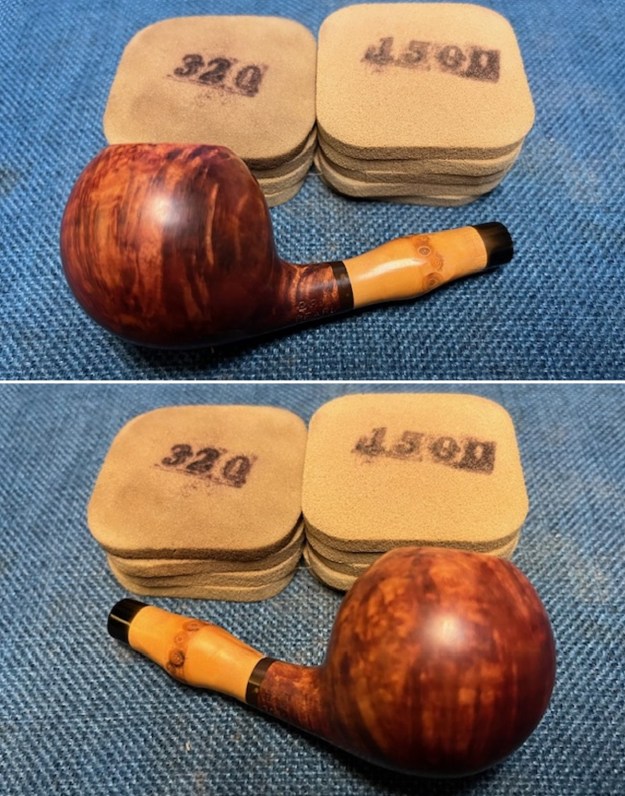
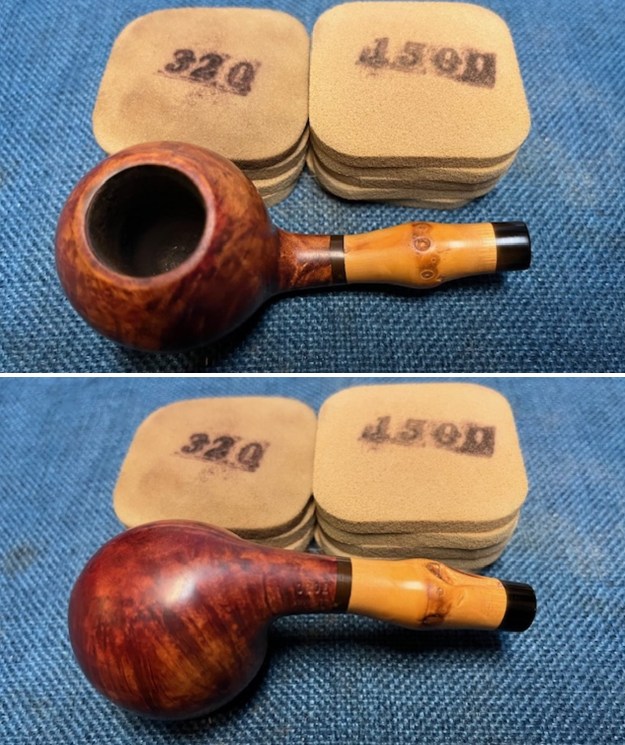
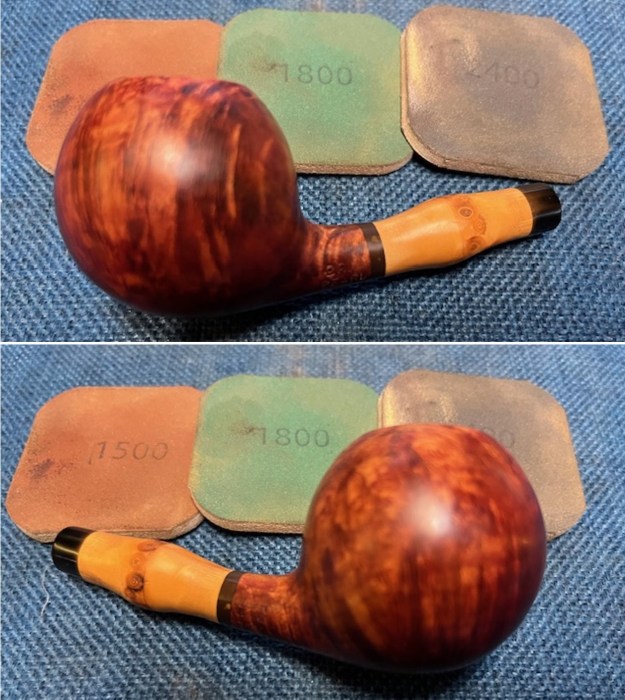
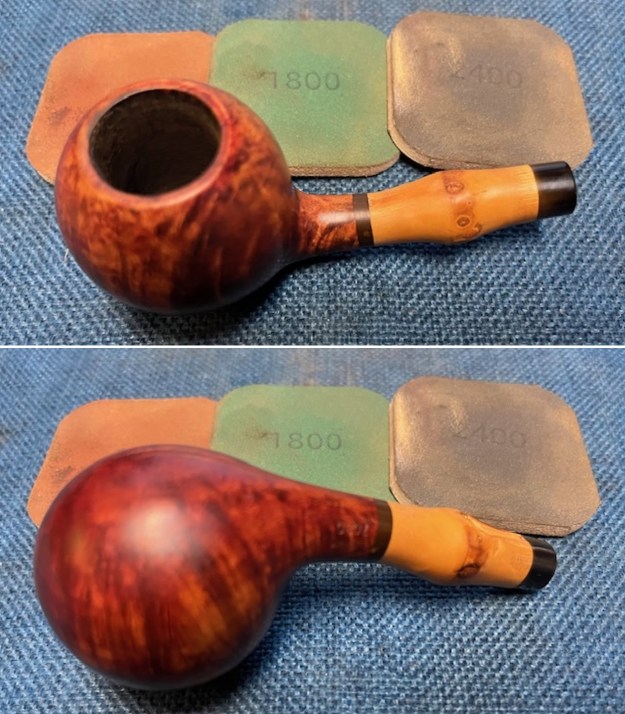
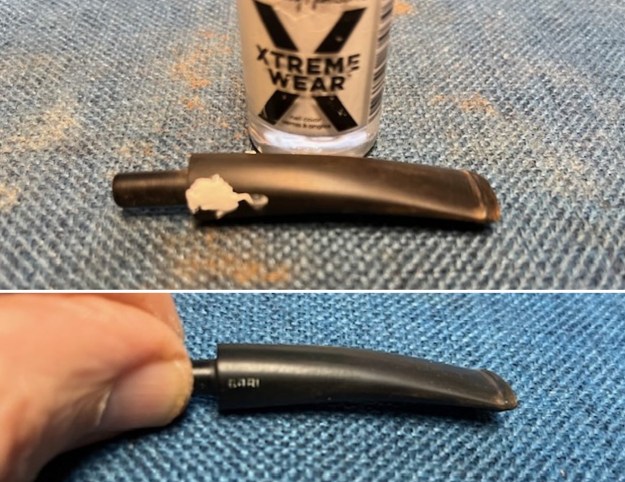
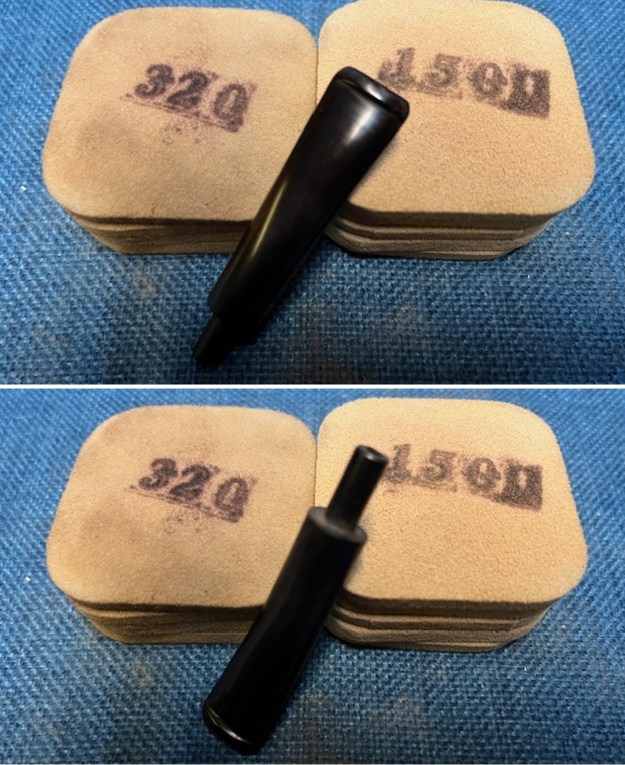
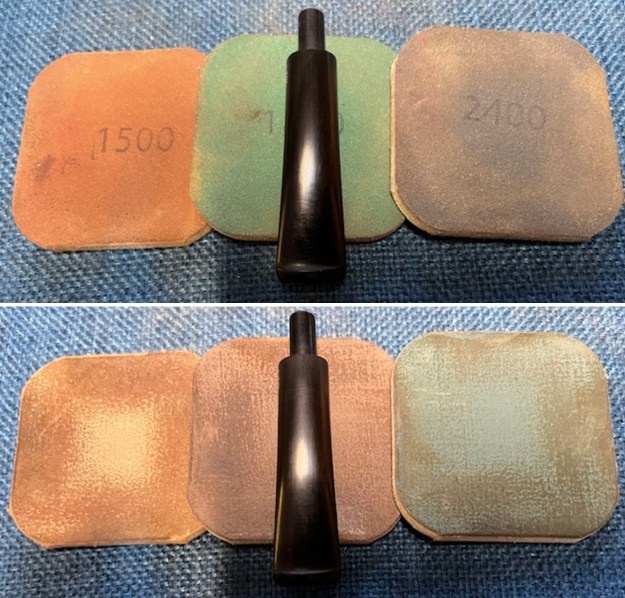
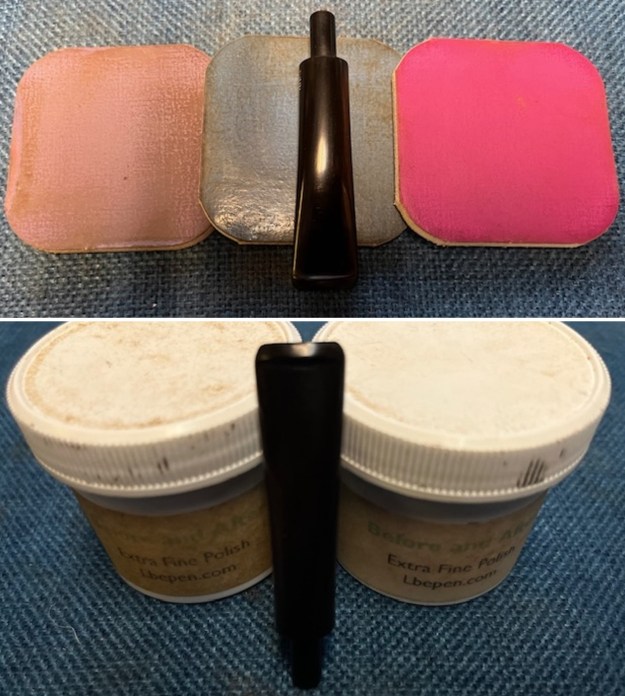
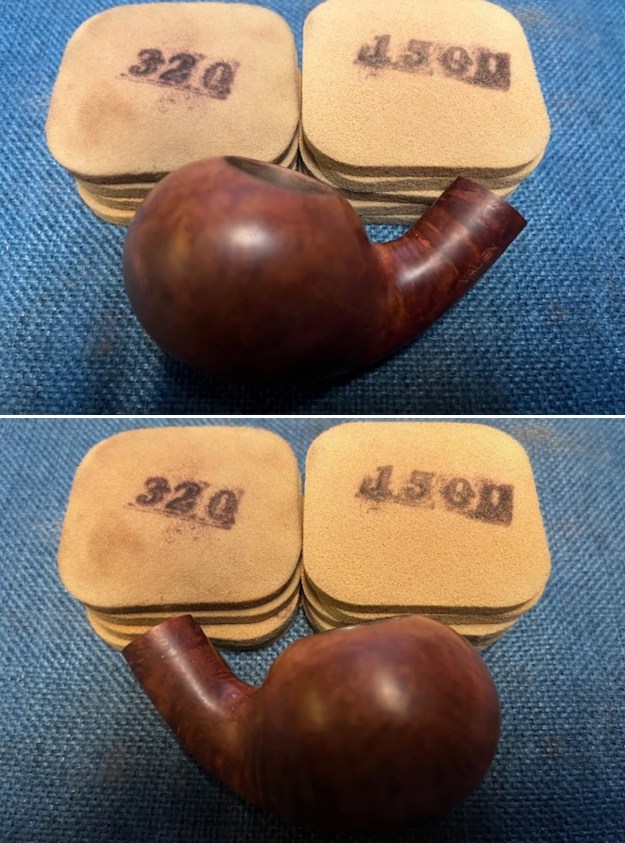
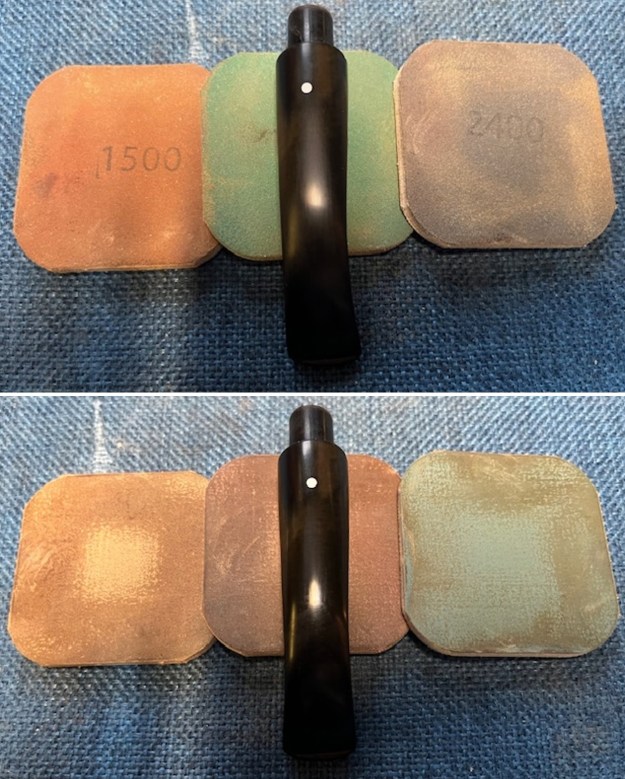
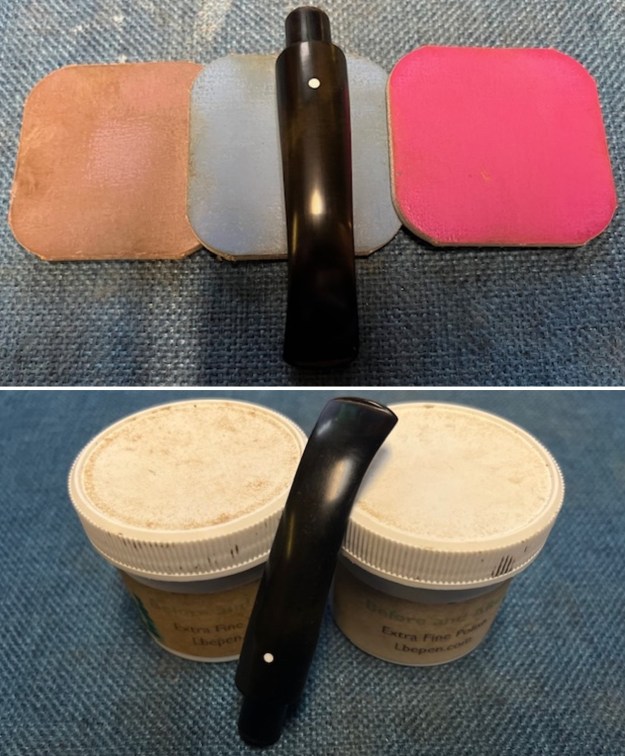
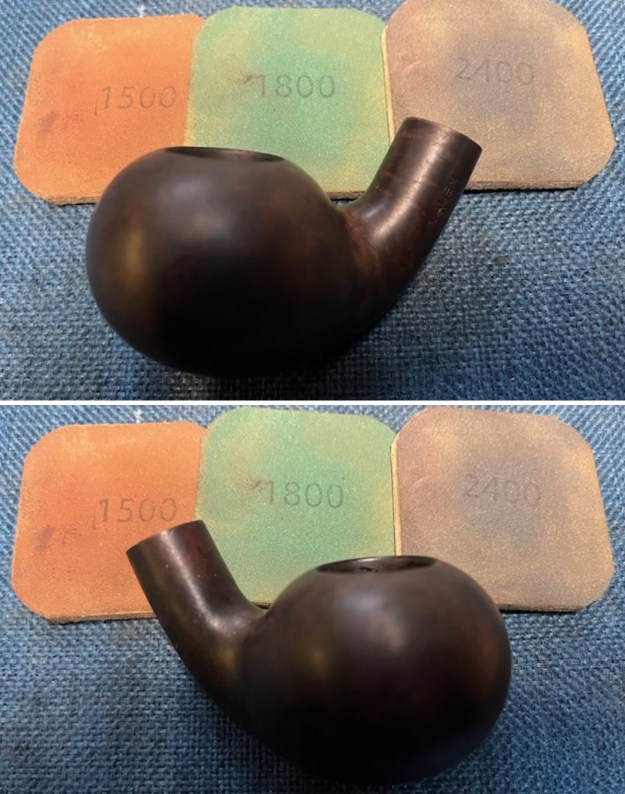
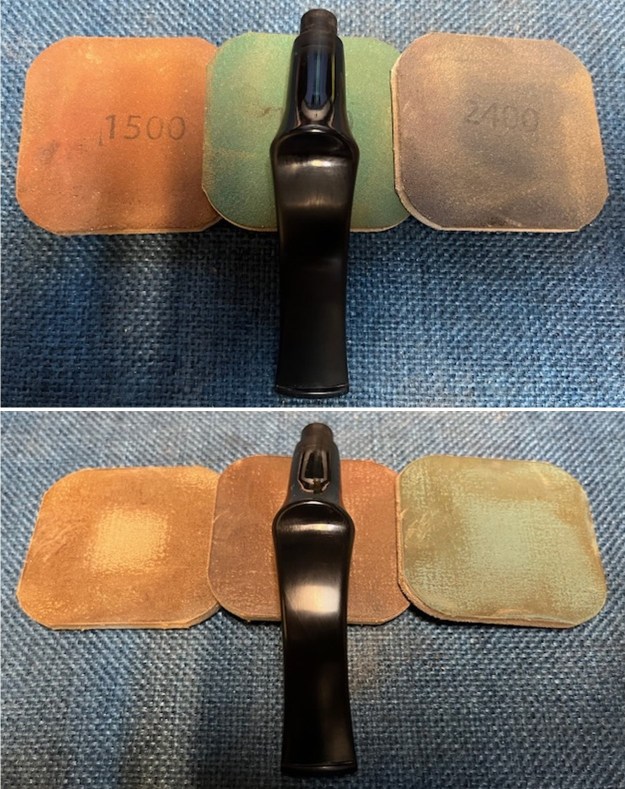
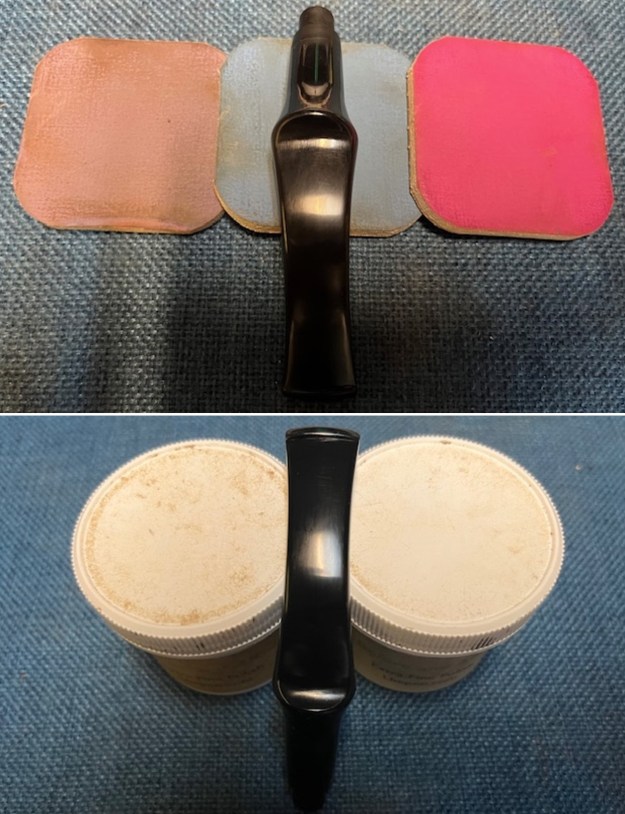
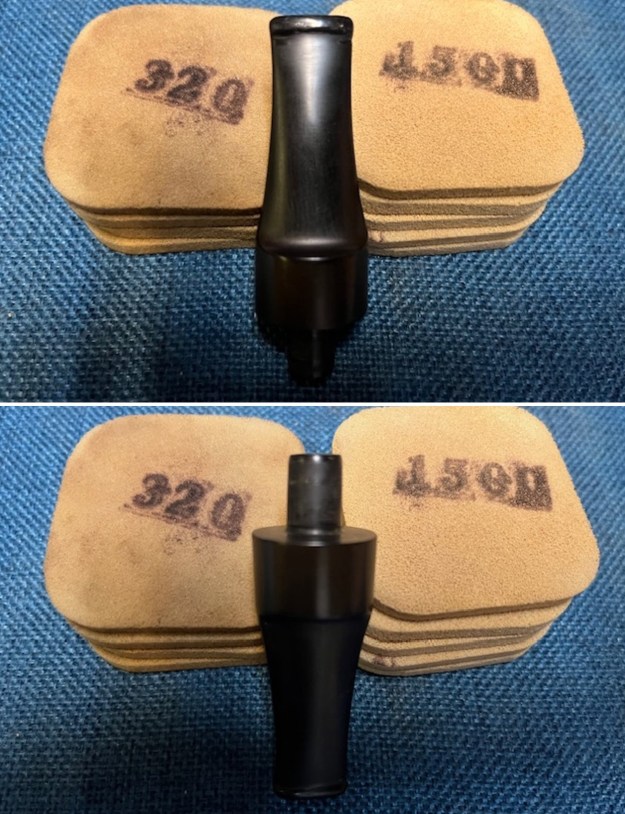
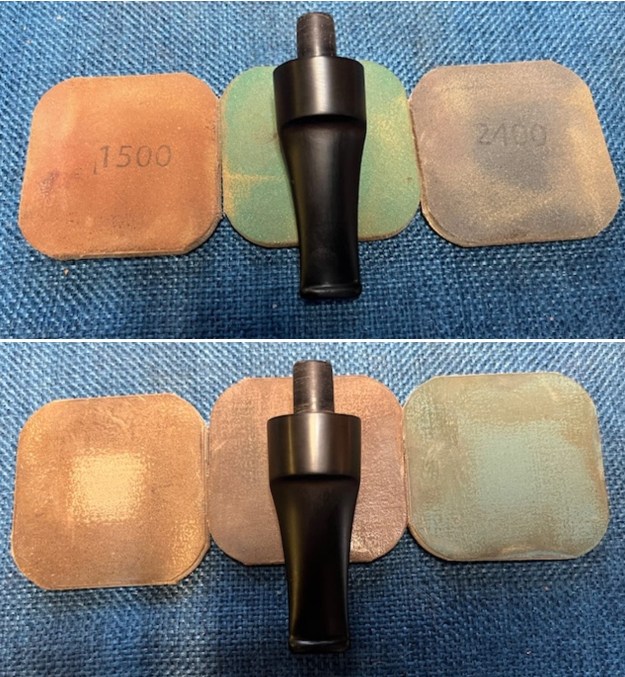
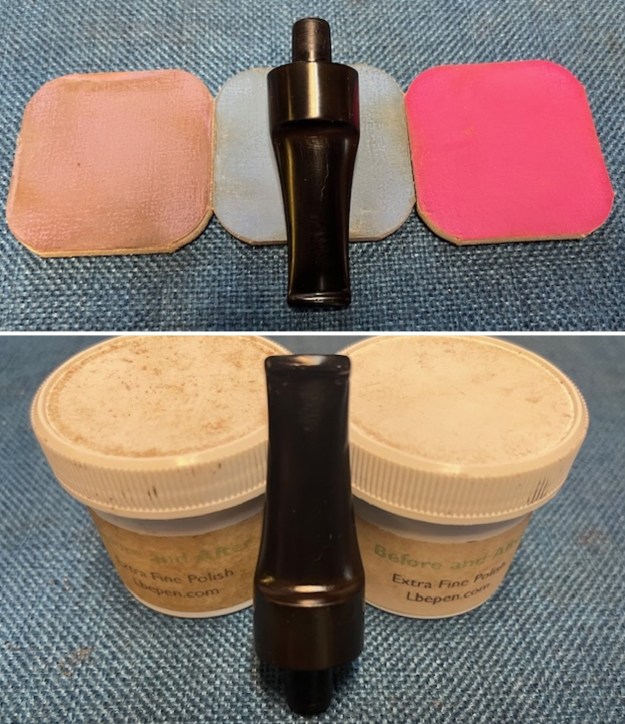
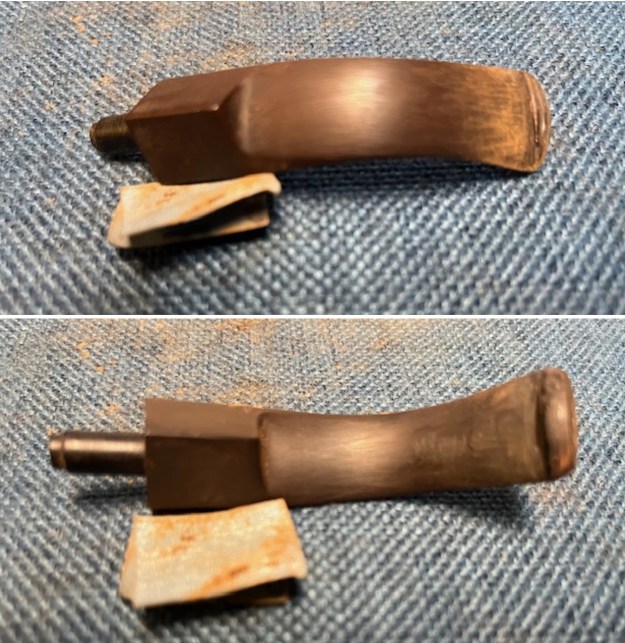
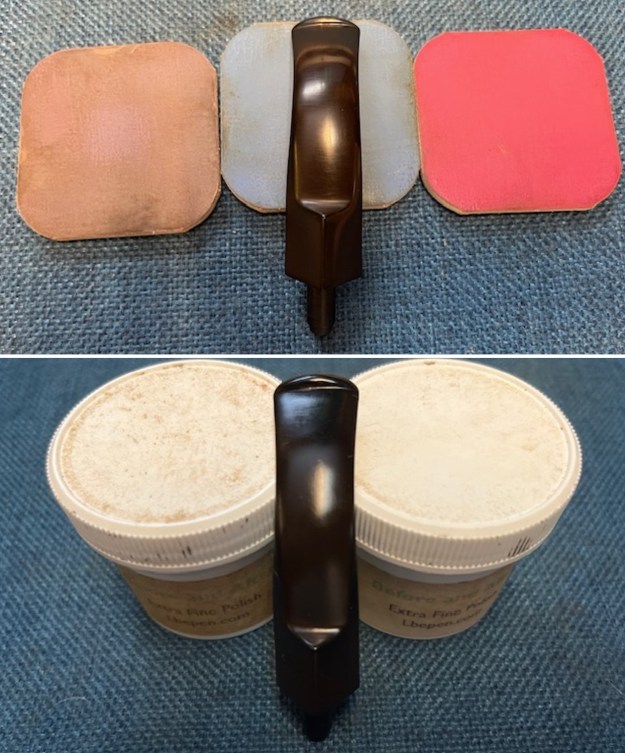
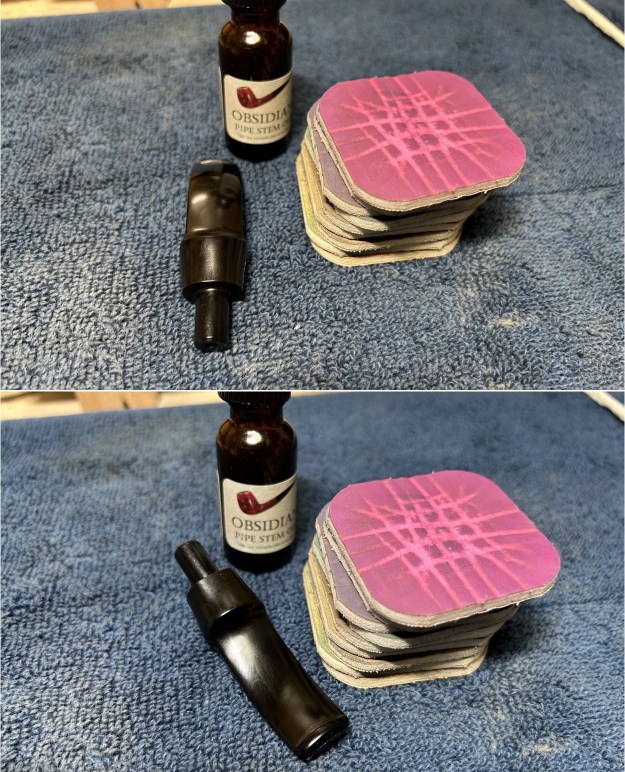
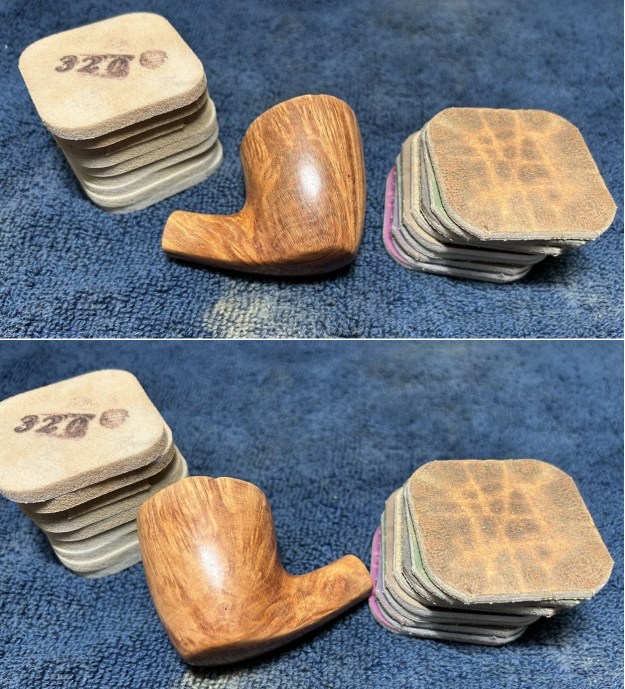
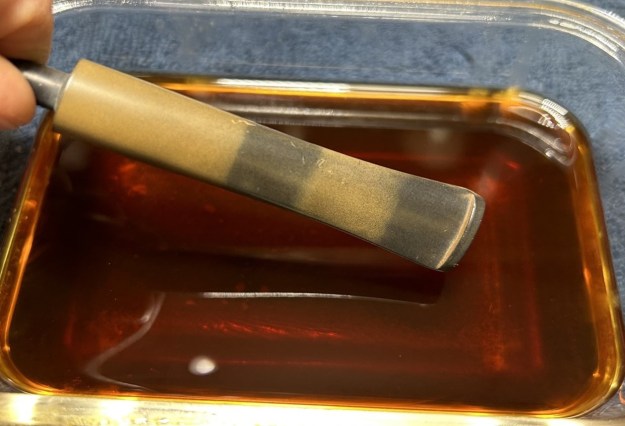 I then renewed the colour on the stem’s “B” by painting some nail polish there and letting it set. After that, I took my nine Micromesh pads and sanded the whole stem until it was shining like new. I also used my pipe stem oil in between the pads (from 3600 on) to bring out some extra lustre. Beauty.
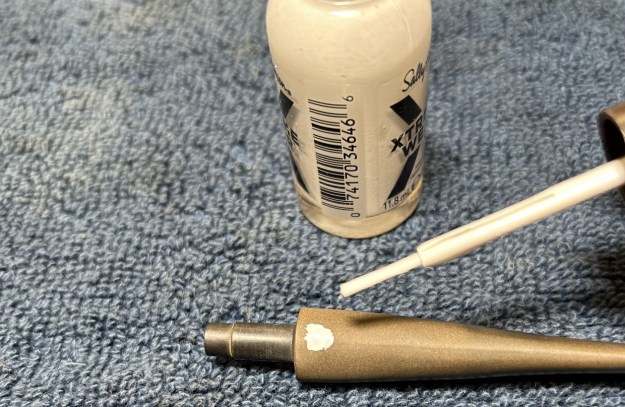
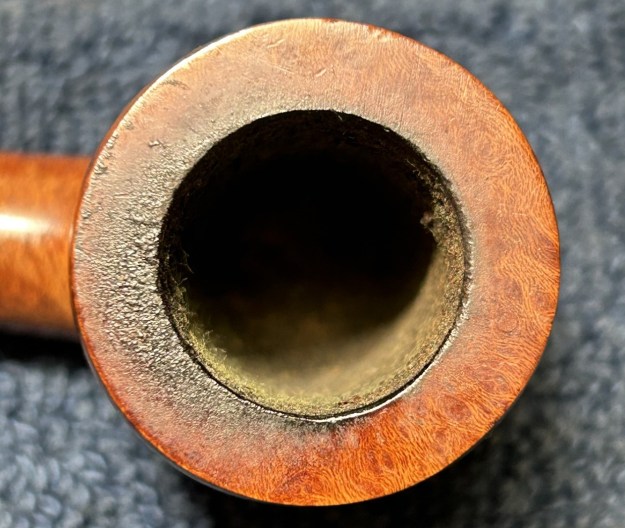
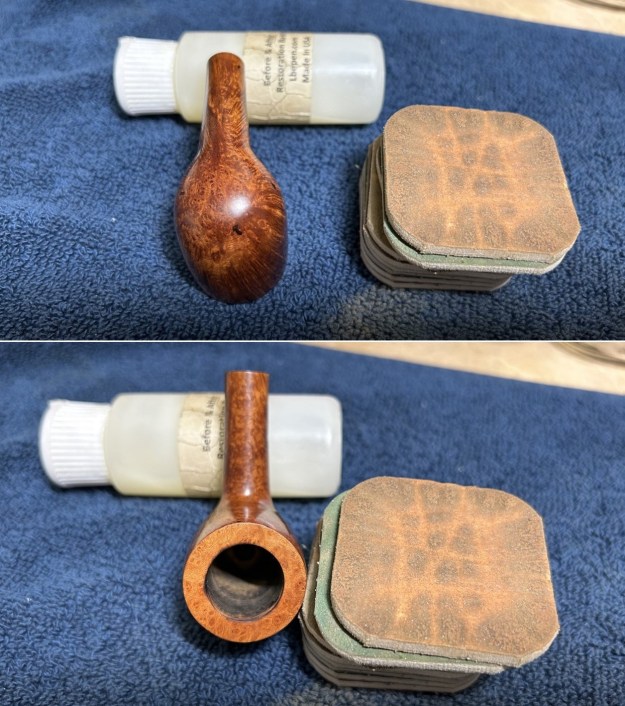
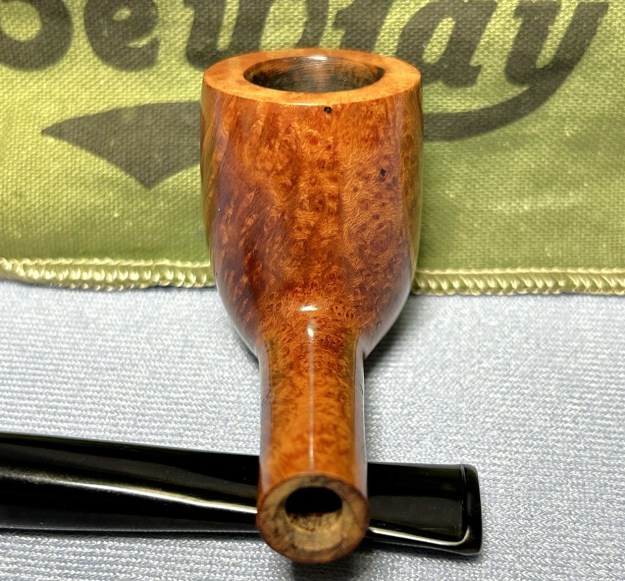
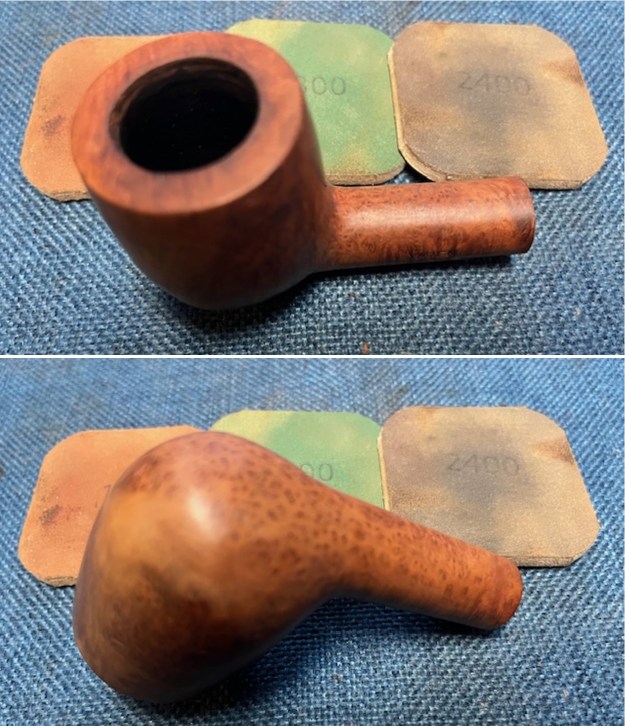
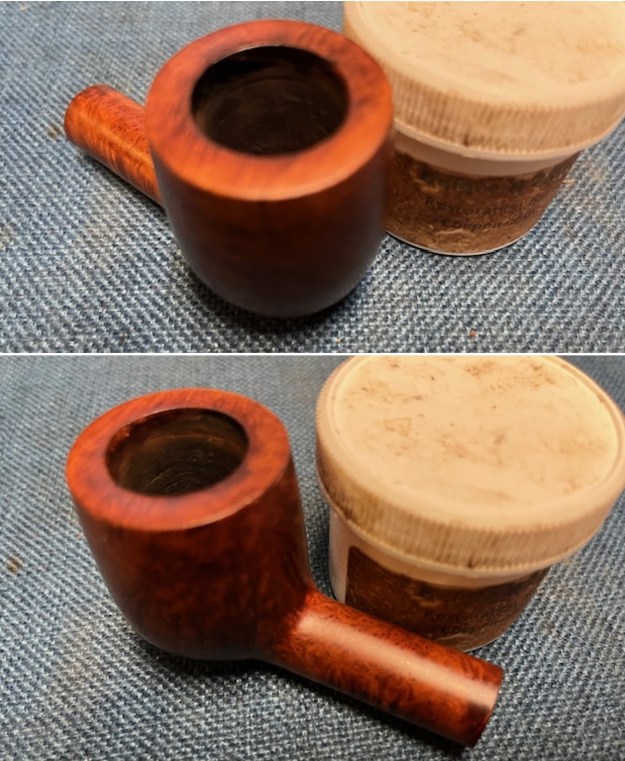
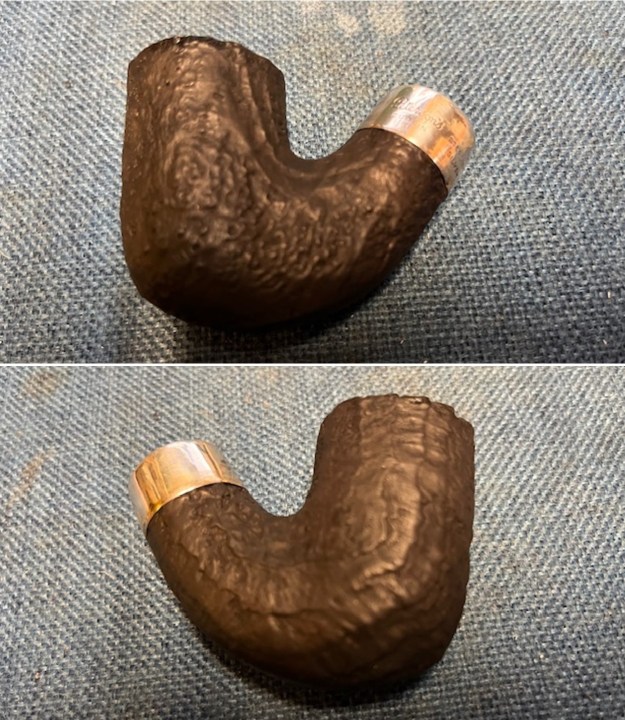
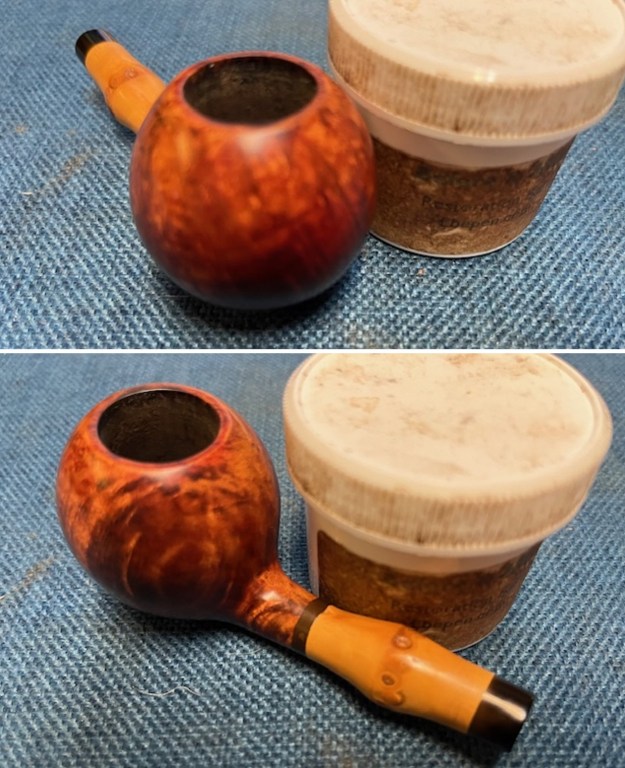
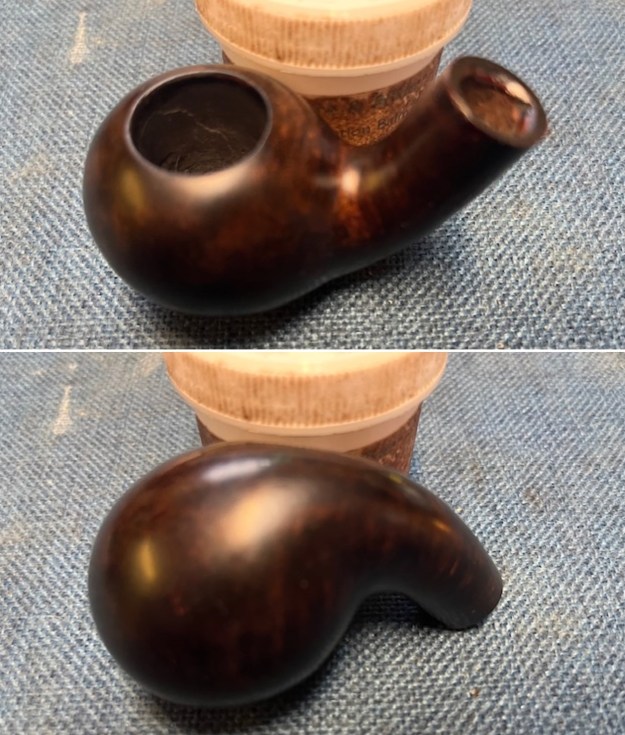
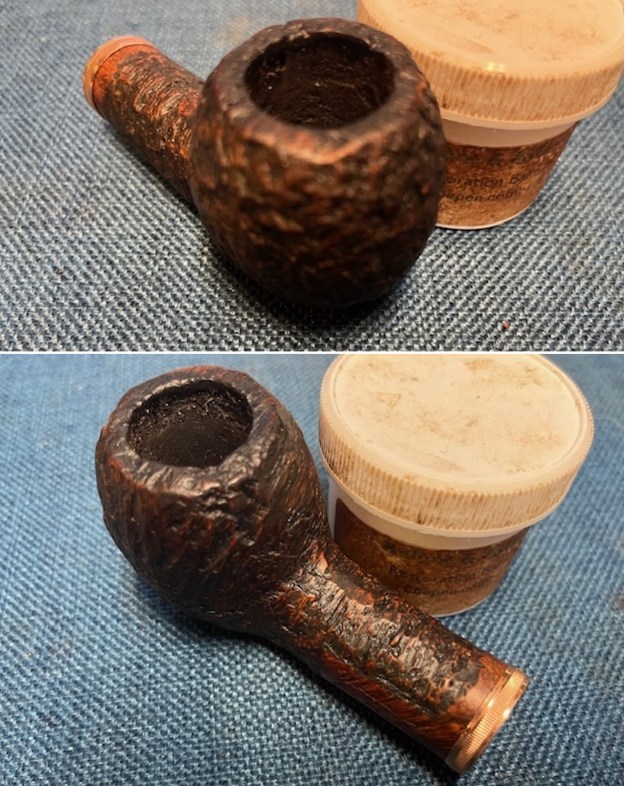
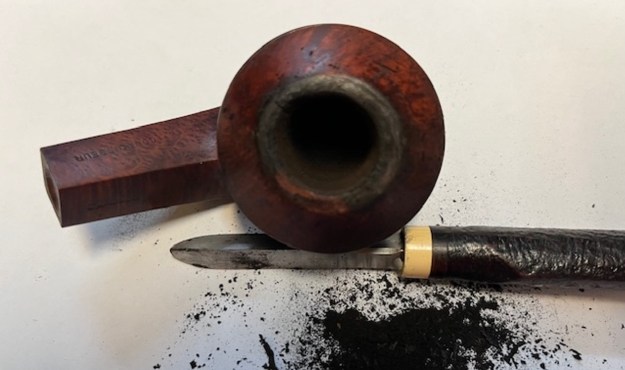
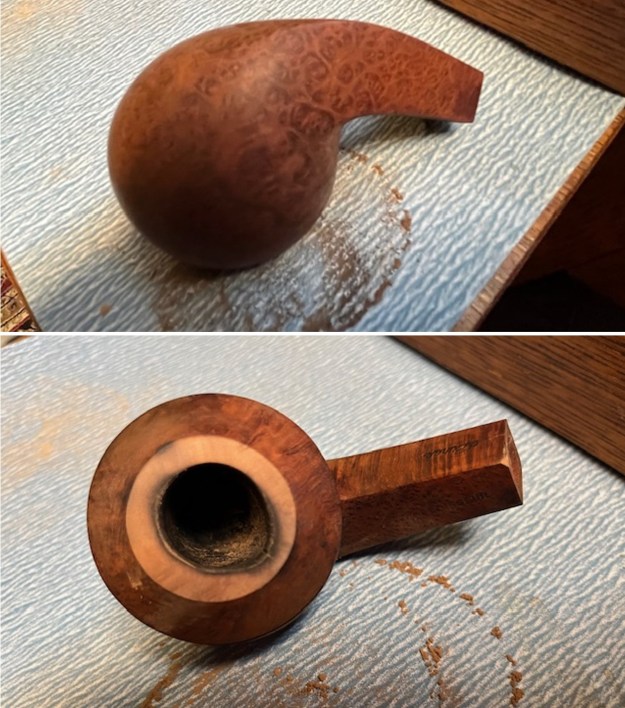
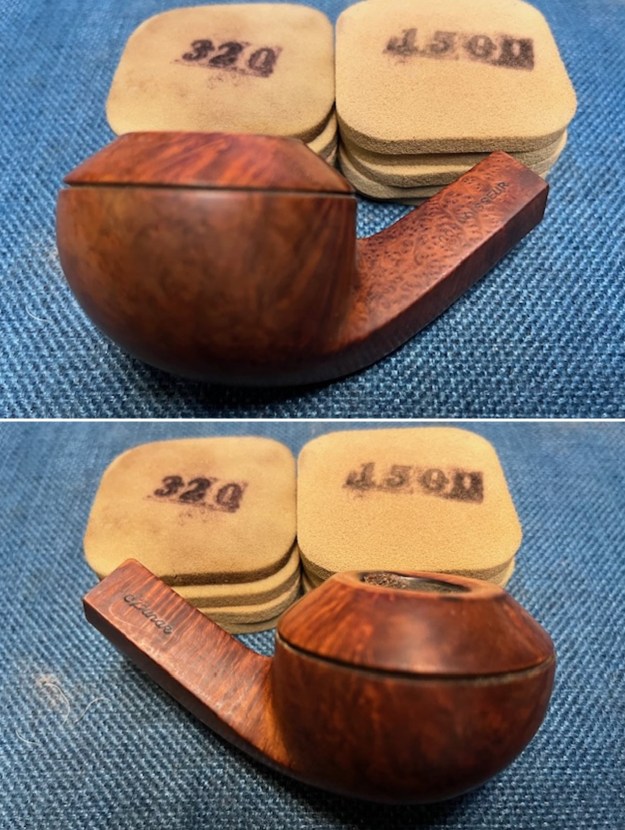
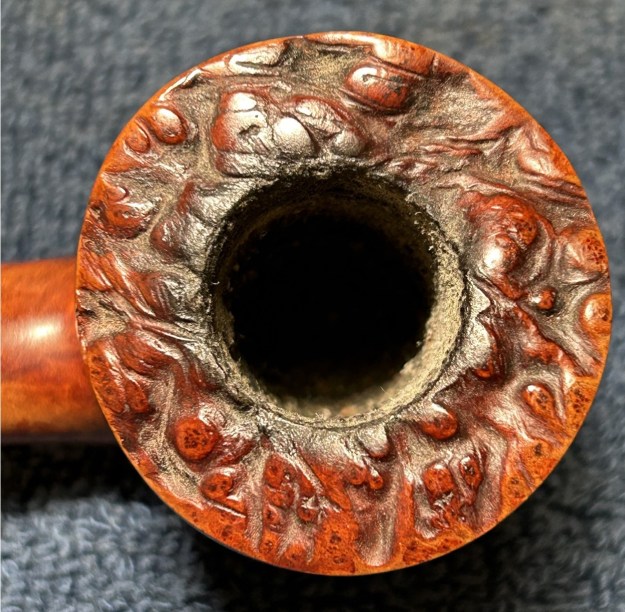
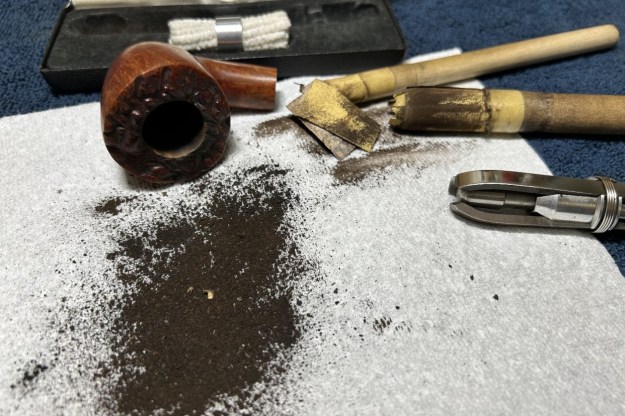
 Onto the stummel. In order to clean out the cake in the bowl, I used the KleenReem and followed that up with a piece of sandpaper taped to a wooden dowel. I sanded down the cake until I hit the briar walls, so that I could inspect them for potential damage. Everything looked good on the inside, which is great news.
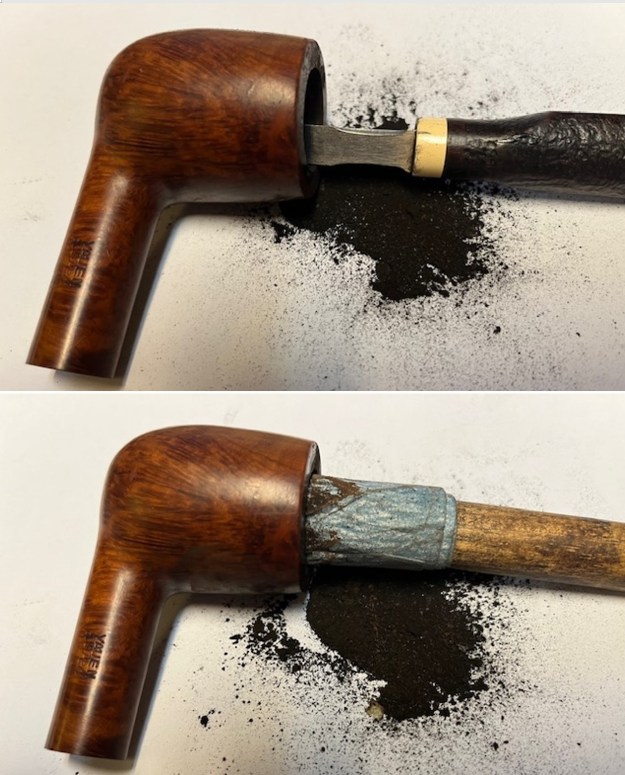
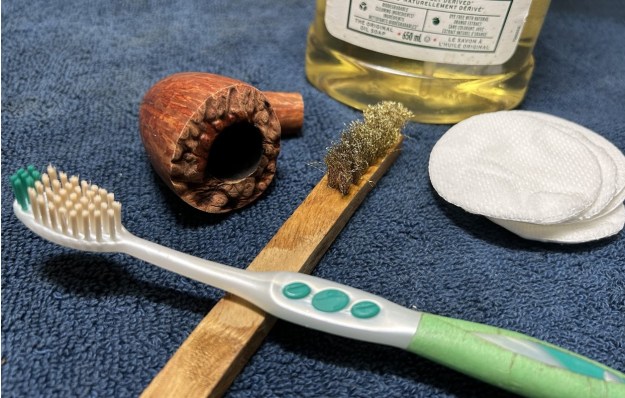
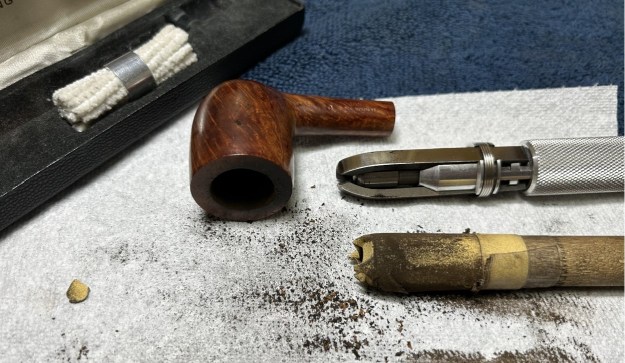 I proceeded to clean out the inside of the shank with 99% isopropyl alcohol and pipe cleaners and cotton swabs. It was surprisingly dirty in there! But I got it clean in the end.
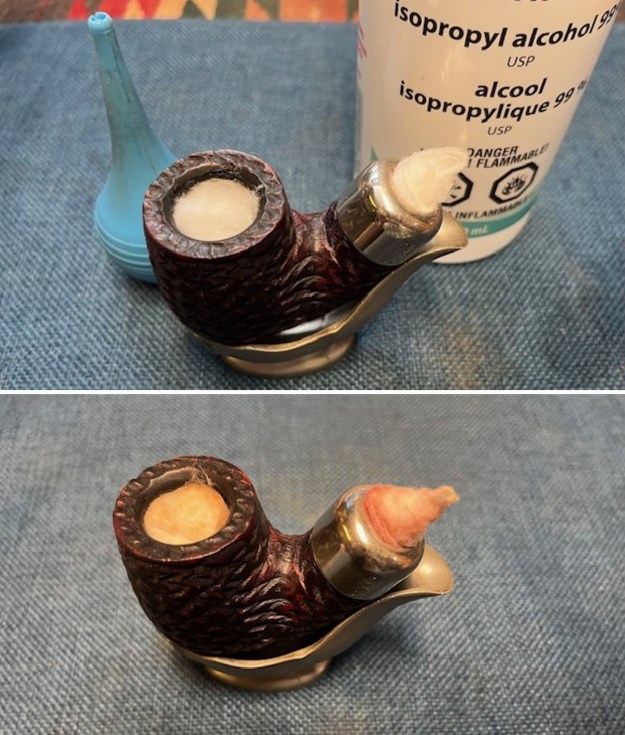
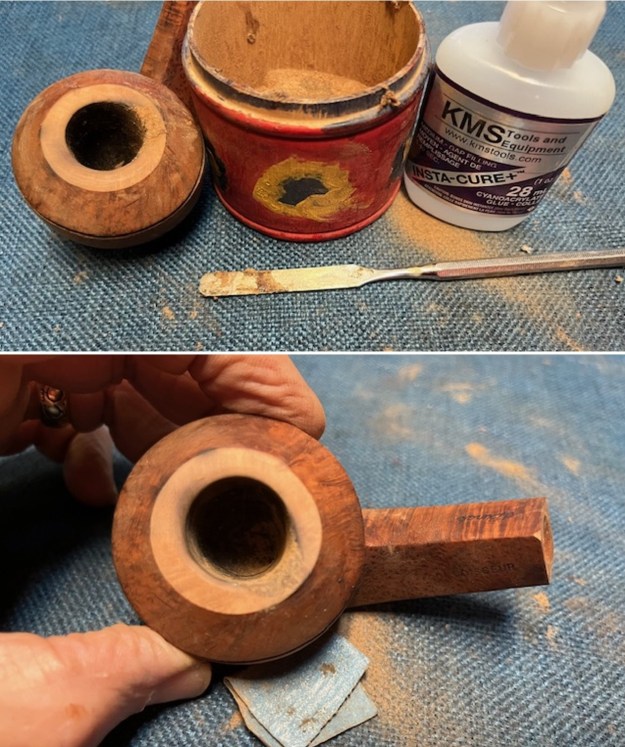
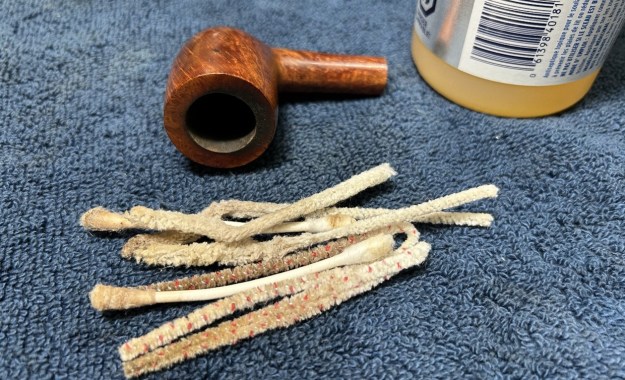 When that was done, I set up to de-ghost the pipe. I put some cotton balls into the bowl and the shank and soaked them with 99% isopropyl alcohol. I let that sit overnight so that any remaining smells and/or filth would leach out into the cotton. I also scrubbed the insides with some soap and tube brushes. It was beautifully clean after that!
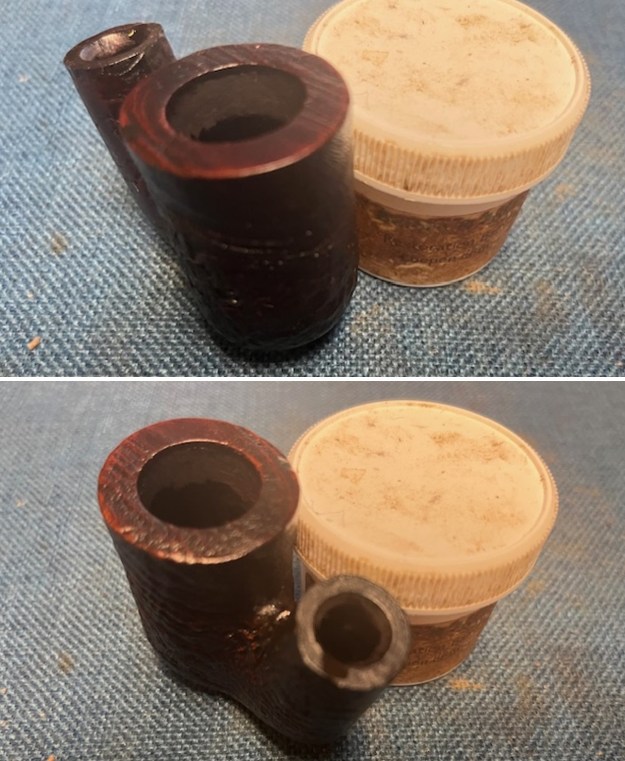
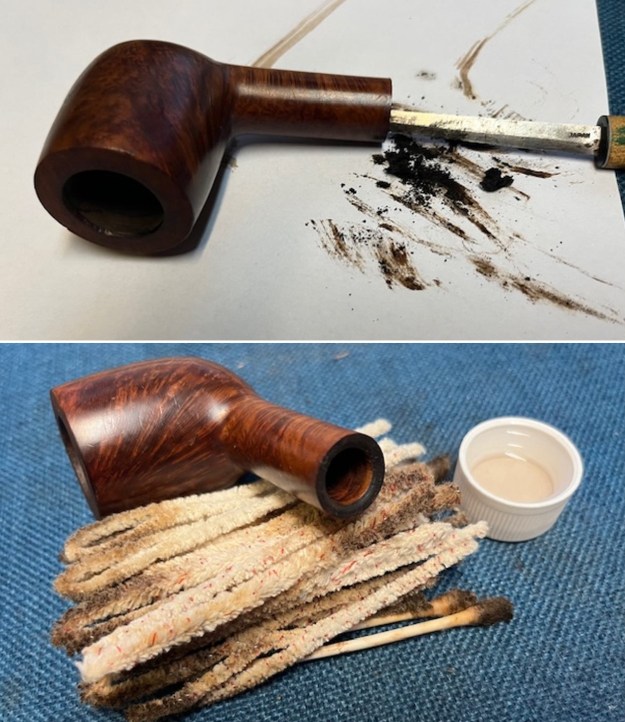
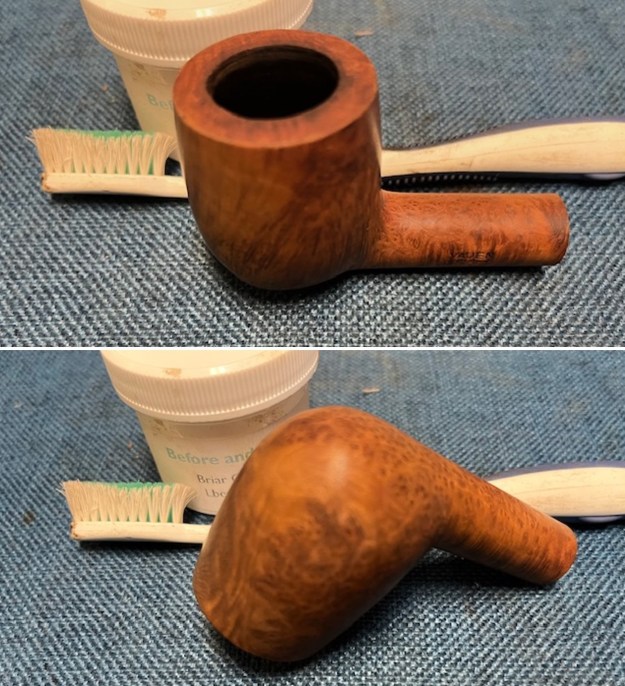
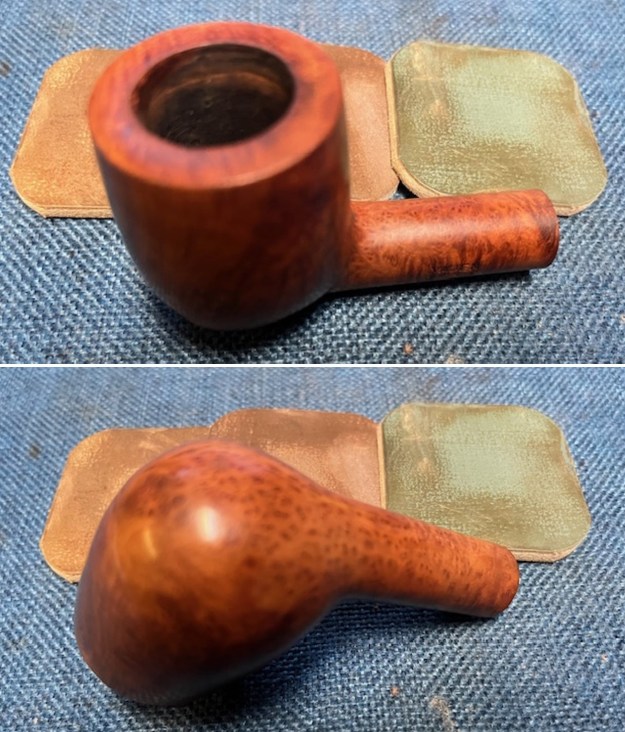
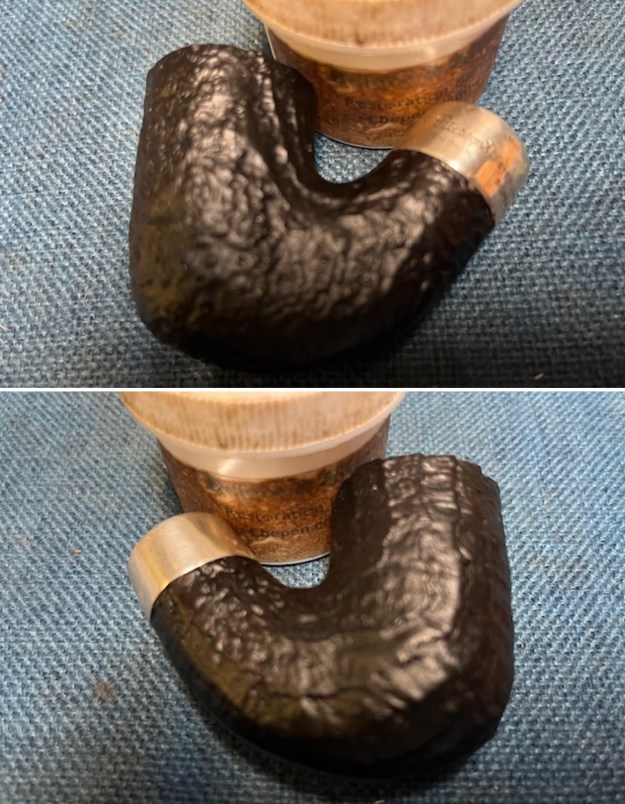
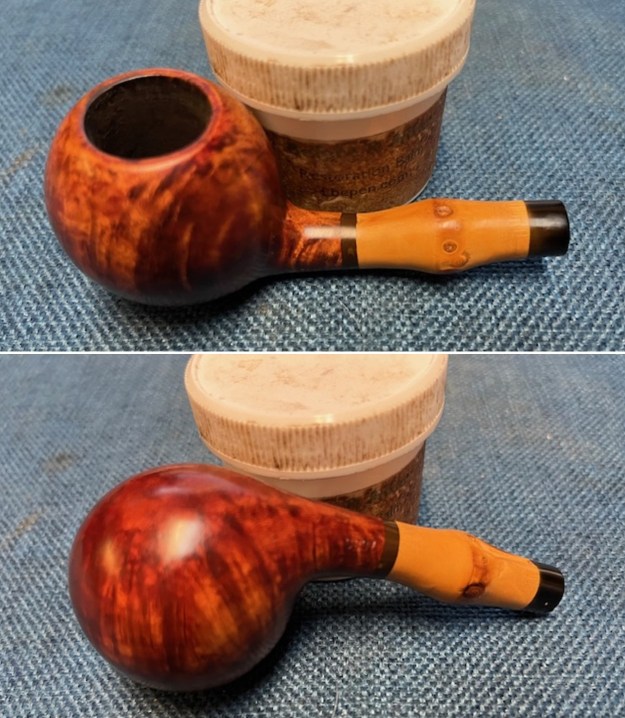
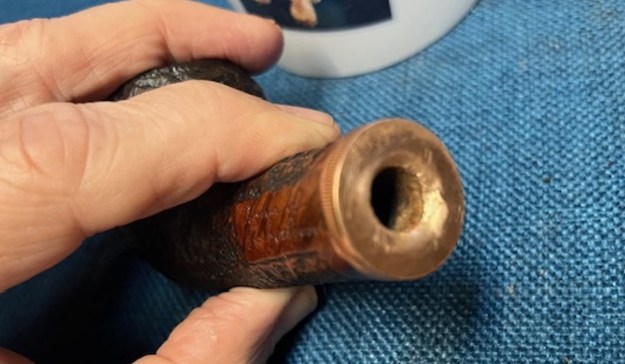
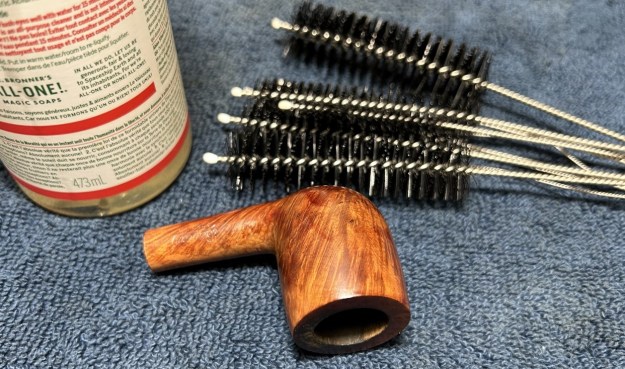 The stummel was in very nice shape, although the rim did have some lava on it, as previously mentioned. I used a piece of machine metal to ever-so-gently scrape off as much of this as I could so as to avoid damaging the rim. This worked perfectly. A good amount of debris came off, which was nice to see.
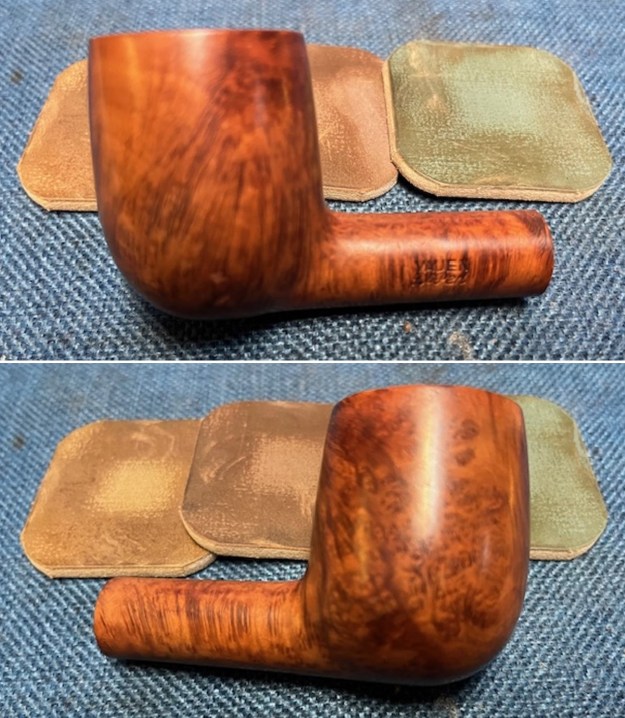
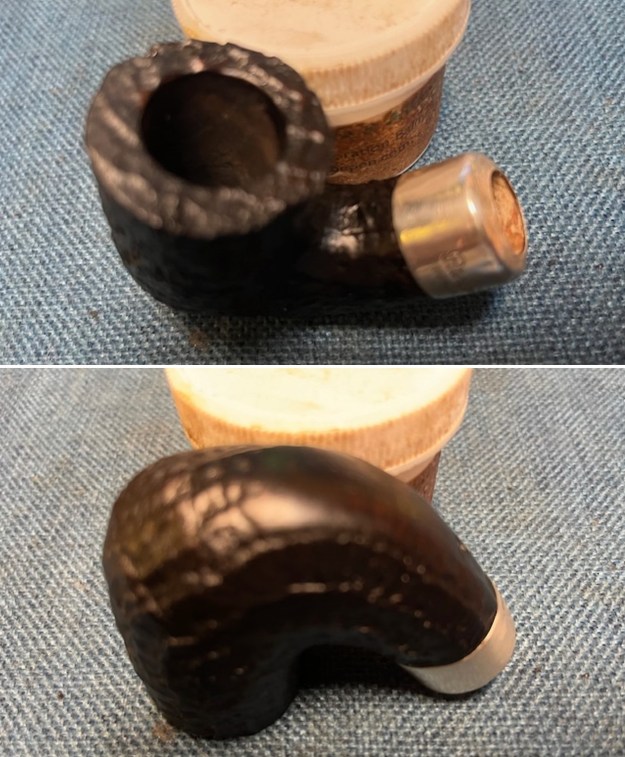
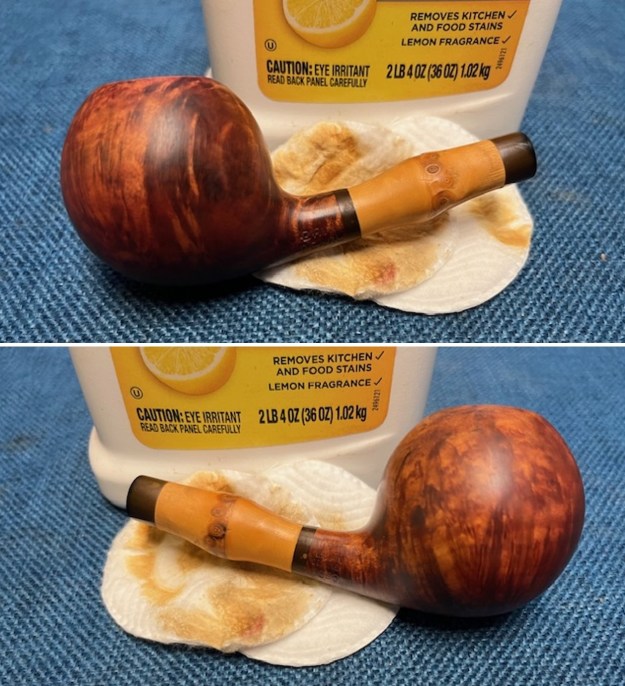
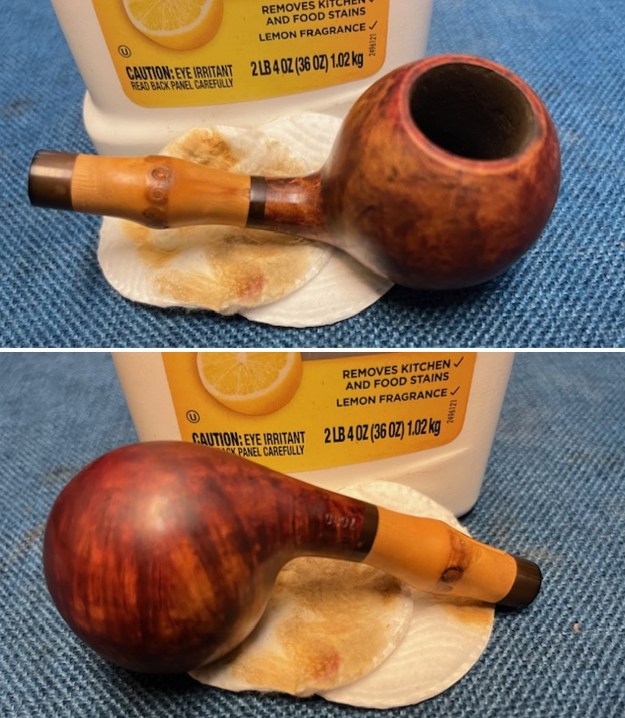
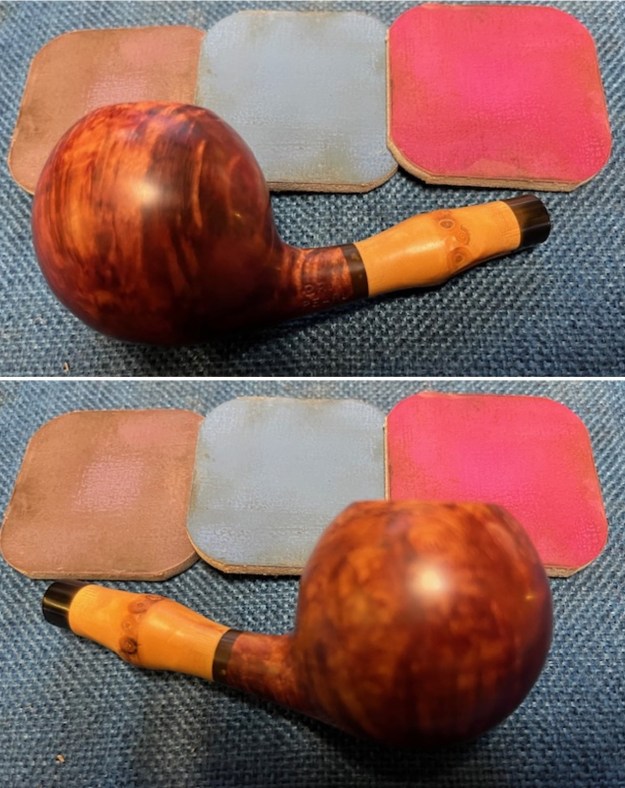
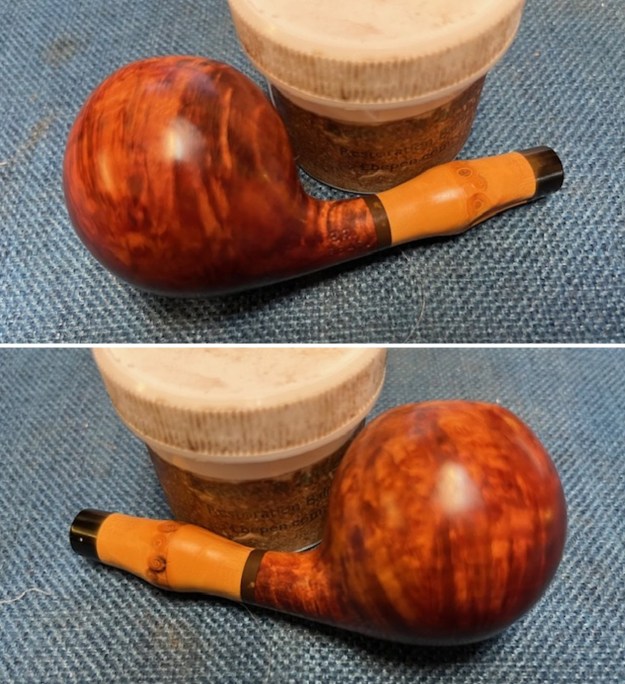
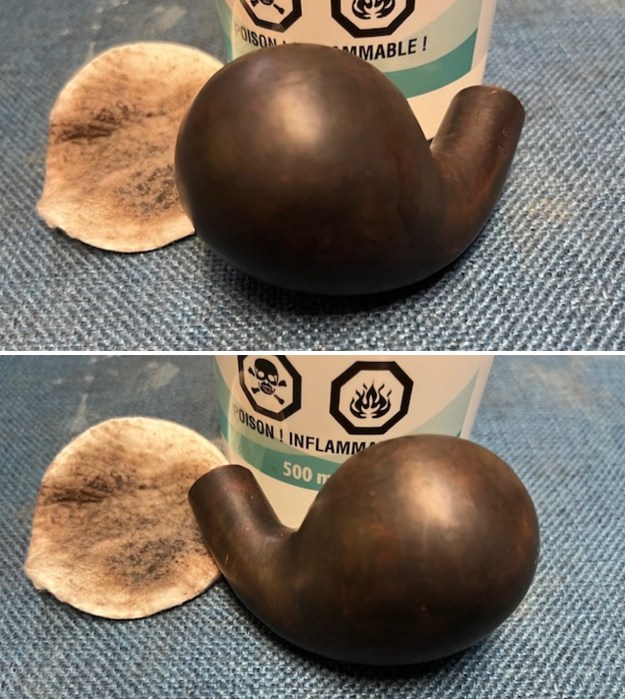
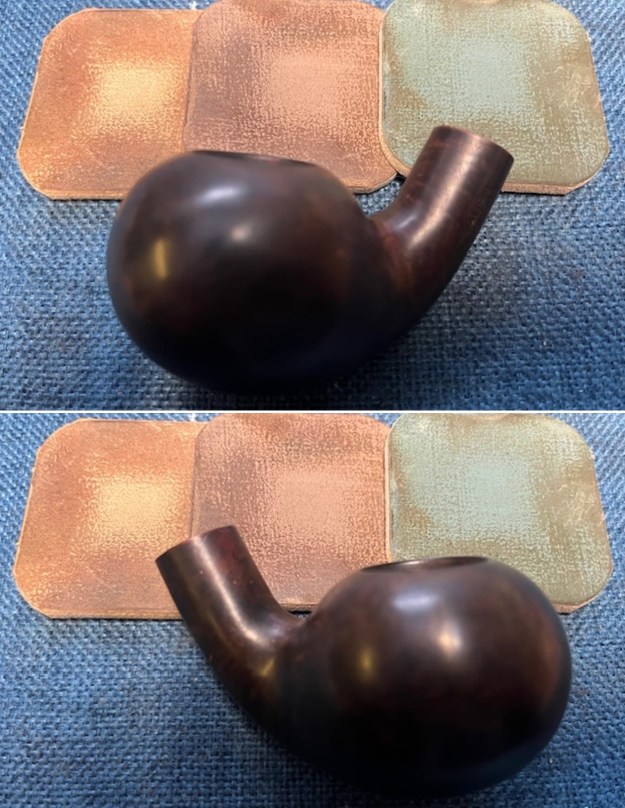
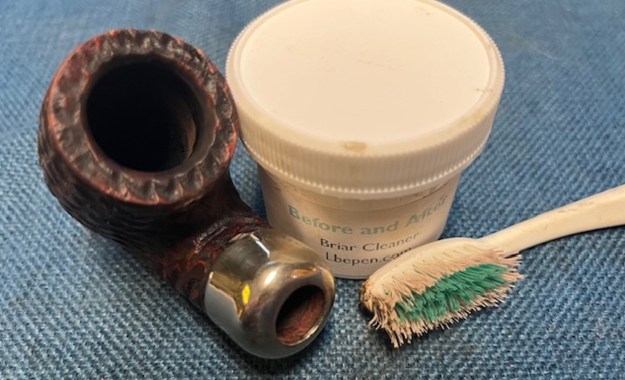
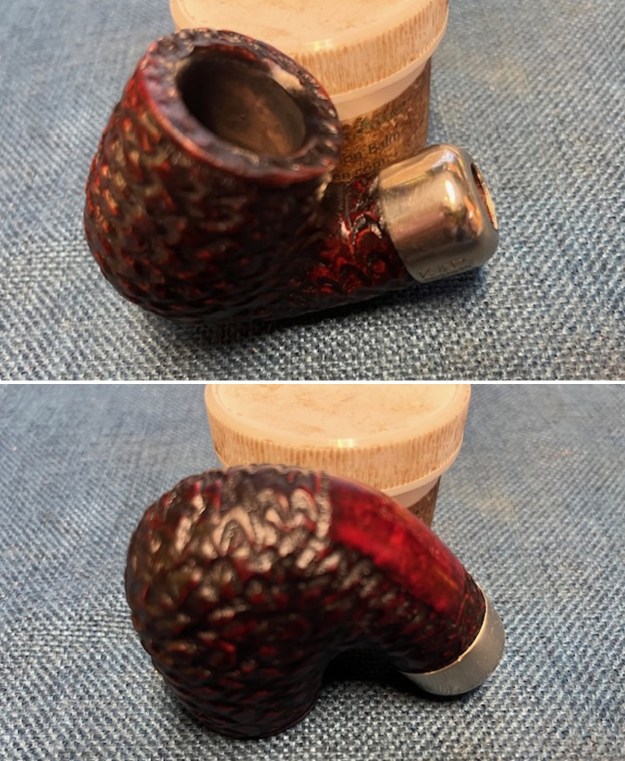
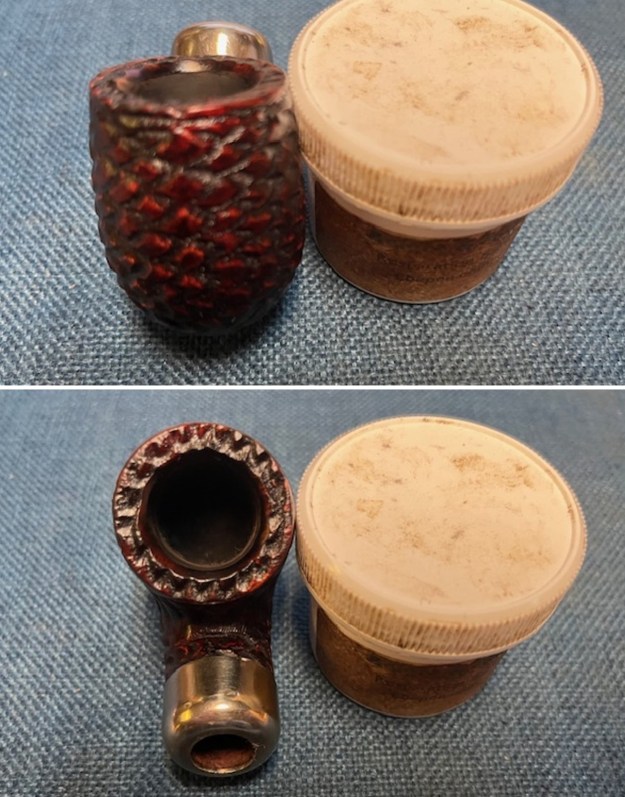
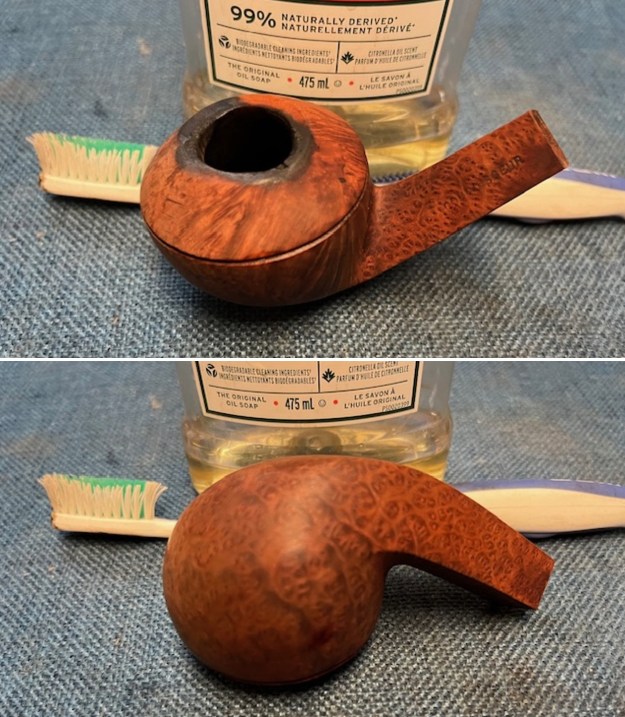
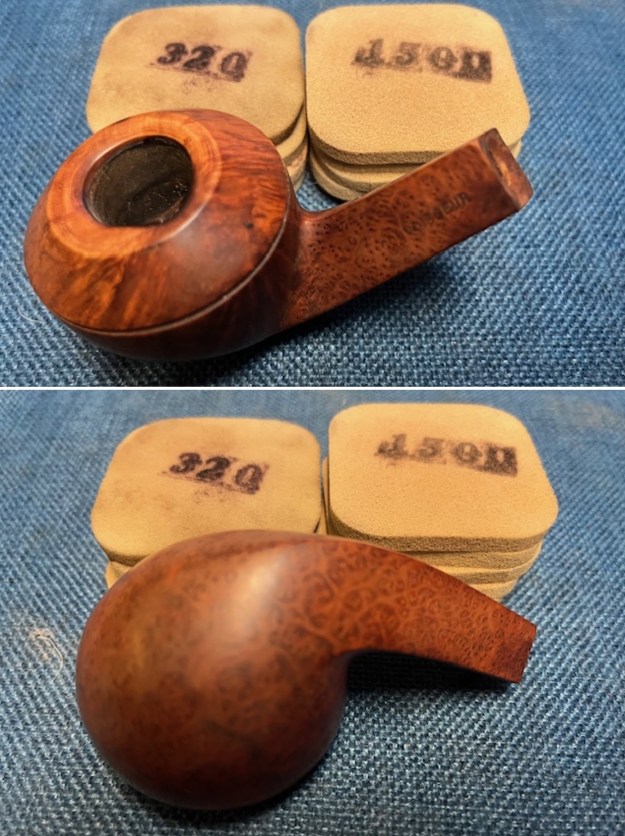
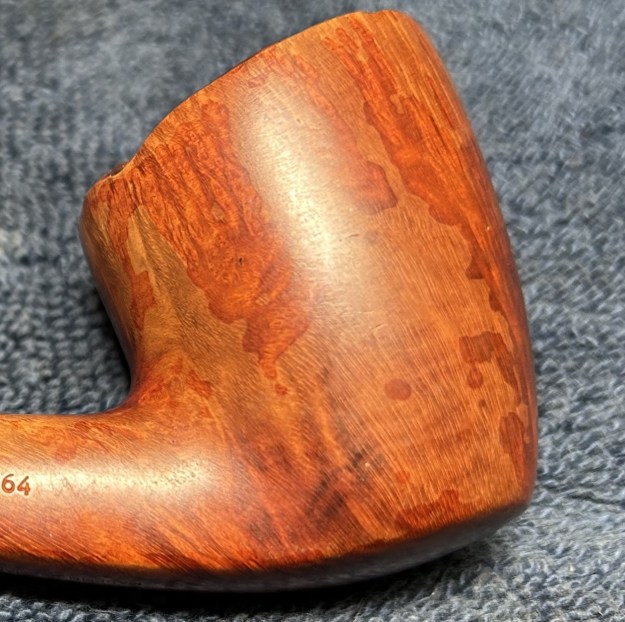
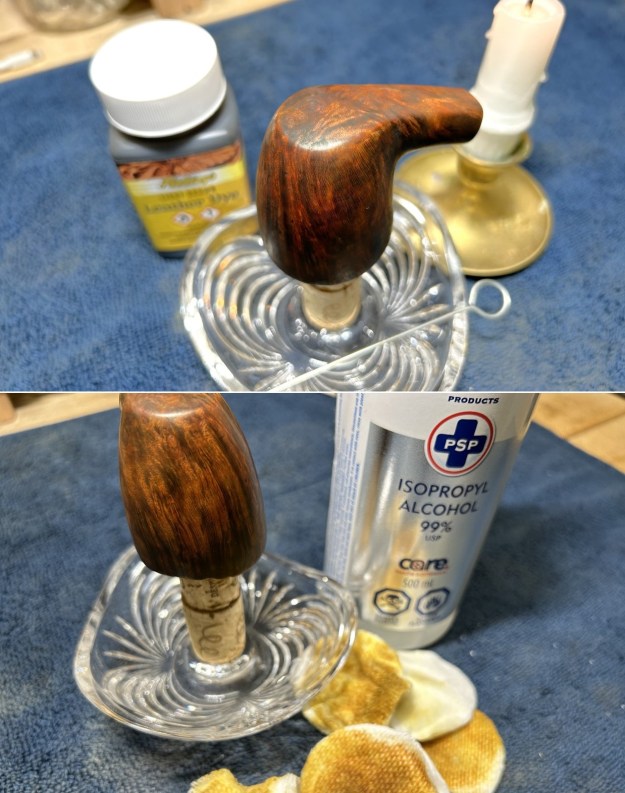
I then used some lightly diluted Murphy’s to clean the whole stummel. This removed any external dirt and oils, and it was much improved.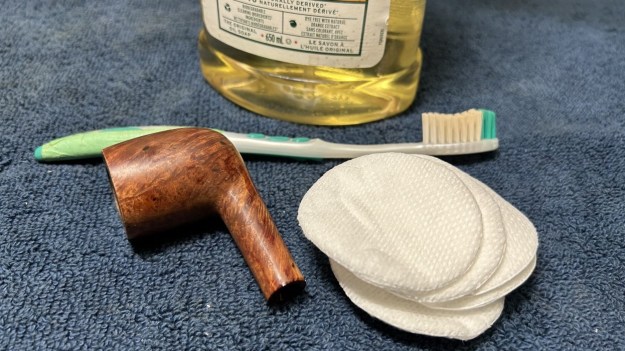 I then took my restoration balm, rubbed it in the wood and let it sit for about 20 minutes. This balm is fantastic stuff and does wonderful things to nourish the wood. After letting it sit, I used a microfibre cloth and buffed it.
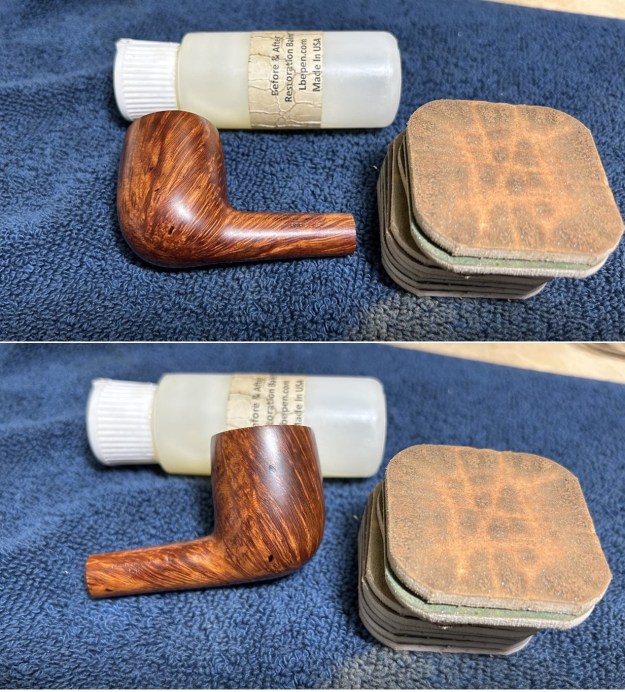
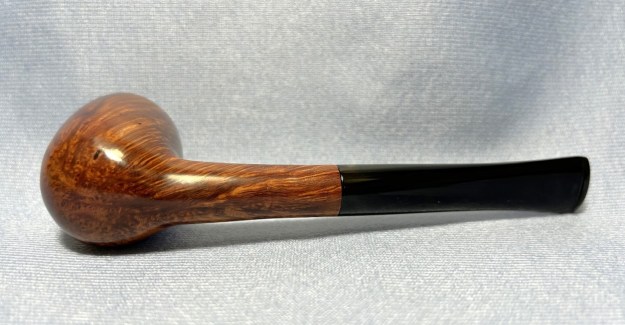
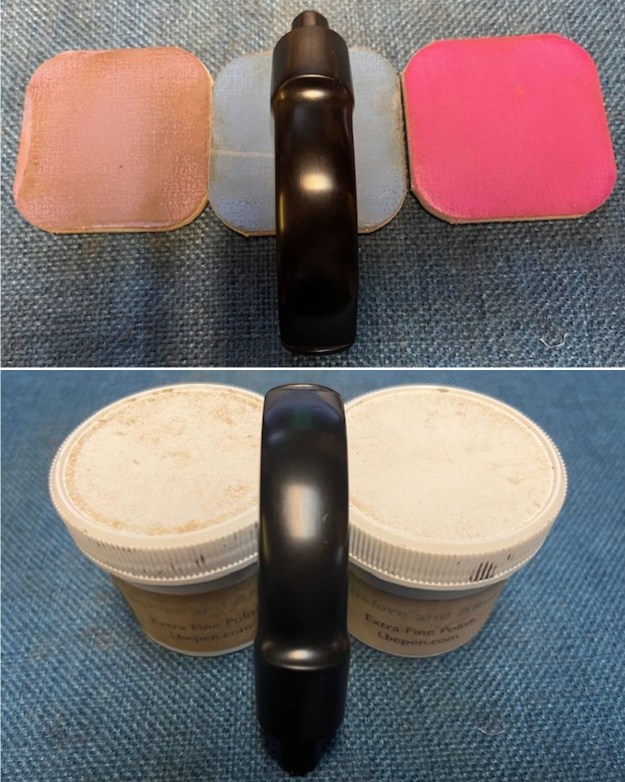
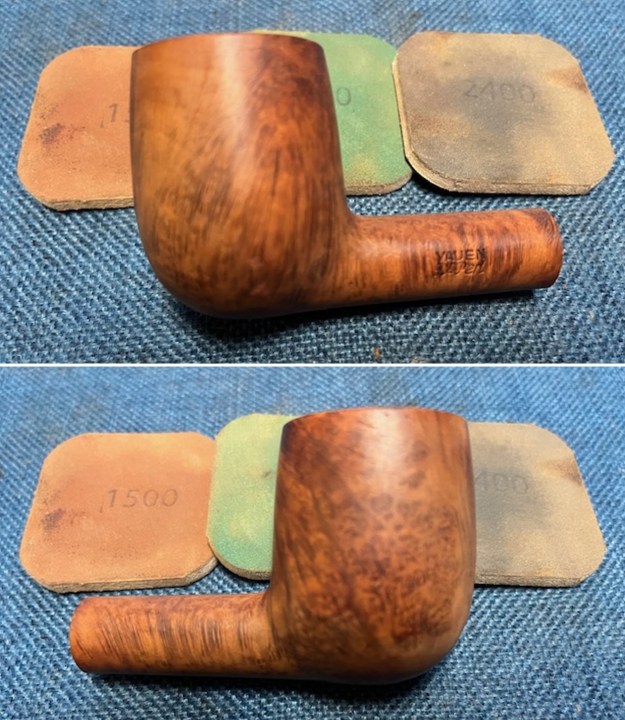
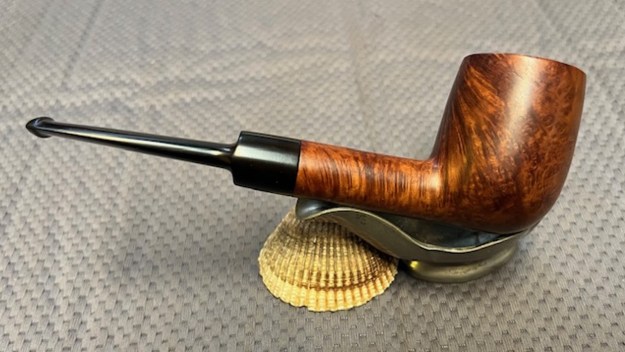
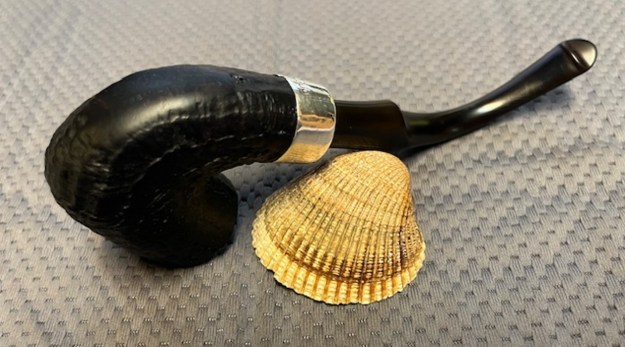
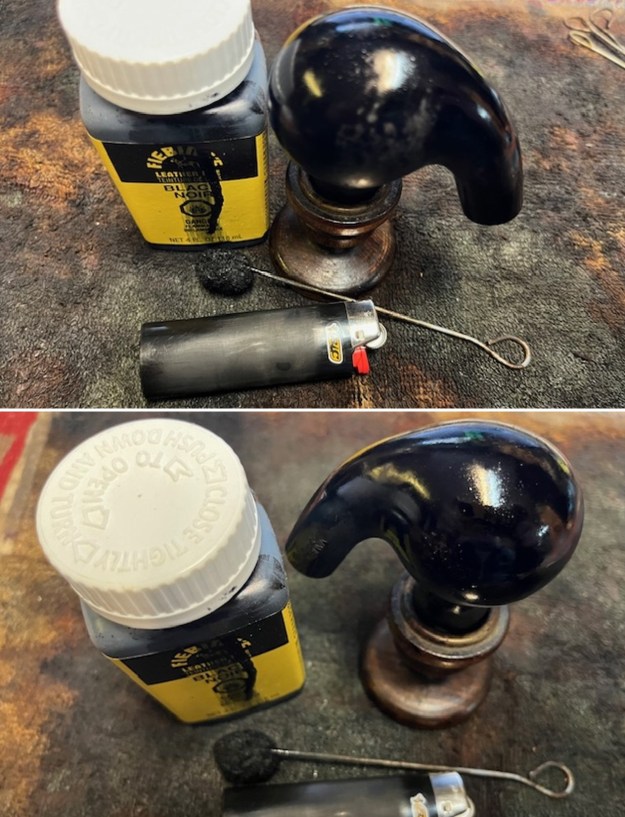
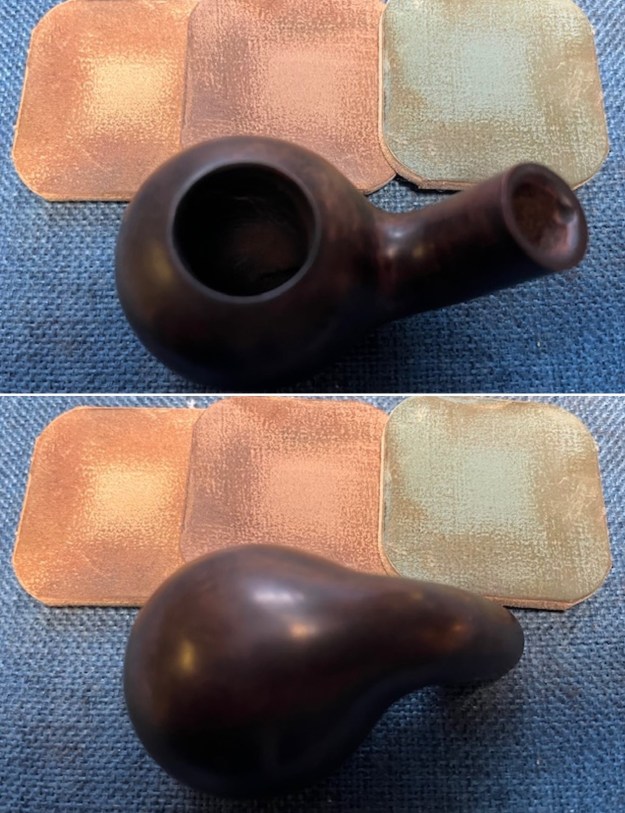
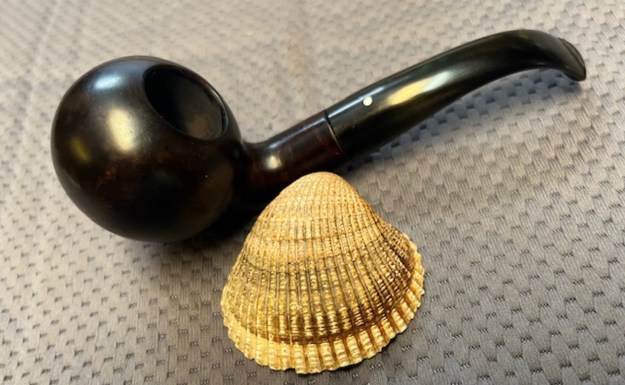
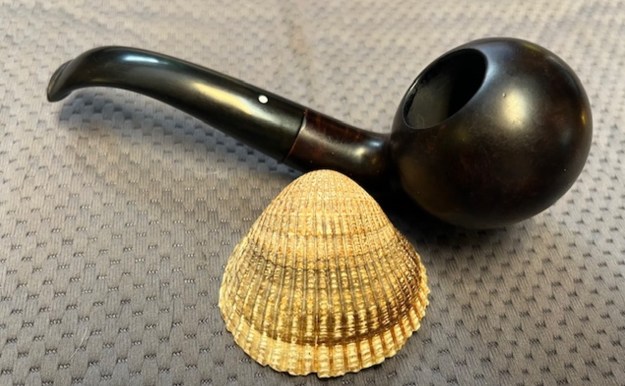
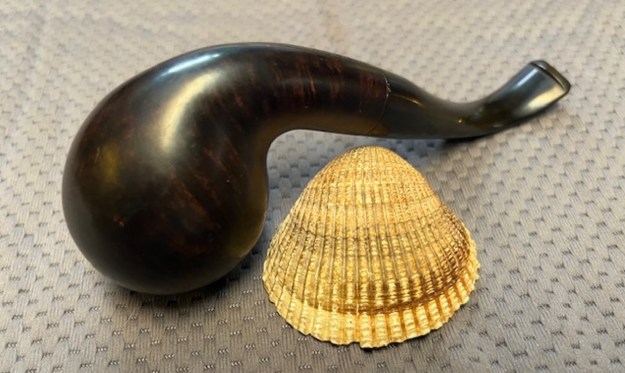
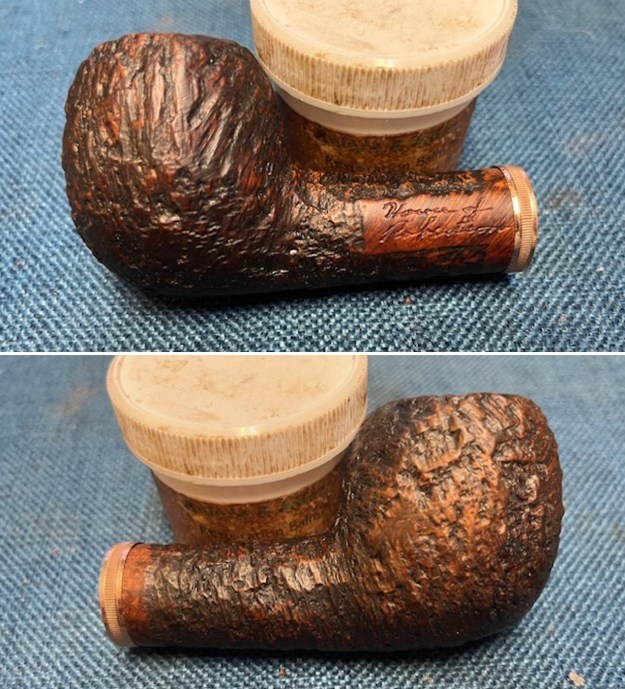
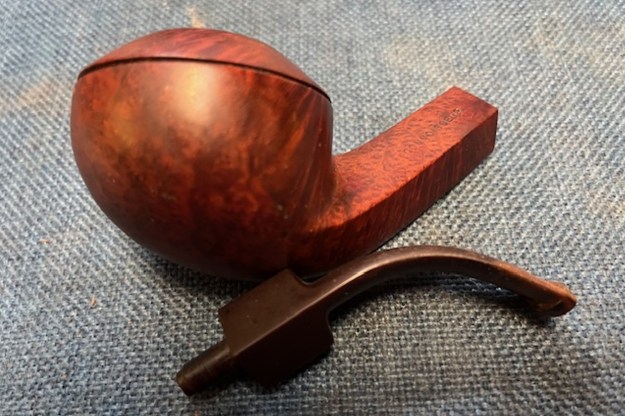
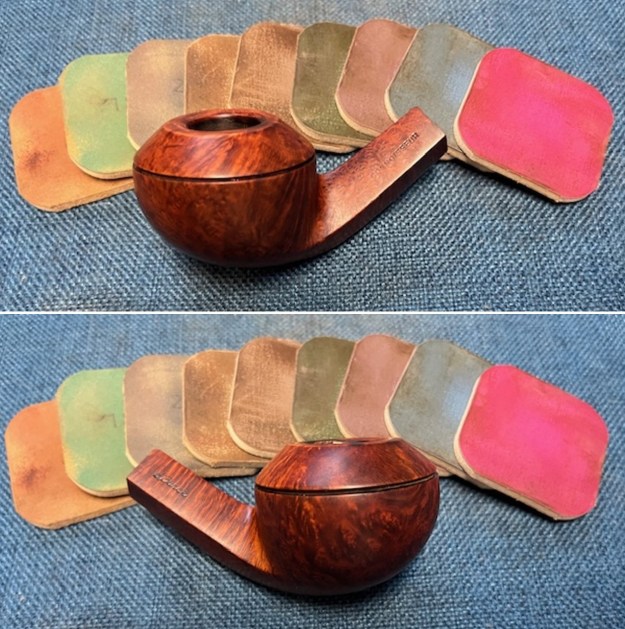
 Off to the bench polisher to put the final touches on this pipe. I first gave it a thorough (but light-handed) going-over with White Diamond compound. Following that, several coats of carnauba wax created a beautiful, glossy seal on the pipe.
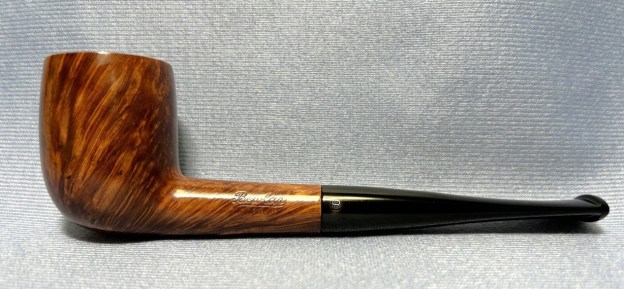
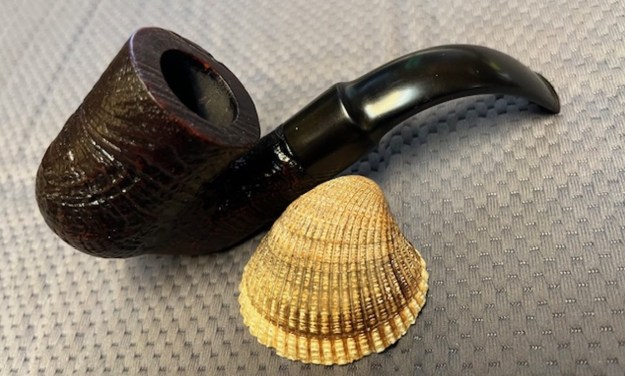
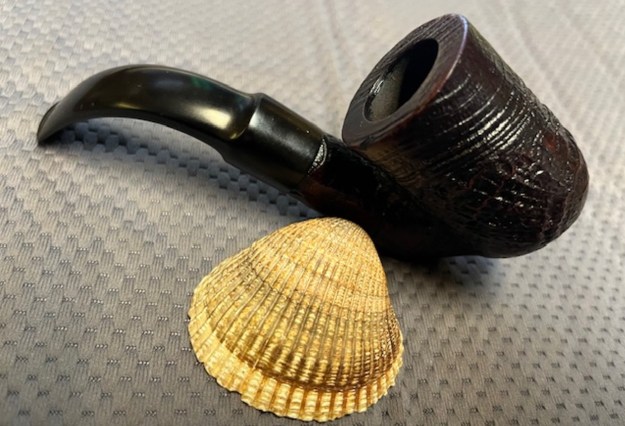
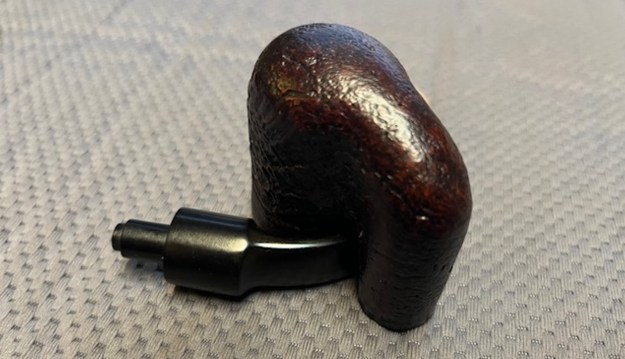
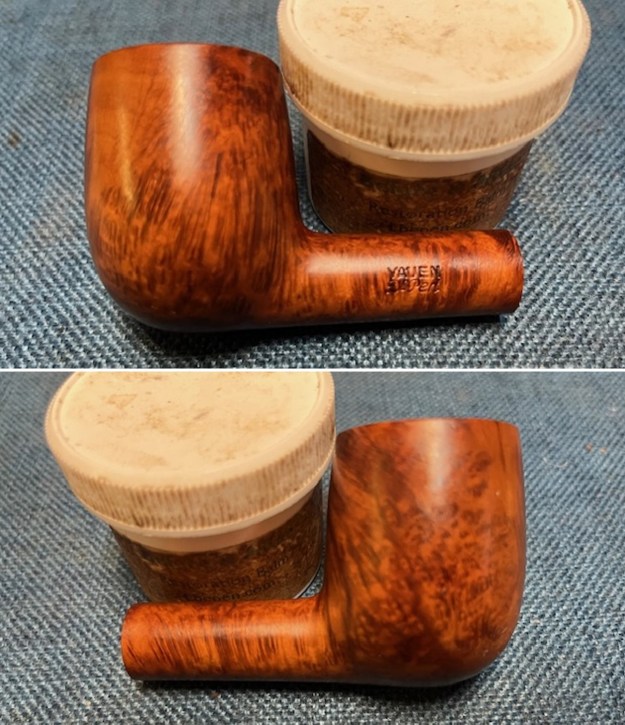
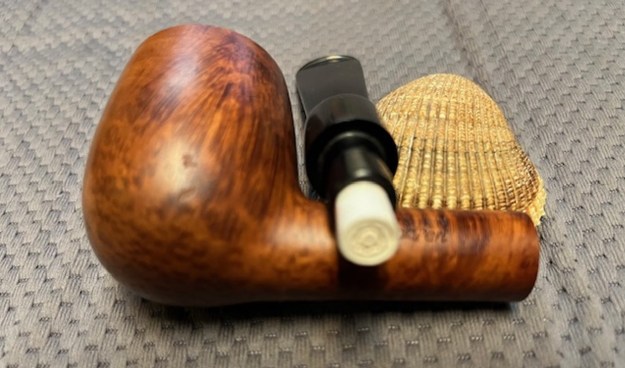
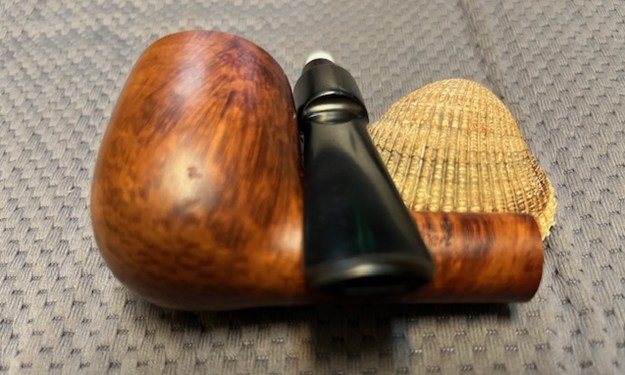
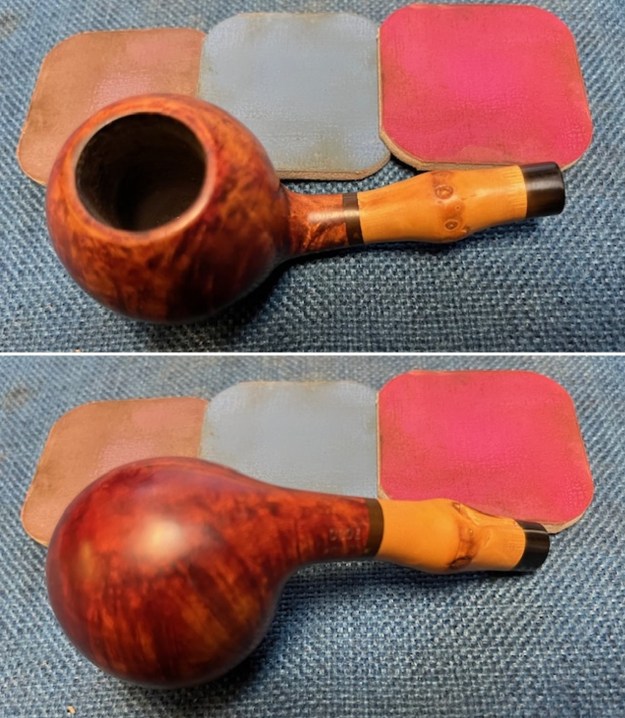
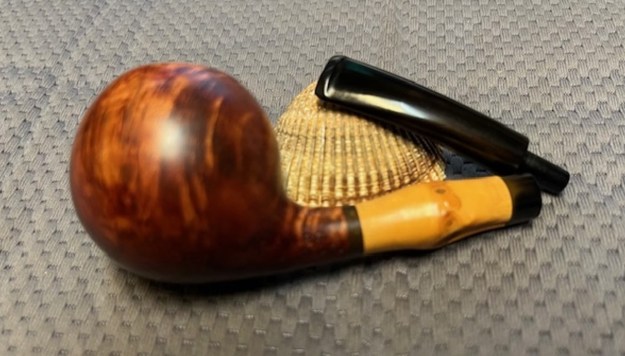
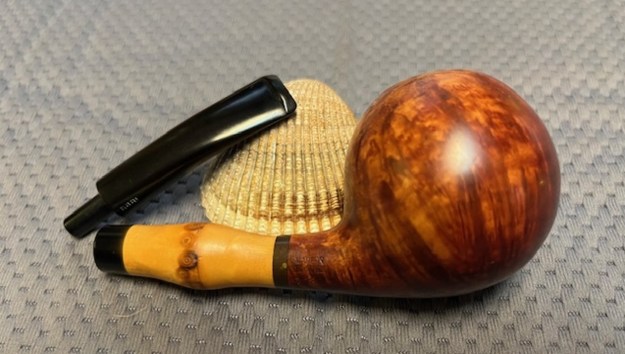
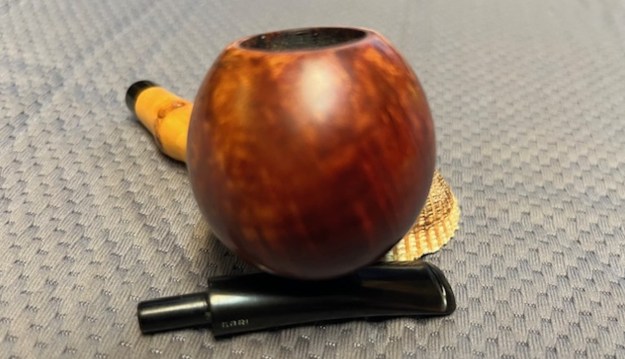
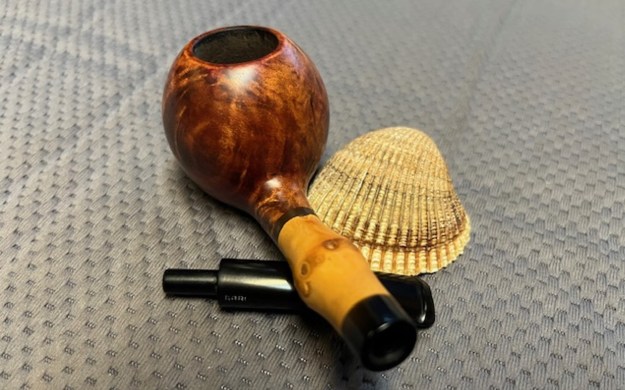
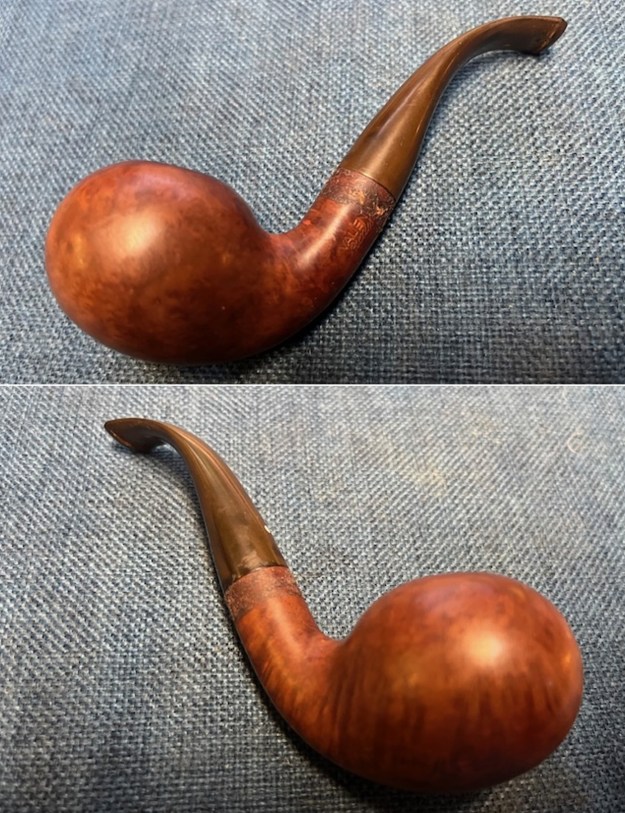
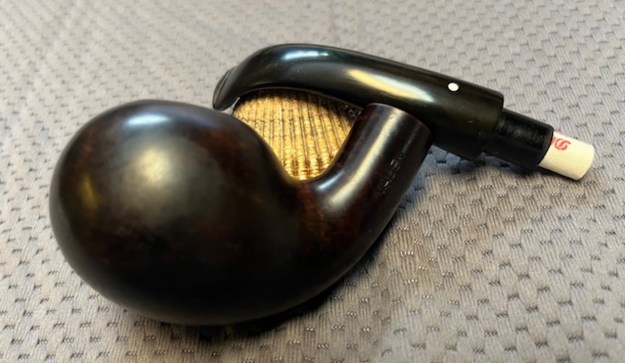
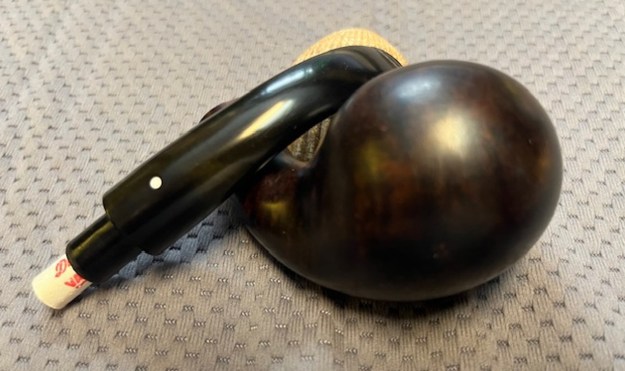
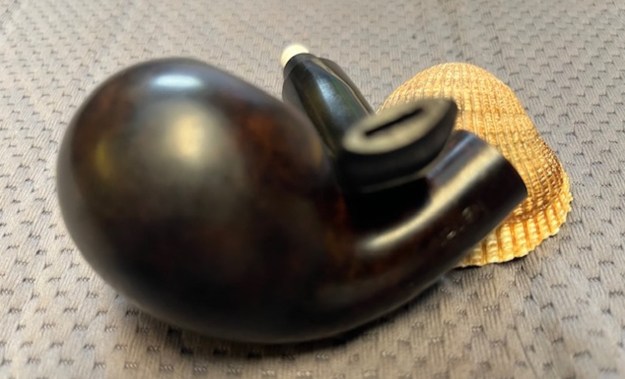
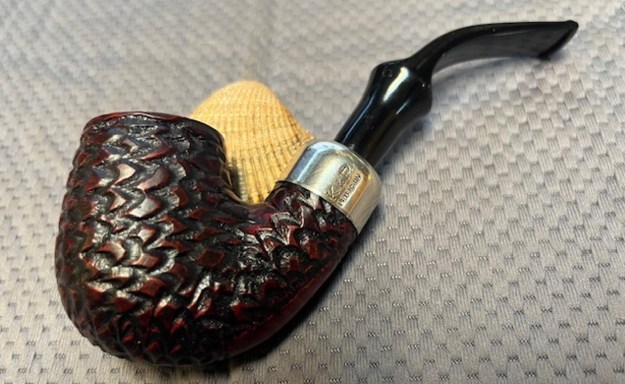
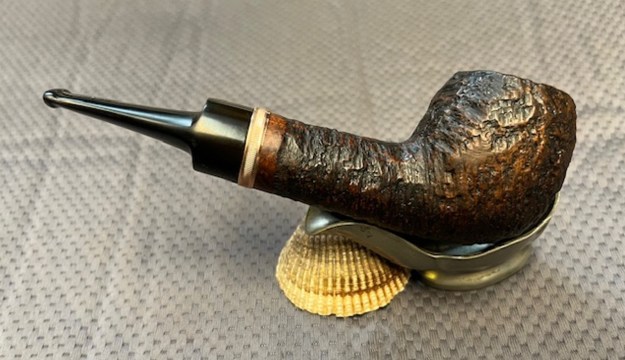
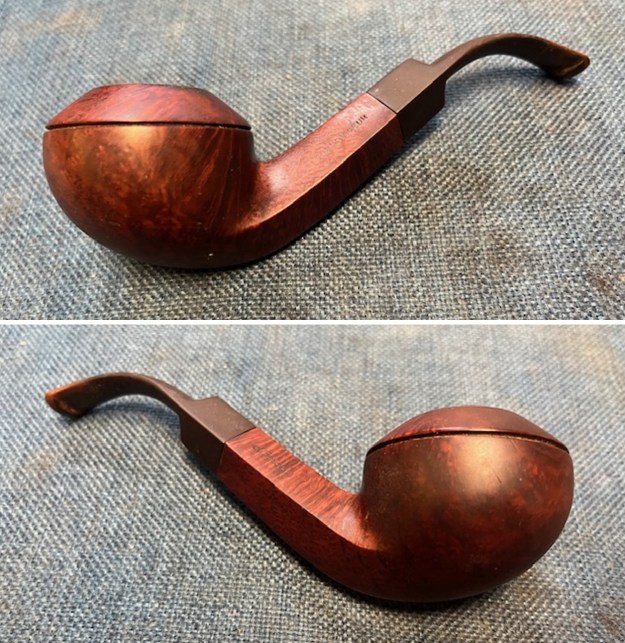
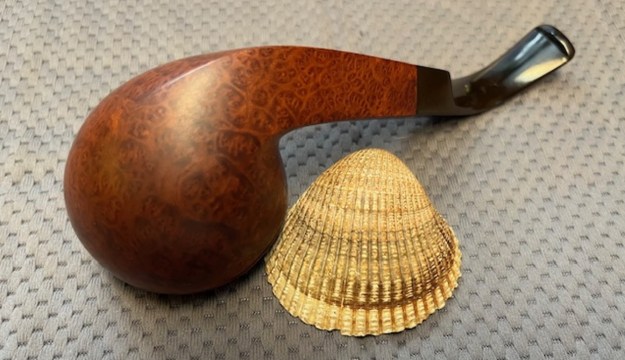
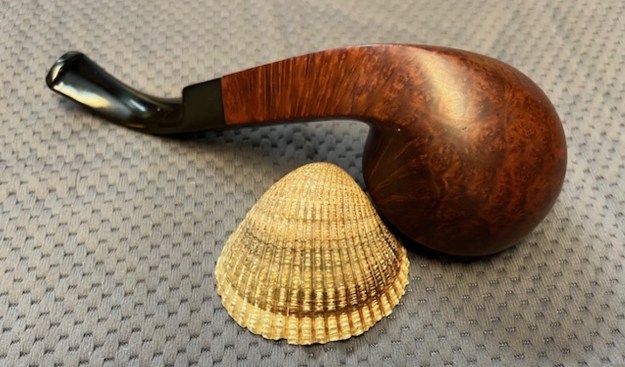
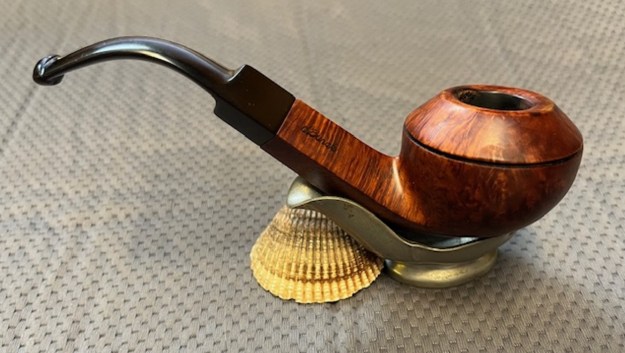
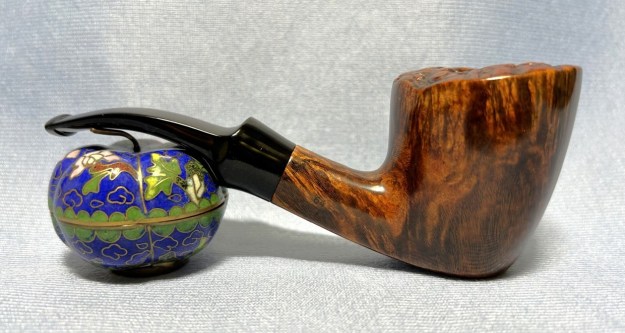
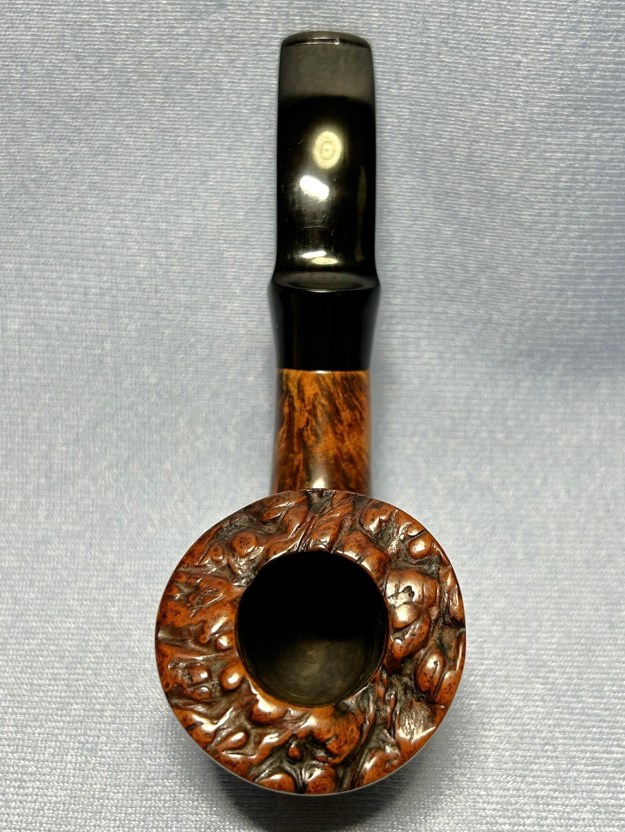
All done! This Bewlay Popular 510 billiard looks fantastic and is ready to be enjoyed again by the next owner. I am pleased to announce that this pipe is for sale! As I mentioned before, it comes with its original branded pipe sock. If you are interested in acquiring it for your collection, please have a look in the “British” section of the store here on Steve’s website. You can also email me directly at kenneth@knightsofthepipe.com. The approximate dimensions of the pipe are as follows: length 5⅔ in. (143 mm); height 1¾ in. (45 mm); bowl diameter 1¼ in. (32 mm); chamber diameter ⅔ in. (18 mm). The weight of the pipe is 1 oz. (30 g). I hope you enjoyed reading the story of this pipe’s restoration as much as I did restoring it. If you are interested in more of my work, please follow me here on Steve’s website or send me an email. Thank you very much for reading and, as always, I welcome and encourage your comments.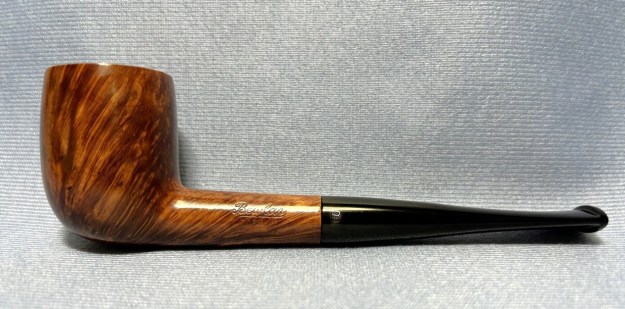


