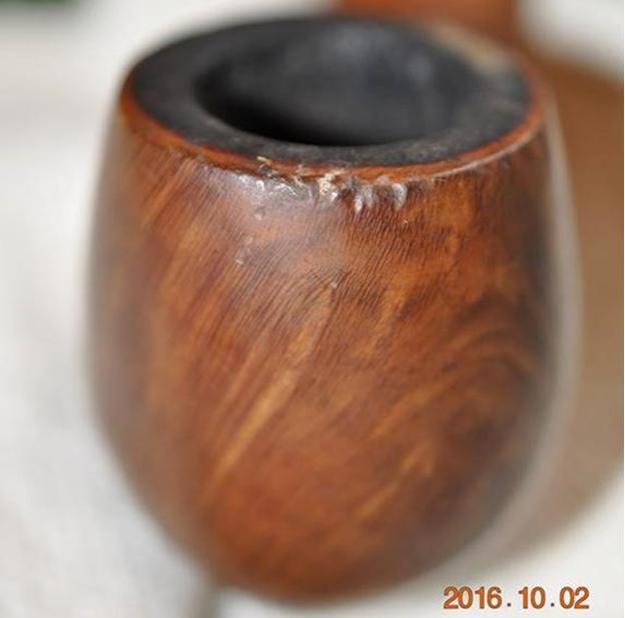
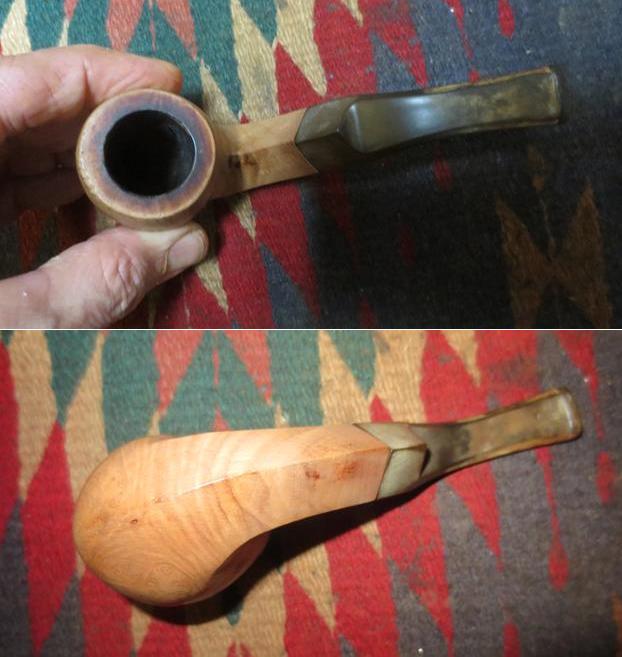
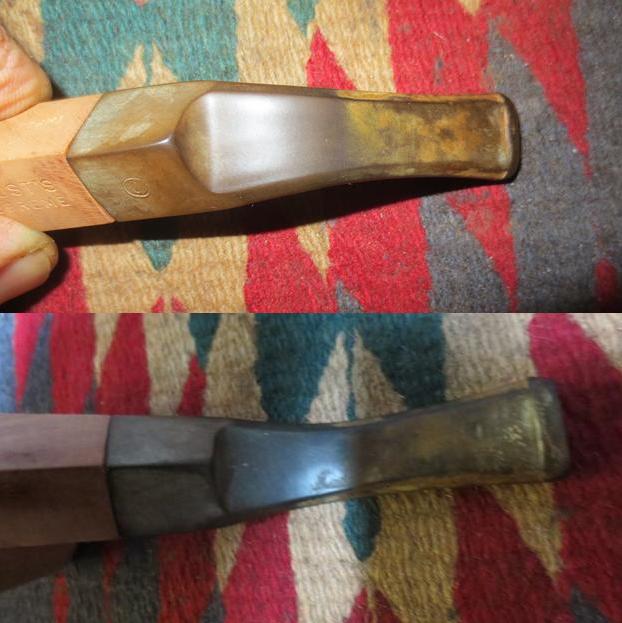
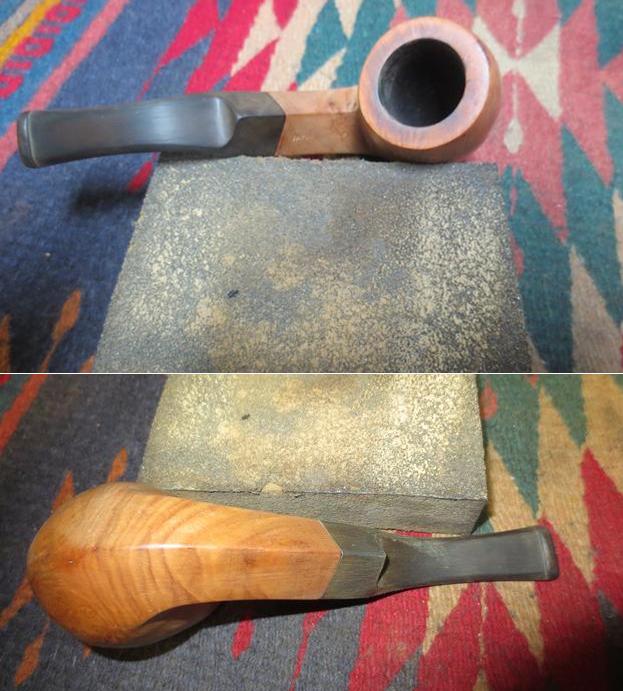
Tag Archives: Bowls – refinishing

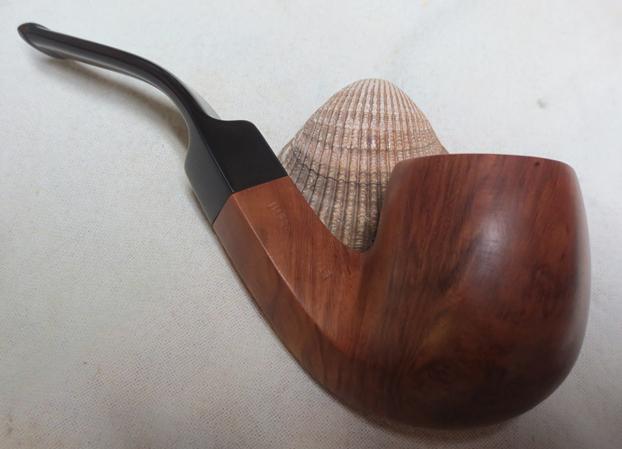
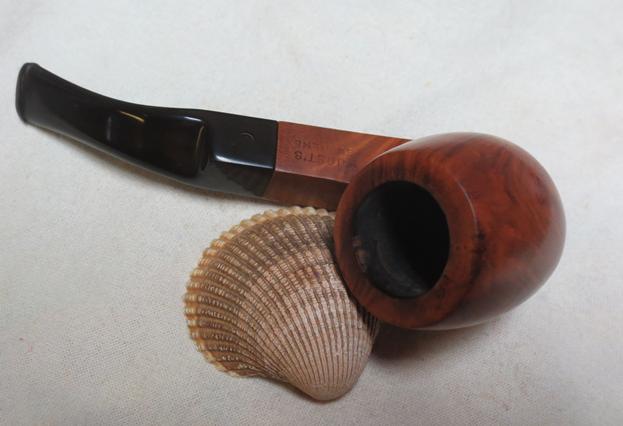
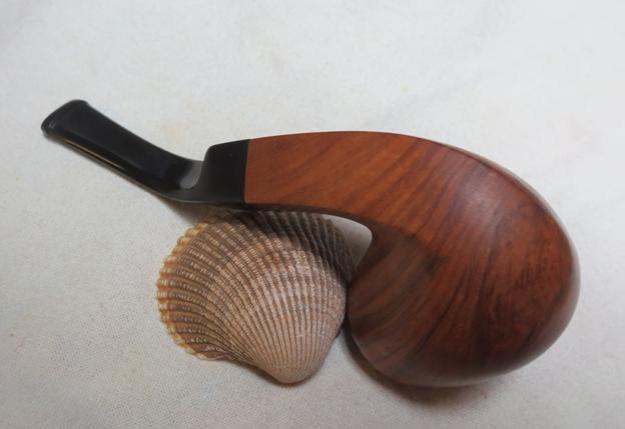
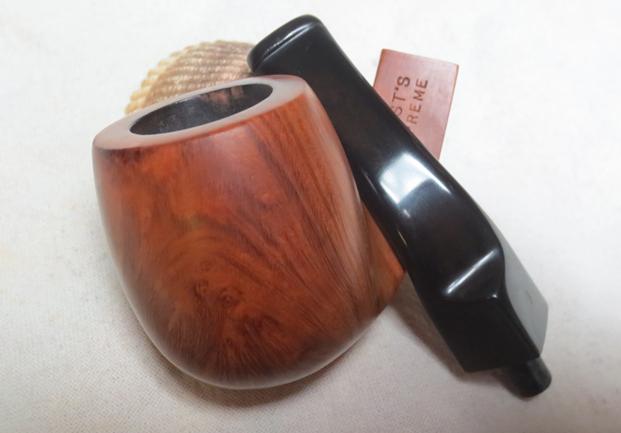
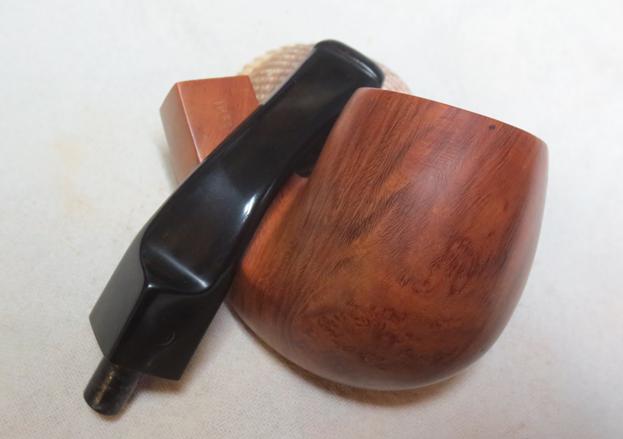
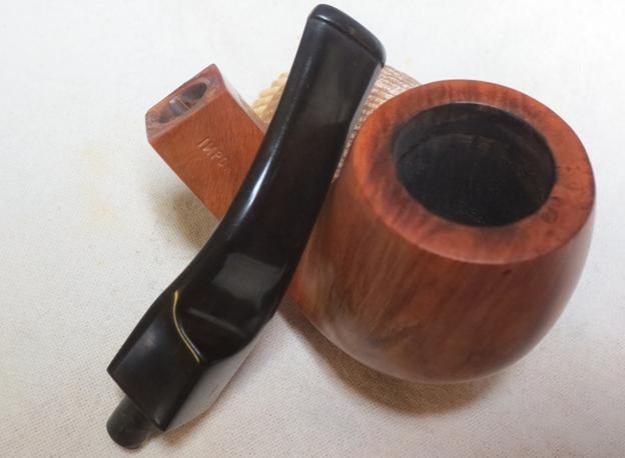
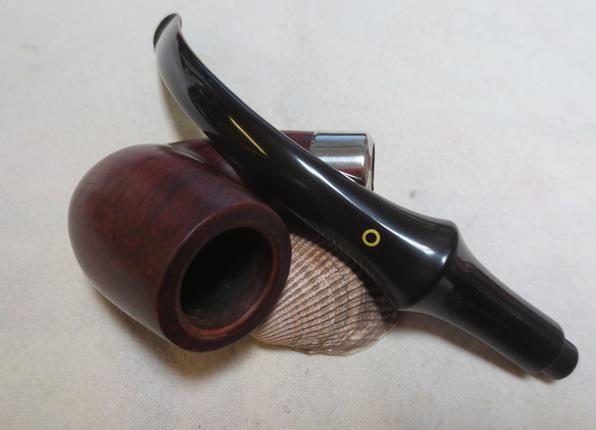
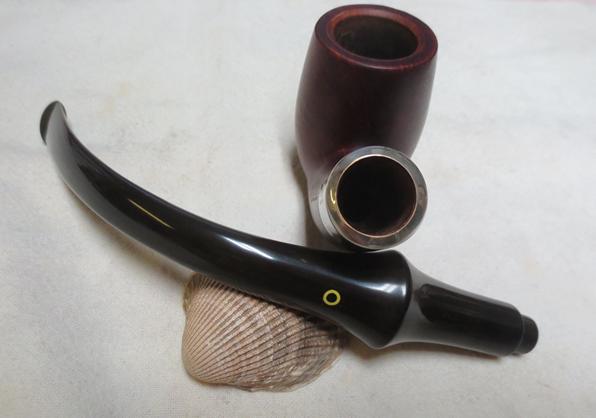
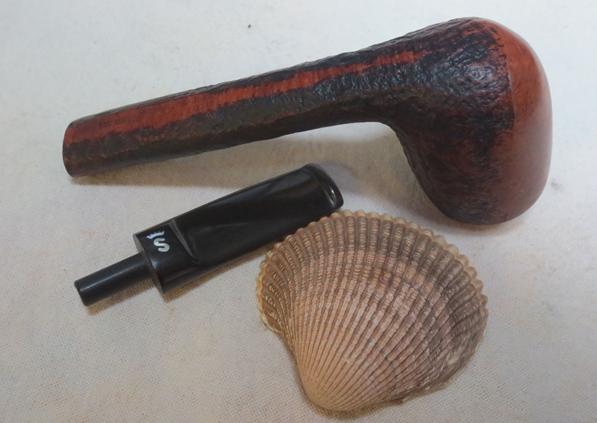
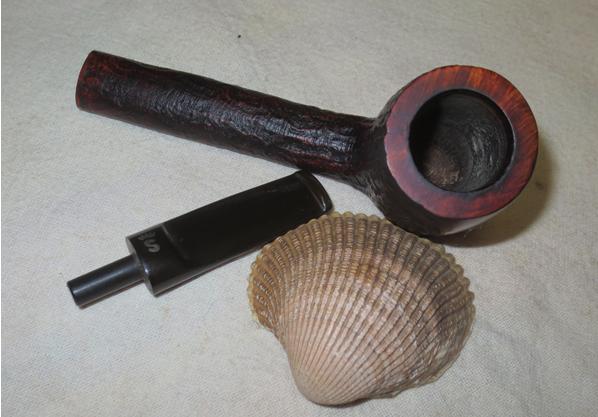
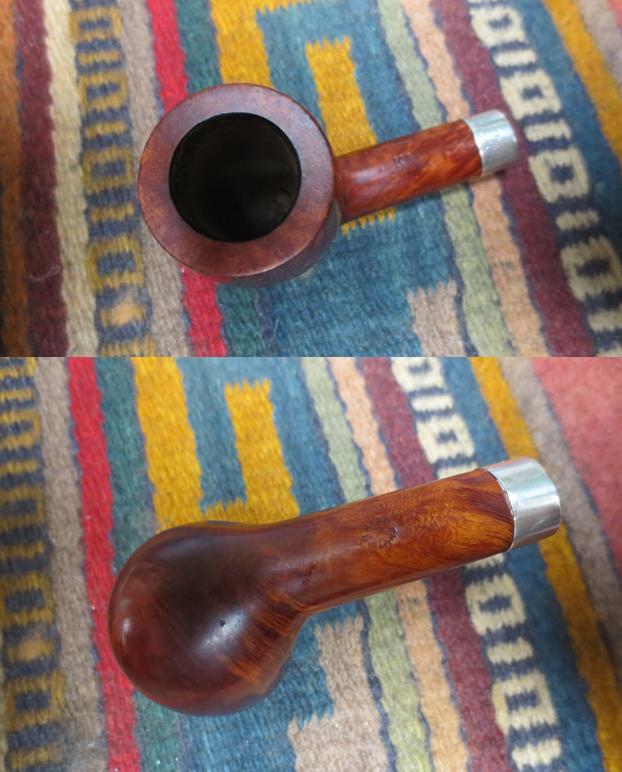
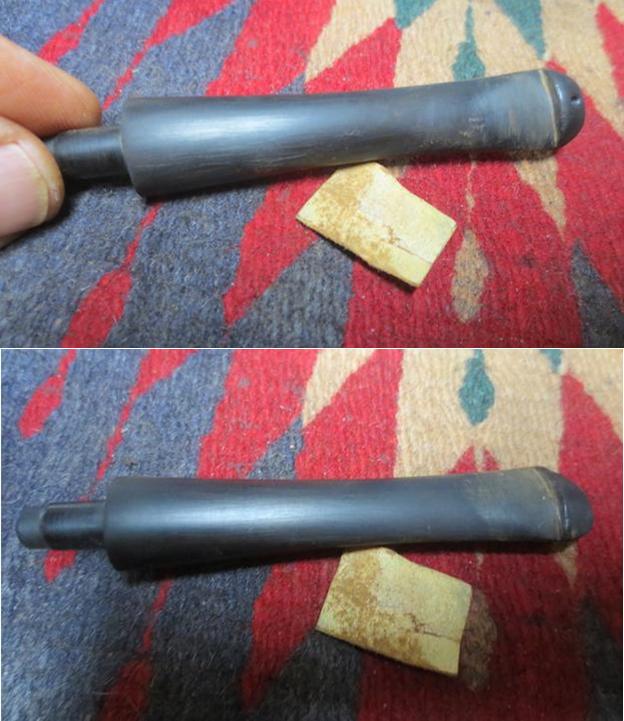
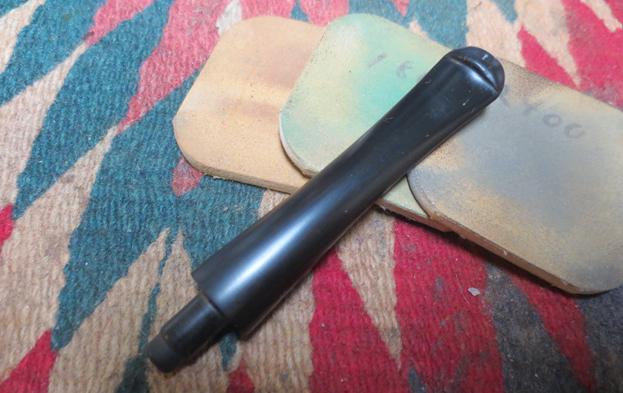
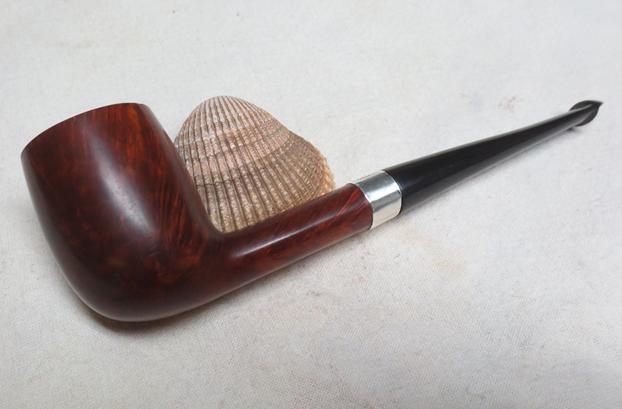
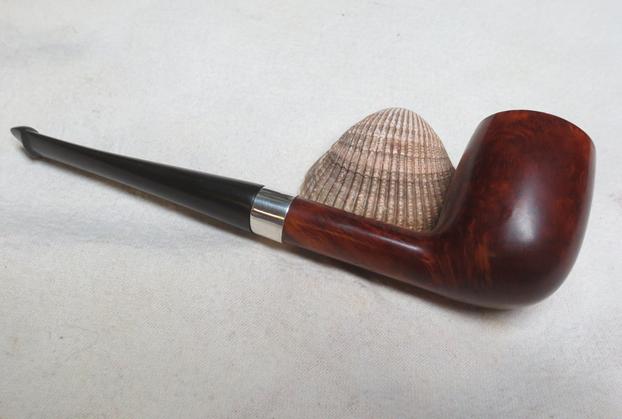
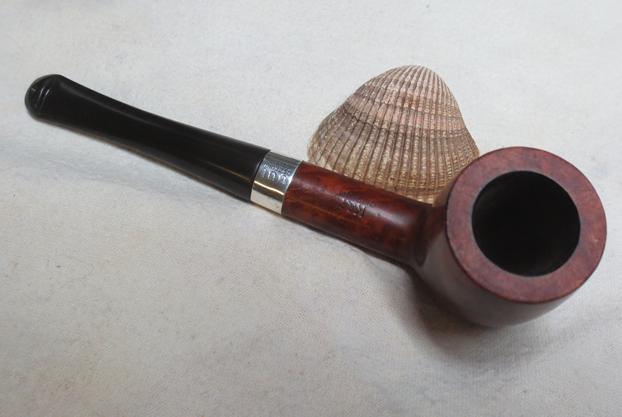
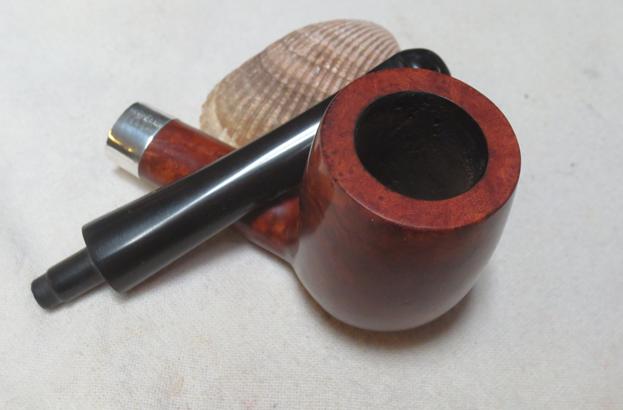
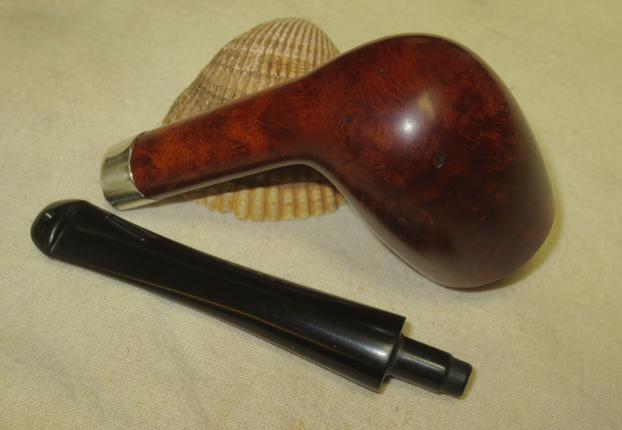
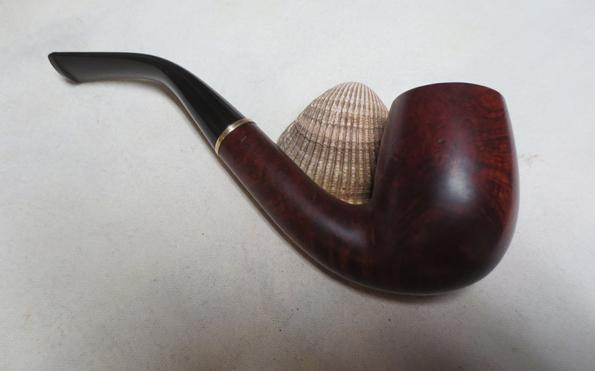
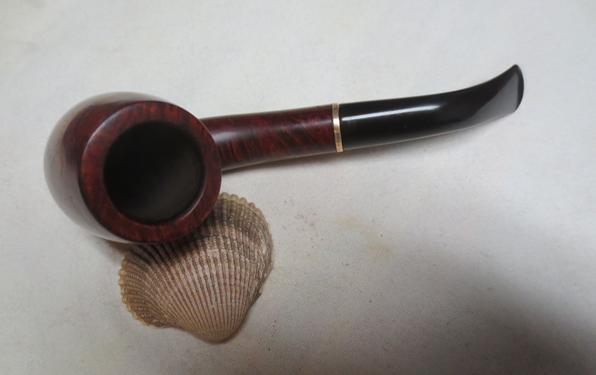
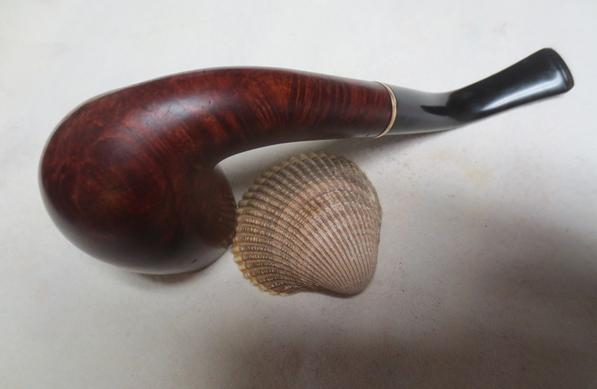
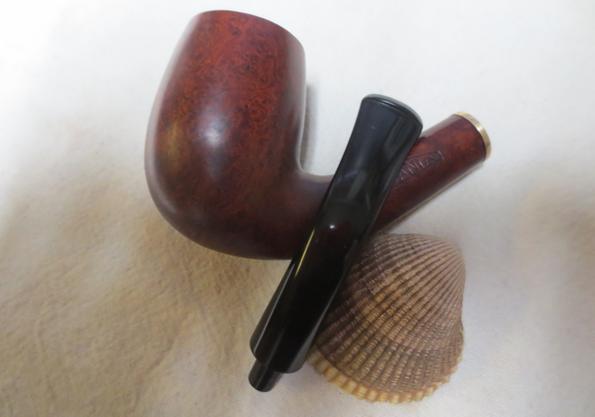
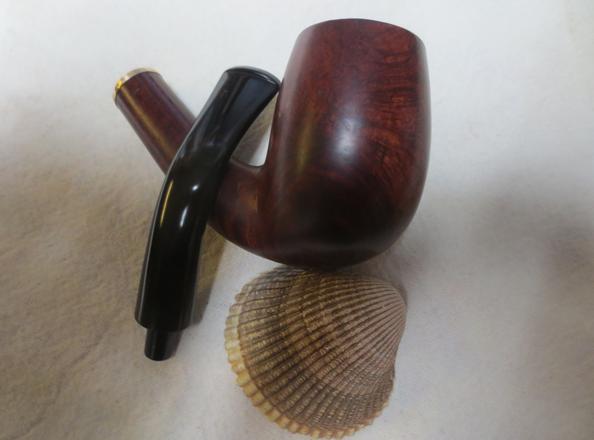
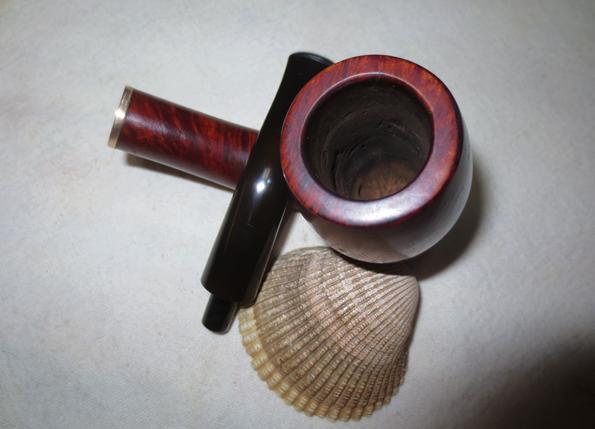
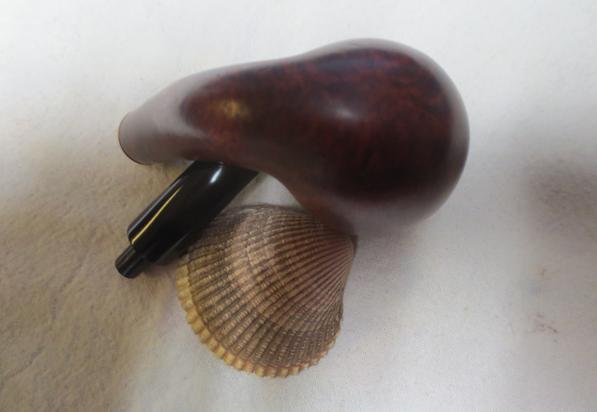
Restoring the fourth Classic Find – a Jost’s Supreme Diamond Shank bent billiard


Blog by Steve Laug

I written about the estate lot that my brother and I purchased from an estate sale in Pocatello, Idaho. There were a lot of great pipes in the lot. I have written about the pipes we picked up in a previous blog: (https://rebornpipes.com/2016/10/07/a-good-day-hunting-orchestrated-between-british-columbia-and-idaho/). I also wrote of how my brother had stopped at an antique shop and found four amazing pipes. These included a Four Dot Sasieni Pembroke with a patent number, Pat.No. 150221/20, a Dunhill Root Briar Canadian EC 4R, a Charatan’s Make Canadian Sandblast 0121 and finally a Jost’s Supreme Diamond Shank bent billiard. I have restored and written blogs on three of the four pipes he found – Sasieni, Dunhill and the Charatan’s Make. Here are those links: (https://rebornpipes.com/2016/11/05/restoring-a-classic-find-a-sasieni-four-dot-london-made-pembroke/ ; https://rebornpipes.com/2016/11/06/restoring-another-classic-find-a-dunhill-4r-root-briar-canadian-ec/ ; and https://rebornpipes.com/2016/11/06/restoring-the-third-classic-find-a-charatans-make-0120-canadian/.  I am now finished with the fourth pipe that –  the Jost’s Supreme diamond shank bent billiard.

In earlier blogs I have written about restoring another Jost’s pipe that I found. When I restored that pipe it was a brand I had heard of but was unfamiliar with. I researched the web to find some information about the brand. Here is a link to the blog I wrote on the Jost’s Olde English Deluxe: https://rebornpipes.com/2016/09/03/josts-olde-english-de-luxesupreme-overstamped-j214-bent-billiard/. I am quoting several of the paragraphs that summarize what I learned about the brand.

“I looked up Jost’s pipes on the pipephil site and found a pipe that had the same stamping on the left side of the shank as the one I was working on. The right side had slightly different stamping in that it had the classic COM stamp circle where the one I had was two lines Made in over England. It also had a picture of the circle J stamp on the stem. There was a note there the tobacco shop proprietor was Mrs. Henry A. Jost. Her resident carver was Harvey Raspberry.”

I also found a blog that is called ClassicPipeShop that even had a catalogue of the pipes made by the Jost’s Shop or were imported by them for their store. I quote that blog once more as it places the new pipe that I am working on now.

“I did some more hunting online and I found a blog that did a great write up on Jost’s Pipe Shop and gave some definitive information on the brand and grades of the pipes. Here is the link if you wish to read a well written history of the brand and also some interesting details about shop blends of tobacco. http://classicpipeshop.blogspot.ca/2015/03/josts-pipe-shop-201-north-6th-street-st.html”

 “I have included the section of the blog on the pipes. It covers a lot of information regarding the source of the pipes and the levels/grades of pipes. Remember that the one I am working on is a De Luxe/Supreme. I quote:”

“Jost’s Pipes are closely tied to Comoy’s. Many of Jost’s pipes have the standard Comoy’s shape number and the “Made in England” in a circle. If the Jost’s pipe doesn’t have the “Made in England” it is probably made by Harvey Raspberry.”
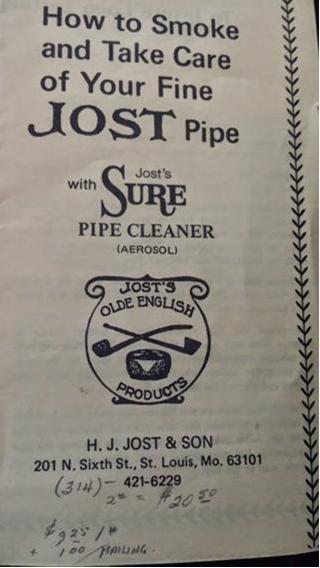
jost“If the pipe has a shape number that is preceded by a “J” that is a Comoy’s product without question.  Typically these will have the words “Made in London England” on the reverse side of the shank from where the Jost stamp is made.  There are always exceptions to the rule but 95% of the time, this is accurate.”

“Many different levels of pipes were offered by Jost’s Pipe Shop.  From a 1950s catalog I have the following available:”

Jost Old English De Luxe: $85.00

These were typically of the highest… Grain is stunning and the briar is flawless.  These are the grade you should look out for as they are great smokers.

*Jost Old English Supreme: (no pricing available)

The majority of the Old English version pipes you see are marked Supreme.  These are stained in a darker color and are presumably from the same Algerian aged Briar as the De Luxe brothers.  These are also of the highest quality available. *(The current pipe I am working on is stamped Jost’s Supreme on the left side of the shank with no shape number and no Made in London England stamp.  If I read the information correctly it was one that was made by Harvey Raspberry, who was the shop pipe maker.)

Jost Virgin Briar Supreme: $35.00

Don’t see too many marked as Virgin Briar Supreme but you will often find “Supreme” Jost pipes on the second hand market (see above).  Excellent quality briar and displays the lighter toned finish of the De Luxe above.  Grain is not as flashy or desirable as the De Luxe model.

Jost Thames Briars: $25.00

I’ve seen these offered as blasted / rusticated pipes and look quite nice.  Most of the smooth finish Thames pipes are riddled with fills.  Good smokers but not much to look at (smooth).

Jost Sandblast Briars: $25.00

These are a great value.  The shop made sand-blasted pipes are usually quite large and snapped up very quickly by collectors.  The Comoy’s versions (with J shape #s) are of excellent quality and typically rather small compared to the shop-made variety.

Dukes Briars: $15.00

These come up very rarely.  The two I’ve seen in recent years are rather small in size.  Smooth finish with light / honey stain color.  Not sure what the story is behind these.

From my research and rereading of the information on the brand it appears that my brother had found yet another good pipe. Using the information from the blog and the web I was able to learn a lot about the particular pipe I had in my hands. The stamping told me it was a pipe made by the Jost’s Pipe Shop in-house pipe maker, Harvey Raspberry. The pipe was stamped Jost’s Supreme on the left side of the shank. In all likelihood it is a Jost’s Old English Supreme. The majority of the Old English version pipes are marked Supreme. The pamphlet quoted above from the blog said that these pipes were stained in a darker color and were presumably from the same Algerian Aged Briar as the De Luxe. The pipes were of the highest quality available. I was not able to determine the age of the pipe.

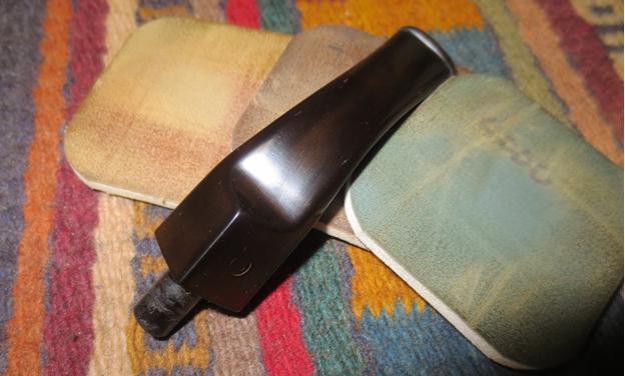
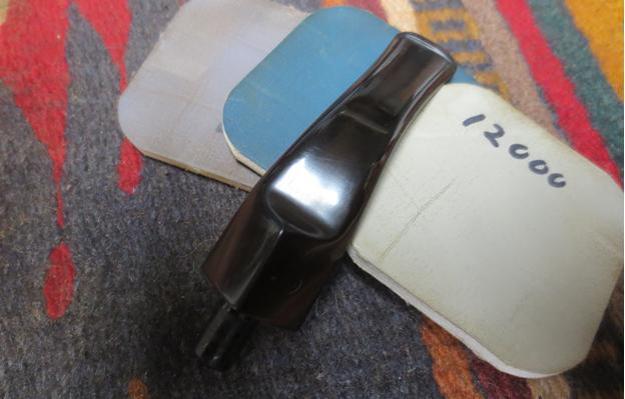
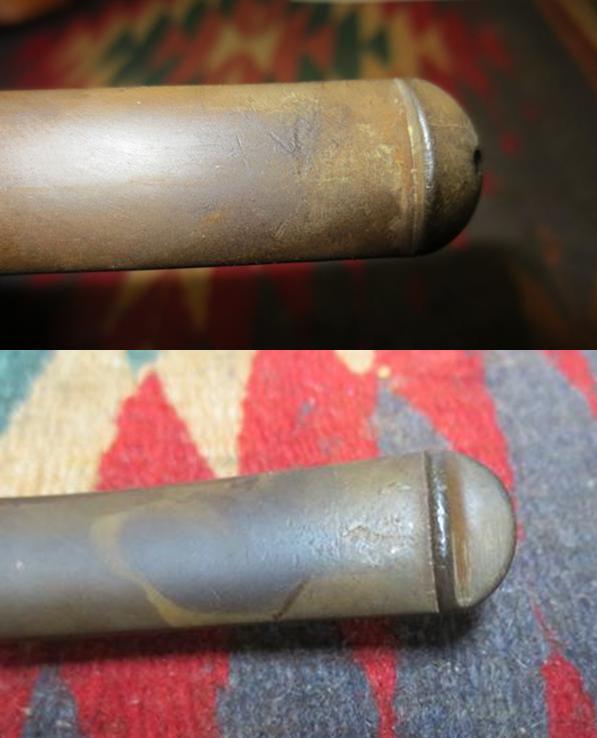
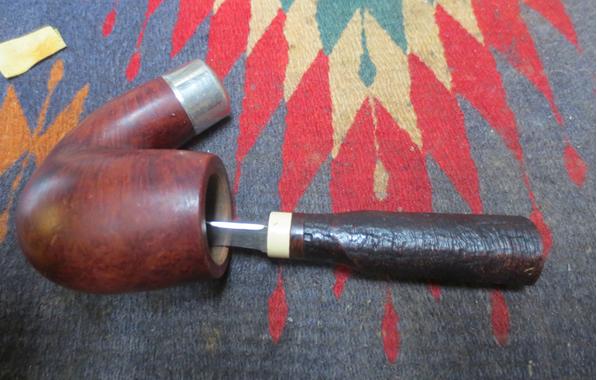
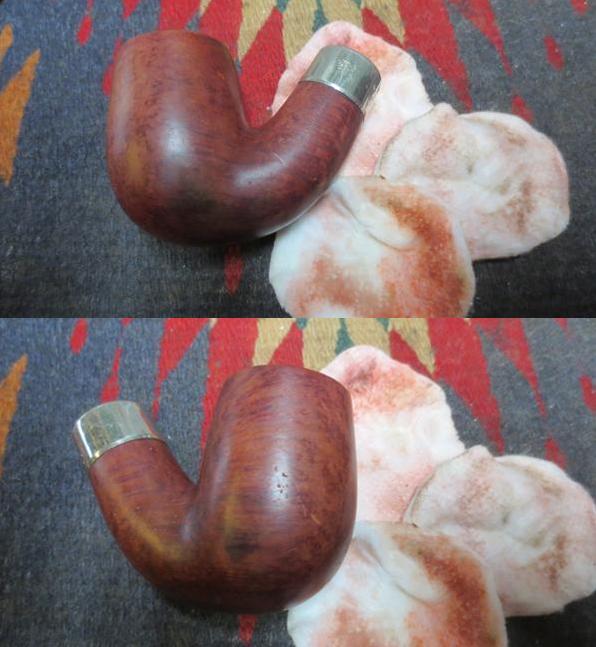
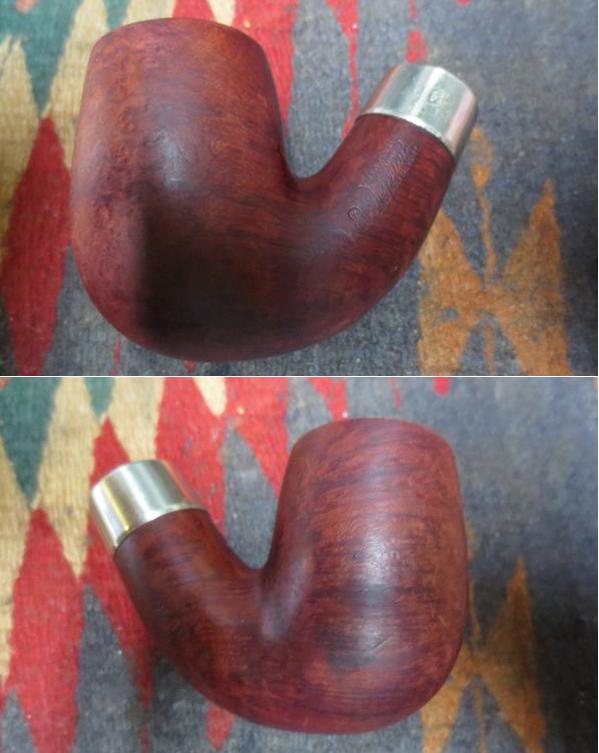
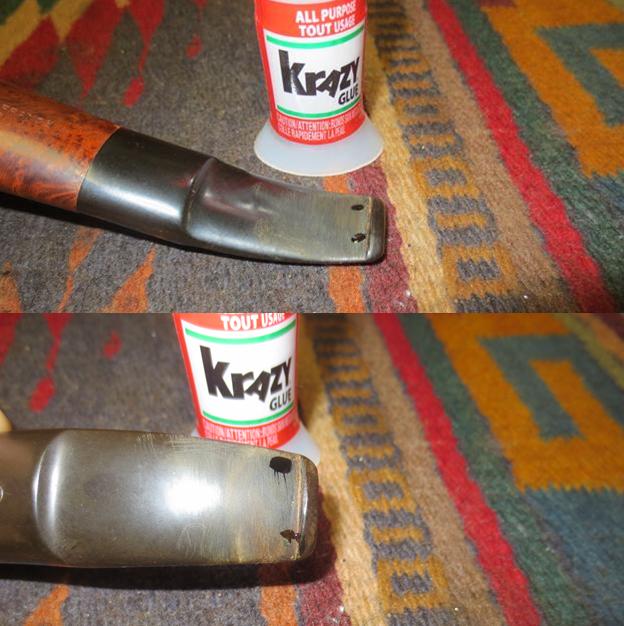
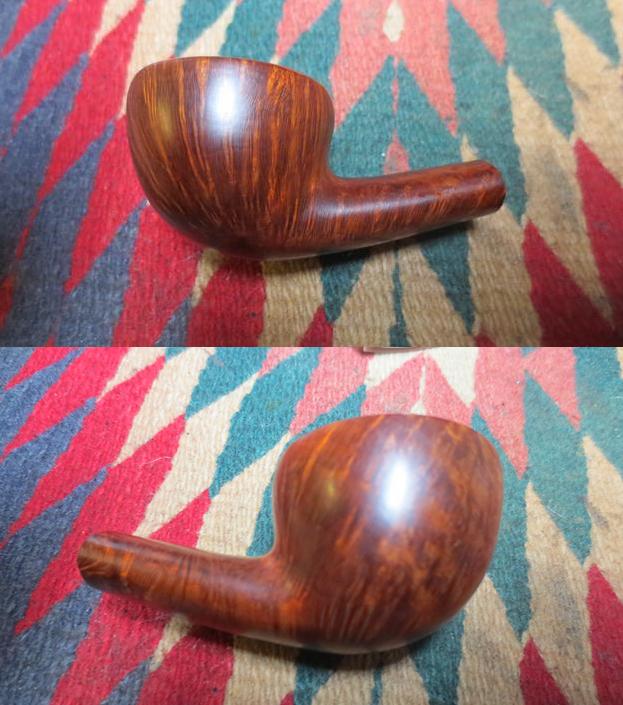
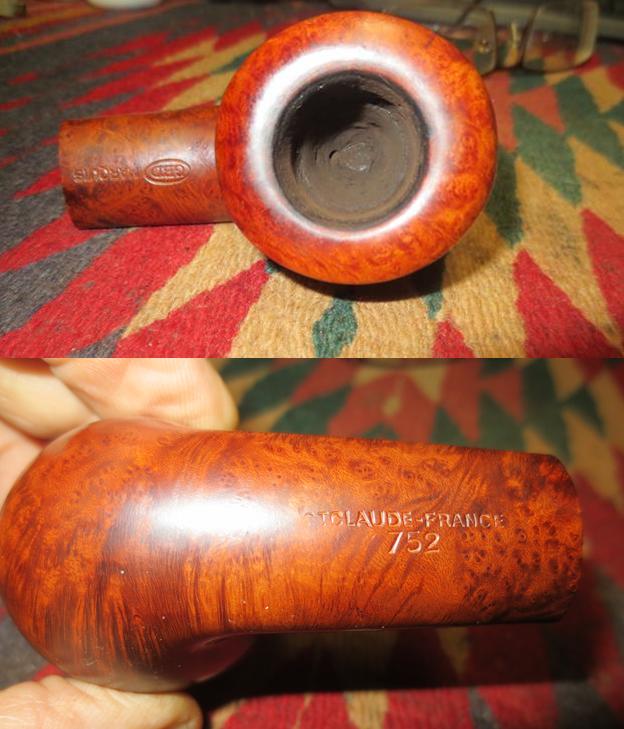
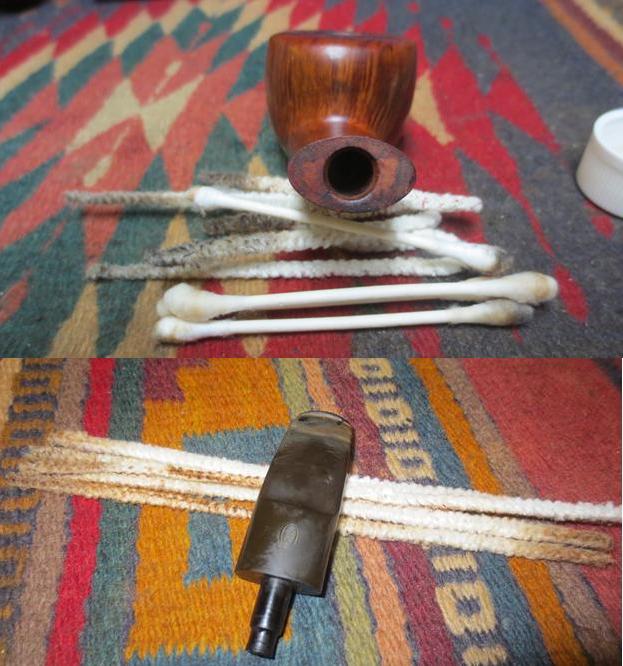
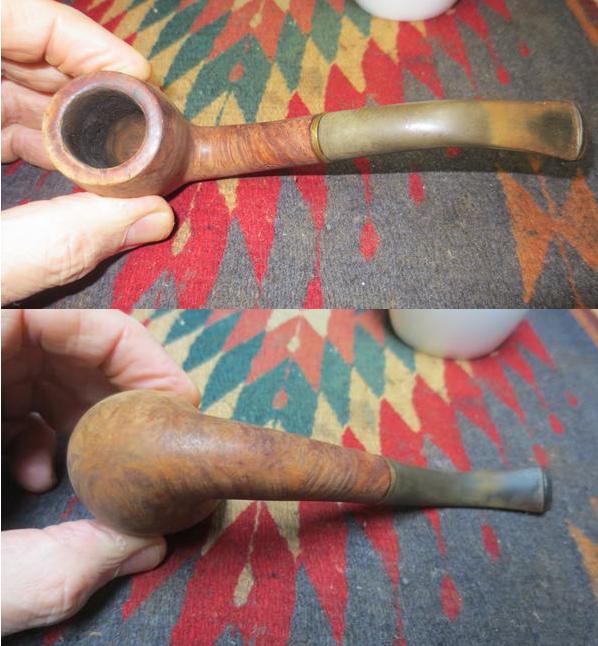
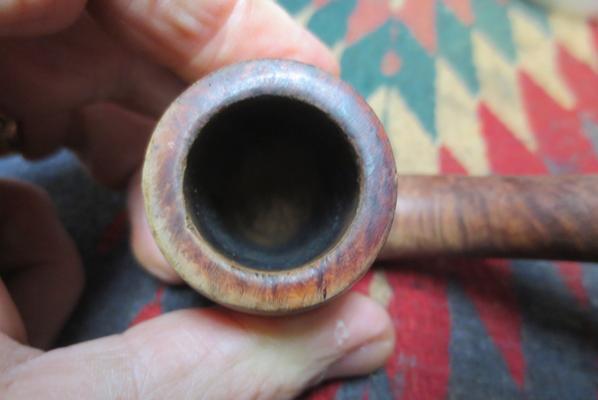
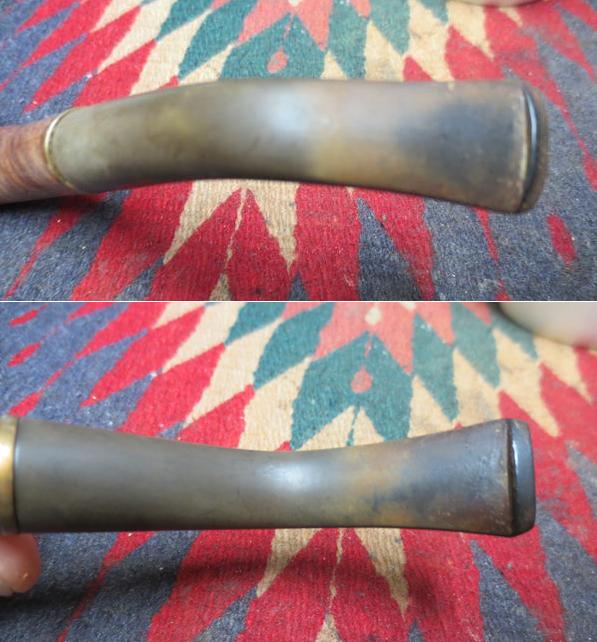
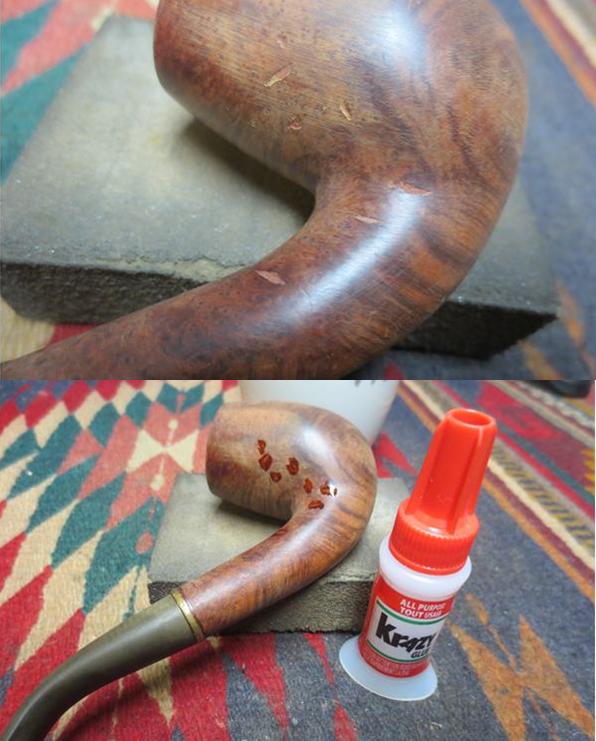
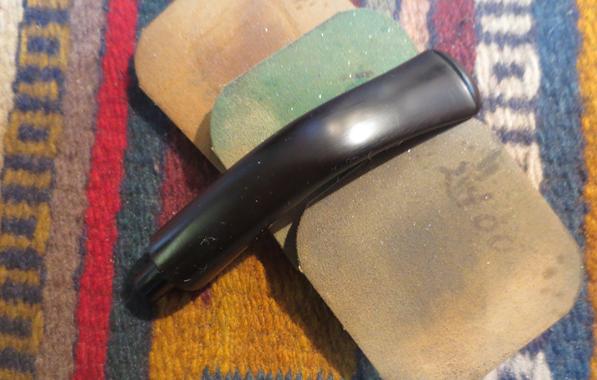
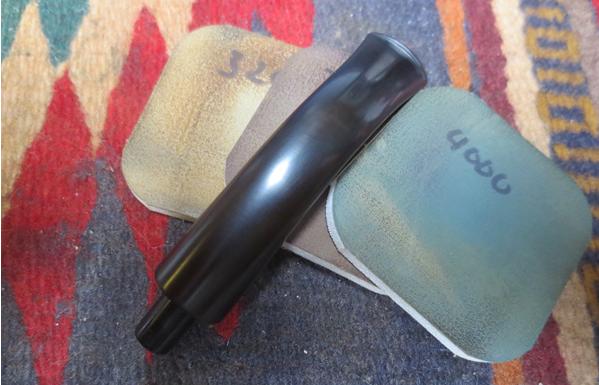
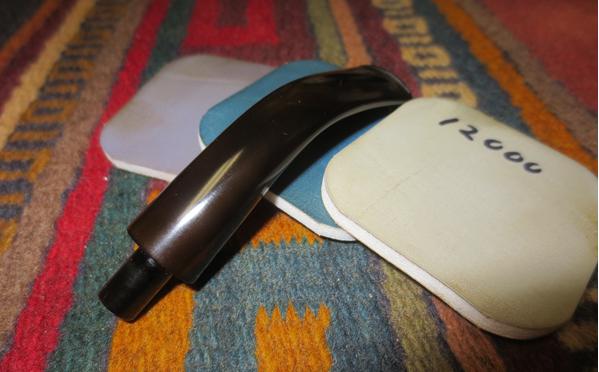
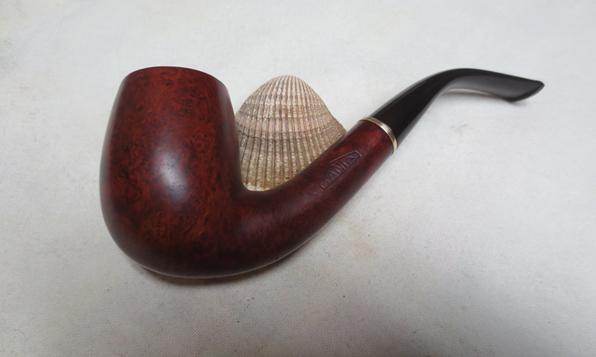
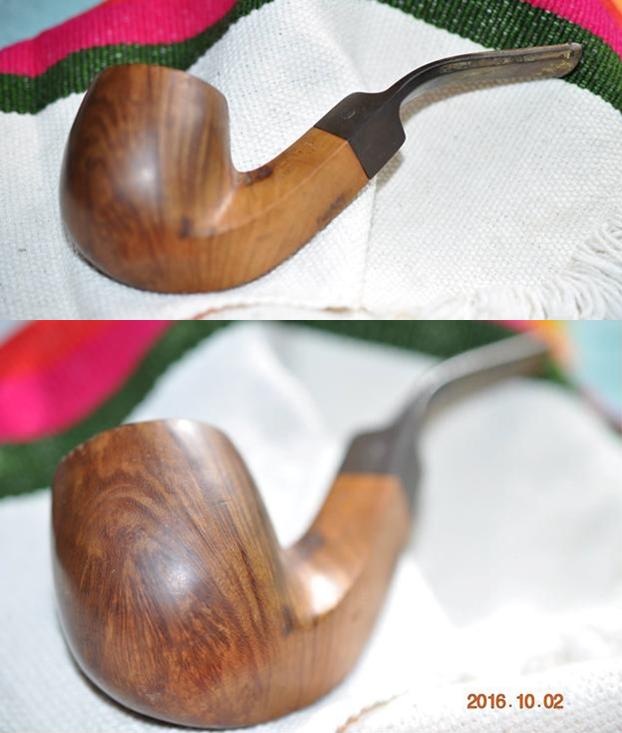
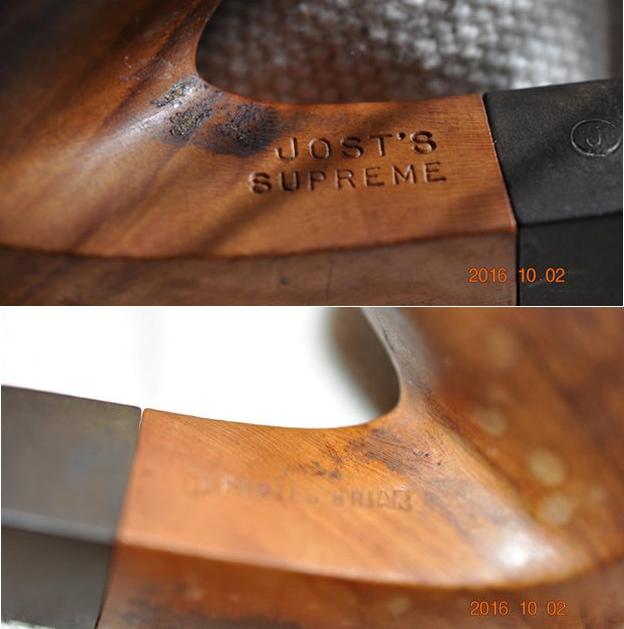
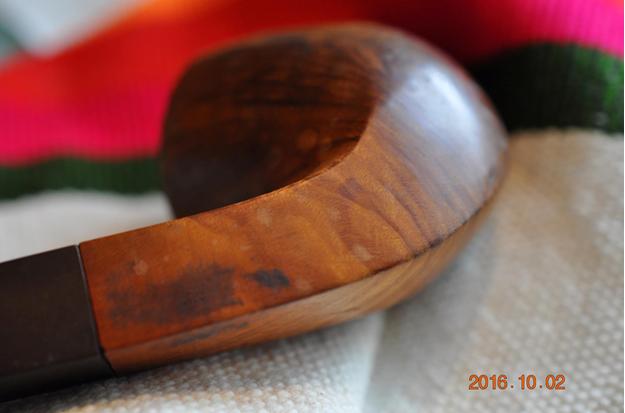
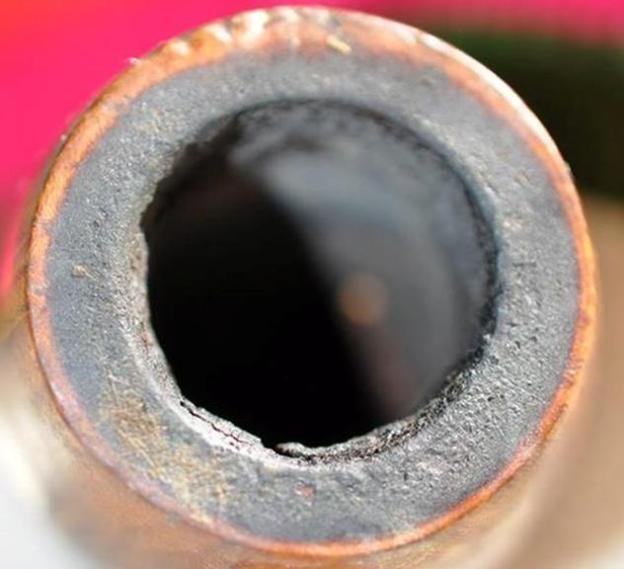
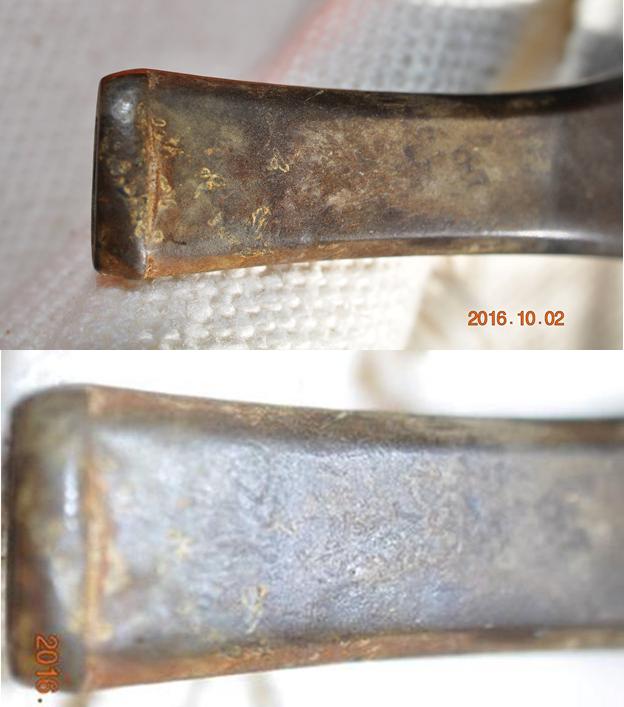
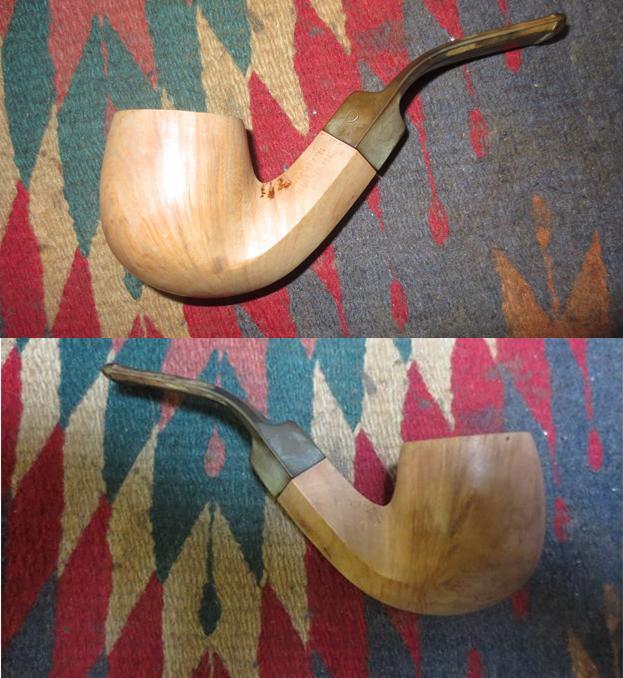
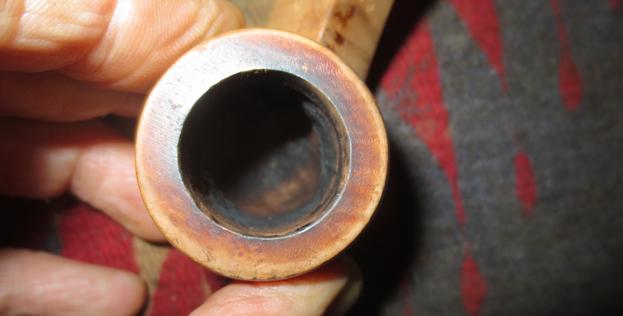
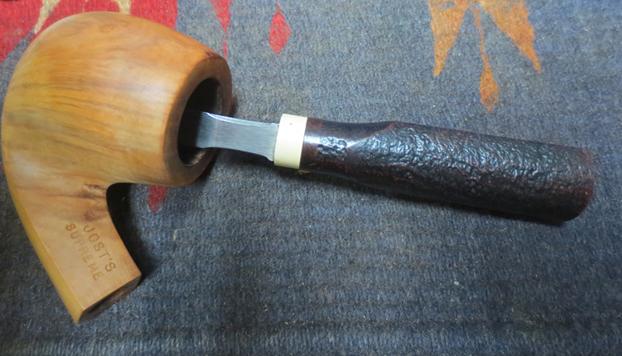
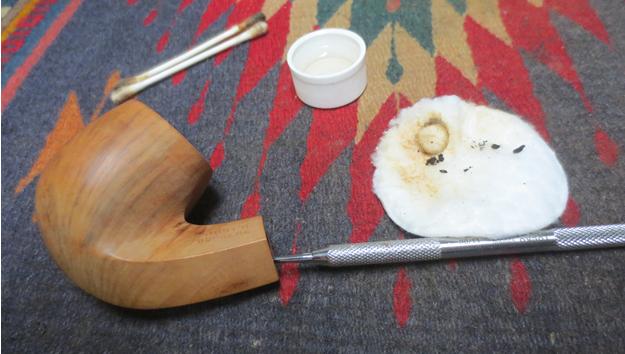
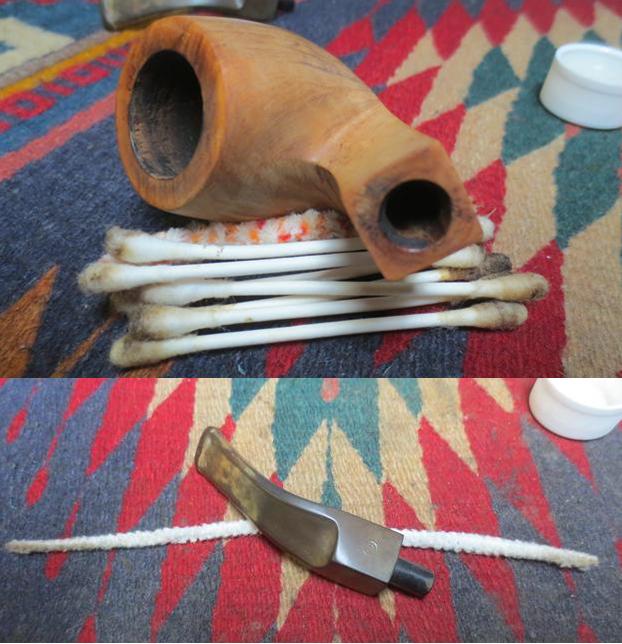
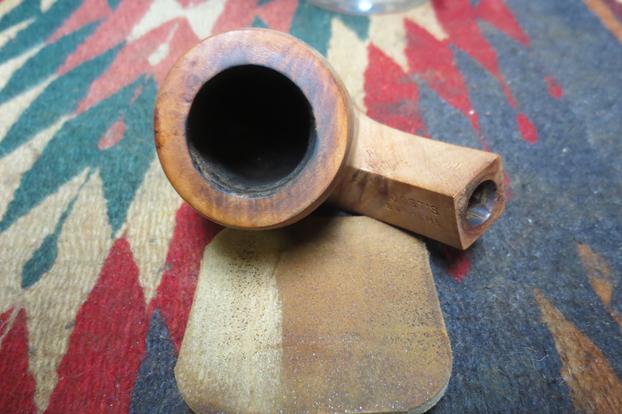
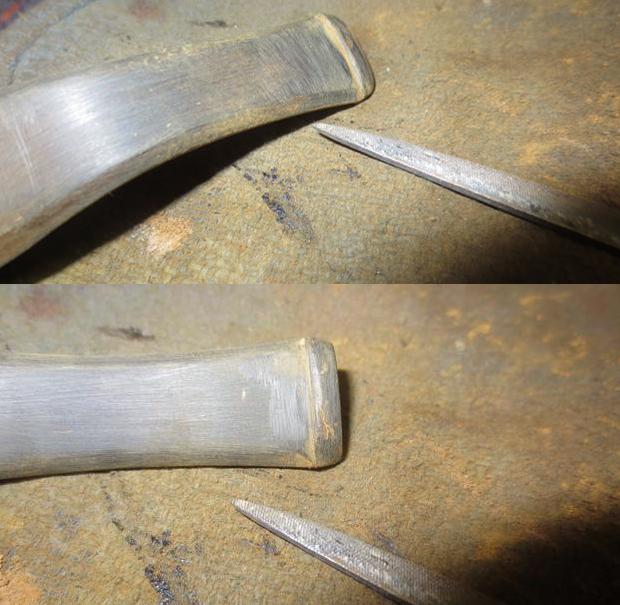
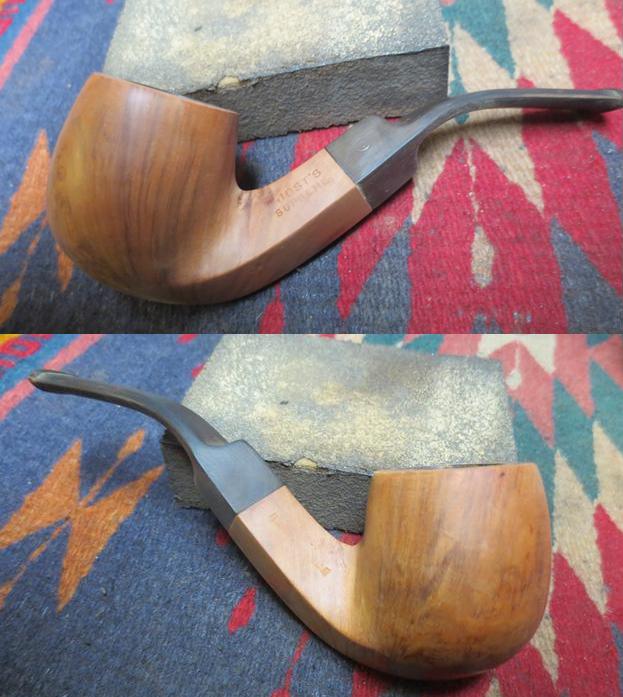
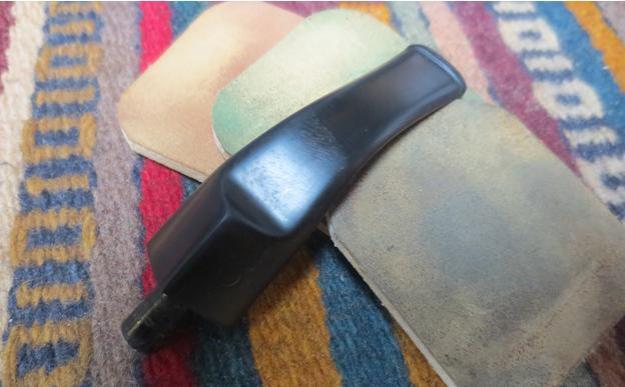
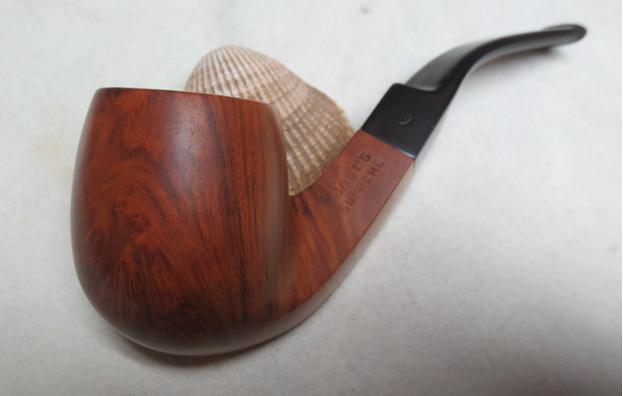
My brother took the photos that follow. They show the pipe before he cleaned it up and sent it to me. It has some nice looking briar under the grime and dirt of the years. It looks to me like it had a natural finish on the bowl rather than the dark stain mentioned above.jost1The next photos clearly show the stamping on the shank. The left side is stamped Jost’s over Supreme. The right side is stamped Imported Briar.jost2The bowl and shank had a sticky black substance on the top of the grain. It looked as if it may have come from sticky labels used by the antique shop where the pipe was sold.jost3The next close up photo shows the state of the cake in the bowl and the thick lava overflow on the top of the rim. It is hard to tell if the inner edge of the rim is damaged or not because of the thick cake. The second photo shows the nicks and cuts in the front top edge of the bowl and extending onto the rim.jost4 jost5The stem was badly oxidized and there were a lot of tooth marks and chatter that had rounded the sharp edge of the button. The tooth marks and chatter were covered with calcification. The vulcanite was pitted and worn.jost6My brother did an amazing job cleaning up the pipe. He scrubbed the sticky surface and all of the tars and oils on the bowl and the rim. He scrubbed it with a tooth brush and Murphy’s Oil Soap and removed the soiled finish on the bowl and much of the rim top lava. He reamed the bowl with a PipNet reamer and took the cake back to bare briar. He scrubbed the mortise and the airway in the shank with pipe cleaners, cotton swabs and alcohol. I took the following photos when the pipe arrived in Vancouver before I started refurbishing it.jost7 jost8I took a close up photo of the rim top. He had gotten almost all of the lava off of the rim and all that remained was some slight rim darkening. I also took photos of the stem to show how much of the buildup had been removed before I got the pipe. There was a deep oxidation in the vulcanite.jost9 jost10I used a Savinelli Fitsall Pipe Knife to clean up the reaming of the bowl. I smoothed out the remaining cake at the bottom edges of the bowl and smoothed out the inner edge of the rim.jost11I used a dental pick with a slight spatula to scrape out the hard deposits of tar on the inside of the mortise. It took a little extra work but it cleaned up the buildup and made the stem fit against end of the mortise snugly.jost12I scrubbed out the mortise and the shank and stem airways with pipe cleaners, cotton swabs and alcohol to remove the debris from my scraping work in the mortise. It did not take too many before the pipe was clean on the interior.jost13I sanded the rim with 1500-4000 grit micromesh sanding pads to remove the slight rim darkening that remained. I was able to polish the rim. I used clear super glue and briar dust to fill in the deep nicks and gouges in the front face and top edge of the bowl. I sanded the bowl front with 220 grit sandpaper to smooth the surface and to blend it in with the surrounding briar. I polished bowl at the same time as I did the rim with the micromesh sanding pads.jost14I used a needle file to sharpen the edge of the button and make it more defined. I sanded the stem with 220 grit sandpaper to remove the scratches on the stem left behind by the file and the oxidation in the surface of the vulcanite.jost15I sanded the bowl and the stem with a medium and a fine grit sanding pad to remove the scratches and to polish the briar and the stem.jost16 jost17With the majority of the oxidation removed and the scratches in the briar I worked on polishing the stem. I wet sanded it with 1500-2400 grit micromesh sanding pads and dry sanded it with 3200-12000 grit pads. I rubbed the stem down with Obsidian Oil after each set of three pads. After rubbing the stem down with a final coat of oil after the last set of pads I set it aside to dry.jost18 jost19 jost20I buffed the stem with red Tripoli to further remove the light oxidation that remained in the vulcanite. I buffed both the bowl and stem with Blue Diamond on the buffing pad to polish it. I gave them multiple coats of carnauba wax and buffed it to a shine with a clean buffing pad. I hand buffed the finished pipe with a microfibre cloth to deepen the shine. The finished pipe is shown in the photos below. I really like the way it turned out. The grain of the briar really stood out. The natural finish looked really good and the contrast in the flame and straight grain with the underlying briar is quite stunning. Thanks for walking through this journey with me.jost21 jost22 jost23 jost24 jost25 jost26 jost27 jost28 jost29
 

Breathing Life into a Huge KBB Yello-Bole 3068C Bent Billiard


Blog by Steve Laug

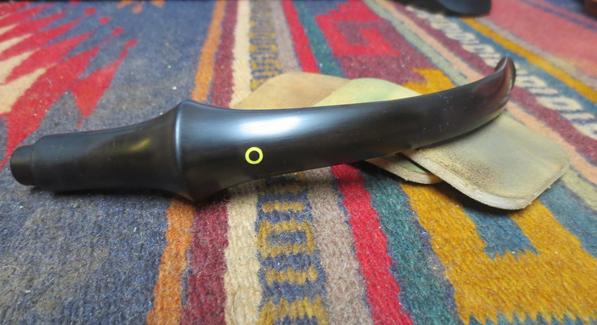
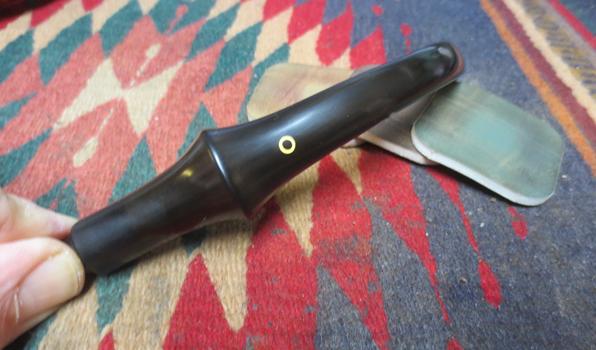
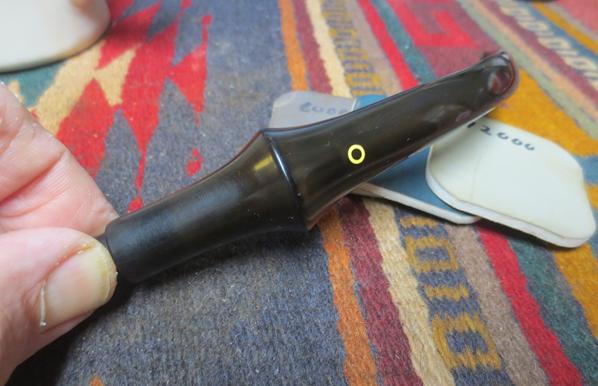
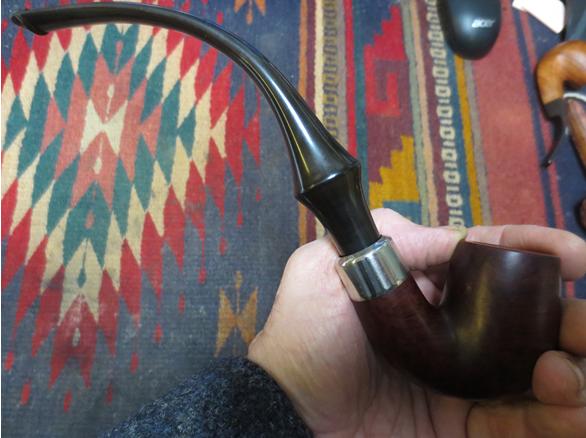
A good friend of rebornpipes, Jim emailed me about a pair of pipes that he had that he wanted me to have a look at. The first of them is on the work table and it is going to take a bit of work to bring back to life. The second is the one I just finished and it is a beautiful pipe. It is a Yello-Bole like none I have seen before and I have worked on many of them over the years. This one is a large KBB Yello-Bole bent billiard similar in style to the WDC Wellington big pipes. This one is 10 inches long and 2 ¼ inches tall. The bowl is 7/8 inches in diameter and 1 ¾ inches deep. The stem was in decent shape other than oxidation and light tooth chatter on the top and bottom sides near the button. The button itself was very clean with a few tooth marks but the airway was in perfect condition. The stem has the older style inlaid Yello-Bole logo of the yellow circle on the top side. The stem appears to be a P-lip but it is the faux P-lip that has the airway coming out straight at the end of the P.

The finish on the bowl was dirty and the varnish coat was peeling away and flaking off around the bowl. There was a deep, rich oxblood colour to the stain underneath the peeling finish. The rim was dirty but otherwise it was pretty clean with no dents, dings or nicks in the surface or in the inner or outer edges of the rim. In the photos it appears that the bowl was meerschaum lined but I assure you that it was not – it is merely coated with the famous Yello-Bole Honey Curing yellow mixture. The bevel on the rim shows the yellow as does the bottom of the bowl. In fact, though the pipe was smoked it appears that it was never smoked all the way to the bottom of the bowl and the lower 1/4th of the bowl still shows the yellow bowl coating. There was a light cake that was spotty around the inside of the bowl but it was not thick of overflowing onto the rim.

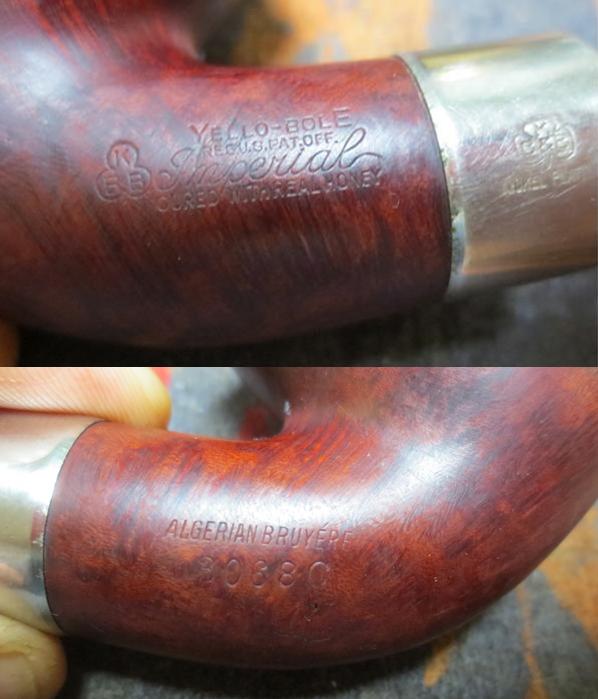
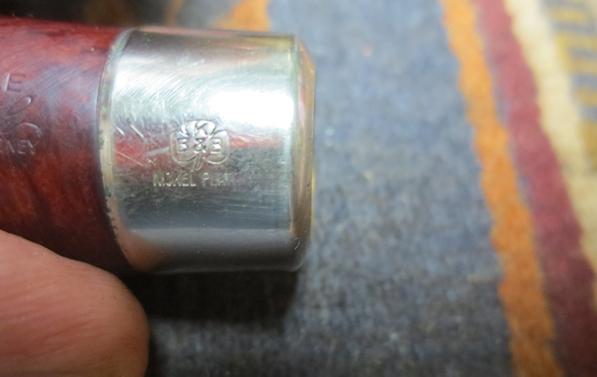
The stamping on the left side of the shank reads KBB in a cloverleaf/club and next to it Yello-Bole over Reg. U.S. Pat. Off. Under that it is stamped Imperial in script and below that the fourth line of the stamp reads Cured With Real Honey. The nickel ferrule on the shank end is stamped with the KB&B Cloverleaf and underneath reads Nickel Plated. It is interesting to me to see this stamping on the band. Typically the Yello-Bole pipes bore the KBB stamp without the ampersand (&) between the two “b’s” which is true on the logo on the left side of the shank. It simply reads KBB in the leaf. On the band however the logo has the KB&B stamp which is usually reserved for the better quality Kaywoodie pipes of the time. The right side of the shank is stamped Algerian Briar over 3068C which I assume is the shape number.

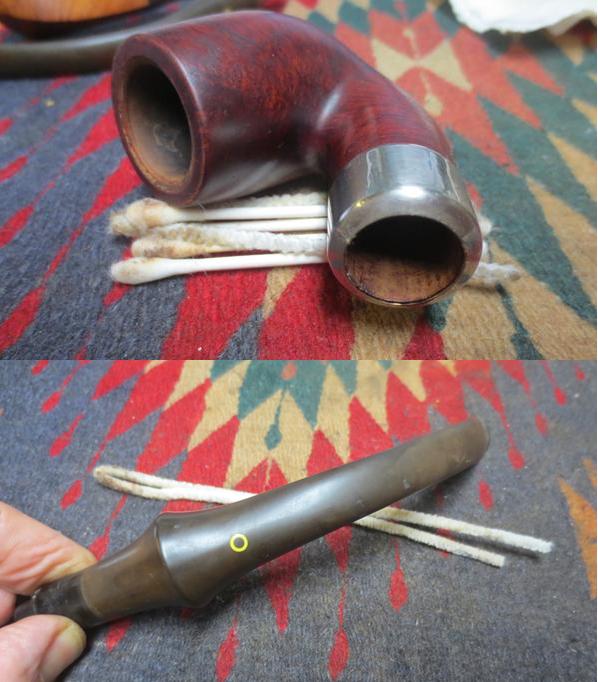
I took the photos below to show what the pipe looked like when it arrived and I had unpacked it on my work table.yb1 yb2I took some close up photos of the bowl, rim and stem to show the condition of those areas when I received the pipe. You can see the clean bevel on the rim with the slight darkening of the yellow bowl coating and the light, uneven cake in the bowl. You can also see the yellow bowl coating on the bottom portion of the bowl. The stem shows the oxidation and the light tooth chatter on the top and underside near the button. You can also see the airway exiting the stem at the end rather than the top of the “P-lip”.yb3 yb4I reamed the bowl with the Savinelli Fitsall Pipe Knife to clean the cake back to bare briar. I used that tool as I wanted to leave the yellow bowl coating intact in the bowl to leave it as original as possible.yb5I scrubbed off the peeling finish with cotton pads and acetone (fingernail polish remover) until the surface of the briar was smooth and the oxblood stain coat shone through. I used 1500-2400 grit micromesh sanding pads to work on the rim top and the inner bevel of the rim until they also were clean.yb6 yb7Once I had removed the varnish coat there were a lot of dings and dents in the rim and the sides of the bowl. I used a hot butter knife and a wet cloth to steam out the dents. It took some time but I continued to steam the dented areas on the bowl until I had removed all but the small nicks on the bowl. I took photos of the bowl after I had steamed it and you can see from the photos that the briar looked far better after steaming.yb8 yb9I took some close up photos of the stamping on the shank and the nickel ferrule to show what I talked about in the earlier paragraphs. The nickel-plated ferrule had a lot of scratches in the surface of the nickel. You can also compare the KBB stamp on the shank with the KB&B stamp on the ferrule in the photos.yb10 yb11I polished the nickel ferrule with micromesh sanding pads to remove the scratches. I started with 1500 grit and worked my way up to 12000 grit. It removed the scratches and also polished the nickel. I cleaned out the interior of the mortise, the sump at the bottom of the shank and the airways in the shank and the stem with alcohol, pipe cleaners and cotton swabs. The first photo below shows the clean briar in the shank.yb12I sanded the stem with 220 grit sandpaper to remove the oxidation on the surface of the stem. I scrubbed it with the Before & After Pipe Stem Deoxidizer to lift more of the oxidation. I wet sanded the stem with 1500-2400 grit micromesh sanding pads and dry sanded with 3200-12000 grit pads. After sanding with each set of three pads I rubbed the stem down with Obsidian Oil. After sanding with 12000 grit micromesh I gave the stem a final coat of the oil and set it aside to dry.yb13 yb14 yb15I buffed the bowl and stem with Blue Diamond on the buffing wheel to further polish the bowl and the stem. I was seeking to remove even the micro scratches left behind in the vulcanite by the micromesh sanding pads and the remaining scratches in the briar as well. I gave the pipe multiple coats of carnauba wax to protect the pipe. I buffed it with a clean buffing pad on the wheel and raise a shine. I personally do not like the high gloss look of a pipe when it first comes off the wheel so I hand buff it with a microfibre cloth to deepen the shine and give it a rich look. The finished pipe is shown in the photos that follow. I look forward to hearing from Jim as to his thoughts regarding this “rare to me” older KBB Yello-Bole. Thanks for walking with me through the process.yb16 yb17 yb18 yb19 yb20 yb21 yb22 yb23

ADDENDUM:

Andrew commented below regarding the size of the pipe. I have added this photo of the pipe in my hand to give an idea of the size.yb1

Restoring the third Classic Find – a Charatan’s Make 0120 Canadian


Blog by Steve Laug

My brother and I recently purchased some pipes from an estate sale from an old pipeman named Gene in Pocatello, Idaho. There were a lot of great pipes in the lot. I have written about the pipes on a previous blog: (https://rebornpipes.com/2016/10/07/a-good-day-hunting-orchestrated-between-british-columbia-and-idaho/). I wrote of how he had stopped at an antique shop and four found prestigious finds. These included a Four Dot Sasieni Pembroke with a patent number, Pat.No. 150221/20, a Dunhill Root Briar Canadian EC 4R, a Charatan’s Make Canadian Sandblast 0121 and a Jost’s Supreme Diamond Shank bent billiard. I wrote about the restoration of the Sasieni and the Dunhill earlier in two other blogs: (https://rebornpipes.com/2016/11/05/restoring-a-classic-find-a-sasieni-four-dot-london-made-pembroke/) (https://rebornpipes.com/2016/11/06/restoring-another-classic-find-a-dunhill-4r-root-briar-canadian-ec/). The third pipe that I have chosen to restore is the sandblast Charatan’s Make 0120 Canadian.

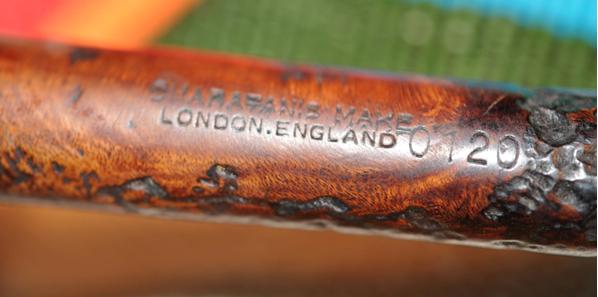
The Charatan pipe also had a replacement stem as there was no sign of a CP logo stamp on the top side. The stamping was on the smooth underside of the shank and it read Charatan’s Make and underneath it read London, England. At the end of the brand stamping was the number 0120 which is the shape number of a Canadian. I did some searching online and read the Charatan’s entry in Pipedia (https://pipedia.org/wiki/Dating_of_Charatans). I quote from there: “Pipes that belong to eras till the 1960 have the engraving ‘CHARATAN’S MAKE LONDON, ENGLAND’ in two lines, the shape code is composed by numbers only. The X and the DC appear only on pipes after 1960.”

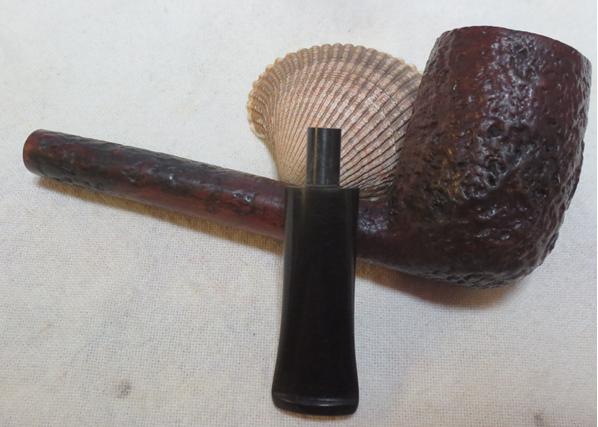
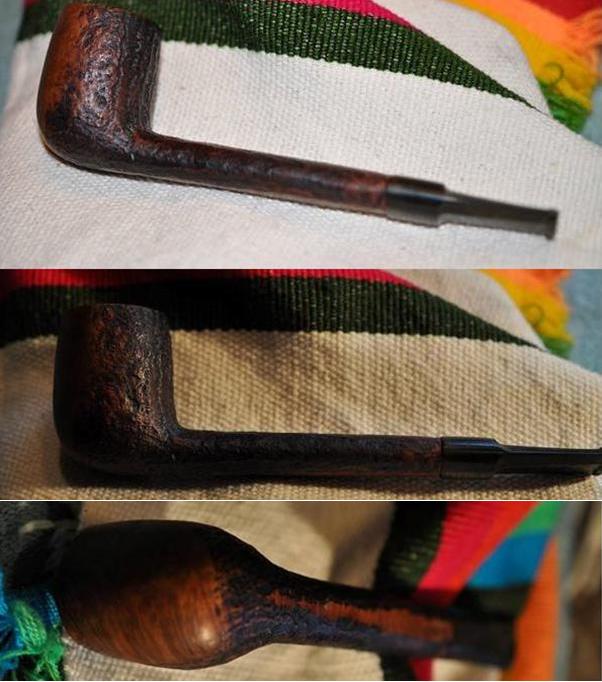
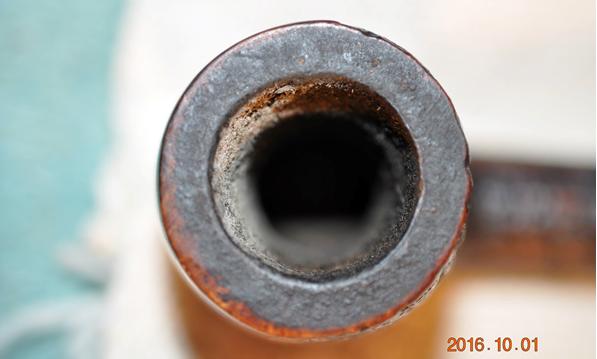
My brother had found another good one. The stamping gave me information about the time frame it was made. I knew that it was made prior to 1960 by the style of the stamping. It came from what the article identified as the Reuben era of Charatans that went from 1910-1960.  Like the Dunhill the only thing that would have been better was if it had come with the original stem. My brother took the photos that follow. They show the pipe before he cleaned it up and sent it to me. It had a nice sandblast that deep and craggy on the bowl and shank. From mid shank back to the stem it appeared that the pipe had been rusticated to match the blast pattern. He took some photos of the pipe to give a feel for the overall look of it when he received it. These photos show the pipe before he cleaned and reamed it.char1He took some close up photos of the bowl and sandblast on the bottom of the bowl. The bowl had a thick cake that had flowed over the top of the rim in hard tarry lava. It was thick but it appeared that the outer rim was undamaged and with any luck the inner one would be as well. The blast is interesting in that it also has a rustication pattern on the bowl bottom and also on the shank. It follows the pattern of the grain on the bowl.char2The next photo shows the clear and sharp stamping on smooth underside of the shank. It reads as noted above – Charatan’s Make over London England with the shape number 0120 on the stem end of the shank.char3The stem had a lot of tooth chatter and some shallow tooth dents. There was oxidation and also calcification.char4My brother did his normal thorough job of cleaning the pipe. He scrubbed it with a tooth brush and Murphy’s Oil Soap. He cleaned out all of the dust and debris in the grooves and crevices of the “blastication”. The stem does not fit tightly against the shank at this point. The next photos below show the pipe as it looked when I brought it to my work table.char5 char6I took some close up photos of the rim to show how well it cleaned up. My brother was able to get the lava out of the grooves on the rim and also on the underside of the shank. The stamping was still very clear.char7He cleaned out a lot of the gunk in the shank but the stem still did fit tightly against the shank end. He did get the calcification and some of the oxidation off the stem. You can clearly see the tooth chatter and the tooth dents now that the stem was clean.char8I scraped out the inside of the mortise with a dental pick with a flattened blade end. I scraped the stepped down area of the mortise as it entered the airway in the shank. I took a lot of tar and gunk out the shank area.char9I scrubbed the mortise, the airway in the shank and the stem with cotton swabs, pipe cleaners and alcohol. Once it was clean the stem fit more closely against the end of the shank.char10I scrubbed down the bowl and shank with acetone on cotton pads to remove the finish that remained on the pipe.char11 char12I restained the pipe with a dark brown aniline stain thinned 50/50 with isopropyl alcohol. I flamed the stain and repeated the process until the coverage was even.char13I put the stem in the shank and took the pipe to the buffer. I buffed it to polish the stain. When I was just about finished I could not believe what happened. It is that moment when you are buffing a pipe where you get a sick feeling. The wheel grabbed the pipe out of my hand, off my finger and threw it against the table top under the buffer. It was not far – a mere 2 inches but I heard the snap as the tenon broke. I was sick to my stomach. I was almost finished with the pipe and then this had to happen. I took a photo of the broken tenon once I had pulled it from the shank. It was almost a clean break at the end of the stem. Oh the frustration.

I used a Dremel to flatten the broken edge of the tenon against the face of the shank. It took a few moments to smooth out the broken part. I used the topping board with 220 grit sandpaper to face the end of the stem. I went through my box of threaded tenons and actually had one left in the box that was not a Jobey Link system tenon. It was the same diameter as the broken tenon.char14I chucked a drill bit in the cordless drill that was just a little larger than the air way in the stem. I turned the stem onto the drill bit the length of the threaded portion of the replacement tenon. I put two more drill bits in the drill and turned the stem onto the bits. Once it was the same diameter as the threaded portion I shortened the threaded end slightly so that it would fit tight against the stem. I roughed up the threads with the Dremel and a sanding drum. I left the threads in place so that I could turn it into the stem.char15I screwed it into the stem as far as it would go by hand and then used a pair of pliers to finish turning it tight against the stem face.char16I put the stem in place in the shank and the fit was tight against the shank. I polished the stem with micromesh sanding pads – wet sanding with 1500-2400 grit pads and dry sanding with 3200-12000 grit pads. I rubbed it down with Obsidian Oil after each set of three pads. After the final set I rubbed it down with a last coat of oil. I set the stem aside to dry. (In the photos below of the shank and stem I did not push the stem in against the shank so it shows a small gap at that point. You will notice in the final photos that I pushed it back in place.)char17 char18 char19With fear and trepidation I took the pipe back to the buffer. I did not want to repeat the broken tenon so I was very careful. I worked the pipe against the buffing wheel that had been charged with Blue Diamond polish. I buffed it until the stem shone. I lightly buffed the bowl with the polish as well – being careful to not let it build up in the grooves. I polished the stem with carnauba wax and put Conservator’s Wax on the sandblast finish of the bowl and shank. I buffed the pipe with a clean buffing pad to raise the shine. I hand buffed it with a microfibre cloth to deepen the shine. The finished pipe is shown in the photos below. The fit of the stem against the shank was better than when I started. Thanks for walking through the restoration with me and also through the frustrating need to replace the tenon.char20 char21 char22 char23 char24 char25 char26 char27

Cleaning and Restoring a Stanwell Antique 56 Canadian


Blob by Steve Laug

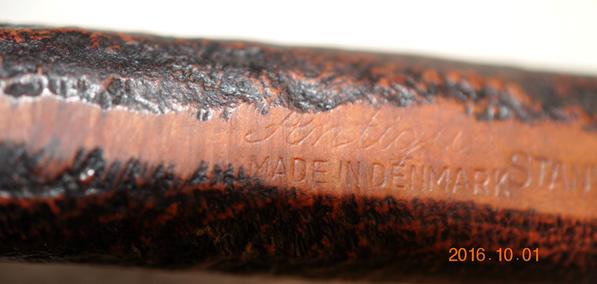
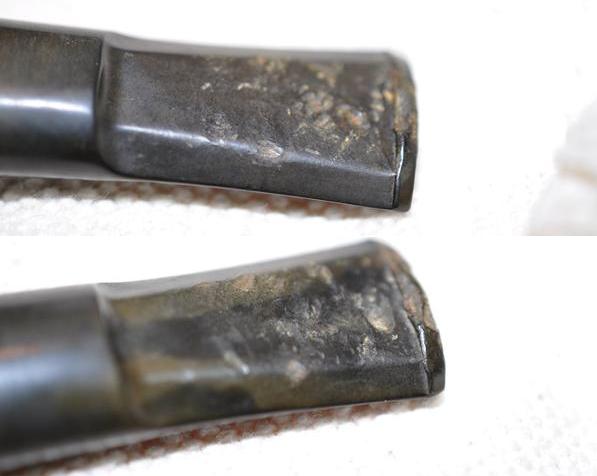
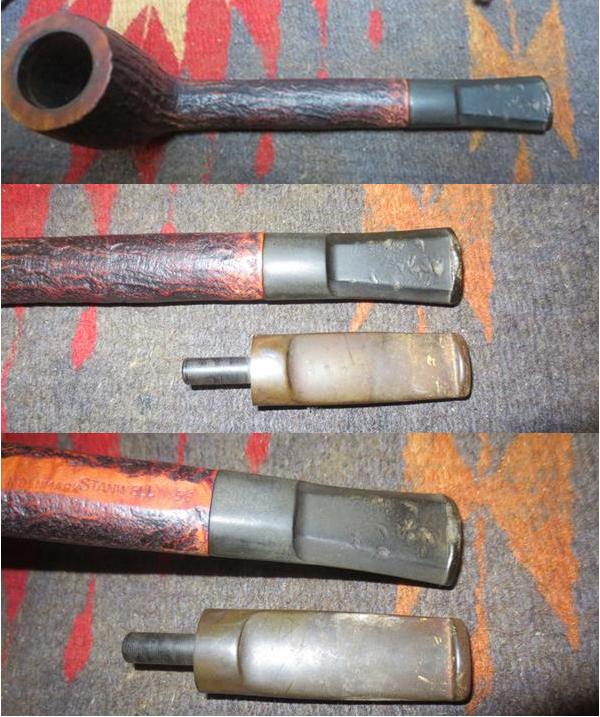
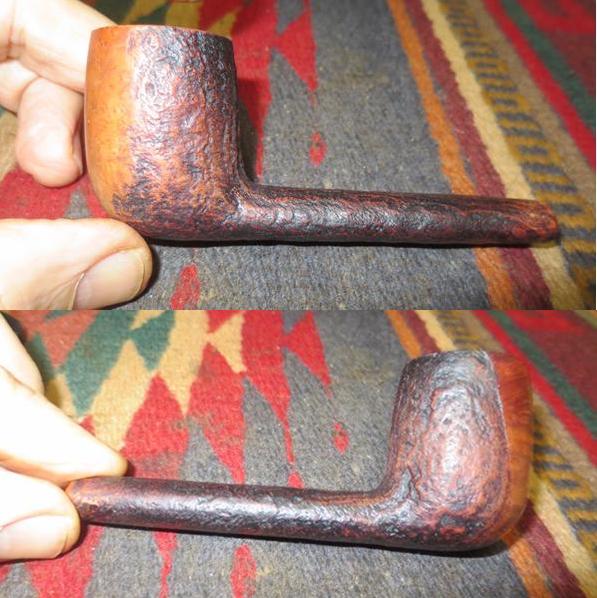
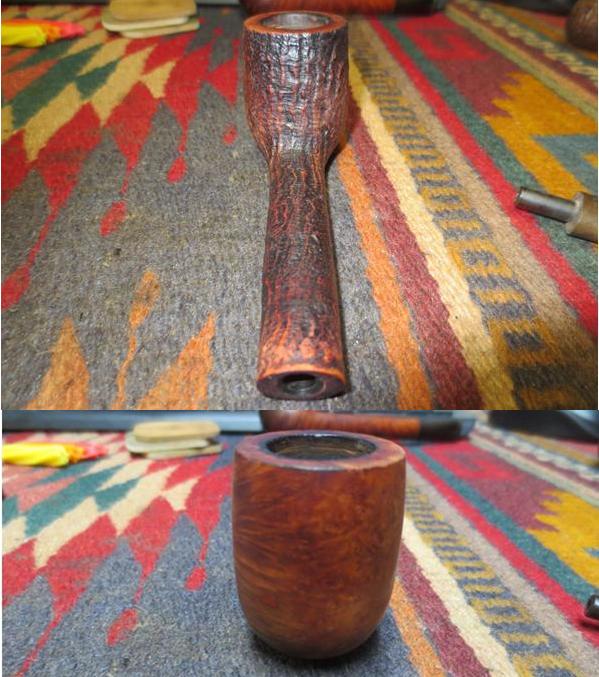
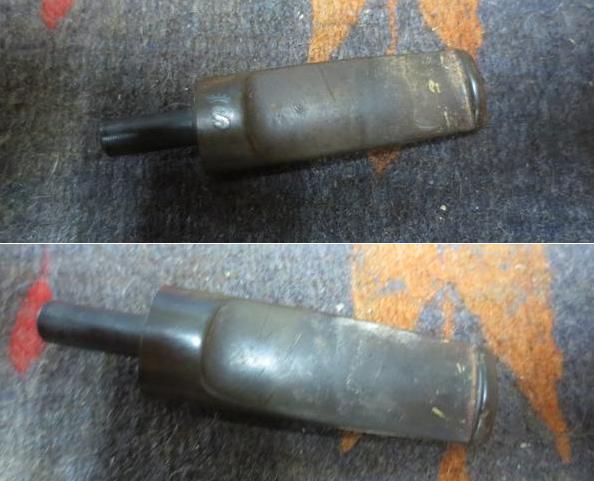
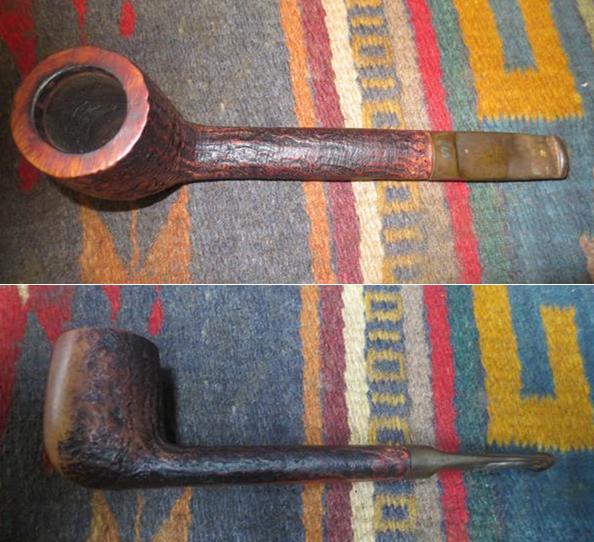
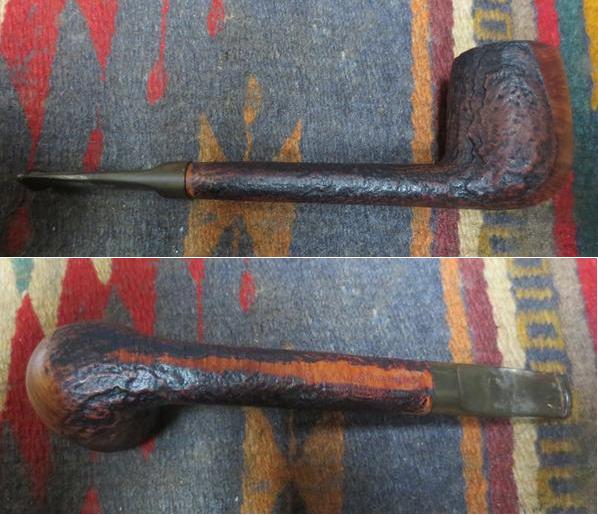
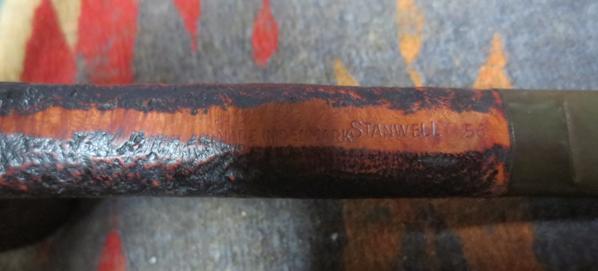
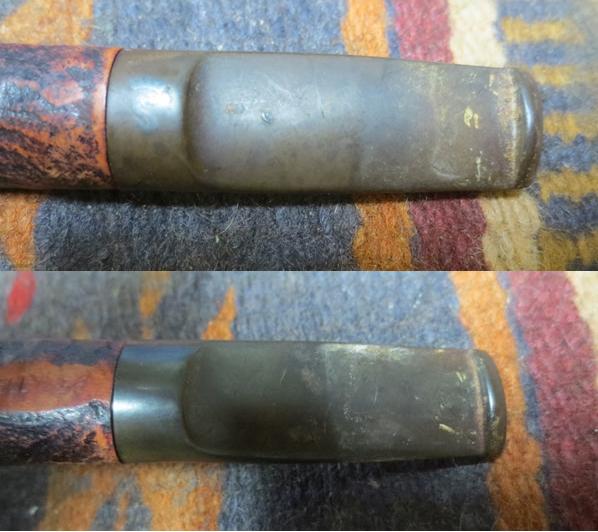
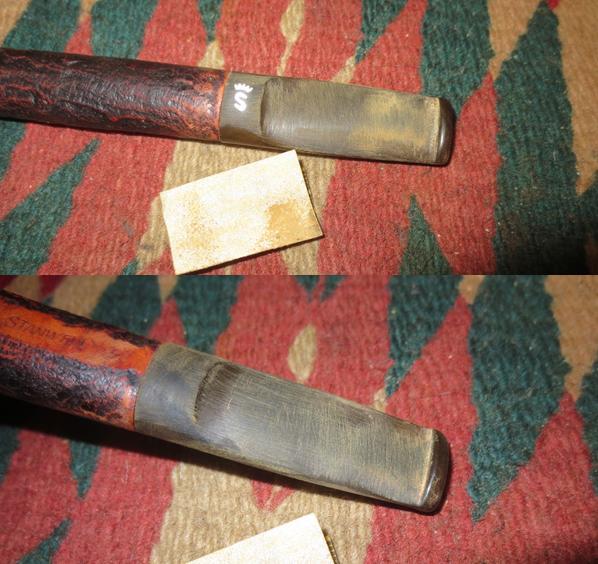
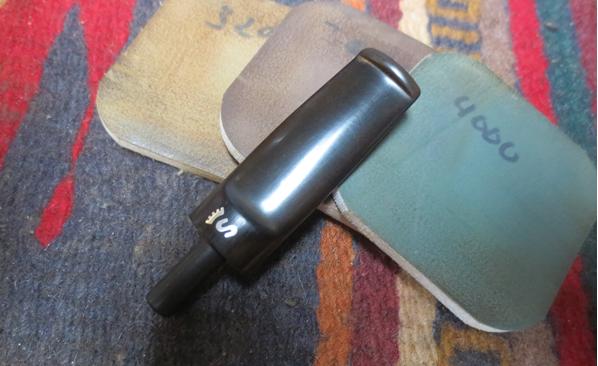
One of the first pipes I chose to restore from the estate lot my brother and I purchased in Idaho from an older pipeman, Gene was this Stanwell Canadian. It was a nice looking contrast stained pipe that was sandblasted over most of the surface area – the shank and ¾ of the bowl. The underside of the shank and the front of the bowl were smooth and stained a medium brown. The rim top was also smooth and had a matching stain. The stem was a replacement and while it fit the mortise well it did not fit against the shank. It was well chewed by what Gene called a beaver. The tooth marks were deep and many. Fortunately the stem did not match the shank of the pipe so it would not be a loss. I would need to look for a stem in my can of stems and see if I could find one that matched the stem. Maybe I would even find one that bore the Stanwell logo and worked with the pipe. My brother Jeff took some photos of the pipe before he cleaned it up. The next photos show the pipe when he received it.stanwell1Jeff took close up photos – the first shows the cake in the bowl and the overflow of tars and lava over the top of the rim. The outer and inner rims were in great shape. The bowl was still in round and the outer edge is smooth where the smooth portion is and rougher where the sandblast portion of the bowl was. The underside of the shank was stamped Antique in script over Made in Denmark. Next to that it was stamped Stanwell. Next to the shank/stem junction it bore the shape number 56 which is the shape number for a long Canadian.stanwell2 stanwell3He also took some photos of the stem top and bottom. I have included them as they show the chewed surface of the stem on the top and the bottom side. It was a mess and the button was chewed down as well.stanwell4When the pipe arrived in Vancouver I took a photo of the pipe with the stem that came with it. I went through my can of stems and found a stem that bore the silver Stanwell logo on the top side of the saddle. It fit the shank well and with a little cleanup it would work very well. It was oxidized and had some light tooth chatter on both sides. It was almost straight from the shank to the edge of the button.stanwell5I removed the stem and took photos of the bowl without a stem to give you an idea of the condition of the bowl and shank of the pipe. You can see from the photos that my brother had cleaned up the exterior of the pipe with Murphy’s Oil Soap and a tooth brush and removed the grime that was in the grooves and crevices of the sandblast finish. There was also a small fill on the front of the bowl on the smooth portion of the bowl front. He was also able to remove much of the tars and lava on the rim top.stanwell6 stanwell7I took a close up photo of the stem – both top and bottom sides in order to show the general condition. You can see the crown S on the top of the saddle portion of the stem.stanwell8The tenon was the perfect size to fit the mortise on the Canadian. The width of the stem was the same as the shank. The height was slightly larger than the height of the shank. It would need to be sanded lightly to bring about a match. The photos show what the pipe looked like with the new stem.stanwell9 stanwell10I took a close up photo of the bowl rim and the underside of the shank. It was in great shape. The stamping on the shank underside was clear and readable.stanwell11 stanwell12I also took a close up photo of the stem top and underside with it in place in the shank. You can see from the photos that the stem fit nicely in the shank and looked like it belonged on the pipe.stanwell13I sanded the stem with 220 grit sandpaper to remove the tooth chatter and the tarnishing to the crown S logo. I worked on the height of the stem so that it was more in line with the thickness of the shank.stanwell14Once I had the stem fit better I polished it with micromesh sanding pads – wet sanding with 1500-2400 grit sanding pads and dry sanding with 3200-12000 grit sanding pads. I rubbed the stem down with Obsidian Oil after each set of three sanding pads. I gave it a final coat of oil after the last set of three pads and set it aside to dry.stanwell15 stanwell16 stanwell17I rubbed the bowl down with a light coat of olive oil and hand buffed it with a shoe brush. I gave it several coats of Conservator’s Wax and buffed it with the shoe brush. I buffed the smooth portions on the bowl and rim with Blue Diamond and buffed the stem as well to polish it. I gave the stem and smooth portions of the bowl with carnauba wax. I buffed the entire pipe with a clean buffing pad to raise the shine. I hand buffed it with a microfibre cloth to deepen the shine. The finished pipe is shown in the photos below. The shine and the contrast finish and stains make the pipe a unique looking pipe. The new stem looks right with the pipe. Together they combine to make a good looking pipe. Thanks for walking through the restoration with me.stanwell18 stanwell19 stanwell20 stanwell21 stanwell22 stanwell23 stanwell24 stanwell25 stanwell26

A Pair of Rainy Day Pipes – More Adventures in Oddities


Blog by Steve Laug

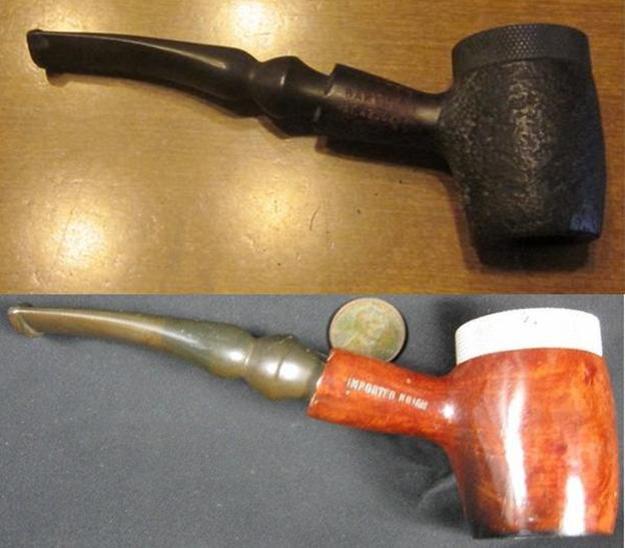
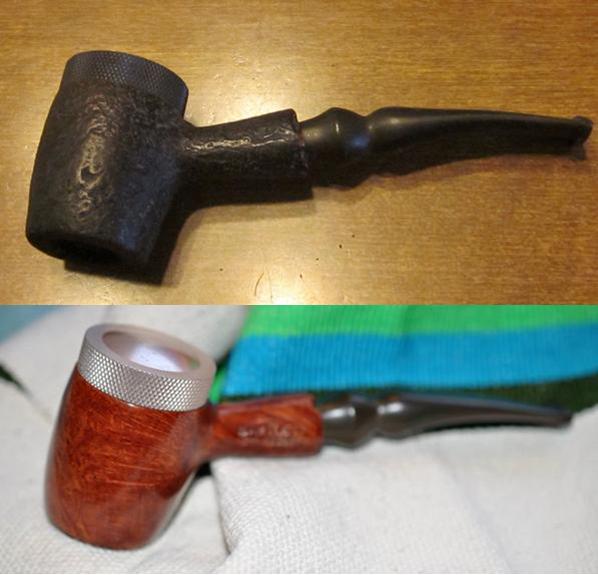
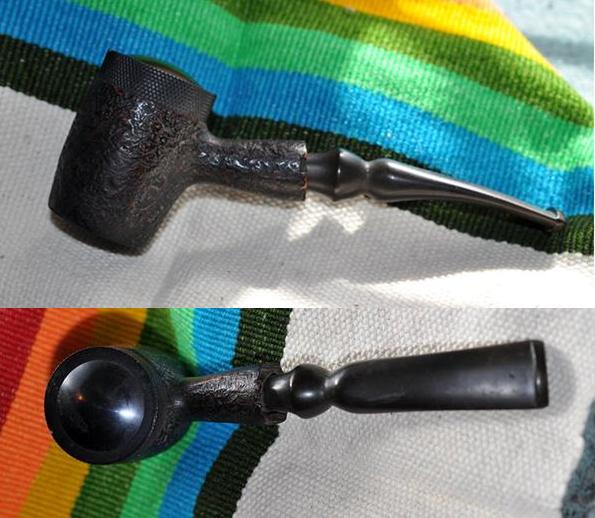
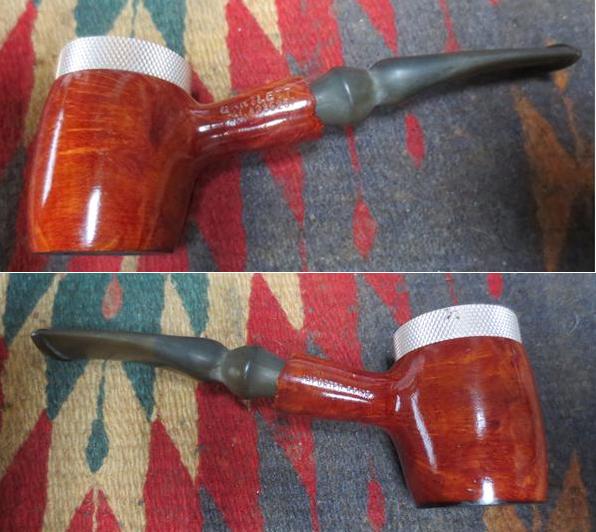
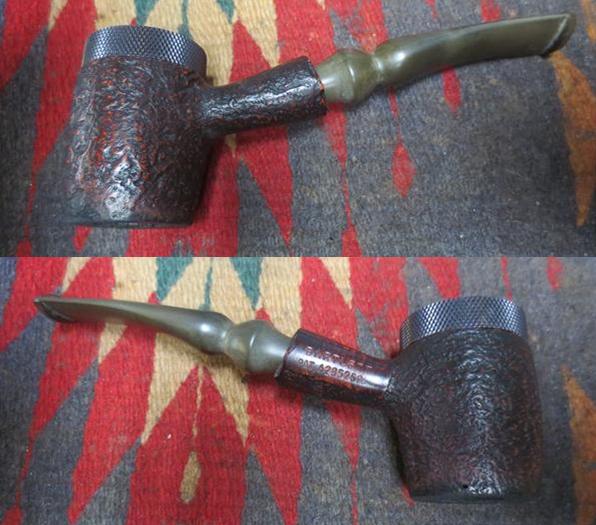
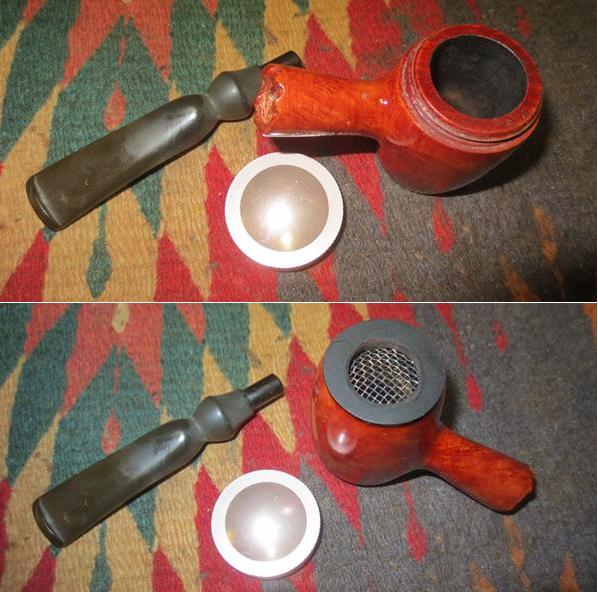
Have you ever heard of Bartlett Pipes? They are rather strange upside down looking pipes in my opinion. My brother sent me this link to a youtube video on the Bartlett pipes. We were both searching for information on the brand as neither of us had heard of them or seen them close up before.   https://www.youtube.com/watch?v=dyFfLidMmws&feature=youtu.be

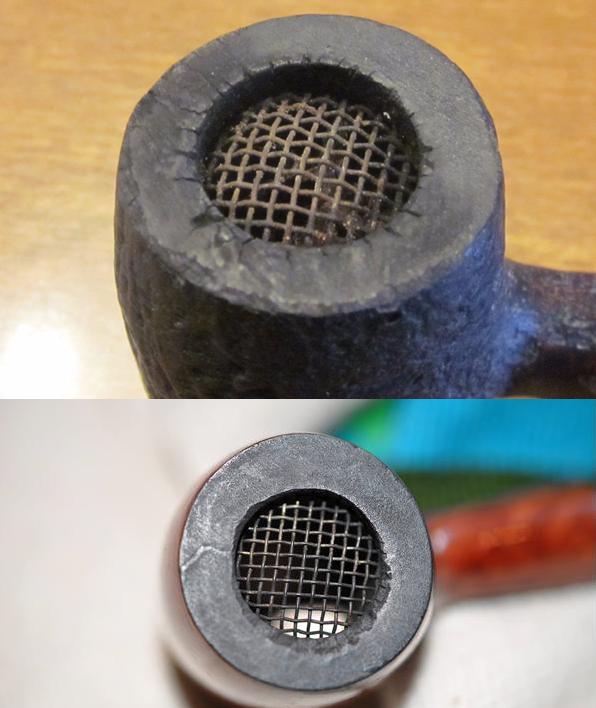
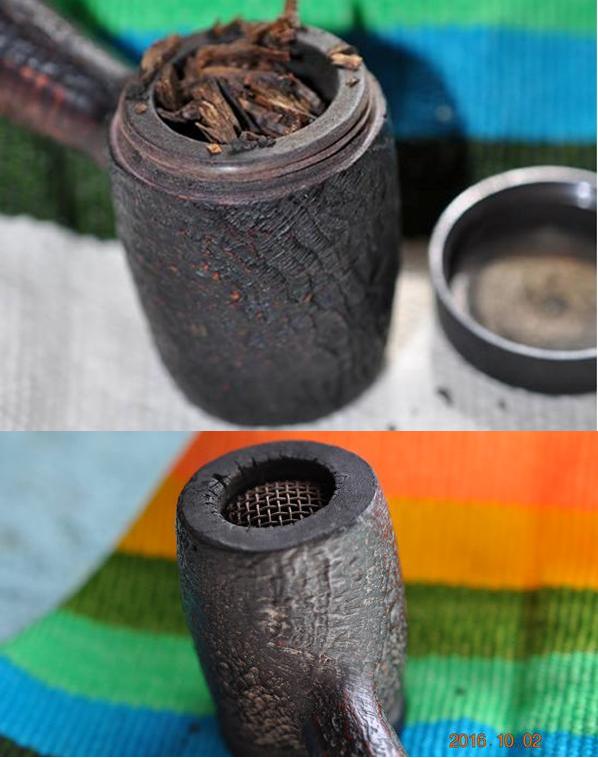
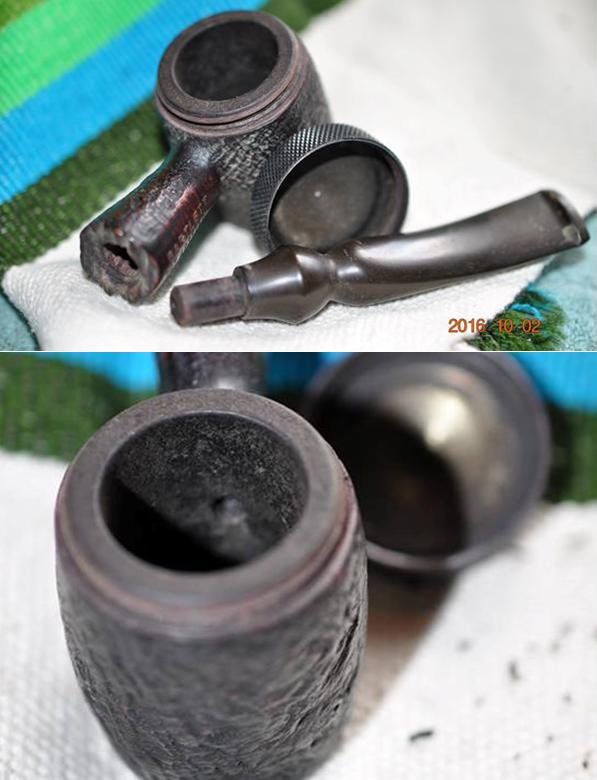
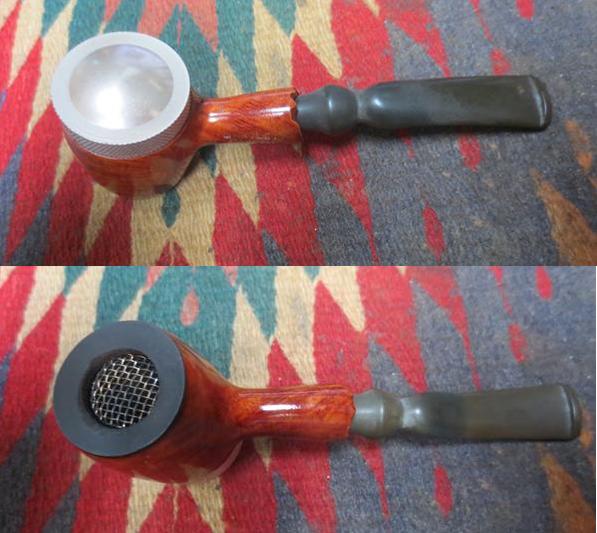
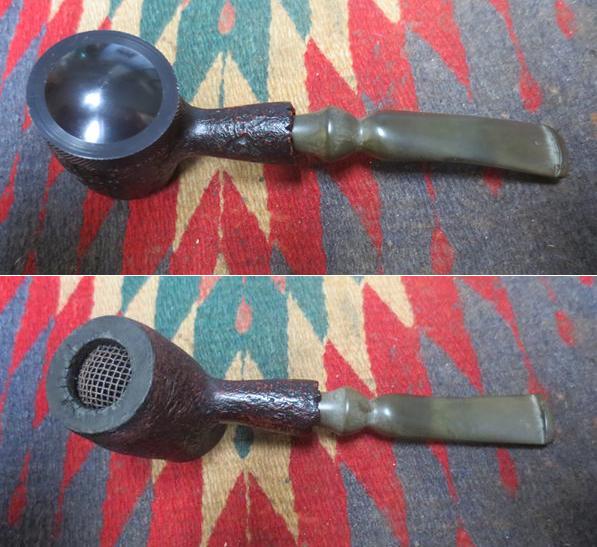
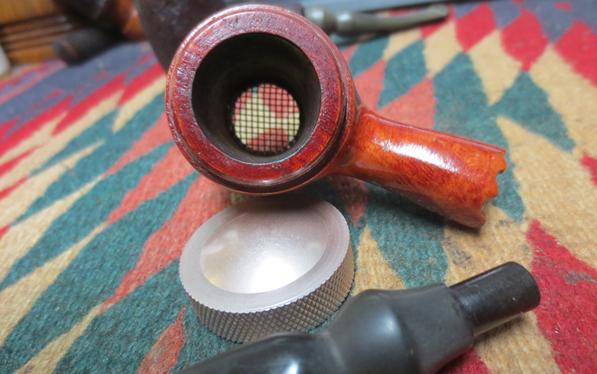
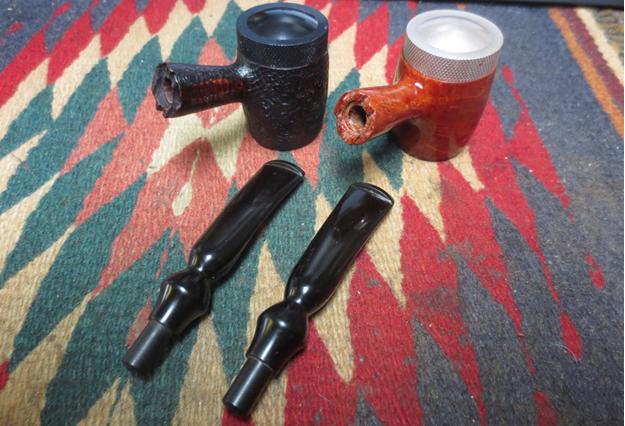
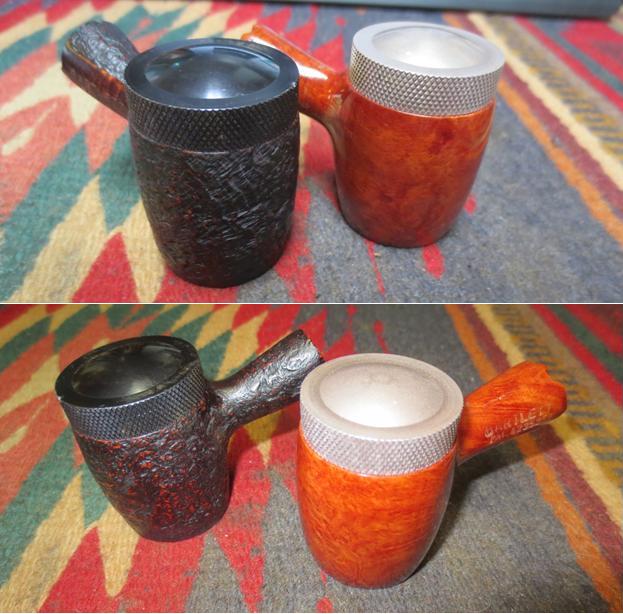
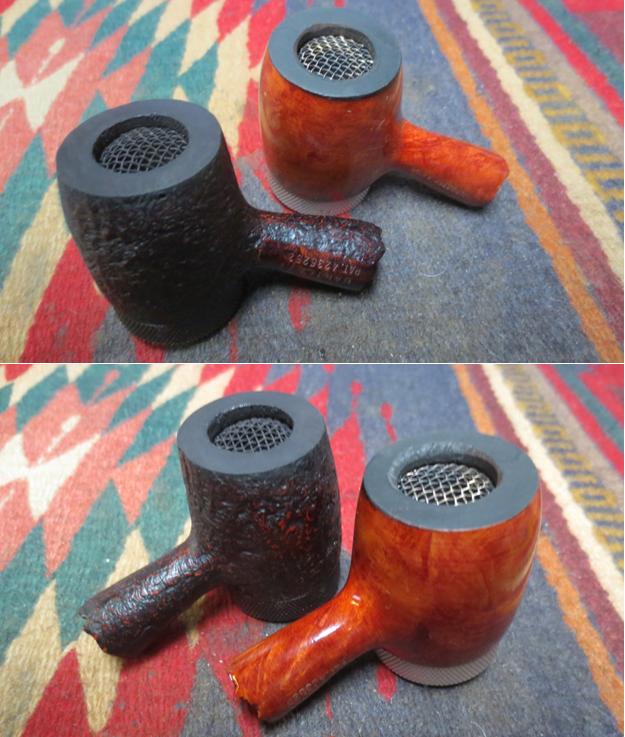
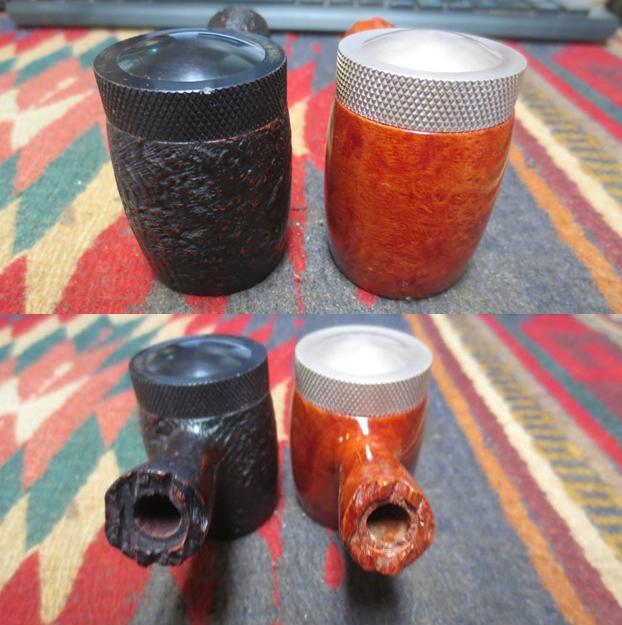
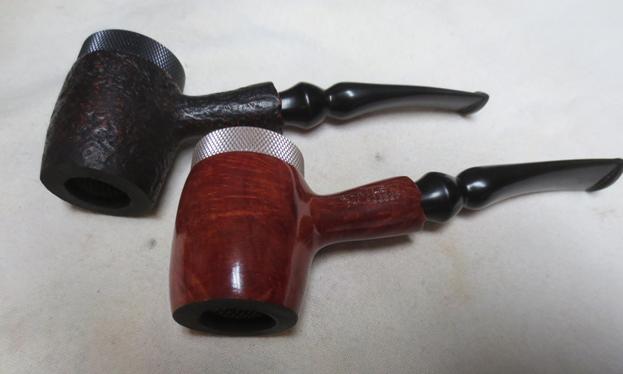
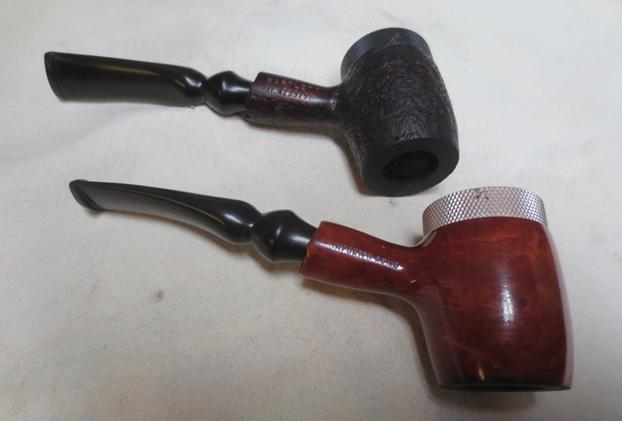
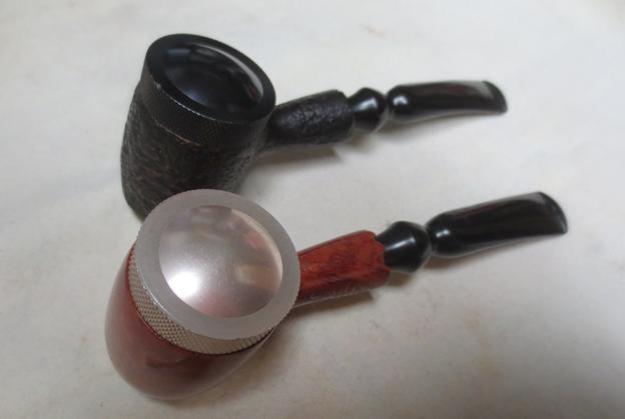
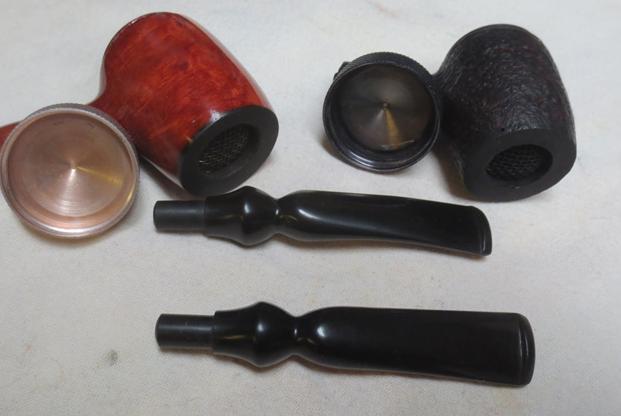
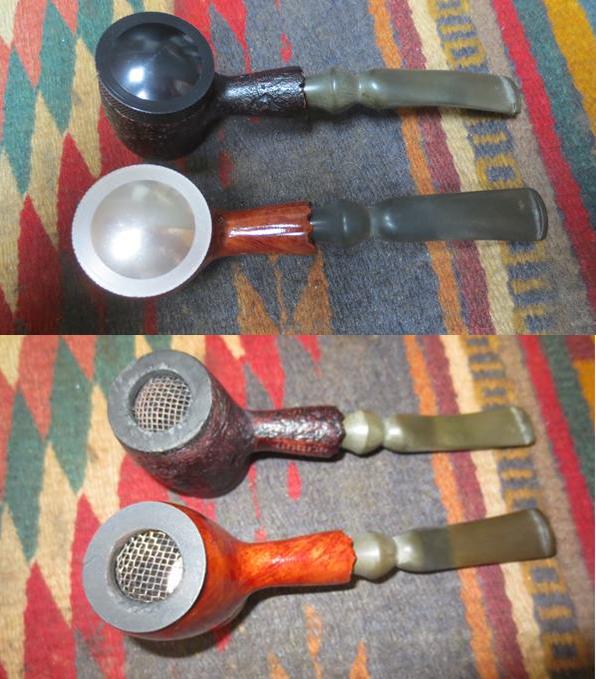
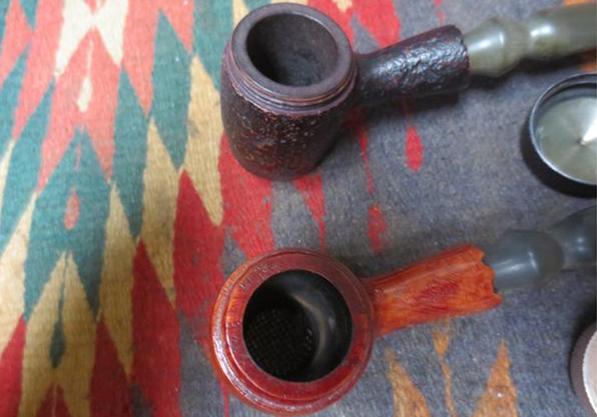
What made the hunt for information regarding this oddity necessary was that my brother had bid on two of these and won both of them on eBay. One of them was NOS (new old stock) and one of them was smoked and well used. In the past I had seen photos and read on the online forums about these pipes but had never really done any research to figure out what they were. They were always a bit of an oddity to me. Either way the stem sat they did not look right and when you removed the cap at the top the airway was almost at the top of the bowl (if the screw on lid was to be considered the top). The angles of the shank and the curve of the stem leads me to think that the capped surface was the top of the bowl. The bottom side of the bowl was a screen that allowed for airflow through the bowl. I am still trying to figure out if you light the pipe from the bottom or the top of the bowl.bart1 bart2From what I read on the various online forums and in the articles that I could find I was able to piece together how the pipe functioned. The pipe bowl was open at the top and the bottom. The airway into the shank was near the top opening and led directly to the pipe stem. A polished aluminum cover is screwed onto the threaded briar bowl top and is left in place when the pipe is smoked. At the other end of the bowl there is a screen that covers the bottom opening that keeps the tobacco in the bowl while permitting access to the tobacco to light it. The screen is supposedly fine enough that the ash does not fall out of the bowl into the lap of the smoker. With the cover in place on the top opening, the tobacco is ignited via the screen on the bottom, causing  the tobacco to burn from the bottom up. New tobacco may be added at any time by removing the cap from the top of the pipe. It is said that the burning the tobacco from the bottom reduces the moisture that usually collects and thus makes it unnecessary to dry out the bowl between pipes. The bottom lighting also makes lighting the pipe in the wind or rain much simpler.

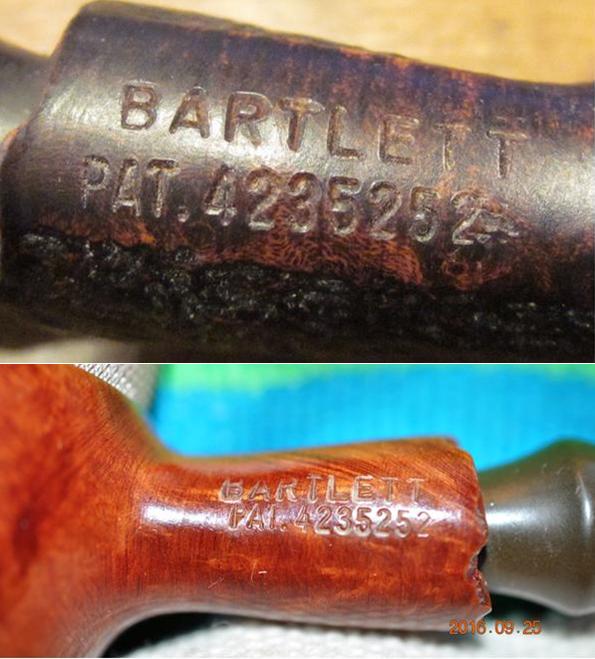
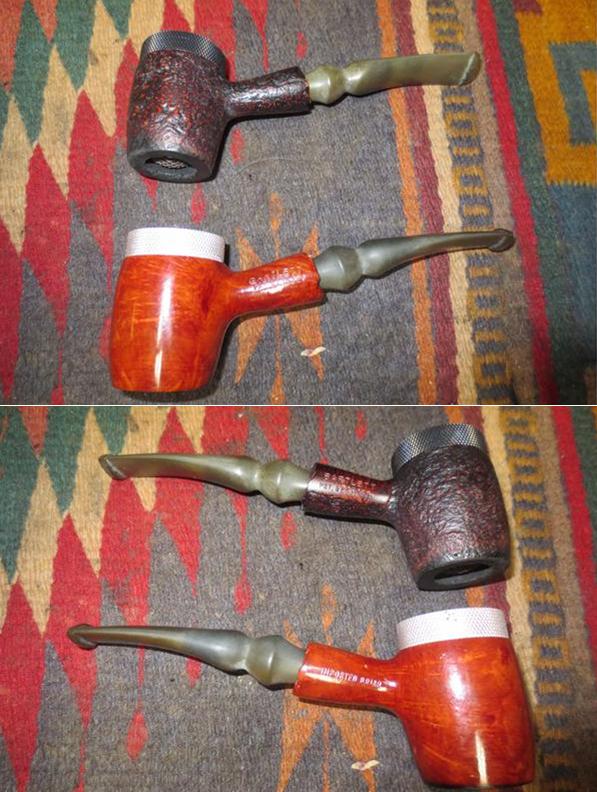
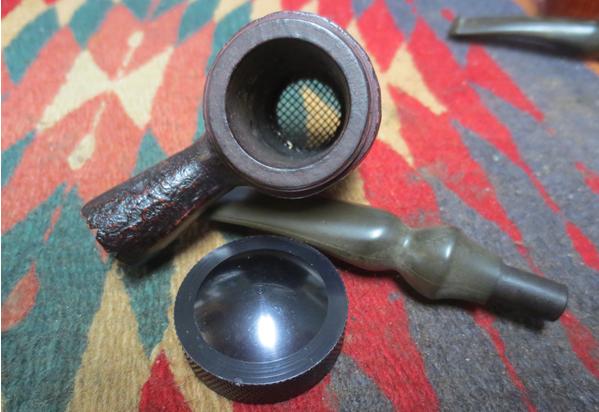
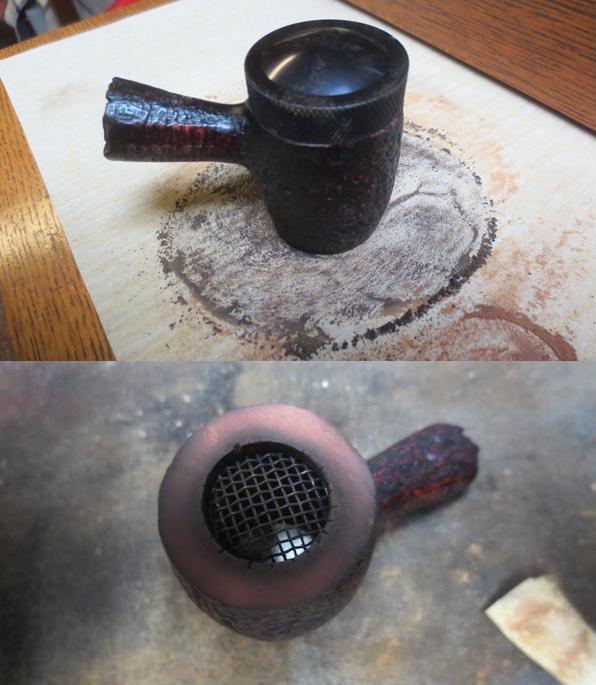
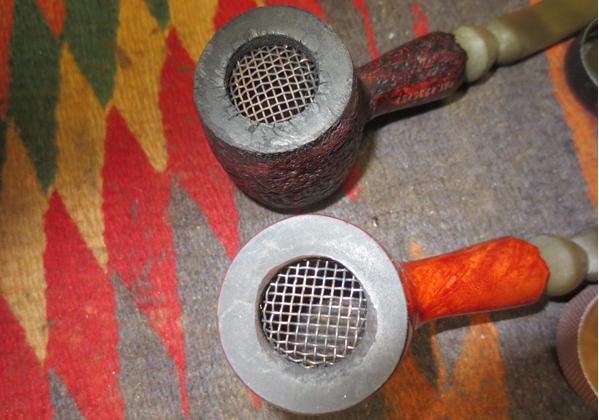
The next photos show the screened bottom of the two pipes that I was going to work on. The smooth pipe is new and unsmoked the sandblasted pipe is used and you can see some charring around the inner edges on the bottom of the bowl. The bowl bottom on the unsmoked pipe was stained black to minimize the darkening that occurs when the pipe is lit.bart3Both pipes were stamped with the name Bartlett over a Patent Number – 4235252. The stamping on the sandblast version was on the right side of the shank and the one on the smooth was on the left side of the shank. Both stampings were very sharp and legible. The smooth briar pipe was also stamped on the right side of the shank with the work Imported Briar.bart4At this point I wanted to know more about the pipe. It was a brand that I was unfamiliar with. In usual unhelpful fashion I found that the Bartlett Pipe was made by the Bartlett Pipe Company Inc. of Bartlett, NH (which I assume is New Hampshire).

On the Pipesmokers Forum I found some interesting information from a friend of the inventor of the pipe. Here is the link to the conversation on that website. http://pipesmokersforum.com/community/threads/an-interesting-surprise.46690/

Adam Hirshan comments: “A friend of mine invented and patented a revolutionary smoking pipe that lights from the bottom. A major manufacturer saw the promise and bought the idea 15 years ago, but it never took off. My friend got the patent back a few years ago and we’ve developed a new rock maple version that we call The Freedom Smoking Pipe.”

“It smokes cool and easy. A stainless steel screen holds the tobacco and ash in place – nothing falls out. No moisture or resin accumulate in the bowl. A cork and leather top makes it wind and rain proof.”

“We had initial success wholesaling through a well-known distributor. We were in about 100 tobacco shops nationwide, and appeared in the Levin catalog. Response from our early customers was strong – most loved it, some hated it. Then interest dropped off and left us wondering what happened.”

I did some more digging and found some information on the Dr. Grabow Collectors Forum. Here is the link: http://drgrabows.myfreeforum.org/viewcardtopic.php?t=1236

I quote: “I was asked what I thought about my Bartlett pipe and figured I’d start a new topic. If you don’t know what it is, it’s the ‘Upside down pipe’. The history as I know it is there have been 3 variations. It was invented in the 70’s. Sparta picked up the rights and produced them in the 80’s for 8-10yrs. Didn’t take off. Rights were returned to the inventor. Seems they are no longer produced. (ed. This seems to go along with the information from Adam Hirshan in the above comment).”

The quote goes on with an interesting reference to the Sparta example of the pipe: “Mine has a red stain, and the chain to hold the cap. My stem is from a junk pipe I had. The weirdest thing is not seeing the baccy burn. First smoke required a tamp halfway through and the bowl got dang hot! Second time out, the pack was perfect. One light, no tamp. Just weird not tending the bowl like normal…….Guess this is why the never went anywhere.”

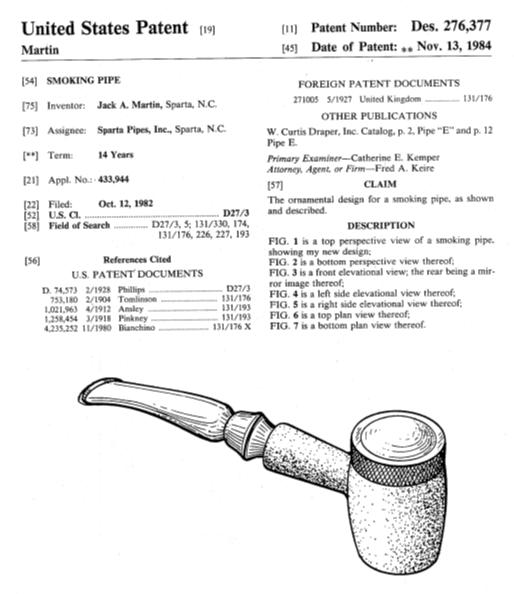
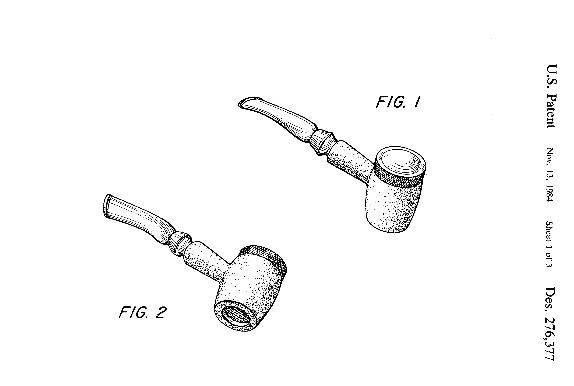
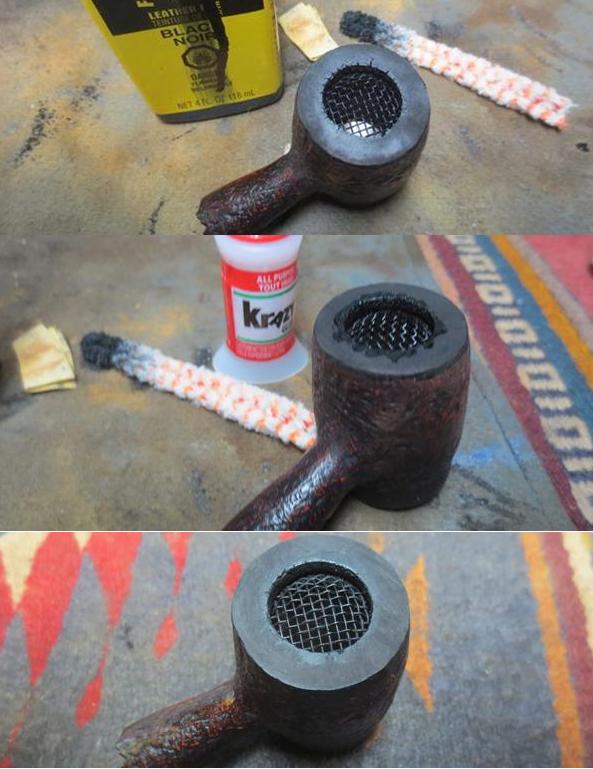
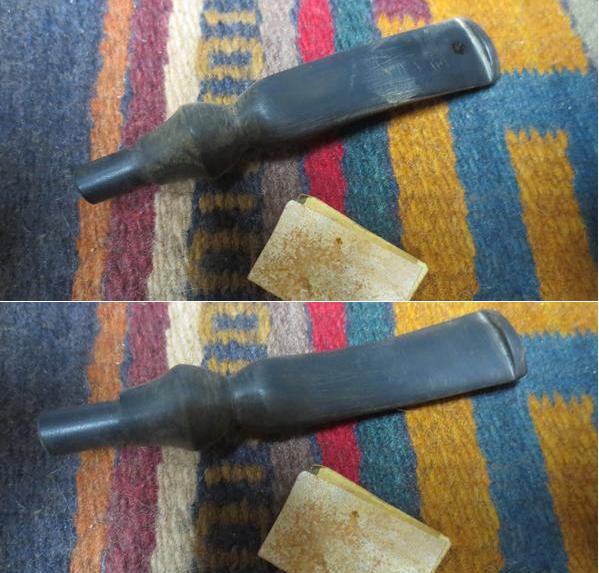
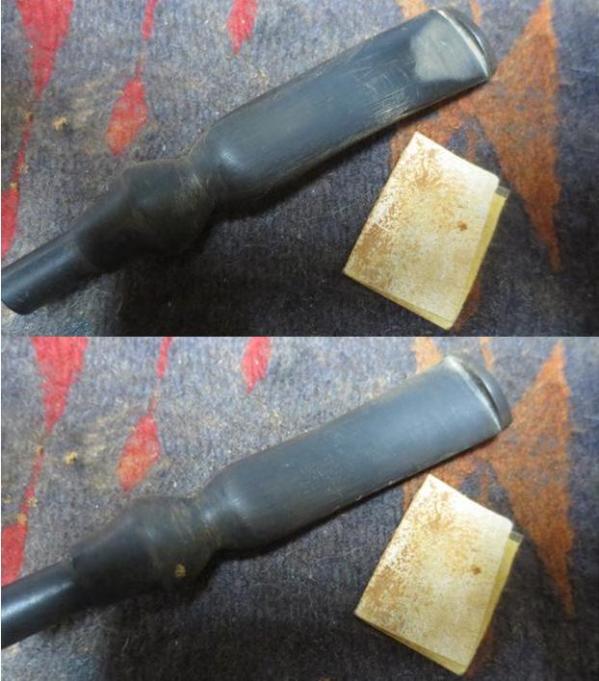
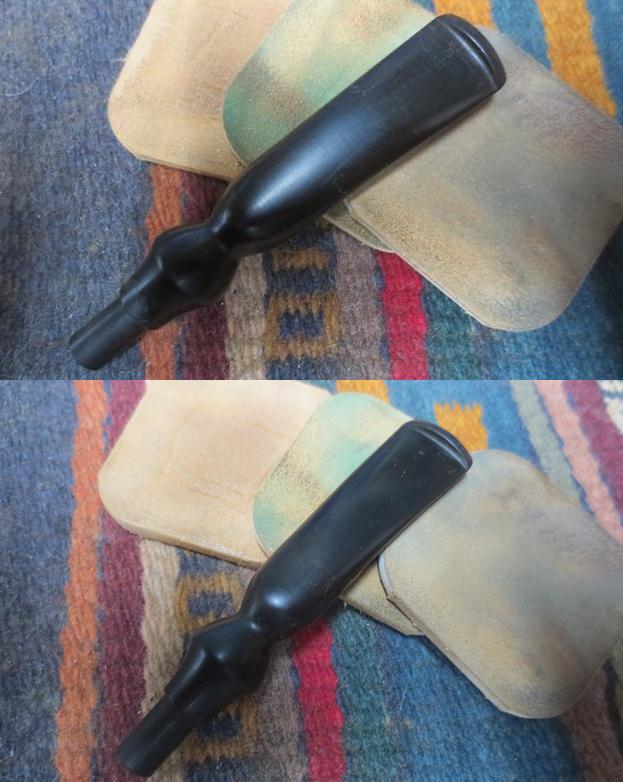
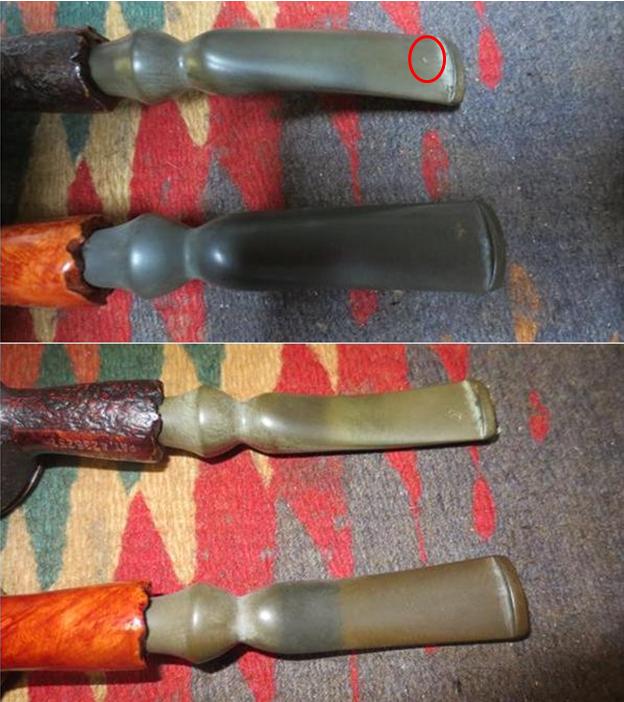
I was also able to find the patent information for US Pat.4235252. Interestingly it read much like an earlier paragraph that I pieced together regarding the pipe. Here is the document in full. First the written description and then the drawings of the pipe. It read that “the patent was for a smoking pipe having improved smoking characteristics. The smoking pipe includes a bowl having top and bottom openings and a breather hole near the top opening and in communication with a pipe stem. A cover assembly is attached to the bowl adjacent to the top opening and covers the top opening when the pipe is to be smoked. A retainer having a screen cooperates with the bottom opening for retaining smoking tobacco within the bowl while permitting access to the tobacco for the ignition thereof. The retainer may also be removed from its position relative to the bottom opening for the removal of ashes. Tobacco is inserted into the bowl via either opening, but preferably via the top opening and to a level just below the breather hole. With the cover assembly covering the top opening, the tobacco is ignited via the screen of the retainer, causing combustion of the tobacco in a bottom-to-top fashion. New tobacco may be added to existing tobacco via the top opening and ashes may be removed via the bottom opening, even as the smoking process takes place. The bottom-to-top combustion minimizes puddling of tobacco juices or the requirement of drying out periods and facilitates lighting the pipe in the presence of wind, rain, etc. The lack of obstruction of the breather hole by the presence of tobacco results in a smooth draw with the generation of a substantial, satisfying volume of smoke.” (ed. On the two pipes I have the screen on the bottom is not removable and the top is a threaded aluminum cap.)bart5 bart6My brother took some photos of the sandblast version of the pipe that shows the shape but also interestingly shows a hidden benefit. When he removed the cap from the top of the bowl the bowl was already filled with a broken flake tobacco. Unfortunately it was dry and crumbled to dust when he cleaned out the bowl.bart7 bart8 bart9My brother cleaned and reamed the smoked sandblast pipe and cleaned out the dust from the unsmoked smooth one. He scrubbed the briar with Murphy’s Oil Soap and cleaned out the mortise and the airway in the shank and the stem. The stems on both pipes were lightly oxidized and on the smoked pipe there was a small tooth dent on the top of the stem near the button. I took the following photos to show what the pair looked like when I brought them to my work table.bart10 bart11He did a great job cleaning up the aluminum caps on both the inside and the outside. He also cleaned up the thread on the top of both bowls allowing the caps to screw on easily.bart12He cleaned the screen on the smoked pipe with cotton swabs and alcohol until it looked as good as the unsmoked pipe. The inner edge of the rim on the bottom of the bowl was charred and showed some wear and tear from lighting the pipe from the bottom. I think one of the draw backs on this pipe is not being able to see the flame hitting the tobacco. The rim on this bowl shows significant rim damage.bart13I took close up photos of the stems to show the light oxidation – it is not deep in the vulcanite and the overall condition of the stems. The stem on the sandblast pipe had a small pinprick tooth mark on the top of the stem. I have circled it in red on the first photo below.bart14I took some photos of each of the pipes before I cleaned them up. They really were in pretty decent shape. There were some rough spots on the bottom of the bowl around the inner edge of the rim but it looked to be original. The smooth briar is new and has a shiny varnish coat that I decided to leave as the pipe is NOS. It was interesting to me to note that the bottom of the bowl was stained with a flat black stain on the new pipe so when I restored the smoked version I would match them. The sandblast is also in really good shape other than the inner edge of the bottom rim on the bowl.bart15 bart16 bart17 bart18On both pipes the aluminum cap was in perfect condition on both the inside and the polished outside of the cap. I took photos of the pipes with the covers removed and the bowl tilted to give some idea of what the inside of the bowl looked like. It really is no more than a tube with a cap on one end and a screen on the other end.bart19 bart20 bart21 bart22I used the topping board on the damaged bottom of the bowl. I topped it (or maybe bottomed it is more appropriate) until the damage was removed.bart23The small crevices that had opened around the inner edge of the bowl were not really cracks but rather areas that had burned with the heat of the flame. I filled them with briar dust and super glue to make them smooth and then retopped the bowl to smooth them out. I stained it with a black aniline stain and touched it up after sanding the repairs.bart24I sanded the two stems with 220 grit sandpaper to remove the oxidation on the surface of both stems. I used a spot of clear super glue to fill in the tooth mark and sanded the repaired area smooth to match the surface of the stem.bart25 bart26I polished both stems with micromesh sanding pads – wet sanding with 1500-2400 grit pads and dry sanding with 3200-12000 grit pads. I rubbed the stem down with Obsidian Oil after each set of three pads. After the last pad I gave it a final rubdown with the oil and set it aside to dry.bart27 bart28 bart29I took a photo of the pipes and stems before I took them to the buffer to show what they looked like at this point in my restoration.bart30Here are some photos of the bowls from a variety of angles. There is a nice blasé and some pretty grain – they are a nice pair of pipes.bart31 bart32 bart33I buffed the pipes with Blue Diamond on the buffing wheel and then gave the stems several coats of carnauba wax. I gave the sandblast bowl several coats of Conservator’s Wax and left the varnish coat alone on the smooth briar bowl. I buffed both pipe with a clean buffing wheel to raise a shine. I hand buffed them both with a microfibre cloth to deepen the shine. The finished pipe is shown in the photos below. It is a unique piece of pipe and tobacco history. It certainly speaks of the inventiveness of pipesmokers who are perpetually looking for the better and drier smoke. Thanks for taking this journey through the restoration and the history of the Bartlett pipe.bart34 bart35 bart36 bart37 bart38 bart39 bart40 bart41


Breathing new life into a Unique PHM System Pipe with a Horn Stem


Blog by Steve Laug

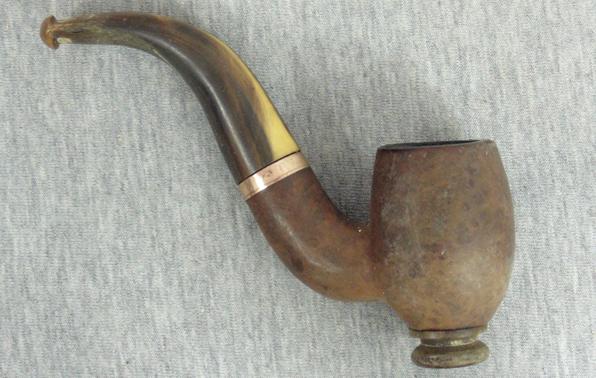
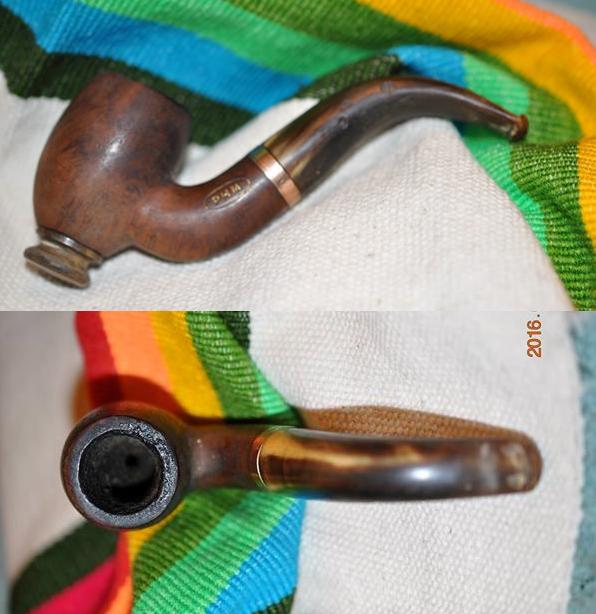
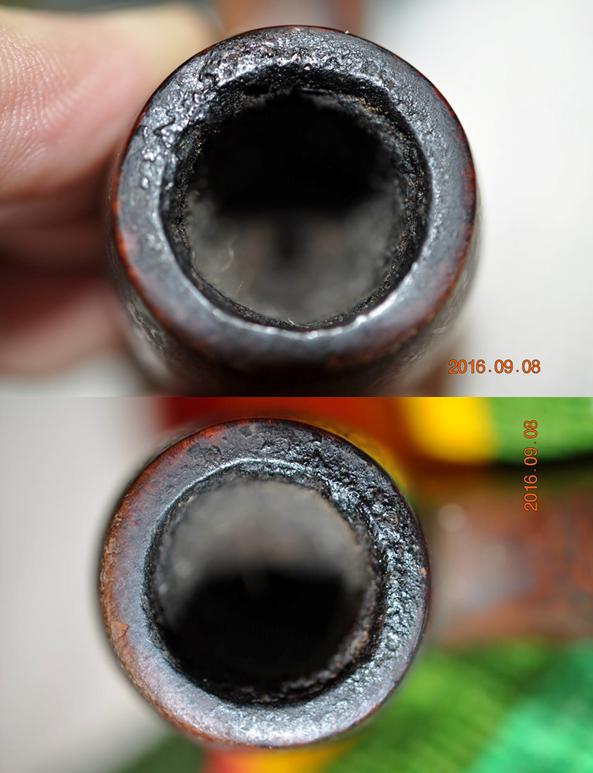
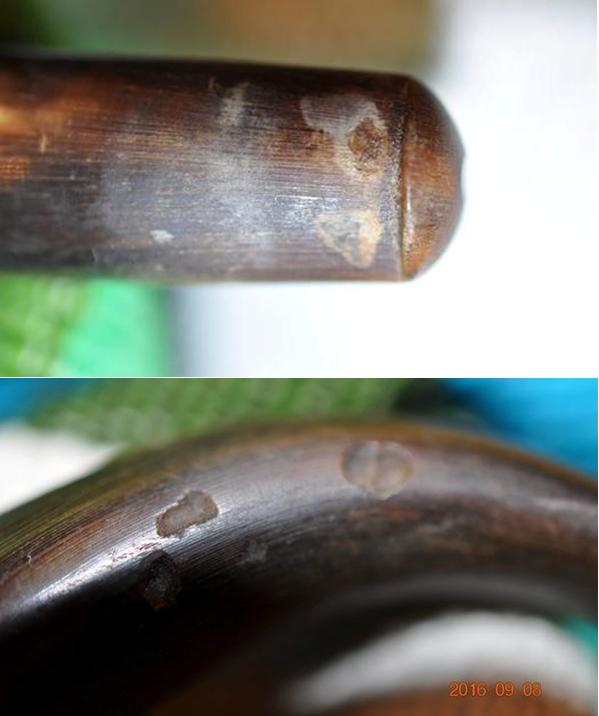
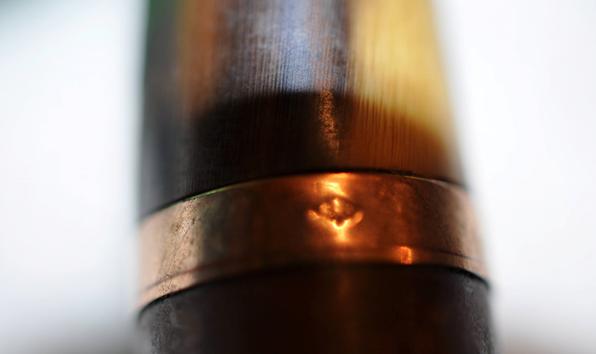
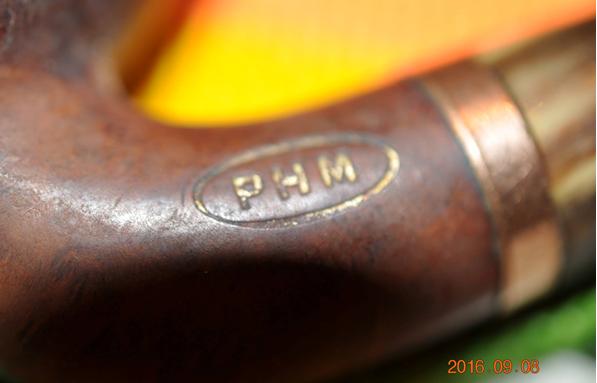
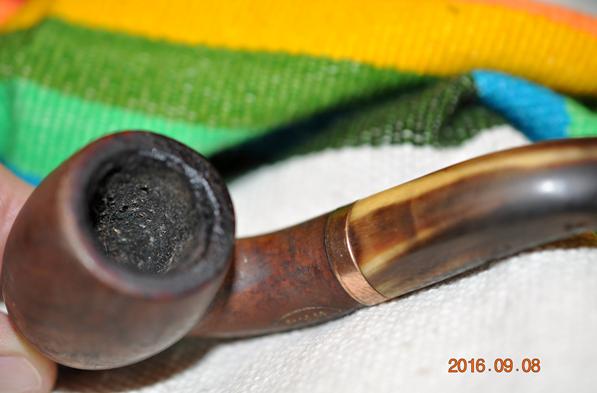
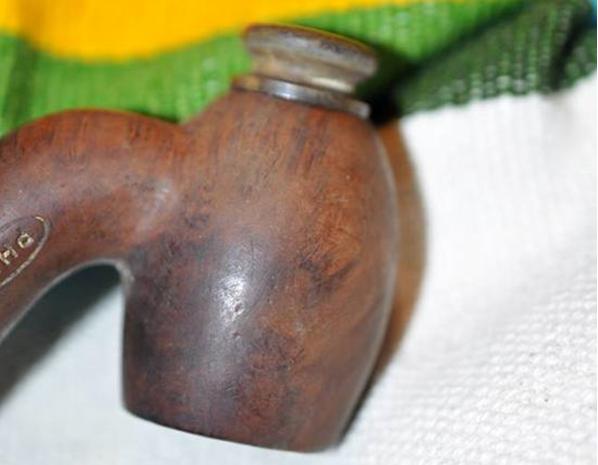
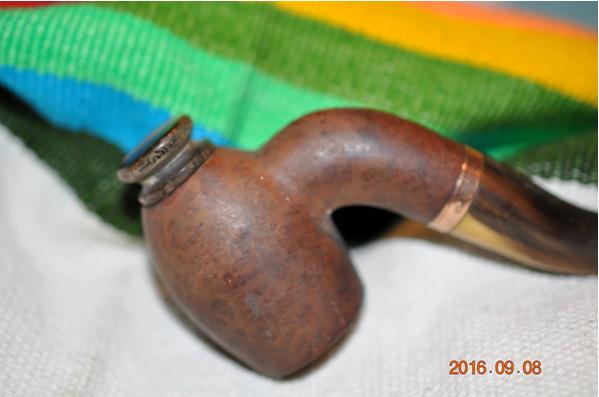
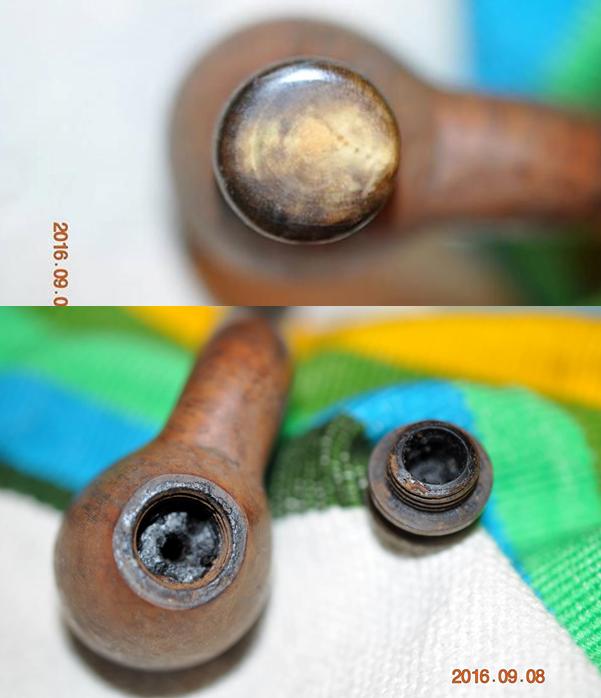
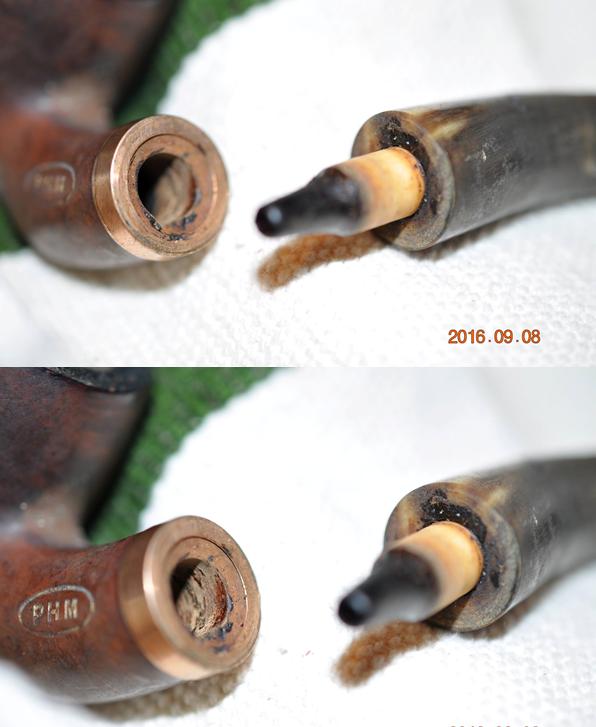
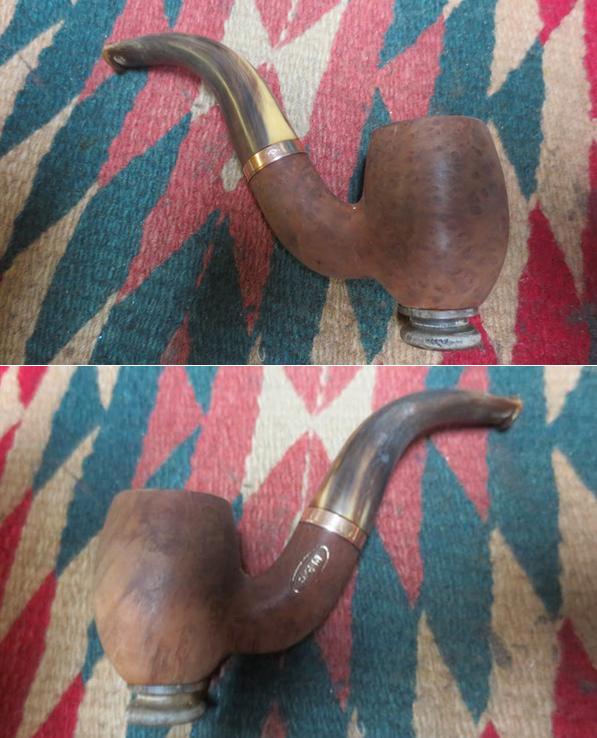
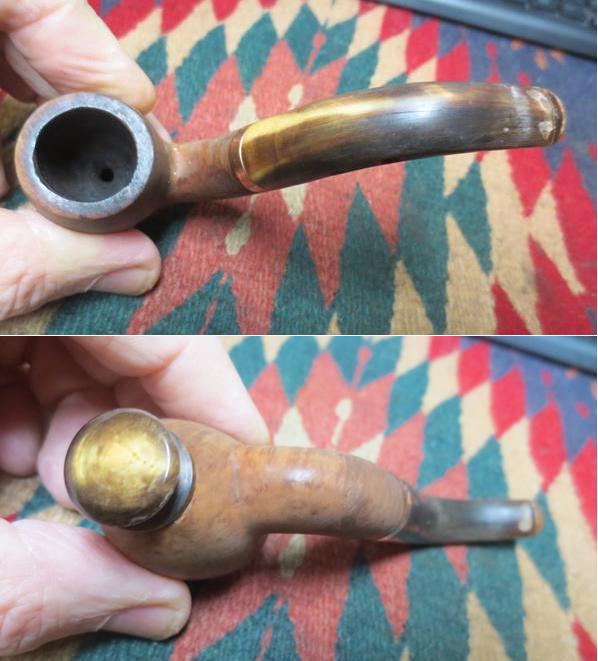
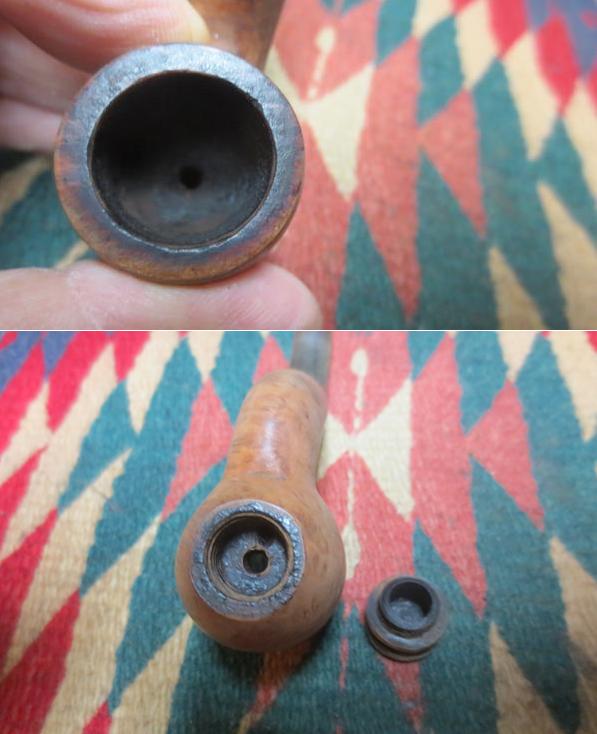
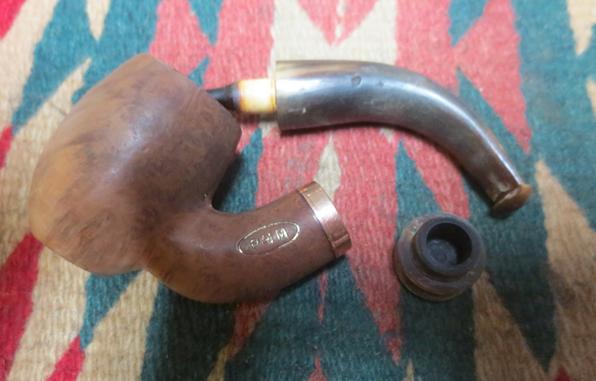
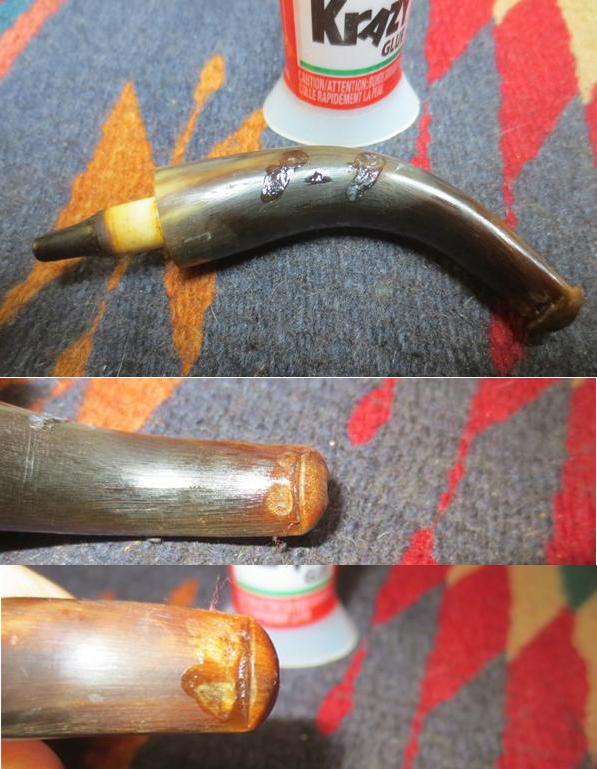
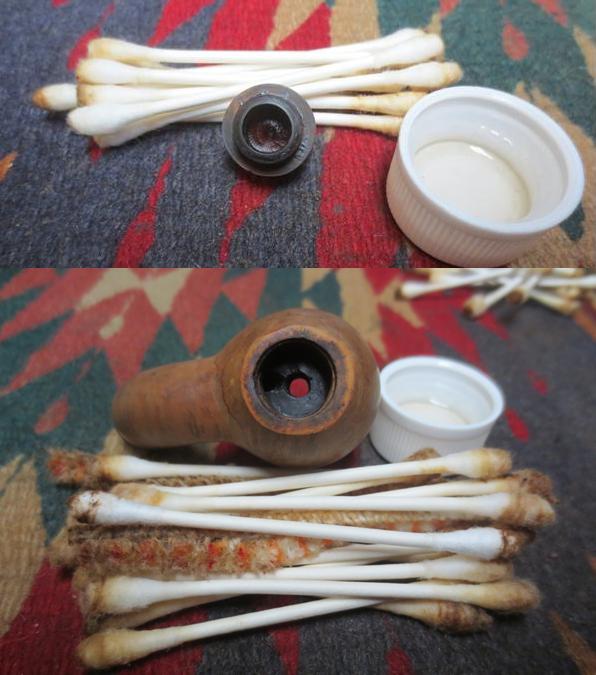
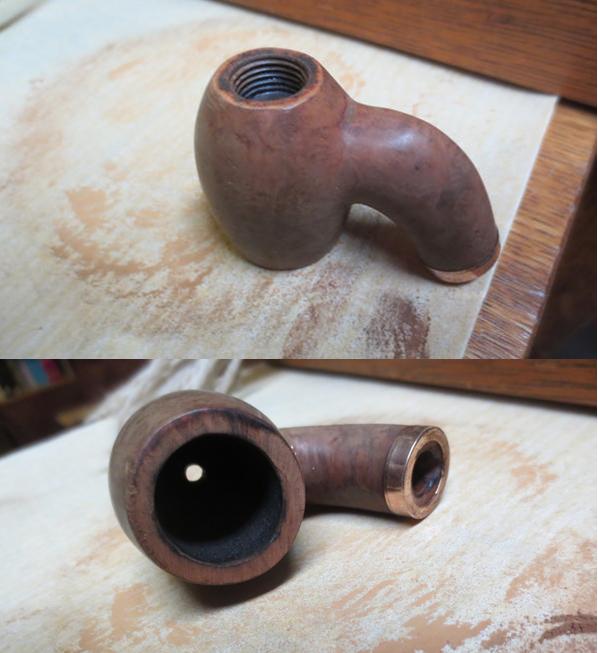
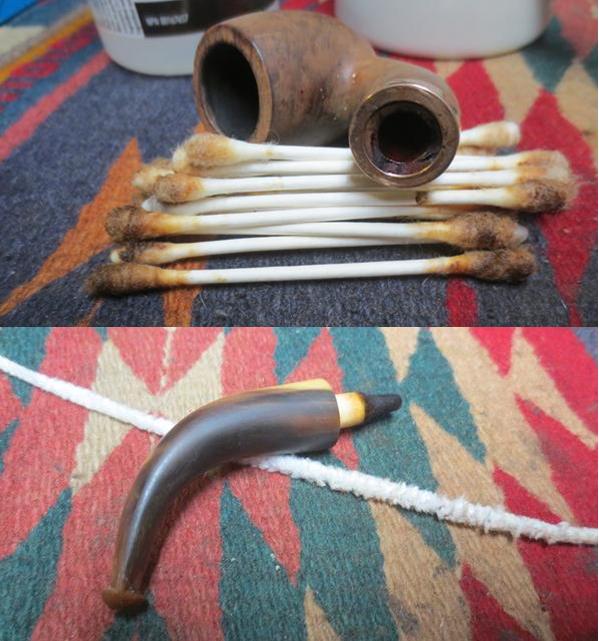
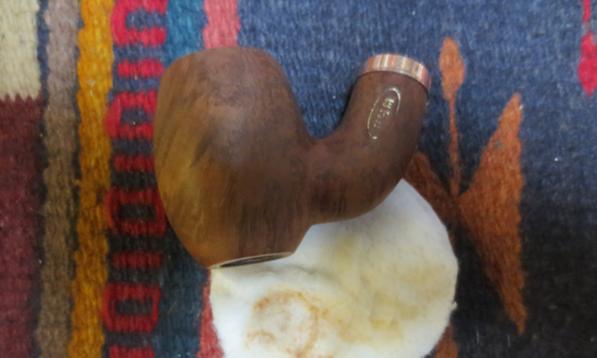
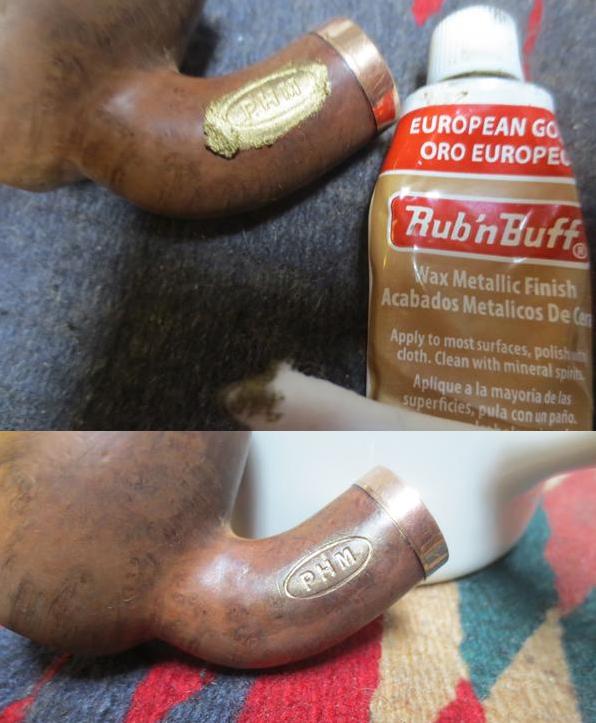
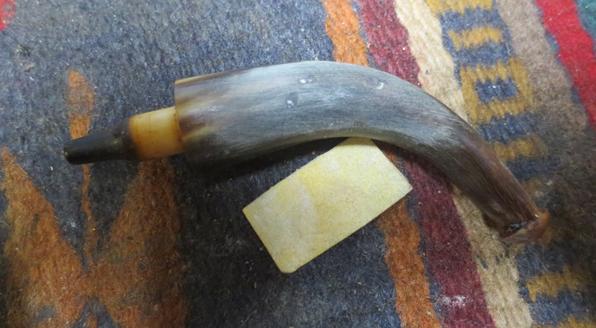
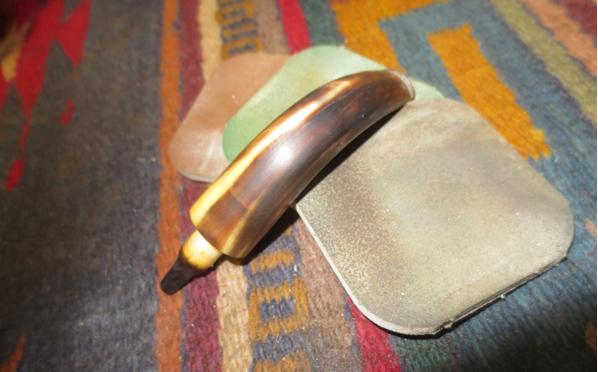
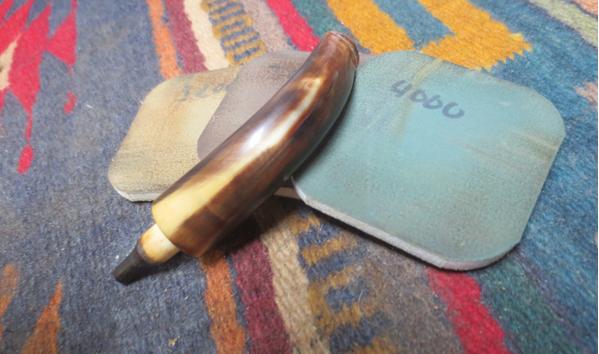
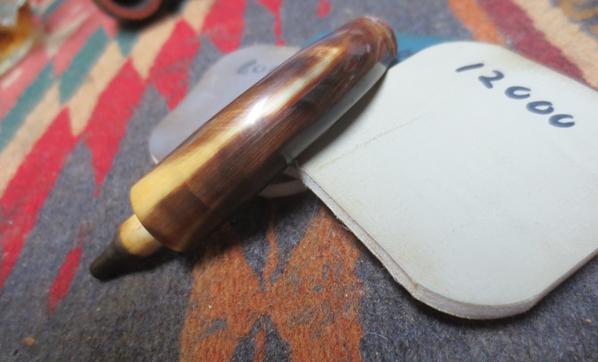
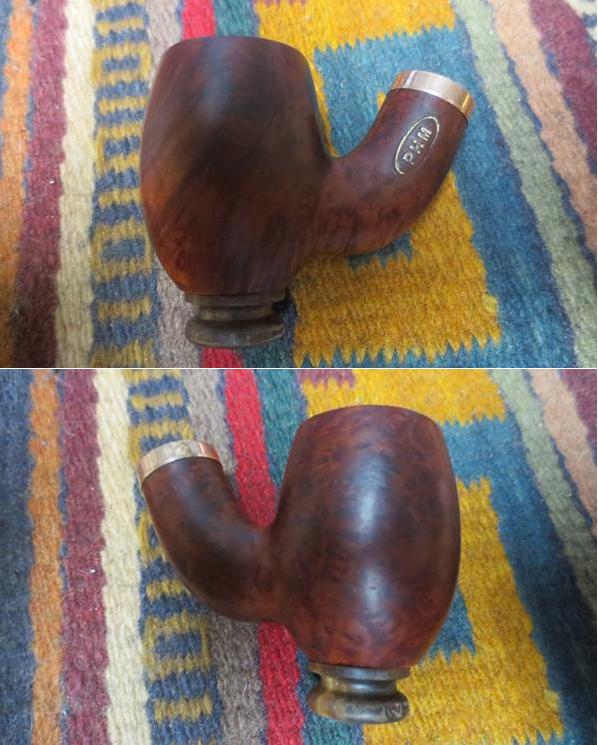
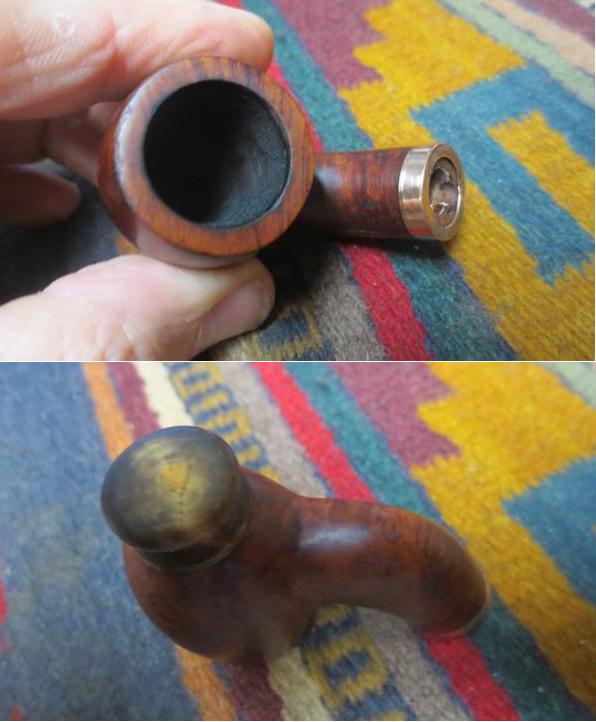
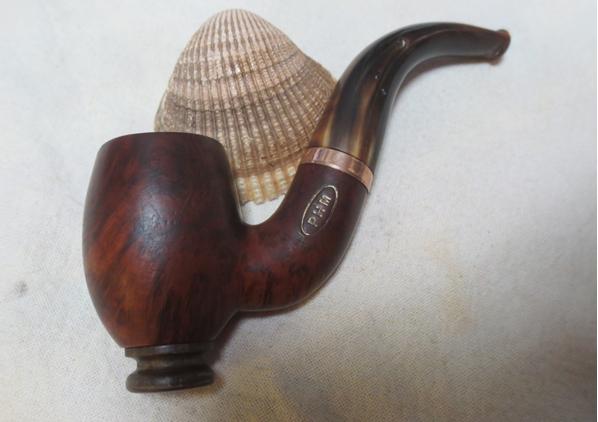
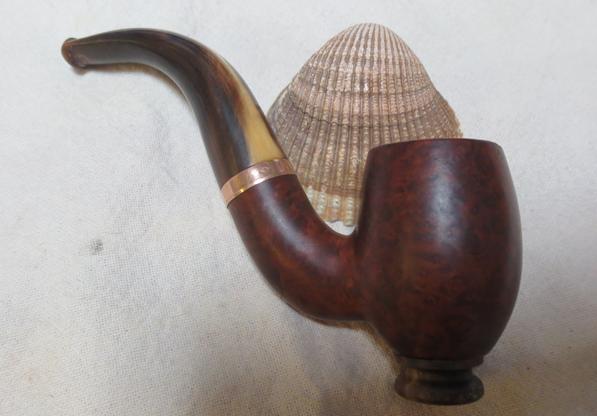
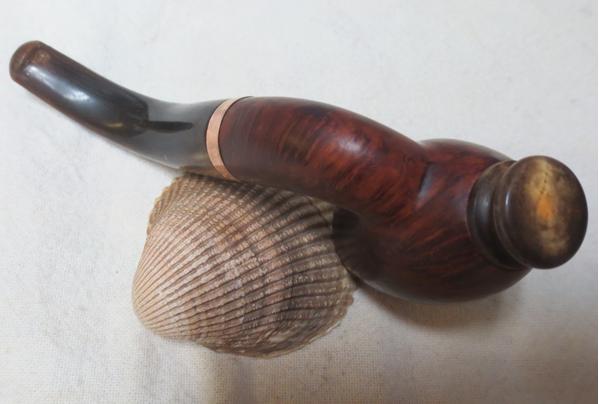
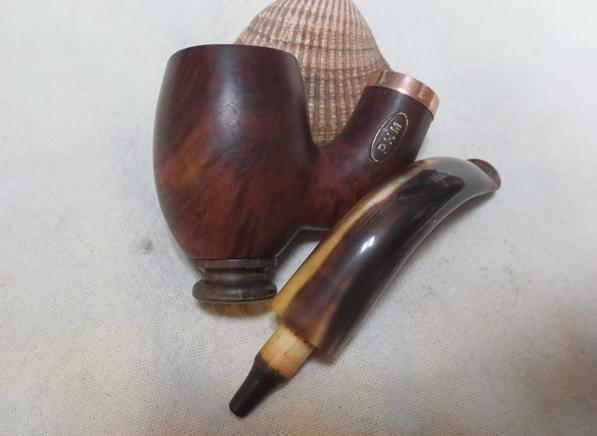
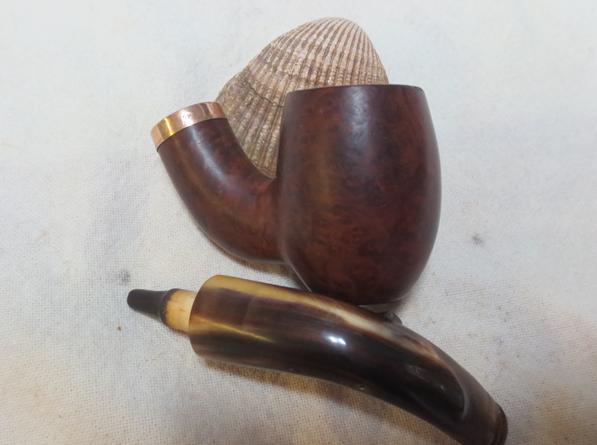
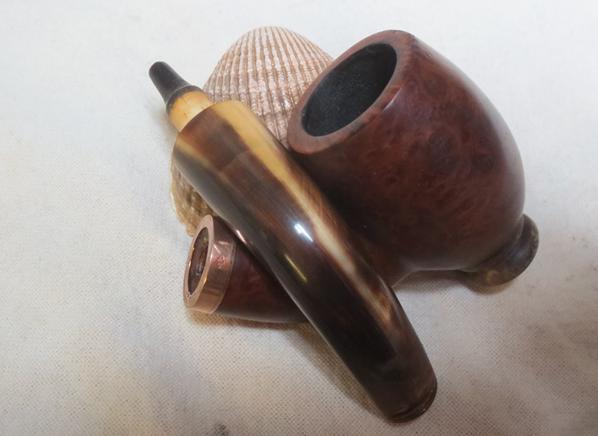
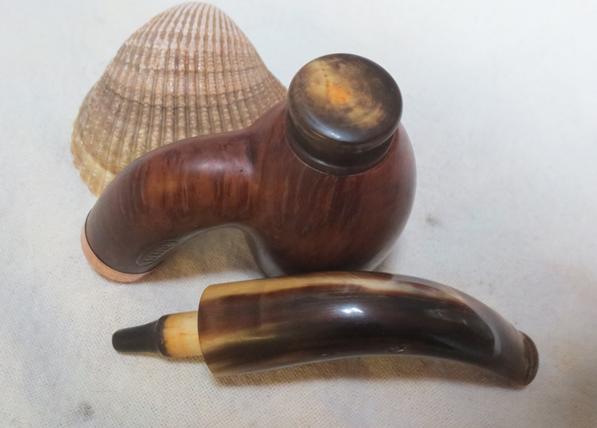
My brother first sent me the picture below of this old pipe to see what I thought of it. There was something intriguing about it from my first look. I looked at the eBay ad and all of the pictures included and told him we should go for it. I don’t recall ever seeing a pip this shape with the horn stem and the matching horn button on the bottom of the bowl. It certainly looked like it was a nice piece of briar underneath the grime of age. The horn stem looked to be in good shape overall with no splits or cracks. The horn button on the bottom of the bowl also appeared to be in good shape. The briar had no burns or serious damage to the rim or the edges of the bowl. The band was in decent shape with no dents of dings. The chunky look of the stem and the shank attracted me to the pipe. The striations of colour on the stem showed promise of looking great once buffed and polished. He bid on it and won.hornaWhen Jeff received the pipe he took the following photos before he started cleaning it up. You can see some of the issues that I will need to address in the cleanup and restoration. The overall condition of the pipe is fine. The briar was very dirty and the rim and bowl had a thick, dark and oily cake that overflowed onto the top of the bowl. If you look closely at the photos of the entire pipe you will also see some damage to the horn stem. There are tooth marks on the top and underside near the button and there are some divots out of the left side of the stem.horn1He took some close up photos of the rim and bowl. You can see the cake in the bowl and the overflow of lava on the rim top. It is hard to tell if there is damage to the inner edge of the rim at this point due to the buildup but there could be. There is some wear on the outer edges at the front of the bowl.horn2The close up photos of the stem shows the tooth marks and the divots out of the left side. Both of these will need to be addressed in the restoration.horn3The brass coloured band has a small diamond shaped stamp on it that is aligned on the right side. It has some kind of stamping inside the diamond but even with a light and a magnifier I am unable to read it.horn4The PHM stamp in the oval on the left side of the shank is the only stamping on the pipe. I have hunted high and low for information on the brand and can find nothing. The shape and design of the pipe and stem make me think it is quite old and probably British made but I cannot be certain. Can any of you help identify the maker for me?horn5It is hard to see in the photos but the airway in the bowl is at the bottom of the bowl. The horn cap on the bottom of the bowl is removable and it was hollowed into a bowl to catch the moisture from the burning tobacco. The airway into the shank is in the area where the cap screws into the bowl. The area acts as a bit of a cooling chamber for the smoke that is drawn into the airway allowing the moisture to collect in the horn bowl before wending its way into the airway in the shank of the pipe.horn6 horn8 horn9When my brother unscrewed the cap the chamber inside was extremely dirty with tars and oils. The buildup was quite thick on both the inside of the hollowed out cap and the inside of the chamber/trap it screwed into.horn7He removed the stem from the shank and took photos of the shank end. The brass band turned out to be more of a ferrule that wrapped the shank end. The drilling on the airway in the mortise was at a steep angle into the shank so you can see a small divot at the bottom edge of the shank. The tenon/stinger was bone and was shaped like a nipple that sat against the entrance of the airway in the bottom of the mortise.horn10My brother scrubbed the externals of the bowl, reamed and cleaned out the internals. He said that the insides would take more work once I got it as they were very dirty. I took photos of the pipe when it arrived in Vancouver and I brought it to the work table.horn11 horn12He had cleaned up the stem inside and out and the tooth marks and divots were ready to repair.horn13He had been able to remove all of the cake in the bowl and it revealed the airway at the bottom of the bowl. He also cleaned the rim of the entire lava overflow. It would need to be lightly topped to remove the damage to the inner edge of the rim. He had scrubbed the reservoir under the horn plug on the bottom of the bowl but it would need a lot more work to rid it of all of the thick oils and tars accumulated there.horn14I took a photo of the dismantled pipe to give an idea of the components and the size of the pipe. It is not a big pipe but the bowl is large for the overall size.horn15I wiped down the tooth marks and divots on the side of the stem with a cotton pad dampened with alcohol to remove any remaining debris. I filled them in with clear super glue – slightly overfilling them to ensure that once the glue cured there would be enough for a smooth finish once sanded.horn16While the stem glue cured I worked on cleaning out the reservoir/trap at the bottom of the bowl and inside of the cap. I used cotton swabs and alcohol to clean the area out and it took a lot of finicky cleaning to get all of the nooks and crannies clean. I also cleaned out the airway from the trap into the shank with bristle and regular pipe cleaners.horn17I lightly topped the bowl on the topping board with 220 grit sandpaper to remove the damaged rim surface but not to change the overall shape or flow of the bowl. I sanded it with micromesh sanding pads -1500-4000 grit to remove the scratches left behind by the sandpaper on the topping board.horn18 horn19I cleaned out the mortise and airway in the shank and the stem with pipe cleaners, cotton swabs and alcohol until they came out clean and the pipe smelled fresh.horn20I wiped down the exterior of the bowl with acetone to remove any grit and dirt that I had transferred during the interior cleanup.horn21I used European Gold Rub’n Buff to restore the stamping on the shank. I applied it with a cotton swab and let it sit for a moment before rubbing off the excess with a clean swab. The restored stamping can be seen in the second photo below. The bottom edge of the stamp was not as deep as the rest of the stamp so I was not sure if that area would retain the gold.horn22By this time the glue repairs on the stem had cured. I sanded them smooth with the surface of the stem using 220 grit sandpaper. For some reason the clear glue brings out a white spot in each repaired area – it may be a reaction of the horn to the glue. I will minimize those as I polish the stem but they will remain.horn23I polished the stem with micromesh sanding pads – wet sanding with 1500-2400 grit pads and dry sanding with 3200-12000 grit pads. I rub horn stems down with Obsidian Oil after each set of three pads to give life to the horn. I gave it a final coat of oil after sanding with the 12000 grit pad. I set the stem aside to dry.horn24 horn25 horn26I gave the bowl several coats of Conservator’s Wax and hand buffed it with a shoe brush. I would also buff it on the buffer but I wanted to see where things were at this point. Were there any areas on the bowl sides or top that I needed to do more work on to ensure that it would have a smooth finish.horn27 horn28I worked a little more on the horn cap on the bottom of the bowl and on a few of the nicks on the sides of the bowl using 1500-4000 grit micromesh sanding pads. Once I was satisfied with the look and feel of the pipe I buffed it with Blue Diamond on the wheel being careful around the stamping. I buffed the stem with the polish as well to raise a shine and further blend in the repairs. I gave the bowl and the stem several coats of carnauba wax and buffed them with a clean buffing pad. I finished by hand buffing the pipe with a microfibre cloth to deepen the shine. You will note that I did not stain the bowl at all. The rich patina is merely the wax working with the natural colour of the briar. This pipe is an oddity and a beauty. It was well worth the effort in my opinion. Thanks for walking with me through this process.horn29 horn30 horn31 horn32 horn33 horn34 horn35 horn36


Rescuing a Peterson’s English Made 203 Billiard


Blog by Steve Laug

I wrote about the estate lot that I was tasked to clean up and sell on a previous blog at https://rebornpipes.com/2016/10/25/this-favourite-gbd-marquis-752-was-a-mess-not-any-more/. About a month ago a friend of mine, Richard who has a tobacco shop here in Vancouver gave me a call and asked me to stop by for a visit. I went on a Sunday afternoon and we visited for a while. At the end of the visit he took me to another counter in his shop and brought out some display cases of pipes – four of them and a small bag. He told the story to me. An elderly gentleman who was a customer of his had died and his wife had stopped by and gave him the fellow’s pipes. She wanted nothing for them she just wanted him to get them cleaned up and sold to folks who would appreciate them. Richard is a reader of the blog and he thought that I would have fun cleaning these up and selling them. As we went through the display cases and bag I was pretty pumped about the collection. There were some really nice GBD pipes, Comoy’s, Stanwells, Peterson’s as well as some brands I was not familiar with.
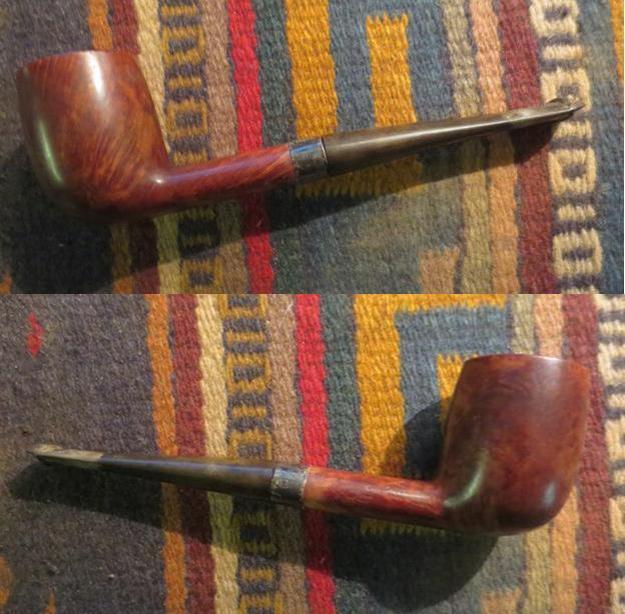
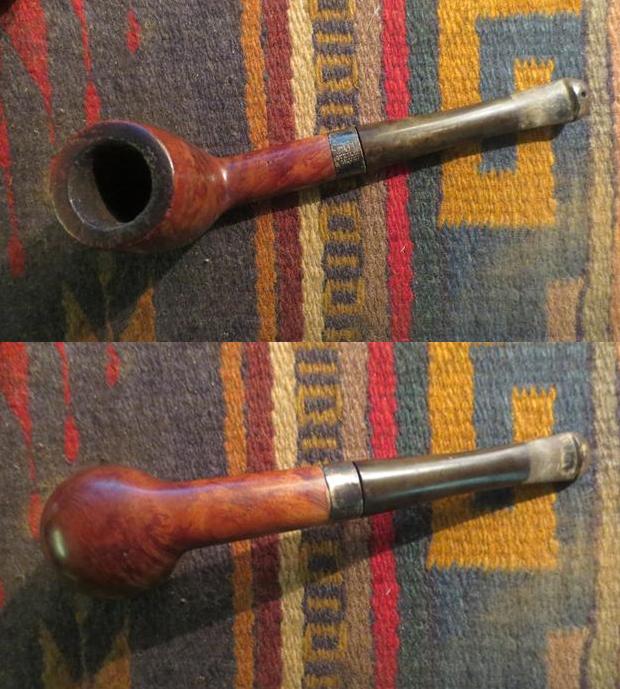
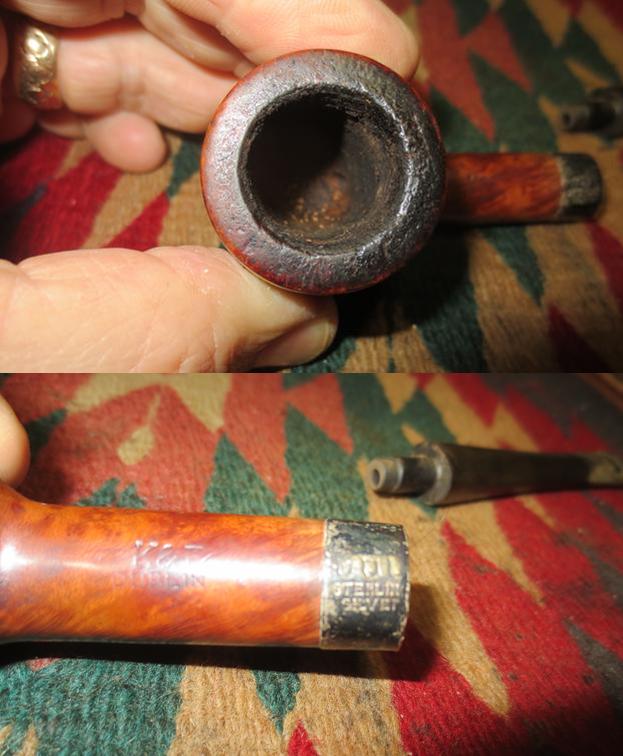
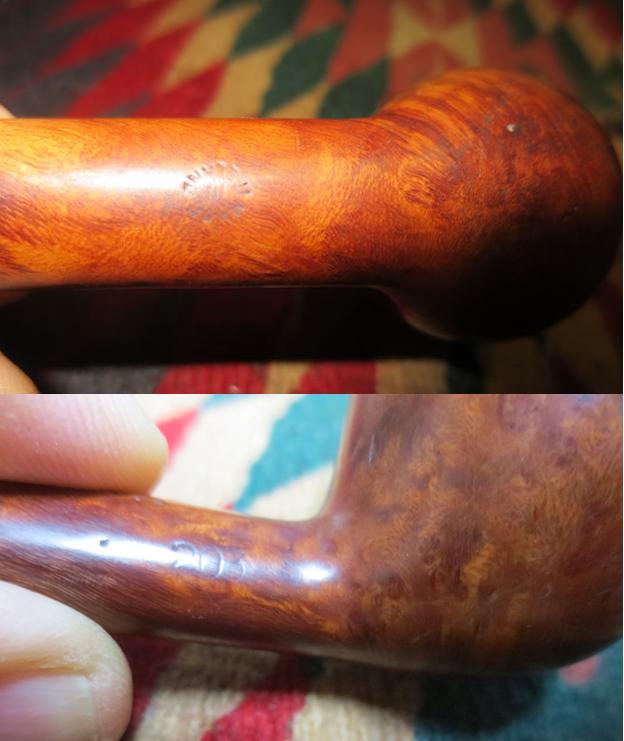
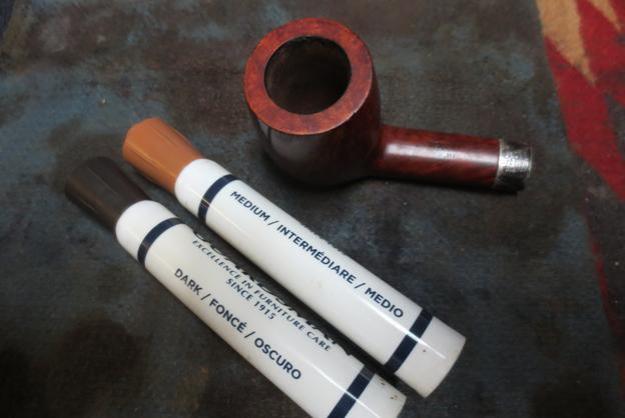
The second pipe I chose to work on was a Peterson’s Dublin oval shank billiard shaped pipe.The old gentleman seemed to favour Peterson’s as there were quite a few in the estate lot. It was very dirty. It was stamped on the topside of the shank with K&P over DUBLIN. There is also a silver band on the shank that bears three hallmarks over Sterling Silver. On the right side of the shank is the shape number 203. On the underside of the shank it is stamped with a COM (Country of Manufacture) circle that reads Made in England with the “in” stamped in the centre of the circle. The stamping is clear and sharp. The finish is in decent shape with a medium brown stain over mixed grain. There is an uneven cake in the bowl that spilled thickly over the beveled rim. It is hard to tell if there is rim damage as it is so dirty. There were sandpits on the left side of the bowl and on the back side above the shank. There is no P stamping on the P-lip stem but it appears to be an original not a replacement. There is calcification from a softee bit on the stem and button. There are light tooth marks and chatter on the top and bottom side of the stem ahead of the P-lip. The button itself was in good shape.

Here are some photos of the pipe when I started cleaning it. The pipe has good lines and some interesting grain underneath the grime.pete1 pete2I took some close up photos of the bowl, stamping, band and stem to give a good picture of what I needed to work on. The first photo shows the cake in the bowl and the overflow of hard carbon buildup on the rim. The photo of the silver band shows the Sterling Silver stamp and three hallmark symbols. It is hard to read them but with a magnifying lens they read K&P. I was hoping to be able to date the pipe by the hallmarks but no such luck. The photos of the stamping show that they are faint but still readable. The stem photos show the tooth chatter and wear on the button itself.pete3 pete4 pete5When I removed the stem I could see some divots in the end of the shank. There were cutouts that as far as I could see served no purpose. Someone had tried to repair them but left a bit of a mess so the stem did not fit snugly. I cleaned out the divots and smoothed them out with needle files until they matched the inside of the mortise. I filled in the end with some super glue and briar dust to even out the shank end.pete6The lava buildup on the rim top was rock hard. I scrubbed at it but it would not come off. The outer edges of the rim were also damaged from knocking out the pipe on hard surfaces. I lightly topped the bowl to remove the hard tars and clean up the outer edges.pete7I reamed the bowl with the Savinelli Pipe Knife and took the cake back to bare briar.pete8There were some drops of a clear hard substance on the back of the bowl and on the right side that I could not take off without damaging the bowl. I scrubbed them down with some alcohol on a cotton pad and was able to soften them enough to remove them.pete9 pete10I restained the rim to match the bowl using a combination of a medium and a dark stain pen. I also touched up the light areas around the silver band on the shank end.pete11I polished the silver with some tarnish remover applied with cotton pads. I finished polishing it with a jeweler’s cloth. Once I had finished I could see the hallmarks more clearly and they read K&P – each letter in its own cartouche.pete12 pete13 pete16I gave the bowl a quick coat of Conservators Wax and hand buffed it to see where I stood. I chose to leave the sandpits on the left side and back of the bowl as they add character.pete14 pete15I sanded the tooth chatter, reshaped the button and removed the calcification and oxidation on the stem with 220 grit sandpaper.pete17I wet sanded the stem with 1500-2400 grit micromesh sanding pads and dry sanded it with 3200-12000 grit pads. I rubbed it down with a coat of Obsidian Oil after each set of three pads. I gave it a final coat of oil and set it aside to dry.pete18 pete19 pete20With all the parts finished individually I put the pipe back together and buffed it with Blue Diamond on the buffing wheel. The Blue Diamond is a plastic polish and gives the finish a glass like polish. I really like the way it works. I gave the bowl and stem multiple coats of carnauba wax and buffed it with a clean buffing pad. I hand buffed the pipe with a microfiber cloth to finish the polishing process. The finished pipe is shown in the photos below. This second pipe from the older gentleman’s estate is a beauty. The fit and finish give it a look of elegance. This pipe is also available for sale. If you are interested in the pipe let me know via email at slaug@uniserve.com or through a message on Facebook. Thanks for walking through the process of restoration with me.pete21 pete22 pete23 pete24 pete25 pete26 pete27 pete28

This favourite GBD Marquis 752 was a mess – not any more


Blog by Steve Laug

About a month ago a friend of mine, Richard who has a tobacco shop here in Vancouver gave me a call and asked me to stop by for a visit. I went on a Sunday afternoon and we visited for a while. At the end of the visit he took me to another counter in his shop and brought out some display cases of pipes – four of them and a small bag. He told the story to me. An elderly gentleman who was a customer of his had died and his wife had stopped by and gave him the fellow’s pipes. She wanted nothing for them she just wanted him to get them cleaned up and sold to folks who would appreciate them. Richard is a reader of the blog and he thought that I would have fun cleaning these up and selling them. As we went through the display cases and bag I was pretty pumped about the collection. There were some really nice GBD pipes, Comoy’s, Stanwell as well as some brands I was not familiar with.
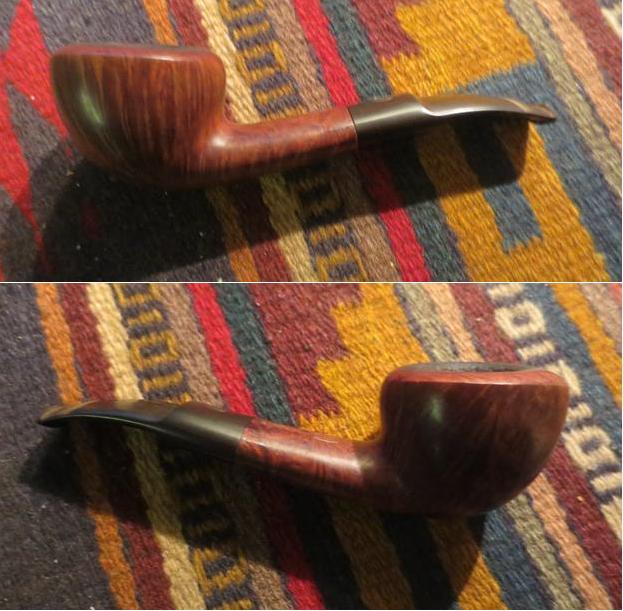
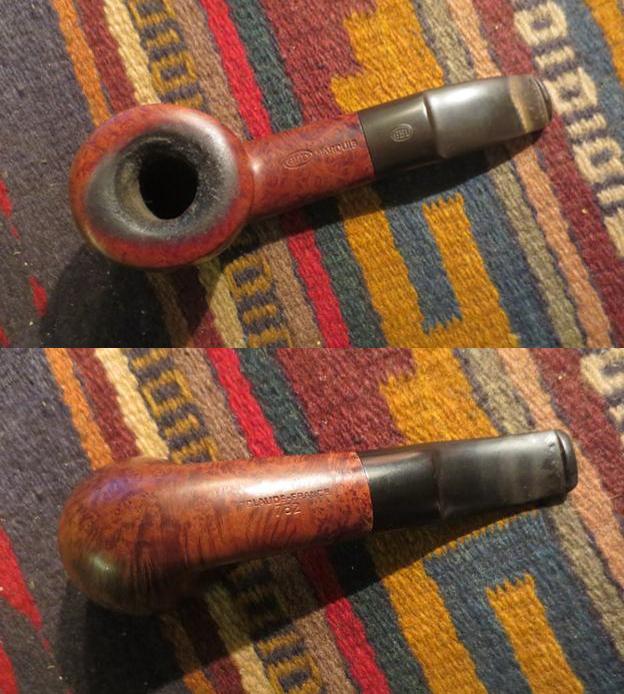
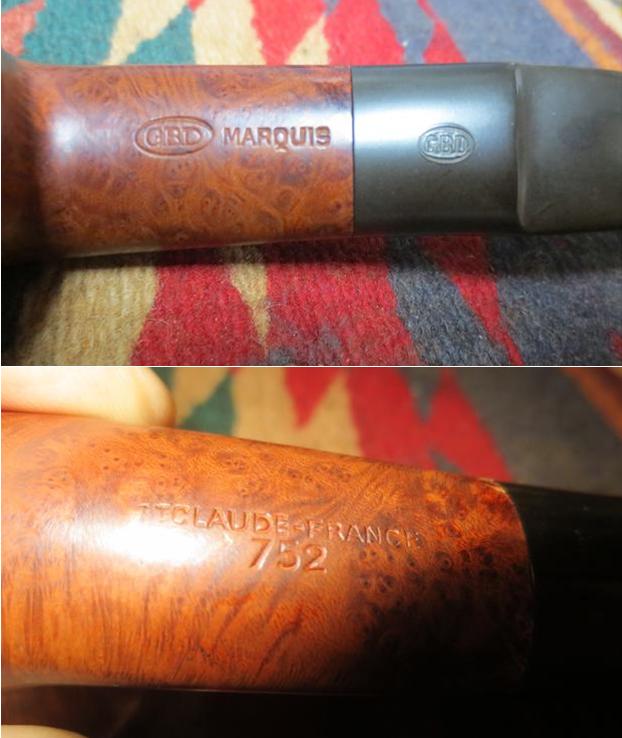
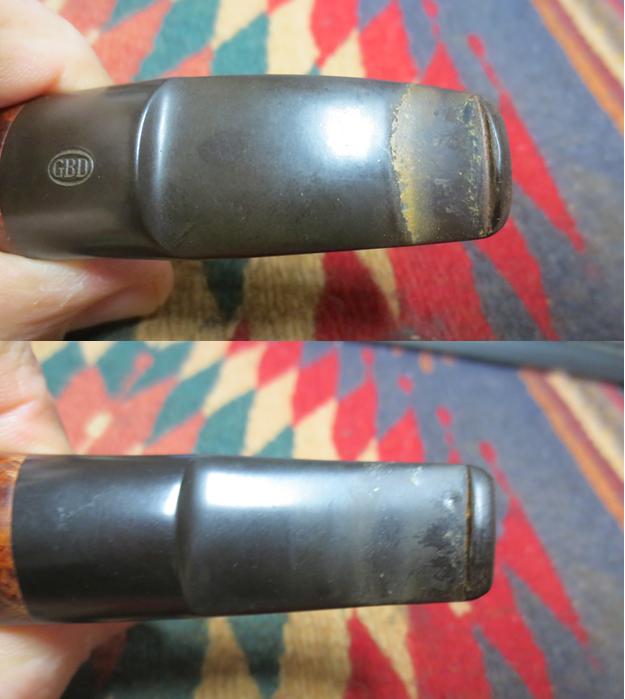
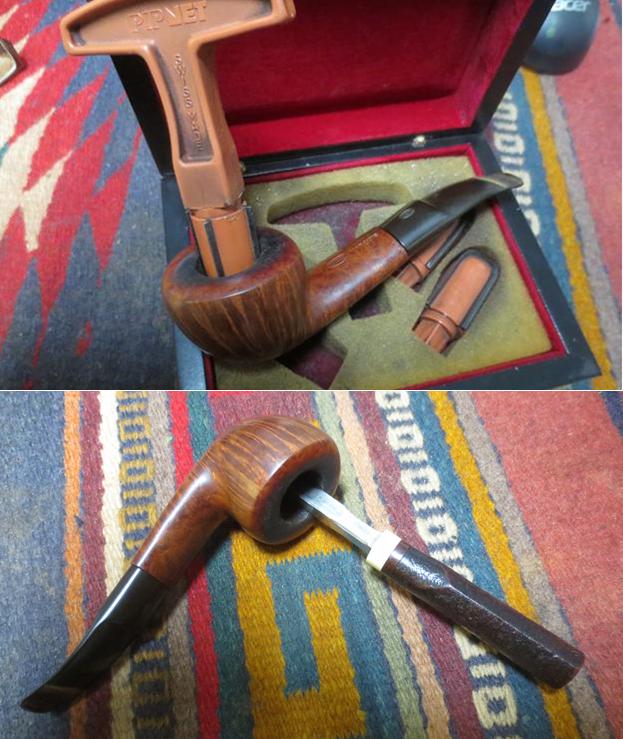
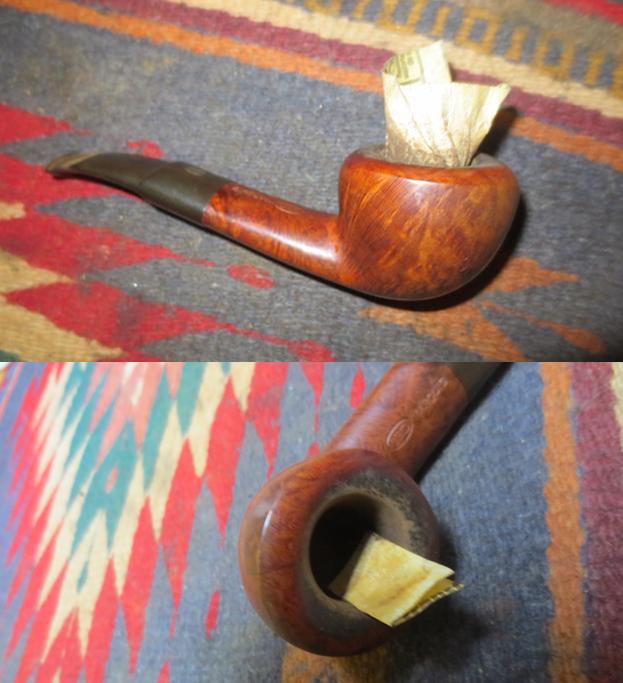
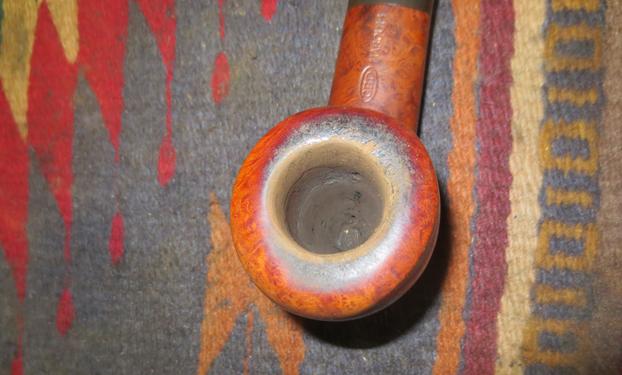
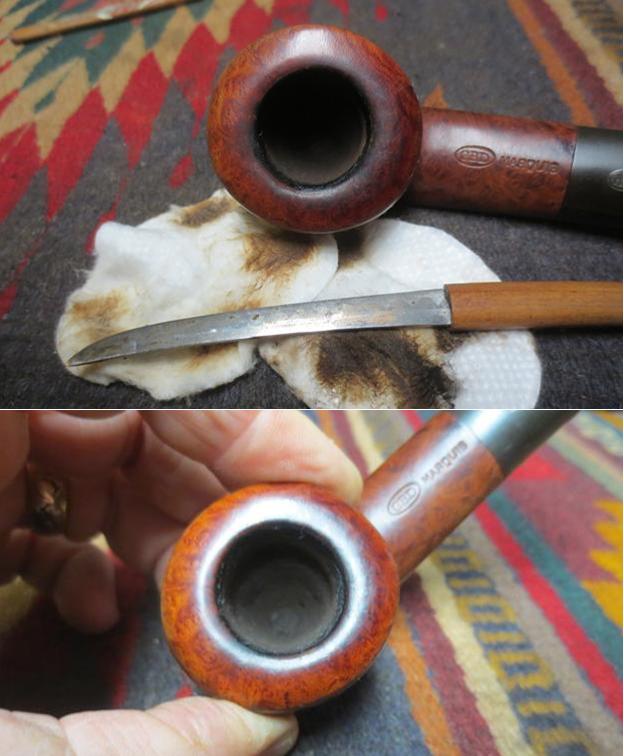
The first pipe I chose to work on was a GBD author shaped pipe. It was obviously one of the old gentleman’s favourites. It was very dirty. It was stamped on the topside of the shank with GBD in an oval and next to it MARQUIS. There is also the GBD Oval stamped on the topside of the stem. It is not the brass rondel but is stamped into the vulcanite on the top of the saddle. On the underside of the shank the pipe is stamped St Claude France and the shape number 752. The stamping is clear and sharp. The St Claude France stamp is light on the front part of the name. The finish is in decent shape with a medium brown stain over great straight grain. There is a thick cake in the bowl and over the beveled rim. It is hard to tell if there is rim damage as it is so dirty. There were two large fills on the front of the bowl that follow the grain. They were shrunken and not even with the surface. There is calcification from a softee bit on the stem and button. There are some deep tooth marks on the top and bottom side of the stem near the button.
The following photos show the condition of the pipe when I brought it to the work table.gbd1 gbd2I took following close up photos of the pipe. The first shows the rim with all of its tars and oils. The cake is very thick and hard. The second photo shows the fills on the front of the bowl. The third and fourth photos show the stamping on the top and underside of the shank. The last two photos show the stem and the dents and calcification on the stem near the button.gbd3 gbd4 gbd5I reamed the bowl with the PipNet pipe reamer starting with the smallest cutting head and worked my way up to the third cutting head which took the cake back to bare briar. I cleaned up the walls of the bowl with the Savinelli Pipe Knife. gbd6I sanded the bowl and rim edge with 220 grit sandpaper to smooth out the interior of the bowl and the inner edge of the rim. I cleaned the slight bevel on the inner edge as well.gbd7 gbd8To clean the tars and lava on the rim I used a sharp pen knife to scrape the debris free of the rim without damaging the rim surface. I scrubbed it with saliva and a cotton pad to remove the oils and tars that remained on the surface.gbd9I heated the dents in the stem with a lighter and sanded what remained along with the calcification and tooth chatter with 220 grit sandpaper. I cleaned out the tooth marks with alcohol and a cotton swab and filled in the dents with clear super glue. I set the stem aside to let the glue cure. Once it had cured I sanded the repairs smooth with 220 grit sandpaper and wet sanded it with 1500-2400 grit micromesh sanding pads.gbd10I wiped down the bowl with Murphy’s Oil Soap to remove the grime on the surface and give some clarity to the grain. The photos below show the bowl at this point in the process.gbd11 gbd12I scrubbed out the mortise and the airway in the shank and the stem with pipe cleaners, cotton swabs and alcohol until they were clean.gbd13I used European Gold Rub’n Buff to touch up the GBD logo on the stem. I sanded the stem with 1500-12000 grit micromesh sanding pads. After each set of three pads I rubbed the stem down with Obsidian Oil. After sanding with the 12000 grit pad I gave the stem a final coat of oil and set it aside to dry.gbd14 gbd15 gbd16 gbd17While the stem dried I worked on repairing the fills on the front of the bowl. I decided to just top up the fills rather than dig them out and refill them. I used clear super glue to top up the fills. I over filled them slightly so that when they dried they would not shrink and need a second application of glue. I sanded the repair with 220 grit sandpaper to smooth it out. I wet sanded the area with 1500-2400 grit micromesh sanding pads and dry sanded the entire bowl with 3200-4000 grit pads.gbd18I restained the repaired area with a medium and a dark brown stain pen. I streaked the area to look like grain with a black Sharpie pen. I buffed the bowl with Blue Diamond to smooth out the stain and blend it into the rest of the bowl.gbd19I lightly buffed the pipe and stem with Blue Diamond once again to polish it. I gave it multiple coats of carnauba wax and buffed it with a clean buffing pad. I hand buffed it with a microfibre cloth and it was finished. The restored pipe is shown in the photos below. This is the first of about 50 pipes that I received from my friend at the pipe shop. They are all from the same gentleman’s estate and there are some beauties. If you would like to add this one to your rack contact me via email at slaug@uniserve.com or send me a message on Facebook. We will discuss the cost and the shipping. Thanks for looking. gbd20 gbd21 gbd22 gbd23 gbd24 gbd25 gbd26 gbd27

New Life for a Hardcastle’s London Made Reject Pot


Blog by Steve Laug

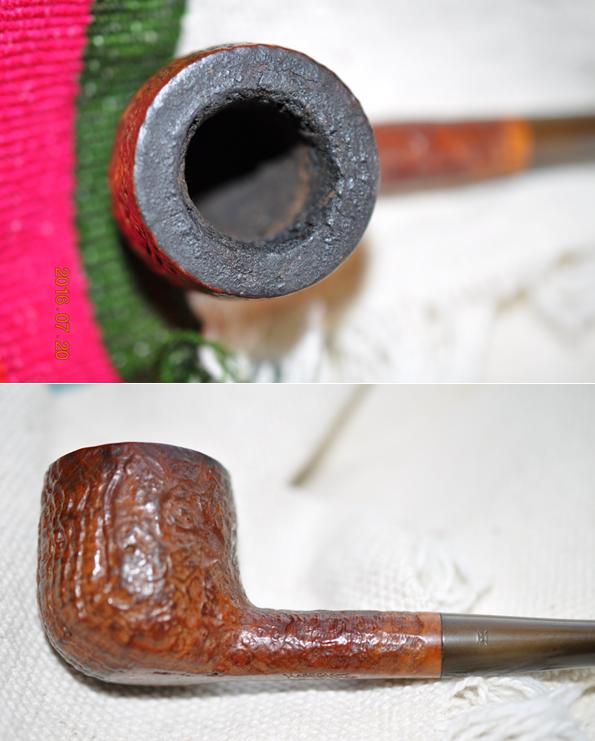
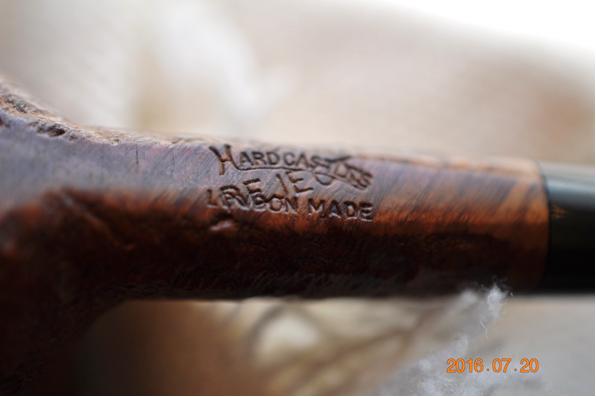
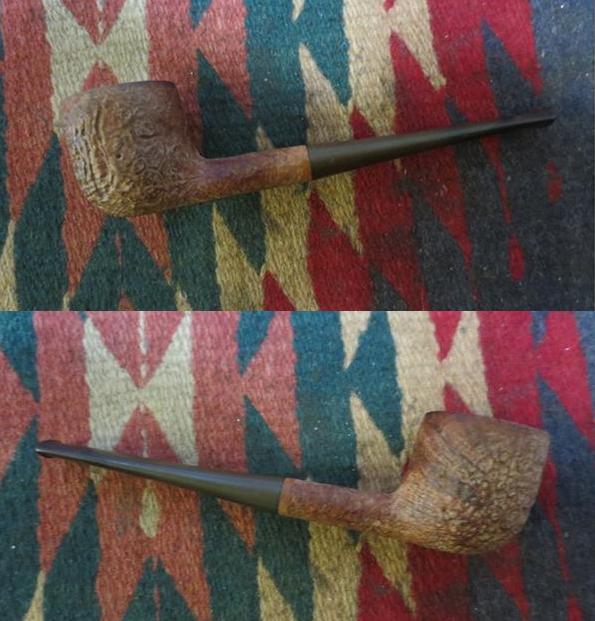
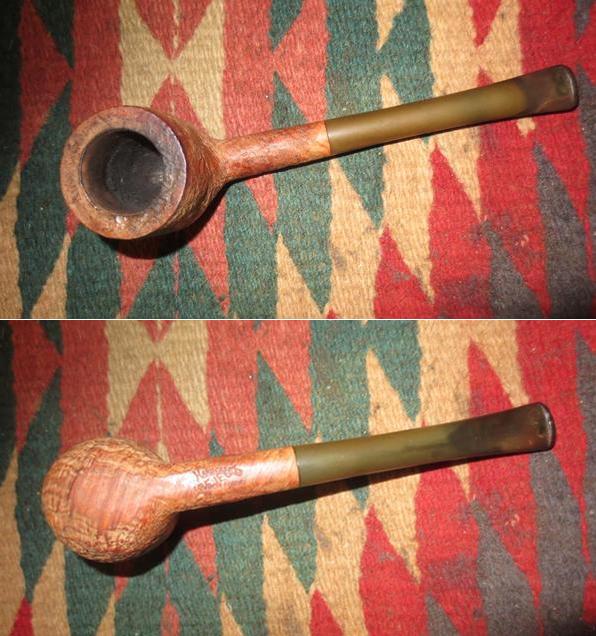
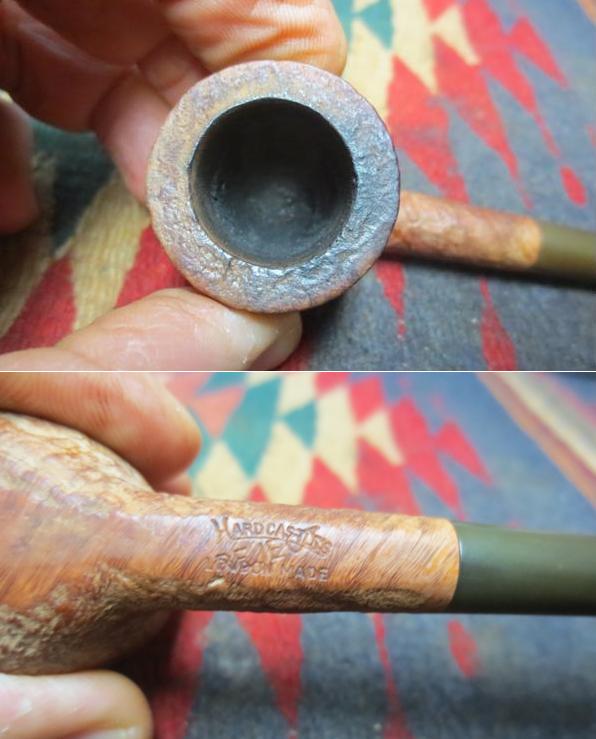
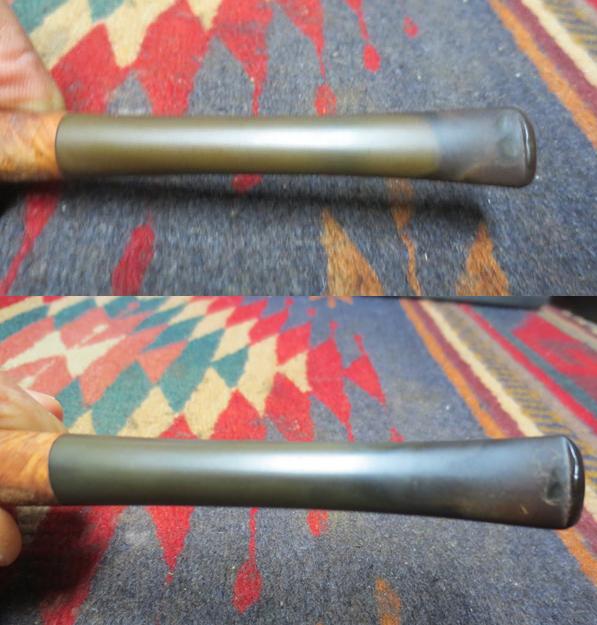
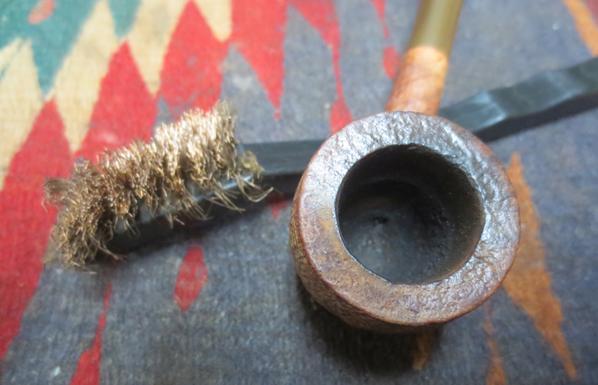
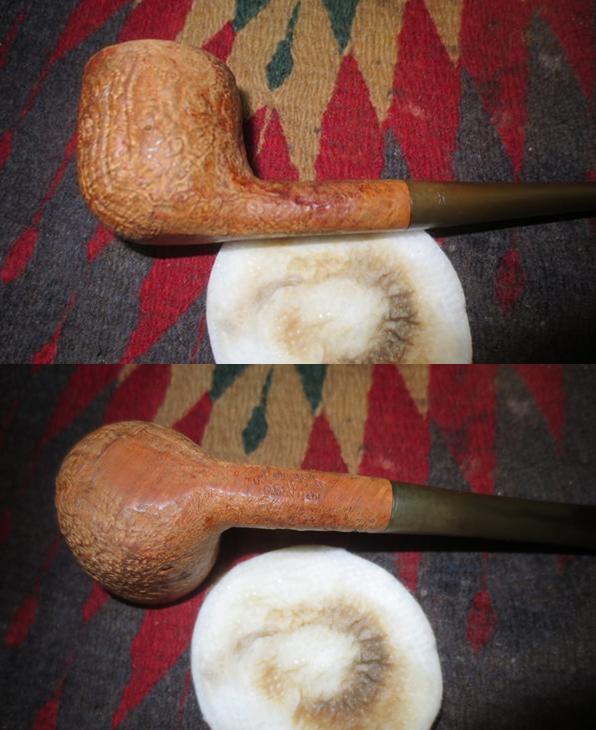
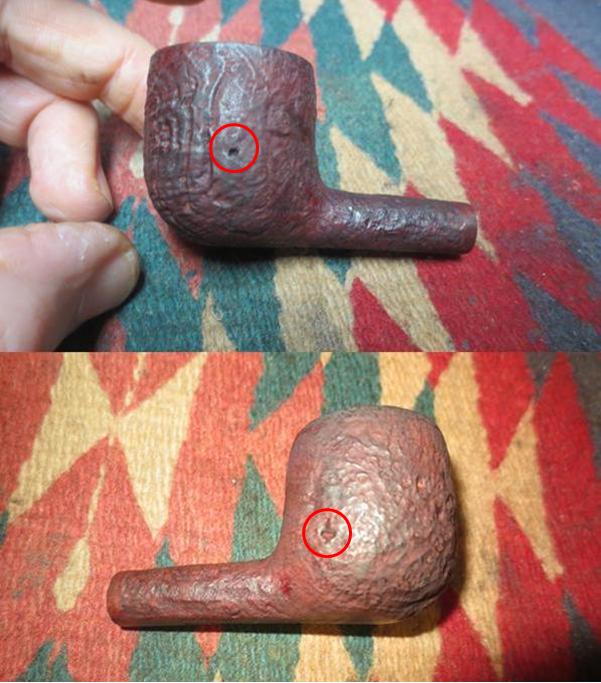
This perfectly shaped little Hardcastle’s sandblast pot was the next pipe to my worktable. It is a small almost pencil shank pot. It is stamped Hardcastle’s London Made and across that it is stamped Reject. It has a rich blast on the sides of the bowl and shank. There is a smooth portion on the bottom of the bowl and shank for the stamping and allowing it to be a sitter. My brother took the next photos to show the condition of the pipe before he cleaned it up.hard1He took some close up photos of the bowl and stamping. The bowl had a thick cake and a large overflow of lava on the rim. The lava covered the light blast finish on the rim completely and it was hard to tell the condition of the bowl at this point. The finish was worn and dirty but there were no chips or dents marring the finish. The stem is oxidized and you can see the Hardcastle’s H stamp on the left side near the shank. You can see the stamping on the shank and clearly see the REJECT stamp across the initial stamping. I am not sure why this pipe was rejected. It appears to be a decent piece of briar. There were two small sandpits on the sides of the bowl that I suppose may have caused it to be a reject but that is not clear to me.hard2 hard3My brother did his usual great clean up on the exterior of the pipe. He scrubbed it with Murphy’s Oil Soap and a tooth brush and was able to remove the finish. He reamed the bowl and removed the lava build up on the rim and left a slightly darkened rim with no burns or damage to the edges. I took the next set of photos to show what the pipe looked like when it arrived in Vancouver.hard4 hard5I took a close up photo of the rim to show the darkening on the back side of the top. It was clean but darkened. There were no burn marks or damaged briar on the edges of the bowl. The stamping is also shown and it remains sharp and distinct.hard6The stem was lightly oxidized and there were tooth dents and chatter on the top and underside near the button. The button had some flattening and wear as well.hard7I used a brass bristle tire brush to scrub the top of the rim and try to clean out some of the darkening on the rim. I was able to remove some of it and make it less pronounced.hard8I wiped the bowl down with acetone on cotton pads to clean of any remnants of the old finish and to remove the debris from the brass brush work on the rim.hard9 hard10 hard11With the bowl cleaned I stained it with a dark brown aniline stain mixed 50/50 with isopropyl alcohol. I flamed the stain and repeated the process until the coverage was even on the bowl and in the deep pits of the sandblast finish.hard12I took some photos of the pipe at this point in the process. The stain had covered well. The colour was a little dark for my liking and would need to be lightened a bit before I was finished. You can see the sand pits on both sides of the bowl that may have made this pipe a reject. I have circled them in red.hard13 hard14I cleaned the mortise with a dental spatula and then cotton swabs, pipe cleaners and alcohol. I also cleaned out the airway into the bowl and in the stem.hard15To lighten the colour of the stain I washed it down with some alcohol on cotton pads until the colour was more to my liking. The finished colour is shown in the photos below.hard17 hard18I painted the dents in the stem with the flame of a Bic lighter and was able to raise them almost smooth. I sanded the stem with 220 grit sandpaper to smooth out the slight dimples that remained in the surface. I wet sanded the stem with 1500-2400 grit micromesh sanding pads and rubbed it down with Obsidian Oil. I dry sanded it with 3200-12000 grit pads and rubbed it down with the oil after each set of three pads. After the final 12000 grit sanding I gave it a final coat of Obsidian Oil and set it aside to dry.hard19 hard20 hard21I buffed the pipe with Blue Diamond on the buffer and gave the stem multiple coats of carnauba wax. I hand waxed the bowl with Conservator’s Wax. I buffed the bowl and stem with a clean buffing pad and again by hand with a microfibre cloth to raise and deepen the shine on the briar. The finished pipe is shown in the photos below. I am pretty happy with the finished pipe. Thanks for looking.hard22 hard23 hard24 hard25 hard26 hard27 hard28 hard29

A Graceful Swan-Necked Tania Billiard


Blog by Steve Laug

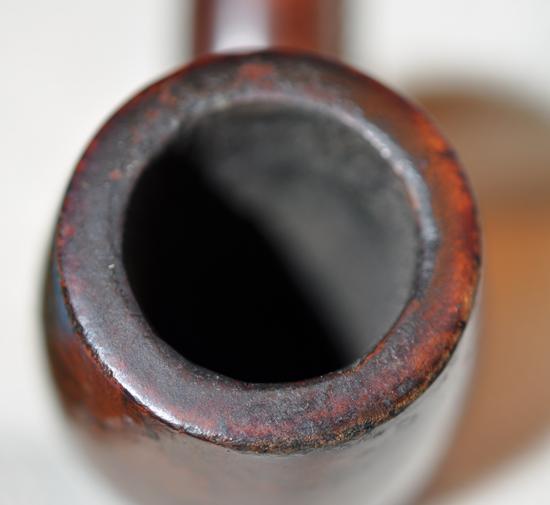
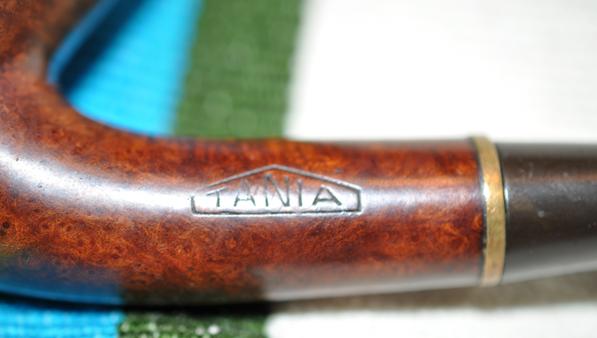
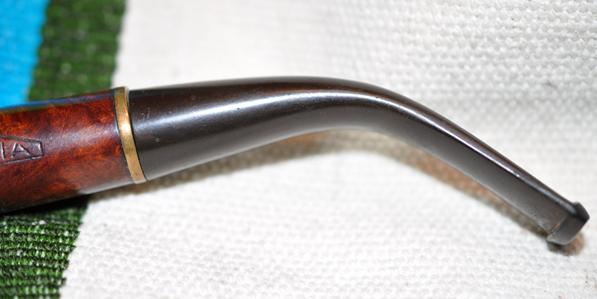
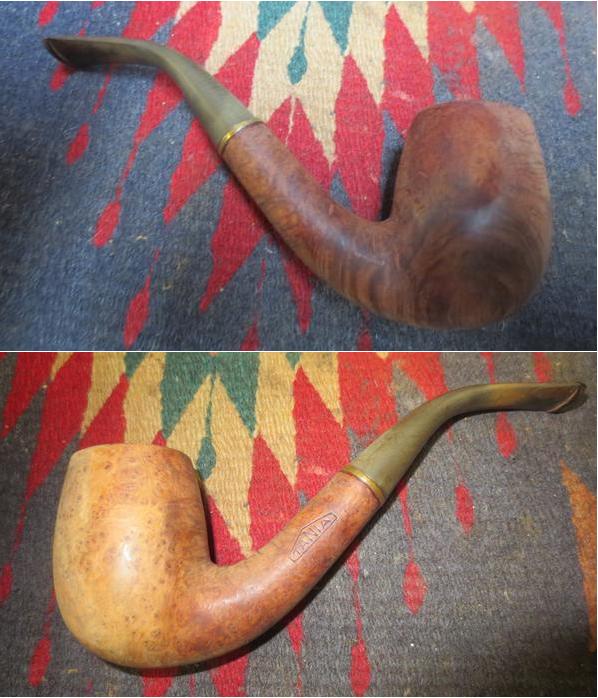
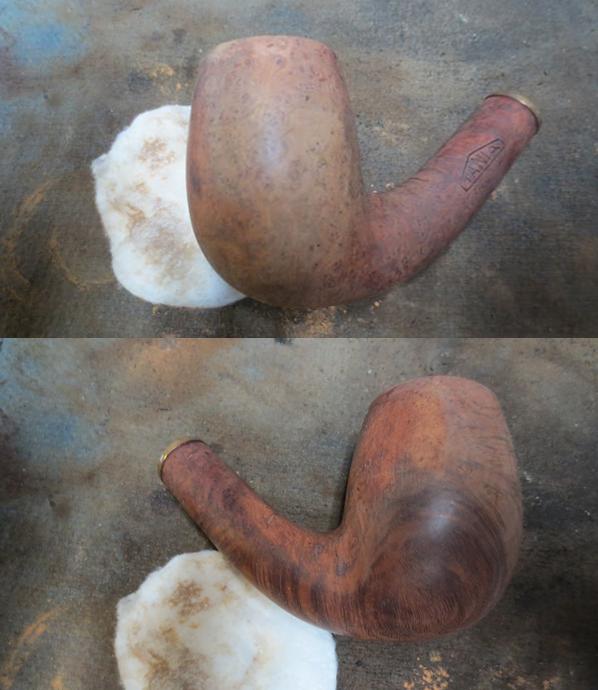
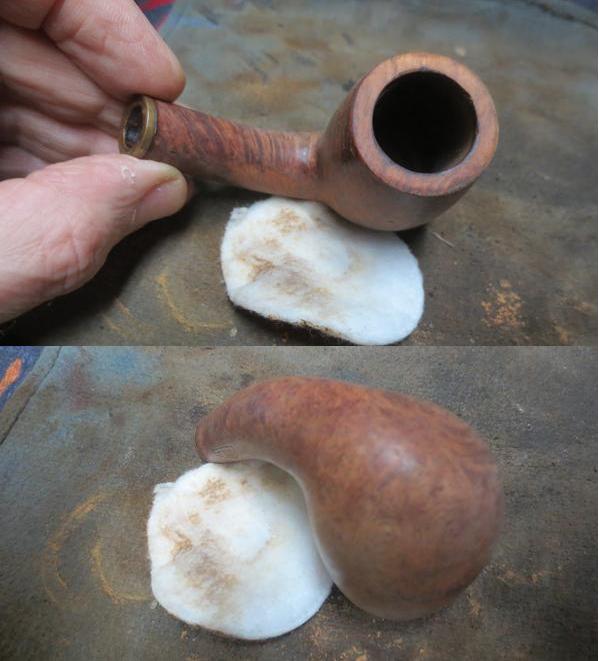
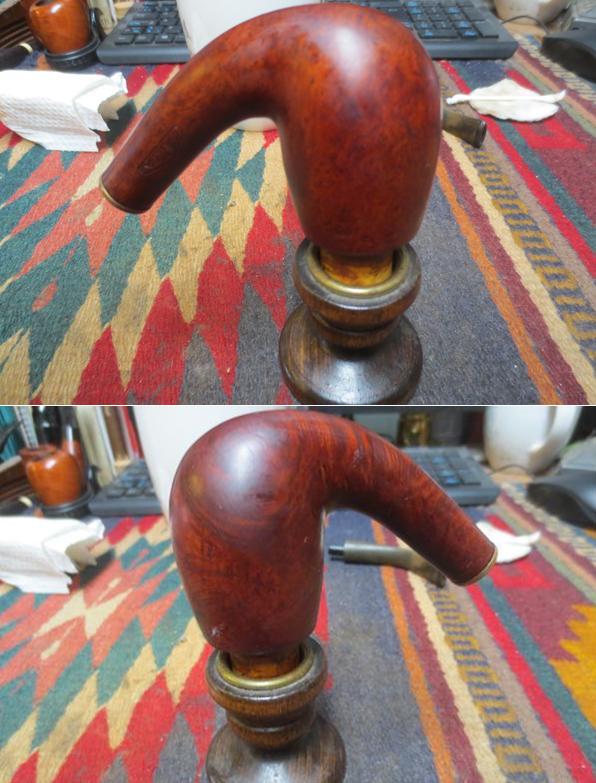
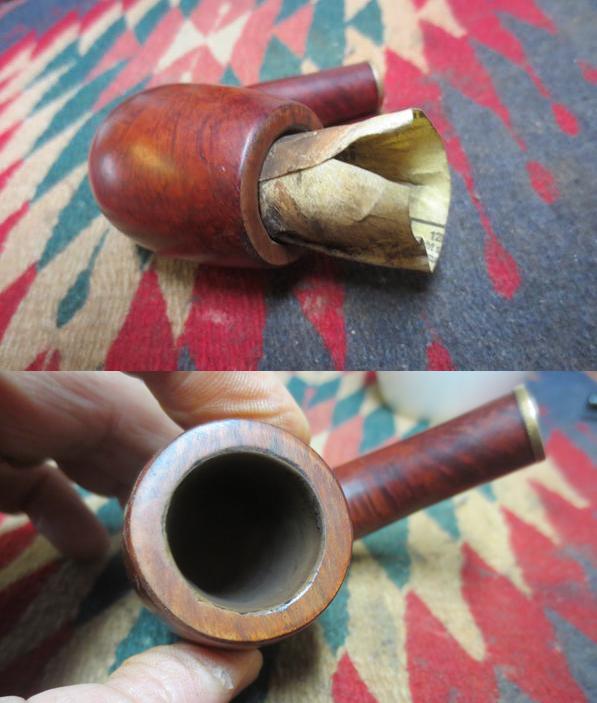
The graceful swan neck like bends and curves of this pipe are one of its attractions for me. It is what drew me to work on it as my next restoration project. It is quite a large pipe – 7 inches long, 2 ¼ inches tall, 1 ¼ inches outer diameter of the bowl and 7/8 inch chamber diameter. The briar is quite nice – lots of birdseye around the bowl. The finish was dirty and worn but other than a few dents and dings it was in decent shape. The brand – Tania – is one that I cannot find any information about online. It is a mystery pipe to me.tania1 tania2My brother took some close up photos of the bowl. The first photo shows the large of fills on the right side of the bowl. There are at least 6 or 7 fills on that side and none on the other sides of the bowl. The outer edge of the rim was chipped and worn. There was some wear from knocking it out on something hard. The inner edge of the bowl also was also out of round. The rim top was dented and worn and there were some flecks of tars and oils on it as well.tania3 tania4The next two photos show the stamping on the side of the shank. You can see the name TANIA wrapped with a house shaped frame which peaks at the N. The brass band separating the stem and the shank is actually a ferrule that is bent over the end of the shank. It is dented and tarnished. The final photo shows the oxidation and wear on the stem. Both sides of the stem show the wear and tear on the surface just ahead of the button.tania5 tania6 tania7My brother scrubbed the exterior of the pipe with Murphy’s Oil Soap and removed the finished and left behind some clean briar. He scrubbed the inside of the shank and stem with pipe cleaners, cotton swabs and alcohol. The stem oxidized in the cleanup process. He was able to get much of the tars and oils off the rim of the bowl. I took the next photos when I brought it to the work table.tania8 tania9The rim looked better but it was worn. The outer edge of the rim was in rough shape from knocking it out. The inner edge was damaged with a knife or a sharp object used to scrape the bowl. There were some dents and nicks in the rim top. I took some photos of the stem. It was in very good shape other than oxidation. There were no tooth marks or tooth chatter on the stem.tania10 tania11The fills on the right side of the bowl were not smooth. They were pitted and dented. I sanded the surface of the bowl around the fills and wiped it down with some acetone. I refilled them with clear super glue.tania12I sanded the bowl repairs with 220 grit sandpaper and then with 1500-4000 grit micromesh sanding pads. I sanded it with a medium and a fine grit sanding sponge. I wiped the bowl down with alcohol on cotton pads. I checked the inside of the mortise and airway with pipe cleaners, cotton swabs and alcohol. It was very clean.tania13 tania14I stained the bowl with a dark brown aniline stain cut 50/50 with isopropyl alcohol. I applied it, flamed it and repeated the process until the coverage on the briar was even.tania15The inner edge of the bowl still showed some damage so I sanded it with a tube of 220 grit sandpaper wrapped around my finger. I sanded until the inside was clean and the edge was more round. I sanded the inner edge to bevel it slightly and take care of the knife damage. I sanded it with 1500-2400 grit micromesh sanding pads. I stained the inside edge with stain on a pipe cleaner.tania18 tania19I buffed the bowl with Blue Diamond on the buffing wheel and gave it a light coat of carnauba wax. I buffed it with a clean buffing pad to raise the shine.tania16tania17I sanded the stem with 220 grit sandpaper to remove the oxidation on the stem. I cleaned up the sharp edge of the button with the sand paper and sharpened and reshaped the button.tania22I wet sanded the stem with 1500-2400 grit sanding pads and rubbed it down with Obsidian Oil. I dry sanded it with 3200-12000 grit sanding pads. I rubbed it down with Obsidian Oil after each set of three sanding pads. After the final pad I rubbed it down a final time with oil and set it aside to dry.tania23 tania24 tania25I buffed the pipe with Blue Diamond on the buffing wheel to polish out the scratches. I gave the pipe multiple coats of carnauba wax and buffed it with a clean buffing pad. I took it back to the work table and hand buffed it with a microfibre cloth. The finished pipe is shown in the photos below. If anyone can tell me about the brand – Tania, please leave a response below. I can find nothing regarding the brand online or in my normal reference tools. If you would like to add the pipe to your rack let me know via email at slaug@uniserve.com or in the response area below. Thanks for looking.tania26 tania27 tania28 tania29 tania30 tania31 tania32 tania33