Blog by Steve Laug
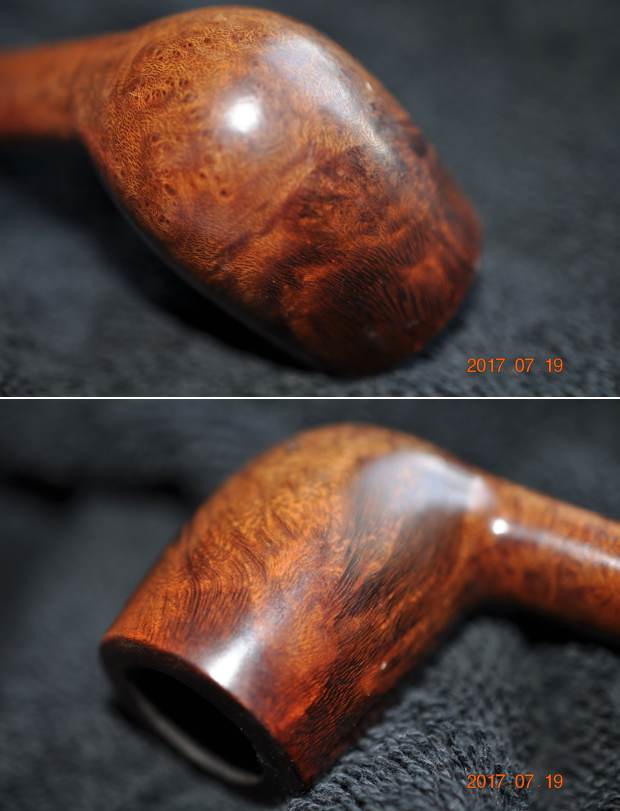
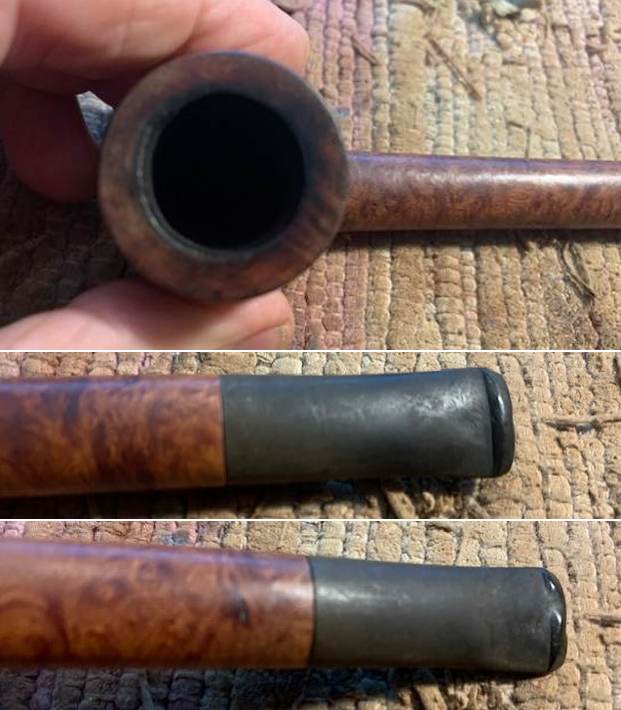
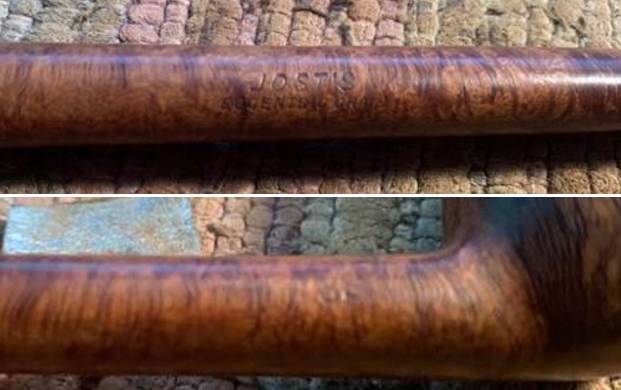
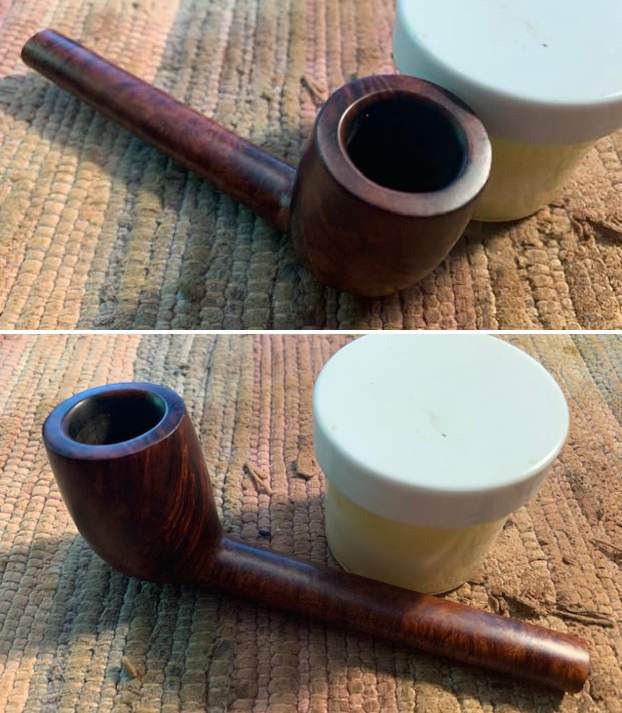
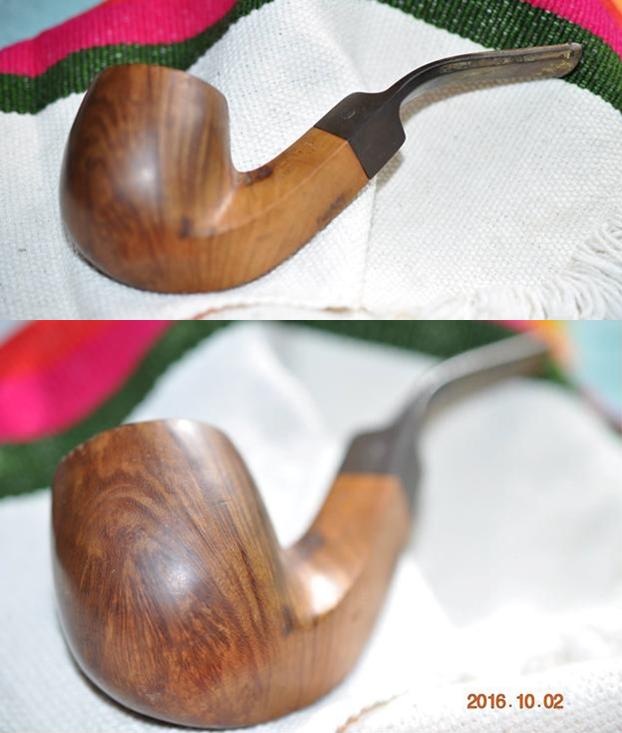
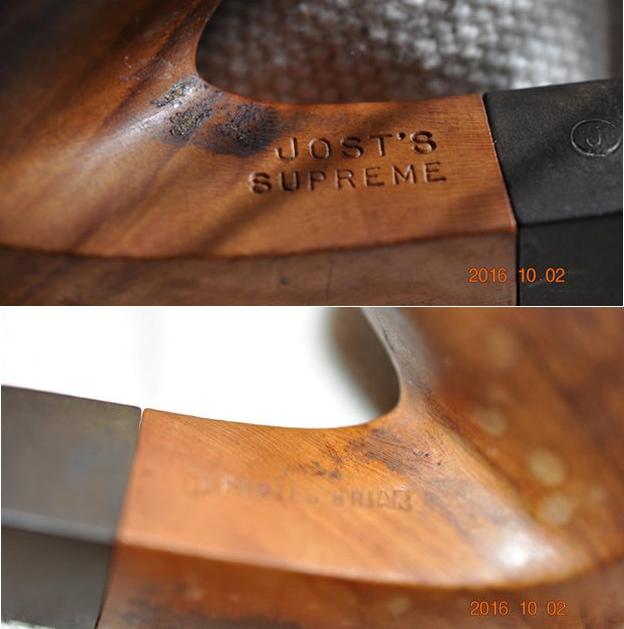
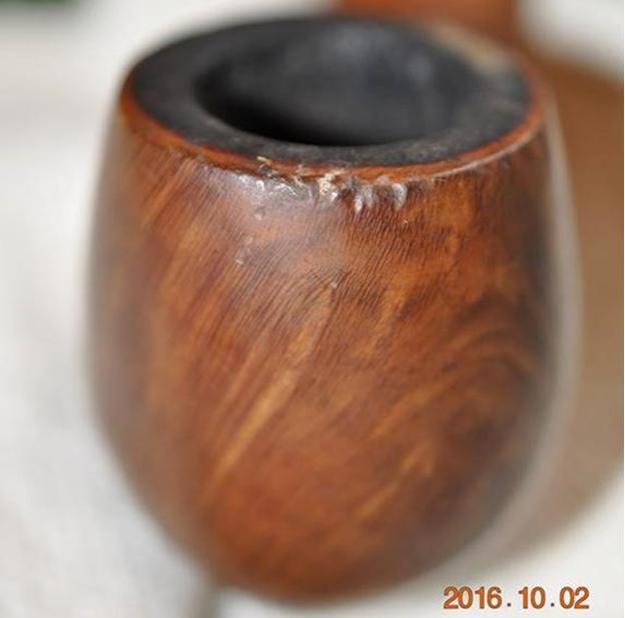
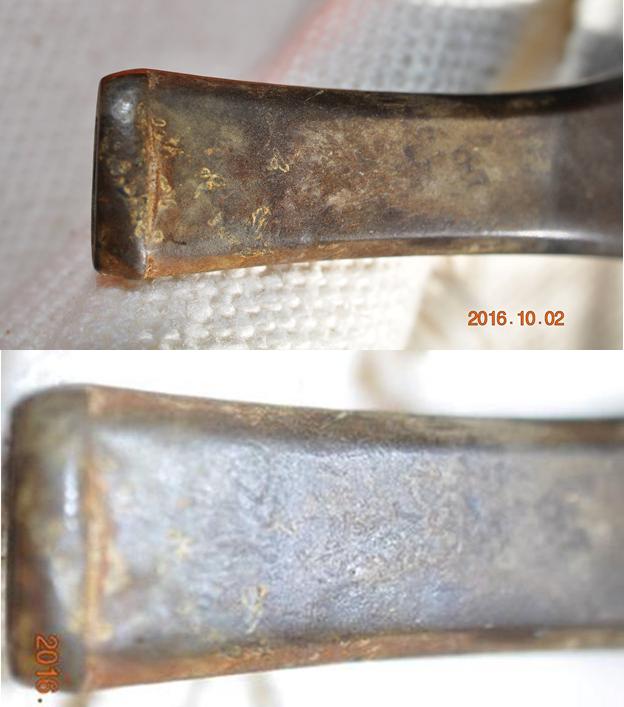
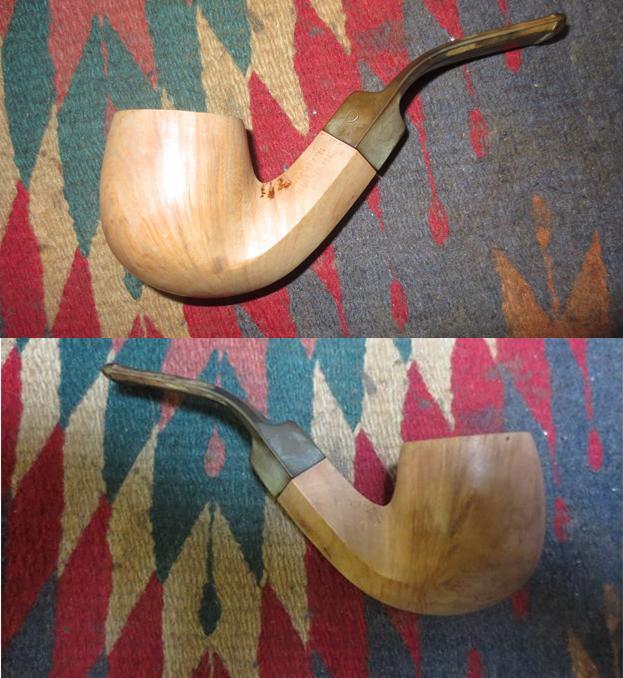
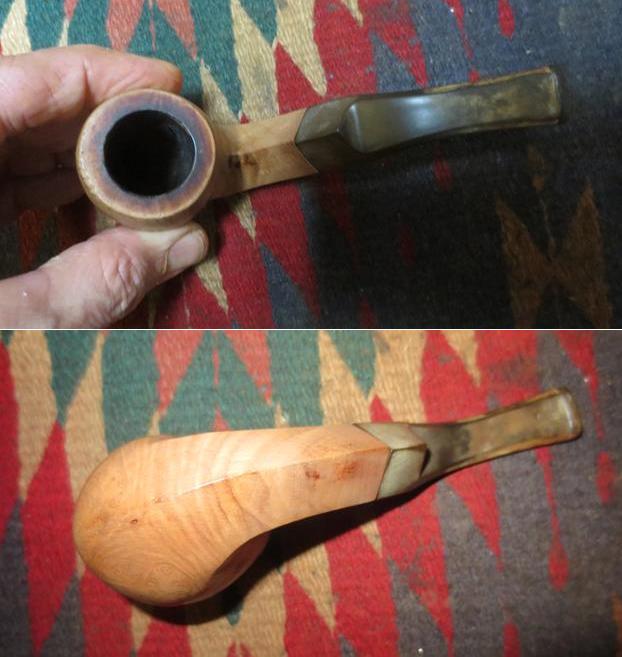
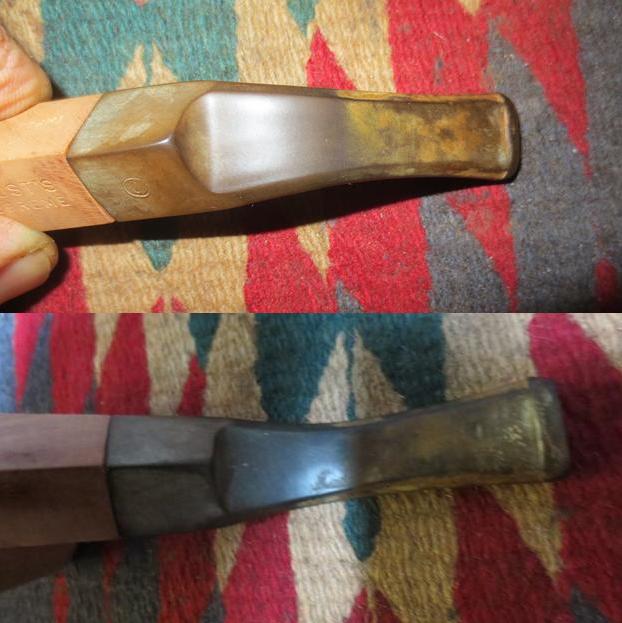
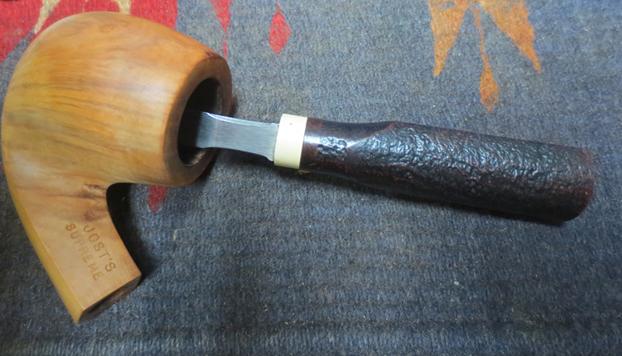
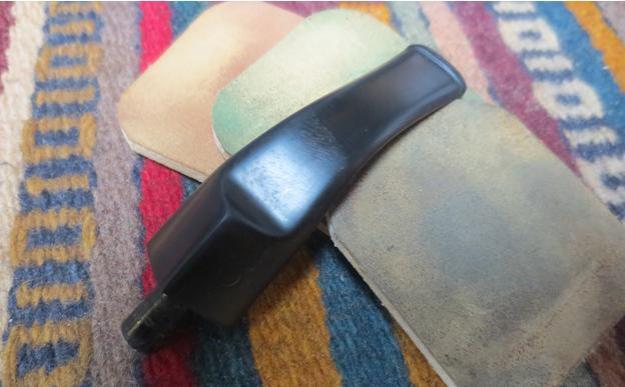
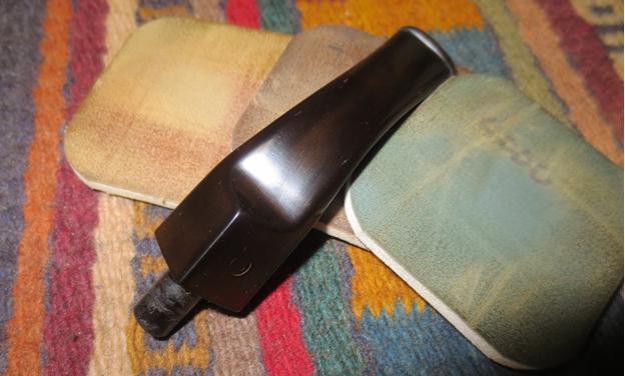
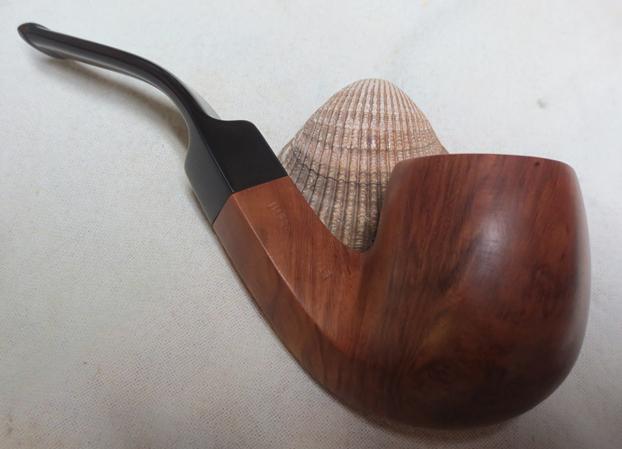
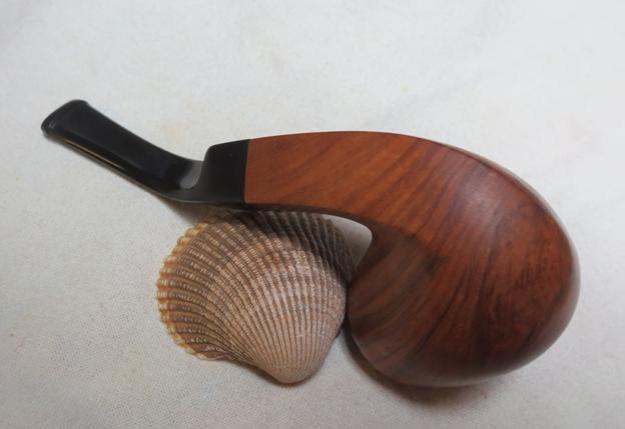
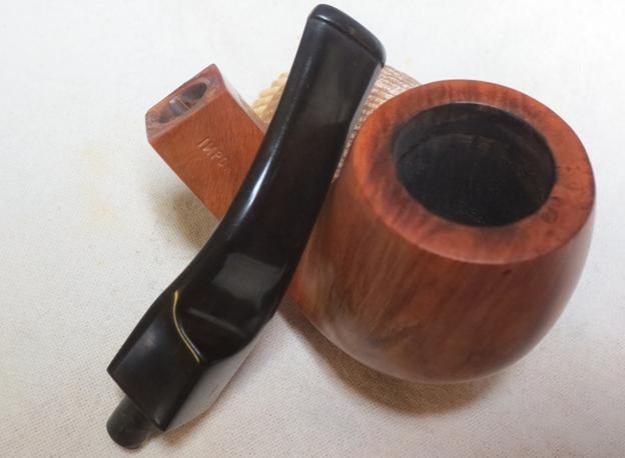
The next pipe on the table is another that the Vancouver pipe man dropped off for me to work on for him. It was stamped Jost’s Supreme and had a natural finish around the bowl. It is a bent diamond shank Billiard with some interesting grain. It needed restoration on the bowl which was heavily caked and the shank had the remnants of a paper wrap that had been used to hold the stem in place due to the crack in the shank. It also needed a repair to the crack on a pipe that I had originally worked on back in 2016. When I originally had worked on it the pipe had a thick cake and was well used. Here is the link to that restoration that I did back when I first picked it up (https://rebornpipes.com/2016/11/11/restoring-the-fourth-classic-find-a-josts-supreme-diamond-shank-bent-billiard/).The stem had tooth marks, tooth chatter and a lot of oxidation and calcification on the stem. Here are some photos of the pipe when he picked it up in 2016 to give a bit for context for my work.
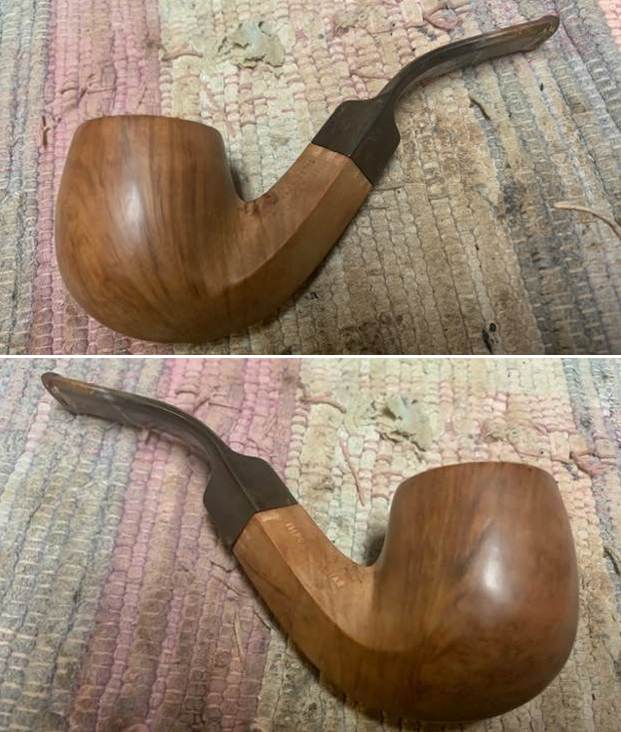
 When I took the pipe out of the bag to work on this morning this is what I saw. The finish on the briar looked very good. It was dirty and the natural finish looked dried out. There was a crack on the lower right side of the diamond shank. The stem was very loose in the shank and the tenon appeared to have been wrapped in paper to tighten it. The bowl had a very thick cake and the airway in the shank was dirty. I would need to be cleaned up before I worked on the shank repair and the fit of the stem in the shank. The stem was oxidized, calcified and had tooth marks and chatter on both sides ahead of the button.
 I took photos of the rim top and the thick cake in the bowl to show how it looked. The rim top had some darkening around the inner edge of the bowl. It will clean up pretty well. The photos of the stem show the condition of the stem. You can see the tooth marks and chatter under the calcification on the stem surface.
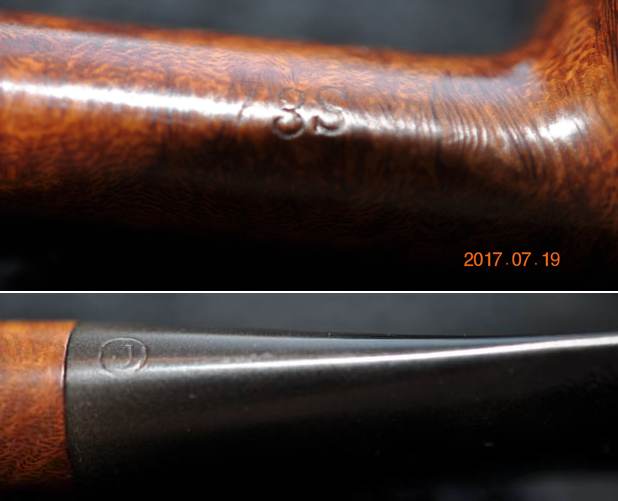
 I took a photo of the stamping on both sides of the shank. It is clear and readable as noted above. I took the stem off the shank and photographed the look of the pipe as a whole. It is a nice looking Diamond Shank Bent Billiard.
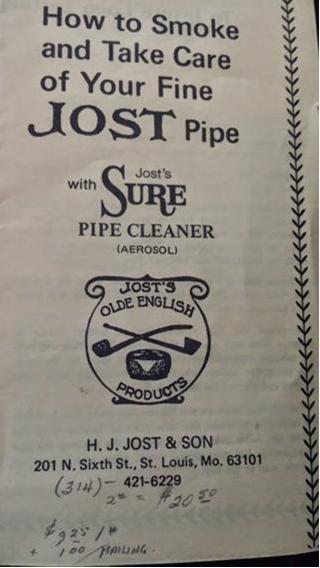
 I went back and reread the previous restoration blog that I written on the restoration the previous time I had worked on the pipe. I also was very interested to read the back story and history on the brand. I quote from the blog below.
In earlier blogs I have written about restoring another Jost’s pipe that I found. When I restored that pipe it was a brand I had heard of but was unfamiliar with. I researched the web to find some information about the brand. Here is a link to the blog I wrote on the Jost’s Olde English Deluxe: https://rebornpipes.com/2016/09/03/josts-olde-english-de-luxesupreme-overstamped-j214-bent-billiard/. I am quoting several of the paragraphs that summarize what I learned about the brand.
“I looked up Jost’s pipes on the Pipephil site and found a pipe that had the same stamping on the left side of the shank as the one I was working on. The right side had slightly different stamping in that it had the classic COM stamp circle where the one I had was two lines Made in over England. It also had a picture of the circle J stamp on the stem. There was a note there the tobacco shop proprietor was Mrs. Henry A. Jost. Her resident carver was Harvey Raspberry.”
I also found a blog that is called ClassicPipeShop that even had a catalogue of the pipes made by the Jost’s Shop or were imported by them for their store. I quote that blog once more as it places the new pipe that I am working on now.
“I did some more hunting online and I found a blog that did a great write up on Jost’s Pipe Shop and gave some definitive information on the brand and grades of the pipes. Here is the link if you wish to read a well written history of the brand and also some interesting details about shop blends of tobacco. http://classicpipeshop.blogspot.ca/2015/03/josts-pipe-shop-201-north-6th-street-st.html”
 “I have included the section of the blog on the pipes. It covers a lot of information regarding the source of the pipes and the levels/grades of pipes. Remember that the one I am working on is a De Luxe/Supreme. I quote:”
“Jost’s Pipes are closely tied to Comoy’s. Many of Jost’s pipes have the standard Comoy’s shape number and the “Made in England” in a circle. If the Jost’s pipe doesn’t have the “Made in England” it is probably made by Harvey Raspberry.”
“If the pipe has a shape number that is preceded by a “J” that is a Comoy’s product without question. Typically these will have the words “Made in London England” on the reverse side of the shank from where the Jost stamp is made. There are always exceptions to the rule but 95% of the time, this is accurate.”
“Many different levels of pipes were offered by Jost’s Pipe Shop. From a 1950s catalog I have the following available:”
Jost Old English De Luxe: $85.00
These were typically of the highest… Grain is stunning and the briar is flawless. These are the grade you should look out for as they are great smokers.
*Jost Old English Supreme: (no pricing available)
The majority of the Old English version pipes you see are marked Supreme. These are stained in a darker color and are presumably from the same Algerian aged Briar as the De Luxe brothers. These are also of the highest quality available. *(The current pipe I am working on is stamped Jost’s Supreme on the left side of the shank with no shape number and no Made in London England stamp. If I read the information correctly it was one that was made by Harvey Raspberry, who was the shop pipe maker.)
Jost Virgin Briar Supreme: $35.00
Don’t see too many marked as Virgin Briar Supreme but you will often find “Supreme” Jost pipes on the second hand market (see above). Excellent quality briar and displays the lighter toned finish of the De Luxe above. Grain is not as flashy or desirable as the De Luxe model.
Jost Thames Briars: $25.00
I’ve seen these offered as blasted / rusticated pipes and look quite nice. Most of the smooth finish Thames pipes are riddled with fills. Good smokers but not much to look at (smooth).
Jost Sandblast Briars: $25.00
These are a great value. The shop made sand-blasted pipes are usually quite large and snapped up very quickly by collectors. The Comoy’s versions (with J shape #s) are of excellent quality and typically rather small compared to the shop-made variety.
Dukes Briars: $15.00
These come up very rarely. The two I’ve seen in recent years are rather small in size. Smooth finish with light / honey stain color. Not sure what the story is behind these.
Now I knew the background on the pipe. I knew that the Supreme pipe was one of the higher end Jost’s in the Old English line. It was time to work on the pipe!
I decided clean up the pipe before I repaired the cracked shank. I reamed the bowl back to bare briar with a Pipenet Pipe Reamer using the third cutting head. I cleaned up the reaming with a Savinelli Fitsall Pipe Knife. I finished the bowl clean up with 220 grit sandpaper wrapped around a piece of dowel. The walls were smooth and there was no sign of burning or checking. It looked very good. 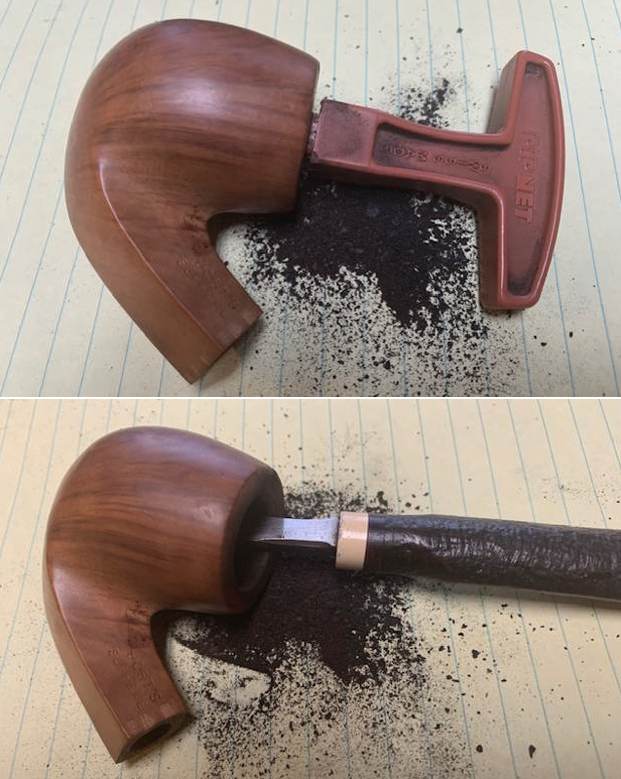
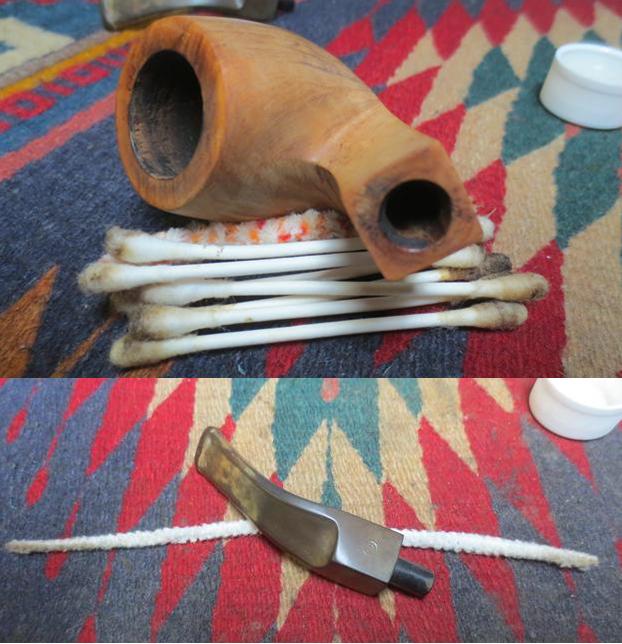
 I cleaned out the internals with 99% isopropyl alcohol, pipe cleaners and cotton swabs. I worked over the shank and the airway in the stem. It took some work but once finished it was clean and smelled fresh.
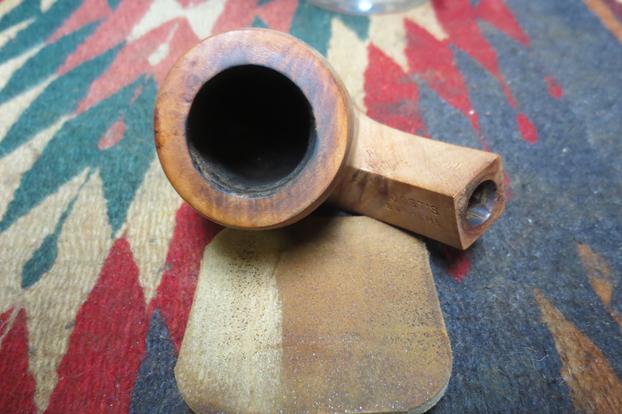
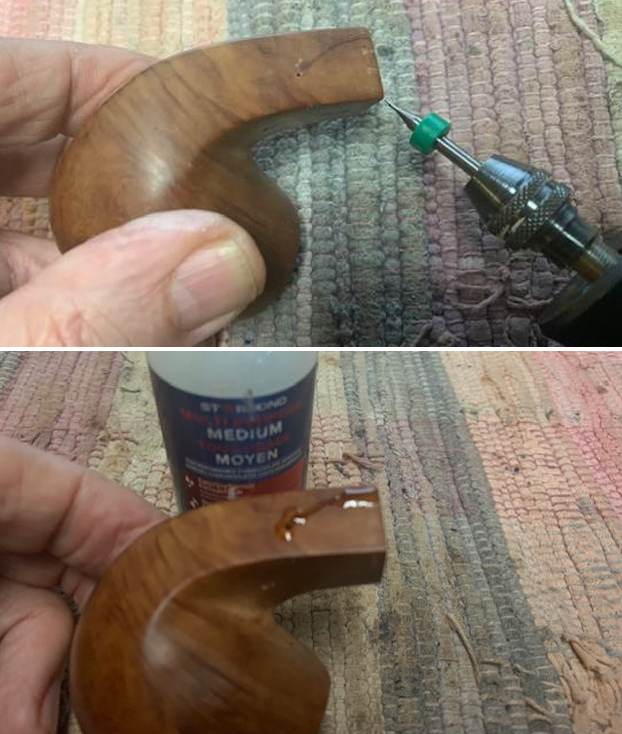
  With the internals clean it was time to work on the cracked shank. I drilled a small pinhole at the end of the crack on the right underside of the shank. I do this to stop the crack from further spreading. I fill in the pinhole with clear CA glue and built up the surface of the crack at the same time. I squeezed the crack together and held it until the glue set. I spread the glue with a dental spatula and pressed into the shank crack. Once the repair cured I sanded it smooth with 220 grit sandpaper.
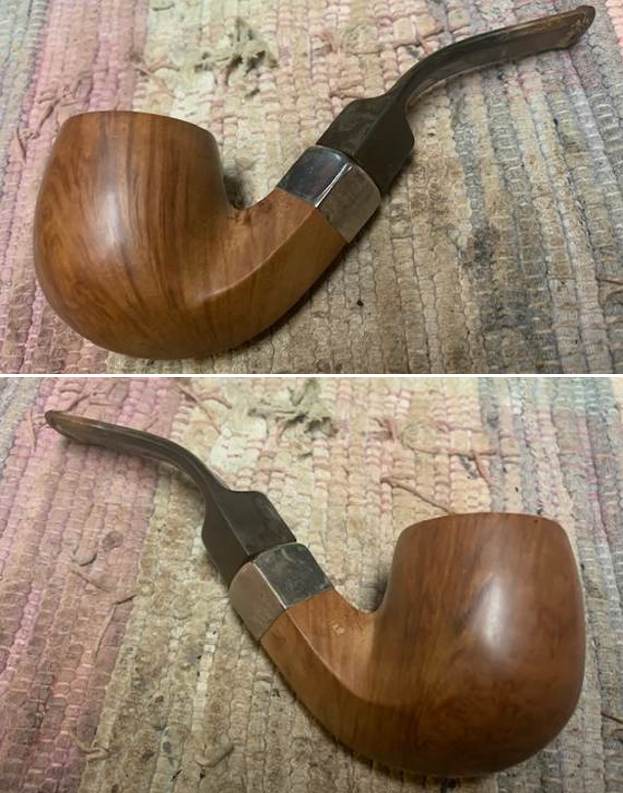
 I went through my bands and found a shank band/ferrule in nickel that was a snug fit on the shank. It was crowned and slightly dome so that would need to be flattened. I put the band a piece of dowel and used a ball peen hammer to flatten the top of the dome for a better fit with the stem.
 I heated the band with a lighter and pressed it onto the shank end. The fit of the ferrule to the shank was tight and it pulled the crack together even more than my clamping. It covered much of the stamping but the crack was quite long and I wanted some strong coverage. I put the stem on the shank and took photos of the new look of the pipe.
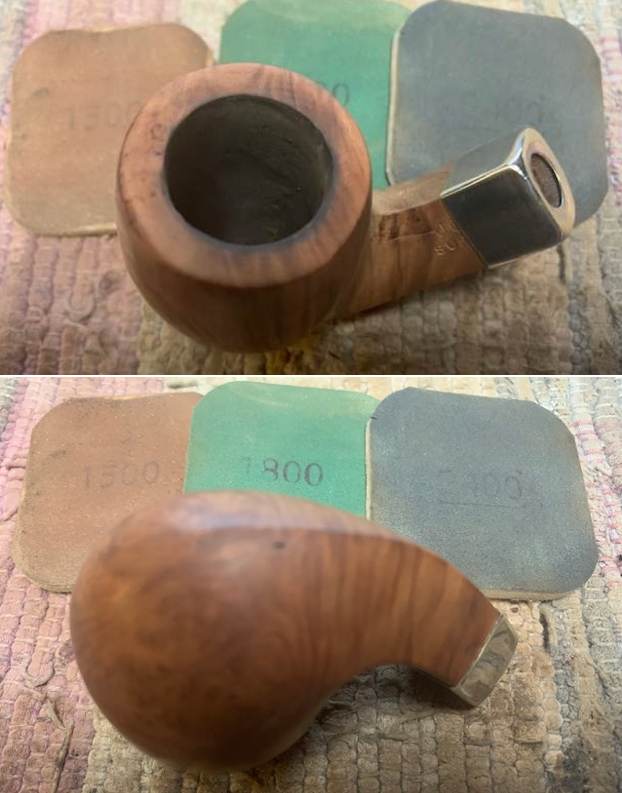
 I sanded the damage on the rim top and edges with 220 grit sandpaper. I was able to remove the majority of it with the sanding. There was some remaining darkening on the back inner edge of the bowl.
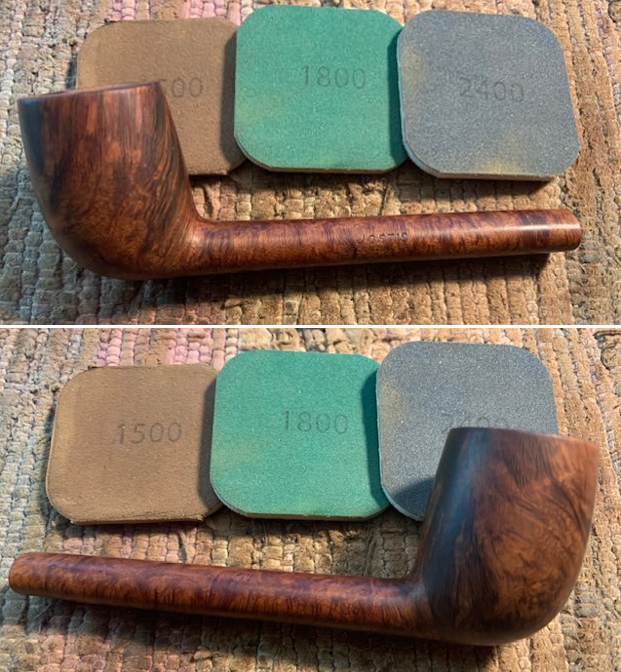
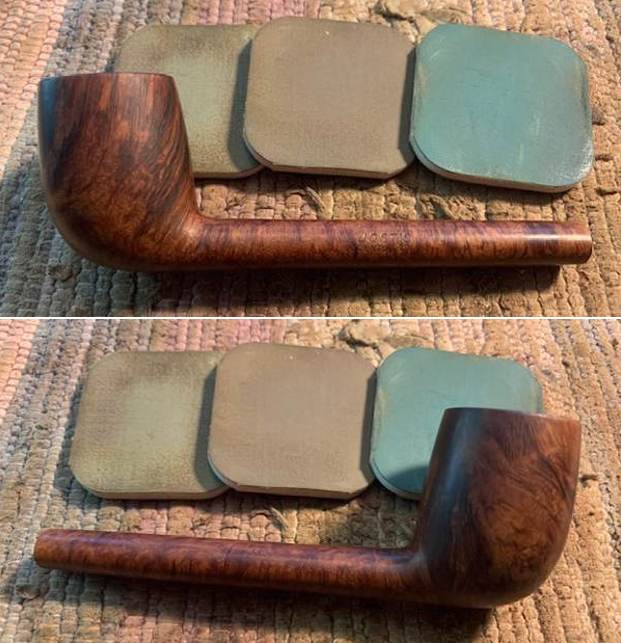
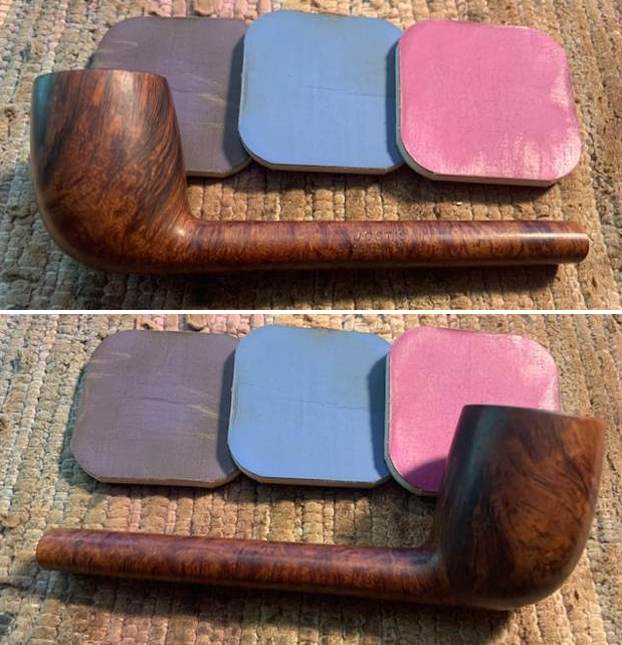
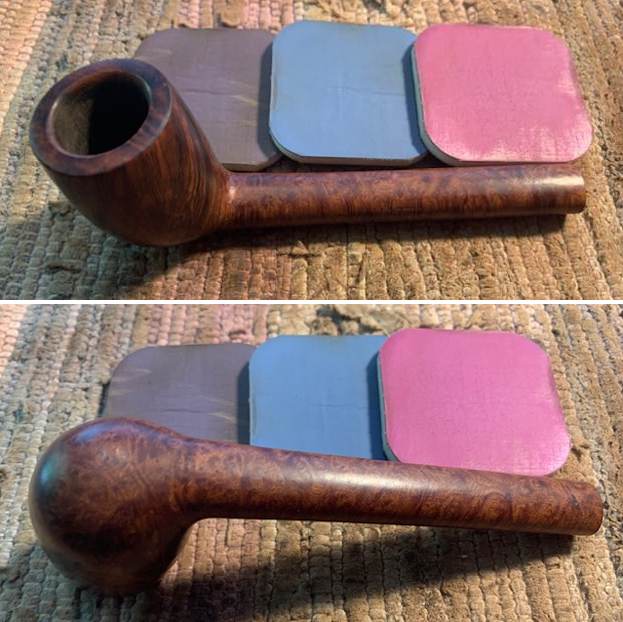
  I polished the bowl rim top with micromesh sanding pads – dry sanding with 1500-12000 grit pads. I wiped the briar down with a damp cloth after each sanding pad. It took on a real shine by the time I finished with the last sanding pad.
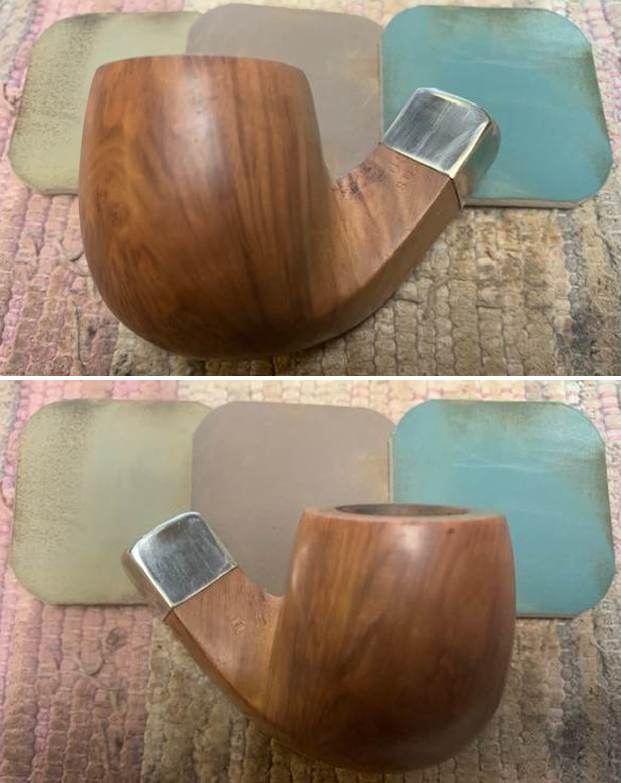

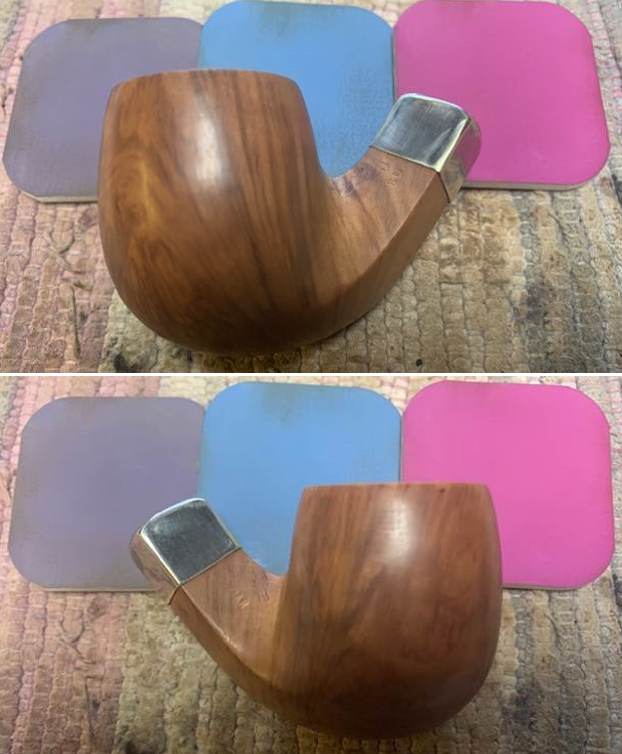
 I worked some Before & After Restoration Balm into the smooth rim and the sandblast finish on the bowl and shank. I worked it into the surface of the briar with my fingertips to clean, enliven and protect the wood. I used a horse hair shoe brush to work it into the crevices and keep from building up in the valleys and crevices of the finish. Once the bowl was covered with the balm I let it sit for about 15 minutes and buffed it off with a soft cotton cloth and the shoe brush. I polished it with a microfiber cloth. I took photos of the pipe at this point in the process to show what the bowl looked like at this point.
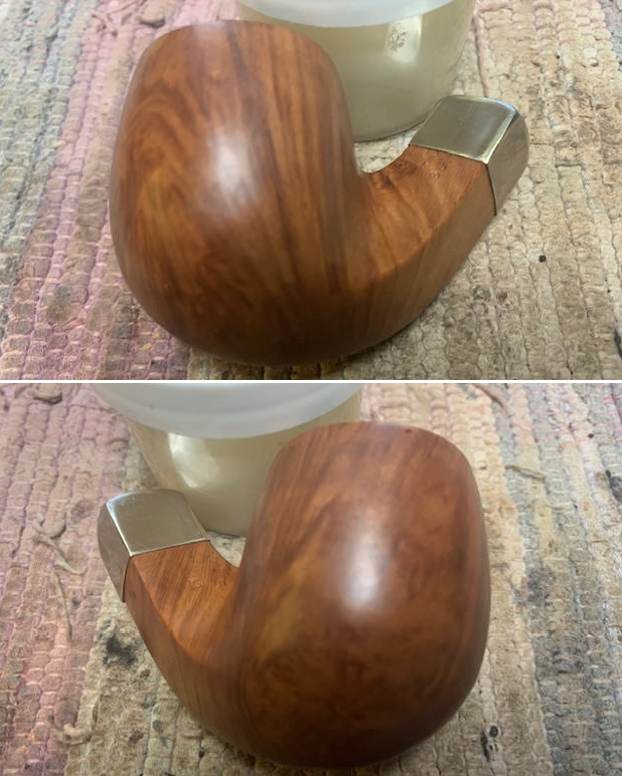
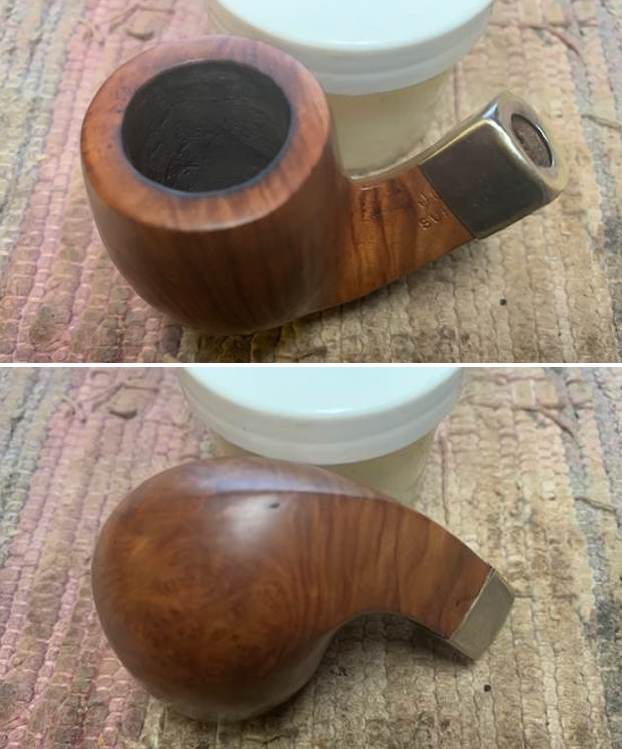
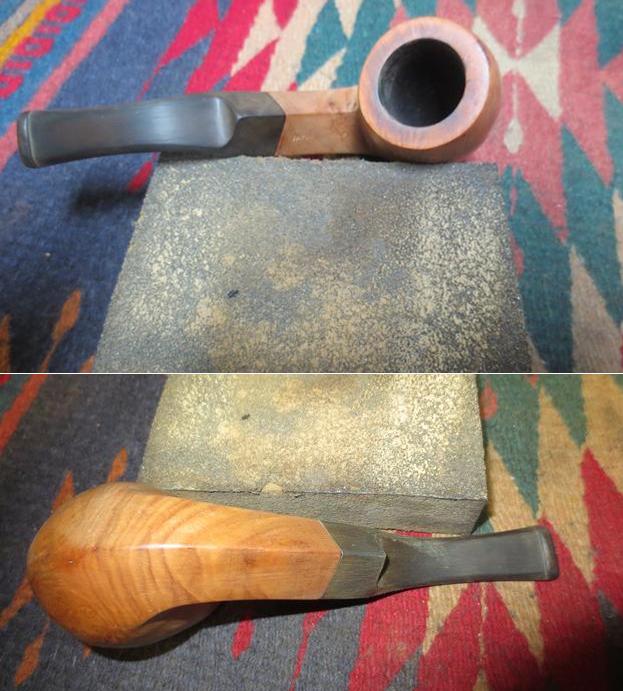
 I used a topping board with 220 grit sandpaper to try and flatten the remaining crown on the shank band/ferrule.
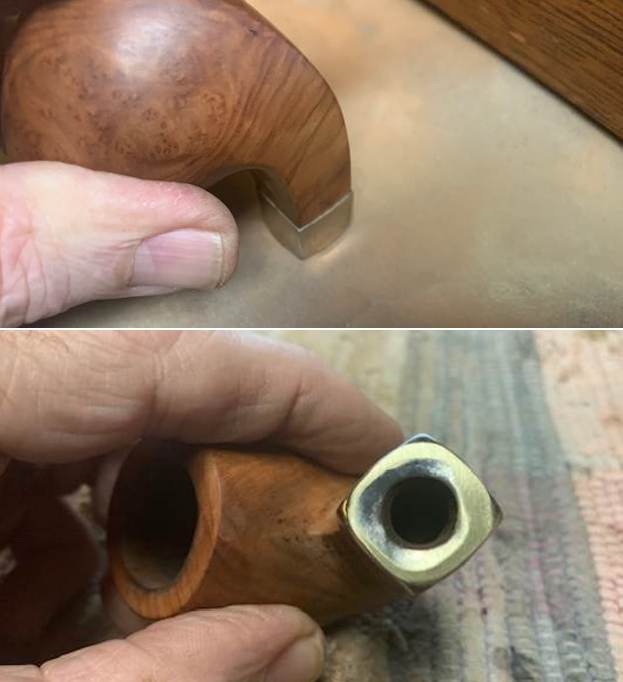 Now it was time to address the part of the restoration I leave until last. I set the bowl aside and turned my attention to the stem. I filled in the deep grooves in the tenon to build it up and make it even. Once the repair cured I sanded it smooth to make it round and even once more. Once finished it looked better and the fit in the shank was very good.
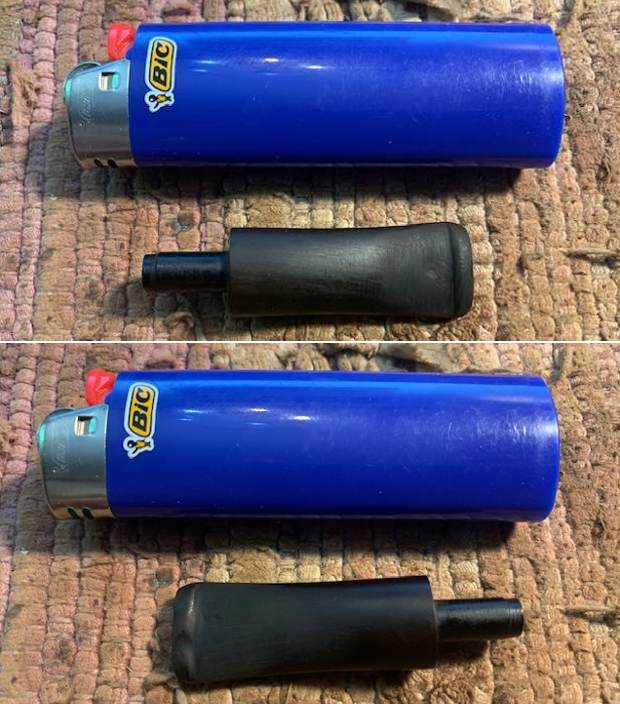
 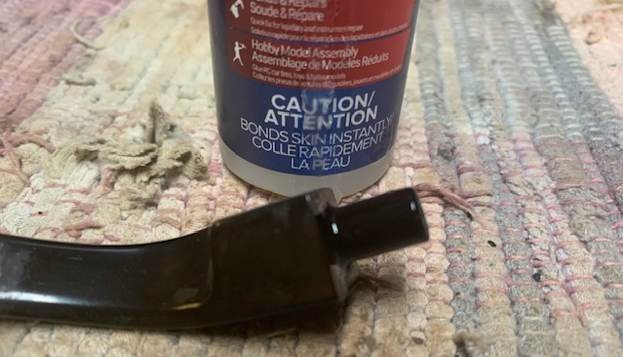 I wanted to adjust the bent in the stem as it had straightened a bit over time. I heated the blade with the flame of a Bic lighter. Once the vulcanite had softened I bent it to the correct angle and set the bend with cool water. It looks much better.
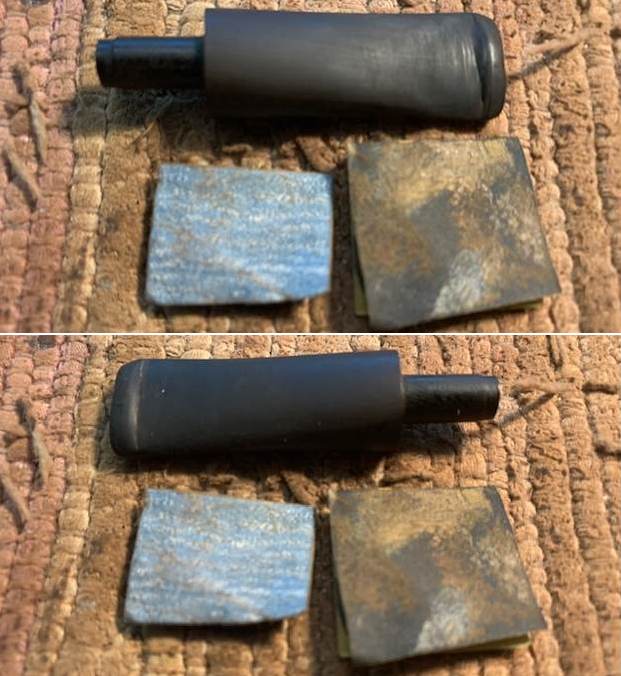
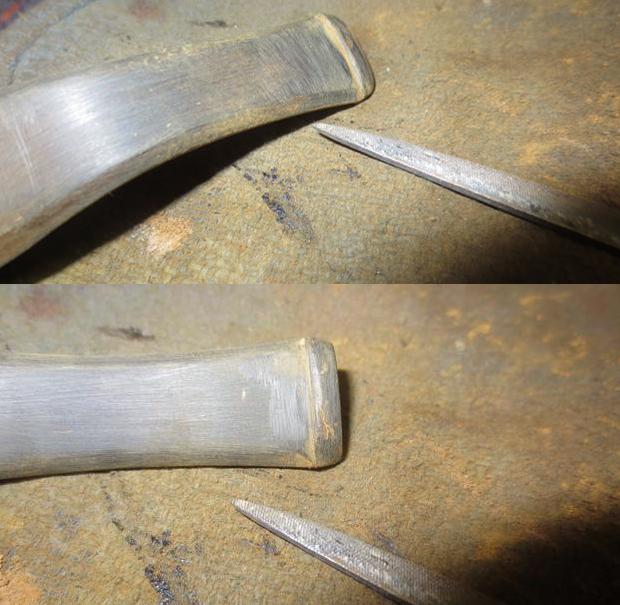
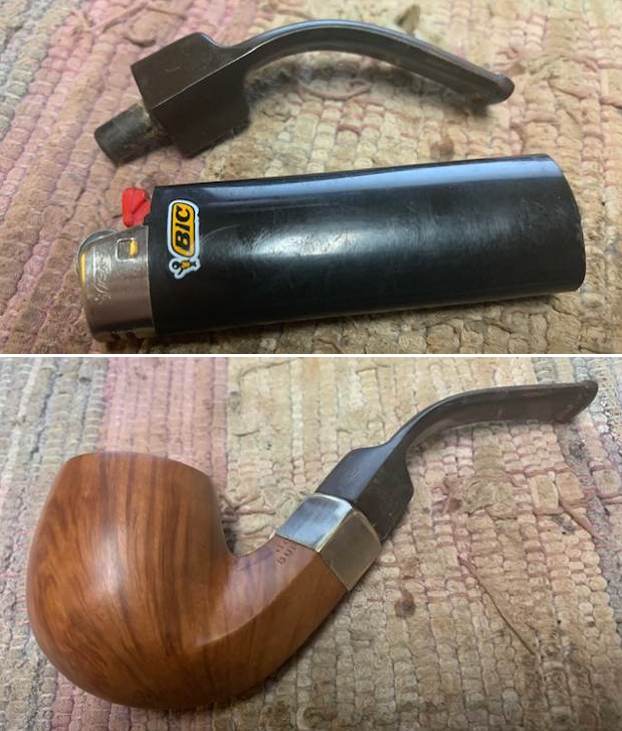 I took the newly bent stem off the shank and worked on the stem surface to deal with the tooth marks and chatter. I used a folded piece of 220 grit sandpaper to remove the oxidation and calcification off the surface of the stem. I build up the damage to the top of the button edge with black CA rubberized glue. Once it had cured I recut the button edge and flattened the repairs. I smoothed out the repairs with 220 grit sandpaper and started polishing the stem with 600 grit wet dry sand paper.
 I use micromesh sanding pads and water to wet sand the stem with 1500-12000 grit sanding pads. I wiped it down after each sanding pad with Obsidian Oil on a cotton rag after each sanding pad as I find it does two things – first it protects the vulcanite and second it give the sanding pads bite in the polishing process.
 After finishing with the micromesh pads I rub the stem down with Before & After Fine and Extra Fine stem polish as it seems to really remove the fine scratches in the vulcanite. I rub the Fine Polish on the stem and wipe it off with a paper towel and then repeat the process with the Extra Fine Polish. I finished the polishing of the stem down with a final coat of Obsidian Oil and set the stem aside to let the oil absorb. This process gives the stem a shine and also a bit of protection from oxidizing quickly.
  The final steps in my process involve using the buffer. I first buff the stem and the briar with Blue Diamond on the buffing wheel. Blue Diamond is a plastic polish but I find that it works very well to polish out the light scratches in the vulcanite and the briar. I work the pipe over on the wheel with my finger or thumb in the bowl to keep it from becoming airborne. It works well and I am able to carefully move forward with the buffing. The briar and stem just shone!
 I finished with the Blue Diamond and moved on to buffing with carnauba wax. Once I have a good shine in the briar and vulcanite I always give the bowl and the stem multiple coats of carnauba wax. I have found that I can get a deeper shine if I following up the wax buff with a clean buffing pad. It works to raise the shine and then I follow that up with a hand buff with a microfiber cloth to deepen the shine. It is always fun for me to see what the polished bowl looks like with the polished vulcanite stem. It really is a beautiful pipe. The smooth finish around the shows the grain shining through the buffed natural finish of this Jost’s Supreme Diamond Shank Bent Billiard. The finished pipe feels great in my hand. It is light and well balanced. Have a look at it with the photos below. The dimensions are Length: 5 ½ inches, Height: 2 inches, Outside diameter of the bowl: 1 ½ inches, Chamber diameter: 7/8 of an inch. The weight of the pipe is 1.62 ounces/46 grams. It is a beautiful pipe and the third of the five pipes for repair that I have ahead of me. Once I am finished with the lot he will get them back to enjoy once more. As always I encourage your questions and comments as you read the blog. Thanks to each of you who are reading this blog. Remember we are not pipe owners; we are pipemen and women who hold our pipes in trust until they pass on into the trust of those who follow us.


