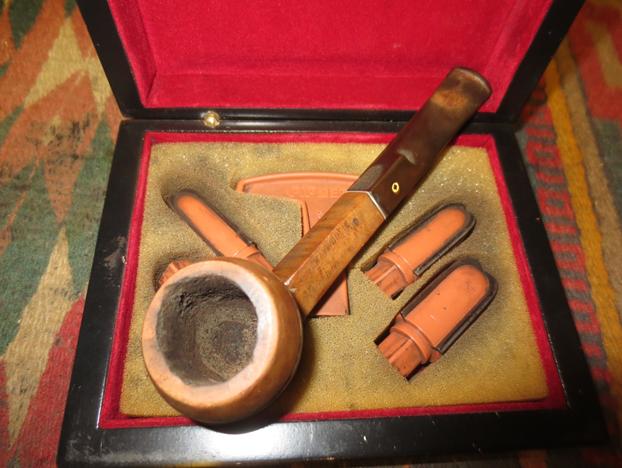
Blog by Steve Laug
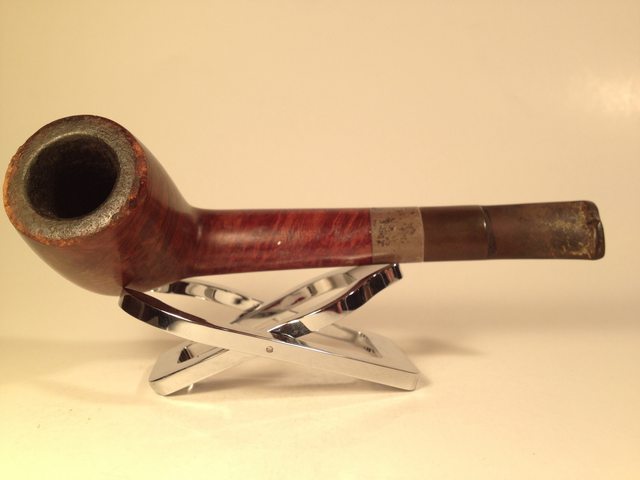
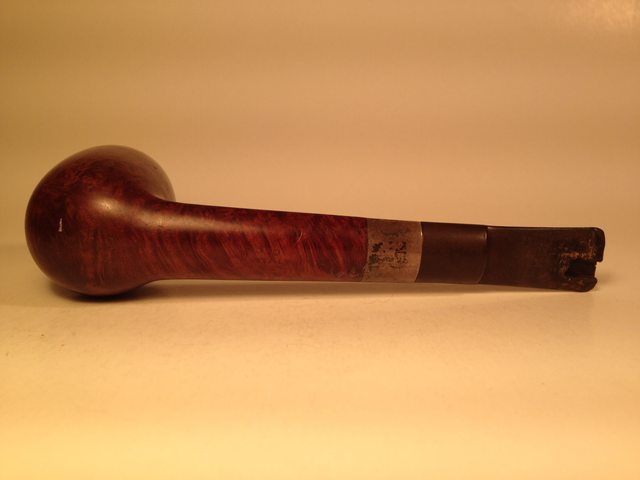
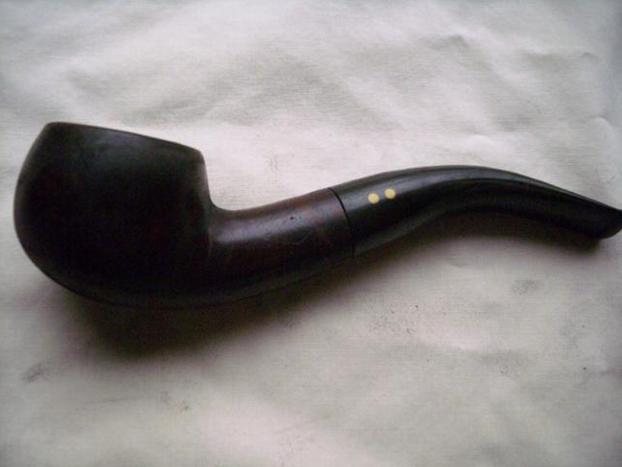
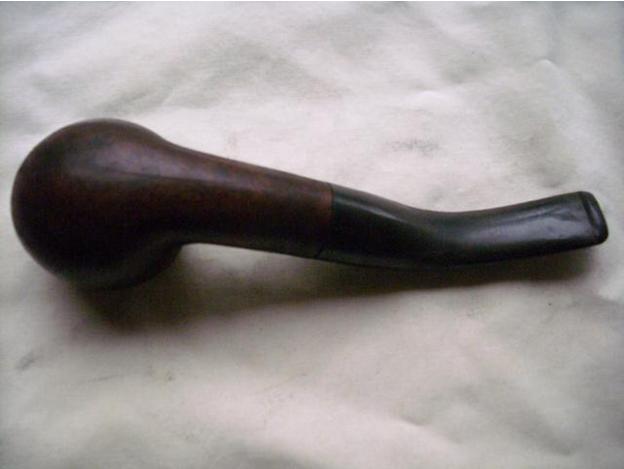
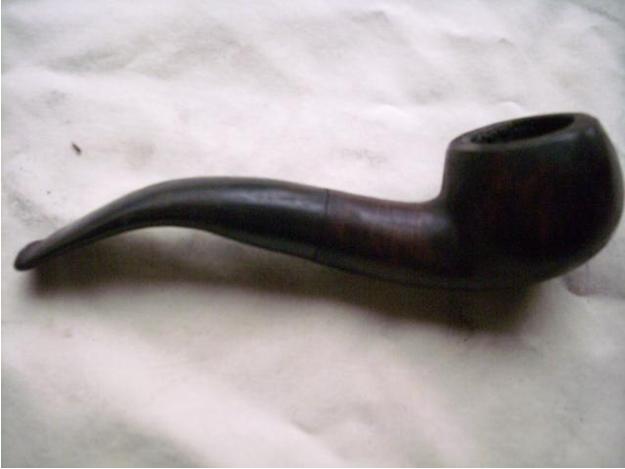
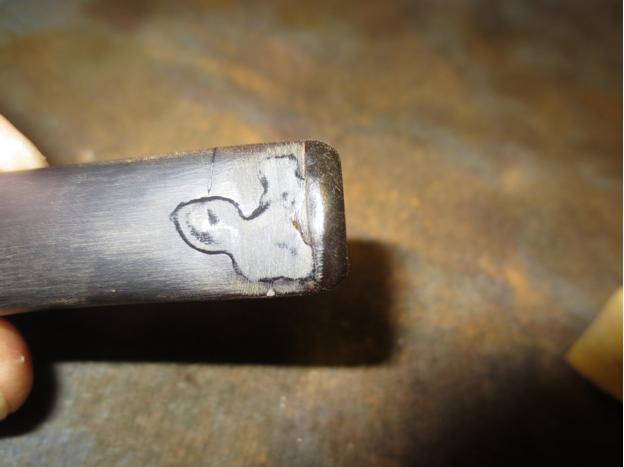
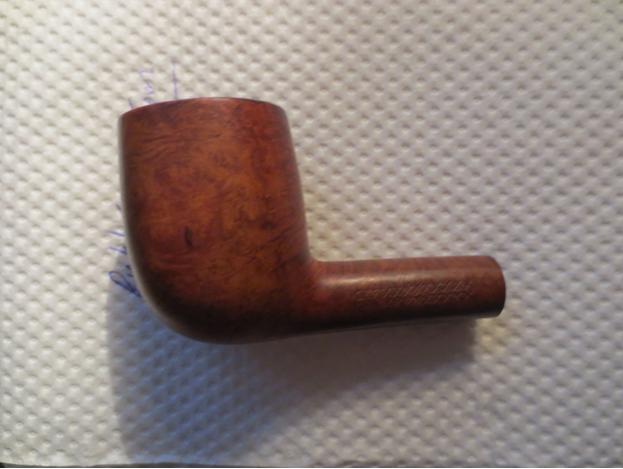
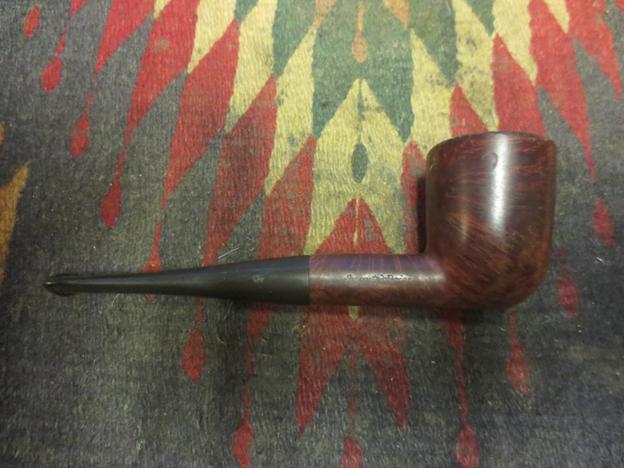
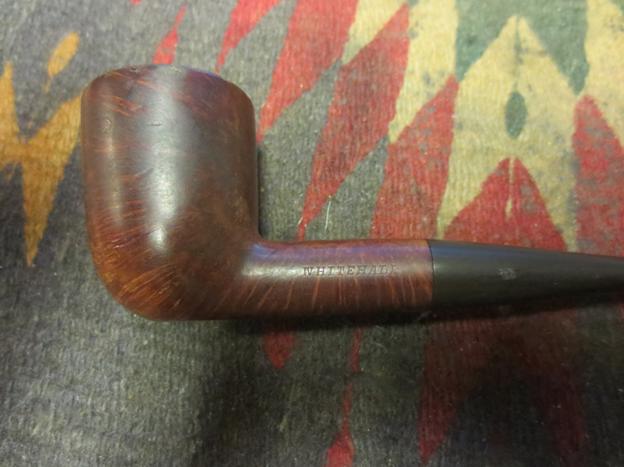
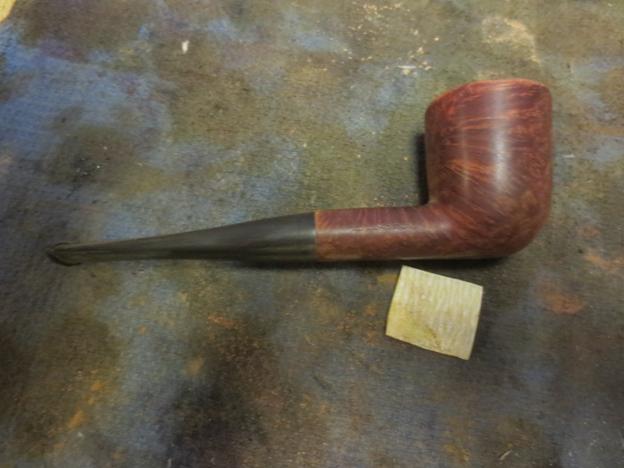
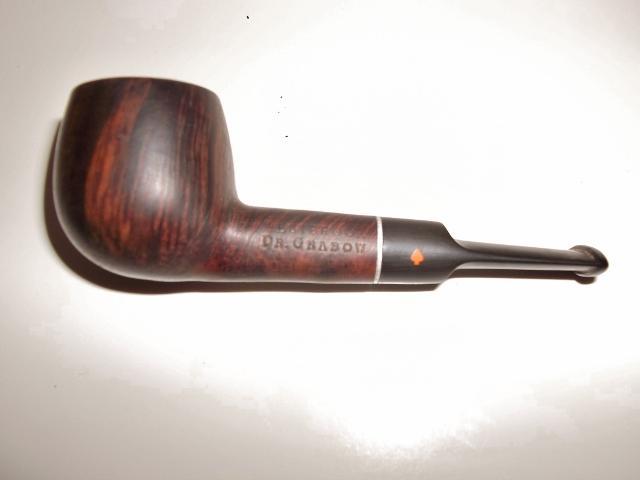
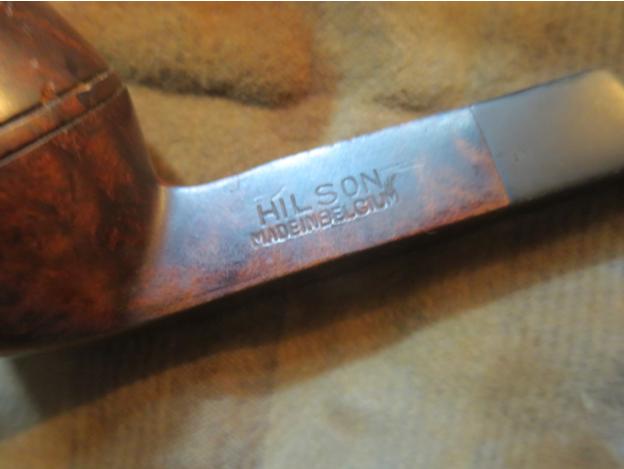
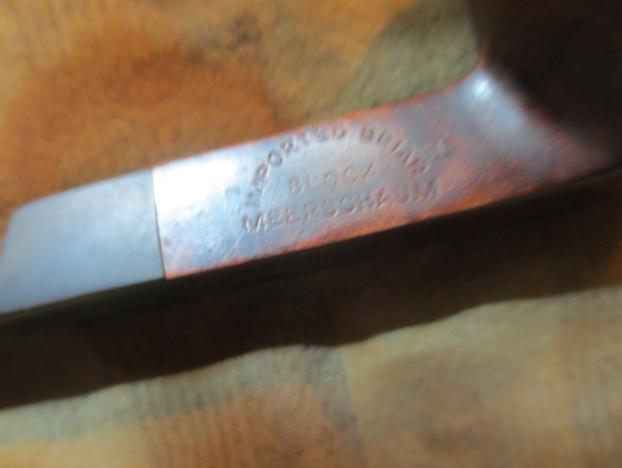
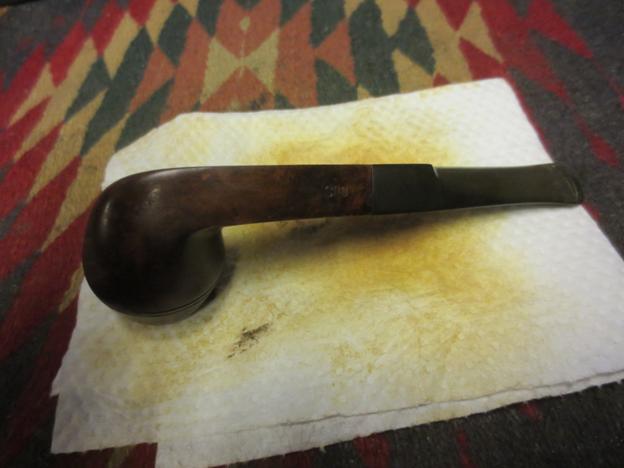
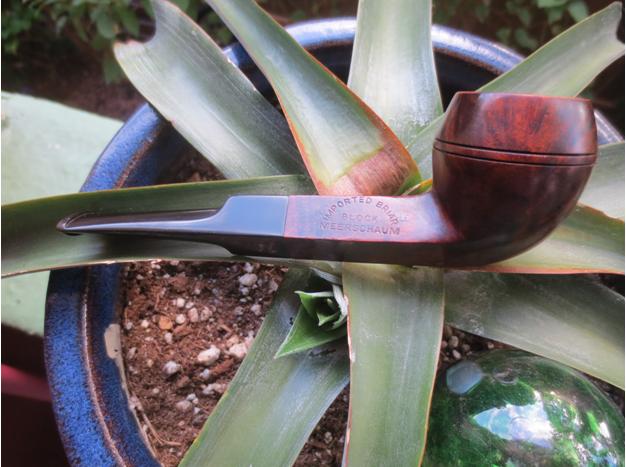
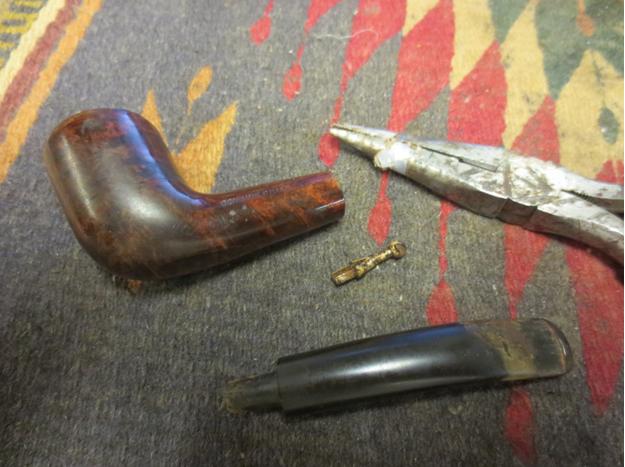
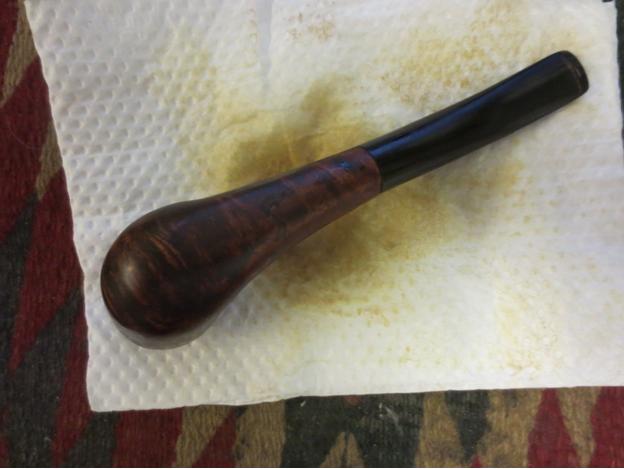
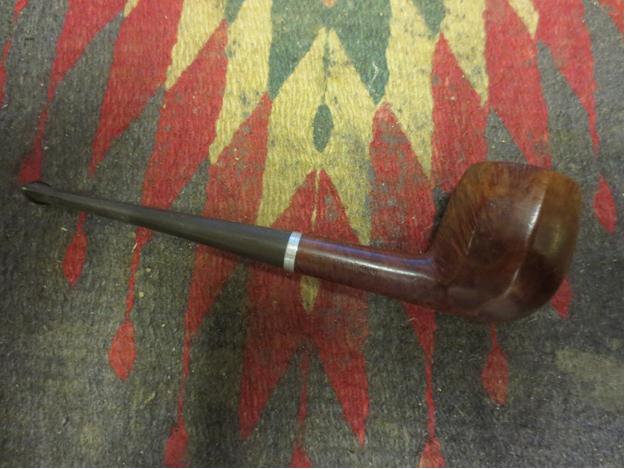
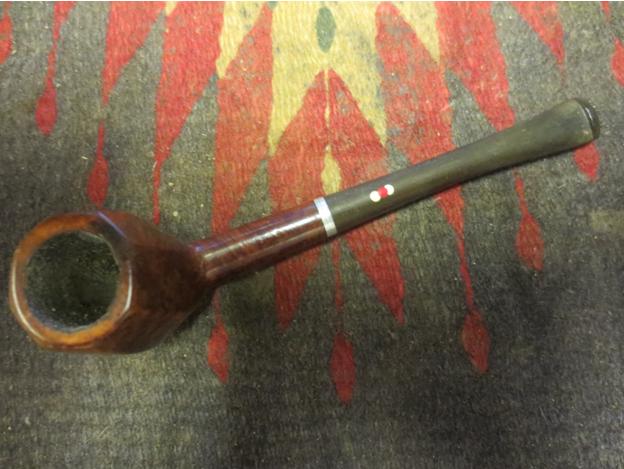
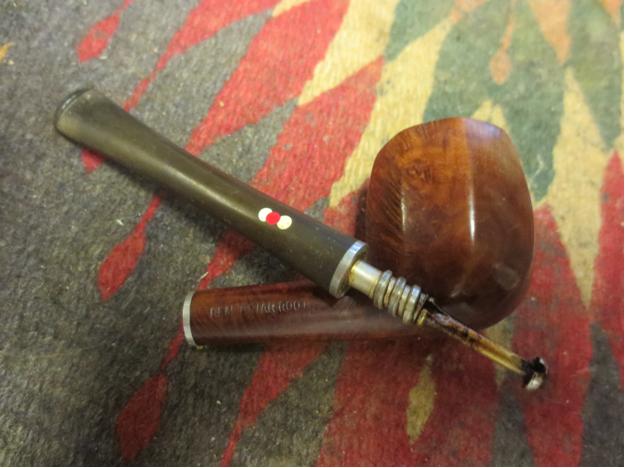
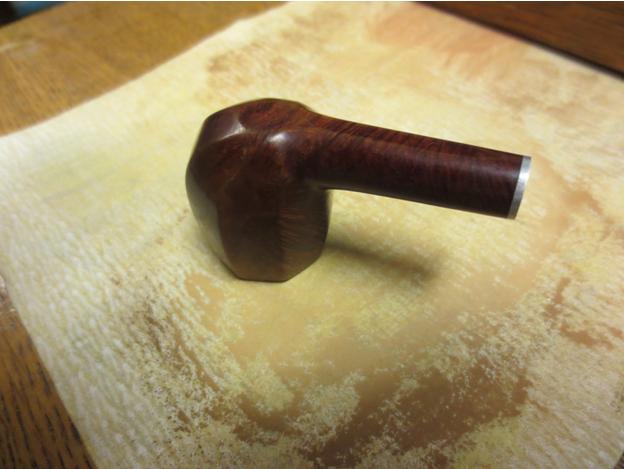
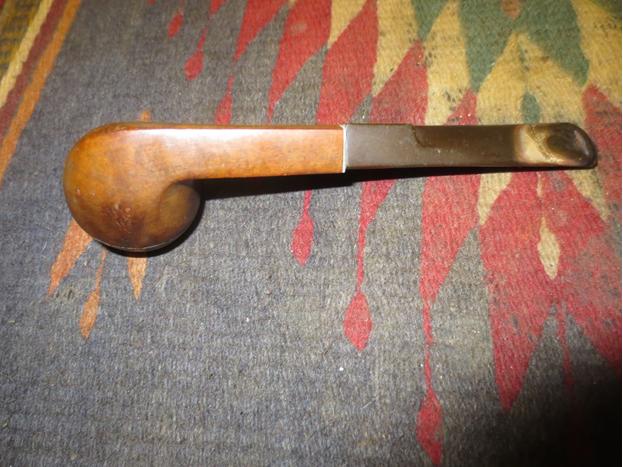
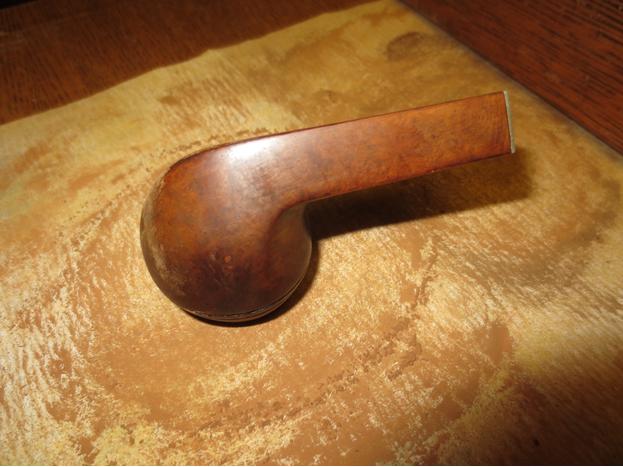
In the box of pipes that a friend sent for me to fiddle with, was a tired old Kaywoodie Bulldog. The stamping was worn off and with a loupe I could read that it was stamped Kaywoodie on the left side of the shank with something illegible below that followed by an R in a circle. On the right side of the shank was the remnant of a shape stamp the looked like it had four digits ending with the bottom curve and tale of an S. The pipe was in rough shape. The bowl was reamed out of round with the rim having taken a beating. The right side of the inner edge was very thin and had been scored down toward the bottom of the bowl. The rings around the bowl were rough and damaged. There was a cut mark on the top of the shank where it joined the bowl and a small crack above the shank insert on both the top and the bottom of the shank. The junction of the stem and shank showed damage as well from what appeared to be pliers. The stem was overclocked. It had some tooth damage on the top and bottom surfaces and was oxidized. 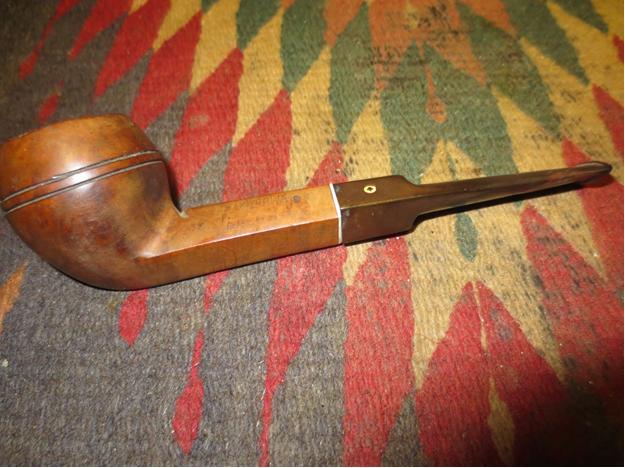
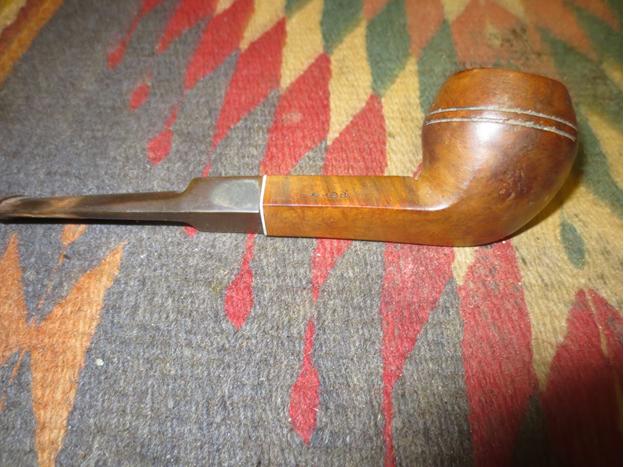
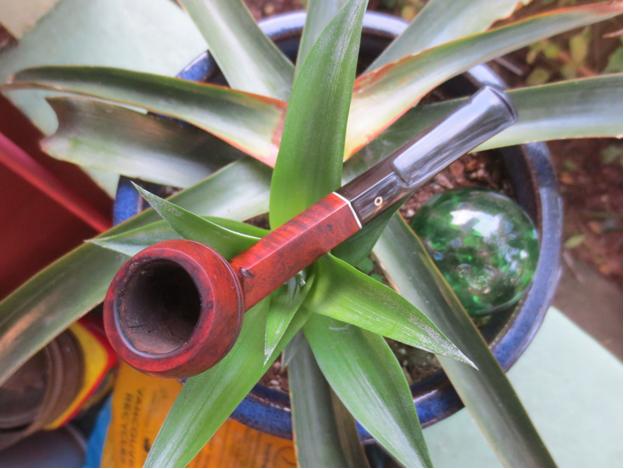
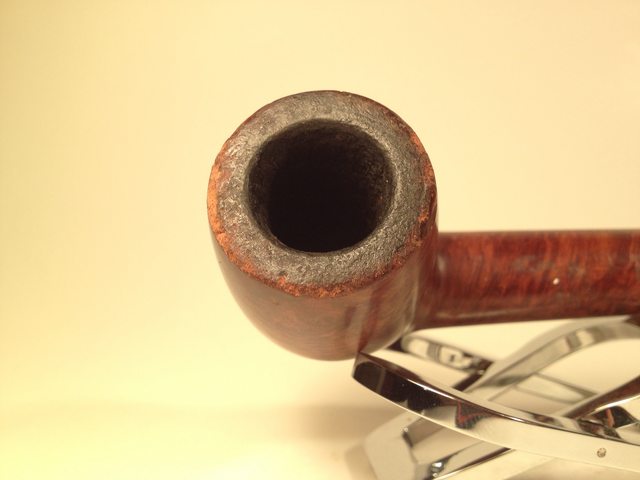
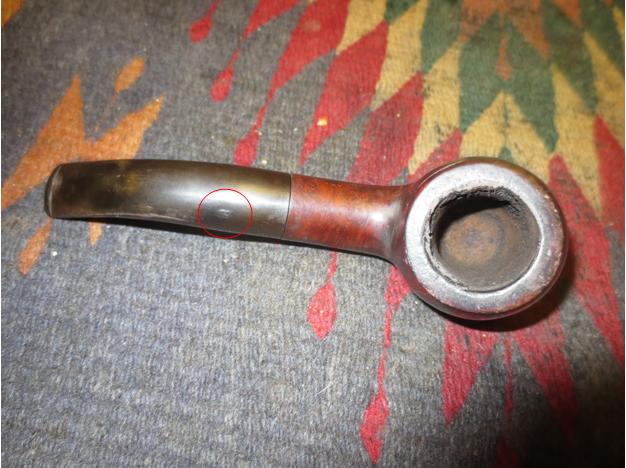
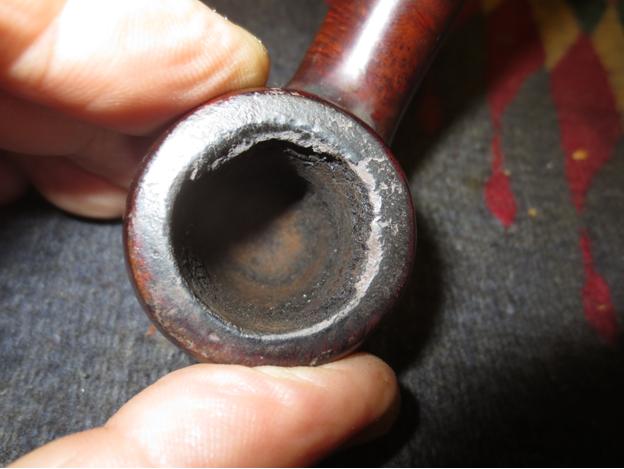
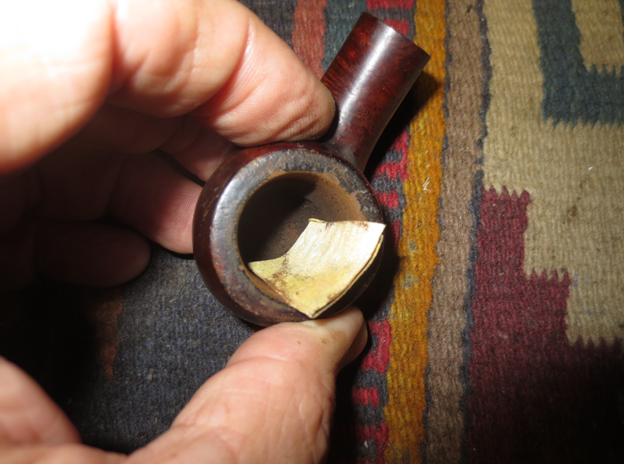
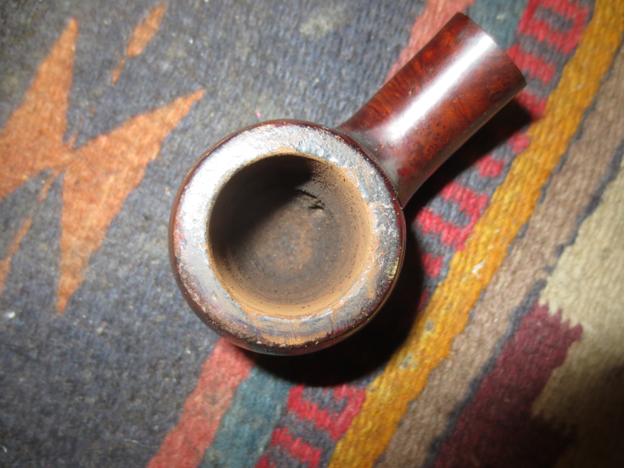
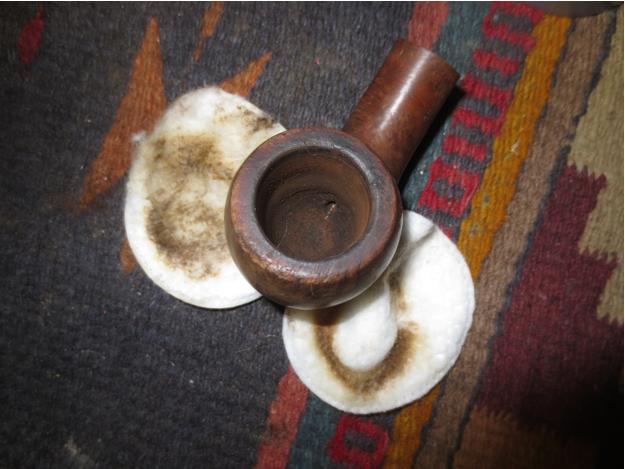
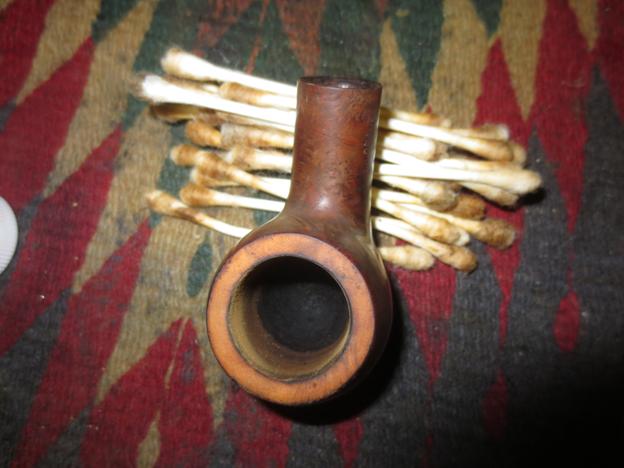
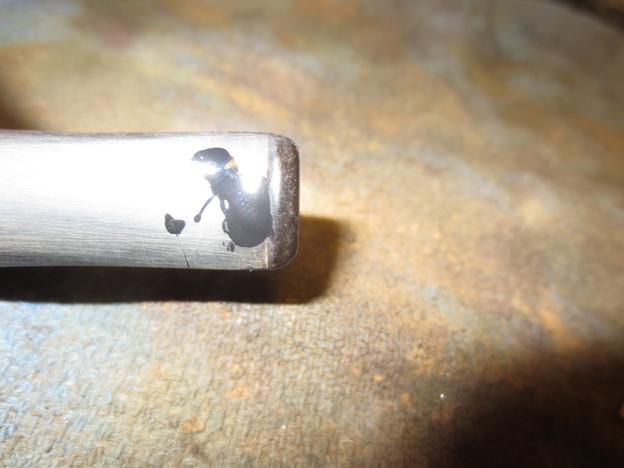
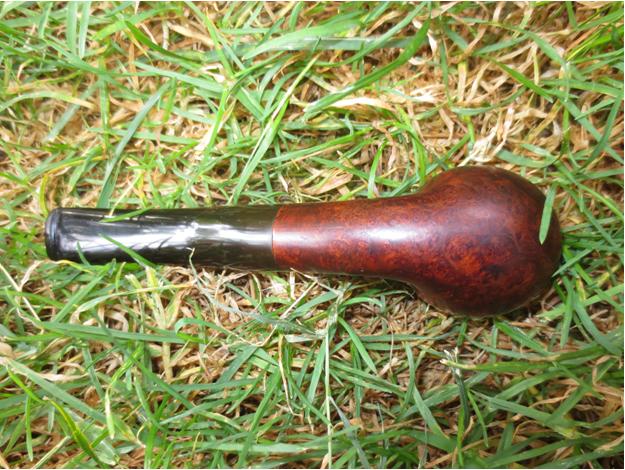
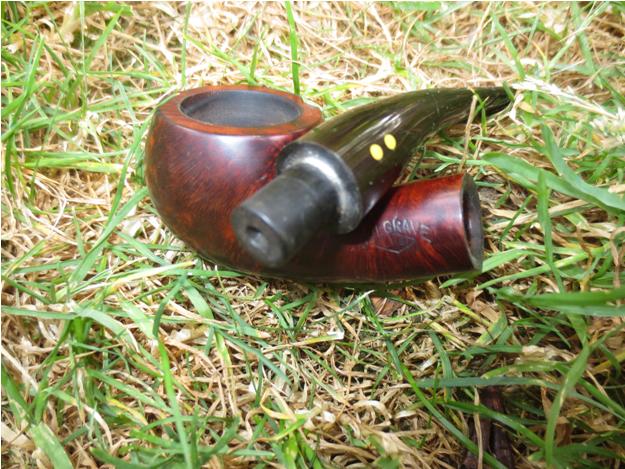
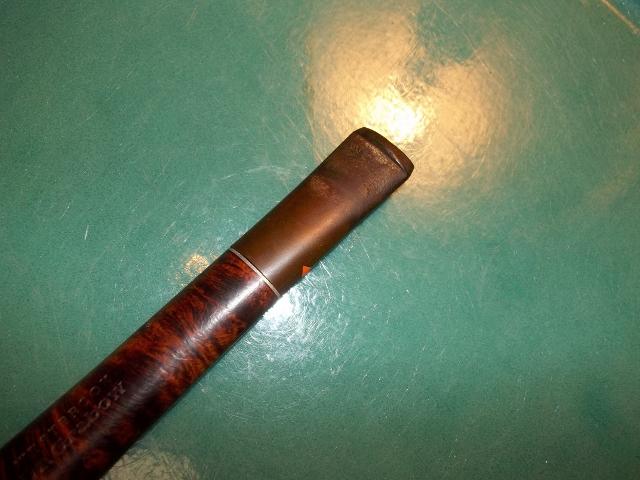
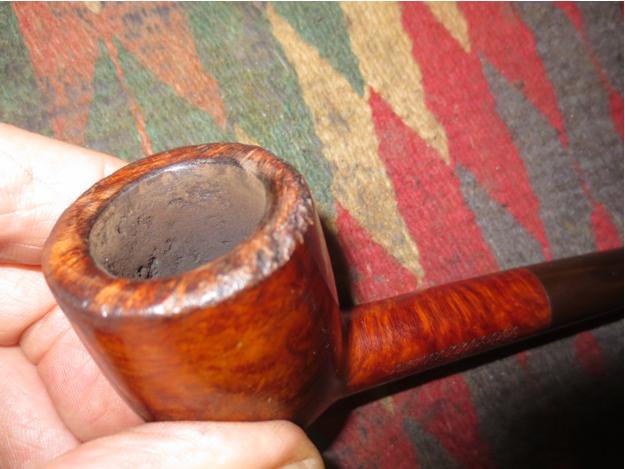
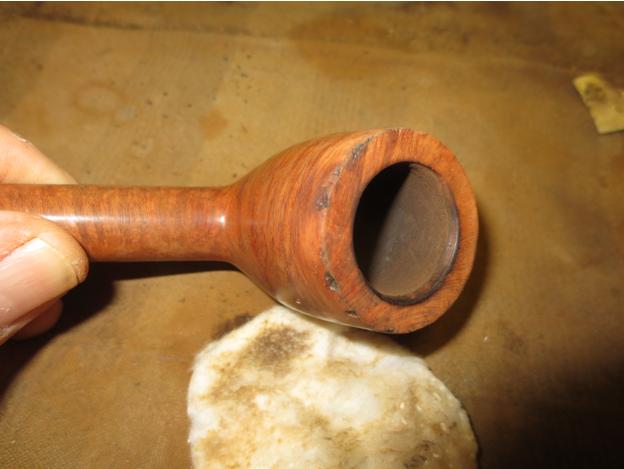
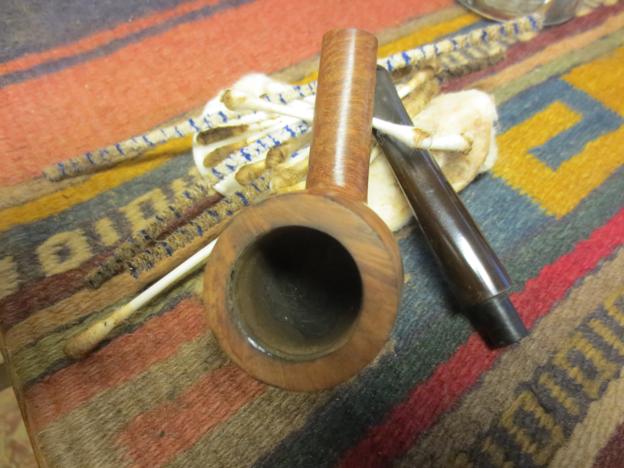
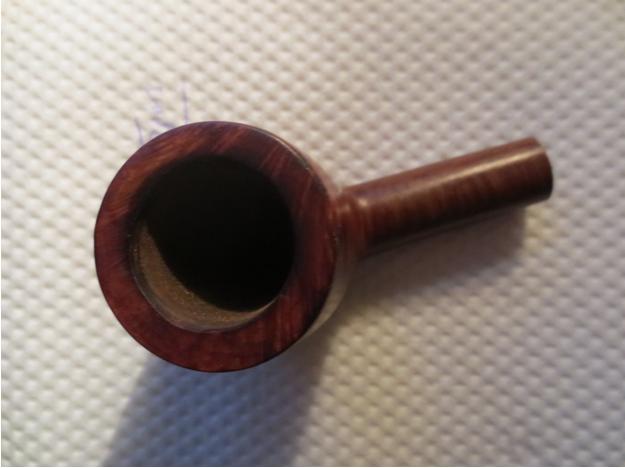
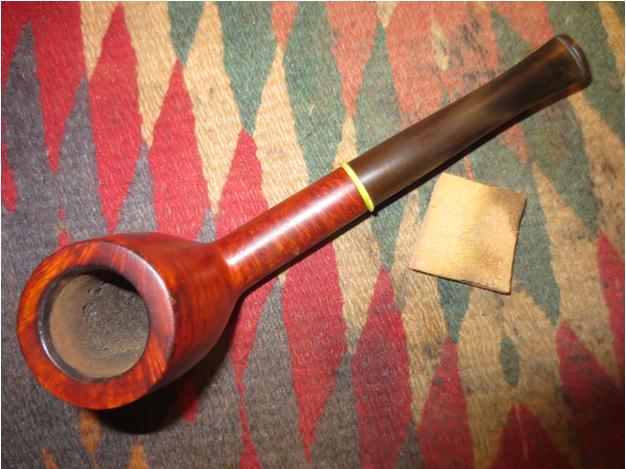
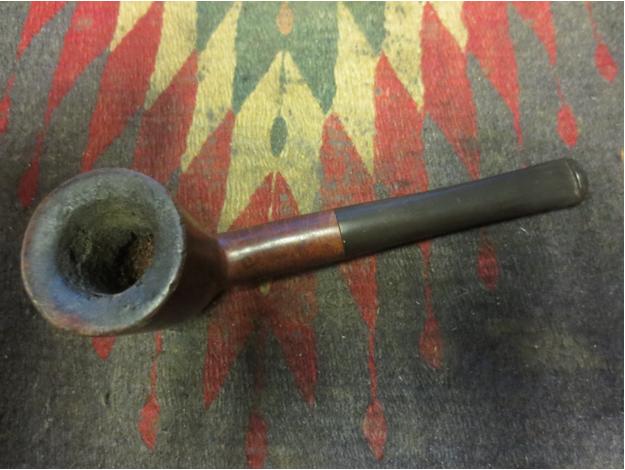
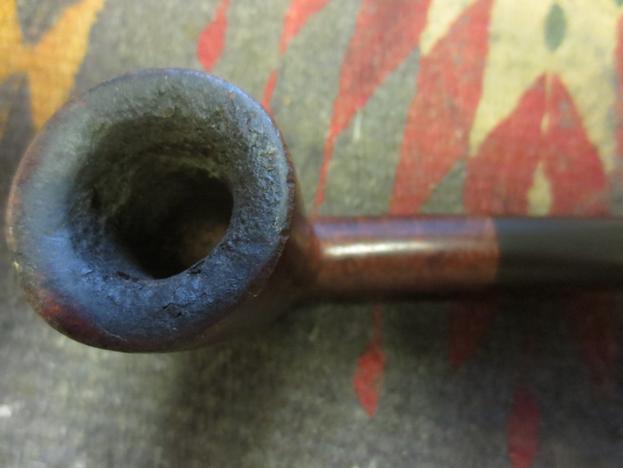
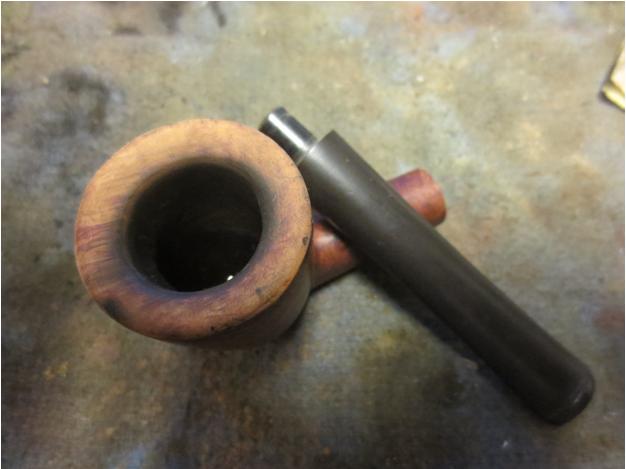
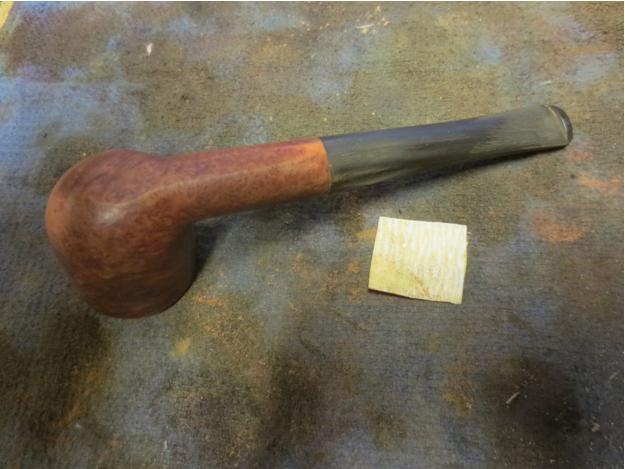
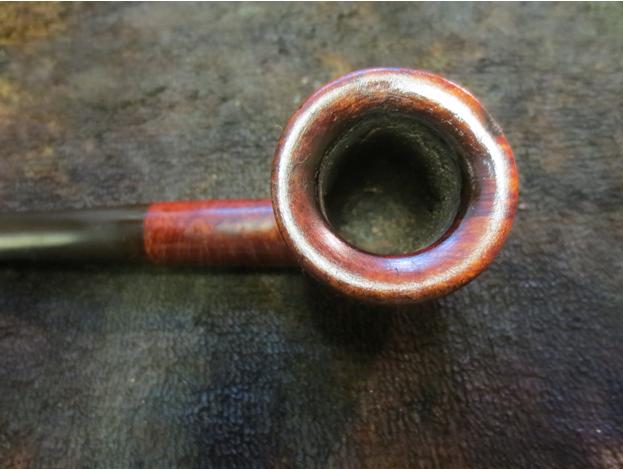
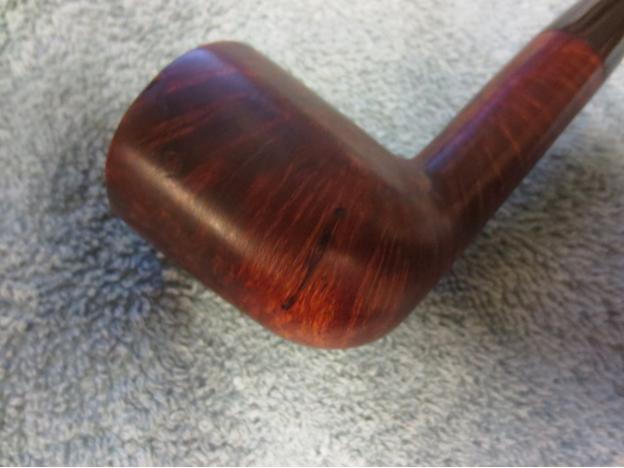
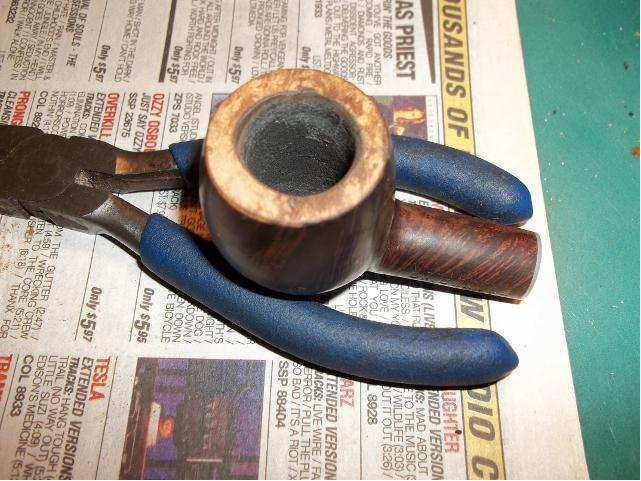
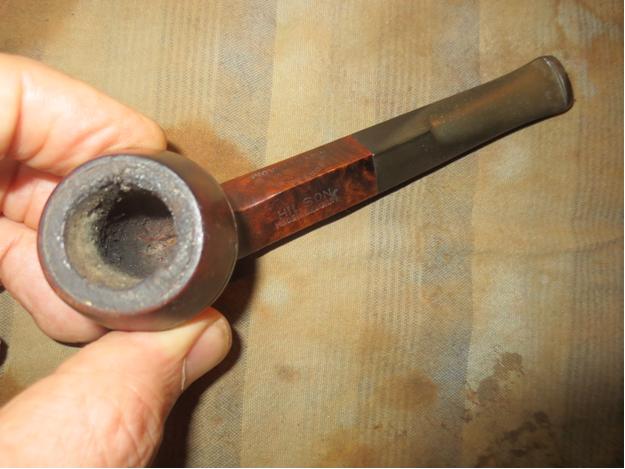
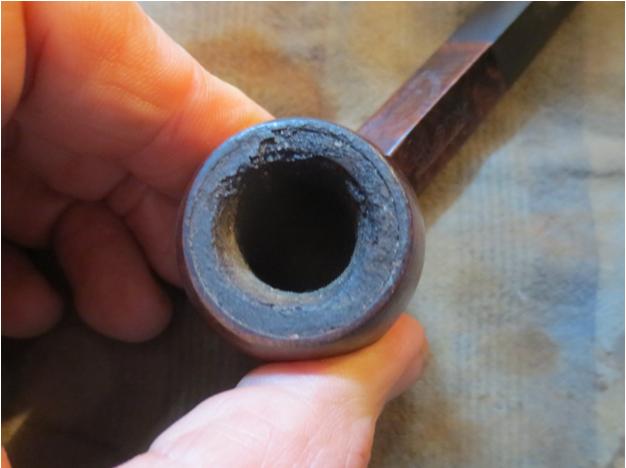
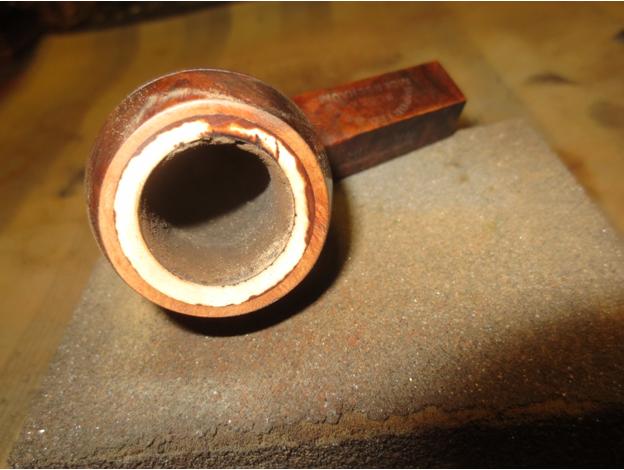
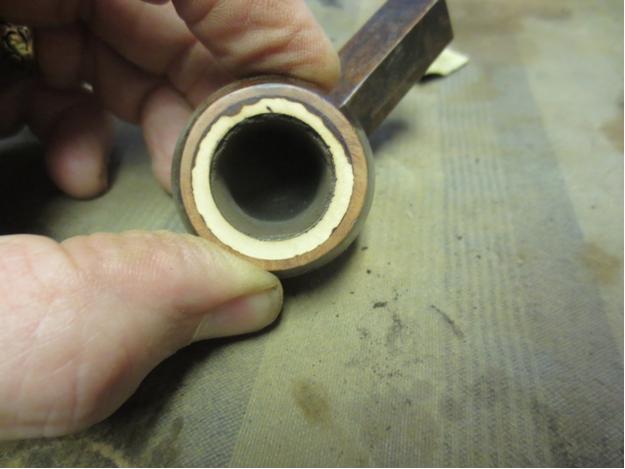
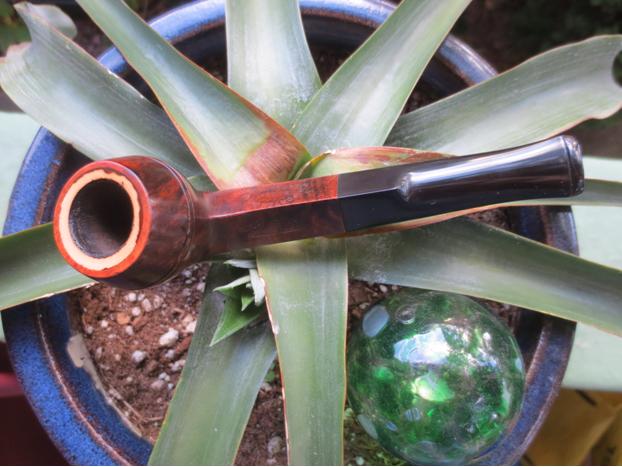
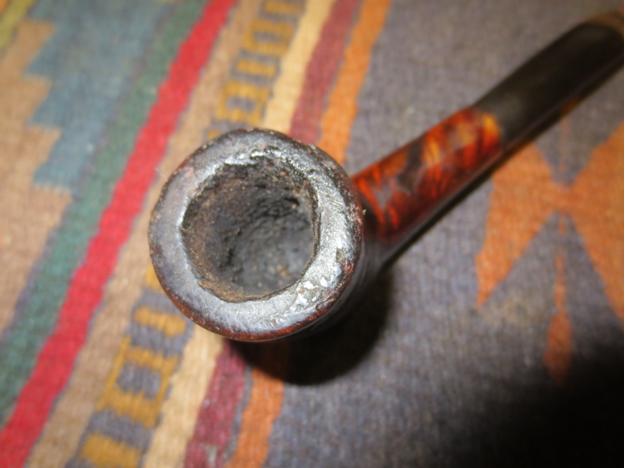
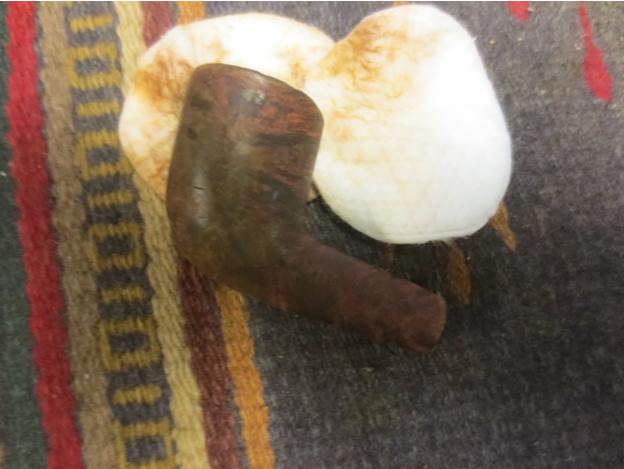
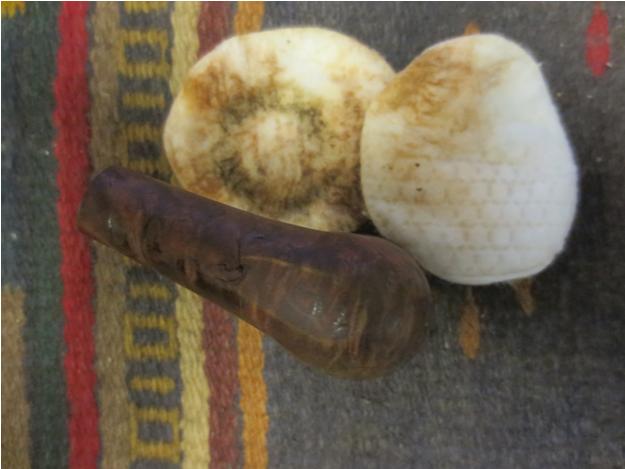
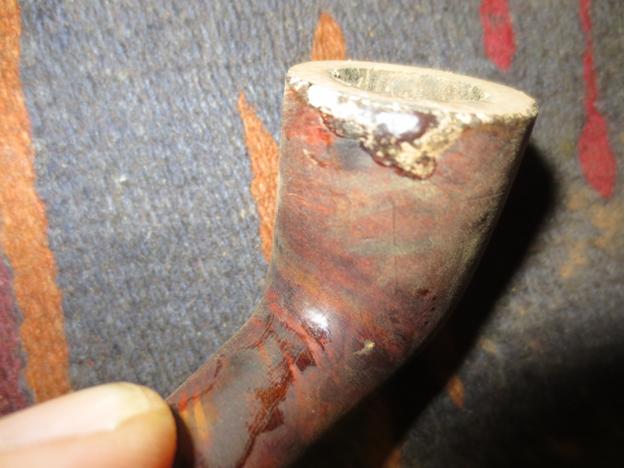
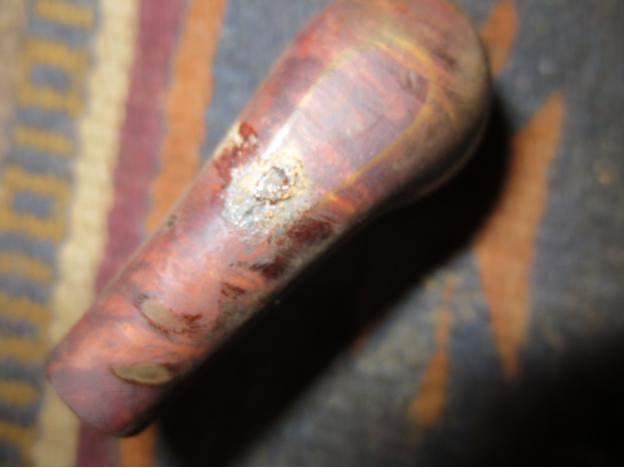
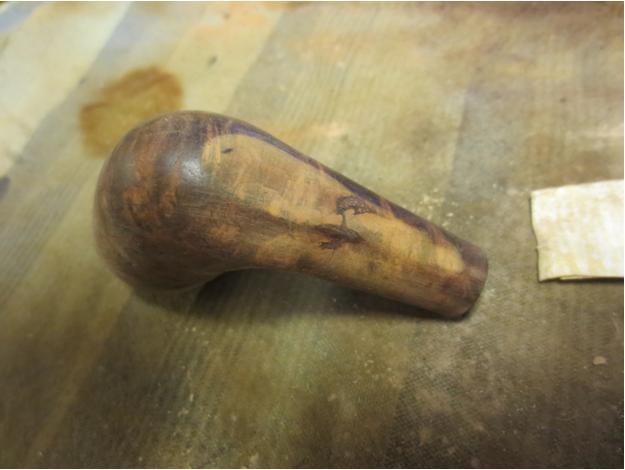
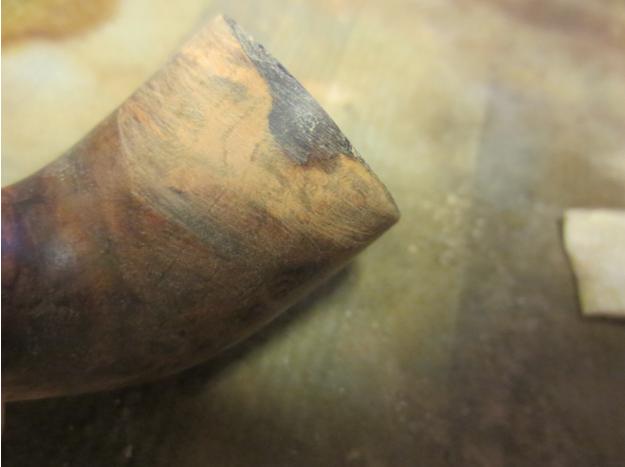
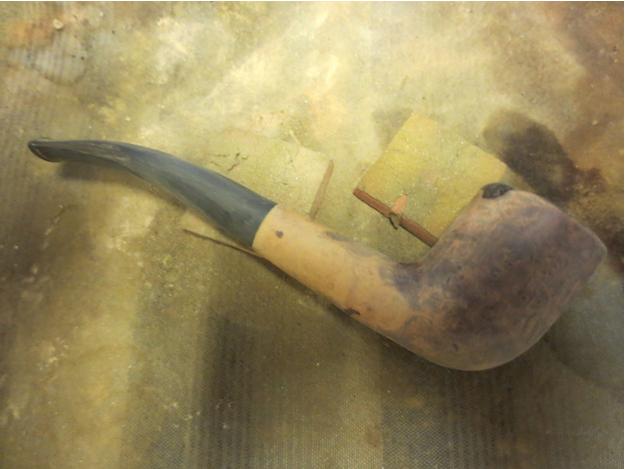
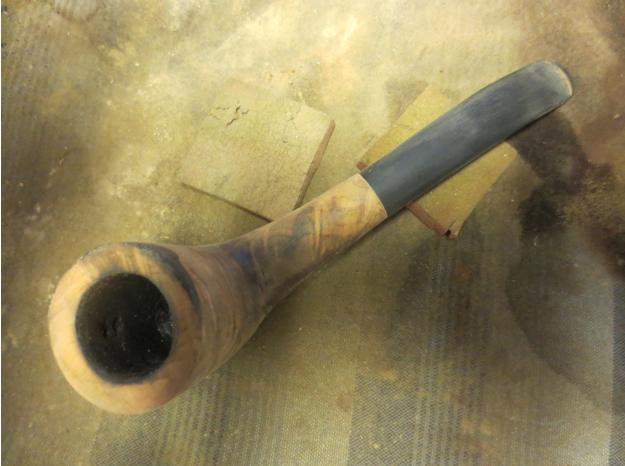
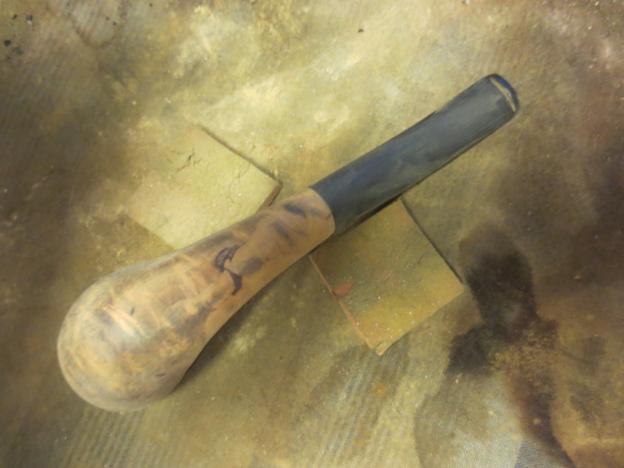
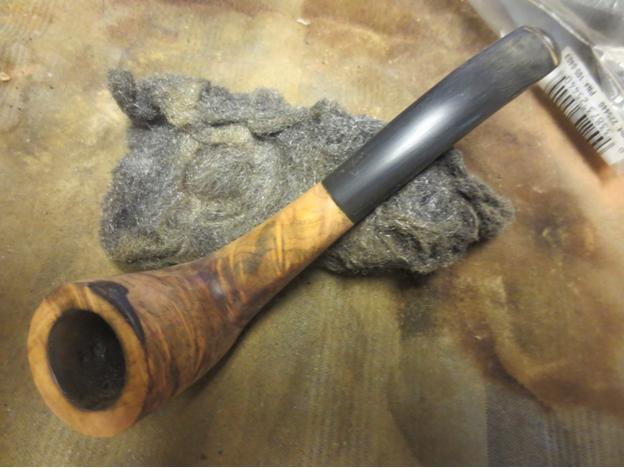
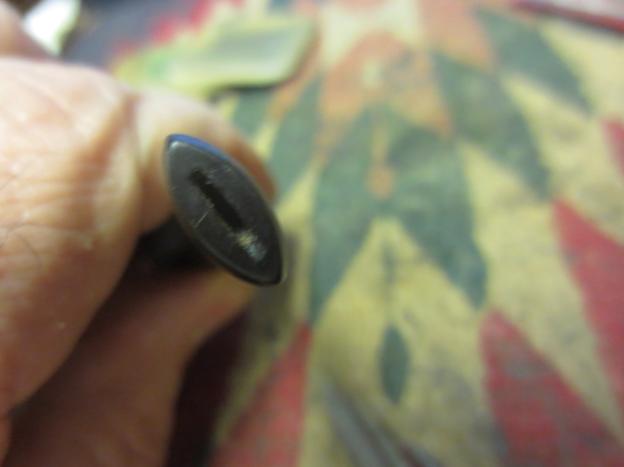
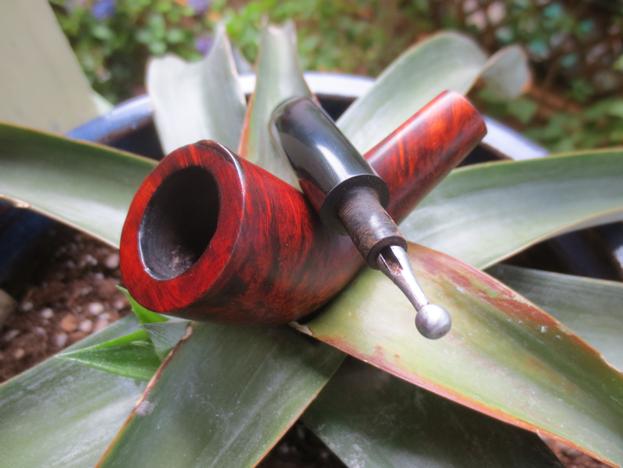
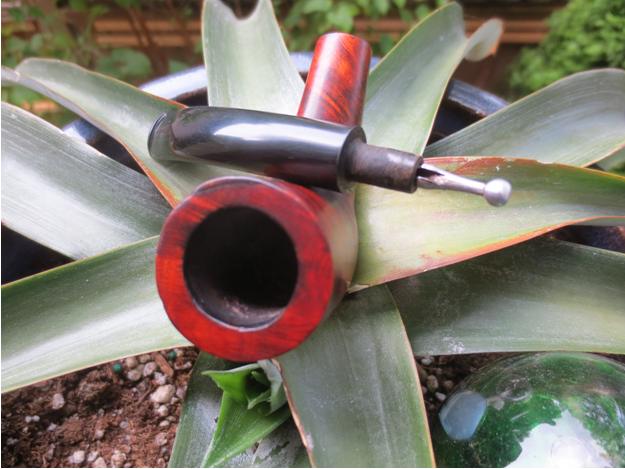
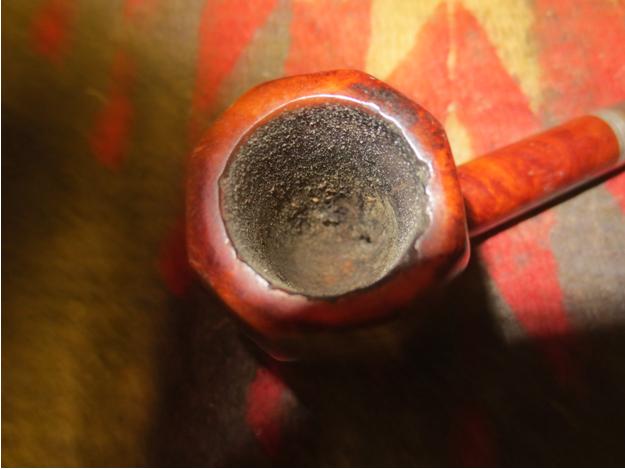
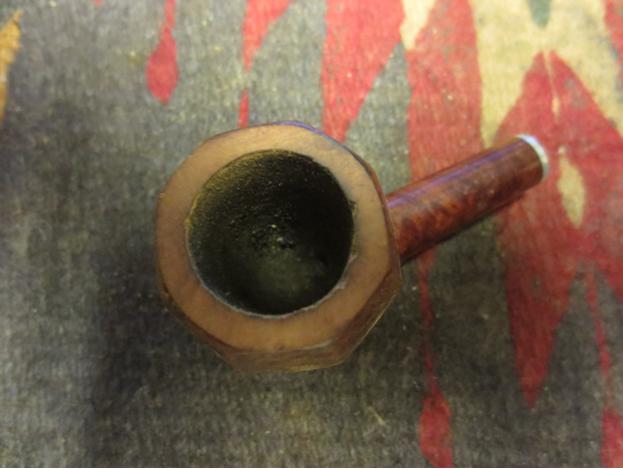
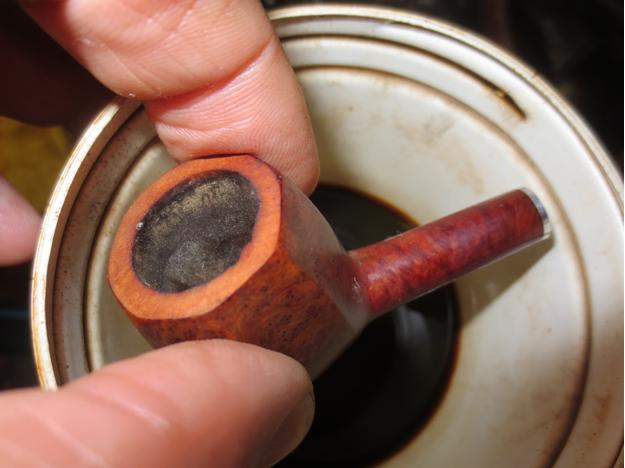
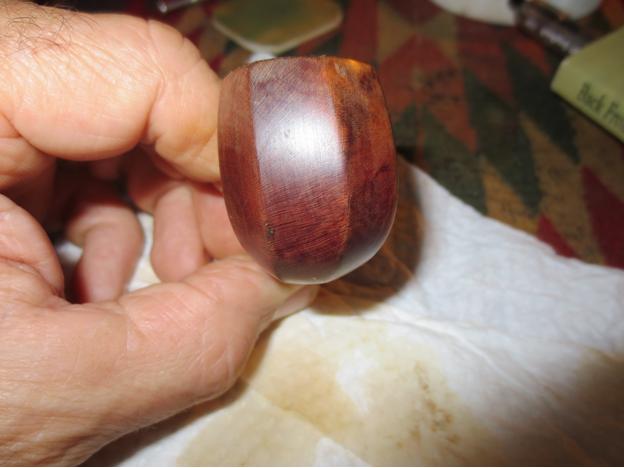
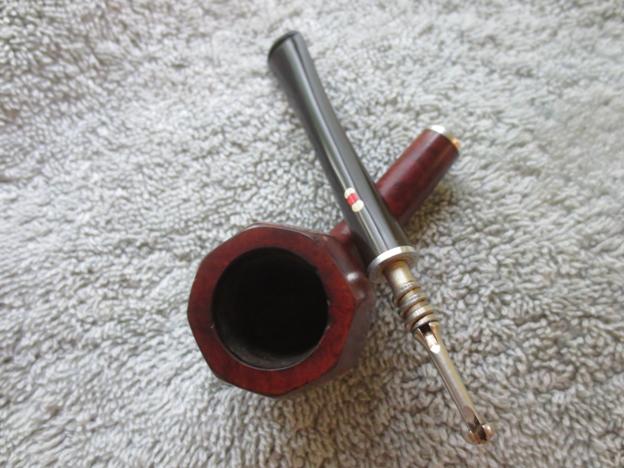
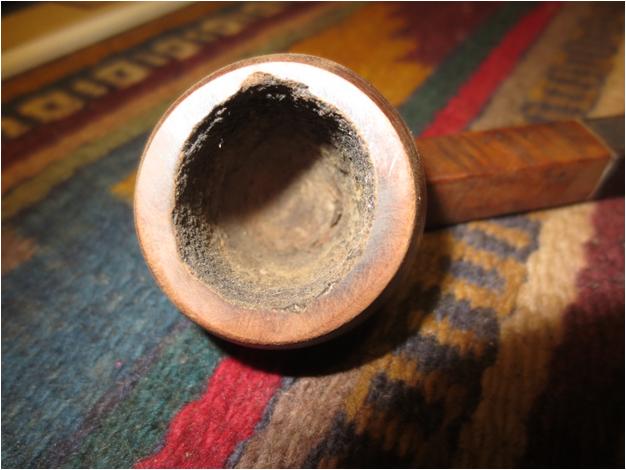
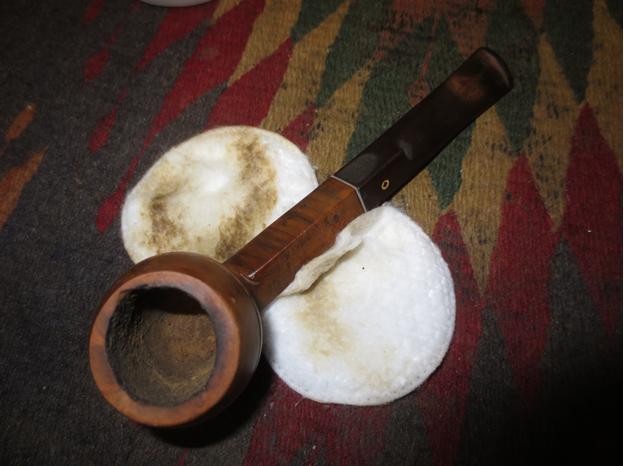
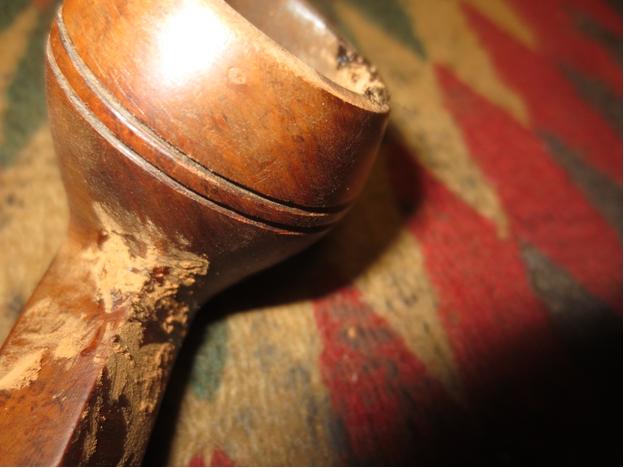
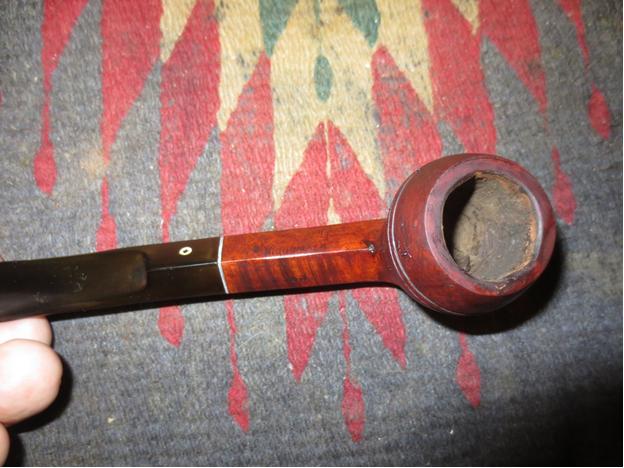
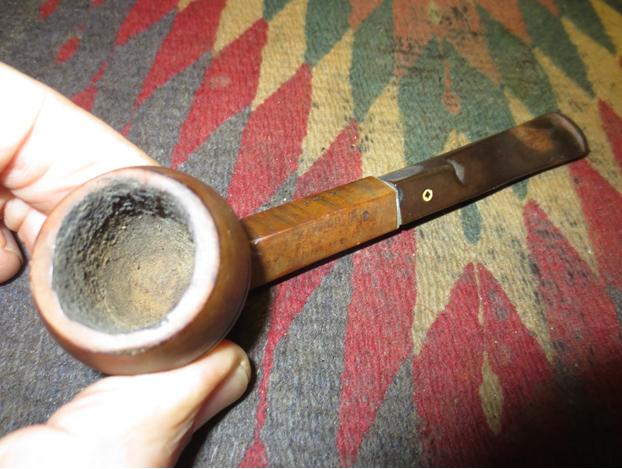 I looked at the pipe as it sat in the box and removed it and turned it over in my hand many times during the past three months since it arrived. I just was not sure that I could salvage it. I figured it might make a good delegate to cannibalize for parts or for another Frankenpipe but I was not sure it was redeemable. I took the next close up photos of the rim and the gouge in the shank to give you an idea of what I needed to deal with if I tackled this pipe as a project.
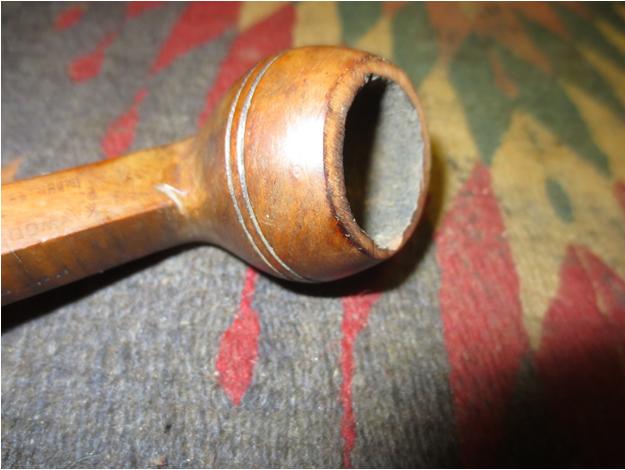
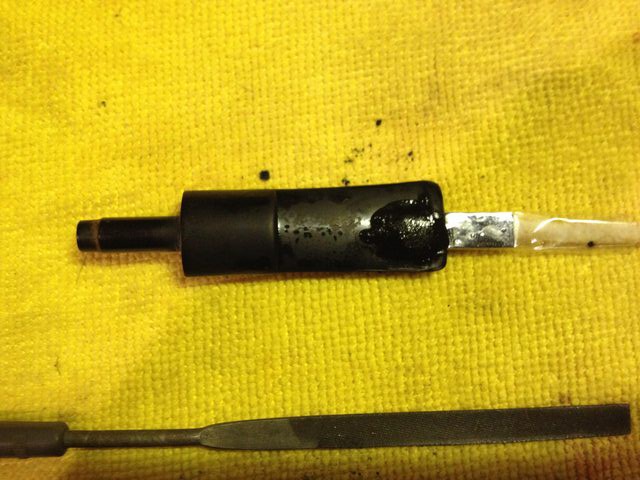
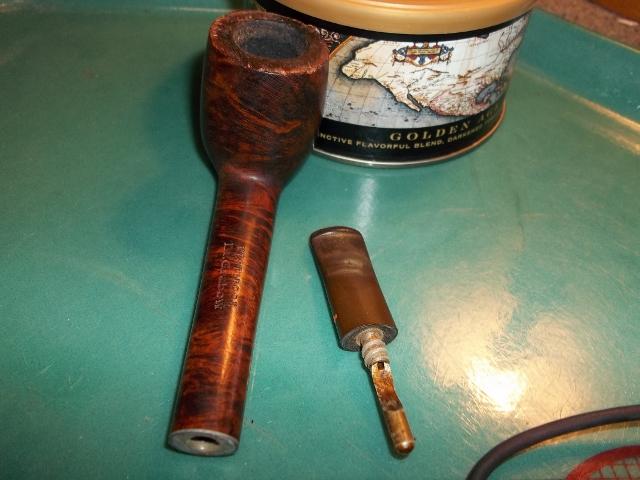
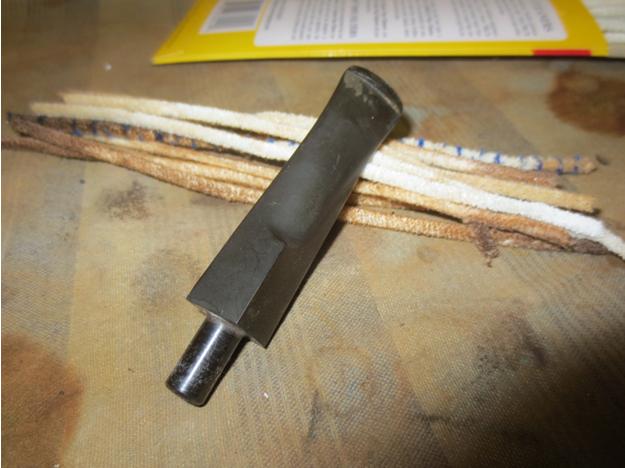
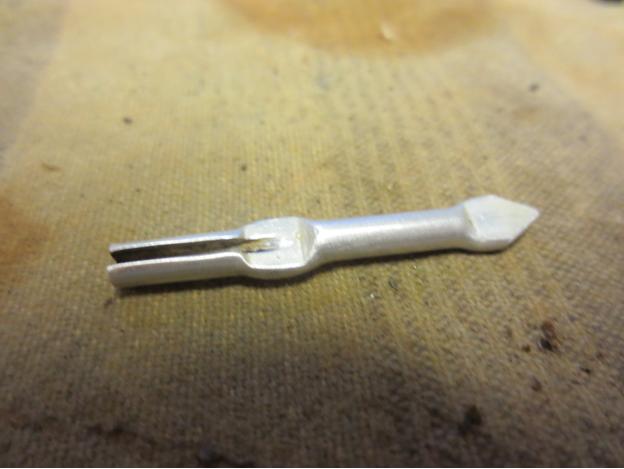
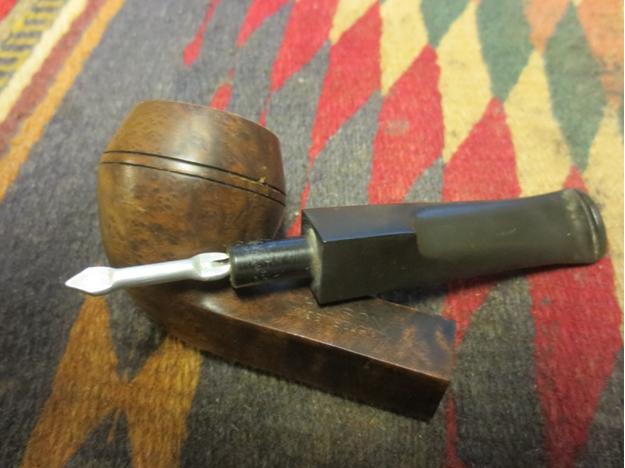
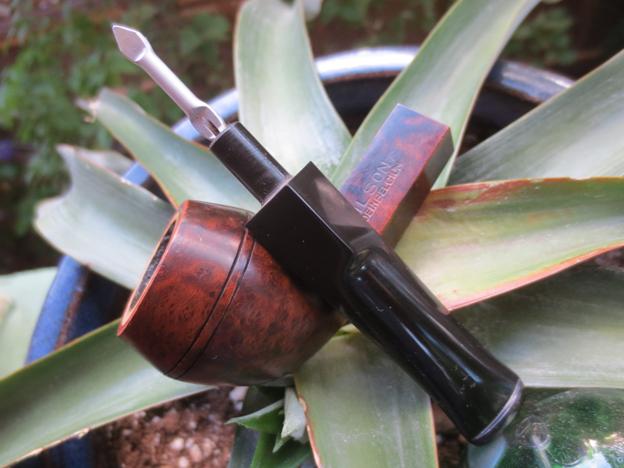
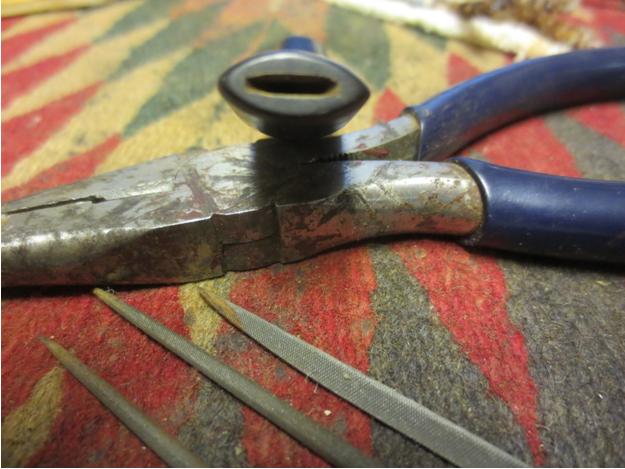
 I spent quite a bit of time looking at the pipe and decided it would be worth a try to see if I could improve it and make it functional. It would never be a pipe of beauty but the old warrior deserved another lease on life. I could certainly make it look better. So with that resolve I heated the metal stinger and tenon with a lighter to loosen the glue so that I could re-clock the stem. It did not take too much heat or time to loosen and then adjust the fit of the stem to the shank. I set it aside to cool and set the glue once again.
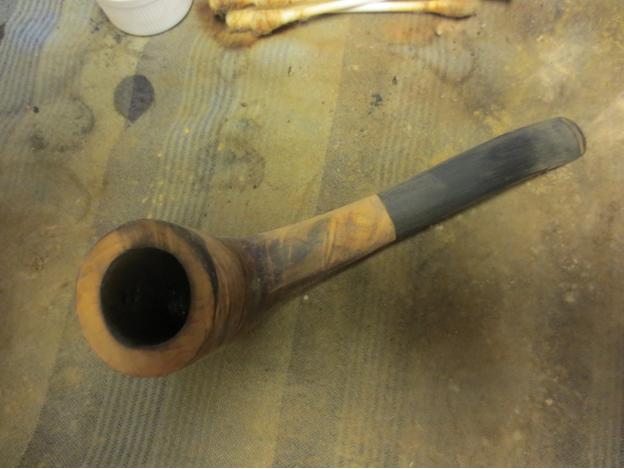
 I decided to top the bowl to even out the height of the bowl around the rings. Currently it was taller in the front than the back and taller on the right than the left side. I worked to take off that excess and minimize some of the damage to the rim as well.
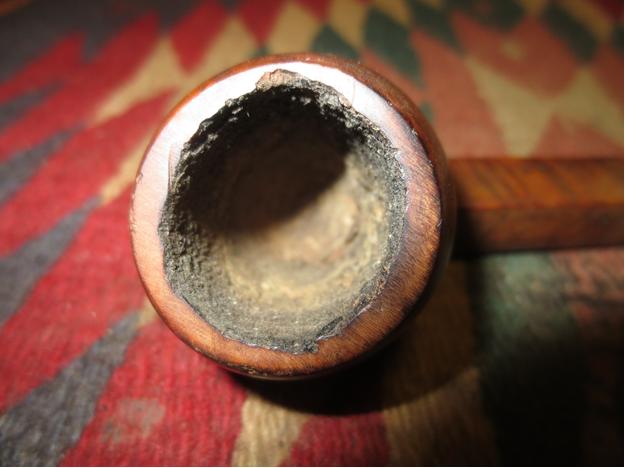
 I used a knife blade needle file to redefine the twin rings around the bowl and to sharpen up the definition on the top and the bottom of each line.
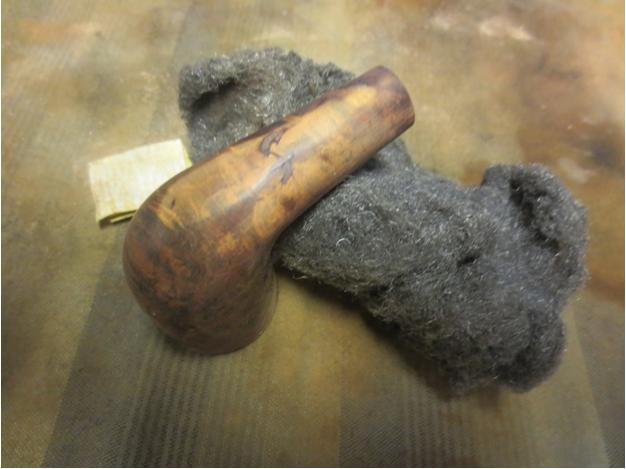
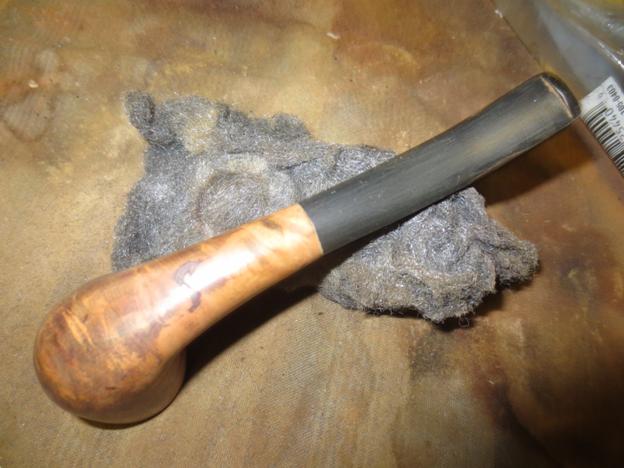
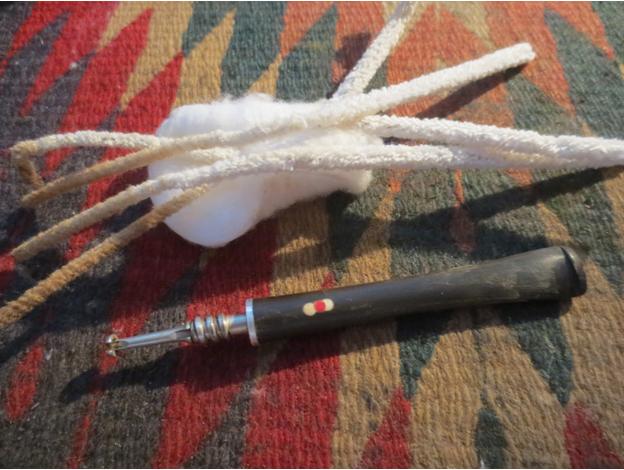
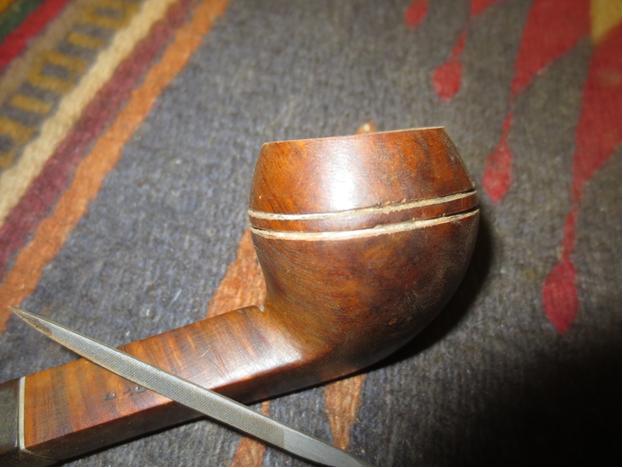 With all of the adjustments done I wiped down the bowl with acetone on cotton pads to remove the remaining finish and the ground in grime that was on the bowl.
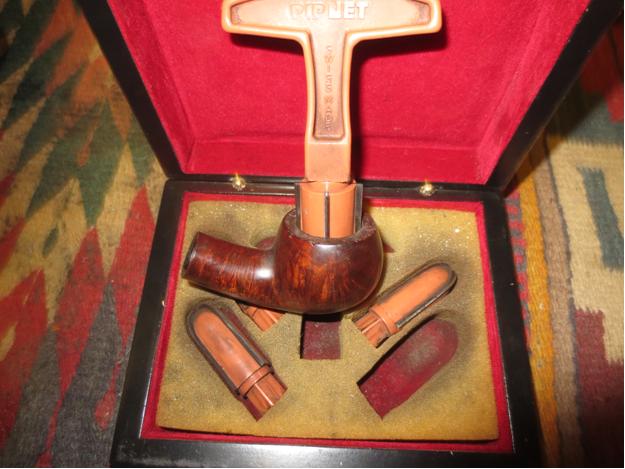
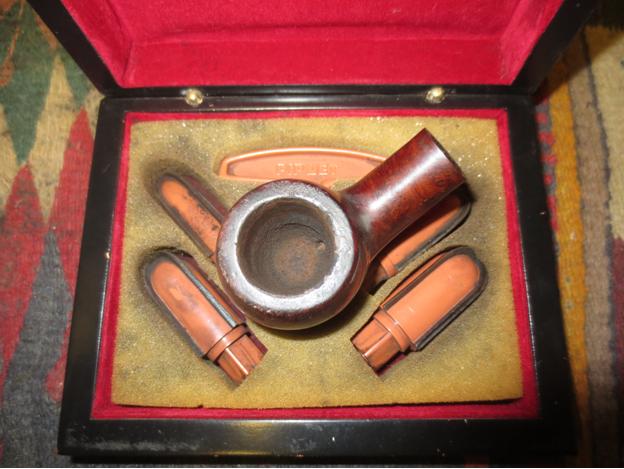
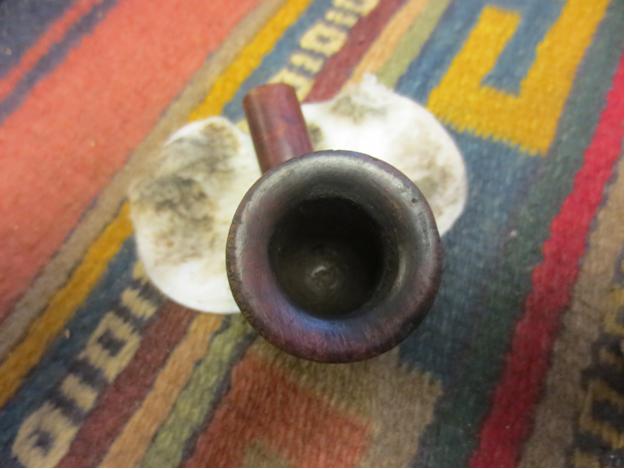
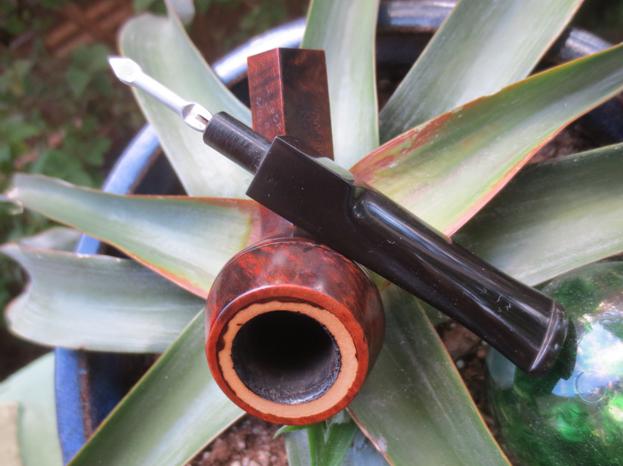
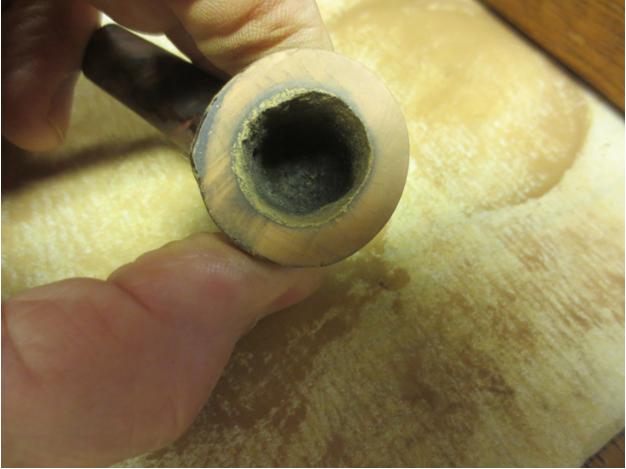
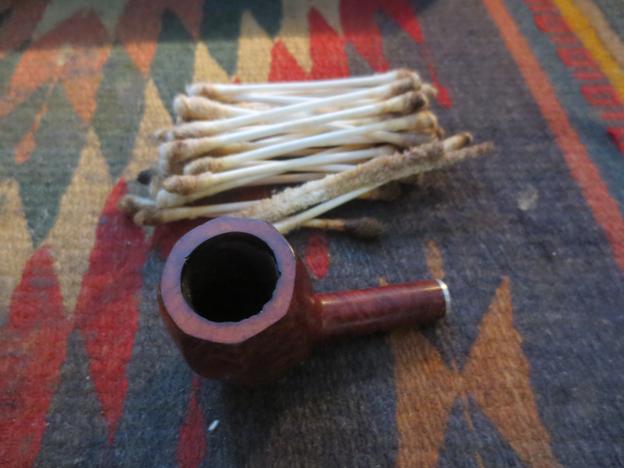
 I reamed the cake back to bare wood so that I could see the extent of the damage to the walls of the pipe. I used a PipNet reamer to take back the cake.
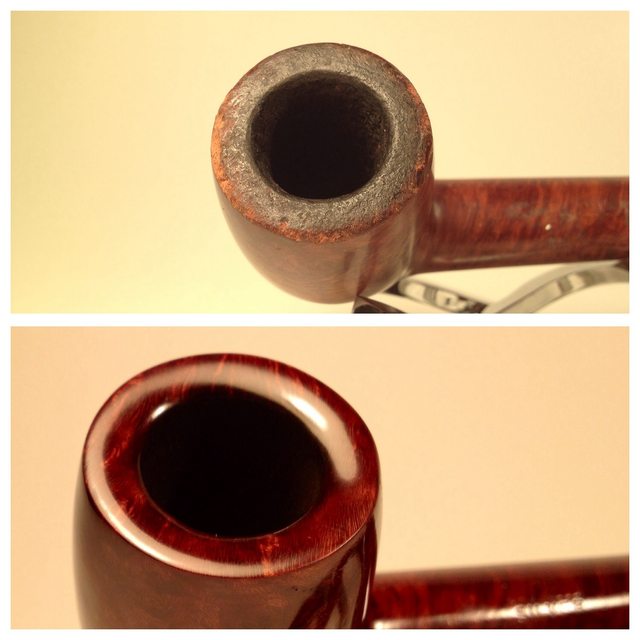
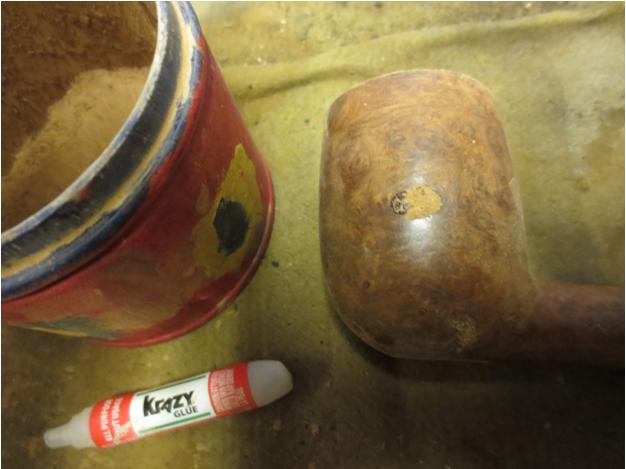
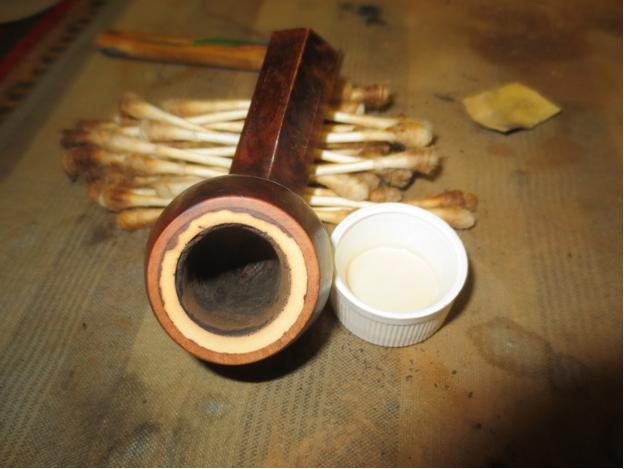
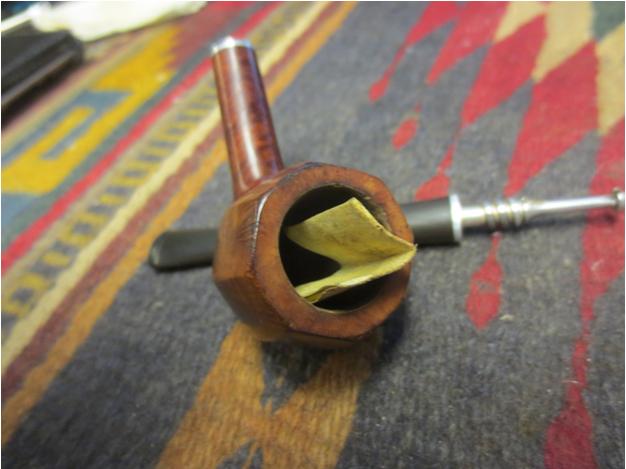
 I cleaned up the remaining cake with a sharp pen knife to clean off all of the debris. I then sanded the rim with 220 grit sandpaper to smooth out the damage and prepare it for the plan I had for it. I wiped it down with alcohol and then packed briar dust into the rim damage. I place drops of super glue on the briar dust to form that patch. While I did that repair I also repaired the gouge in the shank bowl junction.
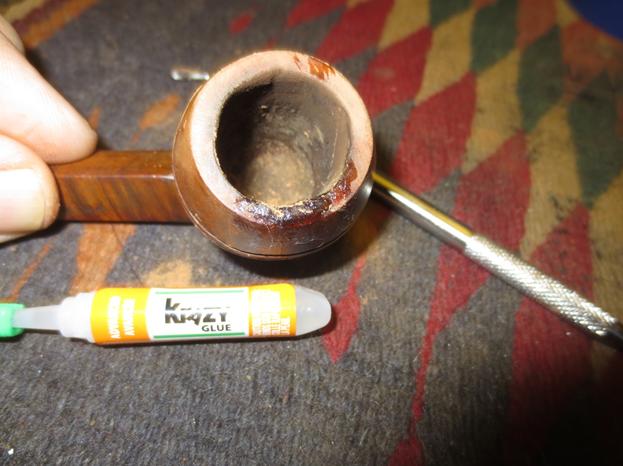
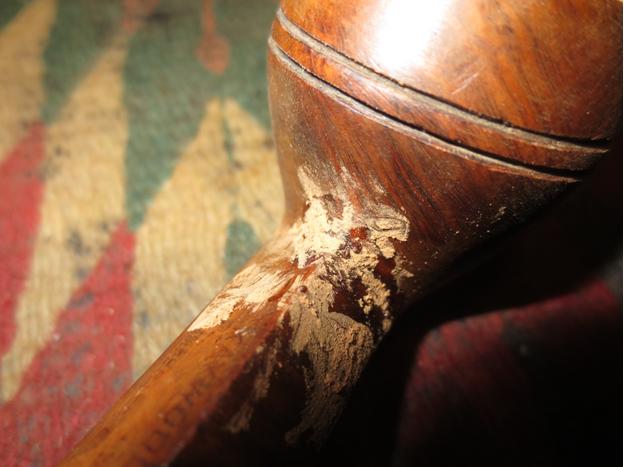
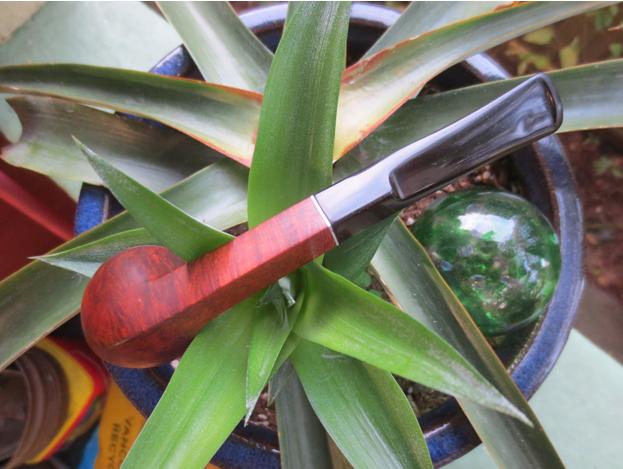
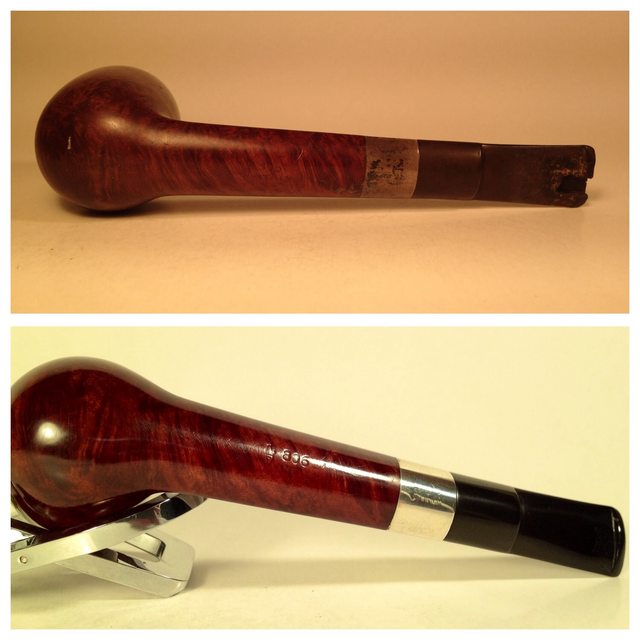
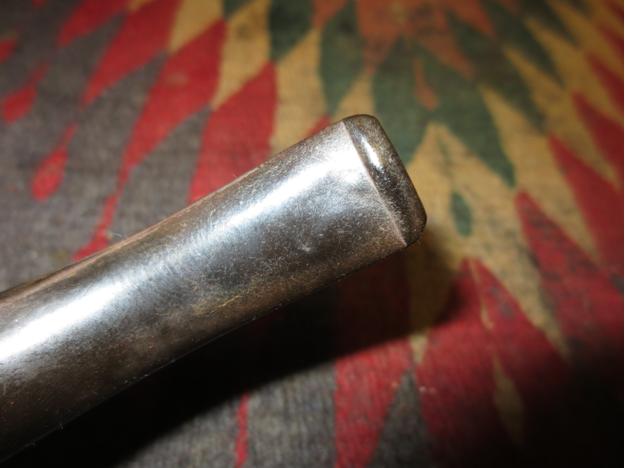
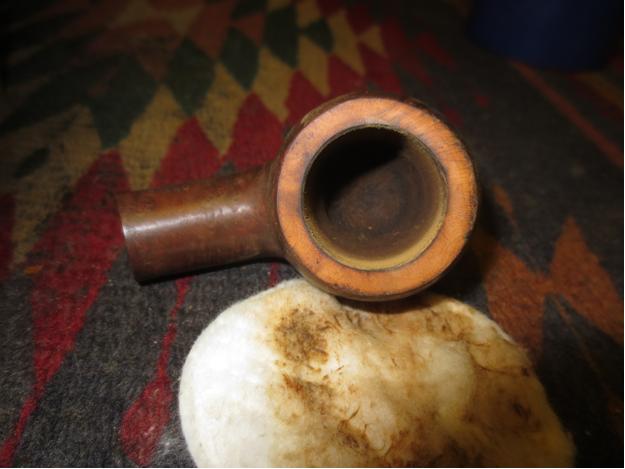
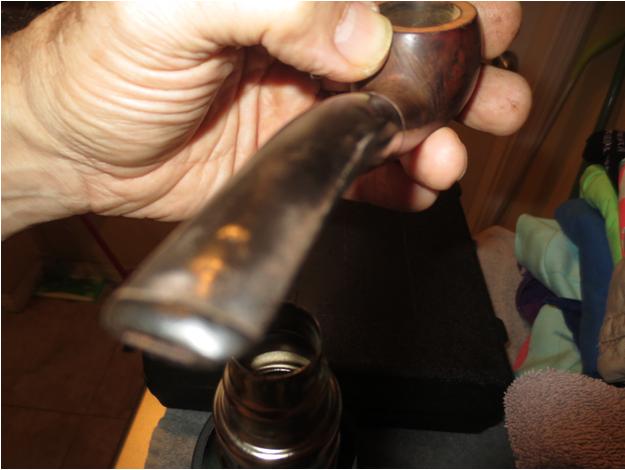
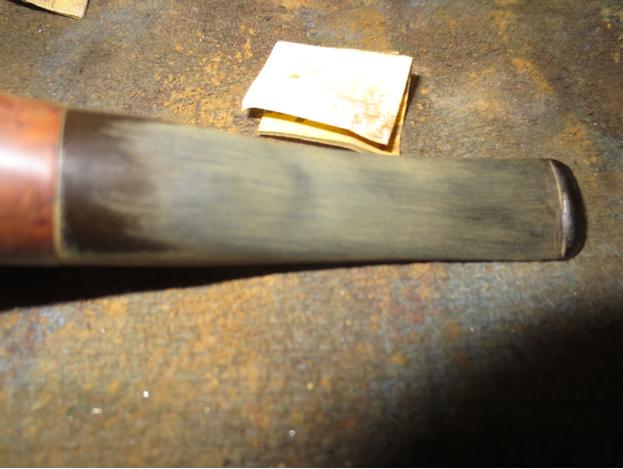
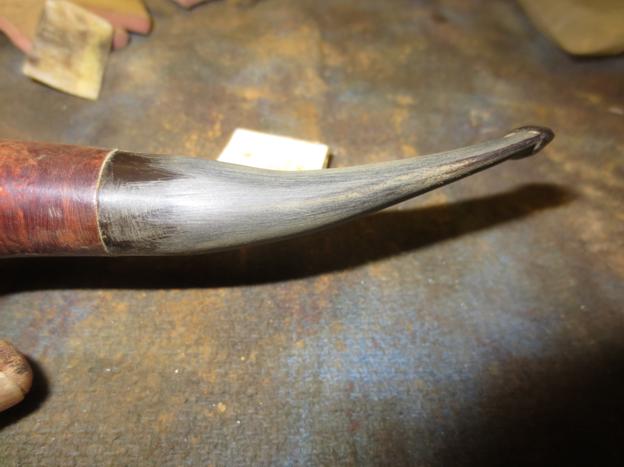
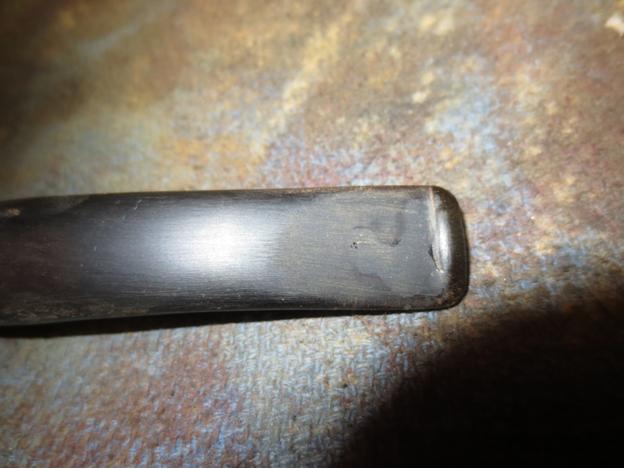
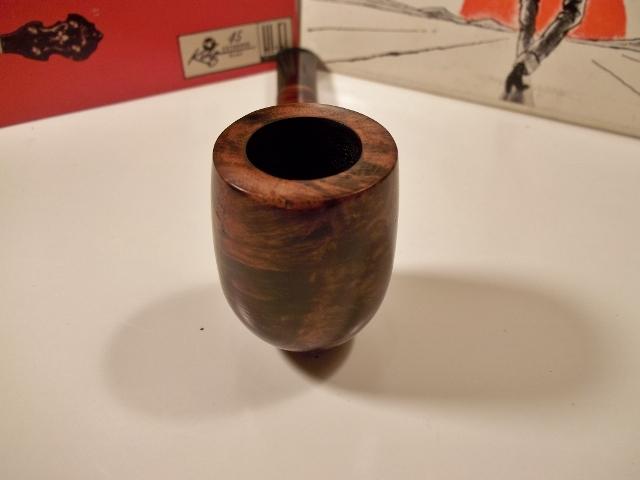
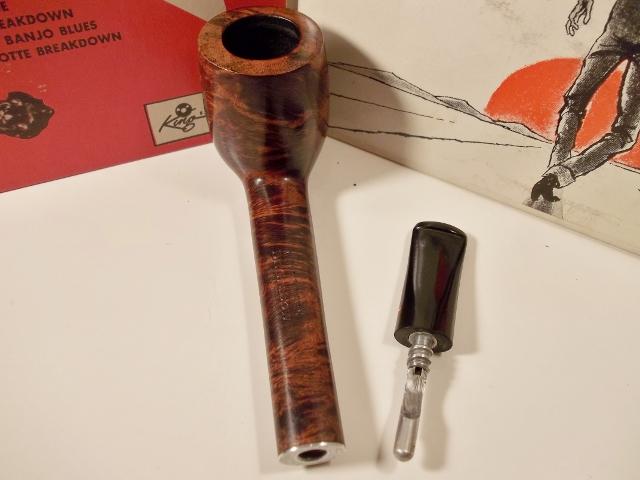
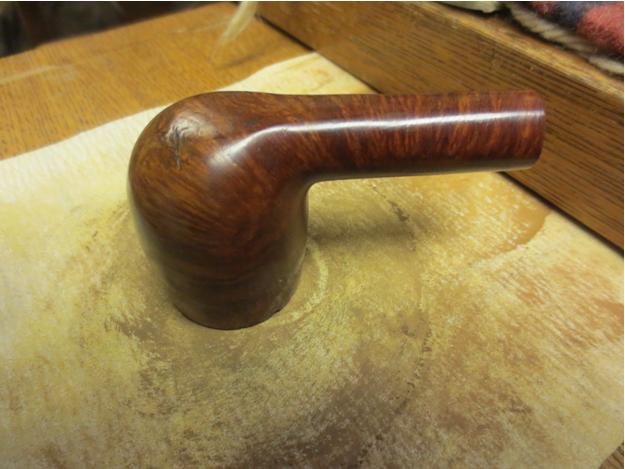
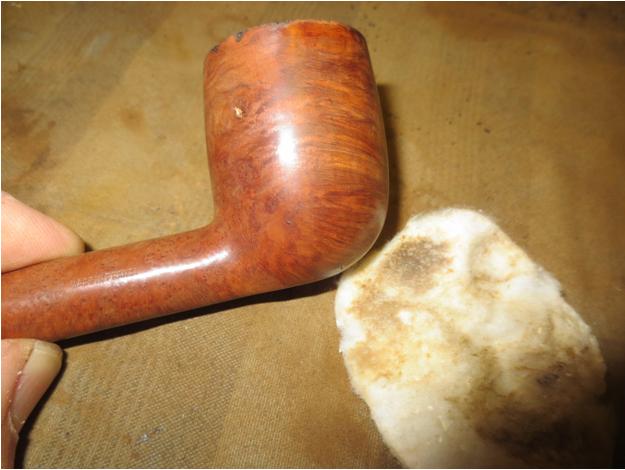
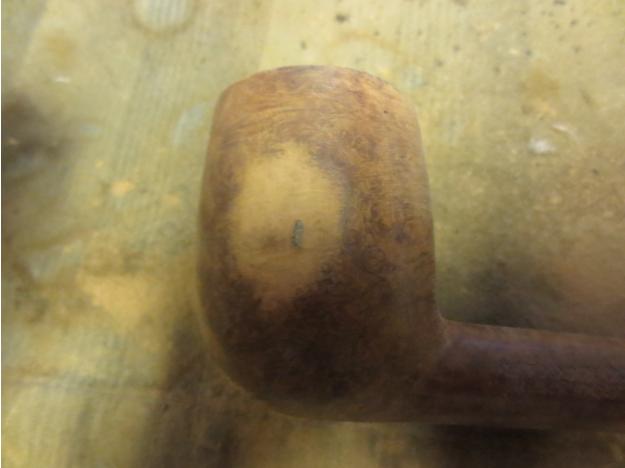
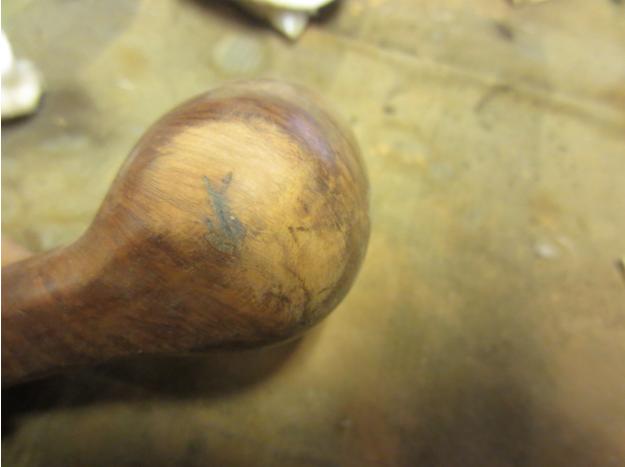
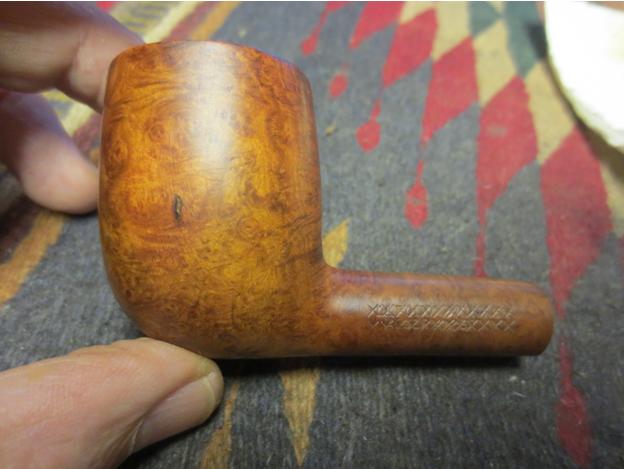
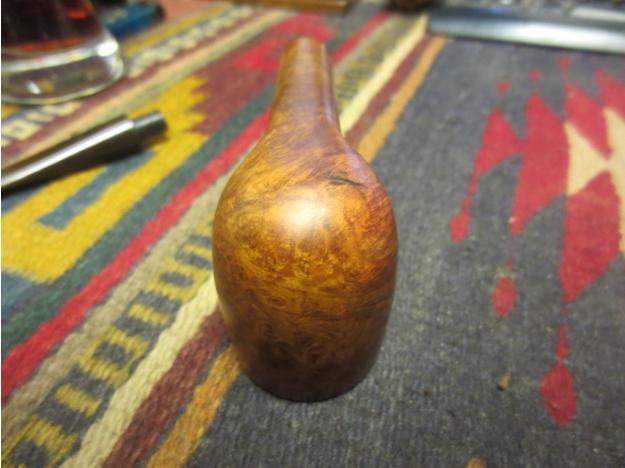
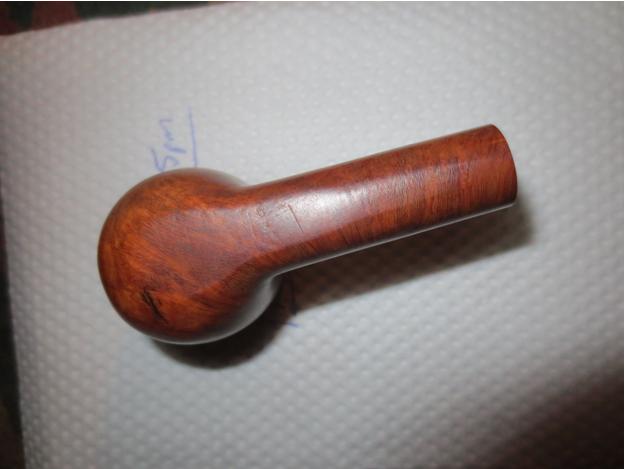
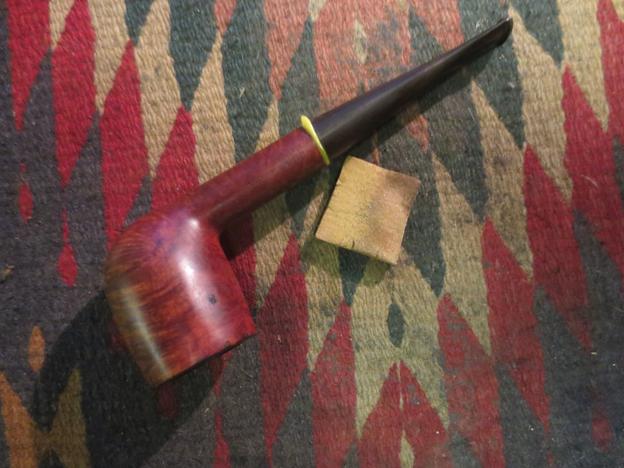
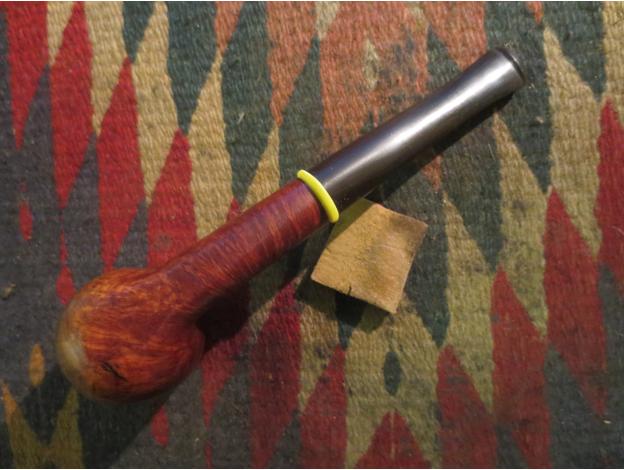
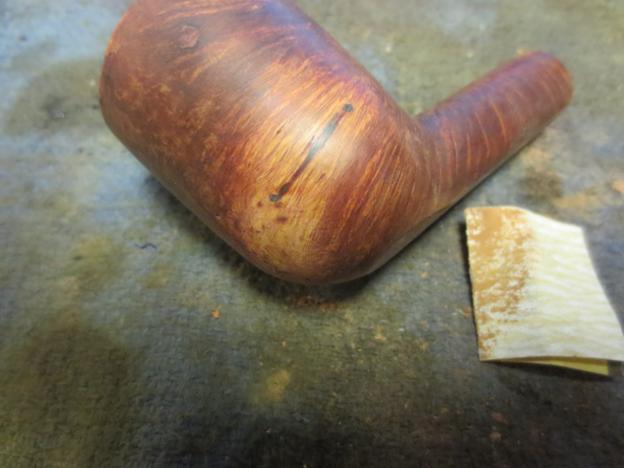
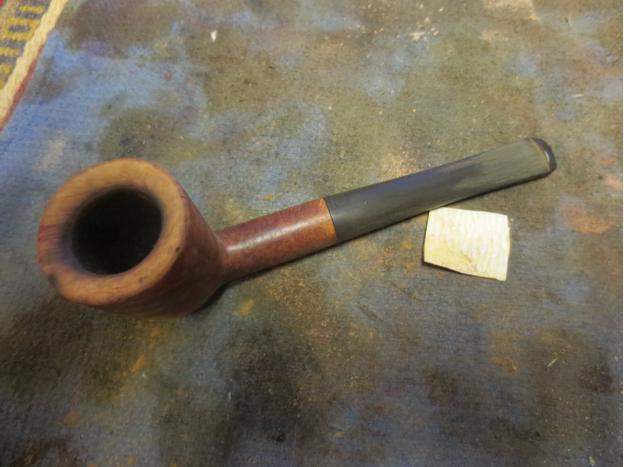
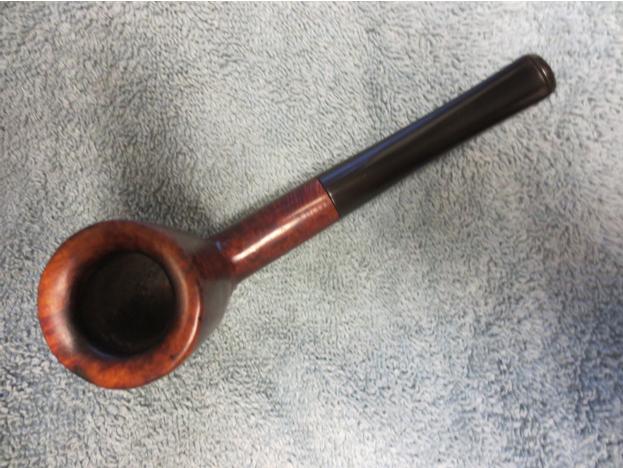
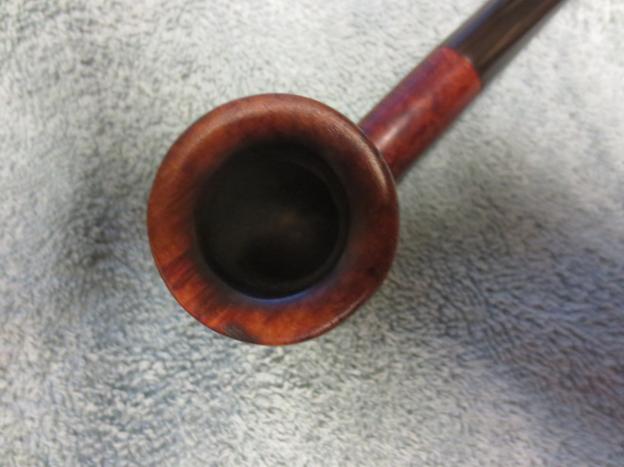
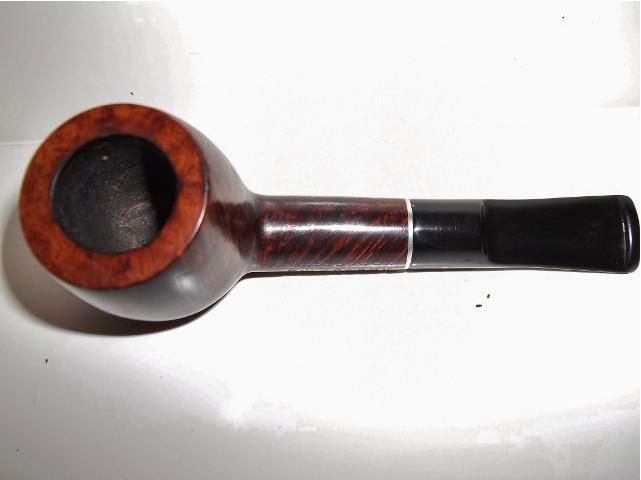
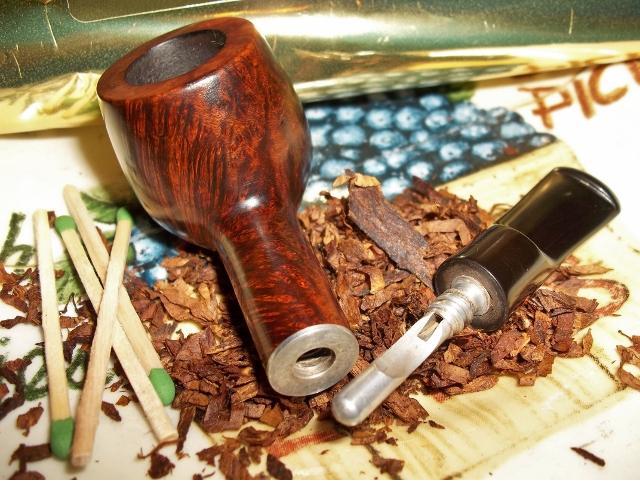
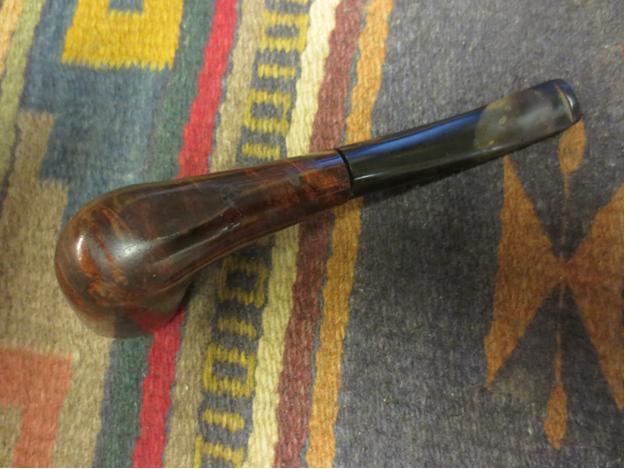
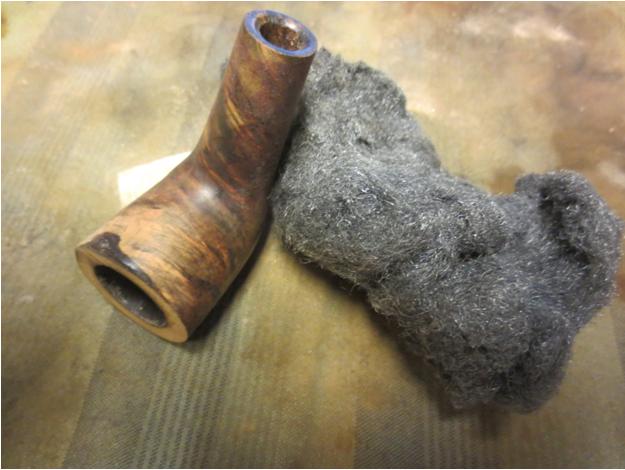
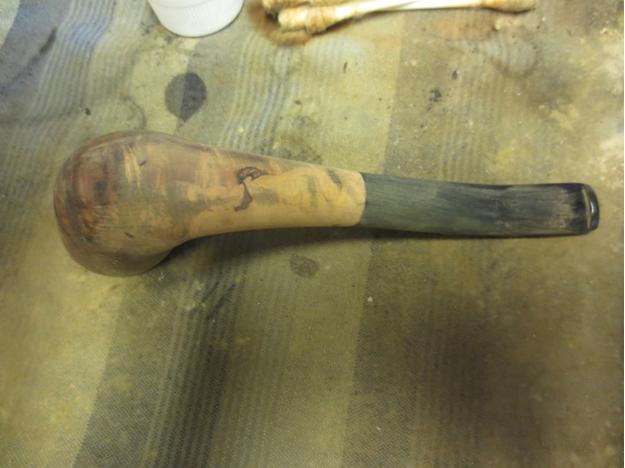
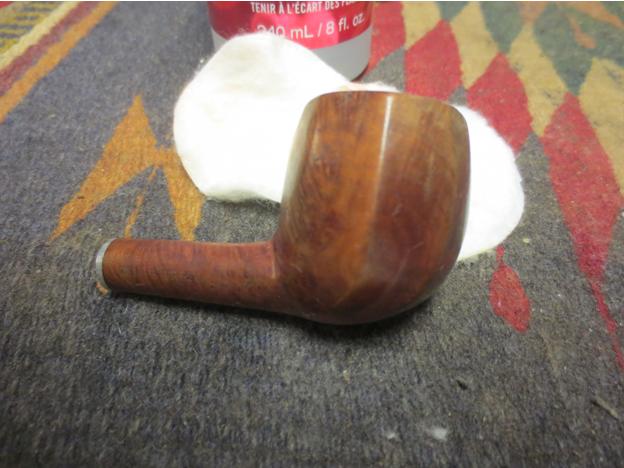
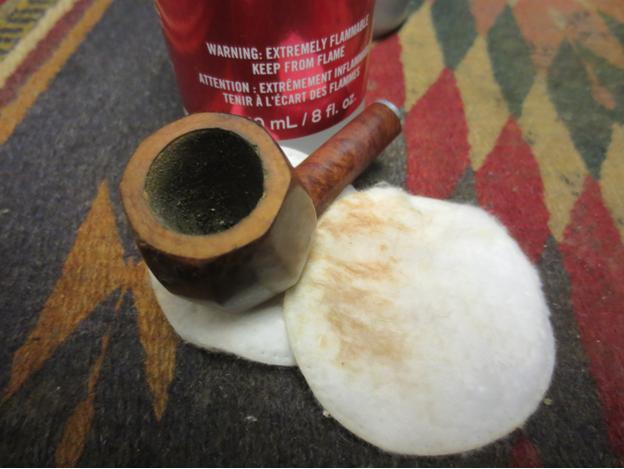
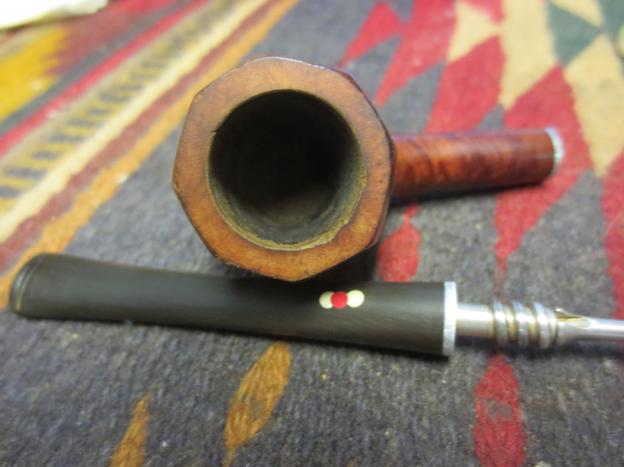
 I sanded the cured patch with 220 grit sandpaper to remove the excess and to level out the surface with surface of the bowl and shank. The first two photos below show the repaired shank damage and the third photo shows the repaired rim.
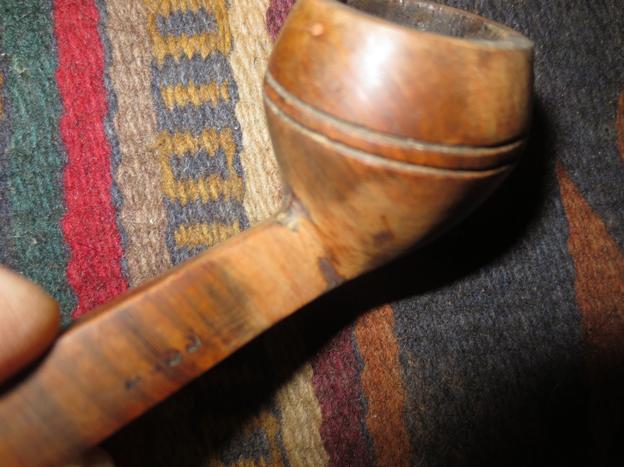

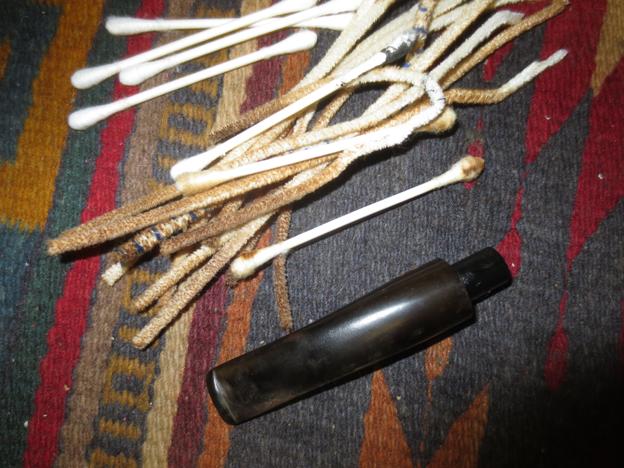
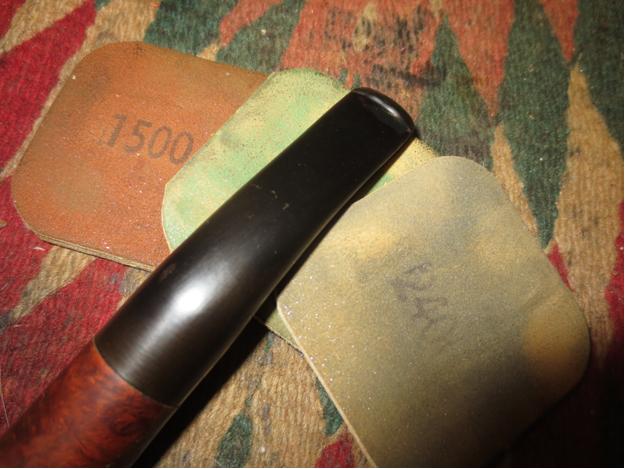
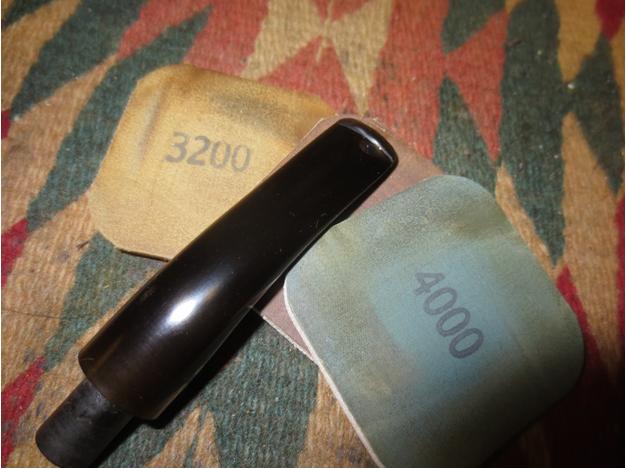
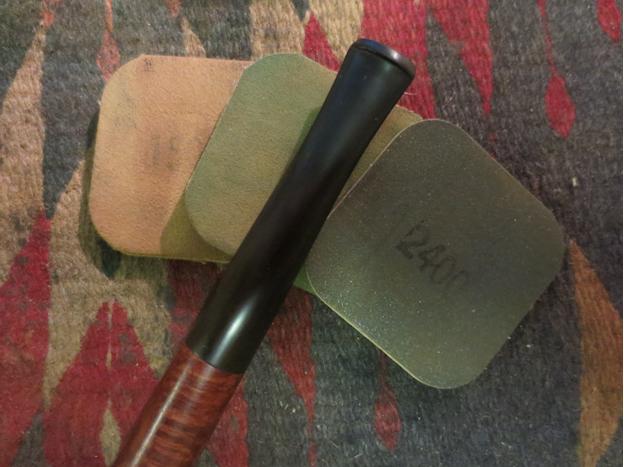
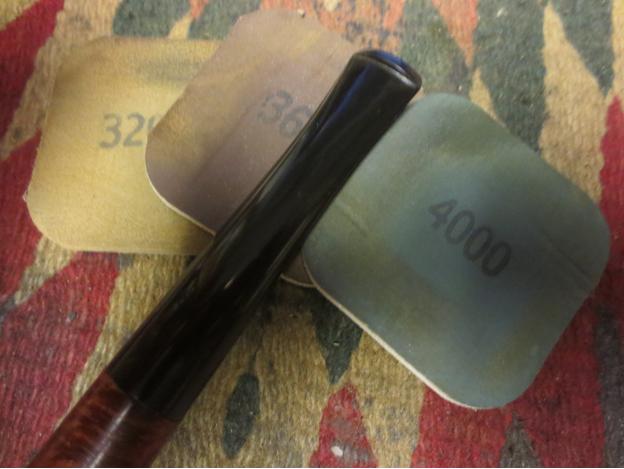
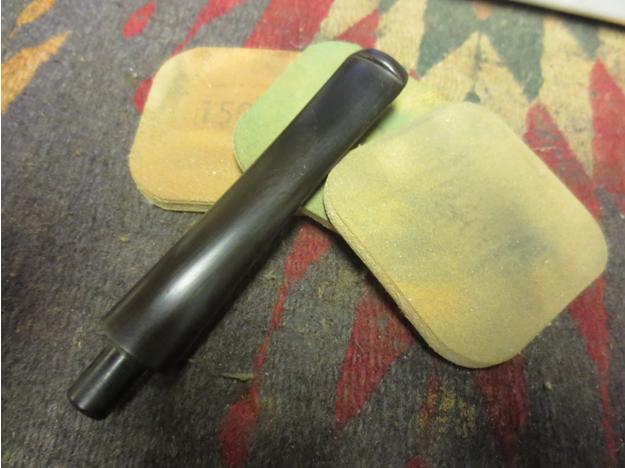
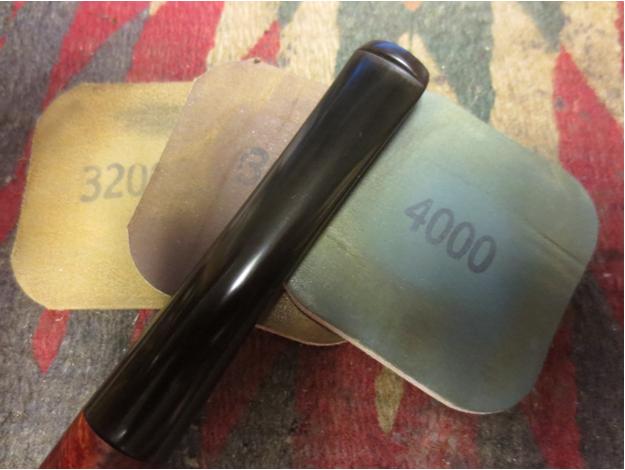
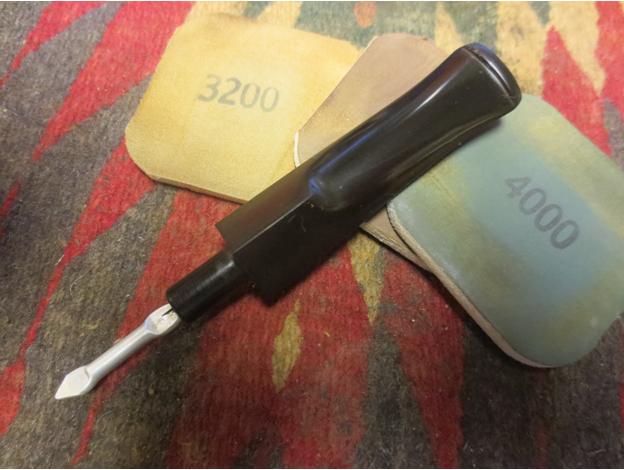
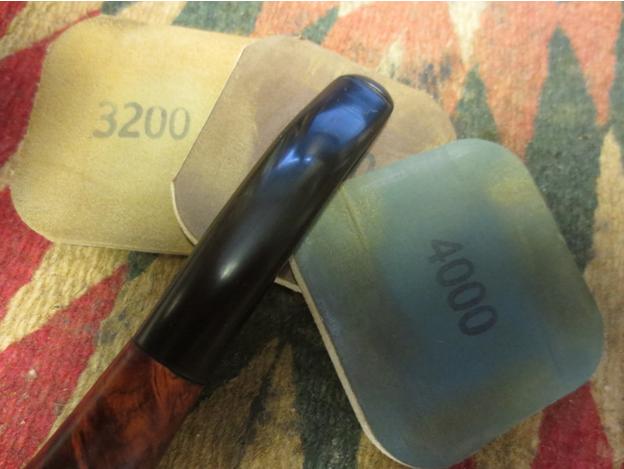
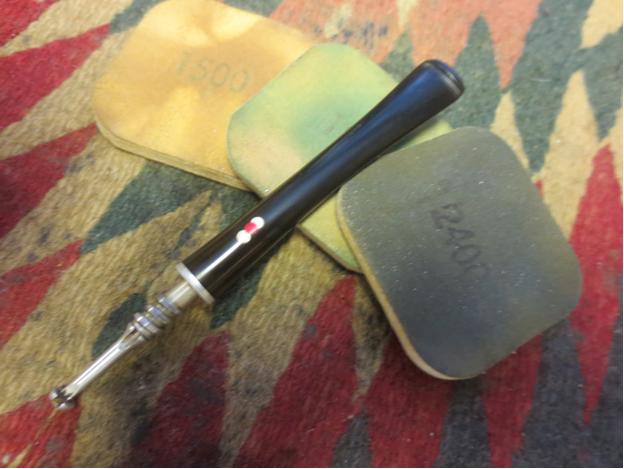
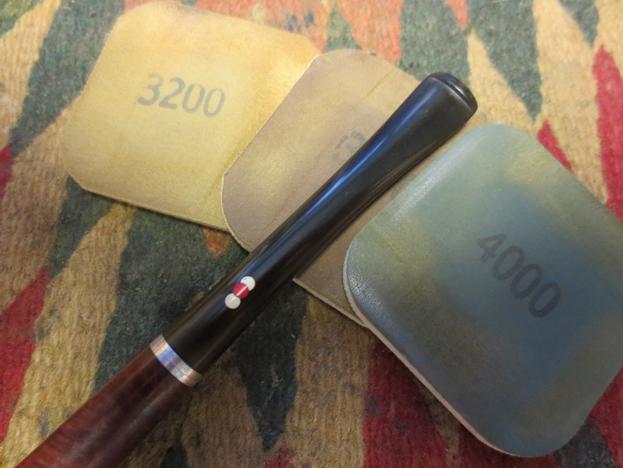
 I set the bowl aside at this point and worked on the stem. I sanded it with 220 grit sandpaper and then with a medium and a fine grit sanding sponge. Then I sanded it with micromesh sanding pads – wet sanding with 1500-2400 grit pads and dry sanding with 3200-4000 grit pads. I rubbed down the stem with Obsidian Oil between each successive grit to give the micromesh pads more traction as I used them.
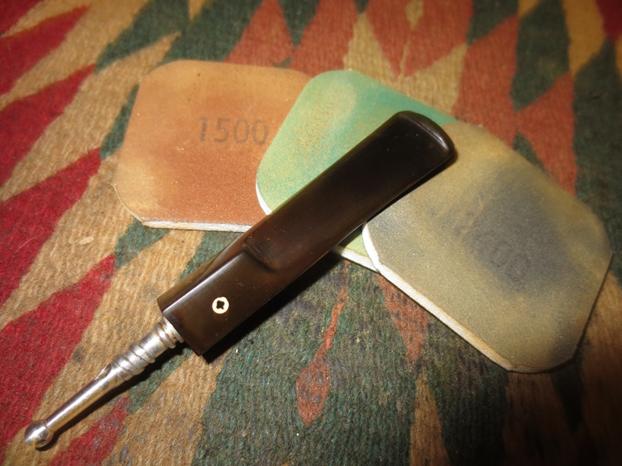
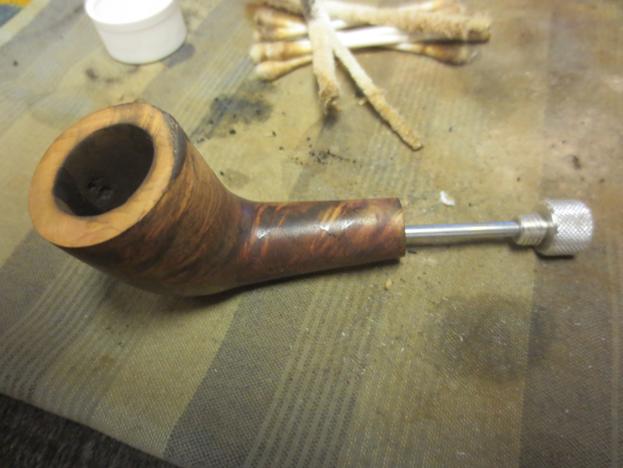
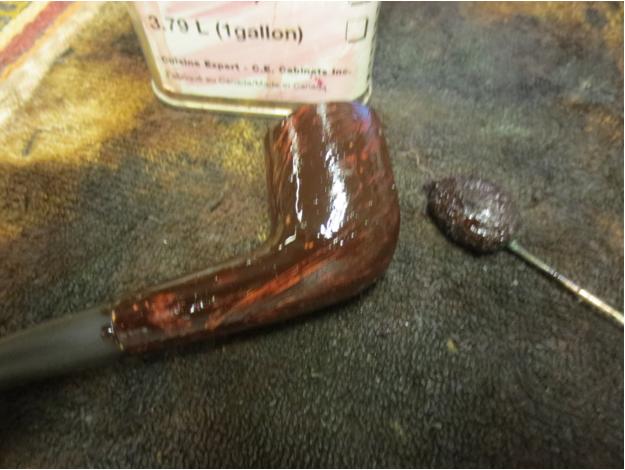
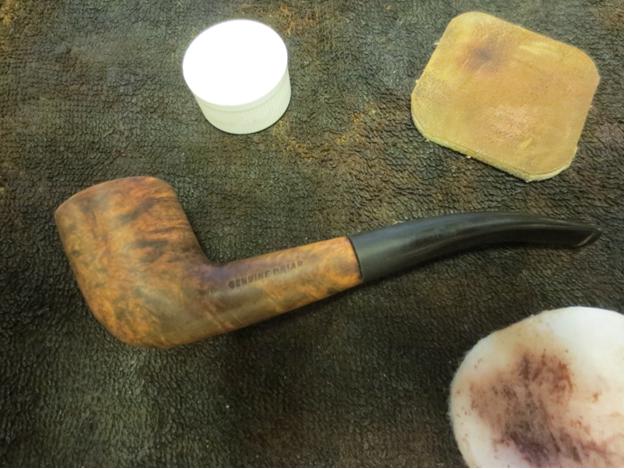
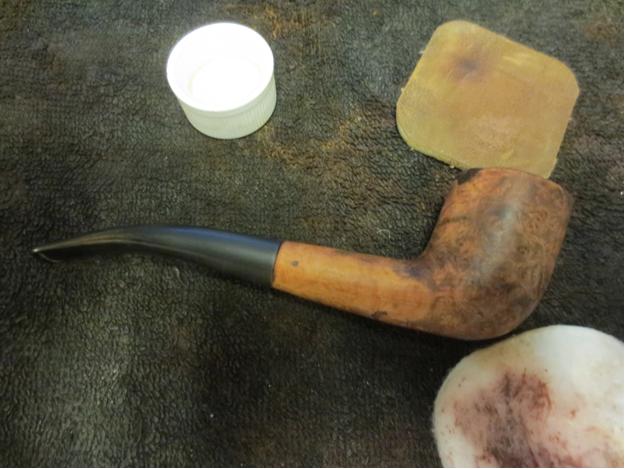
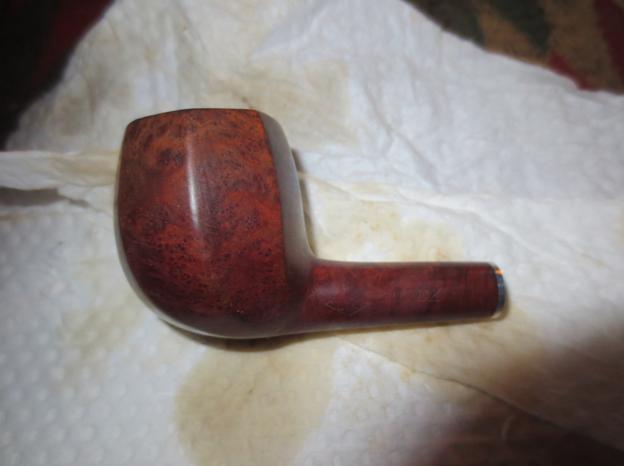
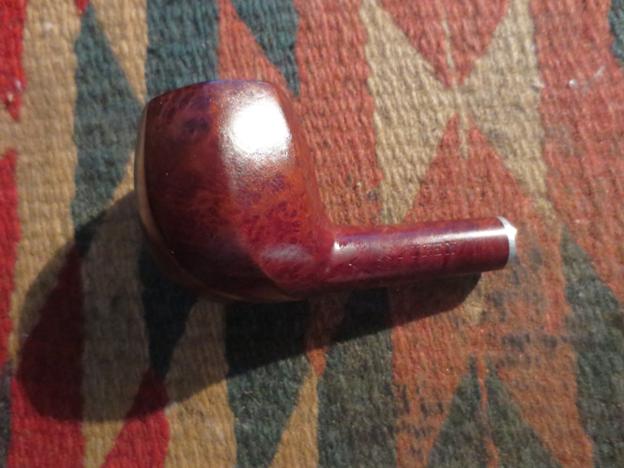
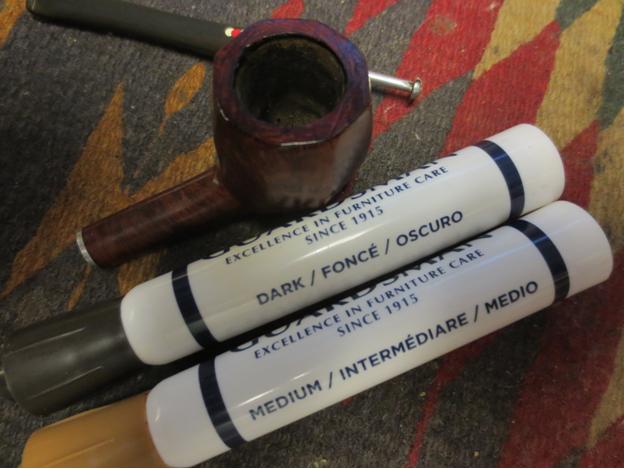
 I buffed the stem with White Diamond and Blue Diamond on the buffing wheel to raise the shine. Then it was time to stain the bowl. I decided to use an opaque oxblood aniline stain. It is a stain that is thicker in consistency to the Feibings and gives good coverage on damaged briar repairs. I applied the stain and flamed it. It gave the old warrior some life while not hiding the repairs that it would wear proudly over the years ahead to witness to its hard life.
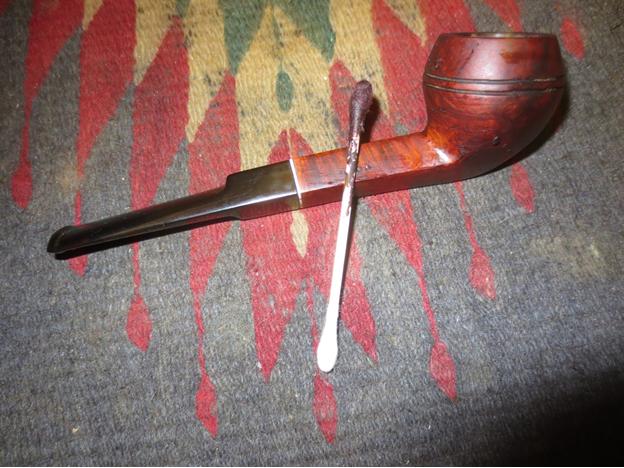

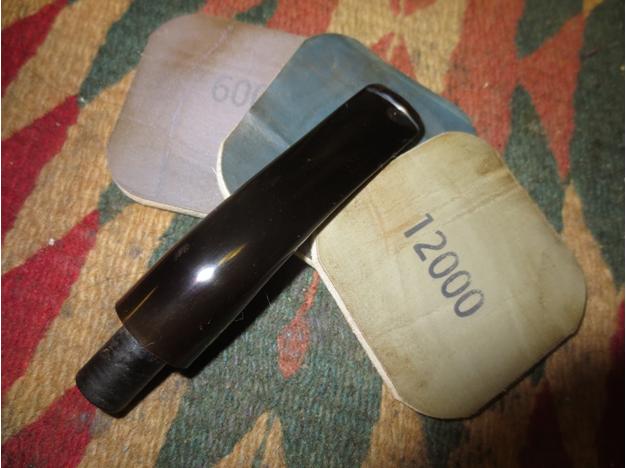
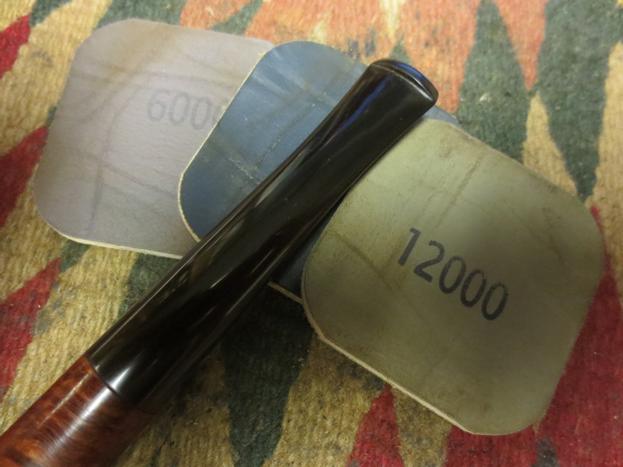
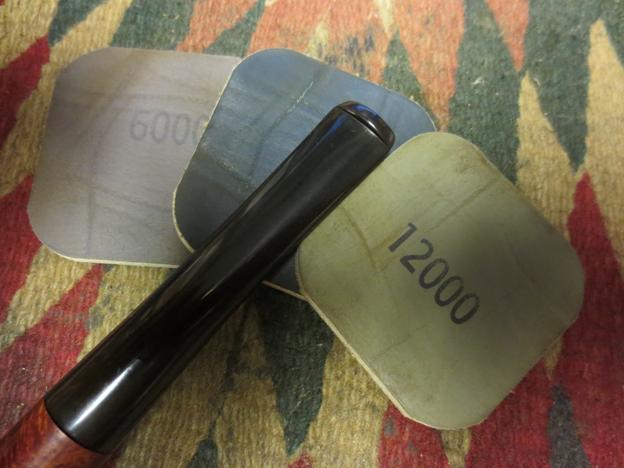
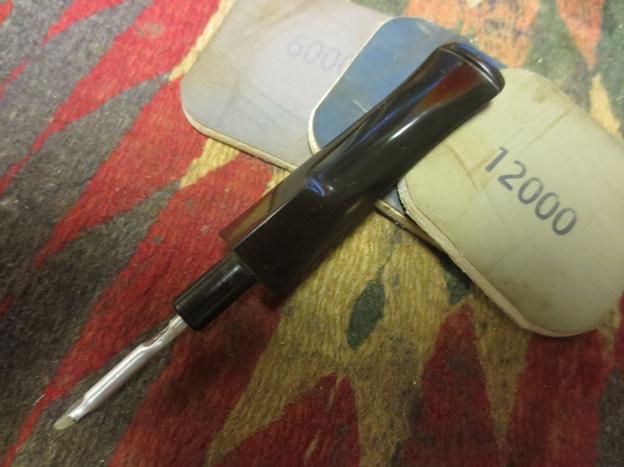
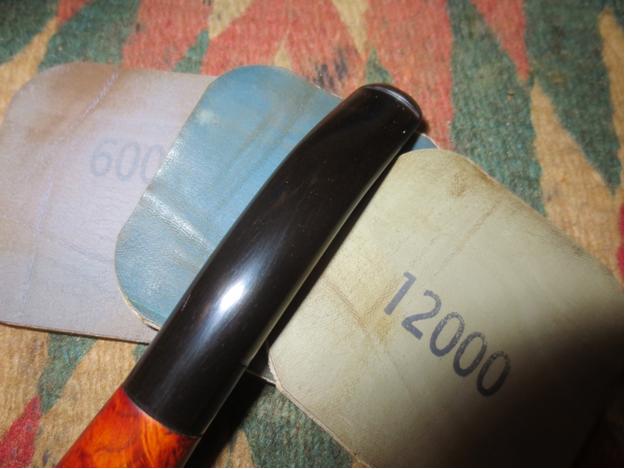
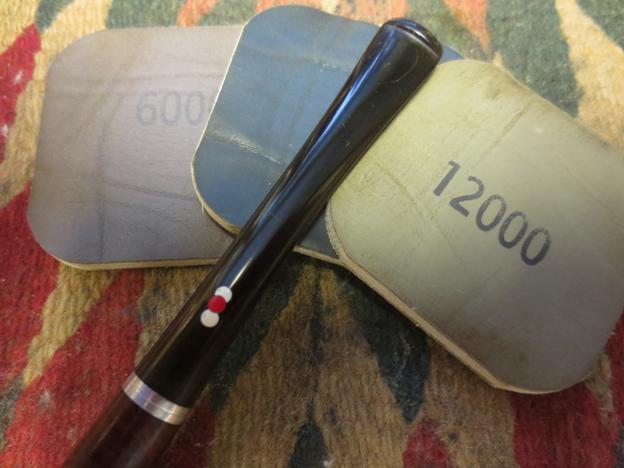
 I buffed off the excess stain once it was set with a quick buff of Blue Diamond polish on the buffer. I then worked some more on the stem working back through the previous grits of micromesh to reduce the stubborn oxidation on the stem. I used a lighter flame to paint the surface of the stem to burn off the oxidation as well. I finished by sanding it with 6000-12000 grit micromesh pads and then buffed the entirety with Blue Diamond on the buffer.
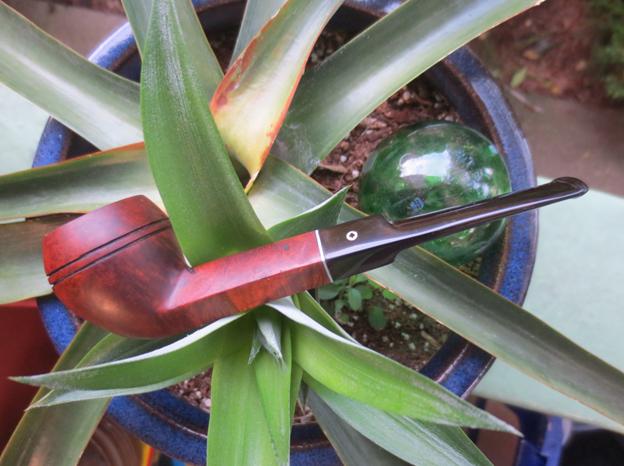
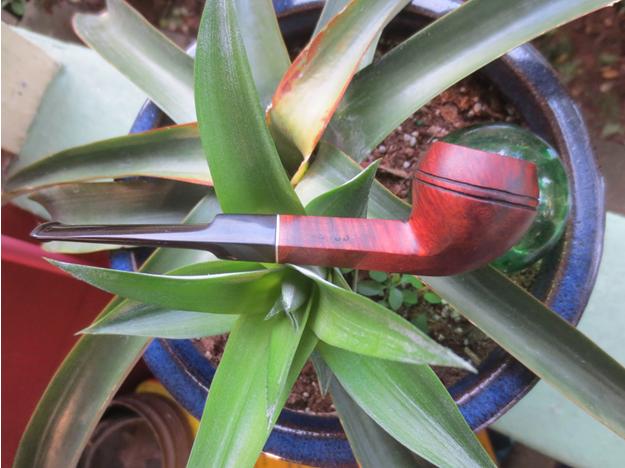
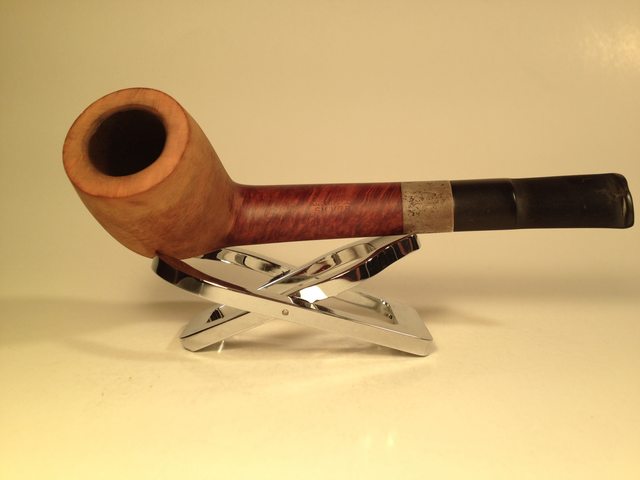
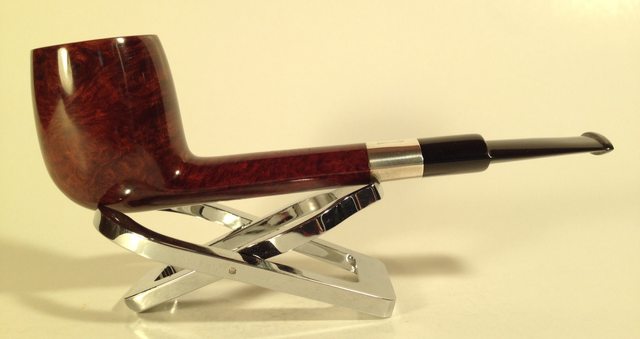
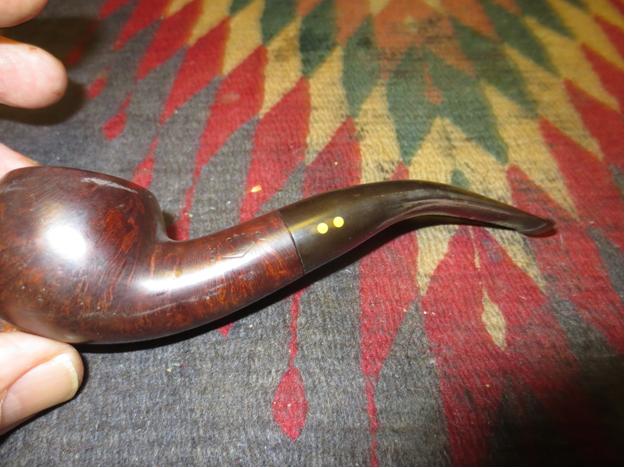
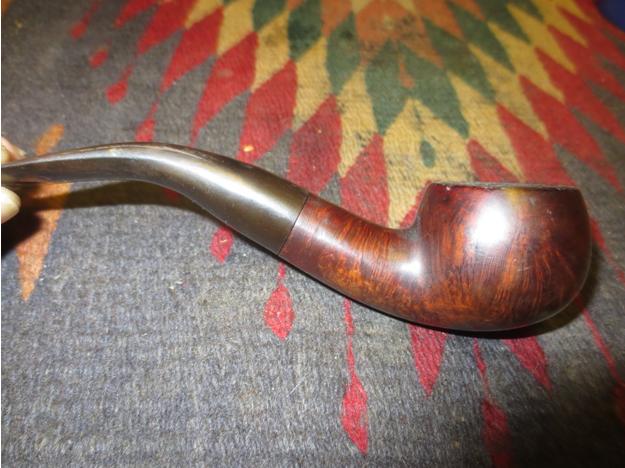
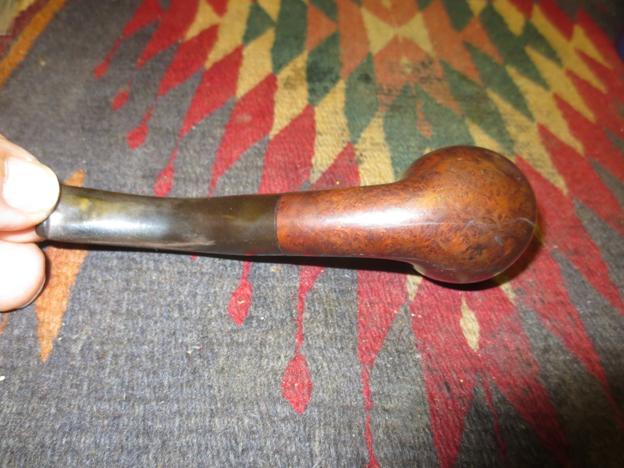
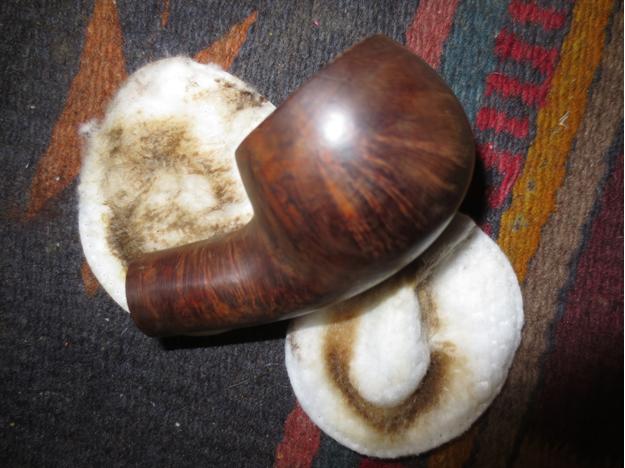
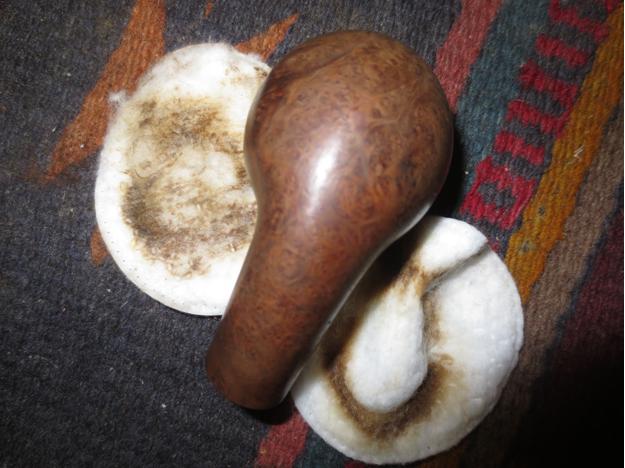
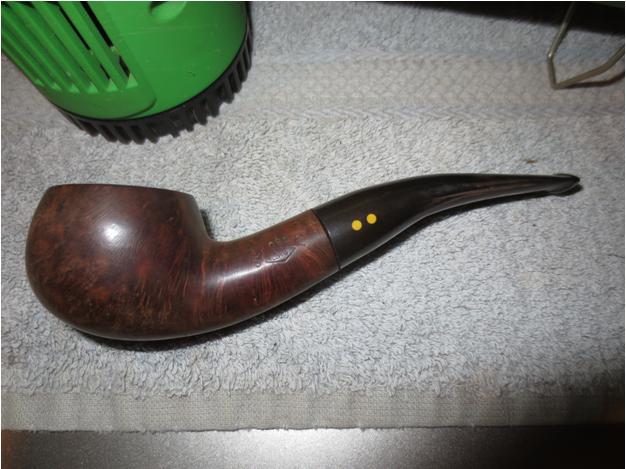
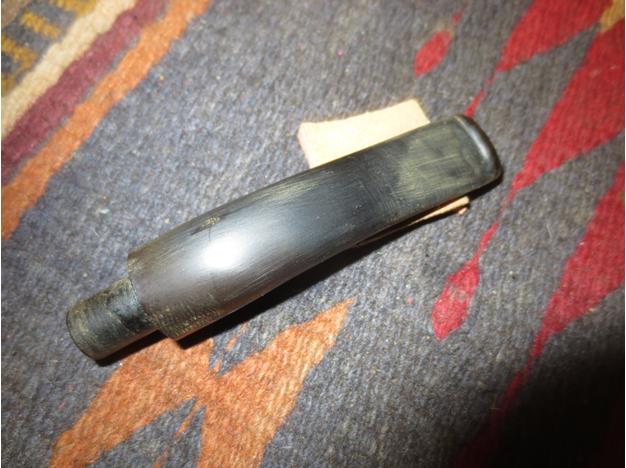
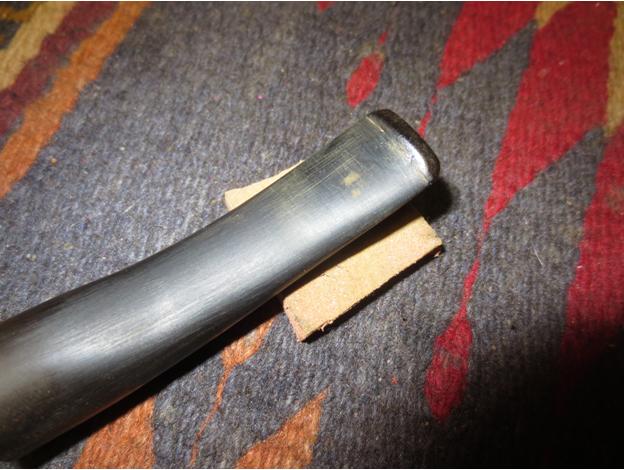
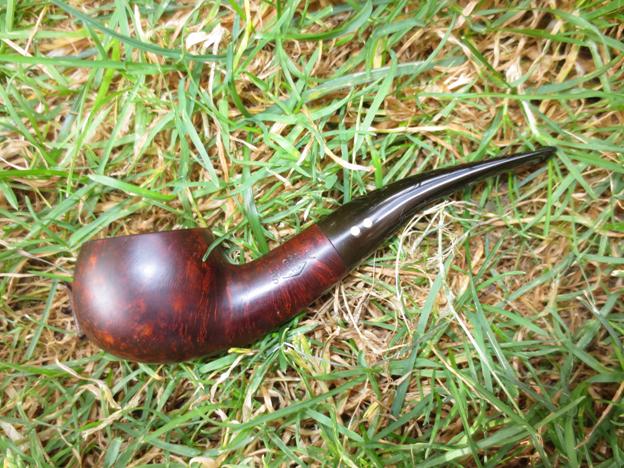
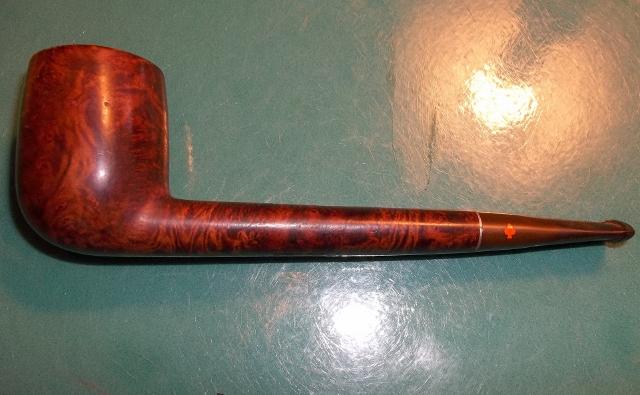
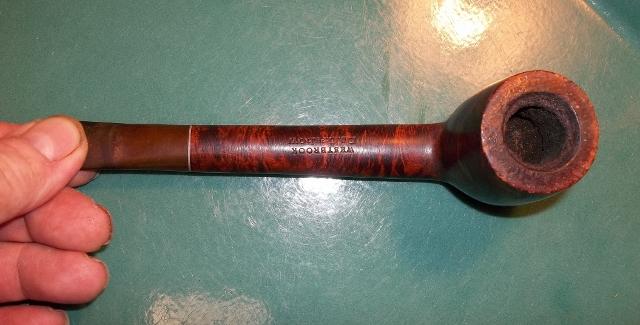
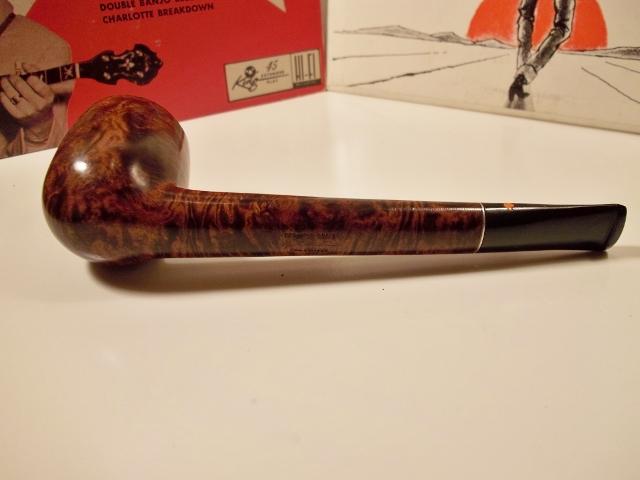
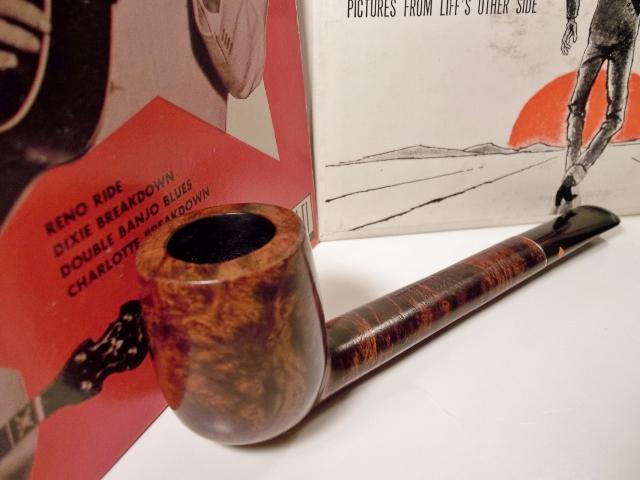
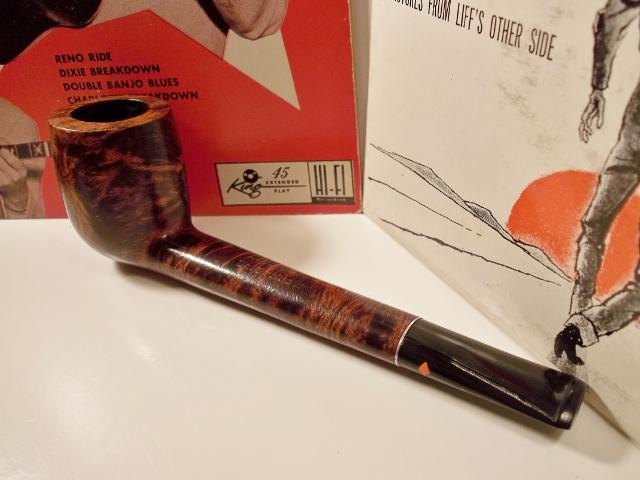
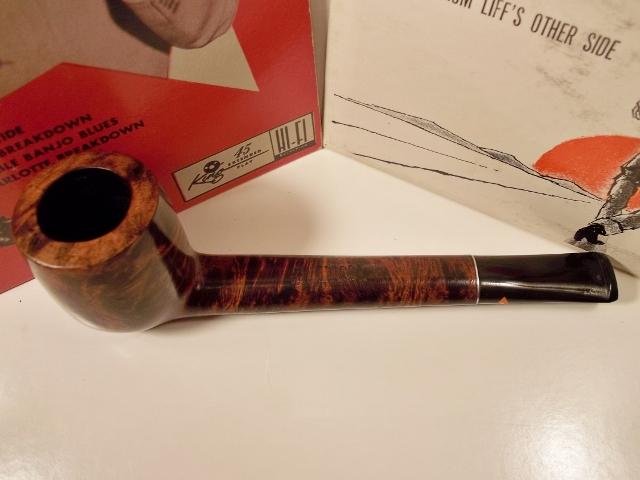
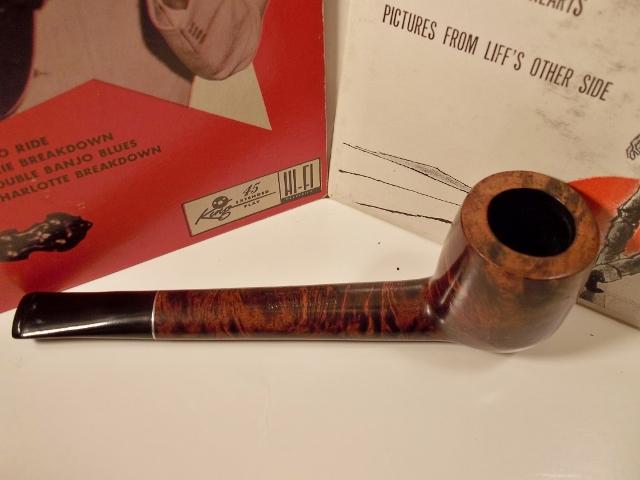
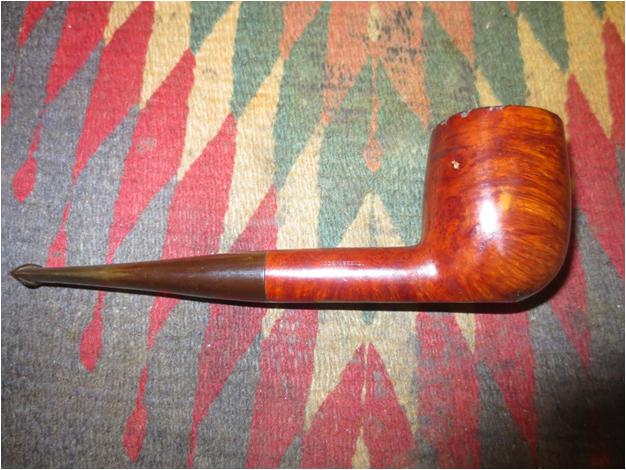
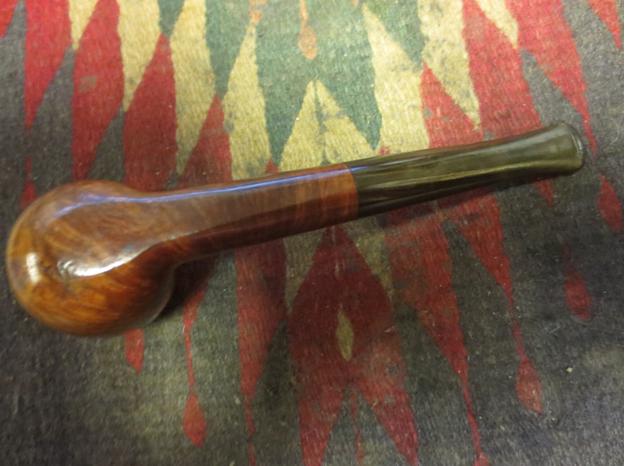
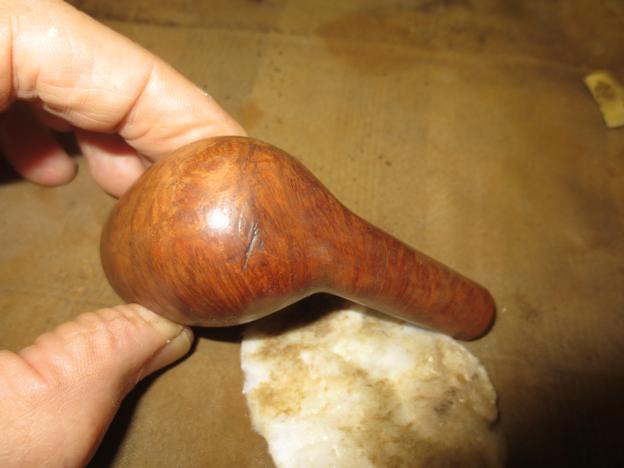
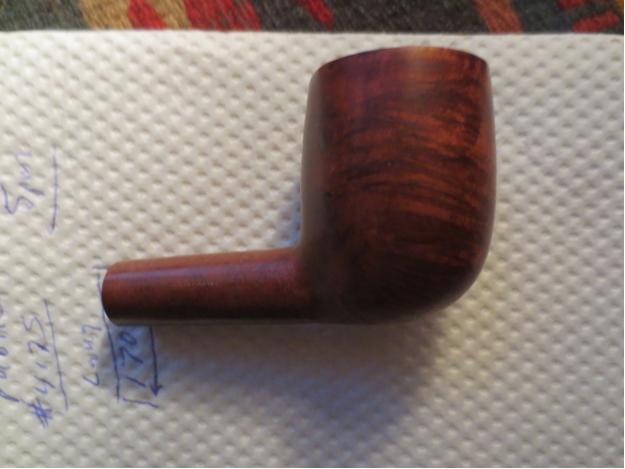
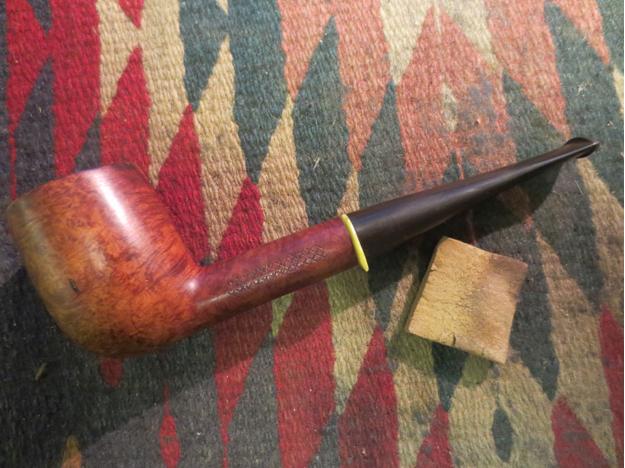
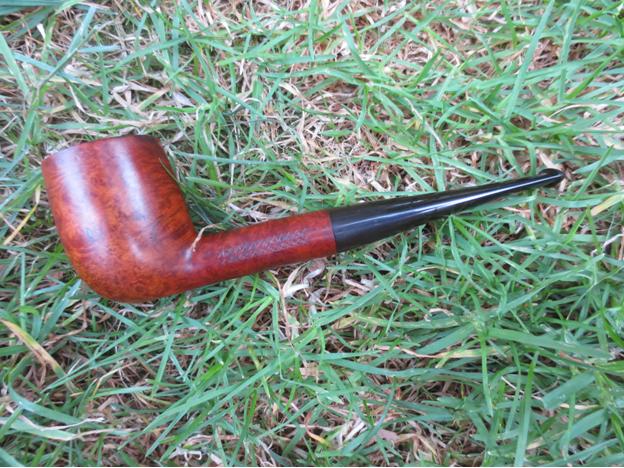
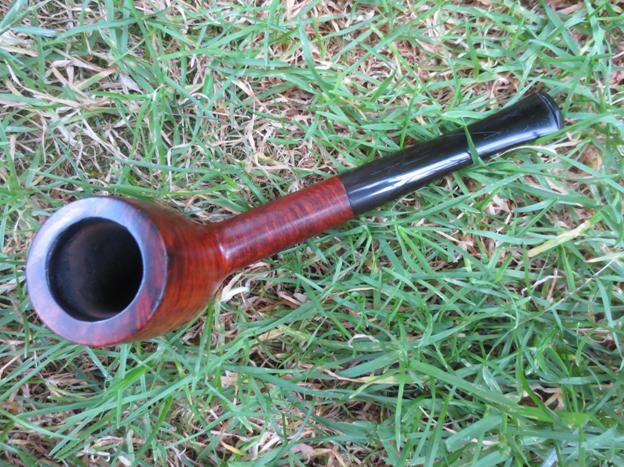
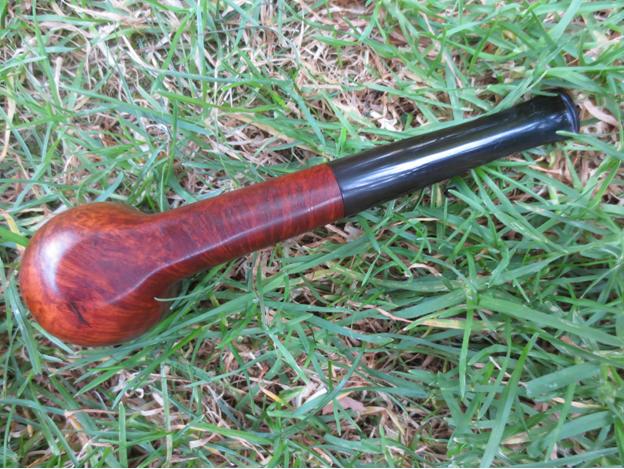
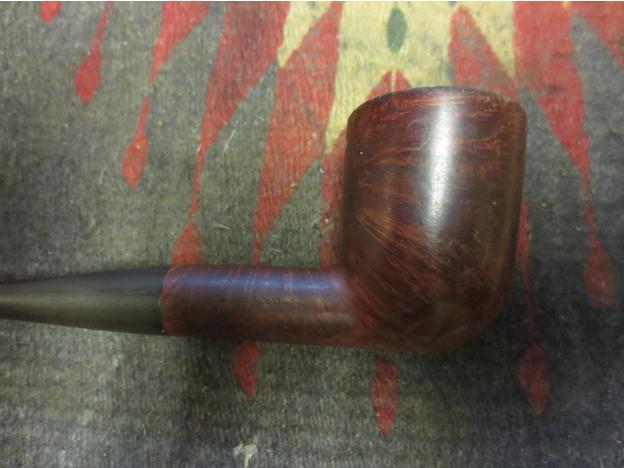
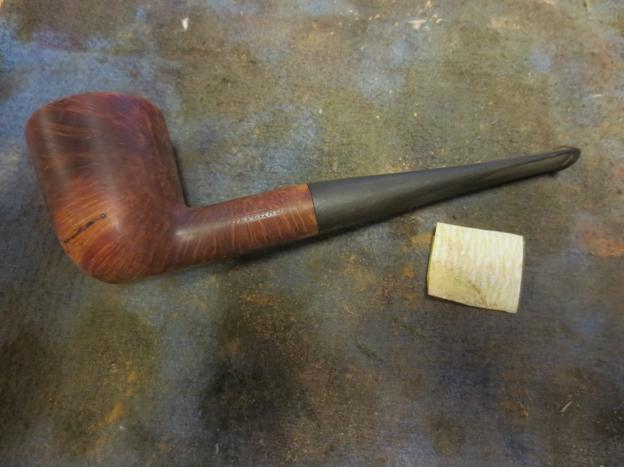
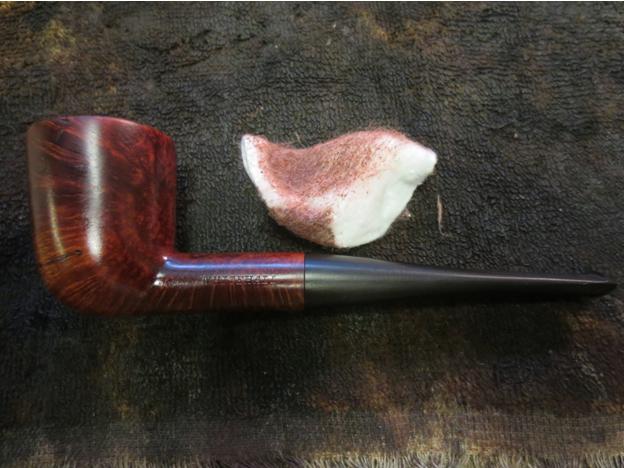
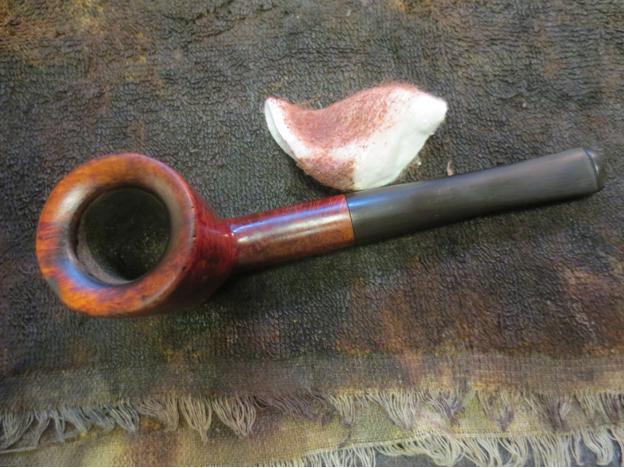
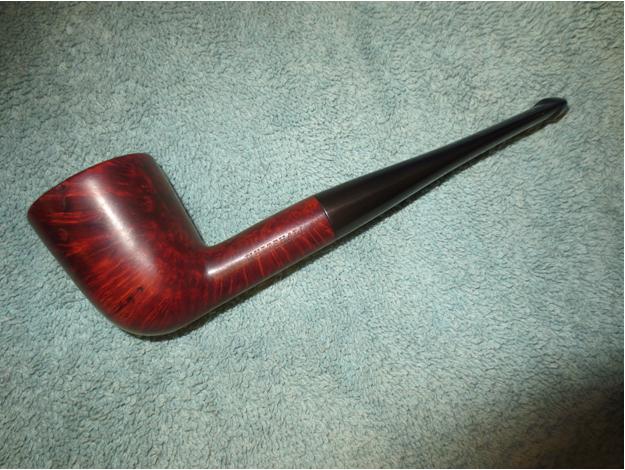
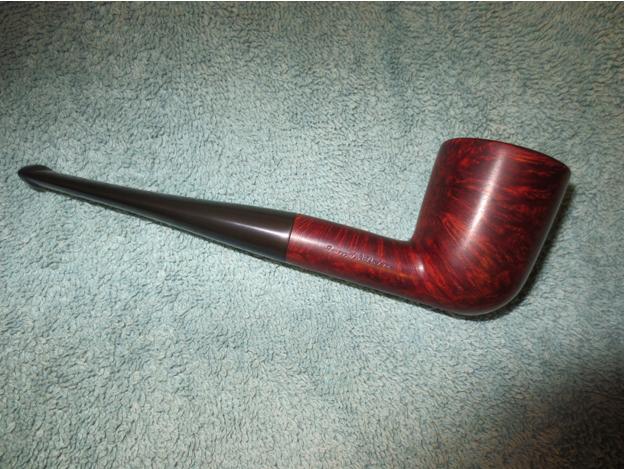
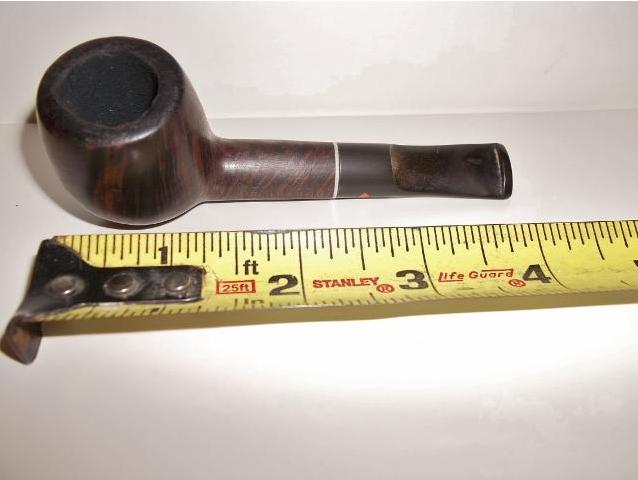
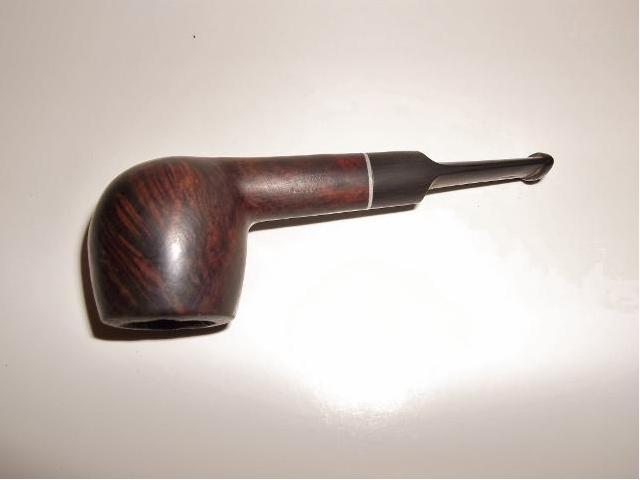
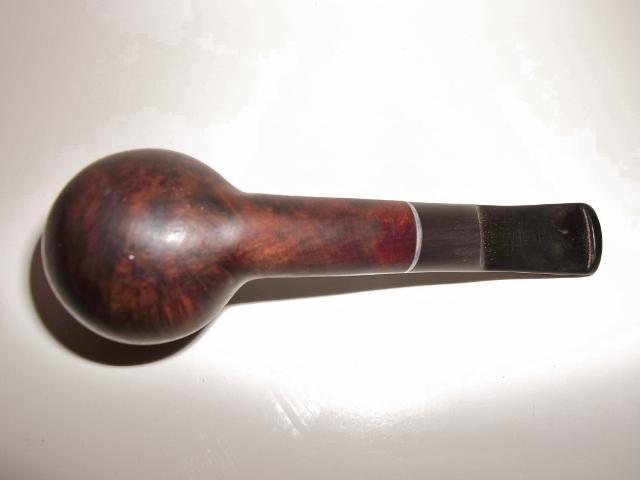
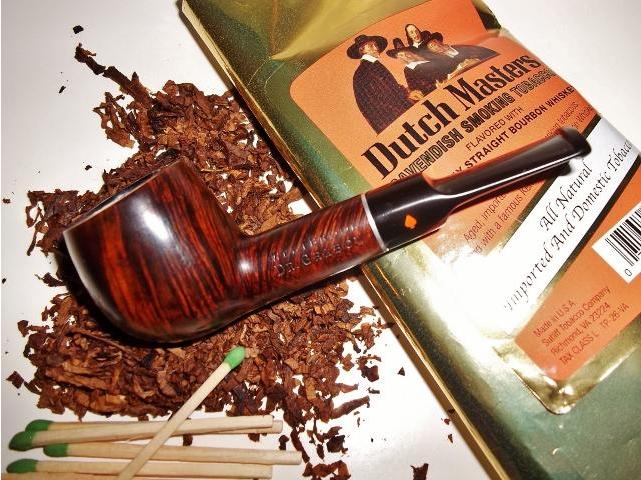
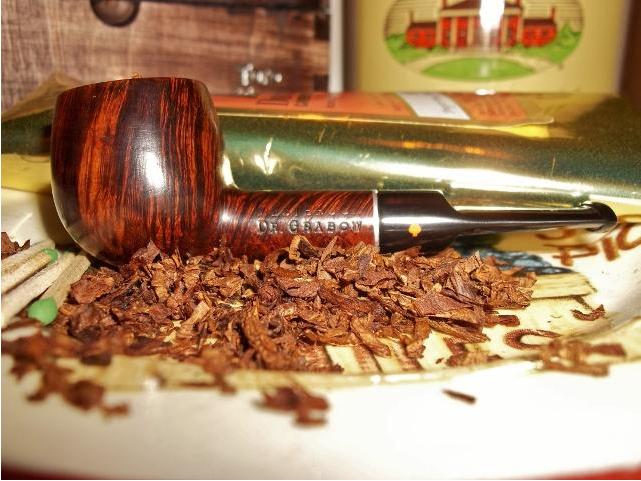
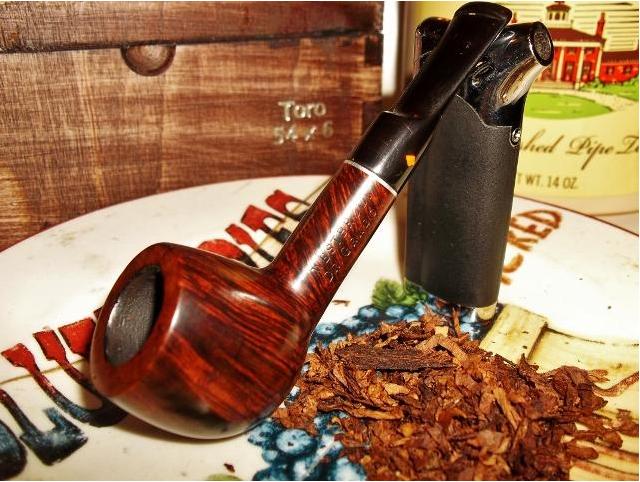
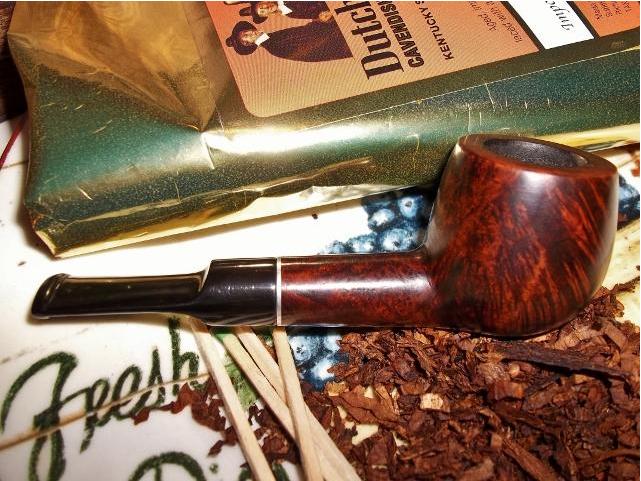
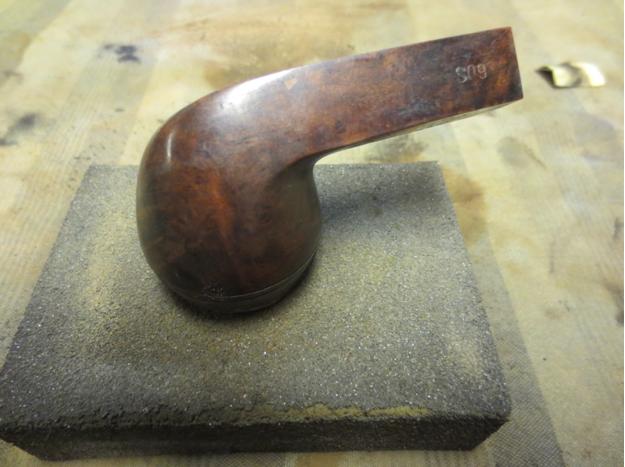
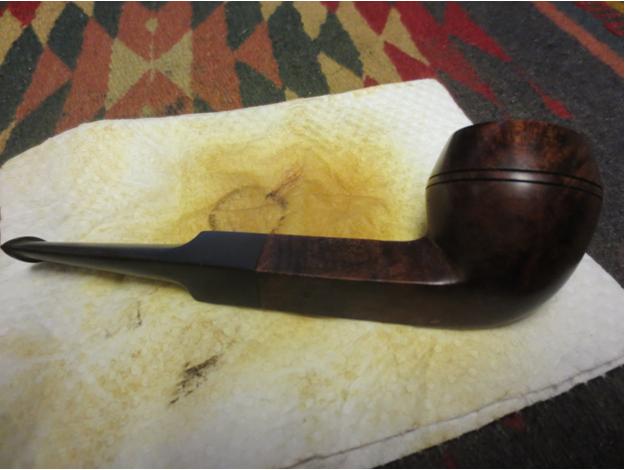
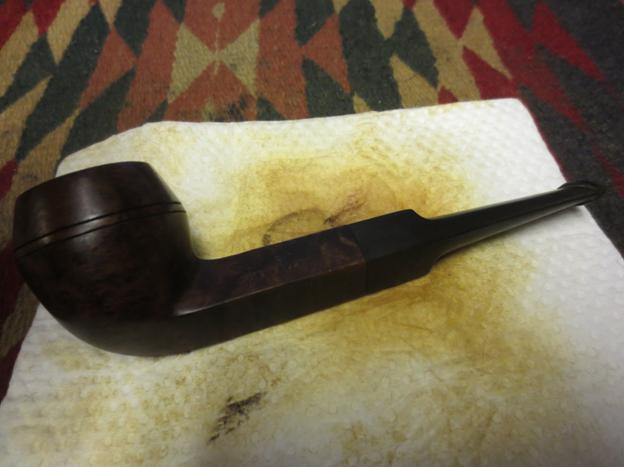
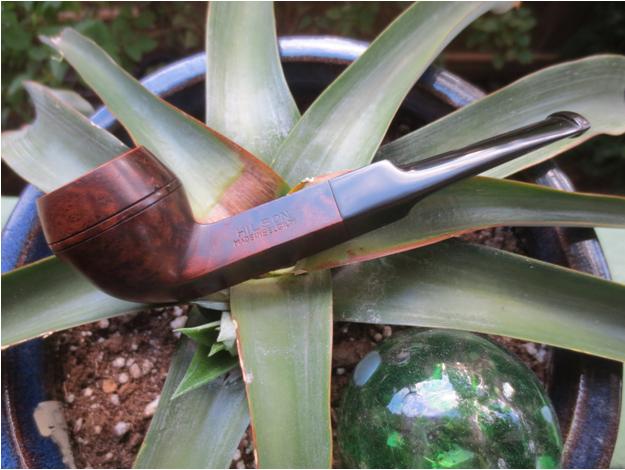
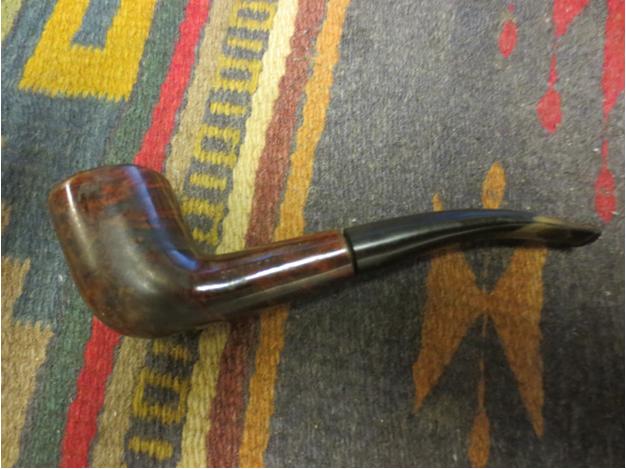
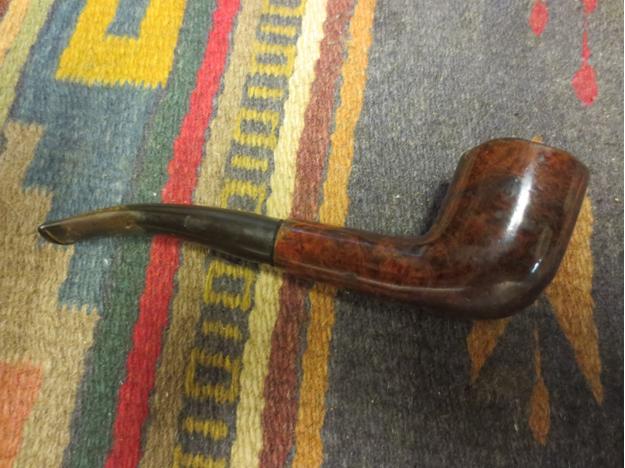
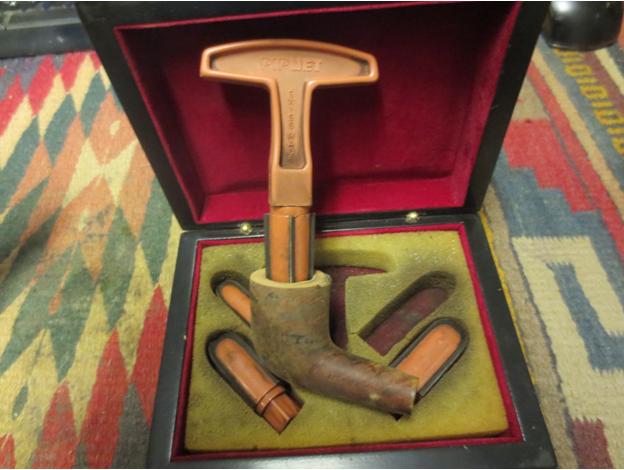
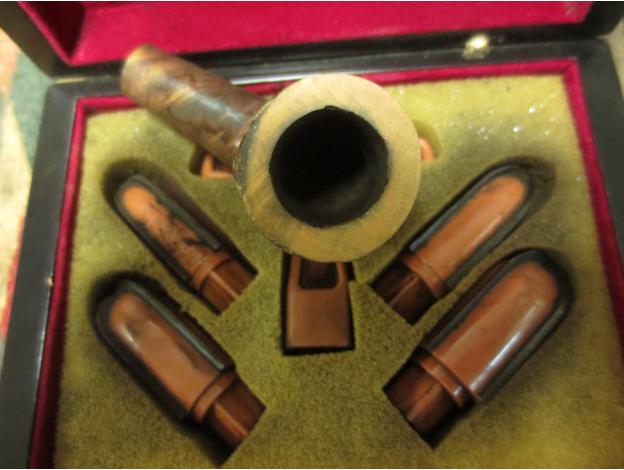
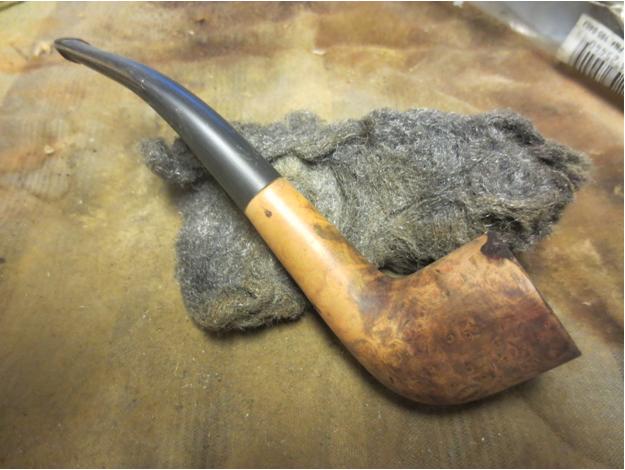
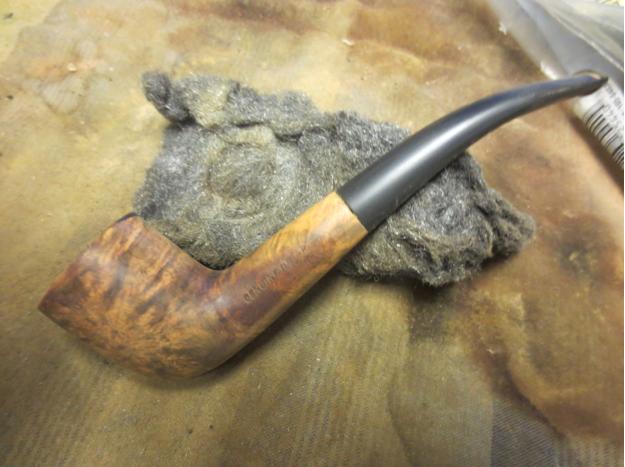
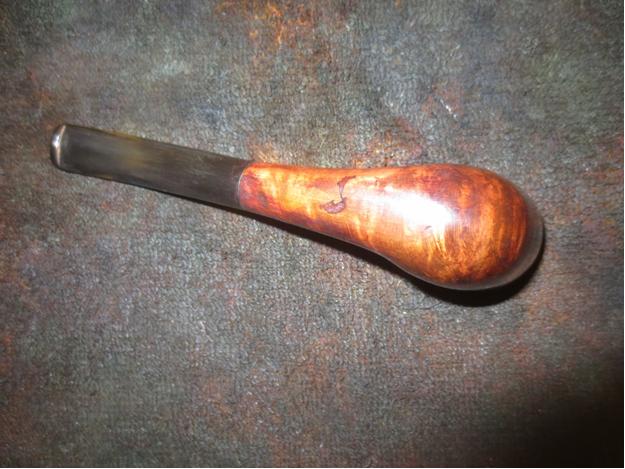
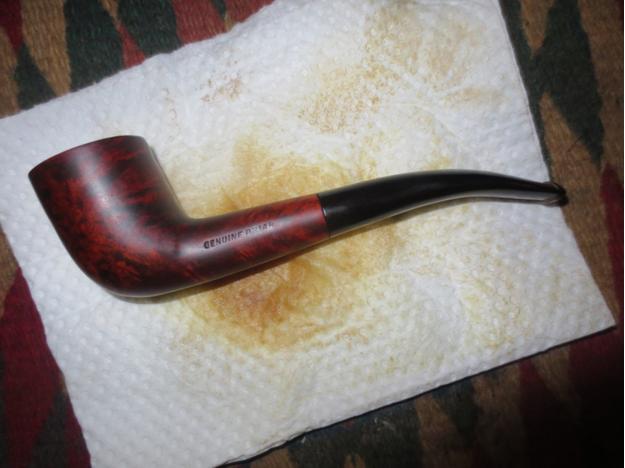
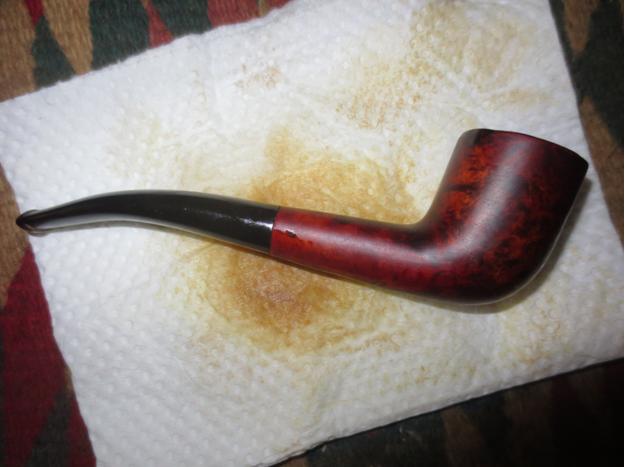
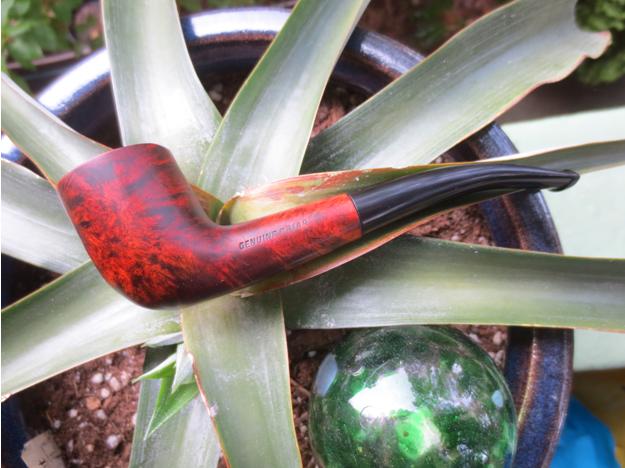
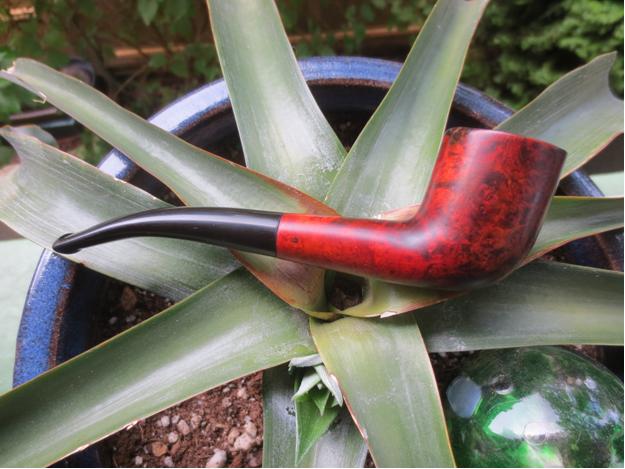
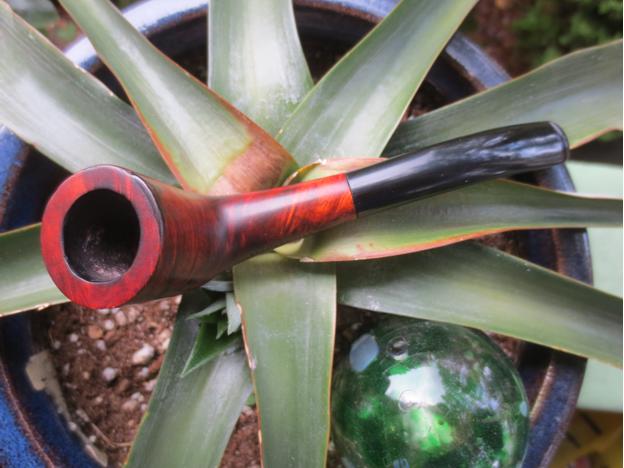
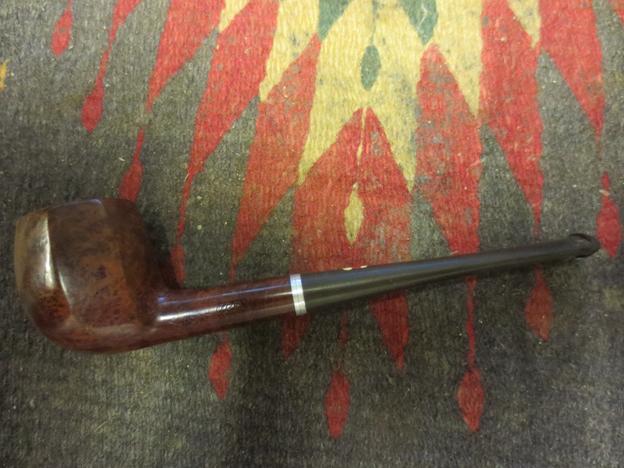
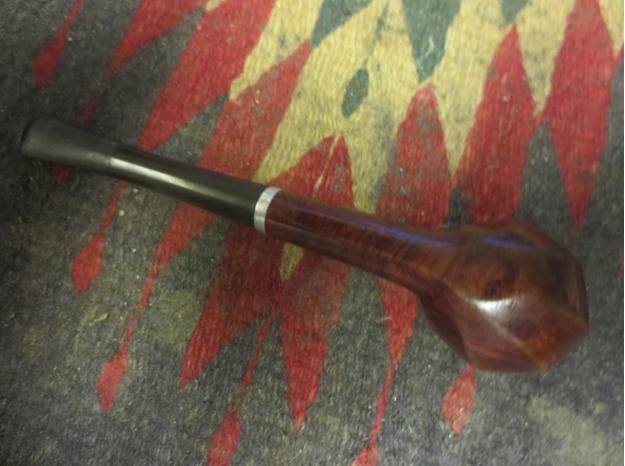
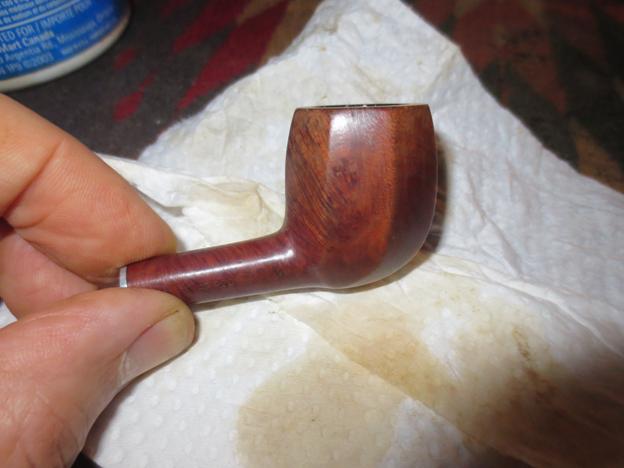
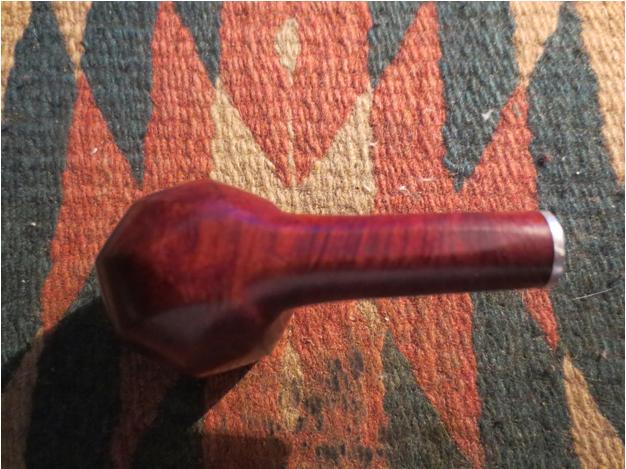
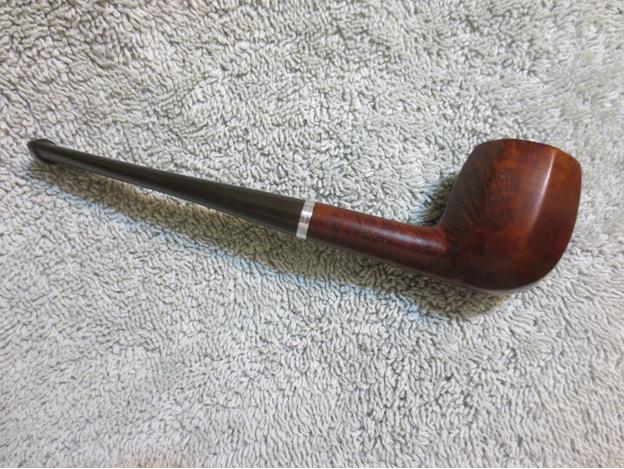
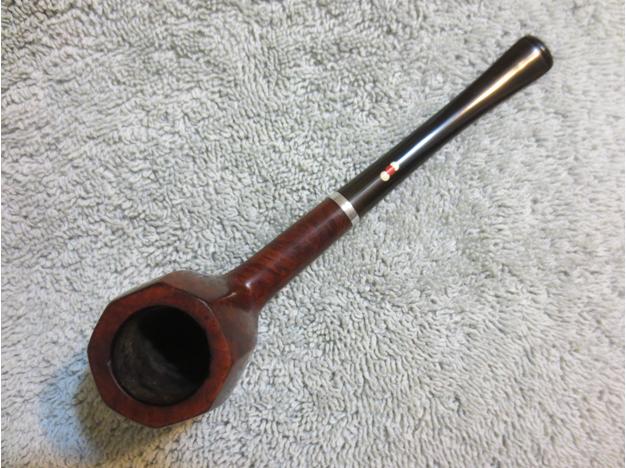
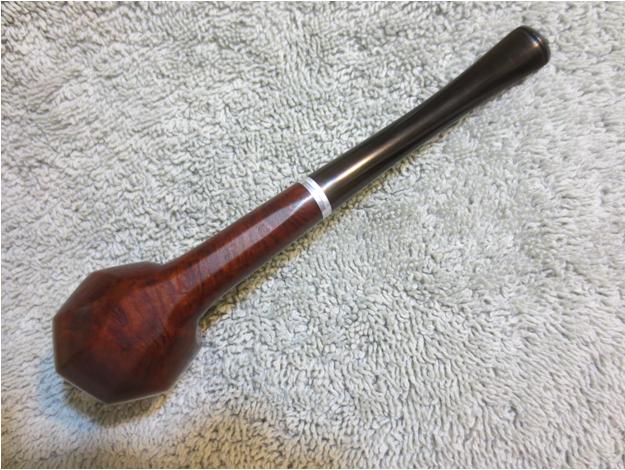
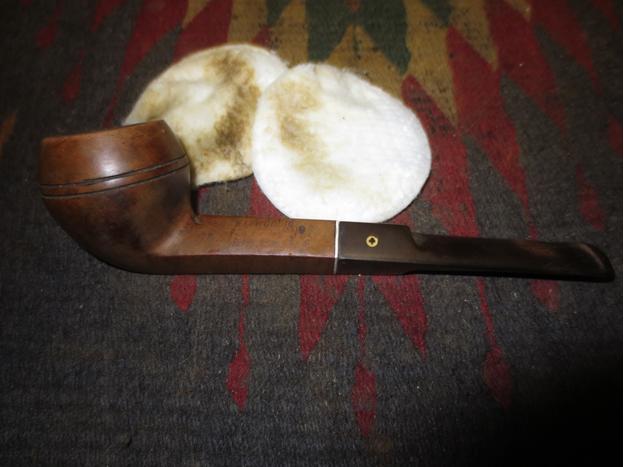
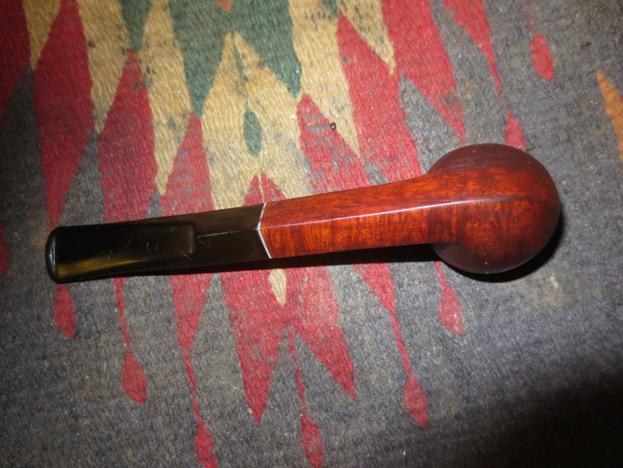
 I gave the bowl and stem multiple coats of carnauba wax and buffed it to a shine with a clean flannel buff. I hand buffed it with a microfibre cloth to give it some depth. The finished pipe is shown in the pictures below. While the pipe certainly is not a thing of beauty there is some restored dignity that will serve it well in the years ahead. It should serve the pipeman whose rack it graces with a good solid smoke for a good long time.