
Blog by Steve Laug
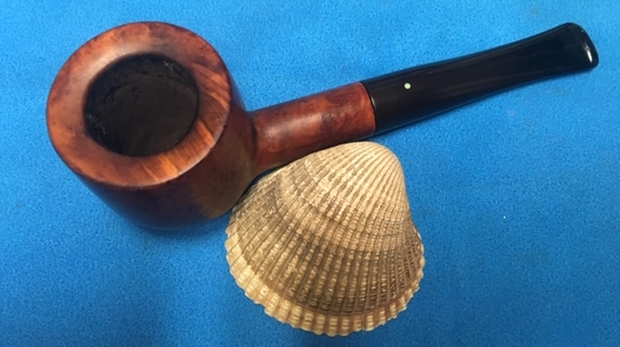
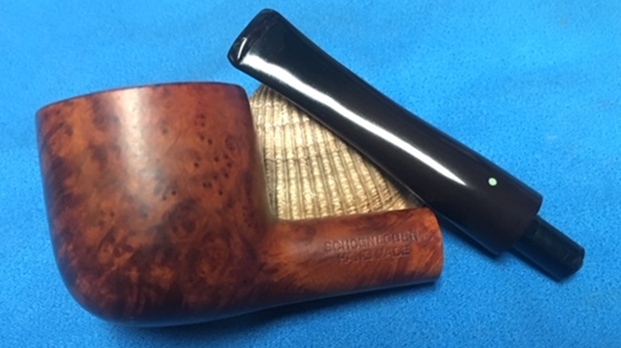
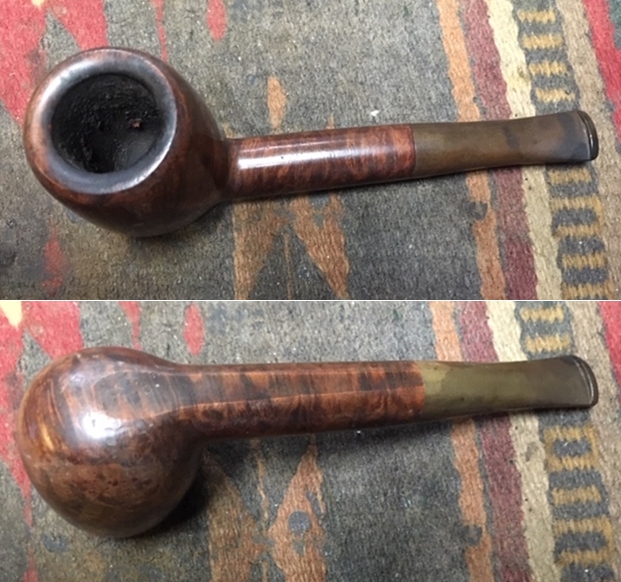
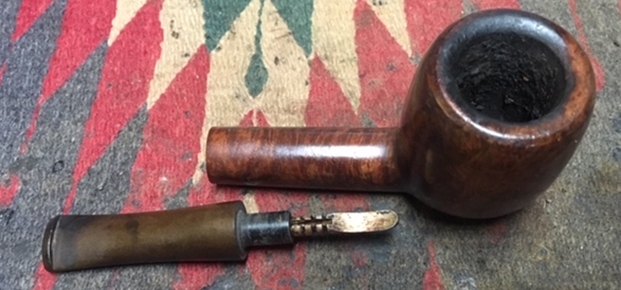
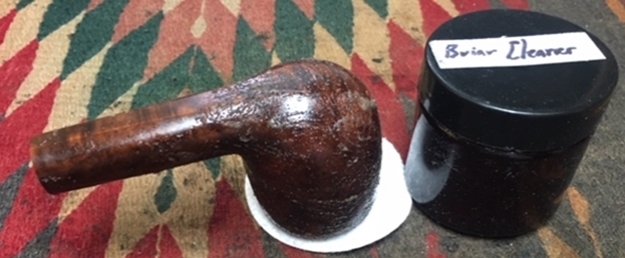
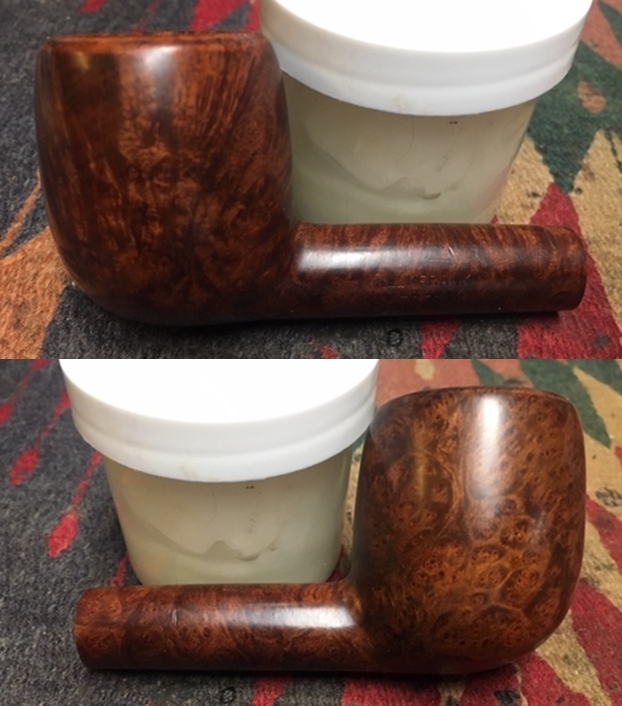
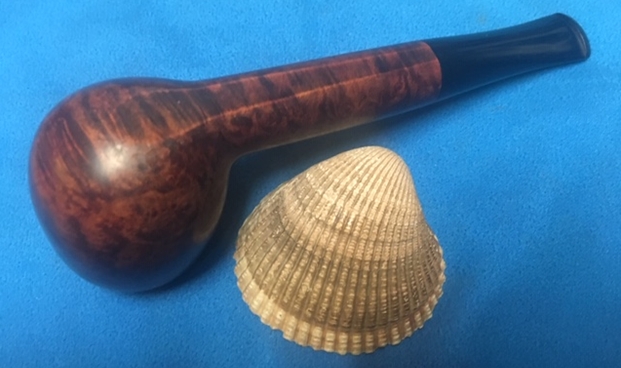
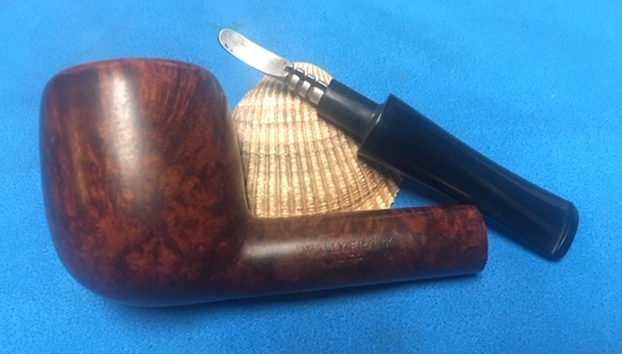
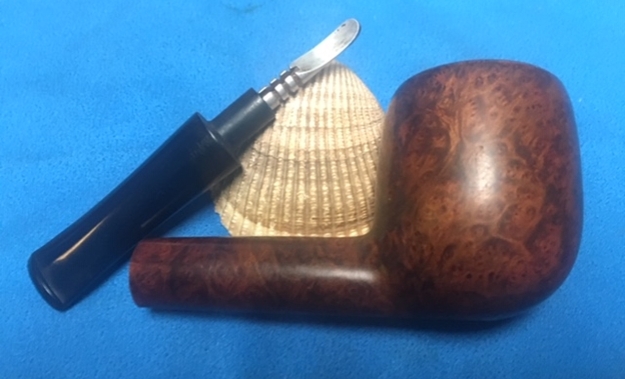
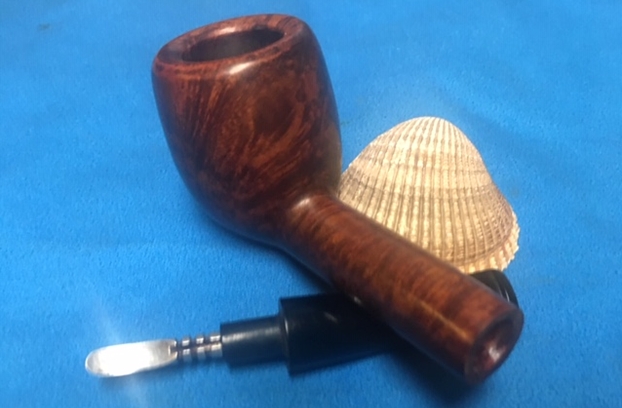
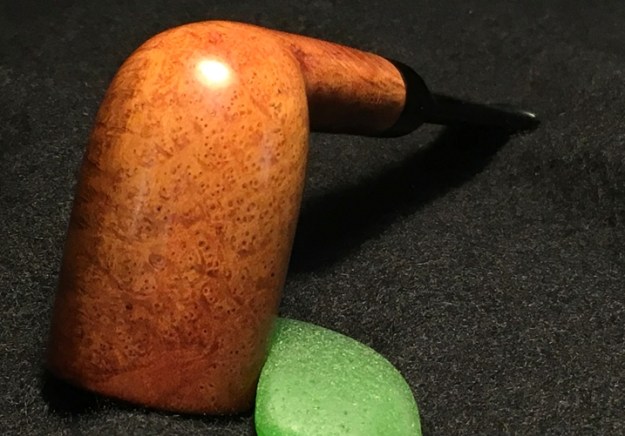
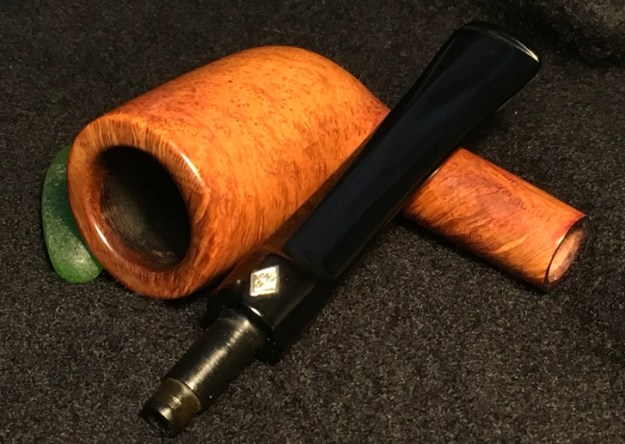
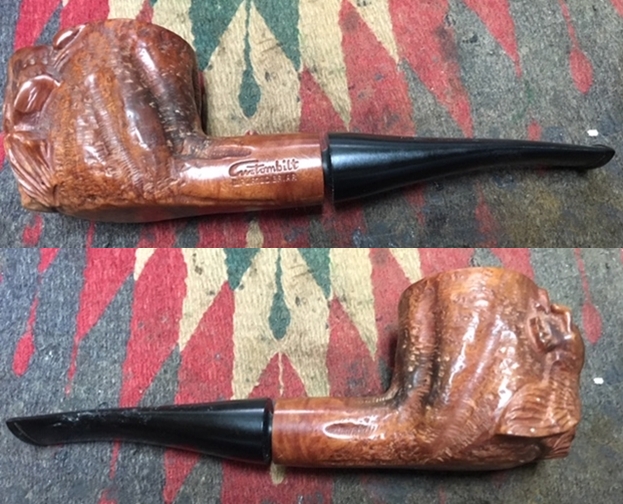
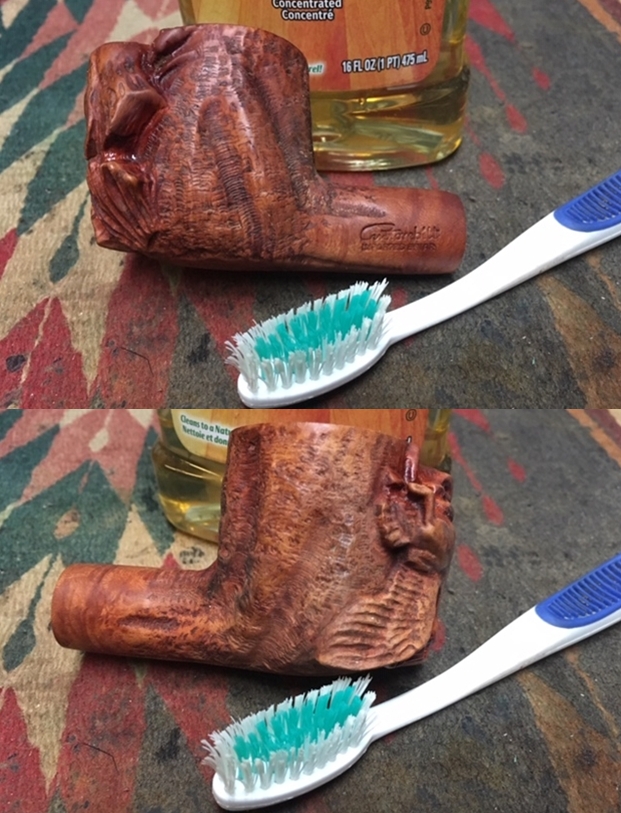
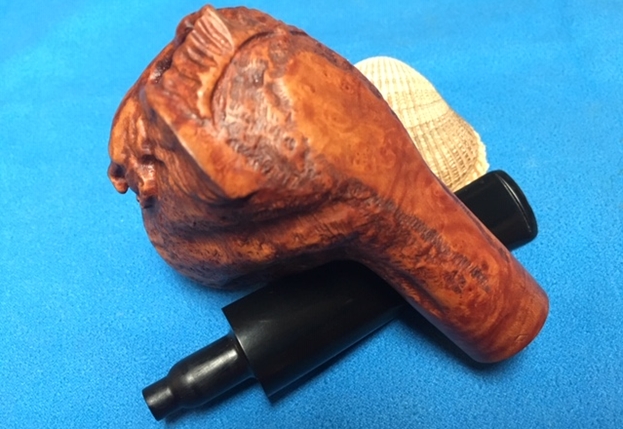
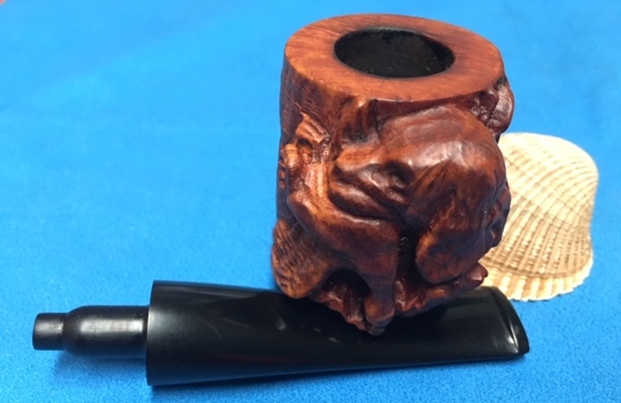
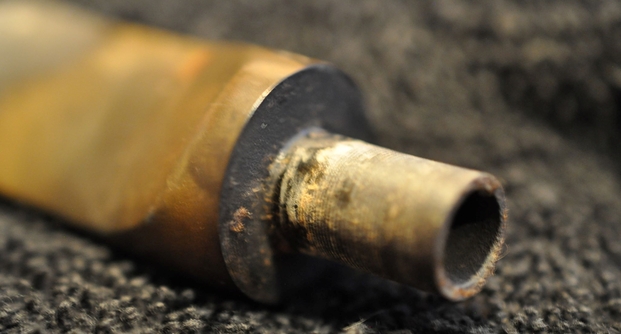
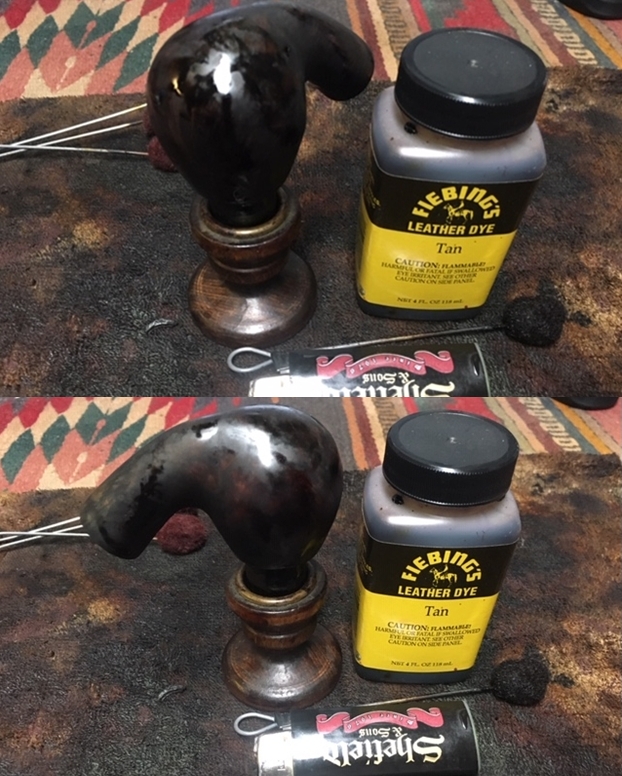
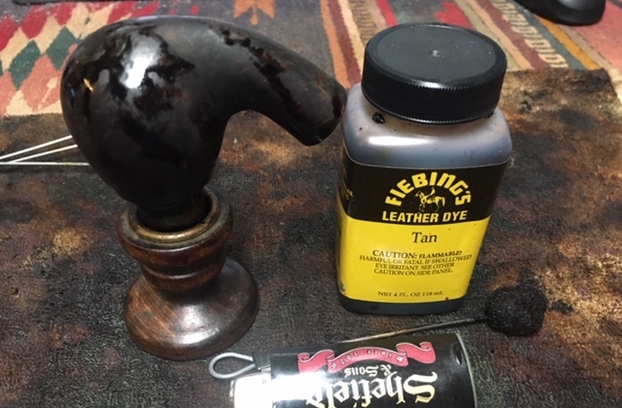
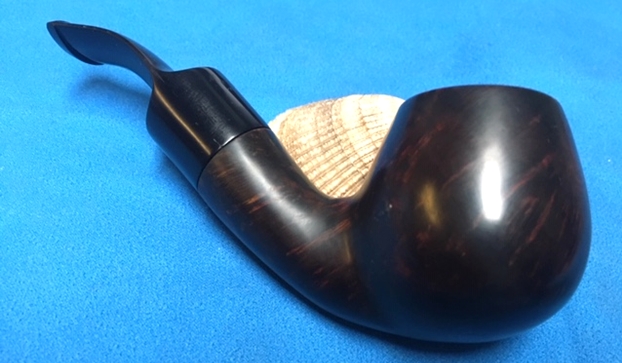
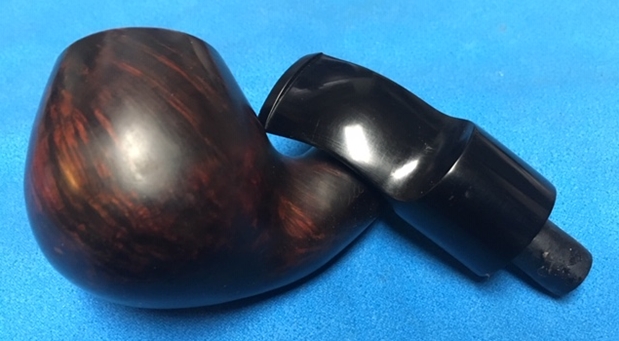
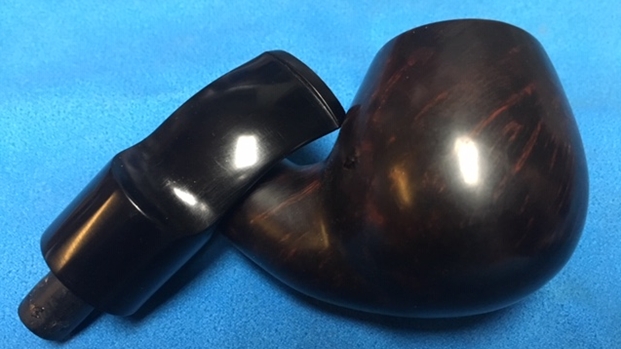
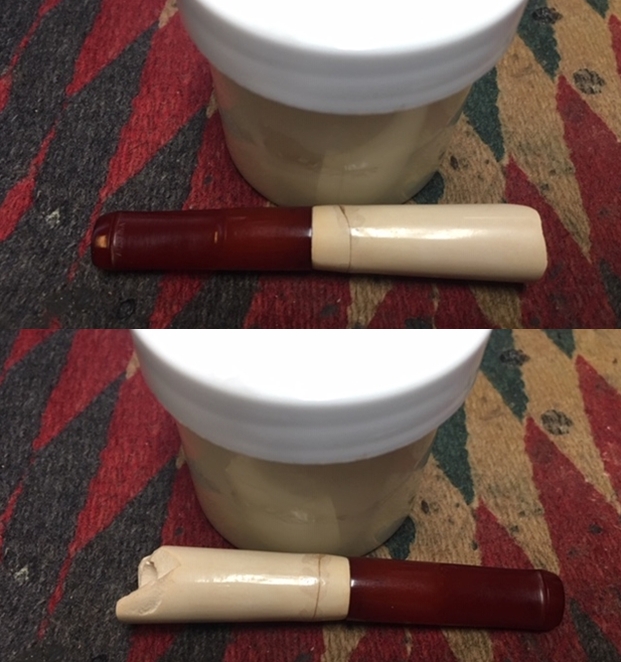
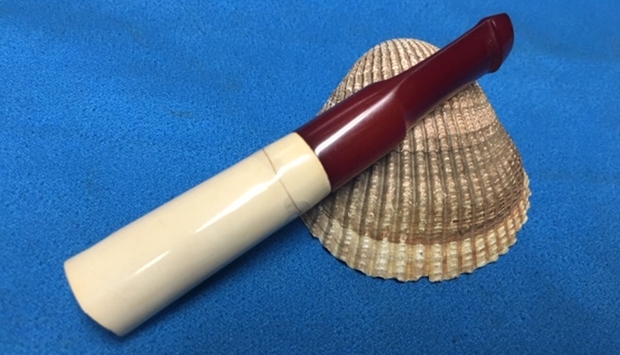
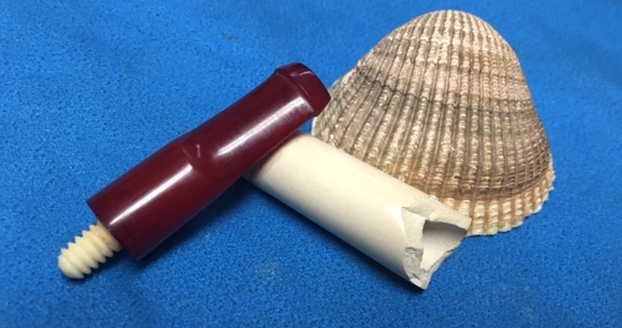
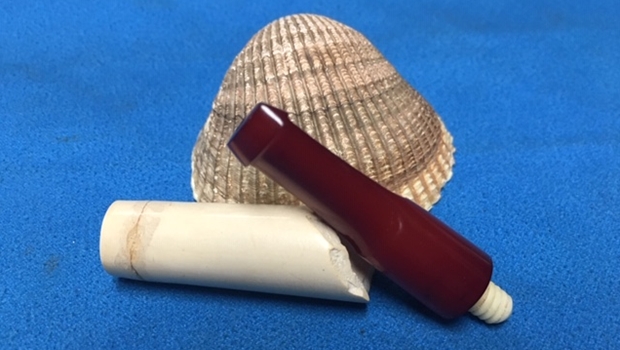
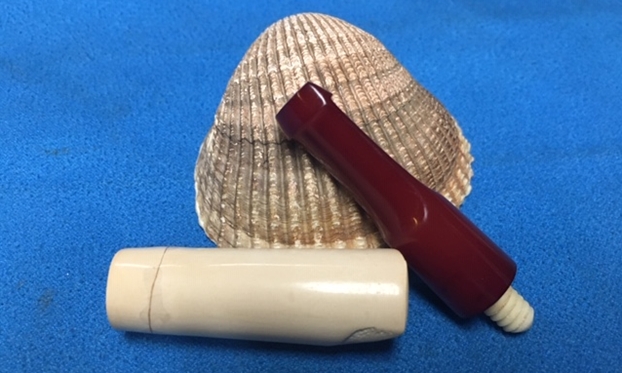
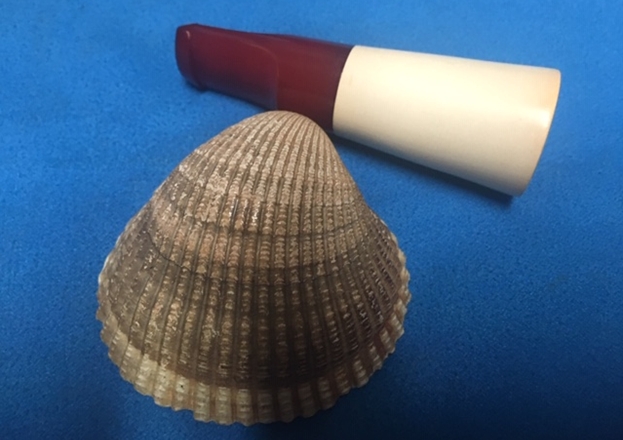
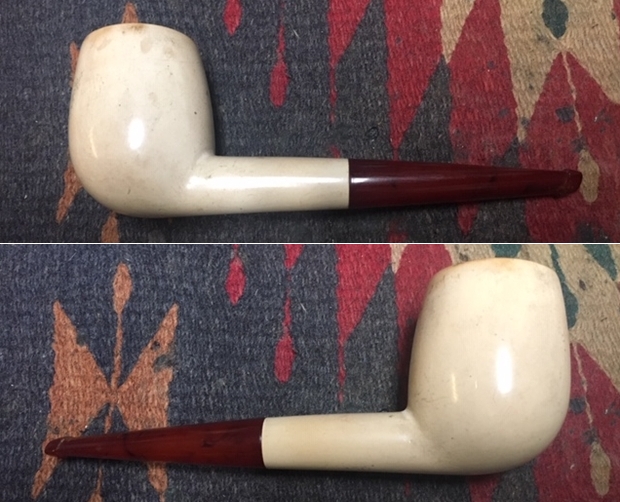
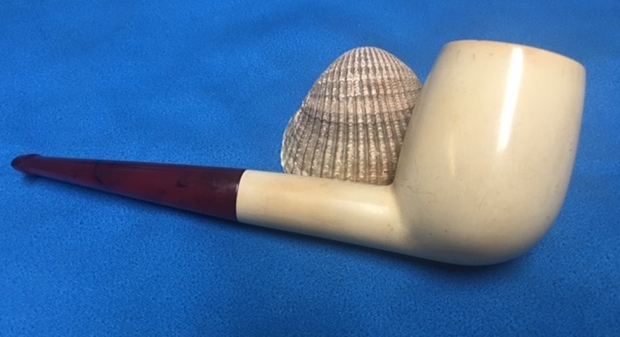
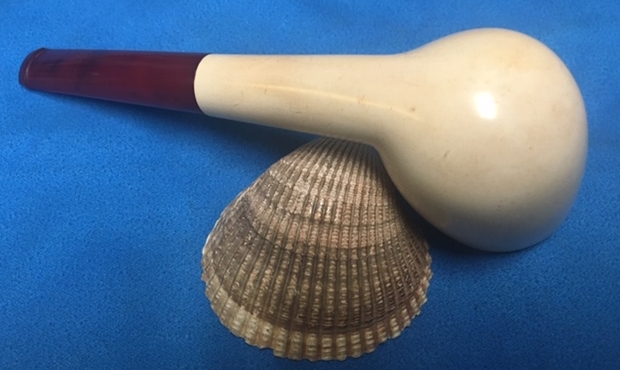
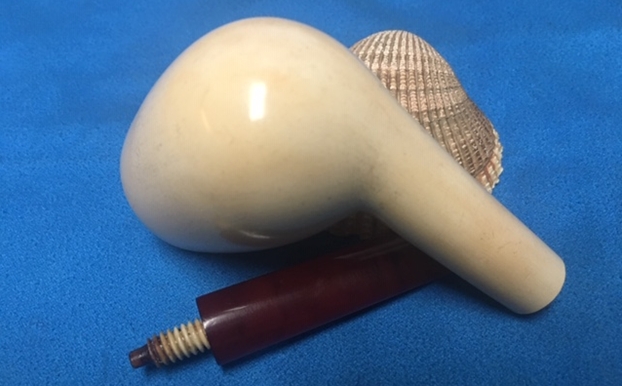
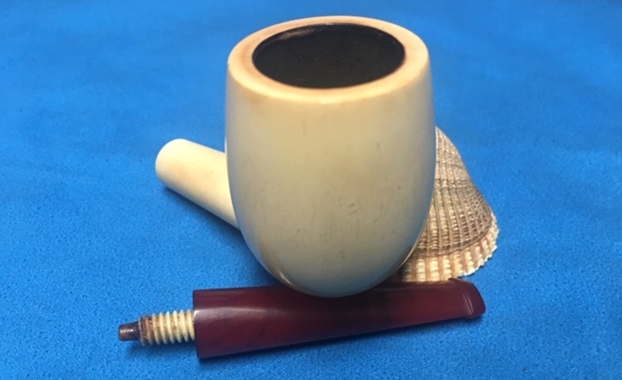
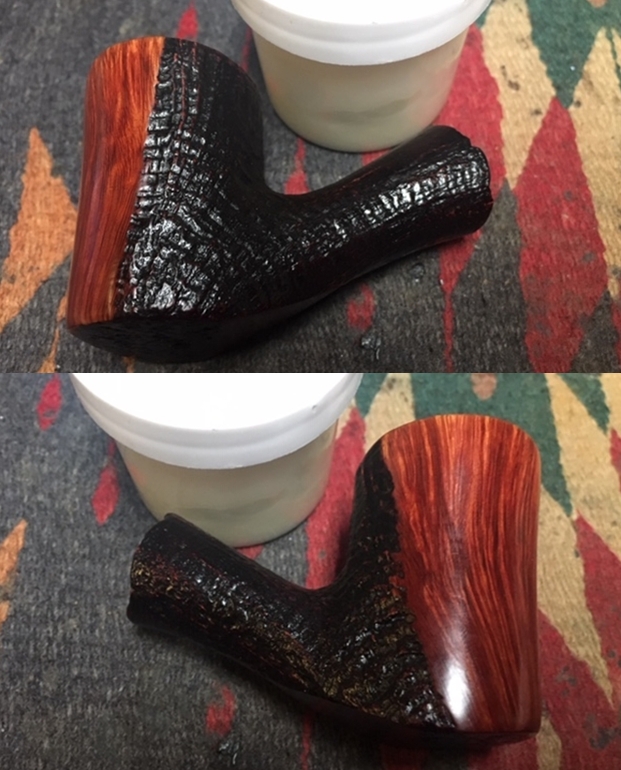
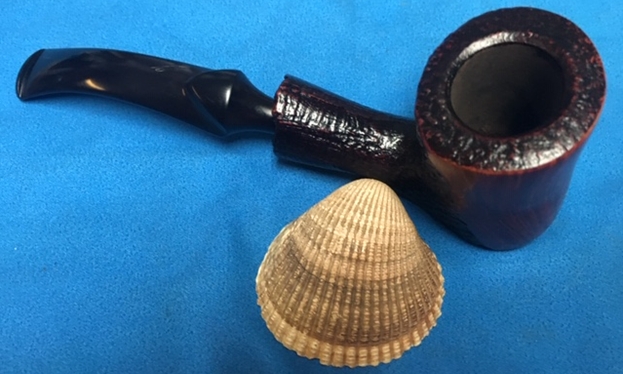
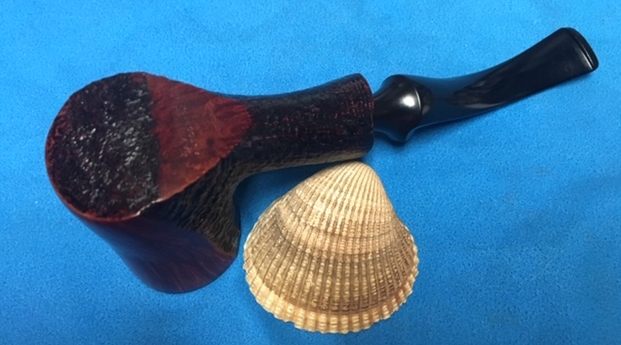
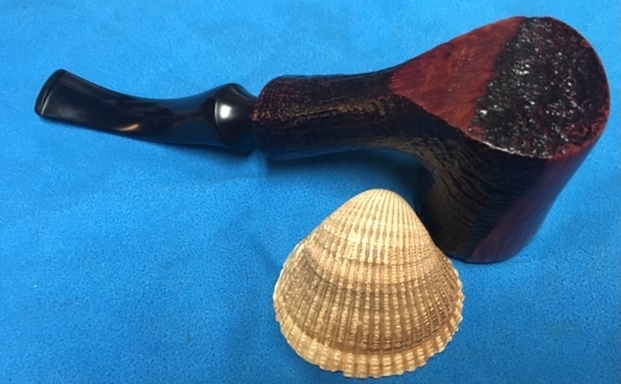
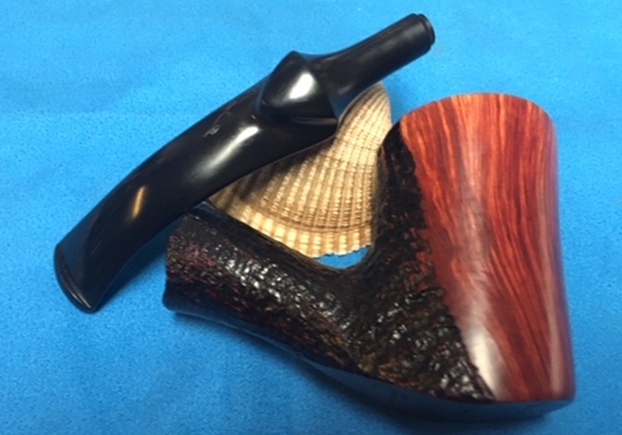
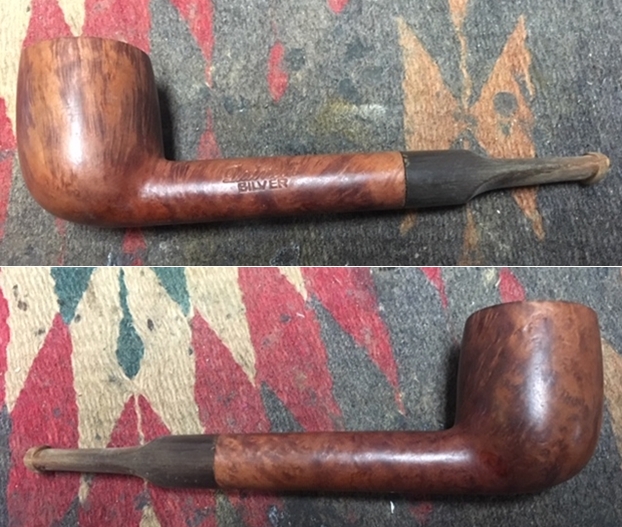
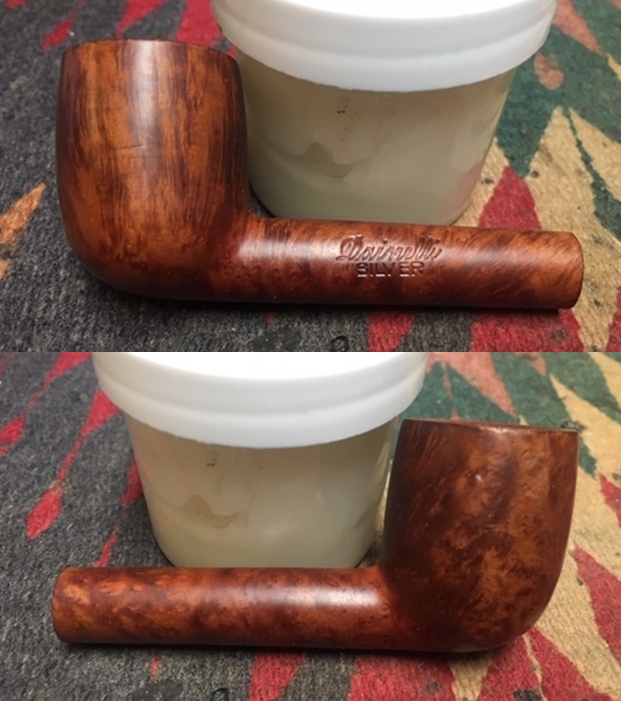
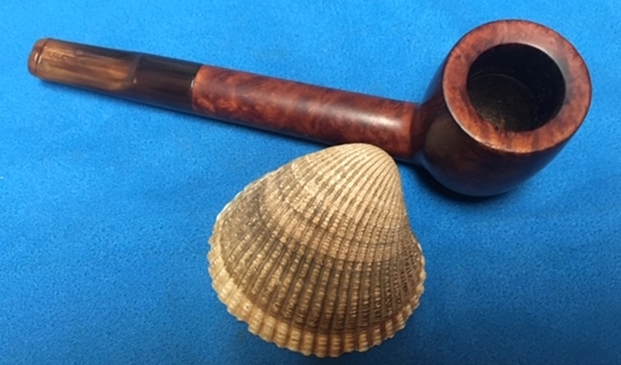
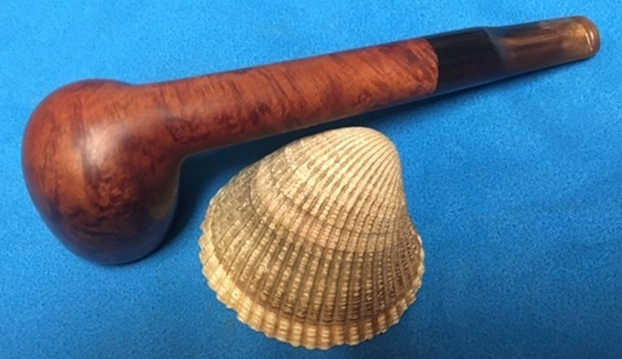
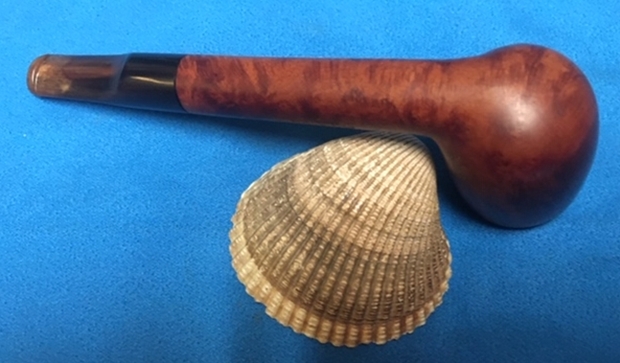
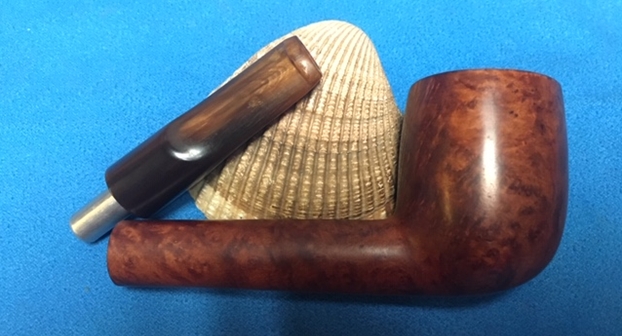
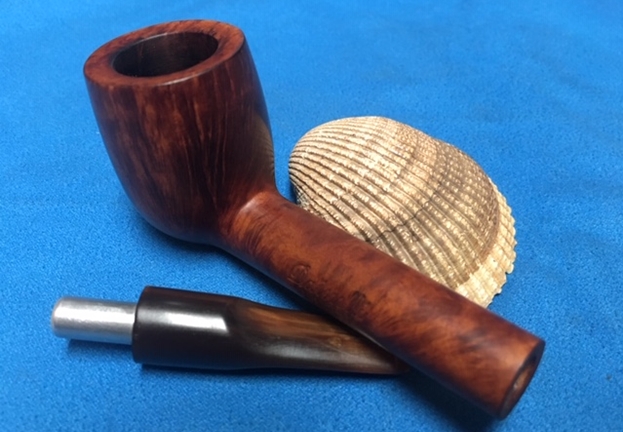
The next pipe in the queue is another pipe from the batch of pipes I am cleaning up for Alex – this one is another Schoenleber Hand Made – a straight shank Pot shaped pipe with some beautiful grain around the bowl and shank. The pipe does not appear to have been stained but sports the same look as the Malaga pipes that I have been working on. The carver did a great job utilizing the block of briar to maximize the grain. The pipe is stamped on the left side of the shank and reads Schoenleber over Hand Made. On the right side of the shank it is stamped Imported Briar. On the right side next to the bowl/shank junction there is a number 5 which is either a shape number or size designation. The taper stem is vulcanite and has no marking or stamping. This is another nice looking piece much like many of the pipes Alex is picking up. The bowl had a thick cake and lava flow and some darkening on the rim top. The exterior of the briar was dirty with grime and dust. The stem had deep tooth marks and chatter on both sides near the button. The stem was oxidized and there was a thick coat of calcification on the stem for the first inch ahead of the button. The photos below give a glimpse of the pipe before clean up.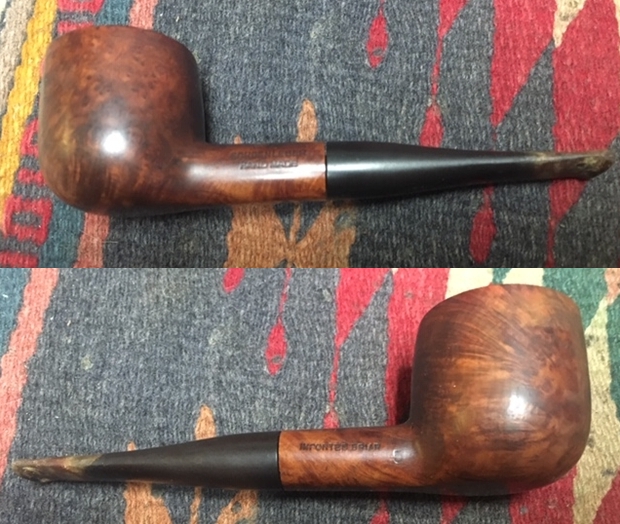
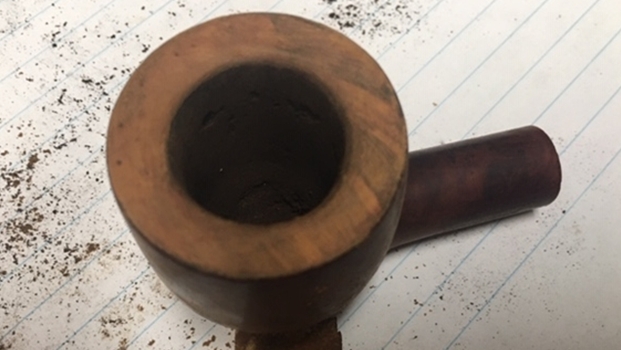
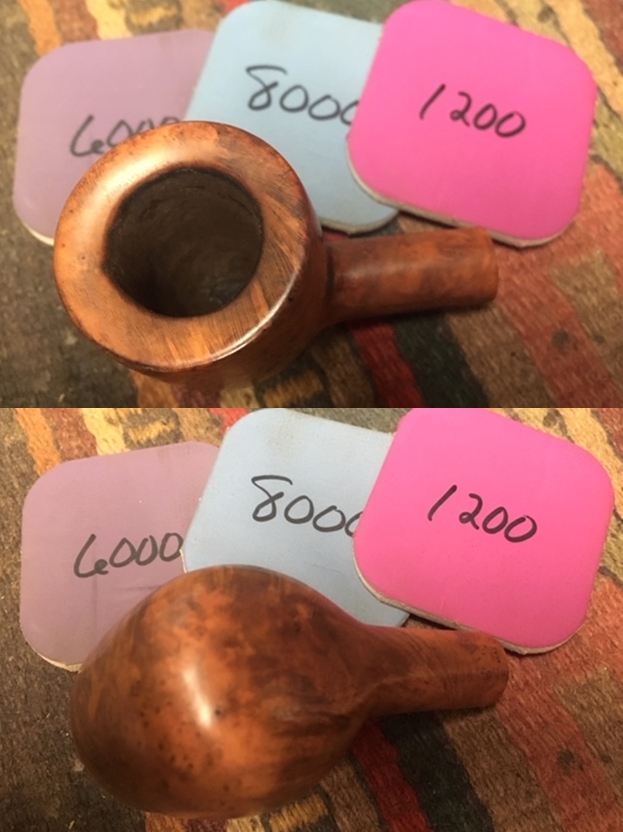
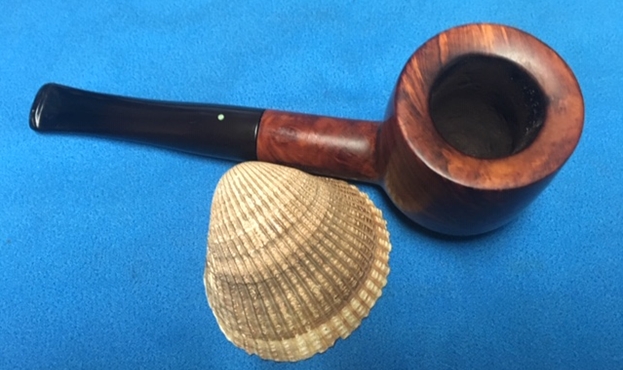
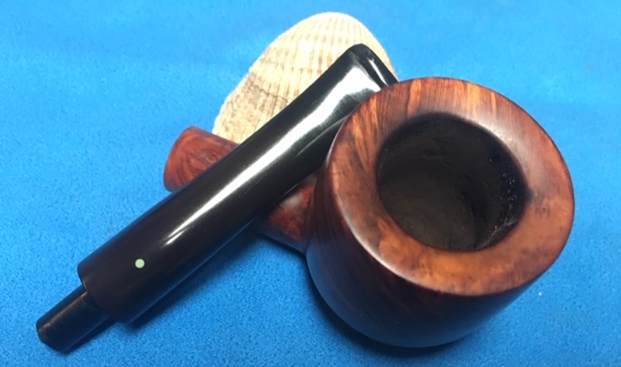
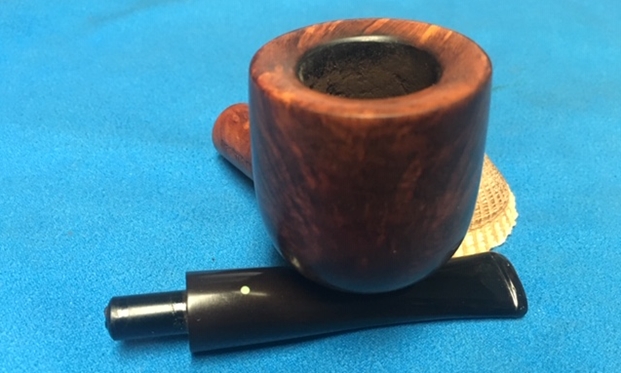
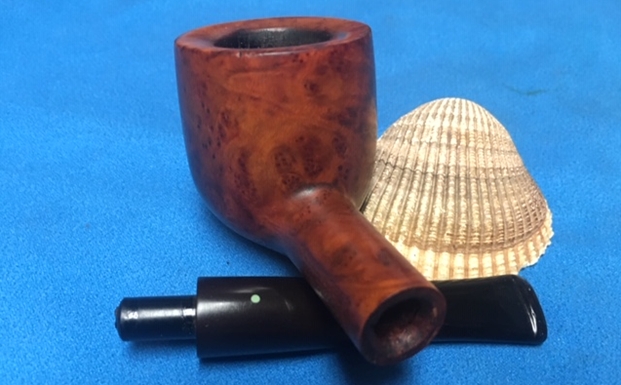
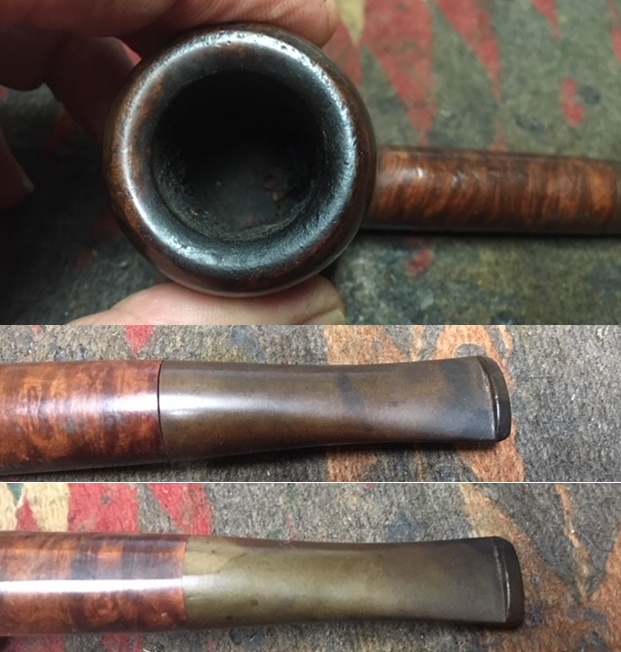
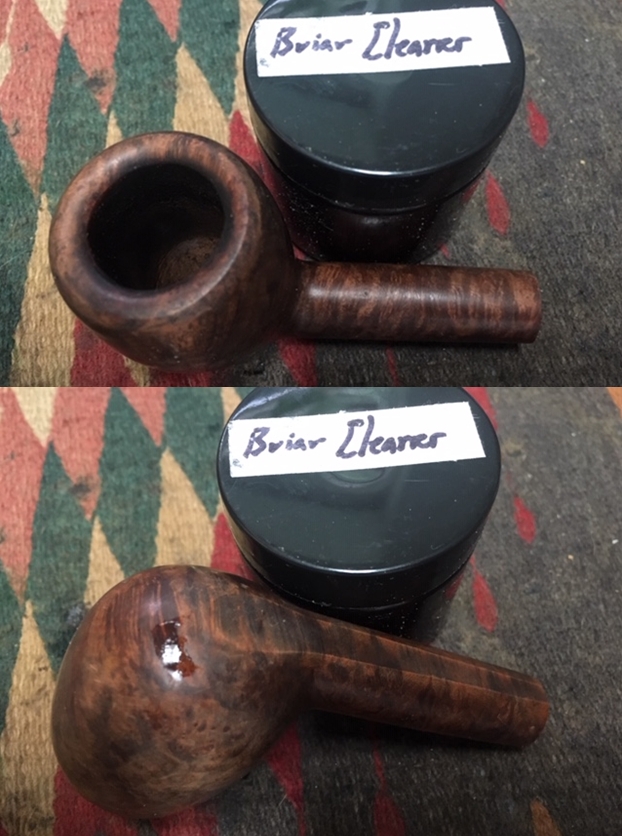
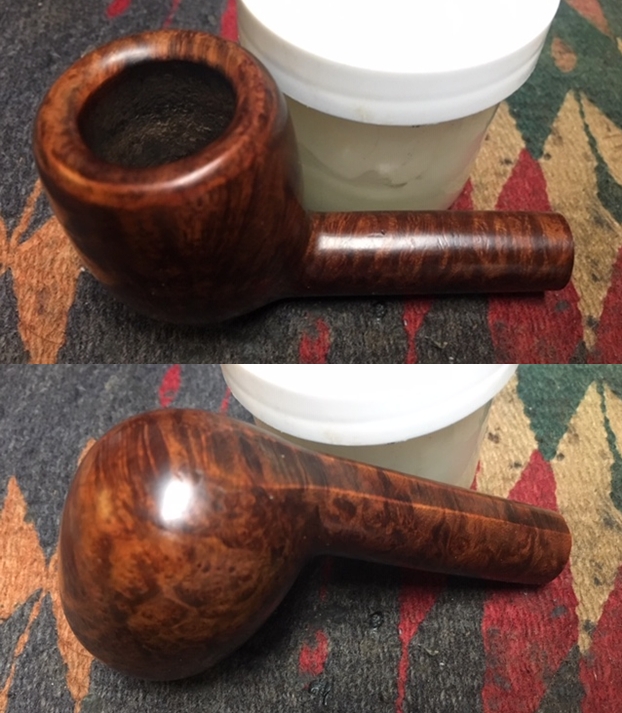
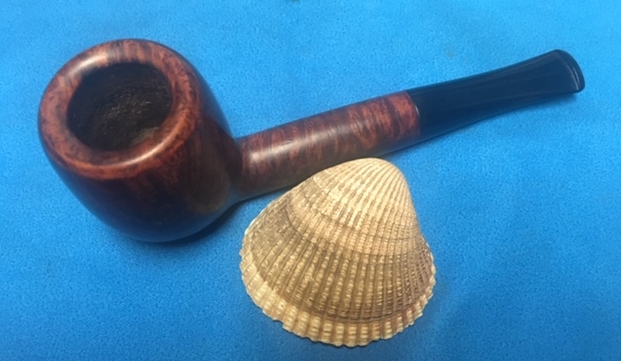
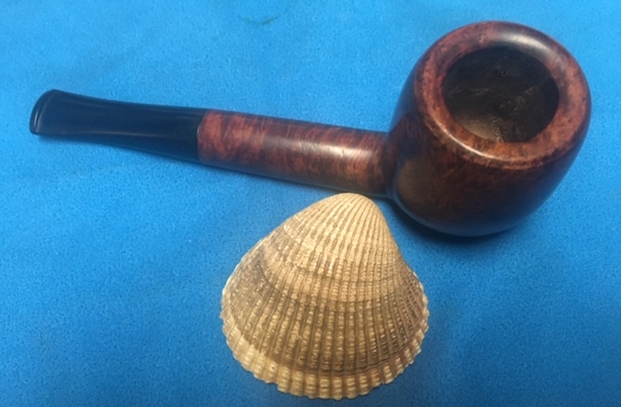
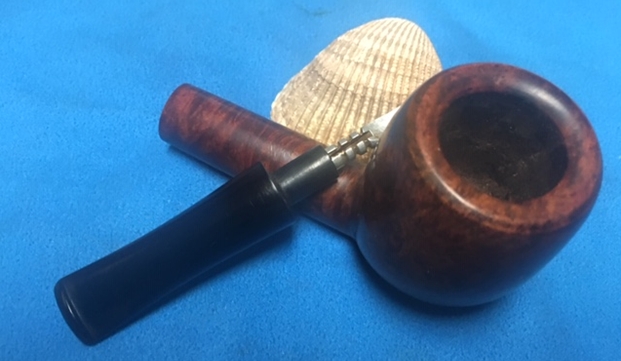
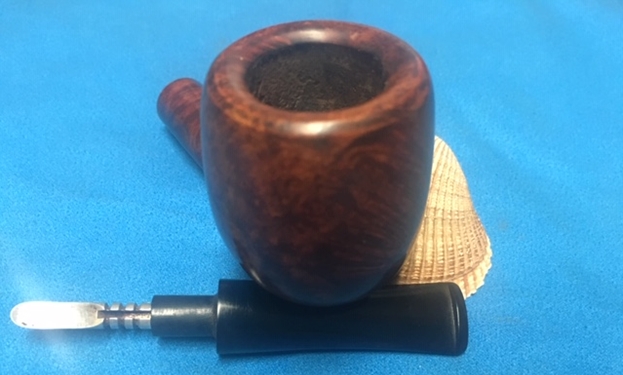
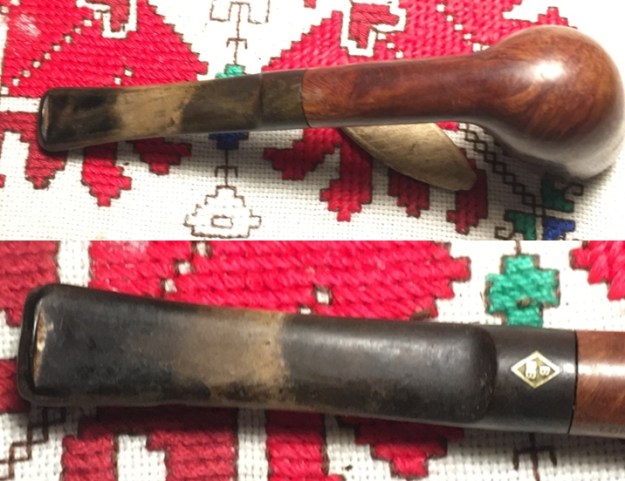
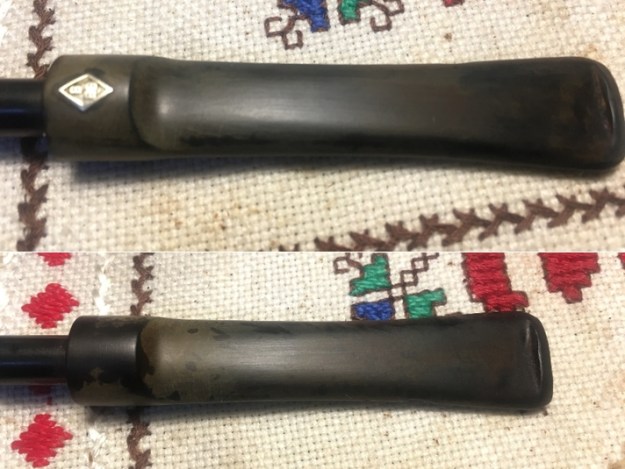
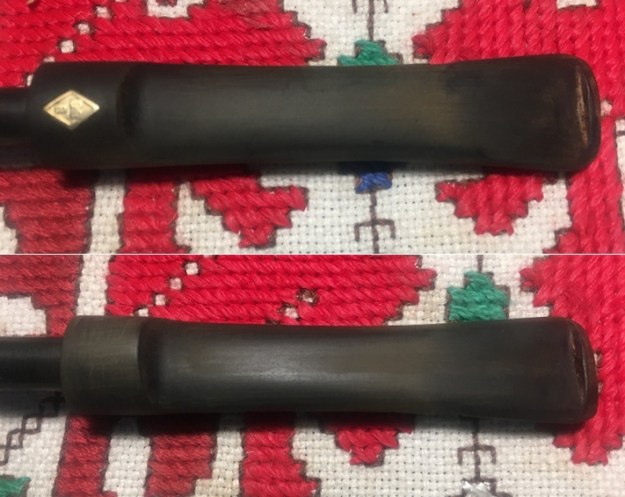
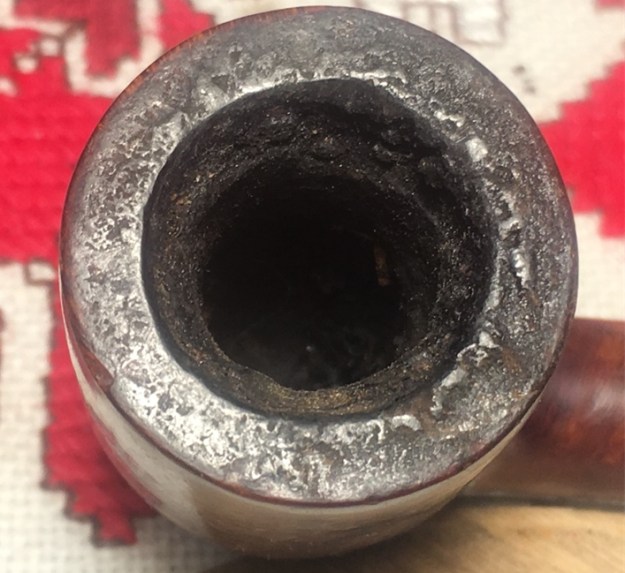
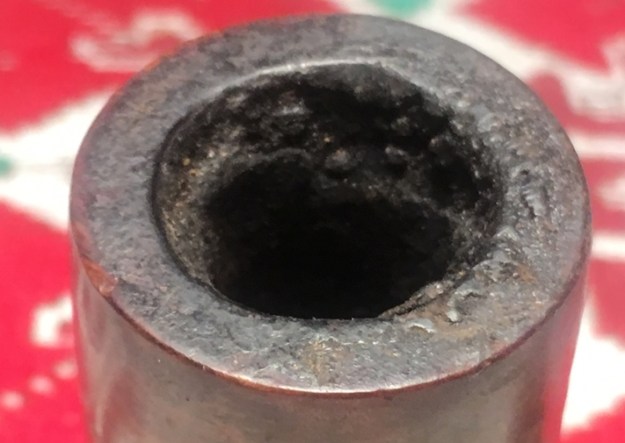
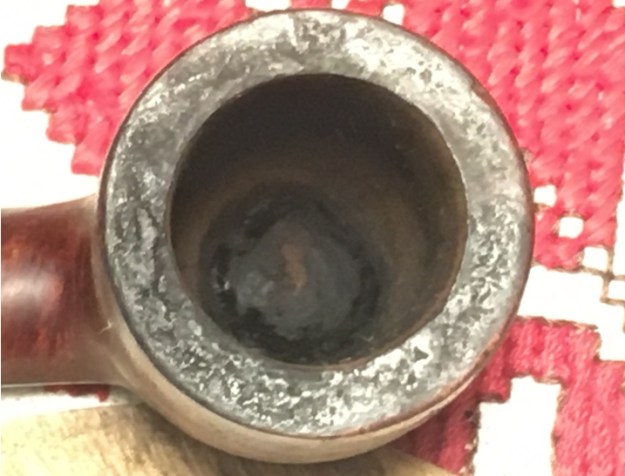
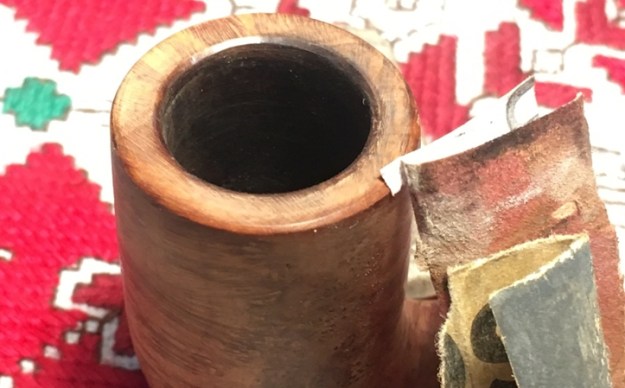
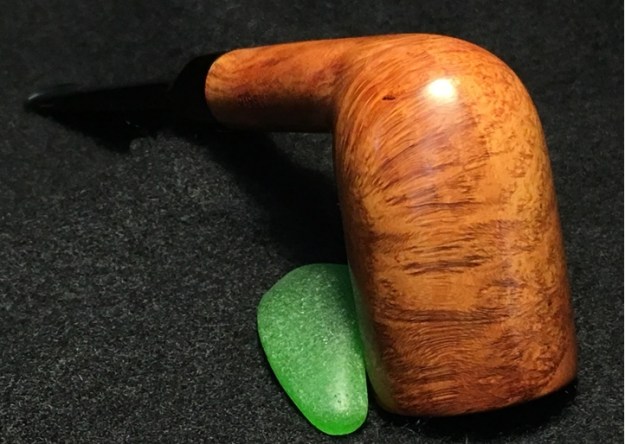
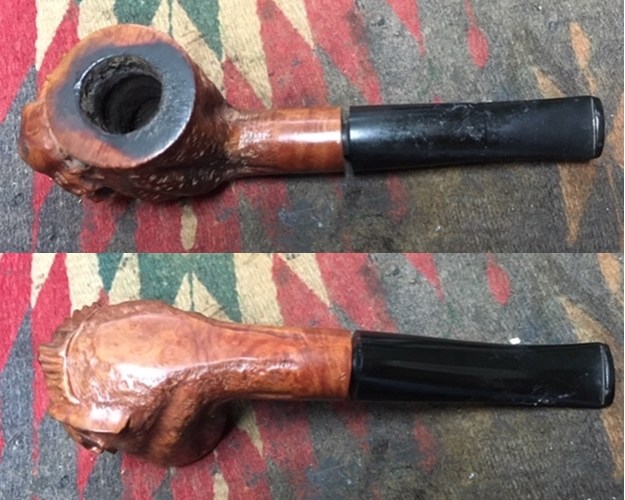
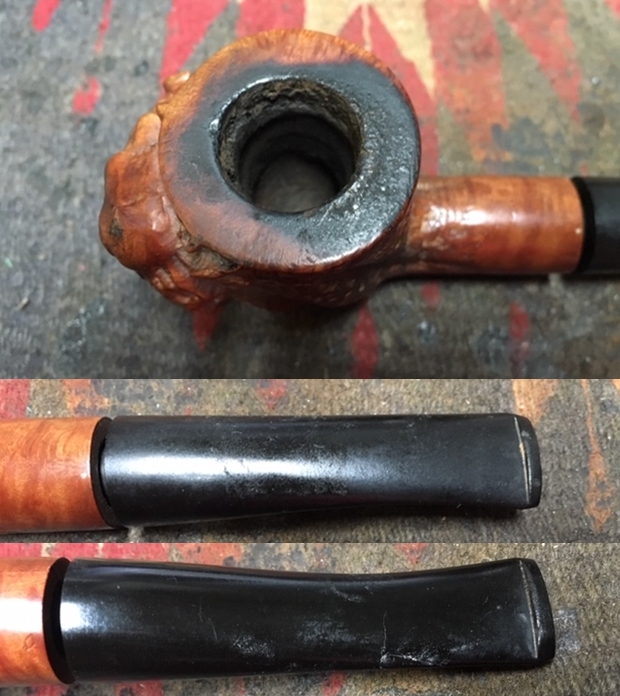
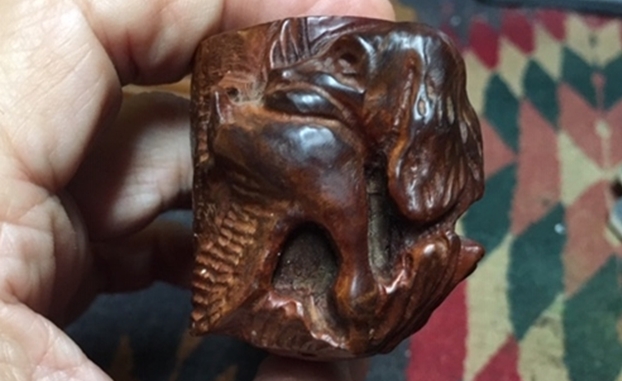
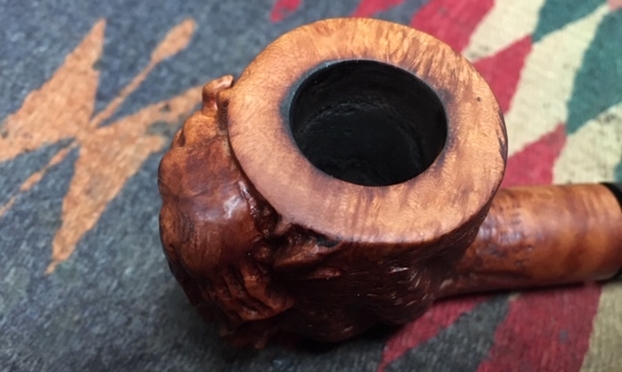
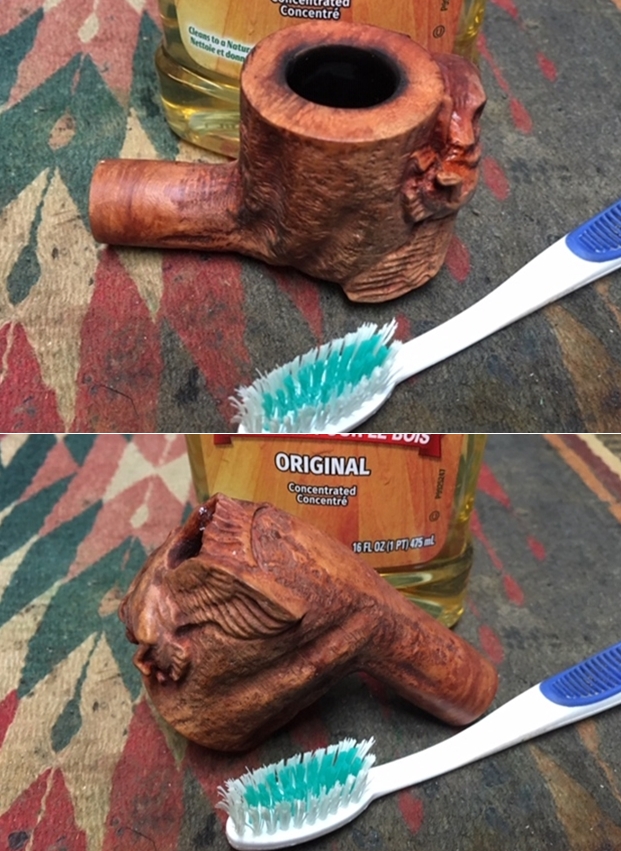
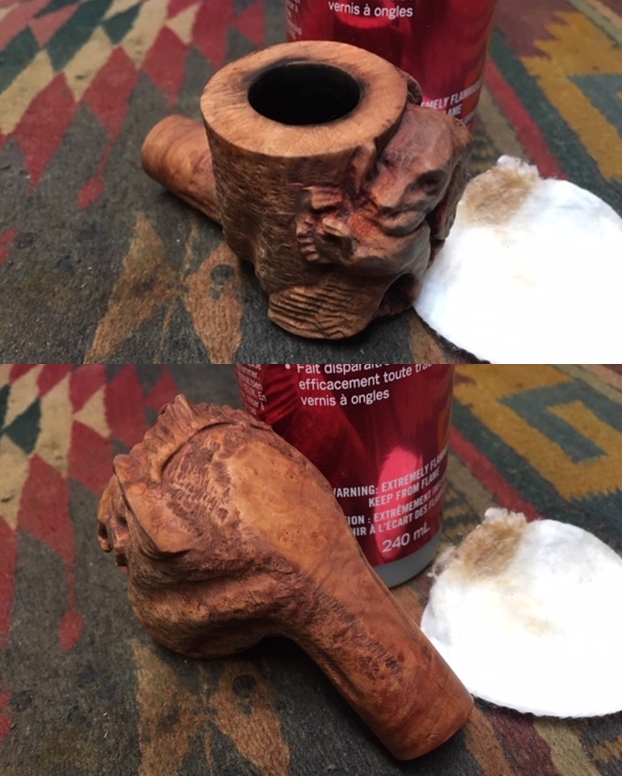
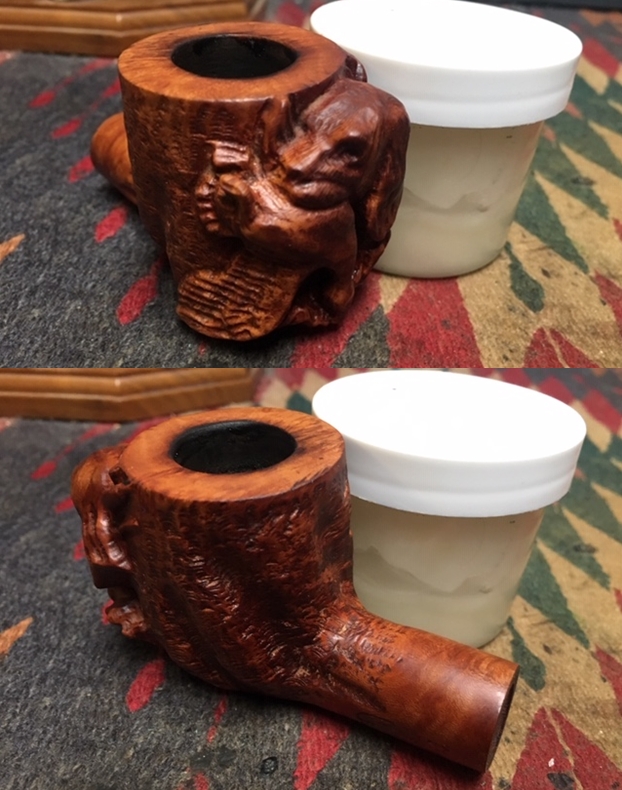
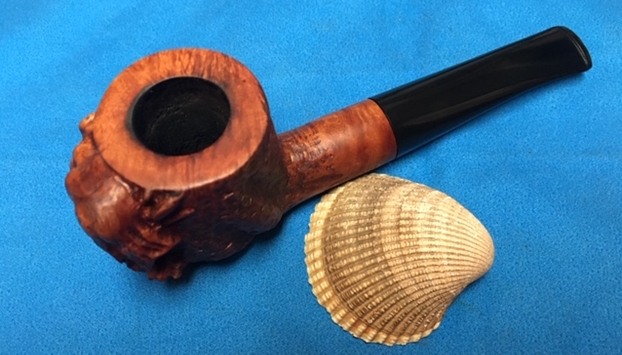
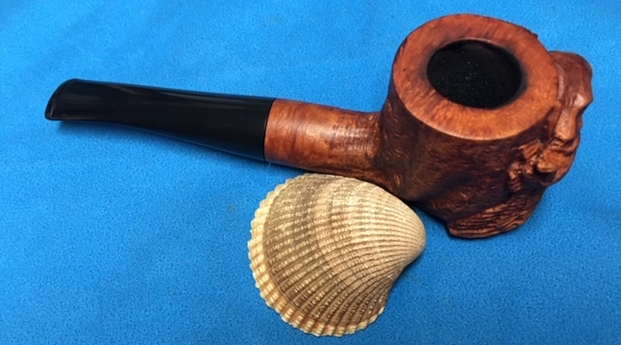
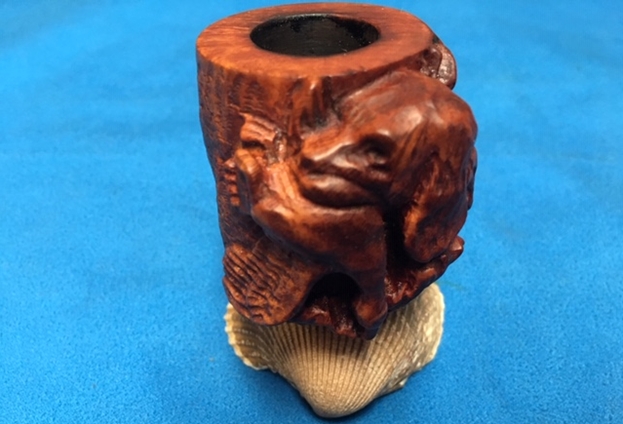
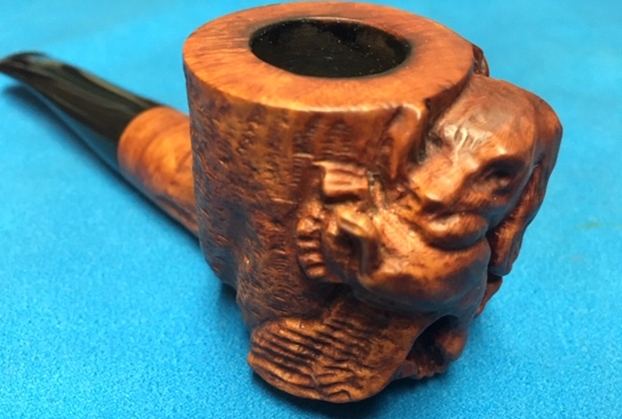
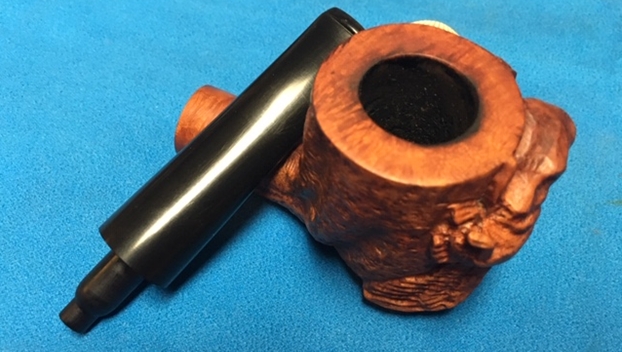
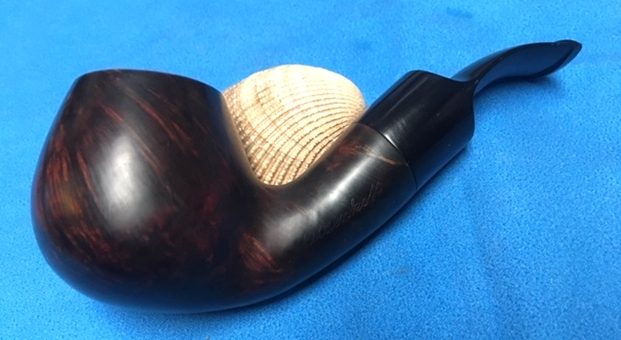
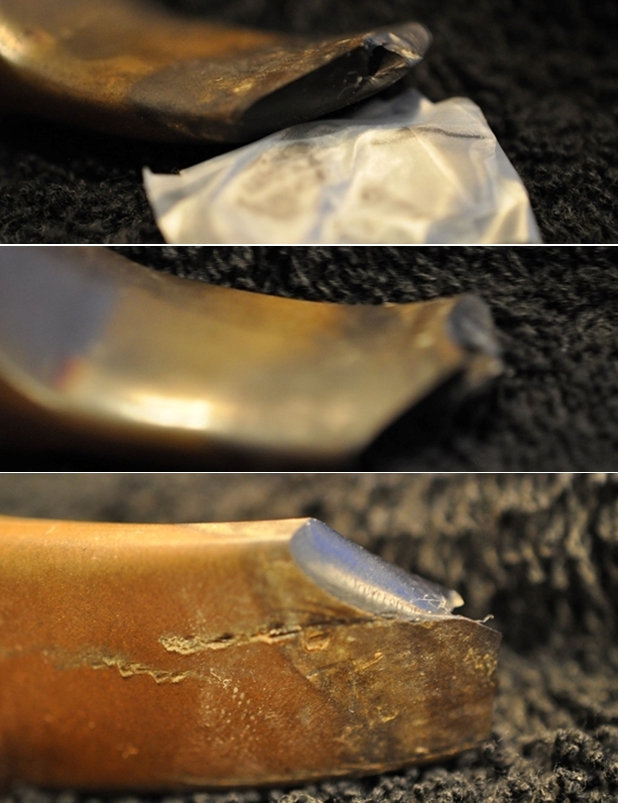
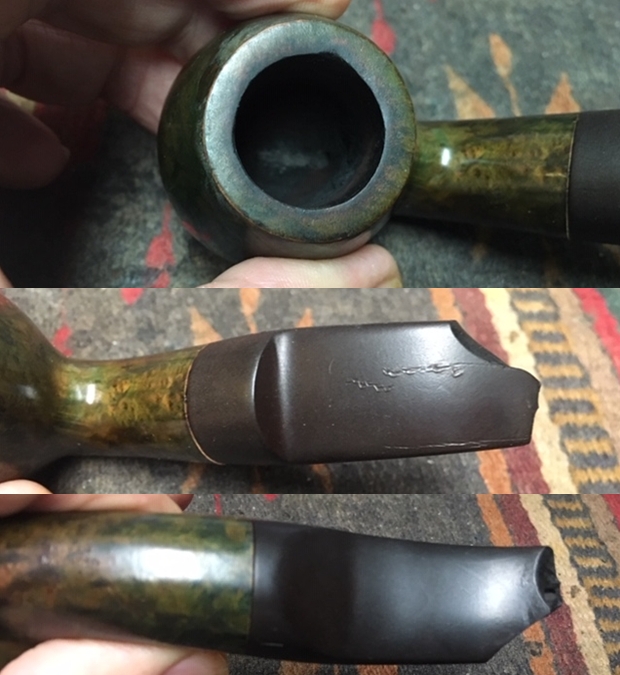
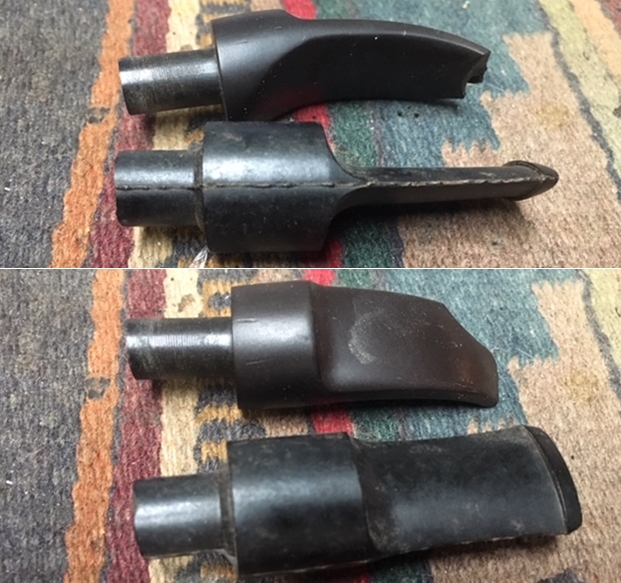
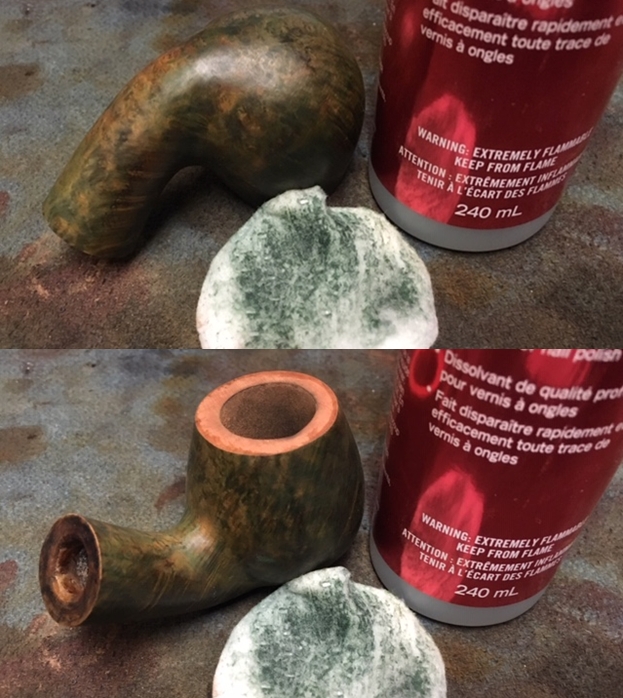
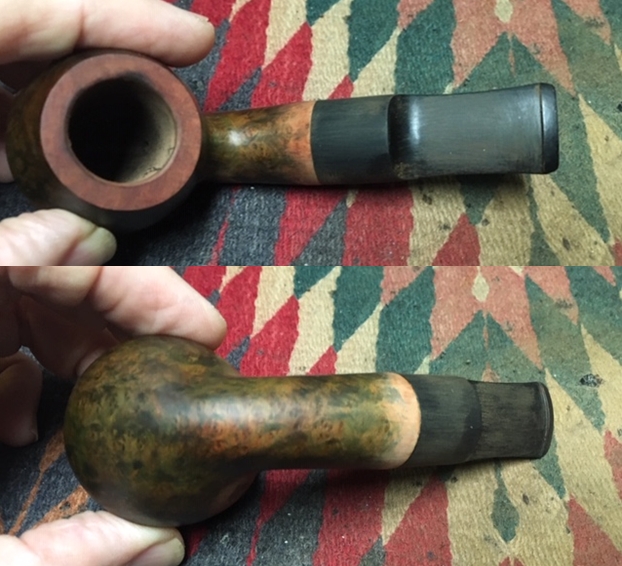
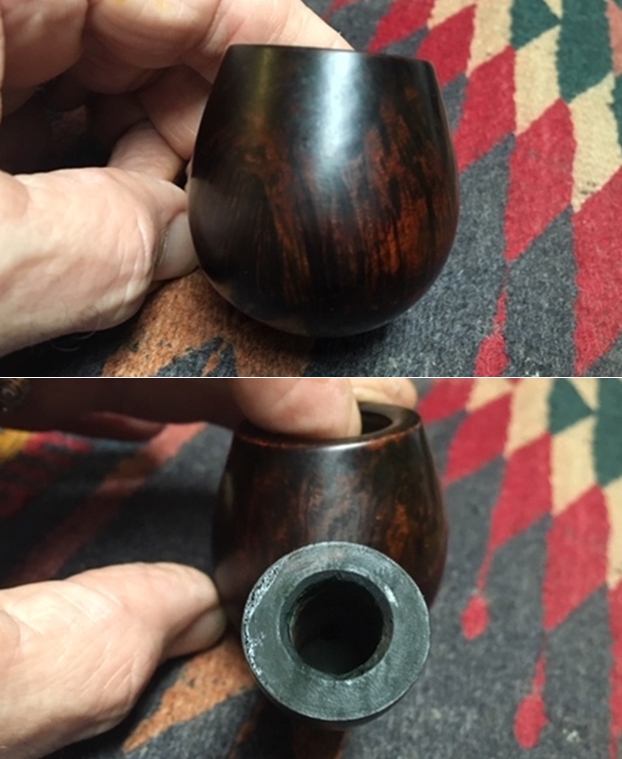
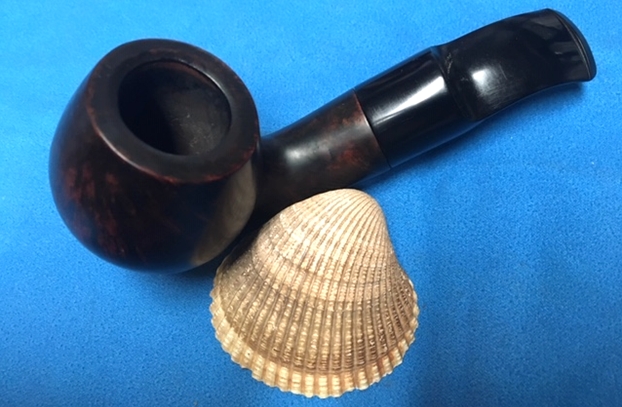
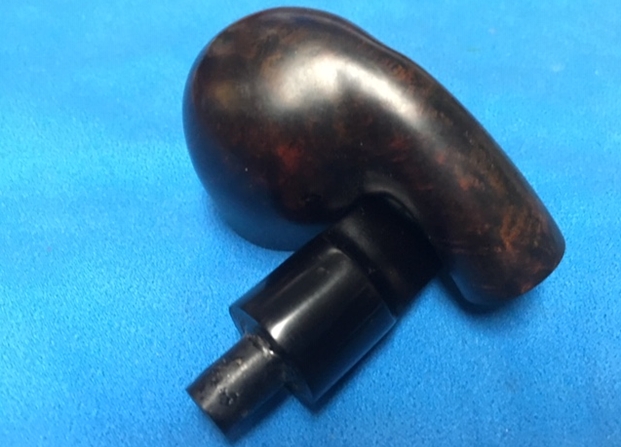
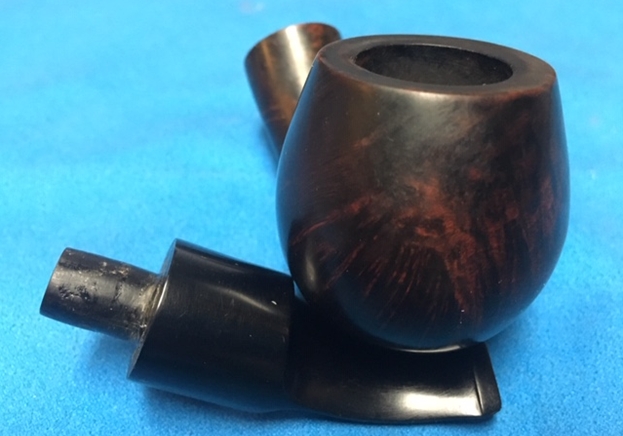
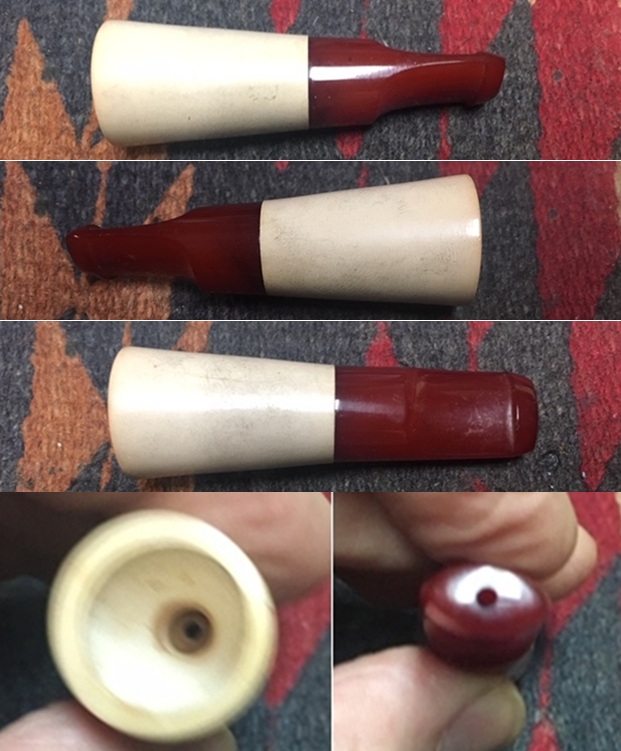
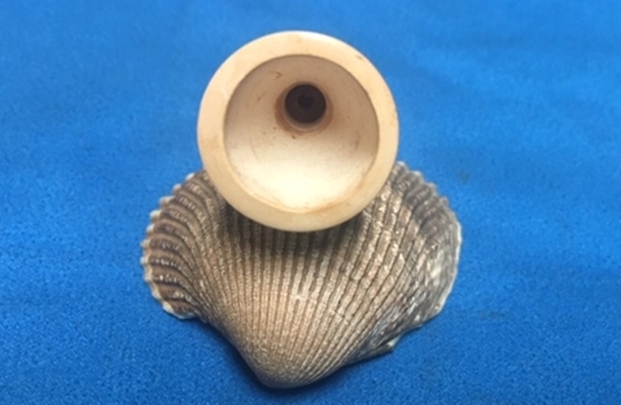
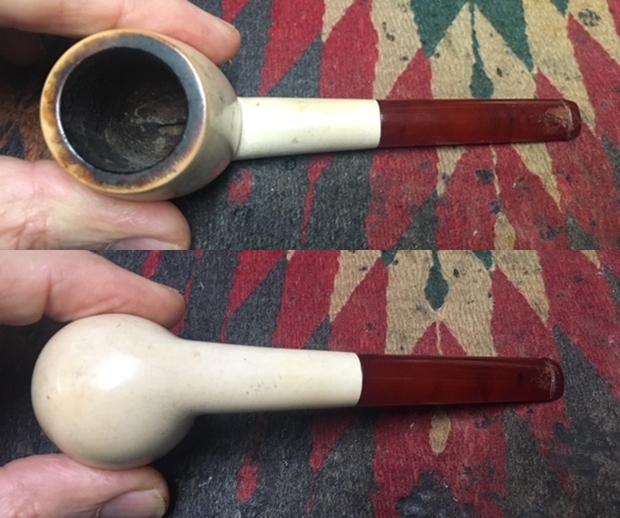
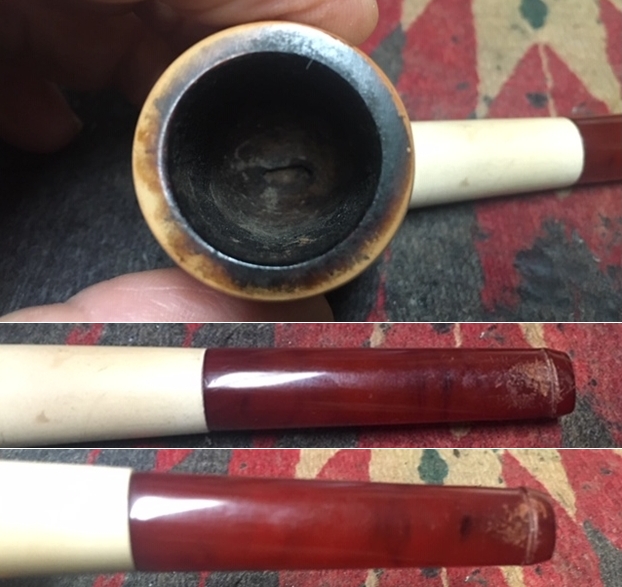
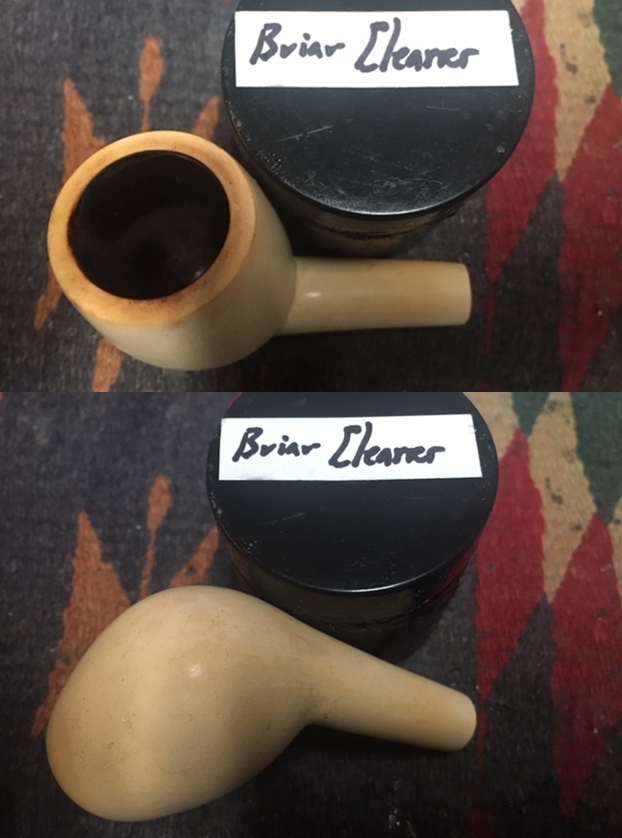
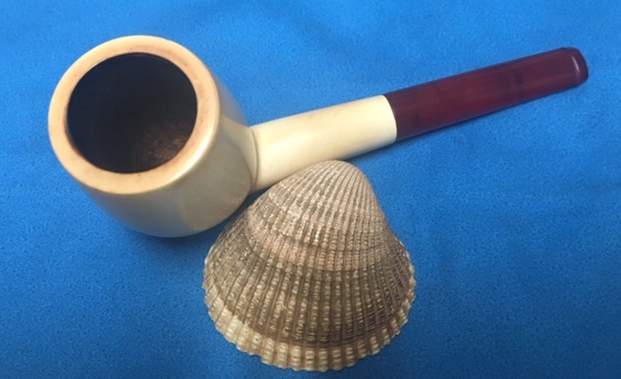
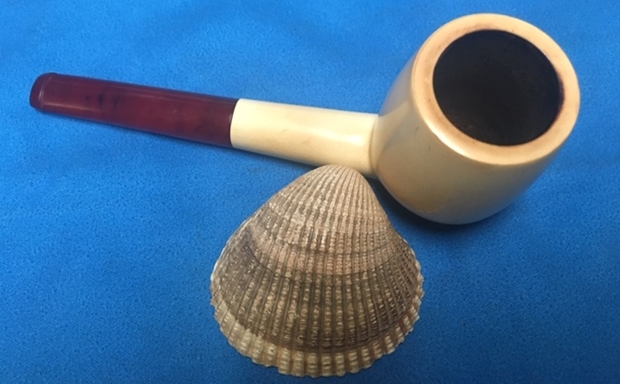
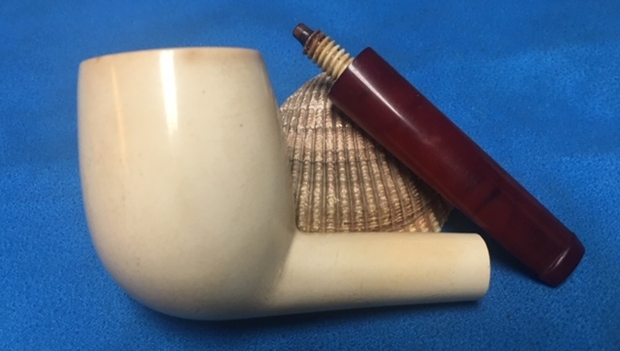
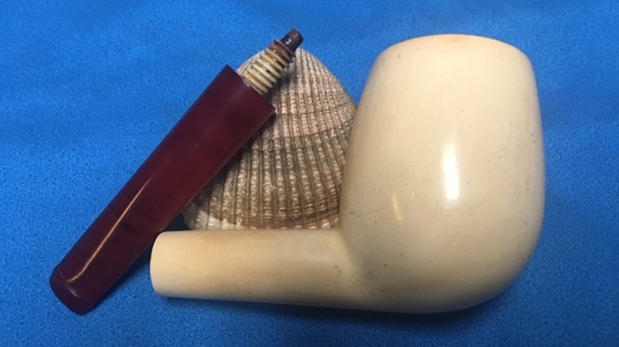
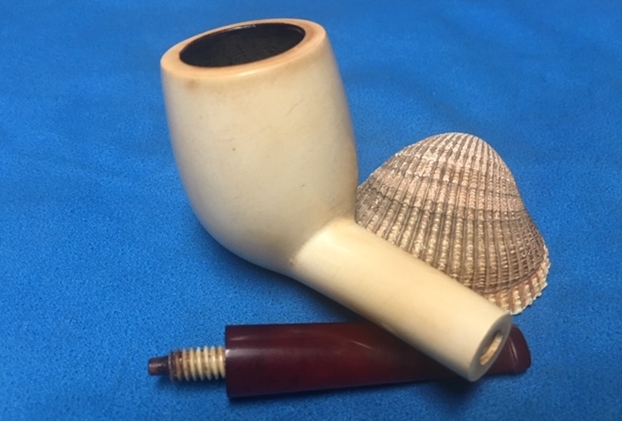
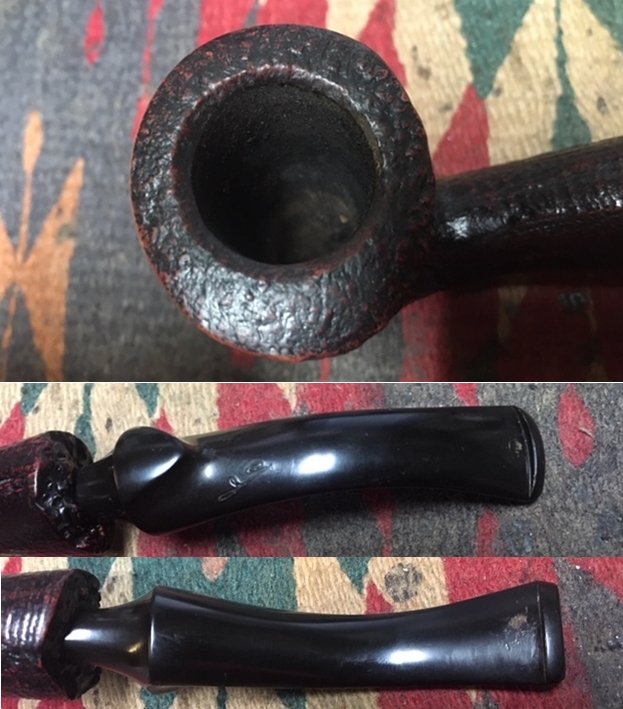
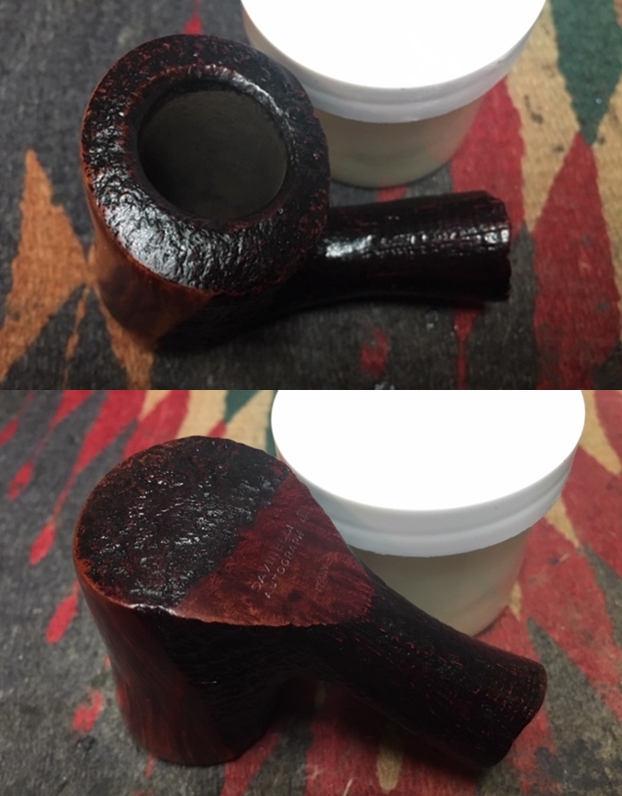
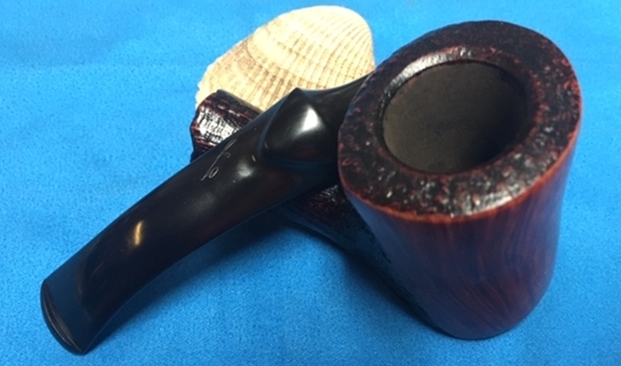
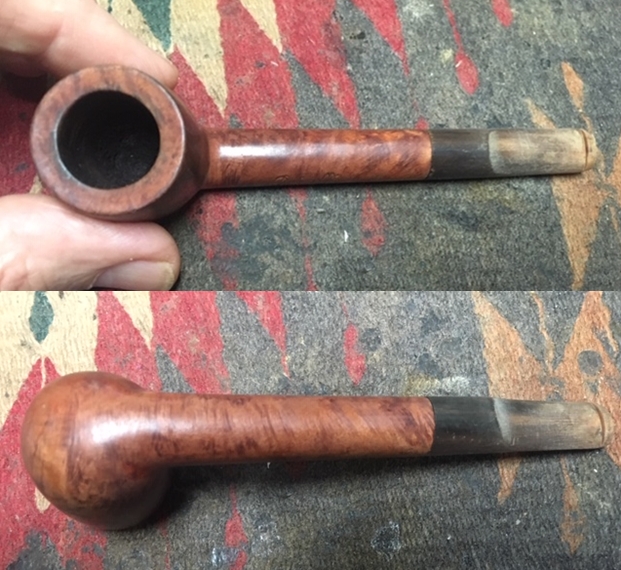
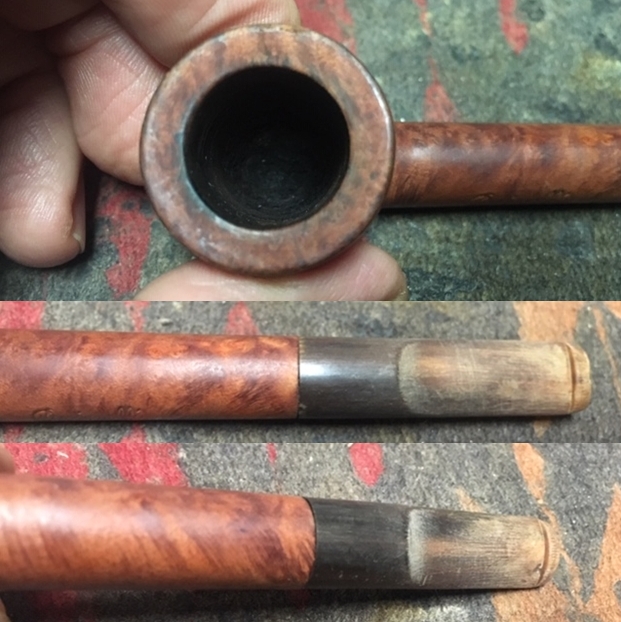
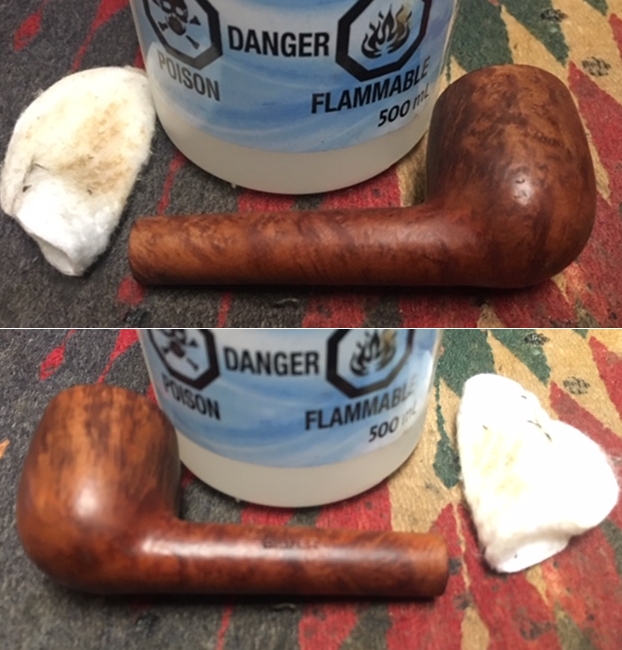
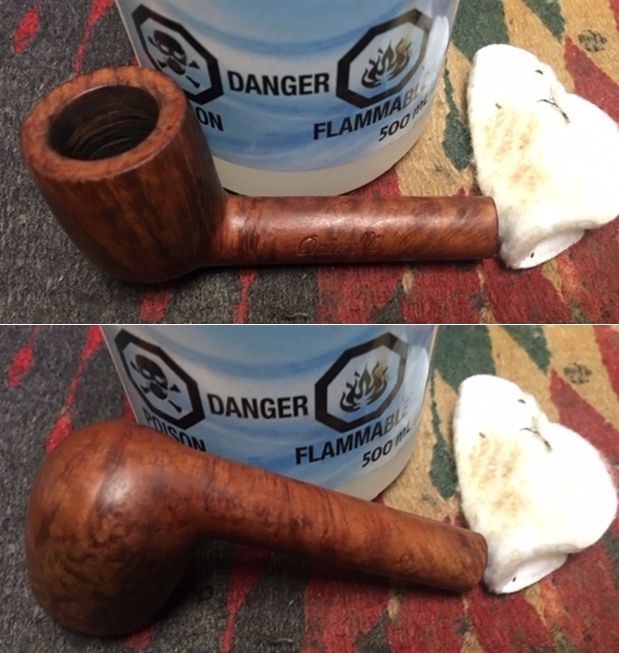
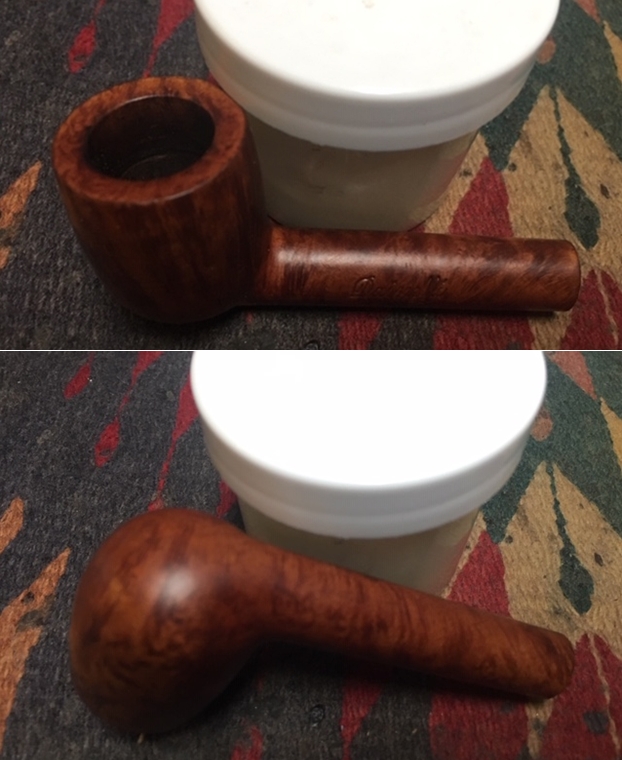
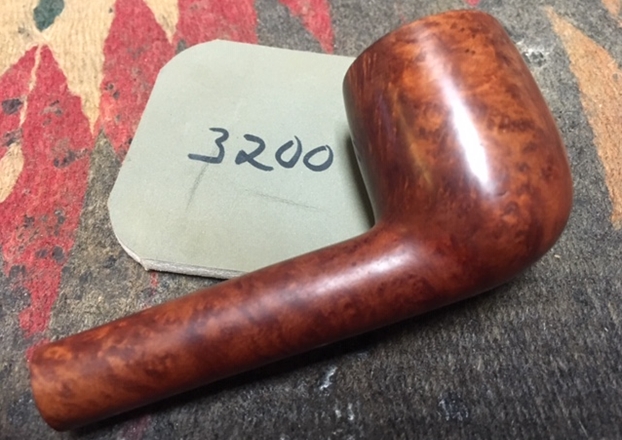
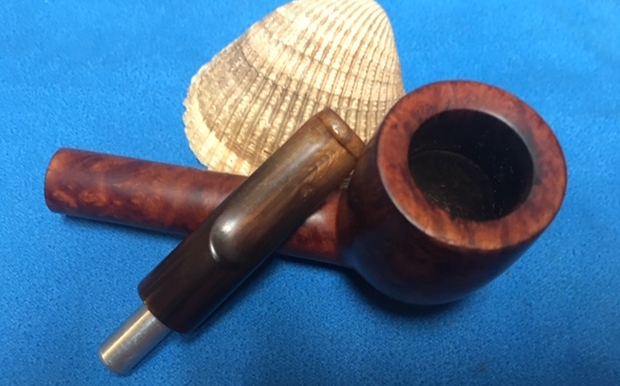
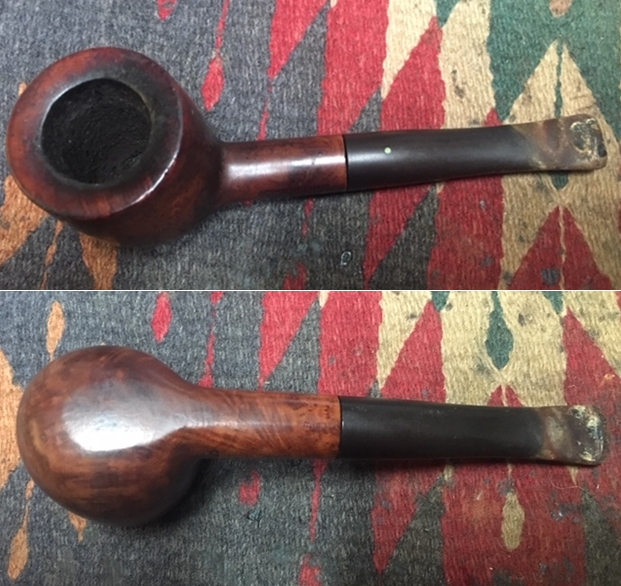 I took a photo of the bowl and beveled rim top to capture the condition of the pipe before I started my cleanup work. There was significant darkening on the top of the inwardly beveled rim at the back of the bowl. The bowl had a thick cake that flowed over the rim top. The inner edge appeared to have some damage but the outer edge of the bowl appeared to be in excellent condition. The stem was in rough condition with deep tooth chatter and deep tooth marks on both sides of the stem near the button and on the button.
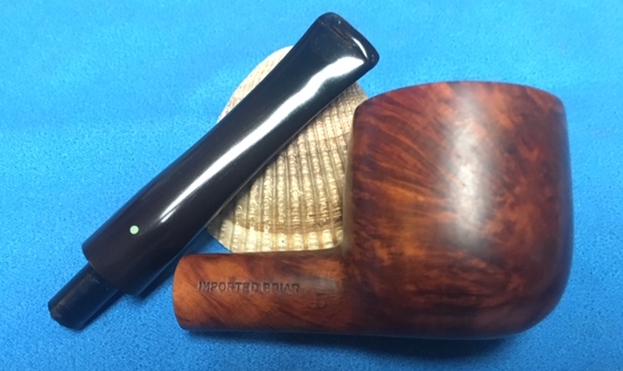
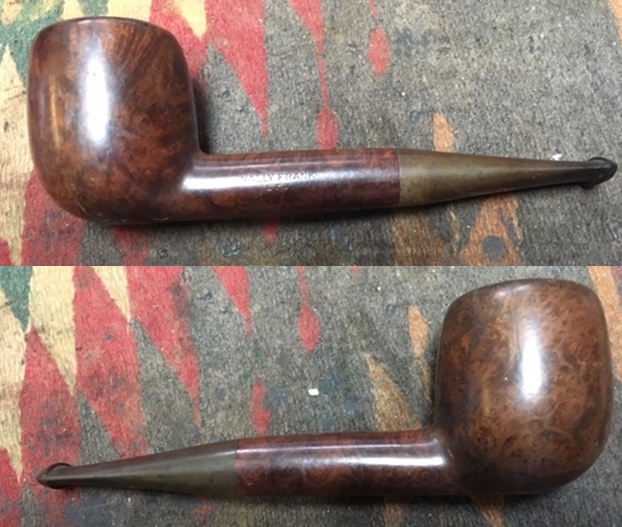
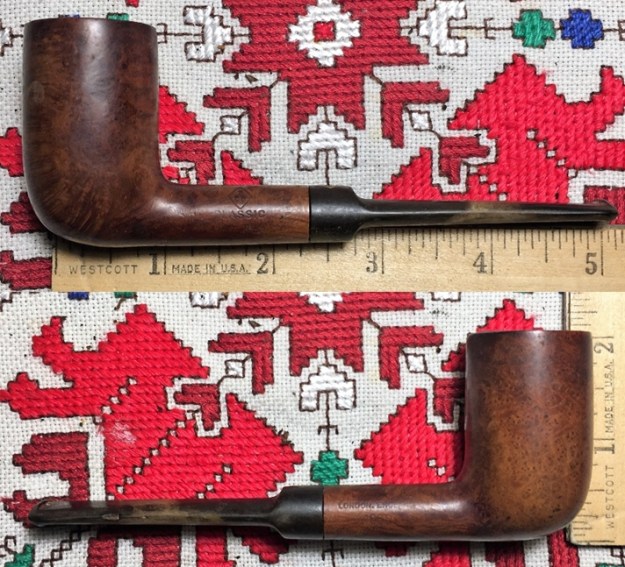
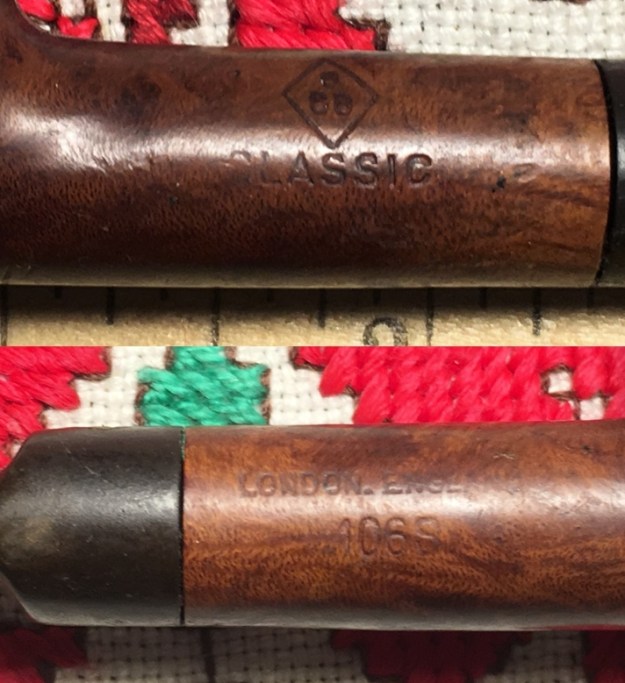
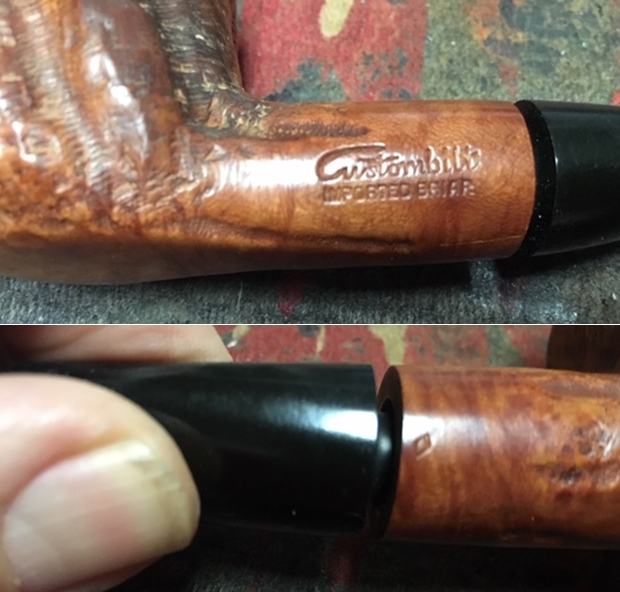
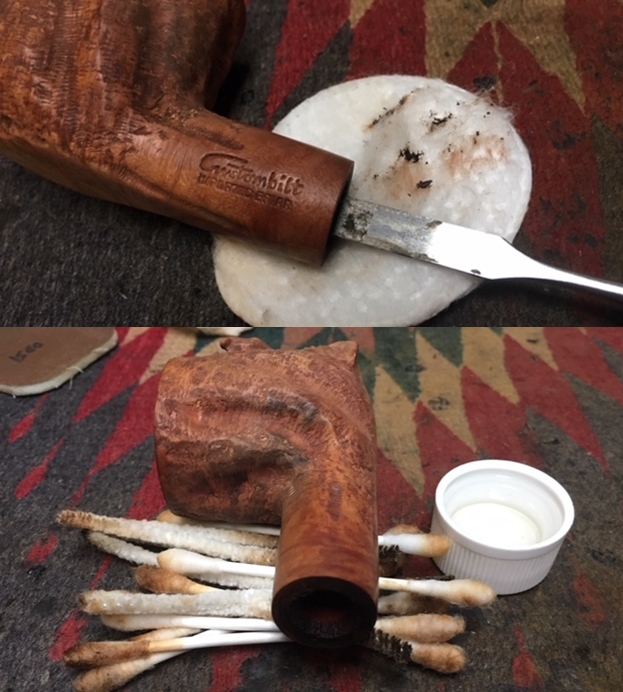
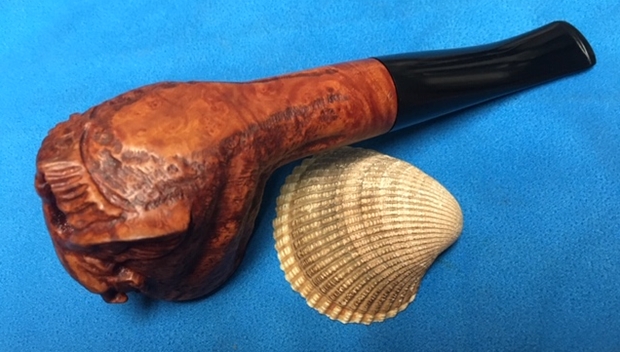
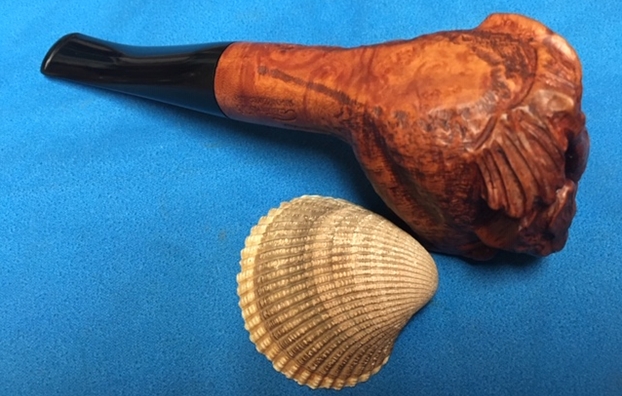
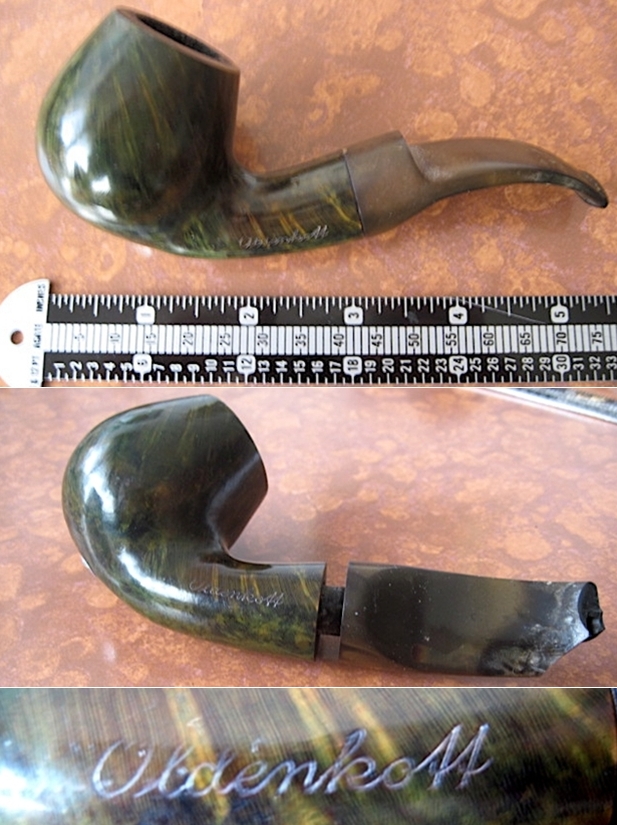
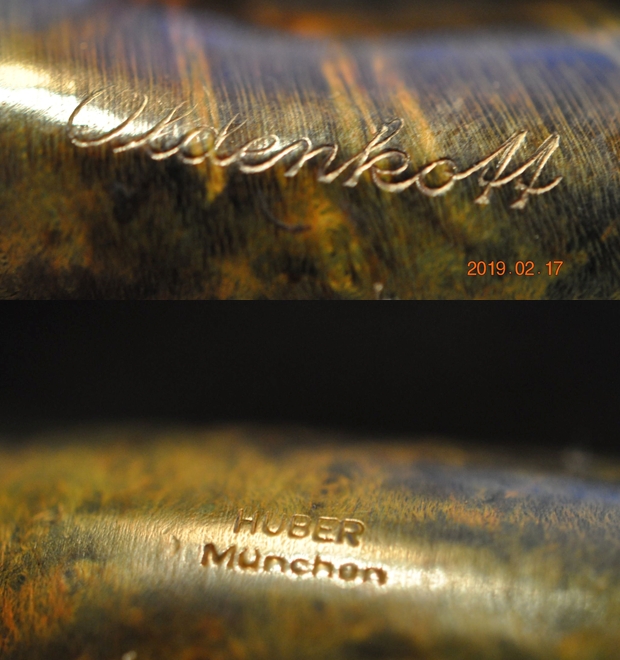
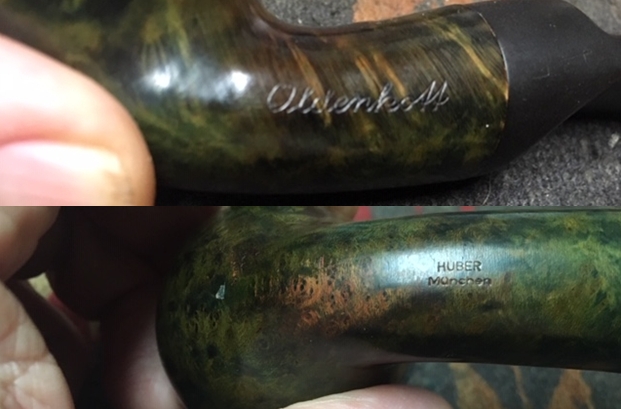
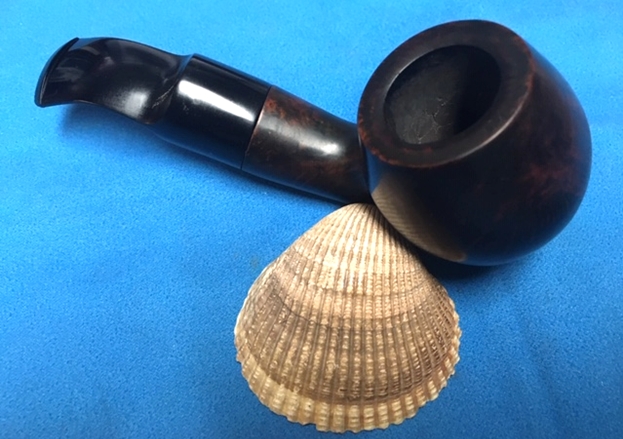
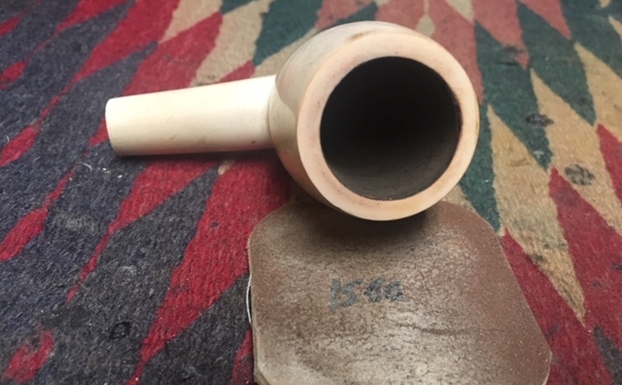
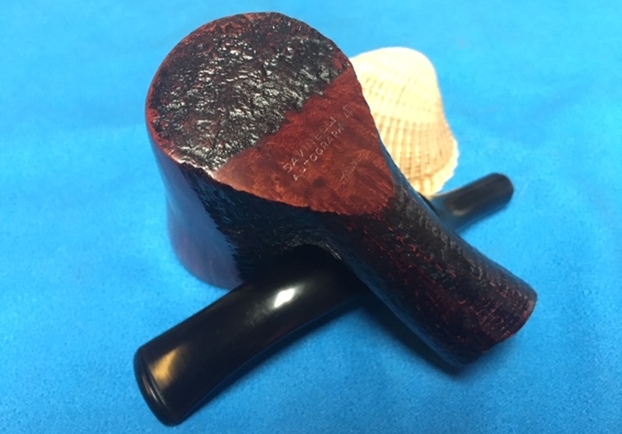
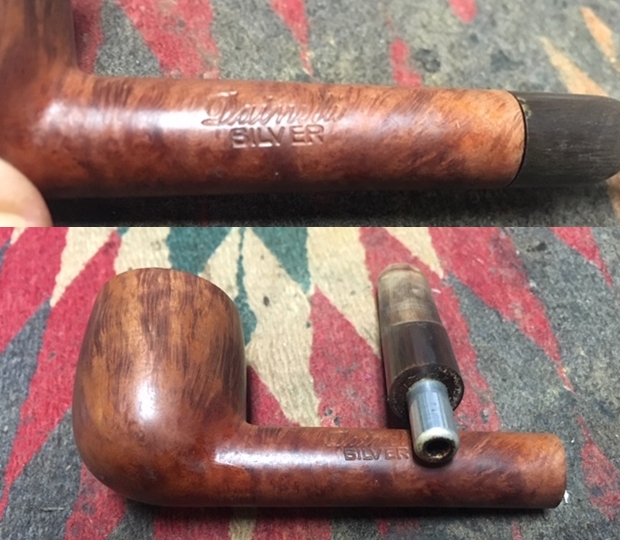
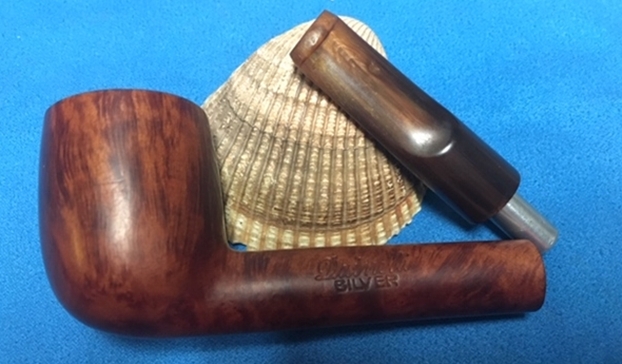
 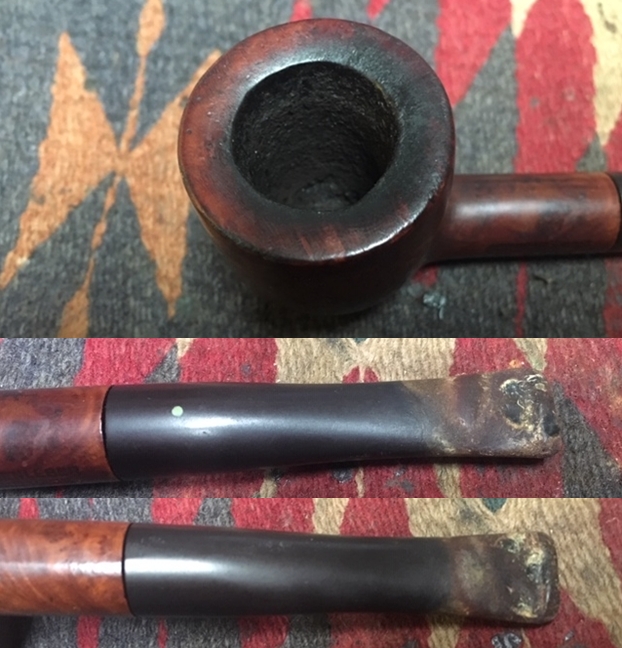 I also took a photo of the right side of the shank to show the stamping. The stamping is readable in the photo below and is as noted above – Schoenleber over Hand Made. On the opposite side it reads Imported Briar. There is also a 5 at the shank/bowl junction on the right side.
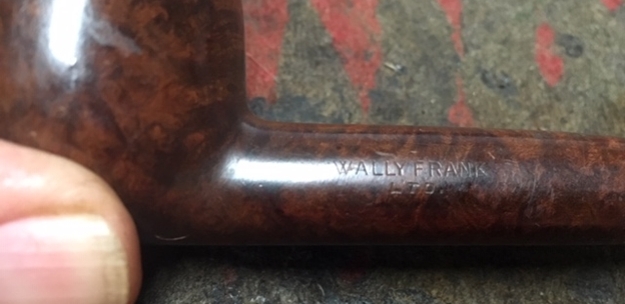
 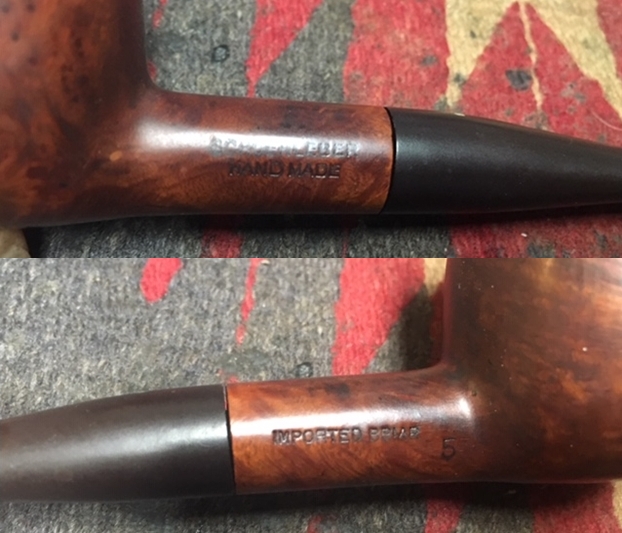 When I was working on the other Schoenleber pipes in Alex’s collection I had looked up information on the brand. I am quoting that information once again on the blog for this pipe. I quote the article in full (https://pipedia.org/wiki/Schoenleber).
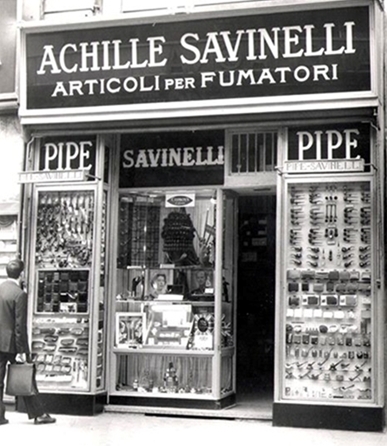
Louis Schoenleber lived in North Arlington N.J. and was an Austrian immigrant and skilled artisan in pipe making. His hand carved pipes were available in his shop, ‘Schoenleber’s Newark Pipe Shop’, at 26 Branford Pl., Newark NJ, thought to open in the 1920’s. Schoenleber’s carried a full line of tobaccos as well as related pipe smoking accessories. It’s thought the shop operated until the late 1960’s, and Louis Schoenleber died in 1976. It’s also fairly certain they may have sold to other brands such as Jelling, also in Newark and are very similar in design and finish.
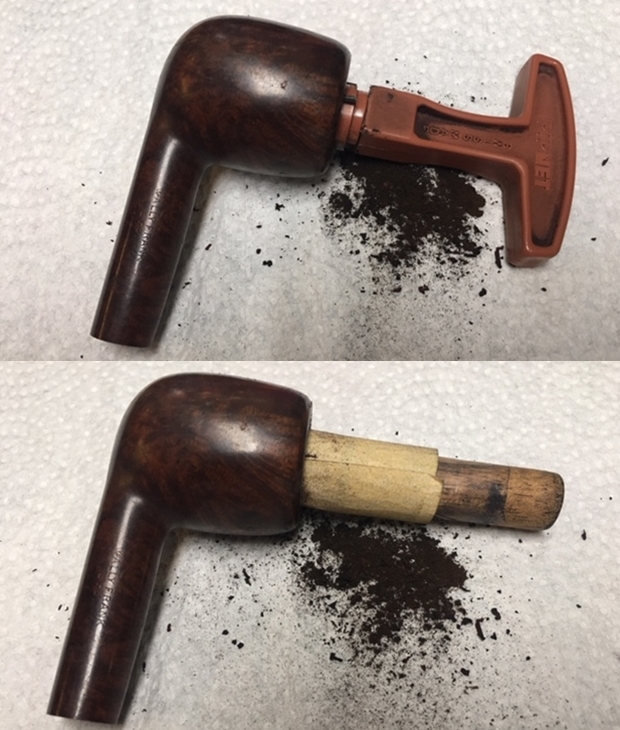
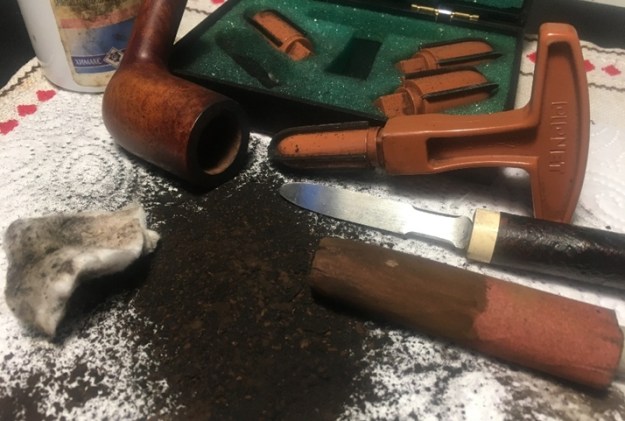
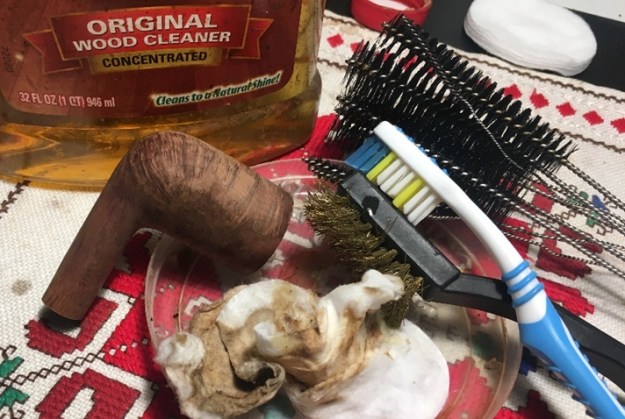
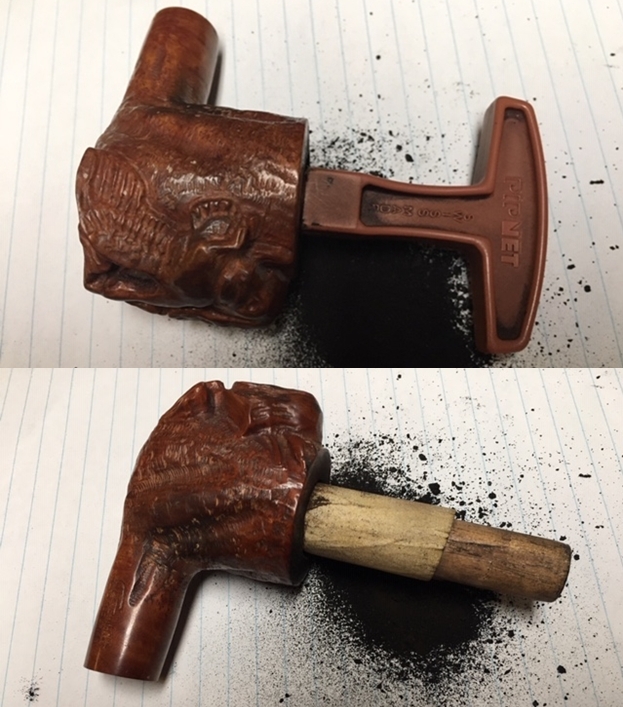
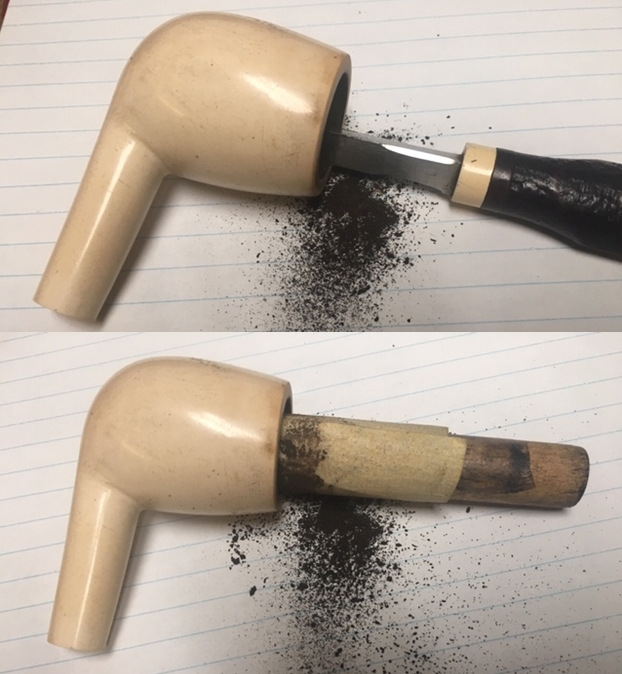
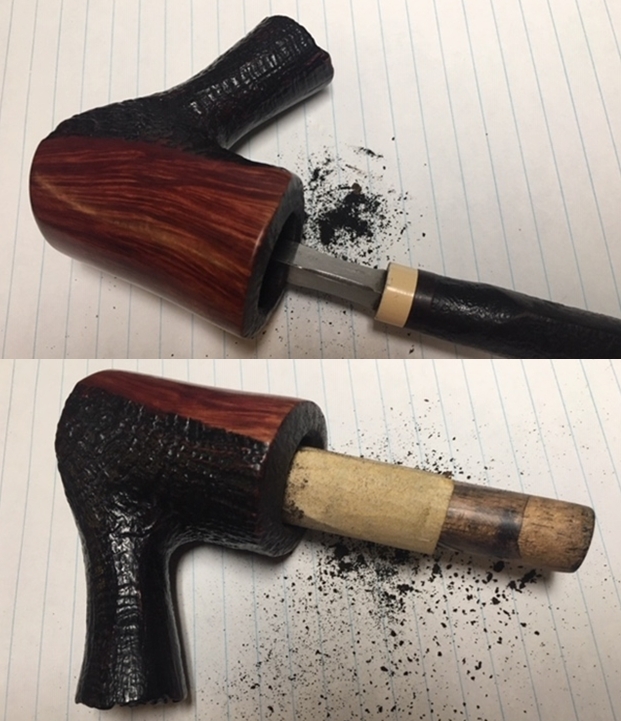
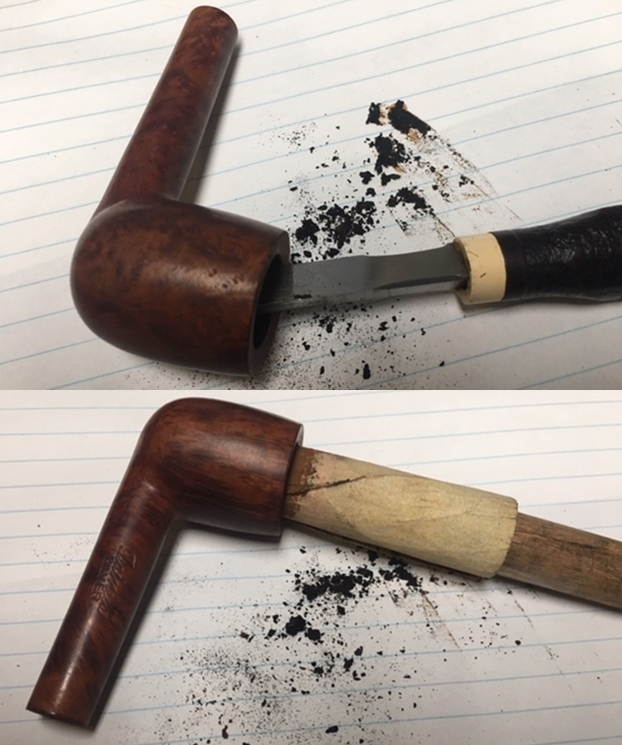
There was also an advertising card on the site that I have included below. It speaks to my assumptions about the curing process and the finishing process on the pipe. It also connects the pipe to Schoenleber’s Newark Pipe Shop in Newark, N.J. It also has a comment on the fact that pipes were made to order. I started the restoration by reaming the bowl with a PipNet pipe reamer and took the cake back to bare briar. I sanded the interior walls with 220 grit sandpaper wrapped around a piece of dowel.
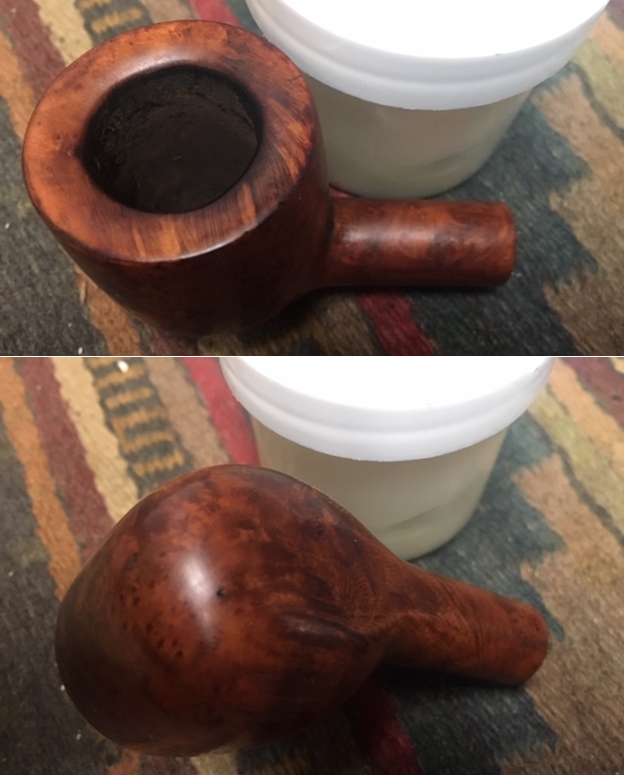
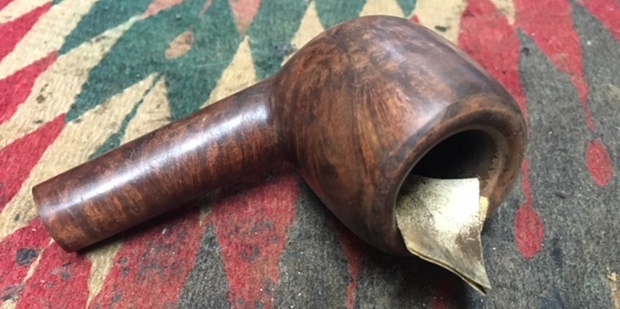
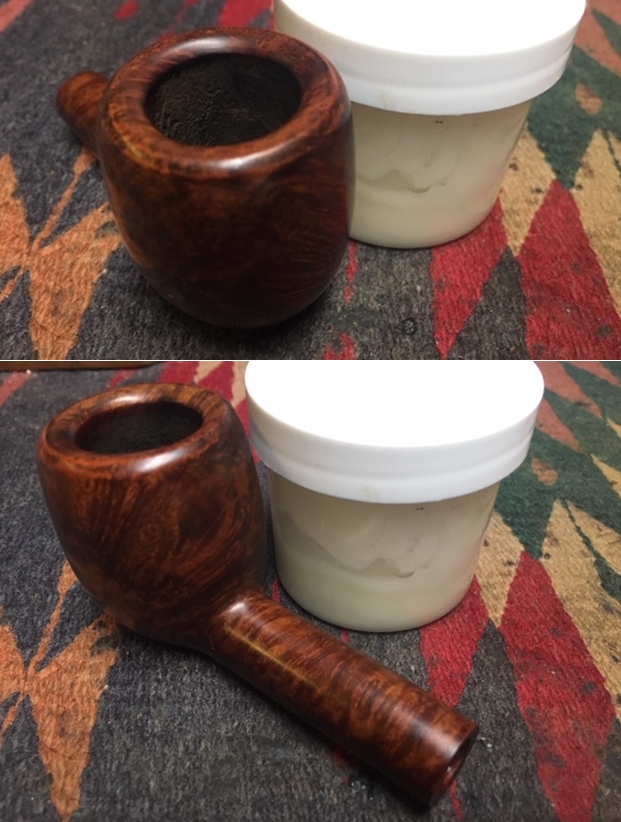
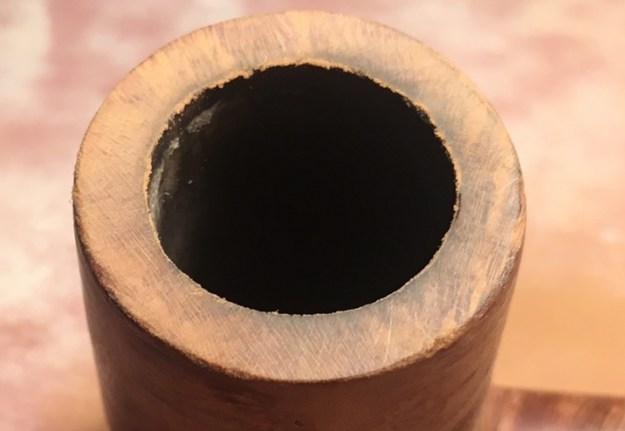
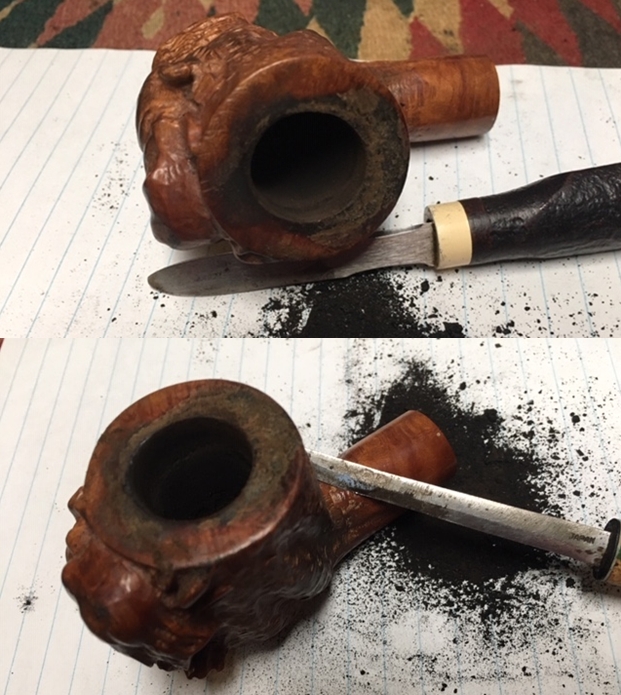
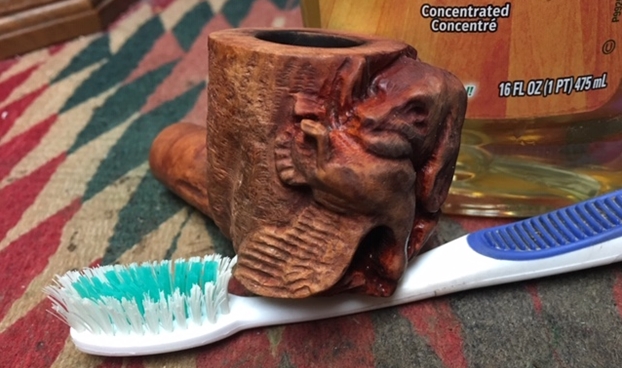
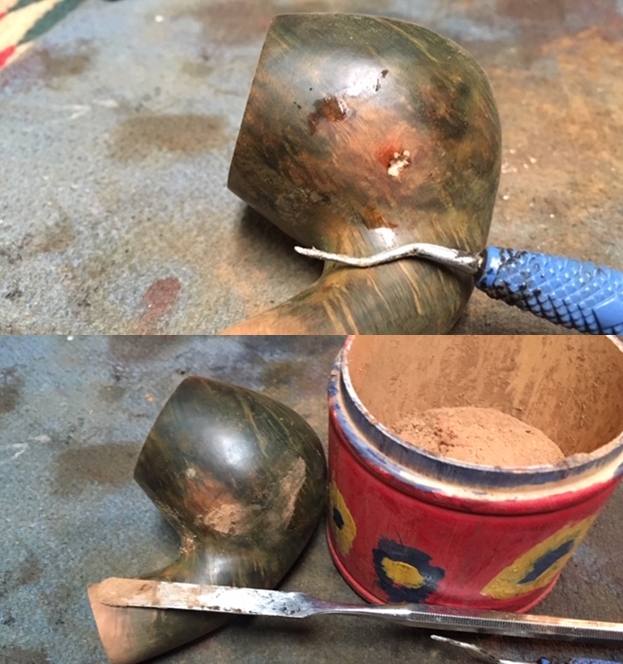
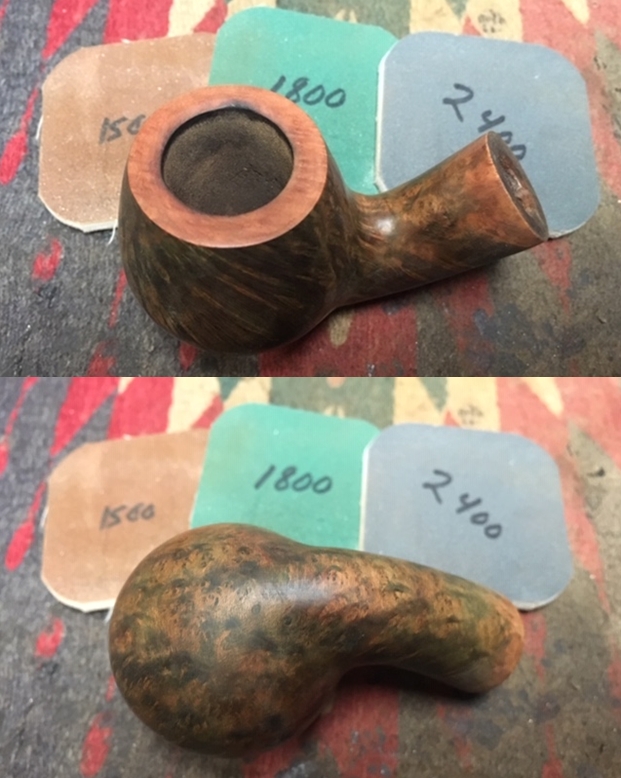
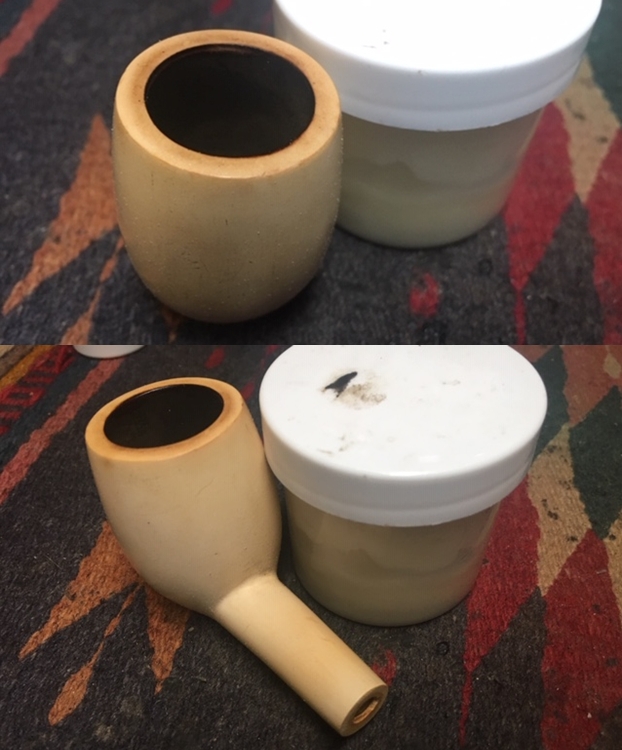
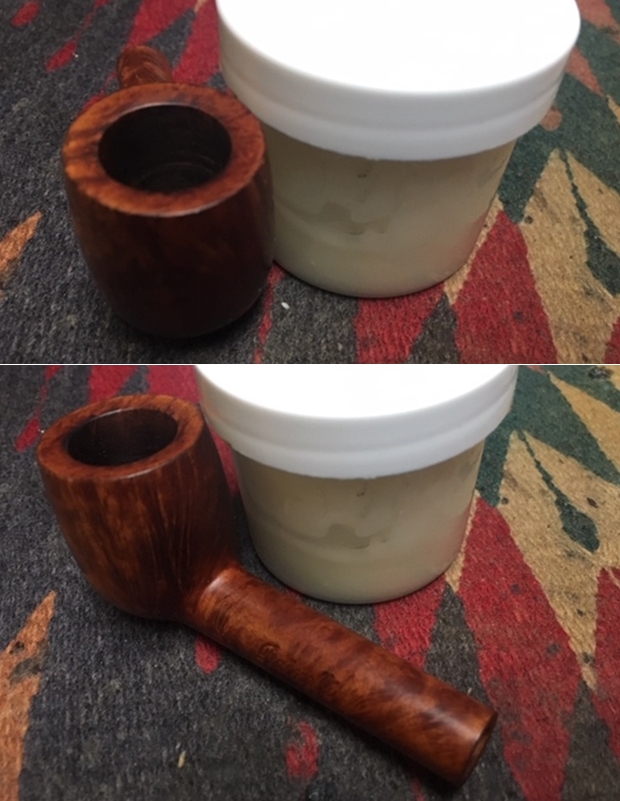
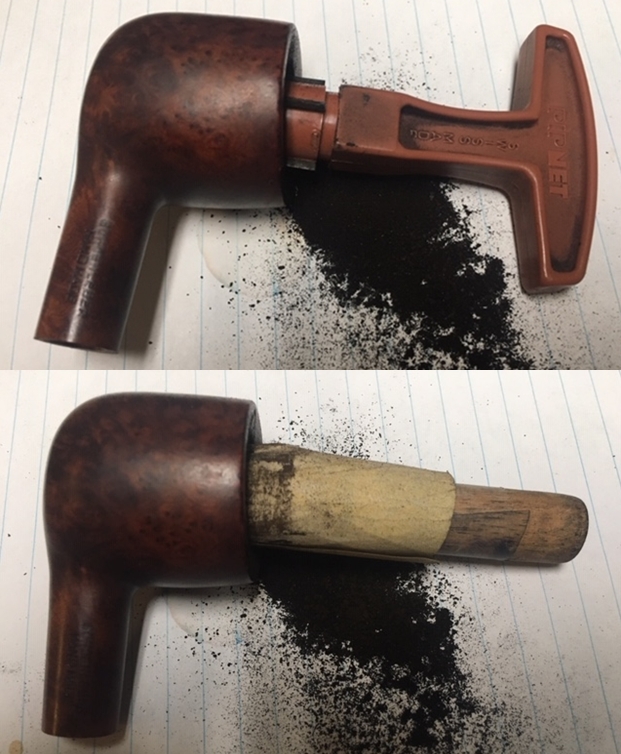 I scraped the rim top with the sharp edge of a pen knife to remove the thick lava coat. I sanded the remaining lava and darkening to the rim top rim with 220 and 400 grit sandpaper. I was able to remove the darkening and smooth out the rim top.
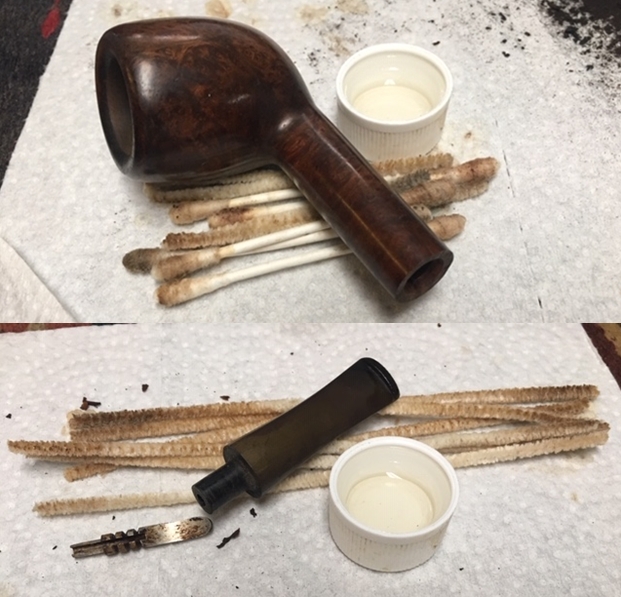
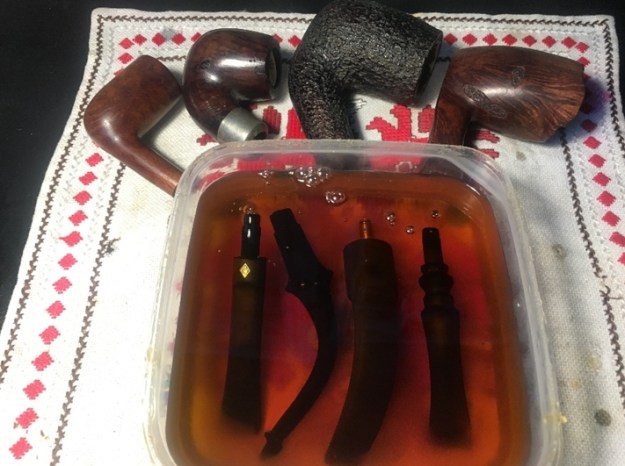
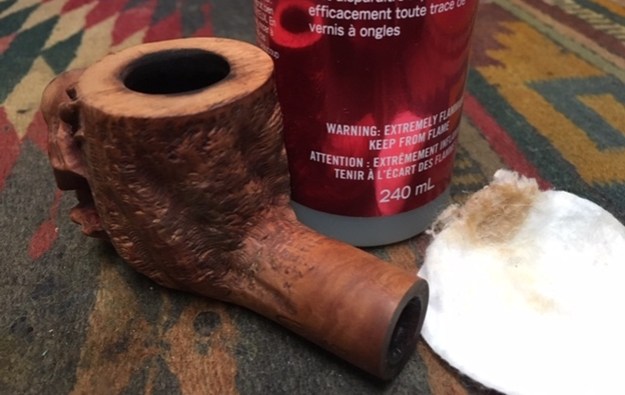
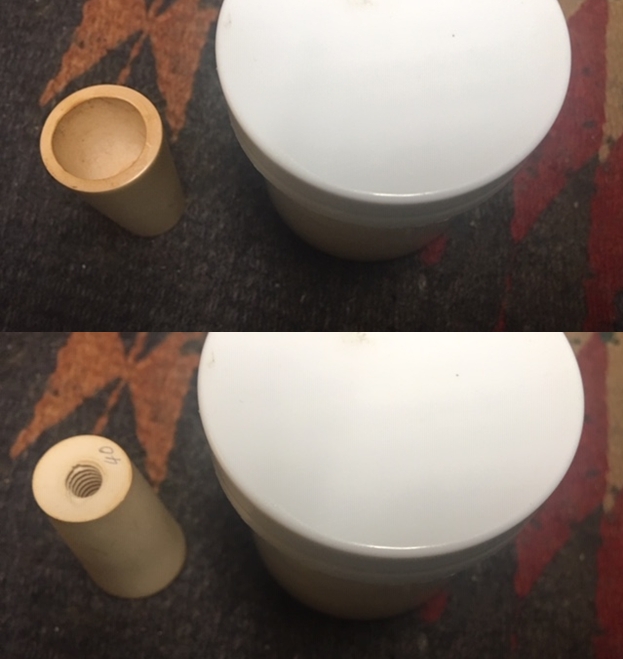
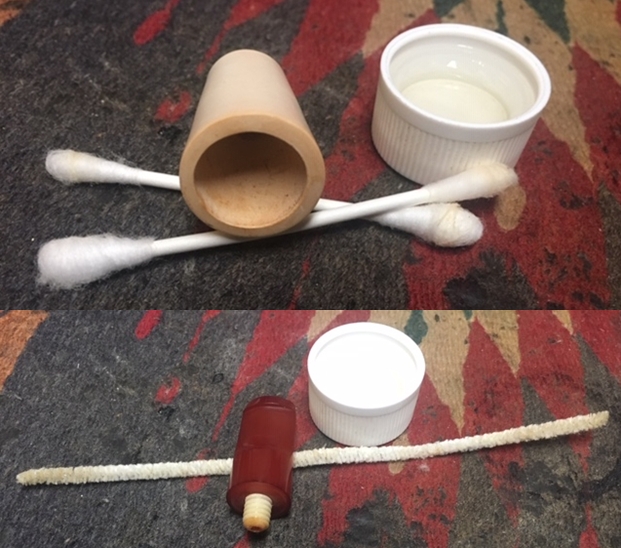
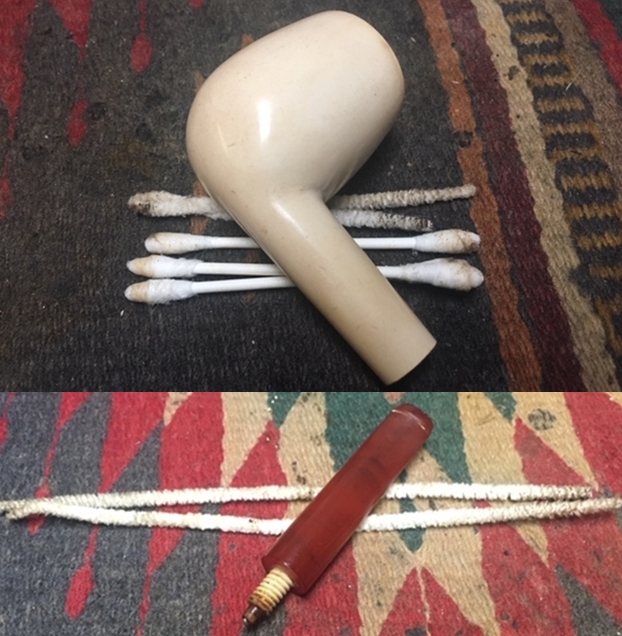
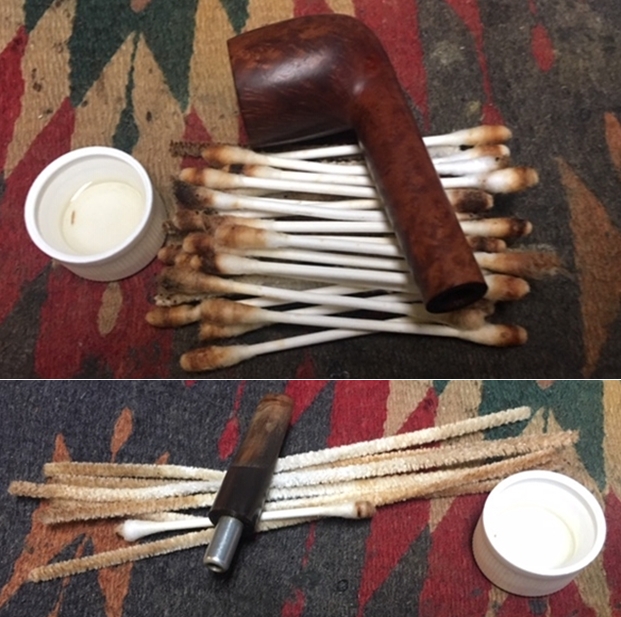
 I cleaned the mortise and the airway in both the shank and the stem with alcohol, cotton swabs and pipe cleaners. I scrubbed the mortise and airway until it was very clean and the pipe cleaners and cotton swabs came out clean.
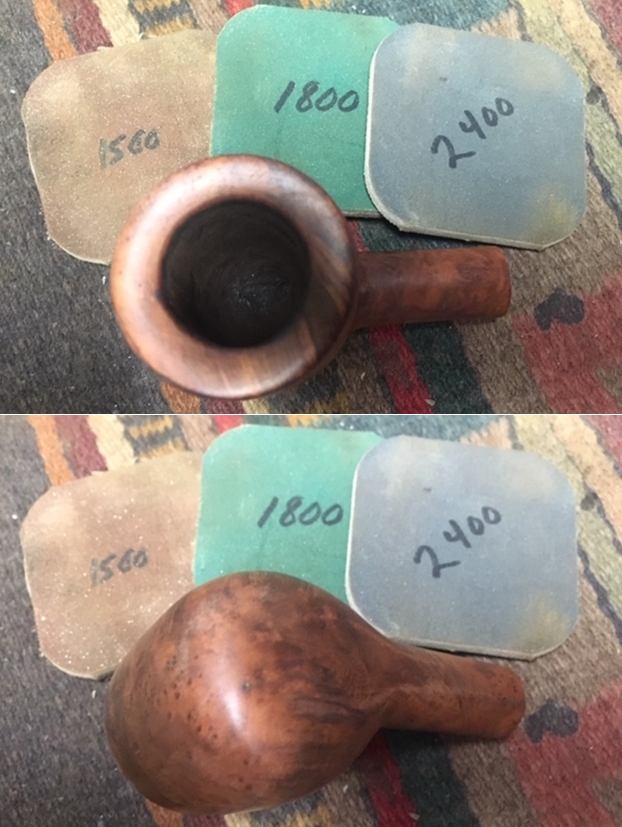
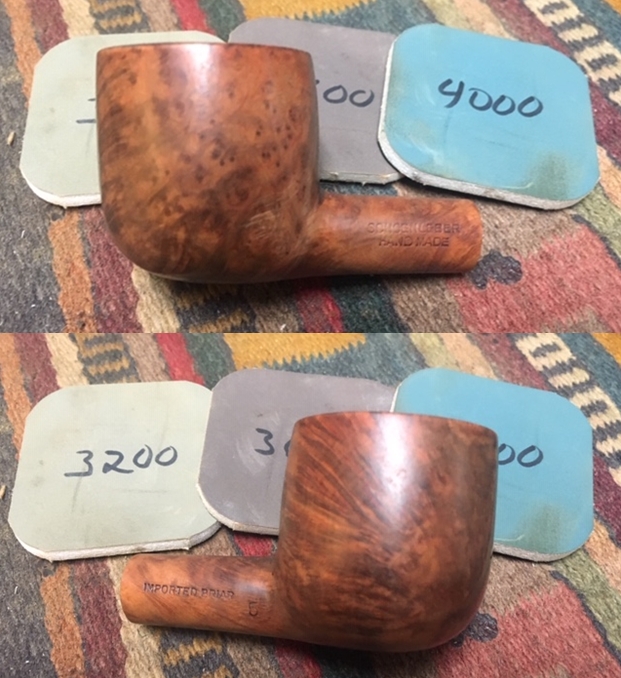
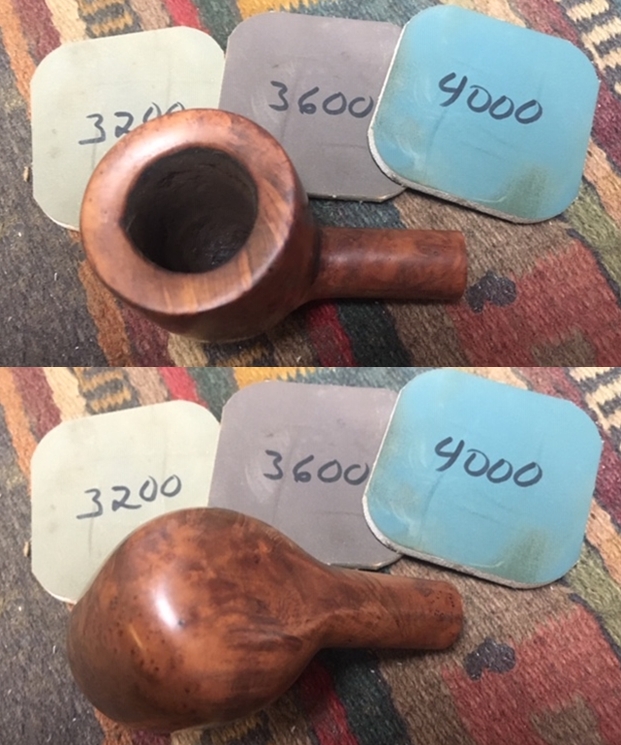
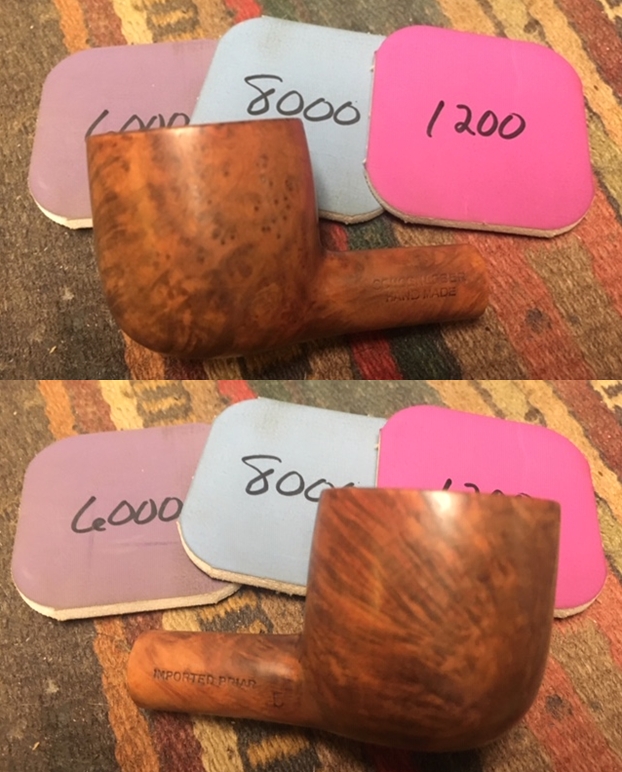
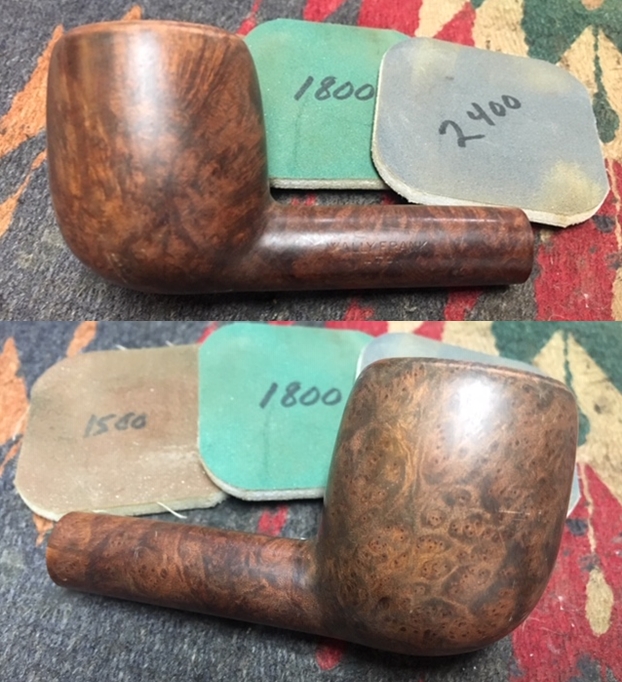
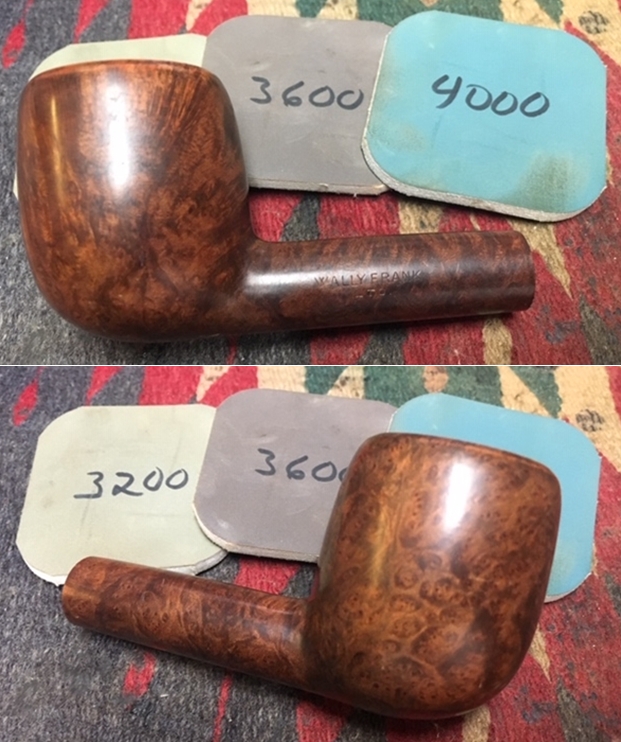
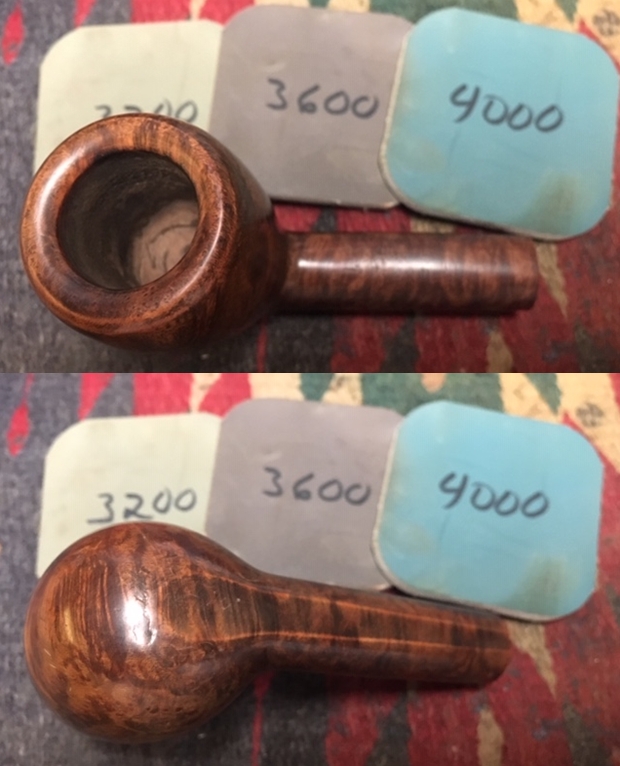
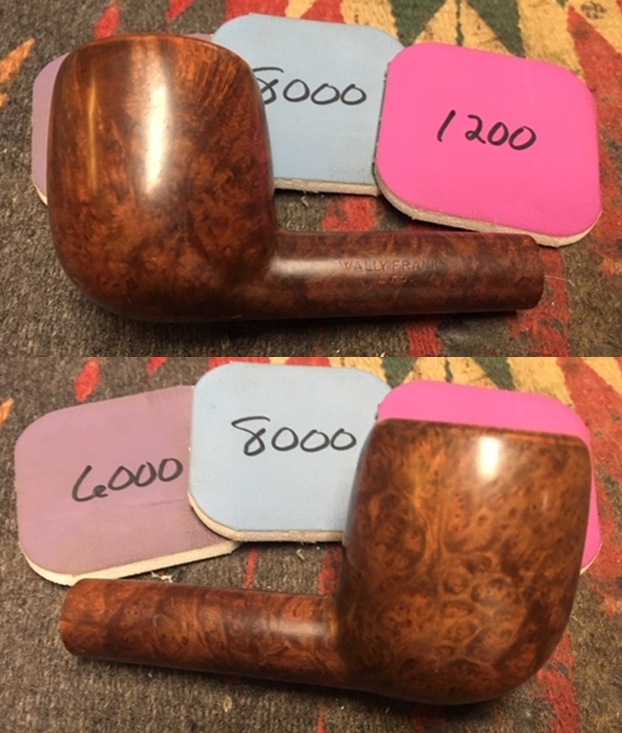
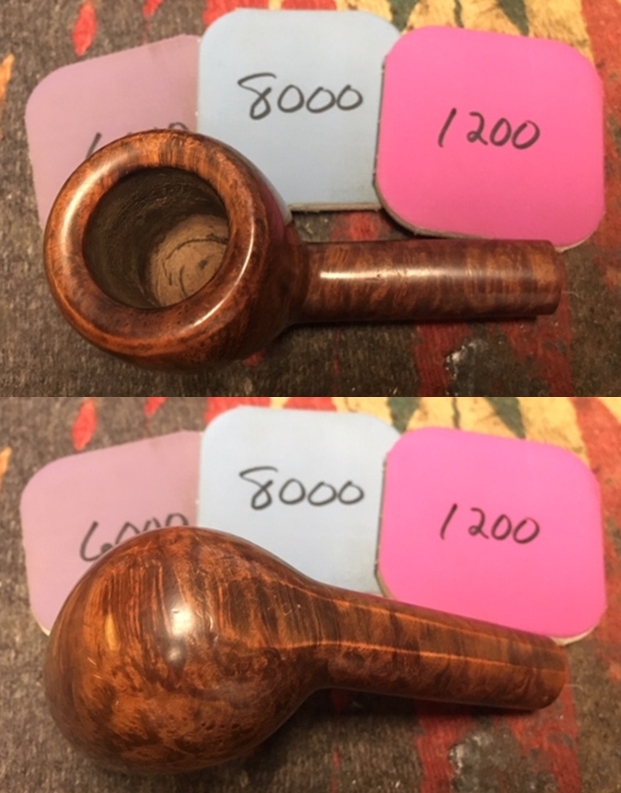
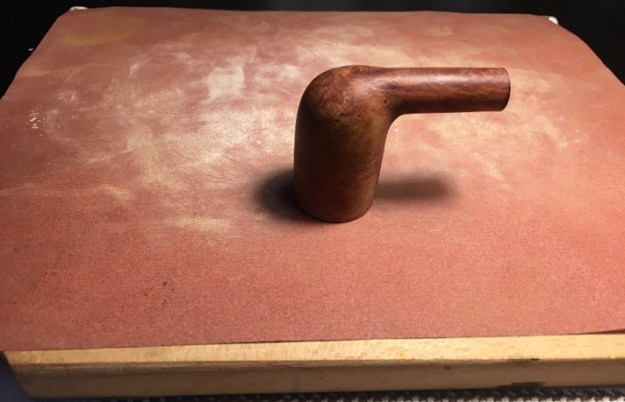
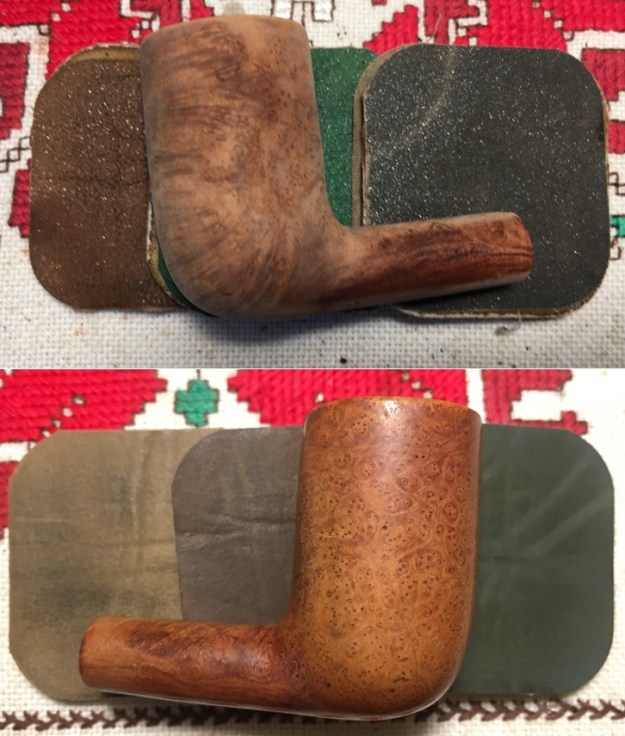
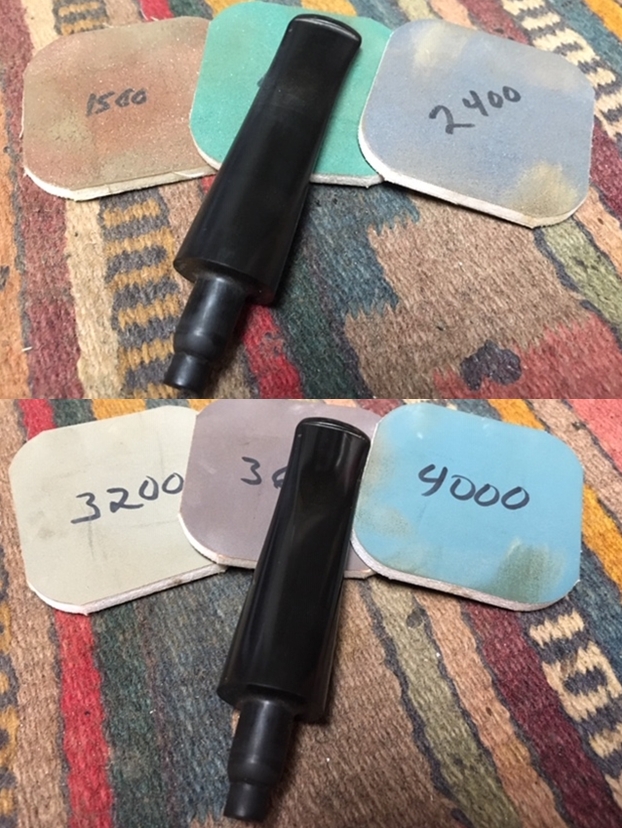
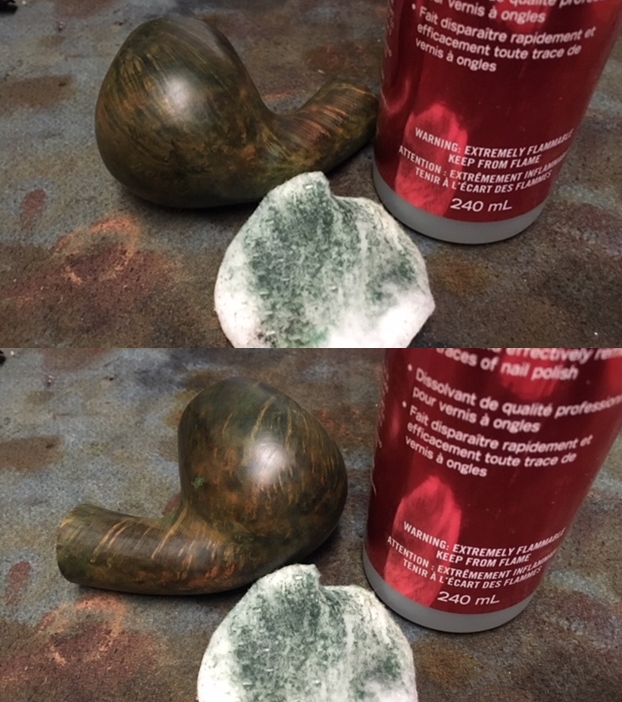
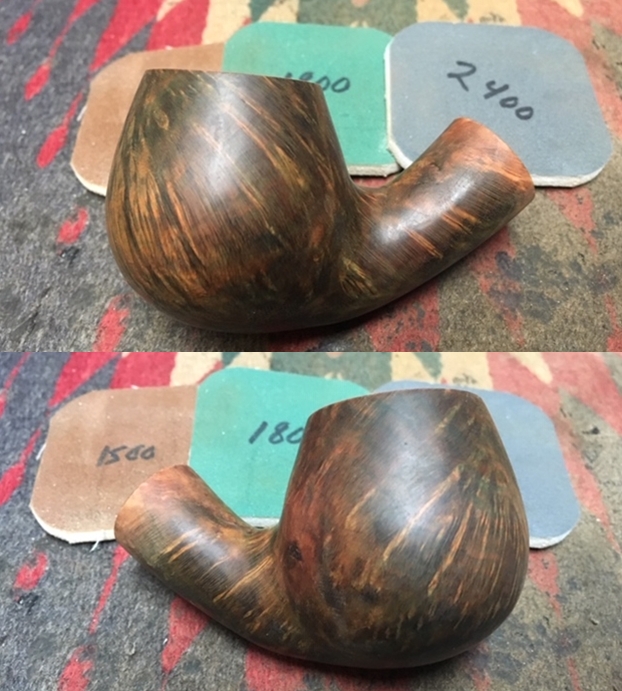
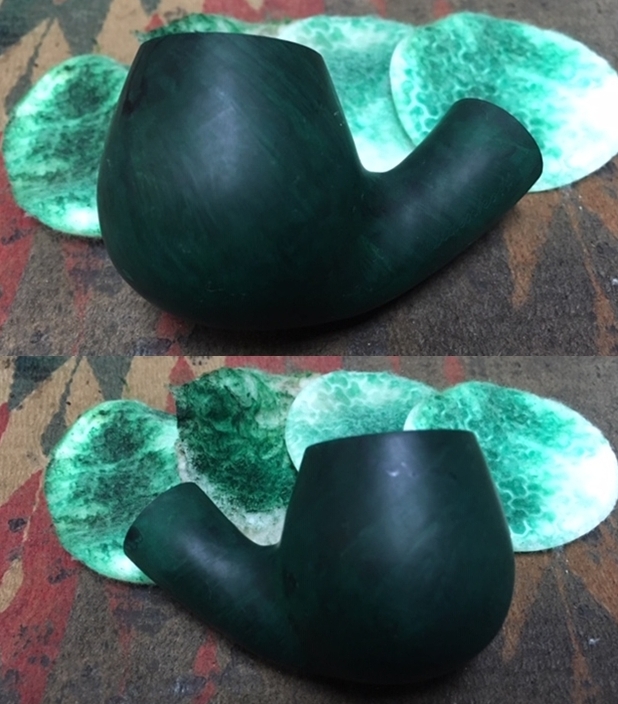
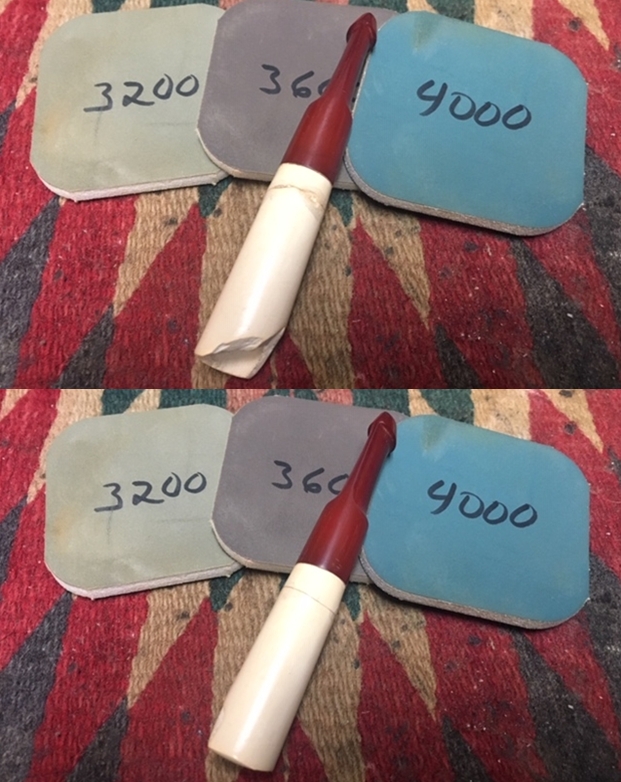
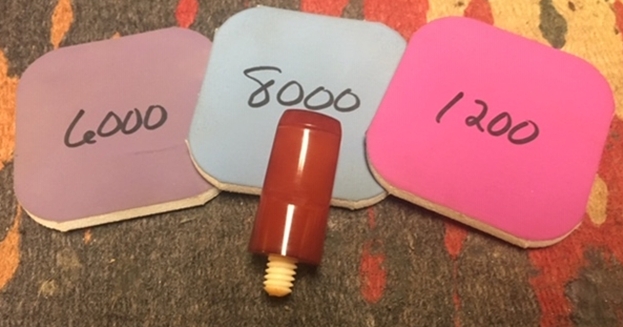
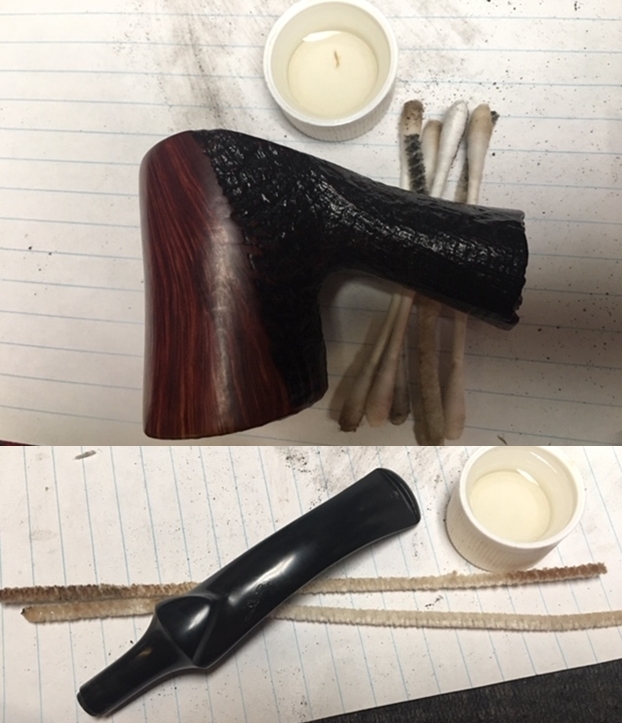
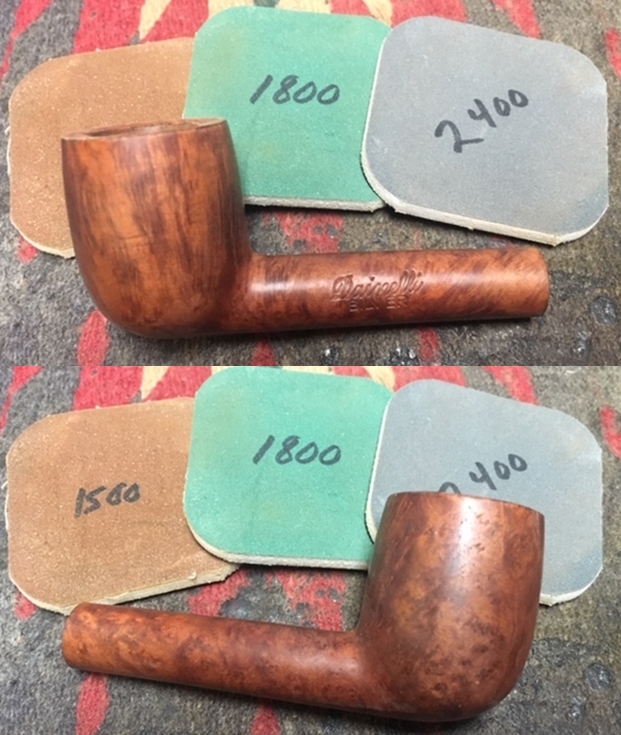
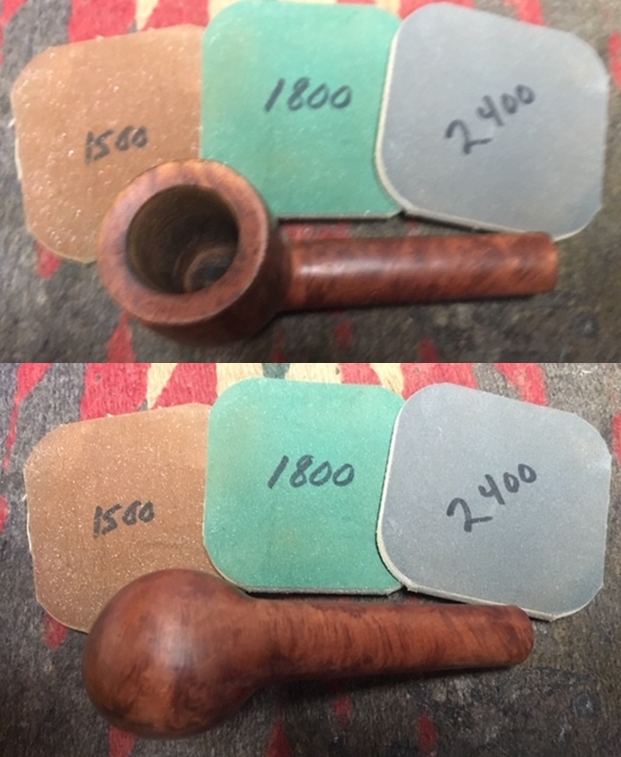
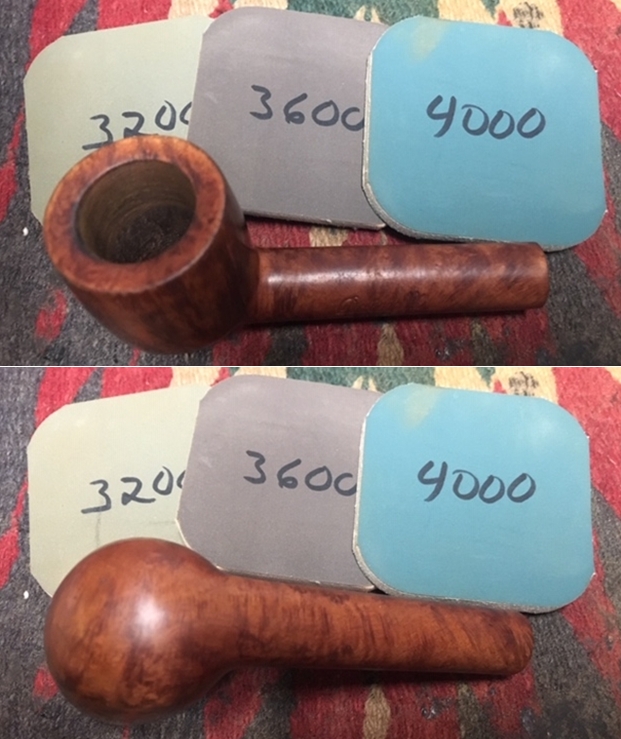
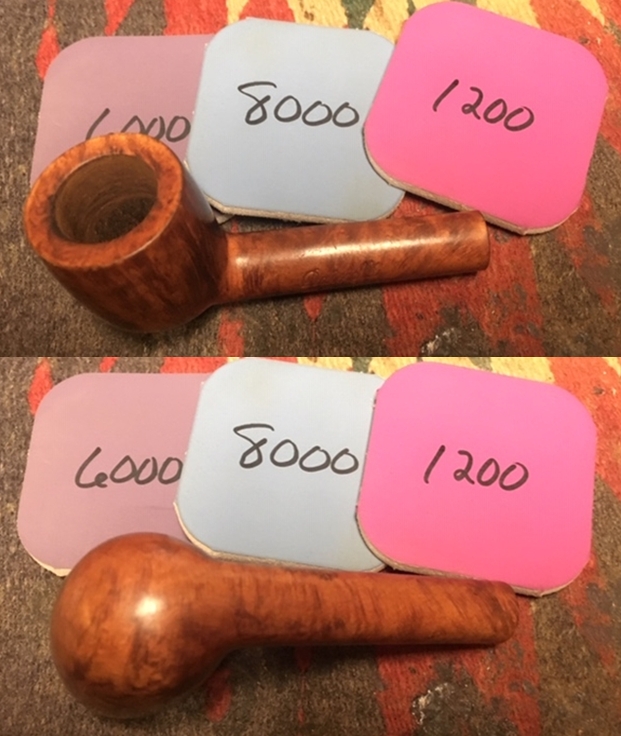
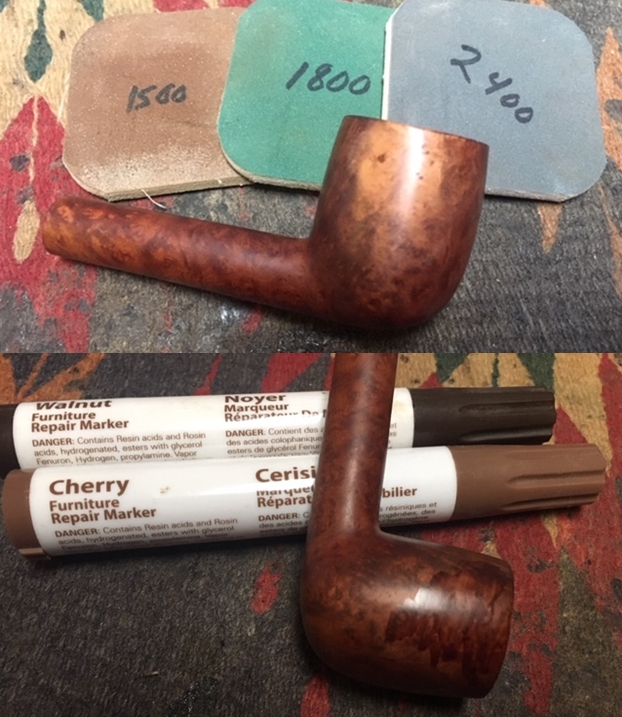
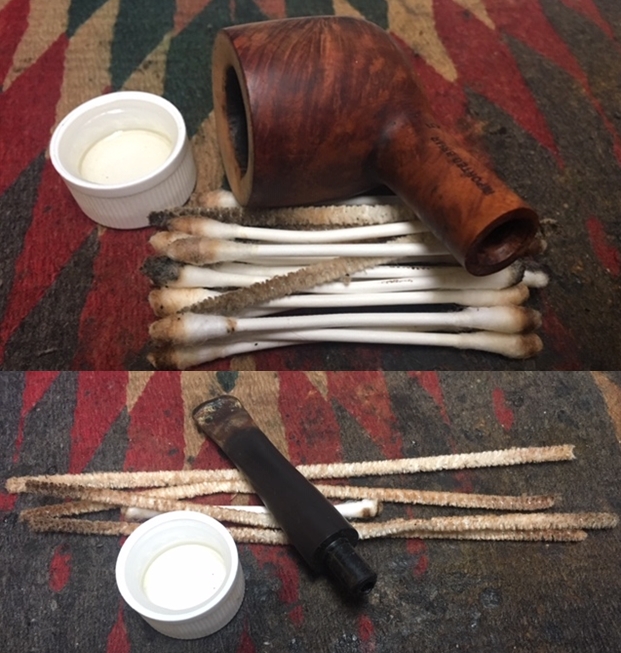 I polished the bowl and rim with micromesh sanding pads – wet sanding with 1500-12000 grit pads. I wiped the bowl down with a damp cloth pad after each pad to remove the sanding debris.
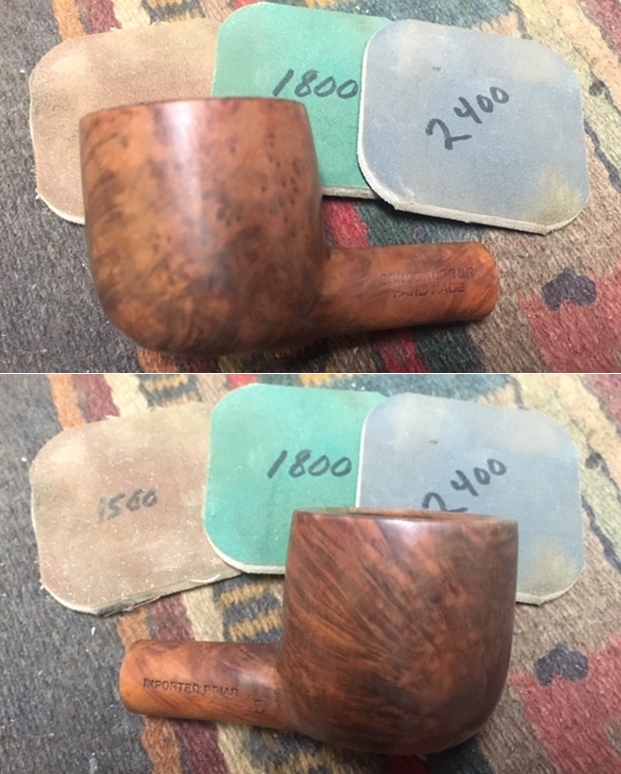
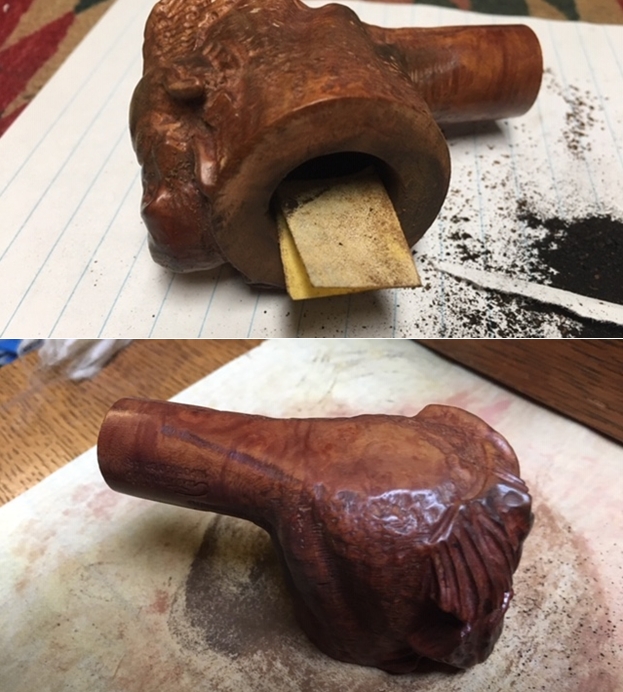
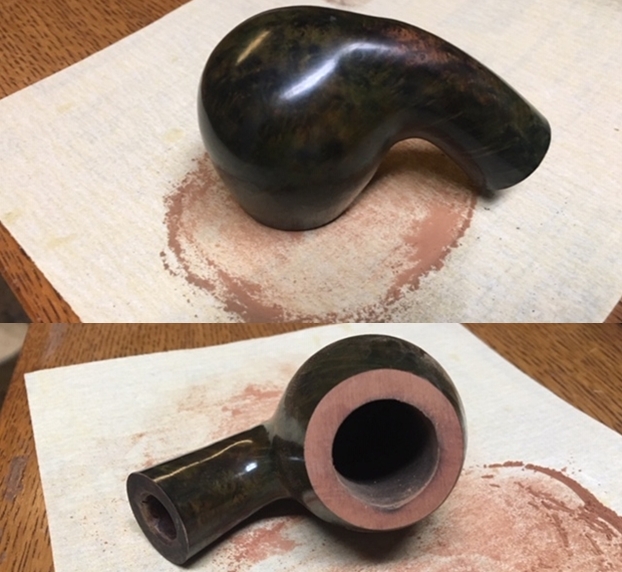
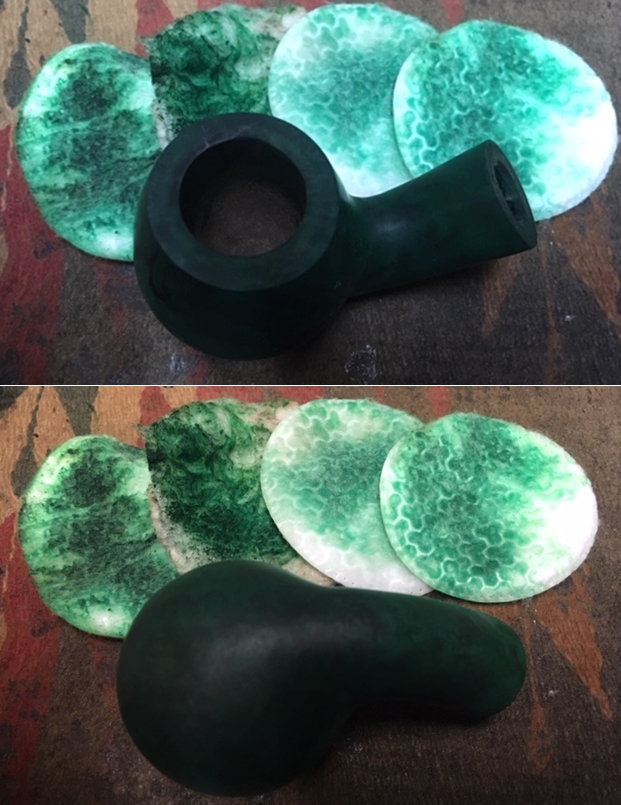
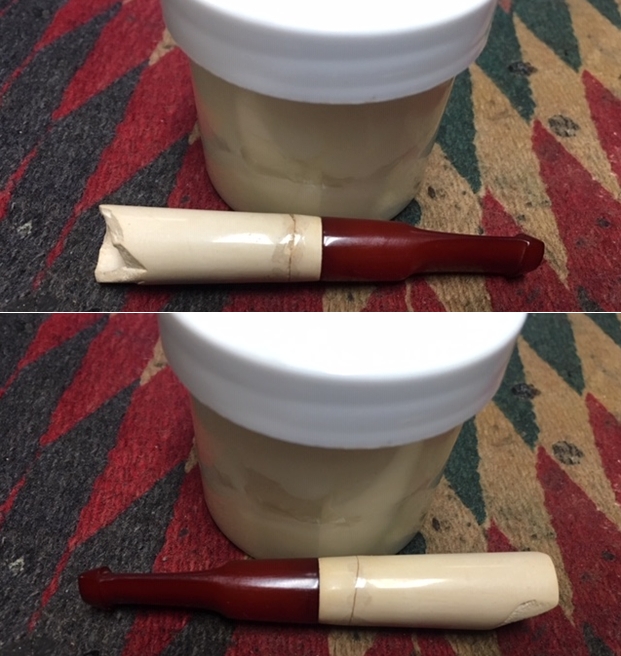
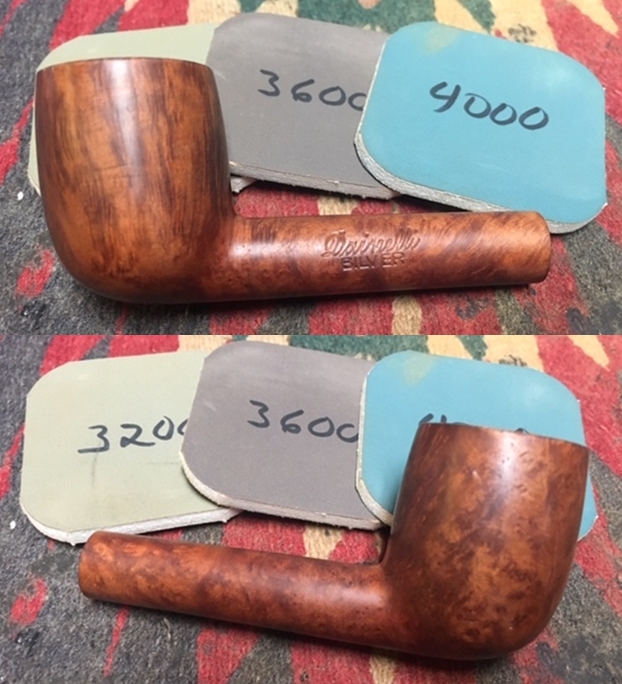
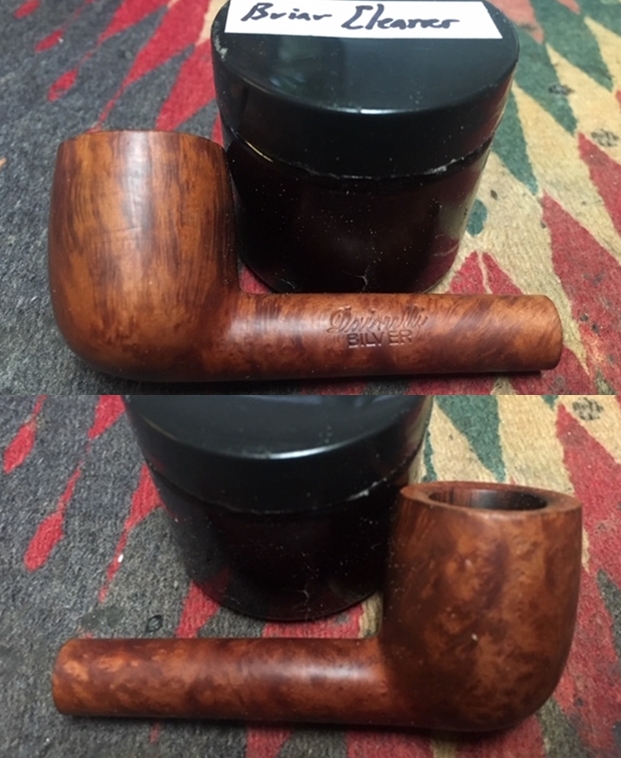
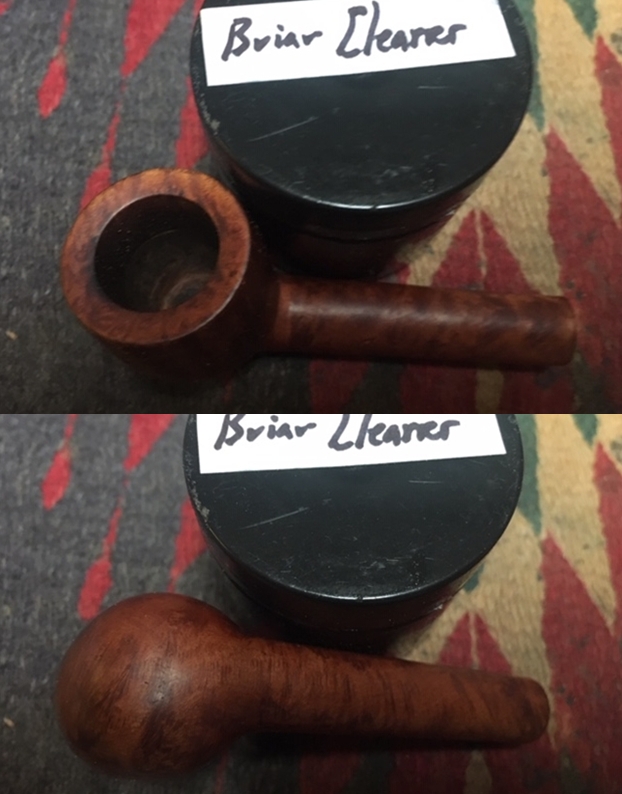
 I worked some Before & After Restoration Balm into the surface of the briar with my fingertips to clean, enliven and protect it. I let the balm sit for a little while and then buffed with a cotton cloth to raise the shine.
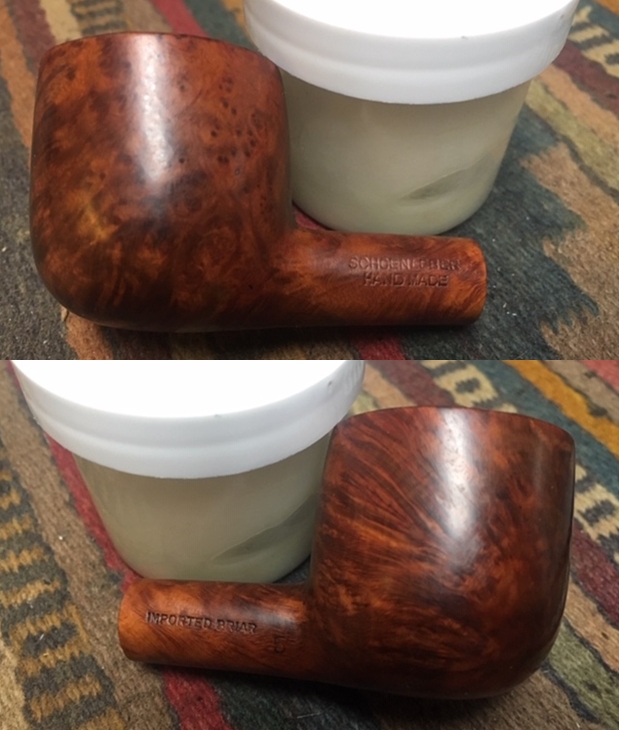
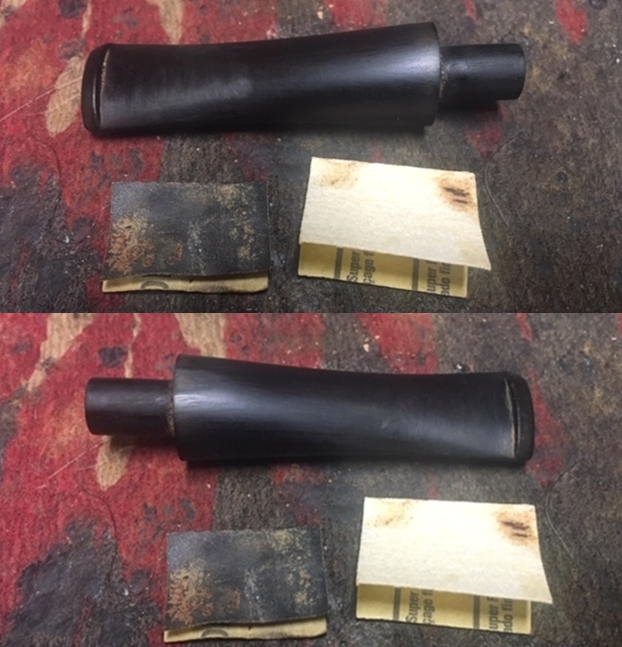
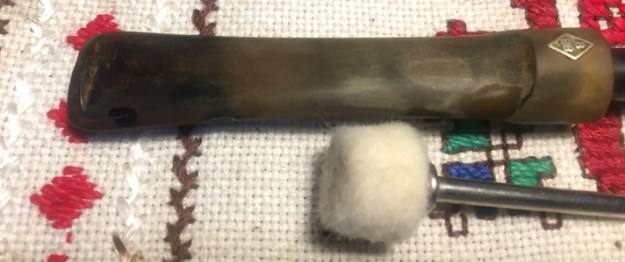
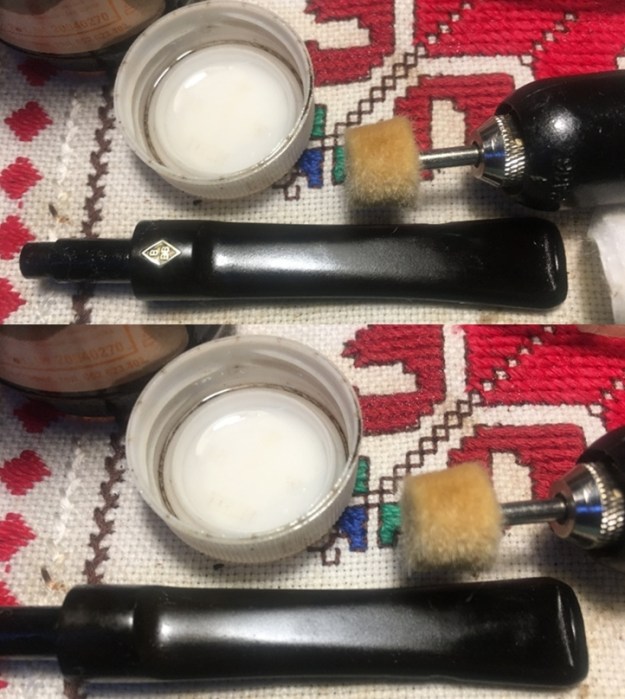
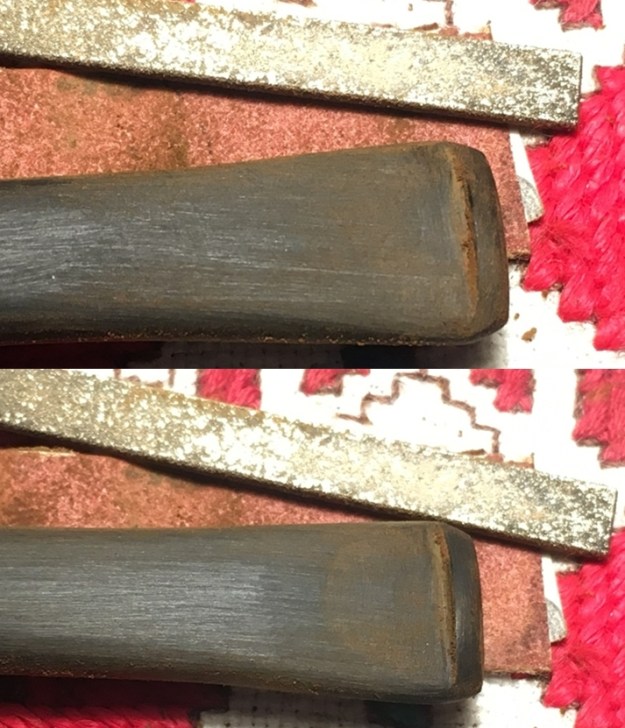
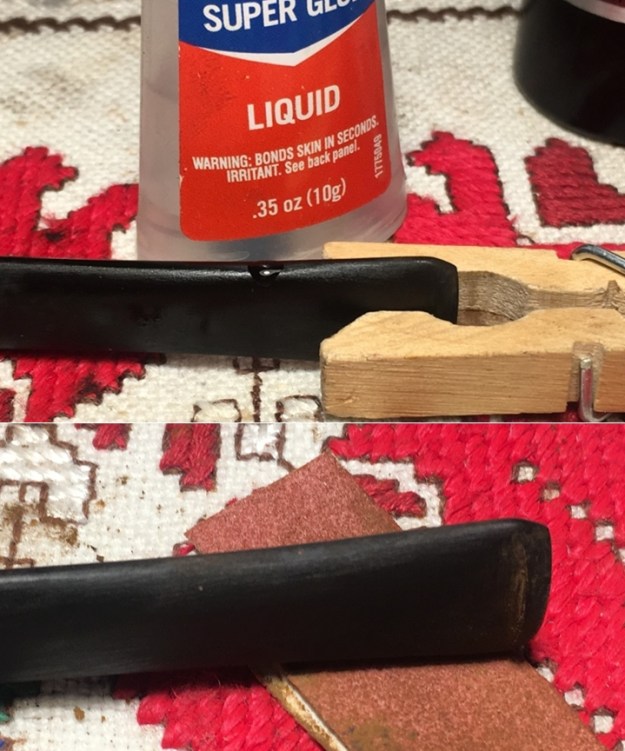
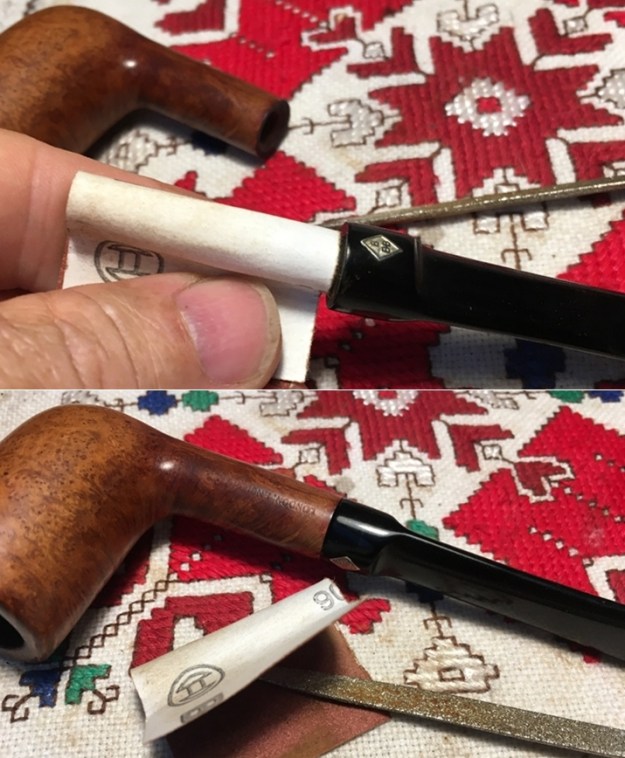
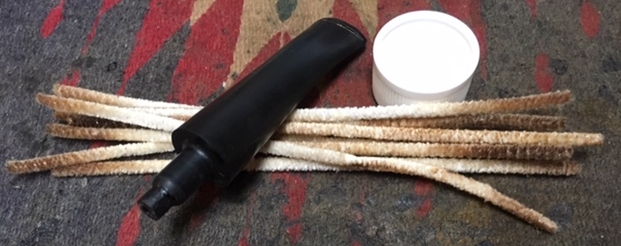
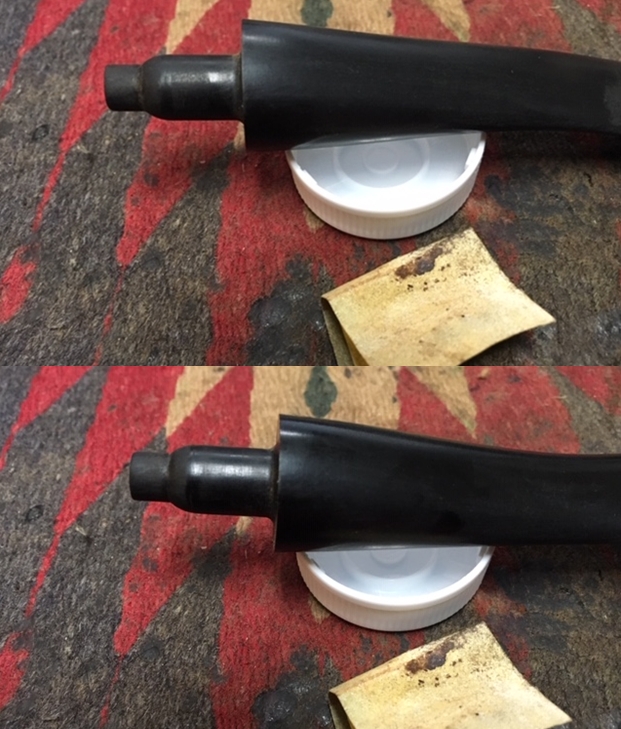
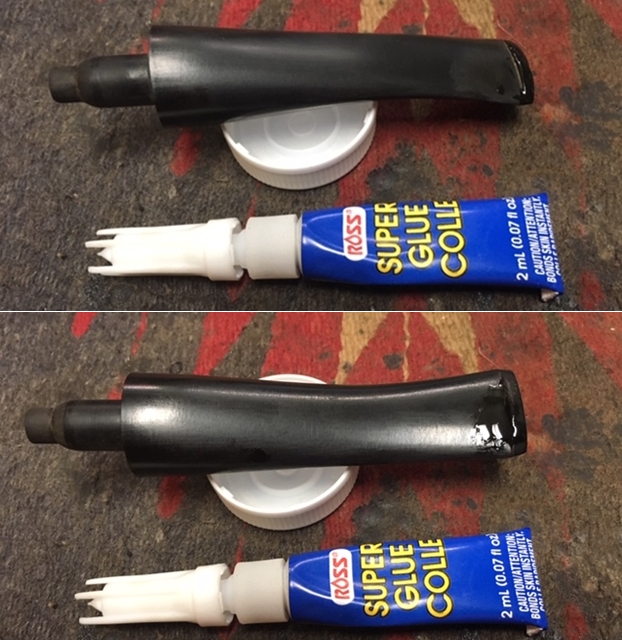
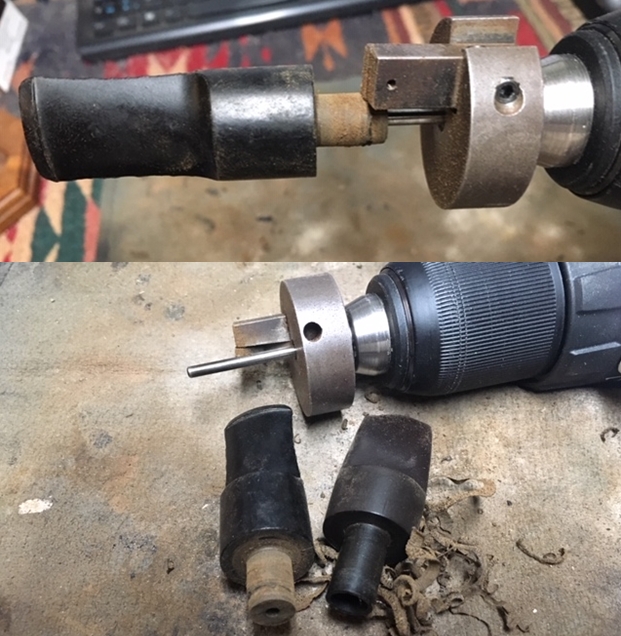
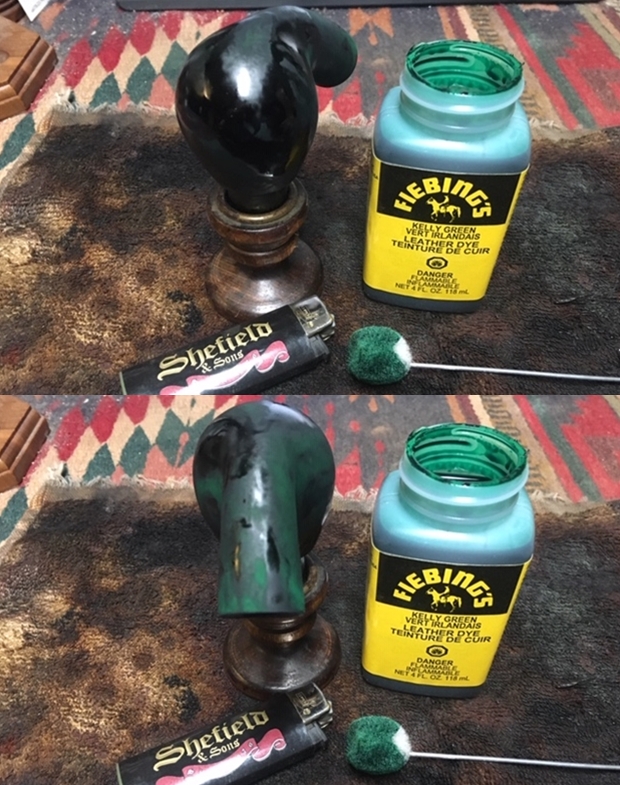
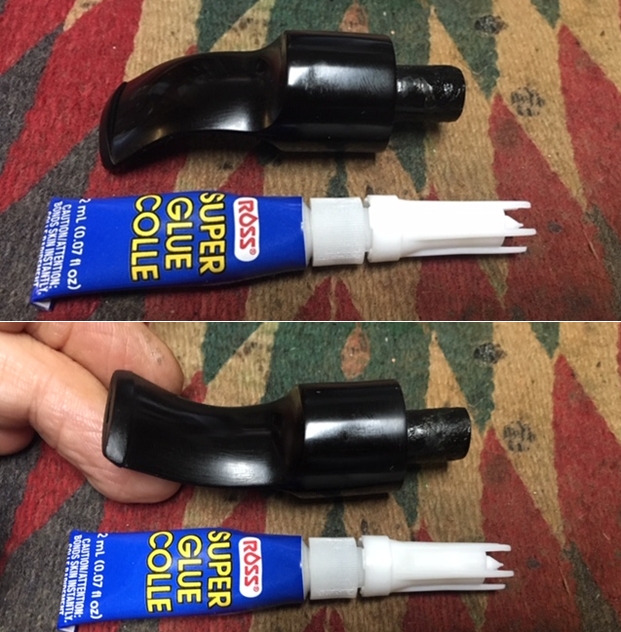
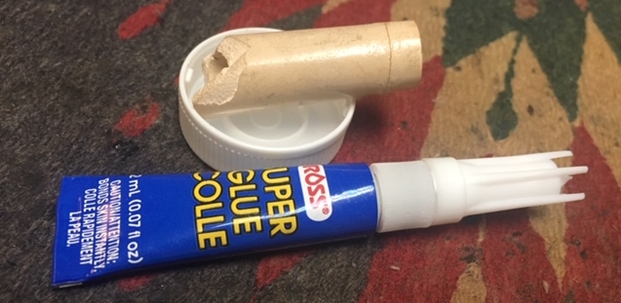
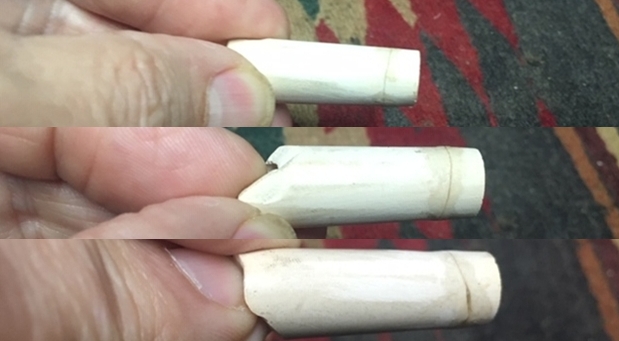
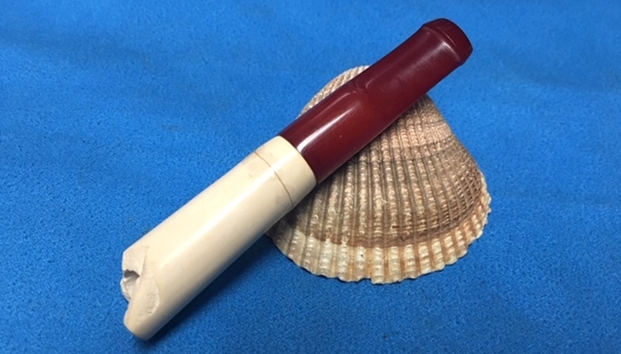
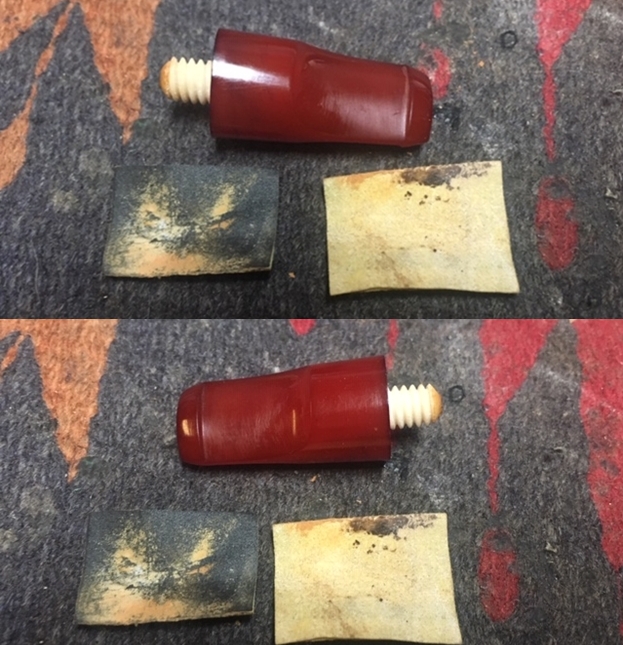
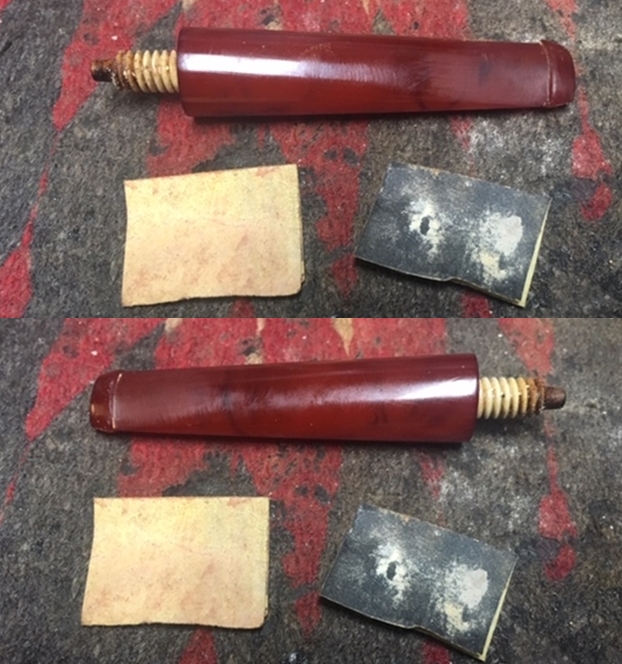
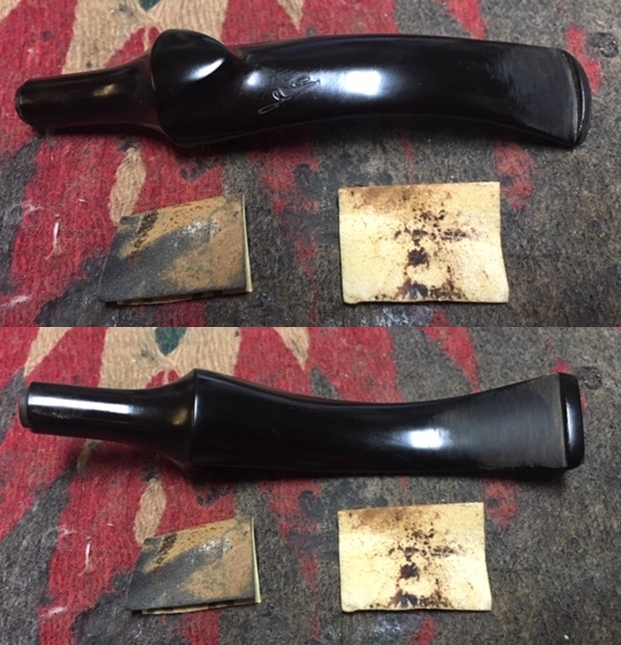
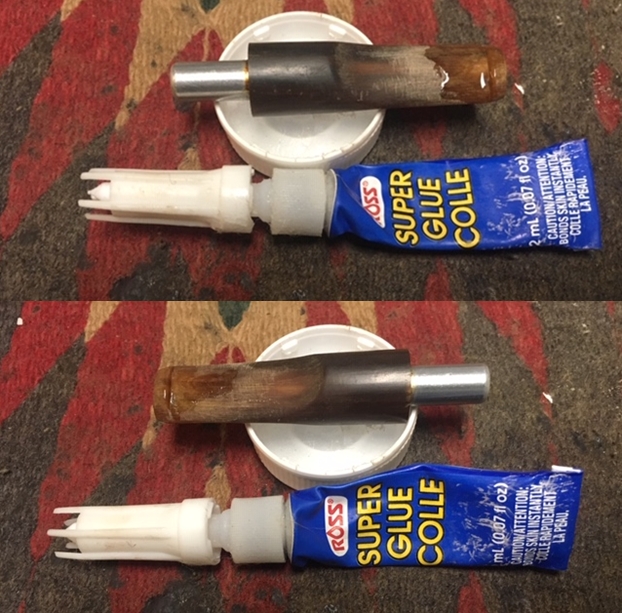
 With the bowl finished I set it aside and turned my attention to the stem. I painted the tooth marks in the stem with a Bic lighter to try to raise the deep marks. I scraped the surface with a knife and removed the buildup of calcified spittle and oxidation. I sanded it with 220 grit sand paper and wiped down the tooth marks and chatter with a cotton swab and alcohol. I dried it off with a cotton swab. I filled in the remaining tooth marks with black super glue and set it aside to dry.
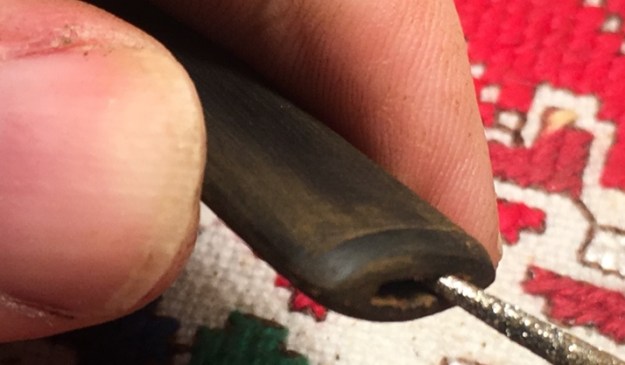
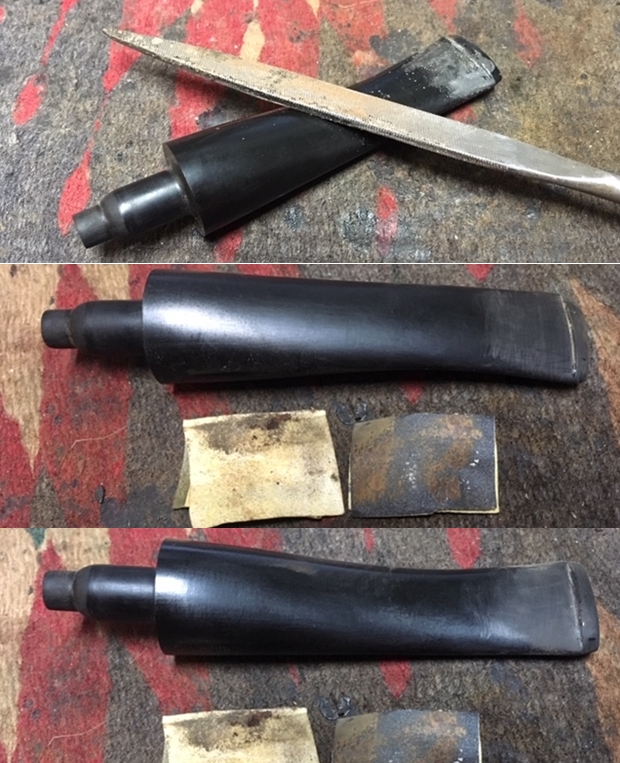
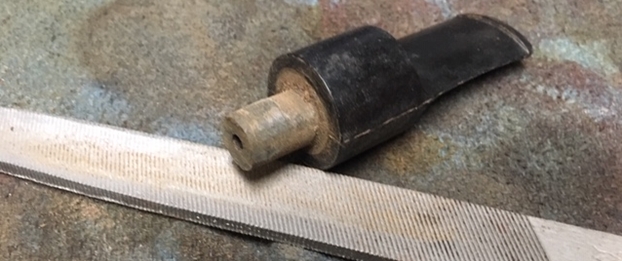
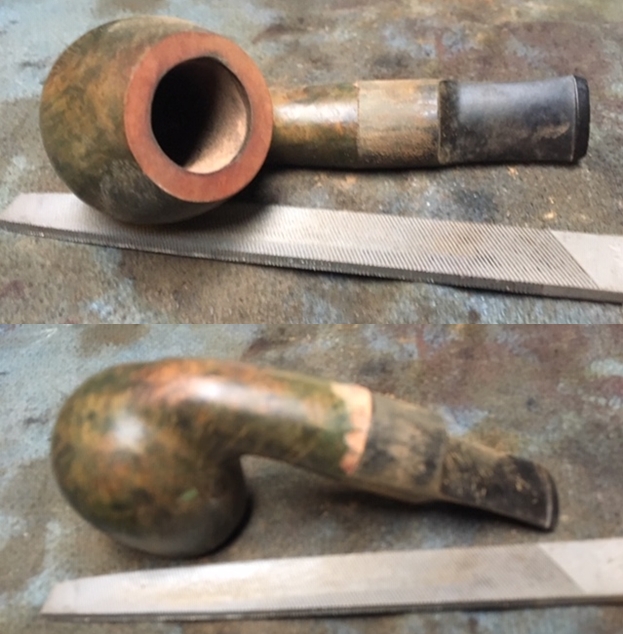
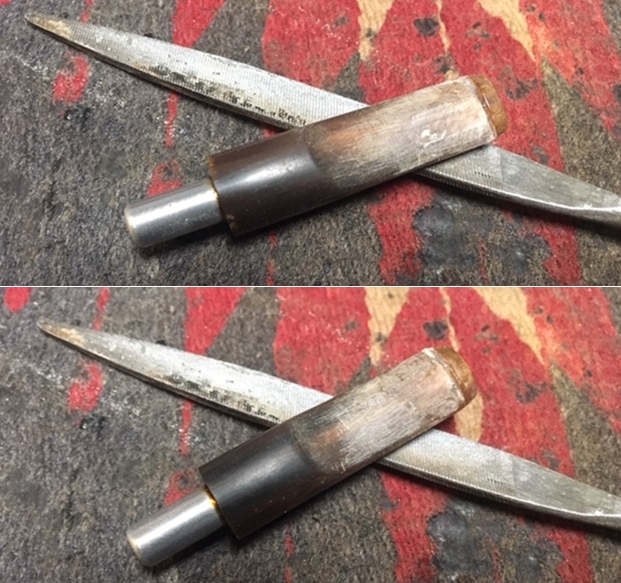
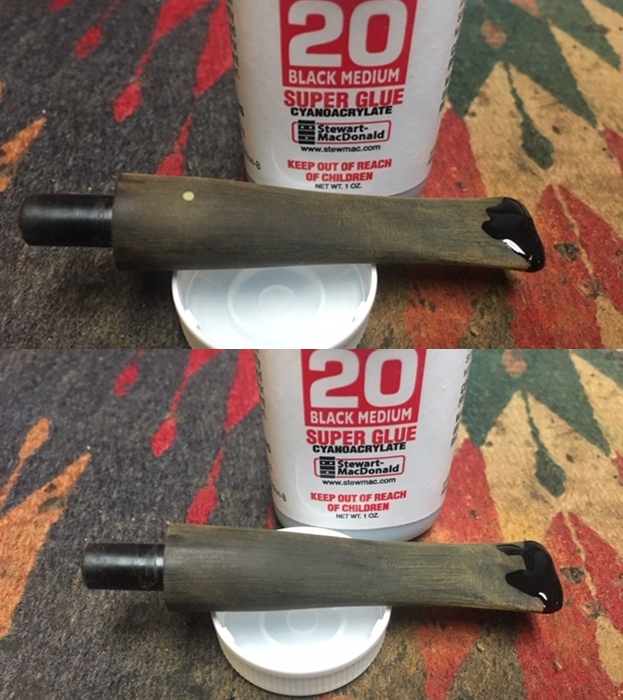 Once the repairs cured, I used a needle file to file the button edge to redefine it and give it a sharp edge. I lightly filed the button top and bottom to give it a smoother definition. The filing made the sanding a bit simpler as it took the excess material down to the surface.
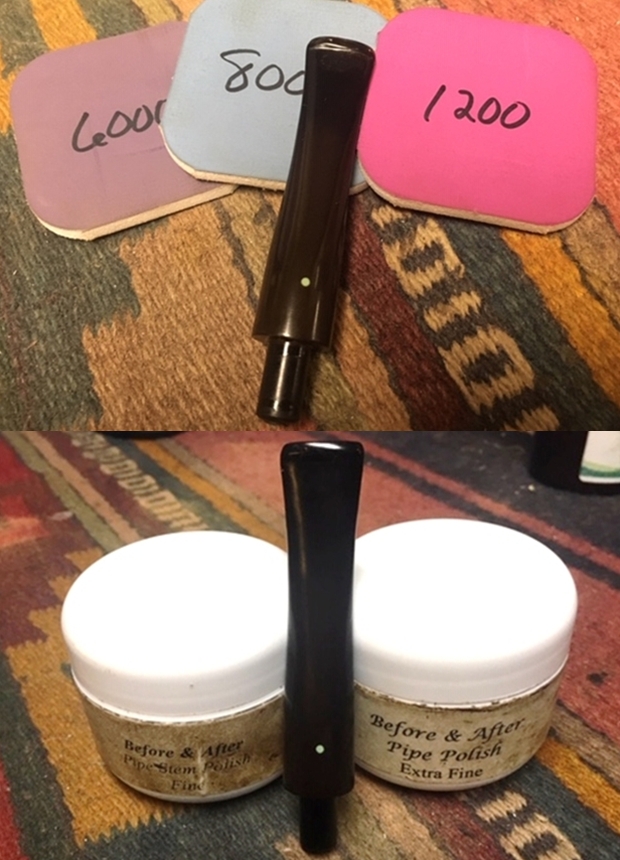
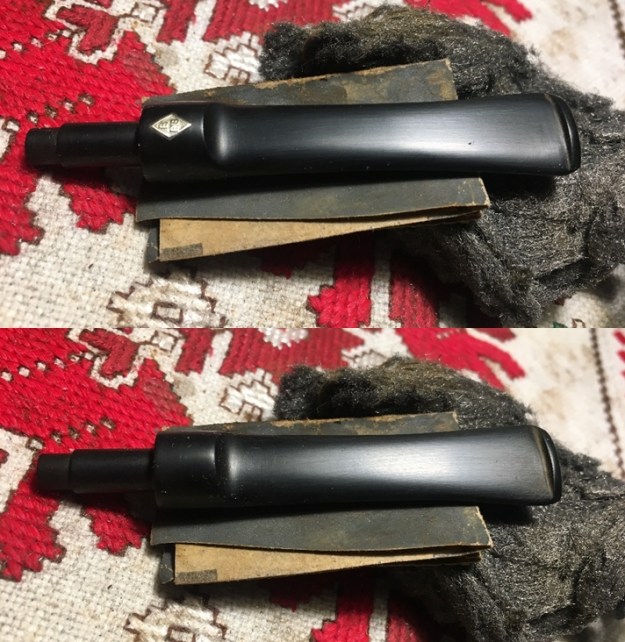
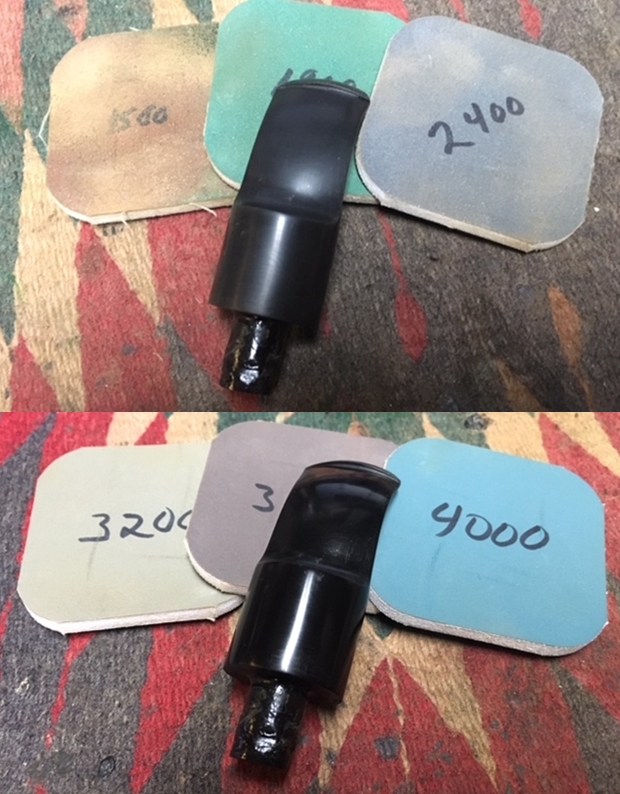
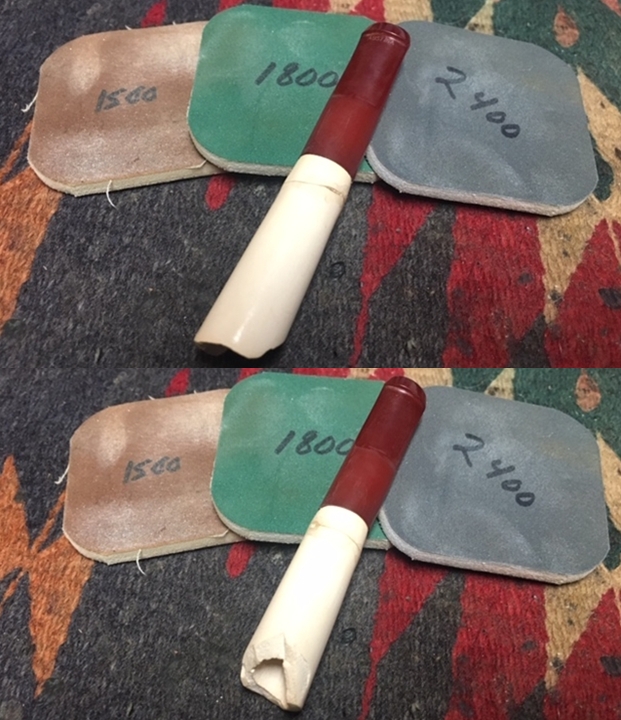
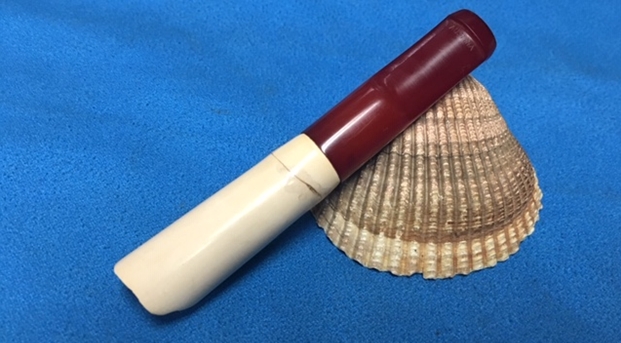
 I sanded the filed stem surface with 220 grit sandpaper to remove the filing marks on both sides of the stem. I am happy with the stem surface once that was done. I started the polishing of the surface with 400 grit wet dry sandpaper.
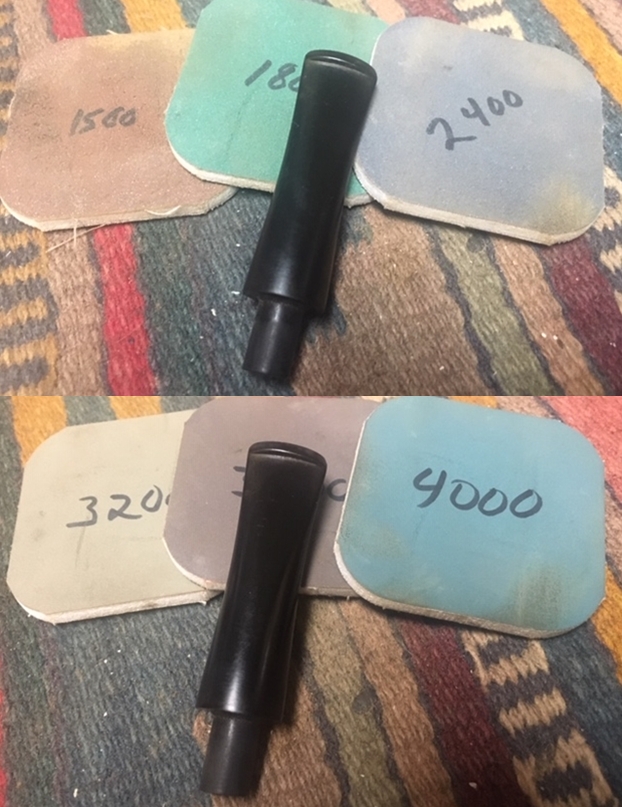
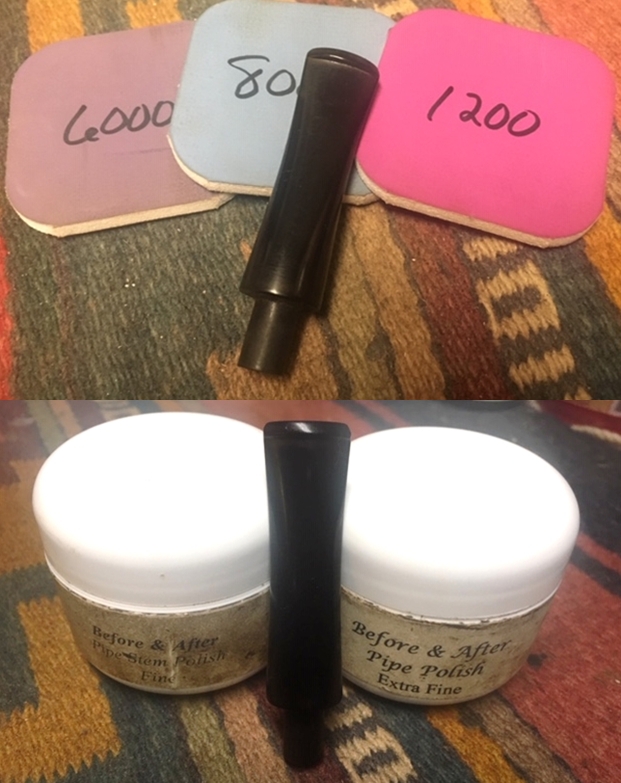
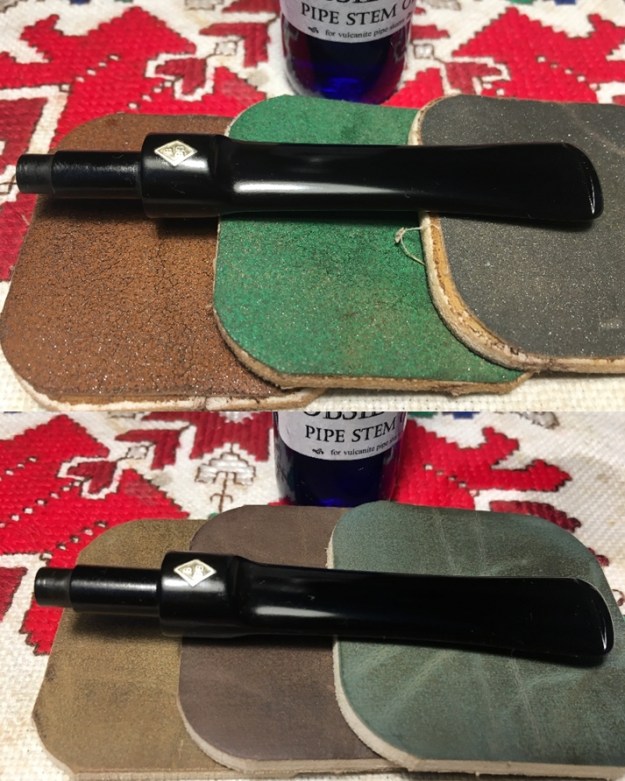
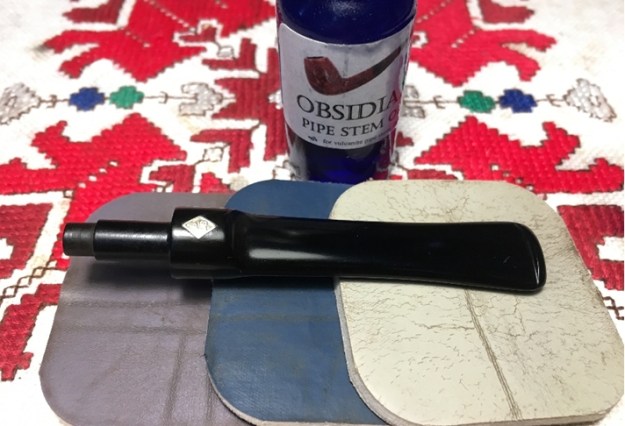
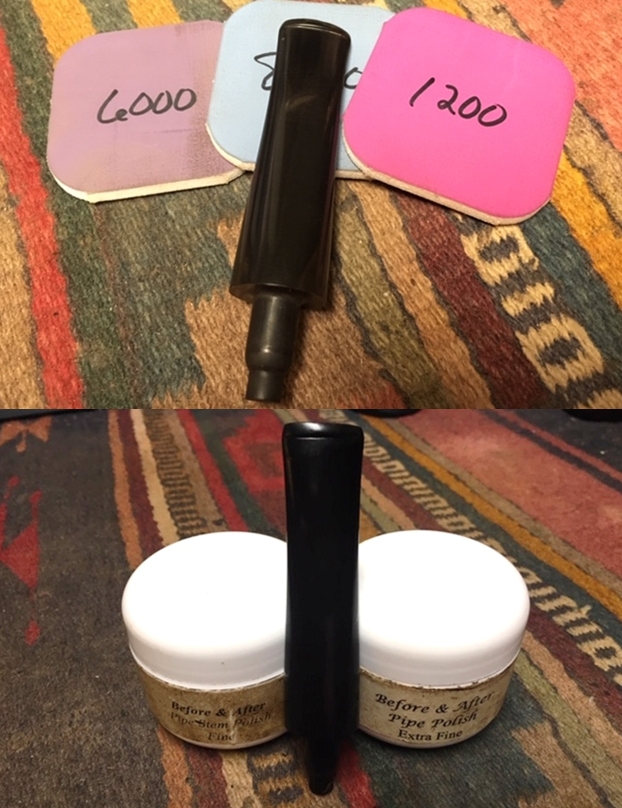
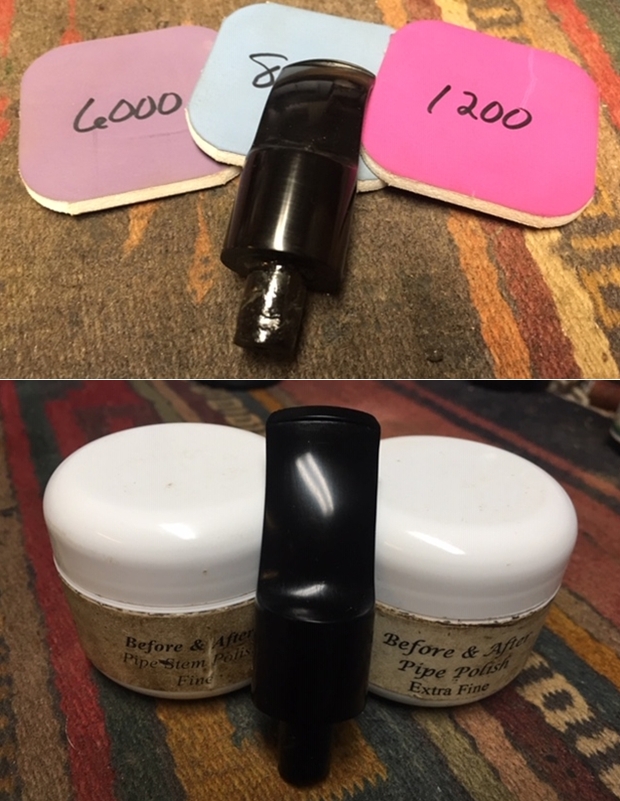
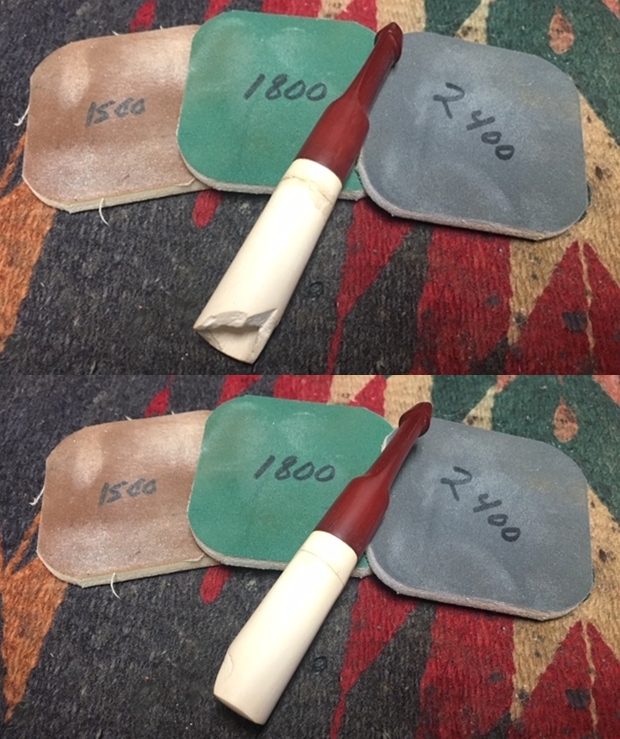
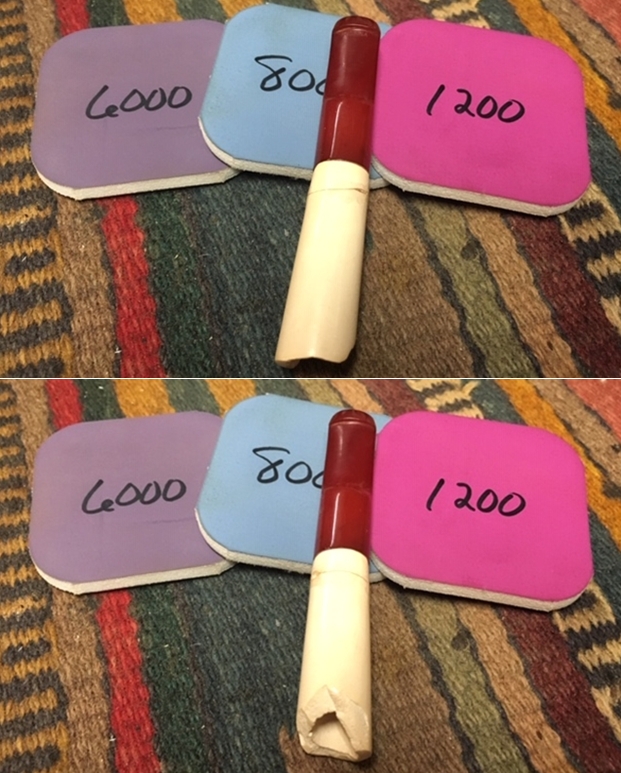
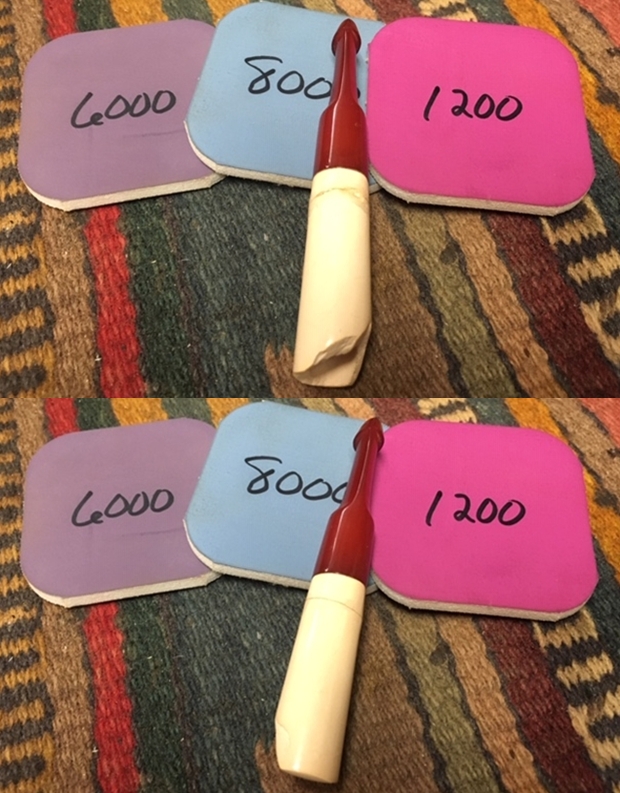
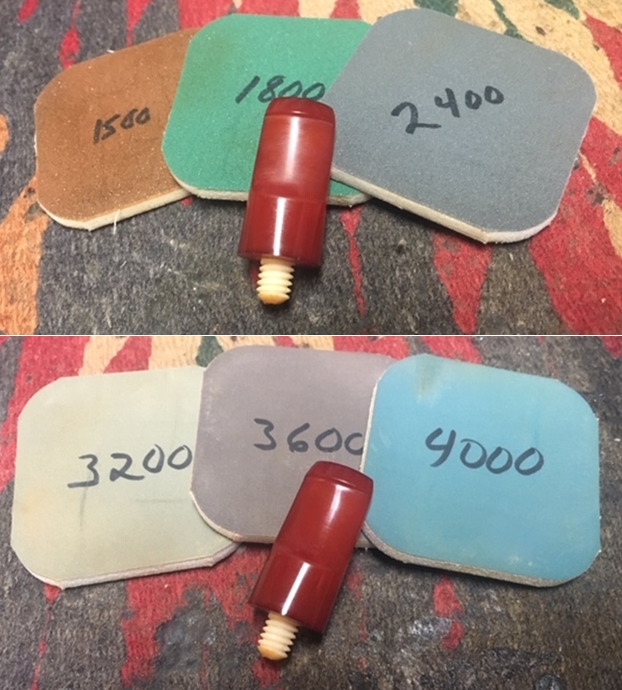
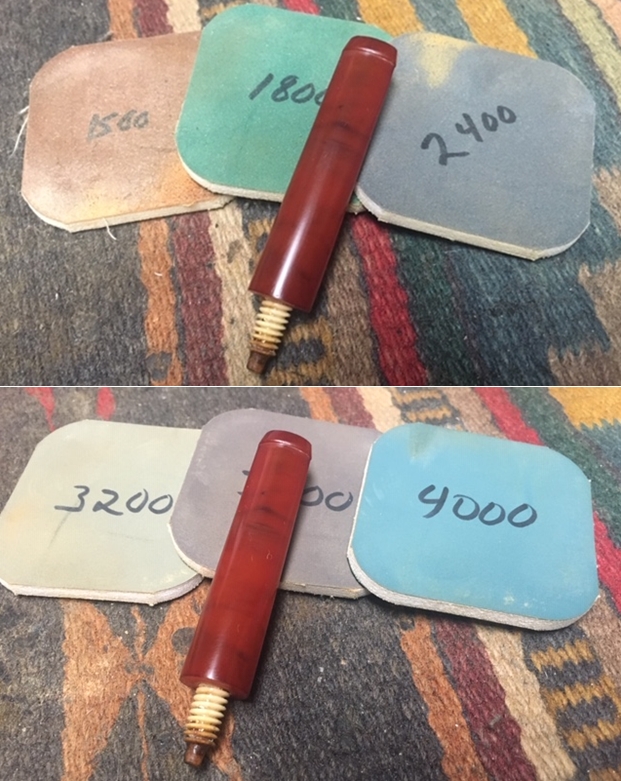
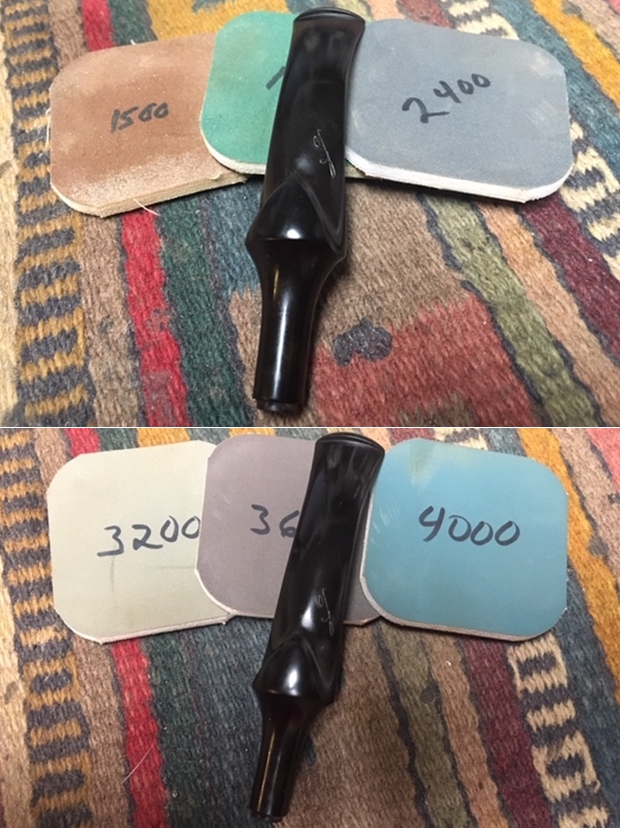
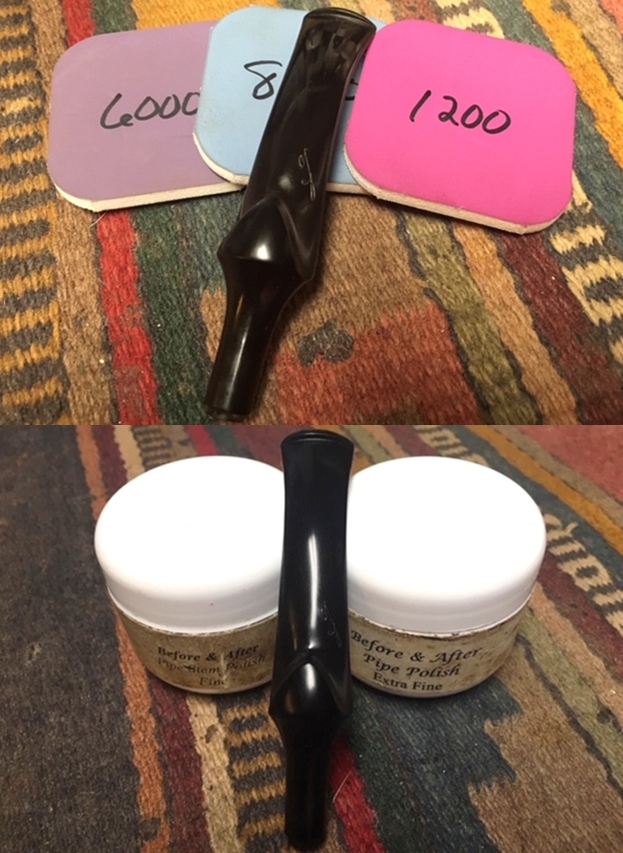
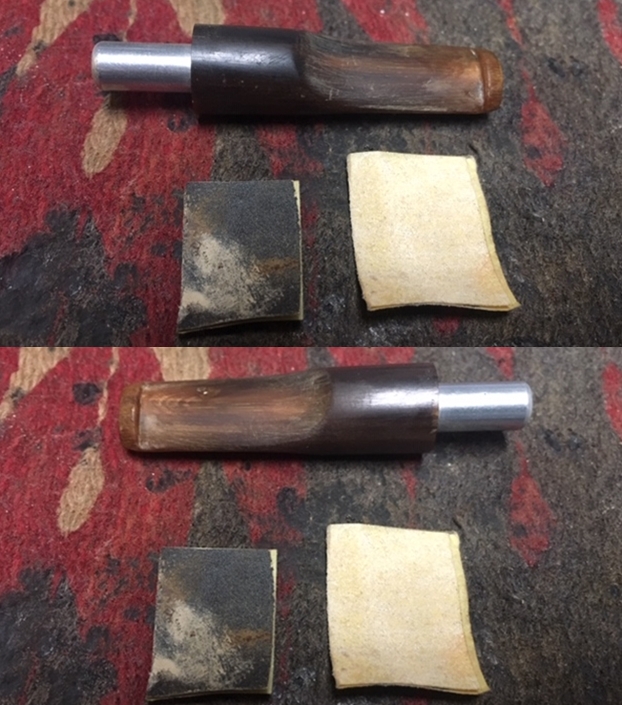
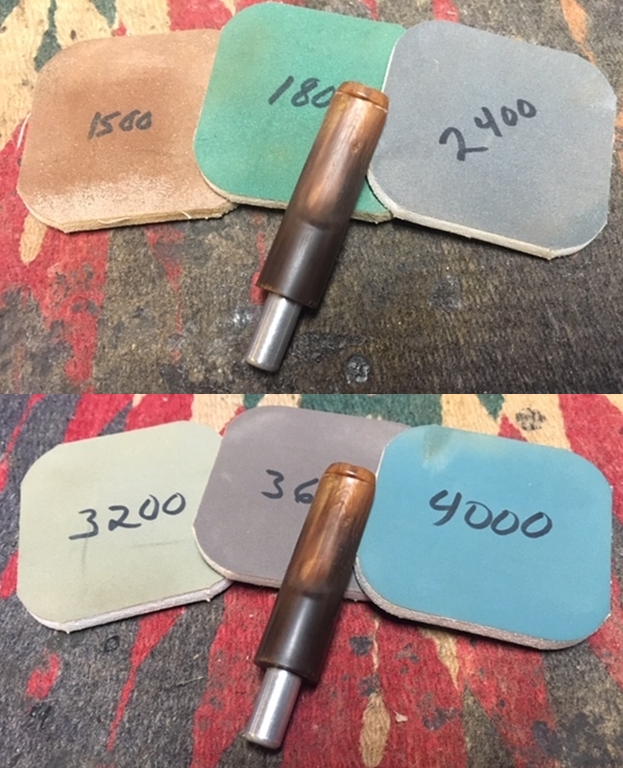
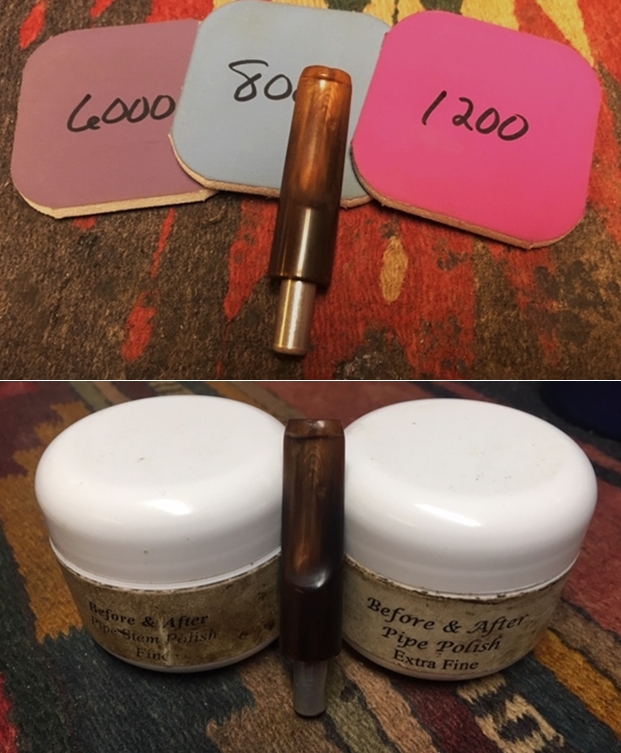
 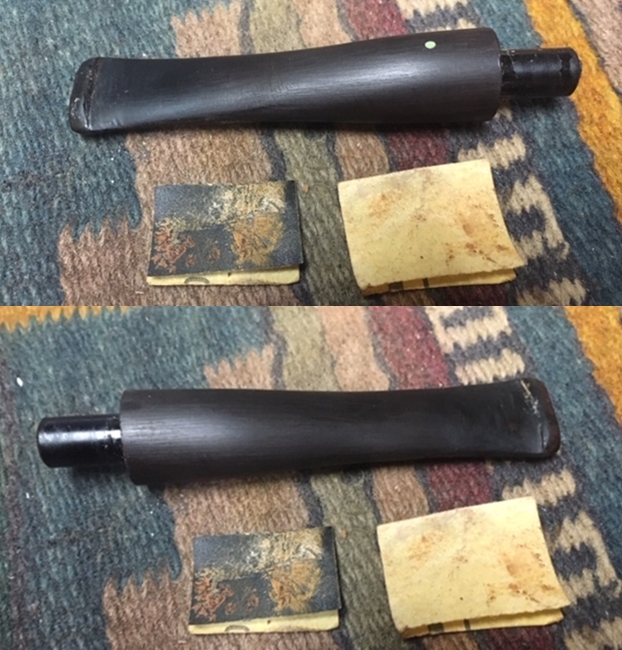 I polished the stem with micromesh sanding pads – wet sanding it with 1500-12000 grit pads. I wiped the stem down with a damp cloth after each pad. I further polished it with Before & After Pipe Polish – both Fine and Extra Fine. I wiped it down with a coat of Obsidian Oil and set it aside to dry.
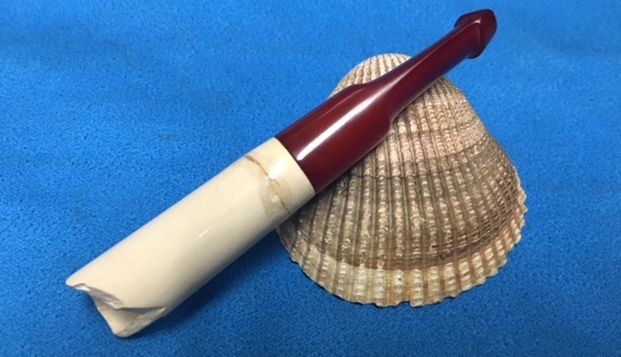
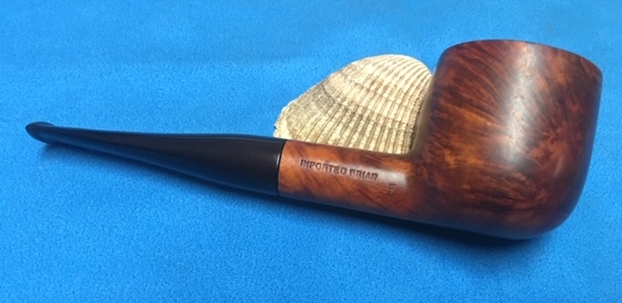
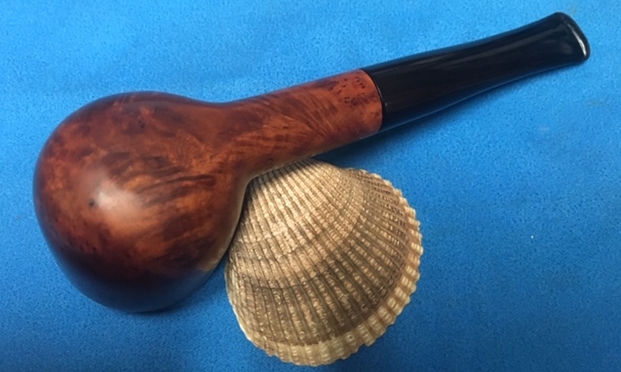
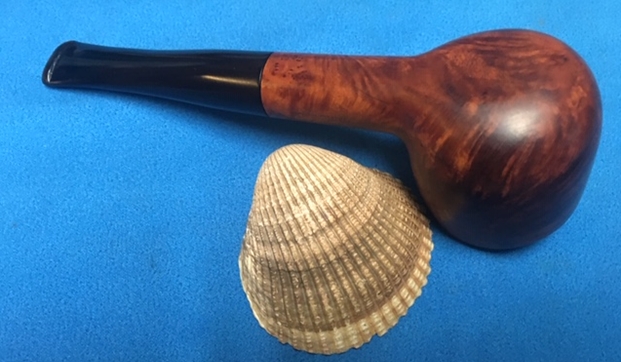
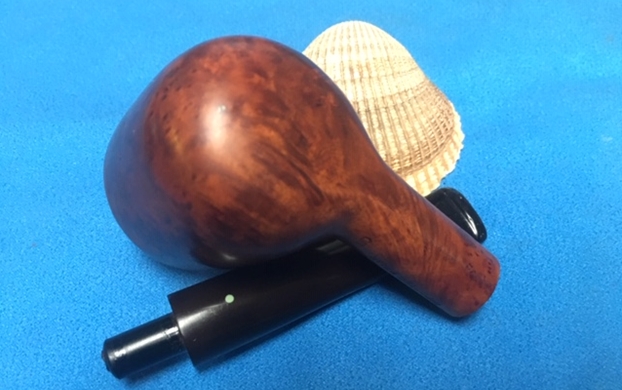
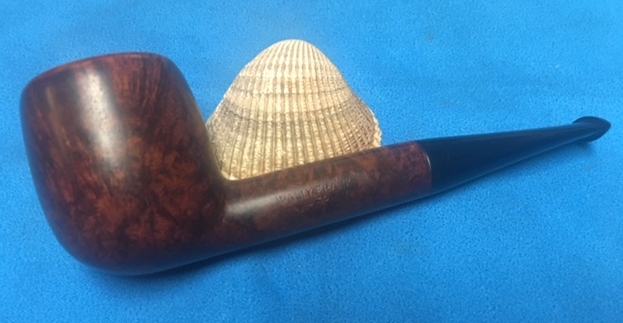
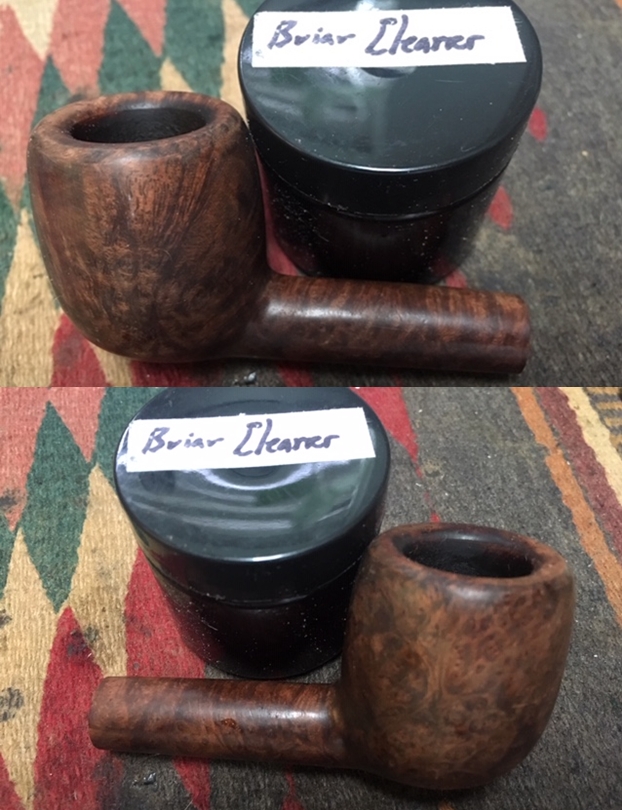
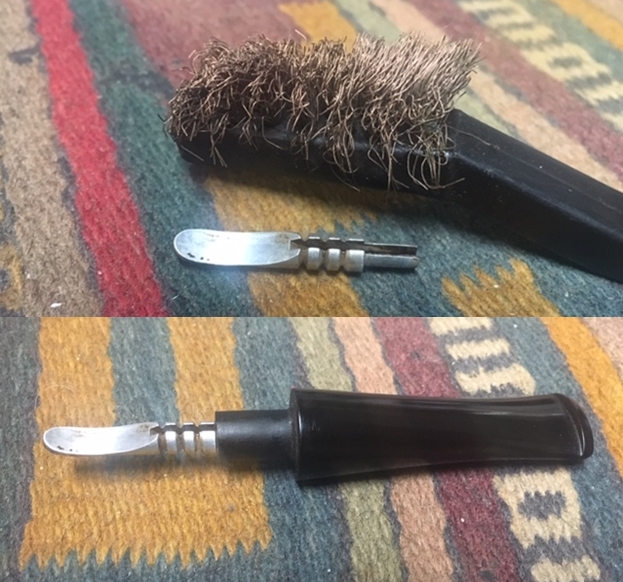
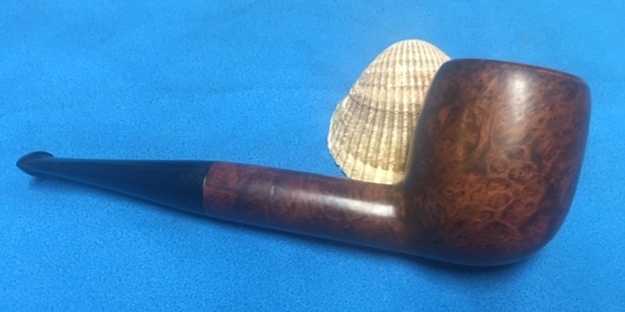
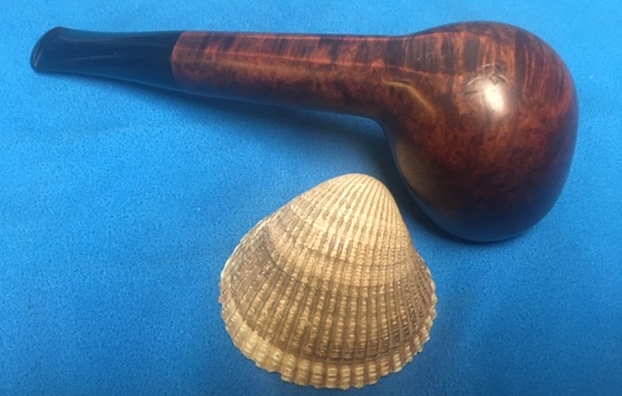
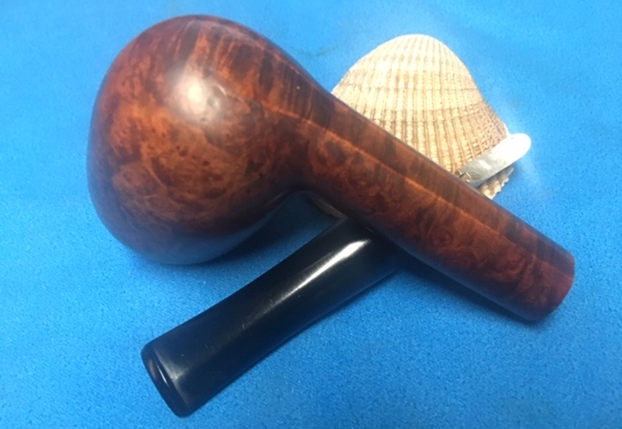
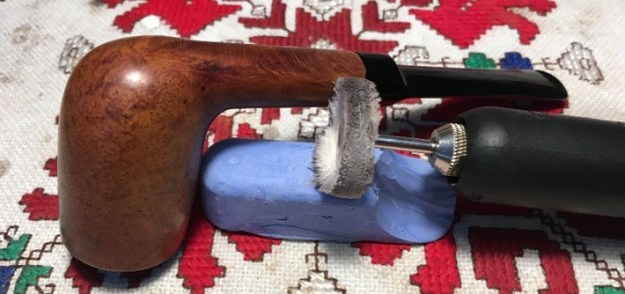
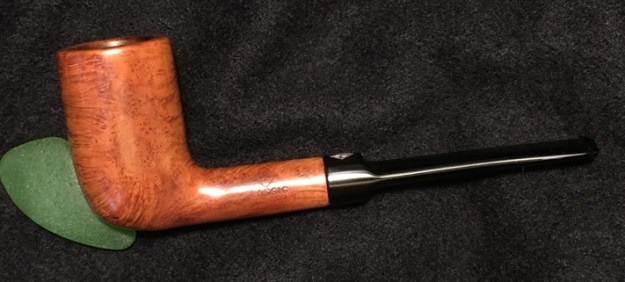
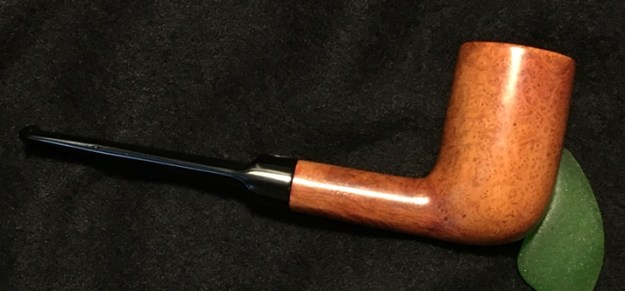
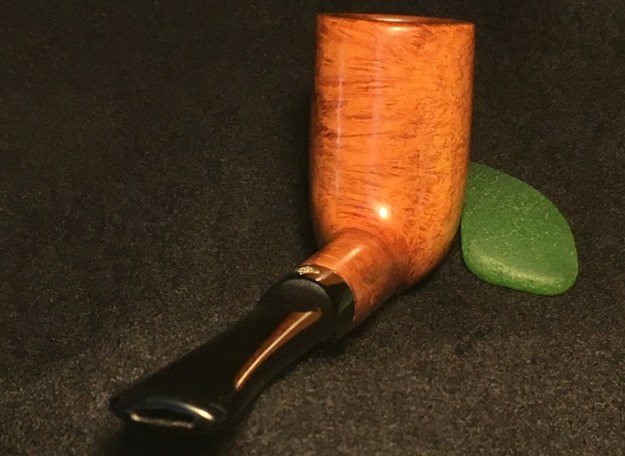
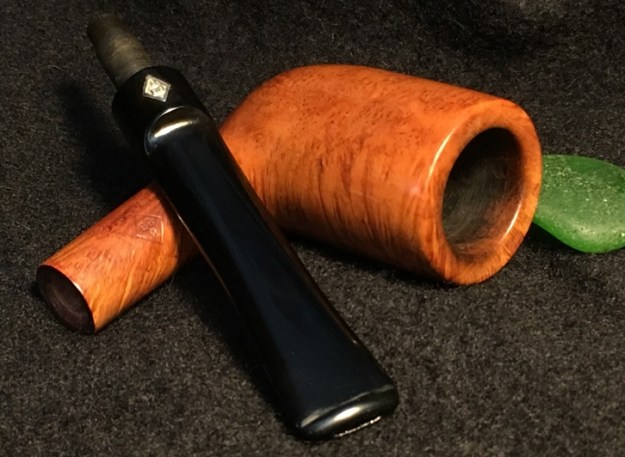
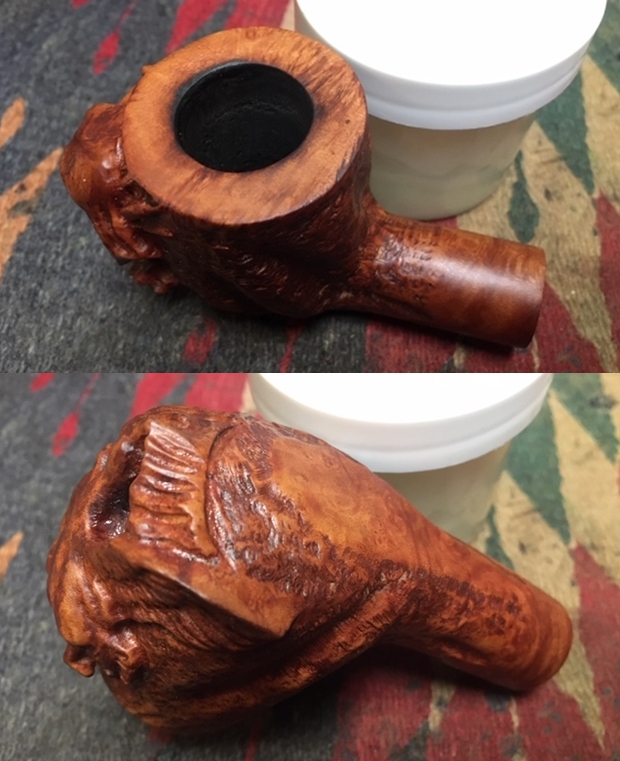
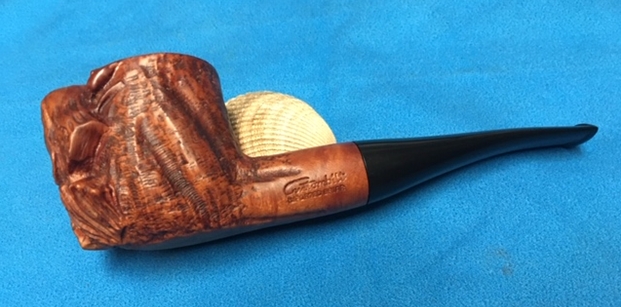
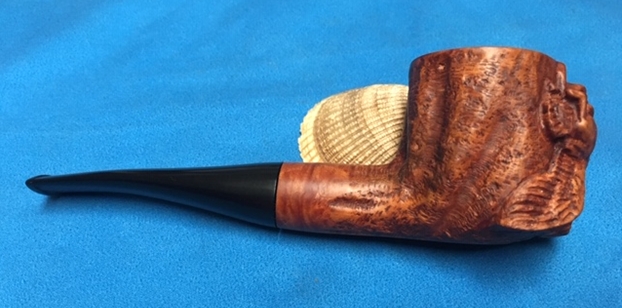
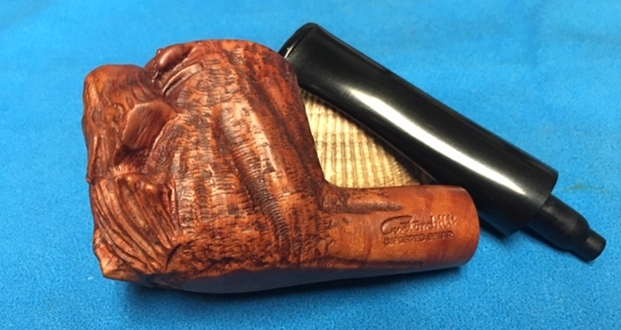
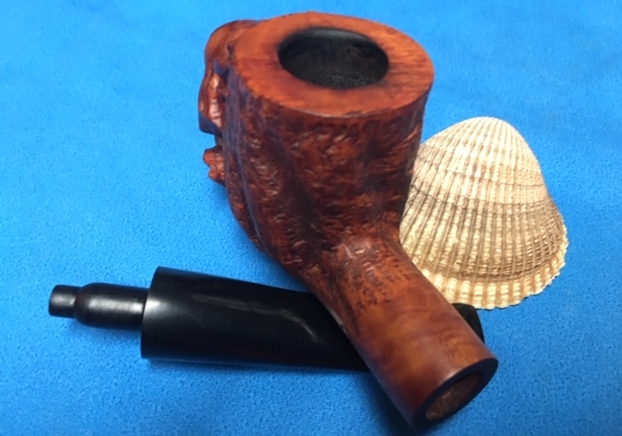
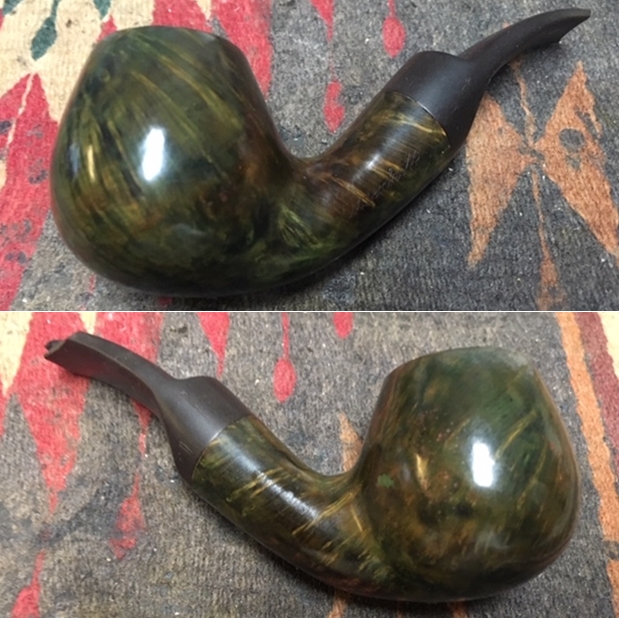
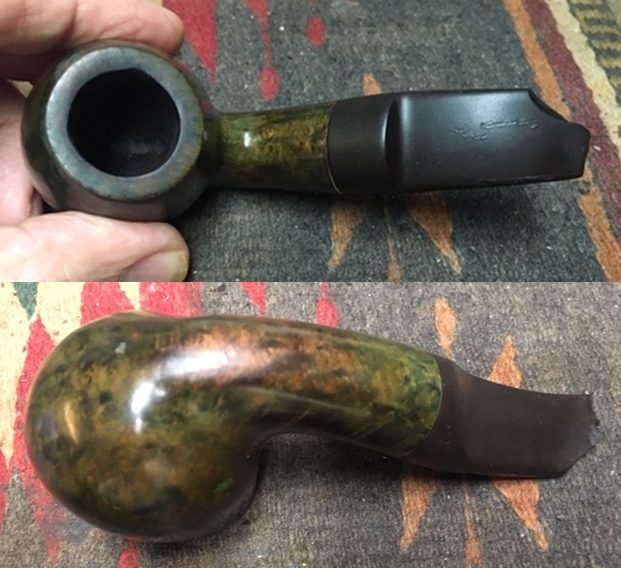
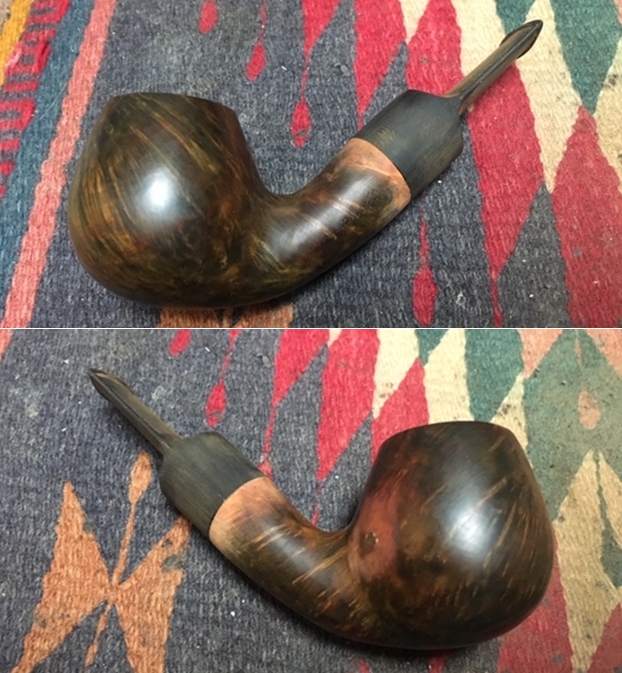
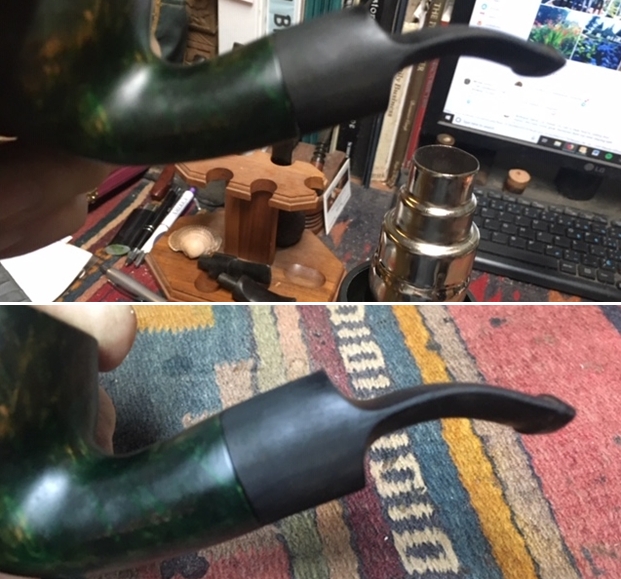
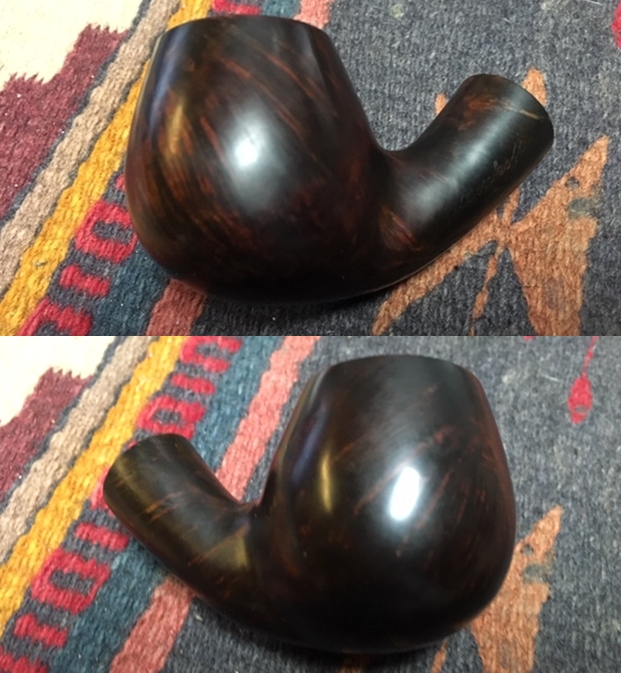
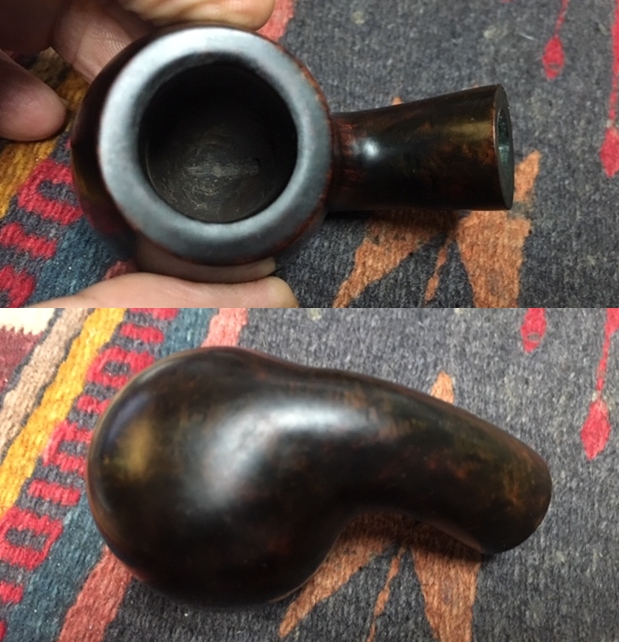
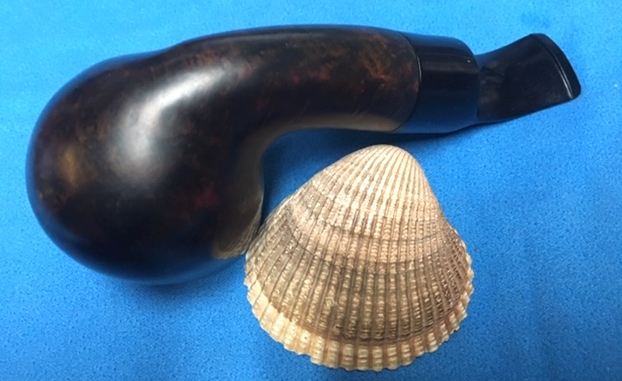
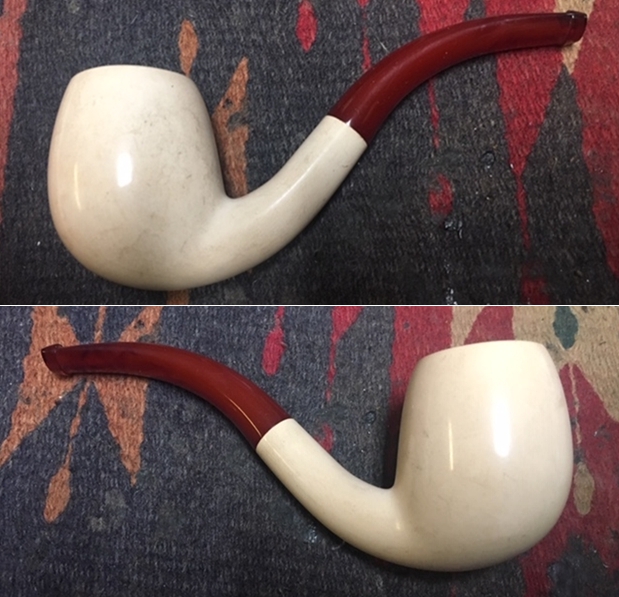
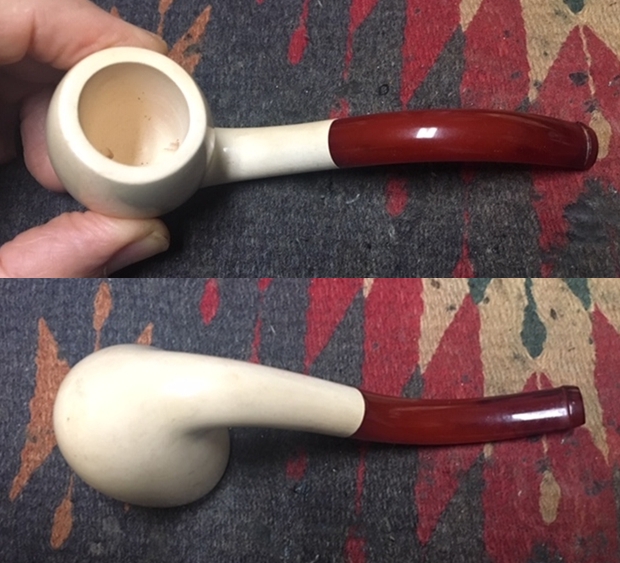
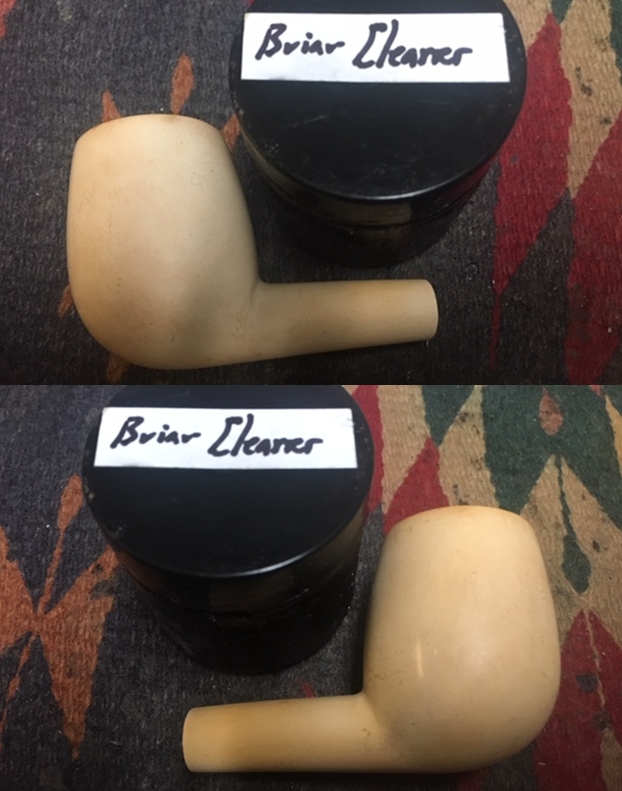
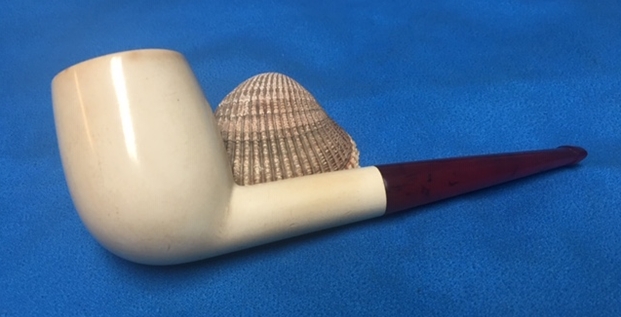
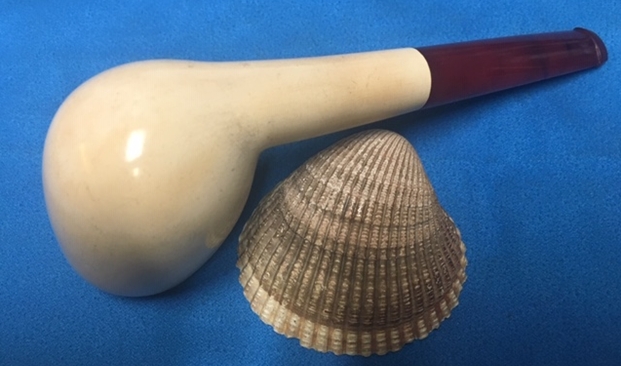
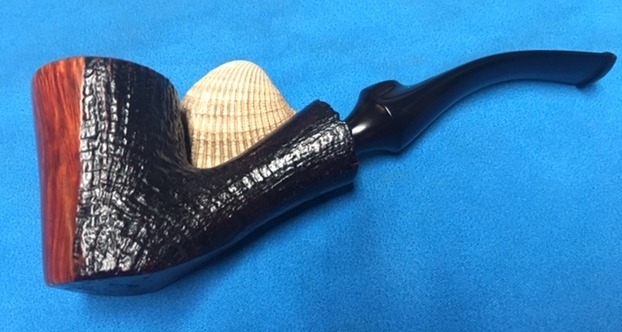
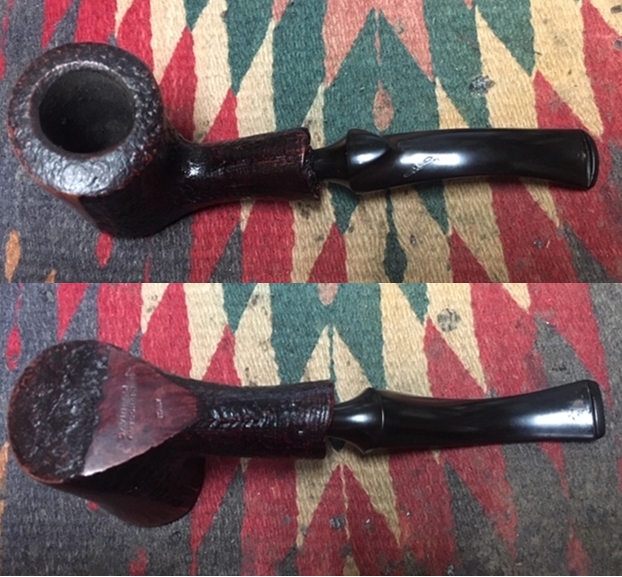
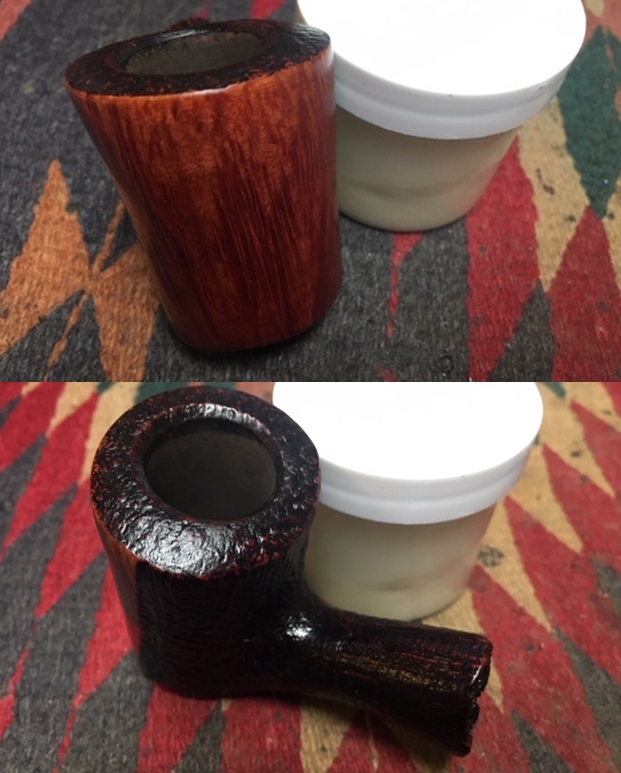
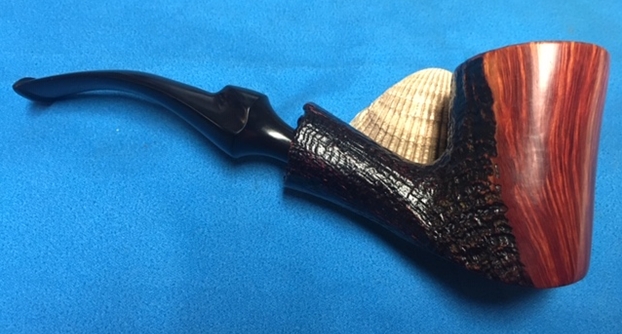
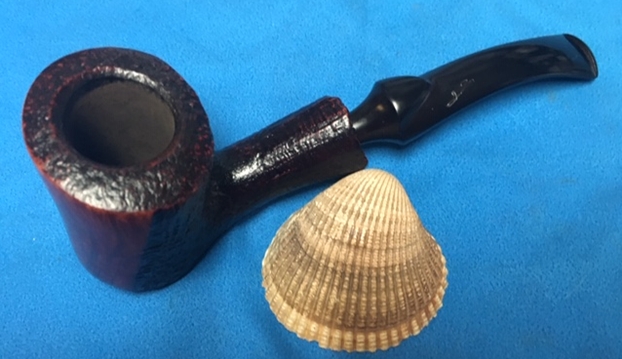
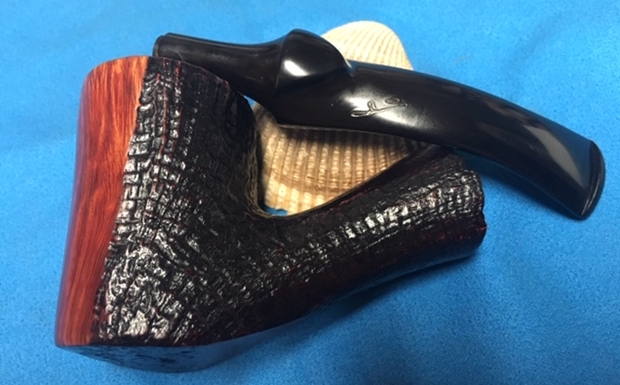
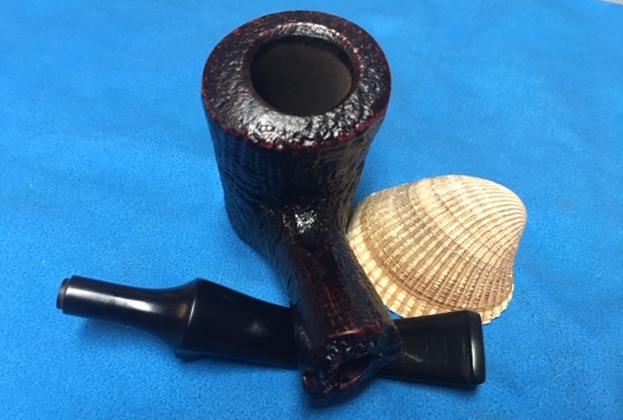
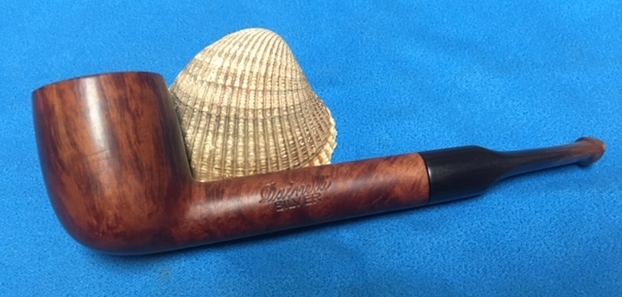
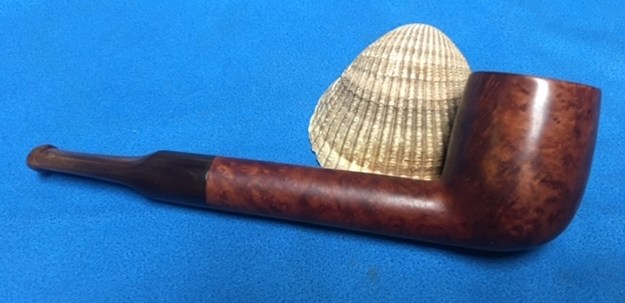
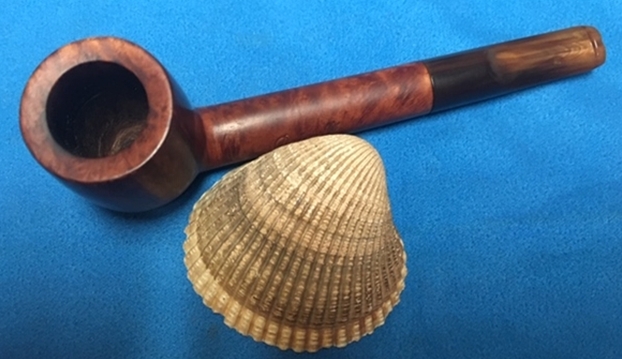
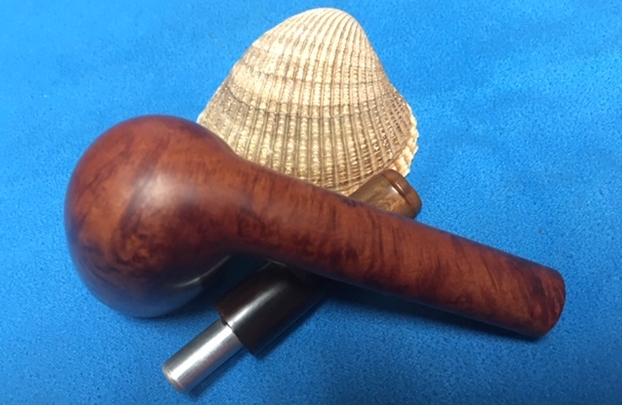
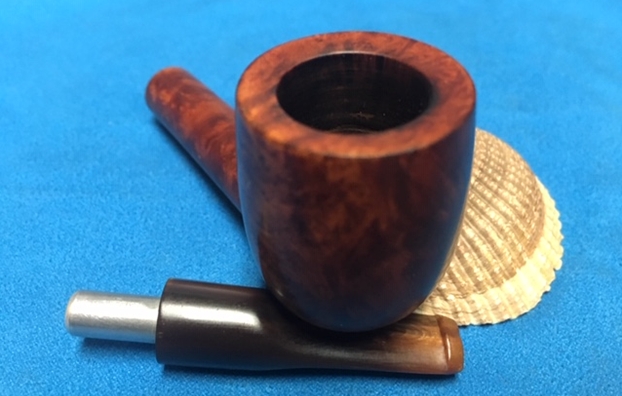
 With both parts of the pipe finished I put the pipe back together and polished the bowl and the stem with Blue Diamond polish on the buffing wheel. I gave the bowl and the stem multiple coats of carnauba wax. I buffed the pipe with a clean buffing pad to raise the shine. I hand buffed it with a microfiber cloth to deepen the shine. The pipe polished up pretty nicely. The rich oil cured finish and the grain came alive with the buffing. The finish on the briar works well with the polished black vulcanite stem. The finished pipe is a well-proportioned, nicely grained ¼ straight Pot shaped pipe. Have a look at it with the photos below. The dimensions are Length: 5 1/2 inches, Height: 1 1/2 inches, Outside diameter of the bowl: 1 1/2 inches, Chamber diameter: 7/8 of an inch. This Schoenleber Hand Made 5 Pot will be going back to Alex soon to join his growing collection of American made pipes. Thanks for walking through the restoration with me on another of Alex’s pipes.
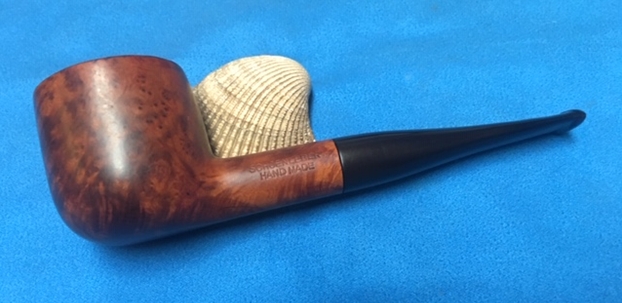


