
Blog by Dal Stanton
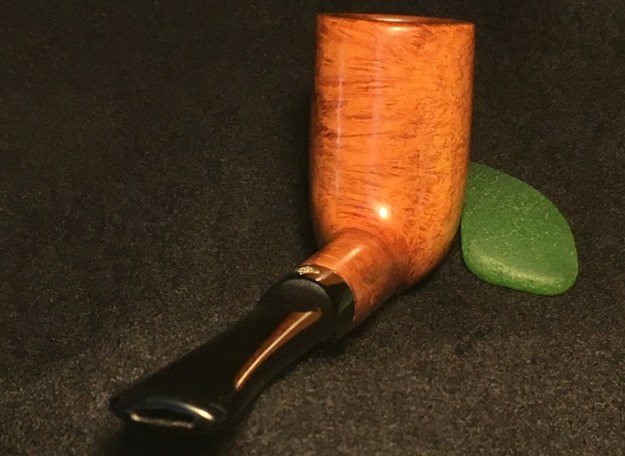
This very classy looking BBB I acquired with the French Lot of 50 that I won on the French eBay auction block along with several other treasures that I’ve enjoyed restoring for new stewards benefiting our work here in Bulgaria with the Daughters of Bulgaria. Along with a few other pipes commissioned by my friend in India, Paresh saw this BBB in the For “Pipe Dreamers” Only! collection and was interested in adding it to his BBB collection. I’ve marked the BBB in the pile of pipes that I acquired. I love looking at ‘pipe piles’ 😊.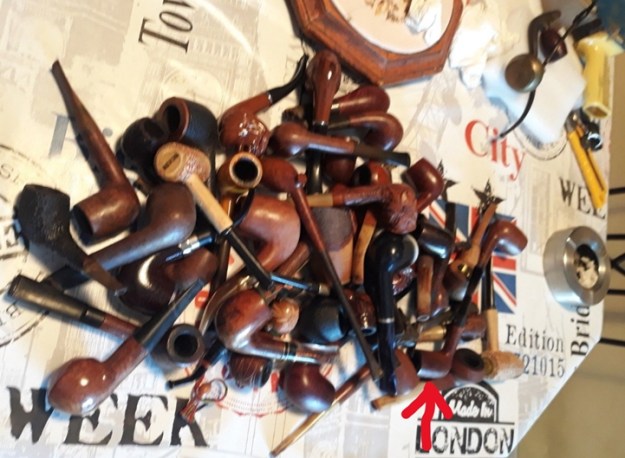 With the pipe now on my worktable here in Sofia, Bulgaria, I take more pictures to show what got Paresh’s attention. In prototypical English style, the pipe is on diminutive side measuring, Length: 5 3/8 inches, Height: 1 7/8 inches, Rim width: 1 1/8 inches, Chamber width: 3/4 inches, and Chamber depth: 1 3/4 inches.
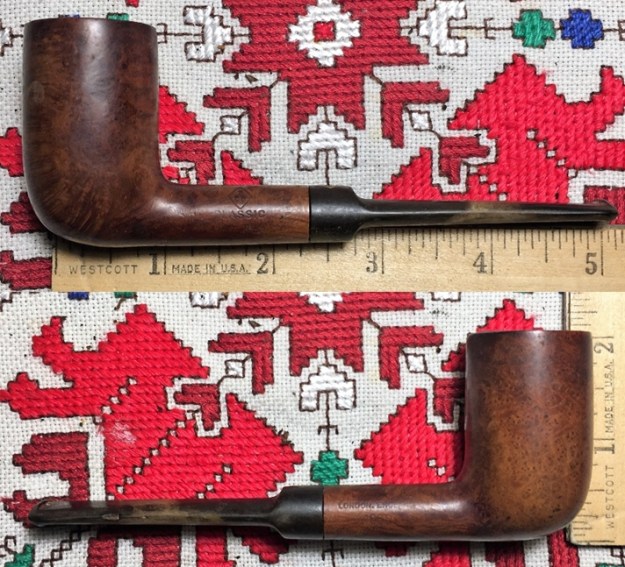

 The left side of the shank is stamped with the classic ‘BBB’ ensconced in the rhombus [over] ‘CLASSIC’. The right side of the shank is stamped, ‘LONDON, ENGLAND’ [over] 106S – what I’m assuming is the BBB shape number designation. The shape of the stummel I would label as a Chimney sporting a saddle stem. In my research I could unearth no BBB Shapes Chart that corroborates my designation matching the 106S.
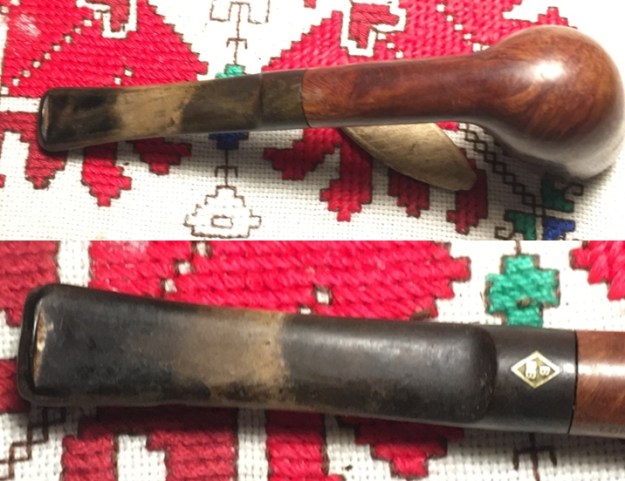
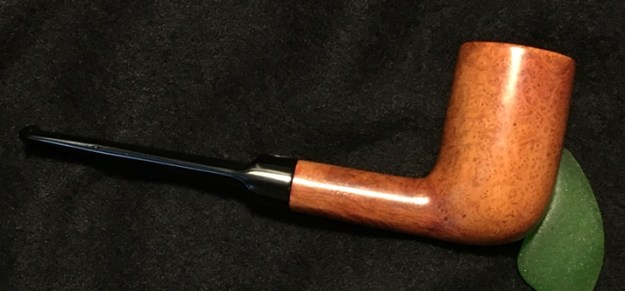
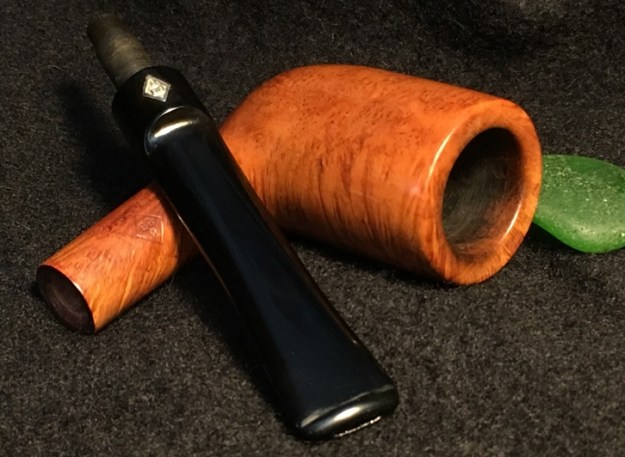
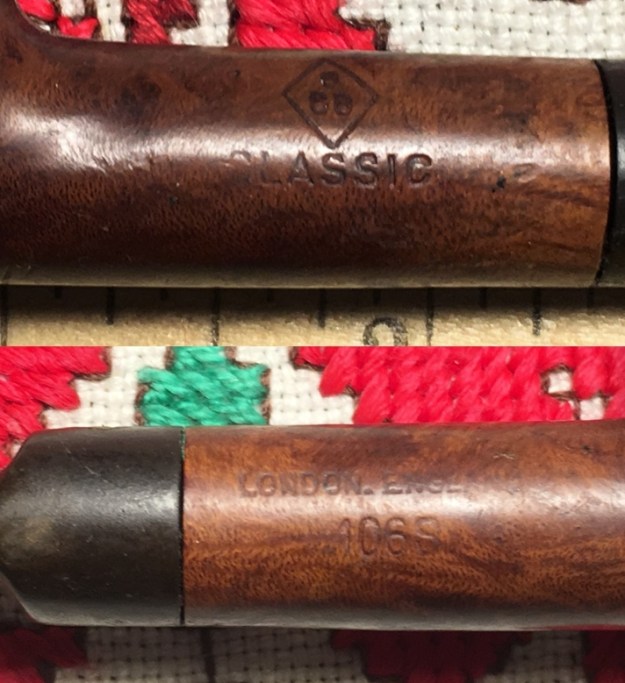 I love the look and feel of this pipe and its distinctive brass rondel embedded on the topside of the stem placing this ‘Best British Briar’ Classic in the 1950s and 1960s. Below is pictured the evolution of the BBB stem markings which is included in an extensive article on the History of BBB Pipes by Fiona Adler that Steve reposted in rebornpipes after translating from the original French.
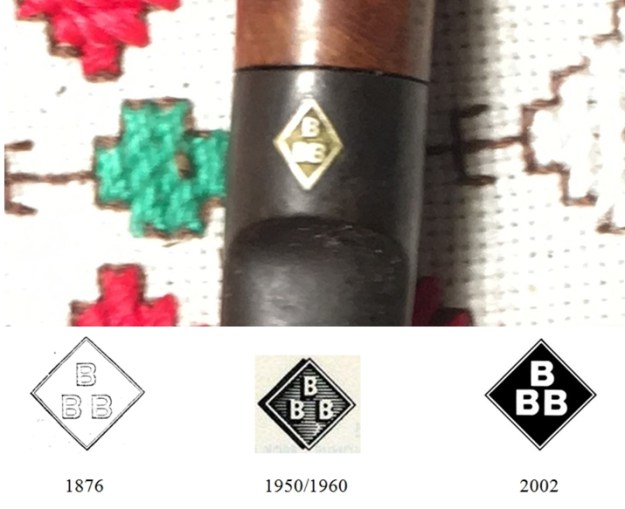 Pipephil provides a very brief description of ‘BBB’:
BBB: ” Best British Briar” is now a brand of the Cadogan Company (Oppenheimer group). American rights to use the brand name were sold to Wally Frank in 1980.
Founder of the brand in 1847: Louis Blumfeld. The oldest pipe brand name in the UK has been registered in 1876 (Blumfeld Best Briar)
Grading (ascendant): Own Make, Bold Grain, Best Make, Rare Grain
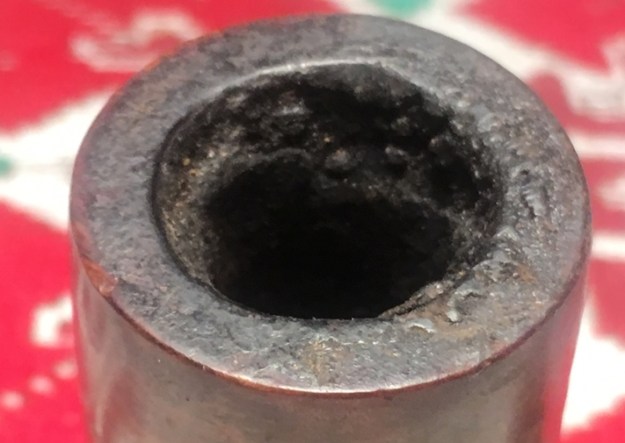
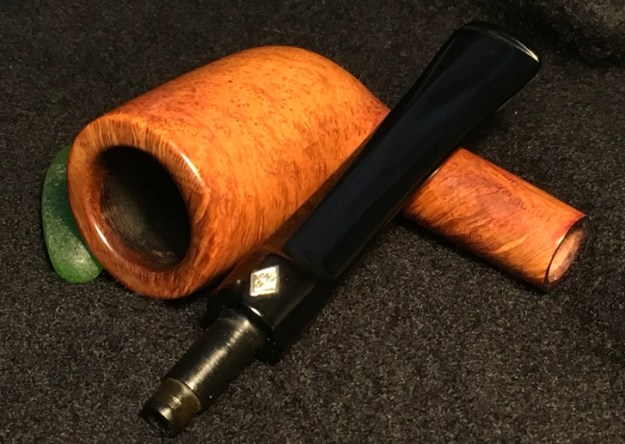
With the dating of this pipe giving it a 50s/60s vintage, I was hopeful to find the ‘Classic’ line in some of the catalogs that Steve acquired from Victor C. Naddeo who is the administrator of the FB Group, Pipe Club of Brasil. I enjoy it when catalogs are posted but unfortunately, I found neither the ‘Classic’ line mentioned or the shape number 106S in the 60s catalog (See: Best British Briar Catalog to see the whole posting). The Chimney stummel is in very good condition – the grain pattern shows great promise after the stummel is cleaned of normal dirt and grime buildup. The chamber has a thick cake and the lava overflow matches the fact that this pipe was well smoked and served his steward well. I will remove the cake to give the briar a fresh start and to inspect the chamber walls for heating problems. The saddle stem has heavy oxidation but very little tooth chatter on the bit. I’m looking forward to seeing how the very nice-looking BBB Classic Chimney cleans up.
I start by trying something that I haven’t tried before. The oxidation in the stem is a lot and very deep. My experience with Before & After Deoxidizer is that it is not able to remove very strong oxidation fully. It can address some of the issue, but not thoroughly – in my experience. I try to break up the oxidation by using a small felt buffing wheel mounted on the Dremel set to the lowest speed. I start first with simply the felt wheel, but I’m concerned that it is too hot on the vulcanite. 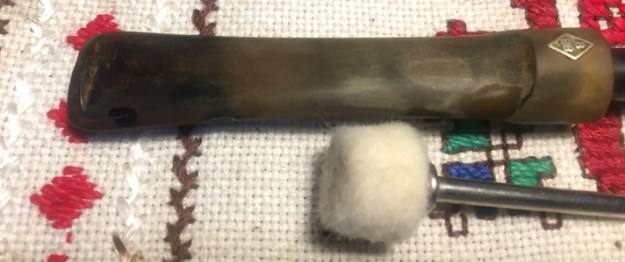 I add paraffin oil to the mix. I wet the felt wheel with the mineral oil and buff the stem trying to break up the oxidation in anticipation of putting the stem in the B&A Deoxidizer soak.
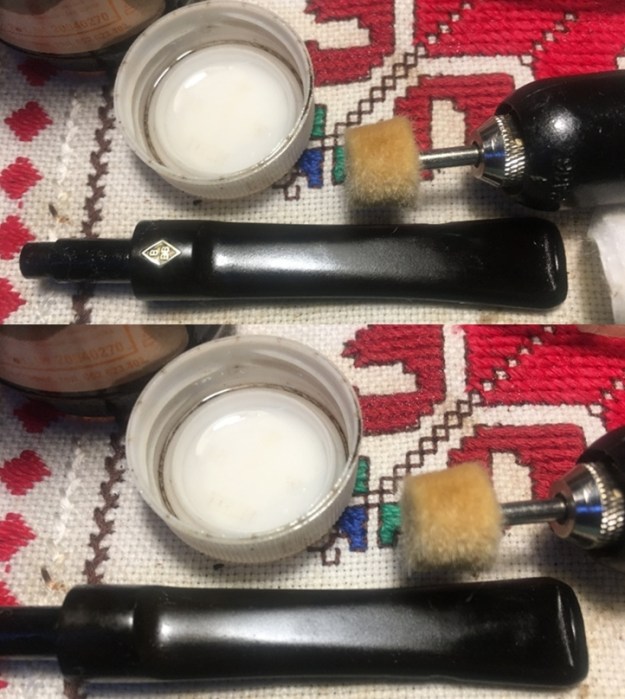 After buffing, I wipe the stem down with a cloth and put it aside and allow it to dry. After drying, the next two pictures show that the buffing did help, but there is still oxidation.
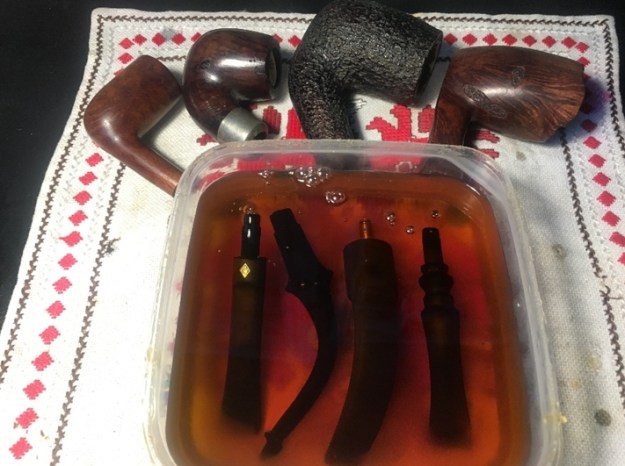
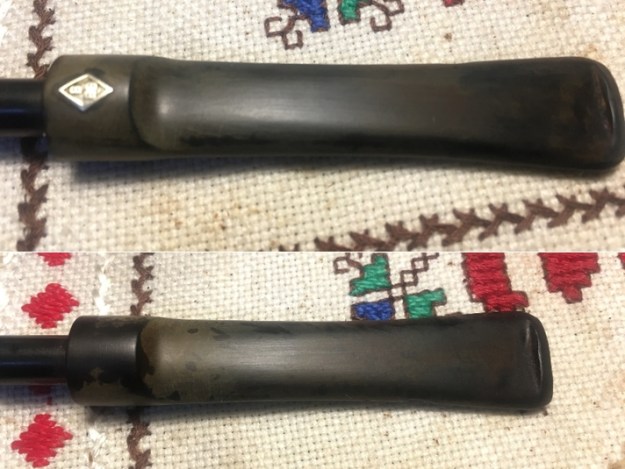 I continue by cleaning the airway of the stem with a pipe cleaner wetted with isopropyl 95%. Once clean, I add it to a bath of Before & After Deoxidizer with other pipes in the queue. I’m hopeful that the Deoxidizer will now be more efficient after the aggressive buffing I did.
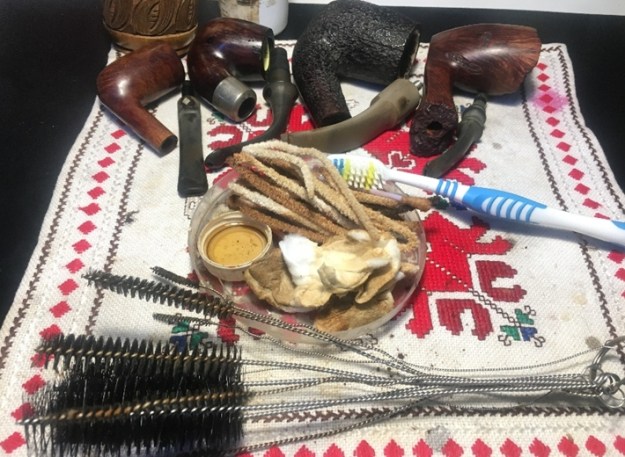
 After some hours in the Deoxidizer soak, I fish out the BBB saddle stem and after draining off the excess Deoxidizer, I use cotton pads wetted with isopropyl to wipe off the raised oxidation. I also run a pipe cleaner wetted with alcohol to clean the airway of the fluid. The pictures show improvement, but I’m not satisfied.
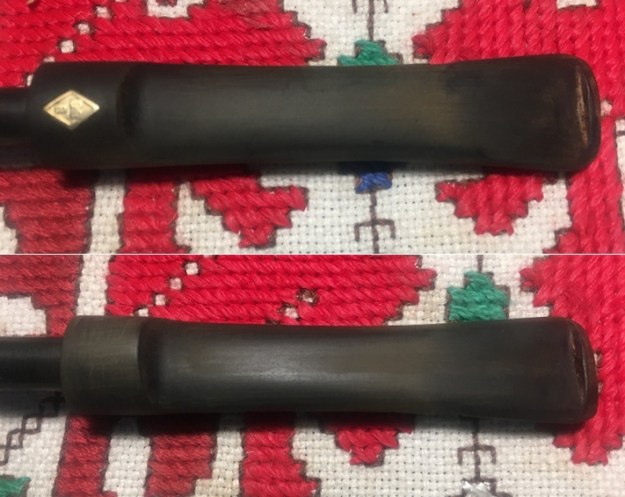 Next, I employ Mr. Clean Magic Eraser to address the oxidation further. I’m satisfied with the results – the vulcanite appears to be free of the oxidation.
 To rejuvenate the stem, I apply paraffin oil to the vulcanite with a cotton pad and put the stem aside to absorb and dry. I’m pleased with the results.
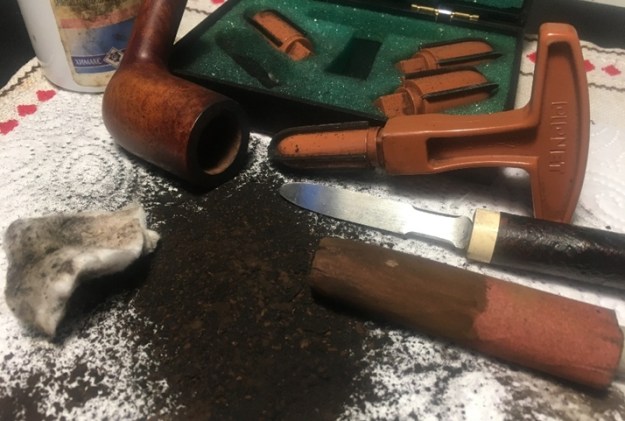
 Turning now to the BBB stummel, I take a few pictures to show the heavy build up both in the chamber and the rim. I use only the smallest of the Pipnet Reaming Kit’s blade heads to ream the carbon cake out of the chamber. This will give the briar a fresh start. I transition to the Savinelli Fitsall Tool to do the fine tuning by scraping the chamber walls more, and then wrap 240 grade paper around a Sharpie Pen and sand the chamber to clean it further of carbon cake residue. Finally, I wipe the chamber with a cotton pad wetted with alcohol to rid the chamber of carbon dust. I take a final picture of the cleaned chamber and after inspection, I see know problems in the chamber with heating cracks or fissures.
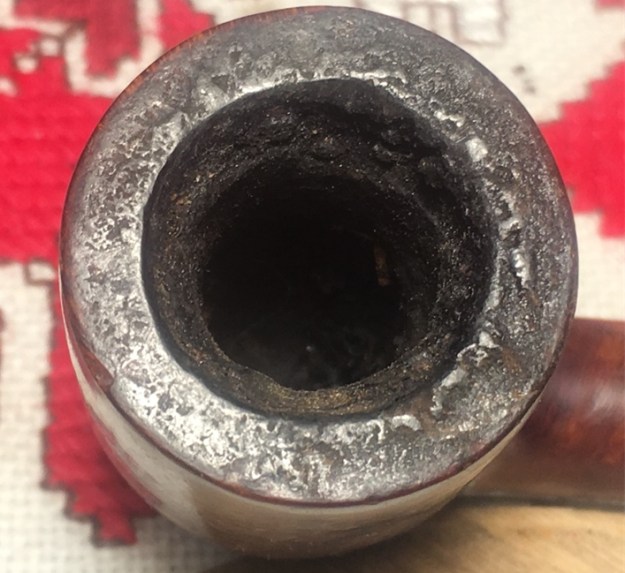
 Turning now to the external briar cleaning, I use undiluted Murphy’s Oil Soap with a cotton pad to scrub the surface. I also work on the rim using my thumbnail to scrape the rim to remove the buildup and then with a brass wire brush. I then take the stummel to the sink and using a bristled toothbrush I brush and further clean the surface under the warm water. Using shank brushes and anti-oil dish liquid soap as well I clean the internals of the stummel rinsing with warm water.
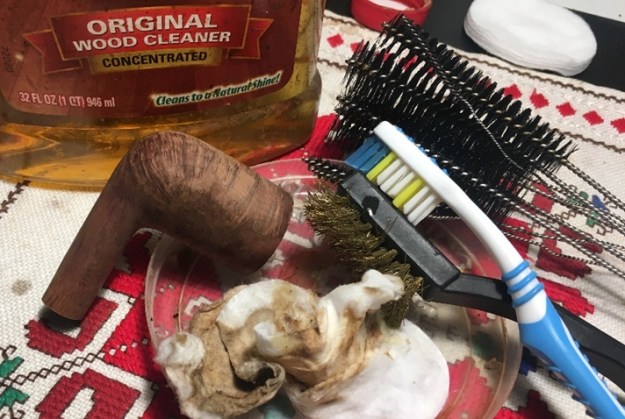 Next, using pipe cleaners and cotton buds wetted with isopropyl 95%, I continue the internal cleaning. I also scrape the mortise walls with a small dental spoon. This does a great job removing the thicker tars and oils that are hanging on. After a time, the cotton buds begin to emerge cleaner.
 To continue the internal cleaning process, I use the kosher salt and alcohol soak. To form a ‘wick’ to draw out the tars and oils, I twist and pull a cotton ball to form the wick. A stiff wire helps to insert and push the wick into the mortise. Then the bowl is filled with kosher salt, which leaves no aftertaste and freshens the bowl, and I set the stummel in an egg crate to keep it steady. A large eyedropper is used to fill the chamber with isopropyl 95% until it surfaces over the salt. After a few minutes, I top the alcohol off after it has absorbed into the internals. I set the stummel aside for it to soak through the night. It’s late, I also turn out the lights!
 The next morning, the kosher salt and isopropyl 95% soak has done the job. The wick and salt are soiled having drawn more tar and oils from the internal cavity. I thump the expended salt into the waste and wipe the chamber with a paper towel as well as blow through the shank to remove expended salt crystals. To make sure the internals are clean, I use a few more cotton buds dipped in isopropyl 95%. As hoped and expected, they come out clean and I move on.
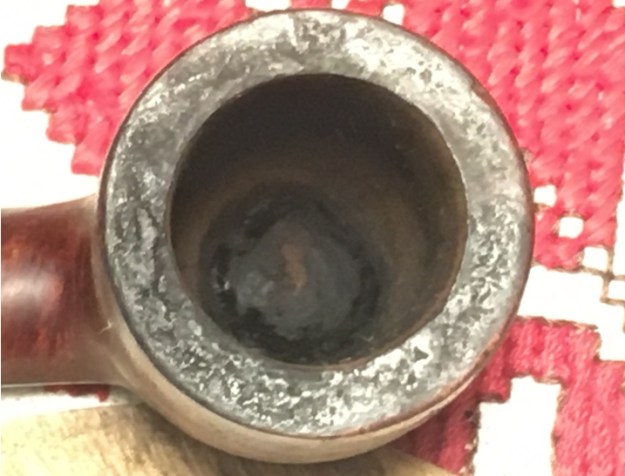
 With the cleaning complete, I turn my attention to the rim’s condition. The cleaning did a great job removing the grime and lava over the rim, but the discoloration and skins and nicks on the edge of the rim remain. I take a couple close-ups picturing both sides of the rim and nicking is evident.
 To address the rim condition, I bring out the chopping board and put 240 grade paper on it to serve as a topping board. I top the stummel very lightly – just enough to clean the rim and allow me to erase the rim edge nicks with a simple, inconsequential beveling.
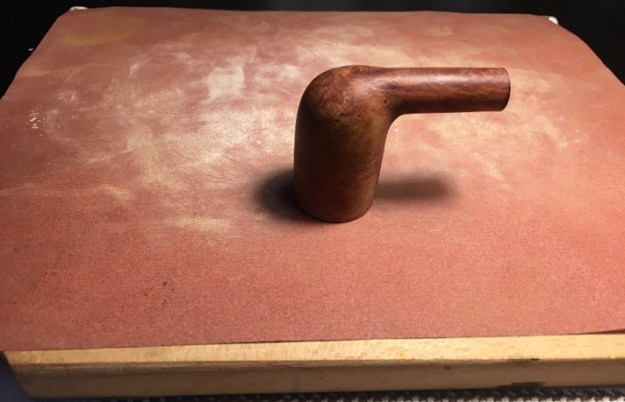 After a few rotations on the board I take a picture.
 After a few more rotations, I’m satisfied with the 240 topping. On the lower right of the rim you can see the remaining rim edge issues that I’ll rectify with a gentle beveling or sanding.
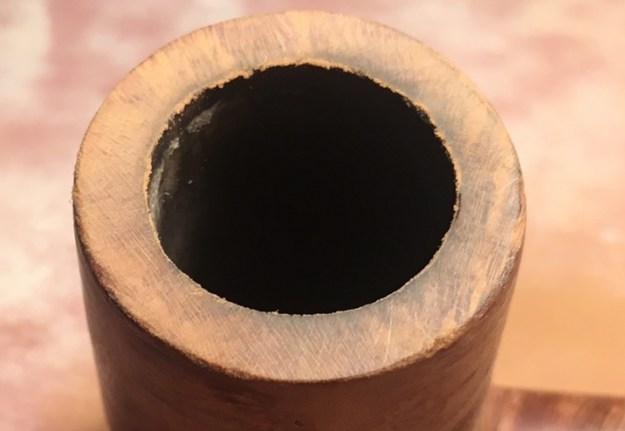 To smooth the rim further, I exchange the 240 paper for 600 grade paper and go a few more rotations.
 Next, I introduce outer and inner edge bevels to erase the remaining damage and to give the Chimney’s top a smoother softer appearance. I use 240 grade then 600 grade papers rolled to do the beveling. I think it looks great.
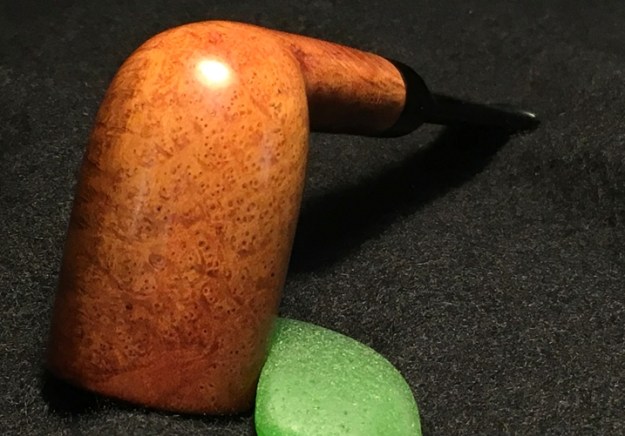
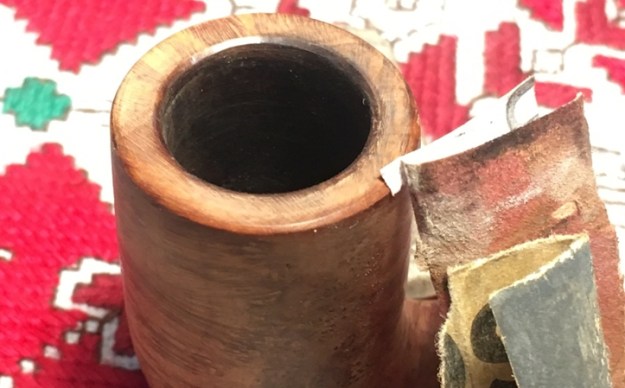 With the rim repair completed, I take the stummel through the full regimen of 9 micromesh pads. First, I wet sand using pads 1500 to 2400 then dry sand using pads 3200 to 4000 and 6000 to 12000. I take a picture between each set of 3 pads to mark the change in the briar. It amazes me how the grain emerges. This BBB Classic’s grain is striking. As I track the grain around the bowls, the horizontal grain gradually transitions to bird’s eye grain as the stummel position pivots. There are no fills in the stummel that I can see – a beautifully crafted block of briar!
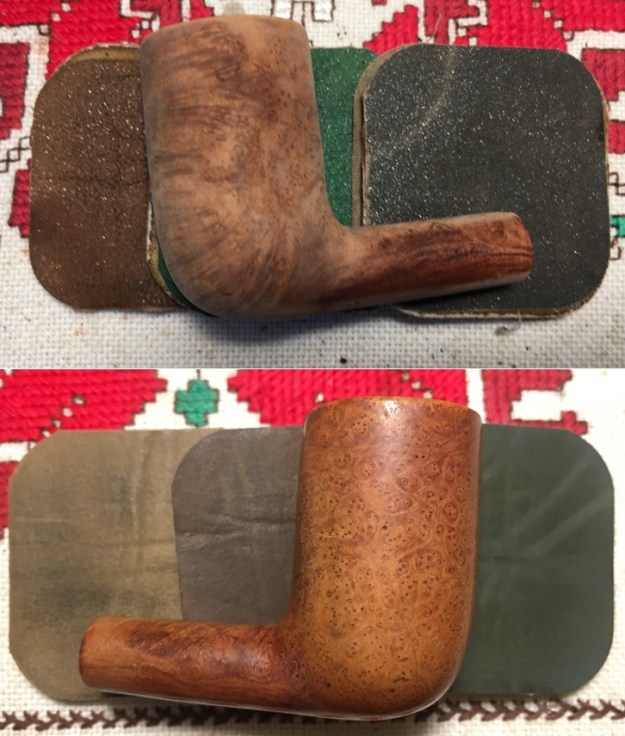
 Before returning to the stem to catch it up with the stummel, I’m anxious to apply Before & After Restoration Balm to this BBB Classic Chimney stummel. I place some Balm on my fingers, and I work it into the briar thoroughly. The Balm starts with a cream-like consistency but then thickens into more of a wax-like consistency. I like the Balm because it seems to draw out the deeper tones of the briar – nothing earth shattering, but the subtle enhancement of the natural briar grain is what I like most. After applying the Balm, I put the stummel aside for about 20 minutes before wiping off the excess and then buffing it up with a micromesh cloth. The picture shows the Balm at work.
 Next, I turn back to the BBB saddle stem. The tooth chatter is minimal, but the button has some compressions. The skin of the stem is rough as well.
 I begin by refreshing the button lips using a flat needle file. I also work on the bit with 240 grade paper sanding out the imperfections.
 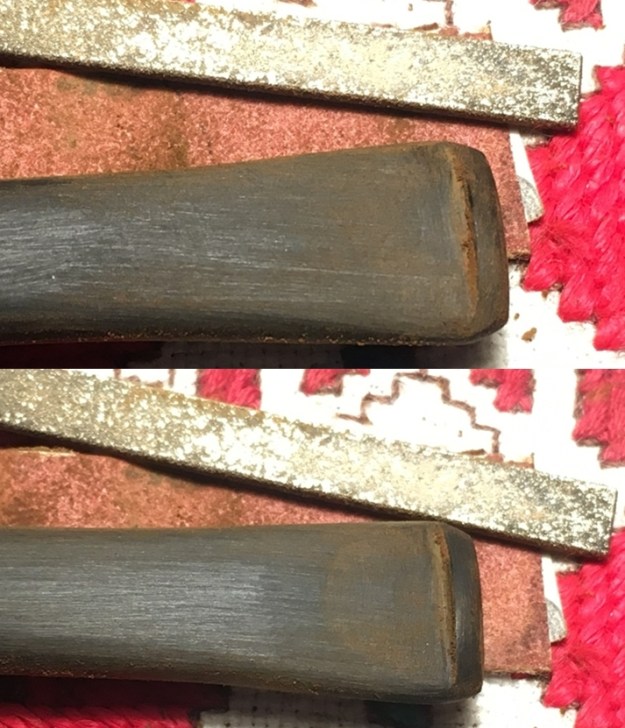 The slot is also a bit out of shape. I use a sharp needle file to file the edges to balance the slot.
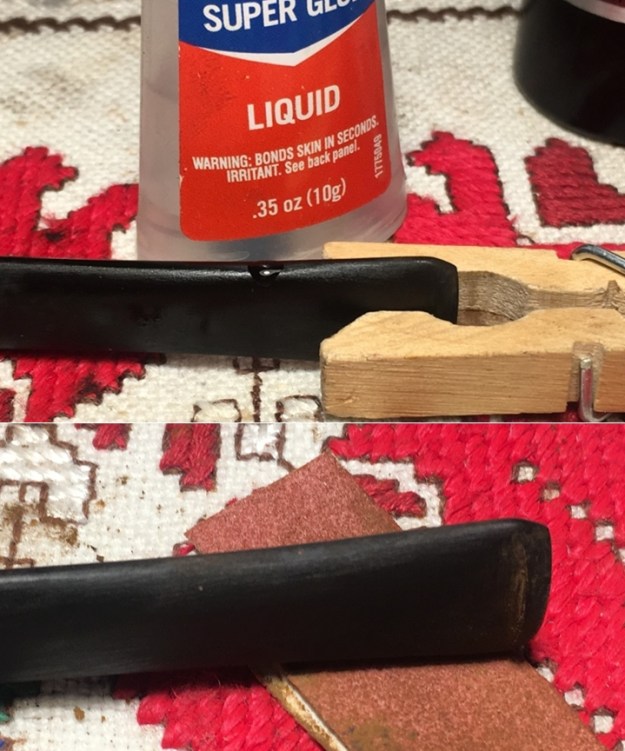
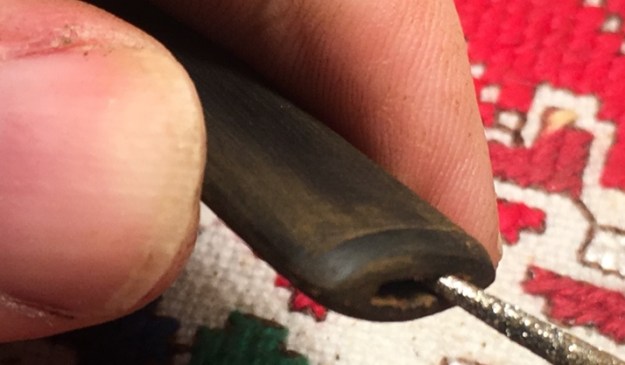 While sanding, I see a pit on the edge of the stem that I didn’t see before. I try sanding it out, but soon realize is too deep. I remedy the situation quickly using a spot-drop of regular CA glue on the pit after cleaning it with a cotton pad and alcohol. I use an accelerator to quicken the curing process and then sand it with 240 grade paper.
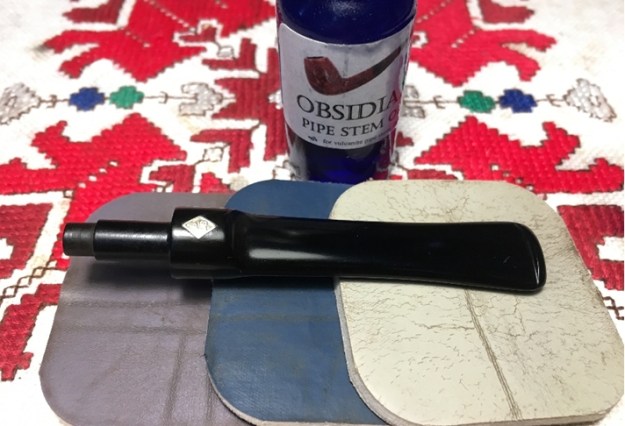
 I then wet sand the entire stem with 600 grade paper and follow by applying 000 steel wool to the whole stem.
 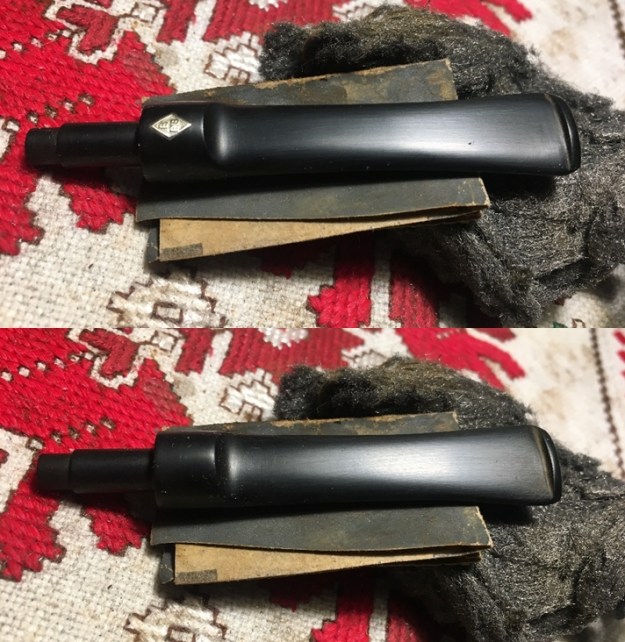 The next step is applying the regimen of micromesh pads to the stem starting by wet sanding using pads 1500 to 2400. This is followed by dry sanding with pads 3200 to 4000 and 6000 to 12000. Between each set of 3 pads a coat of Obsidian Oil is applied to further enrich and condition the vulcanite. The freshly sanded pop of the vulcanite contrasted with the embedded BBB Rondel is great!
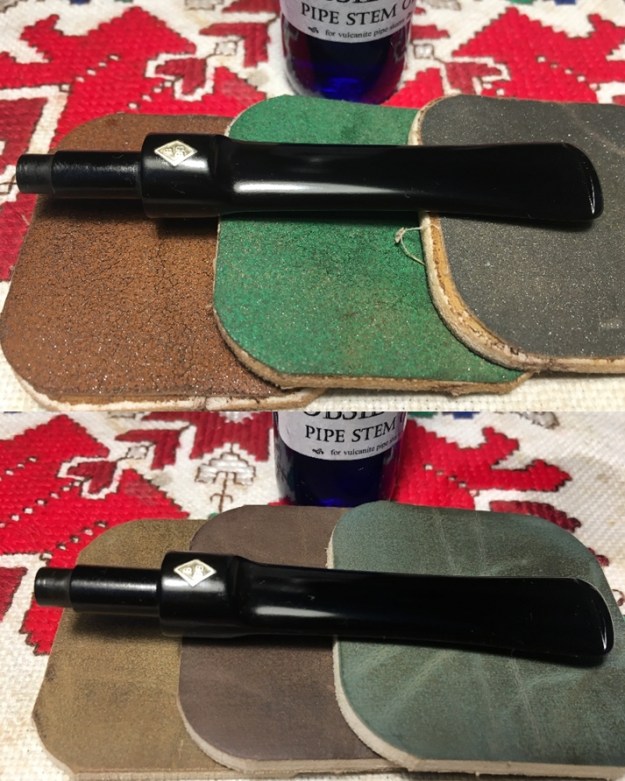
 While trying to reunite the stem and the stummel before applying Blue Diamond compound, it becomes evident that the cleaning of the stummel has expanded the briar making the fit of the tenon in the mortise a bit too tight and forcing the issue could easily result in a cracked shank! Nothing desired at this point. To remedy this, utilizing a combination of filing the mortise with a half-circle needle file and sanding the tenon down by wrapping a piece of 240 grade paper around the tenon and rotating the paper does the trick. The combination approach now allows the tenon fit to be snug but not too tight.
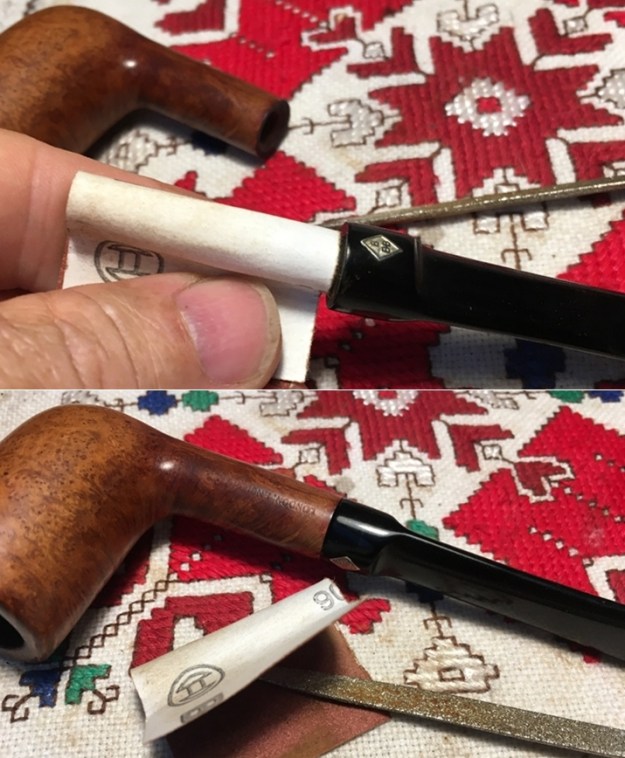 With the BBB Classic stem and stummel reunited, after mounting a cotton cloth buffing wheel onto the Dremel, and setting the speed at about 40% full power, Blue Diamond compound is applied to the stem and stummel.
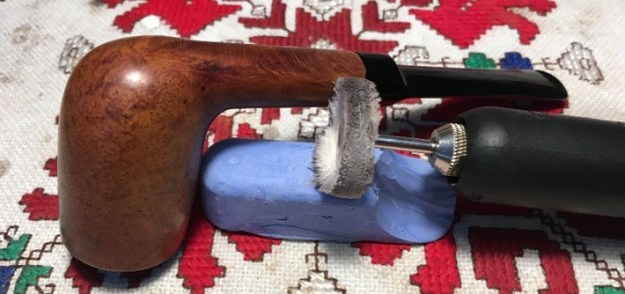 After the application of Blue Diamond compound, I wipe the pipe with a felt cloth to remove the compound dust in preparation of applying the wax. Then, after mounting another cotton cloth buffing wheel on the Dremel, and maintaining the speed at 40%, carnauba wax is applied to the stem and stummel. The restoration is finished with a hand buffing using a microfiber cloth to raise the shine.
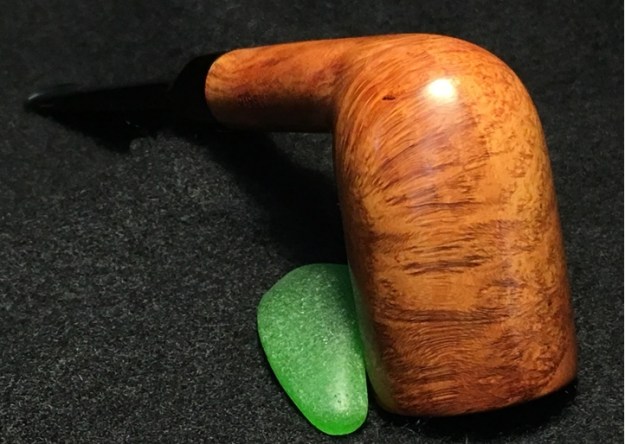
I’m very pleased with results. This BBB Classic London, England Chimney is a beautiful pipe. The block of briar is exquisite, with no fills and a landscape of grain transformation as you track it around the bowl. There is a striking tight patch of bird’s eye grain on the right flank of the bowl that holds the eyes. As a 1950s/60s vintage BBB, even though the ‘Classic’ line could not be fully identified, there is little doubt as to the quality of this BBB Classic Chimney. Paresh commissioned this pipe which benefits the Daughters of Bulgaria – women and girls who have been trafficked and sexually exploited and he will have the first opportunity to adopt this BBB from ThePipeSteward Store and bring it home. Thanks for joining me!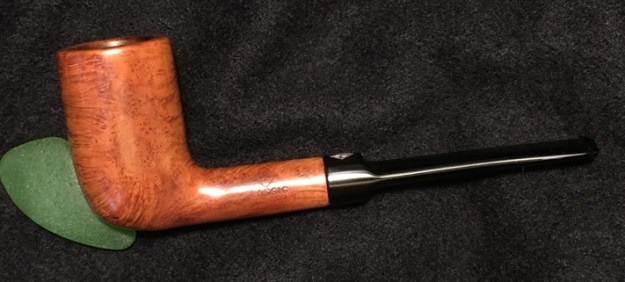


Reblogged this on The Pipe Steward.
LikeLike