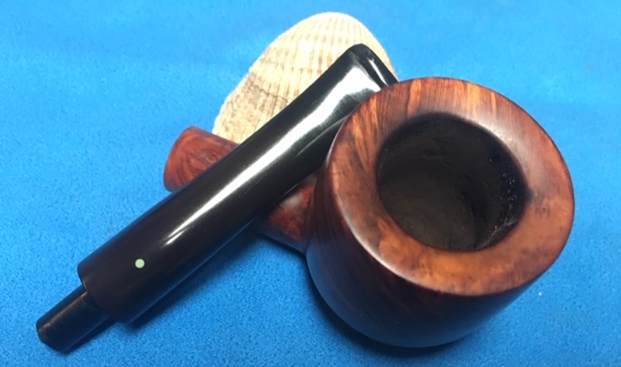
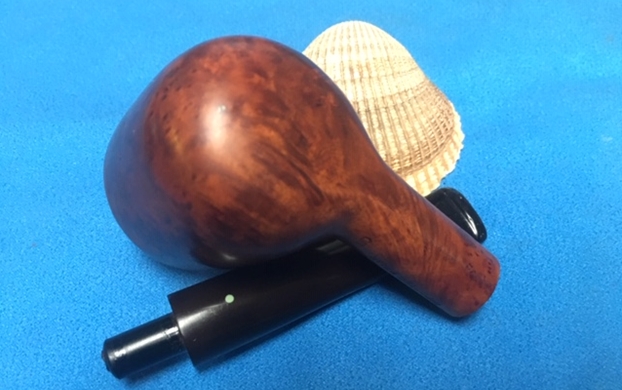
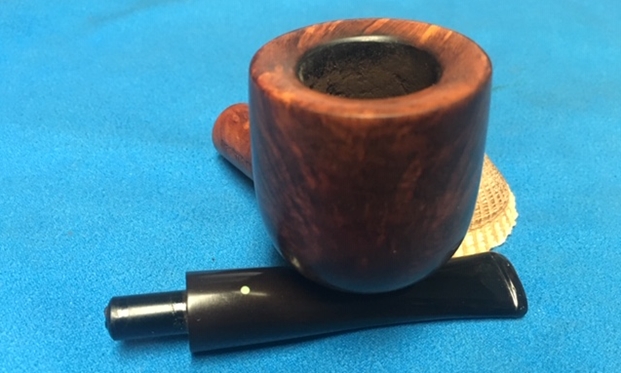
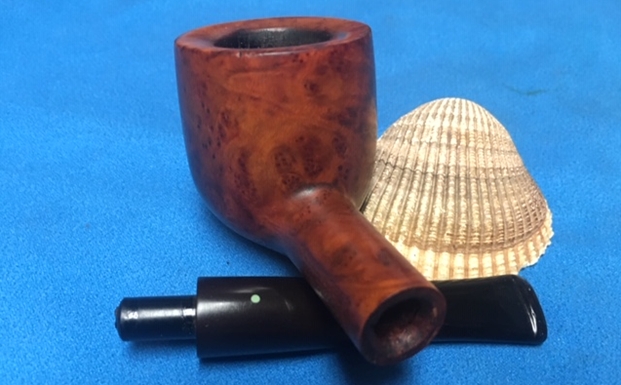
Blog by Steve Laug
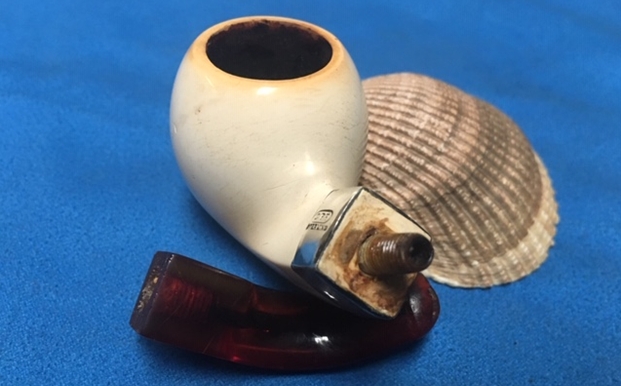
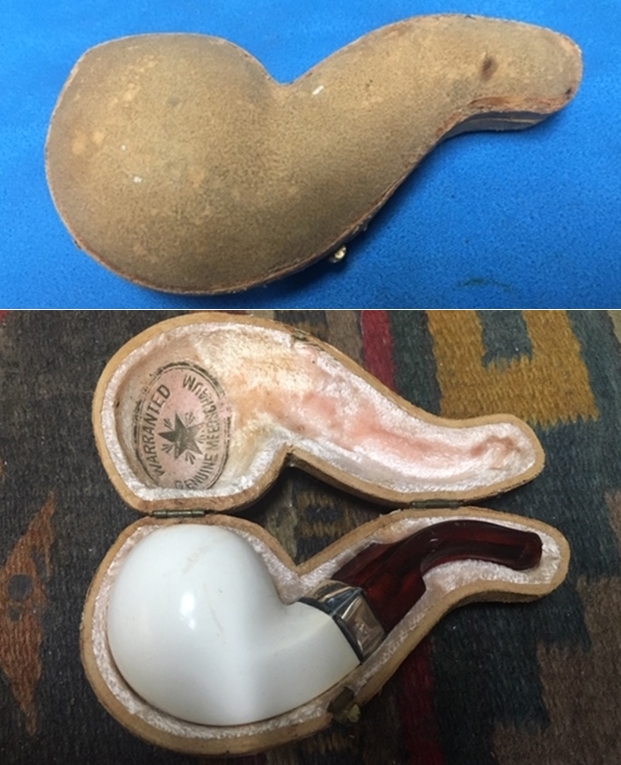
Not too long ago Jeff was contacted by a fellow who we have bought pipes from in the past. He has always been a good source of pipes for us and sold us some great pipes including a few C.P.F. pipes. He wrote to say that he had a few more pipes to sell and wondered if we were interested. He said that one of them was a small cased meerschaum pipe with a Redmanol stem. The pipe had been smoked and was worn but in otherwise good condition. The case had a stamp in the cover that read Warranted Genuine Meerschaum in and oval with a star. The shank had a silver band with the C.P.F. in an oval logo over Sterling. Jeff had him send us some photos of the pipe so we could have a look at it before making an offer. I have included a collage of those photos to give a general idea of what the pipe looked like and what attracted us to it.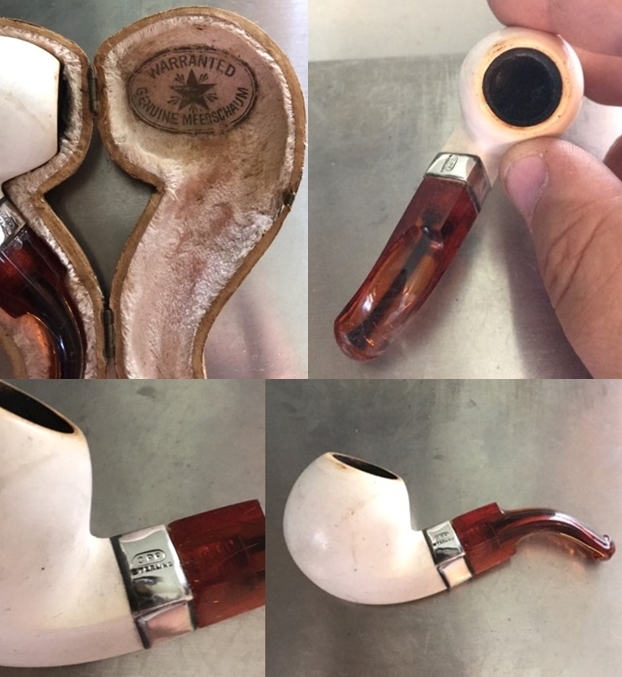
 We made a deal – need you have doubted when you saw the C.P.F. oval logo on the Sterling shank band. We had the pipes shipped to Jeff in Idaho. When it arrived Jeff unpacked the pipe and did a quick examination of the pipe before he cleaned it up. He took photos of the case and the pipe. The logo on the inside of the case shows that it is a Meerschaum and warranted as such. The Star on the case is similar to others we have seen on C.P.F. pipes. The photos of the pipe in the case show the general external condition of the bowl.
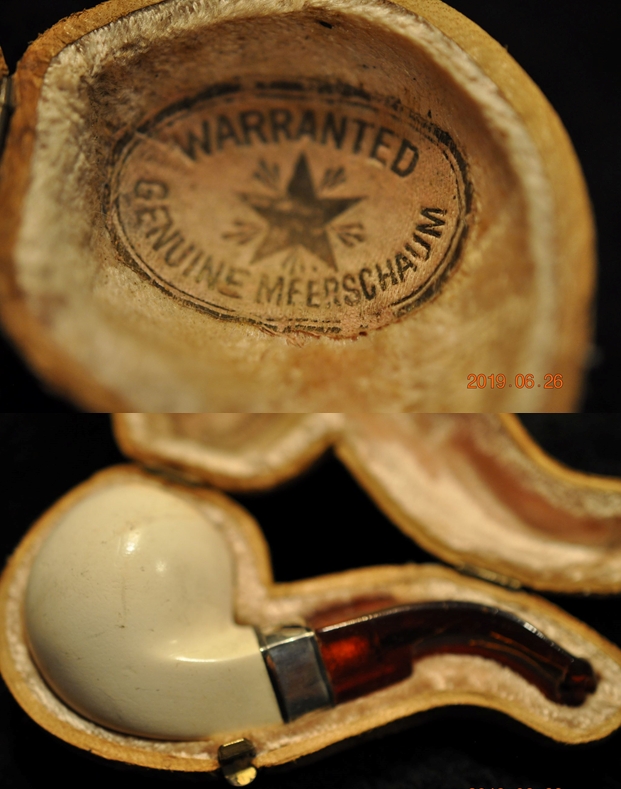
 Jeff took the pipe out of the case and took a photo of the exterior of the pipe from above. It shows the cake in the bowl and the wear on the rim top as well as the slight darkening on the rim.
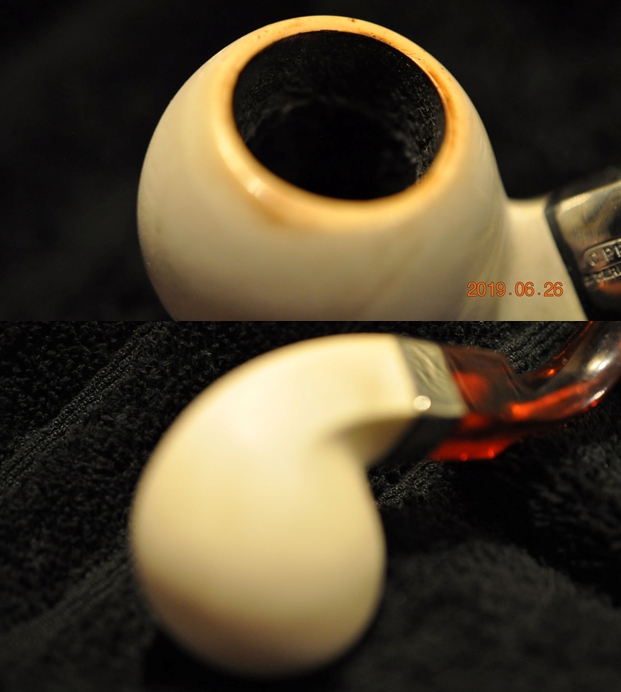
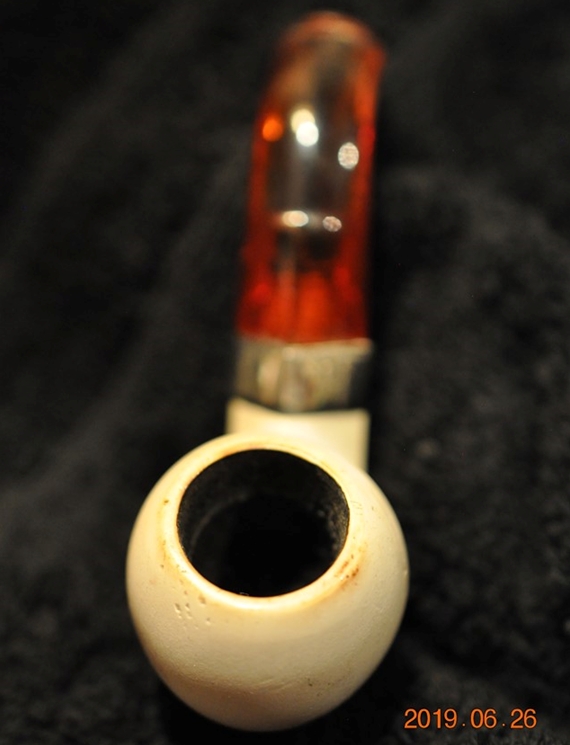 Jeff took a close up photo of the rim top and bowl to show the cake and the darkening in the meerschaum. He also took a photo of the underside of the bowl and though it is a bit out of focus it is nonetheless clear enough to show the general condition of the pipe.
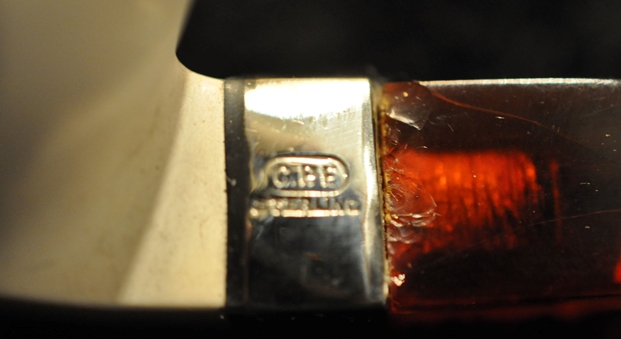
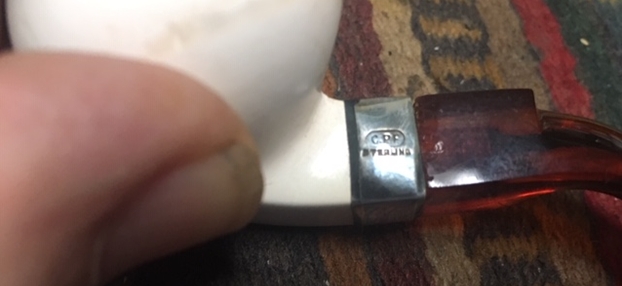
  He took a photo of the stamping on the band showing the C.P.F. oval logo over the Sterling stamp. You can also see the chipping on the Redmanol stem next to the shank band. The alignment of the stem to the shank is perfect so that we can assume that the tenon is in very good condition.
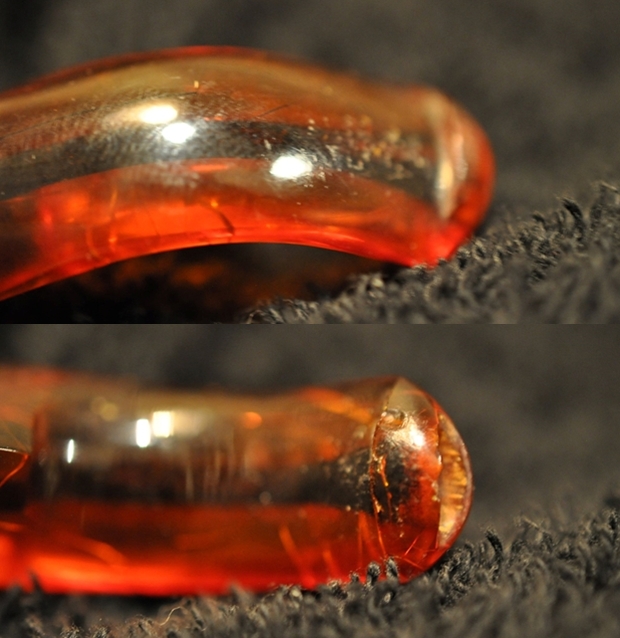
 The next photos show the condition of the Redmanol stem. There is tooth chatter on both sides near the button and some chipping in the surface of the button.
 This afternoon I was going through one of the bags of pipes I brought back from Idaho with me on my last trip. It was the same group of pipes that had contained the unsmoked and smoked C.P.F. pipes. In the bag I found a small brown leather covered case. I had forgotten what was in it so I took it to my desk and opened it up. Inside the case was the small C.P.F. pipe that I had seen when I was visiting with Jeff. It was time for me to work on it.
 I took the pipe out of the case and examined it. Jeff had done his usual thorough work in cleaning up this pipe. He had reamed the bowl with a Savinelli Fitsall Pipe Knife to scrape out the cake. He scrubbed the exterior and interior with Murphy’s Oil Soap and a tooth brush to remove the grime filth on the meerschaum. He cleaned the internals with alcohol, cotton swabs and pipe cleaners until the inside was clean. The pipe looked very good and other than a little rim colouring was in excellent condition. The stem was in good shape other than the chips along the shank band and the tooth marks on the top and underside of the stem that would need to be dealt with in the restoration. I took photos of the pipe before I started my part of the restoration work.
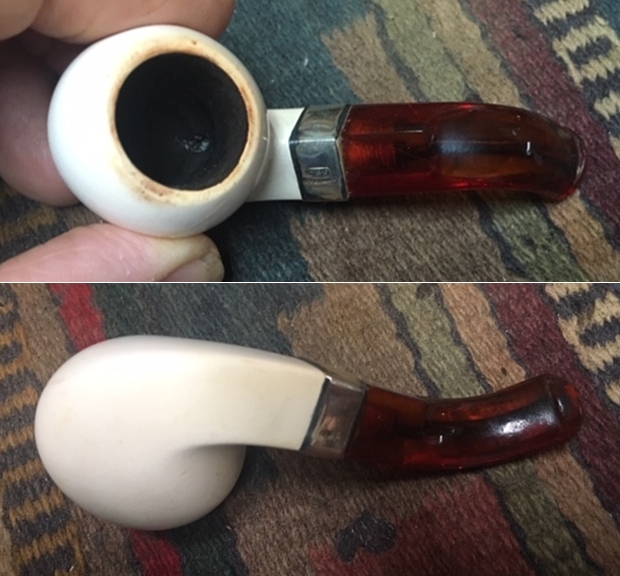 I took a close up photo of the meerschaum rim top and bowl to show the condition of the meer bowl after Jeff had cleaned it. The finish looked really good and there was only a very little colouration on the rim top. The silver band looked really good and the C.P.F. Logo and the Sterling stamp were very readable. The photos of the Redmanol/Bakelite stem show its general condition. It was very clean but had some chipping on stem at the junction of the band and the stem. There were tooth marks on both sides on button edges. The bone tenon was in very good condition and just a little darkening.
 The next photo shows the stamping on the left side of the band. It is clear and readable. The stamping reads as noted above. The band is stamped with the C.P.F. in an oval logo over STERLING.
 I have included the following information with each of the blogs on C.P.F. pipes because I always want to keep the historical context in mind as I work on these. The link to the blog follows (https://rebornpipes.com/2013/04/14/some-reflection-on-the-historical-background-on-cpf-pipes/). I quote a pertinent part of the blog below:
From my reading and research it seems to me that C.P.F. brand was discontinued sometime in the 1910-1920 range. Again, turning to Bill Feuerbach I found that he notes the following, which pins down the time frame of the discontinuation of the brand more specifically, “I have a C.P.F. Chesterfield in our office display that has a nametag from way before my time that says 1900 C.P.F. Chesterfield. It looks like most other Chesterfields you’ve seen, including the military type push stem, except this stem is horn and not vulcanite. As far as I have gathered the C.P.F. brand was phased out sometime around 1915.” Interestingly, he noted that the Chesterfield name and style was later introduced in the KB&B, Kaywoodie and Yello-Bole lines. He says that the 1924 KB&B catalog shows KB&B Chesterfields…
… From my research I believe that we can definitively assert that the C.P.F. logo stands for Colossus Pipe Factory. The brand was purchased by KB&B sometime between 1884 and 1898 and that it continued until 1915. That time frame gives help in dating some of the older C.P.F. pipes you or I might find. It can be said that prior to the dual stamping it is fairly certain that the pipe is pre-1884 to 1898. After the dual stamping it can be placed post 1898 until the closure of the brand line in 1915. C.P.F. made beautiful pipes.
From that information I can tentatively date the pipe to the period prior to 1884-1898 when KB&B bought the brand because of the single C.P.F. stamp on the band. At any rate it is another old meerschaum pipe that is lightly smoked. The story of its journey to Jeff and me this long after the date it was made is another mystery. This is another of those pipes that makes me wish that it could share its story with us. I can only imagine the journey it has had even minimally from the bits that I do know. It traveled from the Colossal Pipe Factory in New York City to Florida and then on to Idaho Falls in journey that began in the 1880s and ended in 2019. Now it is has further traveled by air to Vancouver, Canada, as far west as it can go and remain on the same continent… what a well-traveled pipe. Armed with that information it was not time to work on the pipe.
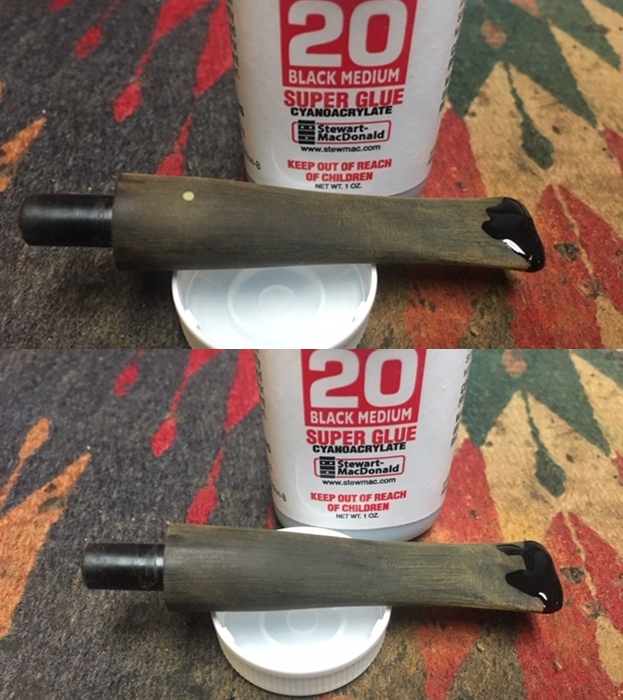
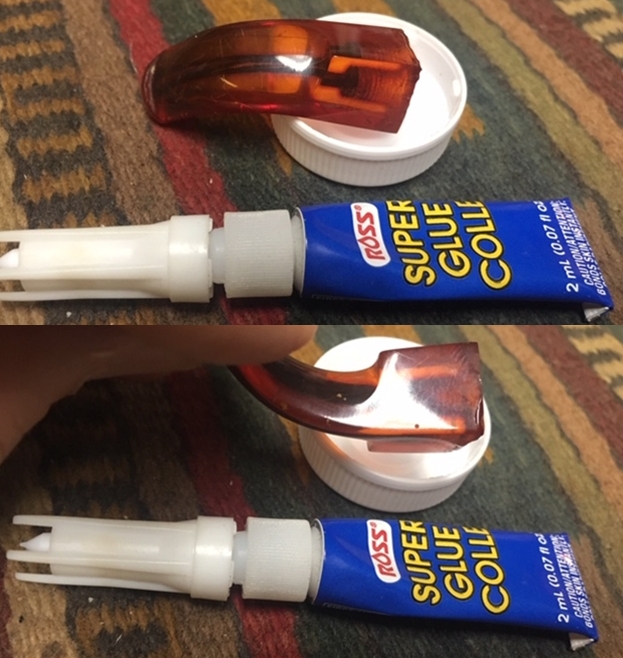
I decided to begin with the stem damage at the junction of the band and stem. There was chipping in the Redmanol/Bakelite at that point that needed attention. The first photo below shows the chipping. I built up the edge with clear super glue. At the same time I filled in the tooth marks on the button with super glue. I set the stem aside to let the glue cure.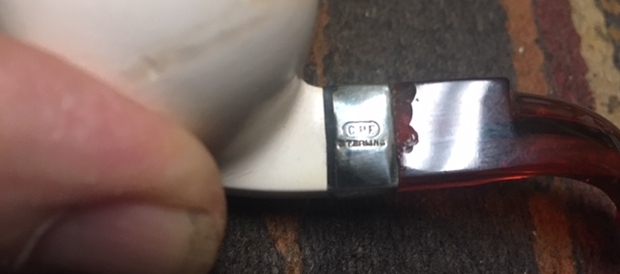
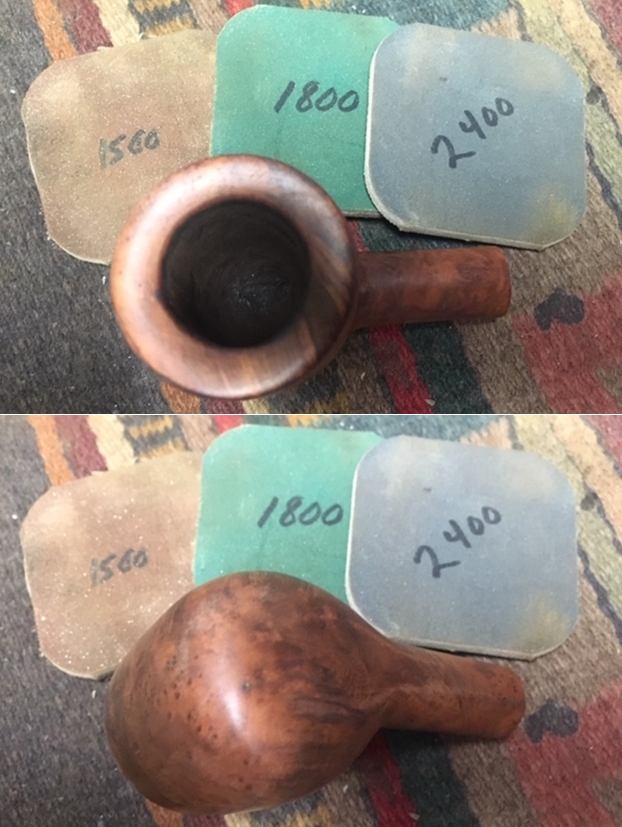
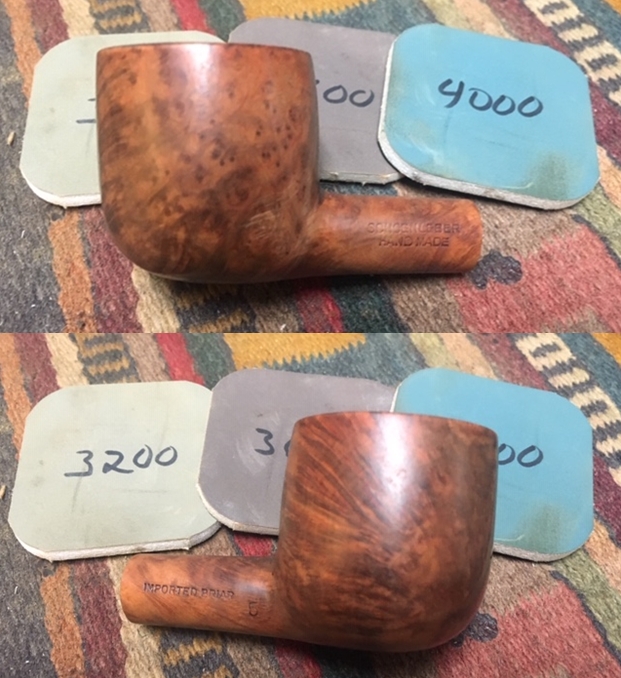
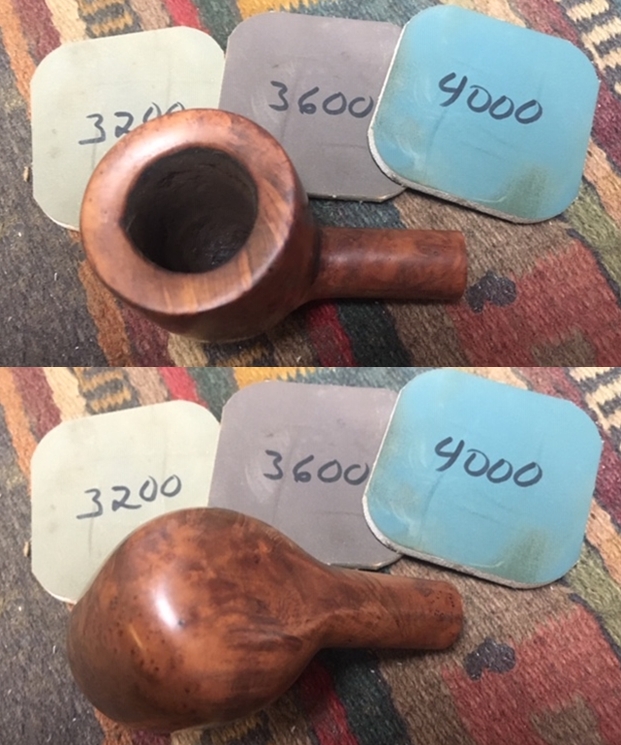
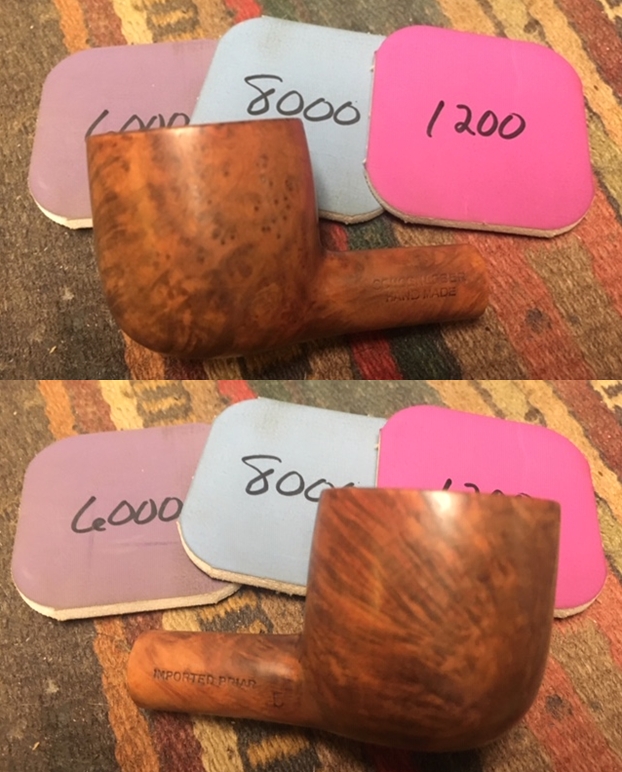
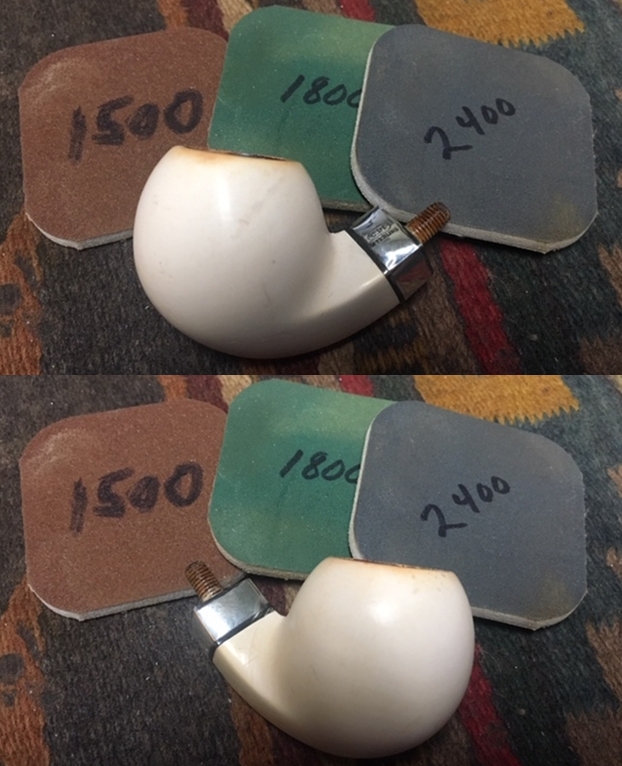
 I polished the meerschaum bowl and rim top with micromesh sanding pads – wet sanding with 1500-12000 grit pads and wiping the bowl down after each pad. The bowl began to take on a real shine after each set of pads.
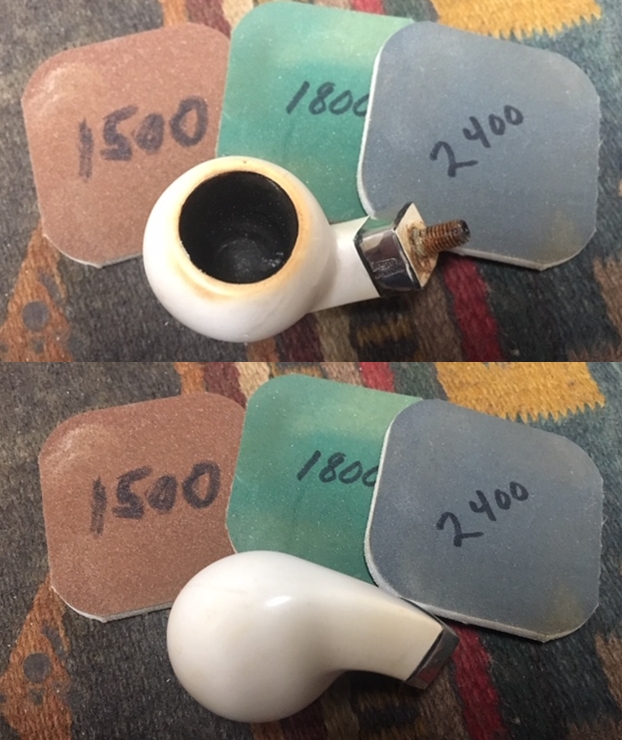
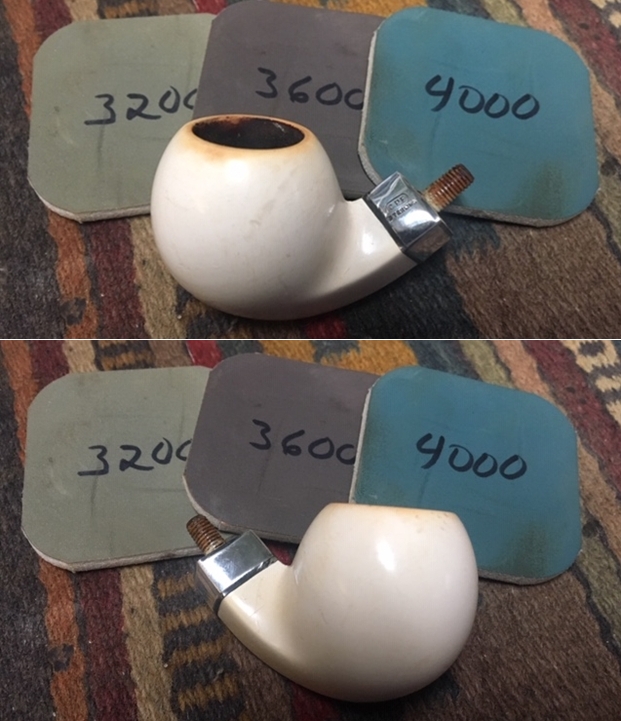
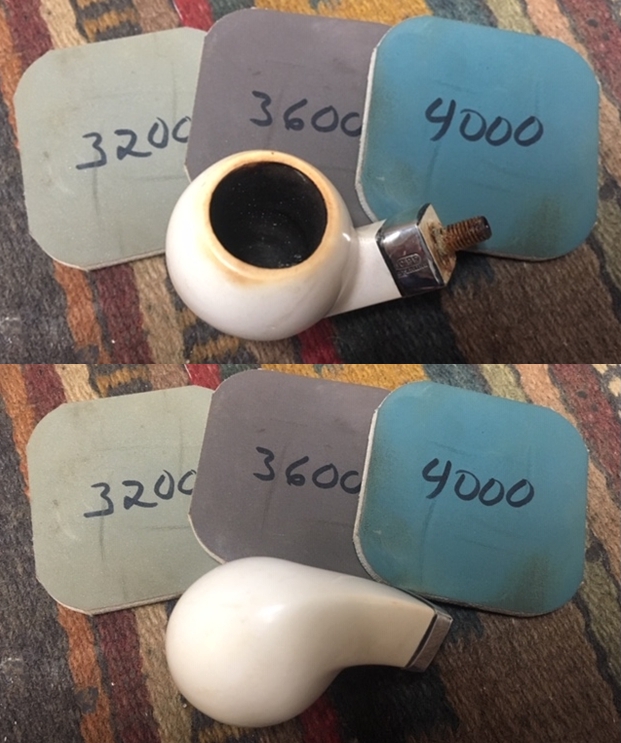
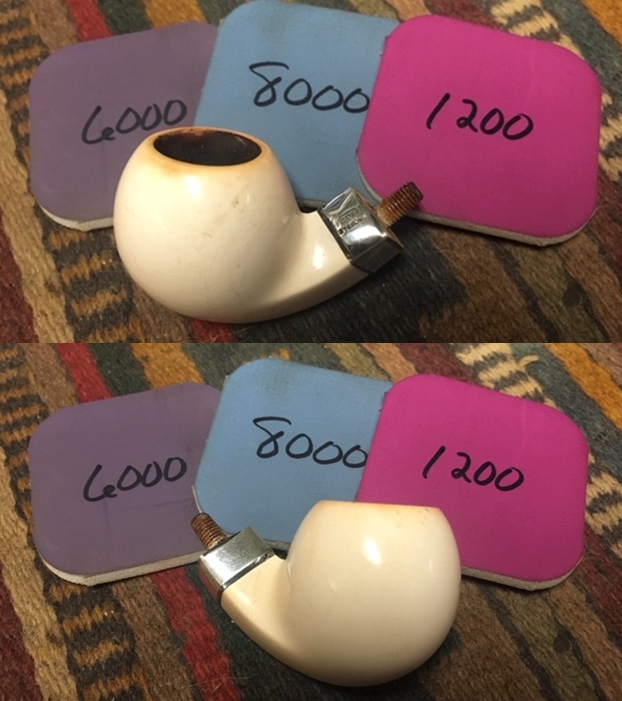
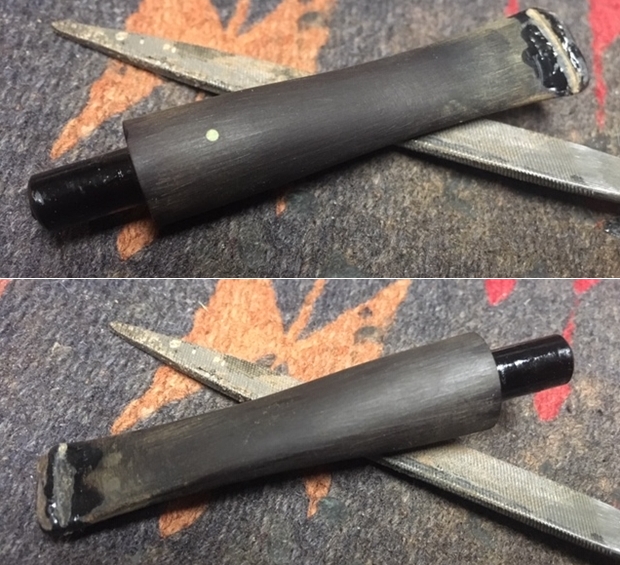
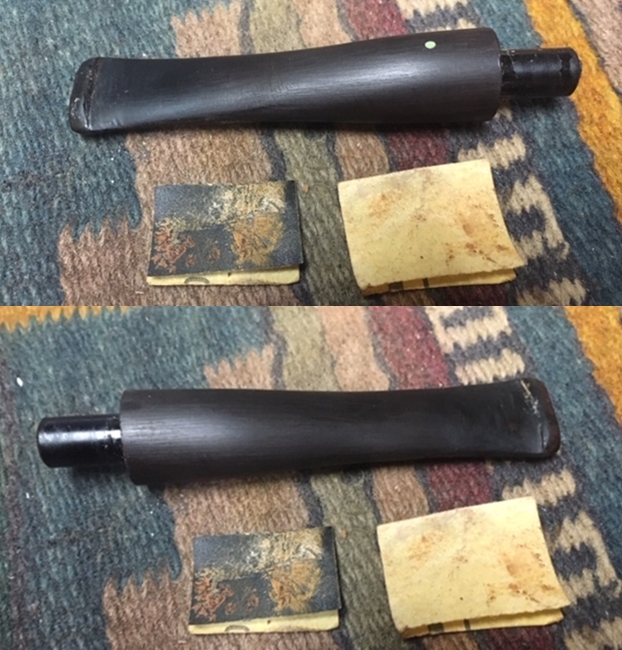
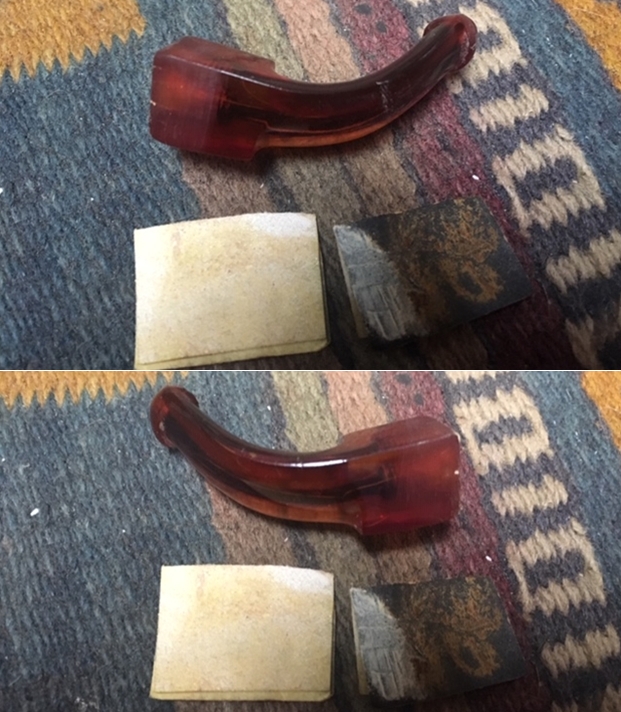
 I set the bowl aside and went to work on the stem. The repairs had cured so I sanded them with a folded piece of 220 grit sandpaper to smooth out the surface of the repairs and blend them into the stem material – Bakelite or Redmanol. I polished it with 400 grit wet dry sandpaper to smooth out the scratches and begin the polishing process.
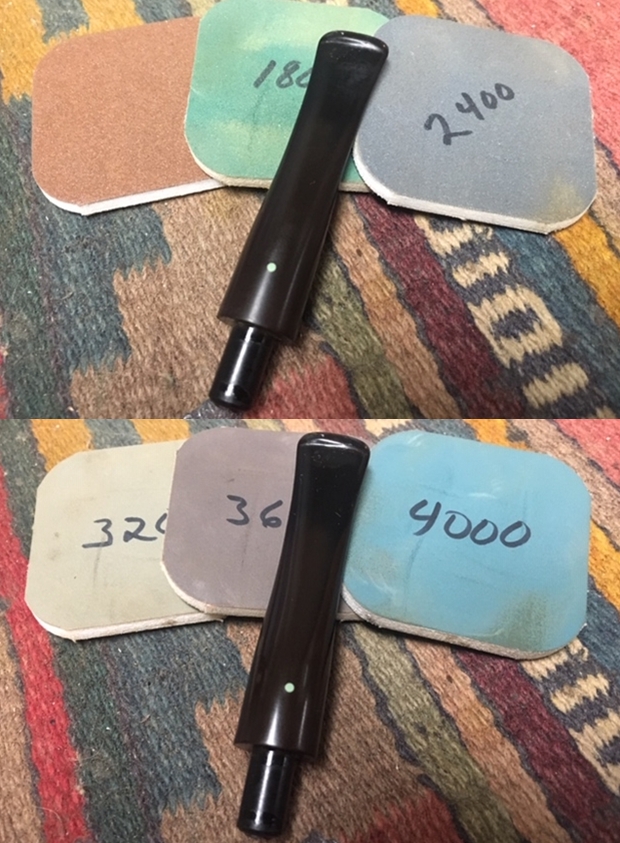
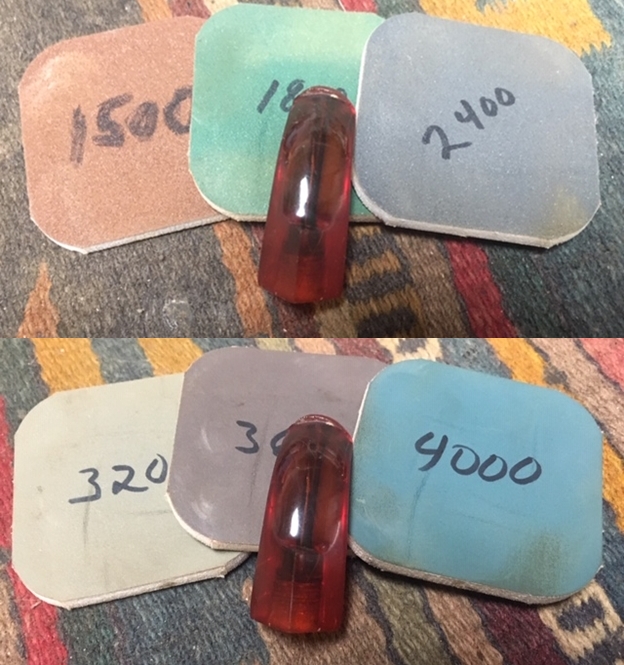
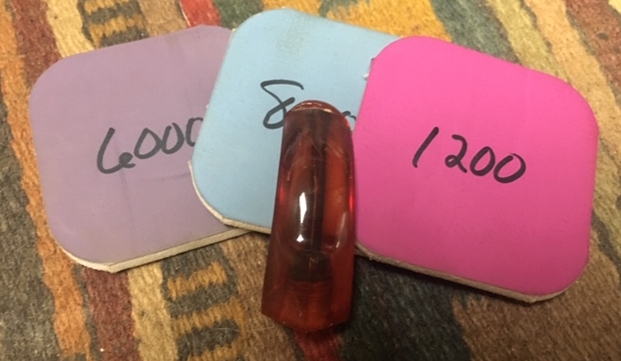
 I polished the stem with micromesh sanding pads – wet sanding it with 1500-2400 grit pads and dry sanding it with 3200-12000 grit pads. I wiped it down with Obsidian Oil after each sanding pad. I gave it a final coat of Obsidian Oil after the final sanding pad and set it aside to dry.
 By now if you have read rebornpipes for very long you will have figured out that I love these old C.P.F. pipes. There is some serious thought that they were carved by European trained craftsman who were skilled pipemakers. These pipemakers were brought to the US by the Colossal Pipe Factory to make pipes. Many of the shapes, bands and stems have such high quality workmanship involved that I really think there is truth to this story. This is little bent Meerschaum with a Redmanol/Bakelite stem is a real beauty.
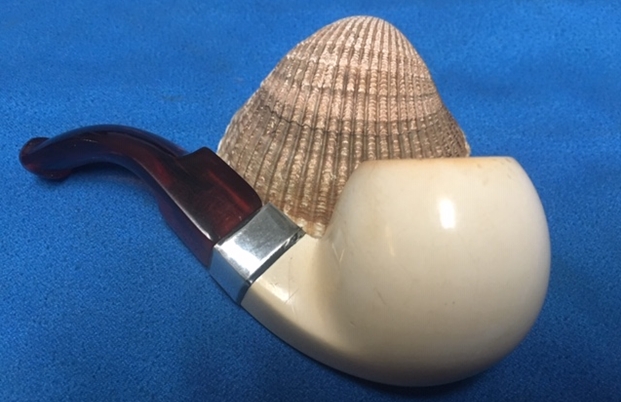
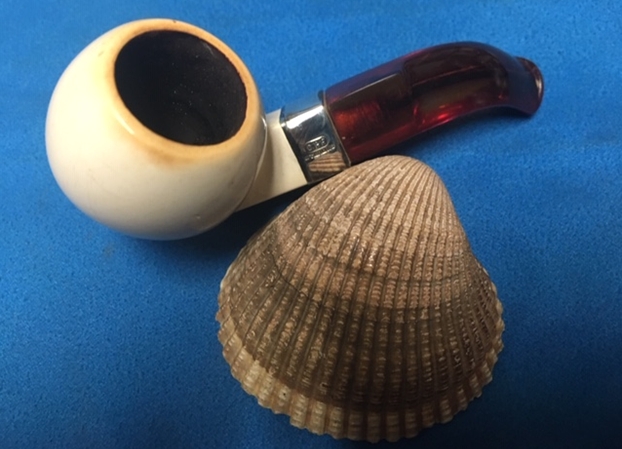
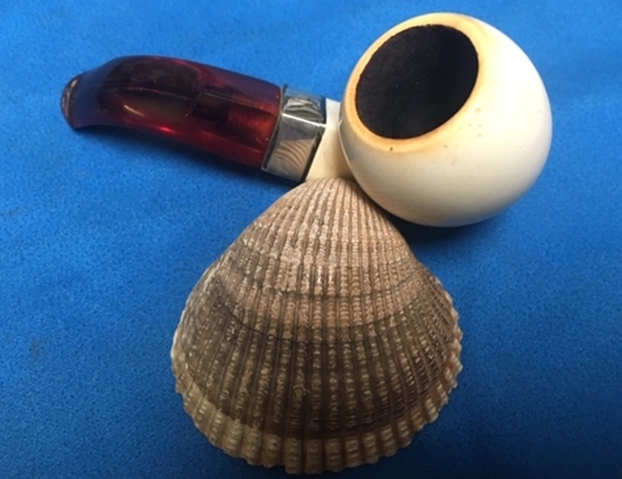
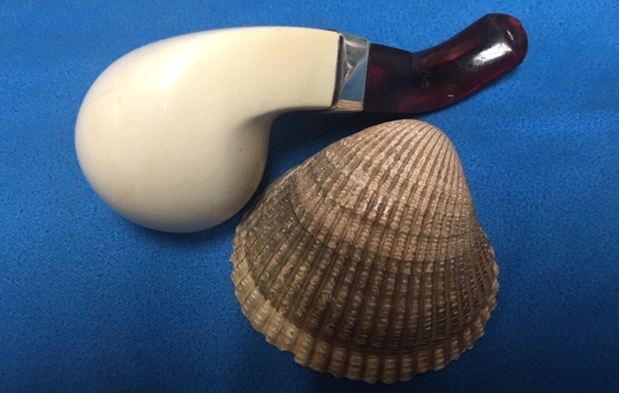
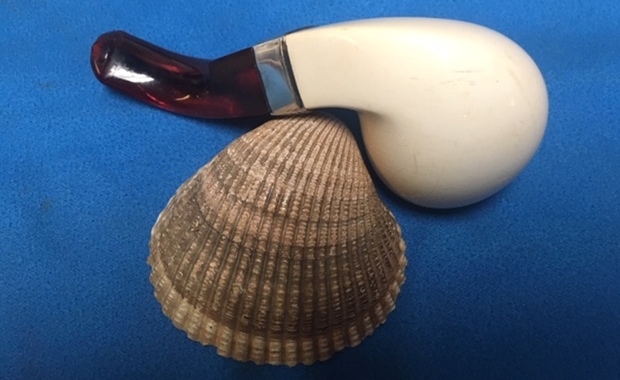
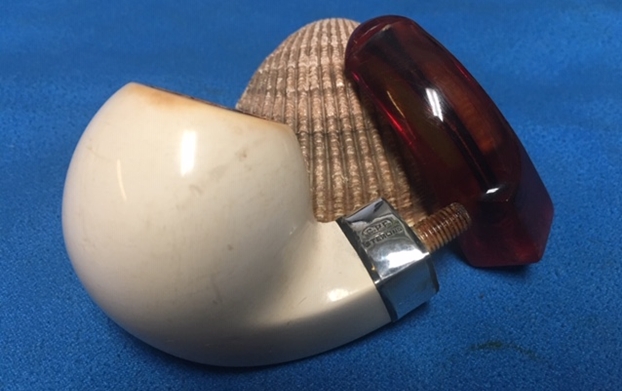
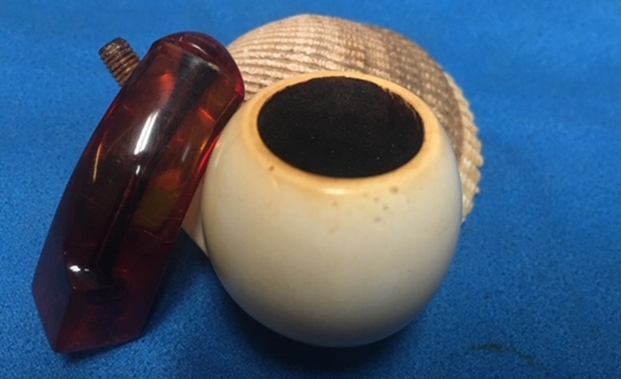
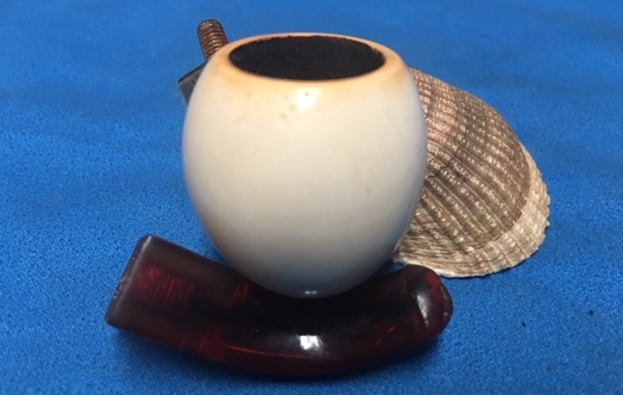
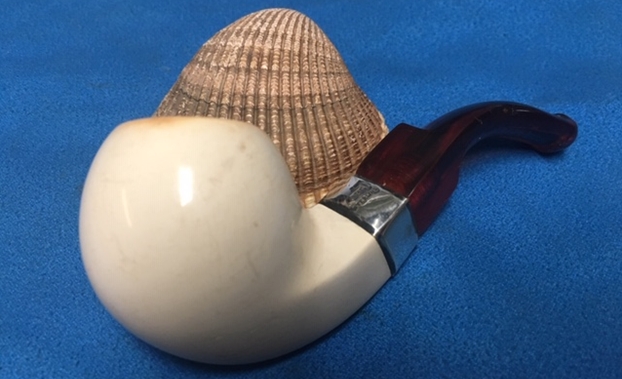
I screwed the bowl back on the base and carefully polished stem and the bowl with Blue Diamond polish on the buffing wheel carefully avoiding the stamping on the shank. I gave the stem multiple coats of carnauba wax. I hand rubbed the bowl with some beeswax. I buffed the pipe with a clean buffing pad to raise the shine. I hand buffed it with a microfiber cloth to deepen the shine. The pipe polished up pretty nicely. The pipe really alive with the buffing. The rich contrasting white of the meerschaum on the bowl works well with the polished red of the stem. The finished pipe has a rich look that is quite catching. Have a look at it with the photos below. The shape, finish and flow of the pipe and stem are very well done. The dimensions are Length: 3 3/4 inches, Height: 1 1/2 inches, Outside diameter of the bowl: 1 1/4 inches, Chamber diameter: 5/8 of an inch. This is another one that I will be adding to my collection. It fits in the C.P.F. niche group that I have been building. The shape and feel in the hand is perfect. Since this one is already well smoked it will be an easy pipe to load and fire up. Thanks for walking through the restoration with me as I restored and reworked this old bent meerschaum from 1884-1898. It is always a treat for me to work on a piece of pipe history especially when I have learned a bit of the story behind it.
