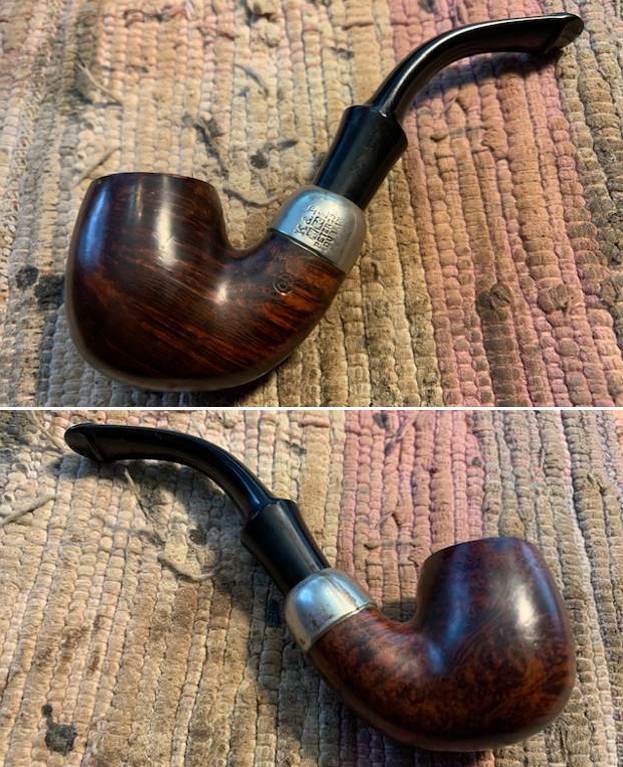
Blog by Steve Laug
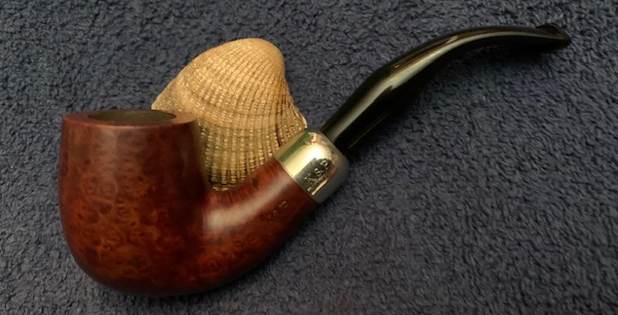
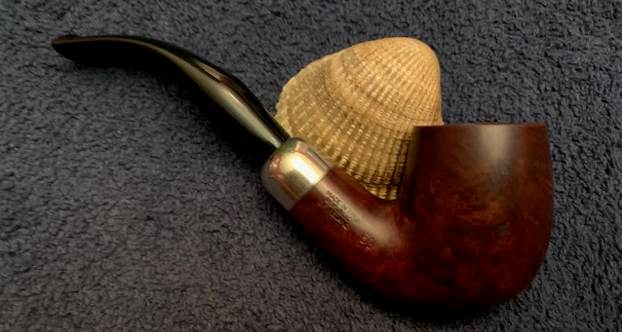
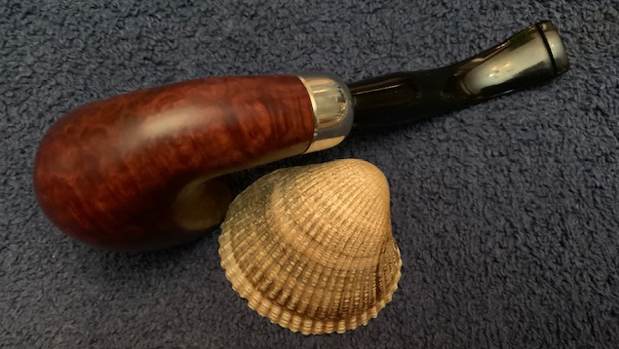
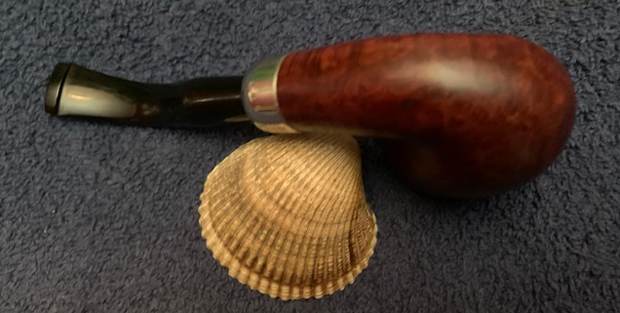
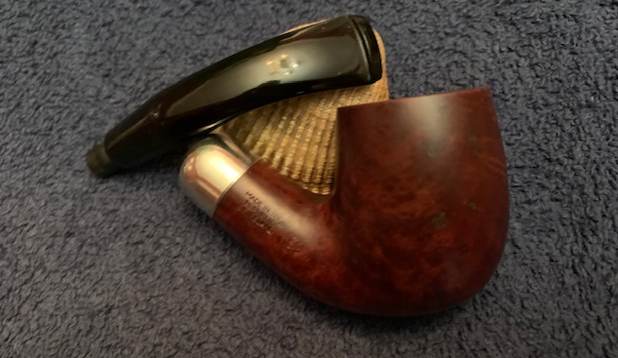
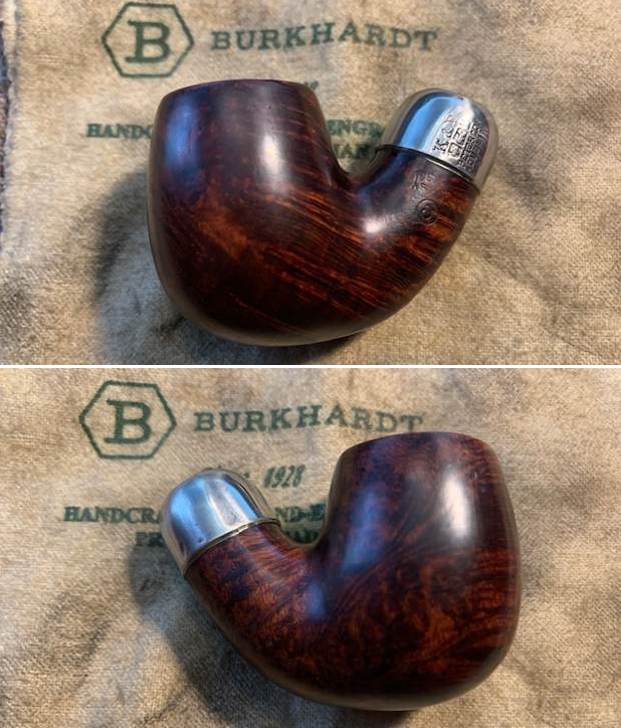
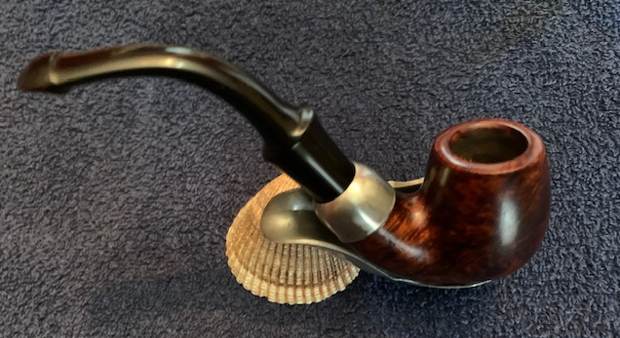
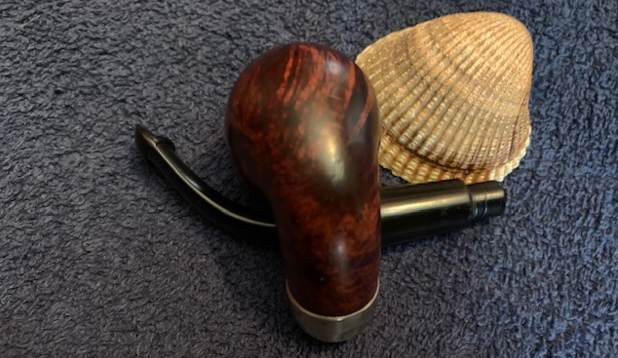
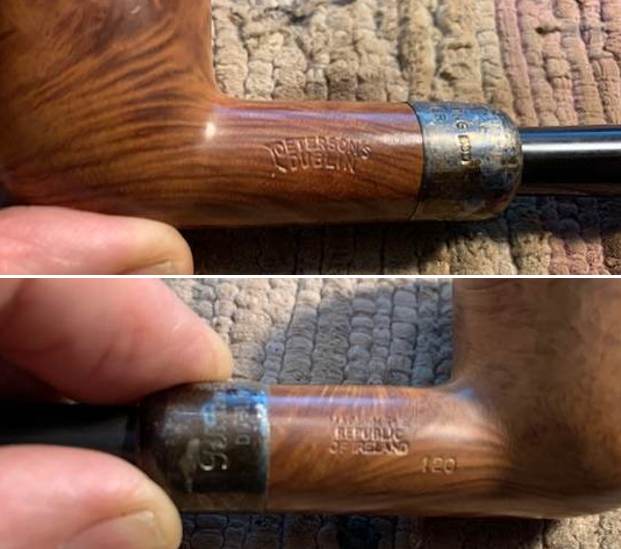
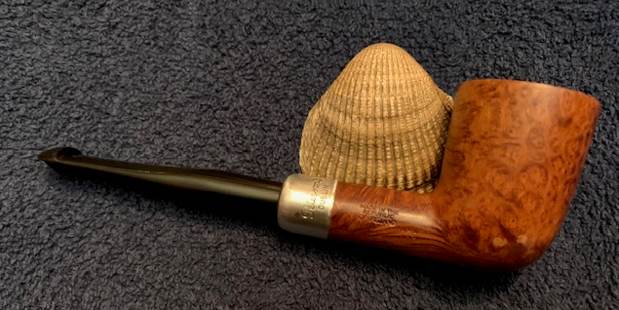
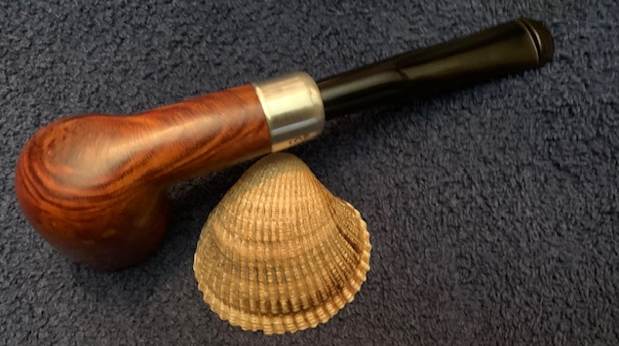
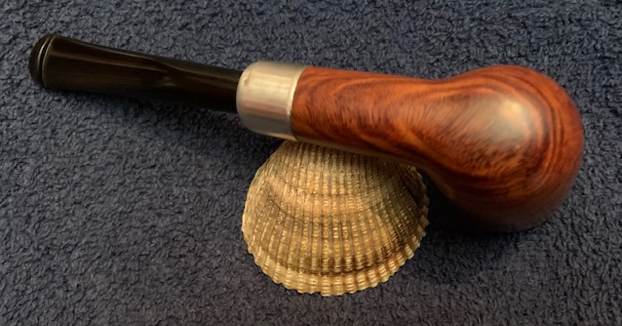
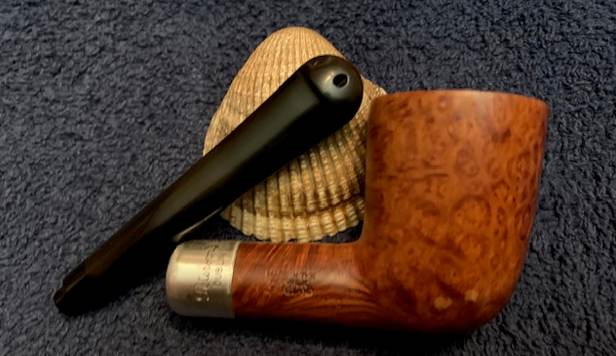
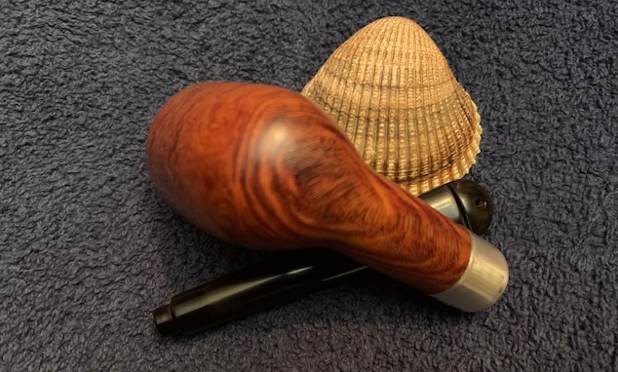
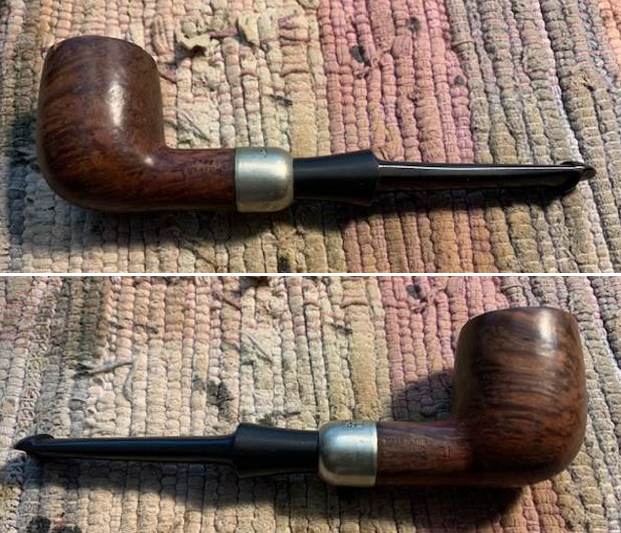
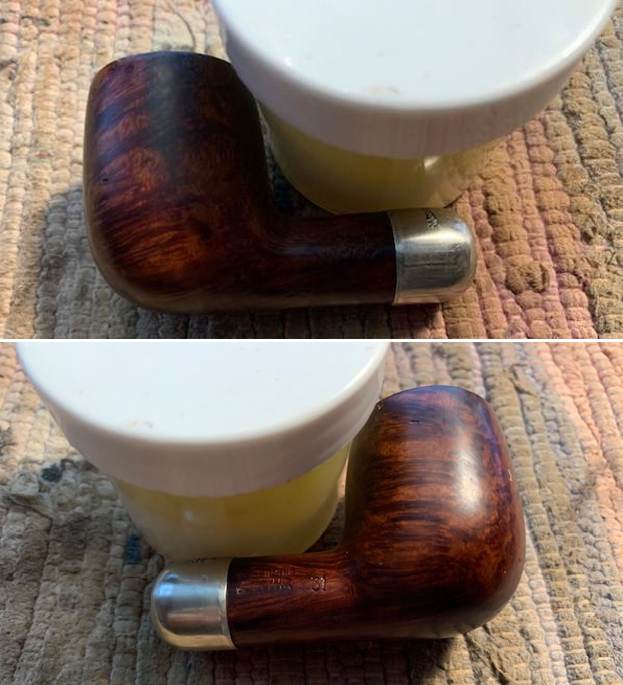
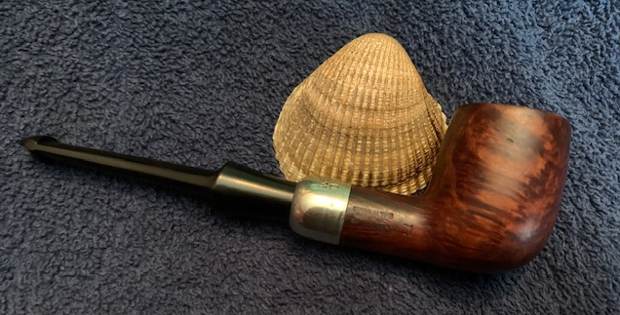
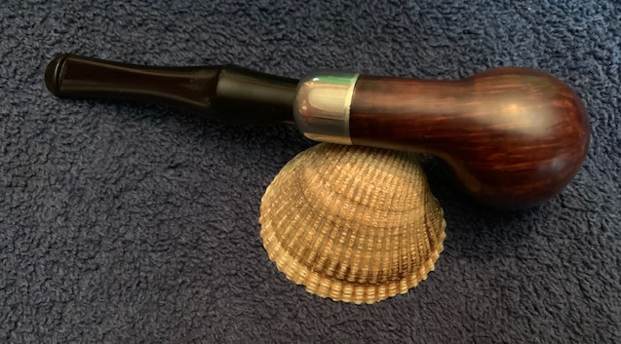
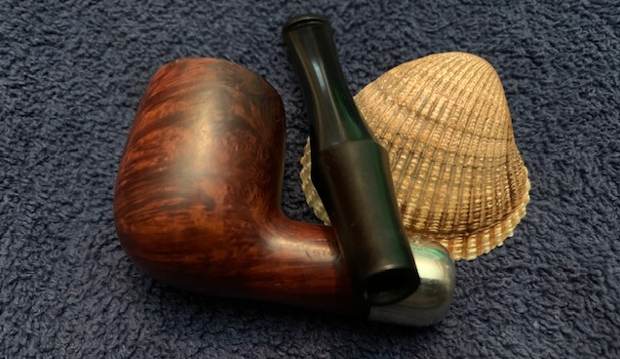
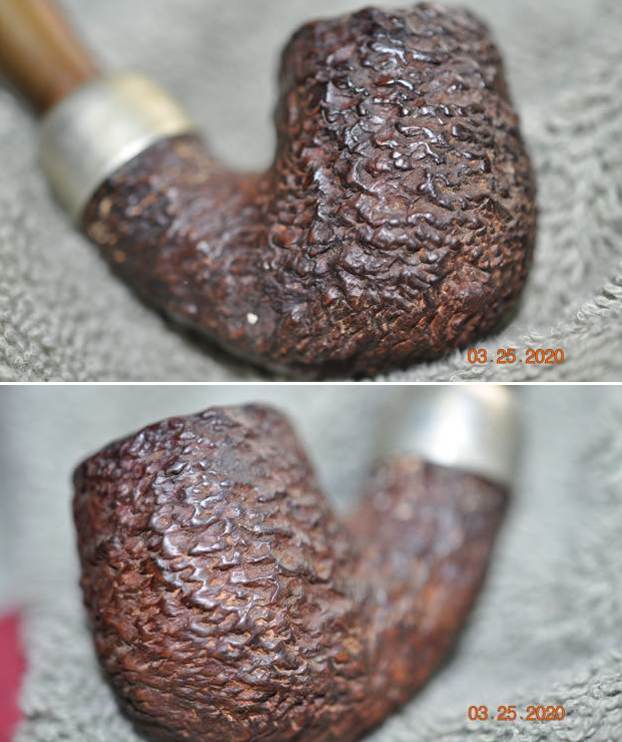
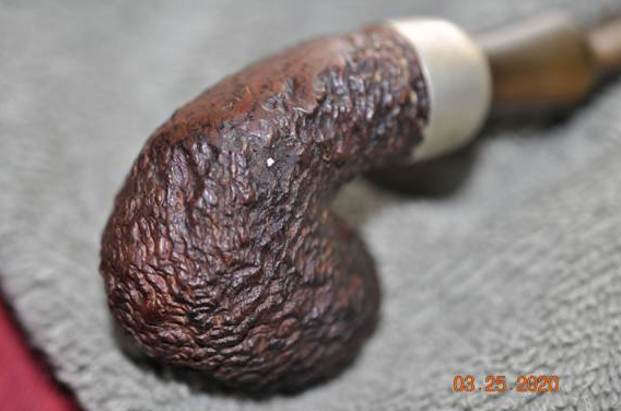
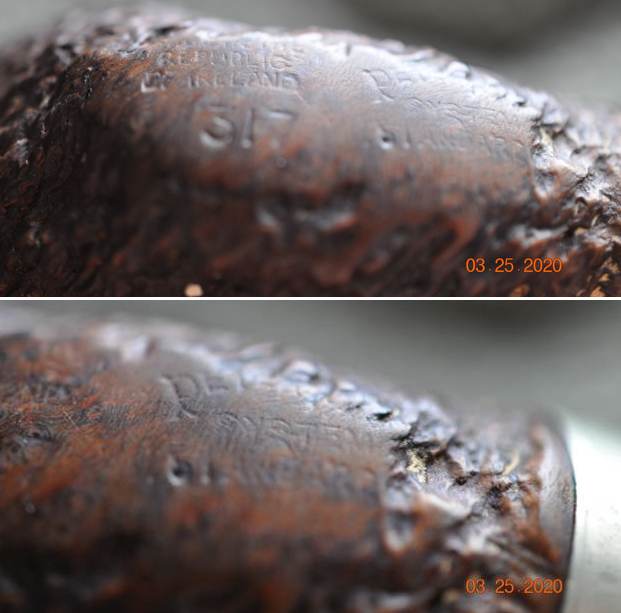
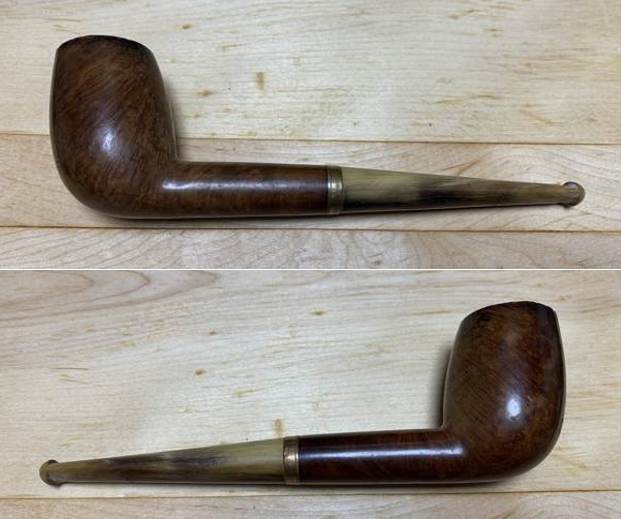
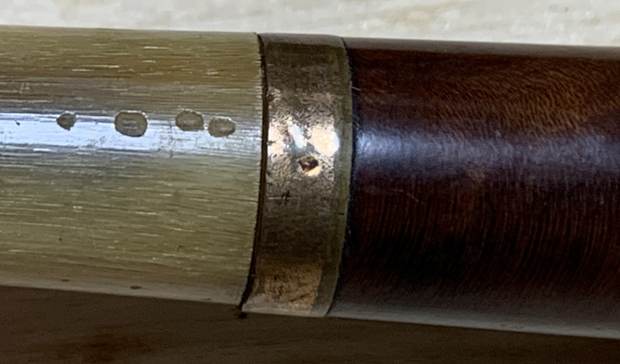
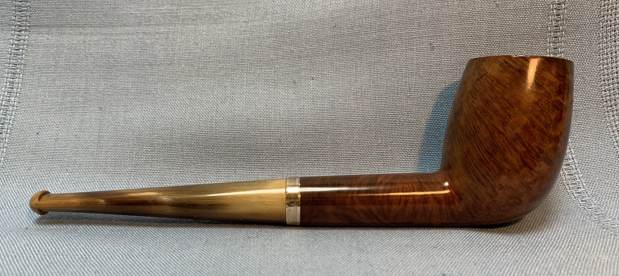
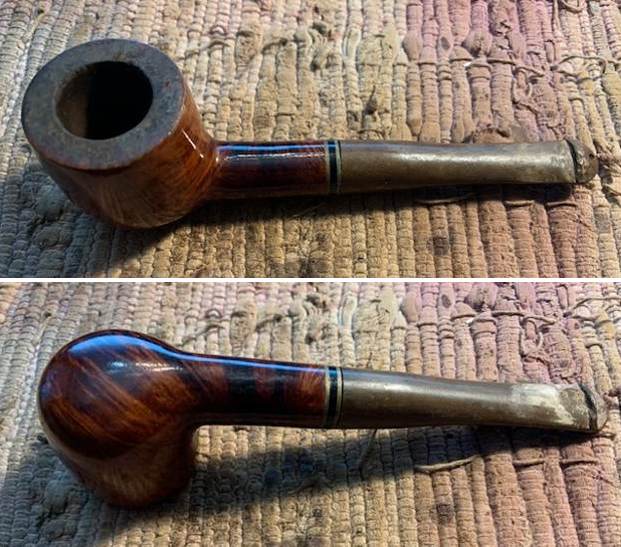
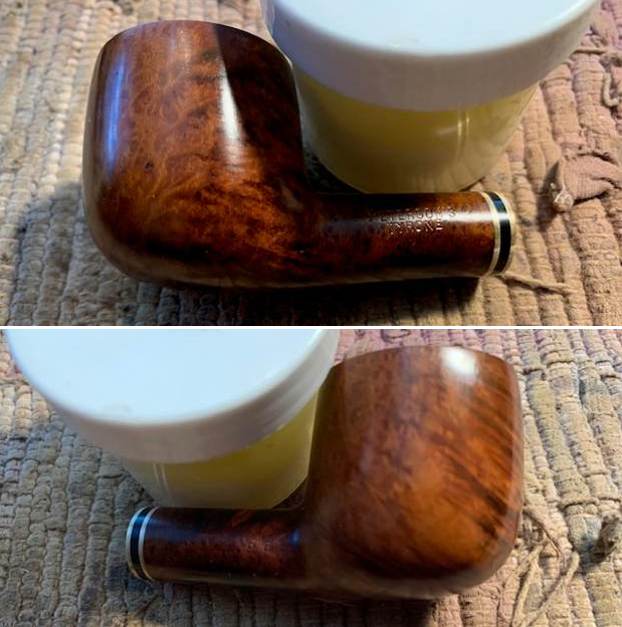
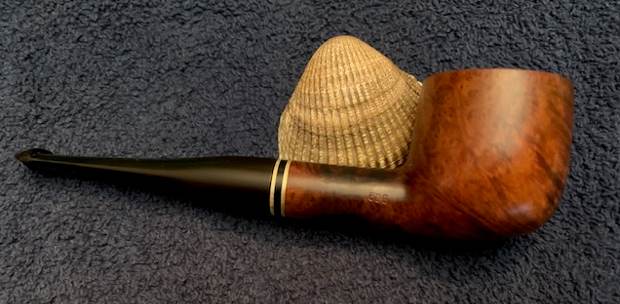
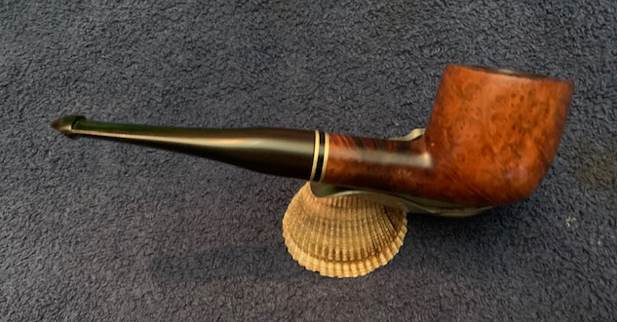
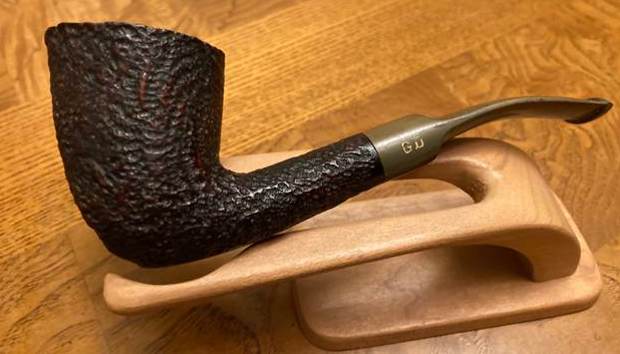
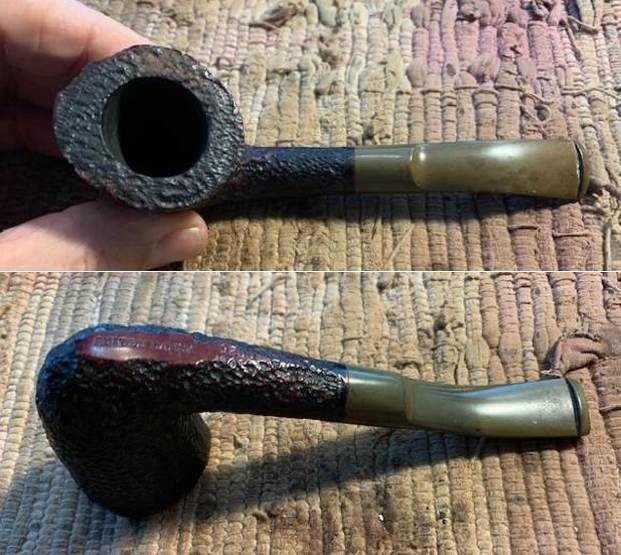
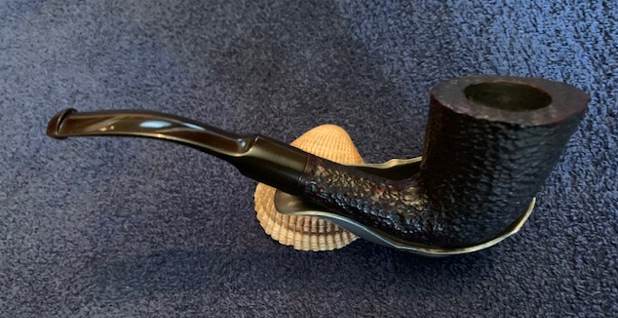
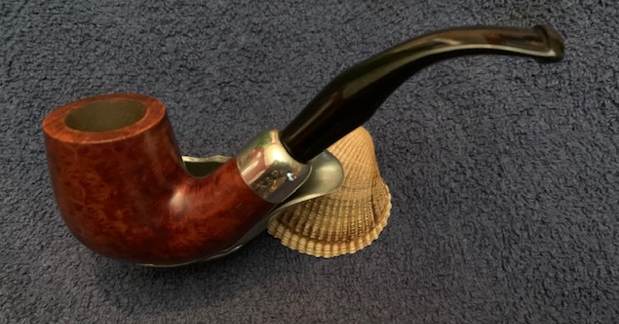
This is another pipe that I have taken out of my personal collection as I just do not use it too much. It is a classic Peterson’s Bent Billiard shaped pipe with some nice grain around the bowl and a nickel ferrule. It is another pipe that I smoked solely Virginia tobaccos in so it is very clean. The airway in the shank and the mortise were quite clean. The smooth rim top and edges were in excellent condition. The smooth finish was very clean but dull and quite lifeless. There were a few small fills the bowl sides.The grain is mixed but still quite nice around the bowl and shank. The stamping on the shank is clear and readable. The left side is stamped K & P[over] Dublin. On the right side it was stamped Made in the Republic of Ireland (3 lines) followed by the shape number 69. The nickel ferrule is dull but stamped K&P [over] Petersons. The original Fishtail stem was quite clean with no oxidation or tooth marks. I took some photos of the pipe before I started my work on it. 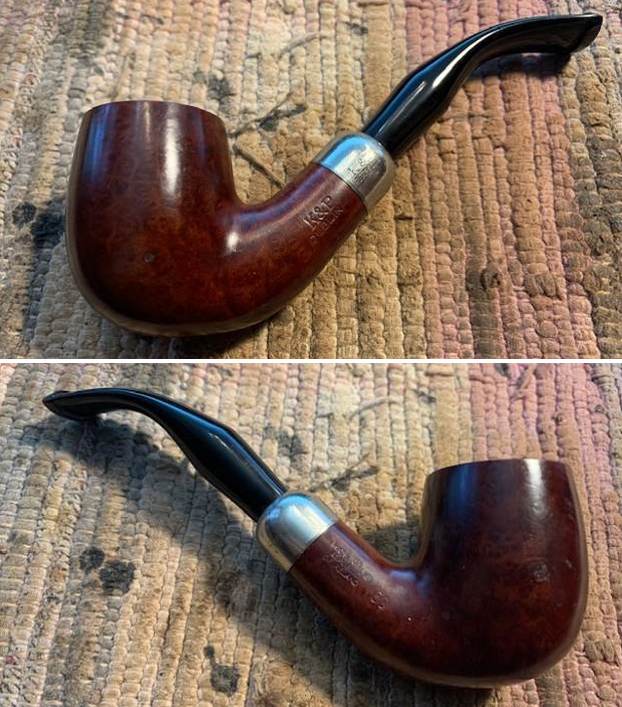
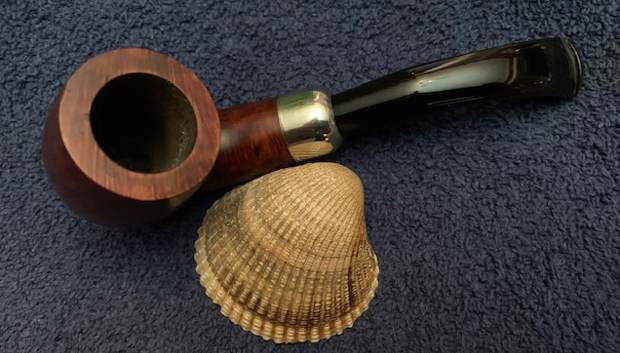
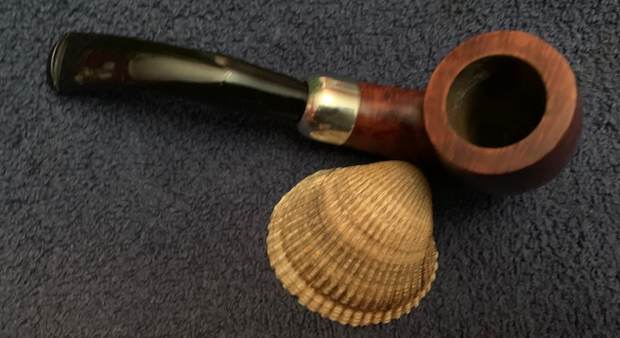
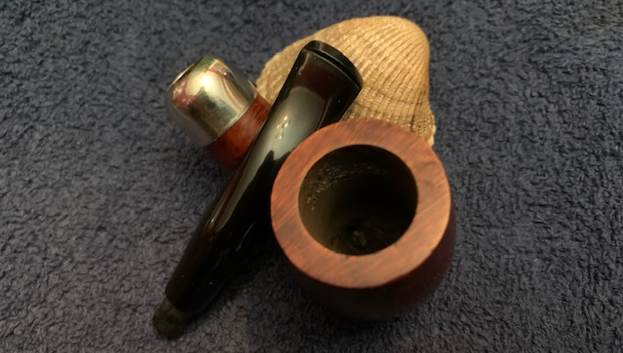
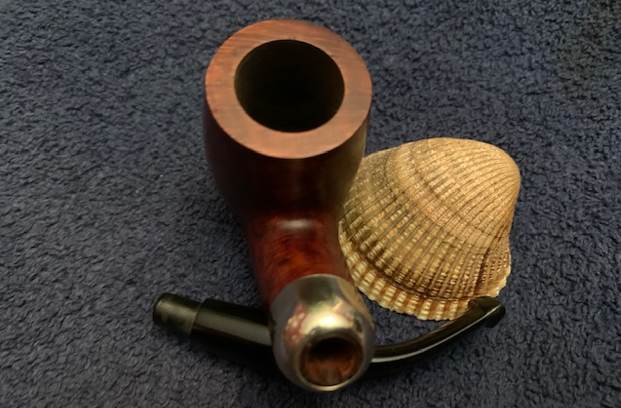
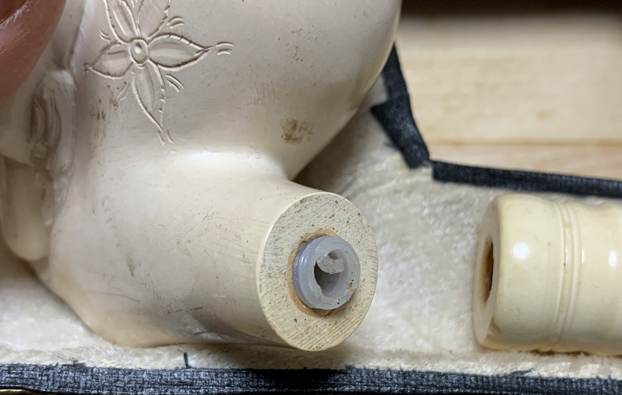
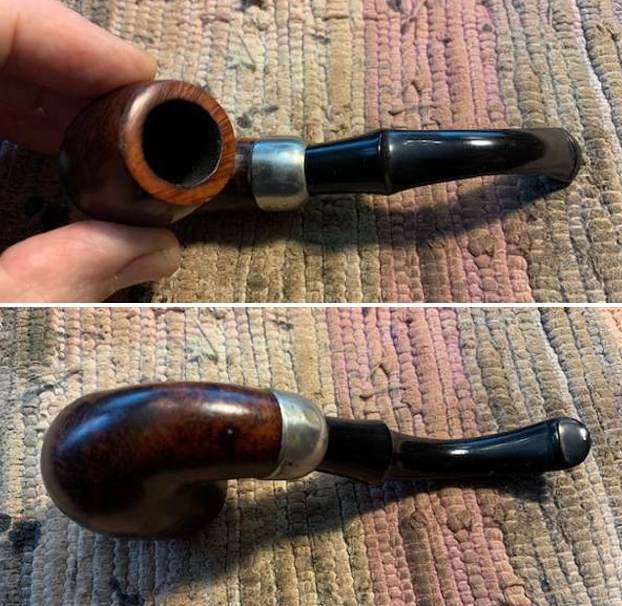
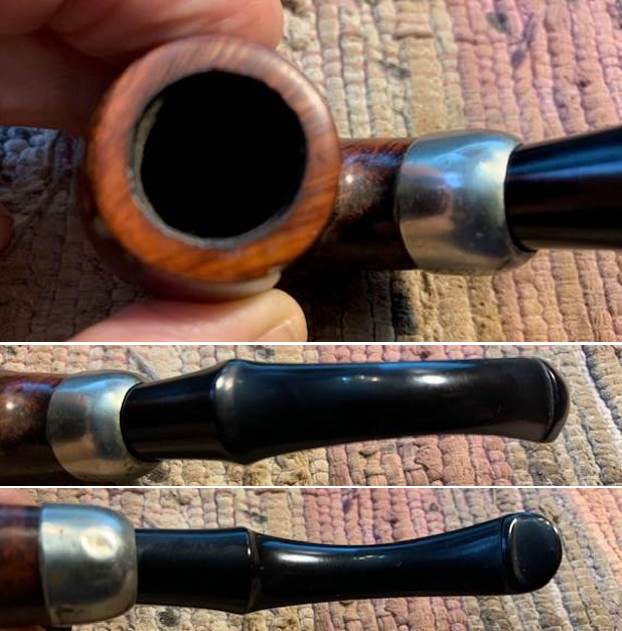
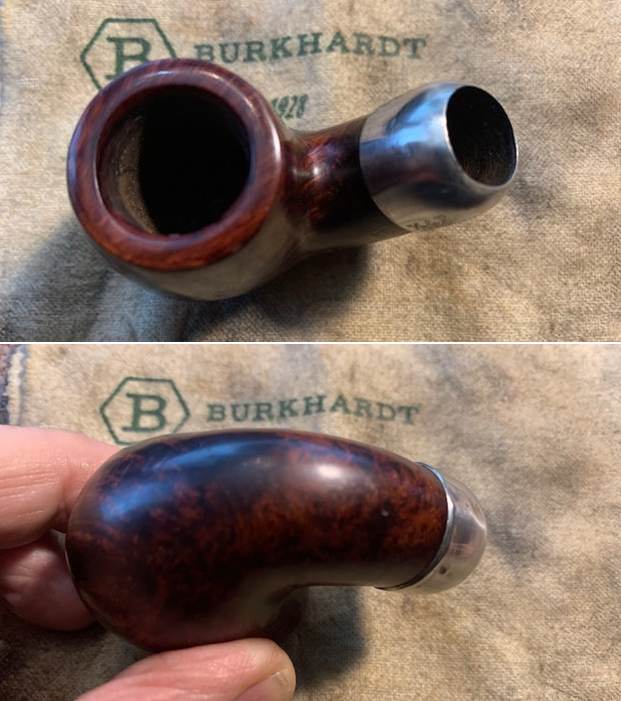
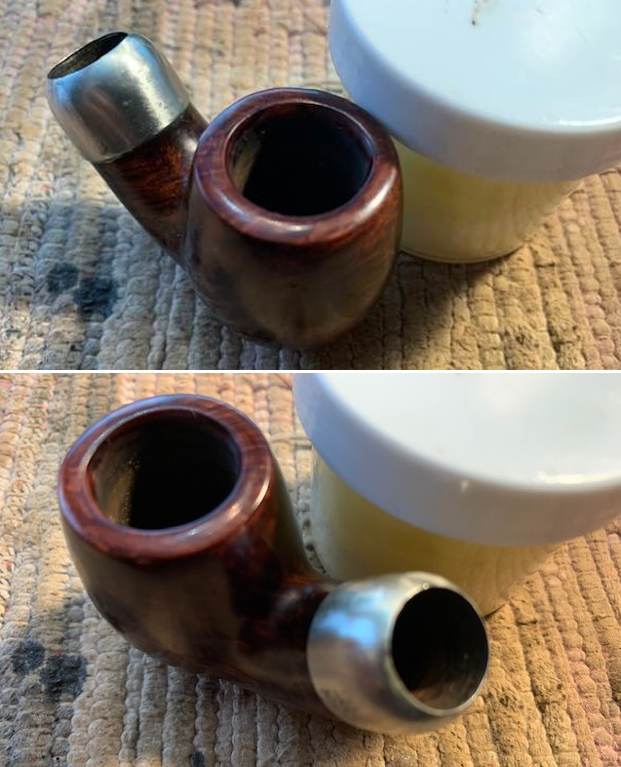
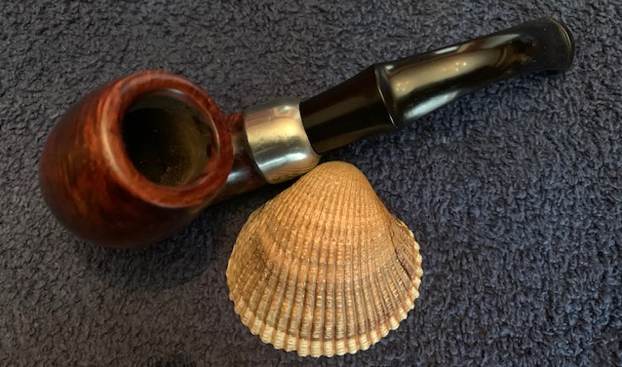
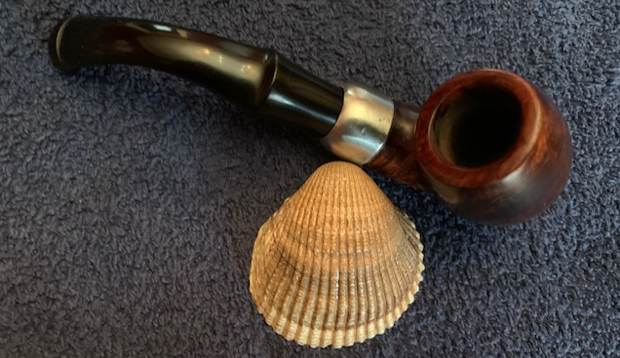
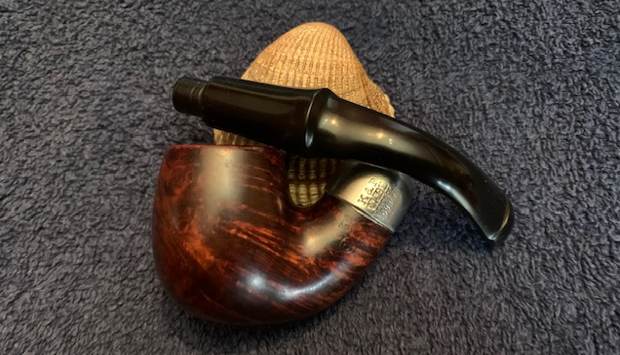
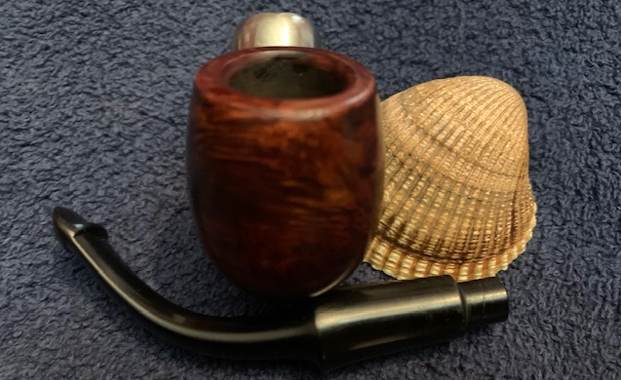
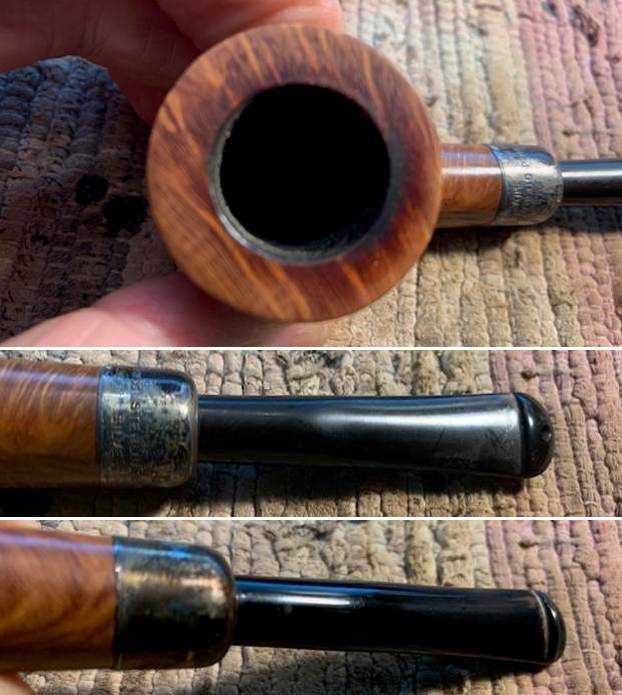
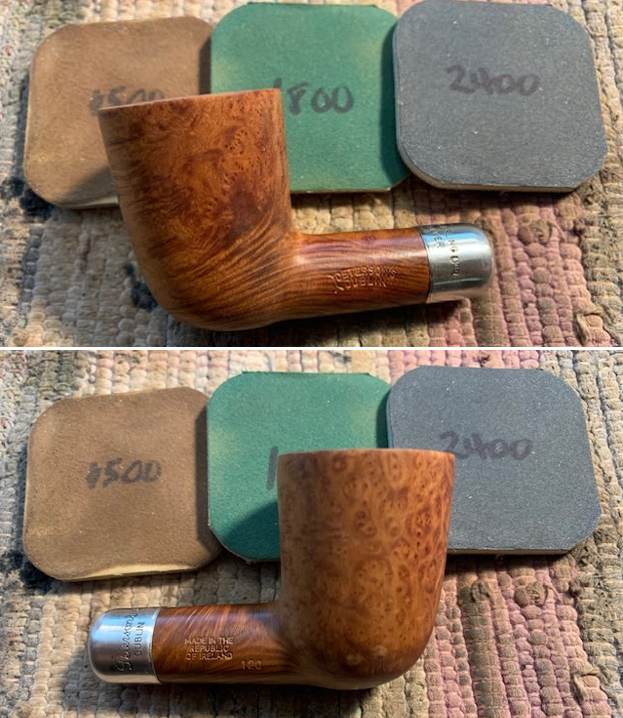
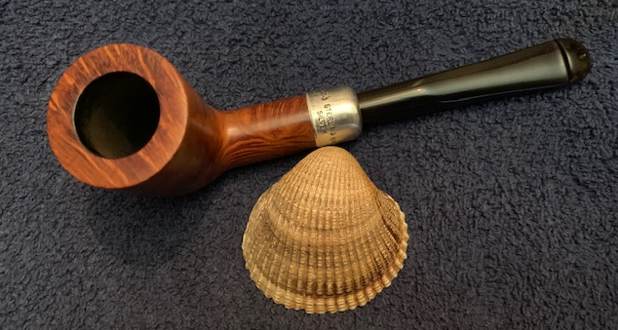
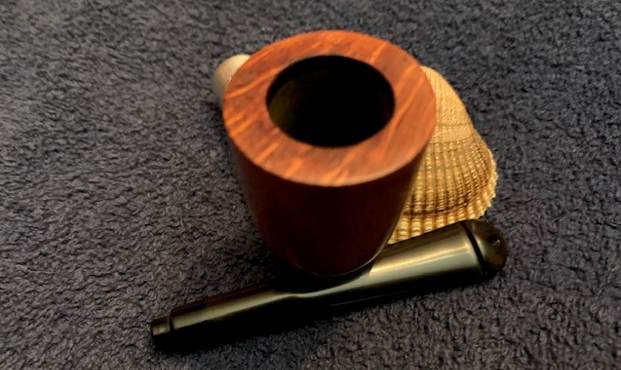
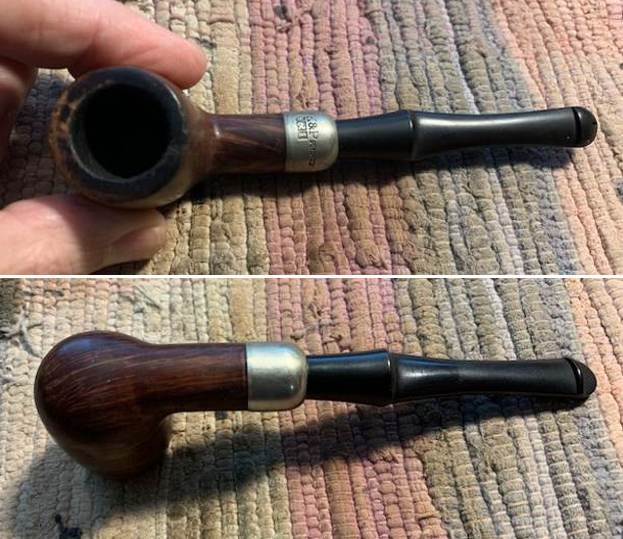
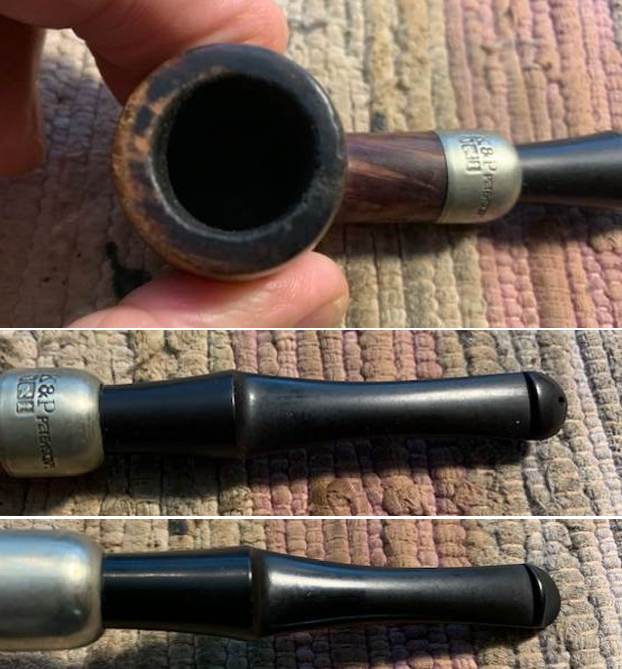
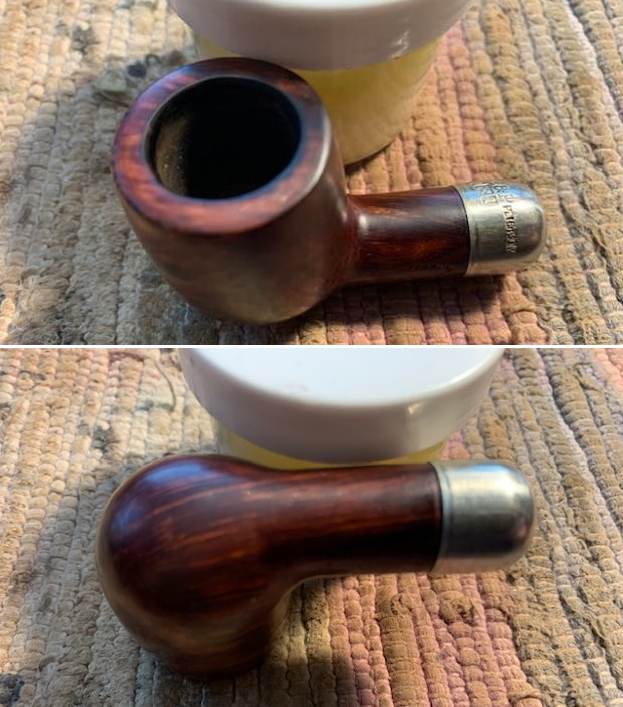
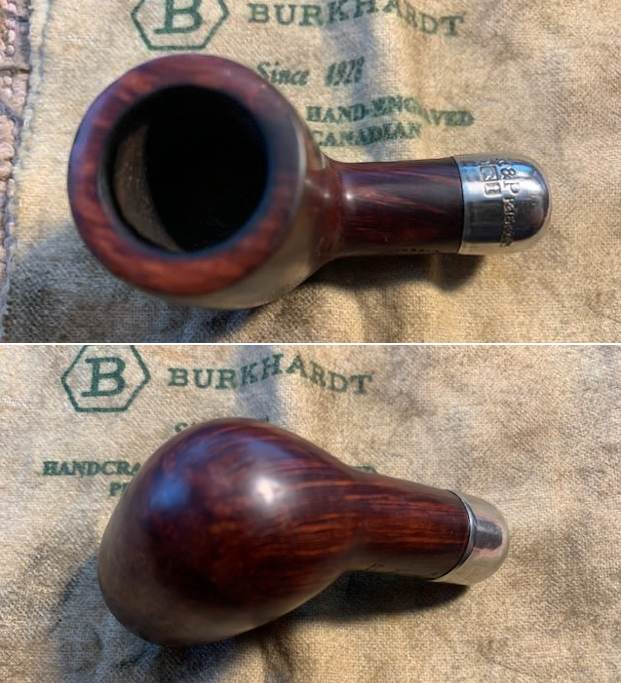
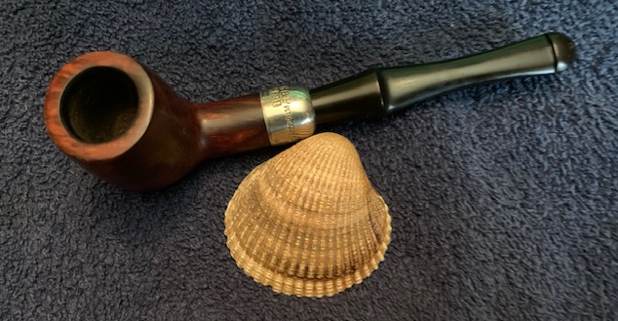
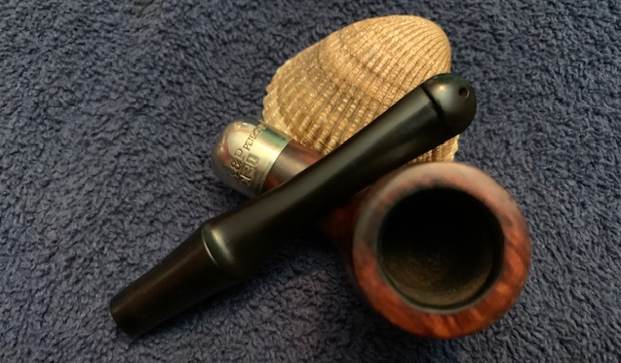
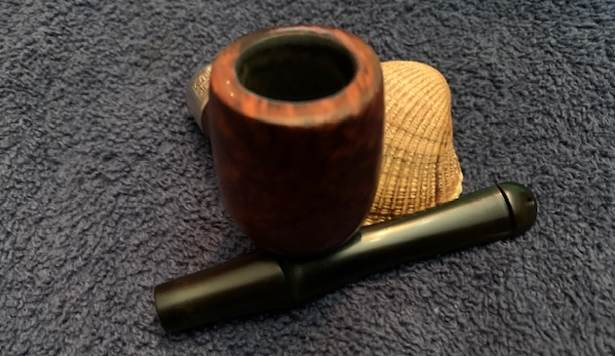
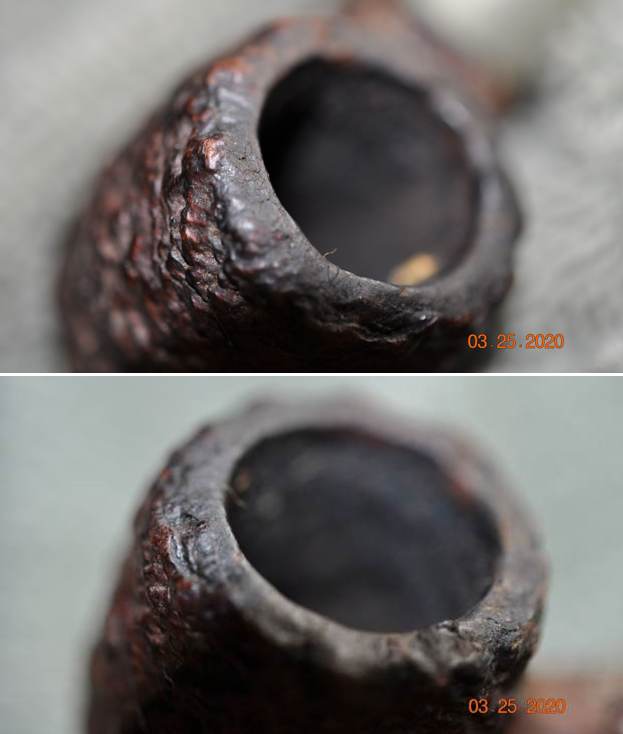
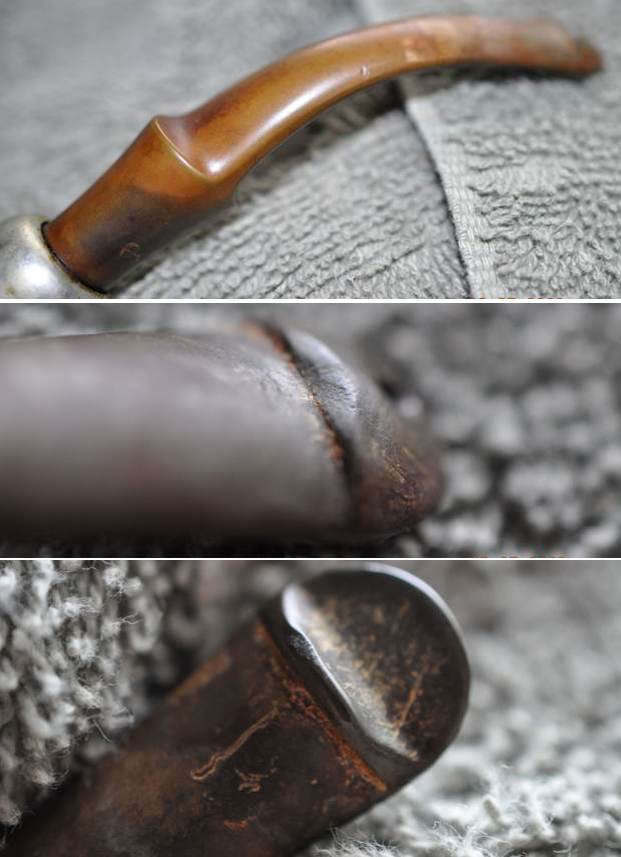
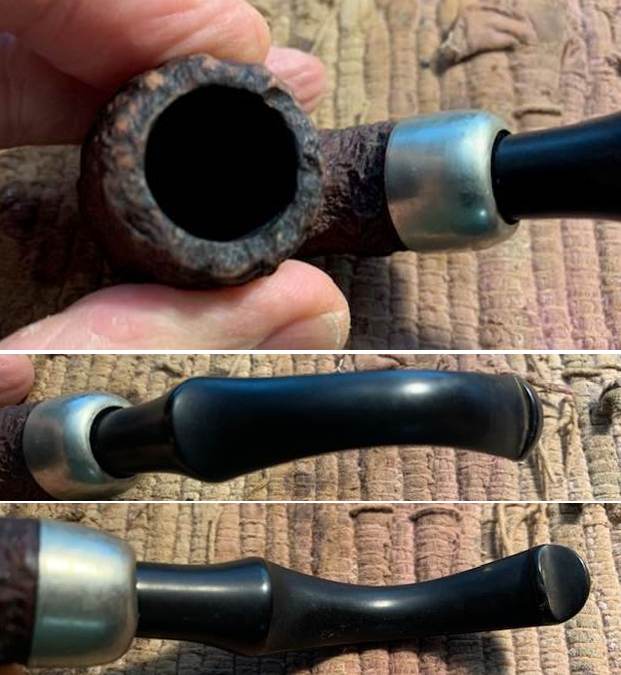
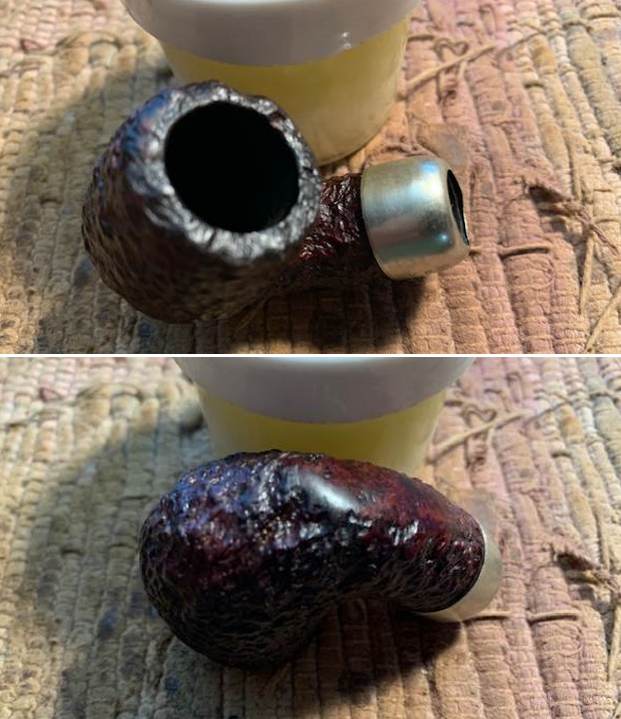
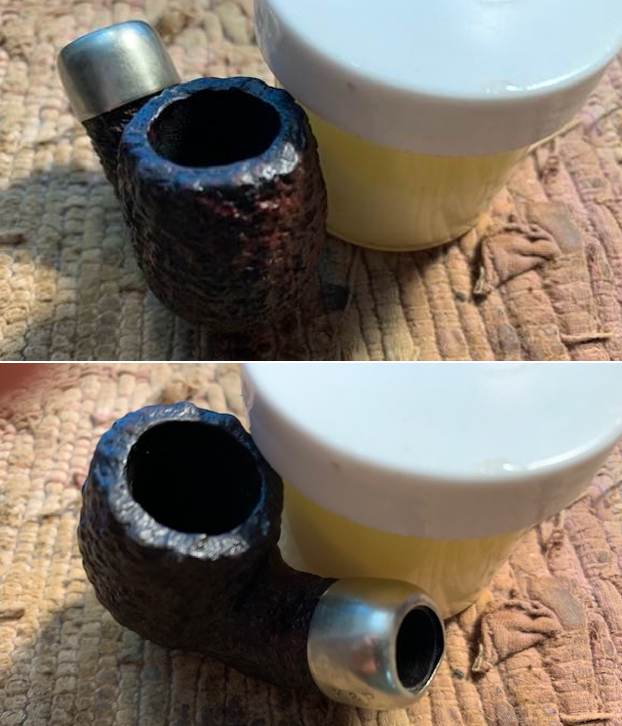
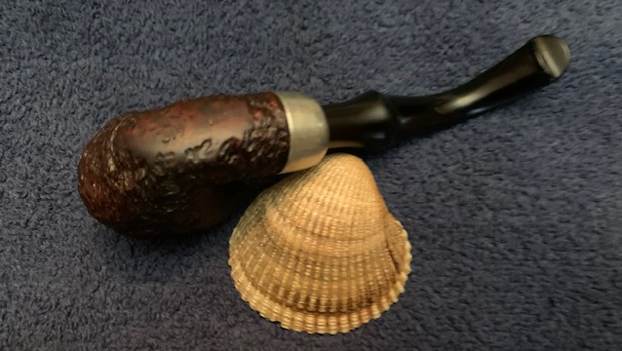
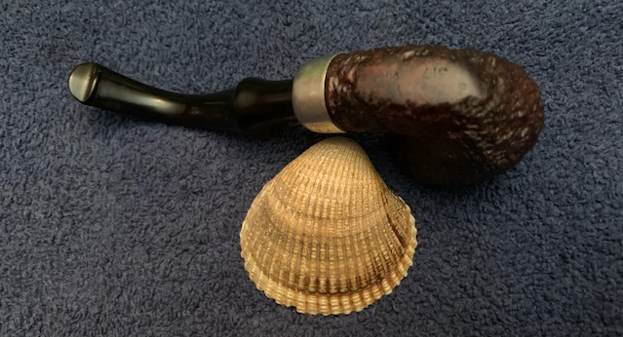
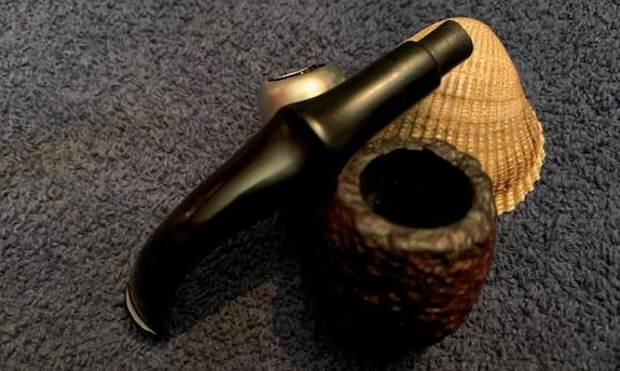
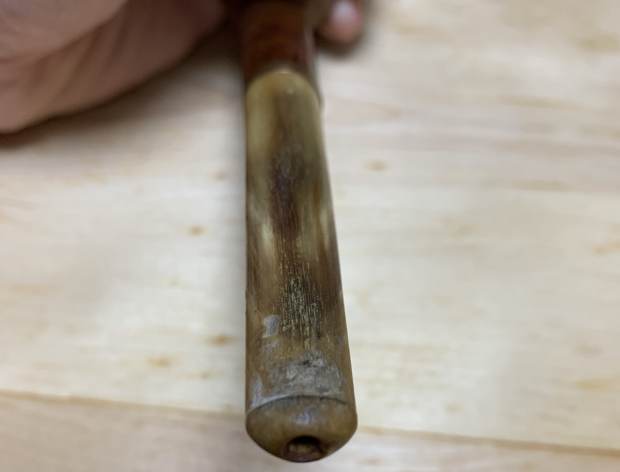
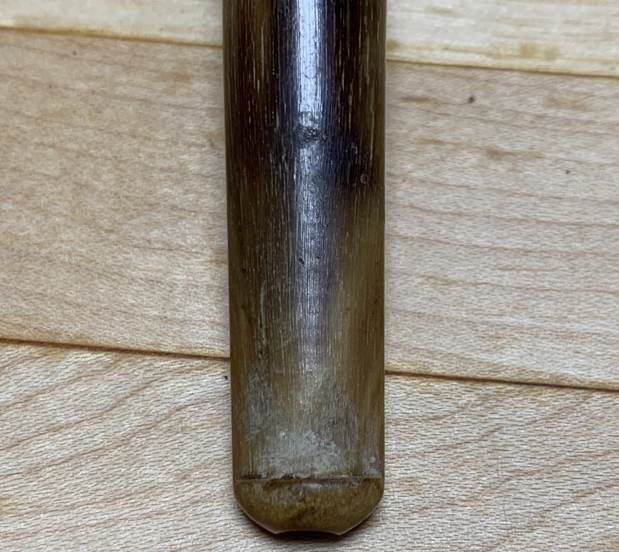
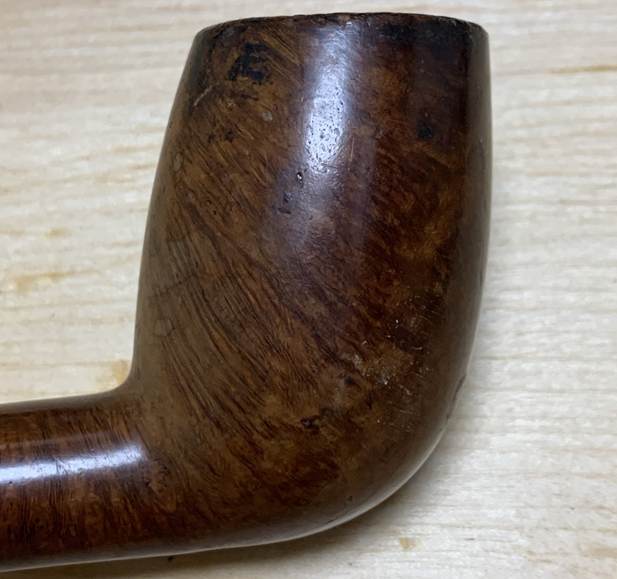
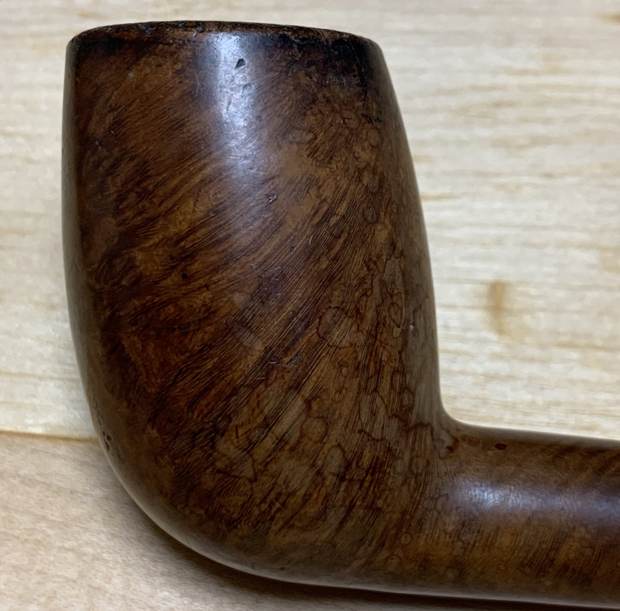
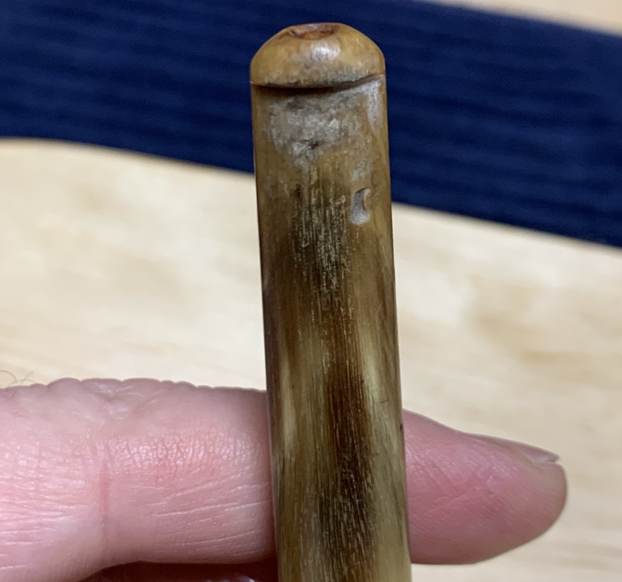
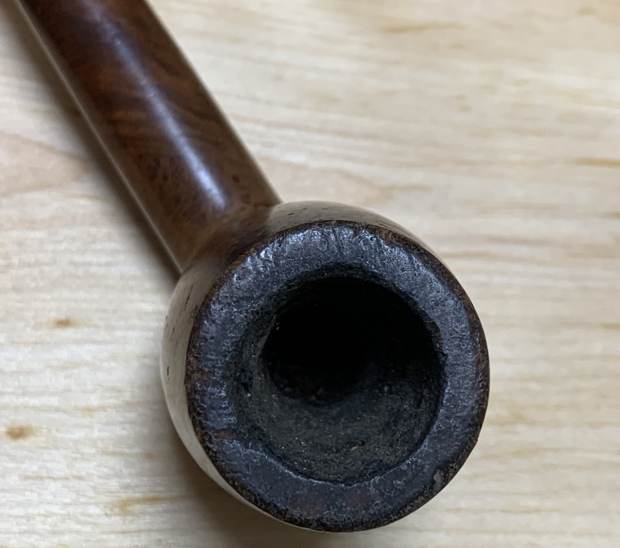
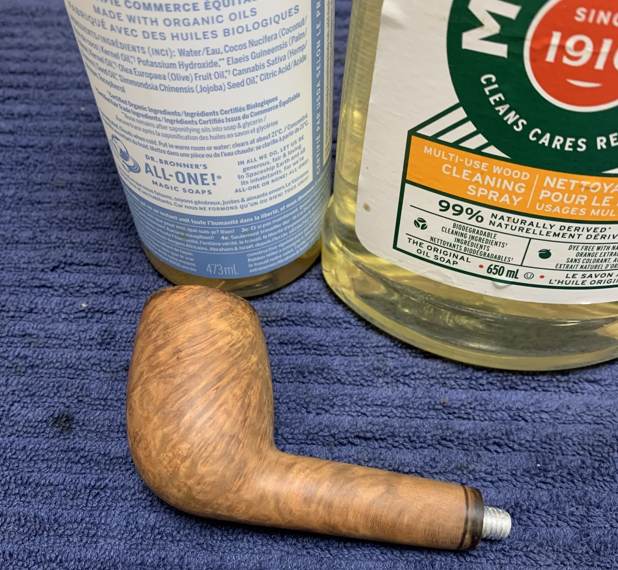
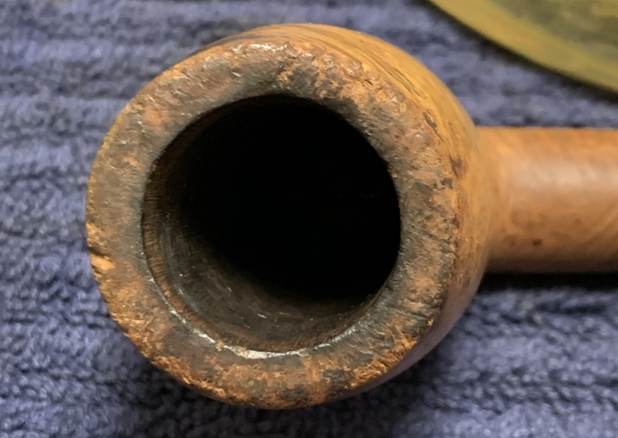
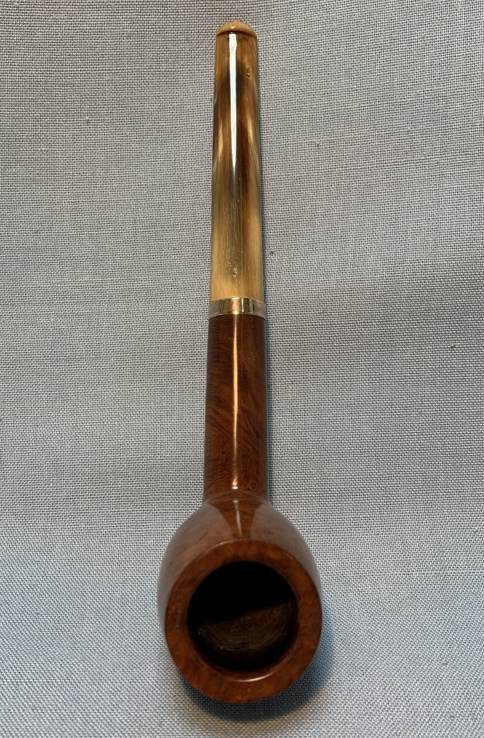
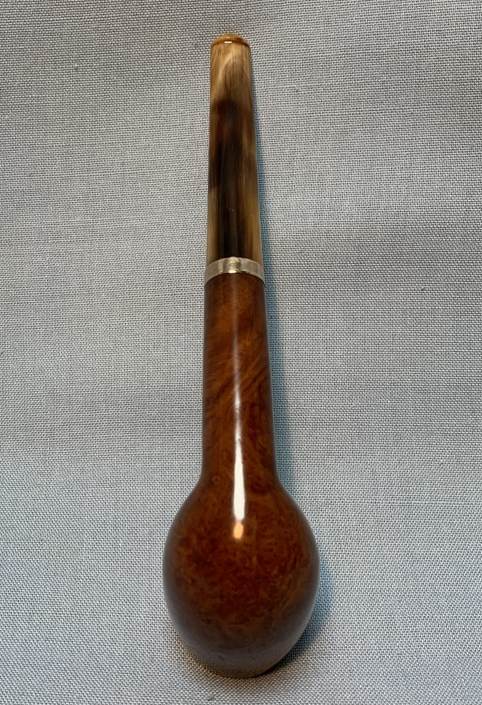
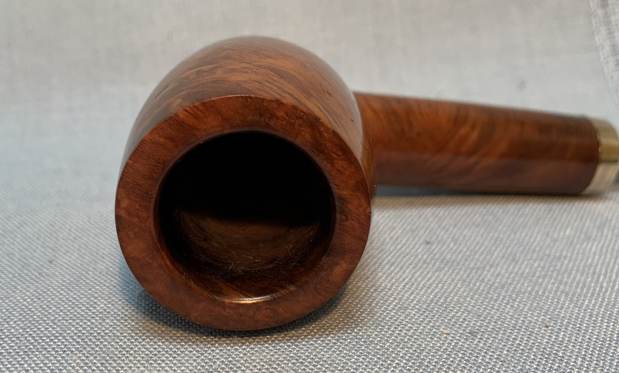
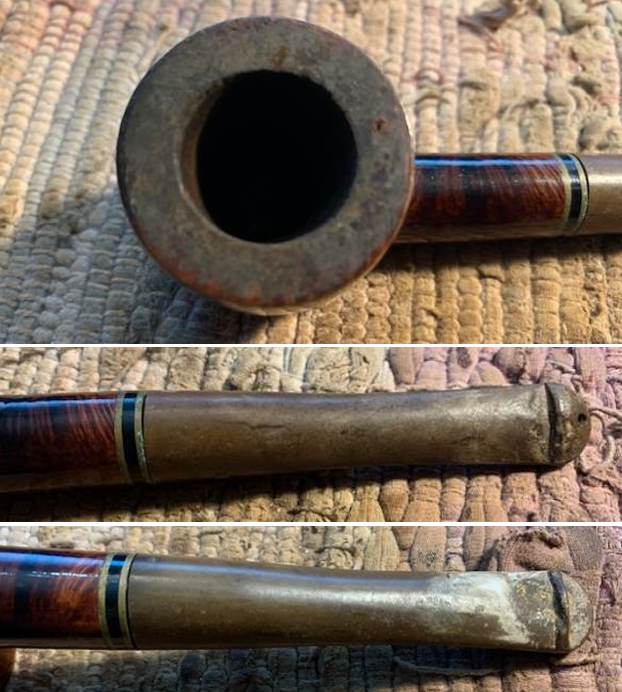
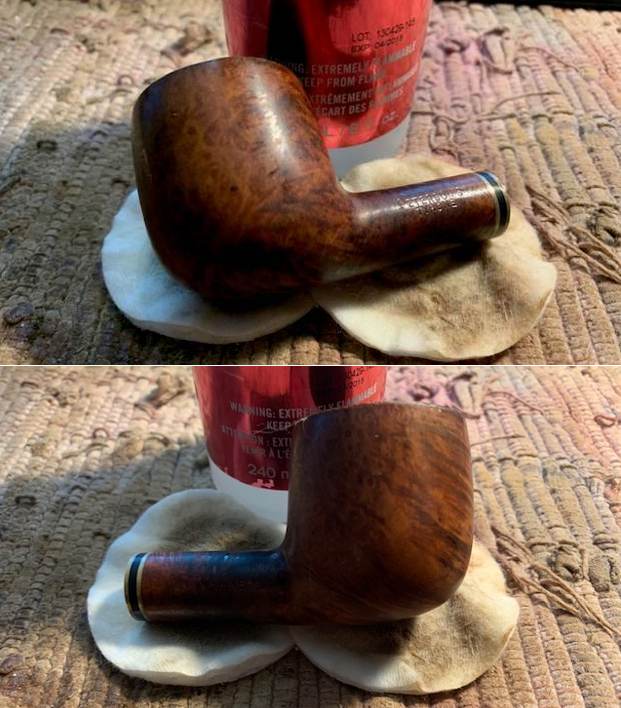
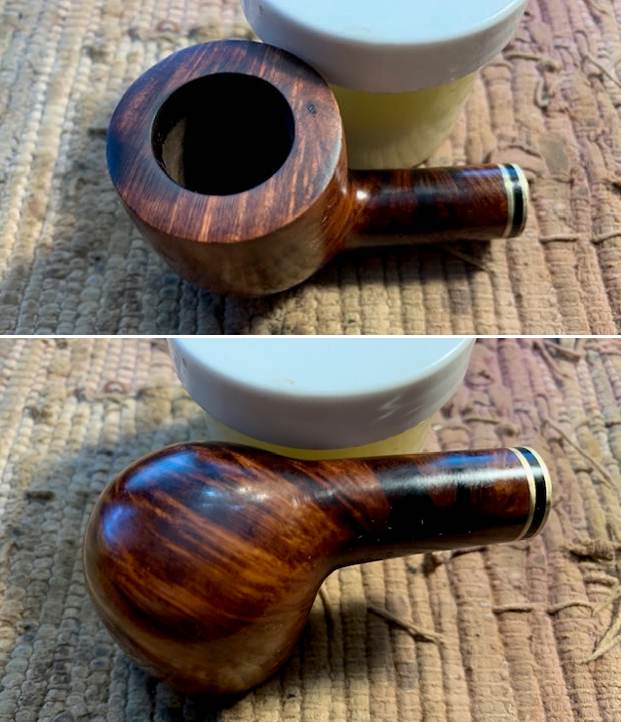
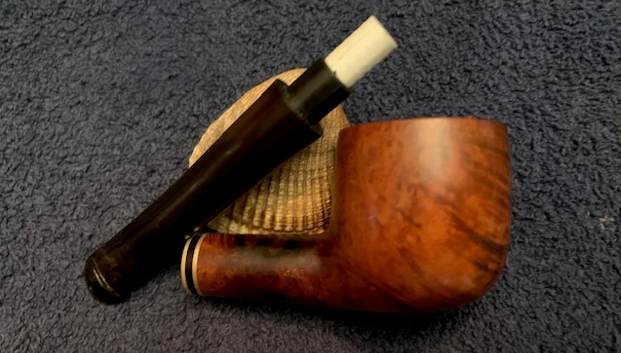
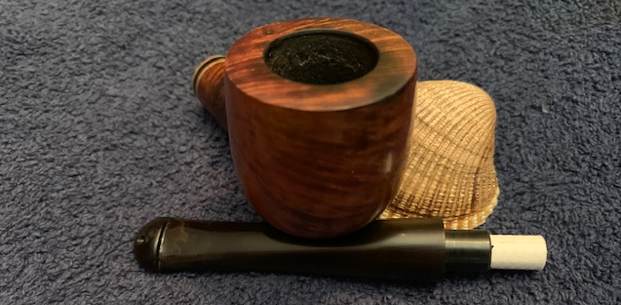
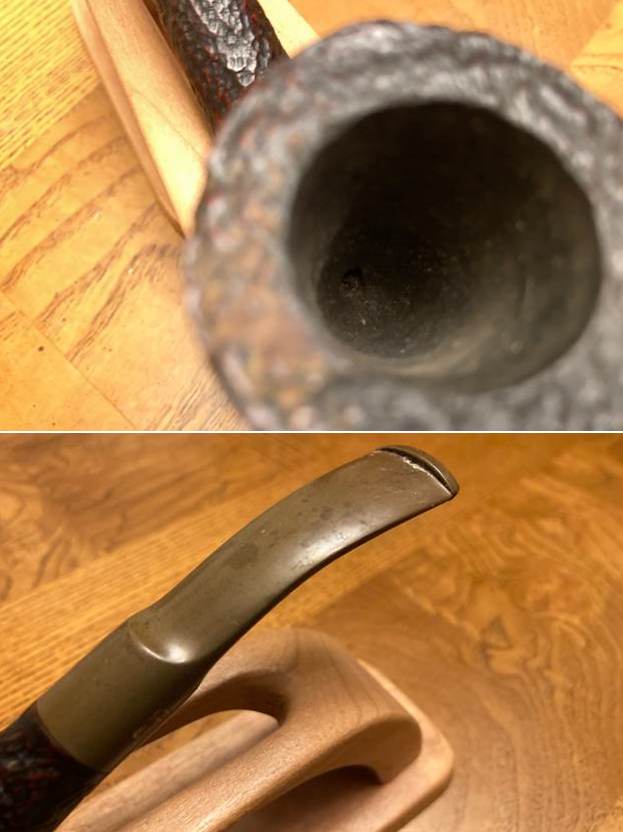
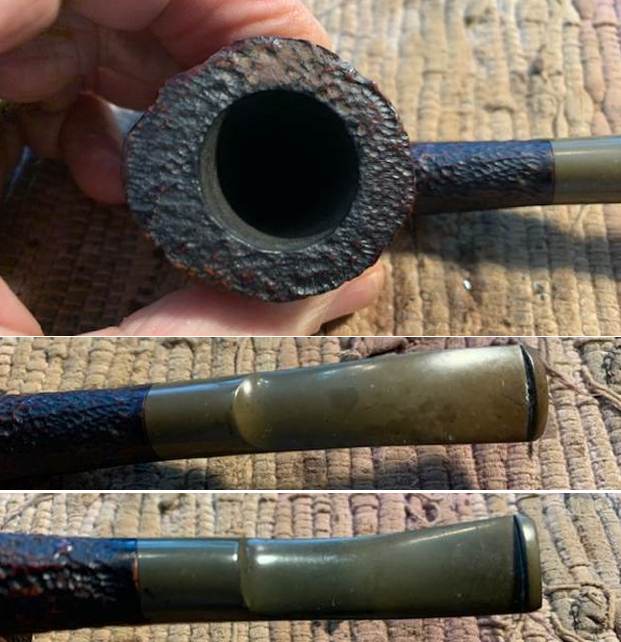
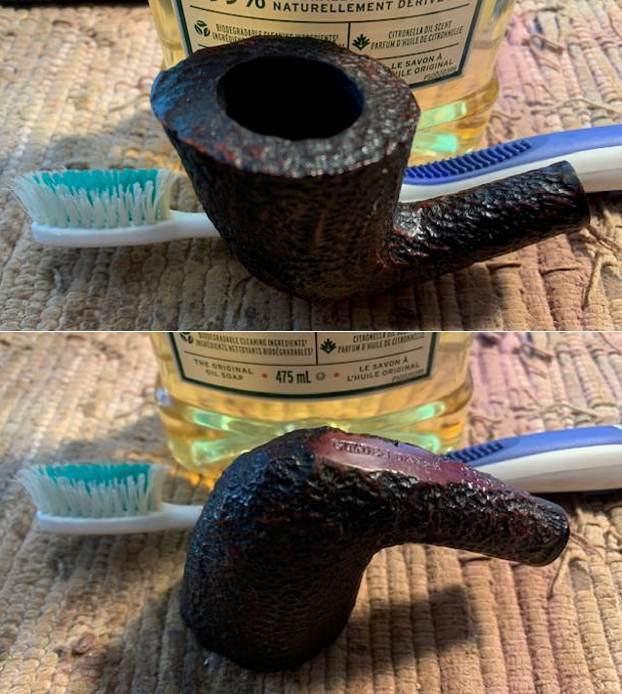
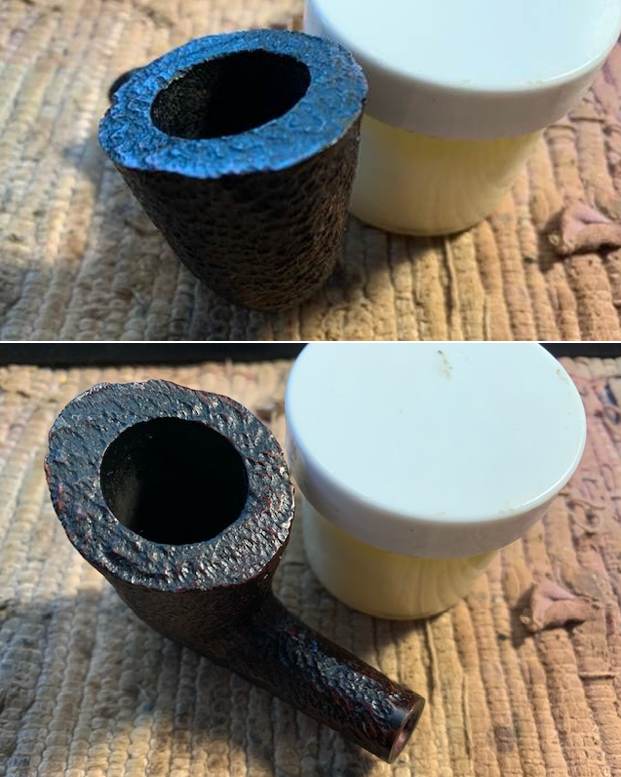
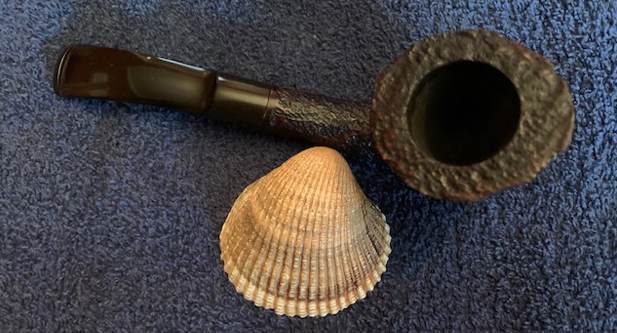
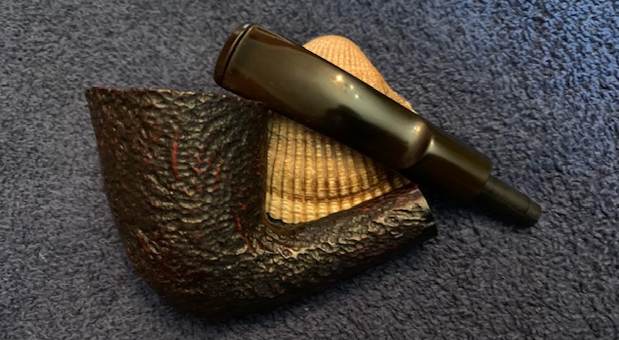
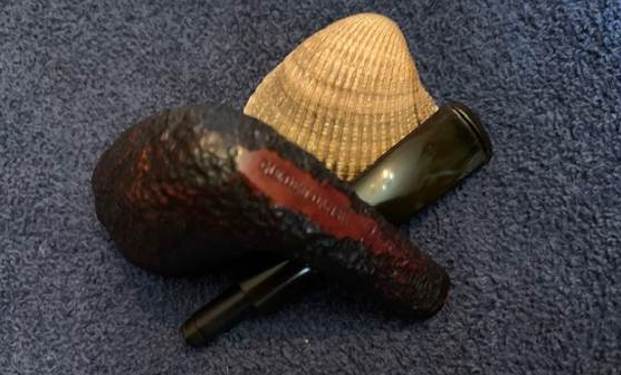
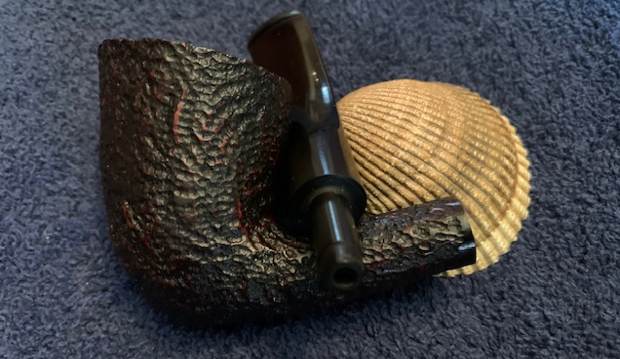
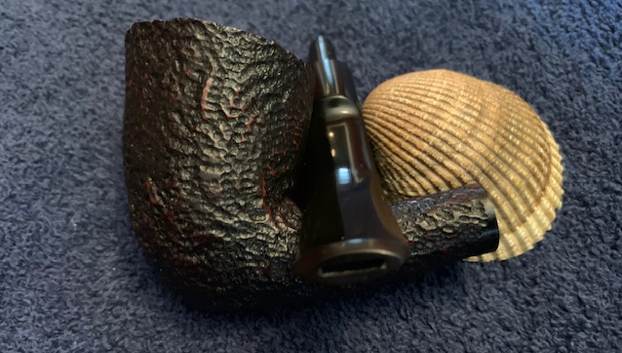
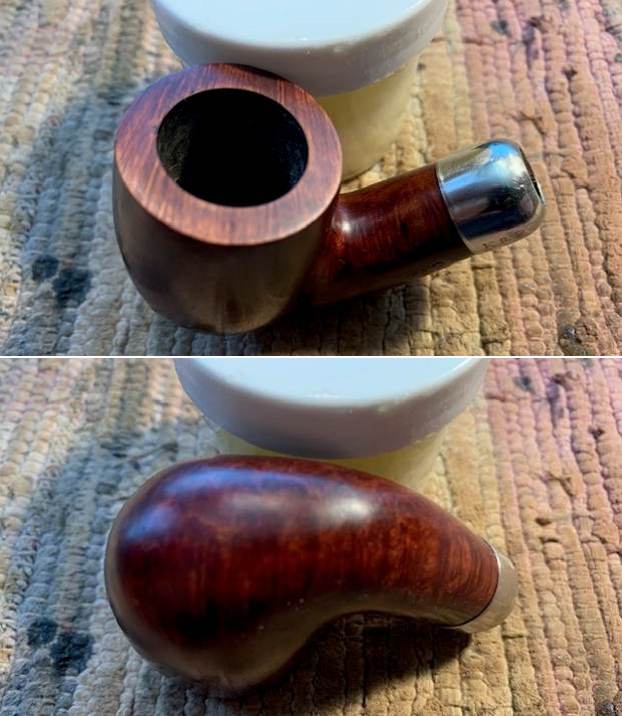
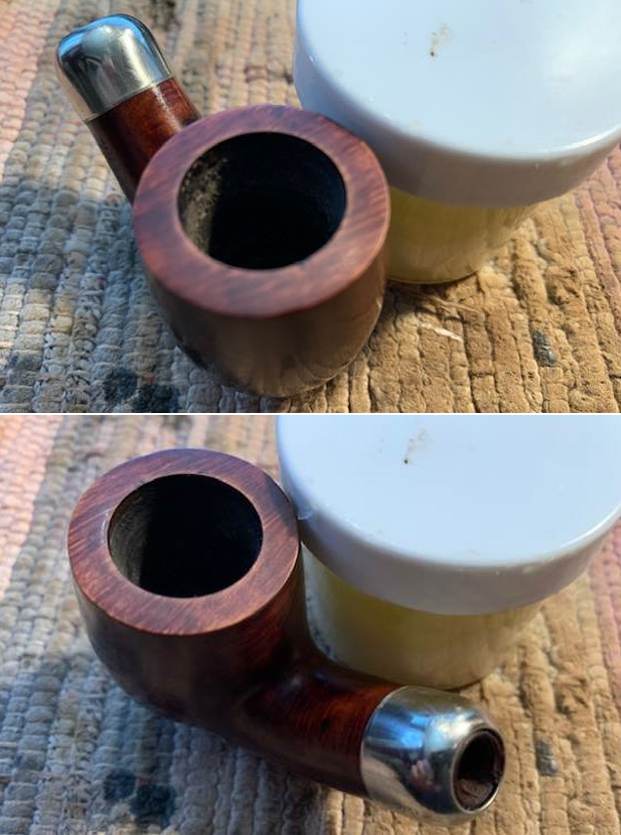
 I took close up photos of the bowl and the stem. You can see the light cake in the bowl and the clean rim top and edges. The fishtail stem surface was clean and free of tooth marks or chatter on both sides.
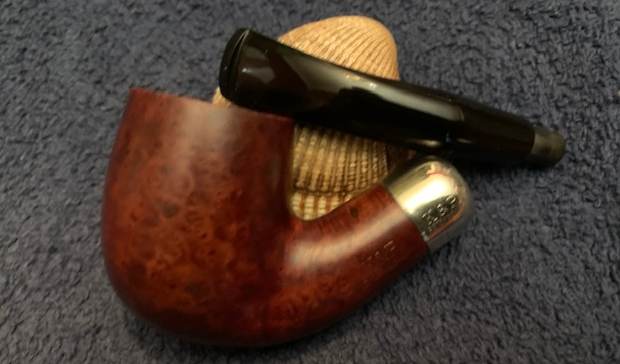
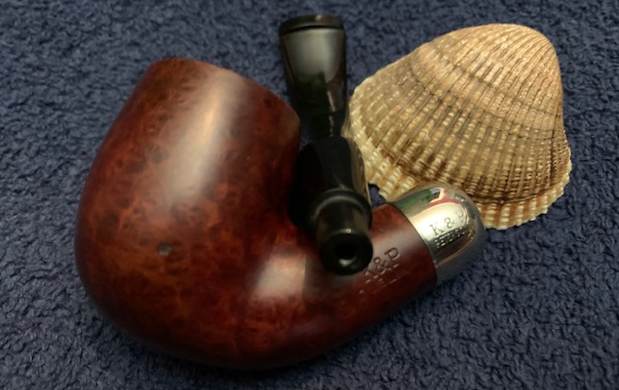
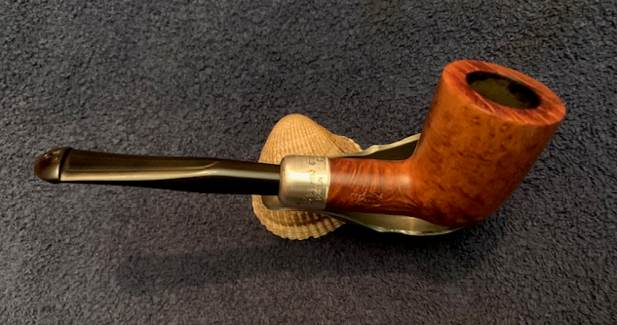
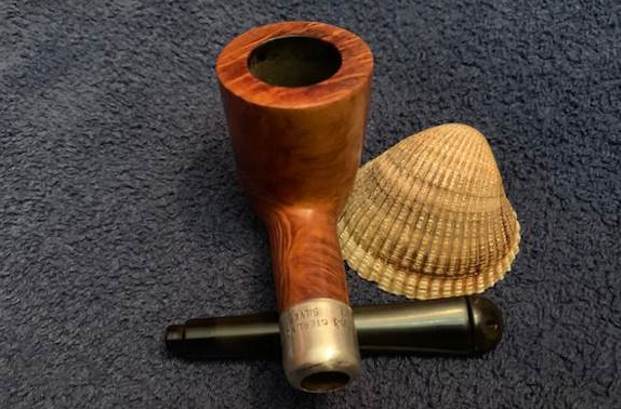
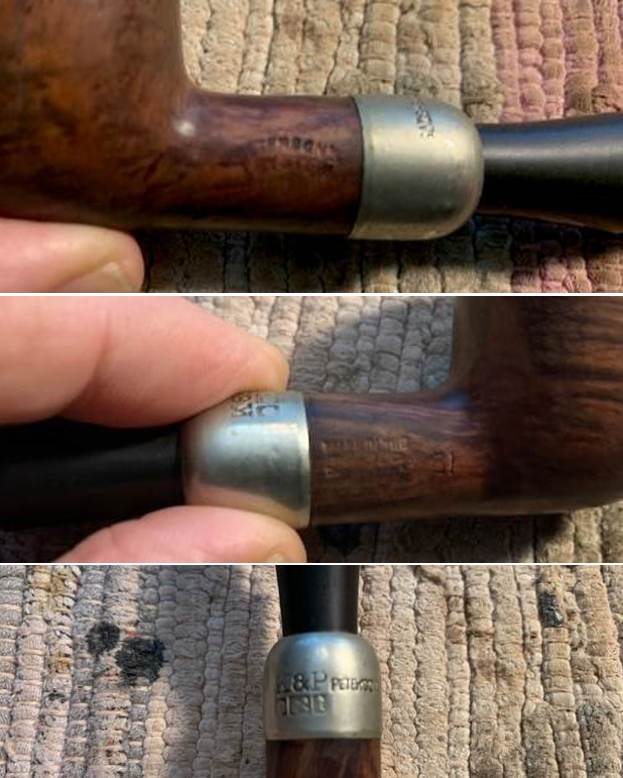
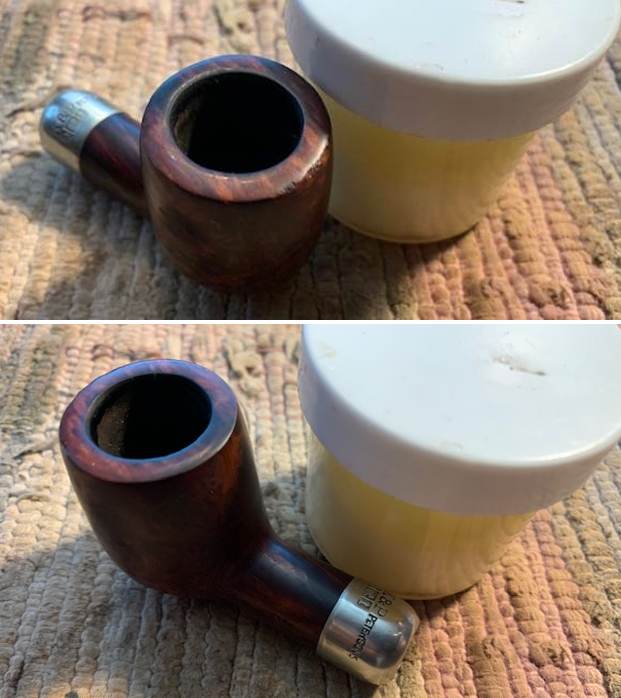
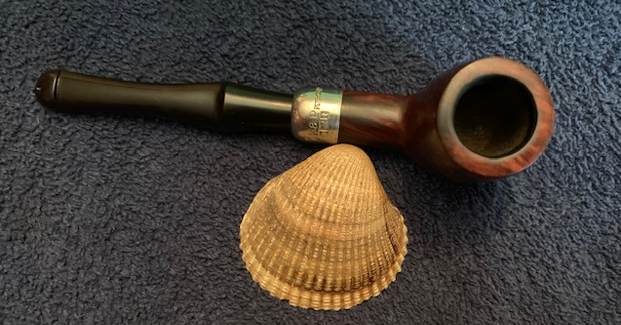
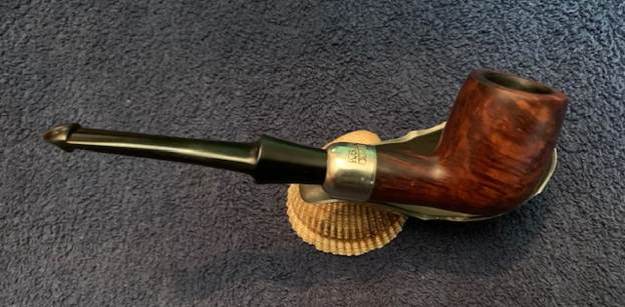
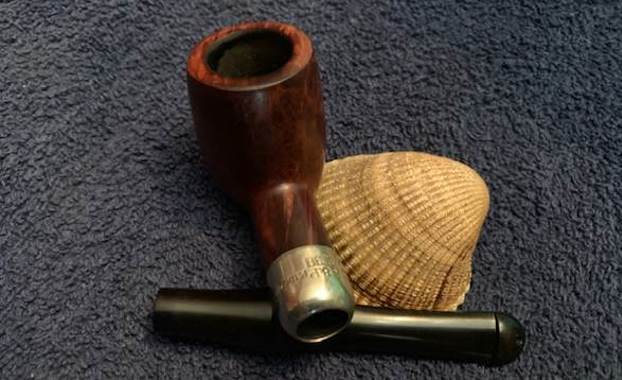
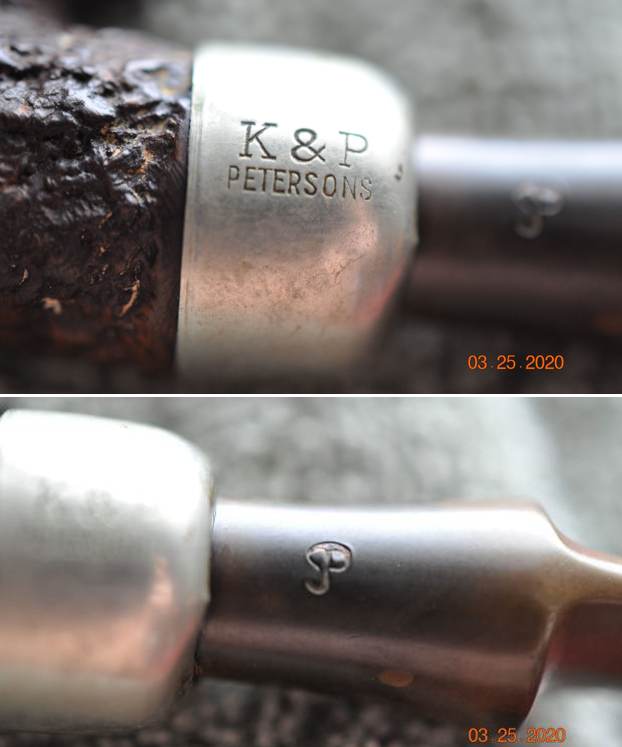
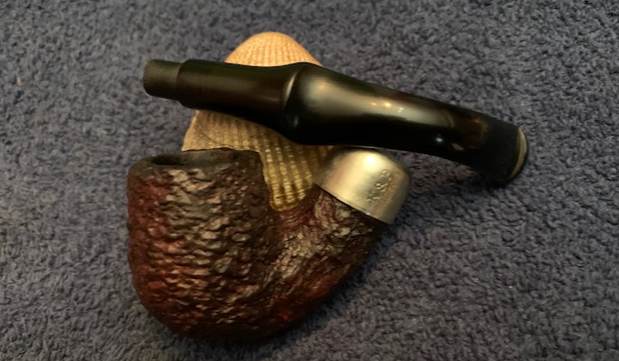
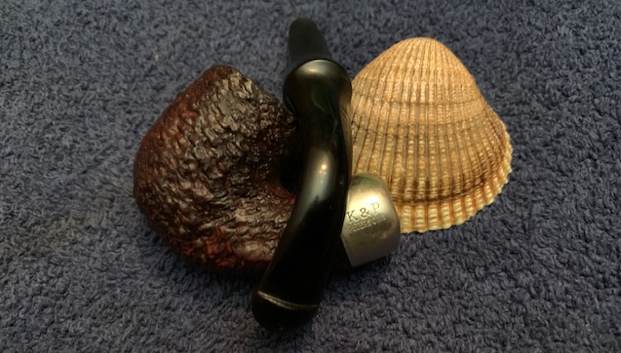
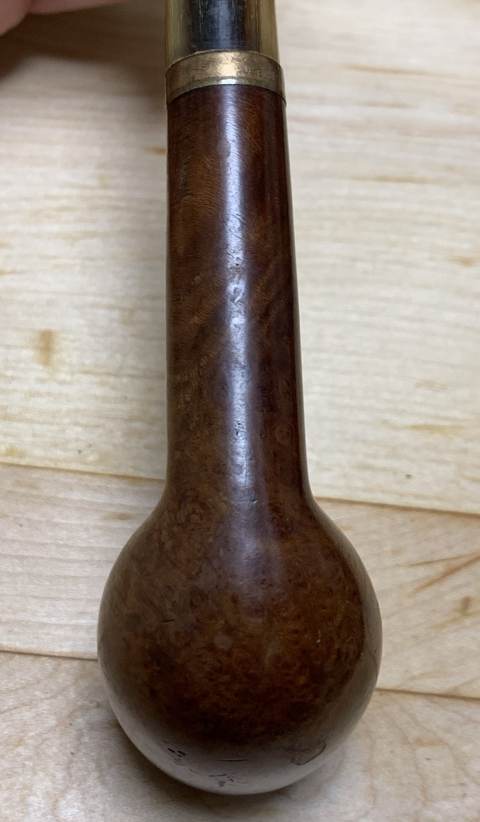
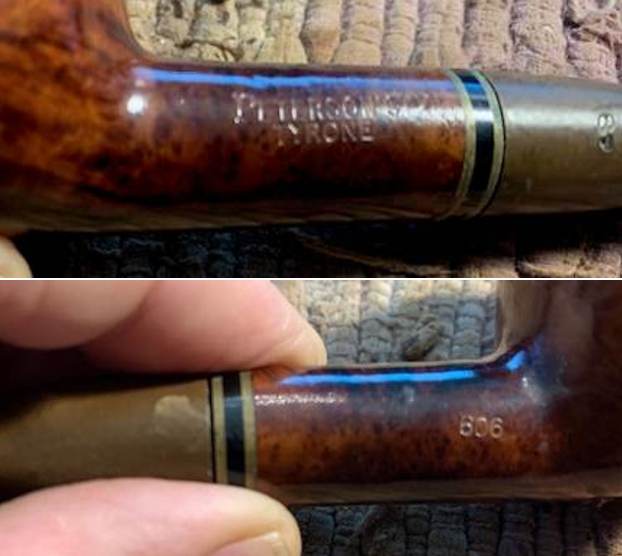
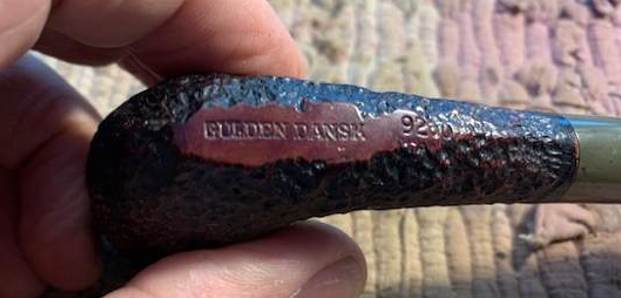
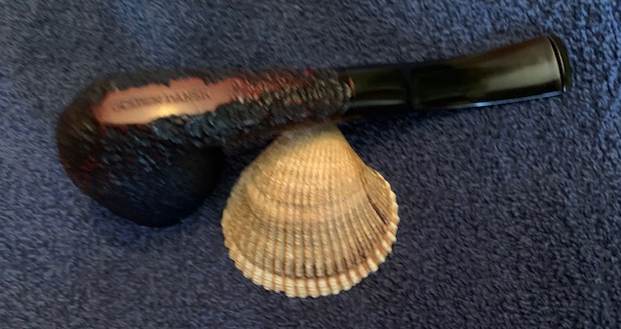
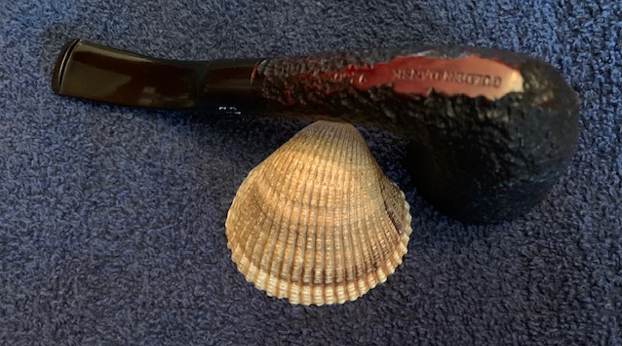
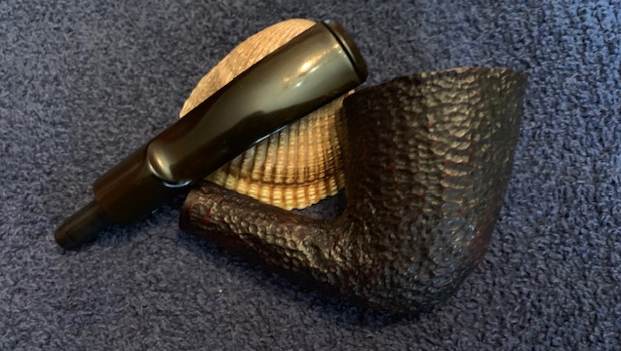
 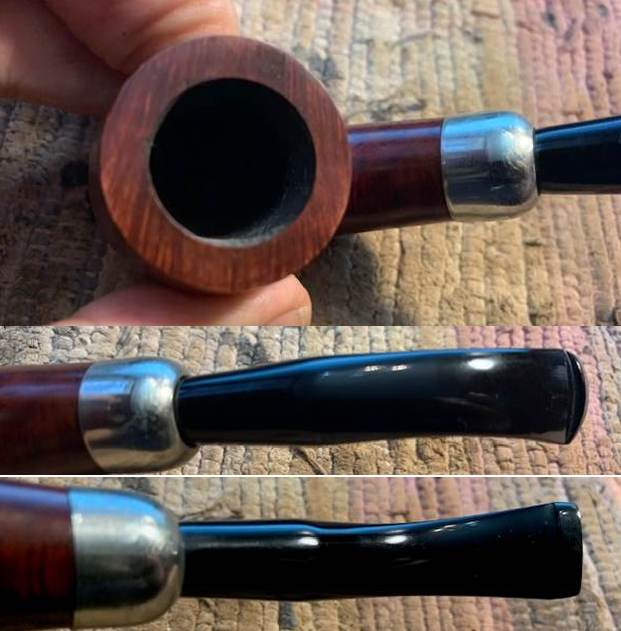 I took photos of the stamping on the sides of the shank and ferrule. It is clear and readable as noted above.
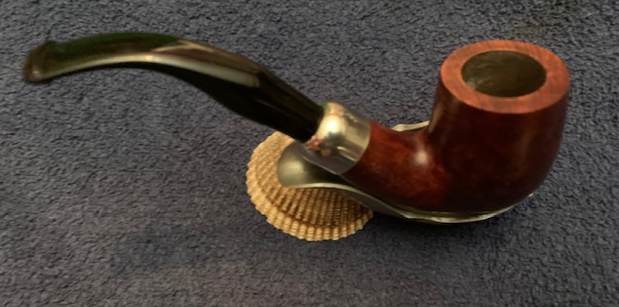
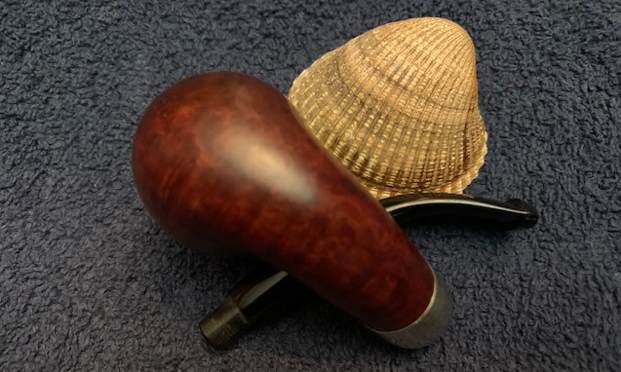
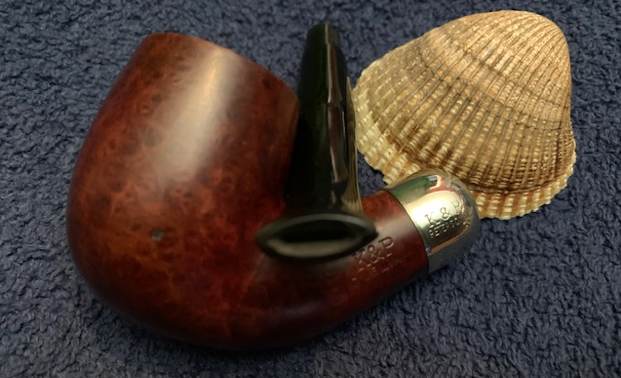
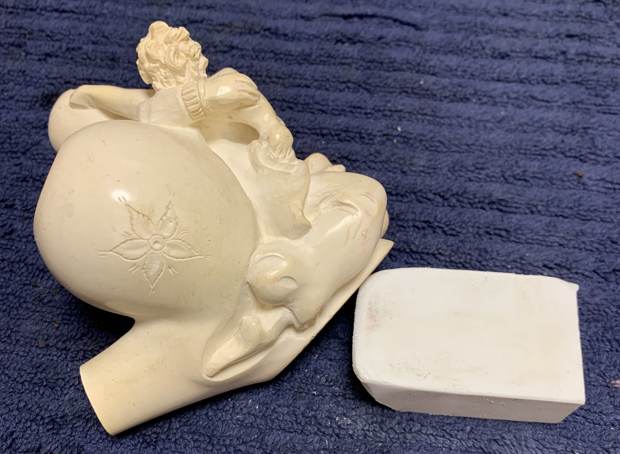
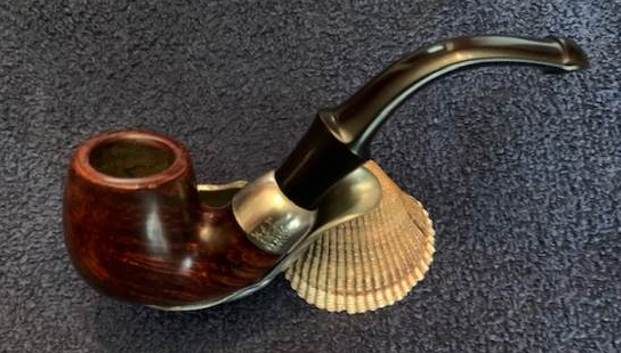
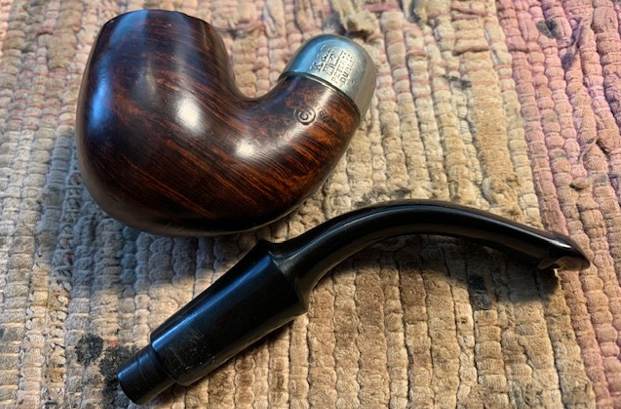
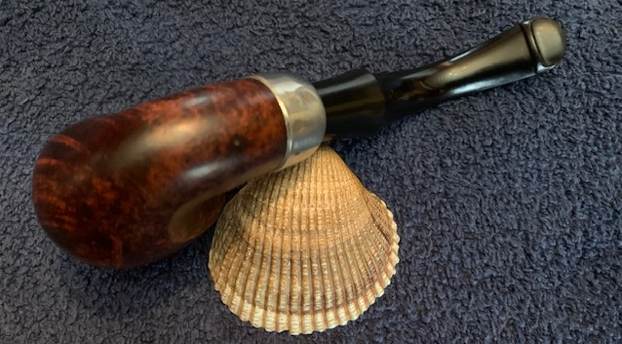
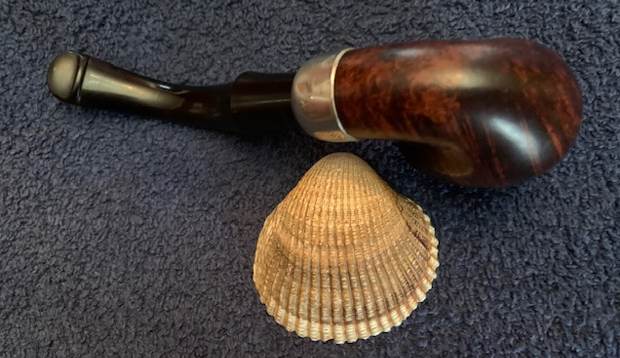
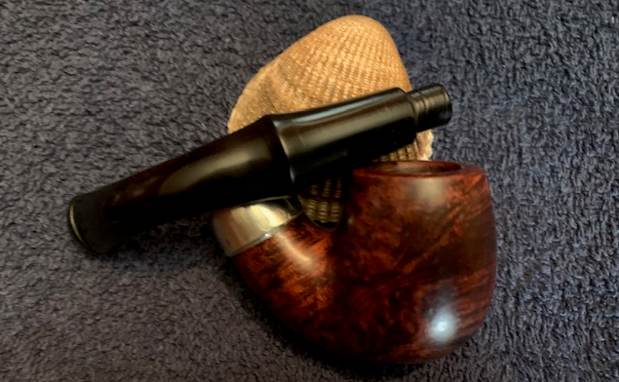
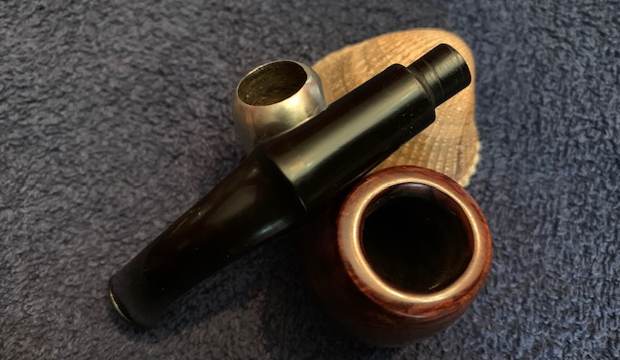
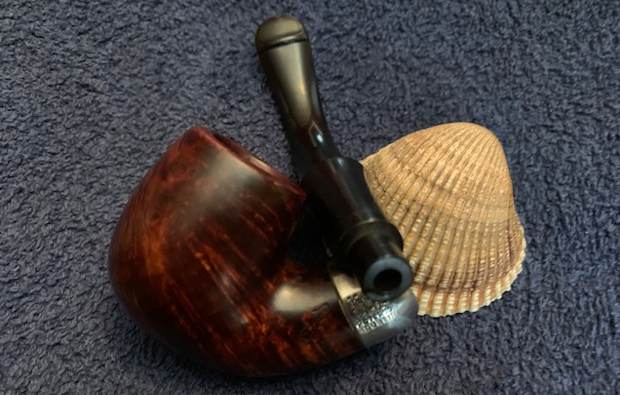
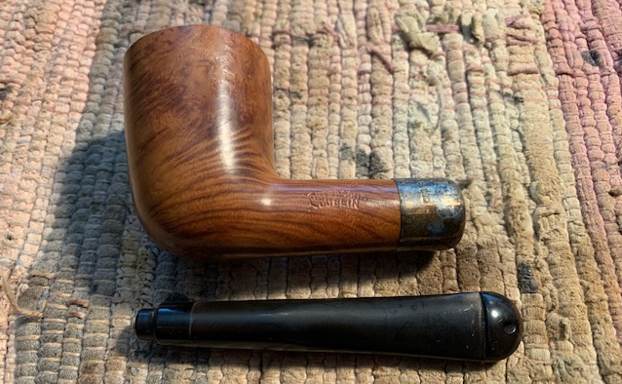
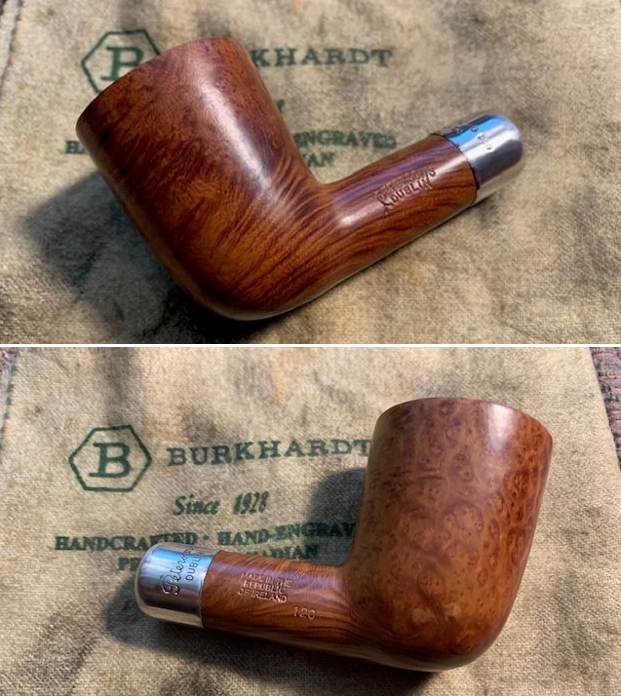
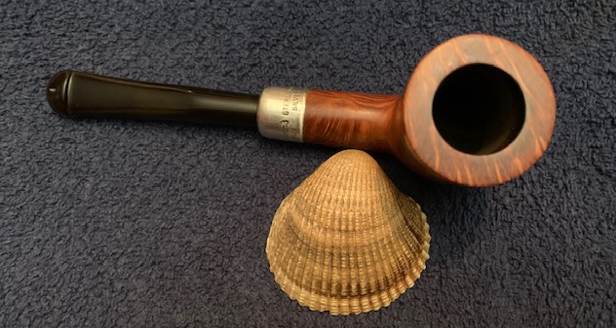
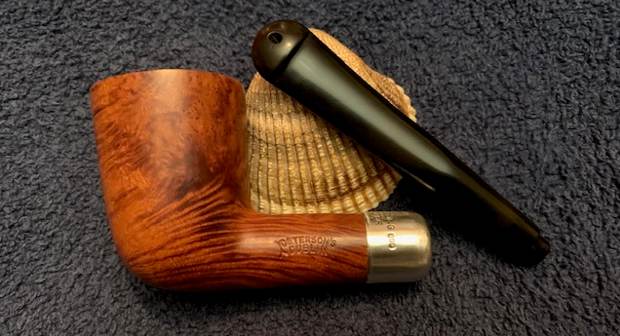
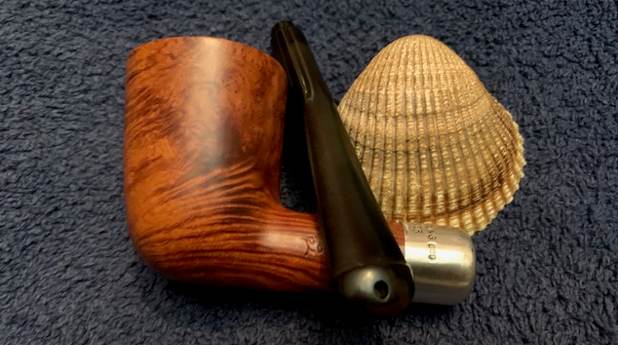
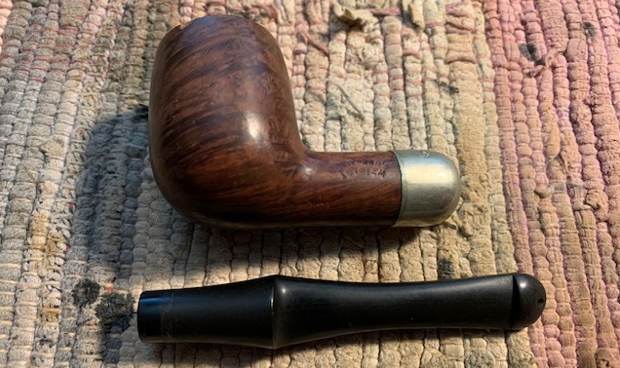
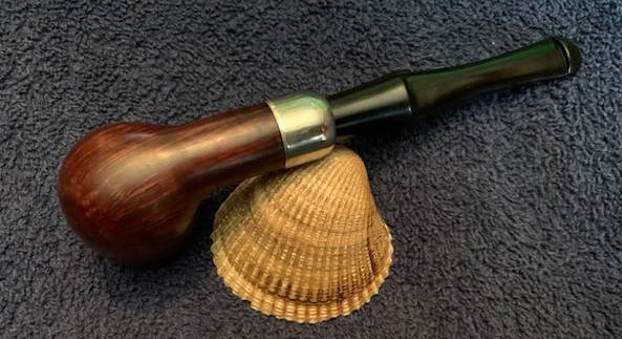
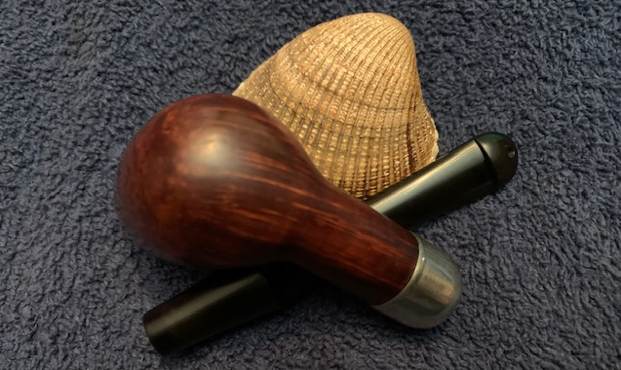
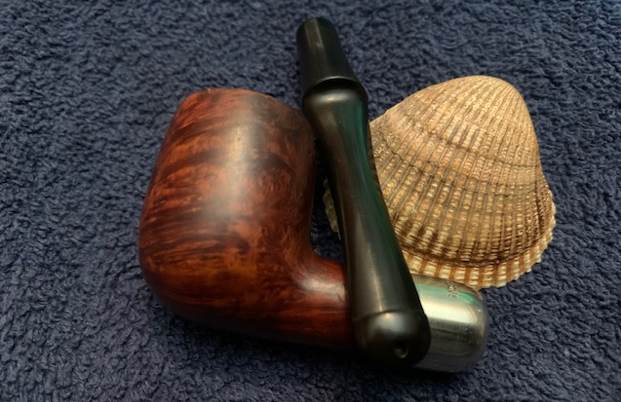
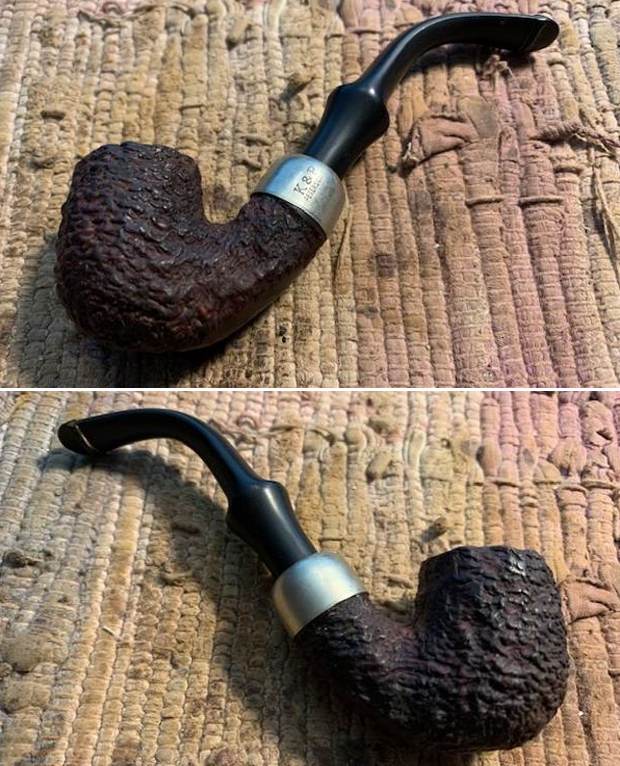
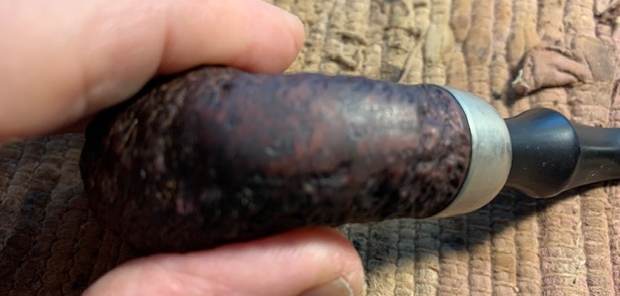
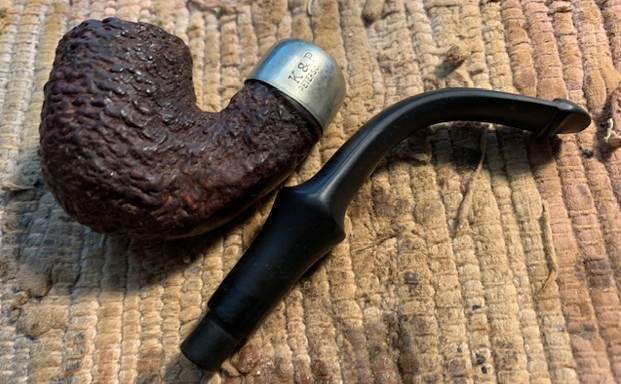
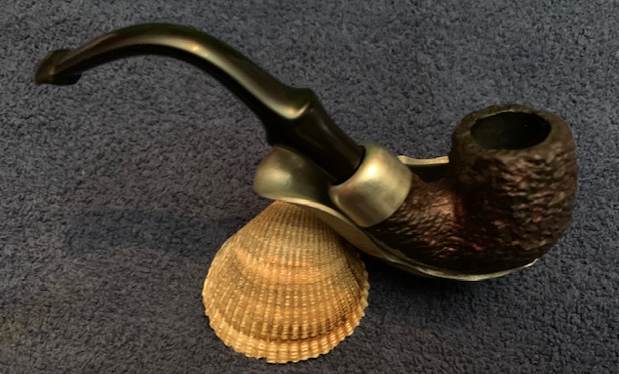
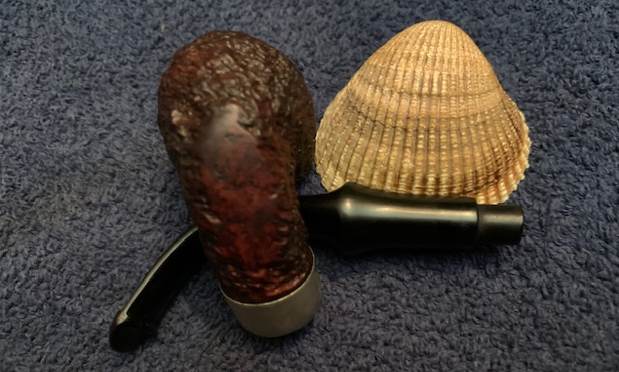
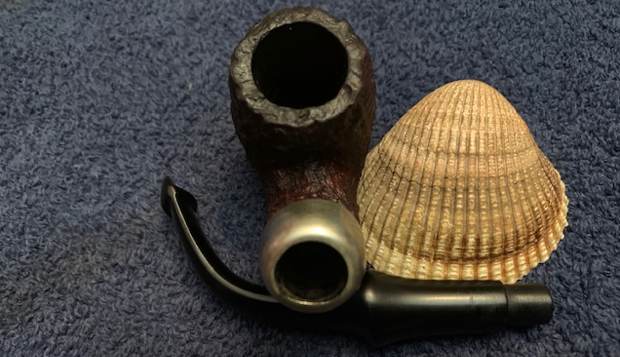
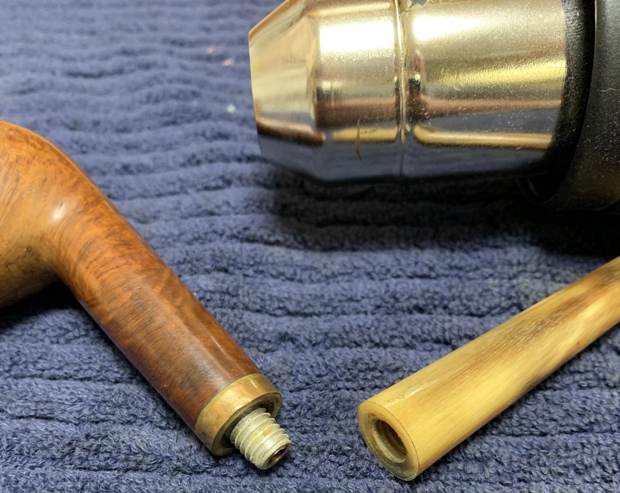
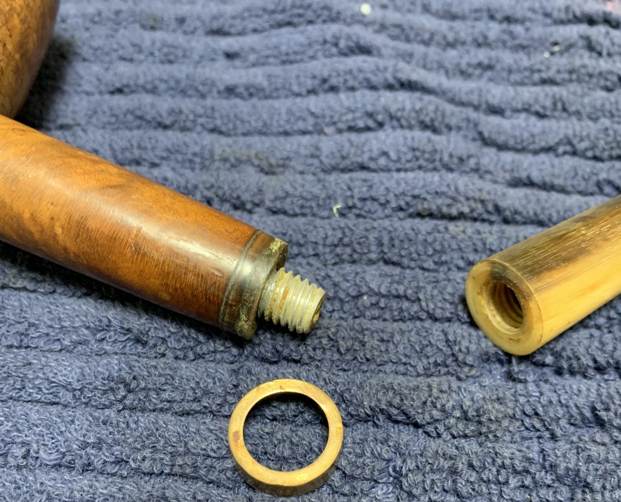
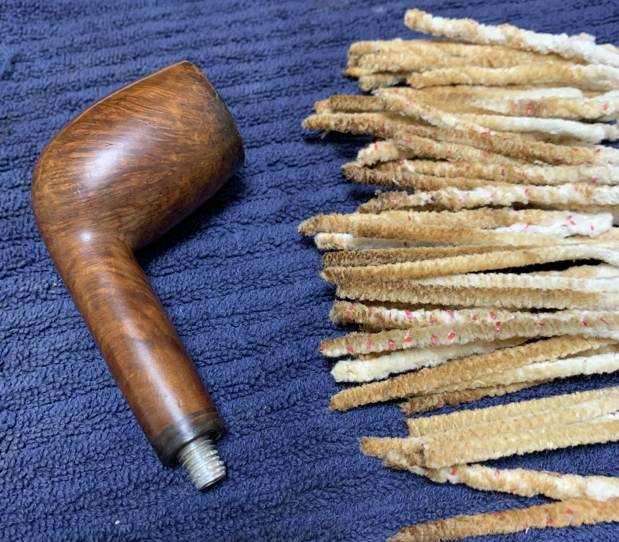
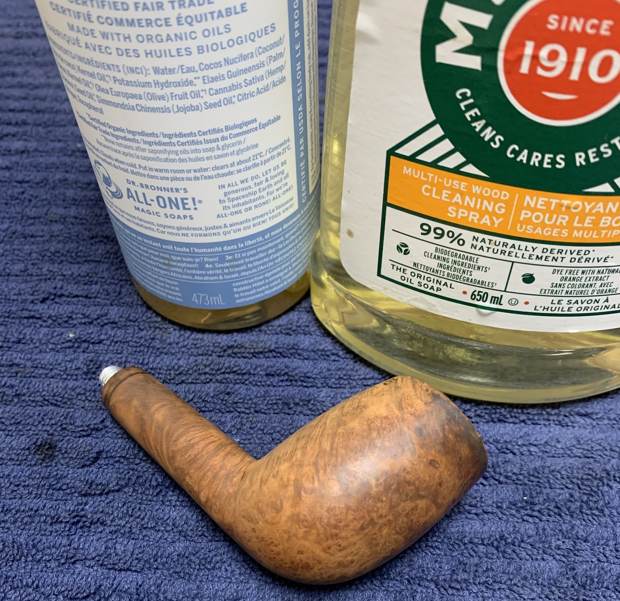
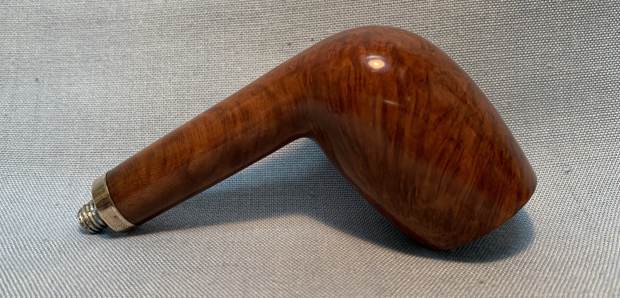
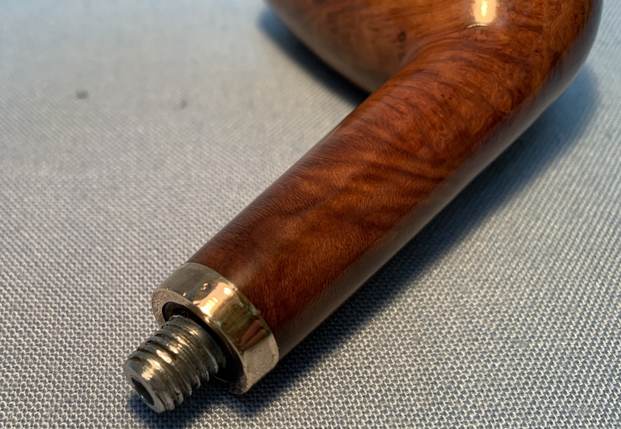
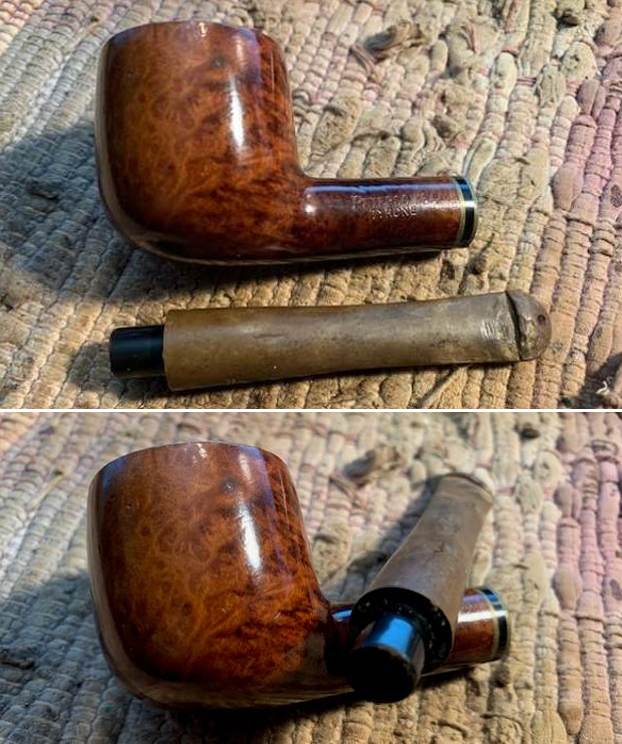
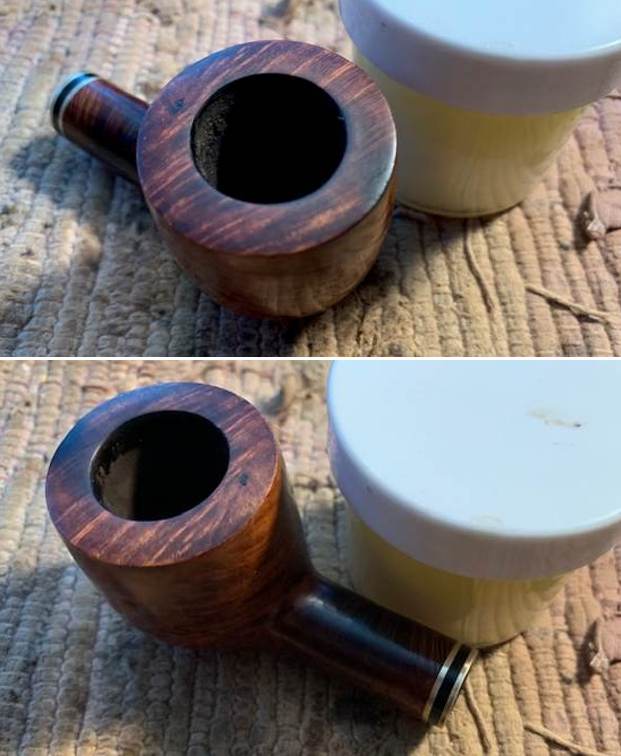
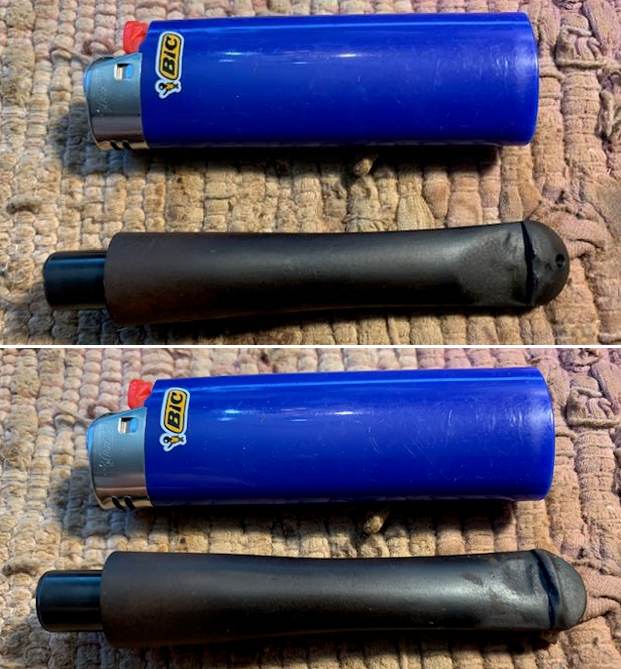
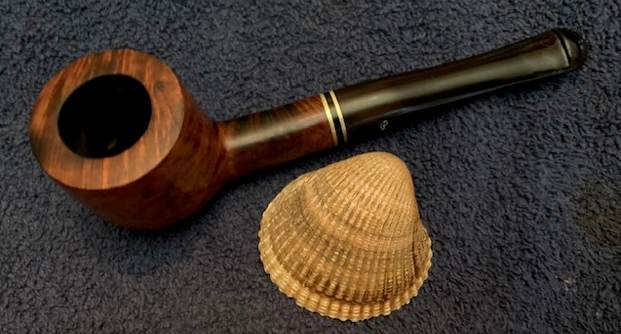
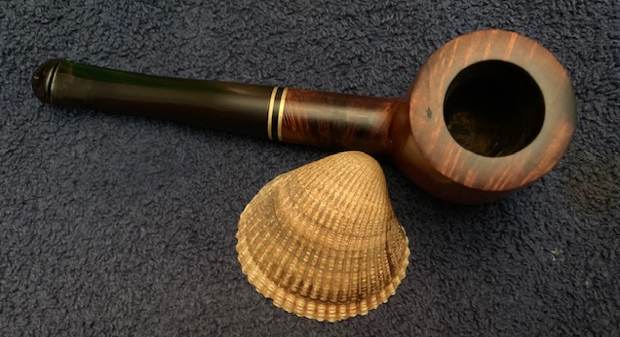
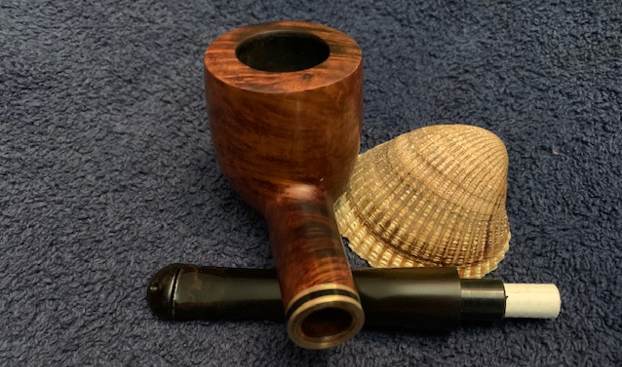
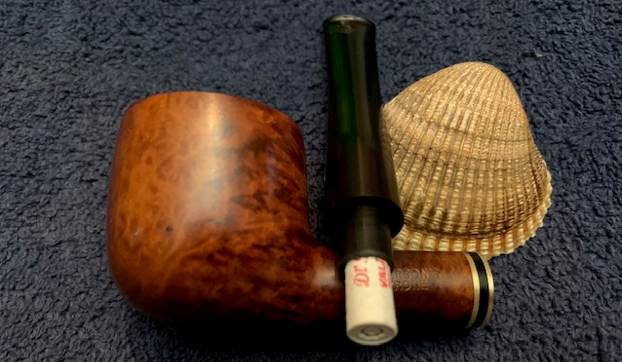
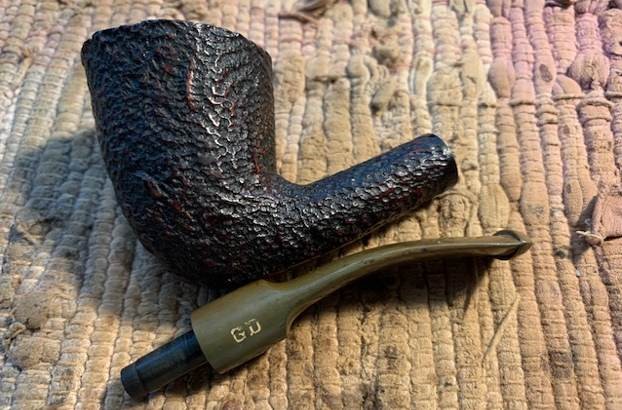
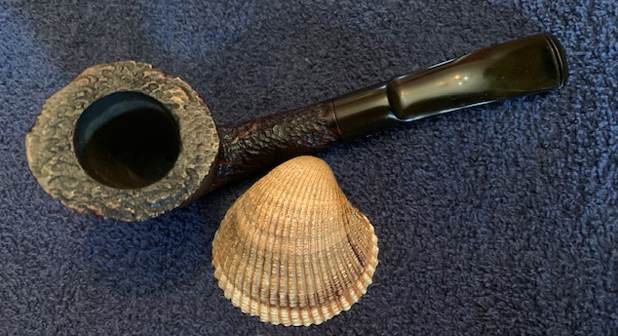
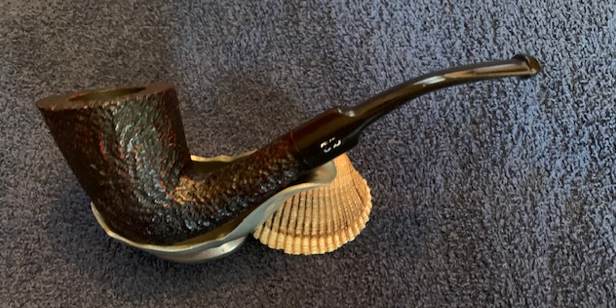
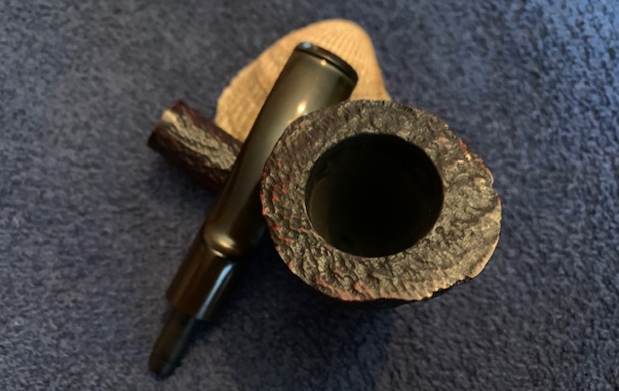
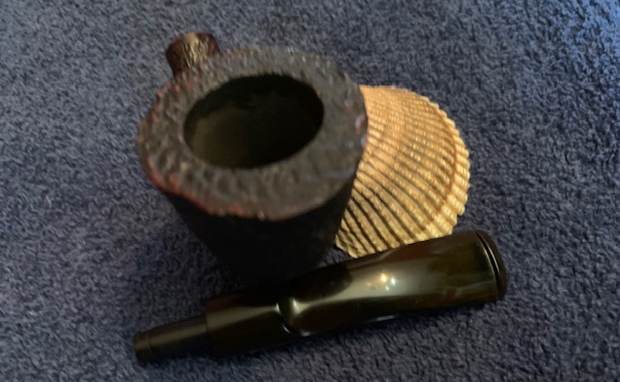
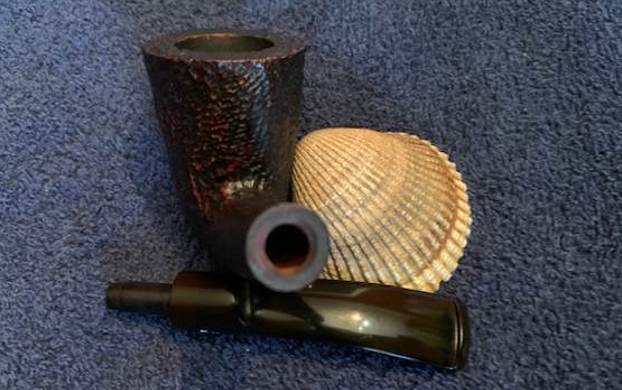
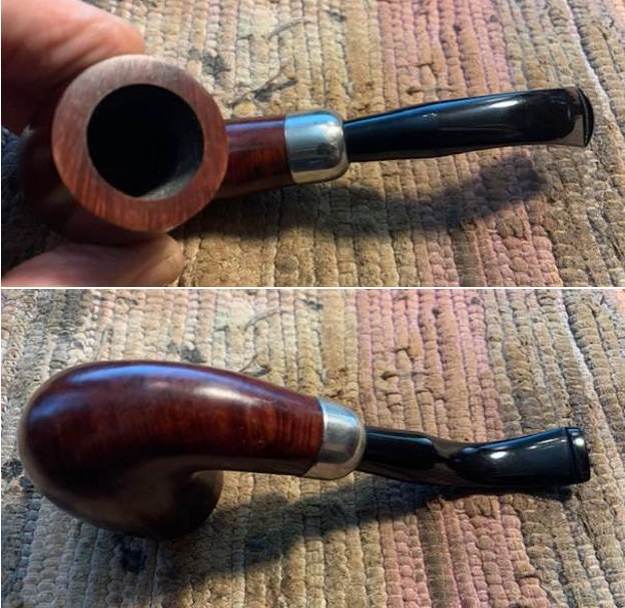
 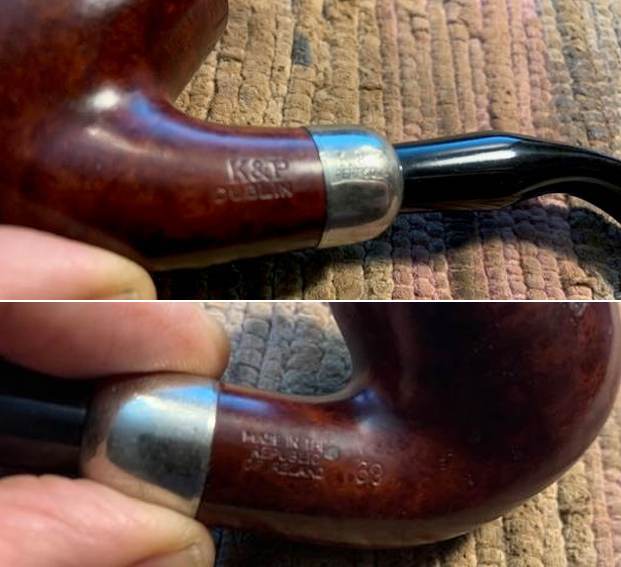 I removed the stem from the shank and took a photo to give a sense of the proportions of the pipe. It is really quite nice looking.
 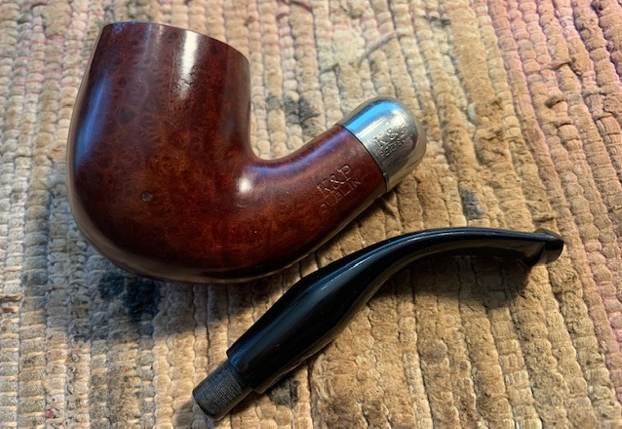 I am including the information from Pipedia’s article on Peterson pipes. It is a great read in terms of the history of the brand (https://pipedia.org/wiki/Peterson). I have included a bit of the pertinent history here.
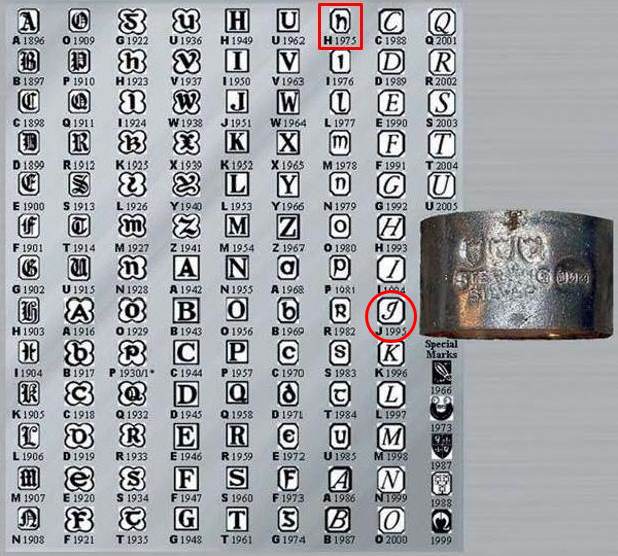
1950 – 1989 The Republic Era – From 1950 to the present time, the stamp for this era is “Made in the Republic of Ireland” in a block format generally in three lines but two lines have been used with or without Republic being abbreviated.
During the 1950’s and 60’s the Kapp & Peterson company was still in the ownership of the Kapp family. However 1964 saw the retiral of the company Managing Director Frederick Henry(Harry) Kapp.
With that information in hand I knew what I was dealing with in terms of the stamping and the age of this pipe. I knew from the information that the pipe was made during the Republic Era between 1950 and 1989. Pipedia then qualifies the dating as follows: From 1950 to the present time, the stamp for this era is “Made in the Republic of Ireland”. Now it was time to work on the pipe.
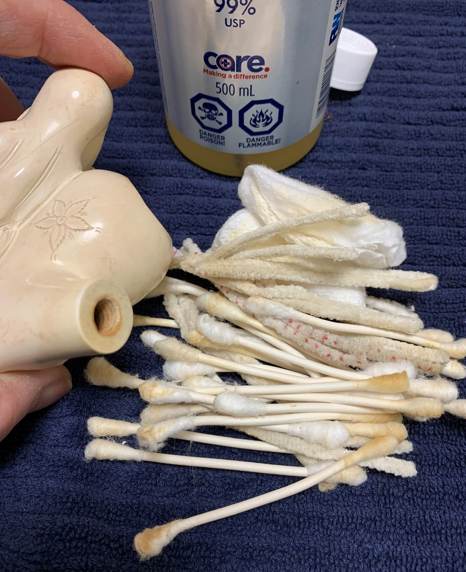
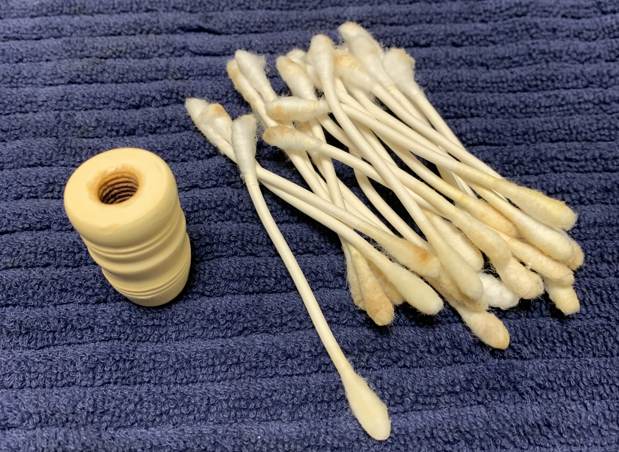
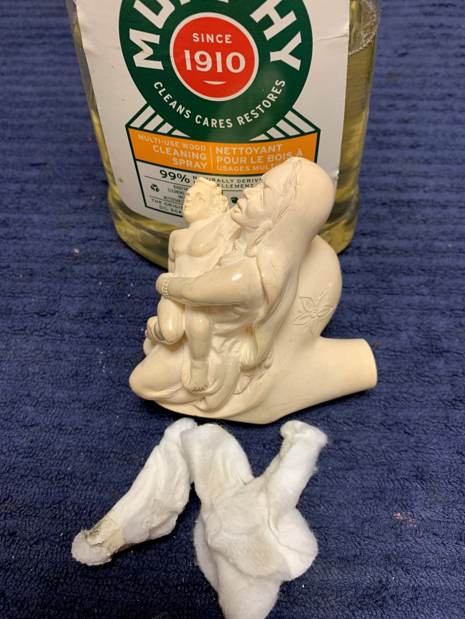
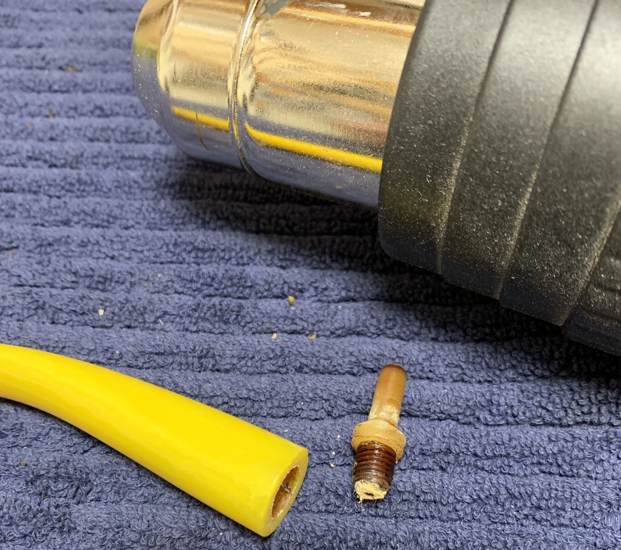
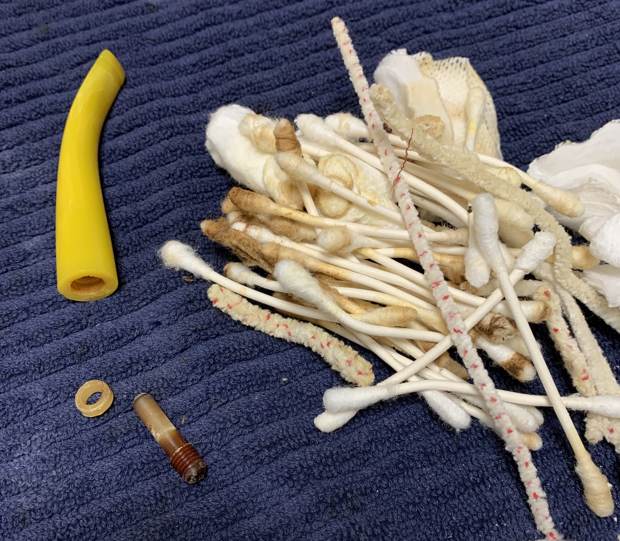
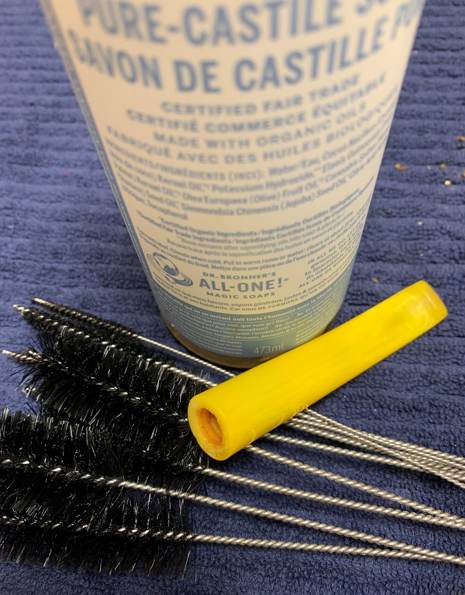
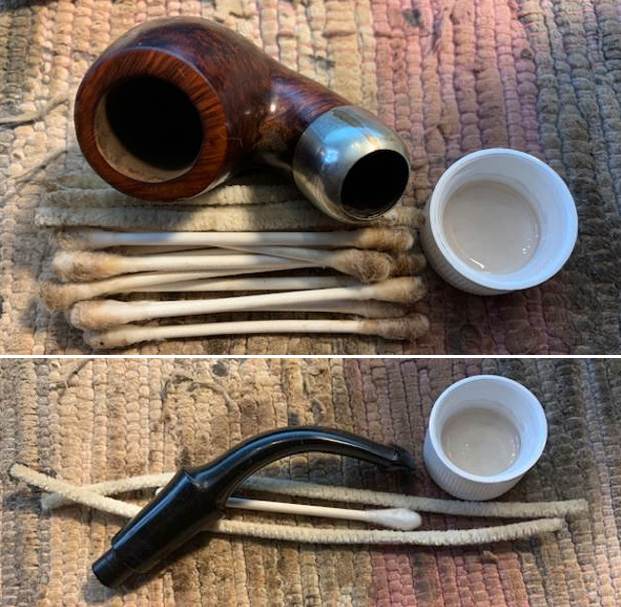
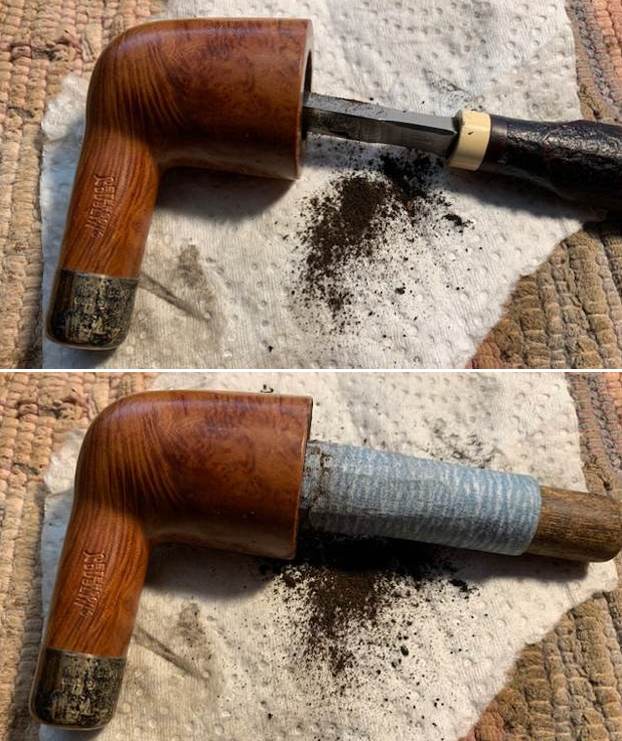
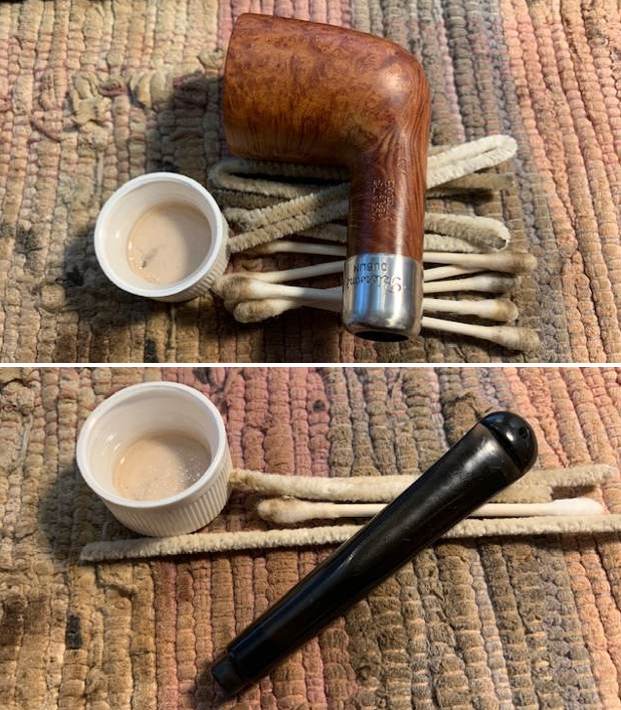
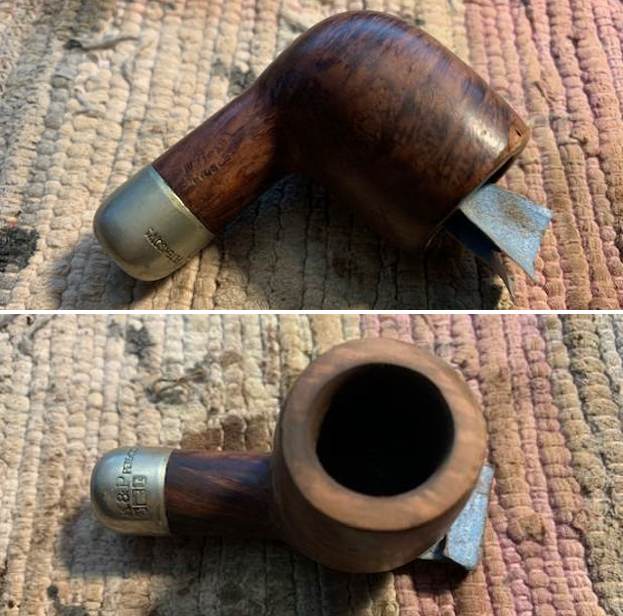
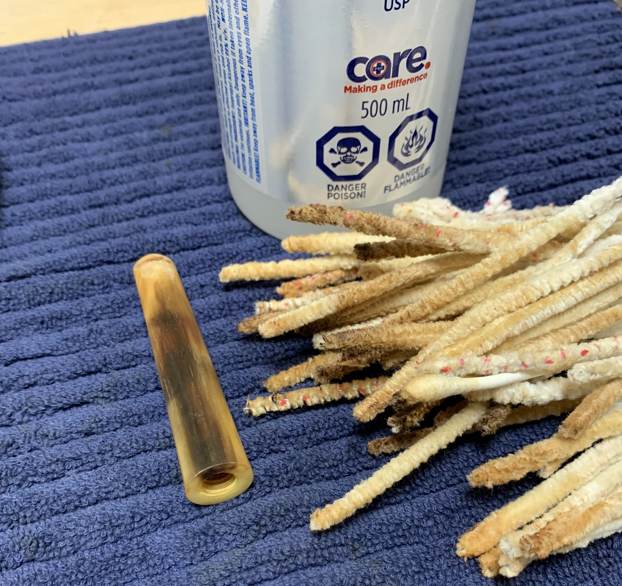
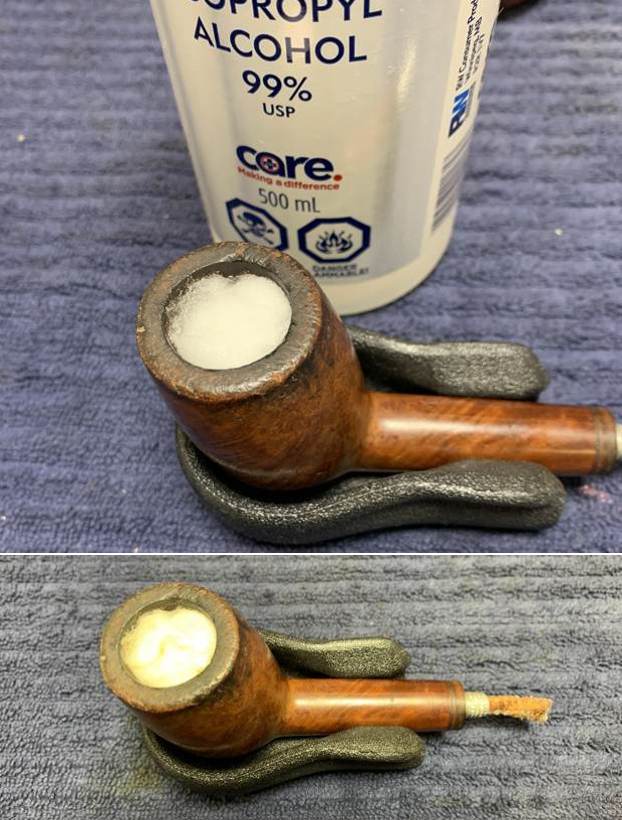
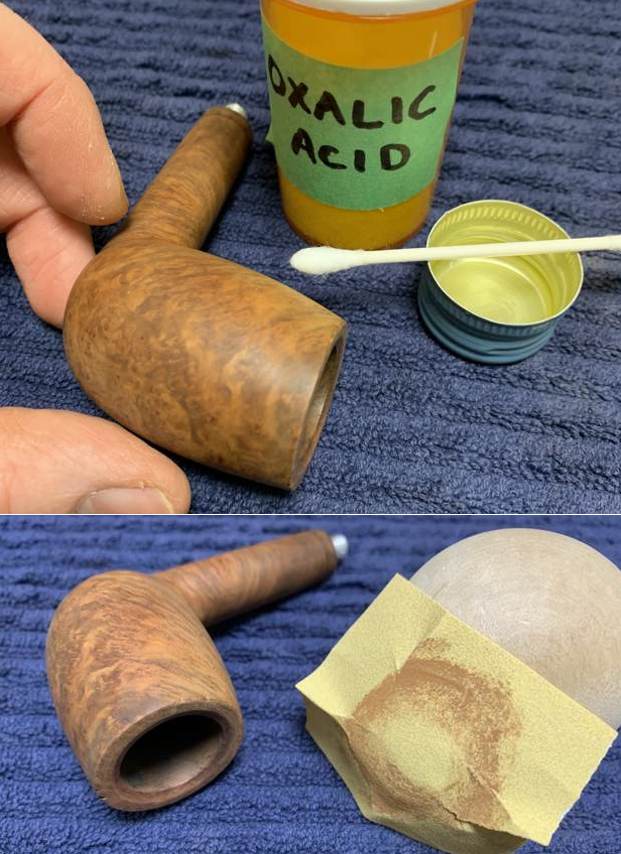
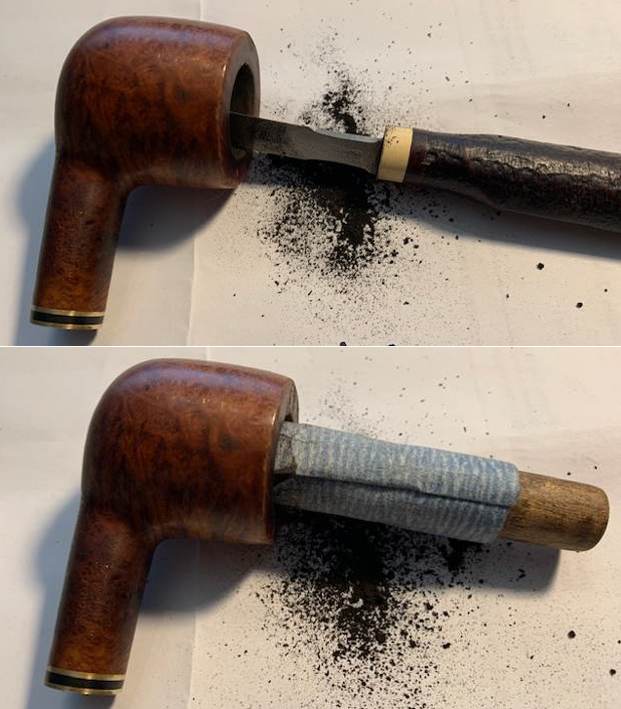
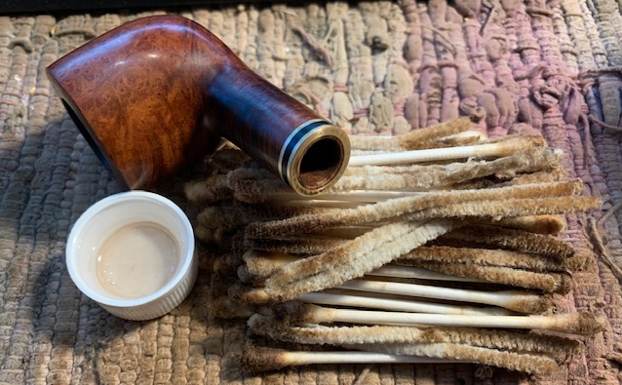
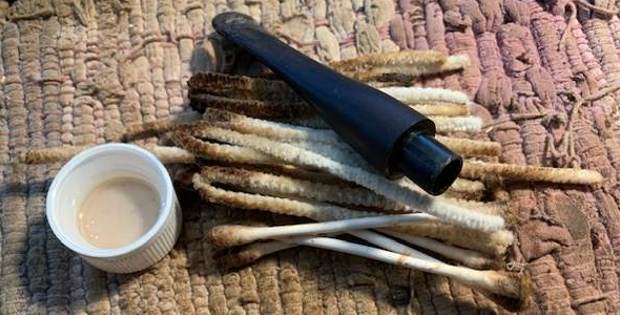
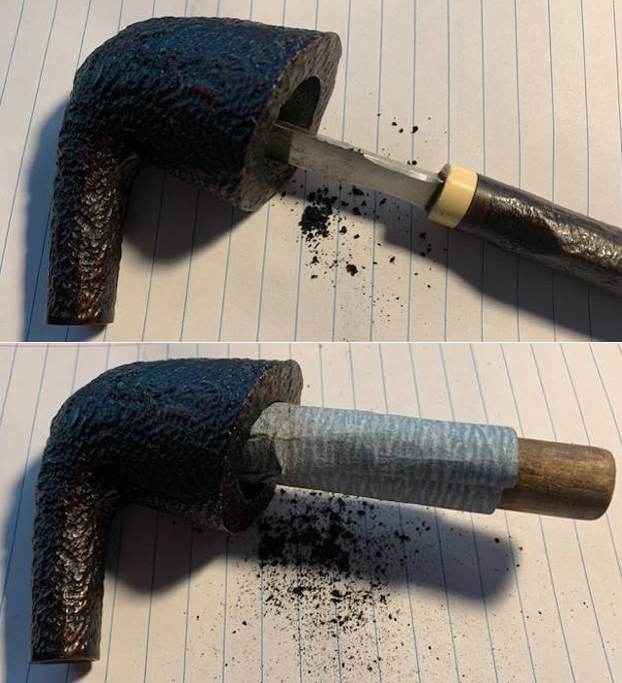
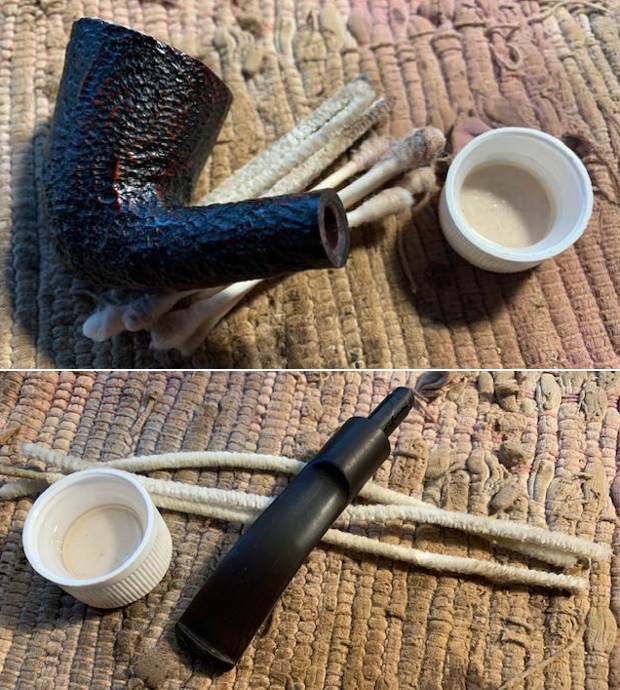
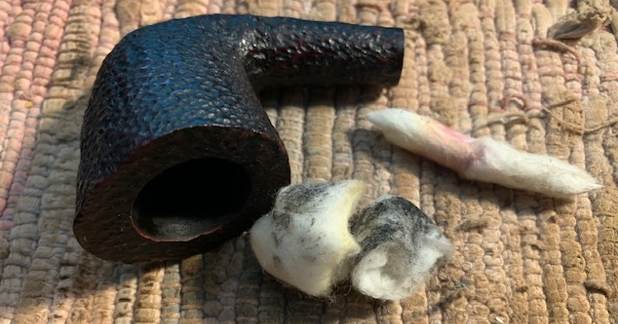
I reamed the bowl with a Savinelli Fitsall Pipe Knife. I sanded the walls on the bowl with a piece of 220 grit sandpaper wrapped around a piece of dowel to take the walls back to smooth once again.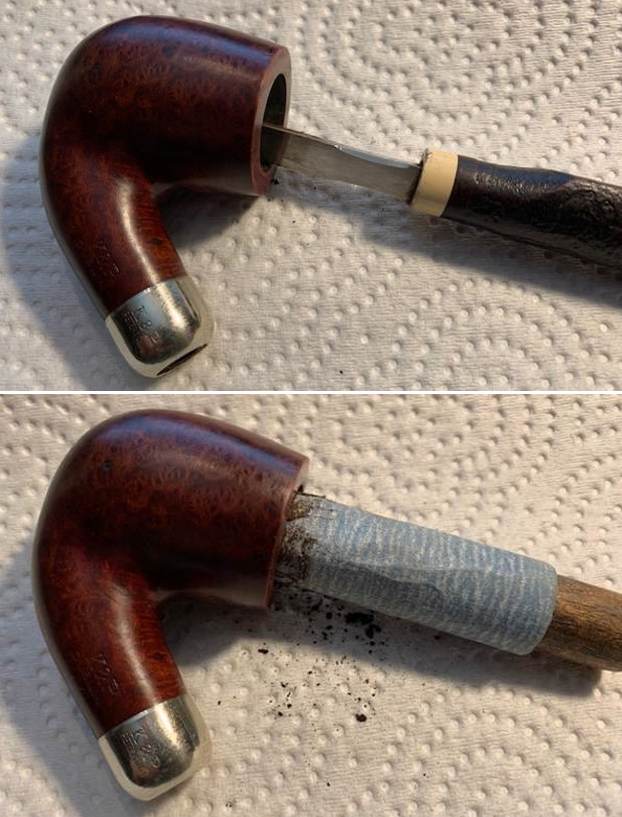 I cleaned out the sump, the shank and the airway in the stem and shank with pipe cleaners, cotton swabs and isopropyl alcohol. The pipe was clean and it smelled significantly better.
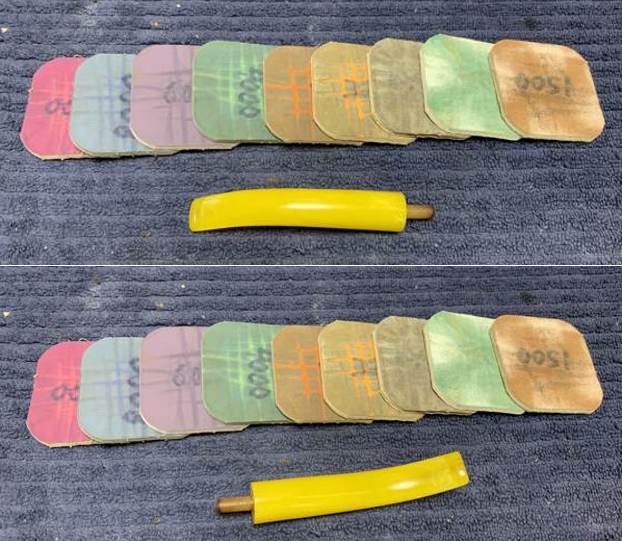
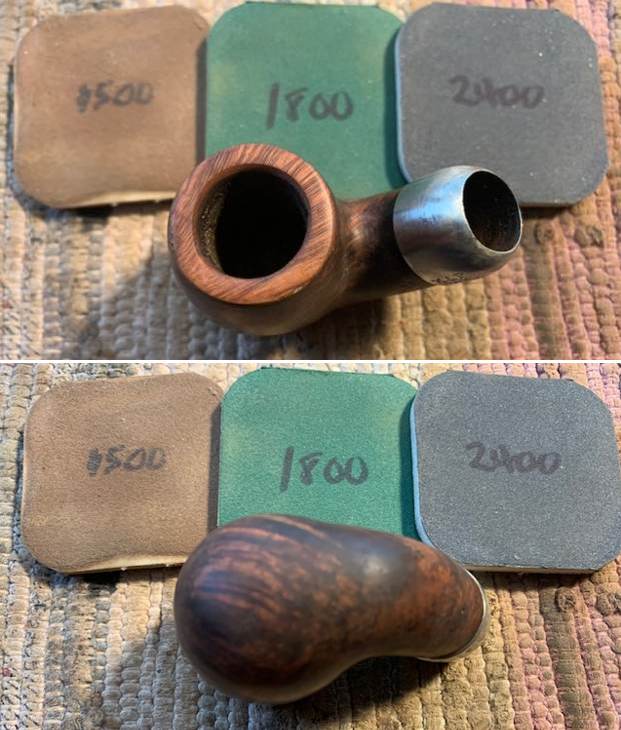
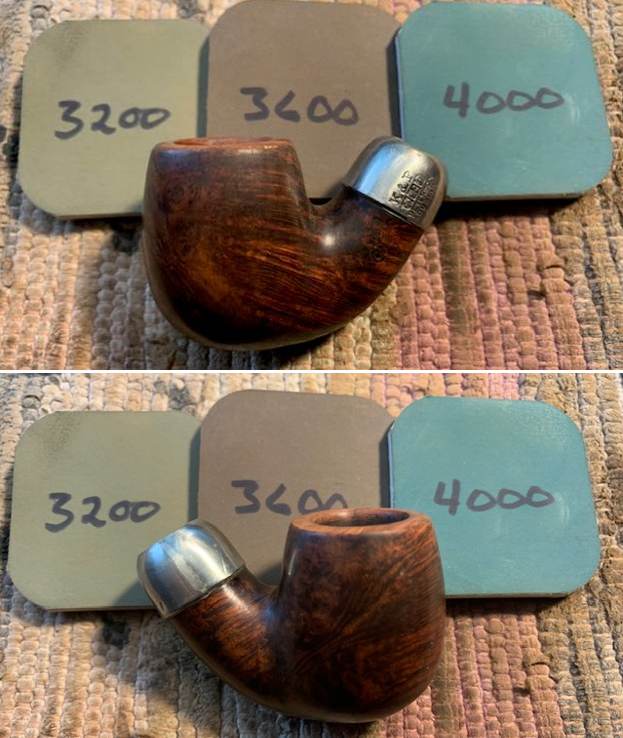
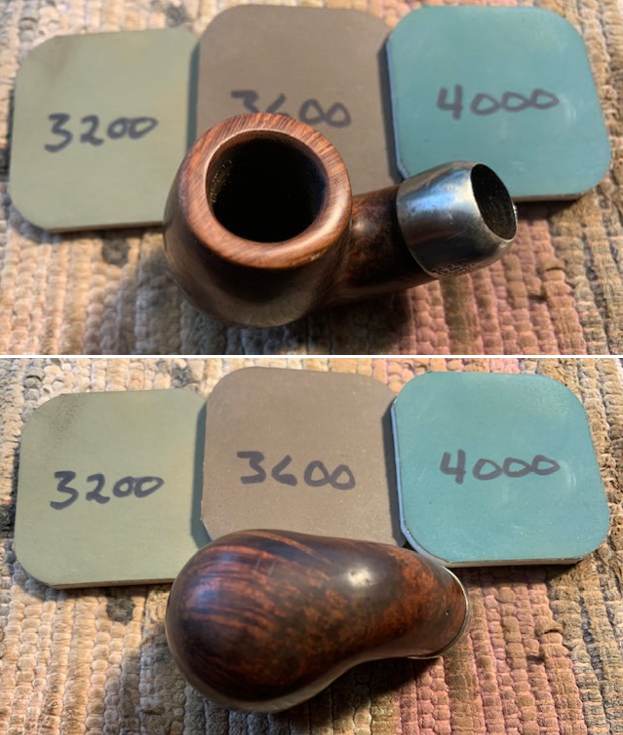
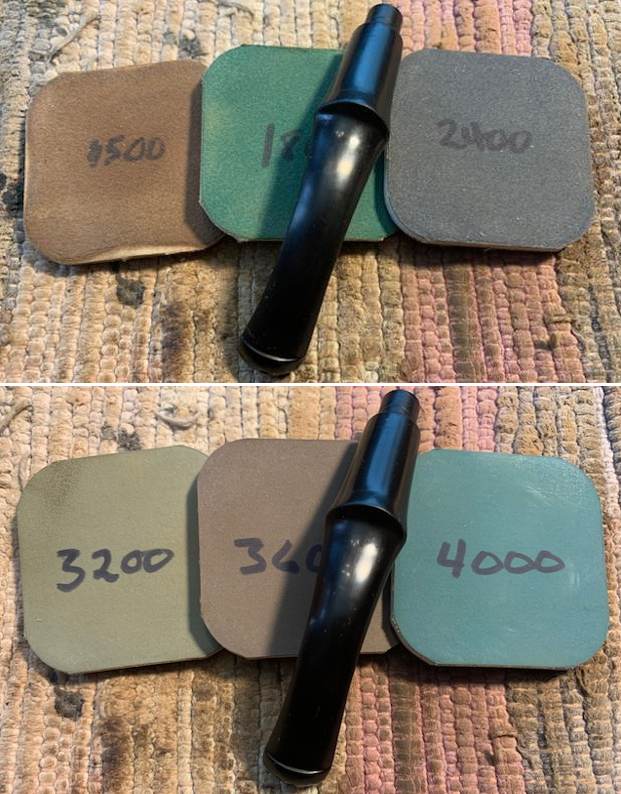
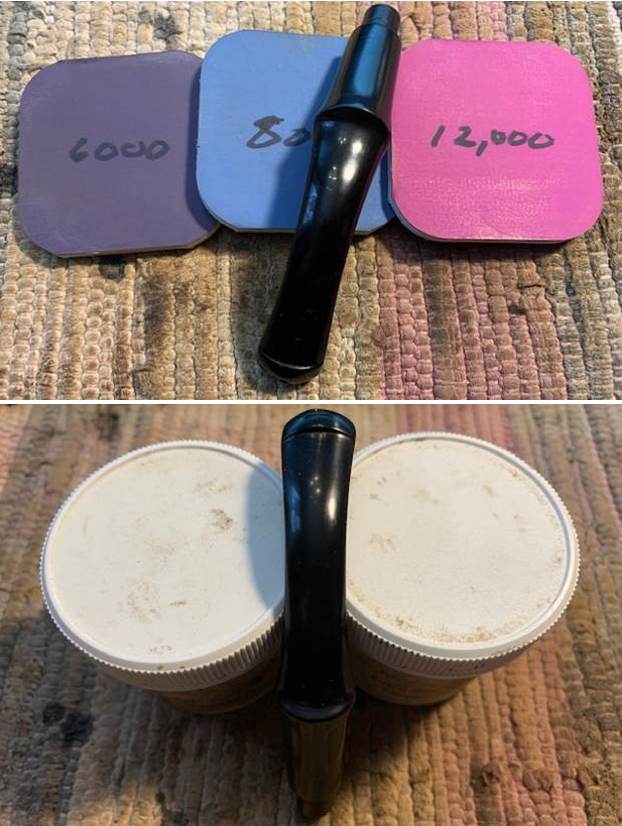
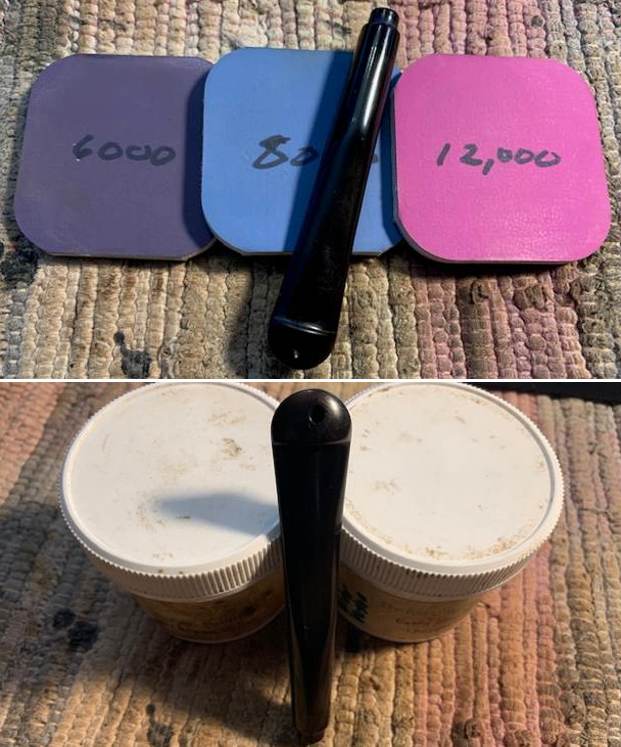
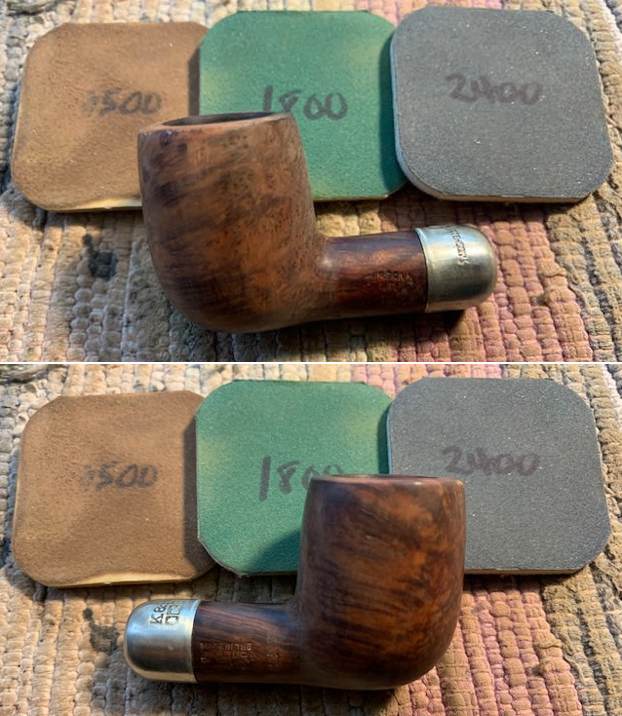
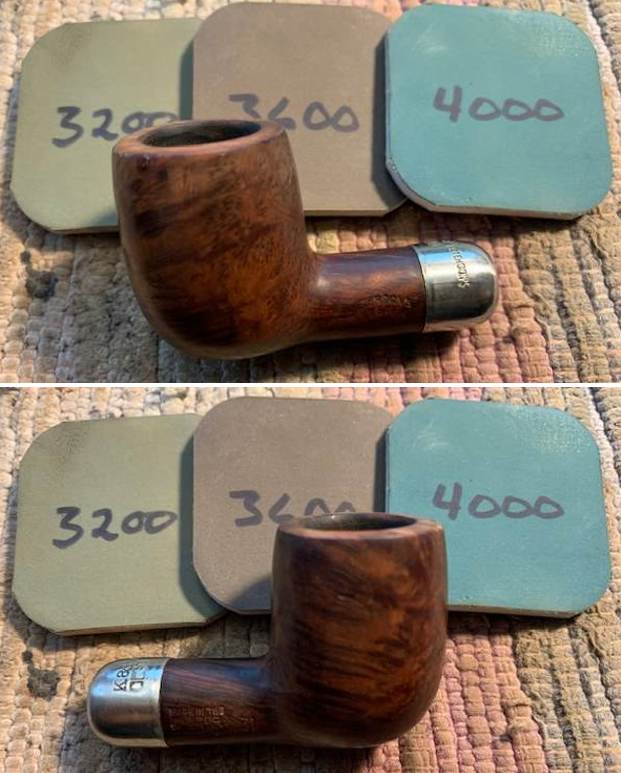
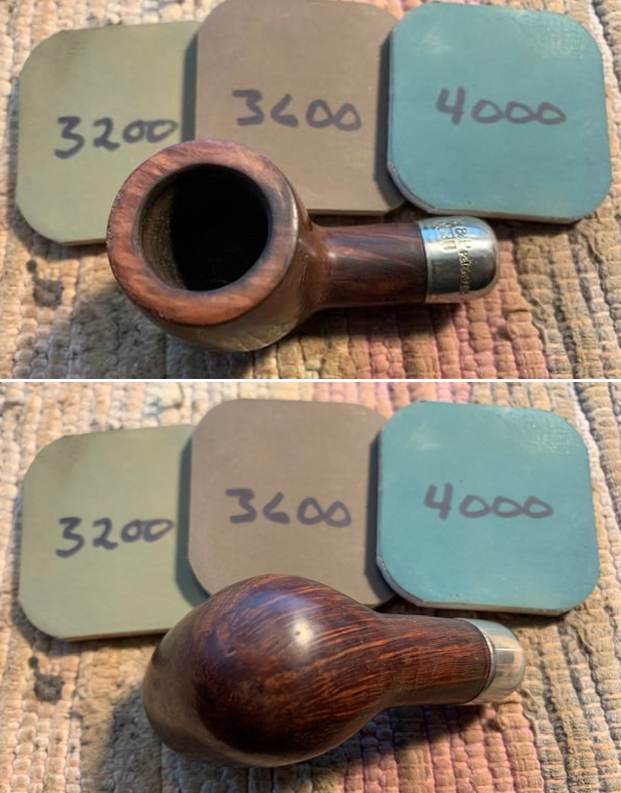
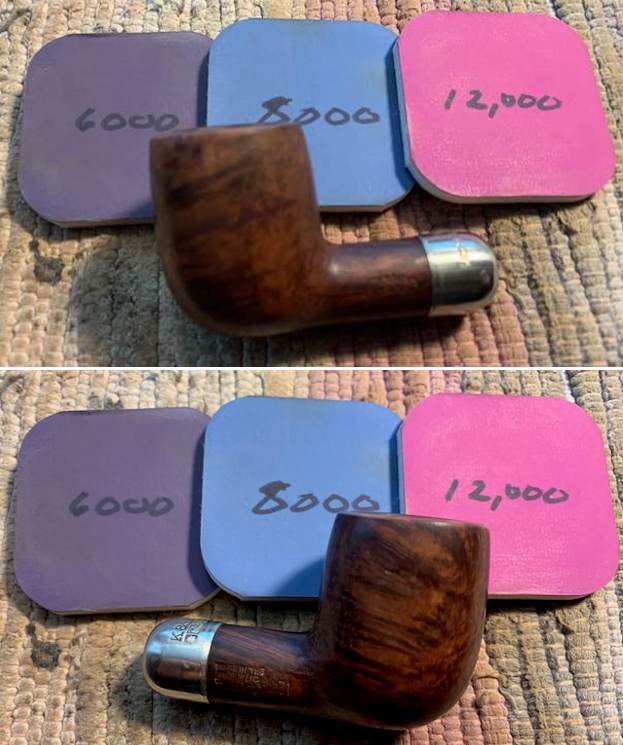
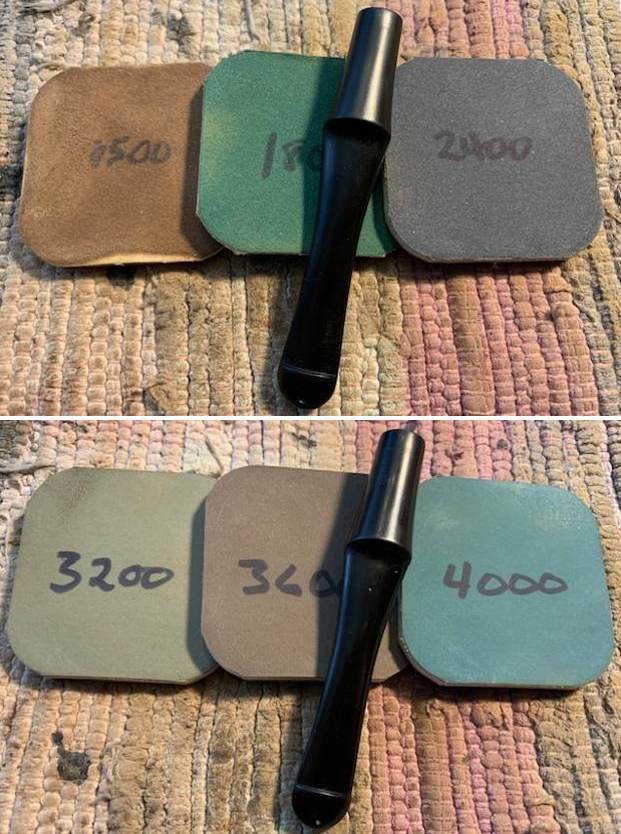
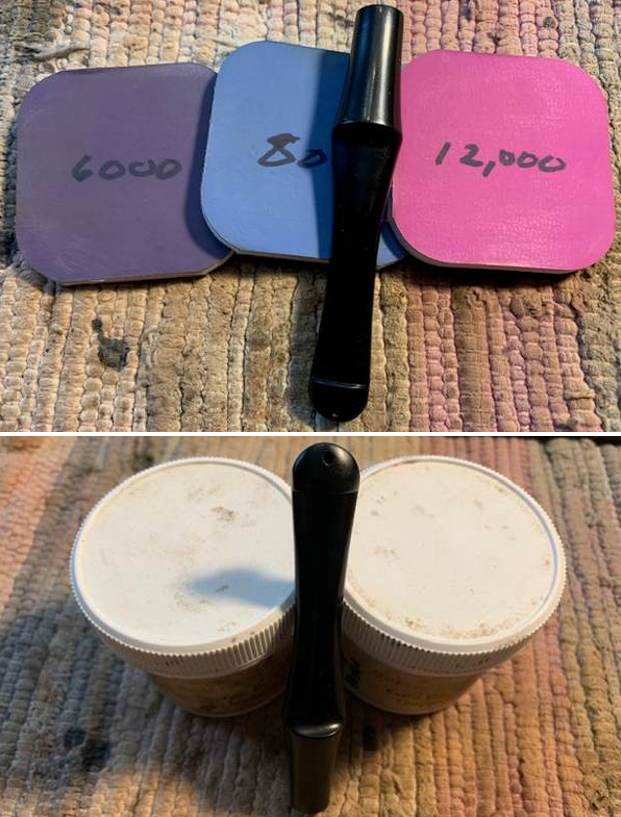
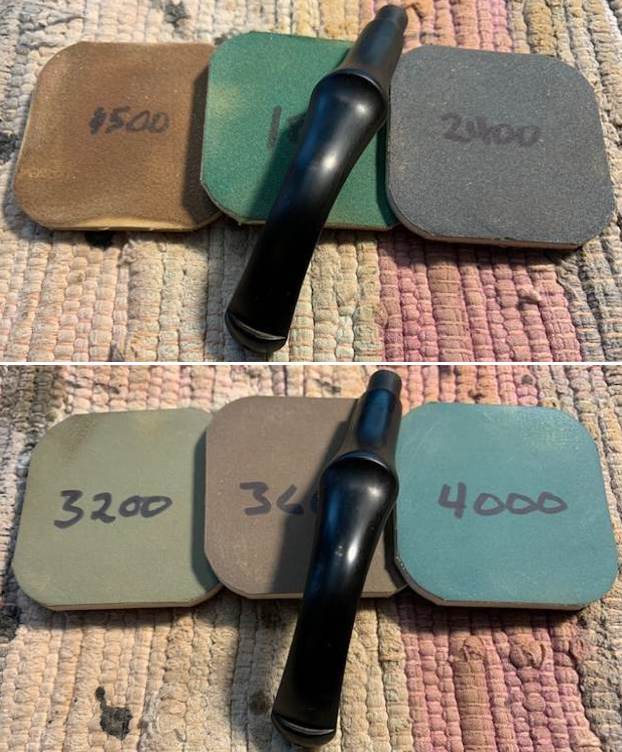
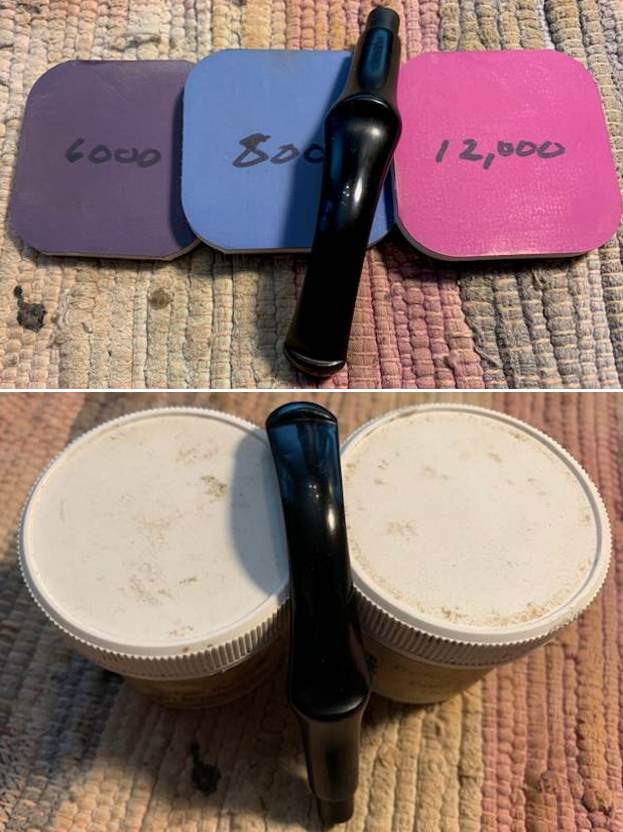
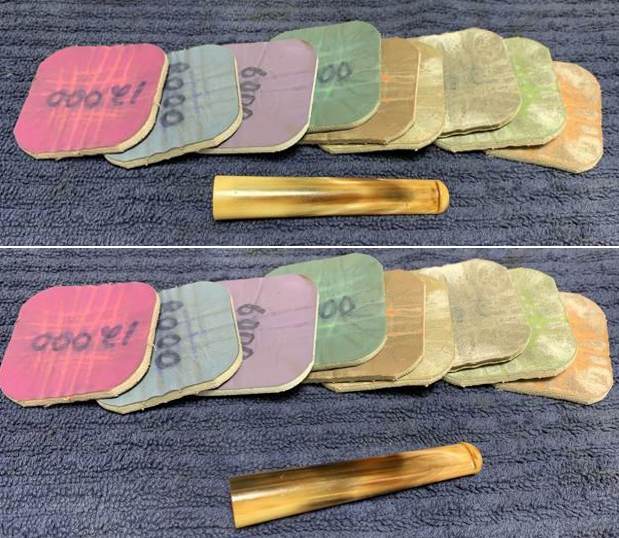
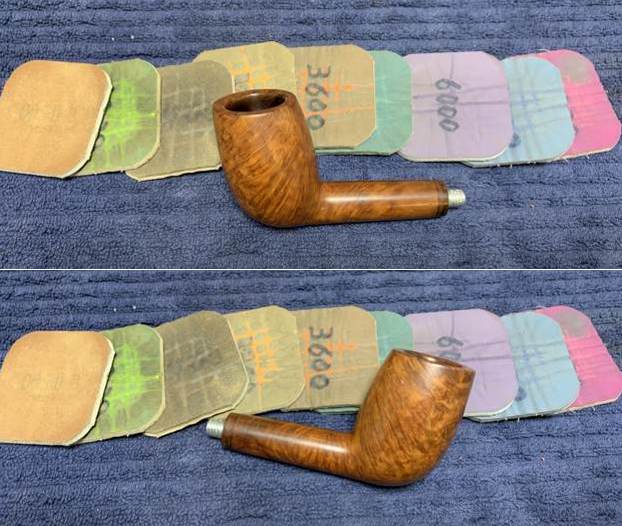
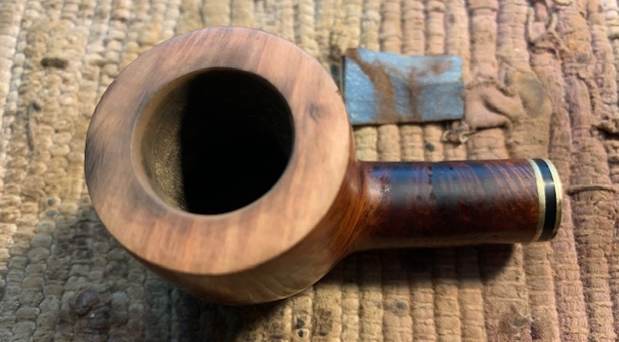
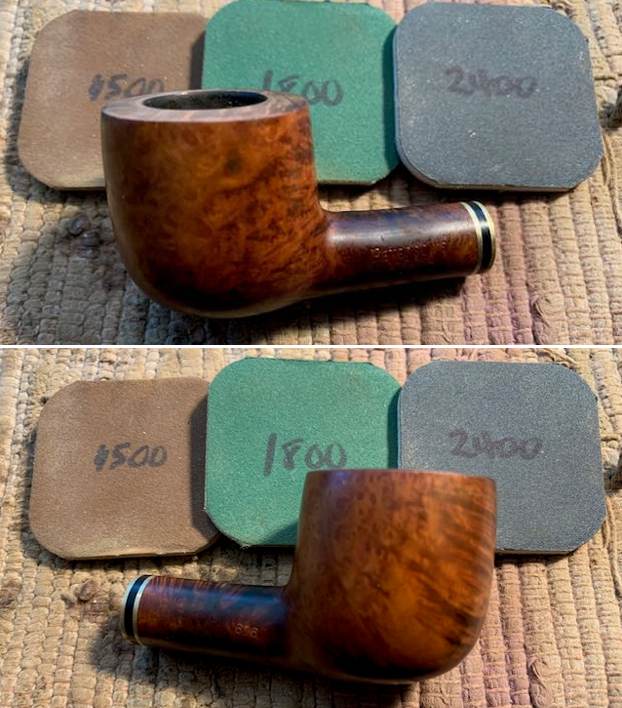
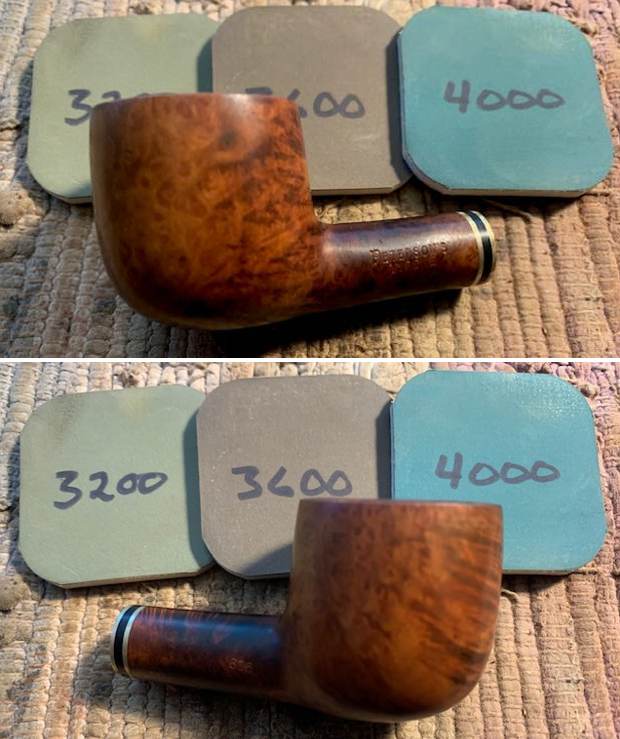
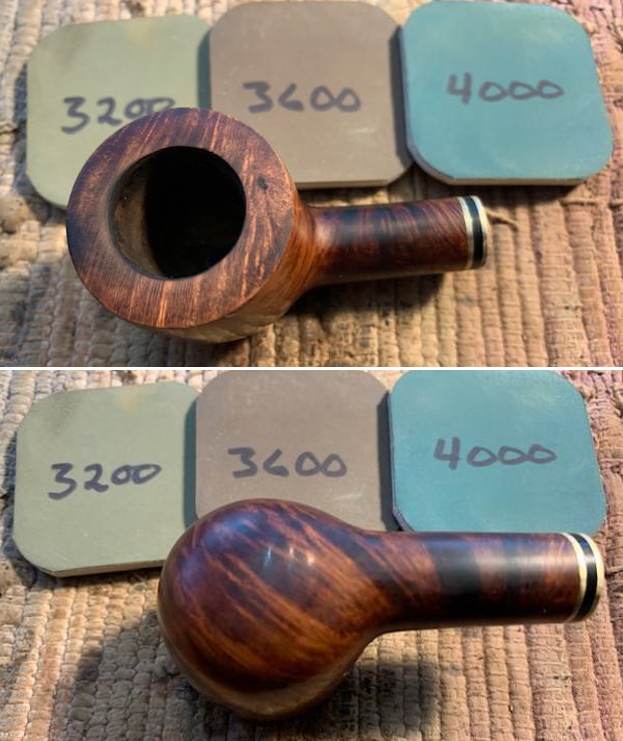
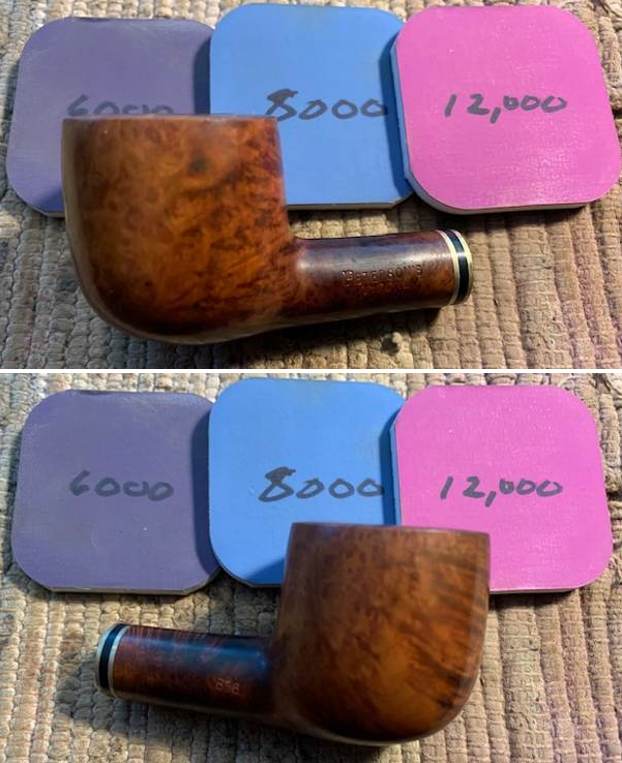
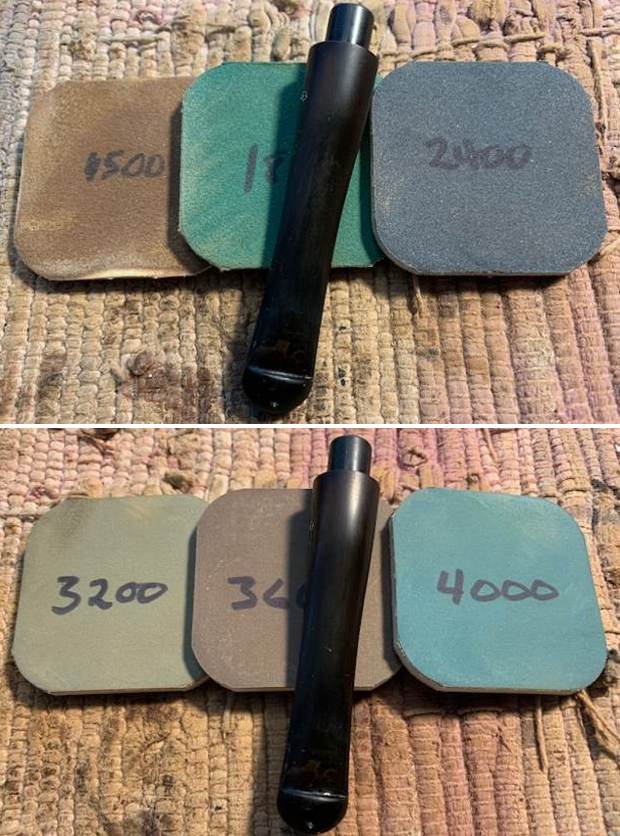
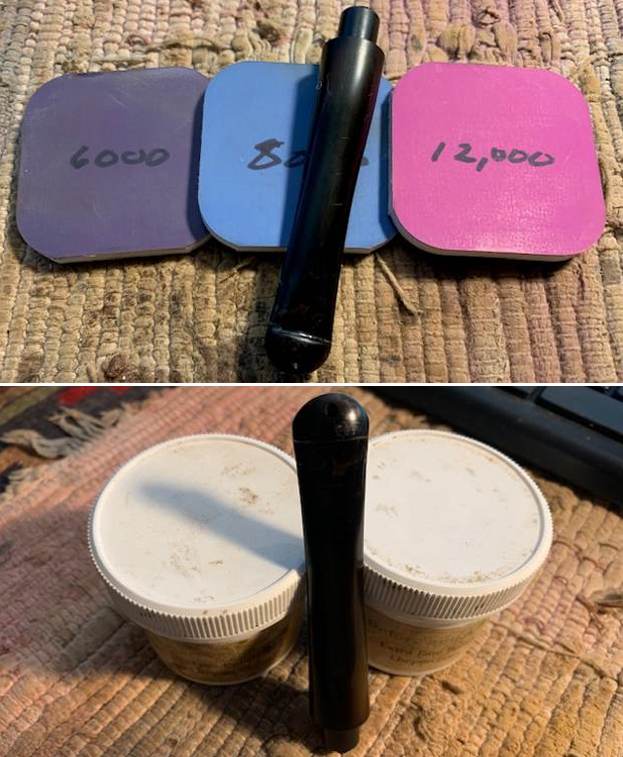
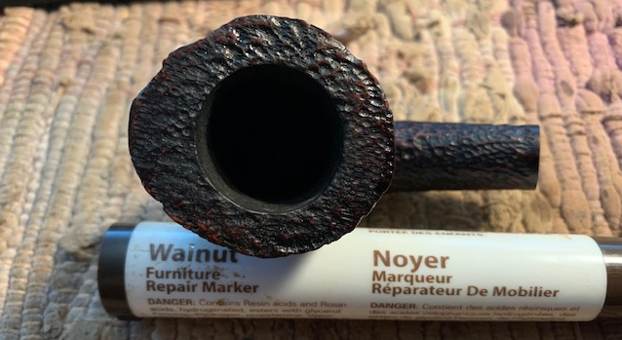
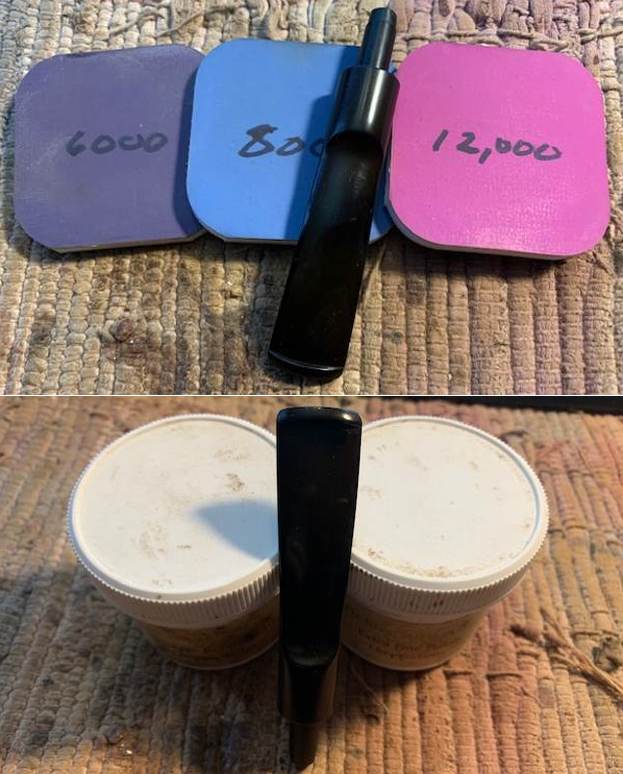
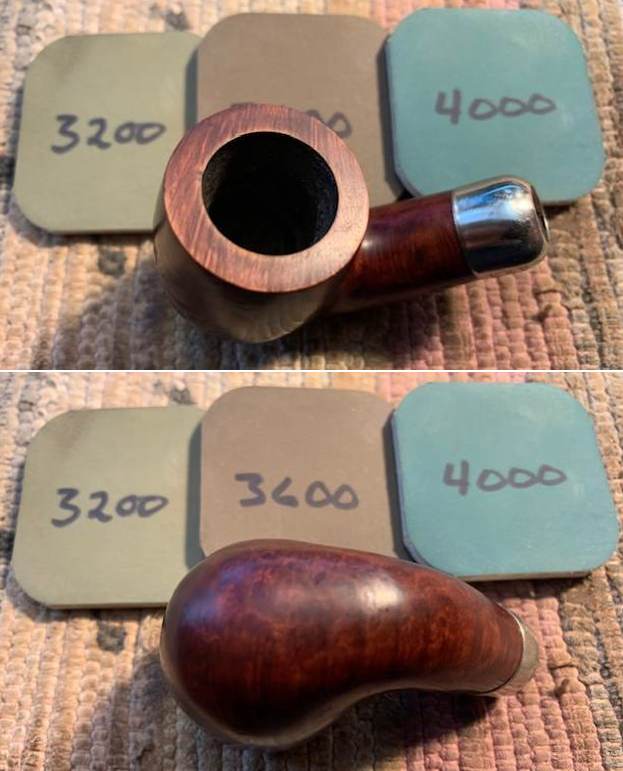
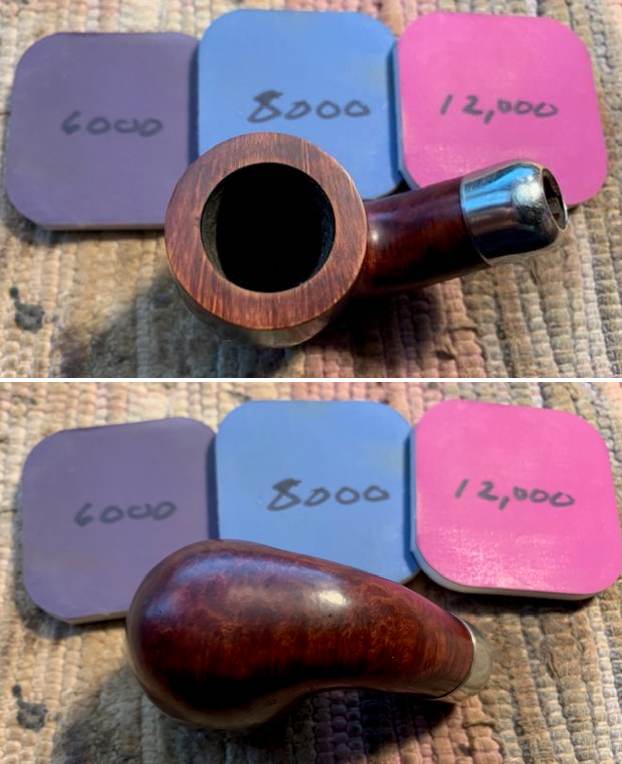
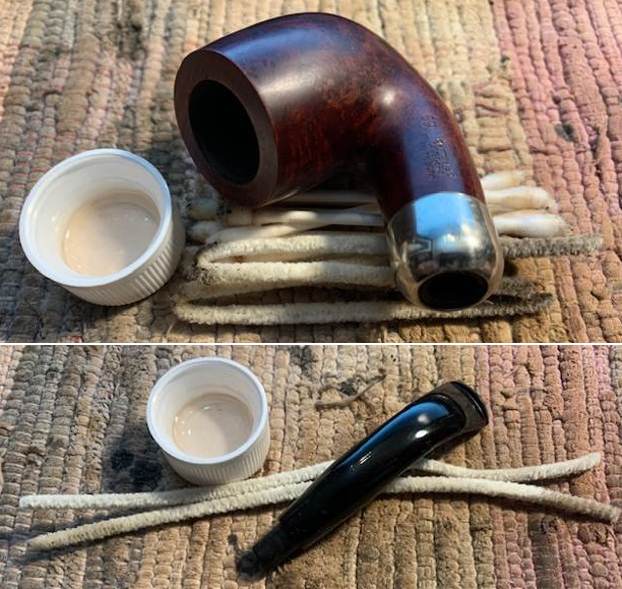 I polished the rim top and edges with micromesh sanding pads – dry sanding with 1500-12000 grit pads to raise a shine. I wiped it down with a damp cotton pad to wipe off the debris after each sanding pad.
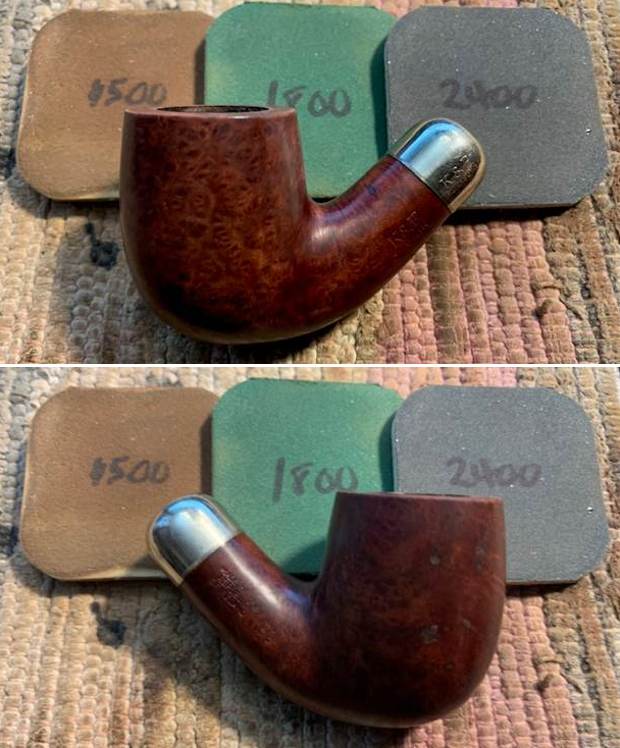


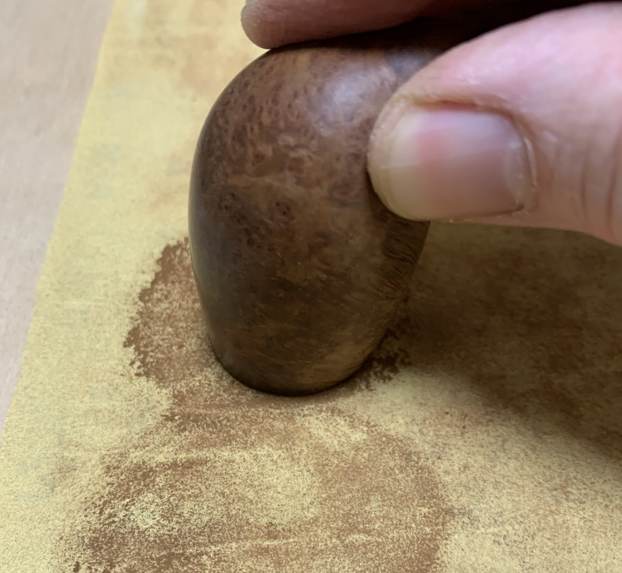
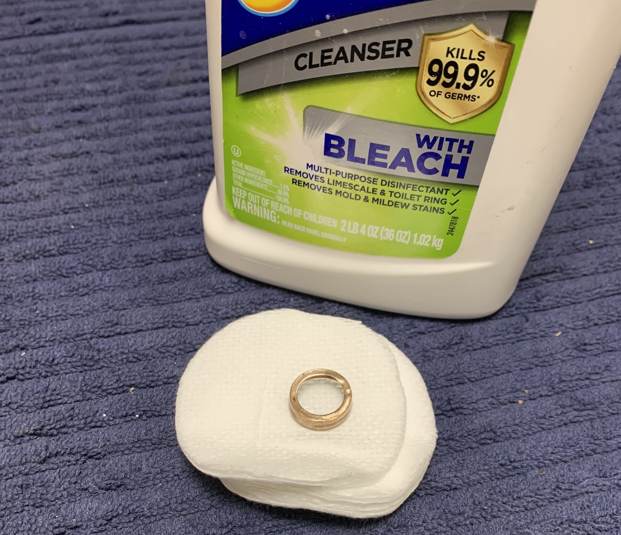
 I polished the nickel ferrule with a jeweler’s cloth. The cloth is impregnated with polish that not only raises a shine but protects the metal.
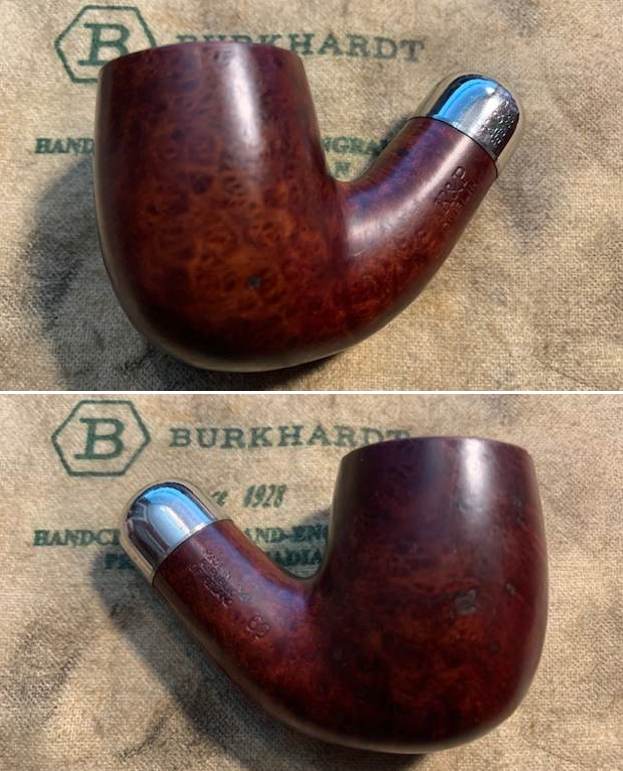
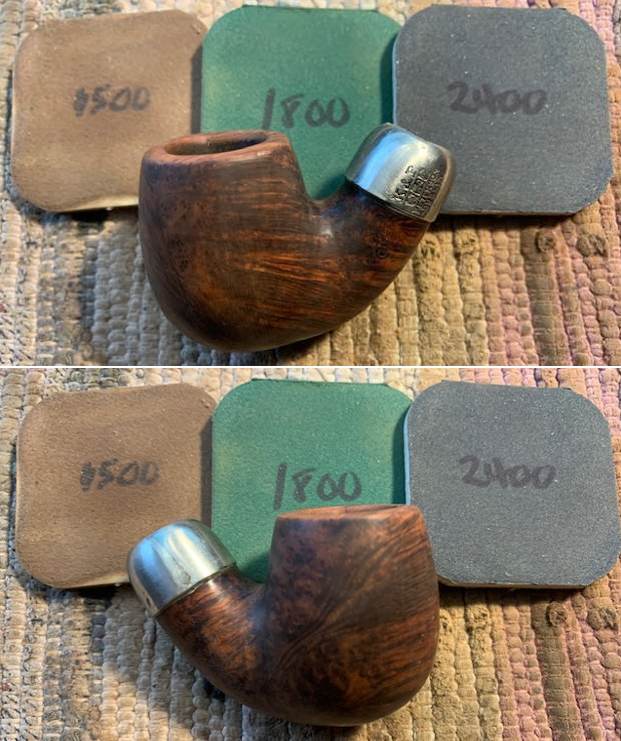
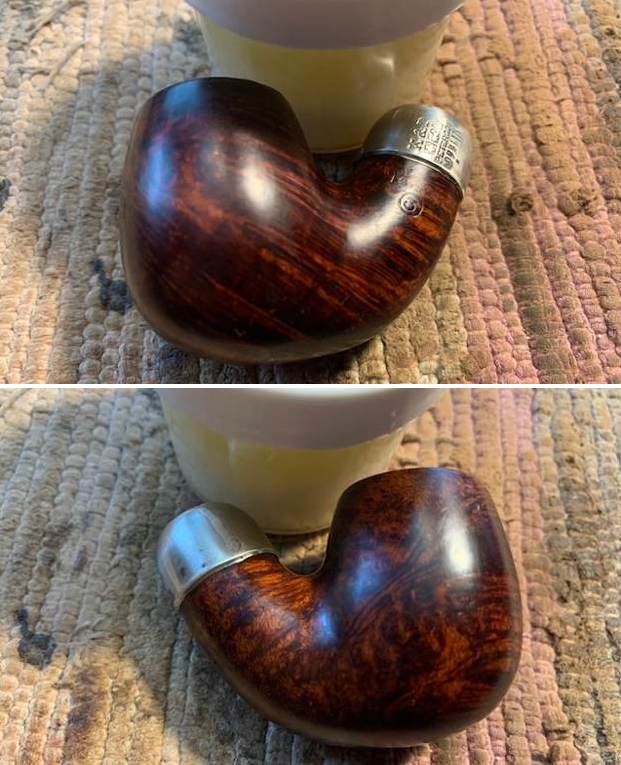
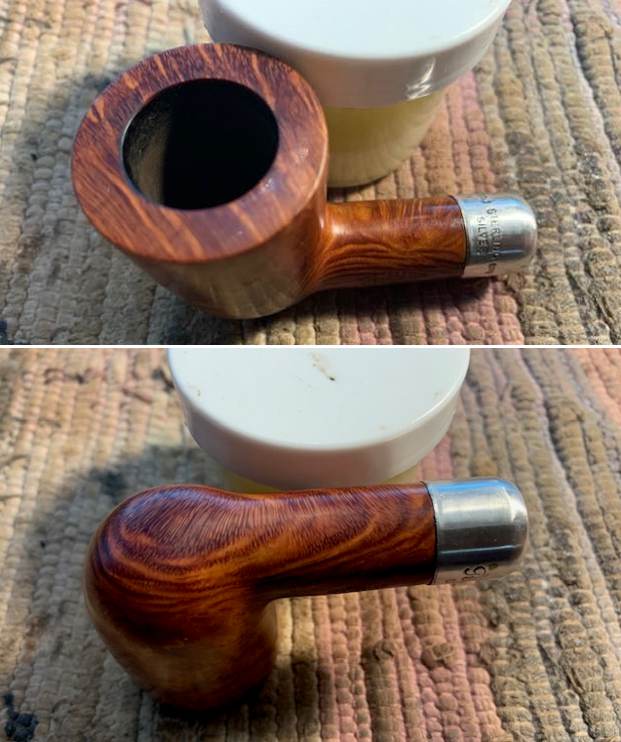
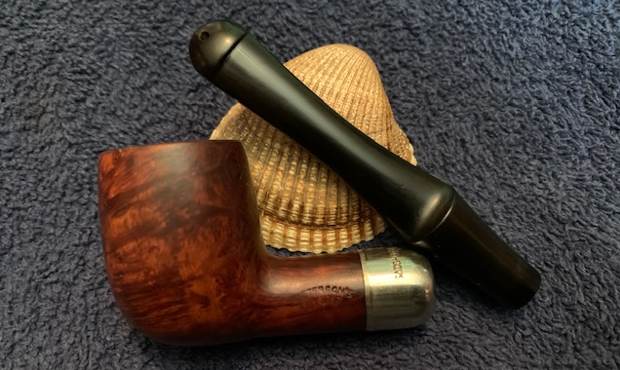
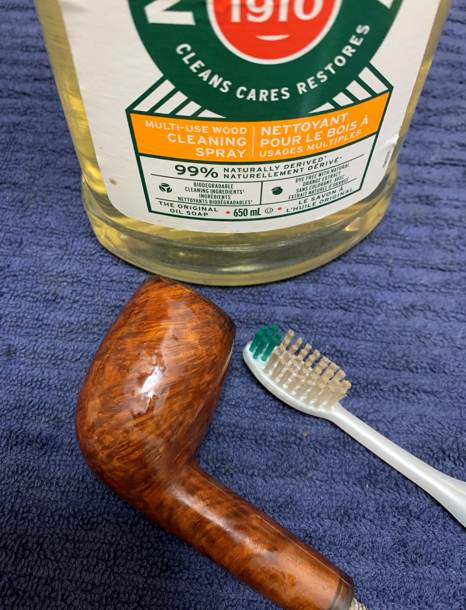
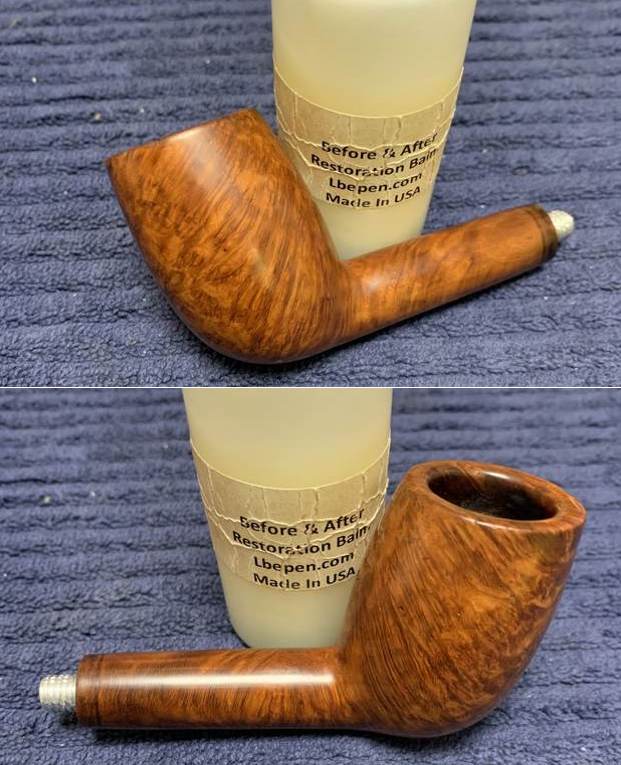
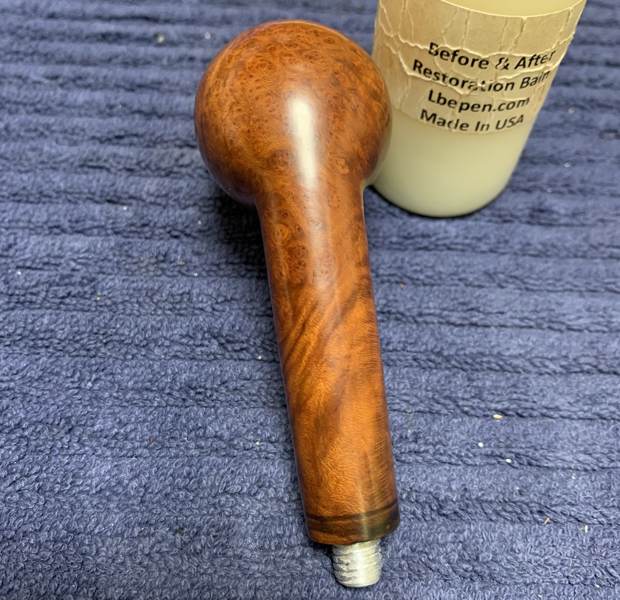
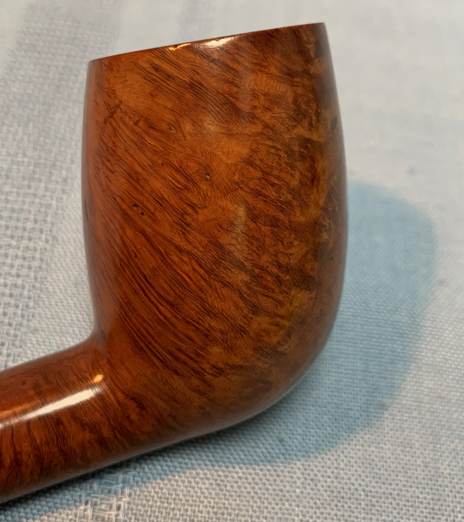
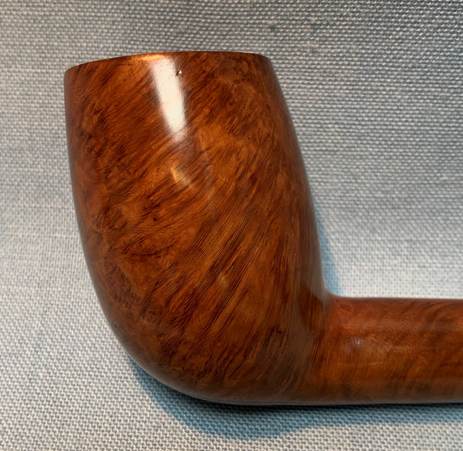
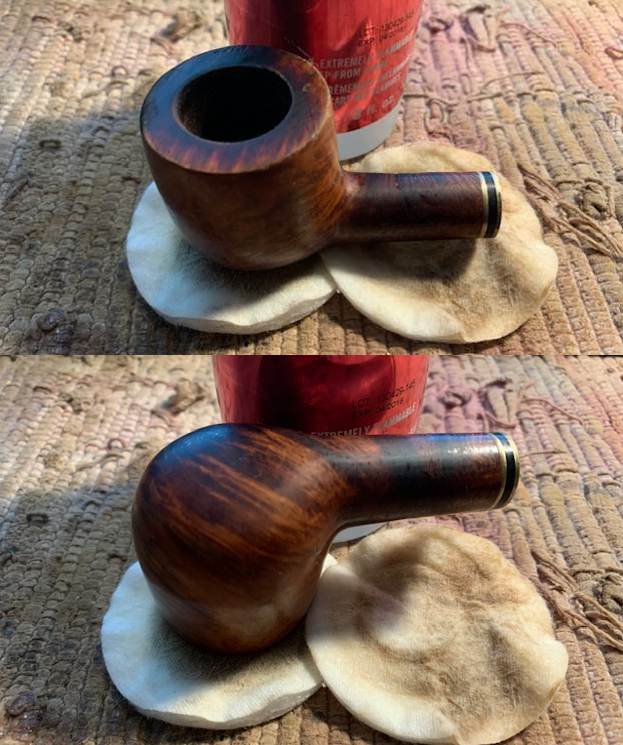
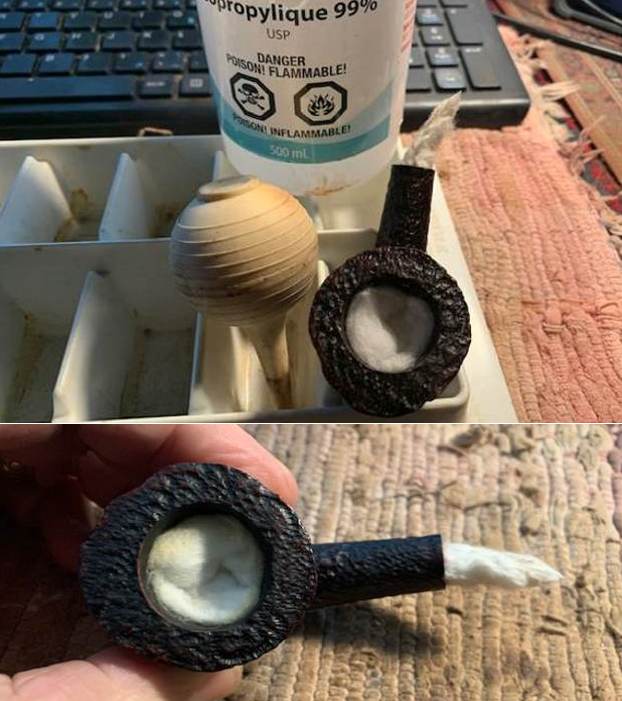
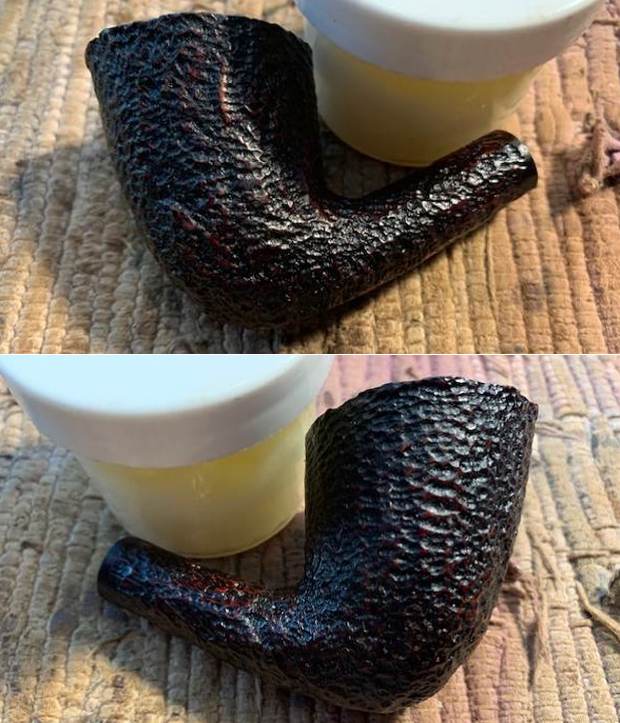
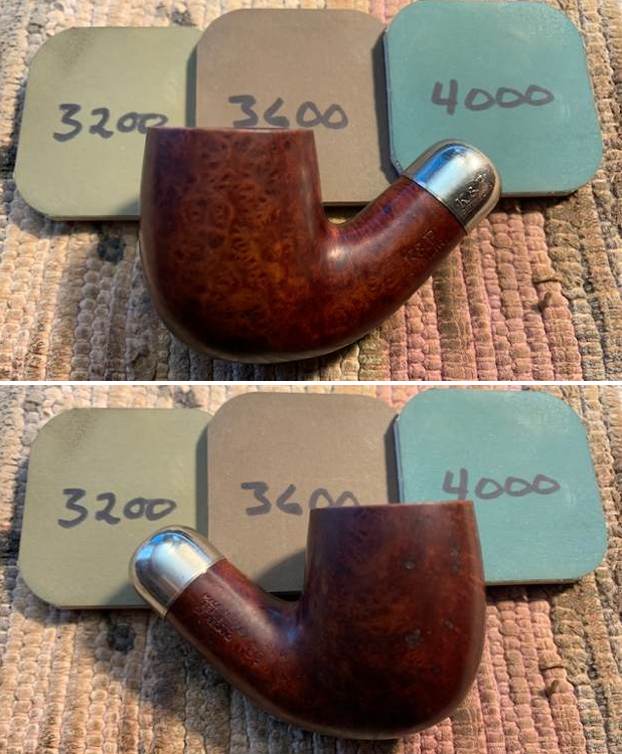
 I worked some Before & After Restoration Balm into the surface of the briar with my fingertips. It works to clean, enliven and protect the briar. I let it sit for 15 minutes then buffed it off with a soft cloth and raised the shine. The bowl looks great at this point.
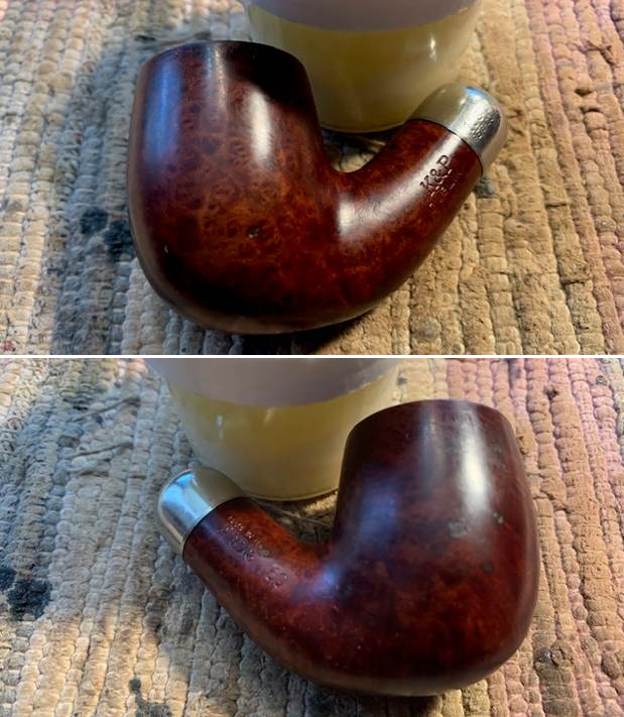
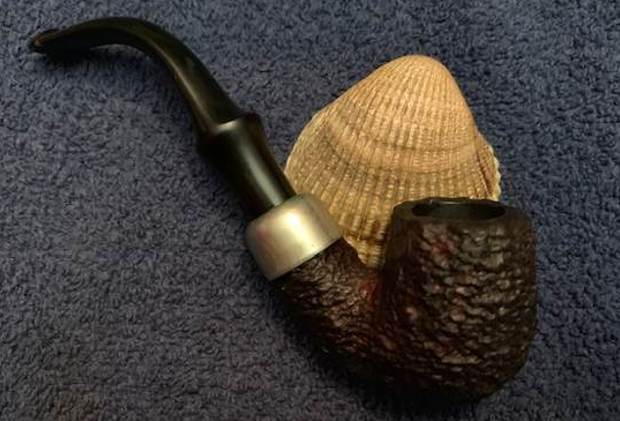
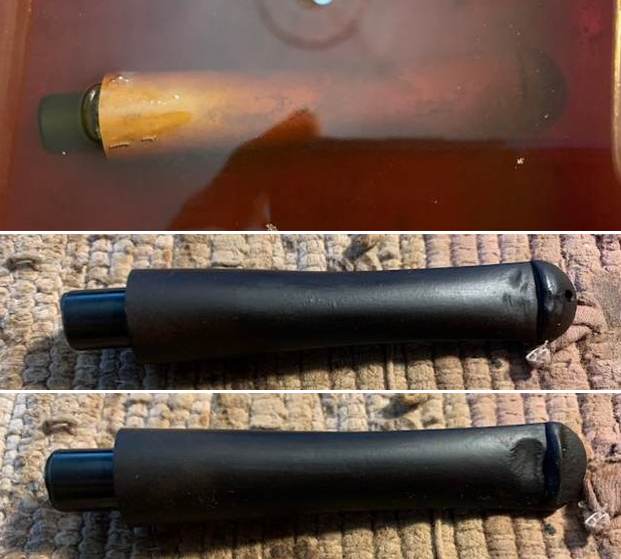
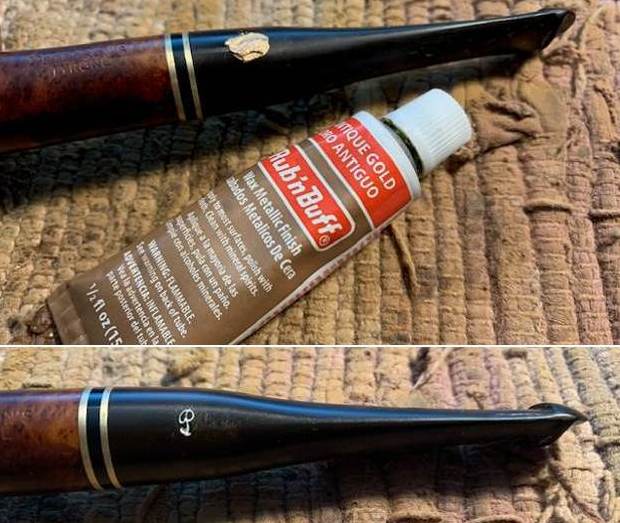
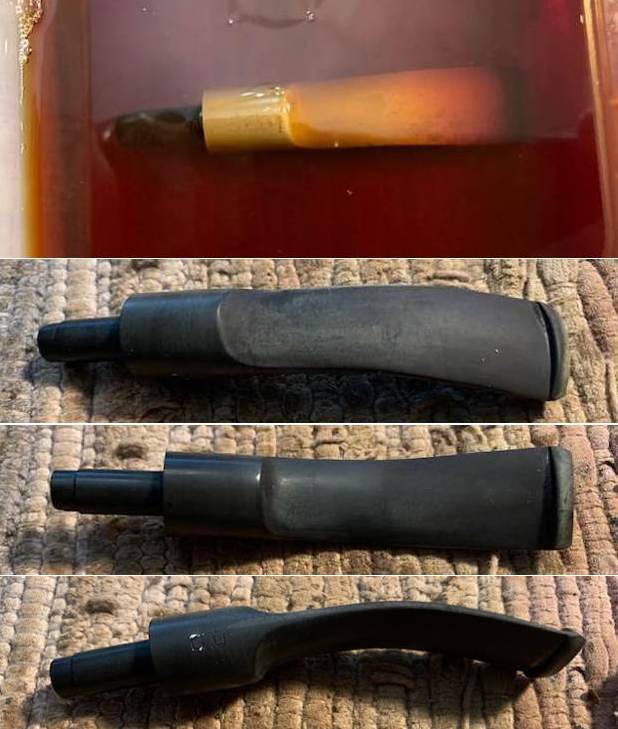
 The stem was in such good condition that I wiped it down with some Obsidian Oil to polish and protect it. It is a great looking fishtail stem with a faux military mount.
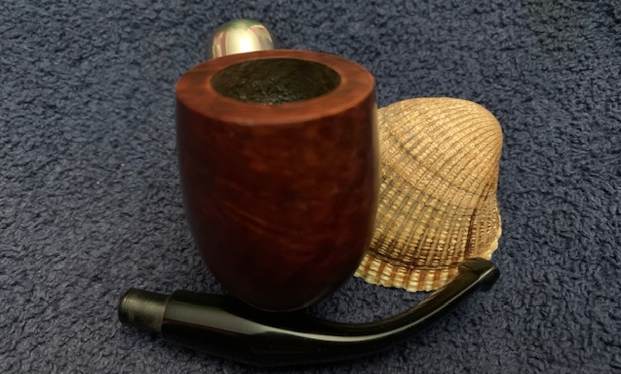
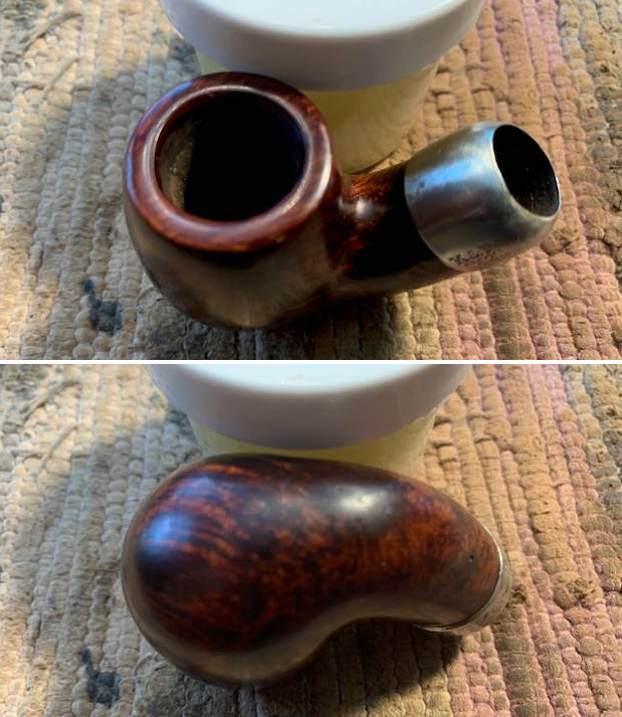
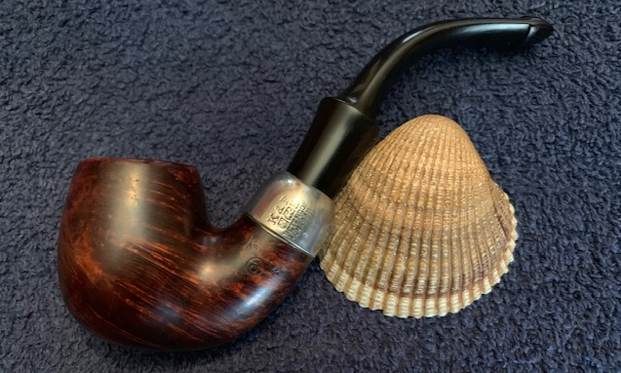
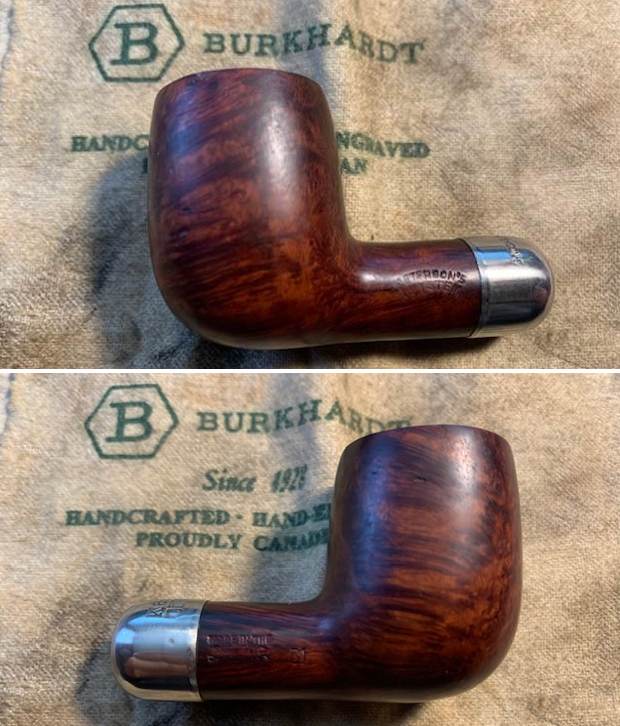
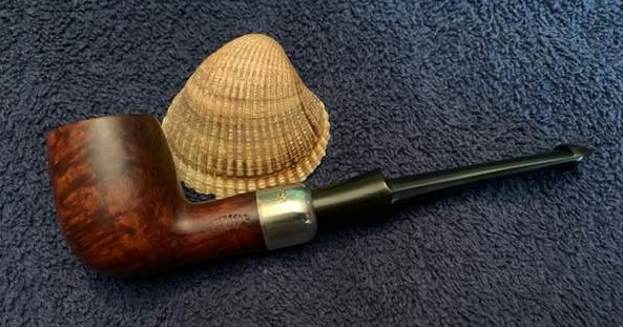
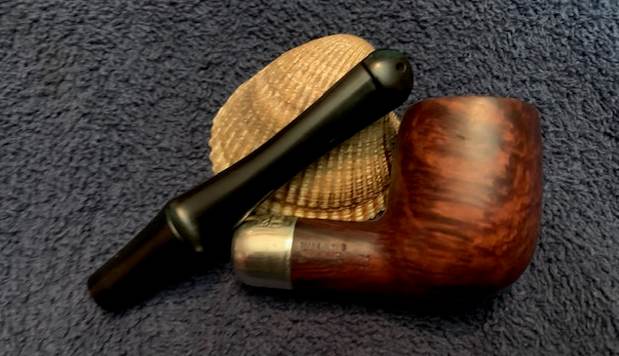
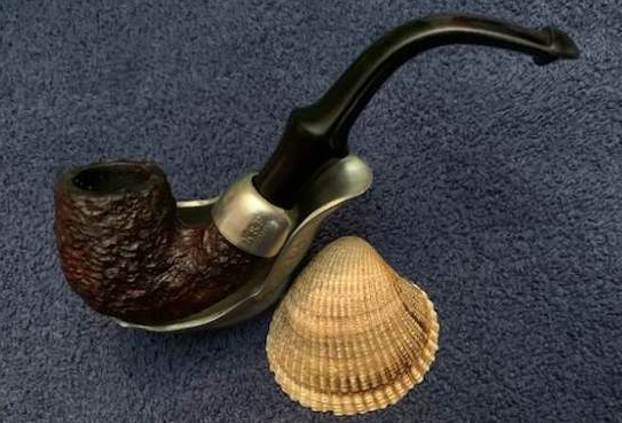
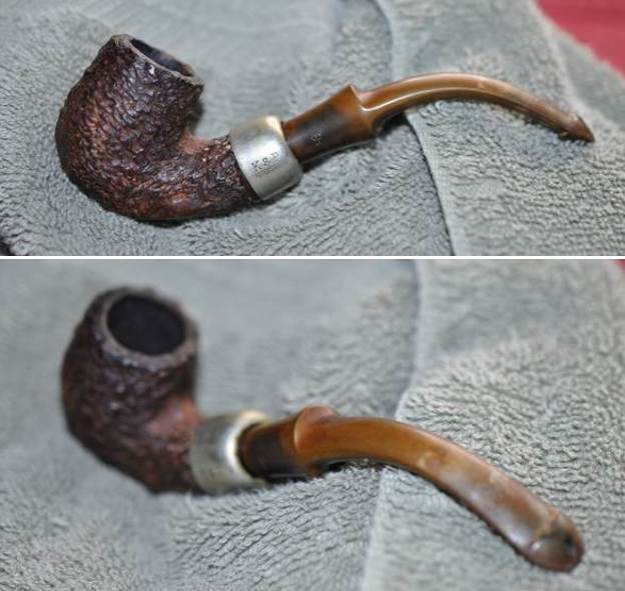
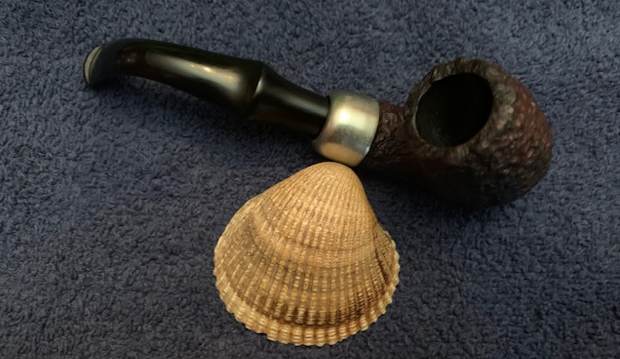
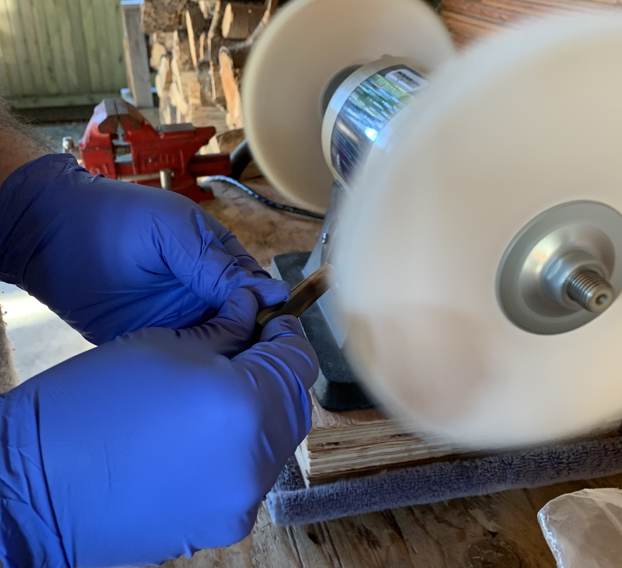
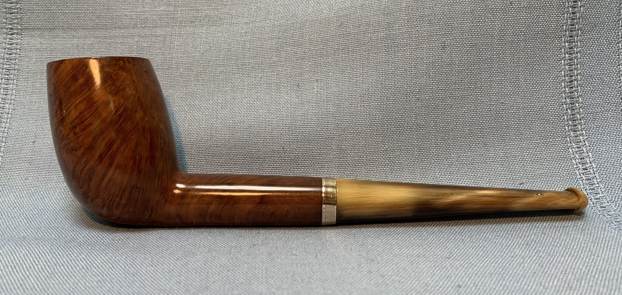
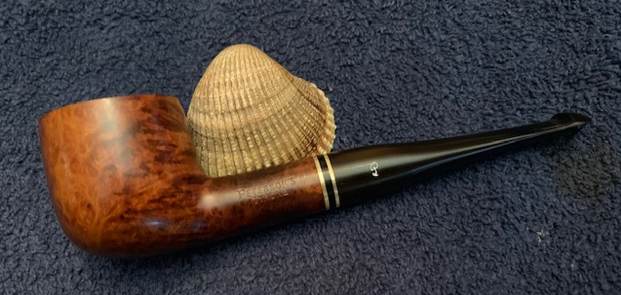
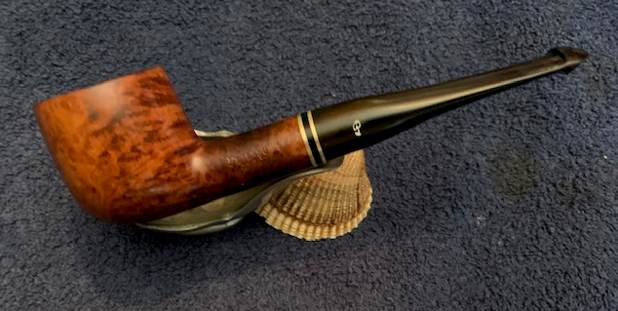
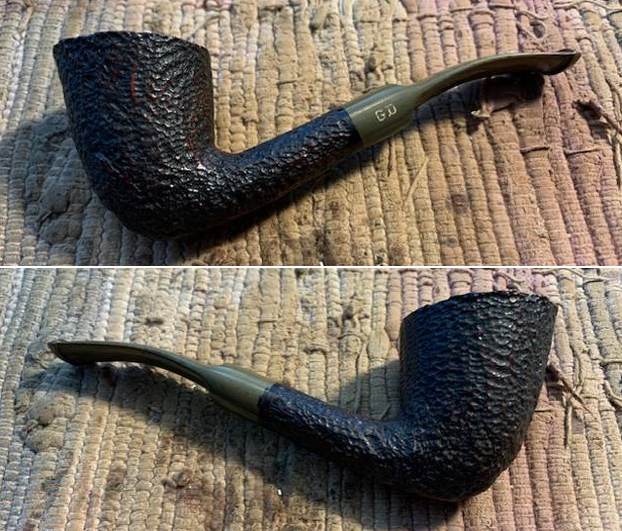
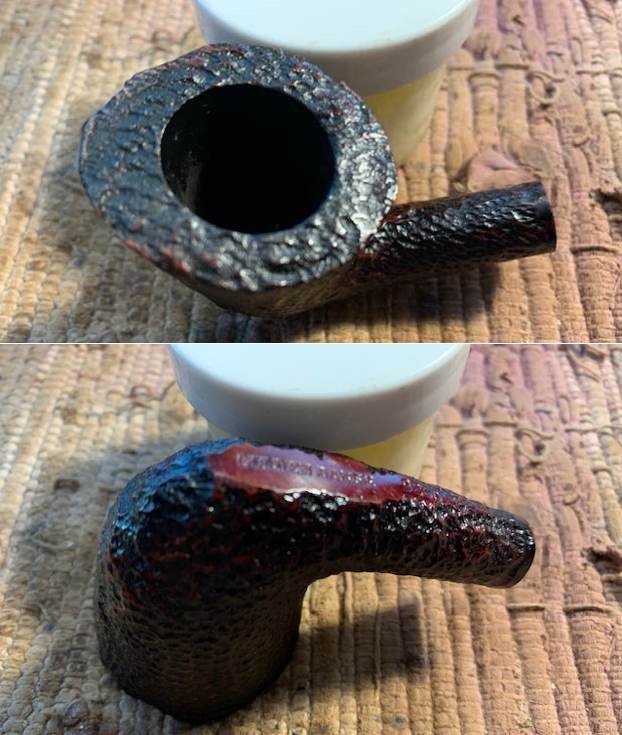
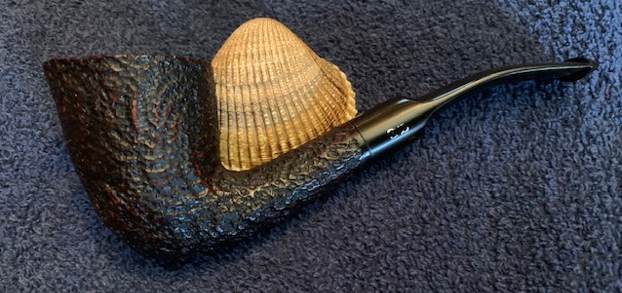
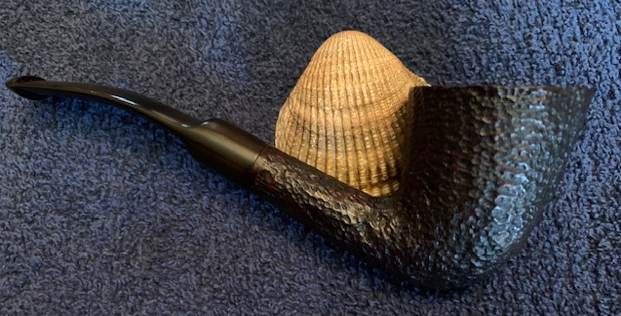
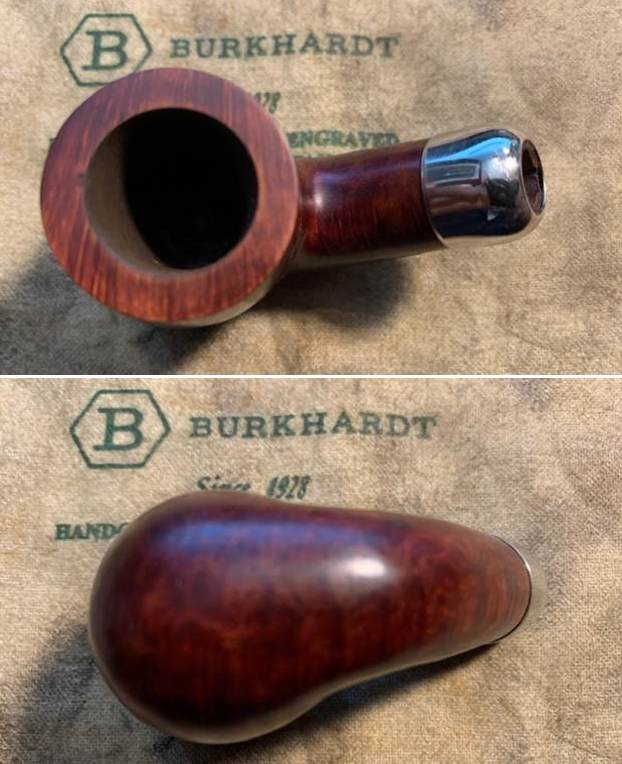
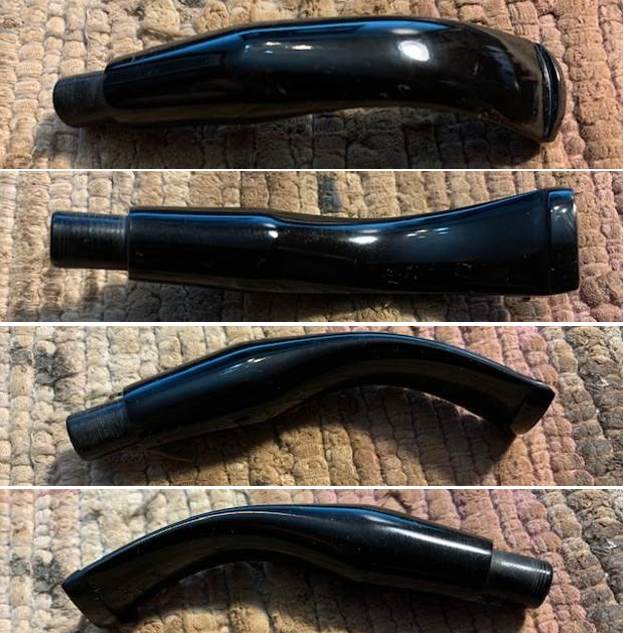 I put the stem back on the Republic Era Peterson’s Made K&P Dublin 69 Bent Billiard and buffed the pipe with Blue Diamond on the buffing wheel. I polished the briar and the vulcanite of the stem until there was a rich shine. This classic Peterson’s shape and finish really highlights a proportionally well carved pipe. Once I buffed the pipe the briar came alive and popped with polishing. The black vulcanite stem has a rich glow. This K&P Dublin 69 Bent Billiard fits well in the hand and sits right in the mouth. Have a look at it with the photos below. The dimensions are Length: 5 ½ inches, Height: 1 ¾ inches, Outside diameter of the bowl: 1 ¼ inch, Chamber diameter: ¾ of and inch. The weight of the pipe is 1.59 ounces/45 grams. It was one I chose for my own collection and enjoyed, but I am happy to pass it on to the next pipe man or woman. This beauty will be going on the rebornpipes online store in the Irish Pipemakers Section. If you are interested let me know. Thanks for walking through the restoration with me as it was a pleasure to work on.