By Steve Laug
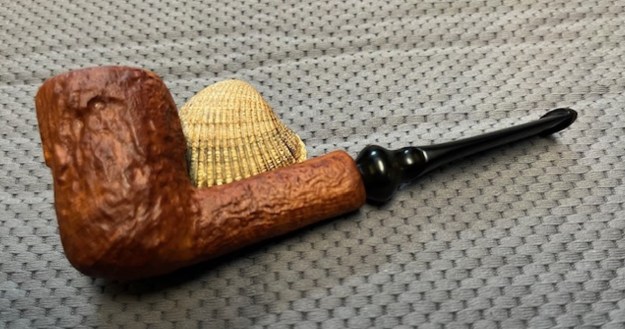
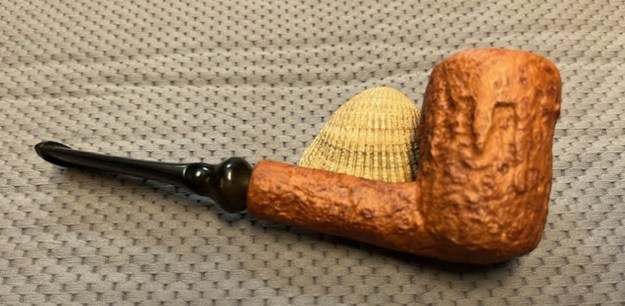
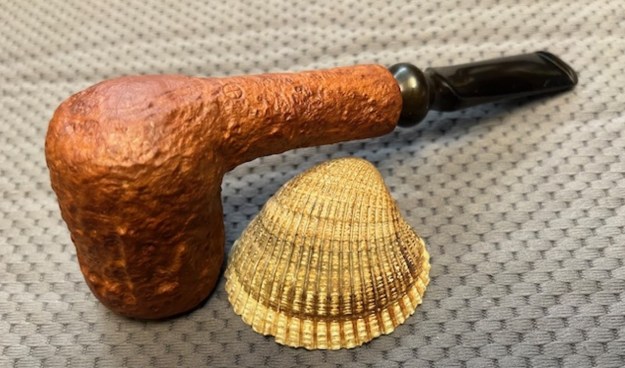
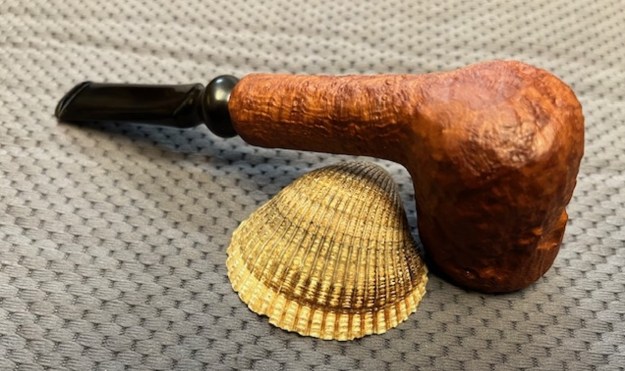
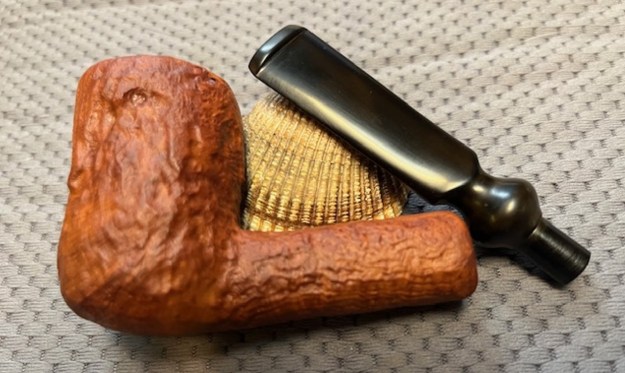
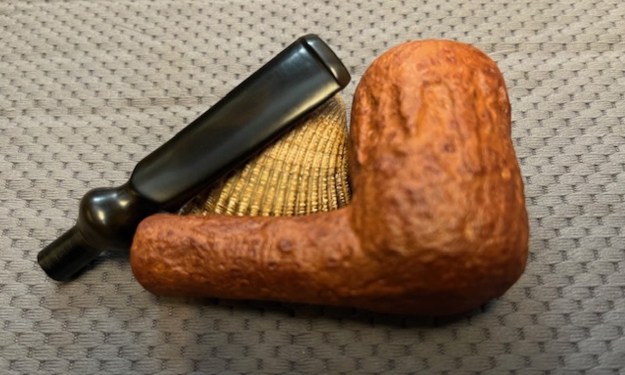
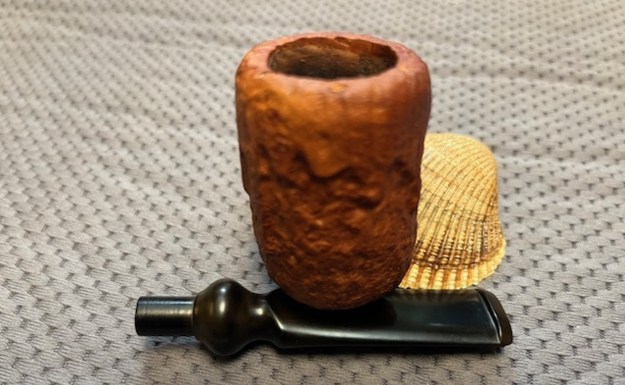
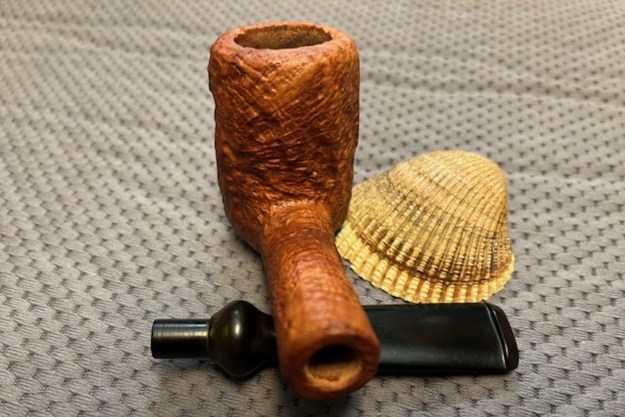
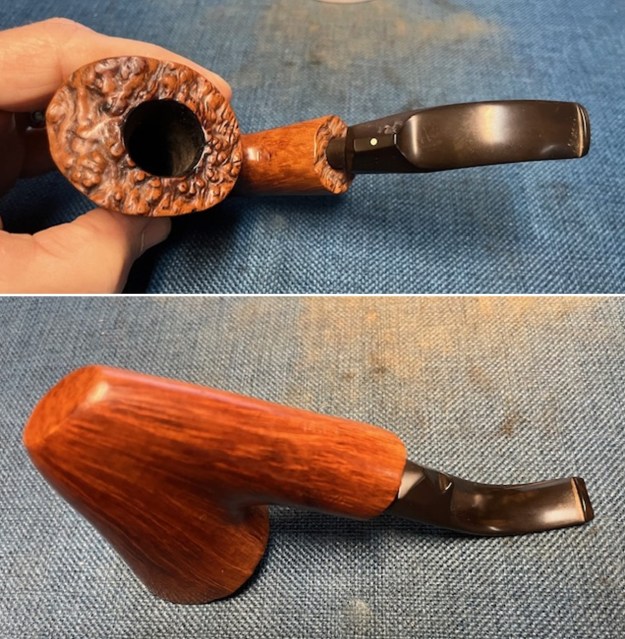
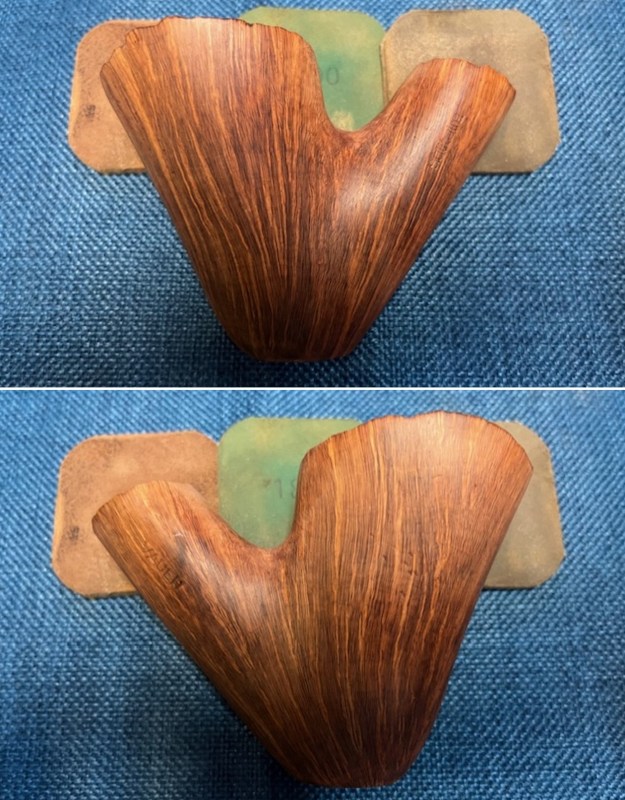
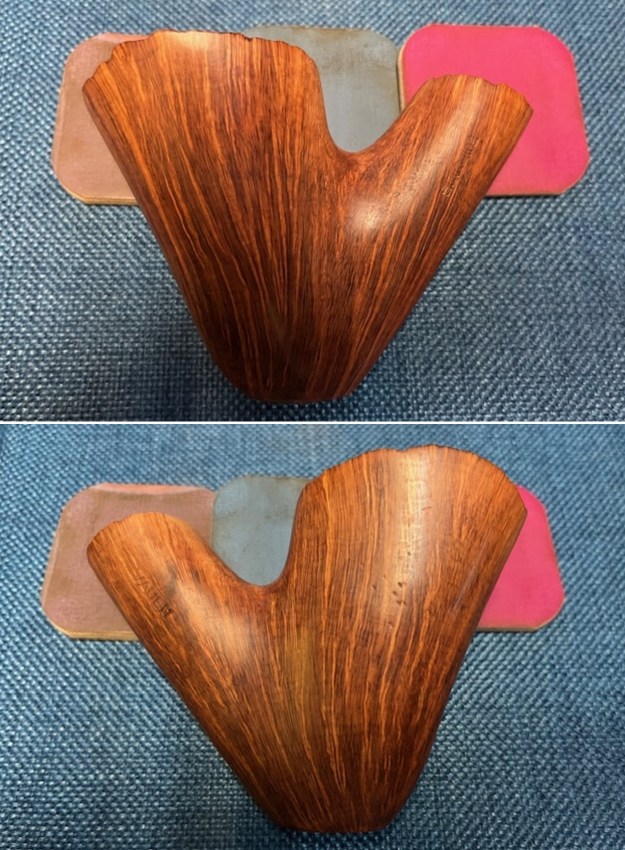
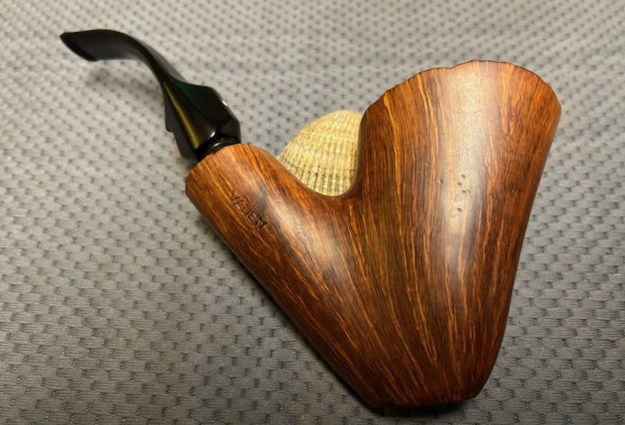
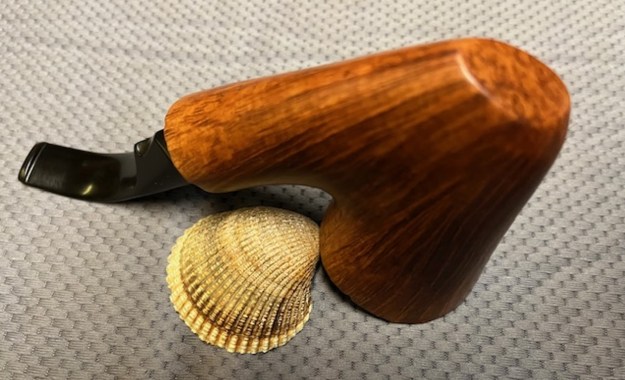
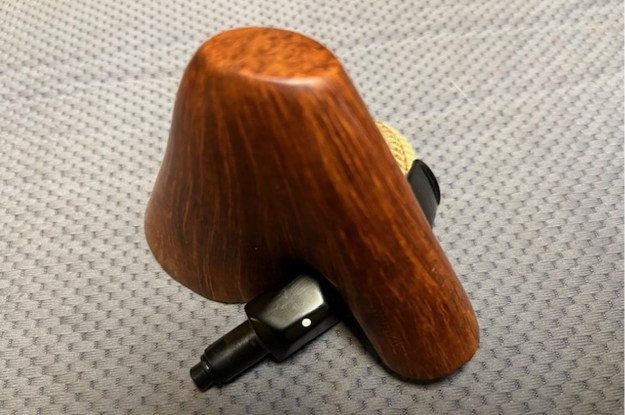
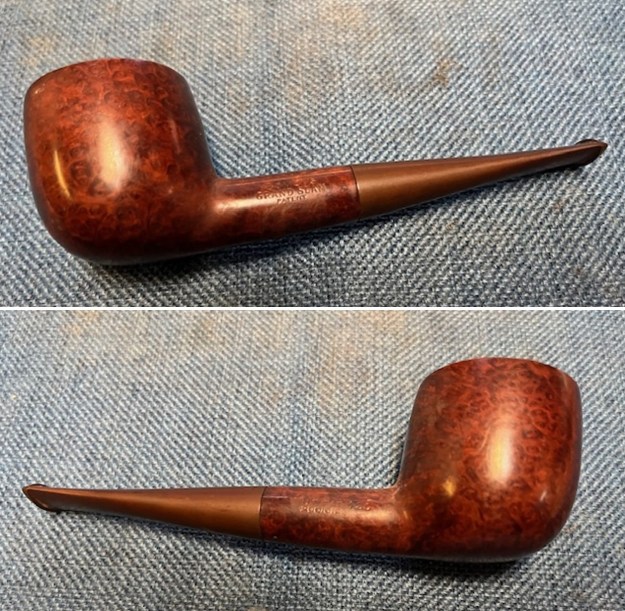
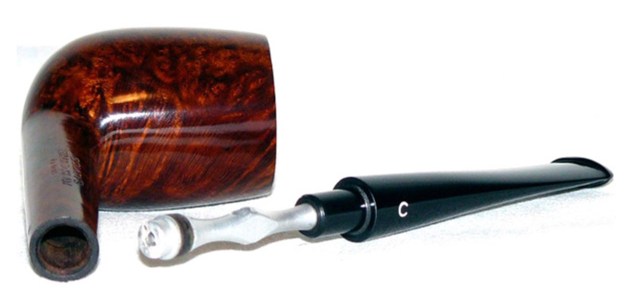
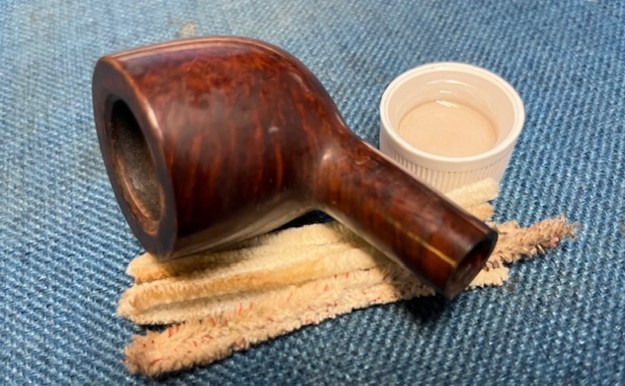
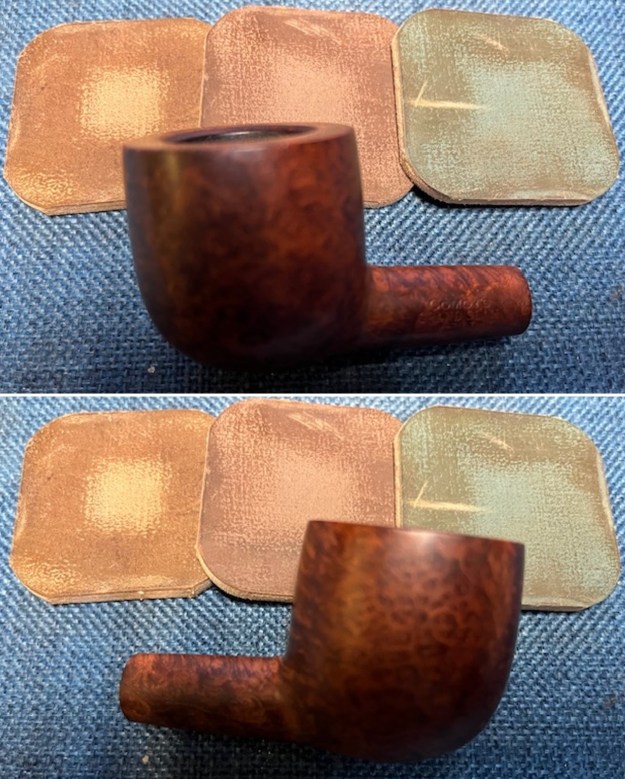
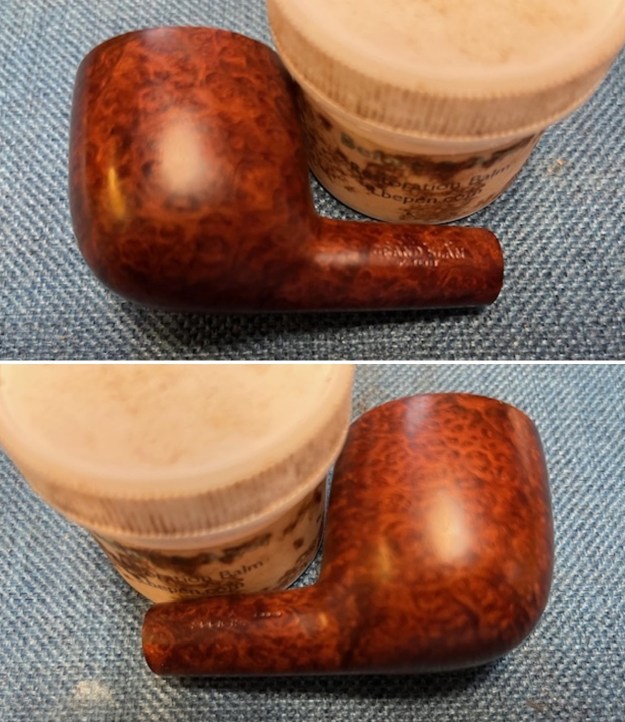
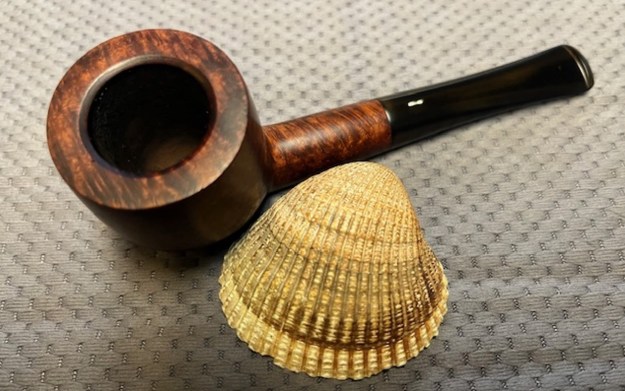
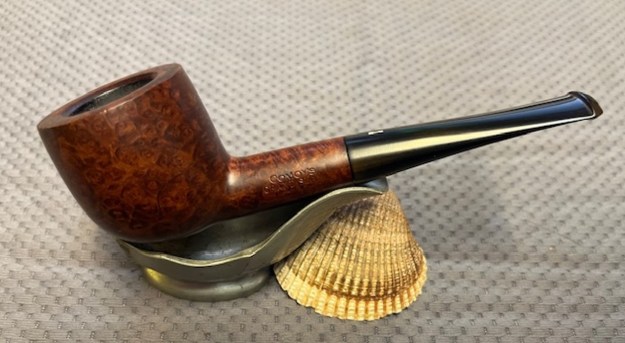
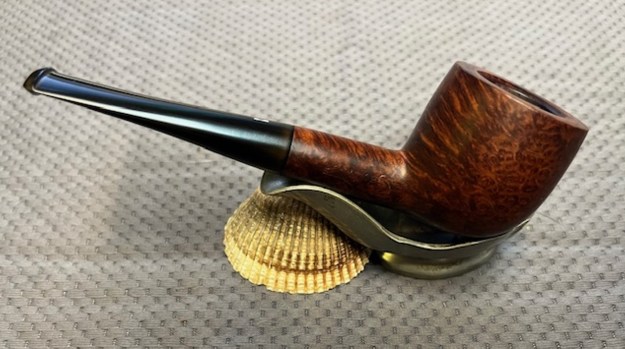
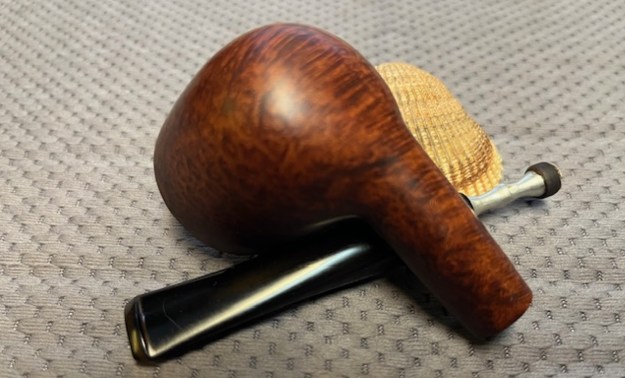
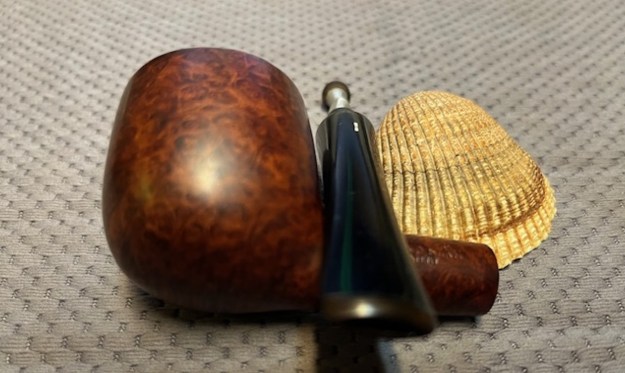
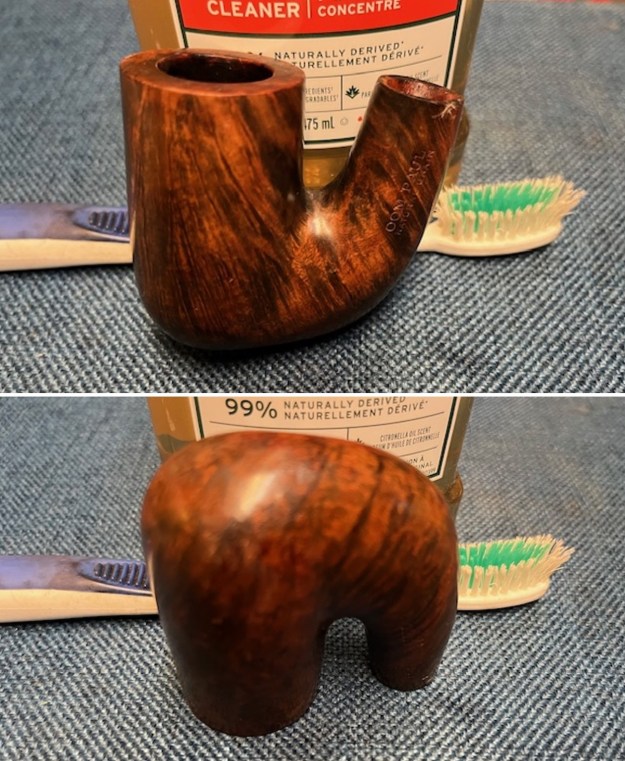
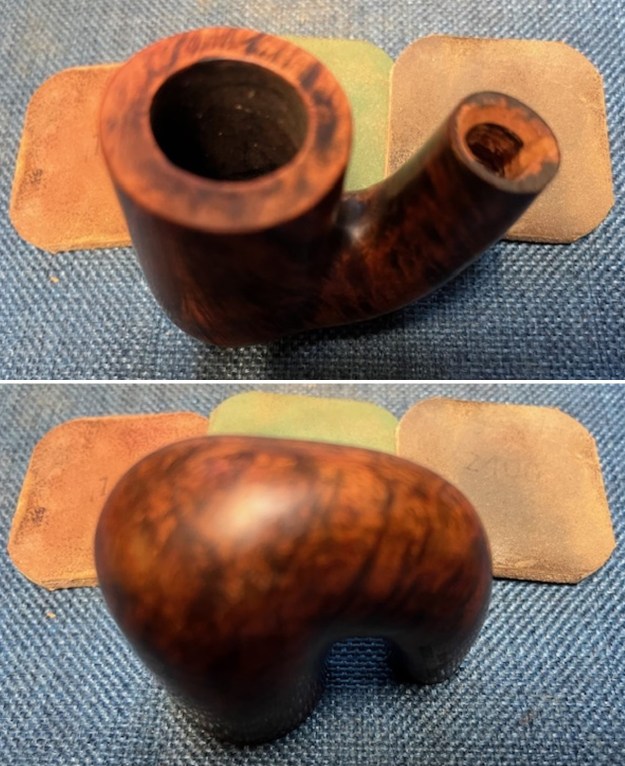
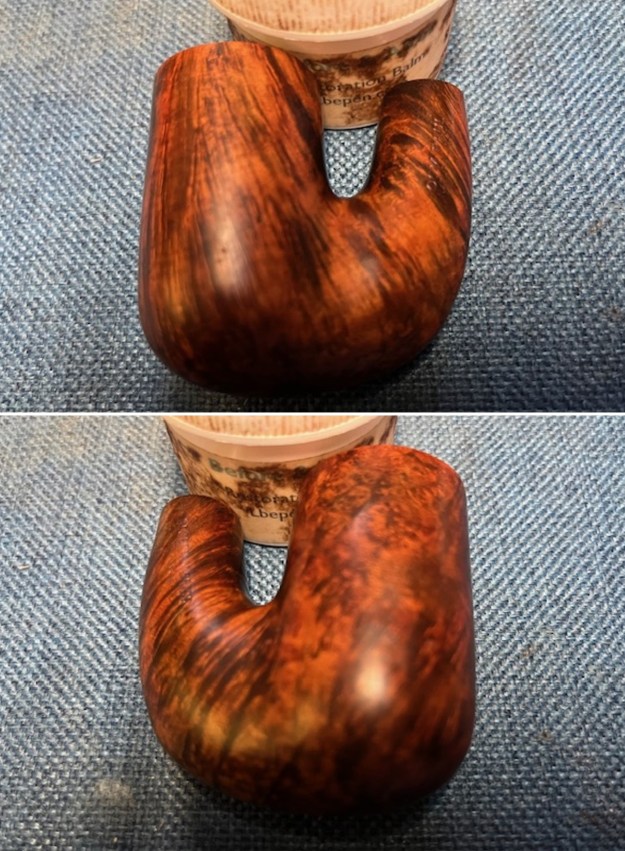
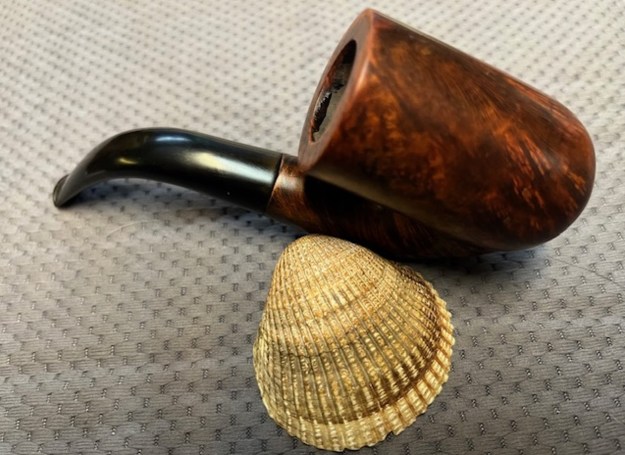
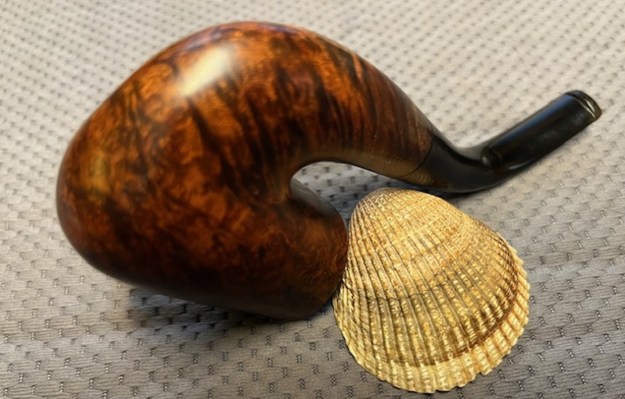
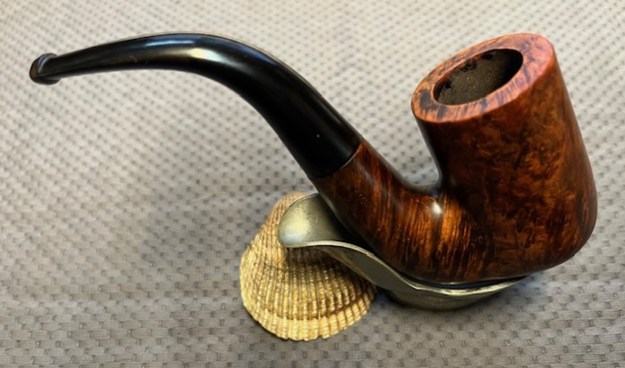
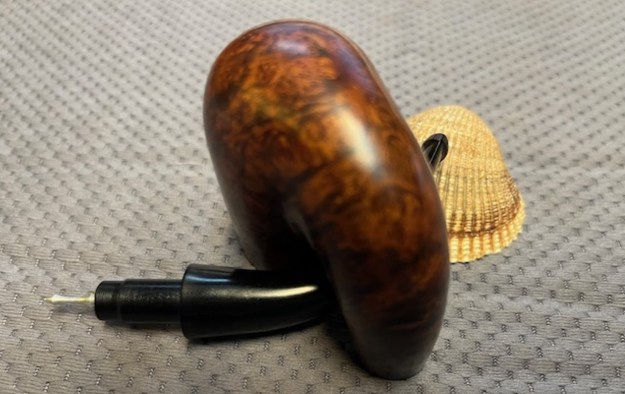
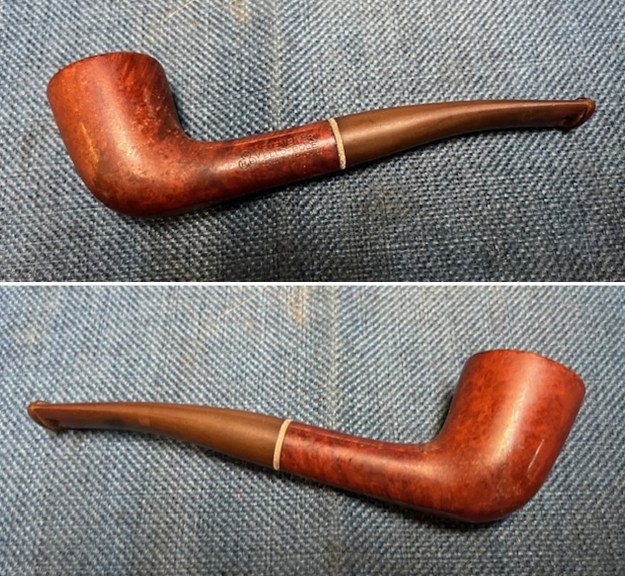
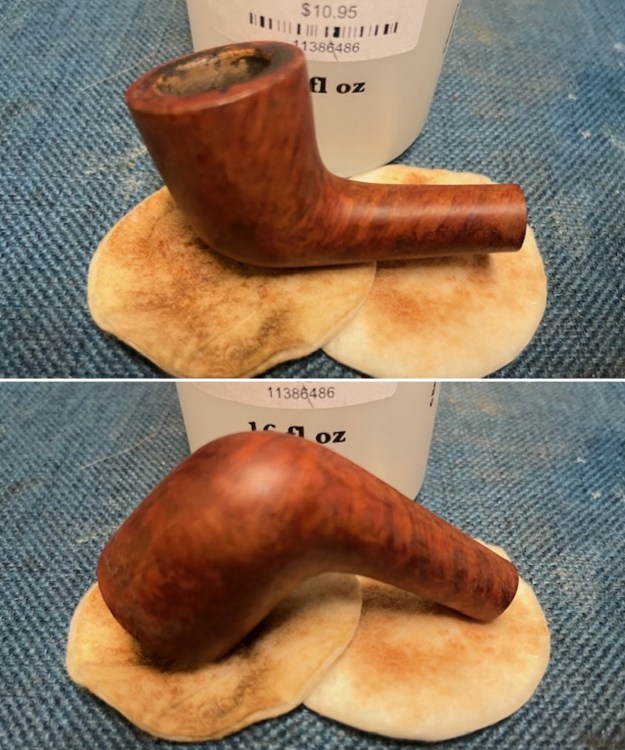
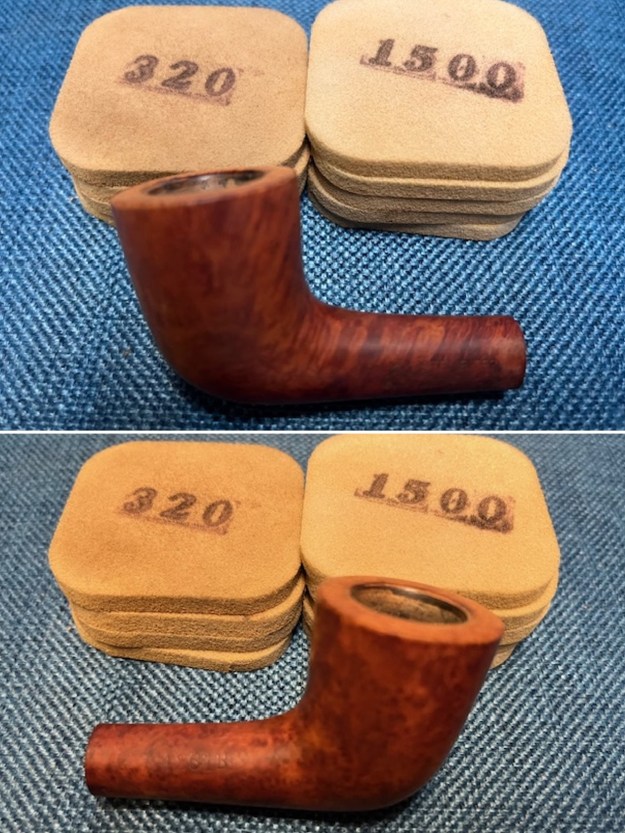
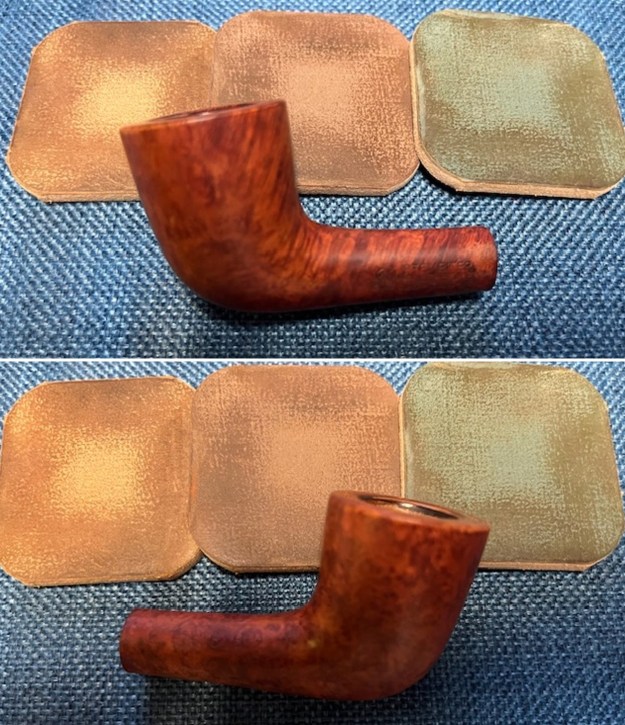
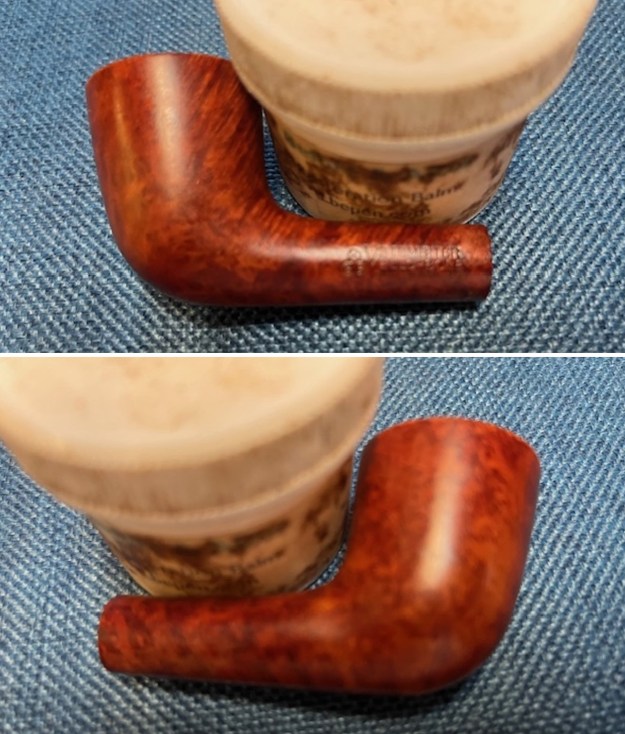
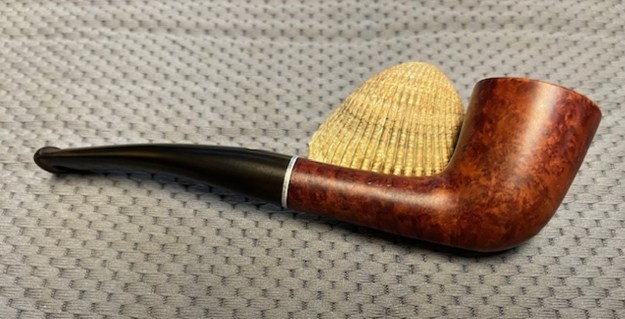
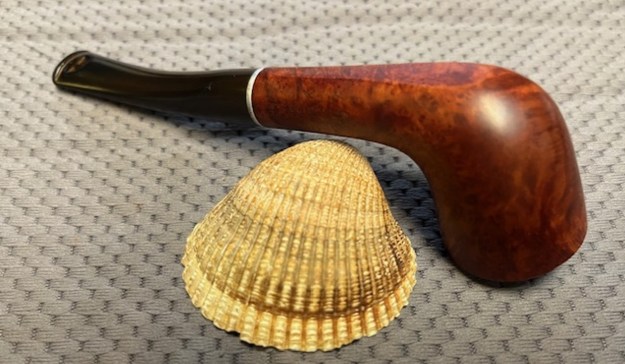
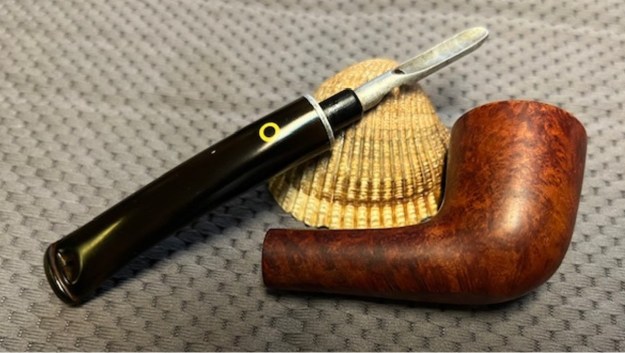
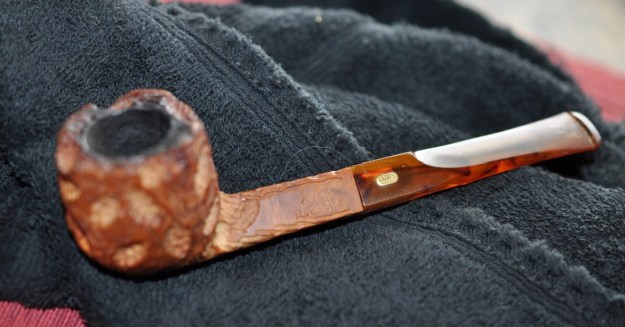
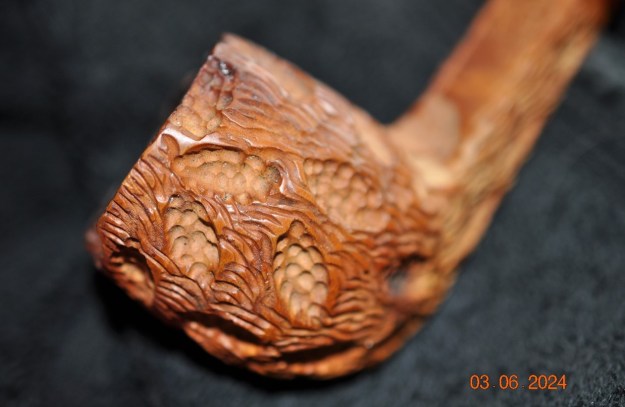
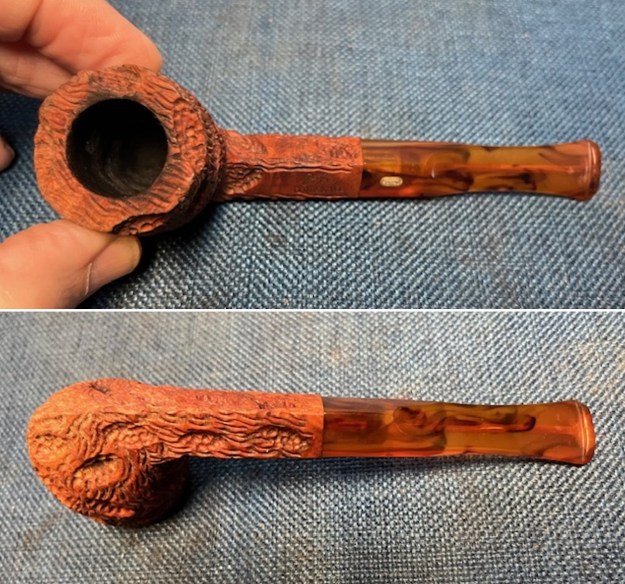
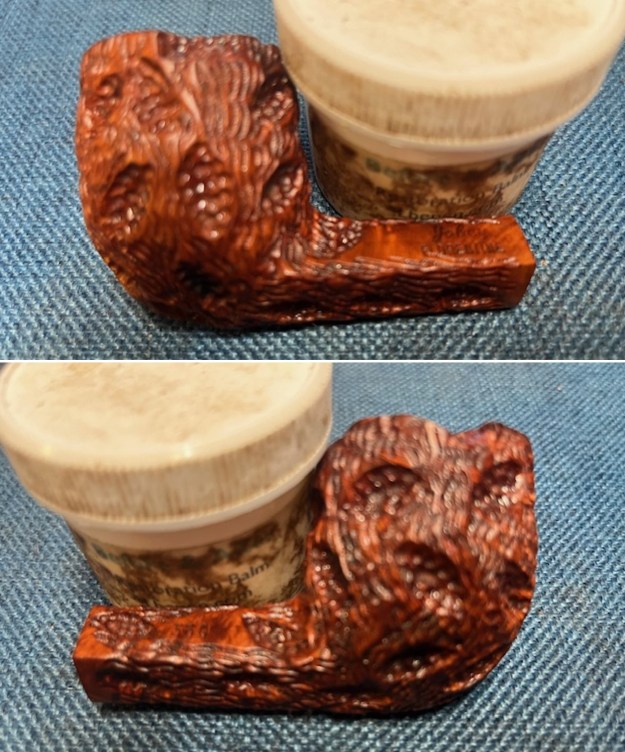
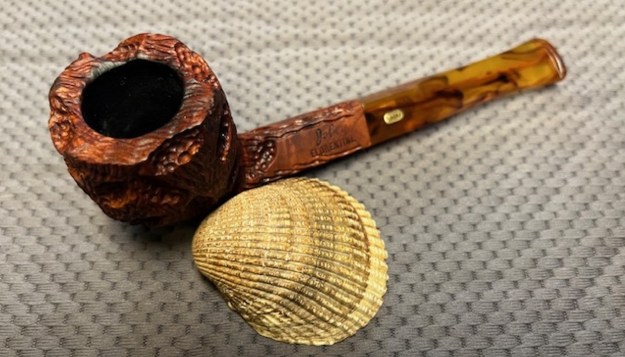
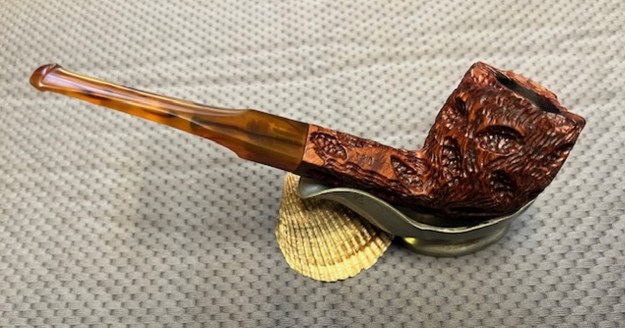
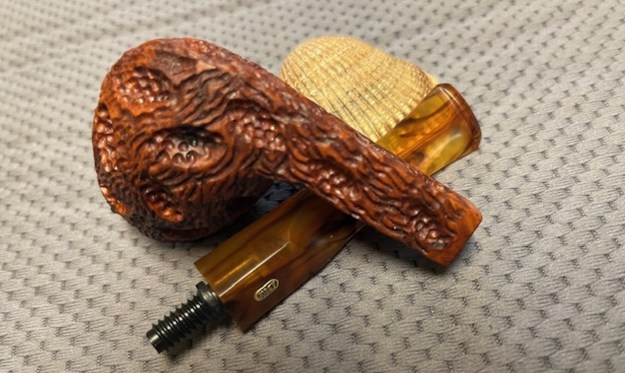
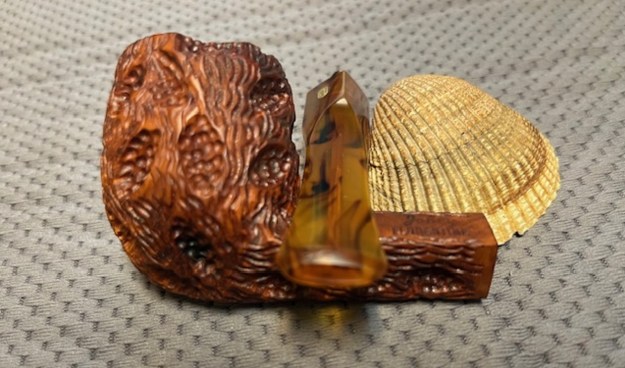
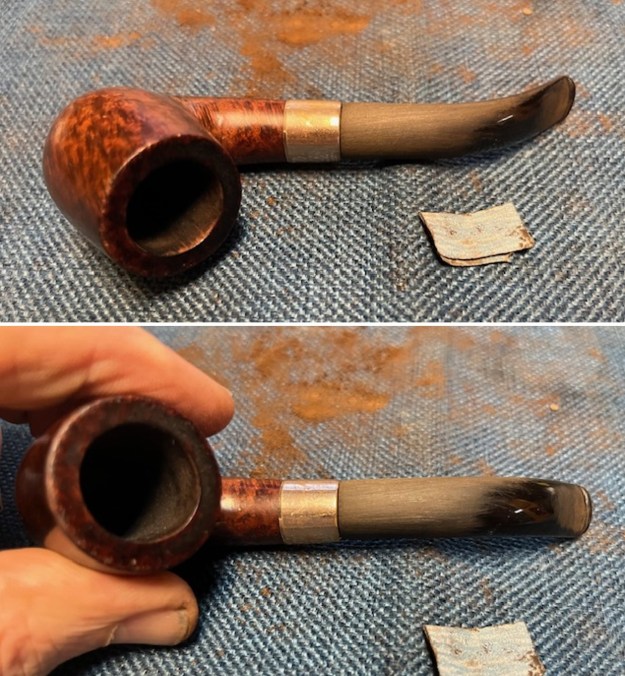
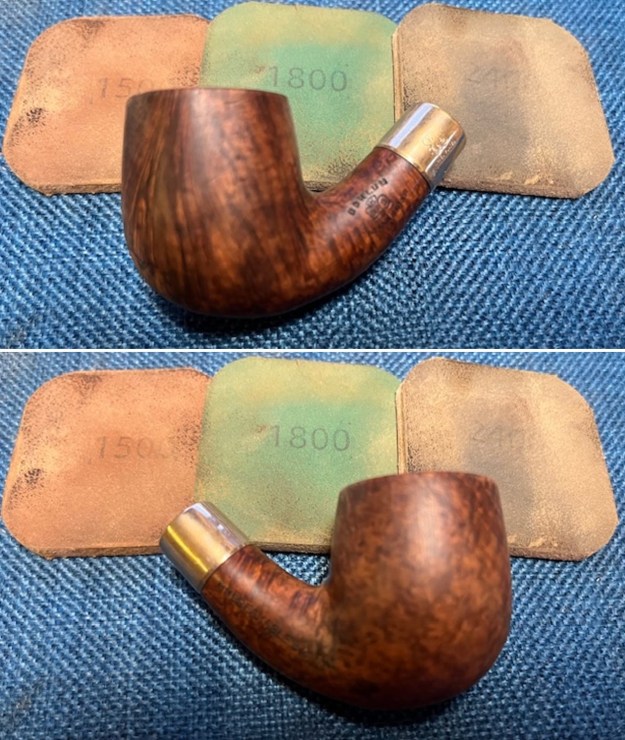
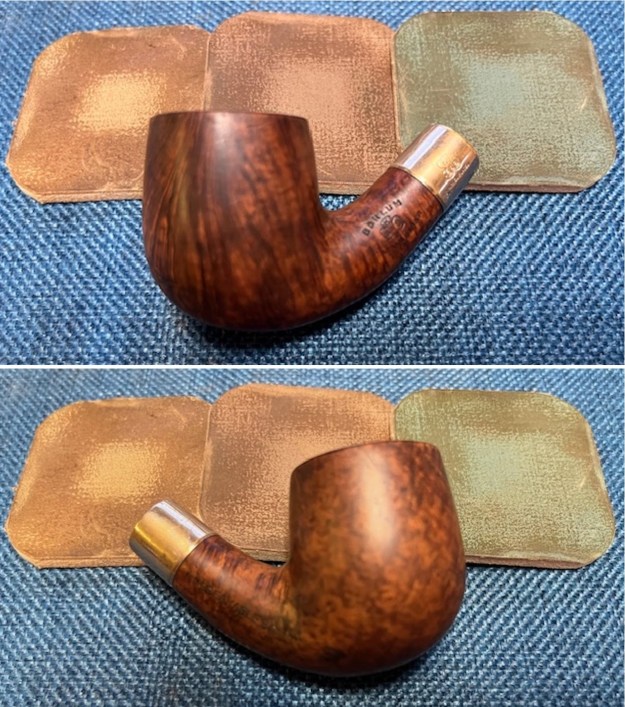
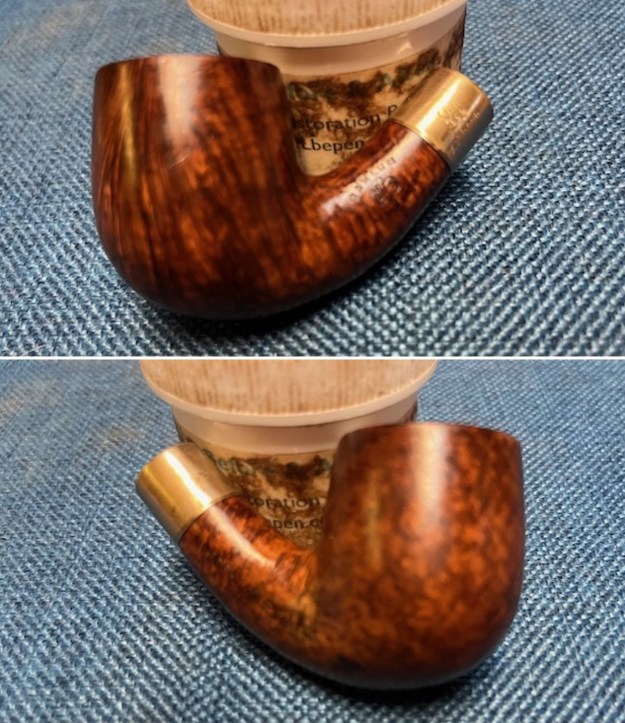
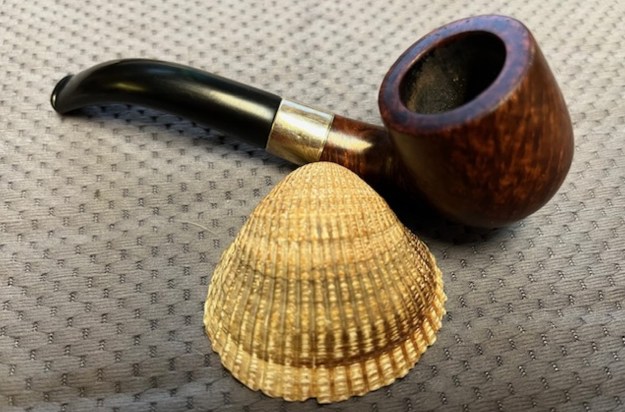
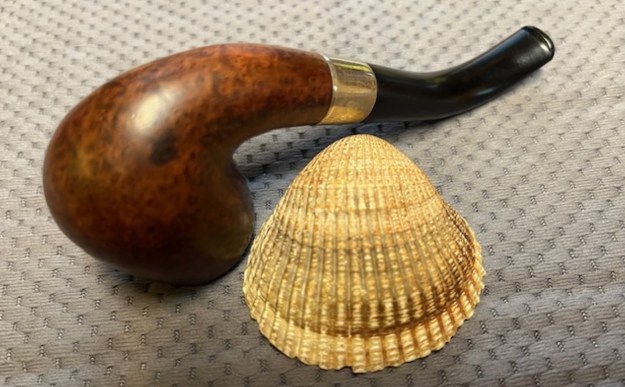
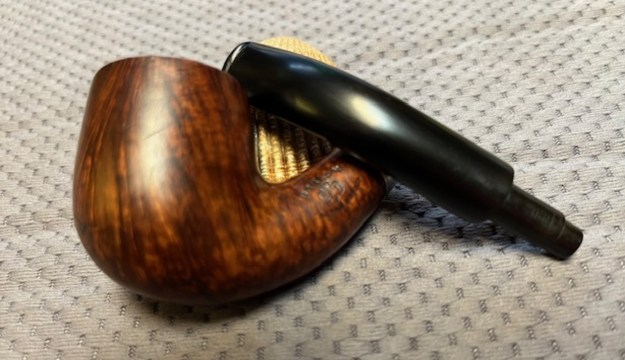
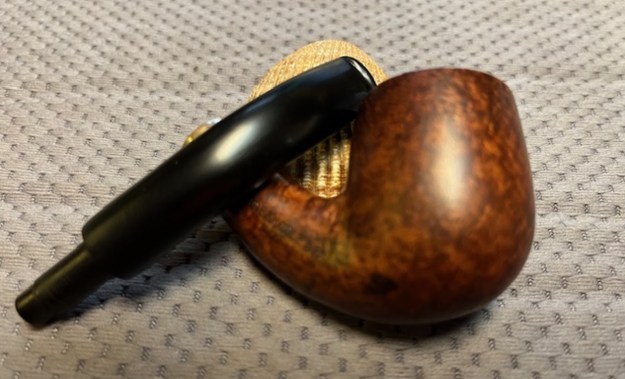
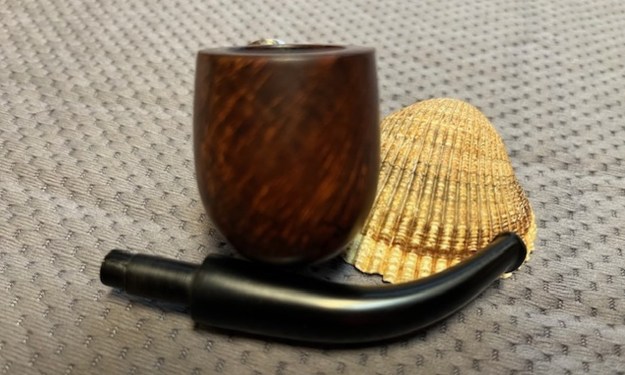
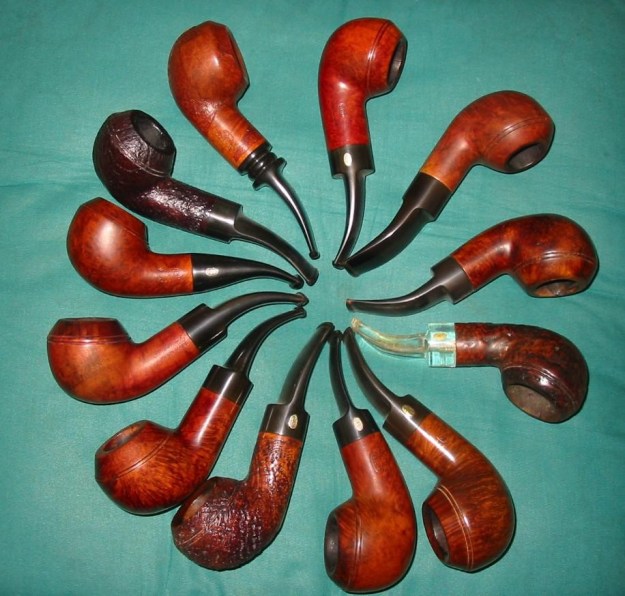
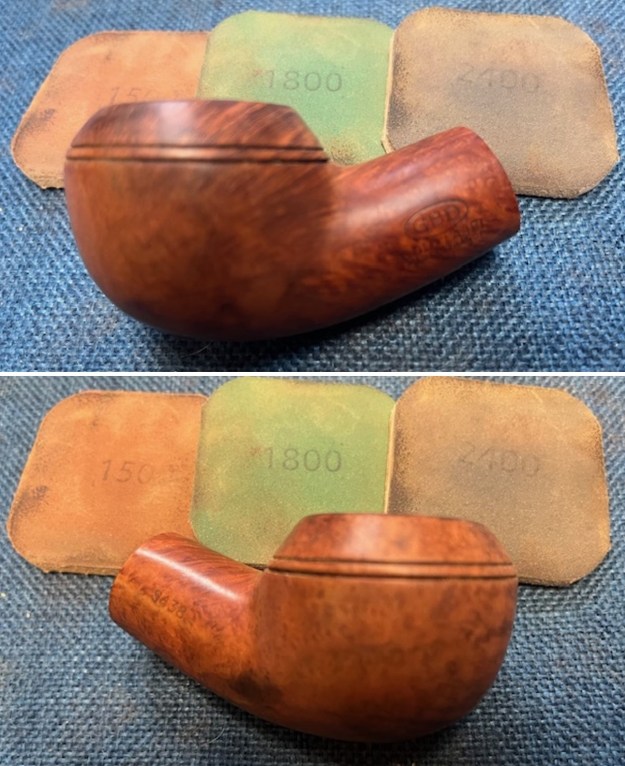
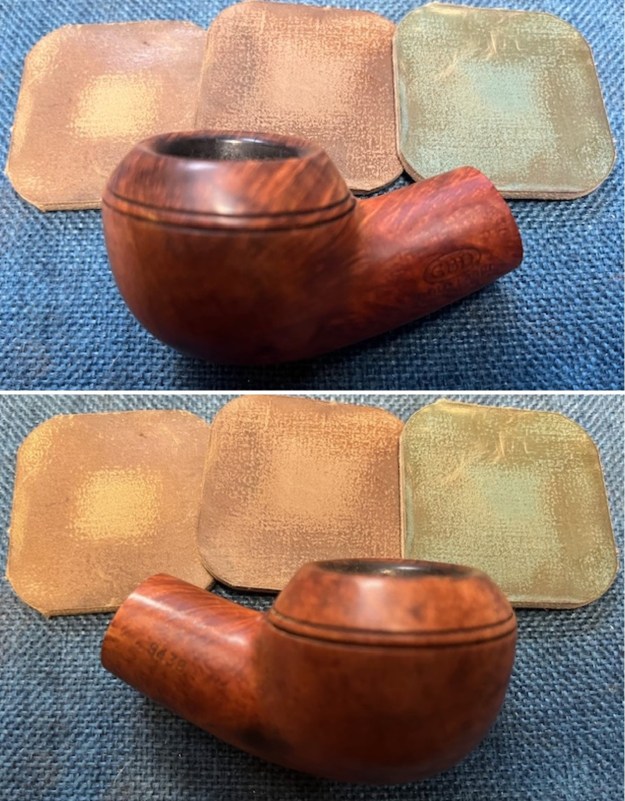
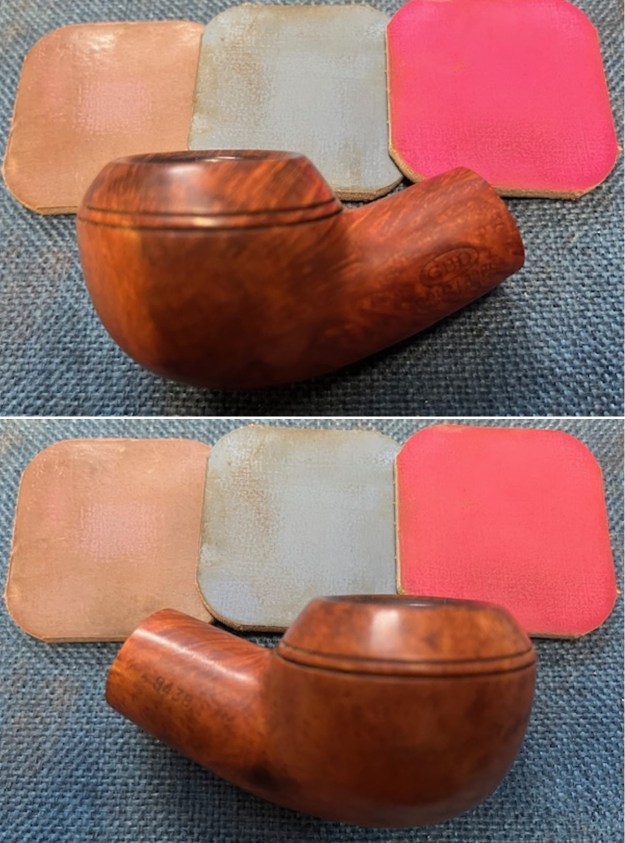
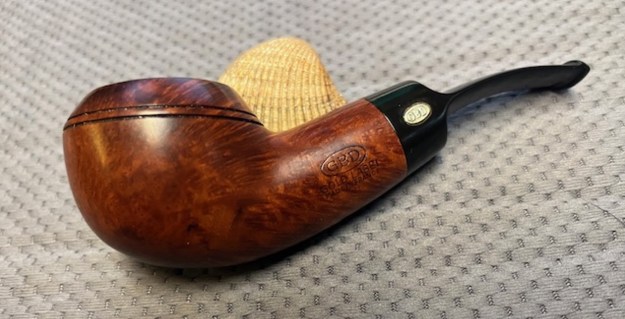
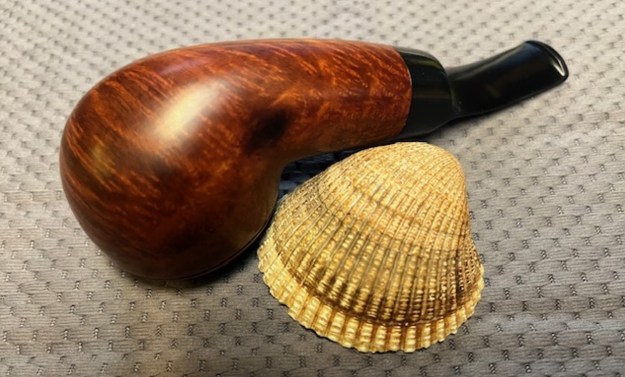
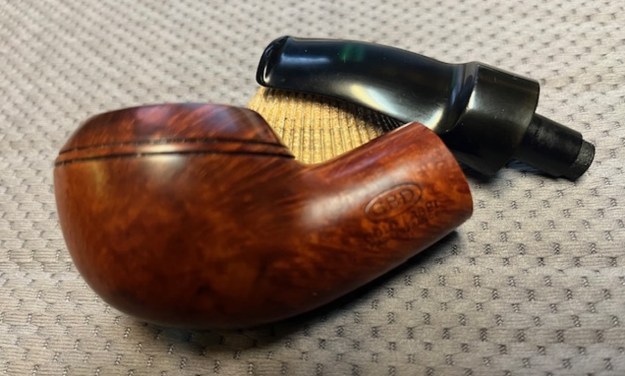
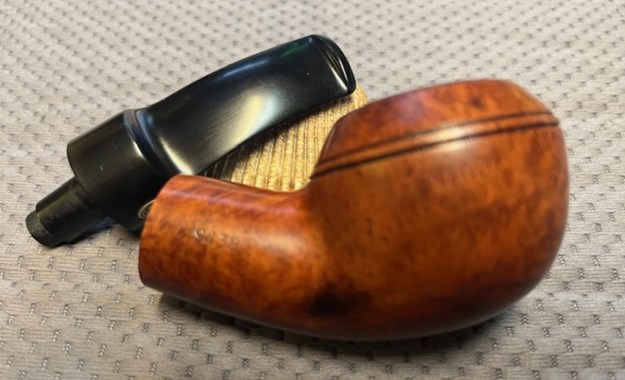
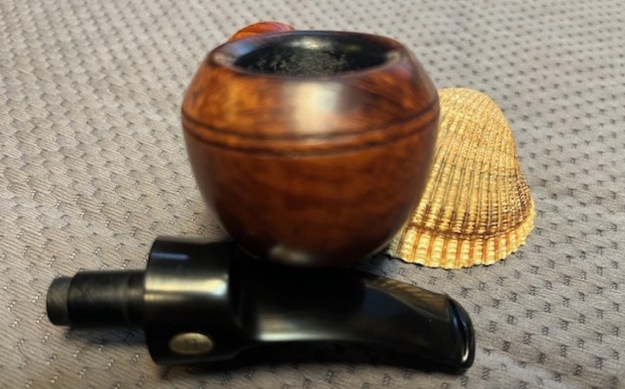
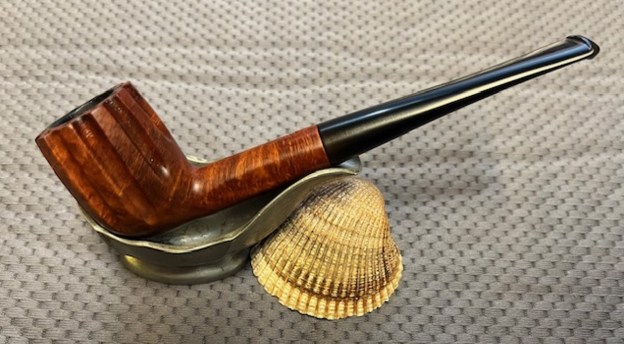
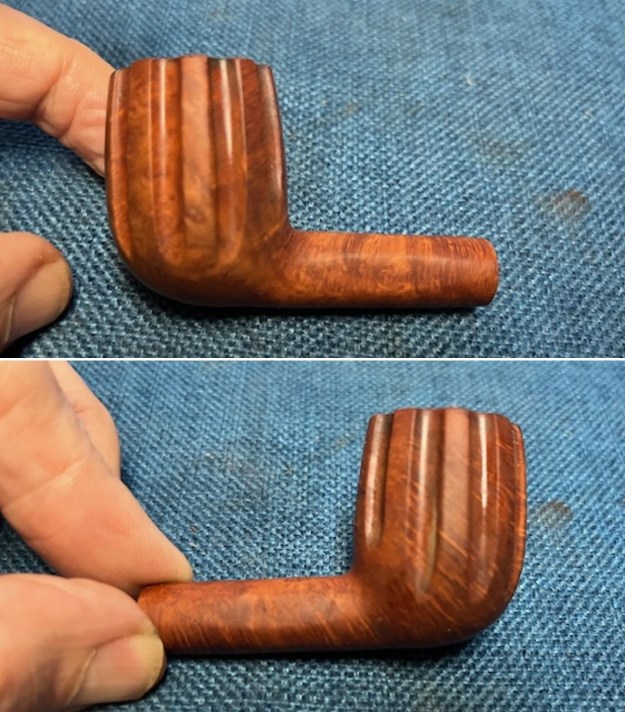
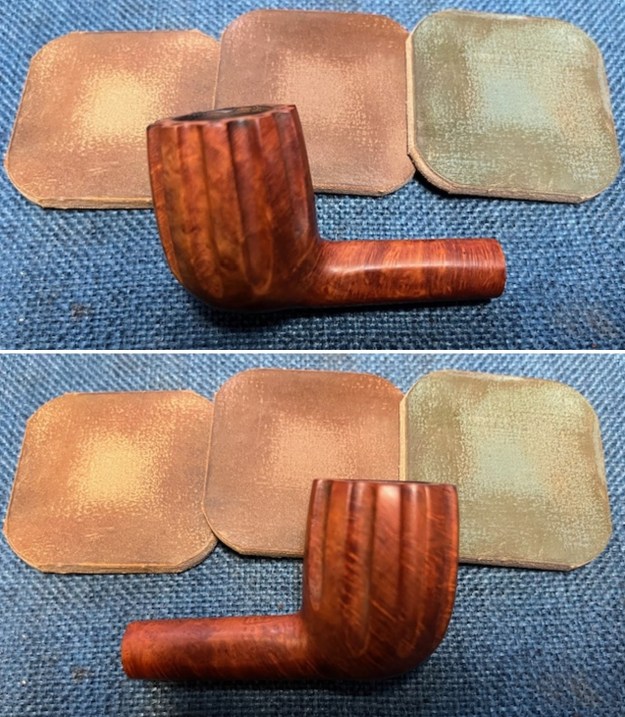
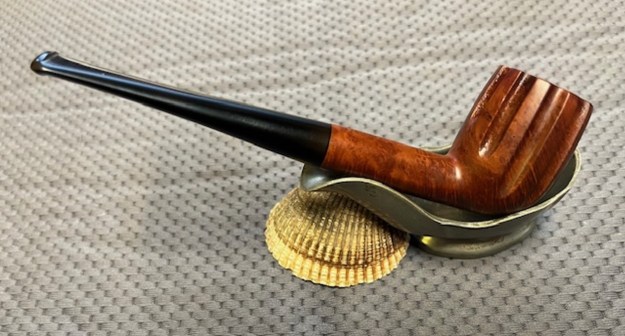
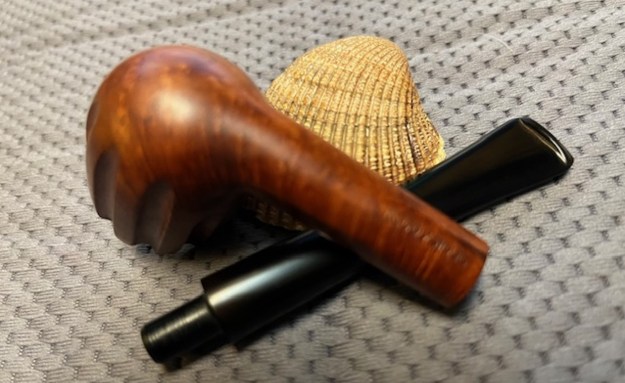
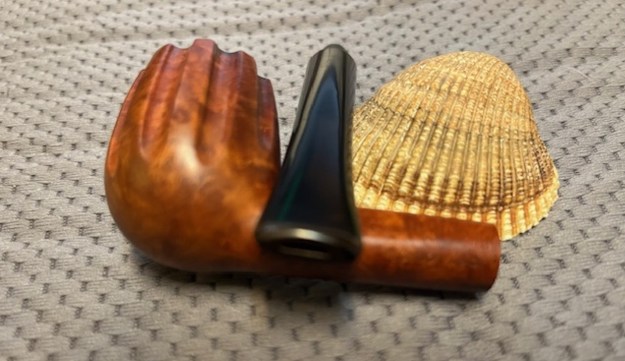
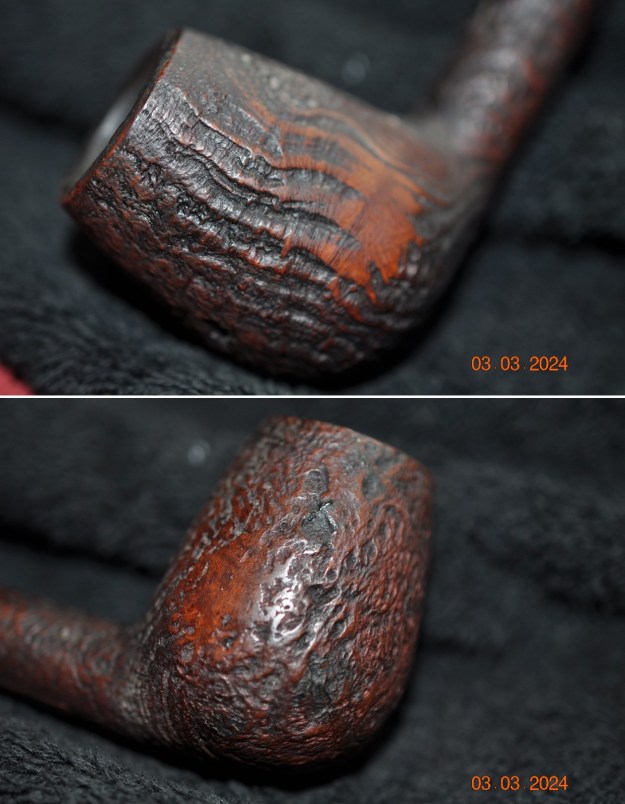
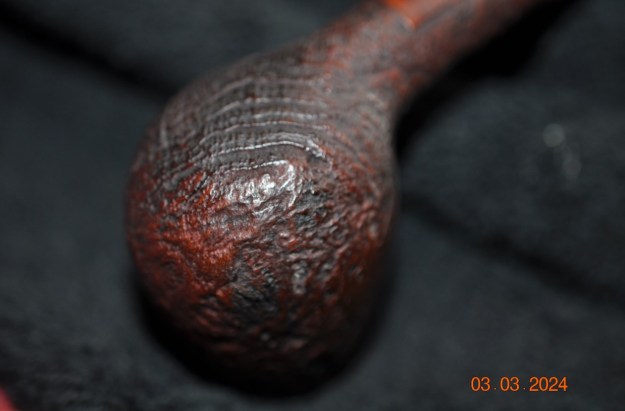
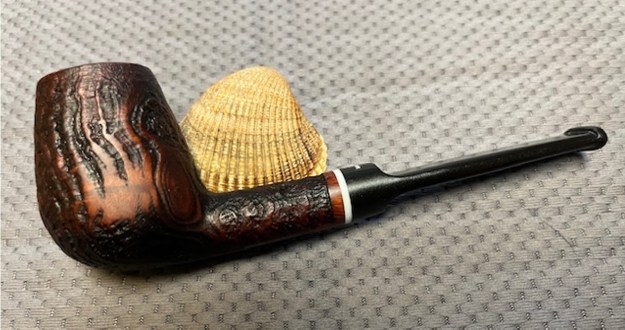
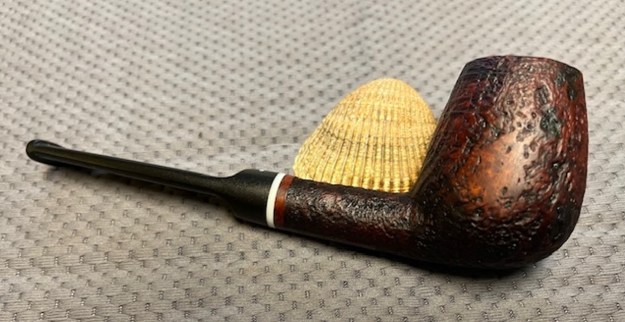
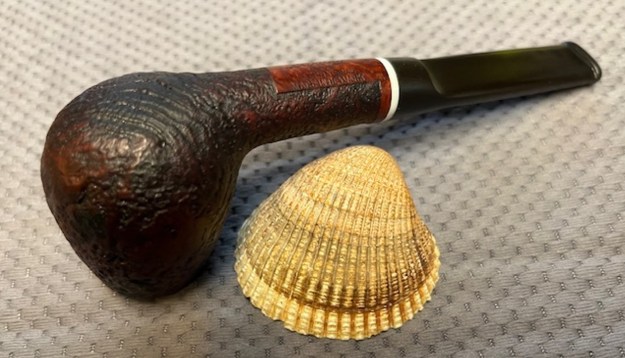
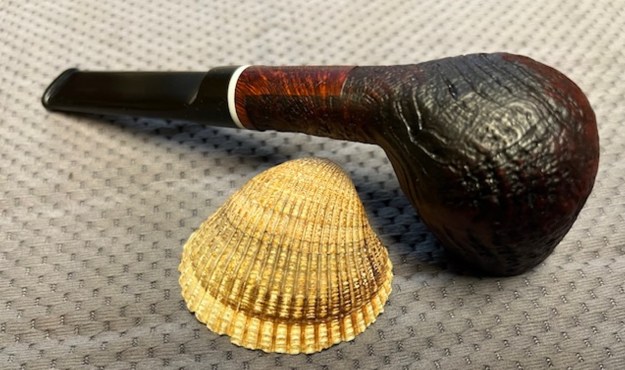
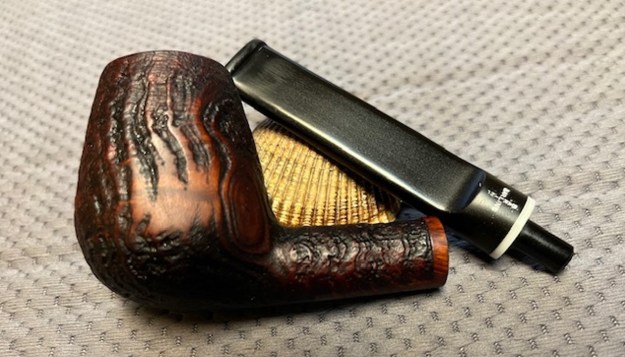
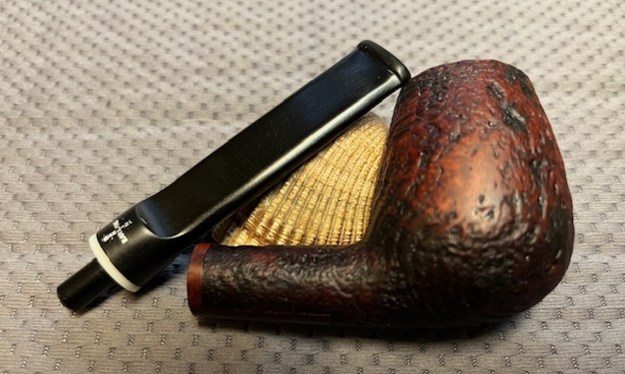
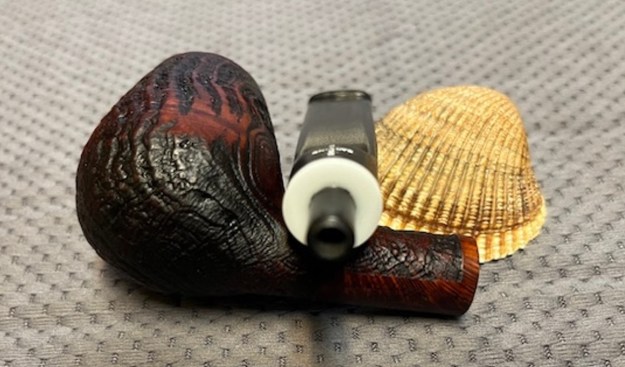
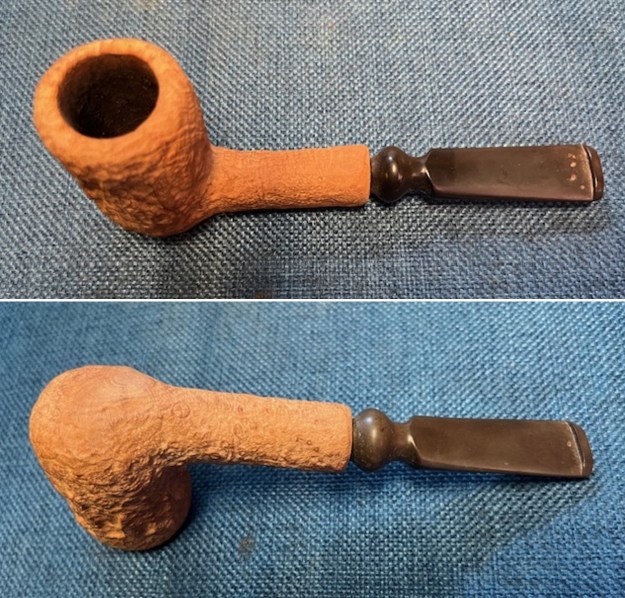
This is another of the four pipes that Sonny in Salmon Arm, BC sent to me for refurbishing. He put them in the mail and I received them on Monday this week. I took a photo of the box of four pipes once I unwrapped them. There were 4 interesting and very unique pipes – a Vauen Solitaire 148 Freehand Filter Pipe that is huge, an older cased meerschaum with an overclocked stem, a Dunhill Wanghee Sandblast Dublin with a Bamboo shank and short saddle stem and finally an Anima wax drip sand blast Billiard carved by Brian McNulty. All needed varying degrees of restoration. 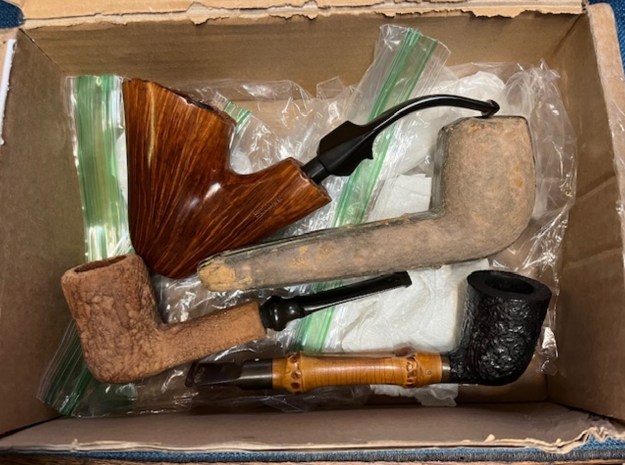 I chose to work on the Brian McNulty Anima Wax Drip Sandblast Billiard next. It is faintly stamped on the underside of the bowl with a single cross in a circle or what is known as a Medicine Circle. There were other faint stamps on the shank and heel of the bowl but they were not readable even with a lens. My guess is that they read Anima and possibly the date the pipe was made. There is a wax drip finish around the rim top and down the sides of the bowl. The wax drip and the bowl have a sandblast finish was dirty but had some nice grain showing through the blast. The bowl was quite clean and if it had been smoked at all it was minimal as there was no real darkening on the lower half. The precast freehand style stem was oxidized and there were tooth marks and chatter ahead of the button. I took these photos before I started my work on the pipe.
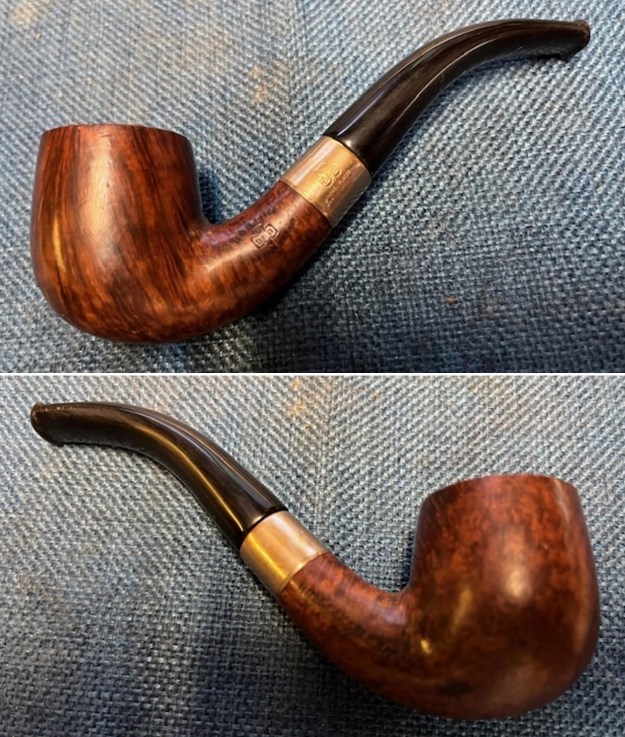
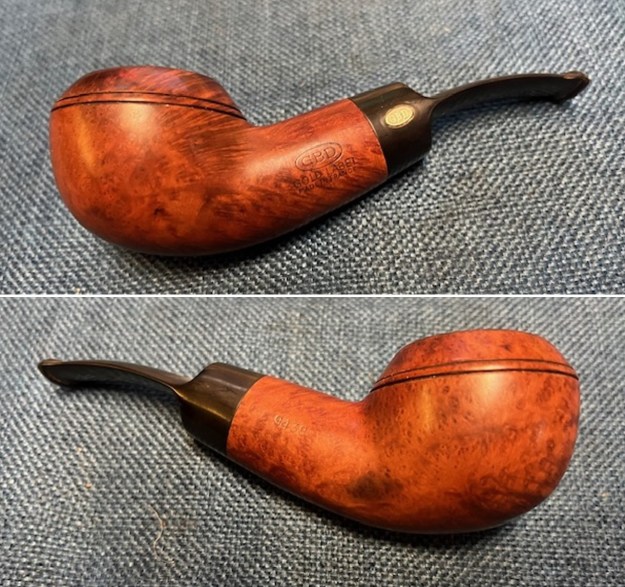
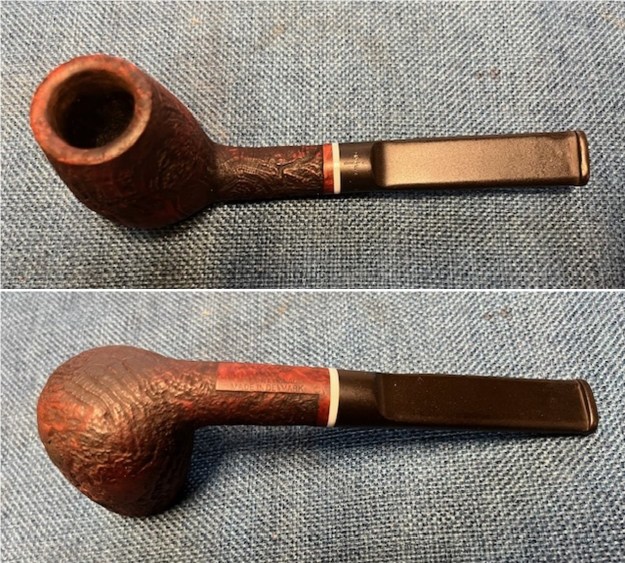
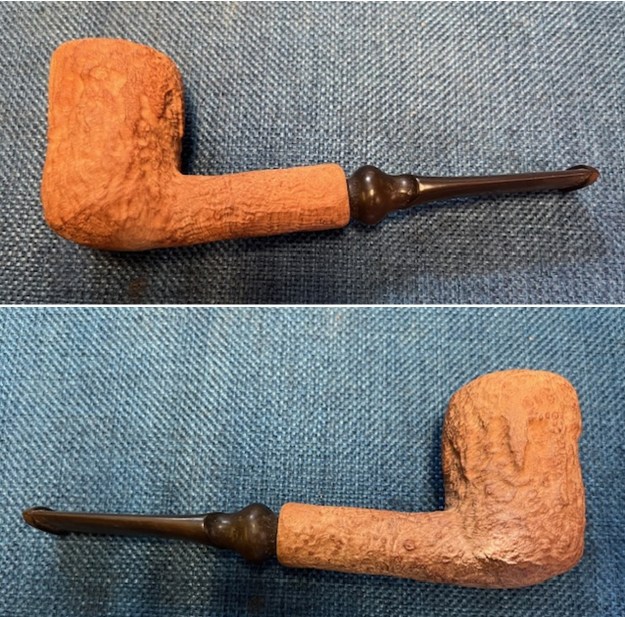
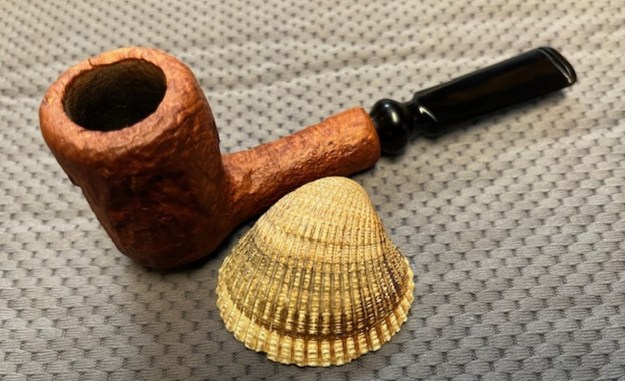
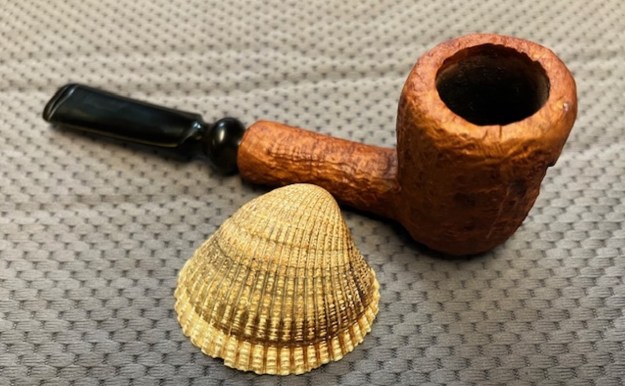
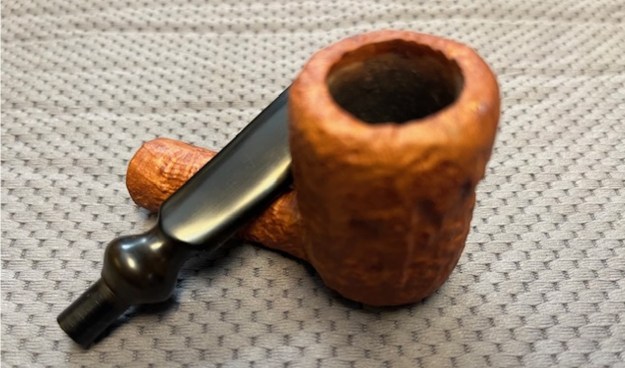
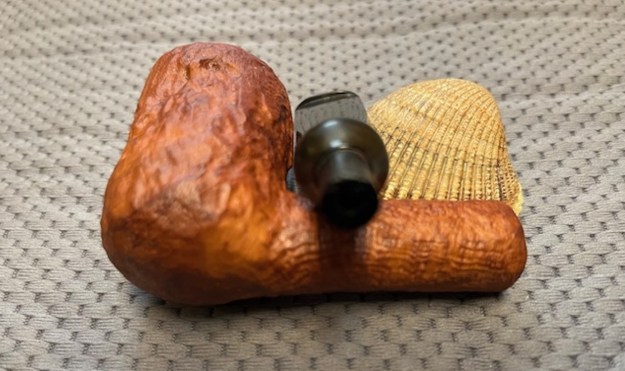
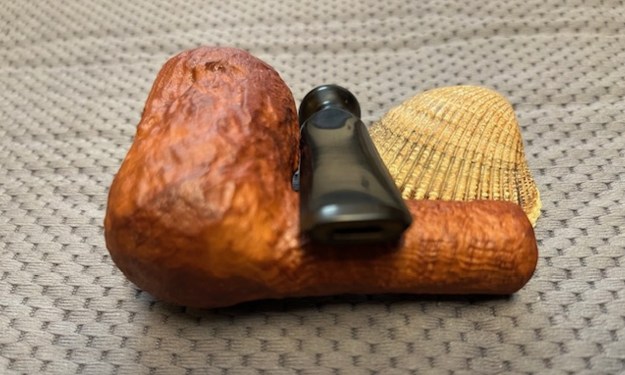
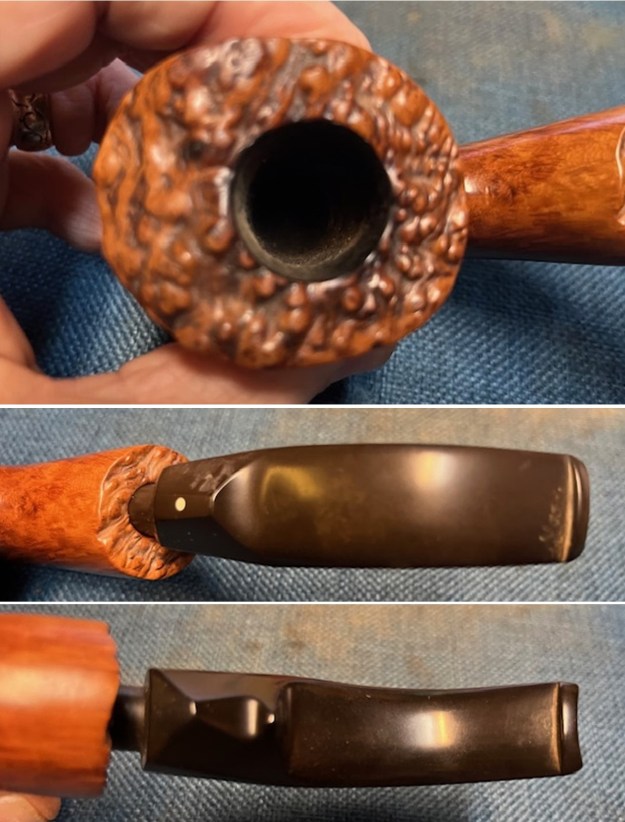
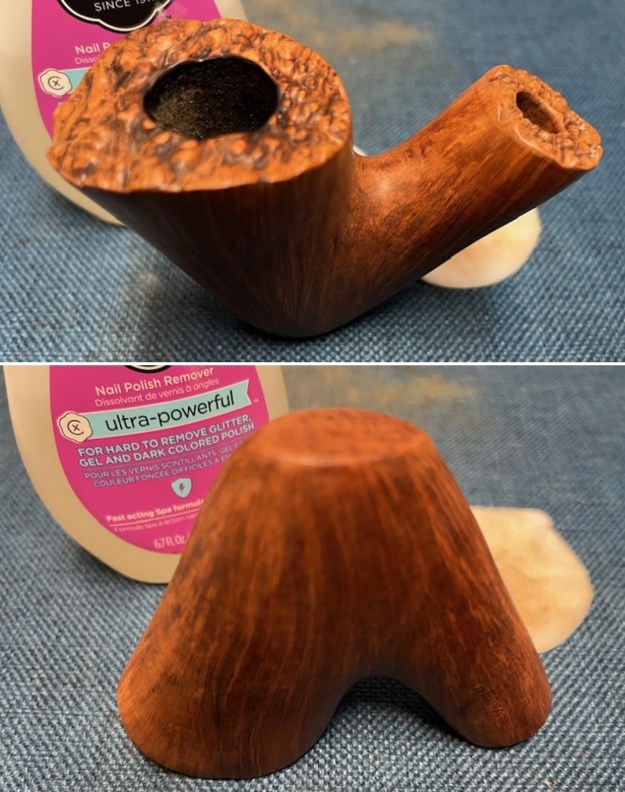
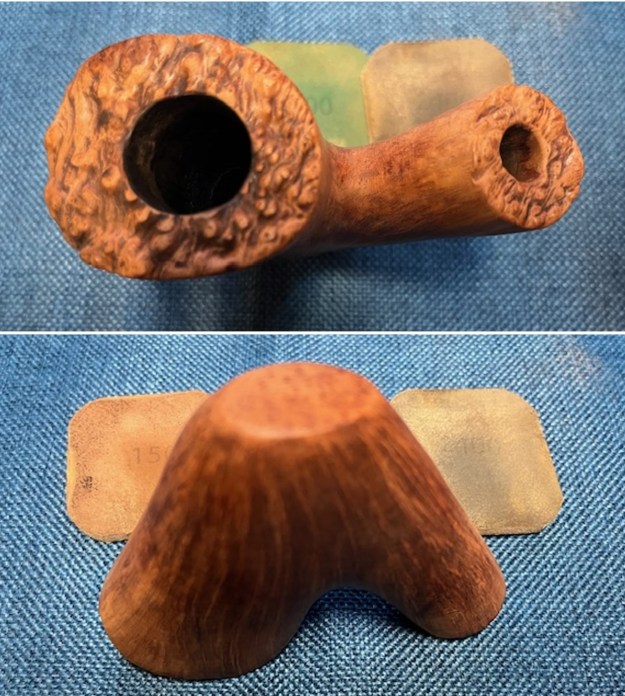
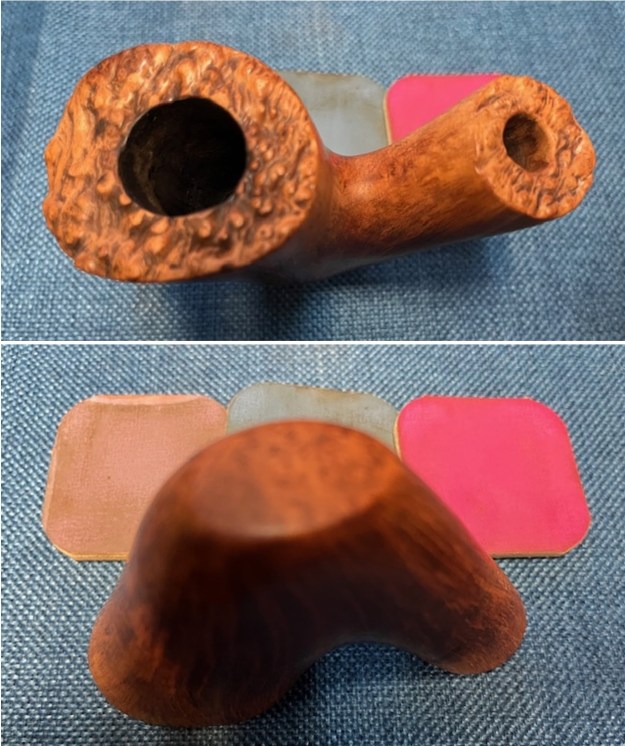
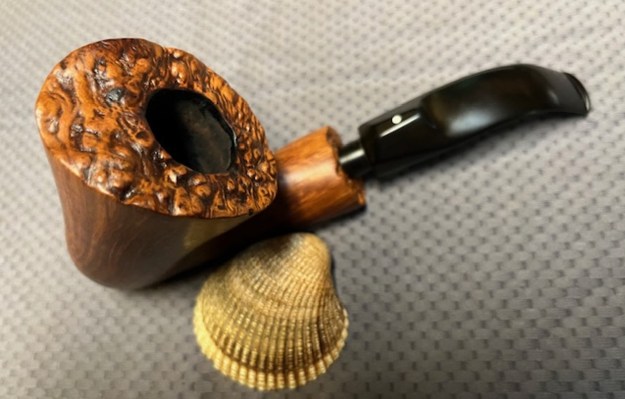
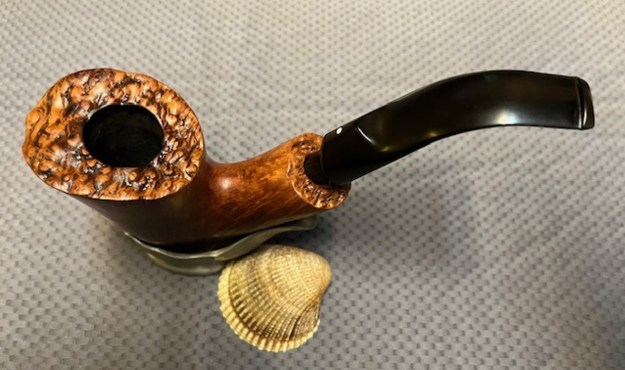
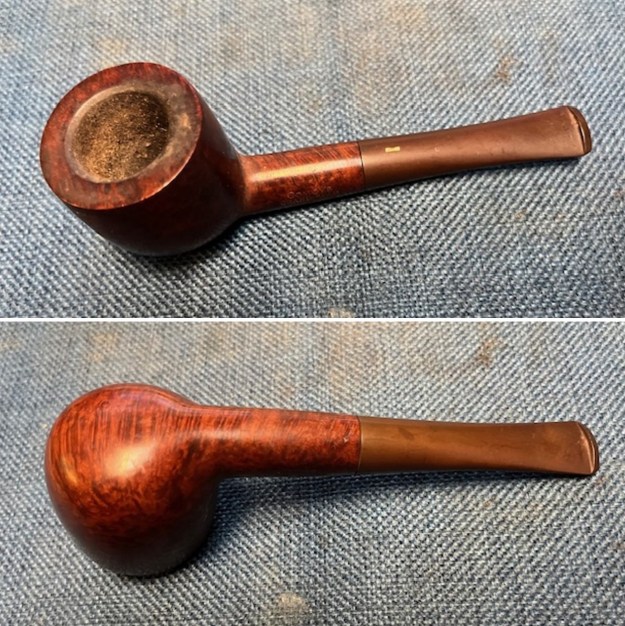
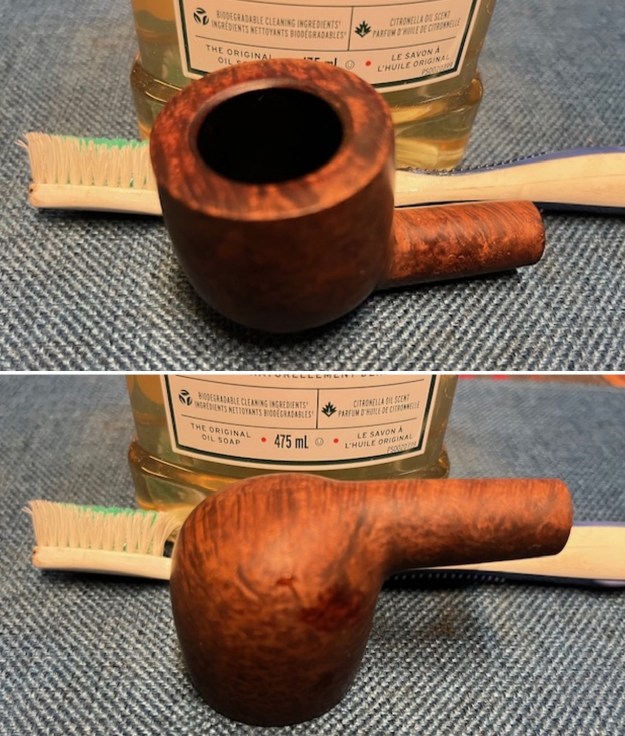
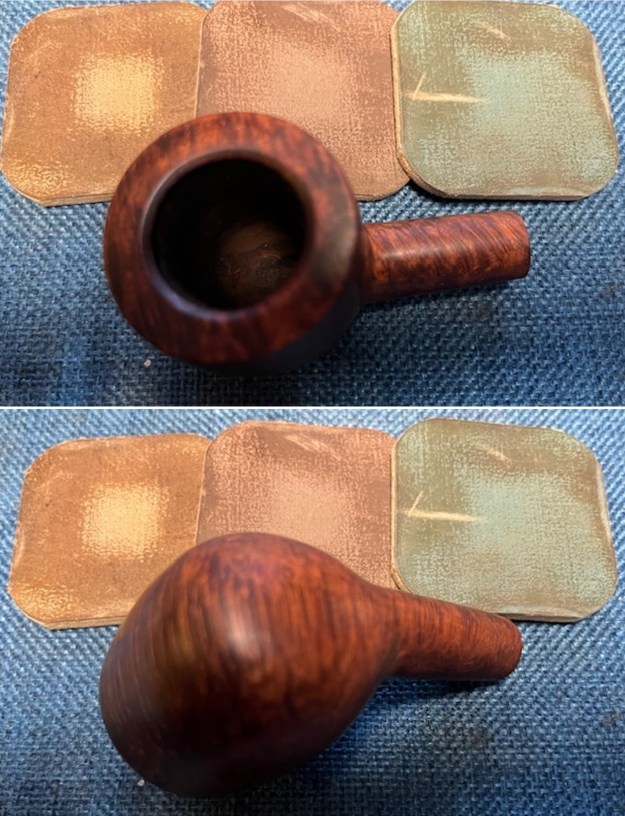
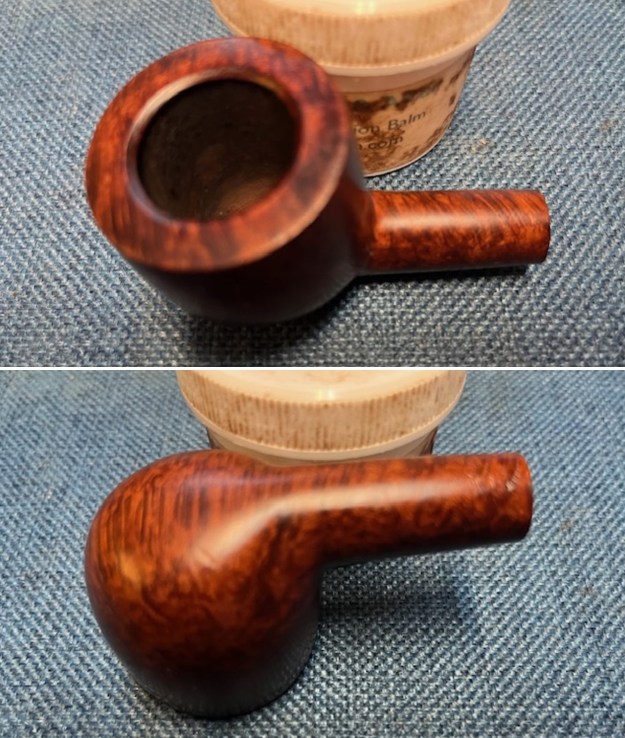
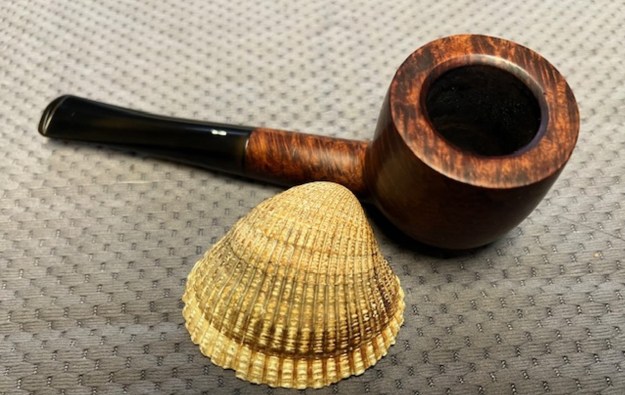
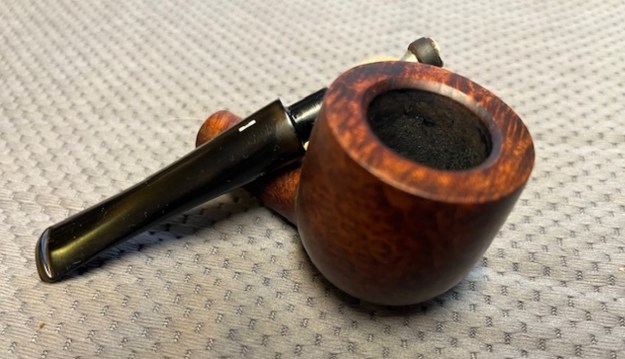
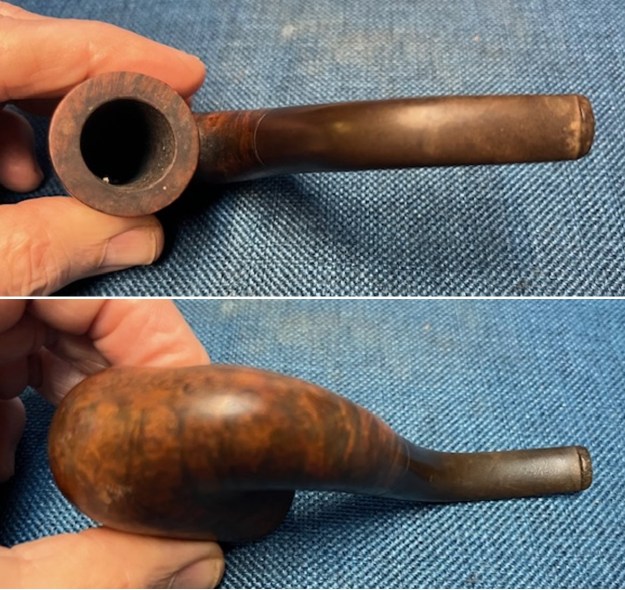
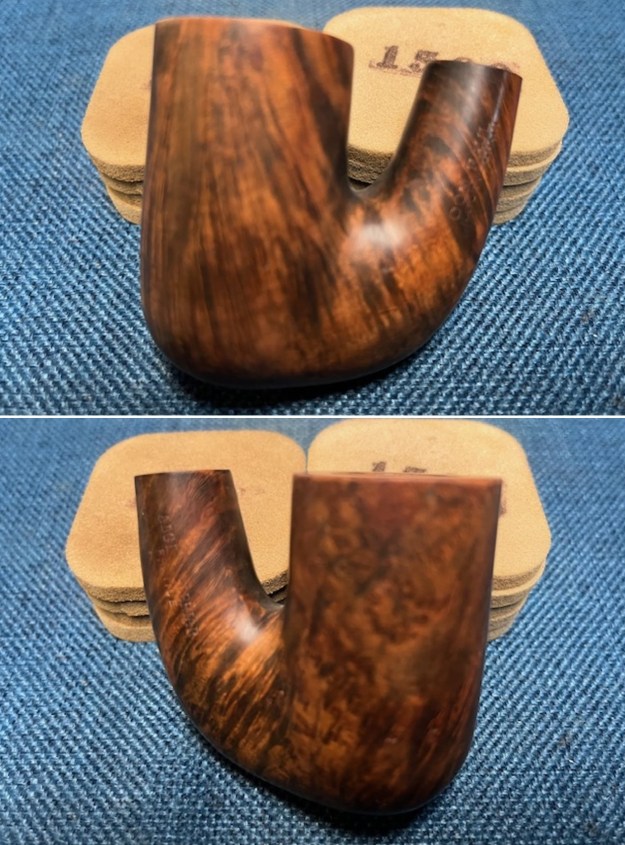
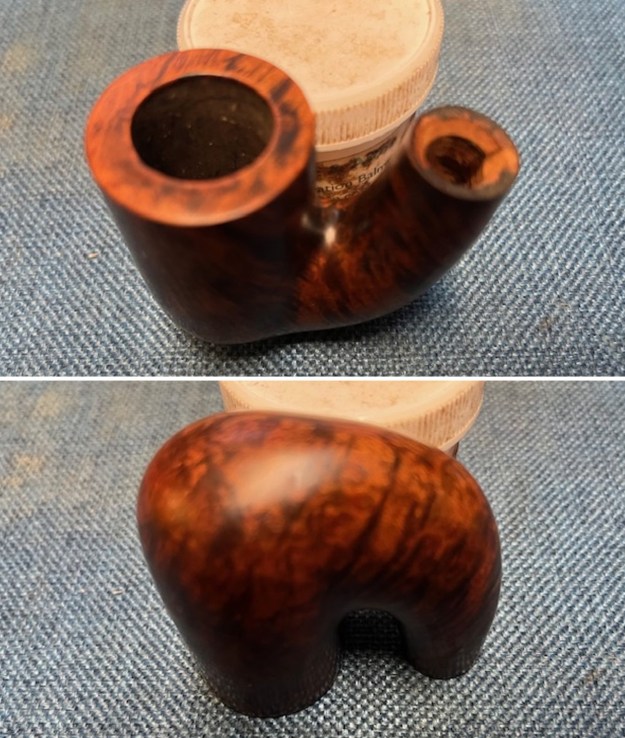
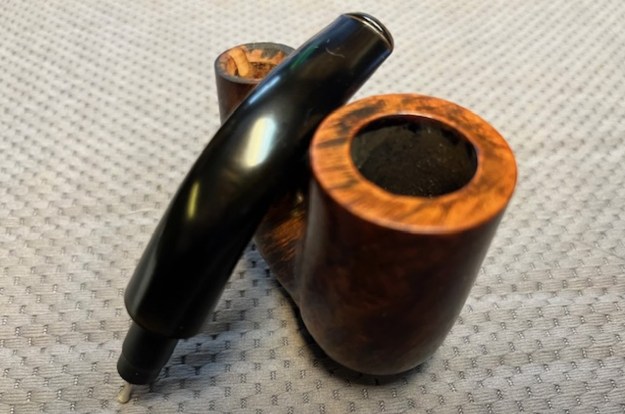
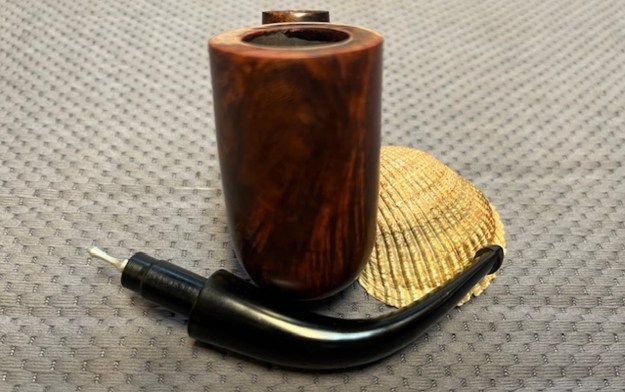
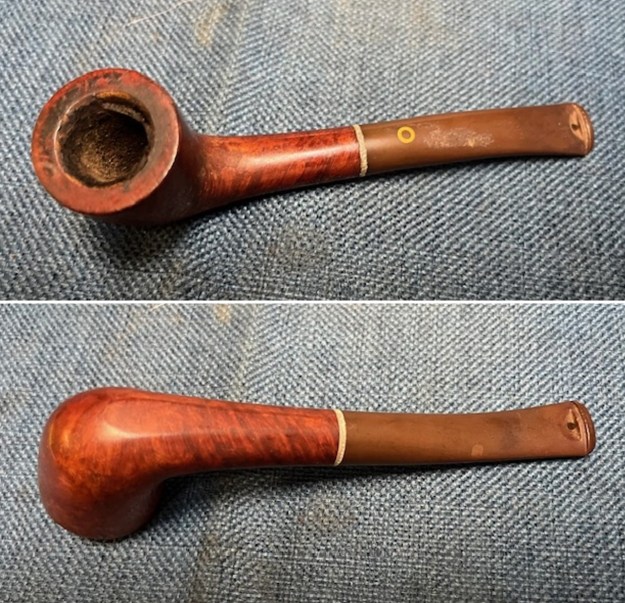
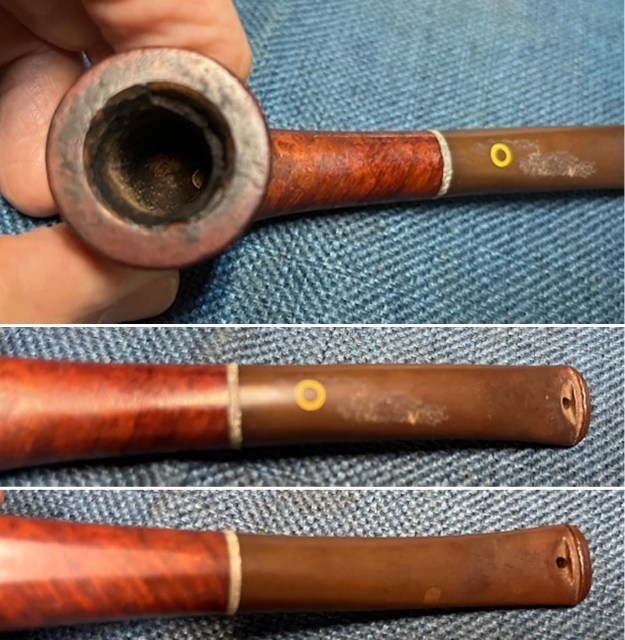
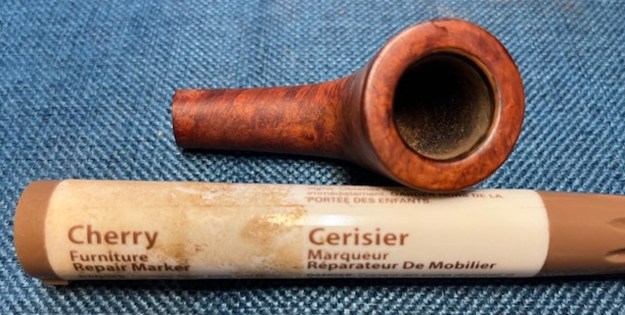
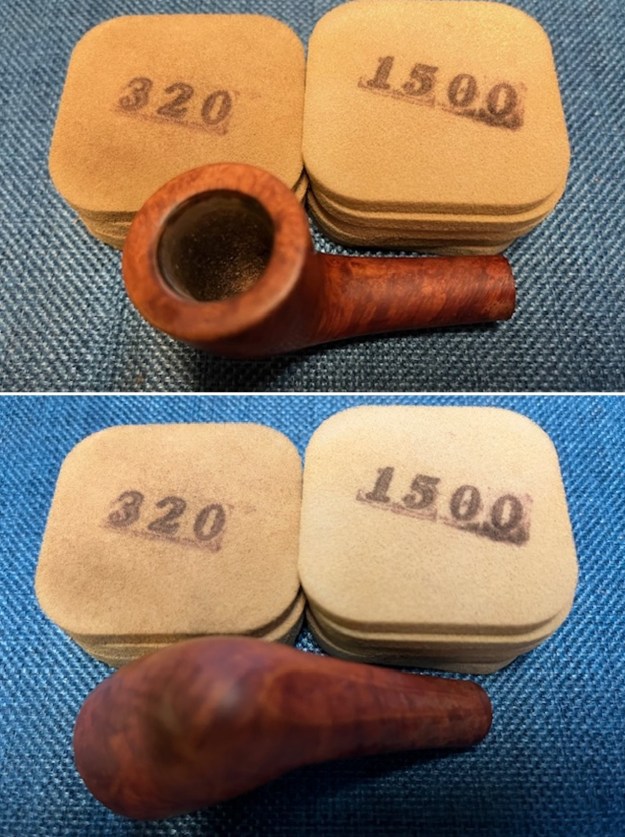
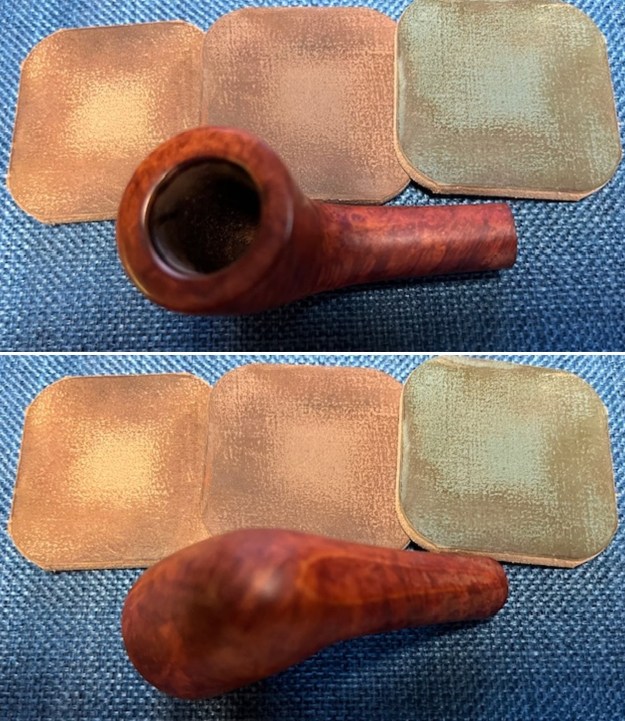
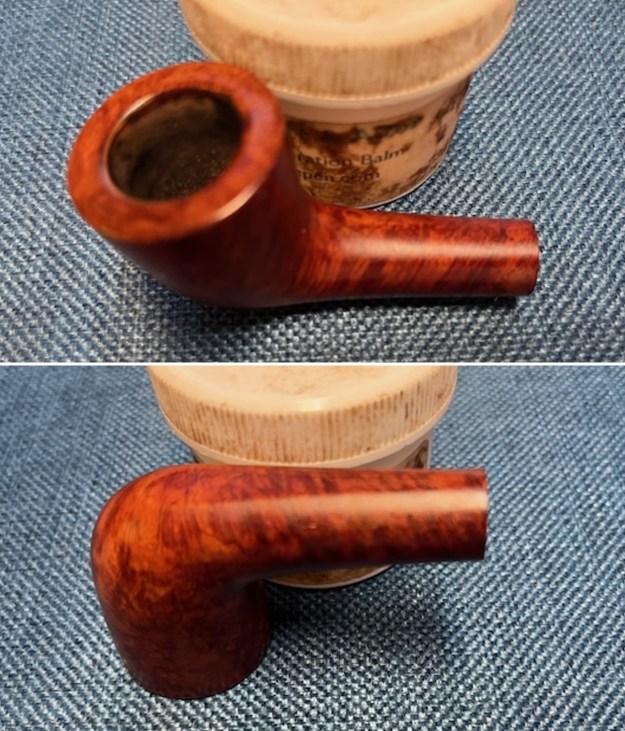
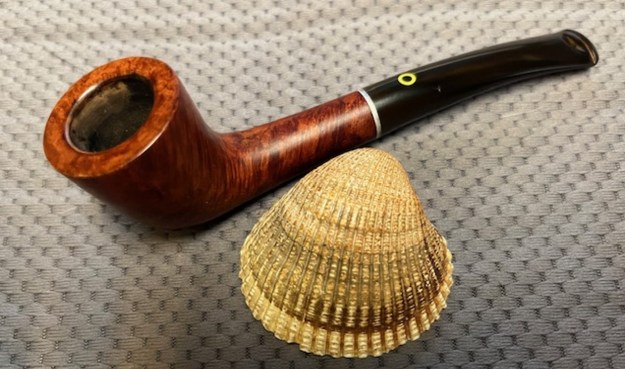
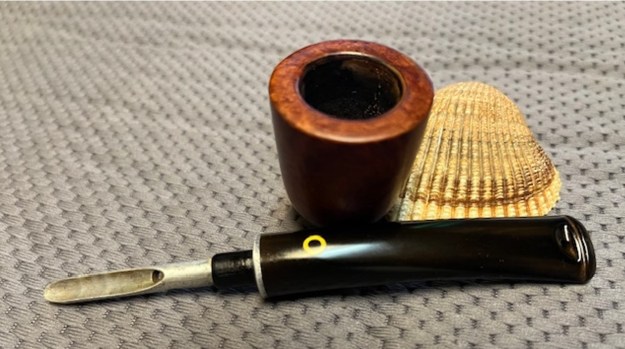
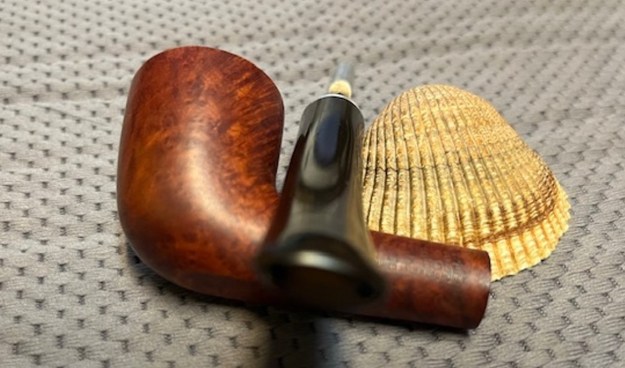
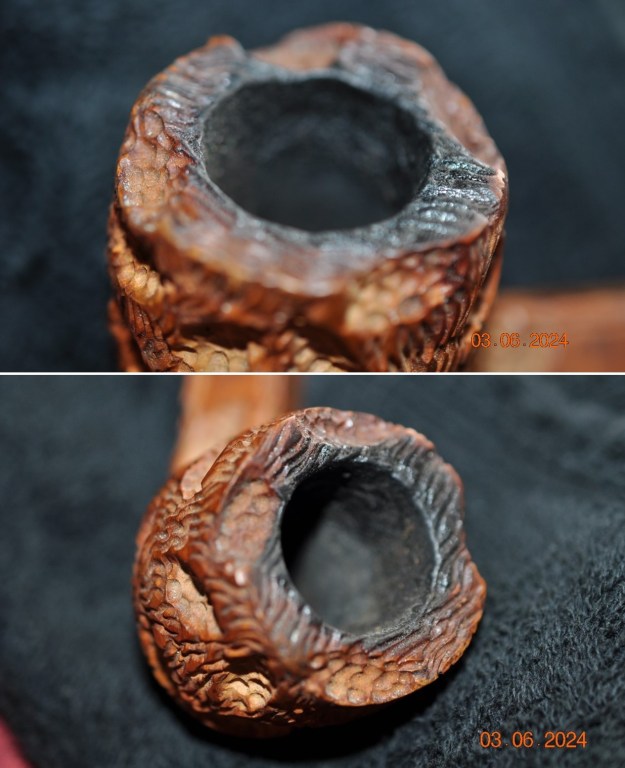
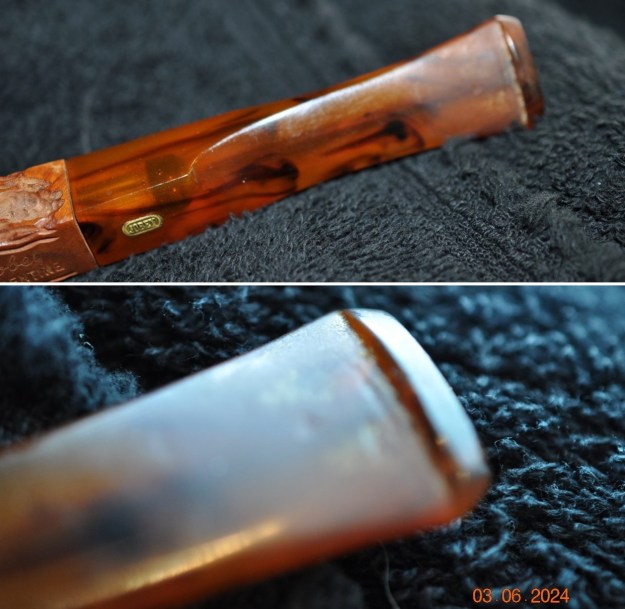
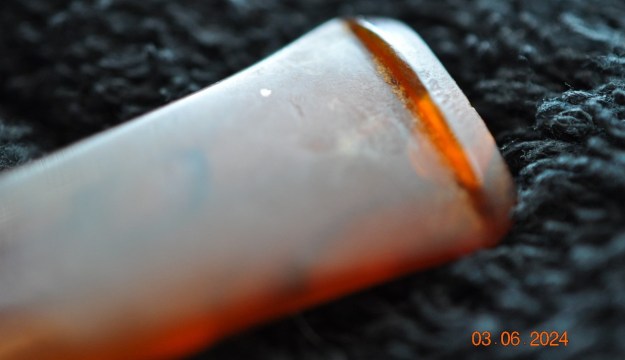
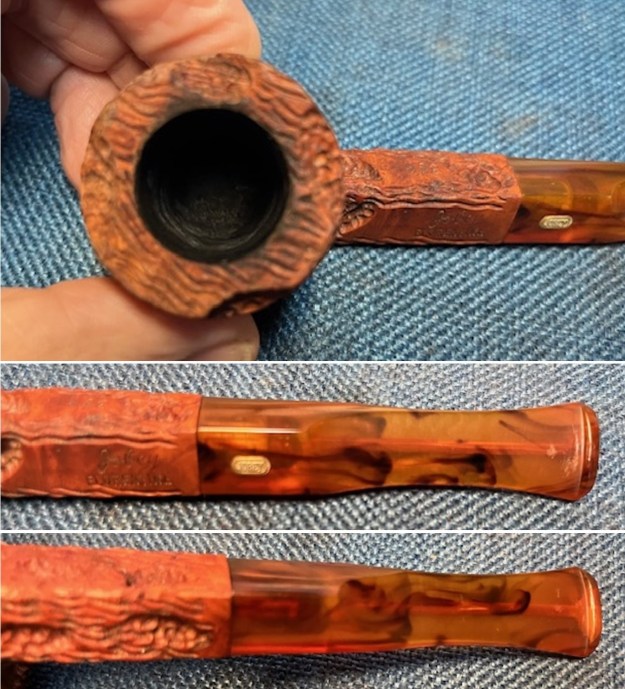
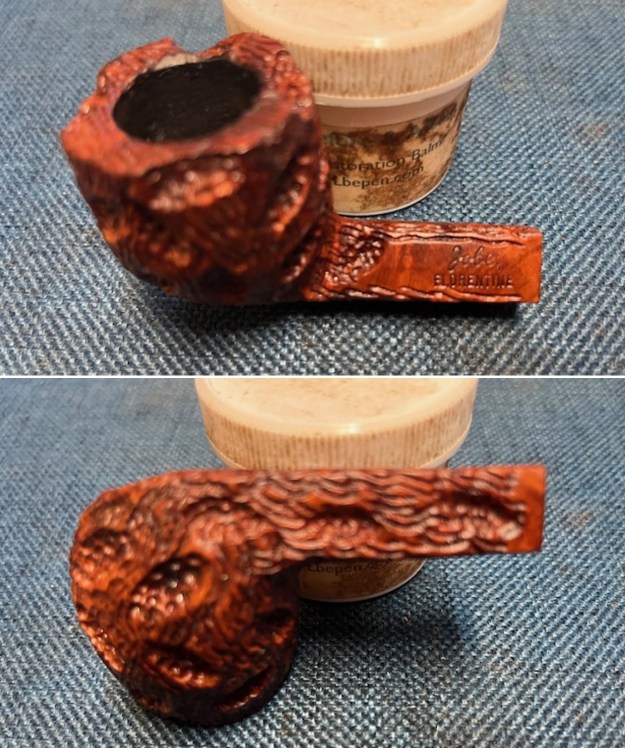
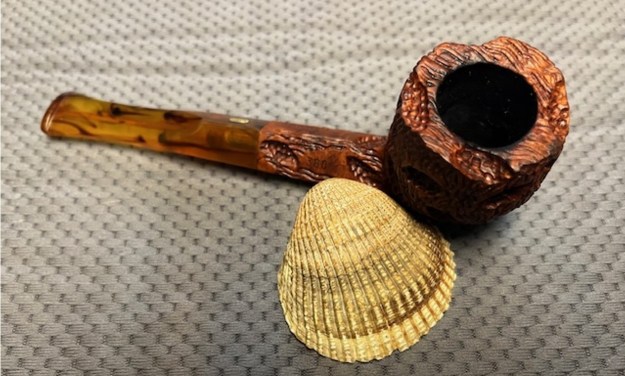
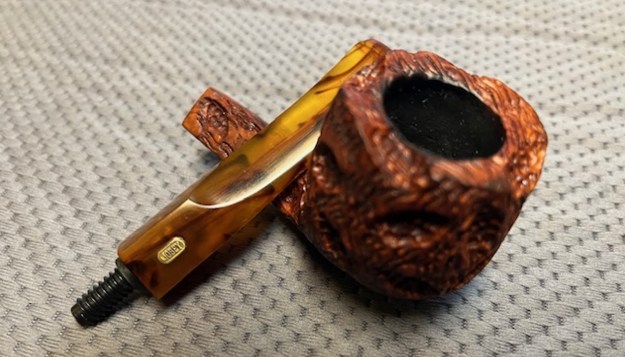
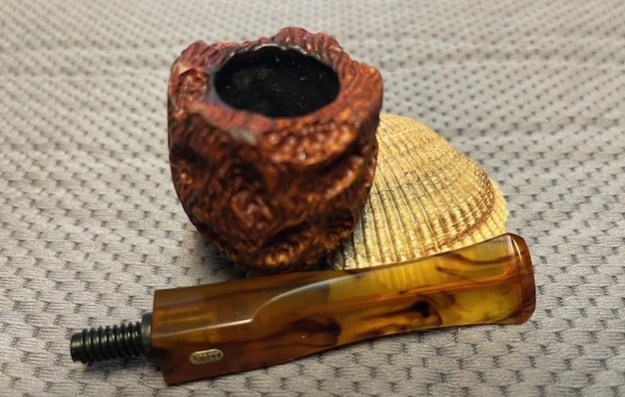
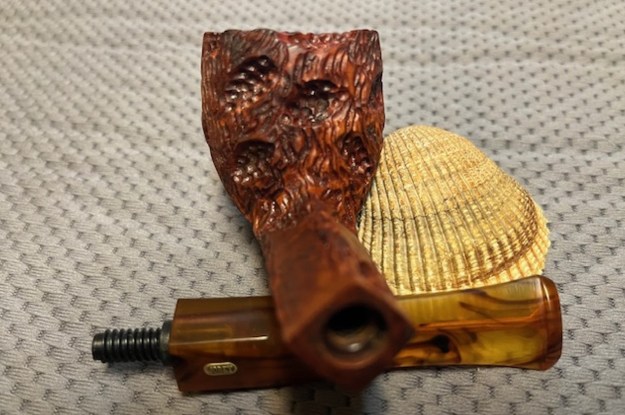
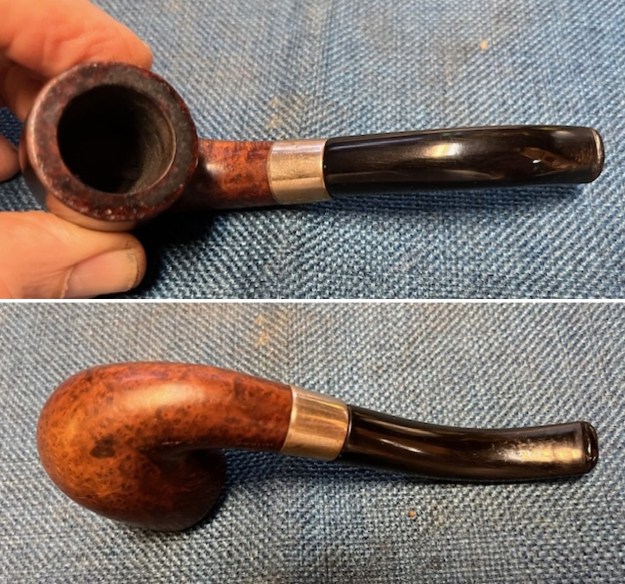
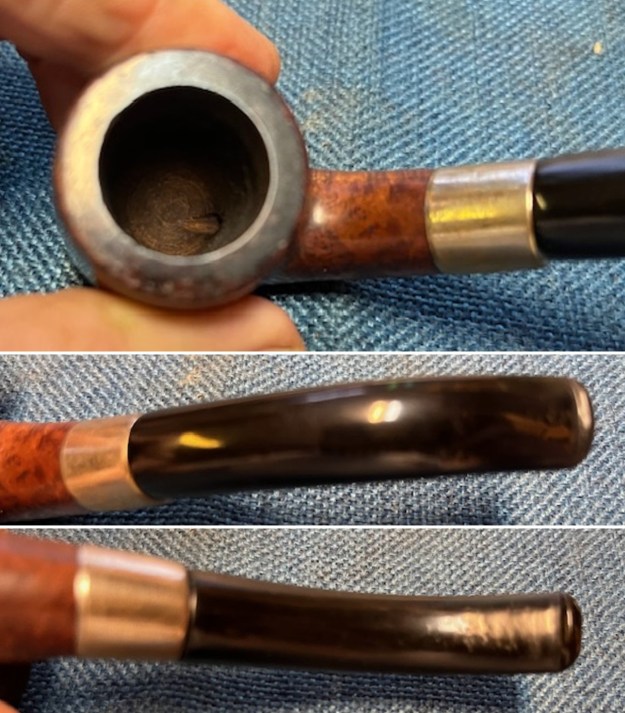
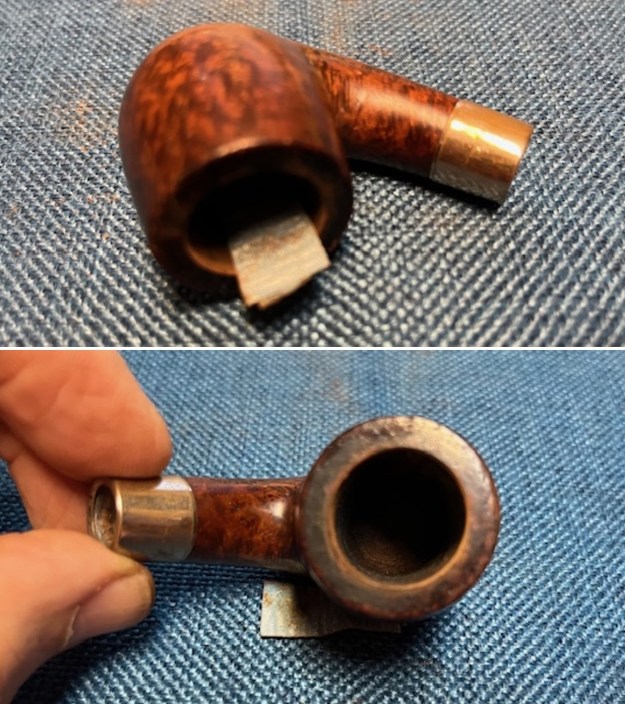
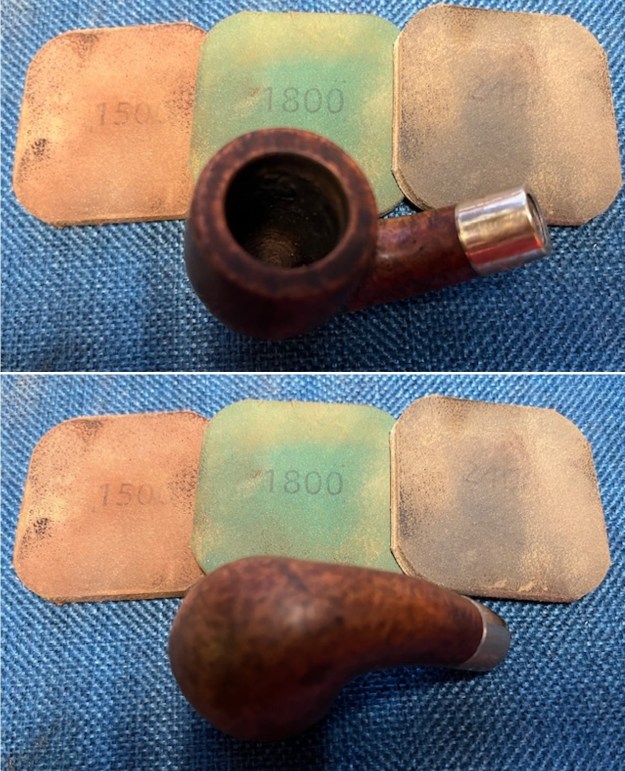
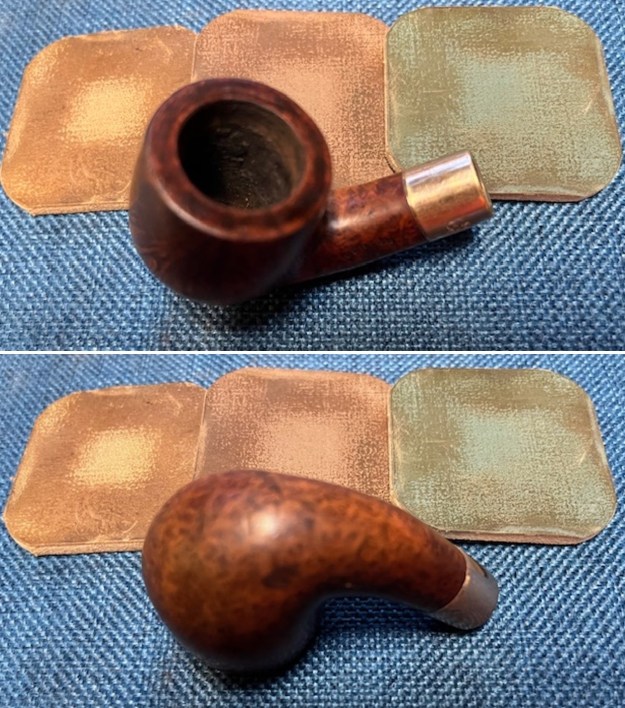
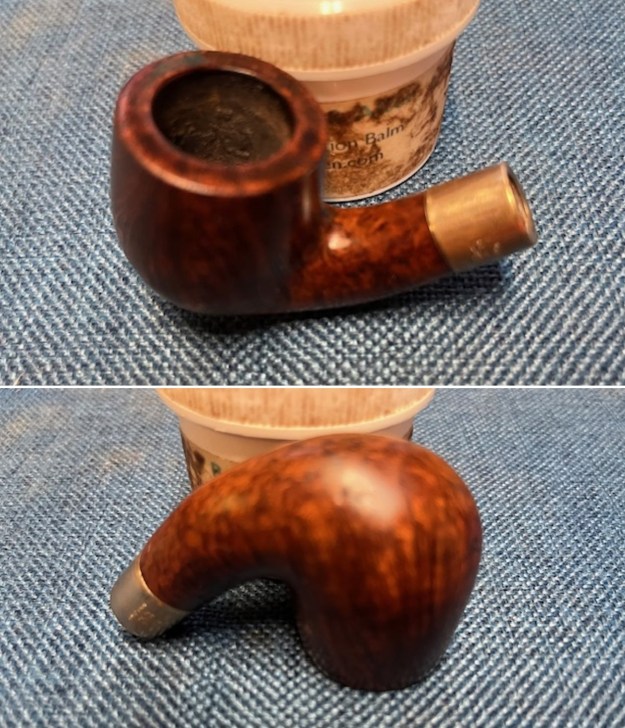
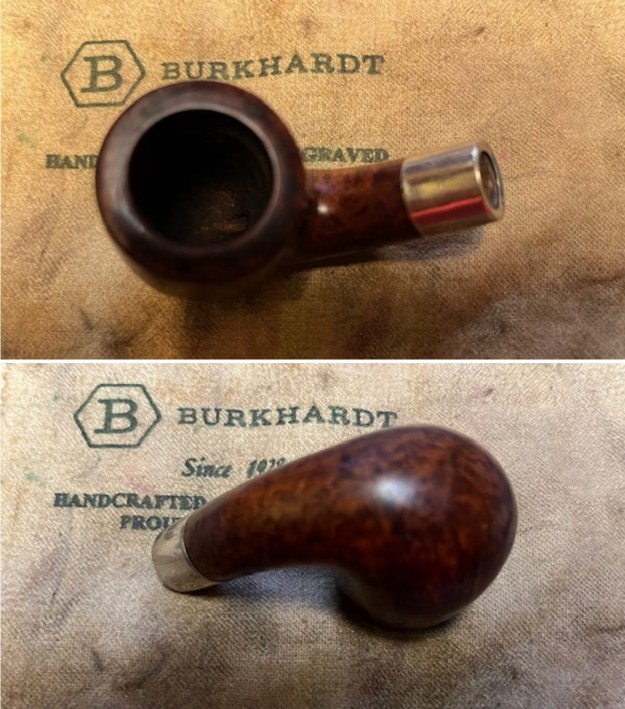
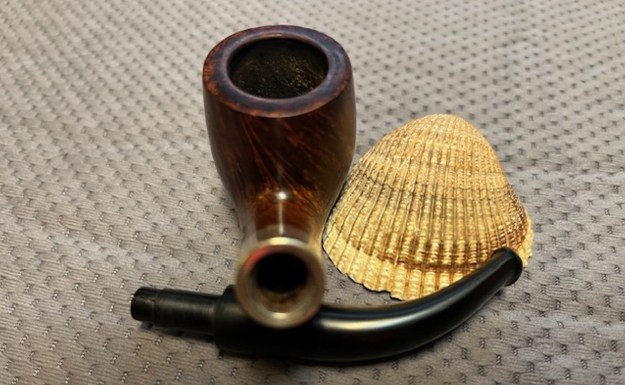
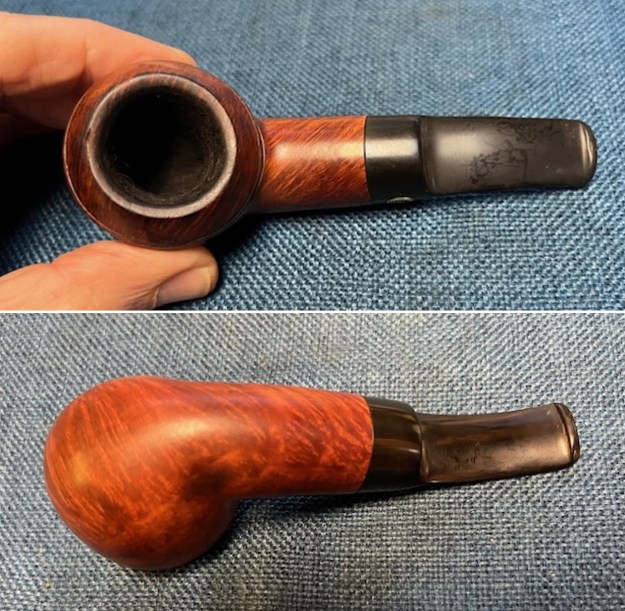
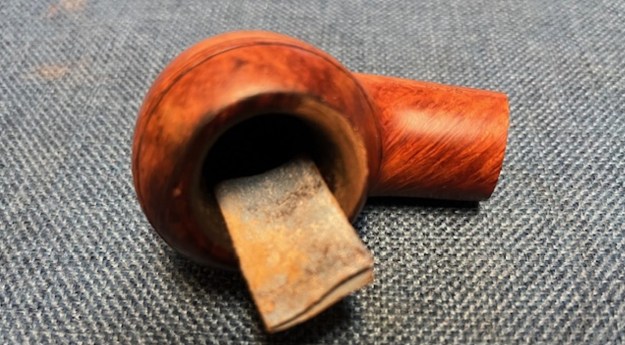
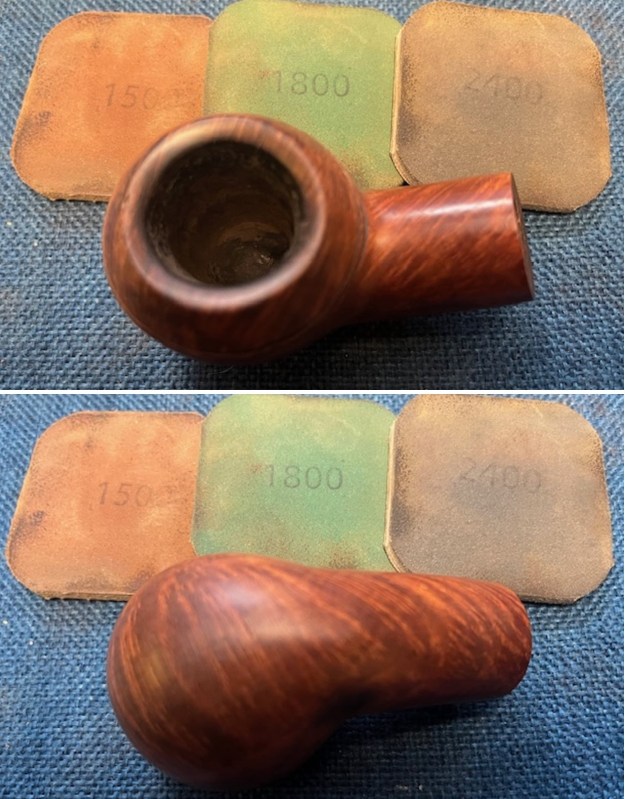
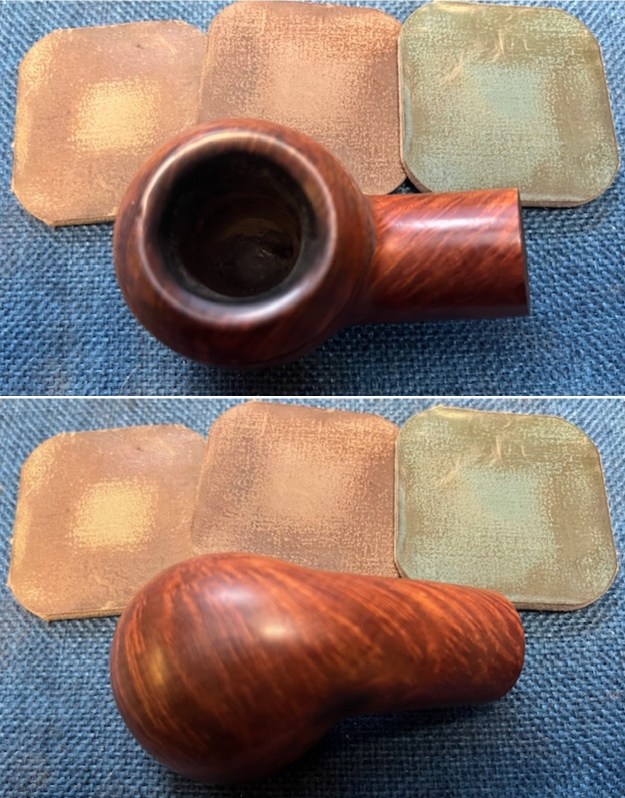
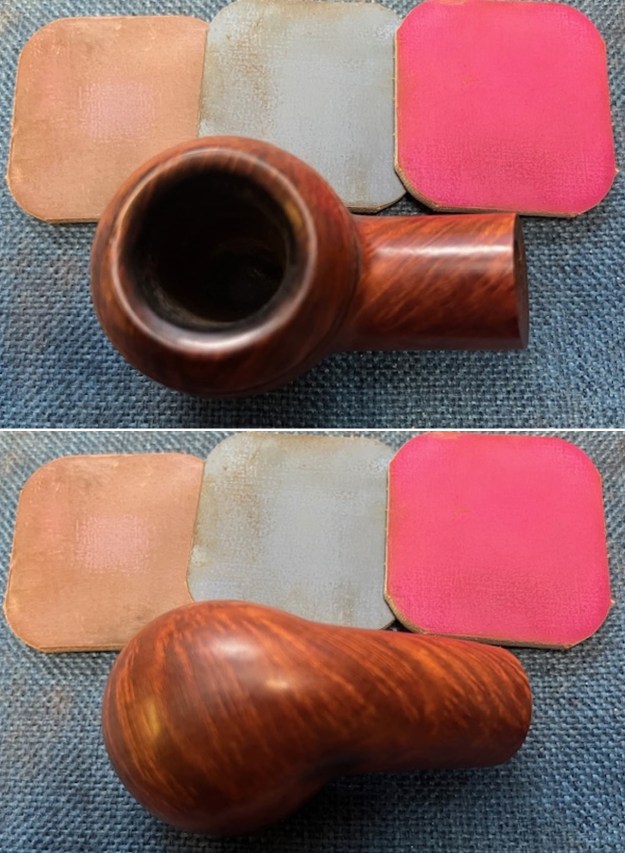
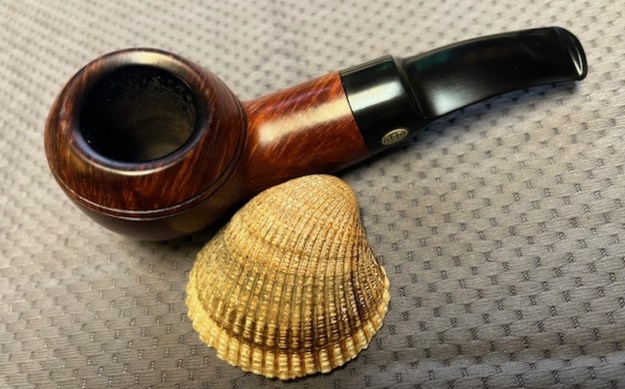
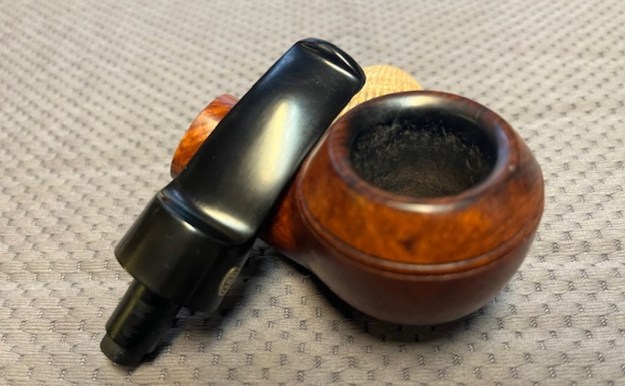
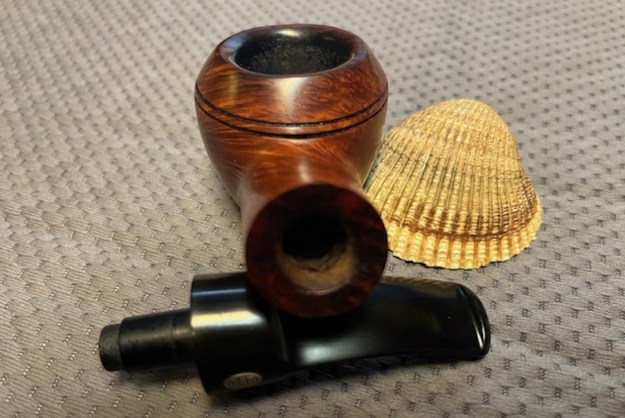
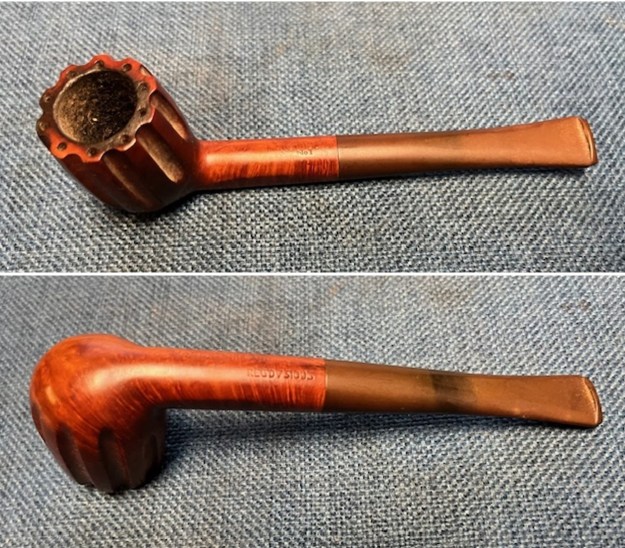
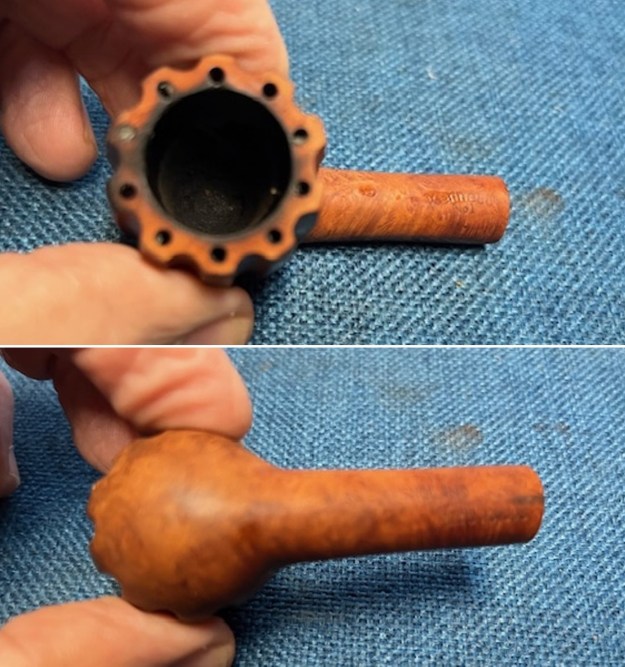
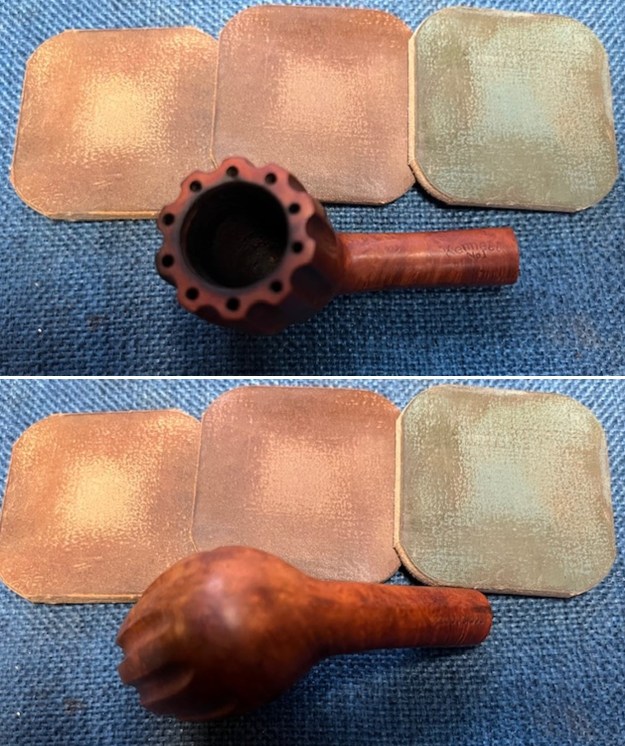
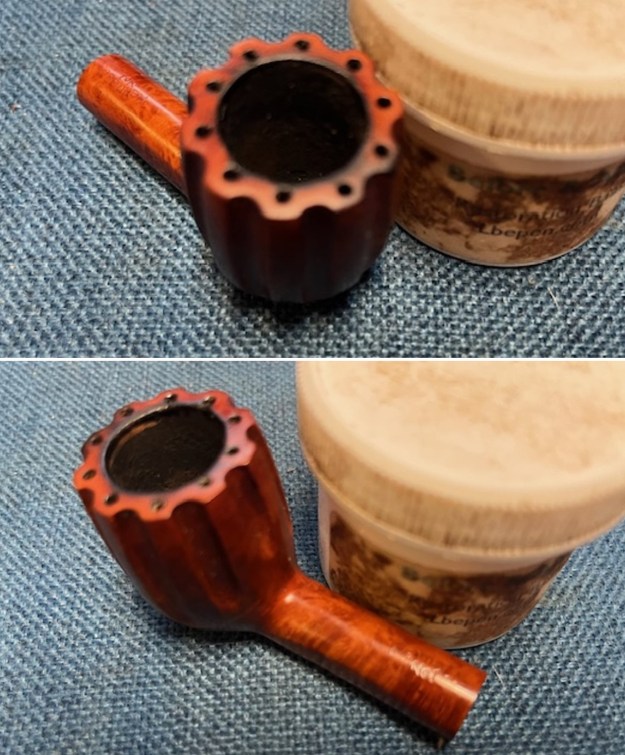
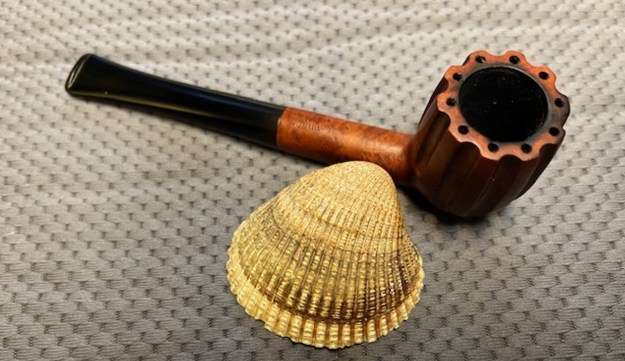
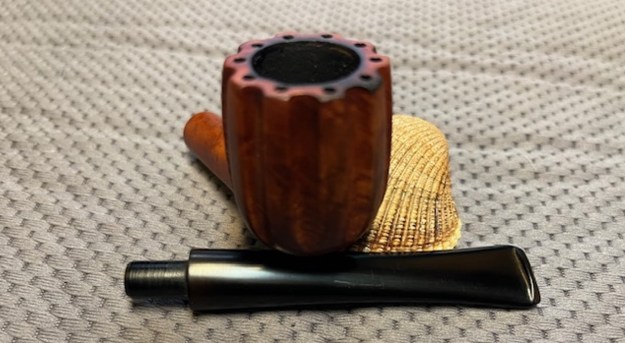
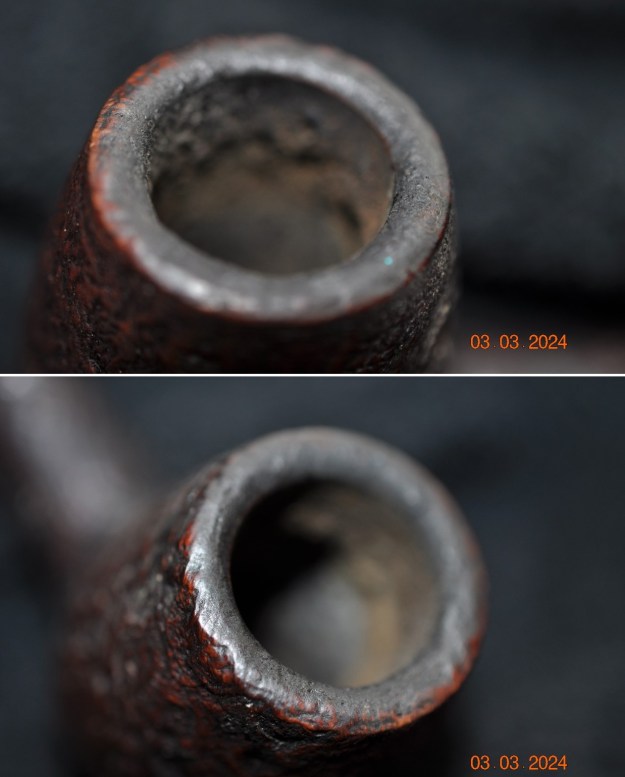
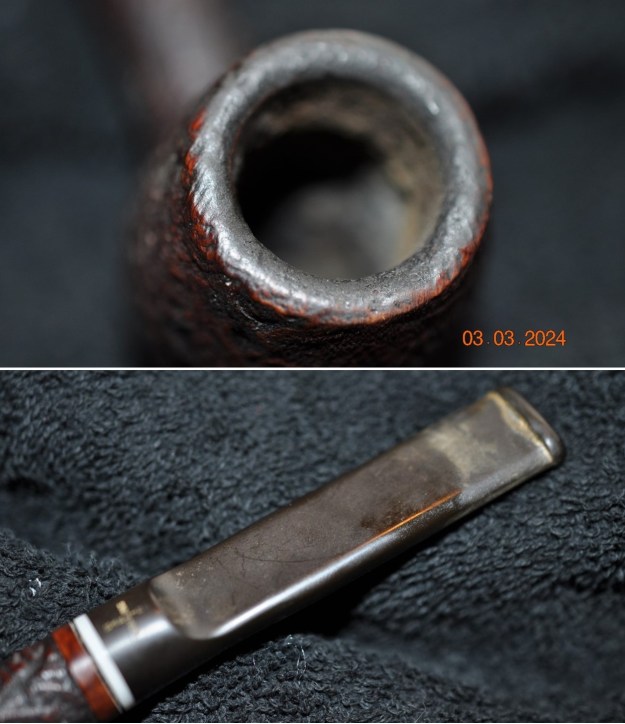
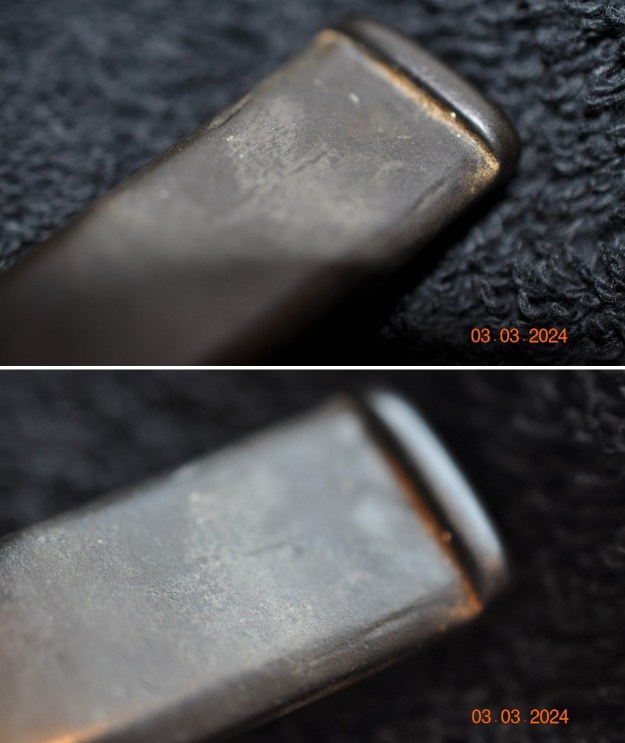
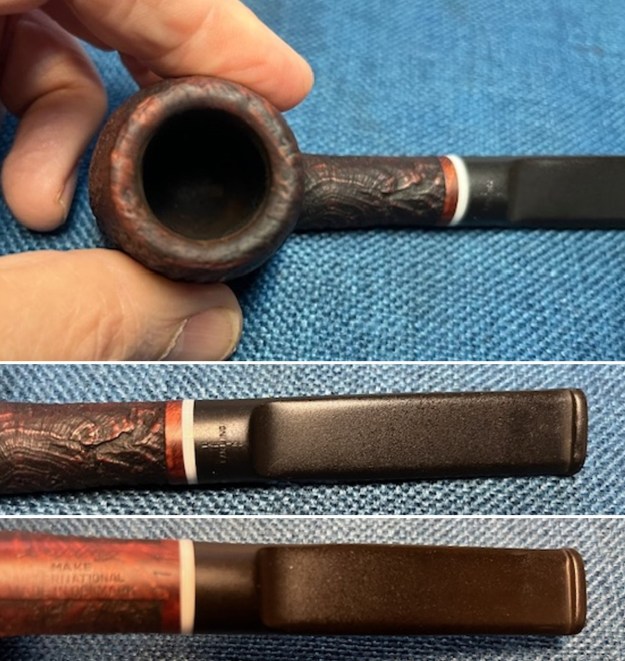
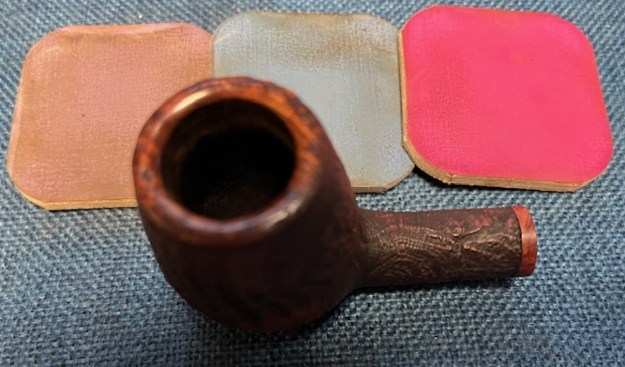
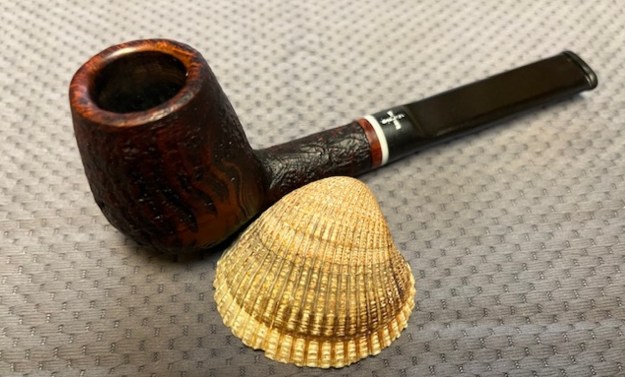
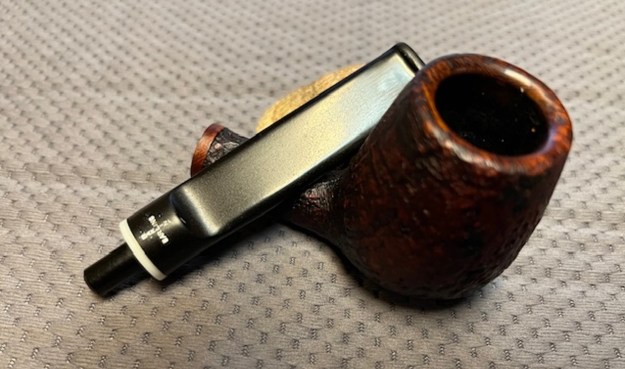
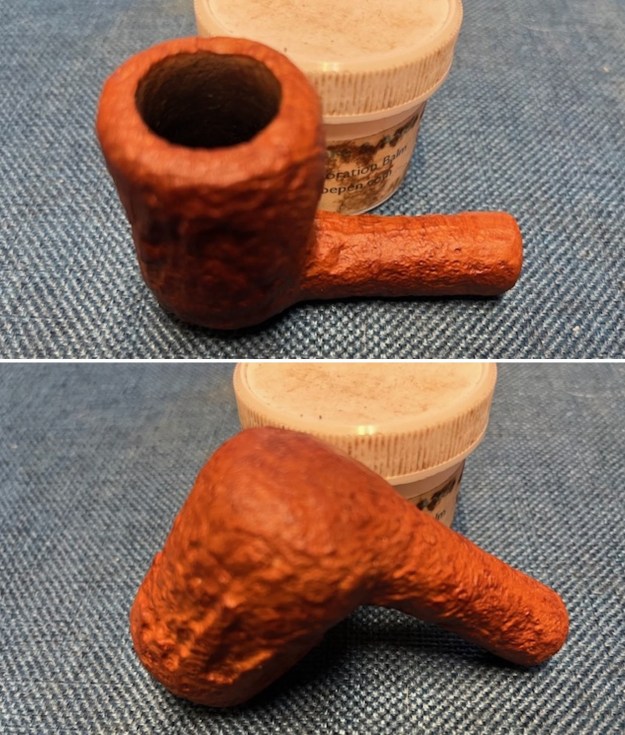
 I took a photo of the rim top and bowl to show the condition of both of them. There is a light cake in the bowl and it is clean. The rim top is very clean with a light sandblast. There is no damage on the top or the inner edge. The photos of the stem show the oxidation and tooth marks/chatter on both sides ahead of the button.
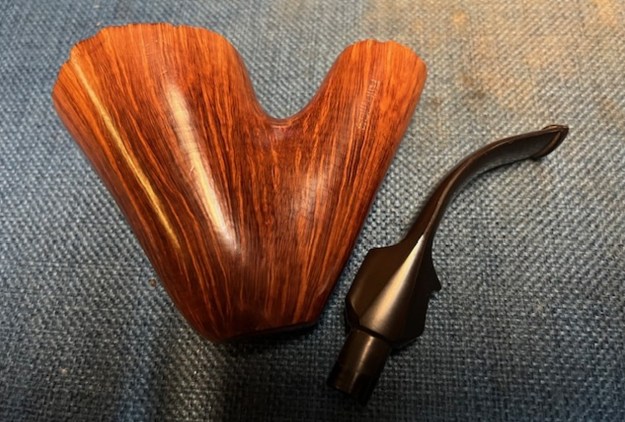
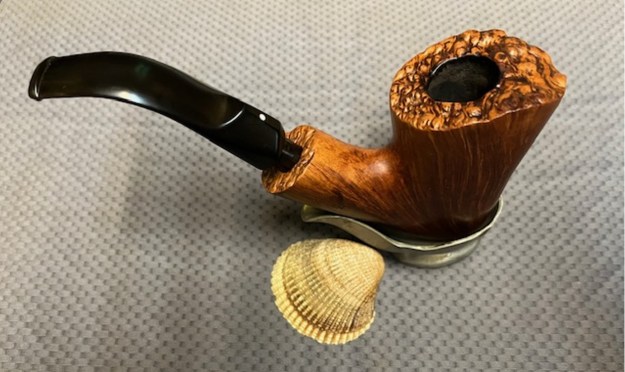
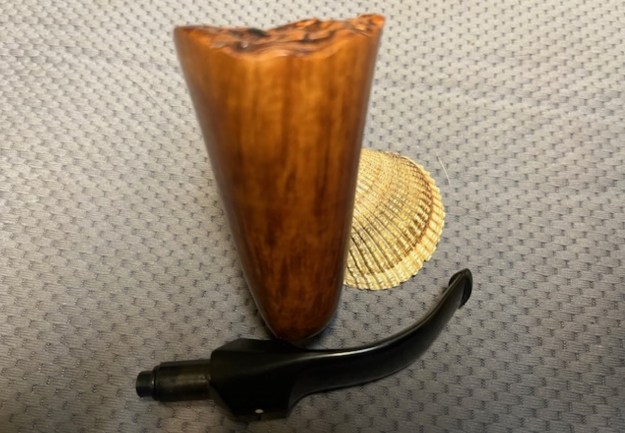
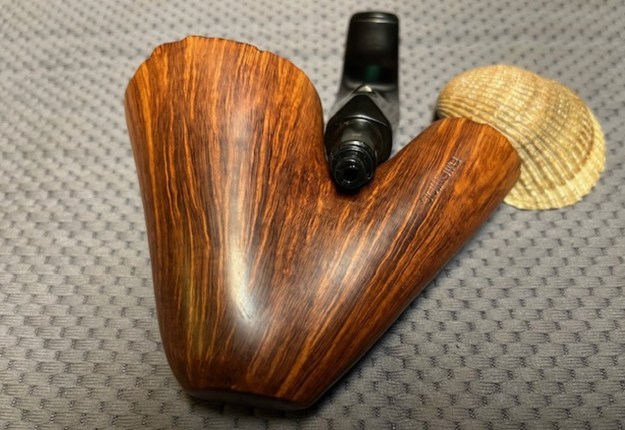
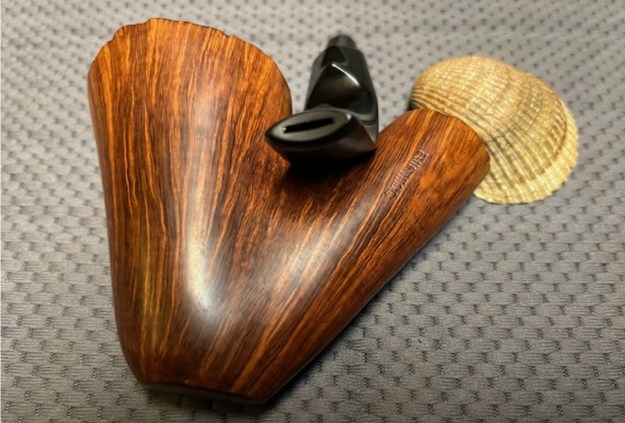
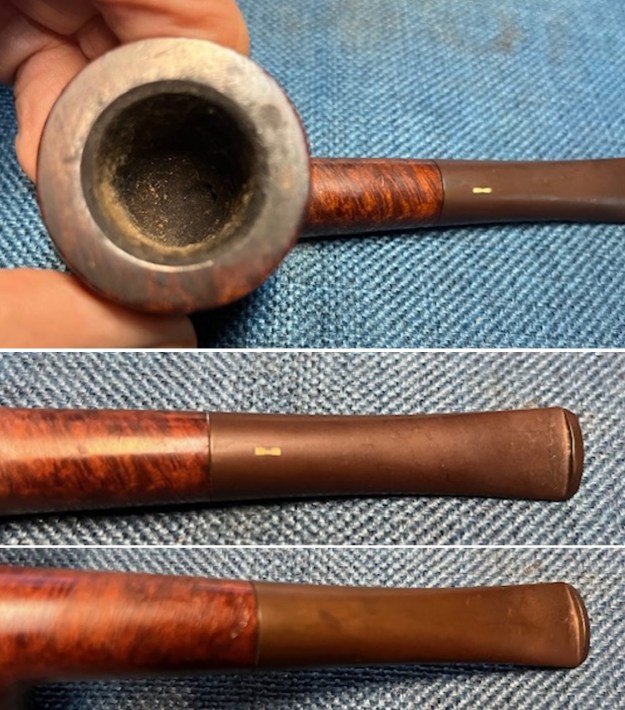
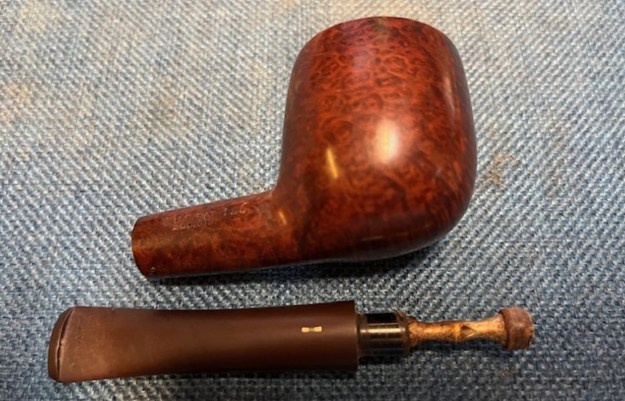
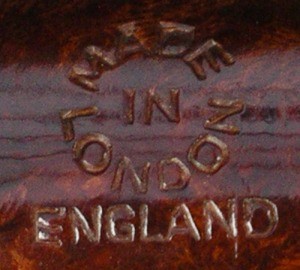
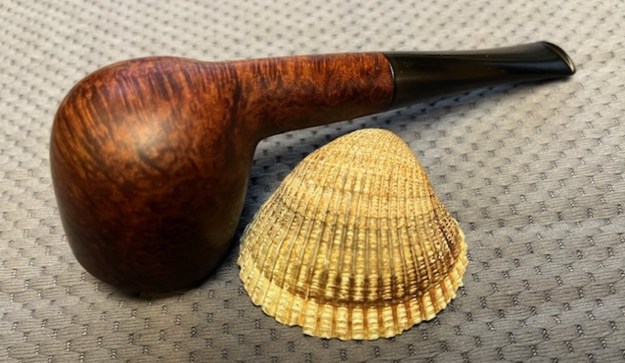
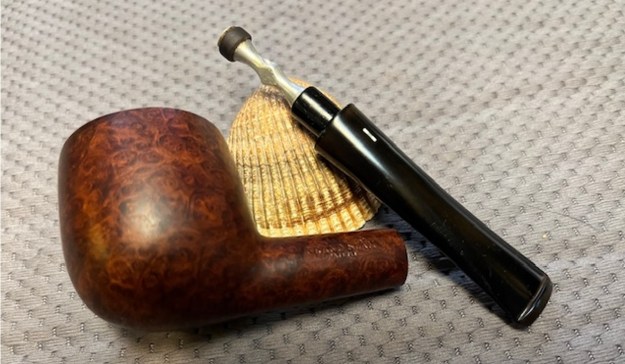
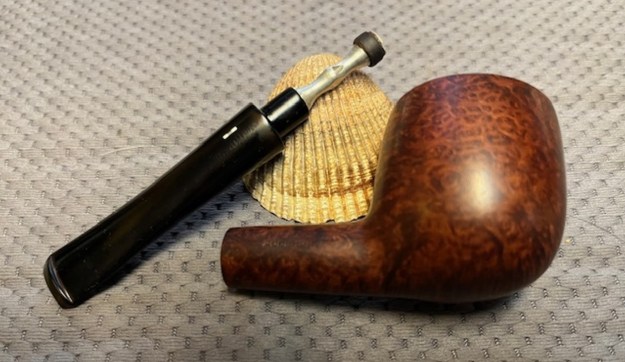
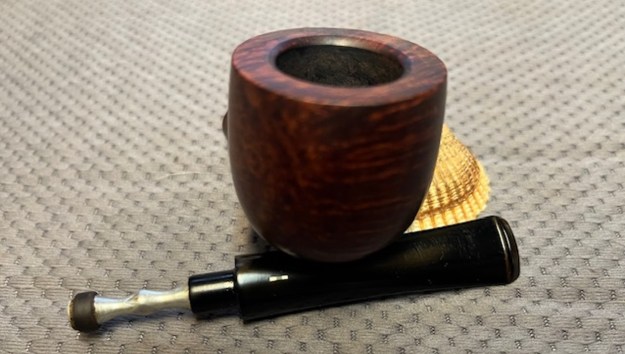
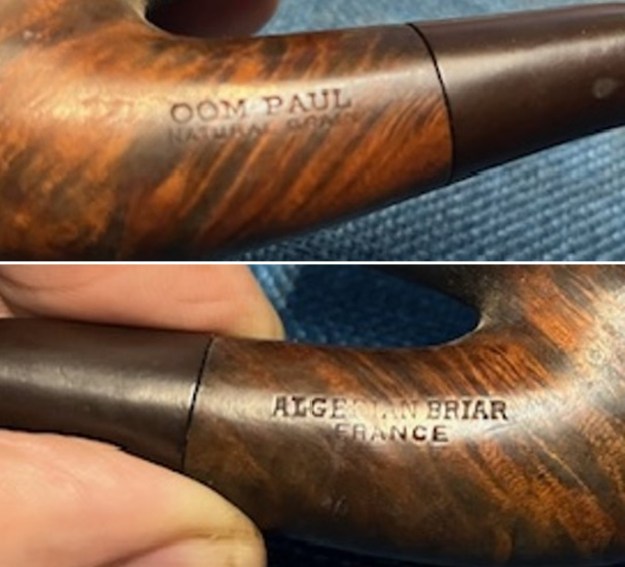
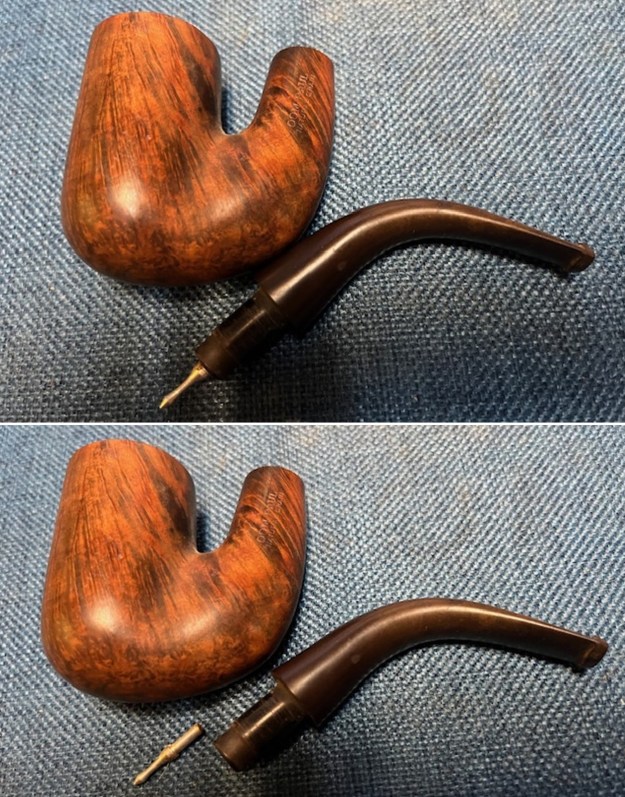
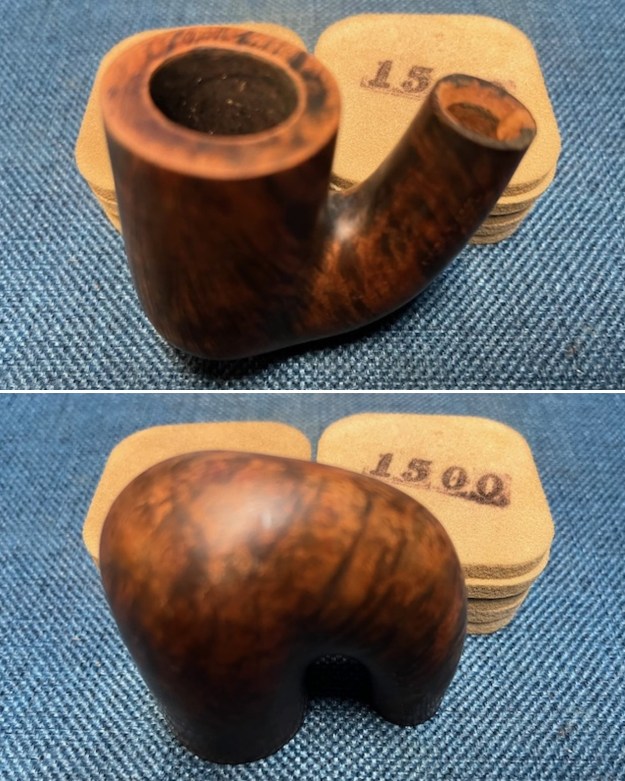
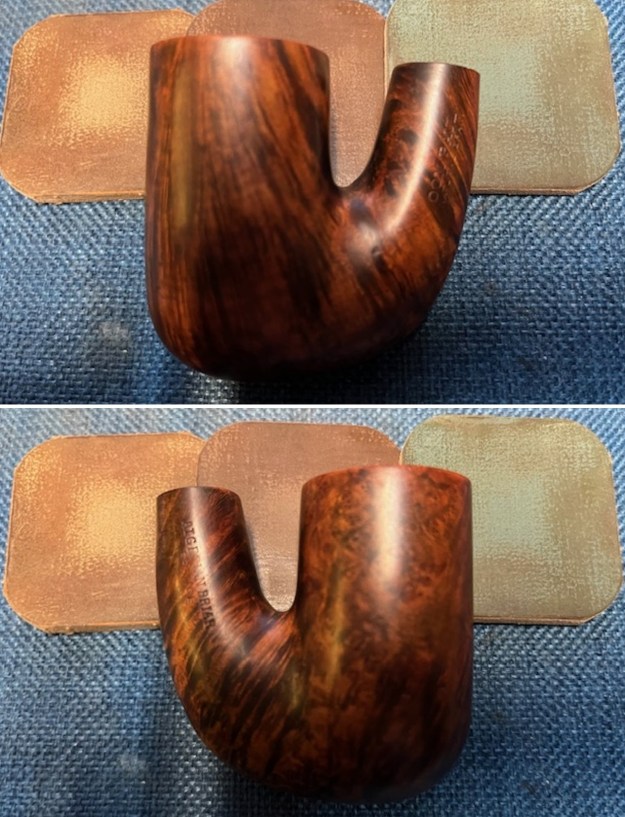
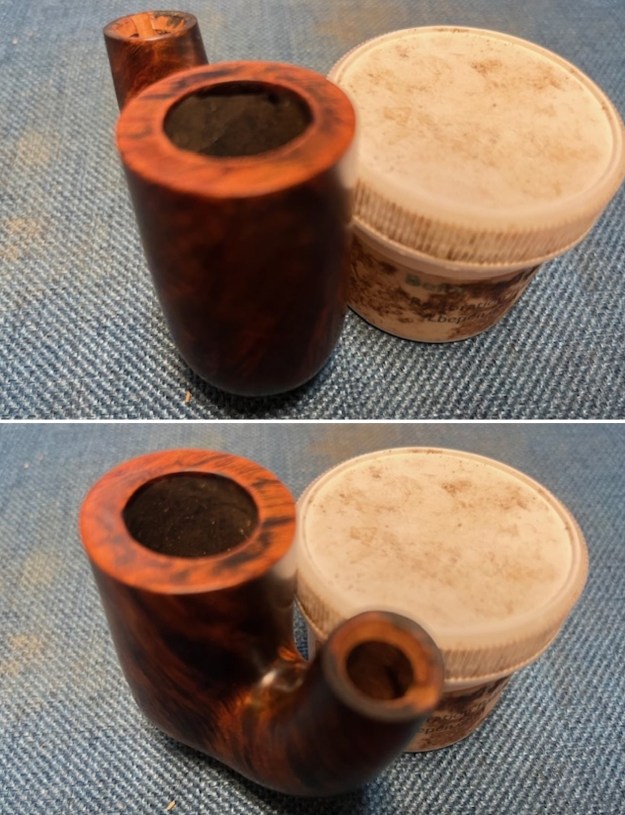
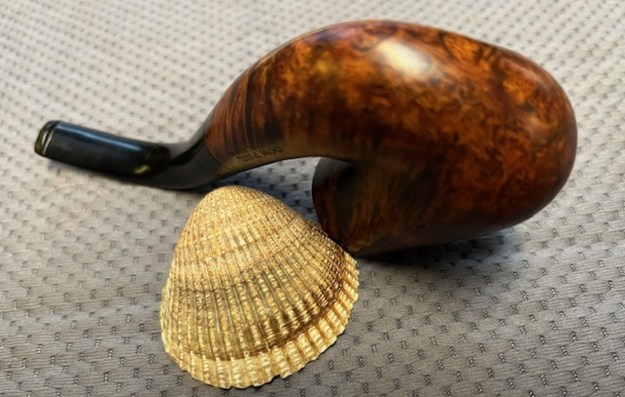
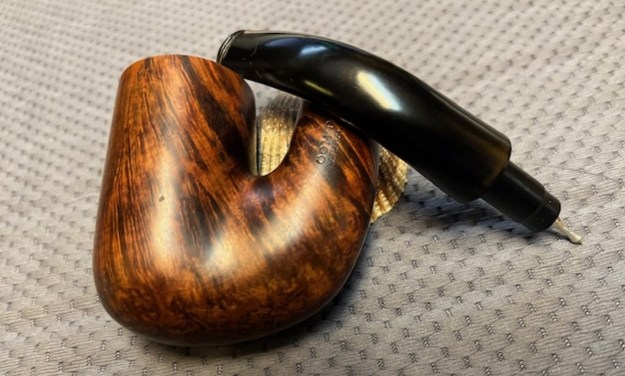
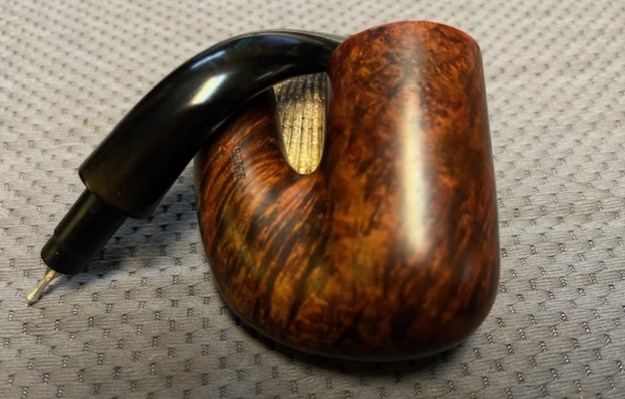
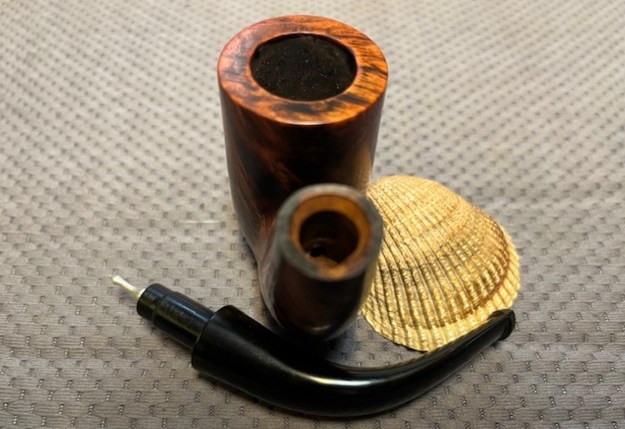
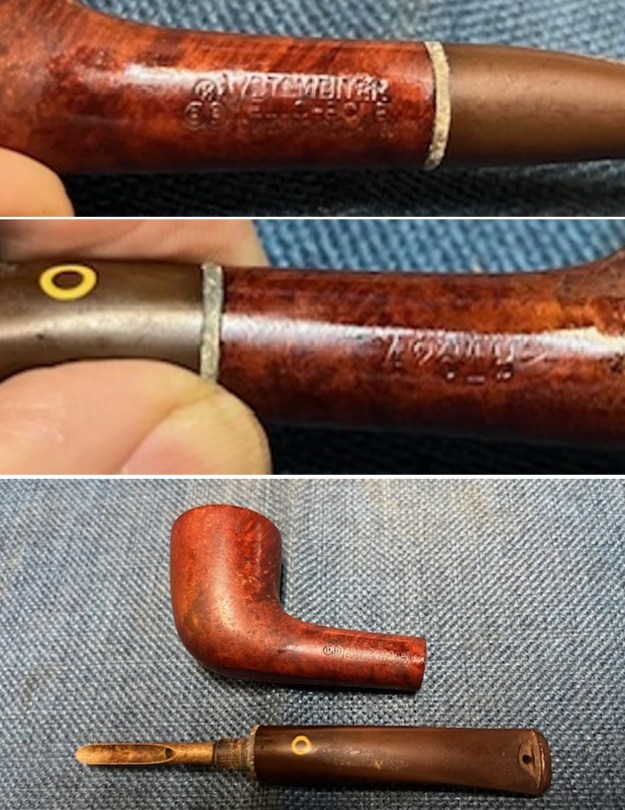
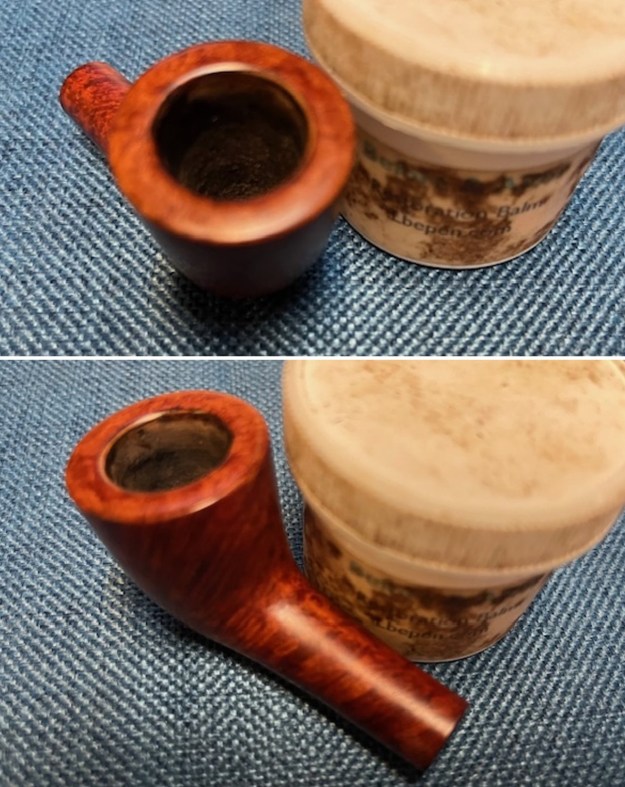
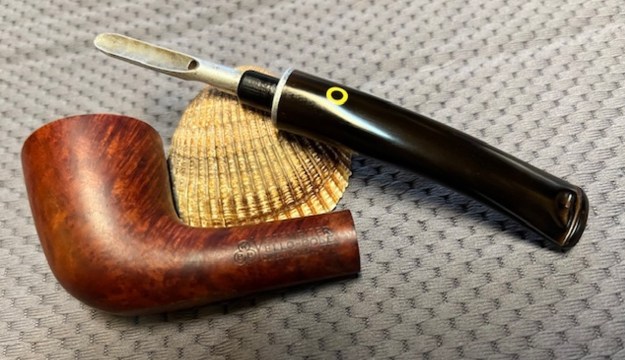
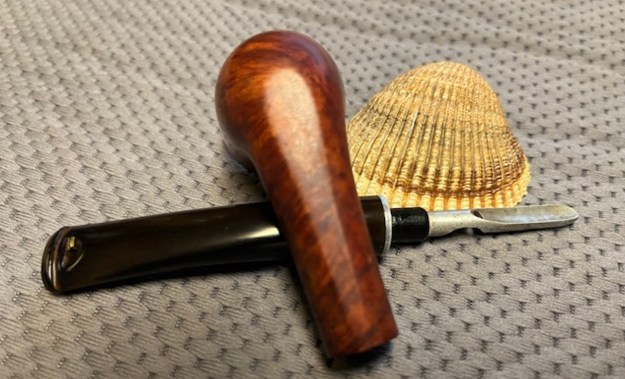
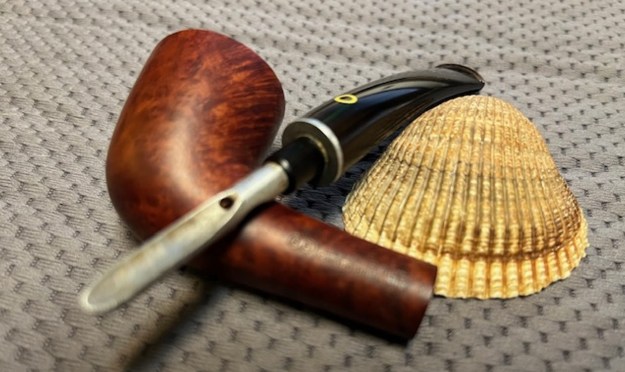
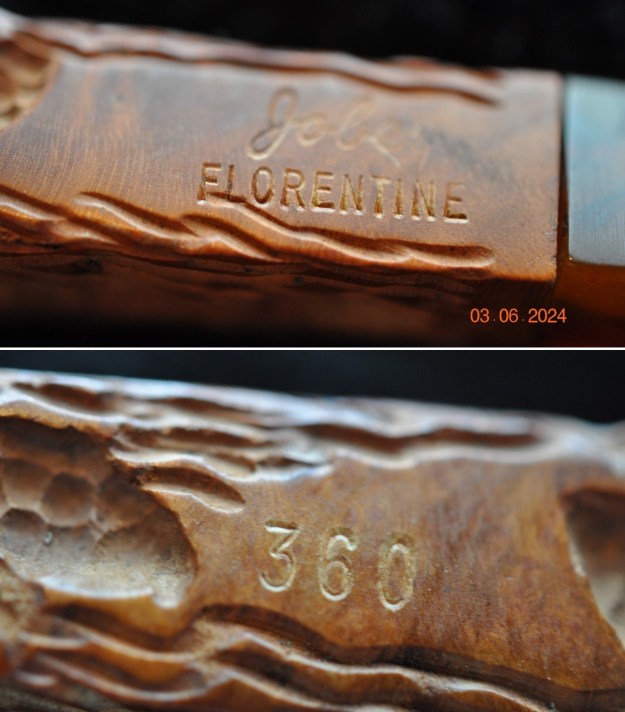
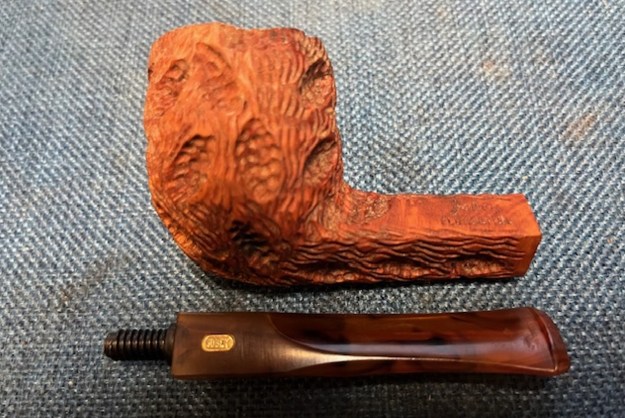
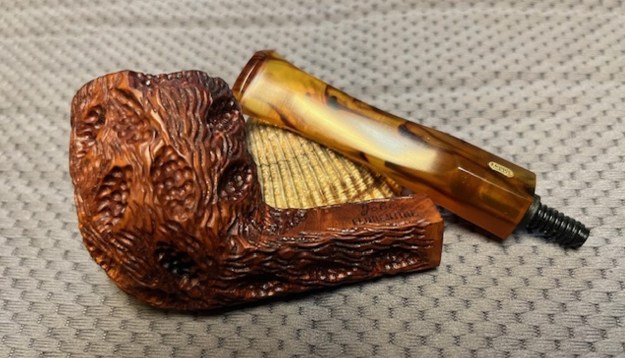
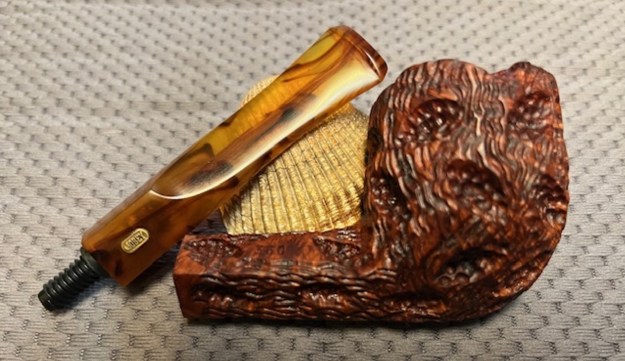
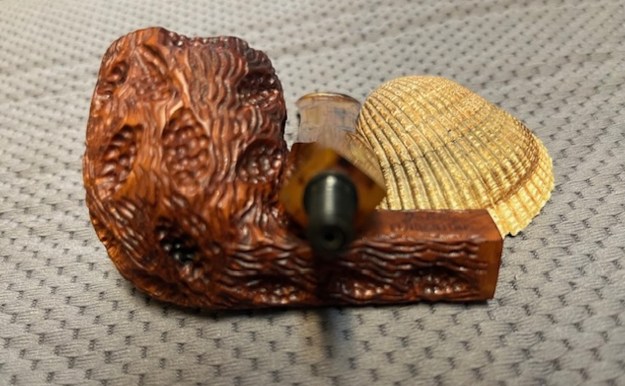
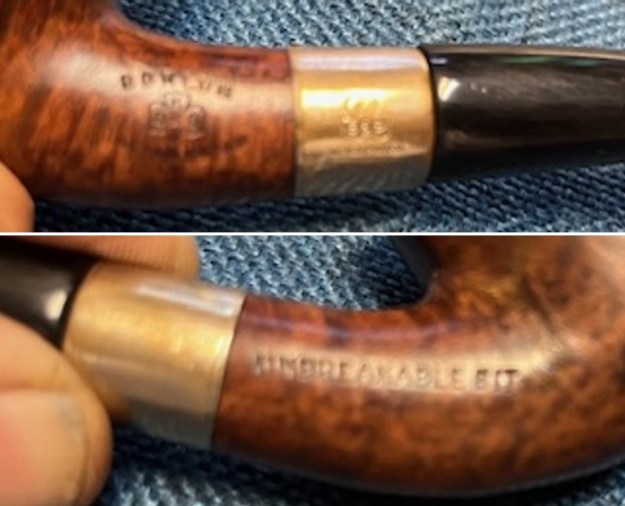
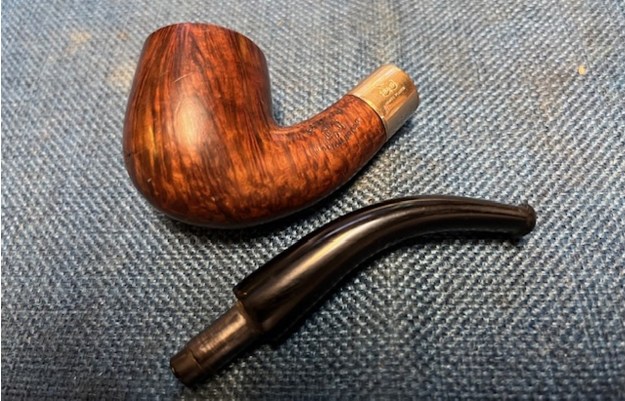
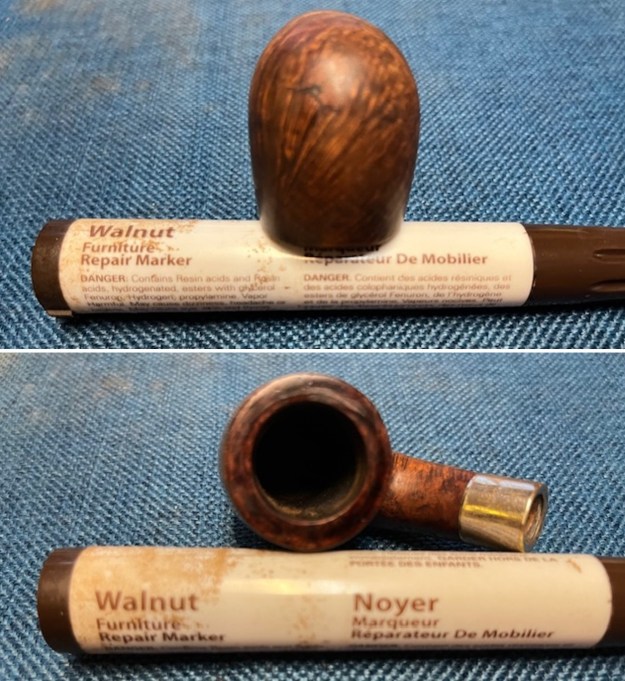
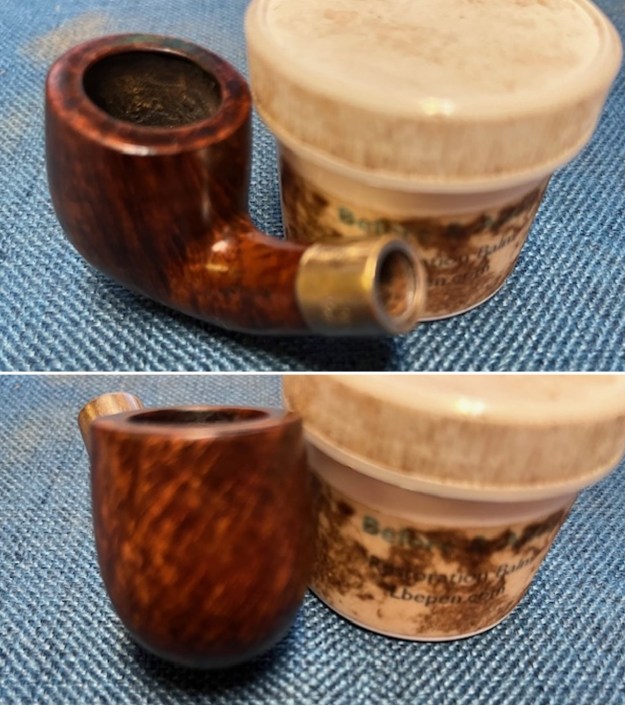
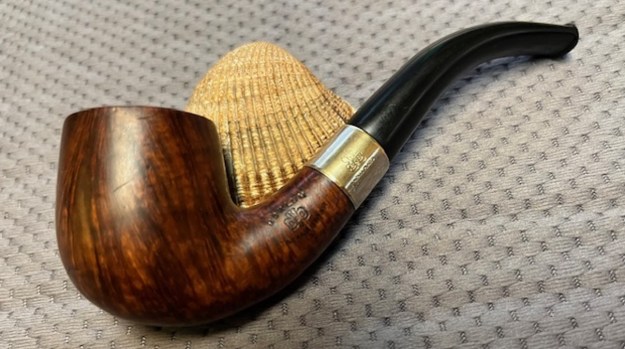
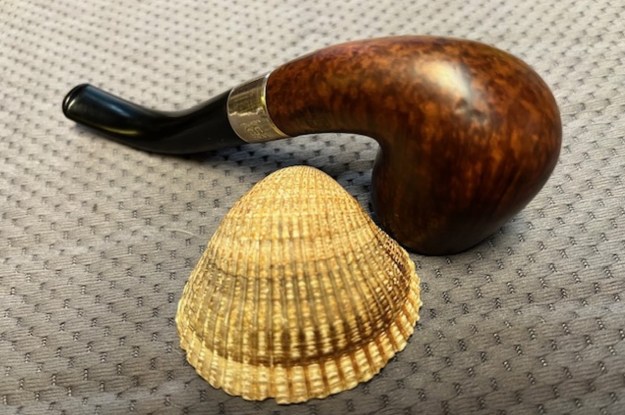
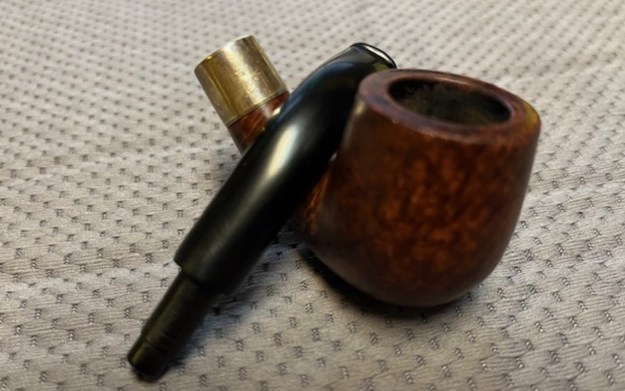
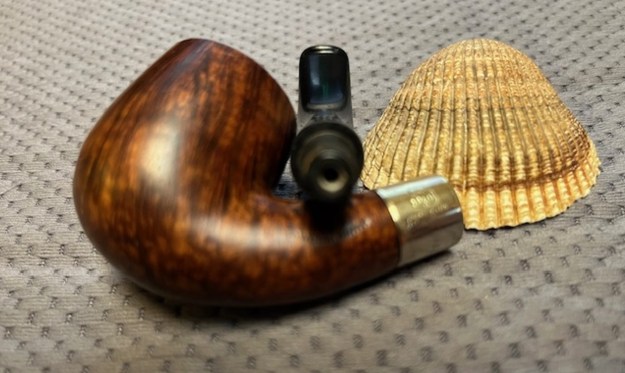
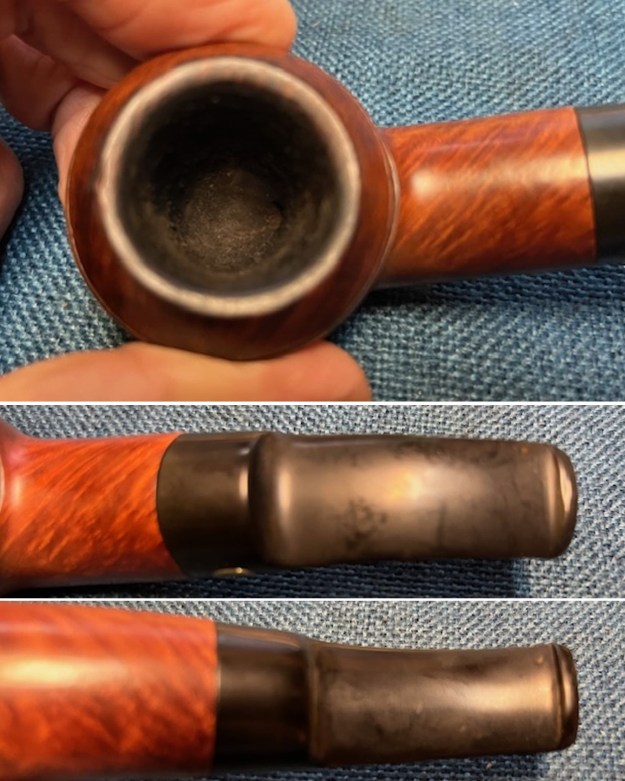
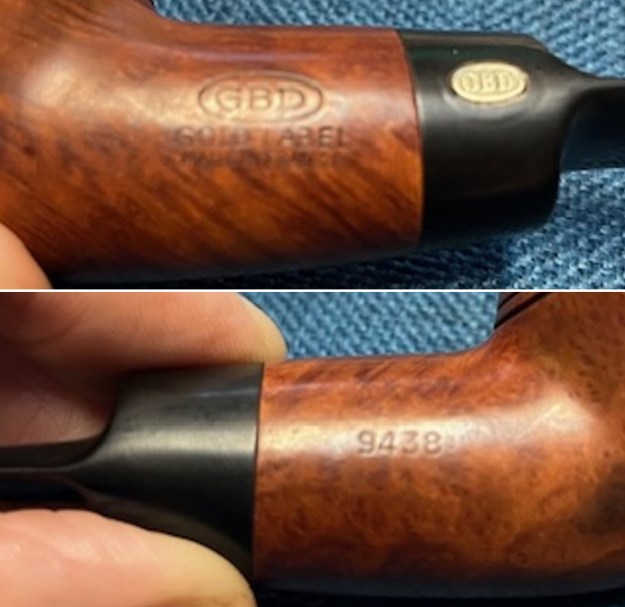
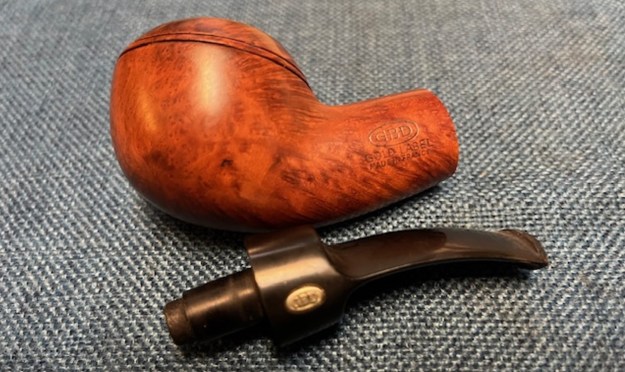
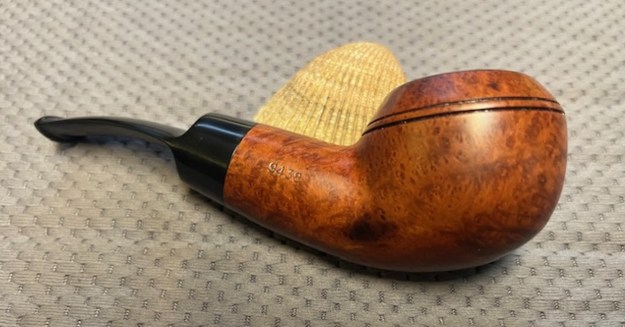
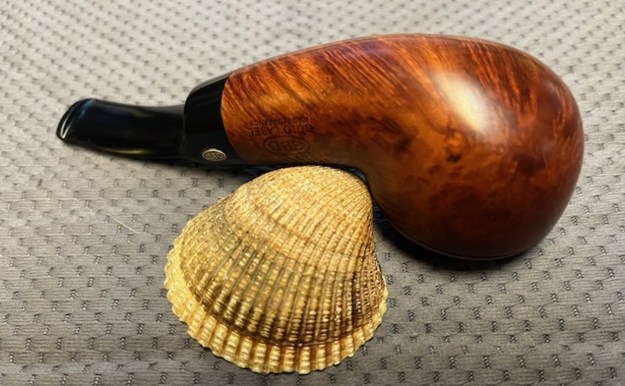
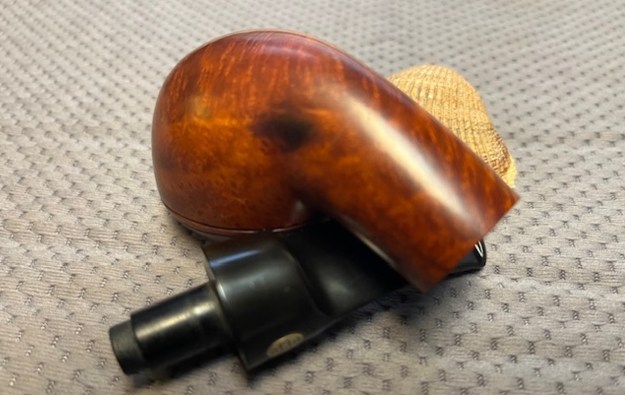
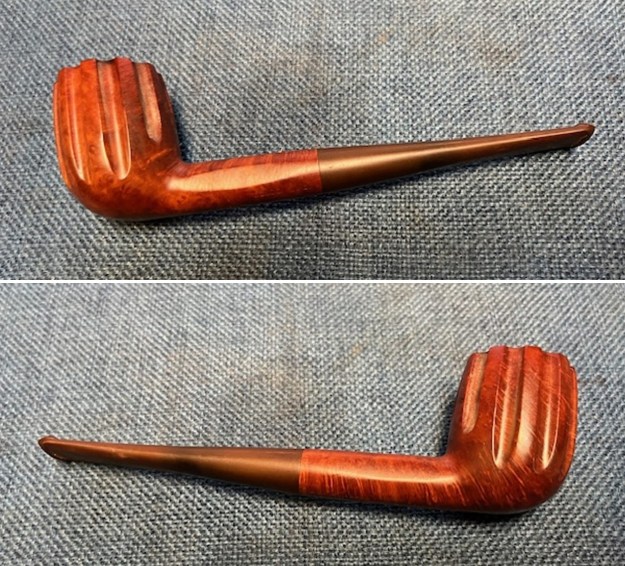
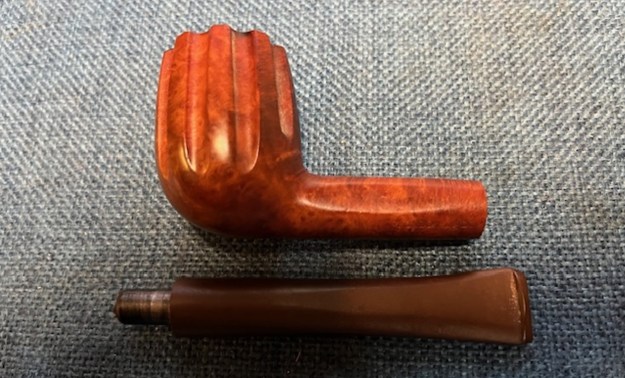
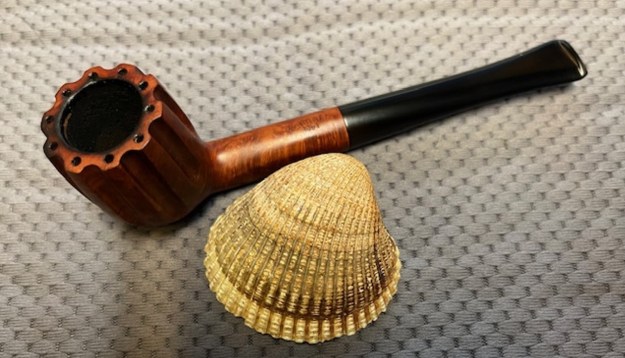
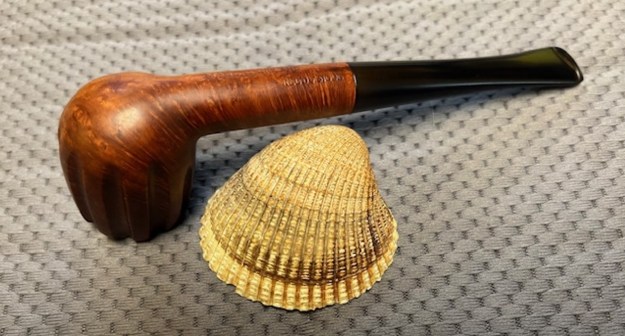
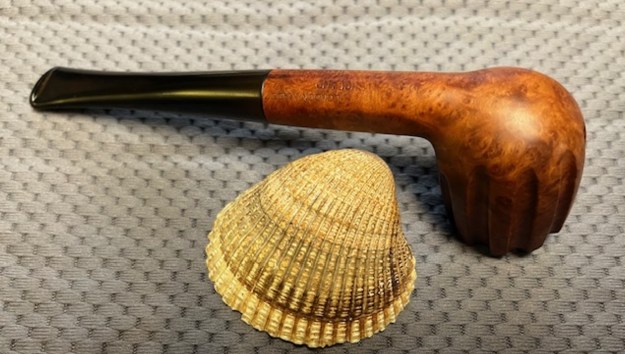
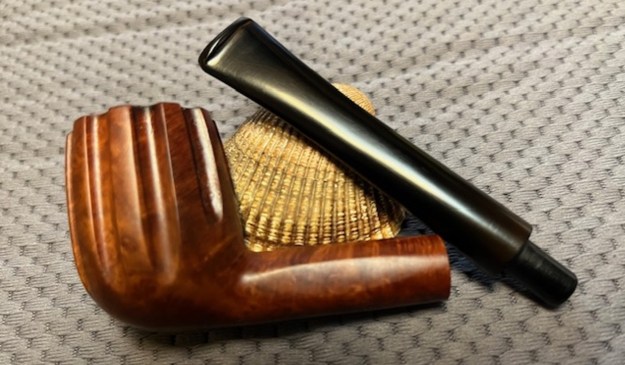
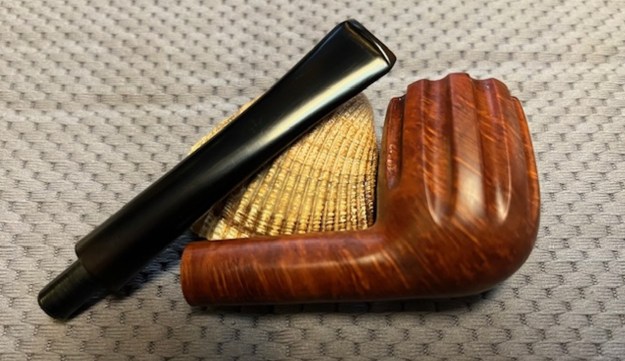
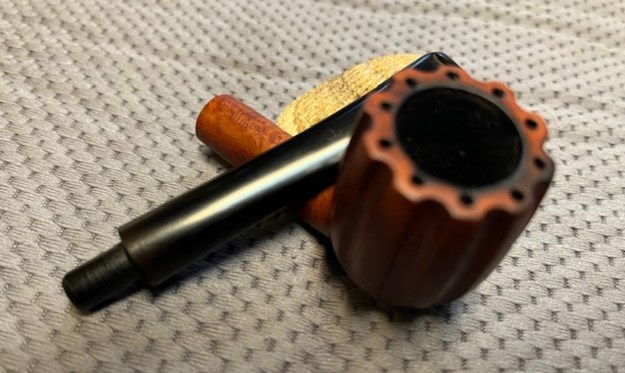
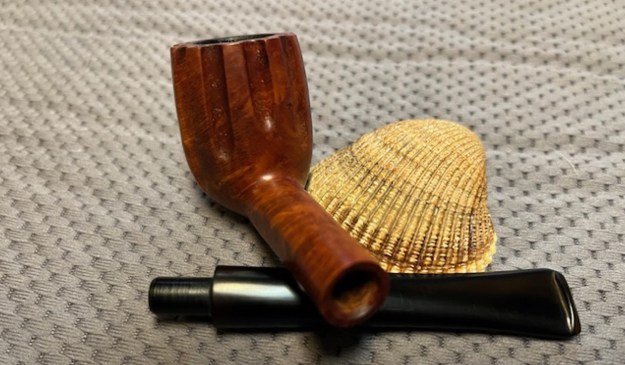
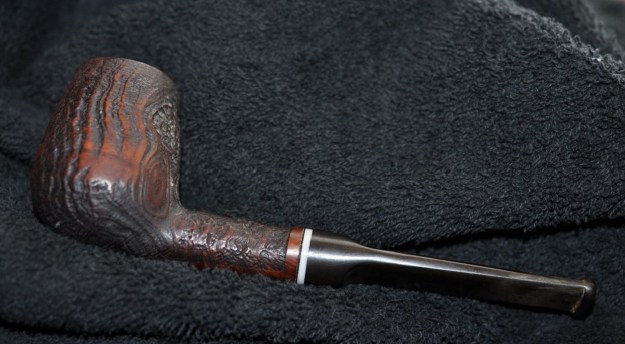
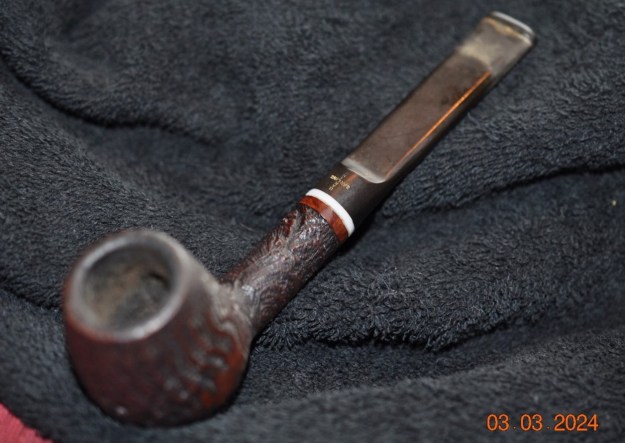
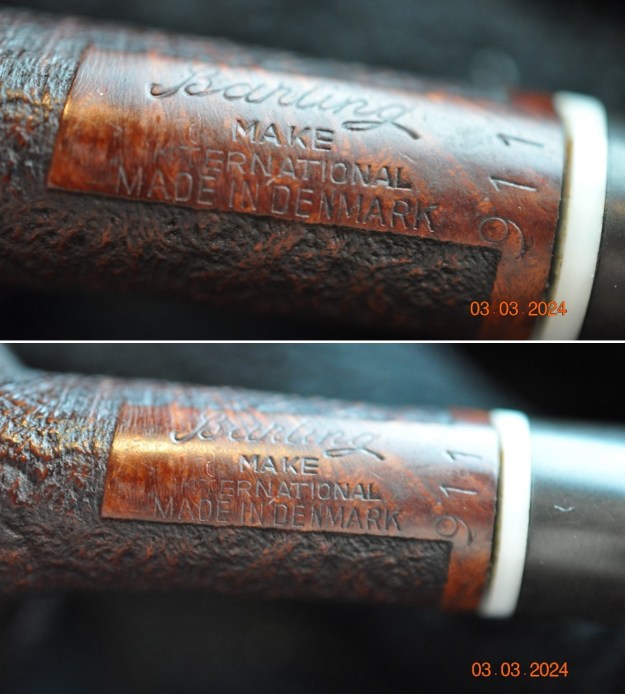
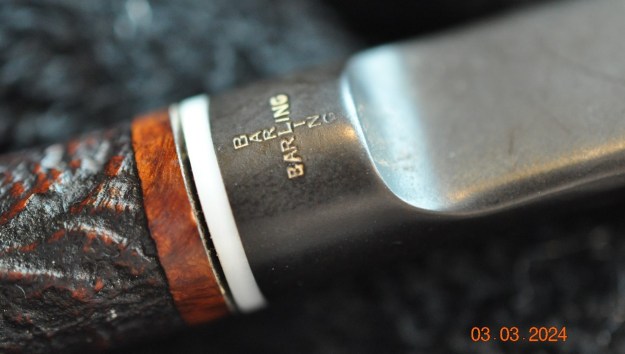
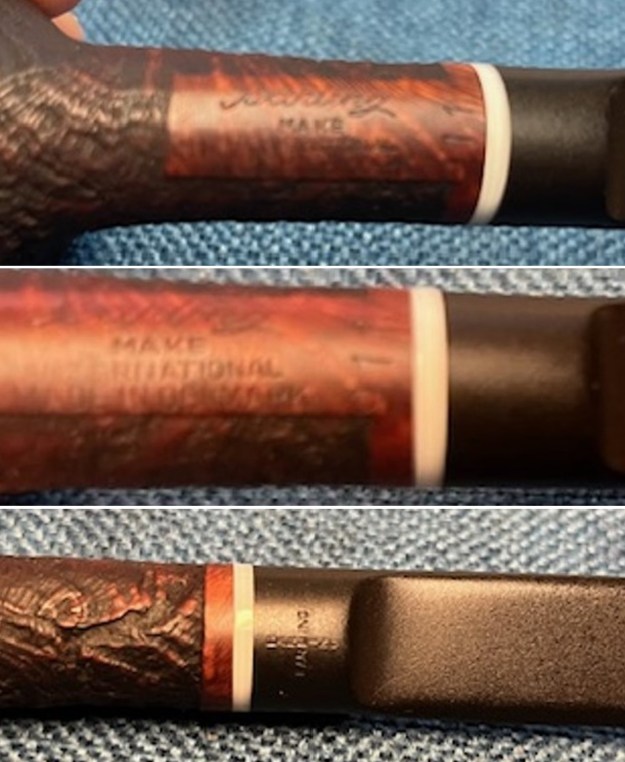
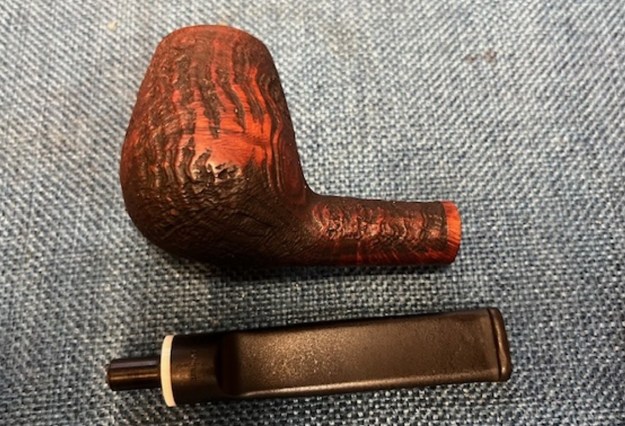
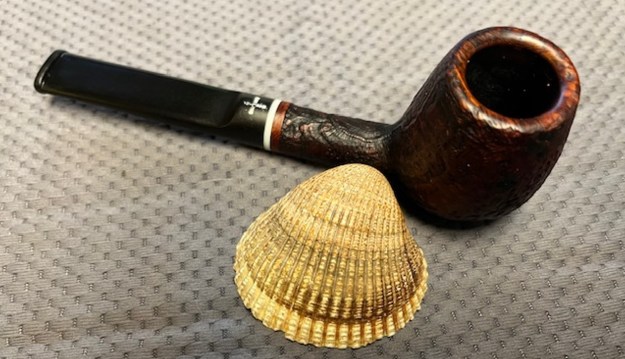
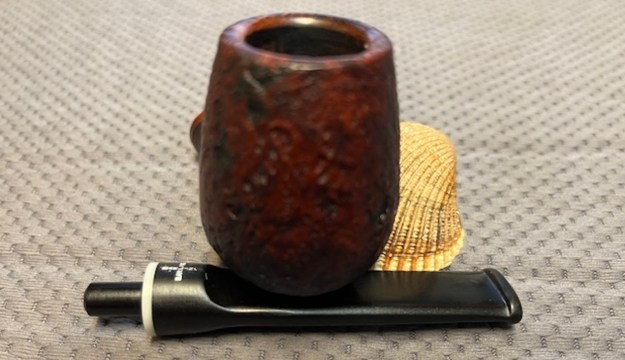
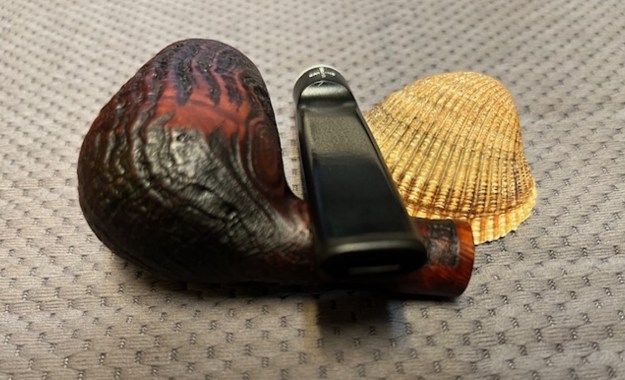
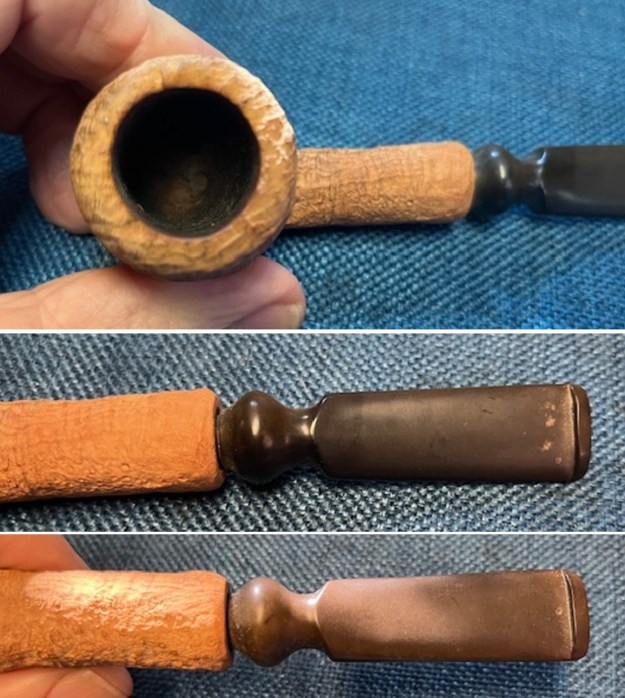 I took photos of the stamping on the underside of the bowl and shank. The stamping was faint and hard to read as noted above. You can see the Medicine Circle (single one) stamped near the bowl shank transition in the photo below. I removed the stem from the shank and took a photo to show the beauty of the pipe.
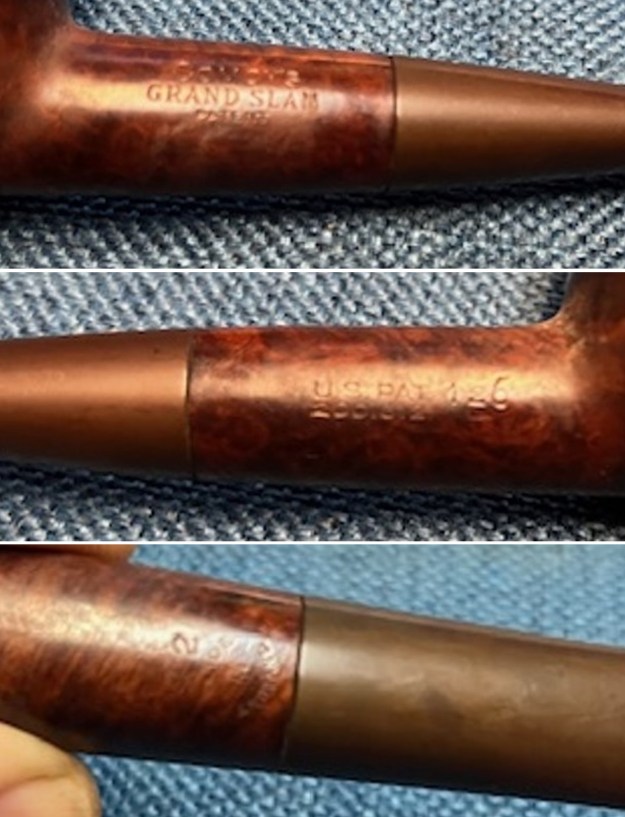
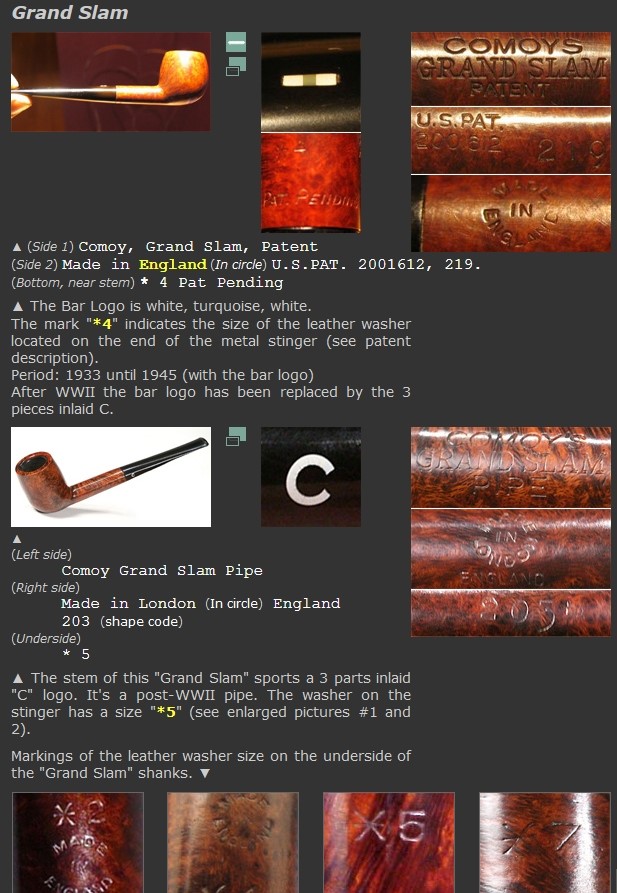
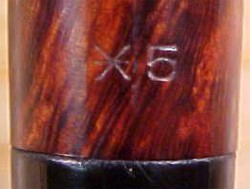
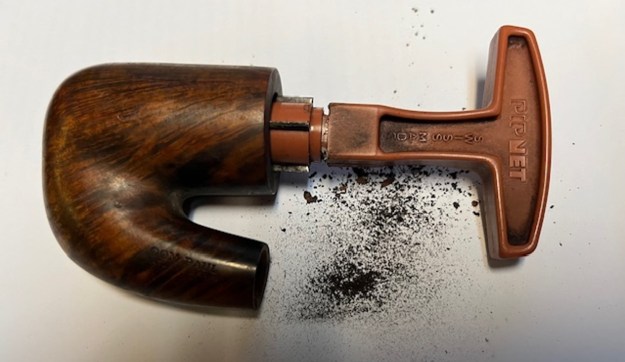
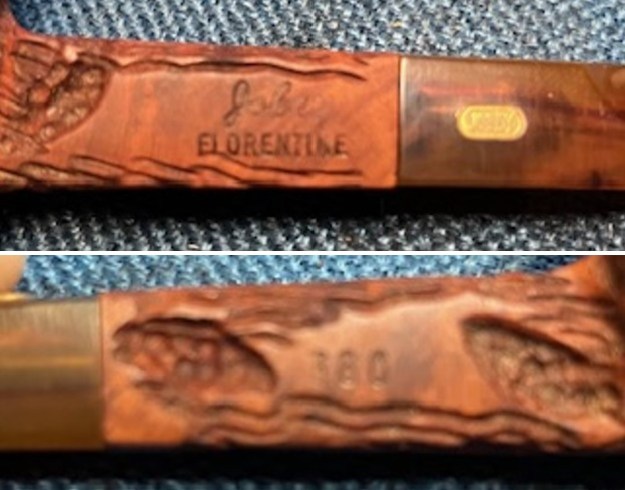
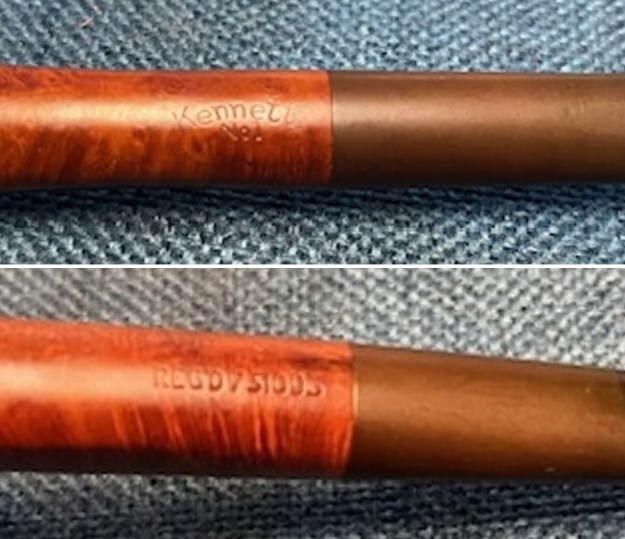
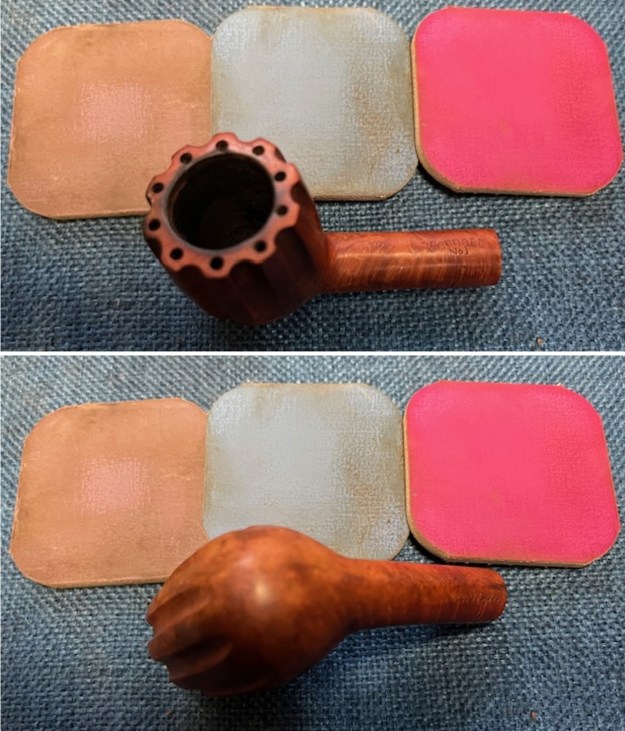
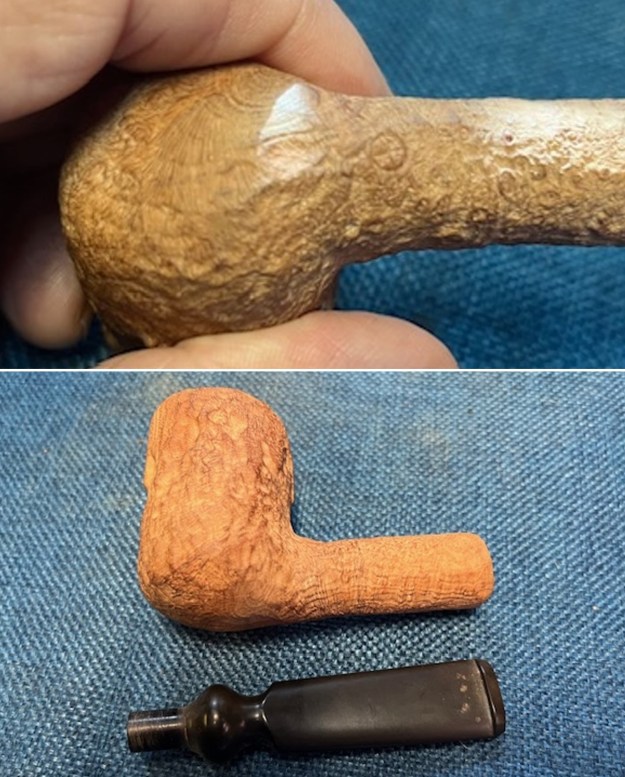 Before I started my clean up work on the pipe I turned to my usual sources to see what I could learn about the brand. I turned first to PipePhil’s site (http://pipephil.eu/logos/en/logo-a6.html). I did a screen capture of the section on Anima Pipes. From that I reexamined the underside of the bowl and shank to see fi I could clarify some of the faint stamps. There was a small C on the shank that tells me the briar is from Calabria. It also seems to bear a 04 03 stamp that tells me that the pipe was made in April of 2003 from the information below. That was information that I did not have until I read this on PipePhil.
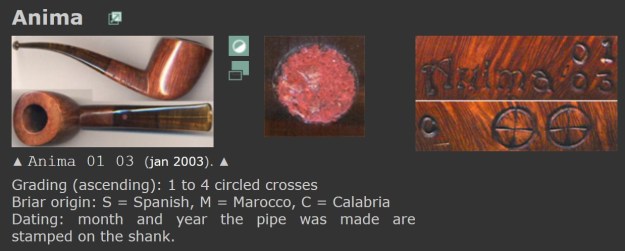
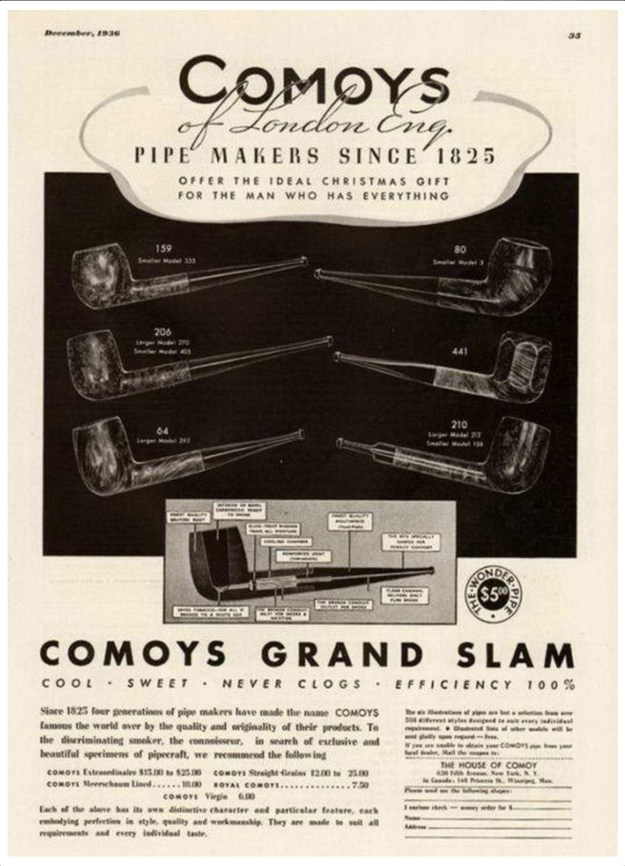
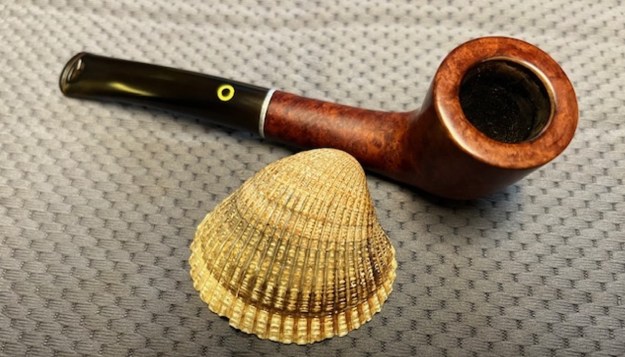
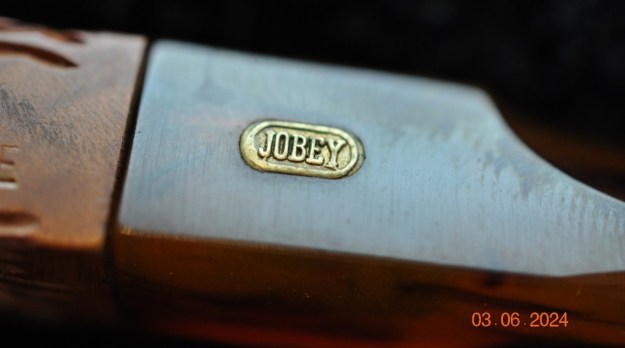
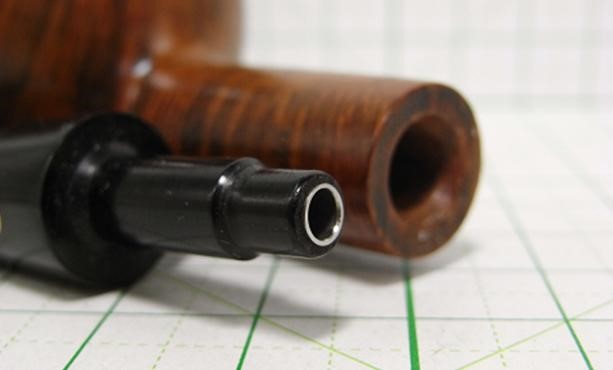
 The site also had a small photo of Brian McNulty. The side bar identified him as the artisan that made the pipes. It also noted that the dot inlaid in the stem is of red clay (Catlinite) used by Indians for their pipes. The clay is the soul (Anima) of the pipe.
Sonny had told me that Brian is a Cherokee and all of this information was quite interesting to note.
From there I turned to Pipedia (https://pipedia.org/wiki/Anima_Pipes). Generally, I find more information on the site that fills in the blanks a bit for me on the maker and the company. That was the case this time as well. I am including the information below.
Anima Pipes are all handmade in the USA by carver Brian McNulty utilizing the highest quality, well  aged briar from many regions to bring out the free flowing forms which lie in each ebacheon. Cut to maximize the beautiful grain of the wood, these pipes provide a beautiful aesthetic and a cool and satisfying smoke to all whom have had the pleasure of packing up and lighting one of these “smokable works of art” which is undeniably Anima. With a basis in traditional styling, accentuated by artistic expression, these extremely fine smoking articles each come with an exact matching tamper to compliment each pipe. Carver Brian McNulty’s sharp eye and flair for form, symmetry, sleek lines, fine attention to detail, and uniquely inspired shapes coupled with “soul” within the craftsmanship are what set Anima pipes apart from many others. Know that smoking an Anima pipe will provide you with a dry and satisfying smoke every time as you view a truly one-of-a-kind work of art! You might also enjoy listening to Brian Levine’s interview of Brian McNulty on the Pipes Magazine Radio Show
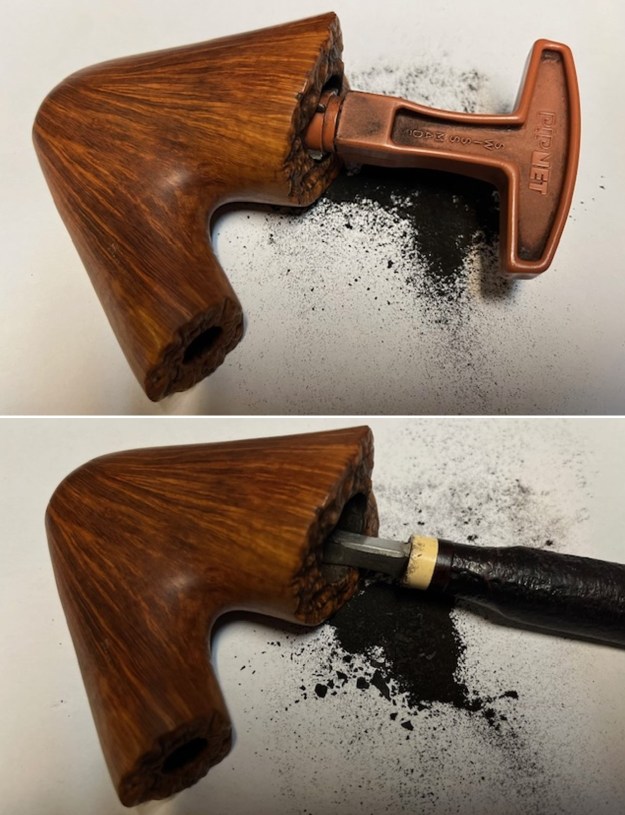
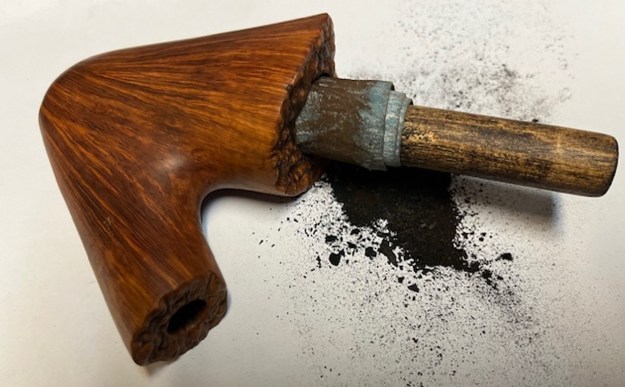
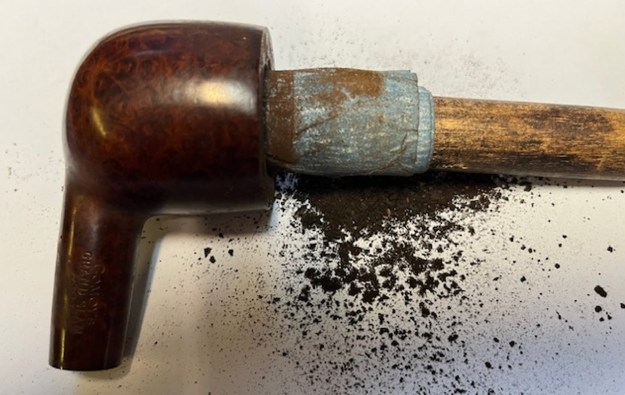
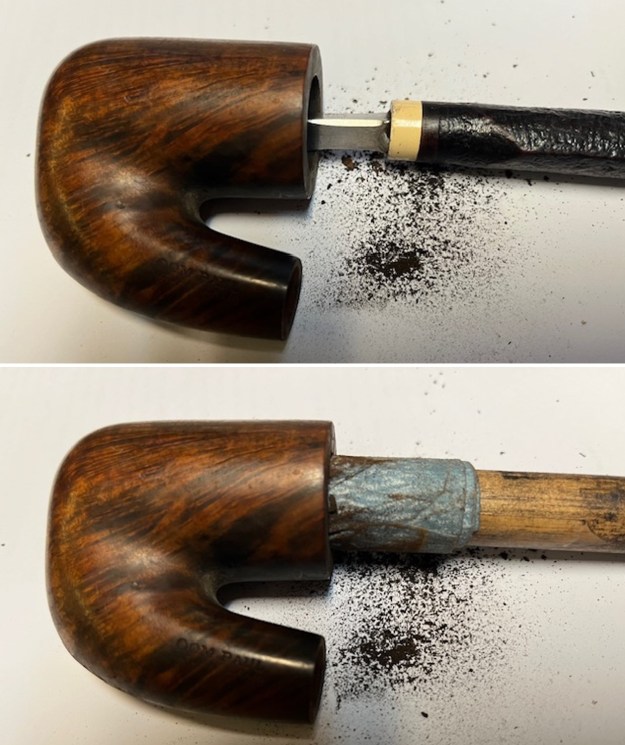
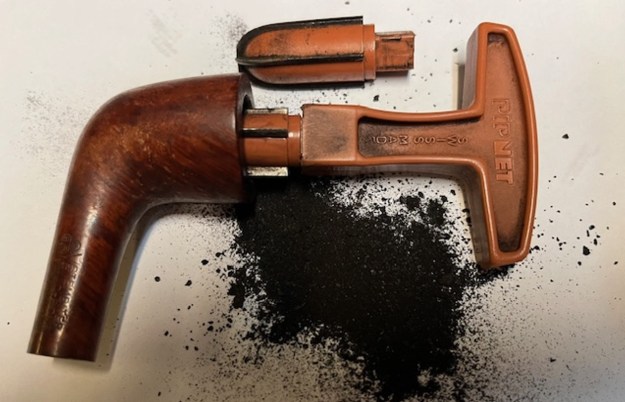
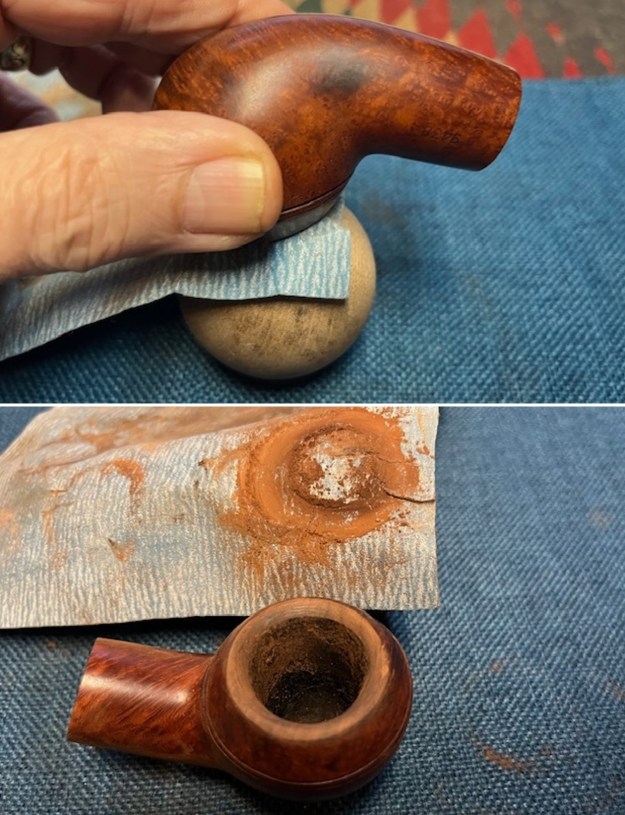
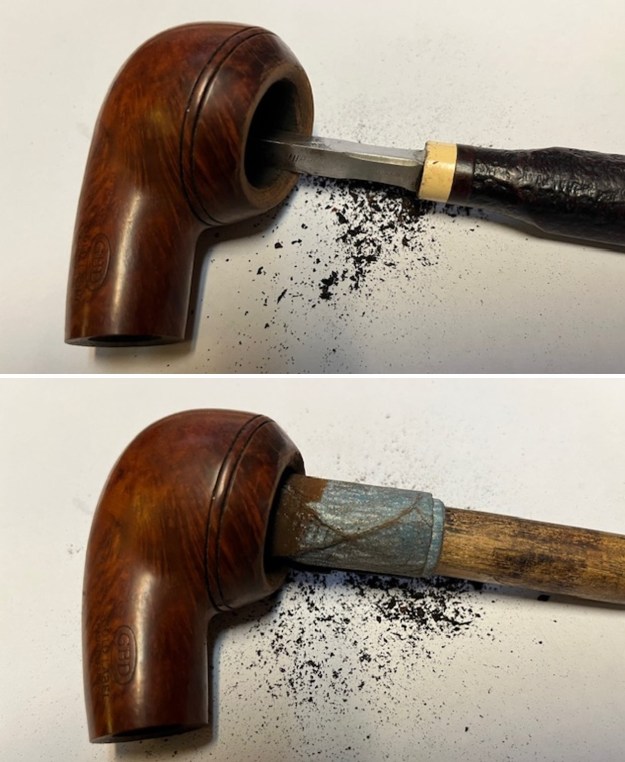
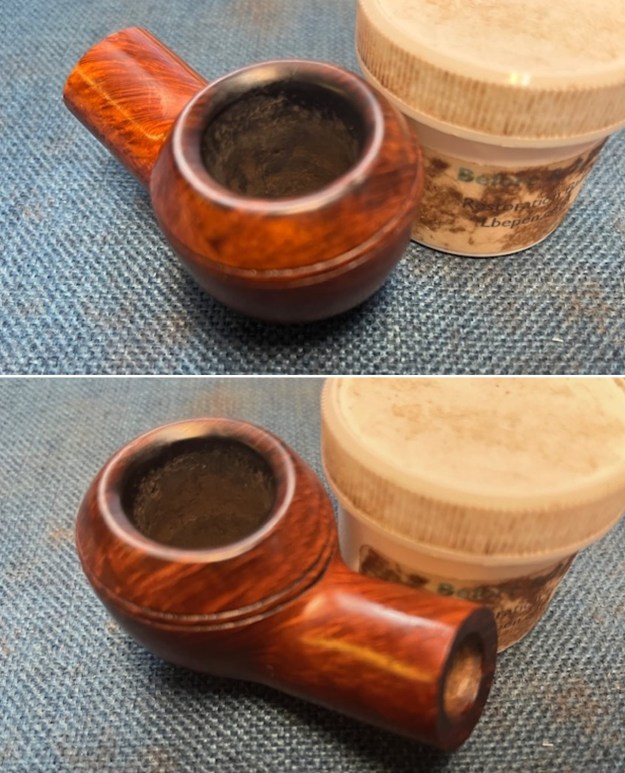
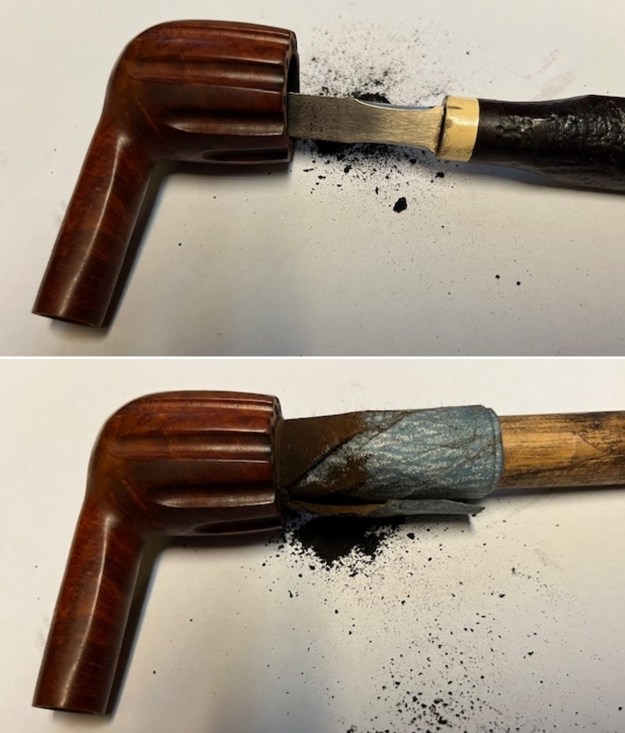
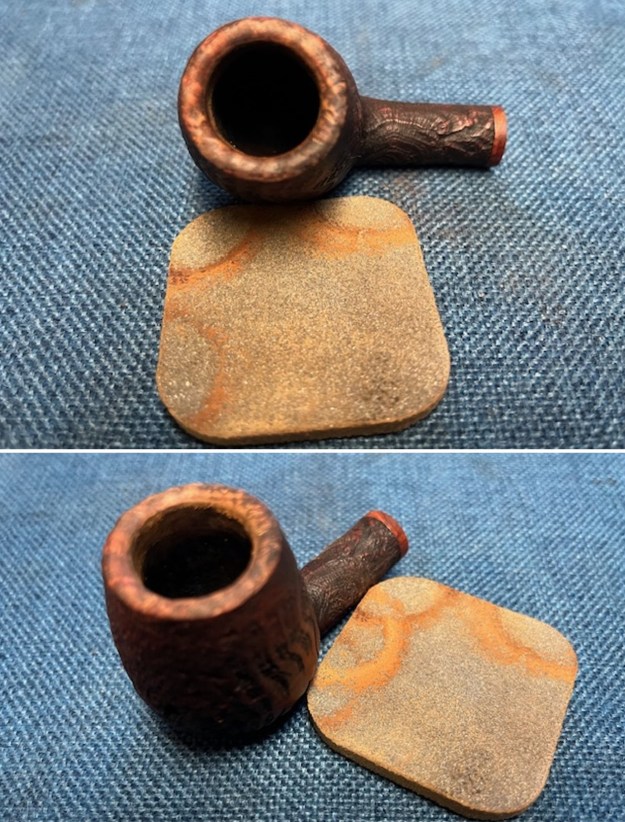
I turned to work on the pipe itself. I reamed the cake with a Savinelli Fitsall Pipe Knife. I sanded the walls of the bowl with a piece of 220 grit sandpaper wrapped around a piece of dowel. The walls of the bowl are undamaged and smooth. 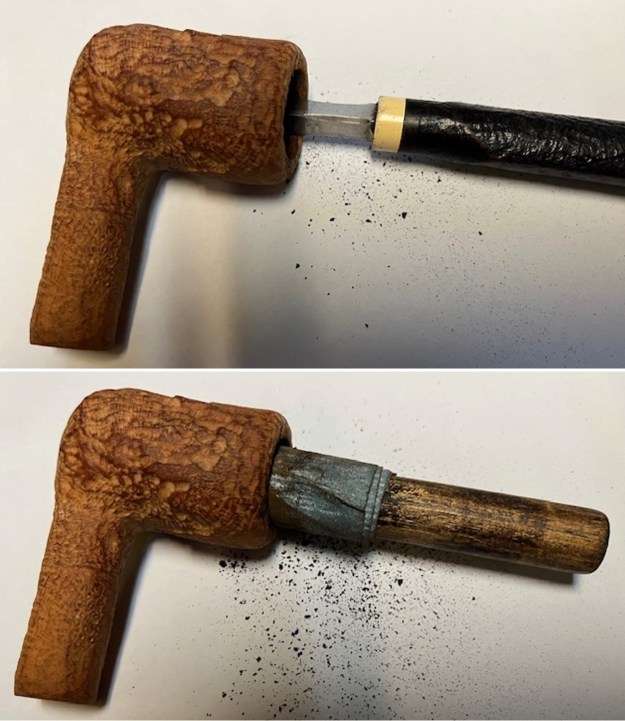
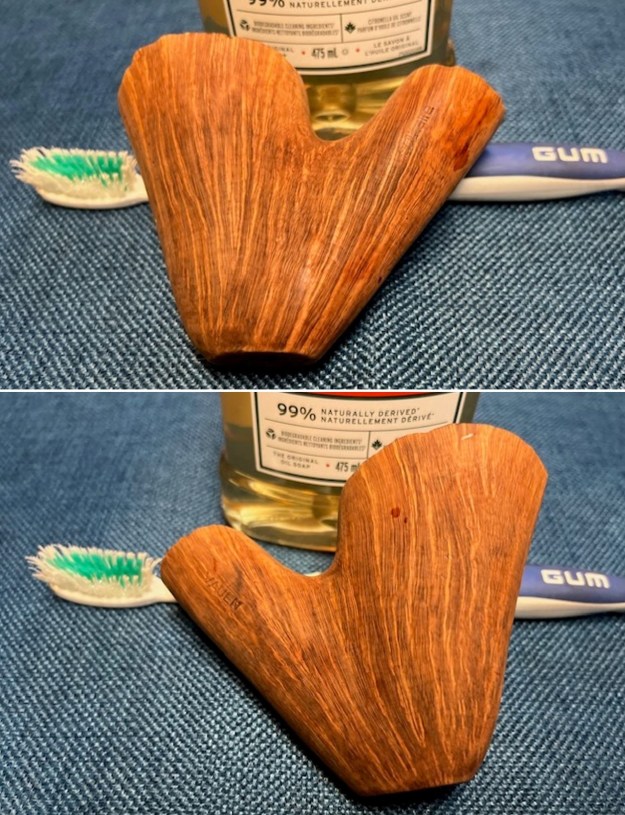
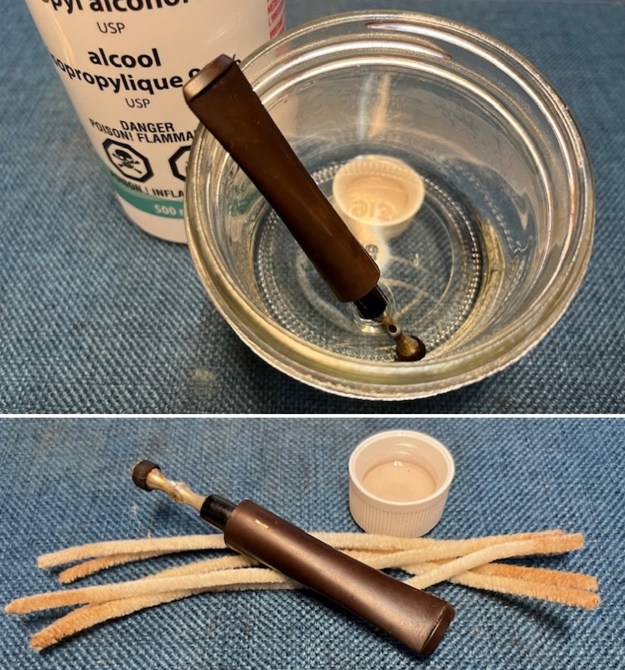
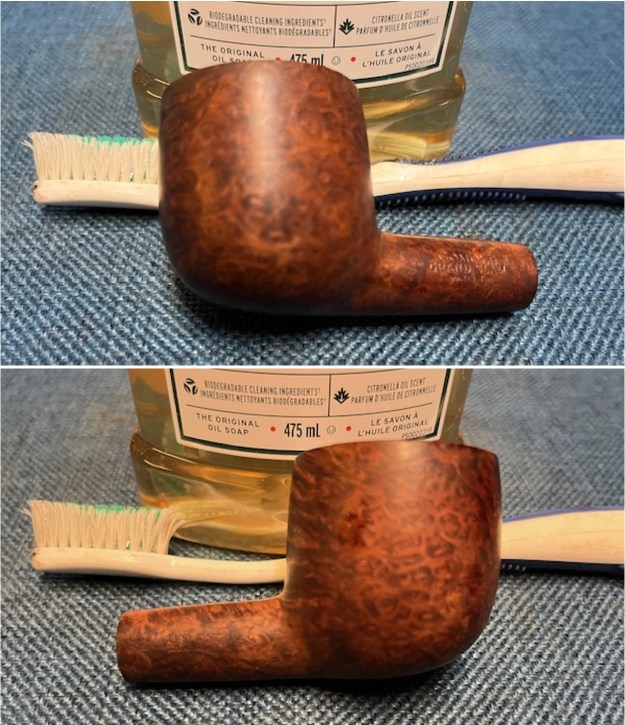
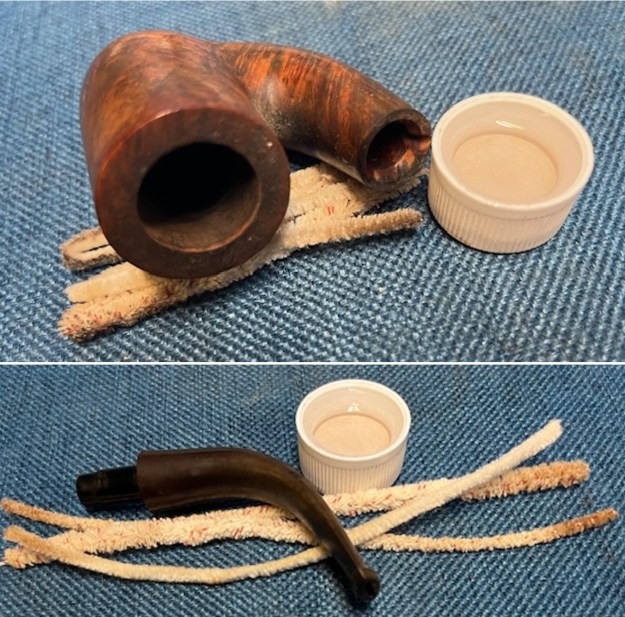
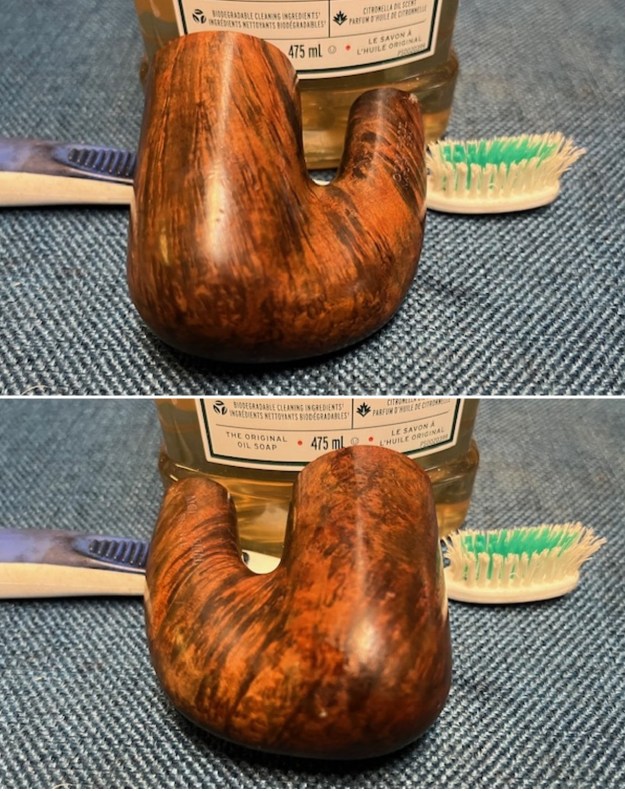
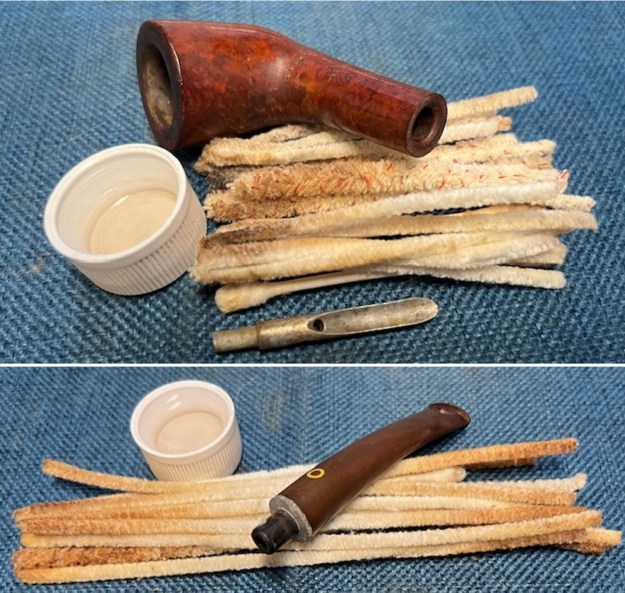
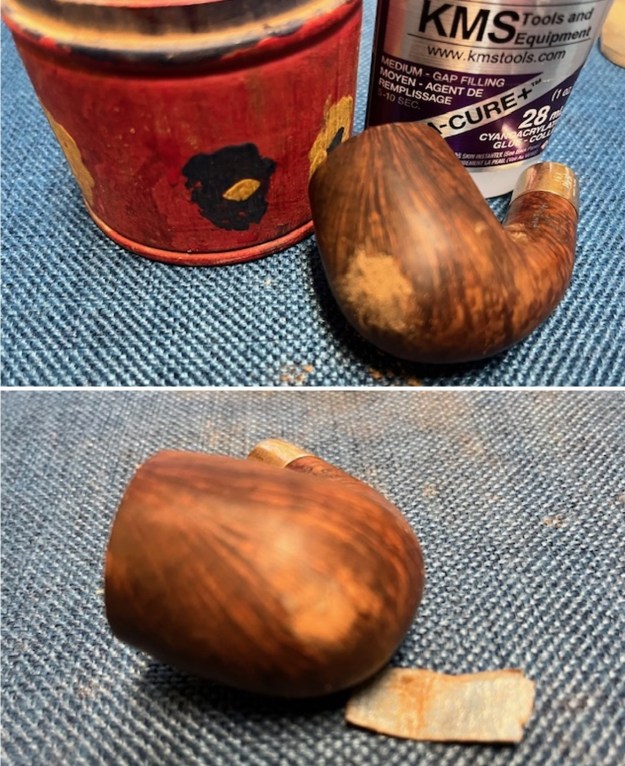
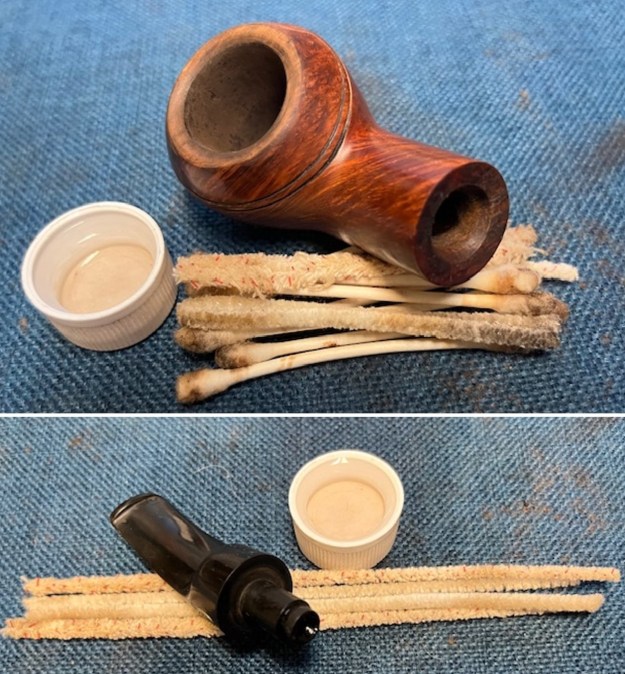
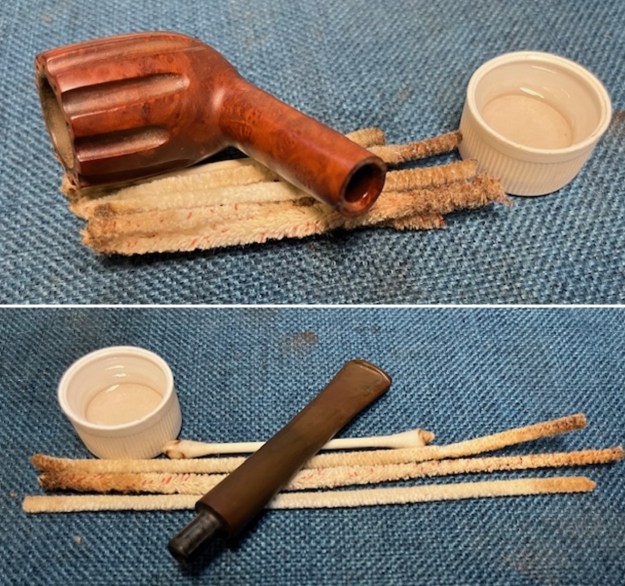
I scrubbed internals of the shank and airway in both the shank and the stem with alcohol, pipe cleaners and cotton swabs. The pipe began to look much better. 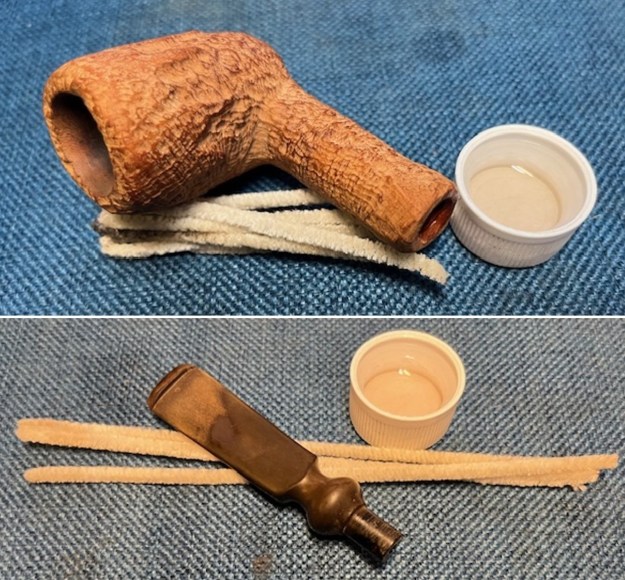 To remove the grime from the sandblast ridges and valleys I scrubbed the surface with undiluted Murphy’s Oil Soap and a tooth brush. I rinsed the briar with warm water to remove the soap and debris. I dried it off with a soft towel.
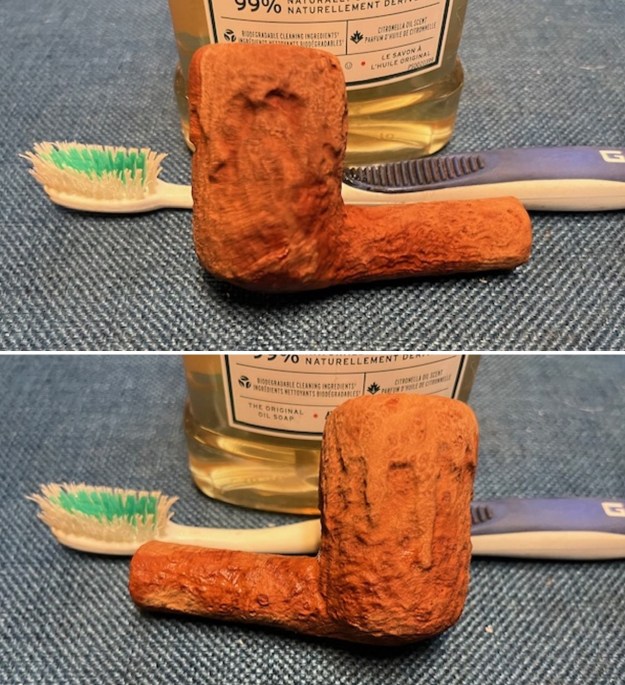
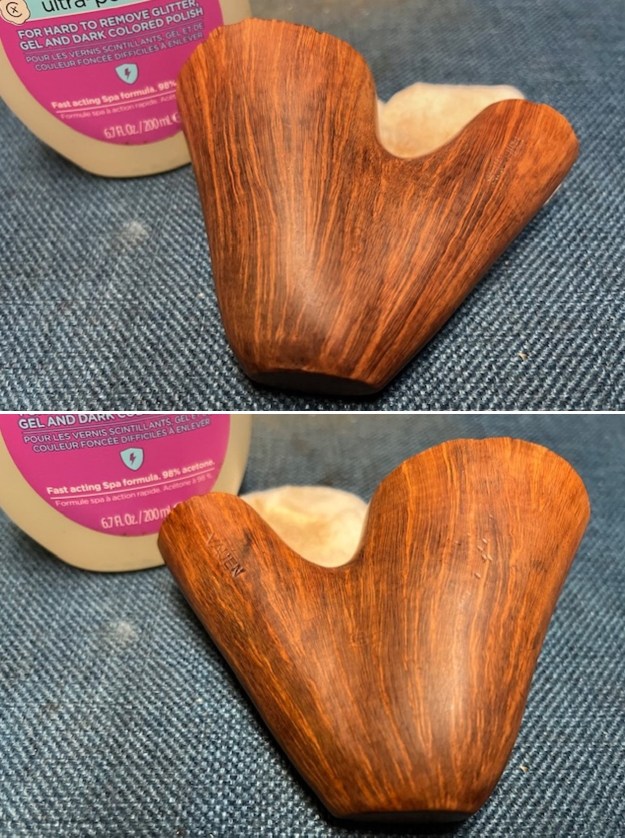
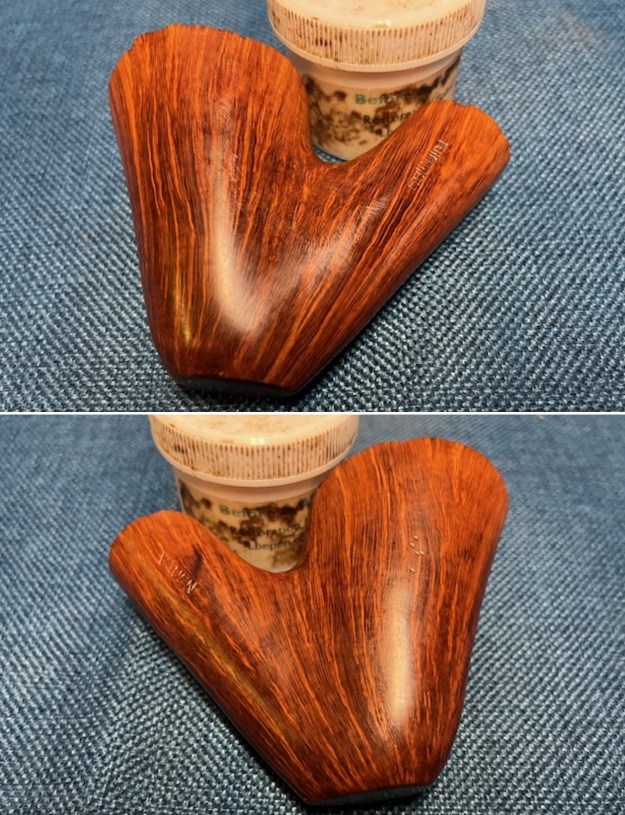
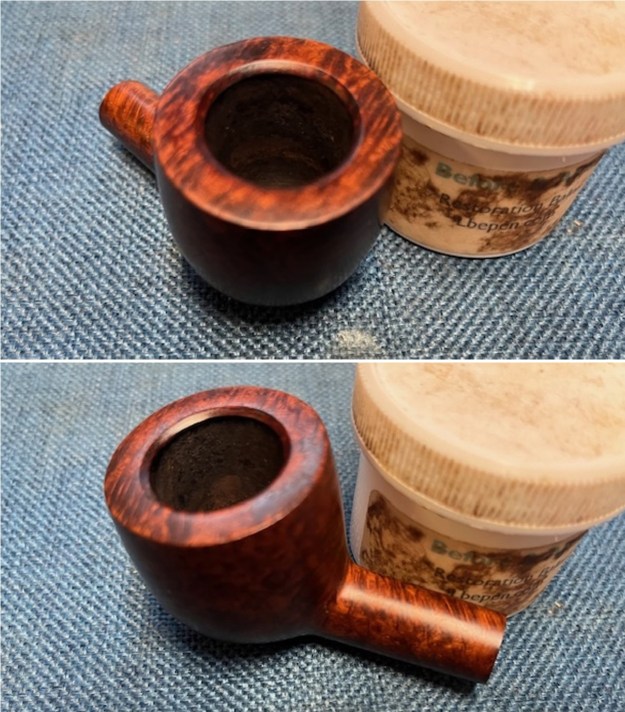
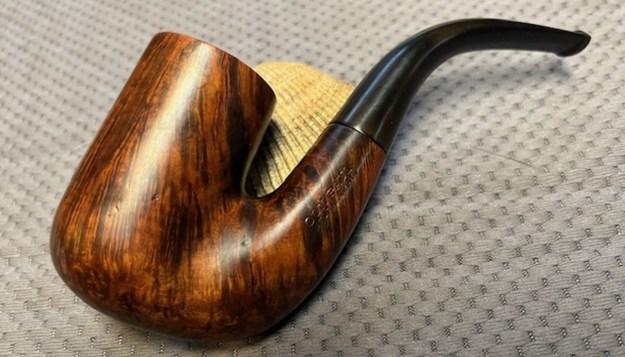
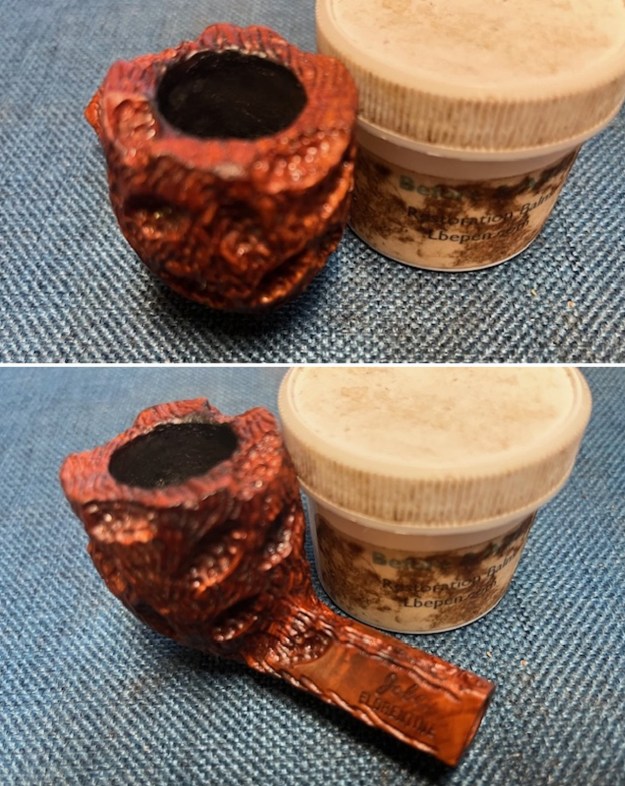
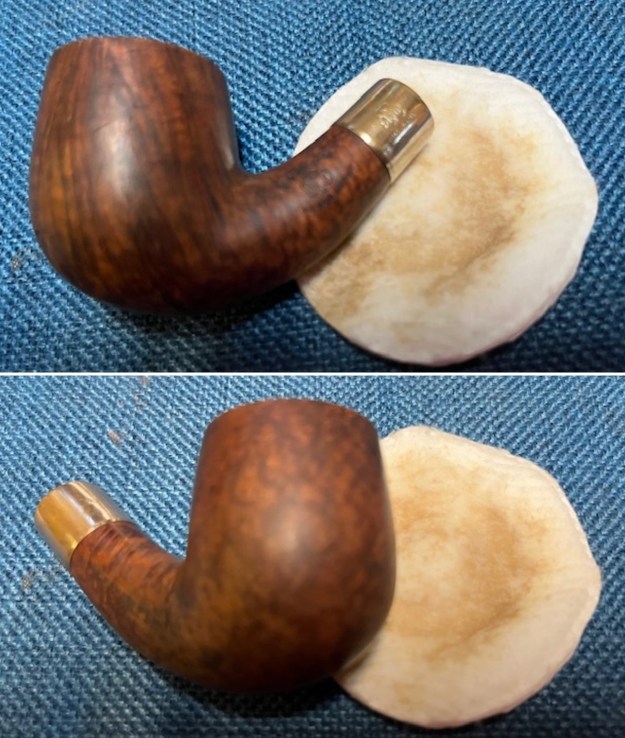
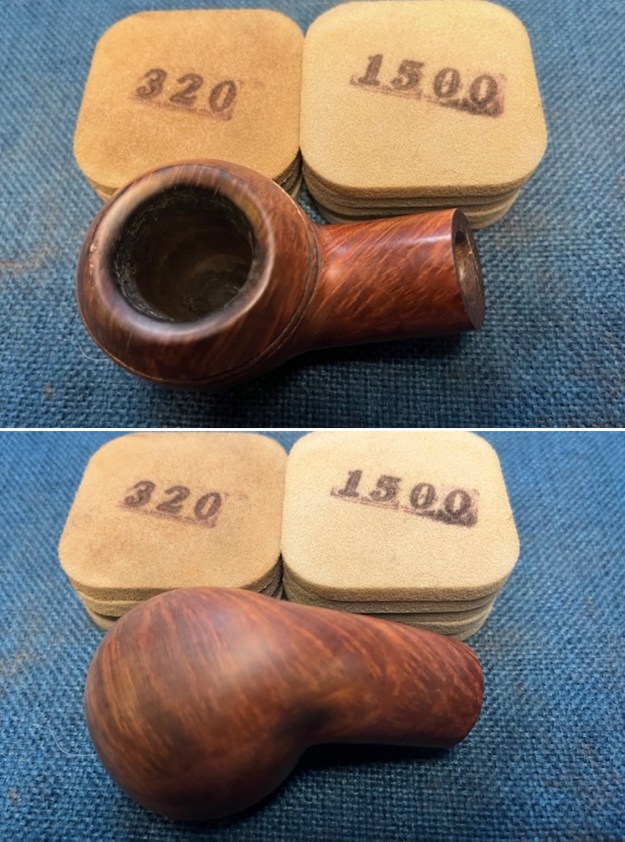
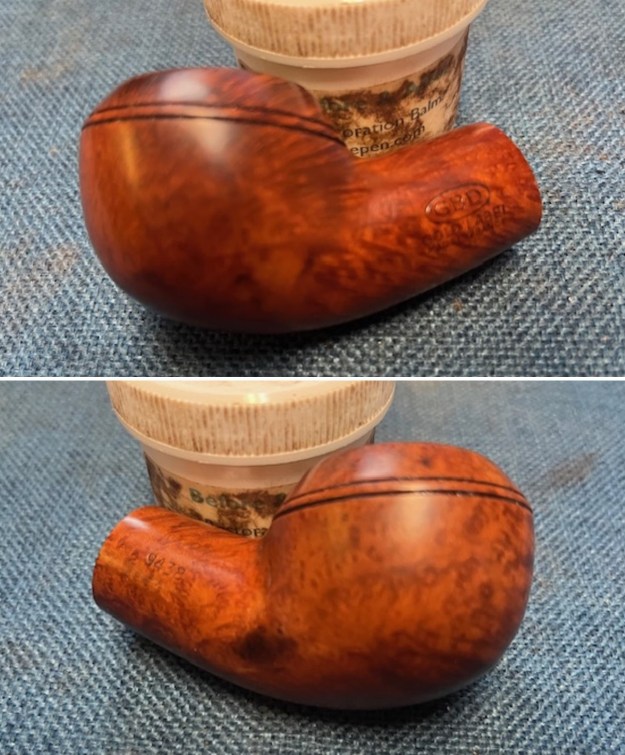
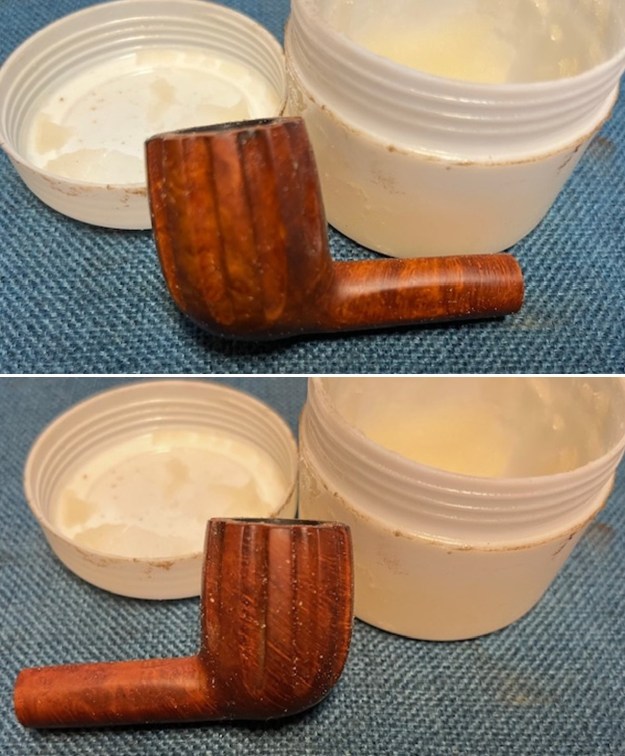
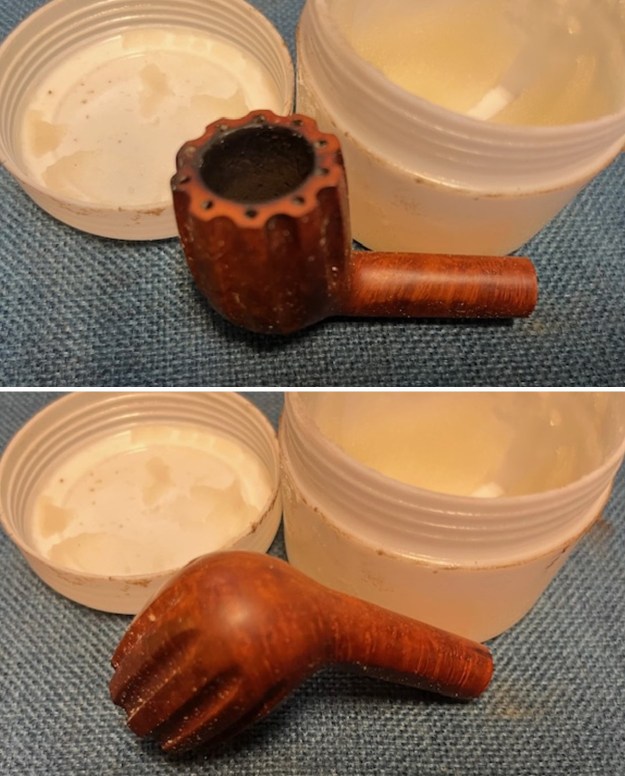
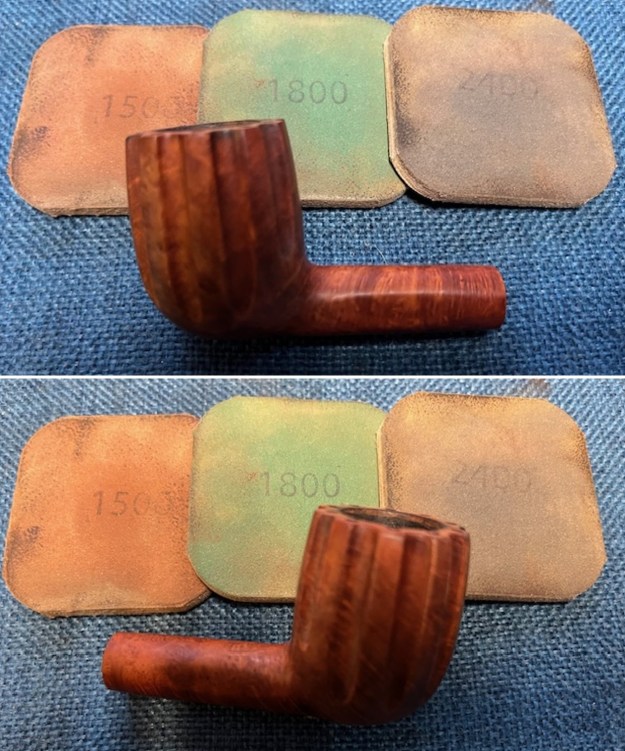
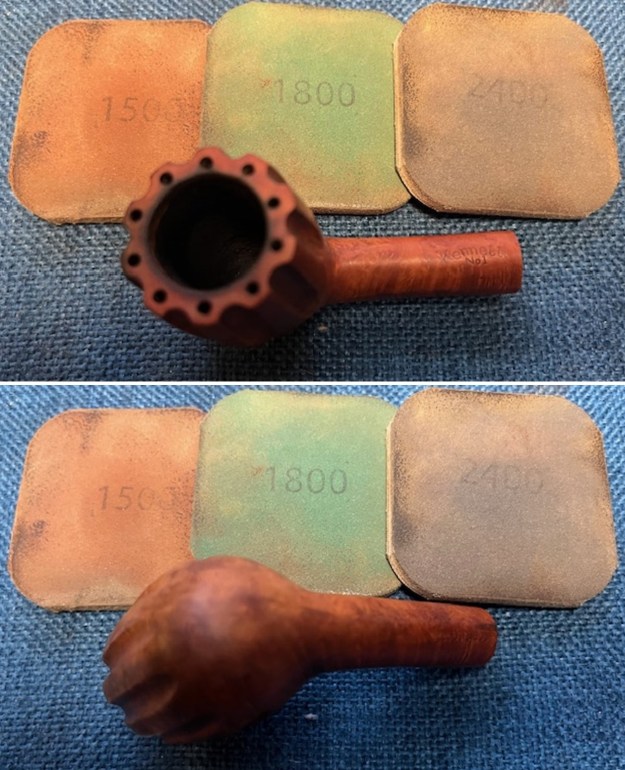
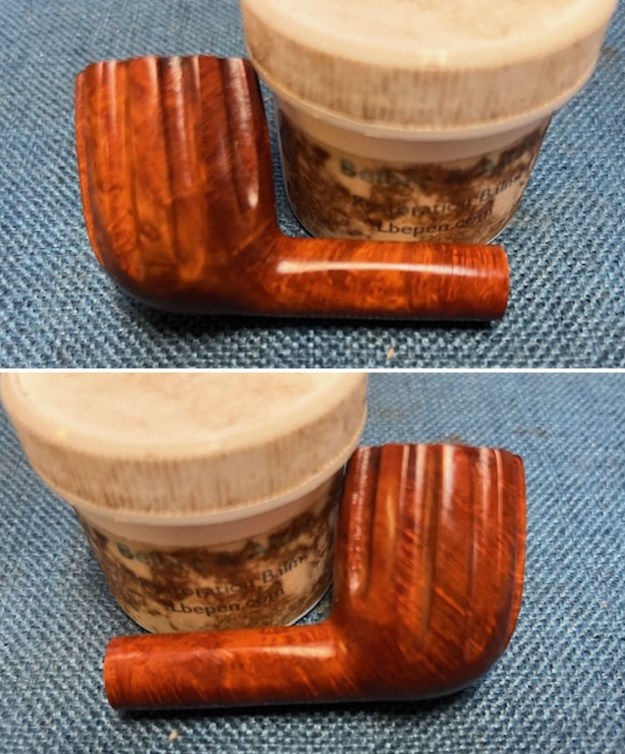
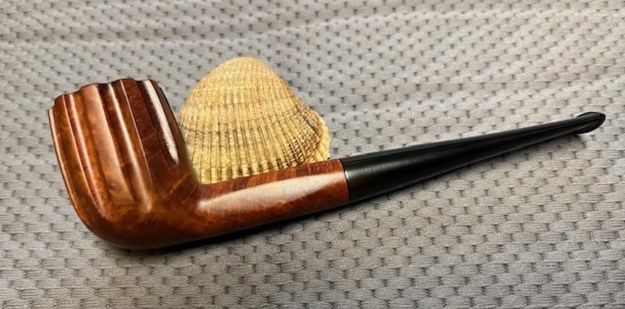
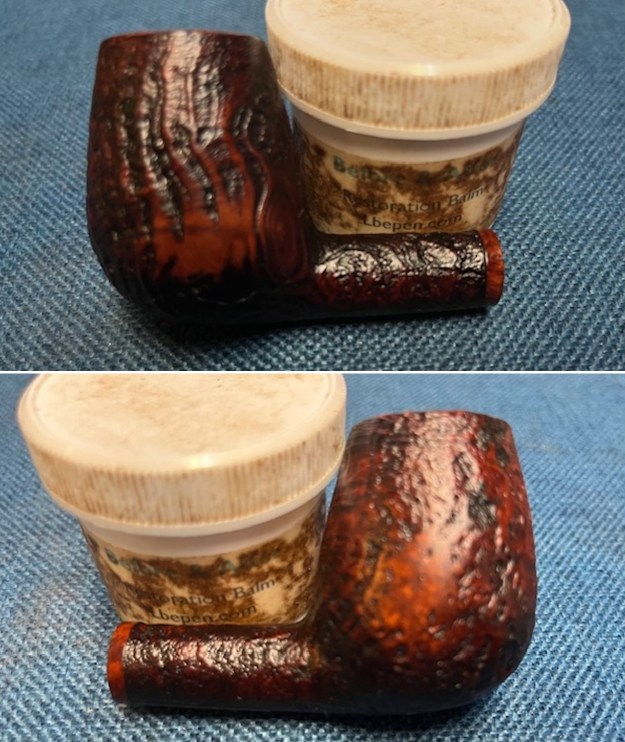
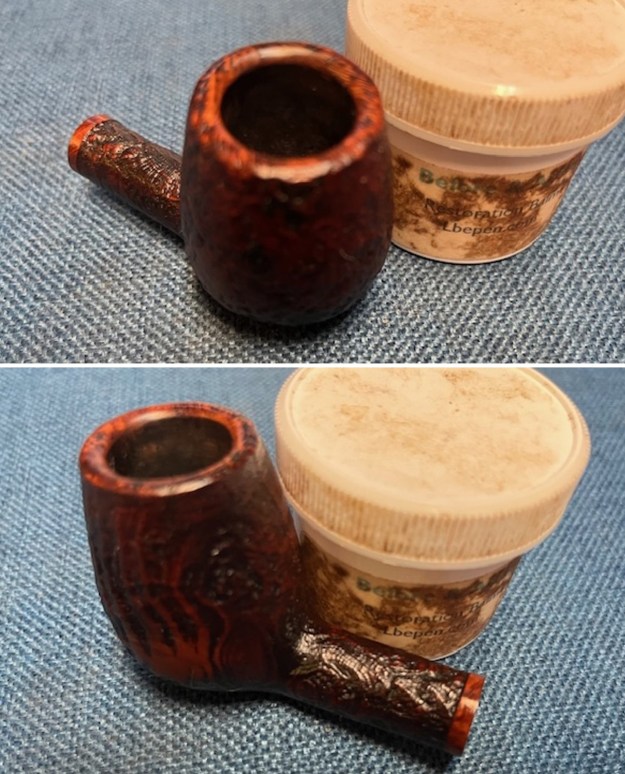
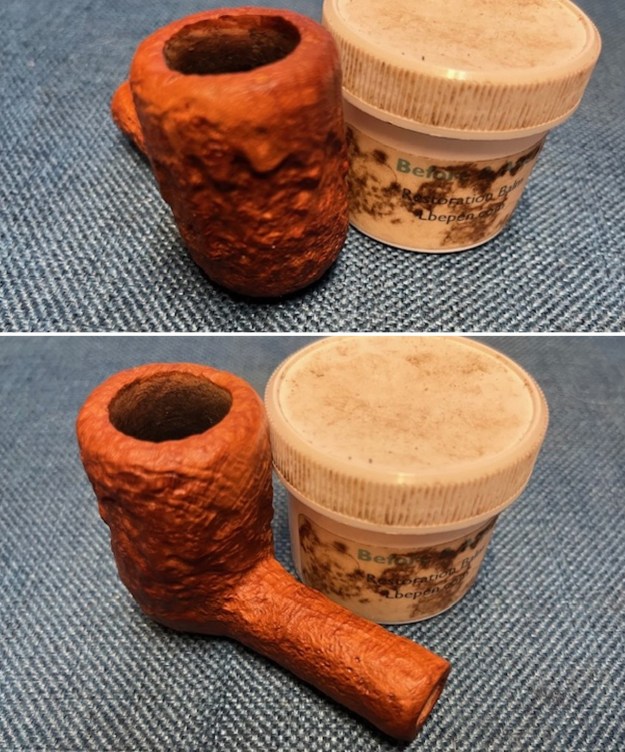
 I rubbed the briar down with Before & After Restoration Balm. I worked it into the briar with my fingertips and a shoe brush. The product works to clean, enliven and preserve the briar. I let it sit for 10 minutes then I buffed it with a cotton cloth to deepen the shine. The briar comes alive with the balm.
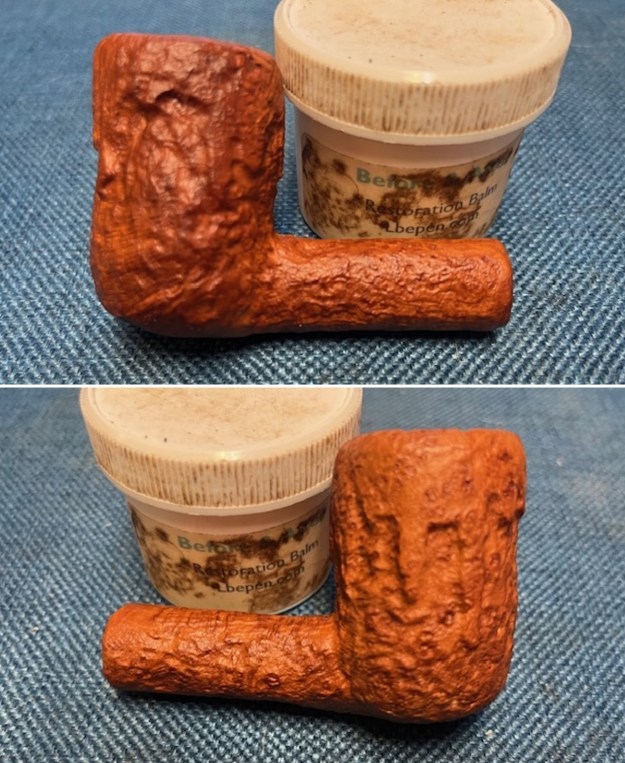
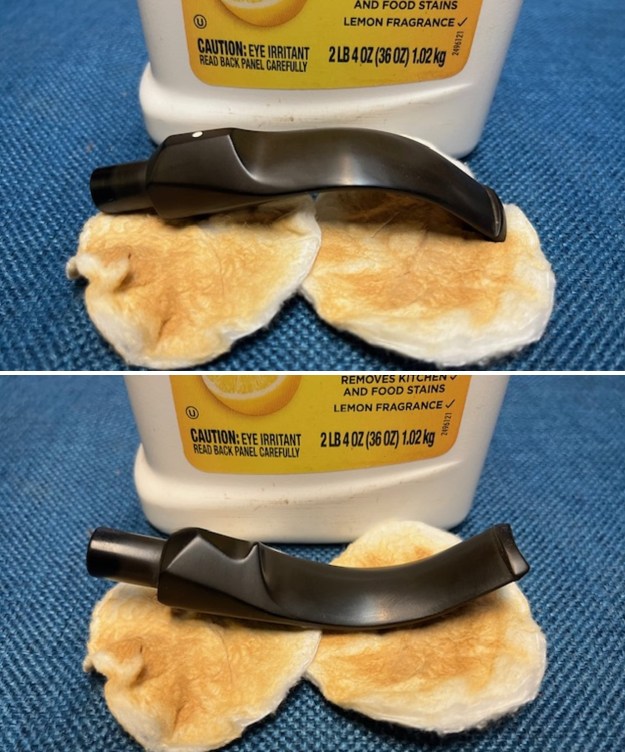
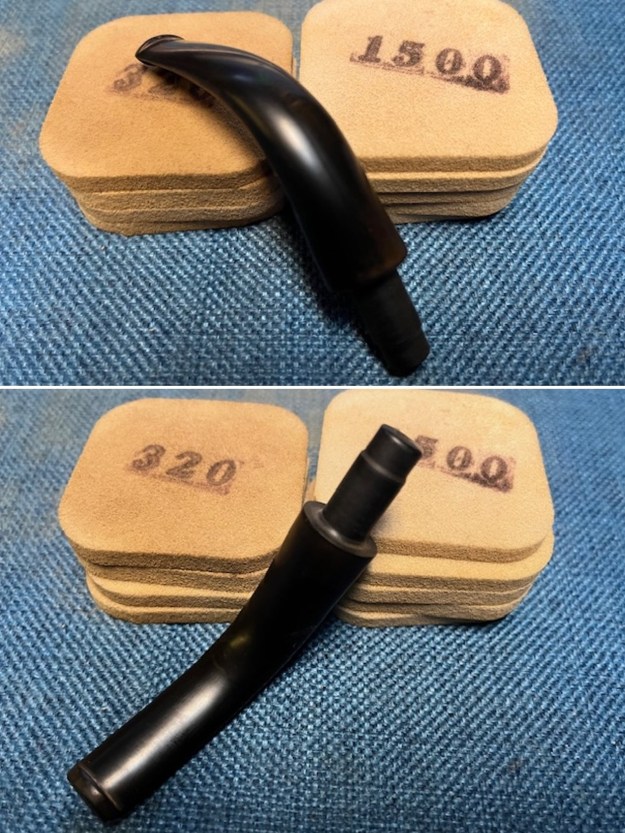
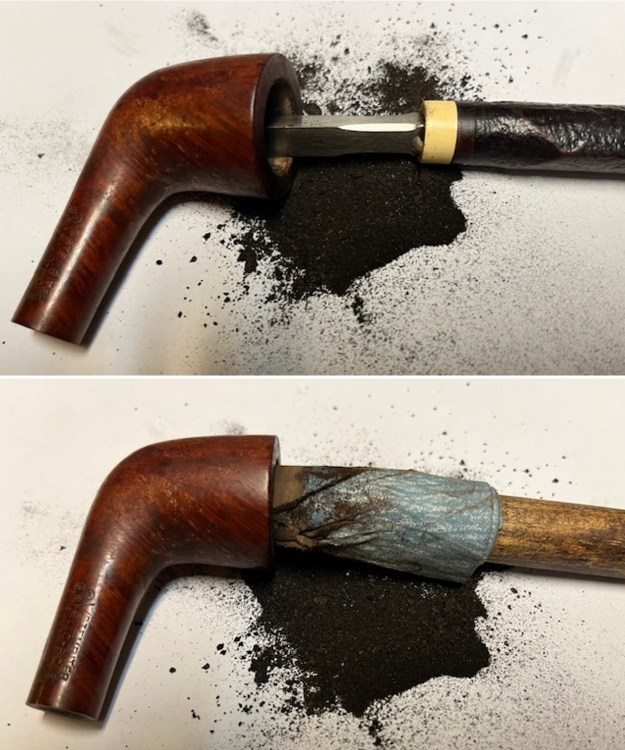
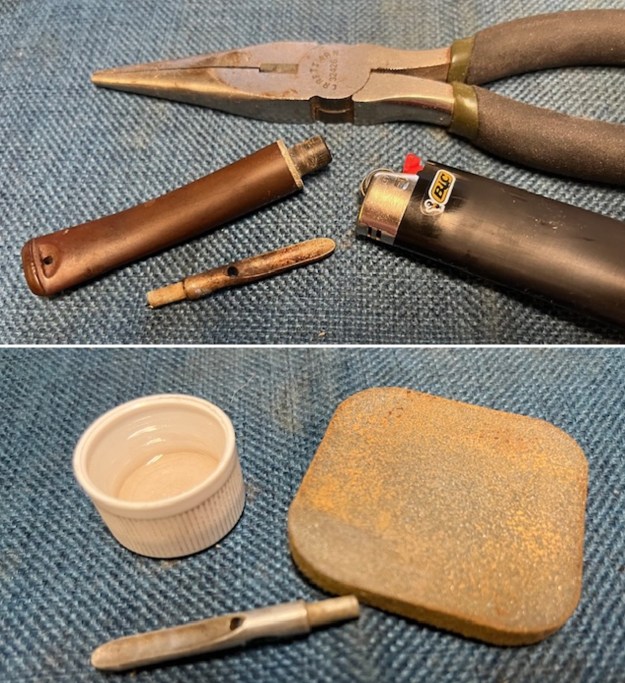
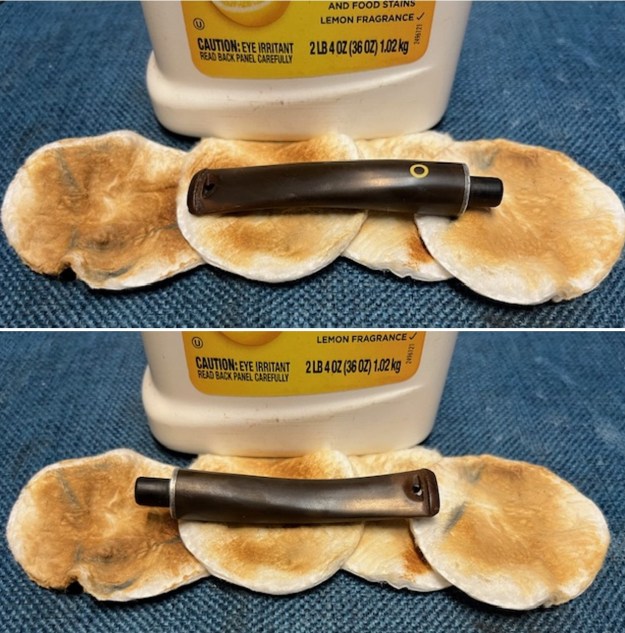
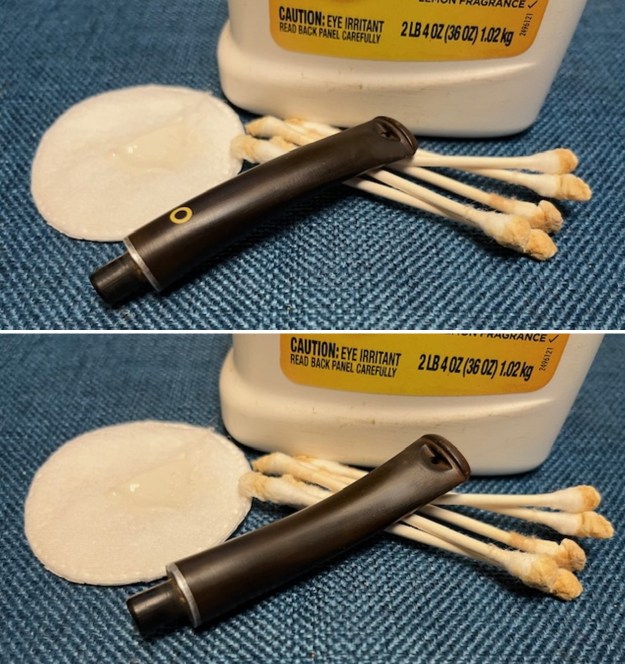
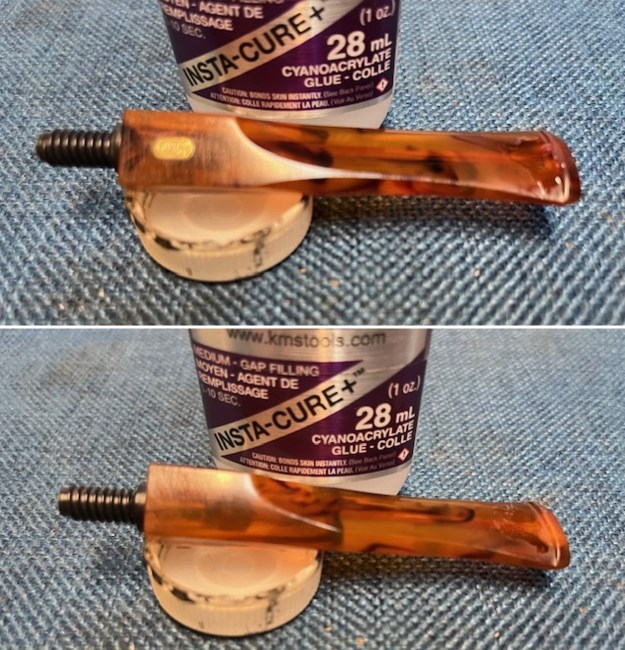
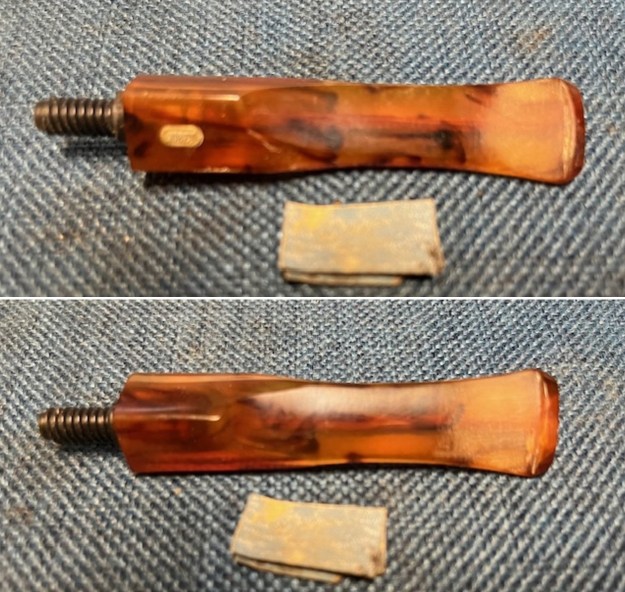
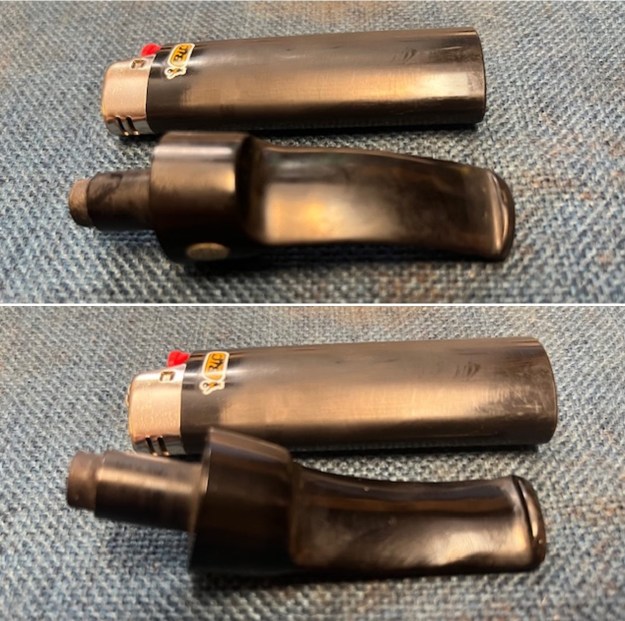
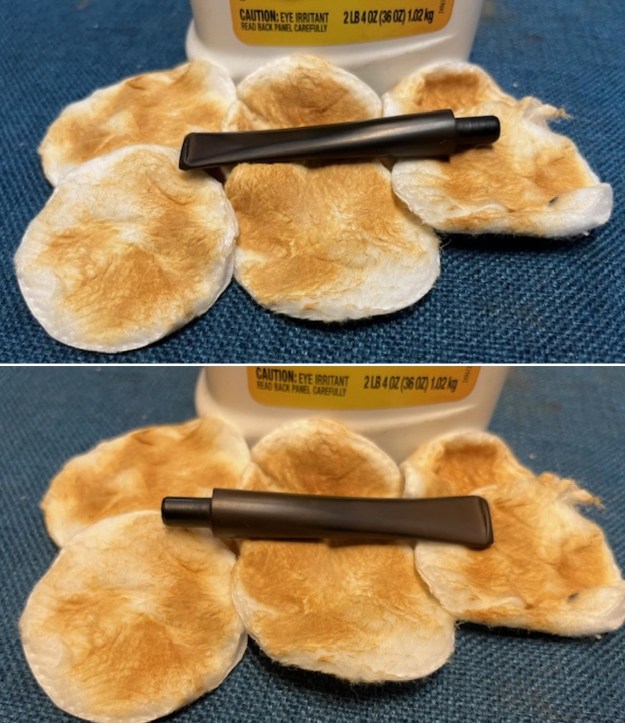
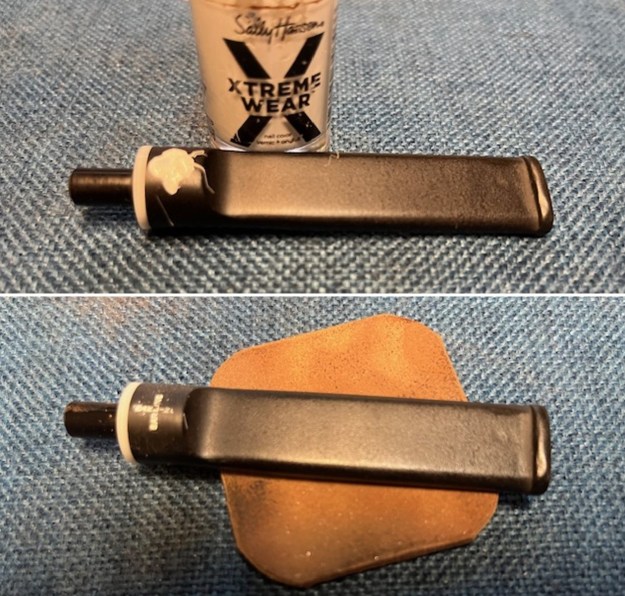
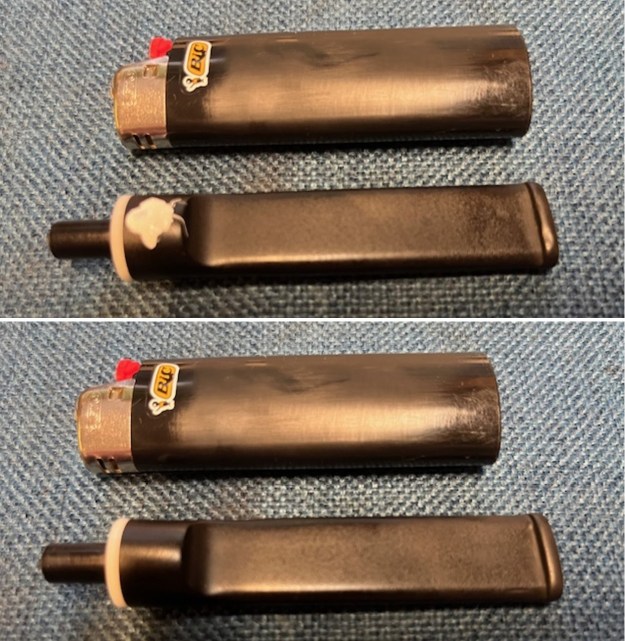
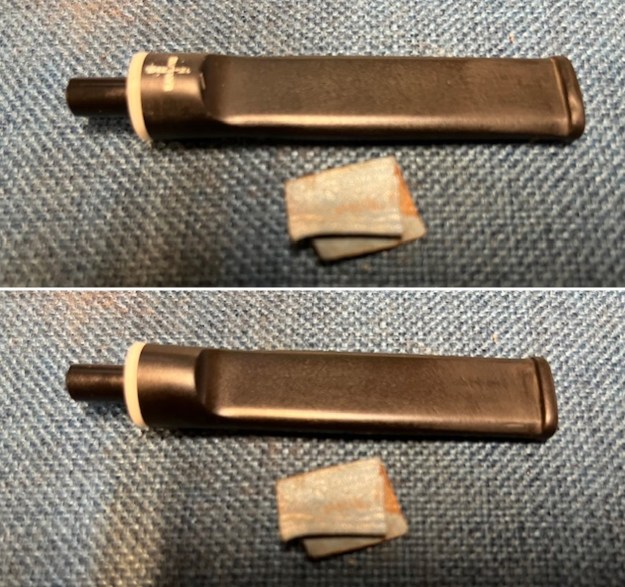
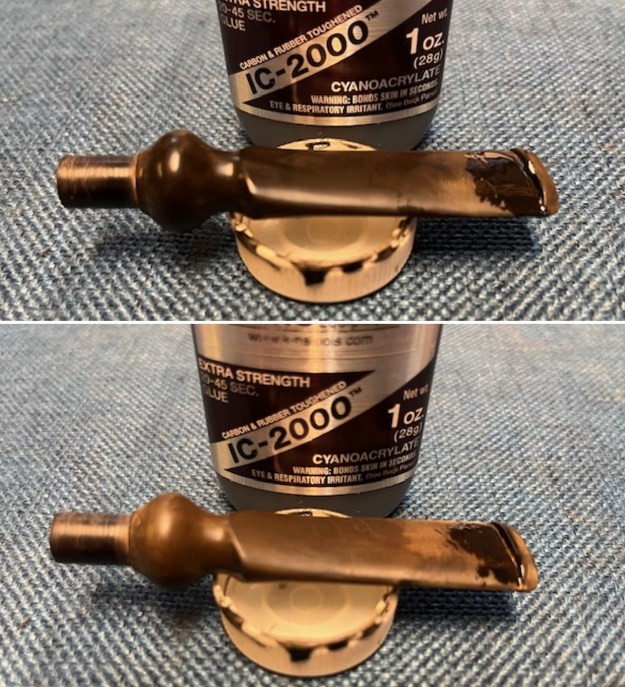
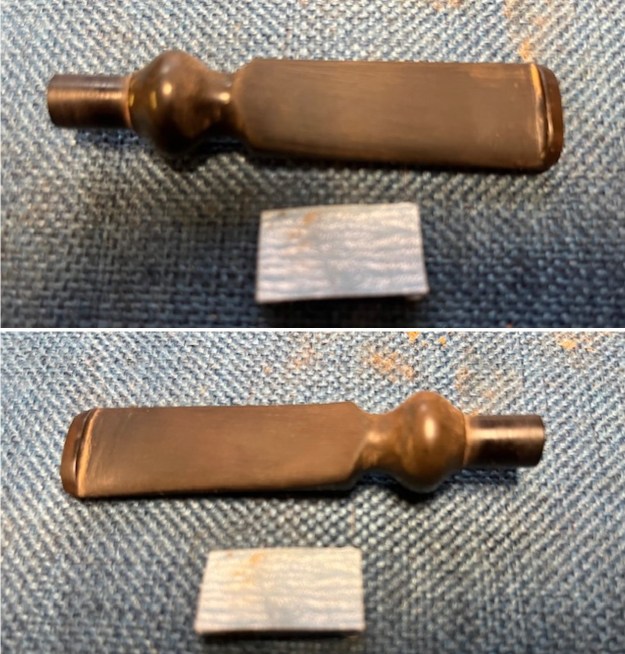
 I set the bowl aside and turned to address the tooth marks and chatter in the stem surface. I “painted” the tooth marks on the stem with the flame of a Bic lighter. I was able to lift the tooth marks significantly. I filled in what remained with black rubberized CA glue. Once the repairs had cured I sanded them with 220 grit sandpaper to blend them into the surface of the stem.
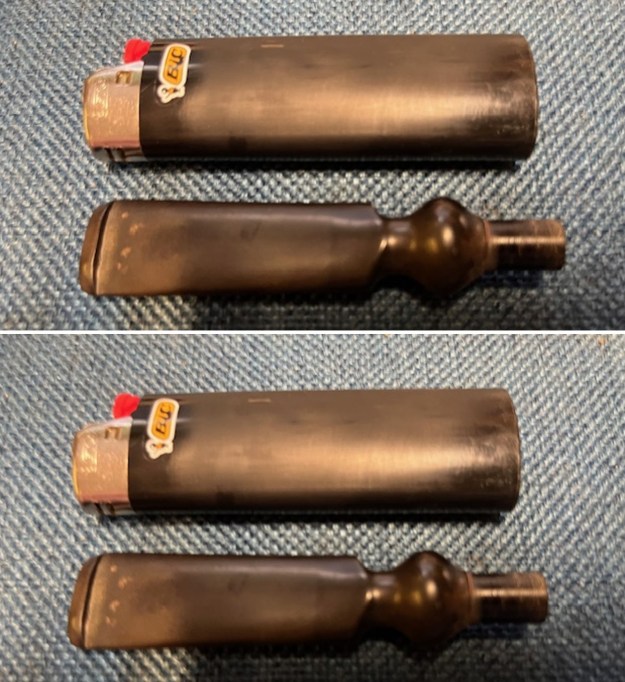
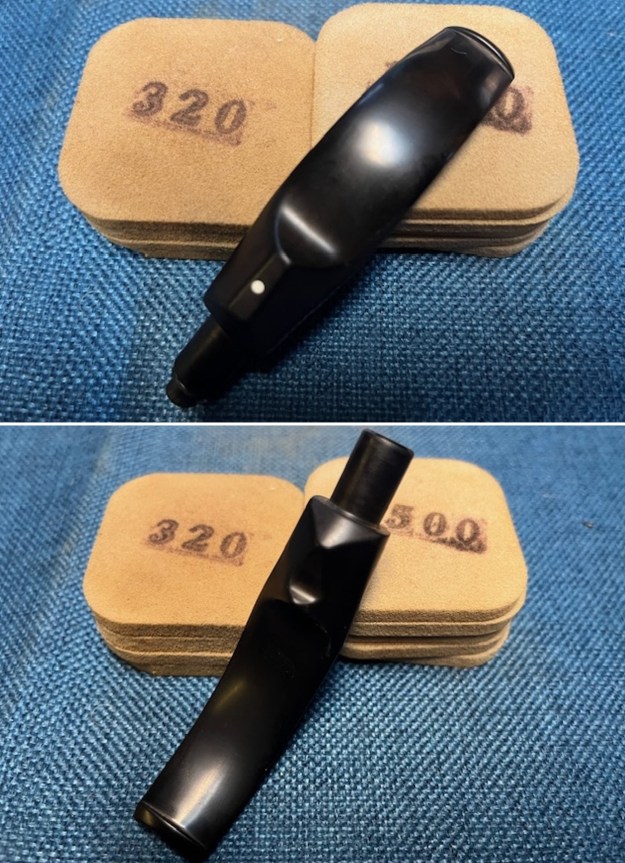
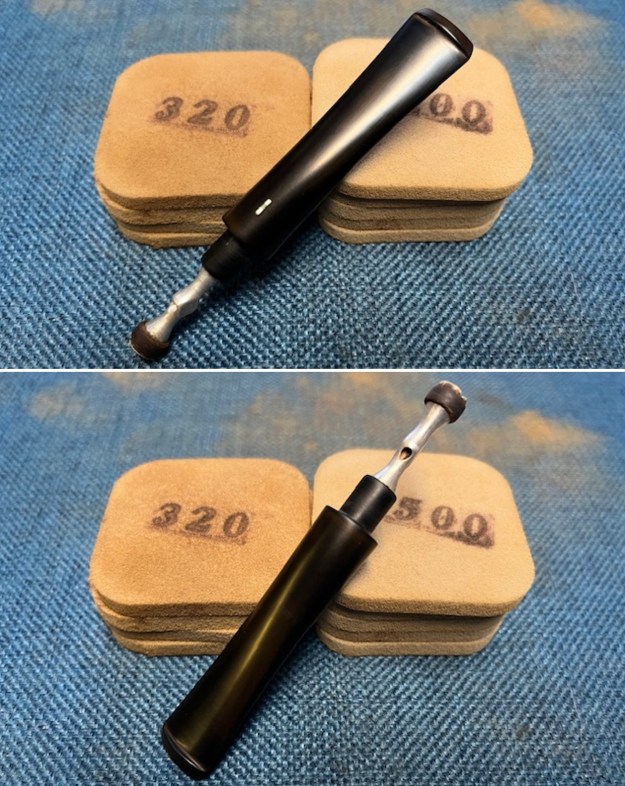
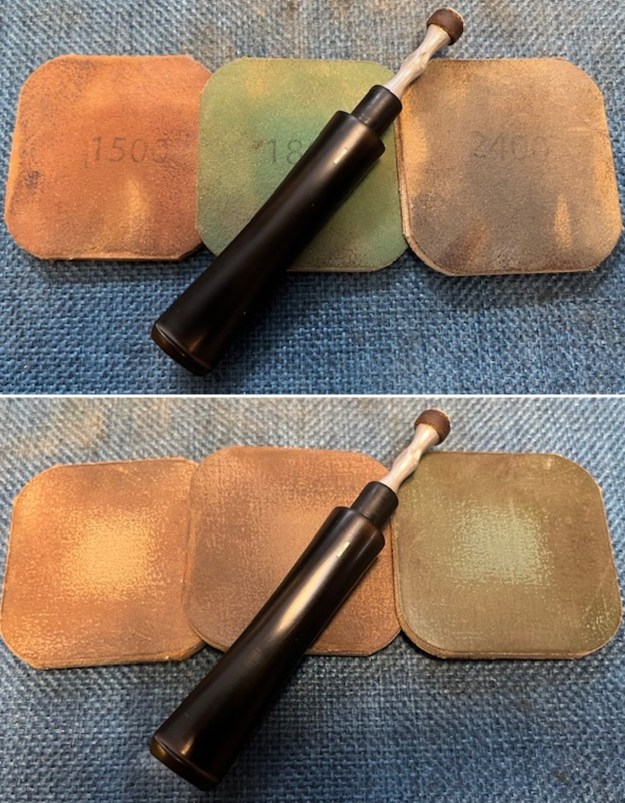
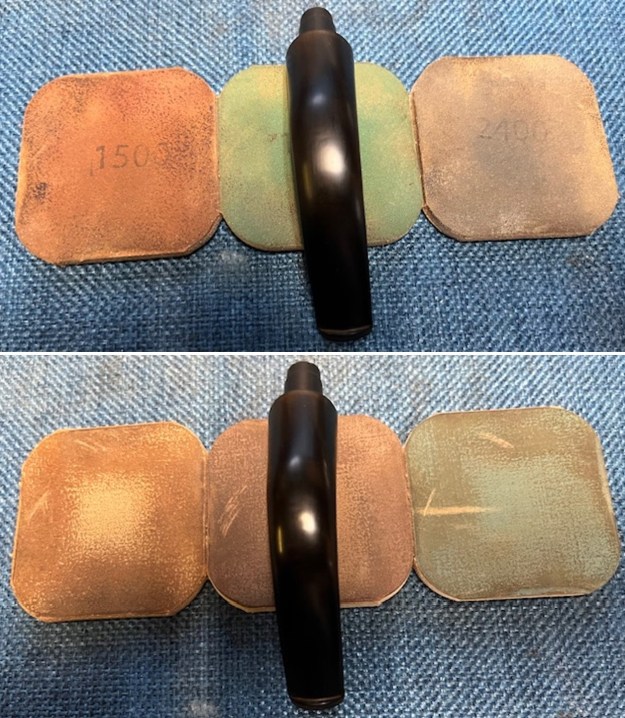
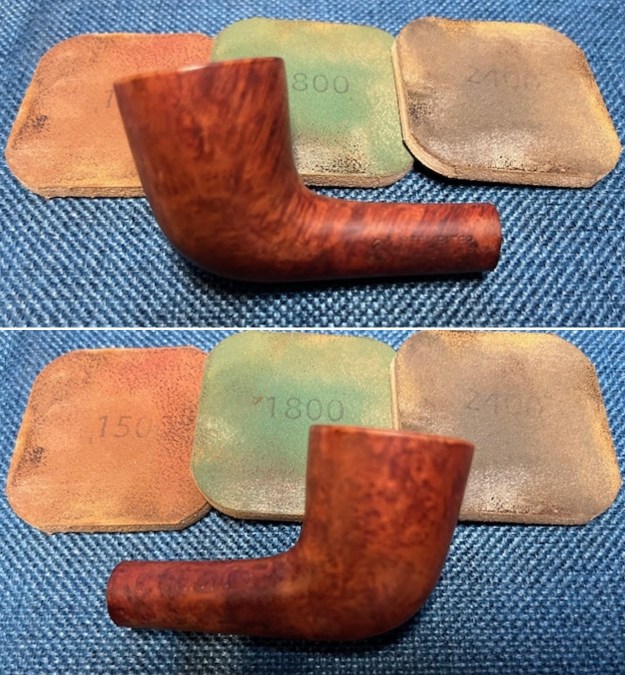
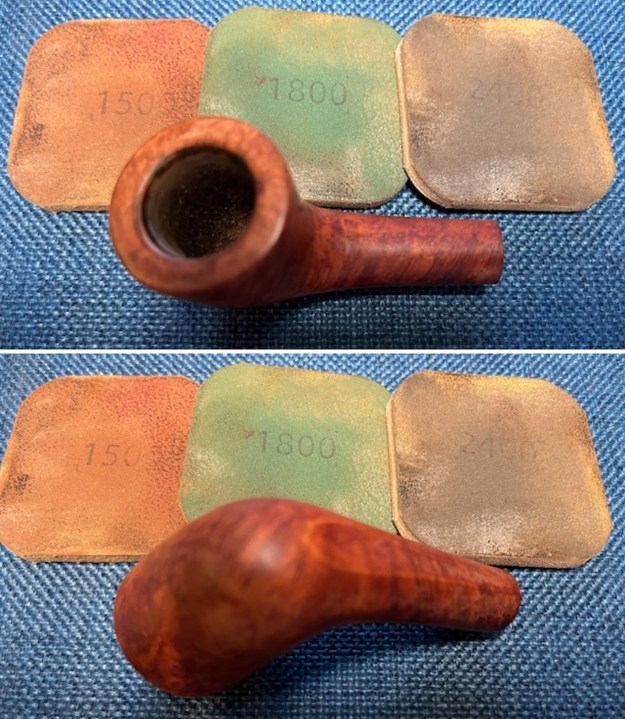
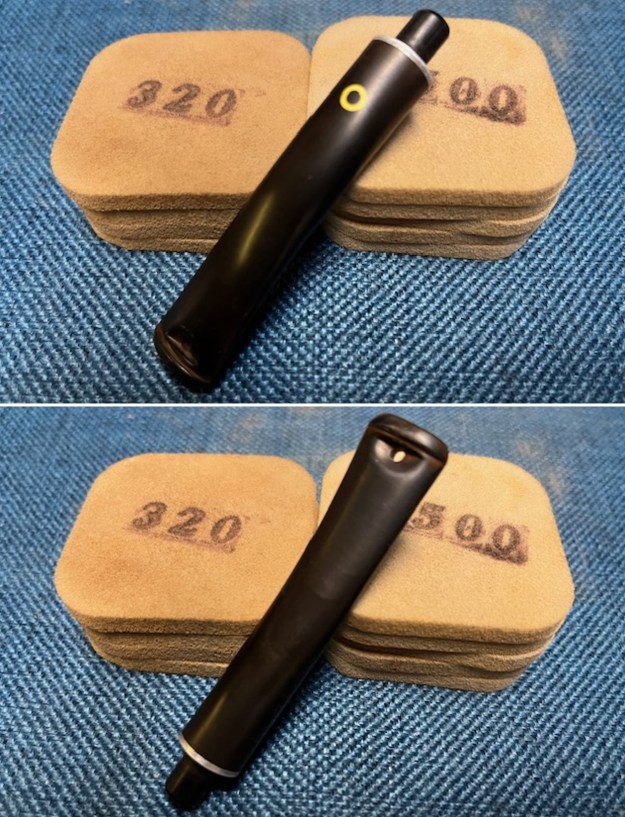
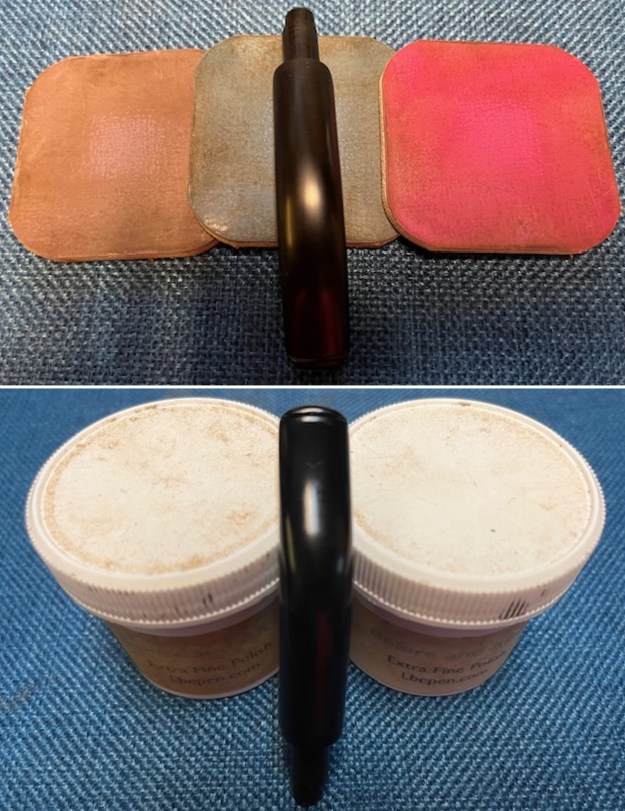
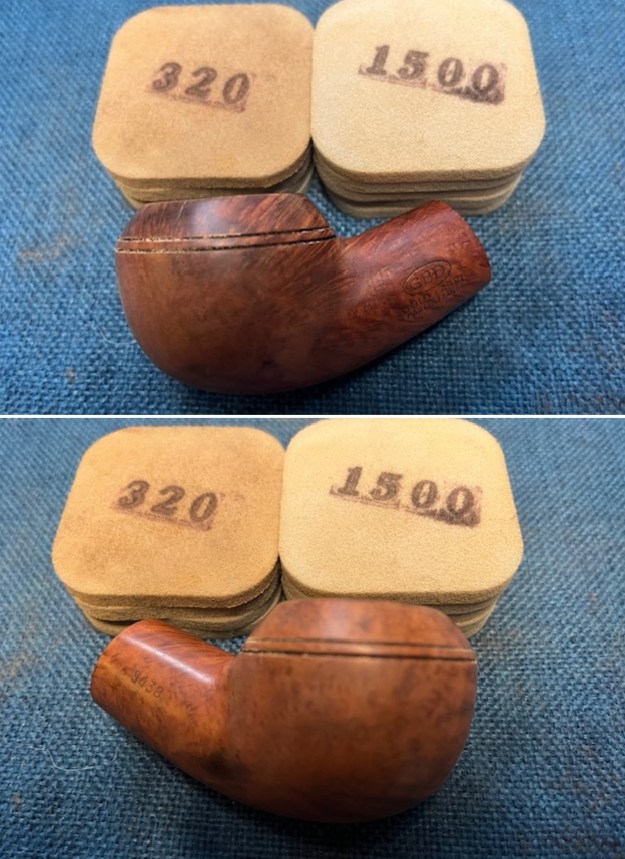
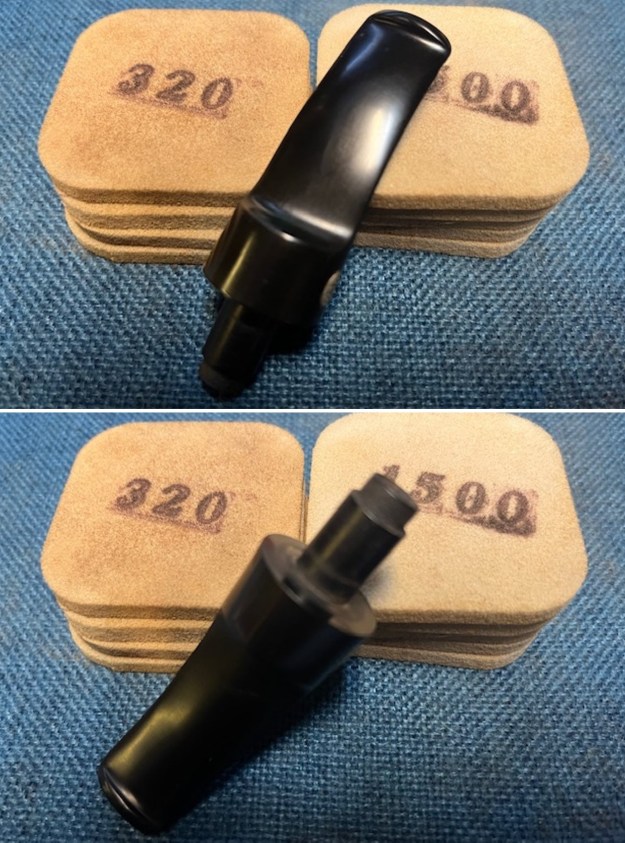
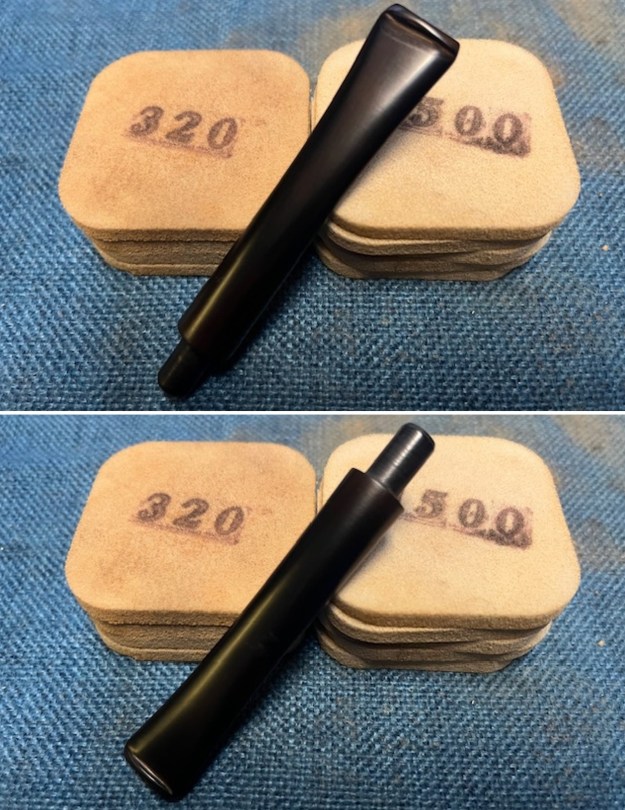
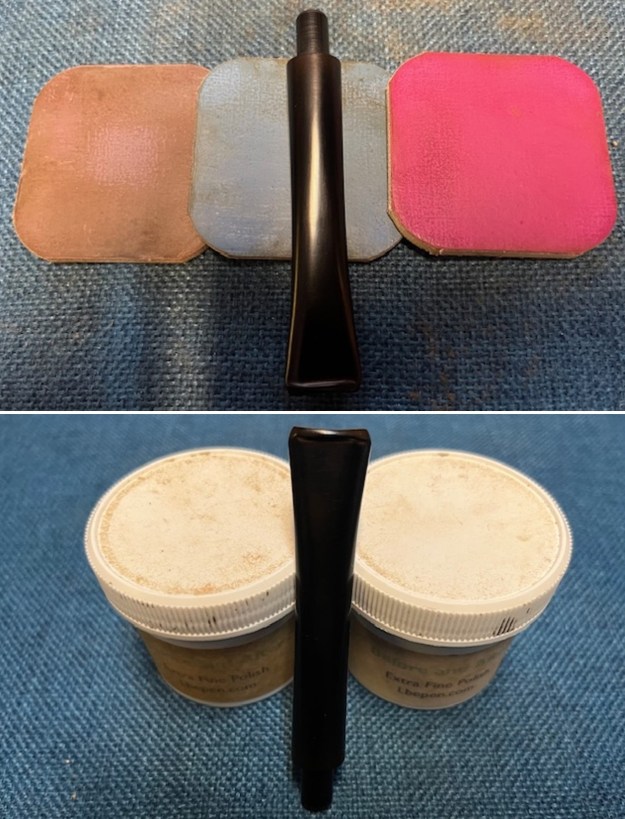
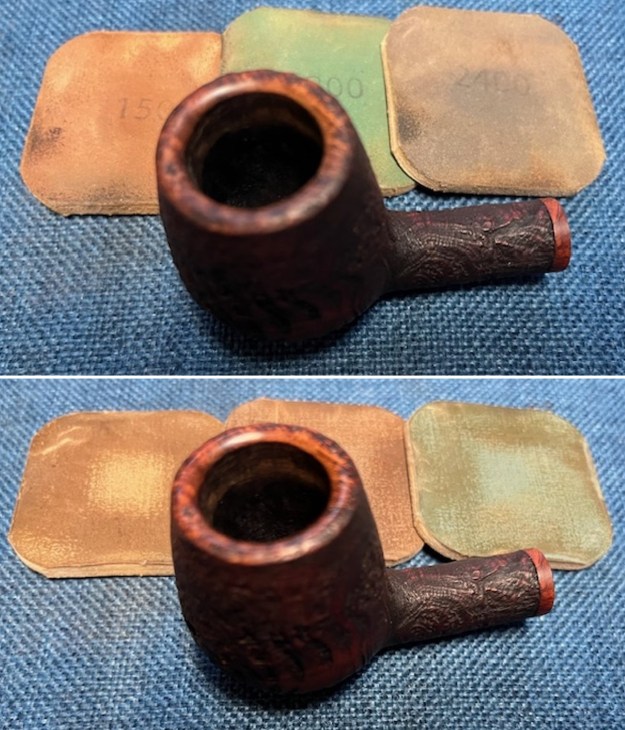
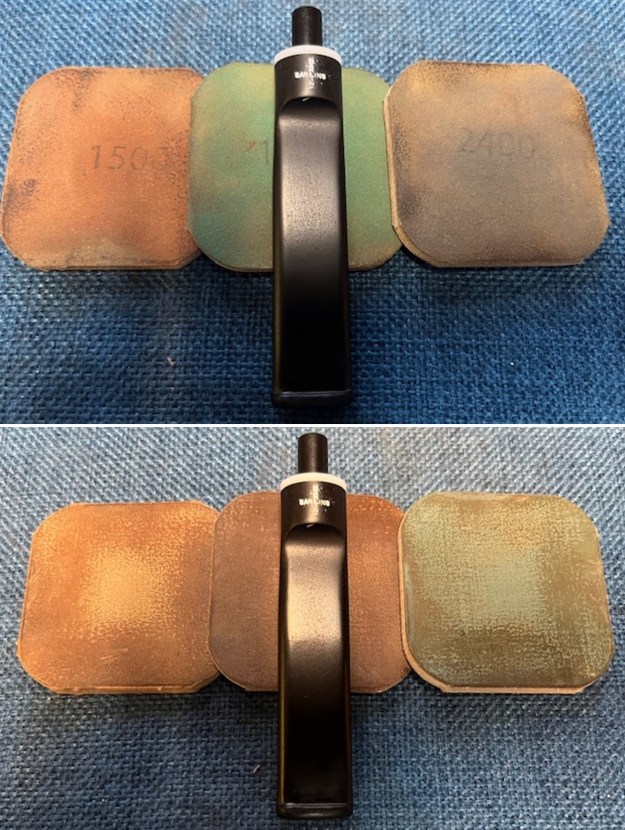
 I sanded the stem surface with 320-3500 grit sanding pads. I dry sanded with each pad and wiped the stem down after each pad with an Obsidian Oil impregnated cloth.
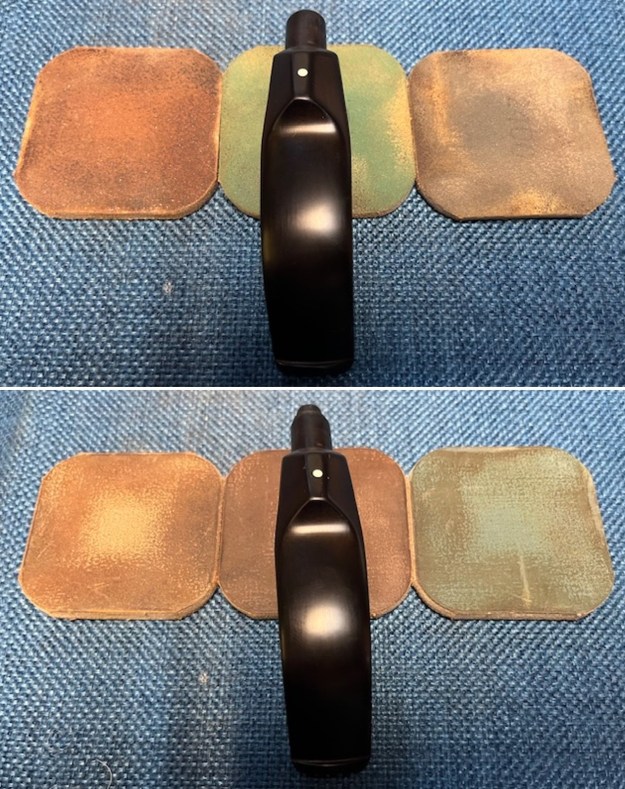
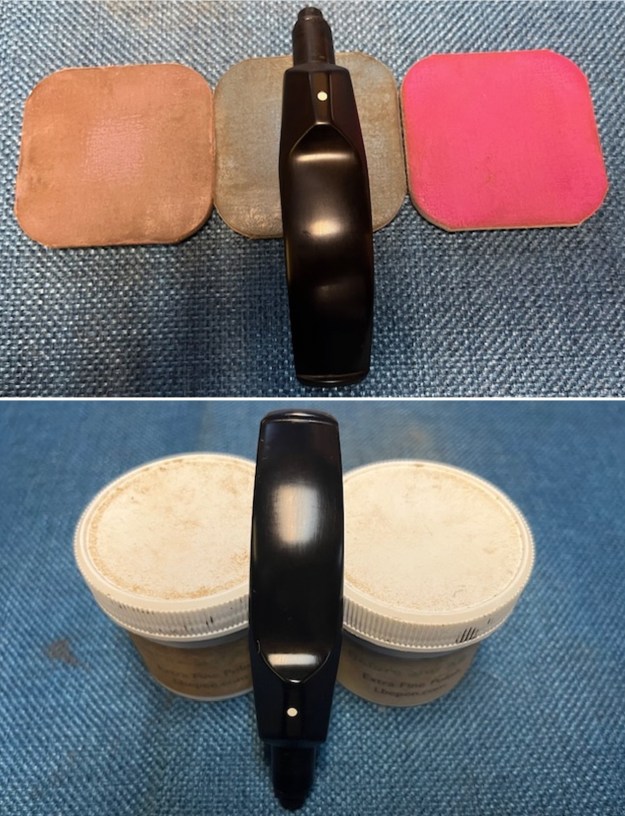
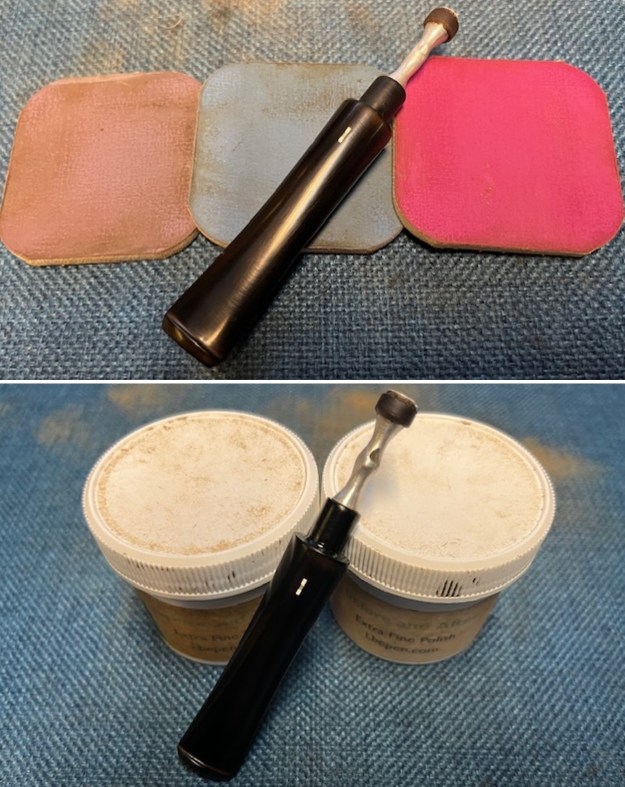
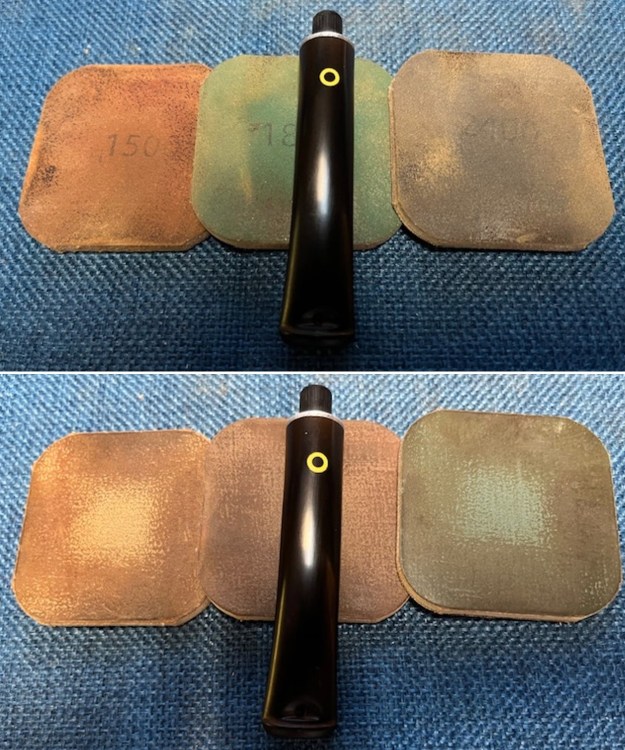
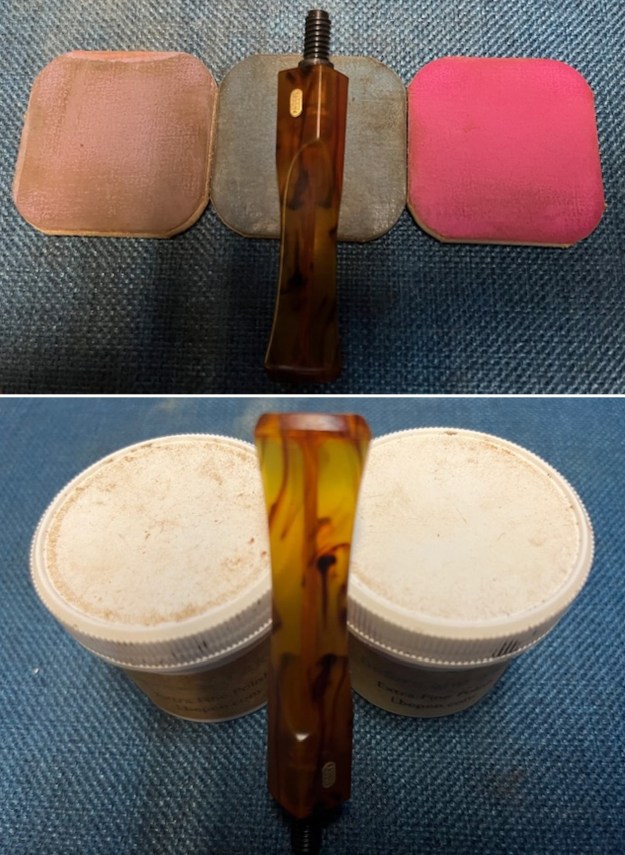
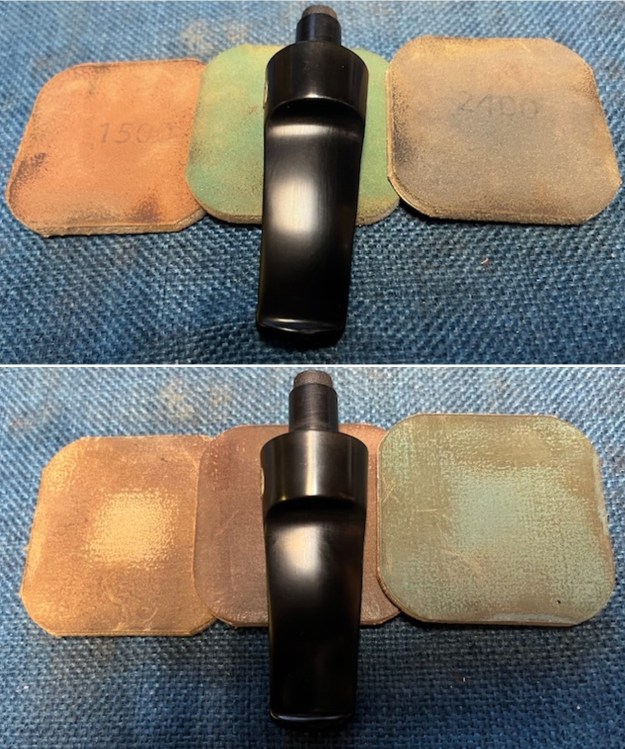
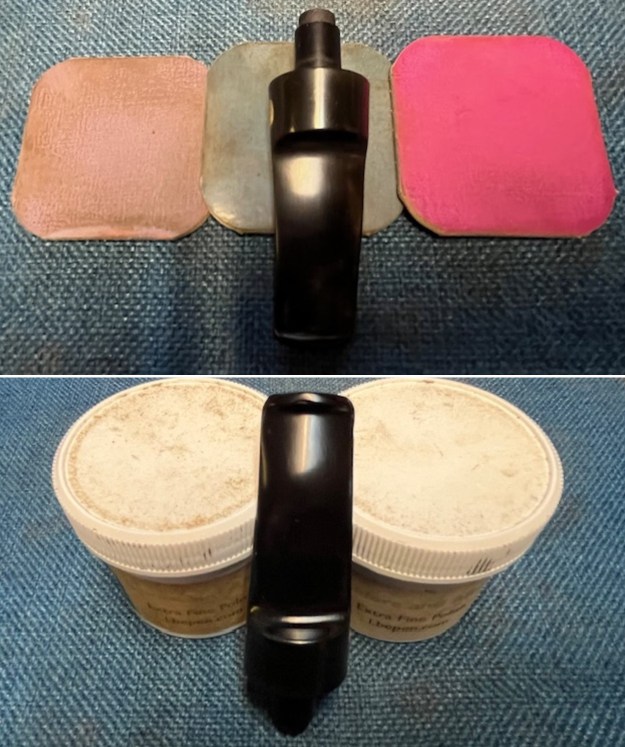
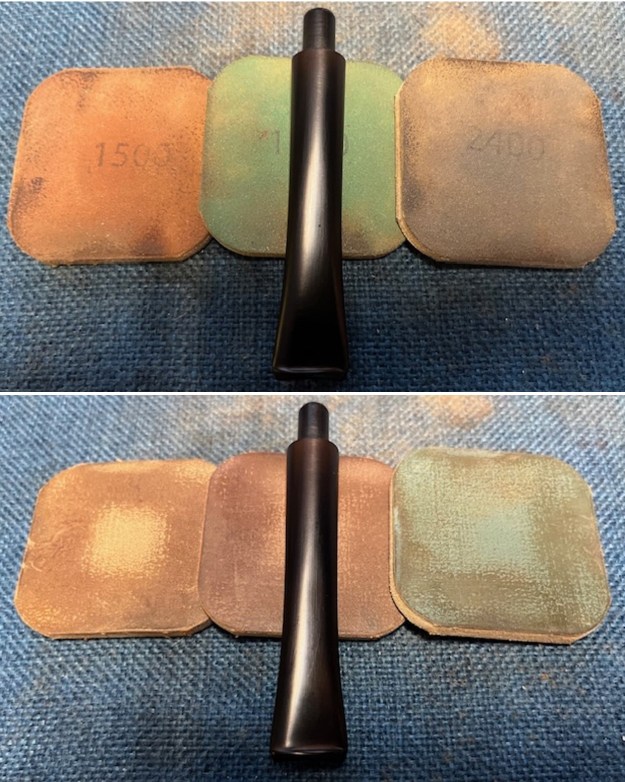
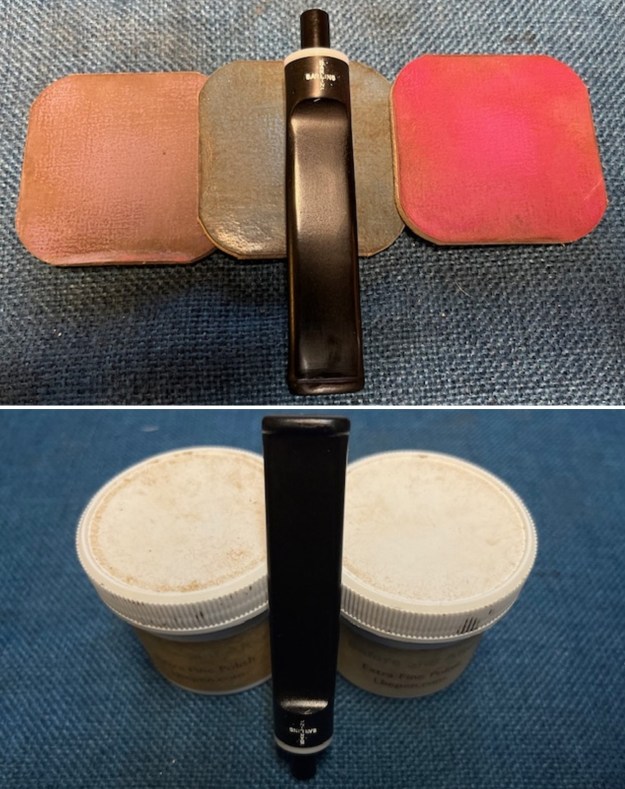
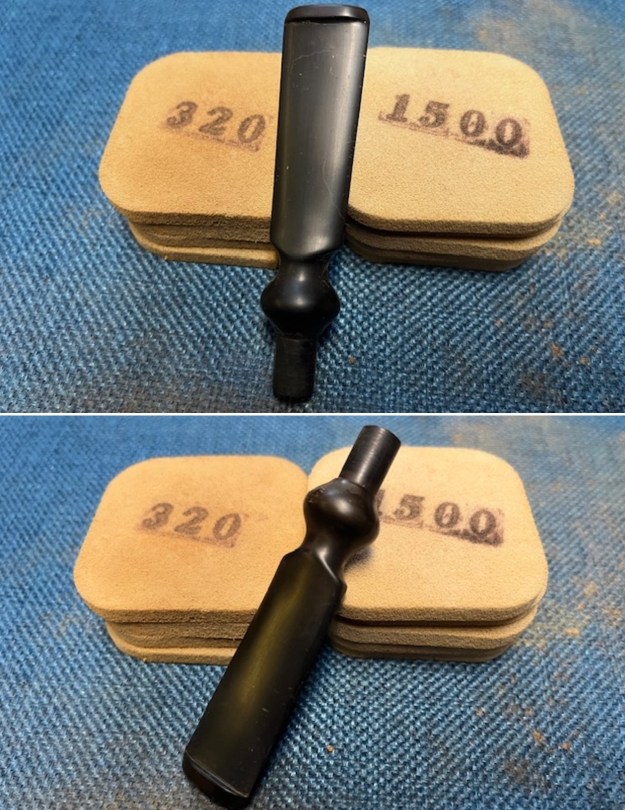 I polished the vulcanite with micromesh sanding pads – 1500-12000 grit pads. I wiped it down with Obsidian Oil after each sanding pad. I used Before & After Pipe Polish – both Fine and Extra Fine to further polish the stem.
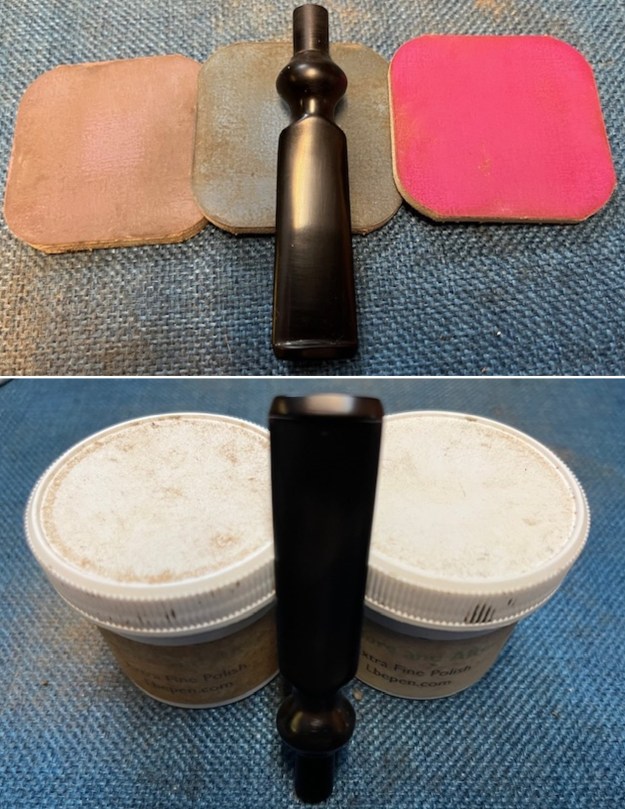
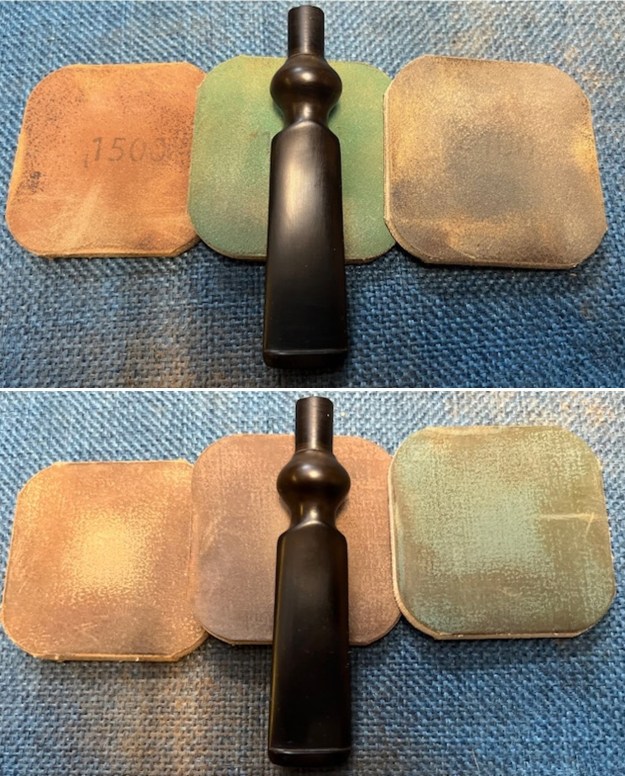
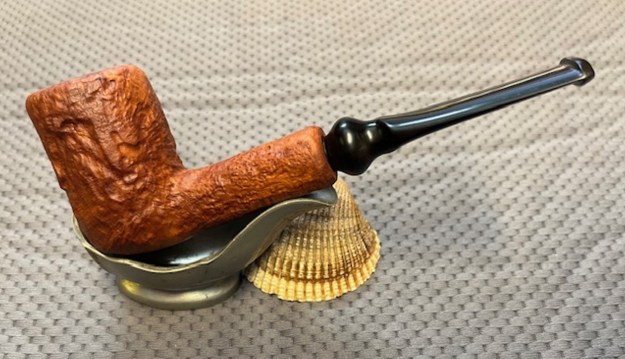
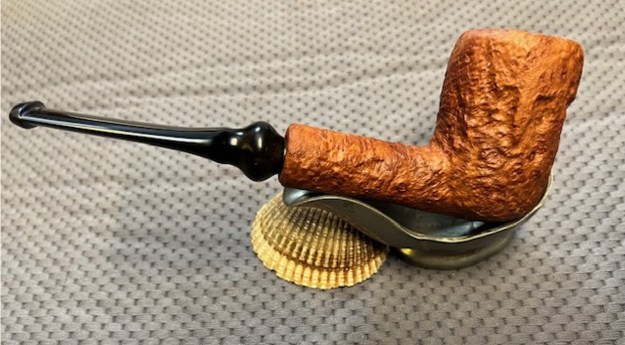
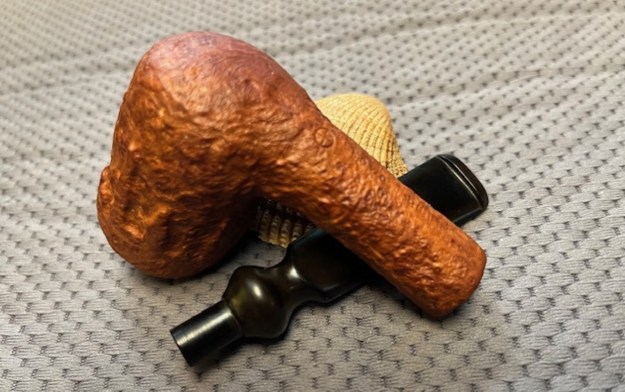
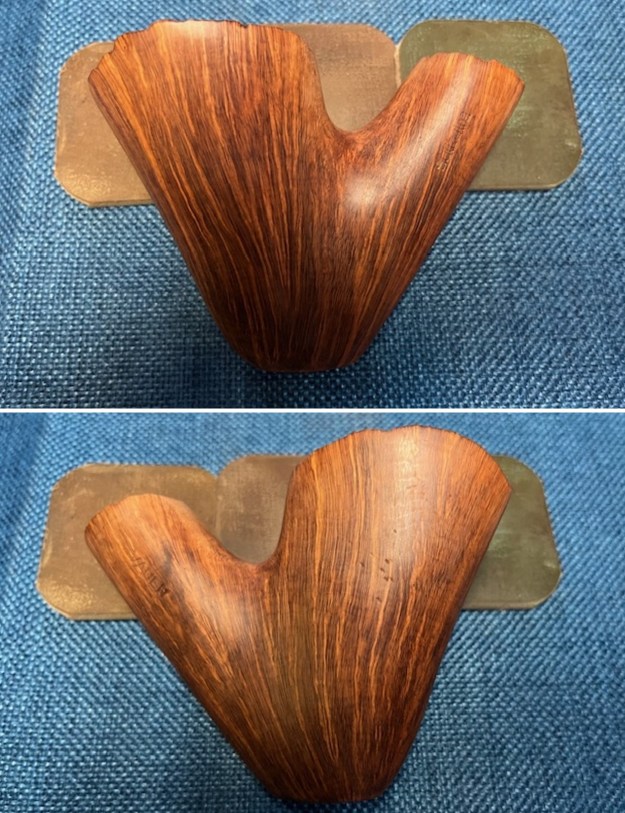
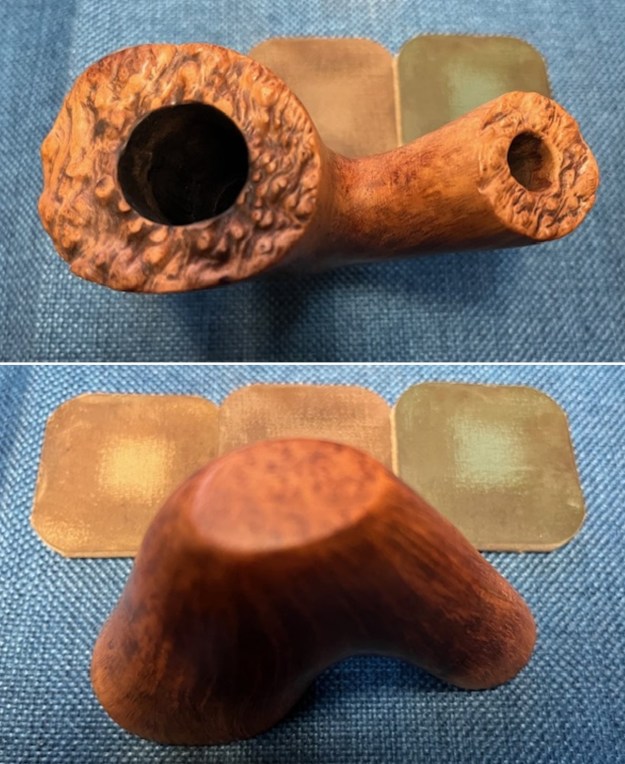
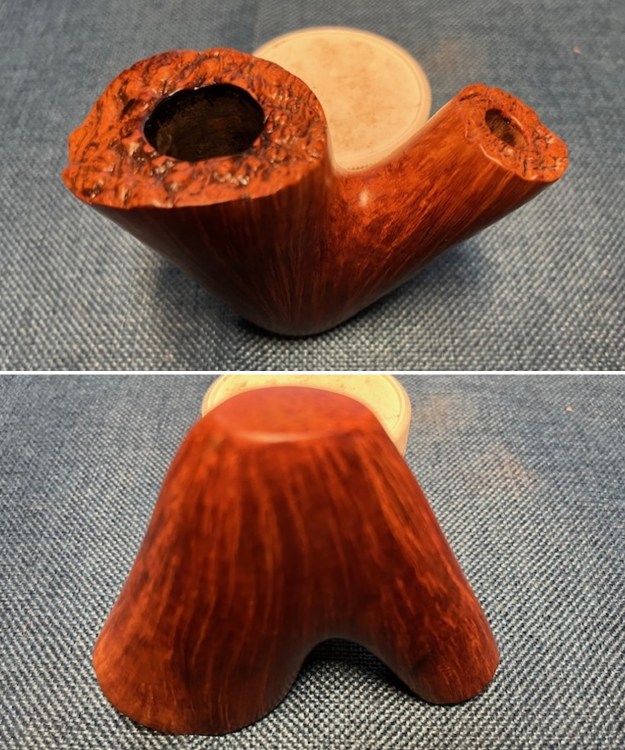
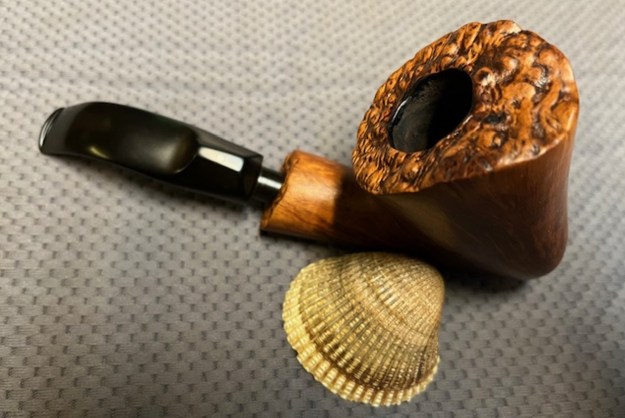
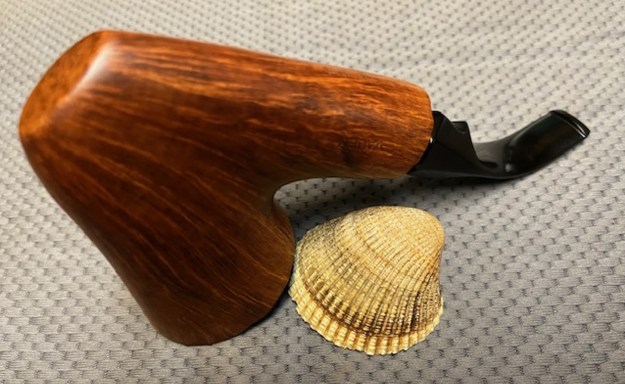
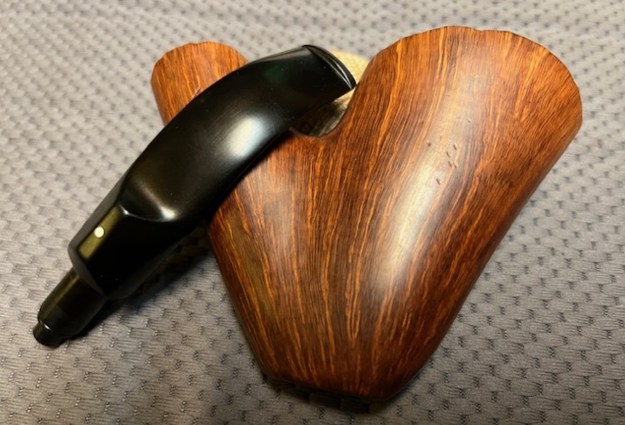
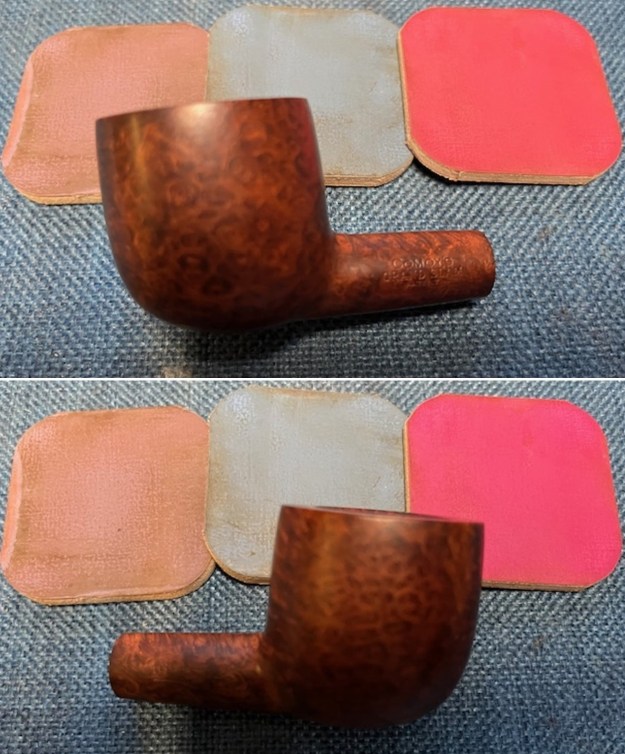
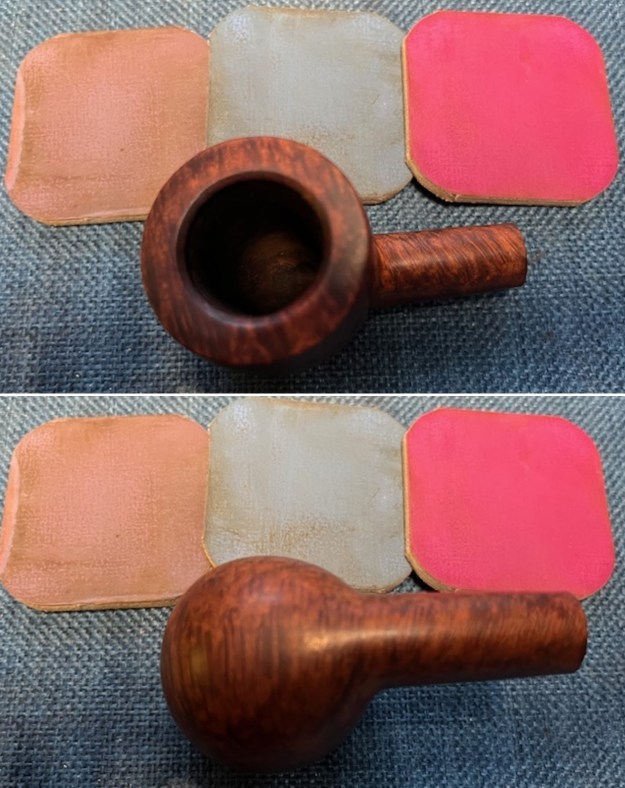
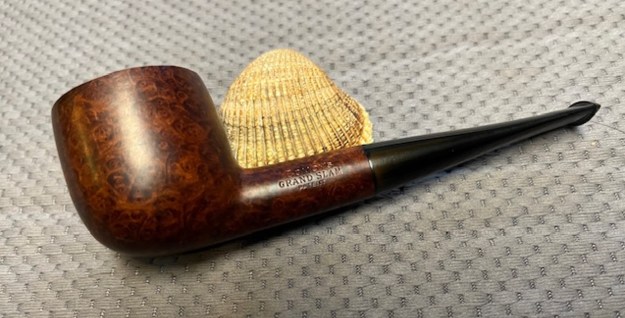
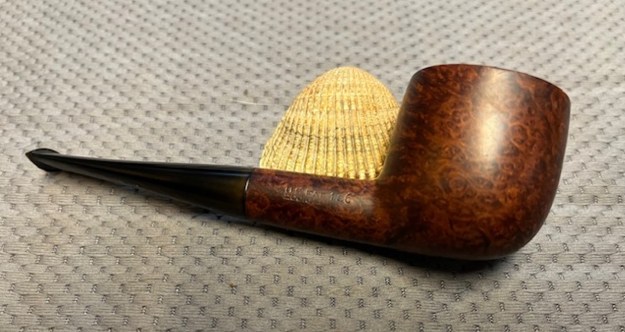
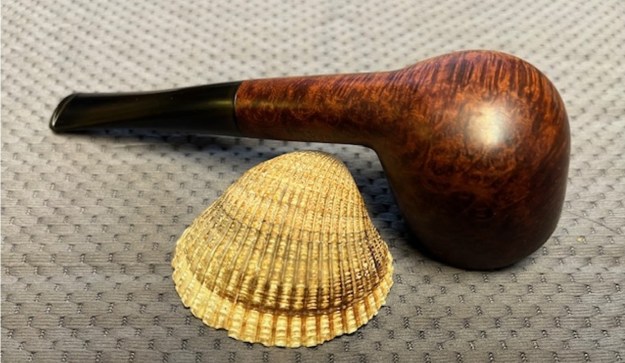
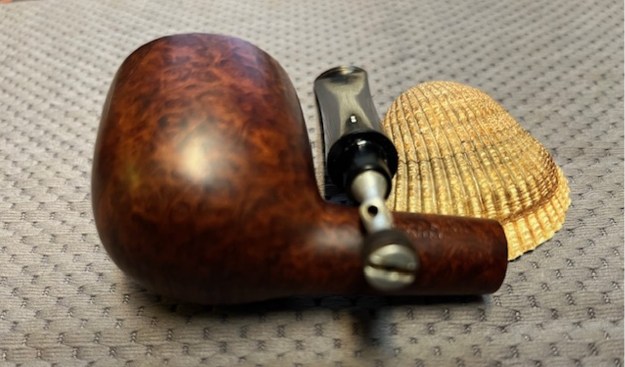
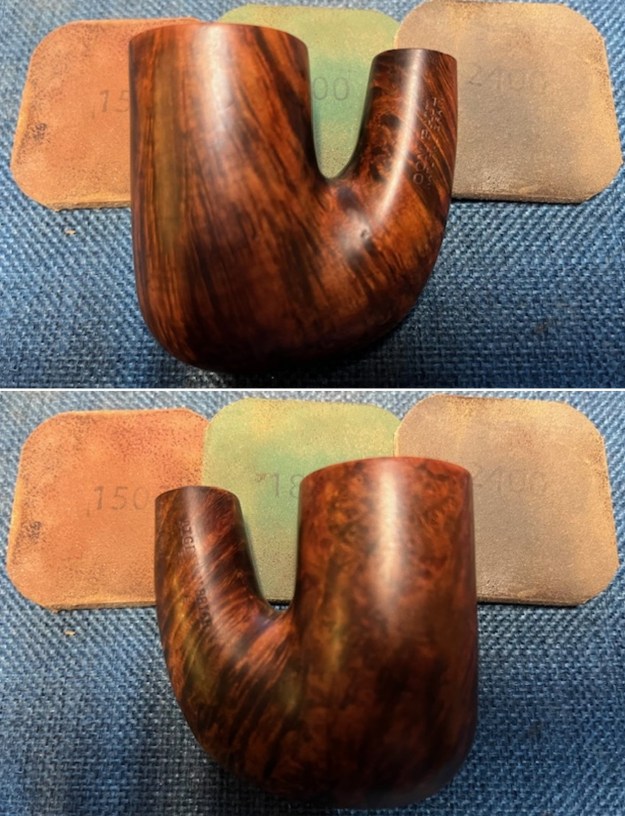
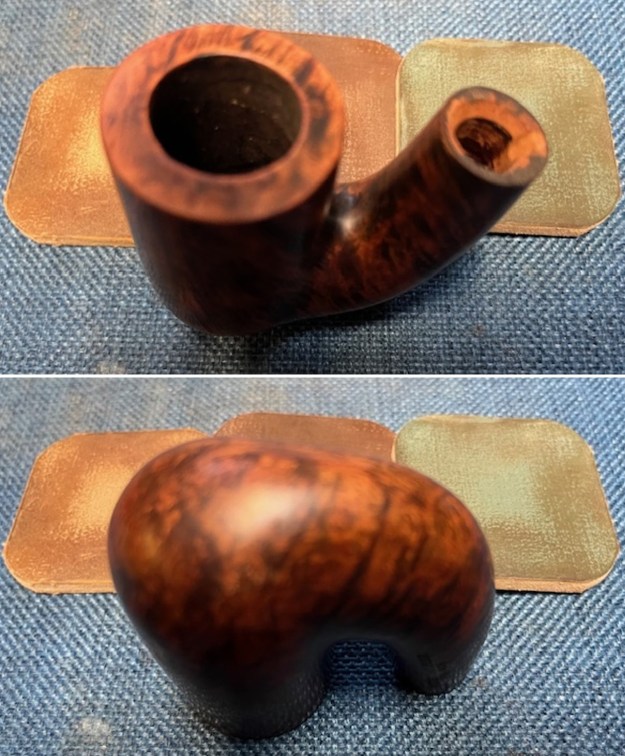
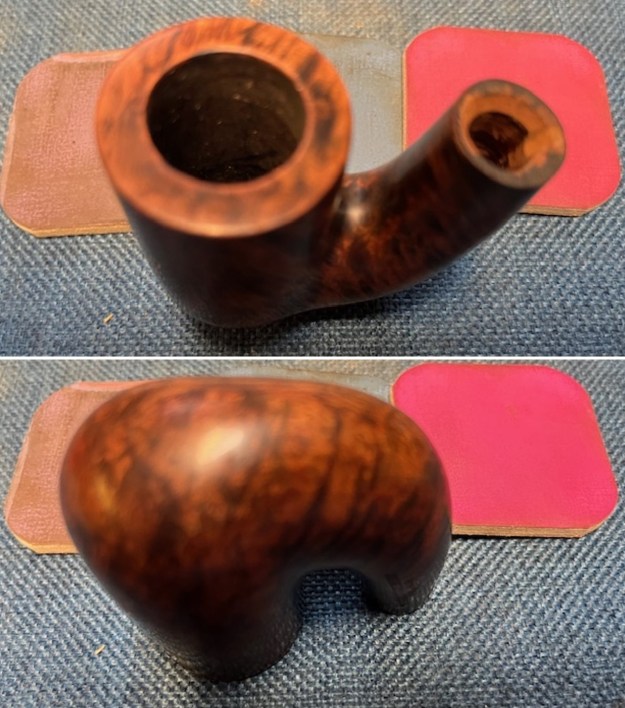
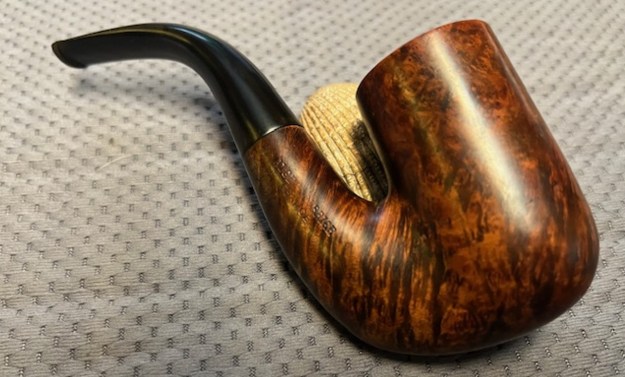
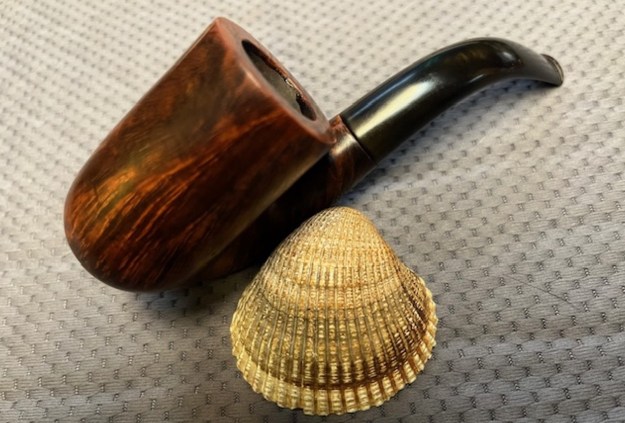
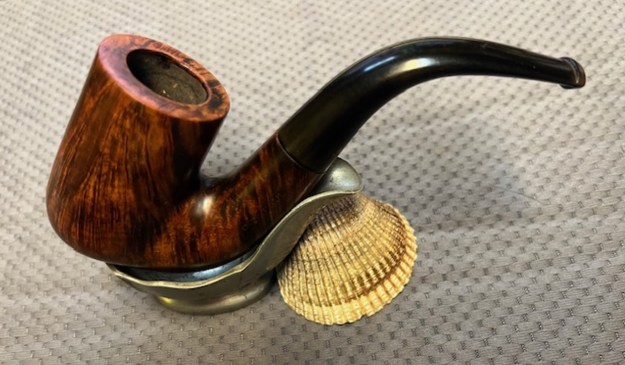
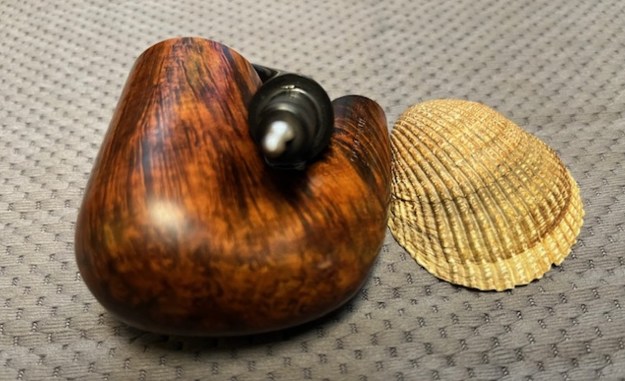
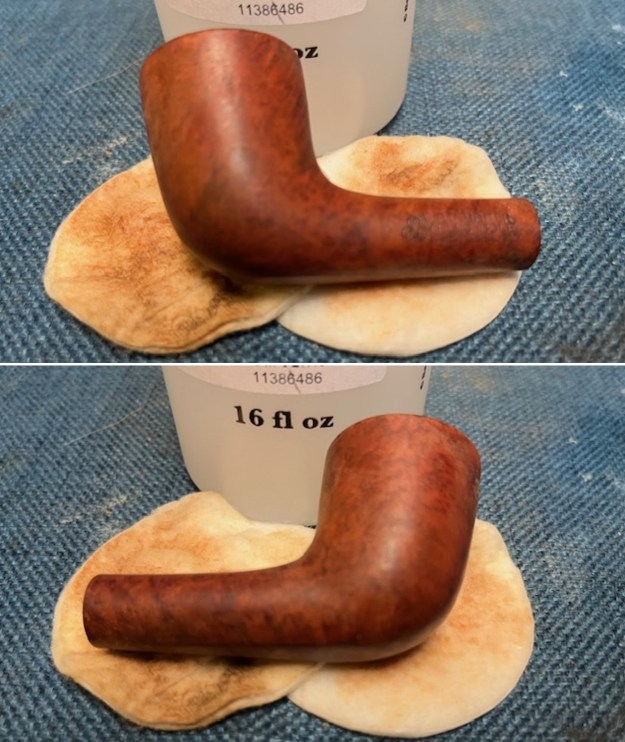
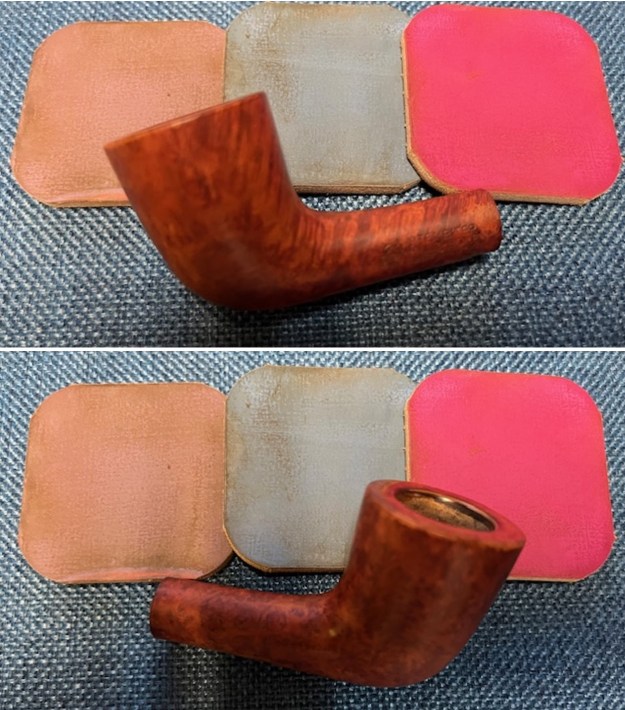
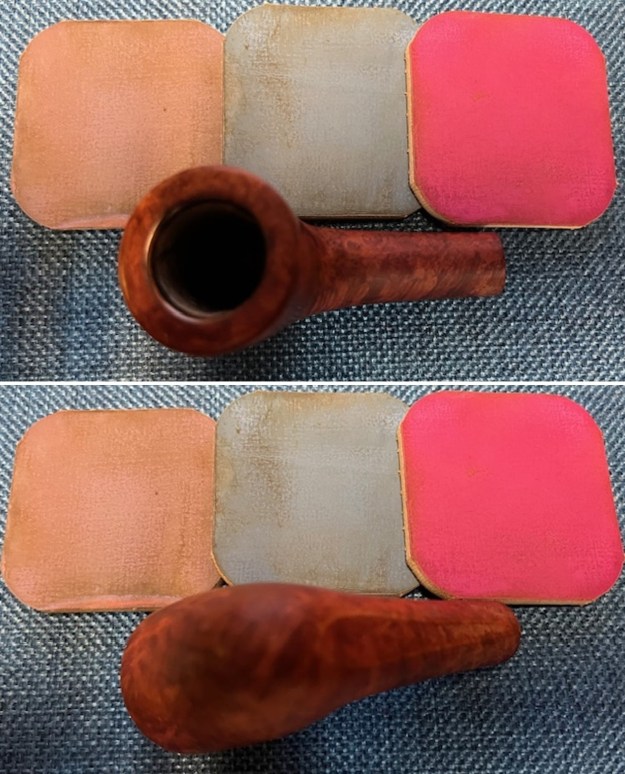
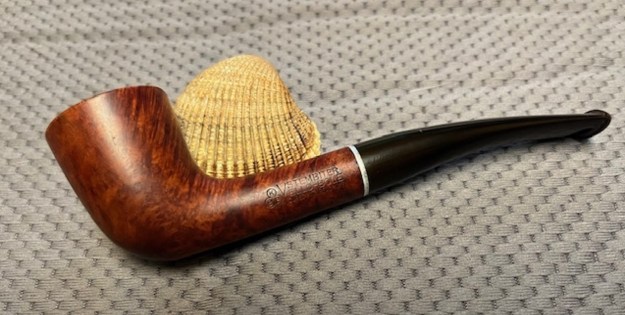
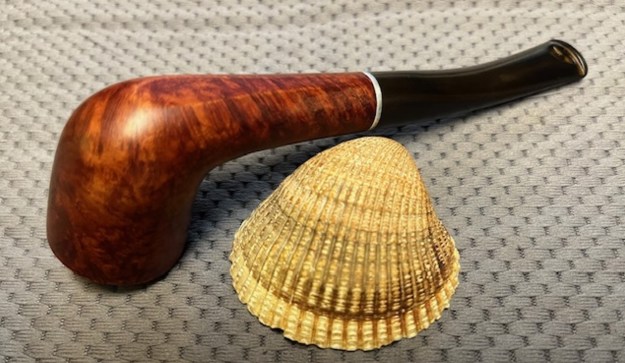
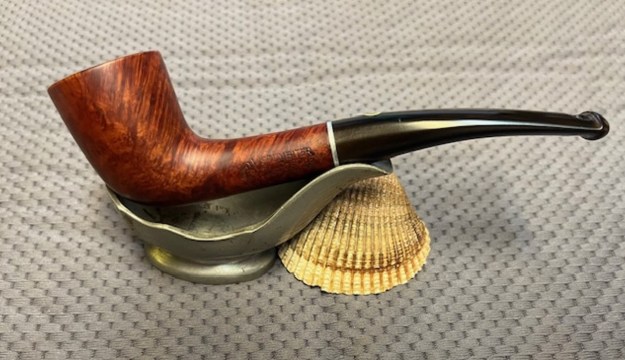
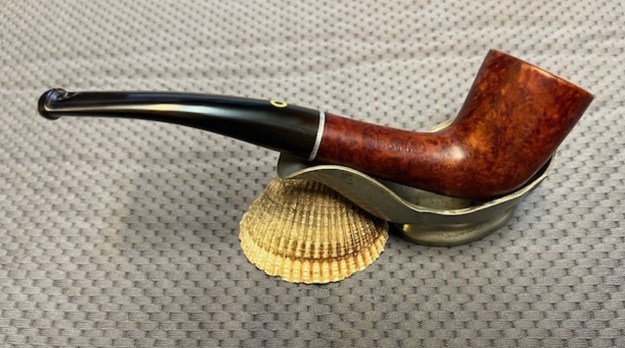
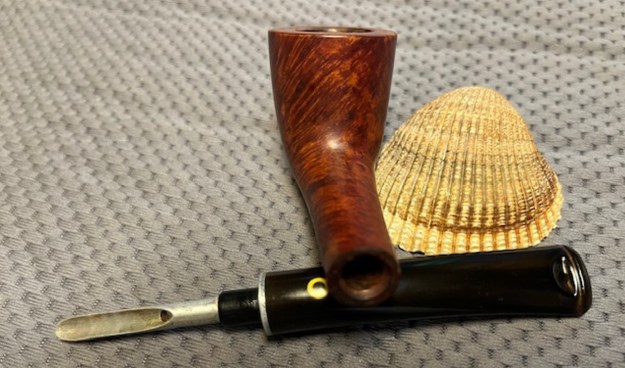
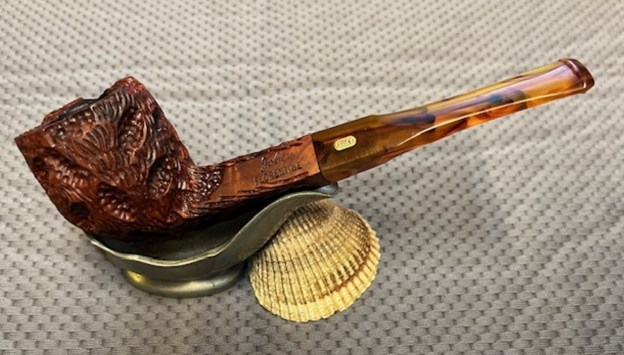
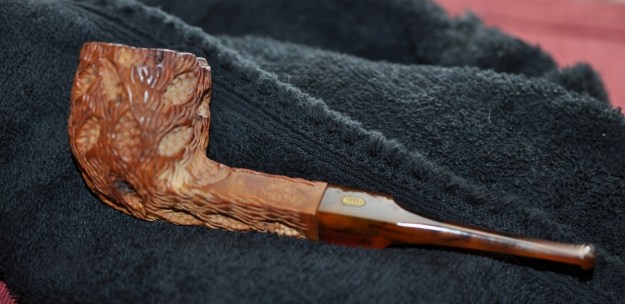
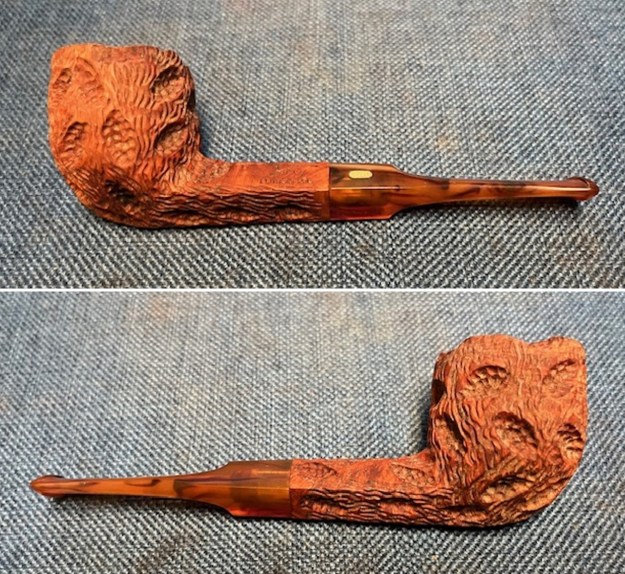
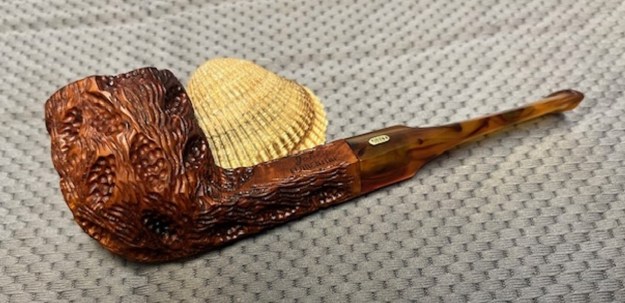
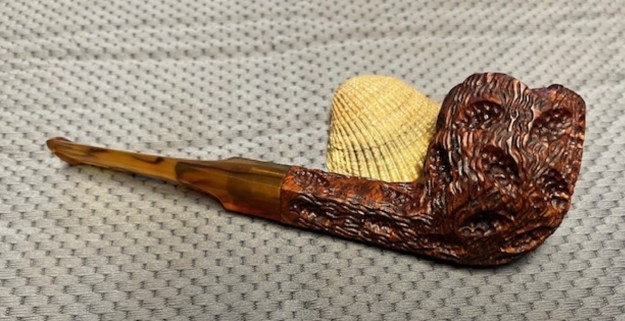
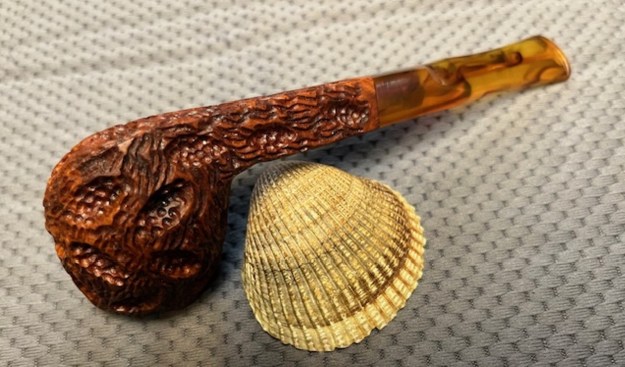
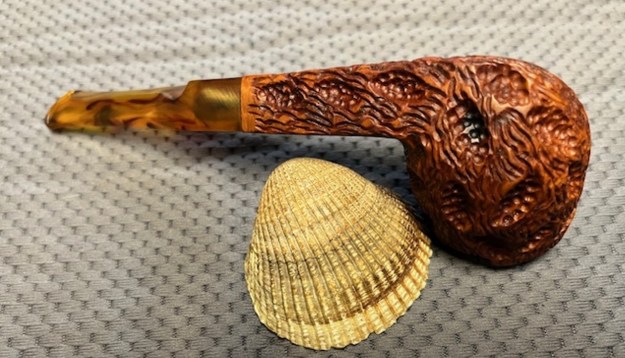
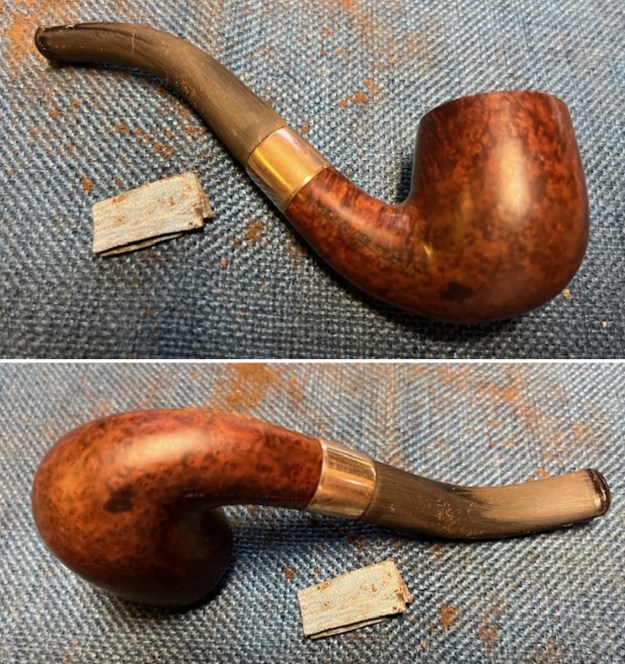
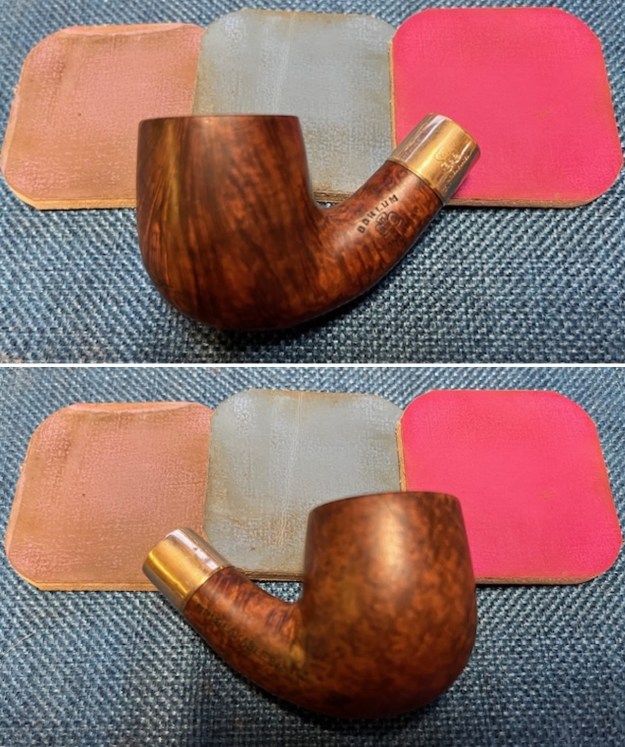
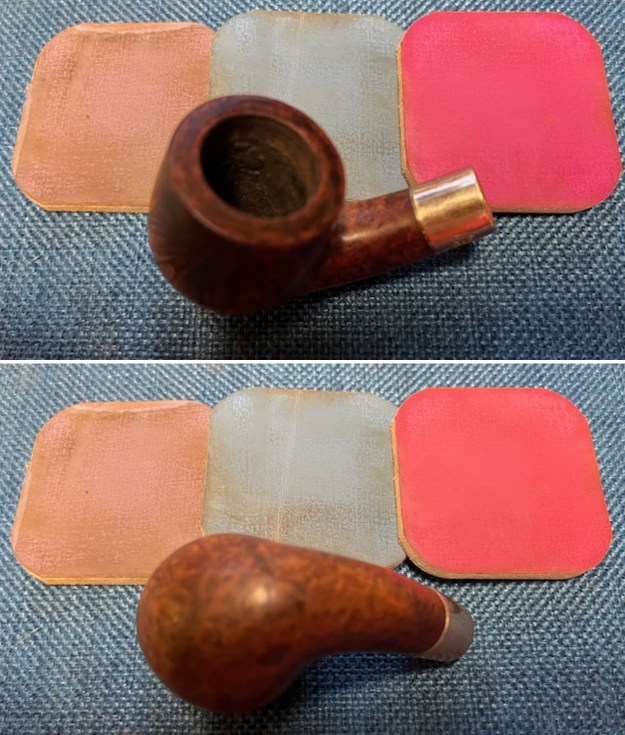
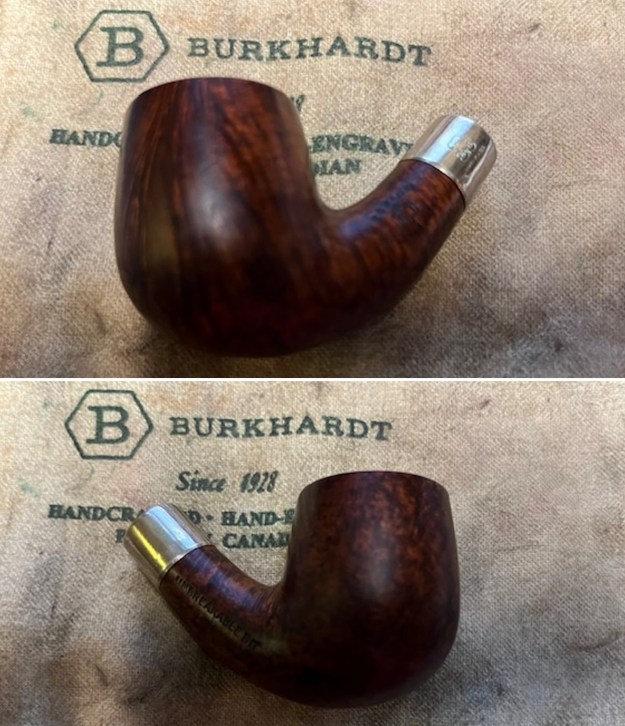
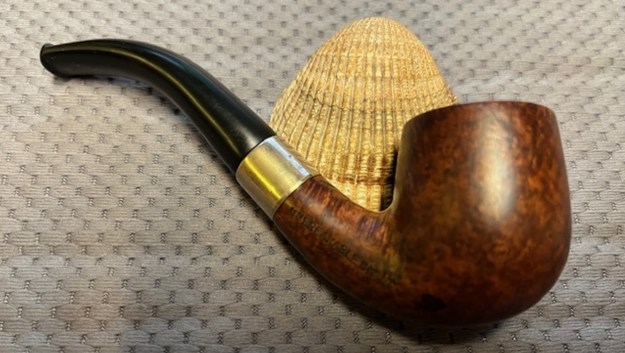
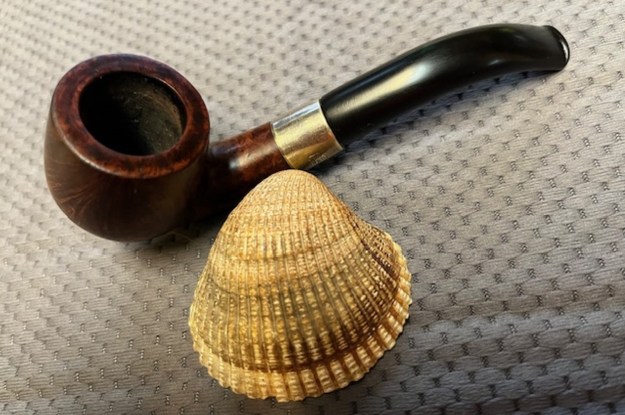
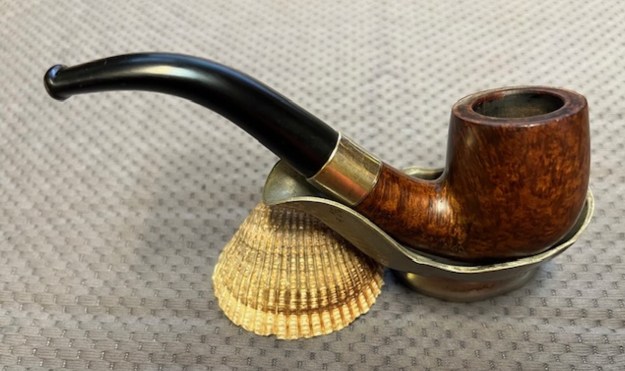
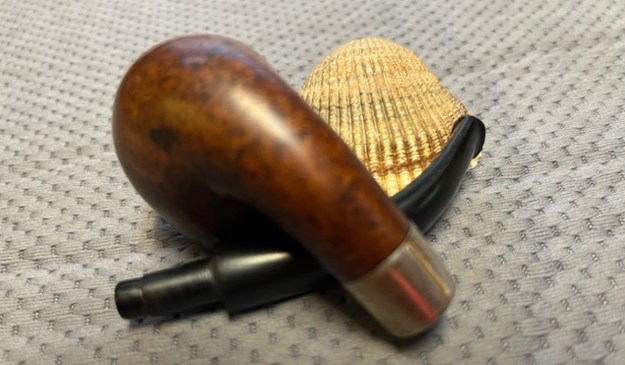
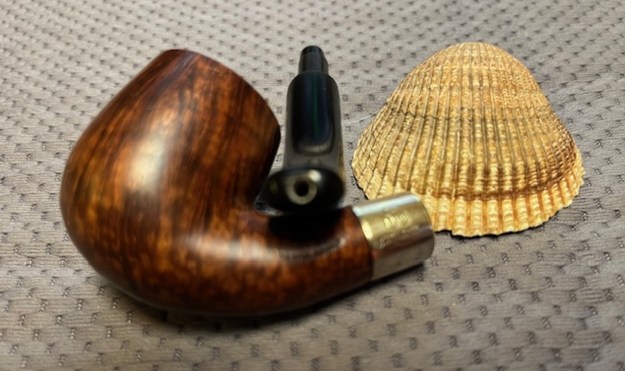
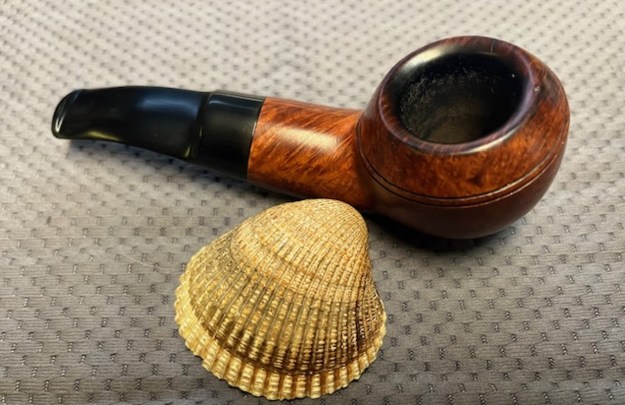
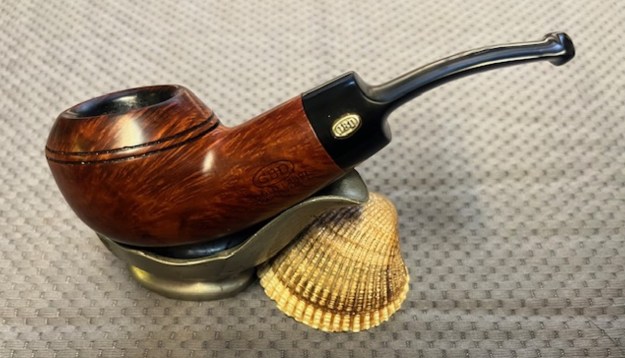
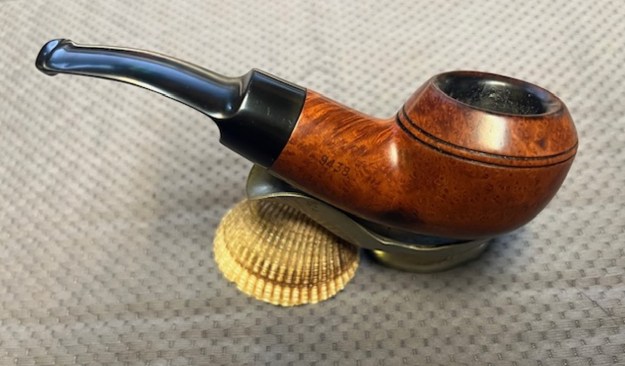
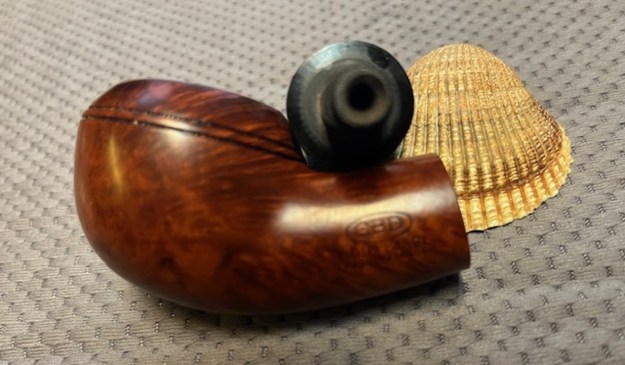
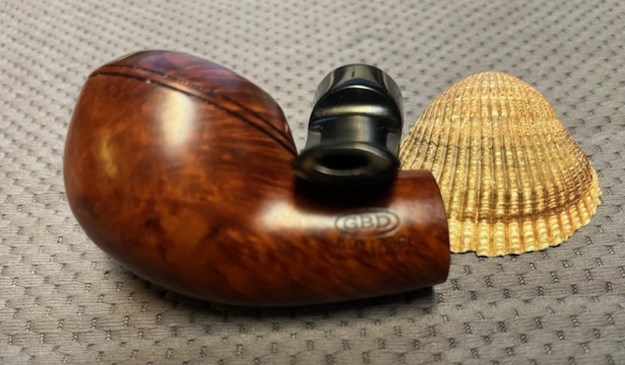
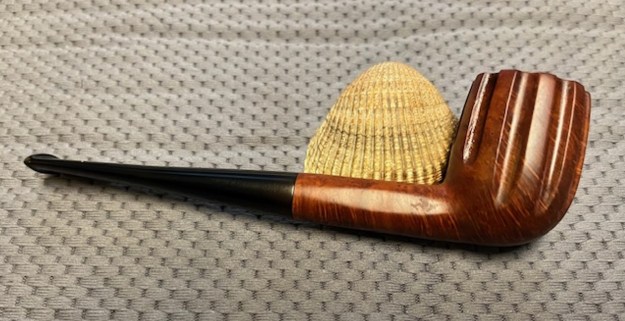
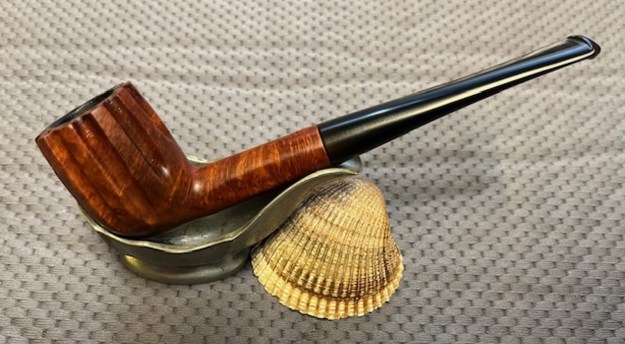
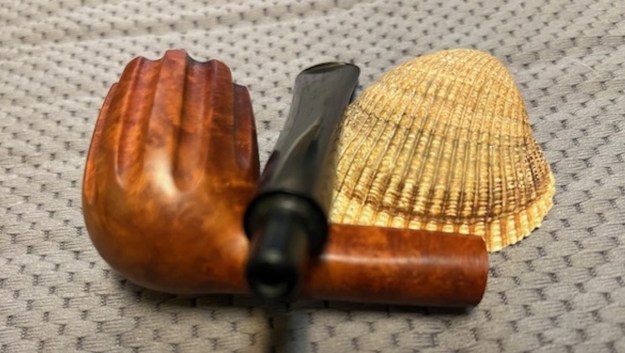
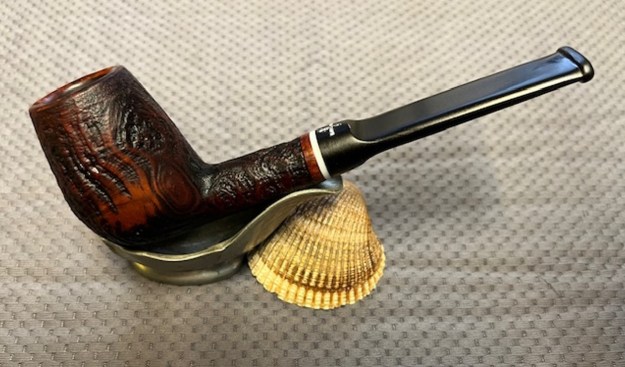
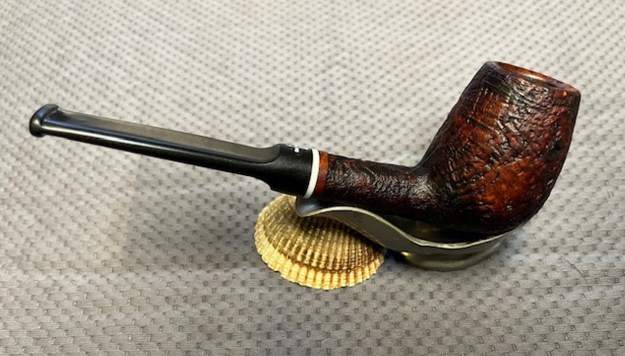
 Once I finished with the 2003 Brian McNulty Anima Wax Drip Sandblast Billiard I put the stem back on the shank and carefully buffed the pipe with Blue Diamond polish using a lightly loaded pad and a soft touch. I wanted the shine but not the grit filling in the crevices of the sandblast bowl. I buffed it lightly with Blue Diamond so as not to get it in the grooves and crevices of the blast. I gave the bowl and stem multiple coats of carnauba wax. I buffed the pipe with a clean buffing pad and hand buffed it with a microfiber cloth. The finished pipe is shown in the photos below. It is a great piece of pipe history and looks better than when I began the process. The dimensions of the pipe are Length: 5 ¾ inches, Height: 2 inches, Outer Bowl Diameter: 1 ¼ inches, Chamber Diameter: ¾ of an inch. The weight of the pipe is 1.45 ounces/ 41grams. One more of Sonny’s pipes to work on before I send them all back to him. Thanks for reading this blog and my reflections on the pipe while I working on it. As always, I encourage your questions and comments as you read the blog. Thanks to each of you who are reading this blog. Remember we are not pipe owners; we are pipemen and women who hold our pipes in trust until they pass on into the trust of those who follow us.