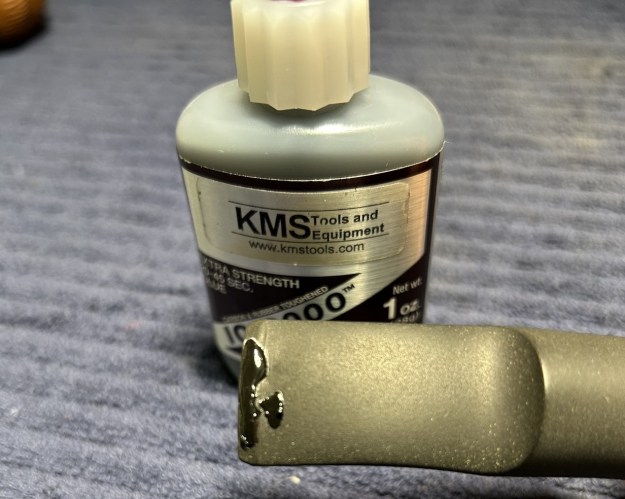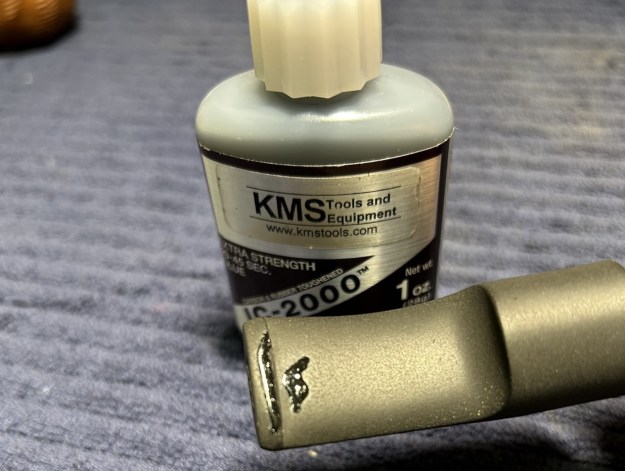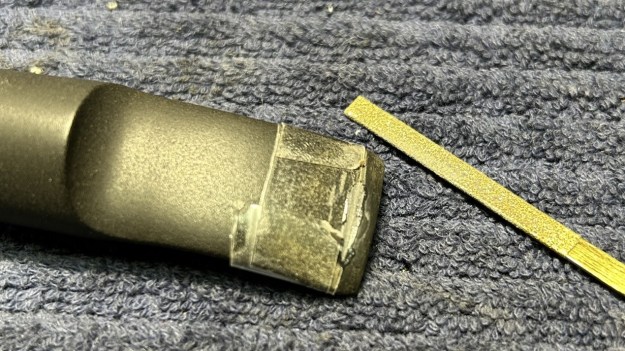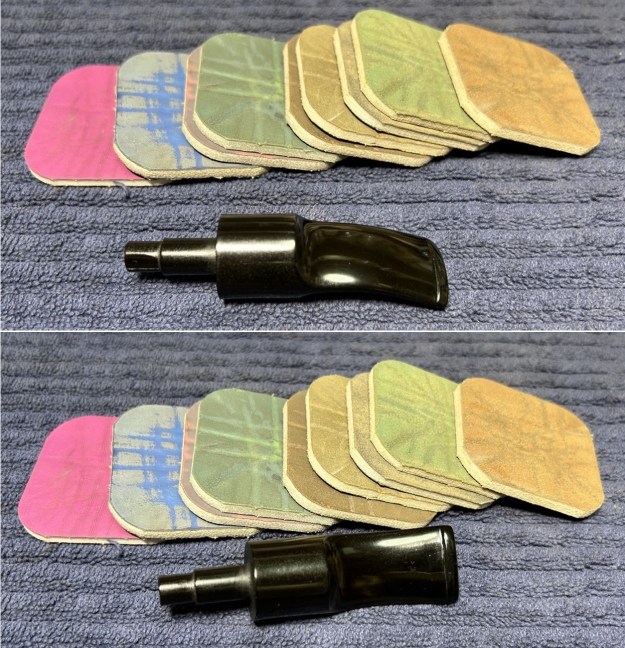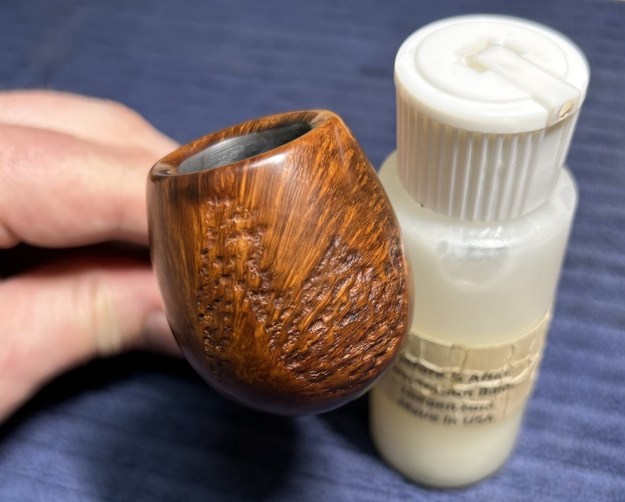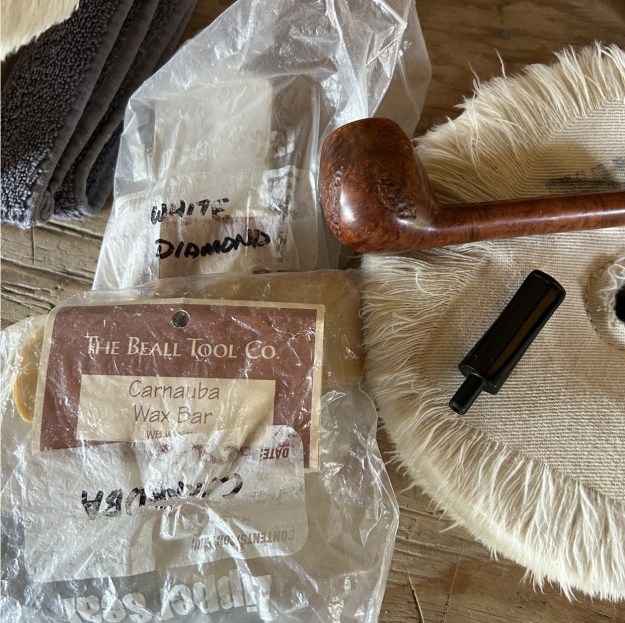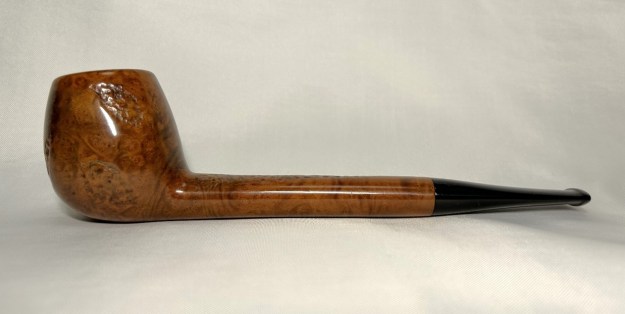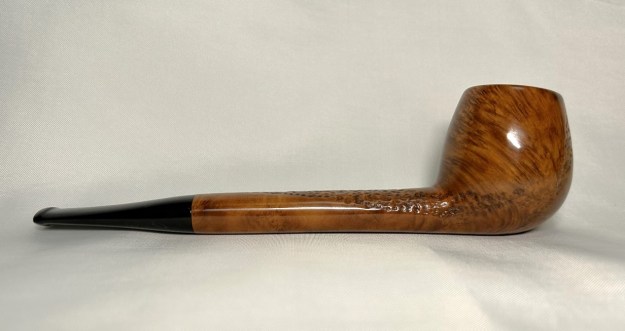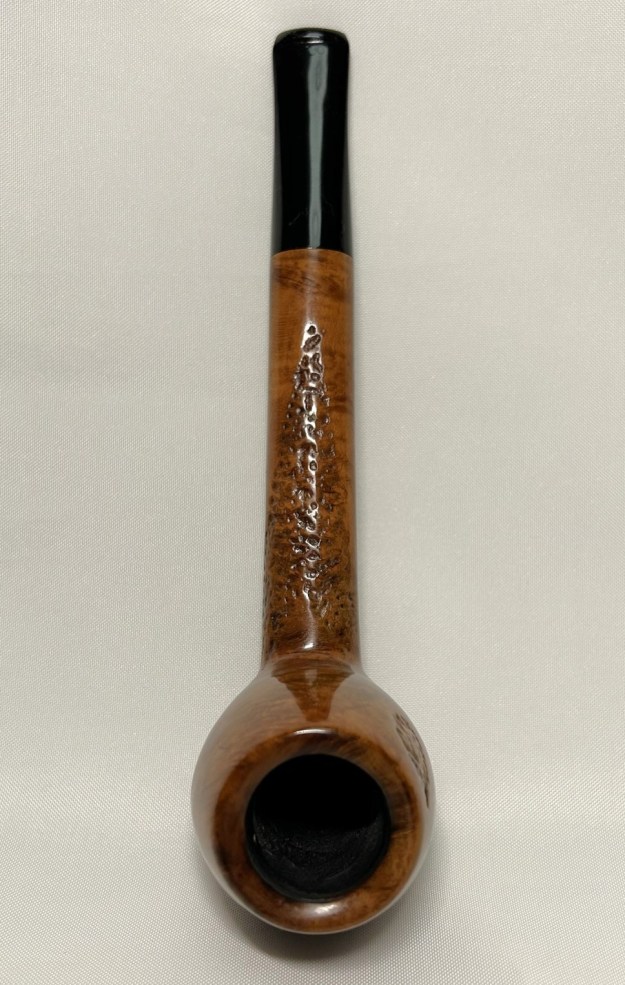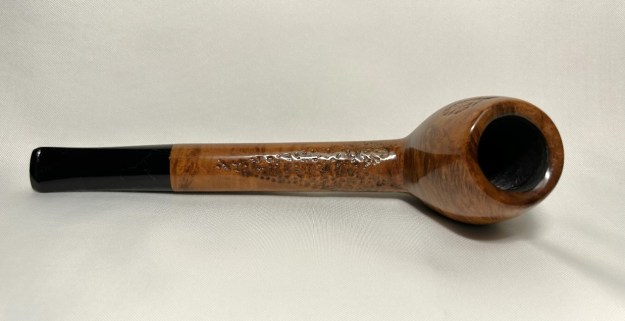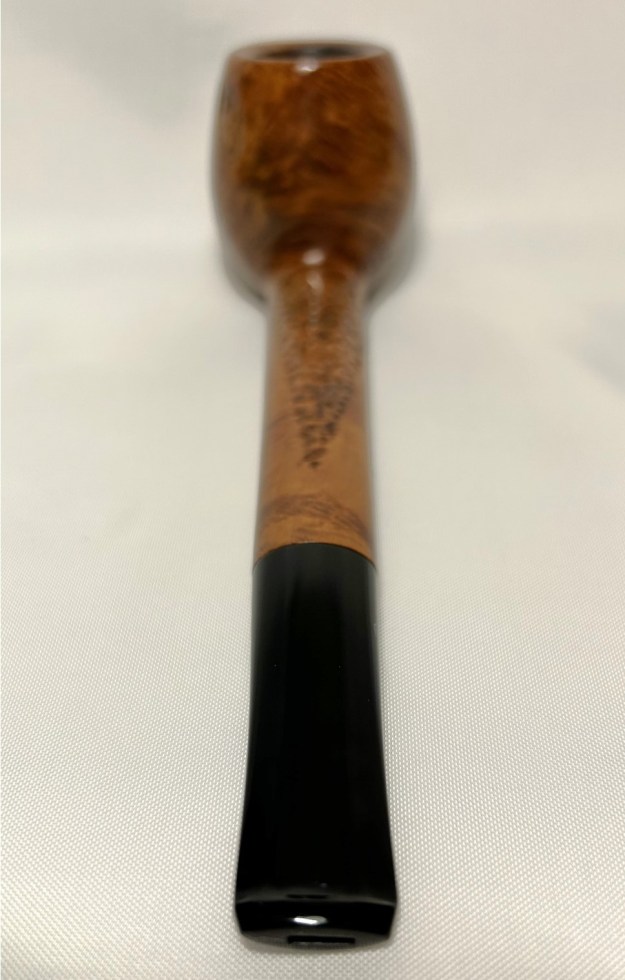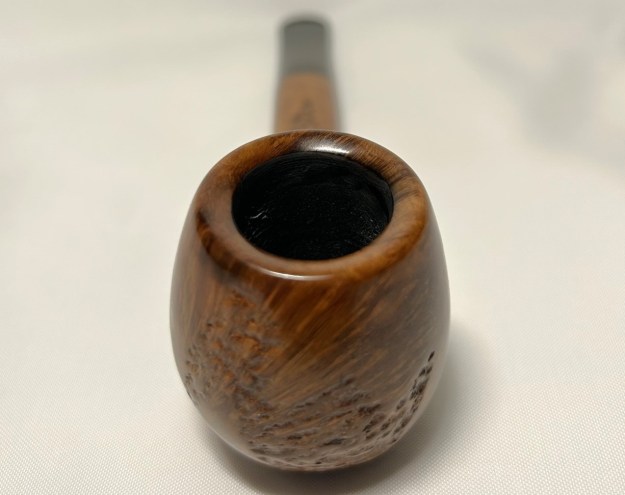
Tag Archives: article by Kenneth Lieblich

Amazing Research in the Restoration of a Classic French Pipe


Blog by Kenneth Lieblich

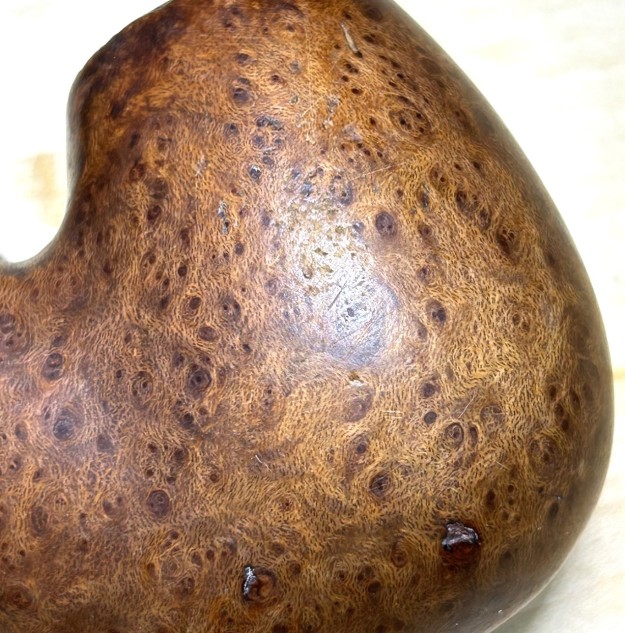
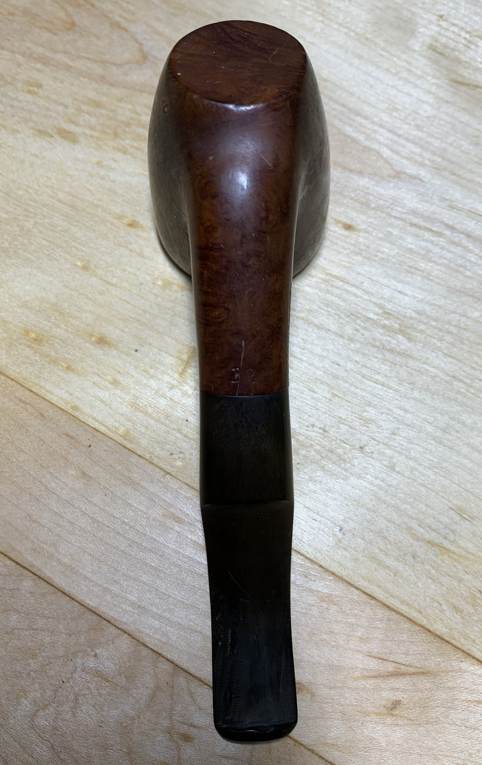
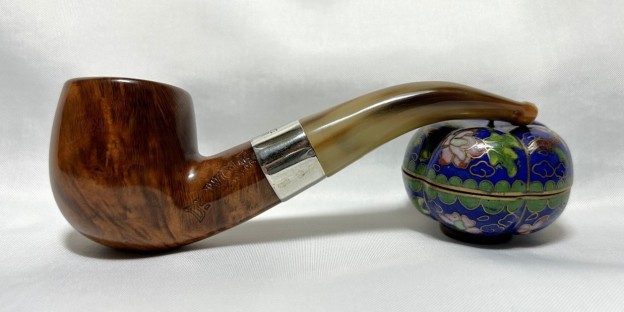
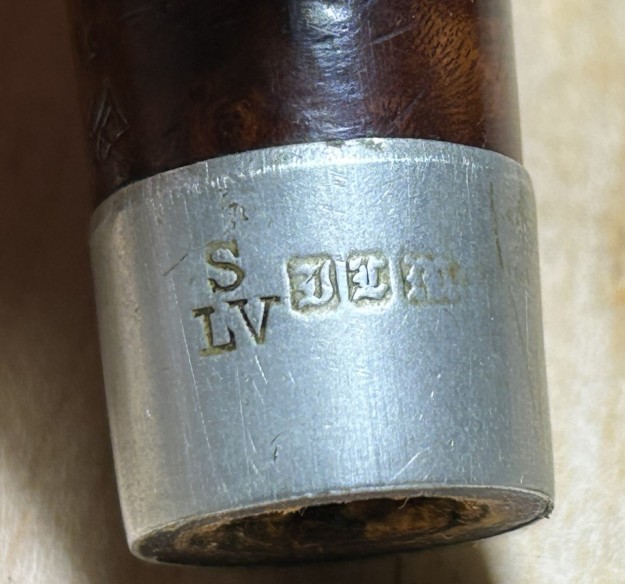
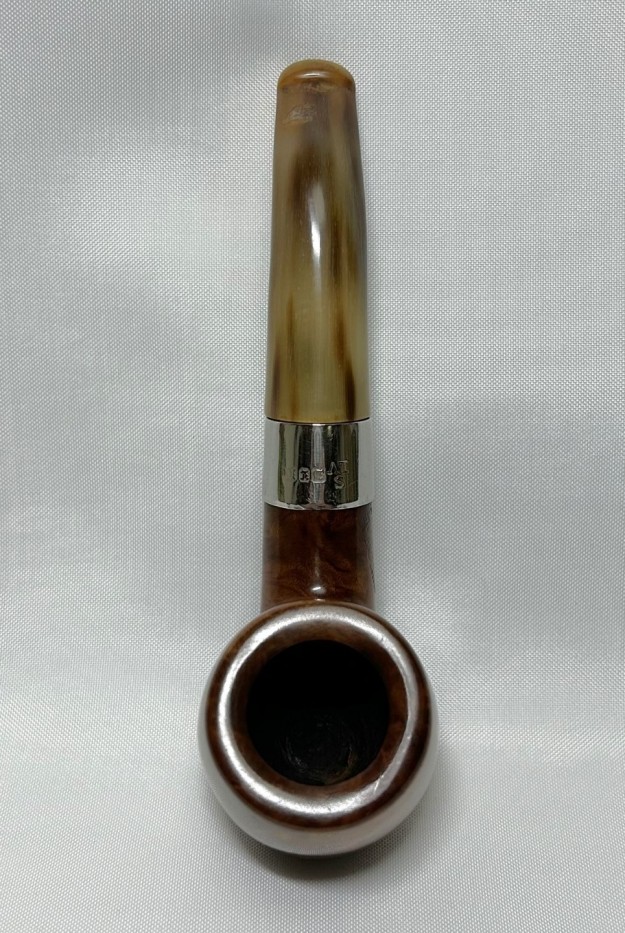
Next on ye olde chopping block is a charming pipe from France and it dates back a century – or more. It’s a very attractive bent billiard pipe that I acquired in a lot from France. Recently, I had the pleasure of meeting a young man studying for the priesthood. While he as visiting the Vancouver area, he told me he was interested in acquiring a pipe. I had him over to the house and showed him many pipes. He picked this very pipe. He wanted one of modest size and this fit the bill very well. The briar wood was quite lovely and it had an equally fetching stem made of horn. There was also a nickel band around the shank which read, S [over] LV. This was next to some blackletter characters that I couldn’t quite make out. Meanwhile, the markings on the left side of the shank read: Dr Wolf [over] BTE. S.G.D.G. The Dr Wolf part was clear enough, but I needed to confirm what the other letters referred to. I was fairly sure this was something to do with French patents, but I googled to make sure. Indeed, it was a type of French patent, extant between 1844 and 1968. The letters BTE. S.G.D.G. stand for Breveté Sans Garantie du Gouvernement, meaning “patent without government guarantee”. As Wikipedia explains:
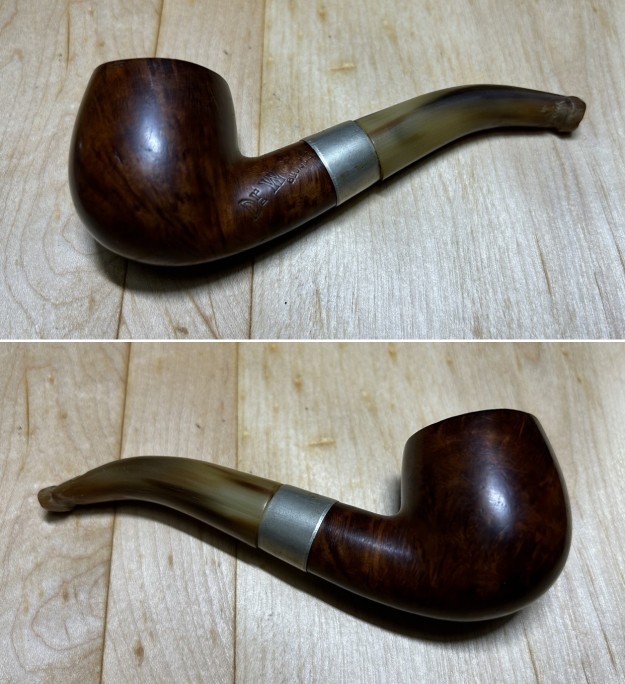
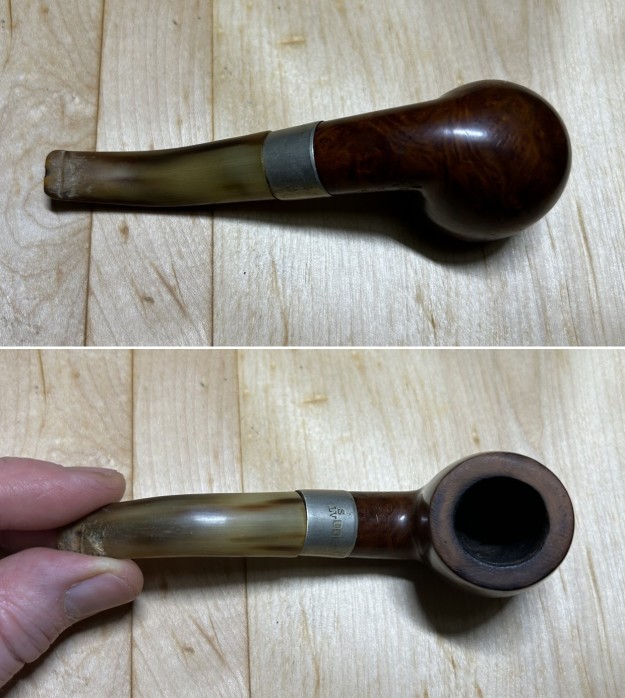
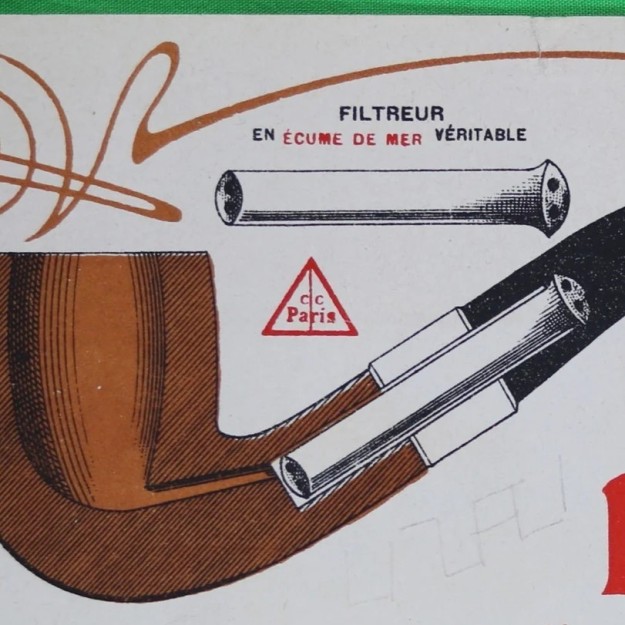
In France, the law of 1844 states that patents are issued “without prior examination, at the risk of the applicant and with no guarantee of function, novelty and merit of the invention also in terms of precision or accuracy of the description”. Back to the brand name, Dr Wolf. This was tricky – I wasn’t familiar with the brand Dr Wolf and there was nothing about it online – except for one seemingly unhelpful advertisement. This ad was on an antique shop’s website and it was listed as being from the “end of the 19th century”. I was annoyed by the lack of information, but I am nothing if not tenacious in discovering the history of pipes – especially French pipes, for which I have a particular fascination. I saved that advertising image to my computer, so I could show it in this article.My first step was consulting both Wilczak & Colwell and my own personal database of French pipe makers and, of course, there was no listing for “Dr Wolf”. However, in my database, the name, “Wolf”, did appear in the listing for a late-19th century pipe maker: CC Paris. Here is the write-up from Pipedia on CC Paris:
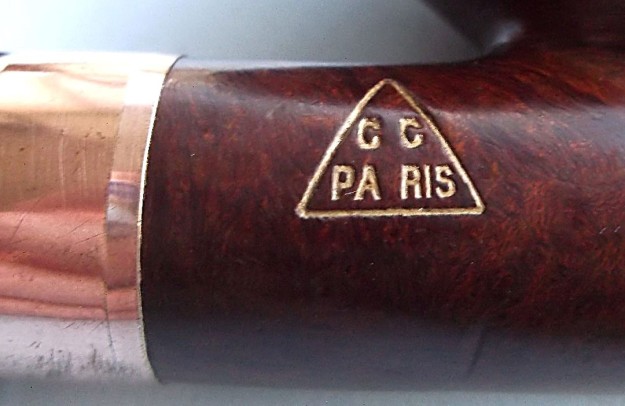
Every collector of antique pipes knows that pipe factory and retail store catalogs from the 1800s – early 1900s are as rare as hen’s teeth to find…and an even rarer occasion, when found complete and in good to better condition. This fragile catalog from this little-known French manufactory, merchandised its pipes with the logo of a triangle bearing the letters “C C Paris” embossed in fitted cases. Cases with this logo are known, but the Wolf and Mathiss name, until now, was not known as the factory behind the retail establishment.

Wolf & Mathiss was originally known as Cawley & Henry, a pipe manufacturer founded in 1867. The product line was fairly robust, catering to not only pipe and cigar smokers, but also to cigarette consumers, because the catalog includes cigarette rolling papers that, according to company information, had received silver medals at two expositions, Anvers (1885) and Paris (1889).Unfortunately, the name “Wolf” is not uncommon and there was nothing to suggest that this Wolf was the same as Dr Wolf. There was also no indication of what the given names were for either Mr Wolf or Mr Mathis. As a side note, I assume that the correct spelling is “Mathiss”, not “Mathis”, as shown on Pipedia. A 1907 copy of Kelly’s Directory of Merchants, Manufacturers and Shippers lists the name with a single “S”.However, the Pipedia page for CC Paris made me wonder about a connection to Dr Wolf. First of all, the pipes on catalogue pages shown there bear some resemblance to my Dr Wolf pipe – hardly a definitive clue, but interesting nonetheless. The other thing that struck me was the logo, shown here:There is no obvious reason why the logo would be of interest, but I recognized it and couldn’t remember where I’d seen it. I love researching pipe history, but it’s always frustrating when one hits a dead end. And then it struck me! That logo! I’d seen it in the very same advertisement I downloaded earlier. Here it is (zoomed in) and look what it shows!!!So there we have it – the Wolf of Wolf & Mathiss must, in fact, be Dr Wolf. I am delighted to have made this discovery. It completes the loop between the relevant pipe makers and demonstrates the origin of the Dr Wolf name.

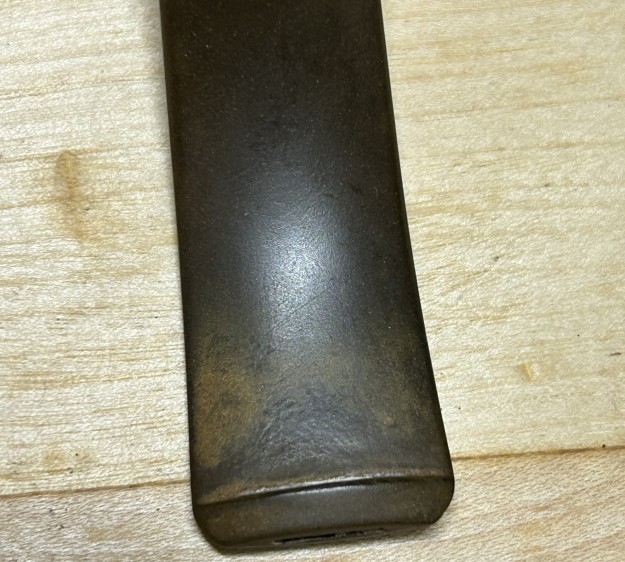
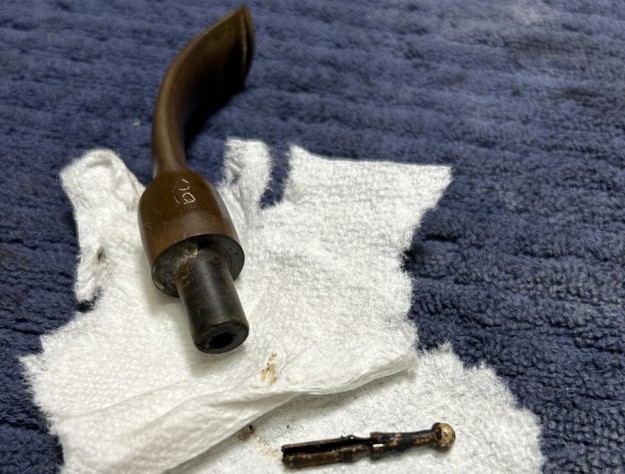
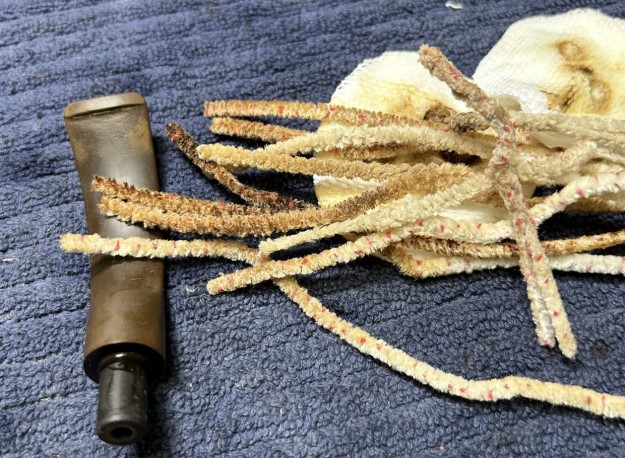
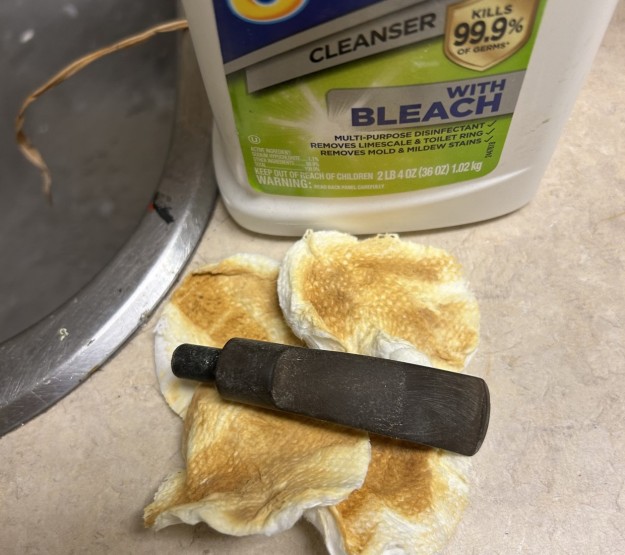
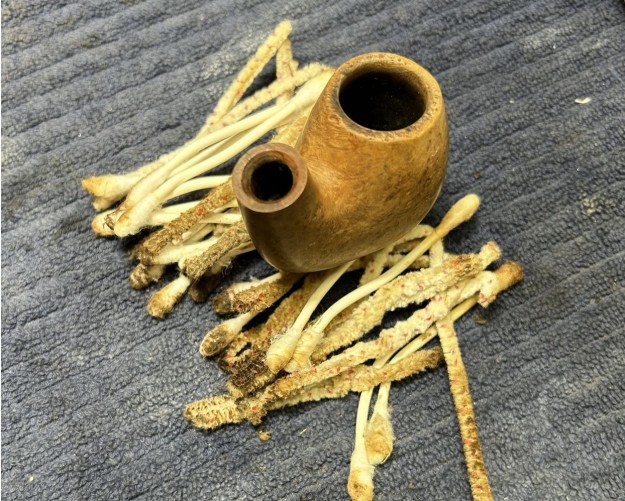
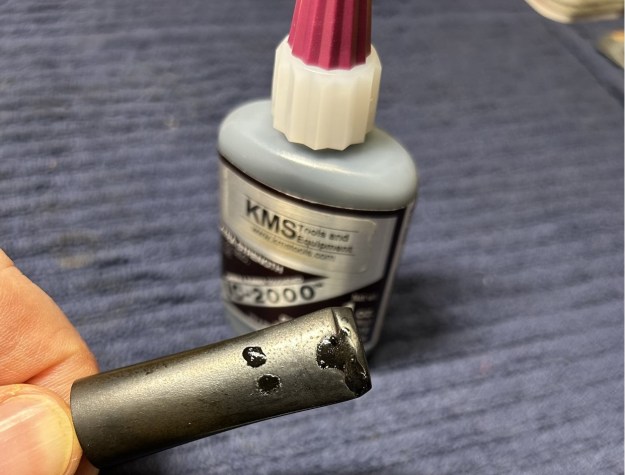
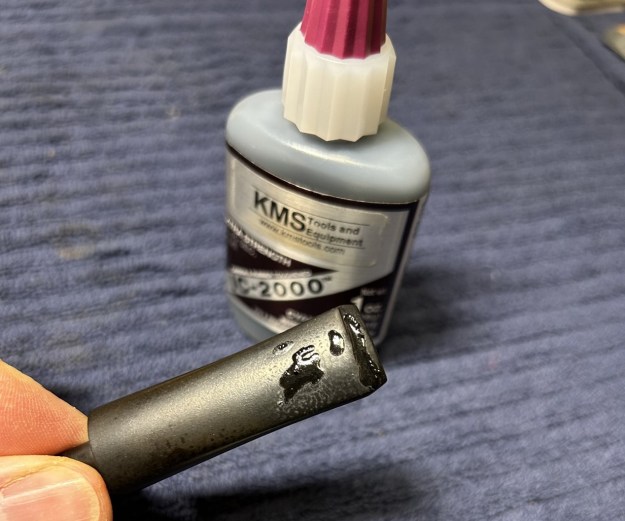
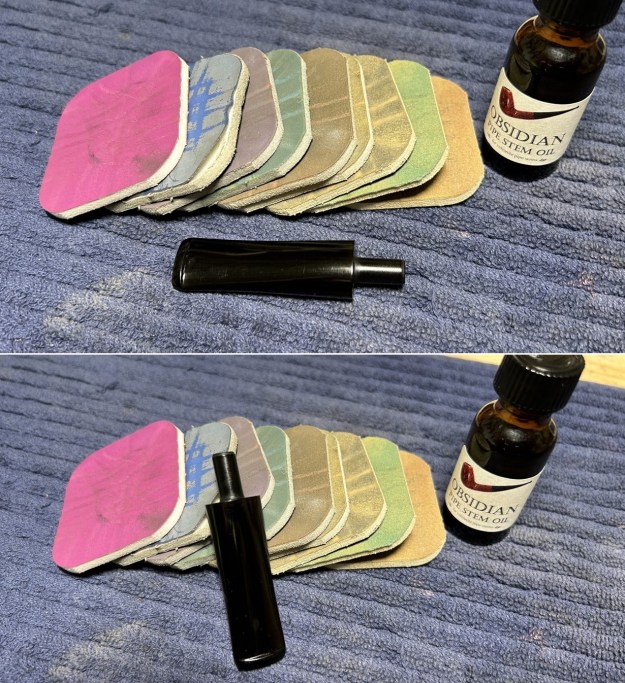
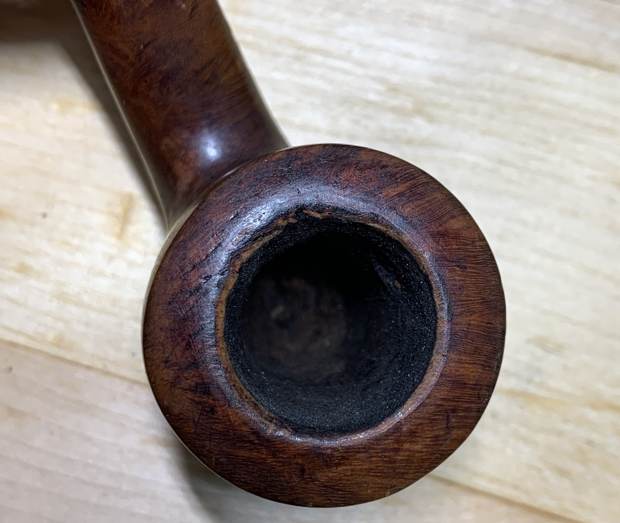
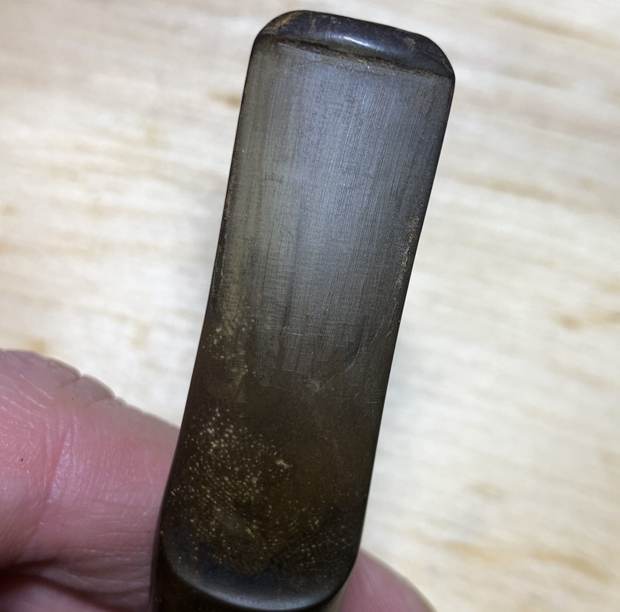
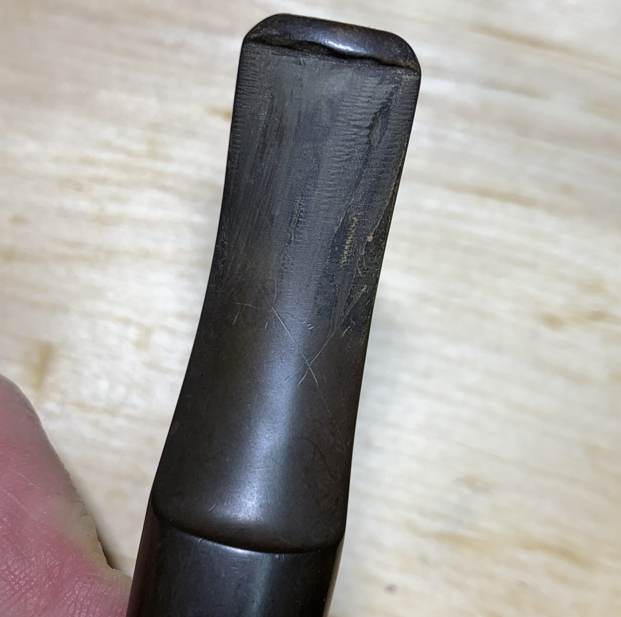
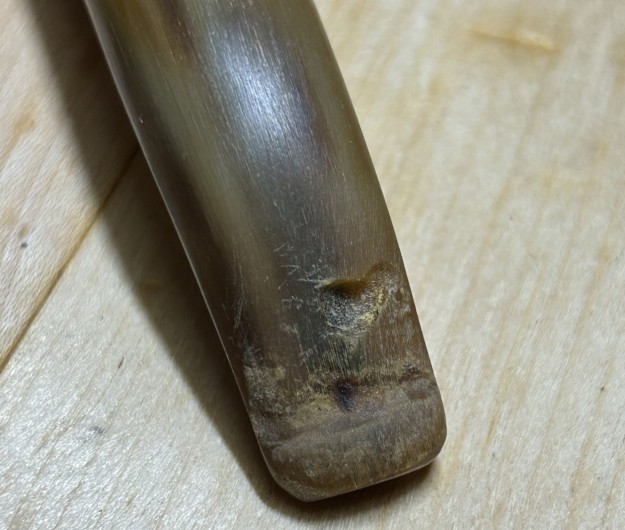
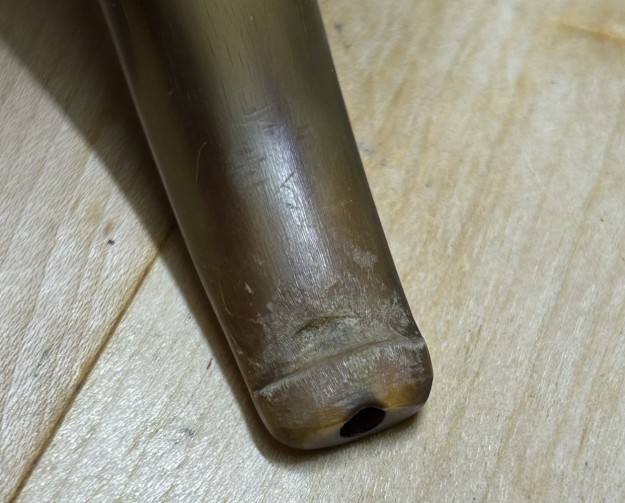
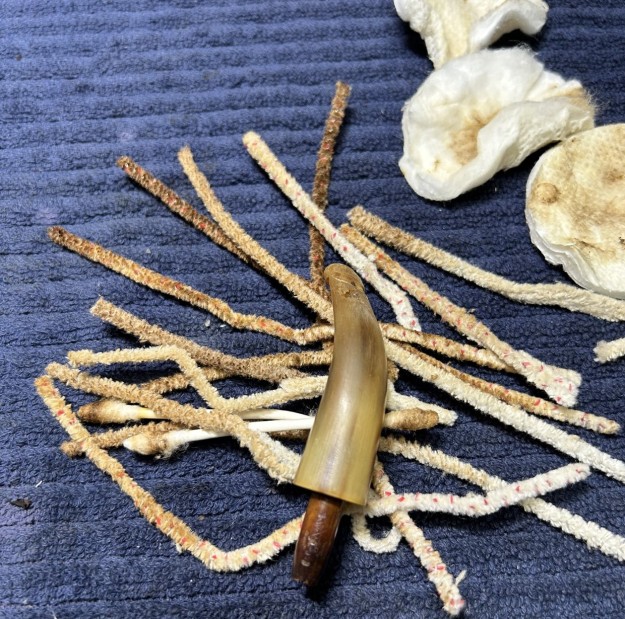
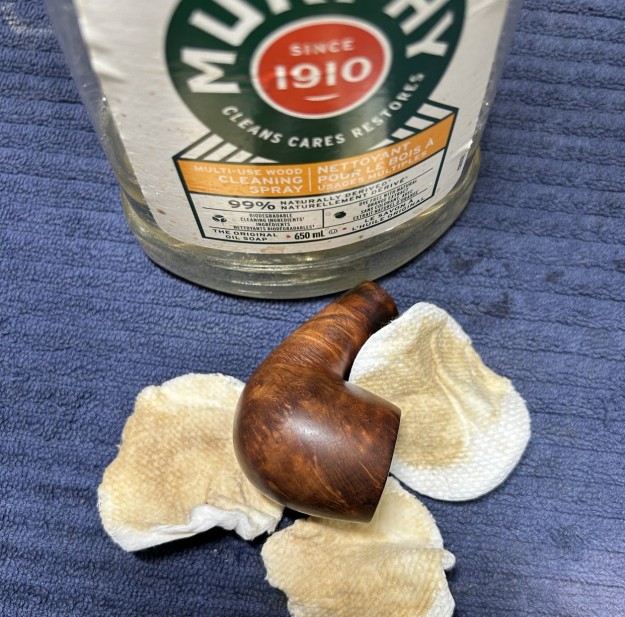
Clearly, this particular pipe had been well-loved, as it arrived well worn, with plenty of filth inside, a few dents in the work, gouges in the horn stem, and scratches all over the rim. Interestingly, this pipe had an orific button at the end of the stem, a feature that apparently disappeared by the 1930s, so it must be around a hundred years old. For more information on the orific button, take the time to read Steve’s interesting article on the subject. Well, time to get to work! I started by wiping the stem with Murphy’s Oil Soap on some cotton pads, then cleaned out the inside with pipe cleaners and isopropyl alcohol. Fortunately, it wasn’t overly dirty, and it only needed a handful of pipe cleaners. One of the odd features of this pipe was that the tenon was also made of horn. I quite liked that feature, but it did make it a pain to clean. I built up the bite marks and gouges on the stem with clear cyanoacrylate adhesive and let them fully cure. Following that, I sanded the adhesive down with 220- and 400-grit sandpapers to meld seamlessly into the stem. I then used all nine Micromesh pads (1,500 through 12,000 grit) to bring out the lovely grain of the horn on the stem, with some Obsidian Pipe Stem Oil in between each pad scrubbing.
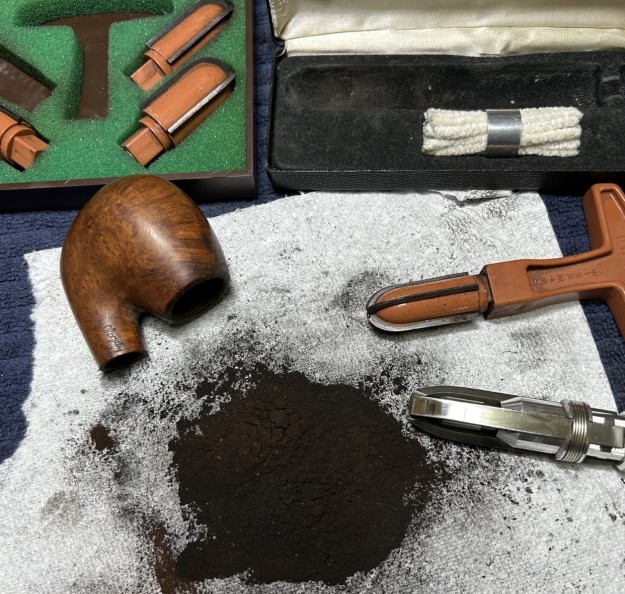
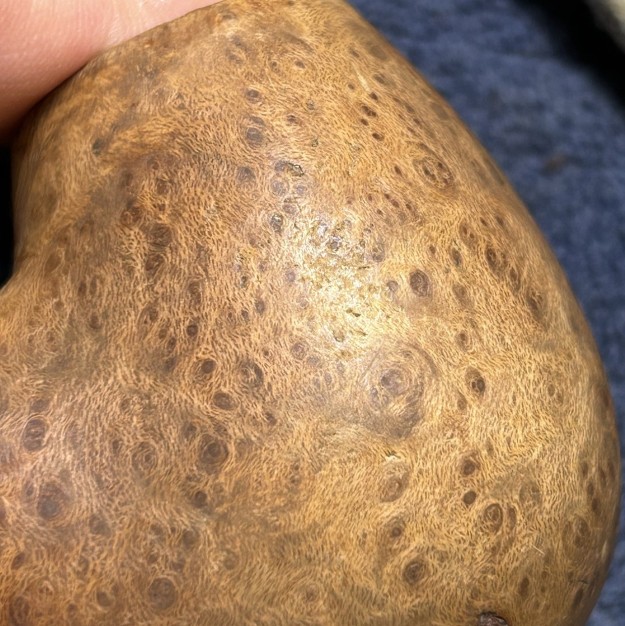
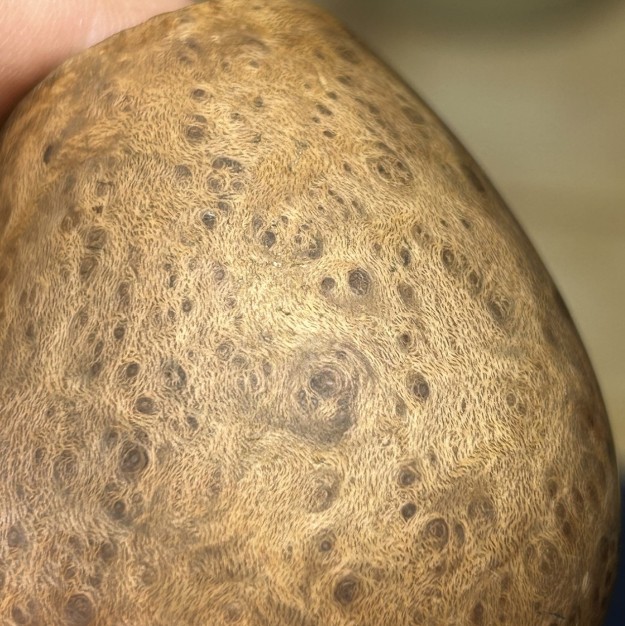
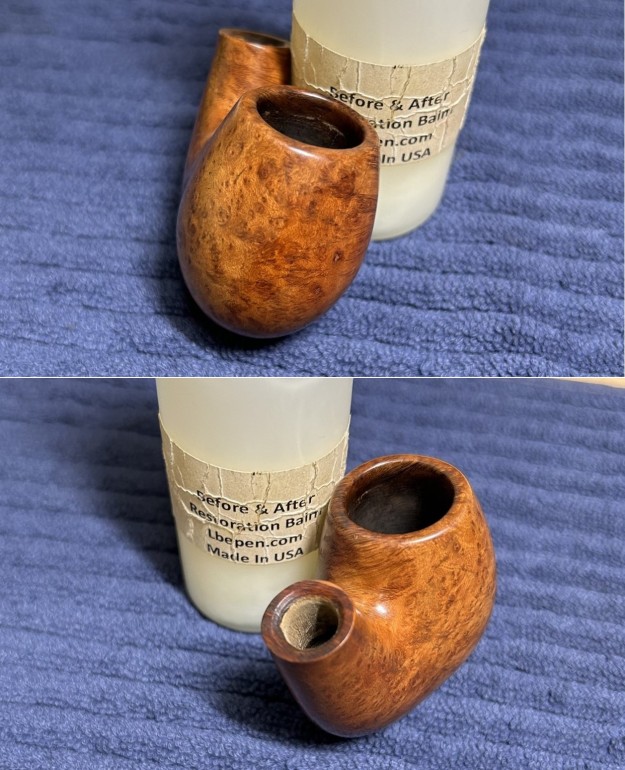
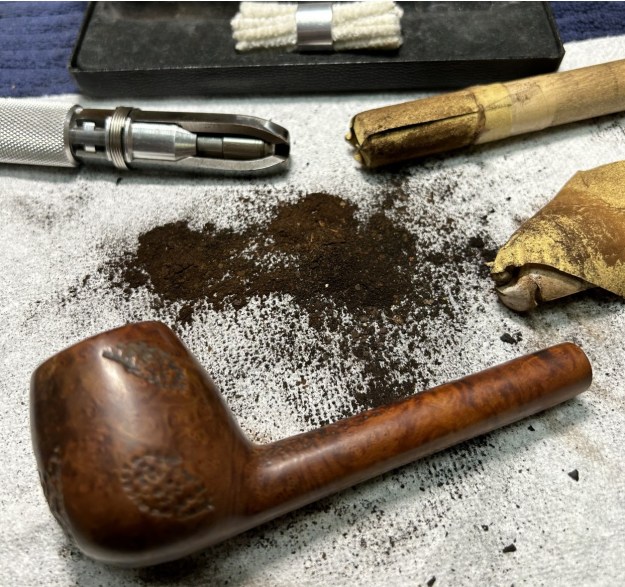
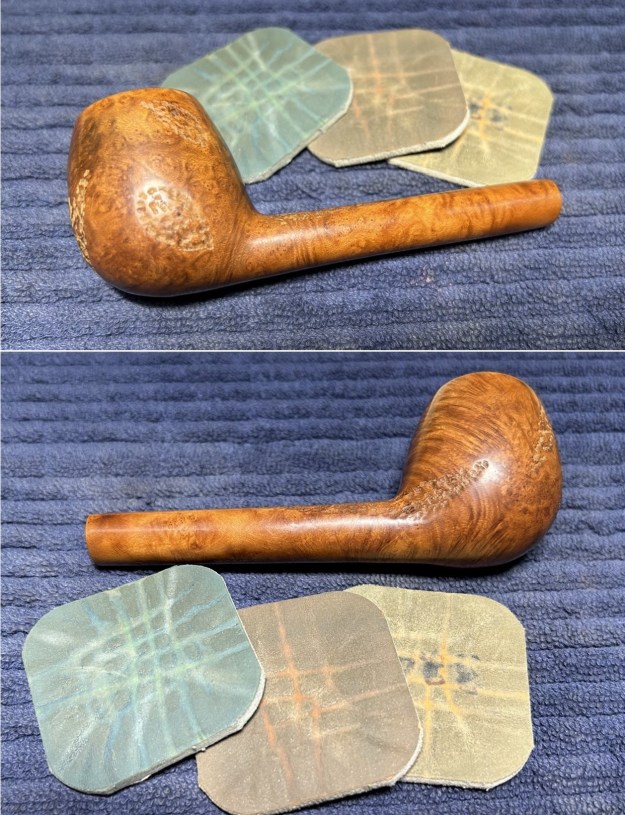
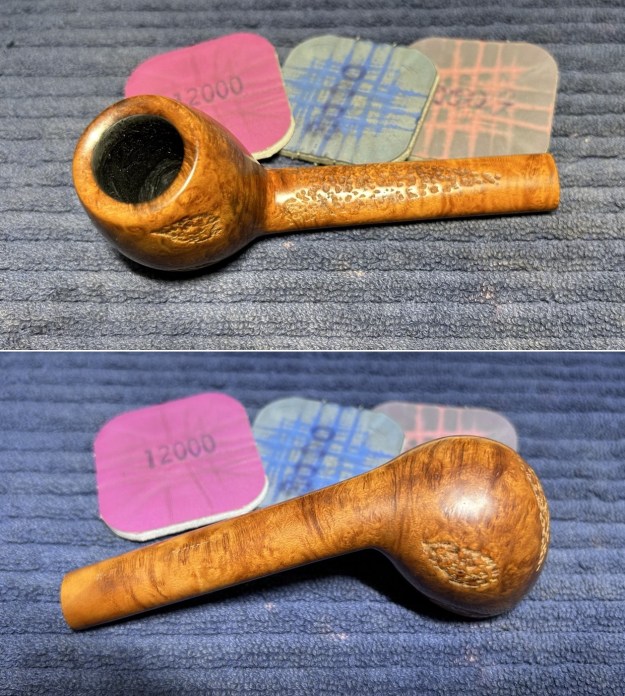
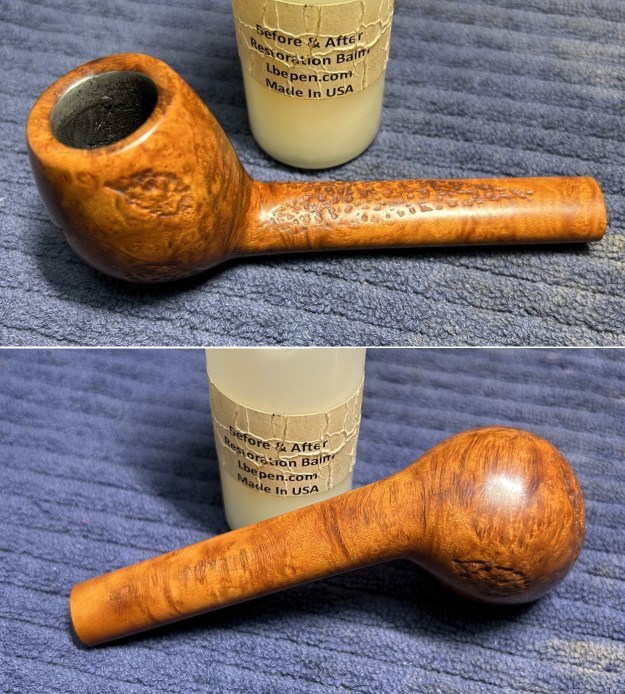
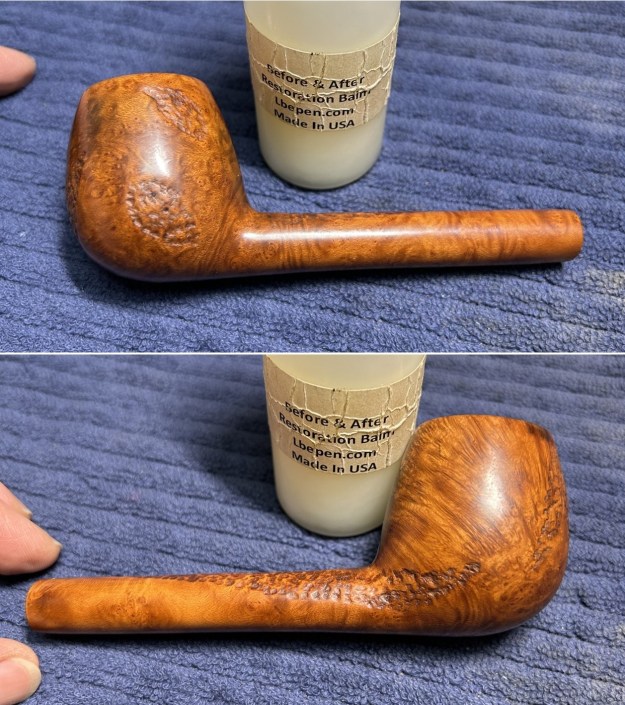
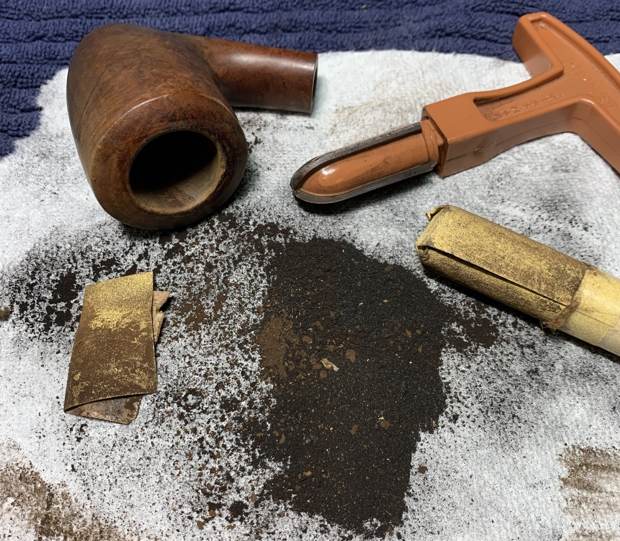
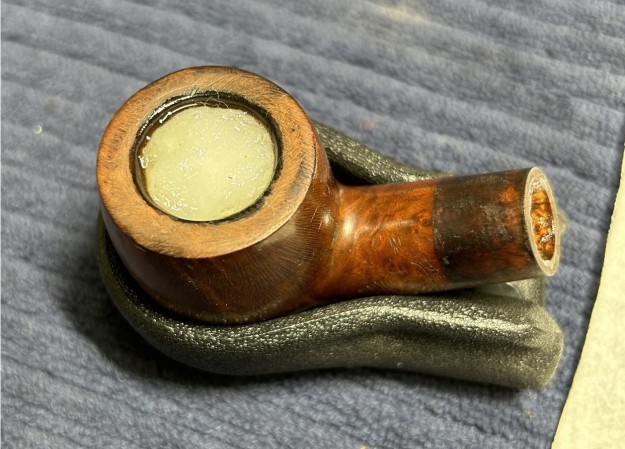
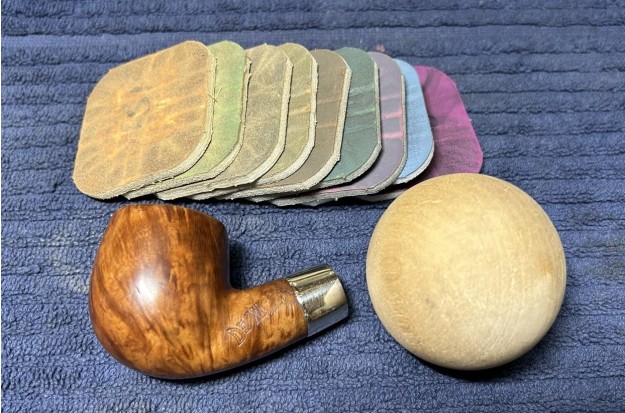
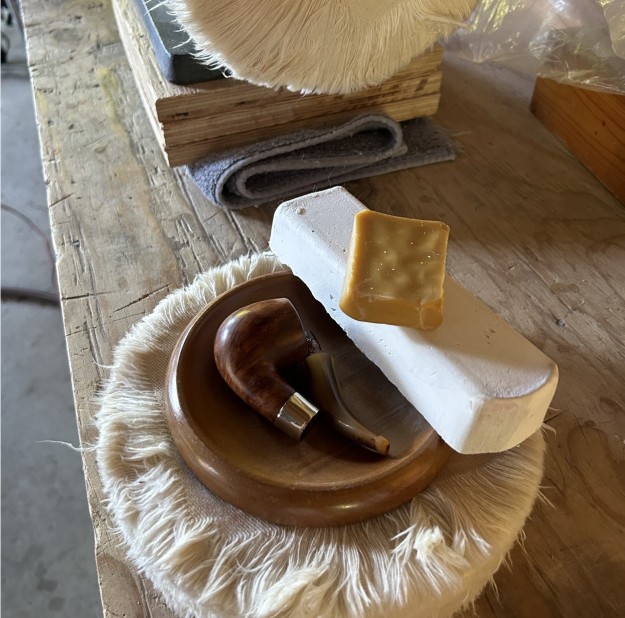
Now for the stummel. Firstly, I decided to ream out the bowl. I used the PipNet Reamer to remove the built-up cake and followed that with 220-grit sandpaper taped to a dowel to eliminate as much as I could. I took the chamber down to bare briar, as I wanted to ensure there were no hidden flaws in the wall. I also took this opportunity to wash the stummel with Murphy’s Oil Soap and remove as much grime as I could. Following this, of course, I cleaned out the insides with the requisite pipe cleaners and isopropyl alcohol. Boy, it was dirty! One issue that complicated the cleaning of the stummel was the mortise was lined with cork. This was a nifty feature, but I had to ensure that I didn’t damage the cork as I used the alcohol and implements to clean the insides. In order to restore it a bit, I added petroleum jelly to the cork with a cotton swab.The rim was so badly scratched that I had to “top” the pipe – that is, I gently and evenly sanded the rim on a piece of 220-grit sandpaper. This effectively removed the damage without altering the look of the pipe.The old patina was nice enough that it didn’t need a new stain so I cleaned it with some Murphy’s and then set it for a de-ghosting. I followed that up by cleaning the insides with some Castile soap and tube brushes. Due to the wear on the rim of the pipe, I used my wood sphere, wrapped in 220-grit sandpaper, to create a beautiful, chamfered edge on the rim. This also helped return the opening of the bowl to round. I think the results turned out very nicely. I then finished it up by sanding with my Micromesh pads (1,500 through 12,000 grit). Then applying some Before & After Restoration Balm added that je ne sais quoi which brings out the wood’s beauty. One of the issues you will have noticed in the photos is that the stem’s tenon didn’t fit well in the shank’s mortise. In order to make it fit properly, I built up one side of the tenon with some clear cyanoacrylate adhesive. This worked like a charm and the fit was perfect after I fiddled with the adhesive for a bit.I also cleaned the nickel band with SoftScrub and that worked well. I also gave it a polish with a few of my finer MicroMesh pads – then finished with my jewellery cloth which added some much-needed pizzaz. Finally, it was off for a trip to the buffer. A dose of White Diamond and a few coats of carnauba wax were just what this pipe needed.This is a handsome pipe with a classic look and feels very comfortable in hand. The lovely shine made the wood very attractive, and I know that the new owner will enjoy smoking it for many years to come. I hope you enjoyed reading the story of this pipe as much as I did restoring it. If you are interested in more of my work, please follow me here on Steve’s website or email me directly at kenneth@knightsofthepipe.com. Thank you very much for reading and, as always, I welcome and encourage your comments.
Churchwarden Shank Transplant (KPIR #4)


Blog by Kenneth Lieblich

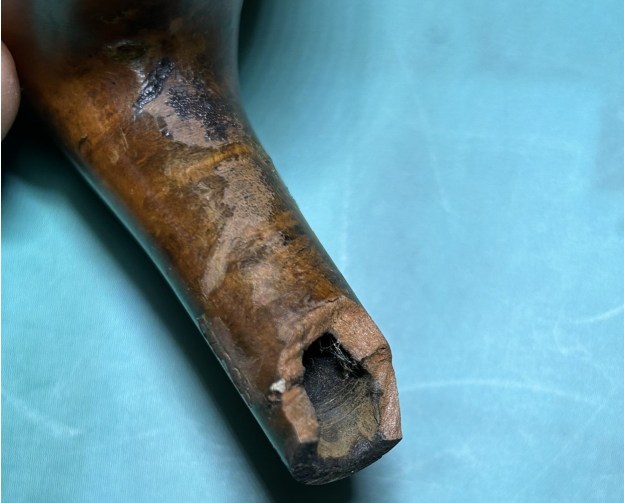
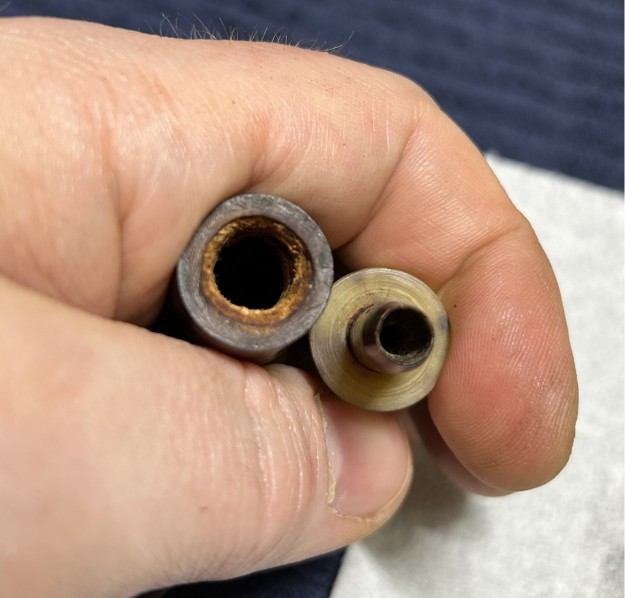
Here is another instalment of my Pipe Incident Report. The idea, in general, is to provide a brief write-up – focusing on a particular pipe-related problem and/or solution, rather than an entire restoration story. Previous articles in this series have discussed such things as plaster of Paris, lemon-infused isopropyl alcohol, Cordovan stain, et cetera. Today, I will talk you through my process of repairing a badly damaged shank. This shank was not simply cracked (as is often the case), but, as the photos show, was missing a large chunk of briar. One’s first question might be, “Why bother fixing this at all? Toss it in the fireplace!” That’s a fair point. In this case, however, the owner of the pipe wanted to keep it as a memento of her grandfather. Beauty is in the eye of the beholder and I was only too happy to help fulfill her wish.The pipe is a no-name churchwarden (with the word “Czech” along the shank) and it had clearly been through the wars. Not literally, of course, but this pipe was smoked hard! The old fellow must have loved this pipe and it must have smoked well. The stummel was full of cake, lava erupting on the rim, and fills everywhere – in fact, I counted no fewer than 39 fills. Anyway, let’s take a closer look at the shank. You can see what the problem is. My guess is that the shank was broken when the stem was removed from it at an inopportune moment. The tenon on the stem is an odd metal thing, which I suspect might be a replacement. The tenon and mortise certainly don’t fit together very well. Regardless, the tenon needs to be repaired in a manner that is both structurally sound and aesthetically pleasing.Furrowing my brow, I consulted with Steve about solutions he’s used in the past for this sort of problem. He initially proposed building up the shank with a mixture of briar dust and CA glue. This is what I had originally considered too, but I also toyed with the idea of actually using a chunk of briar in place of the missing wood. Steve said it might be fun to try, so that’s what I did. Regardless of which technique I used, the shank would have to be banded in order to provide structural integrity and (preferably) to hide some of the repair – which will be unsightly no matter what.

I have some wrecked stummels among my workbench items. I picked one, broke off a piece, and set about fitting it in place. It was immediately apparent that I needed a bit more wood, so I took another, smaller piece and fit that one too. I must admit, it took some trimming, filing, and general tinkering/fiddling to make it fit. Once I had a reasonable fit, I glued the pieces to the shank with CA glue. There were still gaps among the cracks and I dealt with that by adding a mixture of CA glue and briar dust.

Once the CA glue was cured, I set about filing, sanding, and shaping my repair. I obviously sanded the top of the shank to make it look normal, but I also sanded the end because the added bits extended beyond the main part of the shank. I also ensured that there was no roughness (or other problems) inside the mortise. To that end, I also gently filed the mortise. What an improvement! Fortunately, I found the perfect band to place on this stummel. It was made of brass, fit very snuggly, and – most importantly – it was quite long. The band covered all repairs beautifully.After prepping the stummel, I stained it so as to provide some camouflage for the aforementioned fills. I then added the band with some glue and polished it to a shine. The photo below is not quite the finished product but it is close enough to show what a difference this repair made.If you do try this type of shank repair, please let me know how it goes. I would be interested to know what your results are. I hope you enjoyed reading this instalment of the Pipe Incident Report – I look forward to writing more. If you are interested in my work, please follow me here on Steve’s website or email me directly at kenneth@knightsofthepipe.com. Thank you very much for reading and, as always, I welcome and encourage your comments.
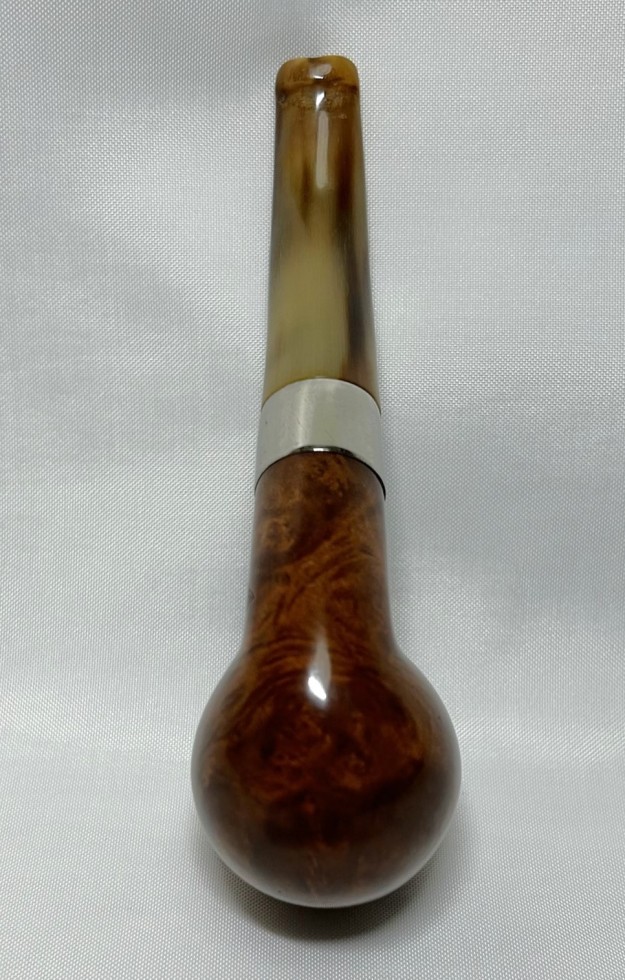
 

Life-Support for a Butz-Choquin Oom Paul Egg


Blog by Kenneth Lieblich

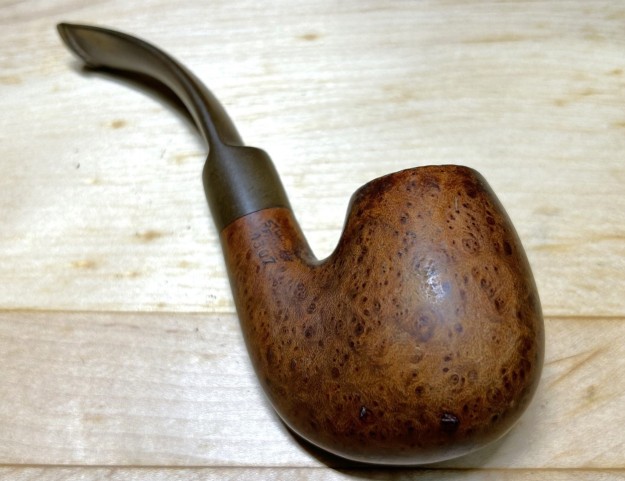
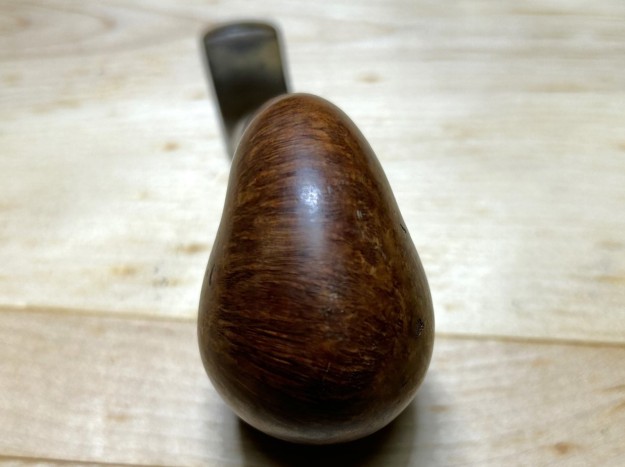
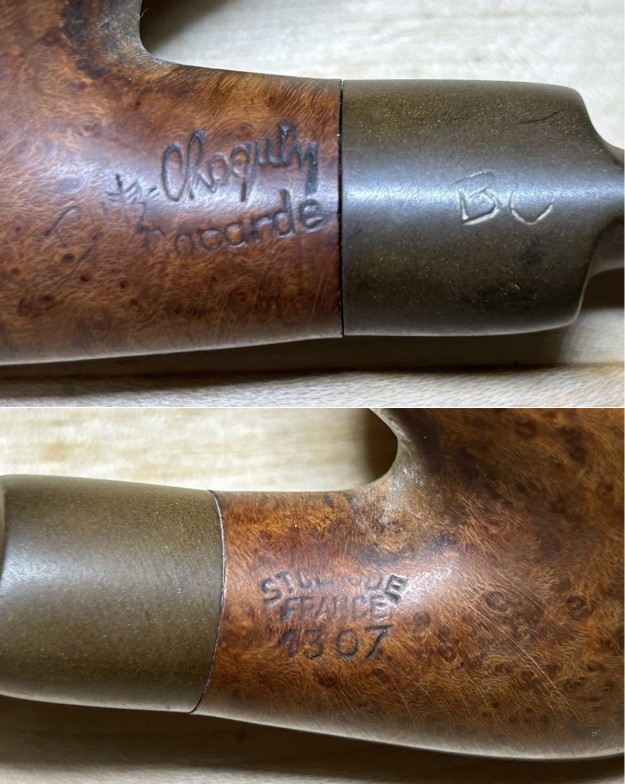
Another pipe in my ongoing “French Collection”, this new addition came in a lot of pipes from France (appropriately). I pulled it out of the pile of filthy pipes and found it quite charming. This pipe is an Oom Paul Egg shape. It was made by the famous and long-standing French pipe maker Butz-Choquin and is a small, wounded, but very attractive pipe. On the left side of the shank, it reads Butz-Choquin [over] Cocarde (which is the model name). On the right side of the shank, it reads St Claude [over] France [over] 1307. On the left side of the stem is the company’s logo, a “BC”. The logo is badly worn and will be difficult to restore.Both Pipedia and Pipephil have good write-ups on the history of Butz-Choquin and I encourage you to read both. Also, Steve has restored quite a few and it’s worth having a look at his writings too. For the moment, here is some information from Pipedia:

The pipe, from Metz to Saint-Claude.

Jean-Baptiste Choquin of Metz started out as a tobacconist. This enterprise was prosperous; he had several employees. Among those, there was a certain Gustave Butz who was its first workman and who became his son-in-law by marrying Choquin’s daughter Marie in 1858.

In 1858 Jean-Baptiste Choquin created, in collaboration with Gustave Butz, the Choquin pipe. This bent pipe with a flat-bottomed bowl was finished with an albatross-bone mouthpiece, fixed with silver rings.

In 1858, still in Metz, Gustave Butz built an establishment for the manufacture of the Choquin pipe which took the name of . In 1951, the Berrod-Regad company bought the trademark, continuing manufacture until 2002. Departing from Metz, the workshop was relocated to Saint-Claude, then also called “the world capital of the briar pipe”, under the Berrod-Regad group. The Berrod-Regad group would go on to completely rebuild the network of representatives until finally entering the export market in 1960 and has since won several prizes, as well as the Gold Cup of French good taste.

In a few years, the brand’s collection increased from ten to seventy series. 135 years after it was founded, the pipe is still well-known not only in France but throughout the world. In 2002, the Berrod family, wishing to preserve manufacture of pipes in Saint-Claude, handed over the company to Fabien Guichon, a native of the area, who will continue to develop the brand during the 21st century.

Meanwhile, Pipephil says this:

The origin of the brand reaches back to 1858 when Jean-Baptiste Choquin in collaboration with his son-in-law Gustave Butz created their first pipe in Metz (France). Since 1951 Butz-Choquin Site officiel Butz Choquin, pipes de Saint-Claude jura. BC pipe de bruyere luxe is a brand of the Berrod-Regad group (Saint-Claude, France).

Jean Paul Berrod managed the company from 1969 to 2002 when he retired and sold the corporate to Mr Fabien Gichon. Denis Blanc, allready owner of EWA, took over the S.A. Berrod-Regad in 2006.

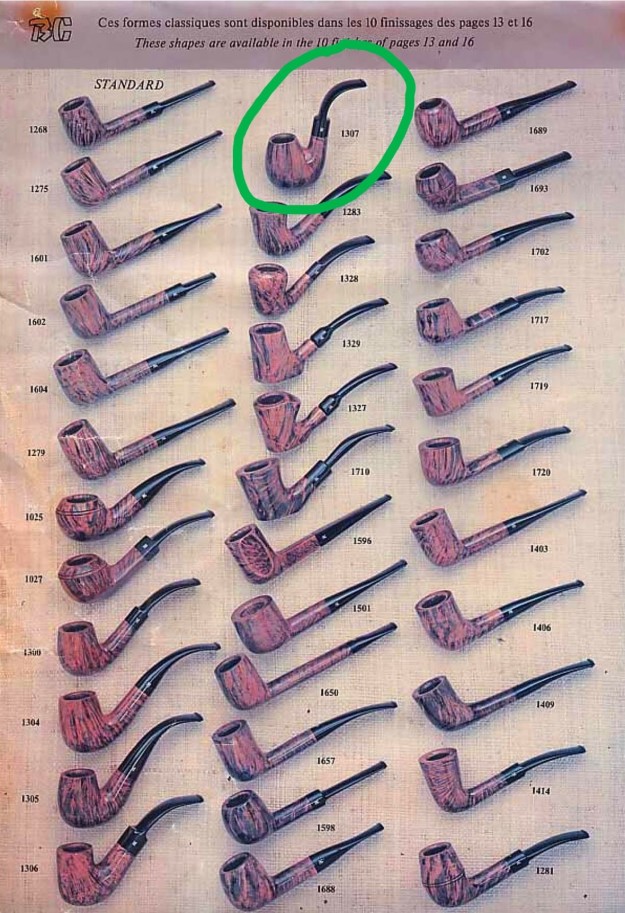
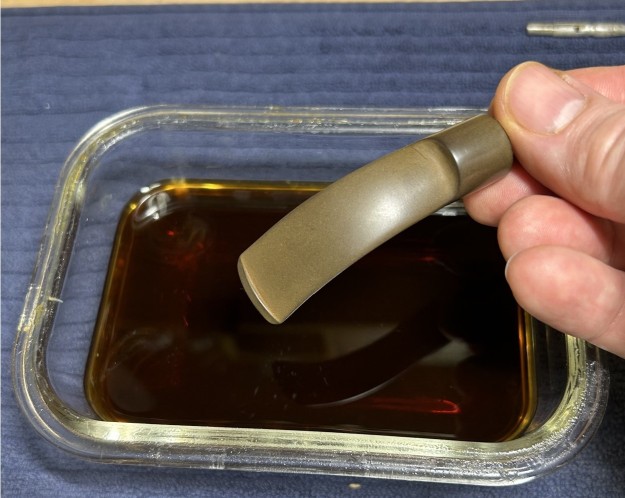
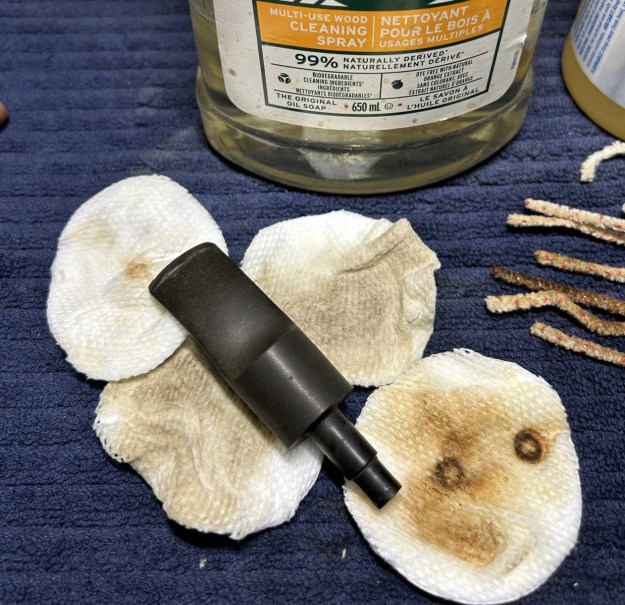
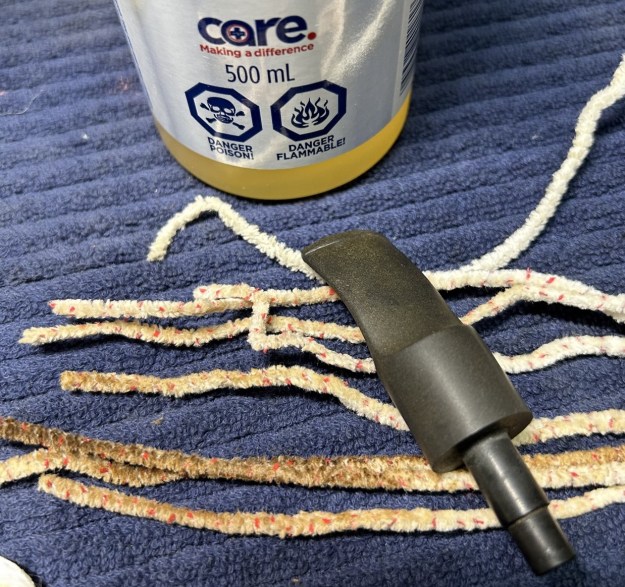
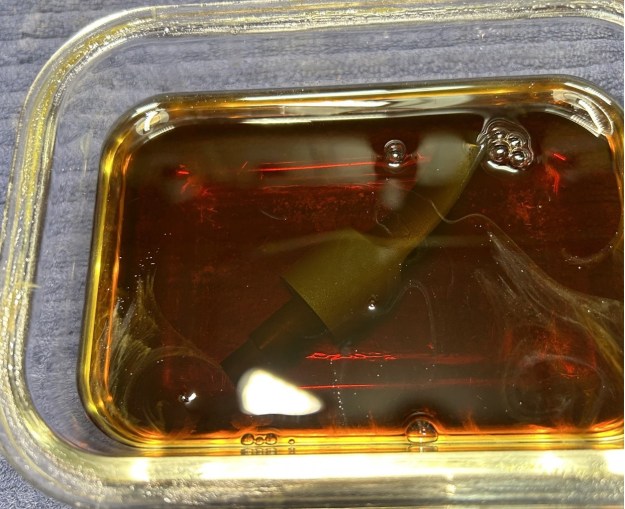
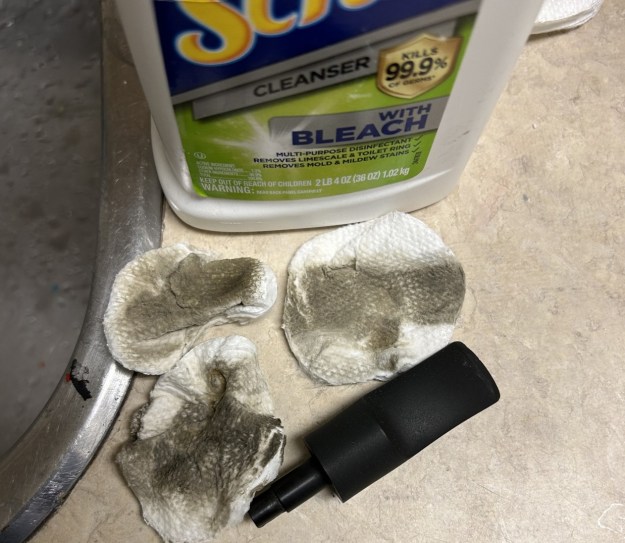
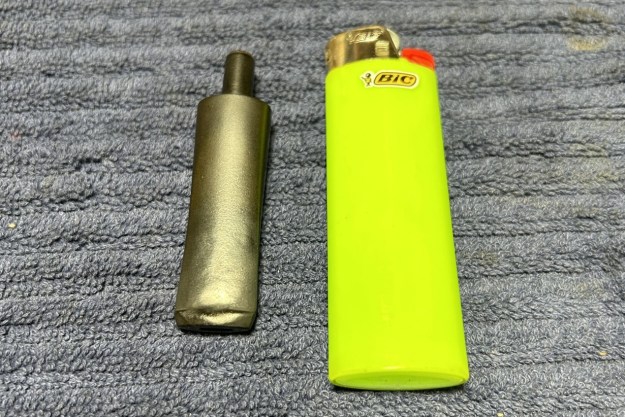
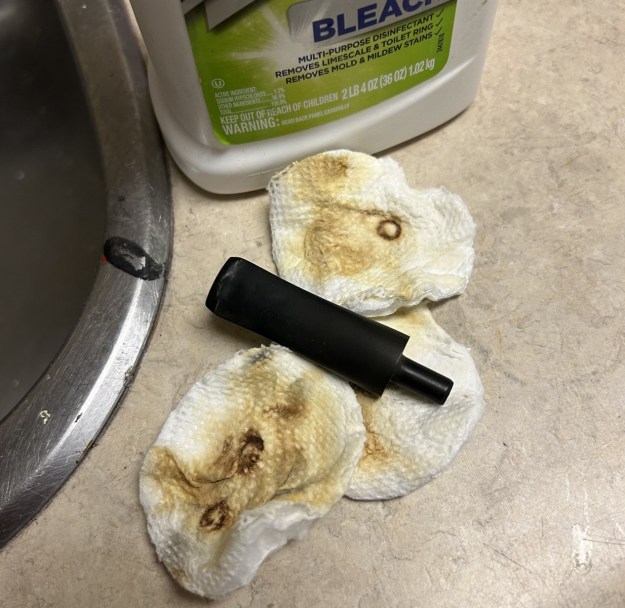
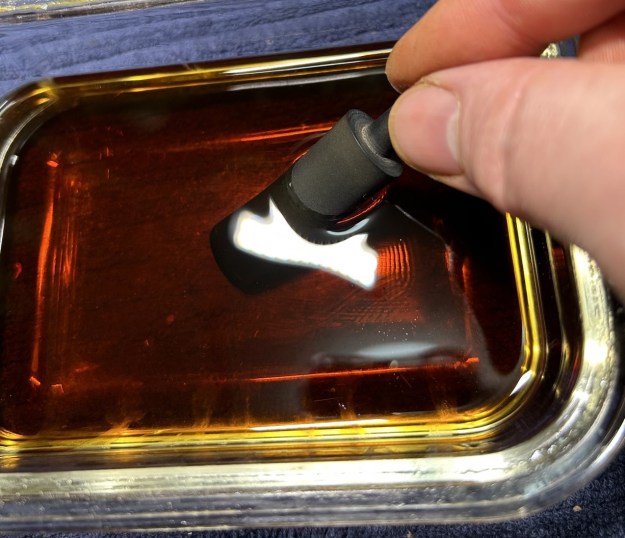
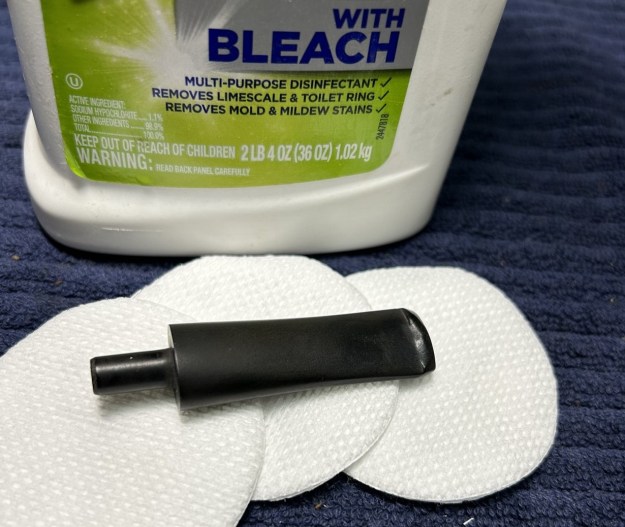
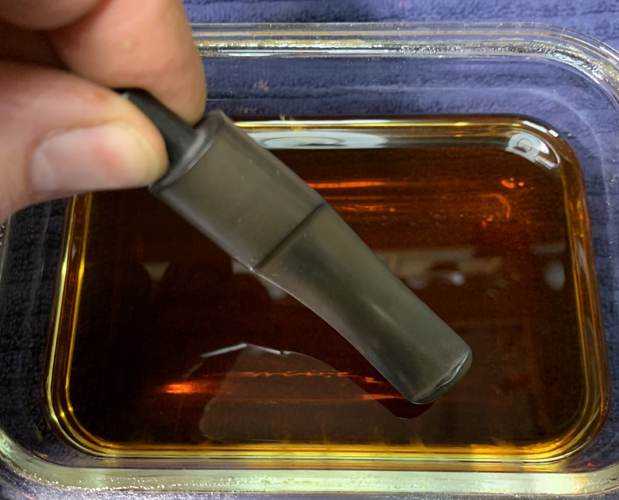
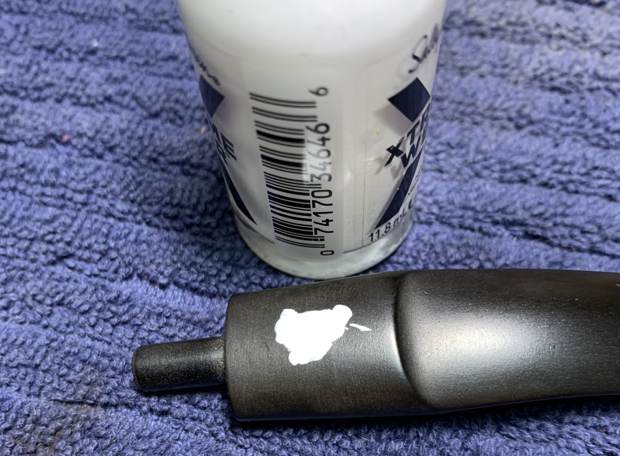
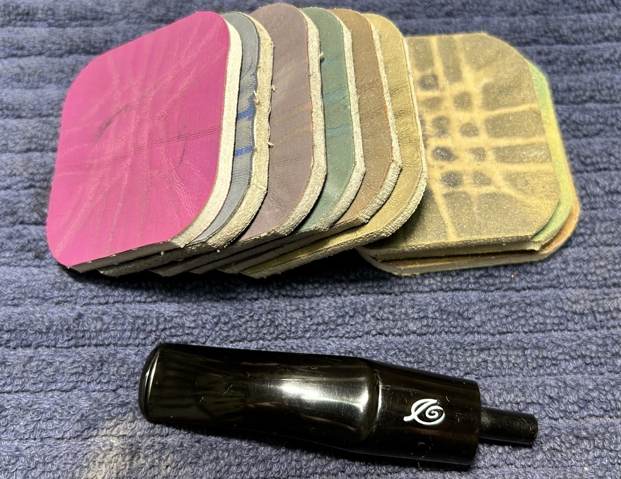
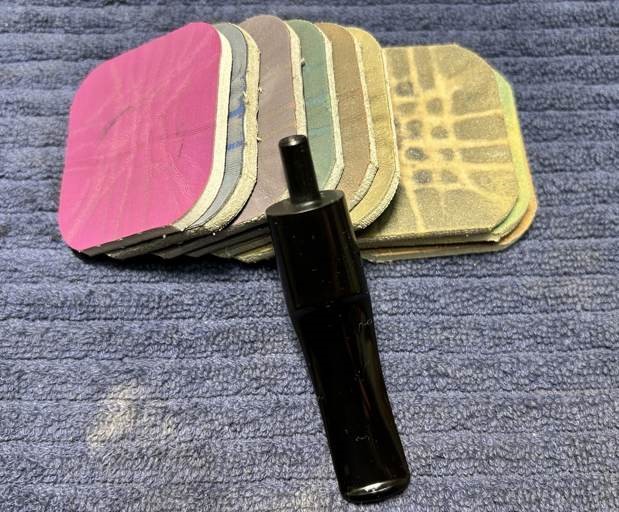
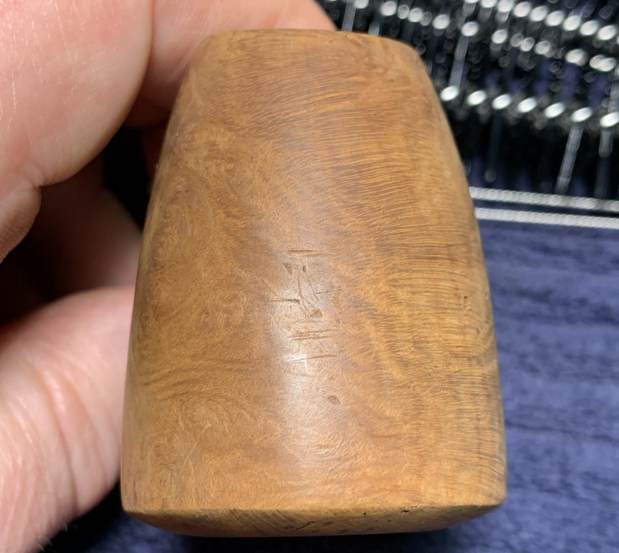
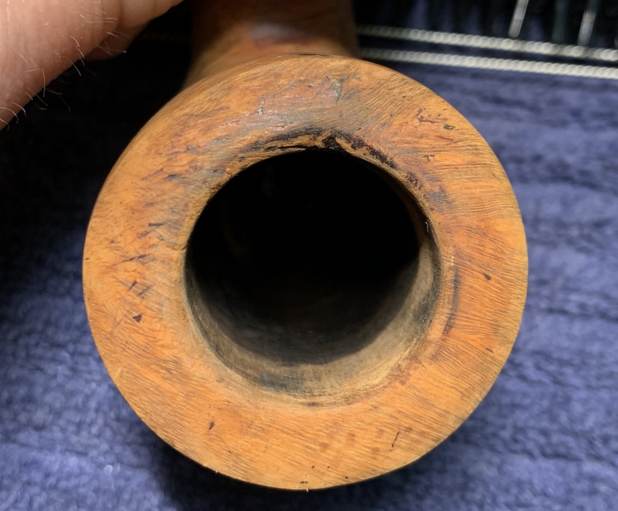
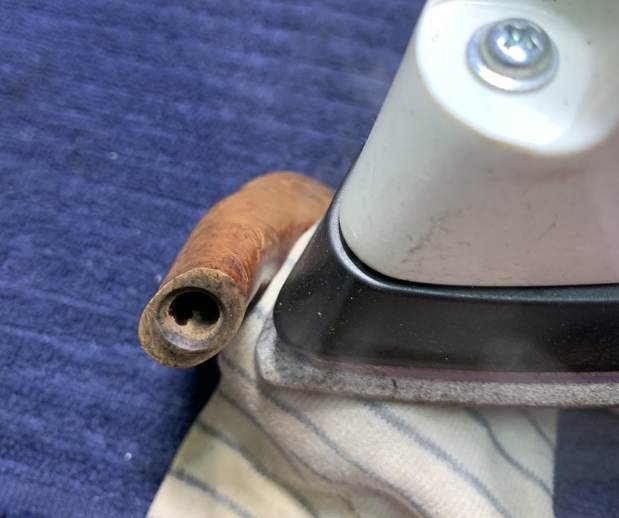
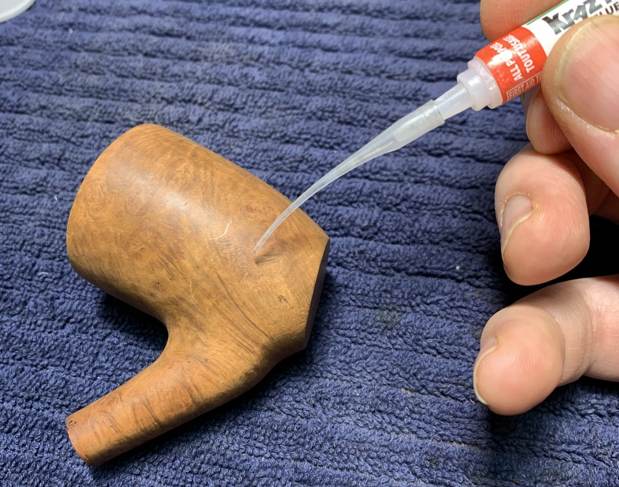
In an old Butz-Choquin catalogue, I found the pipe shape in question, listed with its requisite number:This is an older pipe, and is heavily used, though the stem is in reasonably good shape, compared to the stummel. There are a few minor tooth marks, some oxidation and calcification, but nothing too serious. Additionally, over the decades, the stem has straightened somewhat, so it will need to be bent back into place. The stummel is a different kettle of fish. The wood is very nice, but it has several fills on the outside of the bowl, there are nicks around the rim, the wood is filthy, and there are scratches around the bowl. It just looks tired and worn. The stem was first on my list. . .  This stem has a stinger in it – and it was being quite stubborn about coming out! The goo had glued the stinger into the tenon, so I opted to warm the stem and stinger with my heat gun and this provided just enough softening of the internal gunk to allow me to pull it out. It then went for a soak in some lemon-infused isopropyl alcohol. I let it sit for several hours and then cleaned it off and it looked much improved. I then finished it with some metal cleanser and moved on. Next, I wiped the outside down with Murphy’s Oil Soap on some cotton pads. I also took a BIC lighter and ‘painted’ the stem with its flame in order to lift the few bite marks and dents. Then I cleaned out the inside with pipe cleaners and isopropyl alcohol. It was pretty dirty, and I went through a good amount of pipe cleaners. I then wiped down the stem with SoftScrub cleaner to remove surface oxidation. Once this process was done, the stem went for an overnight soak in the Pipe Stem Oxidation Remover. This allows me to clean the oxidation off in a couple of ways: by applying a mild cleaner to the surface and sanding the stem. The next day, I used SoftScrub again with some cotton rounds. After this, I used some nail polish to restore the logo on the stem. I painted the area carefully and let it fully set before proceeding. I built up the dents on the stem with black cyanoacrylate adhesive and let them fully cure. I then sanded the adhesive down then with 220-, 400-, and 600-grit sandpapers to meld seamlessly into the stem. As I previously mentioned, the stem had straightened itself out over the years; so I used my heat gun to warm the stem and return it to its original shape.I then used all nine Micromesh pads (1,500 through 12,000 grit) to bring out the lovely black lustre on the stem. I also used Obsidian Pipe Stem Oil in between each pad scrubbing.On with the stummel! I decided to ream out the bowl. I used the PipNet Reamer and the KleenReem to remove the built-up cake and followed that with 220-grit sandpaper taped to a dowel to eliminate as much as I could. I took the chamber down to bare briar, as I wanted to ensure there were no hidden flaws in the wall. Fortunately, there were none. I used cotton rounds and some Murphy’s Oil Soap to scrub the outside of the stummel and a toothbrush with Murphy’s for the lava on the rim of the pipe.I then proceeded to clean out the insides of the shank with Q-tips, pipe cleaners, and lemon-infused isopropyl alcohol. The shank was absolutely caked with debris and I went through an extraordinary amount of cotton to clean it out. With all the filth in this pipe, I opted for an alcohol bath to clean it thoroughly. I followed that up by cleaning the insides with some dish soap and tube brushes. I decided to de-ghost the pipe in order to remove any lingering smells of the past. I thrust cotton balls into the bowl and the shank and saturated them with 99% isopropyl alcohol. I let the stummel sit overnight. This caused any remaining oils, tars and smells to leach out into the cotton. The bowl was nice and clean after this.Having completed that, I was able to address the blemishes to the outside of the bowl. First, I repaired the half-dozen fills with CA glue and briar dust. For the nicks on the rim and bowl, I dug out my iron and a damp cloth to raise the nicks. The hot and moist steam can often cause the wood to swell slightly and return to shape. A little unusually, this technique worked brilliantly and the next two photos (before and after) show a good example of what the iron can do. Now I could address the burn on the rim. I took some sandpaper and my Micromesh pads to sand and smooth everything out. After that, a light application of Before & After Restoration Balm brought out the best in the stummel’s grain, then took it to the buffer. A dose of White Diamond and a few coats of carnauba wax were just what this pipe needed. This little pipe looks fantastic again and is ready to be enjoyed again by the next owner! I am pleased to announce that this pipe is for sale! If you are interested in acquiring it for your collection, please have a look in the ‘French’ pipe section of the store here on Steve’s website. You can also email me directly at kenneth@knightsofthepipe.com. The approximate dimensions of the pipe are as follows: length 4 in. (100 mm); height 3¾ in. (94 mm); bowl diameter 1⅜ in. (36 mm); chamber diameter ¾ in. (19 mm). The weight of the pipe is 1⅜ oz. (41 g). I hope you enjoyed reading the story of this pipe’s restoration as much as I did restoring it. If you are interested in more of my work, please follow me here on Steve’s website or send me an email. Thank you very much for reading and, as always, I welcome and encourage your comments.

Back to my Grandfather’s Pipes


by Kenneth Lieblich

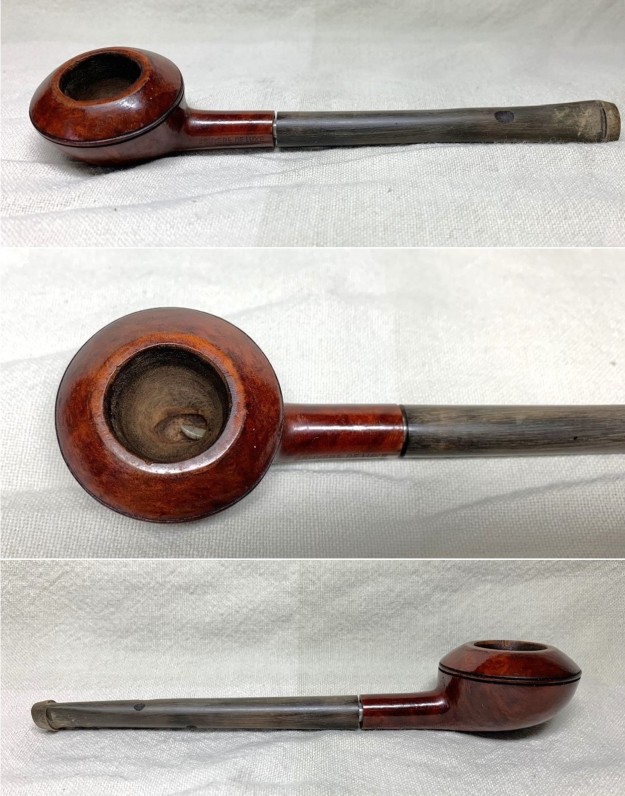
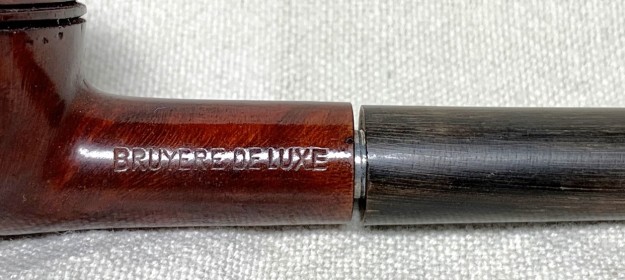
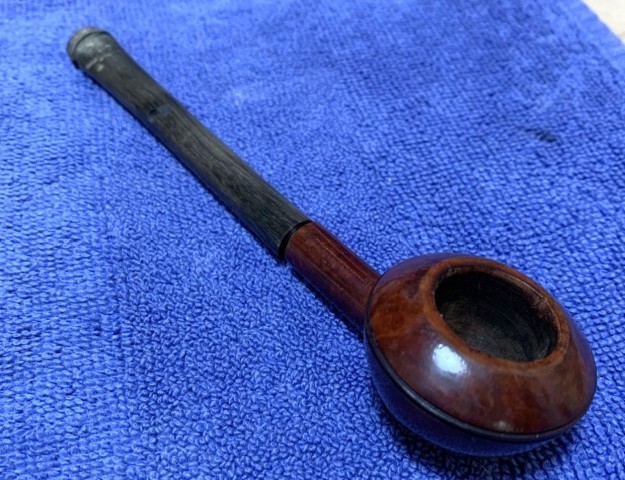
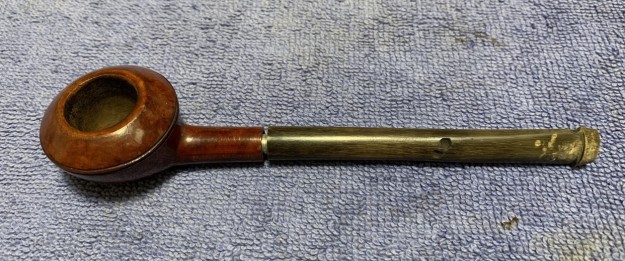
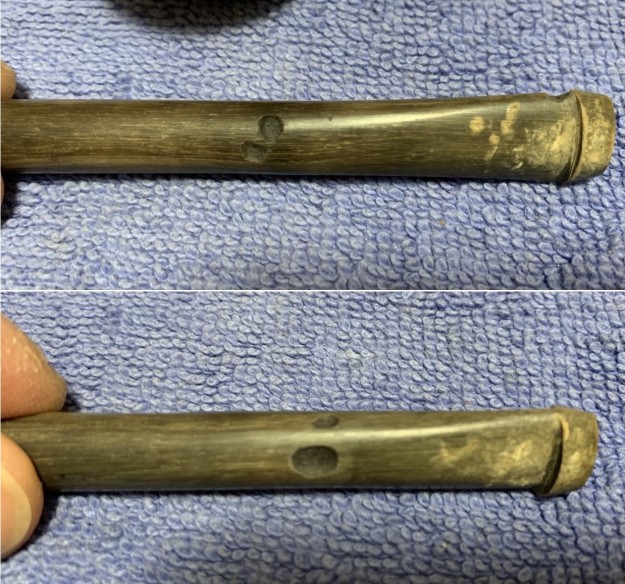
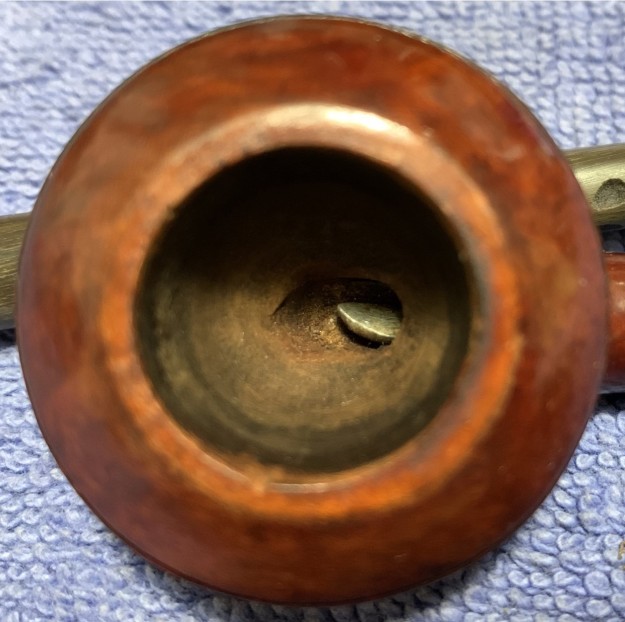
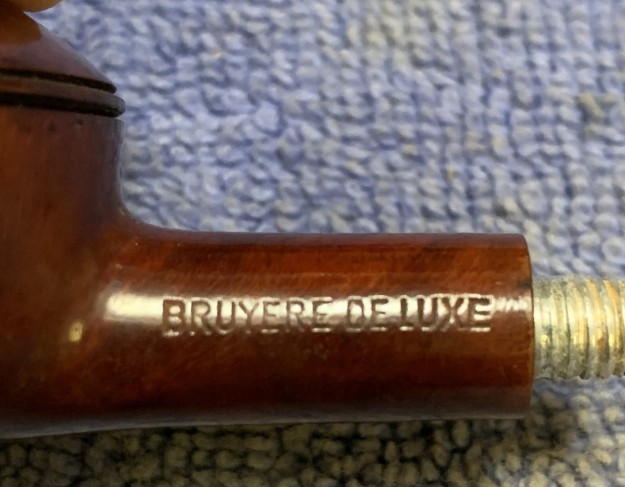
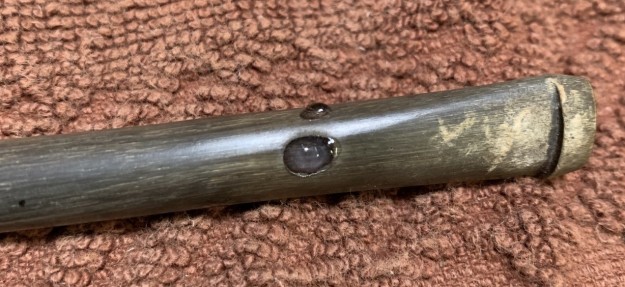
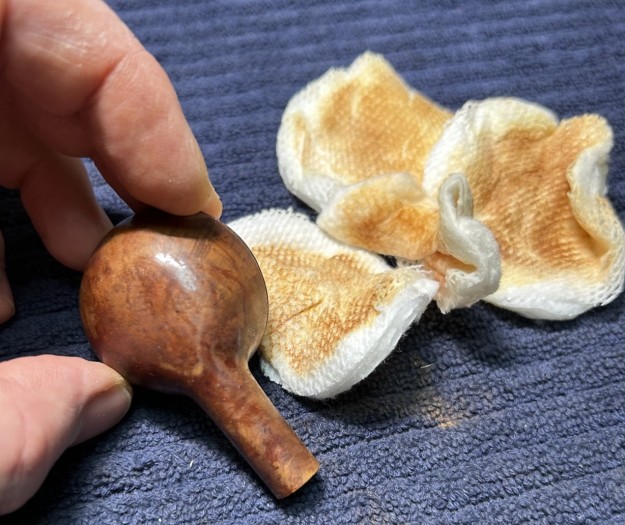
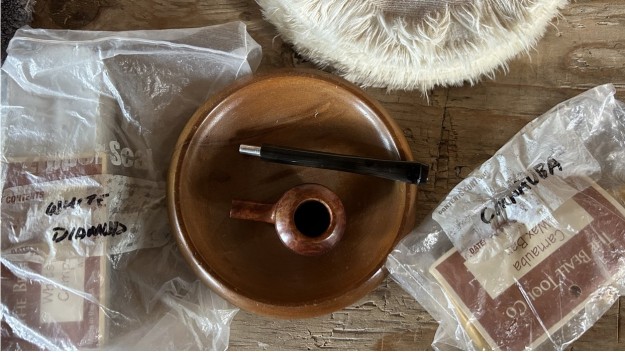
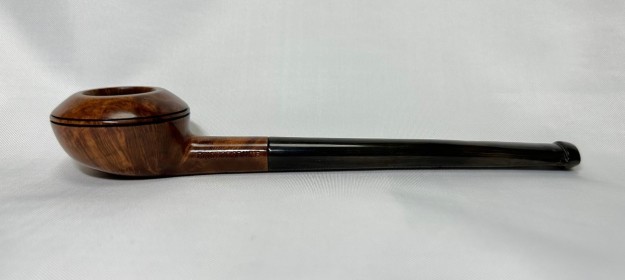
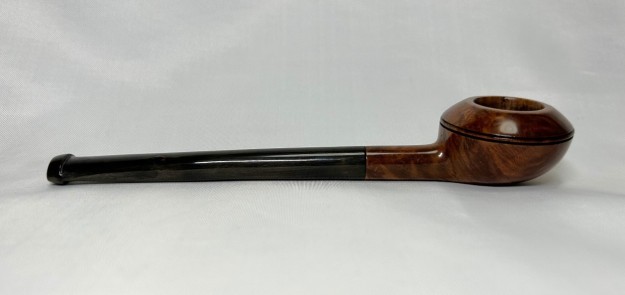
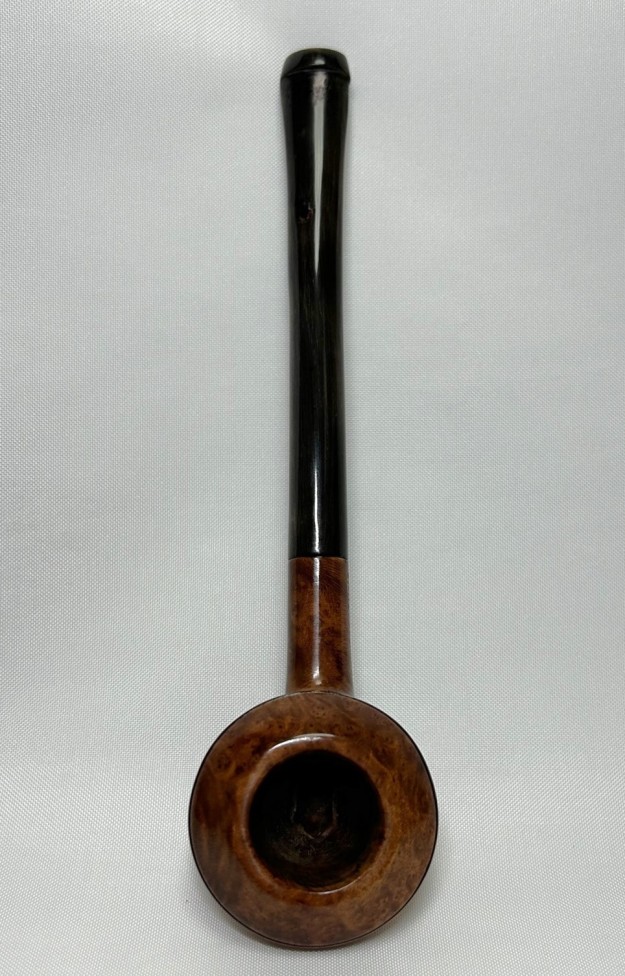
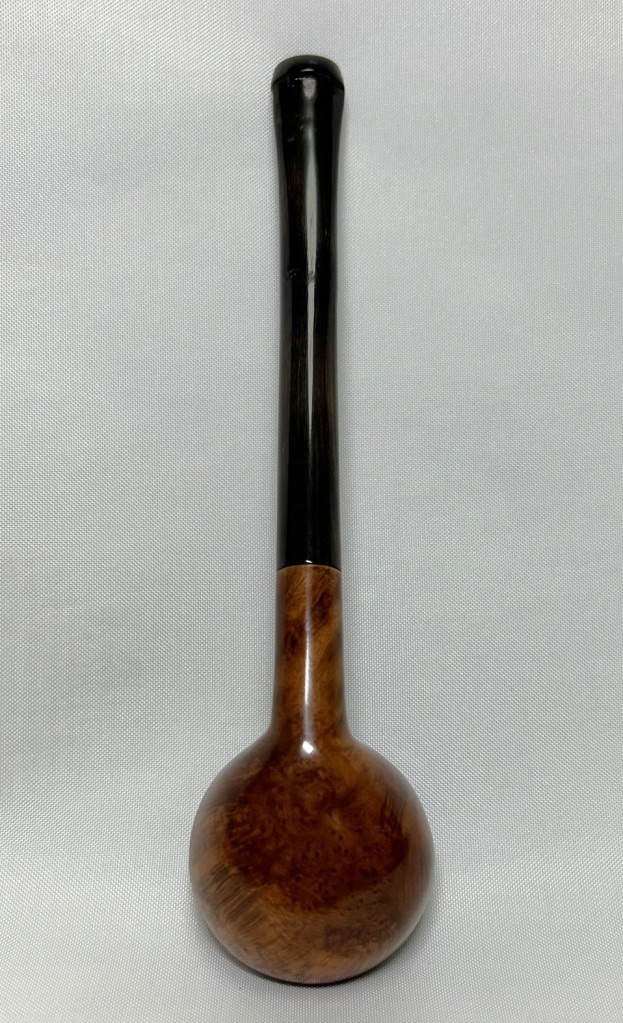
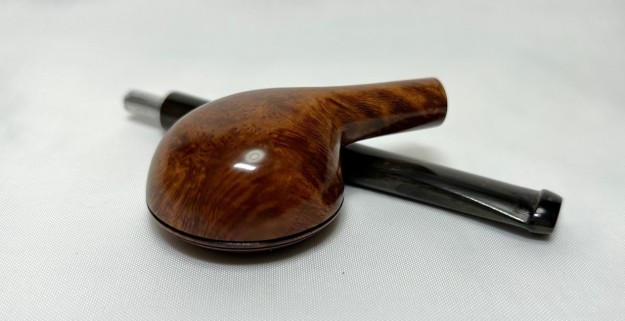
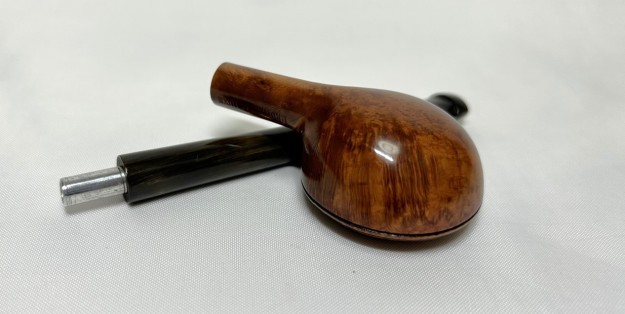
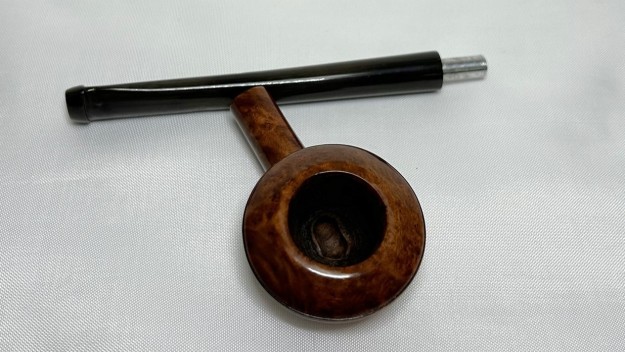
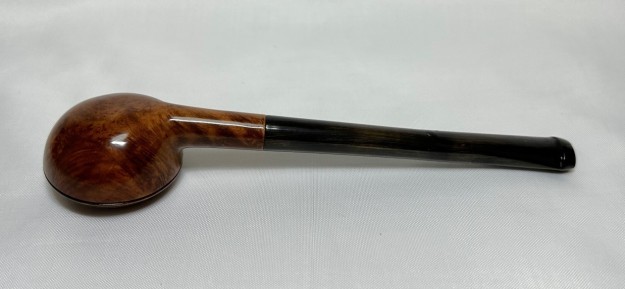
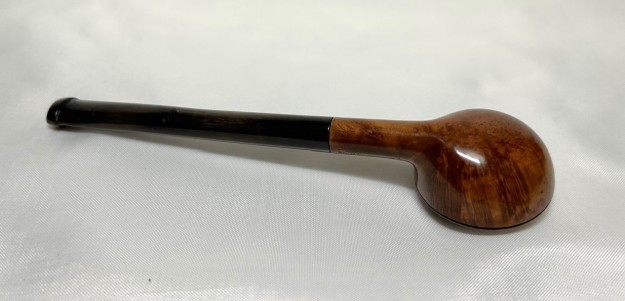
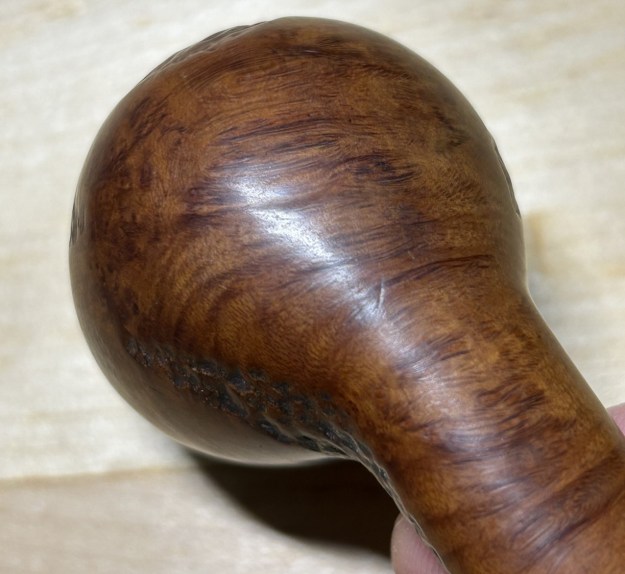
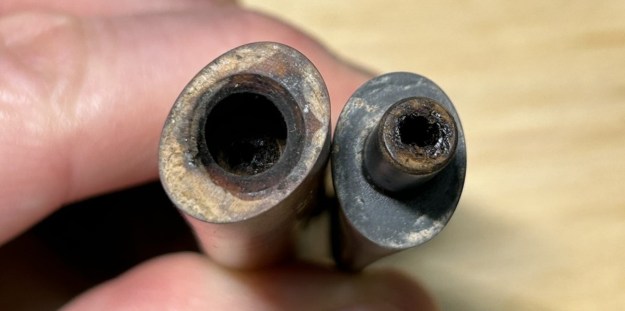
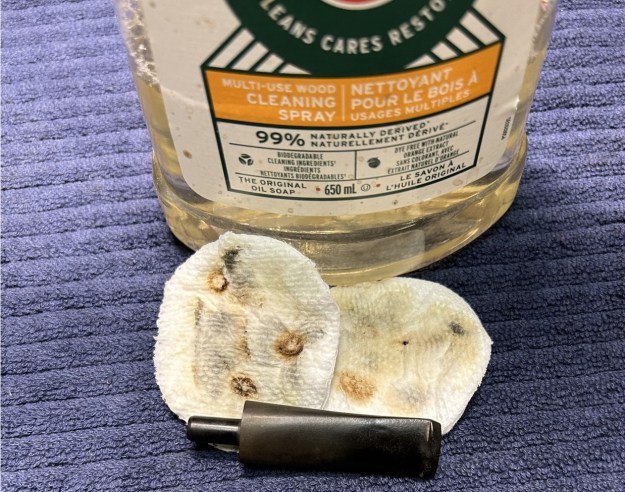
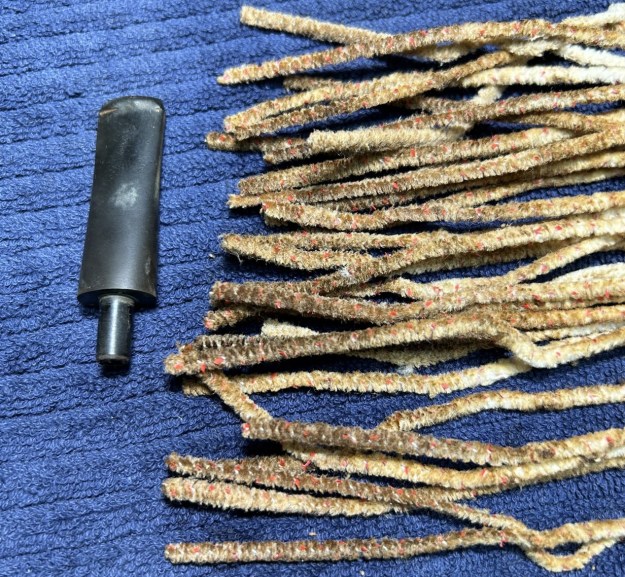
Next on the chopping block is a very personal pipe – and one that is staying in my collection. The unusual pipe you see belonged to my late grandfather. It is this pipe’s restoration that I am recounting today. I have blogged here about some of my grandfather’s pipes before, but I haven’t done one in a while. In this case, I do not know where my grandfather acquired it (or under what circumstances), but I suppose it does not ultimately matter. My grandfather was an enthusiastic pipe smoker and he clearly enjoyed this one. I am definitely looking forward to cleaning this one up. It has a value well beyond dollars.The pipe is a pencil-shank Rhodesian, with a long stem made from horn. What a charming and elegant pipe! I do not know the exact date of the pipe, but it seems likely to be from the 1950s or 1960s.On the left-hand side of the shank, the pipe’s markings read simply, Bruyere de Luxe – an utterly unhelpful bit of information. Since that’s all there is, I don’t have any useful information to be provide about the pipe maker. Also, I will apologize in advance for the fact that I don’t have so many photos this time. My brain was obviously in neutral.It’s a nifty pipe – however, it was not without its issues. The stem had some worm holes in the horn (not unusual for this type of stem). There was also some notable tooth wear near the button. The stummel was actually in pretty good shape. It had some minor wear, but nothing too tricky. I suspect that this pipe hadn’t been smoked too much. The wood had a kind of lacquer finish – I must say, I don’t like that look. The stem was first on my list. This stem had a stinger in it – and it was being quite stubborn about coming out of the tenon! I opted to warm the stem and stinger with a heat gun and this provided just enough softening of the internal goo to allow me to pull it out. The stinger then went for a soak in some lemon-infused isopropyl alcohol. I let it set for several hours and then cleaned it off and it looked much improved. I wiped down the outside of the stem with Murphy’s Oil Soap on some cotton pads. Then, I cleaned out the insides with pipe cleaners and isopropyl alcohol. I also built up the worm holes on the stem with clear cyanoacrylate adhesive and let it fully cure.I then sanded the stem down with 220- and 400-grit sandpapers to bring down the repairs to the level of the stem. I ensured that the stem kept its shape and looked like it should. I then used all nine Micromesh pads (1,500 through 12,000 grit) to bring out the beautiful horn grain on the stem. I also used Obsidian Pipe Stem Oil in between each pad scrubbing. Some of the adhesive ended up having a strange reaction with the horn, but in the end, I think it looks pretty good.On to the stummel, and it was quite clean already. I began with some 220-grit sandpaper inside the chamber to even out the surface and remove any debris. I wanted to take the bowl down to bare briar to ensure there were no hidden flaws in the walls of the bowl. Fortunately, there were none. I then proceeded to clean out the insides of the shank with cotton swabs, pipe cleaners, and isopropyl alcohol. There was a bit of filth inside this stummel – it took a few pipe cleaners et cetera to clean it out. I followed that up by cleaning the insides with some dish soap and tube brushes. I then moved on to cleaning the outside of the stummel with Murphy’s Oil Soap and some cotton pads. In order to remove the lacquer finish, I used acetone on some cotton rounds and worked it hard. This worked very effectively.Now, it was time to sand down the stummel. I used all nine Micromesh pads (1,500 through 12,000 grit) to wet/dry sand everything smooth. After that, a light application of Before & After Restoration Balm brought out the best in the stummel’s grain. What a difference that made! There is some beautiful wood there! Then it was off for a trip to the buffer. A dose of White Diamond and a few coats of carnauba wax were just what this pipe needed. The lovely shine made the wood look absolutely beautiful.This is a quirky and charming pipe that has a very elegant feel to it. I hope the final product is worthy of my beloved grandfather’s memory. Obviously, this is one pipe that I am keeping for myself and adding to my collection. The approximate dimensions of the little Rhodesian are as follows: length 6 in. (150 mm); height 1 in. (25 mm); bowl diameter 1½ in. (38 mm); chamber diameter ¾ in. (19 mm). The weight of the pipe is ¾ oz. (24 g). I hope you enjoyed reading the story of this pipe as much I as I did restoring it. If you are interested in more of my work, please follow me here on Steve’s website or email me directly at kenneth@knightsofthepipe.com. Thank you very much for reading and, as always, I welcome and encourage your comments.

Pipes in the Eyes of Children


by Kenneth Lieblich

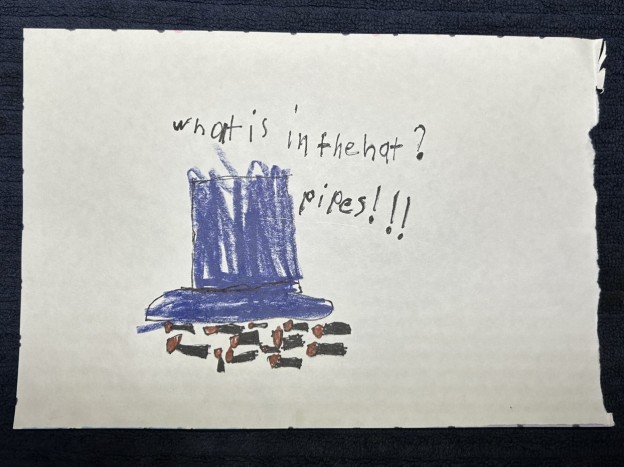
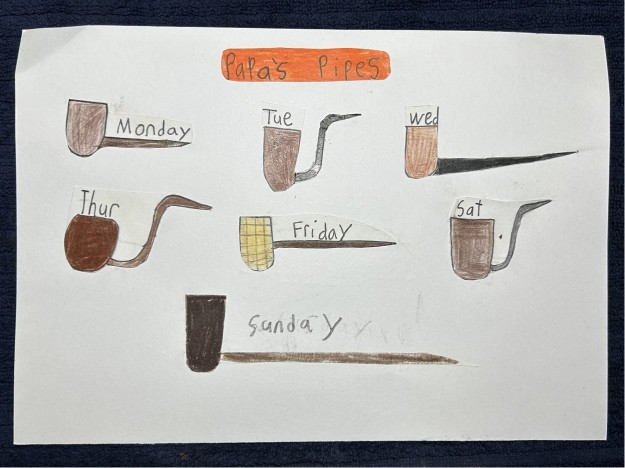
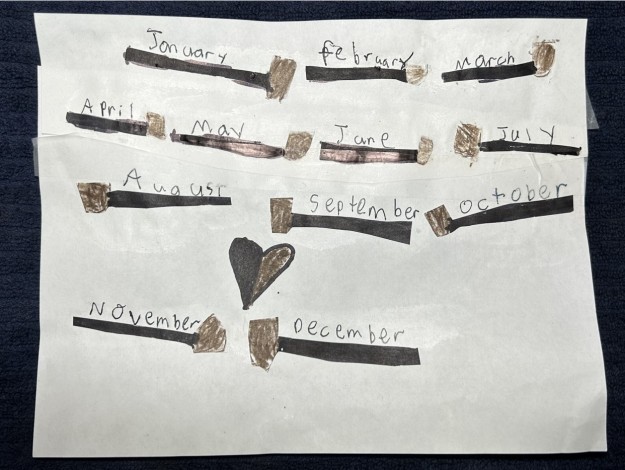
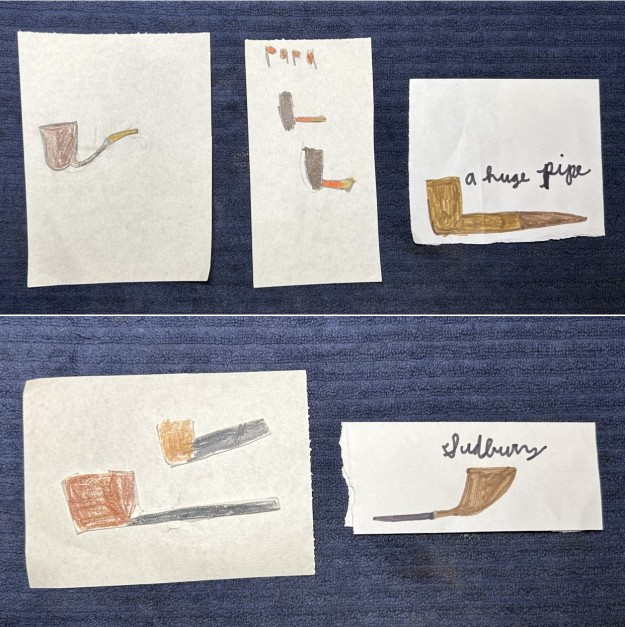
And now for something completely different. I thought I’d put together a quick piece on something a bit more jovial and lighthearted. My wife and I have been blessed with four children and, as they grow, I am constantly delighted and amused by their observations of the world around them. Over the past couple of years, two of my children have taken it upon themselves to draw pictures of pipes. The naïve art of any child is lovely, charming, and perhaps even beautiful because it simply manifests the reality of their world, by their own hand. In this case, my children are sharing something with me that they know has significance to me.

First, the drawing above is of a magician’s hat. However, instead of pulling a bunny rabbit out of the hat, pipes come out of the hat!

Next, here is a seven-day set of pipes;Followed, I suppose, by a twelve-month set of pipes:Then a few odds-and-ends:I hope you enjoyed the drawings! Please continue to follow me here on Steve’s website or email me directly at kenneth@knightsofthepipe.com. Thank you very much for reading and, as always, I welcome and encourage your comments.
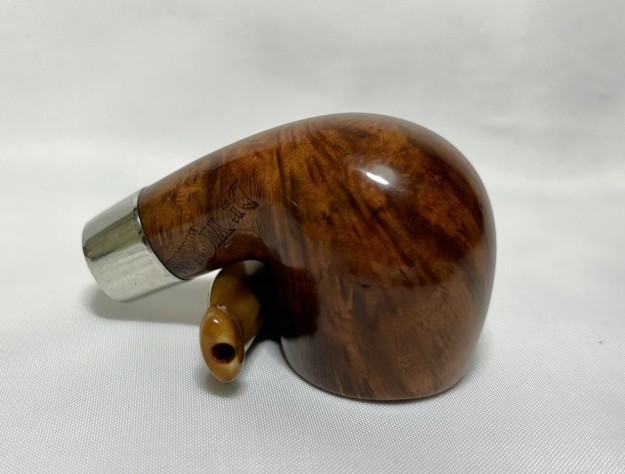
Restoring a Lovely Danish Strawberry


by Kenneth Lieblich

Next on the chopping block is a beautiful Danish pipe from Scandia. This terrific pipe came to me from a lady whose husband had passed away. The price was reasonable, so I was happy to have it. The pipe is beautiful and a great example of Danish pipe-making. The pipe is a Danish pipe by Scandia, produced from the esteemed pipemaker, Stanwell. Steve called this shape a “strawberry”, which is a much more evocative name than my boring, old “freehand Dublin”. The strawberry is a very attractive shape and this one is no exception. It really makes an impression. It has beautiful, sandblasted briar from the bowl and down the shank. It also has a lovely saddle stem. The underside of the shank reads Scandia [over] Made in Denmark and, next to that, a shape number, 111. The stem also has the SC, indicating the Scandia make.Both Pipedia and Pipephil list Scandia as being a Stanwell sub-brand or second (and not much else), as per the photo below.Meanwhile, Pipedia has a good amount of information on the Stanwell brand and its history. I certainly recommend looking it over: https://pipedia.org/wiki/Stanwell.With the number 111 on the shank, I went to check the list of Stanwell shapes, here on rebornpipes, and I found a (partial) match! Shape 111 is listed as “Quarter-bent Dublin with a tapered stem.”. Now, my pipe doesn’t have a tapered stem, but this is clearly a quarter-bent Dublin. To further confirm this, here is a page from an old 70s or 80s Stanwell catalogue which clearly shows the same shape of pipe with the matching shape number. I also point out the 115, as it has the same shape (albeit, a different stem).

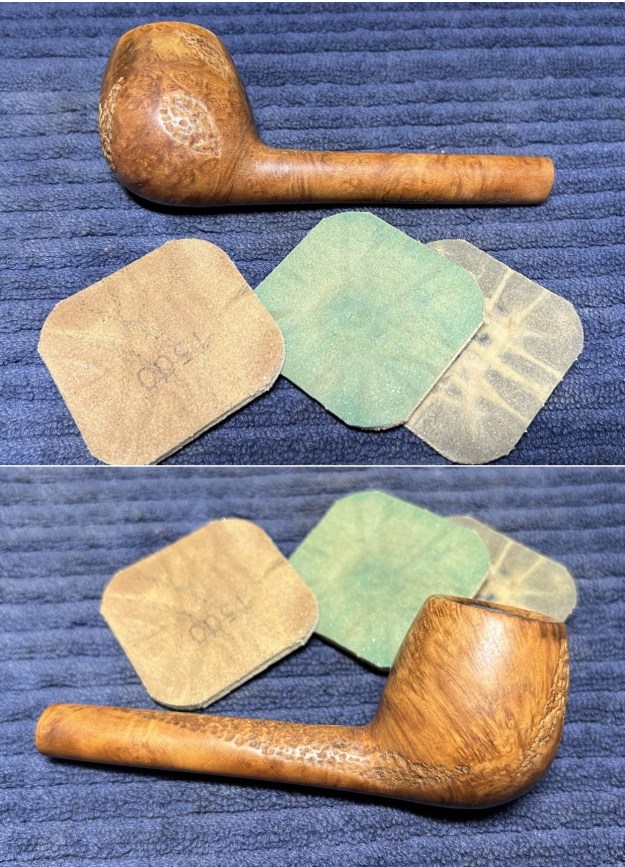
Anyway, this really is a good-looking pipe. No major issues to resolve – just a few minor ones. The stem was dirty, and some small scratches. There was also a lot of oxidation on the vulcanite. The rim on the stummel was a bit blackened and burnt. The insides were fairly dirty and would need some work to clean out. The stem was first on my list. I wiped down the outside of the stem with Murphy’s Oil Soap on some cotton pads. I also took a BIC lighter and ‘painted’ the stem with its flame in order to lift the bite marks and dents. Unfortunately, this didn’t really work, but I have ways of sorting this out. Then, I cleaned out the insides of the stem with pipe cleaners and isopropyl alcohol. Once this process was done, I used SoftScrub and cotton pads to wipe down the stem before throwing it in the Pipe Stem Oxidation Remover overnight. The following day, I cleaned all of the de-oxidizing mess and again scrubbed with SoftScrub on some cotton pads to remove the leftover oxidation. This worked well. I used some nail polish to restore the letters SC on the stem. I painted the area carefully and let it fully set before proceeding.Before I moved on to the Micromesh pads, I built up the dents on the stem with cyanoacrylate adhesive and let them fully cure.I sanded the adhesive down with 220- and 400-grit sandpapers to meld seamlessly into the stem. I then used all nine Micromesh pads (1,500 through 12,000 grit) to bring out the lovely black lustre on the stem. I also used Obsidian Pipe Stem Oil in between each pad scrubbing. On to the stummel, and the usual cleaning procedures were in order for this pipe. I used both the KleenReem and my pipe knife to remove the built-up cake and take the bowl down to bare briar, as I wanted to ensure there were no hidden flaws in the walls of the bowl. Fortunately, there were none.I then proceeded to clean out the insides of the shank with Q-tips, pipe cleaners, and isopropyl alcohol. There was some filth inside this stummel, but it wasn’t too bad. I followed that up by cleaning the insides with some dish soap and tube brushes. I then moved on to cleaning the outside of the stummel with Murphy’s Oil Soap and some cotton pads. That removed any latent dirt. I decided to de-ghost the pipe in order to remove any lingering smells of the past. I thrust cotton balls into the bowl and the shank and saturated them with 99% isopropyl alcohol. I let the stummel sit overnight. This caused any remaining oils, tars and smells to leach out into the cotton. The bowl was nice and clean after this. As I mentioned earlier, there were some small burn marks on the rim of the stummel that also needed to be addressed. Fortunately, I was able to resolve this by gently sanding the interior rim edge to remove any remnants that remained.Since this was a sandblast, I didn’t need to use the Micromesh pads. But a light application of Before & After Restoration Balm brought out the best in the stummel’s sandblast. There is some beautiful wood on this Danish pipe! A dose of White Diamond on the stem and a few coats of conservator’s wax on the stummel were just what this pipe needed. I had to be especially careful with the bench buffer, since the edges had a tendency to catch on the buffing wheels.This pipe was a delight from the start and its beauty only increased through the restoration process. Whether you call it a strawberry or a Dublin, this pipe is elegant, light, and incredibly comfortable to hold. Finally, I am pleased to announce that this pipe is for sale! If you are interested in acquiring it for your collection, please have a look in the ‘Danish’ pipe section of the store here on Steve’s website. You can also email me directly at kenneth@knightsofthepipe.com. The approximate dimensions of the Stanwell are as follows: length 5½ in. (140 mm); height 1⅝ in. (40 mm); bowl diameter 1⅝ in. (40 mm); chamber diameter ¾ in. (19 mm). The weight of the pipe is 1 oz. (30 g). I hope you enjoyed reading the story of this restoration as much as I enjoyed restoring it. If you are interested in more of my work, please follow me here on Steve’s website or send me an email. Thank you very much for reading and, as always, I welcome and encourage your comments.

Dipping a Toe into the Murky Waters of the BP Jum


by Kenneth Lieblich

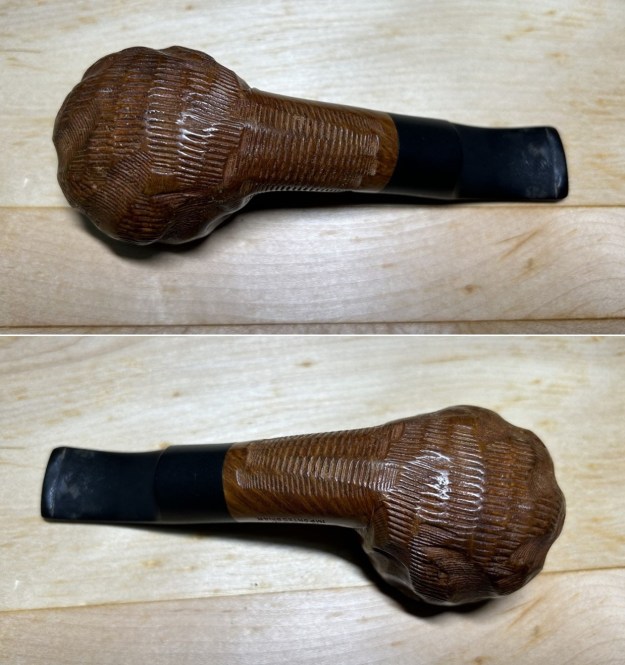
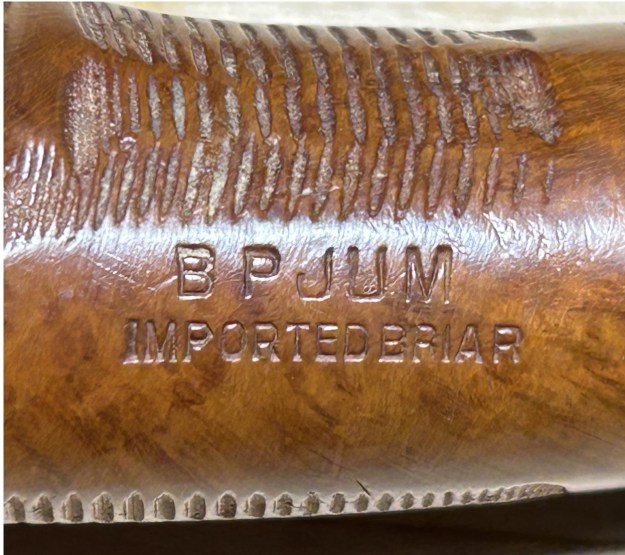
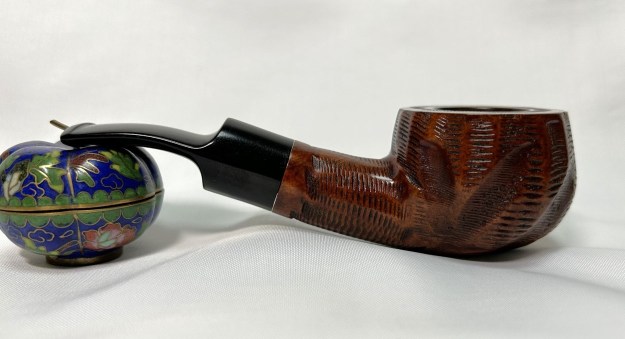
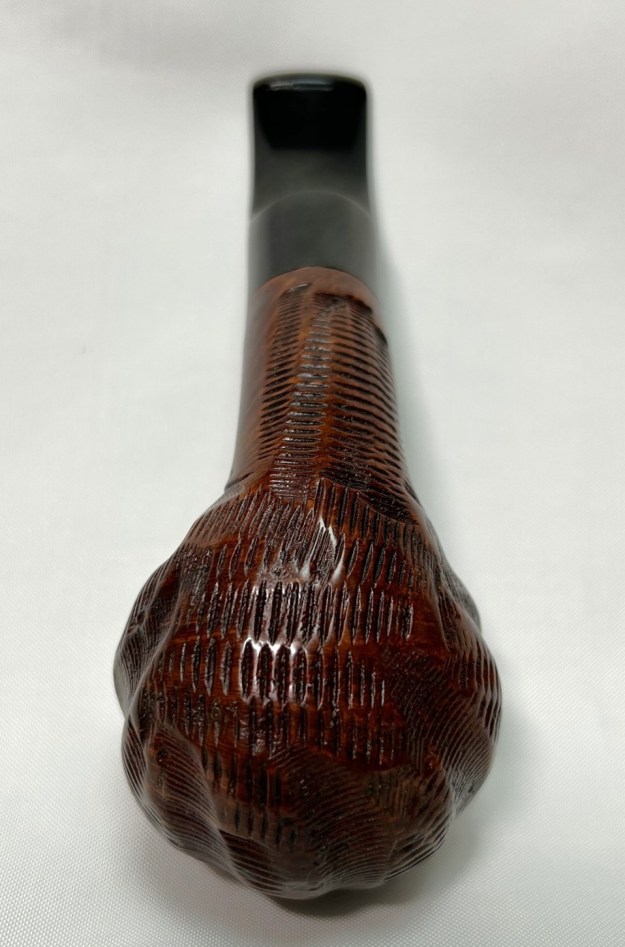
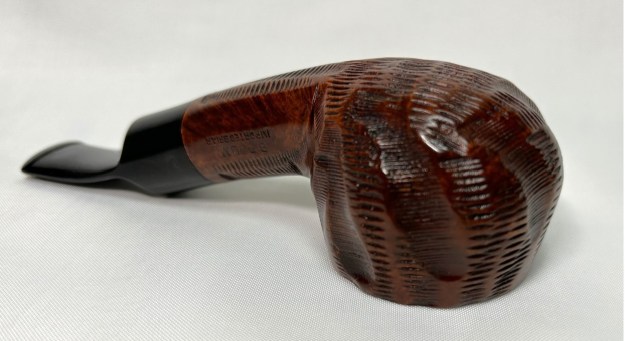
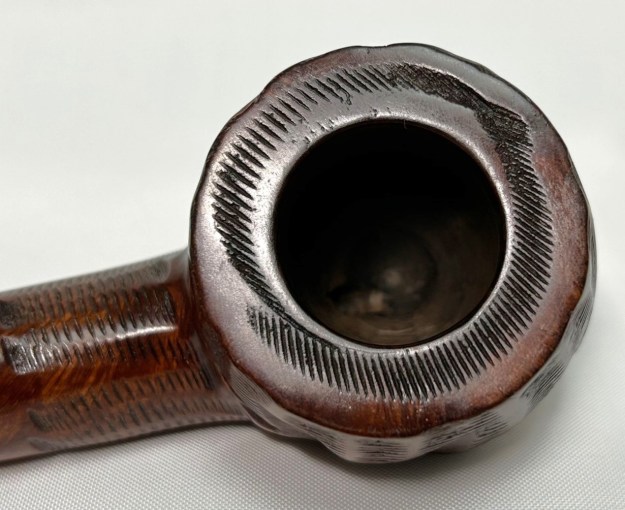
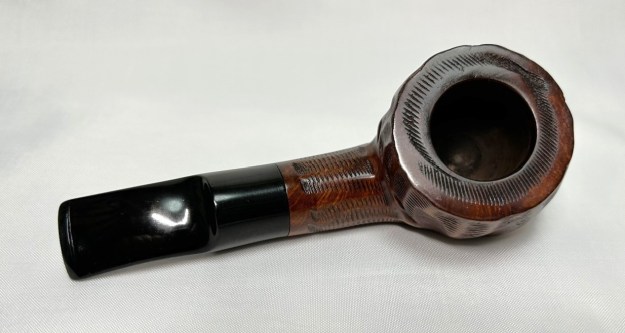
Next on the chopping block is a robust, rugged, rusticated pipe which I acquired in a lot of pipes from a gentleman living on Vancouver Island. He had quite an assortment of pipes and they ranged from the ridiculous to the sublime. This is not a Custom-Bilt – it is a BP Jum. They could easily be mistaken for one another. This is a very handsome pipe and promises to be a great smoker. It’s a bent pot (or a “War Club”, as Steve calls it), with a vulcanite, wide saddle stem. And what a wonderful rustication on this one! On the left side of the shank, the markings read BP Jum [over] Imported Briar. These are the only markings.The history of BP Jum, like many pipes of the same era, is shrouded in some mystery. The brand name has no mention on either Pipedia or Pipephil. Some pipe folks have proposed that BP Jum pipes are, in fact, Custom-Bilt seconds, but there is no direct evidence to support this. In previous restorations that Steve has done, he wrote the following: “There was a lot of conjecture as to whether the brand was made by Tracy Mincer of Custombilt fame. There is no definitive proof other than the common shapes, sizes and look of the pipes. Bill Unger, of Custombilt fame and author of a history of the brand, mentions BP Jum but cannot definitively connect the two. So the maker remains a mystery that is still unsolved.”

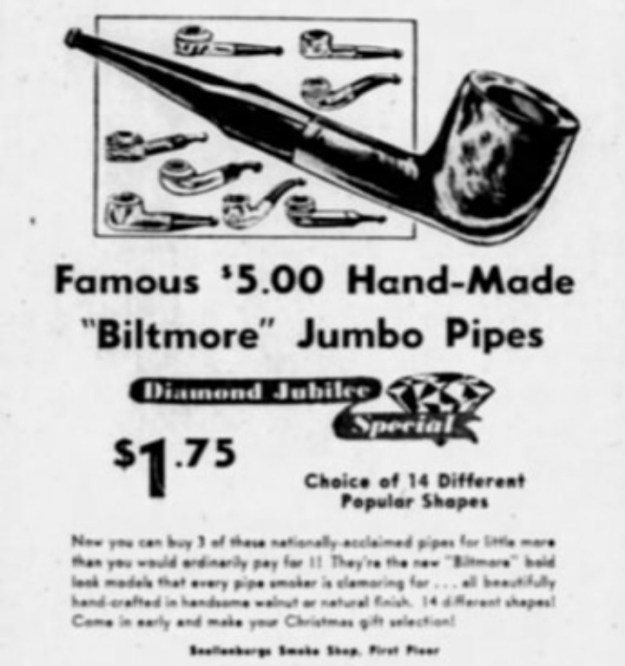
Well, I’ve taken up the mantle to see what else could be found. A gentleman who commented on one of Steve’s restorations said “BP Jum pipes are shown in a 1971 Kentucky club premiums [sic] catalog I have. They are not labeled in the text but I can see it stamped on shank of the picture of the pipe. The rustication on these is also very telling and looks the same on most of them.” I took it upon myself to see if I could find photos of the 1971 Kentucky Club Premium Catalog. I did find some online, but the images did not include the page with the BP Jums that were mentioned. Alas.Another potential source is a fellow named Tom, who goes by the handle, NWPipesmoker, on YouTube. As a devoted fan of both Custom-Bilt and BP Jum pipes, he has a few videos speculating on the origins of BP Jum pipes. In one video, he quotes from an unnamed correspondent of his who says that the BP Jum name comes from “Bilmore Pipes Jumbo”. Now, it is important to stress that there is only circumstantial evidence to support this. The information is enticing, but no more than indirect. The advertisement below (for Biltmore) displays some drawings of pipes that are very close (or identical) to BP Jum pipes. We don’t see the words “BP Jum” anywhere on the pipes or in the ad, but I am still impressed with this.As an aside, the connection between Tracy Mincer’s Custom-Bilt and Biltmore is circuitous, to be sure, but it exists. Briefly, both Bilmore pipes and Mincer pipes (specifically the Doodler) were either owned by or produced by National Briar Pipe Co. of New Jersey. In Bill Unger’s book, As Individual as a Thumbprint: The Custom-Bilt Pipe Story, he writes: “Apparently, both Tracy Mincer and the National Briar Pipe Co. continued to produce Doodlers concurrently until Mincer was no longer able to make pipes, sometime before his death in 1964. Bill Mincer then sold all rights to the Doodler to the National Pipe Co. in 1966.”Finally, NWPipesmoker has another video where he compares two pipes that he owns: one marked “Custom-Bilt” and the other marked “BP Jum”. He has entitled this video, “CustomBilt and BP Jum connection confirmed”. I think that’s overstating it a bit, but I am including the link to this video here, for your examination: https://www.youtube.com/watch?v=GdsBYoydYu8

It is certainly possible (and perhaps even likely) that Custom-Bilt and BP Jum pipes are related in some way – even if we are not able to make a definitive statement about it. I feel comfortable in saying that there is a connection between the pipes, but this connection is not ironclad. To put it colloquially, they may be brothers but they are not twins.

Let’s move on…

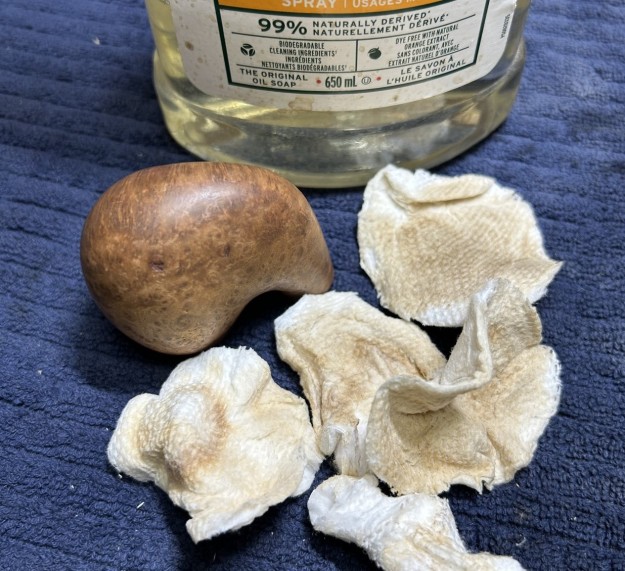
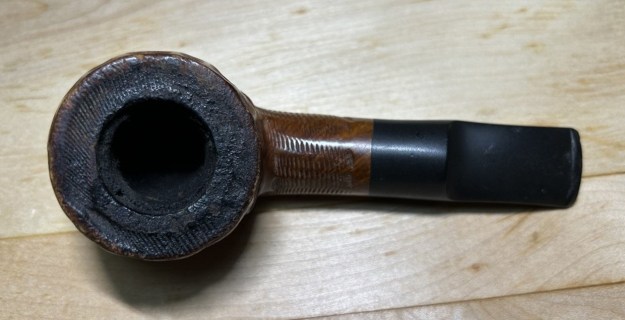
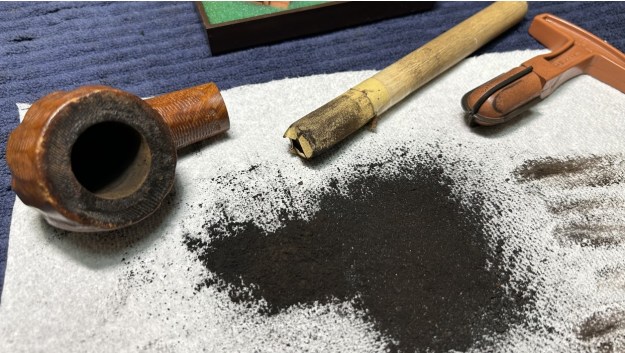
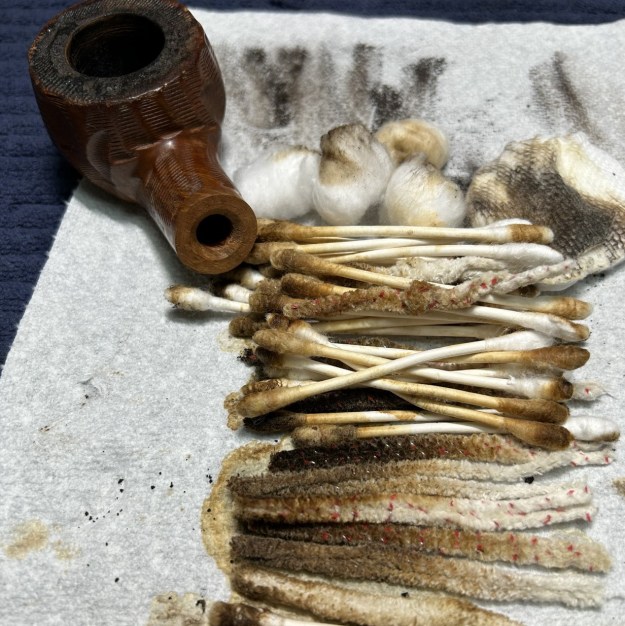
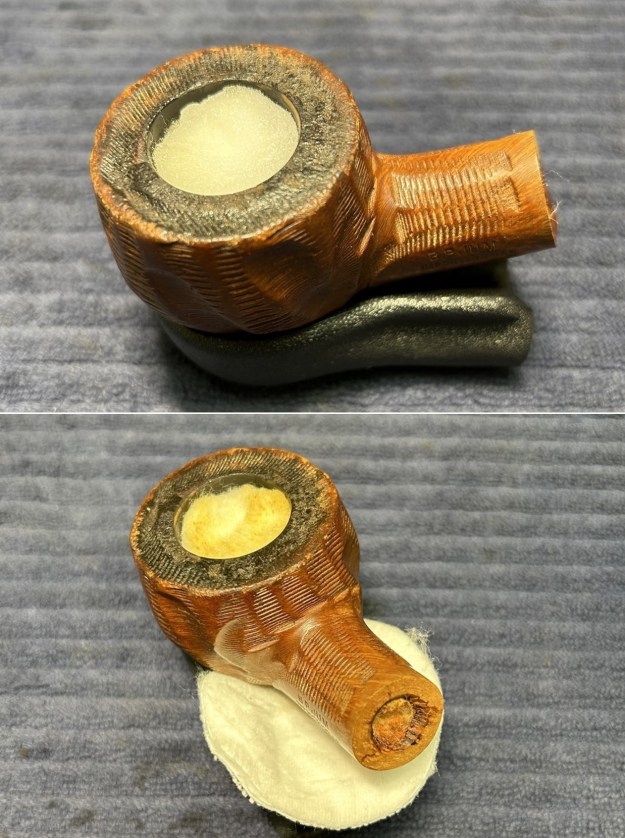
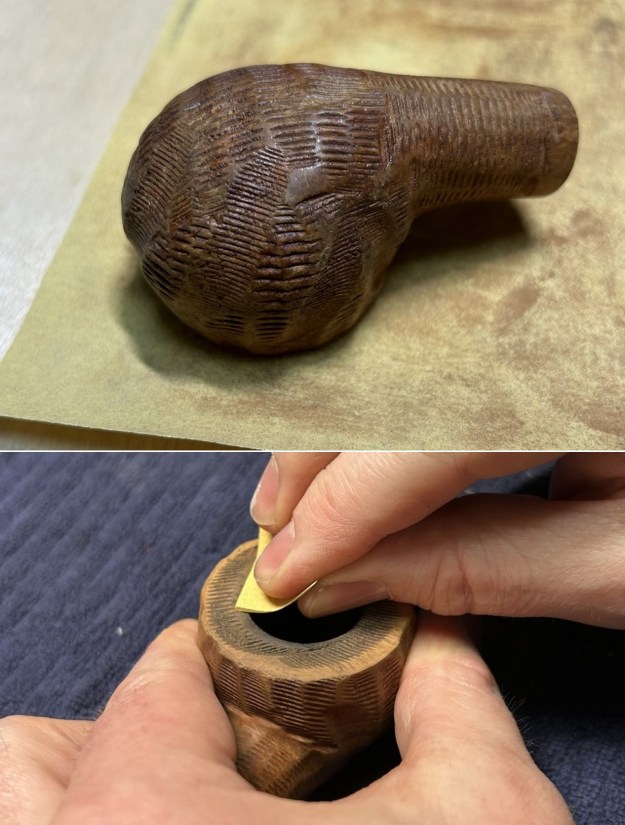
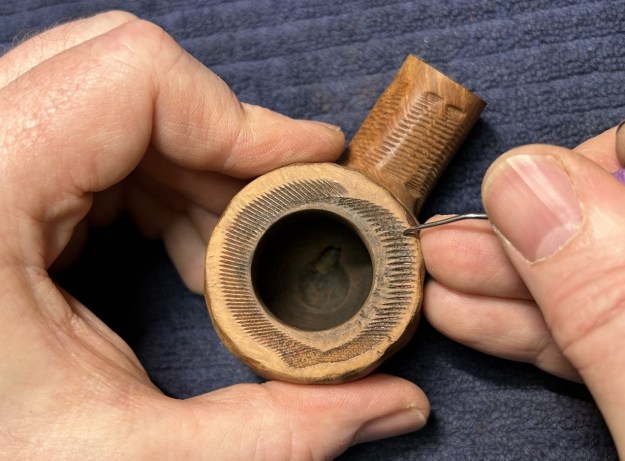
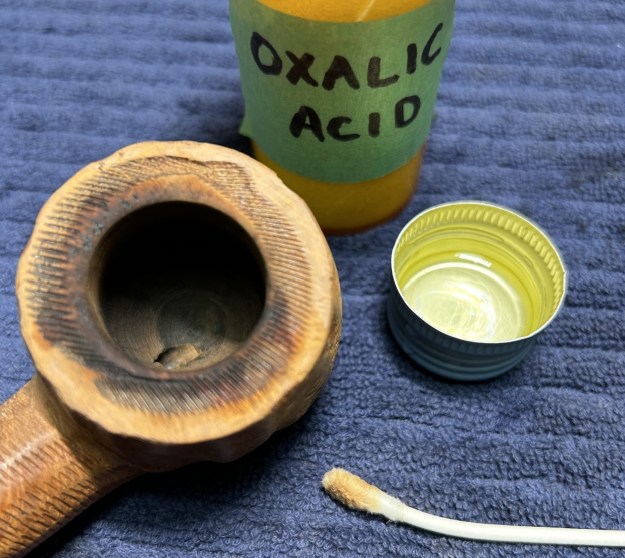
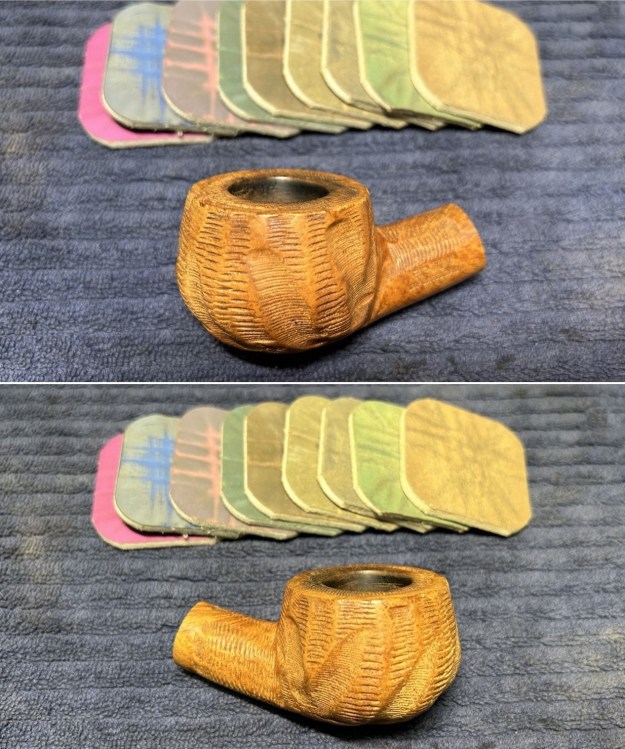
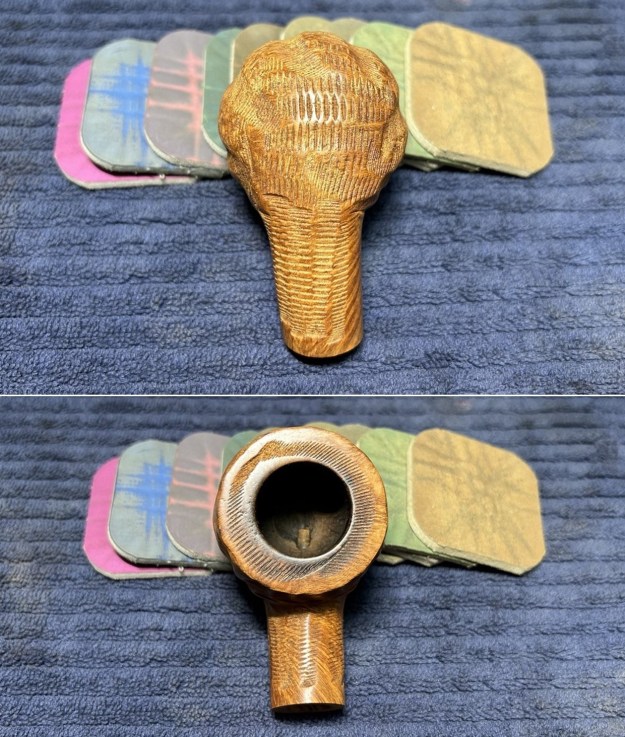
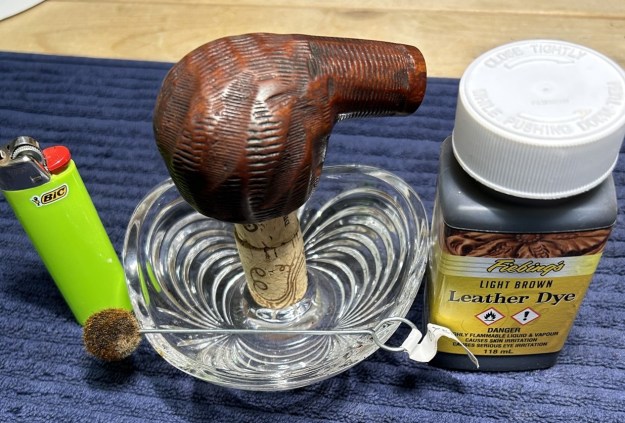
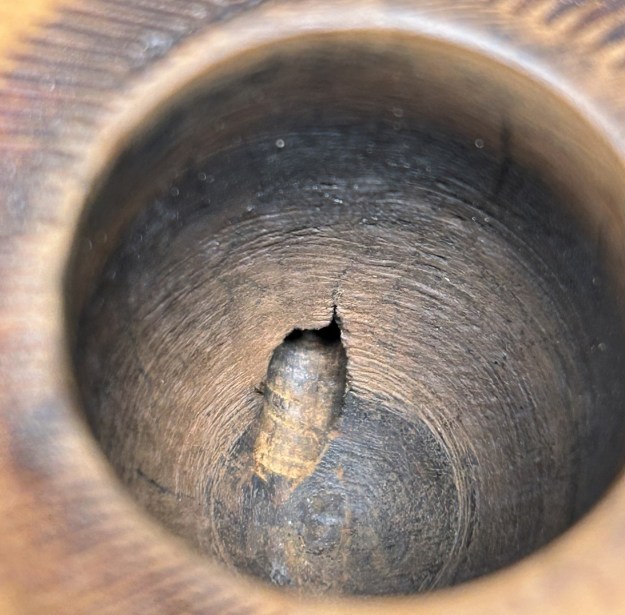
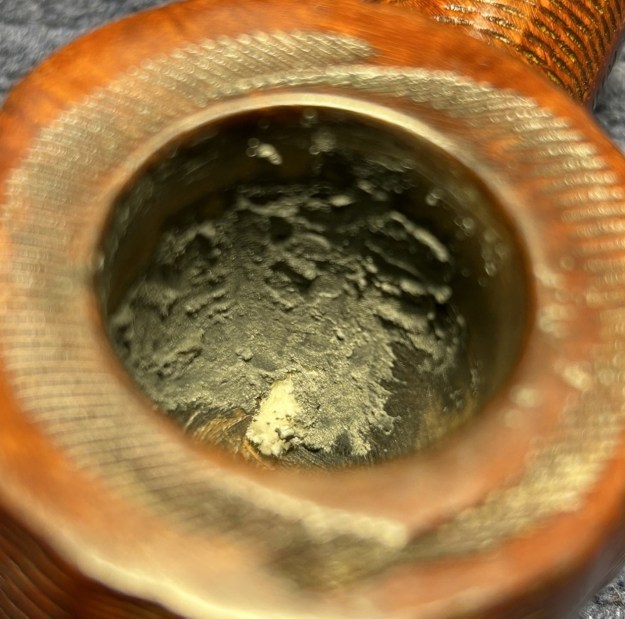
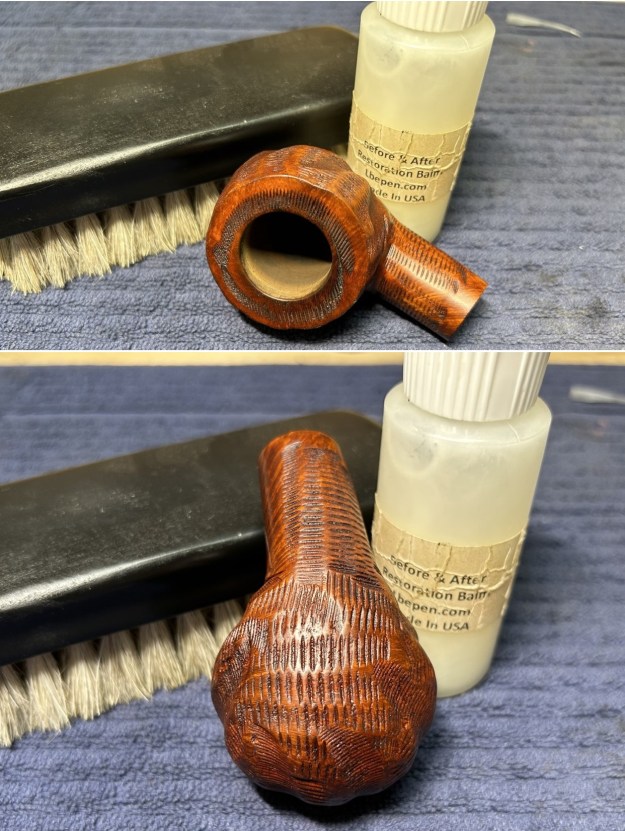
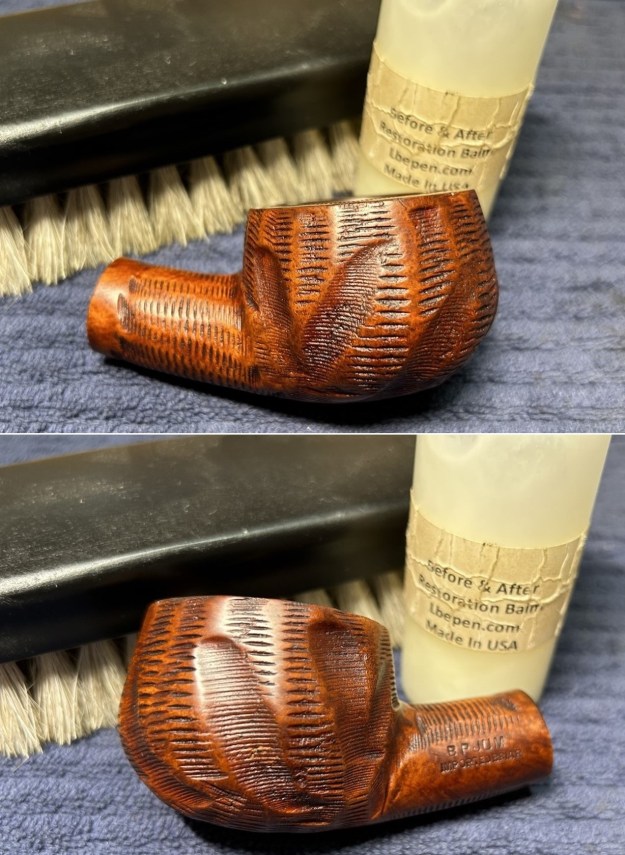
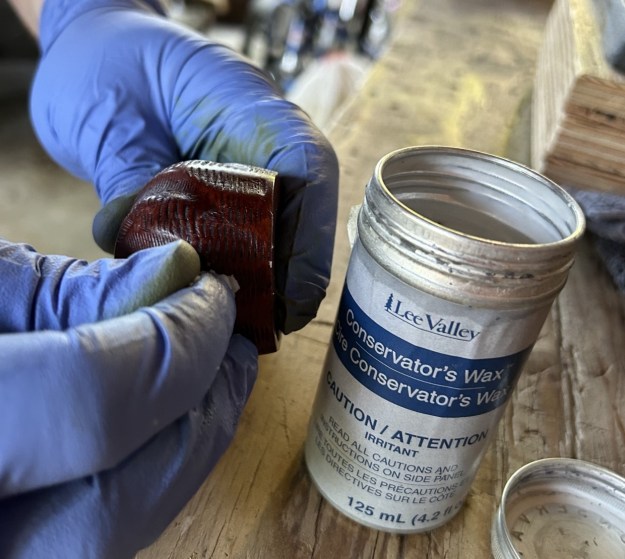
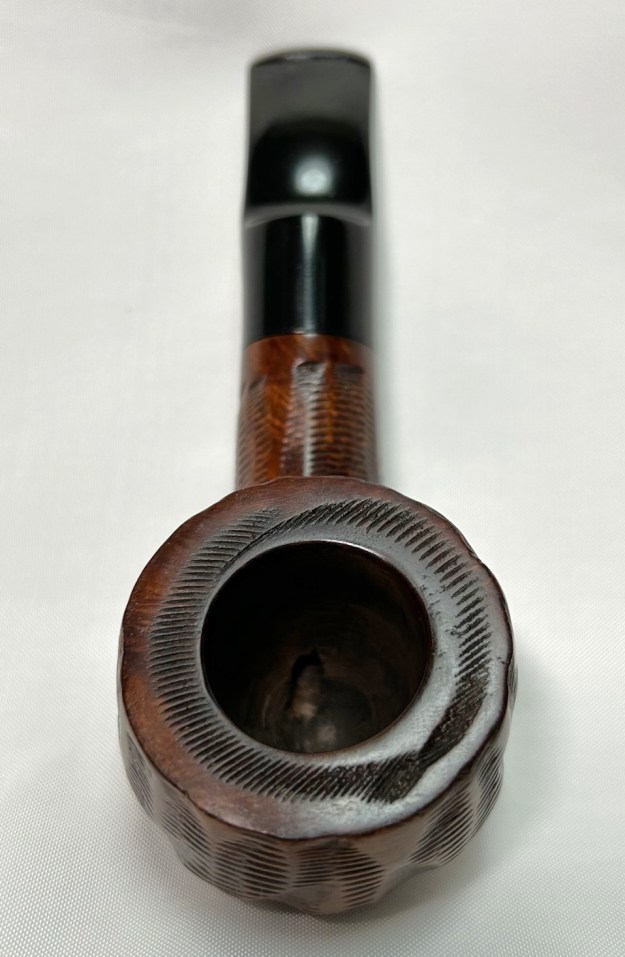
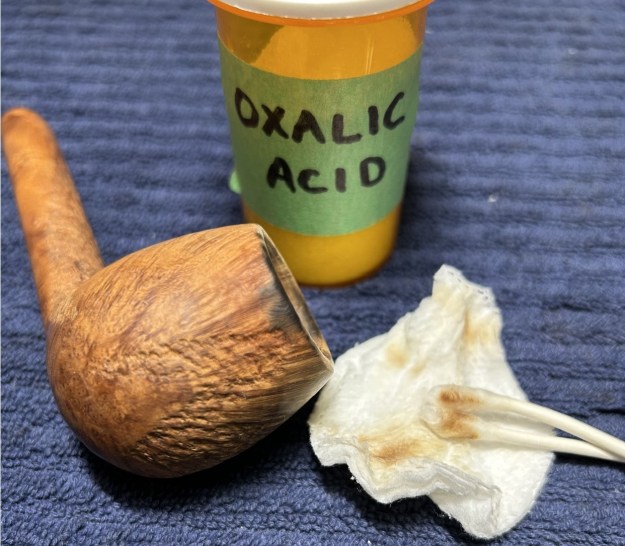
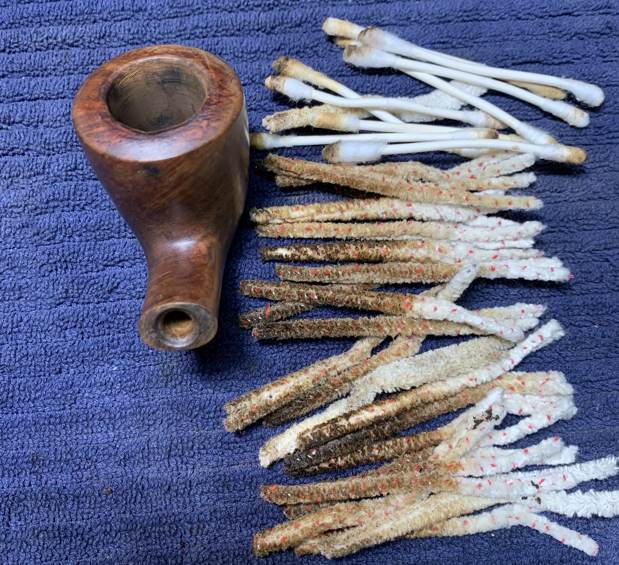
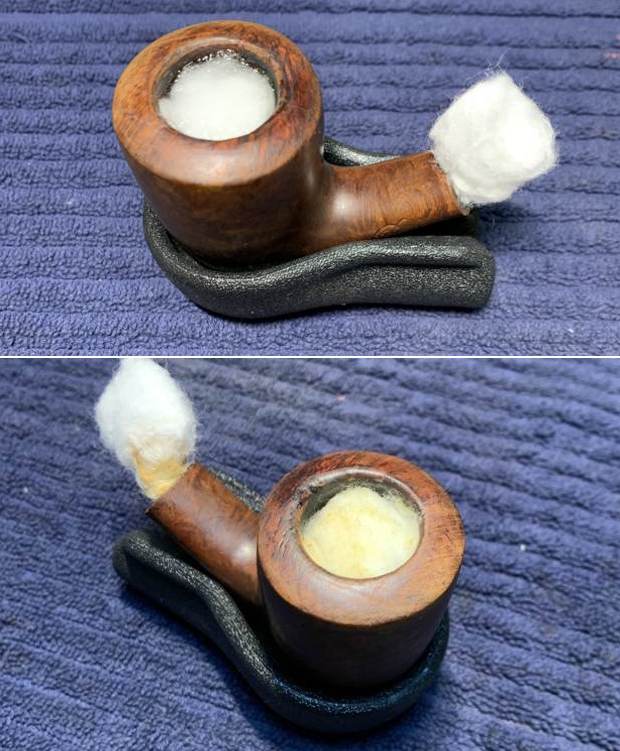
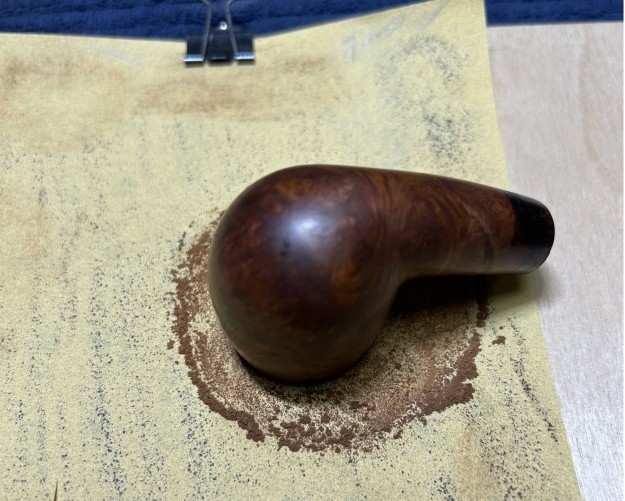
This pipe had been well-loved and well-smoked, as it arrived with some marks and general wear. The stem was dirty and had lots of dents and tooth marks. Most of the stummel was in decent shape, but the rim was pretty nasty – the were burns and lava, and the rustication grooves were full of gunk. I took up the stem and cleaned it off with Murphy’s Oil Soap. It was quite dirty and needed some scrubbing. Following that, I used pipe cleaners and lemon-infused isopropyl alcohol to clean out the internals of the stem. As you can see, there was much muck to be removed! Next, I wiped down the stem with some SoftScrub cleanser and then put the stem in my container of deoxidizing fluid. This works to draw the oxidation to the surface of the stem, so that it can be cleaned off again with more SoftScrub. With the stem nice and clean, I needed to address the damage to the stem. To achieve this, I applied a type of black cyanoacrylate adhesive (impregnated with carbon and rubber) to the damaged area. I sprayed these areas with an accelerant to cure the adhesive immediately. I then had to shape these repairs so that they would look great! I began by taking a needle file and shaping the hardened adhesive. Continuing, I used 200- and 400-grit sandpapers on the repairs to smooth them out. I finished up by using all nine of my MicroMesh pads to sand the entire stem. I also used some pipe stem oil to assist with the sanding and protect the vulcanite.Having put aside the stem, I moved on to the charming, chunky stummel. First on the agenda was to ream out the bowl, as it was full of cake. The PipNet reamer made short work of this, and I followed up by sanding the walls down with some 220-grit sandpaper attached to a wooden dowel. This revealed a tiny bit of damage to interior wall – but this would be easily fixed.Next on the list, I thoroughly cleaned out the shank. Using a combination of Q-tips and pipe cleaners dipped in lemon-infused isopropyl alcohol, I removed all the awful filth in there. The photo shows a mere portion of the cotton used. As the girls in the 80s used to say, grody to the max!I always like to ameliorate the cleaning of the stummel by performing a “de-ghosting” on the stummel. I placed some cotton balls in the bowl and the mortise of the shank, then saturated them with straight isopropyl alcohol. I let this sit overnight while the oils and tars (and evil spirits) leeched into the cotton.I broke out the Murphy’s again and wiped down the outside with some cotton rounds. Once I felt the outside was clean, I then took out my two brushes and castile soap and washed both the inside and outside. The internals were lovely and clean after that – but there were still some issues on that rim.Even though I’d used both a toothbrush and a wire brush on the rim, there was still some filth to be dealt with – not to mention some burning. I began by “topping” the pipe – in other words, I placed the top of the pipe, level and flat, on a piece of 220-grit sandpaper and gently ground it down to smooth and even out the rim. The rim still required a bit more beautification. I took a small piece of sandpaper and evened out some rough parts that topping wasn’t able to address.I then went “next level” insane. I took a dental tool and individually excavated each groove on the rim to remove the crud. It took awhile, but the results were worth it.In order to address the burns, I dissolved some oxalic acid crystals in some hot water. Then, taking a Q-tip and tipping it in the acid, I rubbed and rubbed and rubbed until it removed most of the burning that was there. It didn’t all come off (it rarely does), but was much improved. Once I was satisfied with that, the finishing sanding was next, so I took all nine of my MicroMesh pads and sanded the whole stummel until it was super-smooth and handsome. The pipe had benefitted from a lot of work, but this wore out the colour of the wood. I decided to restain the pipe. First, I brought out my heat gun and spent a couple of minutes thoroughly heating the wood, so it would be as receptive as possible to the stain. I wanted the stain to penetrate well into the wood, to give the best results. I applied Fiebing’s Light Brown Leather Dye with a cotton dauber. I flamed it with my Bic lighter, let it set, then coated it again with dye, flamed it again, and let that set too. I decided to let the pipe sit overnight. This dye is alcohol-based, so I used isopropyl alcohol to wipe down the pipe and remove excess stain. I am very happy with the results.Earlier, I referred to a little hairline crack emanating from the draught hole. Steve recommended repairing it some pipe mud. This is made by mixing cigar ash (not pipe ash) with the merest bit of water to create a paste. I then applied the paste with a tiny spatula and let it set until dry. I then gently sanded it down. Later, I added some Before & After Restoration Balm to the stummel. This does good things to wood, enhances the grain, and brings out some lustre. Then it was off for a trip to the buffer. I applied a few coats of Conservator’s Wax and the pipe really popped. The lovely shine made the wood very attractive. This is a very handsome pipe and will provide many years of smoking pleasure.This BP Jum is much improved and is ready to be enjoyed again by the next owner. I am pleased to announce that this pipe is for sale! If you are interested in acquiring it for your collection, please have a look in the American pipe section of the store here on Steve’s website. You can also email me directly at kenneth@knightsofthepipe.com. The approximate dimensions of the pipe are as follows: length 5⅜ in. (137 mm); height 1⅝ in. (41 mm); bowl diameter 1⅞ in. (48 mm); chamber diameter ⅞ in. (24 mm). The weight of the pipe is 2⅛ oz. (61 g). I hope you enjoyed reading the story of this pipe’s restoration as much as I did restoring it. If you are interested in more of my work, please follow me here on Steve’s website or send me an email. Thank you very much for reading and, as always, I welcome and encourage your comments.

Restoring an Old Malaga Canadian


by Kenneth Lieblich

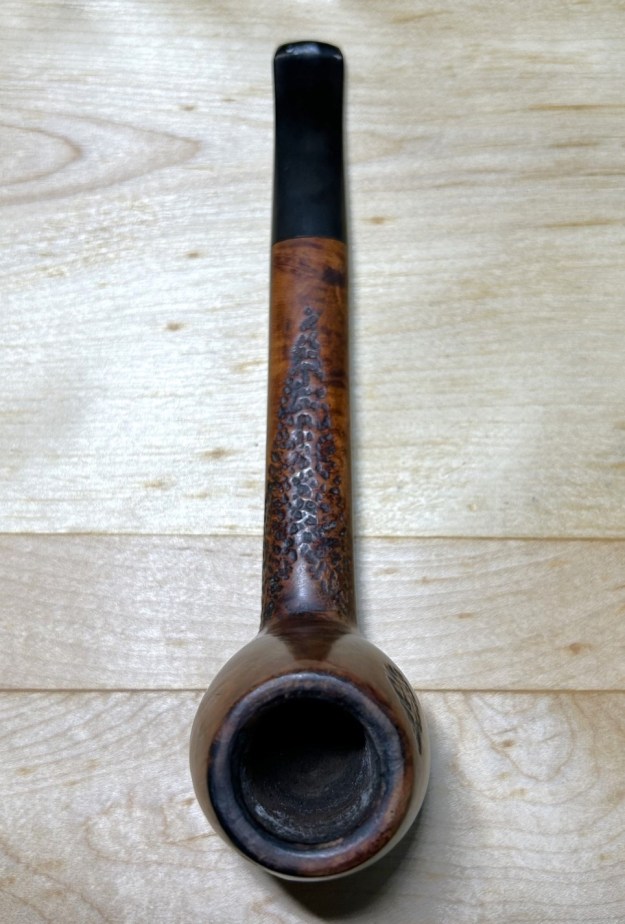
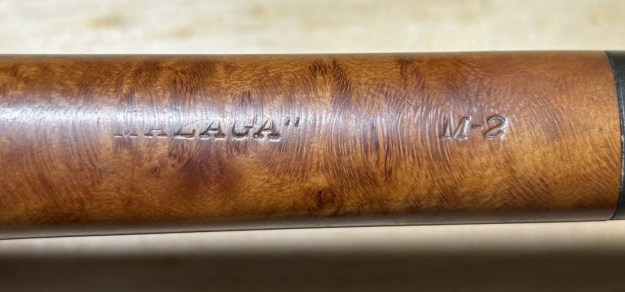
Next on the chopping block is a beautiful and unusual, long, partially-rusticated, Canadian-shaped pipe from the old Malaga Pipe Shop in Royal Oak, Michigan. I acquired it from eBay for a reasonably good price because it is technically a Malaga “second” – although I know from Steve that Malaga “seconds” are frequently indistinguishable in quality from their firsts. Truth be told, I’m not a fan of the rustication on this pipe, but the actual shape of the pipe itself was so charming to me that I knew I had to add it to my collection. The slightly-canted, apple-shaped bowl, attached to the long oval shank is particularly beautiful. The only markings on the pipe are on the underside of the shank. They read “Malaga” M-2. The M-2 indicates that this is a second, as I mentioned above. Steve has worked on quite a few Malaga pipes and blogged their restorations over the years, so rather than repeat previous blogs, I am including the link to one that gives some of the history of the Malaga brand and the Malaga Pipe Shop in Royal Oak, Michigan in the USA from a catalogue: https://rebornpipes.com/2013/02/09/george-khoubesser-and-malaga-pipes/. I assume (but don’t know) that the name from comes from the Spanish port city of Málaga – a place I visited in my youth. The founder of the company, George Khoubesser, is of Turkish ancestry and, given Málaga’s importance to the ancient Caliphate of Córdoba, I wonder if there is a distant connection. But I digress…

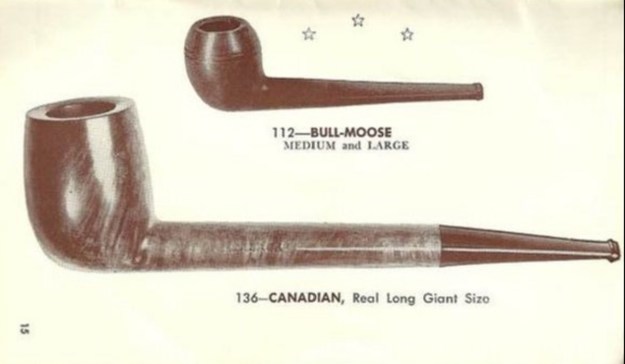
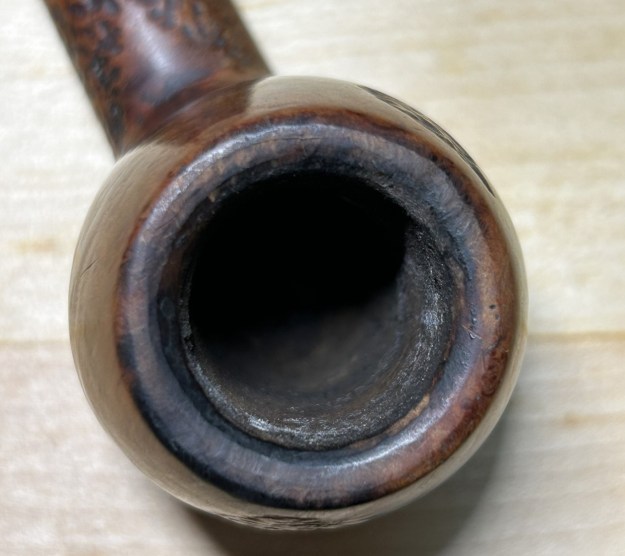
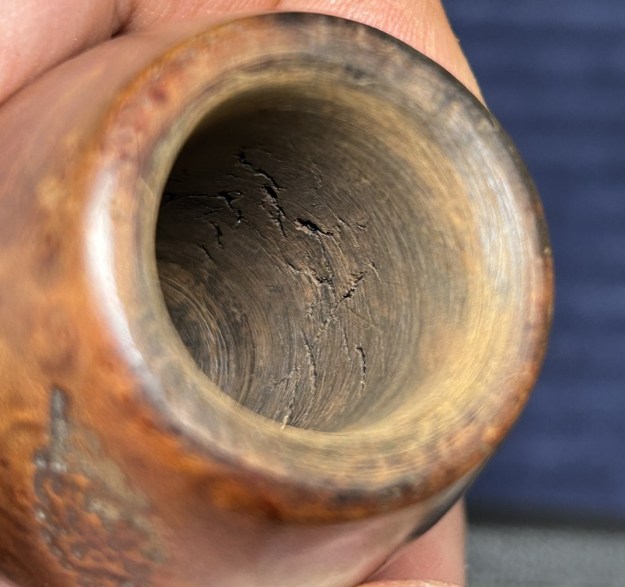
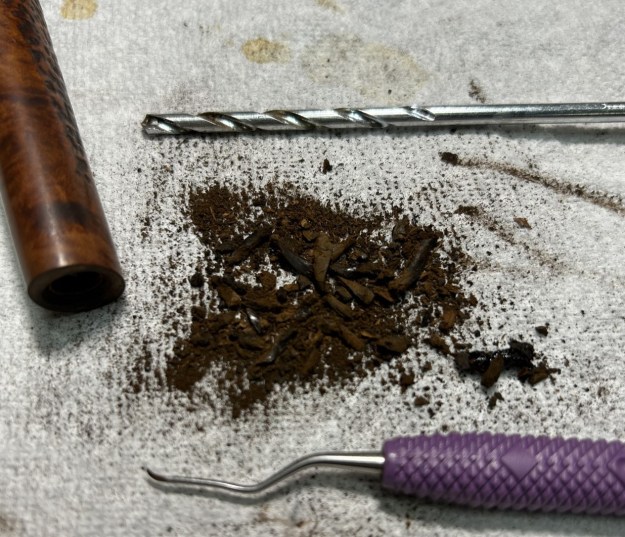
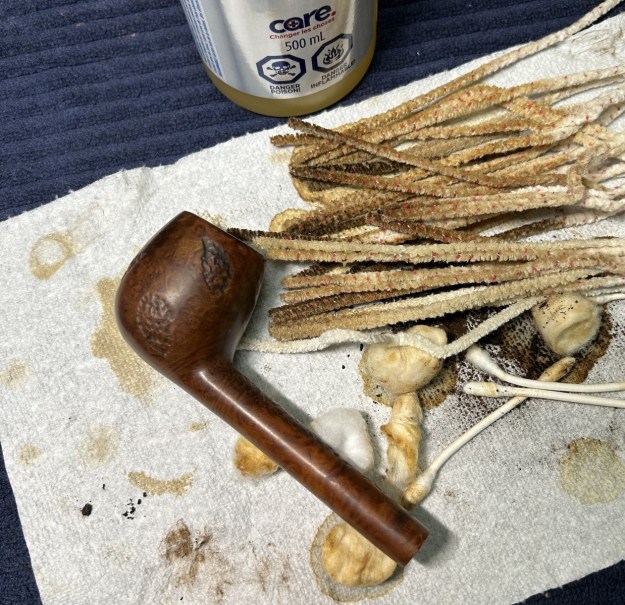
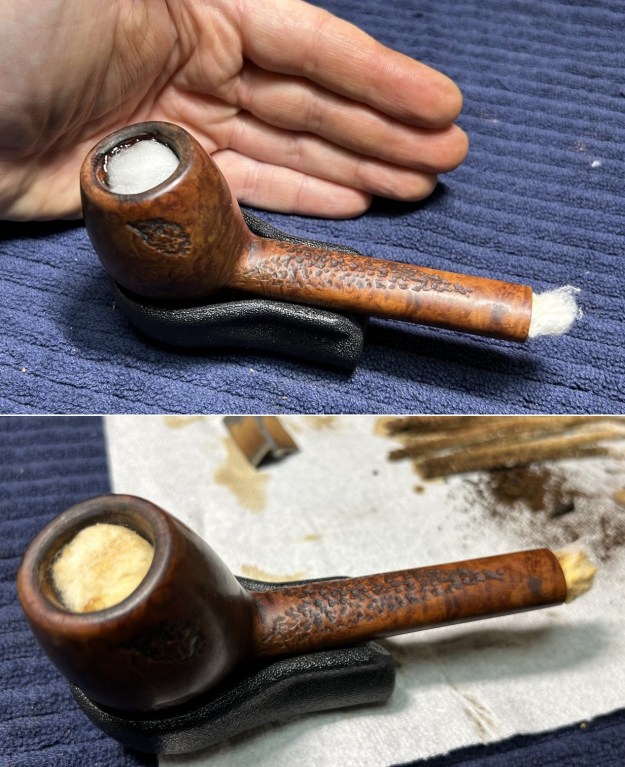
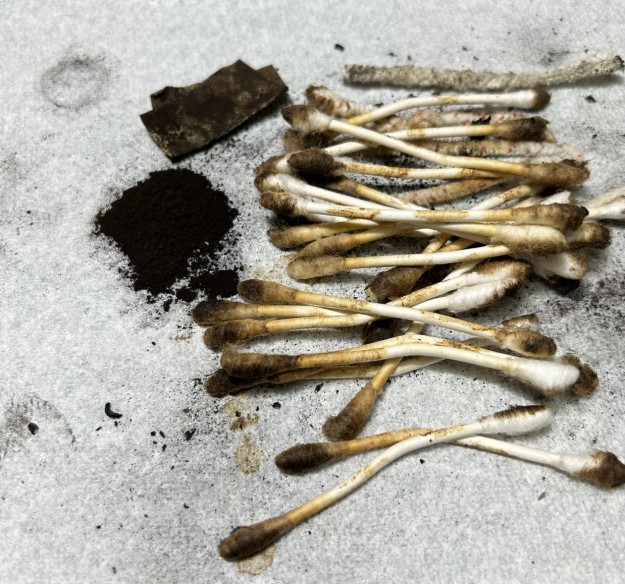
My pipe is very similar, but not identical, to the one in the image below from the Malaga catalogue. The pipe must have been a favourite of the previous owner, as it was heavily and lovingly smoked. The stem had little oxidation but was well-chewed and dented. It would require some considerable attention. The stummel was in good shape, albeit dirty; there was the odd scratch and nick, but nothing problematic. The rim of the pipe had a substantial burn. We’ll see how much of that can be repaired. The insides of both the stem and the stummel were pretty filthy, and STUNK very badly of some sort of aromatic tobacco. As usual, I wiped the stem down with Murphy’s Oil Soap on some cotton pads. Then I cleaned out the inside with pipe cleaners and isopropyl alcohol. As you can see, this one had a lot of filth in it! I also took a BIC lighter and ‘painted’ the stem with its flame to lift the few bite marks and dents. This was quite successful in raising the dents, but the tooth damage was significant enough to need more work. I then wiped down the stem with SoftScrub cleaner to remove surface oxidation. Once this process was done, the stem went for an overnight soak in the Pipe Stem Oxidation Remover. This allows me to clean the oxidation off in a couple of ways: by applying a mild cleaner to the surface and sanding the stem. The next day, I used SoftScrub again with some cotton rounds. I built up the dents on the stem and repaired the button with black cyanoacrylate adhesive and let them fully cure. I then sanded the adhesive down with 220- and 400-grit sandpapers to meld seamlessly into the stem. I then used all nine Micromesh pads (1,500 through 12,000 grit) to bring out the lovely black lustre on the stem. I also used Obsidian Pipe Stem Oil in between each pad scrubbing. Moving on to the stummel. Firstly, I decided to ream out the bowl. I used the PipNet Reamer to remove the built-up cake and followed that with 220-grit sandpaper taped to a dowel to eliminate as much as I could. I took the chamber down to bare briar, as I wanted to ensure there were no hidden flaws in the wall. As it turns out, there were several heat fissures which I’d have to deal with later. I started to do my normal cleaning procedures on the shank, but the shank was completely blocked with debris and filth. I resorted to using a drill bit (by hand) and a dental tool to clear it out. Just look at the debris! Then I carried on cleaning out the insides of the shank with Q-tips, pipe cleaners, and lemon-infused isopropyl alcohol. I followed that up by cleaning the insides with some dish soap and tube brushes. I thrust some cotton balls into the bowl and the shank and saturated them with 99% isopropyl alcohol. I let the stummel sit overnight. This caused any remaining oils, tars and smells to leach out into the cotton. After this, it was clean alright, but most certainly not de-ghosted. I mentioned earlier that the ghost in this pipe was quite disgusting and very strong. This step turned out to be only one of several steps to remove the smell.Leaving the ghost for the moment, I used cotton rounds and some Murphy’s Oil Soap to scrub the outside of the stummel and a toothbrush with Murphy’s for the lava on the rim of the pipe. At this point, it seemed sensible to set up a retort and further clean this whole pipe out – in hope of scaring out the ghost. I put the stem and stummel back together and used my pipe retort system. This system uses boiling isopropyl alcohol and a vacuum (a void, not the household appliance) to clean the interior of a pipe. I forgot to take photos of this, but the retort worked. I managed to improve the state of the pipe.

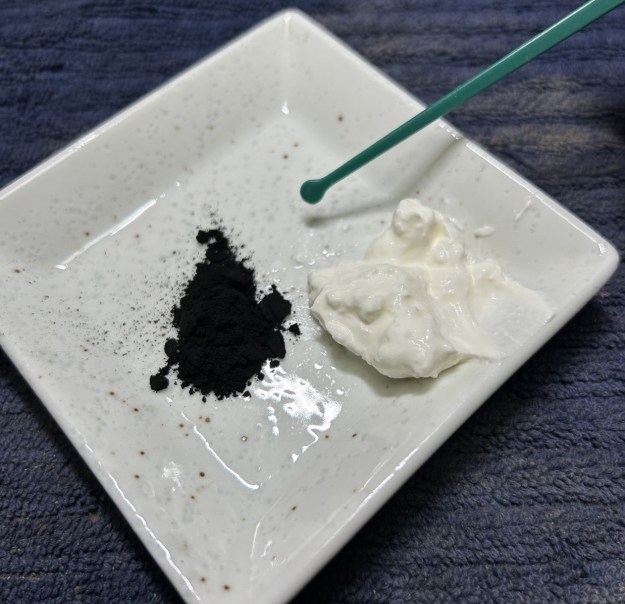
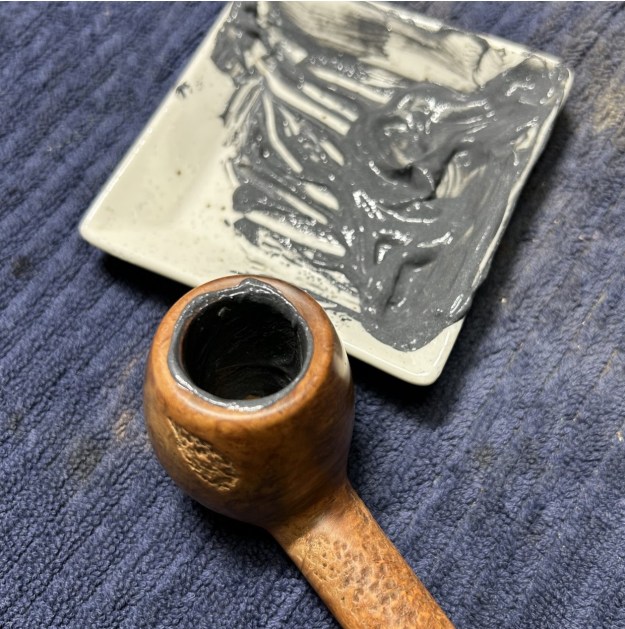
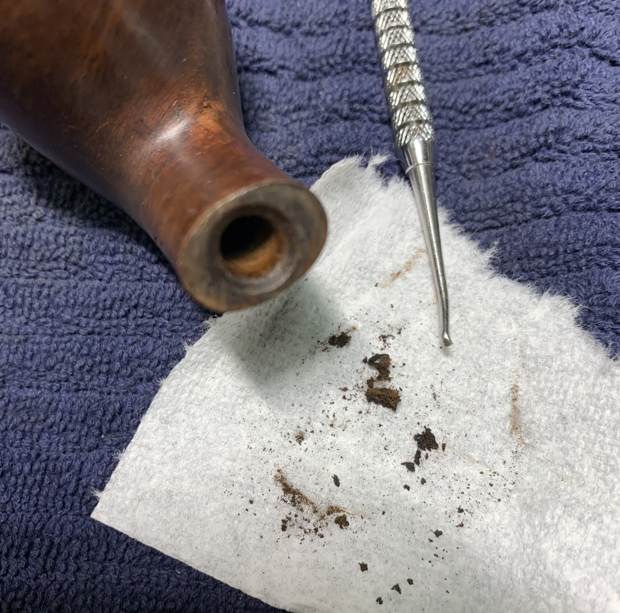
Back to this obstinate Ghost of Tobaccos Past. I was frustrated. The stench still lingered and was really getting on my nerves. I remembered some time ago that Steve told me about a technique that Greg Pease used to remove especially stubborn ghosts. One might call this the exorcism technique. The procedure is as follows: First, warm your oven to its lowest baking temperature (in my case, 170° F). Second, place the stummel (no stem) in the oven for three hours to warm up and allow the pores of the wood to open. Third, pull the stummel out, fill it with activated charcoal and place it back in the oven for another three hours. This will (hopefully) remove the remaining smells into the charcoal. Once the three hours are up, dump out the activated charcoal and you’re done. Here is a link to the original article by Greg Pease: http://glpease.com/Articles/Spot.html.With all that done, I could address the burn on the rim. I took some oxalic acid, used several Q-tips, and rubbed and rubbed and rubbed. The burn improved quite a bit, though there are still some signs of it left.Alas, as I mentioned earlier, there were some small cracks inside the bowl. The solution to this problem is always a tricky one: epoxy. I prepared some J.B. Weld epoxy and filled the cracks, ensuring that the epoxy was evenly spread. Once done, a good 24 hours was needed to ensure that the epoxy was properly cured. After that, I gently sanded the inside of the bowl to provide a rough surface for what was to come next. I coated the entire inside of the bowl with a mixture of activated charcoal and my wife’s homemade yogurt. Once hardened, this provided a good, slightly rough surface for a new cake to build. I took a solid wooden sphere, wrapped a piece of 220-grit sandpaper around it, and sanded the inner side of the chamber. This achieved two things: first, it removed some of the burn marks on the inner edge of the rim; and second (and more importantly), the circular shape and motion of the sphere gradually returned the edge to a perfect circle. Then, I took my entire set of Micromesh pads to finish off the sanding of the stummel. After that, a light application of Before & After Restoration Balm brought out the best in the stummel’s grain. Finally, it went off to the bench polisher. In the photograph, I show White Diamond and carnauba wax, but after taking the photo, I realized that Conservator’s wax would be better suited to the purpose. So that’s what I used. This is a wonderfully crafted pipe and has a very handsome feel to it. It took some work, but I am proud of it and the final product suits me to a T. It retains some wounds from battle, but, as Steve would say, they are part of this pipe’s story. This is one pipe that I am keeping for myself and adding to my collection. I am sure that I will be enjoying this one for many years to come. The approximate dimensions of the pipe are as follows: length 6⅝ in. (168 mm); height 1⅞ in. (48 mm); bowl diameter 1⅝ in. (41 mm); chamber diameter ¾ in. (20 mm). The weight of the pipe is 1¾ oz. (53 g). I hope you enjoyed reading the story of this pipe as much as I did restoring it. If you are interested in more of my work, please follow me here on Steve’s website or email me directly at kenneth@knightsofthepipe.com. Thank you very much for reading and, as always, I welcome and encourage your comments.
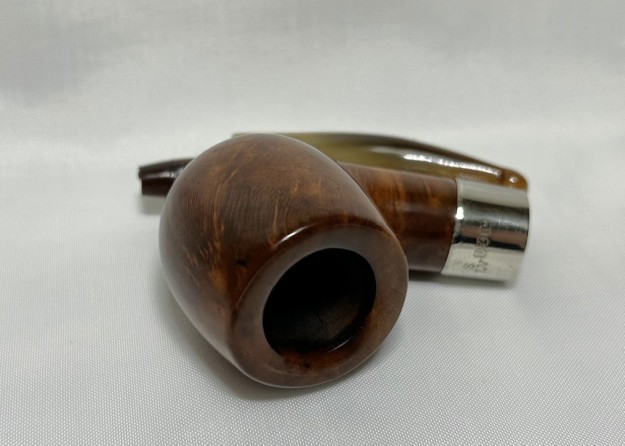
Stunning Handmade Freehand Pipe from Paradis


by Kenneth Lieblich

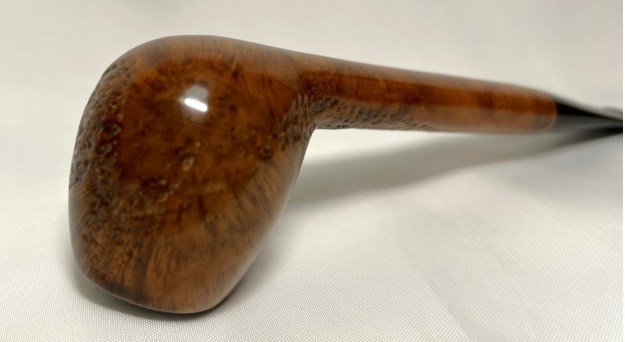
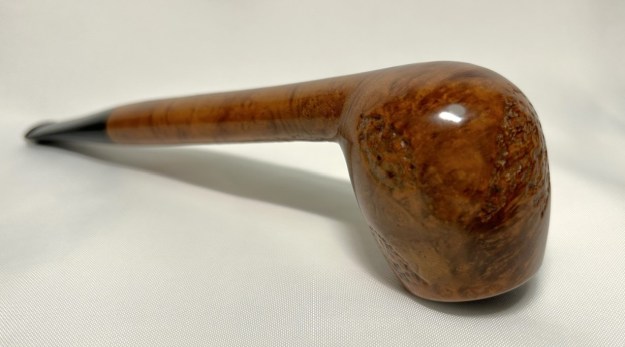
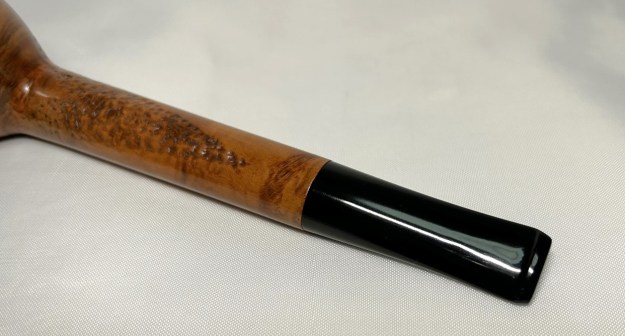
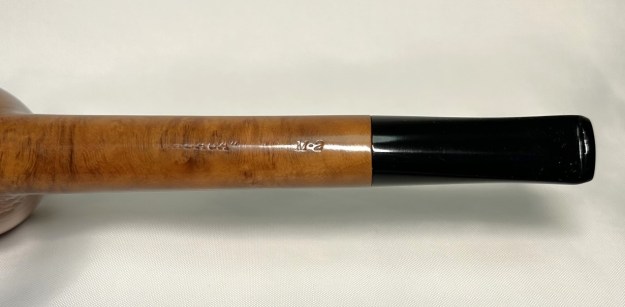
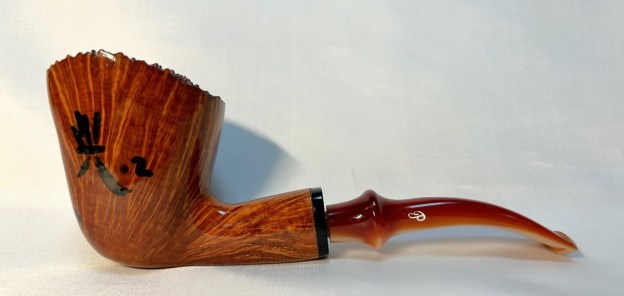
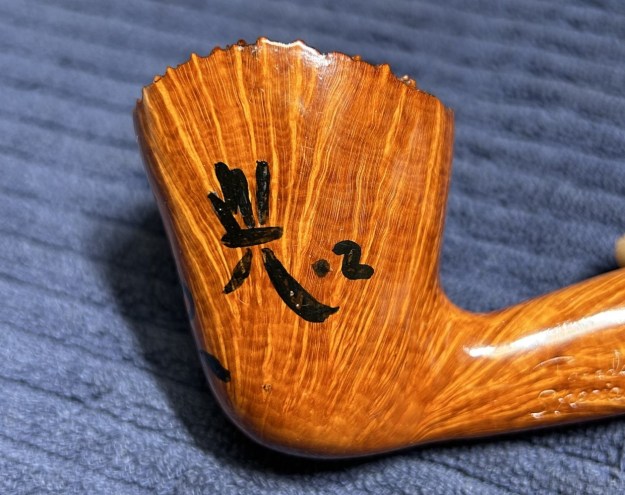
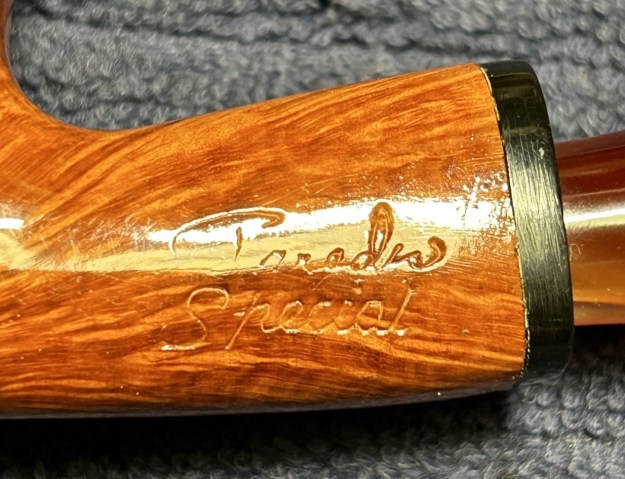
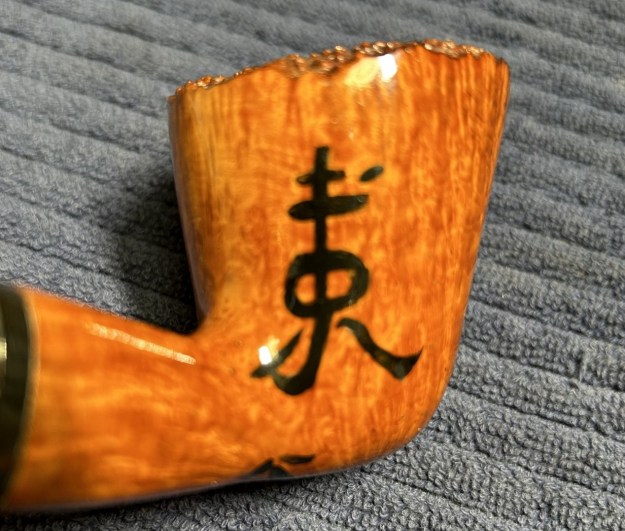
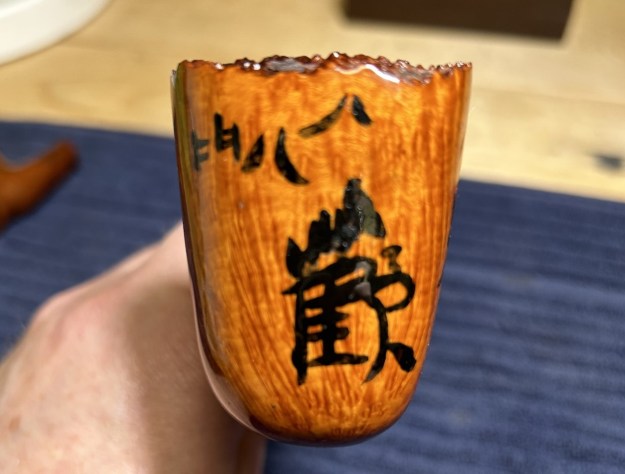
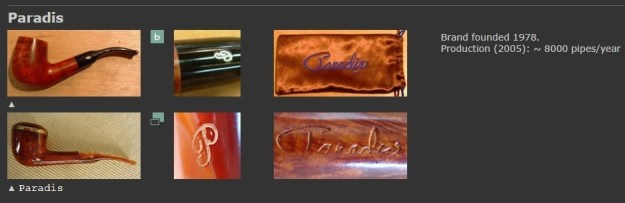
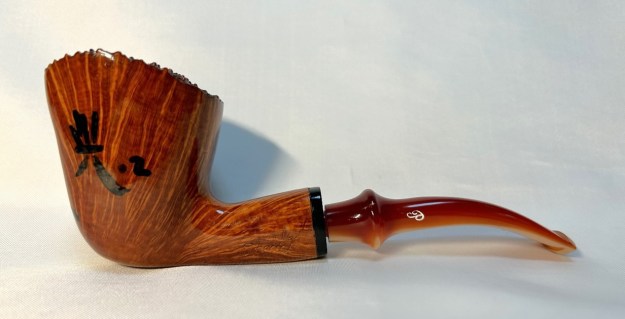
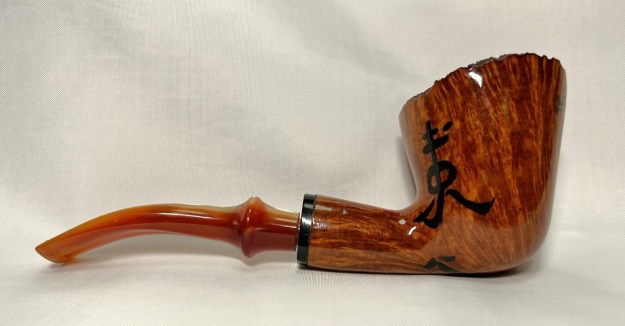
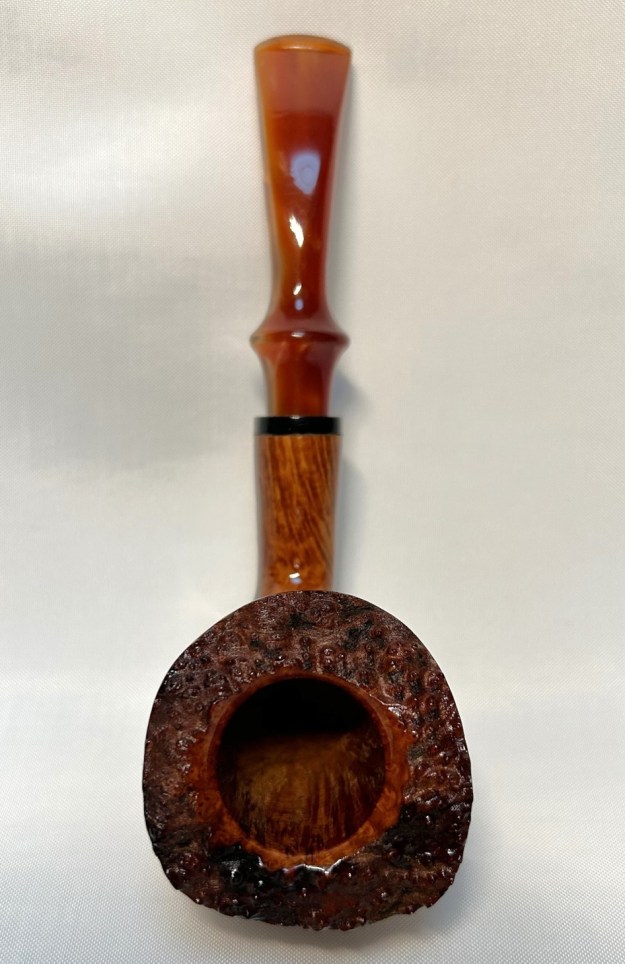
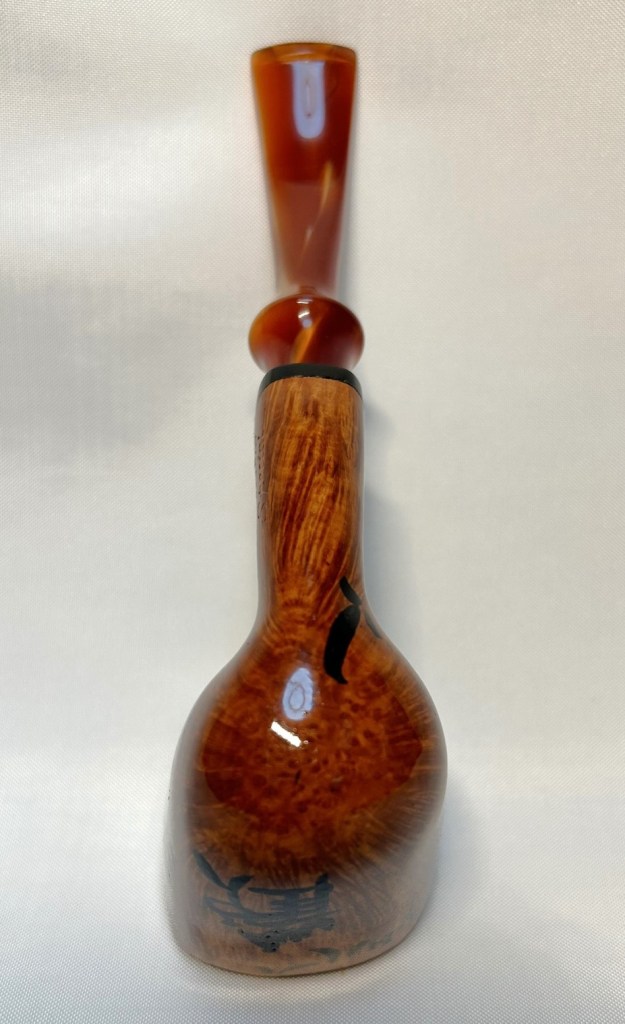
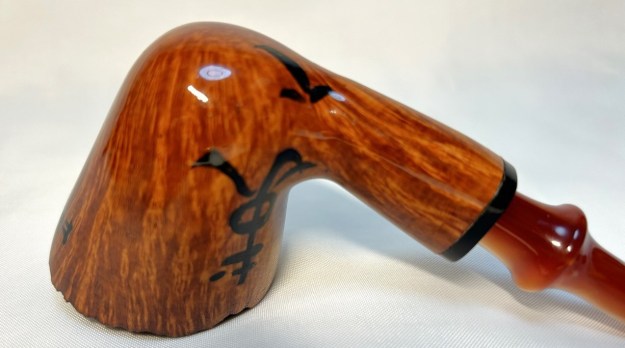
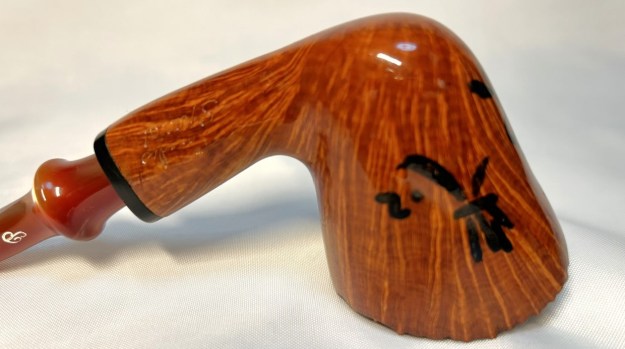
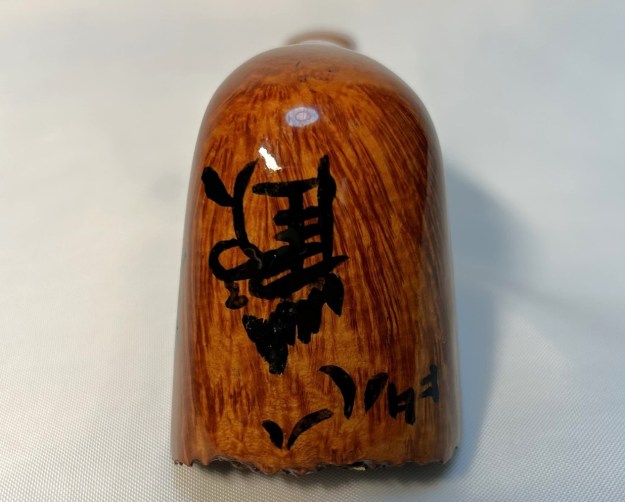
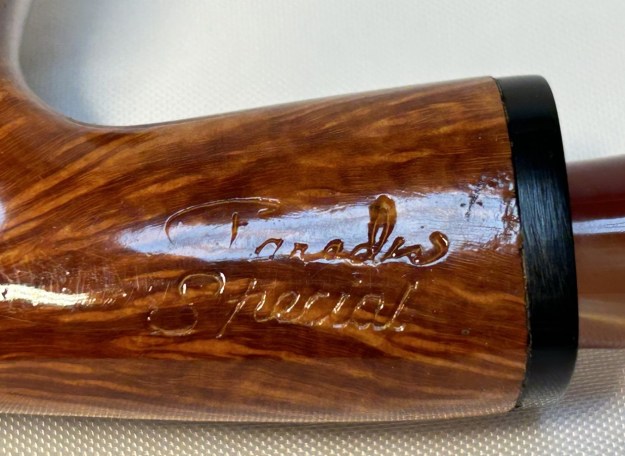
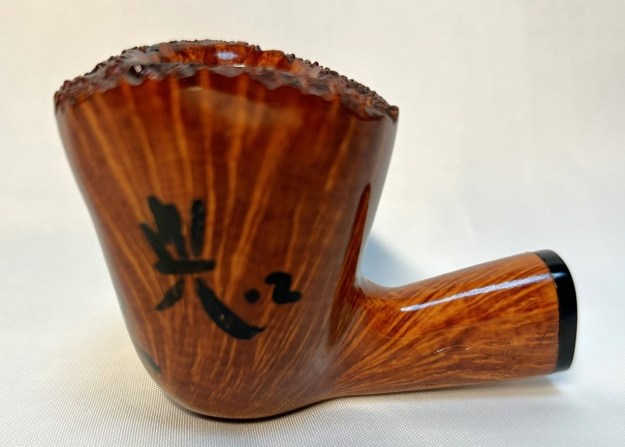
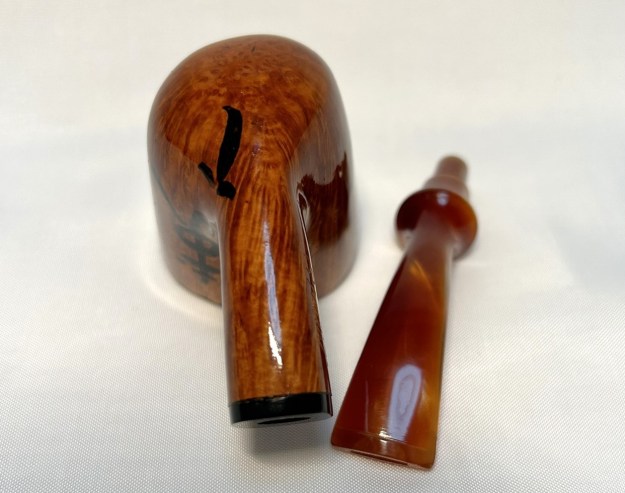
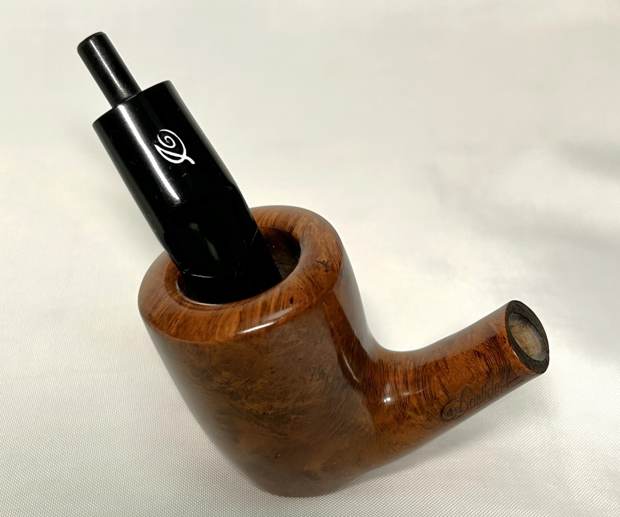
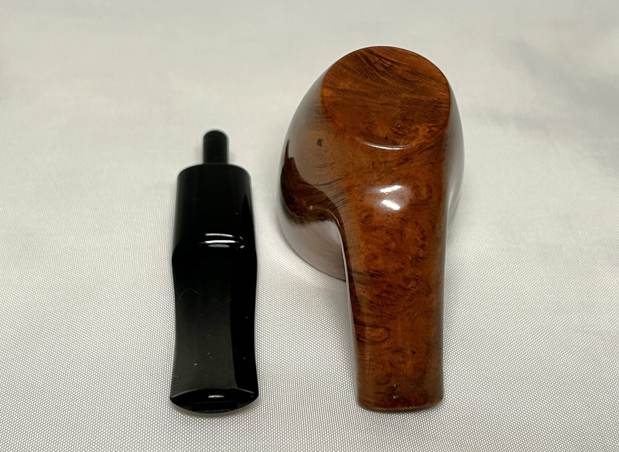
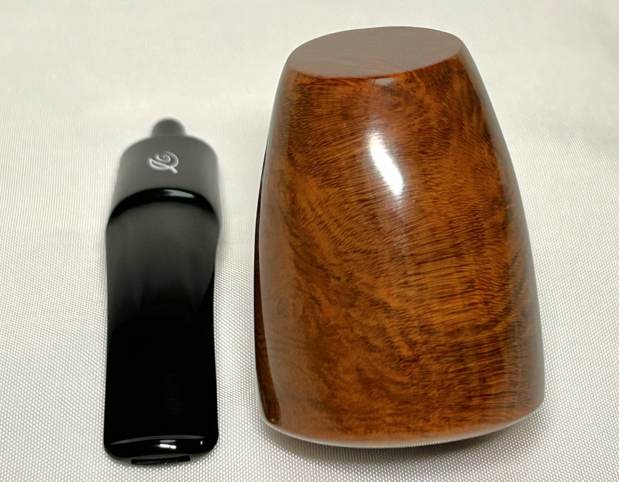
I have a pipe that came my way recently and I am happy to offer it to you for sale. No restoration story on this one – just a stunning pipe. I gave it a quick and thorough once-over (and a quick polishing) and now it’s time to turn it over to you. This pipe has never been smoked and has some of the most amazing grain. Take a close look. This is a Canadian masterpiece from Paradis Pipes of Québec City – never smoked, brand new. It is a beautiful half-bent handmade freehand. First, a quick primer on the pipemakers. From Pipedia:

Paradis Pipes is the Canadian brand of the brothers Gilles and Fernand Paradis. In 1922 the Paradis family moved to the USA, when Lucien Paradis (1906-1979) was 16 years old. It was at this age that he started as an apprentice at his uncle’s pipe factory, Joseph B. Desjardins, maker of (JD) pipes, in Fall River, MA. Joseph Desjardins was issued two patents during this period, one for a new machine for making pipe stems and another for a new design of pipe reamer. The company employed 60 workers at one stage. In 1930, due to the Great Depression, Lucien lost his job and returned to Quebec to work in the agricultural machine industry. In his spare time, be made pipes, selling them door to door. Three years later the rest of the family joined him, and Lucien founded a pipe factory with two of his brothers. The company eventually employed 18 workers and in the 60s produced over 50 thousand pipes a year, under brads like JBL, Dr. Thomas, Fernand Gignac, S.C. Pipes, New London Golfer, and Jo Thomassin. Paradis was founded in 1978, at the Salon of Quebec Astisans’ and is available in tobacconists all over the country today. The brand produces 8000 pipes a year (400 “handmade”), with Greek briar.I acquired this pipe from a gentleman who used to sell Paradis Pipes locally, and he told me that this was one of their incredible “handmades”.

It’s a lovely, elegant pipe. If you are interested in acquiring it for your collection, please have a look in the “Canadian” pipe section of the store here on Steve’s website. You can also email me directly at kenneth@knightsofthepipe.com. The approximate dimensions of the Paradis Special are as follows: length 6⅛ in. (155 mm); height 2¼ in. (57 mm); bowl diameter 1¾ in. (44 mm); chamber diameter ⅞ in. (22 mm). The weight of the pipe is 2¼ oz. (67 g). If you are interested in more of my work, please follow me here on Steve’s website or send me an email. Thank you very much for reading and, as always, I welcome and encourage your comments.

Restoring a Sumptuous Davidoff


by Kenneth Lieblich

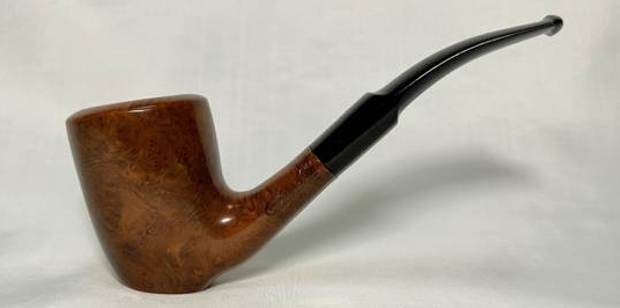
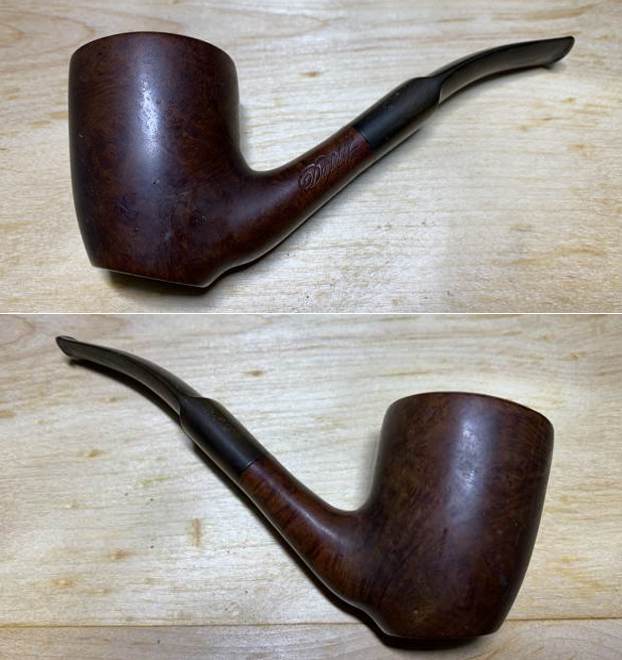
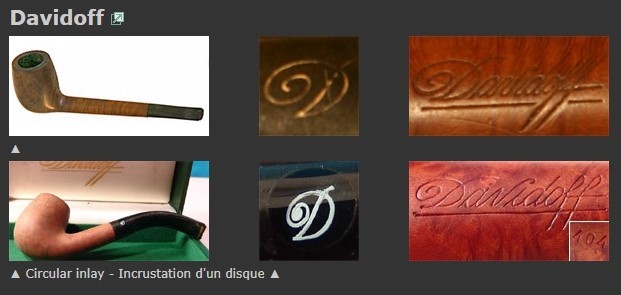
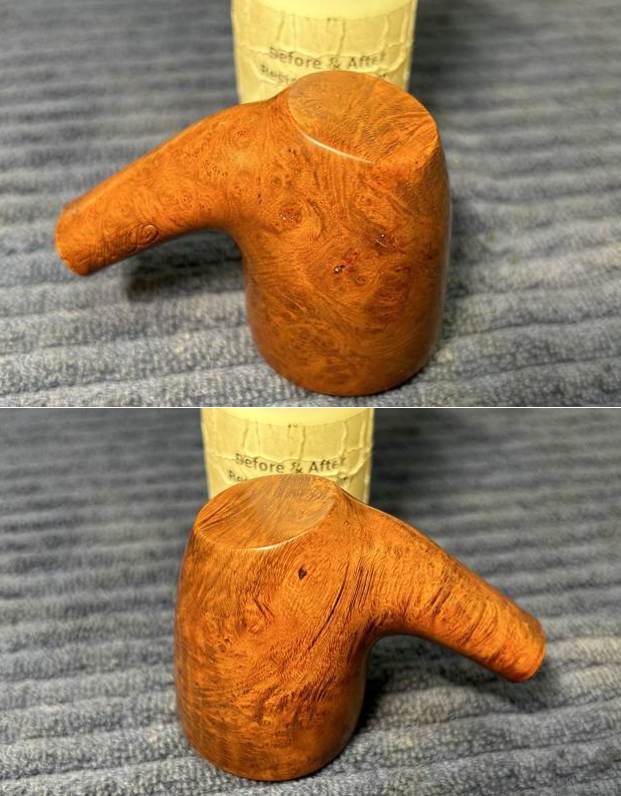
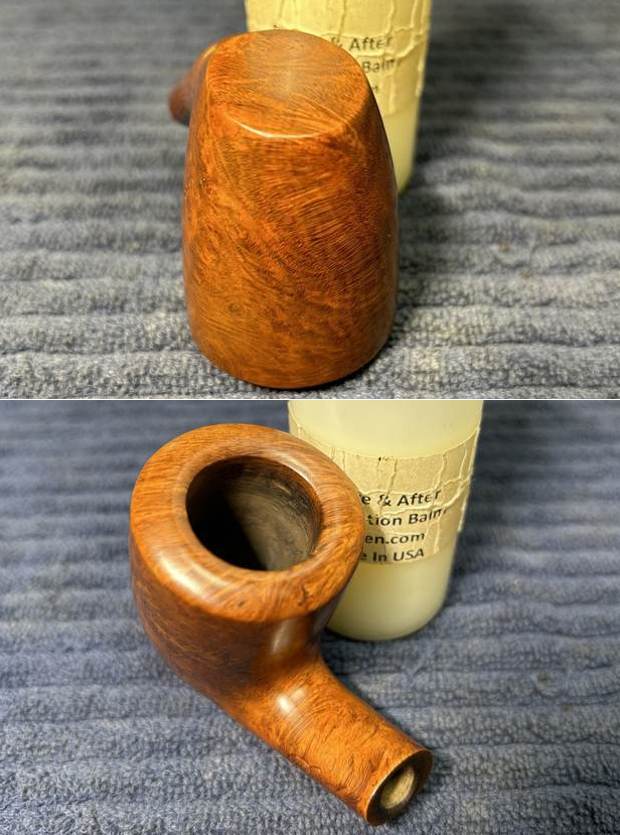
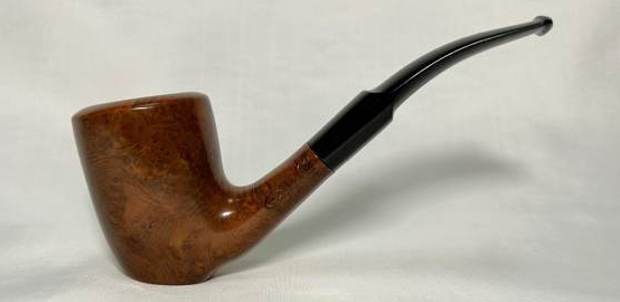
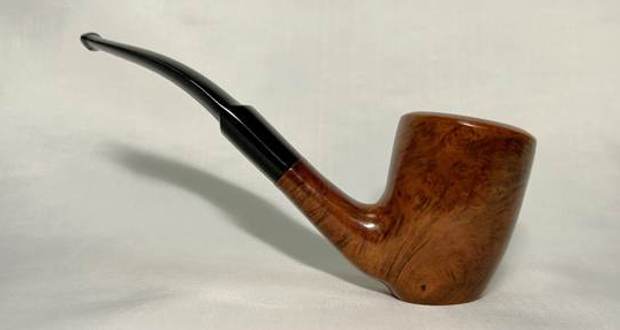
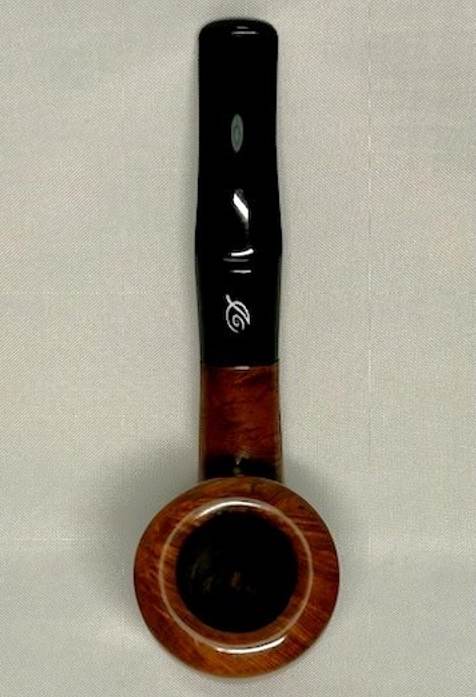
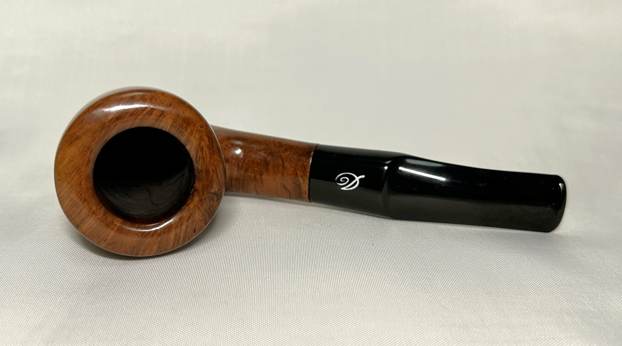
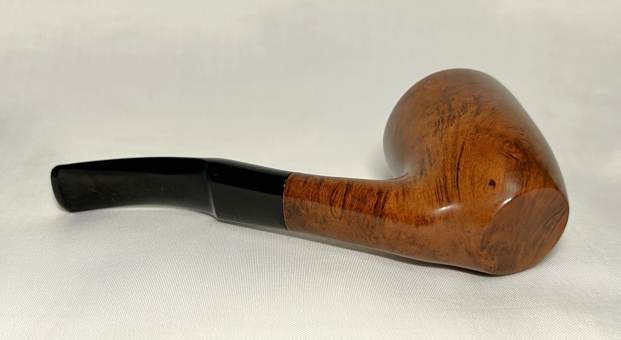
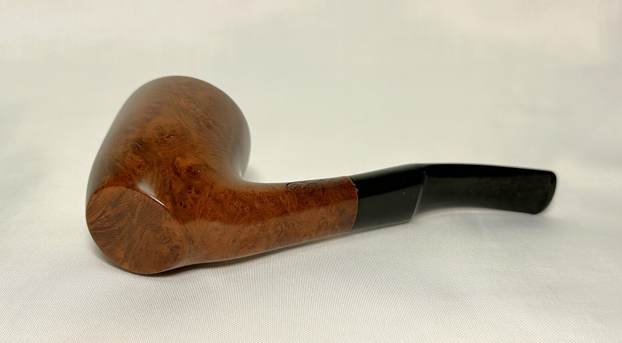
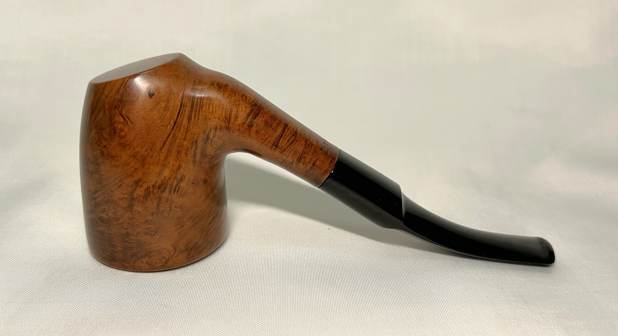
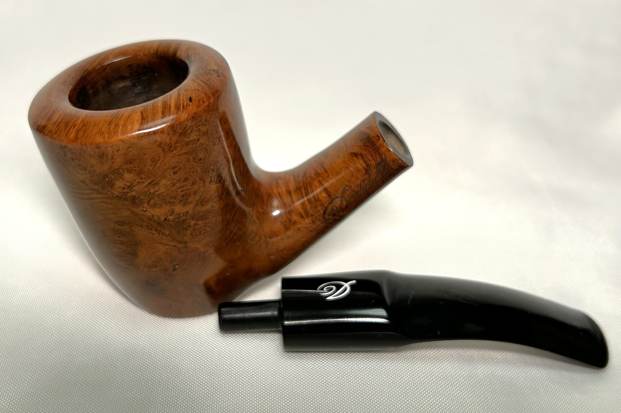
Next on the chopping block is a bent Dublin sitter from the Swiss luxury brand, Davidoff. I acquired it from an older gentleman in Vancouver. He said he got this (and the other pipes I got from him) “fifty years ago” – his words. That would put it in the early to mid-seventies, which fits with the style of the pipe and with Davidoff’s history in pipes.To be honest, I was more familiar with Davidoff in the context of high-end cigars than I was with their pipes per se, so I did some digging. First, I went to Pipedia. They paraphrase (and don’t quote exactly) from José Manuel Lopes book:

Davidoff started in 1911 as a family run tobacconist located in Geneva. Henri Davidoff, a Russian emigrant, was the founder. The shop was located in Geneva. His son, Zino Davidoff (1906-1994), concentrated on the tobacco business, starting in 1924, and revolutionized the conservation of quality cheroots throughout Europe. Davidoff became world famous, and the company was acquired in 1970 by the Oettinger group, and expanded into numerous accessories for men. For Zino, the pursuit of pleasure was a constant, two of his maxims being: “Take pleasure from everything in life, without excess” and “the pipe is a valuable companion, the essence of tranquility and must be smoked with respect”. Davidoff’s first pipes date from 1974 [emphasis mine] and were commissioned by various companies, notably Butz-Choquin and the Cuty-Fort Group. The brand offers 14 classic shapes, in three finishes and with acrylic stems.According to Pipedia, Davidoff has this to say on their website about their own (current) pipes:

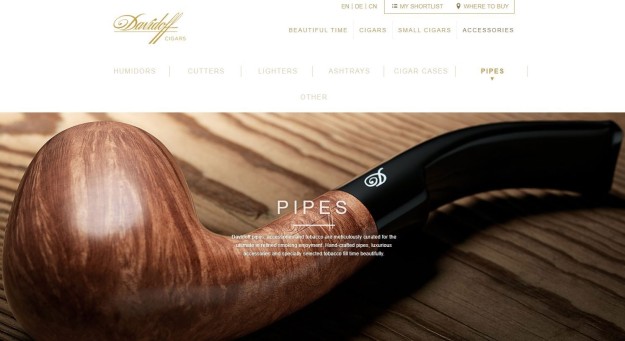
Creation of the Davidoff Pipe entails a meticulous, detailed process performed by only the most skilled Italian pipemakers. This dedication is why the Davidoff Pipe upholds a standard of quality and design found in no other pipe in the world. Made of the finest and carefully selected briar, each Davidoff Pipe features a flawless, hand-finished bowl and perfectly fitted, hand-cut acrylic stem. The Davidoff Pipe is available in three beautiful designs and finishes — sandblasted black, red brilliant and natural light brown.I also had a look at Pipephil, who confirmed that Davidoff pipes were carved by pipemakers of the Cuty-Fort group (Chacom, Jeantet, Vuillard, Jean Lacroix, Ropp, etc.).Davidoff is big enough and famous enough to be known outside the world of pipes. It has more than one website of its own, given that the company has been split up into different ranges. It also has a Wikipedia page, which I recommend reading: https://en.wikipedia.org/wiki/Davidoff. I quote just a bit here:

Davidoff is a Swiss premium brand of cigars, cigarettes and smoker’s accessories. The Davidoff cigarette brand has been owned by Imperial Brands after purchasing it in 2006. The non-cigarette portion of the Davidoff tobacco brand is owned by Oettinger Davidoff AG, which is based in Basel, Switzerland. Oettinger Davidoff AG manufactures a broad portfolio of cigars, cigarillos, pipe tobaccos and smoker’s accessories under the brands Davidoff, Camacho and Zino Platinum.

And this little nugget:

In 1972, the first Davidoff pipe tobaccos were released.

Taking all this information into account, the gentleman from whom I acquired this pipe must have purchased it right at the start of Davidoff’s production of pipes. This makes it an interesting piece of pipe history. Furthermore, it was possibly made by Butz-Choquin. I say only “possibly”, as I have some reservations about the BC connection.

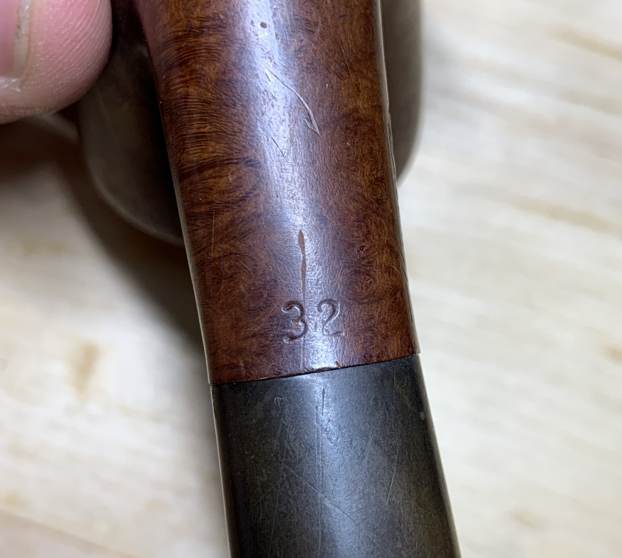
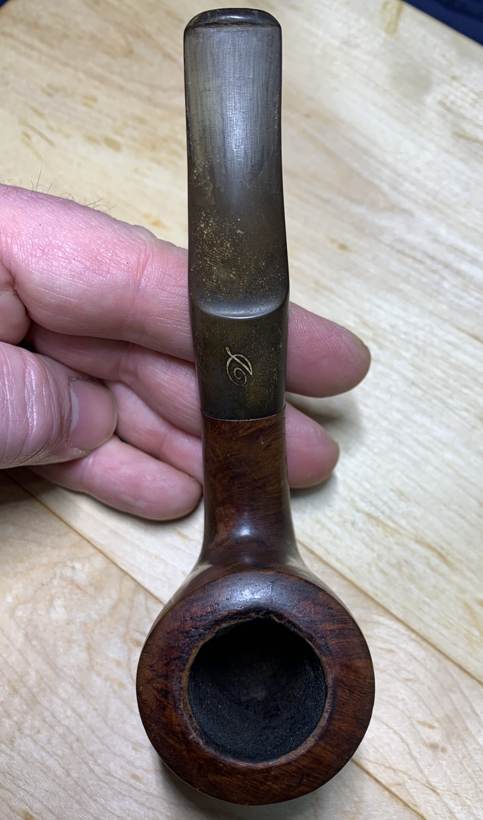
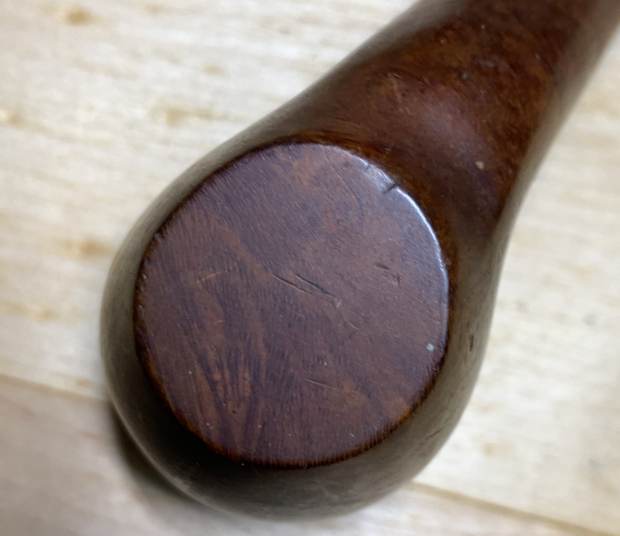
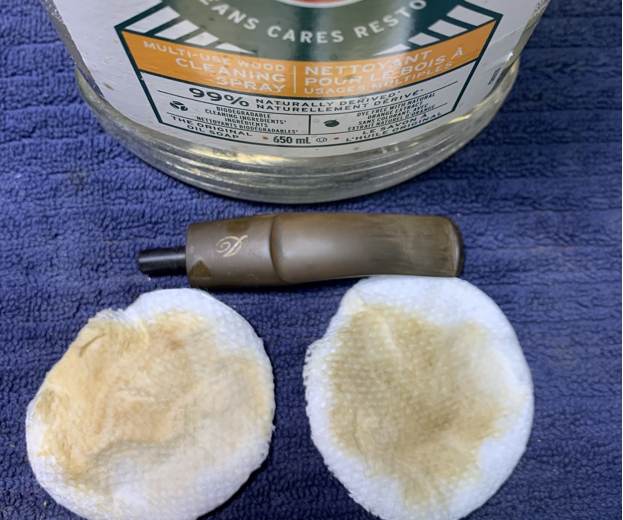
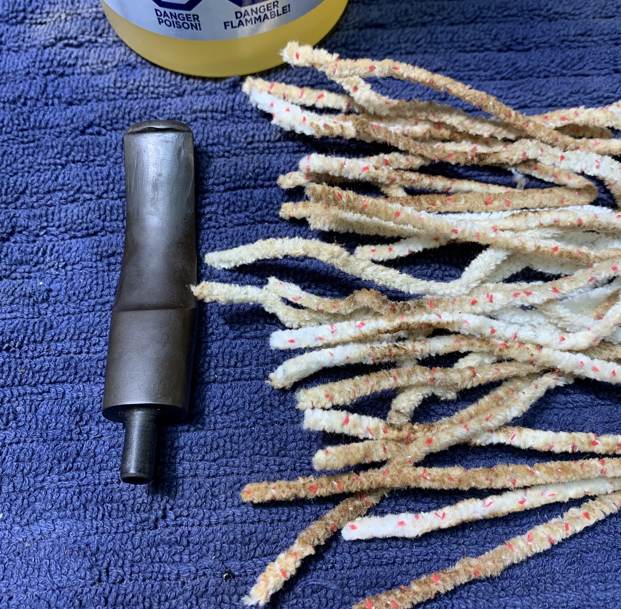
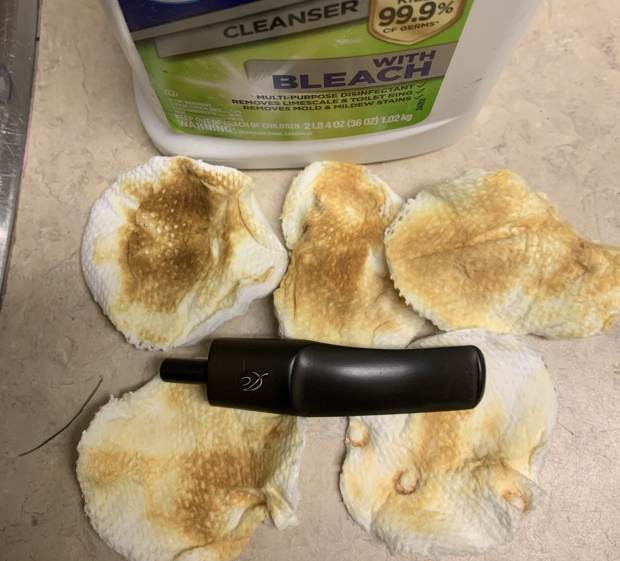
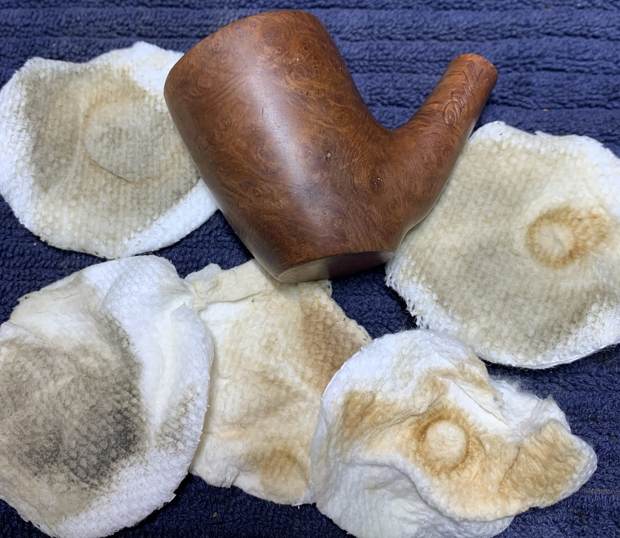
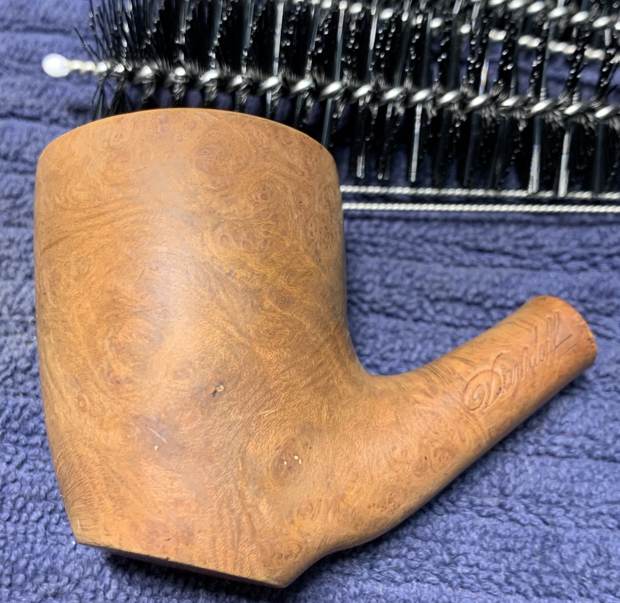
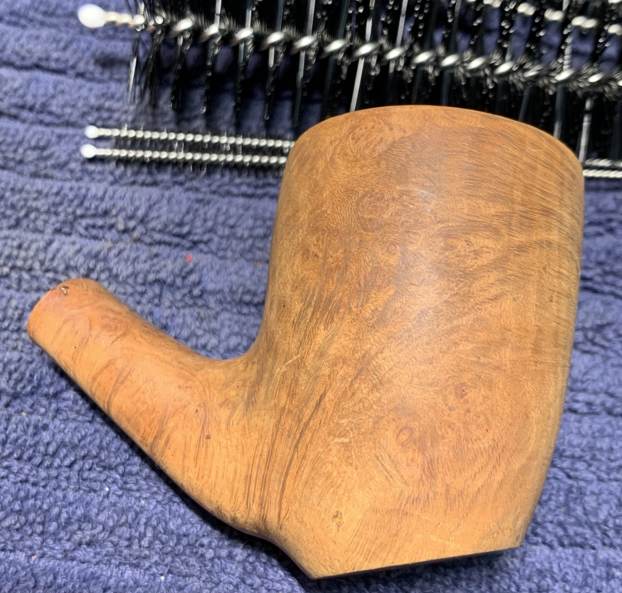
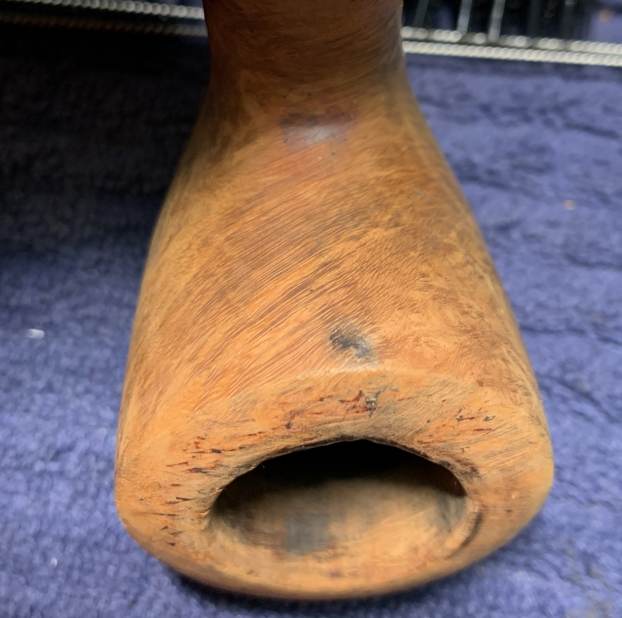
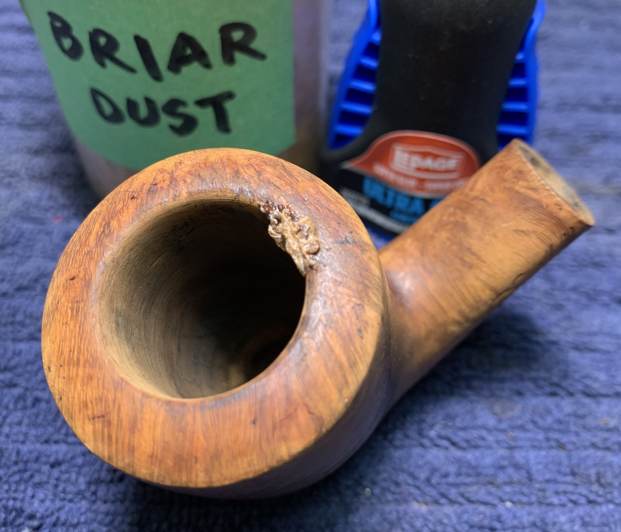
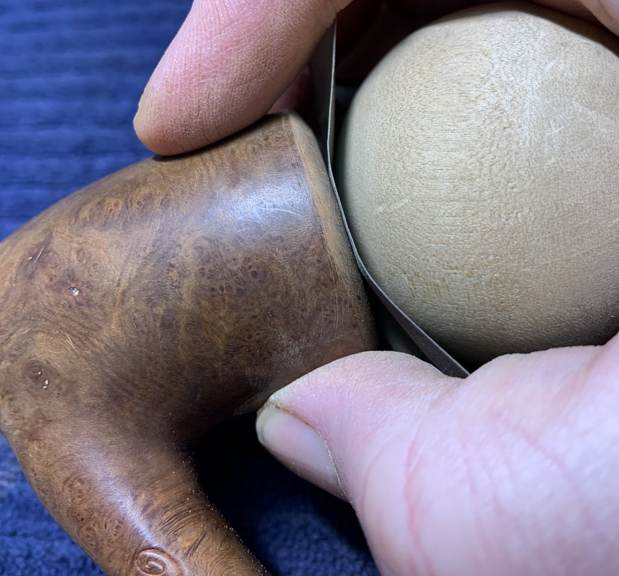
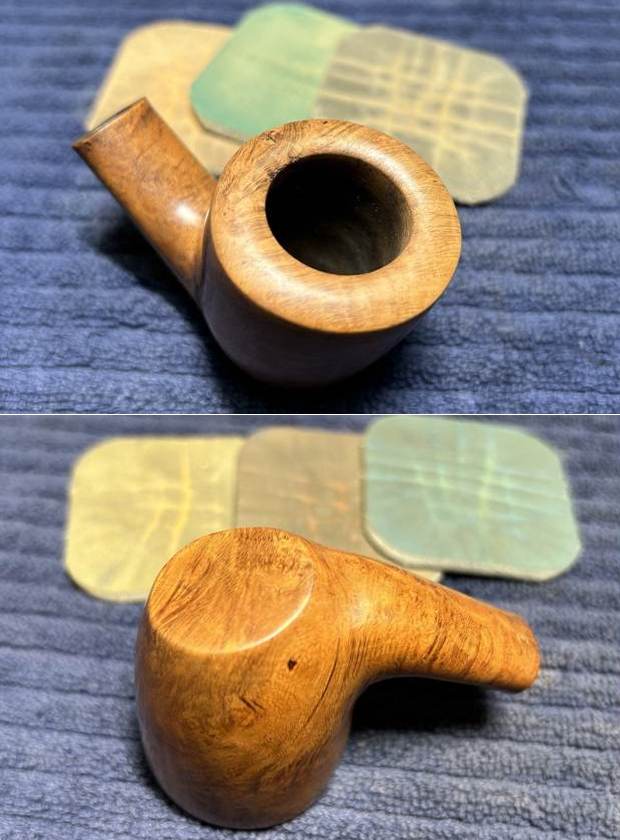
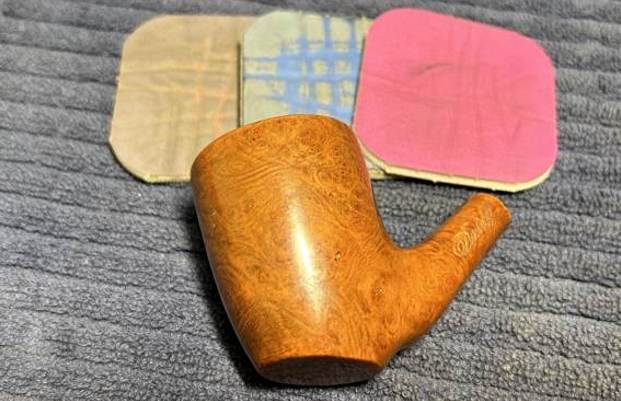
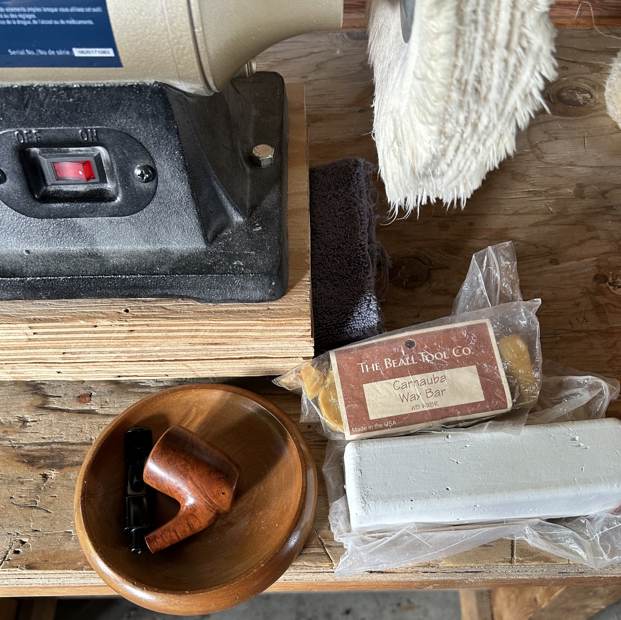
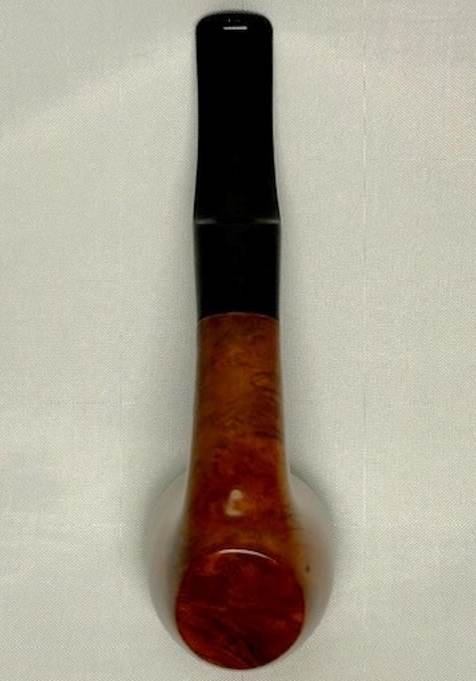
Anyway, let’s take a closer look at the pipe – and it’s a real beauty. The left side of the shank has the word “Davidoff”. On the underside of the shank reads the number “32”, and the stem has the stylized “D” of the Davidoff company. Overall, the state of the pipe was good. It had clearly been sitting around for years and showed signs of wear and tear, but nothing major. The stem had some tooth dents and some kind of scraping, as if someone had tried to clean it in the past and done more harm than good. The button was dented too. This pipe must have been a great smoker and well-loved. It had some bangs and dents, but most of the damage was on the rim, including a notable gouge. The stem was first up. I wiped the outside down with Murphy’s Oil Soap on some cotton pads. I also took a BIC lighter and ‘painted’ the stem with its flame to lift the few bite marks and dents. Then I cleaned out the inside with pipe cleaners and lemon-infused isopropyl alcohol. After that, I wiped down the stem with SoftScrub cleaner to remove surface oxidation. Once this process was done, the stem went for an overnight soak in the Pipe Stem Oxidation Remover. This allows me to clean the oxidation off in a couple of ways: by applying a mild cleaner to the surface and sanding the stem. The next day, I used SoftScrub again with some cotton rounds and more oxidation came off. After this, I built up the dents on the stem with black cyanoacrylate adhesive and let the repairs fully cure. I used some nail polish to restore the logo on the stem. I painted the area carefully and let it set before proceeding. I then sanded the adhesive down – first with a small file – then with 220- and 400-grit sandpapers to meld seamlessly into the stem. I then used all nine Micromesh pads (1,500 through 12,000 grit) to bring out the lovely black lustre on the stem. I also used Obsidian Pipe Stem Oil in between each pad scrubbing.Moving on to the stummel, I started by reaming out the bowl. I used the PipNet Reamer to remove the built-up cake and followed that with 220-grit sandpaper taped to a dowel to eliminate as much as I could. I took the chamber down to bare briar, as I wanted to ensure there were no hidden flaws in the wall. Fortunately, there were none. Due to the damage on the inside edge of the rim, I took some 220-grit sandpaper and tried to smooth some of that out too.Down in the shank, I noticed it was especially grungy, so I took a dental tool and dislodged some chunks of debris. After dealing with that mess, I proceeded to clean out the insides of the shank with Q-tips, pipe cleaners, and lemon-infused isopropyl alcohol. It was pretty darn dirty and it took a fair amount of cotton to get it clean. I followed that up by cleaning the insides with some dish soap and tube brushes. I used cotton rounds and some Murphy’s Oil Soap to scrub the outside of the stummel and a toothbrush with Murphy’s for the lava on the rim of the pipe.I decided to de-ghost the pipe to remove any lingering smells of the past. I thrust cotton balls into the bowl and the shank and saturated them with 99% isopropyl alcohol. I let the stummel sit overnight. This caused any remaining oils, tars and smells to leach out into the cotton. The bowl was nice and clean after this.I used cotton rounds and some Murphy’s Oil Soap to scrub the outside of the stummel and a toothbrush with Murphy’s for the lava on the rim of the pipe. I followed that up by cleaning the insides with some dish soap and tube brushes.Now with the stummel nice and clean, I could do a closer inspection of the pipe’s problems. In this image, you can see a couple of stains or burns on the front side of the stummel. Those would need to be dealt with. On the back, some scratches needed addressing. Again, back to the rim, there was some light burning and a notable gouge that I’d have to fill in. Having completed that, I was able to address the small nicks on the bowl. I dug out my iron and a damp cloth to try to raise the nicks. The hot and moist steam can often cause the wood to swell slightly and return to shape. To my joy, this worked wonderfully. The repair was not perfect, but the remaining scratches would be improved by sanding.A few tiny fills were addressed with cyanoacrylate. For the gouge on the inside edge of the rim, I made a mixture of briar dust and CA glue and applied it. This also came out well. I took a solid wooden sphere, wrapped a piece of 220-grit sandpaper around it, and sanded the inner side of the chamber. This achieved two things: first, it removed some of the burn marks on the inner edge of the rim; and second (and more importantly), the motion of the sphere gradually returned the edge to a perfect circle. I took quite a bit of time to ensure that the crown of the rim was maintained in its shape, and also beautified. Finally, I used all nine micromesh pads to smooth and polish it up. After that, a light application of Before & After Restoration Balm brought out the best in the stummel’s grain. This is a very elegant pipe. A dose of White Diamond and a few coats of carnauba wax were applied with my bench polisher and – wow – we have a real looker! This Davidoff looks magnificent again and is ready to be enjoyed again by the next owner! I am pleased to announce that this pipe is for sale! If you are interested in acquiring it for your collection, please have a look in the “Various Makers” pipe section of the store here on Steve’s website. You can also email me directly at kenneth@knightsofthepipe.com. The approximate dimensions of the pipe are as follows: length 5 in. (1247 mm); height 2⅛ in. (54 mm); bowl diameter 1½ in. (38 mm); chamber diameter ¾ in. (20 mm). The weight of the pipe is 1⅜ oz. (41 g). I hope you enjoyed reading the story of this pipe’s restoration as much as I did restoring it. If you are interested in more of my work, please follow me here on Steve’s website or send me an email. Thank you very much for reading and, as always, I welcome and encourage your comments.