
by Steve Laug
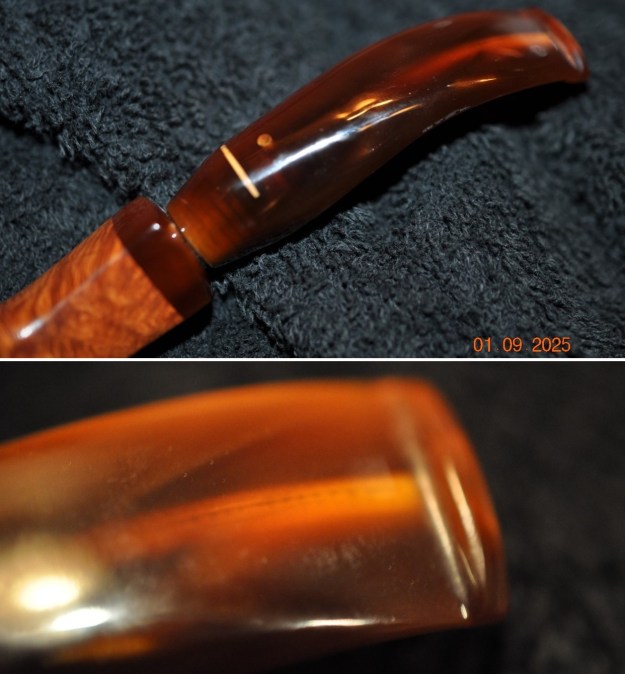
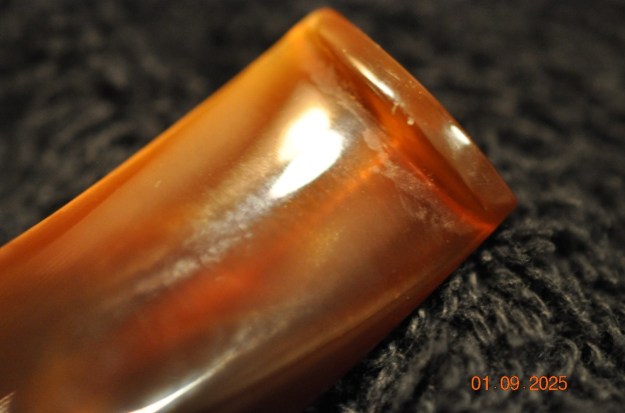
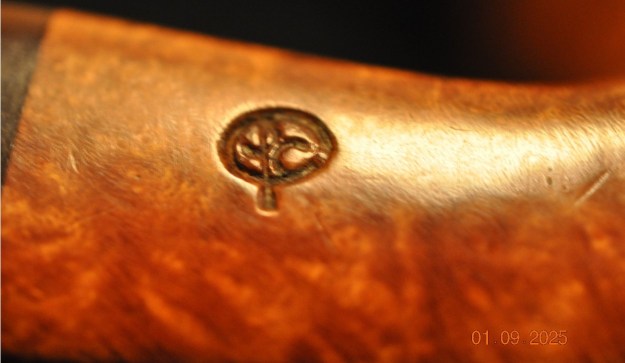
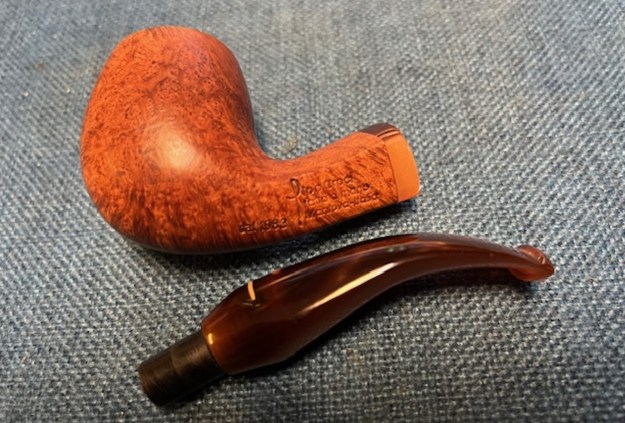
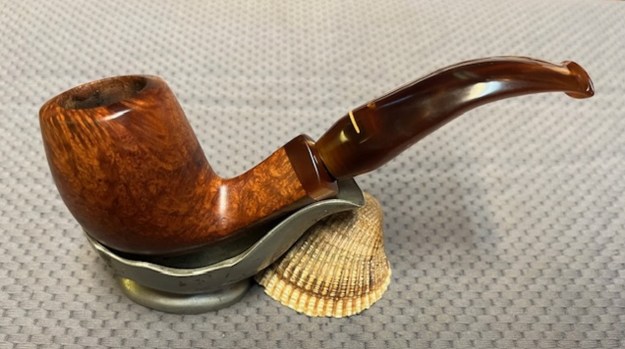
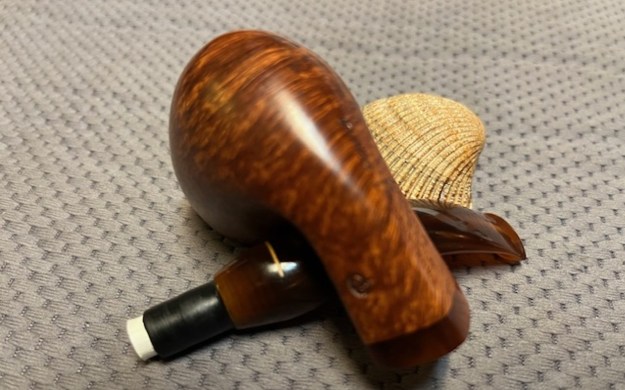
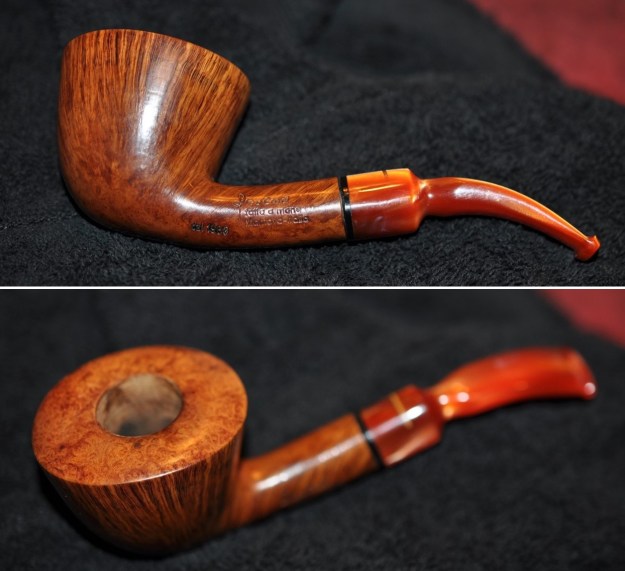
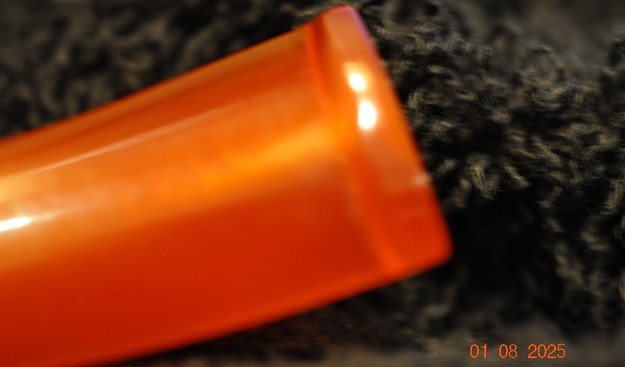
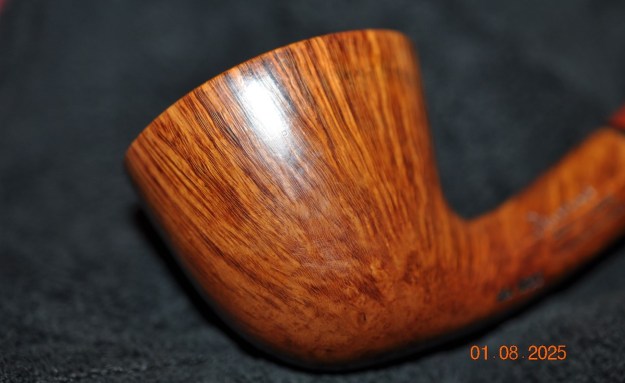
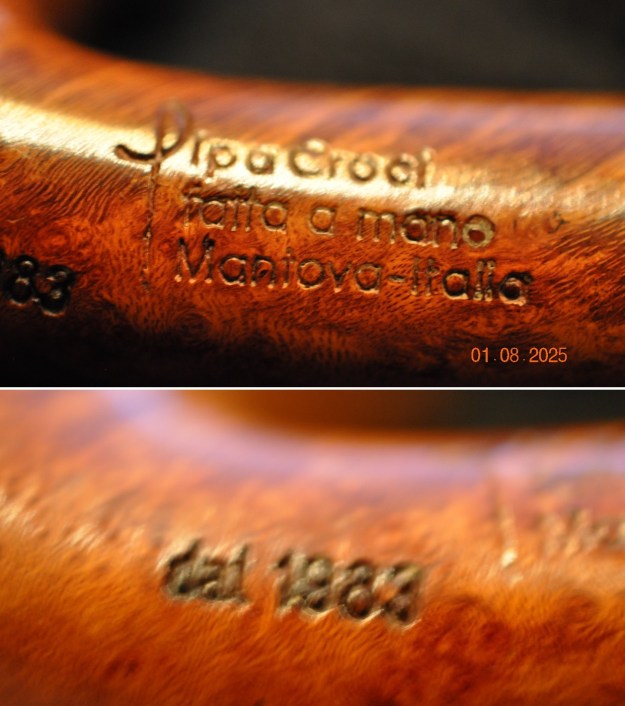
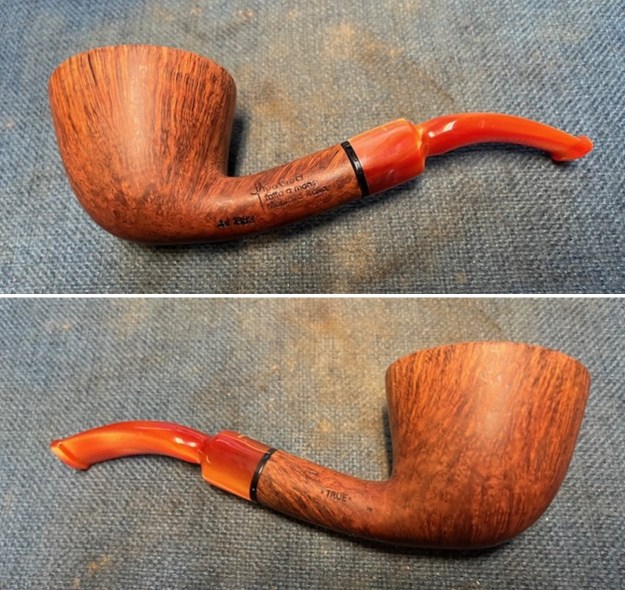
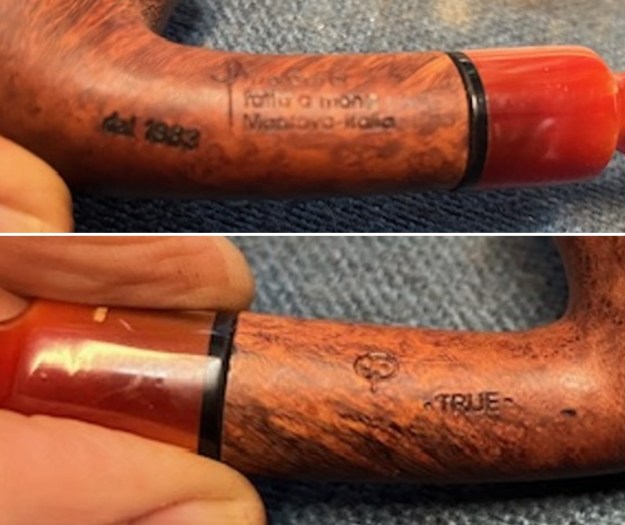
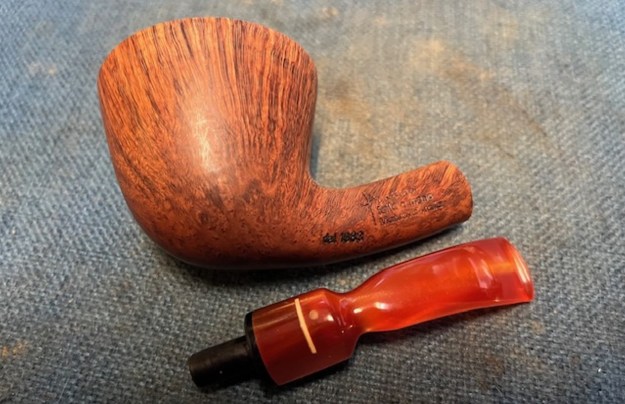
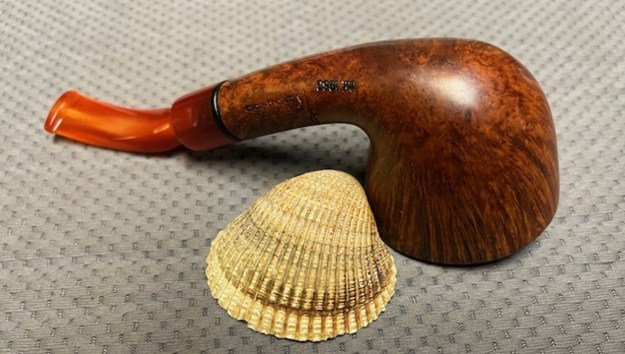
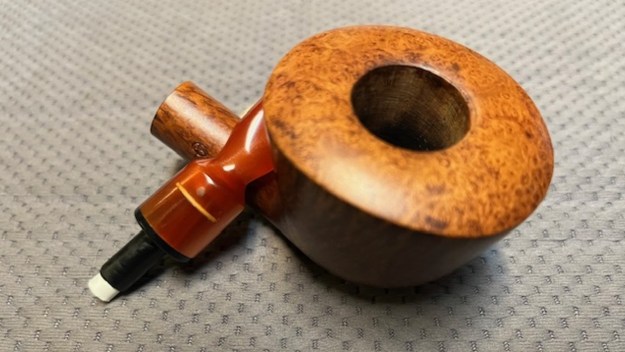
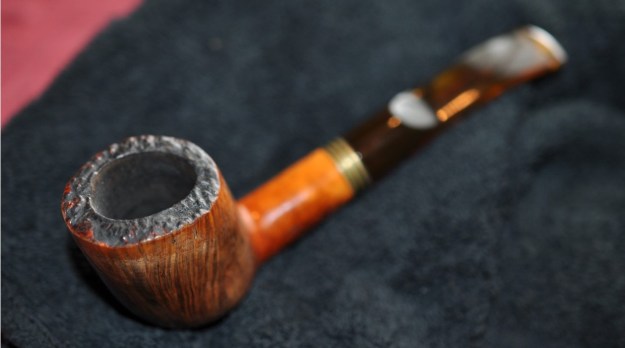
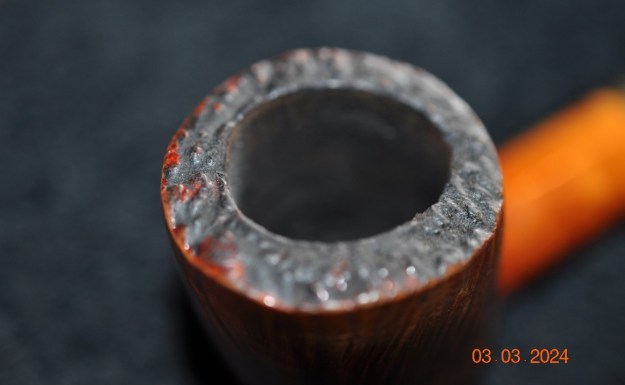
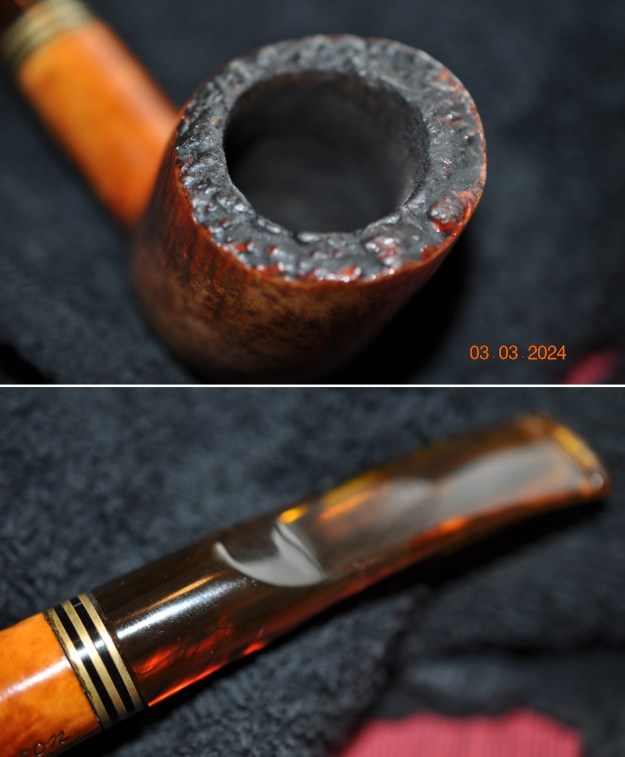
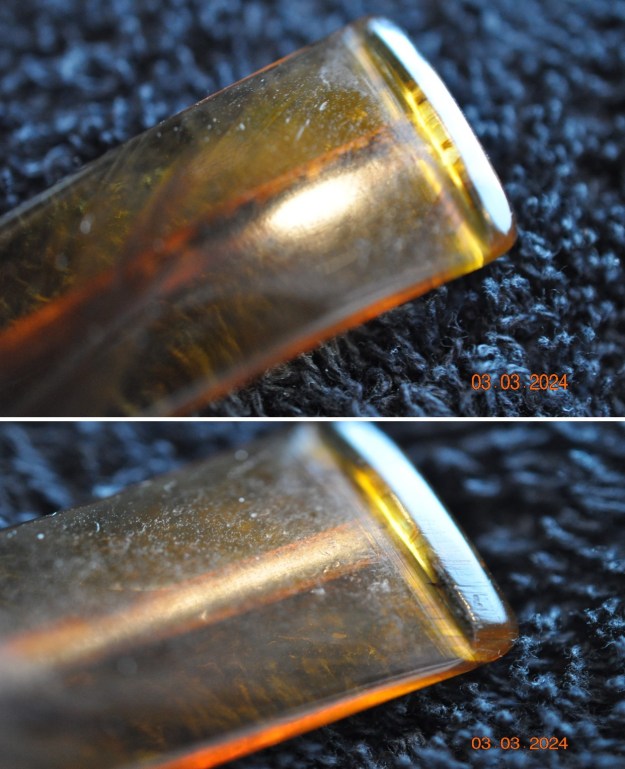
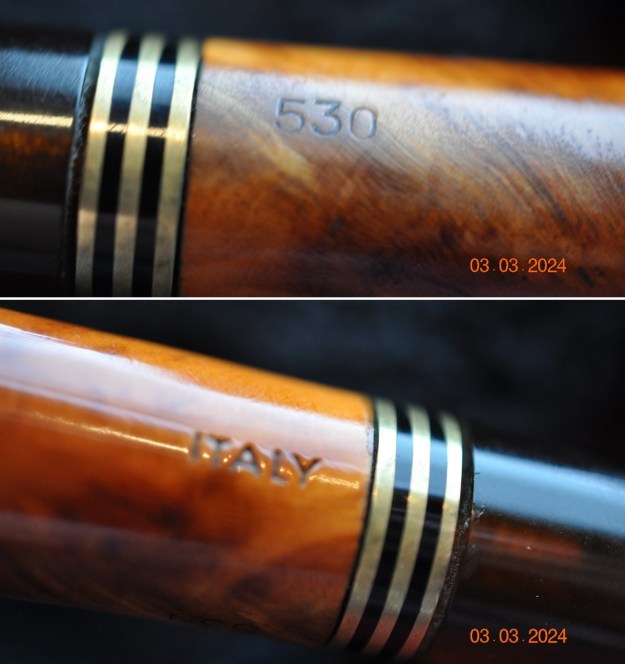
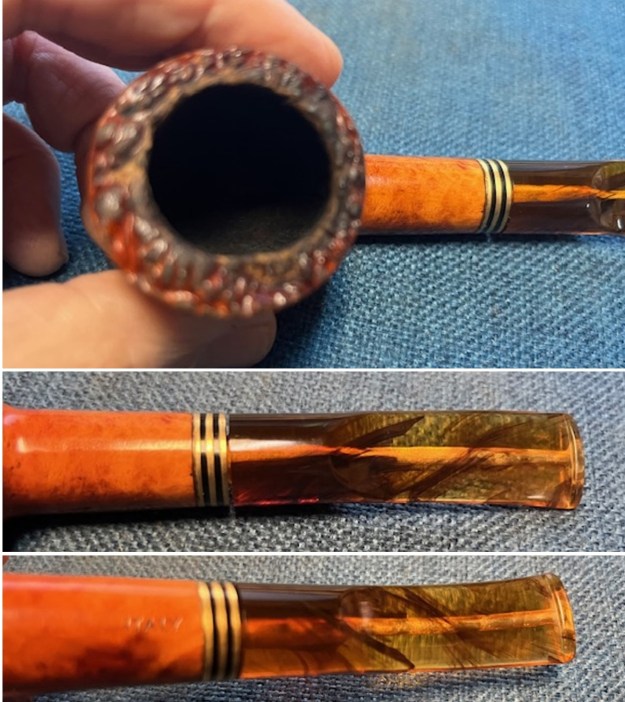
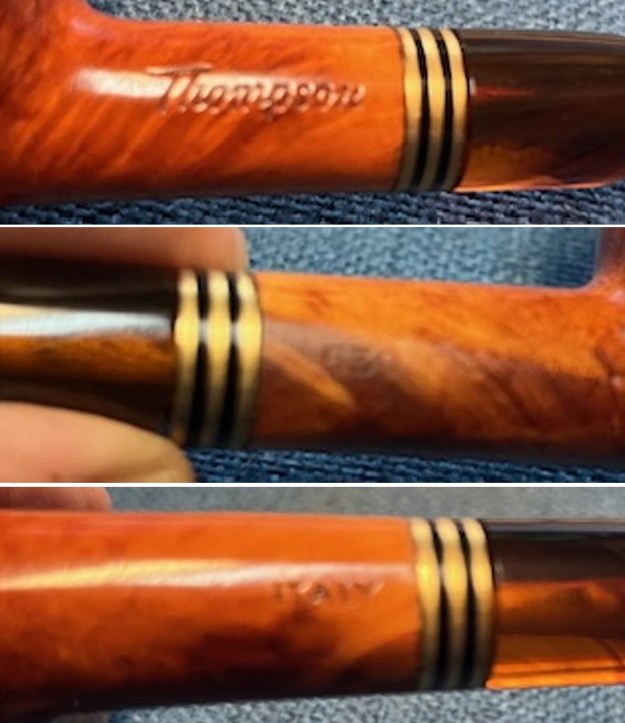
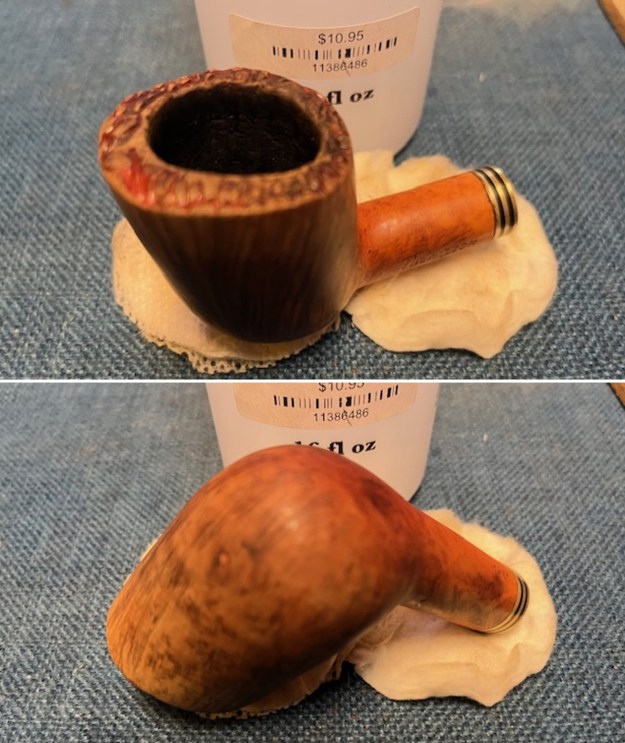
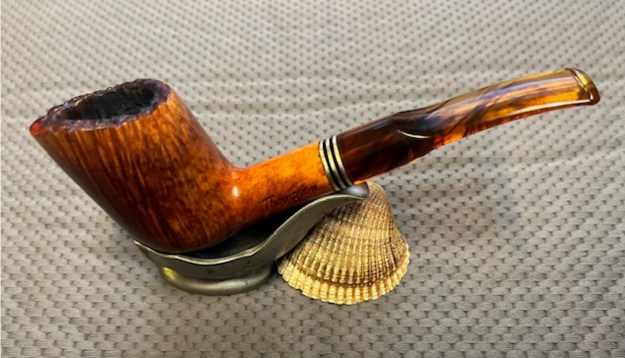
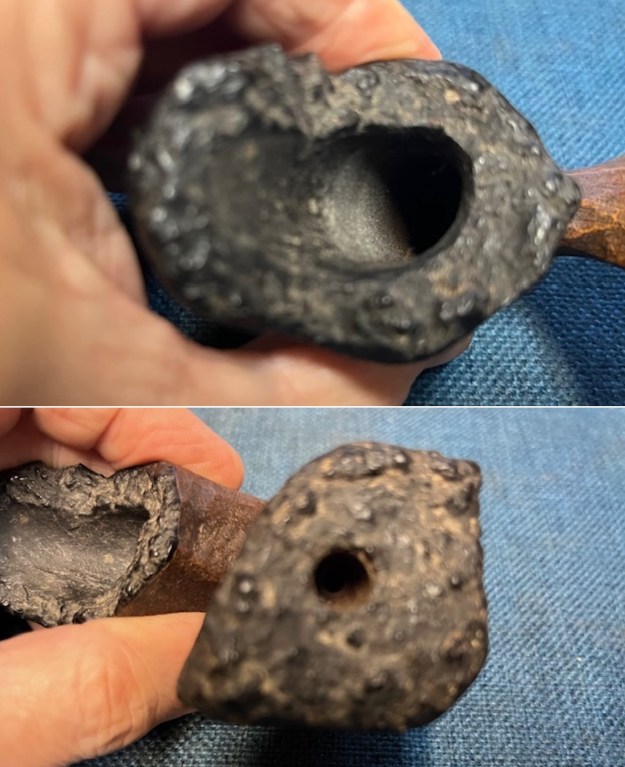
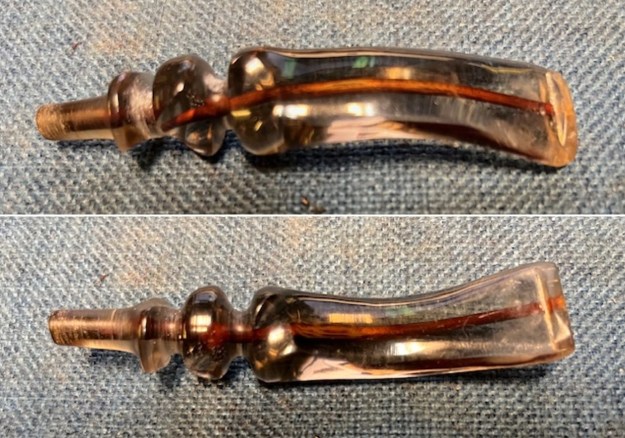
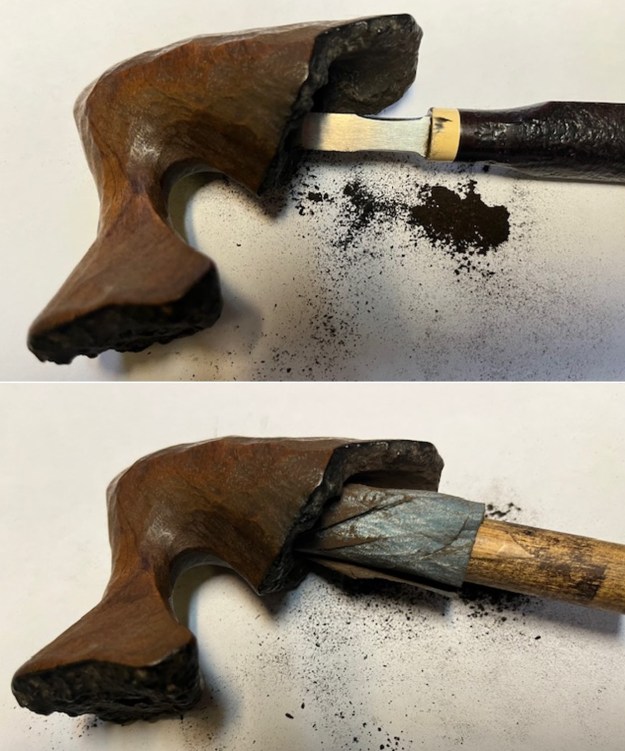
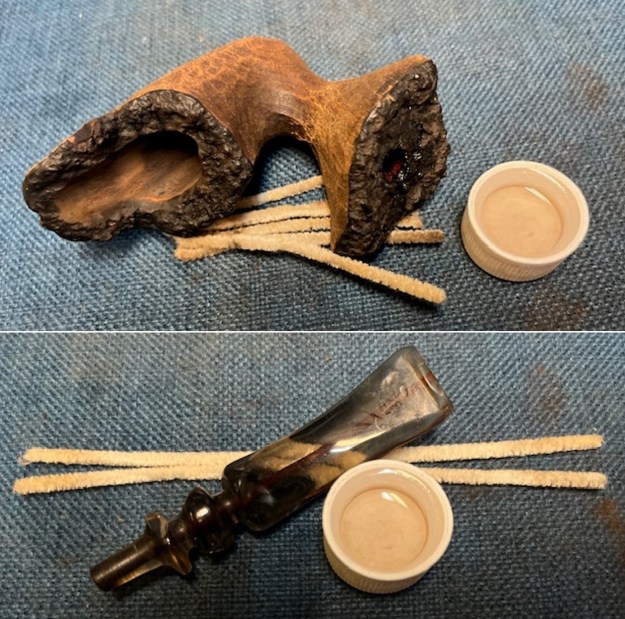
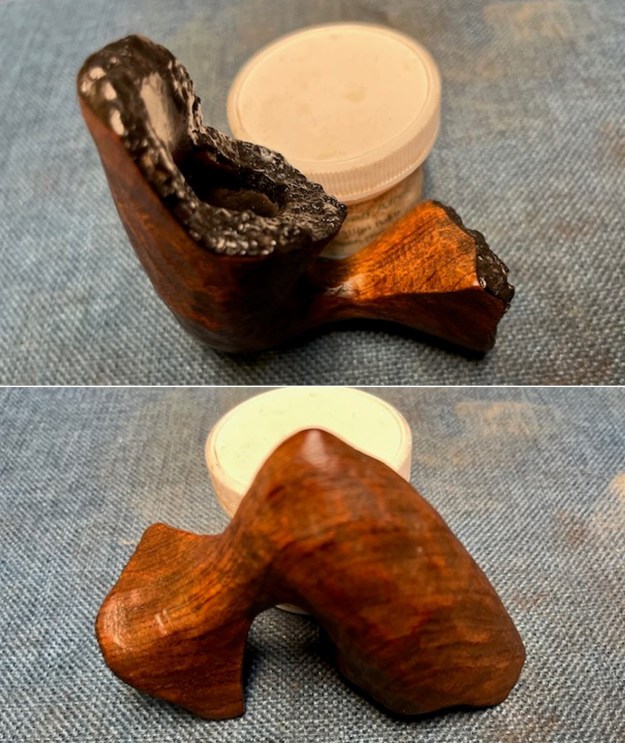
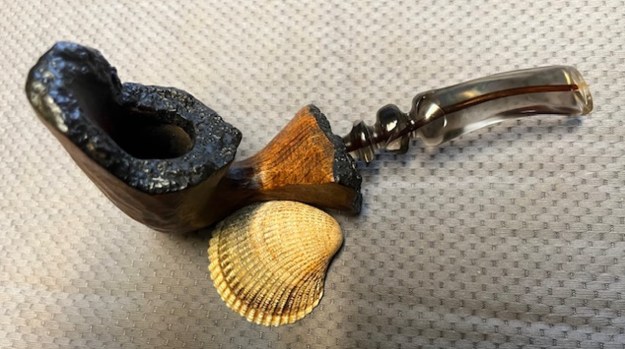
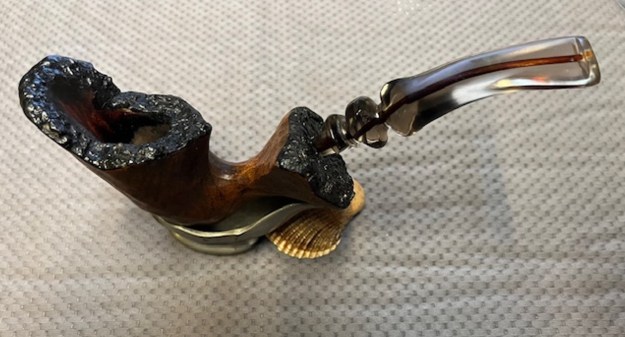
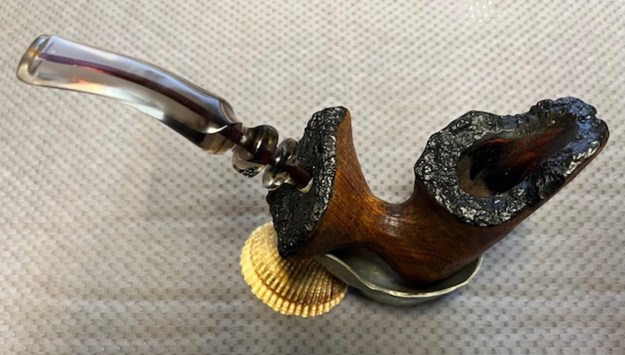
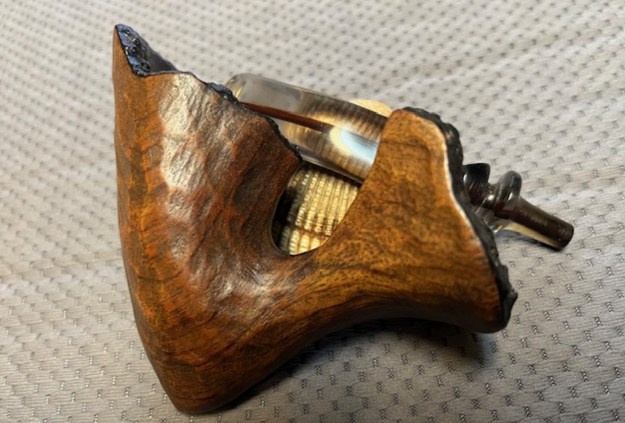
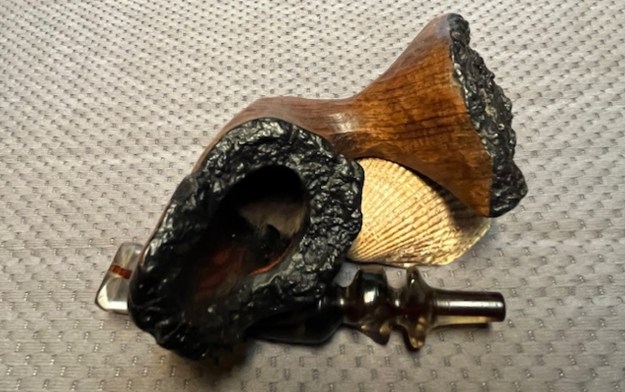
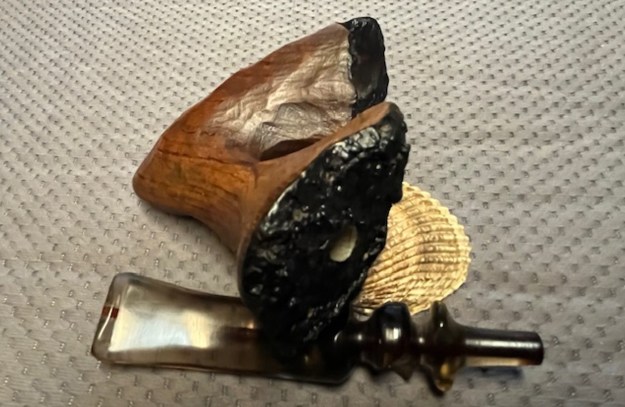
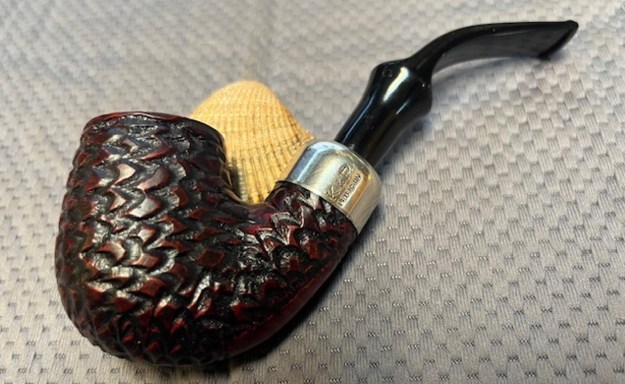
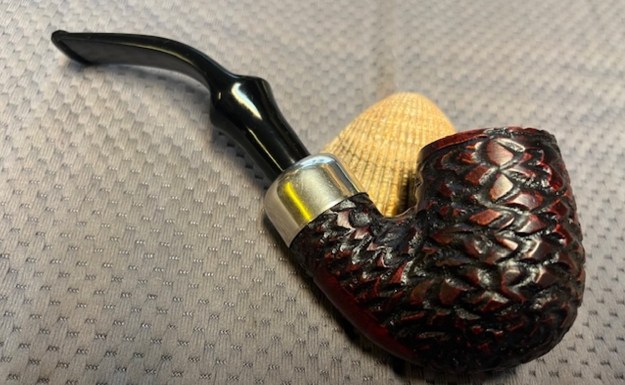
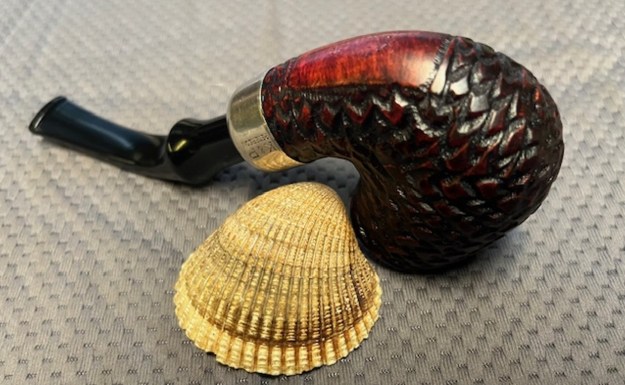
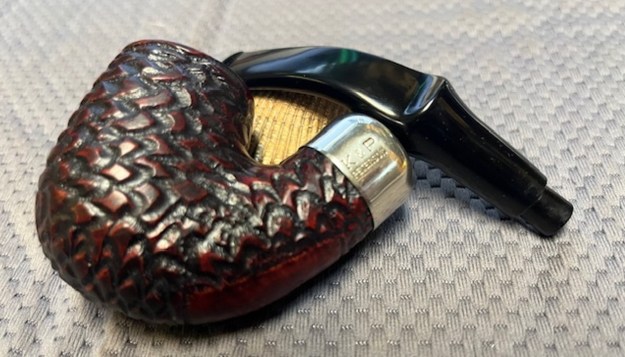
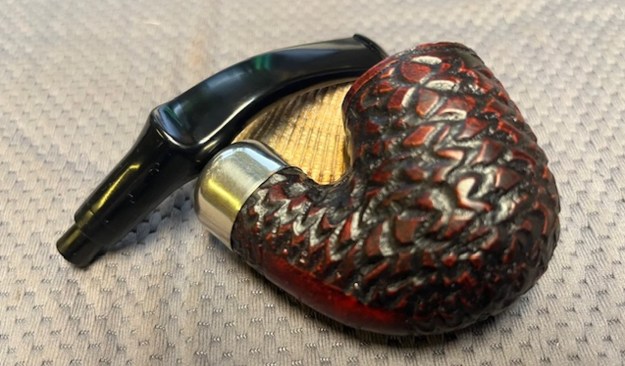
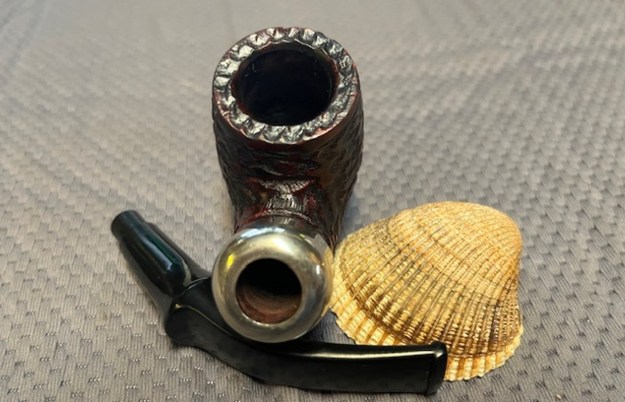
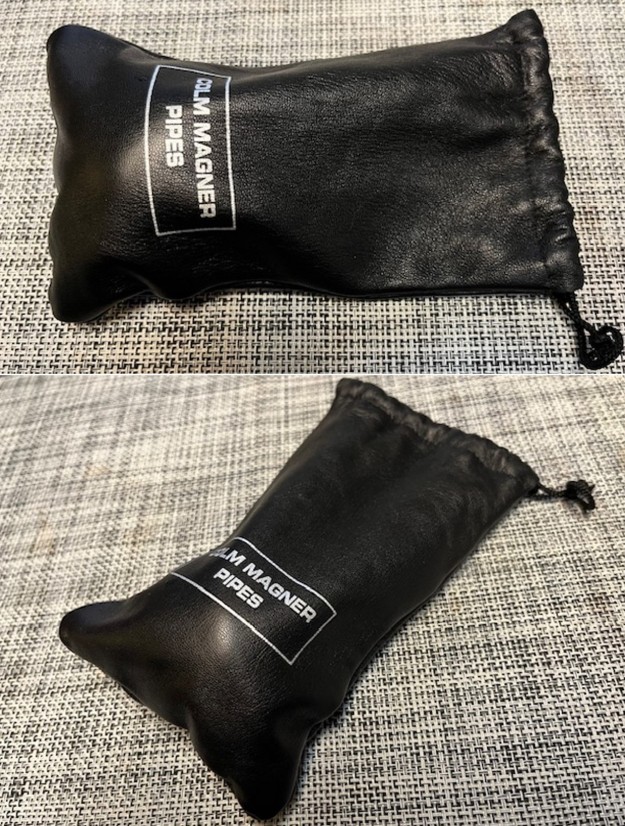
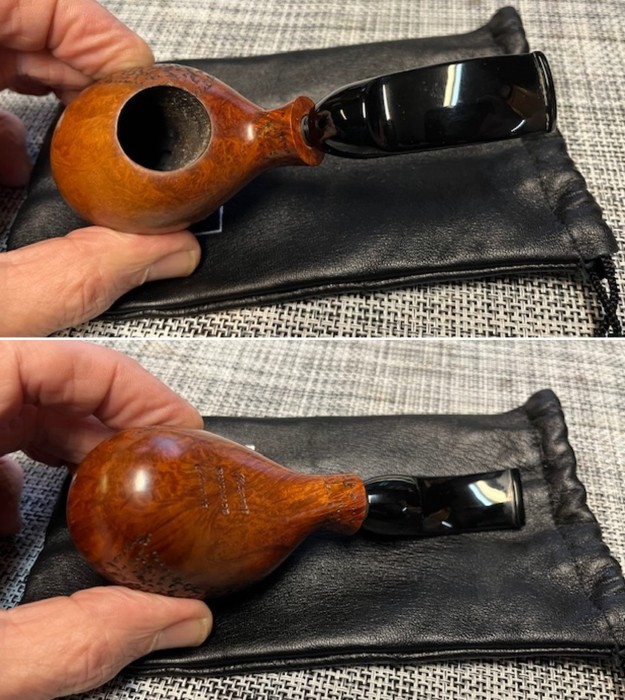
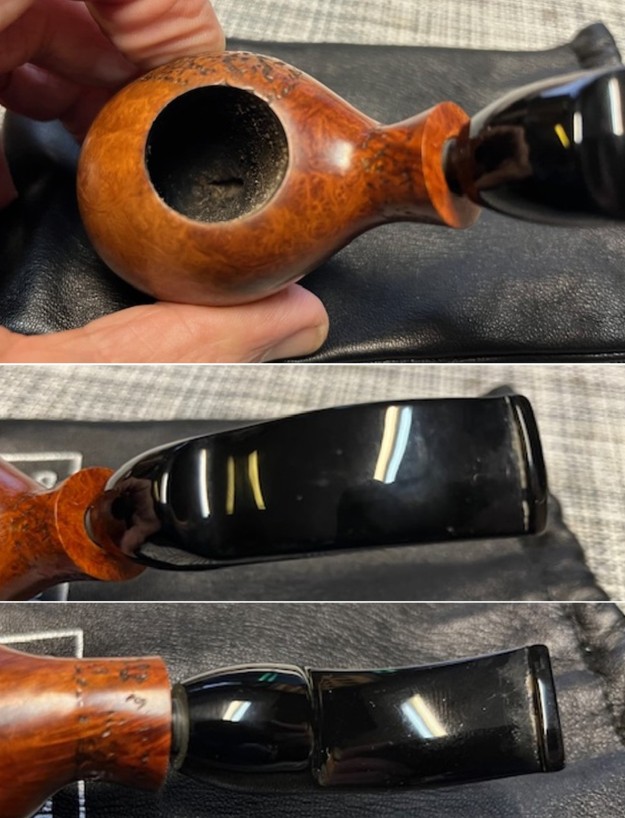
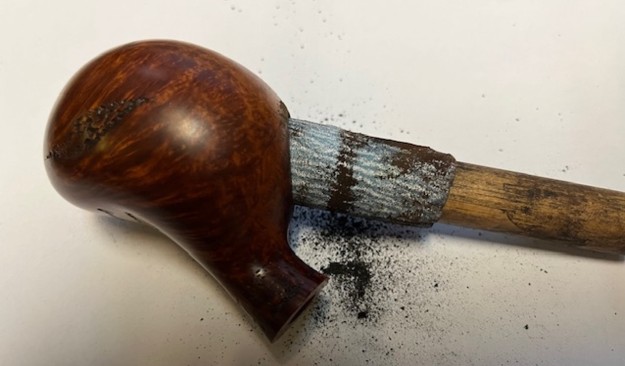
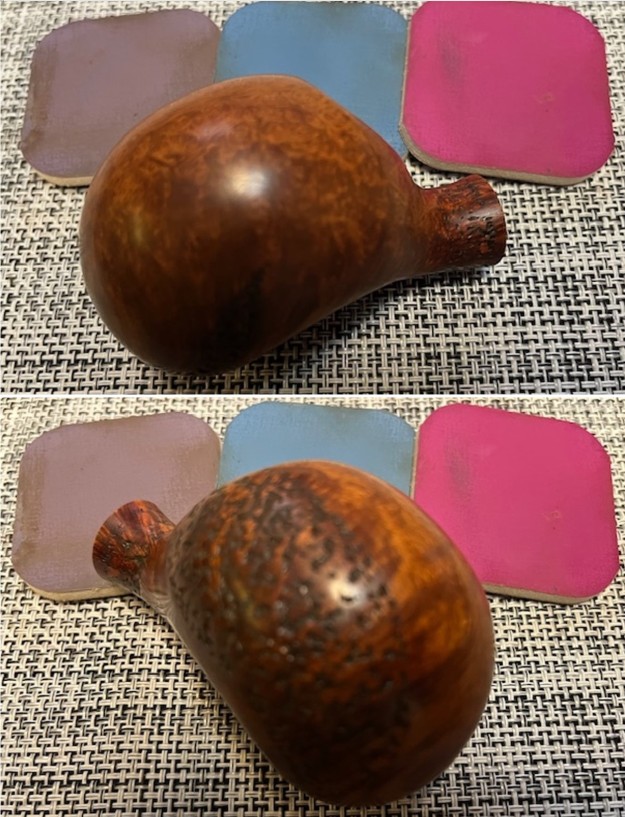
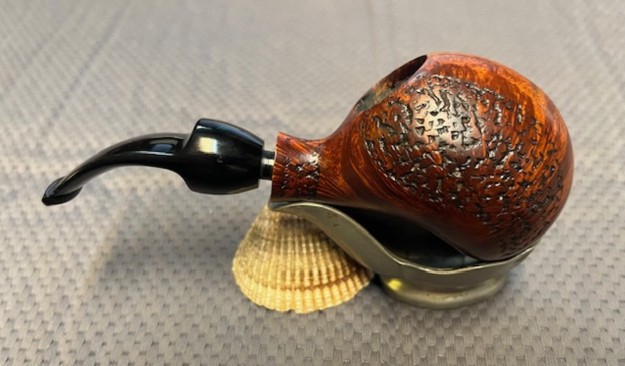
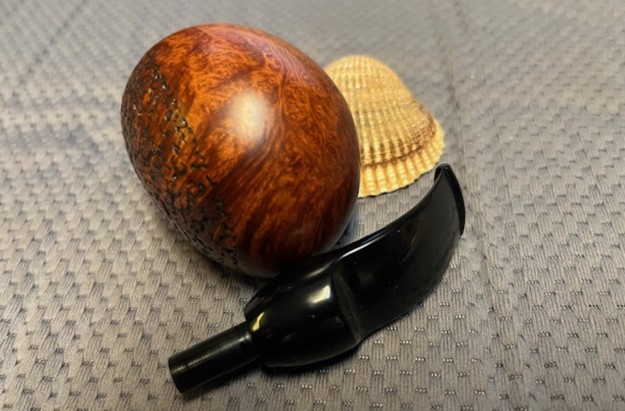
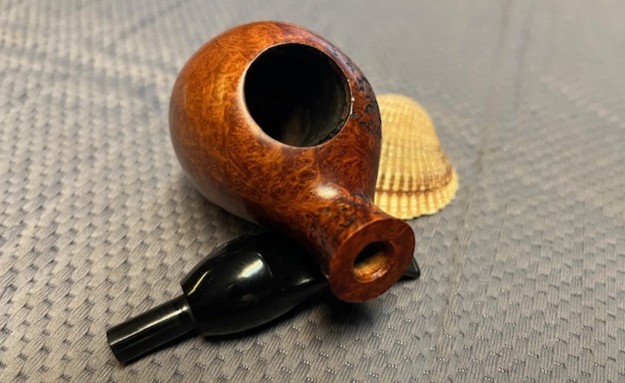
The pipe was a nice little Pipa Croci smooth Diamond Shank Billiard. The bowl and rim were smooth. We purchased it 12/09/2024 via Facebook’s Pipe Exchange from a seller in Wellsville, Kansas, USA. It is stamped on the left underside of the shank and reads Pipa Croci [over] Fatta A Mano [over] Mantova – Italia. Underneath and toward the bowl it is stamped Dal 1983 – the year that the company started. On the right underside it is stamped with the PC logo. It is a light weight well-made pipe with a rose/amber – coloured acrylic stem that fits like a military bit into a matching shank extension. The stem has the insert bar and dot logo on the top side. There were light tooth marks on both sides at the button but otherwise the stem was in good condition. The black Delrin tenon was in excellent condition. The tenon was made for a 9mm filter. Jeff took photos of the pipe before he started his cleanup work on the pipe. I have included those below.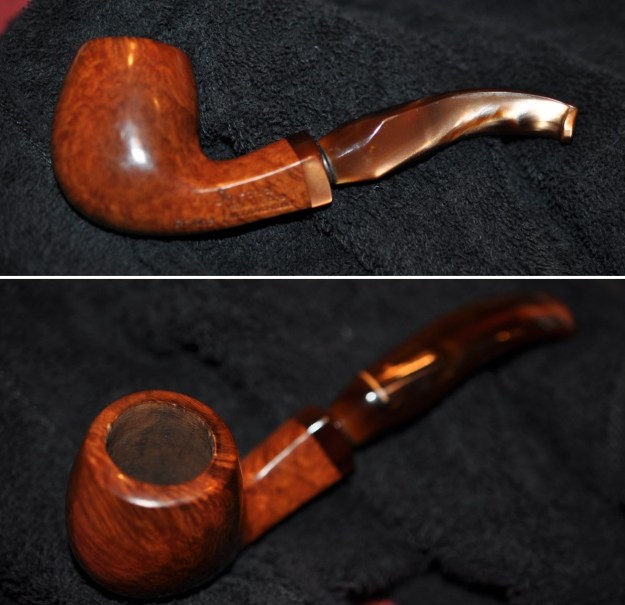 Jeff took photos of the rim top to show the condition. There is some darkening around the inner edge of the bowl and spots of lava on the rim top. He also captured the condition of the stem when it arrived.
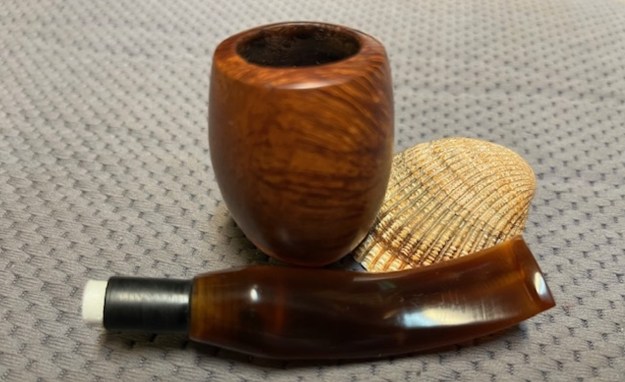
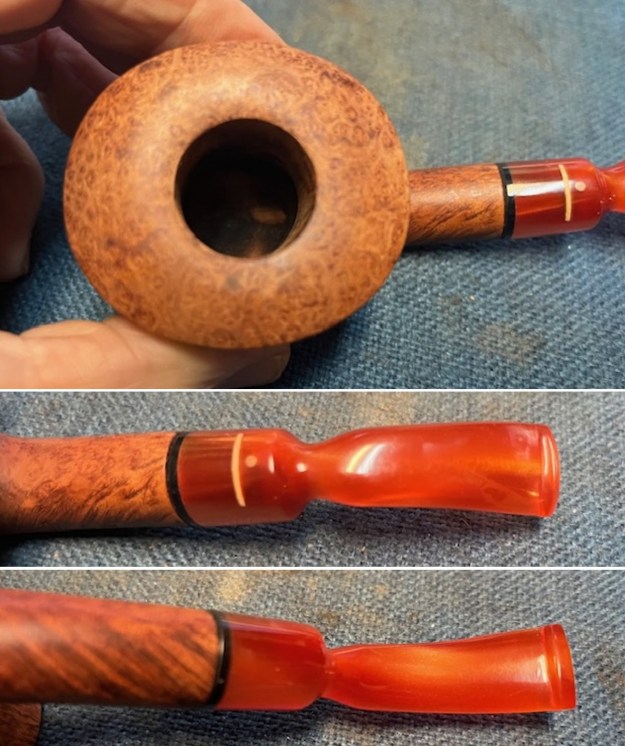
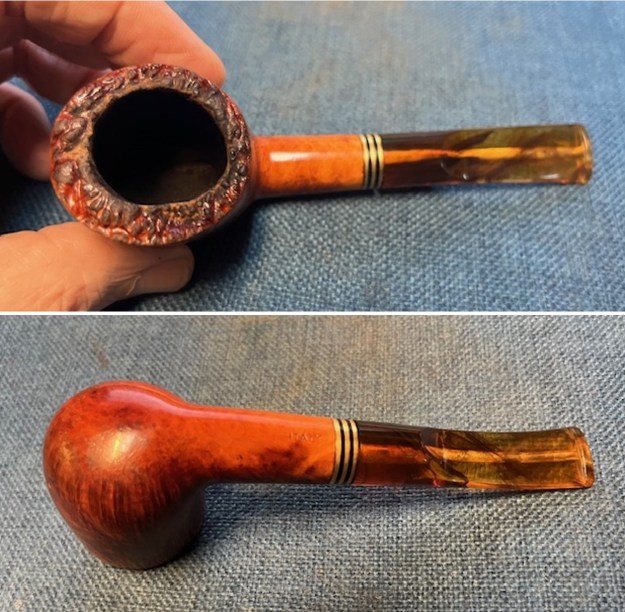
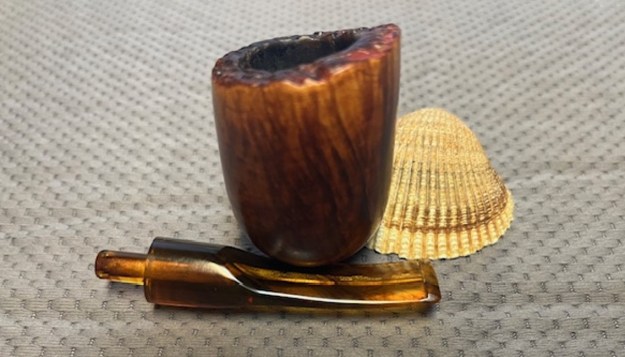
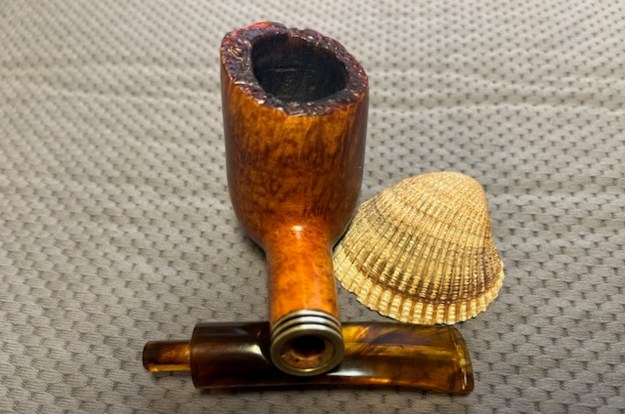
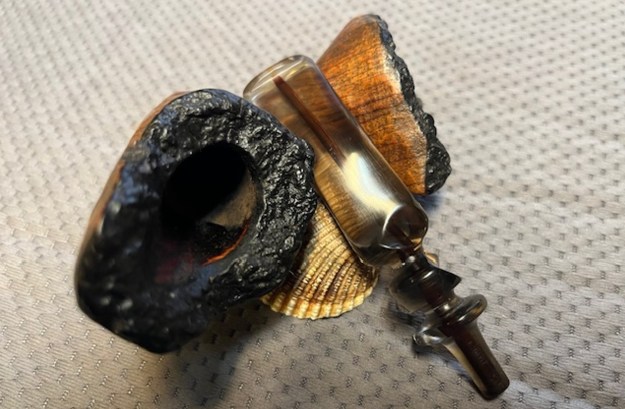
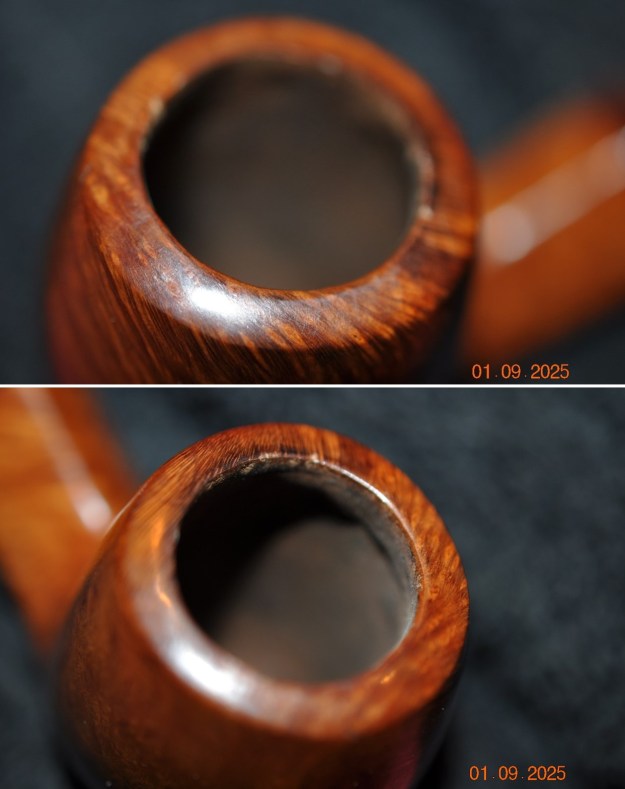
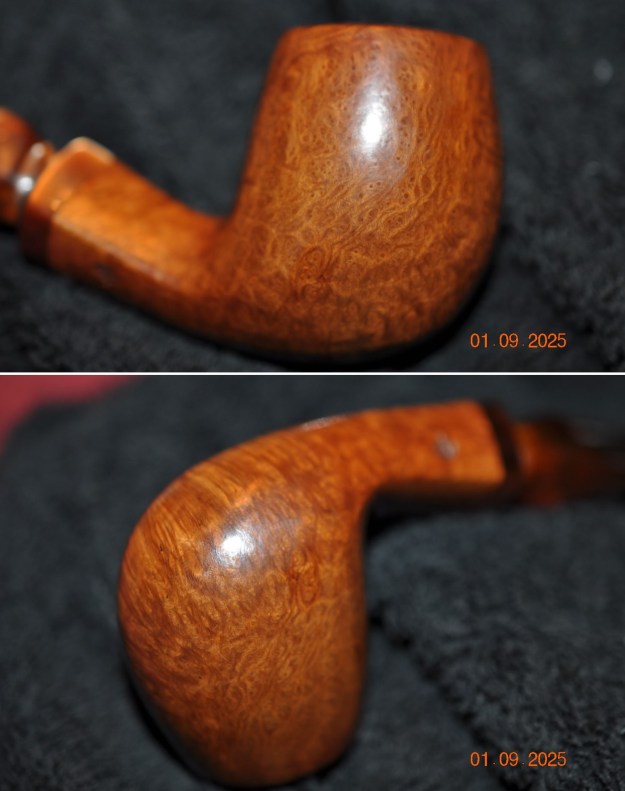
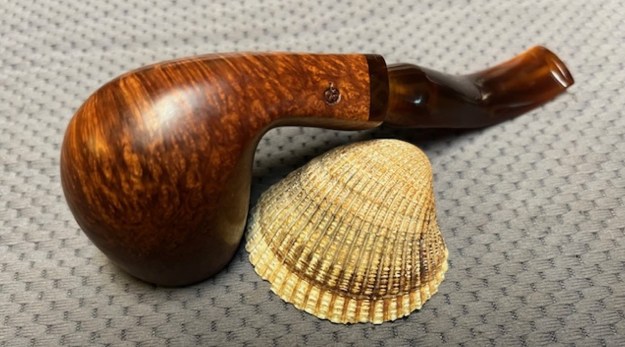
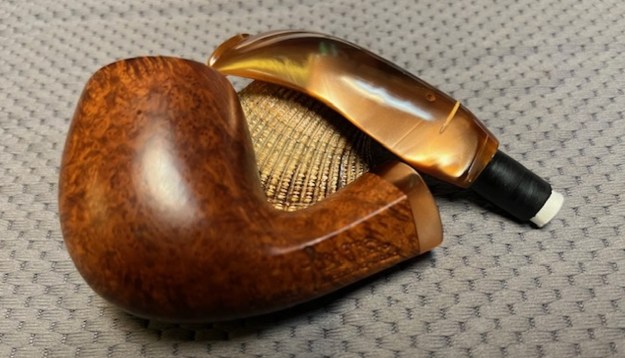
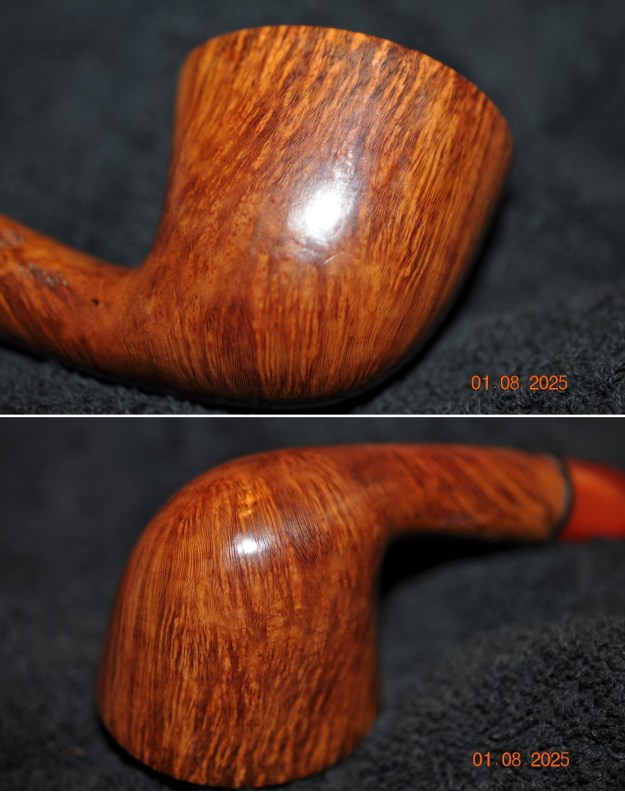
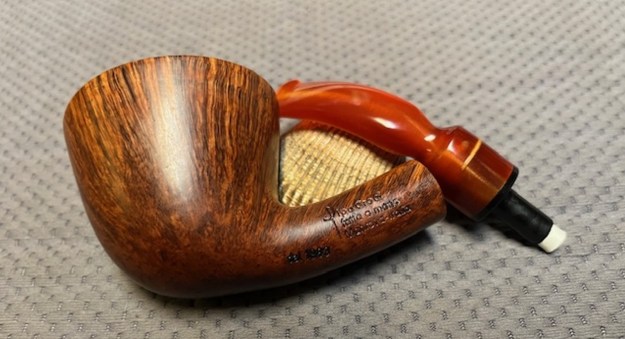
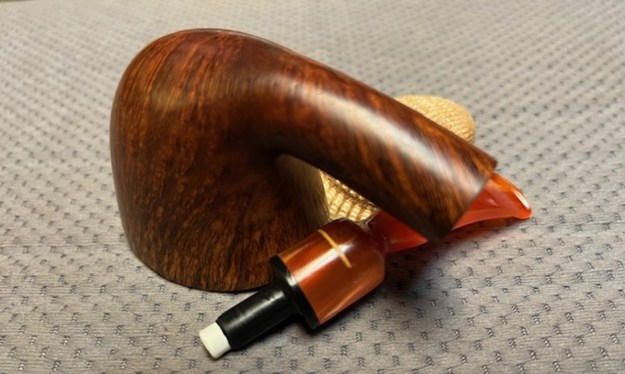
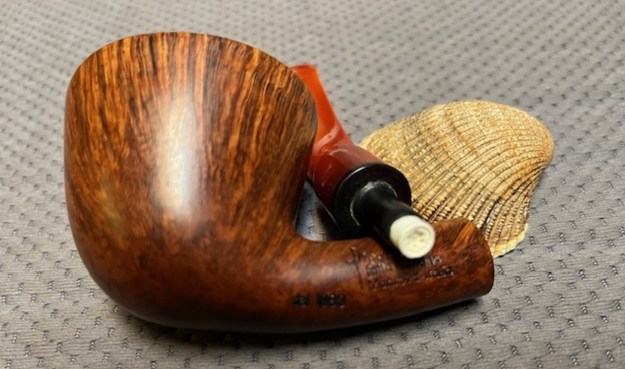
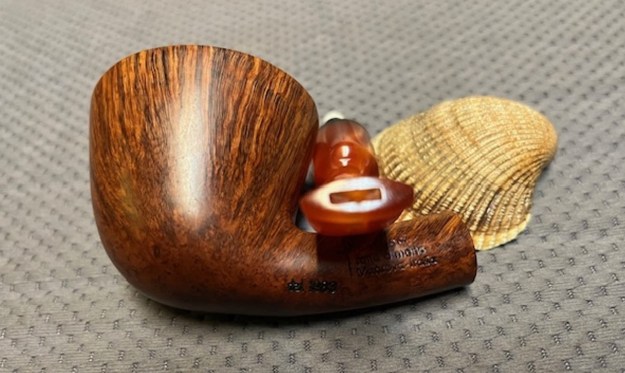
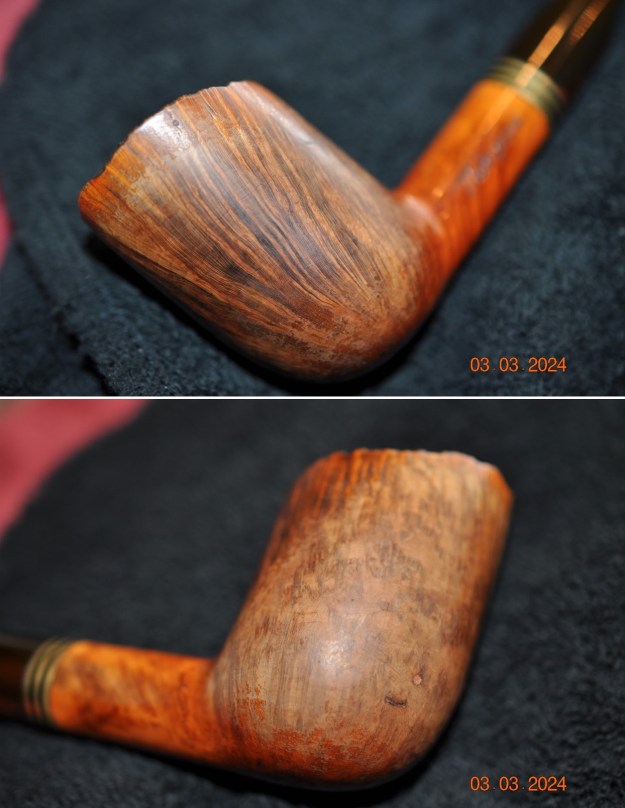
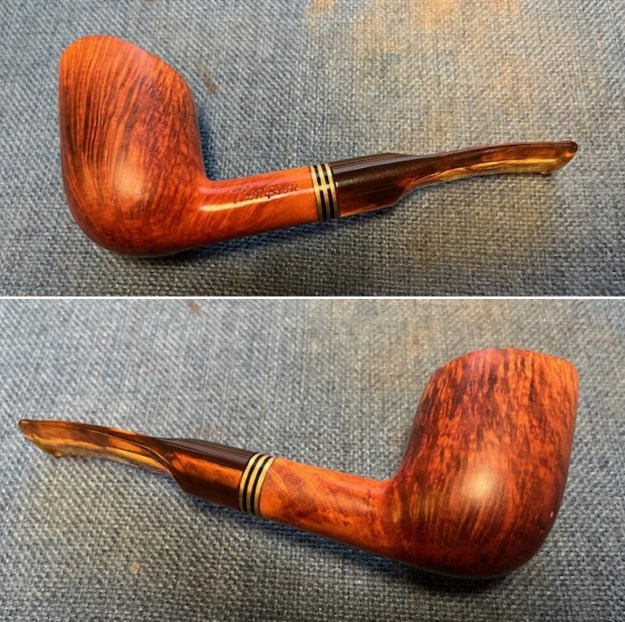
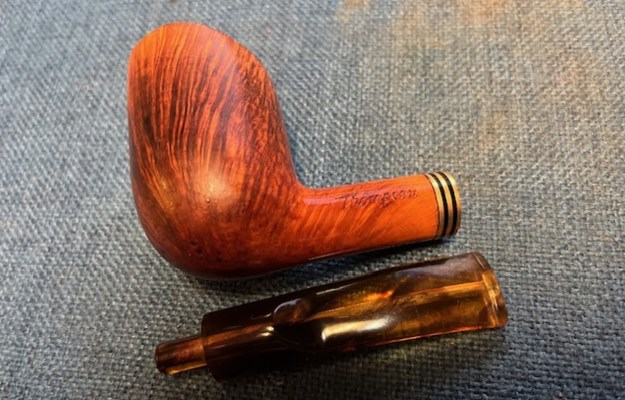
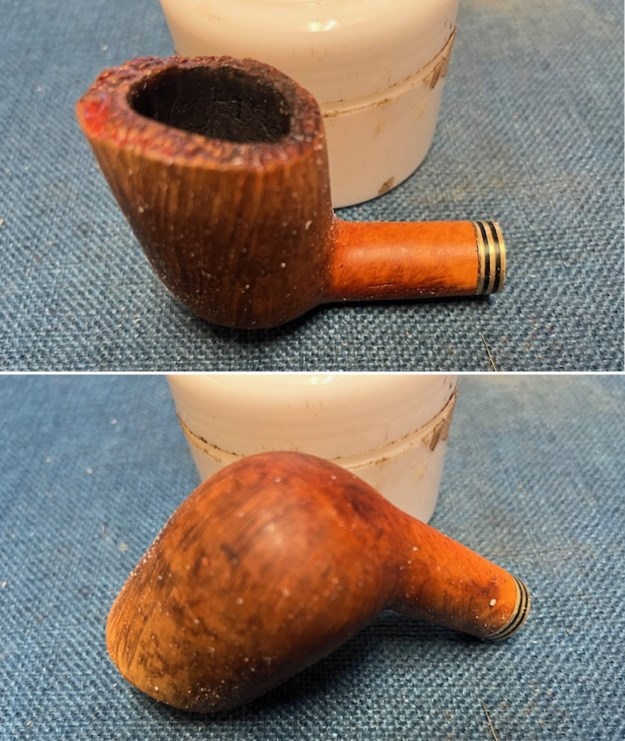
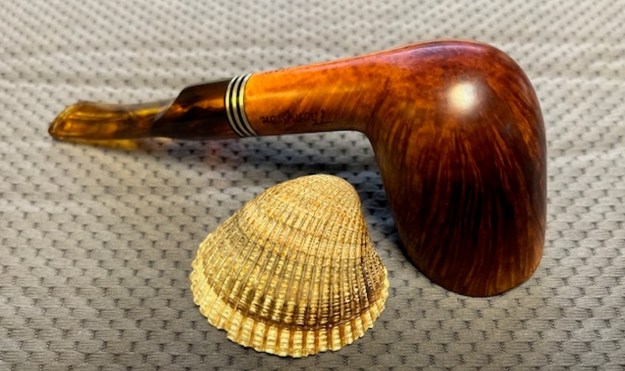
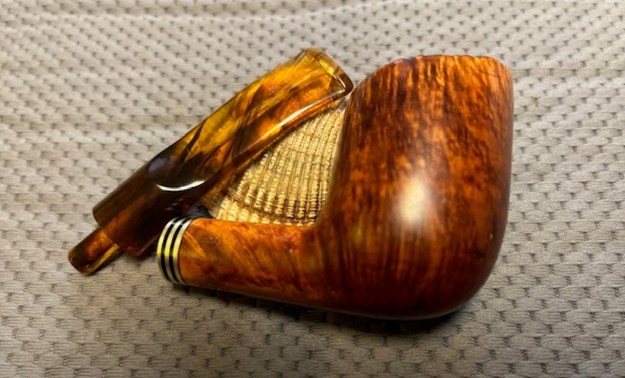
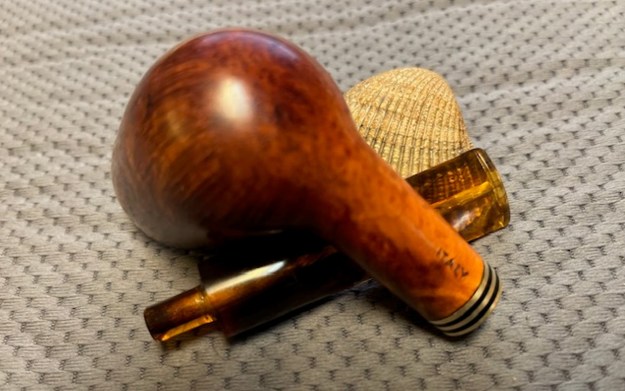
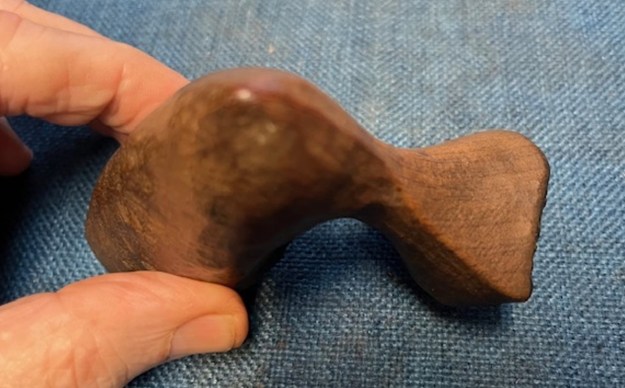
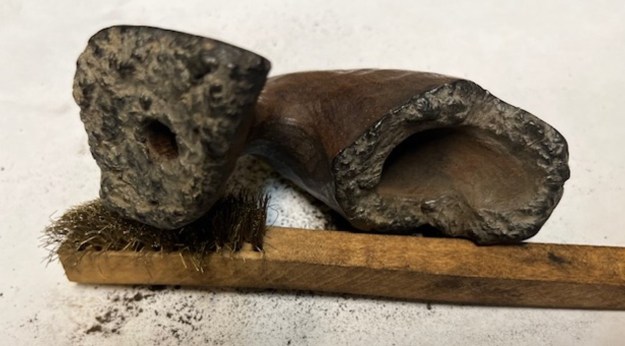
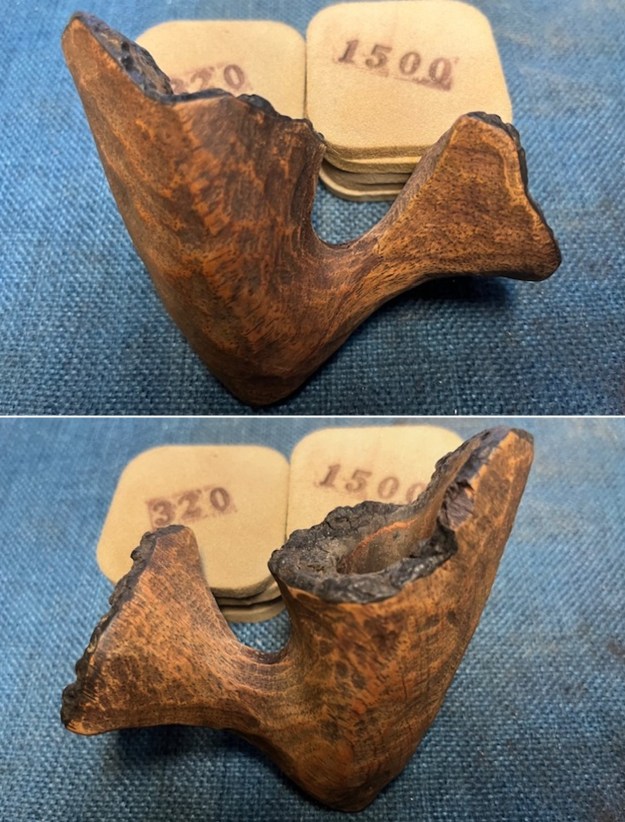
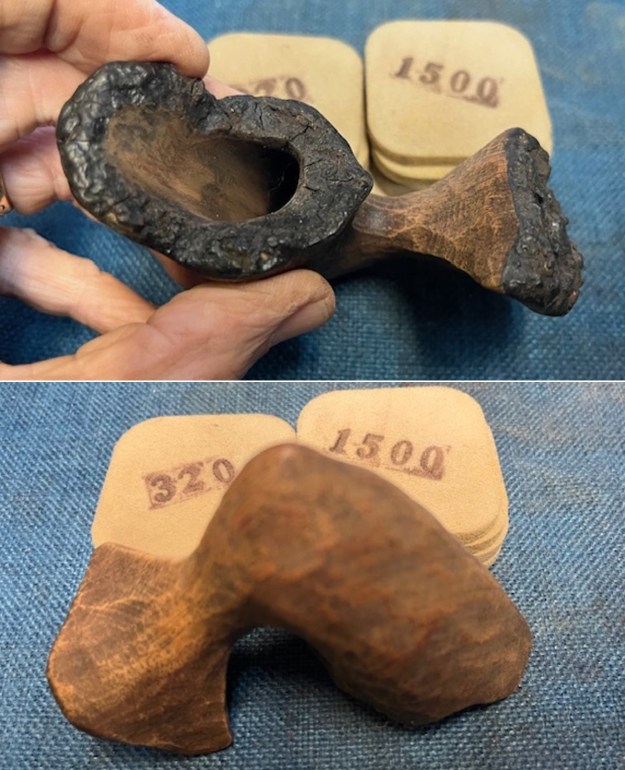
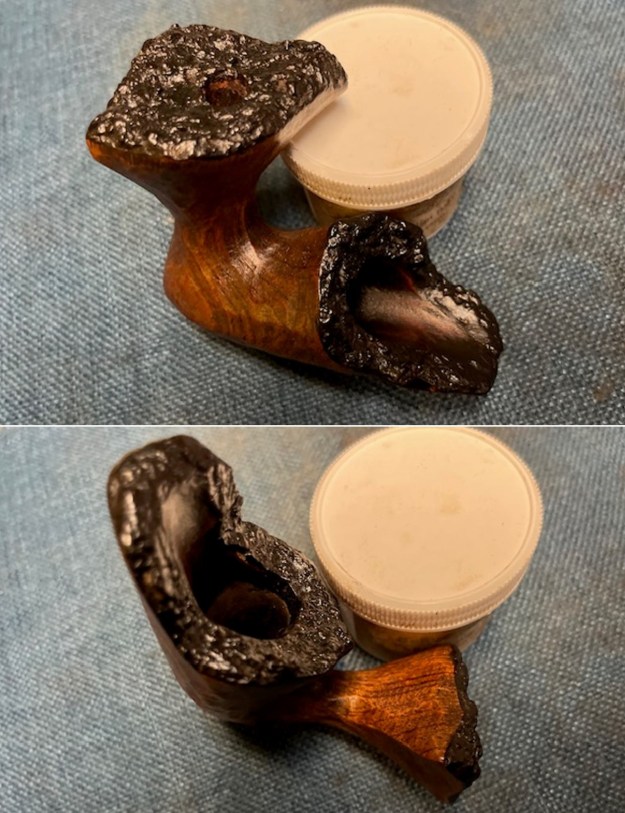
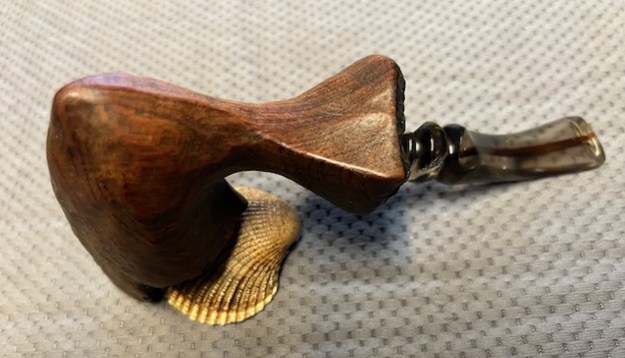
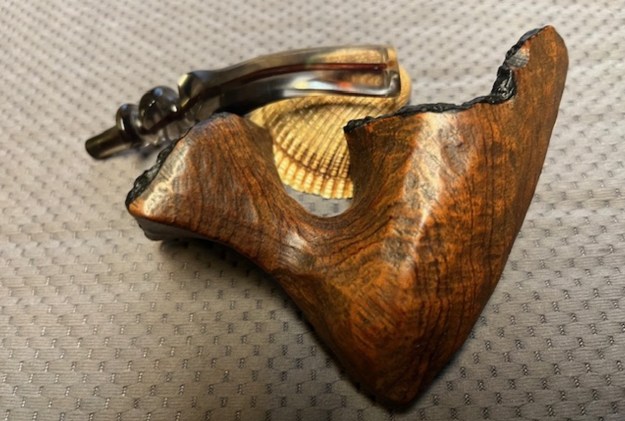
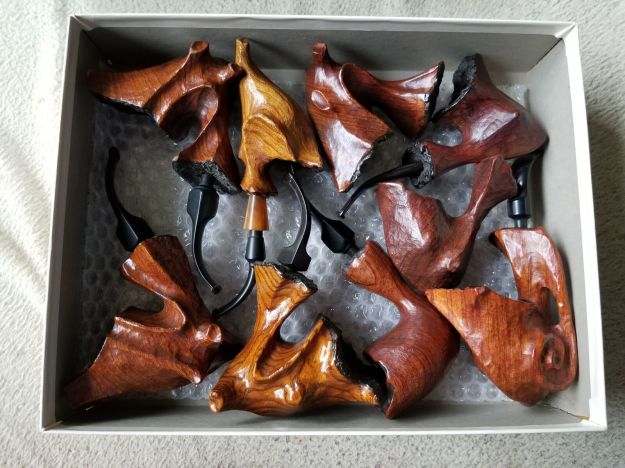
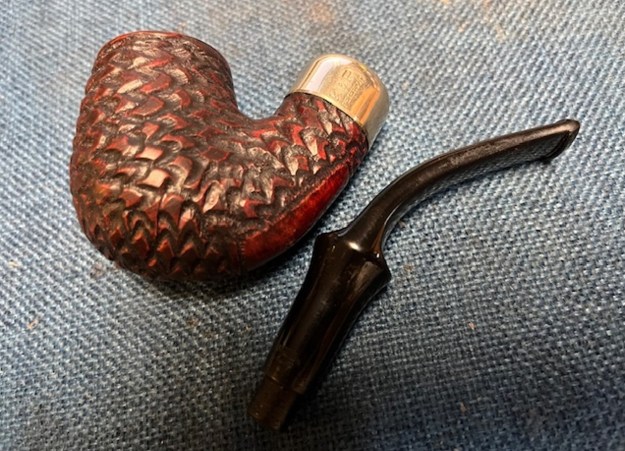
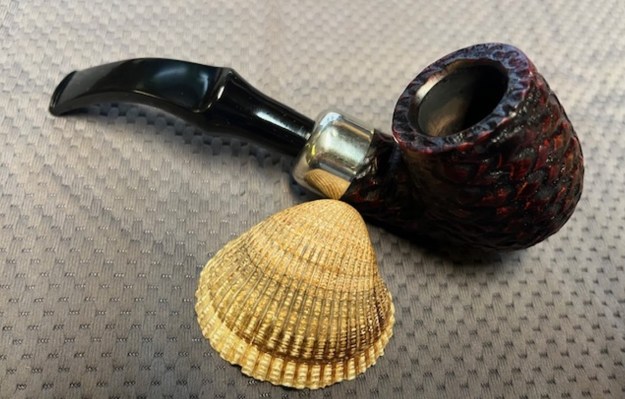
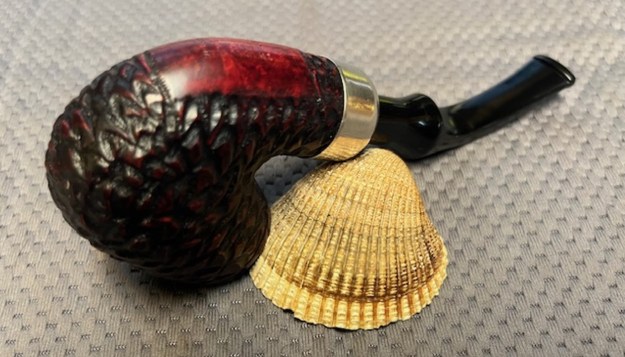
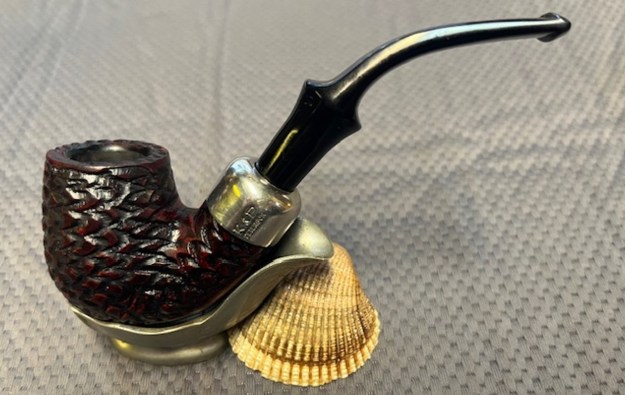
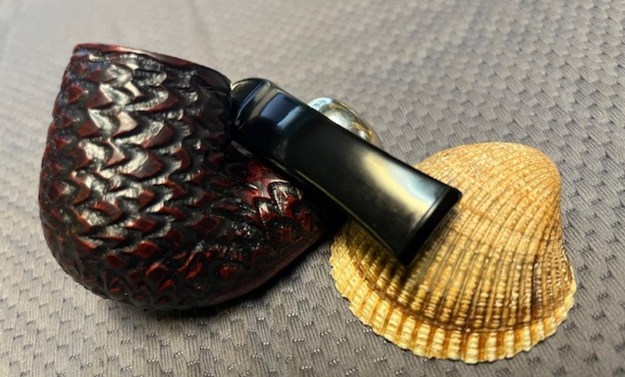
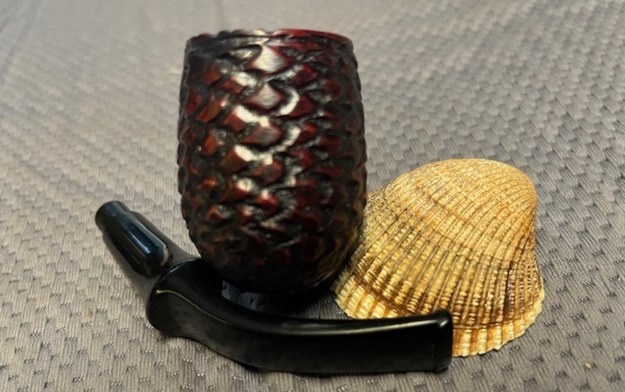
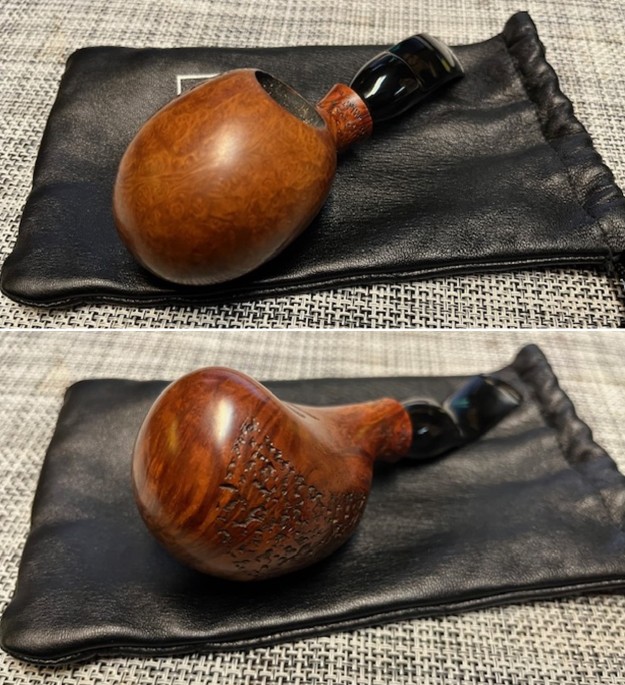
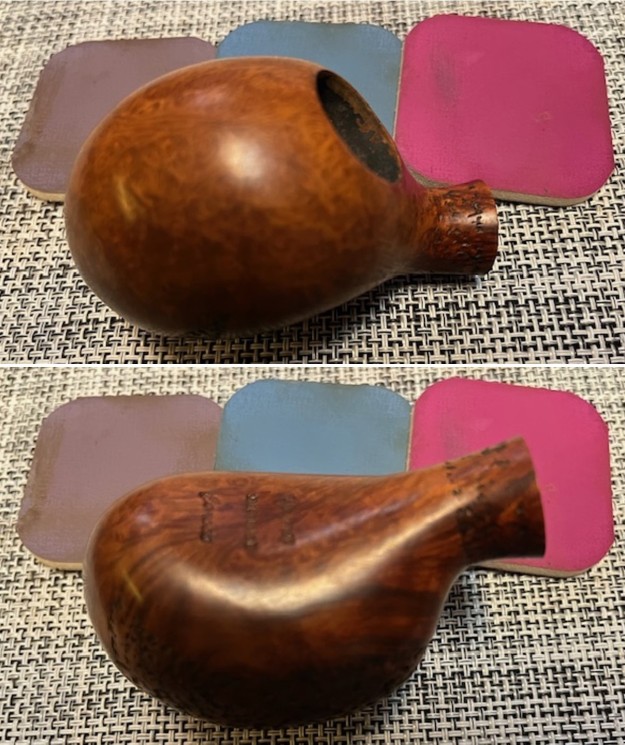
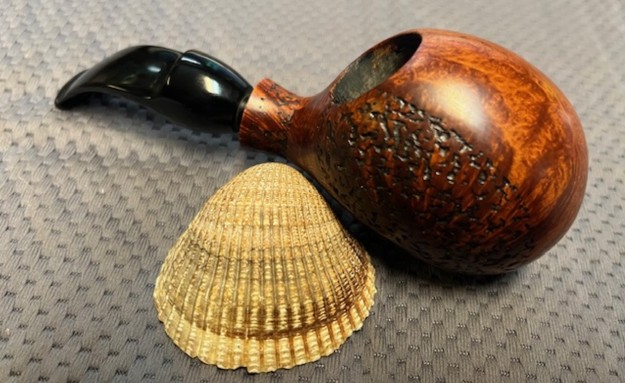
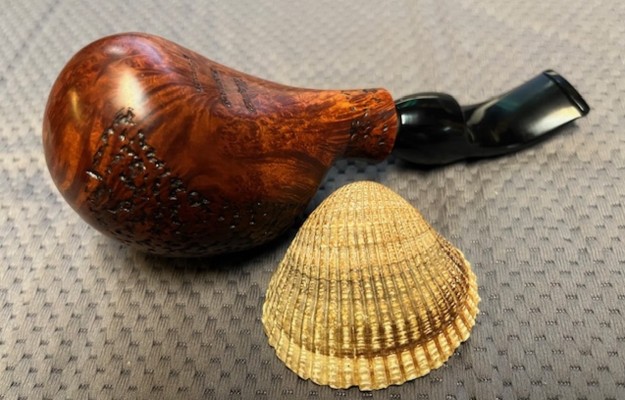
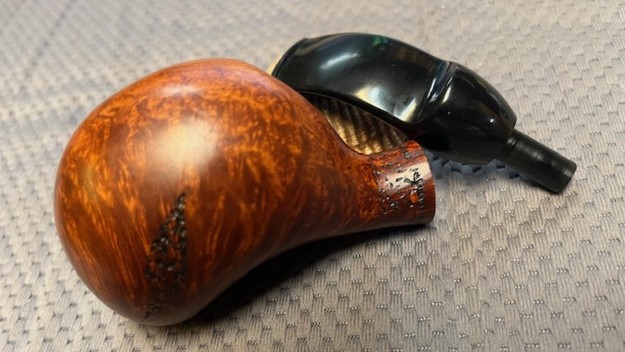
 He took photos of the sides of the bowl and the heel to show the beautiful grain around the bowl. It really is a beautiful piece of briar that has a shape that follows the grain. The finish is nice but it also very dirty with grime and oils ground into it.
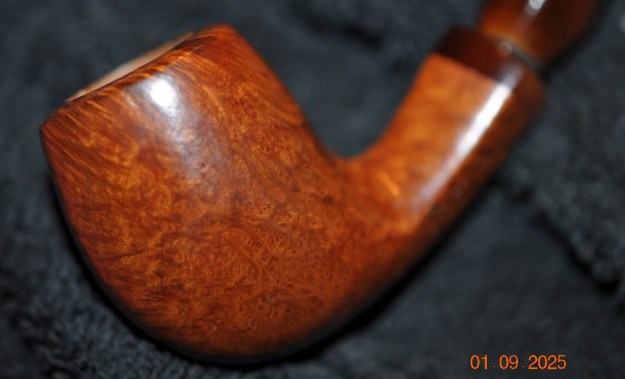
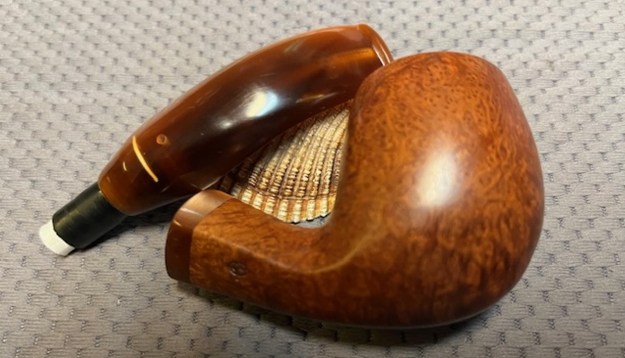
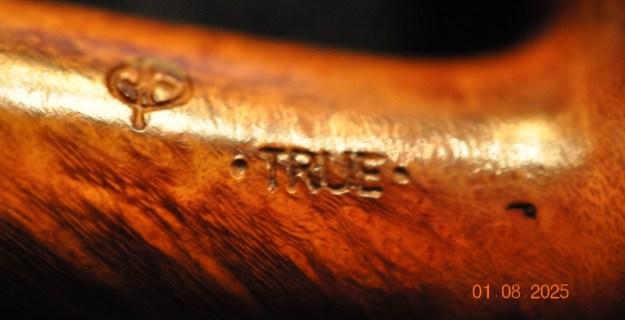
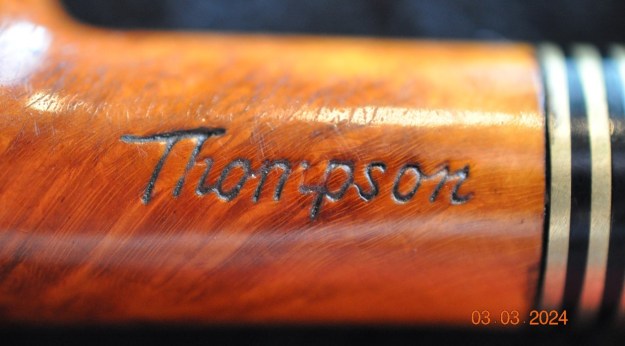
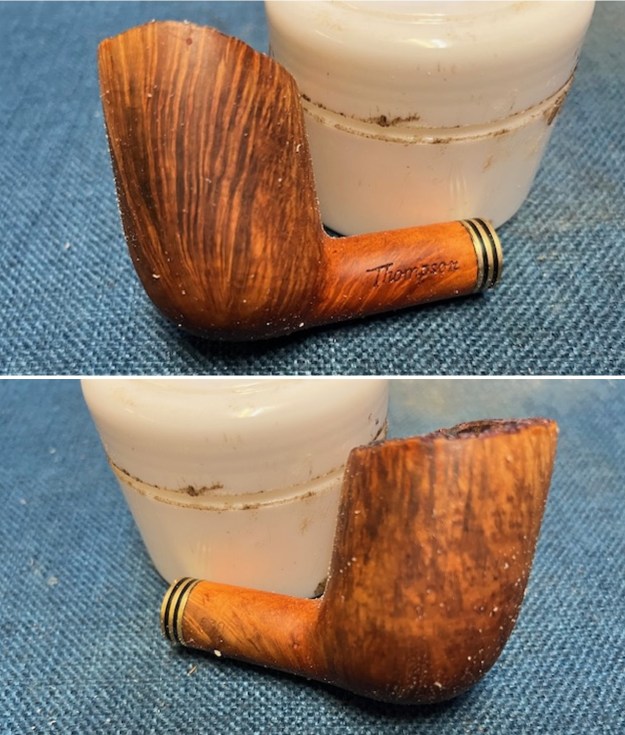
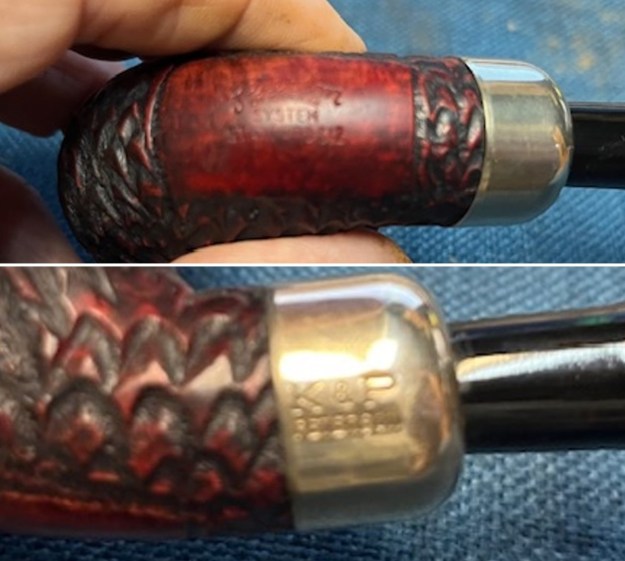
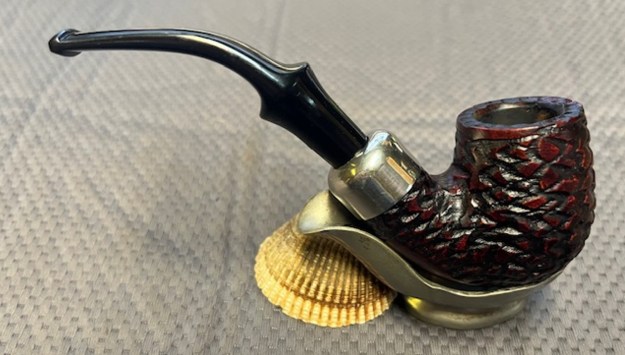
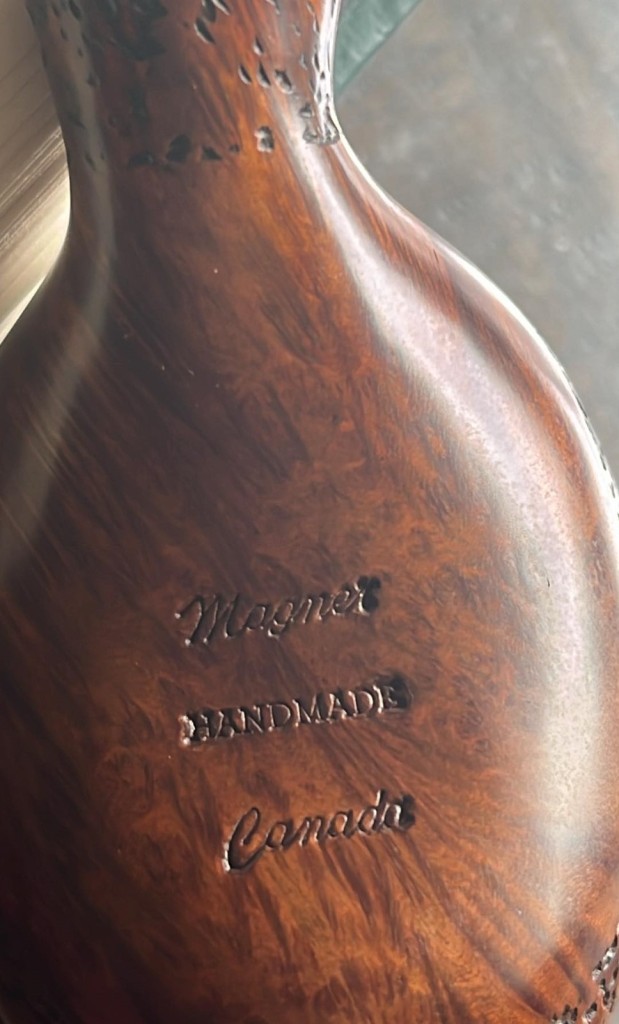
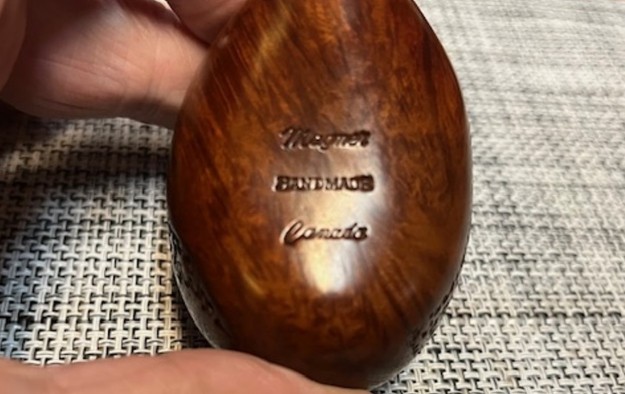
 Jeff took photos of the stamping on the shank sides. It is clear and readable and reads as noted above.
 Before I started working on my part of the restoration I decided to do a bit of research on the Pipa Croci brand. I wanted to clearly understand the stamping and possibly get date for the pipe and some background on the brand. I turned to Pipephil first to see what I could learn from there (http://www.pipephil.eu/logos/en/logo-c8.html). I have included a screen capture from the section on the brand and a few of the sidebar notes below that.
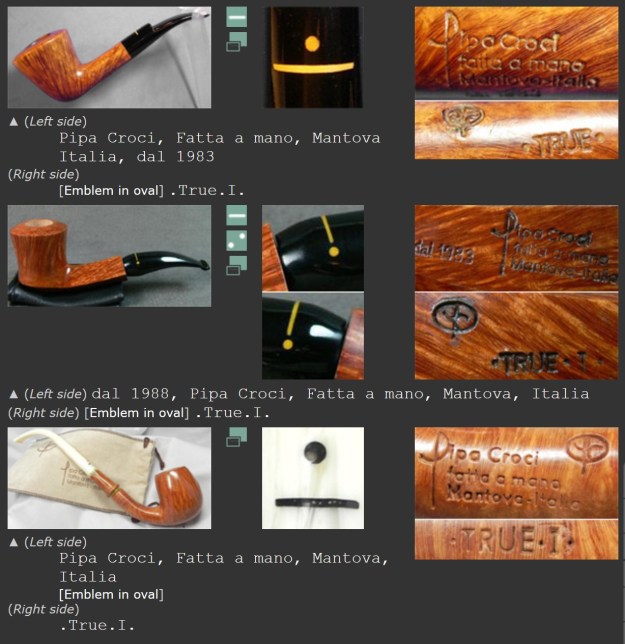 Artisans: Paolo & Gianni. Grading (ascending): Pipa Croci, Amica, True, True I, Quality Street, Starlight, Golden Flame. Production (2007): ~ 3000 pipes/year. Pipa Croci is part of the Molina Group (2012)
I knew from that information that I was working on a grade one Pipa Croci pipe. I also learned that the pipe was made by Paolo and Gianni Croci. It is a great looking pipe and I was looking forward to seeing what Pipedia added to the information.
I turned to the link on Pipedia (https://pipedia.org/wiki/Pipa_Croci). I have included the article in part below.
Pipa Croci pipes are created by Paolo & Gianni Croci from Mantova, Lombardia. The company was founded in 1983 and on each pipe you will find the nomenclature reads “dal 1983”. Each and every pipe is hand crafted from aged Italian Plateau Briar. This is a company that makes no two pipes alike and they truly create some masterpieces. In their own words:
“The Pipa Croci is an artisan enterprise. The pipes which are born from our hands are all differnt from each other. This means that the owner of a Croci pipe possesses something totally unique. Keeping up with the avant-garde in styling and marketing, in addition to our Free Hand we have created the Classical Models. Furthermore, we produce several hand-carved objects related to the pipe smoker and made of briar.”
The quality classification of the pipes is as follows (ascending): Pipa Croci; Amica; True; True 1; Quality Street; Starlight; Golden Flame.
So the “Pipa Croci” is the least expensive and the “Gold Flame” the most costly, but the most exceptional. The classification takes place in a careful and accurate manner and the criteria for these choices are form, character of the briar and beauty of its grain.
The pipes are divided into groups according to their design; these groups or series have been given the following names: Normale; Artistica; Gran Camino; Gran Camino Artistica; Calumet; Calumet Artistica; Calumet Gran Camino; Calumet Gran Camino Artistica; Calumet 2000; Calumet 2000 Artistica; Calumet 2000 Gran Camino; Calumet 2000 Gran Camino Artistica.
The Classical models are hand-made reproductions of the traditional shapes. These well-known shapes have the following letter-number references: Billiard = A1; Apple = F1; Dublin = H1, etc…
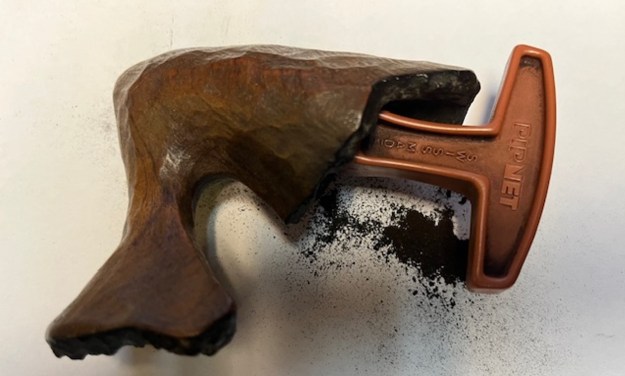
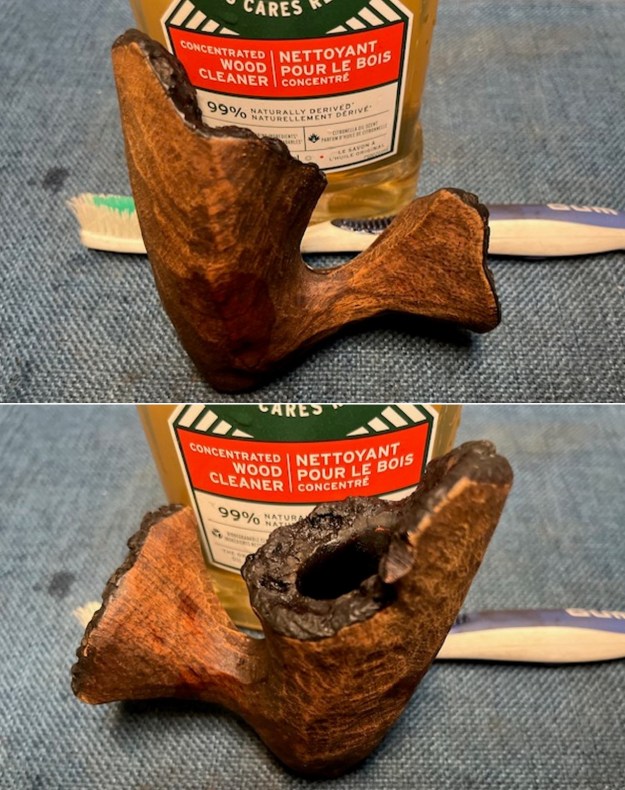
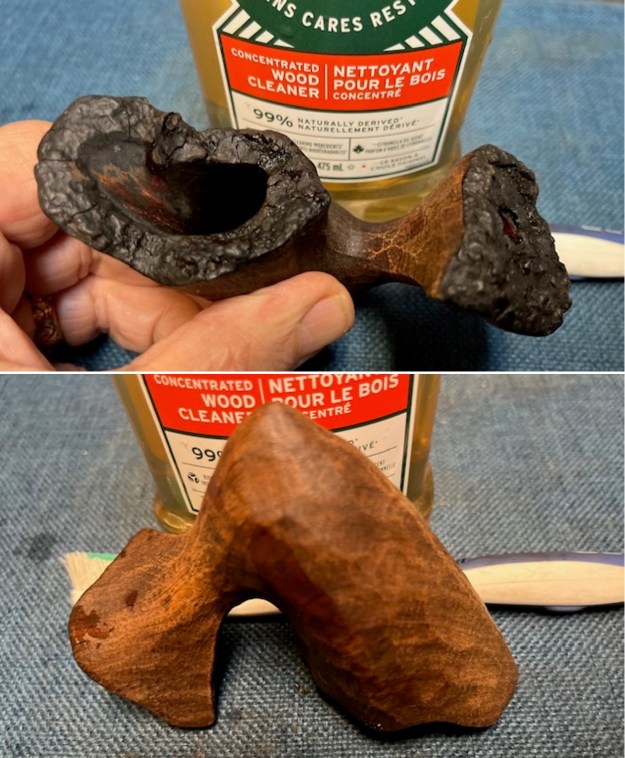
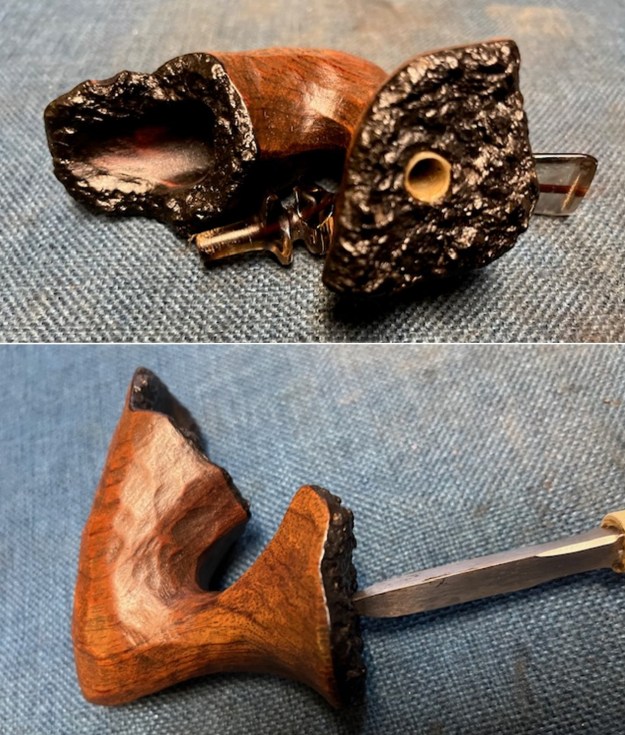
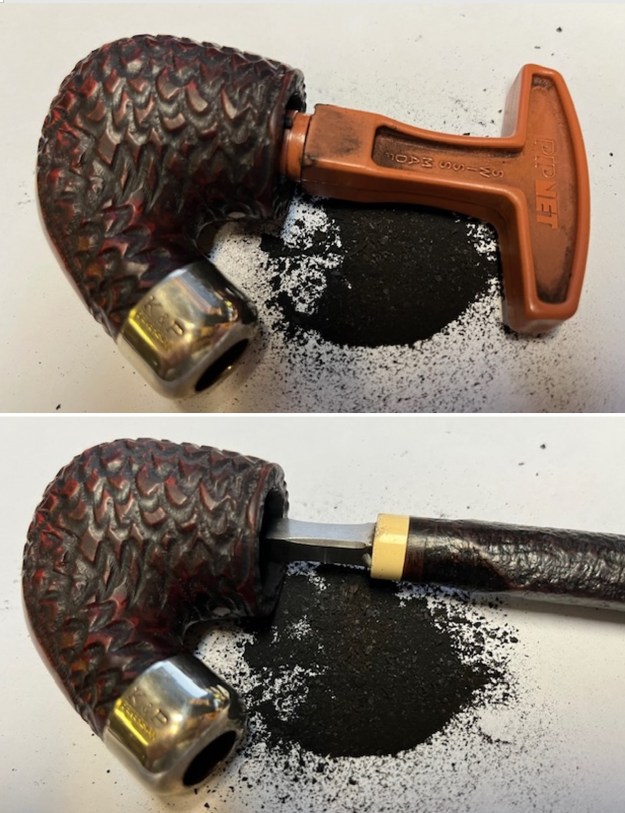
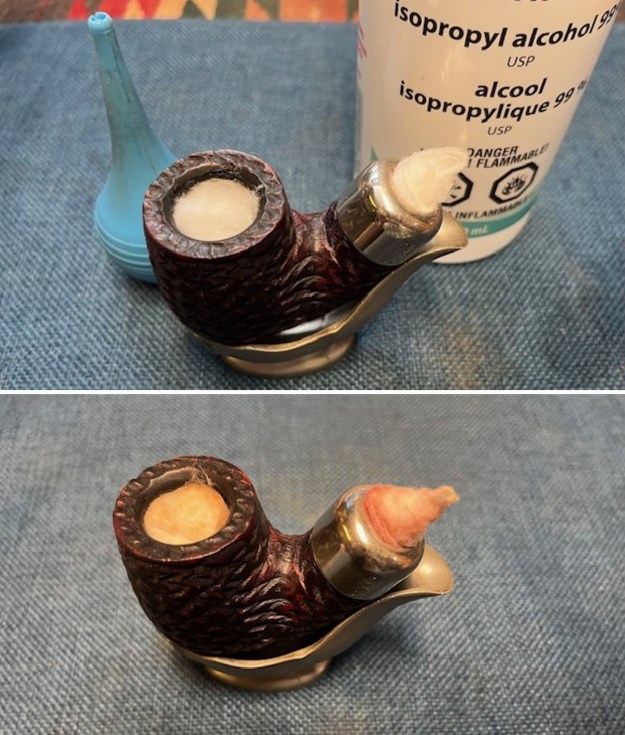
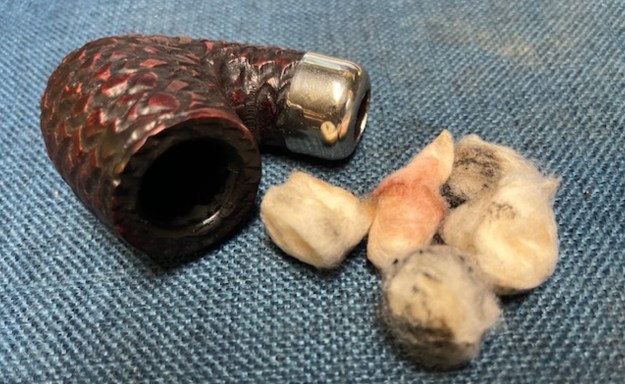
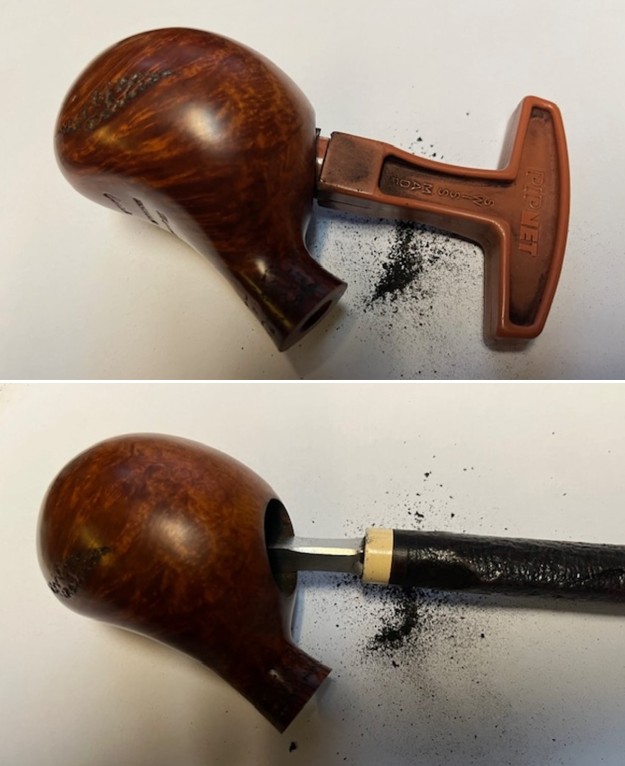
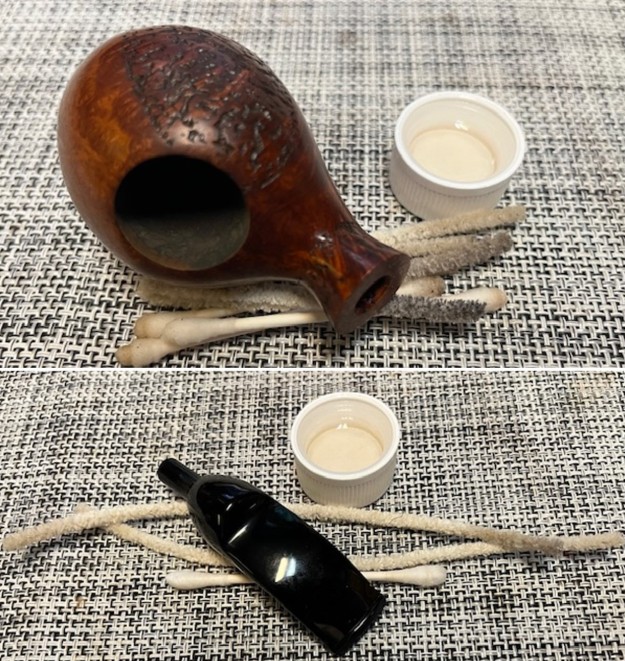
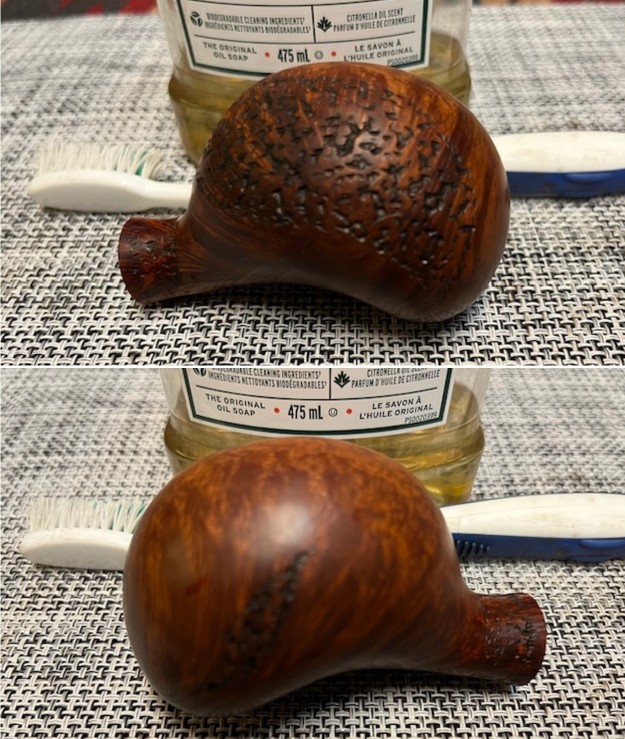
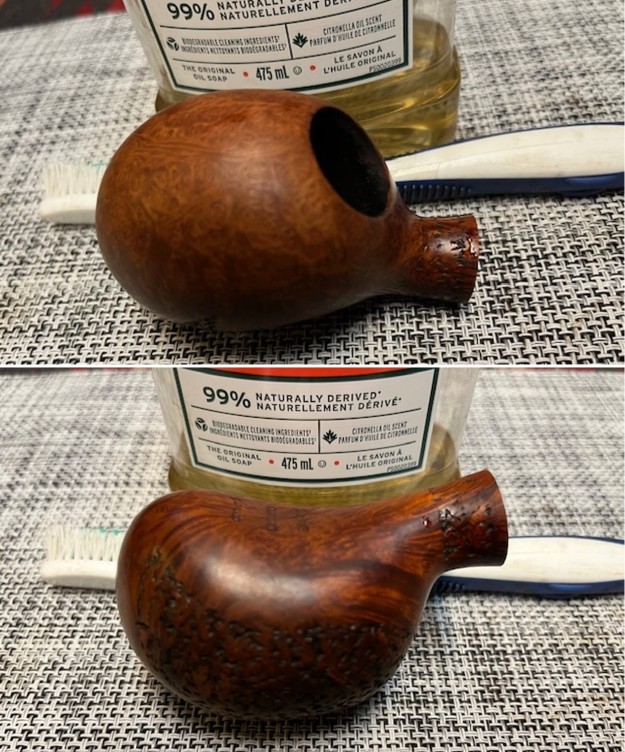
Armed with that information I turned to work on the pipe itself. Jeff had done a great job cleaning up the pipe as usual. He cleaned up the inside of the bowl with a PipNet reamer and a Savinelli Fitsall Pipe Knife. The bowl walls looked very good. He scrubbed the interior of the bowl and shank with pipe cleaners, cotton swabs and alcohol to remove the tars and oils. He scrubbed the exterior of the pipe with Murphy’s Oil Soap and a tooth brush to remove the grime from the finish. He worked on the rim top lava and darkening with the soap and tooth brush. He scrubbed the inside of the stem with alcohol and pipe cleaners. He scrubbed the exterior with Soft Scrub and then soaked it in Briarville’s Pipe Stem Deoxidizer. He washed it off with warm water to remove the deoxidizer. The pipe looked far better. I took photos of the pipe when I received it before I started working on it.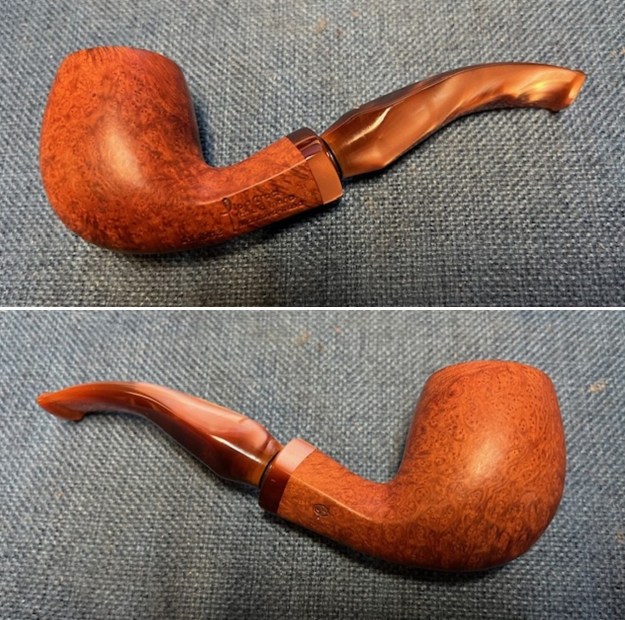
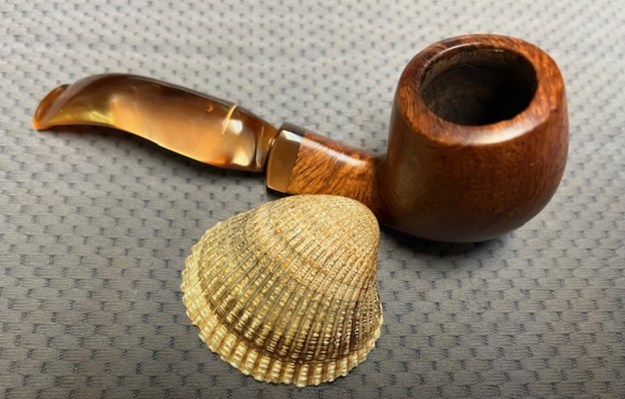
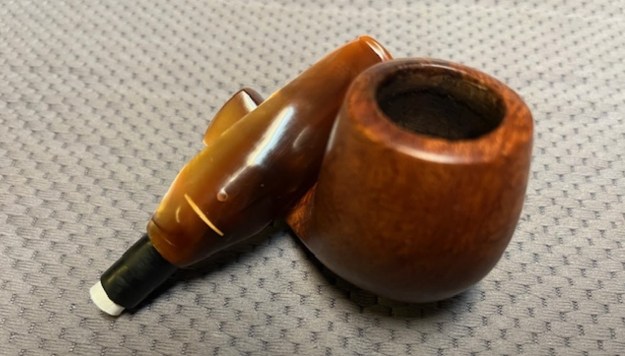
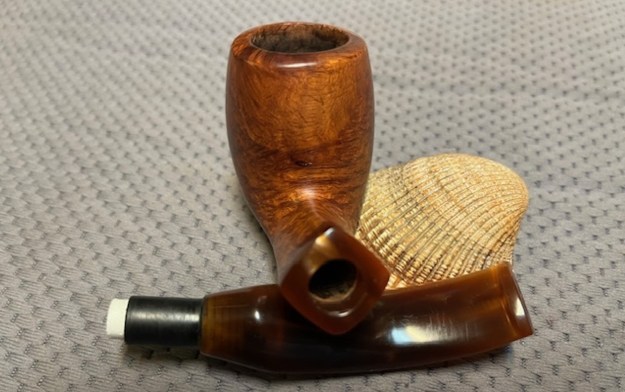
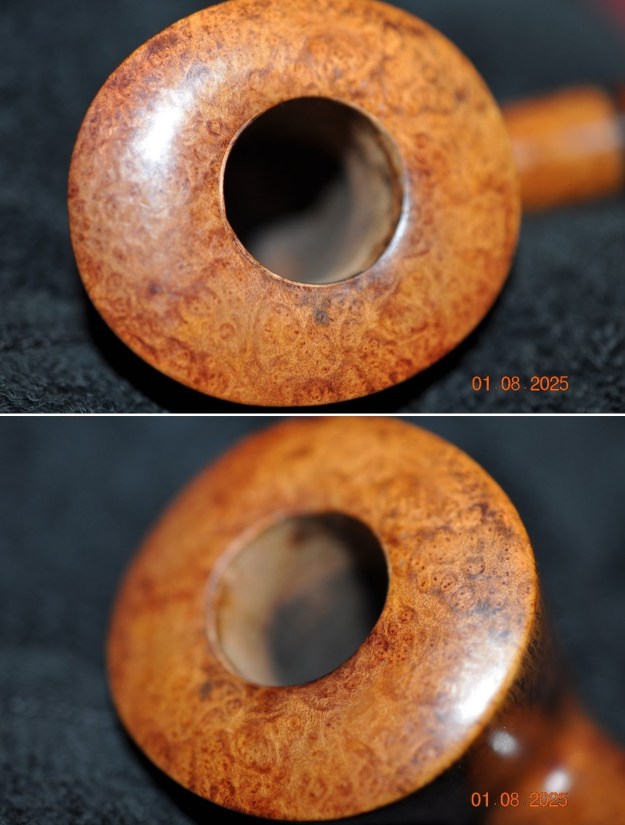
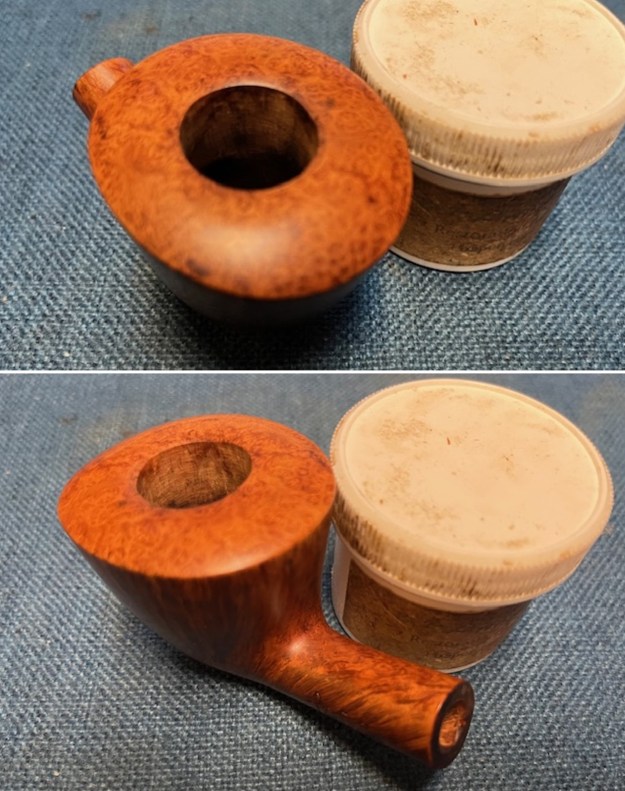
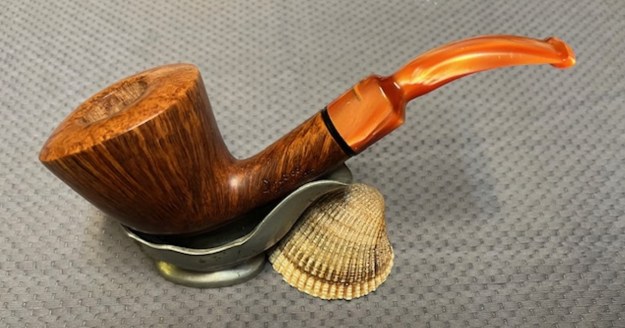
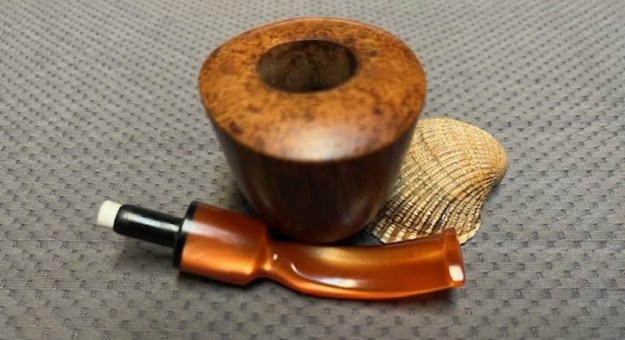
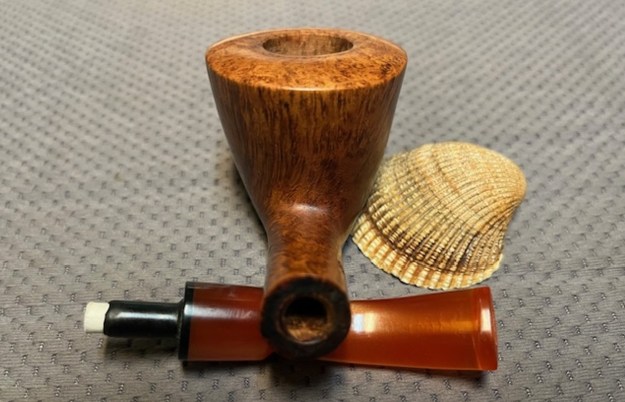
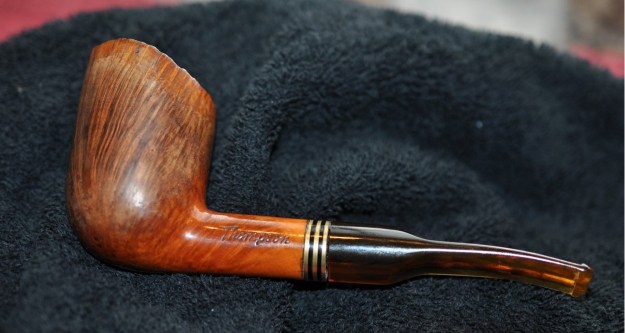
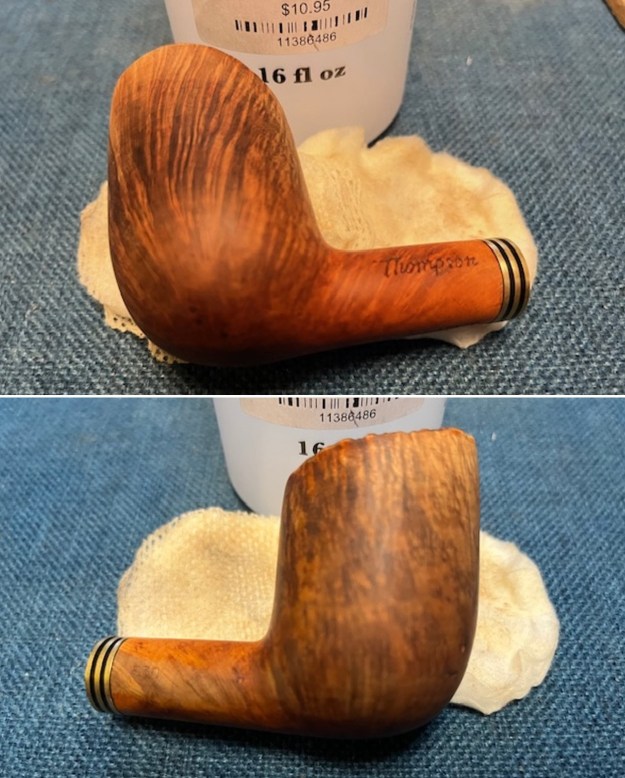
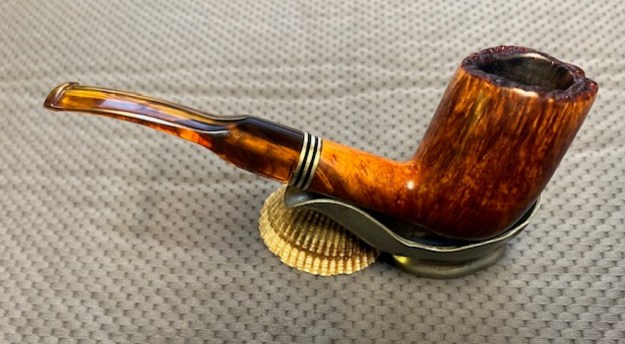
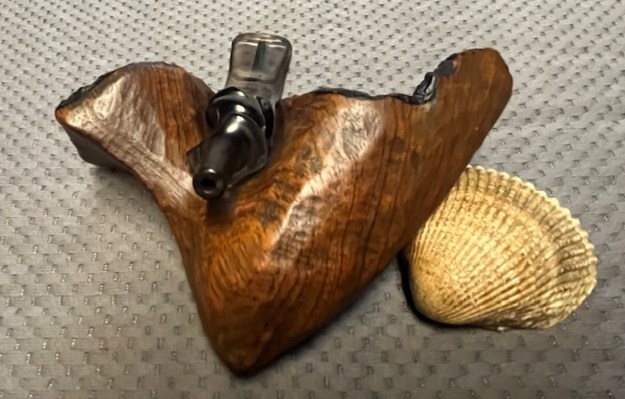
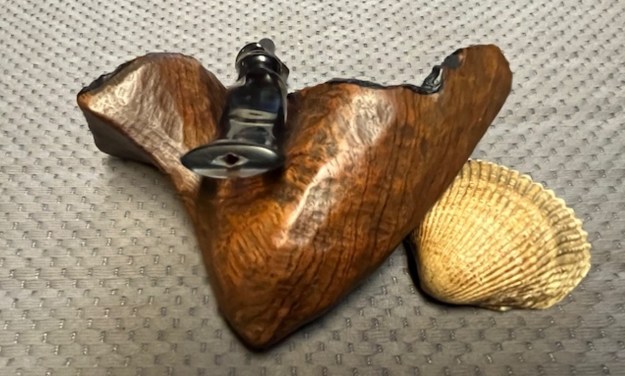
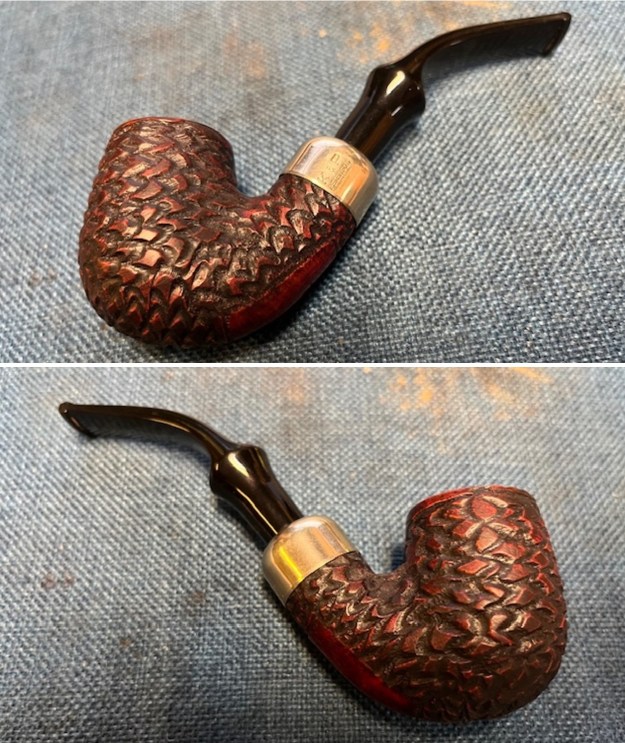
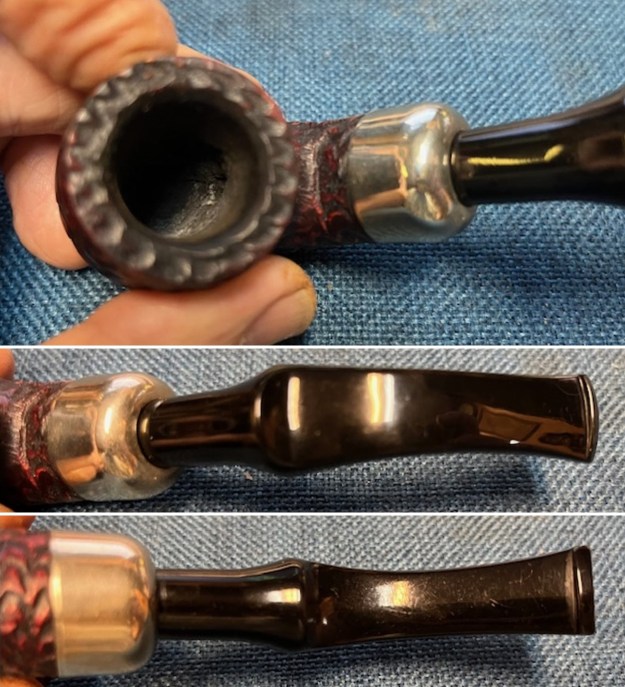
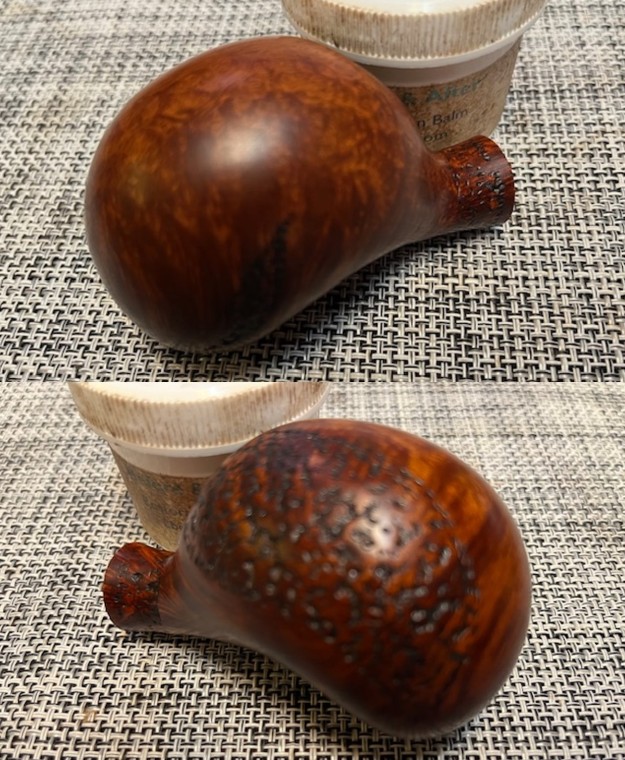
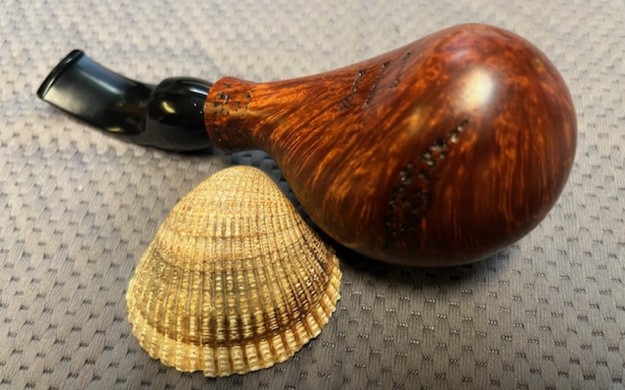
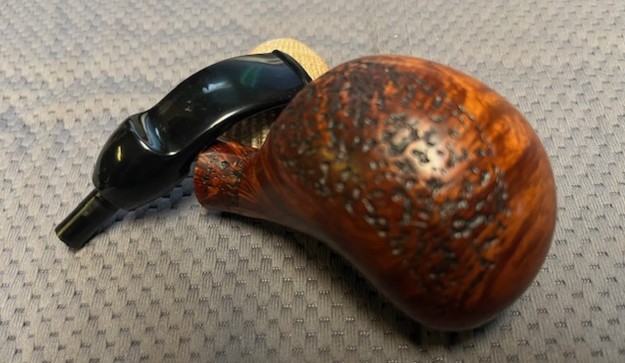
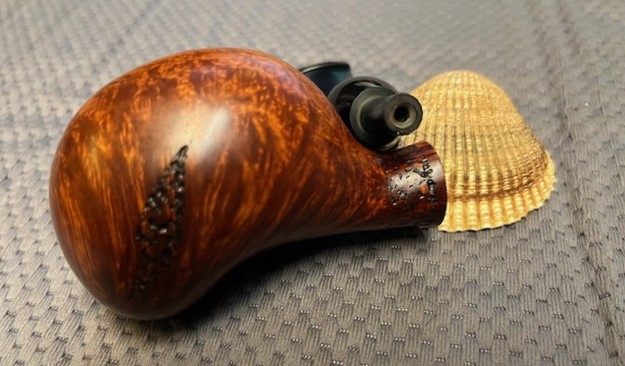
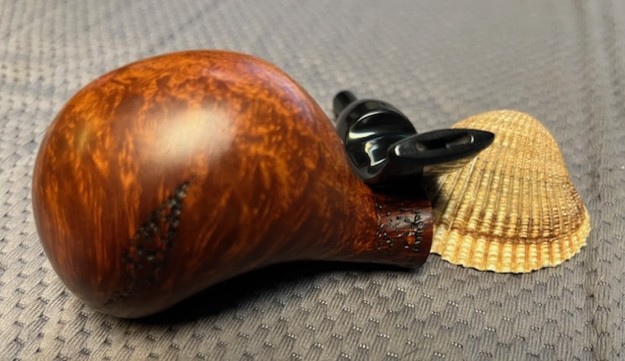
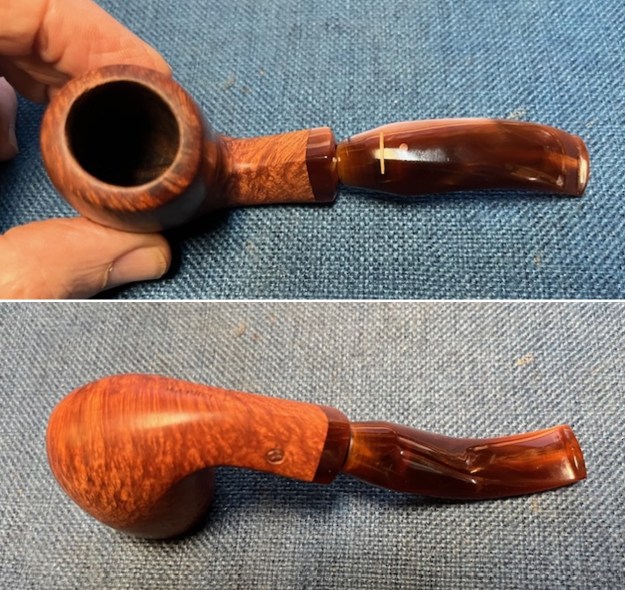 I took photos of the bowl and rim top to show how clean it was. The top and the inner edge of the rim look very good. The stem looks clean of debris and grime. There are light tooth marks and chatter on both sides.
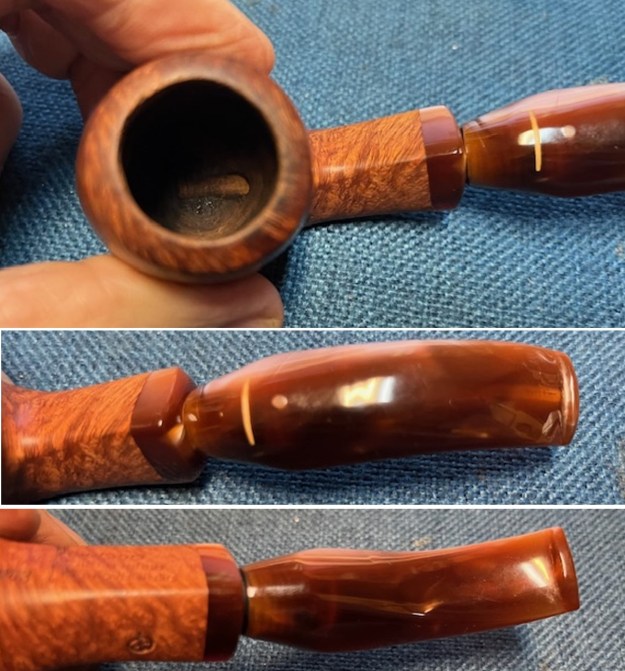 I took photos of the stamping on the sides of shank. The stamping is clear and readable. I took a photo of the pipe with the stem removed to show the overall look of stem, tenon and profile of the pipe.
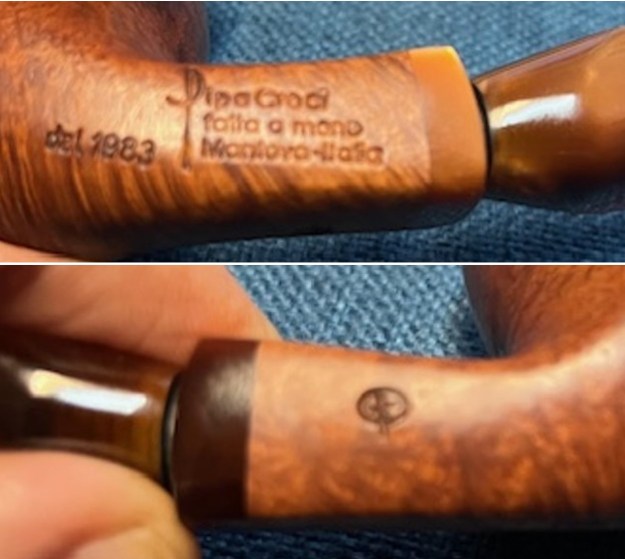
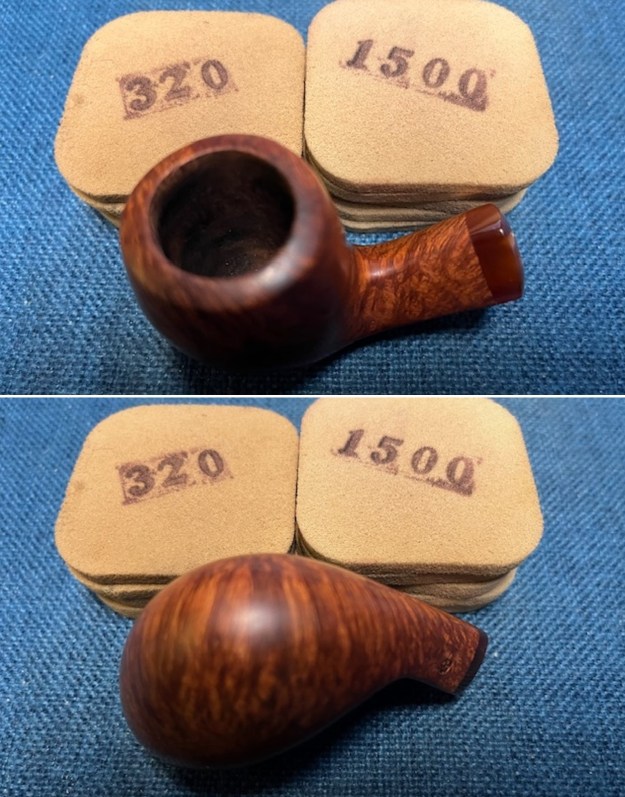
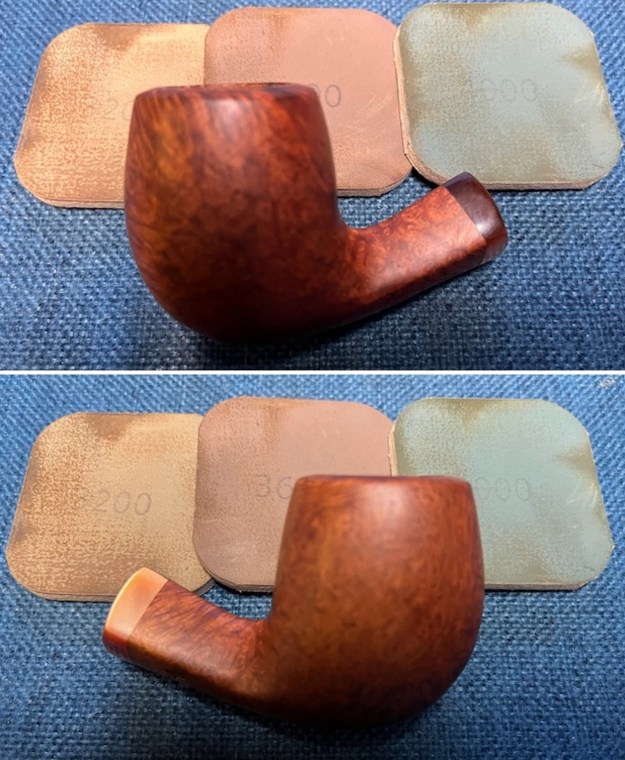
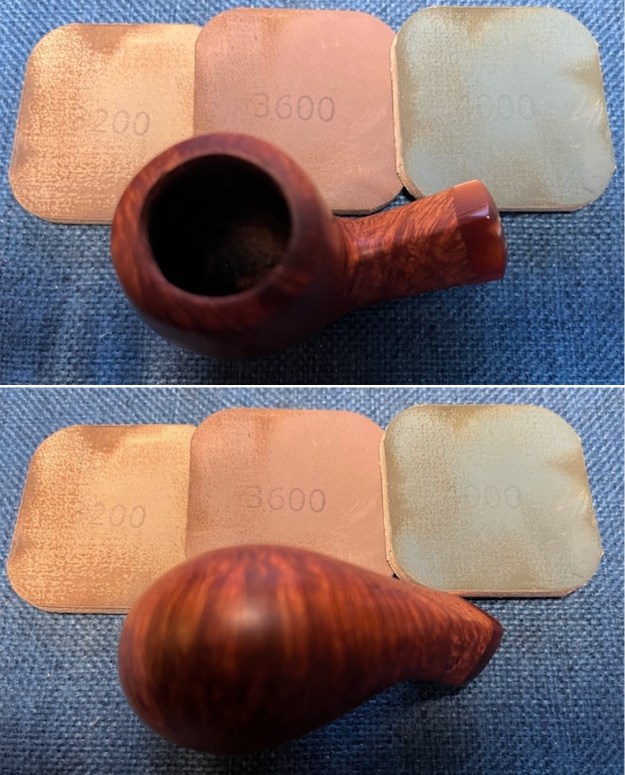
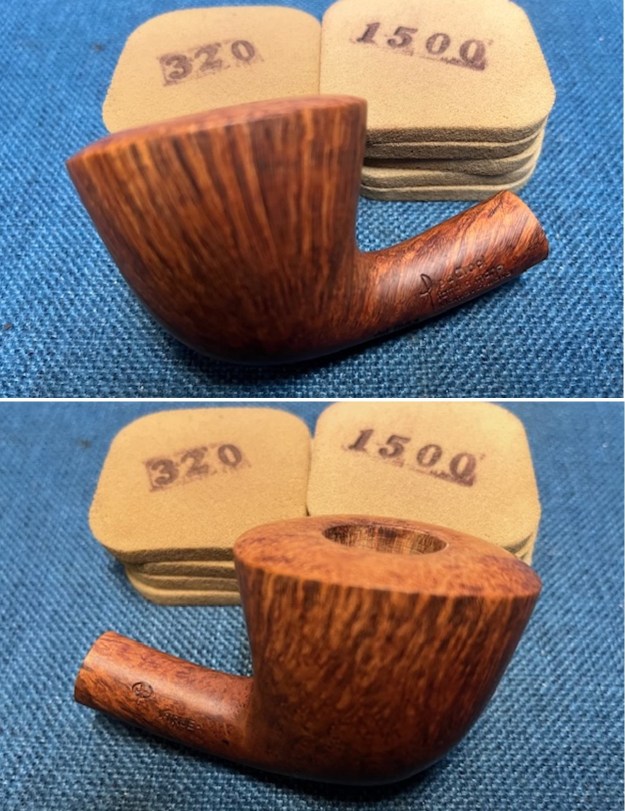
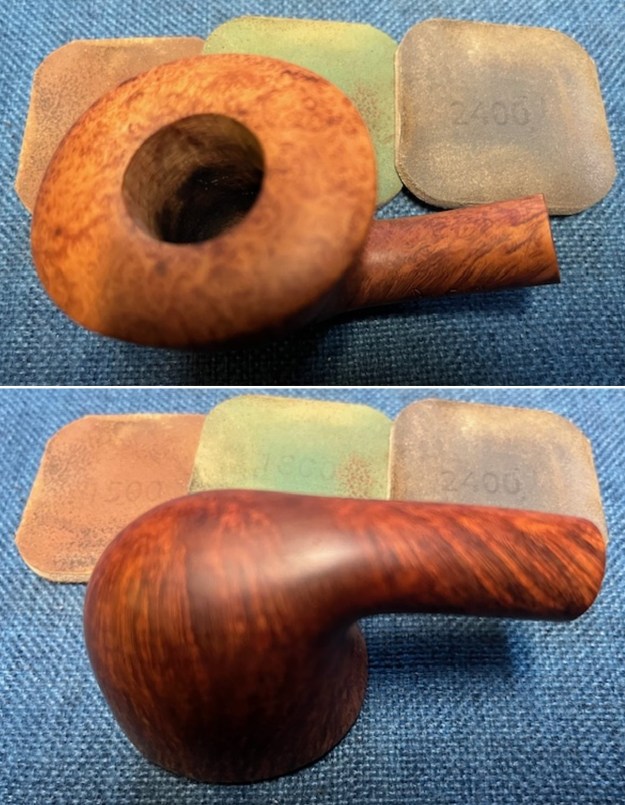
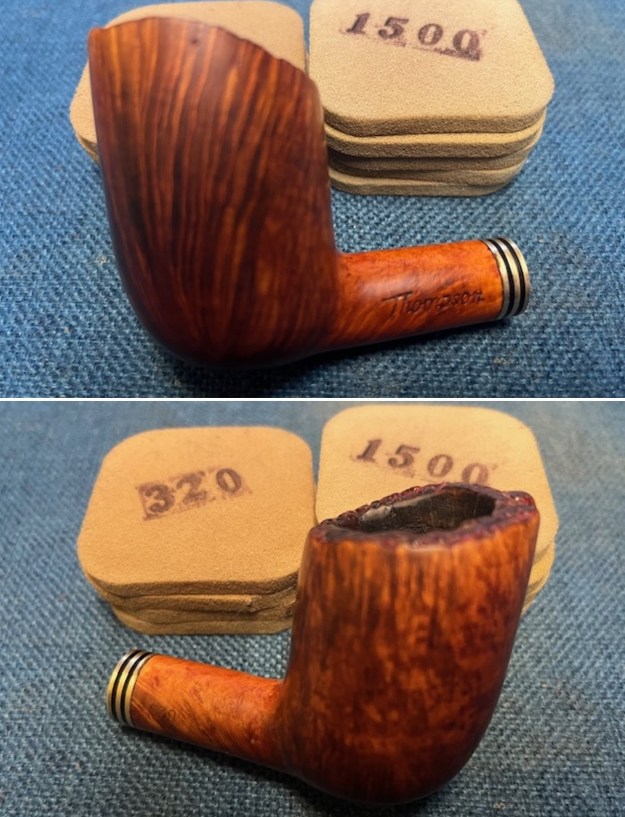
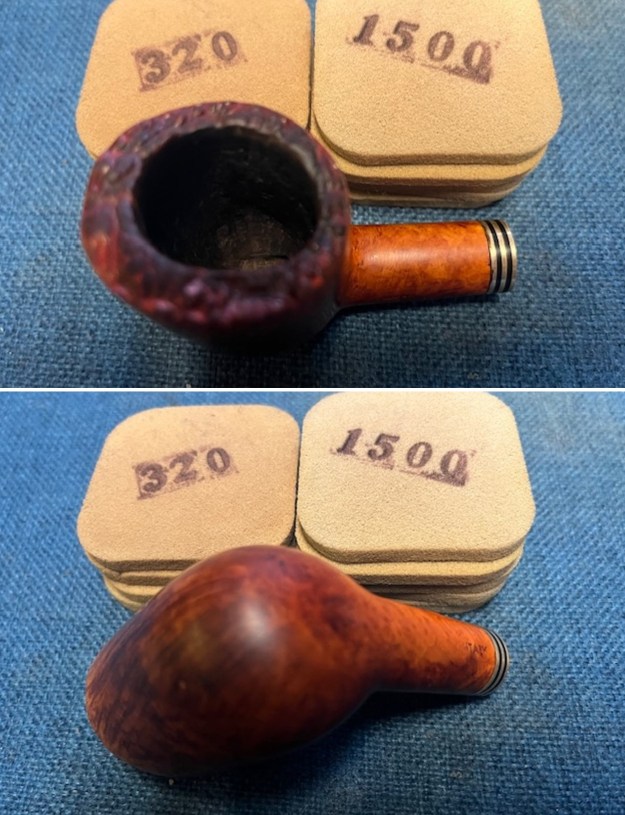
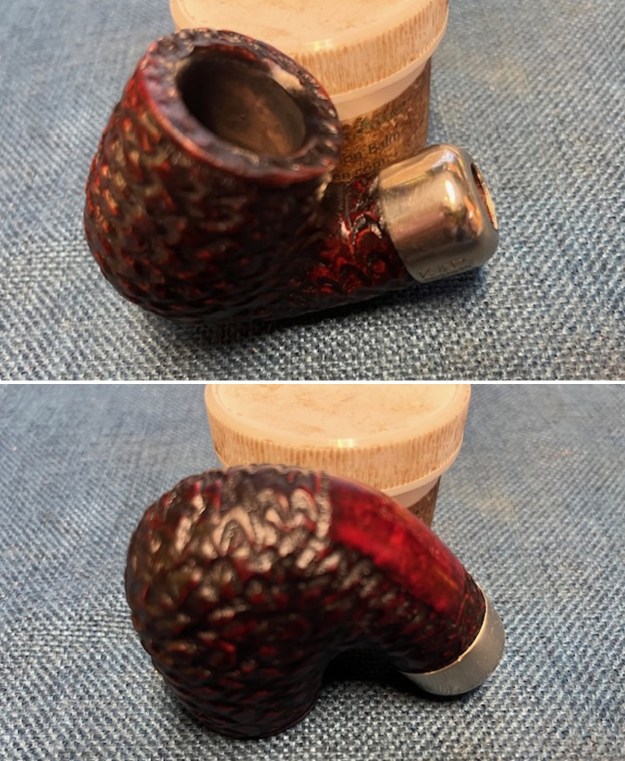
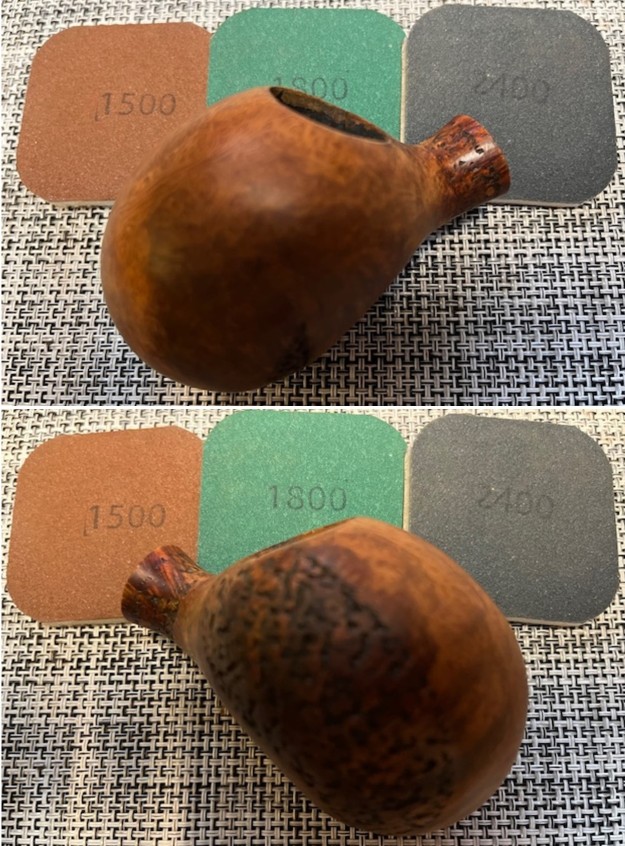
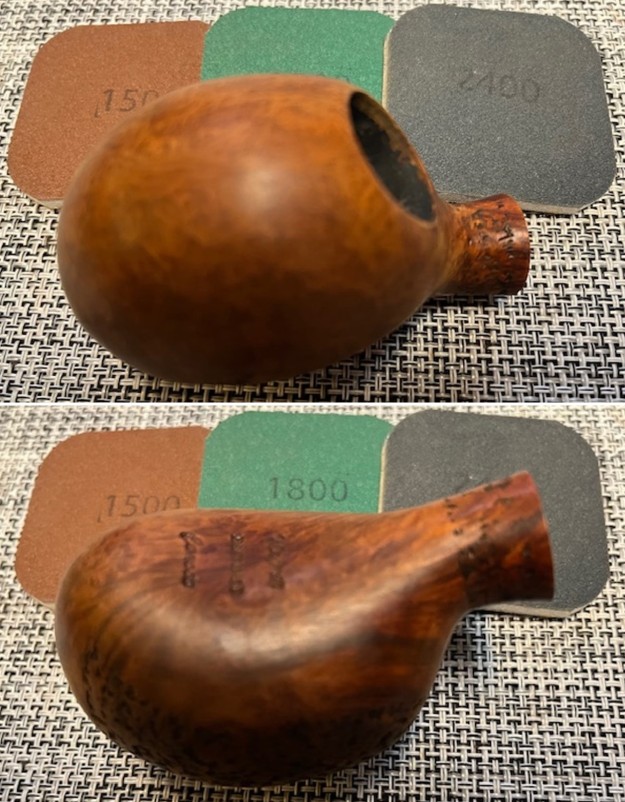
 Now it was time to work on the pipe. I sanded the briar with 320-3500 grit sanding pads. I wiped the bowl down with a damp cloth after each sanding pad.
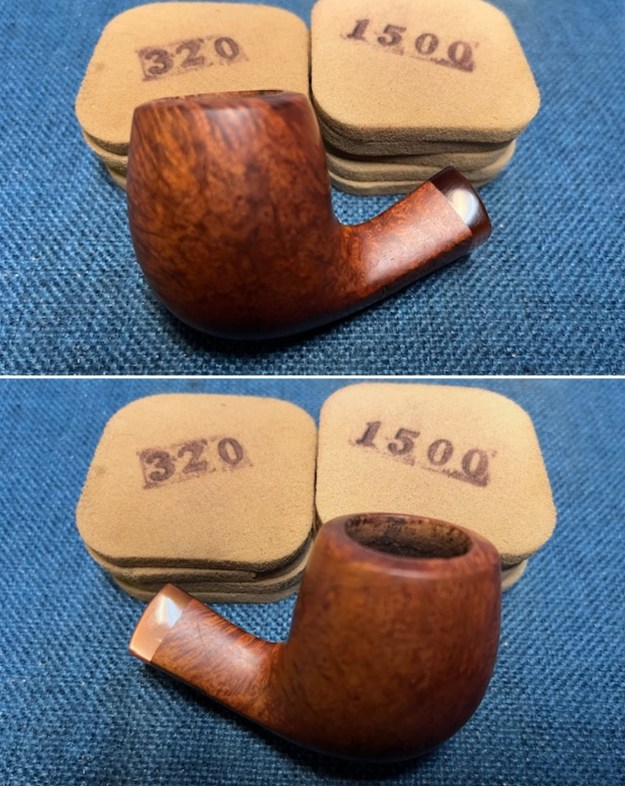
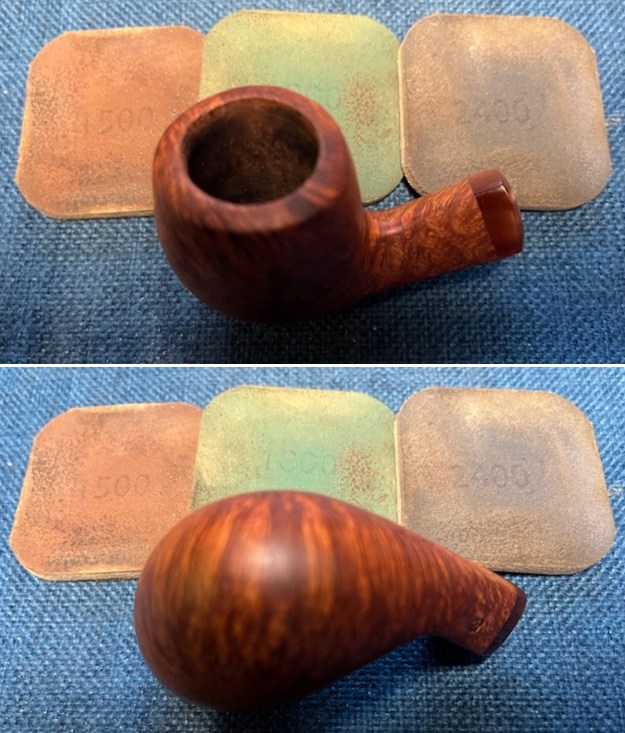
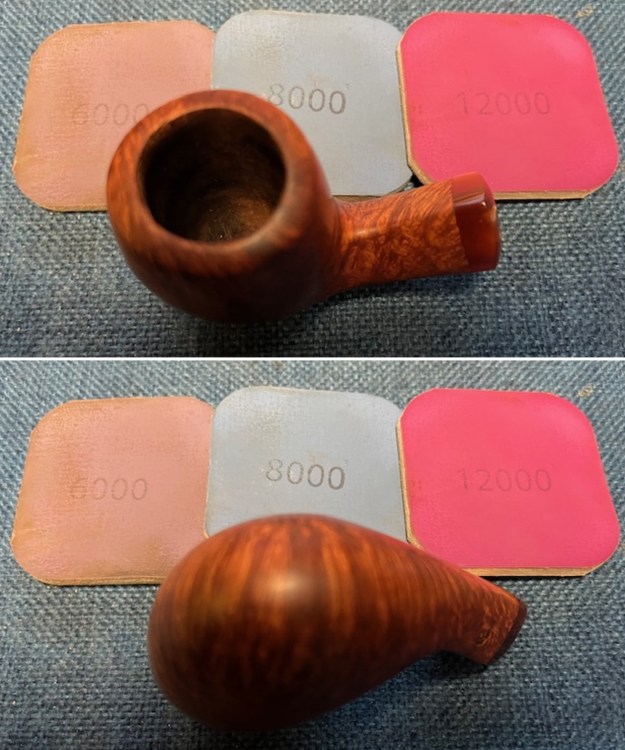
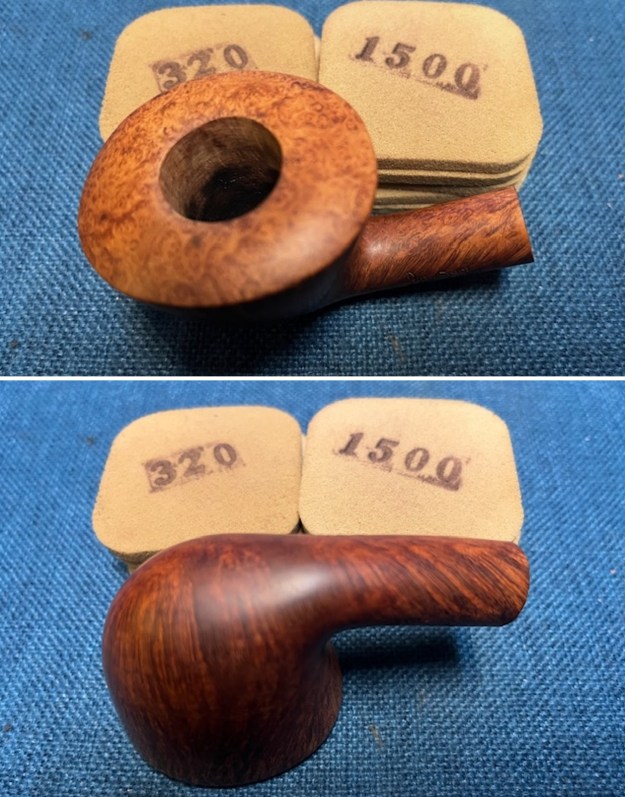
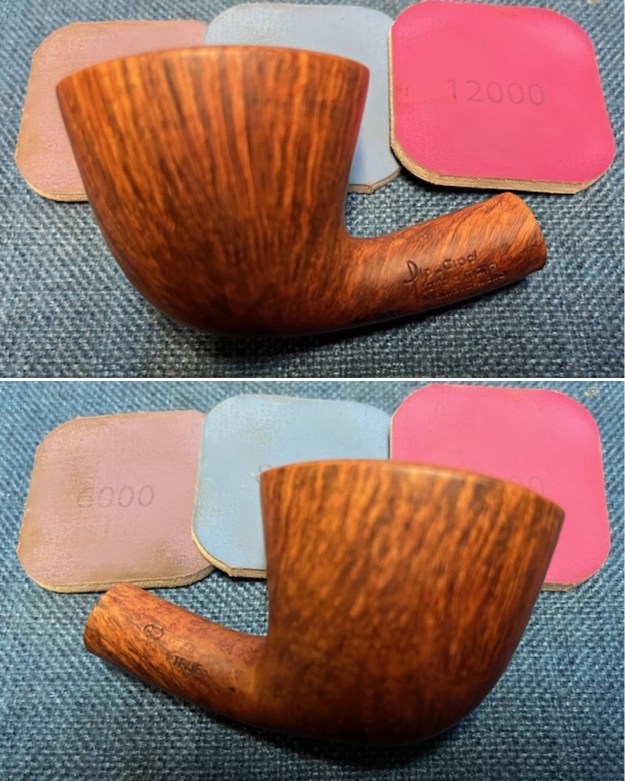
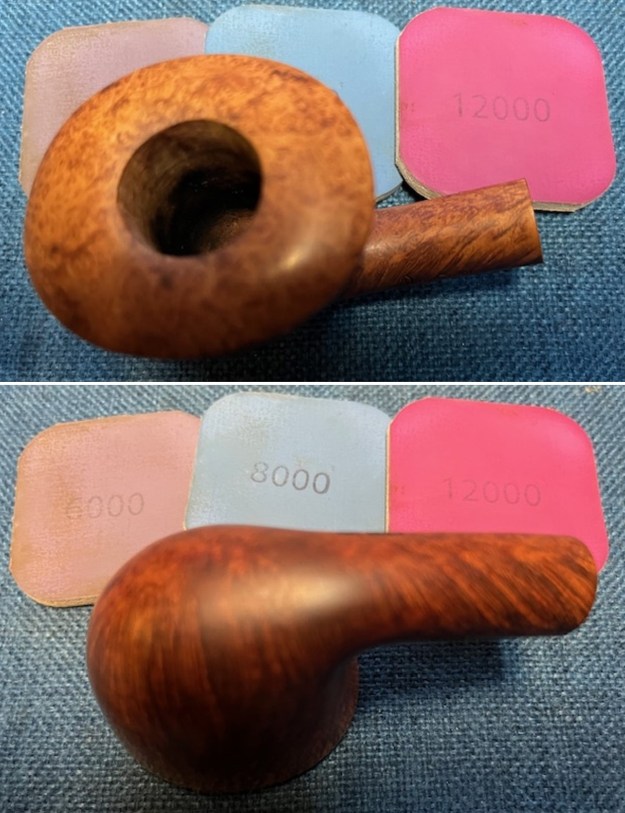
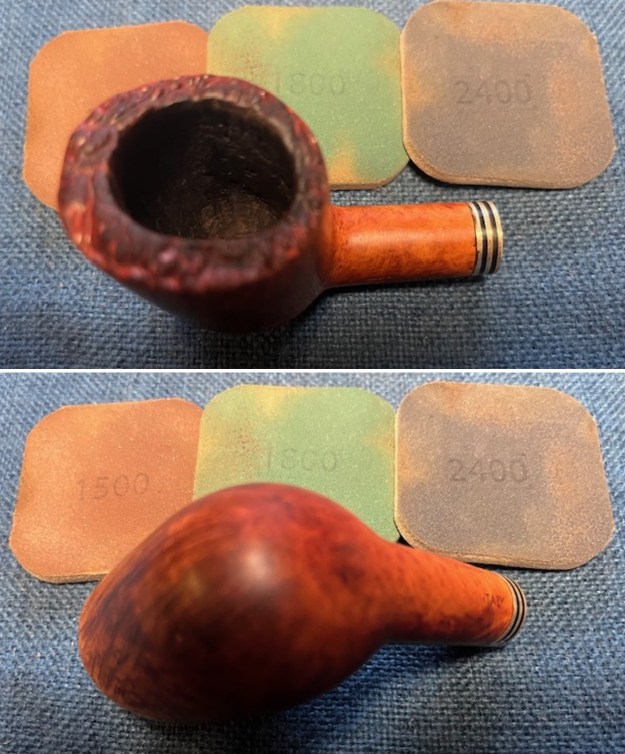
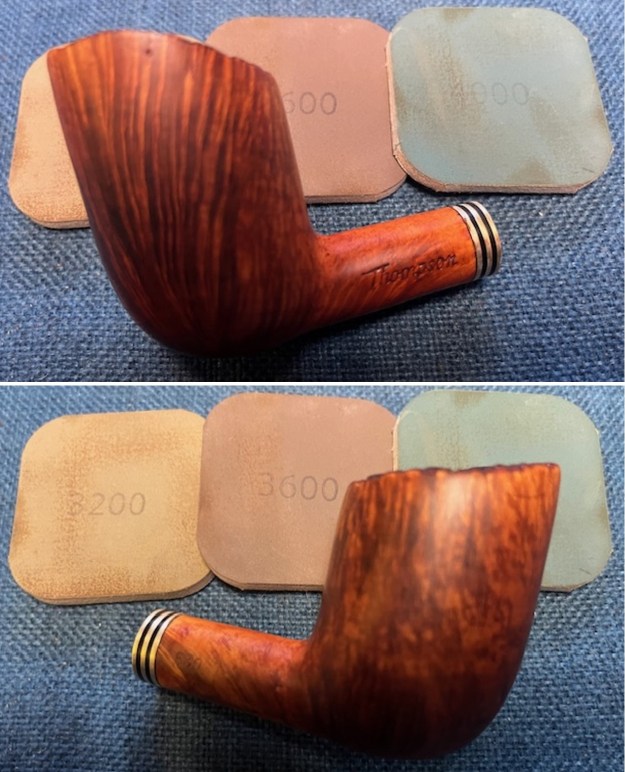
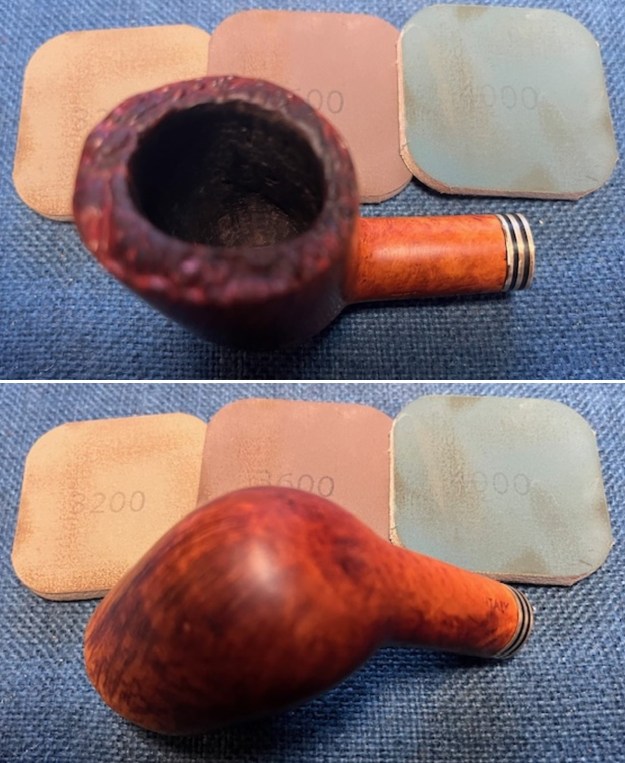
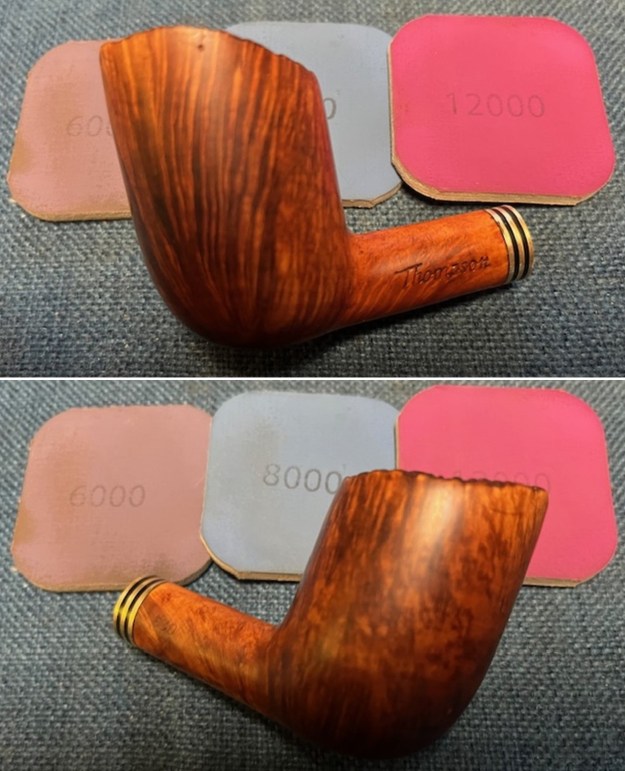
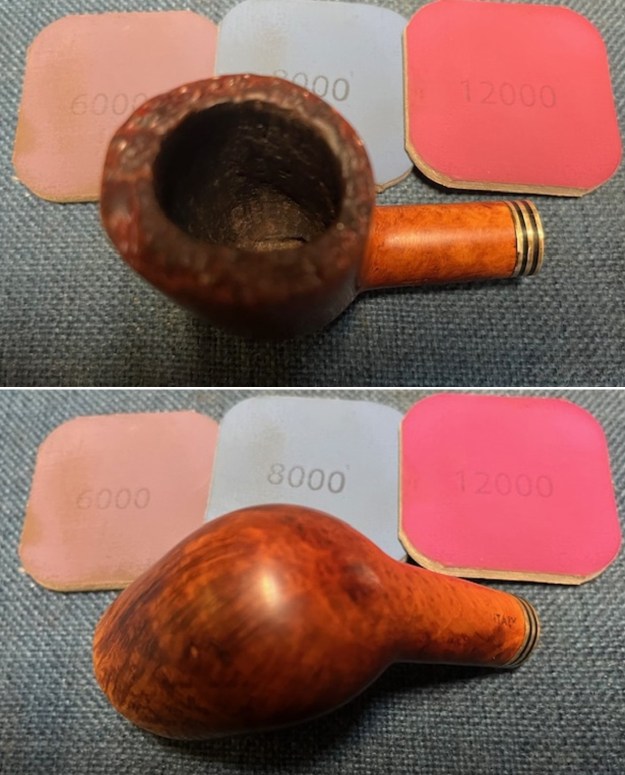
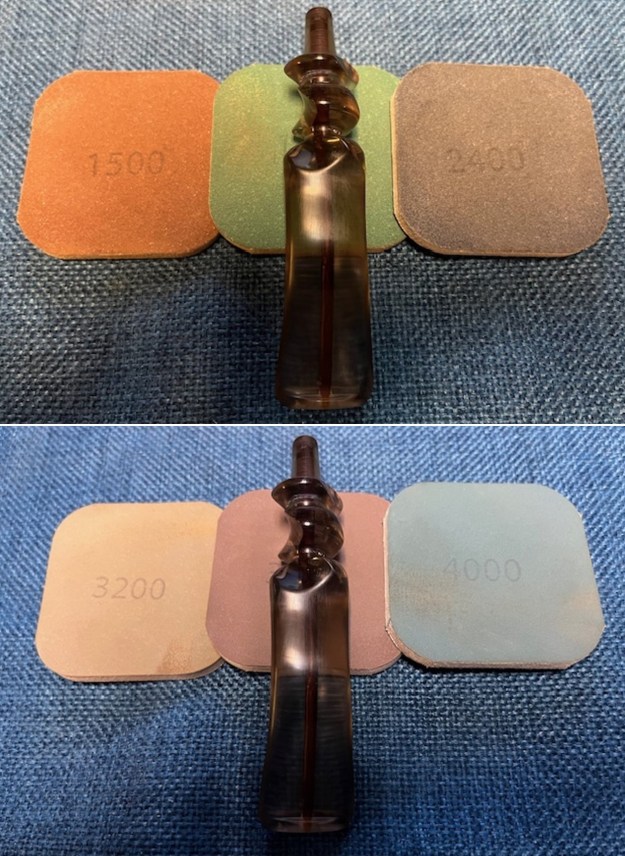
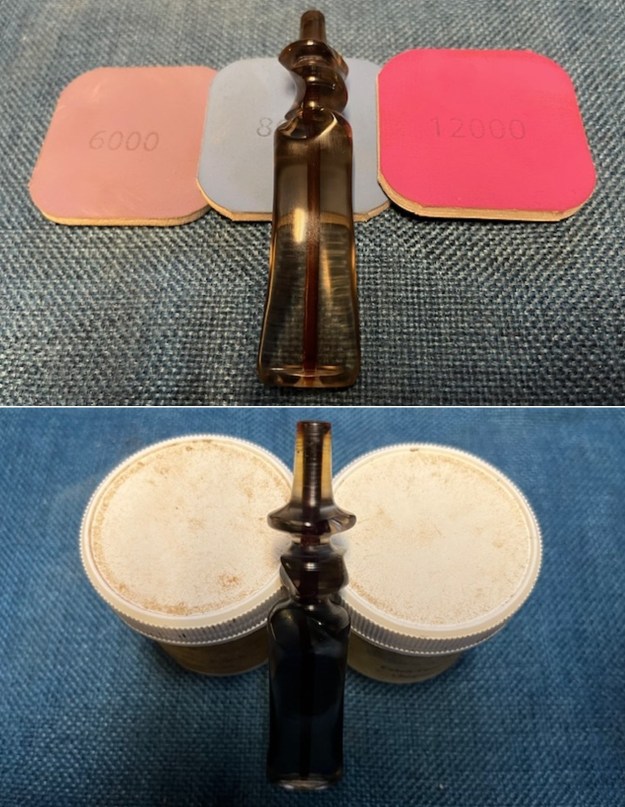
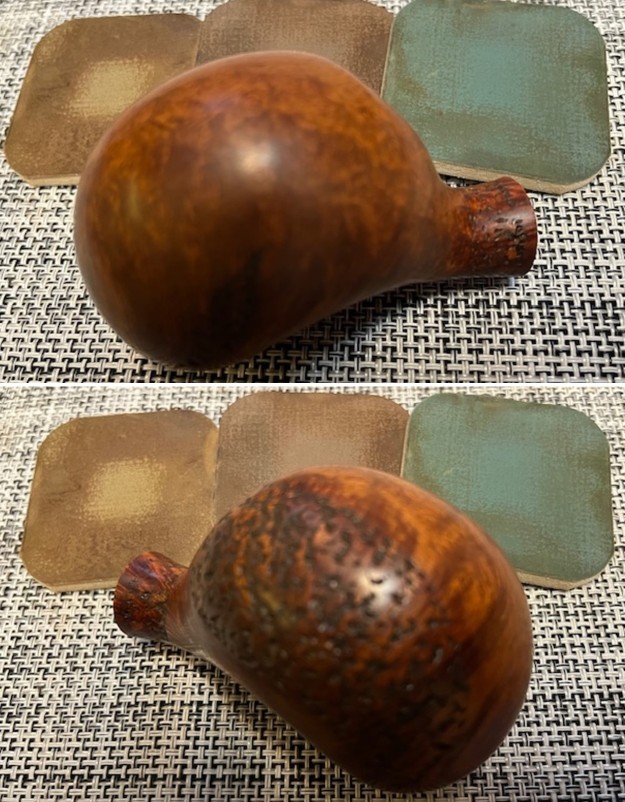
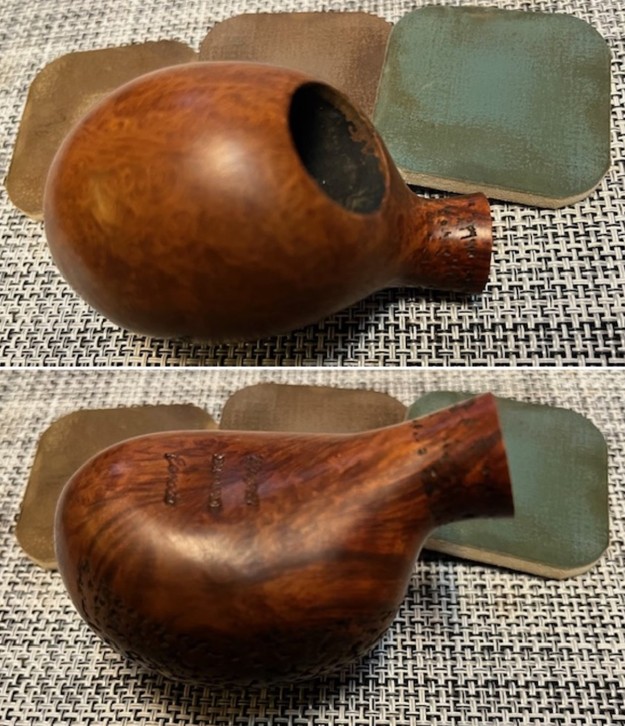
 I polished the bowl with micromesh sanding pads – dry sanding with 1500-12000 grits sanding pads. Once again, I wiped it down with a damp cloth following each pad.

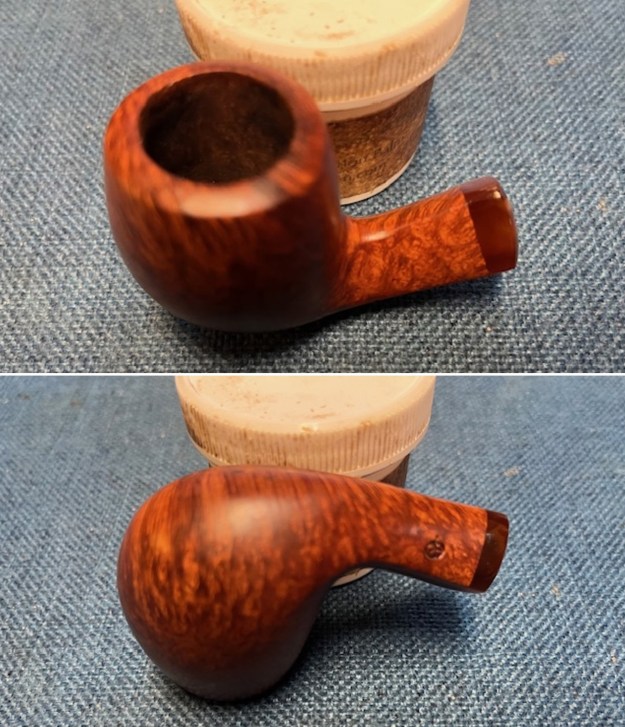
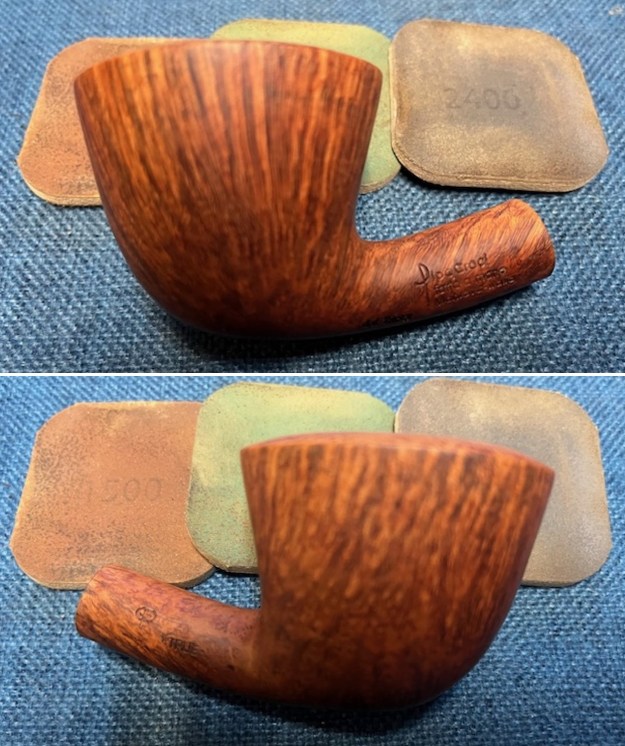
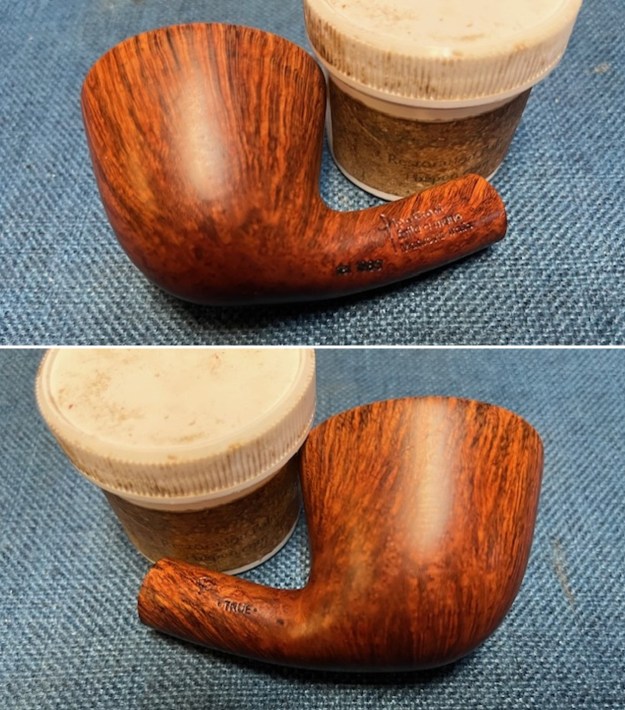
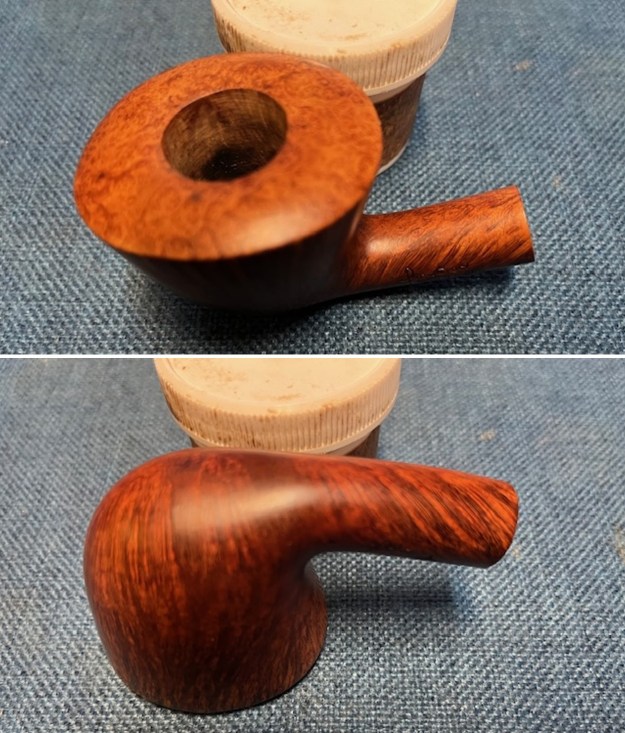
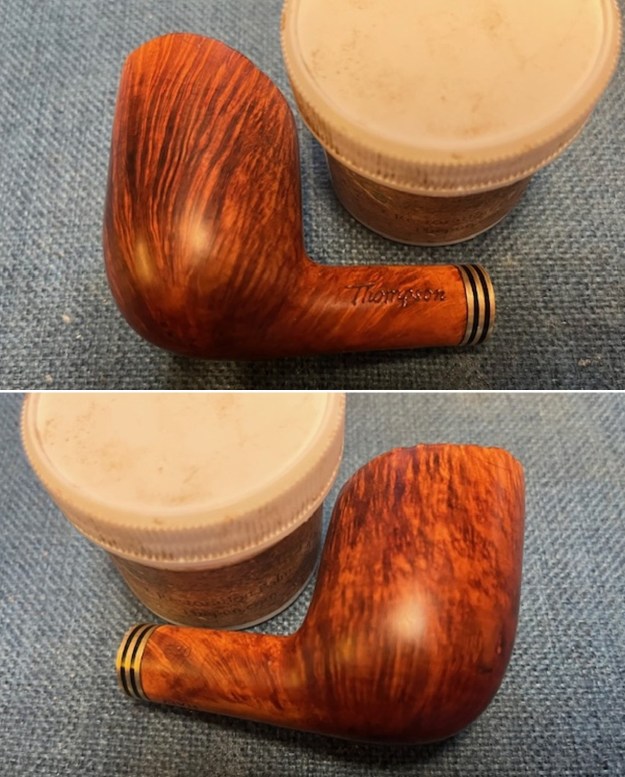
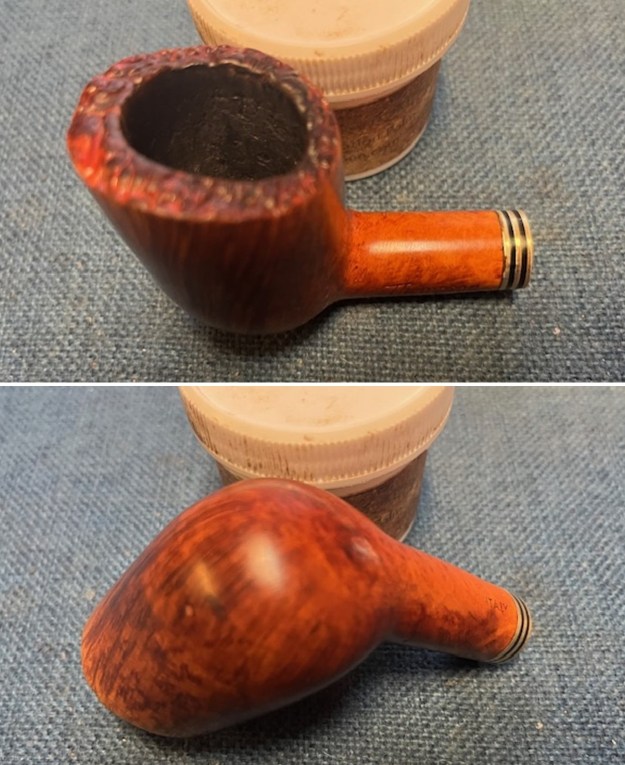
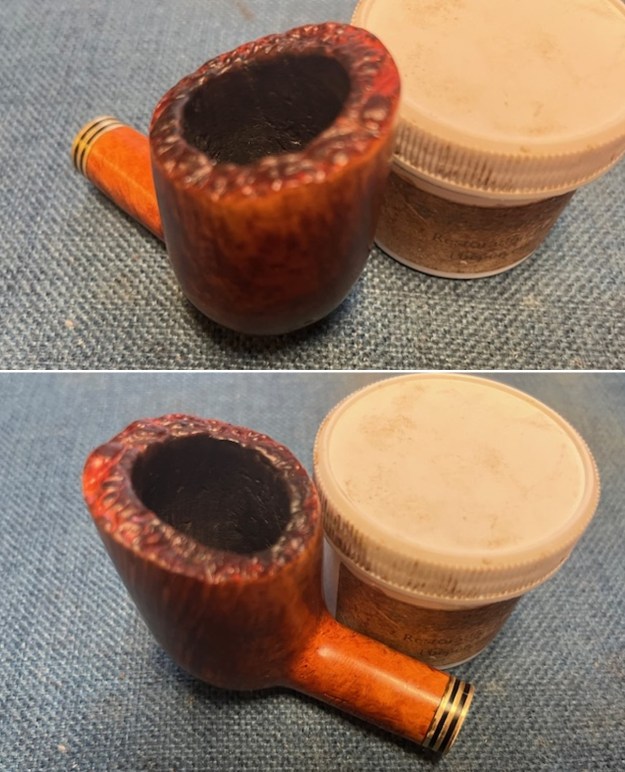
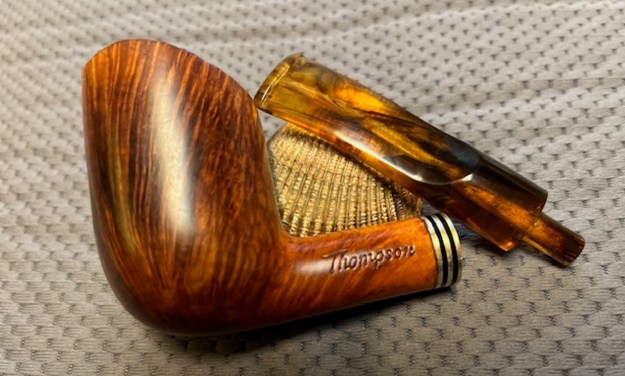
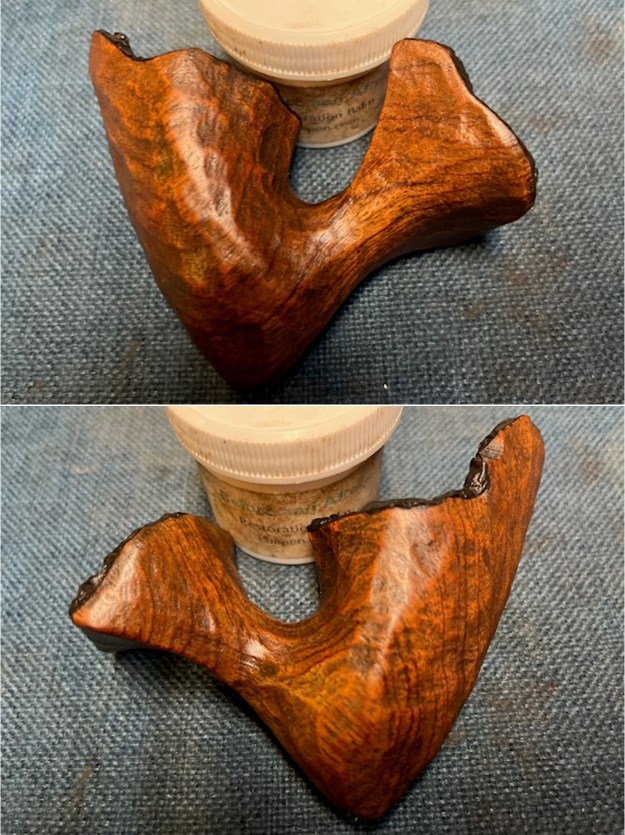
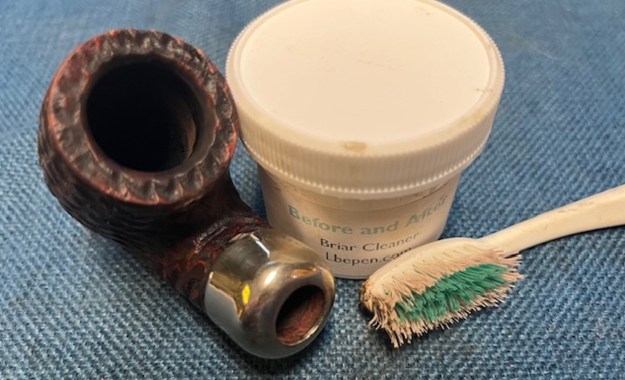
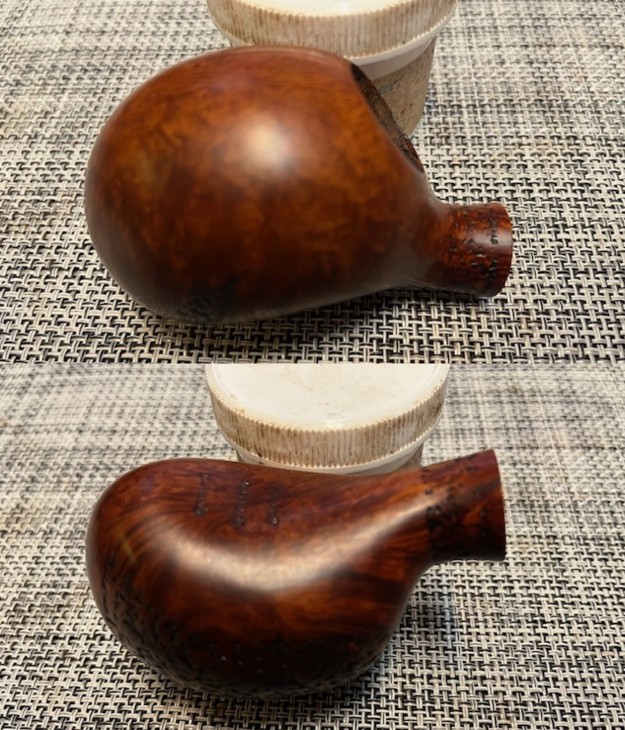
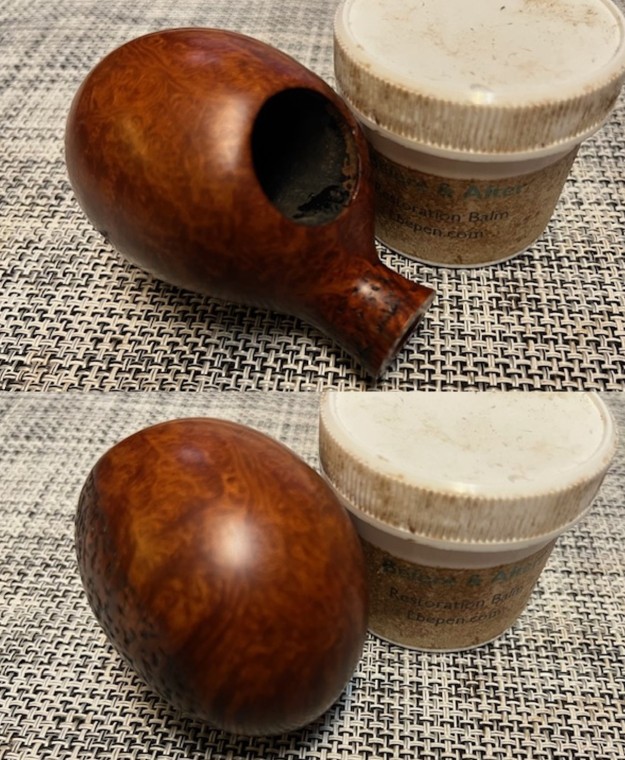
 I rubbed the bowl down with Before & After Restoration Balm. It is a paste/balm that works to deep clean the finish, enliven and protect the briar. I worked it into the briar with my finger tips to make sure that it covered every square inch of the pipe. I set it aside for 10 minutes to let it do its work. I buffed it with a cotton cloth. The briar really began to have a deep shine. The photos I took of the bowl at this point mark the progress in the restoration.
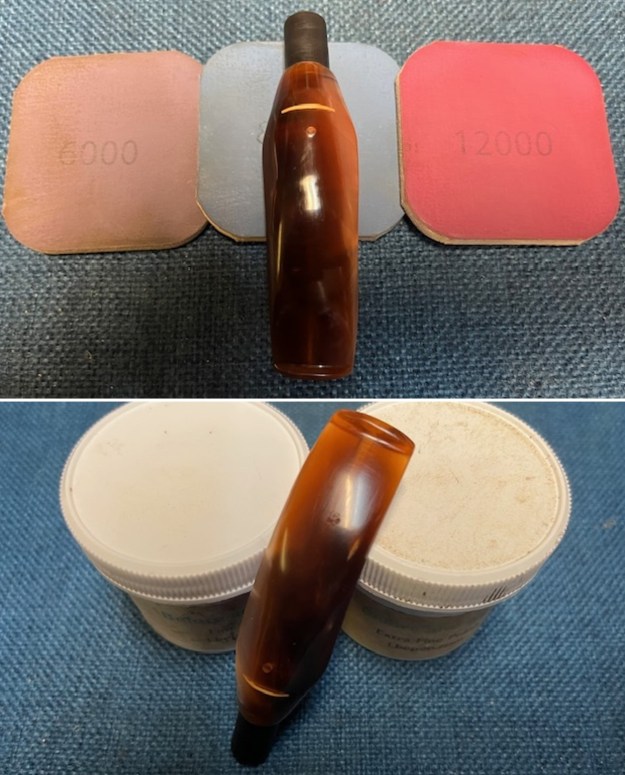
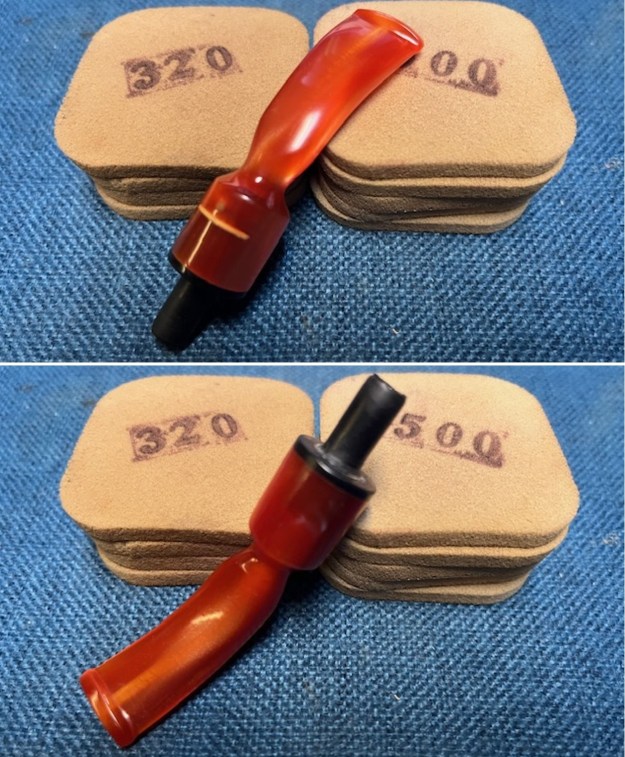
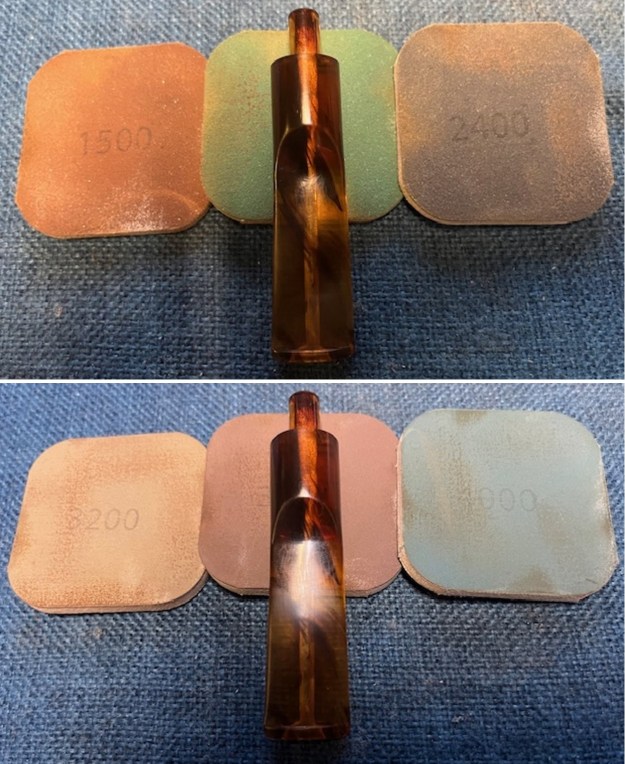
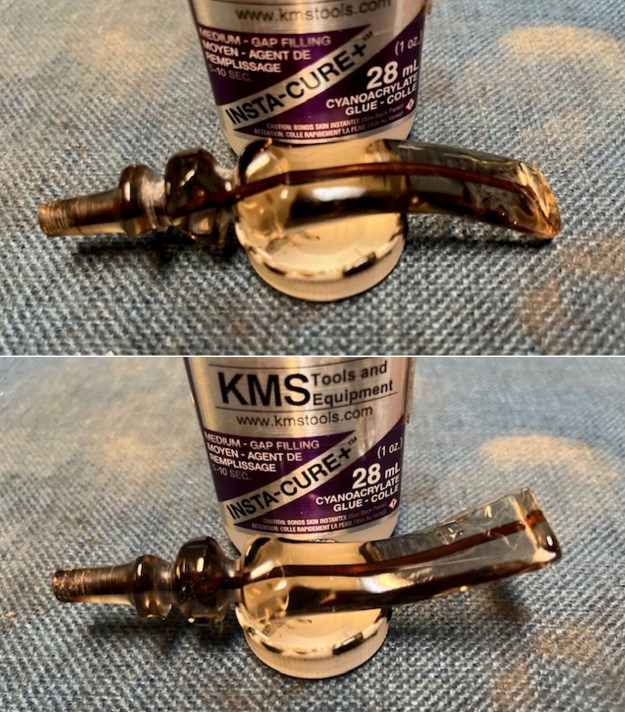
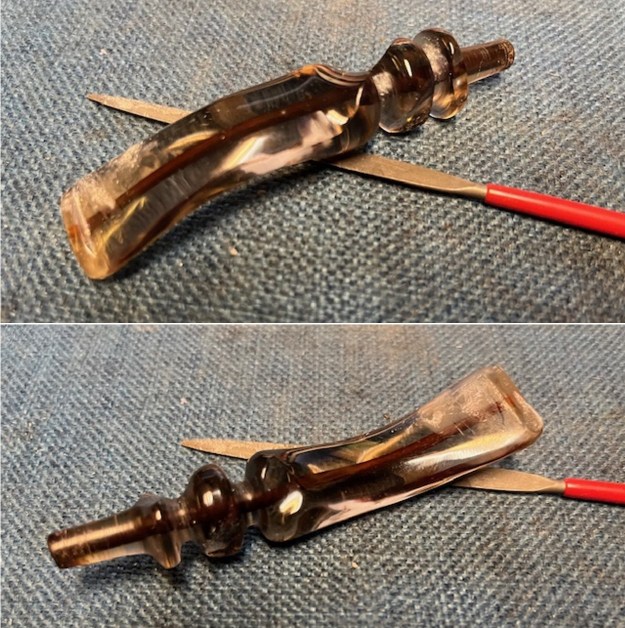
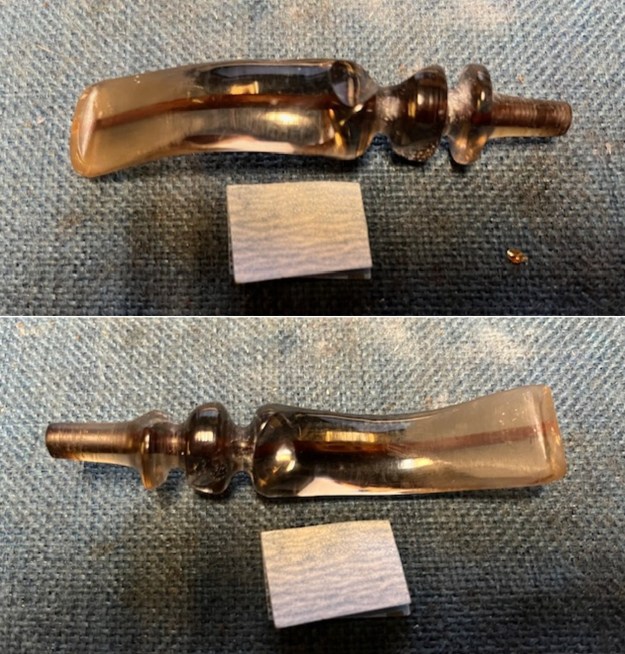
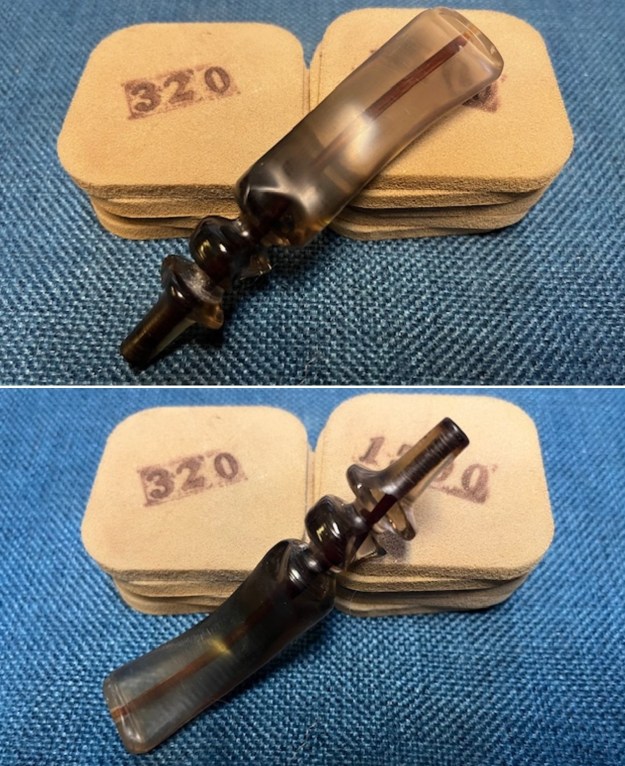
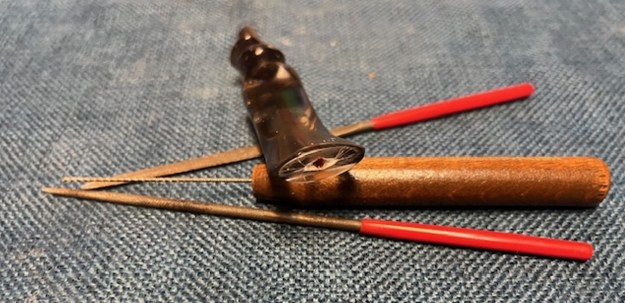
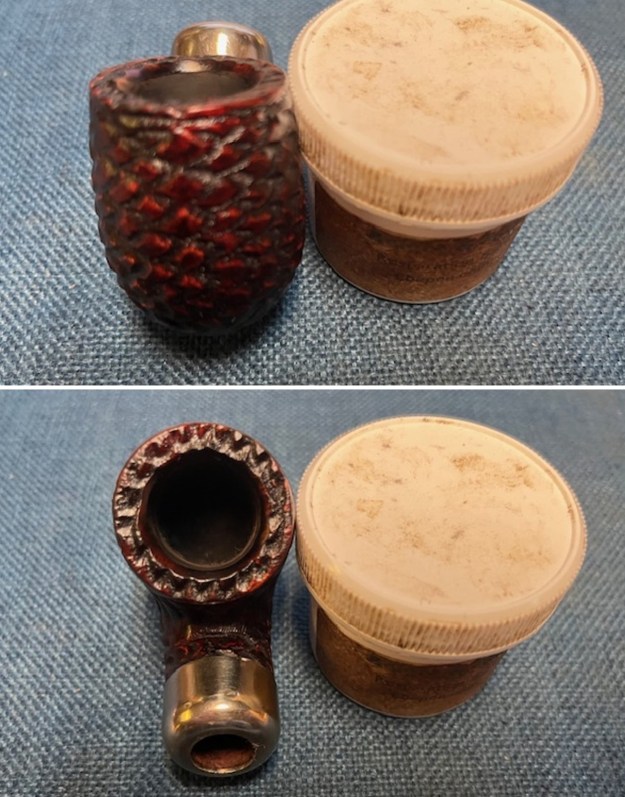
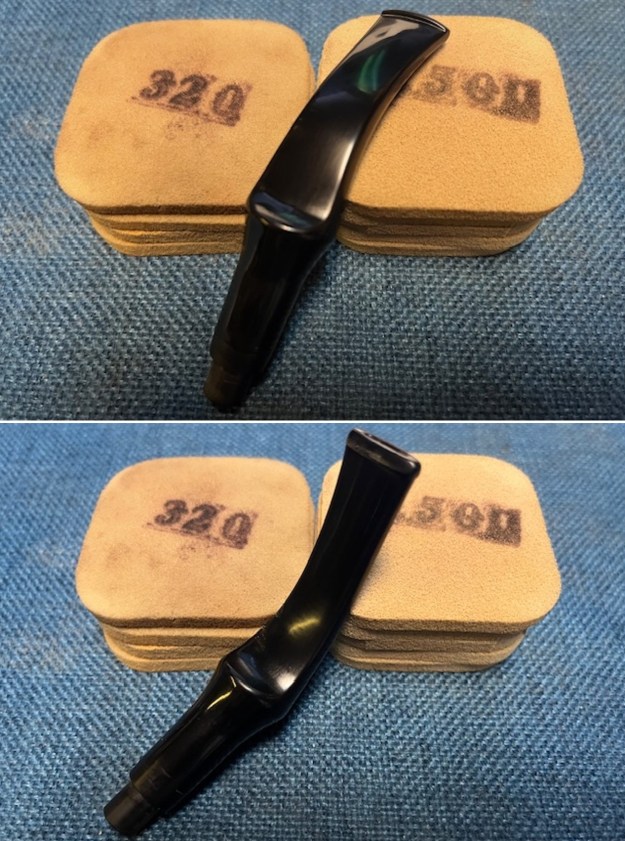
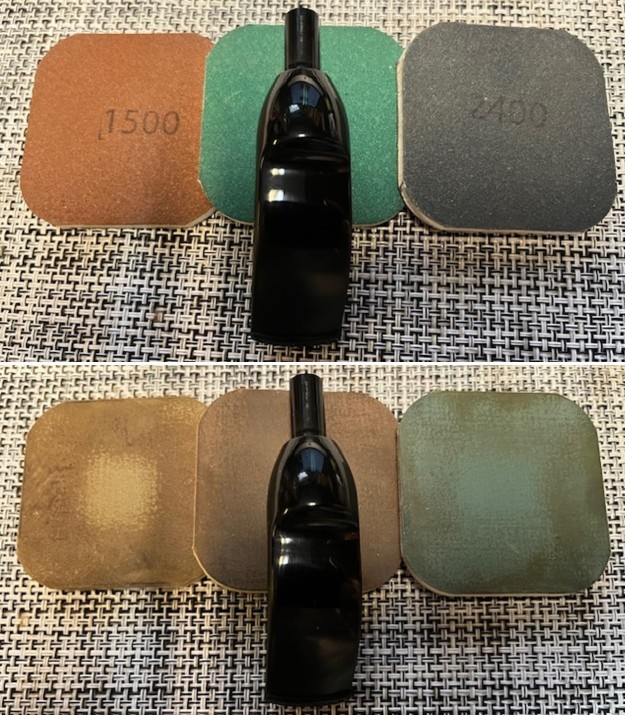
 I set the bowl aside and turned my attention to the stem. I sanded the stem with 320-3500 grit sanding pads to break up the remaining oxidation. I wiped it down after each sanding pad with an Obsidian Oil impregnated cloth. It began to look good.
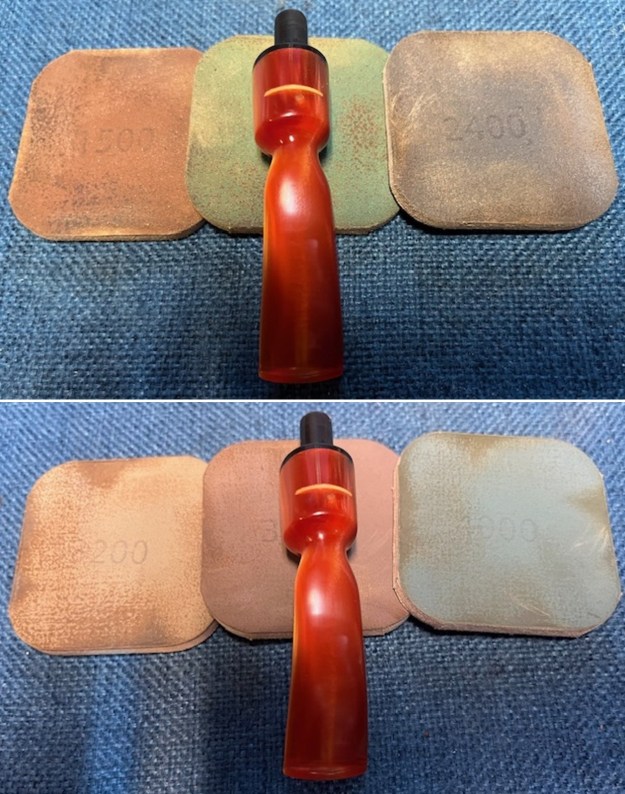
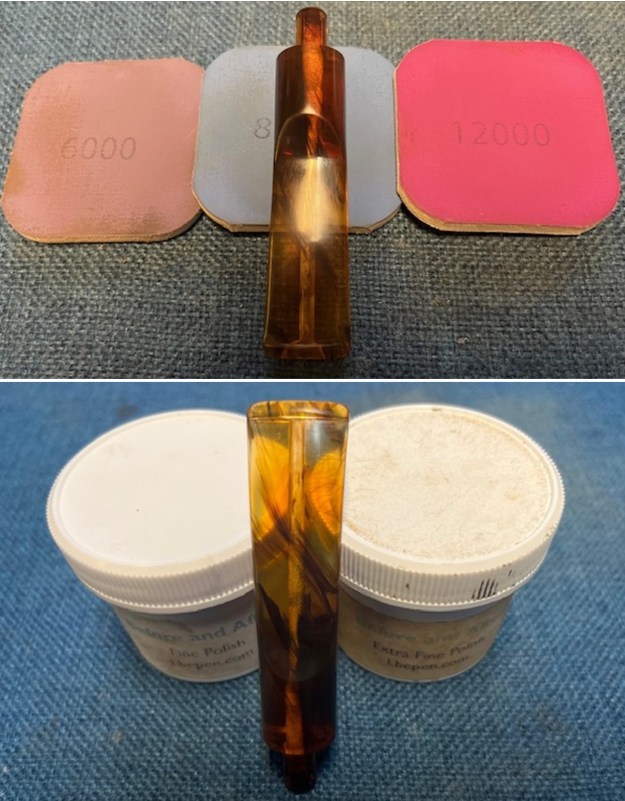
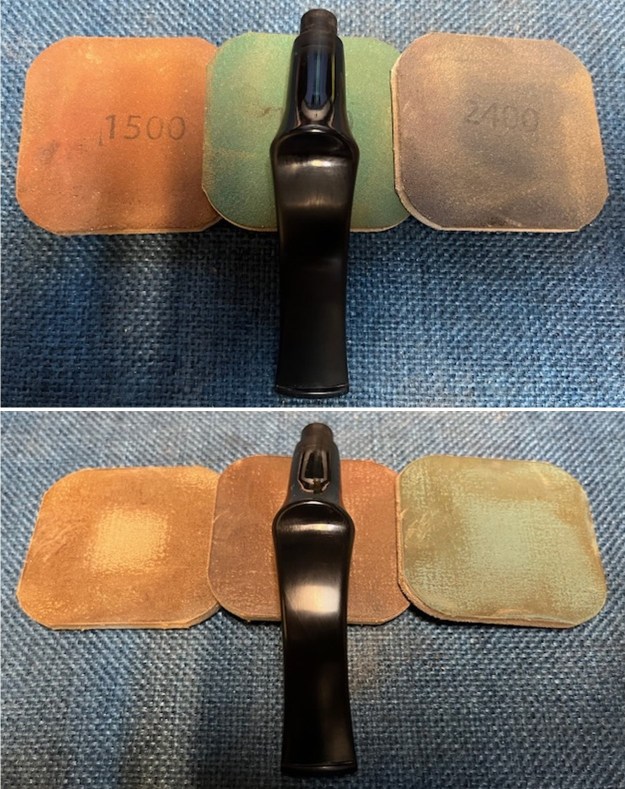
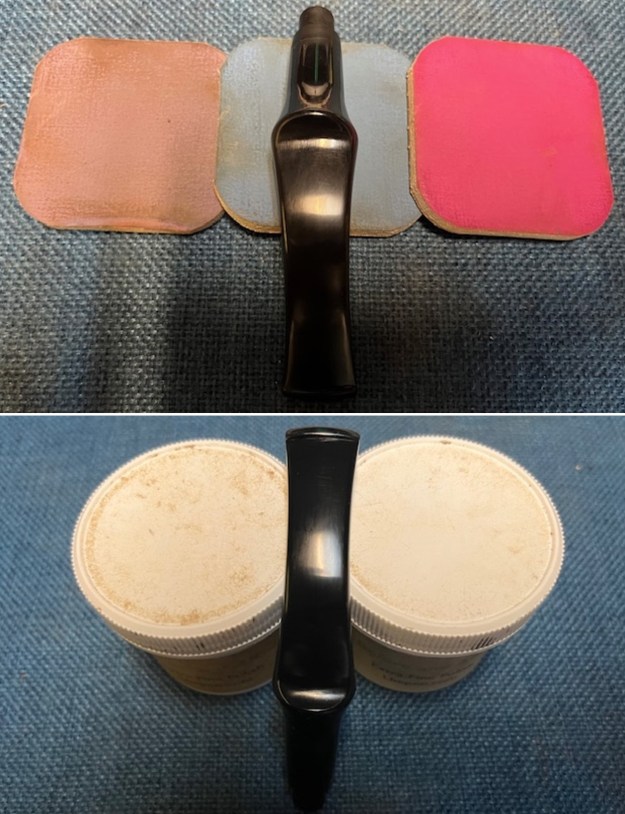
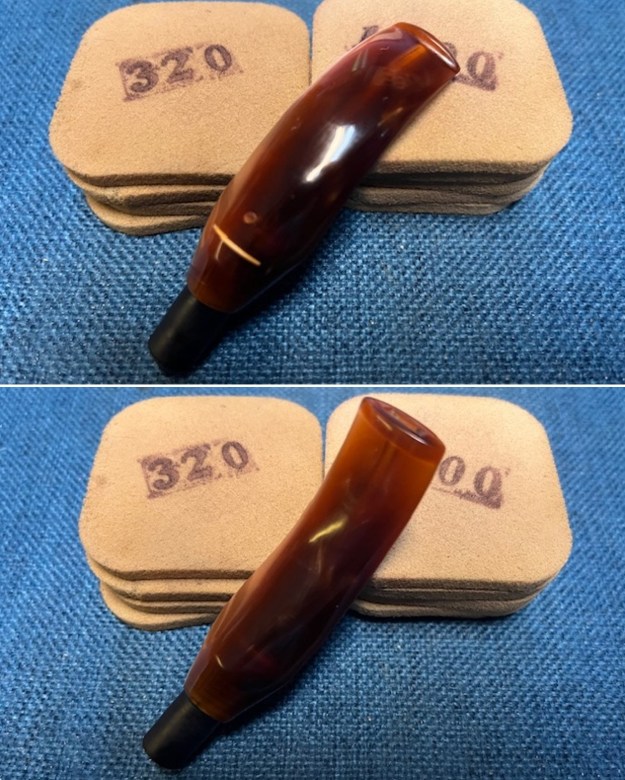 I polished the stem with micromesh sanding pads – dry sanding with 1500-12000 grit pads. I wiped the stem down after each sanding pad with Obsidian Oil. I polished it with Before & After Pipe Stem Polish – both Fine and Extra Fine. Once I had finished the polishing I gave it final coat of Obsidian Oil and set it aside to dry.
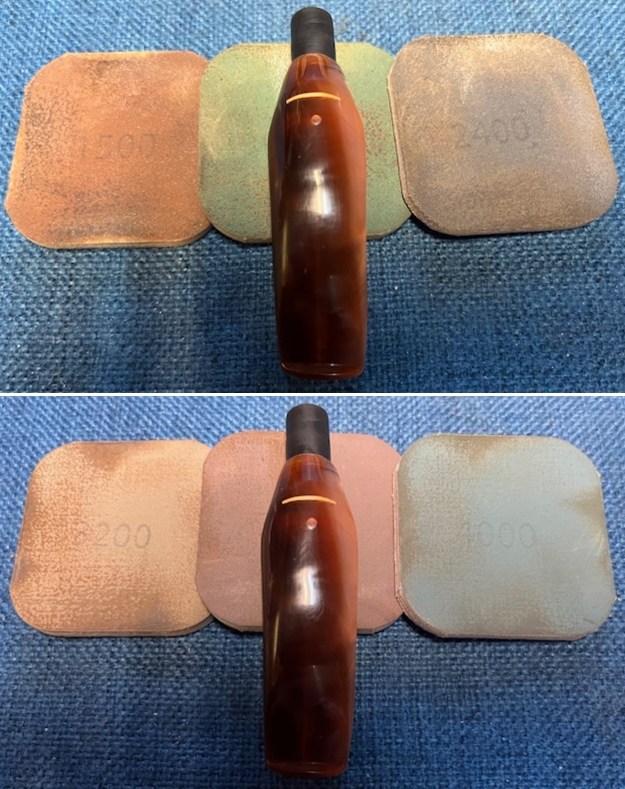
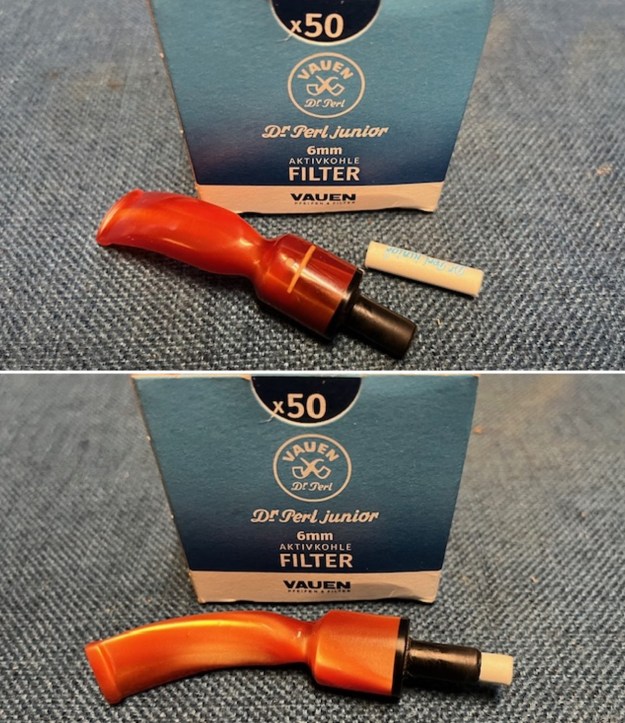
 I fit the stem with a 9mm filter and put it back on the shank. It fit well but if the next pipeman or woman wishes, the pipe could be smoked filterless though it would have a wide-open draught.
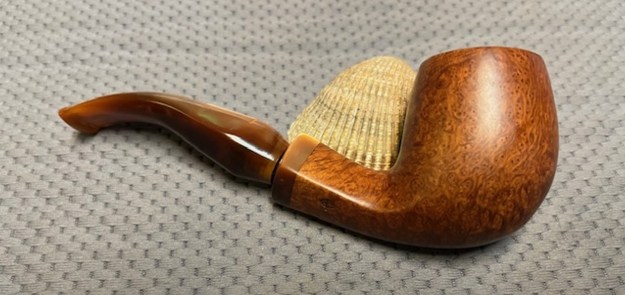
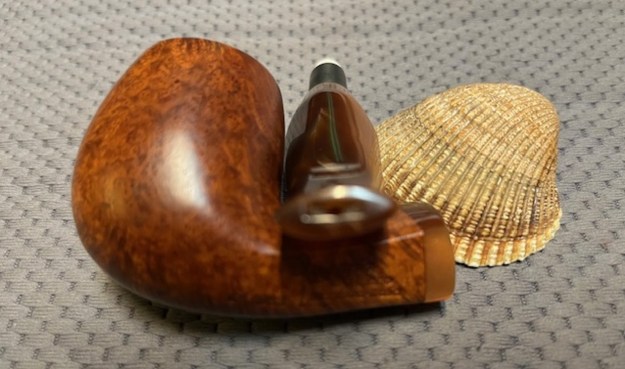
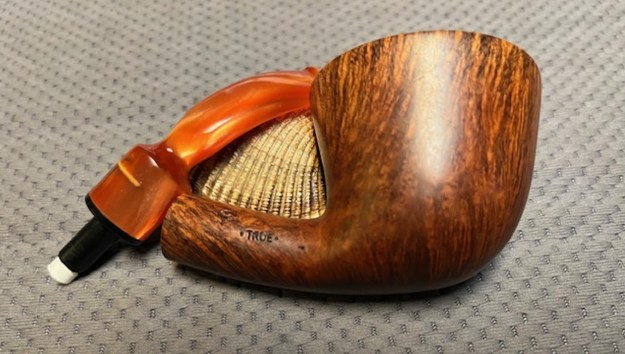
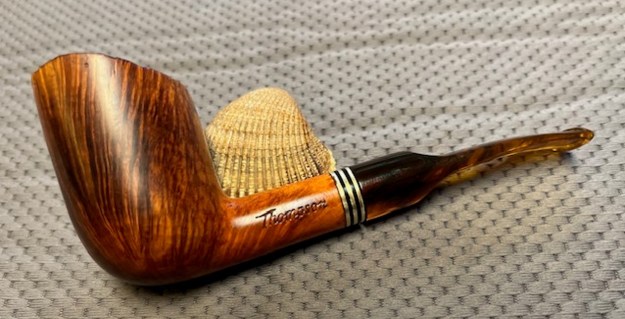
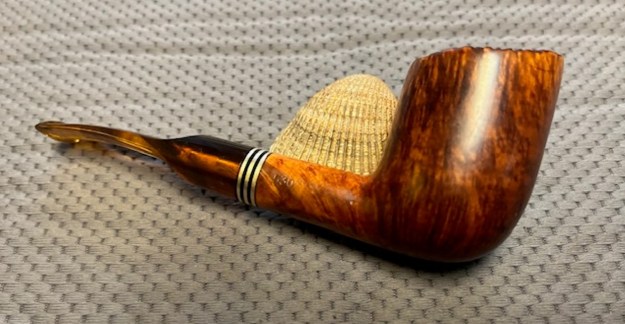
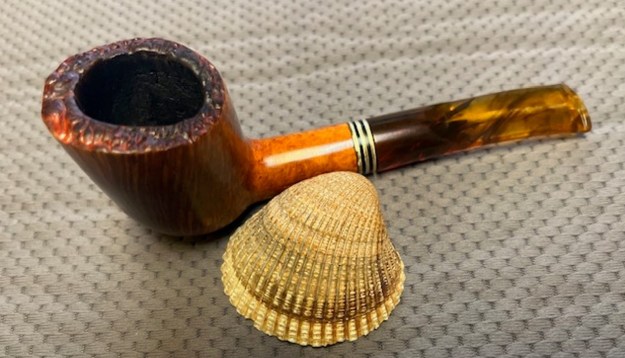
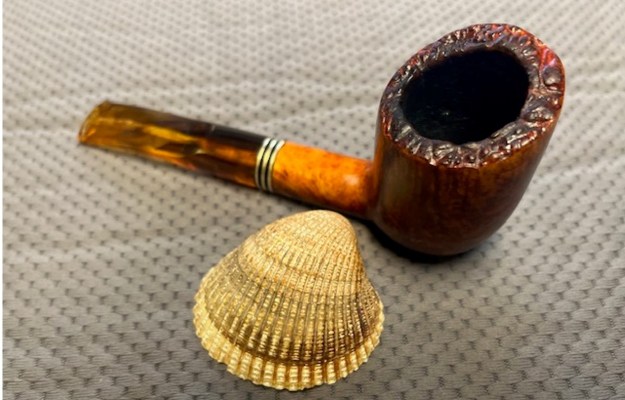
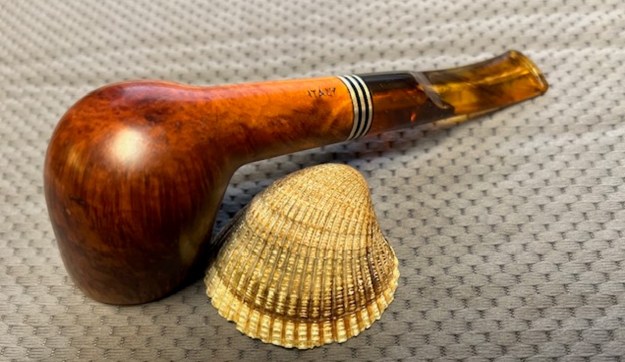
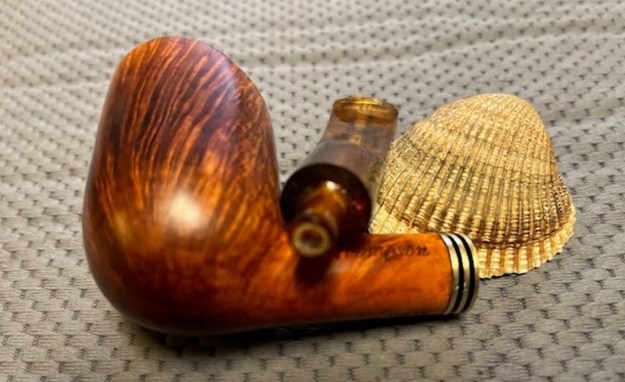
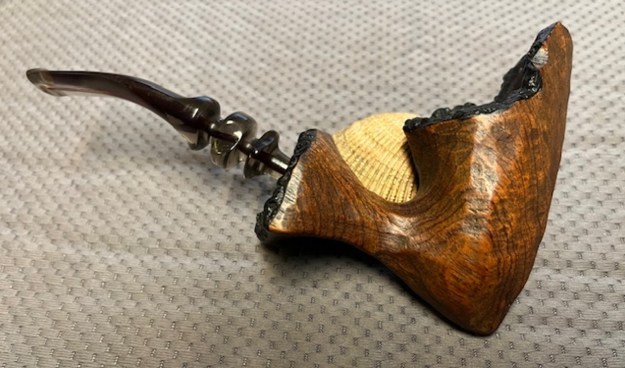
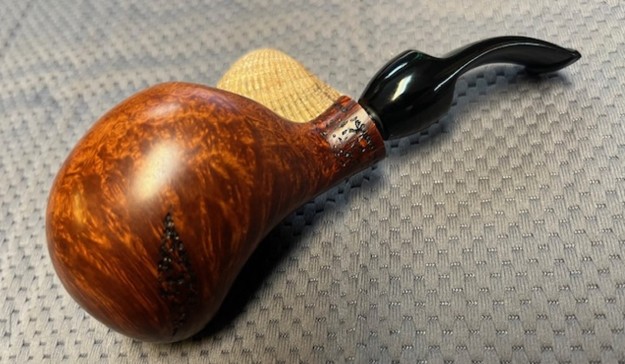
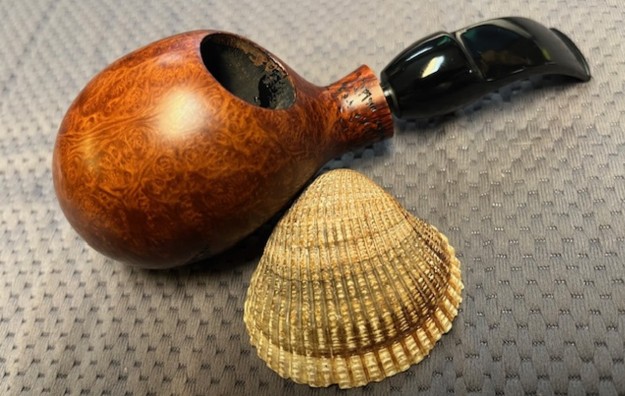
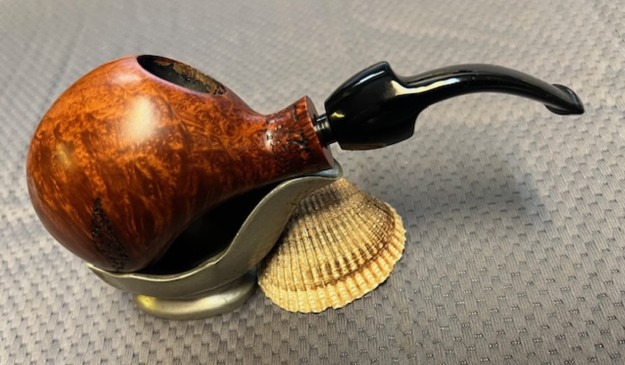
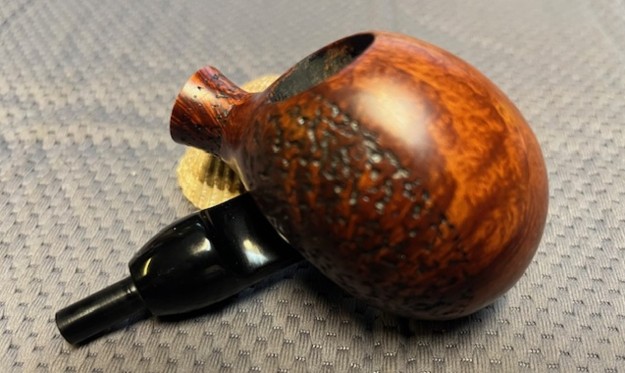
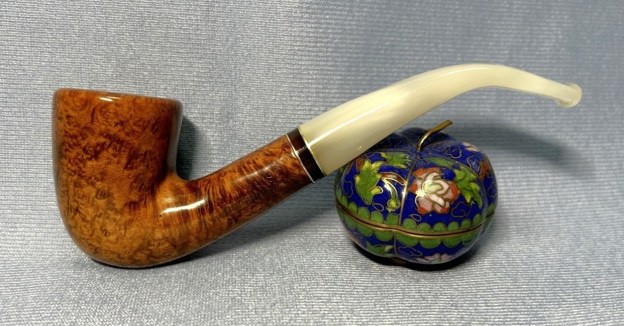
 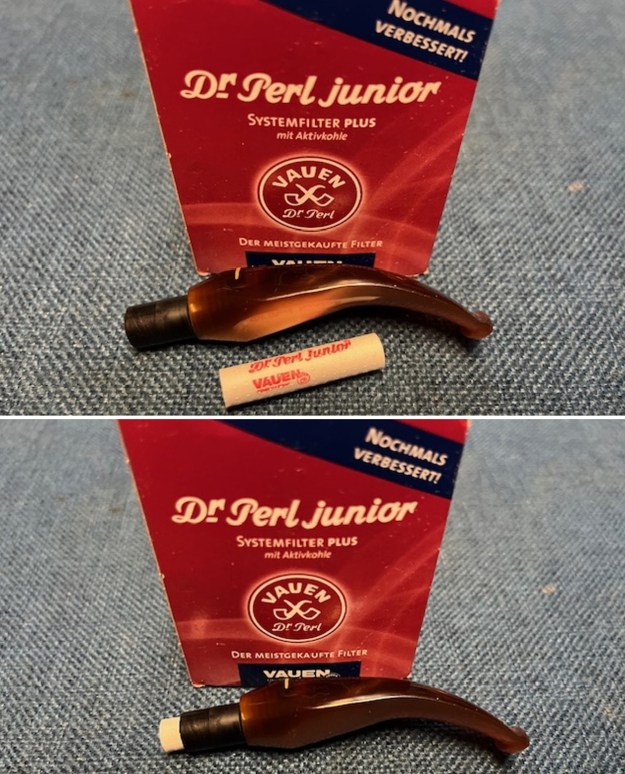 I put the Pipa Croci Hand Made, Manitova, Italia, Diamond Shank Bent Billiard bowl and stem back together. I polished the bowl and stem with Blue Diamond to polish the briar and the acrylic. I gave the bowl and the stem multiple coats of carnauba wax. I buffed the pipe with a clean buffing pad to raise the shine. I hand buffed it with a microfiber cloth to deepen the shine. The pipe polished up pretty nicely. The rich brown stains worked amazingly well with the polished acrylic saddle stem. The grain around the bowl and shank and looks quite remarkable. This is truly a beautiful Pipa Croci Hand Made Bent Billiard. The finished pipe is shown in the photos below. The dimensions of the pipe are Length: 5 ½ inches, Height: 2 inches, Outside diameter of the bowl: 1 ¼ inches, Chamber diameter: ¾ of an inch. The weight of the pipe is 1.27 ounces/36 grams. This beautiful, Italian Hand Made Pipa Croci will be added to the rebornpipes store in the Italian Pipe Makers Section. Let me know if you are interested in adding it to your collection. Thanks for walking through the restoration with me. Cheers.
As always, I encourage your questions and comments as you read the blog. Thanks to each of you who are reading this blog. Remember we are not pipe owners; we are pipe men and women who hold our pipes in trust until they pass on into the trust of those who follow us.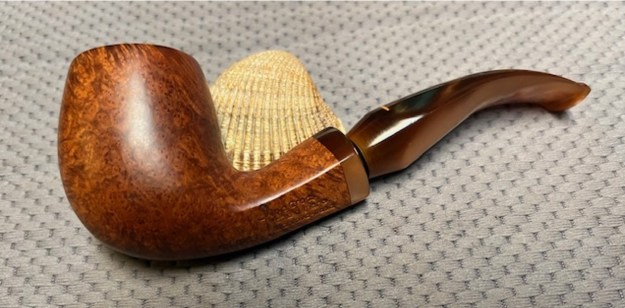


