Blog by Paresh Deshpande
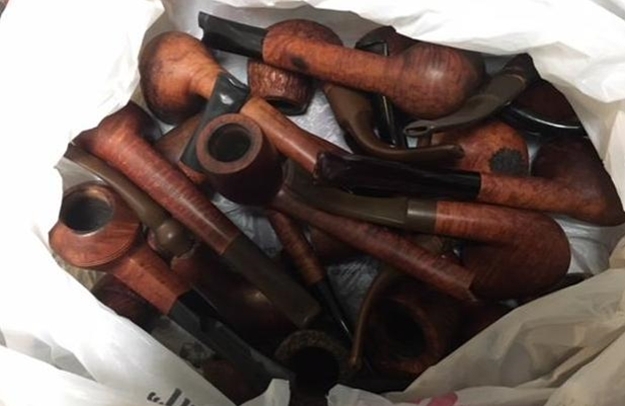
My pipe cleaning factory back home is churning out pipes galore and these cleaned pipes once they reach me are being liked by people who see them and sales are also improving, though restricted only to local customer, yes, you read it right, without an ‘s’, as only one colleague has been motivated to take up enjoying a pipe!! I am sure more will follow. Those readers who have been following my work on rebornpipes.com are well aware that here in India, pipe smoking culture died its natural death in 1970’s when old pipe shops and tobacconists were pushed out of business by cigarette manufacturers and people got used to the convenience of a ready-to-smoke cigarette. And to add to our woes, there is a ban on importing tobacco!! Well, wish me luck that I am able to revive this culture back here again…
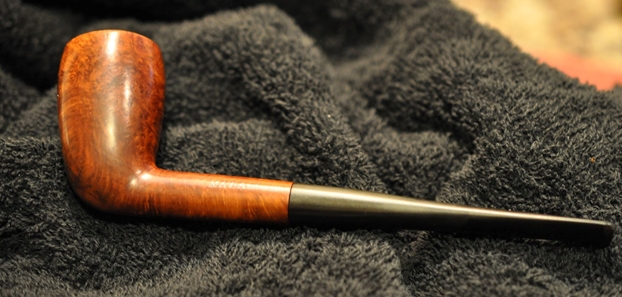
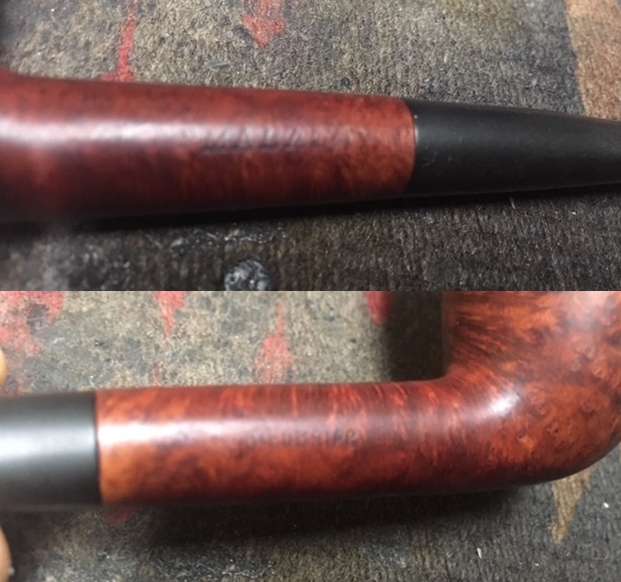
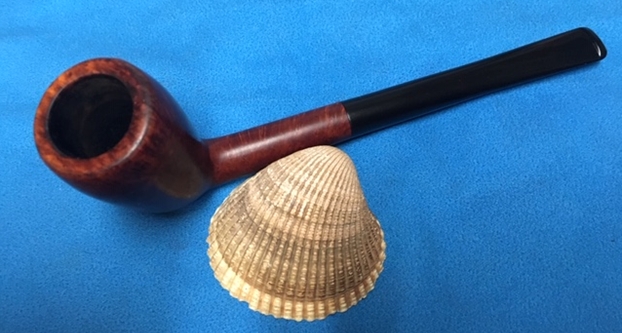
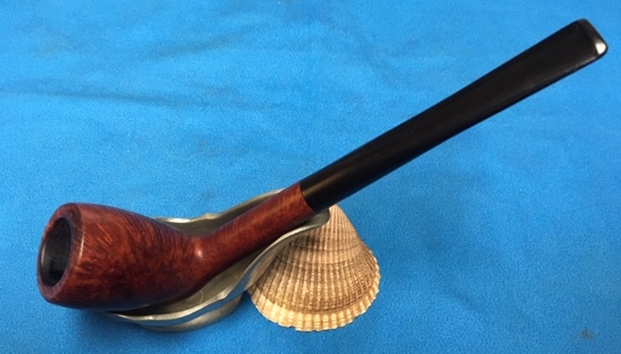
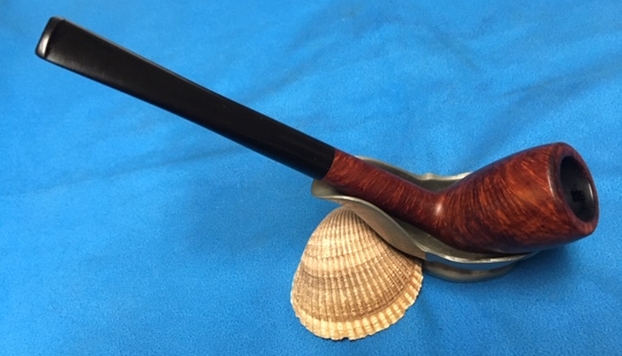
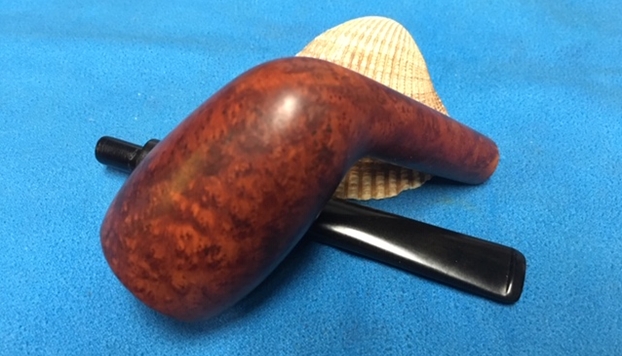
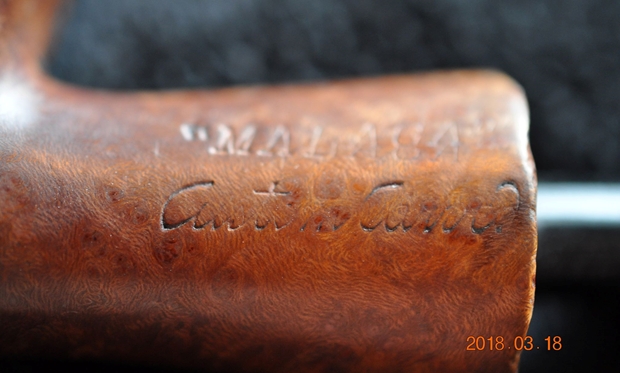
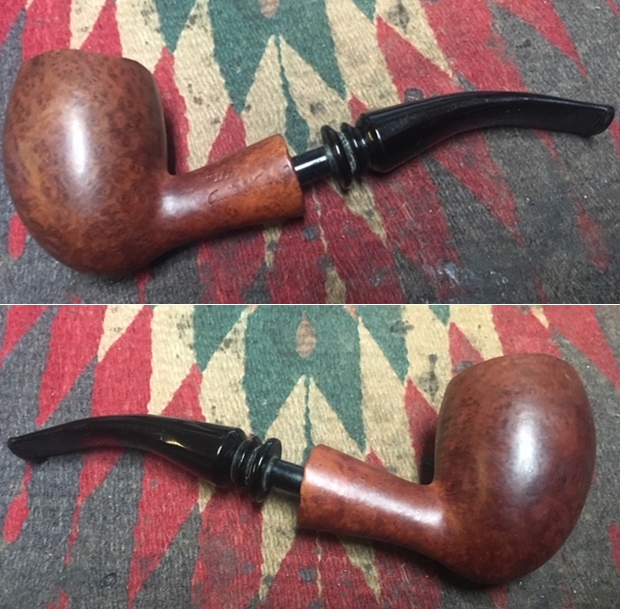
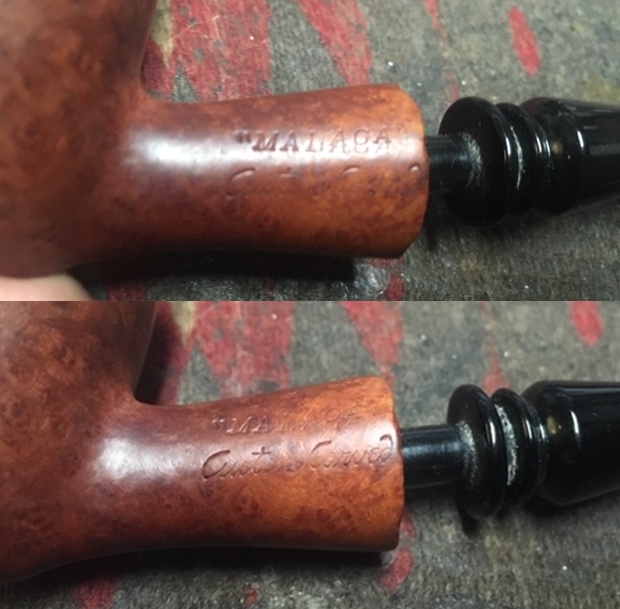
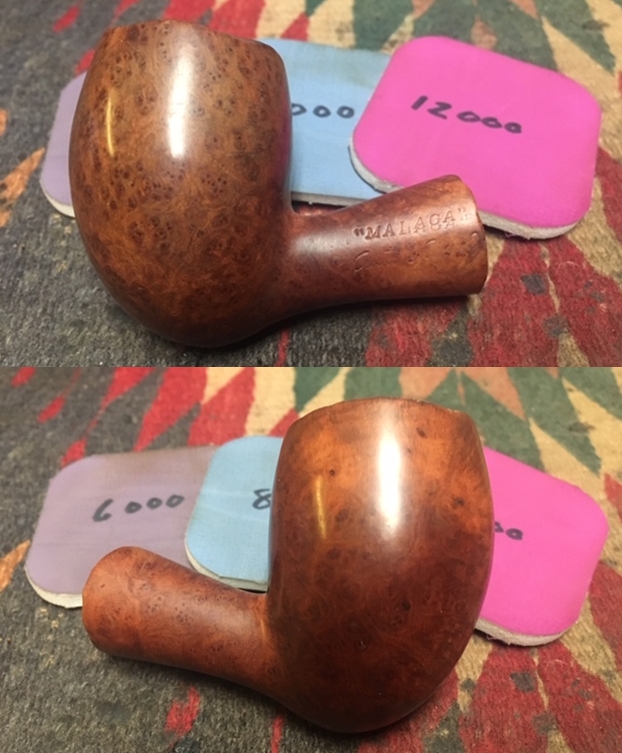
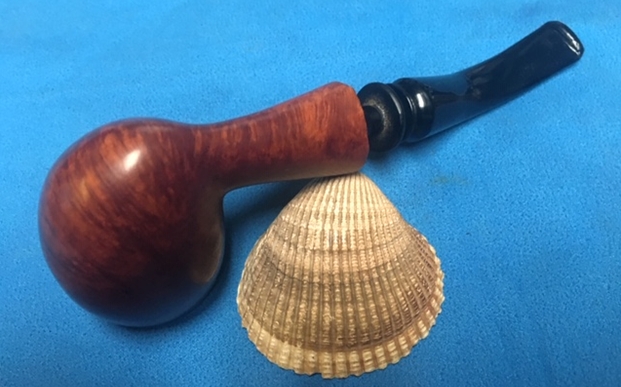
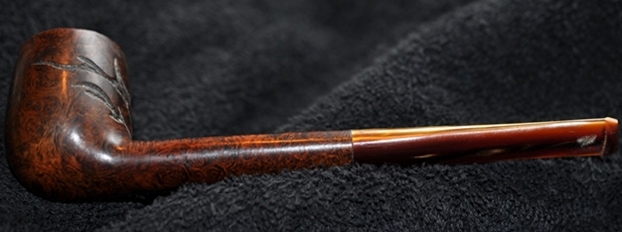
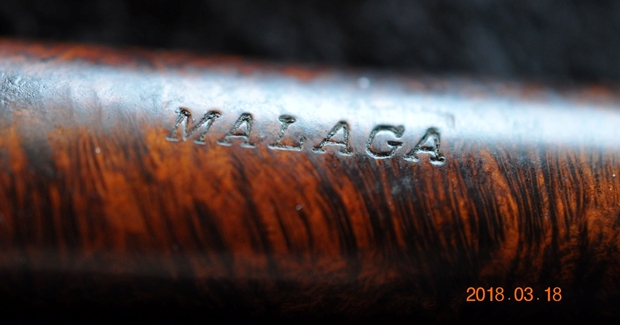
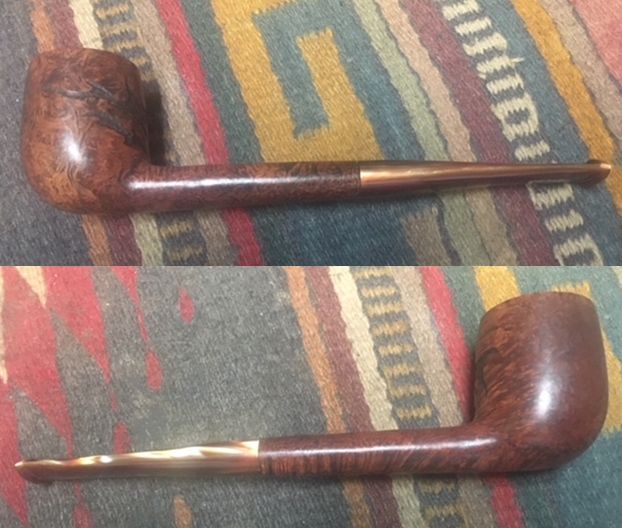
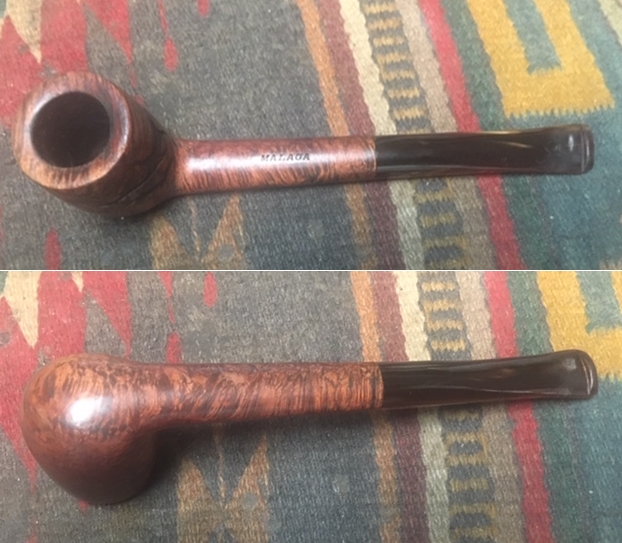
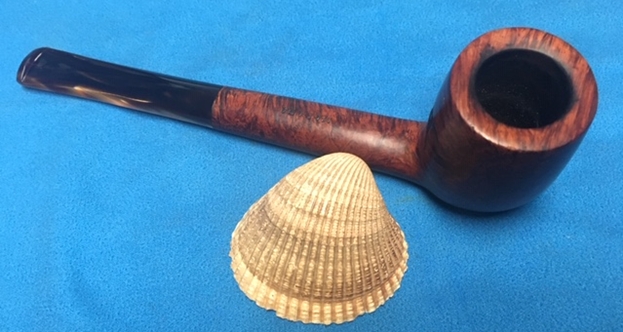
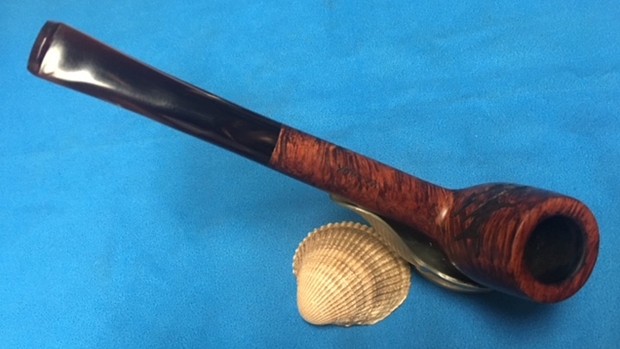
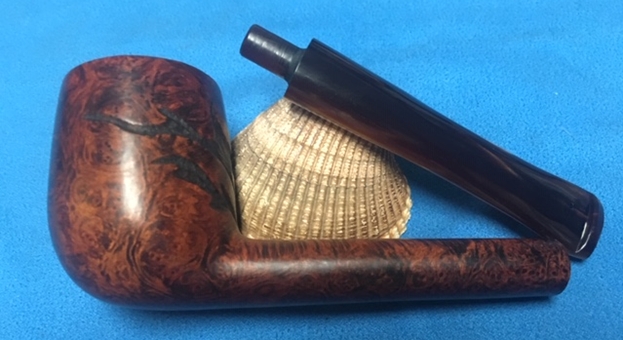
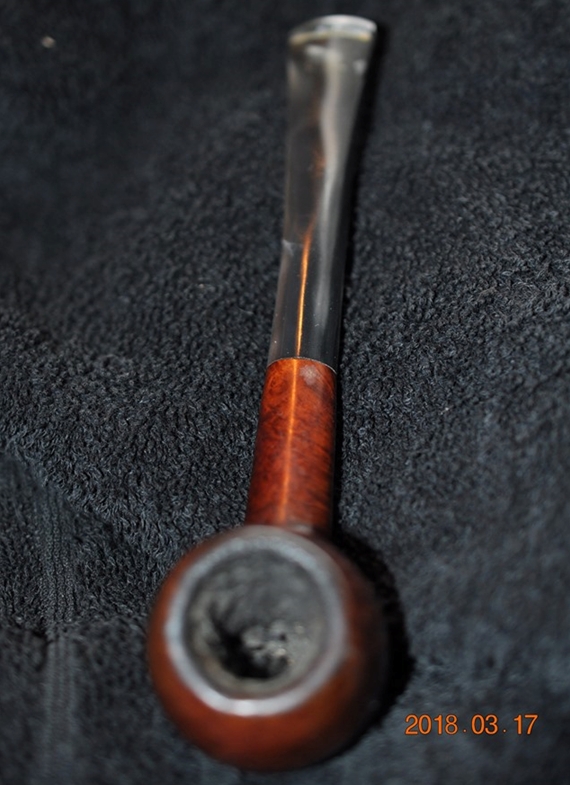
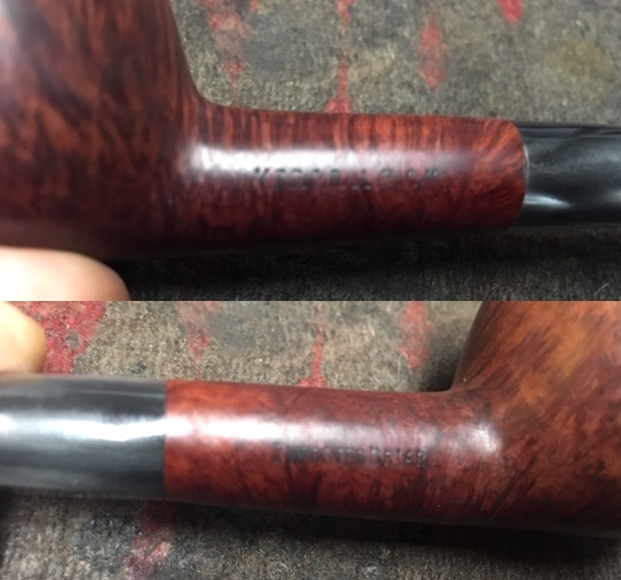
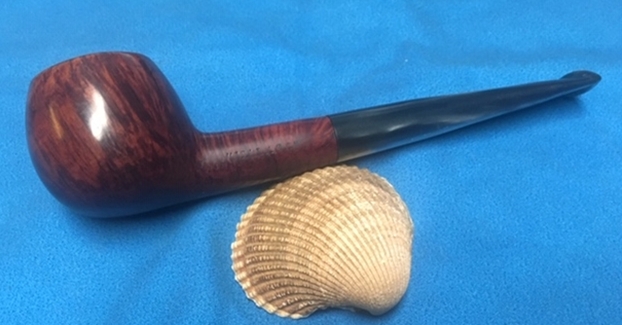
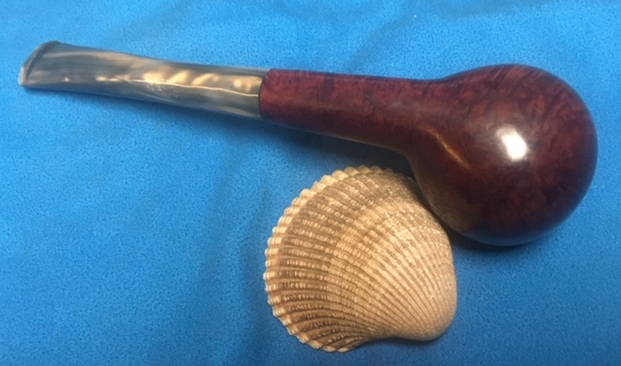
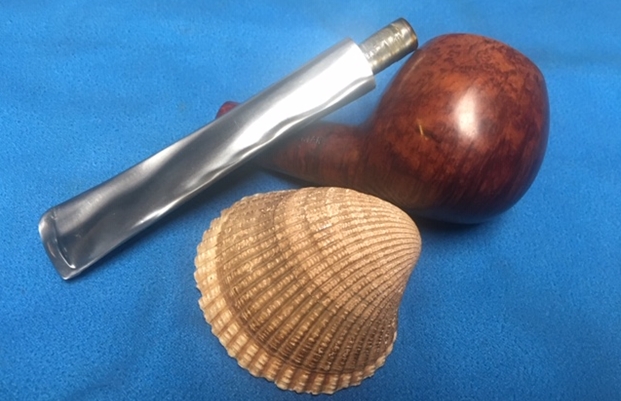
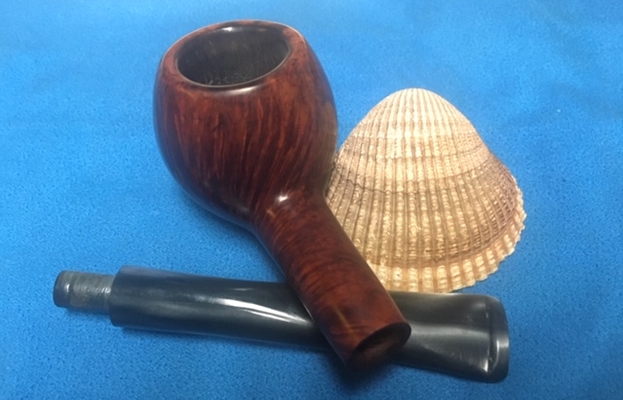
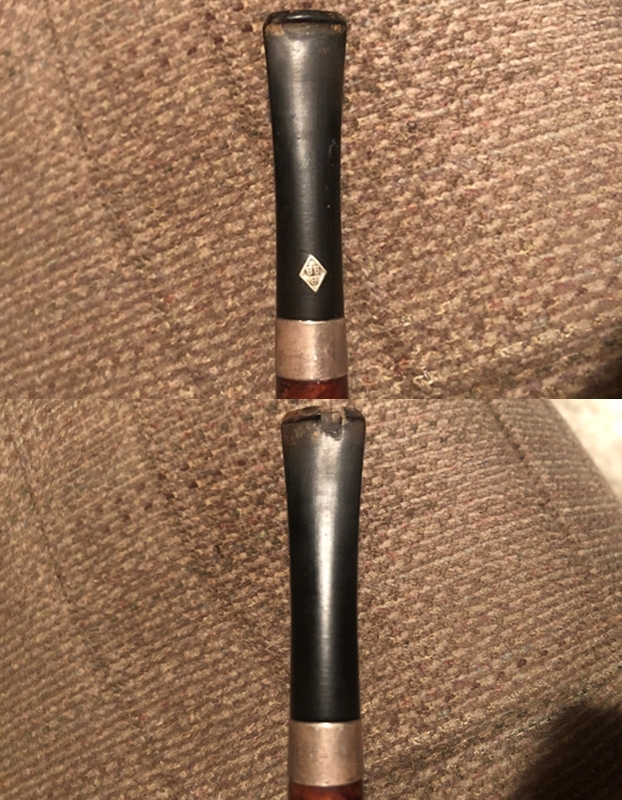
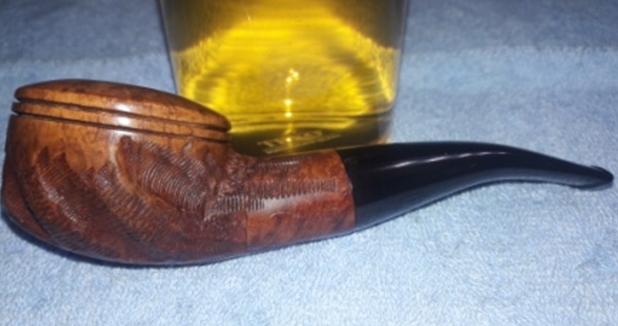
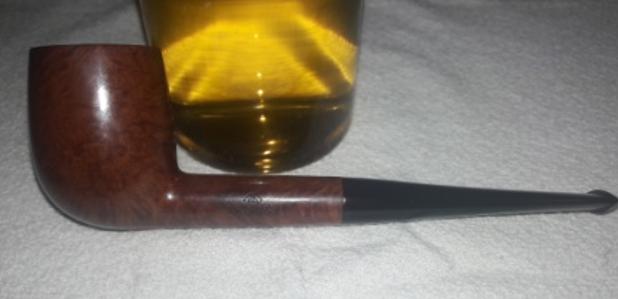
Well, the fourth pipe selected by my colleague from the heap of cleaned up pipes that Abha had sent me, is a well-made British pipe. It’s a classic straight Billiards with tapered stem BBB pipe in a smooth finish. It has nice Bird’s eye grain on either sides of the stummel with tightly packed cross grains to the front, back and on the shank. The pipe is stamped on the left of the shank as “BBB” in a diamond box, in block letters over “NATURAL GRAIN” split on either side of the diamond box. On the right of the shank, close to the bowl end it is stamped with the numeral “11” probably a shape code. The tapered vulcanite stem with an aluminum stinger has the trademark stamp of BBB in a diamond box. However, the stem logo is not a brass logo, pointing to the later/ newer era pipe. The COM stamp is conspicuous by its absence. The stampings are all crisp and prominent.
 Having a few BBB pipes in my personal collection that once belonged to my grandfather and having a few friends like Steve and Victor Naddeo who collect BBB pipes, the information readily available was sufficient to date this pipe. From discussions with these stalwarts and comparing it with BBBs from my inheritance, it is evident that this pipe is definitely from a newer era, probably 1980s, the dead giveaway being the lack of brass diamond roundel for the stem logo, presence of an aluminum stinger and the grading of Natural Grain!!
With this information, I move ahead with my initial visual inspection.
INITIAL VISUAL INSPECTION
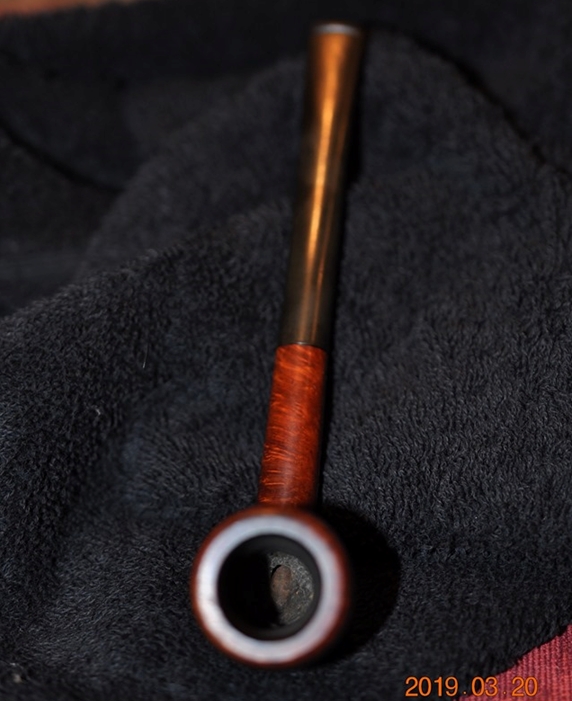
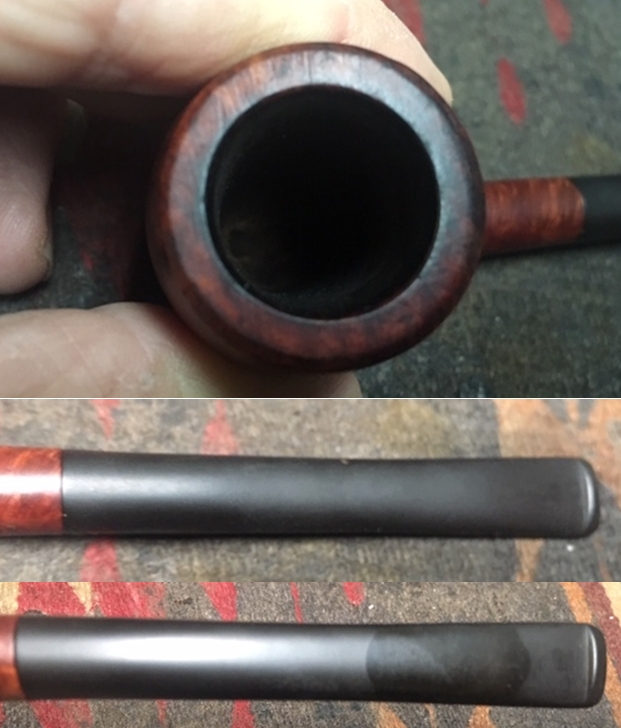
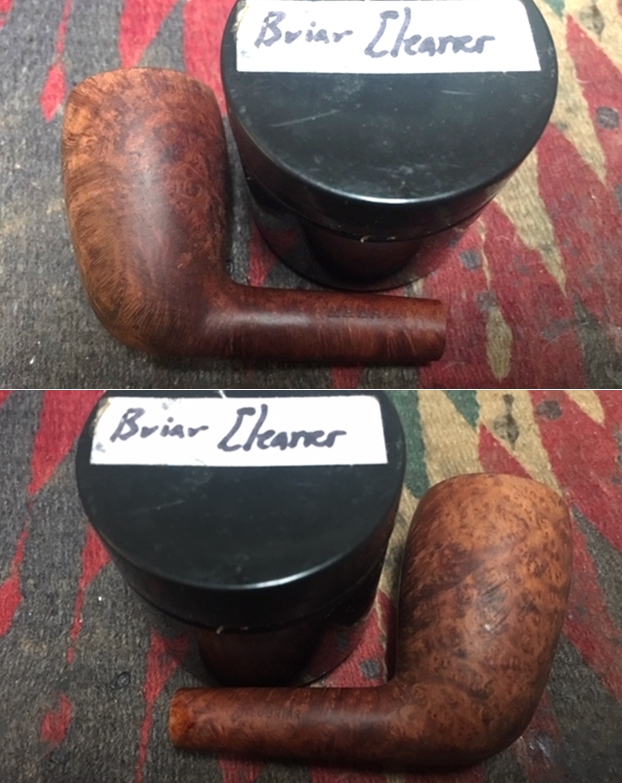
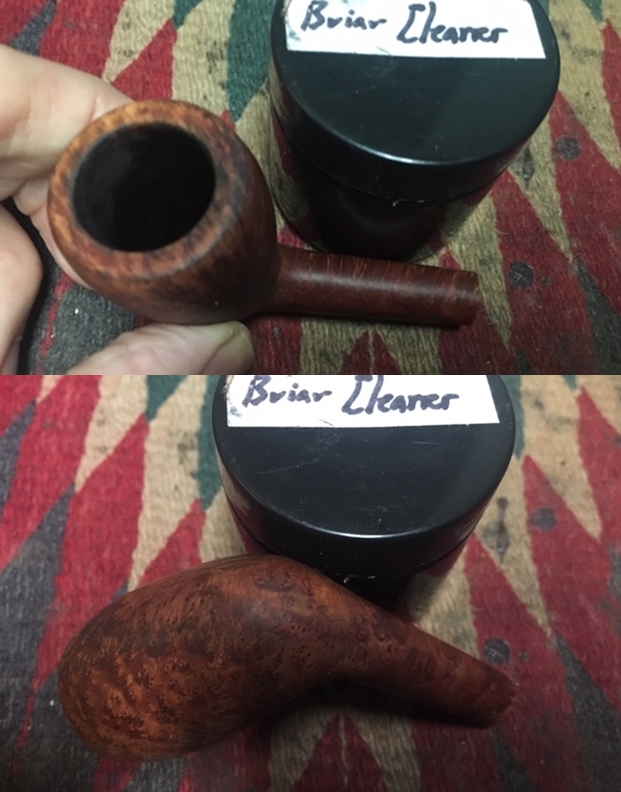
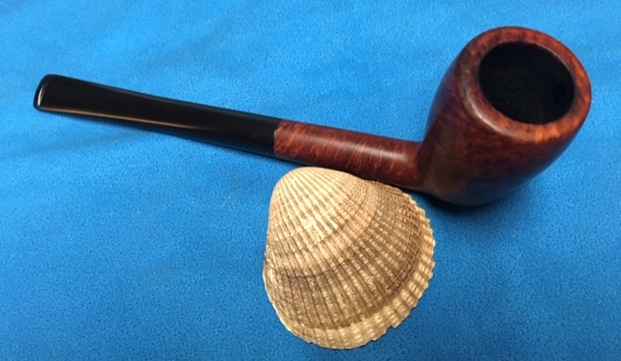
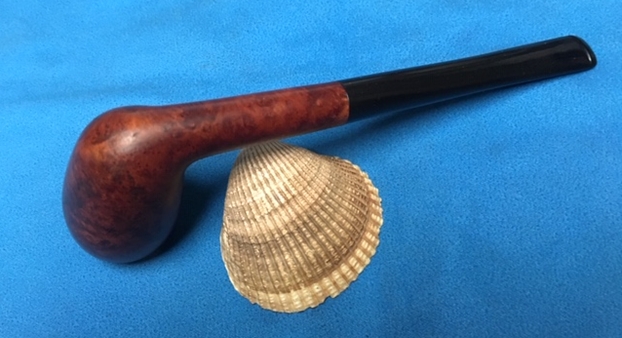
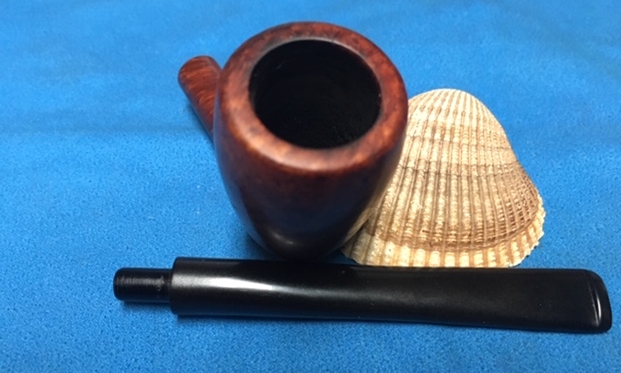
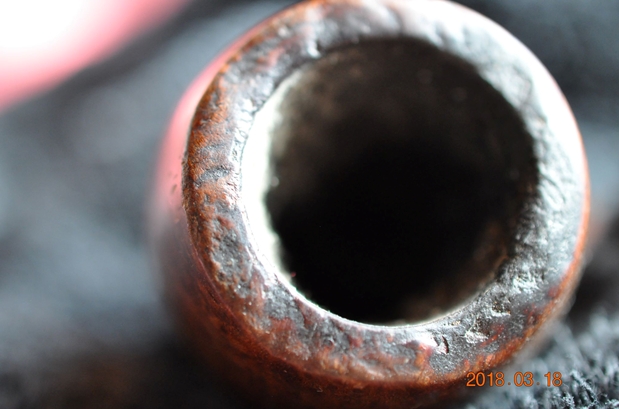
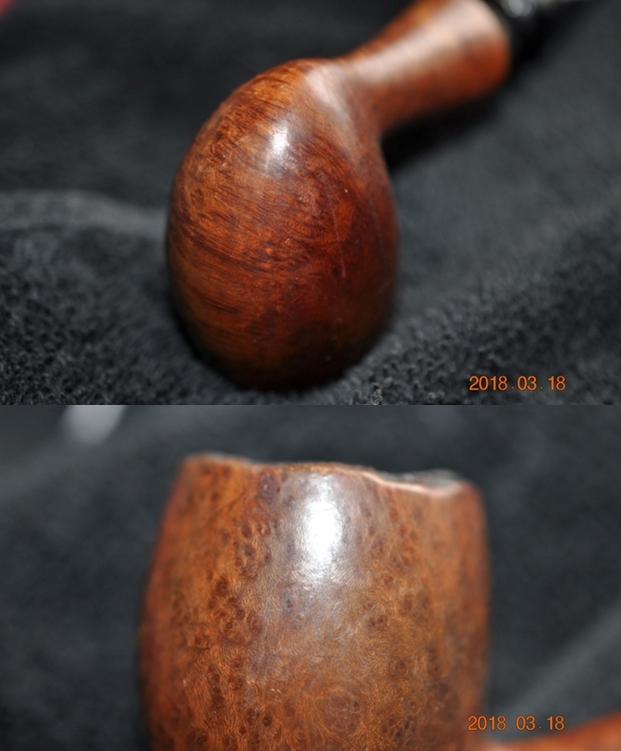
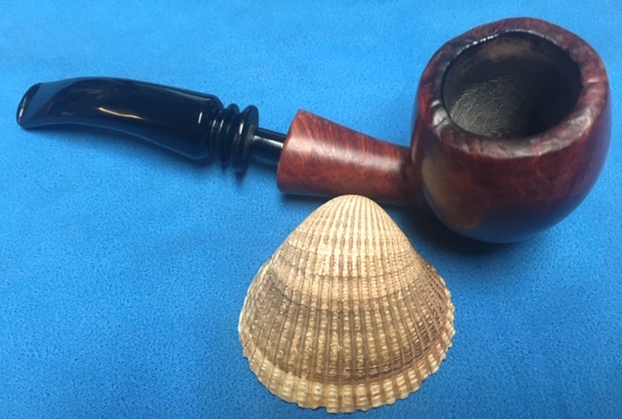
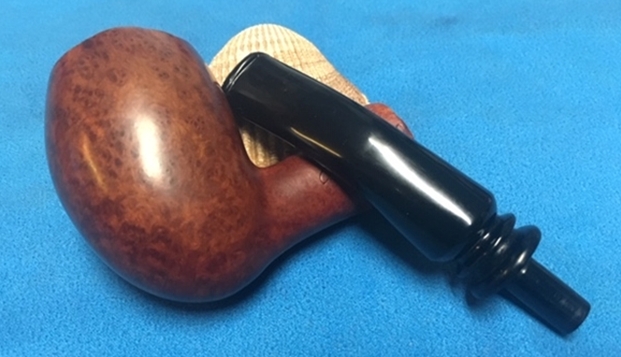
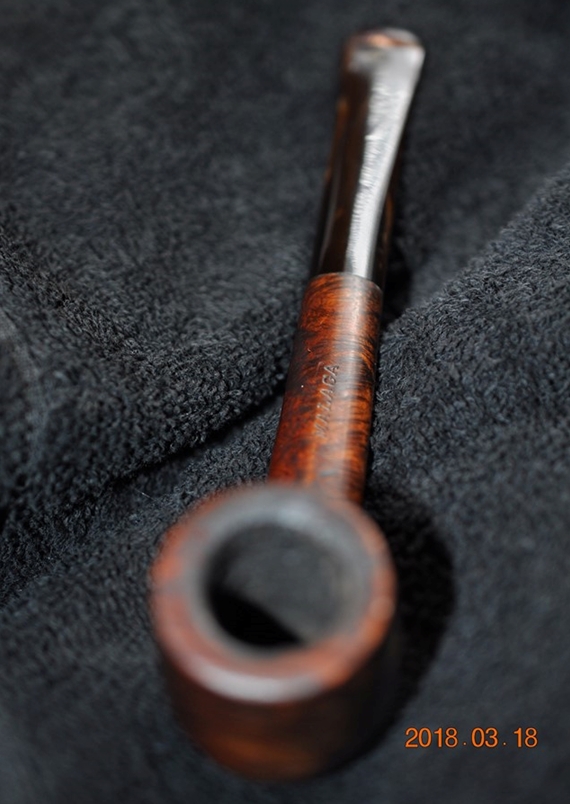
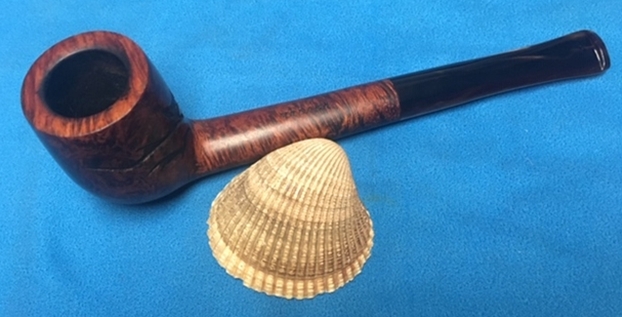
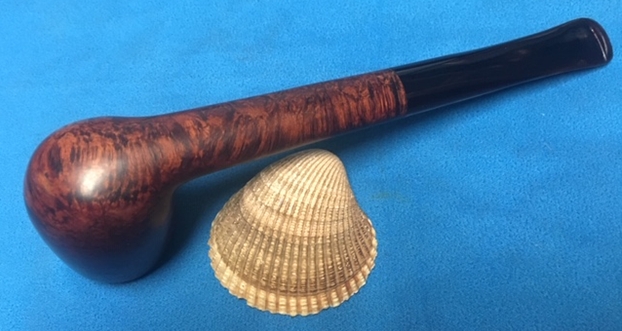
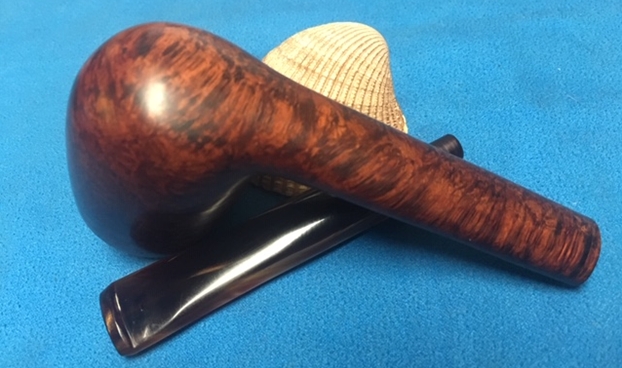
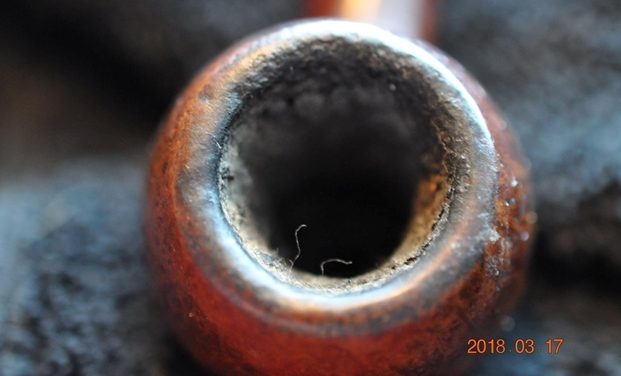
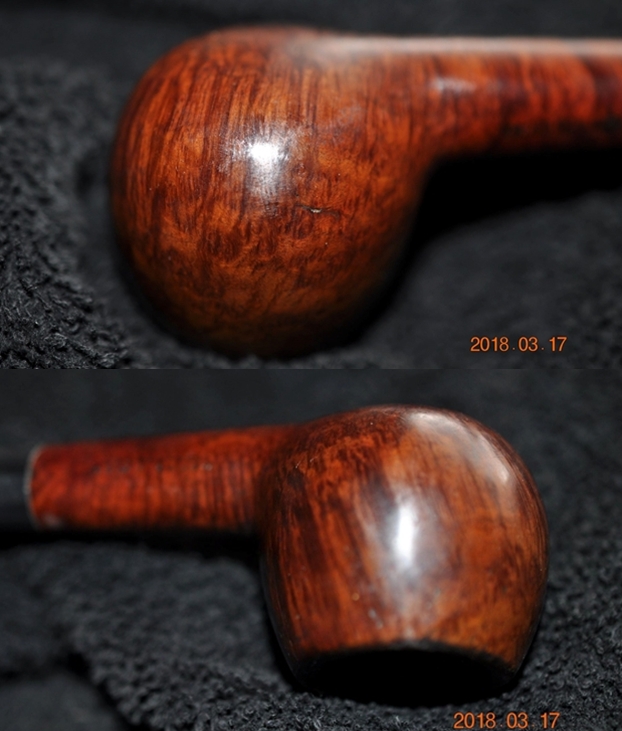
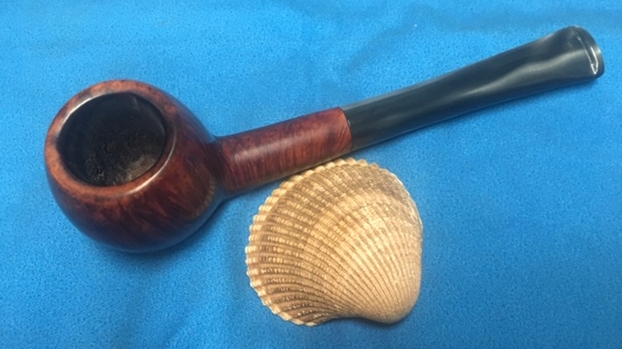
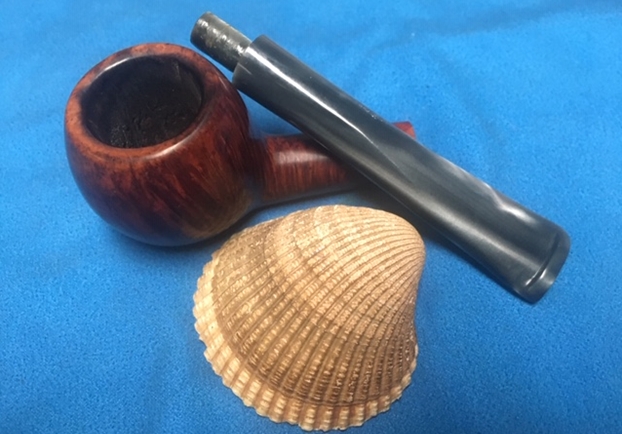
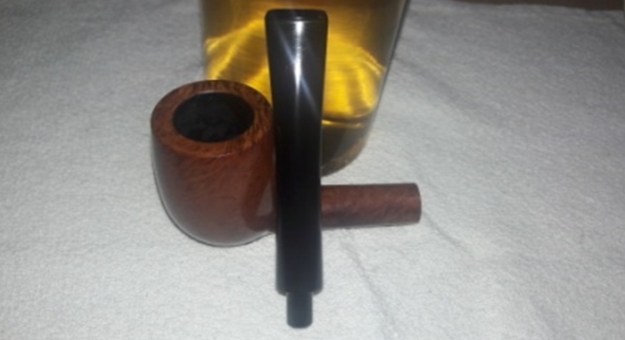
The pipe came to us in a very decent state, to say the least. It was only smoked a couple of times and a thin even layer of cake build up is observed in the chamber. The rim top is covered in places with specs of overflow of lava. Otherwise, the rim top surface and both inner and outer rim edges are in pristine condition. The smooth stummel surface has beautiful Bird’s eye grain patterns on either sides of the stummel with beautiful densely packed cross grains on the front, back and the shank. The bottom surface of the stummel is flattened, making it a sitter. The stummel surface has a natural finish of the briar and the grains should pop out after a nice polish. The mortise with shank internals is relatively clean and the chamber is odorless. The draught hole is at the bottom center and should be a great smoker!! Reclaiming this piece of briar should be an easy chore.

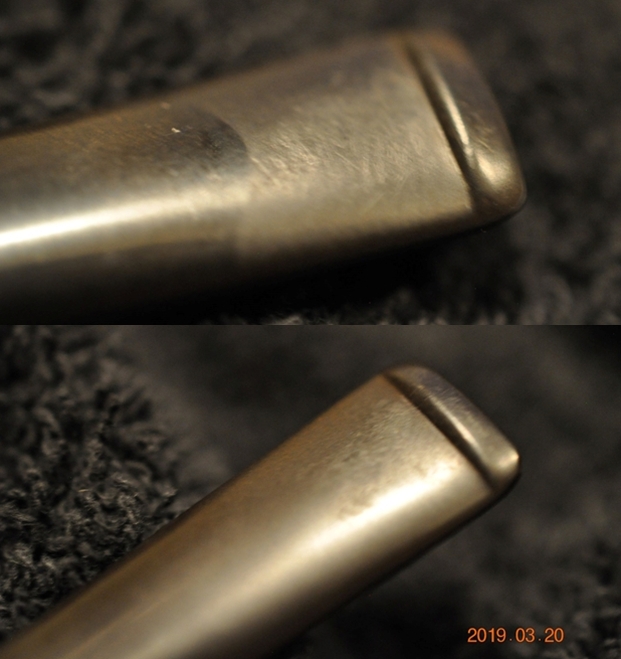
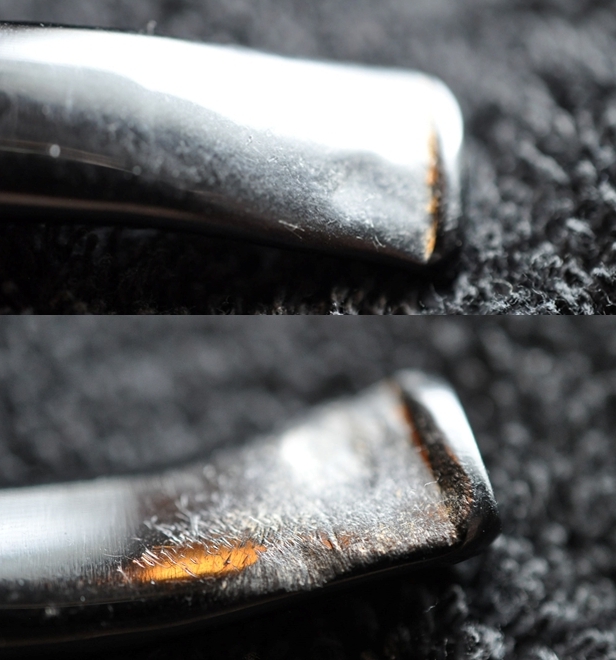
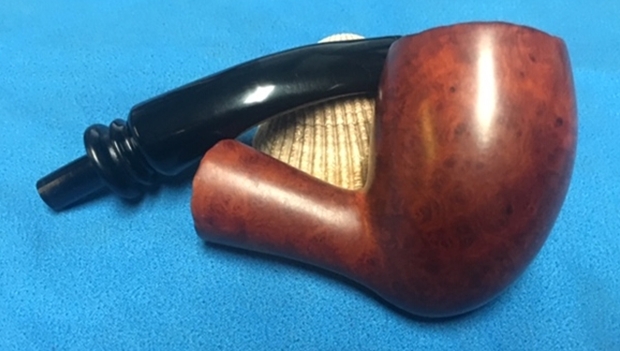
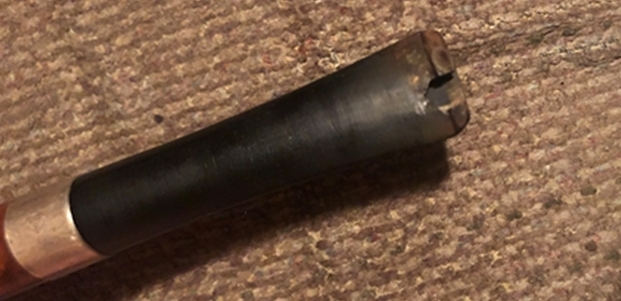
 The tapered vulcanite stem is clean with very little signs of oxidation seen in the bite zone on either surfaces of the stem. The tenon end along with the detachable aluminum stinger is also clean. The slot does not show any signs of accumulated dried gunk. Air flow through the stem air way is full and free. A couple of pipe cleaners dipped in isopropyl alcohol should freshen up the stem internals.
 INITIAL CLEANING BY ABHA…
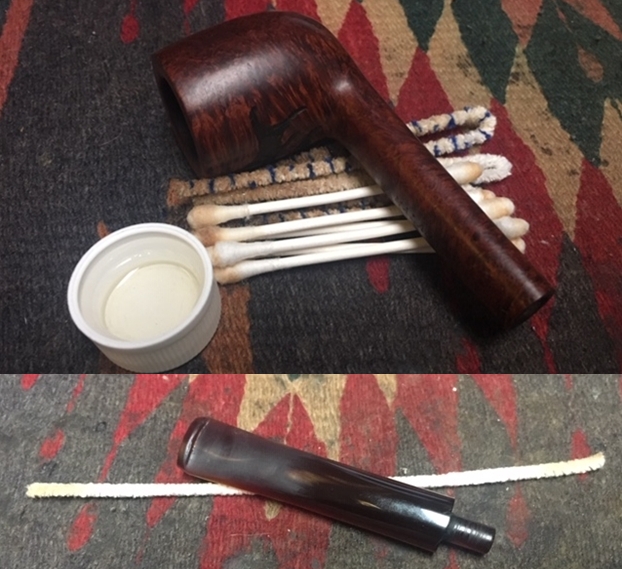
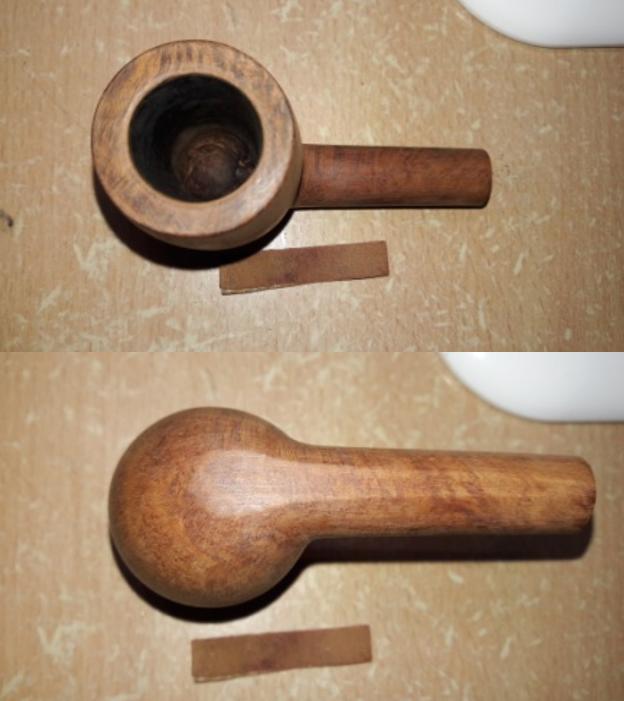
The initial cleaning on this pipe was done by Abha, my wife (she has cleaned up around 40-50 pipes and these have now reached me for further restoration). She reamed out the complete cake and further smoothed out the chamber walls with a folded piece of 220 grit sand paper. She further cleaned out the internals of the shank with pipe cleaners and alcohol and cotton buds. She followed the internal cleaning of the shank with external cleaning of the stummel using Murphy’s Oil soap and hard bristled tooth brush and dried it with paper napkins and cotton cloth.
Next she cleaned out the internals of the stem air way and immersed it in “Before and After Deoxidizer” solution along with the stem of other pipes in line for restoration. Once the stem had soaked overnight, she cleaned the stem under running warm water and scrubbed the raised oxidation from the stem surface using Scotch Brite pad. She further removed the oxidation by scrubbing the stem with 0000 grade steel wool and applied a little olive oil to rehydrate the stem.
ONCE THE PIPE IS ON MY WORK TABLE……
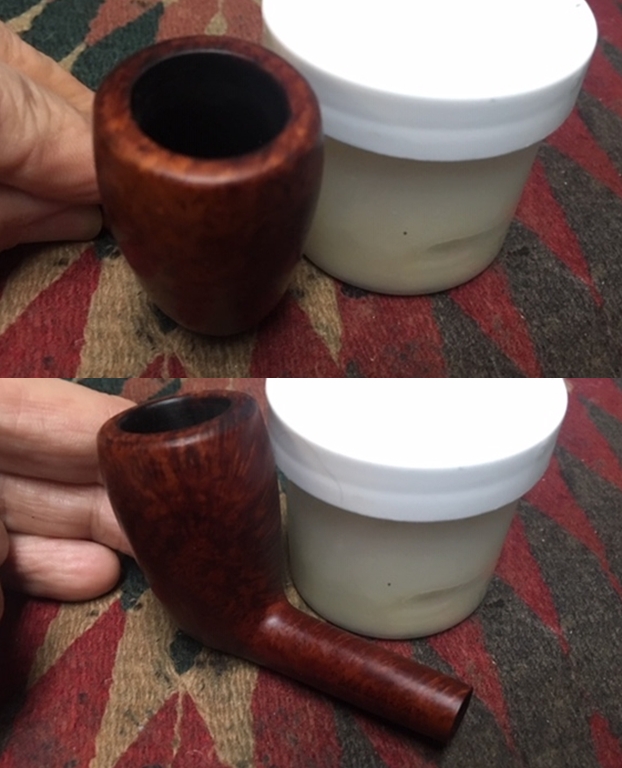
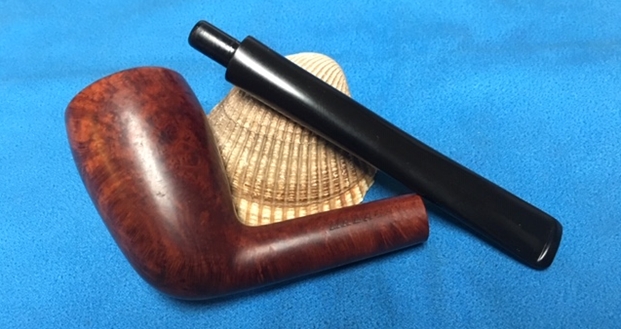
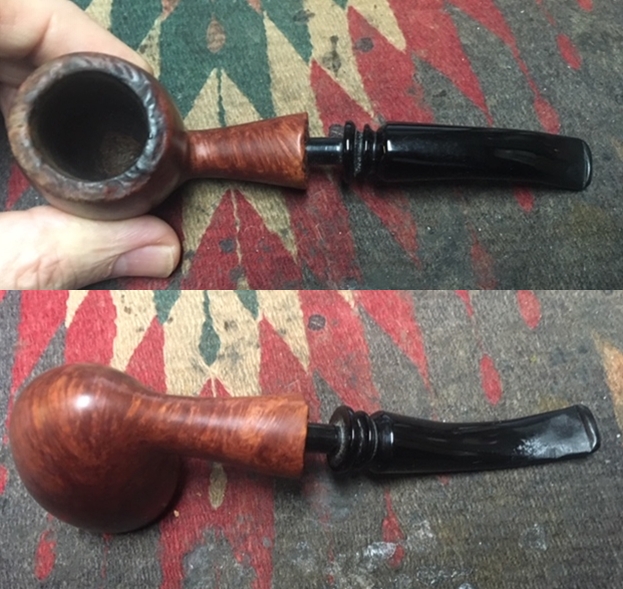
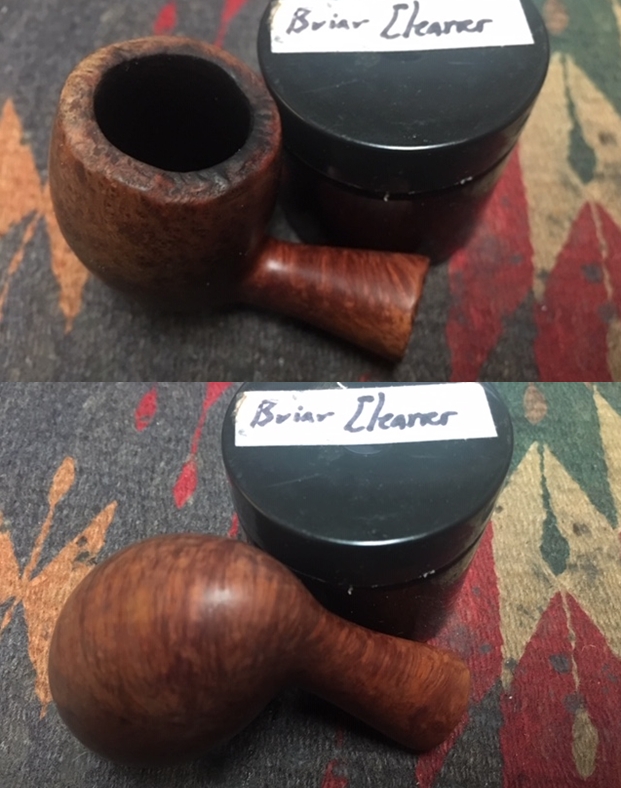
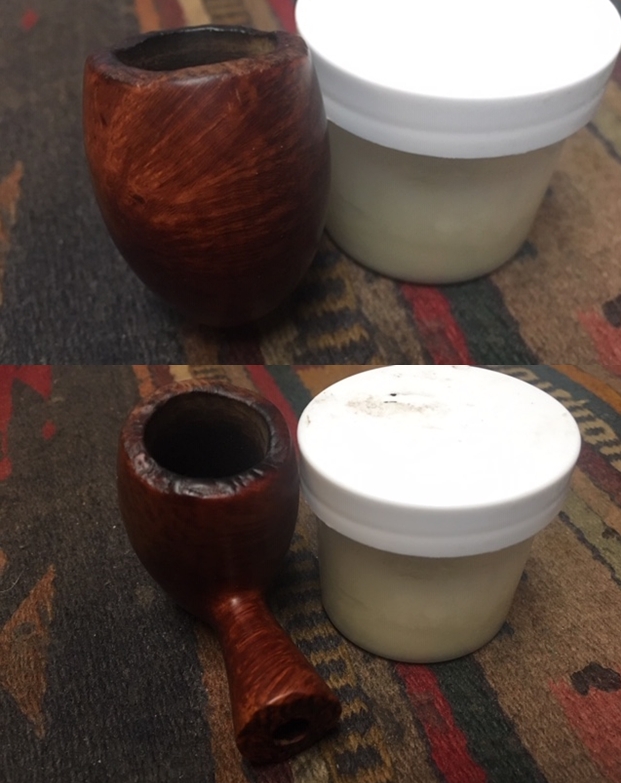
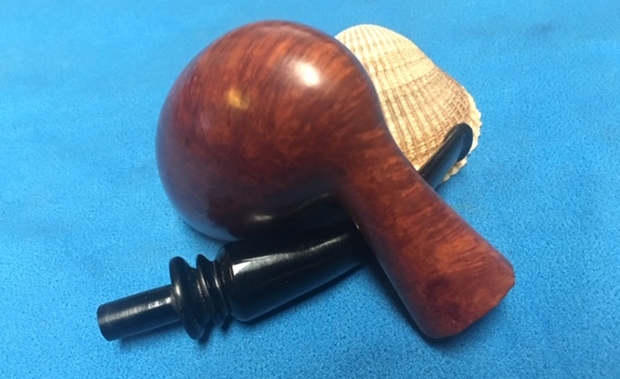
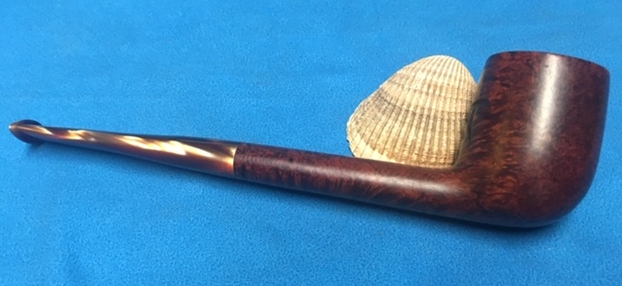
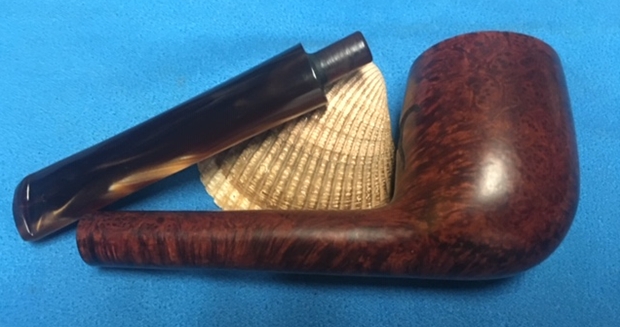
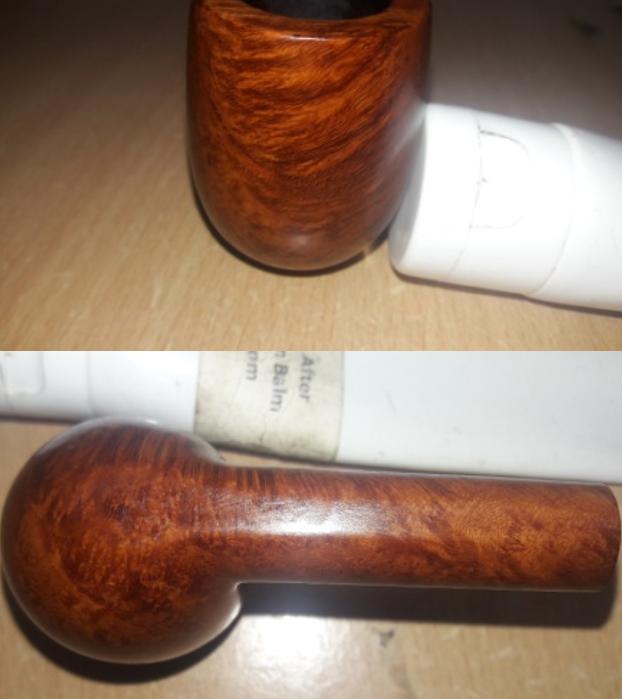
The cleaned up pipes presents a very clear picture of what needs to be done to restore this pipe to a pristine and smokable condition. I really cannot thank Abha, my wife, enough for all the help and support that she extends me in my pursuance of this hobby. A clean pipe also helps in clearly identifying the work that would be required to restore a pipe. The pictures shows the condition of the pipe when it reached me after being cleaned.

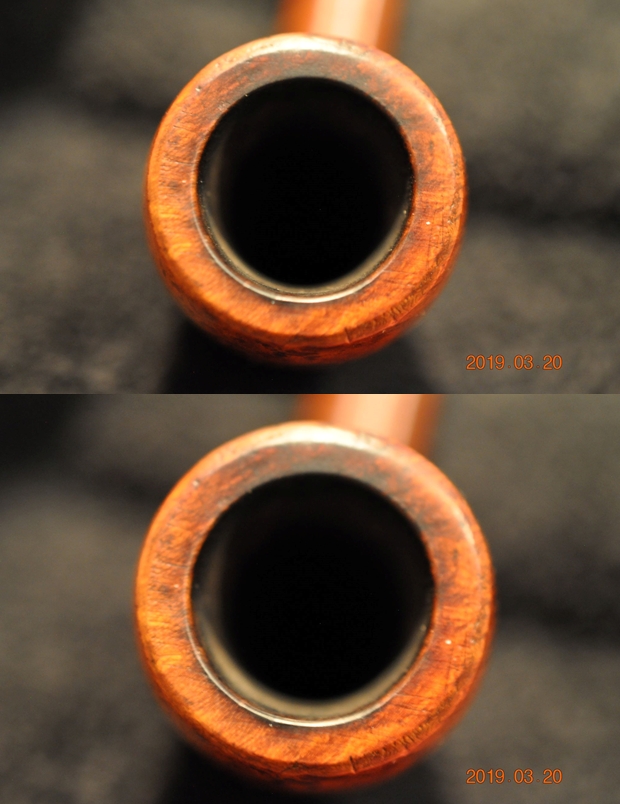
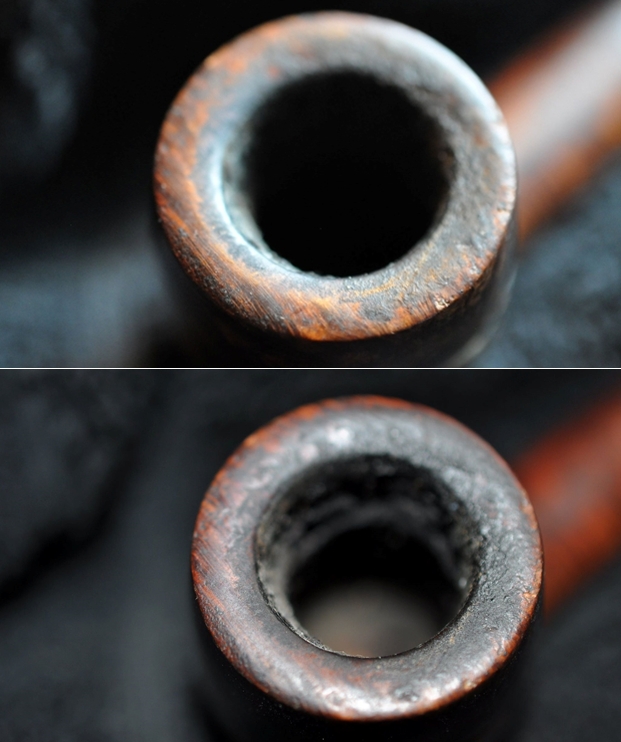
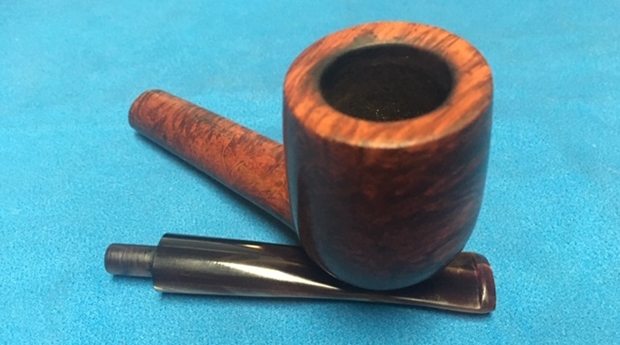
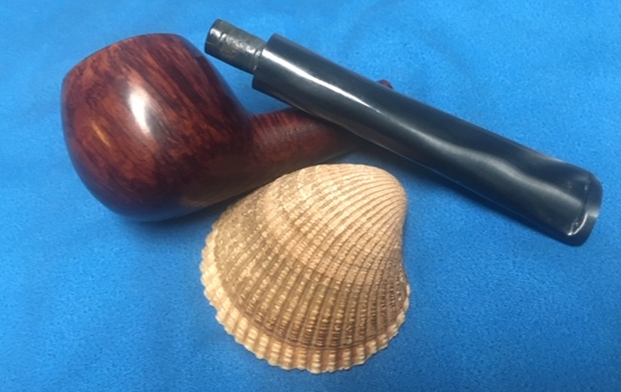
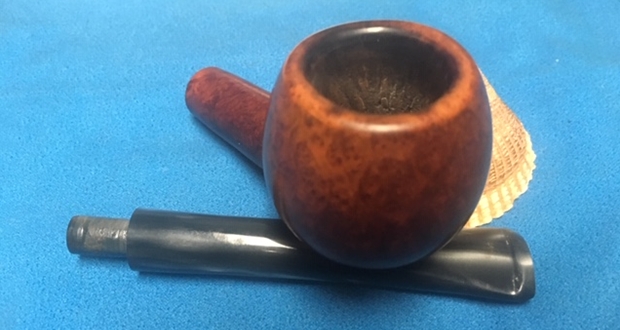
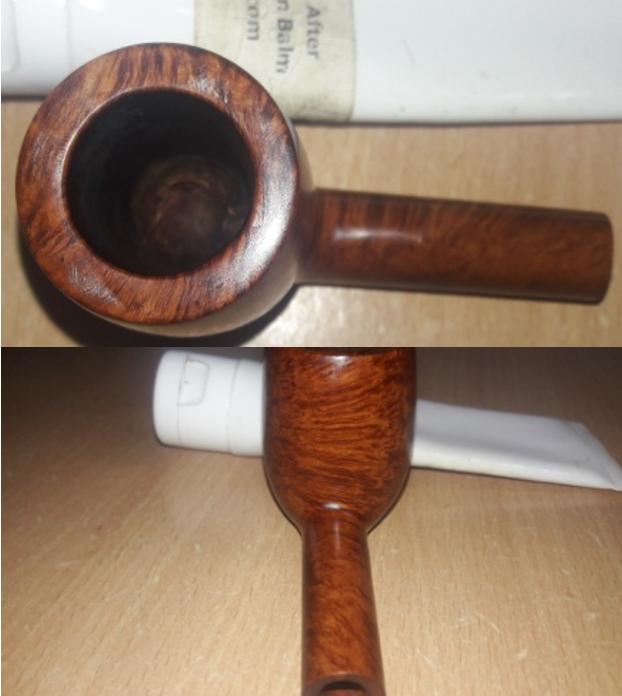
 The chamber is odorless and the walls are solid without any signs of damage. The smooth rim top surface and the inner and outer rim edge are in perfect condition. The mortise and shank internals are also nice and clean now. The seating of the stem tenon into the mortise is snug and sits flush with the shank end.

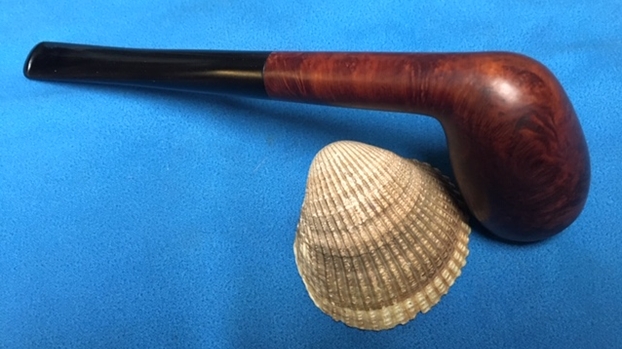
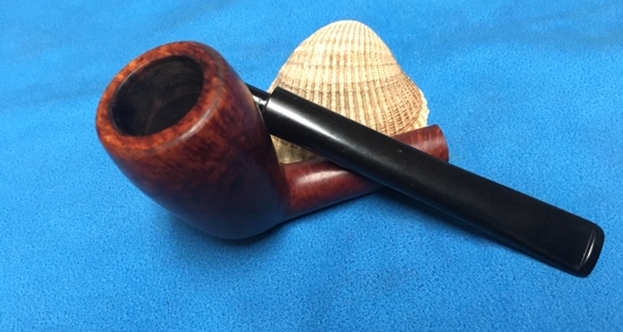
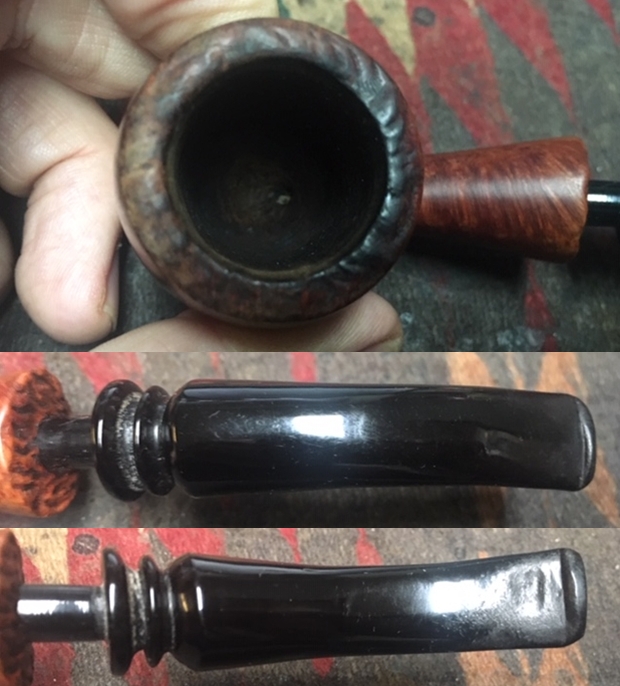
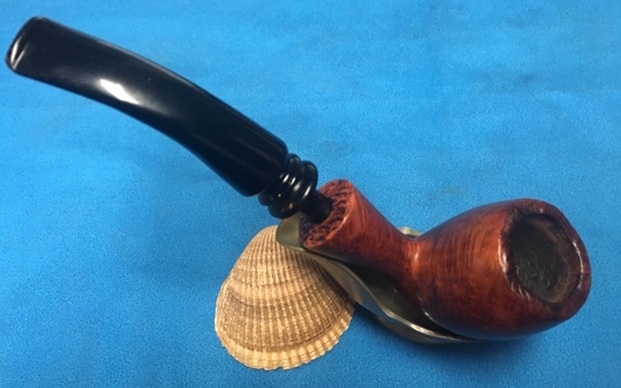
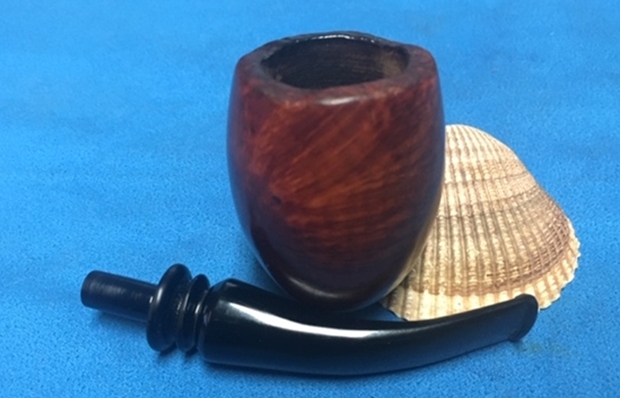
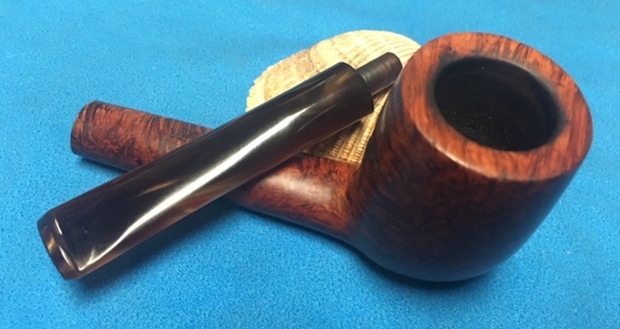
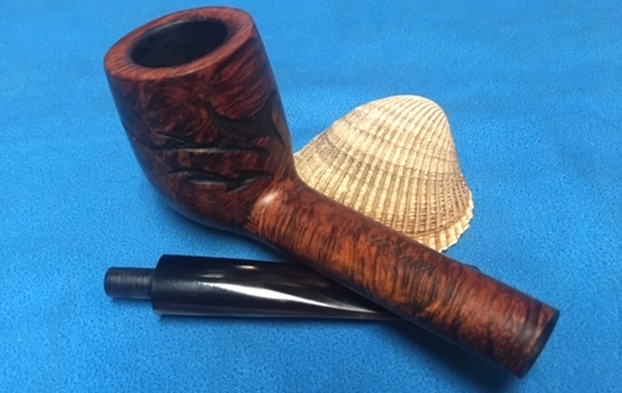
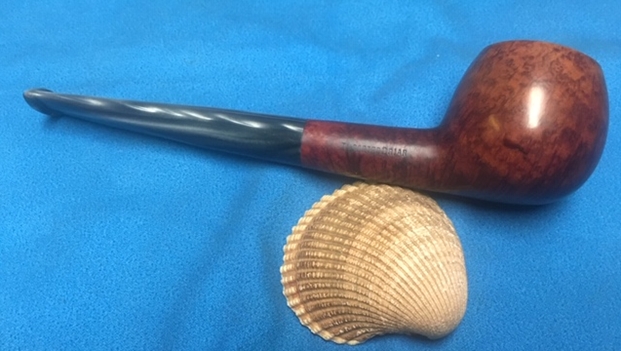
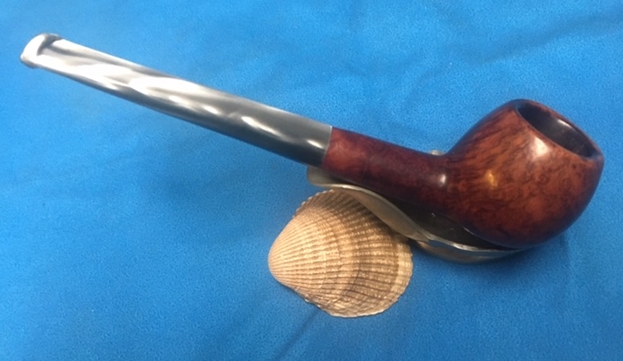
 I had noticed a darkened spot on the right side of the shank near and below the stamped numeral 11 (marked in yellow arrow). On close scrutiny, I feel that this spot is not a fill but a minor flaw in the briar since a gentle probing with a sharp dental tool revealed a solid surface. I have decided to let it be. The rest of the stummel surface is sans any fills or flaws. A nice polish and the beautiful grains will pop out and will be on display in all their glory. As the stamping suggests, this is a pipe with natural finish to the briar and I have no intentions to change this!!! I think as the pipe is smoked, over a period of time, the briar will take on some nice dark coloration and patina. I am really looking forward to see the stummel after polish.

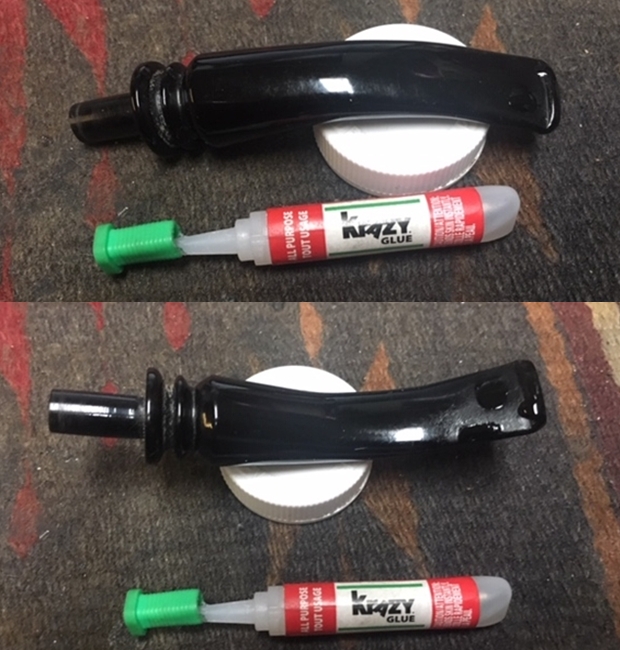
 The oxidation on the vulcanite stem has been removed, thanks to all the efforts put in by Abha. The slot and stem internals are all clean and fresh. The aluminum stinger too is nice and clean. A bit of sanding to remove the deeper oxidation followed by micromesh polishing cycle should add a nice shine to the stem.
  THE PROCESS
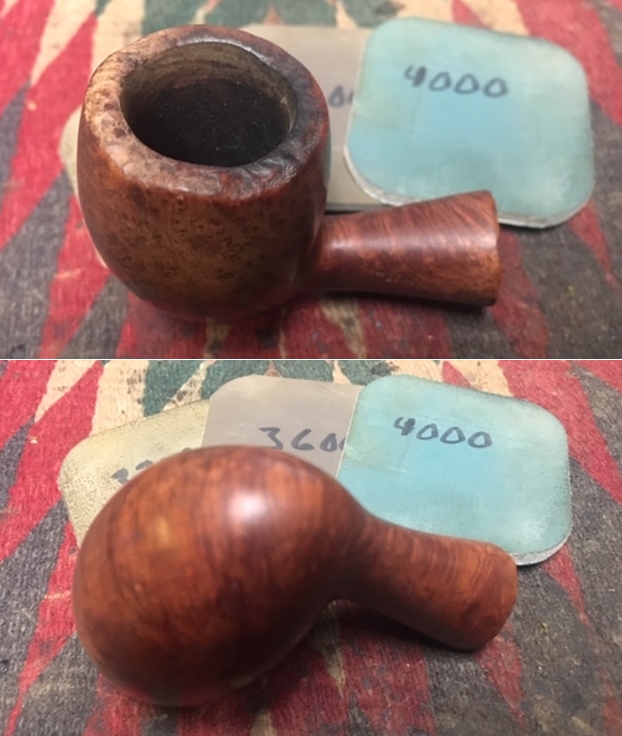
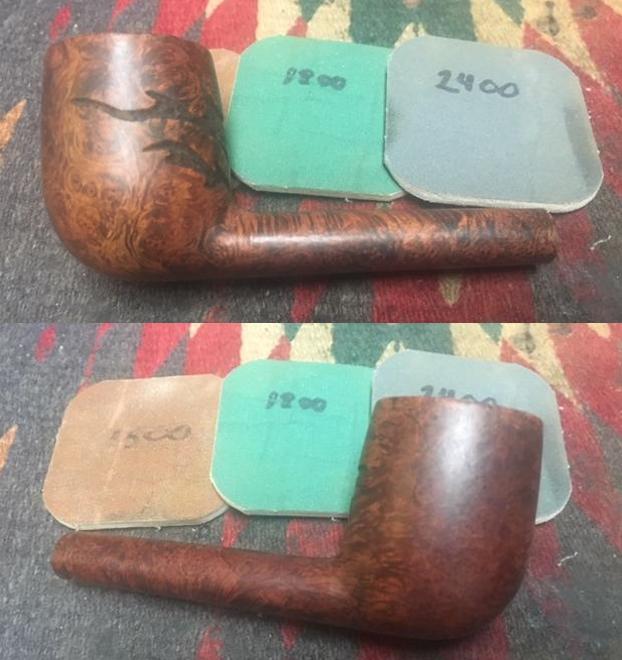
I start this restoration by sanding the entire stummel surface, including the rim top, with a piece of 220 grit sand paper. This helps in addressing all the minor dents, if any, from the surface while providing a smooth surface for the next stage which is polishing cycle using complete set of micromesh pads.

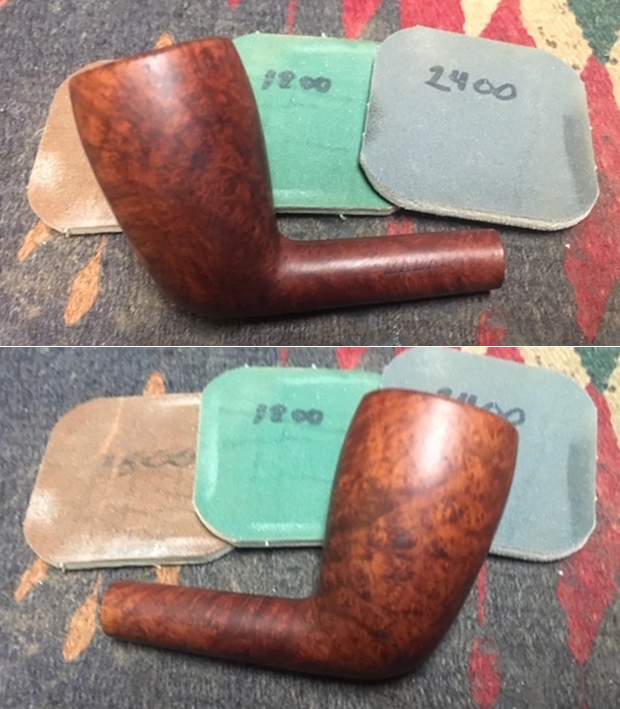
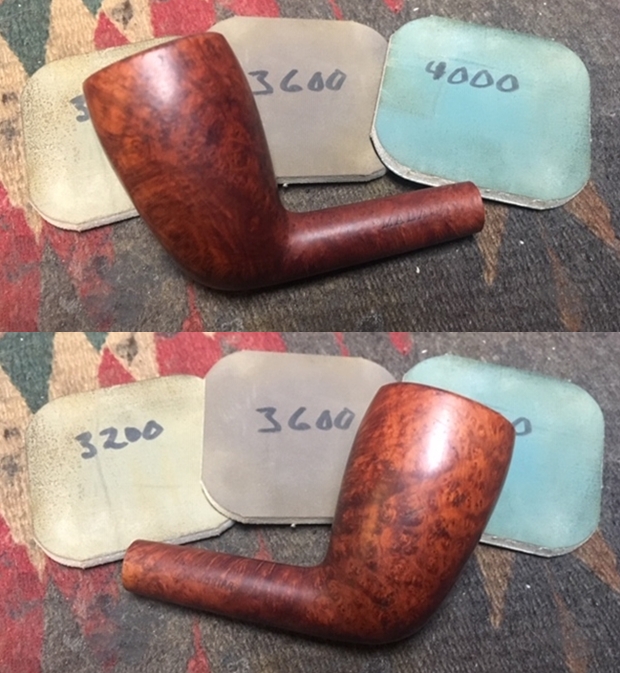
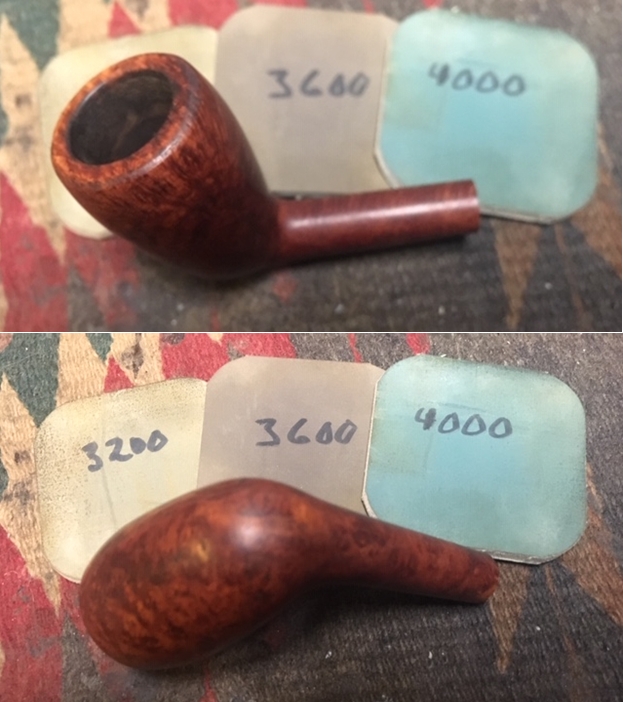
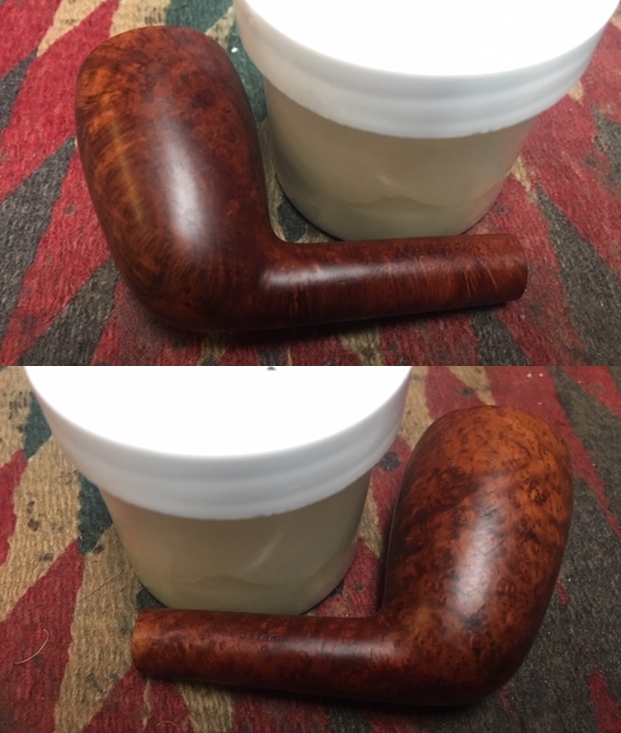
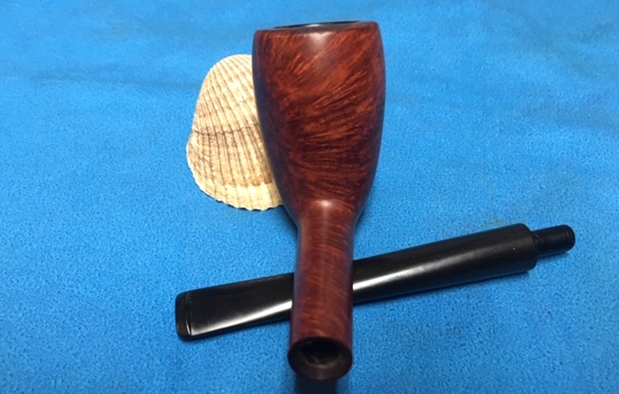
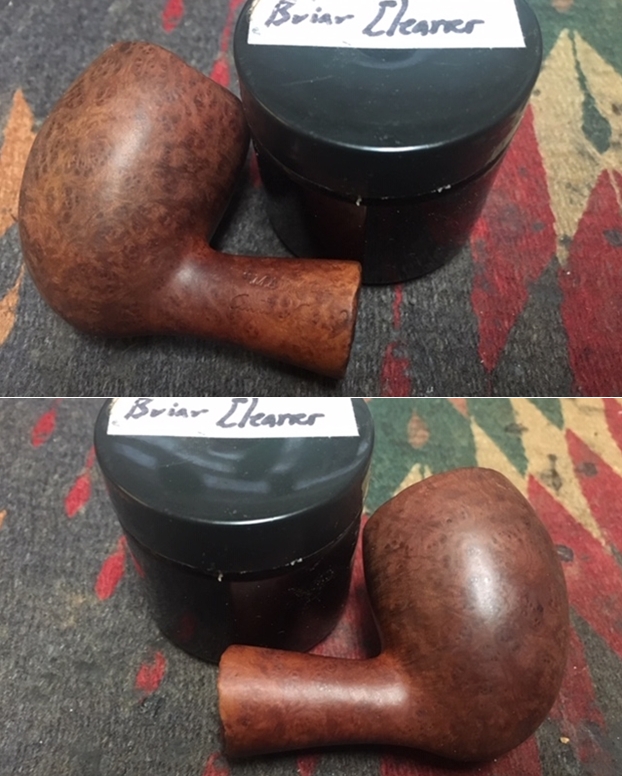
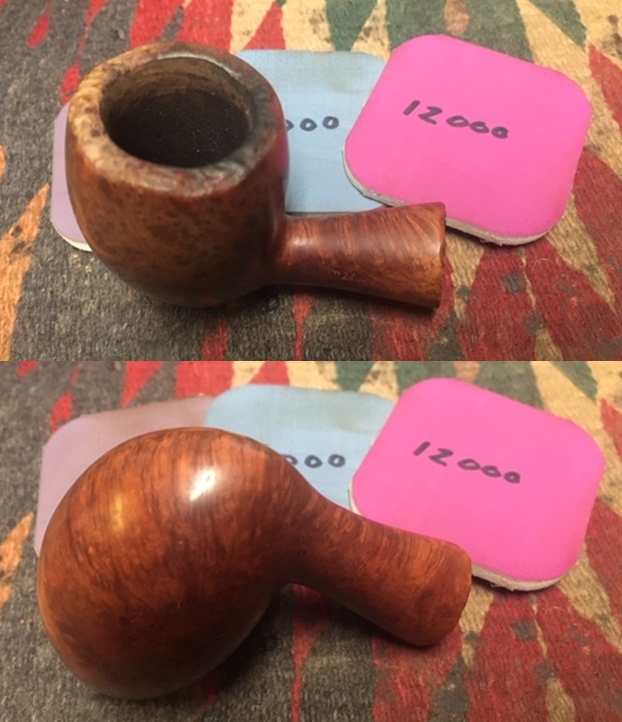
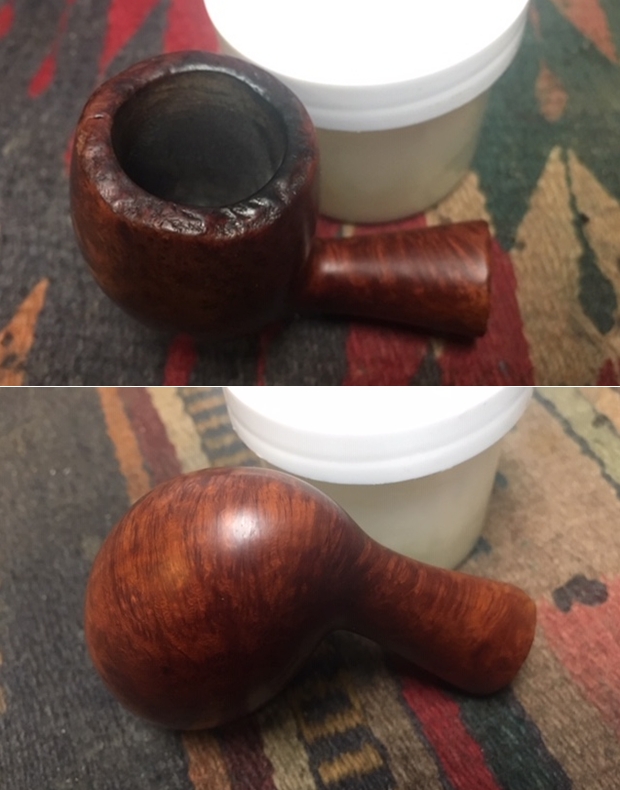
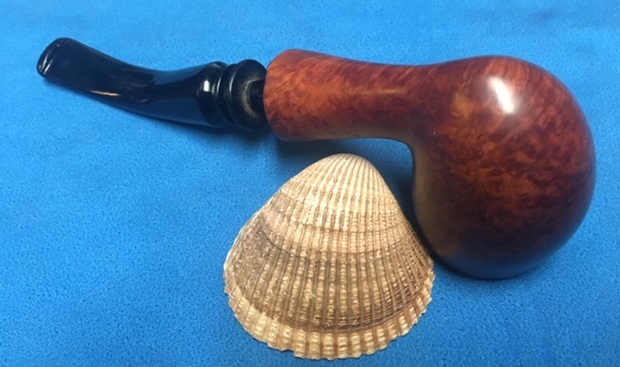
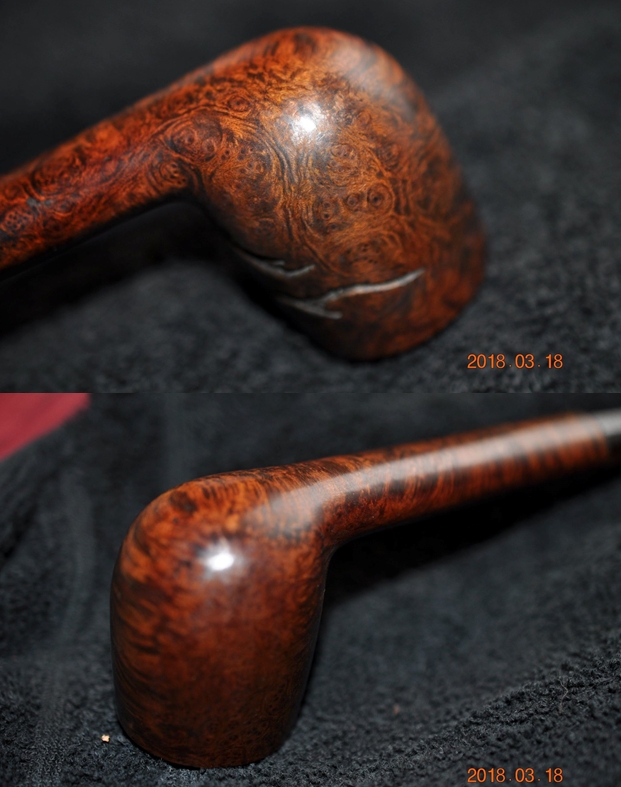
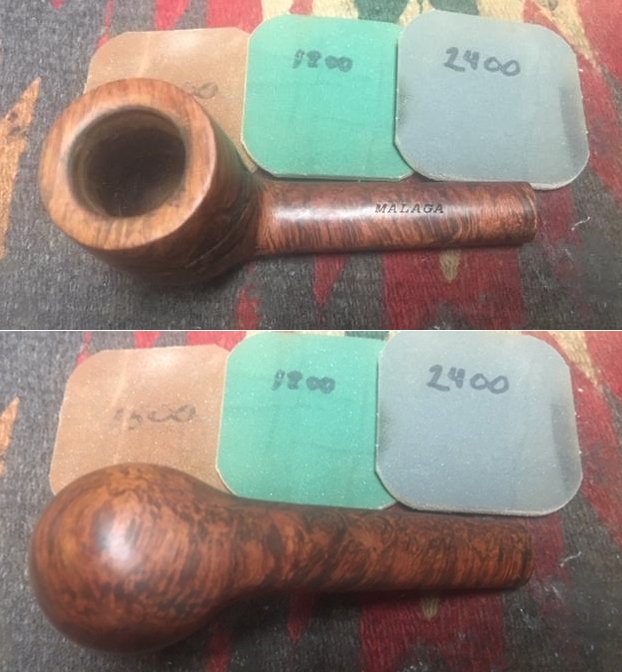
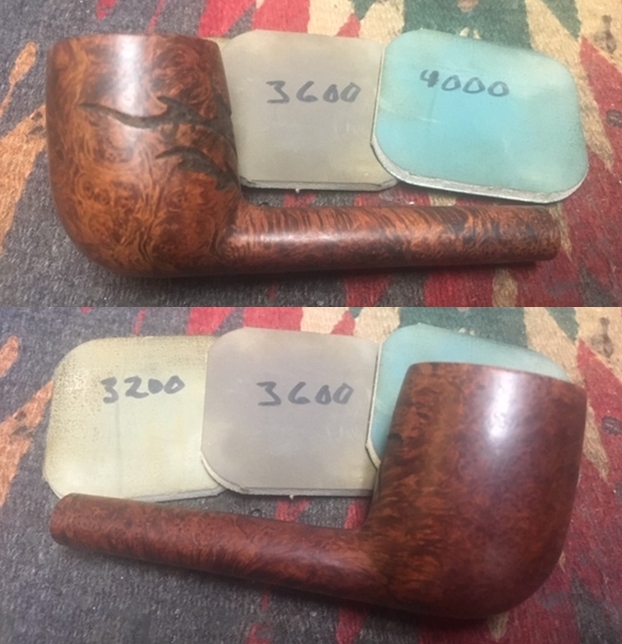
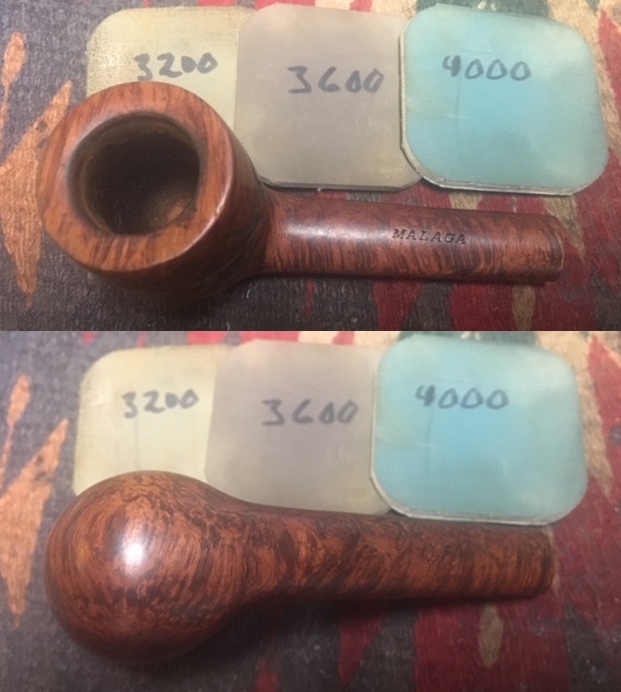
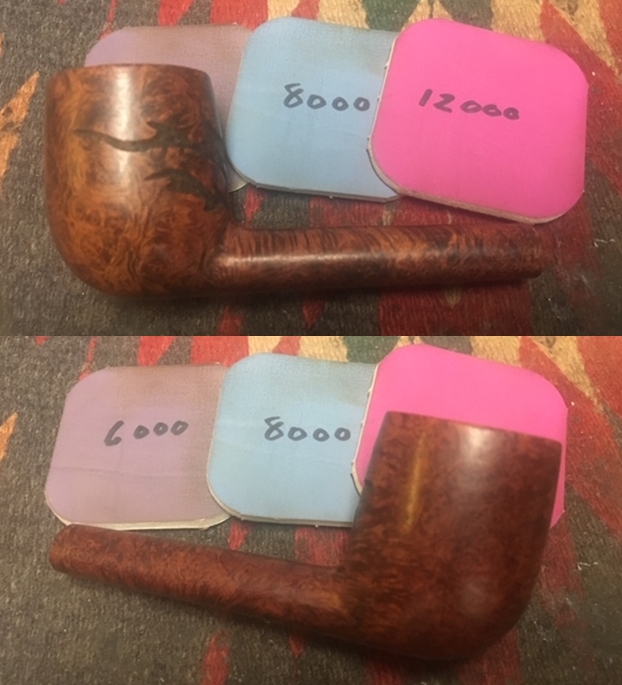
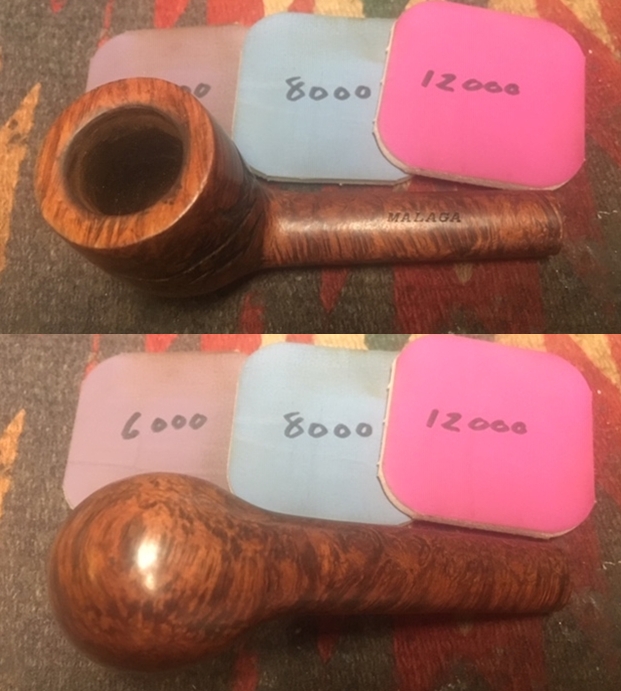
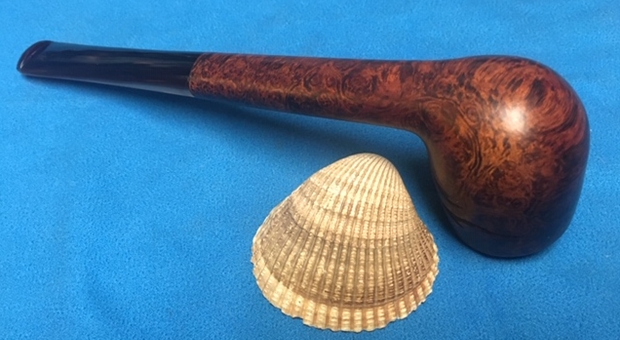
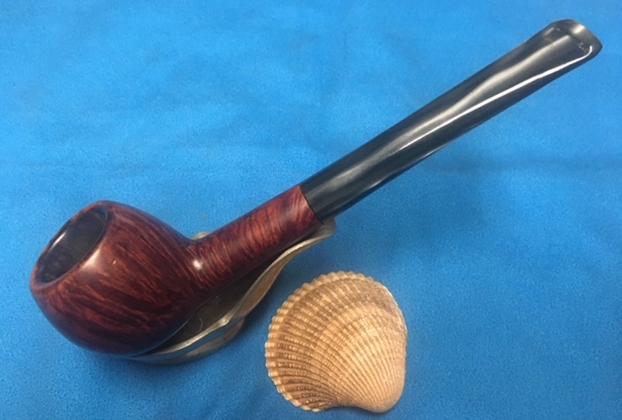
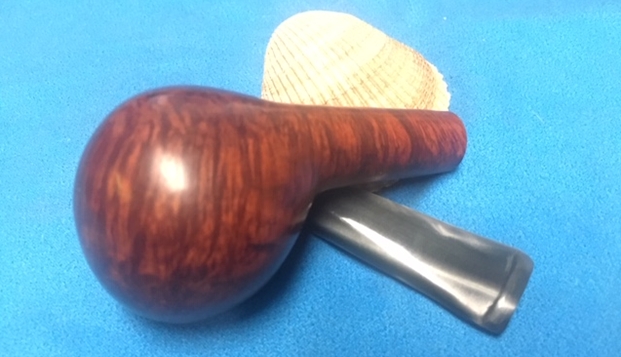
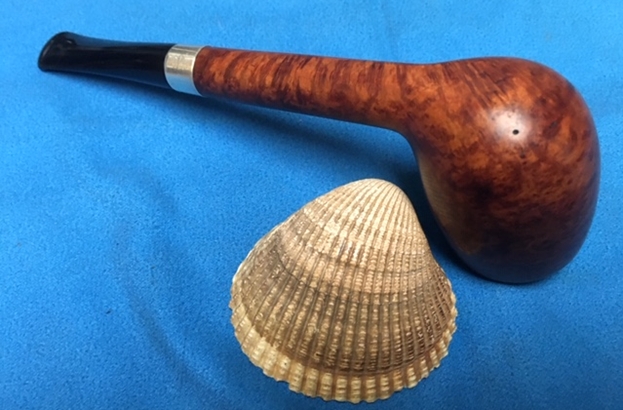
 To remove the sanding marks and bring a deeper shine, I polished the stummel with micromesh pads, wet sanding with 1500 to 12000 pads. I wiped the surface with a soft cloth at the end of the micromesh cycle. The stummel looks amazing with a deep shine and beautiful grains popping over the stummel surface. I showed the stummel to the new owner and discussed if he wanted me to stain the stummel or preferred it the way it appeared at this stage. I took this opportunity to explain to him that the stummel would darken as he smoked taking on a beautiful dark patina with time and usage. He liked the pipe without stain and thankfully, that’s how it shall remain.

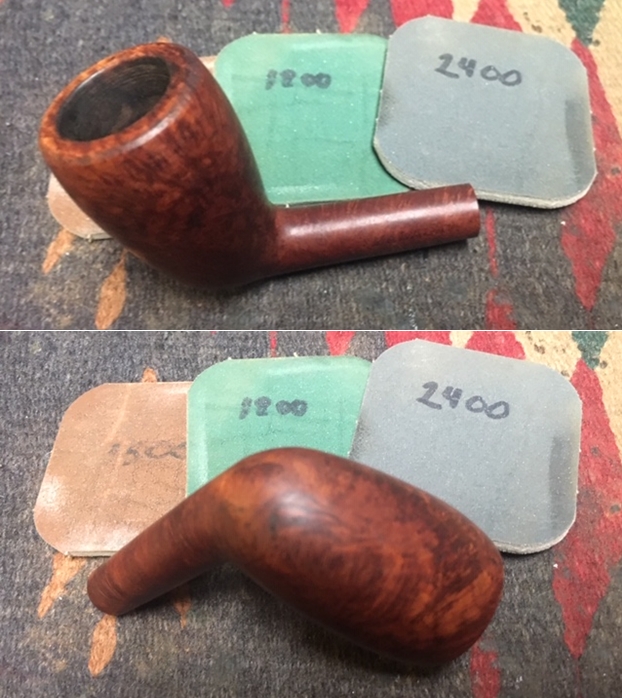
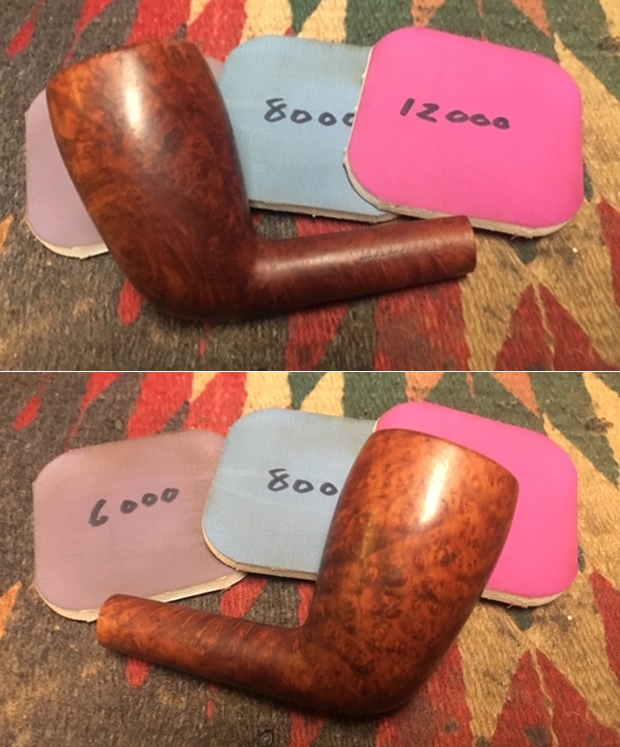
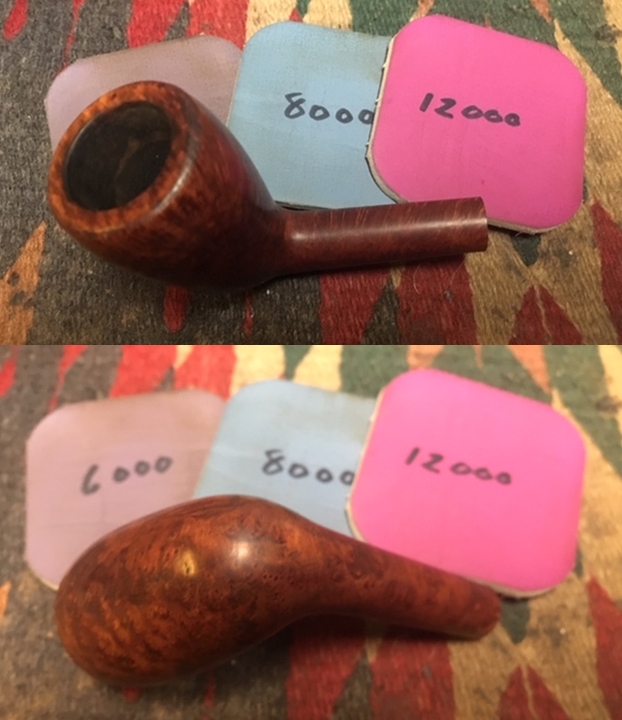
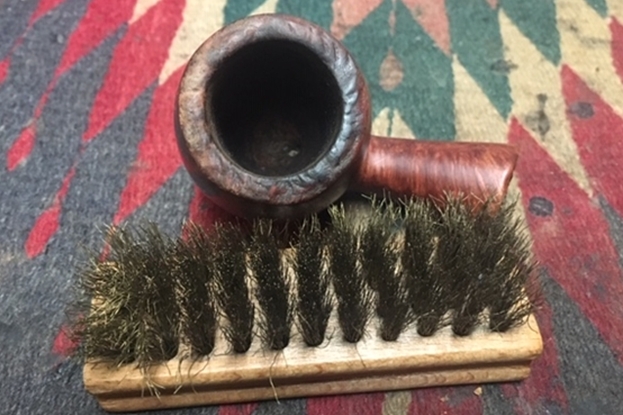
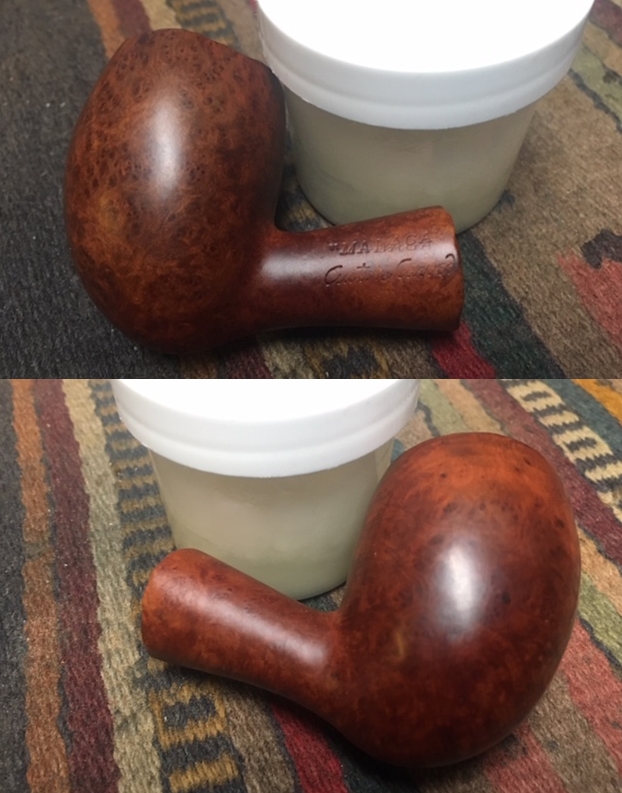
 Next, I rub a small quantity of “Before and After Restoration Balm” in to the briar with my finger tips and let it rest for a few minutes. The balm almost immediately works its magic and the briar now has a nice vibrant appearance with the beautiful darkened grain patterns on full display. I further buff it with a horse hair shoe brush.
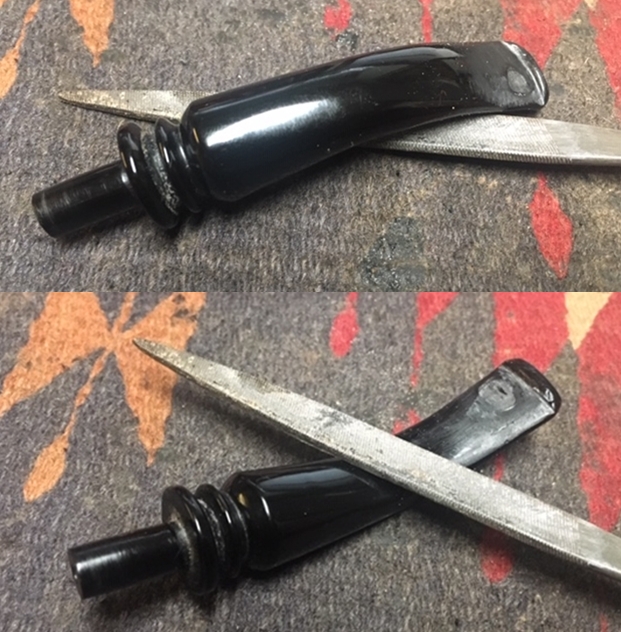
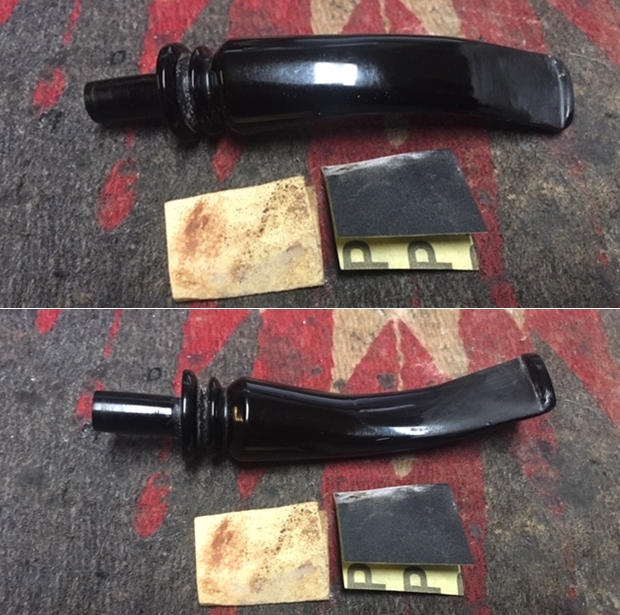
 Now that the stummel was nearly complete, I turned my attention to the stem. Since there was no damage to the stem and Abha had done a wonderful job of removing the oxidation from the stem surface, I straight up proceed with sanding the stem surface using 400, 600, 800, 1000 grit sand papers and finally with a piece of 0000 grade steel wool and also sharpened the button edges while sanding. This serves to remove the deep seated oxidation and also reduces the sanding marks of the more abrasive sand papers. I wiped the stem with a cotton swab and alcohol to remove all the oxidation and sanding dust from the surface. I applied a little Extra Virgin Olive oil over the stem and set it aside to be absorbed by the vulcanite.
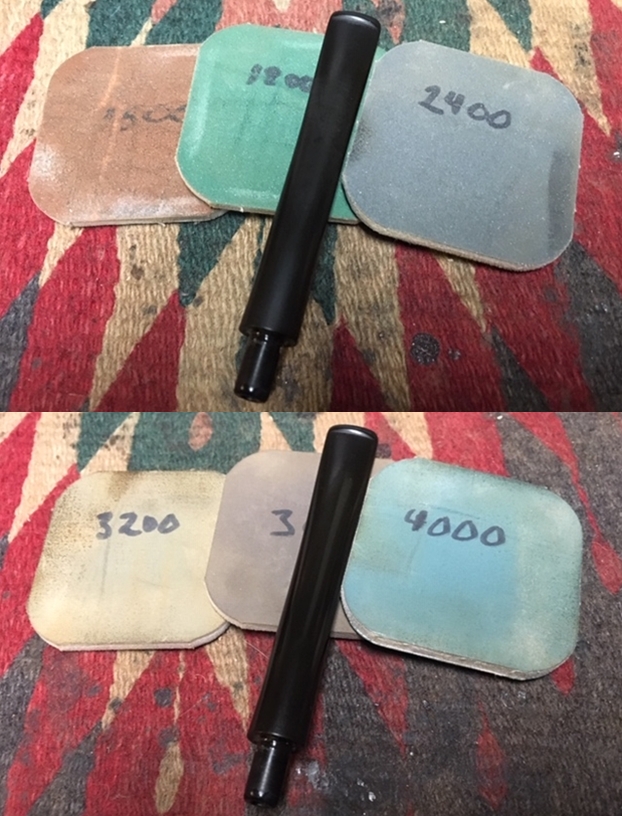
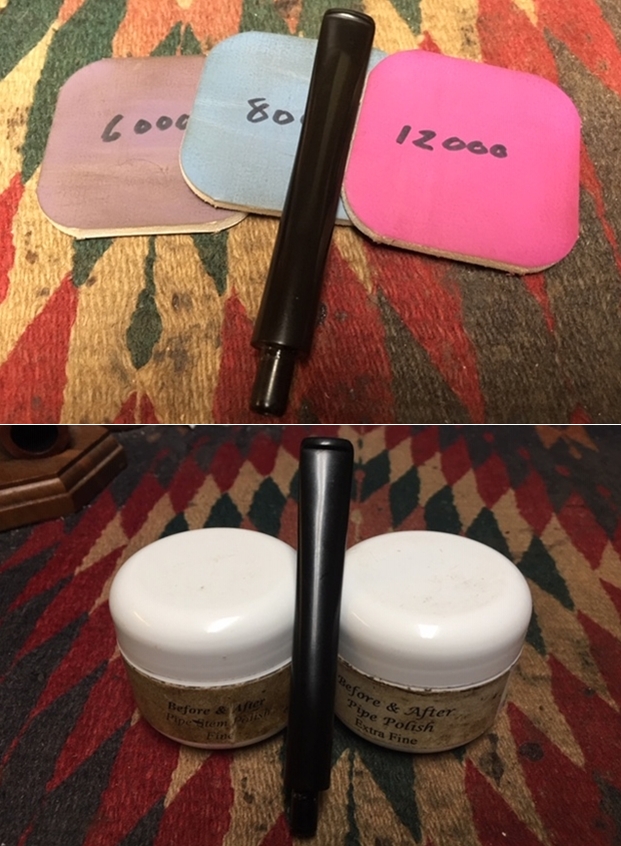
 I followed up the sanding regime with micromesh polishing to bring a shine on the stem surface. I wet sand the stem with 1500 to 2400 girt micromesh pads. Continuing with my experimentations that I had spelled out in my previous posts, I mount a cotton buffing wheel on my hand held rotary tool and polish the stem with Red Rouge polish as I had read that this polish has grit between 2400 to 3200 grit pads of the micromesh pads. Further, I mount a fresh buffing wheel on the rotary tool and polish the stem with White Diamond polish as it has grit equivalent to 3800- 4000 of micromesh pads. I finish the stem polish by wet sanding with 6000 to 12000 grit pads of the micromesh. I rub a small quantity of olive oil in to the stem surface to hydrate it and set it aside. The stem looks nice and shinning black. I am really happy with this process of stem polishing as the results are excellent while saving me huge amounts of time and effort.
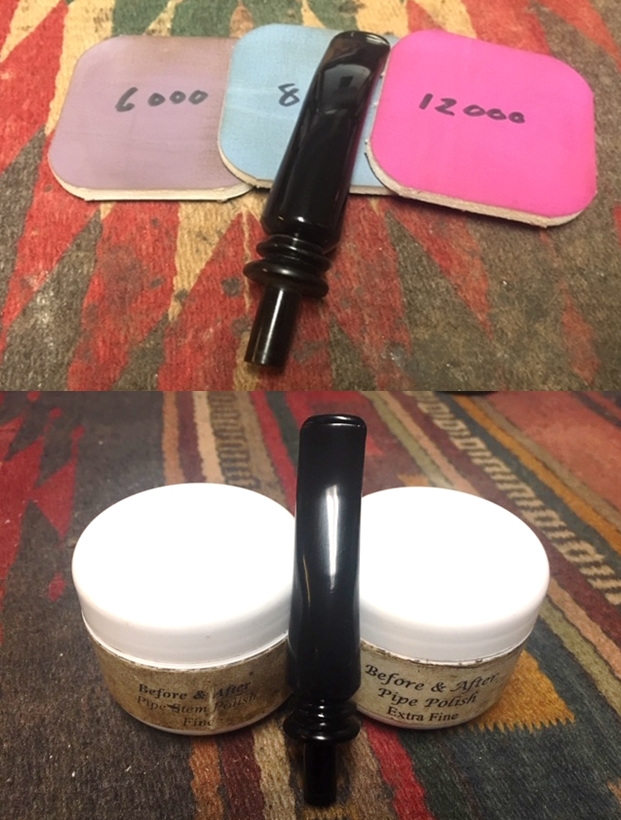


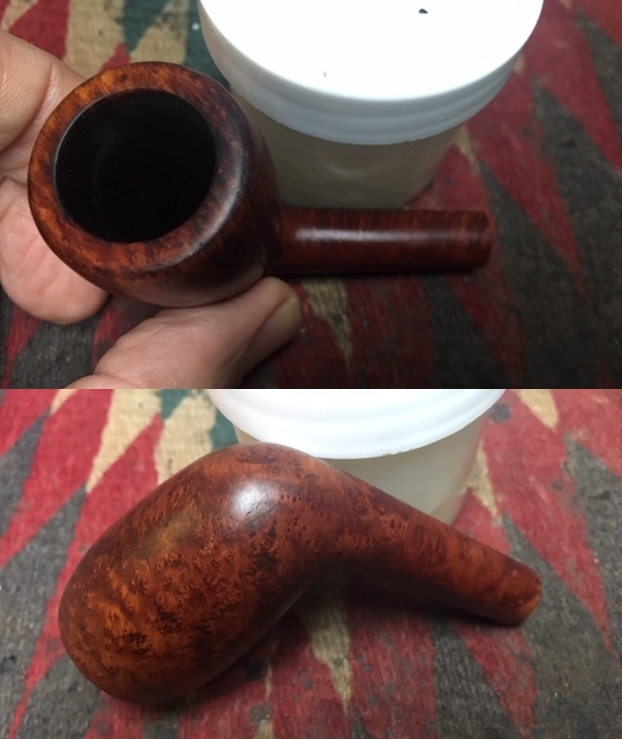
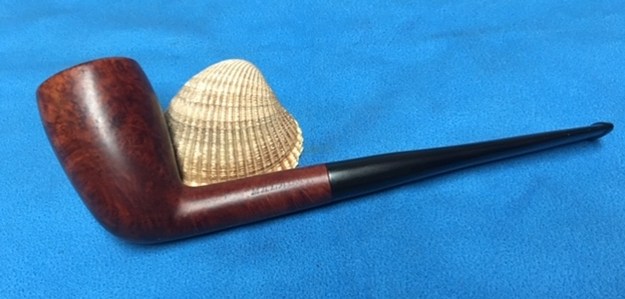
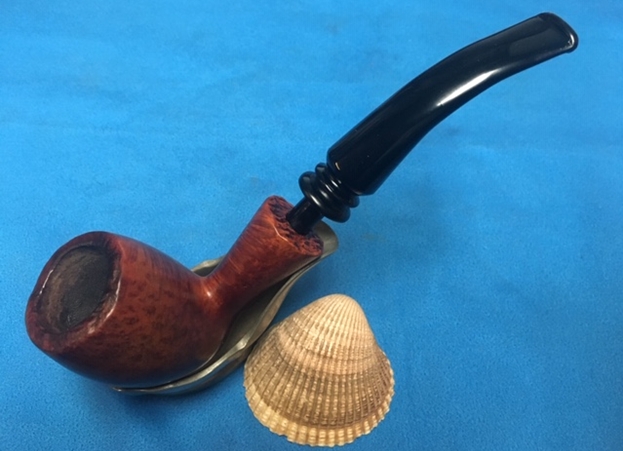
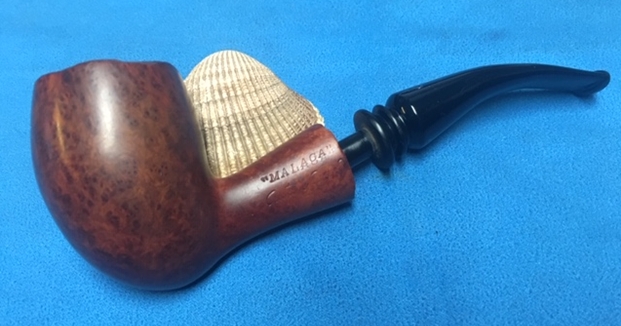
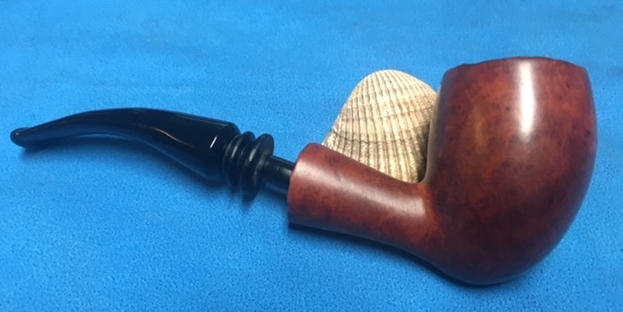
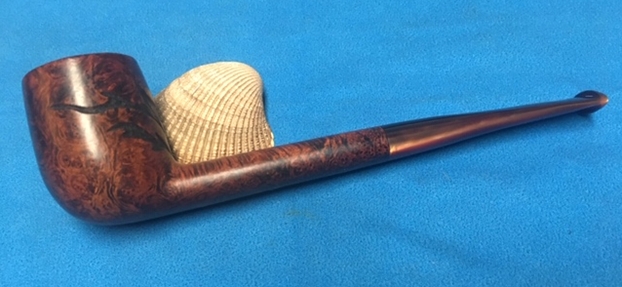
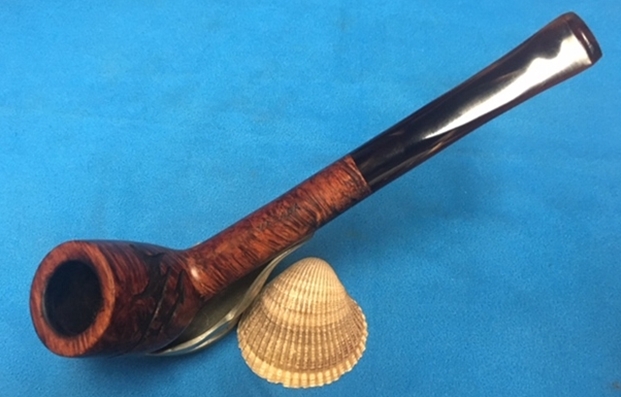
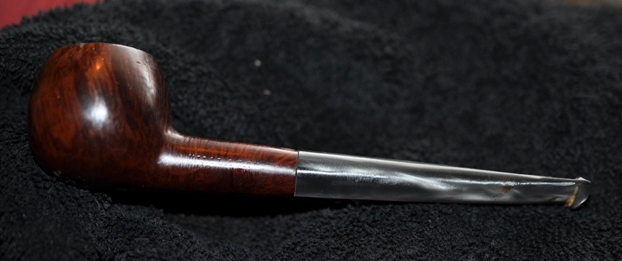
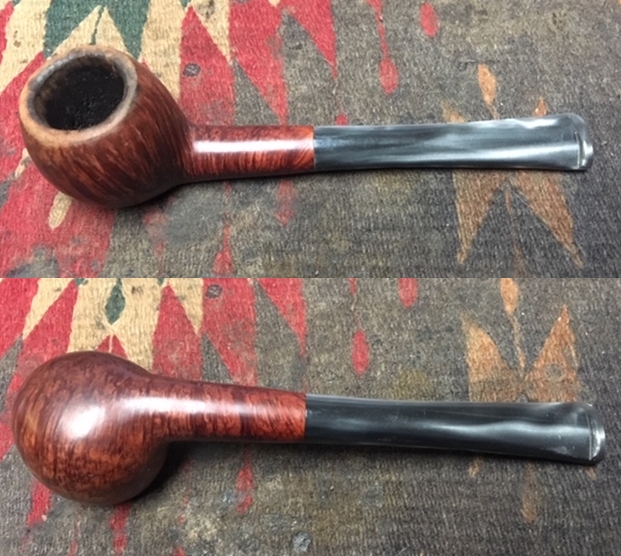
 To apply the finishing touches, I mount a cotton cloth buffing wheel on to my hand held rotary tool and apply a coat of Blue Diamond to the stummel and the stem to polish out the minor scratches. With a cotton buffing wheel that I use for carnauba wax, I apply a coat of carnauba wax and continue to work on it till the complete coat of wax had been polished out. I mount a clean cotton cloth buffing wheel and give the entire pipe a once over buff. I finished the restoration by giving the entire pipe a rigorous hand buffing using a microfiber cloth to raise the shine further. The finished pipe looks beautiful and is ready to be handed over to the new piper. Hope he enjoys his leisure time with this beautiful and gorgeous looking pipe, smoking his favorite tobacco!!


 P.S. This is the last of the four pipes that was selected by this gentleman to carry forward the trust posed in the pipe by the previous piper and I am sure that this pipe will provide the new piper many years of happy smokes and will remind him of our association. This was also the most difficult of all the four pipes to let go!! Such is the beauty of this pipe.
Thanks to all readers of Reborn pipes who have spared a moment of their invaluable time in reading through this write up and as is always, your suggestions and advice are always welcome as this would not only help me but also help the new pursuers of this art.