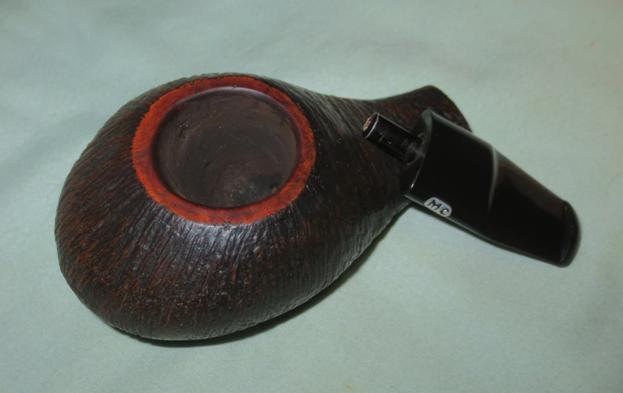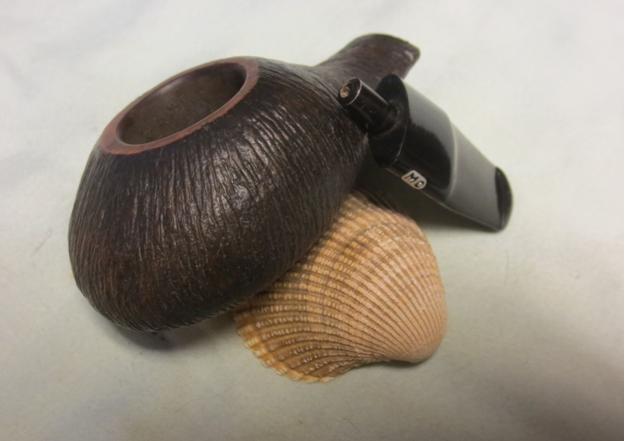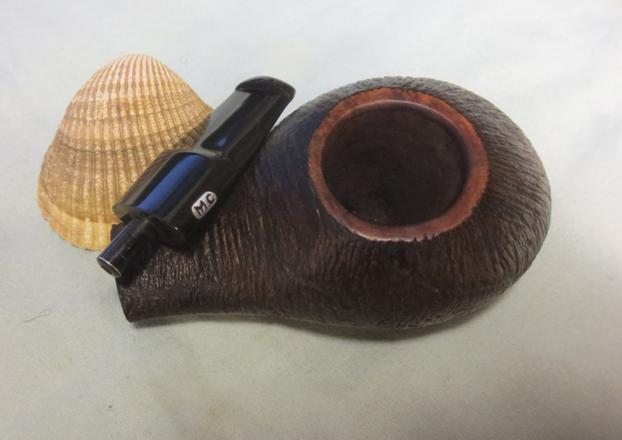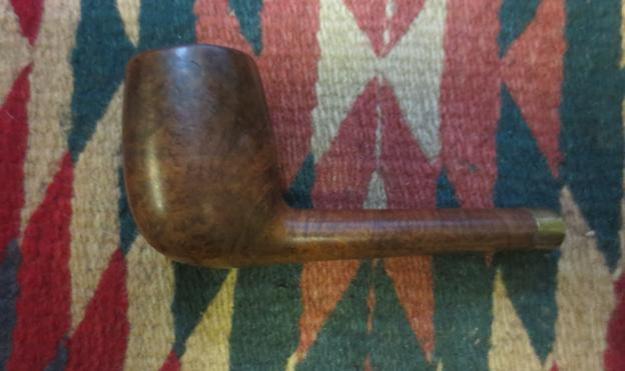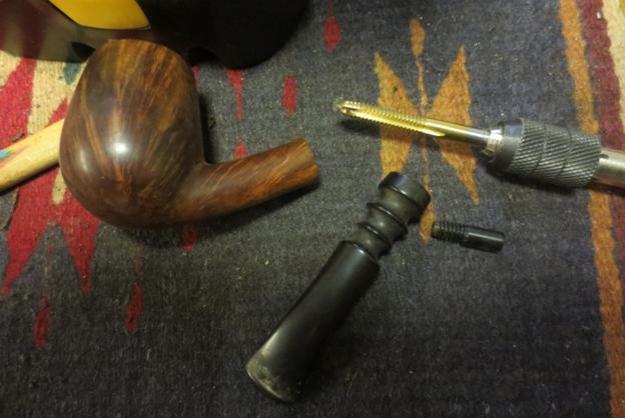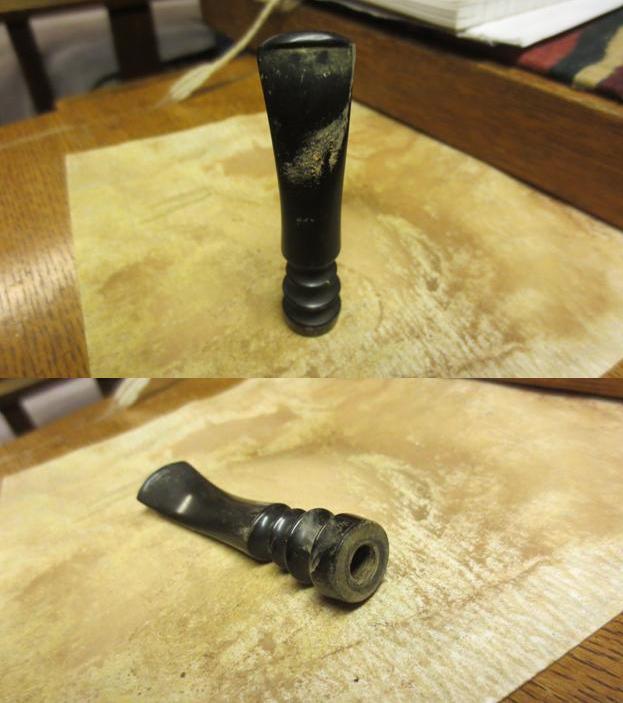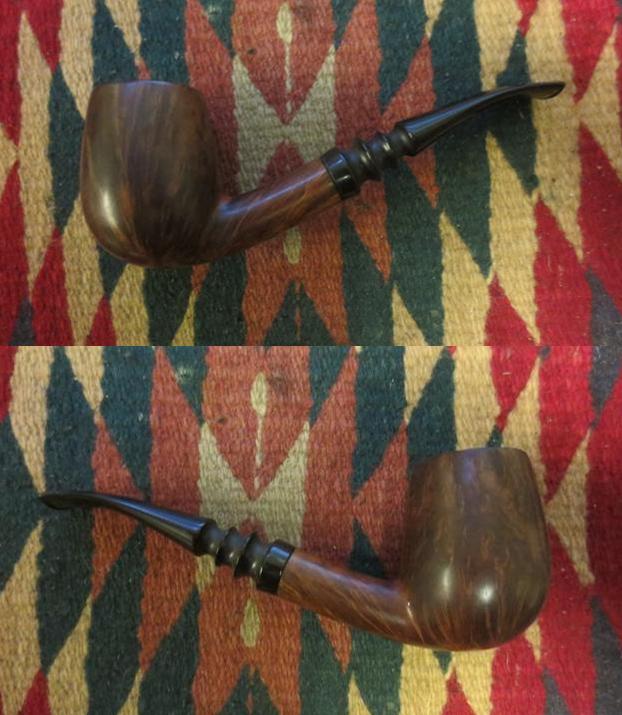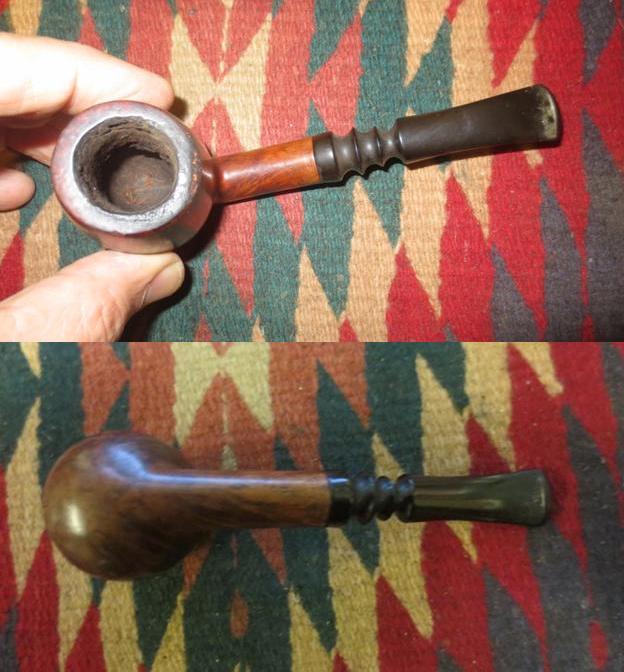
Category Archives: Pipe Refurbishing Essays

Essays and pictorial essays on the art of refurbishing

Refurbishing pipes became therapy for me through some dark days


Briar Bowls

Blog by Steve Laug

This summer I am celebrating 24 years of working on pipes and I thought it would be helpful for me to reflect a bit on why I started refurbishing pipes and what happened to make it what it is today in my life. I also thought that I would post it here as a blog for those of you who might be interested in knowing a bit more about this old codger! There was a time when pipe refurbishing moved from being a side hobby that I did solely out of interest in getting some quality pipes in my own rack to being a lifeline for me that brought back lost abilities due to a personal physical crisis. I thought it would be interesting to at least some of you to read about my journey with pipe refurbishing and how it has been more than just a hobby in my life. It has become a passion because of what it has done for me. So here is the story.

I started refurbishing pipes shortly after I moved from Surrey to Agassiz, British Columbia, about 2 hours from Vancouver, in 1992. By that time, I wanted to add some more pipes to my pipe rotation but did not have the coin to buy the pipes that I really wanted. I spent time flipping through pages on eBay to find the pipes that I liked. I found that there were many of the ones I wanted there for an “affordable to me price”. It did not take long before the bug bit and I was picking up pipes that I liked. The problem soon arose, that I am sure many of you found with eBay, I was hooked on the thrill of the hunt and the adrenalin of the “auction”. I purchased more pipes than I needed and I purchased ones that looked great online but turned out to be real junk once they arrived. Some of them may have been fixable but I could not fix them. So there was nothing to be done but either throw them away or start to stockpile them in a box. I chose the latter hoping that one day I would be able to work on. But I knew I needed to learn how if that was going to happen.

The day soon came that the box of “junk” became my training ground for learning how to clean up and restore estate pipes. There were enough of them that I could practice for a long time and I could not help but learn. I figured I could make the mistakes on the truly junk pipes and then use what I learned from working on them with those I wanted to keep. That is what I did and that is when things started. It was slow and tedious work and I wondered if I would ever learn what I needed to know but I kept working on them. I did not go overboard in purchasing more pipes to work on, at least to my mind. Those that came out well I either sold or gave away to friends and other pipe smokers. Slowly but surely I reduced the stockpile of pipes and learned much in the process.

This education in pipe refurbishing went on for 8-9 years (though to be honest it is still ongoing). I learned a lot of methods and tricks about working on pipes through the progress of those years. When I got stuck I would call other restorers or post on the online forums for help and it never failed that one of the father’s in the hobby would give me help. I never saw myself as a pipe restorer, I was just a pipe smoker who wanted to learn to work on his own pipes. My method was simple, I would choose an area to work on and then buy pipes that needed that kind of work. Because of my chosen learning methodology, I bought a lot of what appeared to be junk pipes. I would work on their common issue until I was satisfied with the end product. If it was bowl topping I bought bowls that needed that. If it was rustication then I bought bowls that needed that. If it was stripping, refinishing and staining that I wanted to work on then I bought bowls that needed that… you get the drift. I worked on something until I felt I had a basic mastery of the process. In this way the box of old junk pipes became my school of pipe repair. In those days if you had seen what I worked on you and where I did the work you would have laughed. I sat at my desk in my study in our house in Agassiz and worked after office hours and often into the evening to learn how to do something. I never had a lot of tools to work with so it was pretty simple in those days. Things that I was not ready for, I avoided – things like learning how to fit a new stem or add a replacement tenon to a stem. Those would take more work and when I tried to do it the results were frustratingly poor.

When I moved to Vancouver, we rented a basement suite that was furnished and I had to put away and put off my pipe repairs. I was looking forward to having a little shop in the new house to dedicate to pipe work. In December of 2003 my world came to a sudden halt. I had a serious stroke and lost use of the right side of my body. It was a rough time for our family and for me personally. I could no longer walk without assistance and had to be bathed, dressed and cared for by my wife. She had to tie me into a seat to keep me from falling. We bought our Vancouver home after I had started physio-therapy to relearn using my hand, caring for myself, walking and balancing.

We purchased our new home and moved into it with the help of many and soon I had a desk in the basement area. I was able to do stairs carefully and slowly with the help of my cane so that would be workable. I went through my boxes slowly and found my pipe repair supplies and pipes still needing work. I sat and looked at them morosely because the doctors had said that I would not get my fine motor control back. They said that I would never be able to use my right hand like I had before. I refused to believe that and soon began to fiddle with pipe repair. I had the therapist teach me repetitive exercises to learn fine motor control. Things like picking up things translated to picking of sandpaper and pipes. Holding things translated to holding a piece of sandpaper, gripping a cup of coffee easily transferred to hold a pipe bowl between my fingers. When I learned to brush my teeth the back and forth work of that exercise carried over to the work of sanding, and so on. Each thing that had once come naturally had to be broken down and relearned and practiced. It was a lot of repetitive work but with God’s help and grace and a more than stubborn spirit I went to work because I wanted to have those fine muscle controls back. I wanted to be what I had come to call a new normal.

Personally those were some dark days. Progress was very slow and there was not a day that went by that was not frustrating for me. Strokes leave your emotions very ragged and disjointed and responses are often unpredictable. I worked hard with the encouragement of my wife Irene and truly without her patience and faithful love I don’t know if I could have done the work. It took over a year and a half of therapy, 3-5 days a week to relearn what had once been everyday things – walking, balance, feeding and caring for myself and dressing myself. At this point I think I was the only one who held out hope that I would one day return to my hobby – pipe repair. My Romanian stroke therapist, Adrienne was a gift to me; she designed daily exercises for the many different hand and wrist motions that I wanted to regain. She did the same for foot and ankle motions and head and neck motions. She had equipment to teach me balance and how to regain the rhythm of walking. She used massage to untangle my knotted muscles from the spasms that went through my right side post stroke. I was blessed to have found her and she was my lifeline back to self sufficiency. Through her careful training and pushing I was once again able to bathe and toilet myself and even feed myself. I went from dragging my foot and leg to walking with a cane. Eventually I left the cane behind.

Along with her therapy I would sit in the afternoons and evenings resting at my desk or in my recliner working at working on pipes. I worked on sanding bowls and shanks, cleaning up stems and topping bowls. I learned to hold pipe cleaners and push them through stems and airways. Sometimes my old ways did not work and I was left to figure out how to work around something that I could not do. I would also go back to physio-therapy each day with new movements that I knew I needed. I continued to buy more pipes on eBay to keep my schooling and pipe therapy going. Slowly but surely with almost imperceptible daily growth, I was able to gain more control of my fine motor skills and life became more manageable. The side benefit was that the pipes I worked on began to look better. I have told you really the short version of that long year and one half of therapy. There were many struggles and many failures along the way but there was still day by day progress.

Now twelve years later, unless you knew me before, you would not know that I had suffered a stroke and experienced the loss of fine motor control. All the restoration work I do on pipes is still part of my ongoing physio-therapy as well as a means of de-stressing my life. The memories have come back as I have gone back over many of the pipes restored in those early years. I had to laugh at what some of them looked like but then I remember where I was in my recovery when I worked on each of them. They were far from beautiful but to me they were steps back to full function. Since then I have added a lot more skills to my collection. I do not avoid restemming pipes and I replace tenons without fear. I have learned to carve my own pipes with a Dremel. I have learned a steadiness of hand that allows me to work on very finicky spots on bowls and stems with the Dremel and sanding drum. I know that it is not just a matter of hard work and stubbornness. It is also a gift from God to me and I do not take that for granted. The daily work on pipes is an ongoing retraining of my fine motor skills. Today if you spent time with me you might not see the remaining impact of the stroke on my movements but I can still feel them. I am working at about 85-90% of what once was there. I have learned tricks and new habits that have compensated for what is lacking but I continue to push to regain yet more control.

Not long ago I was interviewed by Brian Levine from Pipes Magazine Podcast about rebornpipes and I mentioned that I did pipe refurbishing for therapy more than any other reason. I talked of the work that I do in my real job and the need to finish things and unwind from the weight of what I do. The thing I did not mention was the other side, the therapeutic reason that rebornpipes exists. Pipe refurbishing and restoration will be something I do until the day that I am unable to move any longer because it continues to be my school room for ongoing stroke recovery and it is something of a thanksgiving offering to the Lord who made this renewed ability possible for me. I have written often of the meditative and sacramental nature of pipesmoking but to that I now want to add this concept. In the restorative process of bringing a worn and tired estate pipe back from the brink there is the equally remarkable restorative process of bringing this physically broken person back from a place of frustration and anger to a place of usefulness.

Thanks for taking the time to read this.

Briar Bowls

Rehabilitating a Well-Used Nino Rossi Sterling Spigot 167


I am still trying to figure out how Charles uses the Meguiar’s to get it to take that much oxidation off… I use it and never have that result. What is the trick?

Charles Lemon's avatar

Having served in the Canadian Forces Reserve during my university days, I’m a big fan of all things Army, including military mount pipes, so when this Nino Rossi Sterling 167 hit my worktable, I was quite excited to see what lay under the layers of tar and tarnish.

This pipe was obviously a favourite of its previous owner, and it showed all the hallmarks of a reasonably well cared for constant companion – a fairly thick layer of what turned out to be very dense cake in the bowl, tars on the rim and a bit of road rash here and there on the outside of the bowl from handling over the years. The bowl had been reamed at some point with a knife, leaving a ragged and somewhat out of round chamber.

The sterling silver shank cap and tenon were heavily tarnished and greasy feeling, while the vulcanite stem…

View original post 1,215 more words

Restoring a Semi-Churchwarden Pipe


Blog by Steve Laug

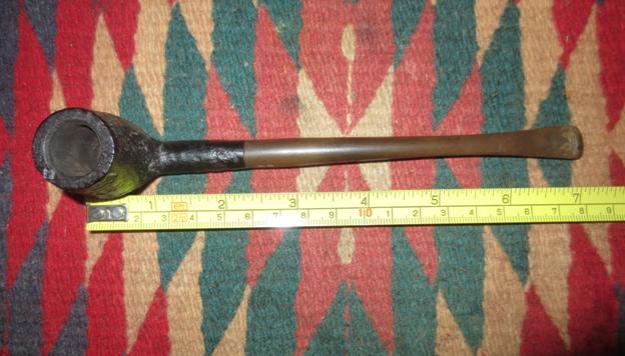
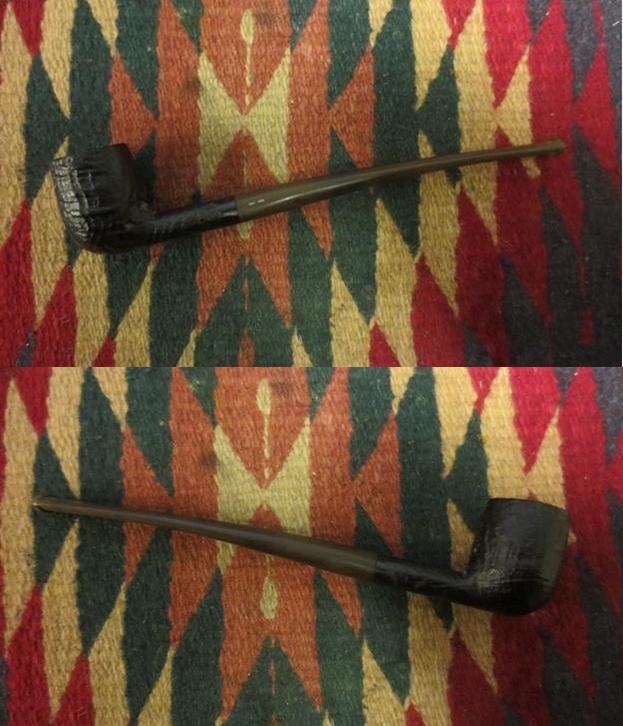
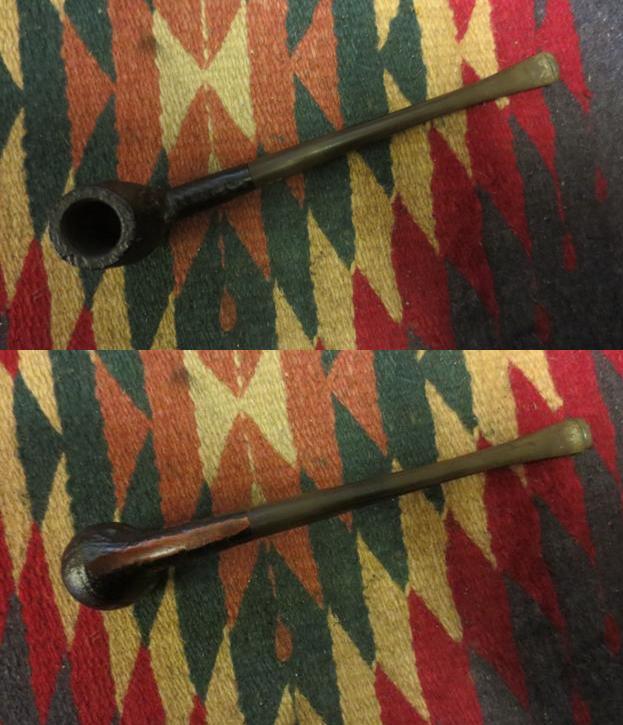
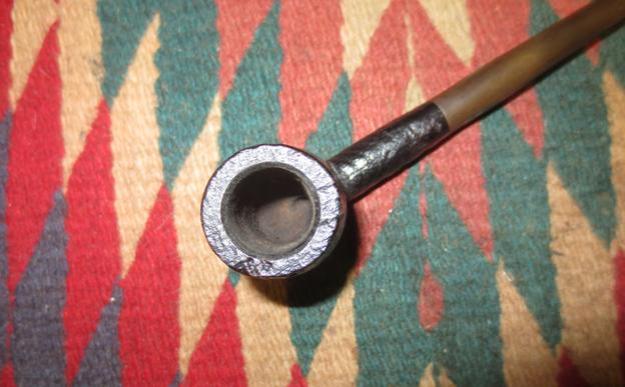
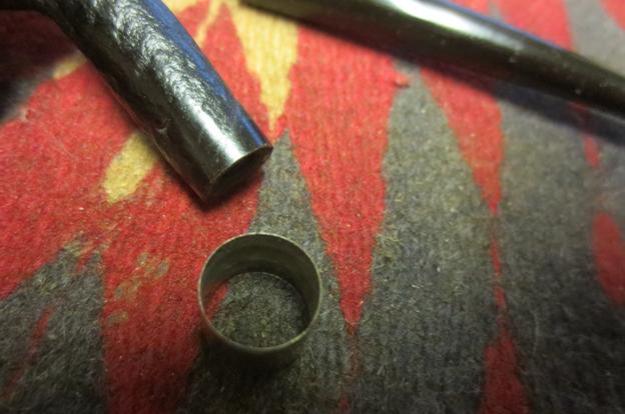
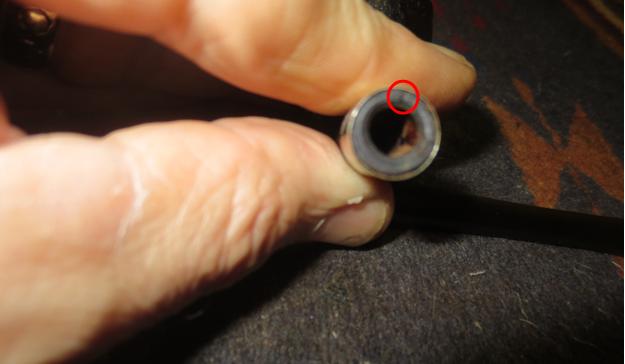
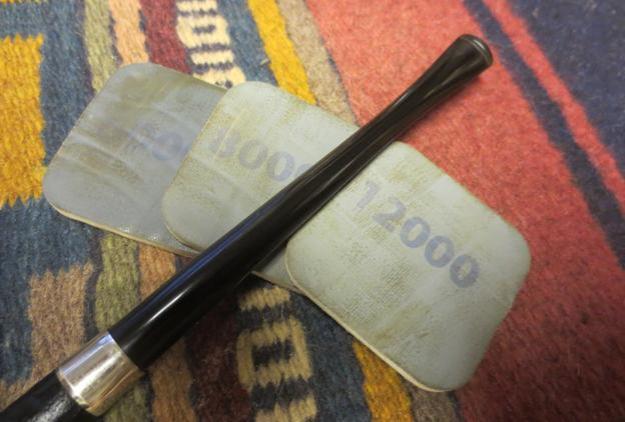
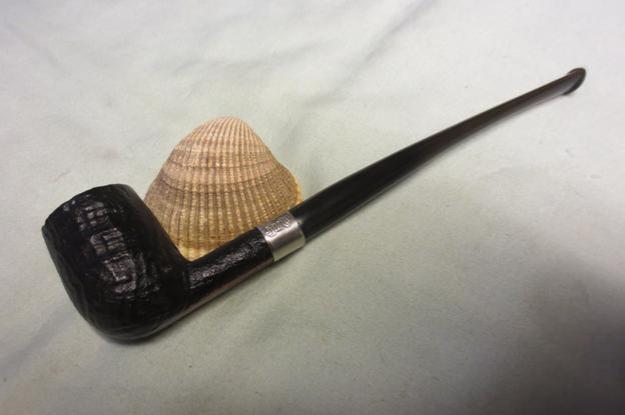
When I picked up the lot of pipes from my brother Jeff there was a small churchwarden, just seven inches in length among the assorted pipes. It was a dark sandblasted bowl with an undertone of dark brown and an overstain of medium brown. The bowl was in excellent shape and the rim was very clean. It was stamped on the underside of the shank with the words SEMI over CHURCHWARDEN over Italy. The shank was thinner on the top than on the bottom side. As I examined it I could see a small hairline crack on the right top side of the shank. The finish was perfect with no tars or build up on the rim and no cake in the bowl. The stem was oxidized to an ugly brown and the one side that looked like it had a ‘–‘ logo on the left side. The problem was that the side of the stem had been flattened in that area and if it was a logo it made the stem out of round. There was some tooth chatter on the top and the bottom of the stem at the button but there were not any deep tooth marks that I had to deal with. The way the pipe was made with the flat bottom made it a sitter.CW1I took some photos of the pipe when I brought it to the work table. These give a pretty clear picture of the condition of the pipe when I started cleaning it up. The shank needed to be repaired and the stem cleaned up and made round on the flat side.CW2 CW3I took a close-up photo of the rim to show the state of the inner and the outer edge of bowl. The sandblast finish was clean and the blast on the rim was well done. I also took some photos of both sides of the stem at the button to show the tooth chatter and the lack of deep dents or tooth marks. The fourth photo shows the stamping on the smooth bottom of the shank.CW4 CW5 CW6I cleaned out the inside of the mortise and the airway to the bowl and in the stem with pipe cleaners, cotton swabs and alcohol.CW7I sanded the stem with 220 grit sandpaper to remove the surface oxidation and begin the process of cleaning it off.CW8I cleaned the flat surface on the left side of the stem and then began to build up the smooth area to bring the stem back to round. I sprayed it with an accelerator and then gave it a second coat of glue.CW9I put the stem in the shank and sanded it with 220 grit sandpaper to smooth out and blend in the patch to the rest of the stem. I worked on it with the sandpaper until the surface was smooth to touch and blended well with the rest of the vulcanite.CW10Once it was smooth and round I wet sanded it with 1500-2400 grit micromesh sanding pads and wiped it down with Obsidian Oil. I dry sanded it with 3200-4000 grit pads and gave it another coat of oil. CW11 CW12I went through my assortment of bands to find one that was the correct diameter for the cracked shank. I measured it and then found the correct one. I heated it with a lighter and then pressed it into place on the shank of the pipe.CW13 CW14 CW15I took a close-up photo of the shank end to show the crack at the top of the photo under my finger. I have circled cracked area in red.CW16I finished sanding the stem with 6000-12000 grit micromesh pads and gave it a final coat of Obsidian Oil. I set it aside to dry.CW17I polished the band with a jeweler’s polishing cloth and then buffed the pipe and stem with Blue Diamond on the buffer. I gave the bowl and stem several coats of carnauba wax and buffed it with a clean buffing pad to raise the shine. I hand buffed it with a microfibre cloth to deepen the shine. The finished pipe is shown in the photos below. Thanks for looking. This one will show up on the rebornpipes store soon. Send me a pm or a message if you are interested in owning it.CW18 CW19 CW20 CW21 CW22 CW23 CW24

Restoring a Comoy’s The Guildhall Twin Bore Long Shank


Blog by Steve Laug

The next pipe I brought to my table to work on was stamped on the left side of the shank The Guildhall over London Made and on the right side Twin Bore over Made in England. The stamping was readable with a light and a magnifier but it was faint. It was a nicely shaped long shank billiard or some would call it a Lumberman. I have worked on many Comoy’s The Guildhall pipes but never have seen one stamped like this. The stem indeed is a twin bore. It was in decent shape but it did not bear testimony to the point of the twin bore “bite proof” stem. It had a lot of tooth marks and chatter on the top and the bottom side of the stem. The tooth marks were quite deep but did not enter the airway in the stem. So I guess in that way the stem was “bite through proof”. The finish was quite nice. The pipe was in good shape with just some grime on the surface of the briar. The rim had been topped and restained sometime in its history as the stain is quite a bit lighter than the rest of the pipe. The outer and inner edges of the rim were darker than the surface of the rim. The bowl had been reamed but the cake was left uneven on the walls of the bowl.Guild1 Guild2 Guild3 Guild4I took a close-up photo of the rim to show the previous topping and the darkening of the inner and out edges. You can see that it had been touched up and the rim edges not cleaned up. I also took some close-up photos of the damage to the stem in terms of tooth marks and chatter.Guild5 Guild6I sanded the top and bottom sides of the stem to remove the tooth chatter on the surface and to clean up the area around the deeper tooth marks. I wiped the areas down with alcohol and then used black super glue to fill in the deep marks.Guild7While the stem repairs were drying I reamed the bowl with the Savinelli Pipe Knife. I took the cake back to bare briar.Guild8I used a folded piece of 220 grit sandpaper to clean up the bevel on the inner edge of the bowl. I worked slowly to make sure that the bevel maintained the roundness of the bowl. Once I had it finished I stained the rim and inner edge with a medium brown stain pen to match the colour with the rest of the pipe.Guild9I used a dental spatula to scrape out the inside of the mortise as there was a ridge of tar and oil part way down the shank. I scraped out the grime and then scrubbed the inside of the mortise and the airway in the shank with pipe cleaners, cotton swabs and alcohol until it was clean.Guild10By the time I worked on the twin bore stem the repairs were dry. I lightly sanded them and then cleaned out the twin bore airways.Guild11I sanded the repairs on the stem with 220 grit sandpaper until the surface of the repairs was blended into the surface of the stem.Guild12I wet sanded the stem with 1500-2400 grit micromesh sanding pads. I rubbed down the stem with Obsidian Oil. I dry sanded it with 3200-4000 grit pads and gave it another coat of oil. I sanded it with the last set of three micromesh sanding pads – 6000-12000 grit pads. I gave it a final coat of Obsidian Oil and set it aside to dry.Guild13 Guild14 Guild15I buffed the pipe with Blue Diamond and worked over the scratches that still showed up on the top surface of the stem. It did not take much to remove them and get a deep shine on the stem. I buffed the bowl as well, being careful around the stampings on the shank of the pipe. I gave the bowl and stem multiple coats of carnauba wax and buffed it with a clean buffing pad to raise the shine on the briar and vulcanite. The finished pipe is shown in the photos below. It shines and has depth to the finish. The stamping is faint but is my only example of a Twin Bore Comoy’s The Guildhall Pipe. It is a beauty in my opinion. Thanks for looking.Guild16 Guild17 Guild18 Guild19 Guild20 Guild21 Guild22
 

Restoring a Very Special Six-Day Set of Stanwell Pipes of the Year


I wanted to share this post from Charles with rebornpipes readers for the information it gives on the POY. It is helpful. Thanks Charles. Also if you would like to purchase the set contact Charles at Dadspipes.com

Charles Lemon's avatar

Many pipe producers release an annual Pipe of the Year – a limited-run pipe in a distinct shape and finish representing the very best a pipemaker can produce each year. Coming from a highly regarded and skilled producer like Stanwell, these Pipes of the Year are top-notch pipes and highly collectible, so I was very excited to find no less than six Stanwell Pipes of the Year in the estate lot I’ve dubbed The Danish Collection.

Laying them all out, I found pipes from 1984, 1986, 1987, 1988, 1989 and 1990. These years are significant, as Stanwell only started producing Pipes of the Year in 1979, and 1984 was the first year these pipes were available in North America in any significant quantity.

Another nice thing about Stanwell’s Pipes of the Year is that they have been designed by some of the top Danish pipe carvers, including Sixten Ivarsson, Tom…

View original post 888 more words

My brother has an eye for unusual pipes – A Mastercraft Sea Slug


Blog by Steve Laug

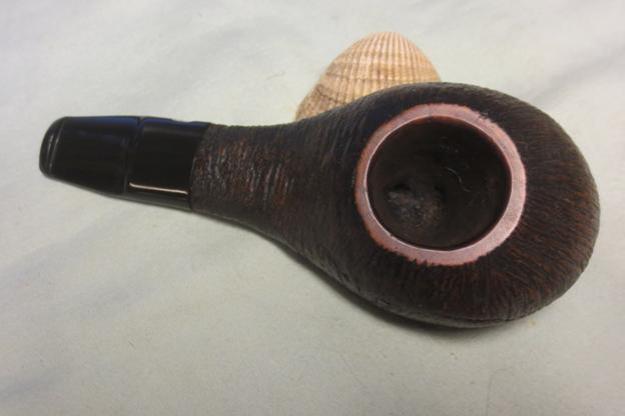
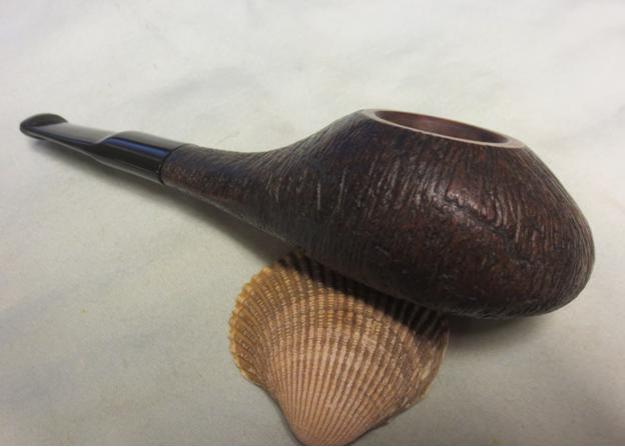
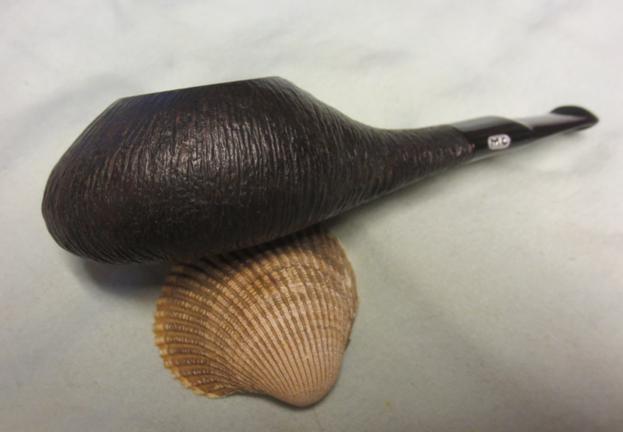
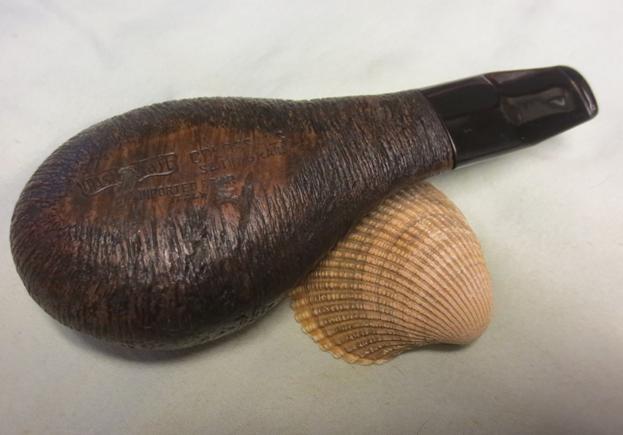
When I visited my brother a few months ago one of the pipes that he had picked up for me to restore is one that I probably would never have picked up myself. In fact to me it was ugly and there was nothing redeeming about it. It looked like a giant sea slug to me and even the striations looked like the wrinkles in the slug’s body as it crawled. But I have to say that my opinion changed as I worked on this old pipe. I know that Mastercraft actually made few pipes but had the pipes jobbed by other pipe companies globally. This one was made in Italy and has all the marks of a Lorenzo pipe to me. I doubt I will ever know for sure but that is my take on it. As you look at the photos you may have your own take on it and that is totally fine – just take the time to post what you think in the comments at the end of the post.

This old pipe was pretty rough when it came to my work table. The rim was battered and the reaming that had been done did not account for the angled bowl. There gouges of briar missing on the rim edge that extended into the bowl. The cake was soft but generous. The finish was tired and worn but underneath the grime the wire striations on the briar had something about them that drew me to them. The pipe is stamped on a semi-smooth portion of the bottom of the bowl/shank (on this pipe I am not sure where each of those terms ends). It reads Mastercraft in the classic shield of the logo. Next to that is stamped COLOSSALS or COLOSSAL S with the S slightly bigger perhaps referring to the Satin Grain. Under that is it stamped Imported Briar and Italy. There are some deep gouges in the briar on that smooth portion that obviously were there when the pipe was stamped as the stamping goes through them but does not show up in the deeper areas. The stem is Lucite and it was covered with tooth chatter on the top and the bottom sides near the button as well as some deep tooth marks on both sides and on the button surface. The slot in the airway was clogged and dirty. (The first picture below is a little out of focus but it gives and idea of the shape of the pipe.)Master1 Master2I cleaned up the reaming angles with the Savinelli Pipe Knife and was able to get the bowl clean and smooth back to briar.Master3I decided to try to bevel the rim to remove the gouges on the right top side. I worked on it for quite a while before I gave up on that and topped the bowl. In the photo below the largest gouge is the light brown portion of the rim on the top of the photo toward the back of the bowl.Master4I took some photos of the stem to show the damage that needed to be worked on to recondition and rework it to bring it back to new. The first photo is the top of the stem and the second the underside.Master5I was able to sand out the tooth marks on the top side of the stem with 220 grit sandpaper and also reshape the button a bit. I did the same on the underside but there was one deep tooth mark that I would need to fill.Master6Giving up on trying to reshape the rim or repair it I topped the bowl on my topping board and took of the damaged area on the right side of the rim and the back of the left side as well. The gouges were just not something I wanted to try to fill in. I also decided that I would flatten the rim and give the inner edge a slight bevel. I would stain the rim to match the smooth portion on the underside of the pipe.Master7I used the Dremel and sanding drum to bring the bowl back into round and then lightly beveled the inner rim edge with the sanding drum (first picture below). I cleaned up the Dremel work with a folded piece of 180 grit sandpaper followed by 220 grit (second picture).Master8I cleaned the mortise and airways in the bowl and the stem with pipe cleaners, cotton swabs and alcohol (I have always used 99% isopropyl).Master9I restained the rim with a dark brown stain pen and blended in some black from a Sharpie pen. I wiped down the exterior of the bowl with alcohol on a cotton pad to remove the grime and to blend the rim colour with the bowl.Master10I built up the tooth mark on the underside of the stem and the deep marks on the button surface with black super glue. Once it dried I sanded the repairs with 220 grit sandpaper to blend them into the surface and sharpened the button edge with a needle file. I sanded the stem with 400-600 grit wet dry sandpaper to remove the scratches. I wet sanded it with 1500-3600 grit micromesh sanding pads and dry sanded it with 4000-12000 grit pads. I buffed it quickly with Blue Diamond and gave the stem a light coat of carnauba wax.Master11 Master12 Master13I gave the bowl several coats of Conservator’s Wax and buffed it with a shoe brush and a microfibre cloth to give it a shine. I gave the stem several more coats of carnauba wax. I lightly buffed the pipe with a clean buffing pad and then again with the microfibre cloth. The finished pipe is shown in the photos below. What started out as an oddball pipe to me somehow in the process of restoration took on a beauty of its own. I like the smooth rim and the contrast it gives with the wire finish on the bowl and shank. Together they work for me. I know in the box of pipes I have sitting to refurbish that Jeff has sent me some others that cause a raised eyebrow but I have to say he has an eye for seeing beauty where I would walk by it and leave the pipe to molder away.Master14 Master15 Master16 Master17 Master18 Master19 Master20 Master21

An Interesting Antique Store Stummel


Blog by Steve Laug

I have a routine when I visit in Bellingham. I take the ladies in my life to the mall and leave them to shop and I set out on my circuit of pipe haunts to see if I can find some likely object of my attention to repair. I rarely come home empty handed, though I don’t know if that is because I will work on many kinds of pipes or if it is because I generally find something. It may be hard for the observer to discern the difference, I know it is for my wife and daughters. I visited several of my haunts and finally in the last one I did a quick walk through and found nothing… this time it looked like I would come home empty handed. Just to make sure I asked at the counter if there were any old pipes in the shop. The seller pointed directly behind me and there in a case that I had totally missed were four pipes. I bought them all. They had a look of age about them so I jumped and paid the price. It turned out that one of them had a cracked bowl but I was able to cannibalize a sterling silver band for an old KBB Yello Bole from the 20s. Two of them were also older – one a GBD and one a Dr. Plumb. The fourth, a Canadian had a gold coloured band and was missing the stem. It looked pretty dirty and the finish was gone. I figured that it too might be one I cannibalized for parts. I paid for them and went out to my car. I went through them and looked them over. The first three showed no surprises. But the stemless bowl was a real surprise. There on the shank was the arced Barlings stamping and under that was the stamping Ye Olde Wood over 237 on the left top side of the shank and Made in England on the right top side. There is also a remnant of the word EXEL. Boy was I surprised. Suddenly it went from a potential victim for cannibalization to one that had some interest for me. It turned out to be the best of the lot.Barling1 Barling2 Barling3 Barling4I took a close-up photo of the rim to show the extent of the damage to that area. The cake in the bowl had flown over the top of the rim. There were also dings and dents that were quite deep. The outer edge was compromised and rounded over and the inner edge was out of round. I also included a photo of the stamping and the crack in the shank. This is the stamping that I saw in the bright daylight when I left the basement antique shop.Barling5I went through my can of stems and found one that would work on this shank. I had to go with a bit of an oversized stem in terms of diameter as the shank was thinner on the top than on the bottom. I would have to hand fit the stem to accommodate that idiosyncrasy.Barling6I used a microdrill bit to put a tiny pin hole at the end of the crack and then filled in the crack with super glue. The drilled hole would keep the crack from spreading and the glue would fill it in. The integrity of the shank was stabilized by the band as well.Barling7Once I had a good fit of the stem to the shank I used the Dremel and sanding drum to remove the excess vulcanite on the diameter of the stem. The fine tuning and flow of the stem would be done by files and hand sanding.Barling8 Barling9I reamed the bowl with the PipNet reamer and took out the majority of the cake. I cleaned it up and took it back to briar with the Savinelli Pipe Knife.Barling10 Barling11I topped the bowl on a topping board using 220 grit sandpaper. I removed the damaged surface of the rim until the outer edges were sharp and there was no rounding.Barling12I scrubbed the exterior of the bowl with acetone on cotton pads to remove the grime and wax that had built up and made the exterior dull and lifeless.Barling13 Barling14I reworked the inner edge of the bowl to bevel it and bring it back to round using a folded piece of 180 grit sandpaper and then a piece of 220 grit sandpaper.Barling15I wiped the bowl down again with acetone to remove any remaining grit and also the sanding dust from the rim repairs.Barling16I put the stem in place and took some photos to be able to see what still remained to remove from the diameter of the stem and what shaping still needed to be done. There was some width to be removed from the top and bottom sides at the band and then the taper needed to be reduced as well to remove the slight hip. The width on the right and left side also needed a bit more work to make the flow seamless.Barling17 Barling18I sanded the stem with 180 grit sandpaper to further shape it and clean up the flow from the shank to the button. It took a lot of sanding to get the angles and flow just right.Barling19I scrubbed out the mortise and the airway in the stem and the shank with alcohol, cotton swabs and pipe cleaners.Barling20I sanded the rim with a medium and a fine grit sanding sponge to remove the scratches left behind by the topping and then stained it with a light brown stain pen to match the colour of the bowl.Barling21I wet sanded the stem with 1500-2400 grit micromesh sanding pads and gave it a coat of Obsidian Oil. I dry sanded with 3200-4000 grit pads and gave it another coat of oil. I finished the sanding with 6000-12000 grit pads and gave it a final coat of oil. I set it aside to dry.Barling22 Barling23 Barling24I buffed the pipe with Blue Diamond and gave it multiple coats of carnauba wax. The colour darkened slightly with the wax. I buffed it with a clean buffing pad and then by hand with a microfibre cloth. The finished pipe is shown below. I am pleased with the way the fit and finish of the stem came out and also the overall look of the pipe. Thanks for looking.Barling25 Barling26 Barling27 Barling28 Barling29 Barling30 Barling31


Freshening an Andreas Bauer Gourd Calabash


Charles picked up the Andreas Bauer Calabash with a Meerschaum bowl and did a great restore on it. The way he was able to take it apart and detail the clean up by part is a helpful resource to all of us who find ourselves with a Gourd Calabash to clean up.

Charles Lemon's avatar

Sharp-eyed readers will have picked out this Gourd Calabash pipe in the picture of my recent estate lot purchase. Hollywood has ensured that the Calabash will be forever linked to the great fictional detective Sherlock Holmes, and indeed many Holmes fans buy a Calabash pipe just to display next to their Arthur Conan Doyle book collection.

The Gourd Calabash, sustained as it is by Sherlock fans around the world, is also sought after by pipe smokers because of its reputation for a cool, dry smoking experience. The large air space inside the gourd allows the smoke to cool on its journey from bowl to bit while simultaneously providing a space for moisture to condense out of the smoke stream.

This particular Calabash came to me gently used, with a few tooth marks in the stem. The bowl showed a bit of buildup and darkening at the rim of the tobacco…

View original post 796 more words

Restoring a Stanwell Handmade Danish Bulldog


Blog by Steve Laug

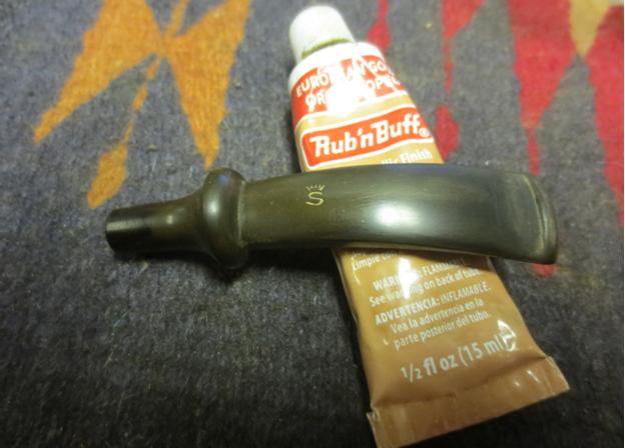
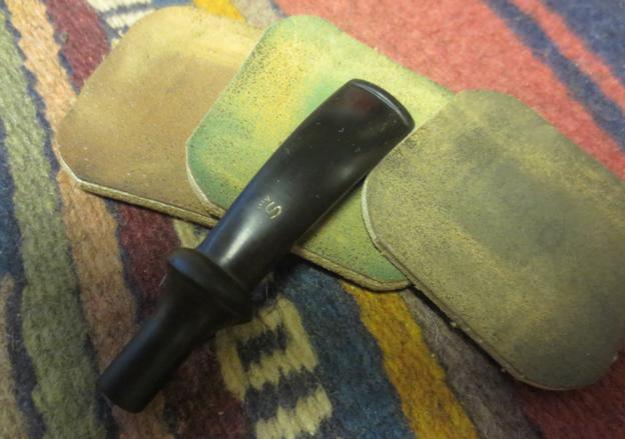
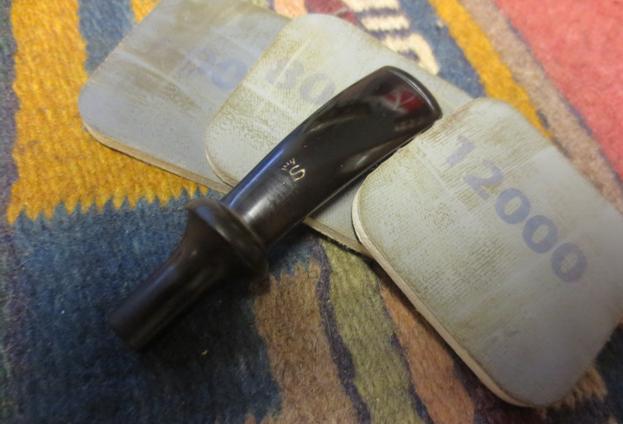
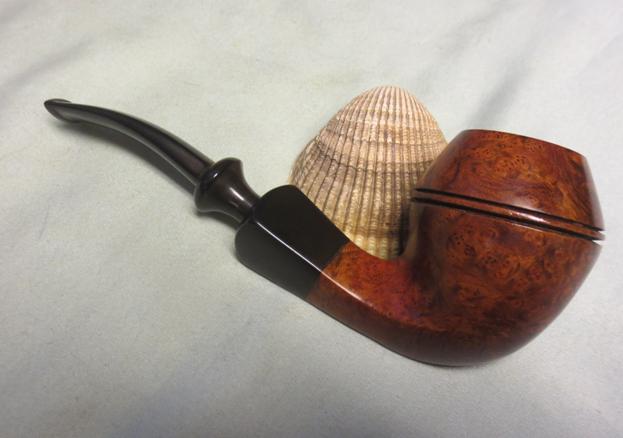
The second pipe I picked up from Charles Lemon of Dadspipes was a nice little Stanwell Bulldog that captured my attention. It is another one that I have added to my own collection. I loved the shape of it when I saw it in the photos that Charles sent me of the estate pipes he had purchased recently. It came in the mail through our ‘ultra quick’ Canada Post Express Mail on Friday. I cleaned up the W.O. Larsen and already wrote about that on the blog. This one looked amazing and came in its own Stanwell pipe pouch. It was stamped on the left underside of the diamond shank with the number 33 and next to that Stanwell Regd. No. 969-48 over Handmade in Denmark.Bull1When I removed the packing material and took the pipe out of the bag it was indeed a beauty. The colour was lighter than what was shown in the original photo that I had of the pipe. That does not matter too much to me as the lighter colour allows the grain to show through. This pipe has some amazing birdseye grain on the bowl sides. The diamond shank culminating in a vulcanite shank extension looks stunning.Bull2 Bull3The finish was quite clean on the pipe and it still had a shine. The vulcanite shank extension was lightly oxidized. The shank stamping was very clear and sharp. The double rings on the bowl were in perfect condition. The finish on the bowl and shank was in excellent condition. The rim was another story. It had some tar and oil (lava) build-up that flowed over from the cake in the bowl. The cake, though uneven, was hard. The rim also had a burned area on the middle of the rim top on the right side. It impacted the condition of the bowl and the roundness of the inner rim edge. The stem was oxidized and the stamping of the Crown S was worn and the gold stamping was gone. There was tooth chatter on the topside of the stem and tooth marks on the underside.Bull4 Bull5I took some close-up photos of the stem to show the tooth chatter and tooth mark on the underside near the button.Bull6I took a close-up photo of the rim to show the condition of the rim with the burned area (top left toward the front of the bowl) and the thickness of the cake.Bull7I reamed the cake back to bare briar with the Savinelli Pipe Knife. The carbon cake came out nicely and left the bowl quite clean. This reaming also gave me a clear picture of the condition of the burned area on the rim.Bull8 Bull9The next series of photos tell the story. I reamed the bowl and then topped it. I took a photo after I had topped it lightly to show the extent of the burn mark on the right side of the rim. I finished topping the bowl using 220 grit sandpaper on the topping board.Bull10 Bull11 Bull12I sanded the rim with a medium and fine grit sanding block to smooth out the scratches. I used the light brown stain pen to touch up the rim surface. The inside rim edge needed some more work but I wanted to see what the rim looked like at this point.Bull13I sanded the inner edge of the rim with a folded piece of sandpaper – beginning with 180 grit and then progressing to 220 grit sandpaper and then on to 1500-3200 grit micromesh sanding pads. I beveled the edge slightly to remove the rim damage and darkening. The second photo below shows the finished rim after sanding.Bull14 Bull15I touched up the inner bevel with a light brown stain pen. I wet sanded the vulcanite shank extension with 1500-2400 grit micromesh sanding pads and gave it a coat of Obsidian Oil. I dry sanded it with 3200-12000 grit pads and gave it a coat of micromesh between the 4000 and the 6000 grit pads. I gave it a final coat of Obsidian Oil and set it aside to dry.Bull16 Bull17I cleaned out the inside of the mortise and the airways in the shank and the stem with alcohol, cotton swabs and pipe cleaners until they came out clean.Bull18I scrubbed the stem with Meguiar’s Scratch X2.0 to begin removing the oxidation on the surface.Bull19Most of the oxidation came off so I used some Antique Gold Rub n’ Buff to highlight the Stanwell Crown S on the stem top.Bull20I wet sanded the stem with 1500-2400 grit micromesh pads and gave the stem a coat of Obsidian Oil. I dry sanded it with 3200-4000 grit pads (I forgot to take the photo) and gave it another coat of oil. I finished sanding it with 6000-12000 grit pads and gave it a final coat of Obsidian Oil. I set it aside to dry.Bull21 Bull22I buffed the stem and bowl with Blue Diamond carefully working over the stem and the shank extension to polish the vulcanite. I gave the bowl and stem multiple coats of carnauba wax to protect and preserve it. I buffed it with a clean buffing pad to raise the shine. I hand buffed it with a microfibre cloth to add depth to the shine. The finished pipe is shown in the photos below. I am looking forward to giving it an inaugural smoke soon. I really like the finished look of the pipe. The slightly beveled rim took care of the burn so that it can no longer be seen. The smooth finish shows off the birdseye grain and the swirls of cross grain. It is a beautiful pipe and I am glad to have it grace my pipe rack. Thanks for looking.Bull23 Bull24 Bull25 Bull26 Bull27 Bull28 Bull29

Restoring a W.O. Larsen 11 Handmade Bent Brandy


Blog by Steve Laug

Charles Lemon of Dadspipes blog picked up a batch of pipes that included a lot of Danish made ones from an estate not long ago. He has been writing about their restoration on his blog. He sent me some photos of the pipes and offered to sell some to me. I chose two of them. The first one was the Larsen that is pictured below. The description of the pipe said that it was stamped on the underside of the shank 11 over W.O. LARSEN over Handmade over Made in Denmark. On the topside of the shank next to the stem/shank junction it was stamped SUPER. The stem had a broken tenon and it was stuck in the shank. Charles had mentioned that he thought it looked like it had been glued in so it would take a bit of work. When I saw the grain on it I decided that it would be a fun piece to work on for my own rack. It has some stunning flame grain on all around the bowl sides and birdseye grain on the rim and the bottom of the bowl and shank.Larsen1I looked up some background on W.O. Larsen and found a great summary on this site. It was helpful and brief so I quote it in full below: https://www.finepipes.com/pipes/danish/w-o-larsen?sort=20a&page=1&zenid=debcdee8f415c1977fb5c359652d6aeb W.O. Larsen was one of the most famous tobacco shops in Copenhagen, with a beautiful store located on Copenhagen’s famous “Walking Street.” During the flowering of the Danish pipe in the ’60’s, they first began retailing pipes by such carvers as Sixten Ivarsson, Sven Knudsen, Poul Rasmussen, and Brakner. Urged on by his store manager Sven Bang, the owner, Ole Larsen, decided to begin making pipes in the basement of the shop. He first hired Sven Knudsen as the pipe maker, who soon passed the job to his protégé Hans “Former” Nielsen. Larsen’s fortunes rose along with the rest of the Danish pipe business and Former was soon managing a group of carvers in the old Larsen cigar factory. Among these were Teddy Knudsen, Tonni Nielsen, Jess Chonowitch, Peter Hedegaard and others, who were responsible for the Select and Straight Grain series before they branched out on their own. After Former left to start Bentley pipes in Switzerland, his duties were taken over by Soren Refbjerg Rasmussen, while the straight grains were made by Teddy’s student Benni Jorgenson. As Ole’s health began to fail, the reins were taken over by his son Nils. Nils became convinced that the way for Larsen to prosper was by entering the low-end market, and acquired the Georg Jensen pipe factory to make an array of less expensive pipes. This turned out to be a fatal error, and Larsen was recently sold to Stanwell, who continue to produce so-called “Larsen” pipes in their huge factory. Thus ended an important part of Danish pipe history.

I was looking forward to seeing it firsthand so I paid Charles and he shipped it on Friday. Wonder of wonders, Canada Post delivered it on Monday. I came home from work to find the awaited box on the table. I opened it and found the Larsen in a bag with the label printed on the outside enumerating it’s stamping. I took it out of the bag and immediately took it to the work table. The photos below show the pipe as it looked when it arrived. It was much lighter in colour than the photo had led me to believe.Larsen2The bowl was dirty and there were some dents and marks in the briar. The rim had a thick coating of tars and the back edge of the rim was worn down from knocking the pipe out to empty it. There was an uneven cake in the bowl. The tenon was stuck in the shank and there were dried bits of glue on the end of the shank and around the end of the stem where someone had glued the stem onto the end of the shank. Fortunately the stem did not stick to the briar but the tenon certainly did. The stem was clean of bite or tooth marks and was lightly oxidized.Larsen3 Larsen4 Larsen5I took a photo of the end of the shank to show the glue spots on the briar and around the broken tenon.Larsen6When I had looked at the initial photo I was uncertain that the stem was original as it looked to be bigger in diameter than the shank. I lined up the broken tenon in the shank with the rough end on the stem and took some photos to see if it actually fit the pipe.Larsen7I decided to try pulling the tenon with my normal screw and it did not budge. It began to shatter and break apart.Larsen8Thus I knew that I would have to resort to drilling out the broken tenon. I set up my cordless drill and put a drill bit slightly larger than the airway in the chuck. I slowly drilled out the tenon, increasing the size of the drill bit until it was the just slightly smaller than the mortise. The last bit I used broke the tenon piece free from the shank and the mortise was clear.Larsen9While I had the drill out I also drilled out the broken tenon in the stem in preparation for the replacement tenon I would use.Larsen10Once the airway was drilled out on the stem I used a tap to thread the newly drilled airway to accommodate the threaded replacement Delrin tenon.Larsen11I used the topping board and 220 grit sandpaper to clean off the glue residue on the end of the stem before I put the new tenon in place. I want a clean, flat surface to work with against the shank when I was finished.Larsen12I used some clear super glue on the new tenon and twisted it into the stem. I put it in the shank to check the alignment several times before putting a few more drops of super glue around the tenon stem union.Larsen13Once the glue dried I put the stem in place in the pipe and took some photos to evaluate the fit.Larsen14 Larsen15With the tenon repair completed it was time to address the bowl. I took some close up photos of the bowl/rim and the stamping on the shank.Larsen16I reamed the bowl with a PipNet reamer using the third cutting head and took the cake back to bare briar. I cleaned up the reaming with a Savinelli Pipe Knife.Larsen17 Larsen18I sanded the inside of the bowl with a tube of sandpaper. This smoothed out the walls of the bowl and began to clean up the damage on the inner edge of the rim.Larsen19The rim damage on the back side needed to be dealt with so I topped the bowl to remove the damaged area.Larsen20I scrubbed the briar with acetone on cotton pads to remove the wax, grime and oils in the wood. The grain is really beautiful in the photos below.Larsen21 Larsen22I scrubbed out the mortise and airway in the shank and stem with alcohol, cotton swabs and pipe cleaners until they came out clean.Larsen23I mixed three of the stain pens together to get the correct brown on the rim. Once it was blended and sanded I stained the bowl with a dark brown aniline stain and flamed it. I repeated the process until the coverage was even on the bowl.Larsen24 Larsen25 Larsen26I wiped down the bowl with alcohol on cotton pads to make it more transparent and make the grain show through. It still needed more work but it was definitely getting there.Larsen27 Larsen28The inner edge of the rim needed more work to remove the damage but the colour was correct.Larsen29I used a folded piece of 180 grit sandpaper to bevel the inner rim of the bowl to remove the damaged areas. I followed up by sanding it with a piece of 220 grit sandpaper and continued to sand the inner edge. I sanded the inner edge and rim with 1800-2400 grit micromesh sanding pads.  I restained the inner bevel with a dark brown stain pen to match the finish on the bowl.Larsen30With the bowl finished I wet sanded the stem with 1500-2400 grit micromesh sanding pads. I rubbed it down with Obsidian Oil and dry sanded it with 3200-4000 grit pads. I gave it another coat of oil and sanded it with 6000-12000 grit pads. I gave it a final coat of Obsidian Oil and let it dry.Larsen31 Larsen32 Larsen33I buffed the pipe with Blue Diamond on the buffing wheel and then gave the bowl and stem multiple coats of carnauba wax. By now you are all probably very familiar with my process. I buffed it with a clean buffing pad to raise a shine and then hand buffed it with a microfibre cloth to add depth. The finished pipe is shown in the photos below. It is one I plan on hanging onto for my own rack and I am happy with how it turned out. Thanks for looking.Larsen34 Larsen35 Larsen36 Larsen37 Larsen38 Larsen39 Larsen40 Larsen41