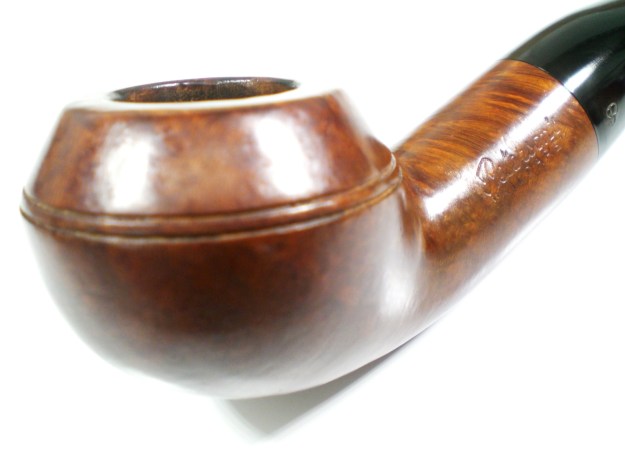
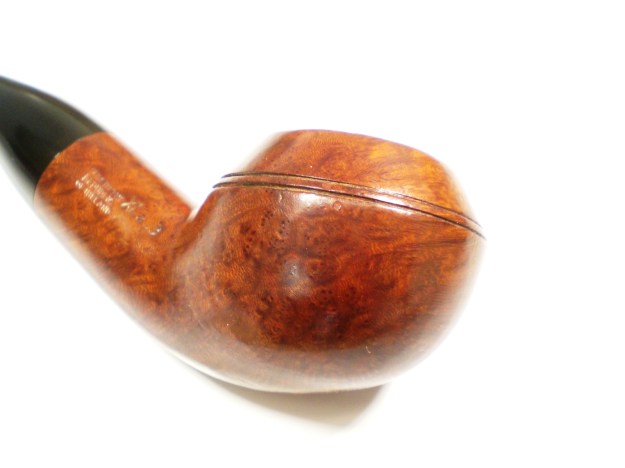
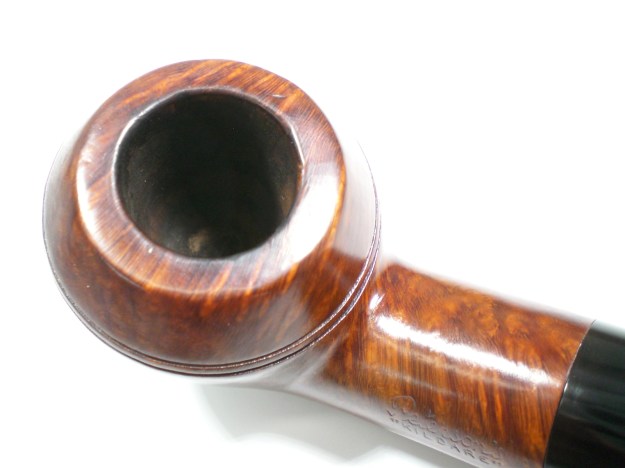
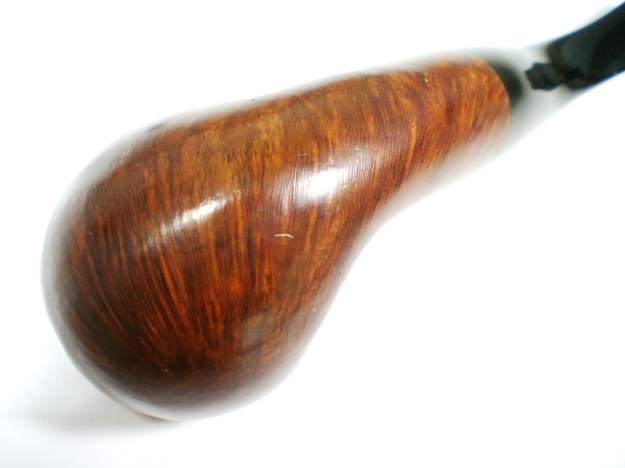
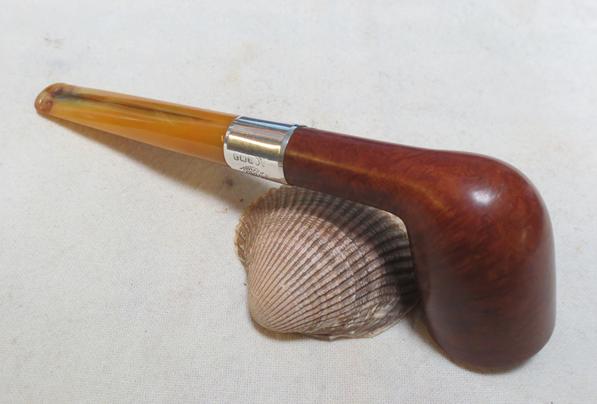
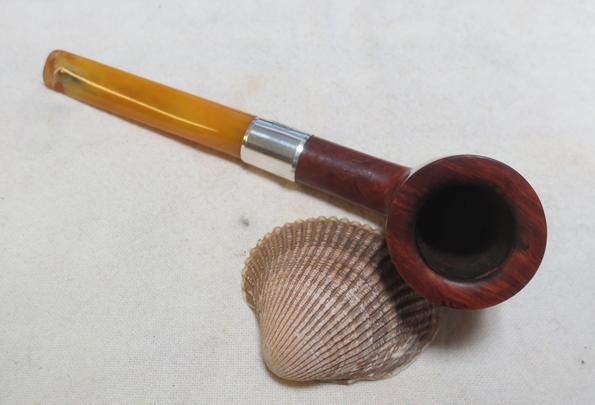
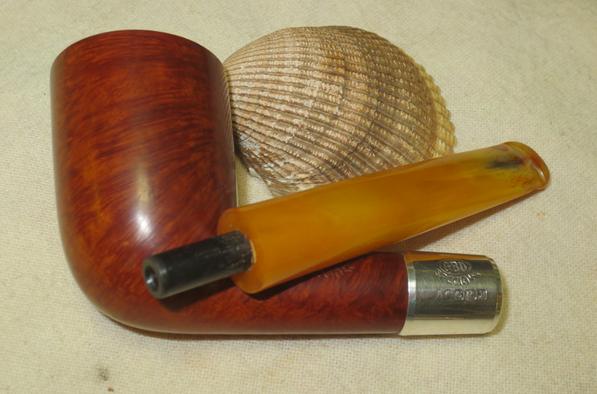
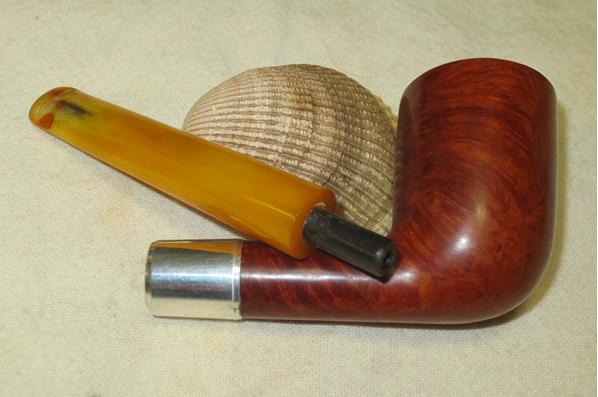
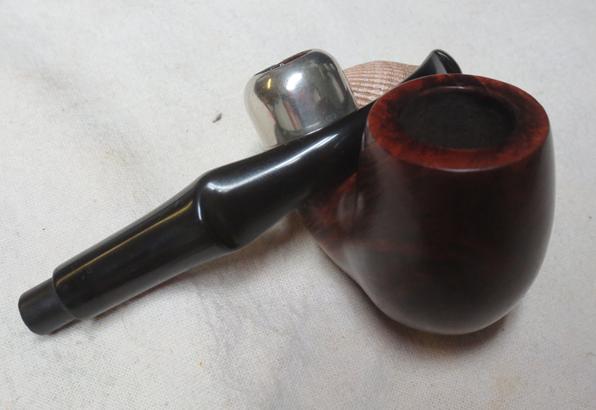
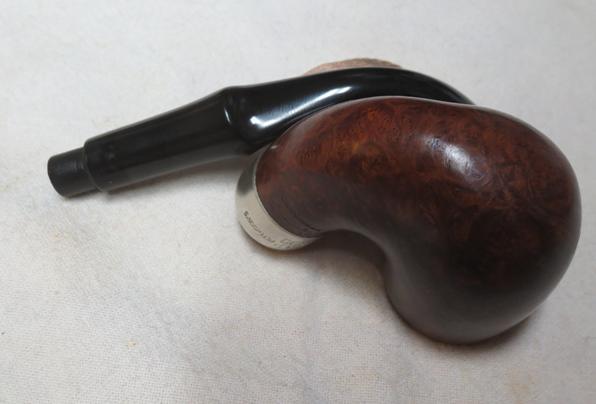
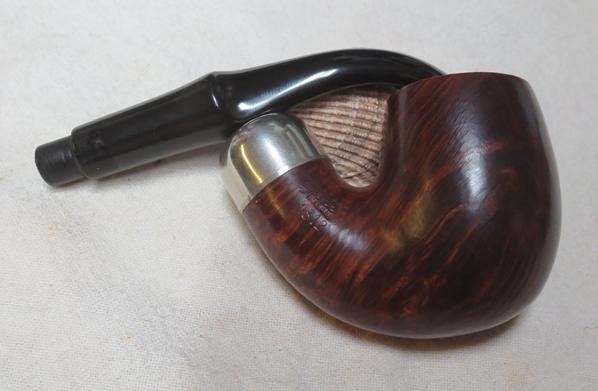
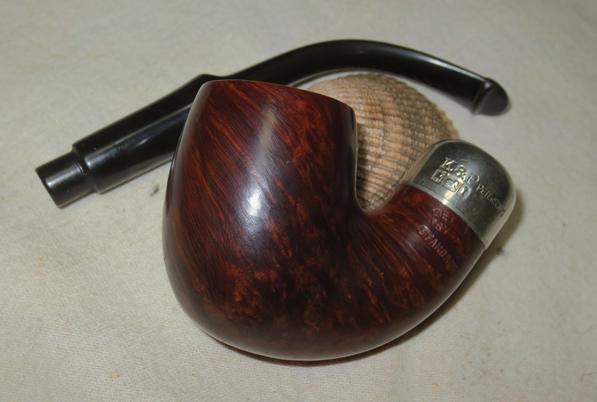
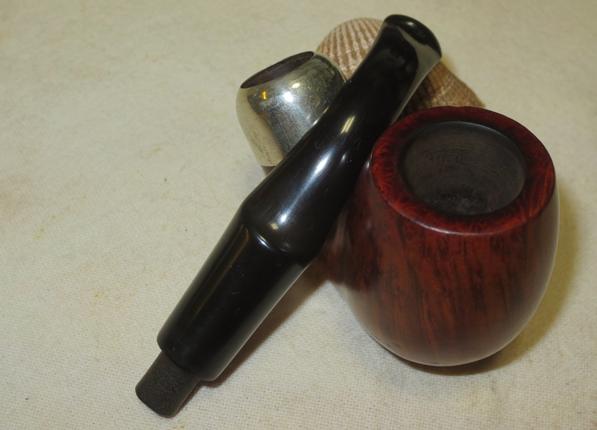
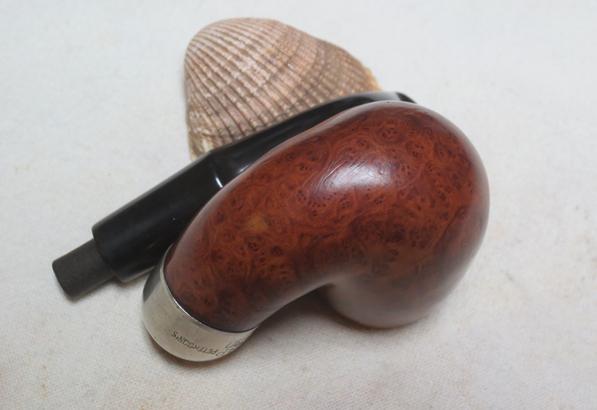
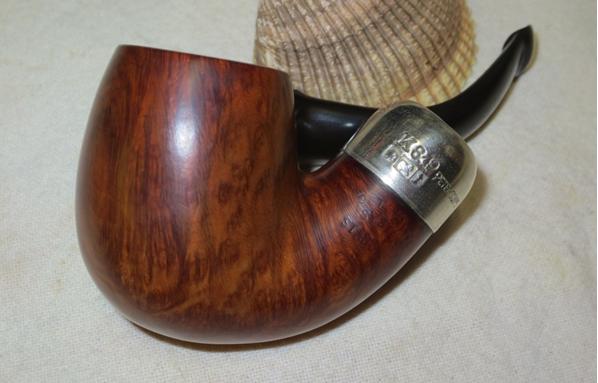
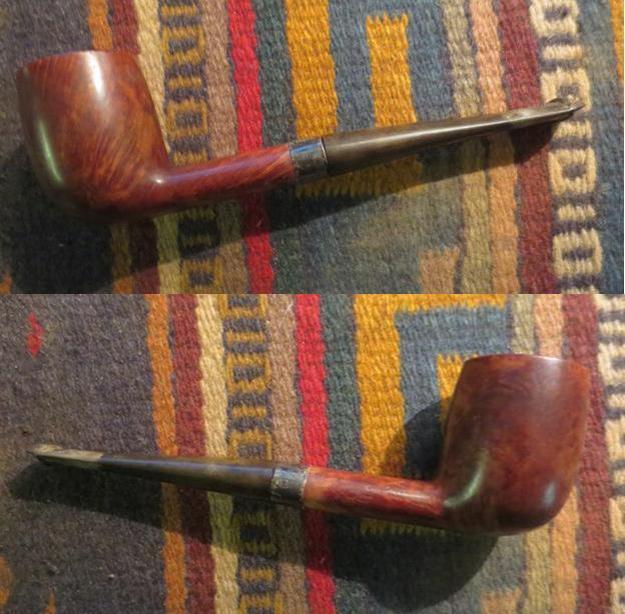
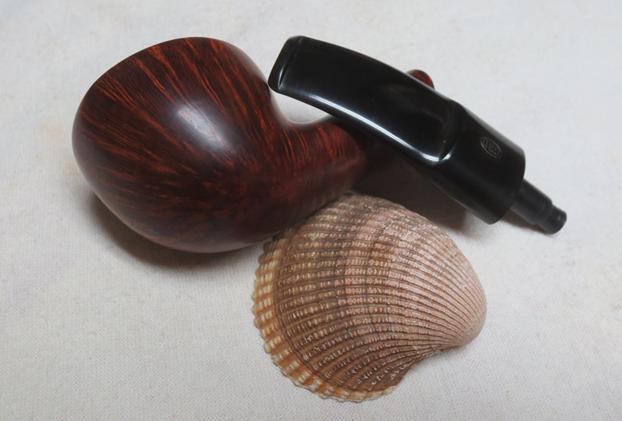
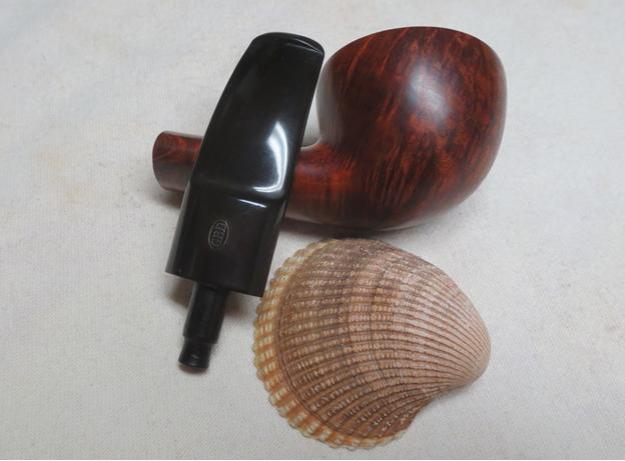
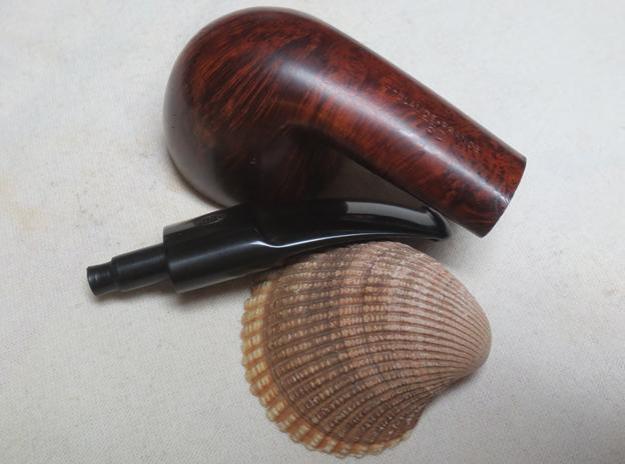
Category Archives: Pipe Refurbishing Essays

Essays and pictorial essays on the art of refurbishing

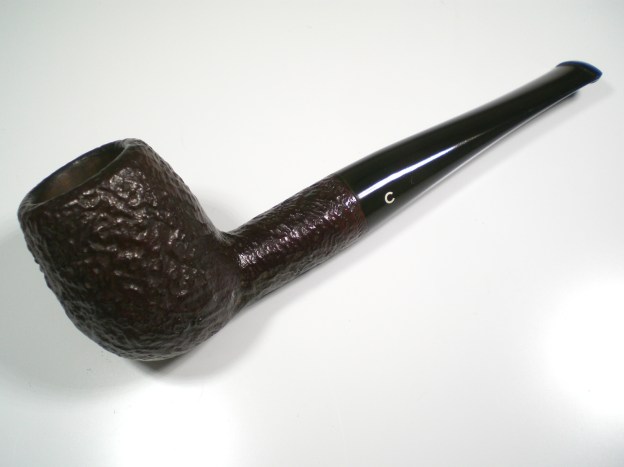
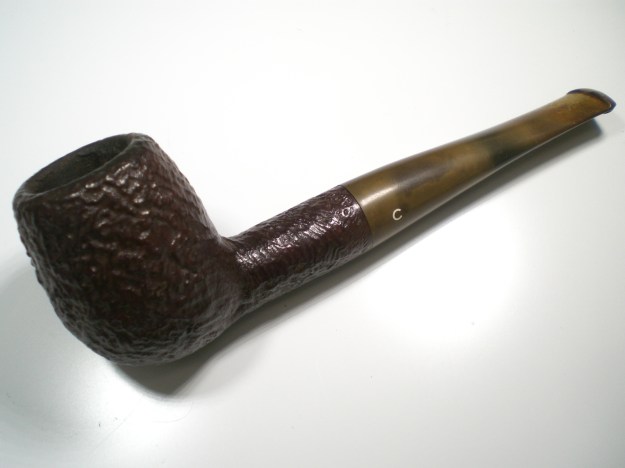
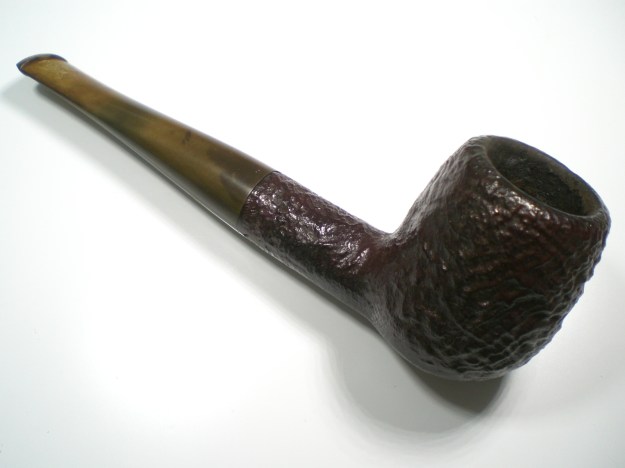
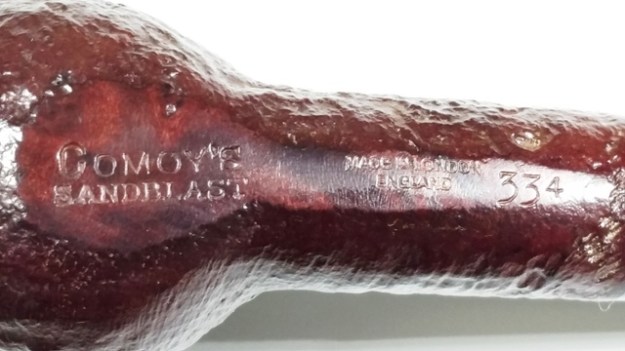
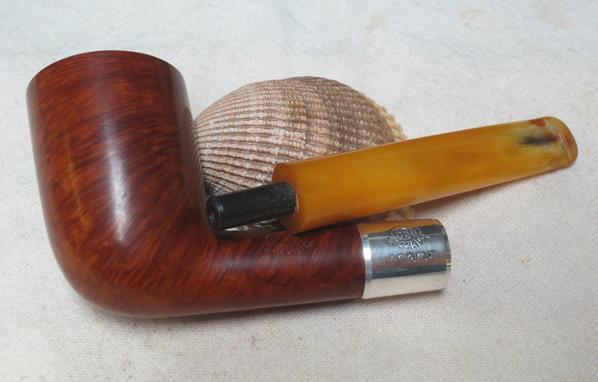
Comoy’s 334 Sandblast Restoration


By Al Jones

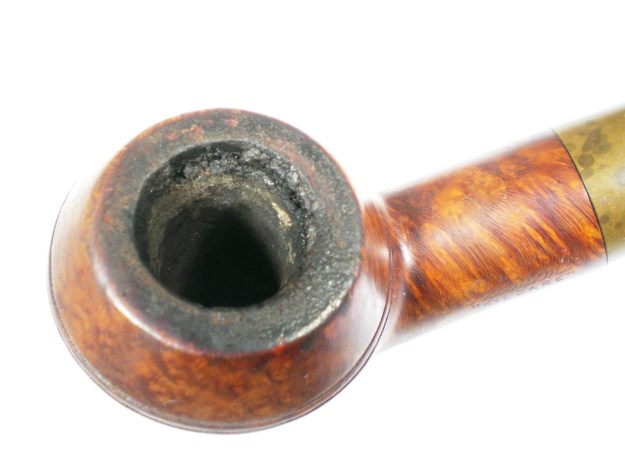
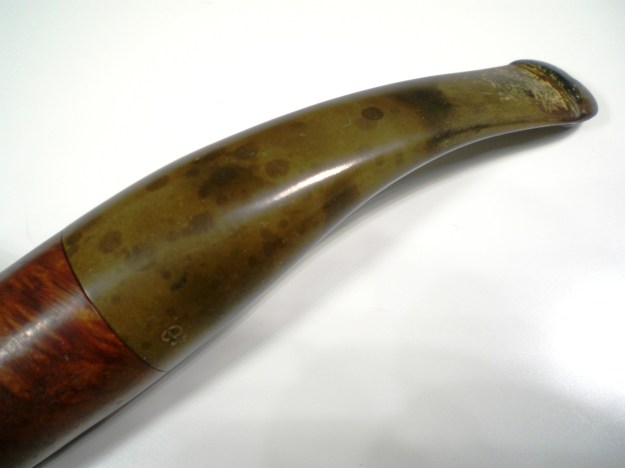
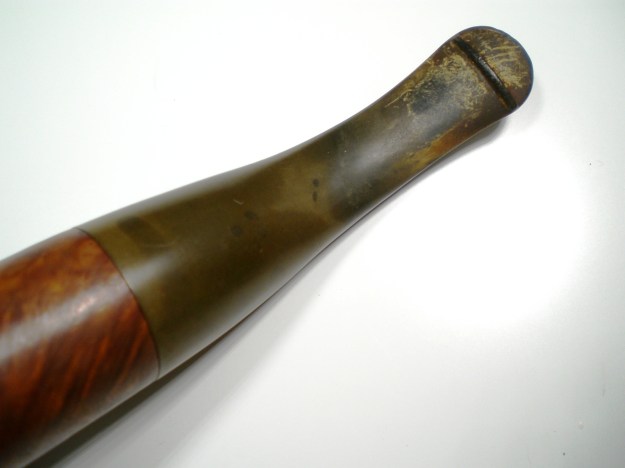
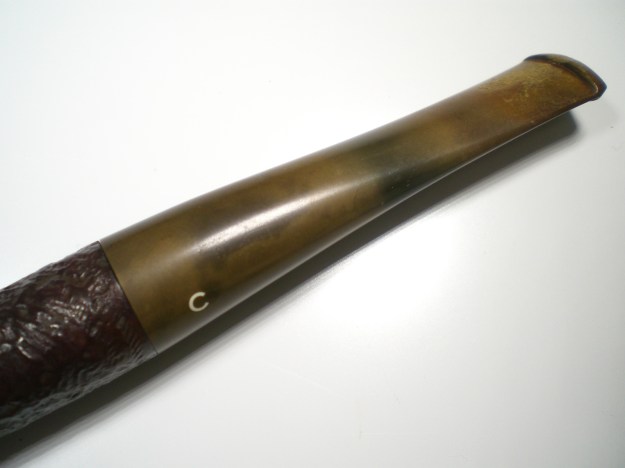
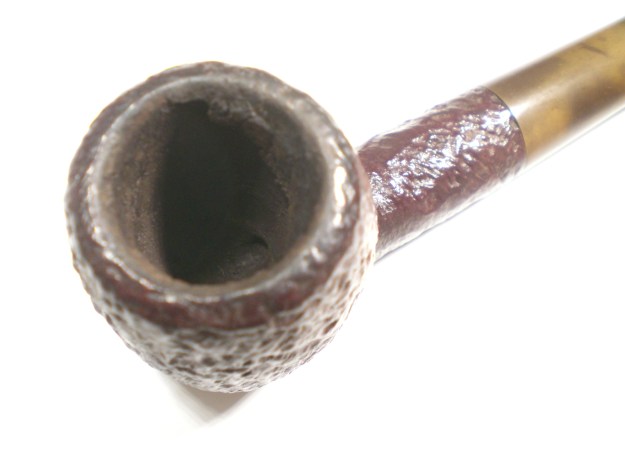
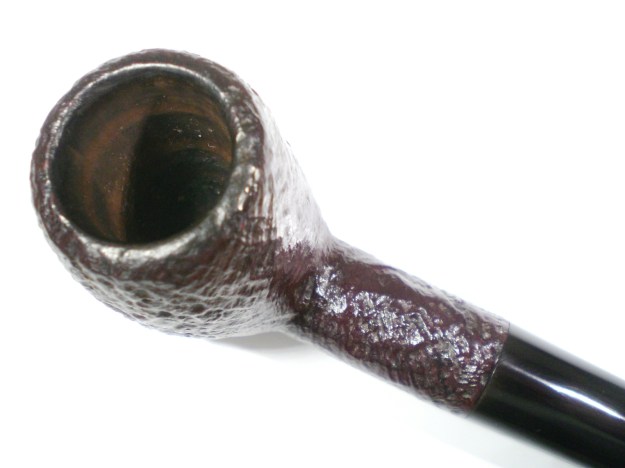
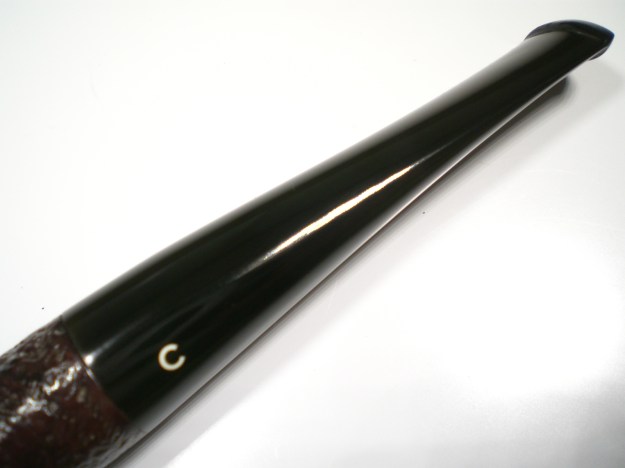
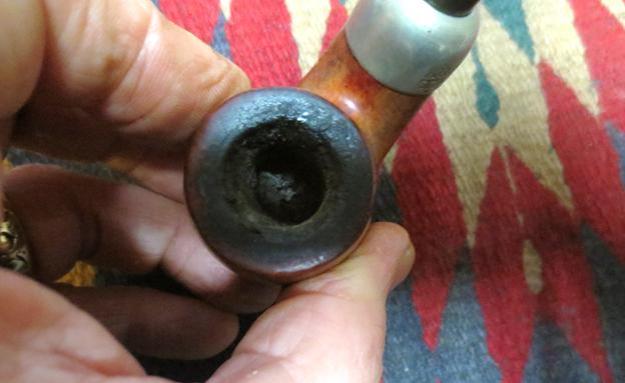
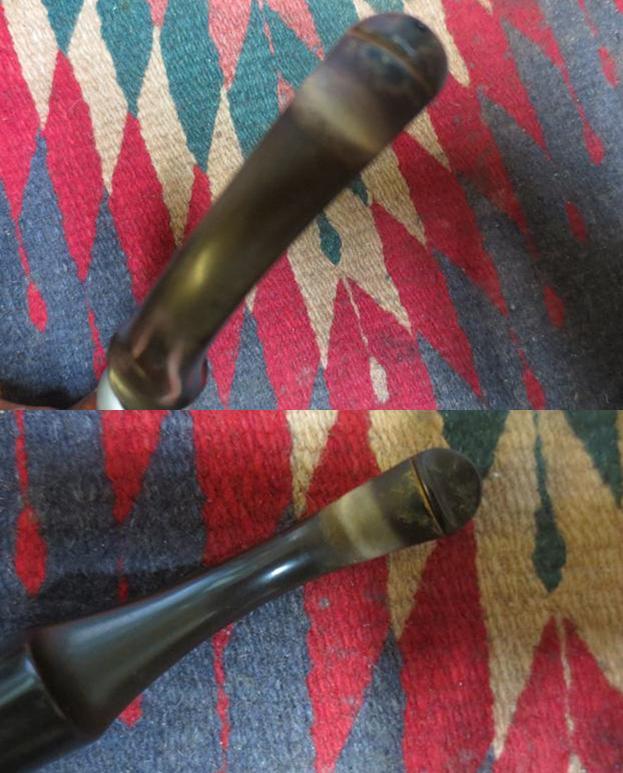
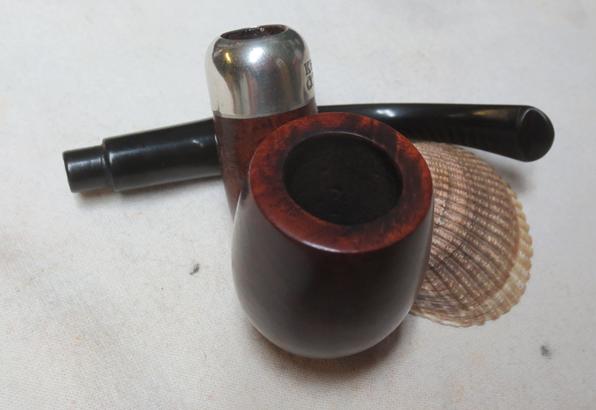
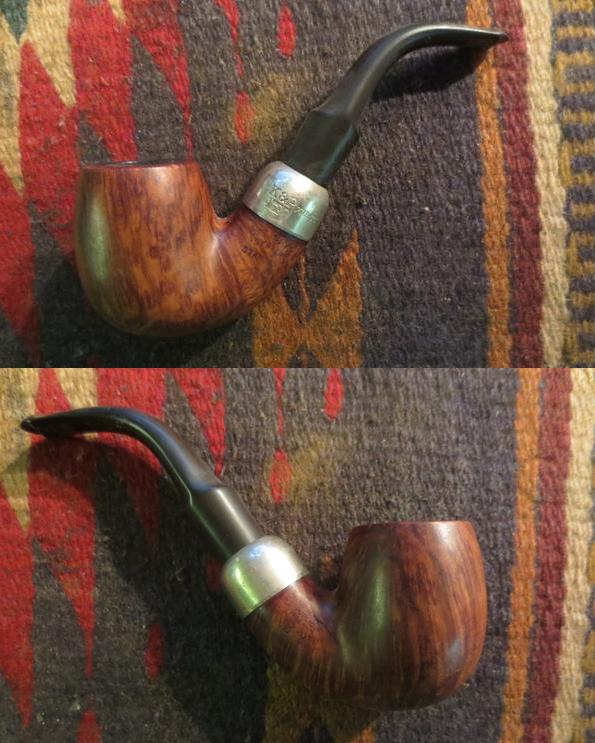
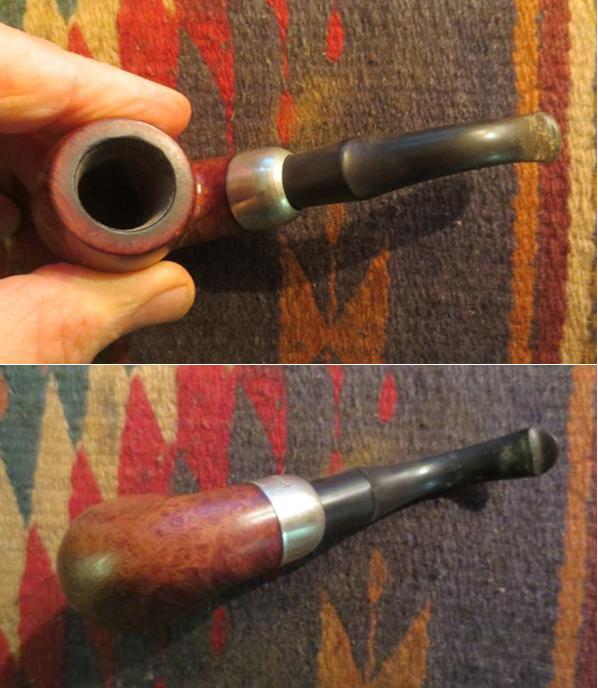
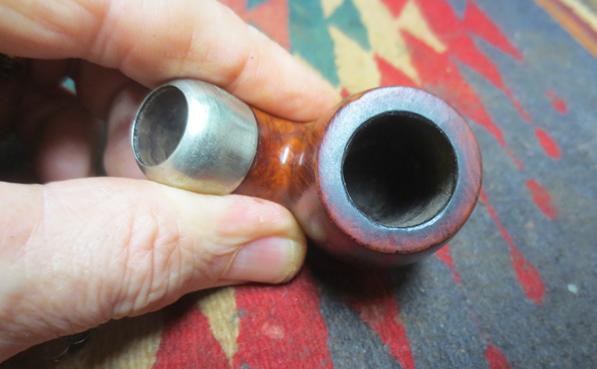
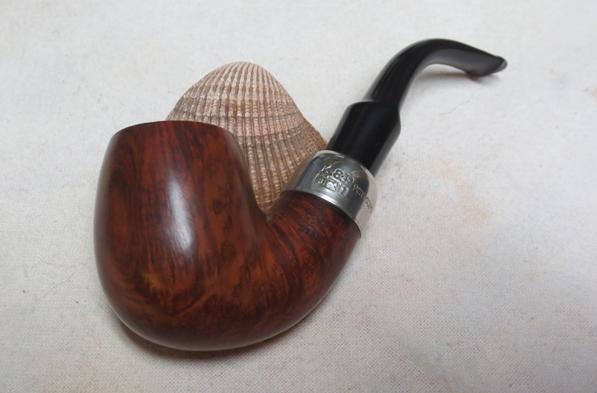
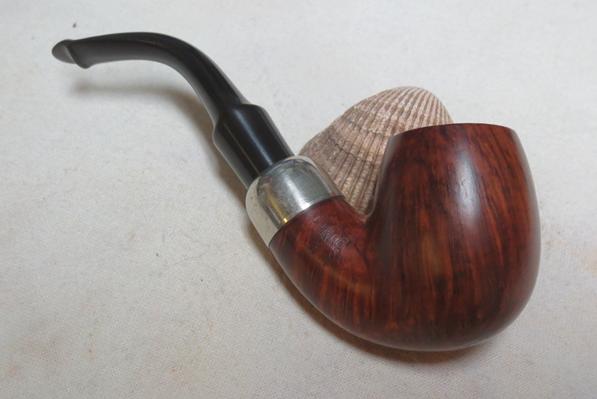
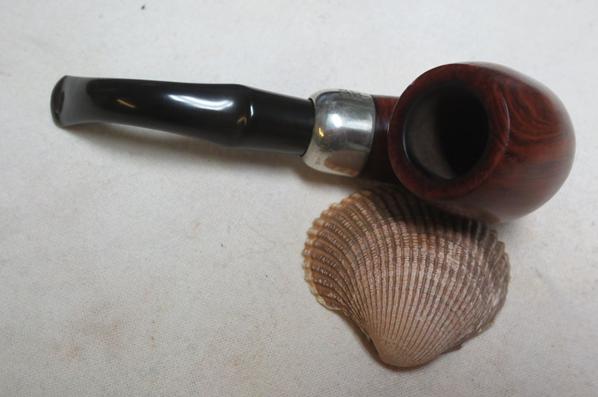
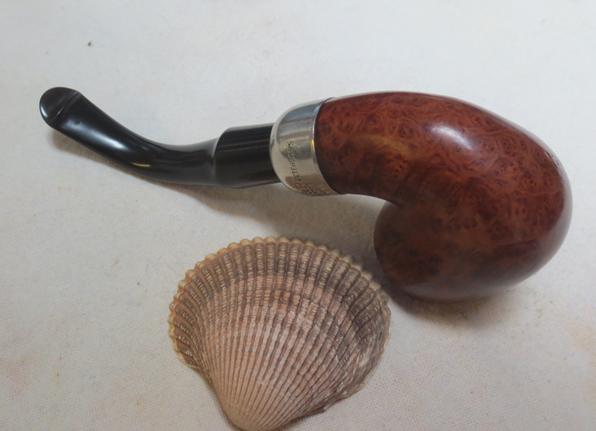
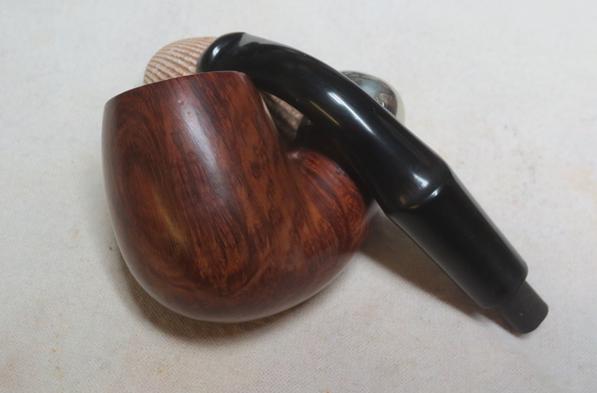
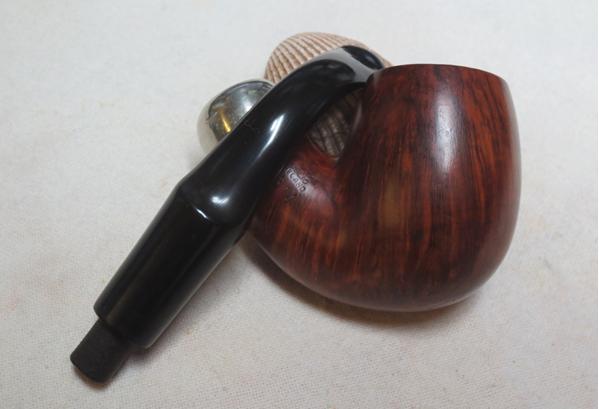
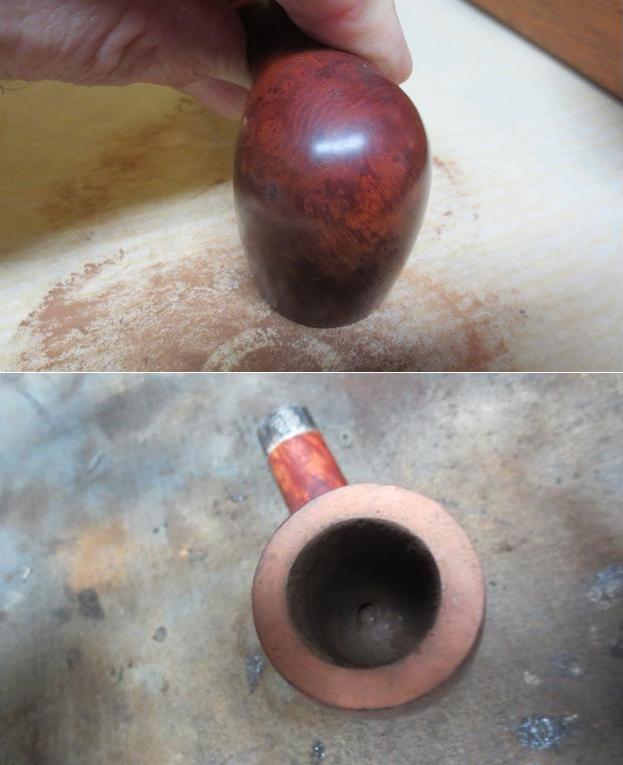
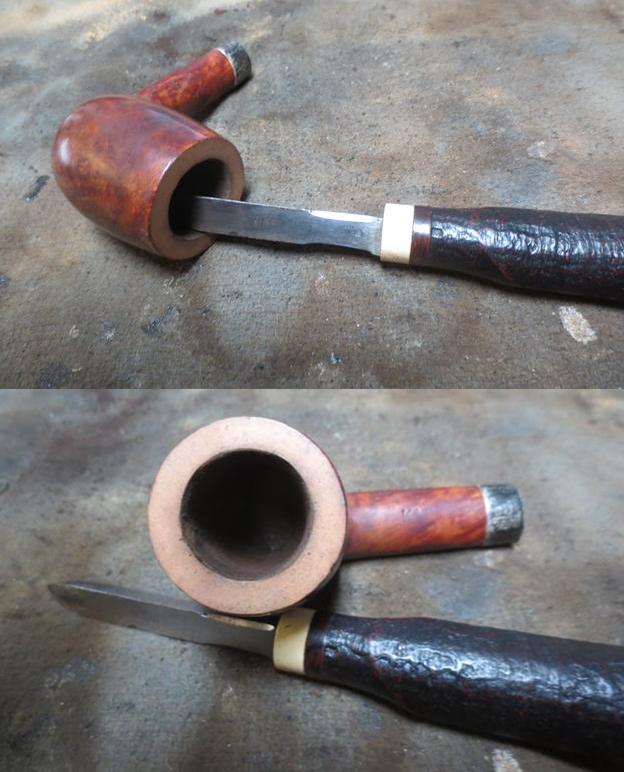
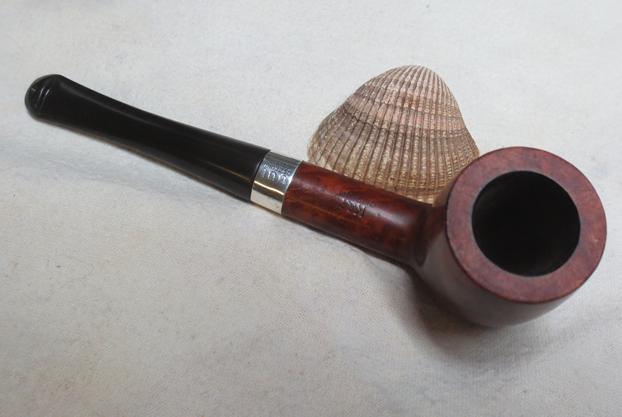
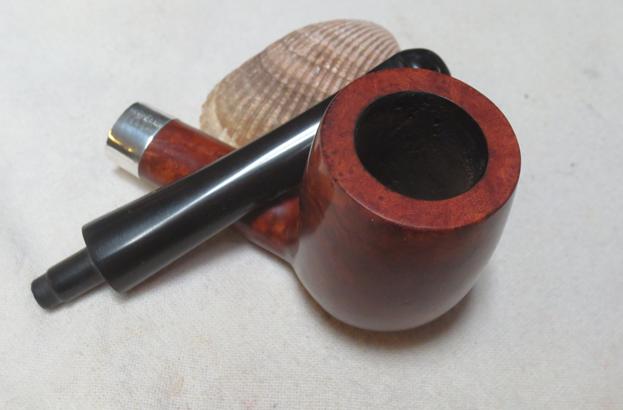
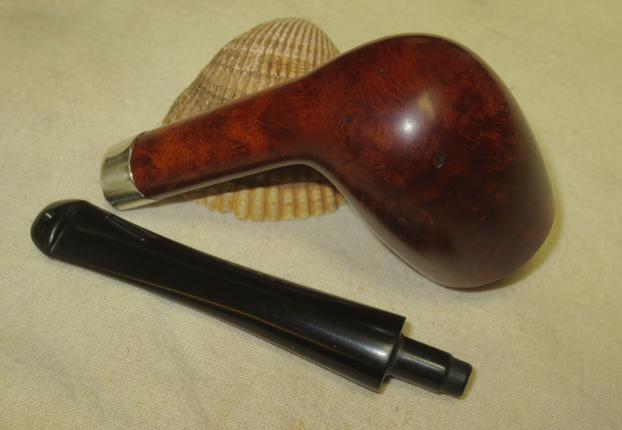
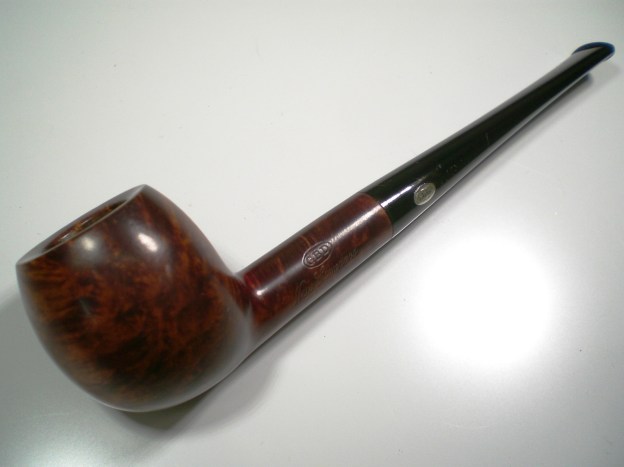
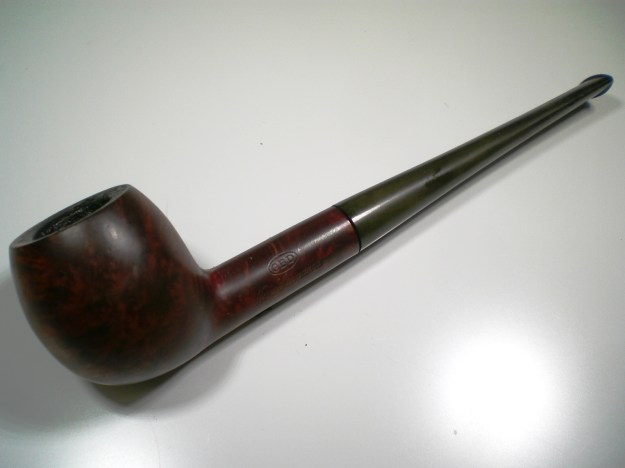
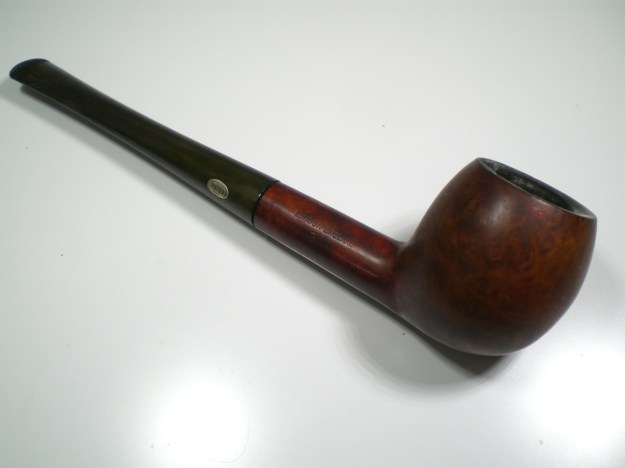
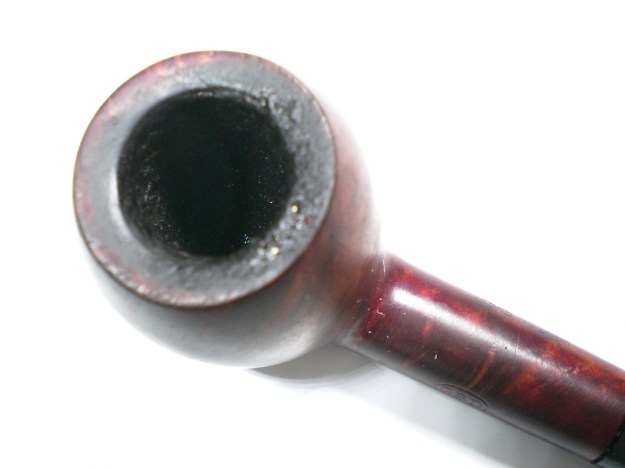
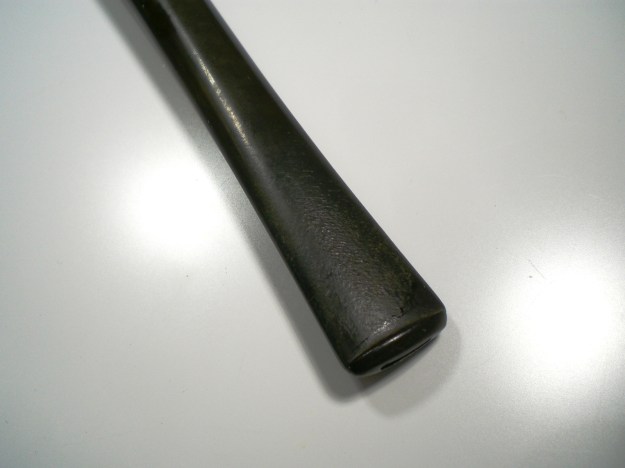
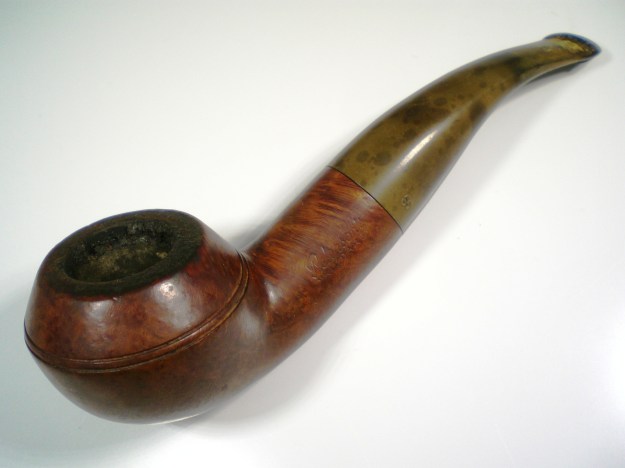
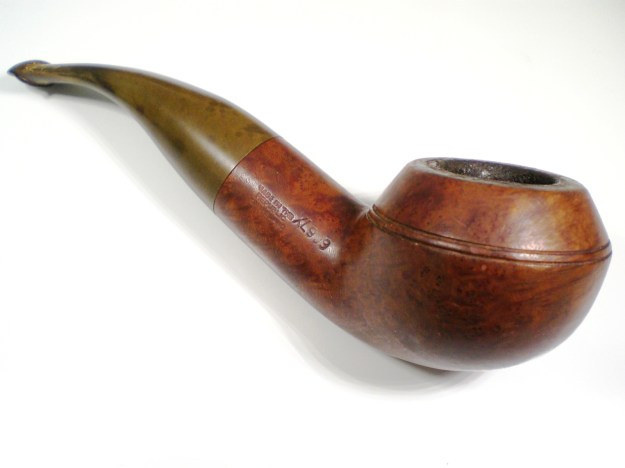
This Comoy’s 334 Sandblast caught my eye on Ebay and it looked like a pretty simple restoration and then re-sale. But when the pipe was delivered, the shape and size really captivated me. The tapered stem was magnificent and it was a fairly large pipe, by Comoy’s standards. The Comoy’s shape chart on Pipepedia calls this a “Globe” but I’ve seen it listed as an Apple as well. The stem was heavily oxidized, with a little chatter and no dents. The bowl had some mild cake. Below is the pipe as received.

comoys_334_sandblast_before-1

comoys_334_sandblast_before-4

comoys_334_sandblast_before-2

comoys_334_sandblast_before-3

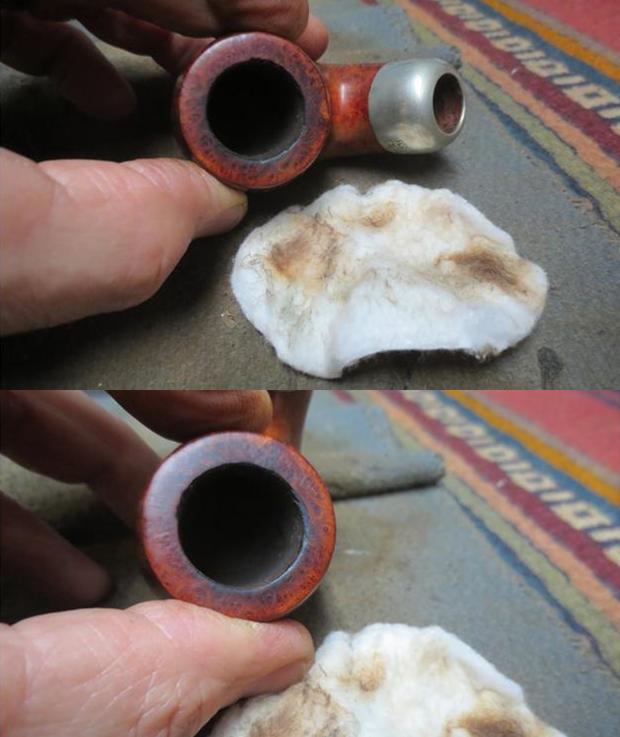
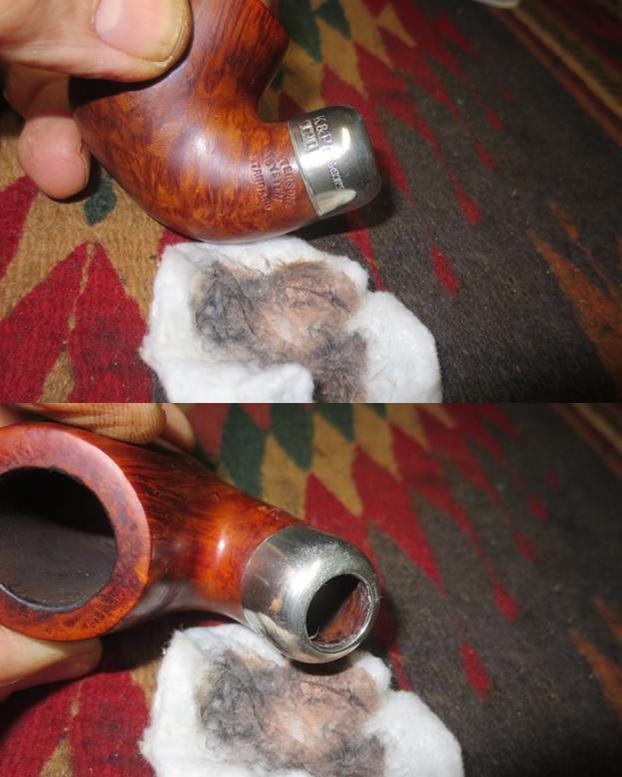
I reamed the bowl and worked off some of the build-up on the bowl top with a cloth and warm water. The bowl was then soaked with alcohol and sea salt. I put a dab of grease on the “C” stem logo and soaked it in a mild Oxy-clean solution. The bowl and shank were fairly clean and after the soak, the bowl didn’t require much more clean-up.

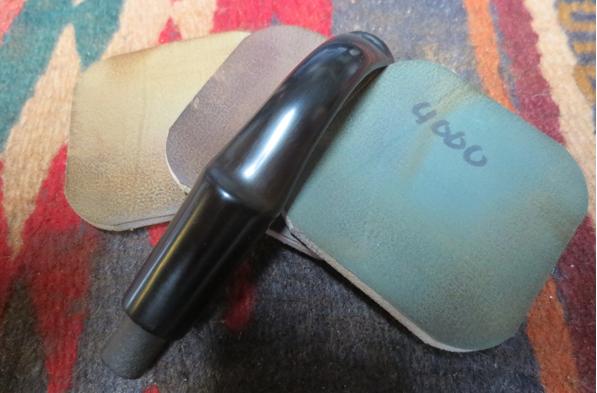
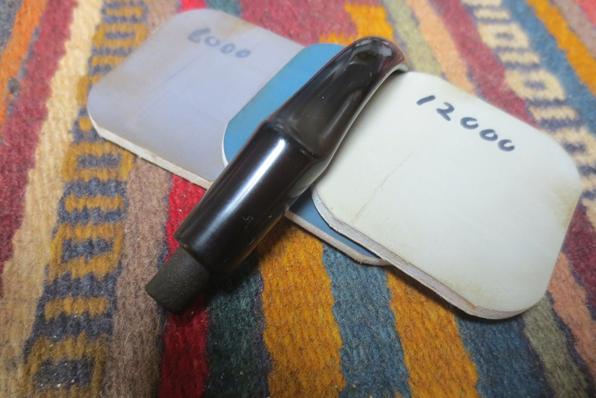
I mounted the stem and removed the heavy layer of oxidation first with 800 grit paper. Then 1000 and 2000 grades, followed by 8000 and 12000 micromesh sheets. The stem was buffed with White Diamond and Meguiars Plastic Polish.

I hand buffed the sandblast with Halycon wax.

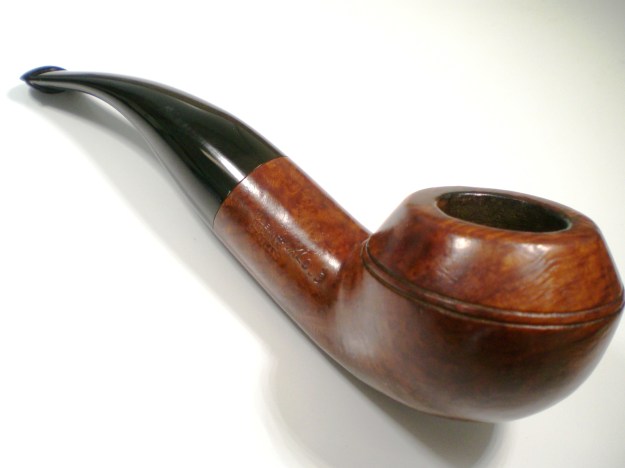
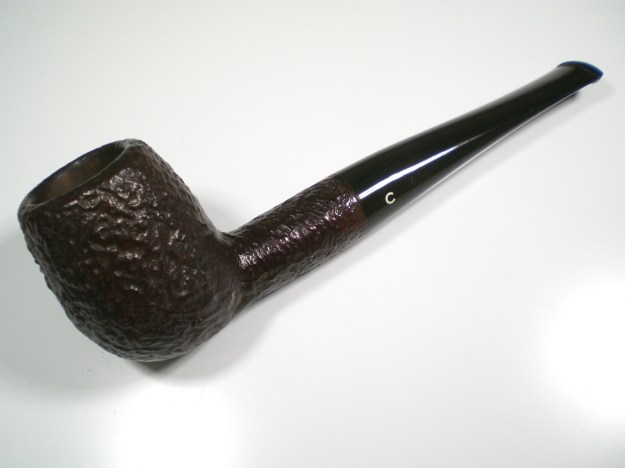
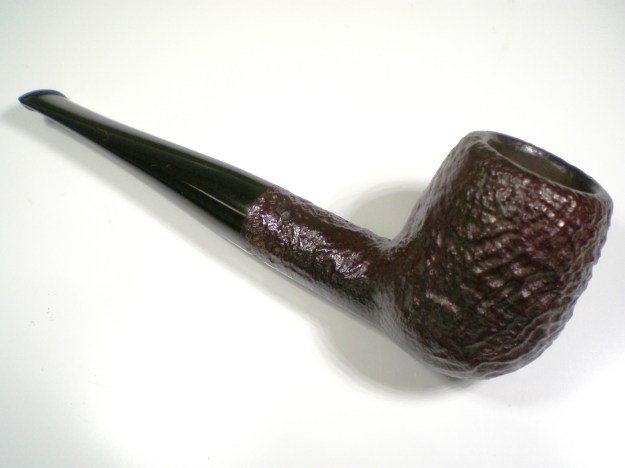
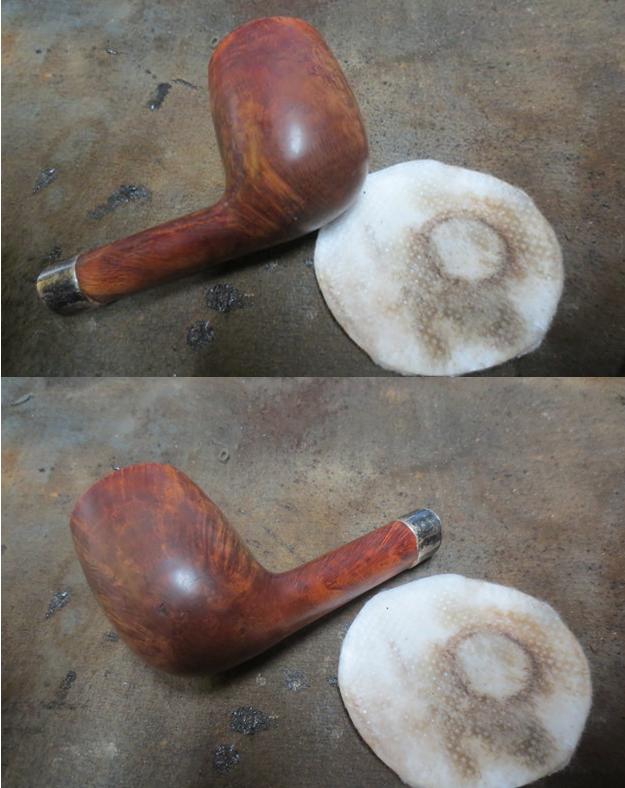
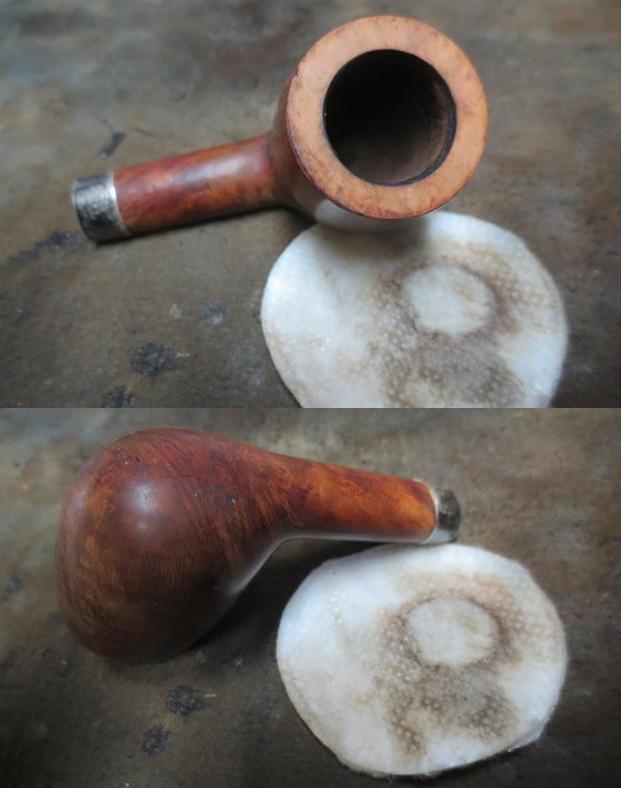
Below is the finished pipe.

comoys_334_sandblast_finish-1

comoys_334_sandblast_finish-5comoys_334_sandblast_finish-2comoys_334_sandblast_finish-4comoys_334_sandblast_finish-10

comoys_334_sandblast_finish-8web

?

A Bit of Bizarre & Interesting – Restoring a Lenox Pipe


Blog by Steve Laug

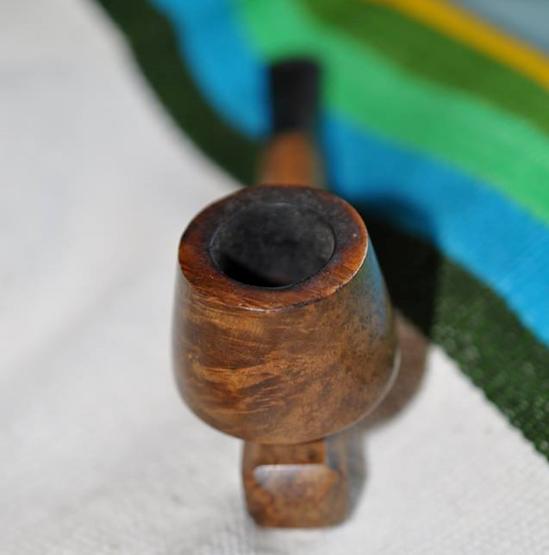
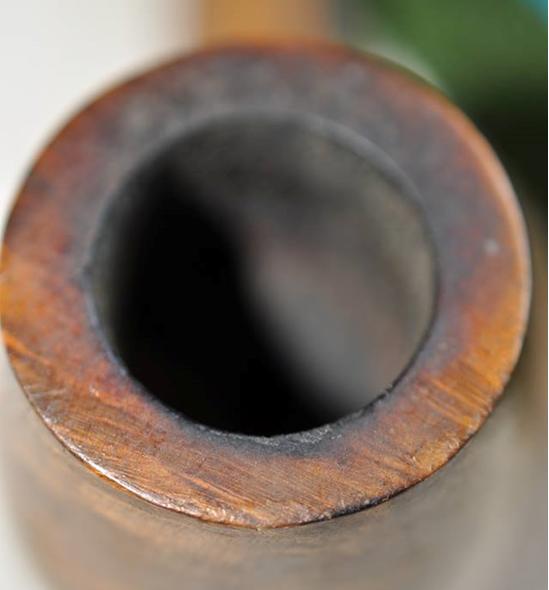
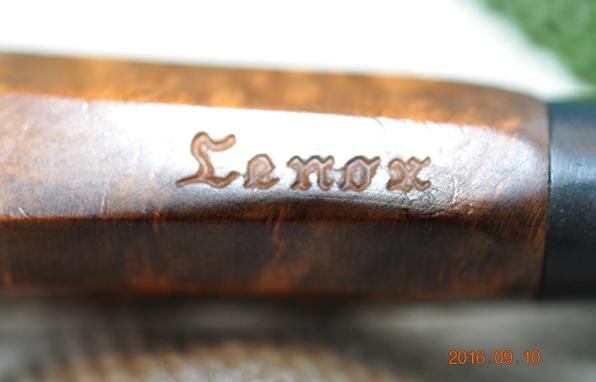
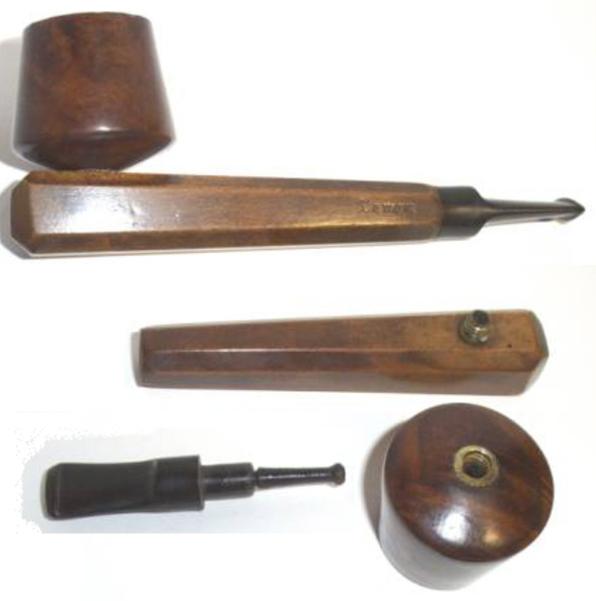
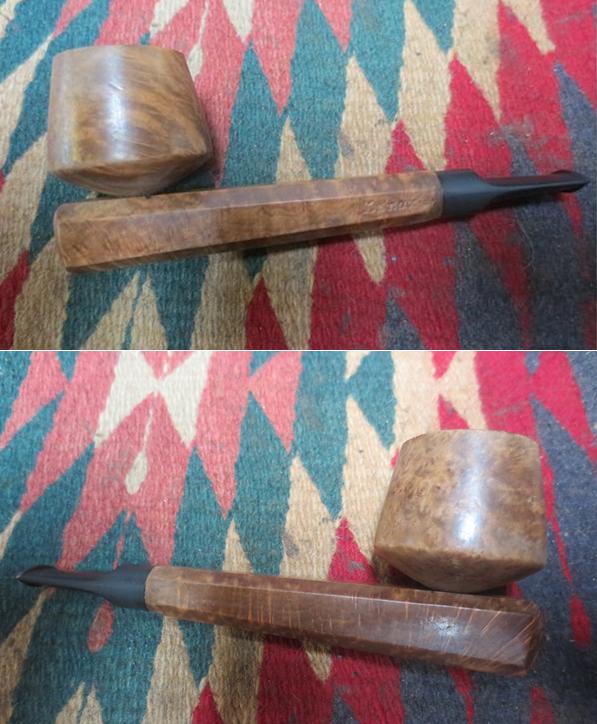
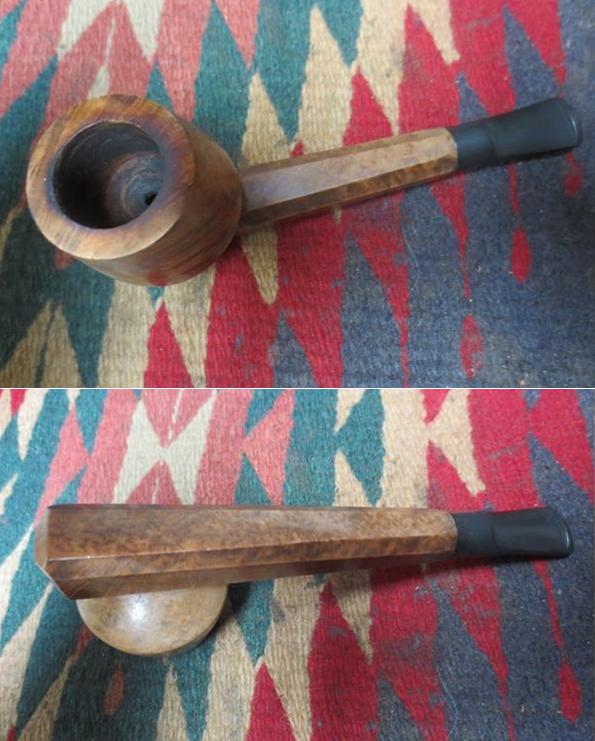
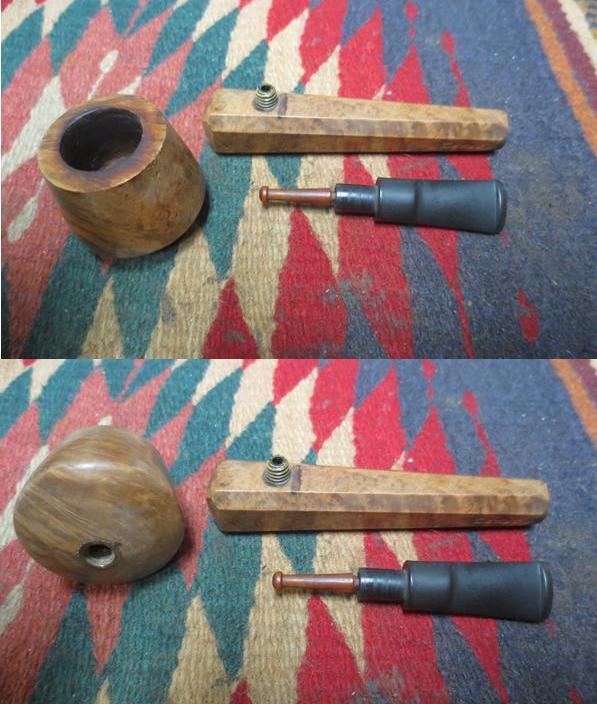
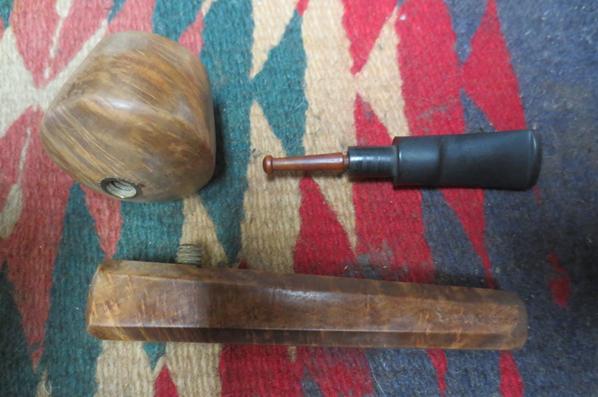
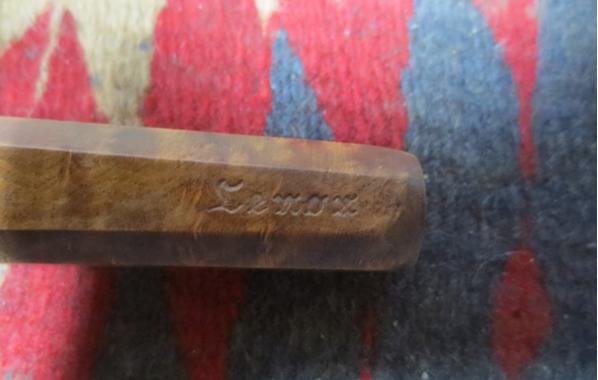
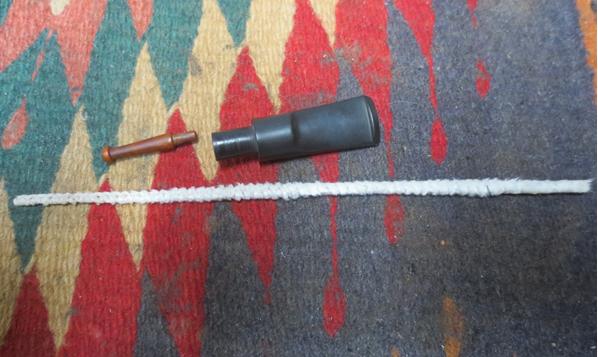
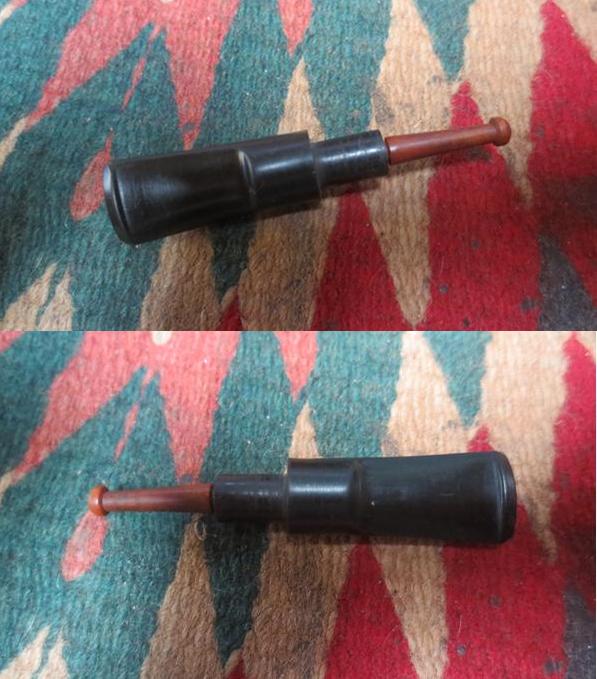
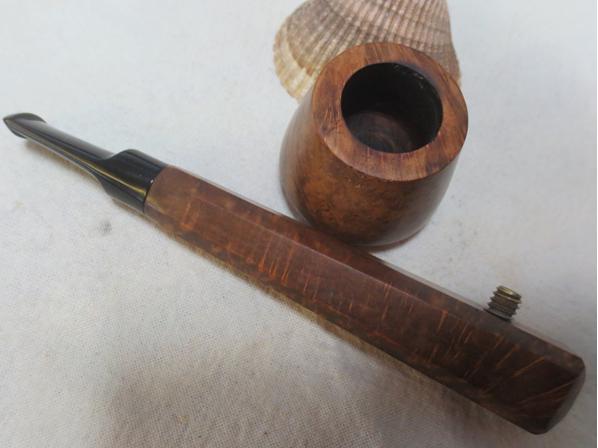
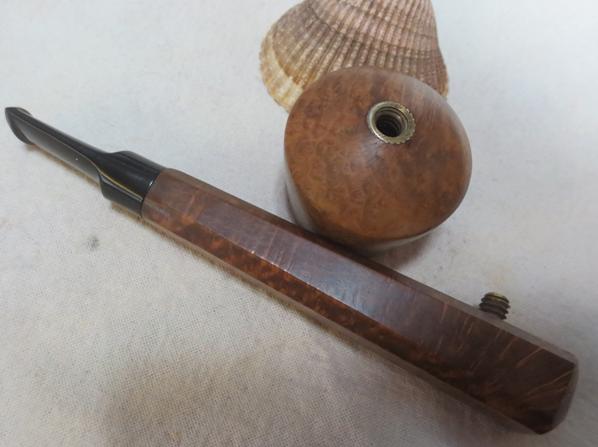
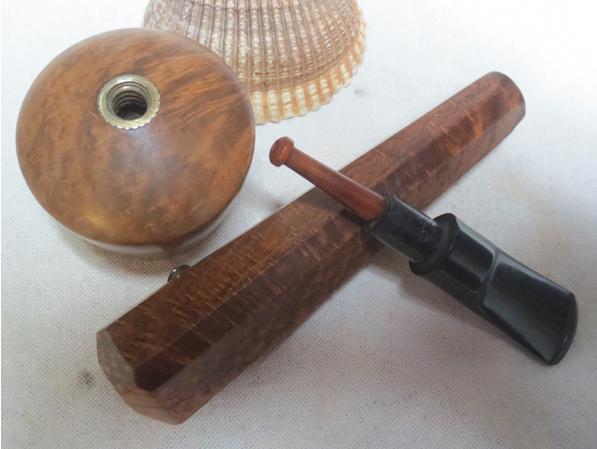
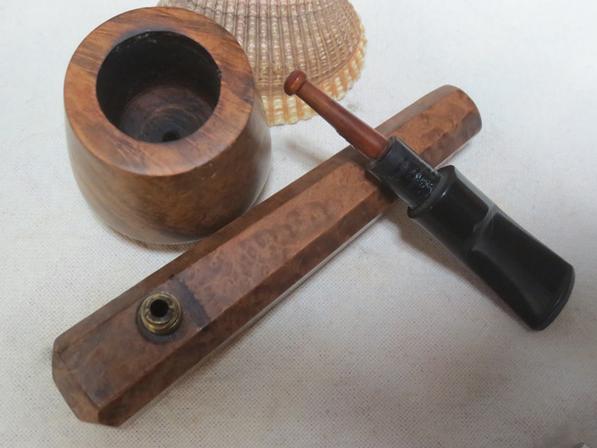
My brother found this extremely unusual looking pipe and sent it on to me. It is stamped Lenox on the top of the barrel. It appeared to be made of briar – the bowl and the barrel matched each other in terms of stain colour and possibly materials. He took the following photos of the pipe before he sent it to me. It looks a lot like a Kirsten at least externally.lenox1The stinger apparatus was made out of Bakelite and was hollow. The smoke was drawn through the bowl into the barrel and then through the stinger up the mouth piece. The stem was in excellent shape and the stinger sat in the end of the tenon.lenox2He took a close up photo of the stinger. It is an interesting looking piece of “plumbing” and I looked forward to seeing close up.lenox3He also took close up photos of the bowl. The first two photos show the damage to the side of the bowl – some dents in the briar. The third and fourth photos show the darkening of the rim top and the nicks in the outer edge of the bowl. The final photo shows the stamping on the left side of the barrel. It reads LENOX.lenox4 lenox5 lenox6 lenox7 lenox8I was not familiar with the Lenox brand so I did some research to see what I could find out. There was not much information on the brand online until I turned to one of my favourite sites for information on odd and unusual metal pipes – smokingmetal.com

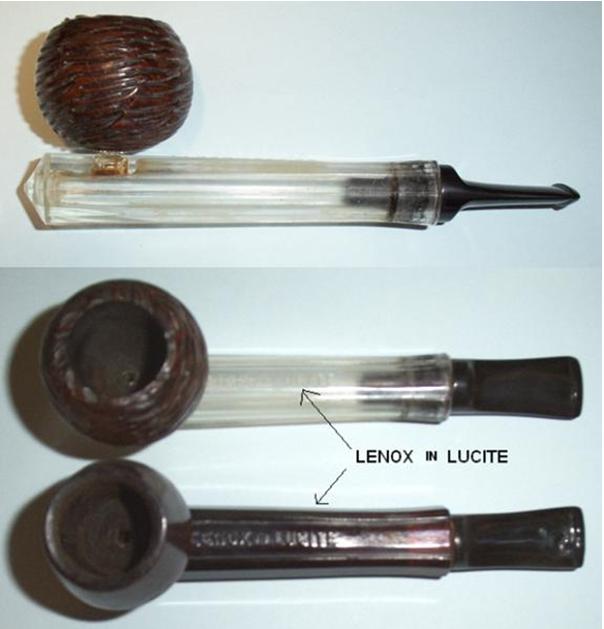
I found the brand listed in three variations. The first of them was a Lenox made of Lucite (ed. By Lucite I assume that barrel is actually made of Perspex so in the information below I have edited it to read that). The link for the brand is: http://smokingmetal.co.uk/pipe.php?page=82. The site has this to say about the Perspex version of the pipe. I quote: “Hard to see the purpose of this one. There would be no significant extra cooling and there is no end plug to remove for ease of cleaning. It is stamped LENOX in the perspex top of barrel. (ed. I have included two photos from the site on the Lucite version of the pipe.) Centre image shows two colour versions. The dark version does not appear to be the result of discolouration by tar etc. These pipes were certainly on sale in 1951. The overall length 5 5/8 inch (143 m/m).lenox9The site also had photos of the Lenox with a metal barrel and wooden bowl. The metal barrel is stamped LENOX on the top of the barrel and a threaded bowl was screwed onto the top. The bowl had a brass insert in the bottom and it threads onto the nipple on the barrel. The following link has photos of the pipe: http://smokingmetal.co.uk/pipe.php?page=150.lenox11My brother did his usual excellent job of cleaning the barrel, bowl and stem of the old pipe. When it came to me it was very clean. He also let me know that surprisingly the wooden looking barrel was actually not wood but was Bakelite.lenox12 lenox13I unscrewed the bowl from the barrel and took the stem out of the end. The next three photos below show the “exploded” view of the pipe. The rim darkening in the first photo needed to be cleaned up.lenox14 lenox15I took another close up photo of the stamping. It is a clean and sharp stamp with no damage.lenox16I pulled the pressure fit stinger out of the tenon and ran a pipe cleaner through the stem. It came out very clean – yet another testimony to the great job my brother does in his clean up.lenox17I put the stinger in the tenon and took two close-up photos of the stem to show the really clean condition the stem was in. All that needed to happen was to polish it.lenox18I polished the stem with micromesh sanding pads – wet sanding it with 1500-2400 grit pads and dry sanding it with 3200-12000 grit pads. I rubbed the stem down with Obsidian Oil between each set of three pads. I set the stem aside to dry after the final rub down.lenox20 lenox21 lenox22I sanded the top and the sides of the bowl with micromesh sanding pads – wet sanding with 1500-2400 and then dry sanding with 3200-12000 grit pads. I buffed the bowl and stem on the buffer with Blue Diamond polish to bring a shine to the surface. I gave them several coats of carnauba wax. I gave the Bakelite barrel multiple coats of Conservator’s Wax by hand. I buffed the bowl, barrel and stem with a clean buffing pad to polish the wax coats. I hand buffed it with a microfibre cloth to deepen the shine. The finish unique pipe is shown in the photos below. The Bakelite barrel and the bowl really do match and look like they have come from the same piece of briar. The pipe is a beauty. It is a brand that I have never seen and one that is a collector’s piece. Thanks for looking.lenox23 lenox24 lenox25 lenox26 lenox27 lenox28 lenox29 lenox30 lenox31 lenox32

Restemming and Restoring a GBD Speciale Billiard


Blog by Steve Laug

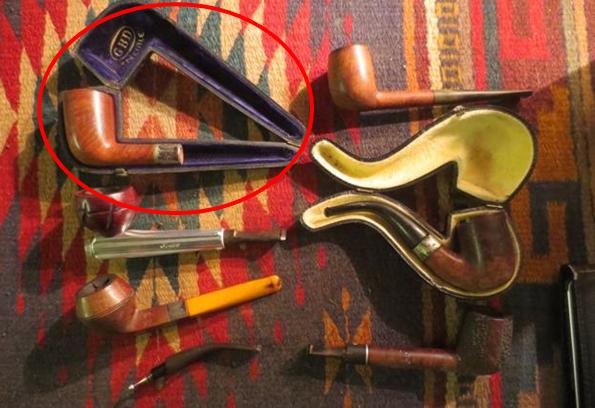
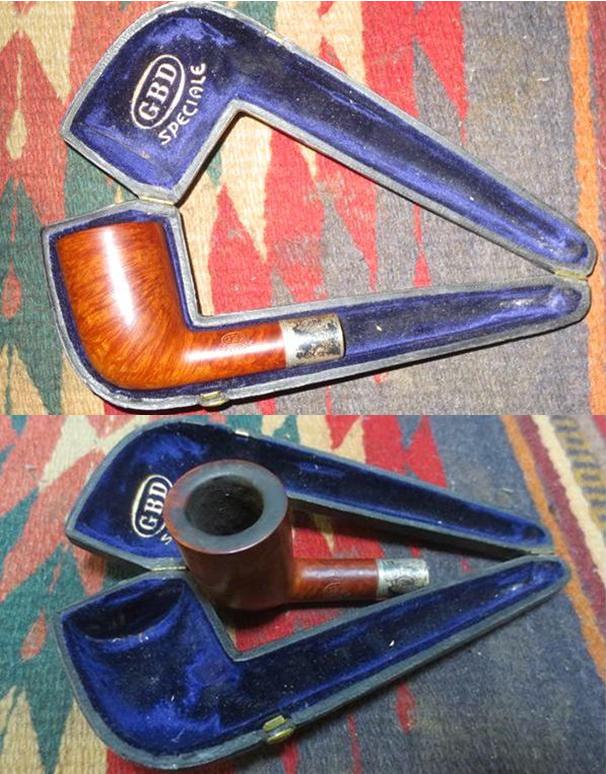
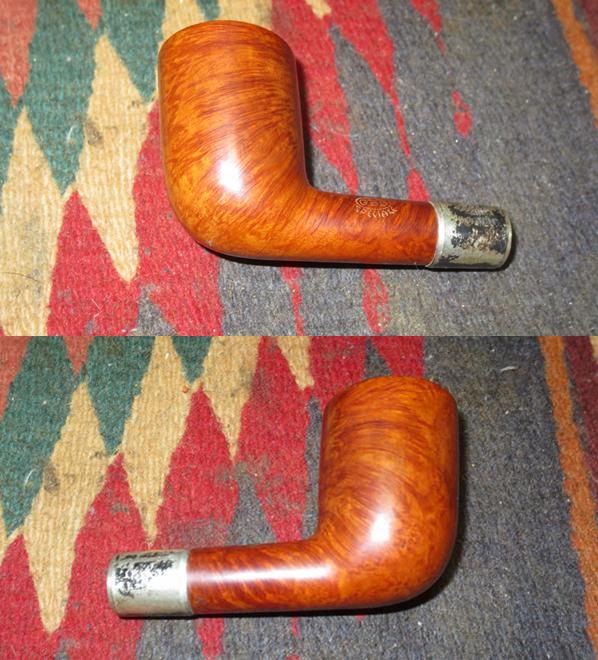
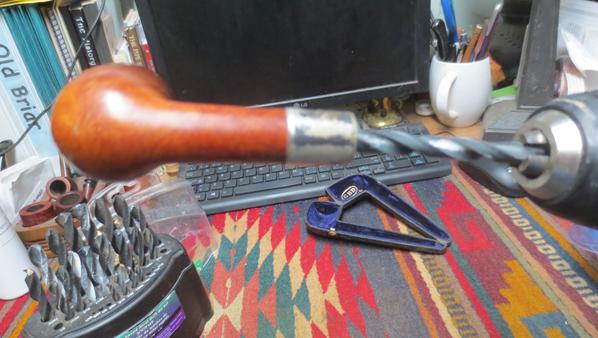
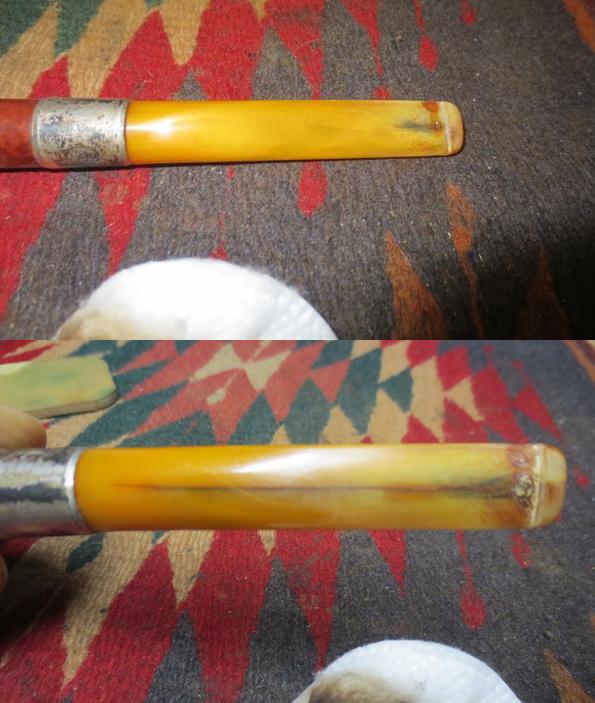
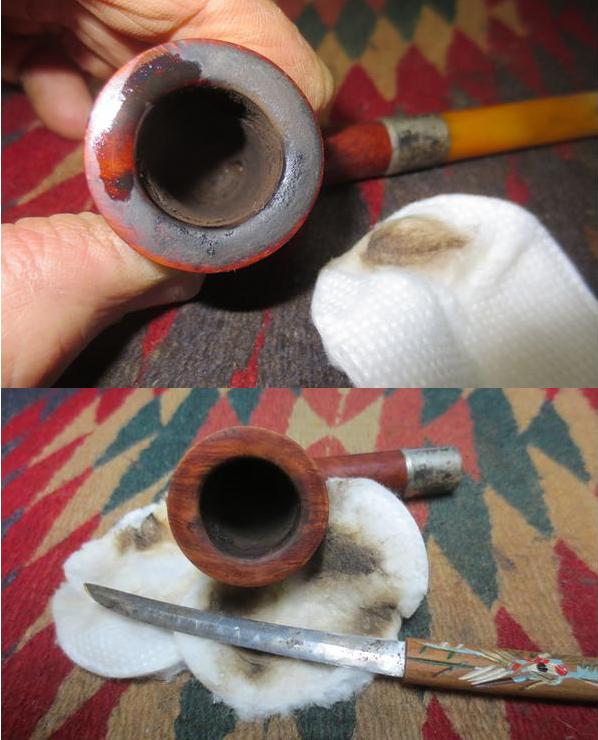
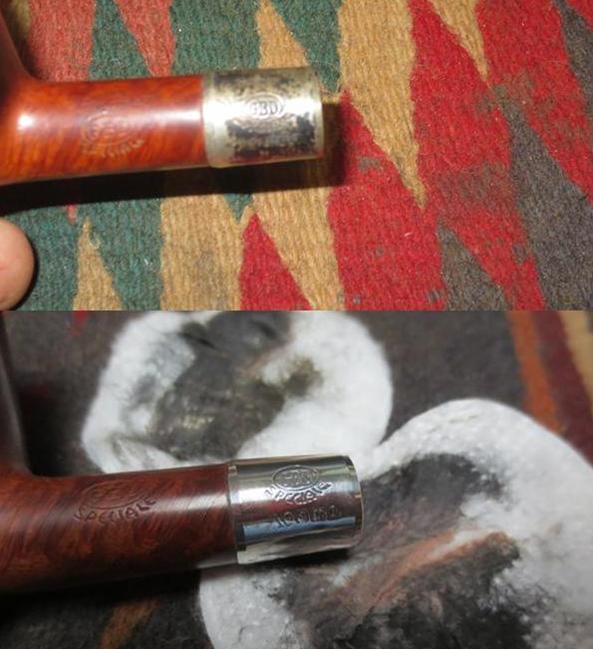
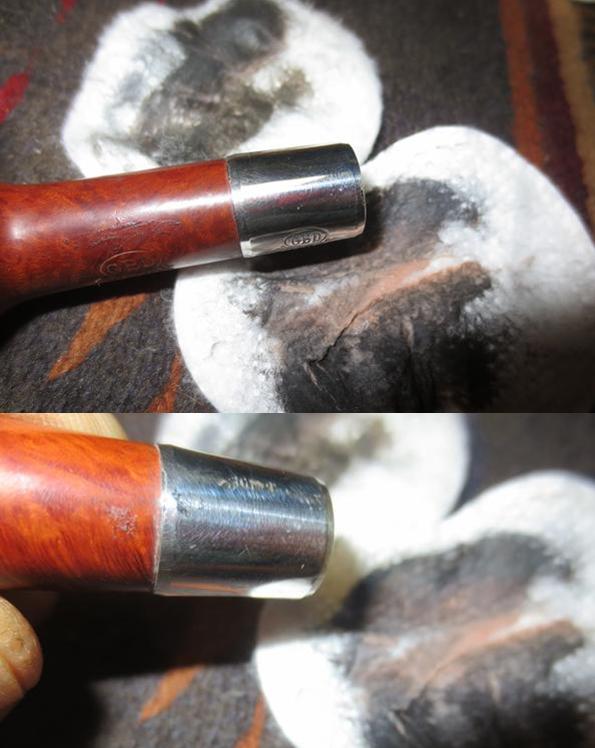
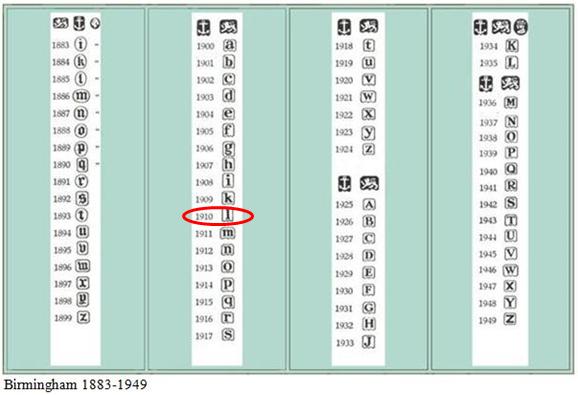
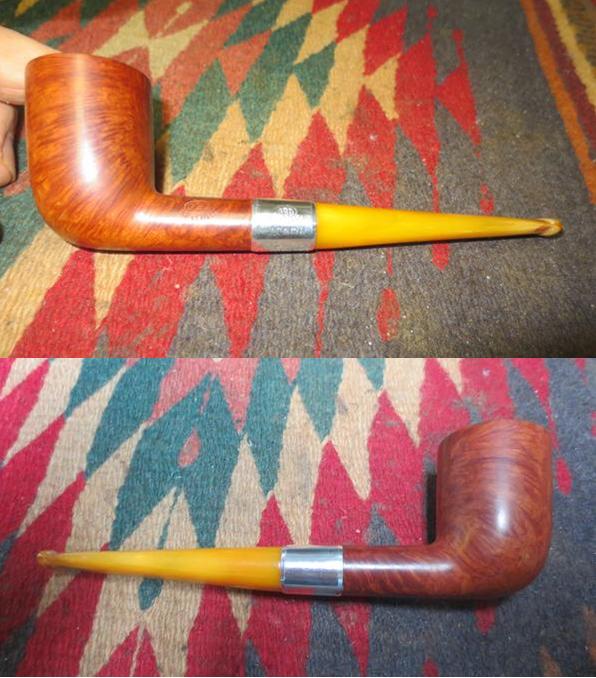
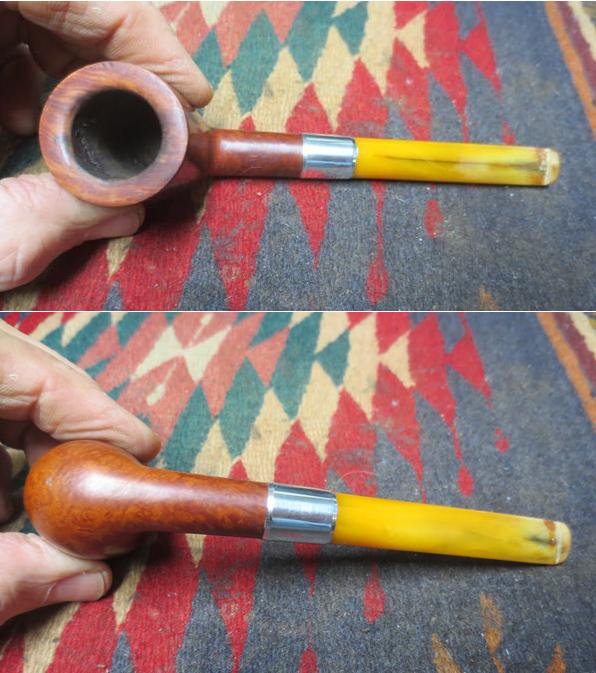
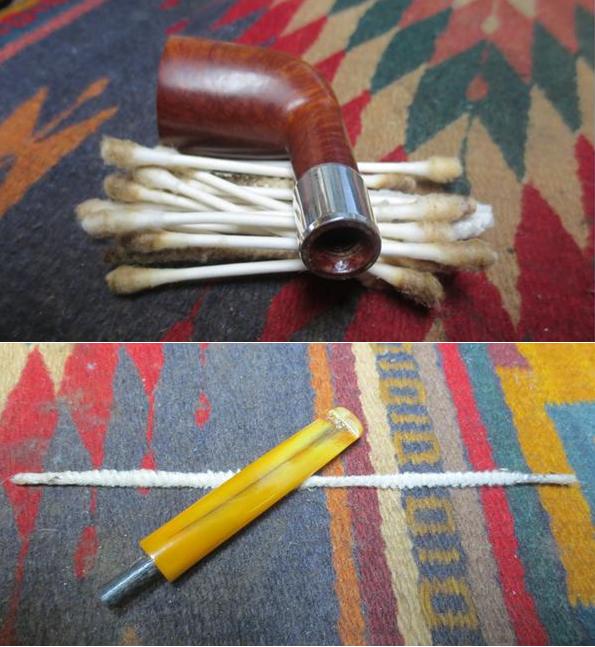
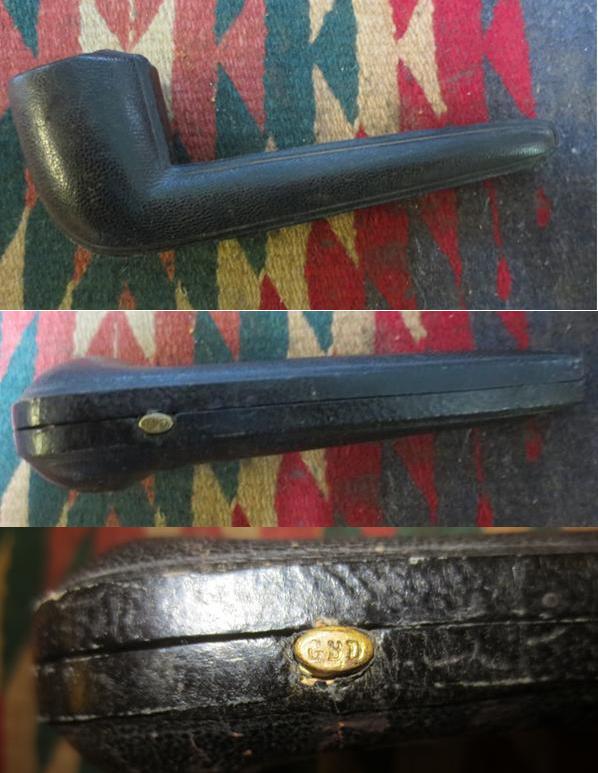
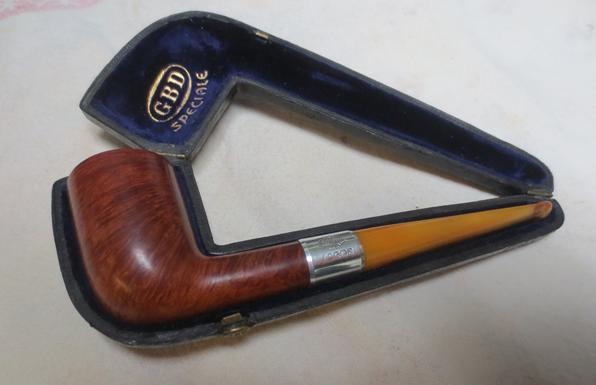
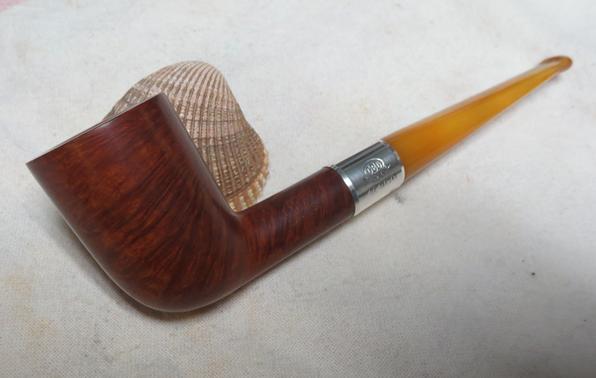
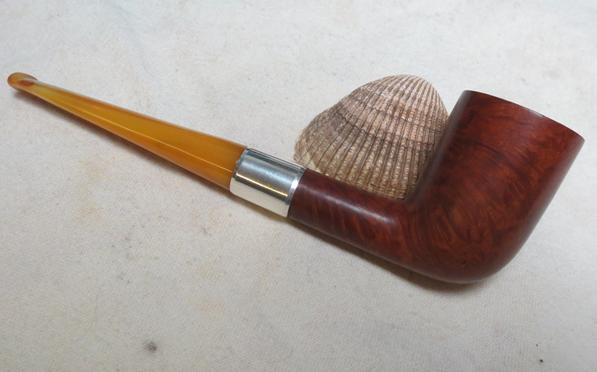
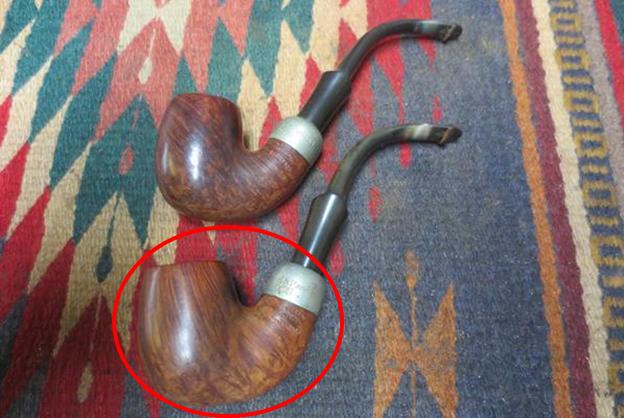
I decided to take a break from working on restoring the estate lot that I was given and turned my attention to one of the pipes I found on my recent trip to Southern Alberta. I have written about that pipe hunt previously. You can read about it at this link: https://rebornpipes.com/2016/10/07/a-great-day-pipe-hunting-in-southern-alberta/. The pipe was an older GBD billiard with a sterling silver band bearing hallmarks. They were hard to read through the oxidation. I found this pipe in a small antique shop in Nanton, Alberta. The clerk/owner lifted a cased pipe from a shelf – a nice black leather case with a dark blue lining. She opened the case and on the inside of the case top there was a GBD in an oval logo over Speciale stamped in gold. The bowl in the case also bore the same stamping. The stem was missing and the clerk told us the sad story of how someone had stolen the stem and left the pipe behind. The pipe was marked at $35 but since the stem was missing I asked her what her best price was for the pipe. She let it go for $25 and said to have fun fitting a new stem on the bowl. I added my second pipe to my hunt kit. It is shown circled in red in the photo below – the first pipe on the left side of the photo.gbdspeciale1When I started working on it I took some photos of the pipe when I started the cleanup. The finish was actually very good. The rim had a thick coat of tars and oil built up flowing out of the bowl and onto the top. The bowl had a thin cake in it. The left side of the shank was stamped GBD in an oval with Speciale below. It matched the stamping on the inside lid of the case. The silver band was oxidized but I could see the GBD logo in and oval over Speciale. The band was original. There were also some hallmarks that would have to be read once I removed the oxidation. There was no other stamping on the pipe or band. The inside of the case was undamaged but had a lot of dust and specks of debris in it.gbdspeciale2I took the bowl from the case and took photos of it before I cleaned it up.gbdspeciale3 gbdspeciale4I had a yellow Bakelite stem that would work with the pipe both in terms of age and also in terms diameter matching the shank. I would need to replace the tenon in the stem as it was too small in diameter to fit in the shank. I had a Delrin tenon that would work once I had removed the metal tenon from the stem. I used a drill bit to clean up the inside of the shank. I twisted the shank onto the drill bit by hand and cleaned it out.gbdspeciale5I heated the metal threaded tenon with a lighter and was able to unscrew it from the stem. I drilled out the mortise in the stem to fit the threaded end of the Delrin tenon. Once I had it drilled out I used a tap to thread the inside of the mortise in the stem. I painted the stem with slow drying super glue and twisted it into the stem. The stem was in decent shape other than tooth marks in the surface at the button and the edge of the button was worn.gbdspeciale6 gbdspeciale7I filled in the tooth dents with some amber super glue that I recently purchased from Stewart MacDonald. Once it had dried I used a needle file to redefine the sharp edge of the button and sanded the surface of the stem with 220 grit sandpaper.gbdspeciale8 gbdspeciale9I sanded the stem until the surface matched the surrounding stem area. The repairs show in the photos as slightly darker than the yellow of the stem.gbdspeciale10I scrubbed the rim with cotton pads and saliva to soften the tars and oils. I scraped it with a pen knife to remove the buildup and scrubbed it again. I was able to remove all of the rim build up without damaging the finish on the rim top.gbdspeciale11To clean off the band I scrubbed it with a tarnish remover and polish on cotton pads. I was able to clean off all of the tarnish and bring the hallmarks to light on the band. Using a small penlight and a lens I was able to clearly read them. They read as follows GBD in an oval over Speciale over the following hallmarks in shields: [anchor] [lion] [l], AO (assay office Birmingham). The AO on the front of the stamp was the Assay Office; the Anchor identifies the city as Birmingham, England; the lion passant is the symbol for 925 Sterling Silver and the “l” giving the date of the pipe. The silver shone brightly and distinctively on the shank end.gbdspeciale12 gbdspeciale13I looked on-line for the hallmarks and found a great chart. It showed the hallmarks for silver work made from 1883-1949. The date hallmark “l” on the pipe I had matched the one in the chart below for 1910. I have circled it in red. I now knew that the pipe I had was made in 1910.gbdspeciale14After the glue dried on the new tenon on the stem I pushed it in place in the shank and took the following photos. I liked the look of the pipe. The only thing that would have made it better would be to have an amber stem to use. This will do while I keep an eye out for an amber one that fits well.gbdspeciale15 gbdspeciale16I cleaned out the mortise and the airway in the shank and stem with cotton swabs, pipe cleaners and alcohol until it was clean. The pipe cleaners and alcohol cleaned out a lot of the black darkening in the airway in the stem.gbdspeciale17I sanded the stem repairs with 220 grit sandpaper to further define the button and try to blend the repairs. I wet sanded it with 1500-2400 grit micromesh sanding pads and dry sanded it with 3200-12000 grit sanding pads. I rubbed it down with Obsidian Oil and set it aside to dry.gbdspeciale18 gbdspeciale19 gbdspeciale20 gbdspeciale21I used a black Sharpie pen to touch up the scuff marks on the surface of the case. The clasp on the side of the case is a brass GBD logo that when pressed allows access to the inside of the case.gbdspeciale22I cleaned out the inside of the case with a damp cloth and was able to remove all of the debris from the inside of the case. I buffed the bowl and stem with Blue Diamond polish on the buffing wheel taking care to not overheat the Bakelite stem as that would cause it to melt and be disfigured. I gave the bowl and stem multiple coats of carnauba wax and buffed the pipe with a clean buffing pad to raise the shine. I hand buffed it with a microfibre cloth to deepen the shine. The finished pipe is shown in the photos below. It is one that will stay with me while I look for an amber stem that fits the pipe. Thanks for looking.gbdspeciale23 gbdspeciale24 gbdspeciale25 gbdspeciale26 gbdspeciale27 gbdspeciale28 gbdspeciale29 gbdspeciale30 gbdspeciale31 gbdspeciale32 gbdspeciale33 gbdspeciale34


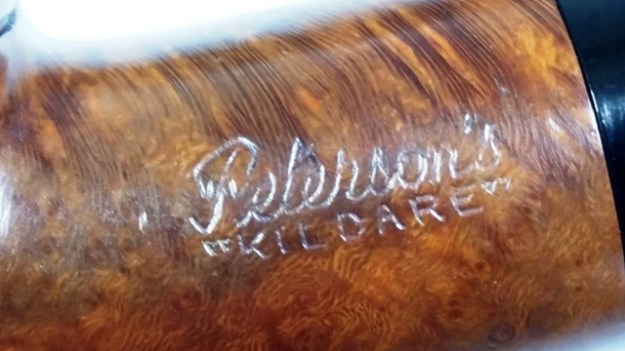
Peterson XL999 Kildare Restoration


By Al Jones

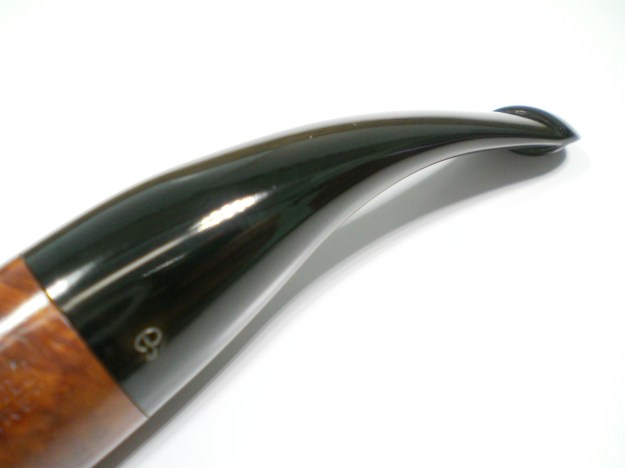
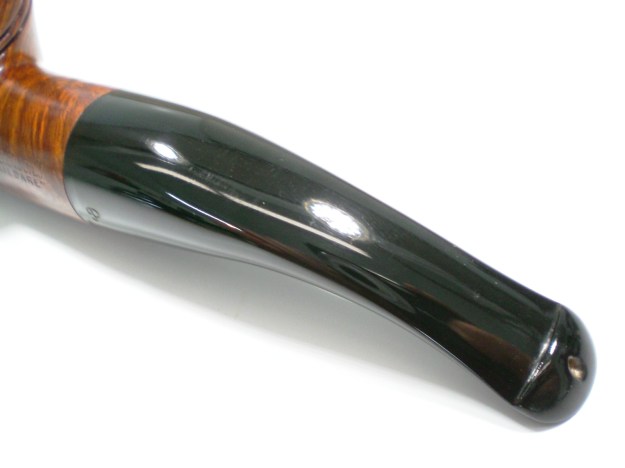
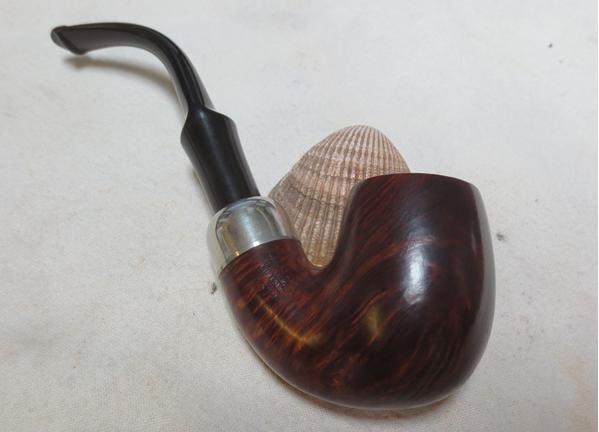
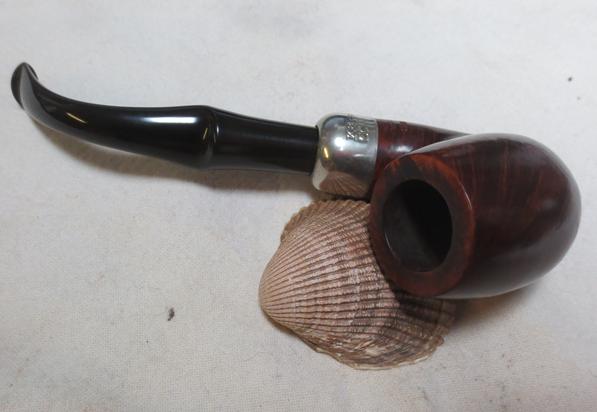
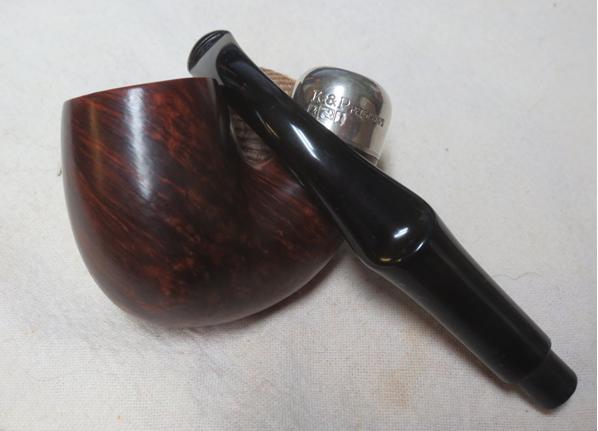
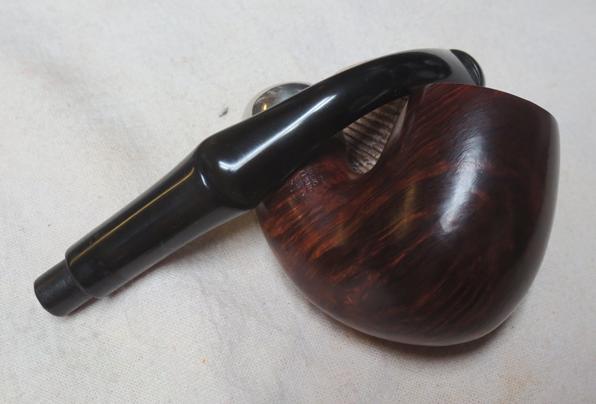
As a fan of the wonderfully chubby Peterson 999 shape, the XL999 has always intrigued me. To this point, I’ve only seen them on the web and never handled one in person. This one showed up on Ebay, with an attractive “Buy It Now” price and offer. I struck a deal and it was delivered a few days ago.

We’ve already learned from Mark Irwins blog, the Peterson Pipe Notes that the XL999 model straddled the change from the chunkier pre-Republic 999 to the slimmer model offered from the late 1990’s until the present. Mark tells us that the XL999 was introduced to the Peterson catalog in 1977 and morphed into the 998 shape by 1992. You can read Mark’s blog entry here below and I include a catalog photo from Mark.

Peterson Chubbies, Part 1 “The 999 John Bull”
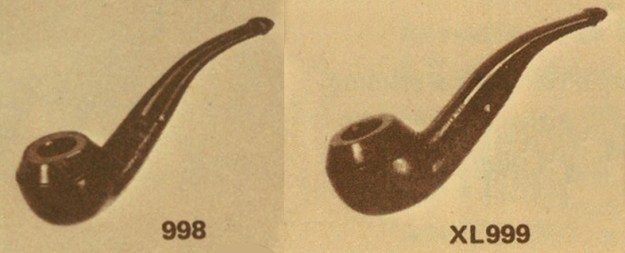
998-and-999-from-1977-assoc-imports

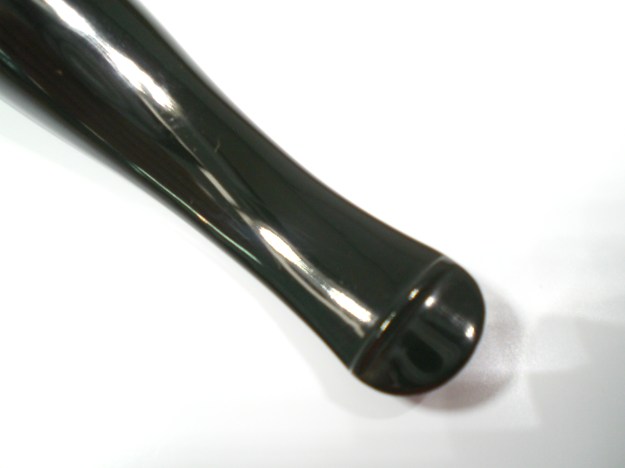
The Kildare finish is a lower grade and the grain on this one is unremarkable. The pipe was delivered in very good condition, with some heavy oxidation on the stem. There was some tar build-up on the bowl top but the stem was bite free, with only some light chatter. Most importantly, this one had the P-lip stem that completes the look.
peterson_xl999_before-1

peterson_xl999_before-4

peterson_xl999_before-3

peterson_xl999_before-2

peterson_xl999_before-5

The bowl was reamed and then I removed the bowl-top build up with a cloth and water. I finished the bowl top with 2000 grade wet paper and 8000 grade micromesh. The bowl was then soaked with alcohol and sea salt. Following the soak, there was a lot build-up in the shank, which I removed with screwed-in paper towels and then a series of brushes.

The bowl was buffed with White Diamond but still seemed a little dull. I wiped on a nearly clear (heavily diluted) Medium brown stain and then buffed it again, which woke up the finish a bit. The bowl was finished with several coats of Carnuba wax.

While the bowl was soaking, I also soaked the stem in a mild Oxy-clean solution, with a dab of grease on the P logo. The stem was then mounted and oxidation removed with 800, 1000 and 2000 grade wet paper. This was followed by 8000 and 12000 grade micromesh. The stem was then buffed with White Diamond, followed by Meguiars Plastic Polish.

I mulled over re-painting the white of the P-stem logo, but I often don’t care for that result. So for now, it remains as received.

Below is the finished pipe.
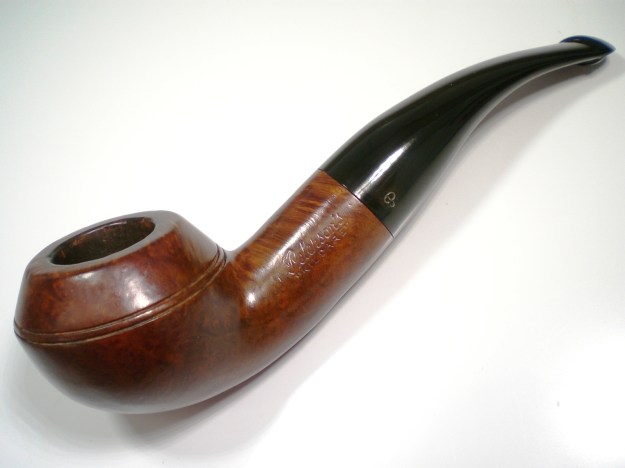
peterson_xl999_finish-1

peterson_xl999_finish-6

peterson_xl999_finish-2

peterson_xl999_finish-7

peterson_xl999_finish-5

peterson_xl999_finish-8

peterson_xl999_finish-3

peterson_xl999_finish-4

peterson_xl999_finish-9

?

?

?

?

Below is a group shot of the pipe with my other 999’s, both of which are pre-Republic era pipes. It’s interesting to see the slight shape variations and size. This one is very near in shape and weight to my Deluxe 999 (with Gold P logo), and it weighs 51 grams.
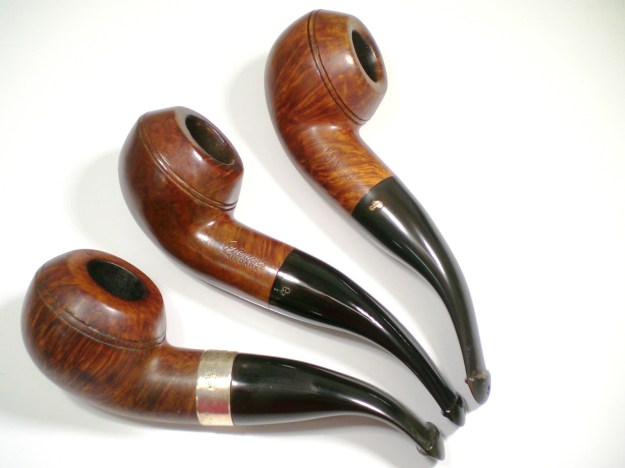
peterson_xl999_finish-12

Rejuvenating the second Peterson’s 1312 System Pipe


Blog by Steve Laug

I have written about four pipes that I have restored from an estate lot that I was tasked to clean up and sell in previous blogs at https://rebornpipes.com/2016/10/25/this-favourite-gbd-marquis-752-was-a-mess-not-any-more/; https://rebornpipes.com/2016/10/26/rescuing-a-petersons-english-made-203-billiard/; https://rebornpipes.com/2016/10/27/rejuvenating-a-petersons-system-pipe-1314/; https://rebornpipes.com/2016/10/28/rejuvenating-the-first-of-two-petersons-system-pipe-1312/. These included a GBD Marquis Author, a Peterson’s English Made 203 billiard, a Peterson’s 1314 System Pipe and the larger Peterson’s 1312 System pipe. I received these from my friend Richard who owns a pipe shop that is closing. He had some pipes that had belonged to an elderly gentleman who had died. His wife had given him the fellow’s pipes. She wanted to get them cleaned up and sold to folks who would appreciate them. Richard thought I would be interested in the story and have fun cleaning these up and selling them. There some really nice pipes in the lot – GBD’s, Comoy’s, Stanwells, Petersons, two ceramic Goudewaagen pipes, and others. There are just over 50 pipes that I will be cleaning and listing on rebornpipes.
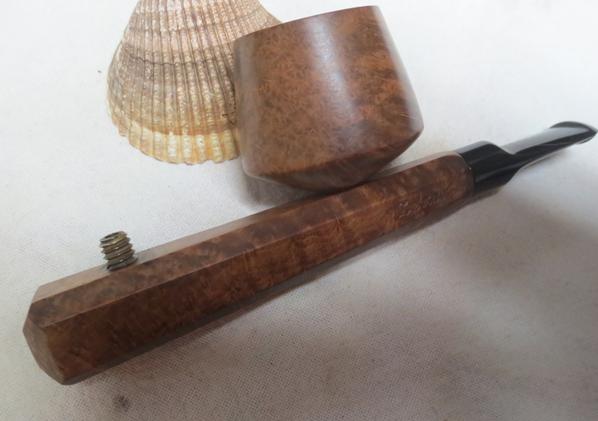
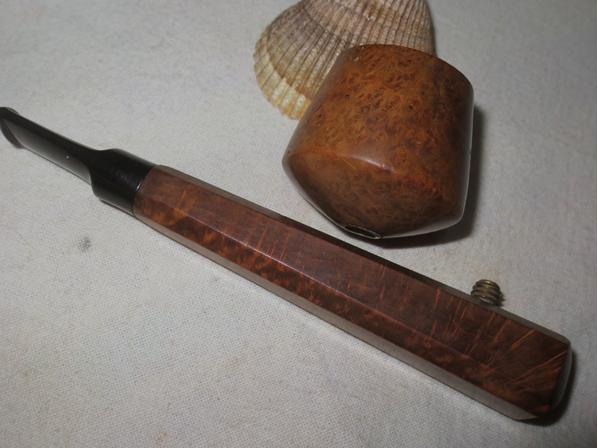
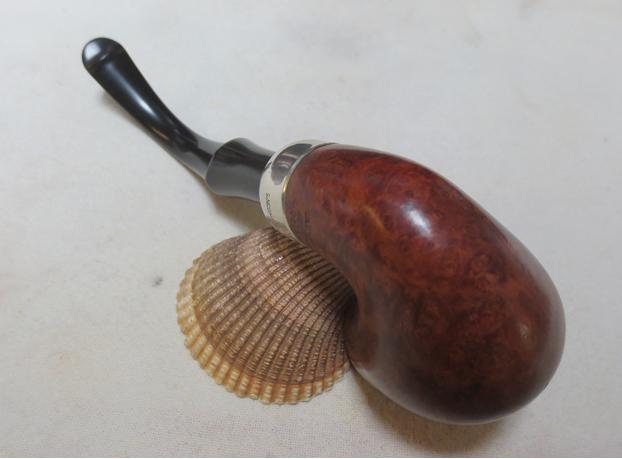
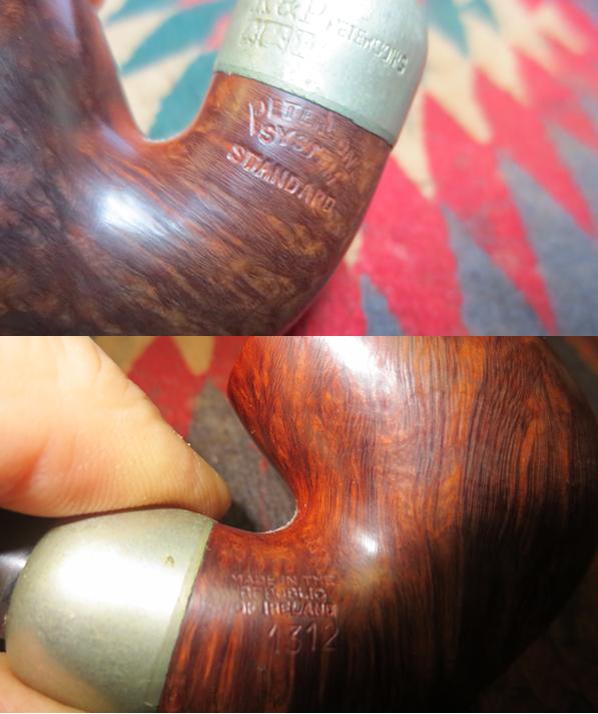
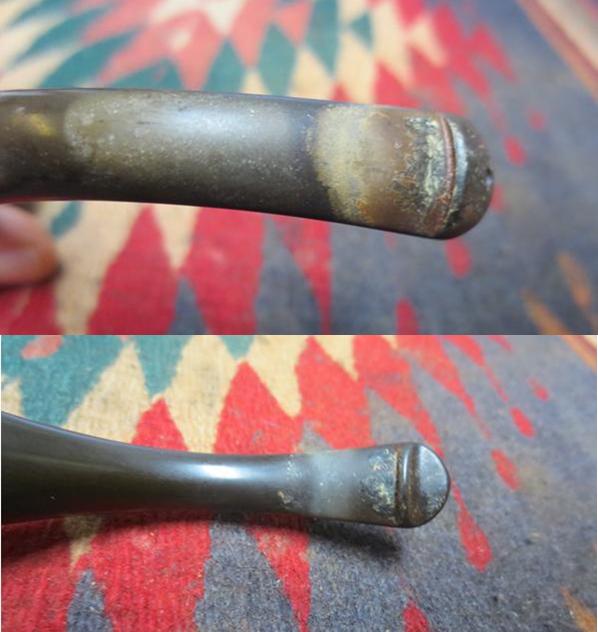
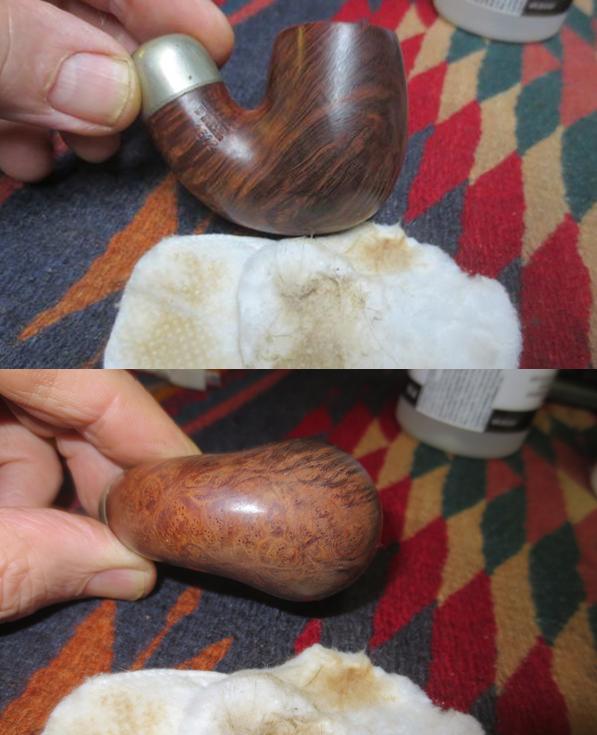
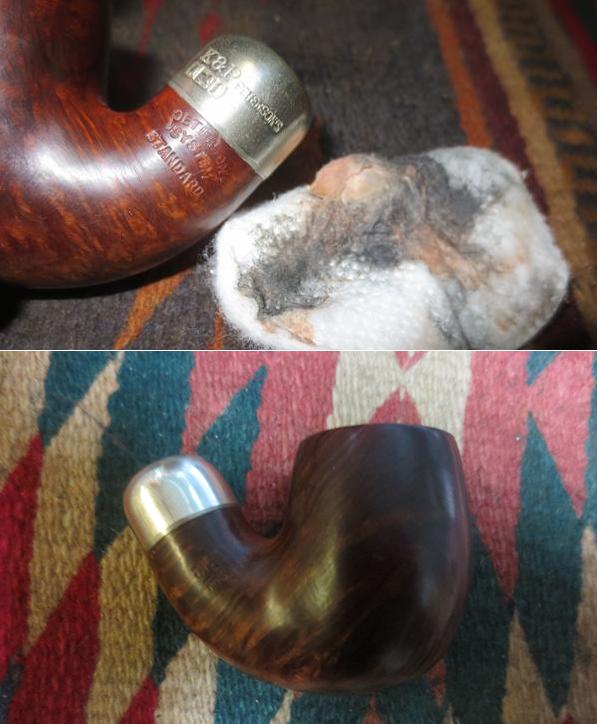
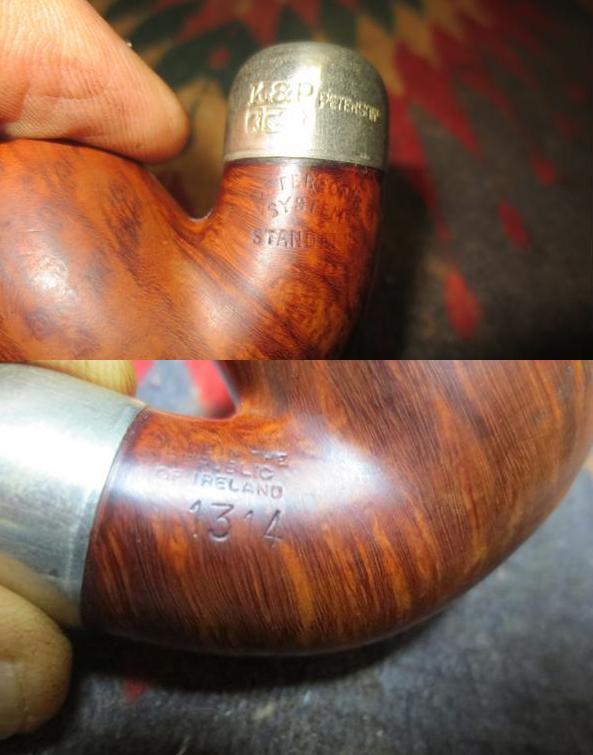
The fifth pipe I chose to work on was another Peterson’s System Pipe. It is the second 1312 pipe and is stamped Peterson’s System Standard pipe on the left side of the shank. On the right is stamped Made in the Republic of Ireland 1312. The stamping is clear and sharp. The nickel ferrule is stamped K&P Peterson’s and has the three faux hallmarks that are for looks. It is larger and chunkier than the first one. The bowl is thickly caked and the rim has an overflow of the cake in the bowl. It is a very dirty pipe. The finish is in decent shape but has a lighter brown stain over flame and straight vertical grain. The stem is oxidized with some calcification around the P-lip button. Light tooth chatter covers both the top and underside of the stem. There is no P stamping on the P-lip stem but it appears to be an original not a replacement.

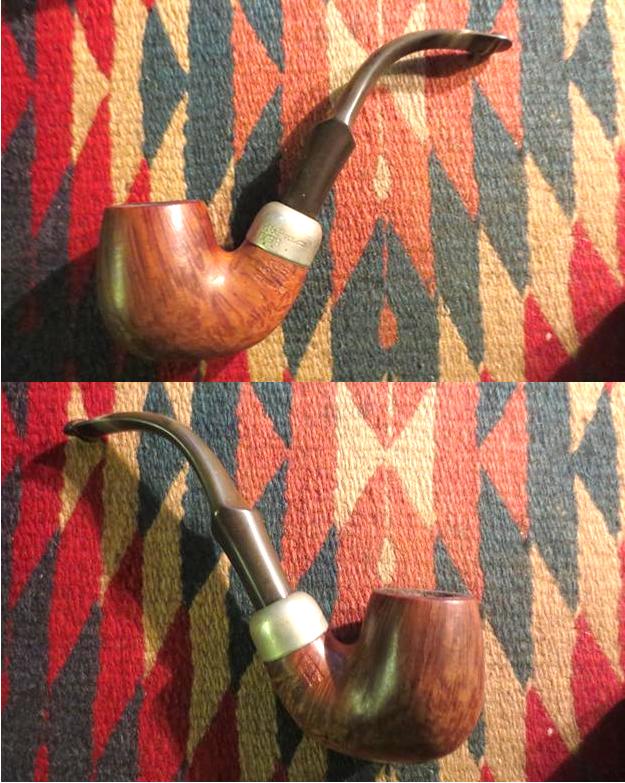
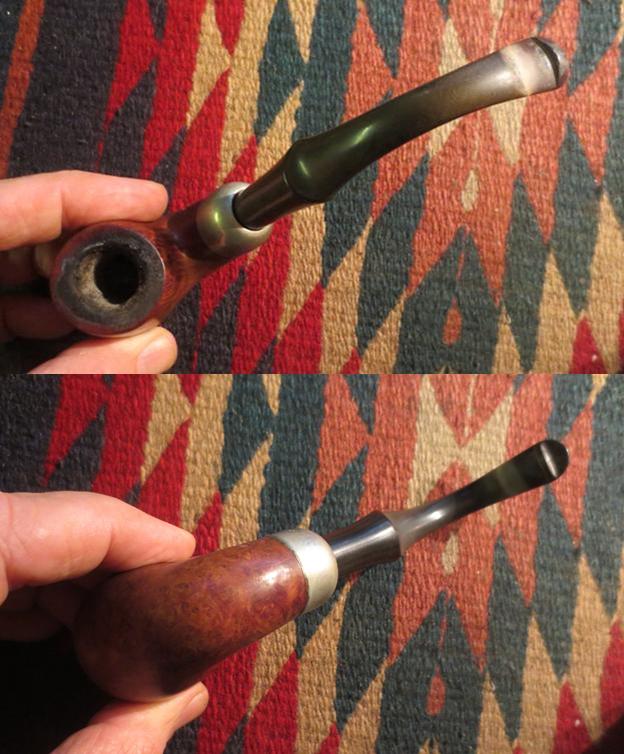
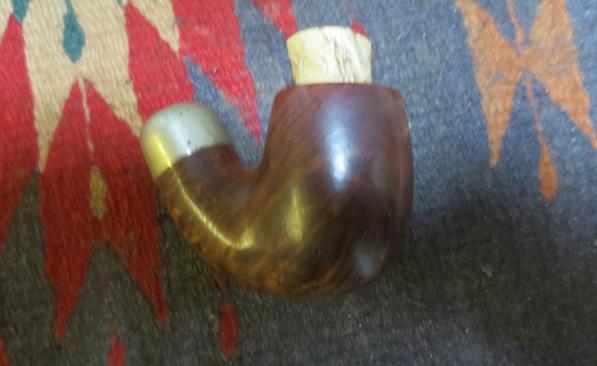
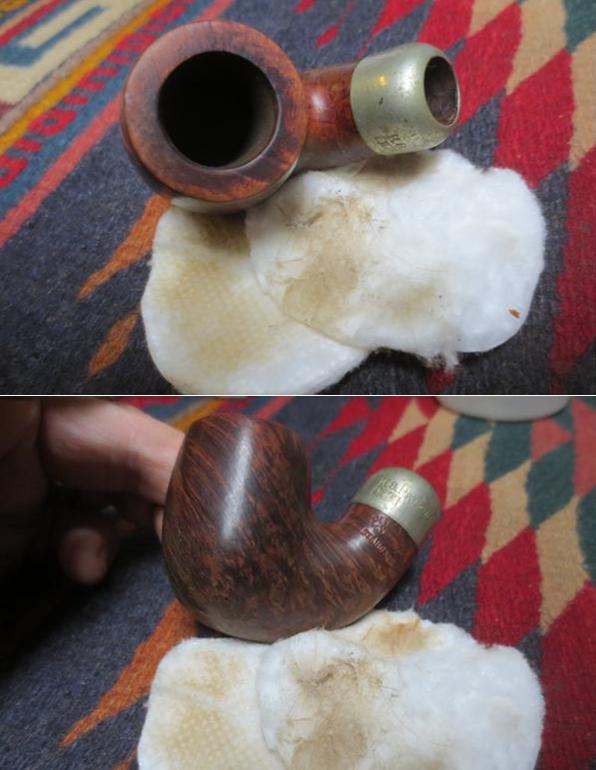
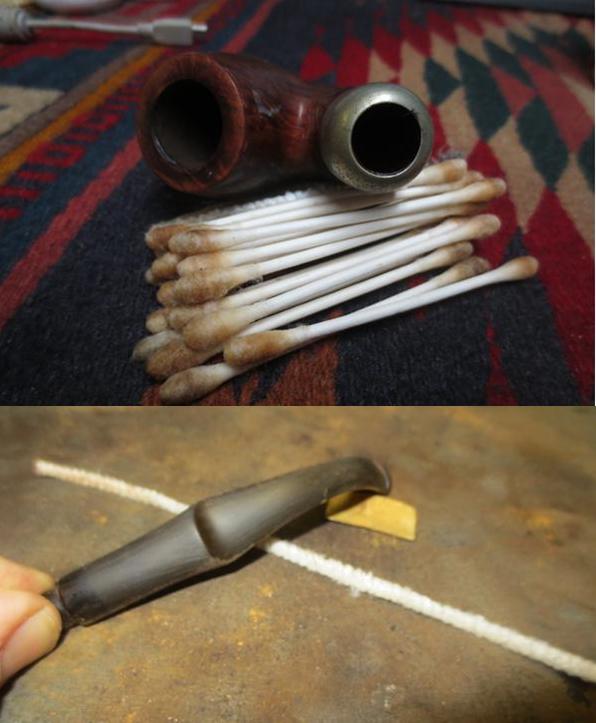
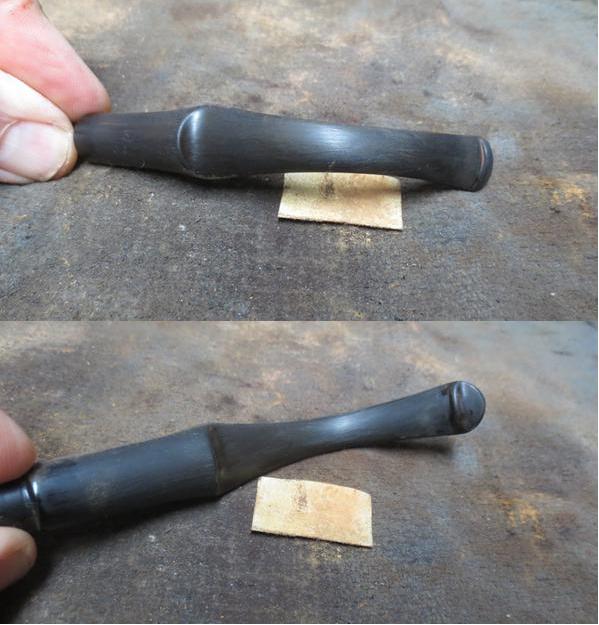
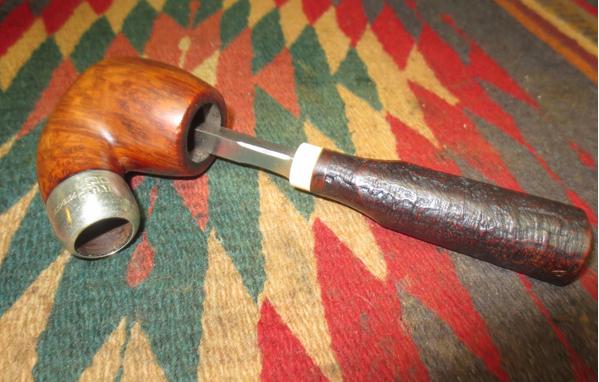
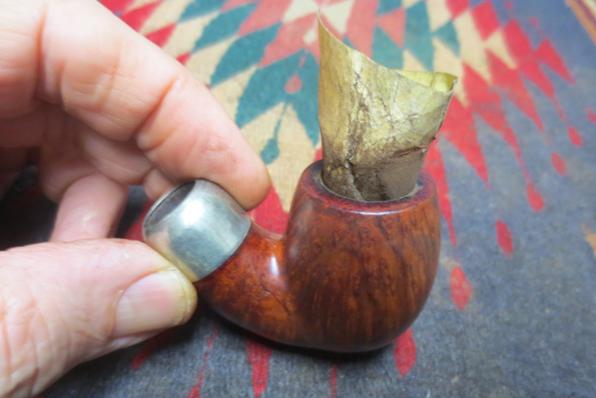
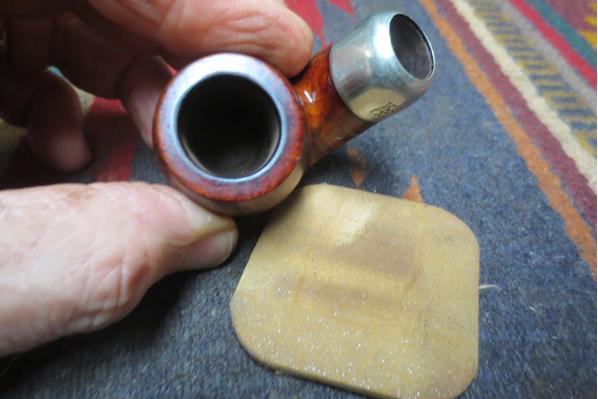
Here are some photos of the pipe when I started cleaning it. The pipe has good lines and some interesting grain underneath the grime. The first photo shows the pair of 1312 System pipes. The one circled in red is this pipe. I took the next four photos to show the condition of the pipe before I started cleaning it.pete1pete2pete3 I took some close up photos of the pipe. The first photo below shows the thick cake in the bowl, the remnant of tobacco in the bottom of the bowl and the overflow of lava on the rim of the bowl. The next two photos show the condition of the stem.pete4pete5 I reamed the bowl with a PipNet reamer to remove the cake. I started with the smallest cutting head and worked up to the third cutting head. I cleaned up the bowl with a Savinelli Pipe Knife to cut back the remaining cake to bare briar.pete6 I used a sharp pen knife to carefully scrape off the cake on the rim. I scrubbed the rim with saliva and cotton pads to remove the tars and oils on the surface. I was able to remove all of the tars and build up on the rim top.pete7 I scrubbed nickel ferrule with tarnish polishing scrub and cotton pads. The polish removed all of the tarnish and left the ferrule shining.pete8pete9 I gave the bowl a light coat of Conservator’s Wax and polished the bowl with a microfibre cloth.pete10pete11 I sanded the stem with 220 grit sandpaper to remove the calcification, oxidation and tooth chatter and marks.pete12 I cleaned out the internals of the mortise, sump, shank airway and stem airway with alcohol, cotton swabs and pipe cleaners.pete13 I polished the stem with micromesh sanding pads – wet sanding the stem with 1500-2400 grit sanding pads and dry sanding with 3200-12000 grit pads. I rubbed the stem down with Obsidian Oil after each set of three pads. After sanding with the last three grits I gave the stem a final coat of Obsidian Oil. I set the stem aside to dry.pete14pete15pete16 I buffed the bowl and stem with Blue Diamond on the buffing wheel. It is a plastic polish that removes the minute scratches left behind after sanding the stem with micromesh sanding pads. It worked the same way on the briar. I gave the bowl and stem multiple coats of carnauba wax and buffed it with a clean buffing pad to raise the shine. I finished by hand buffing it with a microfibre cloth. I have found that deepens the shine. The finished pipe is shown in the photos below. It is a beautiful pipe that has some stellar grain. Thanks for looking.pete17pete18pete19pete20pete21pete22pete23pete24

Rejuvenating the first of two Peterson’s System Pipe 1312


Blog by Steve Laug

I have written about the first three pipes from an estate lot that I was tasked to clean up and sell in three previous blogs at https://rebornpipes.com/2016/10/25/this-favourite-gbd-marquis-752-was-a-mess-not-any-more/; https://rebornpipes.com/2016/10/26/rescuing-a-petersons-english-made-203-billiard/;  https://rebornpipes.com/2016/10/27/rejuvenating-a-petersons-system-pipe-1314/. These included a GBD Marquis Author, a Peterson’s English Made 203 billiard and a Peterson’s 312 System Pipe. I am including a short version of the acquisition for those who have not read it. My friend has a pipe shop that is closing and he had some pipes that had belonged to an elderly gentleman who had died. His wife had given him the fellow’s pipes. She wanted to get them cleaned up and sold to folks who would appreciate them. Richard thought I would be interested in the story and have fun cleaning these up and selling them. There some really nice pipes in the lot – GBD’s, Comoy’s, Stanwells, Petersons, two ceramic Goudewaagen pipes, and others. There are just over 50 pipes that I will be cleaning and listing on rebornpipes.

The fourth pipe I chose to work on was another Peterson’s System Pipe. It is stamped Peterson’s System Standard pipe on the left side of the shank. On the right is stamped Made in the Republic of Ireland 1312. The stamping is clear and sharp. The nickel ferrule is stamped K&P Peterson’s and has the three faux hallmarks that are for looks.  The bowl is thickly caked and the rim is dirty. The finish is in decent shape with a medium brown stain over flame and straight vertical grain. The stem is oxidized with some calcification around the P-lip button. Light tooth chatter covers both the top and underside of the stem. There is no P stamping on the P-lip stem but it appears to be an original not a replacement.

Here are some photos of the pipe when I started cleaning it. The pipe has good lines and some interesting grain underneath the grime.pete1 pete2 pete3I took some close up photos of the bowl, rim, stamping and the stem to give and idea of the issues I had noted above. The first photo shows the thick cake in the bowl and the overflow onto the rim top. The next photos show the oxidized nickel ferrule on the end of the shank and the clear stamping on both sides. The last two photos in this set show the chatter and detail of the stem.pete4 pete5 pete6I reamed the bowl with a PipNet reamer starting with the smallest cutting head and working up to the third cutting head. I took the cake back to bare briar. I cleaned up the inside of the bowl with the Savinelli Pipe Knife. I rolled a piece of 220 grit sandpaper around my finger and sanded out the inside of the bowl and smooth out the inner rim edge.pete7 pete8I scrubbed the exterior of the bowl with alcohol on cotton pads to remove the grime, waxes and oils. It has some beautiful grain shining through on the cleaned briar.pete9 pete10I cleaned the interior of the mortise and the airway in the shank and stem with pipe cleaners, cotton swabs and alcohol until they were clean. I spent extra time in the trap in the bottom of the shank.pete11I polished the ferrule with tarnish remover and silver polish on cotton pads to remove the oxidation. The nickel really shone once the tarnish was removed.pete12I worked on the tooth chatter, oxidation and calcification on the stem with 220 grit sandpaper until I had removed the damage and build up.pete13I polished the stem with micromesh sanding pads – wet sanding with 1500-1200 grit pads and dry sanding with 3200-12000 grit pads. I rubbed the stem down with Obsidian Oil after each set of three pads. After sanding with the final set I rubbed it down once again and set it aside to dry.pete14 pete15 pete16I buffed the pipe and stem with Blue Diamond on the buffing wheel to raise the shine and polish it further. I gave the pipe multiple coats of carnauba wax and buffed it with a clean buffing pad to shine it. I finished by hand buffing the pipe with a microfibre cloth. This adds some depth to the shine. The finished pipe is shown in the photos below. This pipe is for sale along with the others that I have cleaned up from the estate. If you are interested in adding it to your collection send me an email to slaug@uniserve.com or a message on Facebook. Thanks for walking through the process with me.pete17 pete18 pete19 pete20 pete21 pete22 pete23 pete24 pete25 pete26 pete27


Rejuvenating a Peterson’s System Pipe 1314


Blog by Steve Laug

I wrote about the first two pipes from an estate lot that I was tasked to clean up and sell on two previous blogs at https://rebornpipes.com/2016/10/25/this-favourite-gbd-marquis-752-was-a-mess-not-any-more/ and https://rebornpipes.com/2016/10/26/rescuing-a-petersons-english-made-203-billiard/  For those who have not read it yet here is the story. About a month ago a friend of mine, Richard who has a tobacco shop here in Vancouver gave me a call and asked me to stop by for a visit. I went on a Sunday afternoon and we visited for a while. At the end of the visit he took me to another counter in his shop and brought out some display cases of pipes – four of them and a small bag. He told the story to me. An elderly gentleman who was a customer of his had died and his wife had stopped by and gave him the fellow’s pipes. She wanted nothing for them she just wanted him to get them cleaned up and sold to folks who would appreciate them. Richard is a reader of the blog and he thought that I would have fun cleaning these up and selling them. As we went through the display cases and bag I was pretty pumped about the collection. There were some really nice GBD pipes, Comoy’s, Stanwells, Peterson’s as well as some brands I was not familiar with.

The third pipe I chose to work on was a Peterson’s System Pipe. It was stamped on the left side of the shank Peterson’s System Standard. On the right side of the shank it is stamped Made in the Republic of Ireland and the shape number 1314. The stamping is clear and sharp. The finish is in decent shape with a medium brown stain over flame and straight vertical grain. There is a light, uneven cake in the bowl that had spilled over the rim. There is thin cake in the bowl and some darkening on the rim. There are tooth marks on the top and bottom side of the stem near the button. There is no P stamping on the P-lip stem but it appears to be an original not a replacement. There is calcification from a softee bit on the stem and button. There are several deeper tooth marks and chatter on the top and bottom side of the stem ahead of the P-lip. The button itself was in good shape with a small tooth mark on the top at the sharp edge.

Here are some photos of the pipe when I started cleaning it. The pipe has good lines and some interesting grain underneath the grime.sys1 sys2I took some close up photos of the rim and the stamping to show the condition of the bowl. The rim had some darkening and it was slightly out of round. It looked as if it had been reamed with a knife and the inner edge of the bowl had nicks along the back edge. There was a light cake in the bowl and some shreds of tobacco at the bottom of the bowl. The stamping was readable though light in some places.sys3 sys4The stem was lightly oxidized but there were some deep tooth marks on the top and the underside underneath the calcification and the oxidation on the button end. The sharp edge of the p-lip was worn and would need to be sharpened.sys5I reamed the bowl with a Savinelli Pipe Knife to clean out the light cake and the debris. I took the cake back to bare briar. I sanded the bowl with a rolled piece of 220 grit sandpaper on my finger to clean up any remaining cake.sys6 sys7I scrubbed the top of the rim with cotton pads and saliva and then lightly sanded it with 3200 grit micromesh to polish off the remaining tars.sys8I wiped the bowl down with a light coat of alcohol on a cotton pad to remove the grime in the finish and any sanding dust. I buffed it lightly by hand and took the photos below. There is some nice grain on this old timer the mix of flame and straight grain really stands out and the birdseye on the rim and the bottom of the bowl is quite stunning.sys9 sys10I sanded the stem with 220 grit sandpaper to remove the calcification, oxidation and clean up the tooth chatter. I wiped out the deep tooth marks with a cotton swab and alcohol to get out the dust in them and then filled the divots with black super glue. I set the stem aside to dry while I went to work for the day.sys11When I got home from work I sanded the repairs smooth with 220 grit sandpaper and used a needle file to redefine the sharp edge of the button and underside lip on the stem.sys12I continued to sand the stem with the 220 grit sandpaper until the repairs blended into the surface of the vulcanite and I had removed the oxidation on the remainder of the stem.sys13I worked over the stem with micromesh sanding pads – wet sanding with 1500-2400 grit pads and dry sanding with 3200-12000 grit pads. I rubbed the stem down with Obsidian Oil after each set of three pads. After sanding with the 12000 grit pad I gave it a final rubdown with the oil and set it aside to dry.sys14 sys15 sys16I lightly sanded the bowl and rim with 6000-12000 grit micromesh sanding pads while the stem dried. I put the pipe back together and buffed it with Blue Diamond polish on the buffer. I gave the entire pipe multiple coats of carnauba wax and buffed it with a clean buffing pad. I finished by hand buffing it with a microfibre cloth. The finished pipe is shown below. It is the third of the old gentleman’s estate that I have finished restoring. It is available for sale to anyone who wishes to add it to their collection. The photos below show the finished pipe from a variety of angles. Contact me if you are interested by email at slaug@uniserve.com or send me a message on Facebook. Thanks for walking through this with me.sys17 sys18 sys19 sys20 sys21 sys22 sys23 sys24 sys25 sys26

Rescuing a Peterson’s English Made 203 Billiard


Blog by Steve Laug

I wrote about the estate lot that I was tasked to clean up and sell on a previous blog at https://rebornpipes.com/2016/10/25/this-favourite-gbd-marquis-752-was-a-mess-not-any-more/. About a month ago a friend of mine, Richard who has a tobacco shop here in Vancouver gave me a call and asked me to stop by for a visit. I went on a Sunday afternoon and we visited for a while. At the end of the visit he took me to another counter in his shop and brought out some display cases of pipes – four of them and a small bag. He told the story to me. An elderly gentleman who was a customer of his had died and his wife had stopped by and gave him the fellow’s pipes. She wanted nothing for them she just wanted him to get them cleaned up and sold to folks who would appreciate them. Richard is a reader of the blog and he thought that I would have fun cleaning these up and selling them. As we went through the display cases and bag I was pretty pumped about the collection. There were some really nice GBD pipes, Comoy’s, Stanwells, Peterson’s as well as some brands I was not familiar with.

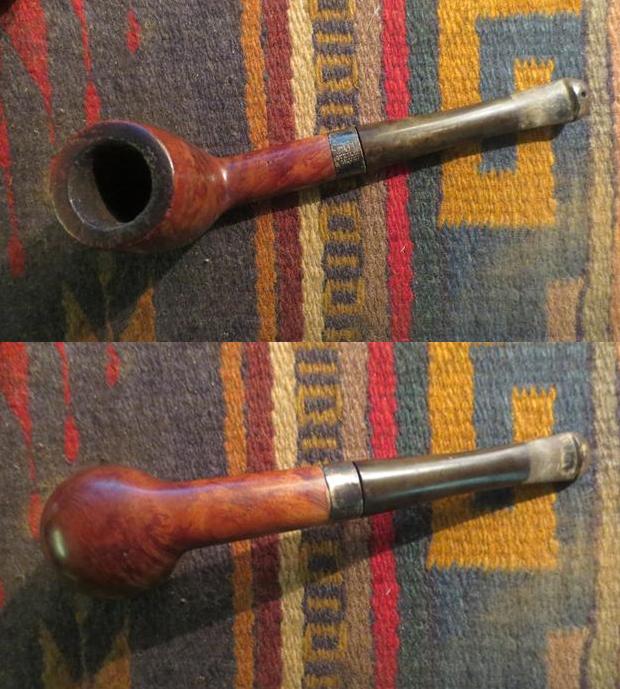
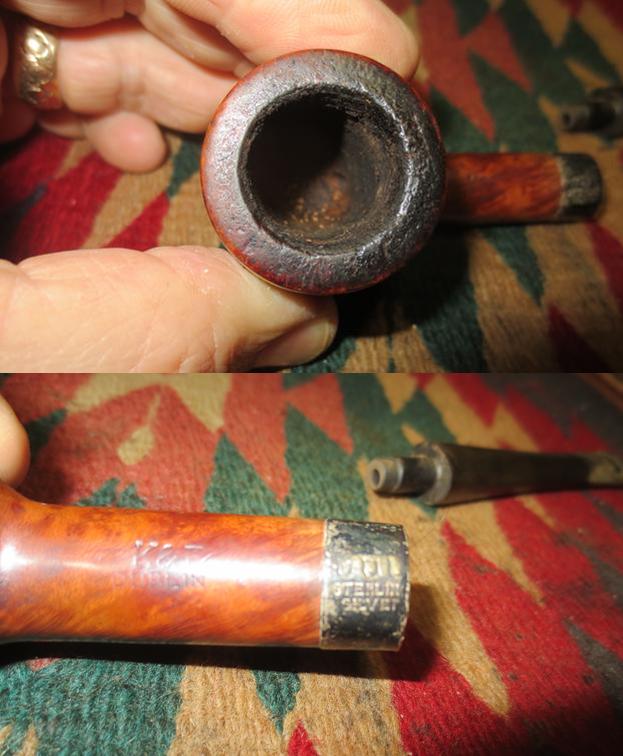
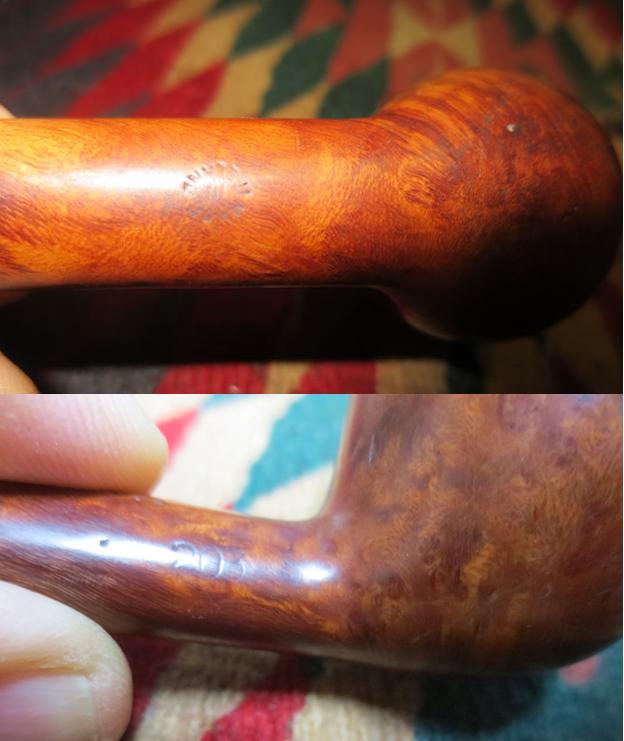
The second pipe I chose to work on was a Peterson’s Dublin oval shank billiard shaped pipe.The old gentleman seemed to favour Peterson’s as there were quite a few in the estate lot. It was very dirty. It was stamped on the topside of the shank with K&P over DUBLIN. There is also a silver band on the shank that bears three hallmarks over Sterling Silver. On the right side of the shank is the shape number 203. On the underside of the shank it is stamped with a COM (Country of Manufacture) circle that reads Made in England with the “in” stamped in the centre of the circle. The stamping is clear and sharp. The finish is in decent shape with a medium brown stain over mixed grain. There is an uneven cake in the bowl that spilled thickly over the beveled rim. It is hard to tell if there is rim damage as it is so dirty. There were sandpits on the left side of the bowl and on the back side above the shank. There is no P stamping on the P-lip stem but it appears to be an original not a replacement. There is calcification from a softee bit on the stem and button. There are light tooth marks and chatter on the top and bottom side of the stem ahead of the P-lip. The button itself was in good shape.

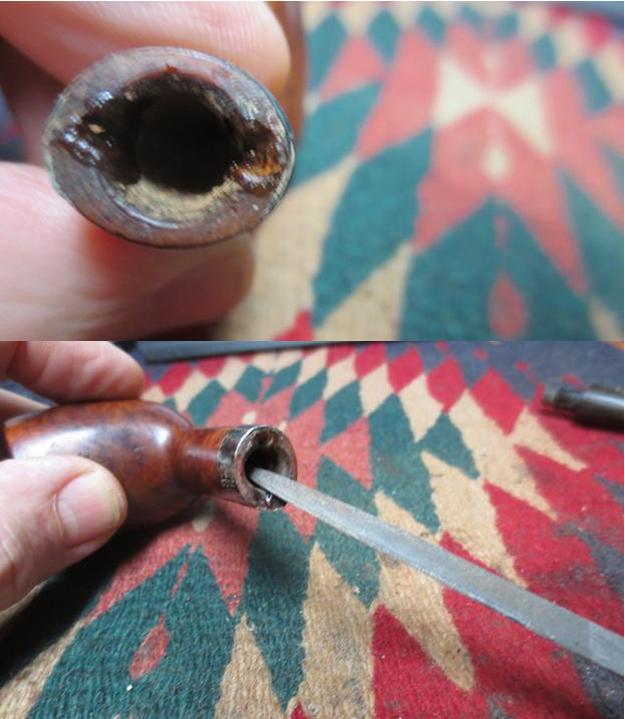
Here are some photos of the pipe when I started cleaning it. The pipe has good lines and some interesting grain underneath the grime.pete1 pete2I took some close up photos of the bowl, stamping, band and stem to give a good picture of what I needed to work on. The first photo shows the cake in the bowl and the overflow of hard carbon buildup on the rim. The photo of the silver band shows the Sterling Silver stamp and three hallmark symbols. It is hard to read them but with a magnifying lens they read K&P. I was hoping to be able to date the pipe by the hallmarks but no such luck. The photos of the stamping show that they are faint but still readable. The stem photos show the tooth chatter and wear on the button itself.pete3 pete4 pete5When I removed the stem I could see some divots in the end of the shank. There were cutouts that as far as I could see served no purpose. Someone had tried to repair them but left a bit of a mess so the stem did not fit snugly. I cleaned out the divots and smoothed them out with needle files until they matched the inside of the mortise. I filled in the end with some super glue and briar dust to even out the shank end.pete6The lava buildup on the rim top was rock hard. I scrubbed at it but it would not come off. The outer edges of the rim were also damaged from knocking out the pipe on hard surfaces. I lightly topped the bowl to remove the hard tars and clean up the outer edges.pete7I reamed the bowl with the Savinelli Pipe Knife and took the cake back to bare briar.pete8There were some drops of a clear hard substance on the back of the bowl and on the right side that I could not take off without damaging the bowl. I scrubbed them down with some alcohol on a cotton pad and was able to soften them enough to remove them.pete9 pete10I restained the rim to match the bowl using a combination of a medium and a dark stain pen. I also touched up the light areas around the silver band on the shank end.pete11I polished the silver with some tarnish remover applied with cotton pads. I finished polishing it with a jeweler’s cloth. Once I had finished I could see the hallmarks more clearly and they read K&P – each letter in its own cartouche.pete12 pete13 pete16I gave the bowl a quick coat of Conservators Wax and hand buffed it to see where I stood. I chose to leave the sandpits on the left side and back of the bowl as they add character.pete14 pete15I sanded the tooth chatter, reshaped the button and removed the calcification and oxidation on the stem with 220 grit sandpaper.pete17I wet sanded the stem with 1500-2400 grit micromesh sanding pads and dry sanded it with 3200-12000 grit pads. I rubbed it down with a coat of Obsidian Oil after each set of three pads. I gave it a final coat of oil and set it aside to dry.pete18 pete19 pete20With all the parts finished individually I put the pipe back together and buffed it with Blue Diamond on the buffing wheel. The Blue Diamond is a plastic polish and gives the finish a glass like polish. I really like the way it works. I gave the bowl and stem multiple coats of carnauba wax and buffed it with a clean buffing pad. I hand buffed the pipe with a microfiber cloth to finish the polishing process. The finished pipe is shown in the photos below. This second pipe from the older gentleman’s estate is a beauty. The fit and finish give it a look of elegance. This pipe is also available for sale. If you are interested in the pipe let me know via email at slaug@uniserve.com or through a message on Facebook. Thanks for walking through the process of restoration with me.pete21 pete22 pete23 pete24 pete25 pete26 pete27 pete28

GBD 311 Billiard Restoration


By Al Jones

This New Standard shape 311 came via Canada and was delivered in a plain paper envelope, with no packing and with the stem inserted – and survived! The pipe was in decent shape, the most challenging aspect was that the stem was very much stuck into the shank (and upside down). The New Standard finish is probably the most common GBD grade. This one had a very handsome two-stage stain that is unusual for that grade.

Here’s the pipe as it was received.

gbd_311_ns_before-1

gbd_311_ns_before-2

gbd_311_ns_before-4

gbd_311_ns_before-3

To remove the stem, I put the pipe in the freezer for several hours. That did the trick and it came out with a bit of effort (and care to not break the tenon). The stem was a bit too snug, so I rubbed some pencil lead on the tenon, which worked well.

The stem was then soaked in a mild Oxy-Clean solution for several hours with a dab of grease on the stem.

I used a rag and cloth to rub off most of the build-up on the bowl top. Then a piece of worn 8000 grit micromesh was used to remove the rim darkening. The bowl was reamed and then soaked with alcohol and sea salt.

With the stem mounted,I removed the mild oxidation and slight teeth abrasions with 800, 1000 and 2000 grade wet sandpaper. Next up was the 8000 and 12000 micromesh sheets. The stem was polished with White Diamond and then Meguiars Plastic Polish.

The bowl was buffed with White Diamond and several coats of Carnuba wax.

Below is the completed pipe which was purchased by a member of the Brothers of Briar pipe forum.

gbd_311_ns_finish-1

gbd_311_ns_finish-4

gbd_311_ns_finish-2

gbd_311_ns_finish-6

gbd_311_ns_finish-9

gbd_311_ns_finish-7

gbd_311_ns_finish-3

gbd_311_ns_finish-8

?

?

?

?

This favourite GBD Marquis 752 was a mess – not any more


Blog by Steve Laug

About a month ago a friend of mine, Richard who has a tobacco shop here in Vancouver gave me a call and asked me to stop by for a visit. I went on a Sunday afternoon and we visited for a while. At the end of the visit he took me to another counter in his shop and brought out some display cases of pipes – four of them and a small bag. He told the story to me. An elderly gentleman who was a customer of his had died and his wife had stopped by and gave him the fellow’s pipes. She wanted nothing for them she just wanted him to get them cleaned up and sold to folks who would appreciate them. Richard is a reader of the blog and he thought that I would have fun cleaning these up and selling them. As we went through the display cases and bag I was pretty pumped about the collection. There were some really nice GBD pipes, Comoy’s, Stanwell as well as some brands I was not familiar with.

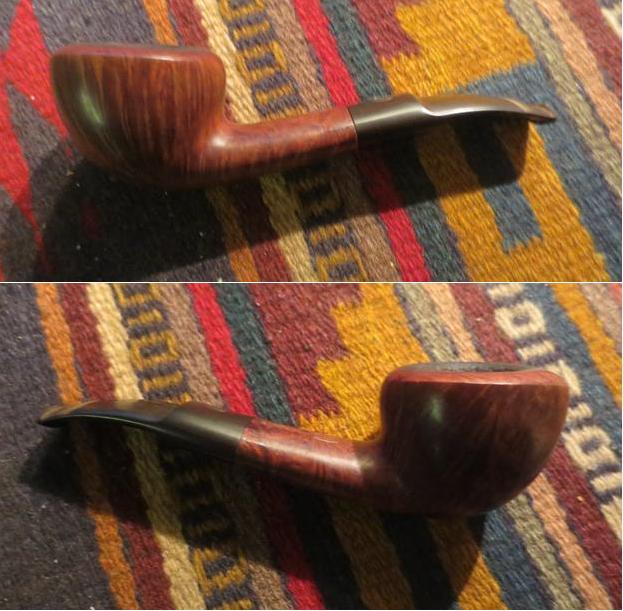
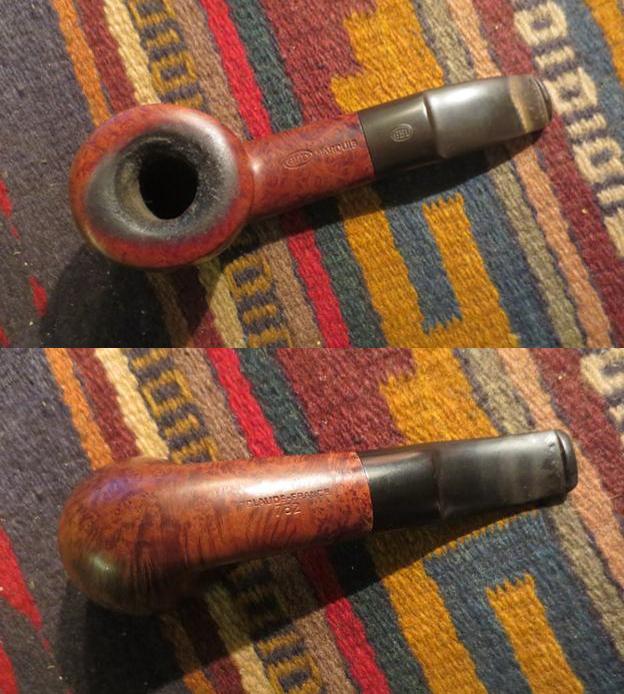
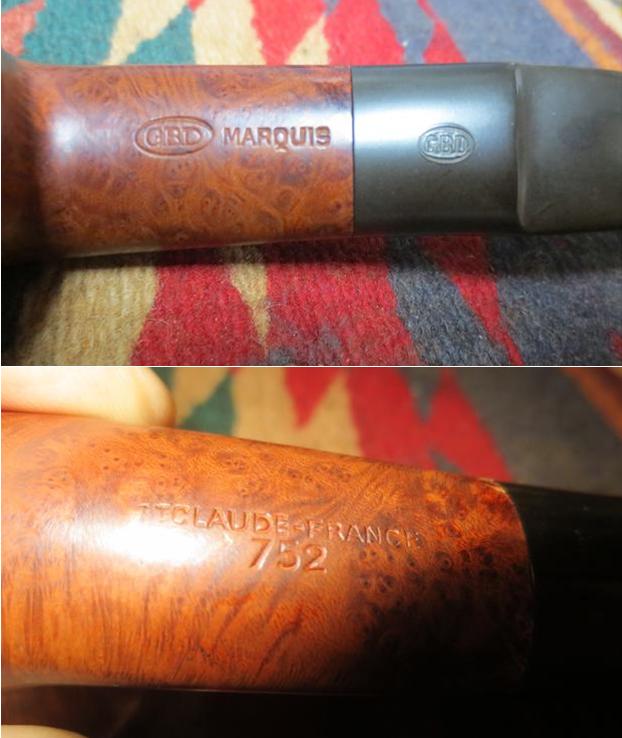
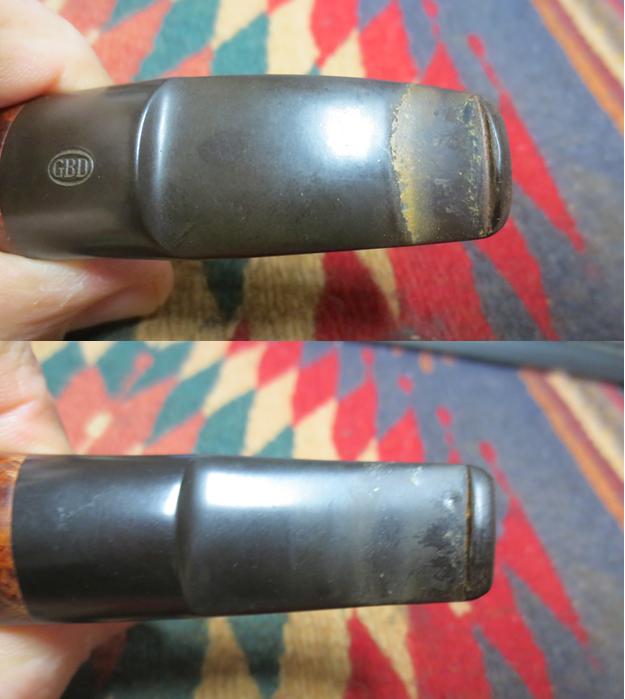
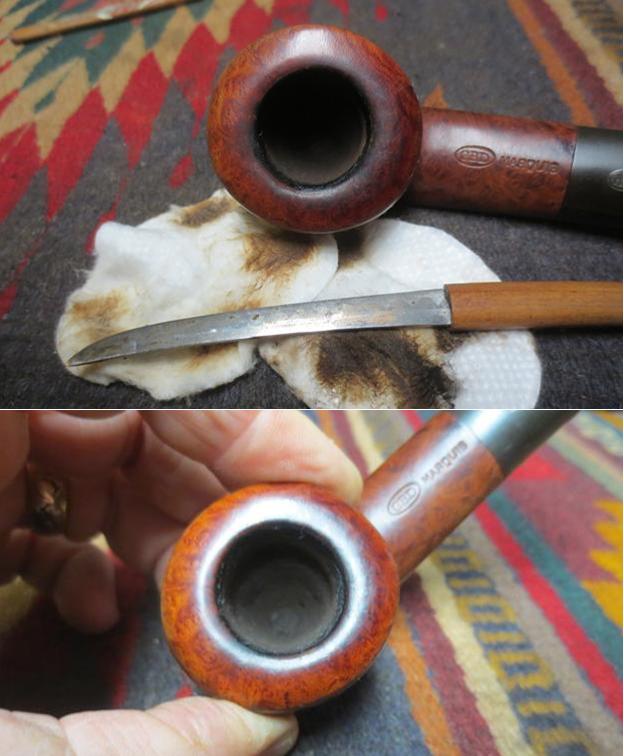
The first pipe I chose to work on was a GBD author shaped pipe. It was obviously one of the old gentleman’s favourites. It was very dirty. It was stamped on the topside of the shank with GBD in an oval and next to it MARQUIS. There is also the GBD Oval stamped on the topside of the stem. It is not the brass rondel but is stamped into the vulcanite on the top of the saddle. On the underside of the shank the pipe is stamped St Claude France and the shape number 752. The stamping is clear and sharp. The St Claude France stamp is light on the front part of the name. The finish is in decent shape with a medium brown stain over great straight grain. There is a thick cake in the bowl and over the beveled rim. It is hard to tell if there is rim damage as it is so dirty. There were two large fills on the front of the bowl that follow the grain. They were shrunken and not even with the surface. There is calcification from a softee bit on the stem and button. There are some deep tooth marks on the top and bottom side of the stem near the button.

The following photos show the condition of the pipe when I brought it to the work table.gbd1 gbd2I took following close up photos of the pipe. The first shows the rim with all of its tars and oils. The cake is very thick and hard. The second photo shows the fills on the front of the bowl. The third and fourth photos show the stamping on the top and underside of the shank. The last two photos show the stem and the dents and calcification on the stem near the button.gbd3 gbd4 gbd5I reamed the bowl with the PipNet pipe reamer starting with the smallest cutting head and worked my way up to the third cutting head which took the cake back to bare briar. I cleaned up the walls of the bowl with the Savinelli Pipe Knife. gbd6I sanded the bowl and rim edge with 220 grit sandpaper to smooth out the interior of the bowl and the inner edge of the rim. I cleaned the slight bevel on the inner edge as well.gbd7 gbd8To clean the tars and lava on the rim I used a sharp pen knife to scrape the debris free of the rim without damaging the rim surface. I scrubbed it with saliva and a cotton pad to remove the oils and tars that remained on the surface.gbd9I heated the dents in the stem with a lighter and sanded what remained along with the calcification and tooth chatter with 220 grit sandpaper. I cleaned out the tooth marks with alcohol and a cotton swab and filled in the dents with clear super glue. I set the stem aside to let the glue cure. Once it had cured I sanded the repairs smooth with 220 grit sandpaper and wet sanded it with 1500-2400 grit micromesh sanding pads.gbd10I wiped down the bowl with Murphy’s Oil Soap to remove the grime on the surface and give some clarity to the grain. The photos below show the bowl at this point in the process.gbd11 gbd12I scrubbed out the mortise and the airway in the shank and the stem with pipe cleaners, cotton swabs and alcohol until they were clean.gbd13I used European Gold Rub’n Buff to touch up the GBD logo on the stem. I sanded the stem with 1500-12000 grit micromesh sanding pads. After each set of three pads I rubbed the stem down with Obsidian Oil. After sanding with the 12000 grit pad I gave the stem a final coat of oil and set it aside to dry.gbd14 gbd15 gbd16 gbd17While the stem dried I worked on repairing the fills on the front of the bowl. I decided to just top up the fills rather than dig them out and refill them. I used clear super glue to top up the fills. I over filled them slightly so that when they dried they would not shrink and need a second application of glue. I sanded the repair with 220 grit sandpaper to smooth it out. I wet sanded the area with 1500-2400 grit micromesh sanding pads and dry sanded the entire bowl with 3200-4000 grit pads.gbd18I restained the repaired area with a medium and a dark brown stain pen. I streaked the area to look like grain with a black Sharpie pen. I buffed the bowl with Blue Diamond to smooth out the stain and blend it into the rest of the bowl.gbd19I lightly buffed the pipe and stem with Blue Diamond once again to polish it. I gave it multiple coats of carnauba wax and buffed it with a clean buffing pad. I hand buffed it with a microfibre cloth and it was finished. The restored pipe is shown in the photos below. This is the first of about 50 pipes that I received from my friend at the pipe shop. They are all from the same gentleman’s estate and there are some beauties. If you would like to add this one to your rack contact me via email at slaug@uniserve.com or send me a message on Facebook. We will discuss the cost and the shipping. Thanks for looking. gbd20 gbd21 gbd22 gbd23 gbd24 gbd25 gbd26 gbd27