Blog by Dal Stanton
My reaction to Steve’s request that I write a step by step procedure of how I use a Dremel in my restorations was, “Who, me? Uh….” When he said that I was the only one that he knew of that uses a Dremel for the entire buffing/polishing process and that my results were up there with high powered buffers, these results piqued his curiosity. When he also said that others too might be interested in my approach, I agreed to write this essay because I’ve benefit a great deal from reading others and discovering both methodologies of the art and the camaraderie that exists among pipe men (and women!) and those who restore tired pipes. So, I proceed with this caveat: Since I’ve never used a normal sized powered buffing wheel I can’t compare these with my use of a Dremel. My use of a Dremel is due to my setting – my wife and I live in a former Soviet apartment ‘block’ on the 10th floor in Sofia, Bulgaria. By necessity my approach when I started this hobby last June with my first restoration (Link) was to keep things compact and contained because of our living space limitations. Hence, the acquisition of a Dremel (In fact, I have a Skil brand high speed tool, but like the universal branding of Xerox, I call it a Dremel!) and its use of miniature buffing wheels. To set the table, I’ll do a short-hand on the front end of the restoration and then get into more detail when I get to the polishing phase with my use of the Dremel, wheels, compounds and wax. I told Steve that I’m flying by the seat of my pants! Consider yourself forewarned!
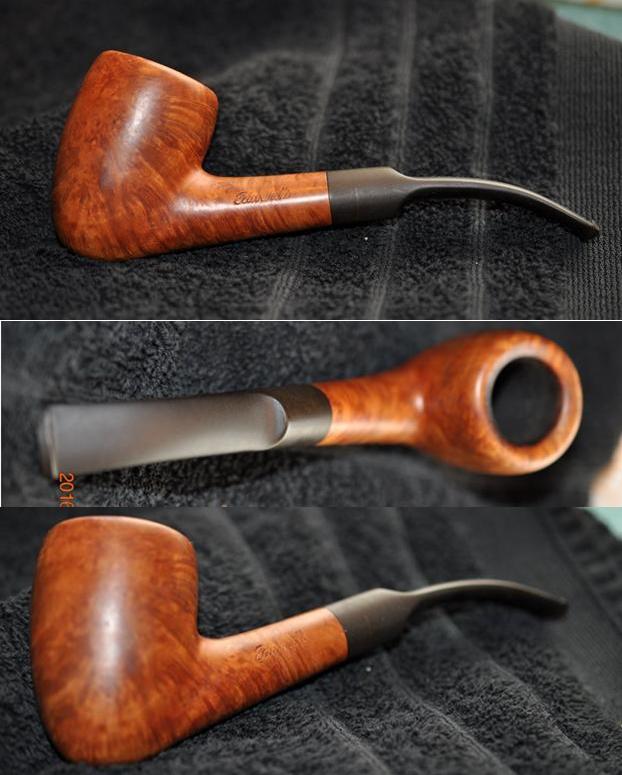
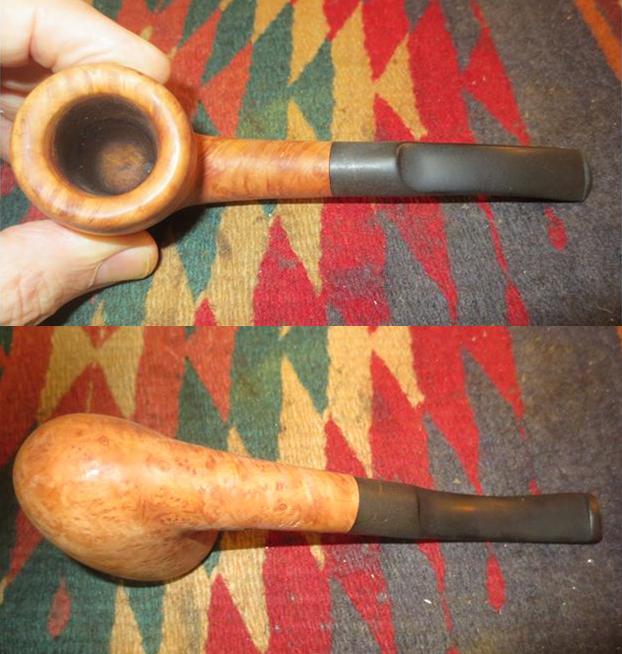
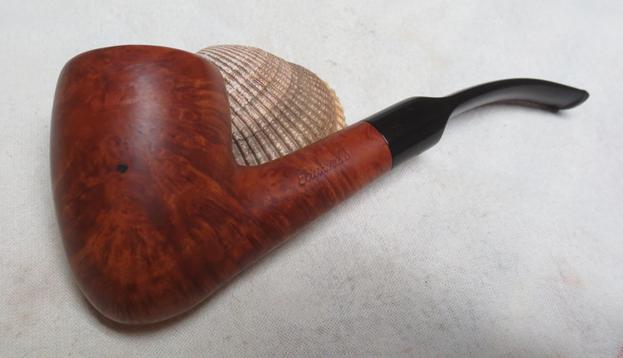
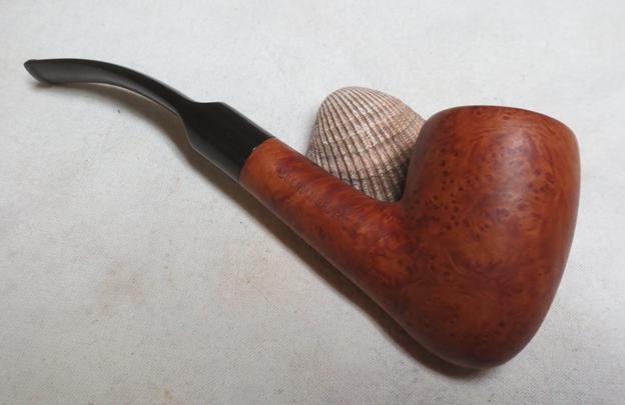
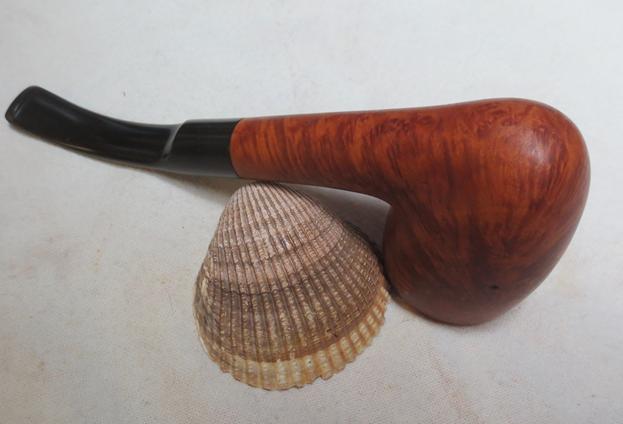
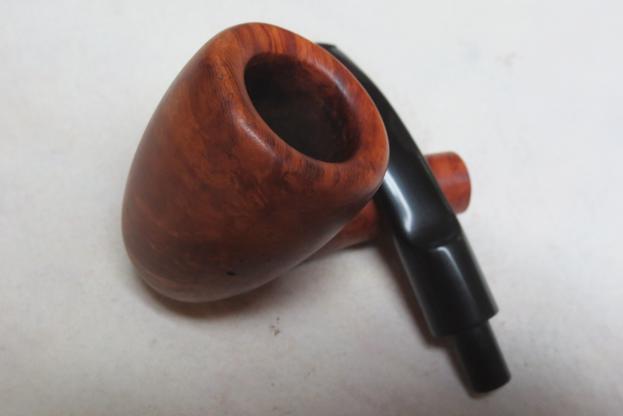
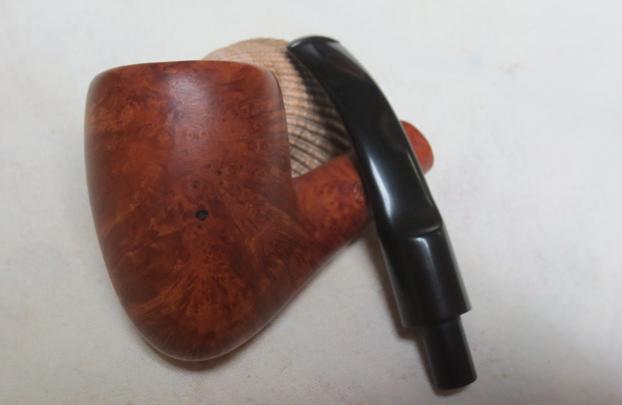
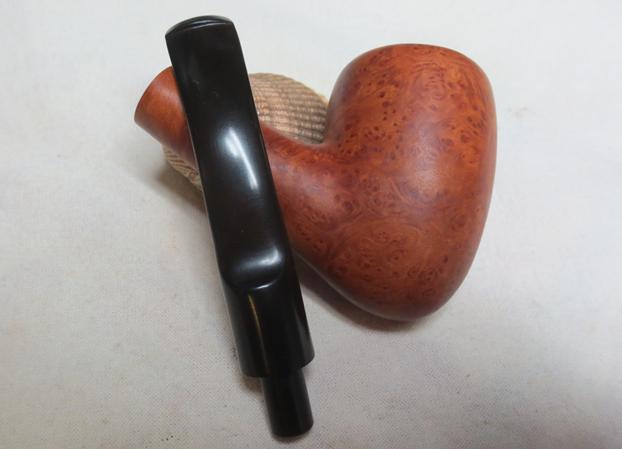
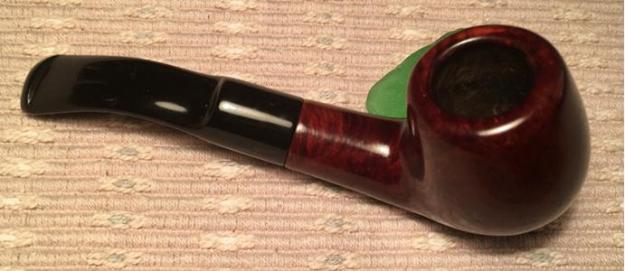
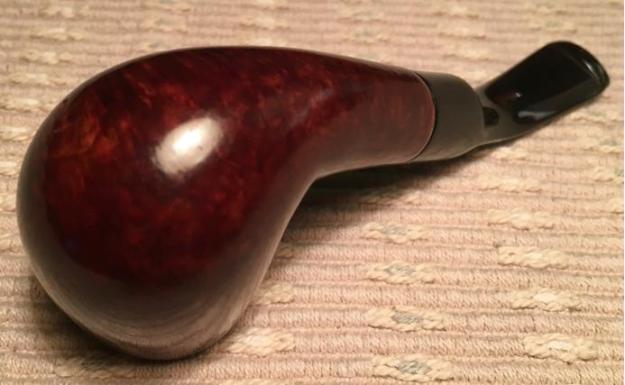
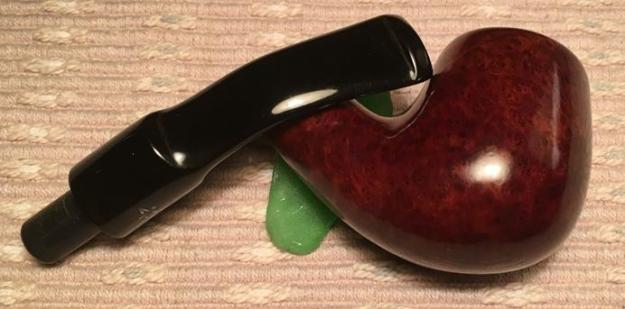
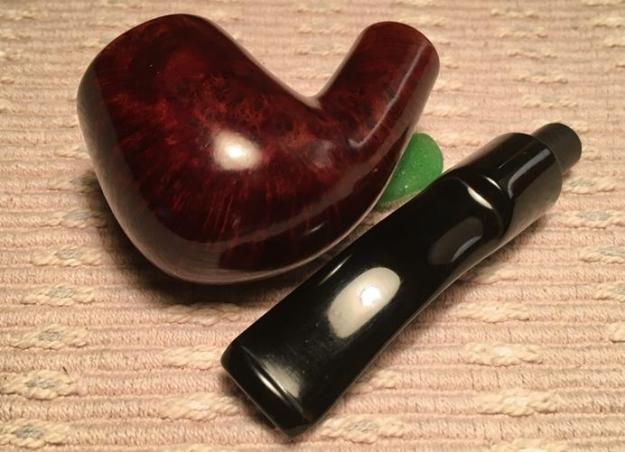
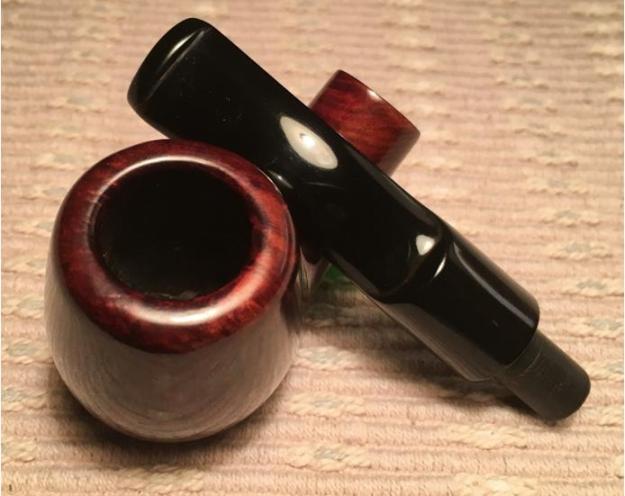
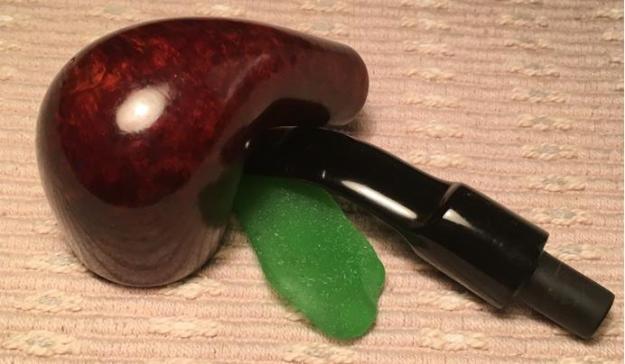
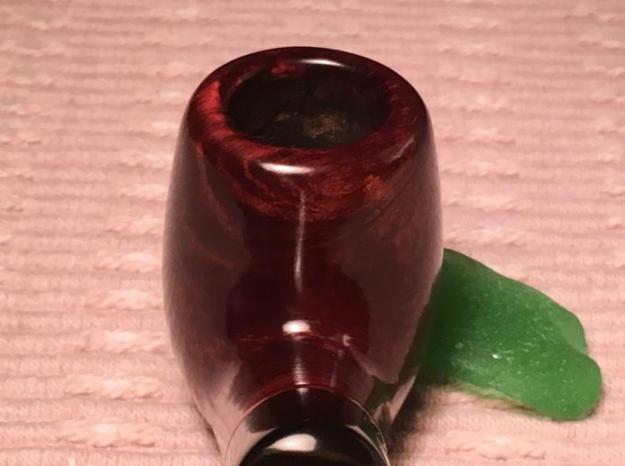
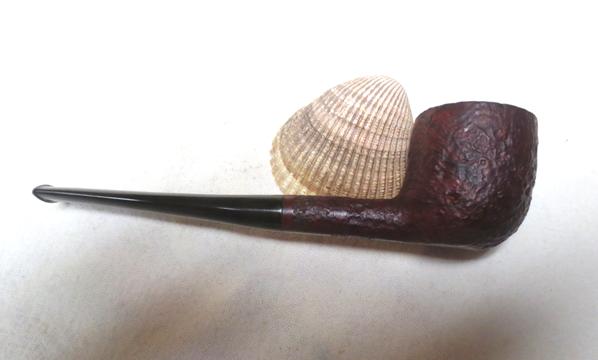
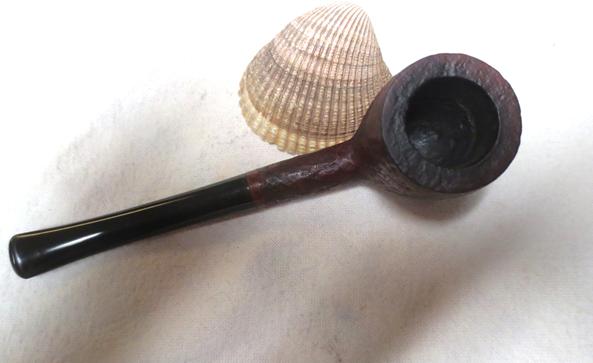
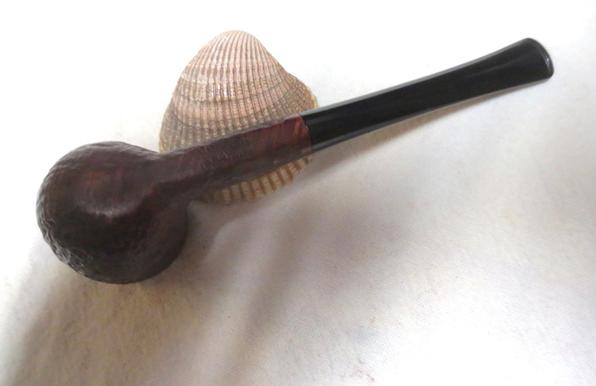
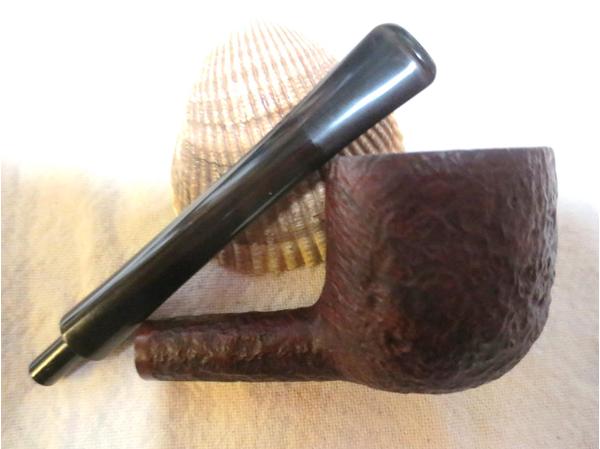
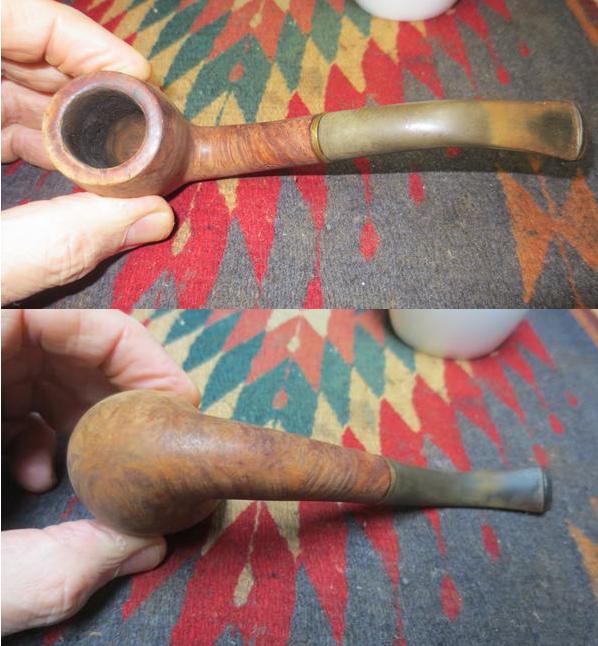
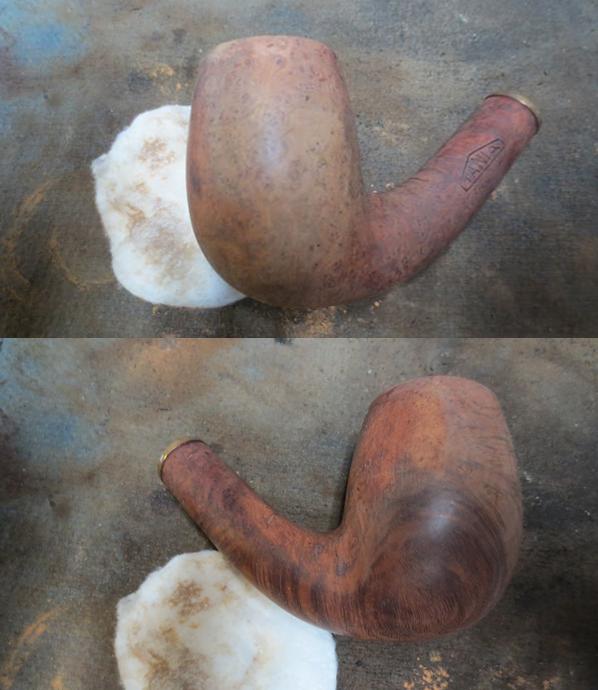
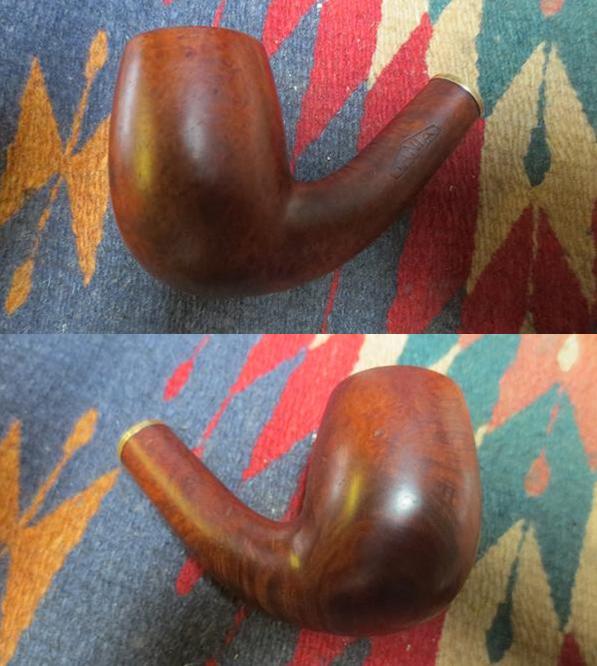
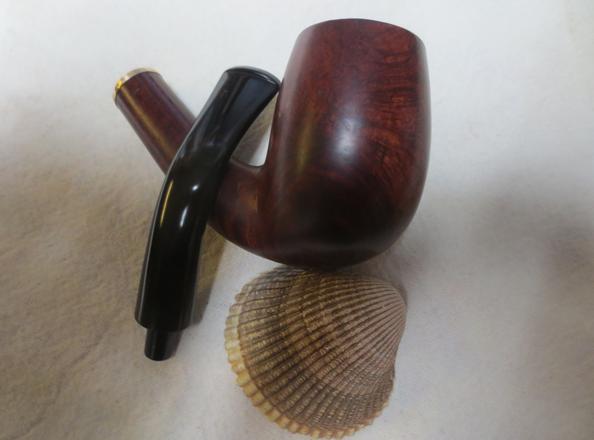
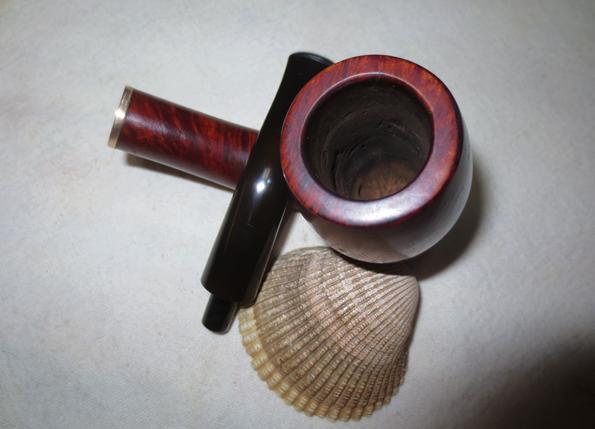
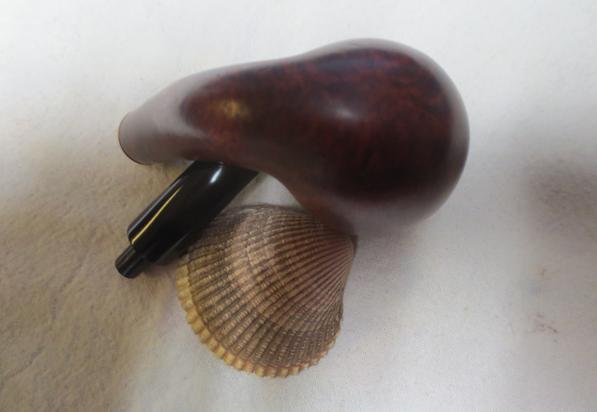
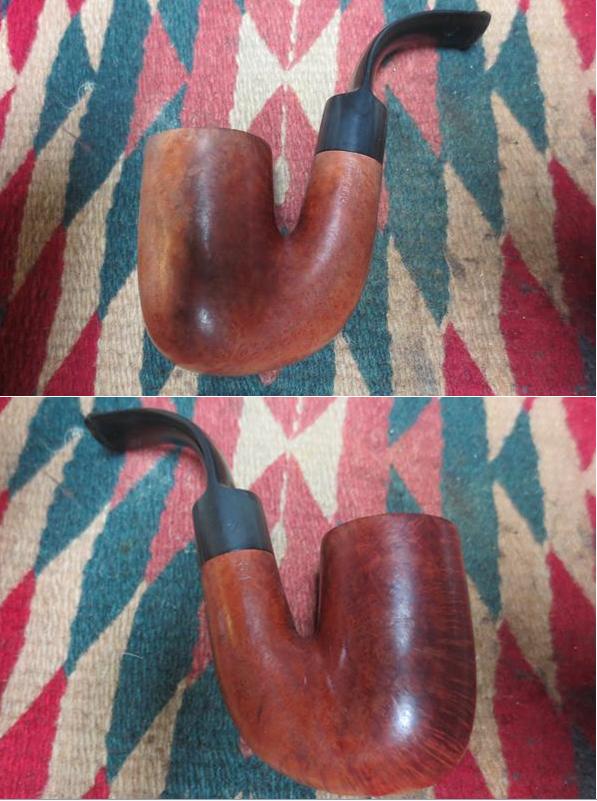
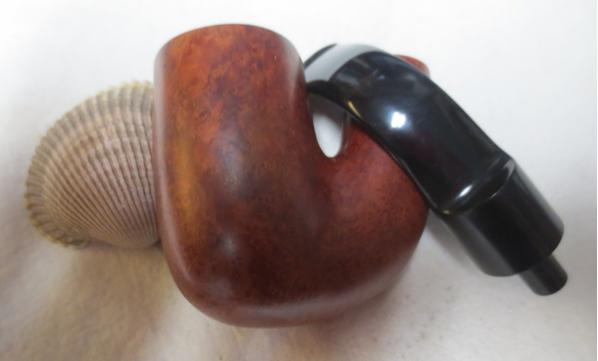
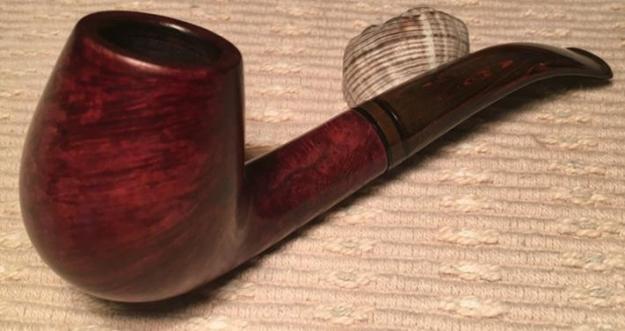
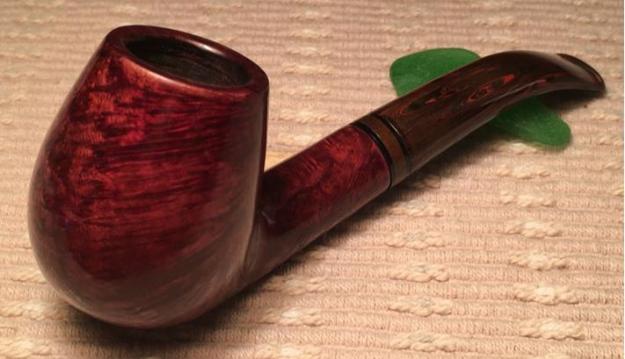
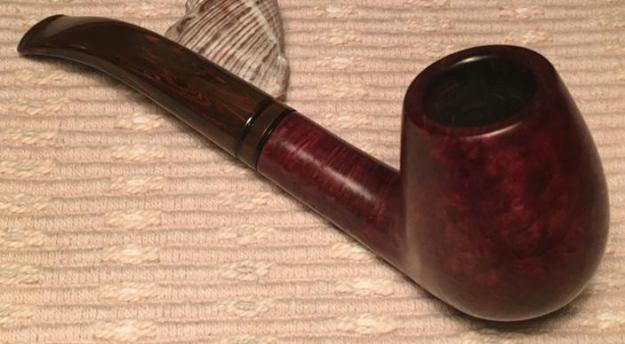
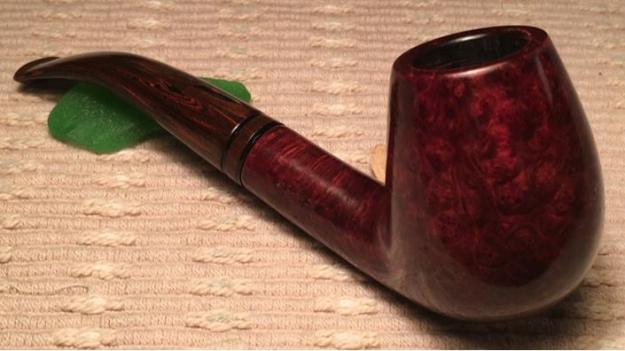
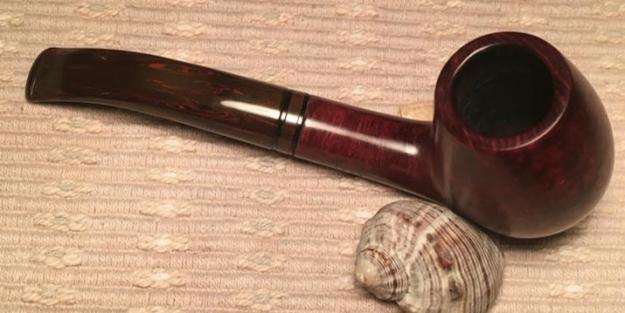
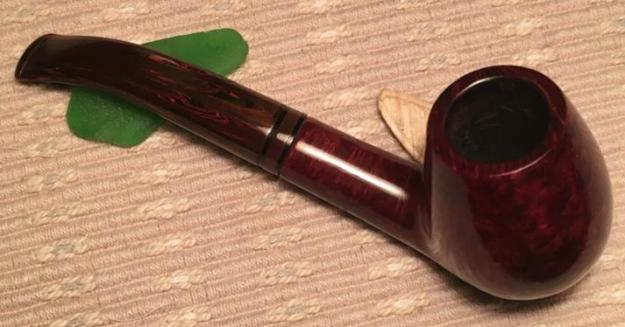
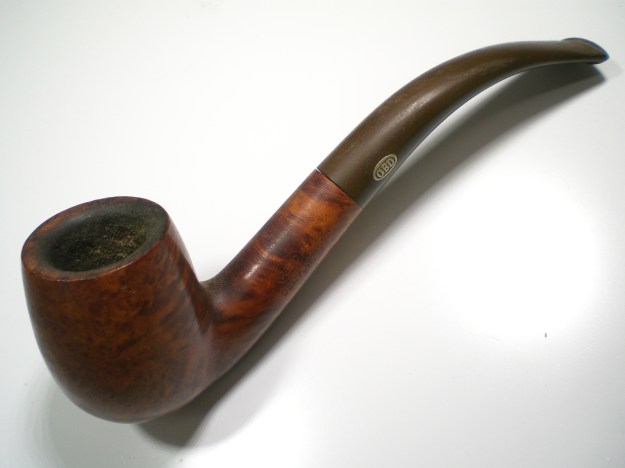
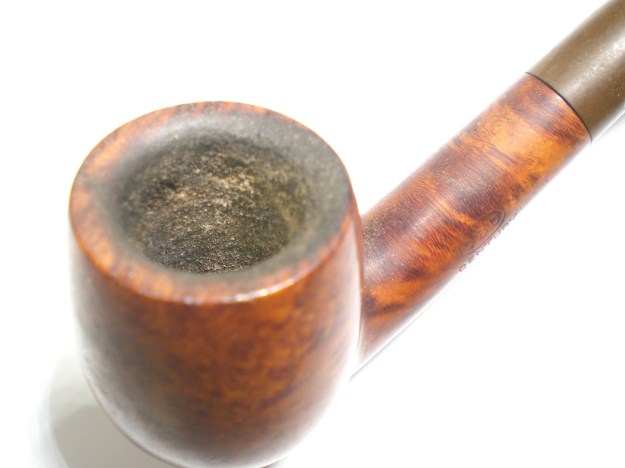
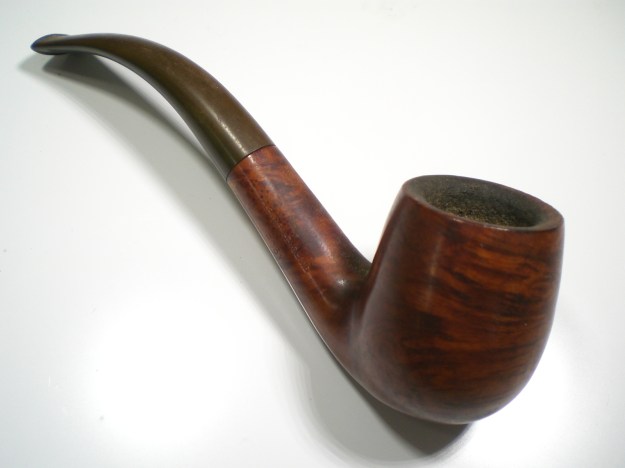
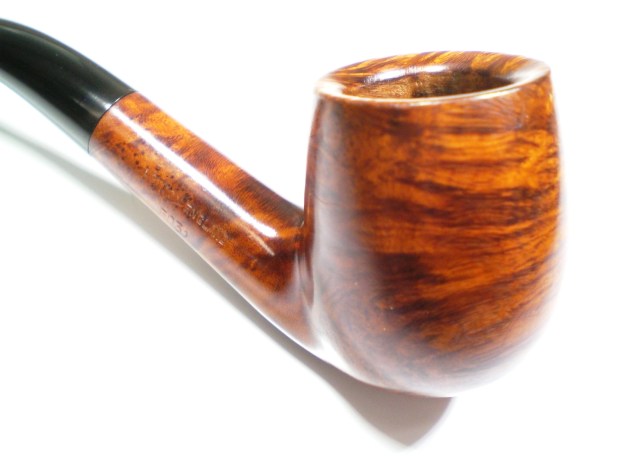
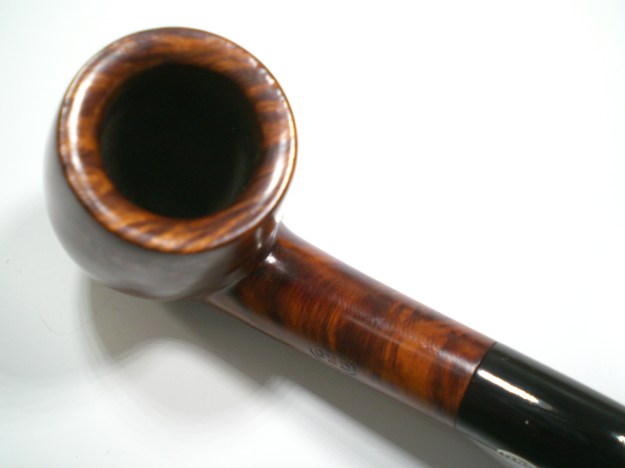
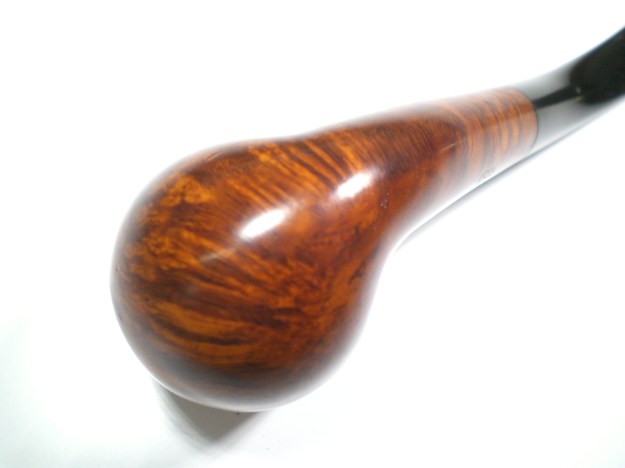
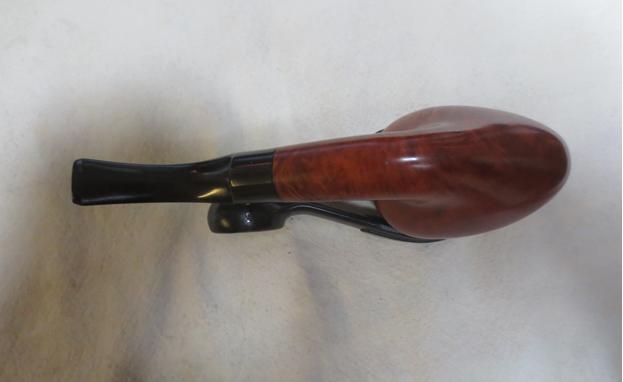
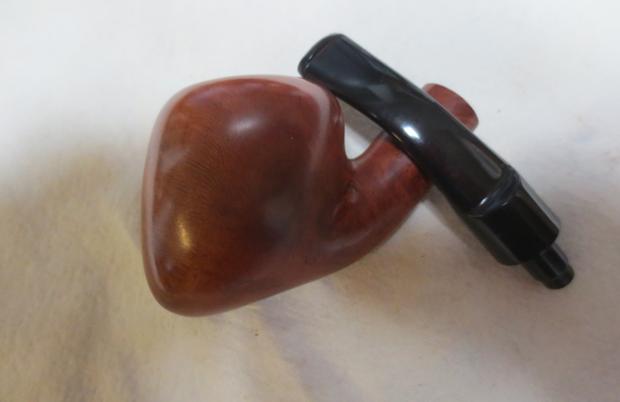
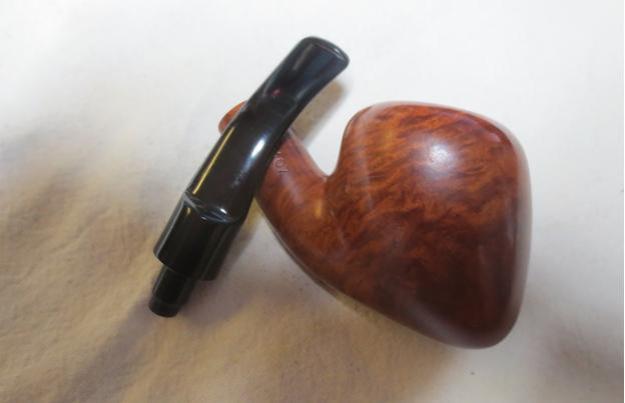
The no-name bent billiard before me now I found in the lazy little fishing town of Sozopol, Bulgaria, (Wikipedia) on the Black Sea coast during summer travels with our visiting daughter and son-in-law. As we were strolling down the cobblestone street, an older lady had several pipes in a coffee tin situated on a window ledge looking over her impromptu display table with all kinds of old nick knacks and Soviet memorabilia. I almost missed the tin can because my eyes were scanning the stuff on the table for a lonely pipe in need of a fresh start on life. When I started drawing the small selection of pipes out of the can and studied them, what drew my attention immediately to this pipe was the unique grain in the briar. After striking the deal, I took these pictures of the Sozopol find: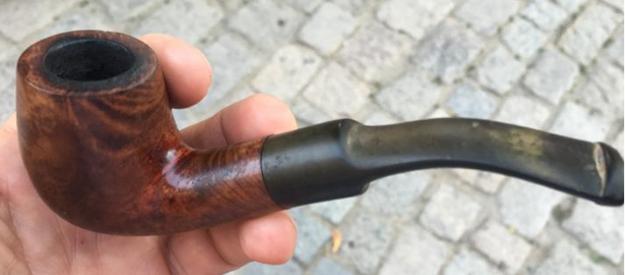
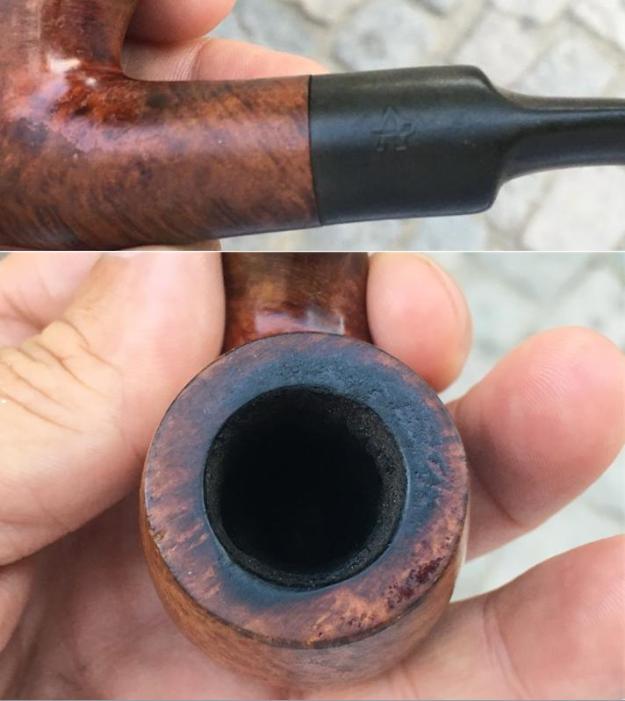
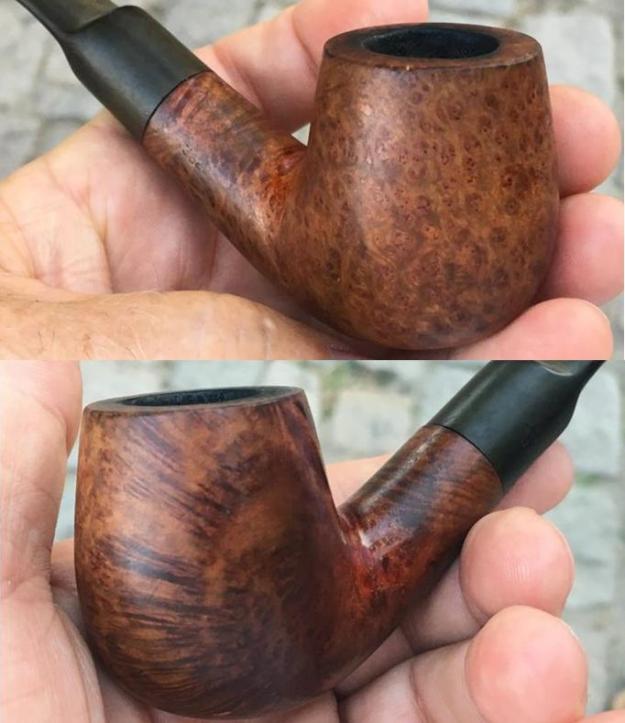
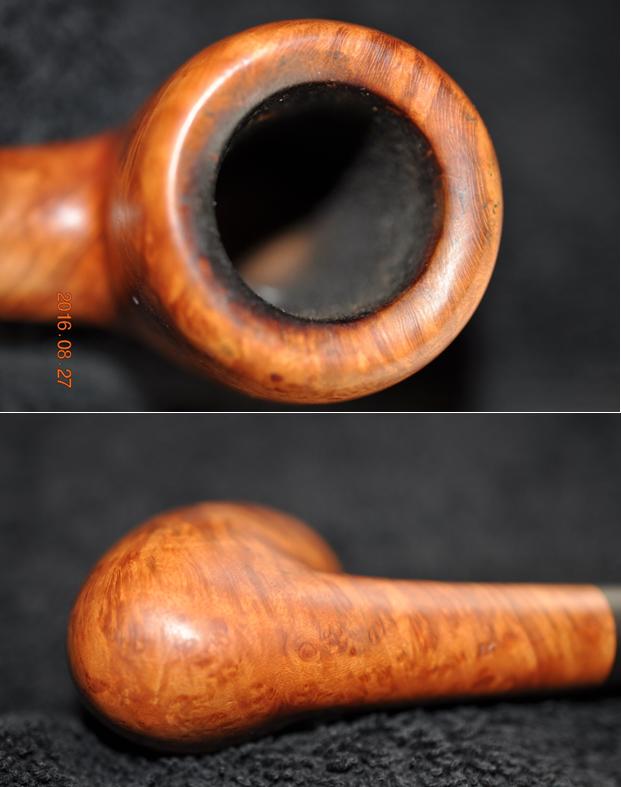
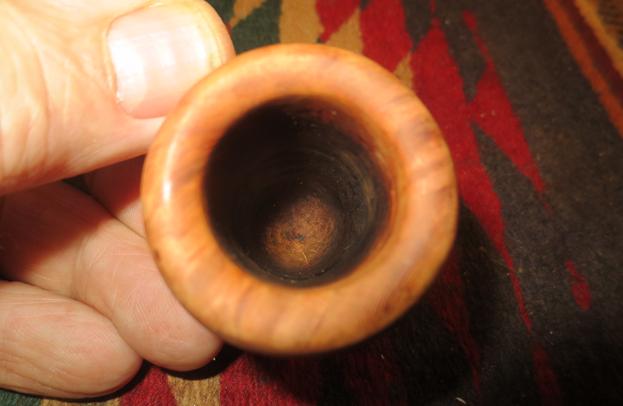
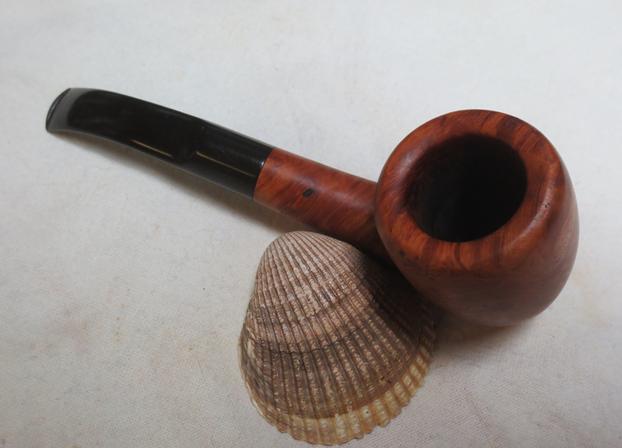
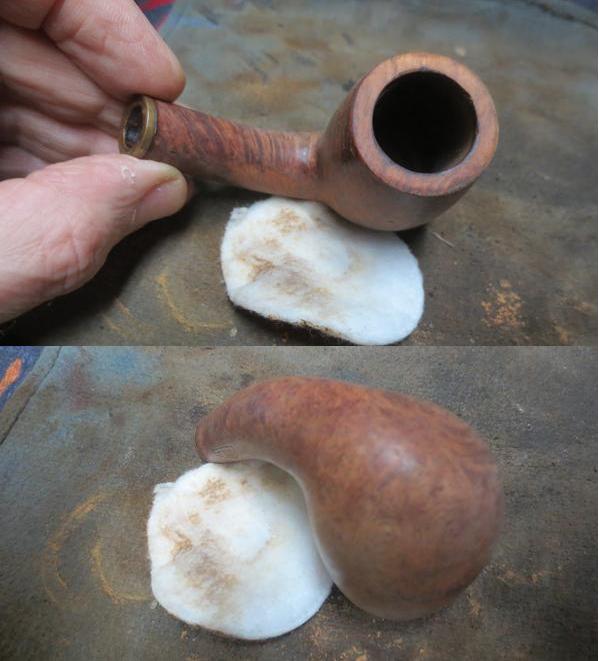
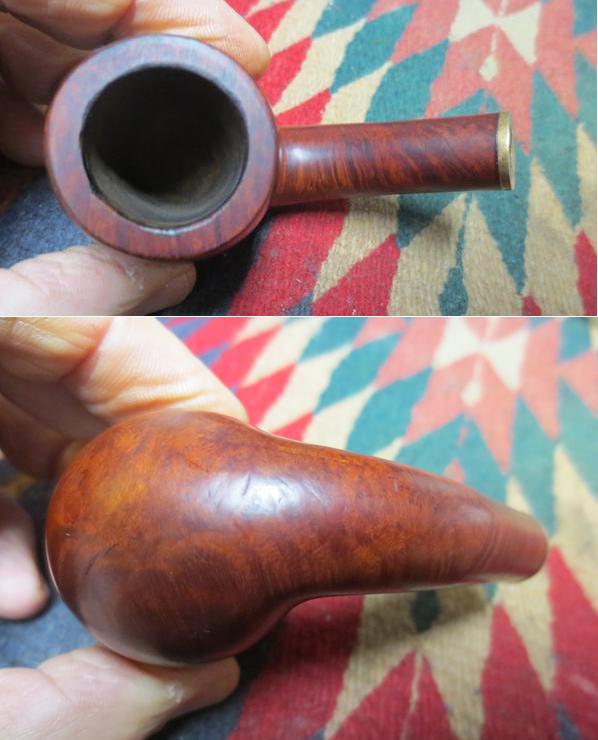
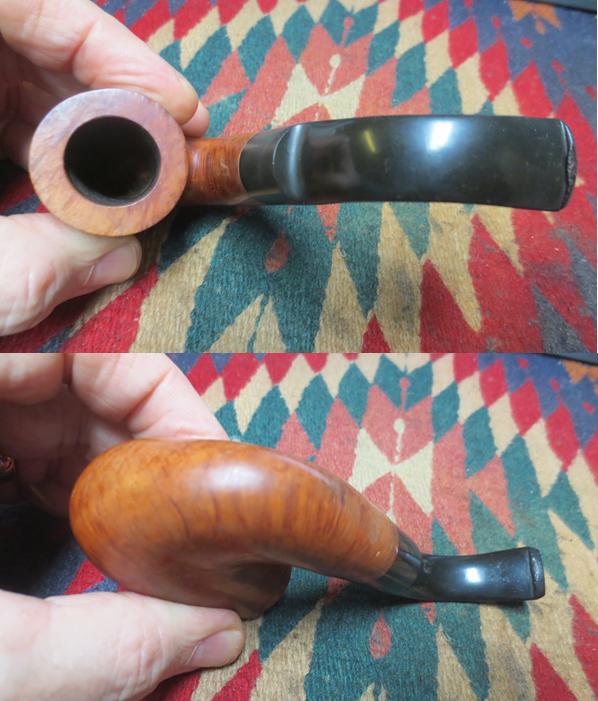
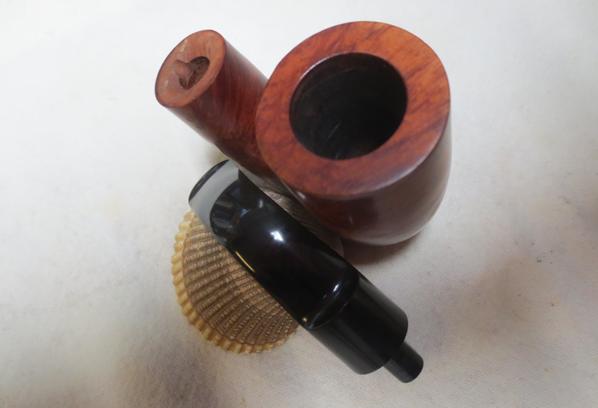
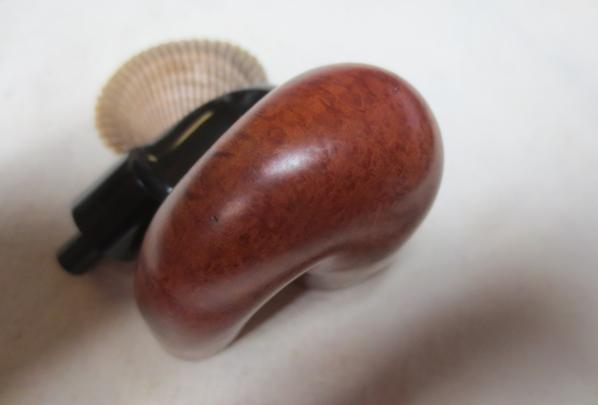
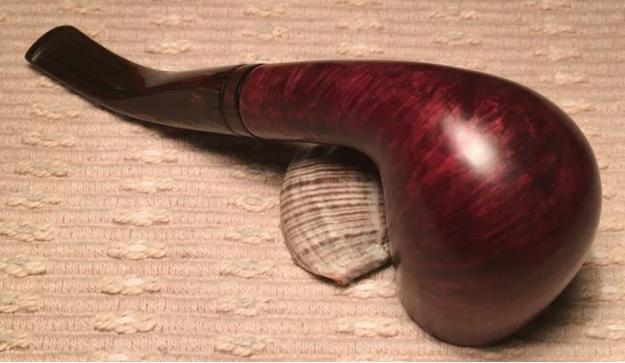
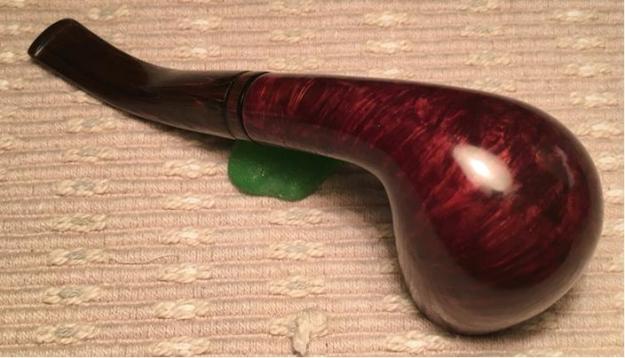
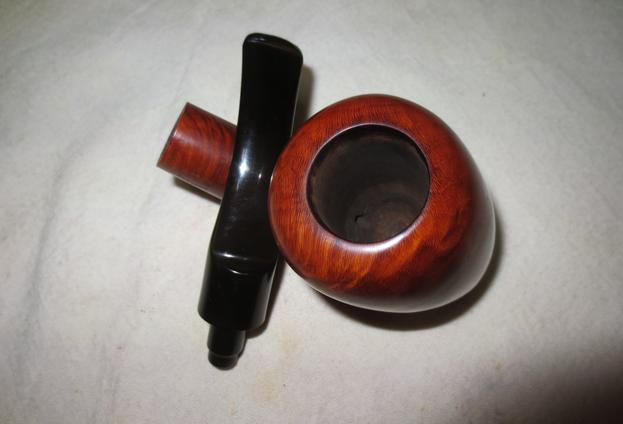
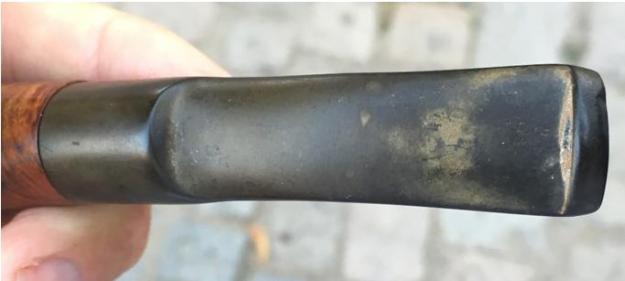 Today, after receiving Steve’s request for the essay, I took the Sozopol pipe out of the ‘Help me!’ basket, and again examine the briar with fresh eyes. I’m thinking that this pipe will be perfect for the Dremel essay. I am drawn to the briar as it is now and am anxious to coax it out even more. I take a few more pictures on my work desk to fill in some gaps.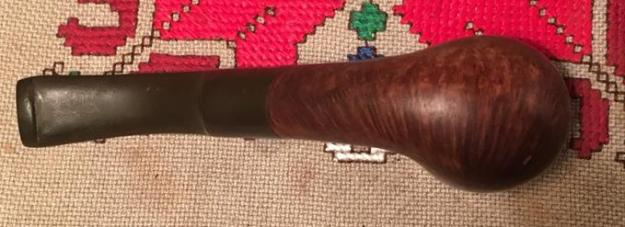
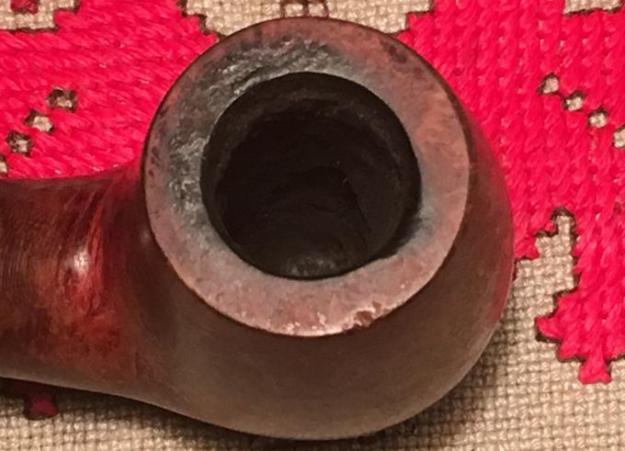
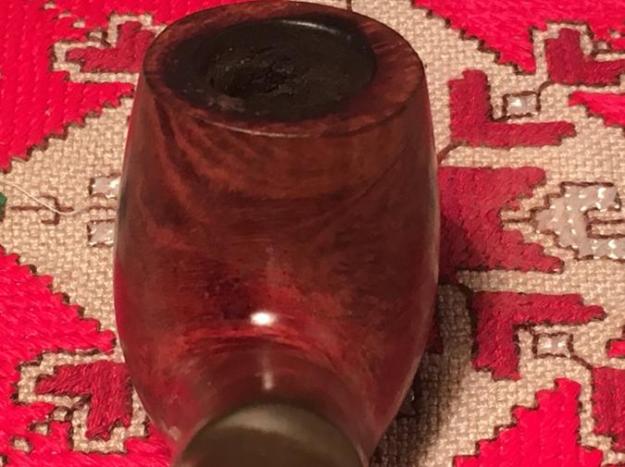
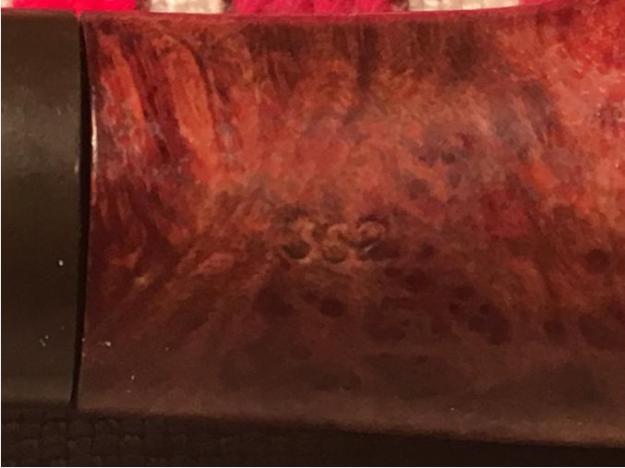
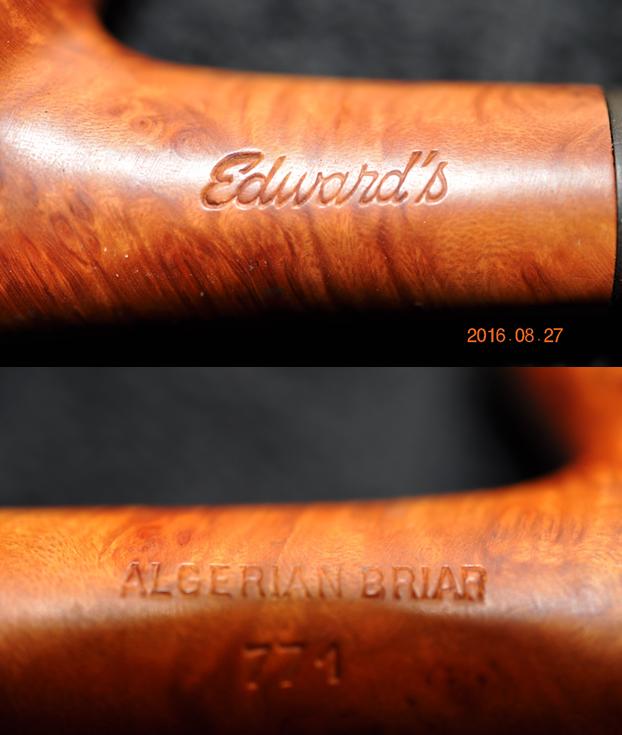
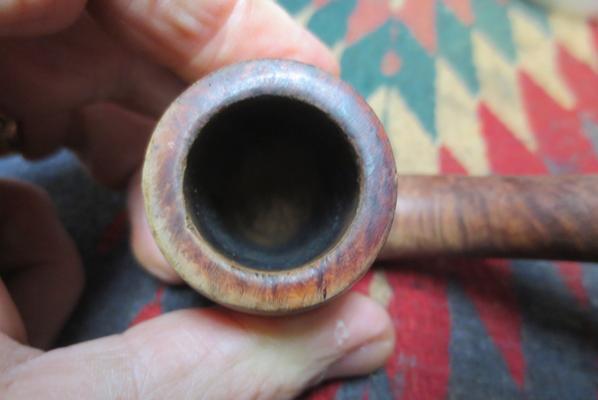
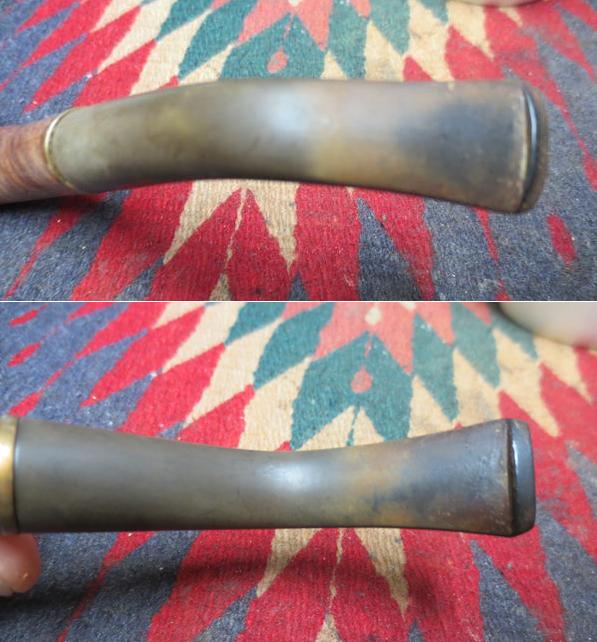
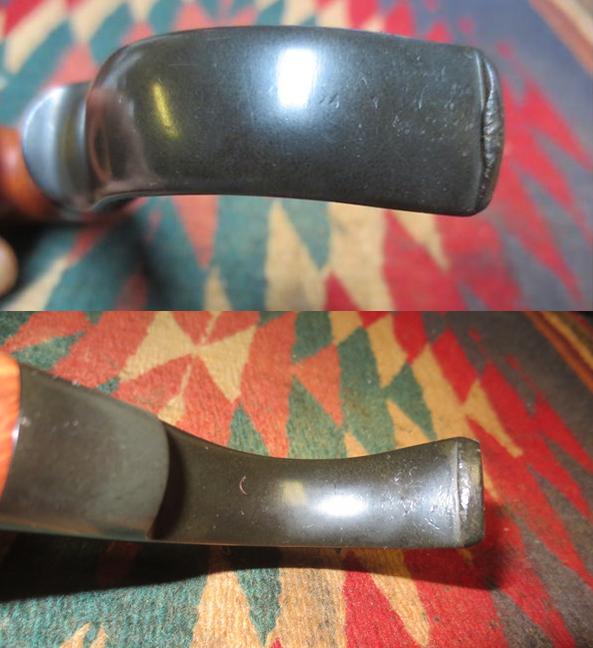
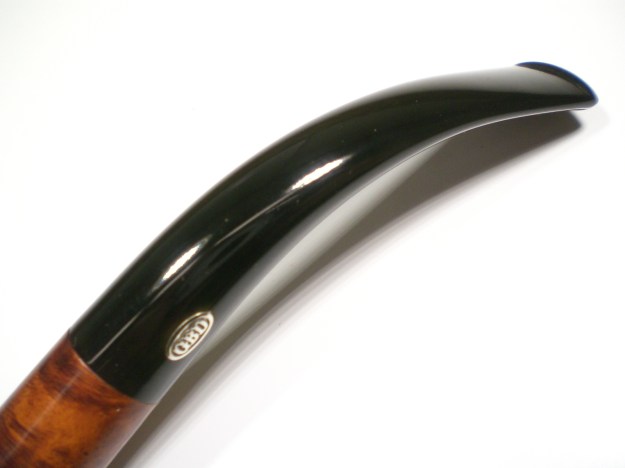
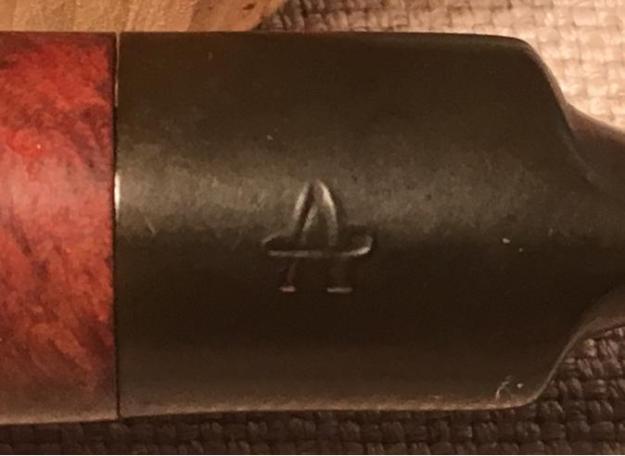 With no name stamped on the shank and only what I assume is a shape number (362) stamped on the right side of the shank, the only indicator to the origins of this pipe is the stem imprint (above) which appears to be an ‘A’ with either an oval circle forming the cross bar or possibly the cross bar forms the shape of a pipe with the bowl to the right – at least it seems that way to me. I looked at www.Pipephil.eu to find a match and I found none. I always appreciate discovering something of the history of a pipe which enriches the restoration process for me – I’m connecting with its past as I contribute to its ongoing life through its restoration. I’ll spruce up this stem logo with white acrylic paint later.
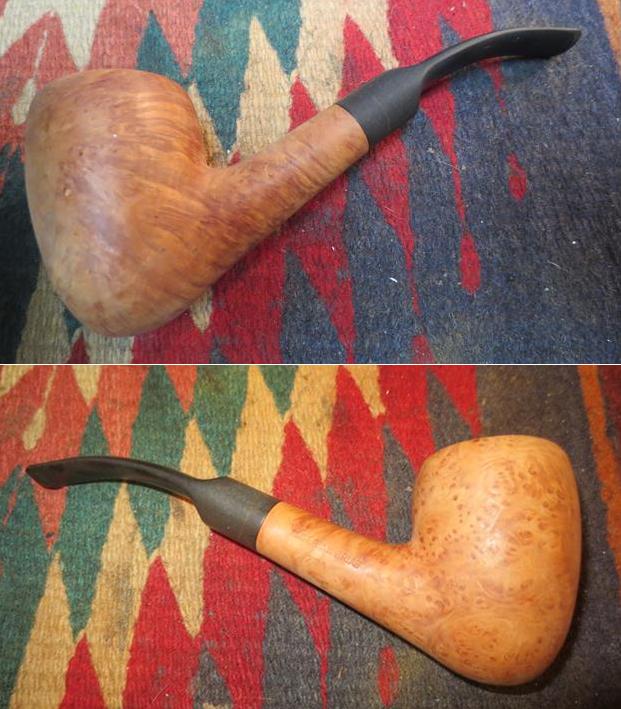
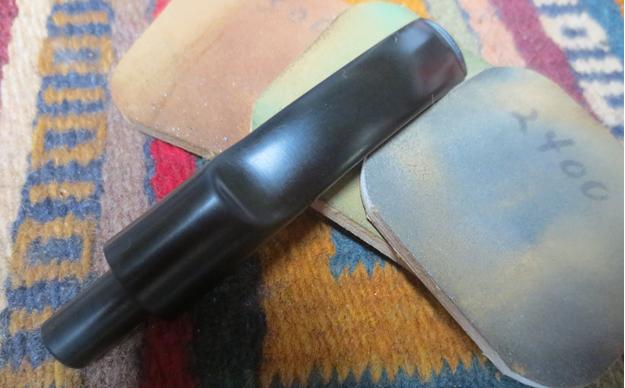
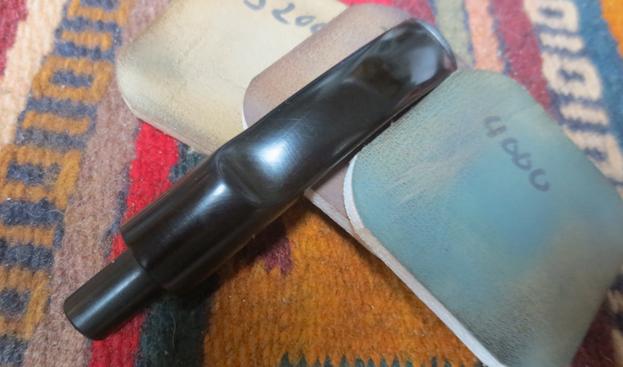
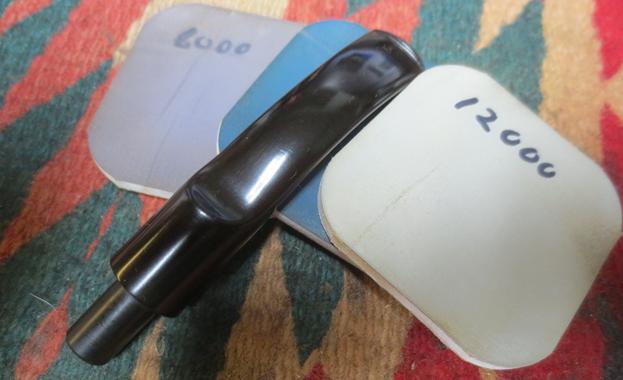
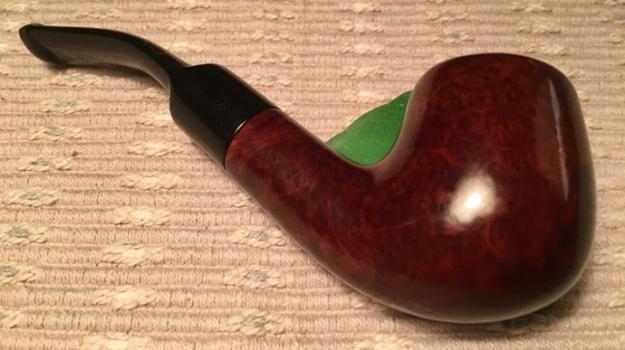
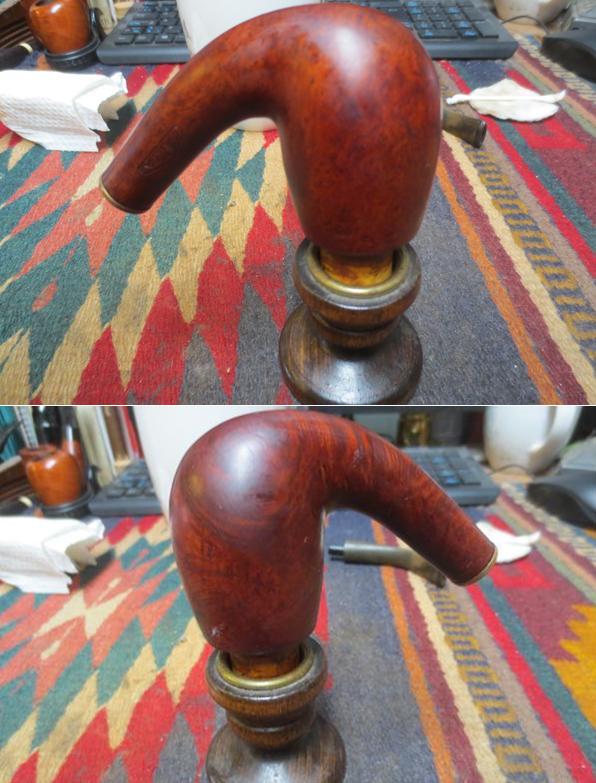
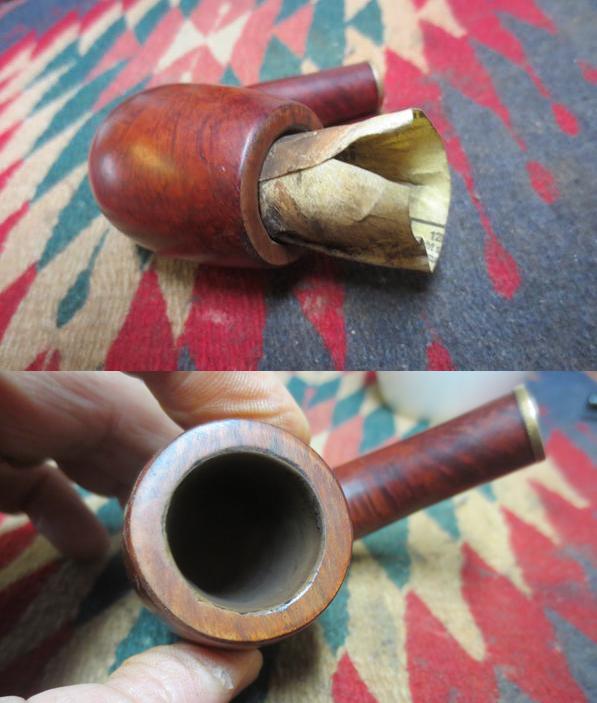
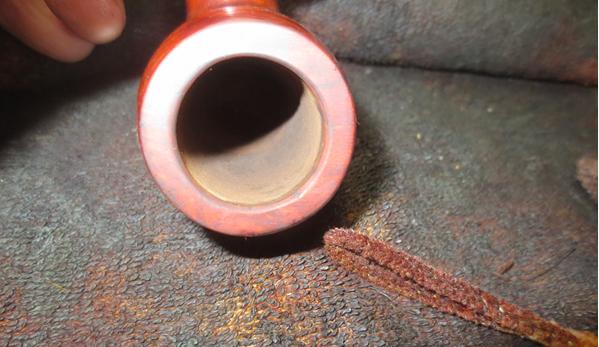
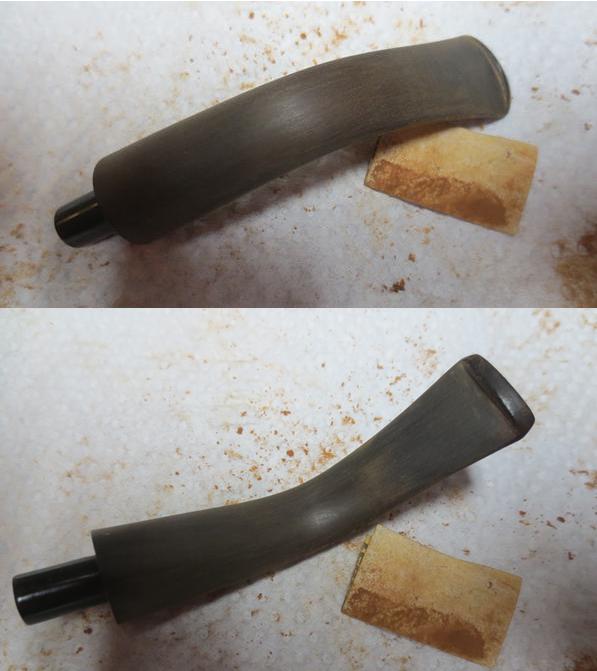
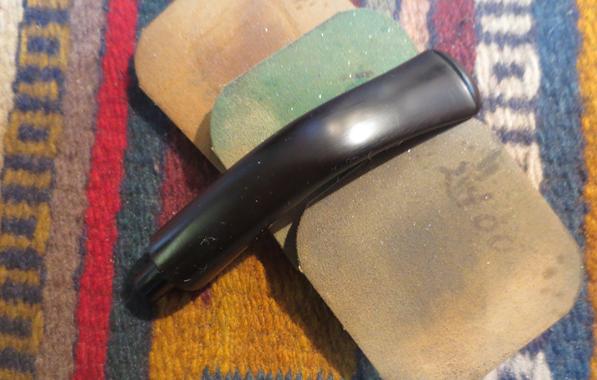
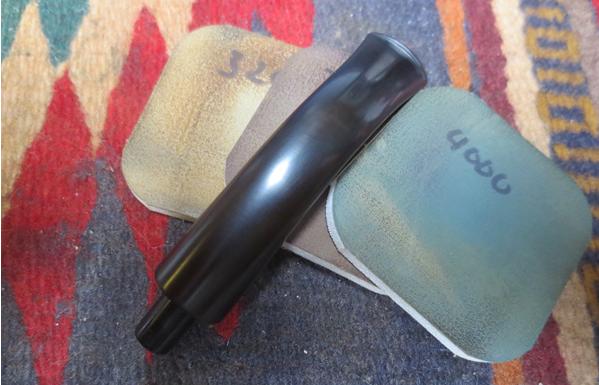
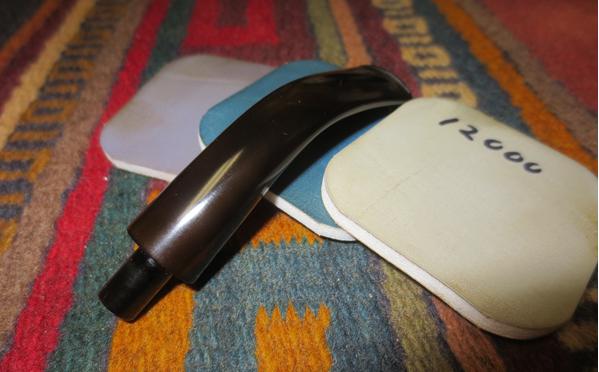
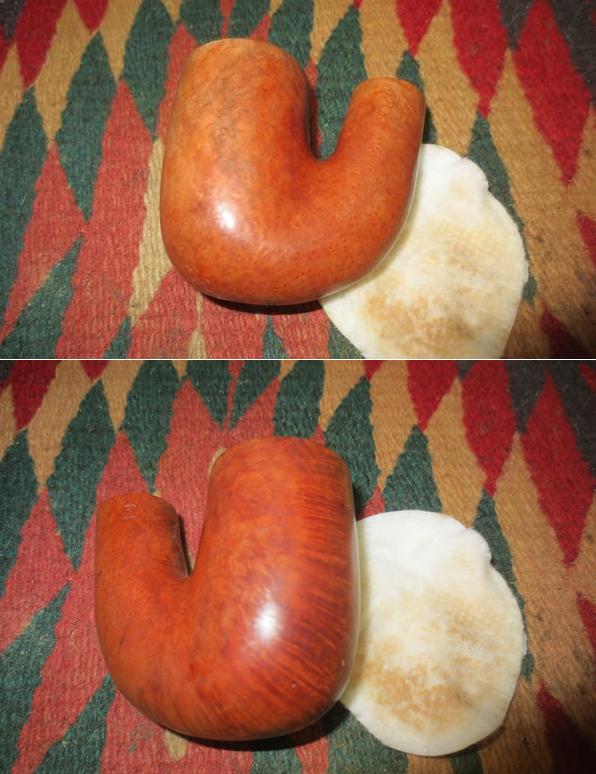
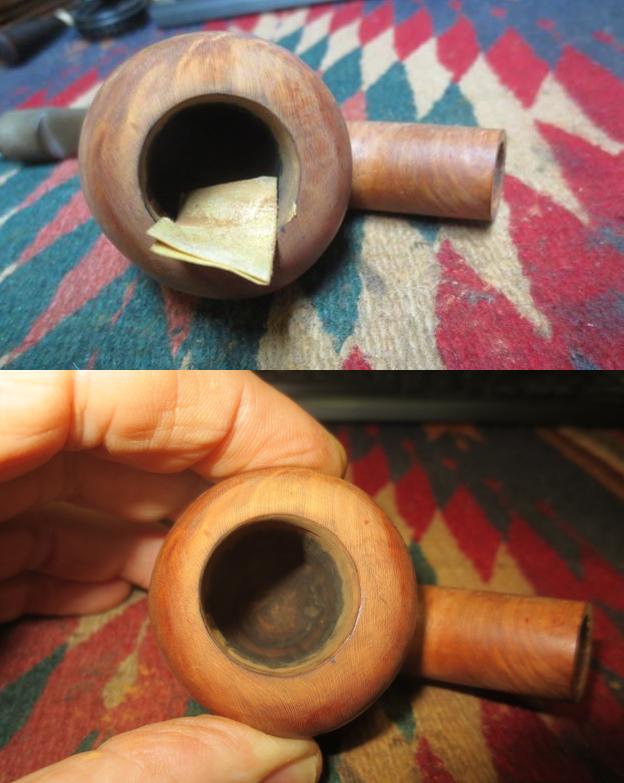
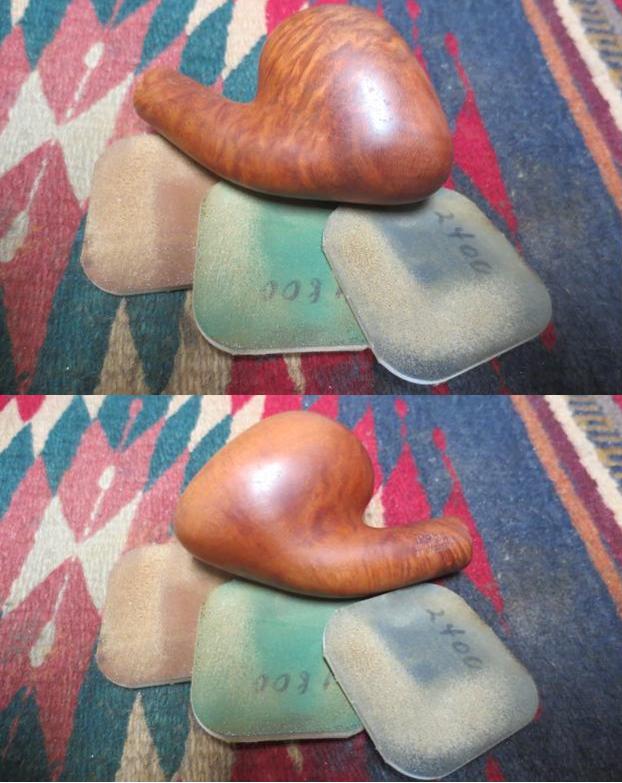
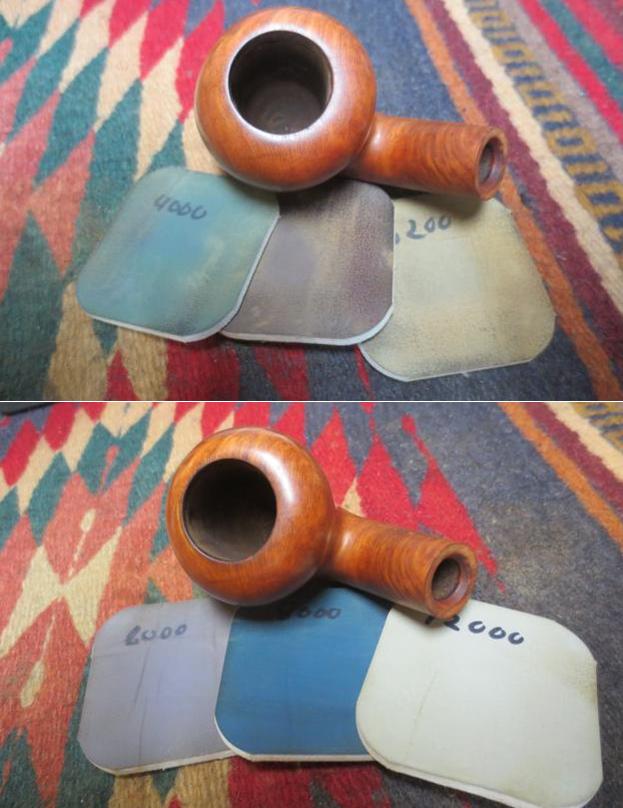
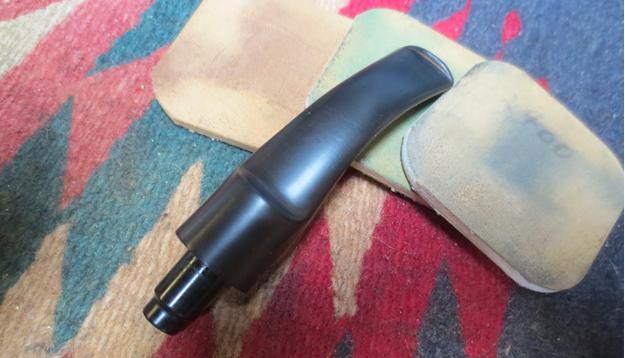
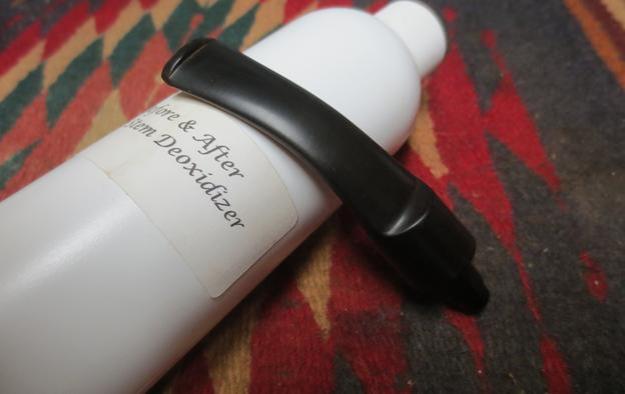
Since this blog is devoted to my use of the Dremel in the latter stages of the restoration, after reaming, cleaning of the internals of stem and stummel, removal of oxidation and micromesh the stem, cleaning the stummel with Murphy Oil Soap, and preparing the stummel for the sanding and buffing processes, I arrive at this point, completion of use of medium and light sanding sponge and the full micromesh process (1500-12000 grit pads). I show these pictures because I understand that the end polishing results will never be better than your sanding prep leading up to the application of compounds and waxes. For this reason, I’m very patient with the micromesh cycles – I enjoy seeing the grain pop out during this stage and polish will not remove missed scratches and pits in the briar. The pictures also show the progress.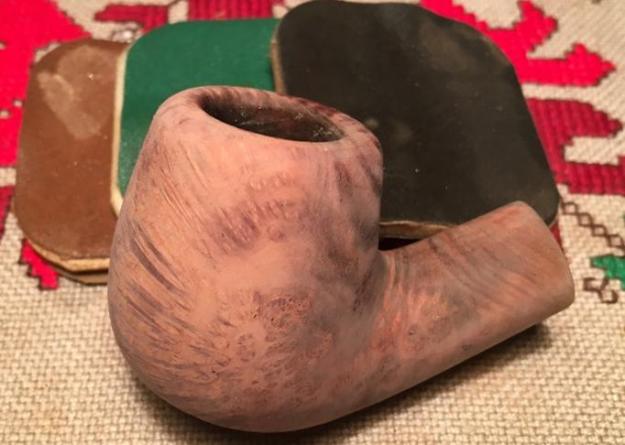
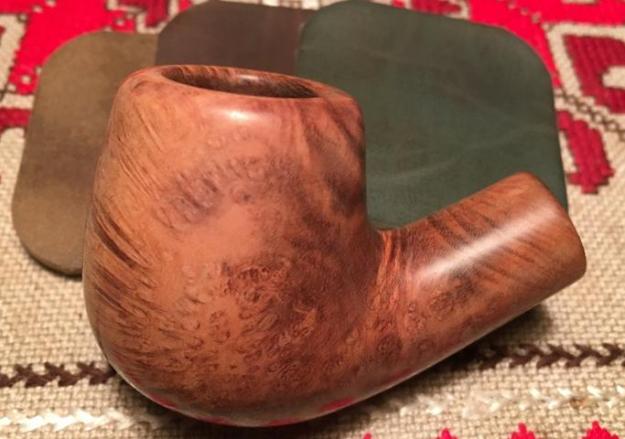
 Overview of Set-up
One of the first places I went to get a handle on buffing techniques when I was starting was to Steve’s Reborn essay about using a buffing wheel (Link). Even though the essay is for high powered buffing wheels there was very useful information about dos and don’ts, wheel maintenance and techniques of buffing. Even though my buffing wheels are miniscule in comparison, they also can launch the stummel or stem quite ably from what you thought was a secure grip. Safety is also a consideration! He also provides additional links which are useful. My Dremel (Skil) has a hand-held flexible shaft that is very useful in allowing me to get up close and personal with the buffing. I use it all the time. The wheels I use are about 1 inch in diameter and I utilize both felt and cotton cloth wheels for different applications. I bought them bulk on eBay at a very reasonable price! Each wheel is dedicated to a specific stage of the process and is labeled so that compounds and wax are not mixed. The wrench that comes with the Dremel for loosening and tightening wheels also serves to clean the wheels. Before each use (or after) I engage the wheel and carefully run the blunt end of the wrench tool along the end of the wheel. This removes old compound and keeps the wheels fresher and supple. Pictures show my setup!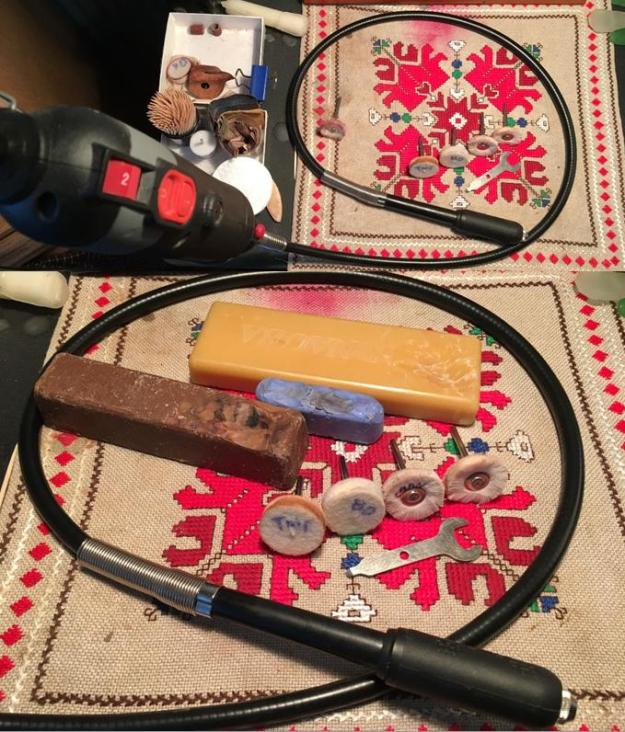 Compounds and Wax
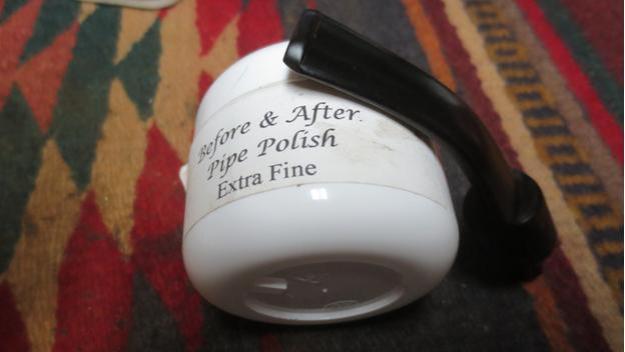
From a newbie’s perspective, I wasn’t sure what compounds were and what they did (true confession!). From 9th grade shop class I had a grasp of the basic principles of sanding and moving from more abrasive to less abrasives to remove impurities and smooth things up. When I started reading Rebornpipes.com, I started seeing words like Tripoli, Blue Diamond, White Diamond, carnauba…, I didn’t know what these did or what part they played in the process – abrasives, polishes? I also was not familiar with color coding – blue, brown, white – I also saw green on Amazon when I was trying to figure out what to buy in concert with my newly purchased and anxious Dremel. So, after poking on the internet I found this very helpful site (Enkay Polishing Instructions) that described what the different compounds were and what uses they had and how. Very helpful too, was a chart that lined up all the compounds from coarse to fine (with colors!) and what kinds of materials they are used on for sanding/polishing (see below).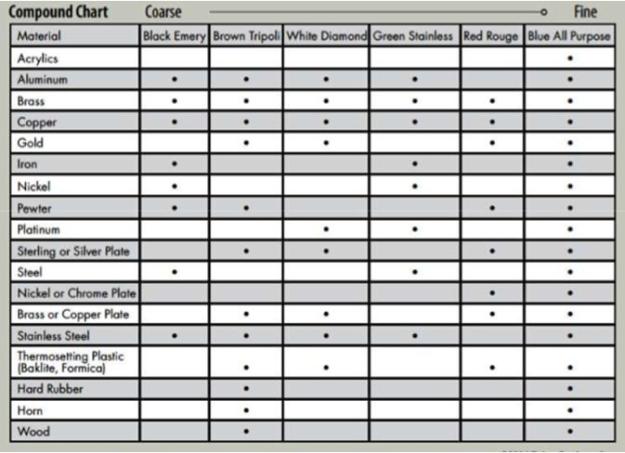 The 3 lines on the bottom, sum up well my pipe universe: Hard Rubber/Horn/Wood. It was because of this chart that I decided not to use White Diamond because of its next-door status to Brown Tripoli and because the dots for these materials tick Tripoli and Blue All Purpose. I know that in restorations both White and Blue Diamond are used effectively and one could jump to White Diamond in lieu of Tripoli. So, my methodology, which seems to be working well for me, is after the micromesh phase is complete, I employ Brown Tripoli (coarsest) and then jump to Blue Diamond (fine), followed by carnauba wax. Each application has its own wheel. I start with Tripoli after the micromesh cycles (or after staining which I place between the micromesh cycles and Tripoli), because technically, Tripoli and the diamonds are a continuation and conclusion of the abrasive/sanding process. With carnauba wax the restoration transitions to the polishing and protective phase – at least this is how I now view it.
Felt Wheel vs. Cotton Cloth Wheel?
I use felt wheels for the Tripoli and Blue Diamond applications and then switch to a cotton cloth wheel for applying the carnauba wax and then a final clean buffing. Somewhere I read (I’m sorry I don’t have a specific link for the source!) that caution should be used when utilizing a felt wheel because they tend to be more abrasive than cotton cloth and hence, they potentially can generate too much heat on the briar or vulcanite surface – melting or scorching would not be a good result at this stage! Yet, with words of caution in mind, I have found that applying the Tripoli and Blue Diamond at the lowest Dremel setting (slowest RPMs – It would be interesting to compare the technical data for RPMs for the Dremel with a high-powered polishing wheel). With the carnauba wax and the final clean buff, I use cotton cloth wheels which is a smoother material and therefore cooler relatively speaking. I tweak the RPM speed up one number on the Dremel when I apply the carnauba. I played around with the speeds and this is what seems to work for me.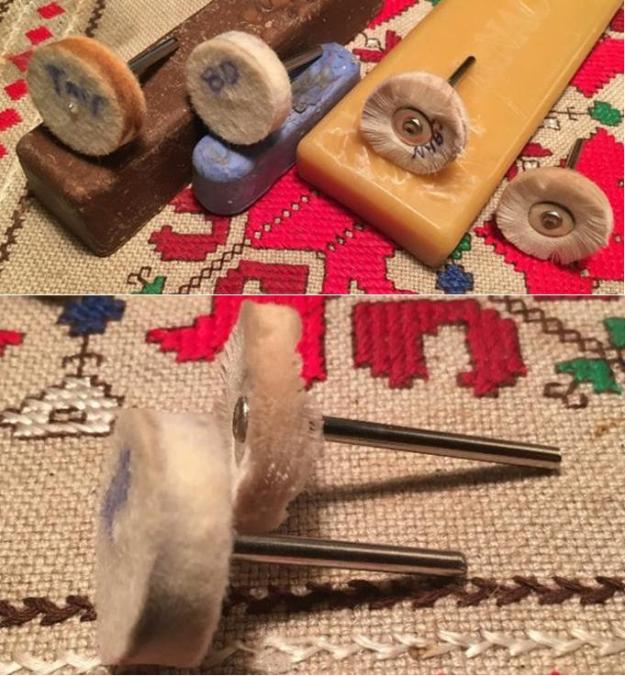 Applying Compounds and Wax
Through simple observation and experimentation, I developed my approach for applying the compounds and wax. Both compounds and carnauba wax need friction and heat to accomplish the job for which they are intended. What I discovered as I applied both compounds and wax was that each has its own characteristic behavior when they meet the briar or the vulcanite on the stem. Since Tripoli and Blue Diamond are abrasives, they remain powdery and dry when they are applied with the felt wheel. When they make contact, there is a distinctive initial cloudy patch which disappears into deeper gloss through the polishing process. Compared to the compounds, carnauba wax liquefies into notable ripples during the application and can be strategically spread around in a uniform way. The way I achieve this perspective is with the felt and cotton cloth wheels being so small, with my bright light overhead, I can angle my field of view to observe the ‘action’ the wheel is generating revealed in the sheen of the reflection on the briar or vulcanite surface. With the compounds, it can be likened to pushing a broom across the dry floor. With the carnauba, it can be likened to a wet mop and pushing the wax over the surface.
Charging the wheels is straight forward based upon Steve’s essay and everything I’ve read: Less is more! For both the compounds, I lightly ‘pause tap’ the wheel on the block of Tripoli or Blue Diamond. Just enough to pick up some product on the wheel. With carnauba, there is more of a pause, pause on the block as the wax is collected onto the wheel – not too much though. When I bring the wheel to the surface, I divide the stummel into about 8 areas and I methodically (I do it the same way each time so I don’t forget a ‘patch’) work the compound or wax into those sectors with overlap between them so I’m sure to not miss anything. As I watch the ‘action’ in the sheen of the surface, I can move the product around and tell when I’m in need of recharging and moving on by the gloss produced in the ‘patch’. With carnauba, especially, I watch the ripples created by the liquefied wax and I ‘push it around’ the surface as it is assimilated into the briar or vulcanite and gloss is produced. I keep the wheel moving in a circular rotation over the surface, never pressing too hard, allowing the product, RPMs and wheels to do the work. The gloss that increasingly emerges with each application has a 3-dimensional depth to it – this helps me know when I’m achieving maximum shine and I can move on.
The Practice (Thank you to my wife for pictures while my hands were full!)
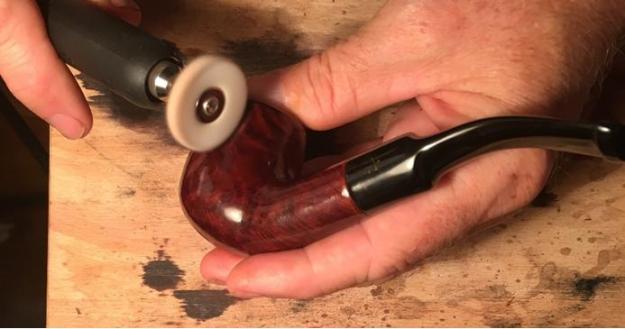
With my Sozopol no-name, I decide to apply a stain using Fiebing’s Dark Brown Leather Dye with a few drops of Oxblood. I cut the mixture by adding about one half part alcohol. I amply apply the stain mix twice, each time flaming the surface of the stummel setting dye in the grain. I take my Dremel with a felt wheel (after cleaning with wrench) set at the slowest RPM and I apply Tripoli compound to the surface. 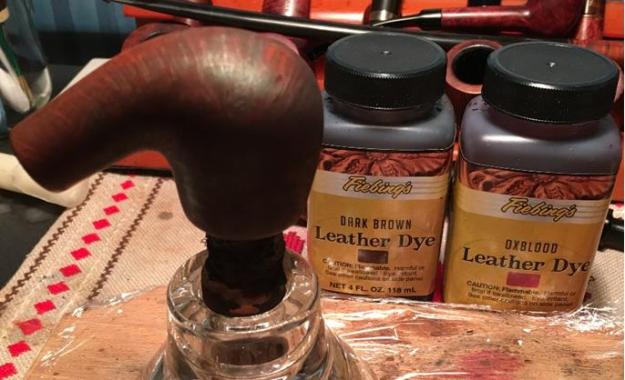
 Application of Tripoli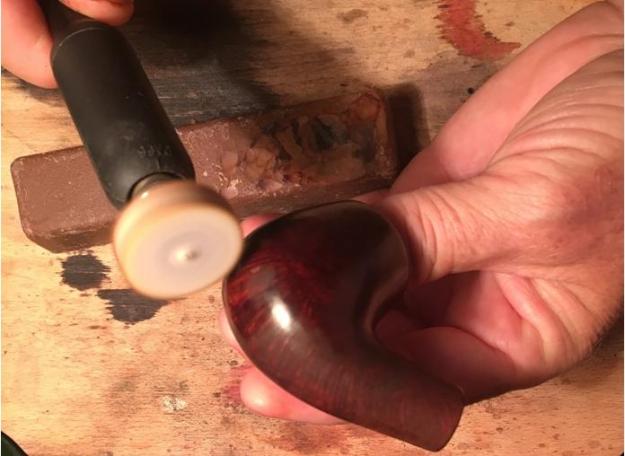
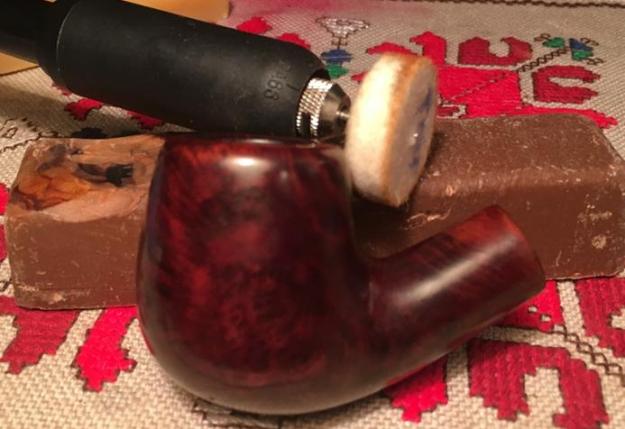 Application of Blue Diamond followed by micromesh cloth wipe to remove residue compound before applying carnauba wax.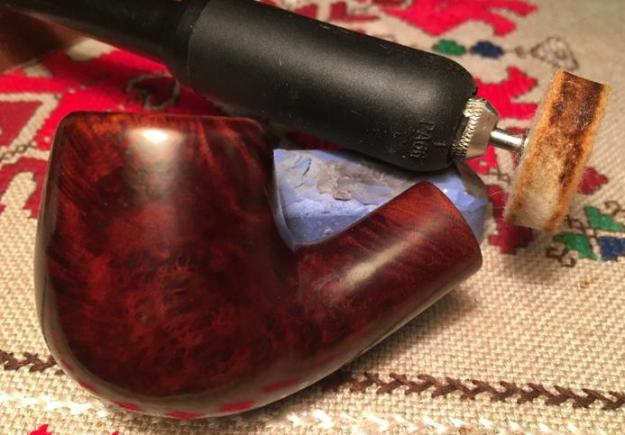
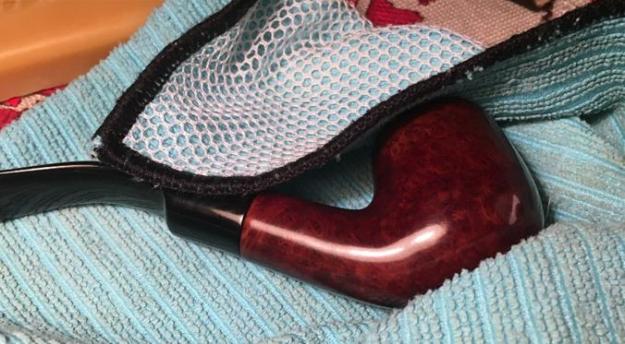
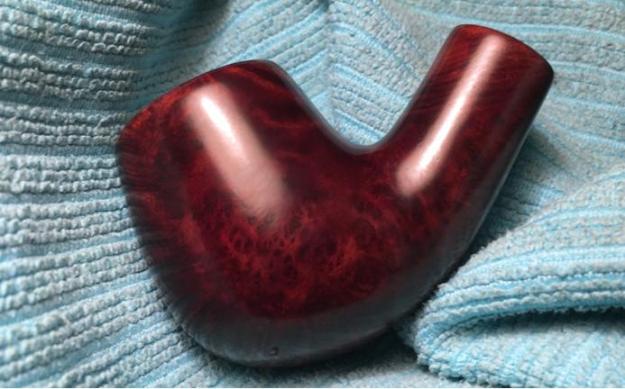 Application of carnauba wax to stem and stummel finishing with a clean cotton wheel buff and then micromesh cloth buff.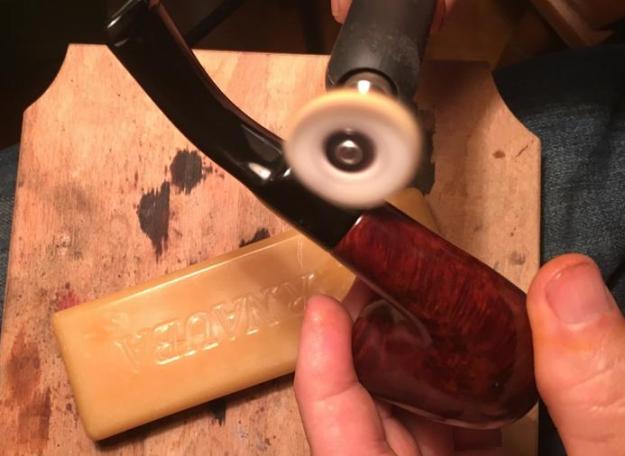
 I hope this essay has been helpful. Has anyone seen this stem mark? If you would like to adopt this pipe, let me know! Leave a response below or send an email to slaug@uniserve.com. Thanks for joining me!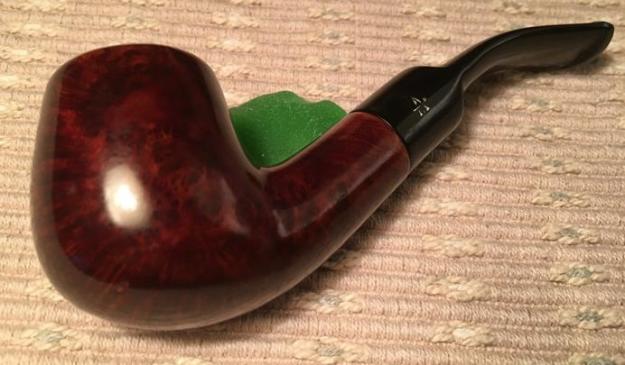

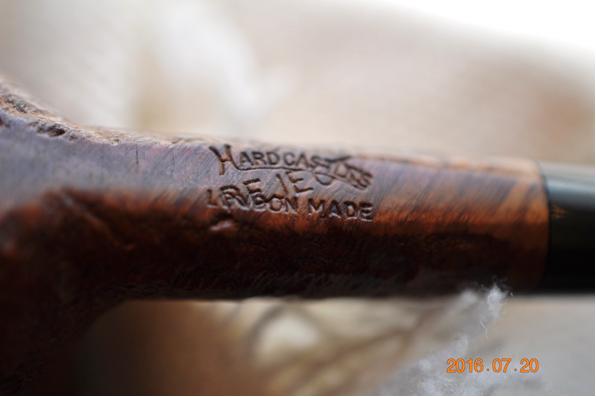
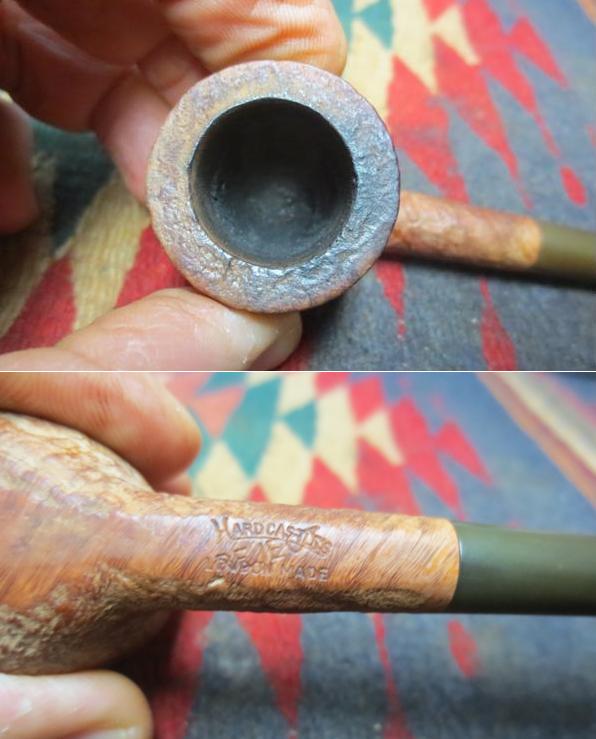
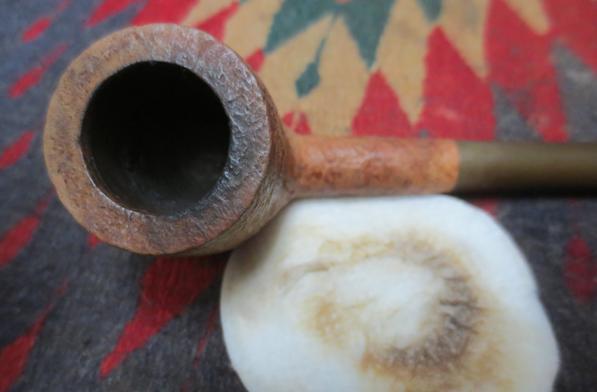
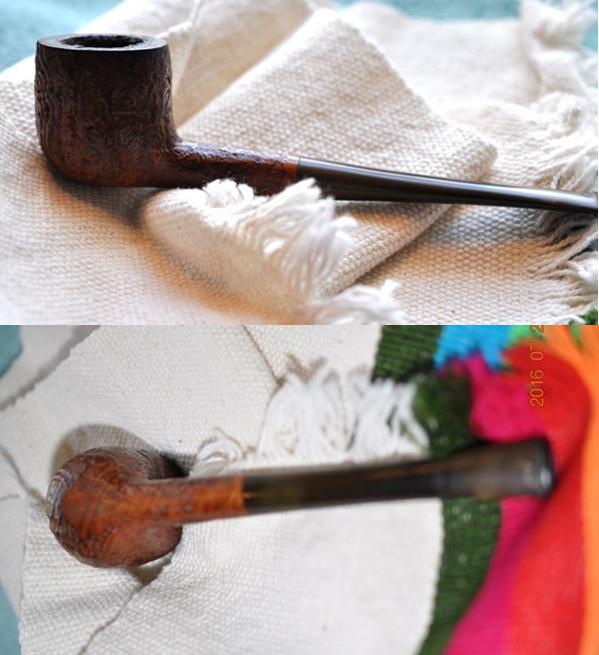 He took some close up photos of the bowl and stamping. The bowl had a thick cake and a large overflow of lava on the rim. The lava covered the light blast finish on the rim completely and it was hard to tell the condition of the bowl at this point. The finish was worn and dirty but there were no chips or dents marring the finish. The stem is oxidized and you can see the Hardcastle’s H stamp on the left side near the shank. You can see the stamping on the shank and clearly see the REJECT stamp across the initial stamping. I am not sure why this pipe was rejected. It appears to be a decent piece of briar. There were two small sandpits on the sides of the bowl that I suppose may have caused it to be a reject but that is not clear to me.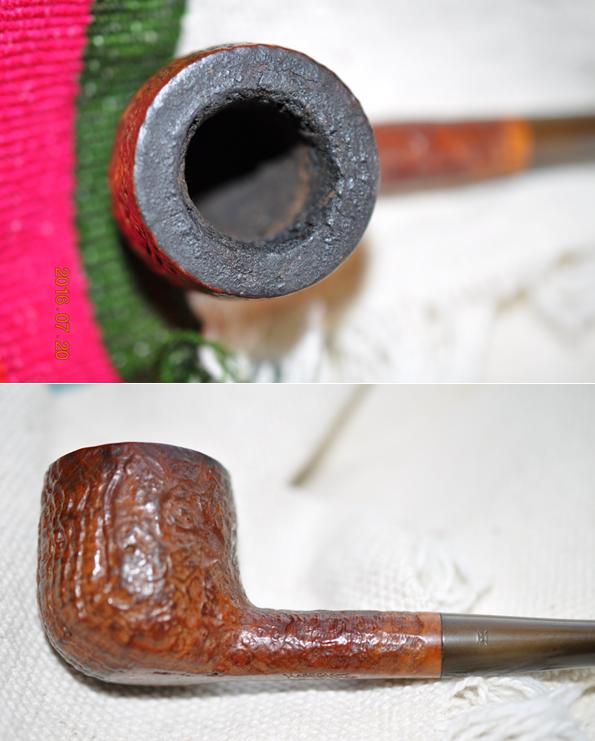
 My brother did his usual great clean up on the exterior of the pipe. He scrubbed it with Murphy’s Oil Soap and a tooth brush and was able to remove the finish. He reamed the bowl and removed the lava build up on the rim and left a slightly darkened rim with no burns or damage to the edges. I took the next set of photos to show what the pipe looked like when it arrived in Vancouver.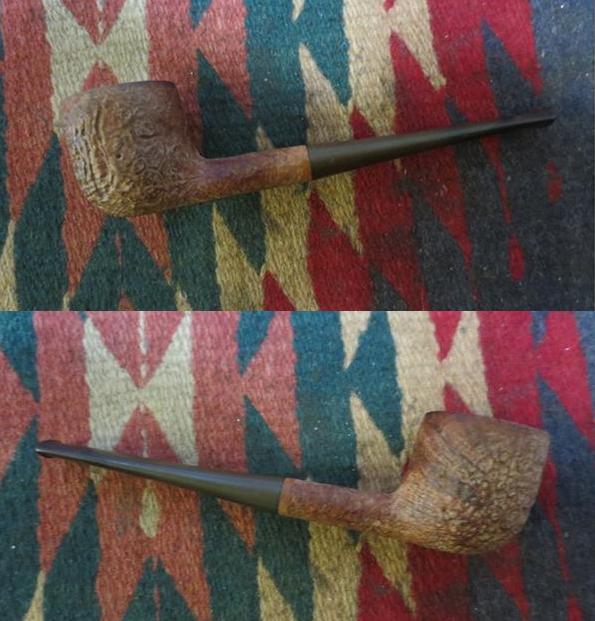
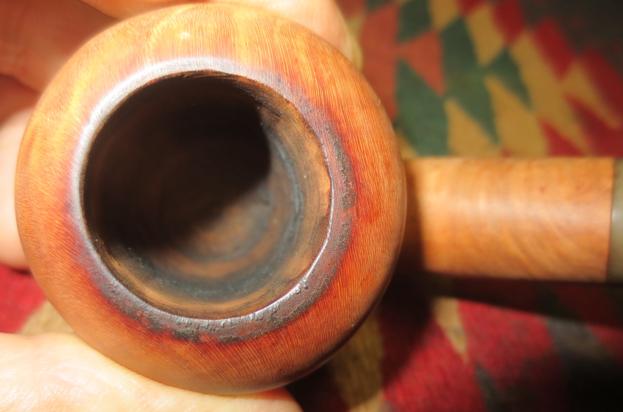
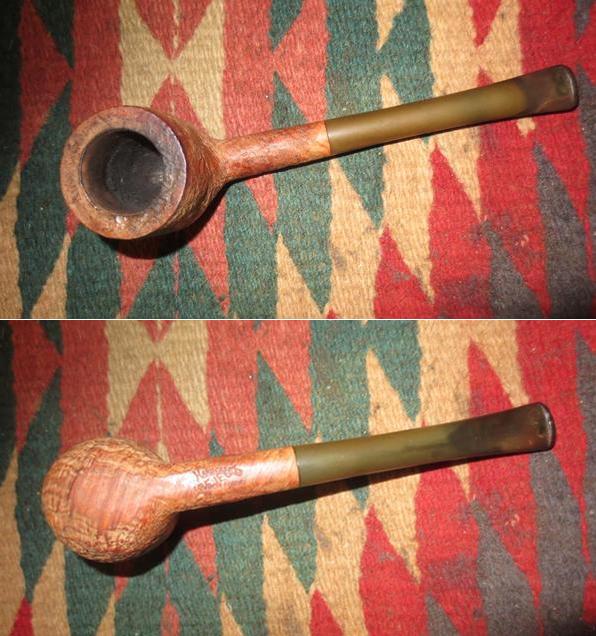 I took a close up photo of the rim to show the darkening on the back side of the top. It was clean but darkened. There were no burn marks or damaged briar on the edges of the bowl. The stamping is also shown and it remains sharp and distinct.
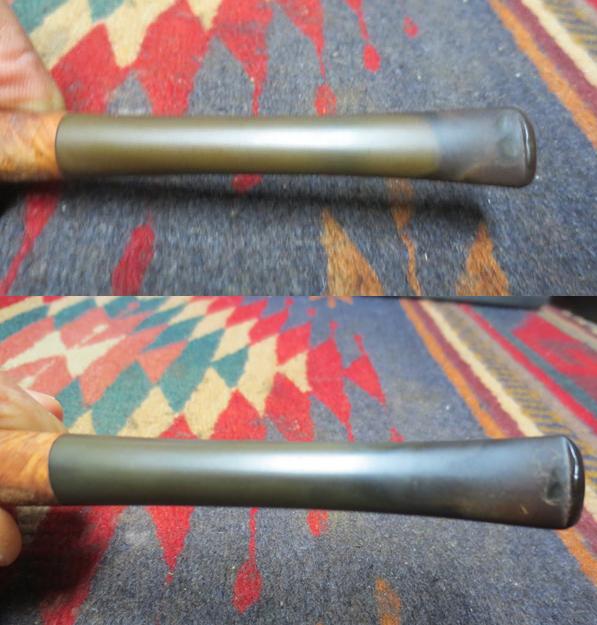
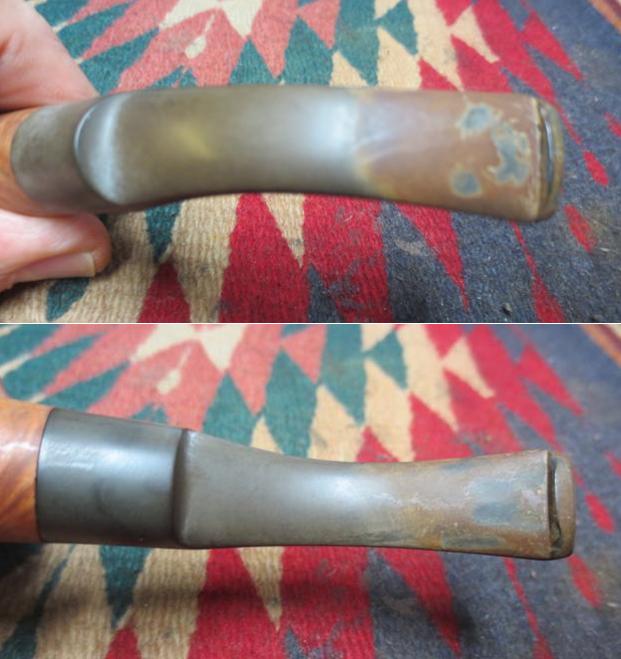
 The stem was lightly oxidized and there were tooth dents and chatter on the top and underside near the button. The button had some flattening and wear as well.
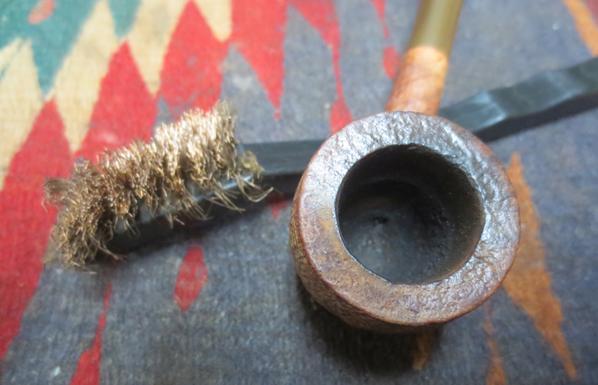
 I used a brass bristle tire brush to scrub the top of the rim and try to clean out some of the darkening on the rim. I was able to remove some of it and make it less pronounced.
 I wiped the bowl down with acetone on cotton pads to clean of any remnants of the old finish and to remove the debris from the brass brush work on the rim.
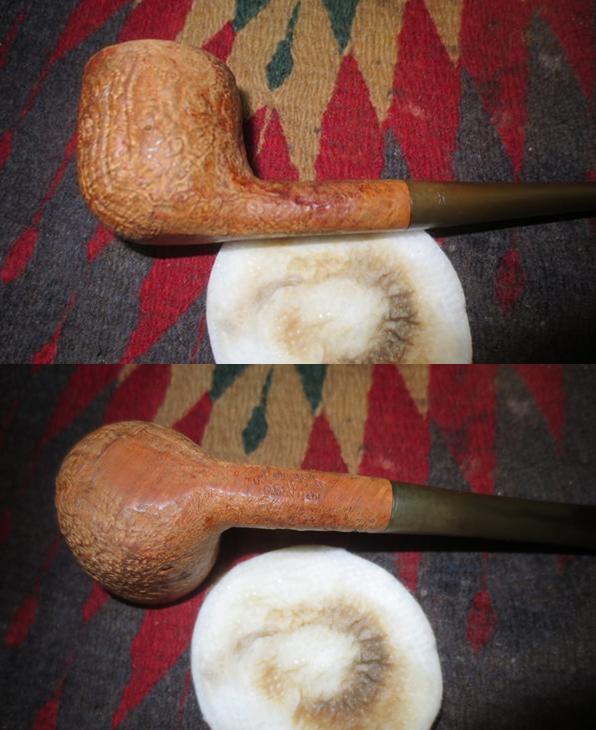
 With the bowl cleaned I stained it with a dark brown aniline stain mixed 50/50 with isopropyl alcohol. I flamed the stain and repeated the process until the coverage was even on the bowl and in the deep pits of the sandblast finish.
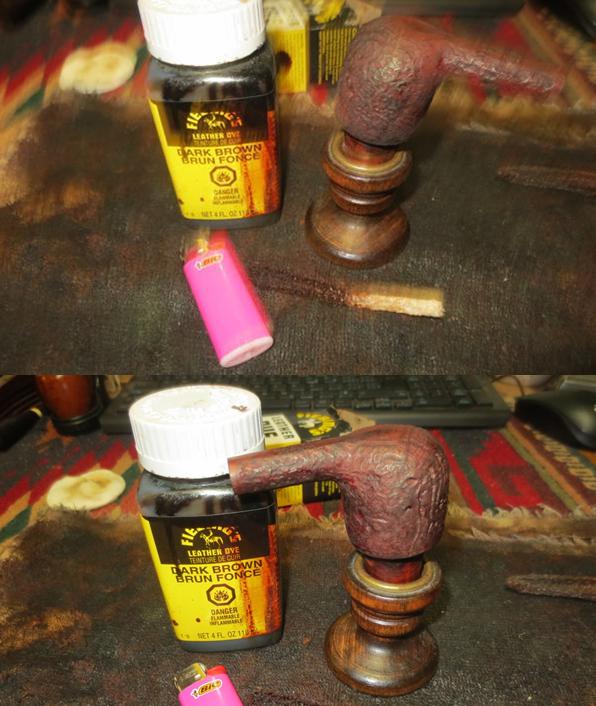 I took some photos of the pipe at this point in the process. The stain had covered well. The colour was a little dark for my liking and would need to be lightened a bit before I was finished. You can see the sand pits on both sides of the bowl that may have made this pipe a reject. I have circled them in red.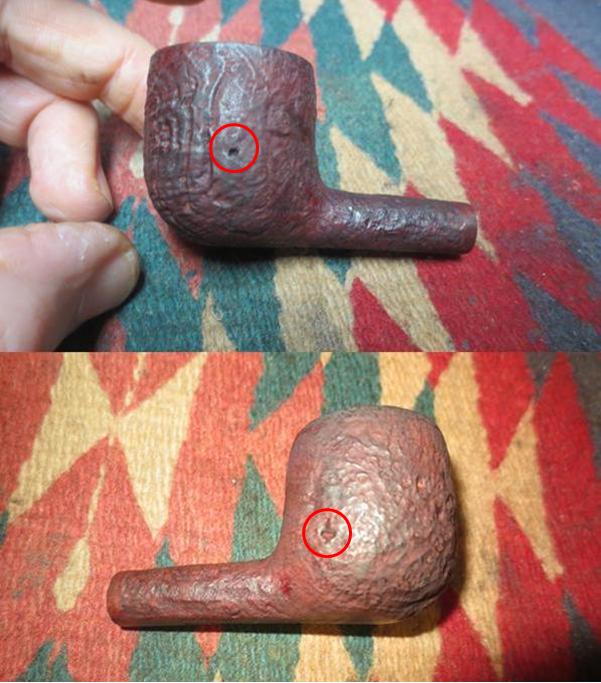
 I cleaned the mortise with a dental spatula and then cotton swabs, pipe cleaners and alcohol. I also cleaned out the airway into the bowl and in the stem.
 To lighten the colour of the stain I washed it down with some alcohol on cotton pads until the colour was more to my liking. The finished colour is shown in the photos below.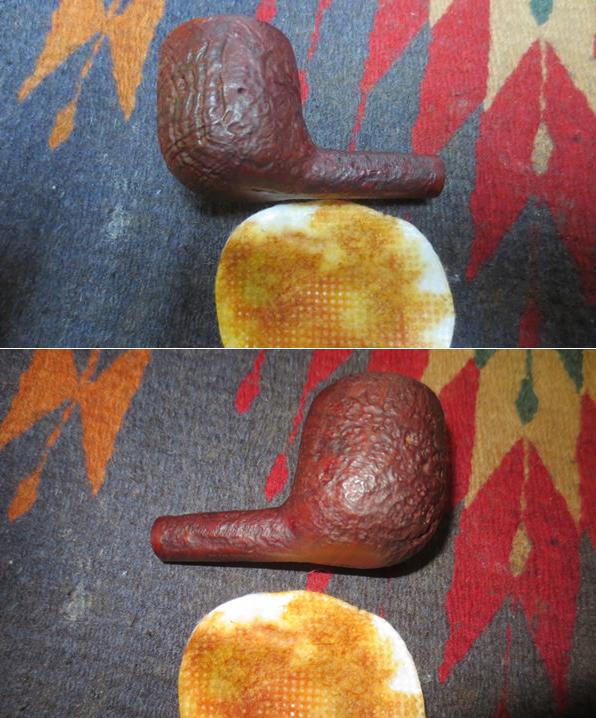
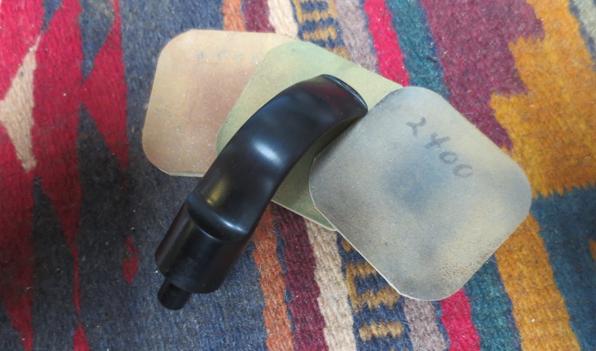
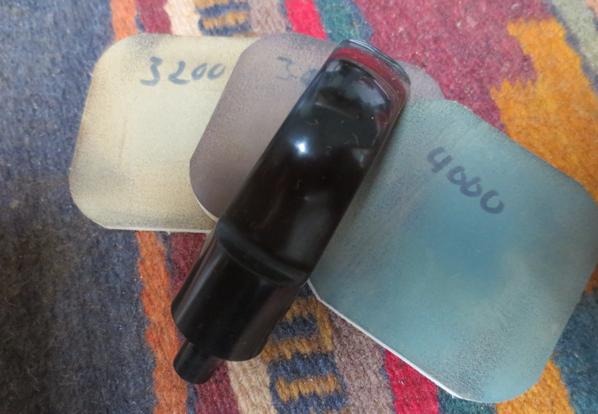
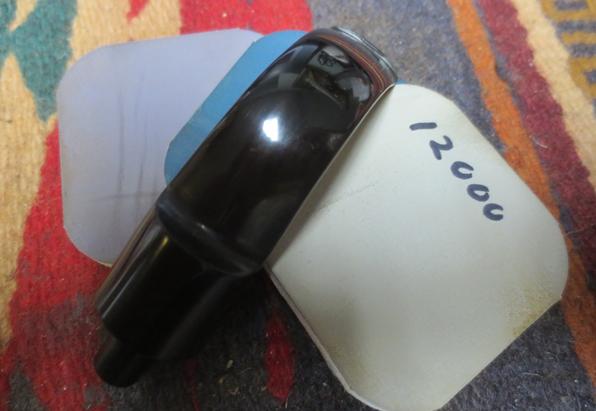
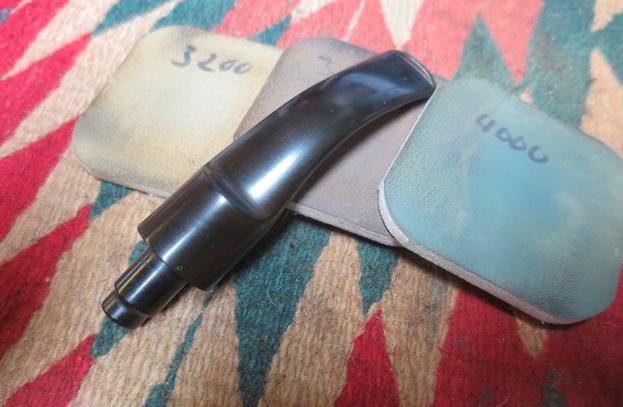
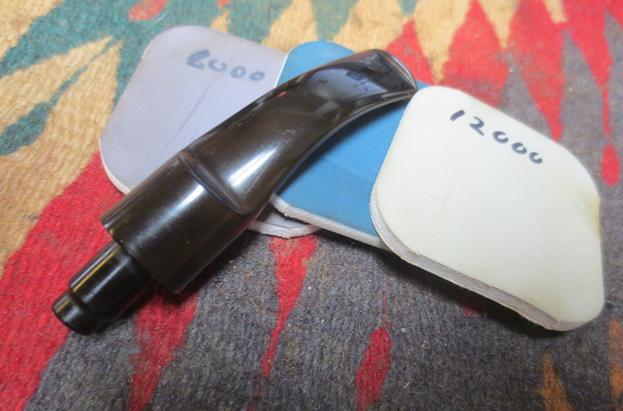
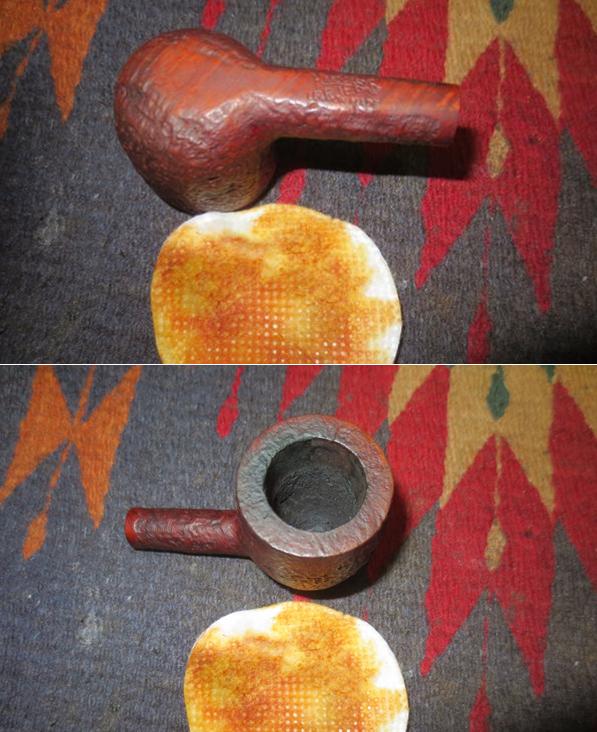 I painted the dents in the stem with the flame of a Bic lighter and was able to raise them almost smooth. I sanded the stem with 220 grit sandpaper to smooth out the slight dimples that remained in the surface. I wet sanded the stem with 1500-2400 grit micromesh sanding pads and rubbed it down with Obsidian Oil. I dry sanded it with 3200-12000 grit pads and rubbed it down with the oil after each set of three pads. After the final 12000 grit sanding I gave it a final coat of Obsidian Oil and set it aside to dry.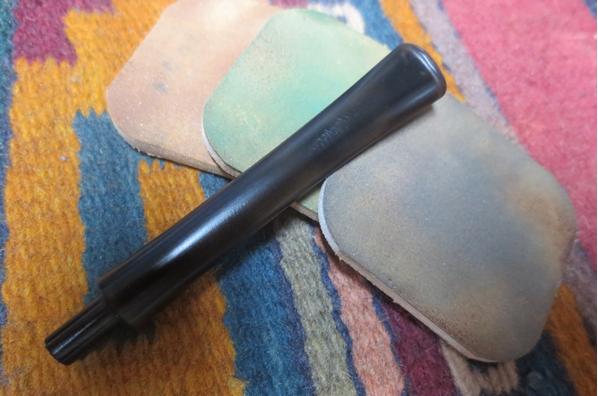
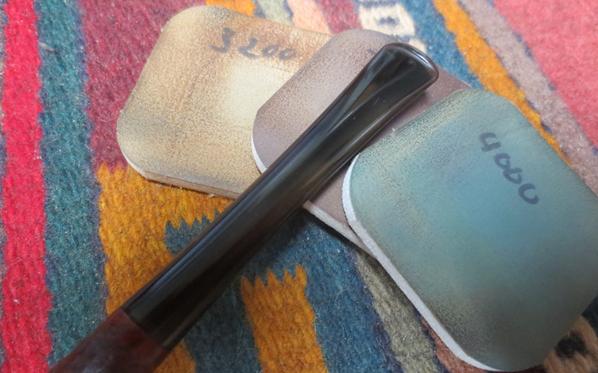
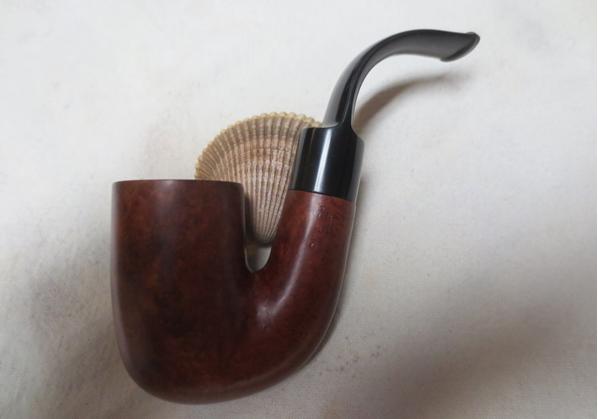
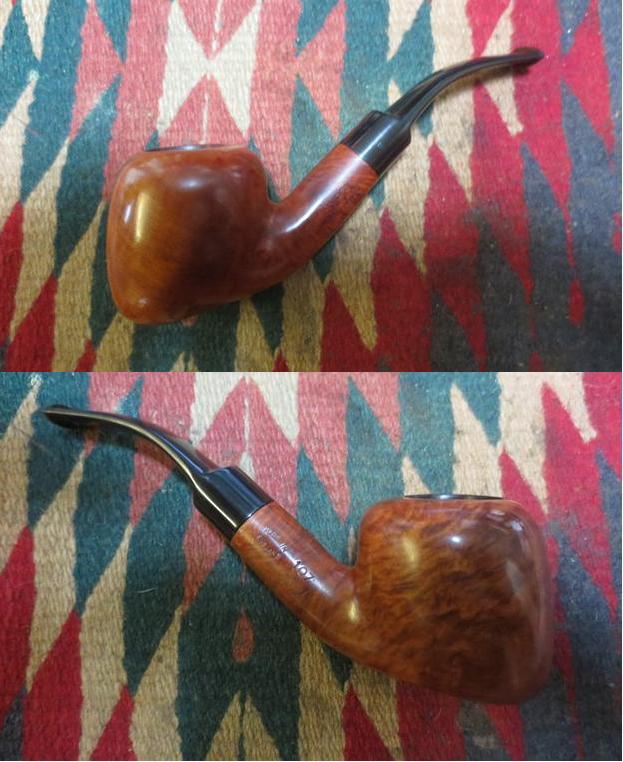
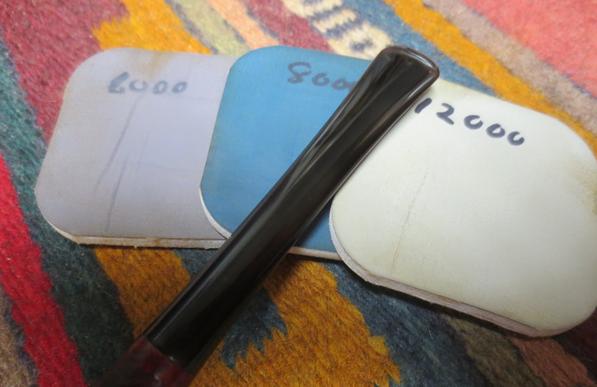 I buffed the pipe with Blue Diamond on the buffer and gave the stem multiple coats of carnauba wax. I hand waxed the bowl with Conservator’s Wax. I buffed the bowl and stem with a clean buffing pad and again by hand with a microfibre cloth to raise and deepen the shine on the briar. The finished pipe is shown in the photos below. I am pretty happy with the finished pipe. Thanks for looking.


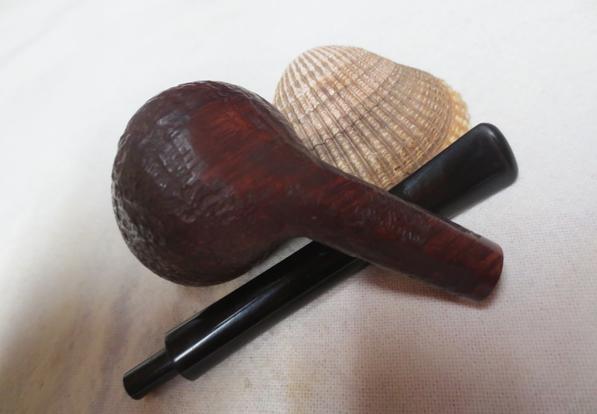
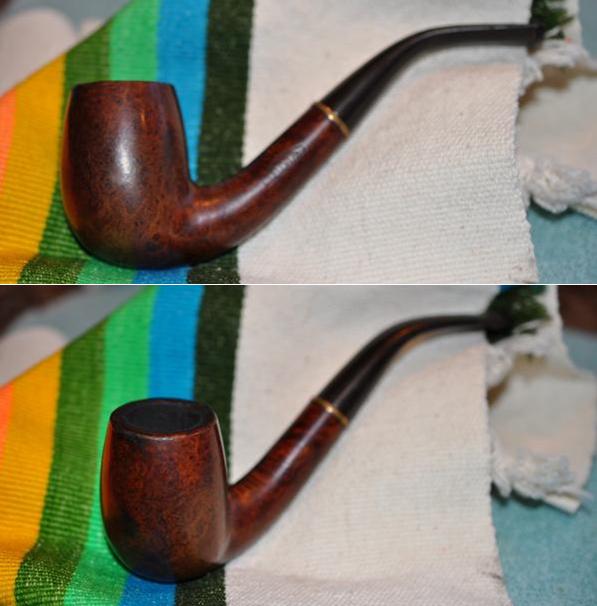
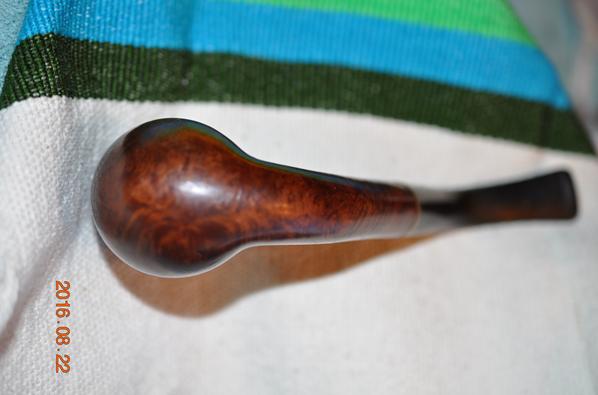
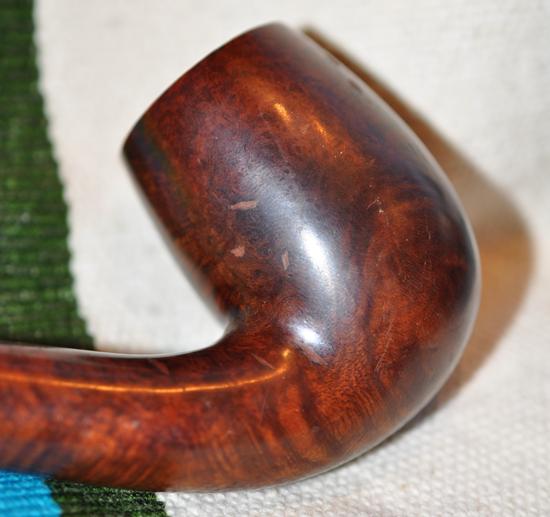

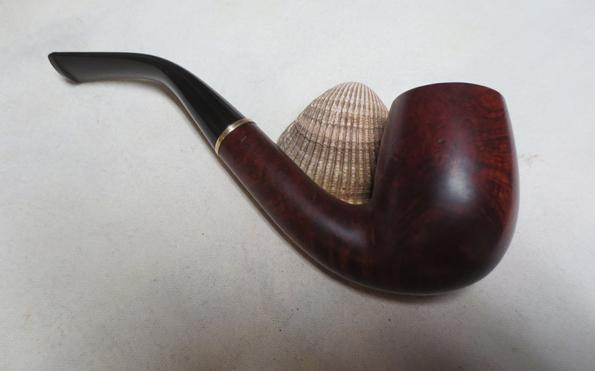
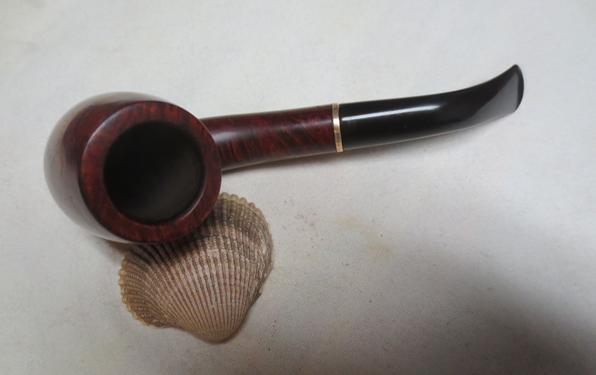
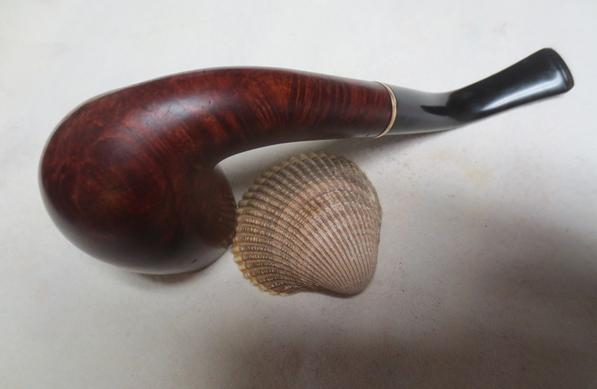
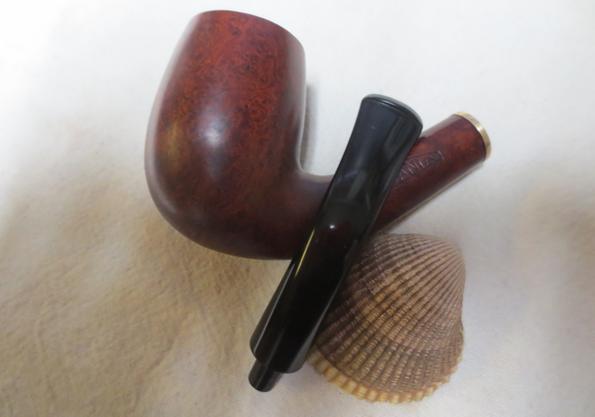
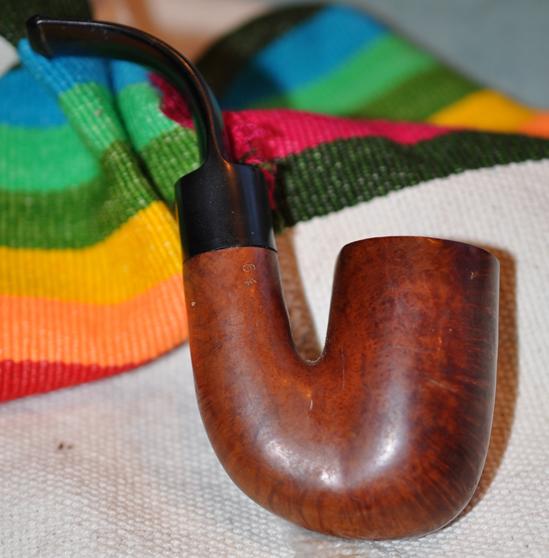


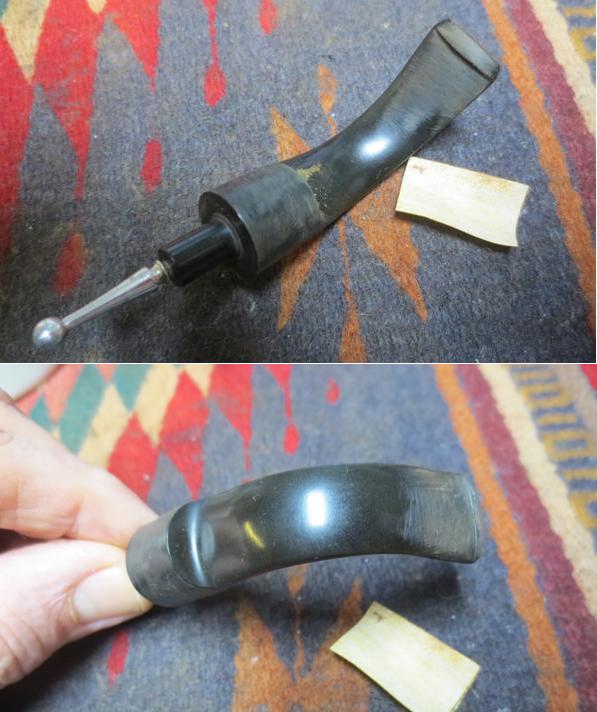
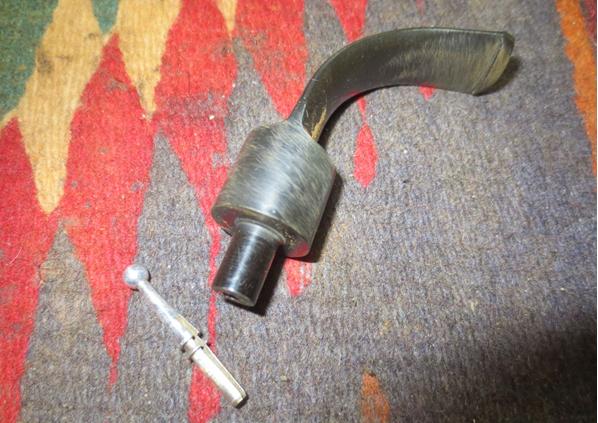
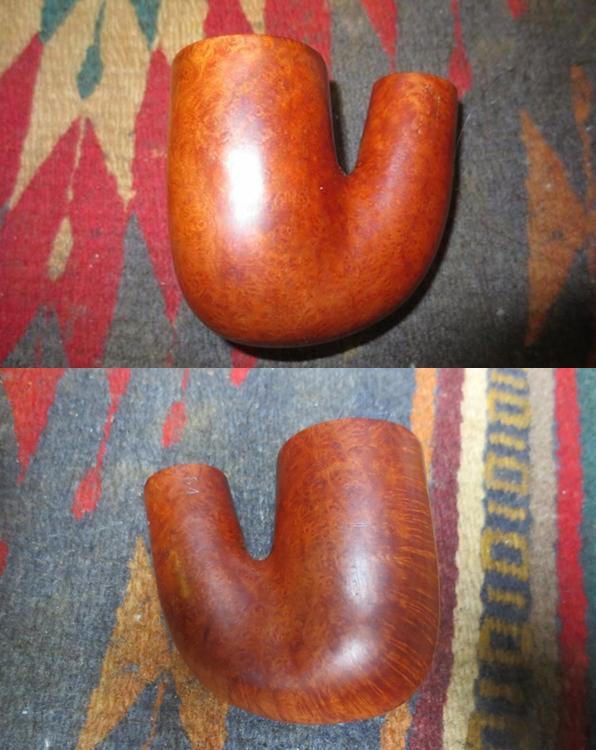
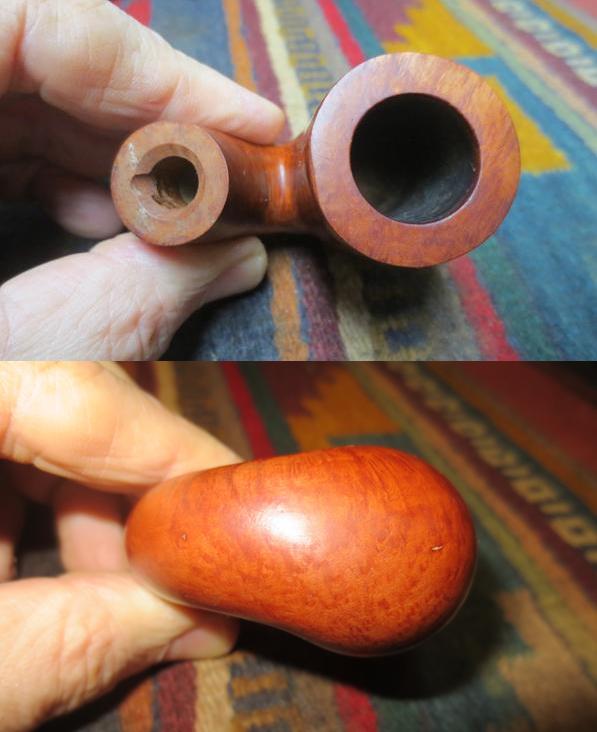
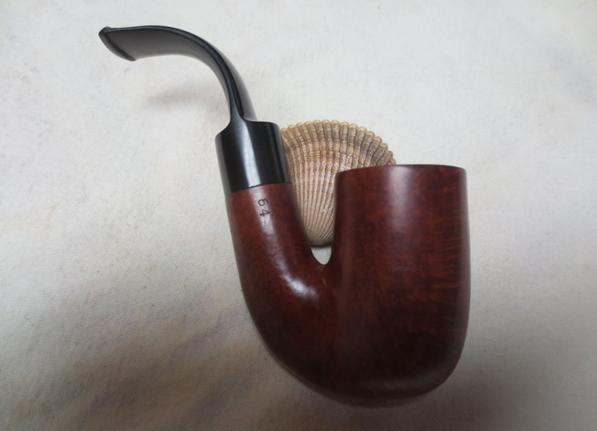
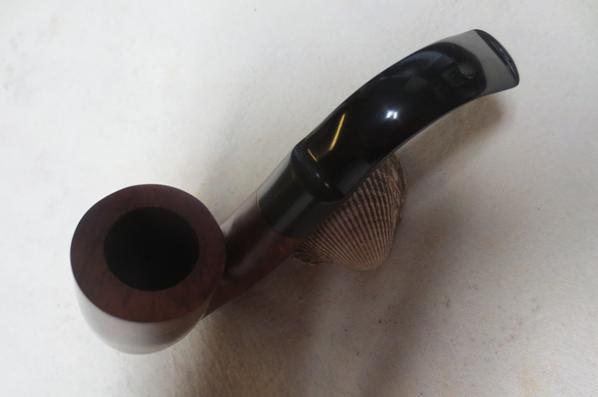
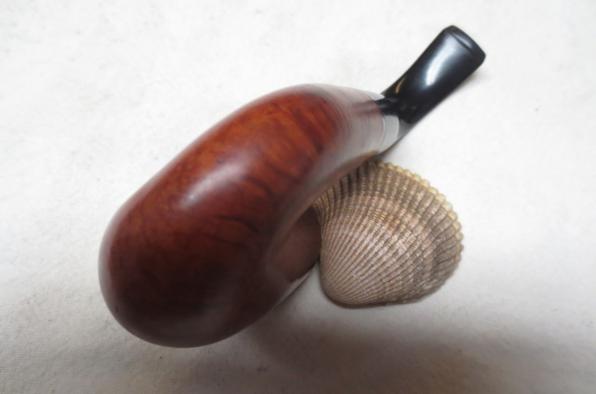
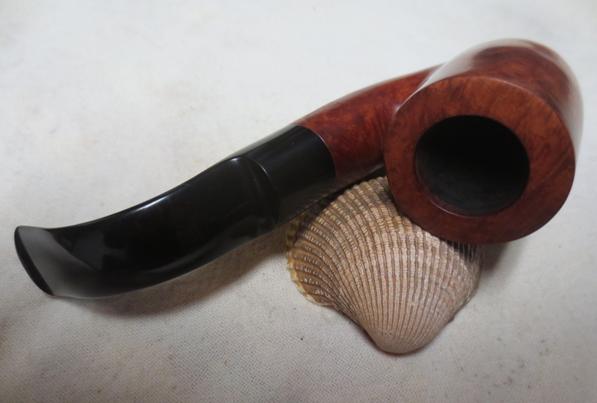

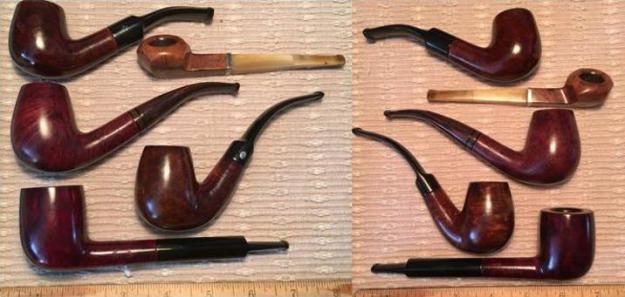
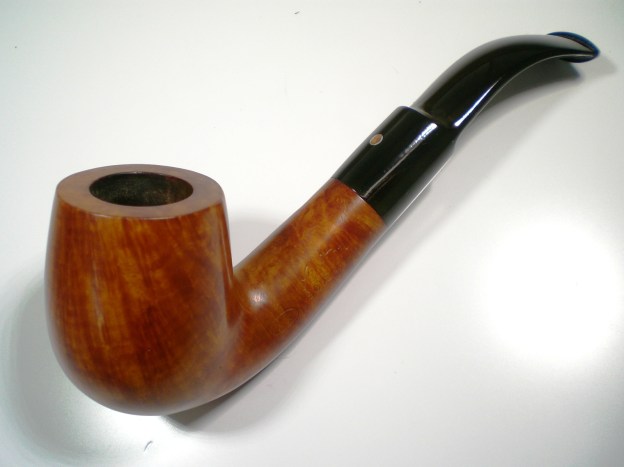
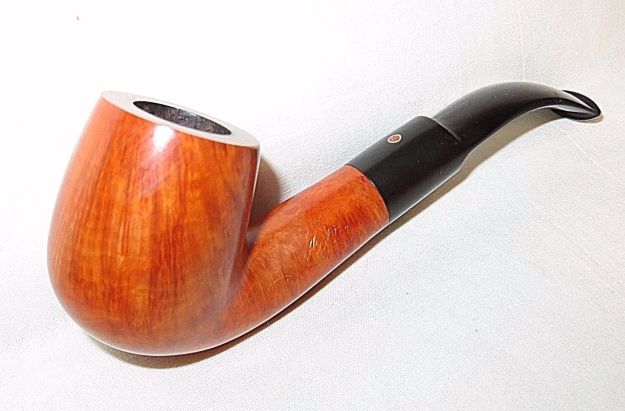
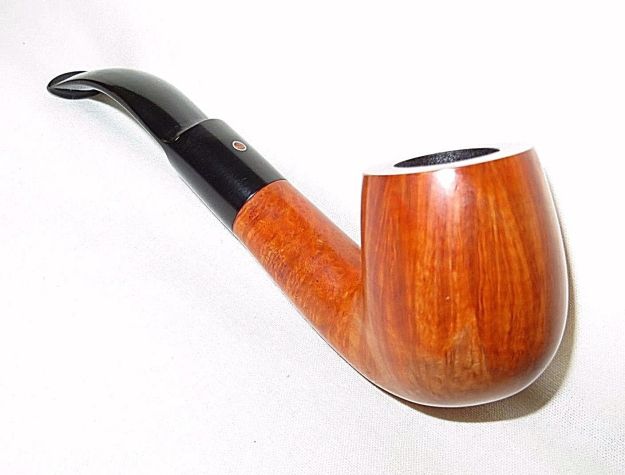
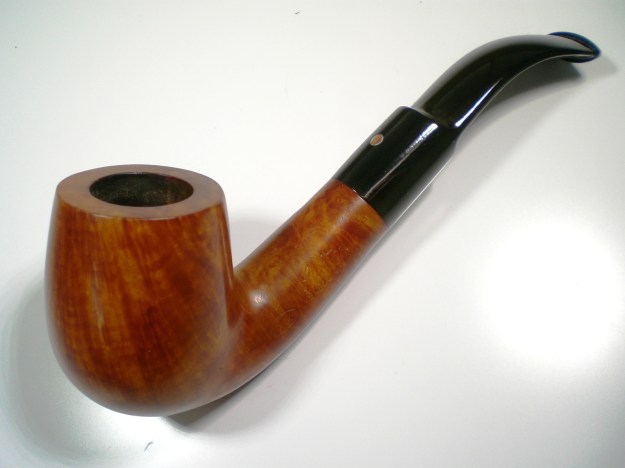
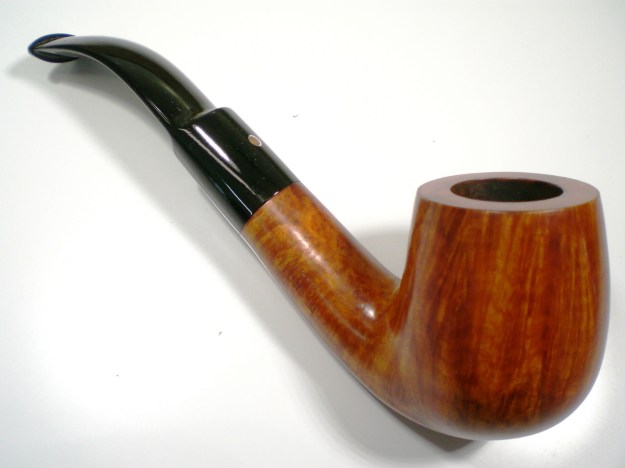
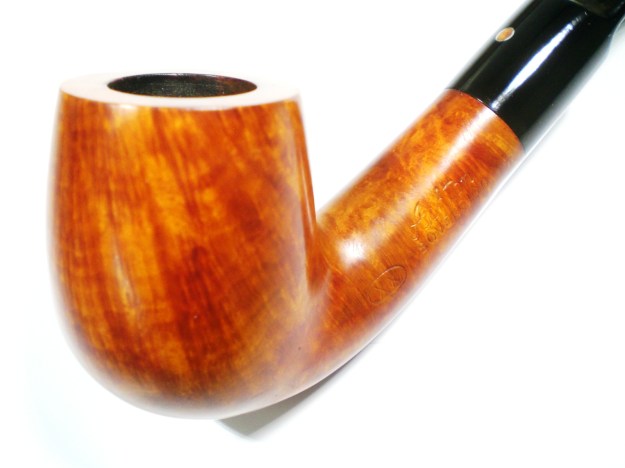

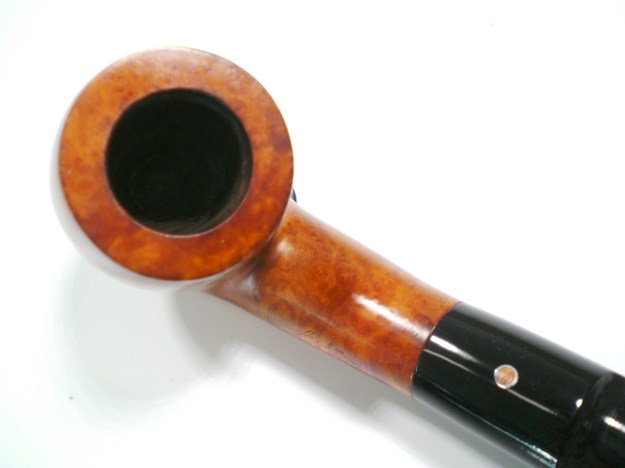
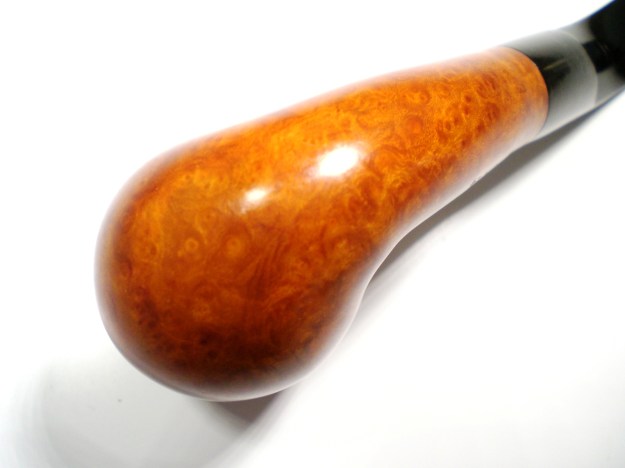
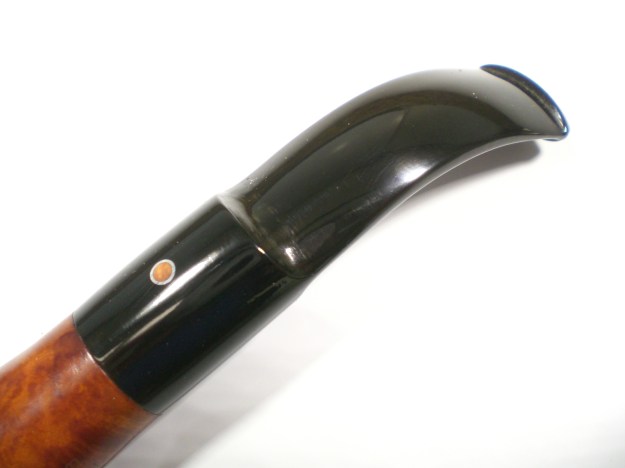
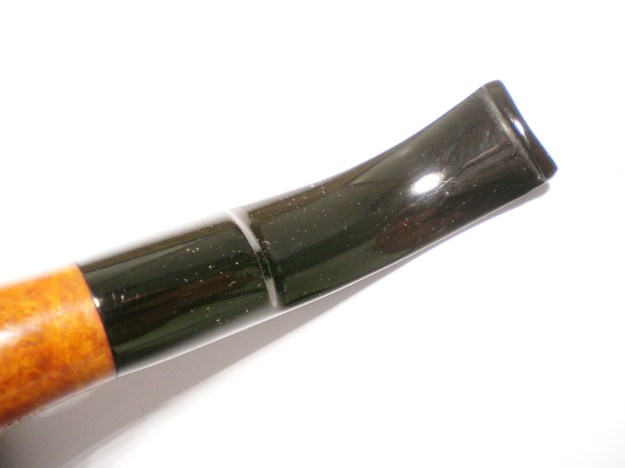
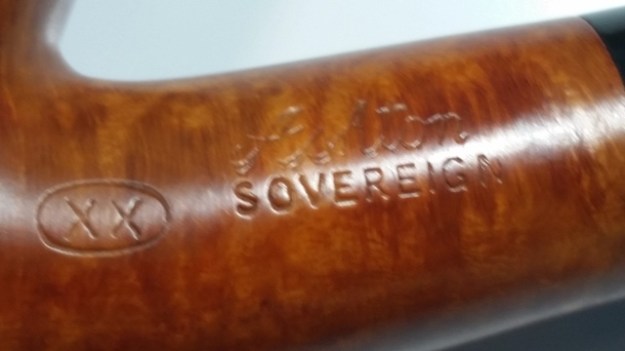
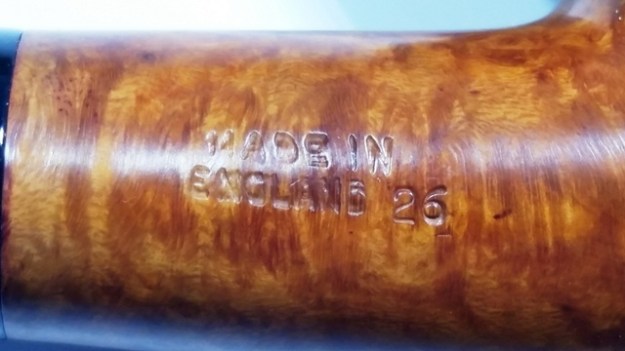

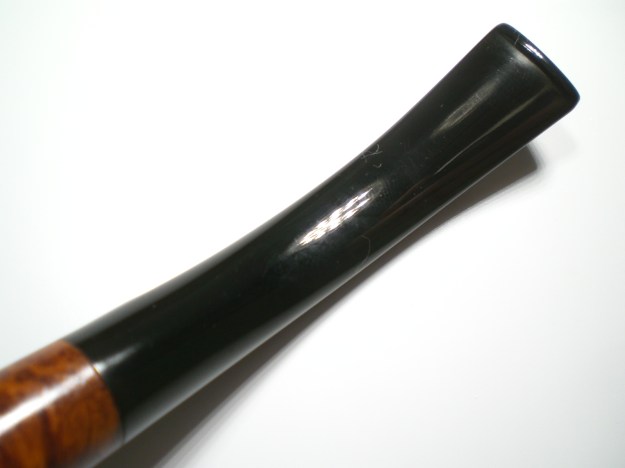
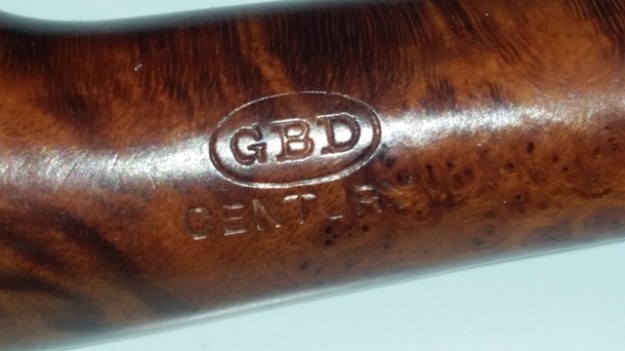
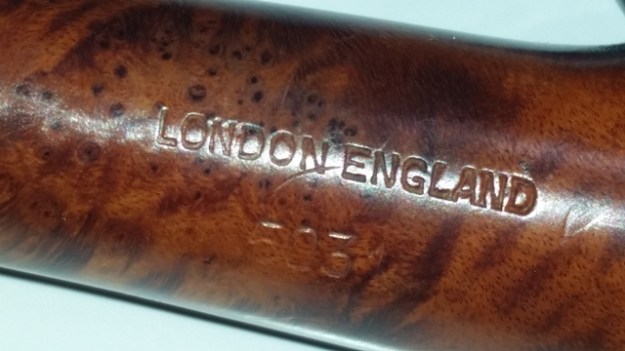
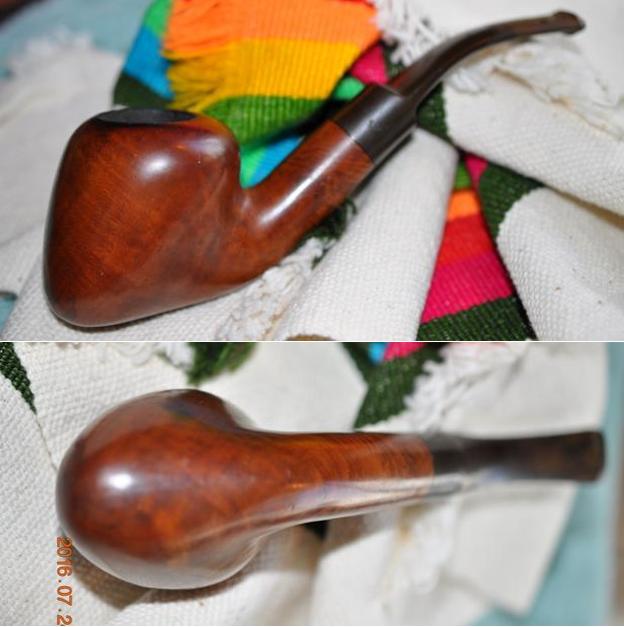
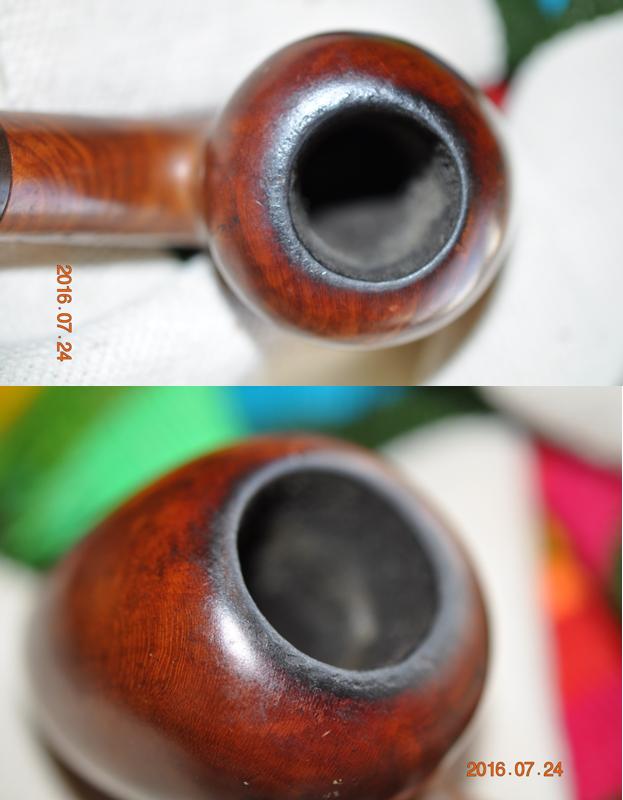
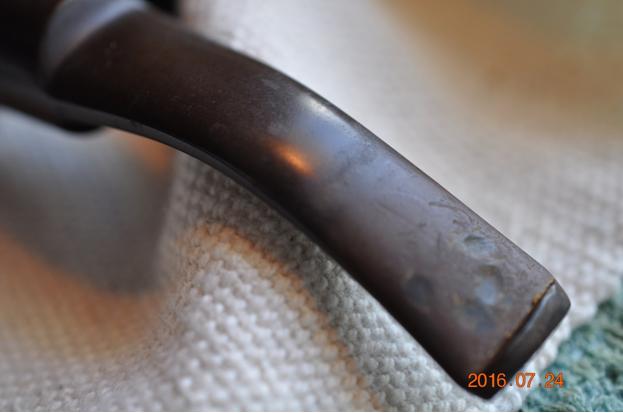
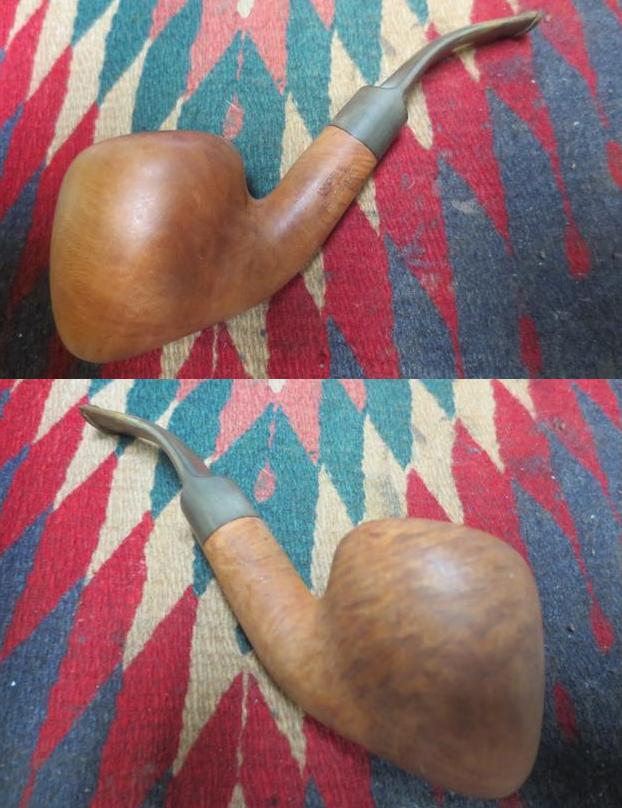
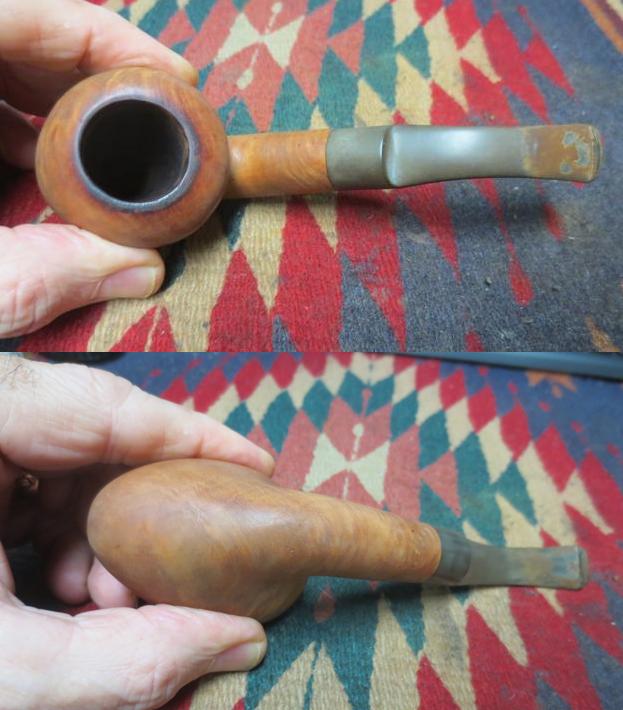

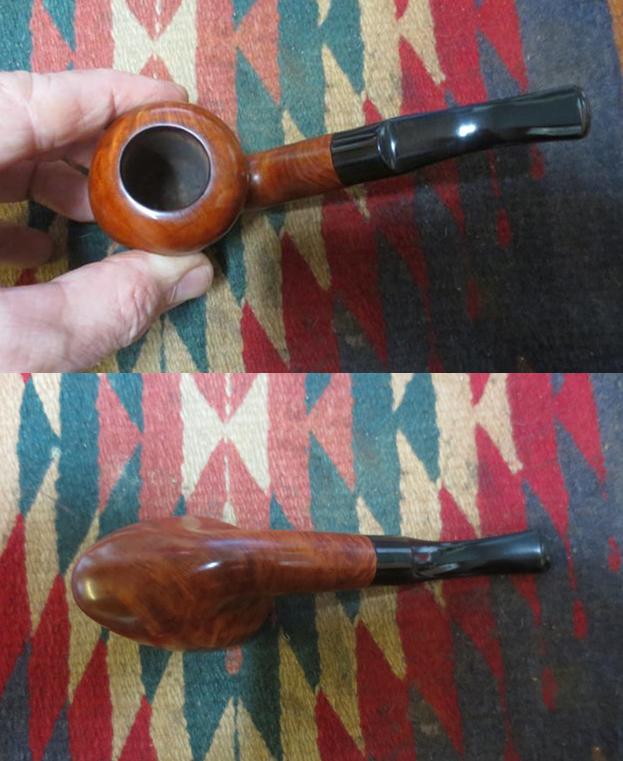
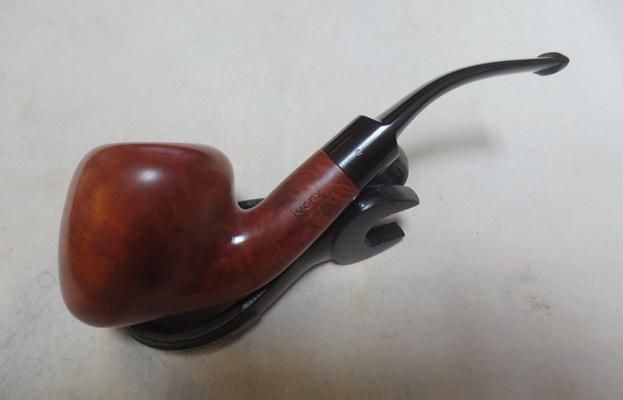
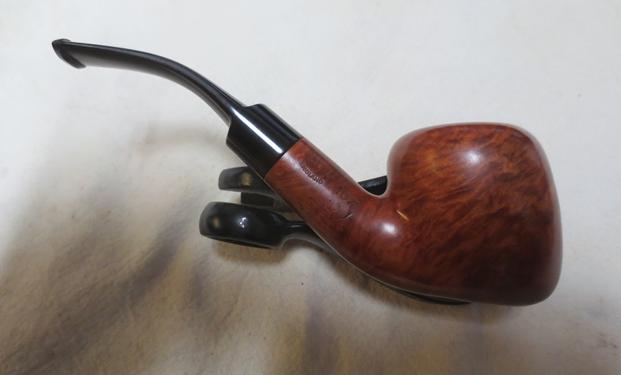
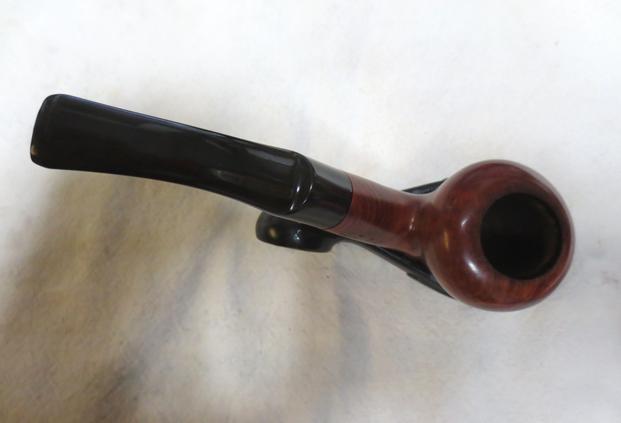

 e 1960s and 1970s caught the great English pipe house of Dunhill unprepared. Dunhill was unable to produce the new Freehand shapes in-house, so if the firm was to capitalize on the surging demand for Danish pipes, it would have to look elsewhere. The answer came in the form of a contract with the Preben Holm factory for the production of what became the Harcourt brand of pipes, destined for distribution through Dunhill’s network of principal pipe dealers.