Category Archives: Pipe Refurbishing Essays

Essays and pictorial essays on the art of refurbishing

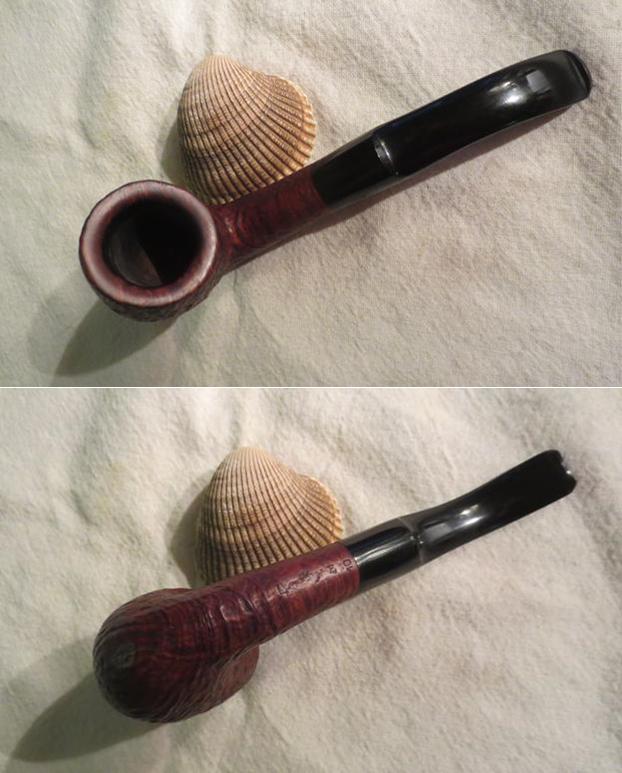
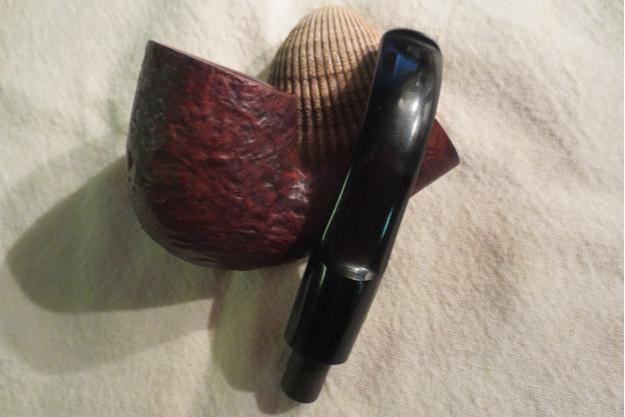
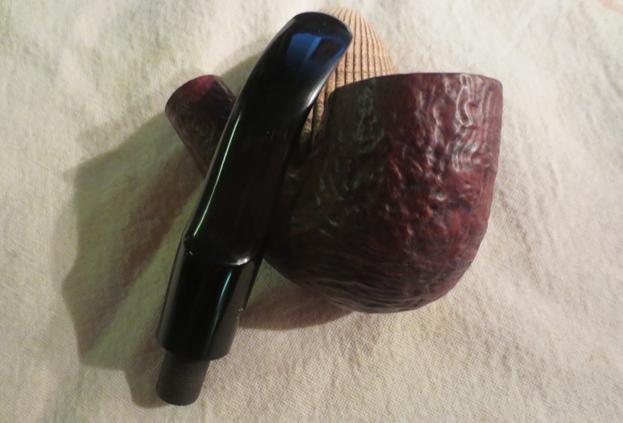
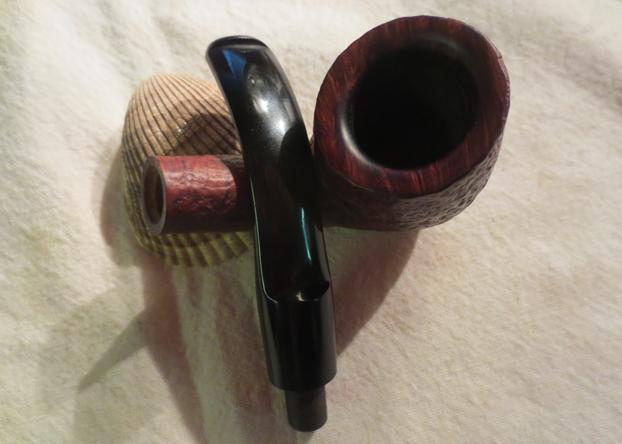
Getting Lazy – A Simple Restore on a Loewe Cutlass 10


Blog by Steve Laug

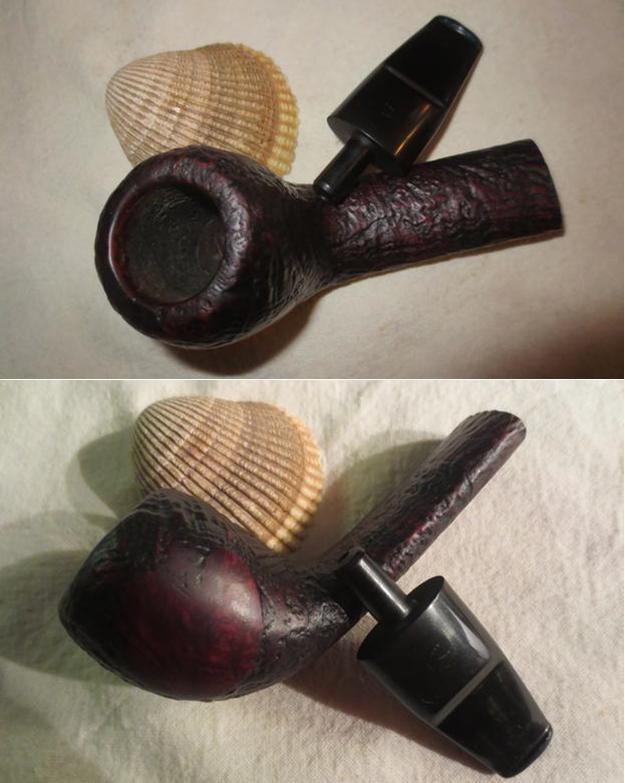
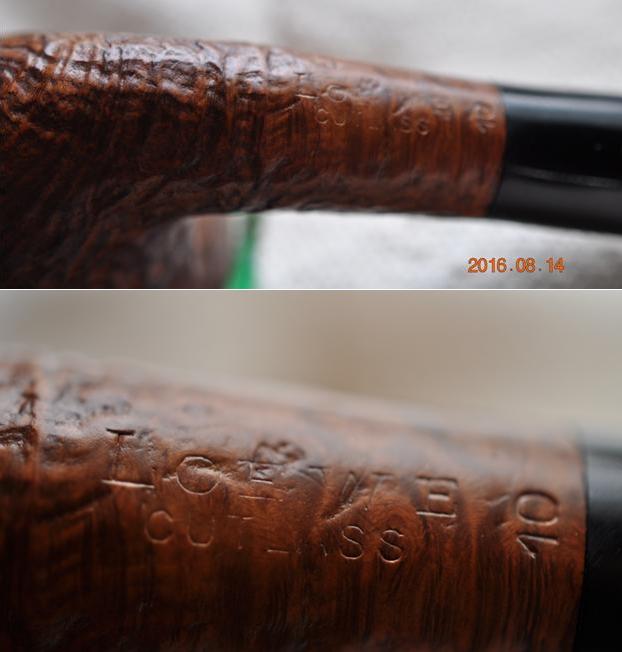
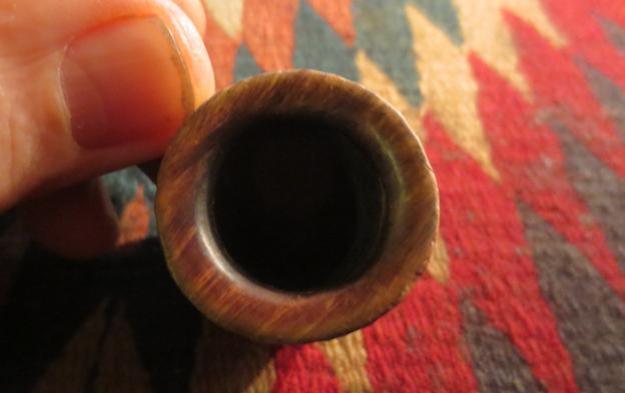
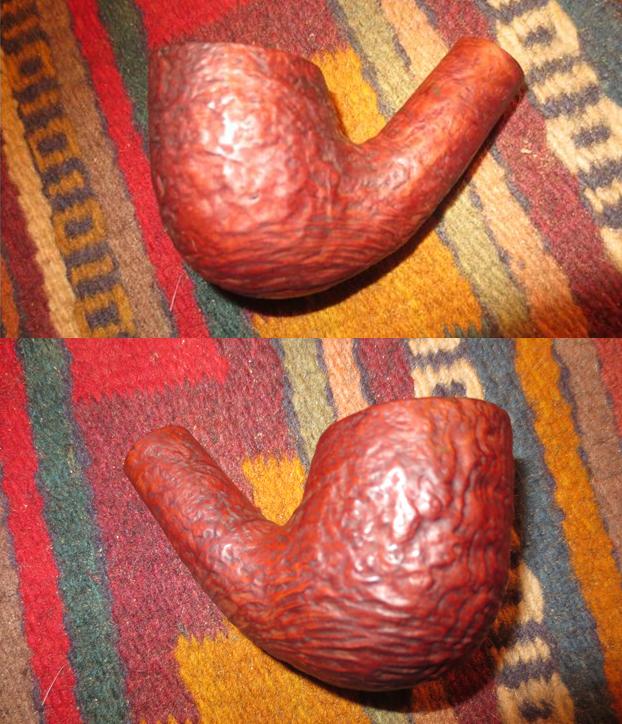
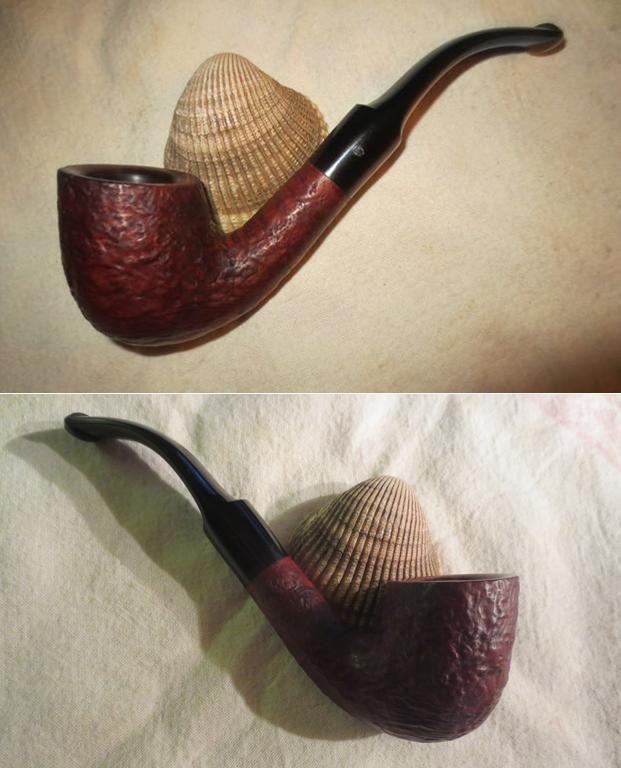
The last three or four pipes I have taken out of the refurbishing box have been very simple restorations. My brother sent me this Loewe’s pipe that is stamped Loewe over Cutlass on the underside of the shank with the shape number 10 at the shank stem union. In the photos he sent me it appeared to be in pretty decent shape. The finish looked dirty and murky but otherwise good. The rim had some tars and overflow from the cake in the bowl but not too bad. There were some nicks and dings in the rim but none too deep. The stem was virtually flawless with no tooth chatter or tooth marks. The boxed L logo on the stem was worn and almost illegible but with a lens it is clear.loewe1While I have heard of and enjoyed quite a few older Loewe’s pipes the shape of this one and the name were not familiar to me. Even the shape number was not recognizable. I looked on the pipephil site to see if I could find any information on this particular iteration of the brand and found what I was looking for. There on his site (http://www.pipephil.eu/logos/en/logo-l5.html) I found a pipe with the same stamping but a different number. The one in my hands does not have a COM stamploewe2 so I do not know where it was made. I have included the photo of the stamping and the stem logo to the left from that site as it is parallel to the one I have. I have also included some information from the listing there.
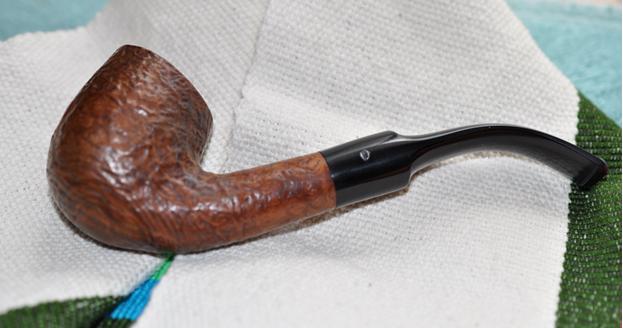
The brand was founded 1856 by Emil Loewe and was first bought out by Civic. Eventually the brand became part of Cadogan Group along with BBB, Civic, Comoy, GBD, Loewe and Orlik in about 1979. Judging from the age and the stamping on this pipe I would surmise that it was made after that merger and is a Cadogan pipe.

I also did some reading on the history of the brand on Pipedia and include a short excerpt here that is pertinent to the age and stamping on this pipe: https://pipedia.org/wiki/Loewe_%26_Co.#Bottom_of_shank: “By studying the website of one UK dealer I was able to deduce that the present shape numbers (early 2003) mostly (probably all) differ from those used from 1967. For example, a Billiard is now a 28, a Lovat an 834, a Canadian a 296. Some shape numbers now have 4 digits. But even today, Cadogan will occasionally still stamp a pipe with a shape name instead of a number, though only on request.”

It looks to me that I am dealing with a pipe made around 2003 jusding from the change in shape numbers to a two digit numbering system at some level. Though there is a lot of uncertainty regarding the dating of Loewe pipes after the Cadogan buy out.

My brother took the first and the following photos of the pipe before he did the cleanup. What follows are a series of close up photos of the stamping, the rim and bowl and the sandblast look on the bottom of the bowl. In the bowl bottom photo you can see the dust and debris in the grooves of the blast.loewe3 loewe4 loewe5My brother cleaned out the internals – the mortise and the airways in the shank and stem with pipe cleaners and alcohol. He scrubbed the externals with a tooth brush and Murphy’s Oil Soap and was able to not only remove the grime from the finish but most of the finish also. When it arrived in Vancouver the pipe looked like virgin briar. The stem is acrylic so there was no oxidation on it. The next photos show the pipe when I brought it to my work table. The blast on the briar is quite shallow and shows mixed grain.loewe6 loewe7I took some close up photos of the rim and the stem to show their condition. My brother was able to remove the tars on the rim. There was some slight rim darkening on the inner edge but other than that it was clean. The scratches and dings were also raised. The photos of the stem show how clean it was as well when it arrived.loewe8 loewe9I sanded the inner edge of the rim with 220 grit sandpaper to smooth it out and remove the darkening and light burn marks. I also sanded it with 1500-2400 grit micromesh sanding pads to remove the scratch marks left behind from my sanding.loewe10I wiped the bowl down with acetone on a cotton pad to remove any remnants of the previous finish and the dust from sanding. I stained the bowl with a dark brown aniline stain cut 50/50 with isopropyl alcohol. I flamed it and repeated the process until the coverage on the bowl was even.loewe11I hand buffed the bowl and took the photos below to show what it looked like at this point in the process.loewe12 loewe13I gave the bowl and stem several coats of Conservator’s Wax and buffed it with a clean buffing pad to raise the shine. I hand buffed it with a microfibre cloth to deepen the shine. The finished pipe is shown in the photos below. This one will also soon be on the rebornpipes store. If you are interested in adding it to your rack let me know through email at slaug@uniserve.com or by message on Facebook or a comment here. Thanks for looking.loewe14 loewe15 loewe16 loewe17 loewe18 loewe19
Another Easy Restoration – a GBD Seventy Six 255 Canadian


Blog by Steve Laug

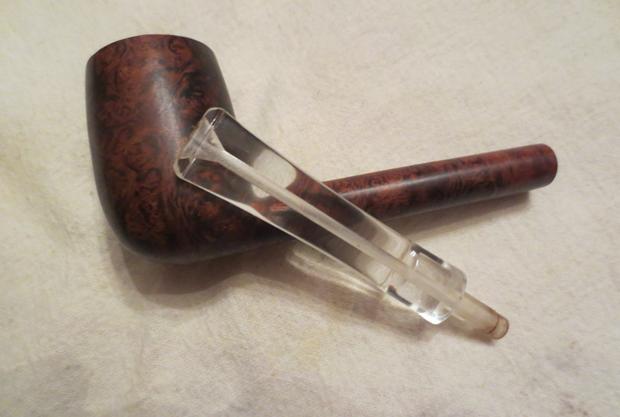
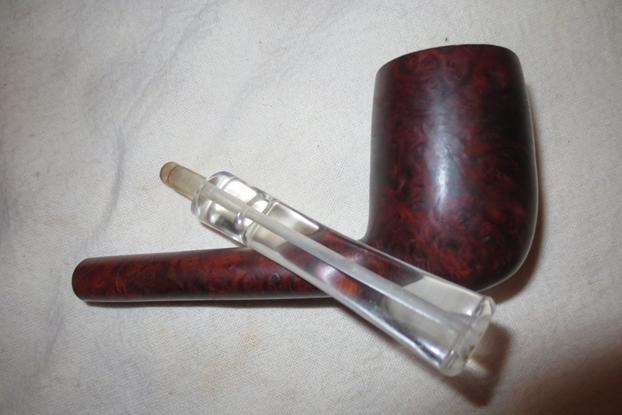
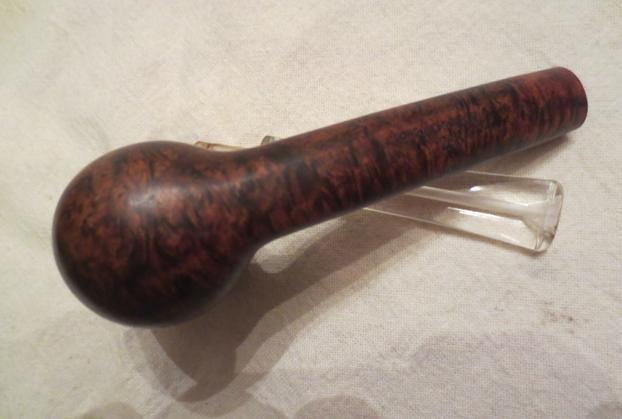
When I opened the box of pipes from my brother there was a long shanked clear stem pipe that stood out to me. The stem was in perfect condition, with no tooth chatter or marks and was very clean. In fact, the stem was probably a replacement made of Lucite. Looking at the classic shape and the grain on it I was pretty sure it was a GBD but had not even looked at it. When I got around to examining the pipe I saw that it was stamped on the top of the shank with GBD in the oval logo over Seventy Six in script. On the underside of the shank it is stamped Made in England over the shape number 255 which when I looked it up was a GBD number for a Canadian with an oval taper stem. Finding out that pretty well sealed the fact that the stem is a replacement. It is an oval shaped saddle stem.gbd1I remembered reading about the Seventy Six line before but had to look it up again. From what I found with a simple search I could see that the pipe was introduced by GBD in1976 in honor of the American Bi-Centennial. According to what I read the pipe was released as a polished dark brown “take off” finish. The best I can understand is that the dark brown was removed leaving it in the dark grain and birdseye of the pipe.

So my memory was nudged and I remembered that Al Jones (Upshallfan) had written about his repair of a classic GBD Seventy Six and given information on the brand in this link: https://rebornpipes.com/2013/06/17/gbd-oval-shank-pot-seventy-six-restoration/ I quote: “In 1976 GBD introduced a series called the “Seventy-Six” to commemorate the United States Bicentennial.  I was a Sophomore in high school during 1976 and the year-long celebration had a big impact on me.  The Seventy-Six model remained in the GBD catalog until 1981.”

He also quotes from the 1976 Catalogue: “The GBD “Seventy-Six” is our contribution to the Bicentennial celebrations.  We have really pushed out the boats for “the colonies” in launching this new series that will be remembered by its proud owner long after the celebrations are forgotten.”gbd2My brother took the above photos and the close up photos that follow before he did any clean up on the pipe. The first photos shows the condition of the bowl and the rim. There was a cake in the bowl and an overflow of lava on the rim. I did not know until the pipe arrived that the rim was beveled inward to the bowl. There appeared to be a lot of damage on the rim. The second and third photo show the stamping on the top and underside of the stem. It is clear and readable. The last photo shows the condition of the stem. There were no bite marks on the top and underside near the button. There was some light tars in the airway in the stem.gbd3 gbd4 gbd5My brother scrubbed the exterior of the pipe with Murphy’s Oil Soap to remove the wax and the buildup on the rim. It removed the oils and wax and left the pipe clean and natural briar. He cleaned out the airway in the shank and stem. He also cleaned out the mortise with alcohol, cotton swabs, pipe cleaners and alcohol. The photos below show the pipe when I received it. When I saw the rim it was then that I knew that it was beveled inward. The briar on this pipe was truly stunning. There were no sandpits or flaws in the briar.gbd6 gbd7He was able to remove most of the lava on the rim and what had appeared to be burned areas was merely dirty. It would not take much to clean it up and make it shine.gbd8There was still some inner edge darkening and some damage on the inner edge. I used a folded piece of 220 grit sandpaper to clean up the darkening and the damage. The third photo shows the process of sanding the inside of the bowl with a piece of 220 grit sandpaper wrapped around the end of a Sharpie pen to smooth out the inside of the bowl. The fourth and final photo shows the interior of the bowl after it was sanded.gbd9 gbd10I decided not to stain the pipe but to leave it natural. I rubbed it down with a light coat of olive oil to bring life back to the briar. I liked the look of the pipe with the natural oil finish. I buffed the bowl with Blue Diamond on the buffing wheel to raise the shine. I gave the bowl and the stem several coats of carnauba wax and buffed it with a clean buffing pad to raise a shine. I hand buffed the pipe with a microfiber cloth to deepen the shine. The finished pipe is shown in the photos below.gbd11 gbd12 gbd13 gbd14 gbd15 gbd16 gbd17 gbd18

Restoring a Cracked Chacom 296 Canadian


I have a GBD panel that Charles used the same method to repair the cracked bowl. Mine had a lot of cracks and splits around the bowl and he pinned them/stitched them with the brass pins. I have been using for a long time now and there is no flex in the cracks.

Charles Lemon's avatar

I came across this Chacom 296 Canadian pipe at a local antique market, and though it was in rough shape, it had a few things going for it in my mind. First was the unique leather pipe case it came in that featured a snap closure just like Grandma’s change purse. The case is unmarked, so I don’t know if it is original to the pipe or was simply purchased to use with it. At any rate, its novelty caught my attention.

Releasing the pipe from its case, I could see that the pipe was a Canadian, one of my favourite pipe shapes. It had been a constant, though poorly maintained, companion to its previous owner. The rim was hidden under a thick crust of lava, the bowl was nearly choked off with cake, and the stem looked like it had been chewed on by a puppy instead of a…

View original post 1,553 more words

“Chinrester” Pipe stamped Screwball would be an interesting restoration project


Blog by Steve Laug

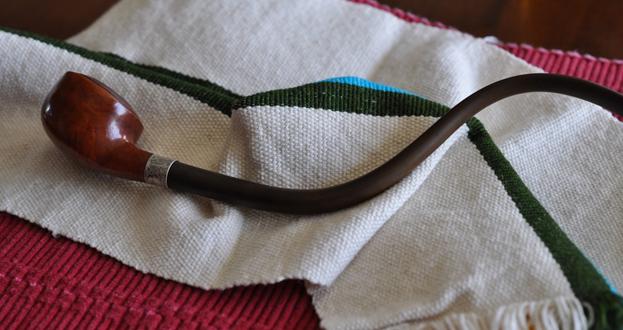
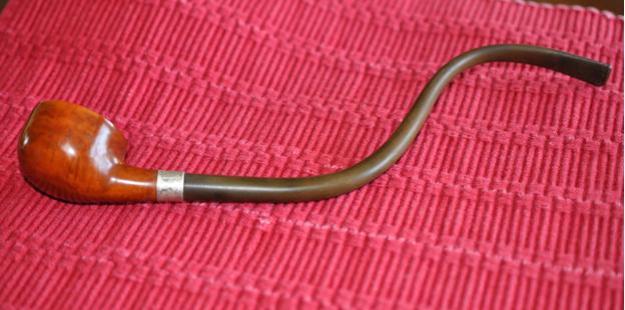
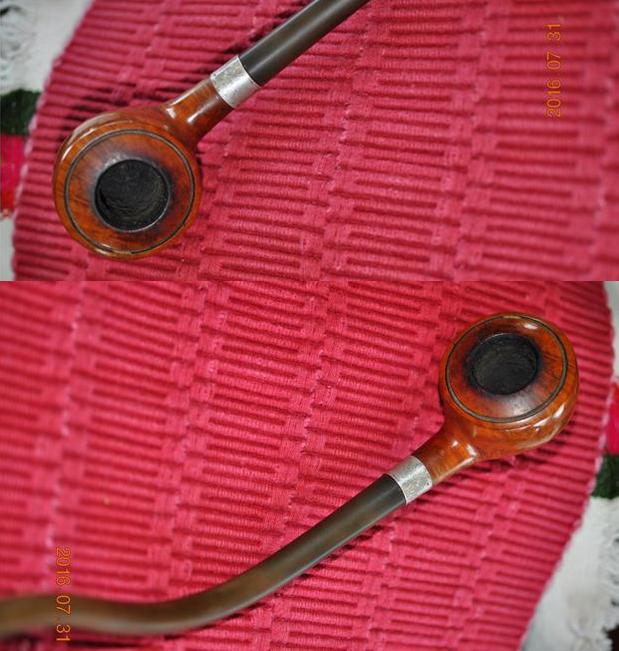
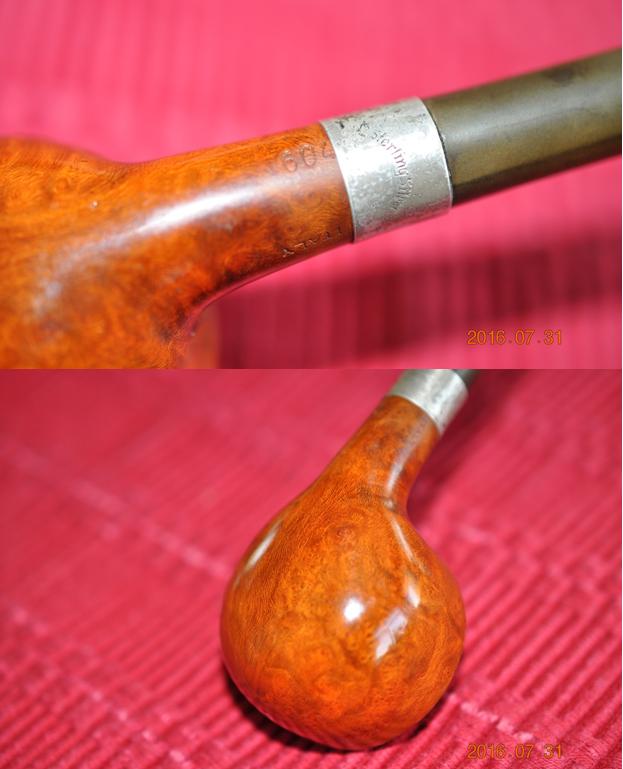
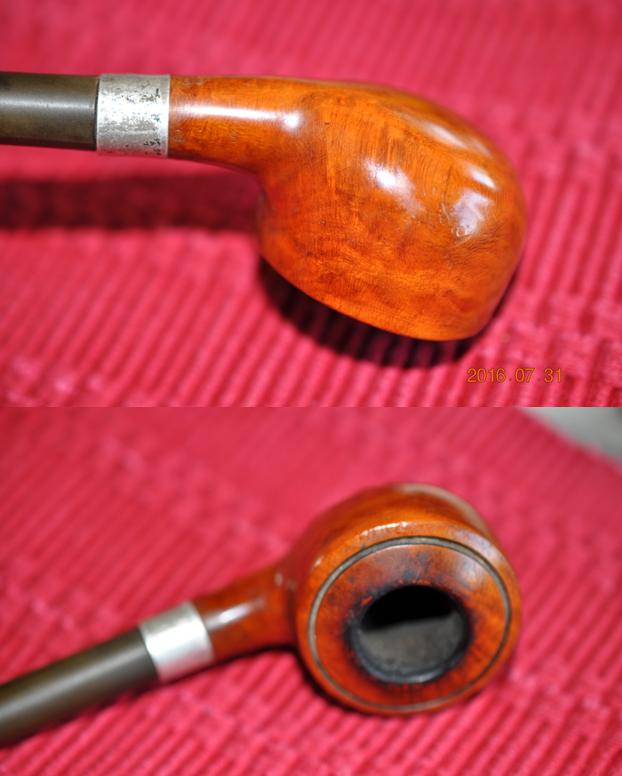
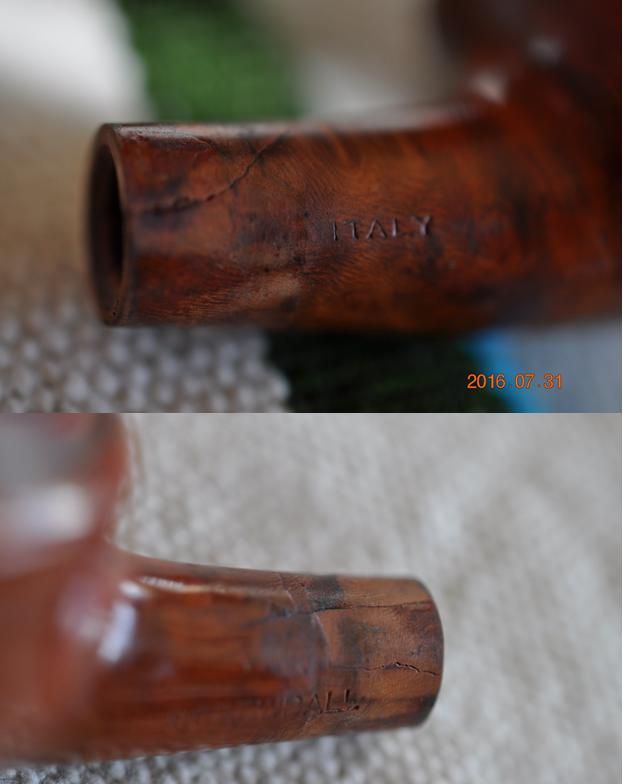
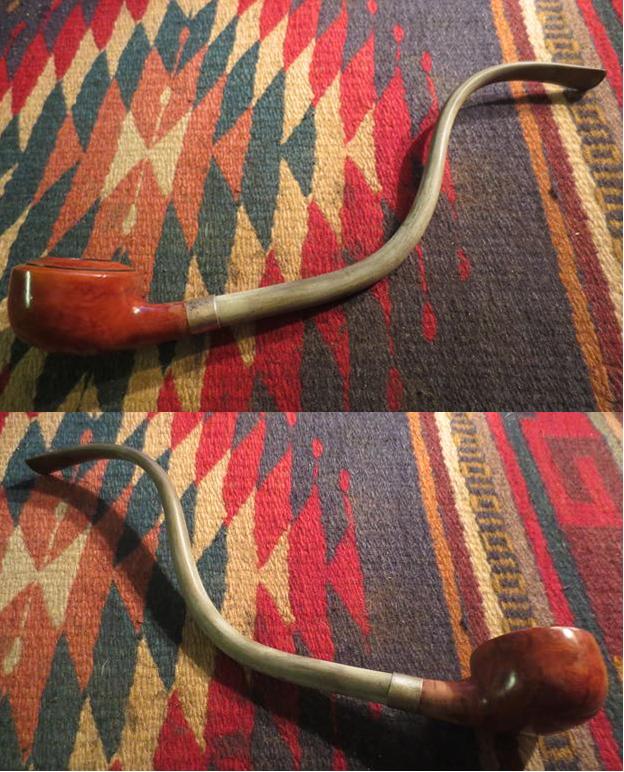
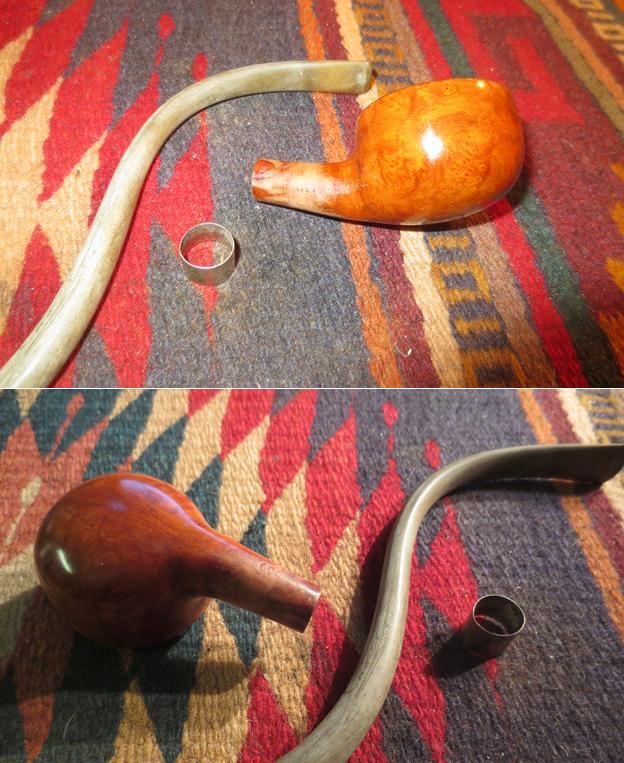
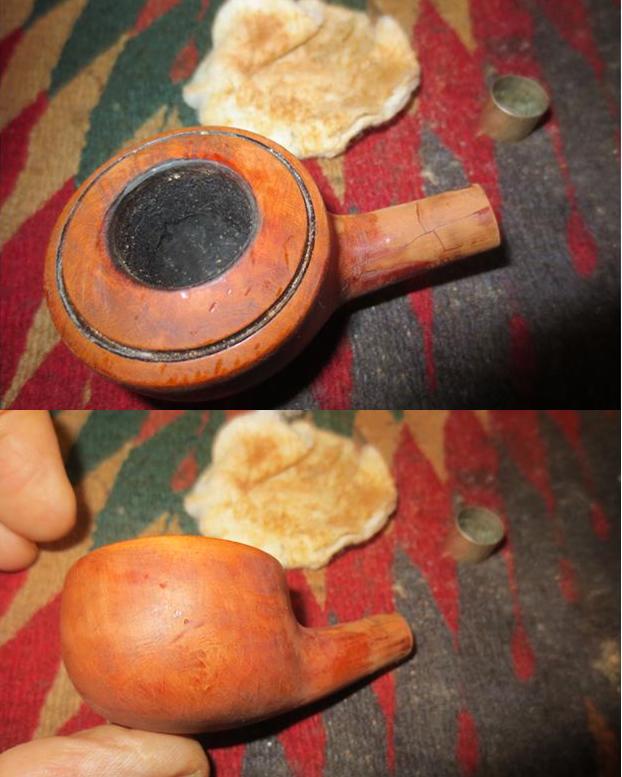
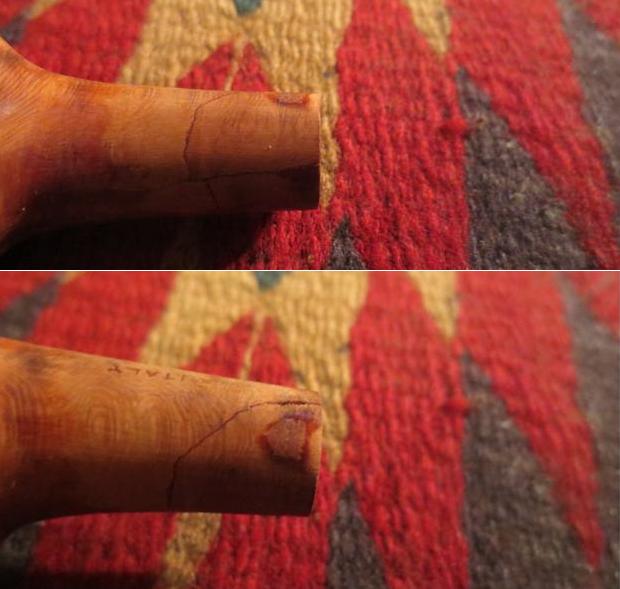
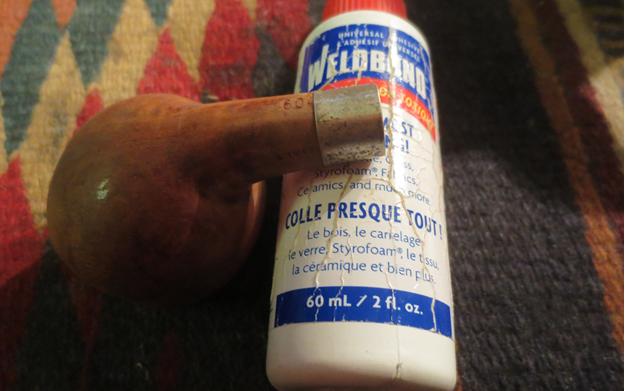
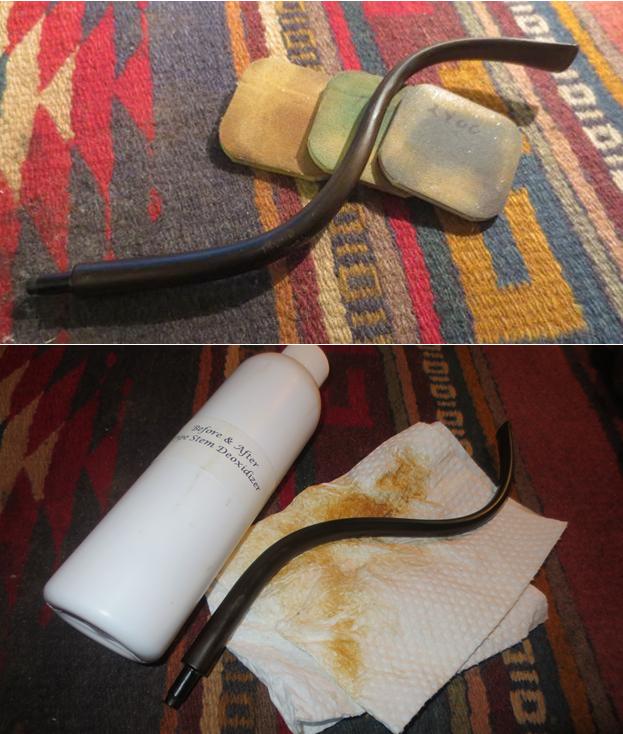
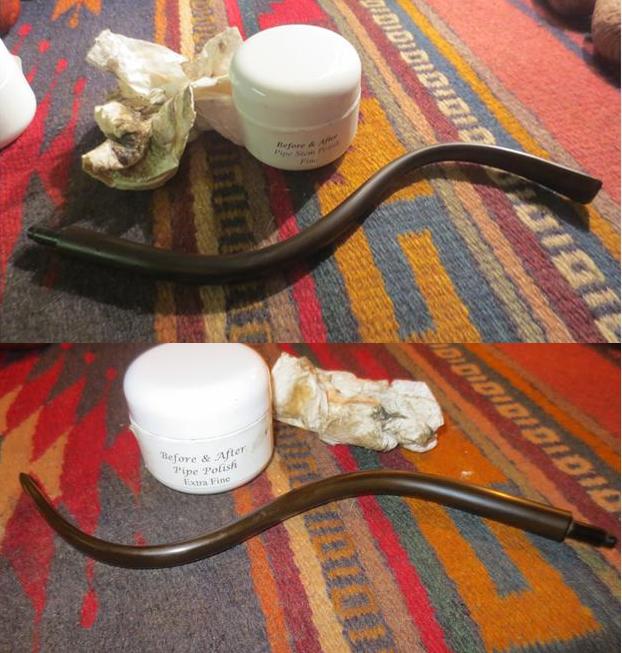
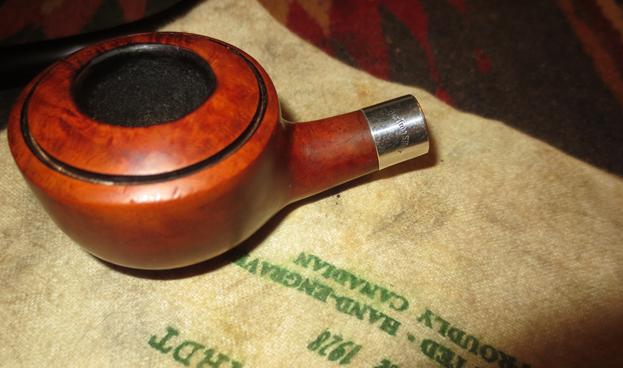
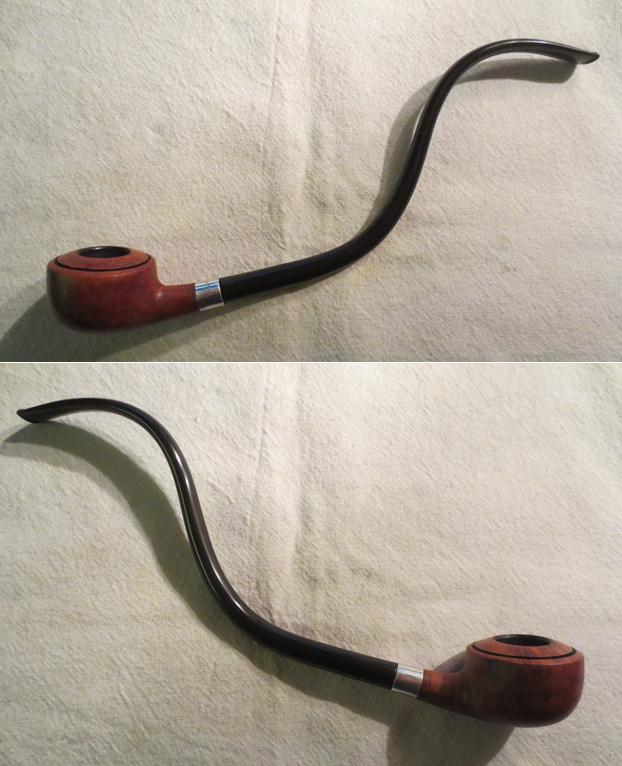
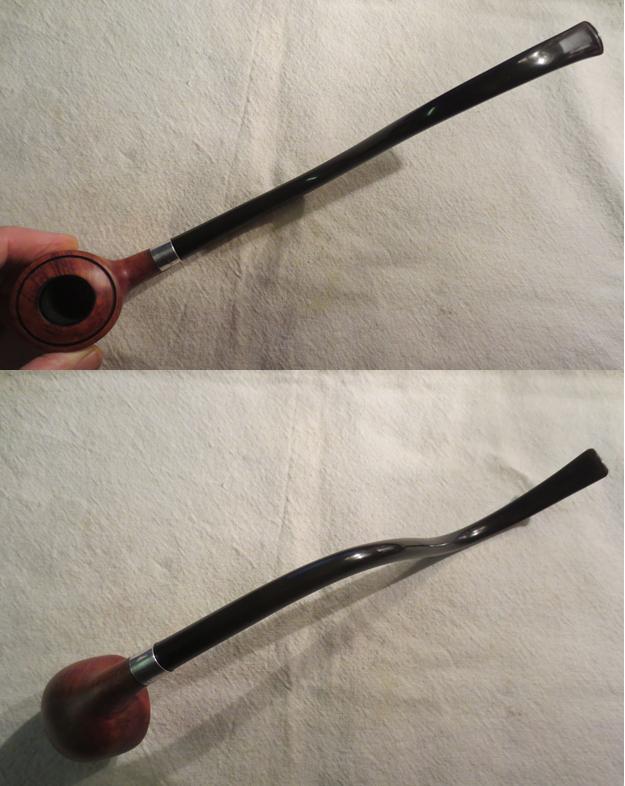
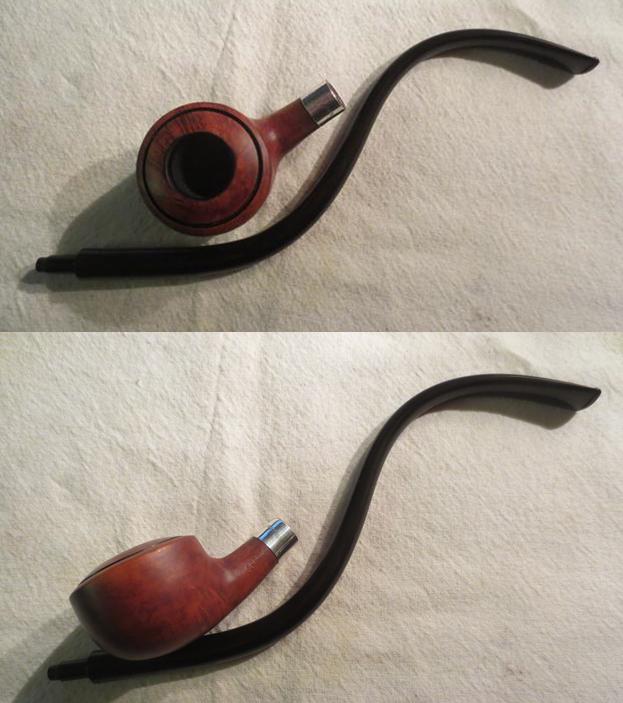
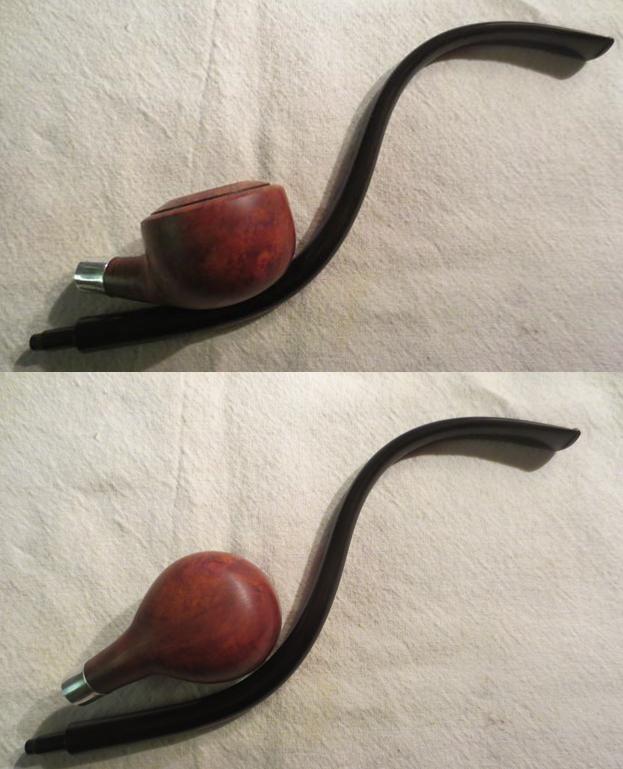
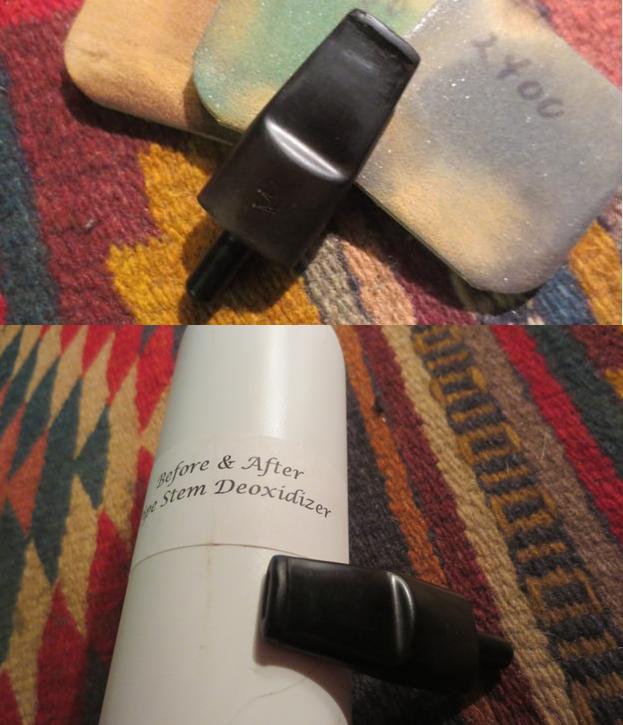
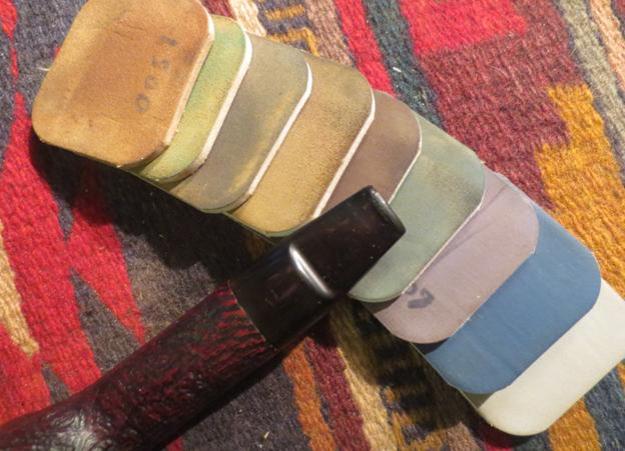
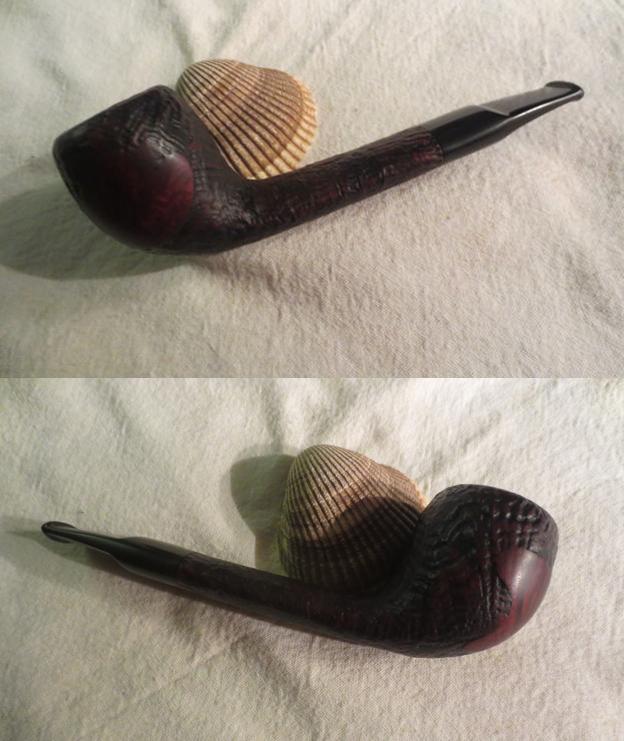
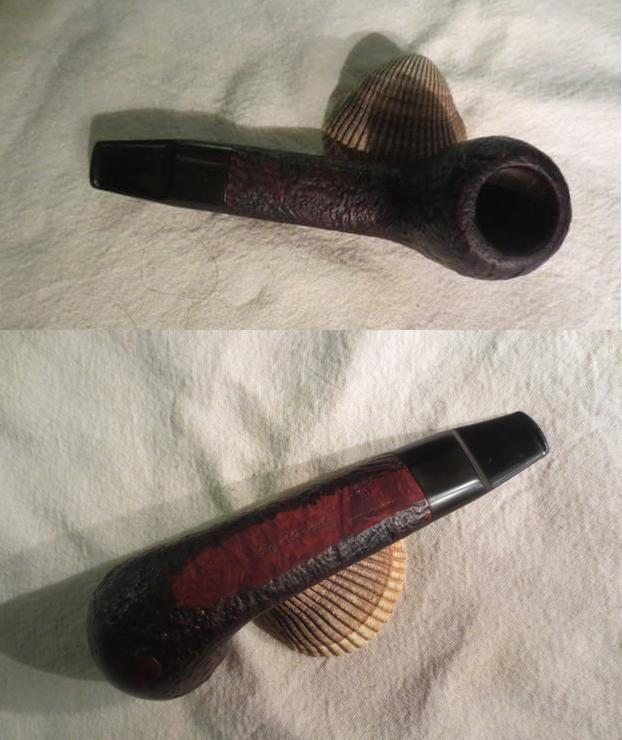
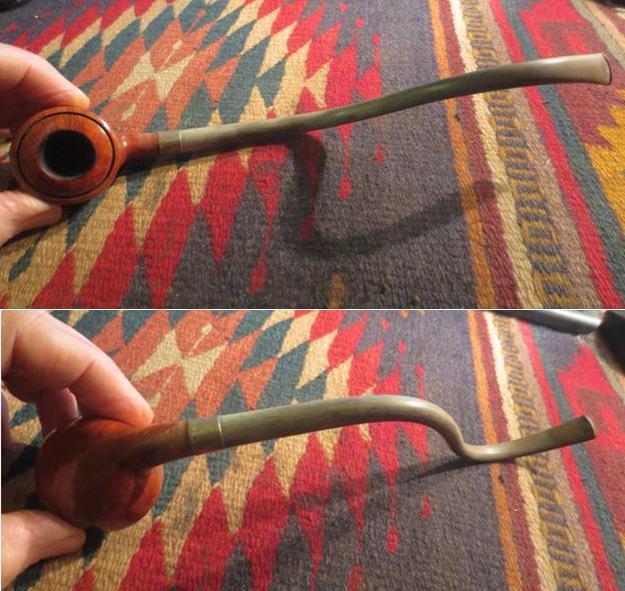
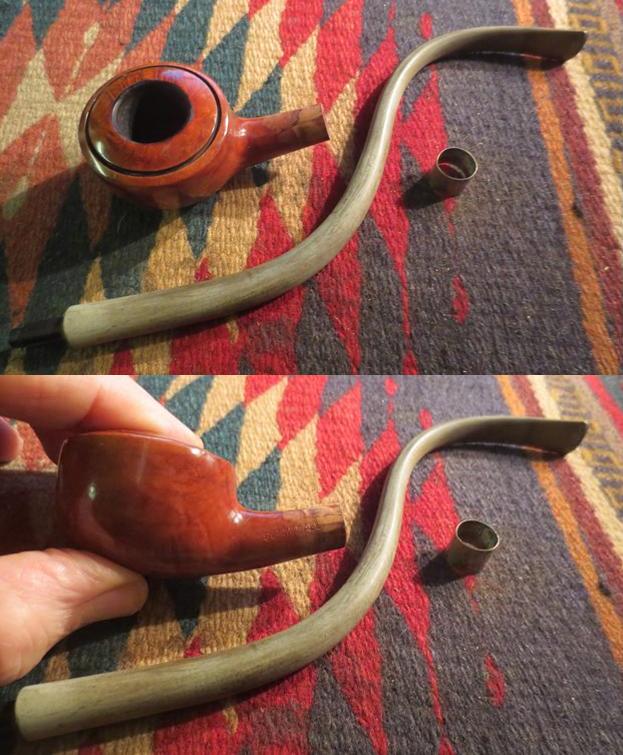
Over the years I have seen photos of the strangely shaped pipes with the long almost tortuously bent stems but I had never seen one close up. Then my brother sent me photos of one that he had picked up for me to restore. It was stamped Screwball on the left side of the shank and 6044 over Italy on the right side. It had a tarnished silver coloured band on the shank that covered what appeared to be a cracked shank. The finish had been sanded free of the area that was banded but the rest of the bowl was still covered with a shiny plastic coat finish that seemed impermeable. The stem was intact which was interesting as many of the ones I have seen were either twisted or bent or broken. The bowl was a unique shape as well. At a side glance it was a combination of a prince and pot but there was a ring around the top of the rim that divided the rim into two enclosed circles. It is a large pipe – 11 inches long, 1 ¼ tall, 1 ¾ inches diameter and a ¾ inch chamber diameter.chin1The stem was oxidized and slightly brown. The silver band was tarnished but the pipe still had a glossy shine in the photos he sent me.chin2The rim showed darkening and some lava over flow on the top of the bowl. There was a light cake in the bowl. The ring around the top was filled with grit and grime. chin3My brother took some close up photos of the pipe. The first of these shows the rim top and the cake and overflow on the rim. The second shows the stamping. The name of the pipe as it appears in the photo is SCREW. Underneath the band is the second half of the name BALL.chin4The next two photos show the stamping on the shank and the imprint of Sterling Silver on the band. They also show the grain peeking out of the shiny topcoat on the underside of the bowl.chin5Here are a couple more shots of the bowl – you can see that the shiny coat has some scrapes in the surface and the almost painted on look that makes me wonder if it is not a later coat of varathane.chin6When my brother received the pipe the band was loose so he slid it off the shank and revealed not only the complete stamping on the pipe but a large cracked area that had been repaired. The cracked area looks like a large chunk of briar had broken free. It had been glued in place and then a band slid over the repair. The glue had dried and long since let the band fall loose.chin7 chin8My brother did the clean up and took off the rim burn on the top and scrubbed the exterior with Murphy’s Oil Soap and the interior with pipe cleaners, cotton swabs and alcohol. When I received the oxidation on the stem was on the surface and the pipe was ready to restore. I have to be honest with you all it was not a restoration that I was looking forward to. The long and curved stem just spelled trouble to me. Trying to run pipe cleaners through it and also polishing and cleaning the oxidation seemed a daunting task. But finally I brought it to the table. Here are some photos of the pipe before I started.chin10 chin11I took the pipe apart and took photos of the parts. With the band removed you can see where the repair person had sanded the shank and done the crack repair before banding the shank.chin12 chin13Trying to scrub off the shiny topcoat with acetone was next to useless. The only place it came off was in the area that had already been sanded. I lightly sanded the bowl with 220 grit sandpaper to break up the surface of the shiny coat. Once that was done I was able to scrub it off with acetone quite easily. In the next photos you can see the repaired crack. It was quite large.chin14 chin15I took photos of the repaired crack to show the extent of it. The band fortunately covered the entire cracked area so it provided stability to the glued crack. Unfortunately it also covered up half of the stamping on the left side of the shank.chin16I used some Weldbond white all-purpose glue to glue the band in place on the shank. I applied it with the tip of the bottle and spread it around with my finger tip to get good coverage. I pressed the band in place on the shank.chin17While the band repair was drying I worked on the stem. I broke up the oxidation on the surface by wet sanding with 1500-2400 grit micromesh sanding pads. I wiped the stem down with a damp cloth. I scrubbed the stem with Before & After Pipe Stem Deoxidizer and was able to remove more of the oxidation. This was a labour intensive effort and took a lot of scrubbing with the solution and paper towels. When there was no more brown coming off the stem I scrubbed it with Before & After Pipe Polish – both Fine and Extra Fine to further address the oxidation.chin18 chin19You can see from the above photos that much of the oxidation had been removed but under a bright light such as the camera flash the oxidation still showed. At this point I had a decision to make – either scrub the stem with more of the deoxidizer or use my tried and true method of micromesh sanding pads. I chose to use the pads. I wet sanded it again with 1500-2400 grit pads and rubbed it down with Obsidian Oil. I dry sanded it with 3200-12000 grit pads and gave it a coat of Obsidian Oil after each set of three pads. After the final set and another coat of oil I set the stem aside to dry.chin20 chin21 chin22While the stem dried I sanded the bowl with the micromesh sanding pads to polish the briar. I had decided not to stain the bowl but leave it natural with a light oil finish and a good buffing. I cleaned off the tarnish on the band with a jeweler’s cloth and polished it to a shine.chin23 chin24With the bowl and stem both hand polished I took the pipe to the buffer and buffed it with Blue Diamond on the wheel. I was able to raise more of a shine with the buffing on both the bowl and stem. Buffing the stem was a real interesting challenge – lots of twisting and turning to get the entire stem buffed. At one point I removed it from the bowl to make it easier to maneuver on the wheel. I gave the bowl and stem several coats of carnauba wax to protect it and buffed it with a clean buffing pad. I finished by hand buffing it with a microfibre cloth. It turned out pretty decent considering where it started. I don’t know if I would call it a chinrester or a shoulder rester as it is a big pipe. I do know that the original design to make it easier on the teeth of the pipeman may not apply here. In the original design the stem rested against the chin of the smoker. In this design unless the smoker has a jutting jaw there is no way that it can rest against the chin. Anyway, the finished pipe is shown in the photos below. Thanks for looking.chin25 chin26 chin27 chin28

Space Age Technology for a Better Smoke?


Blog by Aaron Henson

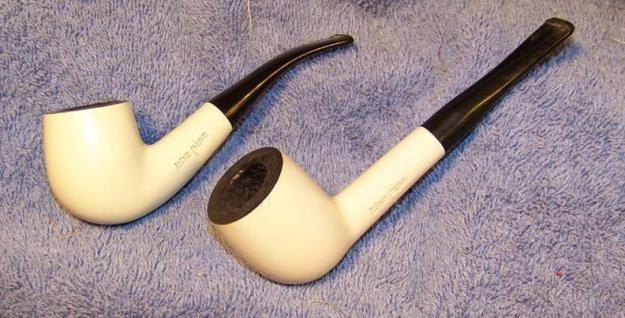
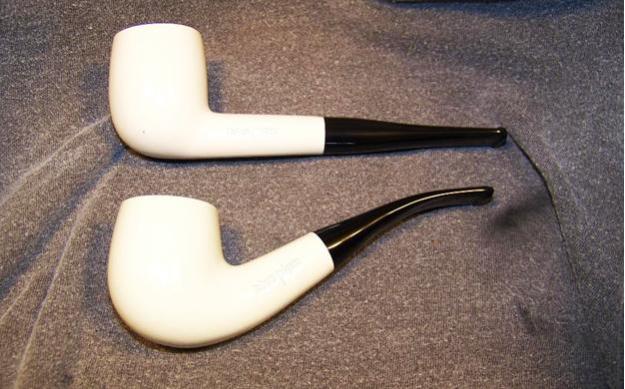
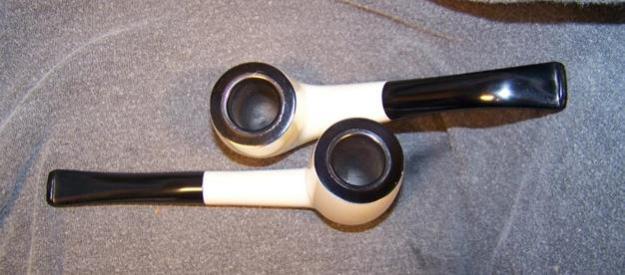
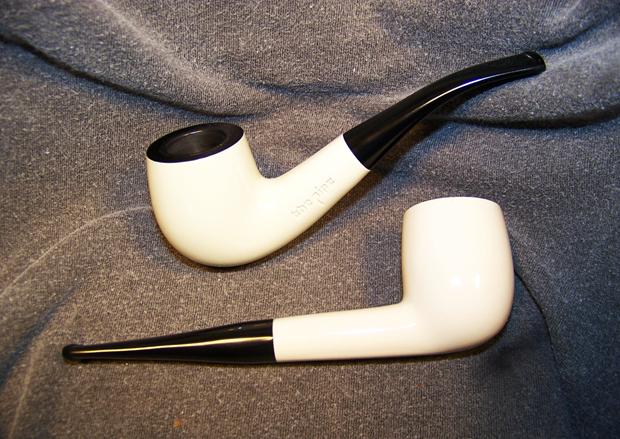
There is a small antique store located along highway 195 in Eastern Washington that I have driven past many times on my way to job sites or family functions but never had the opportunity to stop. This past week I had little spare time on my way home and took the opportunity to stop in.  Sitting on a table by the door were the only two pipes in the shop: a matching pair of white billiards – one bent and one straight – both in good exterior condition.  Both pipes, and the stand they were on, came as a set and the price was such that I could not pass them up – I would have paid list price for just the stand.  I knew nothing about the name stamped on the shank– the pipe – but I thought I would take the chance…. What could go wrong?

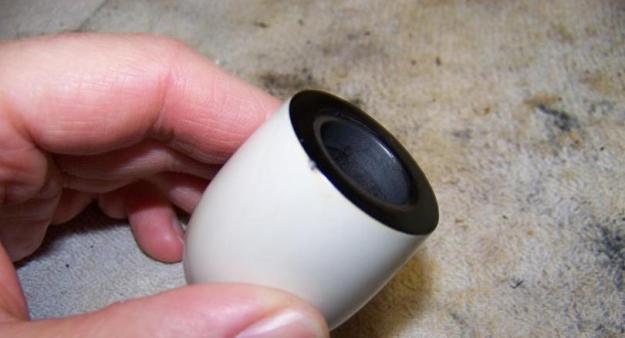
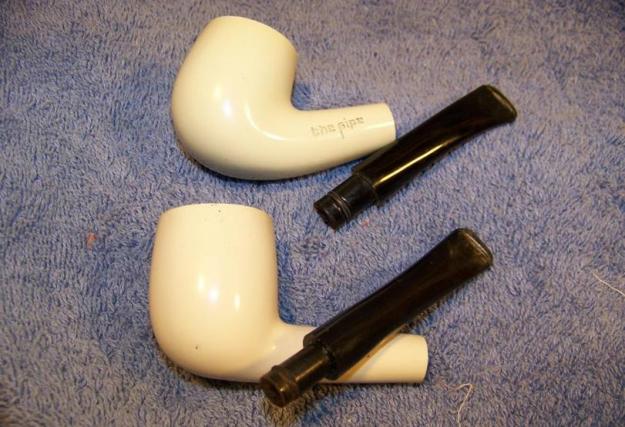
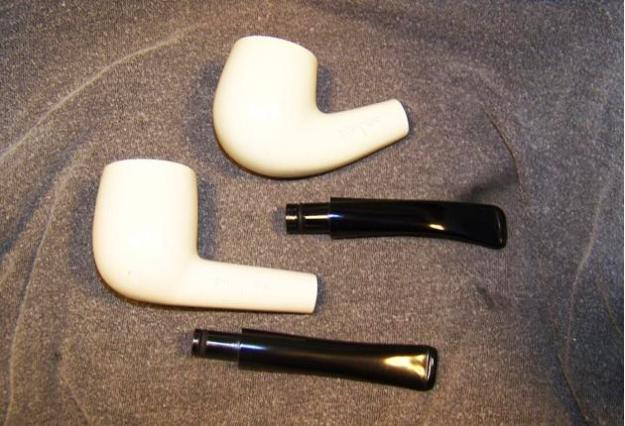
Once home, I was able to do a more thorough review of their condition.  Both pipes were in about the same condition, the rims were covered with a heavy crust of lava and the bowls had a nice thick cake built up on the sides.  And they both had a strong smell of aromatic tobacco.  The outside of the both bowls were in very good condition considering the painted finish; no worn spots, dents or discolorations.  The straight billiard has a very small chip in the rim and had two pin-point sized flaws in the paint but the paint on the bent was flawless.aaron1 aaron2 aaron3The stems are nylon and had some tooth dents around the button.  The dents were deep but not to the point of needing filled.  Both airways were clear, but were restricted with a thick layer of tar.  Removing the stem revealed an o-ring set in a groove in the tenon.  Looking into the shank I saw no briar only plastic. aaron4Even more intrigued now, I searched for the pipe on-line and I found the following on Pipedia:

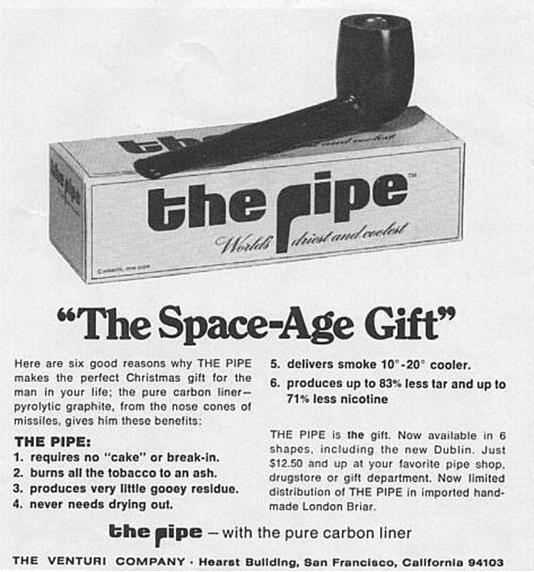
In 1963, Super-Temp Corporation began making plastic pipes with pyrolytic graphite bowl liners. They were called the pipe. In 1965, Super-Temp contracted to market their unique pipes through Venturi, Inc., the company which sold Tar Gard cigarette filters. Colors and stripes began to be offered circa 1967. About 1970, THE SMOKE pipes were added to the line – they were non-traditional shapes with a less expensive bowl liner. Venturi pipes were added around 1972 – they had no liner in the bowls at all. The pipes were out of production by 1975.

Plastic pipes?  Pyrolytic graphite bowl liners?  Granted, I missed out on the 1960’s, but I did get to live through the aftermath and I remember the cultural fascination with space-age materials as they tried to find a place in our daily lives… but I had no idea they made space-age pipes.  An ad in the December 1967 issue of Esquire, captures this fascination. aaron5I felt that I needed to do a little more research and found that the pipe has a small following of dedicated fans.  I eventually came across a web site authored by Billie W. Taylor II, PhD that is dedicated to the history and novelty of these pipes.  He has amassed what could easily be called the definitive work on the pipe: http://www.thepipe.info/sitemap.html

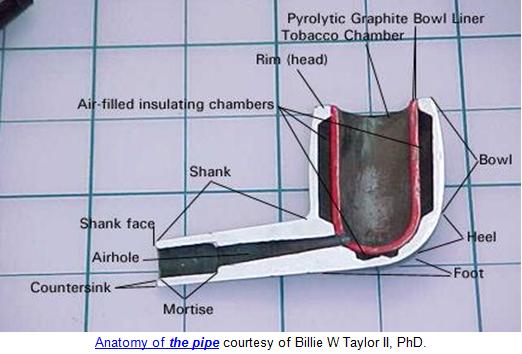
While there is no way I could (or would) share all the information in Dr. Taylor’s website, there are a couple of things I think worth sharing.  The first is the pipe’s unique anatomy.  The body is made of compression molded Bakelite stummel with a graphite bowl insert.  There is an insulating air gap between the bowl insert and the bowl body.aaron6Pyrolytic graphite has been manufactured since the 1950s and is used as heat shields in rockets and reactors, it being an excellent conductor of heat.  As the story goes, in 1963, a machinist at Super-Temp was machining graphite rods into cups to be used in the nuclear power industry.  Being an avid pipe smoker and seeing the cups were about the size of his pipe, he made one that fit into the bowl of his pipe.  Finding that is smoked well, he took the idea to his management and the pipe was born.

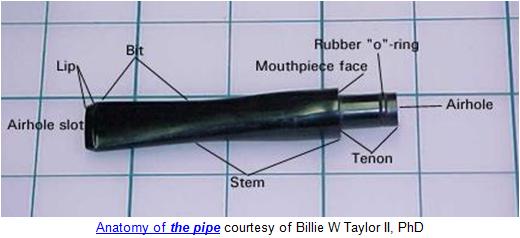
Early stems for the pipe were made of nylon while many stems made after the first year were made of Bakelite – addressing complaints that the nylon was too soft.  The tenon has an o-ring set in a groove to ensure a seal between stem and stummel.aaron7Although it was originally offered only in black, in 1967 the pipe came in nine different shapes and offered in standard red, green, blue and white.  The pre 1970’s pipes were coated with a two-part epoxy paint while those after 1970 used an acrylic paint. Additional colors and color schemes were offered throughout the life of the brand but some of the ‘unique’ colors were the result of fading of the acrylic paint.

Other than stem material, I did not have much to go on to date these two pipes.  But because both stems are nylon I will estimate that they were early runs and date to the mid-1960’s.

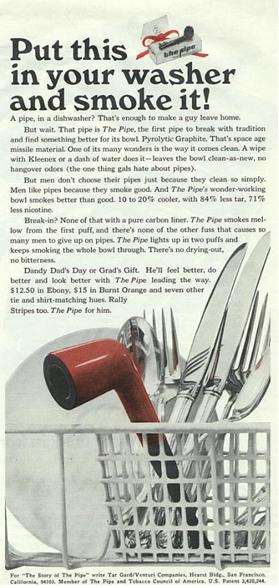
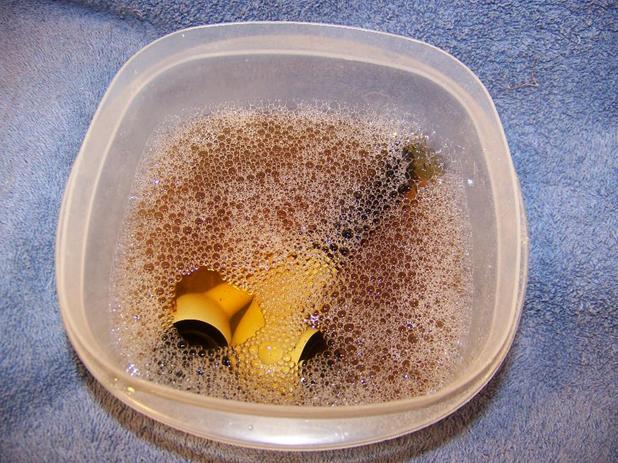
After what I read, I assumed that the typical briar pipe restoration techniques would apply.  I was worried about damaging the graphite liner and not sure what chemicals might do to it.  I also assumed that the bowls should not be scraped or sanded.  Since both of the pipes I had bought had nylon stems, using alcohol on them was out.  I kept researching and found a 1969 magazine ad that gave me an idea:aaron8Putting the pipes in my wife’s dishwasher was out of the question… I didn’t even ask!  Additional reading through thepipe.info website I found a cleaning guide that began with a soak in warm water with a small amount of mild dish soap.  This began to loosen the hardened tars and lava.aaron9

I used the paper stick of a cotton swab, cut at an angle, to remove much of the buildup in the corners of the mortise and the airway. The remainder of the buildup required half a dozen soaks in soapy water and a lot of cotton swabs and pipe cleaners.  I finally got the internals cleaned and in the end I didn’t use anything more abrasive than a paper towel.aaron10The shank still had the ghosts of the old tobacco.  So I went back with an alcohol soaked cotton swab and wiped down the inside of the shank again.  Surprise, surprise, it came out dirty.  Nothing seems to cut though the old tobacco oils and residue like alcohol.

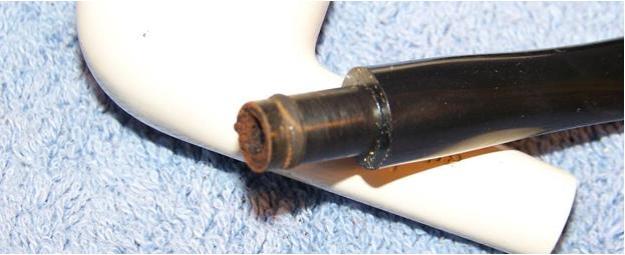
I also soaked the stems in warm soapy water.  Using a small nylon bottle brush I was able to soak and scrub repeatedly until the bulk of the crud was removed.  I continued on with bristled pipe cleaners but even after the pipe cleaners came out clean I could still smell the old tobacco smell.  I could not figure out where it was coming from until I removed the o-rings.  I didn’t think about this at right away, but of course there was a lot of build-up in the grooves.aaron11To raise the tooth dents, I placed the stems in some near boiling water.  I have tried to use direct flame or a heat gun in the past but have found them to be too hot and they melt the nylon.  The hot water did raise the dents some but it also straightened the stem of the bent pipe.  Another dip in hot water and molding the stem over a large diameter dowel restored the stem’s shape.  No pictures of this…. I am afraid that both hands were busy.

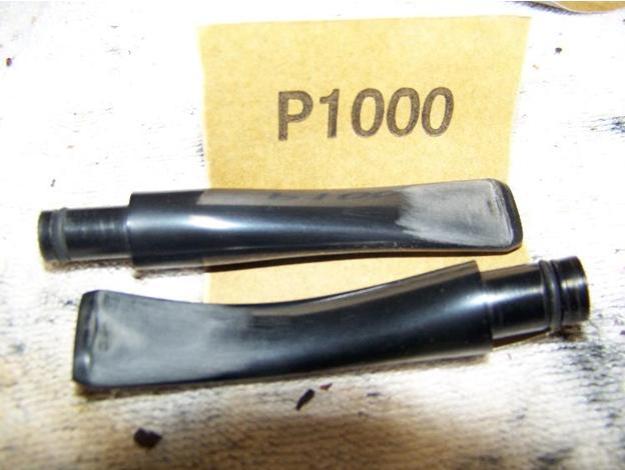
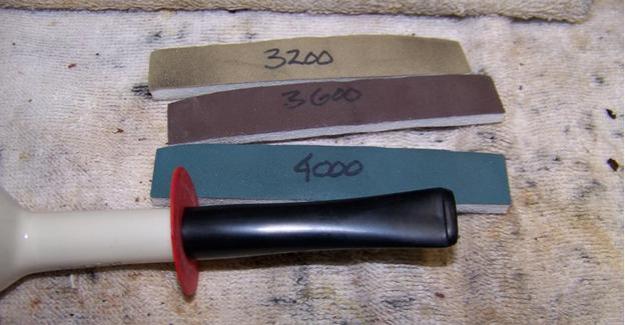
To completely remove the tooth marks I needed to sand them with 220 grit paper.  I removed the deeper scratches of the 220 grit with 500 grit and 1000 grit paper.  I finished up the stems by wet sanding with 1500 – 2400 micro mesh pads.   The nylon is soft and the scratches hard to remove.  Several times I had to drop back to a courser pad to remove a stubborn scratch.  I finished polishing with the 3200 – 12000 pads and a light amount of mineral oil. aaron12 aaron13 aaron14 aaron15I took the pipes to the buffing station and used red diamond on the stems only, – I didn’t want to risk damaging the paint with even a light abrasive.  Dr. Taylor’s website suggested auto wax as a finish but I opted for the more traditional three coats of carnauba wax over all.

The end of the pipe of occurred in about 1975 with complications of corporate business plans and a lack of following.  Estimates say that approximately three million units were sold during the ten year life of the pipe. My own inexpert opinion, nothing will ever truly compete with briar for a good smoke.aaron16 This is the best pictures I got of the graphite bowl liners.aaron17 aaron18 aaron19


A Worn Royal Danish 936 Wide Oval Shank Pipe given new life


Blog by Steve Laug

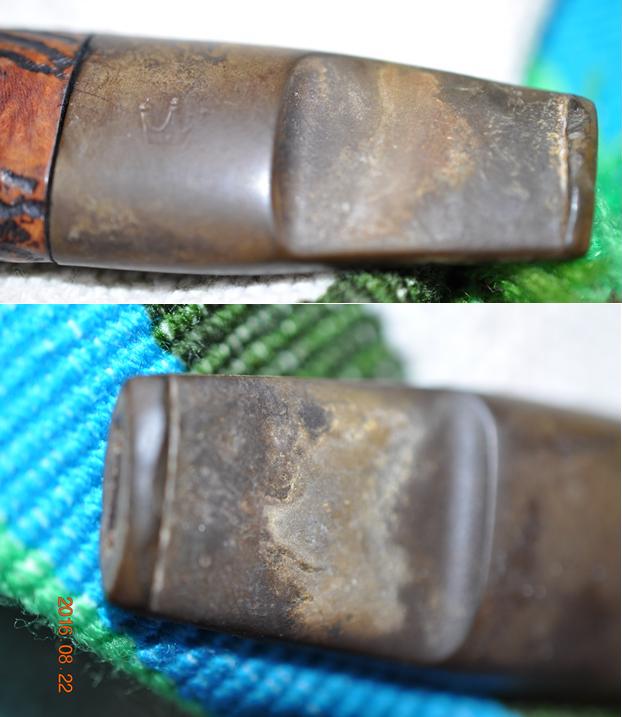
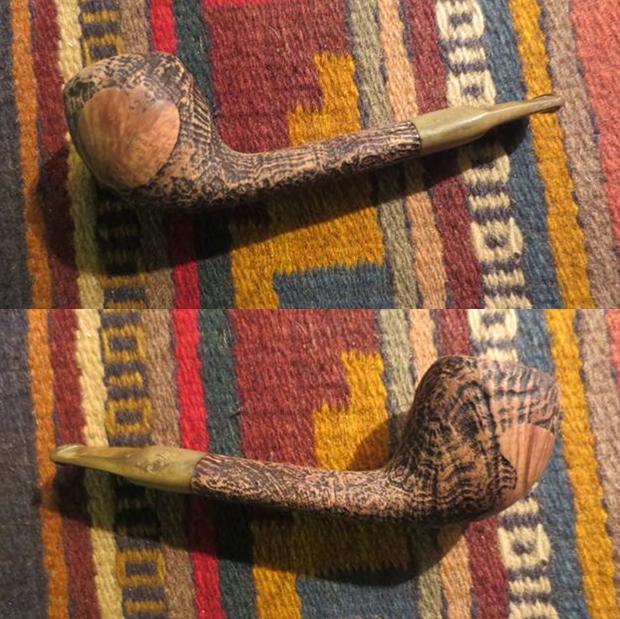
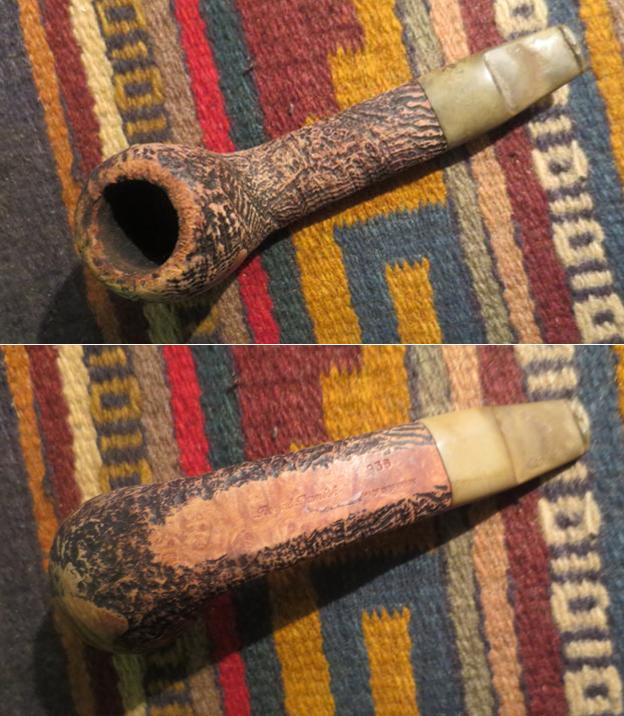
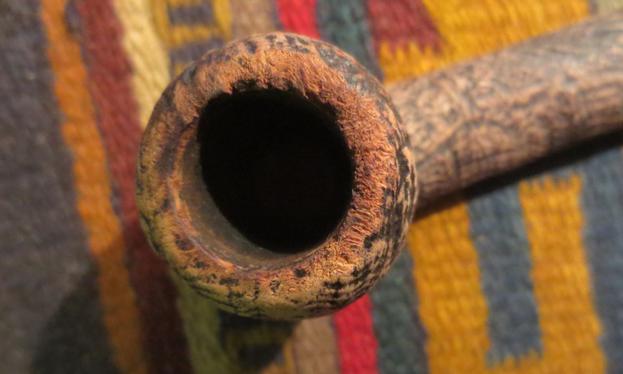
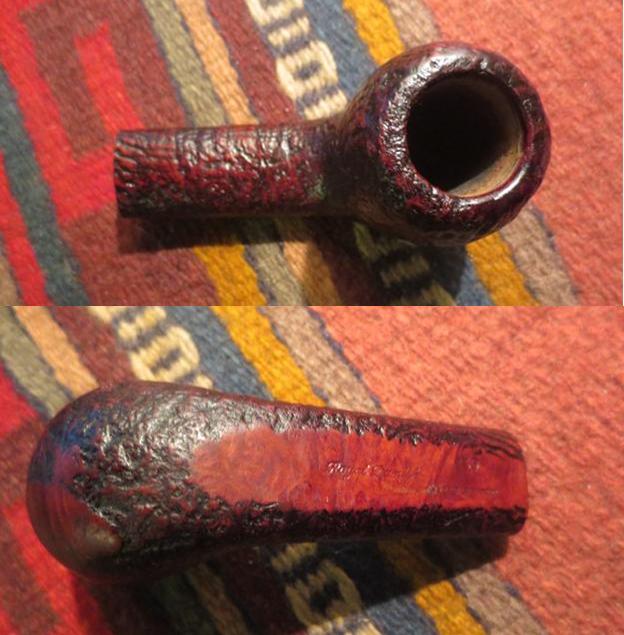
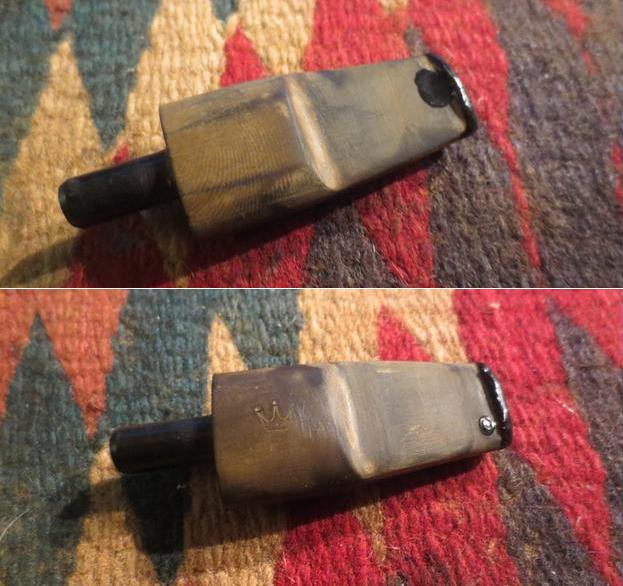
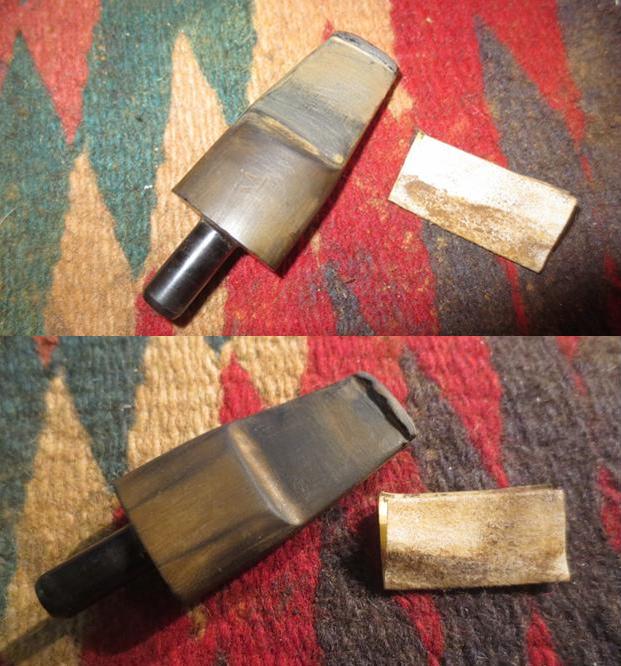
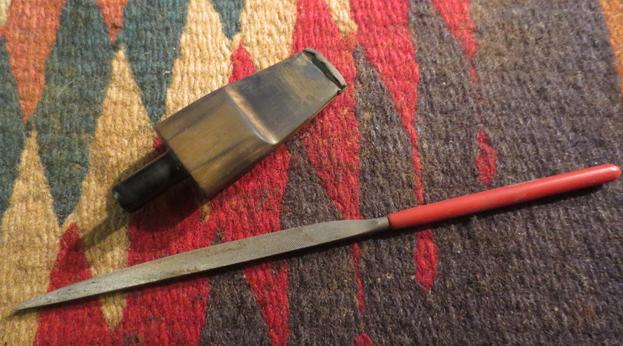
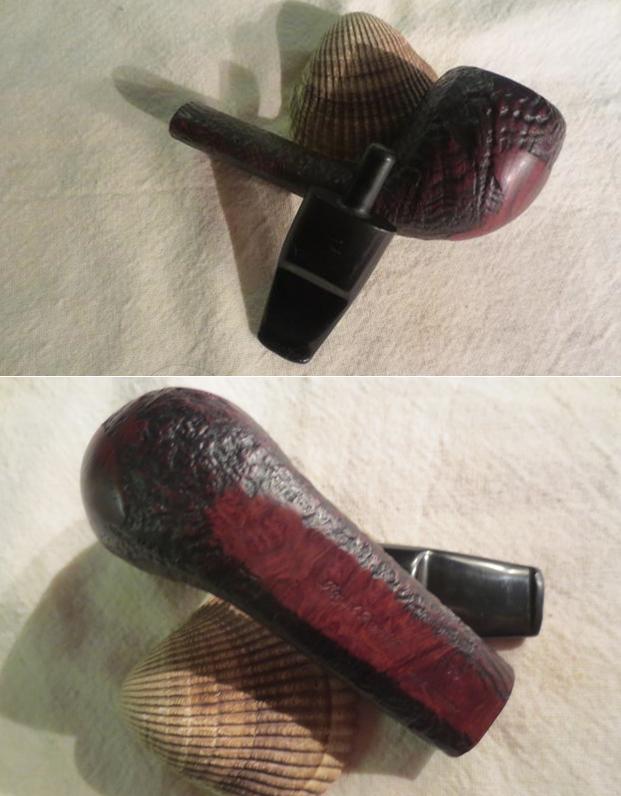
When I saw the pictures of the way this pipe looked – at least the first picture I thought it was in pretty decent shape. The finish was a little worn; particularly some of the high spots on the sand blast had worn off. The smooth patches were also worn and lifeless. The back edge of the rim looked really rough – as if the pipe had been knocked about on concrete or another hard surface to remove the dottle from the bowl. It was ragged. The inner edge of the rim also looked worn and the cake in the bowl was a bit odd looking – as if it was partially removed. It seemed heavier on one side than the other. The stem looked okay in the first picture but the second hinted that all was not well with it either.danish1The close up photos reveal the issues that I hinted at above. The first shows the strangely caked bowl – heavily built up toward the left side and rear of the bowl as well as the rough back rim top and edge of the bowl. The inner edge of the rim also looks like it has taken some damage. The second photo shows the slight cap at the stem junction that to my mind spoke of a tarry and caked mortise that kept the stem from seating properly. The finish also shows some wear in the photos. The pipe is stamped Royal Danish and Made in Denmark. The shape number is 936 which is a Stanwell shape.danish2The next two photos show the issues with the stem. There were tooth marks on the top and underside of the stem that went from quite deep to very shallow. The button top and bottom were worn down and had deep tooth marks. There was also a heavy build up of oxidation on the stem. The stem logo on the top is very faint. It made me wonder if I would be able to feel it with my finger once it arrived in Canada.danish3I am so glad my brother does the heavy work on cleaning out these pipes. I have reamed and cleaned out the shanks of a lot of pipes and I can’t say that I miss it. I still get to do my share of cleanups on pipes that I find but these that he sends me come ready for the restoration process. He scrubbed the exterior of the bowl with Murphy’s Oil Soap and was able to remove the wax and tars on bowl and rim. He reamed the bowl back to bare briar and scrubbed out the mortise and the airway in the shank and stem. When it arrived the stain was quite washed out and the stem was really oxidized. The damaged rim top was very visible and it was in rough shape.danish4 danish5I took some close up photos of the rim and the stem when it arrived here. The roughness of the rim top and inner edge are seen in the first photo. The tooth marks and wear on the stem top and underside in the second and third photos. My brother had cleaned out the mortise so the stem fit tightly against the shank so my guess mentioned above about a dirty mortise appears to have been correct. The crown logo on the top of the stem could hardly be felt by touch.danish6 danish7I started sanding the stem then decided to run a few pipe cleaners and alcohol through the airway in the stem and shank as well as in the mortise. They were quite clean and did not take too much work to remove the little bit of debris that was still left.danish8I sanded the rim lightly to take away the roughness but still leave the finish looking like the sand blasted portion of the rim that had not been damaged. I stained the bowl with a dark brown stain mixed 50/50 with isopropyl alcohol. I applied the stain and flamed it and repeated the process until the coverage was what I was looking for. I wanted the dark stain in the deep grain of blast to show through the brown top stain.danish9I hand buffed the bowl with a microfibre cloth to raise a shine and to give an even look to the finish. The photos below show the pipe at this point in the process.danish10In the second photo below the rim surface is visible. There will need to be some contrast applied to the finish to make it blend in and not look merely “less damaged”.danish11To address the contrast issue on the rim mentioned above I used a black Sharpie Pen to provide some darkening in the crevices of the pitted surface. I used a dark brown stain pen to give the top coat over the black stain.danish12I sanded the inner edge of the rim with a folded piece of 220 grit sandpaper to smooth out the roughened inner edge. In retrospect I probably should have done this before staining the bowl but I did not so I put it in the order I did the work. In the second photo below you can see how the contrast stain worked on the rim top.danish13When I finished sanding I stained the inner edge of the rim with the dark brown stain pen and added some streaks of black Sharpie pen to give it some contrast. I buffed the rim lightly Blue Diamond on the buffing wheel and with a microfibre cloth. The photos below show the pipe bowl after buffing. Notice the change to the rim after the sanding, staining and buffing.danish14 danish15I set the bowl aside and worked on the issues with the stem. I sanded the area around the button on both sides of the stem with 220 grit sandpaper and scrubbed the deeper tooth marks with cotton swabs and alcohol. Once they were clean I filled the deeper marks and built up the button surface with black super glue.danish16I sanded the repairs once they had cured with 220 grit sandpaper to smooth them into the surface of the stem. I reshaped the top of the button on both sides of the stem with the sandpaper.danish17The edge of the button on the underside of the stem was still rough so I used a needle file to shape and sharpen the straight edge.danish18I wet sanded the stem with 1500-2400 micromesh sanding pads. I rubbed the stem down with Before & After Pipe Stem Deoxidizer and a paper towel to further remove the oxidation on the stem. I polished the stem with Before & After Pipe Polish both Fine and Extra Fine with paper towels. The stem was beginning to shine.danish19 danish20I sanded the stem once again with the micromesh sanding pads using 1500-12000 grit pads. Each successive grit of sanding pad added more shine and depth to the shine. The more I polished the stem the more the crown logo disappeared.danish21I buffed the pipe with Blue Diamond on the buffing wheel and then gave the stem multiple coats of carnauba wax. I rubbed the bowl down with Conservator’s Wax by hand. I buffed the pipe with a clean buffing pad to raise the shine. I hand buffed the pipe with a microfibre cloth to deepen the shine. The finished pipe is shown in the photos below. The pipe is clean and looks new. The restoration brought it back to life. Thanks for looking.danish22 danish23 danish24 danish25

Comoy’s Grand Slam 30D Restoration


By Al Jones

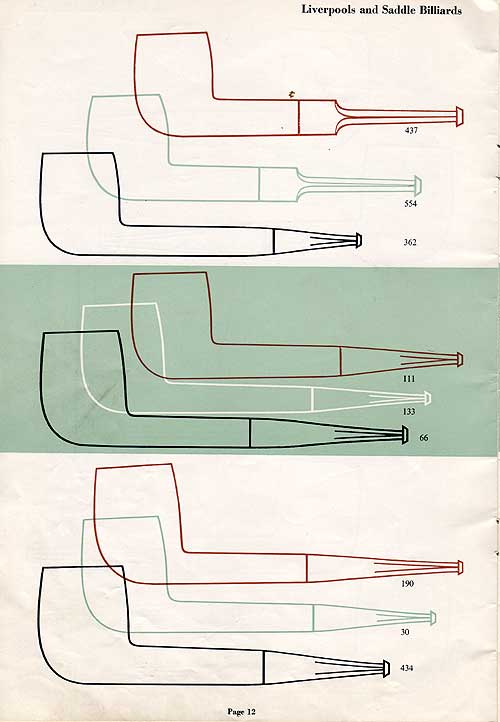
Update: Thanks to Sam’s comments below, we did confirm that the shape number is indeed a 30D. And, I found this shape chart page showing the shape 30. Thanks Sam!

comoys-shape-30

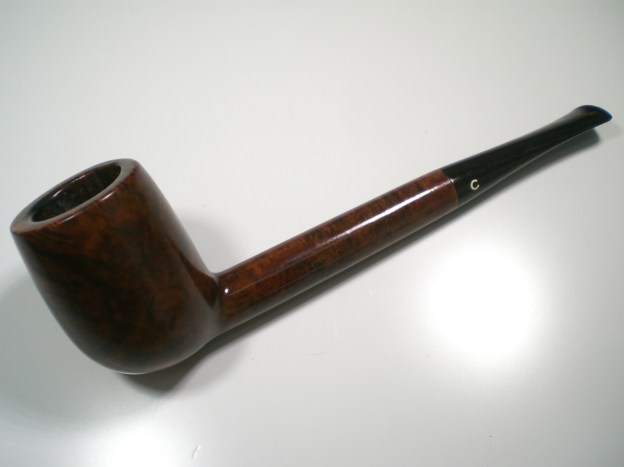
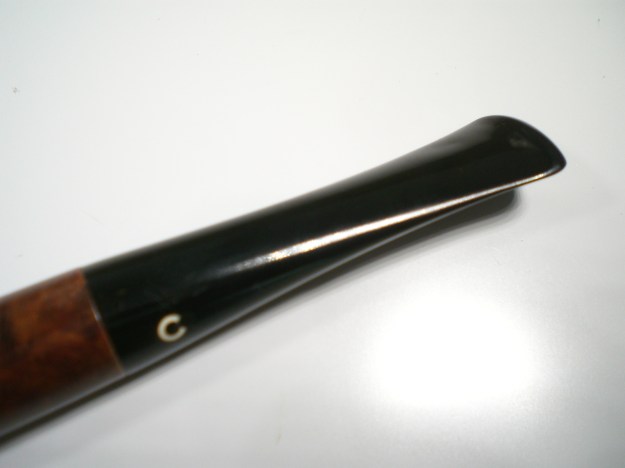
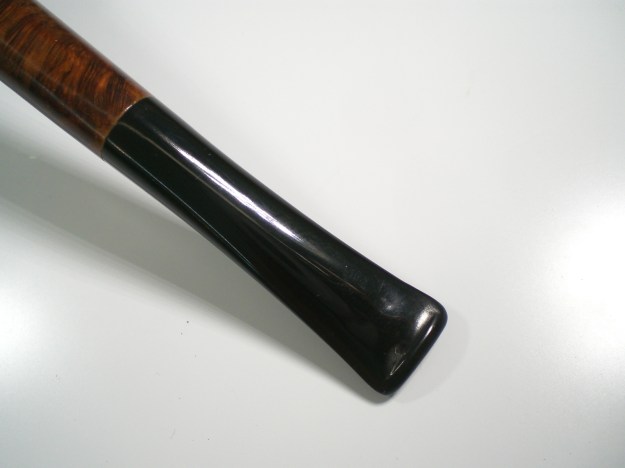
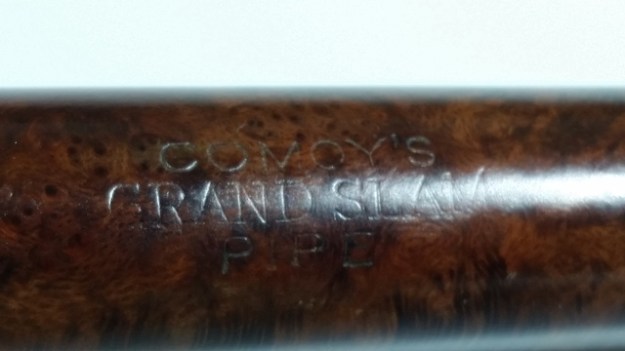
This is the second pipe sent to me by a PipesMagazine.com forum friend. Grand Slam pipes are fairly common and originally came with a complicated stinger with leather washers. Most of the stingers were discarded and was missing on this one as well.

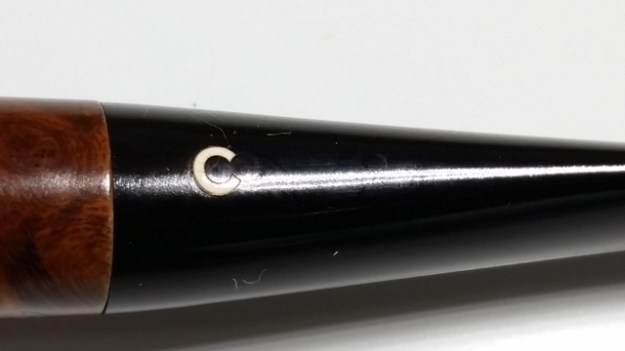
The pipe had a mildly oxidized stem, with some teeth indentions and a heavy tar build-up on the bowl top. I cleaned the bowl top with a cloth and some mild Oxy-Clean solution. As I removed the cake with my Castleford reamer, I unfortunately discovered that at some point, a previous owner had reamed it with a knife or other. The bowl was slightly out of round. I massaged that back as close as possible to round with some 320 grit paper. The bowl was then soaked with sea salt and alcohol. The stem was soaked in a mild Oxy-Clean solution, with a dab of grease on the 3 piece “C” logo.

The pipe as it was received. The stem was also very loose, to be dealt with later.

comoys_50b_grand_slam_before-1

comoys_50b_grand_slam_before-4

comoys_50b_grand_slam_before-3

comoys_50b_grand_slam_before-2

The briar was buffed with White Diamond and then several coats of Carnuba wax. I used a lighter flame to raise several of the dents on the stem. I used a tapered pin punch inserted into the tenon and then warmed with a flame to slightly enlarge the outer dimension. You can only slightly increase the tenon diameter in this way, but it was enough in this case. Typically smoking the pipe will tighten it even further. The stem was then mounted and the oxidation removed with 800, 1000 and 1500 grit paper. I then used 8000 grade micromesh before buffing with White Diamond and Meguiars Plastic Polish.

Below is the finished pipe. If anyone knows details about the 50D shape number, please add a comment.

comoys_50b_grand_slam_finish-1

comoys_50b_grand_slam_finish-3

comoys_50b_grand_slam_finish-2

comoys_50b_grand_slam_finish-5

comoys_50b_grand_slam_finish-4

comoys_50b_grand_slam_finish-7

comoys_50b_grand_slam_finish-6

?

?

?

?

?

?

Atwood 331C Restoration – Made by Comoy’s


By Al Jones

This pipe was sent to me for clean up by a recent convert to the joys of Comoy’s brand pipes. I had not heard of this maker before, and the owner shared some information about Atwood pipes, gleaned from Pipephil.eu

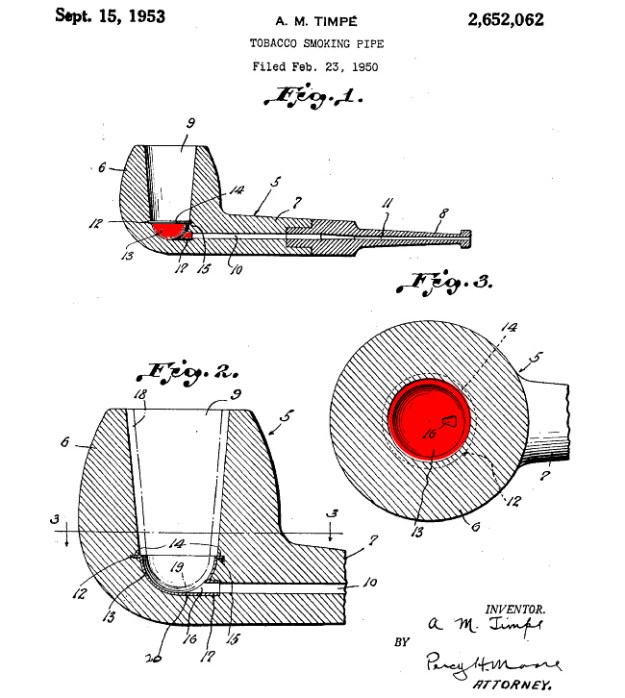
The Atwood pipes were equipped with a permanent aluminum cup at the base of the chamber, with a bore hole. Atwood M. Tempe (Los Angeles) invented the system about 1950. The patent (U.S. PAT. 2652062) was granted in 1953 and the author partnered with Comoy’s to produce the pipes. See drawings and description in document.

While researching this brand, I found that forum contributor, Robert M. Boughton, had restored an Atwood “Hall of Fame” pipe earlier this year. The pipe had a different Country of Manufacture mark, which is interesting (circle). This COM is a in a block format. The briar on tis piece also appears to be of a higher quality. I did not find any other refernces to Atwood pipes.

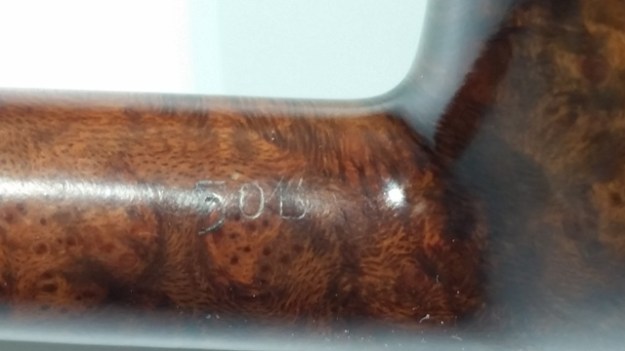
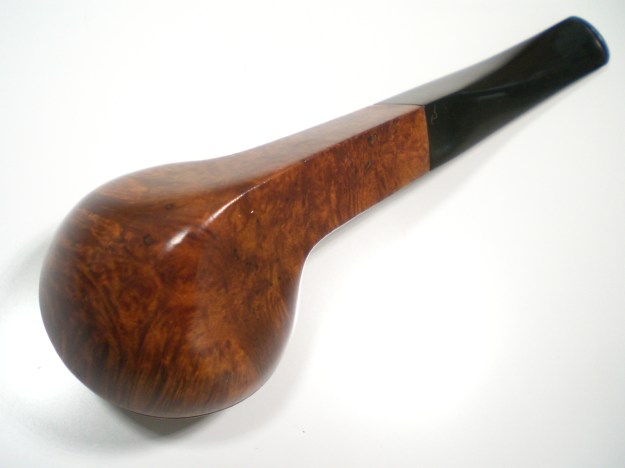
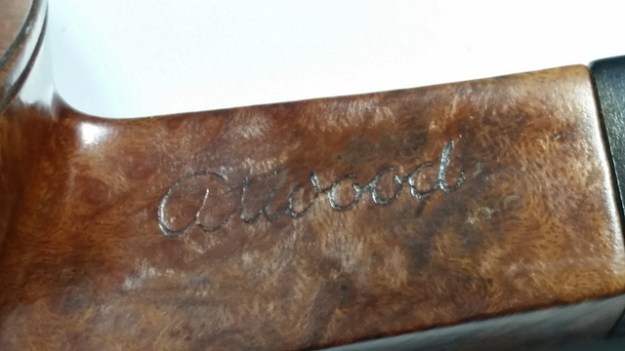
Below is a picture included with Atwood Timpe’ Patent which shows the design of the metal bowl cup. The nomenclature was a bit faded, but it appears to be a shape 331C, which is indeed a Comoy’s squat, quarter-bent bulldog.

atwood_patent_pix

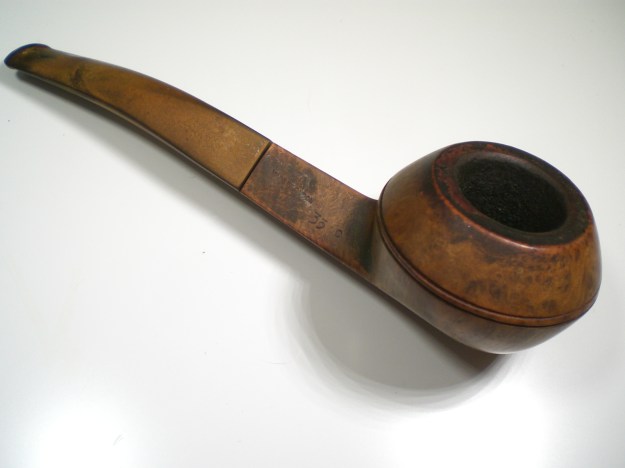
The pipe had some build-up on the bowl top and the stem was heavily oxidized.

attwood_331c_before-1

attwood_331c_before-2

attwood_331c_before-3

attwood_331c_before-4

I used a cloth with some Oxy-Clean solution to remove most of the heavy buildup on the bowl top. Then, 2000 grit wet paper removed the remainder of the build-up and some mild scorching. I reamed the interior of the bowl down to the metal cup. The bowl was quite solid, as was the cup feature. I have no idea what the cup does for the smoking experience, but it is in there for good. I filled the bowl with Sea salt, put a cork stopper in the shank and filled it to the brim with 91% alcohol. While the bowl was soaking, the stem was soaked in a mildy Oxy-Clean solution.

Following the soak, I cleaned the stem shank with some wire brushes and fresh alcohol. I screwed a paper towel soaked in alcohol into the bowl, which did a nice job cleaning the metal cup.

I mounted stem on the bowl to clean the briar. It had a few minor dents, which I was able to lift with a flame from a lighter. The heavy oxidation was removed with 800 grit wet paper, than working my way through 1000 and 2000 grades. Finally, 8000 grade micromesh was used. The stem was the buffed with White Diamond and Meguiars Plastic Polish.

The bowl was somewhat grimy and I used a mild soap solution to clean it. The bowl was then buffed with White Diamond and then several coasts of Carnuba wax.

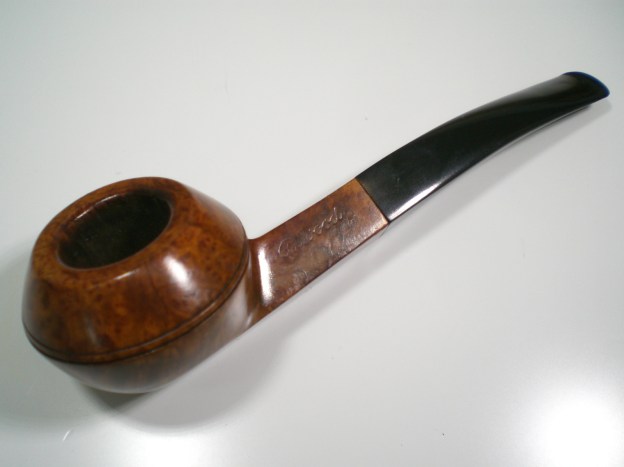
Below is the finished pipe. The light stain is quite handsome. Typically, I’m not a big fan of Comoy’s 2nd’s lines, as I find the pre-molded stems lacking. However this stem has a better feel to it compared to an Everyman, The Guidall, etc. I’m curious as to how the owner finds it smokes compared to his Comoy’s of a similar era.
attwood_331c_finish-1

attwood_331c_finish-5

attwood_331c_finish-2

attwood_331c_finish-3

attwood_331c_finish-6

attwood_331c_finish-7

attwood_331c_finish-4

?

?

?

?

?

?

A Great Looking Wimbledon 810 Author showing promise


Blog by Steve Laug

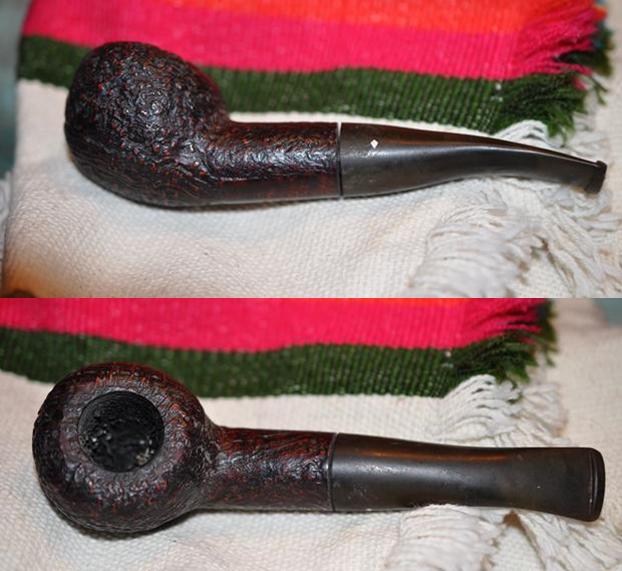
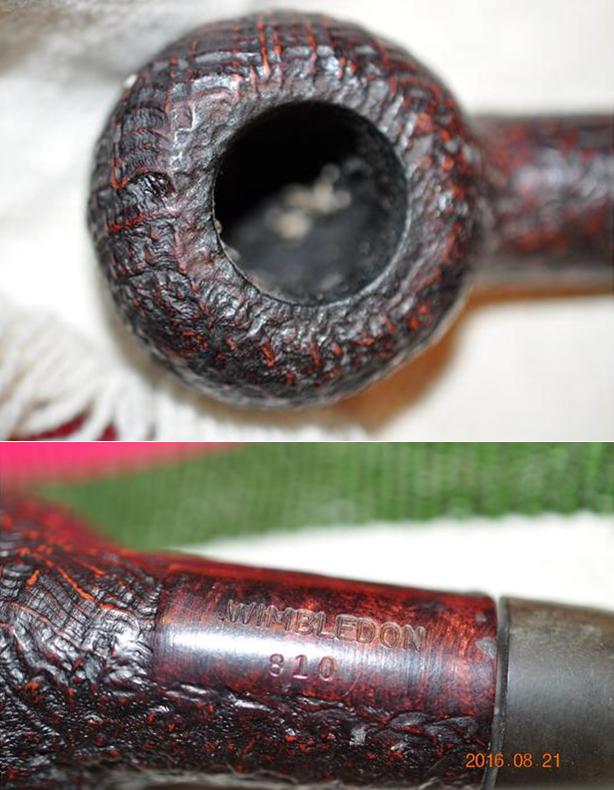
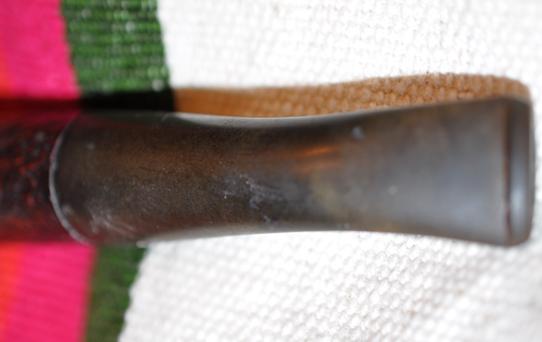
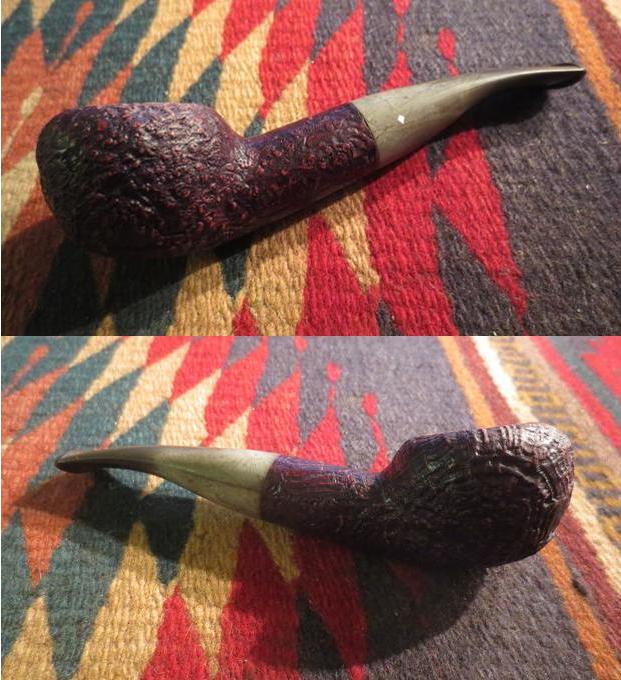
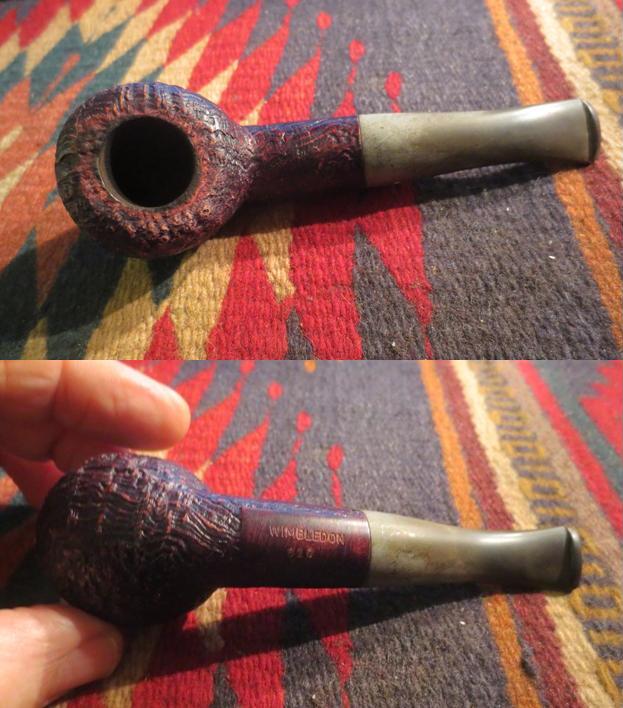
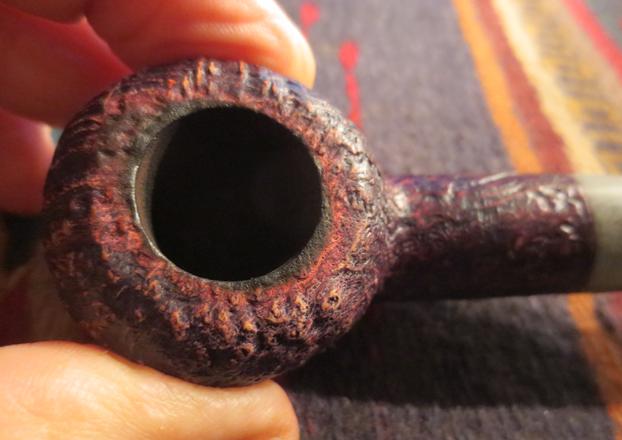
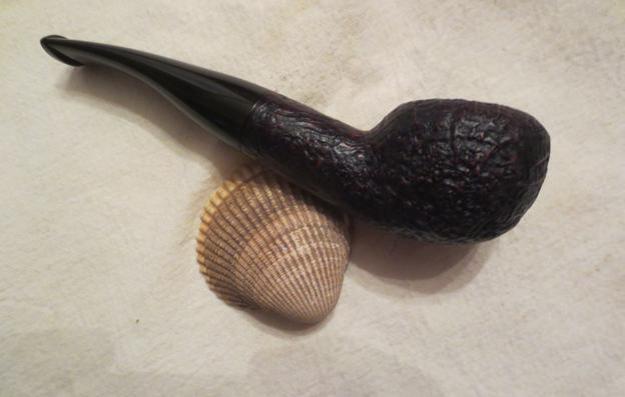
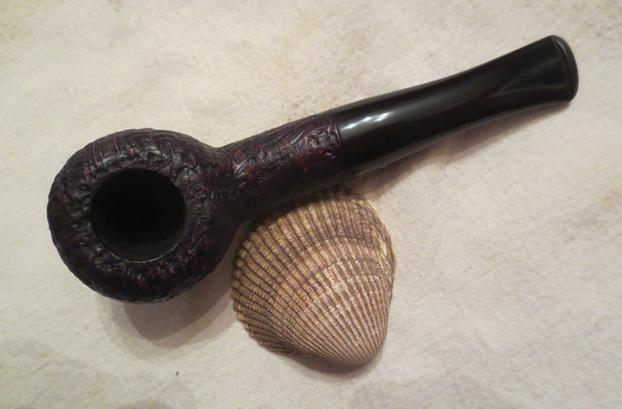
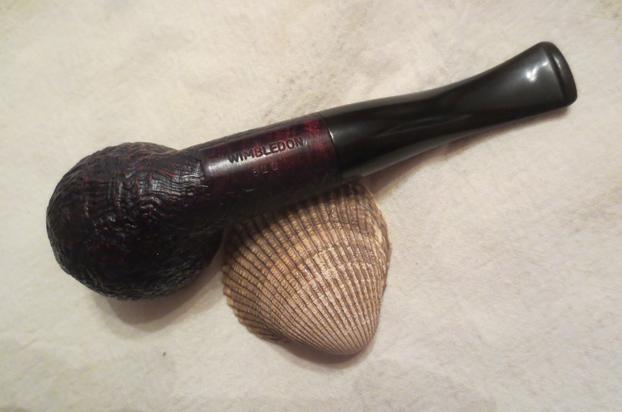
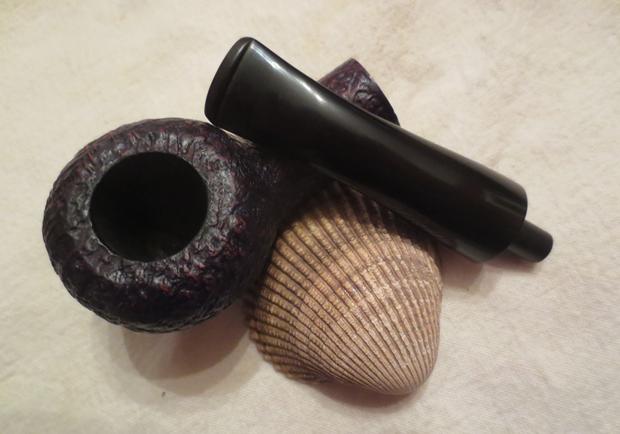
The pipe pictured below is a Wimbledon Author. It is stamped on the underside of the shank on a smooth patch, WIMBLEDON over the shape number 810. The sandblast finish is craggy and the contrast of dark brown and reddish-brown give it even more depth. My brother took the following photos when he received it from the EBay seller. The finish looked to be in excellent shape. There were no worn spots on the bowl. The rim had some tars in the grooves but it was quite clean. The bowl had a thin cake but nothing too thick. The stem did not seat in the mortise properly and there was a gap between the end of the shank and the stem. The stem was oxidized though it had no tooth marks or chatter.briar1I had seen the brand before but could not remember what I had read about it. I turned to pipephil’s site and found a picture of the same pipe – the same finish, the same stem logo and the same stamping on the underside. The site said that the pipe was crafted by Briarcraft as established by the stem logo. I have included a photo of the listing on the pipephil site.wim1That led me to look on pipedia.org to do some digging on Briarcraft pipes. Here is the link: https://pipedia.org/wiki/Briarcraft. There I found the following information. I have included the part of it here that includes a reference to the Wimbledon line.

Briarcraft Pipe Company was very prosperous between 1920 and 1940 and their pipes usually feature a diamond shield logo. They also produced a line of seconds under the following names: Airo, Arcadian, Briarmeer, Smokemaster, Cavalcade, Hallmark, Sterling Hall, and Wimbledon (emphasis mine). They closed their doors in 1950. Briarcraft was started by Richard Kliethermes Sr. and located on Pipetown Hill Rd, Spring Valley, NY. It received its power from a dam on Hyenga Lake, later it moved to 66 Central Ave., Spring Valley, NY. At first it was housed in a 2 story frame building and later a 2 story stone building was added. Upon the death of RK Sr., business was run by Richard Jr, between 1920 and 1940 it was second in size to Frank Medico pipes. All the briar root was imported from Africa, with the start of WWII, imports stopped and a briar like root was imported from S. Carolina. Richard Kliethermes Jr. was the inventor of a pipe known as Smokemaster, which used a doubled up pipe cleaner in the bit to absorb tobacco juice. With the decline in business during WWII and the following 5 years it closed its doors 1950.

Jeff took the following close up photos to show the bowl and rim condition and the stamping on the underside of the shank. The third photo below shows the oxidation on the otherwise clean stem.briar2 briar3Jeff did his usual great clean up on the mortise and airways in the shank and stem. He reamed the bowl back to briar and scrubbed the externals with a tooth brush and Murphy’s Oil Soap. He rinsed it under running water. When the pipe arrived in Vancouver in the last box I received it looked like the photos below.briar4 briar5There was some rim darkening around the inner edge of the bowl but the briar was solid with no crumbling or burning. The finish had lightened with the scrubbing but would be easy to bring back to the original colour.briar6The oxidation on the button end of the stem was pretty light but on the tenon end was quite heavy. For some reason it rose to the surface and was almost white in colour.briar7I wiped down the rim with some alcohol on a cotton pad to clean it up and prepare it for restaining to match the bowl. I stained it with a dark brown stain pen.The colour of the stain pen was a perfect match to the bowl.briar8I wetsanded the stem with 1500-2400 grit micromesh sanding pads to cut through the surface oxidation. I dry sanded with 3200-12000 grit pads to further polish it. I rubbed it down with Obsidian Oil after each set of three pads and with the final pad set the stem aside to dry. I took the following photos of the stem and in them you can still see the residual oxidation under the flash of the camera.briar9 briar10 briar11I decided to use some more of the Before & After Pipe Stem Deoxidizer and Fine and Extra Fine Pipe Polish and see if I could draw out further oxidation. I am still experimenting with the product to check out its effectiveness so this seemed like another good test. I rubbed it down with the deoxidizer and a paper towel and was able to remove even more oxidation from the stem. I was impressed by what it brought out of the vulcanite.briar12I rubbed the stem down with the Fine and Extra Fine Pipe Polish and saw the shine on the stem increase and the oxidation disappear. So far so good.briar13I buffed the stem with Blue Diamond on the buffing wheel to futher polish it. The oxidation was gone. I gave the bowl several coats of Conservator’s Wax and the stem several coats of carnauba on the buffing wheel. I buffed the pipe with a clean buffing pad to raise the shine. I hand buffed the pipe with a microfibre cloth to deepen the shine on the pipe. The finished pipe is shown in the photos below. It is a great looking pipe and one that has great feel in the hand. This one will also make its way to the rebornpipes store soon. If you are interested let me know – send me an email at slaug@uniserve.com or a message on Facebook. Thanks for looking.briar14 briar15 briar16 briar17 briar18 briar19 briar20 briar21
Sometimes you get lucky and it’s an easy cleanup – a Royal Danish 930 Acorn


Blog by Steve Laug

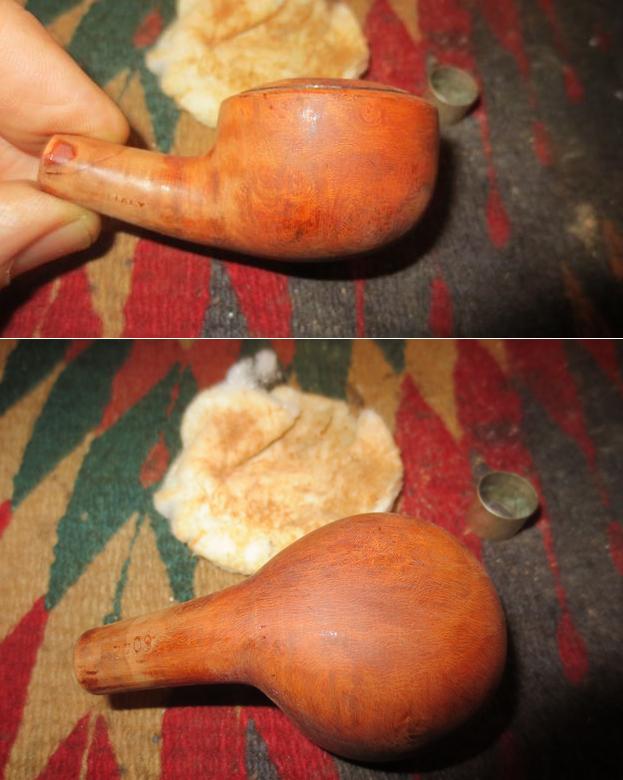
It seems that over the years I have picked up a lot of hard case pipes – pipes that need lots of TLC to even make them usable once again. Somehow, lately my brother has been picking up some pretty sweet pipes that don’t take a lot of work and if you saw my refurbishing bin you would understand why that really makes me thankful. The current pipe I am working on is one those easy ones. He did the lions share of cleaning work on it. He reamed the bowl and scrubbed the internals – the mortise and airways in the shank and stem. He scrubbed the exterior of the pipe so that added to the ease of the cleanup. The pipe is a Stanwell second or sub line. It is stamped on the underside of the shank in a smooth patch Royal Danish over Made in Denmark. To the left of that stamping is the shape number 930 which to my mind is the classic Danish acorn shape. The pipe has a shallow sandblast finish with two smooth patches on the sides of the bowl. The graceful stem gives it a classic look. There is some light oxidation on the stem and some light cake in the bowl and lava on top of the bowl. My brother took the next photos to show the overall look of the pipe.danish1 danish2He also took some close up photos of the rim, the stamping and the stem logo. The first photo below shows the light cake and lava on the rim. It should clean up nicely. The second and third photos show the stamping on the shank and the stem. The crown logo on the stem is faded and worn but still quite legible.danish3 danish4When I brought it to the work table I took the following four photos to show the state of the pipe before I cleaned or polished it. You can see from the photos that the finish was in good shape. The stem was oxidized but otherwise clean with no tooth marks or chatter.danish5 danish6I took some close up photos of the rim and bowl. The rim is in good shape. My brother cleaned off the rim with a tooth brush and Murphy’s Oil Soap to remove the grime and tars. He reamed the bowl and cleaned it. There was some lightening of the stain on the rim.danish7The stem was in great shape other than the oxidation. There were no tooth marks or chatter on the top or the underside of the stem.danish8I wet sanded the stem with 1500-2400 micromesh sanding pads to loosen the oxidation. I scrubbed the stem with the Before & After Pipe Stem Deoxidizer and paper towels. I scrubbed it with Before & After Pipe Polish Fine and Extra Fine. I rubbed the stem down with Obsidian Oil to protect and give life to the stem. I buffed it with carnauba wax and hand buffed it with a microfibre cloth.danish9 danish10I buffed the bowl lightly with Blue Diamond and the stem with a bit more pressure. I was careful around the stamping on the stem and shank. I gave the stme mulitple coats of carnauba wax and buffed it with a clean buffing pad. I waxed the bowl with Conservator’s Wax and buffed it with a clean buffing pad. I hand polished the stem with a microfibre cloth to deepen the shine. The finished pipe is shown in the photos below. The pipe will also one day be listed on the store. It is for sale now if anyone is interested. It would make a great addition to your collection.danish12 danish13 danish14 danish15 danish16 danish17 danish18 danish19