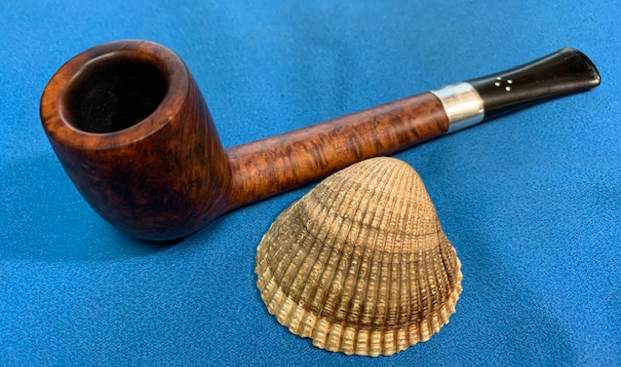
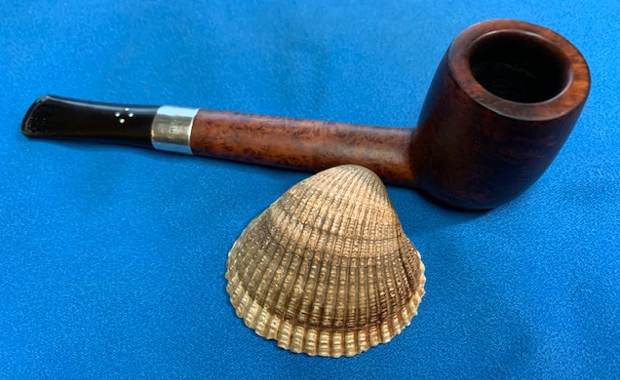
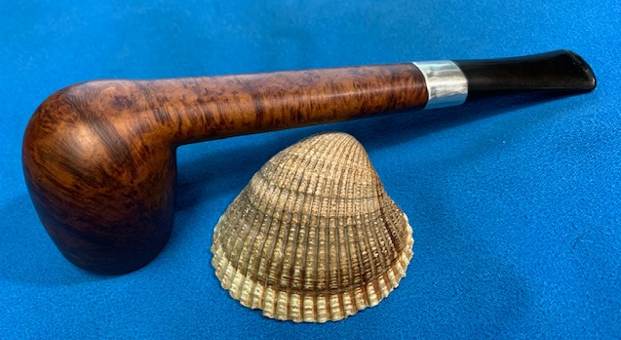
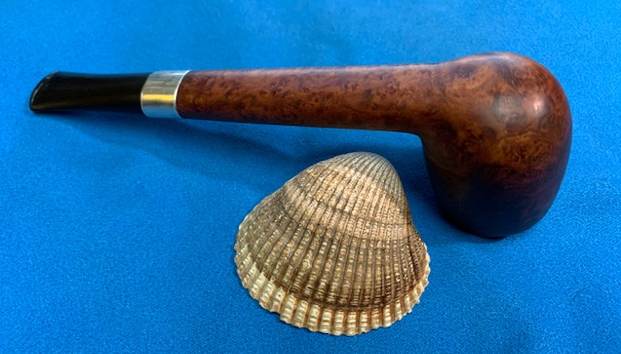
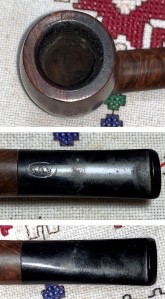
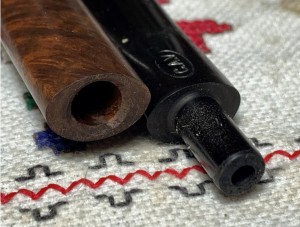
Category Archives: Pipe Refurbishing Essays

Essays and pictorial essays on the art of refurbishing

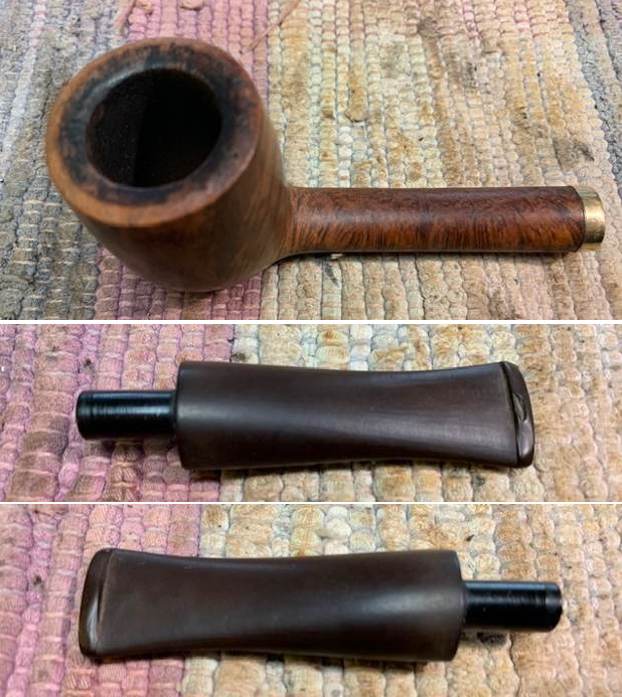
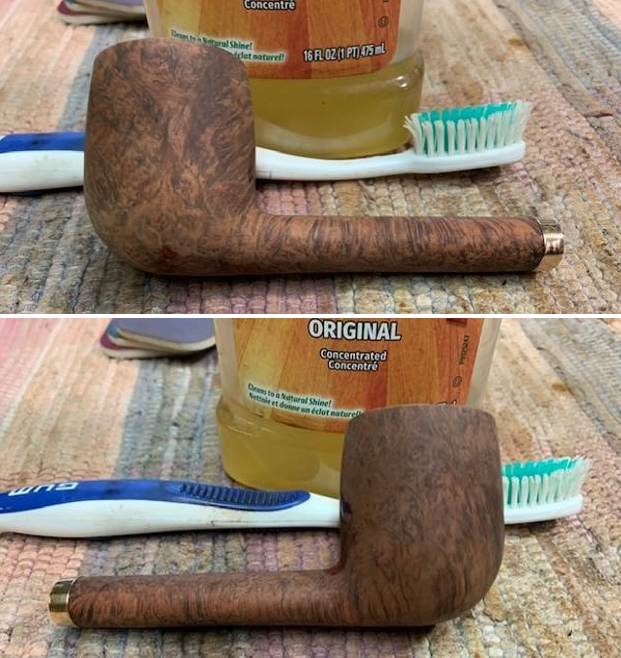
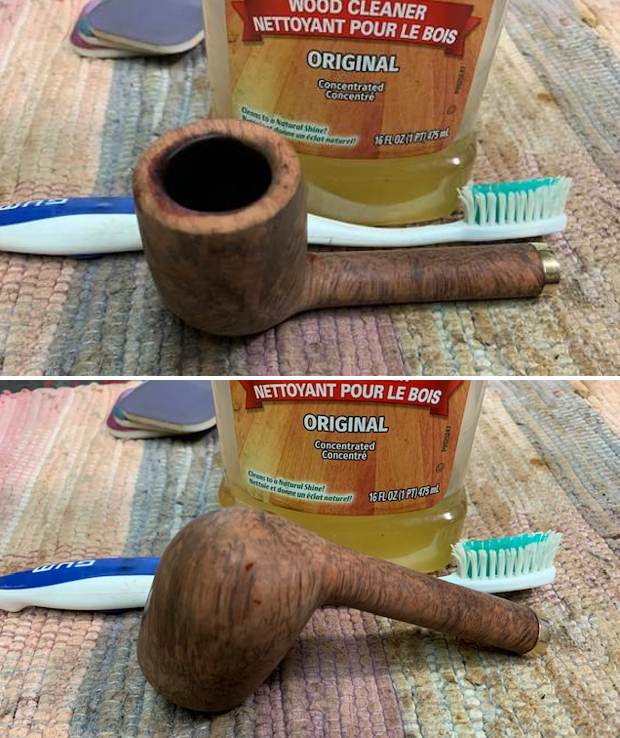
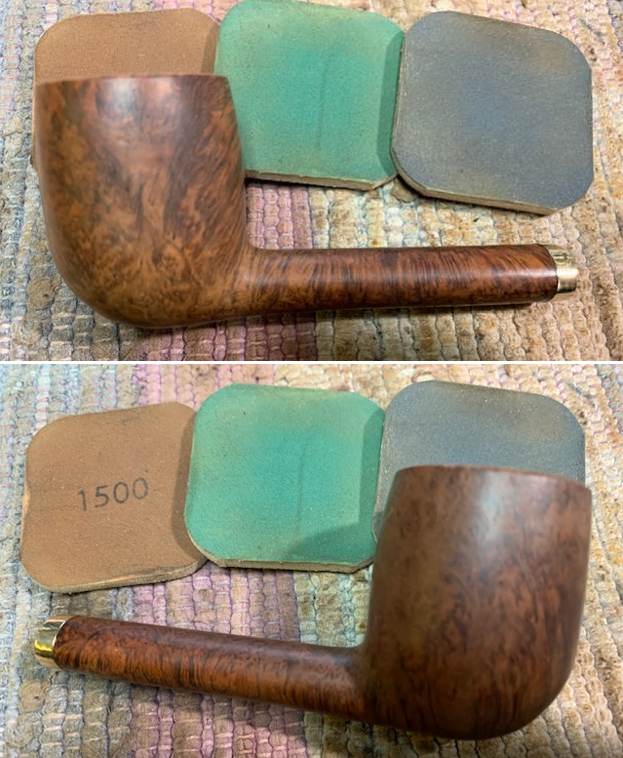
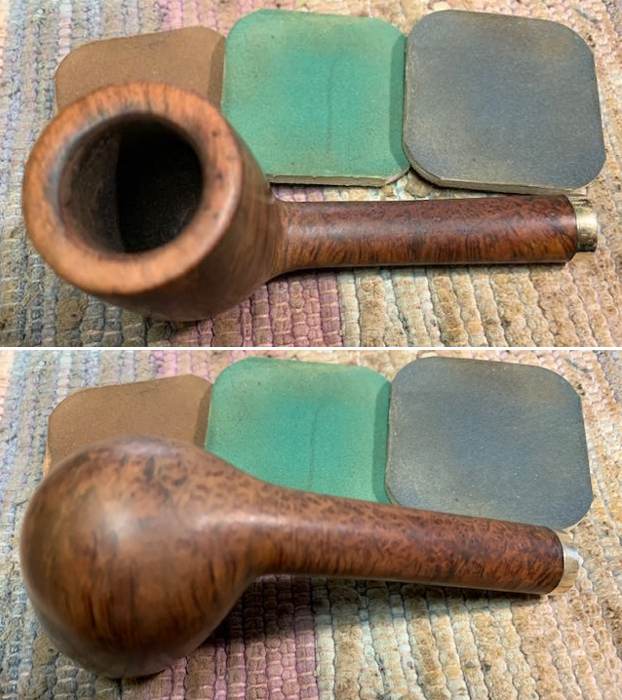
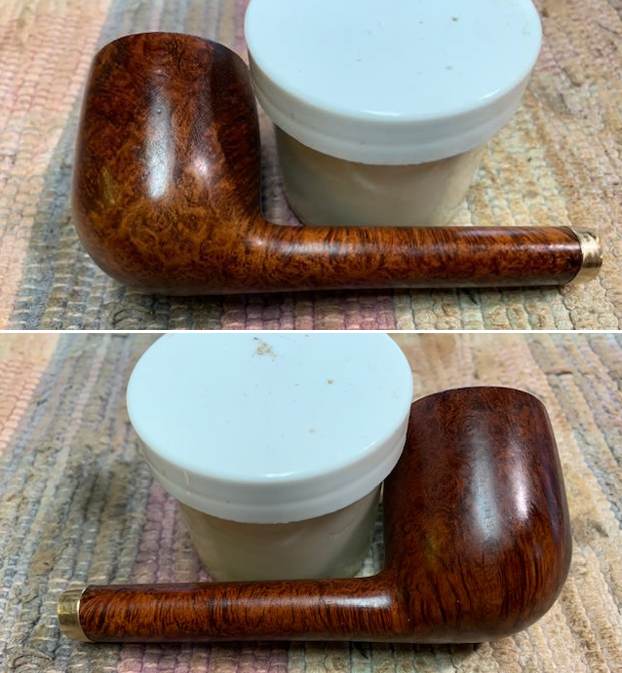
A Stem Replacement and Fresh Start for a McMillan Sports Made in England 60S Billiard


Here is a well done restem and restore by Dal. Give it a read.

Dal Stanton's avatarThe Pipe Steward

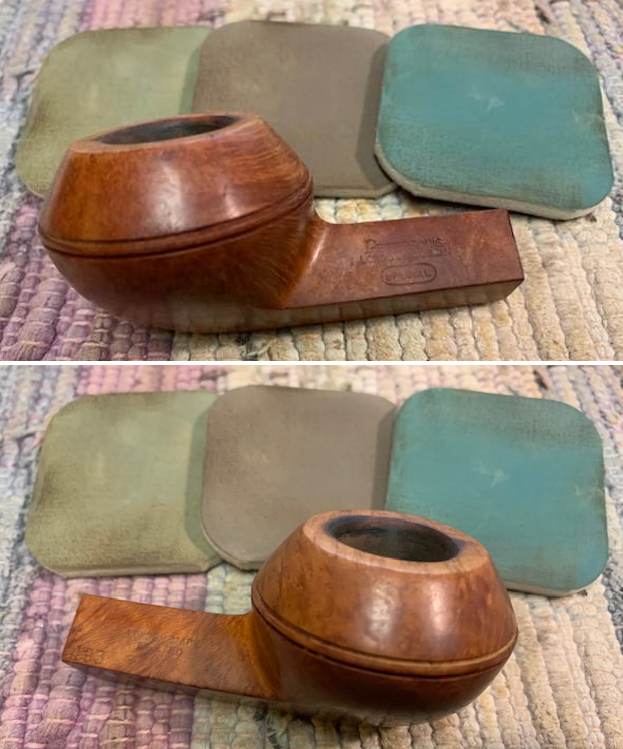
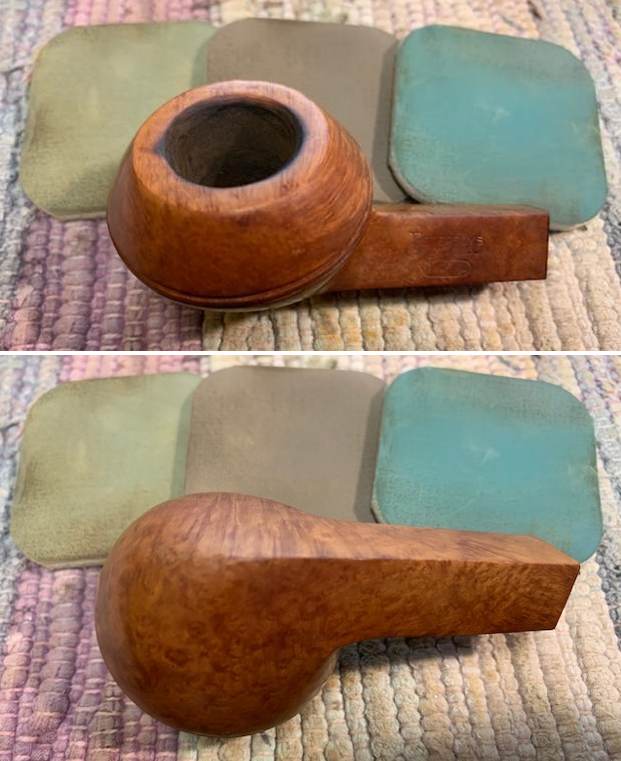
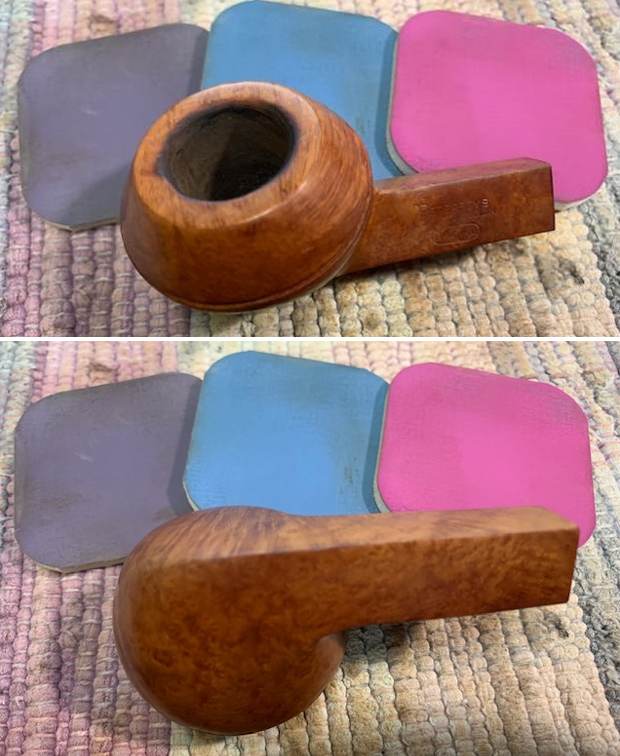
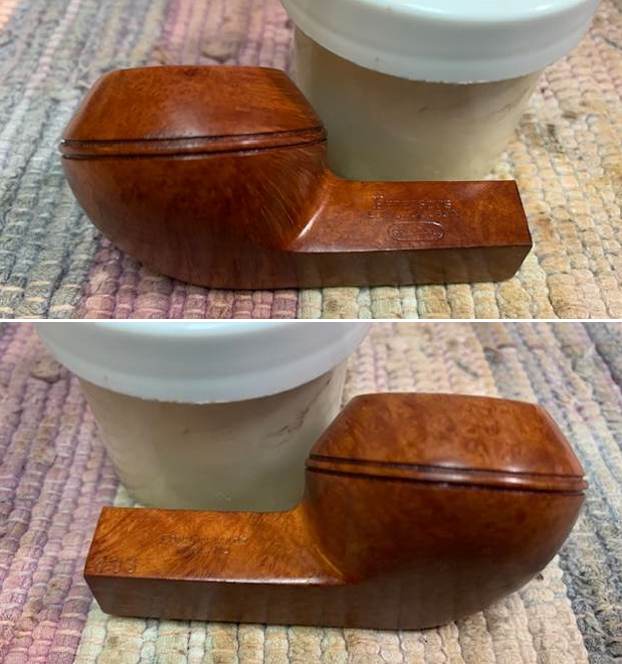
In January of 2018 I saw this fist-filling saddle stem Billiard on the online auction block from a seller in Hillsdale, Indiana.  The obscured grain had great potential, but the stem needed a good bit of help.  I put out a bid and brought this stout Billiard home to Bulgaria where we lived at the time.  It found its way to the ‘For “Pipe Dreamers” ONLY!’ collection for pipe men and women to commission benefitting the Daughters of Bulgaria, an effort that my wife and I founded in Bulgaria that continues today helping women and girls who have been trafficked and sexually exploited.Pipe man Mike from Tennessee heard the whisper of this pipe and the McMillian Sports joined other pipes he commissioned.  I appreciate Mike’s love of pipes and the fellowship that pipes create with likeminded folks.  I also appreciate Mike’s other hobby of threading and creating flies…

View original post 2,873 more words

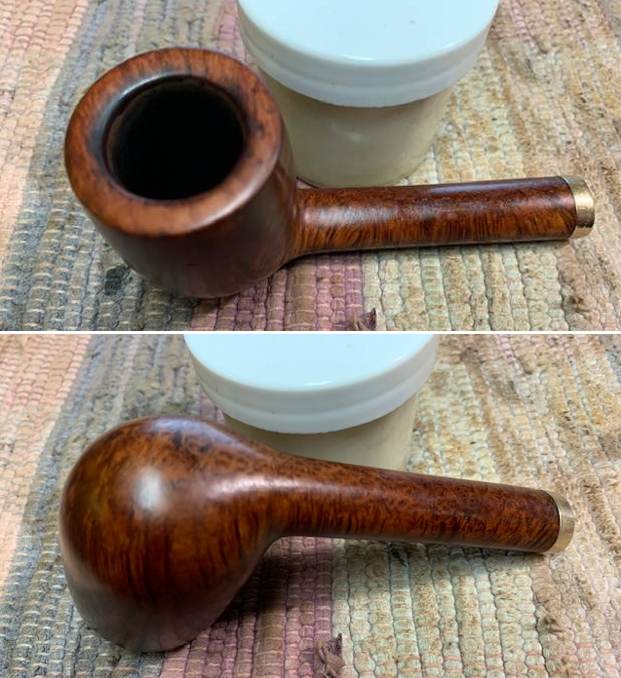
New Life for a Nat Sherman 14K Gold Banded Canadian


Blog by Steve Laug

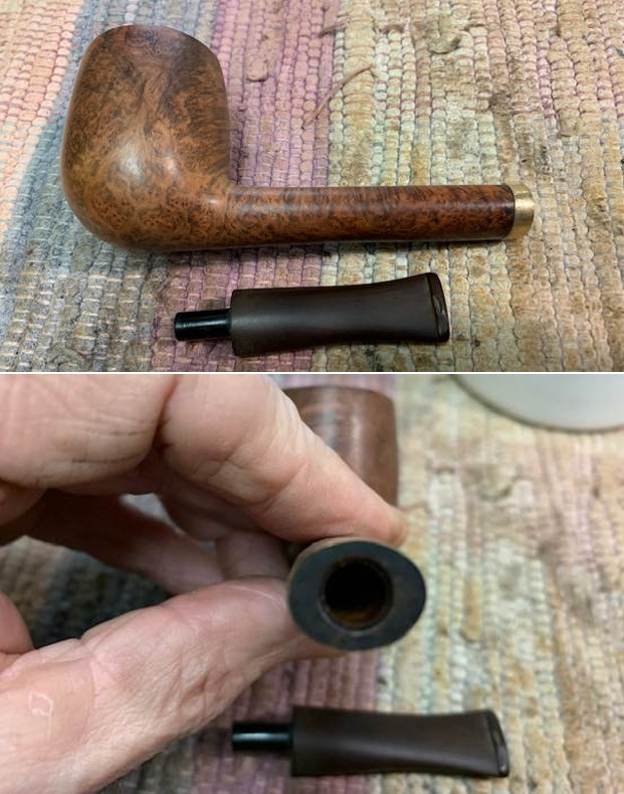
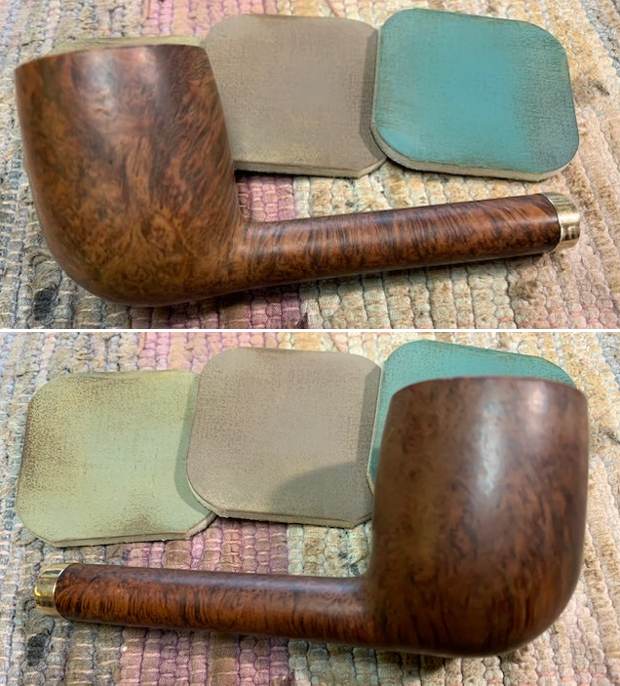
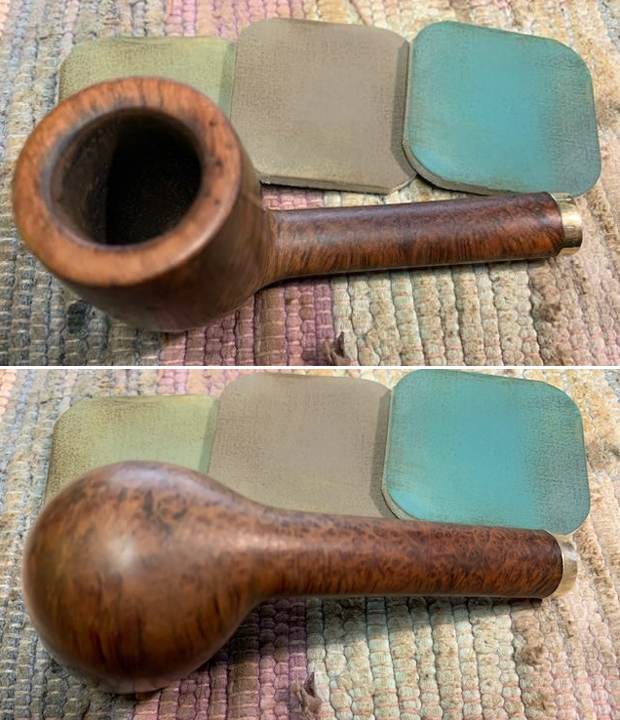
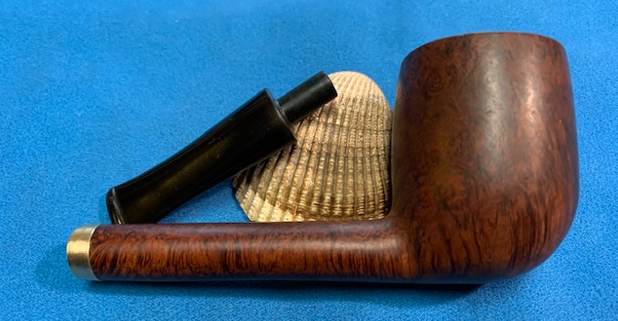
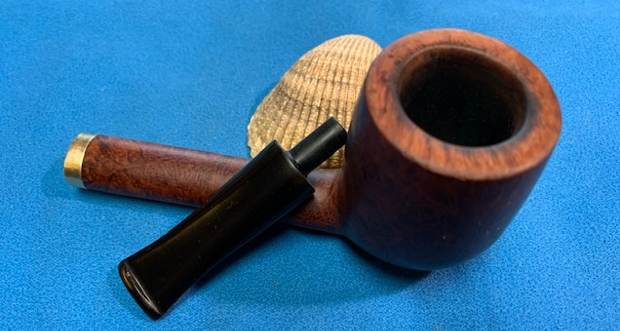
The next pipe on the work table is another one that came to me from either a trade I made (pipes for labour) or a find on one of my pipe hunts. I honestly don’t remember where it came from. It has been around for a while waiting to be worked on. It is an older long shank Canadian with a gold coloured band on the shank. It is quite dirty but has some great grain on the bowl and the shank. The stamping on this Canadian is faint but and readable. It is stamped on the topside mid-shank and reads Nat Sherman. There is no shape number on the shank that I can see. The gold band is stamped 1/20, 14K, Diamond T, G.F. The pipe had a lot of grime ground into the smooth finish on the bowl. The bowl had been heavily caked but had been reamed somewhere in its journey. The rim top and inner edges had darkening, burn damage and some nicks in the surface all the way around though heavier on the back side. The vulcanite stem was dirty and had light tooth chatter and marks on the top and underside ahead of the button. There were no identifying logos or markings on the taper stem. The pipe had promise but it was very dirty. I took photos of the pipe before I started my cleanup work.   I took photos of the rim top and bowl to give a clear picture of the bowl and the damage on the rim top and edges. The 14K Gold Band is tarnished and scratched. I also took photos of the top and underside of the stem to show the light chatter and tooth marks. I took photos of the stamping on the top side of the shank. It reads as noted above and is faint but readable. The gold band is stamped on the top as noted above.I removed the stem from the shank and took a photo of the pipe. I also took a photo of the shank end to show that there was no crack under the band. It appears that it was solely for adornment. I wanted to see if I could narrow down a time frame for this Nat Sherman pipe so I turned first to Pipephil’s site to get a good overview and see if there were photos of a similar looking stamping on a pipe there. There was no information on the brand on the site.

From there I turned to Pipedia to read more information about the time periods and the stamping on this particular pipe (https://pipedia.org/wiki/American_Pipe_Brands_%26_Makers_N_-_Q). There was only a note on the search page. It read as follows: Brand made for well known New York City Tobacconist of the same name.

I turned to Wikipedia to see what I could learn about the brand as it was one of the few articles on the history (https://en.wikipedia.org/wiki/Nat_Sherman).

Nat Sherman is the brand name for a line of handmade cigars and “luxury cigarettes”. The company, which began as a retail tobacconist, continued to operate a flagship retail shop, known as the “Nat Sherman Townhouse”, located on 42nd Street, off Fifth Avenue, in New York City from 1930 to 2020, when it closed its doors. Corporate offices are now located at the foot of the George Washington Bridge in Fort Lee, New Jersey…

…During the 1960s, the Sherman shop expanded its wares to include pipes. Over 1,000 pipes were offered for sale in a 40-foot (12 m) long case hung along the wall of the store.[1] The company also began to sell pipe tobacco under the “Nat Sherman” brand name.[1] At the time of its expansion, the company’s pipe department was perhaps the largest in New York City and the United States. Quoted from an interview with Joel Sherman noted below.            (Sherman, Joel. “An Interview with Joel Sherman of Nat Sherman”, PipesMagazine.com, November 25, 2009. Retrieved February 12, 2011)

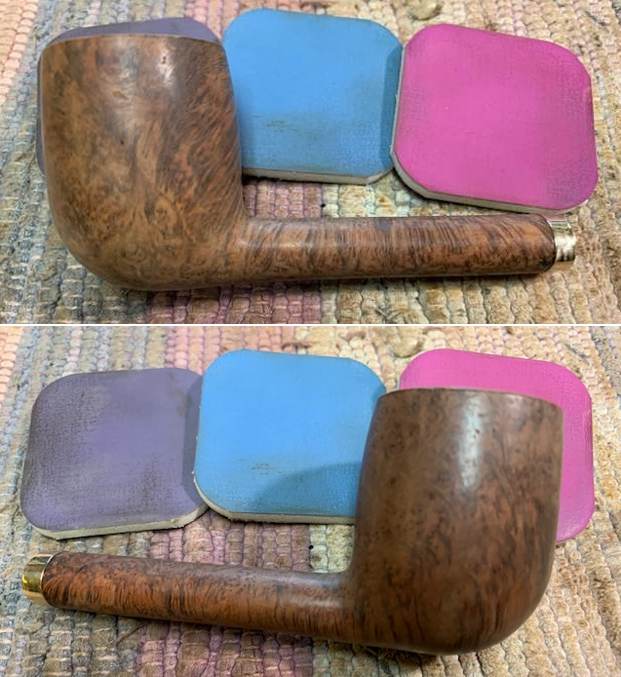
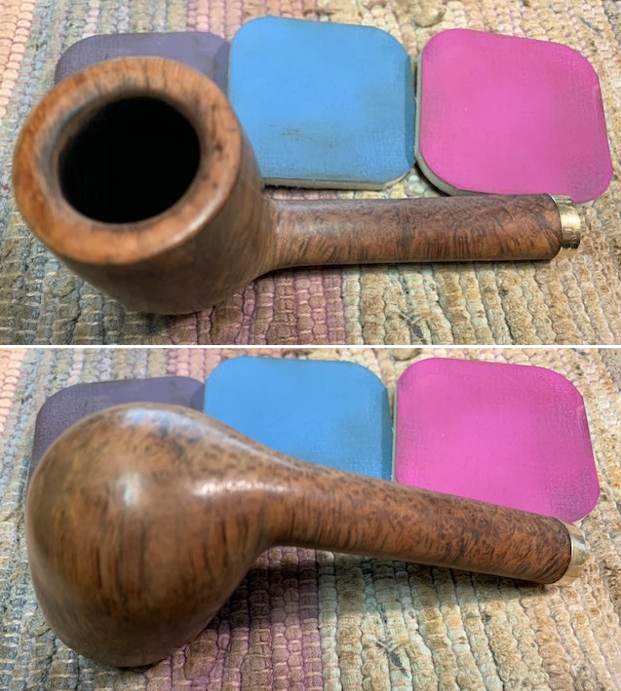
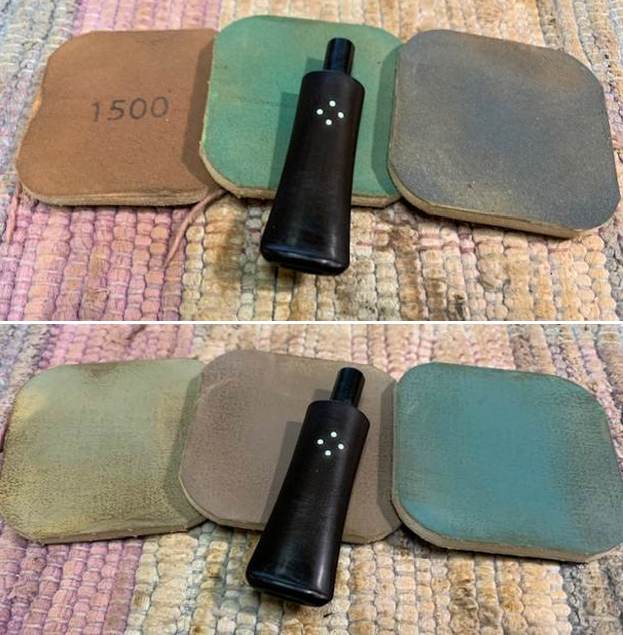
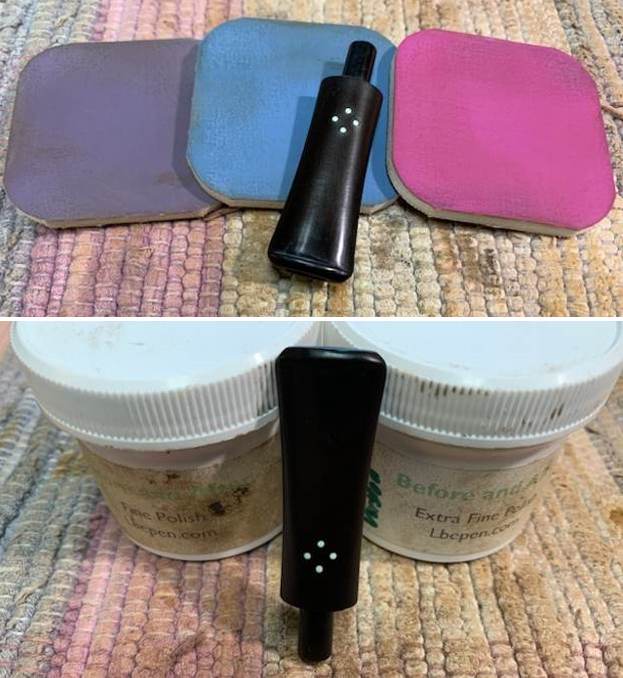
Now it was time to work on the pipe. I cleaned up the reaming of the bowl with a Savinelli Fitsall Pipe Knife. It did not take too much work to clean it up internally. I then turned my attention to the rim top and edges. I lightly topped the bowl on a topping board and 220 grit sandpaper to remove the damage on the top of the rim. I also worked over the inside edge of the bowl with a folded piece of sandpaper to give it a gentle bevel.  I polished the 14K Gold shank band with a jeweler’s cloth to remove the tarnish and oxidation. It also works to slow down the tarnish process. I took some photos of the band after the polishing. I cleaned out the mortise and airway in the shank with pipe cleaners, cotton swabs and alcohol. It took quite a few of them to clean out the chamber. I cleaned the stem with pipe cleaners, cotton swabs and alcohol as well. Once finished the pipe smelled far better.      I scrubbed the exterior of the bowl and rim top with a tooth brush and undiluted Murphy’s Oil Soap to remove the debris from the finish. I rinsed the bowl with warm water to remove the grime and soap and dried it off with a soft towel.    I polished the briar with micromesh sanding pads – dry sanding with 1500-12000 grit pads and wiping it down with a damp cloth after each pad.   I rubbed the bowl and shank down with Before & After Restoration Balm. I worked it into the surface of the bowl sides and shank with my fingertips to clean, enliven and protect the briar. I let the balm sit for a little while and then buffed with a cotton cloth to raise the shine. I really like what I was seeing! I set the bowl aside and turned my attention to the stem. I noted that there was a metal tube in the tenon that added strength. I started working on it by dealing with the tooth marks on the stem and button. I “painted” the stem with the flame of a lighter and lifted the bite marks on the surface of the stem (forgot to take photos). I filled in the deep marks on both sides of the stem with black super glue and set it aside to cure.   I used a small flat file to flatten out the repairs and to recut the edge of the button. I sanded the repairs further with 220 grit sandpaper and started the polishing with 400 grit wet dry sandpaper.  There was some residual oxidation at the shank end of the stem and some deep spots just ahead of the button. I scrubbed it with SoftScrub All Purpose cleanser to scrub off the oxidation on the stem. I was able to remove the remnant of oxidation.I polished the vulcanite stem with micromesh sanding pads – 1500-12000 grit pads. I wiped it down with an Obsidian Oil impregnated cloth after each sanding pad. I used Before & After Pipe Polish – both Fine and Extra Fine to further polish the stem. I gave it a final coat of Obsidian Oil.   This beautiful Nat Sherman 14K Gold Banded Canadian with a vulcanite taper stem is a great looking pipe now that it has been restored. The rich brown stain on the bowl allows the grain to really show. It came alive with the polishing and waxing. The 14K Gold band is a great transition between the briar and the vulcanite. I gave the bowl and the stem multiple coats of carnauba wax on the buffing wheel and followed that by buffing the entire pipe with a clean buffing pad. I hand buffed the pipe with a microfiber cloth to deepen the shine. The finished Nat Sherman Canadian is a beauty and fits nicely in the hand and looks very good. Give the finished pipe a look in the photos below. The dimensions of the pipe are Length: 6 inches, Height: 1 ¾ inches, Outside diameter of the bowl: 1 ¼ inches, Chamber diameter: 7/8 of an inch. The weight of the pipe is 43 grams/1.52 oz. This one will go in the US Pipe makers section of the rebornpipes store. If you are interested in adding it to your collection let me know. Thanks for reading this blog and my reflections on the pipe while I worked on it. There are many more to come!

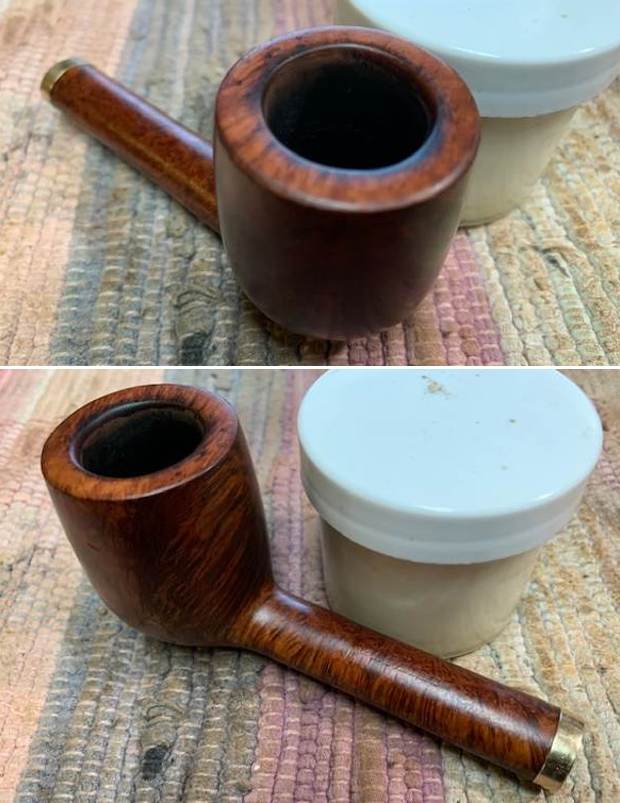
Rebirth of an Inherited Medico VFQ Foursquare Pot


Great job and you are right about family treasures. The back story is the most important part!! Well done

Charles Lemon's avatar

Often when we think of family heirloom pipes what comes to mind is Grandpa’s collection of Patent-Era Dunhills or a complete set of Peterson Sherlock Holmes pipes, but the truth is that the vast majority of pipes sold during the Golden Age of pipe smoking (roughly the 1950s through to the 1970s) were relatively inexpensive, factory-produced pipes. Two such inherited briar smoking companions arrived at the shop recently – today’s Medico VFQ Foursquare Pot, and an LL Bean Bent Billiard I will cover in another post. Both pipes had belonged to the current steward’s father.

The VFQ line was a mid-grade pipe in the Medico catalog, made by the SM Frank Co, originally from imported briar and later from Brylon, a blend of briar dust and synthetic resin developed by SM Frank in 1966. The example on the bench today is made from briar, which helps date its production to…

View original post 1,021 more words

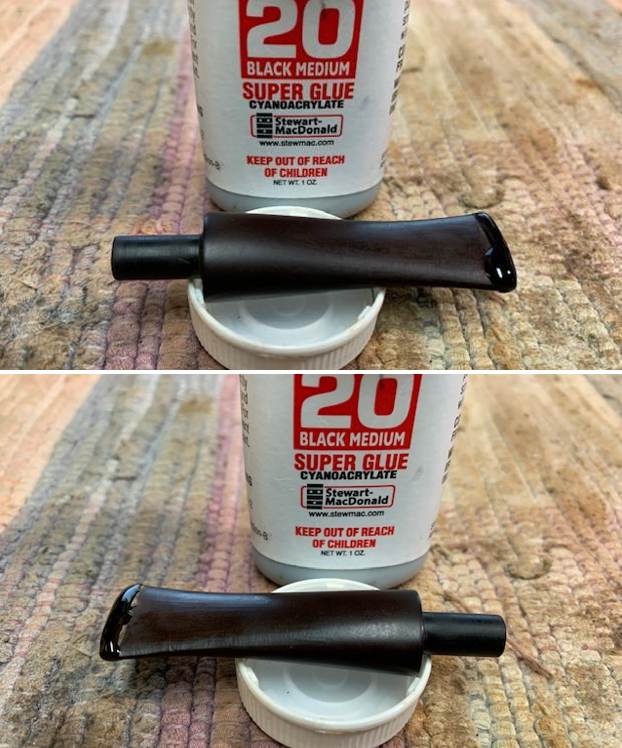
Breathing New Life into Sasieni London Made Patent No. 150221/20 Canadian


Blog by Steve Laug

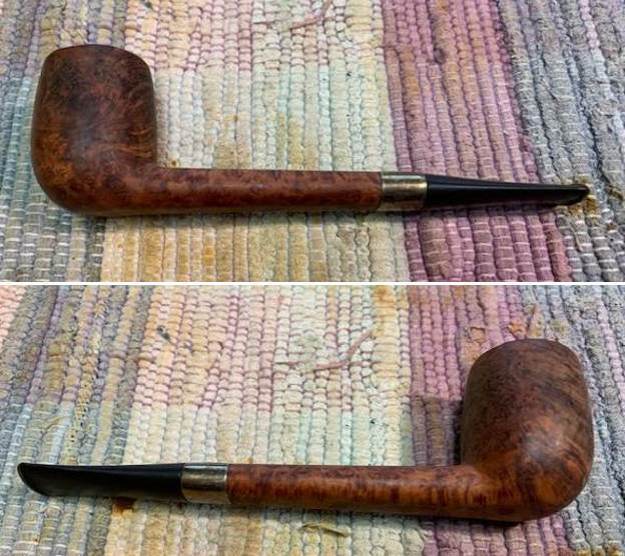
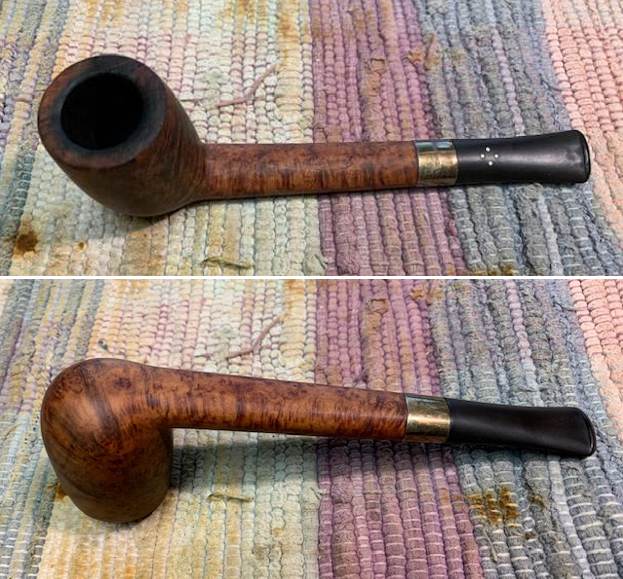
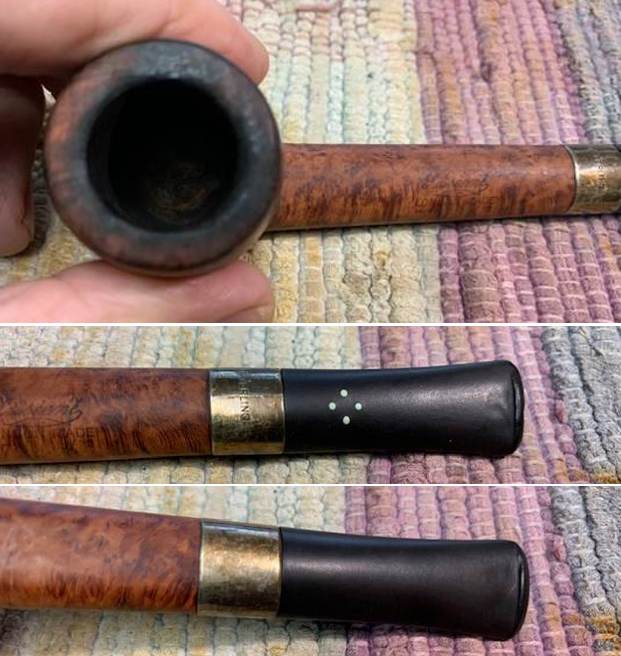
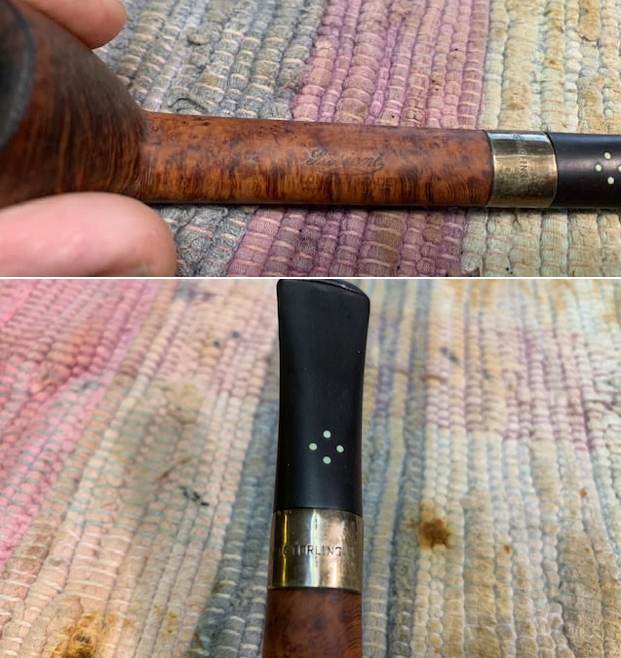
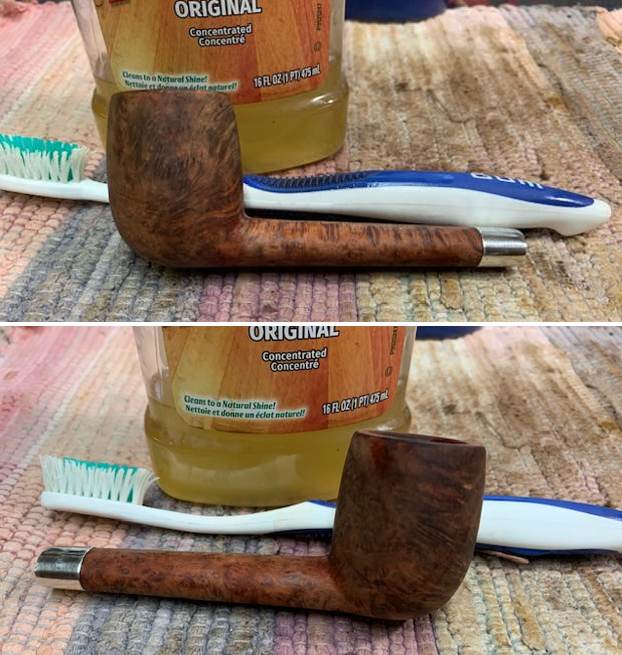
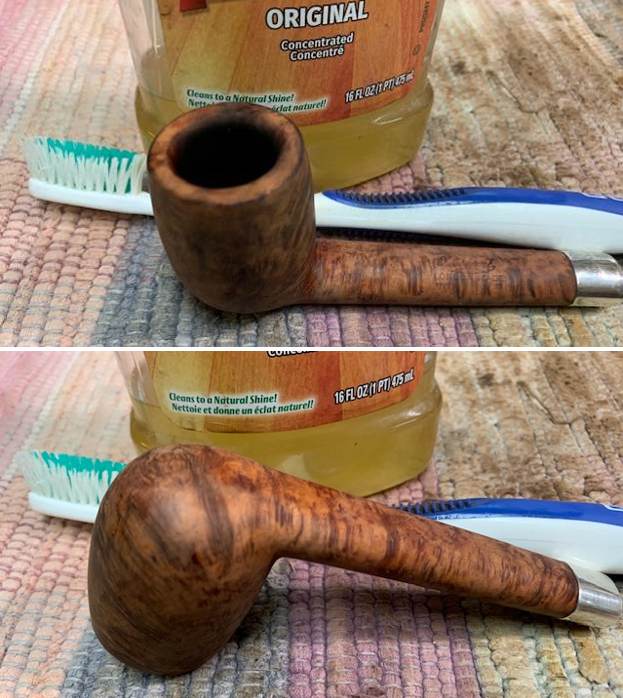
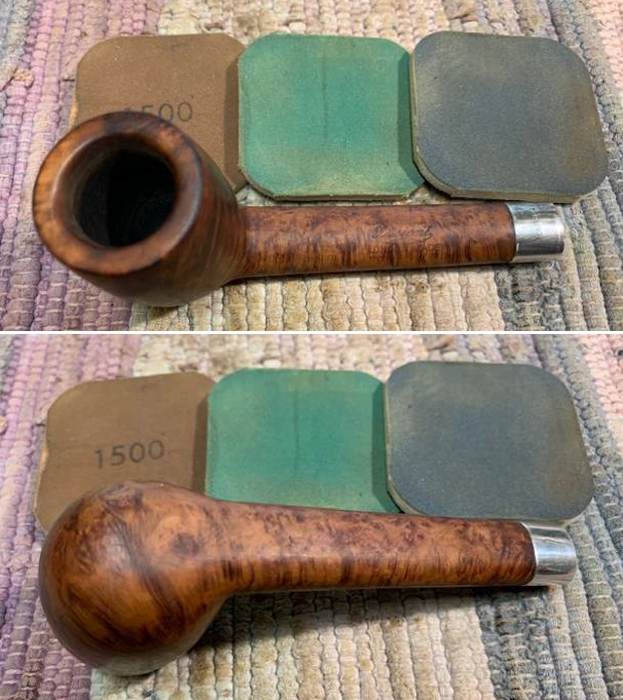
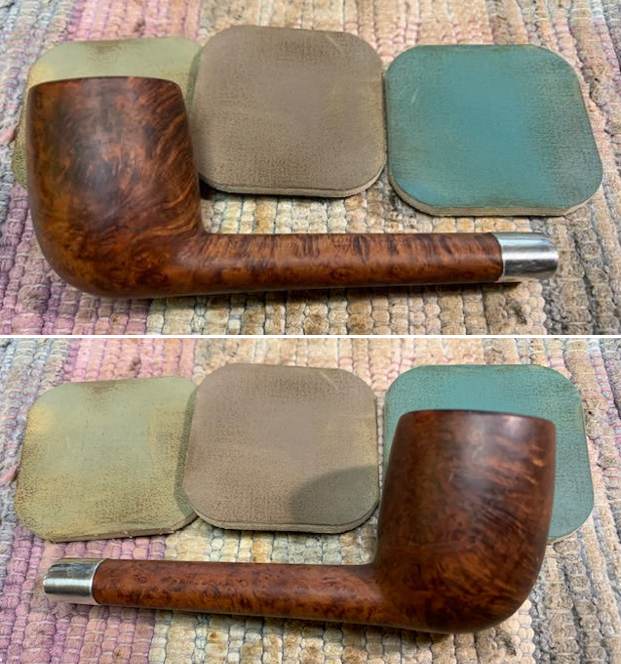
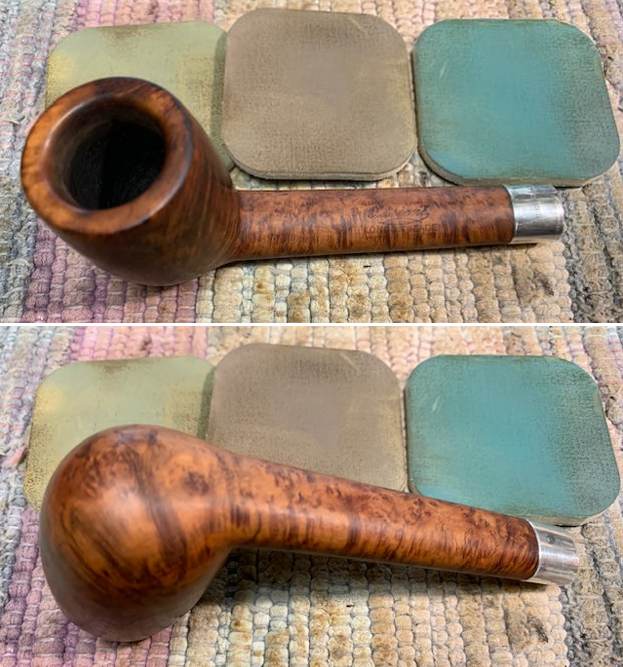
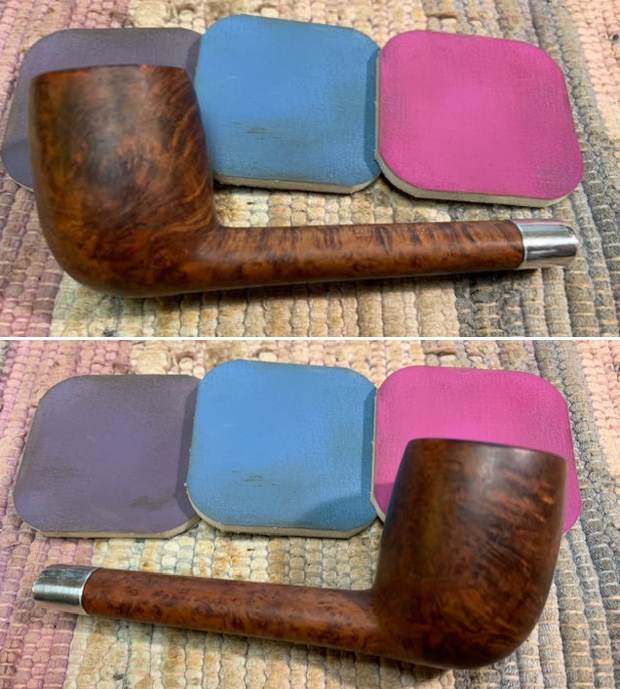
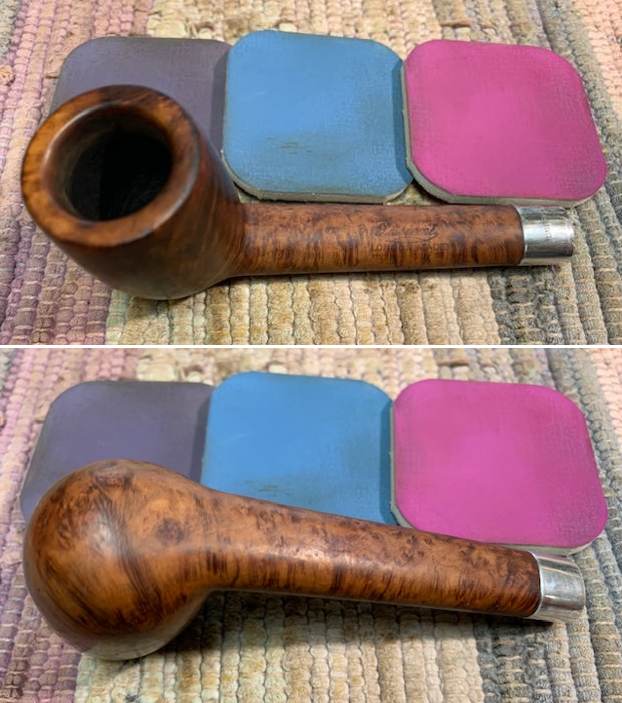
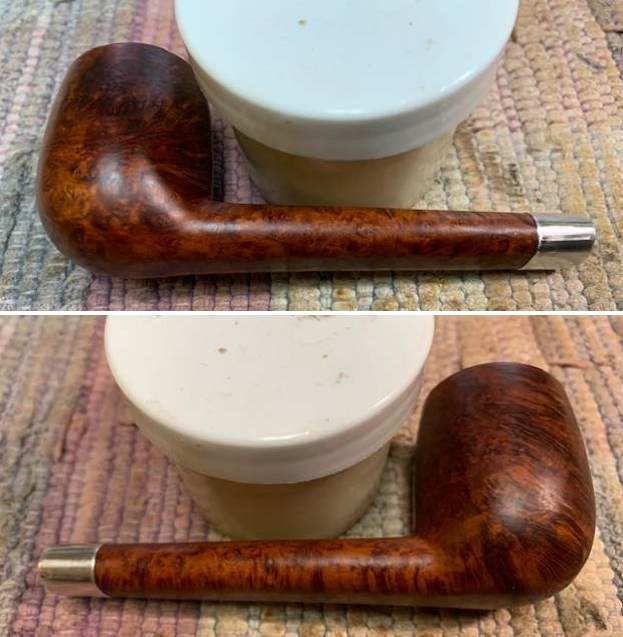
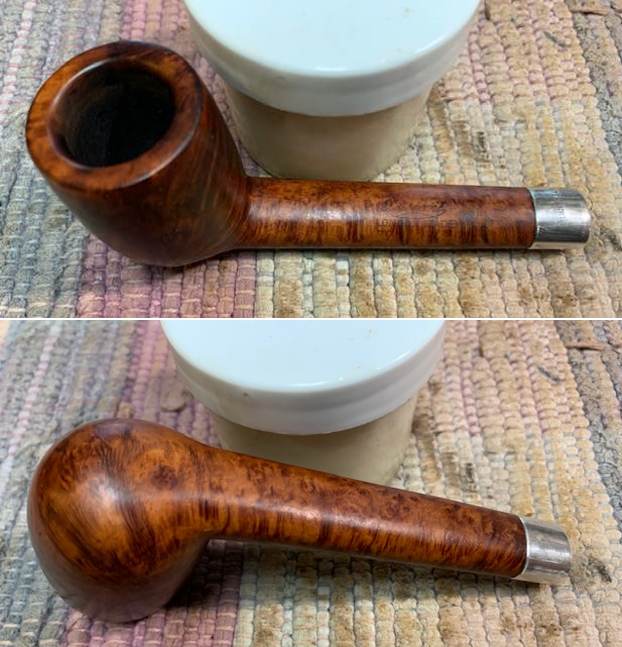
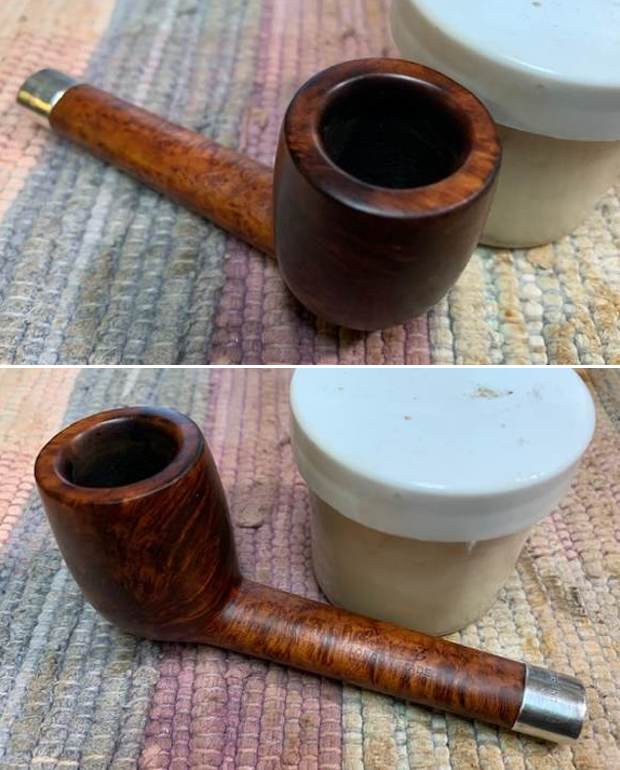
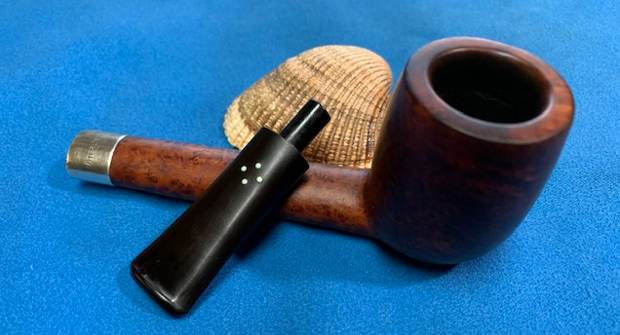
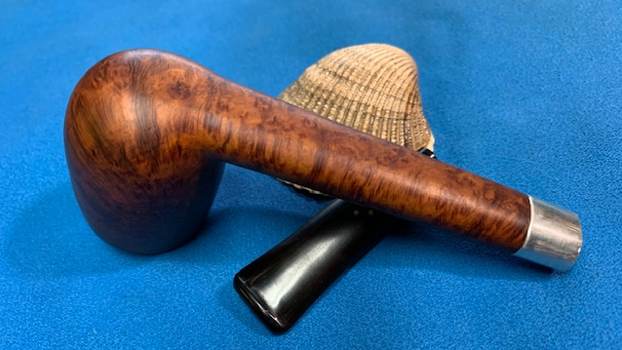
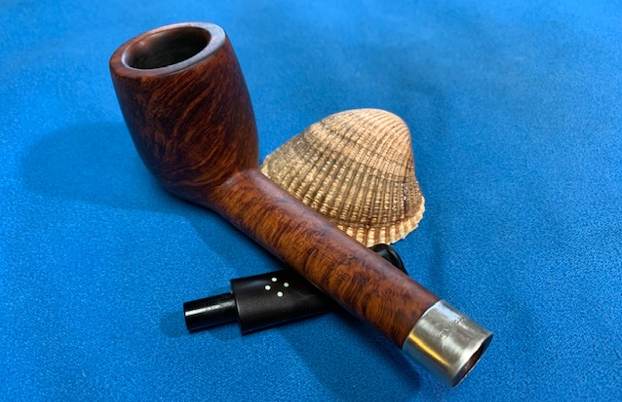
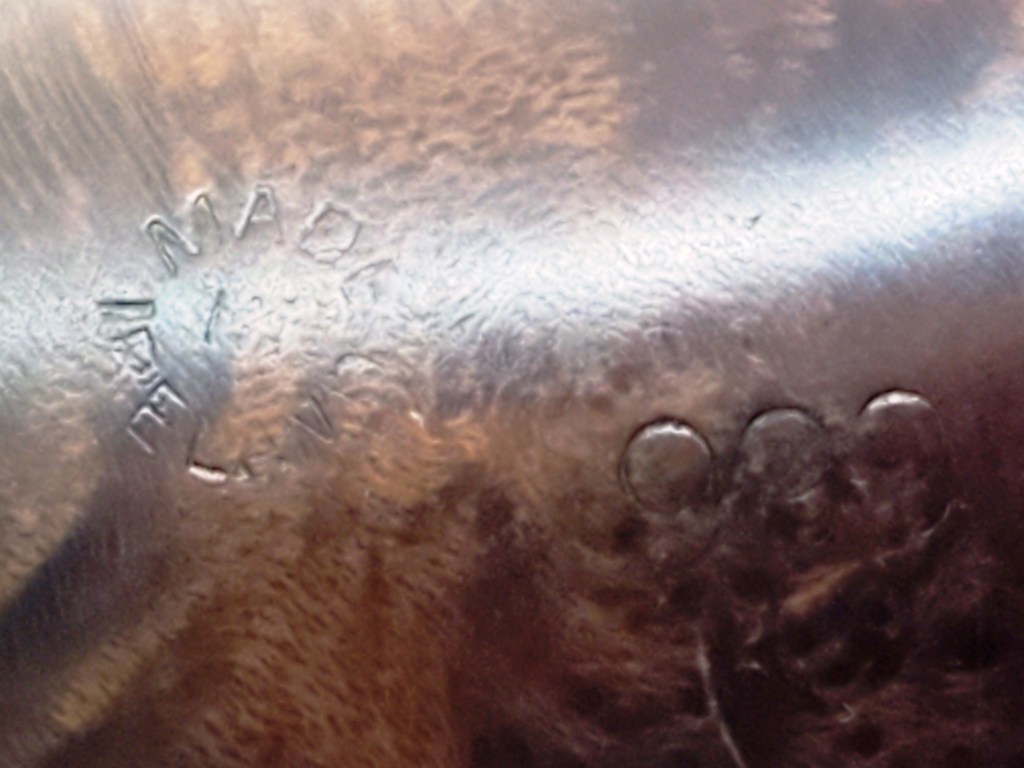
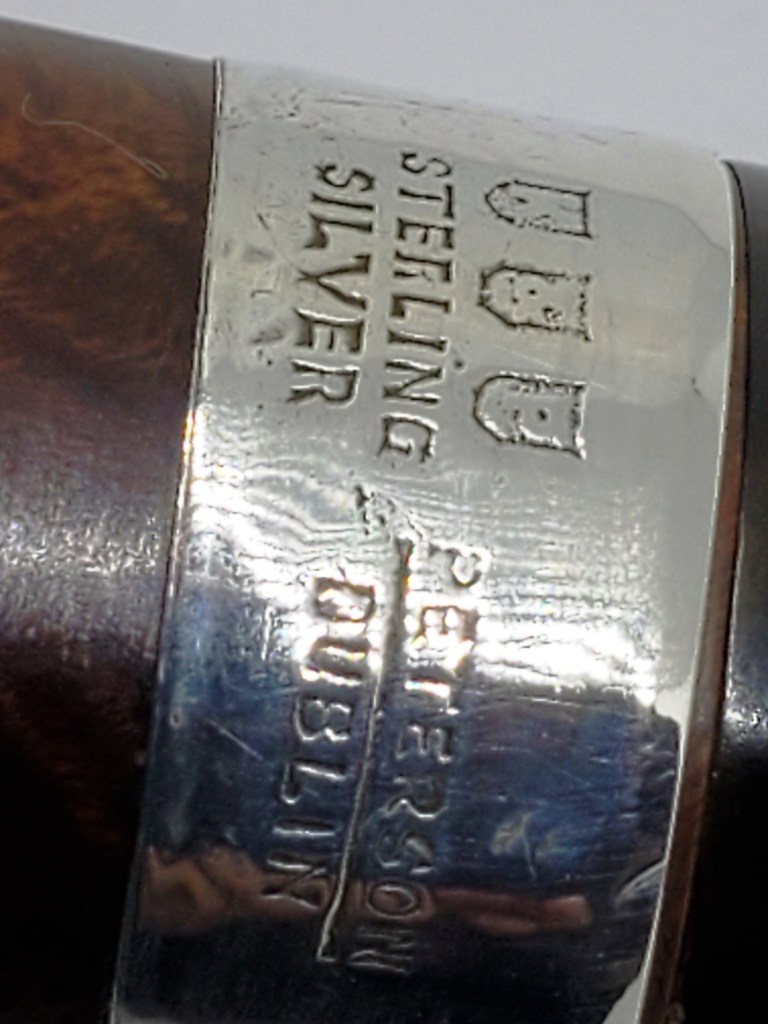
The next pipe on the work table came to me from either a trade I made (pipes for labour) or a find on one of my pipe hunts. I honestly don’t remember where it came from. It has been around for a while waiting to be worked on. It is an older long shank Canadian with a Sterling Silver band on the shank. It is quite dirty but has some great grain on the shank and stem. The stamping on this Canadian is faint but and readable. It is stamped on the topside of the shank next to the bowl and reads Made in England in an oval. That is followed by Sasieni [over] London Made [over] Pat. No. 150221/20. There is no shape number on the shank that I can see. The pipe had a lot of grime ground into the smooth finish on the bowl. The bowl had been heavily caked but had been reamed somewhere in its journey. The rim top and inner edge had darkening and some burn damage all the way around though heavier on the right and back side. The vulcanite stem was dirty and had light tooth chatter and marks on the top and underside ahead of the button. There were four pale blue dots on the top side of the taper stem that is common on a Sasieni. The pipe had promise but it was very dirty. I took photos of the pipe before I started my cleanup work.   I took photos of the rim top and bowl to give a clear picture of the bowl and the damage on the rim top and edges. The Sterling Silver band is tarnished and black. I also took photos of the top and underside of the stem to show the light chatter and tooth marks. I took photos of the stamping on the top side of the shank. It reads as noted above and is faint but readable. The silver band is stamped Sterling Silver on the top and there are four light blue dots on the top of the taper stem.   I wanted to see if I could narrow down a time frame for this Sasieni London Made Patent pipe so I turned first to Pipephil’s site to get a good overview and see if there were photos of a similar looking stamping on a pipe there (http://www.pipephil.eu/logos/en/logo-sasieni.html). I quote the summary of the history of the brand from the top of the page:

One may distinguish three major periods in the Sasieni brand history:

  • The so called pre-transition period during which the family totally owned the business.
  • The transition period from 1979 to 1986. The corporate has been bought by Ian Chase and a group of South African investors.
  • The post-transition period from 1986 up to the present. At first the corporate has been bought by James B. Russell and after him by Cadogan Investments Ltd (A. Oppenheimer & Co. Ltd).

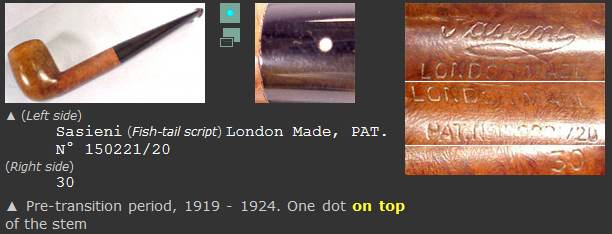
With that information I scrolled through the photos of shapes and stamping on the pipes shown. The one that bore the same stamping as the Canadian I am working on was a billiard shown below. I did a screen capture to show the stamping look and design. The shape number on the Canadian is obviously buffed off on the pipe I have. From that information I knew that the pipe I had was a Pre-Transition Period pipe made between 1919-1924. This is demonstrated by the style of the Sasieni Stamp (with a flourish) and the rest of the stamping including the  Pat. No.

From there I turned to Pipedia to read more information about the time periods and the stamping on this particular pipe (https://pipedia.org/wiki/Sasieni). I quote a pertinent section below.

To begin with, there are three main elements to dating the Sasieni pipe, the patent number, the style of the name “Sasieni” as it appears on the shank, and the Dots themselves. Naturally, there are exceptions to these rules (this hobby would be boring without them), but for the most part these guidelines apply better than 95% of the time. All Sasieni One, Four, and Eight Dot pipes made before W.W.II and destined for the U. S. market carried a patent number on the shank which usually started with the numbers “15″, with 150221/20 and 1513428 being representative of the group. Also, the name “Sasieni” was stamped on the shank in a very florid manner, with the tail of the last “i” sweeping underneath the name forming a shape which has been compared to a fish by more than one collector. This script was discontinued by Alfred almost immediately after he took over the company, so this alone tells you your pipe is pre W.W.II. Underneath in block lettering are the words “London Made”, with the patent number making the third line.

The dots will help you narrow this down further. As we mentioned, the short lived U. S. market One Dot was introduced around 1920, and was replaced by the early to mid 1920’s by the Four Dot. The 1920’s Four Dot is distinguishable by the florid Sasieni script, a patent number, and four blue dots, which are quite small compared to the pipes of post war years. Furthermore, by 1935 Sasieni began stamping pipes, based on the shape, with their own names, which were usually, but not always, English towns. For example, apples were stamped “Hurlingham”, bulldogs were “Grosvenor” or “Danzey”, and panels were “Lincoln”. One rare and interesting variation of this was the large bent, dubbed “Viscount Lascelles”. Even in this soft Sasieni market, these pipes regularly sell for $150 in their rare appearances in mailers.

Once Alfred took over the company in 1946, these elements changed in fairly rapid succession. The first thing to be changed was the nomenclature itself. In place of the elaborate “Sasieni” stamp of pre war pipes, a simpler, though still script style, “Sasieni” was used. This can be seen on patent pipes which have the small, old style dots.

This further gave me a time period and date for this pipe. It was definitely pre-WWII and probably made between 1919-1924. So it was an older pipe that was in decent condition for a pipe that age.

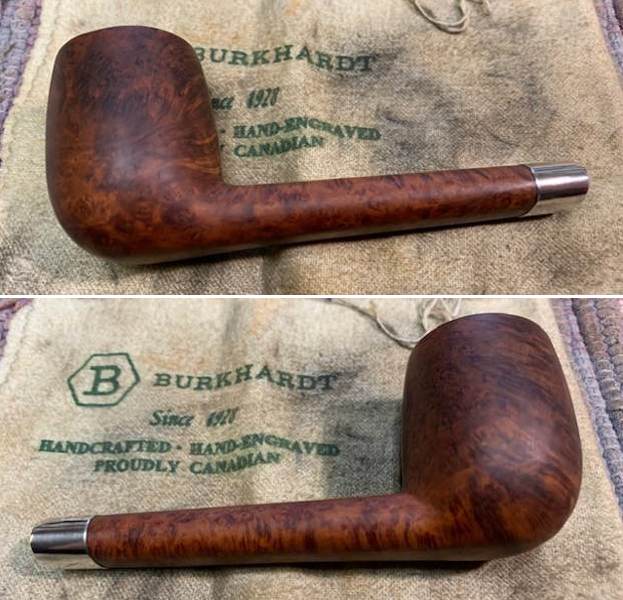
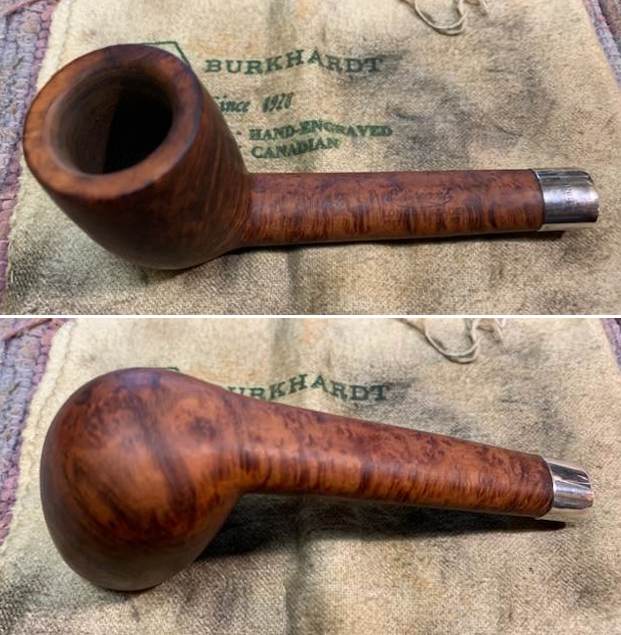
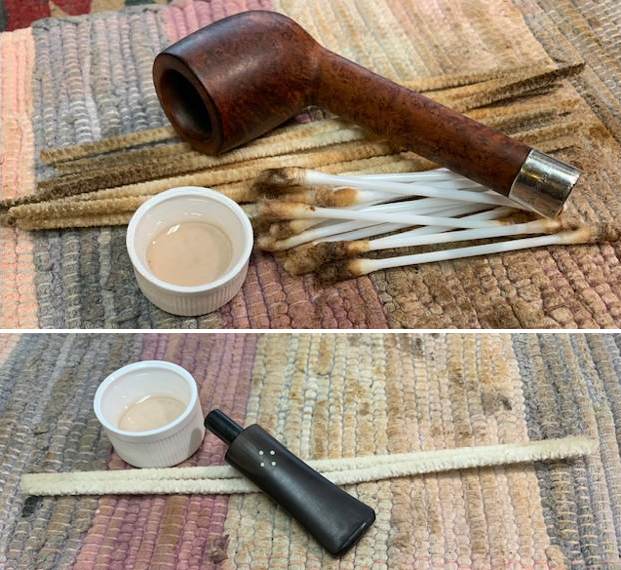
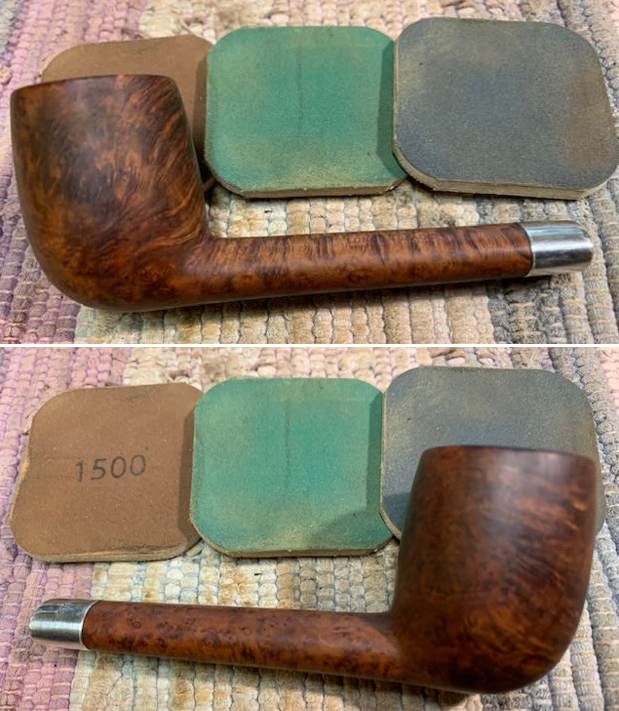
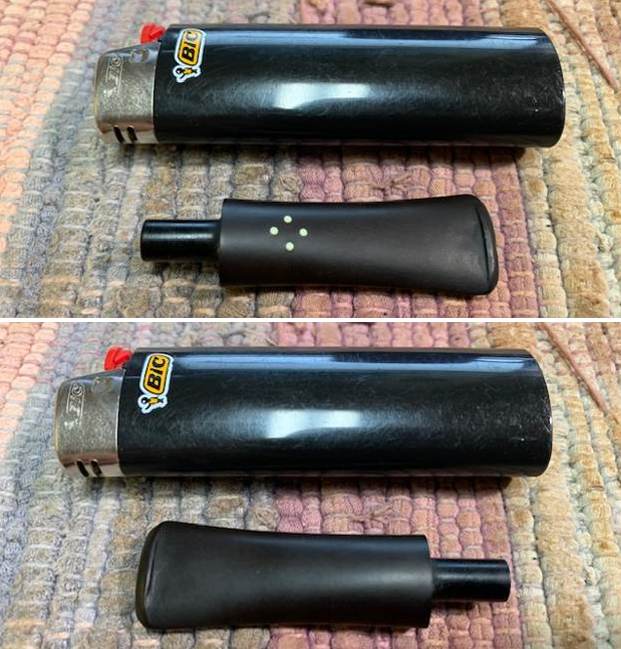
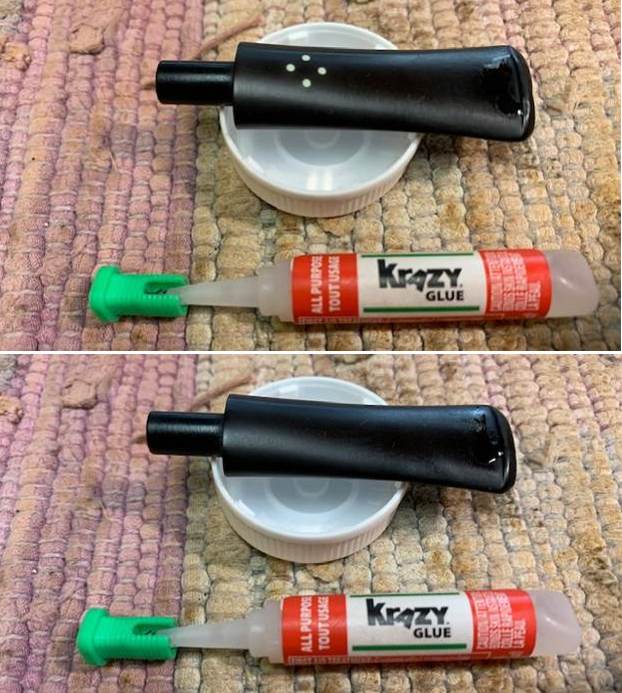
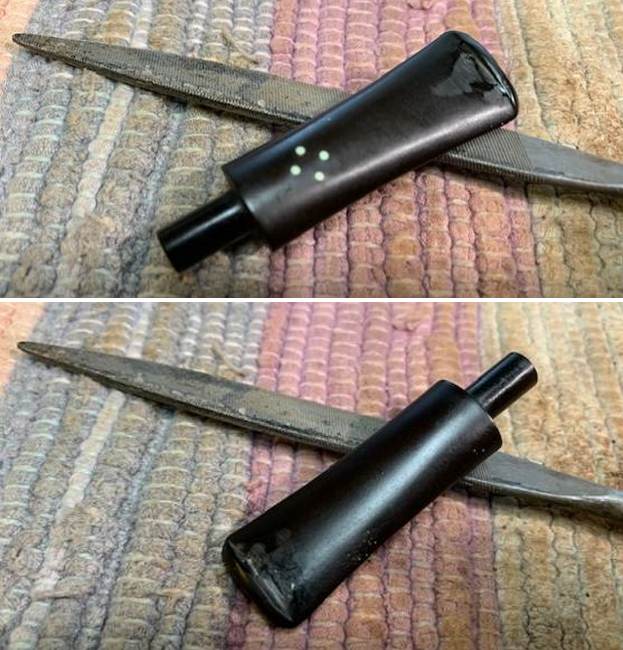
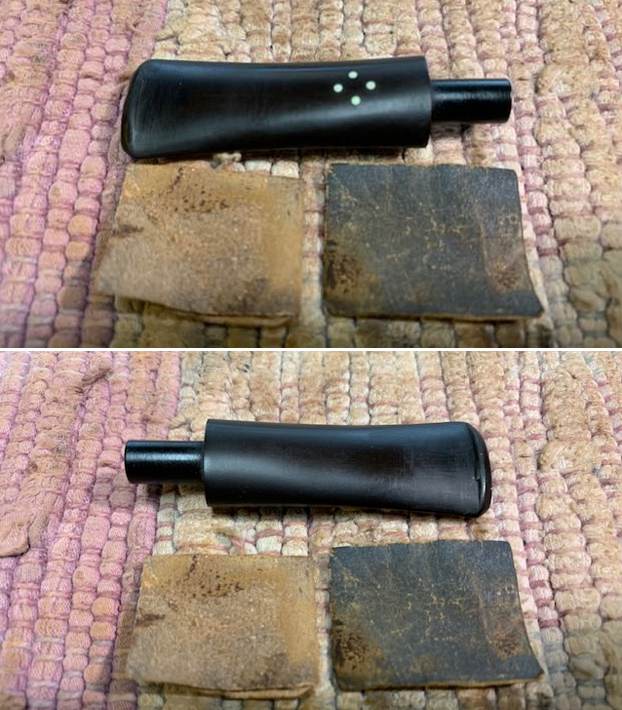
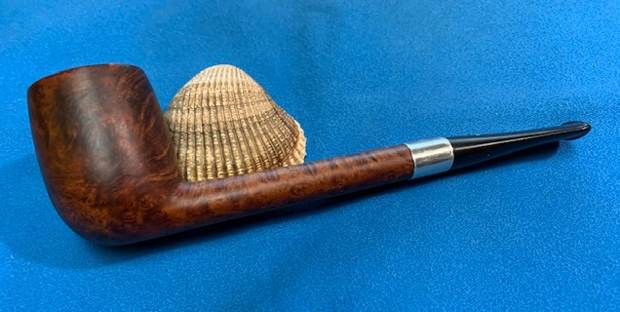
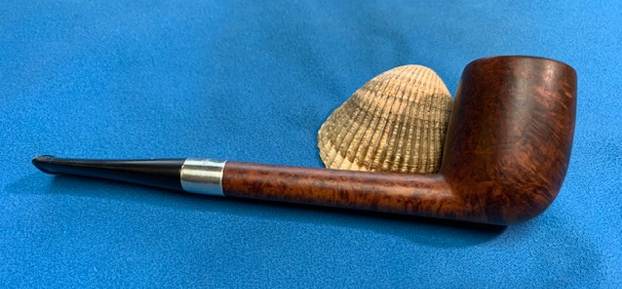
Now it was time to work on the pipe. I cleaned up the reaming of the bowl with a Savinelli Fitsall Pipe Knife. It did not take too much work to clean it up internally. On a pipe of this age once again I exercised restraint in how far I went to clean up the top. I do not want to change look or feel of a pipe that is at least 100 years old. I then turned my attention to the rim top and edges. I lightly topped the bowl on a topping board and 220 grit sandpaper to remove the damage on the top of the rim. I also worked over the inside edge of the bowl with a folded piece of sandpaper to give it a gentle bevel.      I polished the Sterling Silver shank band with a jeweler’s cloth to remove the tarnish and oxidation. It also works to slow down the tarnish process. I took some photos of the band and bowl after the polishing. I scrubbed the exterior of the bowl and rim top with a tooth brush and undiluted Murphy’s Oil Soap to remove the debris from the finish. I rinsed the bowl with warm water to remove the grime and soap and dried it off with a soft towel.    I cleaned out the mortise and airway in the shank with pipe cleaners, cotton swabs and alcohol. It took quite a few of them to clean out the chamber. I cleaned the stem with pipe cleaners, cotton swabs and alcohol as well. Once finished the pipe smelled far better.      I polished the briar with micromesh sanding pads – dry sanding with 1500-12000 grit pads and wiping it down with a damp cloth after each pad.     I rubbed the bowl and shank down with Before & After Restoration Balm. I worked it into the surface of the bowl sides and shank with my fingertips to clean, enliven and protect the briar. I let the balm sit for a little while and then buffed with a cotton cloth to raise the shine. I really like what I was seeing!   I set the bowl aside to let the wall repairs cure overnight. I turned my attention to the stem. I “painted” the stem surface with the flame of a lighter to lift the tooth marks. It worked quite well but there were some left behind. I filled in the remaining marks with clear CA glue and set it aside to cure.   I used a small flat file to flatten out the repairs and to recut the edge of the button. I sanded the repairs further with 220 grit sandpaper and started the polishing with 400 grit wet dry sandpaper. I polished the vulcanite stem with micromesh sanding pads – 1500-12000 grit pads. I wiped it down with an Obsidian Oil impregnated cloth after each sanding pad. I used Before & After Pipe Polish – both Fine and Extra Fine to further polish the stem. I gave it a final coat of Obsidian Oil. This beautiful Sasieni London Made Pat. No. 150221-20 Canadian with a vulcanite taper stem is a great looking pipe now that it has been restored. The rich brown stain on the bowl allows the grain to really show. It came alive with the polishing and waxing. The silver band is a great transition between the briar and the vulcanite. I gave the bowl and the stem multiple coats of carnauba wax on the buffing wheel and followed that by buffing the entire pipe with a clean buffing pad. I hand buffed the pipe with a microfiber cloth to deepen the shine. The finished Sasieni London Made Canadian is a beauty and fits nicely in the hand and looks very good. Give the finished pipe a look in the photos below. The dimensions of the pipe are Length: 5 ¾ inches, Height: 1 ¾ inches, Outside diameter of the bowl: 1 ¼ inches, Chamber diameter: ¾ of an inch. The weight of the pipe is 32 grams/1.13 oz. I am still figuring out what to do with this one. It may stay here but if I decide to let it go watch for it on the store. Thanks for reading this blog and my reflections on the pipe while I worked on it. There are many more to come!

The Poker Barrel


by Kenneth Lieblich

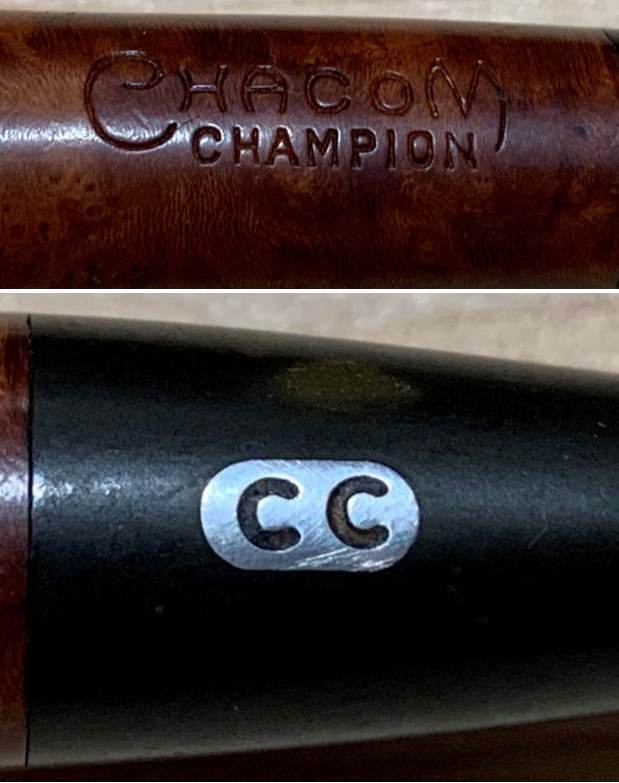
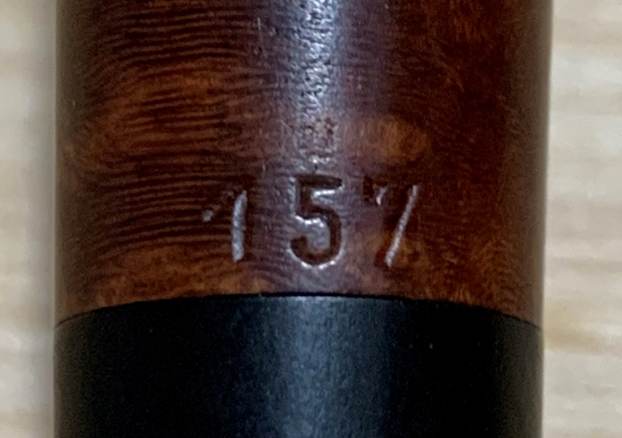
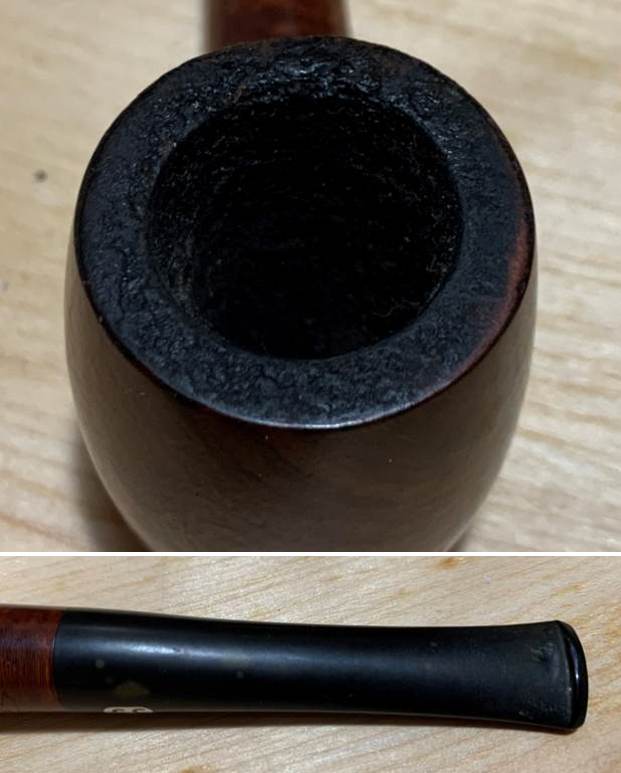
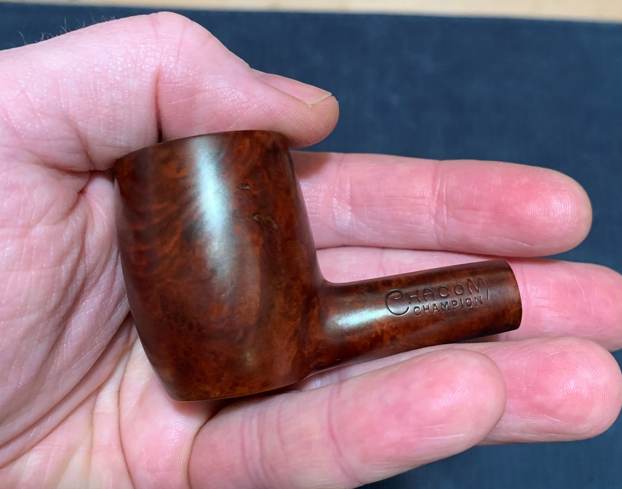
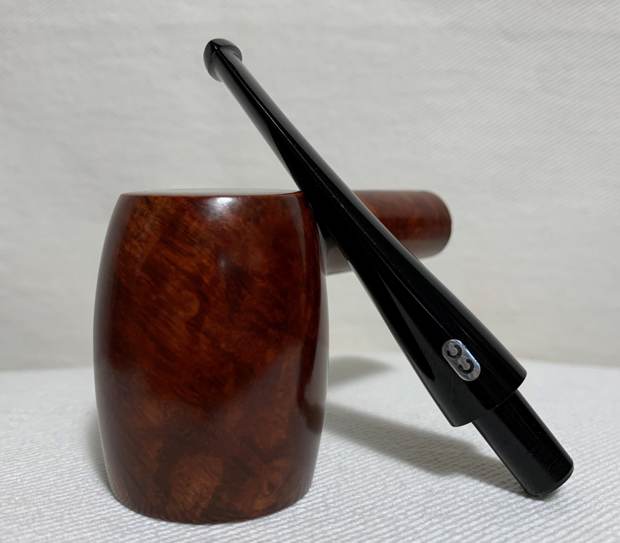
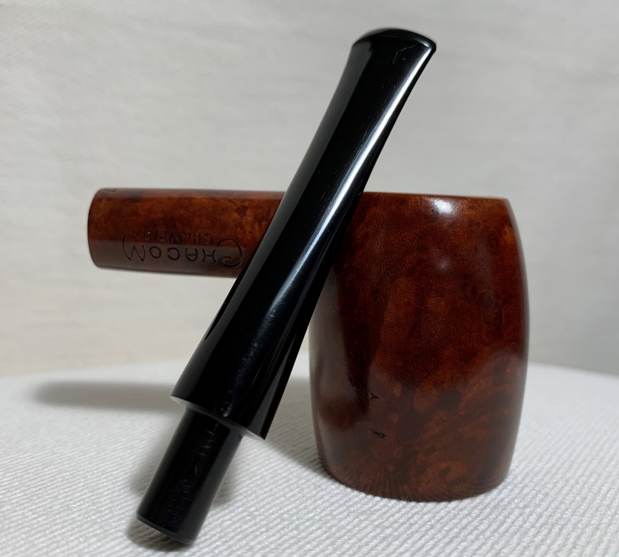
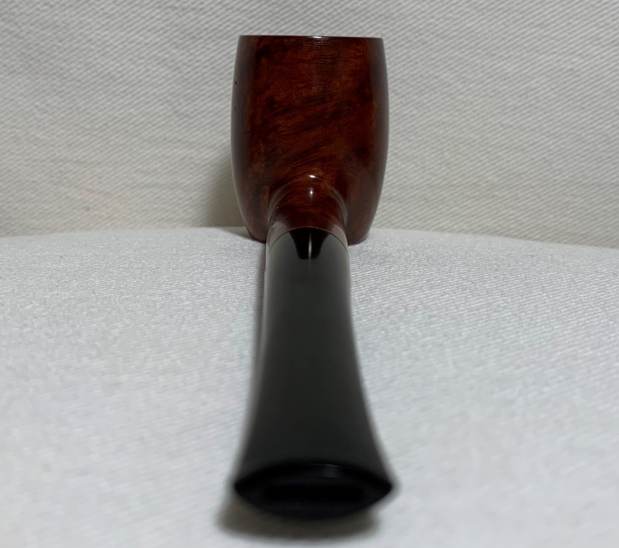
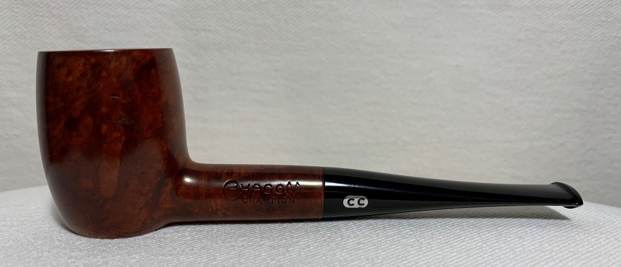
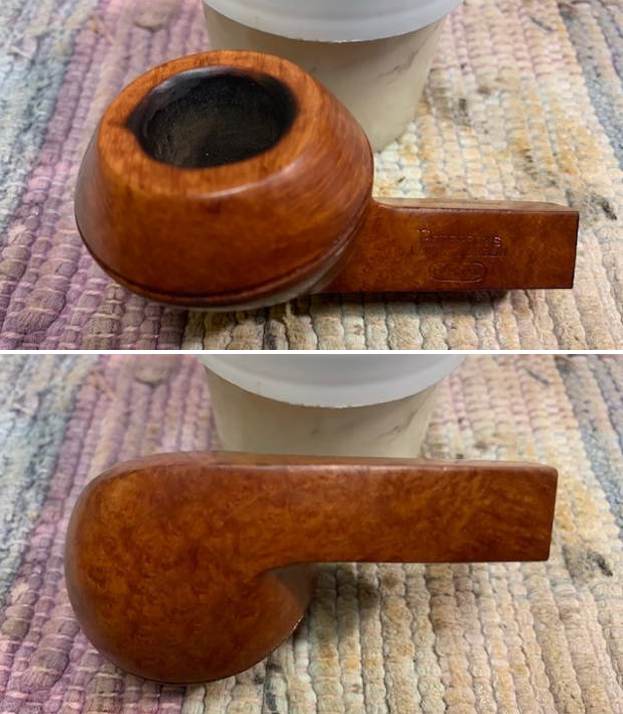
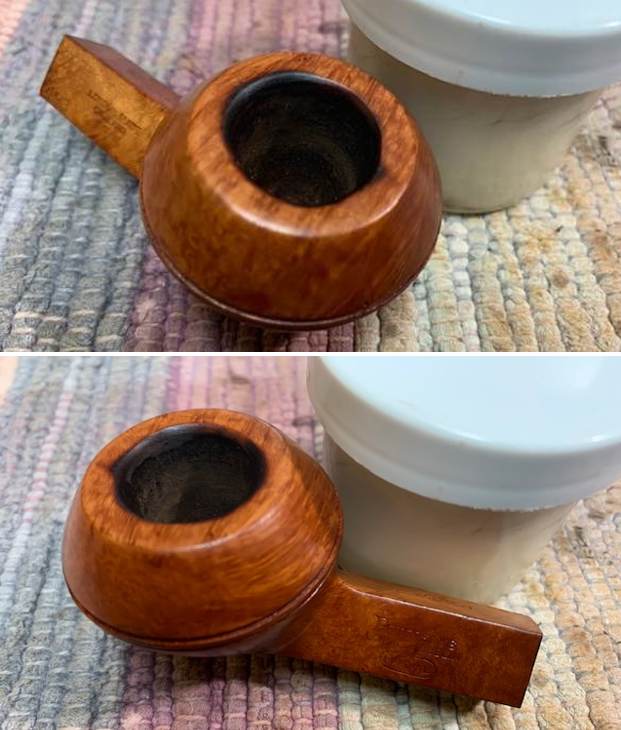
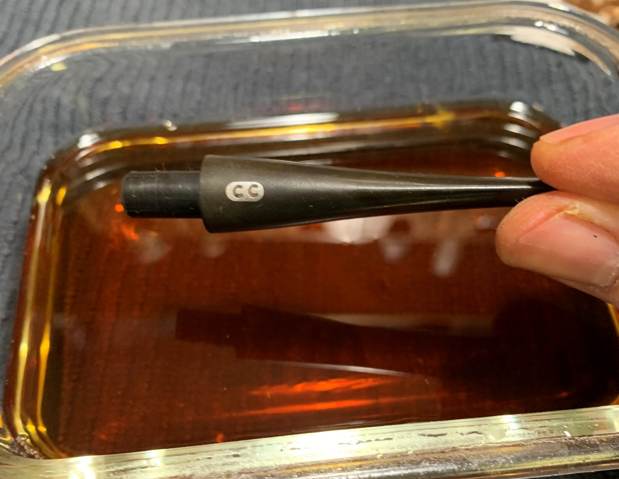
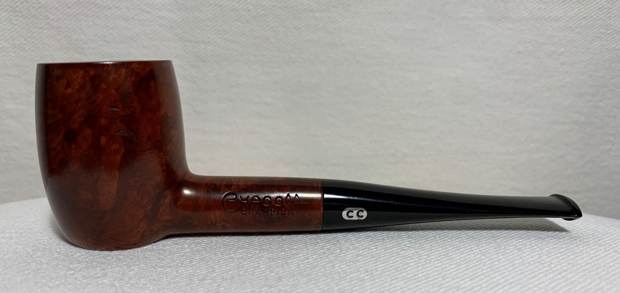
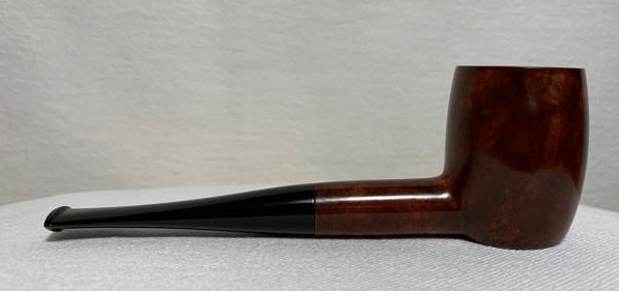
Next on the chopping block is this charming Chacom Champion. It comes from the estate of a man from Winnipeg, whose relatives live here in Vancouver. I purchased several of the late gentleman’s pipes, along with this one. I have a particular interest in French pipes and pipeworks, so this was the first pipe I grabbed from the lot for restoration. It is an attractive pipe and needed just a little help to come back to life.This pipe was made by the French giant, Chacom. They are known for making very nice pipes, many of which were designed by such names as Pierre Morel, Claude Robin, and Erwin van Handenhoven. The markings on the left-hand side of the shank read Chacom [over] Champion. On the underside of the shank, the marking reads 157, which is the shape number. Also, on the stem, there is the Chacom logo: CC, encircled in a silver-coloured oval.This is a poker-shaped pipe (a flat bottom) – and a really pretty one too. I always felt that it looked a bit like an old oak barrel, hence the title of this article: The Poker Barrel. It feels very comfortable in the hand. It was obvious from the start that this was a great pipe that just needed some attention and TLC.
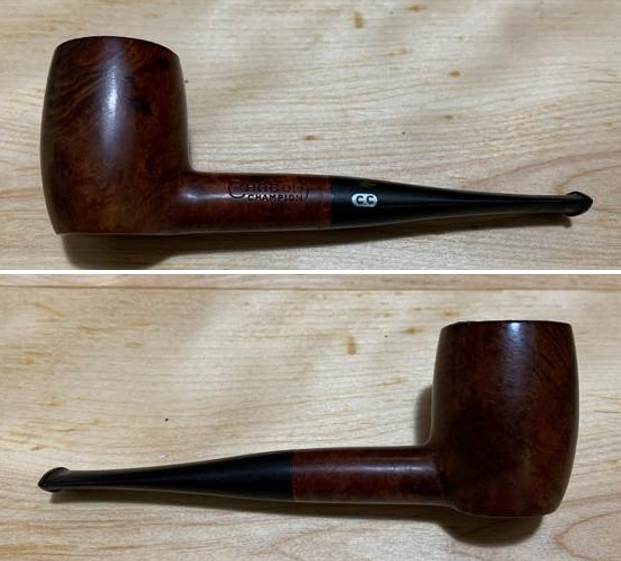
Chacom is a company that dates back, in its earliest form, to 1825. The name is a portmanteau of Chapuis Comoy. For a large part of the twentieth century, Chapuis Comoy was the largest pipe company in the world. For more on their history, please have a look at their website: https://www.pipechacom.com/en/history.htm. In fact, the shape number I mentioned above, 157, is a Comoy shape number and is designated as a straight-stemmed, flat-bottomed, billiard. But I am still going to call it a Poker Barrel anyway.

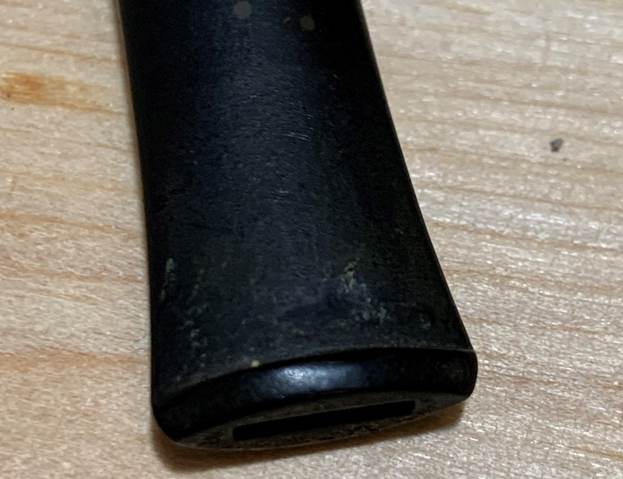
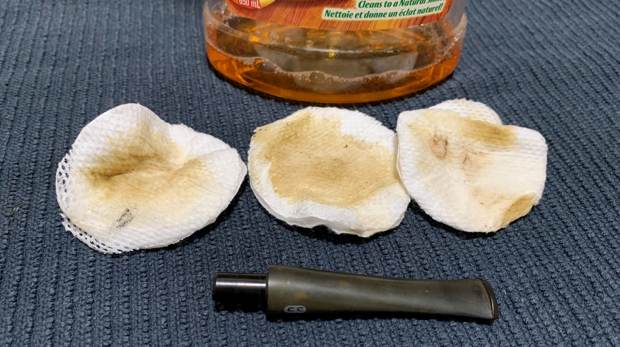
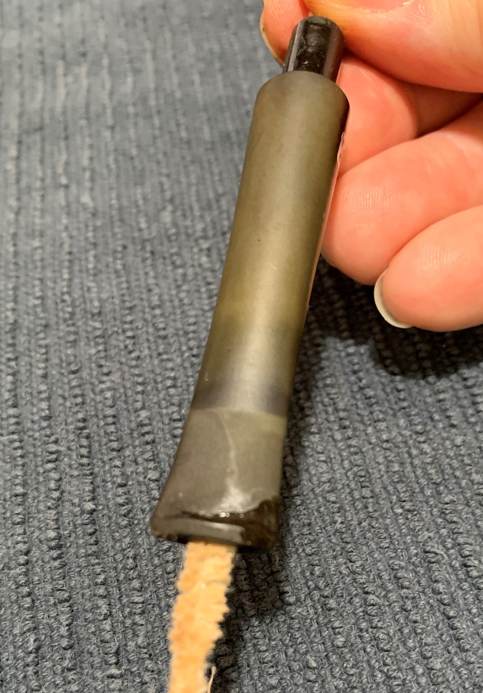
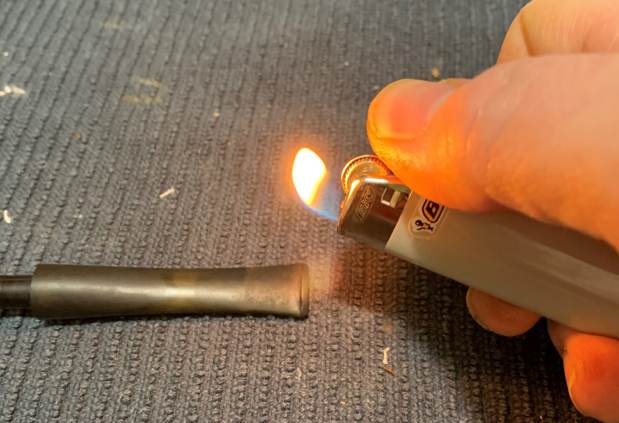
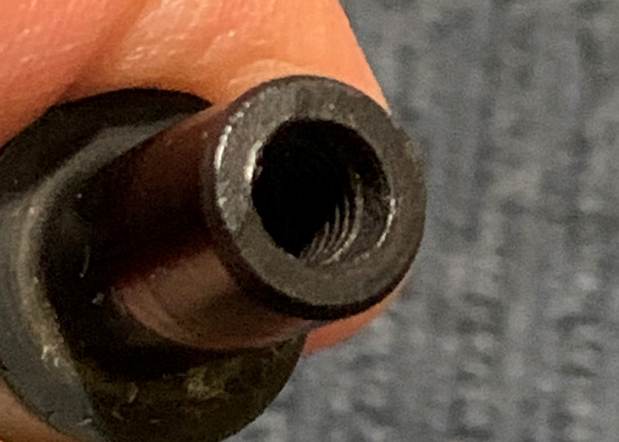
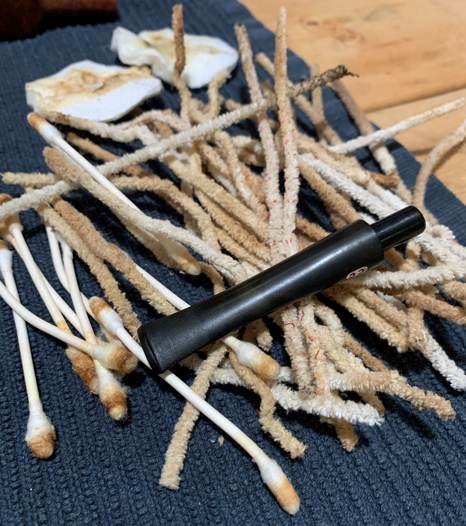
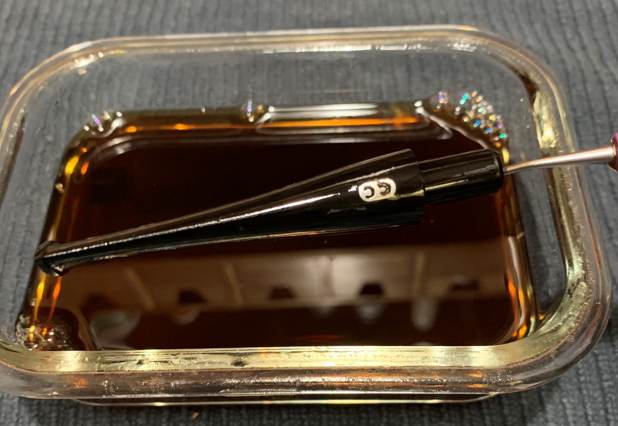
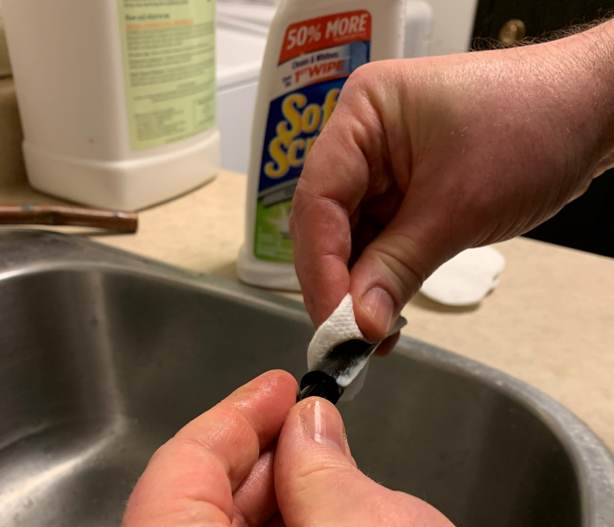
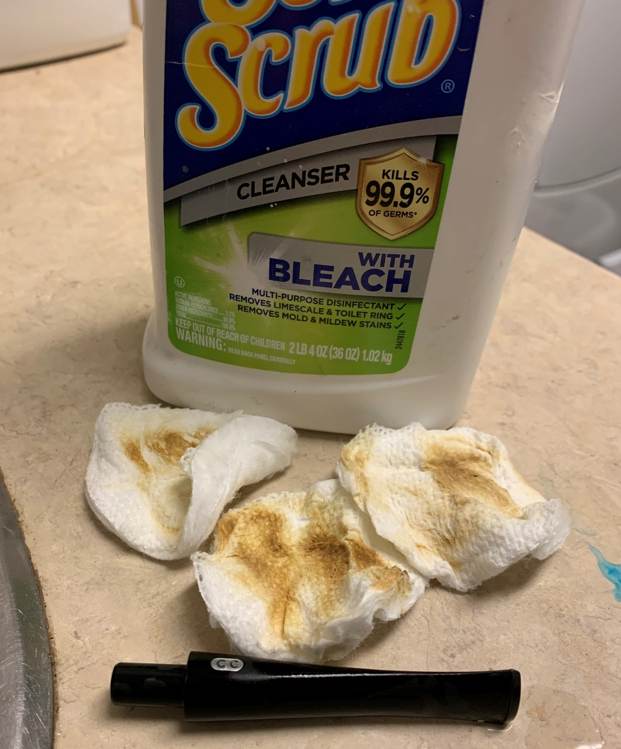
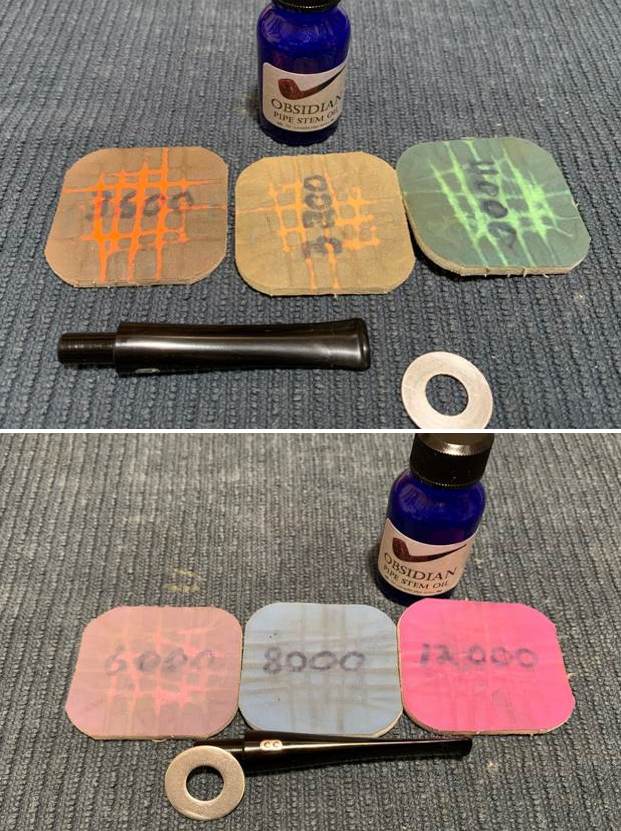
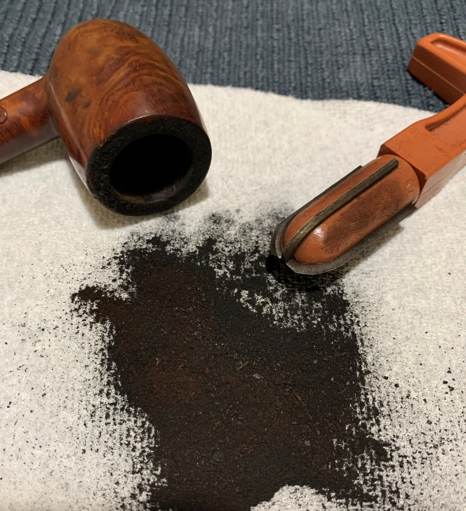
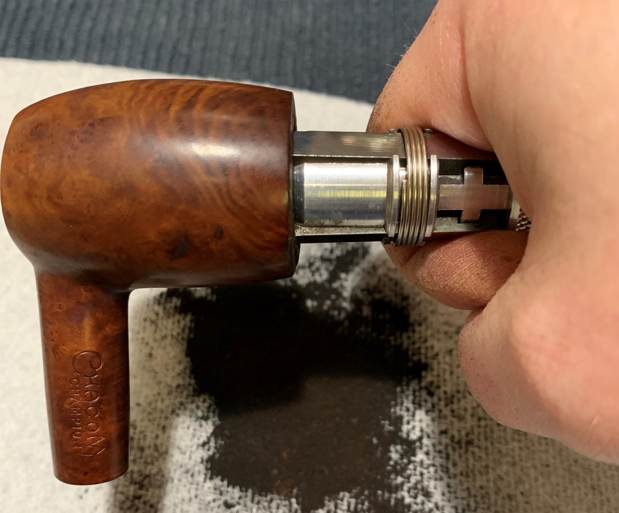
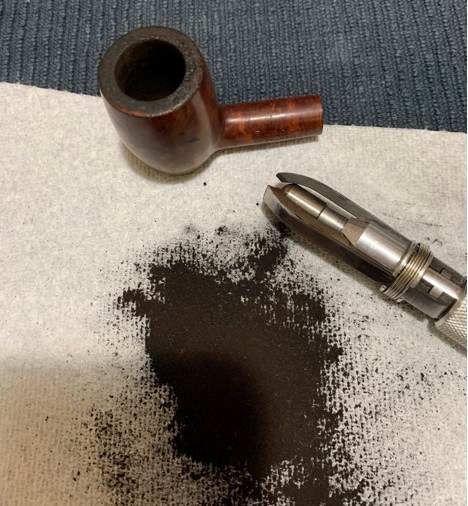
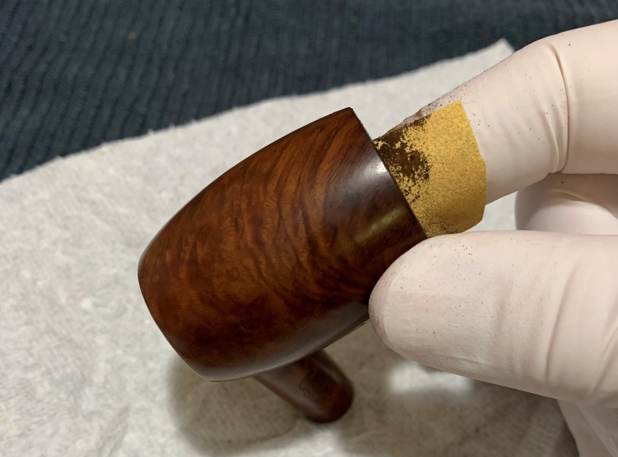
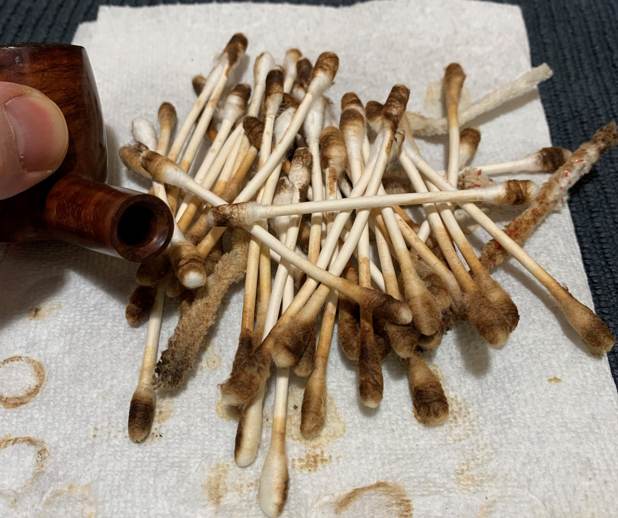
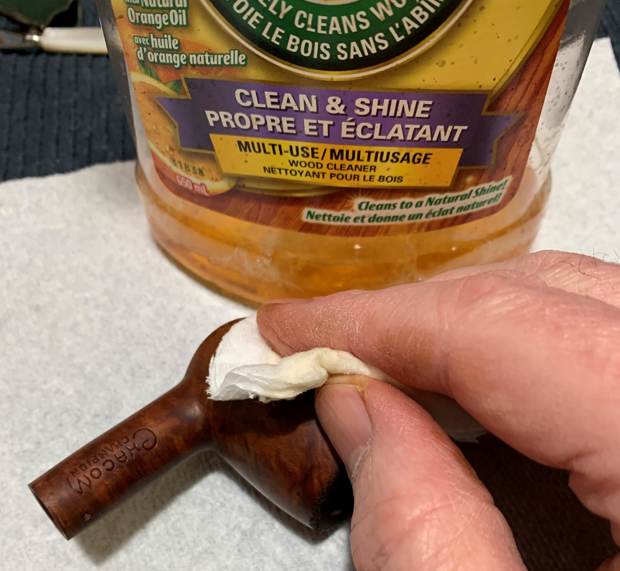
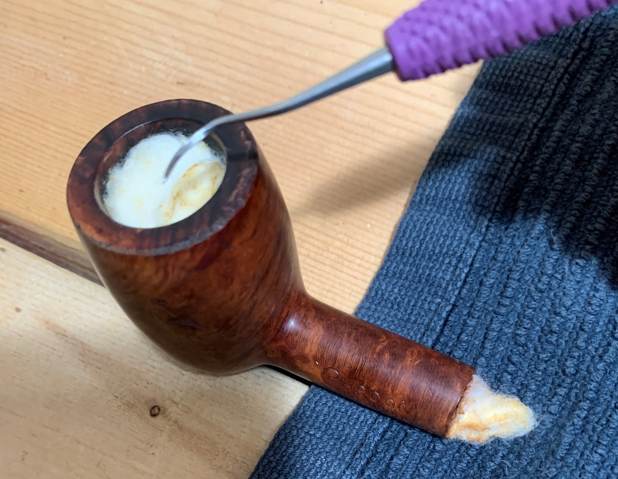
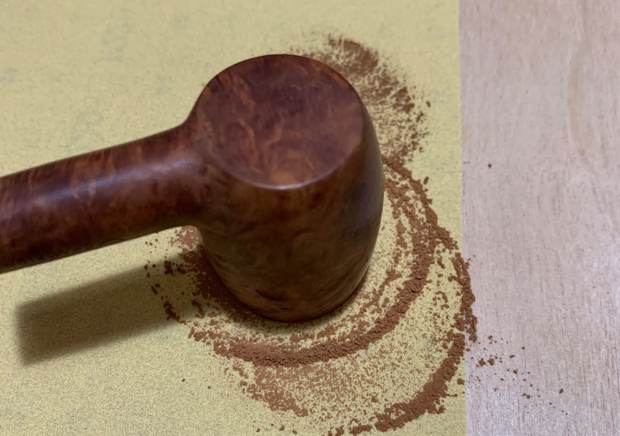
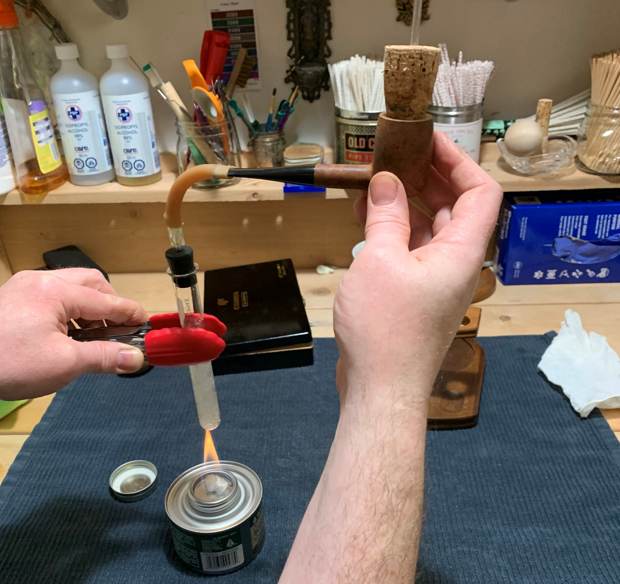
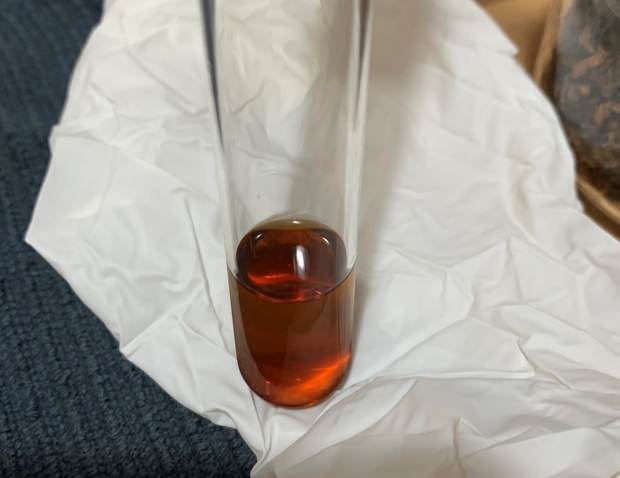
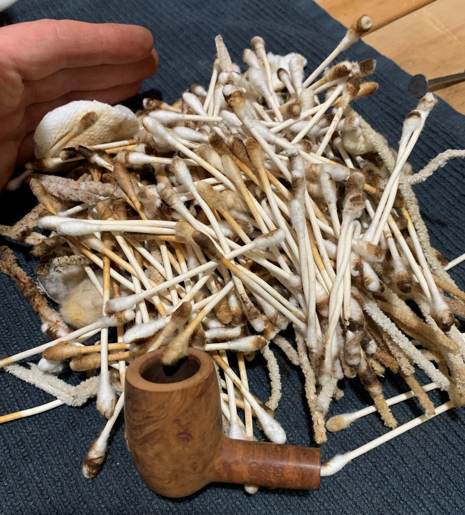
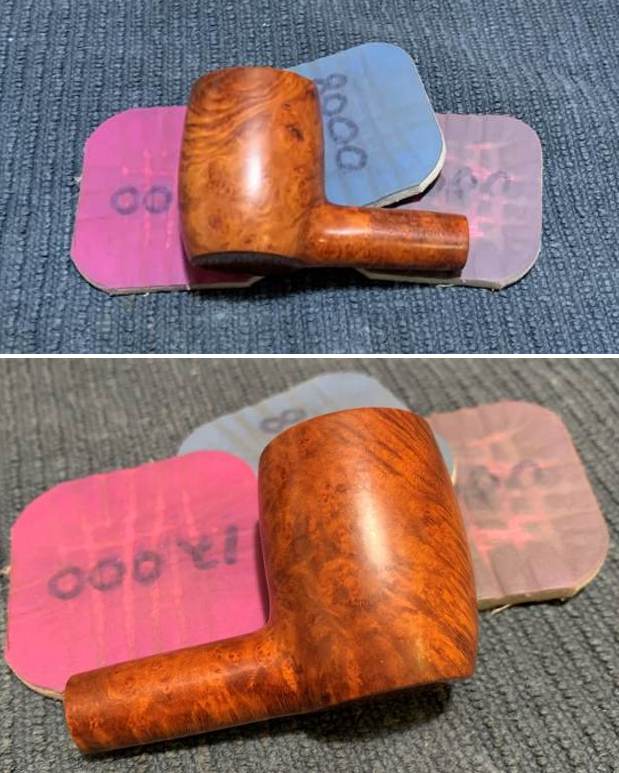
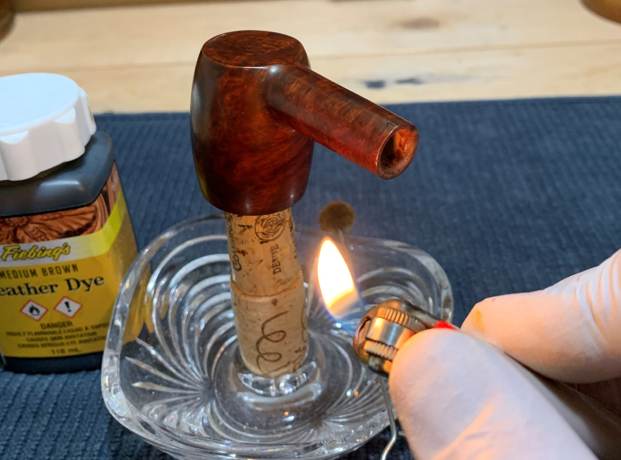
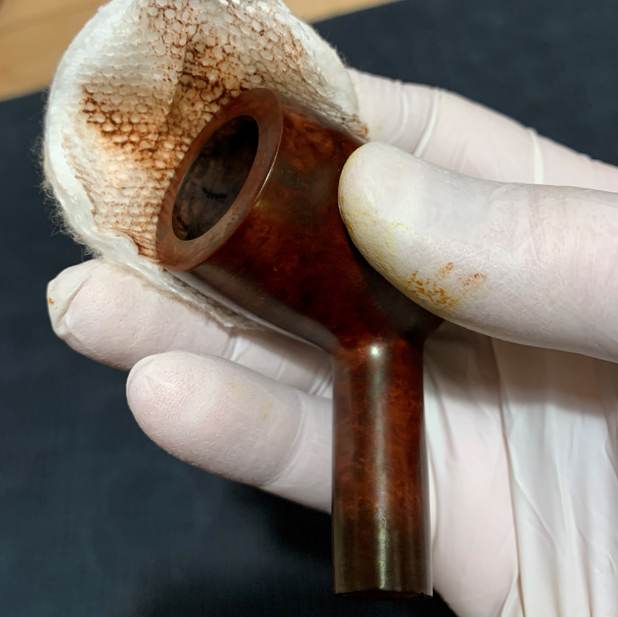
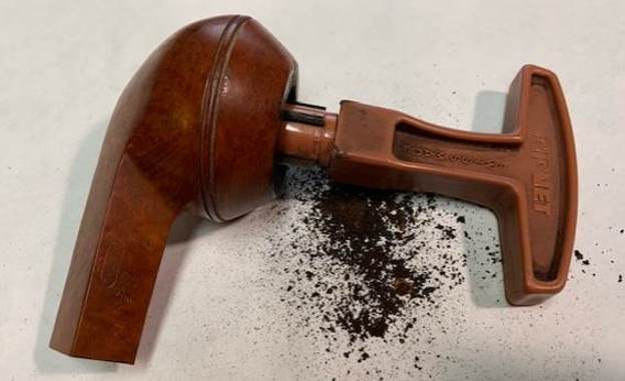
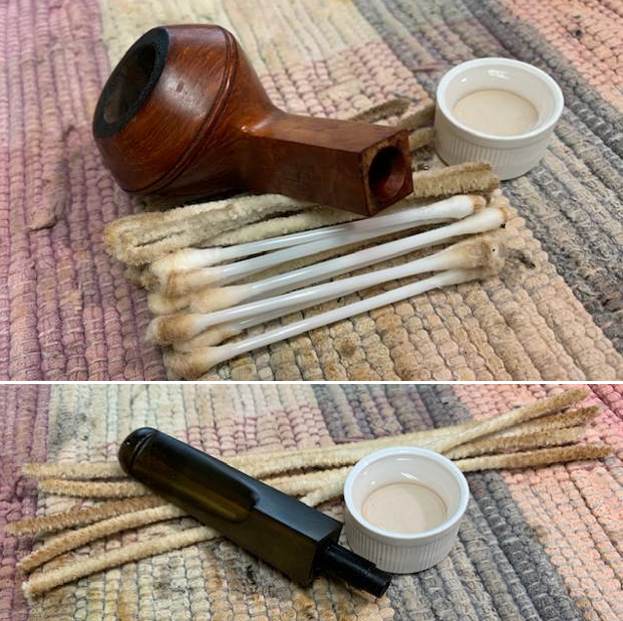
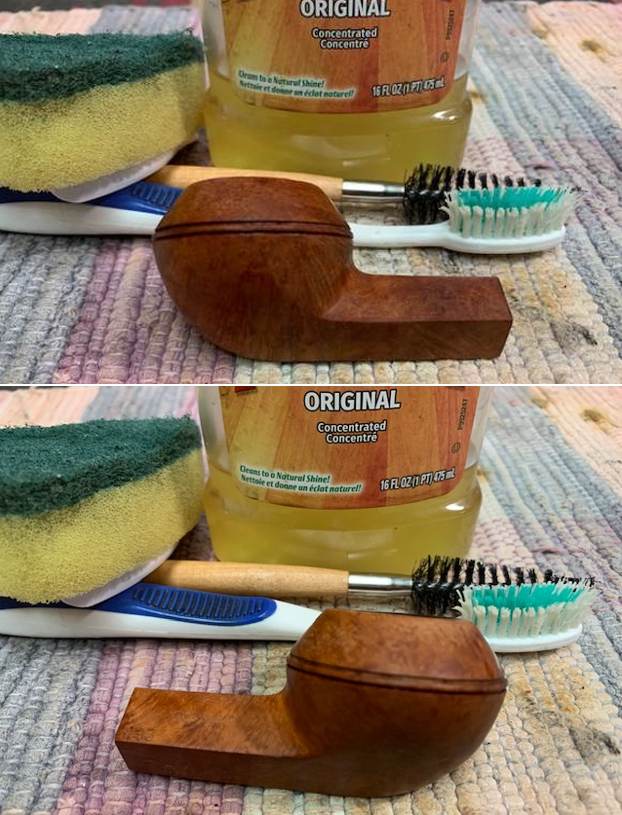
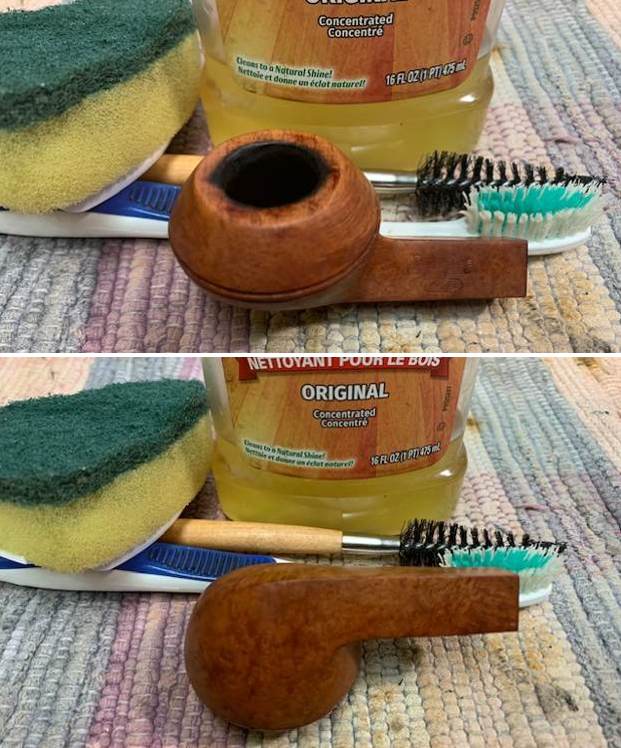
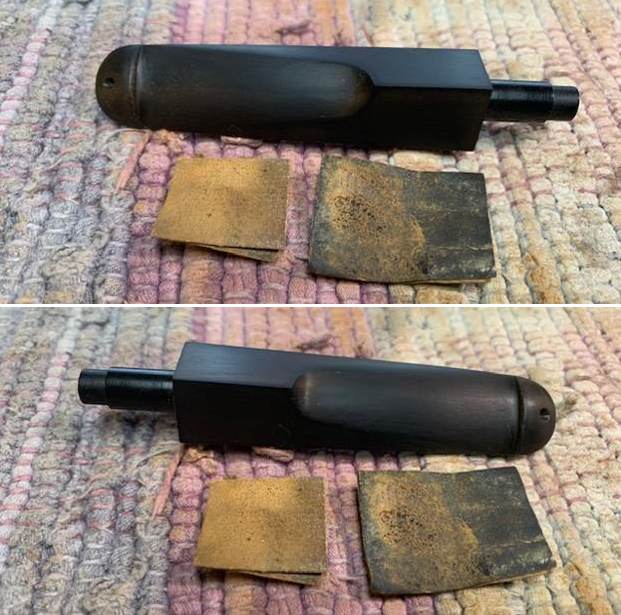
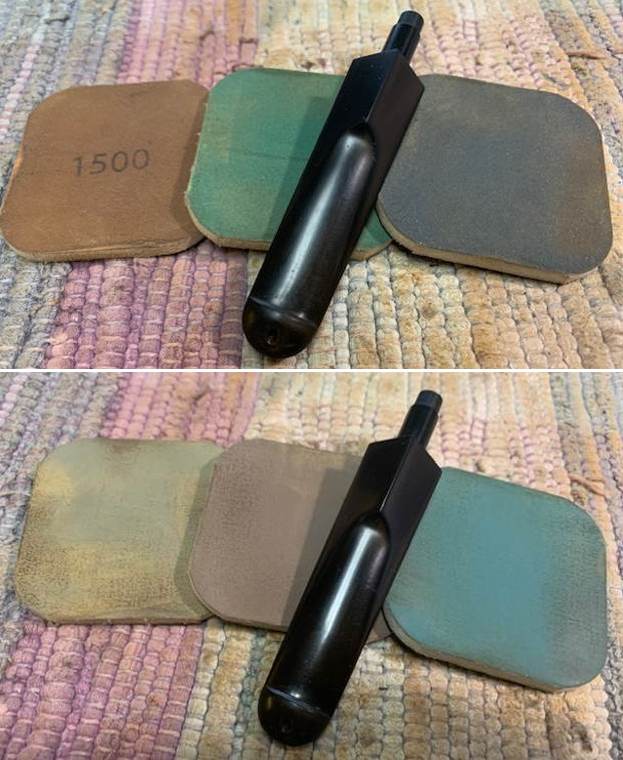
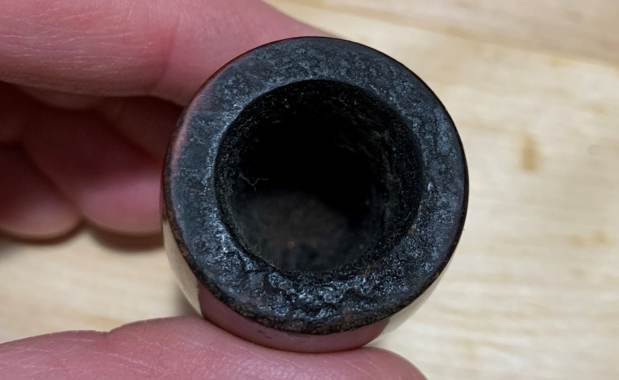
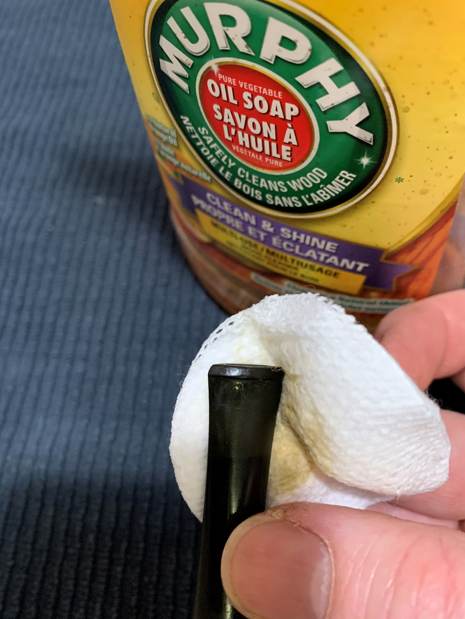
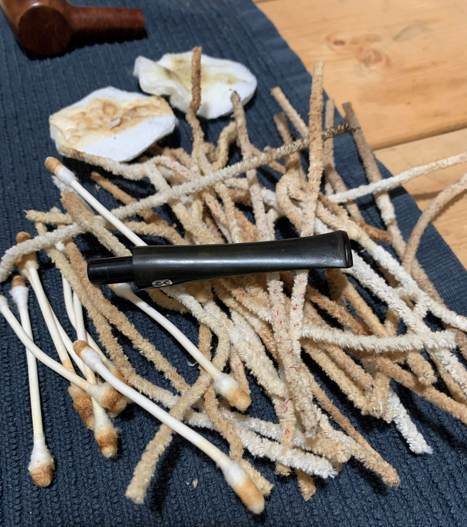
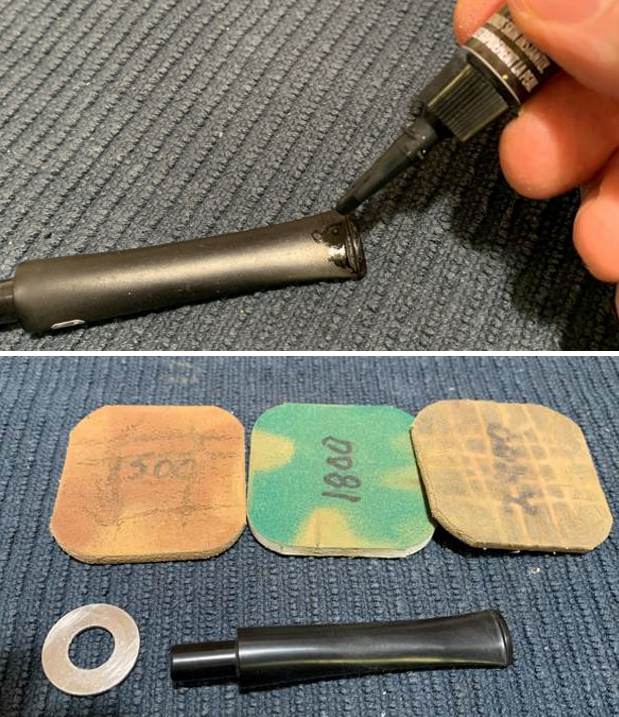
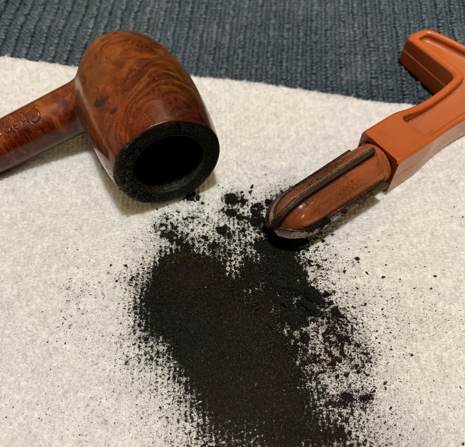
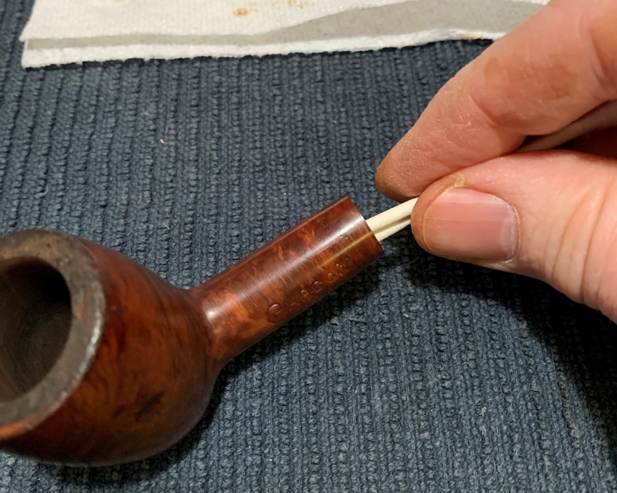
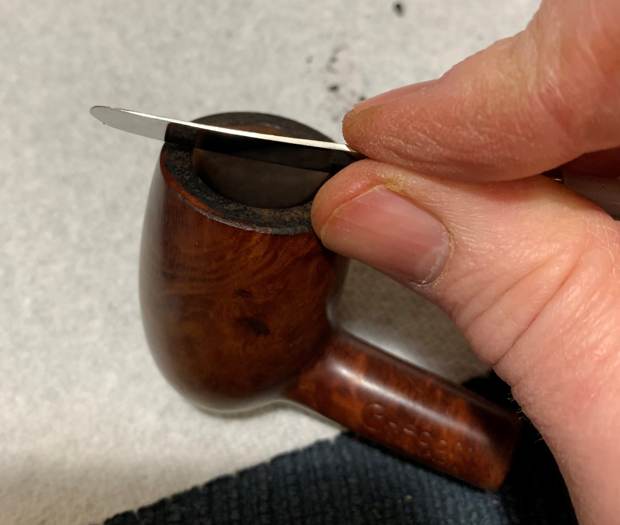
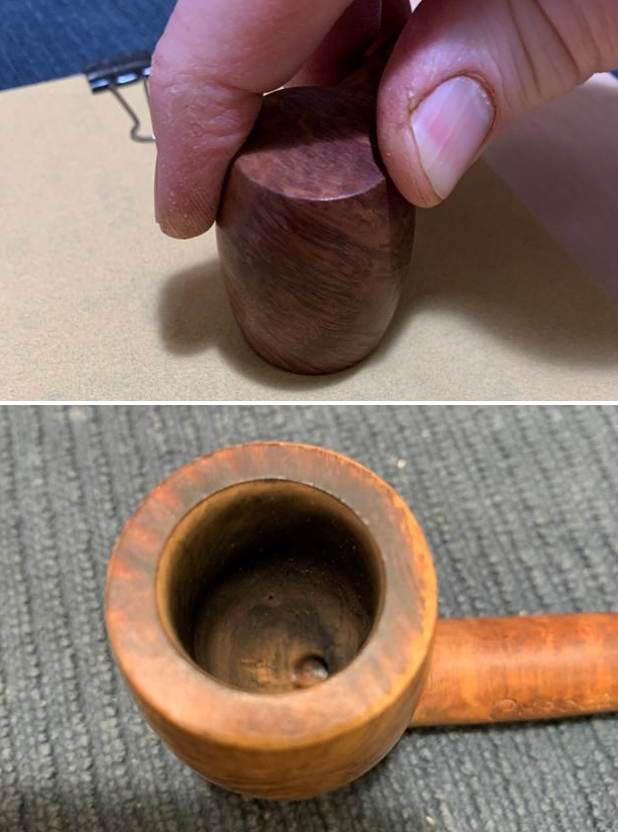
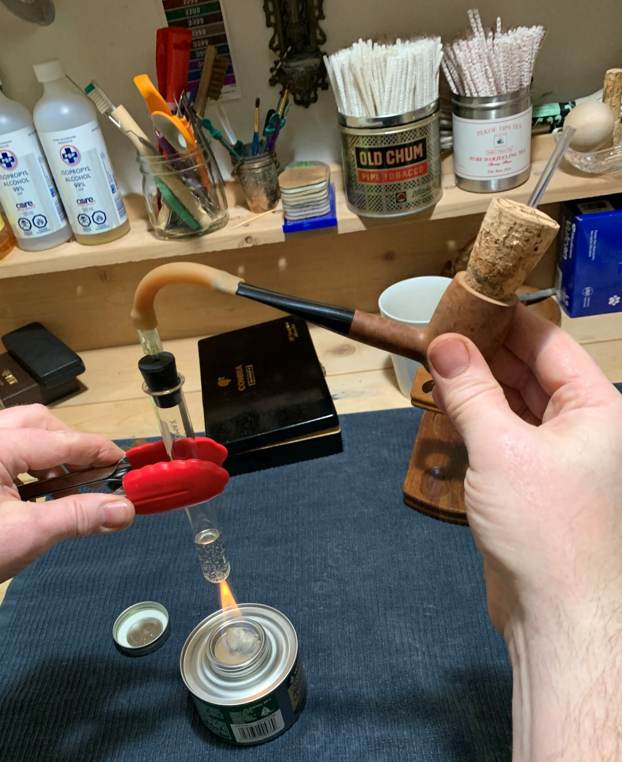
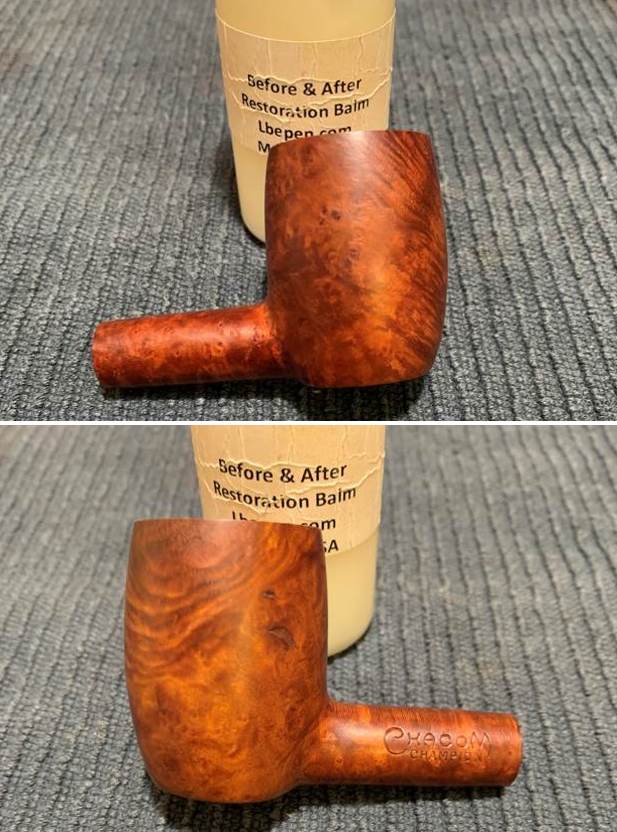
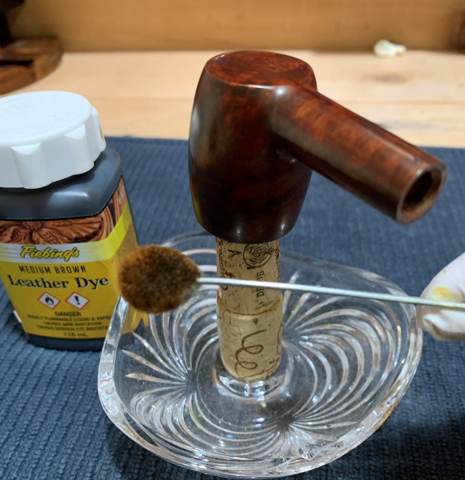
On to the pipe: it was in decent shape, but it had a few issues. The stem was mostly fine. There was a bit of oxidation, some tooth chatter and scratches, and that was about it. Meanwhile, the stummel had a few more issues. The outside of the bowl had some scratches and a couple of fills that needed to be redone. There was plenty of lava and debris on the rim and I suspected there would also be some burn marks. The inside was pretty dirty too – just how dirty it was became an event in itself.The stem was first on my list. I wiped down the outside of the stem with Murphy’s Oil Soap on some cotton pads. I also took a BIC lighter and ‘painted’ the stem with its flame in order to lift the bite marks and dents. This was not particularly successful in raising the damage. During this process, I noticed that the inside of the tenon on the stem was threaded. There was clearly a stinger here once upon a time. Thankfully, it is long gone.Then, I cleaned out the insides with pipe cleaners and isopropyl alcohol. Look at that! Lots of work to get this clean! Once this process was done, the stem went for an overnight soak in the Pipe Stem Oxidation Remover. The following day, I cleaned all of the de-oxidizing mess off with alcohol, pipe cleaners, et cetera. The oxidation had migrated to the surface and would be fairly straightforward to remove. I scrubbed with SoftScrub on some cotton pads to remove the leftover oxidation. I built up the dents on the stem with cyanoacrylate adhesive and let them fully cure. I then sanded the adhesive down with 220-, 400-, and 600-grit sandpapers to meld seamlessly into the stem. I did the same to the remaining tooth marks. I then used all nine Micromesh pads (1,500 through 12,000 grit) to bring out the lovely black lustre on the stem. I also used Obsidian Pipe Stem Oil in between each pad scrubbing. On to the stummel, and the usual cleaning procedures were in order for this pipe. This stummel was a bit of a mess inside, so I first decided to ream out the bowl. I used both the PipNet Reamer and the KleenReem to remove the built-up cake and followed that with 220-grit sandpaper to eliminate as much as I could. I took the bowl down to bare briar, as I wanted to ensure there were no hidden flaws in the walls of the bowl. Fortunately, there were none. I then proceeded to clean out the insides of the shank with Q-tips, pipe cleaners, and isopropyl alcohol. There was considerable filth inside this stummel and it took a lot of cotton to get it “clean”. I put the word clean in quotation marks for reasons that will be evident shortly. I used a small butter knife to gently chip away at the lava on the rim. I then used more Murphy’s with a scrub brush to remove any remainder. This actually worked quite well. I then moved on to cleaning the outside of the stummel with Murphy’s Oil Soap and some cotton pads. That removed any latent dirt that blighted the wood. A de-ghosting session also seemed in order, so I thrust cotton balls in the bowl and the shank, and saturated them with 99% isopropyl alcohol. I let the stummel sit overnight. This caused the oils, tars and smells to leech out into the cotton.In order to remove the remaining burns and nicks on the rim, I “topped” the pipe – that is to say, I gently and evenly sanded down the rim on a piece of 220-grit sandpaper. This effectively removed the damage, without altering the look of the pipe. Then, to further clean the inside of the pipe, I put the stem and stummel back together and used my pipe retort system. This system uses boiling isopropyl alcohol and a vacuum (a void, not the household appliance) to clean the interior of a pipe. As you can see by the brownish colour of the alcohol, the retort worked well. I managed to extract lots of otherwise inaccessible filth from inside the pipe. At this point, I had a hunch that I should run another Q-tip or two through the shank. What I discovered was shocking: it took a truck load of Q-tips and pipe cleaners to actually clean this frustrating pipe! Look at the pile I used! I then finished cleaning up the insides of the stummel with some dish soap and tube brushes. Extraordinary, but I did it and it is now clean.Having completed that, I was able to address the scratches and fills. I took out my steam iron and a damp cloth to try and raise the nicks. The hot and moist steam created can often cause the wood to swell slightly and return to shape. Fortunately, there was considerable movement – I was really pleased with the results. The repair was not perfect, but the remaining scratches would be improved by sanding.After that, a light application of Before & After Restoration Balm brought out the best in the stummel’s grain. There is some beautiful wood after all. It is a very handsome pipe. The same was true with the fills. I lined the two fills with cyanoacrylate adhesive and briar dust. After letting them cure, I sanded the fill repairs down with 200-, 400-, and 600-grit sandpaper. I then used all nine Micromesh pads (1,500 through 12,000 grit) on the stummel to finish it off. On to another problem: the colour. During the course of my vigorous cleaning, this pipe had lost some vibrancy of colour. So, in order to accentuate the external beauty of this pipe, I opted for aniline dye. I applied some of Fiebing’s Medium Brown Leather Dye. As usual, I applied flame from a BIC lighter in order to set the colour. What a difference that made! It looked so much better with a fresh coat of stain.   I applied some more Before & After Restoration Balm and then it was off for a trip to the buffer. A dose of White Diamond and a few coats of carnauba wax were just what this pipe needed. The lovely shine made the wood very attractive. This is a very handsome pipe and will provide many years of smoking pleasure.This Chacom Champion is back to its old glory and ready to be enjoyed again by the next owner. I am pleased to announce that this pipe is for sale! If you are interested in acquiring it for your collection, please have a look in the ‘French’ pipe section of the store here on Steve’s website. You can also email me directly at kenneth@knightsofthepipe.com. The approximate dimensions of the pipe are as follows: length 5 in. (130 mm); height 1⅝ in. (40 mm); bowl diameter 1¼ in. (30 mm); chamber diameter ¾ in. (20 mm). The weight of the pipe is 1 oz. (29 g). I hope you enjoyed reading the story of this pipe’s restoration as much I as I did restoring it. If you are interested in more of my work, please follow me here on Steve’s website or send me an email. Thank you very much for reading and, as always, I welcome and encourage your comments.
Breathing New Life into the SECOND of a Cased Set of  Two English Made Peterson’s Bulldogs – 493 Straight Bulldog London Made


Blog by Steve Laug

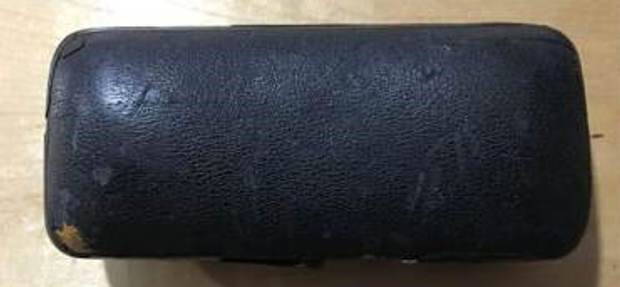
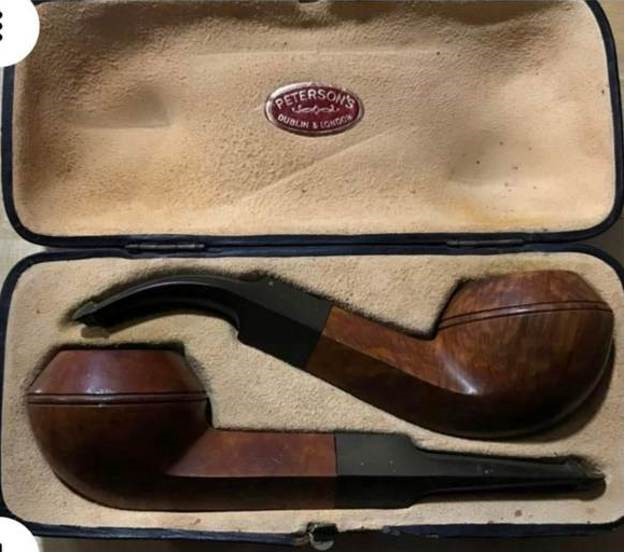
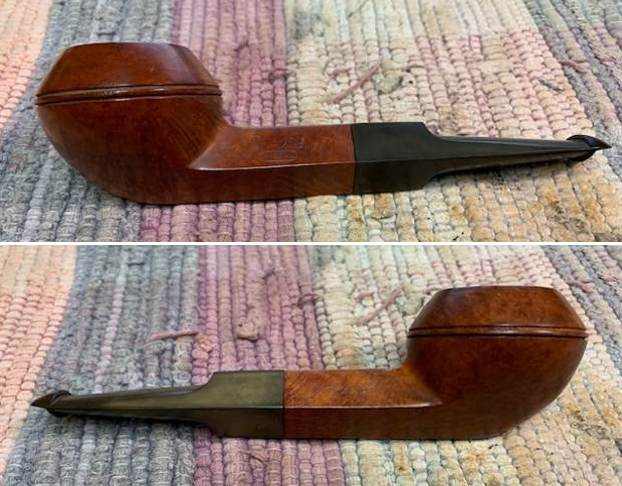
The next pipe I am working on is the fourth Peterson’s and the second pipe in the cased set of Bulldogs that came to me from a friend of mine for me to work on. The pair (pipes 3 and 4) came in a nice leather cast that was travel/time worn on the top and underside and damaged on the edges. I have not finished the 80S Bent Bulldog yet as the stem is taking considerably more time than I expected. I set it aside for a bit take a break from the intensive rebuild work and give the straight Bulldog some attention.

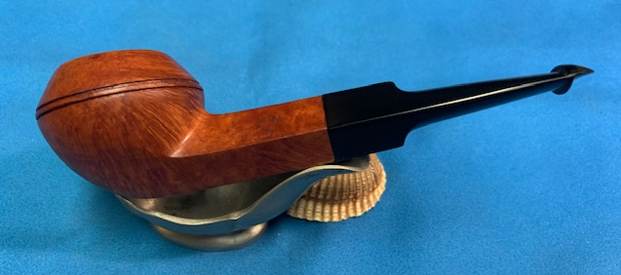
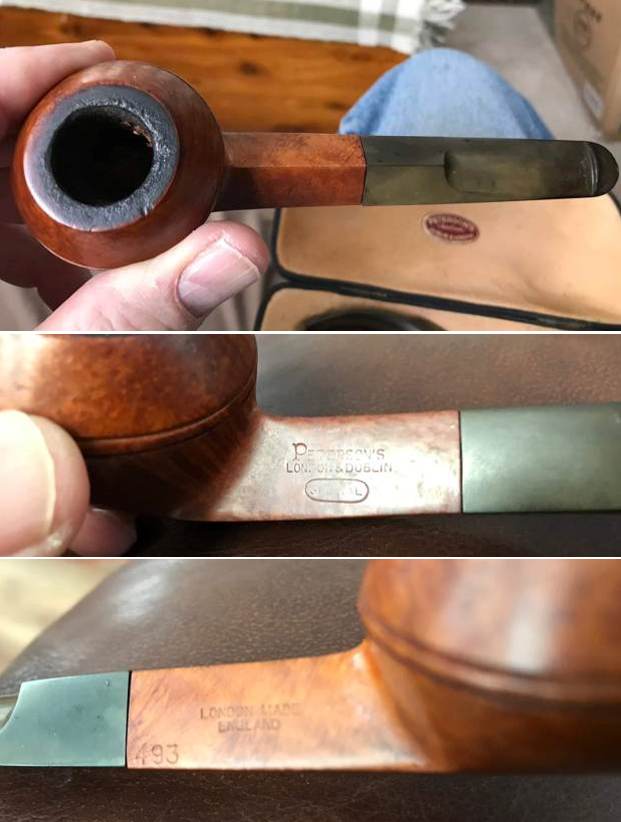
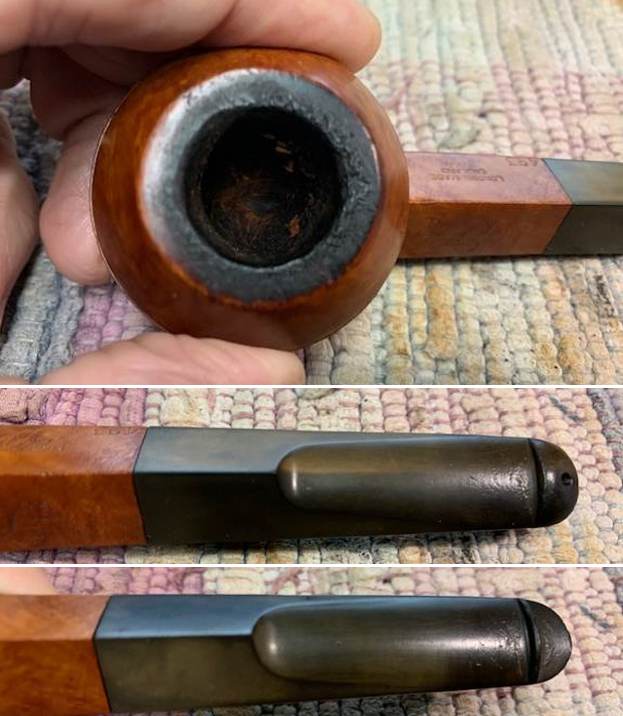
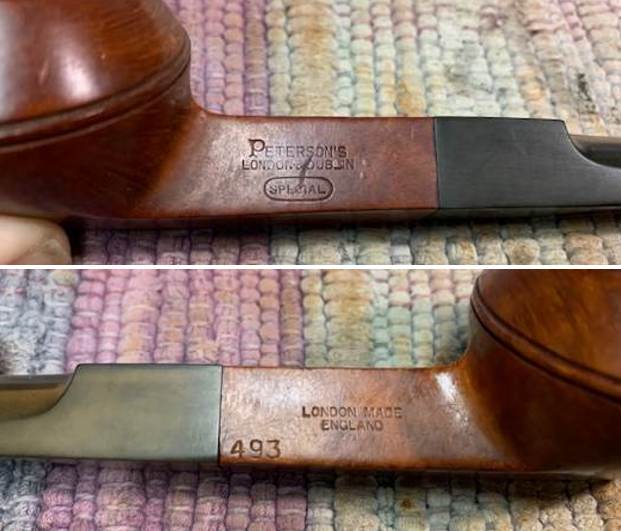
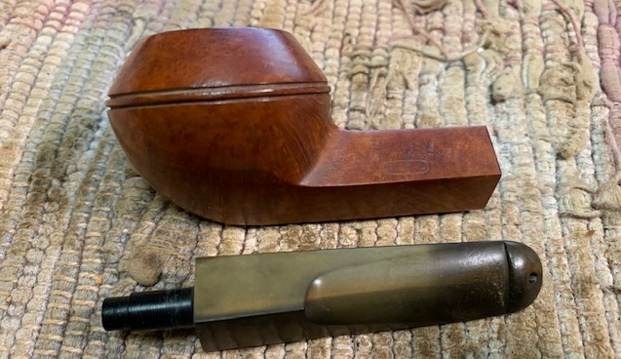
Here are some of the photos of the case and the pipes that I am working on. It was not a large case but a common style carrying case for pipes of this era. I am hoping to do some work and narrow down the dates on the pair of pipes.The inside of the case was lined with soft golden suede. The case was fitted for the pipes that it contained – a straight and a bent bulldog with similar finishes. The lid of the case had a logo on it that was a gold and burgundy oval that read PETERSON’S over Dublin & London. It was dirty but not in bad condition. The finish on both pipes was dirty and tired looking but the grain peeked through the grime and oils on the finish. I decided to work on the bottom pipe next – the Straight Bulldog 493. The rim top had a thick lava build up and some light scratching peeking out from the lava. The inner edges of the rim looked like there was both burn damage and reaming damage but I would not know for sure until it was clean. The outer edge looked good. The stamping on the shank sides was clear and readable. It is stamped on the left side and reads Peterson’s [over] London & Dublin [over] an oval with the word SPECIAL stamped inside. On the right side of the shank it is stamped London Made [over] England. Next to that at the shank/stem joint was the shape number 493. There is no “P” logo on the stem. The stem was oxidized but it was otherwise in good condition. There were tooth marks and chatter on both sides ahead of the button. I have included the pictures that my friend sent me before I took on the pipes. The first shows the rim top with the issues described above. The second and third photos show the stamping as noted above.It took nearly a month for the pipes to arrive in Canada for me to work on. I took photos of the straight Bulldog to have an idea of what I was dealing with. You can see from the photos what I saw. The finish is was dirty but the pipe had some amazing grain on the shank and bowl sides. Rim top had a thick lava build up and it was hard to know what was under that. The inner edge of the bowl had some lava as well but there was some potential damage to the edge. The outer edge of the bowl was in surprisingly good shape. There was tobacco debris in the bowl and a thick cake. The original style stem is present and has a thick coat of oxidation. There were tooth marks and chatter on both sides ahead of the button. I took some photos of the rim top, bowl and stem to capture the condition of the pipe. You can see the cake in the bowl. There is a lava coat and some darkening. There was damage all around the inner edge of the bowl. The P-lip stem appears to be in good condition with oxidation at different levels on each side of the diamond stem. You can see the tooth marks on both sides ahead of the button.I took photos of the stamping on the shank sides. They were clear and readable as noted above.I removed the stem from the bowl and took a photo of it to show its appearance. Before I started the restoration process on the pipe I wanted to see if I could pin down a time period for the London Made England Special.

I turned to the section on that stamping in the book, The Peterson Pipe by Mark Irwin & Gary Malmberg. I quote from the section on the COM stamp on page 296-297 below:

Peterson maintained a factory in England for about a quarter of a century, from the late 1930s to ’62. Corporate transcripts and London business periodicals suggest that the London operation on White Lion Street was about to get underway in ’37. Only a handful of London hallmarked Petersons are documented, stamped with the date marks 1936 and 1939, and these have no COM stamp. Their output would be limited by the onset of the Battle of Britain in July 1940, but it seems reasonable to suppose pipes were made at the London factory during WWII, inasmuch as the K&P Staff Register lists twelve employees earning wages there in January ’44. London hallmarked Petersons have been identified with dates of 1949-54. Most London-made Petersons in a collector’s inventory were made in these postwar years, from 1949 until the closing of the factory in ’62… the presence of one variation of another on a pipe is not by itself a reliable indicator of its age.

That information narrowed the date of manufacture to the time period between 1949-1962. That is not a long period of time to be sure but now it was time to account for the stamping SPECIAL in an oval. What did that mean? Is there more specifics that can be learned with that stamp?

I turned to page 313 of the above Peterson Pipe book and read the following on the SPECIAL Stamp.

SPECIAL Stamp – used on special order or small batch custom pipes, it will often appear under other stamps, such as PETERSON’S SYSTEM, DE LUXE or DUBLIN & LONDON. Used frequently on pipes cut by master carver Paddy Larrigan.

So it appears that this set of Bulldogs were made in London in a limited time period and perhaps were made by Paddy Larrigan himself. Was he perhaps visiting the London factory in those post war years? I guess we will never know for sure but it kind of a nice thought regarding the pipes.

Armed with this information I started working on the pipe. I reamed the bowl with a PipNet pipe reamer to remove the cake from the bowl. I cleaned up the remaining cake with a Savinelli Fistall Pipe Knife. I sanded the bowl with 220 grit sandpaper wrapped around a piece of dowel to smooth out the inside of the bowl. The walls looked very good with no checking or heat damage. I cleaned out the shank with pipe cleaners, cotton swabs and 99% alcohol to remove the oils from the walls. It was filthy and when I was finished it smelled clean and fresh. I cleaned out the inside of the stem with alcohol and pipe cleaners.I scrubbed the bowl with undiluted Murphy’s Oil Soap to clean off the thick oils and grime ground into the surface of the briar. I scrubbed the lava on the rim top with a Scotch Brite pad to remove the build up there. I used a shank brush to clean out the mortise The bowl looked and smelled much better and the grain really began to stand out clearly. I worked over the top and the inner edge of the bowl with 220 grit sandpaper to smooth out the burned edge and the damaged rim top. It definitely came out looking much better. I try to steam out the dents a bit more to reduce them more. The trick on these old pipes is not to go overboard on the repairs but to leave a bit of the story behind as it changes the shape and feel of the pipe. I steamed out the dents/hatch marks on the top of the bowl using a hot butter knife and a wet cloth. I heated the knife on my gas stove and then pressed it against the wet cloth. The steam generated caused the dents to lift. I repeated the process until I was unable to lift them any more. While it is not perfect it is certainly better.I polished the briar (carefully avoiding the areas where the pipe is stamped on the shank sides) with micromesh sanding pads. I dry sanded it with 1500-12000 grit sanding pads. I wiped it down after each pad with a damp cloth to remove the sanding debris. I worked some Before & After Restoration Balm into the surface of the smooth briar with my finger tips. The product is amazing and works to clean, enliven and protect the briar. I let it sit on the briar for 10 or more minutes and then buff it off with a soft cloth. It really makes the grain sing. I set the bowl aside and turned my attention to the stem. I sanded the stem surface with 220 grit sandpaper to break up the oxidation and remove the tooth chatter on marks on both sides. I started the polishing of the stem with 400 grit wet dry sandpaper.I polished the vulcanite with micromesh sanding pads. I used 1500-12000 grit pads to polish the vulcanite. I wiped down the stem with Obsidian Oil after each sanding pad. I have an oil impregnated piece of cloth that I use after each pad. I polished it further with Before & After Stem Polish both Fine and Extra Fine polishes. I gave it a further coat of Obsidian Oil and set it aside to dry. I put the pipe back together – the bowl with its new stem. This smooth finished Peterson’s London & Dublin SPECIAL 493 Straight Bulldog is a real beauty with great grain around the bowl. The thin P-lip style vulcanite stem works very well with the medium brown briar. This English Made Special pipe is a very collectible part of Peterson’s history. The grain on the bowl is quite beautiful and came alive with the buffing. I used Blue Diamond on the buffing wheel on both the bowl and stem. I gave both multiple coats of carnauba wax on the wheel then buffed it with a clean buffing pad to raise the shine. I hand buffed it with a microfibre cloth to deepen the shine. The Peterson’s SPECIAL 493 Straight Bulldog feels great in the hand. It is lightweight and the contrast in the browns of the briar and the polished vulcanite stem is quite amazing. The dimensions of the pipe are Length: 5 ¾ inches, Height: 1 ½ inches, Outer diameter of the bowl: 1 ¼ inches, Chamber diameter: ¾ of an inch. The weight of the pipe is 1.34 ounces/38 grams. It really is a beauty. I have one more pipe to work on from my friends collection and then I will send them all back to him. Thanks for walking through the restemming and the restoration with me. Cheers.

Cleaning up a GBD Prehistoric 133 Medium Billiard


Blog by Mike Belarde

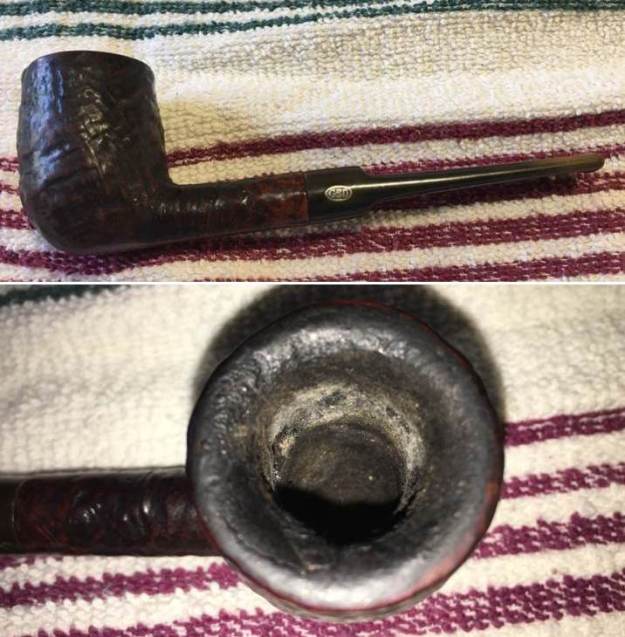
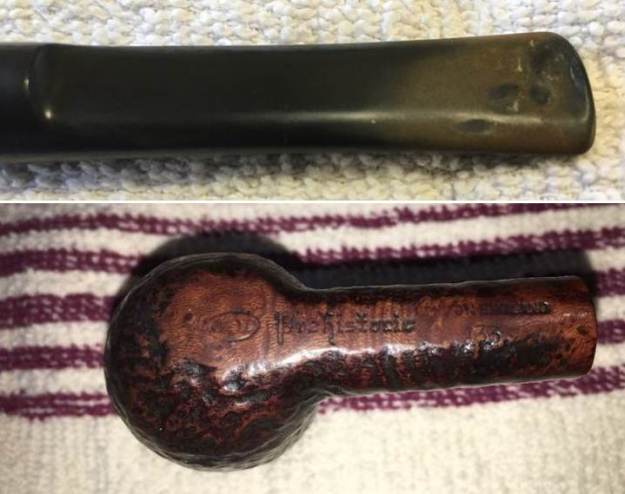
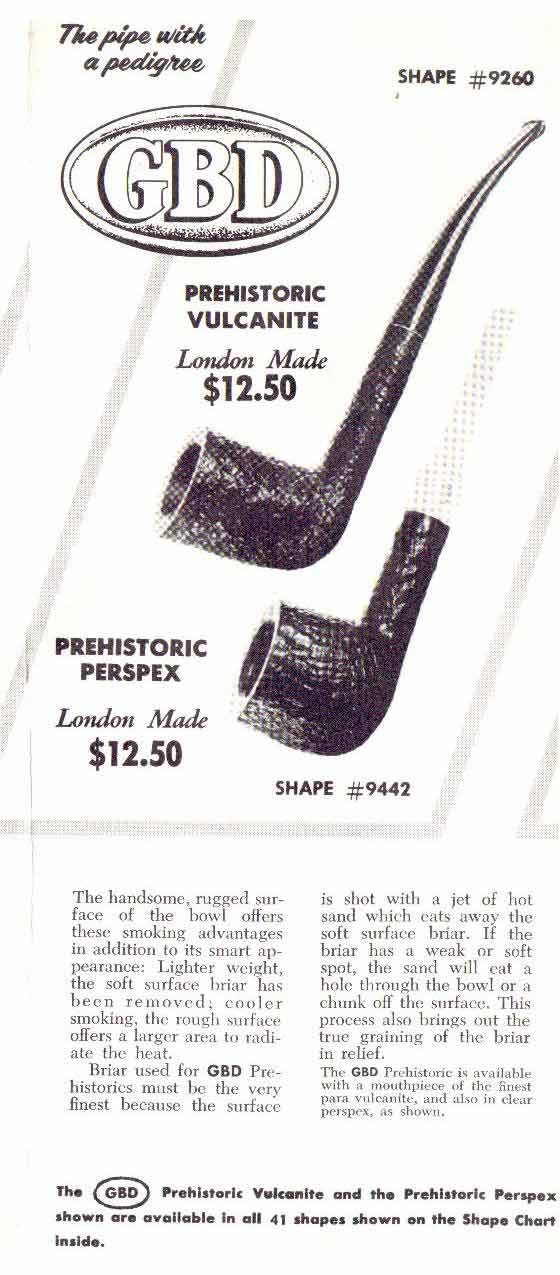
Hello, I hope everyone is doing well.  I finally had a nice low-key weekend and was able to work on another pipe. I have had this GBD Prehistoric Billiard for a while and have been looking for a chance to work on it.  The pipe itself is a nice jaunty saddle stemmed Billiard with GBDs Prehistoric sandblast finish.

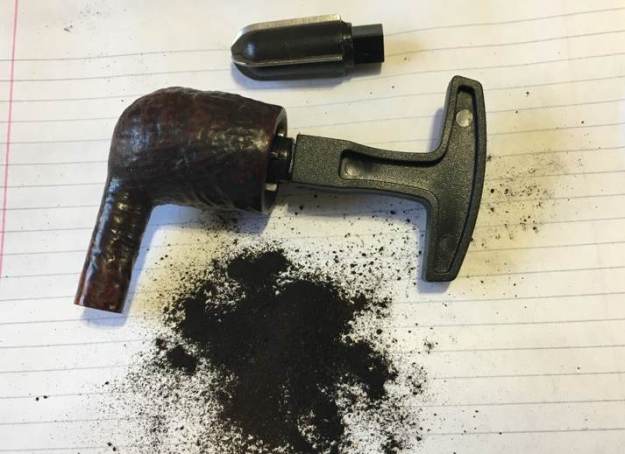
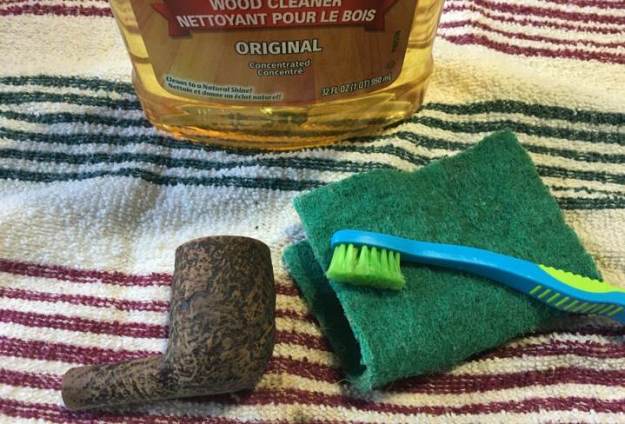
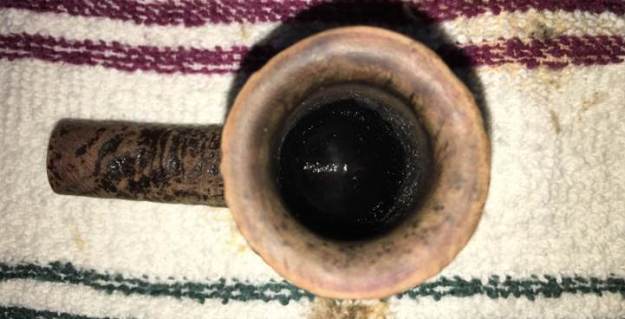
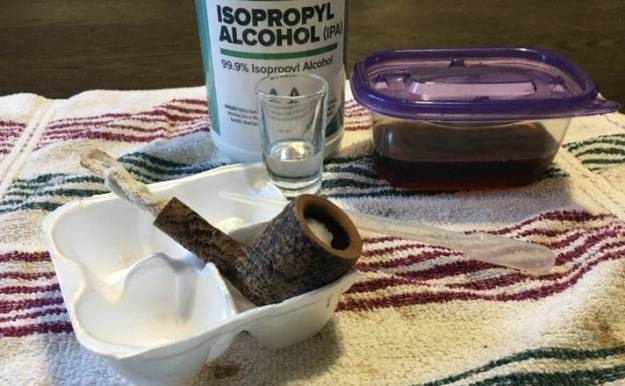
When I received the pipe, it was in a very dirty condition.  The surface of the stummel was caked with grime. The rim of the bowl had a good amount of carbon overflow, and the chamber was heavily caked.   The stem was in pretty fair condition.  It had light oxidation and took chatter, but the button was buffed down from years of use. The stamping was still legible on this pipe, and read GBD in an oval with the Prehistoric stamp and a 133-shape number. Below is an advertisement found on Pipedia describing the Prehistoric line. Even in its grimy condition, the pipe had an attractive rugged look, and I hoped that it turned out to be a fun workhorse pipe that I could take with me on a fishing trip or some other outdoor adventure. A link to the Pipedia web page has been provided below. Now to work on the pipe.  https://pipedia.org/wiki/GBD_Model_InformationThe first step in the process is to address the internals of both the briar and stem, and then clean up the grime on the stummel, and the carbon build up on the rim.   I started by reaming the chamber and then lightly sanding it with a piece of 220 grit sandpaper.  I took bristled pipe cleaners dipped in alcohol to clean the shank.  As you can see from the pictures this pipe was loved and used often.  Cleaning the internals of this pipe took a long time. Once I had that completed, I moved on to addressing the dirt and grime on the exterior of the stummel. I scrubbed the stummel with Murphy’s Oil Soap and an old toothbrush, rinsed it under warm water. I then scrubbed the rim with an old green scouring pad and some more Murphy’s Oil Soap. During this process a large amount of dirt lifted from the surface of the pipe and exposed some really great surface texture. The rim and the chamber cleaned up well and appeared to be in good condition.  I took the rest of the charring or darkening on the rim and inner rim with a folded piece of 320 grit sandpaper. The stummel seemed to be fairly clean but I decided to de-ghost the piped further.  I inserted two folded fluffy pipe cleaners through the shank and down into the chamber to act as a wick.  I have found that using fluffy pipe cleaners is easier for me than trying to fish an elongated cotton ball down the shank.  I then placed a cotton ball in the chamber and saturated it with isopropyl alcohol.While the stummel was de-ghosting. I placed the stem in a small Tupperware container to soak in Briarville’s Oxidation Remover solution.  I left both the stummel and stem to soak overnight.

Both the alcohol and the Briarville solution further cleaned the pipe.  I took the stem out of the solution and rinsed it and then ran some alcohol dipped pipe cleaners through it.  I then scrubbed the stem with Soft Scrub and the scouring pad to clean it up further.

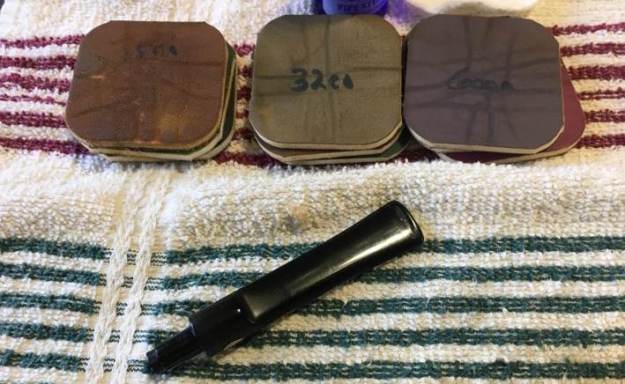
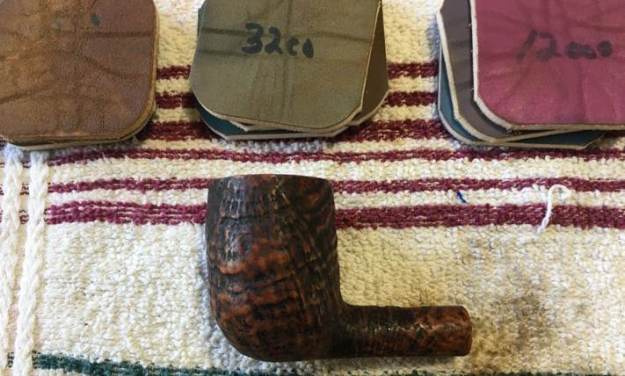
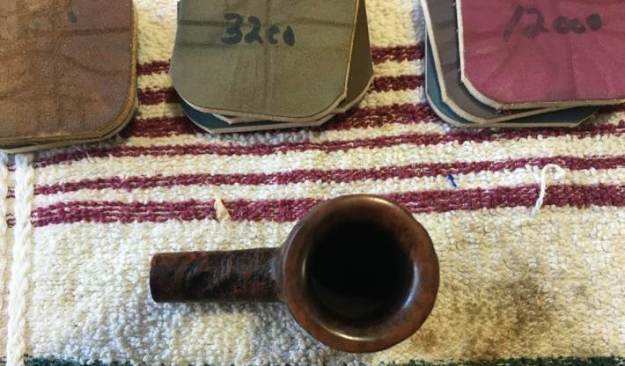
After this was done I filled the tooth chatter in with super glue. Once the clue was dry I sanded down the patch with a piece of folded 220 grit sandpaper.Once I had the patch sanded down flush to the surface of the stem, I turned to the micromesh pads. I took the stem through the progression of micromesh pads (1500-12000). I polished the stem with each pad and wiped the stem down with a cotton pad soaked in Obsidian Oil in between the use of each pad. In the last step, I polished the stem with Before and After’s Extra Fine Polish. Satisfied with the progress on the stem, I turned my attention to the stummel. I polished the briar with the progression of micromesh pads (1500-12000) wiping it i with a damp paper towel.   Once this step was done, I mixed some dye up to touch up the stain. I’m not sure if the cleaning process removed some of the old stain, but I liked the highlights that had been exposed on the ridges of the sandblast.  I decided to heighten this effect.

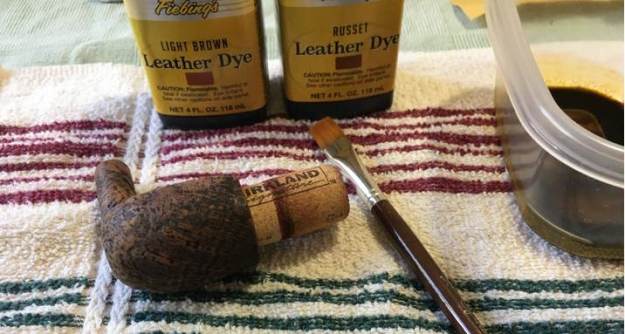
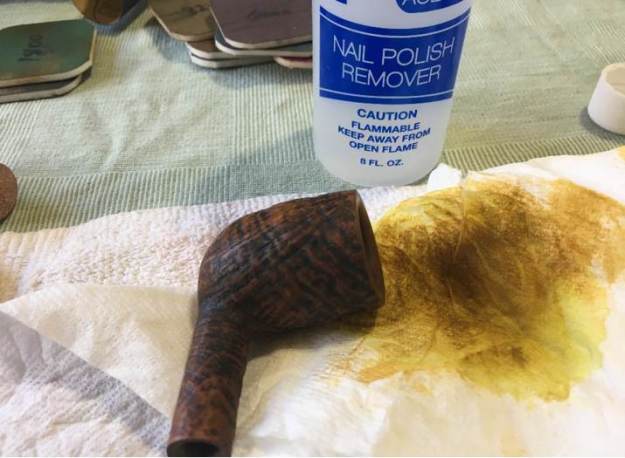
I mixed a one-to-3 ratio of Light Brown and Russet leather dye with alcohol to thin the dye down.  I like to apply the stain with a small hobby brush. I find that the brush helps me to coat the stummel evenly. Once the stain was applied, I used a small tea candle to fire the briar and set the dye.  I let the stummel sit for a couple of hours and then removed some of the excess stain with a cotton pad soaked in acetone. After removing some of the excess stain with acetone I began to polish the stummel with the micromesh pad series (1500-12000). I wiped the briar down with a damp paper towel between each pad. Once I was finished with the micro pads, I worked some Before and After Restoration Balm into the stummel. The pipe was really looking nice at this point!  I let the balm sit for about 10 minutes and then buffed the stummel with a cotton cloth. In the last step of the process, I buffed both the stummel and stem with Red Tripoli and Blue Diamond.  I then gave both several coats of Carnauba wax and buffed them with a cotton cloth.

I’m really happy how this pipe turned out, and am looking forward to loading it up and relaxing with it in the backyard. Thanks for taking the time to read this post!

Just A Little TLC And This Amazing Harcourt ‘S’ Came Back Alive Again


Blog by Paresh Deshpande

I was and still am a big fan of Preben Holm and never miss an opportunity to own one of his creations, specially the older ones. His early pipes were graded from 1 to 8 in ascending order and I have grades 1, 3, 4, 6, 7 and 8 in my collection. These are all stunning pipes without doubts. Thus when this pipe came up for auction on eBay in 2018, I had to bid on it. Waiting for the last opportune moment to place my bid is always the longest wait and the timing has to be just right, too late and your bid may not be accepted and too early gives reaction time to other buyers. In this case, everything went just right and I landed being the highest bidder. A month and a half later, the pipe was received by Abha in Pune.

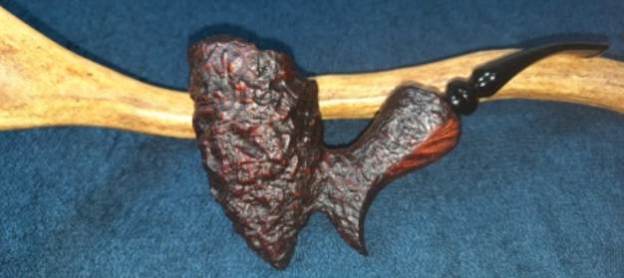
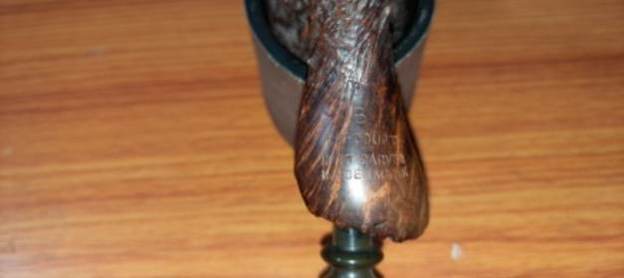
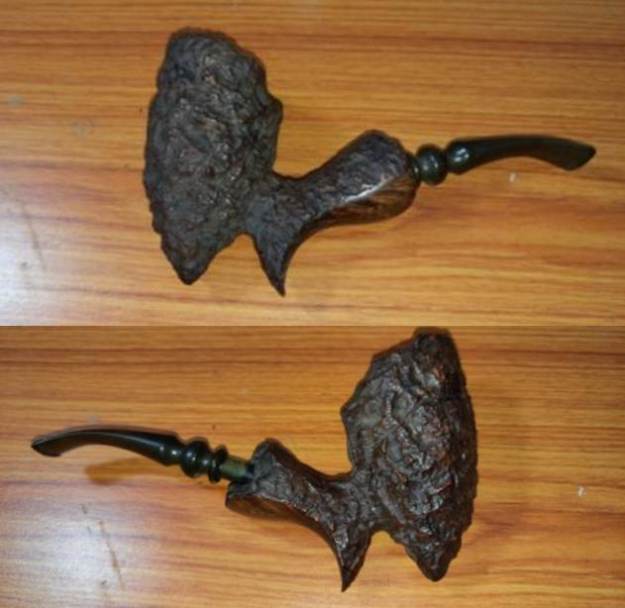
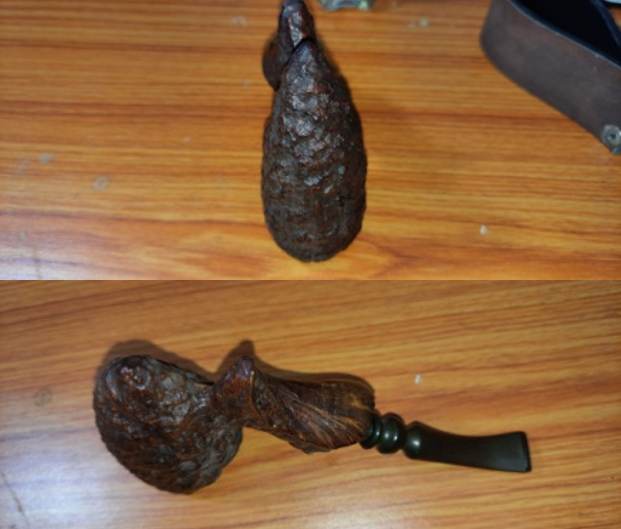
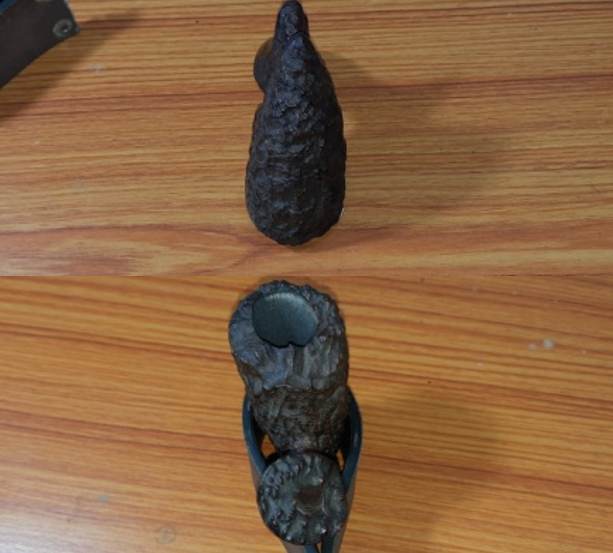
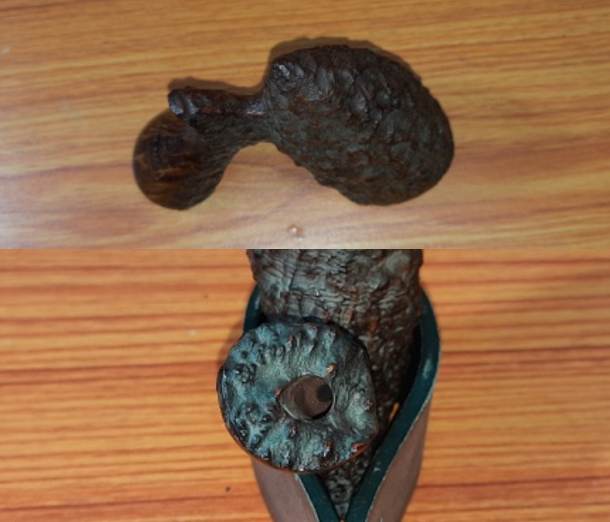
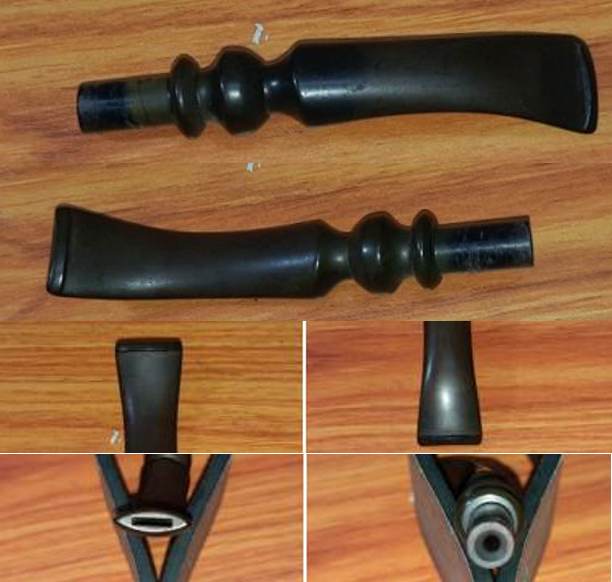
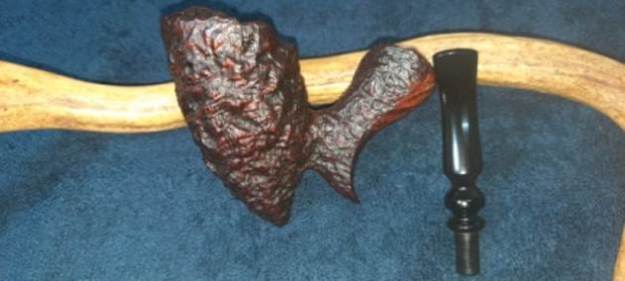
This ruggedly beautiful free hand pipe is unsmoked with pristine bowl coating, save for the dust that has accumulated on the coat. The aggressively rusticated stummel is large and fits snugly in the palm with a tactile hand feel. It is stamped on the lower smooth surface at the shank end as “S” over “HARCOURT” over “HAND CARVED” over “MADE IN DENMARK”. The vulcanite fancy stem is devoid of any stem logo. All the stampings are crisp and easily readable.Dimensions Of The Pipe
(a) Overall length of the pipe:          5.2 inches.

(b) Bowl height:                                  2 inches.

(c) Inner diameter of chamber:       0.8 inches.

(d) Outer diameter of chamber:      1.7 inches.

While researching Dunhill pipes that I have restored, I remembered that to cater to the Danish Free Hand pipe craze in the 1960s Dunhill had engaged Preben Holm to carve pipes for them and this line was named as HARCOURT. However, this being the first Harcourt pipe that I would be working on, I searched my first ‘go to’ site, rebornpipes and the very first search result was this pipe that has identical stamping including the grade stamp ‘S’. For interested readers, here is the link to the write up which provides all the information on these pipes.

https://rebornpipes.com/2019/09/07/replacing-a-broken-tenon-and-restoring-a-harcourt-hand-carved-s-freehand/

The only additional piece of information that I would like to add here is the grading system adopted by Preben Holm for Harcourt line of pipes. This information is reproduced from pipedia.org (https://pipedia.org/wiki/Harcourt)

And I quote:-

The stamping includes a letter, and seems to adhere to the Preben Holm grading scale with grades of A, B, C and D in ascending order.

The grade lettering on the pipe that I am working on is “S” and finds no mention in the above grading scale by Preben Holm. Since the grading system is in ascending order starting with A, I safely assume that the letter S denotes the highest grade or even Special grade. Any informed input on this issue is most welcome, in fact, solicited.

Initial Inspection
This pipe has one of the most aggressive rustication that I have seen on pipes and it looks and feels fantastic. The reddish brown hues, the Acorn shaped bowl and the talon shaped shank adds to the visual appeal of the pipe. The pipe is unsmoked and thus the chamber, the platueau rim top and the rim edges are all pristine. The stummel surface has accumulated dust in the crevices of the rustication, giving it a dull and tired appearance. The vulcanite fancy stem is undamaged but oxidized. Given below are a few pictures of the pipe before I started working on it. Detailed Inspection
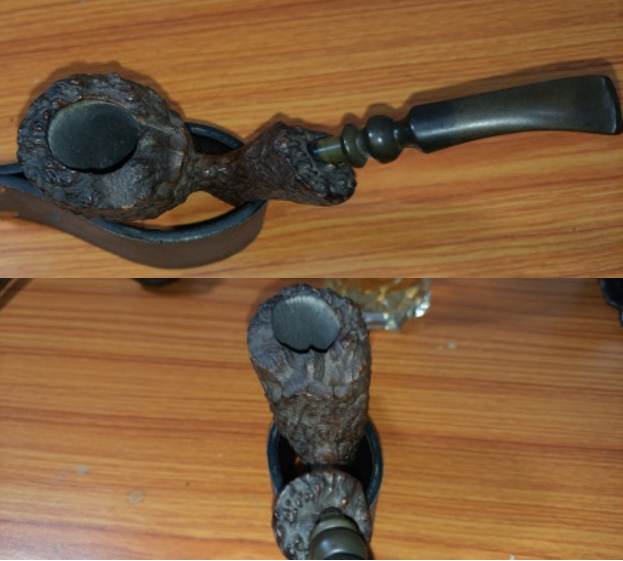
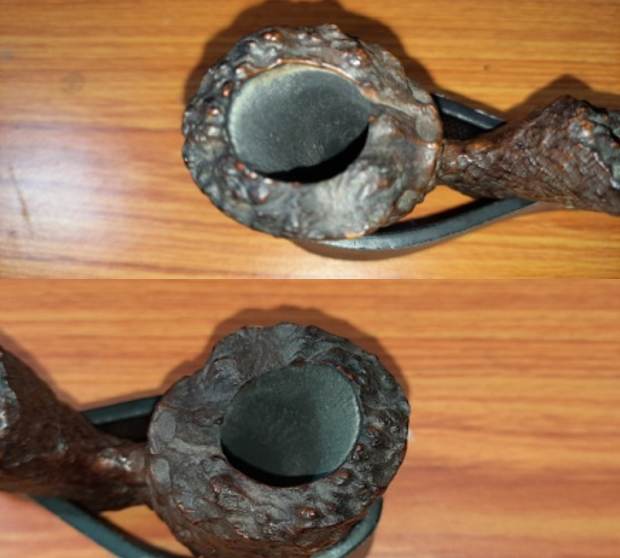
As mentioned above, this is seems to be an unsmoked pipe. The plateau rim top is as good as new with no lava overflow or charring or chipped surfaces. The bowl coating is still intact with no signs of being smoked. The only cleaning that is required is for removing the dust that has lodged itself in to the nooks and crannies of the plateau surface. There are no odors of old tobacco and oils and gunk and that is a refreshing change from the last project. The large rusticated stummel with thick walls are in excellent condition with no damage. The gnarly high points in the rustication are a pleasure to hold in the hand. The Acorn shaped bowl nicely fills up the hand making for a very comfortable grip. Dust has covered the crevices in the rustication giving a lifeless and dull look to the pipe and would need to be cleaned. The plateau shank end is also dusty and would benefit for a nice scrub. The mortise is clean. The fancy vulcanite stem is sans any logo or tooth chatter, bite marks. The only issue that requires to be dealt with is the minor oxidation over the surface. Running a couple of pipe cleaners dipped in alcohol will be sufficient to clean the air way of all the dust that may have been lodged inside.The Process…
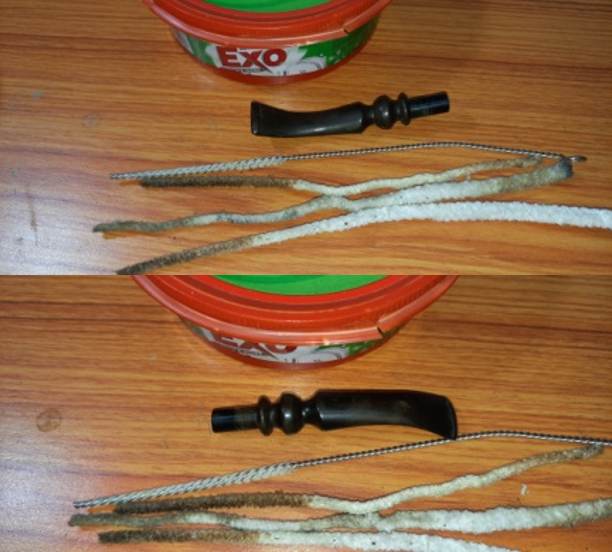
I started the restoration of this pipe by first cleaning the internals of the stem with bristled pipe cleaners and 99.9% pure isopropyl alcohol. I followed it up by sanding the entire stem with a folded piece of 220 grit sand paper to remove the surface oxidation and cleaned the surface with a cotton swab and Murphy’s Oil Soap.
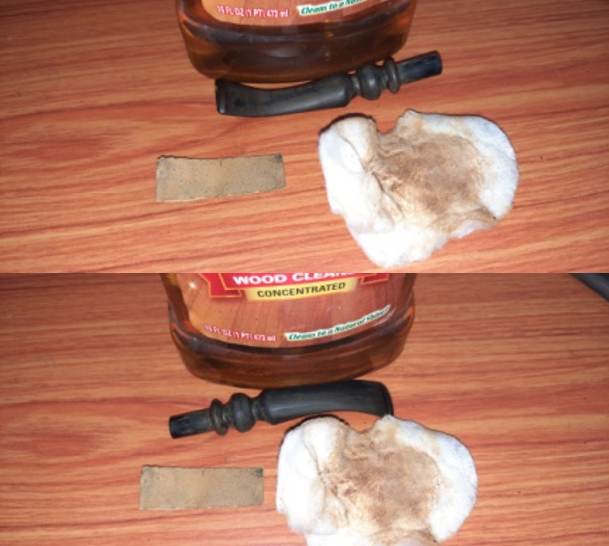
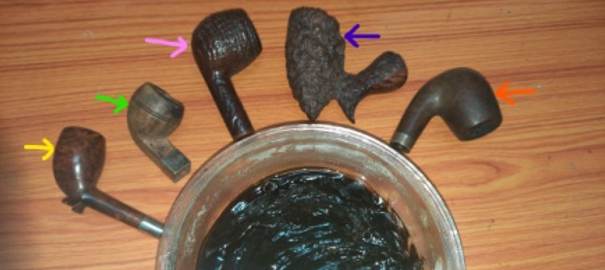
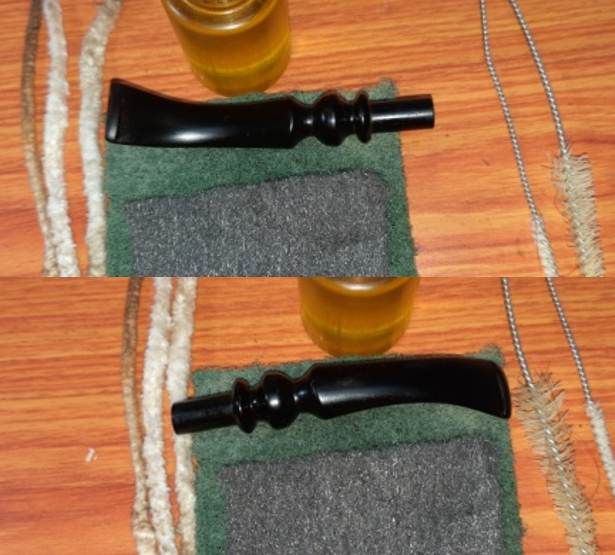
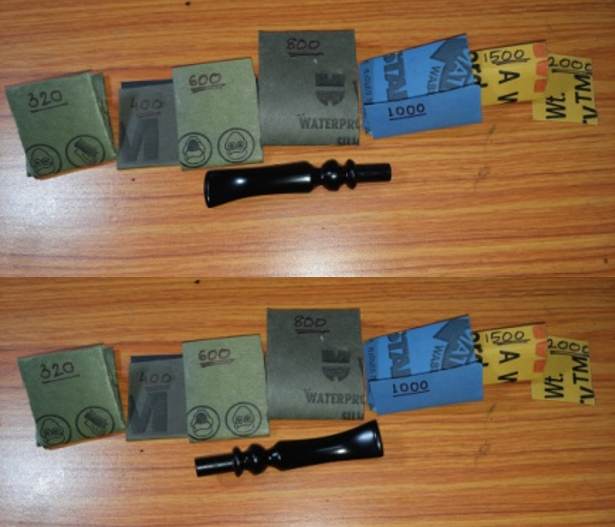
I dropped the stem in to “Before and After Deoxidizer” solution developed by my friend Mark Hoover. The solution helps to draw out heavy oxidation to the surface, making its further removal a breeze, while the minor oxidation is eliminated to a very great extent. The initial sanding also helps to draw out the complete oxidation as the sanding opens up the stem surface that has been initially covered with oxidation. I usually dunk stems of 4-5 pipes that are in-line for restoration and this pipe is marked with blue arrow. I generally allow the stems to soak in this solution overnight to do its work.The next morning, Abha removed the stem that had been soaking in the deoxidizer solution overnight. She cleaned the stem under warm running water and scrubbed the raised oxidation from the stem surface using a Scotch Brite pad and cleaned the airway with a thin shank brush. She further removed the oxidation by scrubbing the stem with 0000 grade steel wool and applied a little EVO to rehydrate the stem.Abha, thereafter, continued the sanding cycle by dry sanding the stem using 320, 400, 600 and 800 grit sand papers followed by wet sanding the entire stem with 1000, 1500 and 2000 grit sand papers. This not only ensured a nice even and smooth stem surface, but also removed the oxidation from the surface. I rubbed the stem surface with some EVO and set it aside to be absorbed in to stem surface. Thereafter, she launched a second determined assault on the stem, subjecting it to the complete cycle of micromesh polish. The end result is a gorgeous, smooth and shiny looking black of the vulcanite stem. The time that Abha was working on the stem, I ran a pipe cleaner dipped in alcohol through the mortise and airway to clean out the dust that had gathered over time. The shank internals were all clean save for a little stain that had made its way into the shank while staining.Once the internals of the shank were cleaned, I cleaned the external surface of the stummel with Murphy’s Oil soap and cotton swabs followed by scrubbing the rusticated surface with a toothbrush and dish washing soap. This rid the nooks and crevices of all the accumulated dust, dirt and grime from the rusticated stummel. I also cleaned the shank internals with dish washing soap and shank brush. To enliven the briar wood and further enhance the contrast of the dark reddish browns of the high points of the rustication with the black of the rest of the stummel surface, I rubbed a little quantity of “Before and After” balm in to surface and set it aside for 20 minutes for the balm to be absorbed in to the briar. Thereafter I hand buffed it with a microfiber to deepen the shine. The stummel looks nice and vibrant. This was followed by the routine regime of polish with carnauba wax using my hand held rotary tool. This Preben Holm carved Harcourt looks unique and oozes quality. To deepen the shine, I gave a vigorous rub to the entire pipe with a microfiber cloth. This is truly a beautiful pipe and will be joining my now increasing personal collection. Here are a few pictures that should give you a fair idea about the end results… Thank you all for being a part of this journey and support extended.
Peterson Pre-Republic 999 Sterling Restored


By Al Jones

This tired Peterson 999 Sterling showed up on eBay, with four very poor, dark photos, sold by a non-pipe vendor who didn’t take returns. These auctions always carry a bit of risk with them. However, the pipe appeared solid enough that I took the risk.

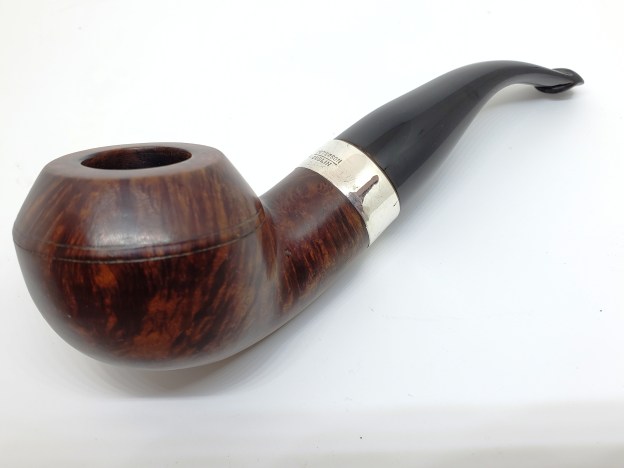
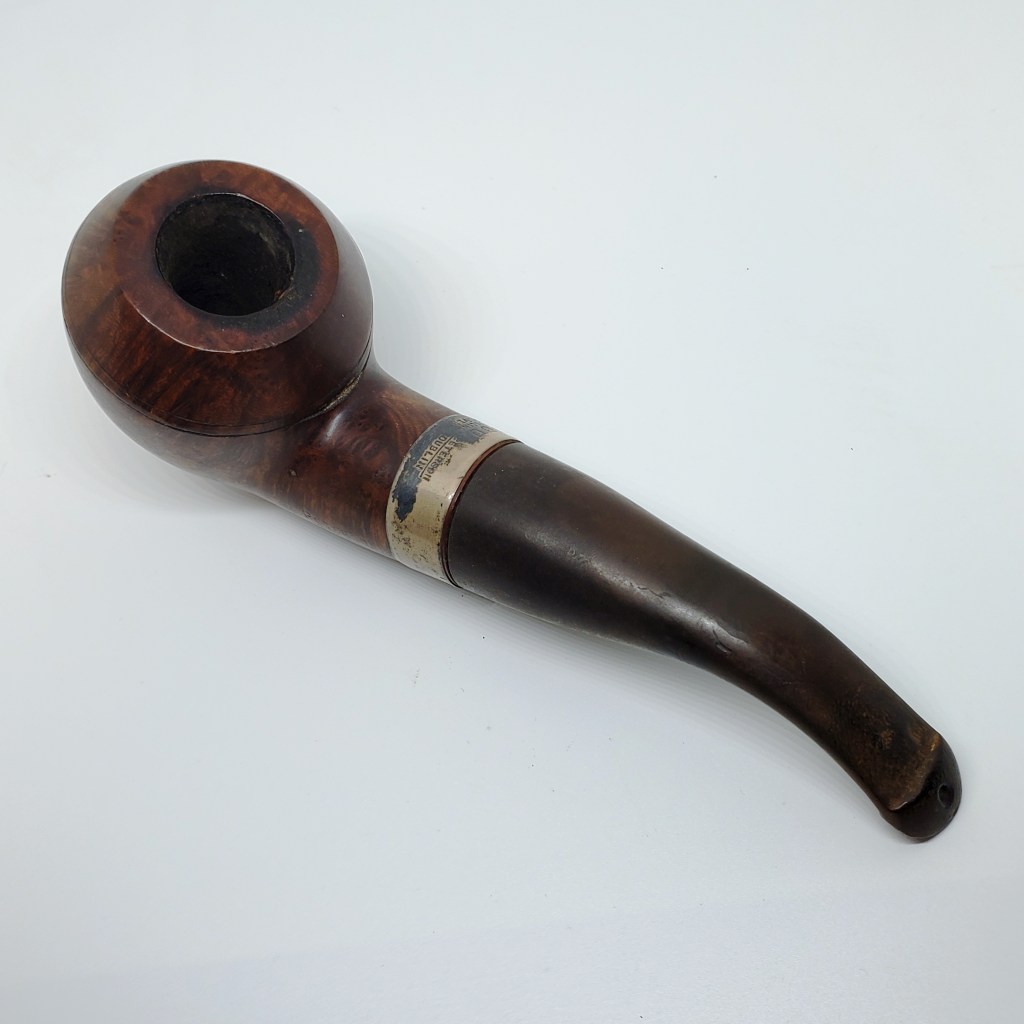
I was quite pleased opening the well-packaged pipe. The stem was solid, and the bowl showed no structural issues. Sterling grade Petersons often come with faux hallmarks, and sure enough, that was the case. I was quite pleased to see the round “Made In Ireland” country of manufacture stamp that was used for a short period of time from approximately 1945 to 1947. The rest of the nomenclature was solid.

Below is the pipe as it was received.

The pipe had heavy oxidation, two teeth indention’s and some chatter underneath the P-lip button. The silver band was heavily oxidized and the bowl top had some mild build-up.

I used my reamer set to remove the mild cake, and found the bowl interior to be in excellent condition. The bowl was then soaked with sea salt and alcohol. I used a micromesh sheet to remove the build-up on the bowl top.

Following the soak, I mounted the stem to restore it. I used a lighter to lift out the two teeth indention’s. The oxidation and chatter was removed with 600, 800, 1500 and 2000 grade wet sandpaper, followed by 8000 and 12000 grade micromesh sheets. The oxidation around the P-lip button was particularly stubborn, and I wrapped paper around a small needle file to completely remove it from the profile. The stem was then buffed with White Diamond and Meguiars Plastic Polish.

I used some Stainless polishing creme to remove the tarnish on the band. The band sits a millimeter below the end of the shank. It has picked up a few handling marks over 70 plus years, but I think they add to the character of the pipe and no doubt they were well earned.

I’m very pleased to add this one to my Peterson collection. Below is the finished pipe.

Weight: 63 grams

New Life to a Mysterious French Made C.A.V of St. Claude Canadian


Thanks Dal.. i know Kenneth could not find any information on it either in his searching… nice looking Canadian.
Dal Stanton's avatarThe Pipe Steward

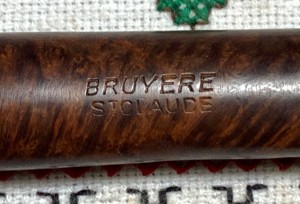
I’m finally able to do something productive after having a bout with the COVID virus.  Nasty stuff. The next pipe on the worktable is the second pipe that pipe man Mike commissioned from the ‘For “Pipe Dreamers” ONLY!’ online collection benefitting the Daughters of Bulgaria.  Mike fares from the great state of Tennessee and is the founder and administrators of the FB group, Brothers by Briar. Here are pictures of the French made C.A.V of St. Claude – a handsome Canadian now on the worktable.The nomenclature is stamped on the upper side of the oval Canadian shank: BRUYERE [over] ST. CLAUDE.With the COM of St. Claude, France, the only identifier is the stem logo which is stamped with C.A.V inside an oval.  At first, I thought there were periods after each letter, but 2 periods are used as dividers between the letters.  At this point, I…

View original post 1,989 more words