by Steve Laug
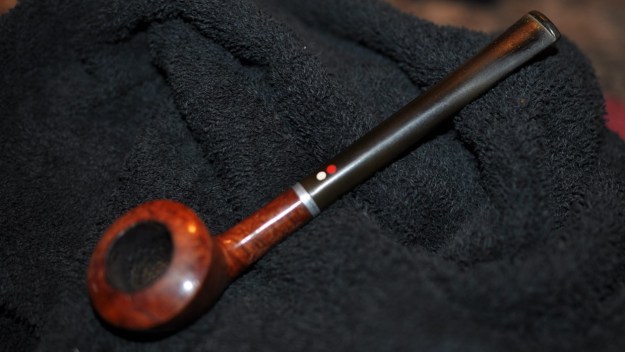
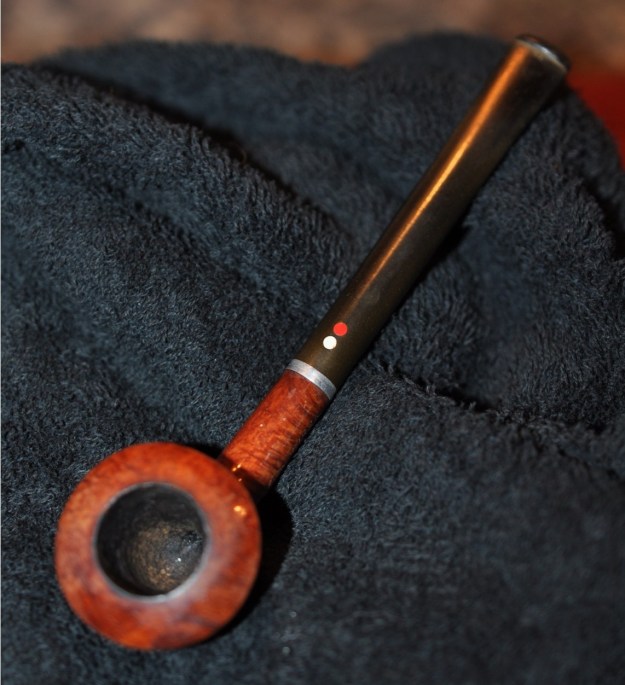
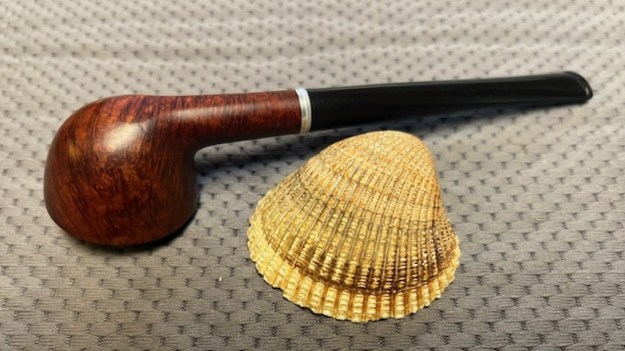
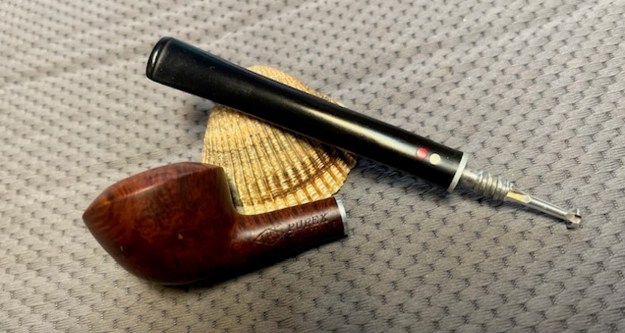
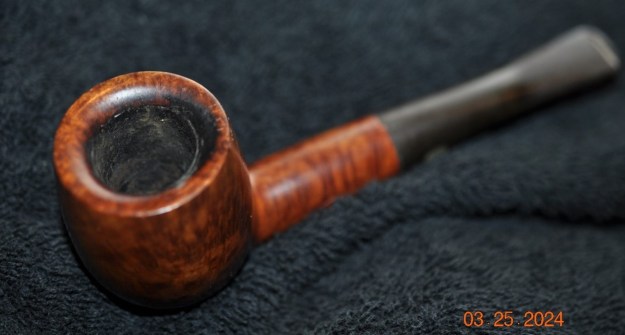
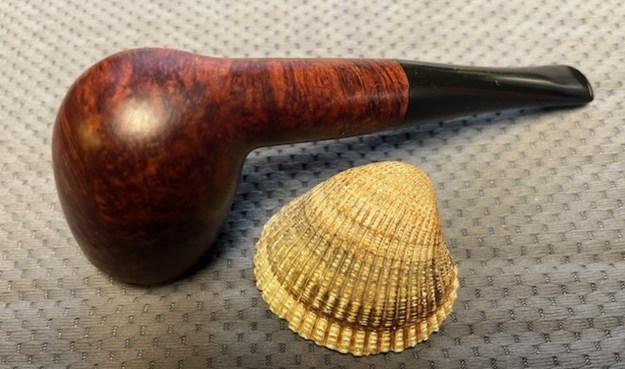
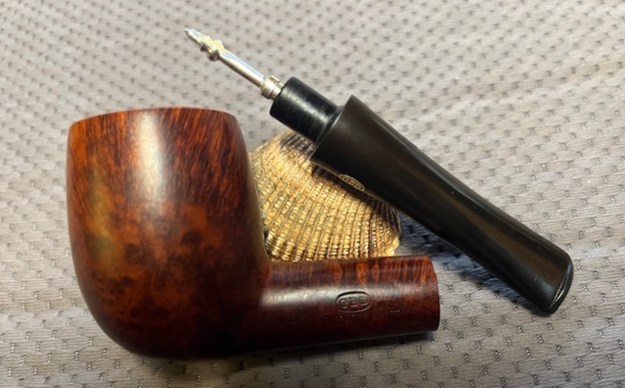
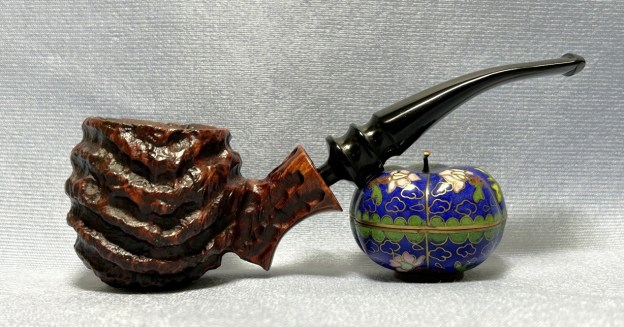
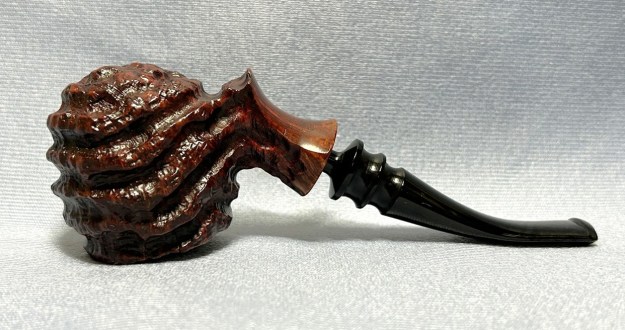
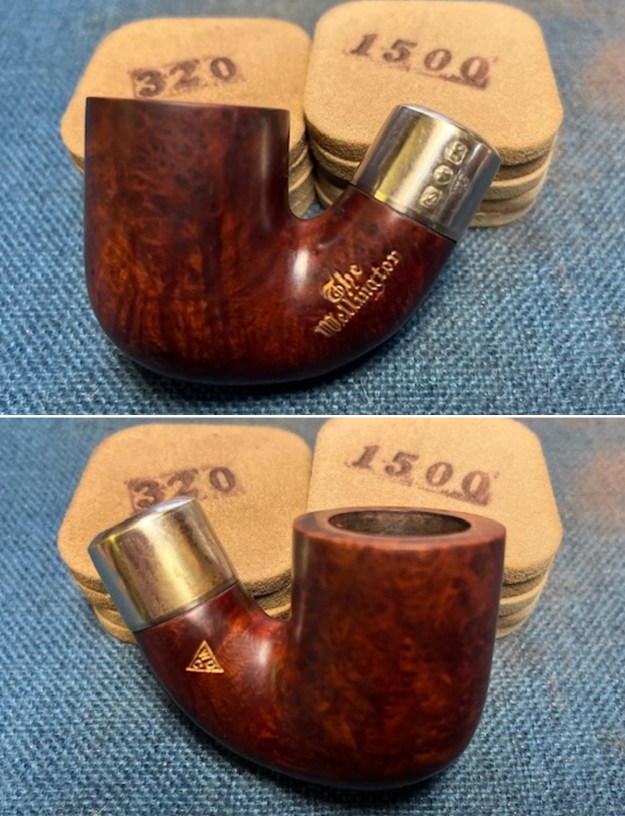
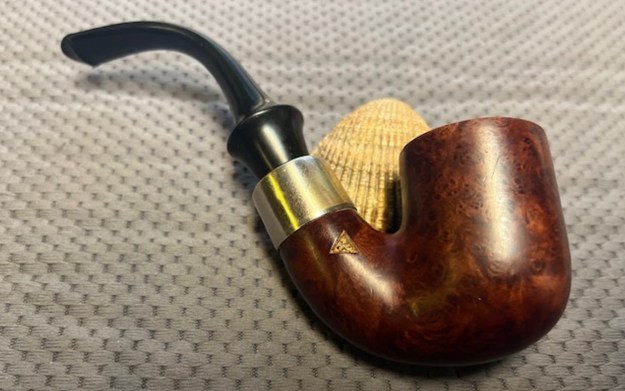
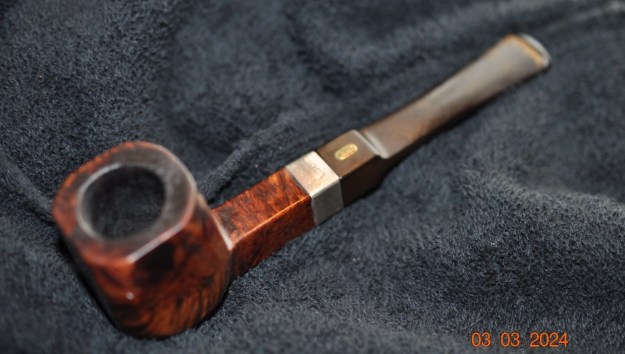
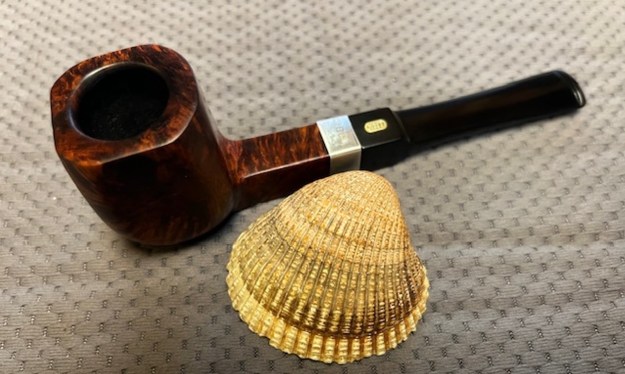
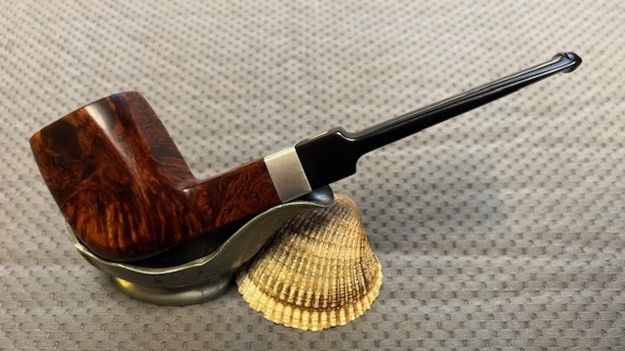
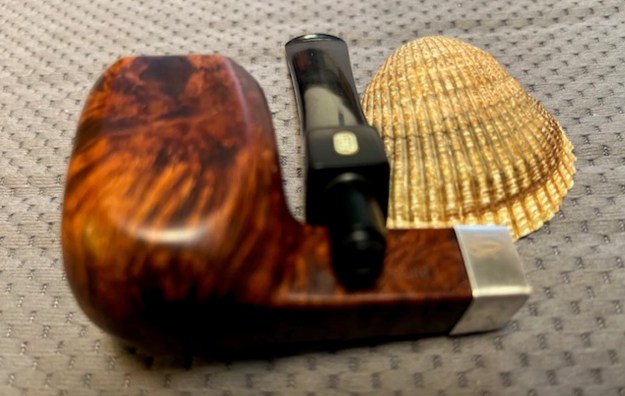
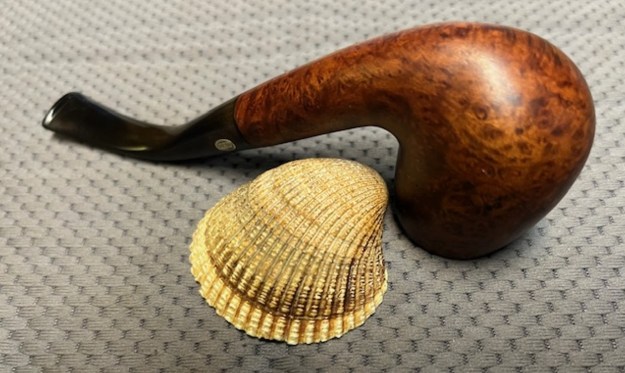
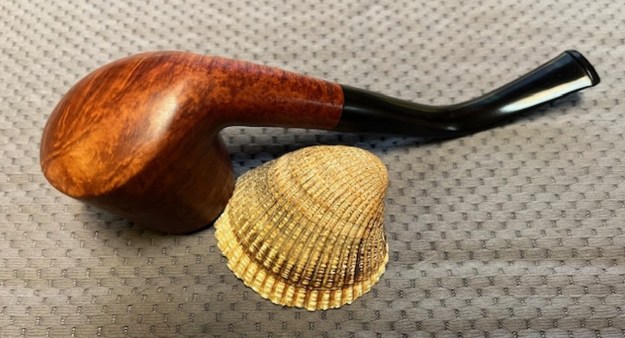
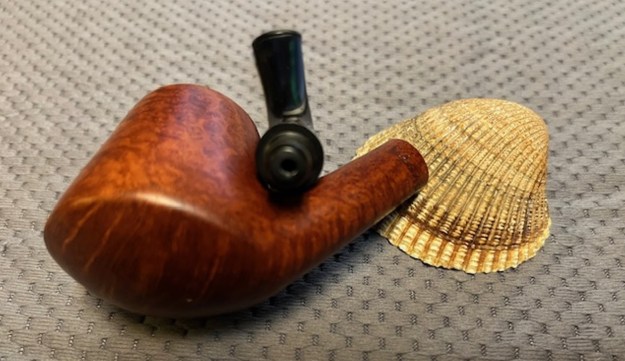
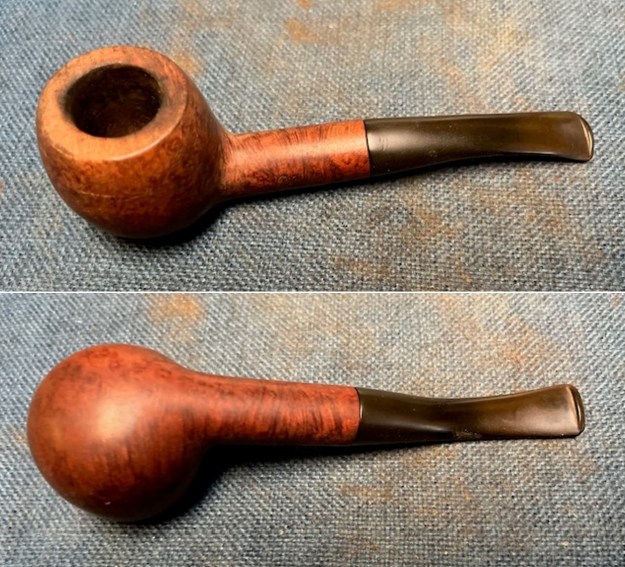
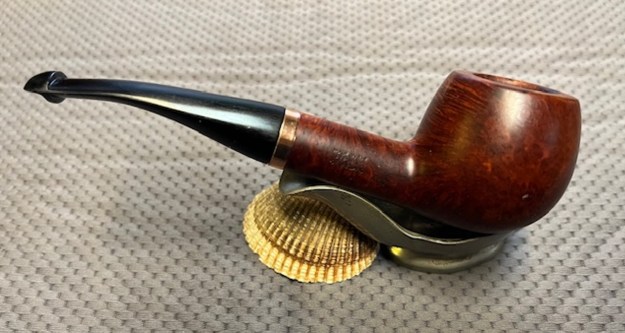
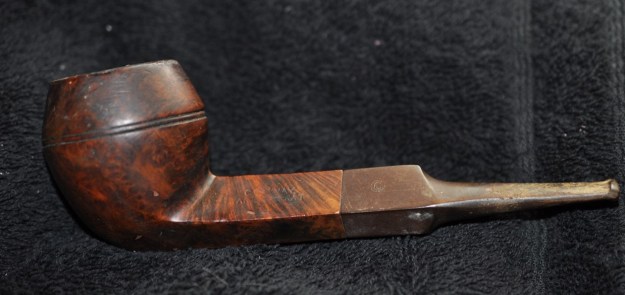
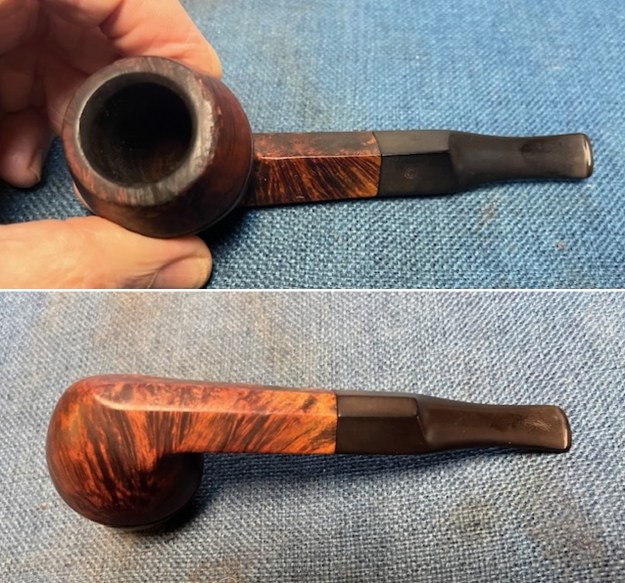
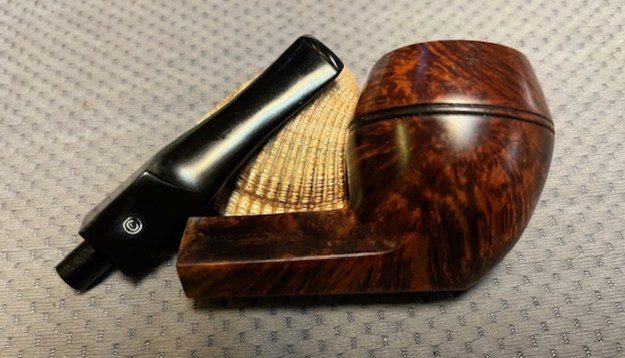
The next pipe on the work table came to us from a group of pipes we purchased on 02/29/2024 from a seller from Spring Branch, Texas, USA. It is a nice looking richly stained acorn shaped pipe with a stick bit silver tipped stem. The bowl has a dark reddish brown colour stain that highlights grain. There are also a lot of lighter coloured fills around the bowl and shank. I am hoping to mask these a bit in the clean up. This pipe has no stamping on the shank or the stem. There is a stamped Silver [over] 925 on both the band/ferrule and the silver tip on the stem. There is no other stamping. The bowl had been reamed and but then smoked so there was a light cake in the bowl and some lava on the top and edges of the rim top. The Sterling Silver ferrule and stem tip is oxidized and dark. The stem is black acrylic and there were some light tooth marks and chatter on both sides near the button. The pipe looks to be in good condition under the grime. This is a nice looking pipe and in a well-loved shape. Jeff took photos of the pipe before he started his cleanup.
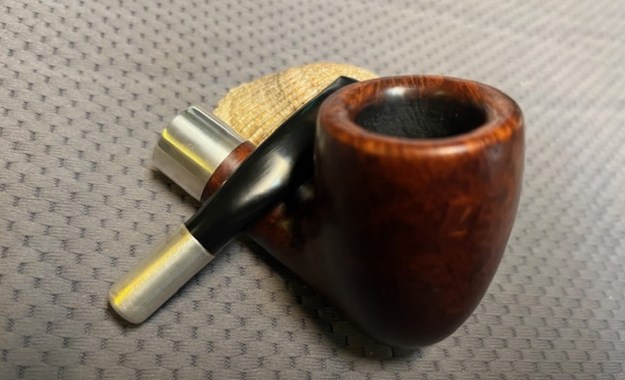
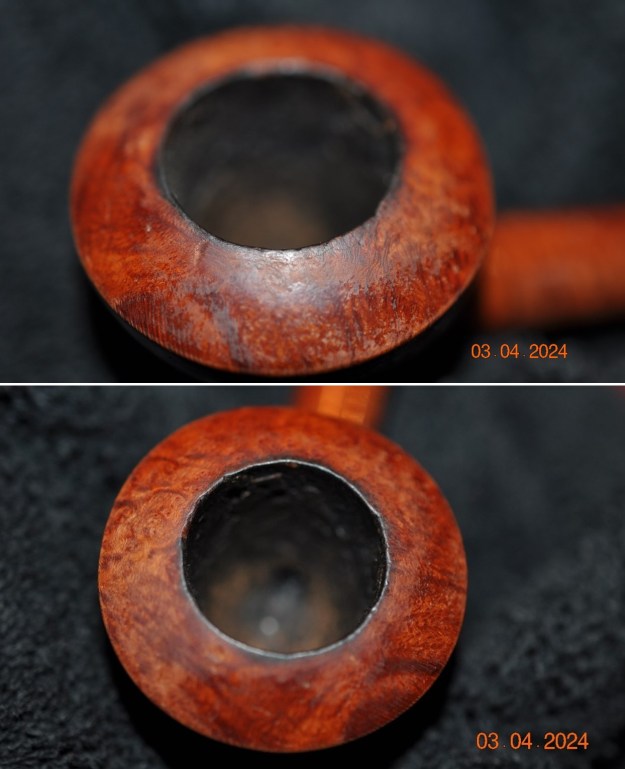
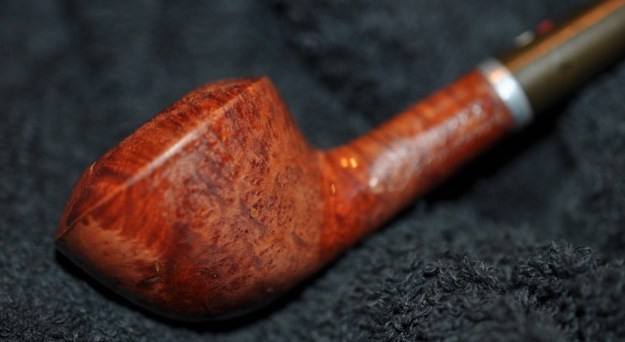
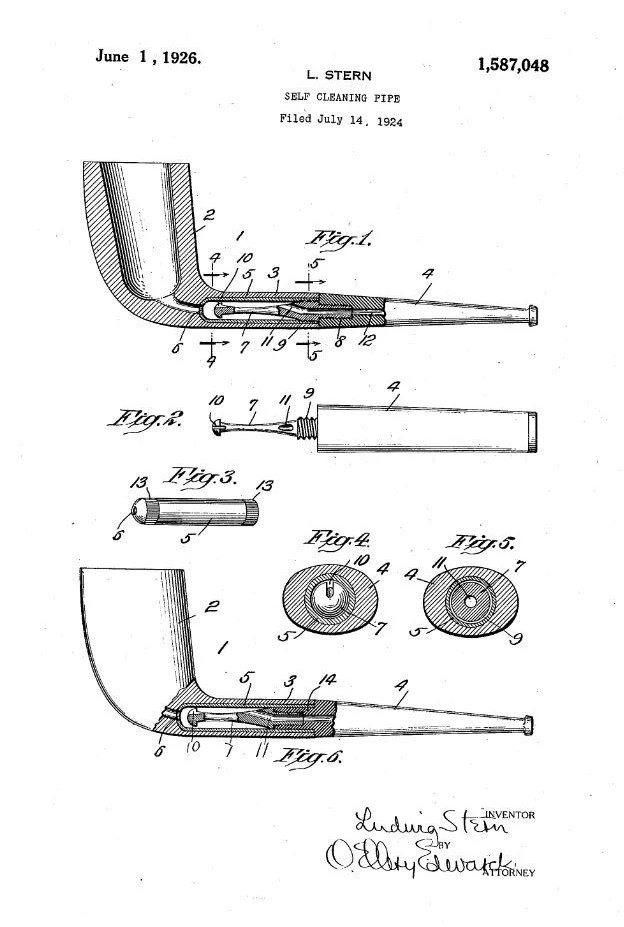
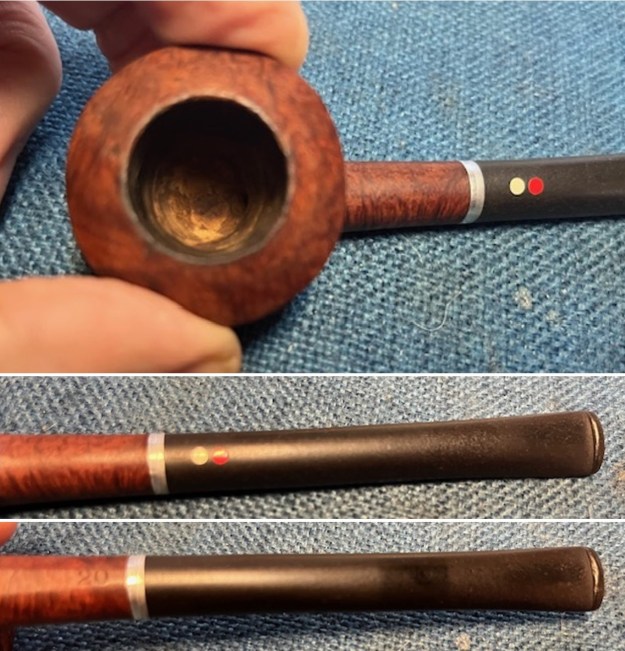
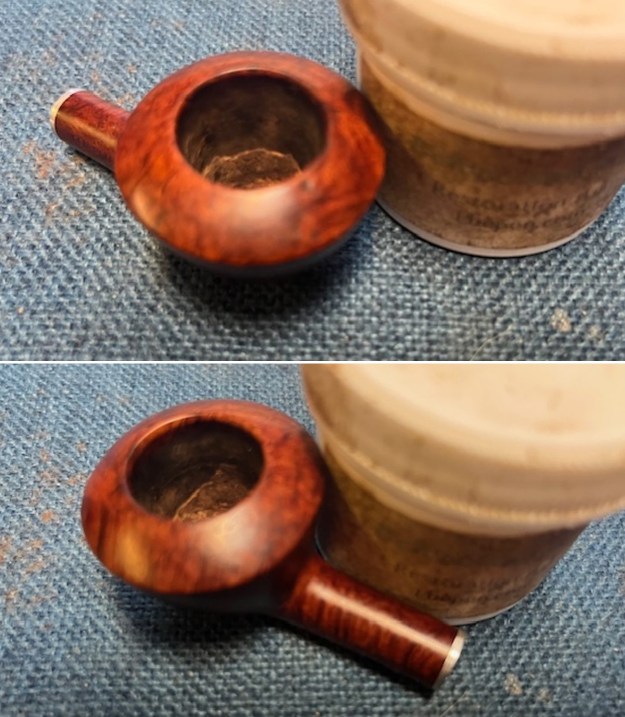
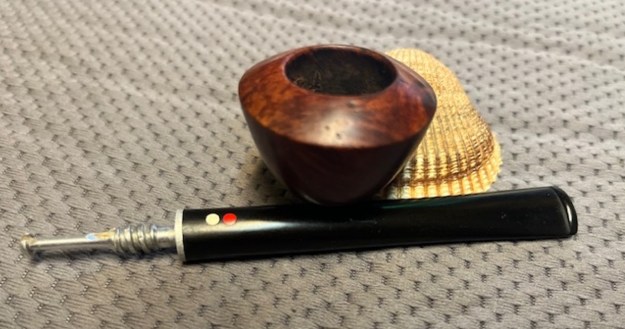
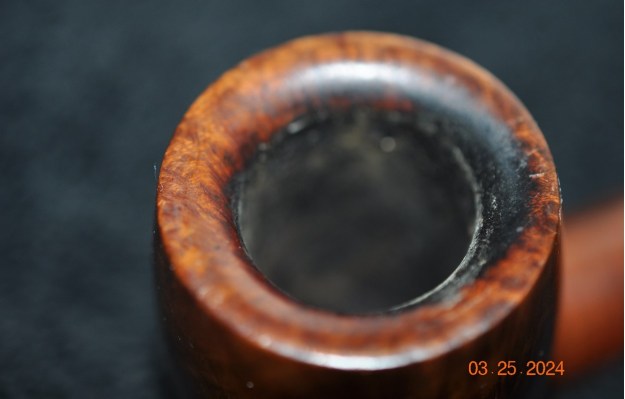
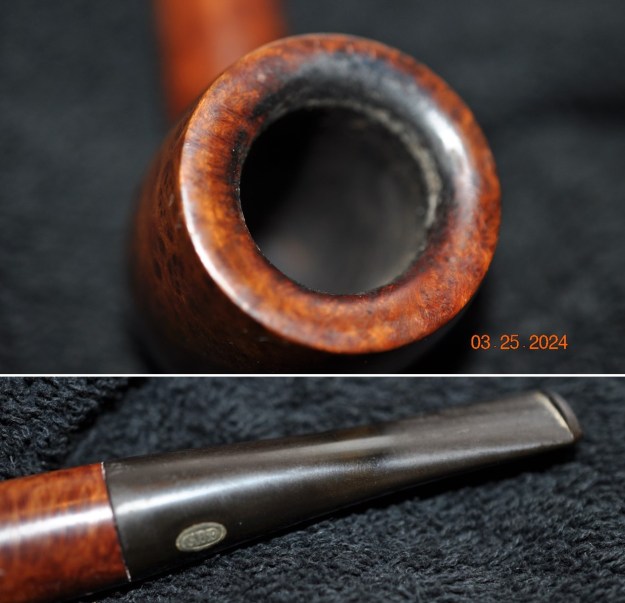
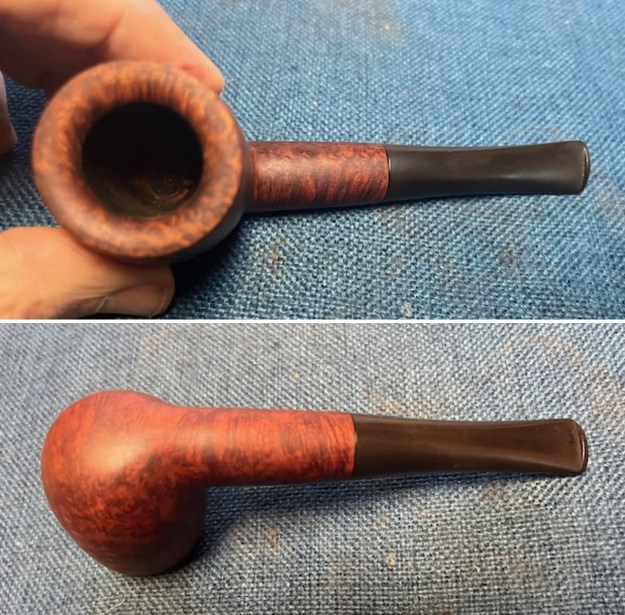
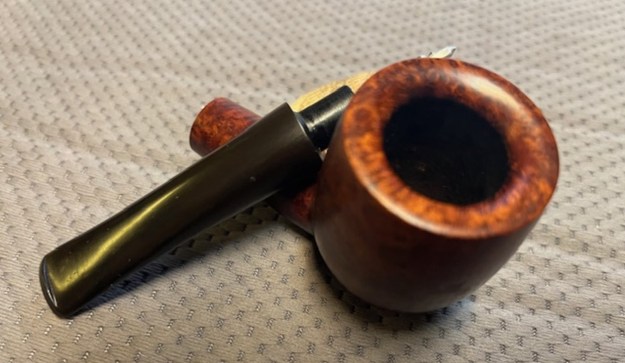
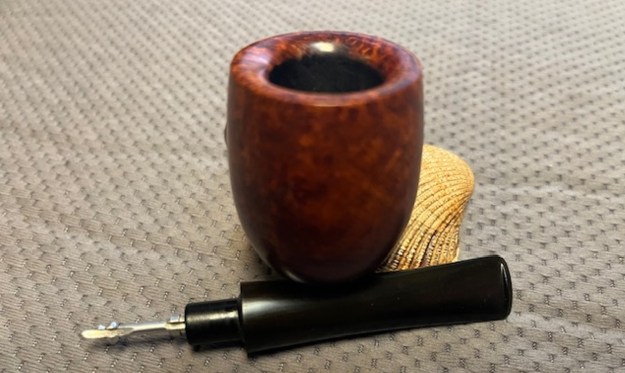
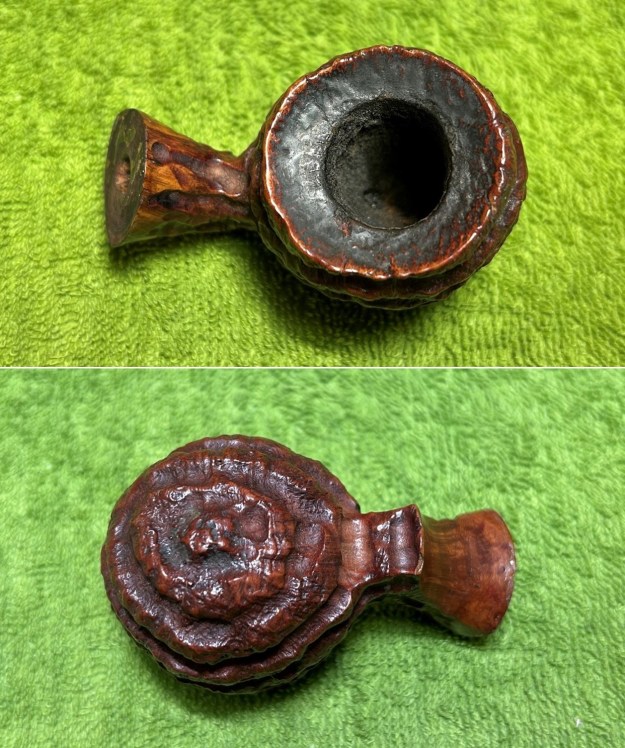
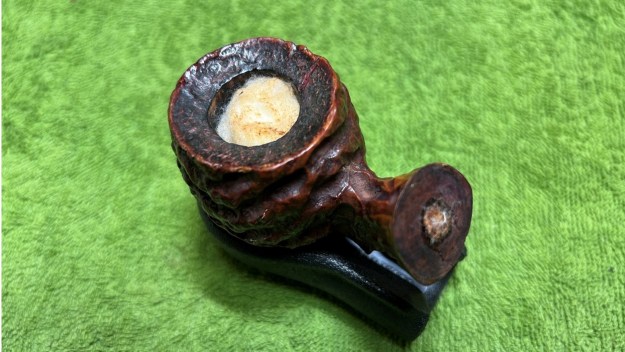
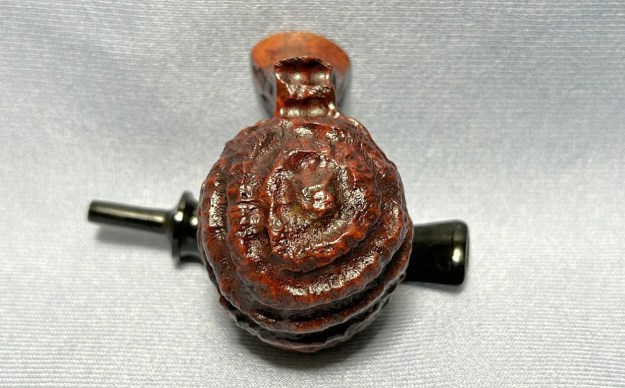
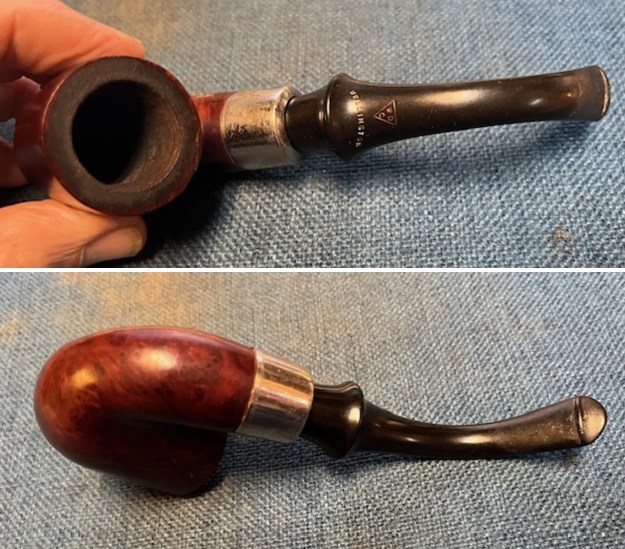
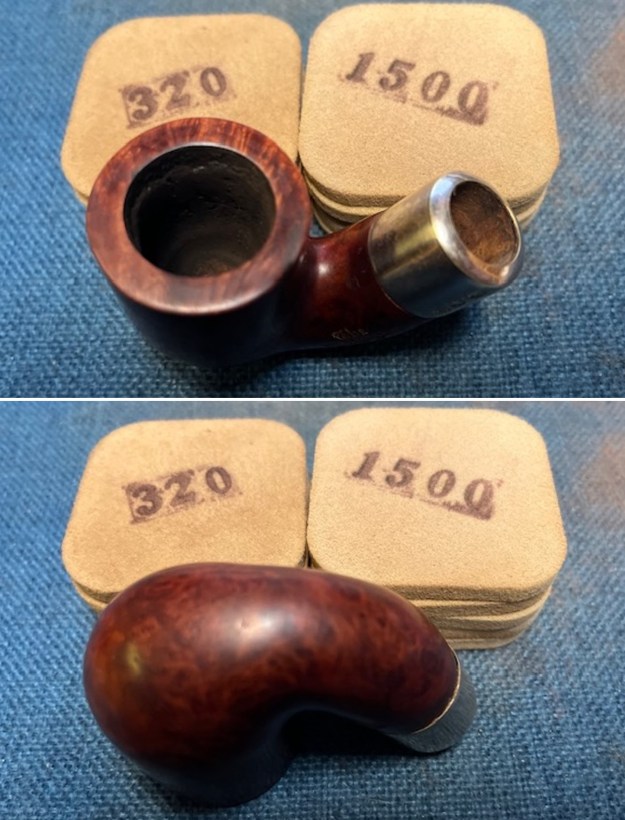
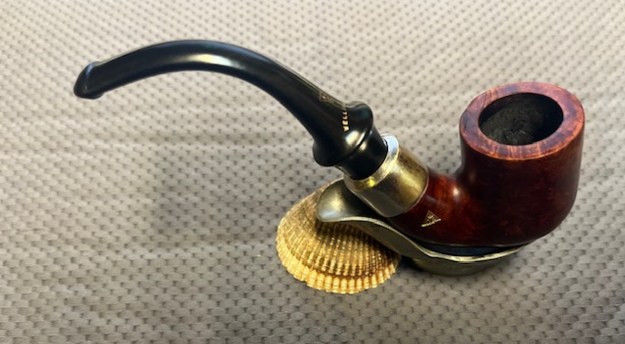
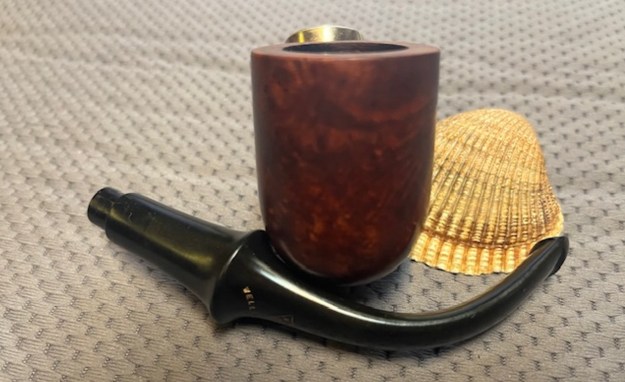
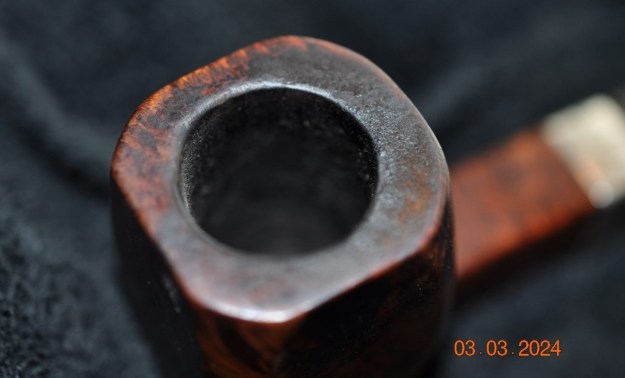
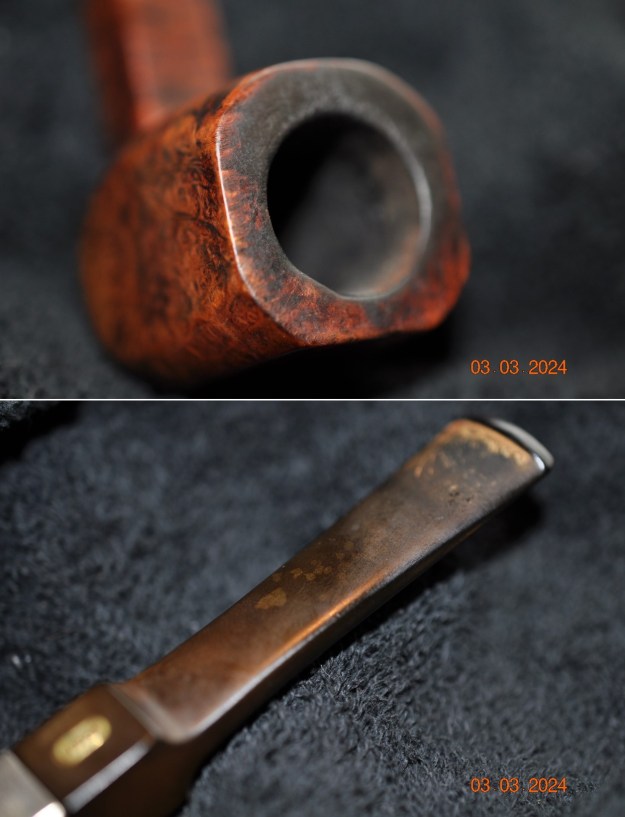
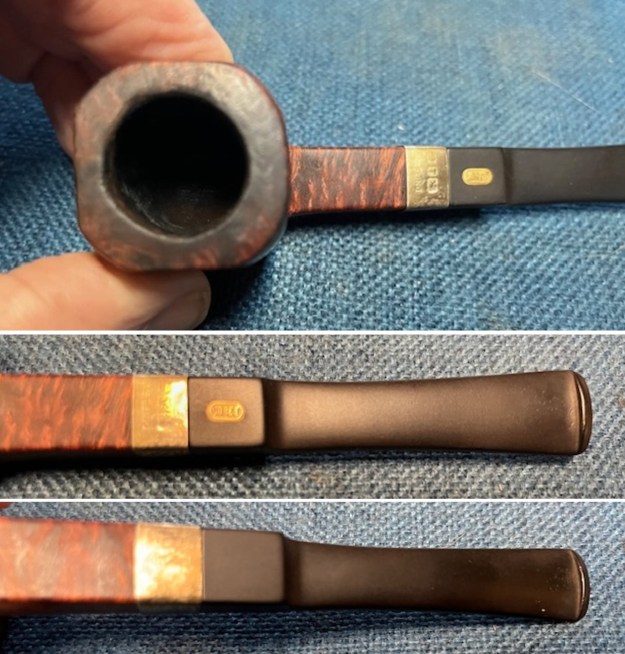
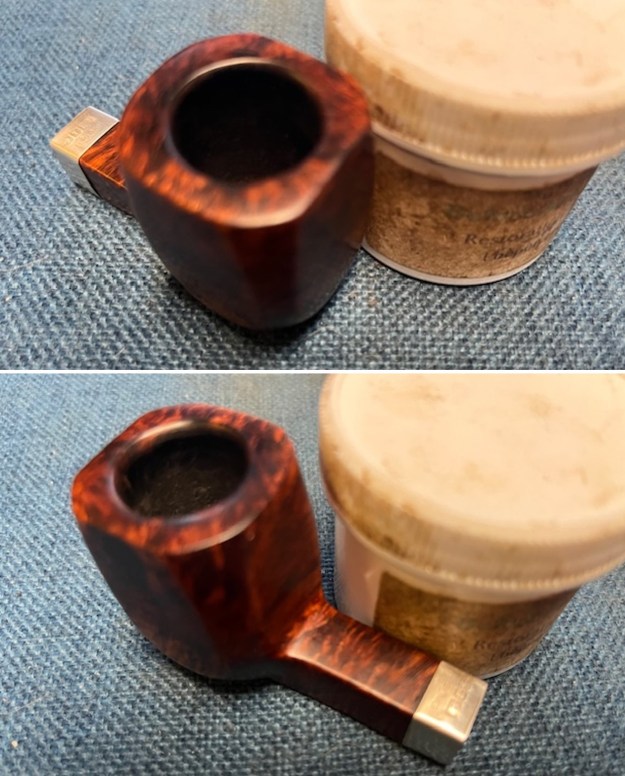
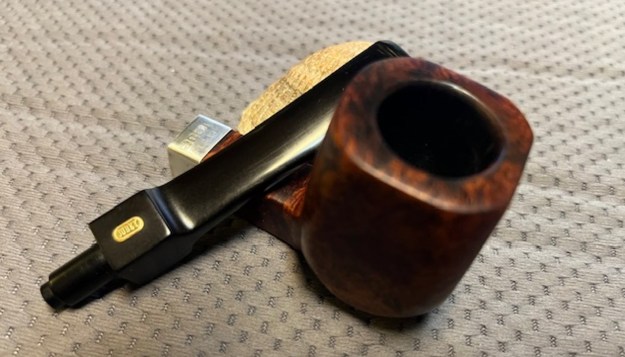
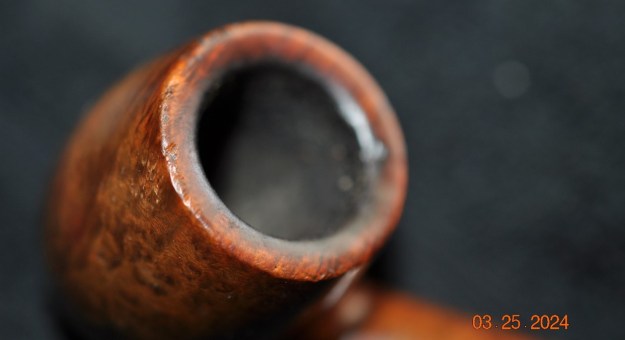
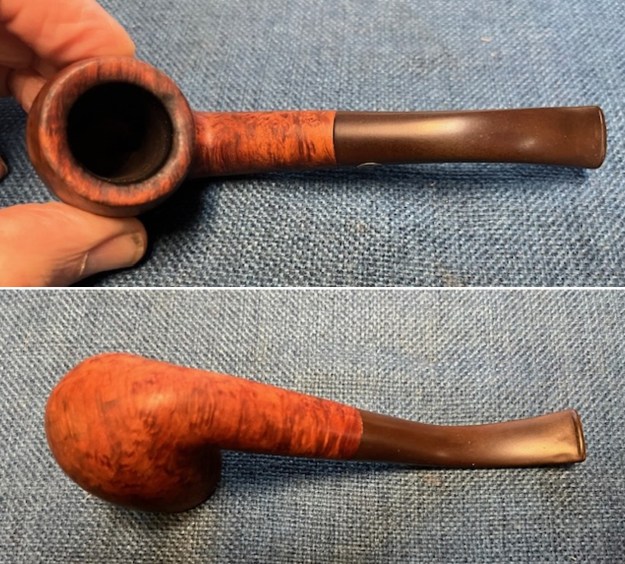
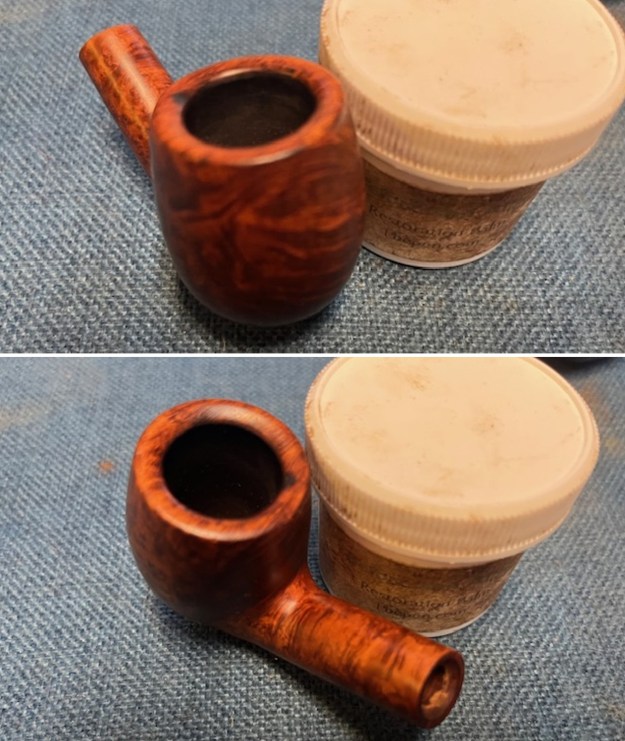
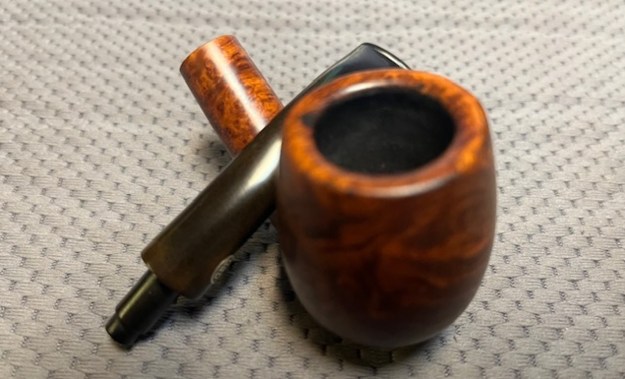
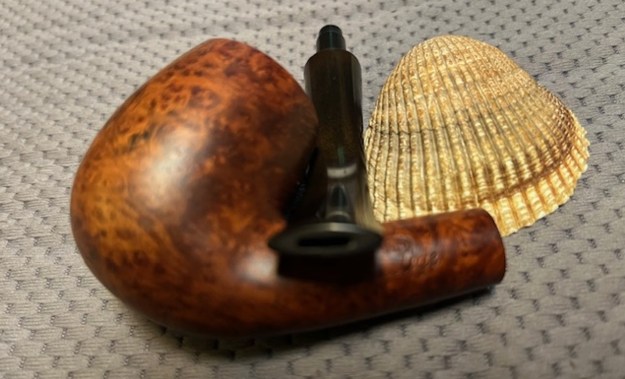
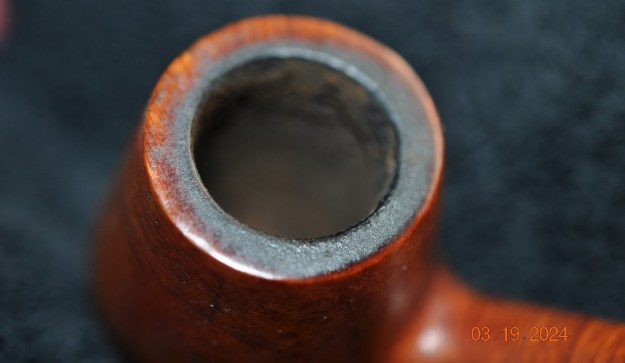
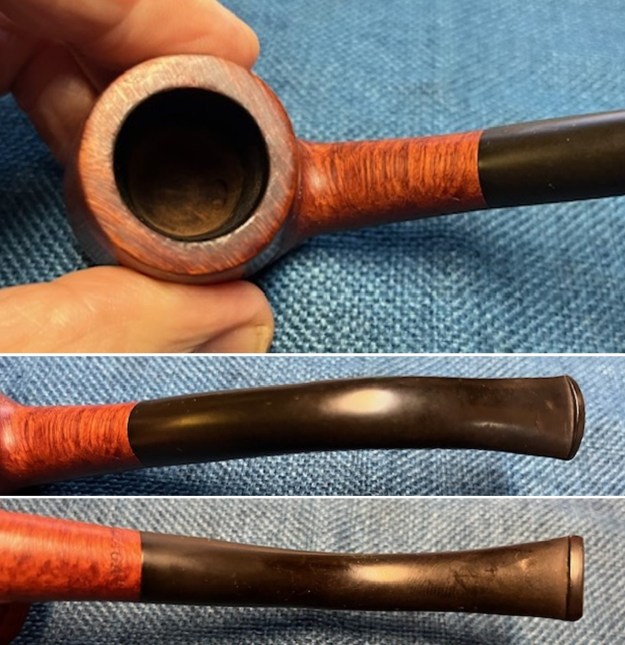
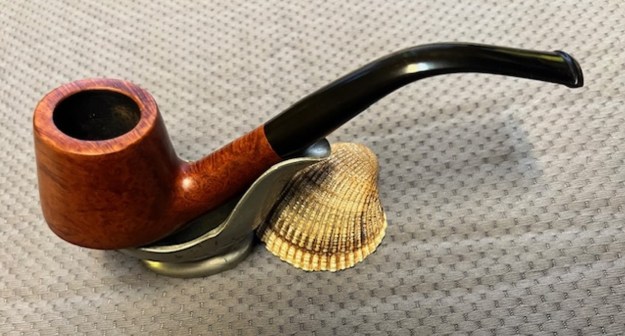
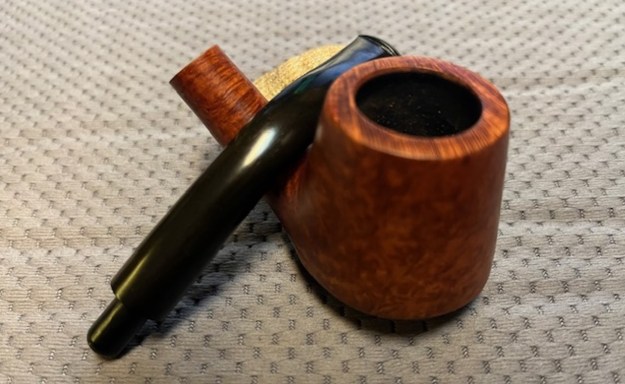
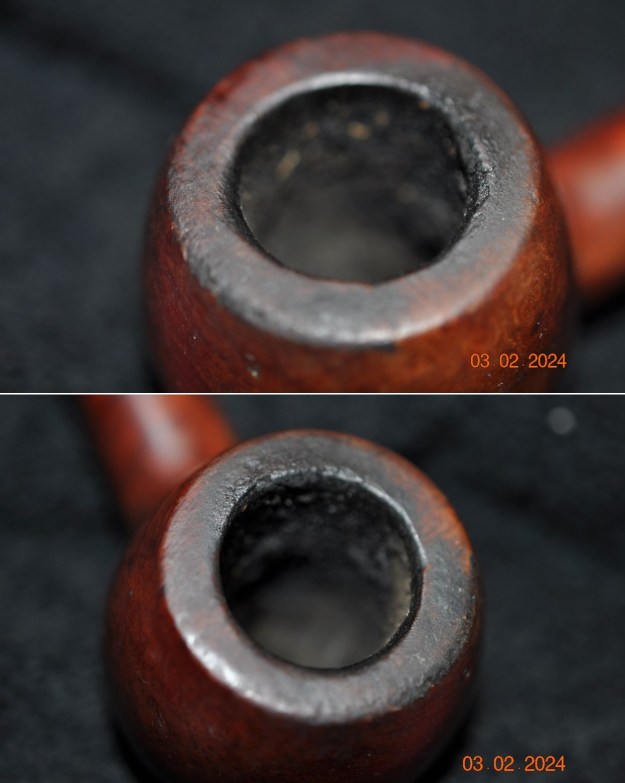
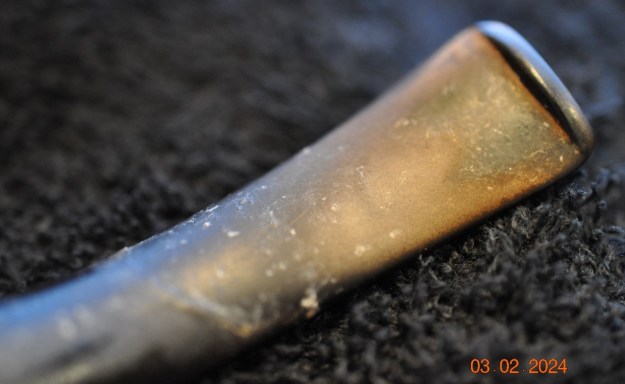
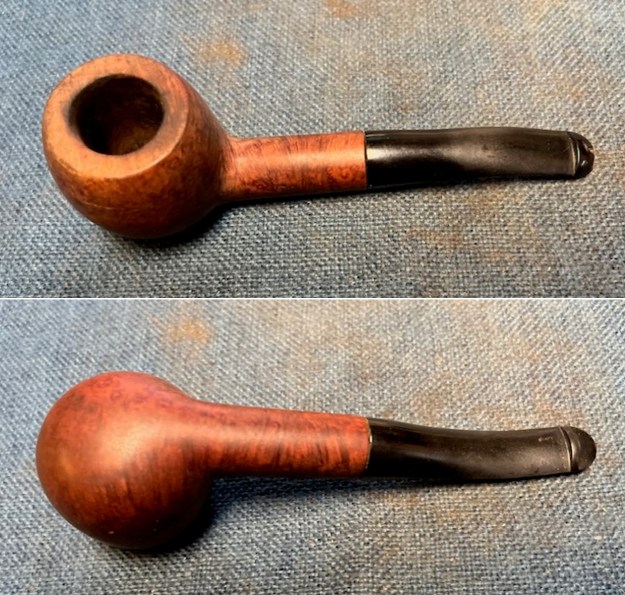
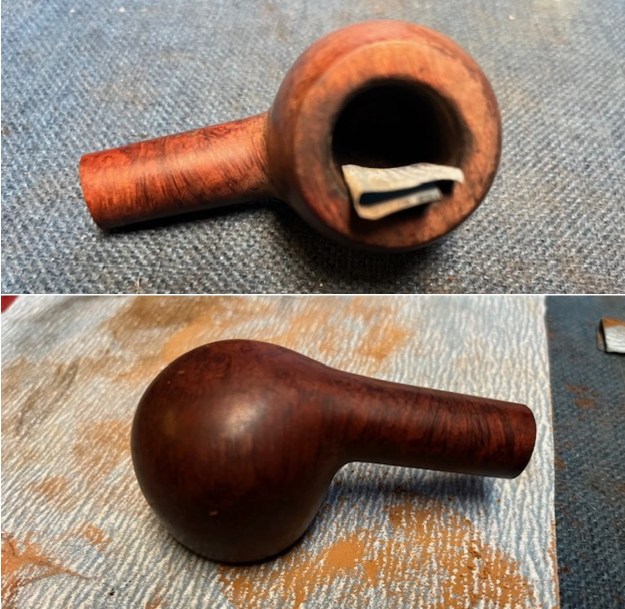
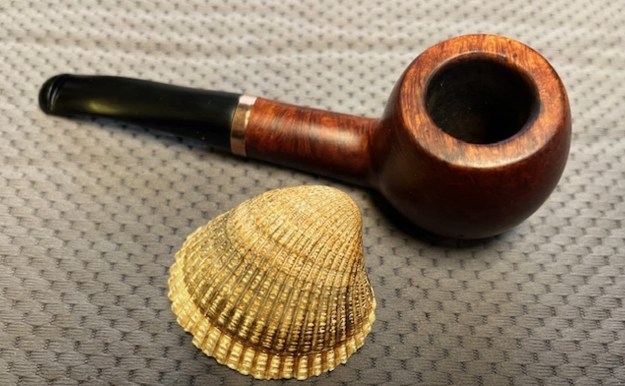
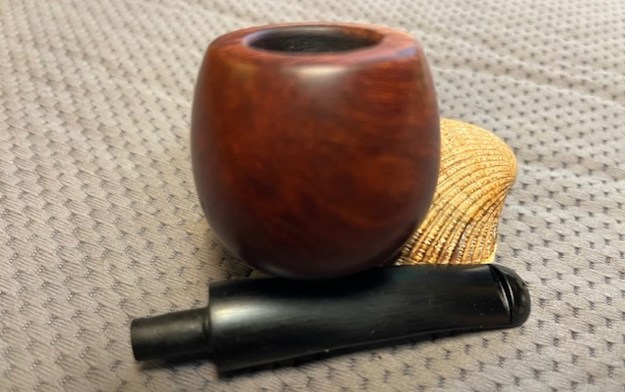
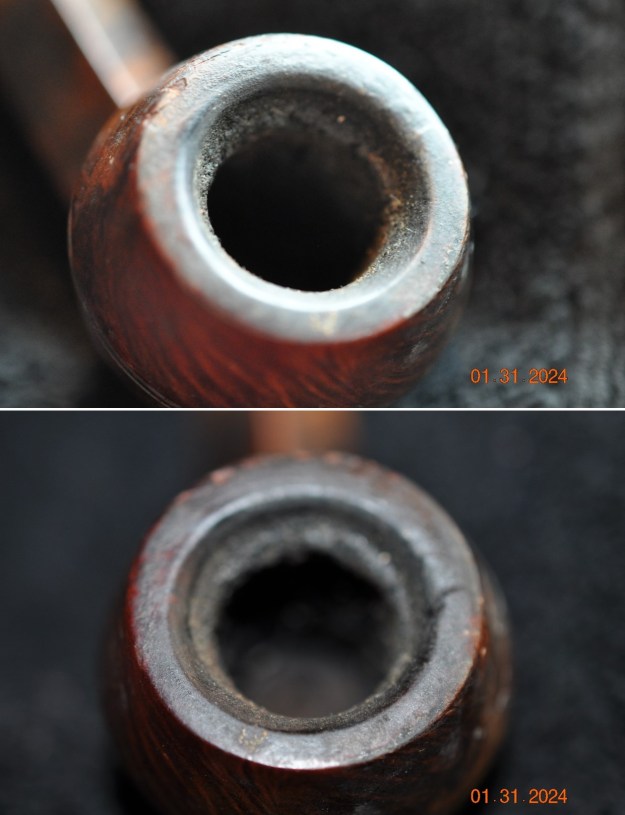
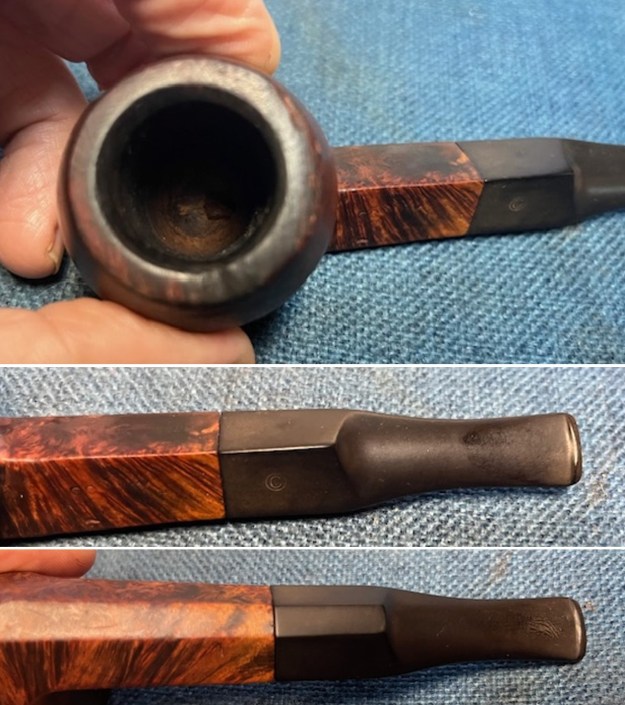
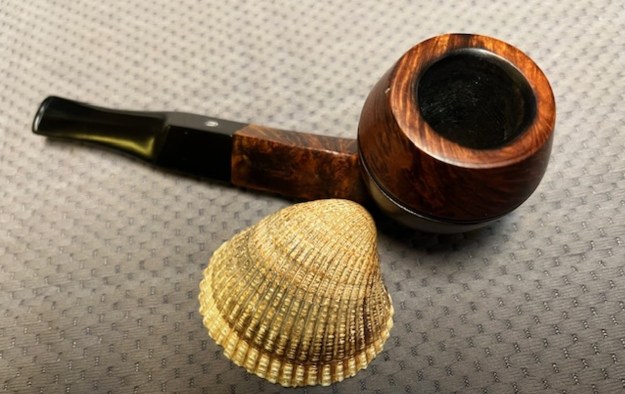
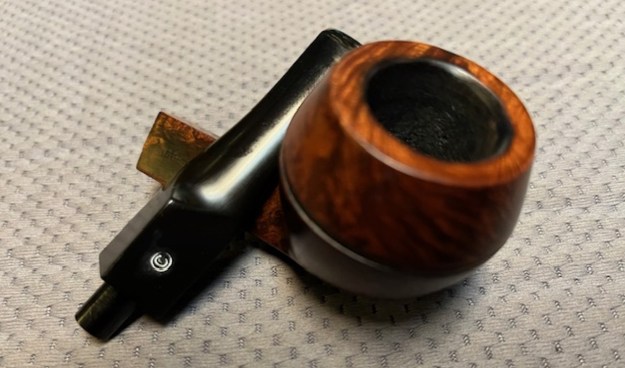
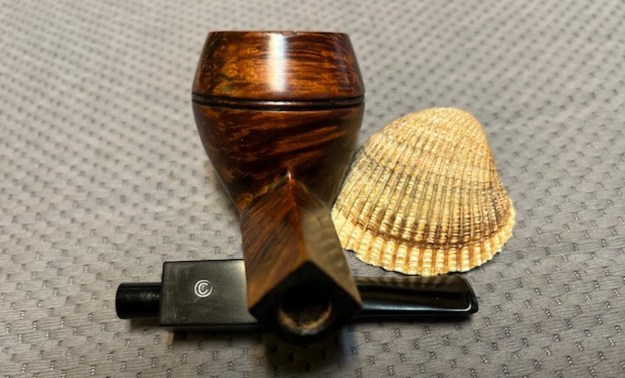
 He took a photo of the bowl and rim top to show their general condition. You can see the lava, scratches and nick marks on the rim top and the light cake in the bowl. The bevelled inner edge of the bowl looks to be okay. The stem is acrylic and dirty and there are tooth marks and chatter on both sides near the button. The silver ferrule and stem tip is also oxidized and almost black.

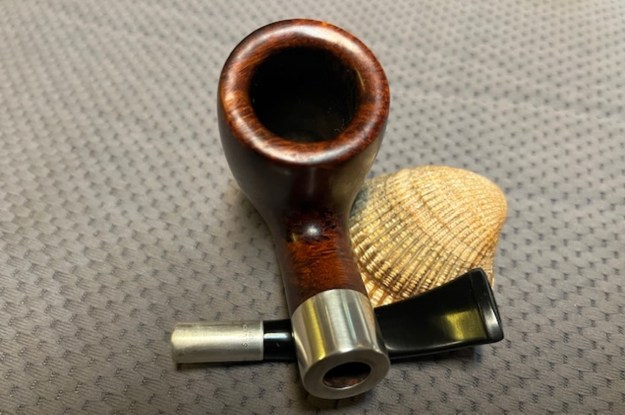
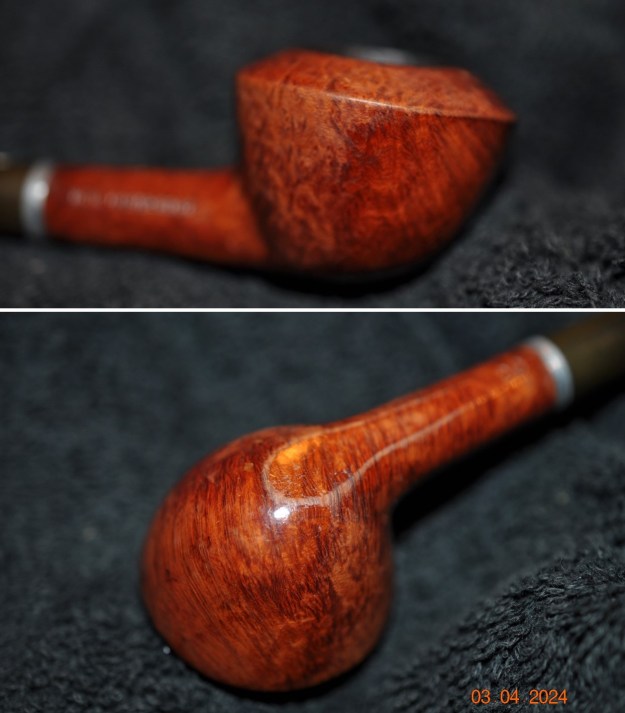
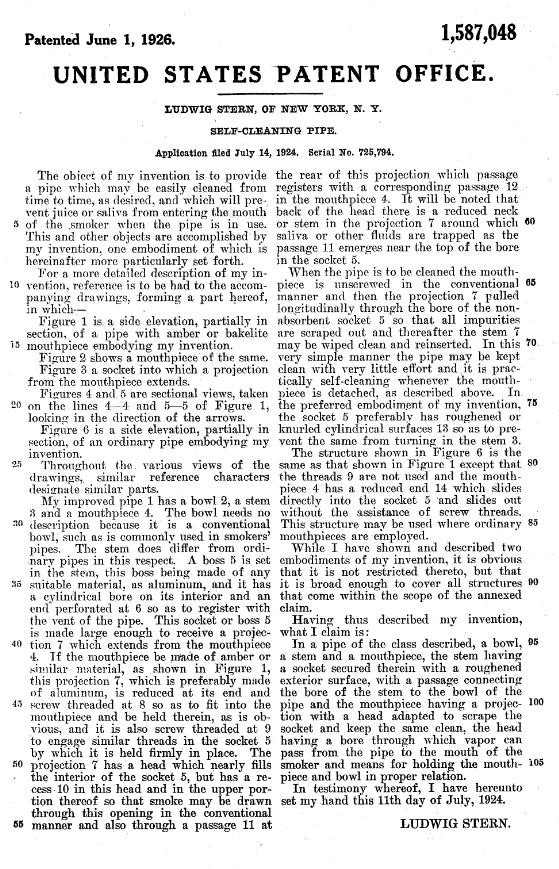
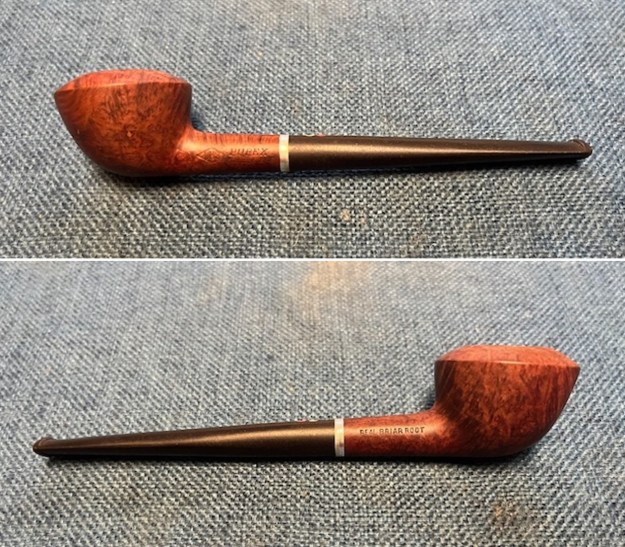
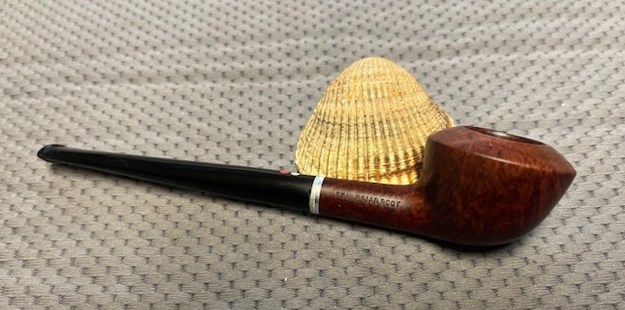
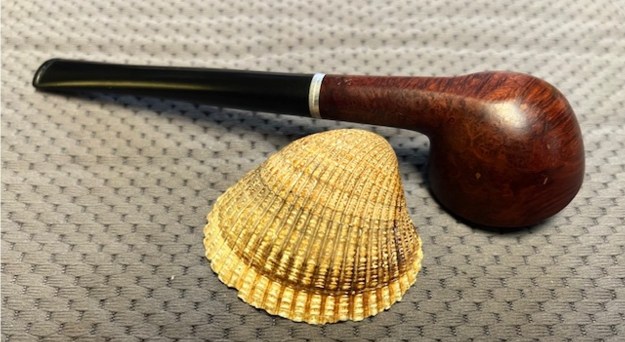
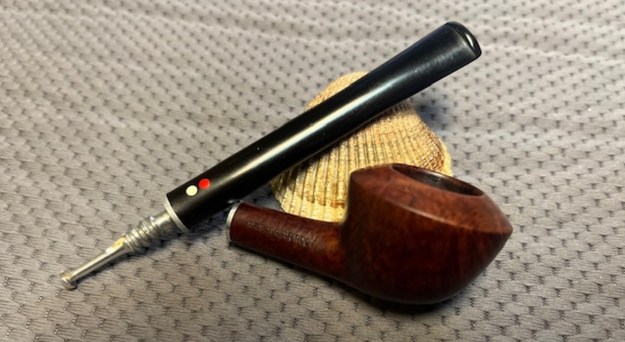
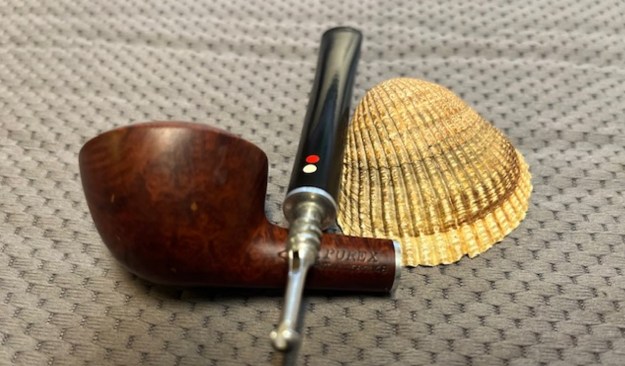
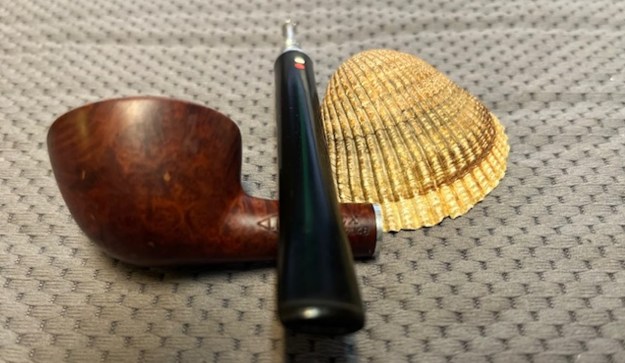
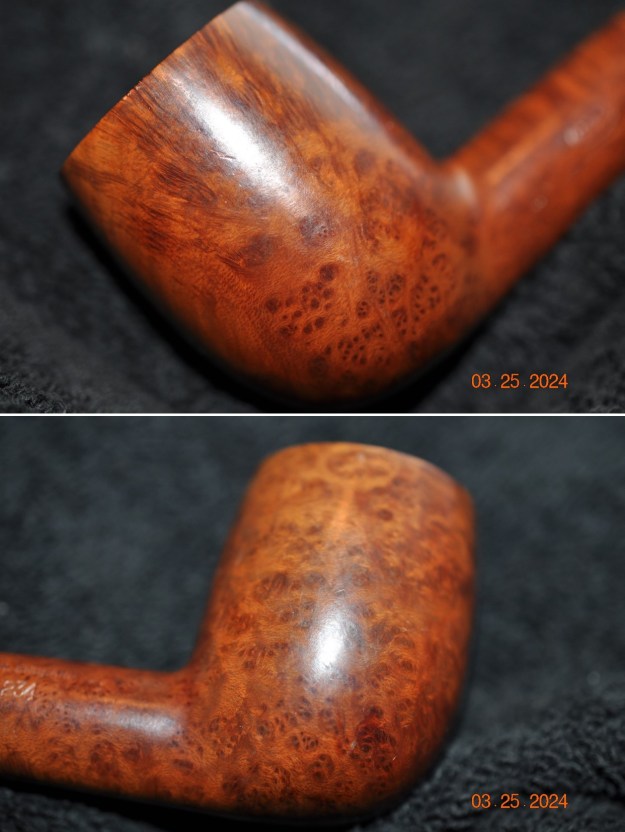
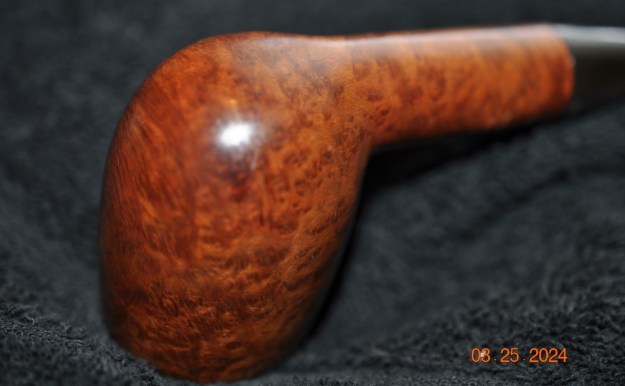
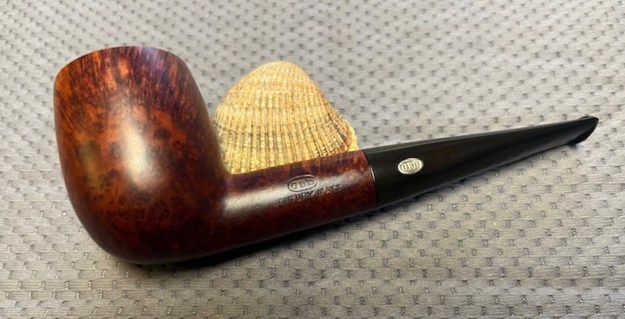
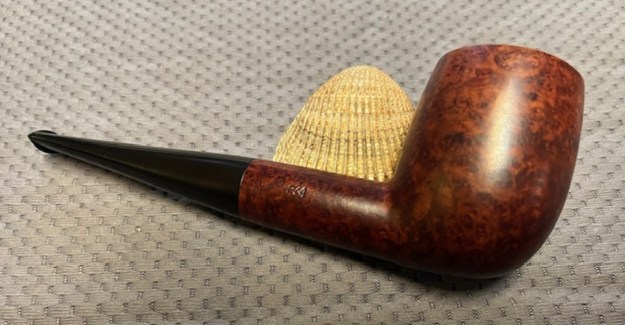
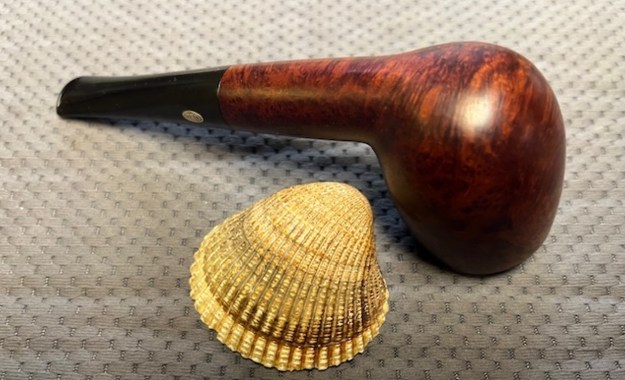
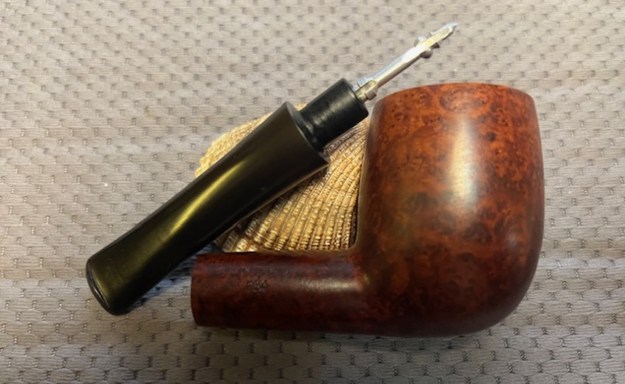
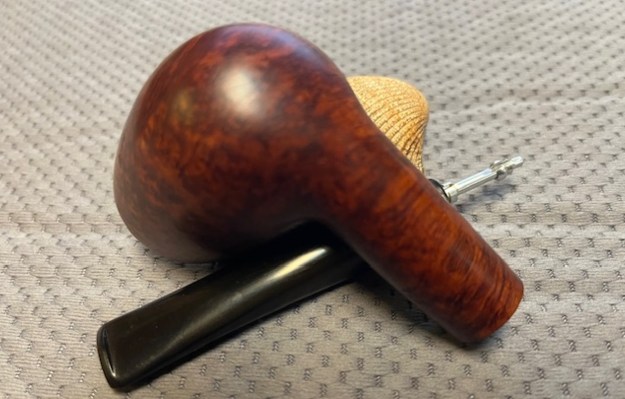
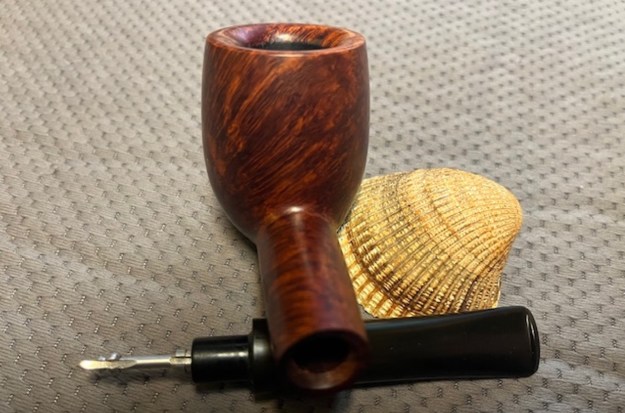
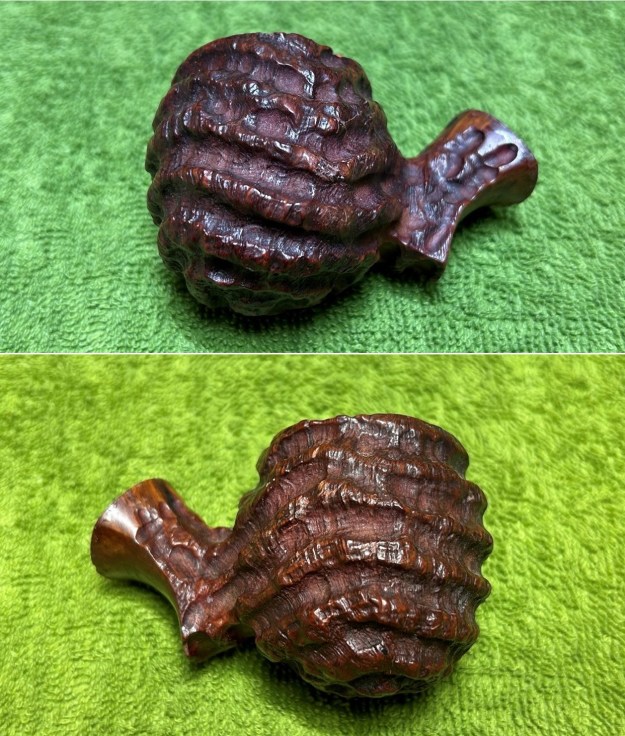
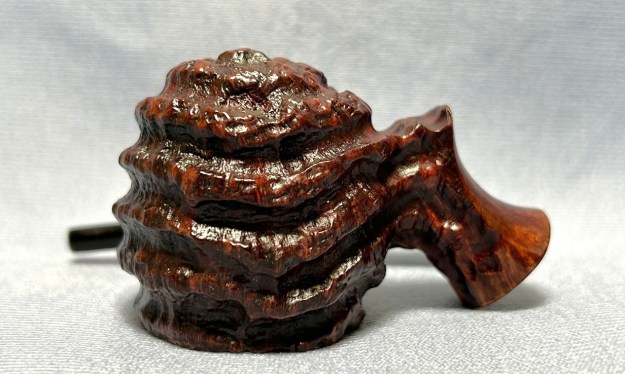
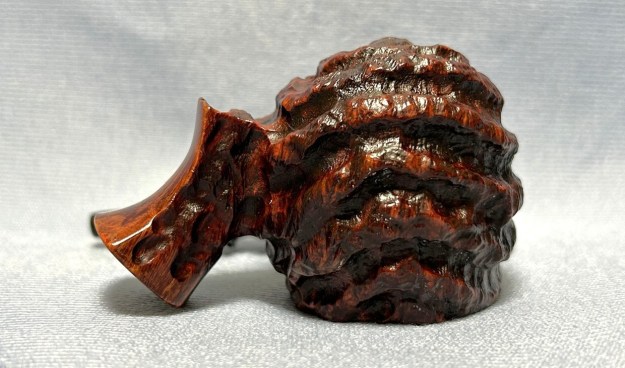
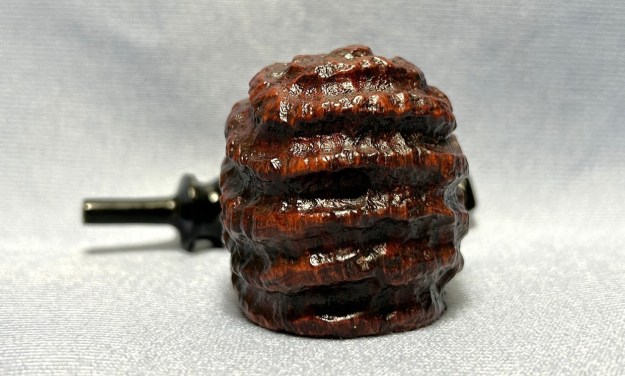
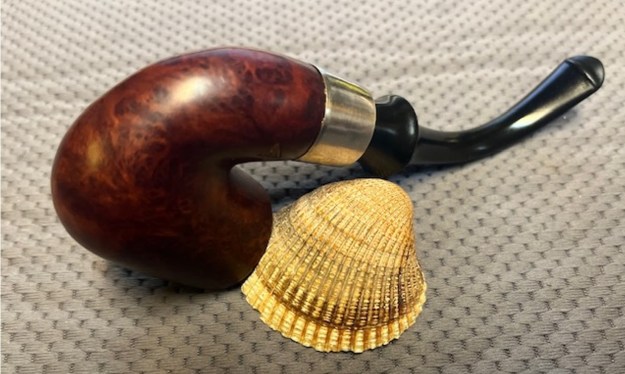
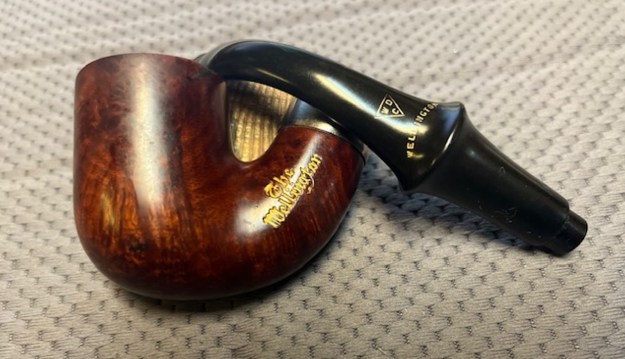
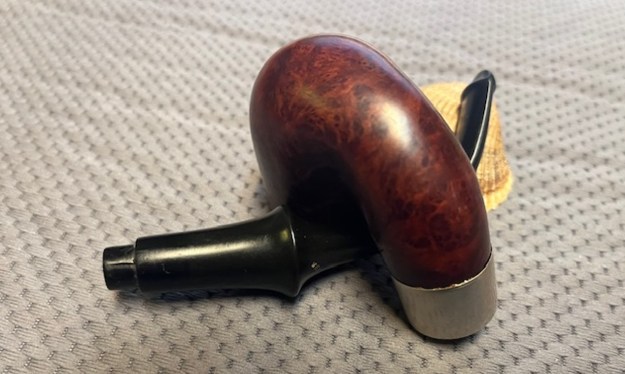
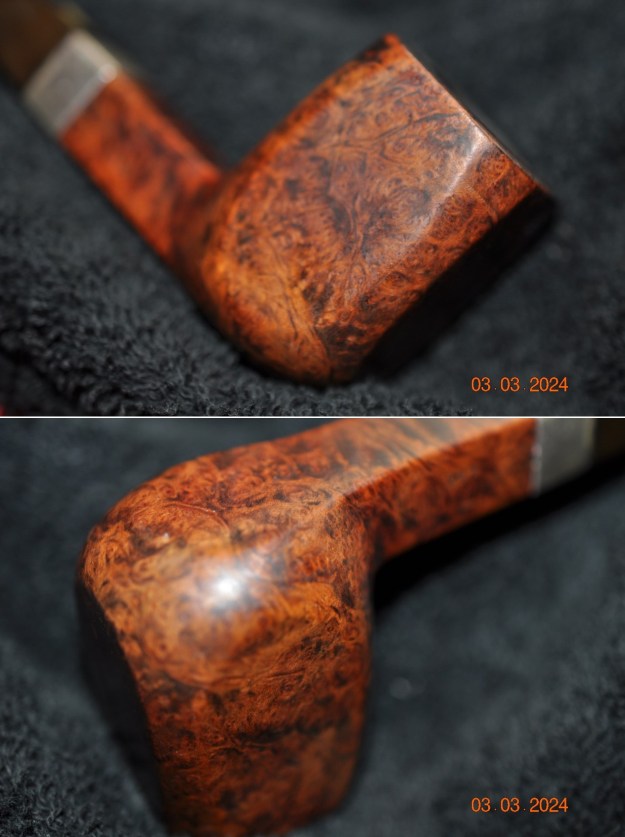
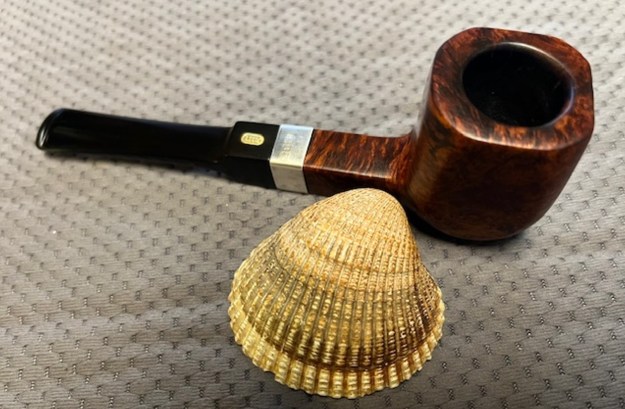
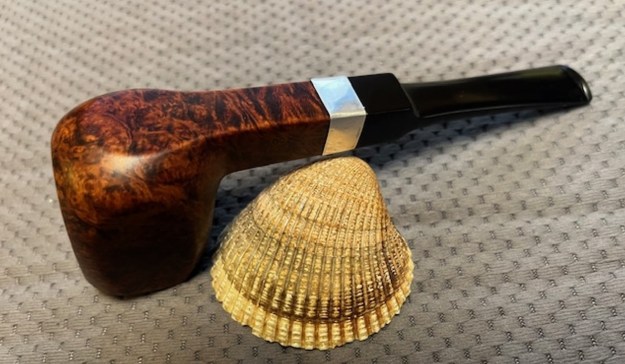
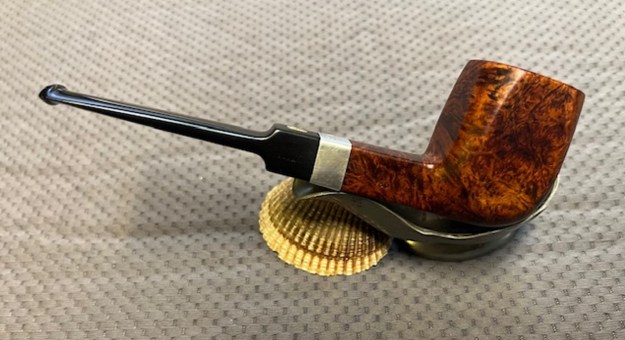
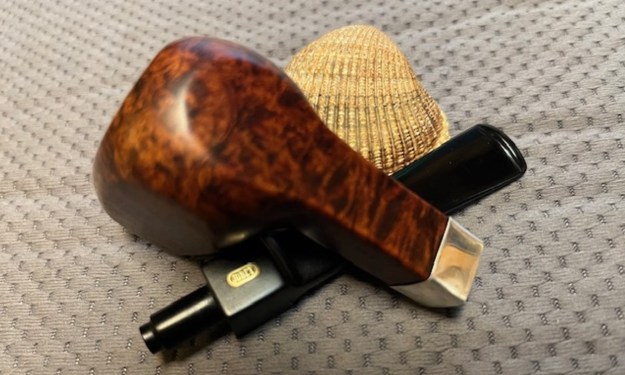
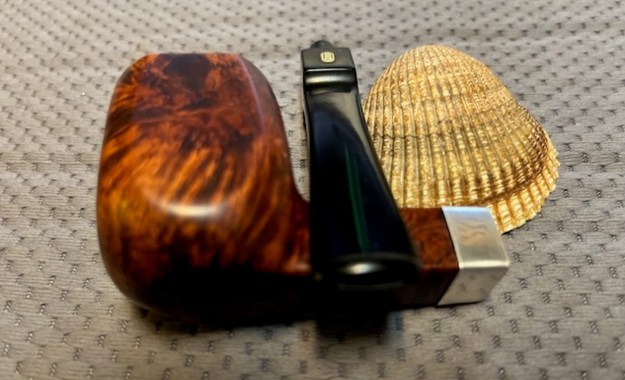
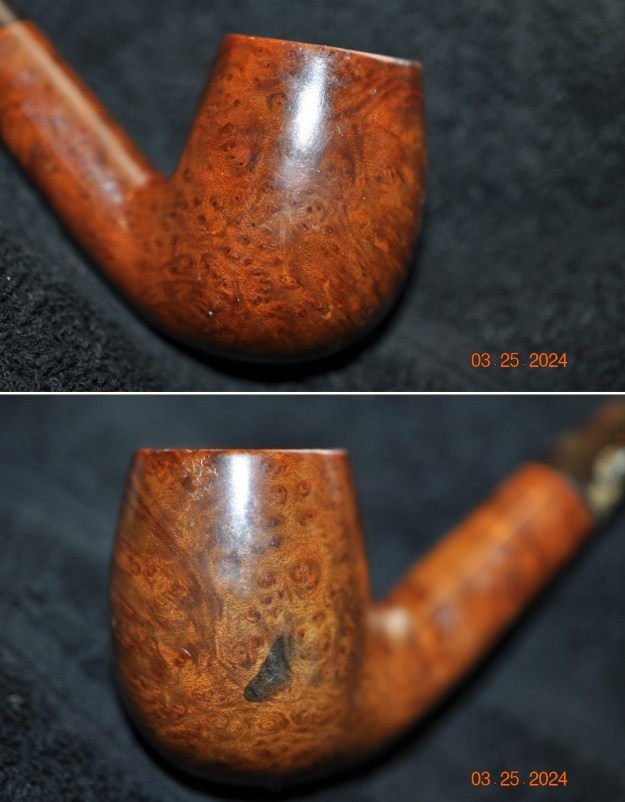
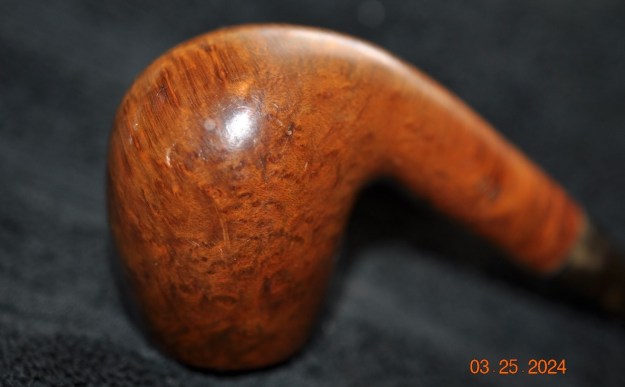
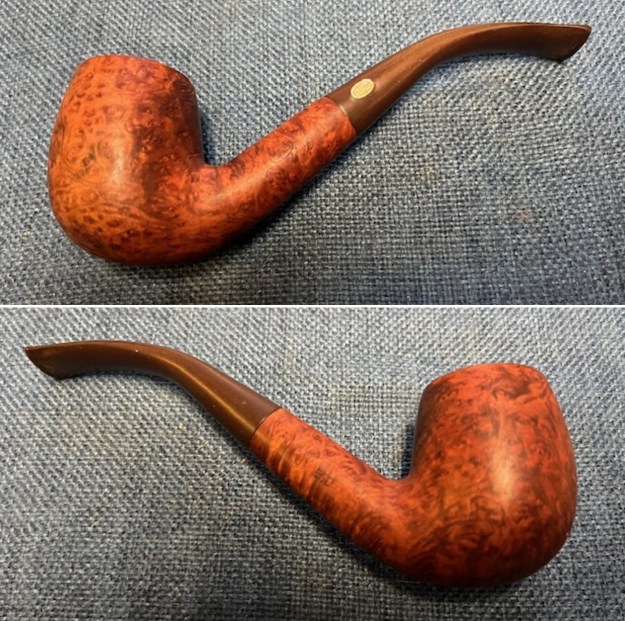
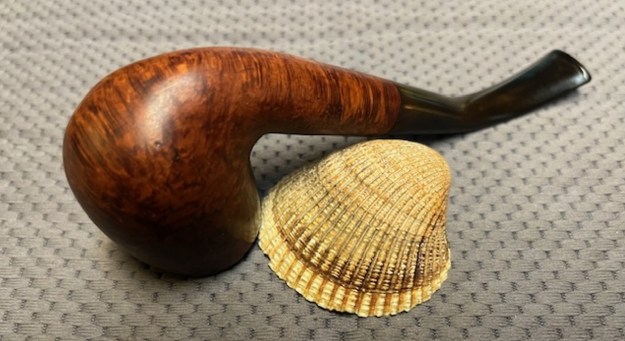
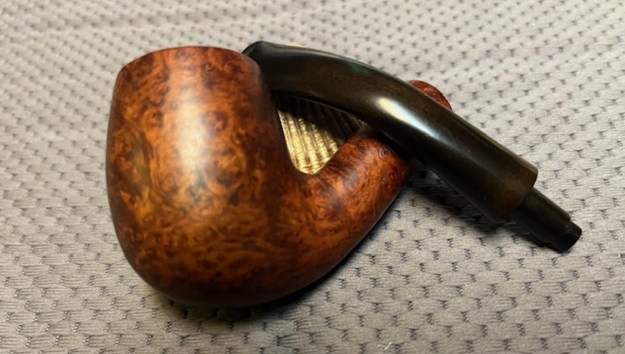
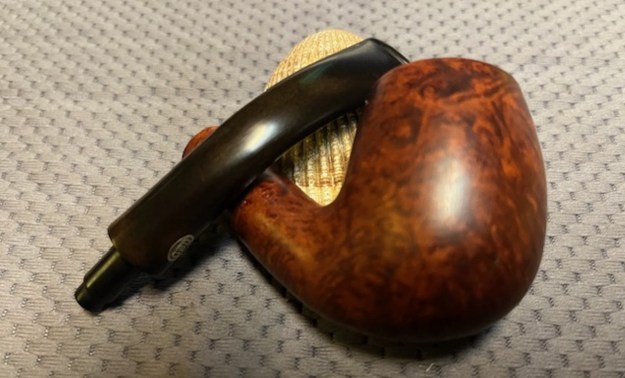
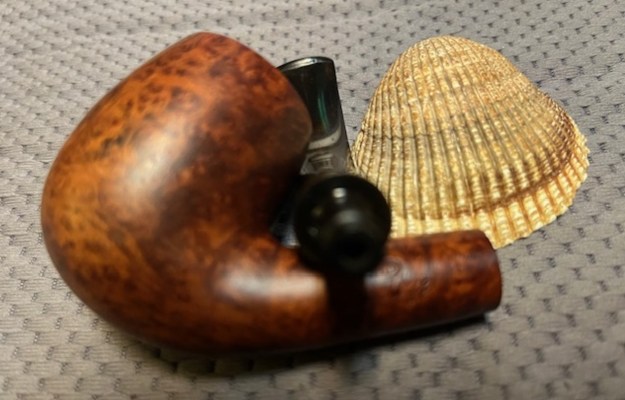
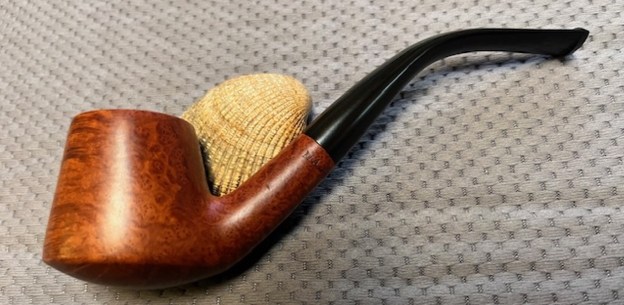
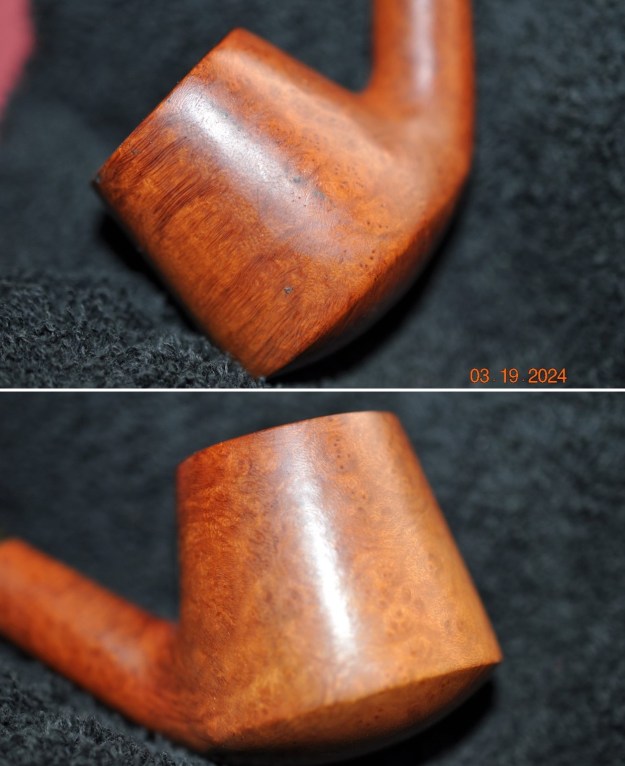
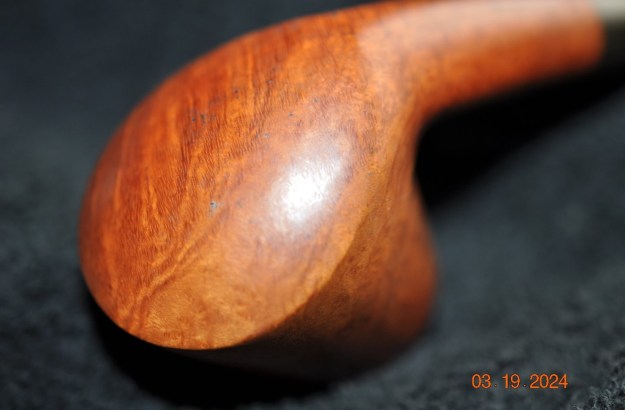
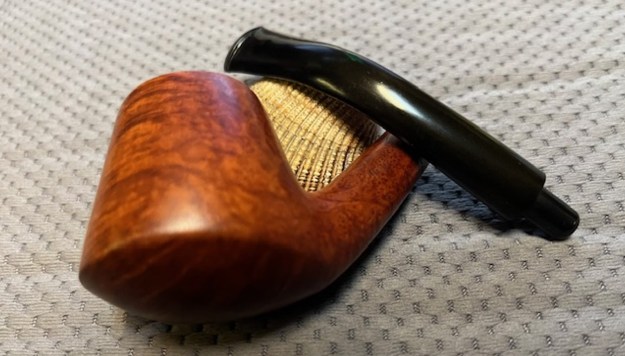
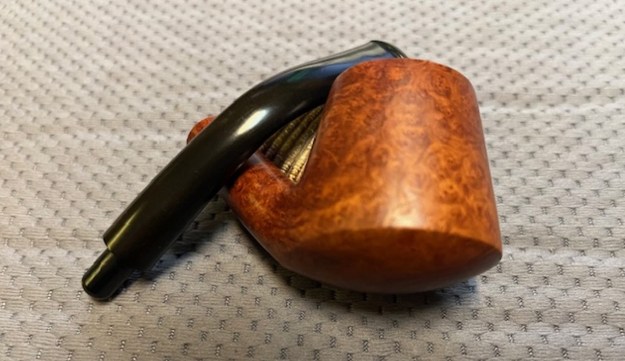
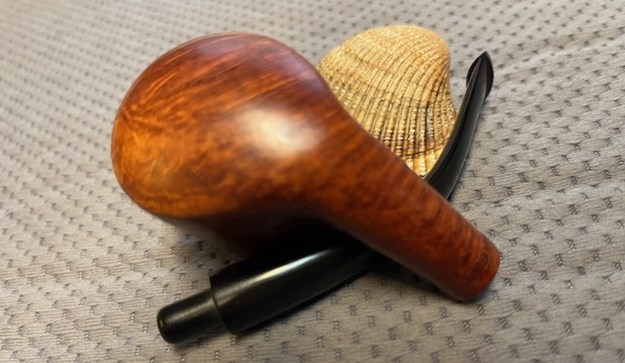
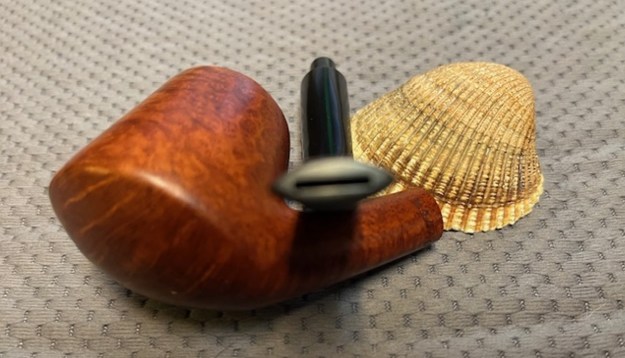
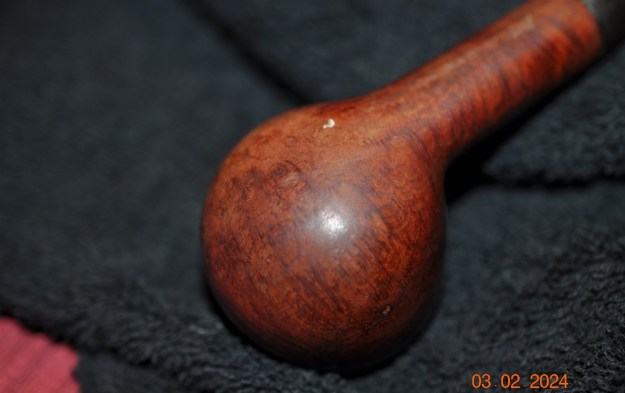
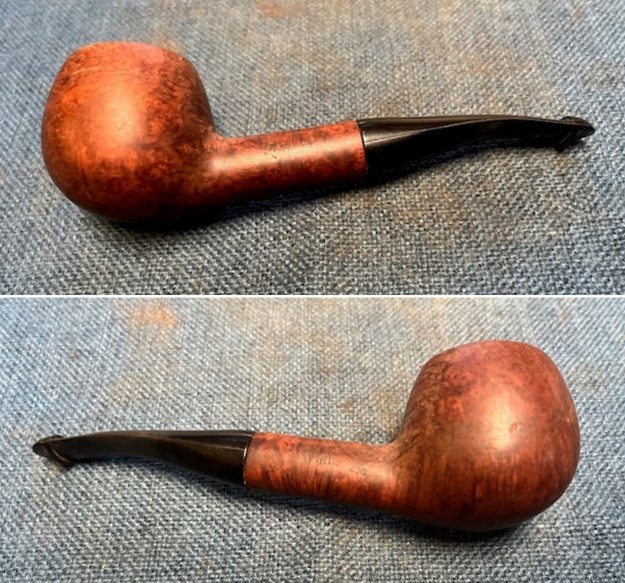
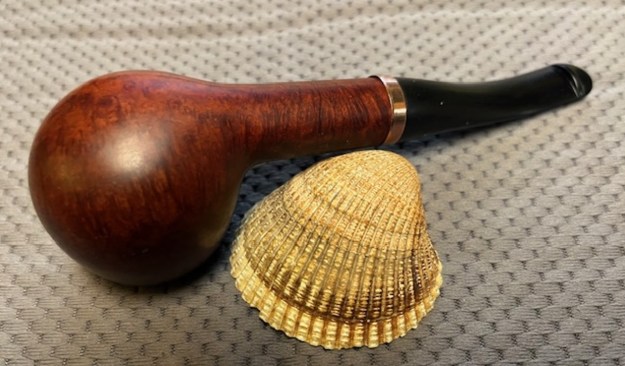
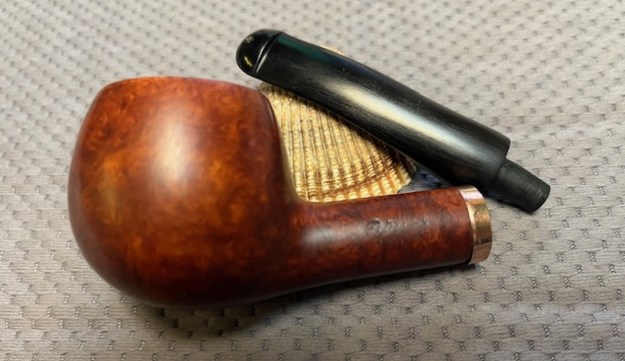
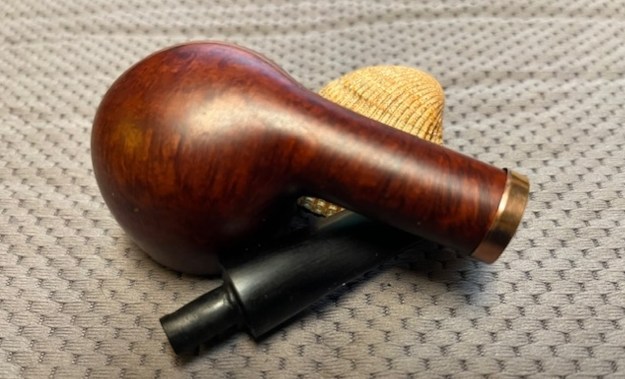
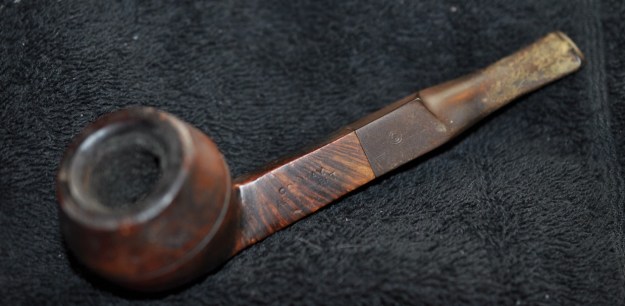
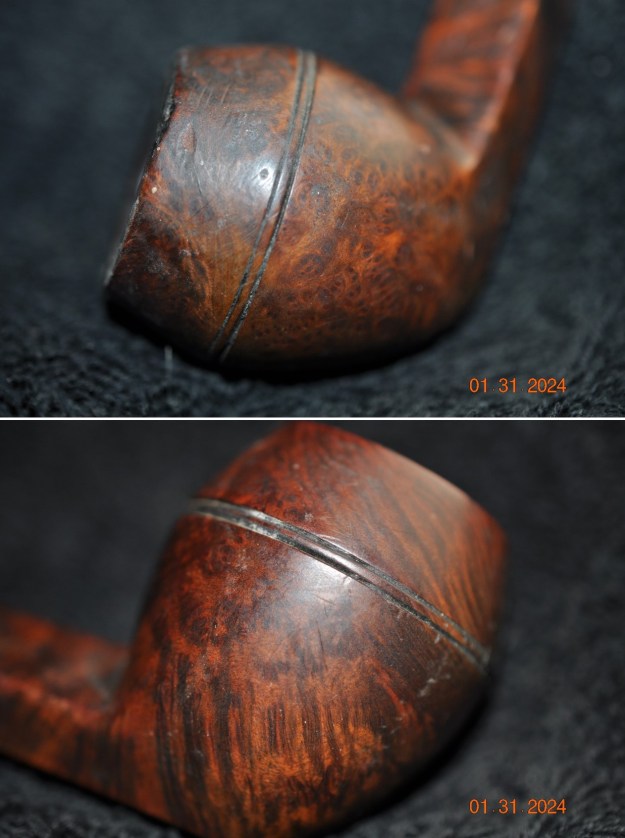
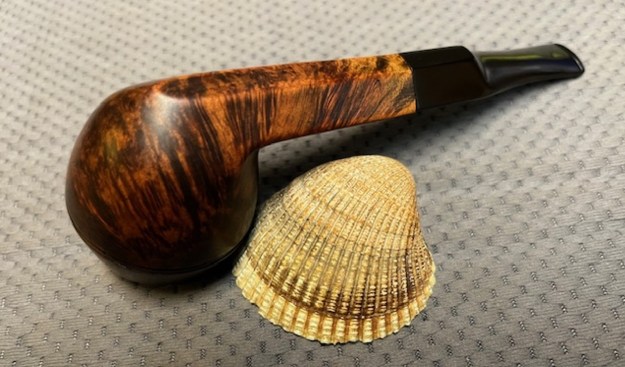
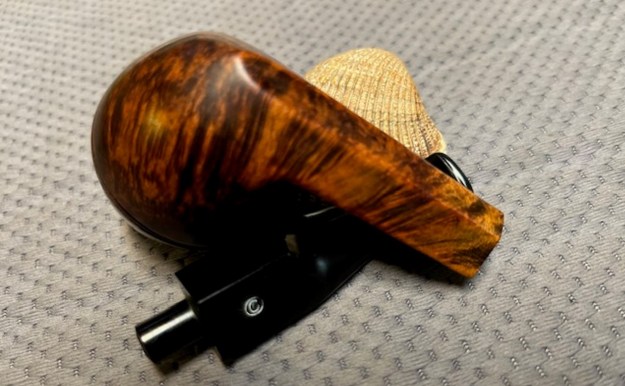
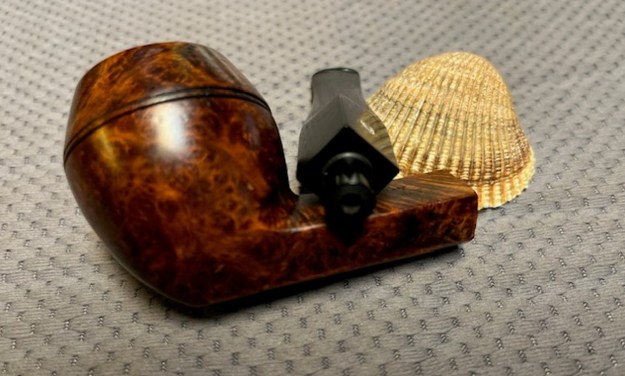
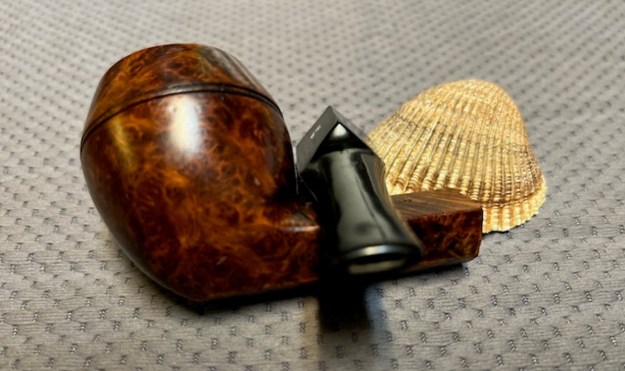
 Jeff took some photos of the sides and heel of the bowl to give an idea of the grain around the bowl as well as the number of putty fills. I cannot wait to see what it looks like once it is cleaned and polished. Should be interesting to minimize the visual prevalence of the fills.
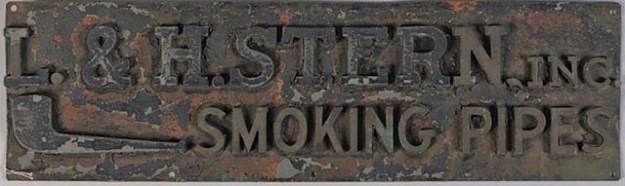
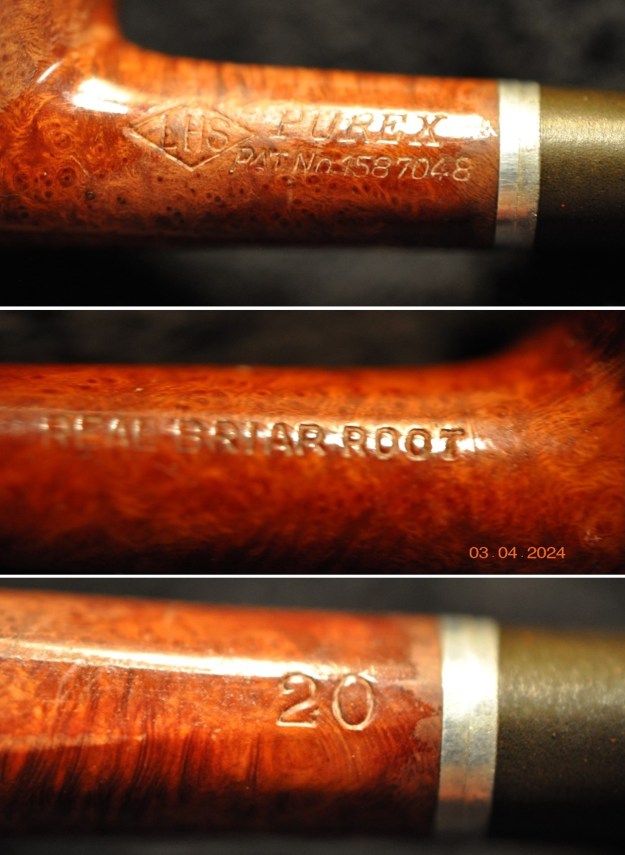
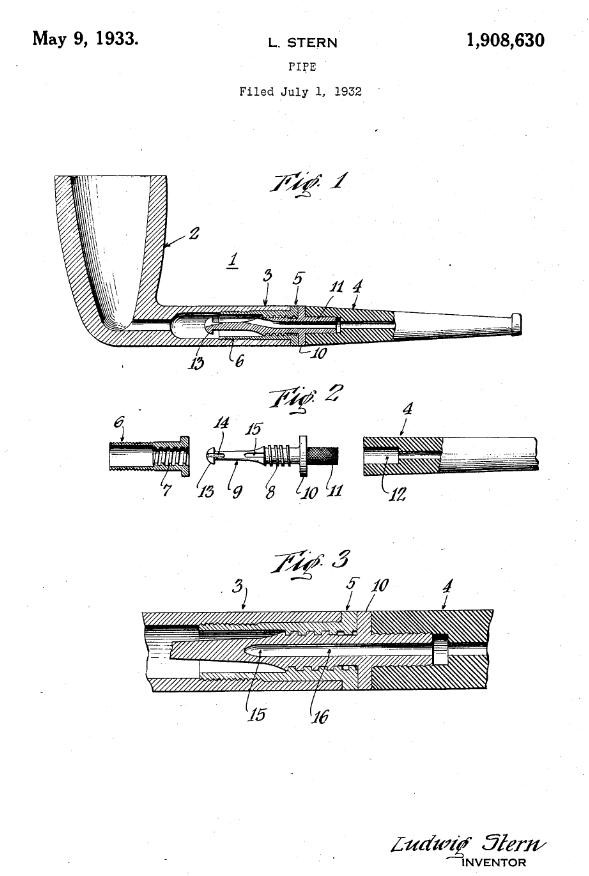
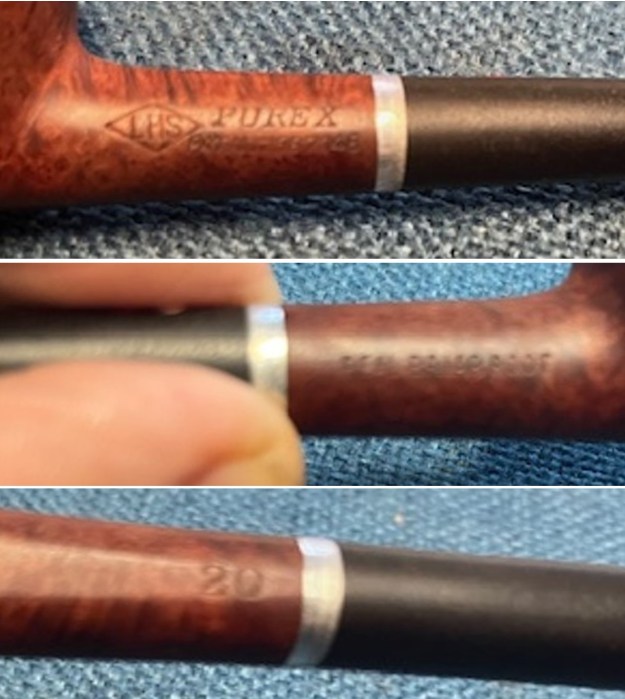
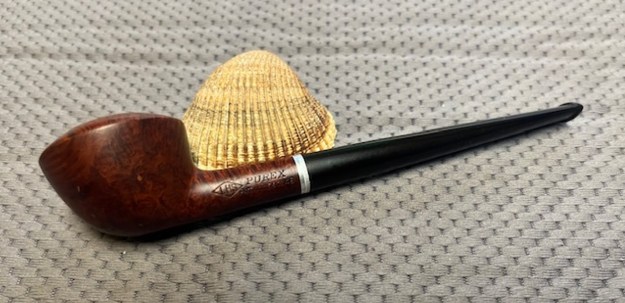
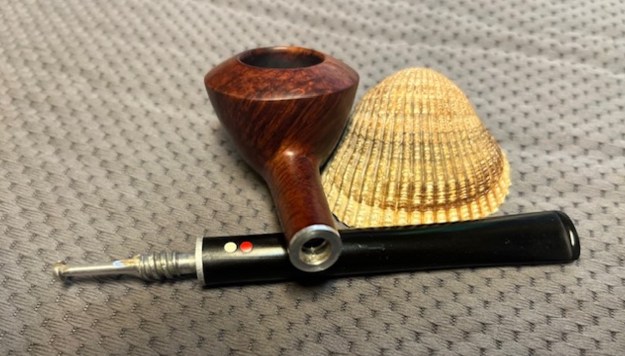
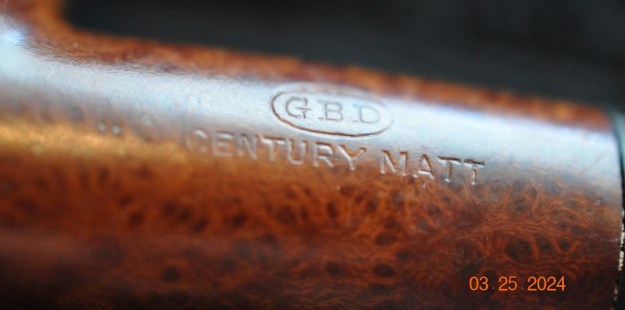
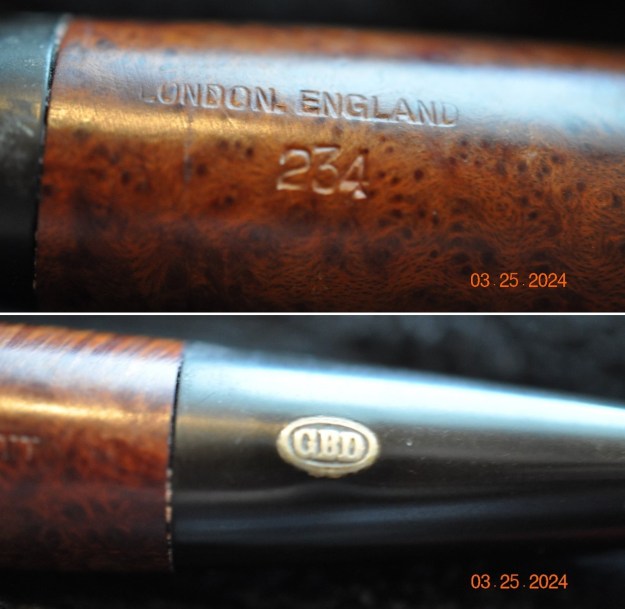
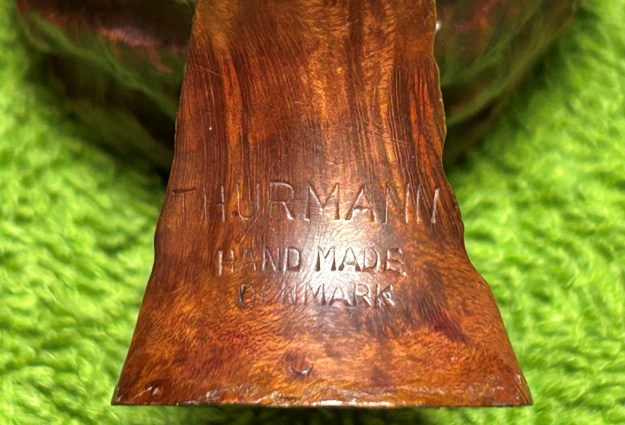
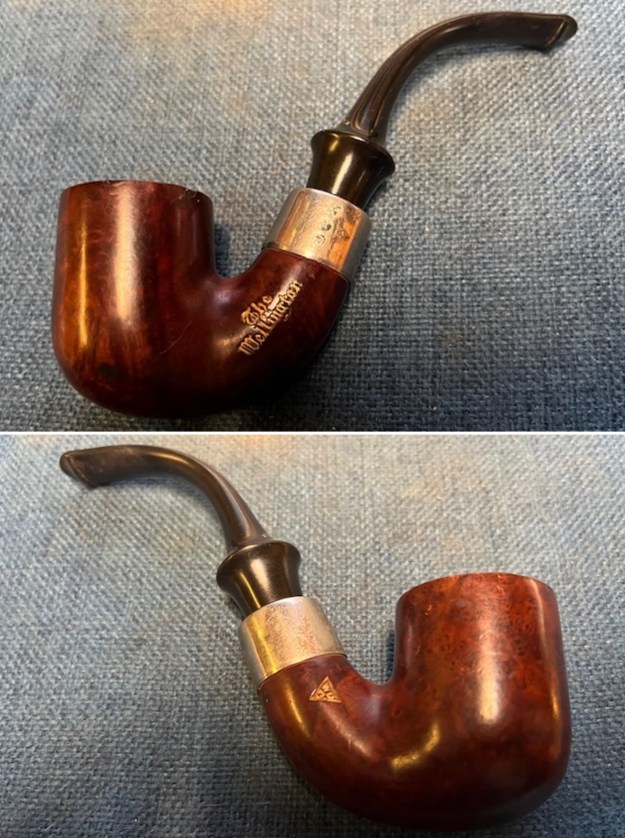
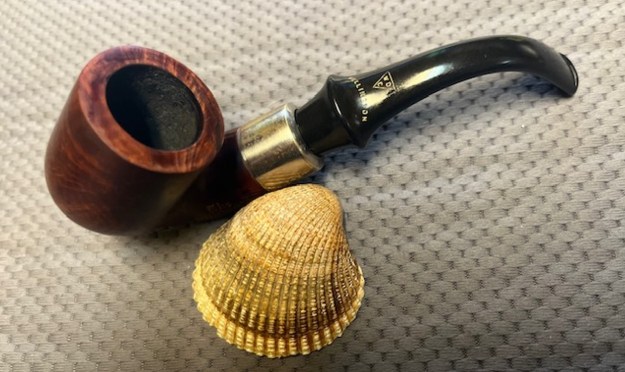
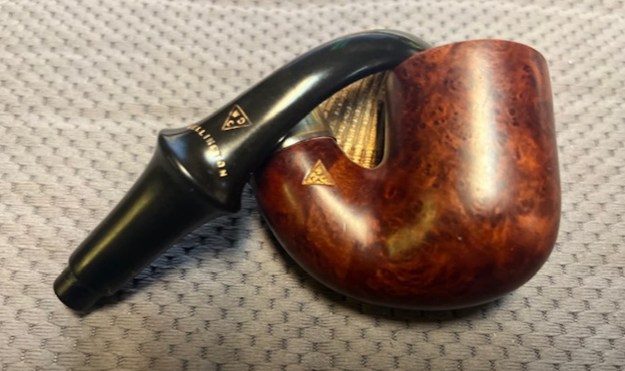
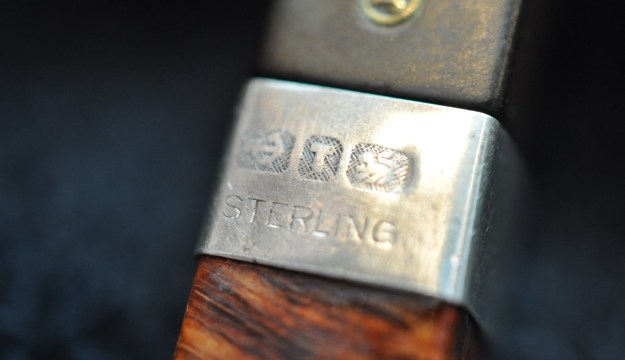
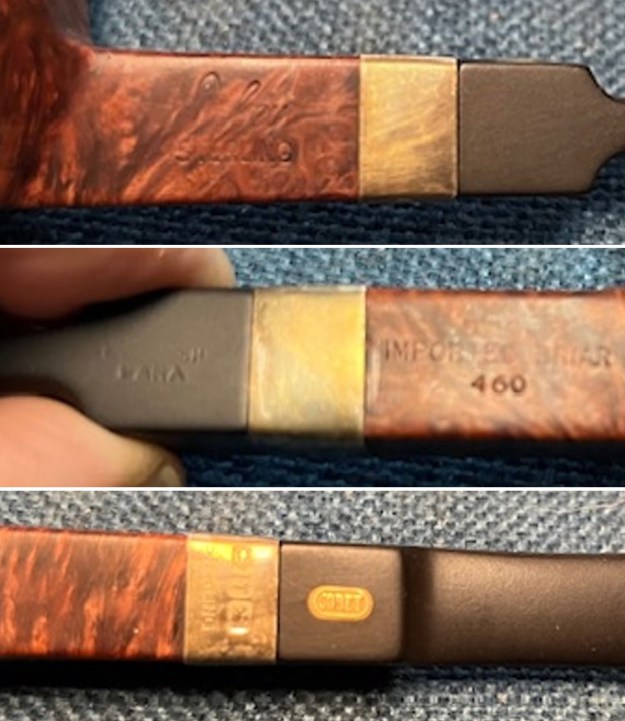
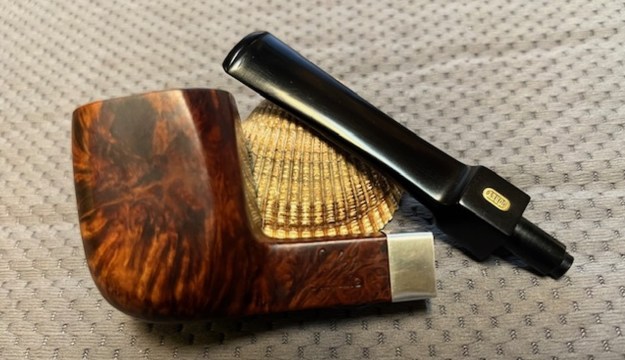
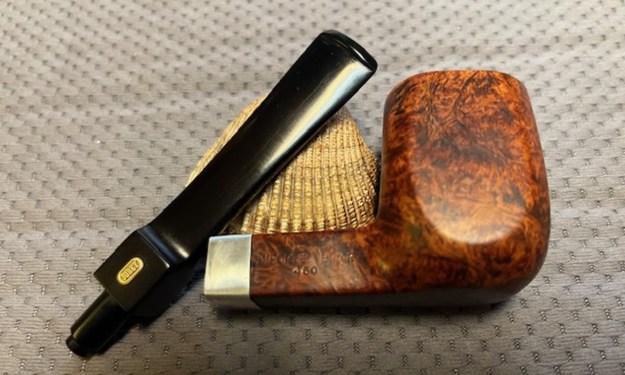
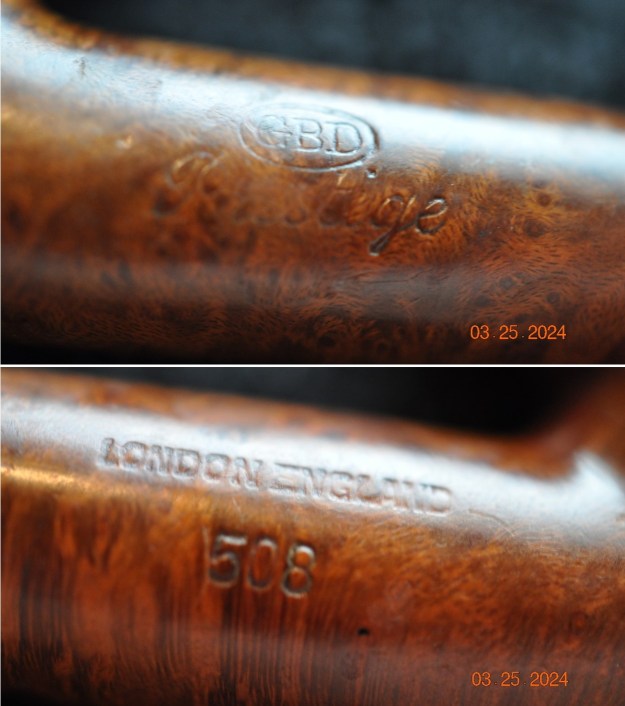
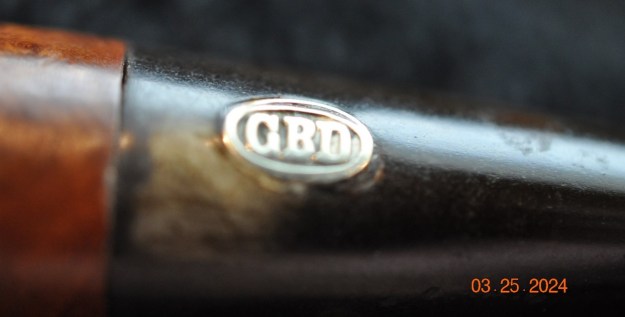
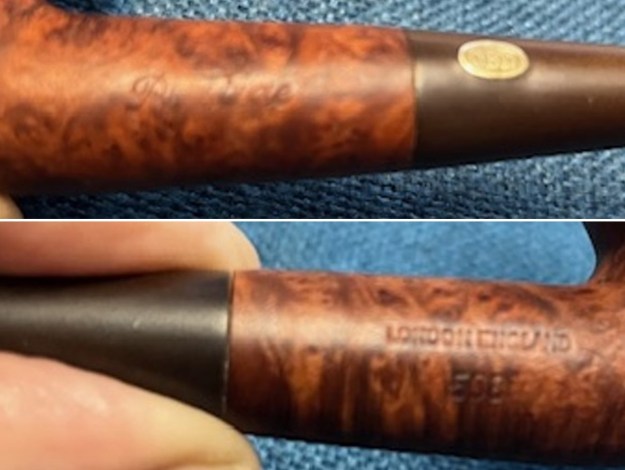
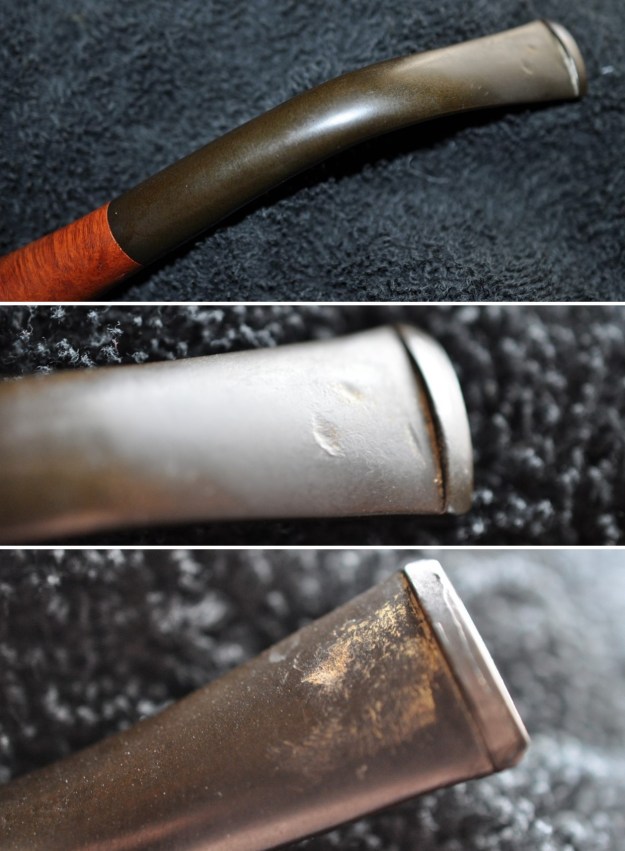
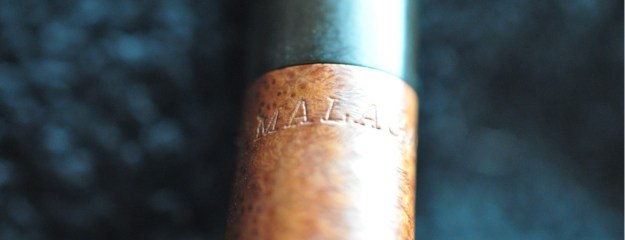
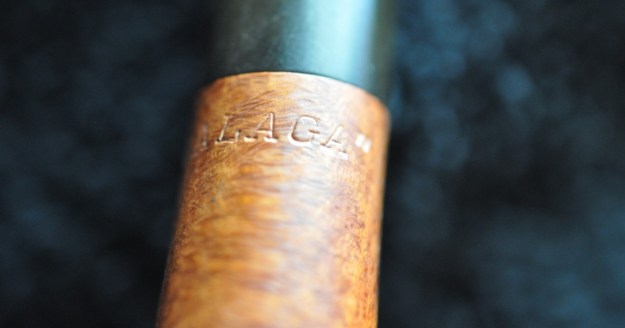
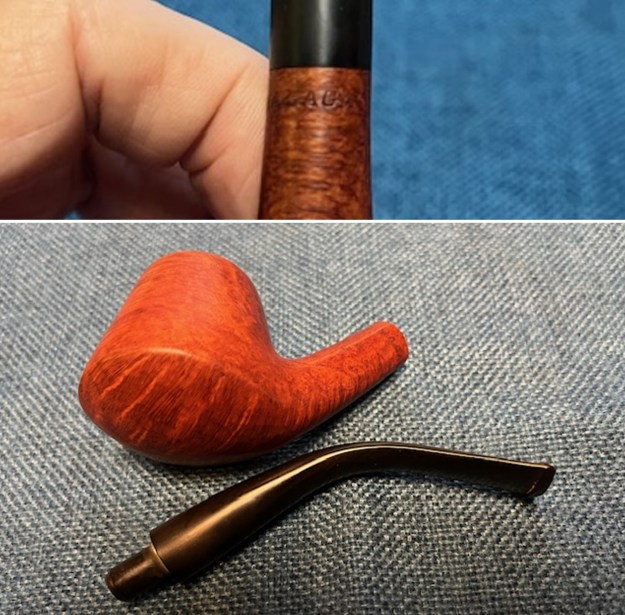
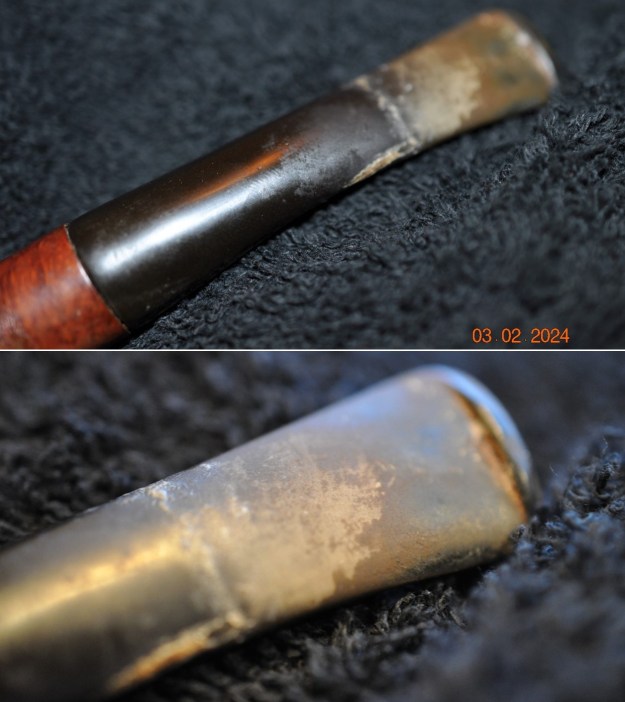
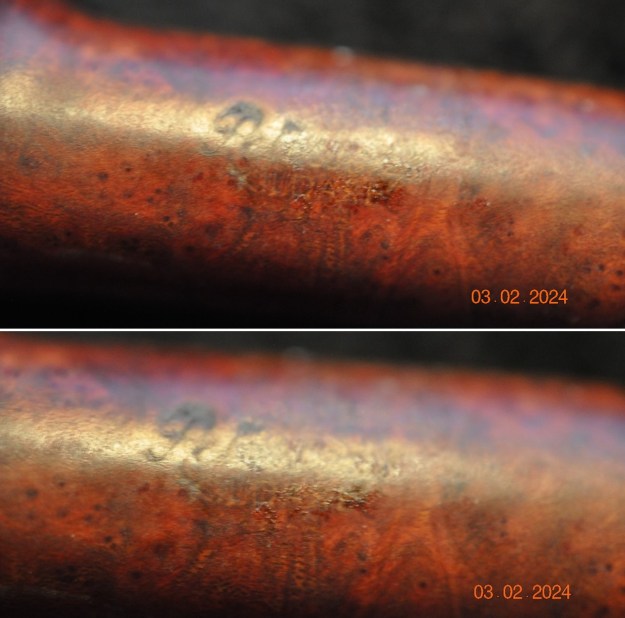
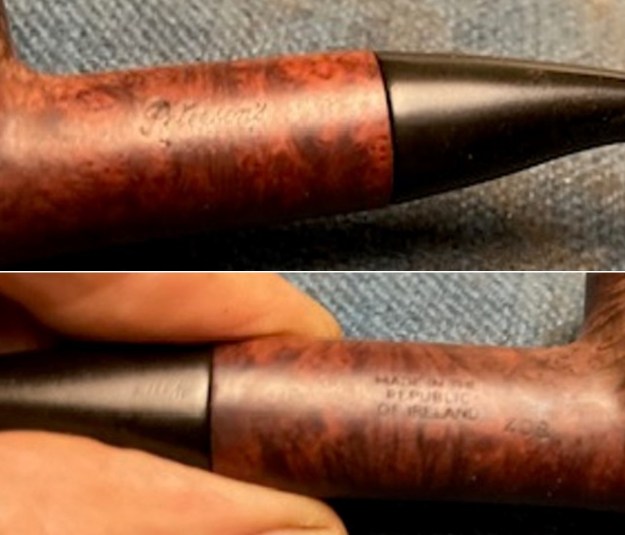
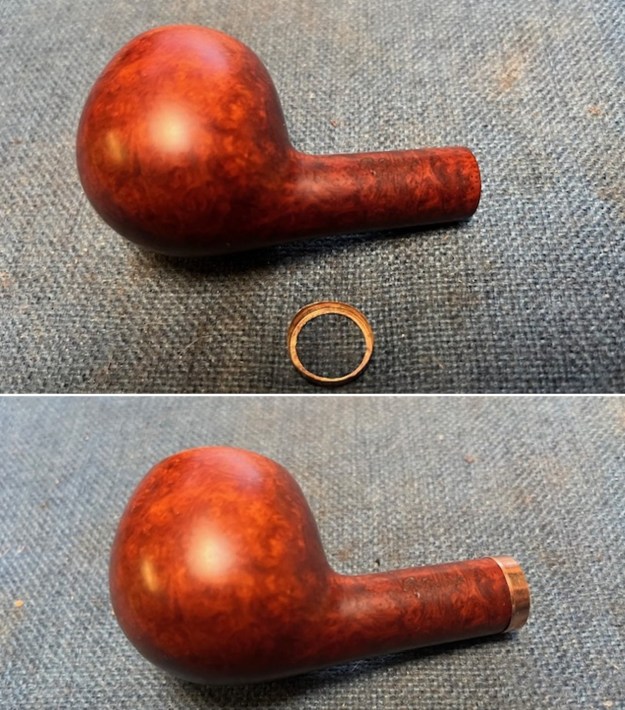
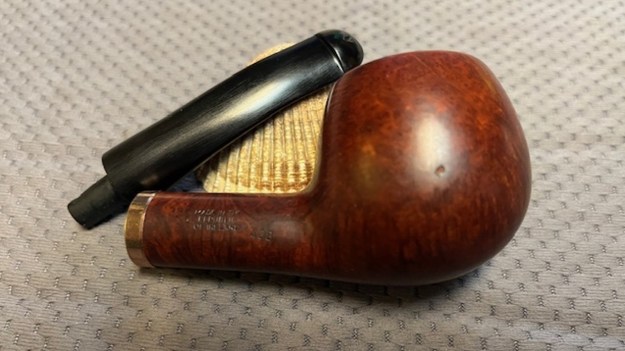
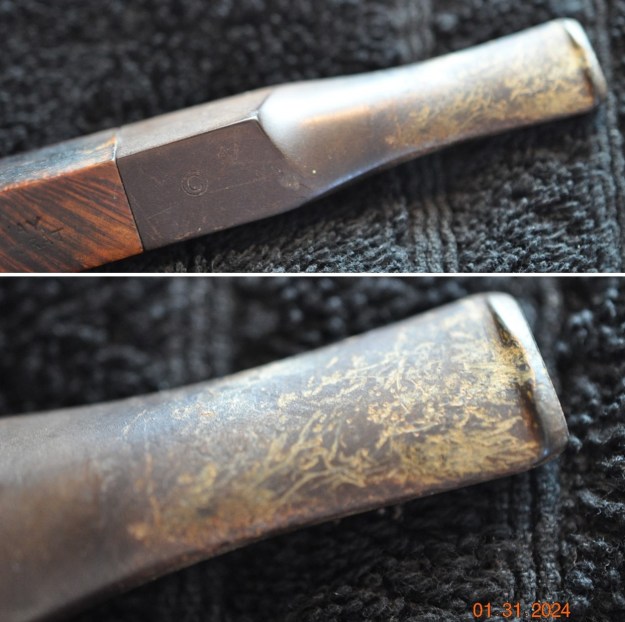
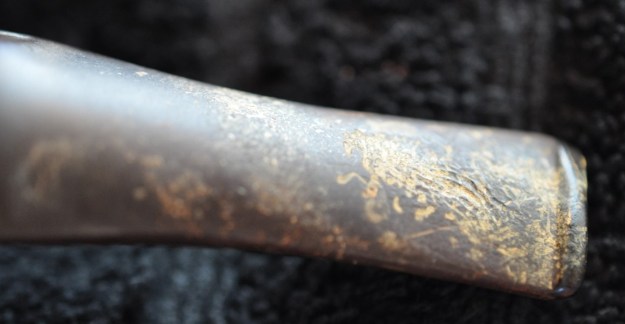
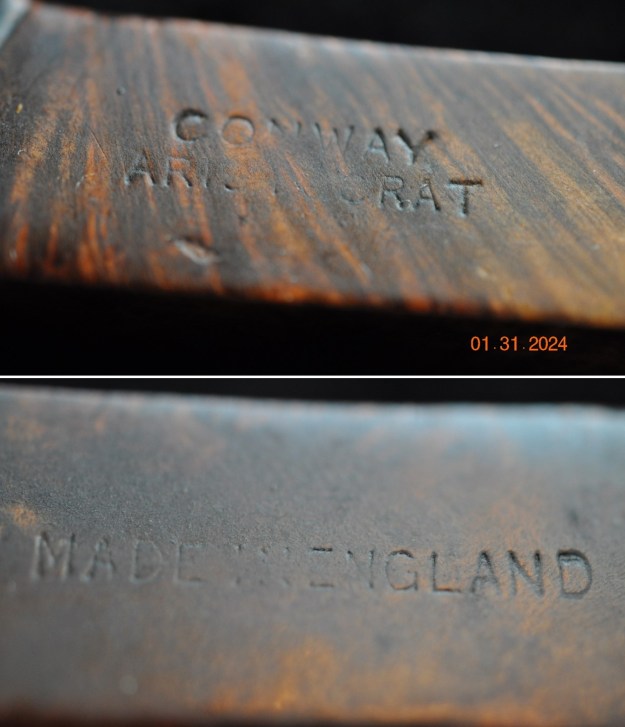
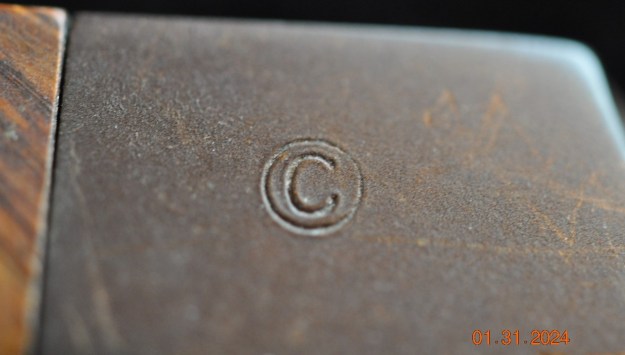
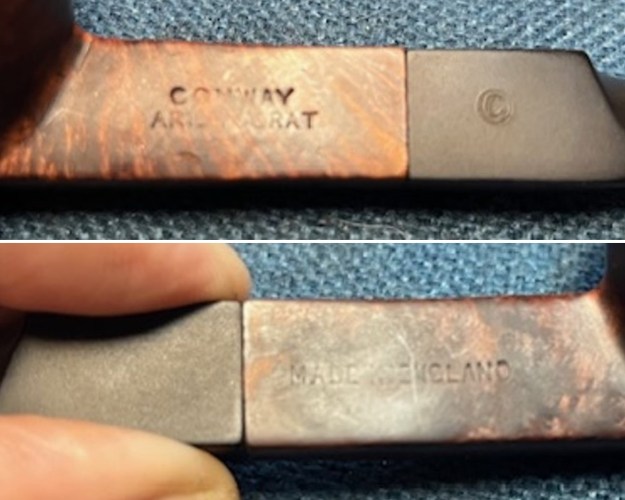
 He captured the stamping on the silver ferrule and stem tip in the next photos. Even through the oxidation they are clear and readable. It really amazes me that a pipe with silver shank and stem adornments has no name stamped on it and that a pipe with these many fills would even bother with the silver. Ah well….
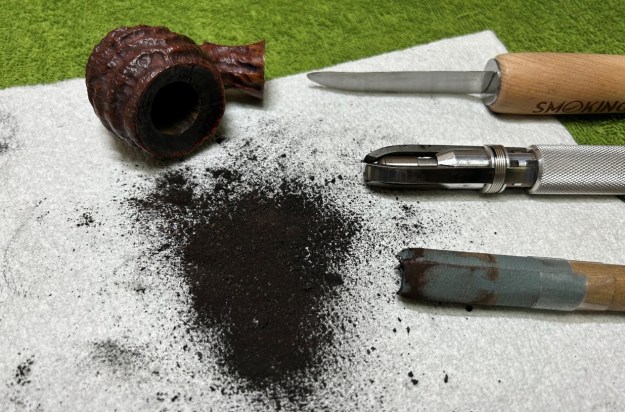
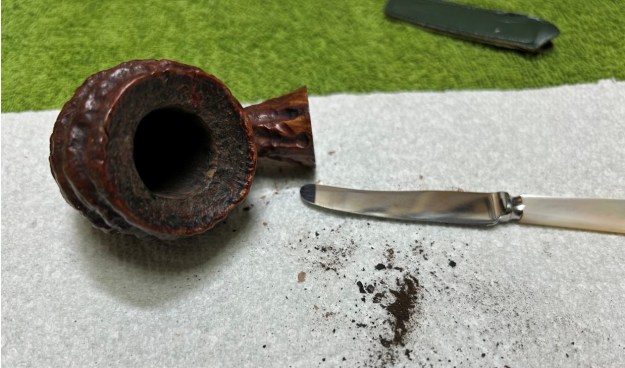
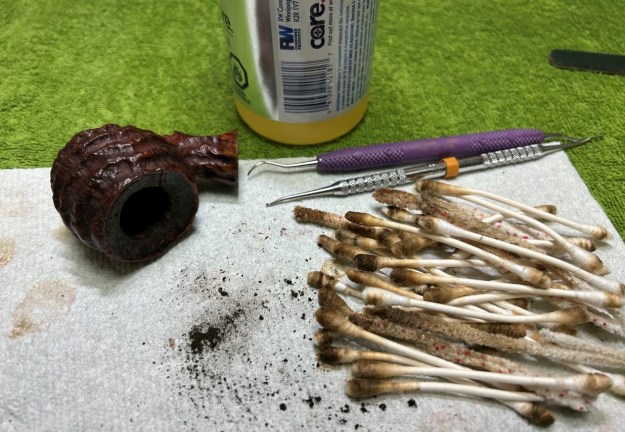
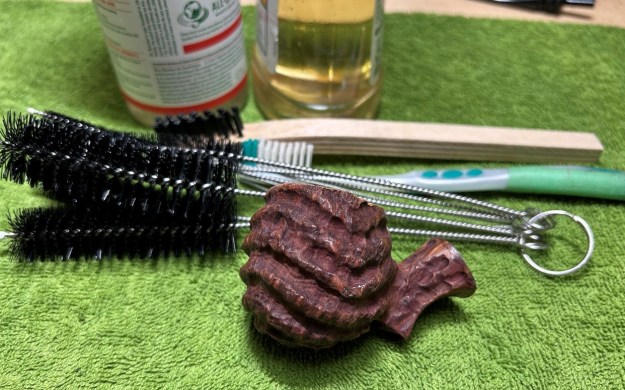
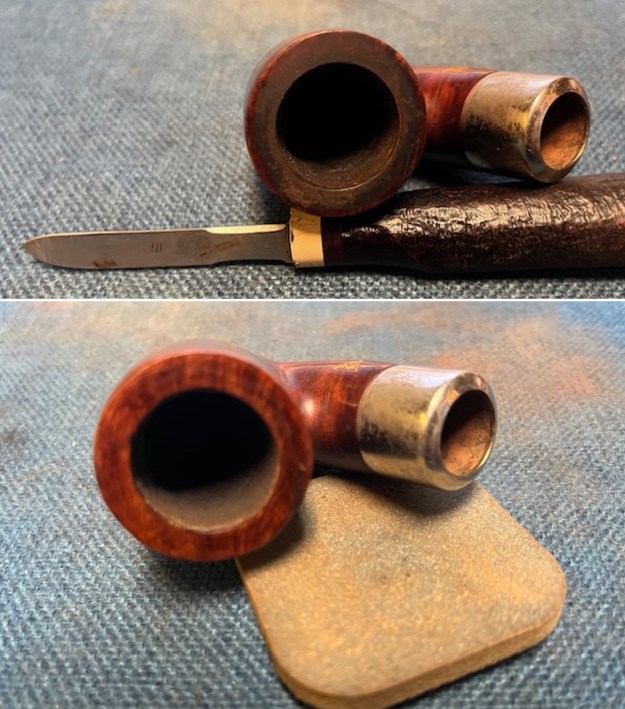
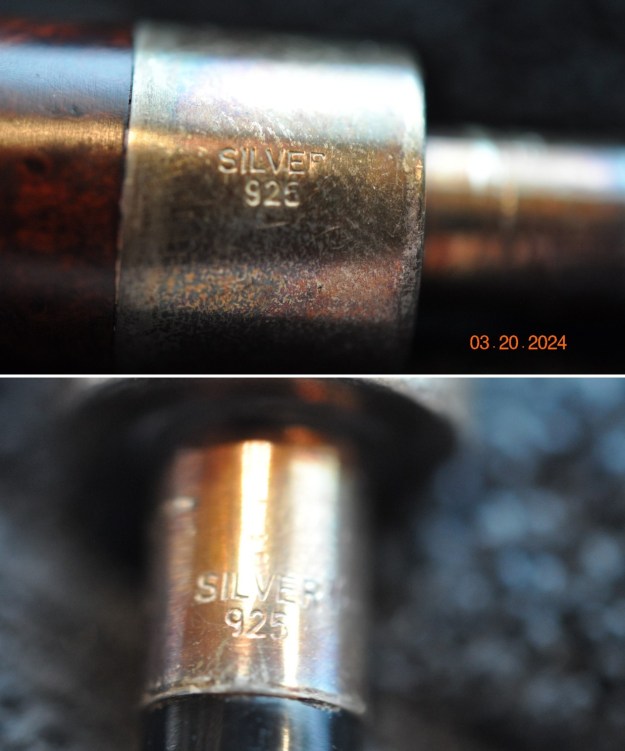 Jeff carefully cleaned the pipe. He reamed it with a PipNet pipe reamer and then cleaned up the reaming with a Savinelli Fitsall Pipe Knife. He scrubbed out the internals of the shank, stem and shank extension with alcohol, pipe cleaners and cotton swabs until the pipe was clean. He scrubbed the exterior of the bowl with Murphy’s Oil Soap and a tooth brush to remove the grime and grit on the briar and lava on the rim top. The finish looks much better and has a deep richness in the colour that highlights grain of the briar. The rim top had some damage to the around the entire top of the bowl. The silver ferrule and stem tip were oxidized but clean. Jeff worked the acrylic stem over with Soft Scrub All Purpose Cleaner to remove any grime or debris in the bite marks and on the surface. When the pipe arrived here in Vancouver and I finally started my work on it I was amazed it looked so good. Here are some photos of what I saw.
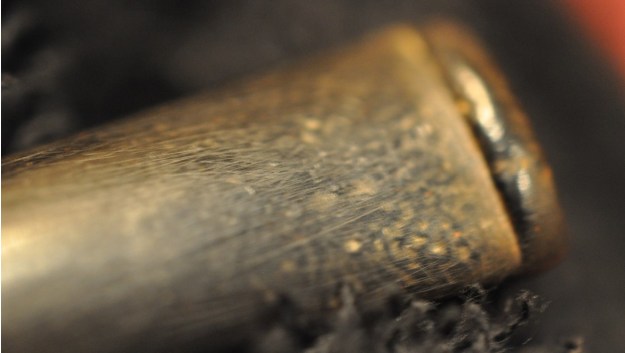
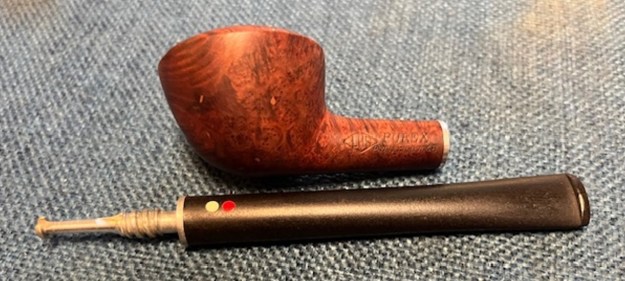
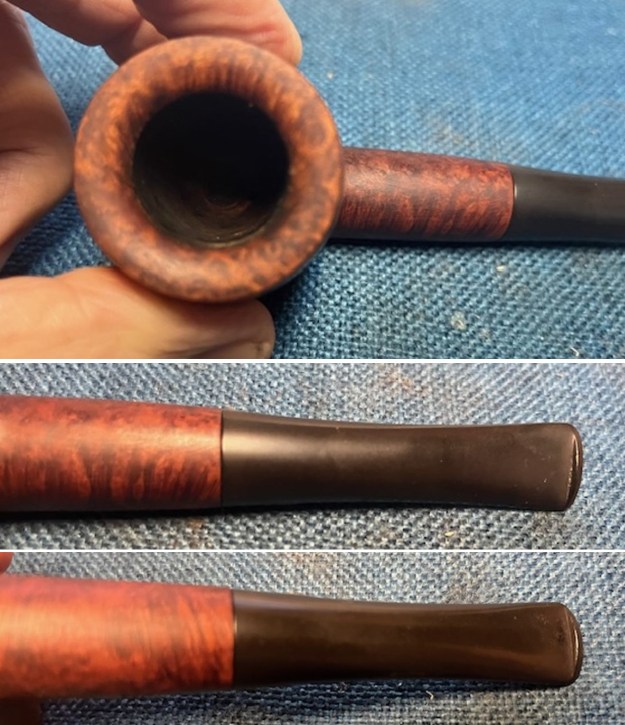
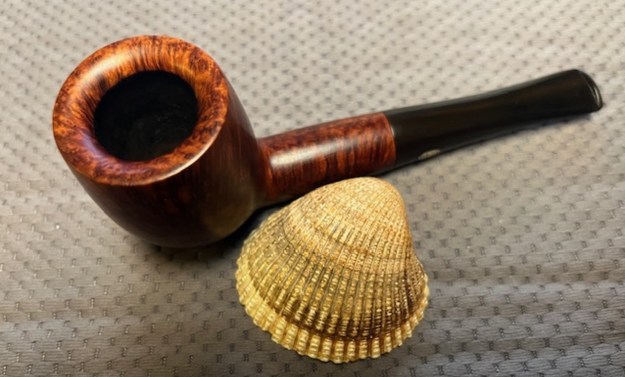
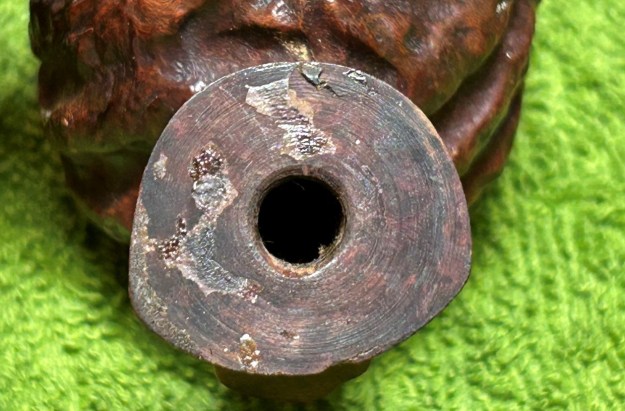
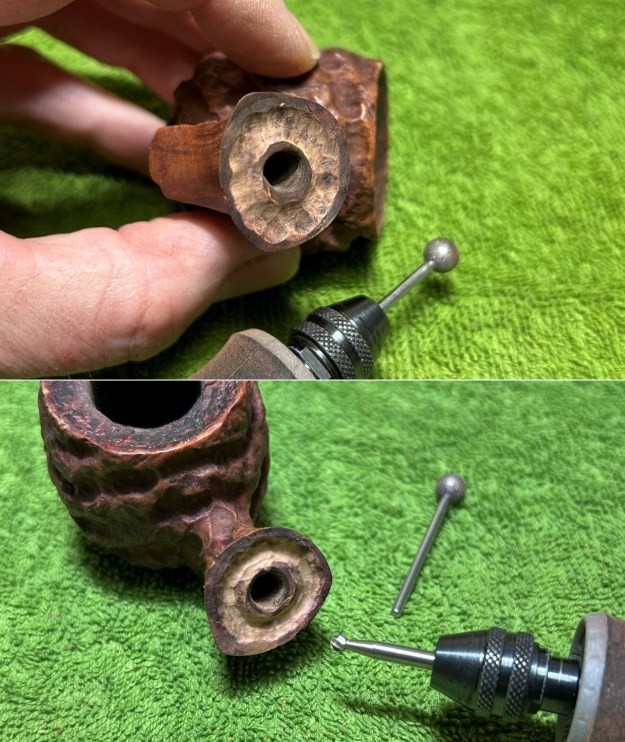
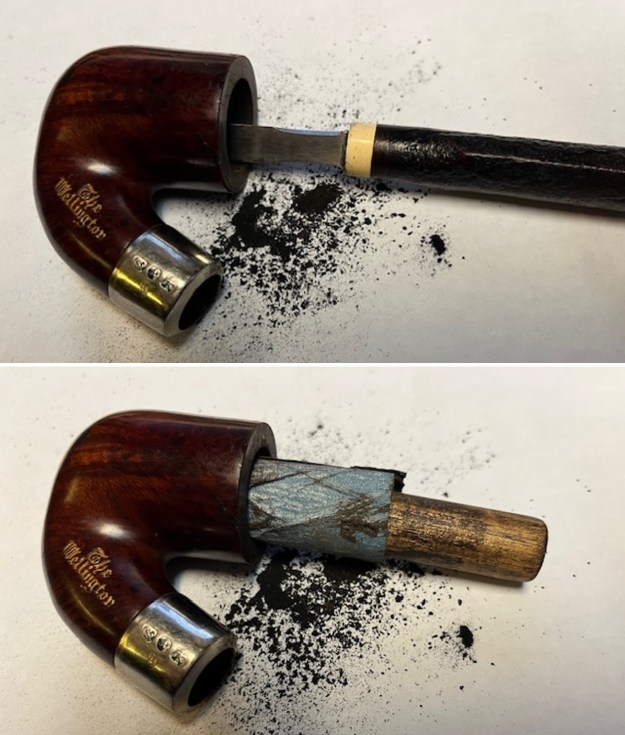
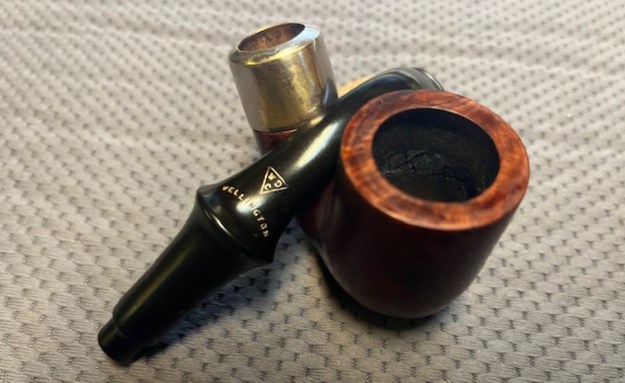
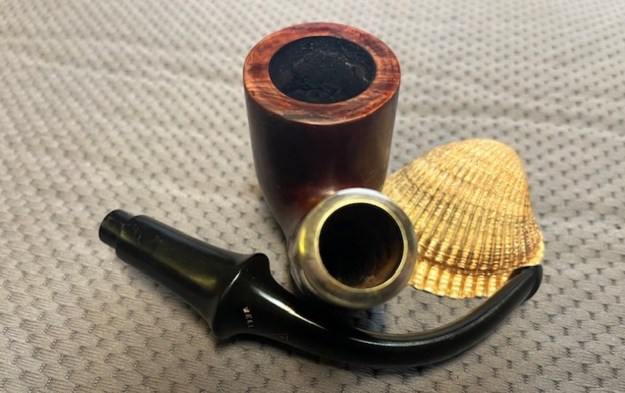
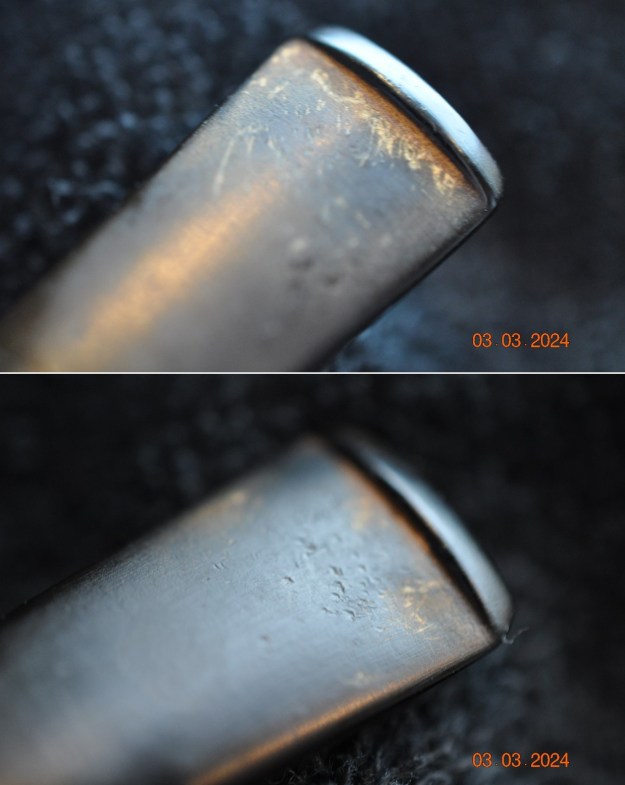
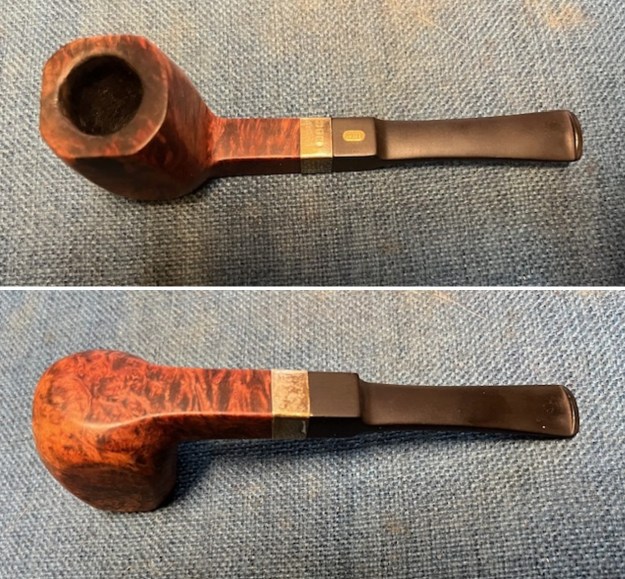
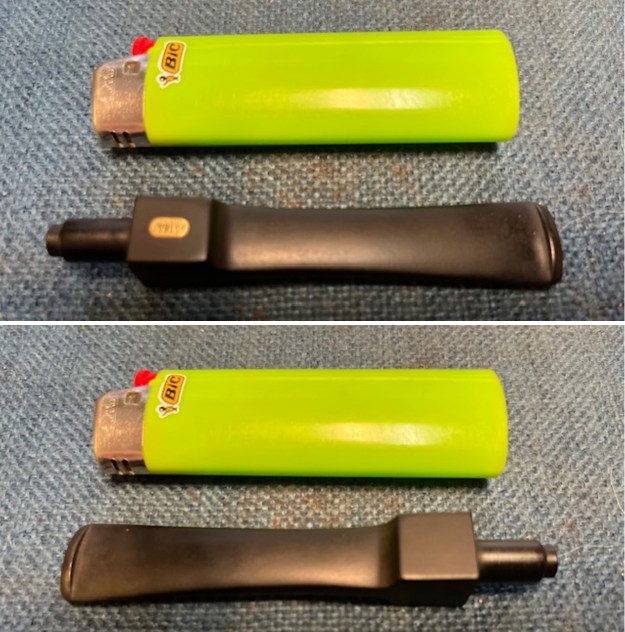
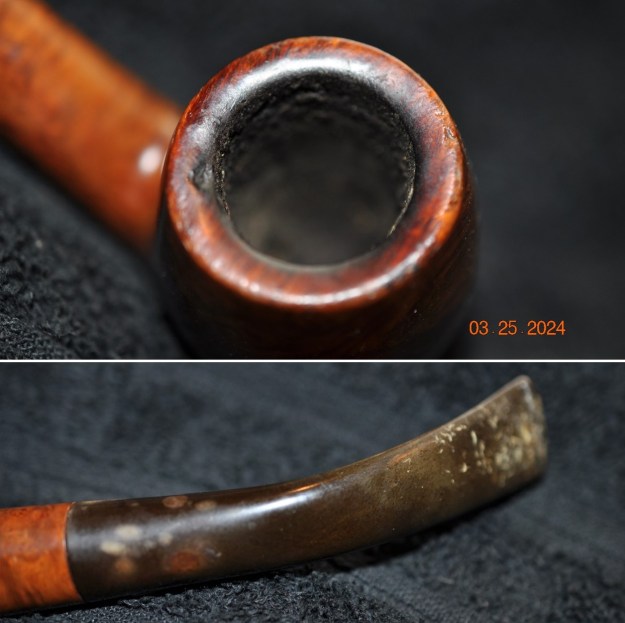
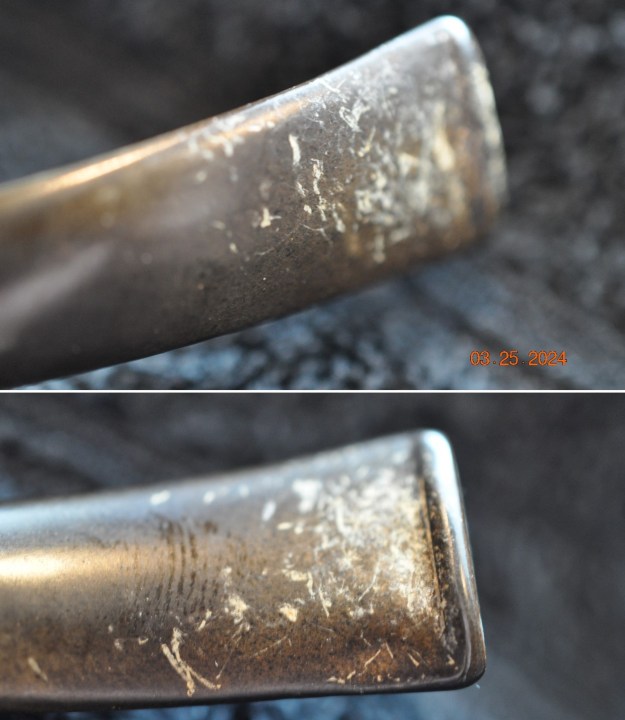
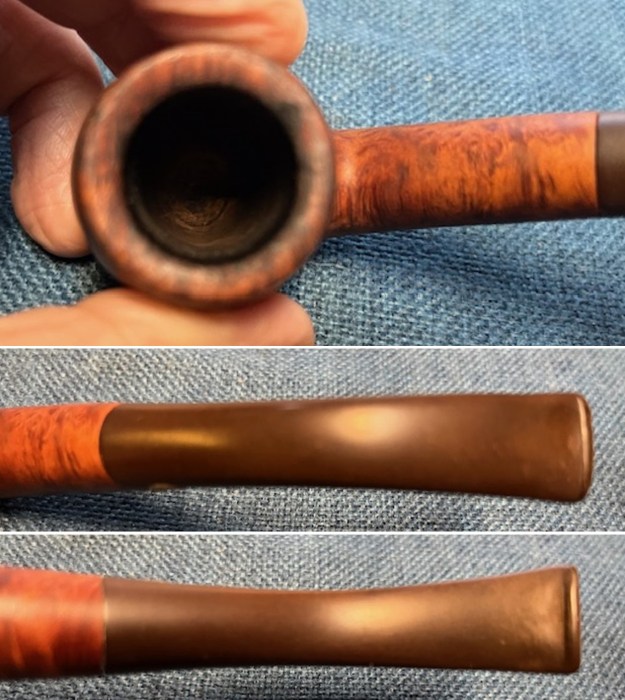
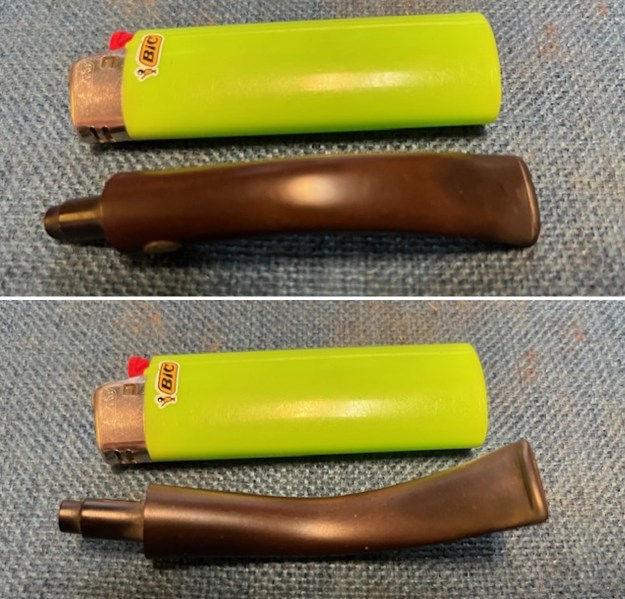
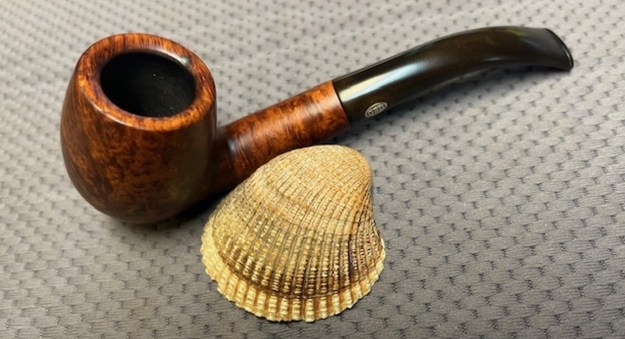
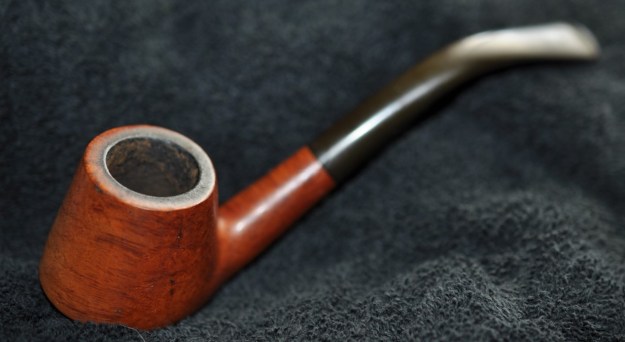
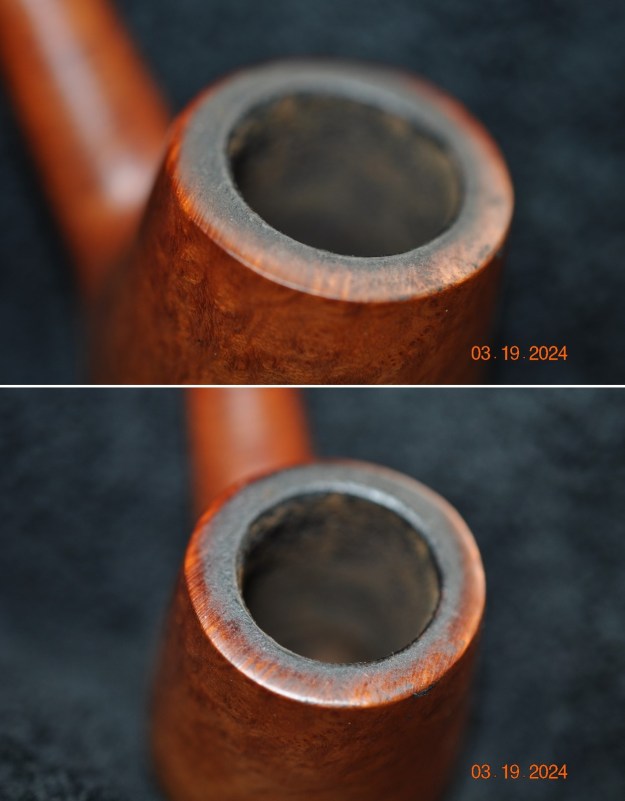
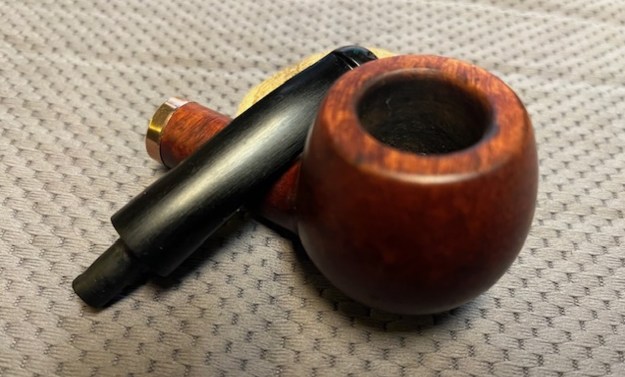
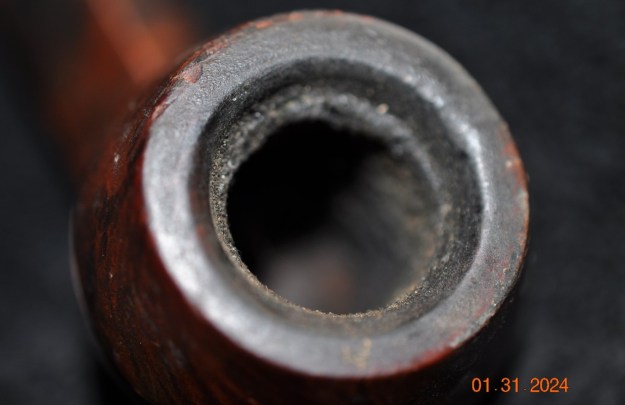
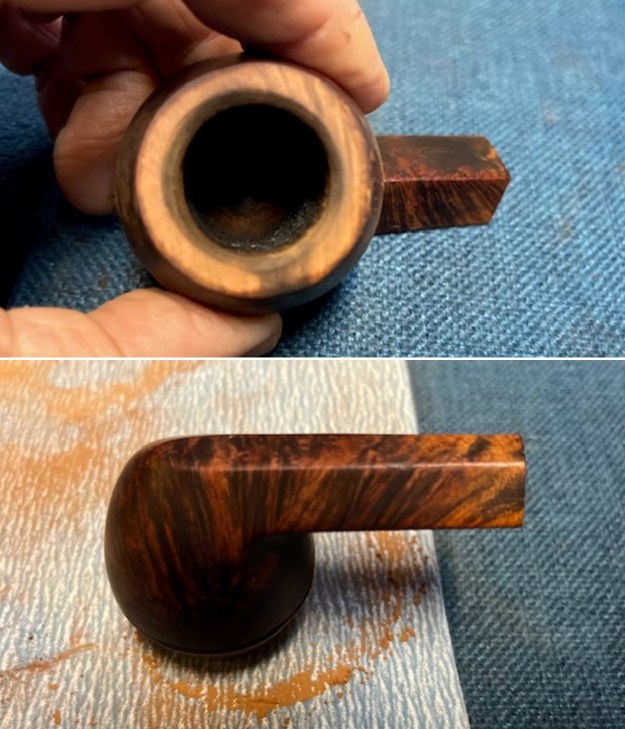
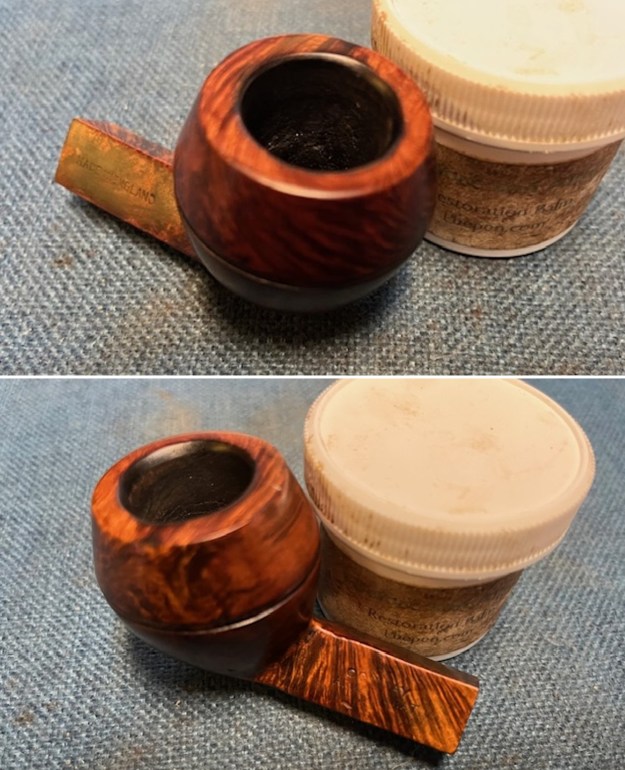
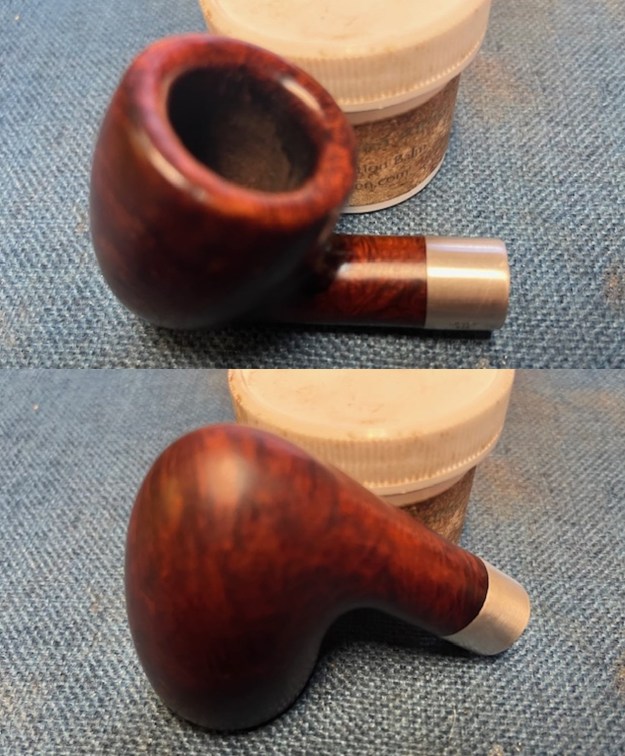
 I took some photos of the rim top and stem. The rim top and inner edge of the bowl shows damage and nicked spots. The close up photos of the stem shows that the surface of the stem is pitted. There are tooth marks and chatter on the top and underside of the stem near the button.
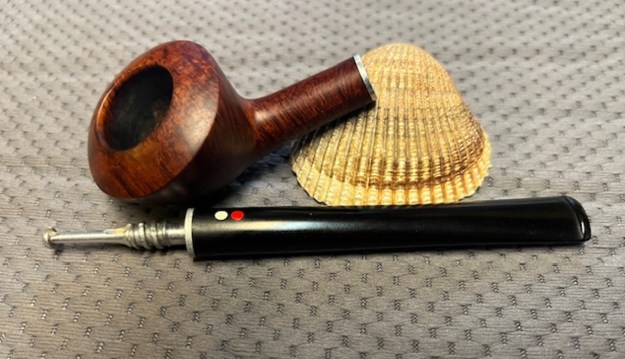
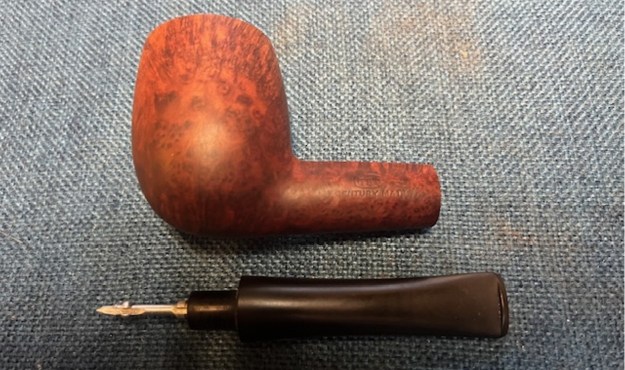
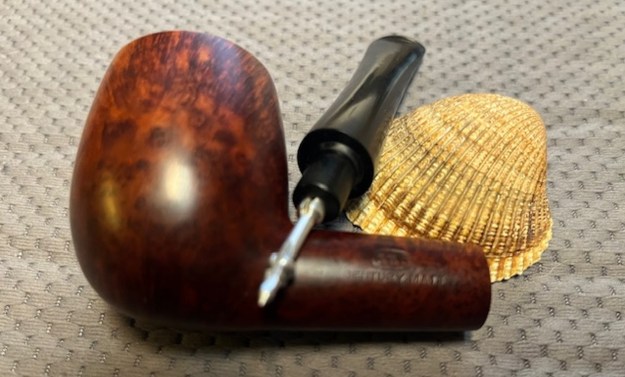
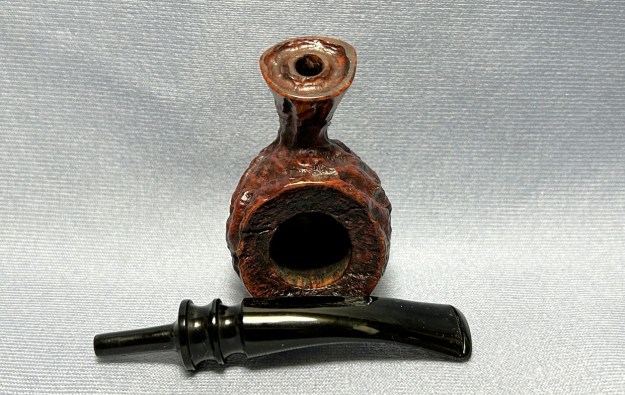
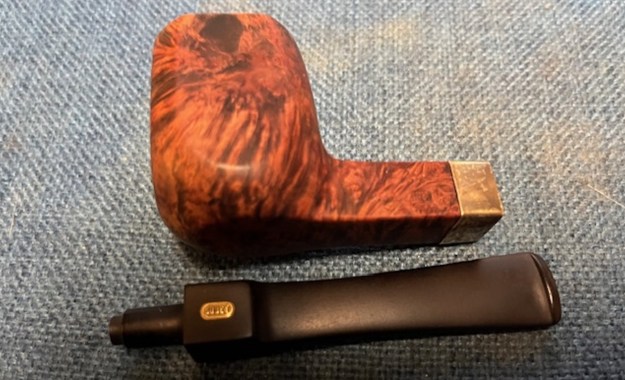
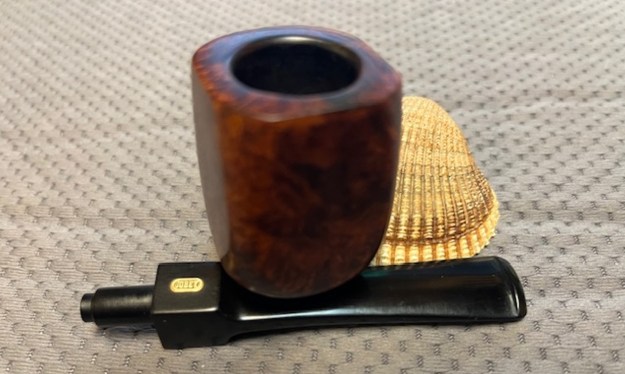
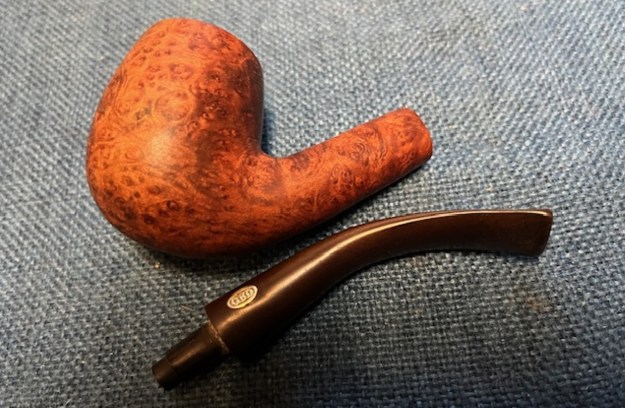
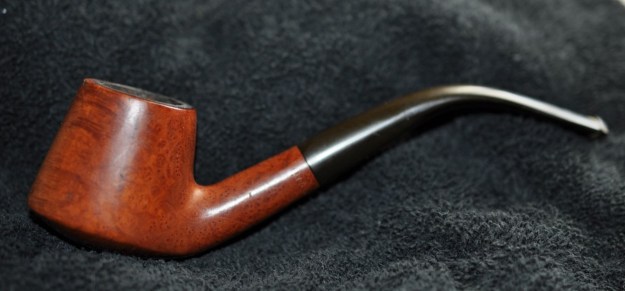
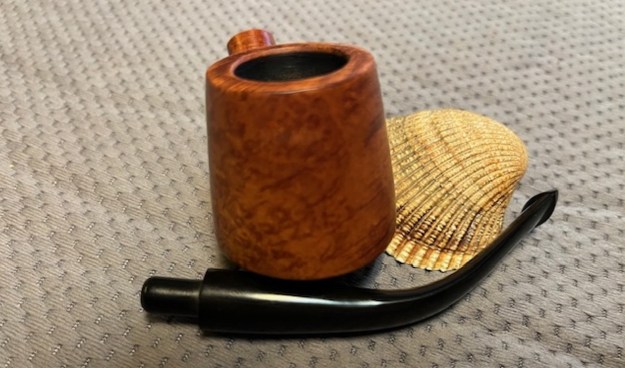
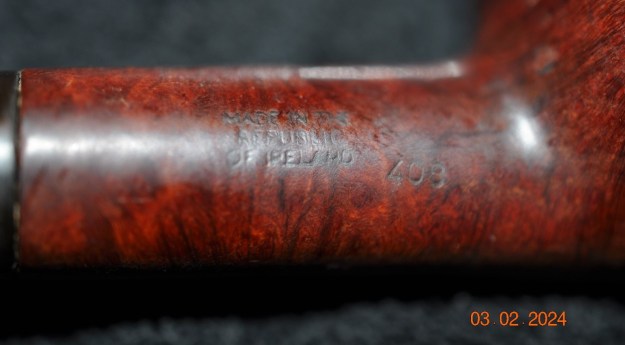
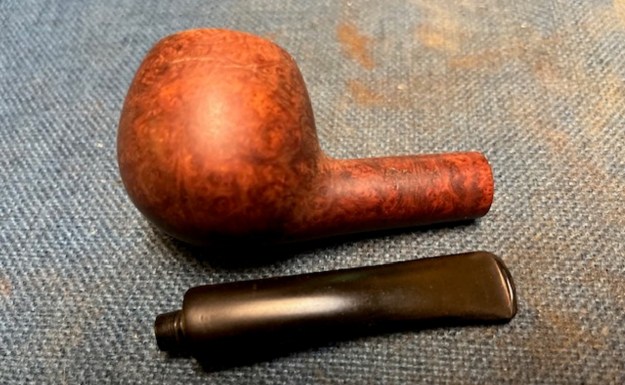
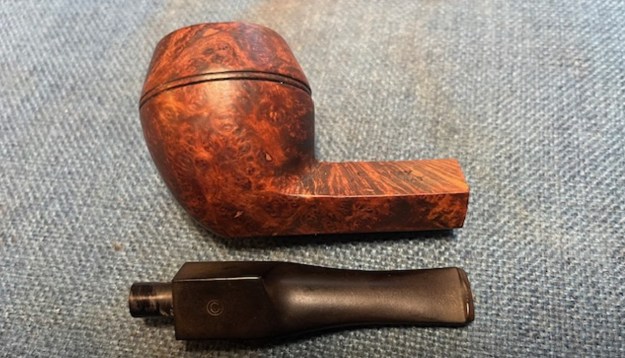
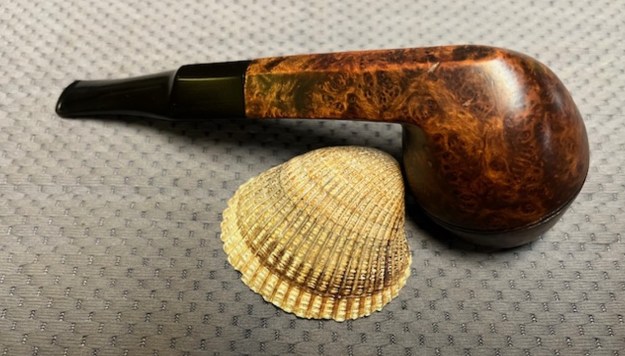
  I removed the stem from the shank and took a photo of the pipe at this point. You can clearly see the condition, size and shape of the pipe.
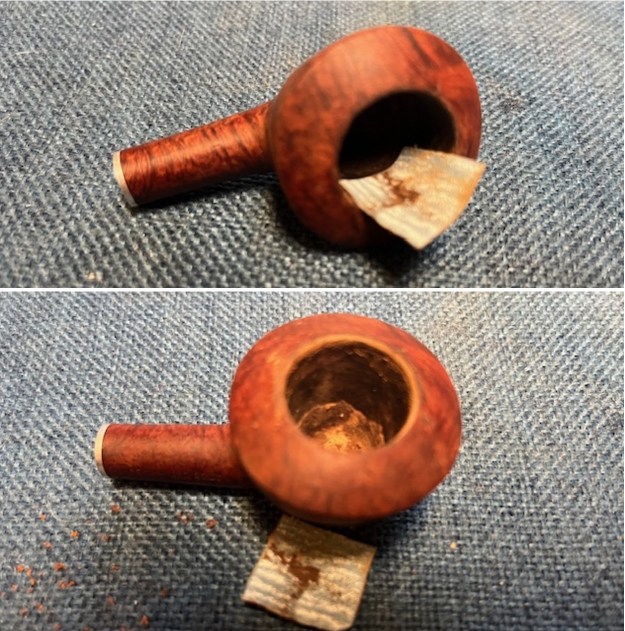
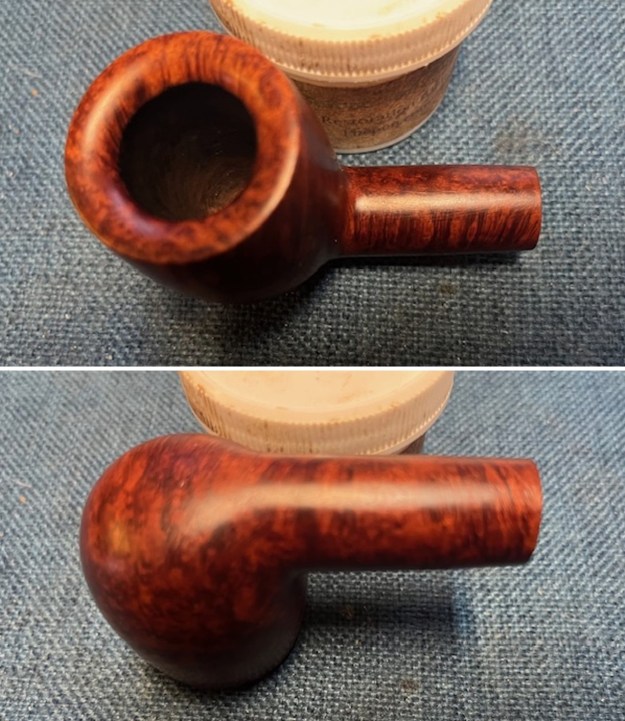
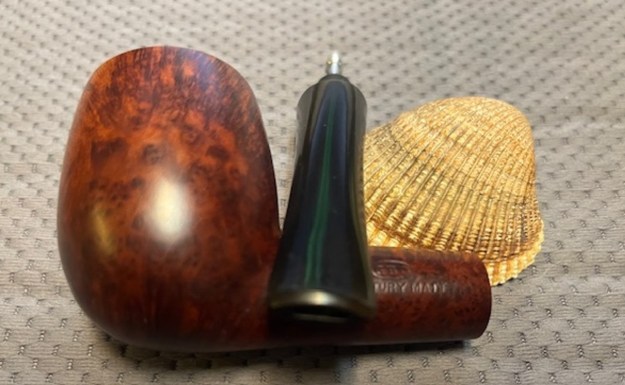
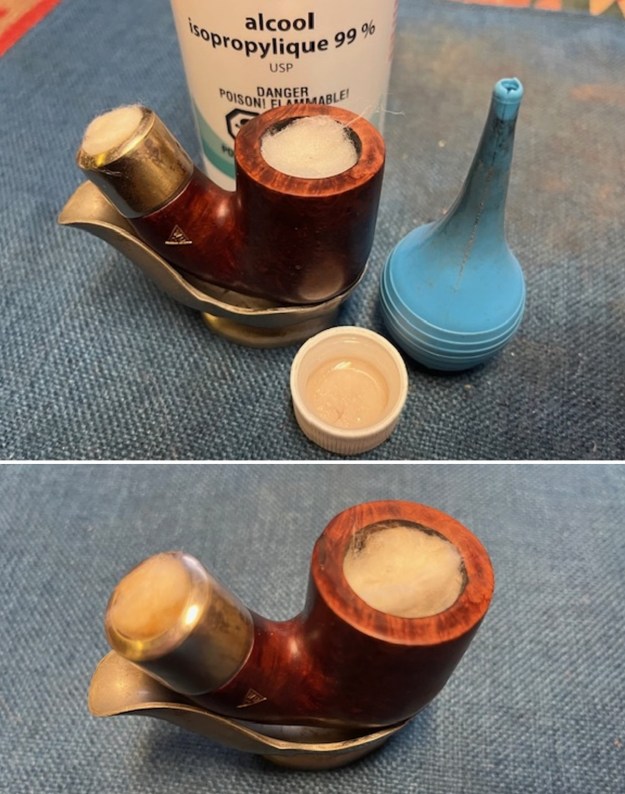
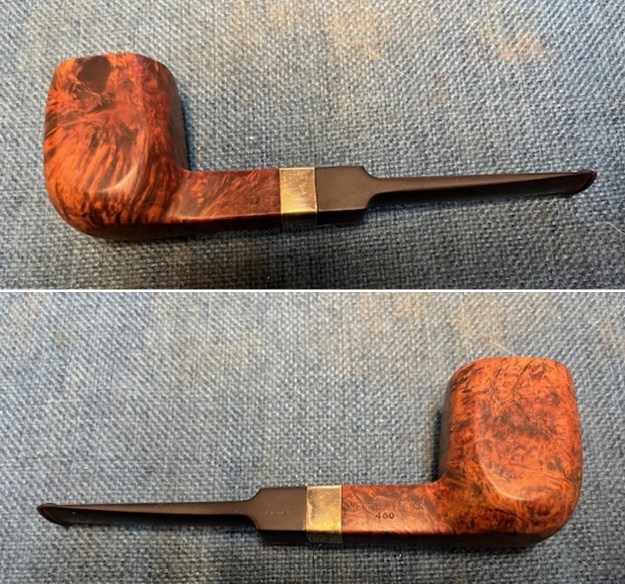
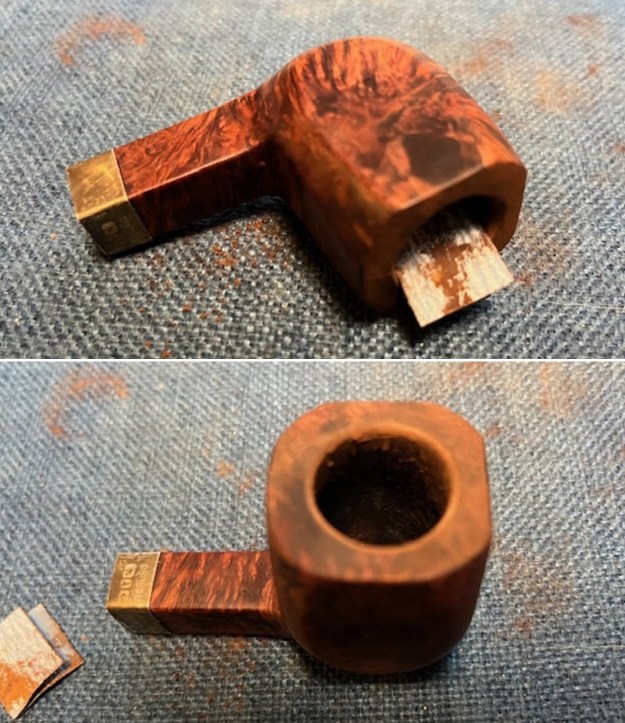
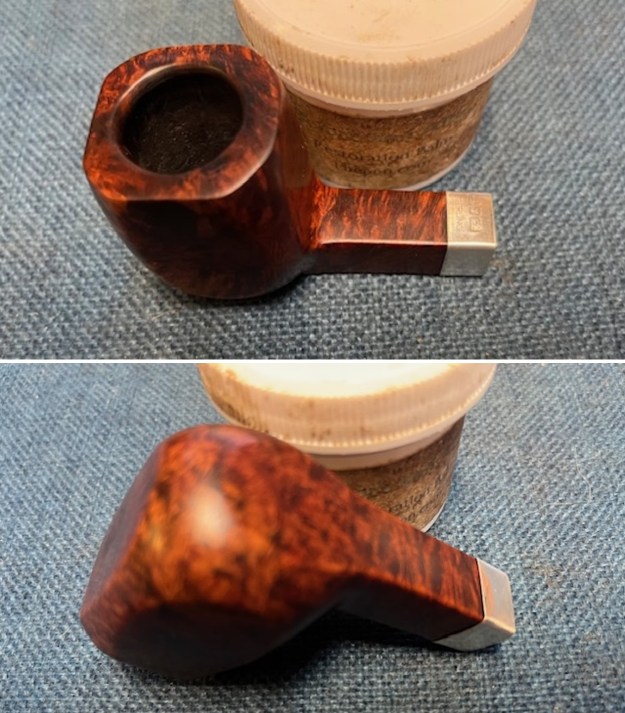
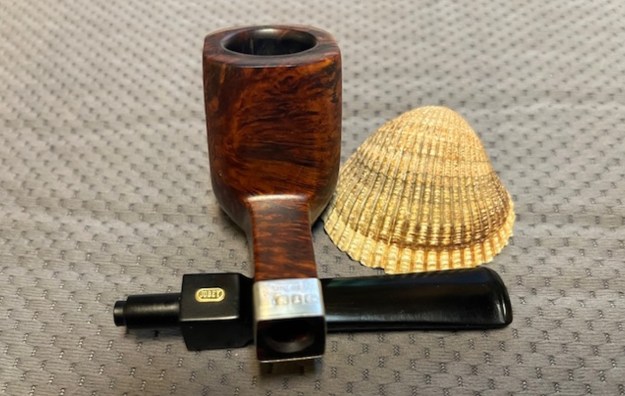
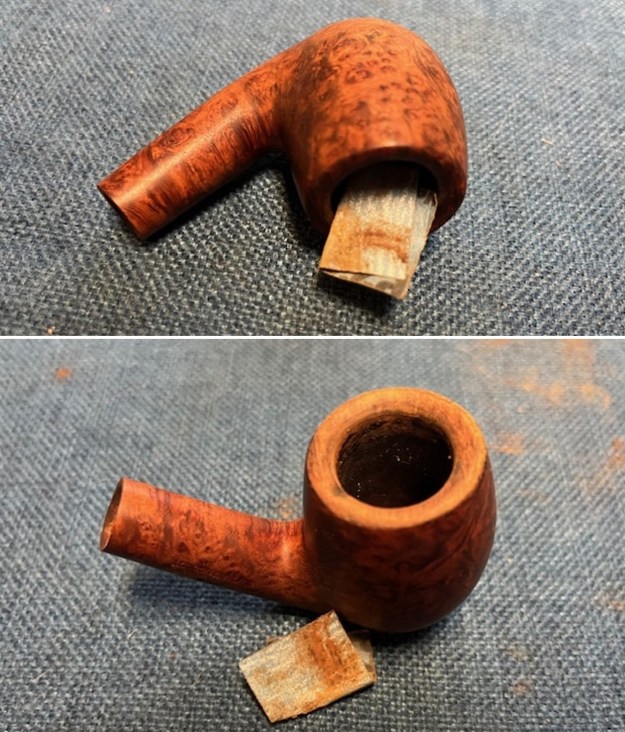
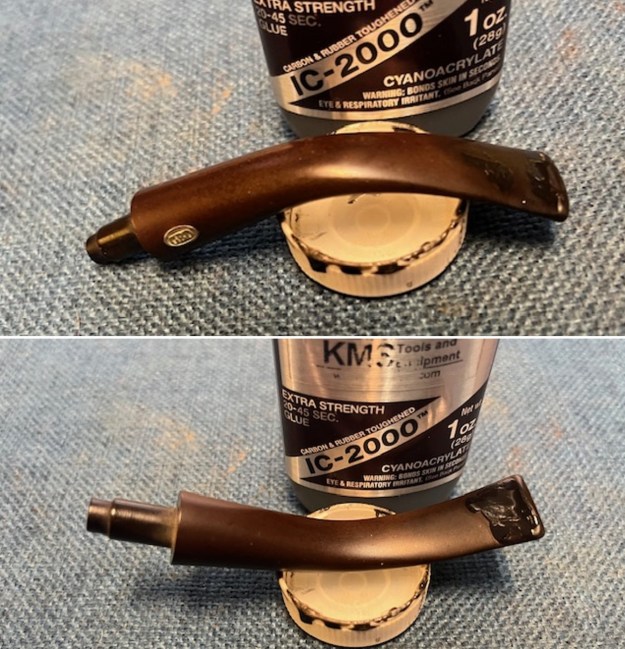
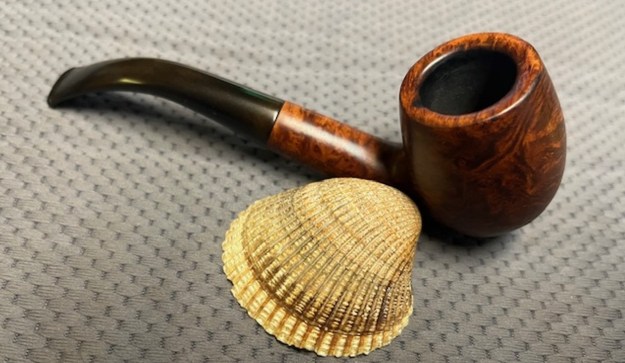
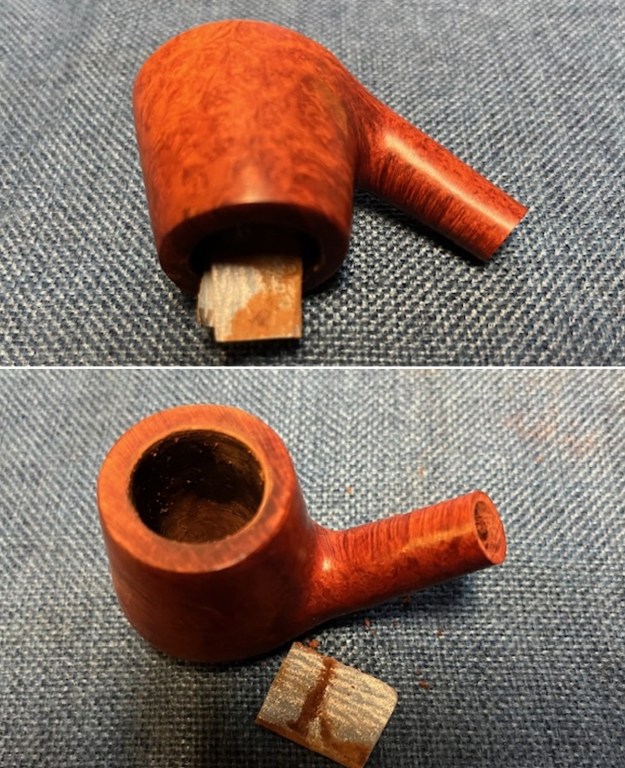
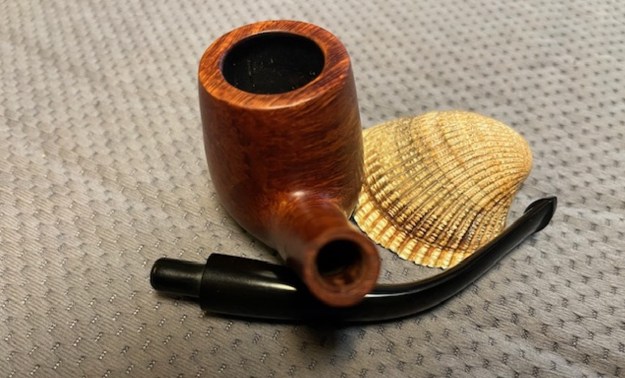
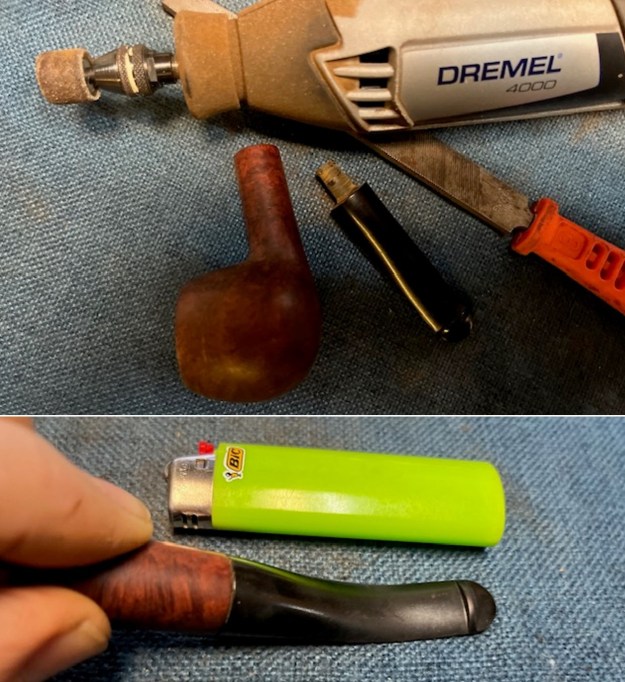
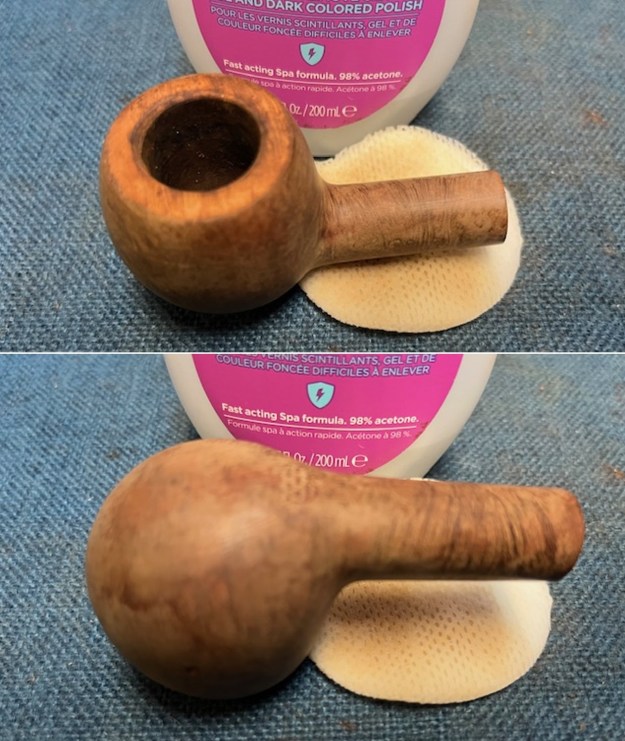
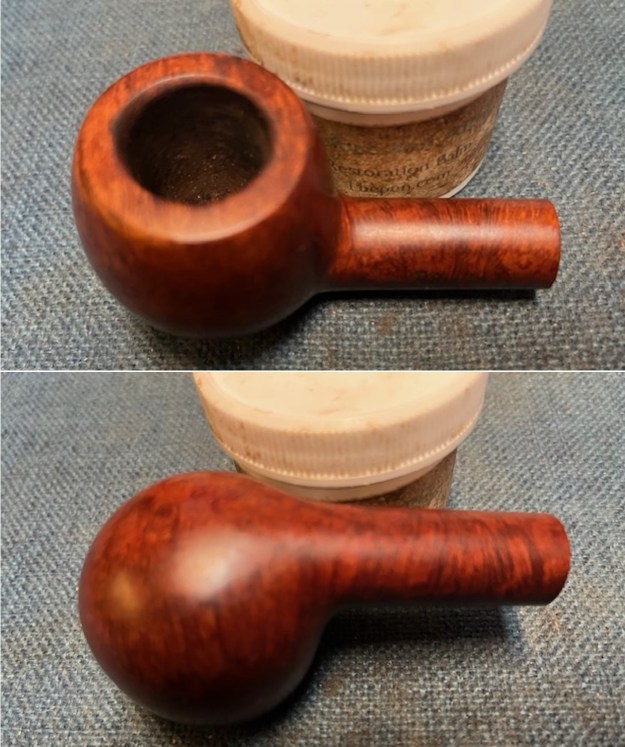
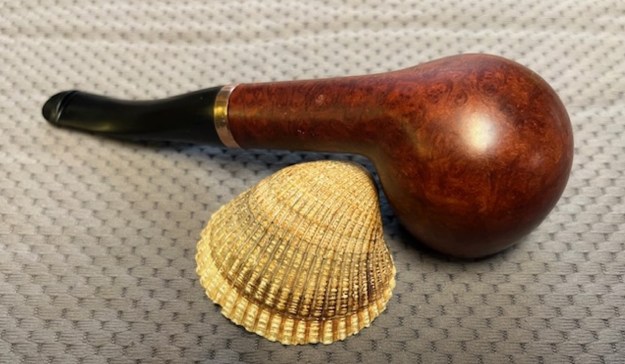
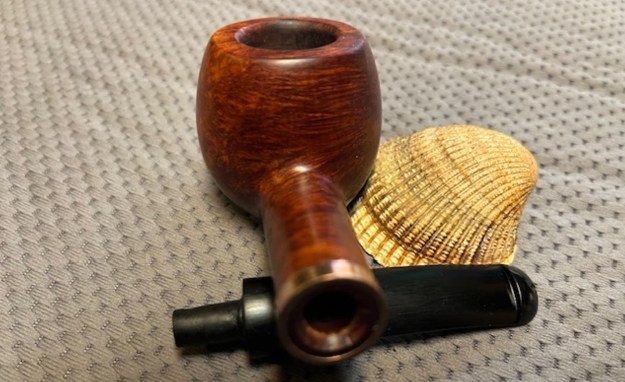
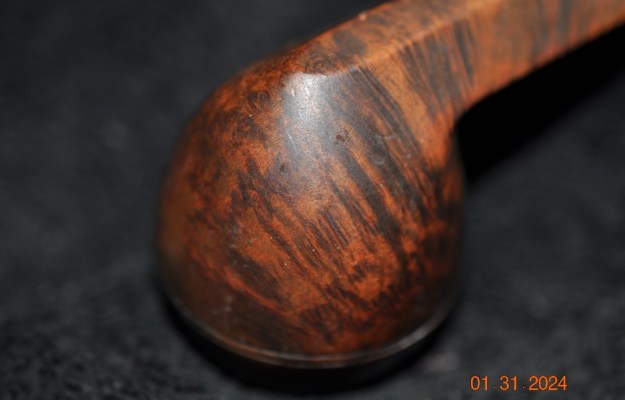
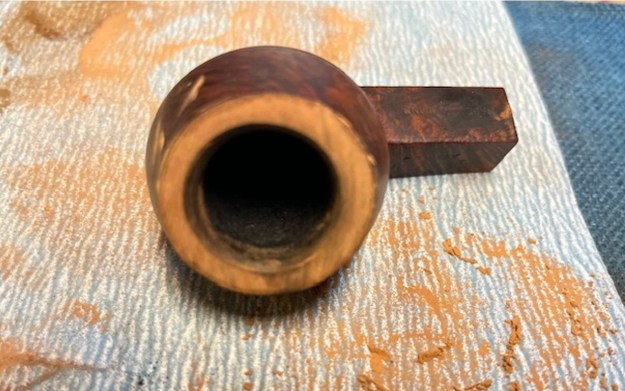
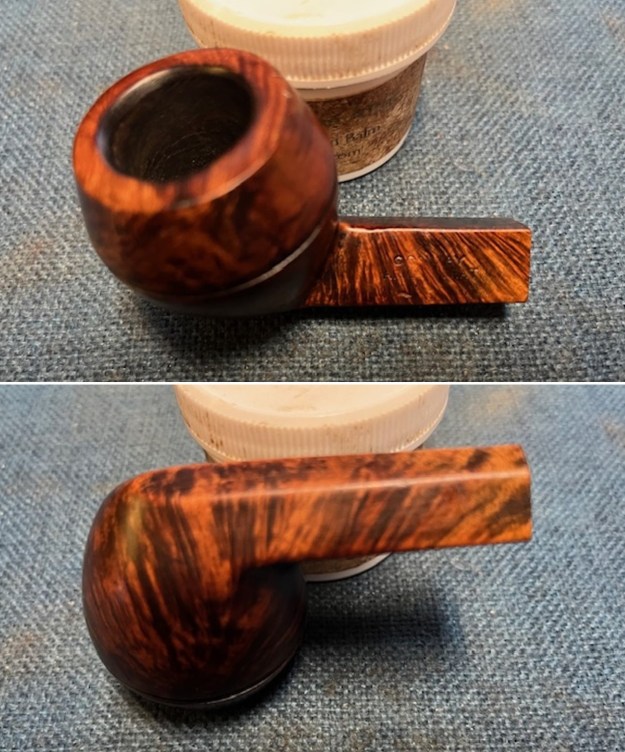
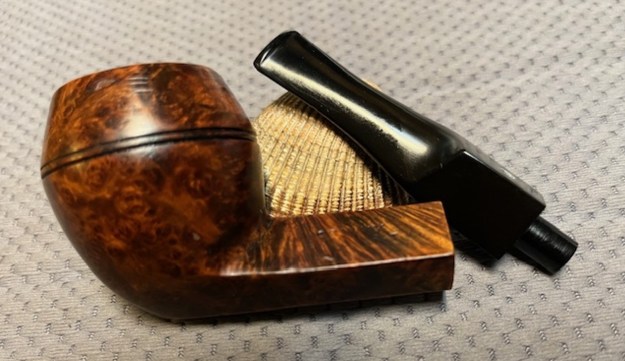
 To start my work on the pipe I decided to wipe it down with acetone to remove some of the darker portions of the stain and try to blend in the fills to the lighter colour once it was finished. I wiped the bowl down with acetone on cotton pads. I really like the way it came out. Have a look.
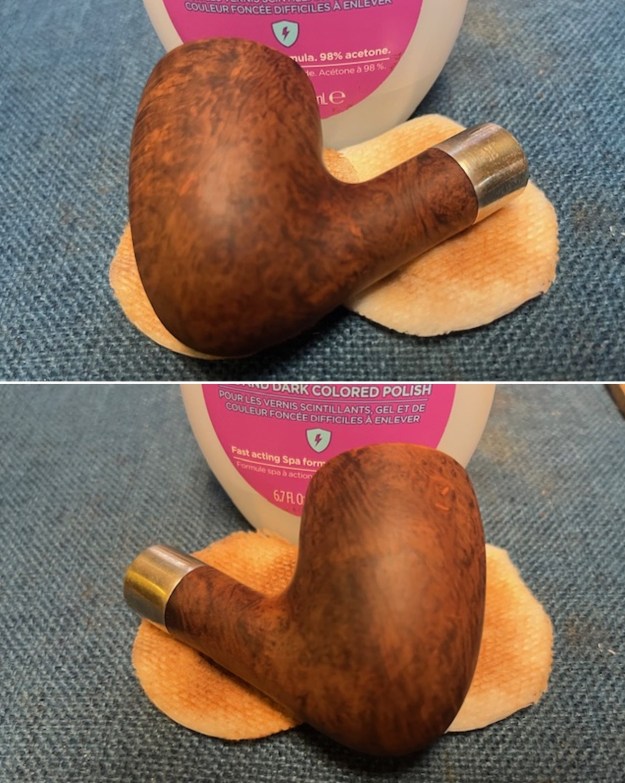
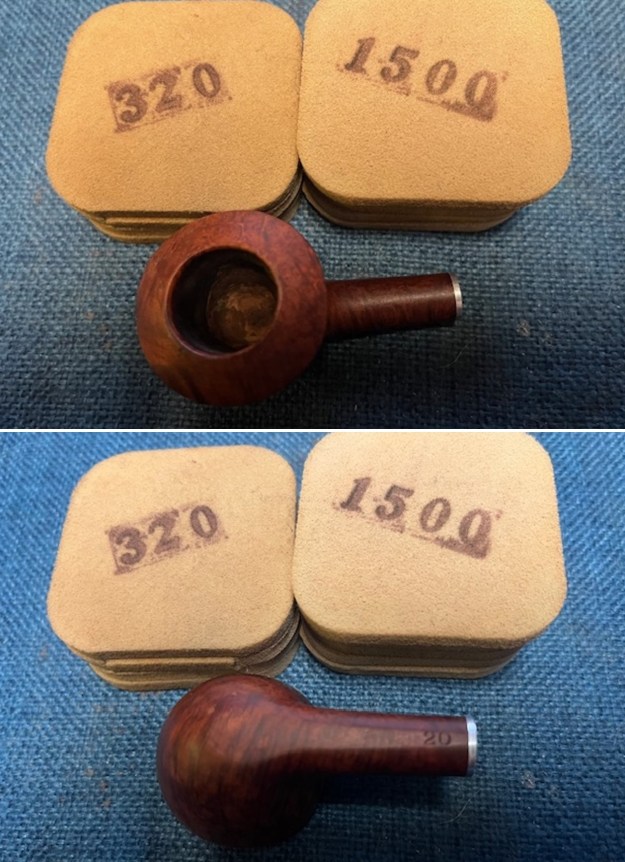
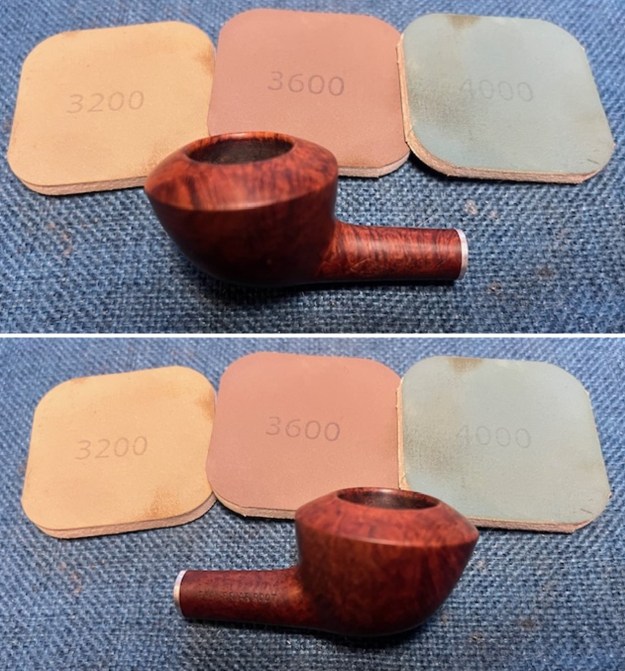
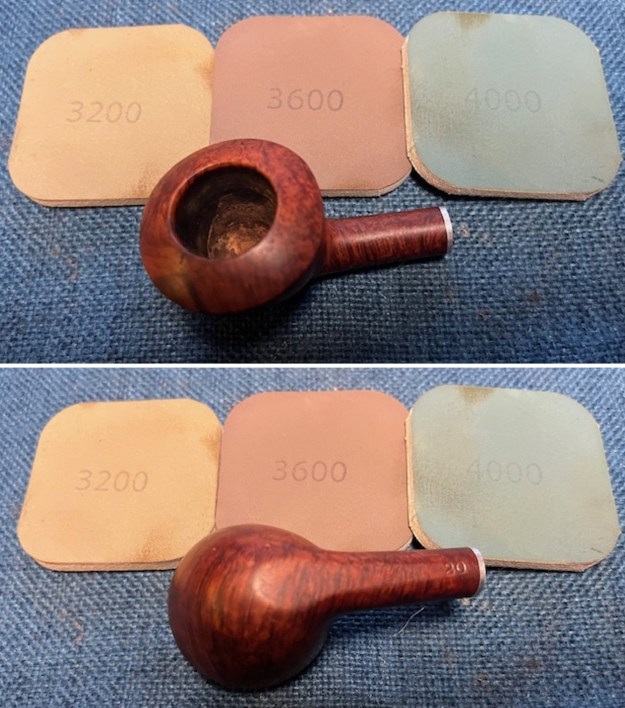
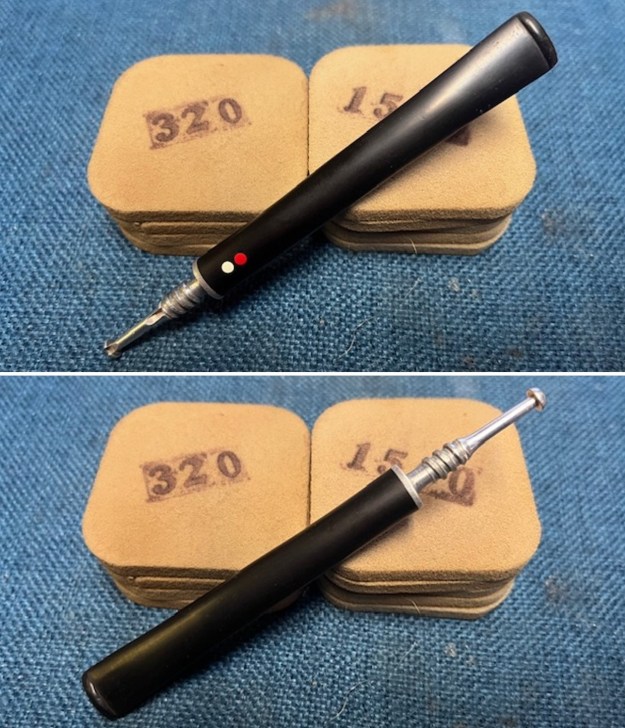
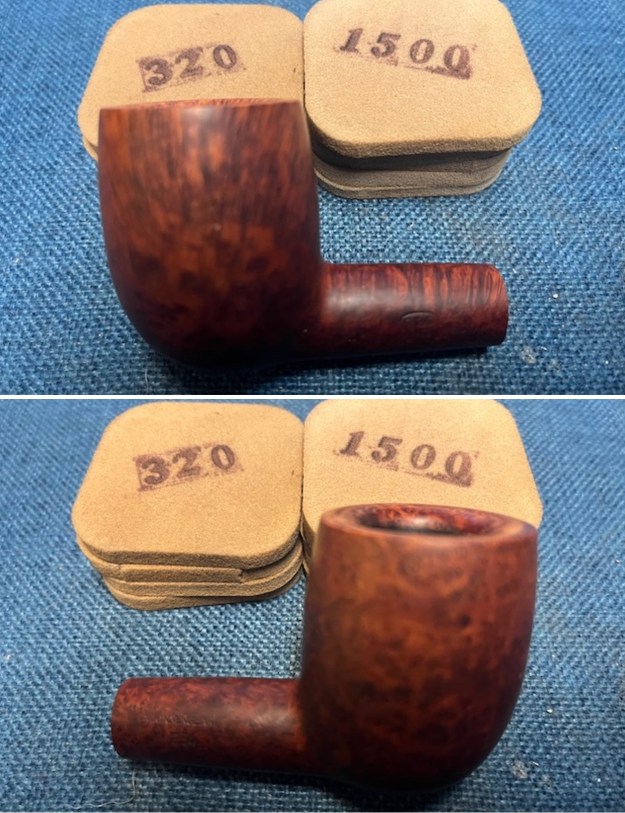
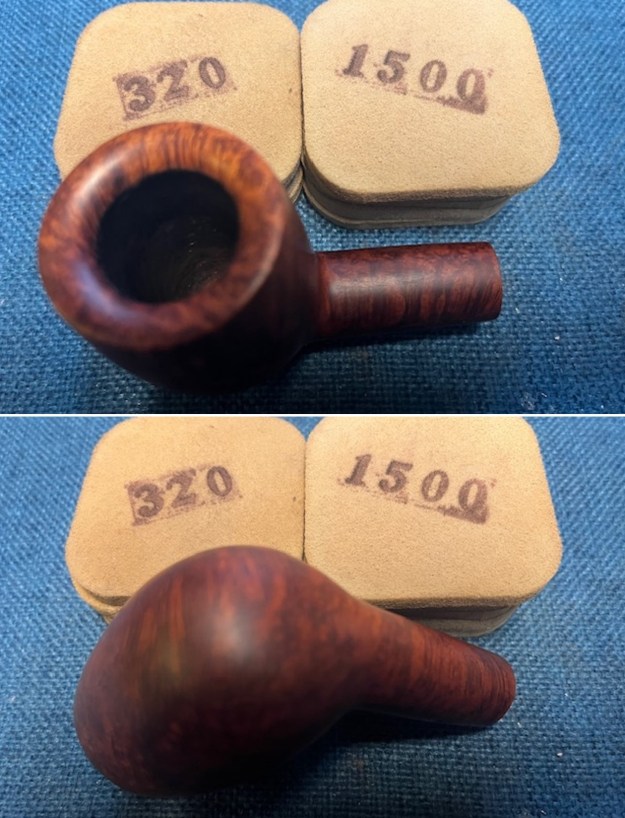
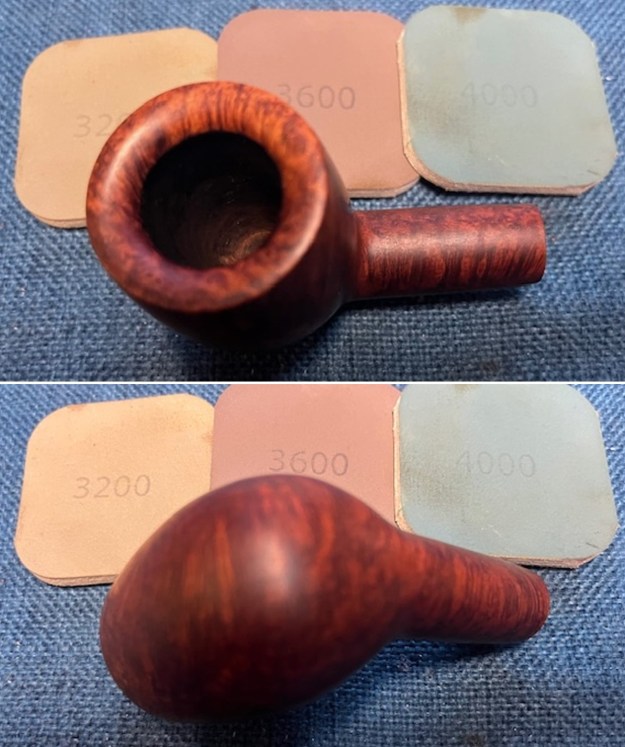
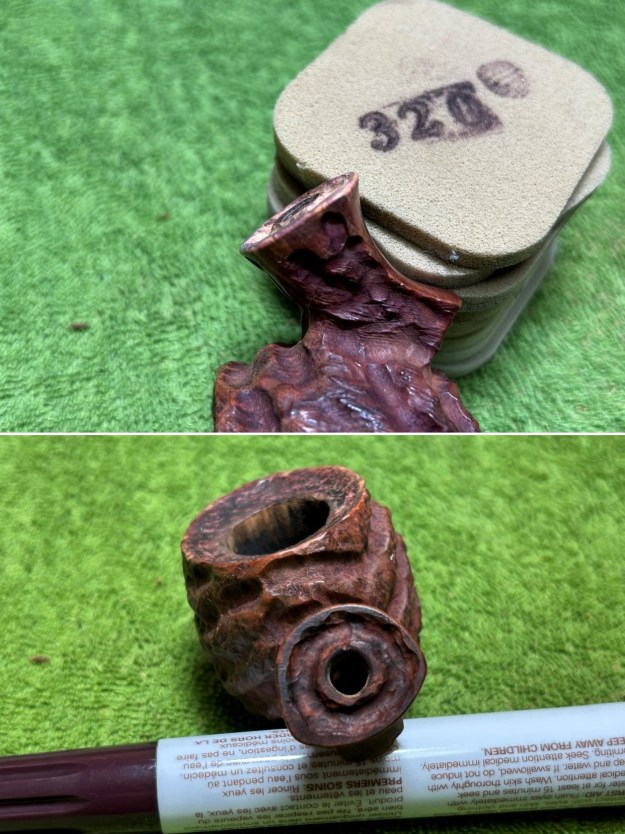
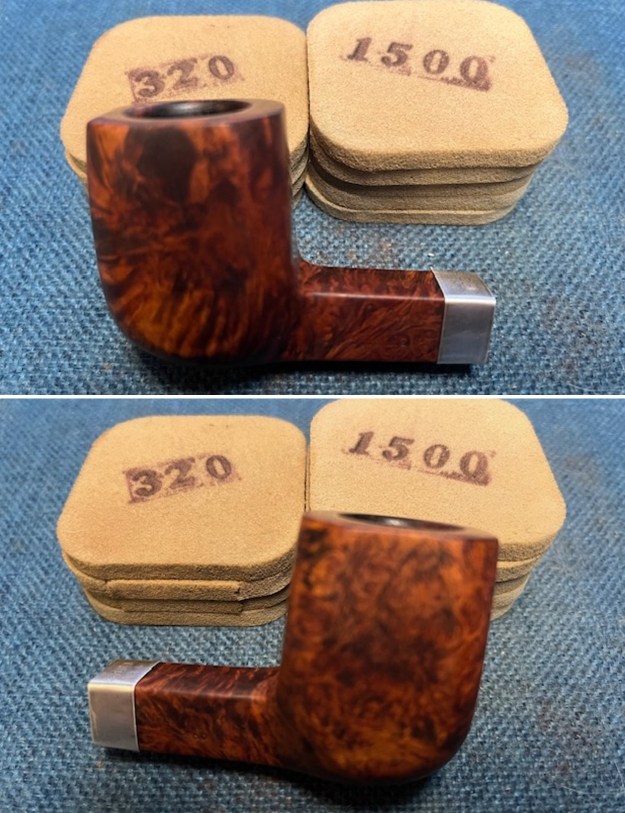
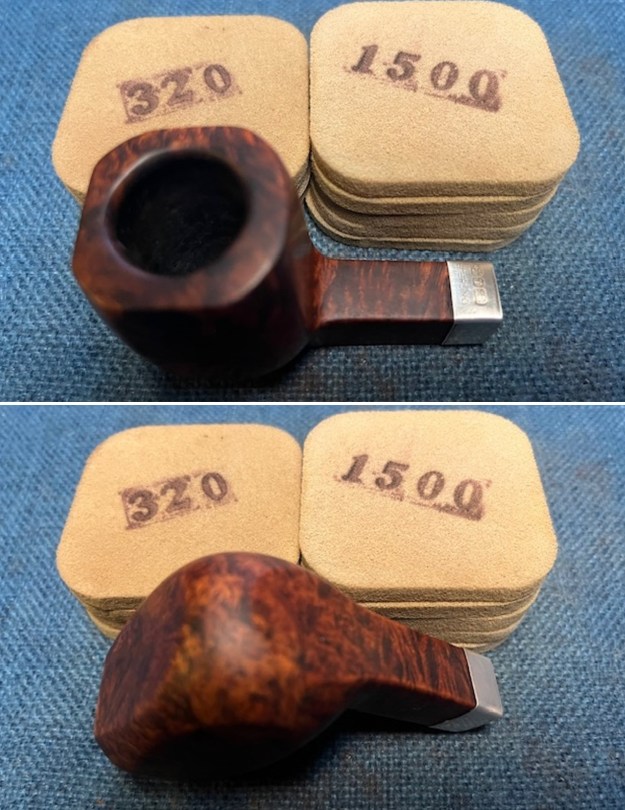
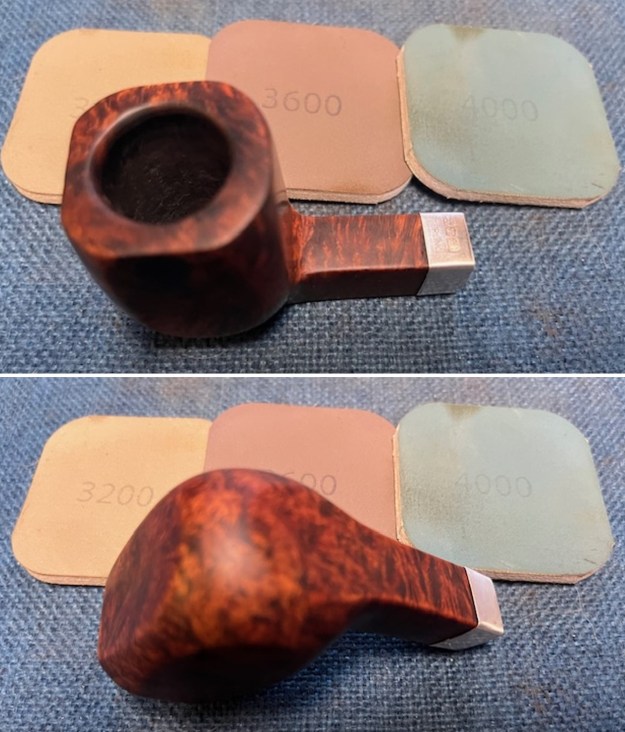
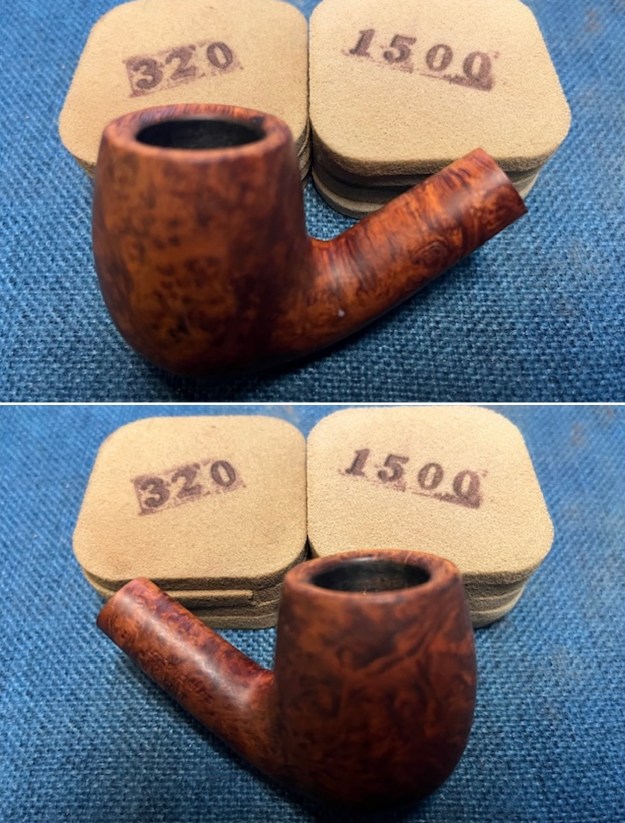
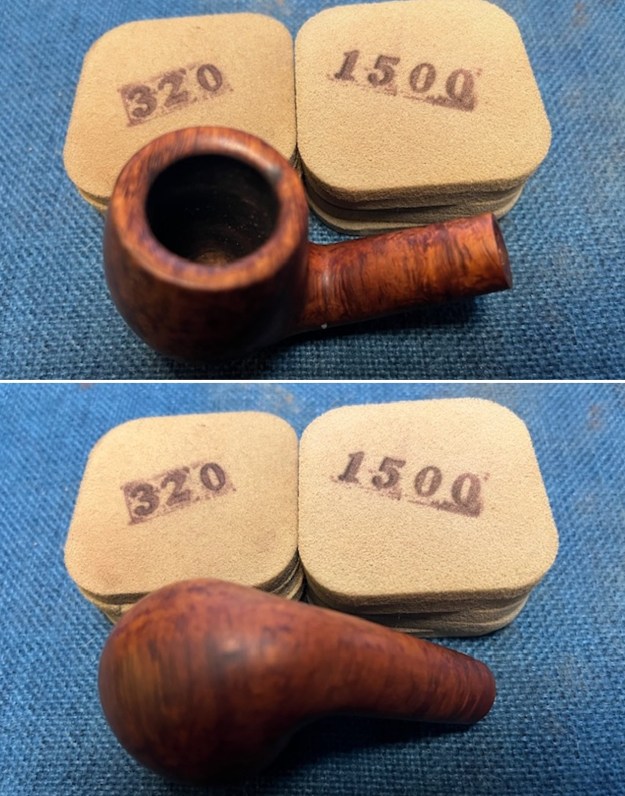
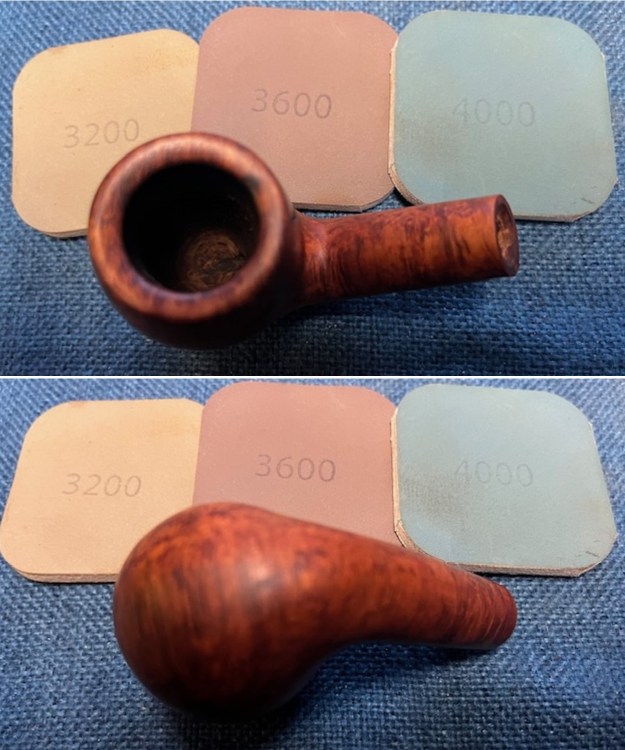
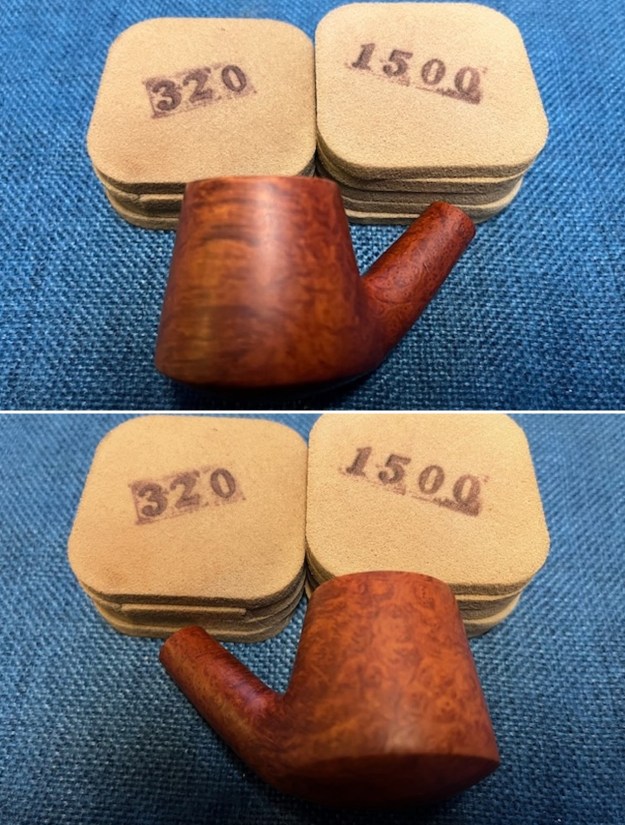
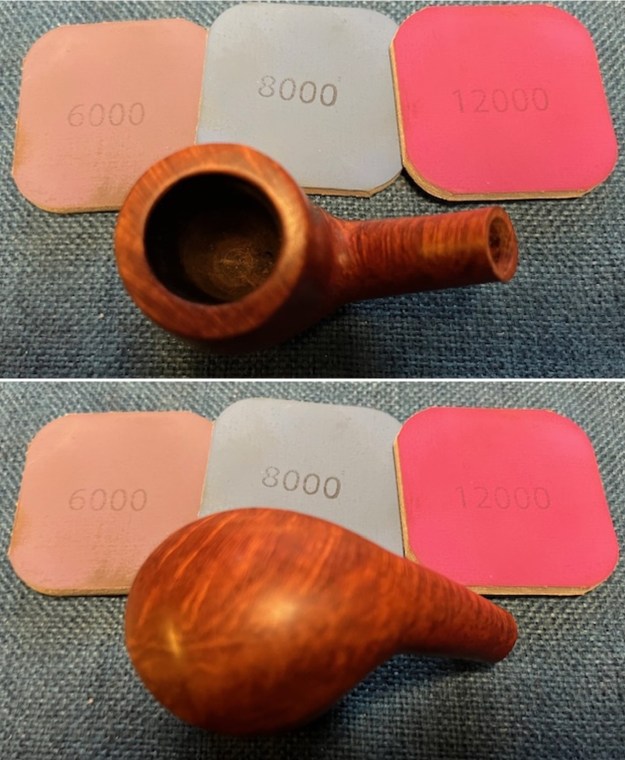
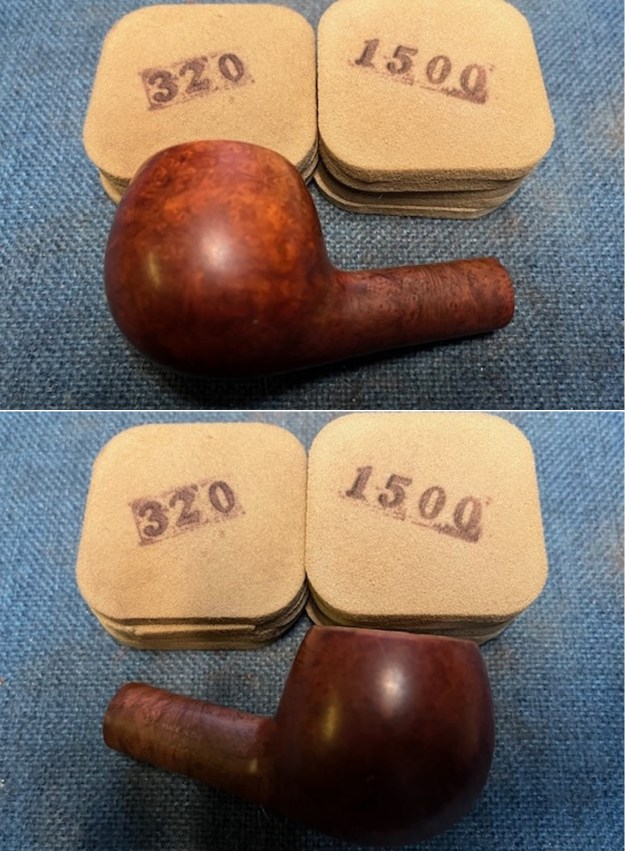
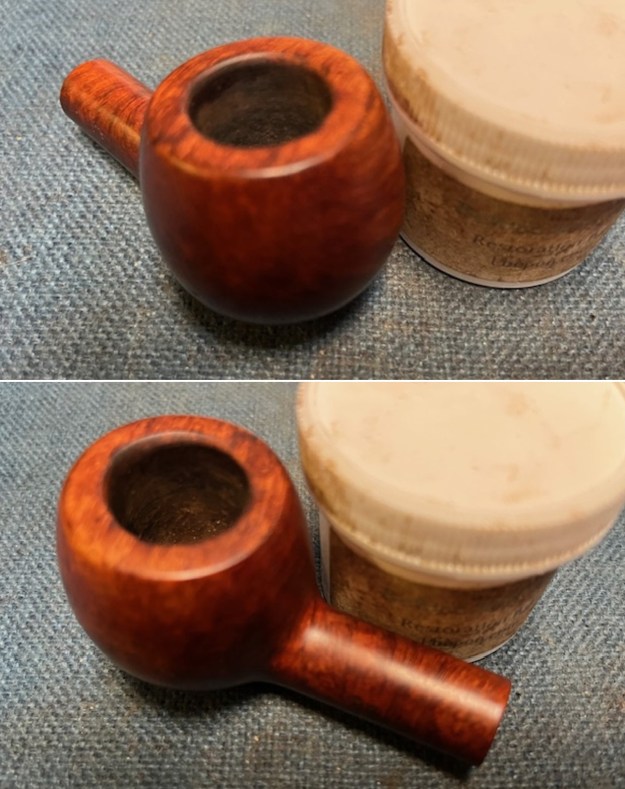
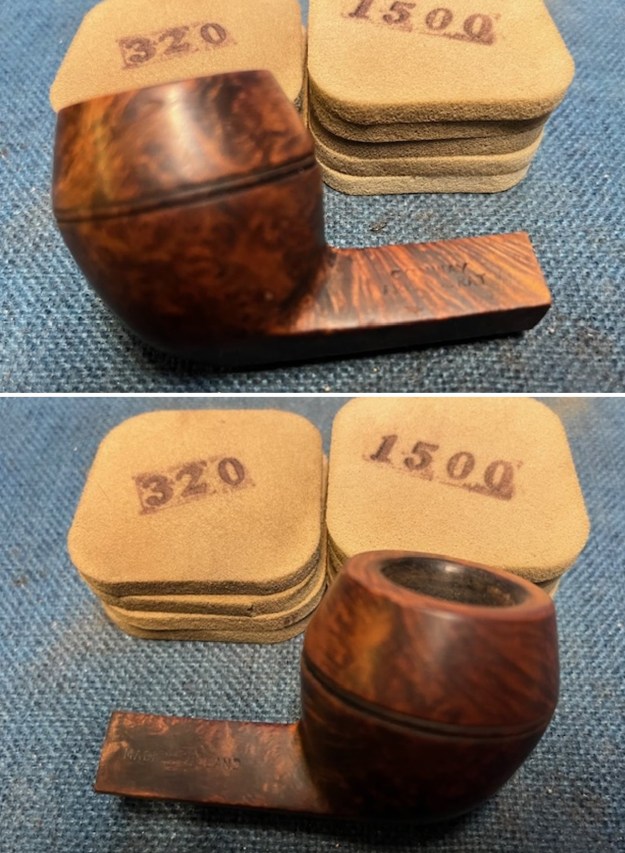
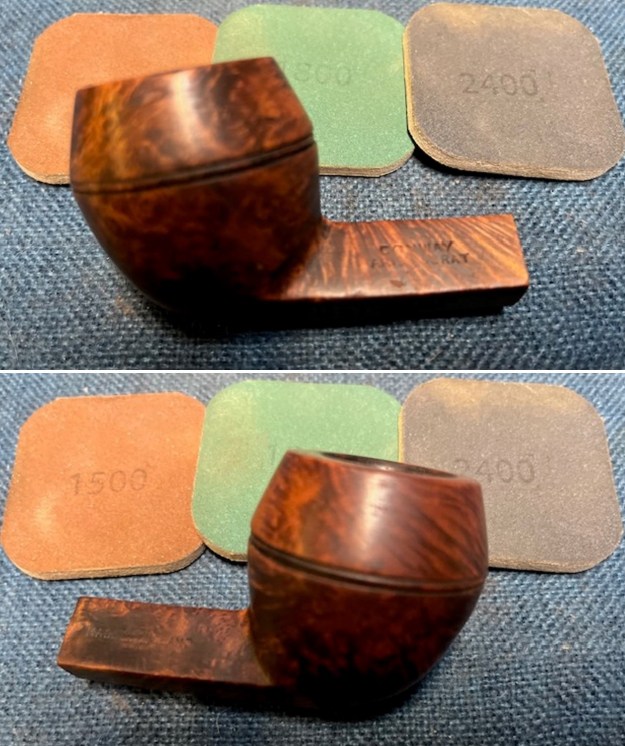
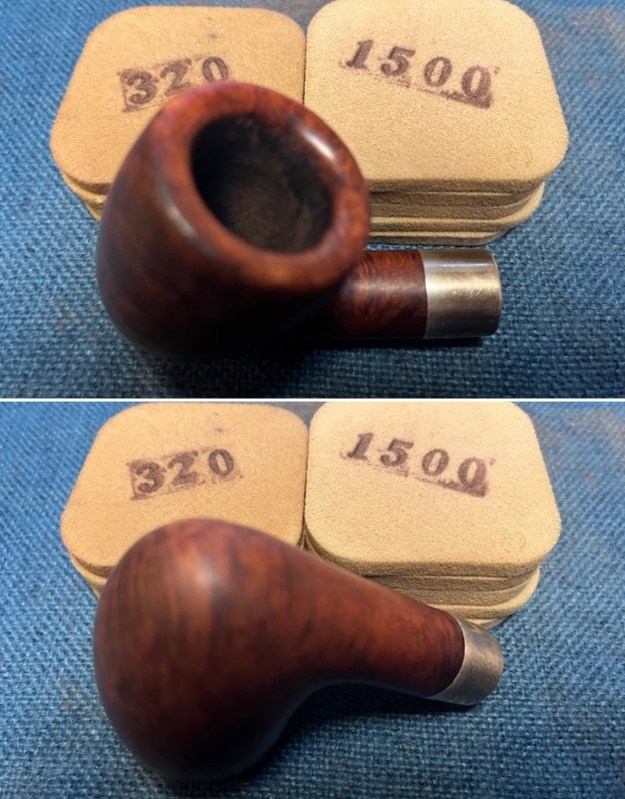
 I sanded out the scratches in the briar around the bowl sides and rim top with 320-3500 grit sanding pads. I wiped it down after each pad with a damp cloth to remove the sanding debris. The sanding really brought the grain to the front and blended in the marks of the fills. This is a great piece of briar. And once it is waxed and polished it should really be a beauty.
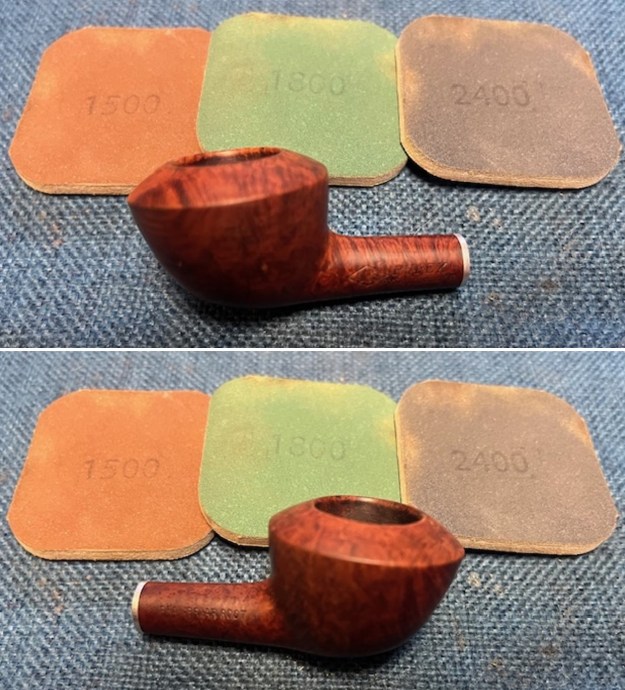
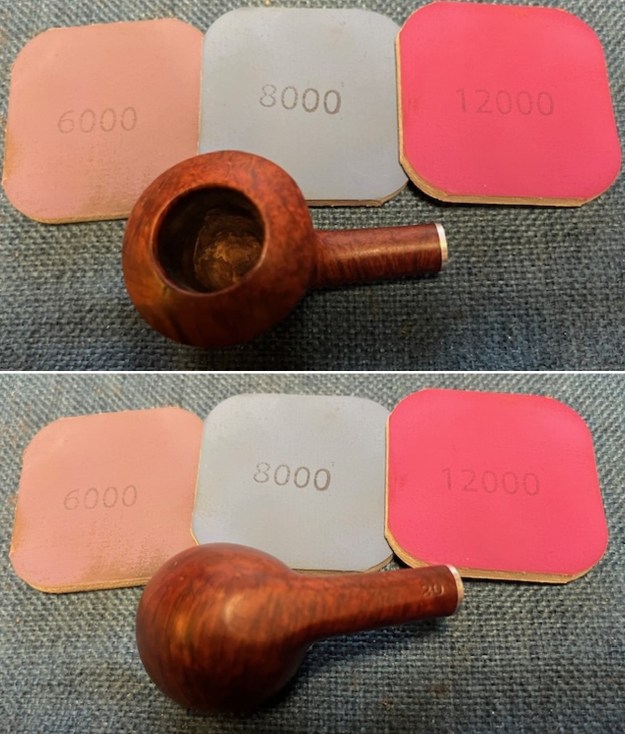
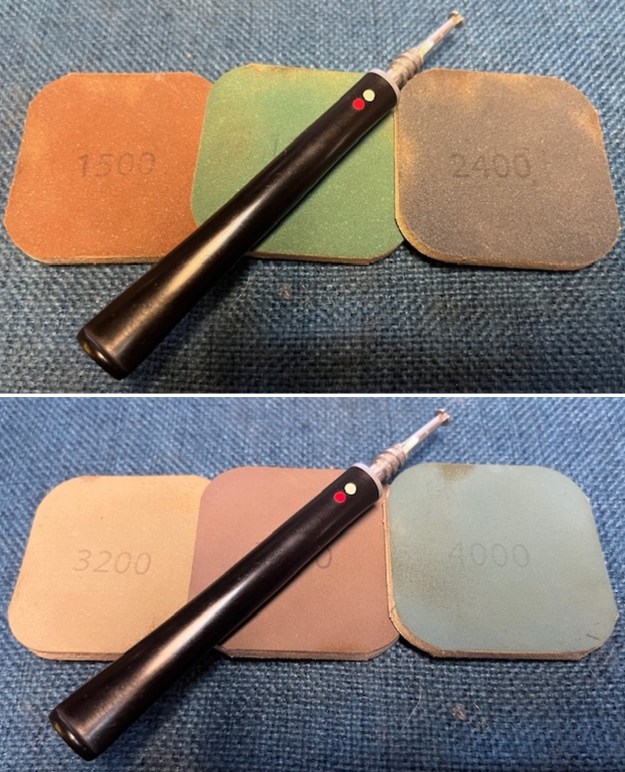
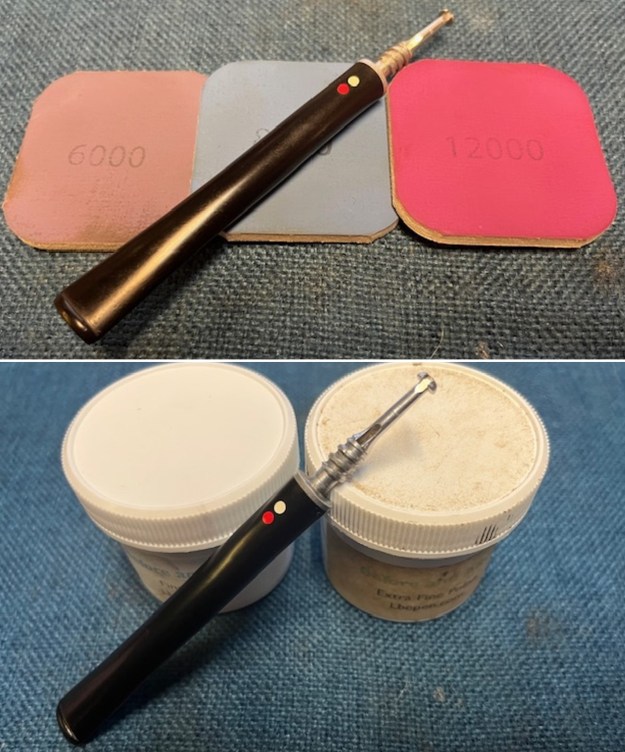
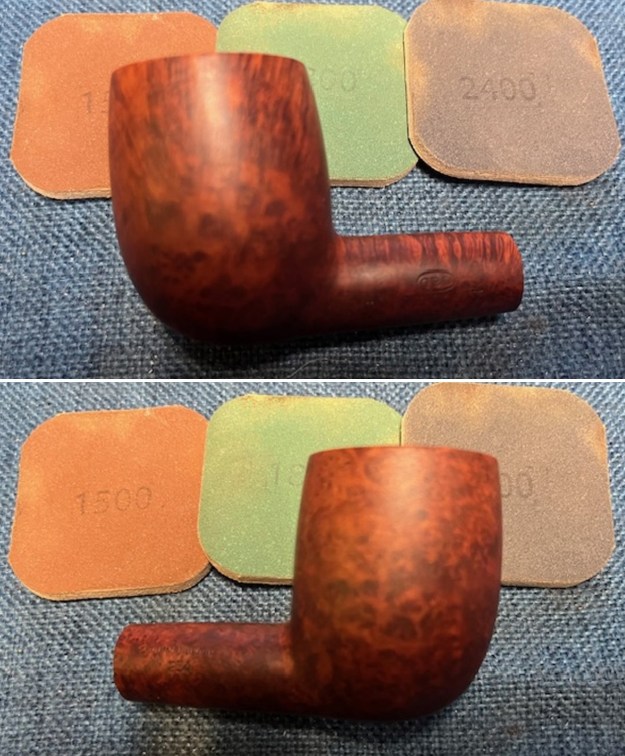
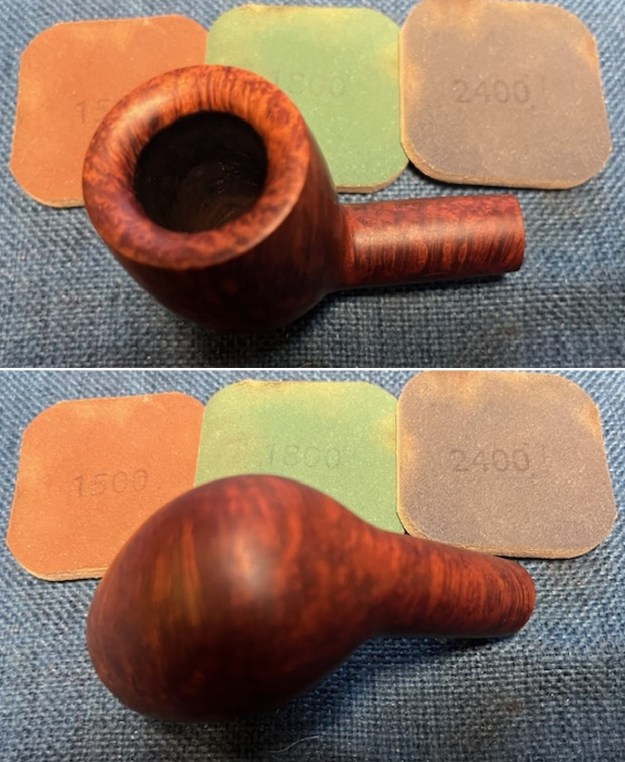
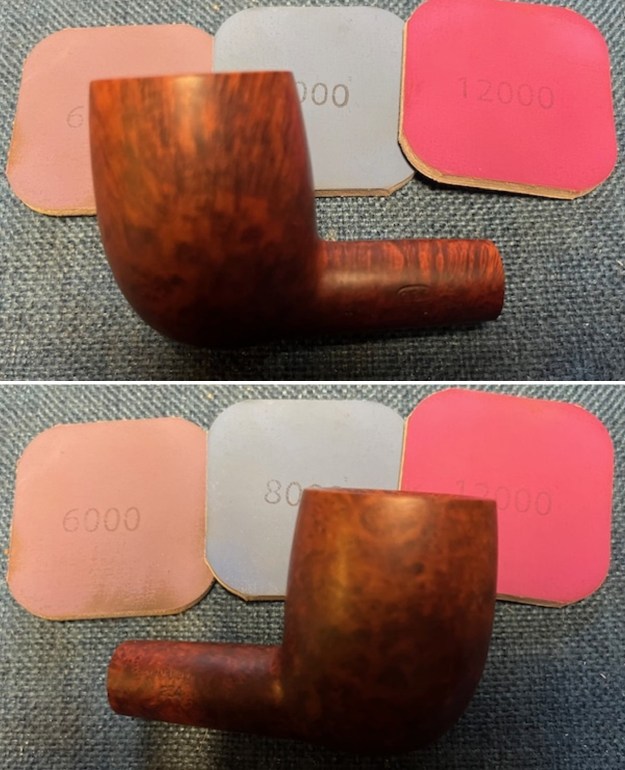
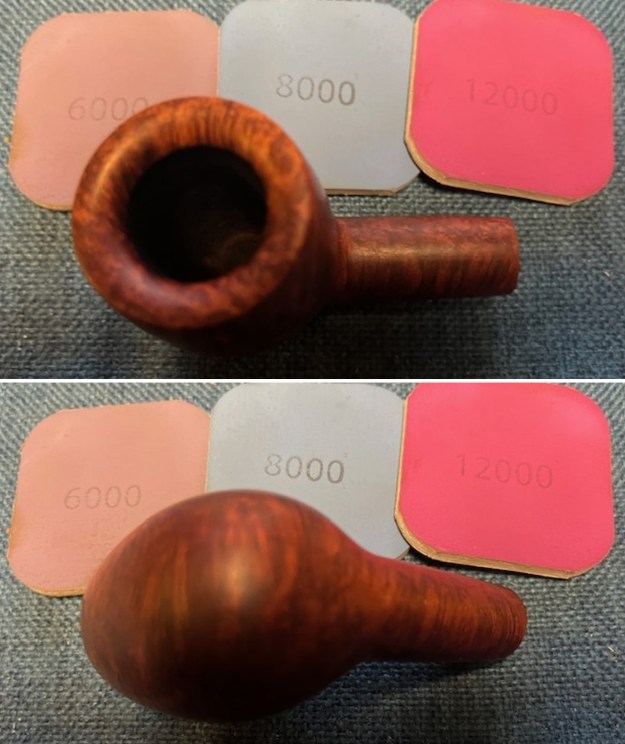
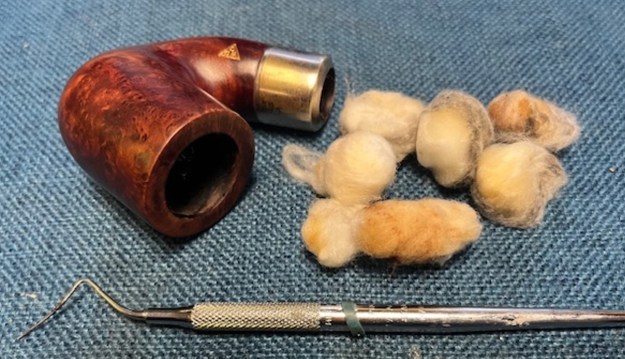
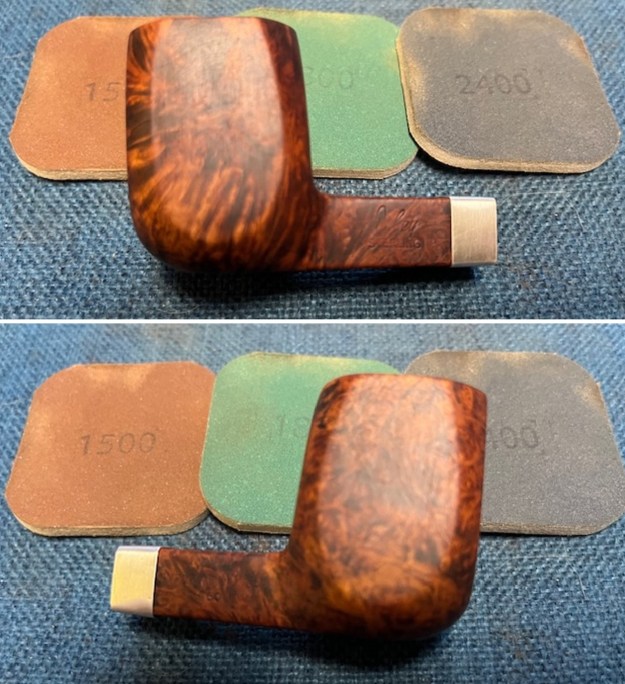
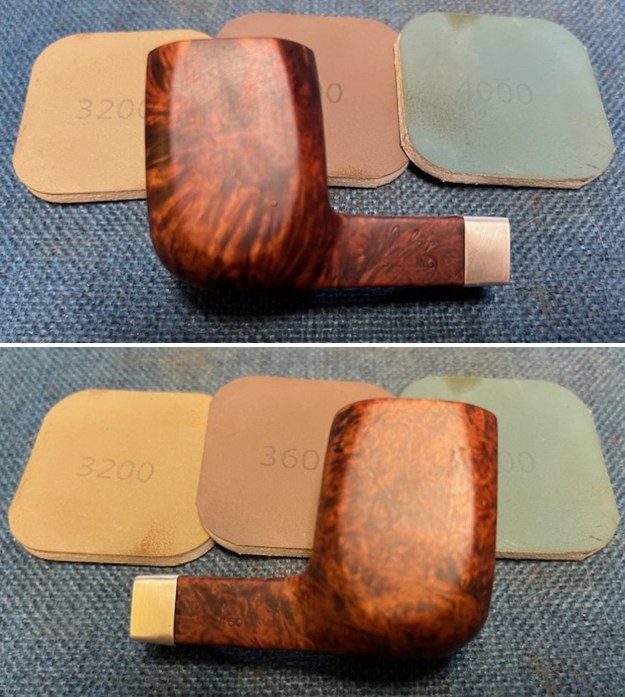
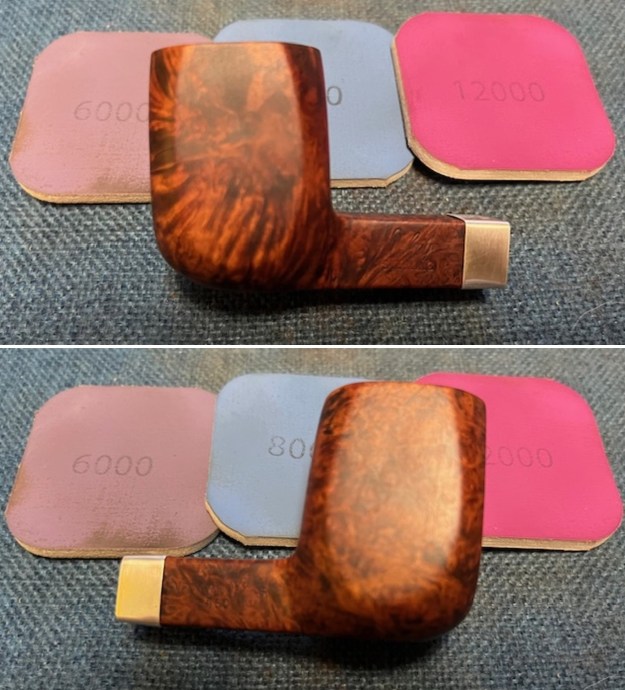
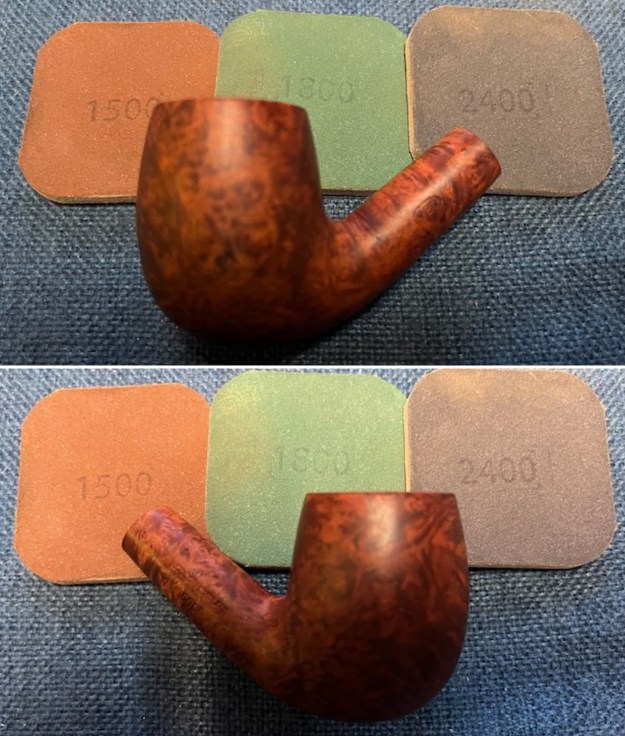
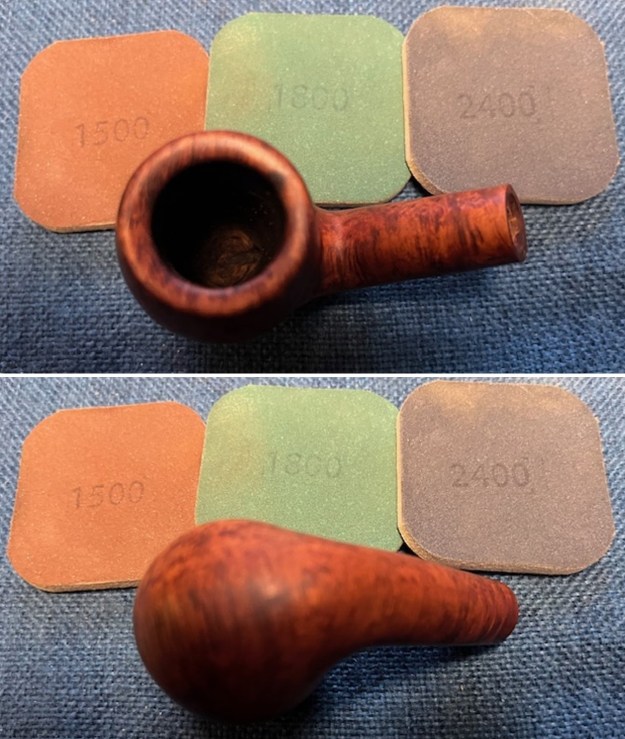
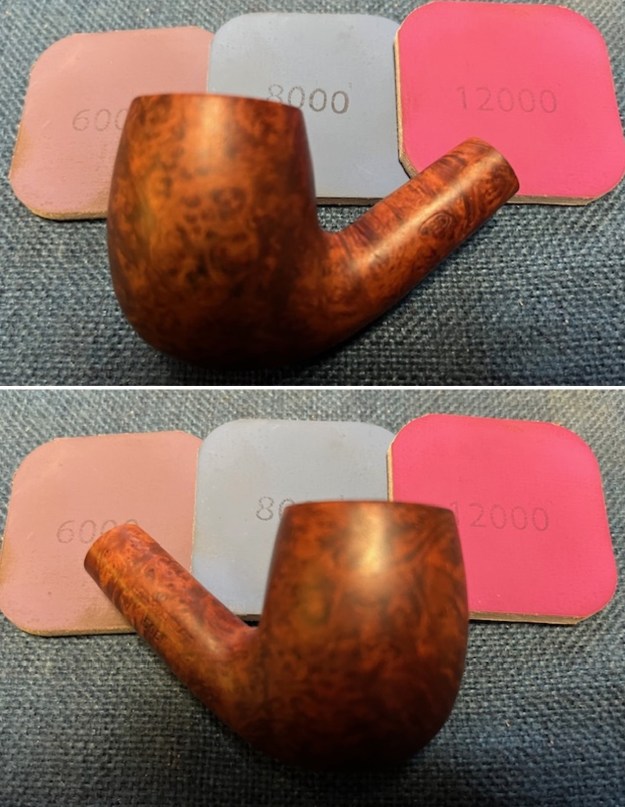
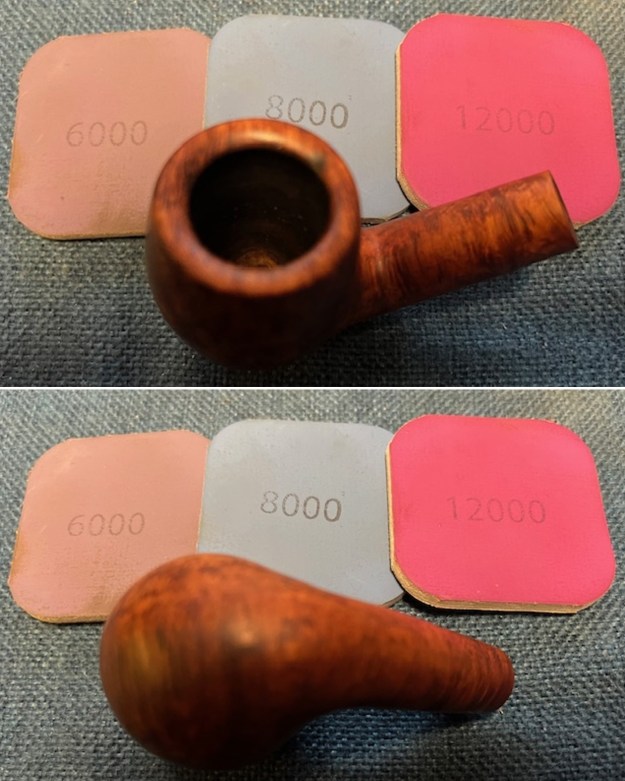
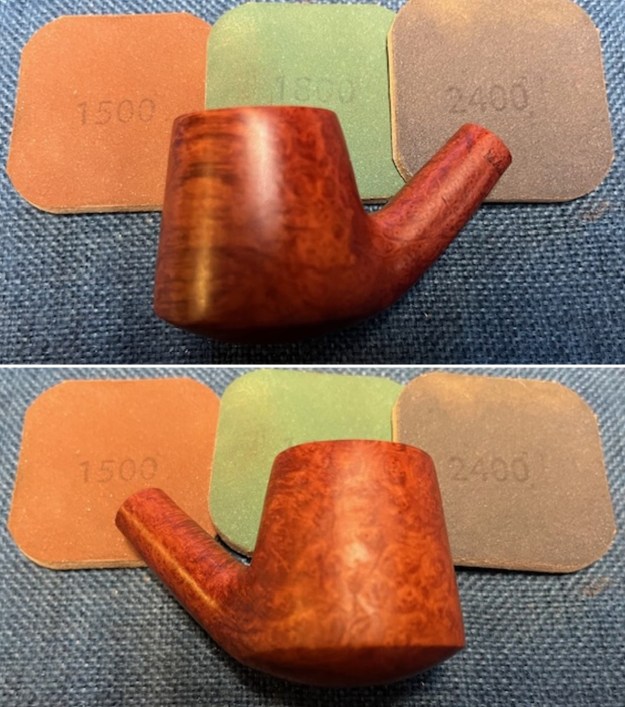
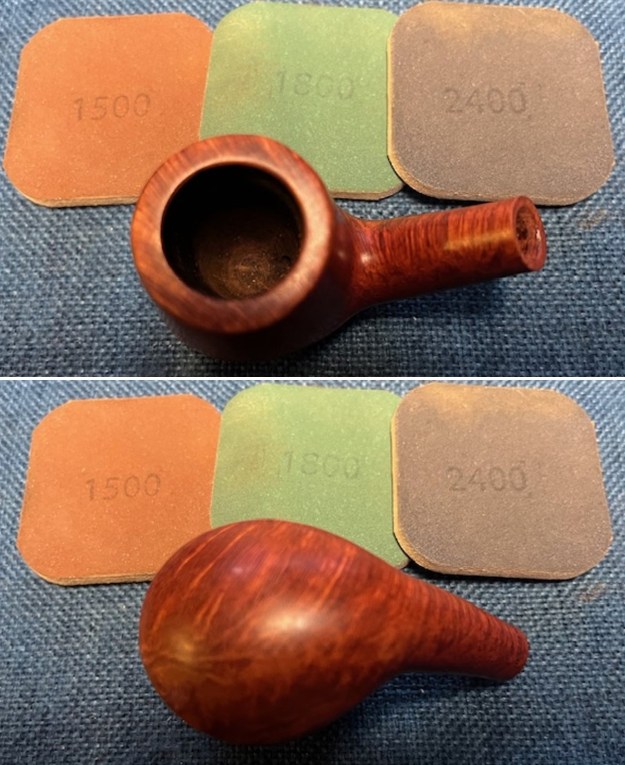
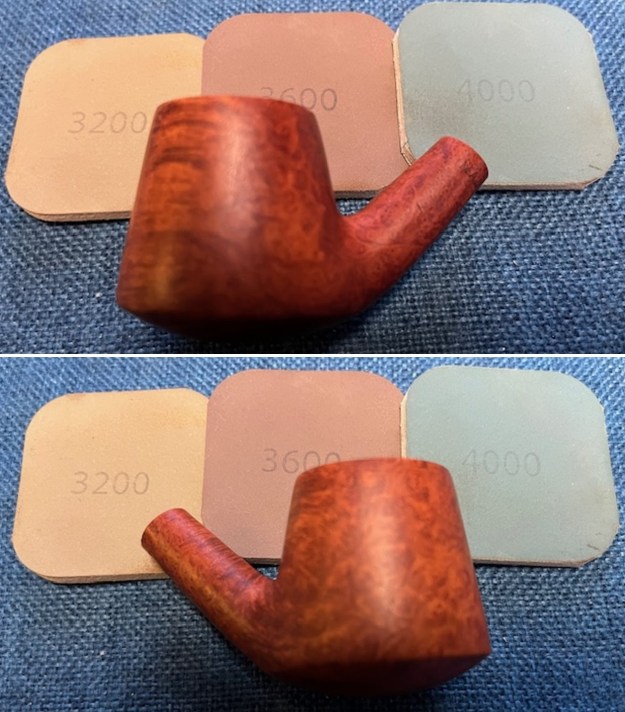
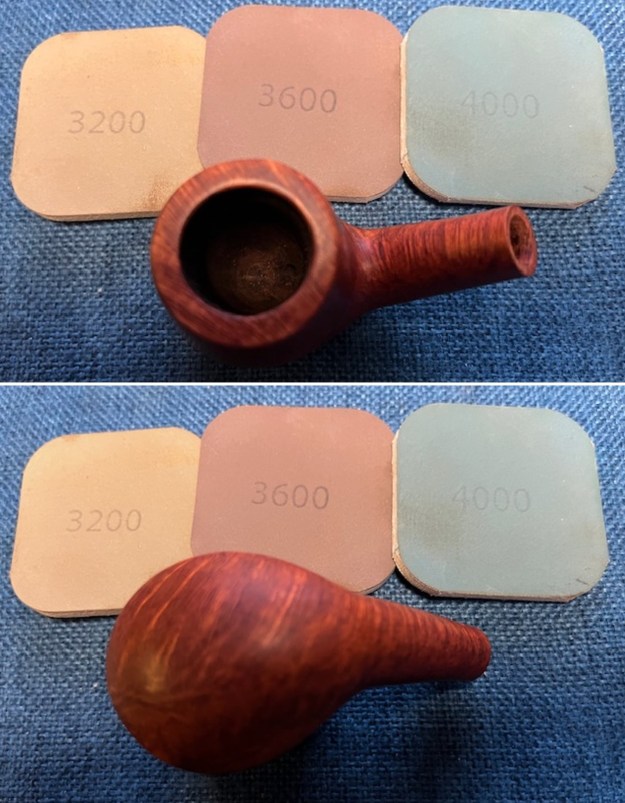
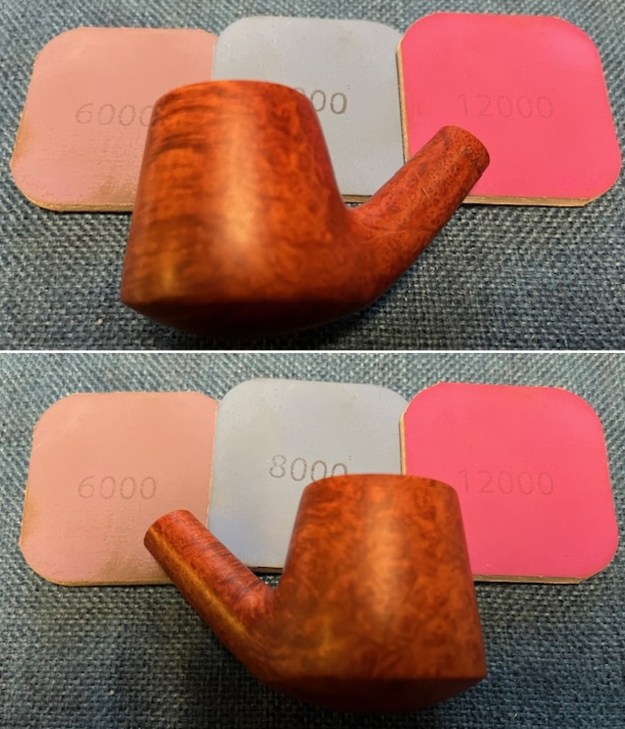
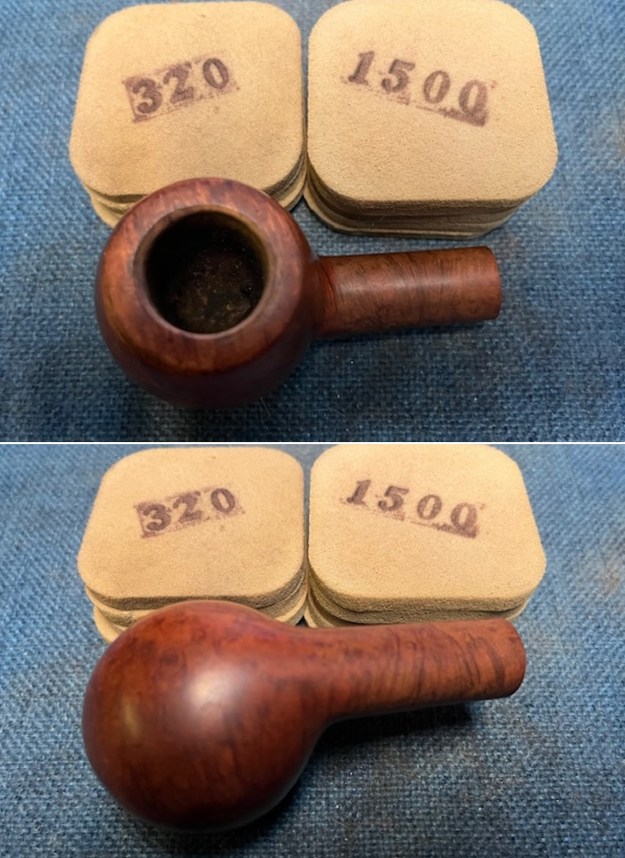
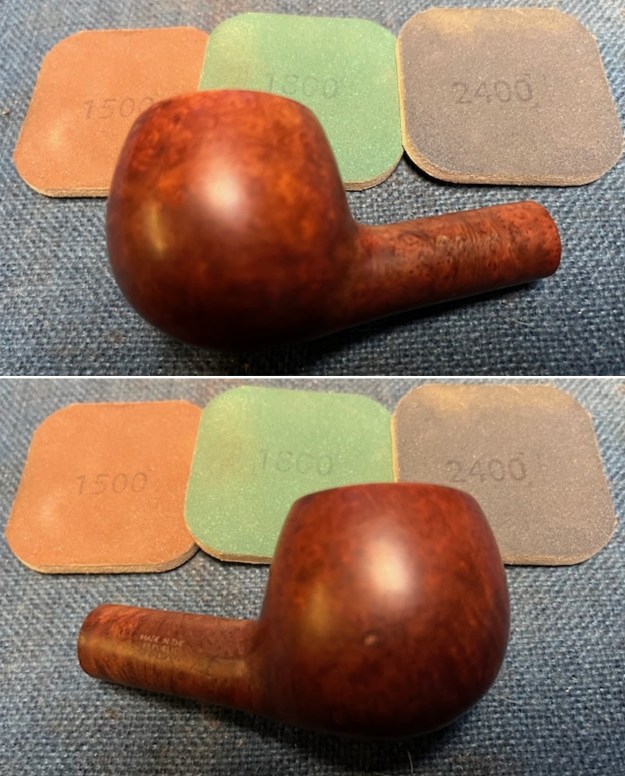
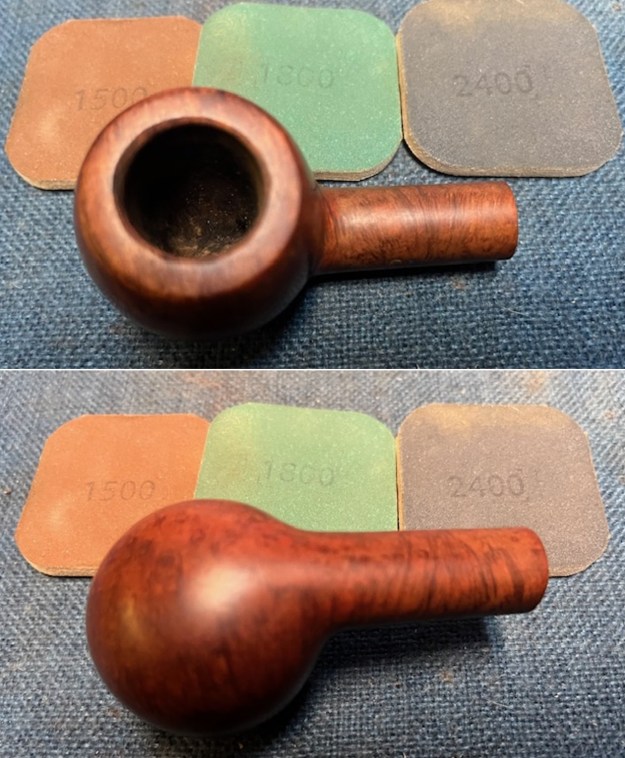
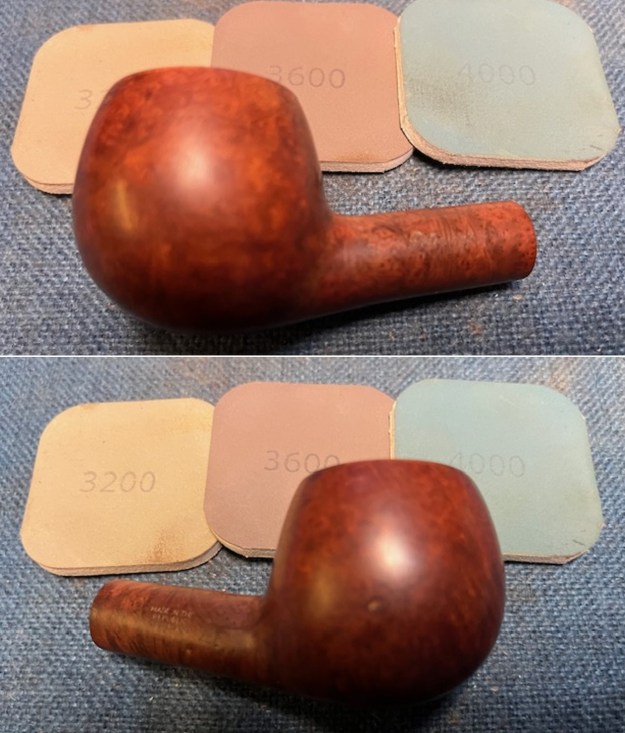
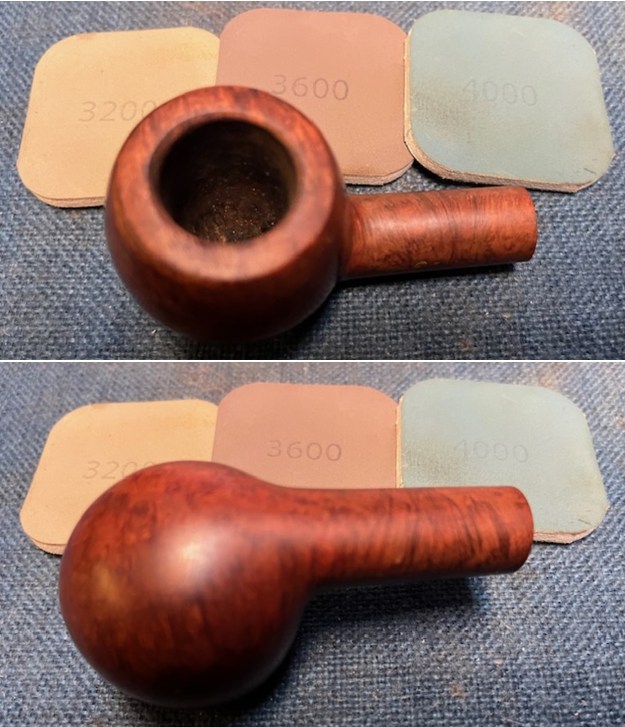
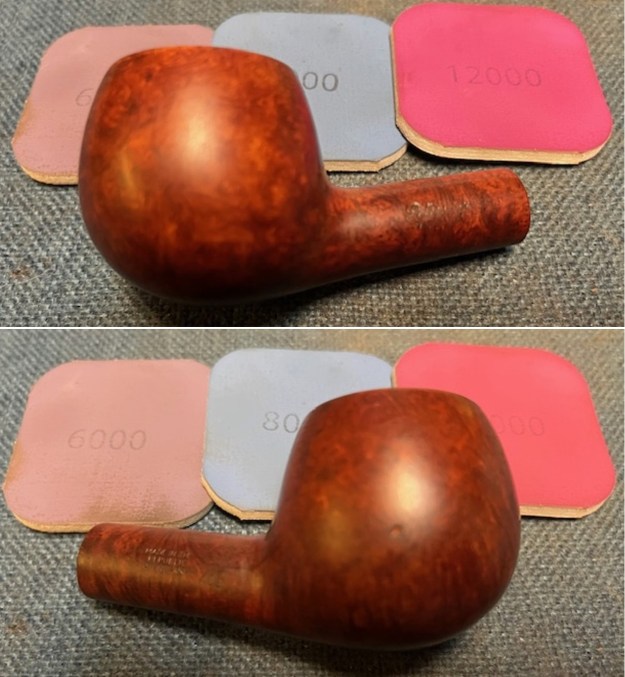
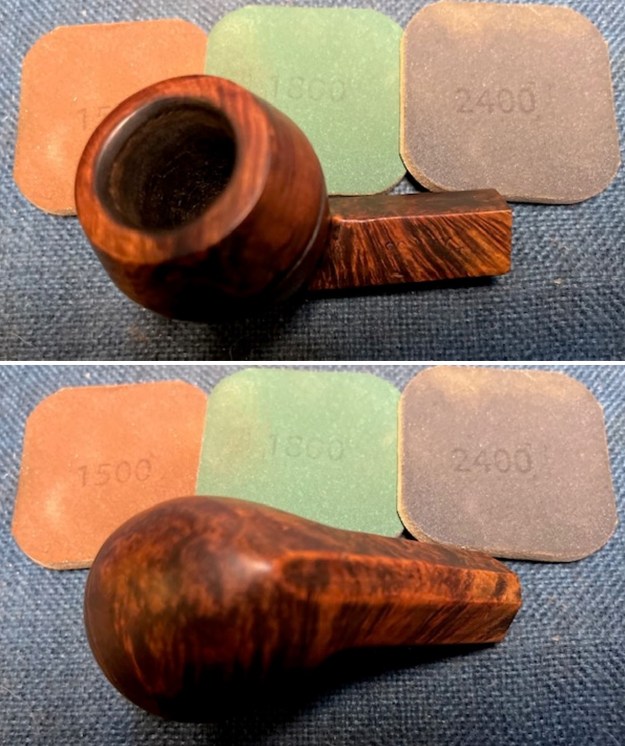
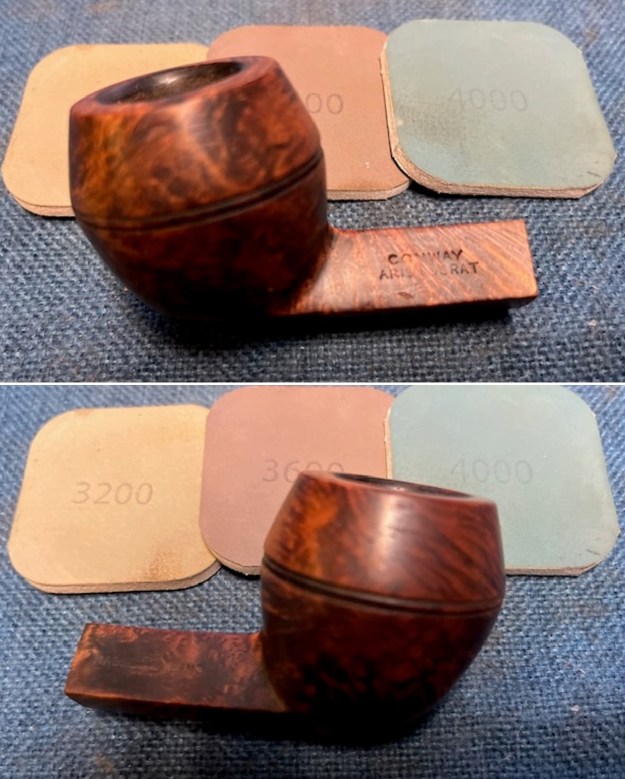
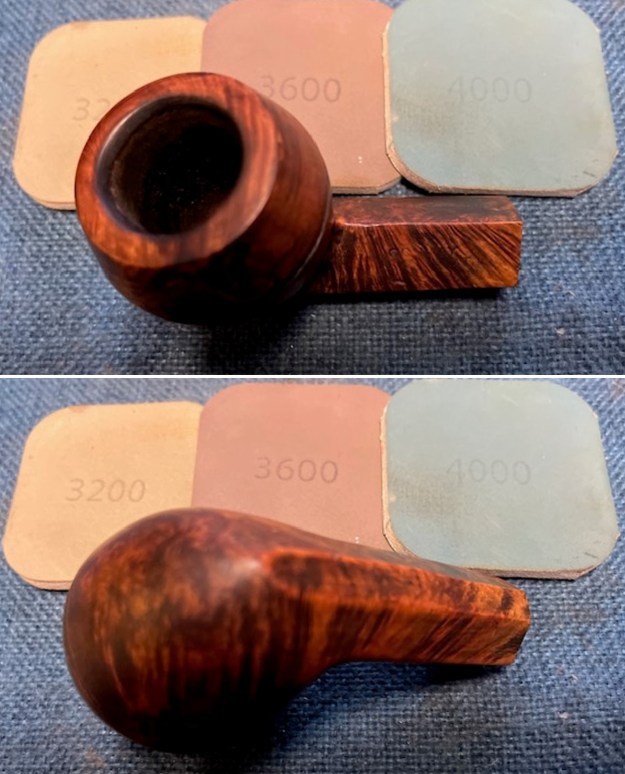
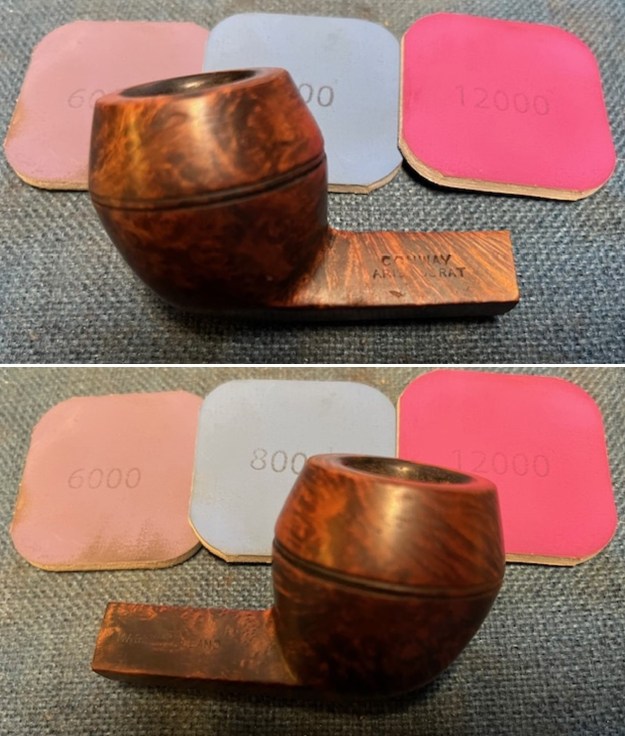
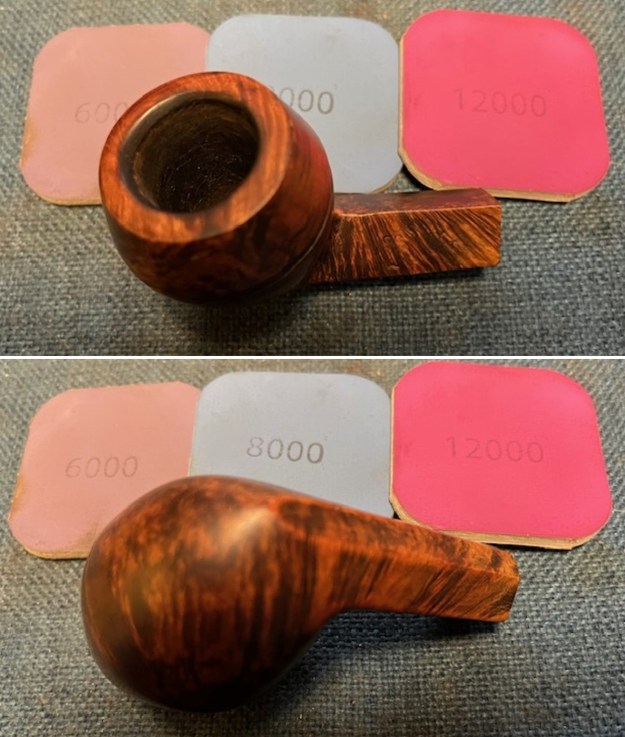
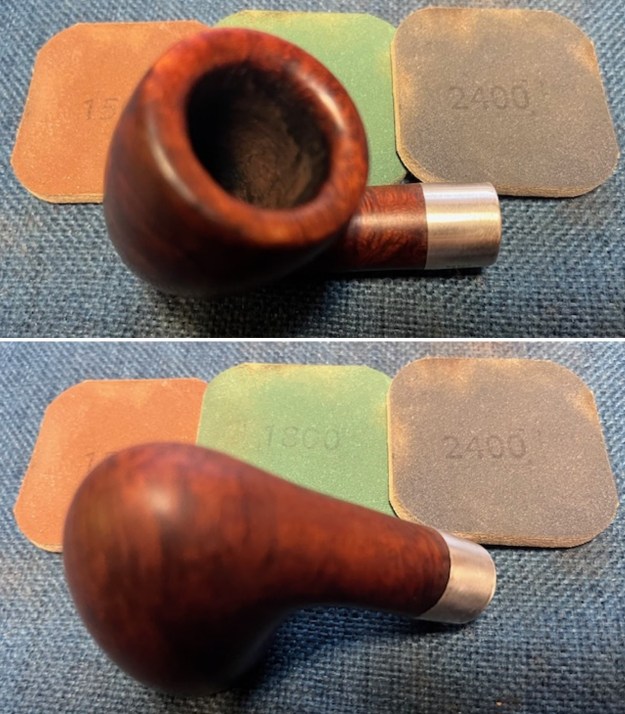
 I polished the briar with micromesh sanding pads – dry sanding with 1500-12000 grit pads and wiping down the bowl after each sanding pad.
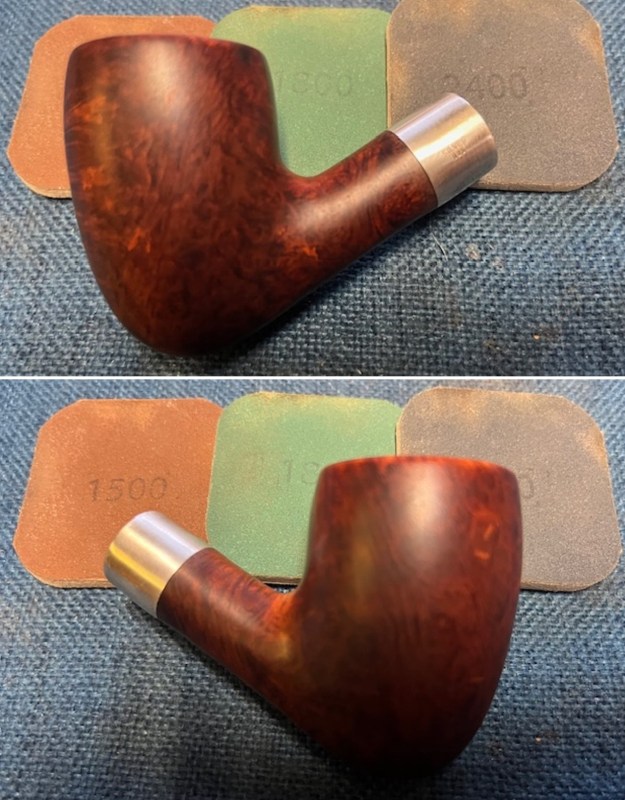


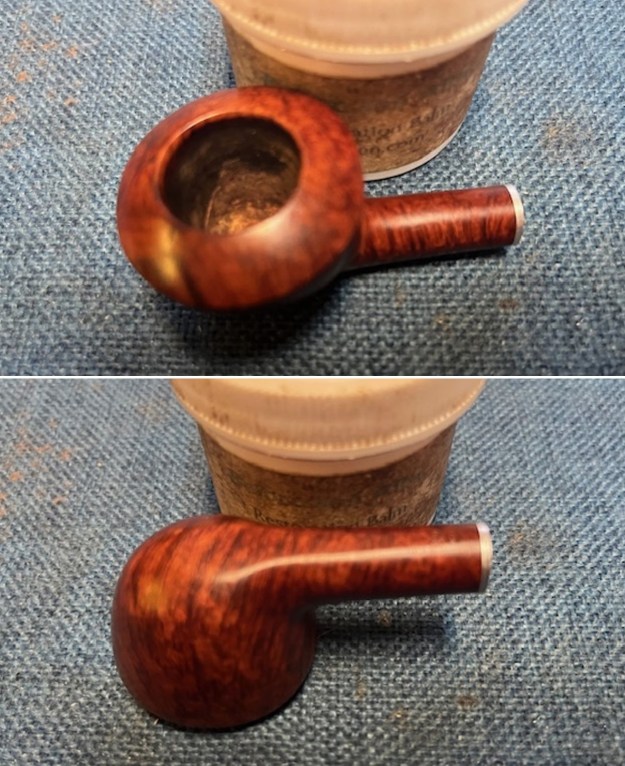
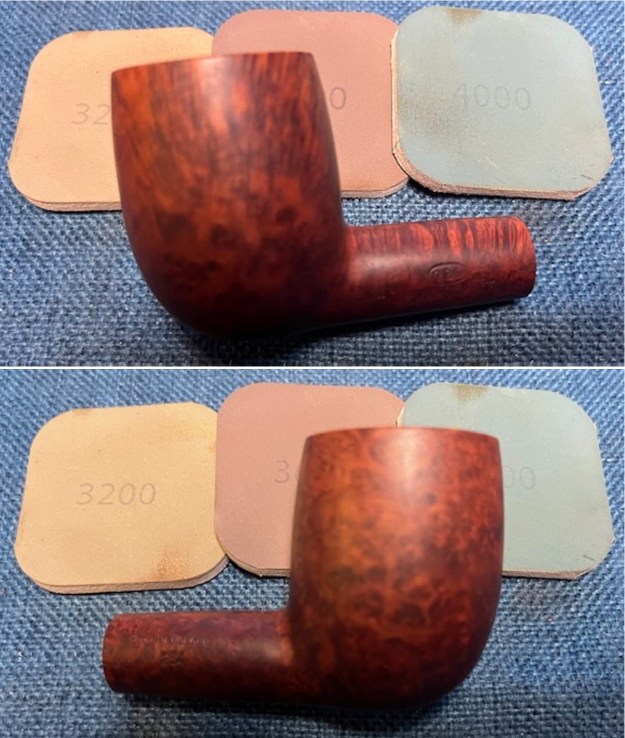
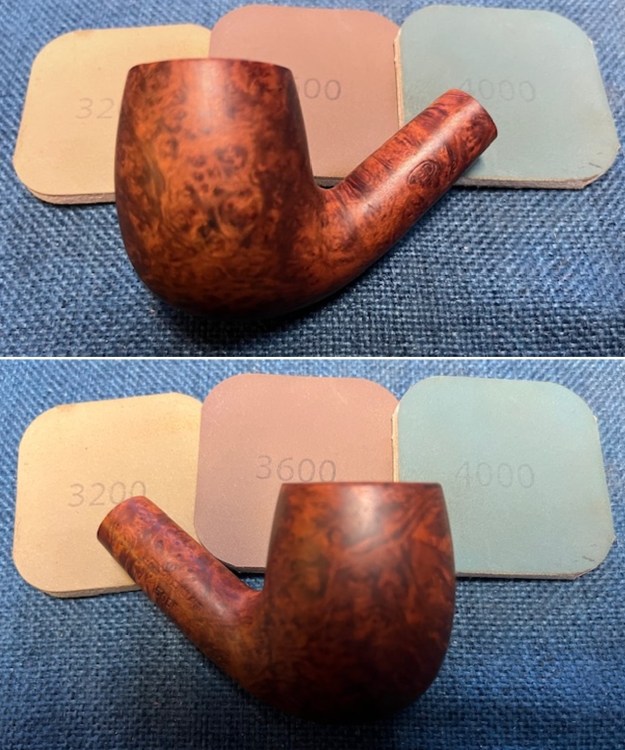
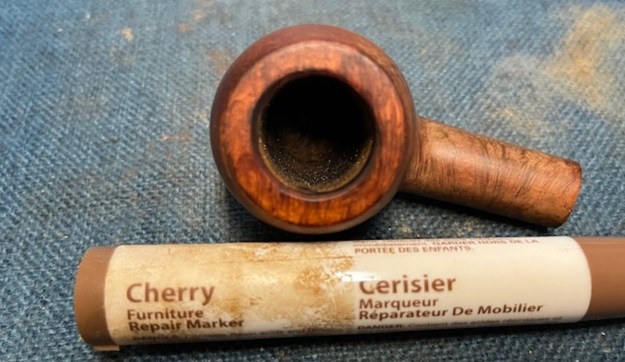
 I touch up some of the lighter spots on the shank/bowl junction and rim top with a Mahogany stain pen to match the rest of the bowl. Once it dried I hand buffed it and the restained areas looked very good.
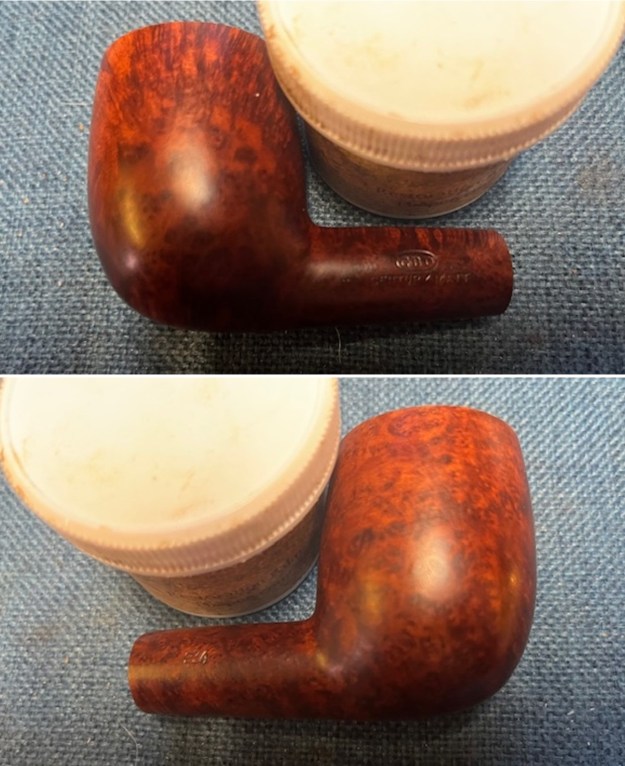
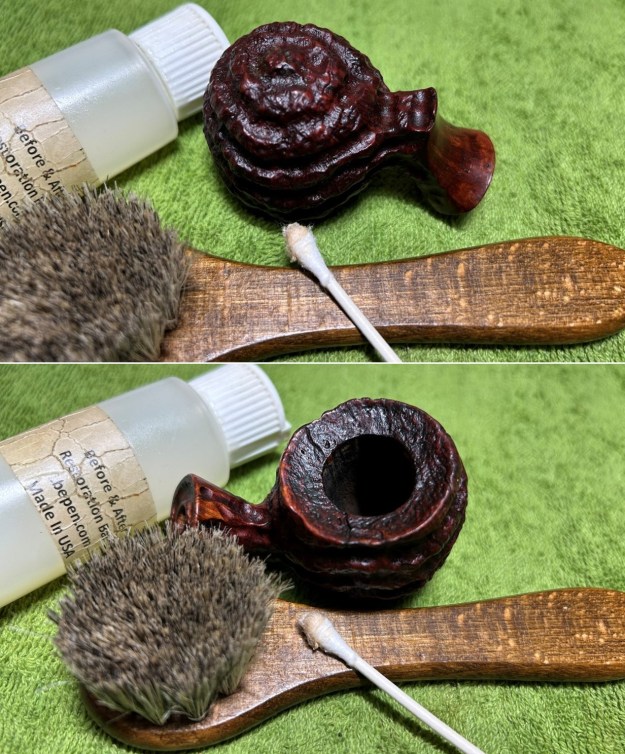
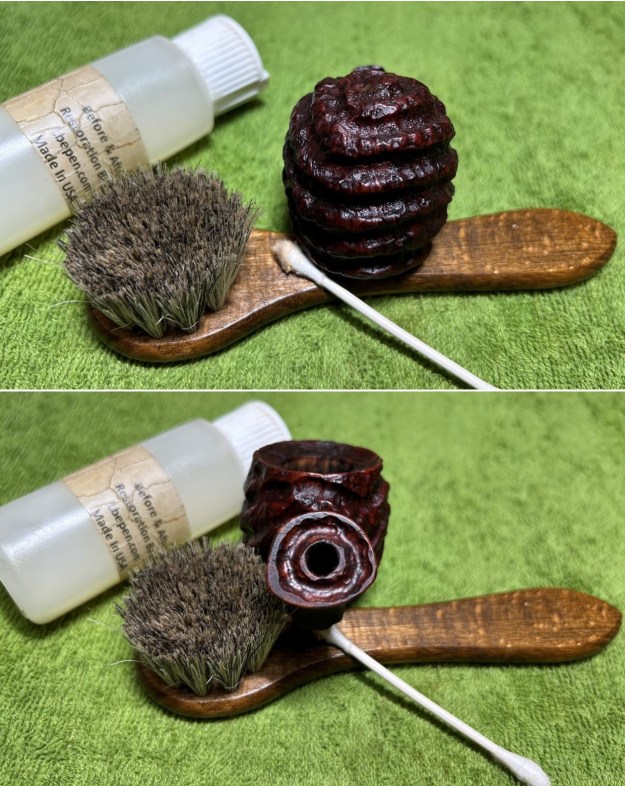
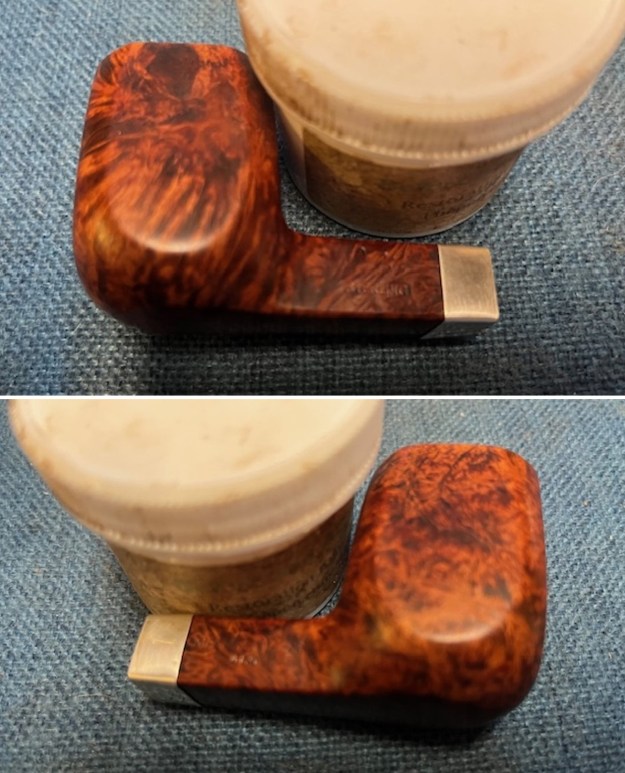
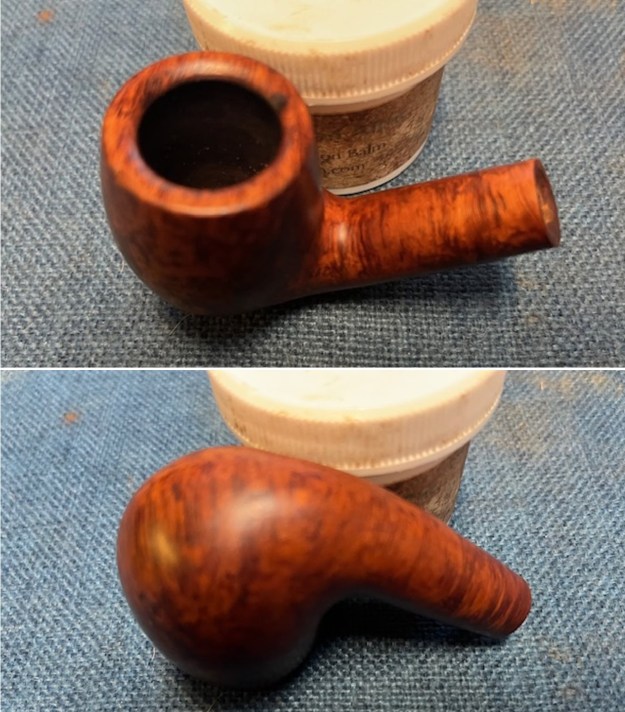
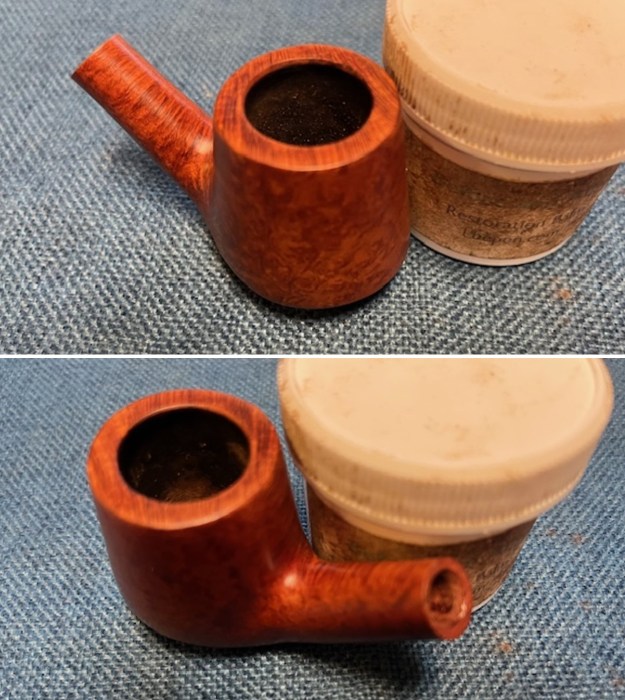
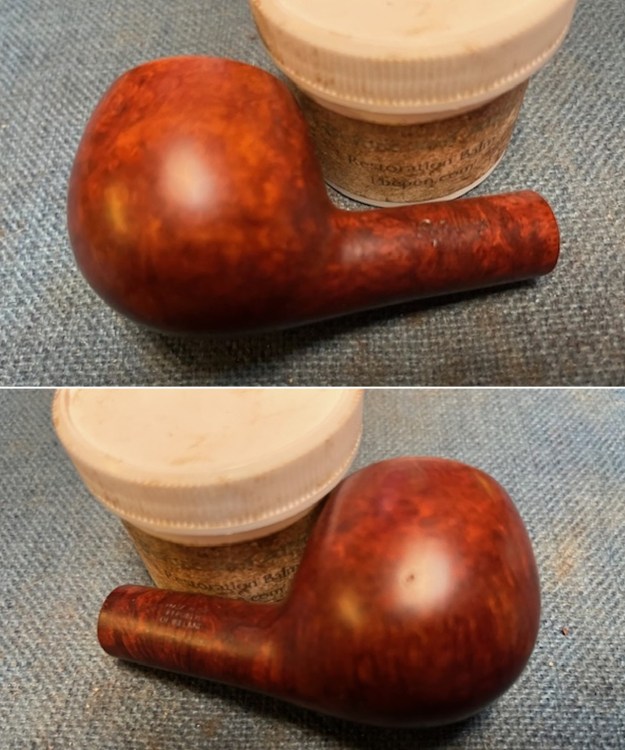
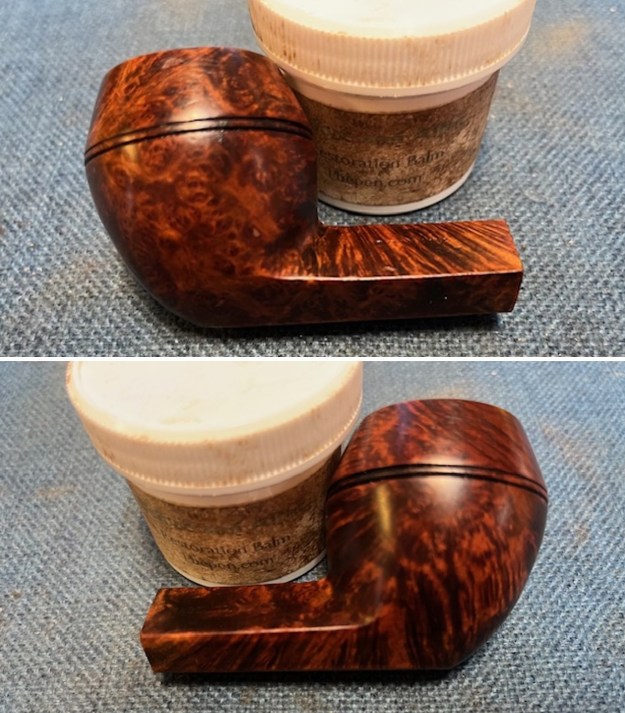
  I rubbed the bowl and shank down with Before & After Restoration Balm. I worked it into the surface of the bowl sides and shank with my fingertips to clean, enliven and protect the briar. I let the balm sit for a little while and then buffed with a cotton cloth to raise the shine. The Balm did its magic and the grain stood out.
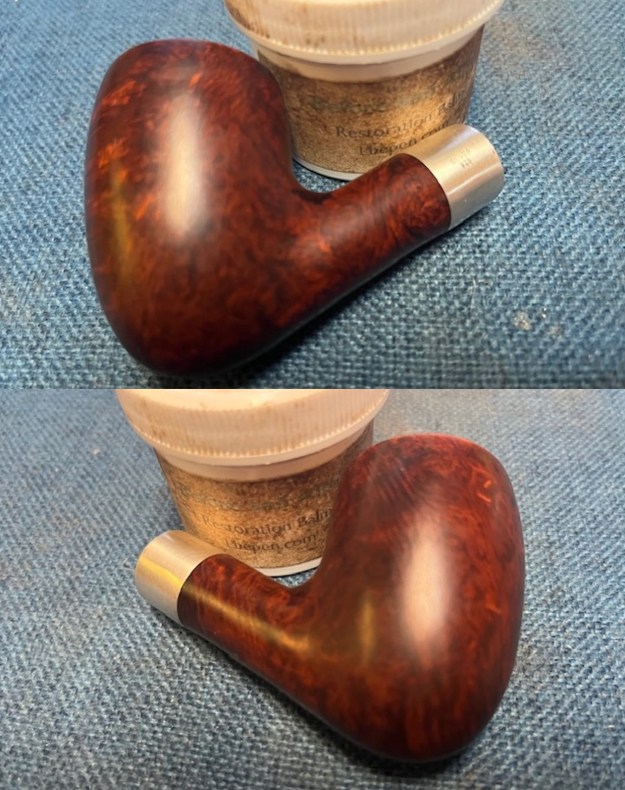
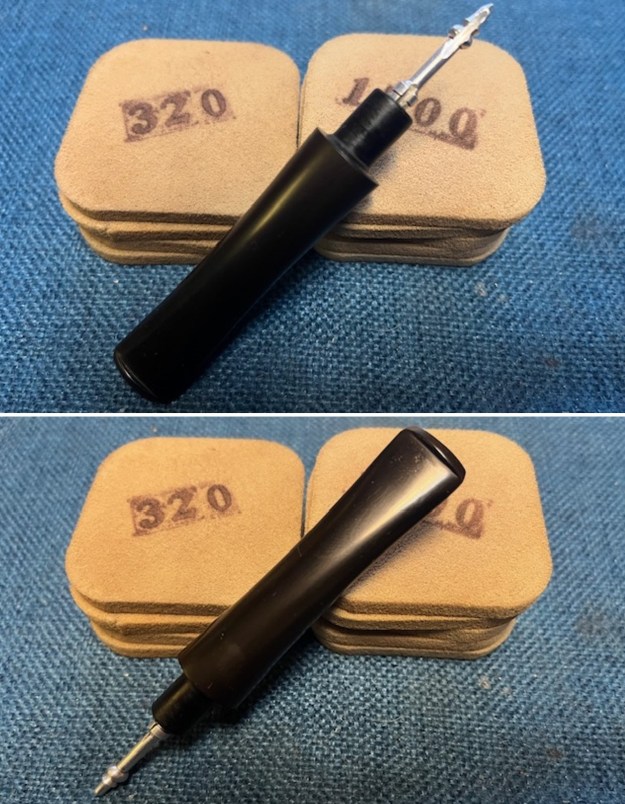
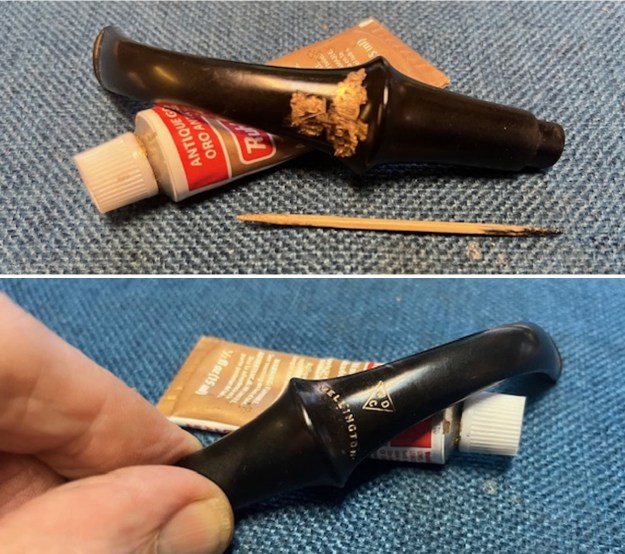
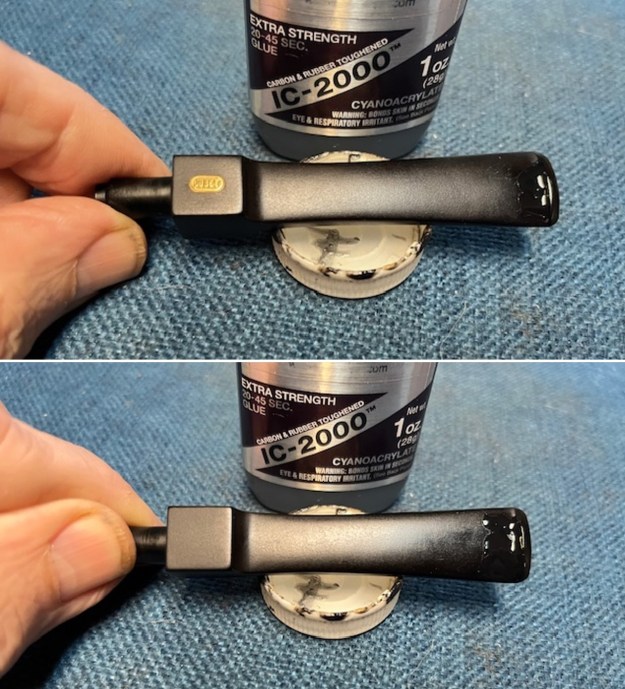
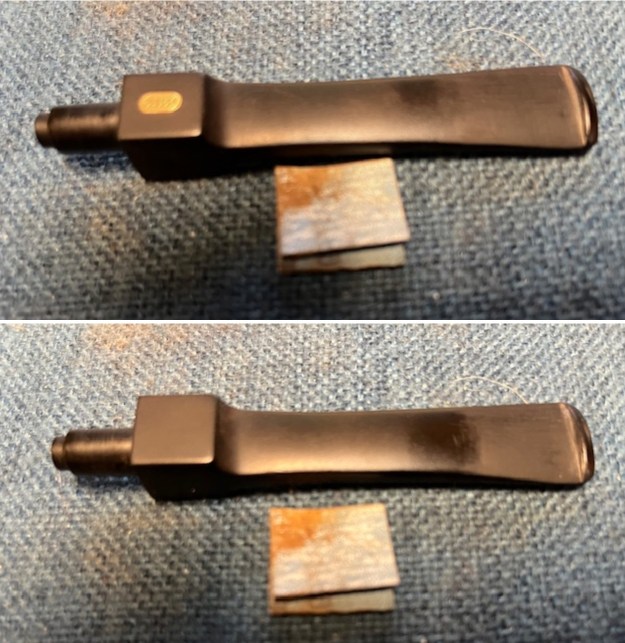
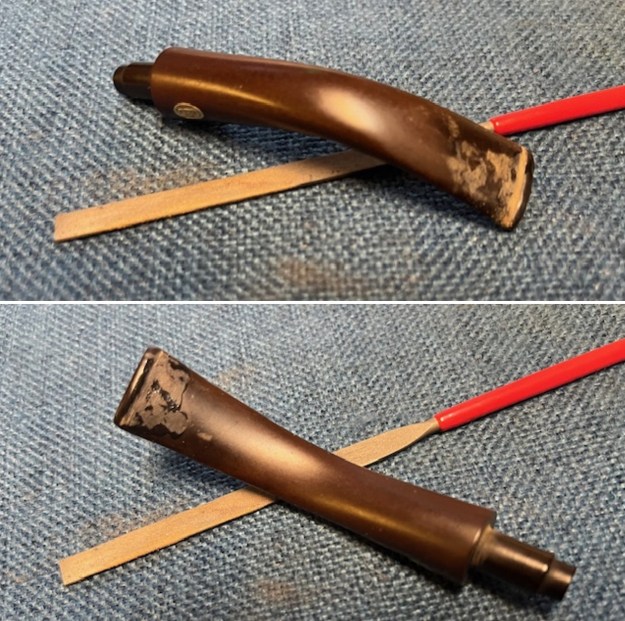
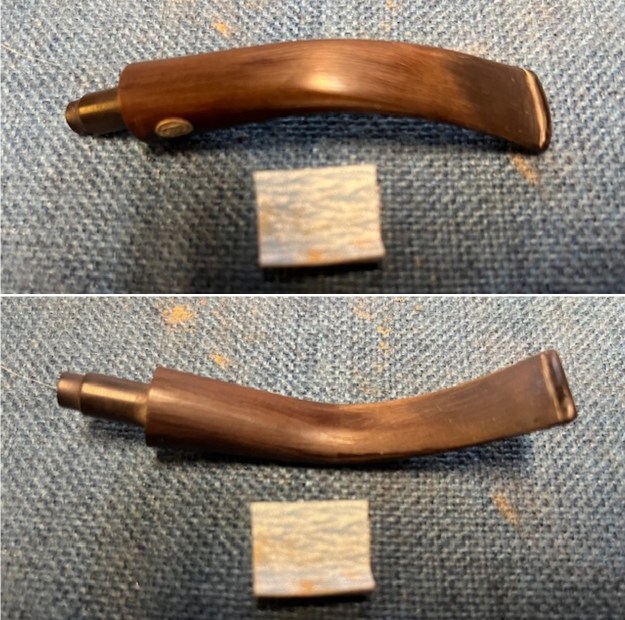
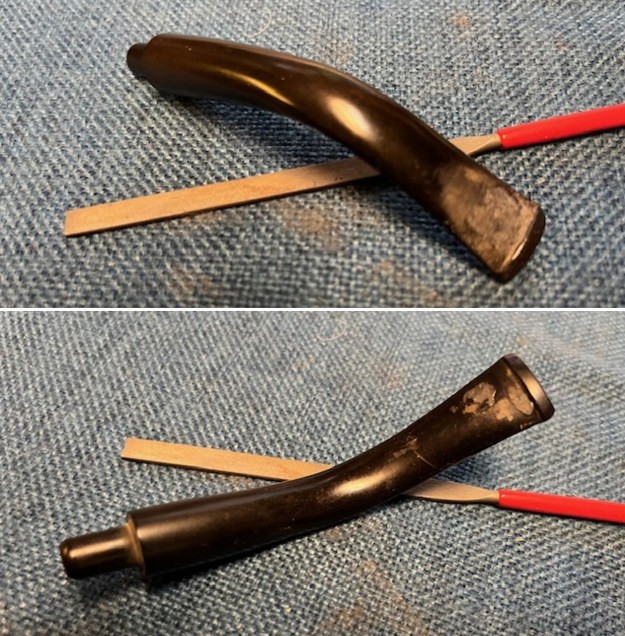
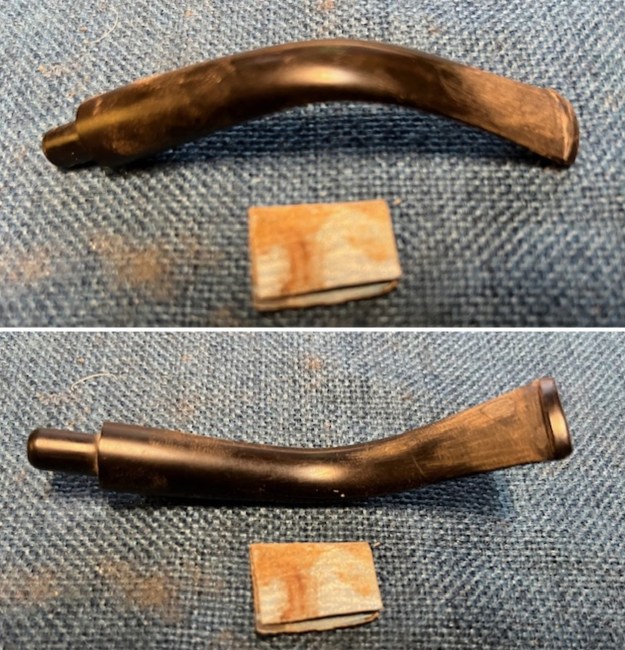
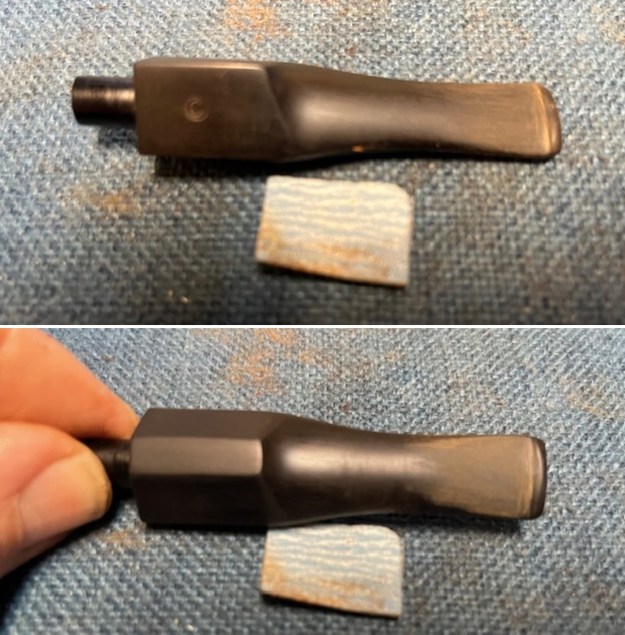
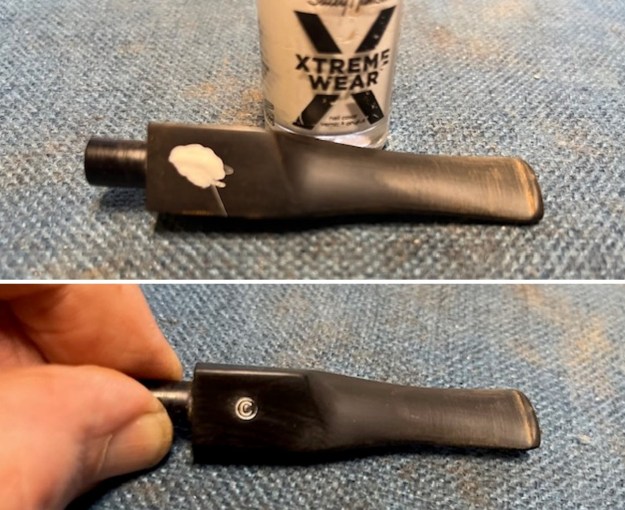
 I sanded out the tooth marks on the stem surface with a folded piece of 220 grit sandpaper to remove and smooth out the marks.
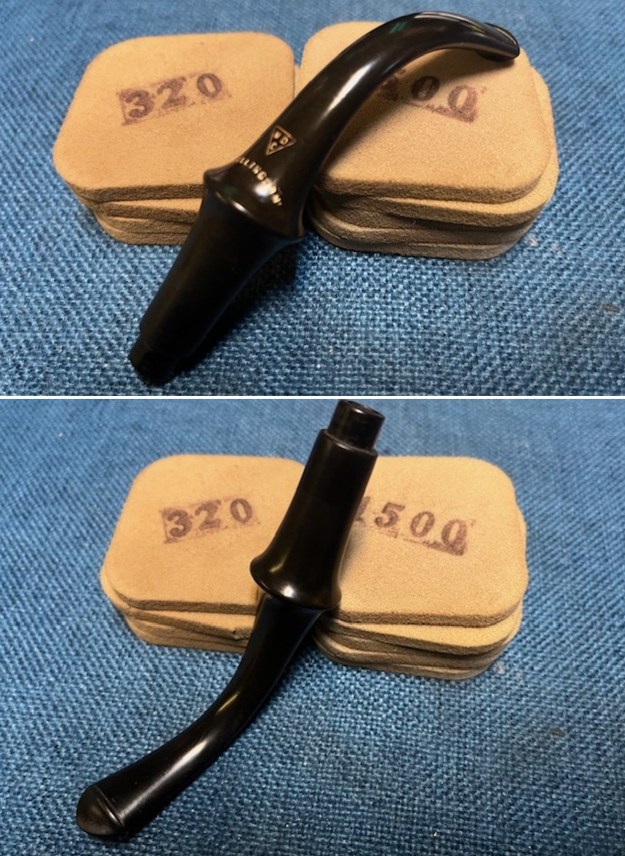
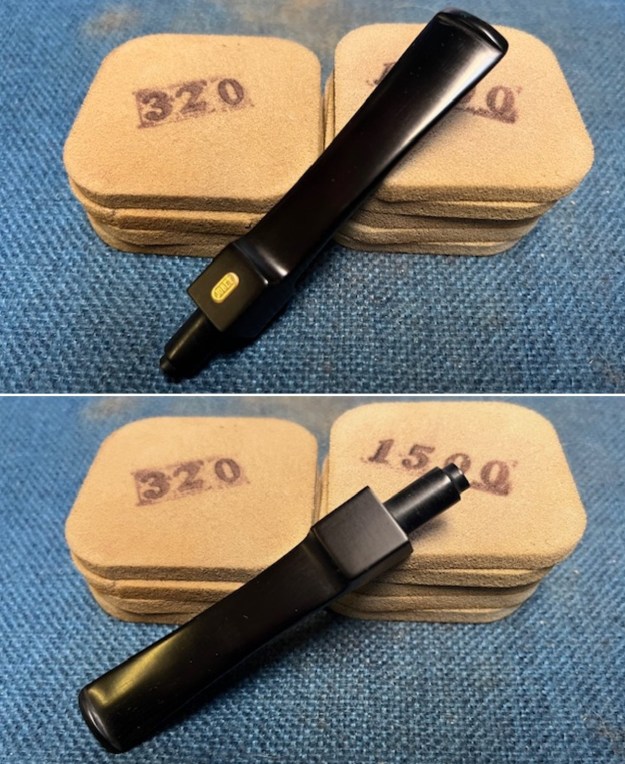
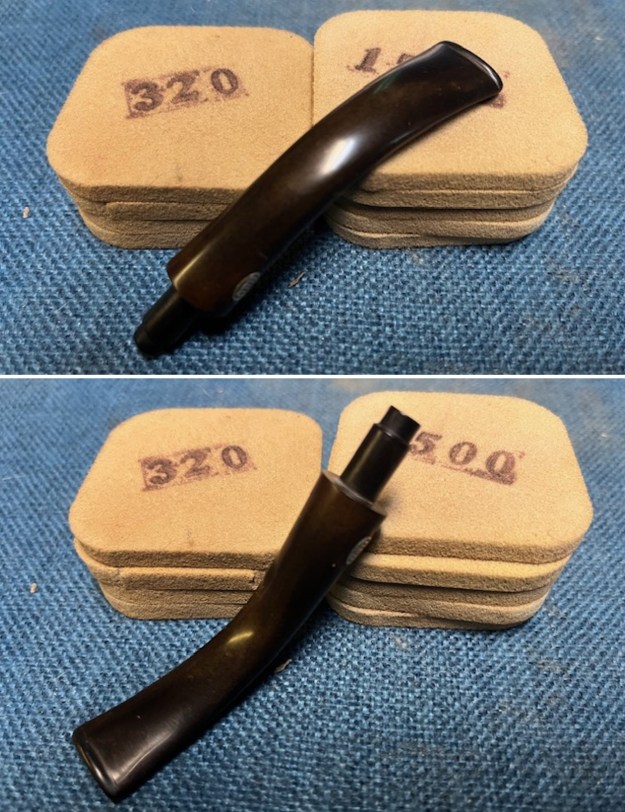
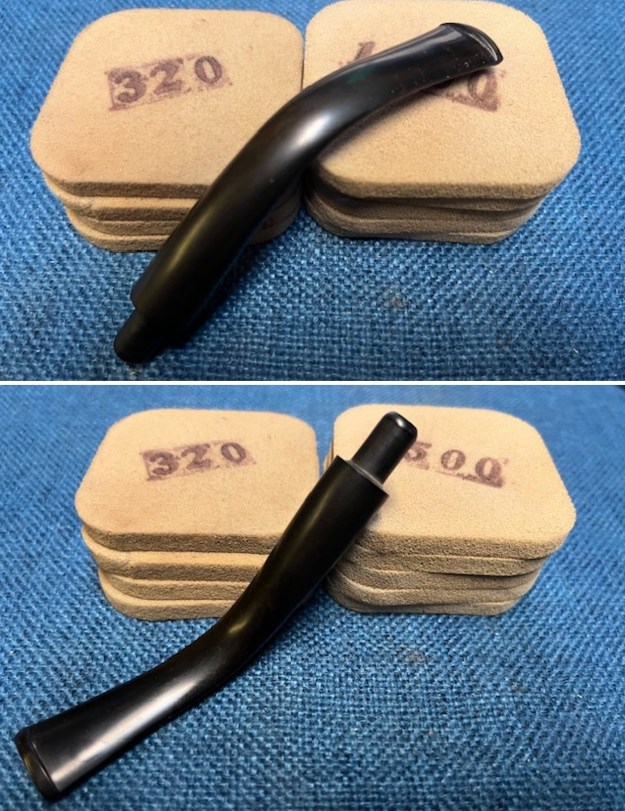
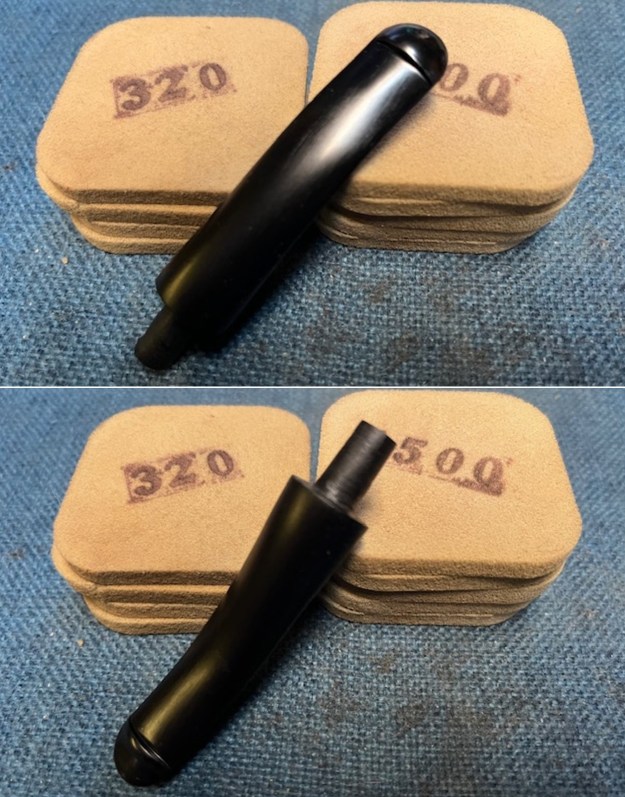
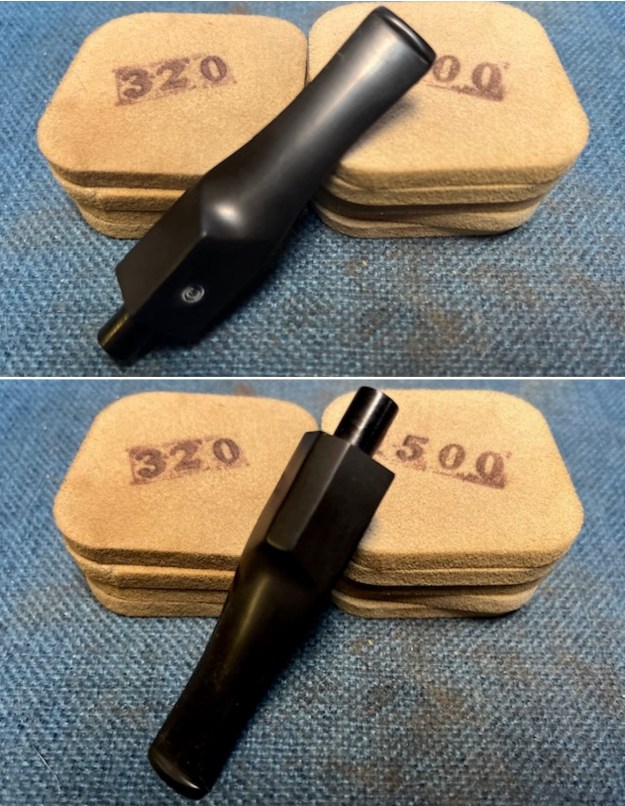
 I sanded out the scratch marks on the stem surface with 320-3500 grit sanding pads. I wiped the stem down after each pad with an Obsidian Oil cloth. The stem began to shine.
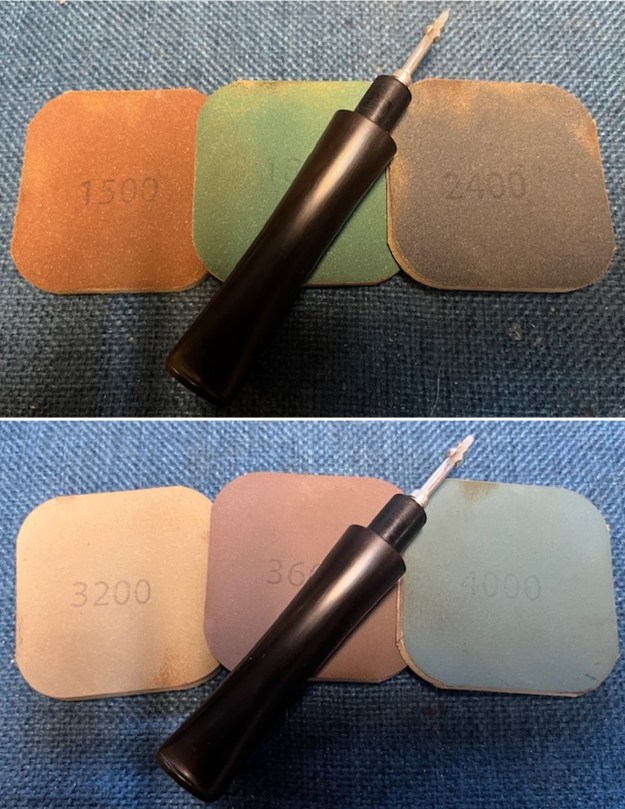
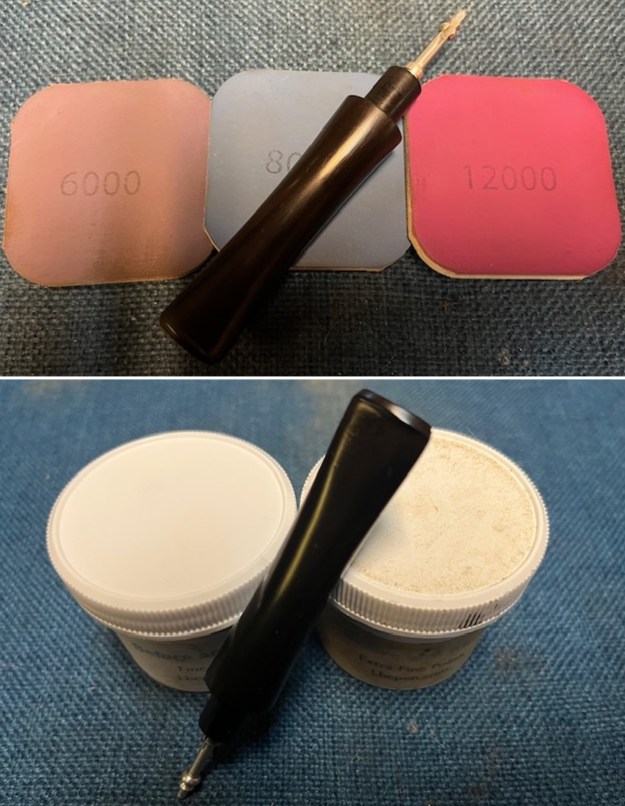
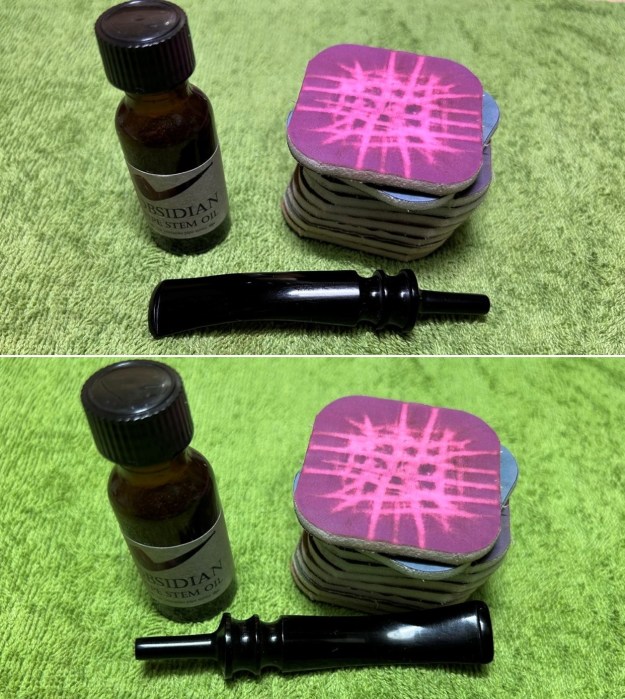
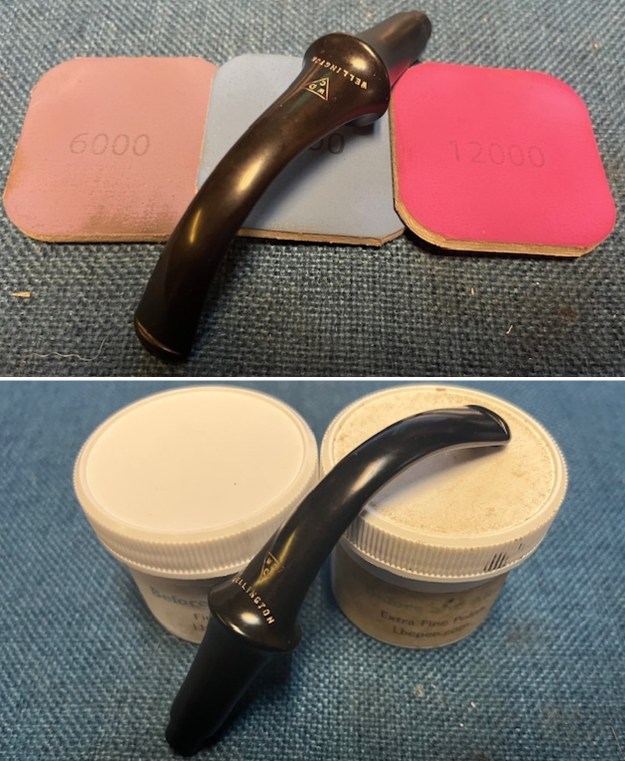
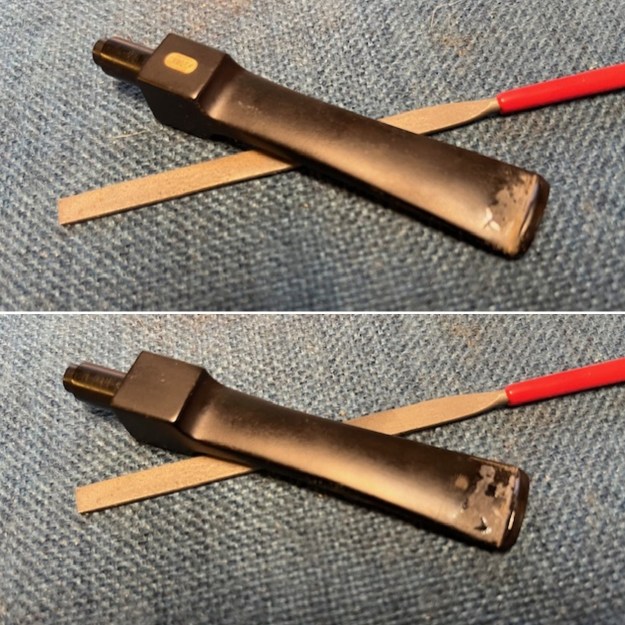
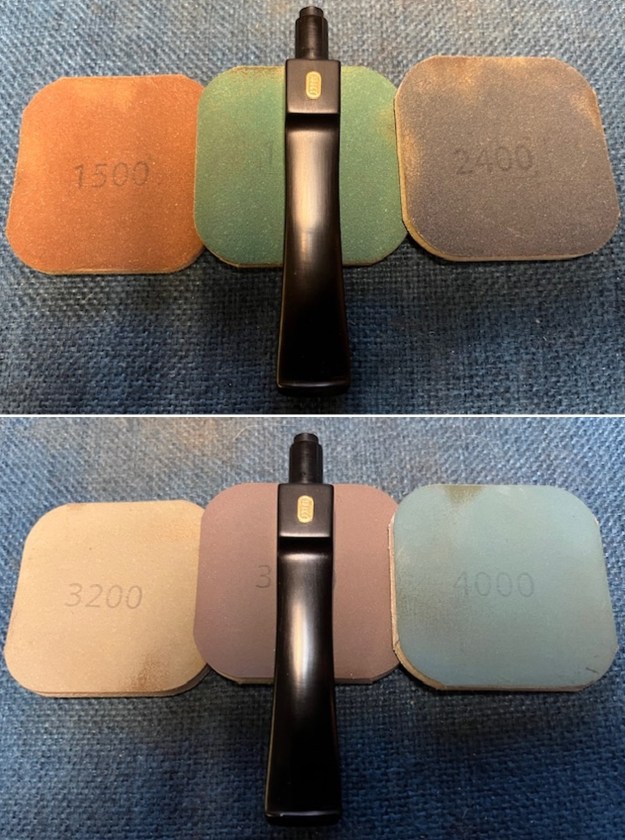
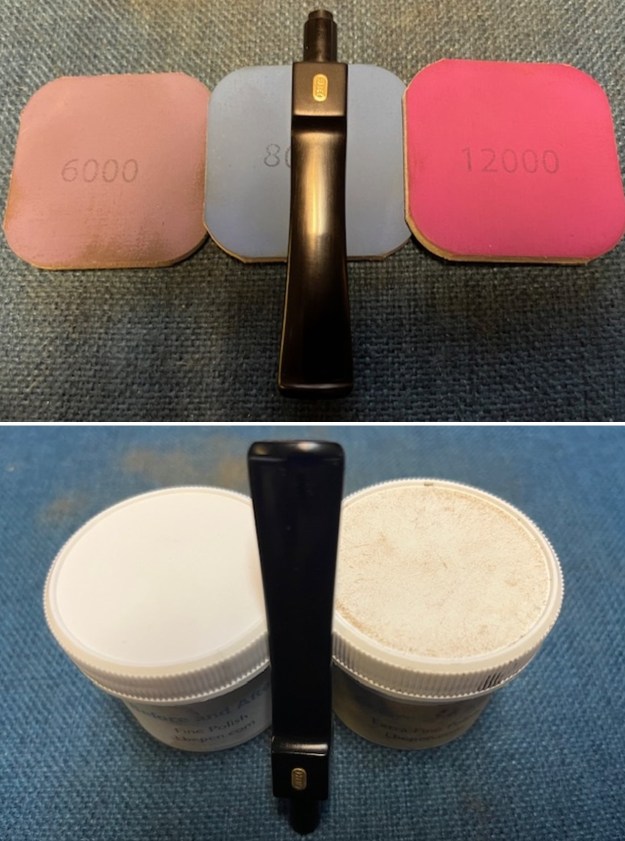
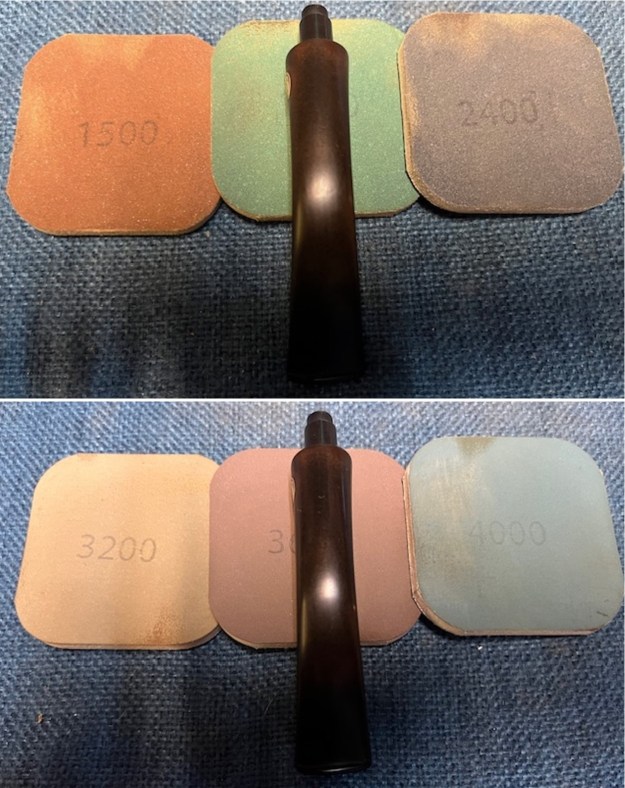
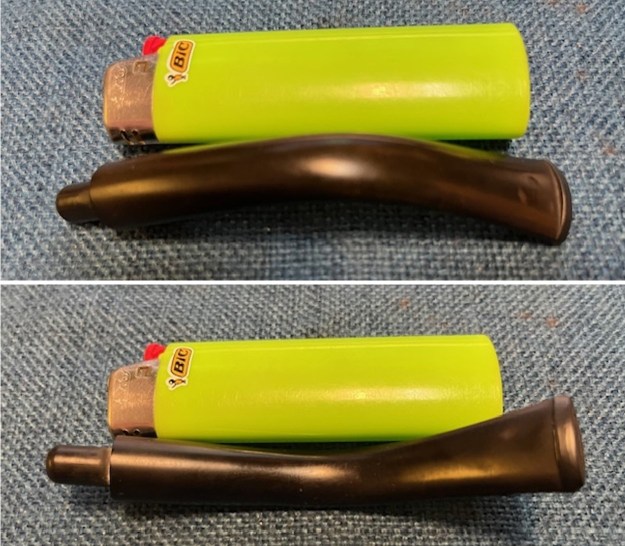
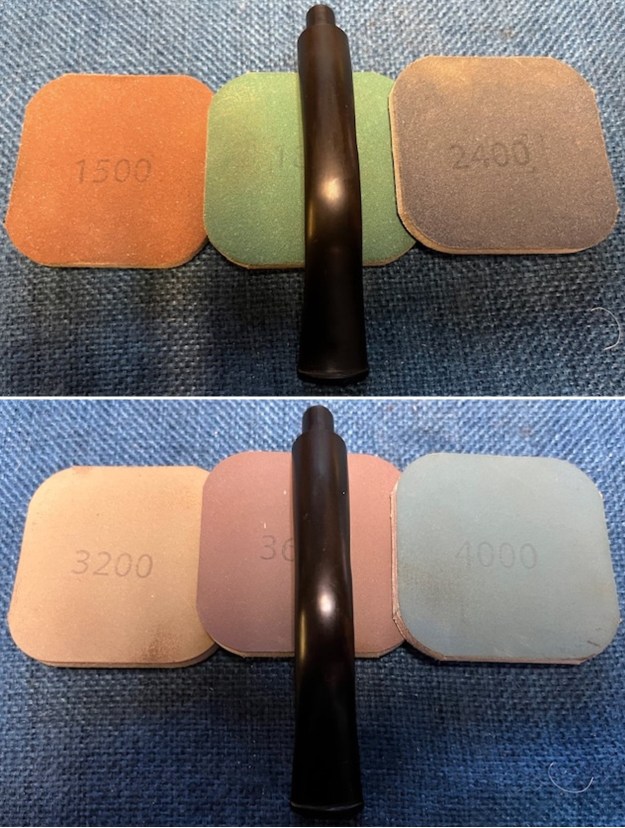
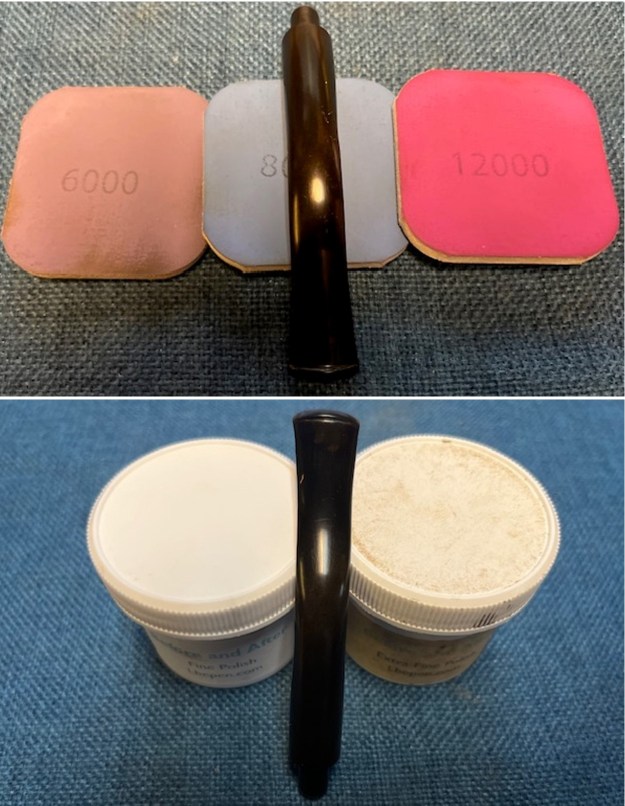
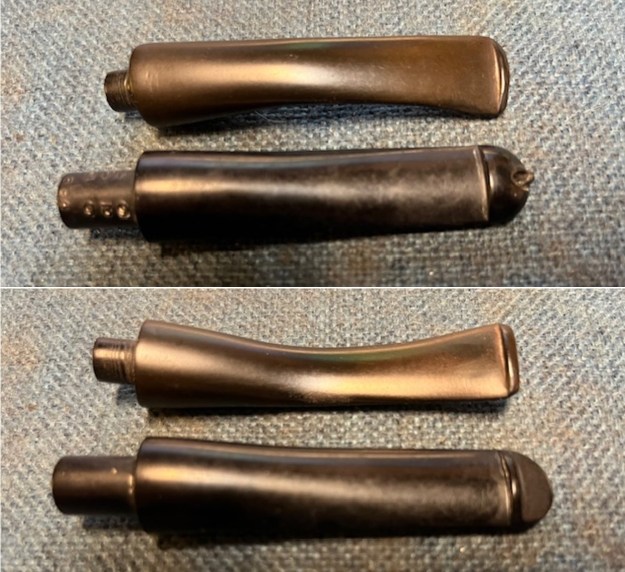
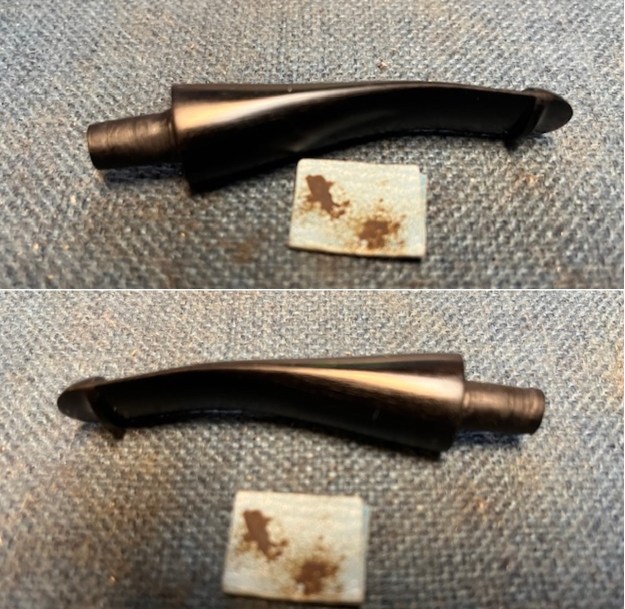
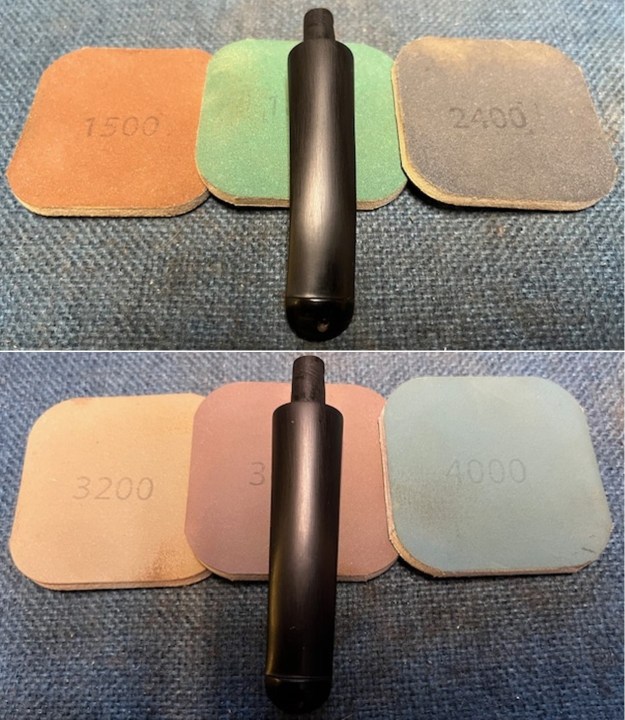
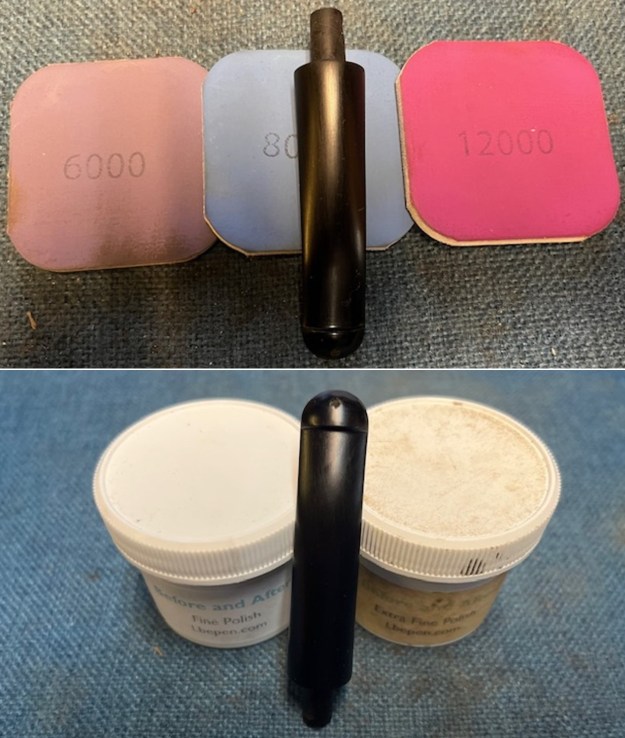
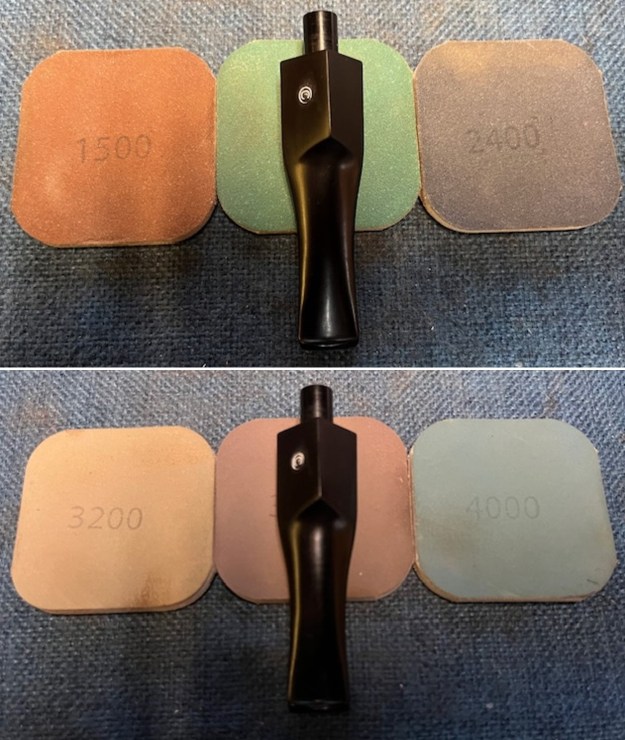
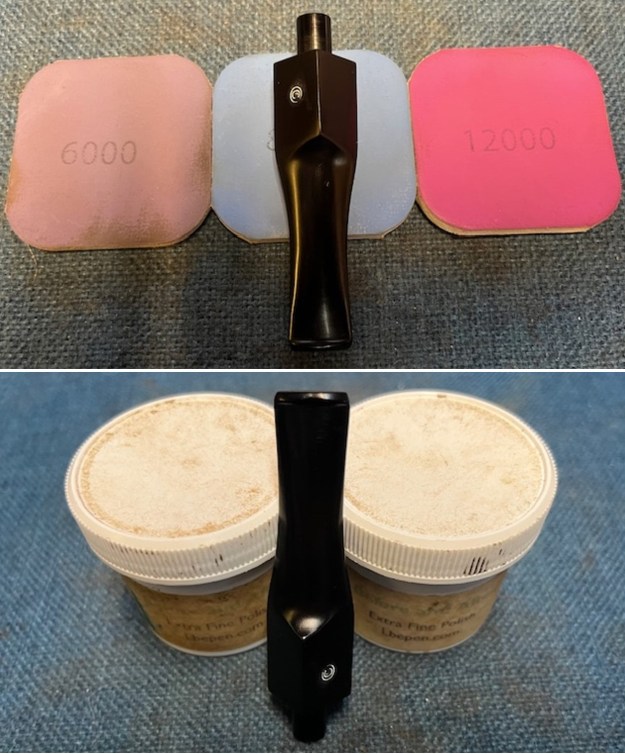
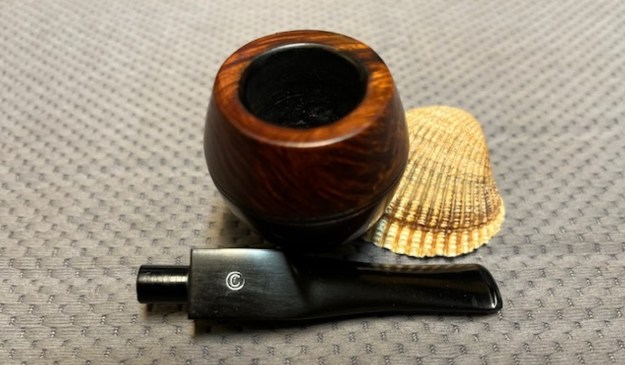
 I polished the vulcanite stem with micromesh sanding pads – 1500-12000 grit pads. I wiped it down with Obsidian Oil after each sanding pad. I used Before & After Pipe Polish – both Fine and Extra Fine to further polish the stem. The photo below shows the polished stem.
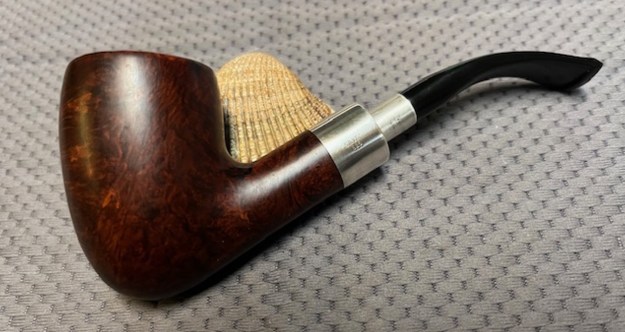
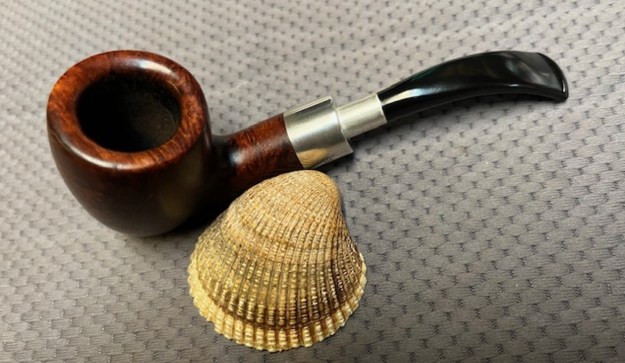
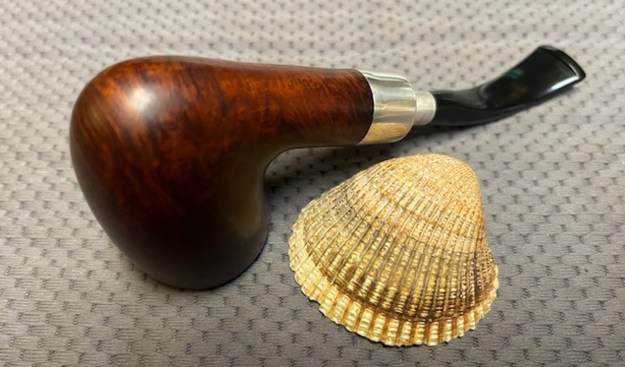
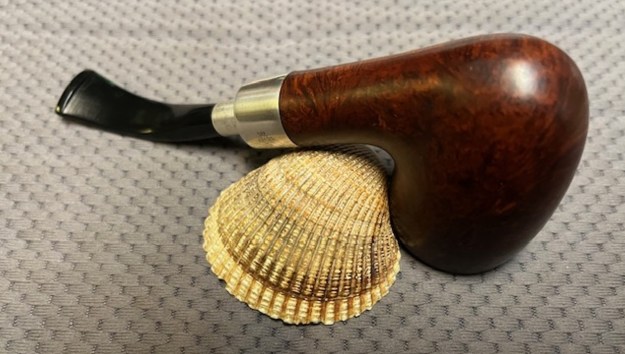
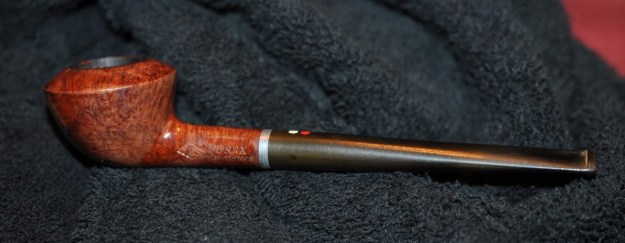
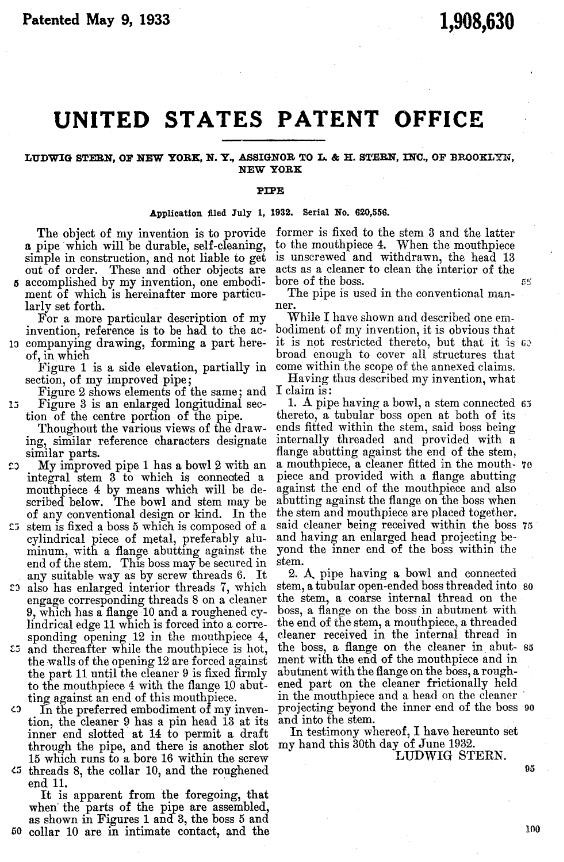
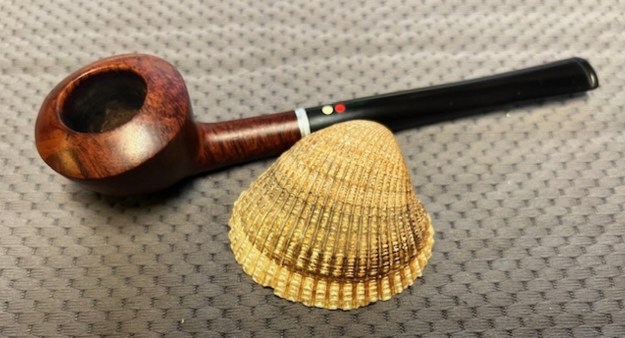
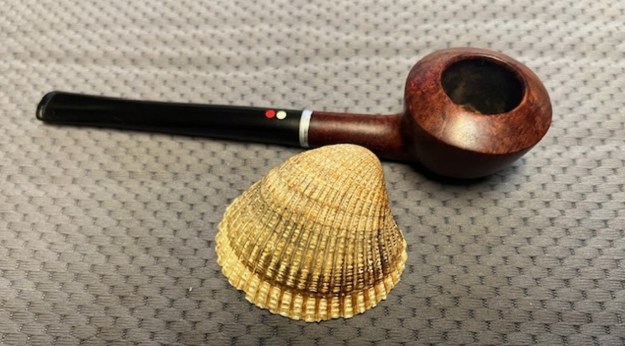
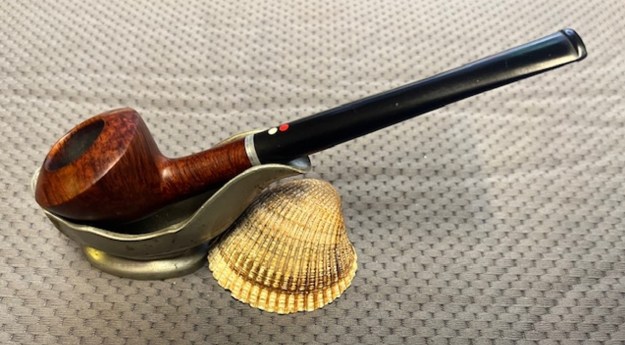
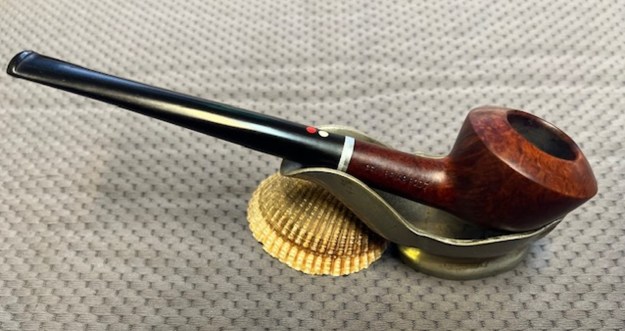
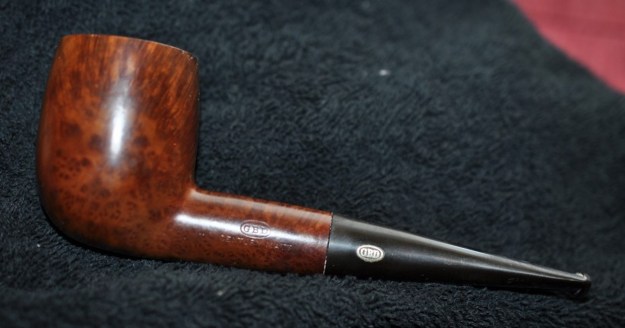
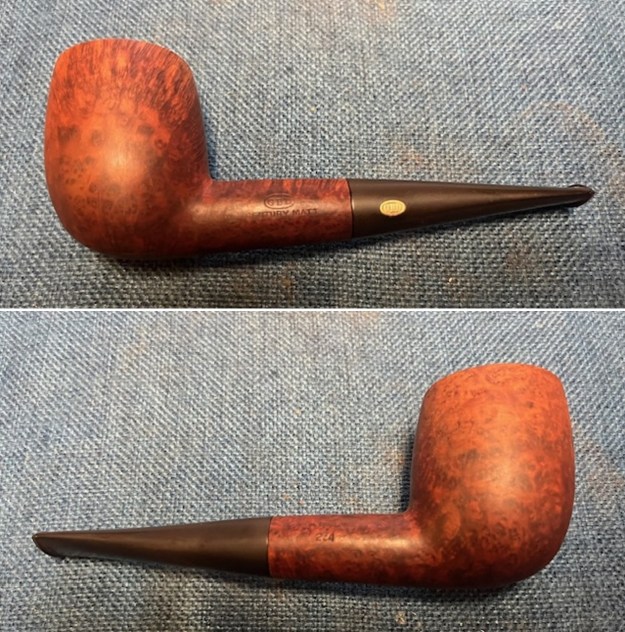
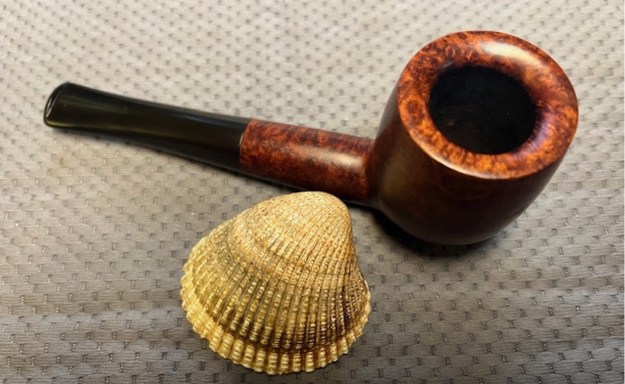
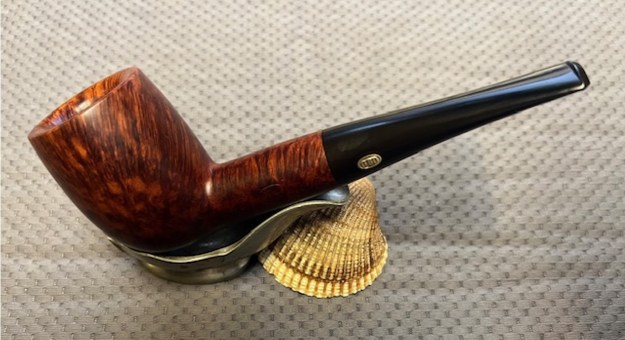
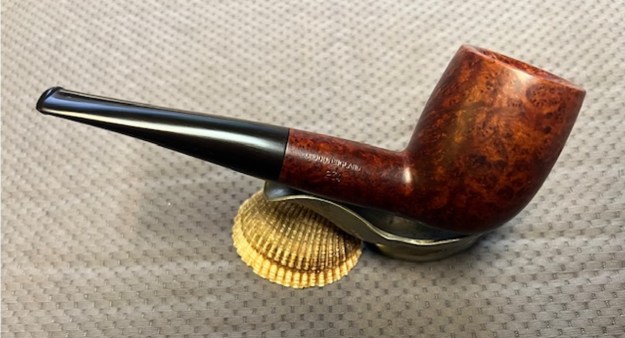
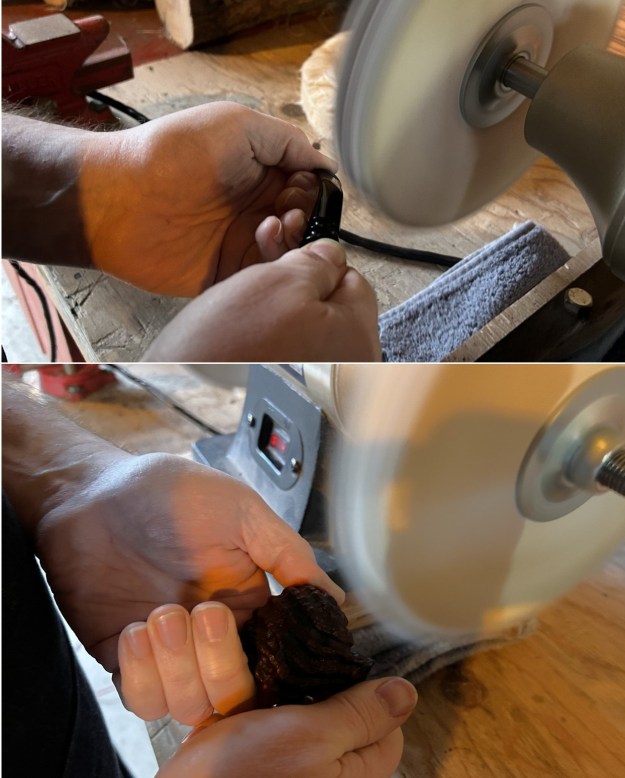
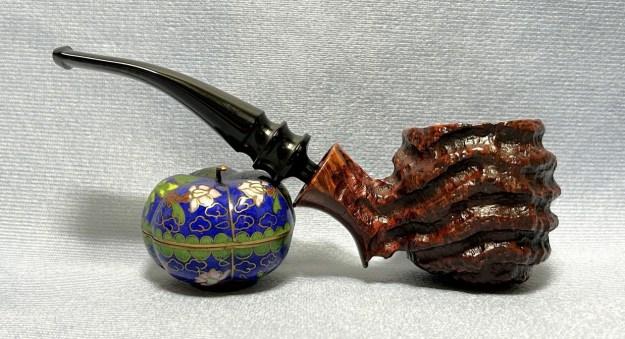
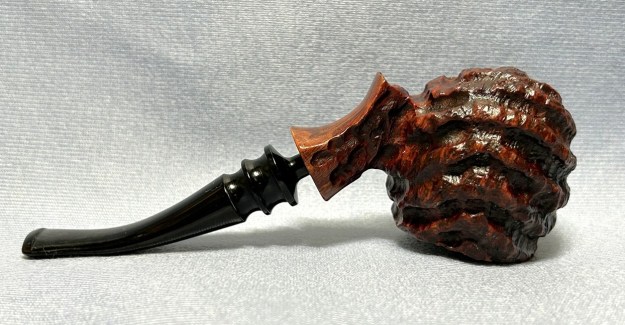
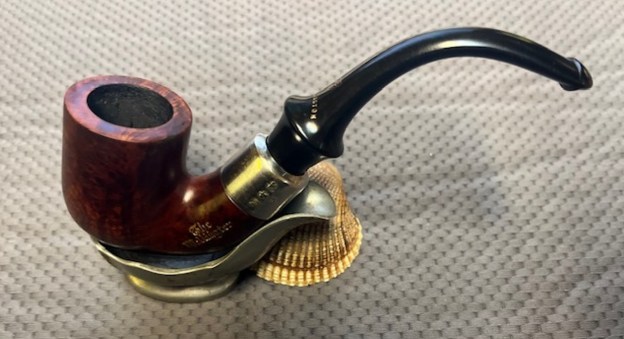
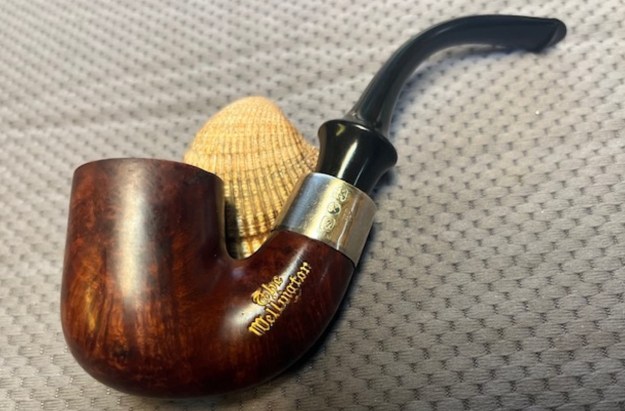
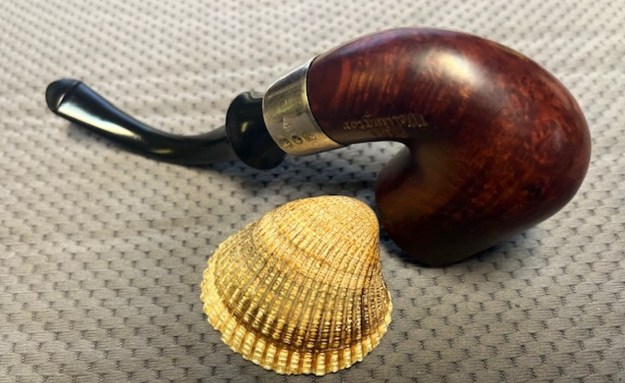
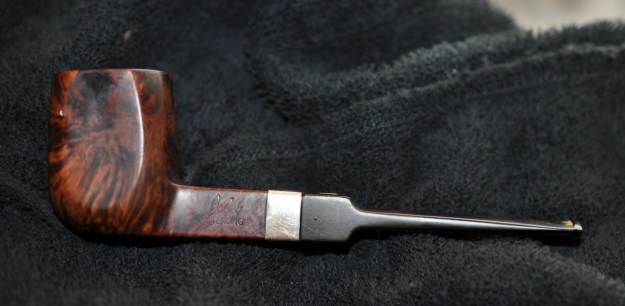
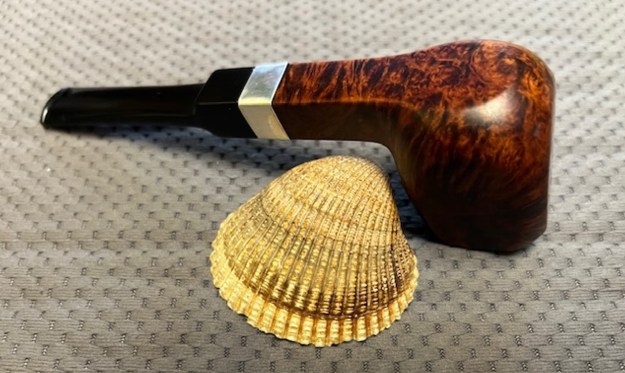
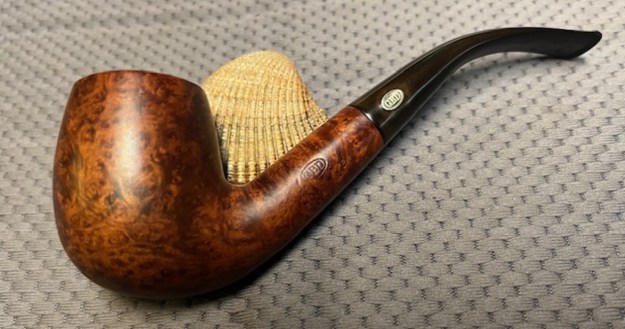
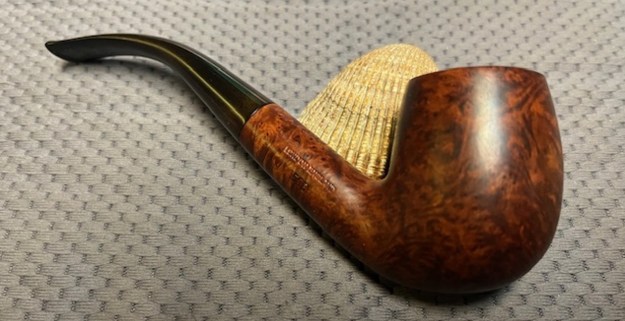
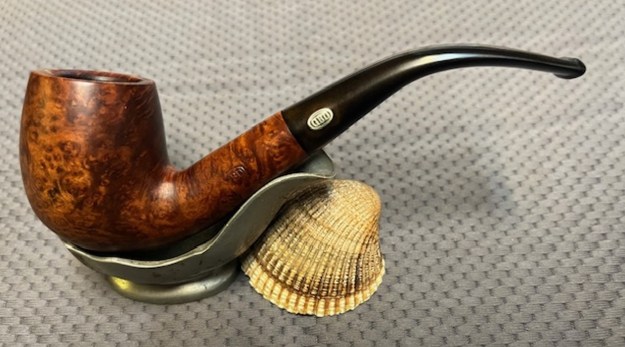
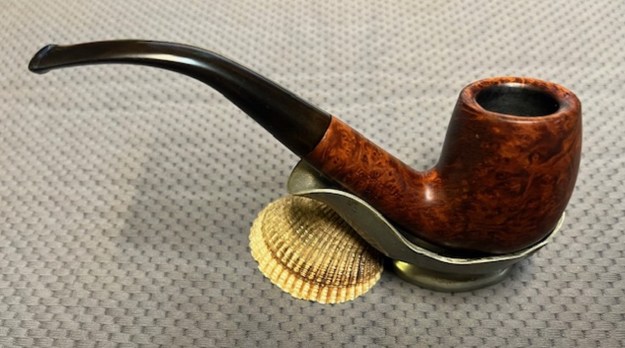
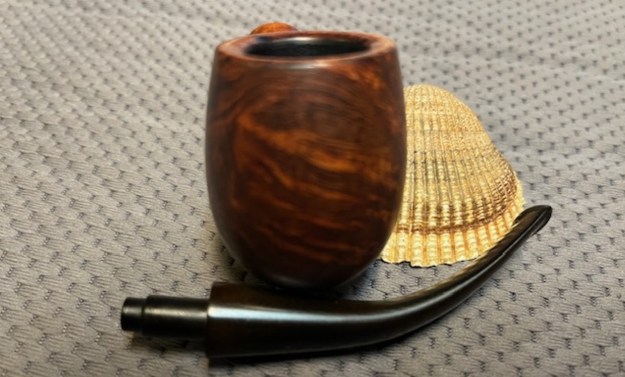
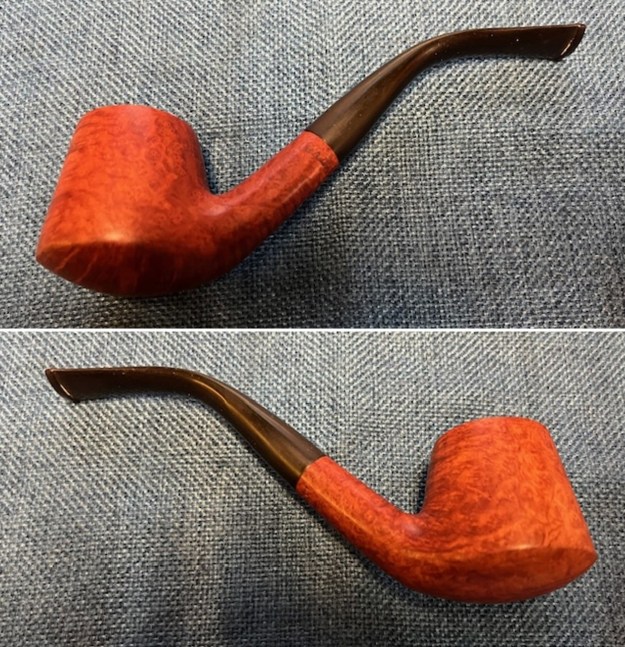
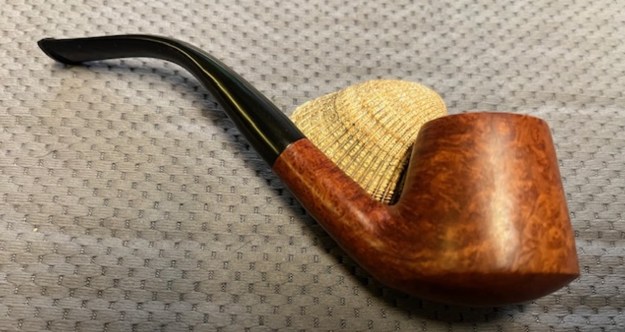
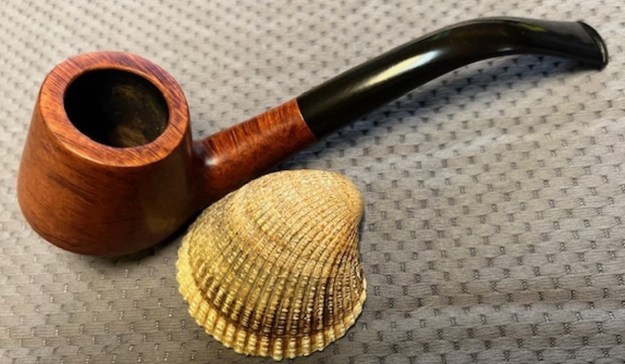
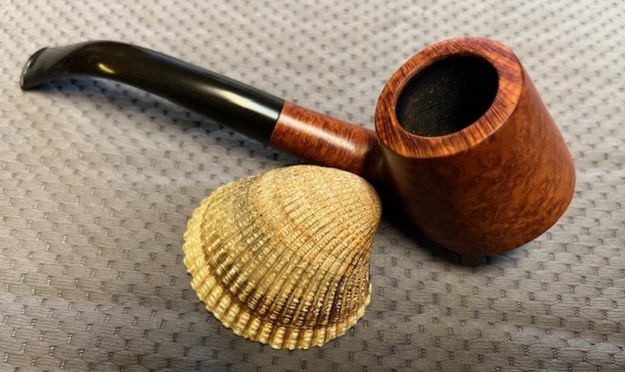
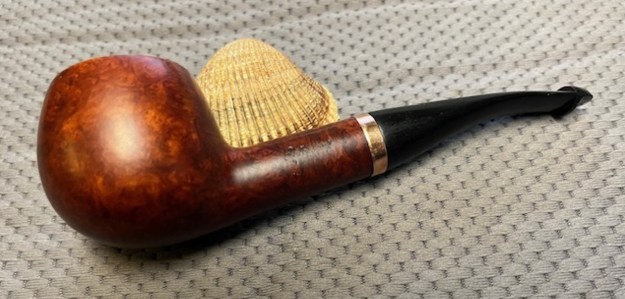
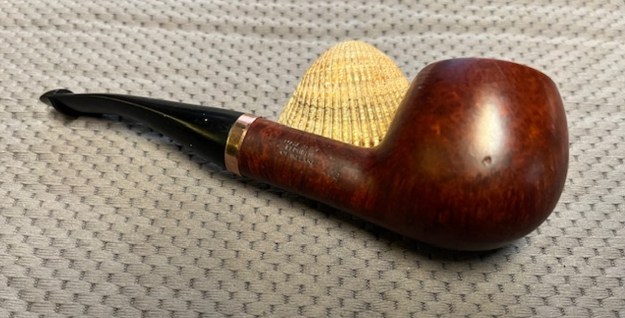
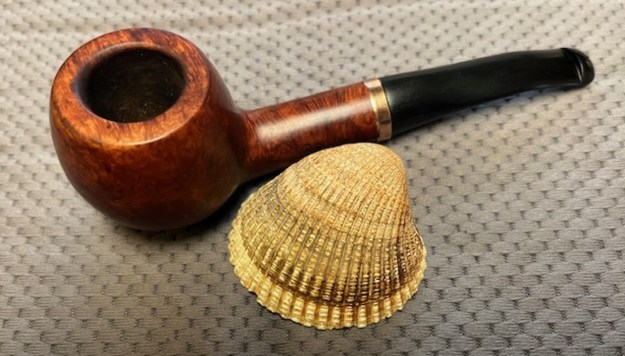
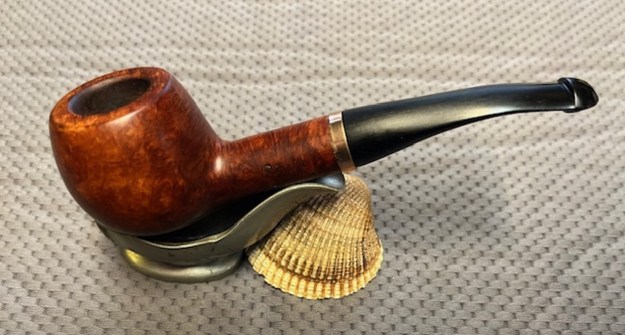
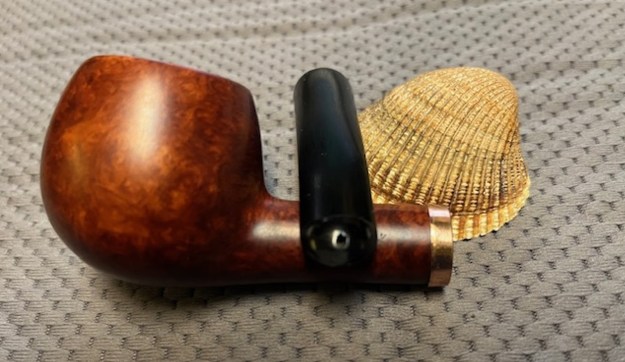
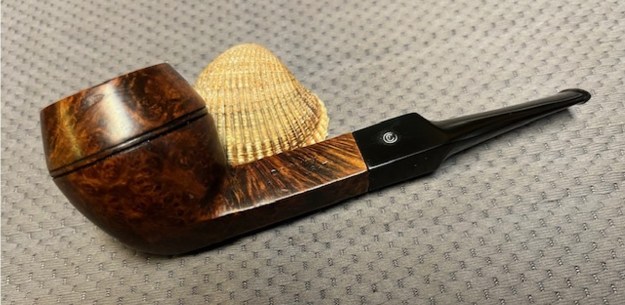
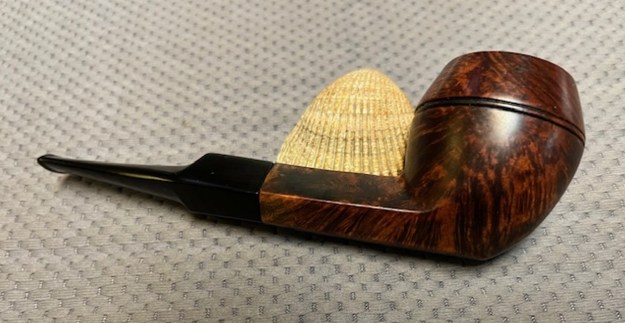
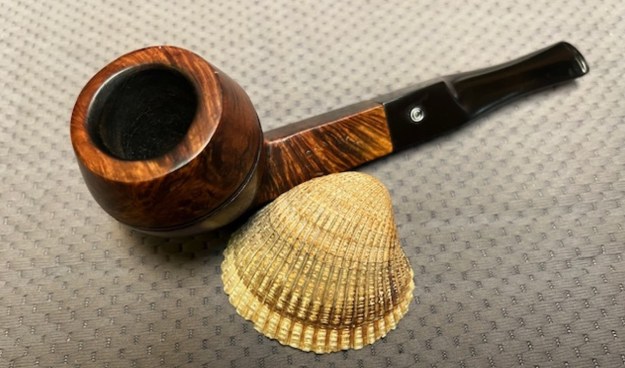
 This No Name Bent Acorn with the Silver Spigot with an acrylic stem is a nice looking pipe. The finish looks very good and the grain stands out. I put the stem back on the bowl and buffed the pipe with Blue Diamond on the buffing wheel. I carefully avoided the stamping on the shank sides during the process. I gave the bowl and the stem multiple coats of carnauba wax on the buffing wheel and followed that by buffing it with a clean buffing pad on the buffer. I hand buffed the pipe with a microfiber cloth to deepen the shine. The flow of the grain and the way the shape follows it is very well done. Give the finished pipe a look in the photos below. I can only tell you that it is much prettier in person than the photos capture. The dimensions of the pipe are Length: 5 ½ inches, Height: 2 inches, Outside diameter of the bowl: 1 ¼, Chamber diameter: 7/8 of an inch. The weight of the pipe is 1.52 ounces/42 grams. This interesting No Name Bent Acorn Silver Spigot is a great looking pipe in excellent condition. Thanks for walking through the restoration with me as I worked over another beautiful pipe. I will be adding it to the rebornpipes store in the American Pipe Makers Section soon. If you want to add it to your collection send me an email or a message! Thanks for your time.