Blog by Steve Laug
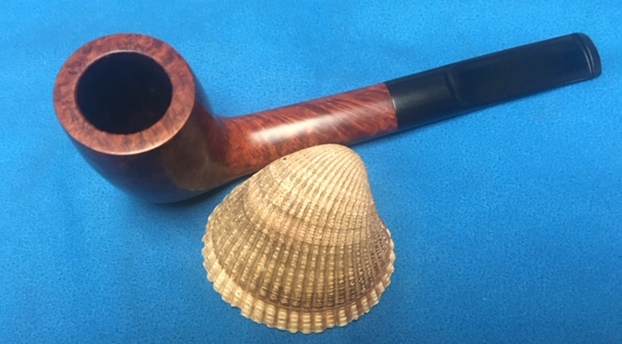
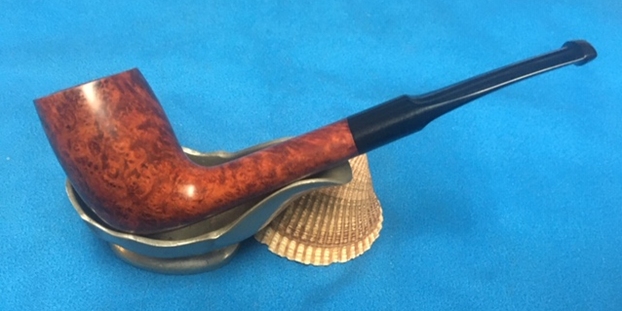
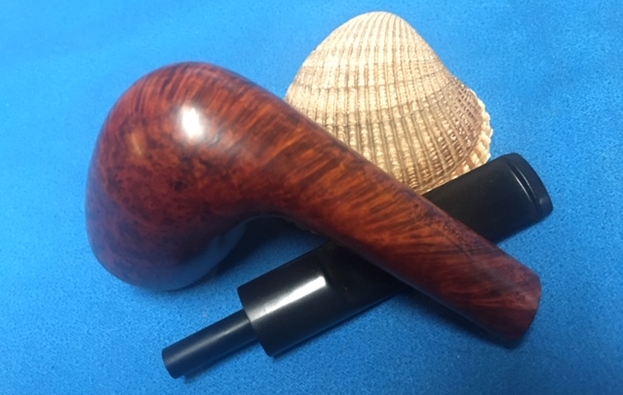
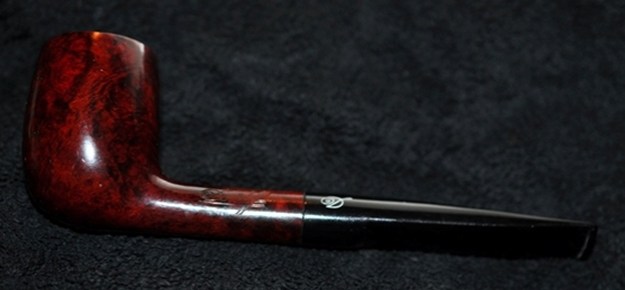
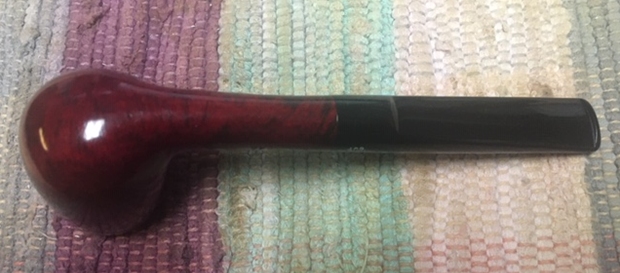
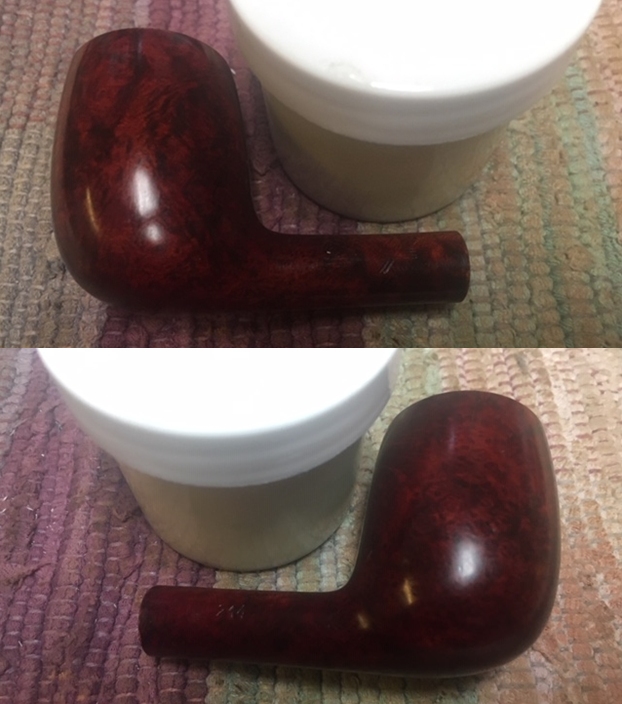
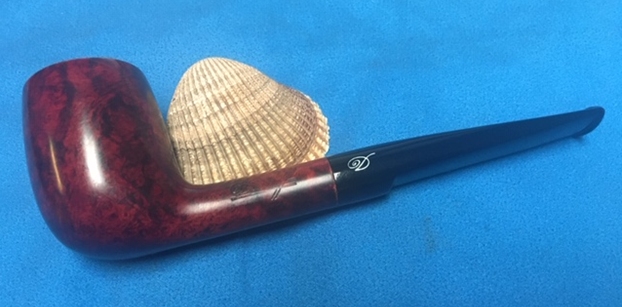
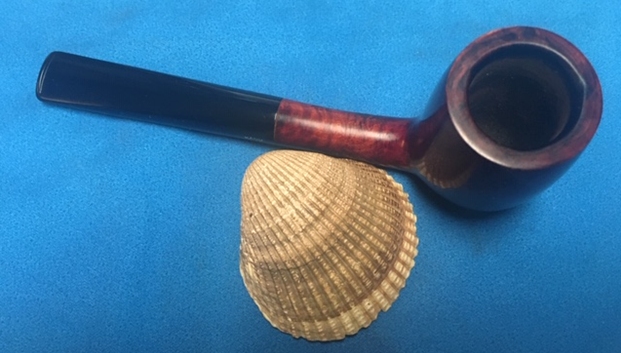
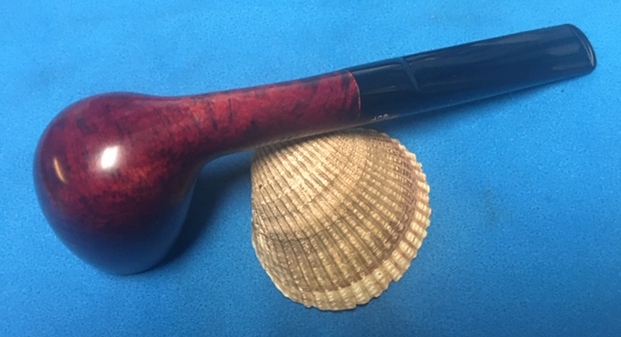
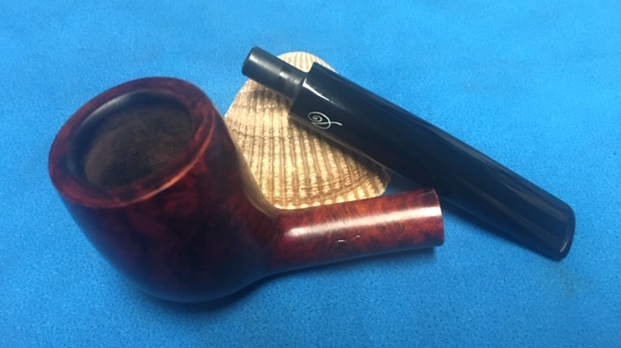
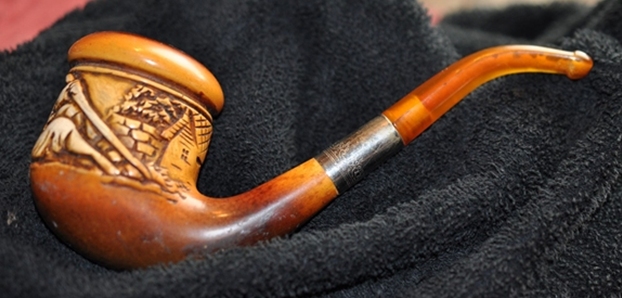
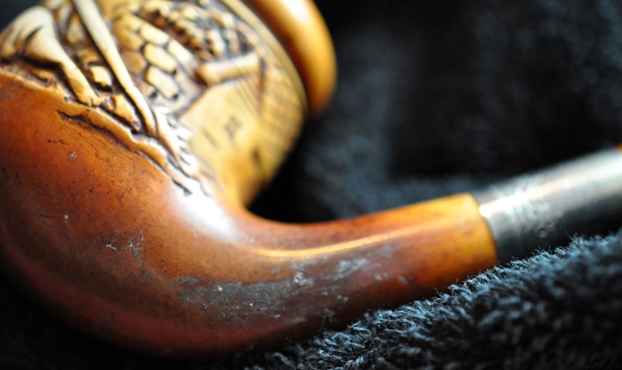
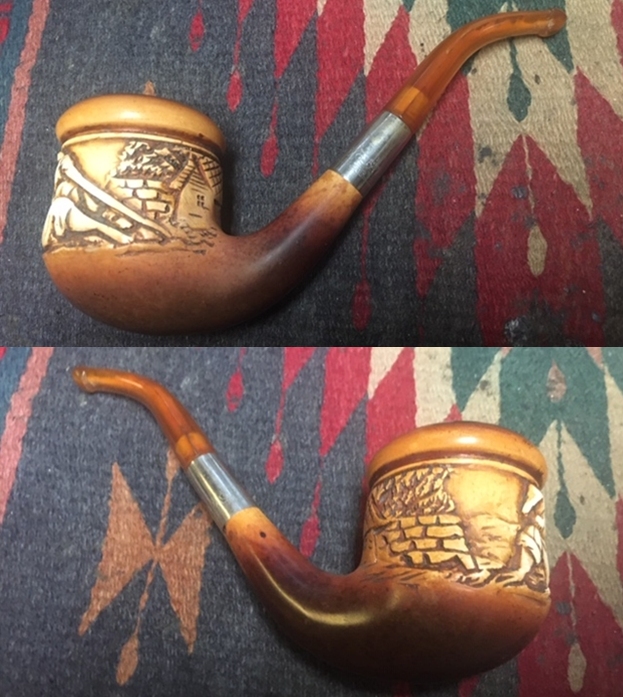
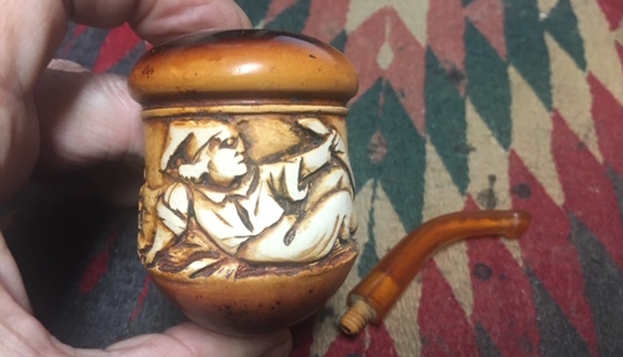
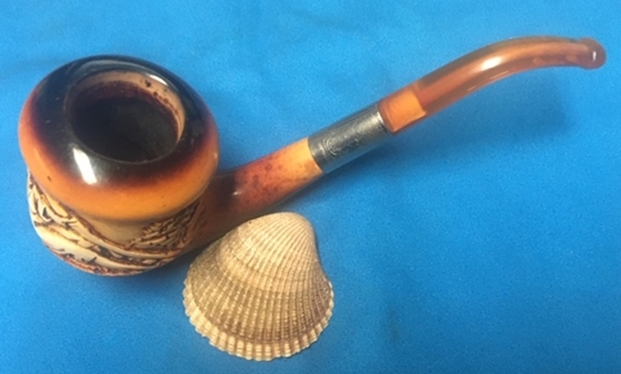
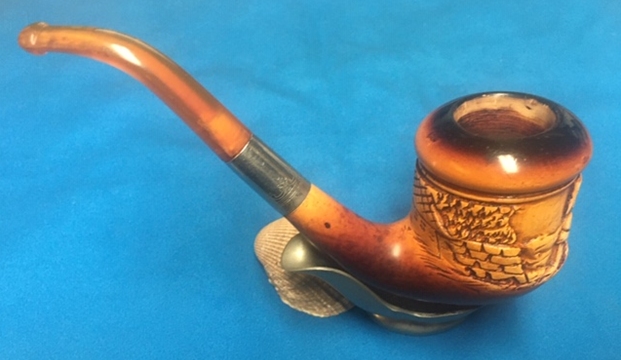
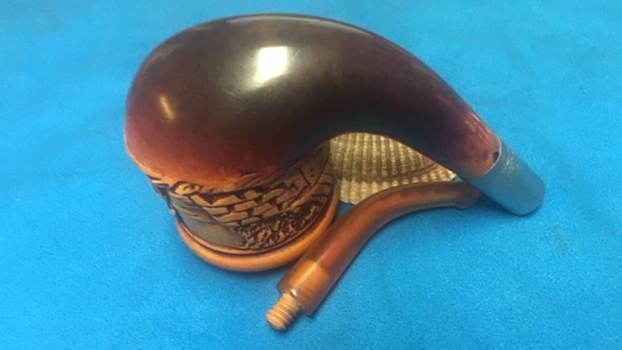
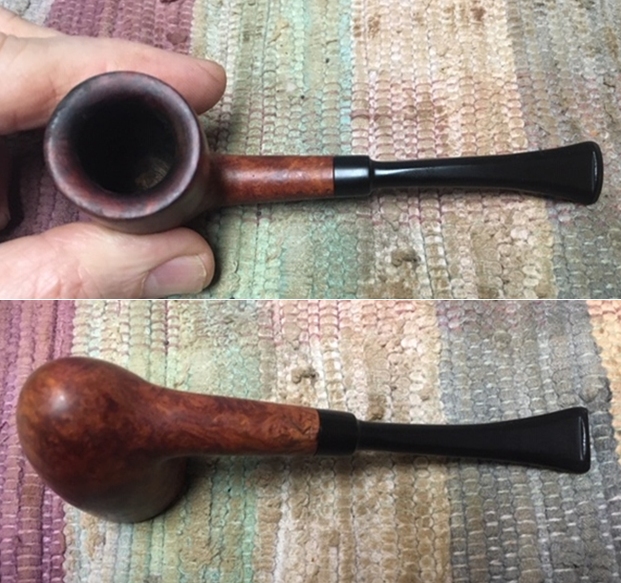
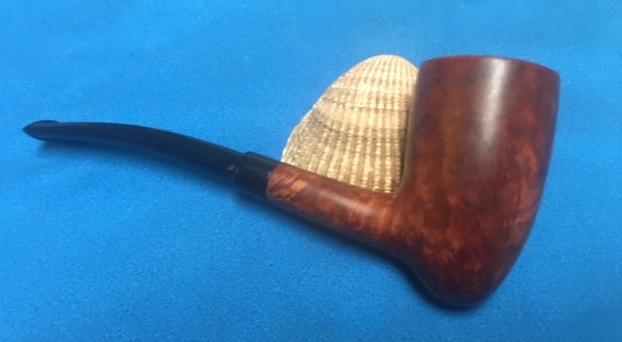
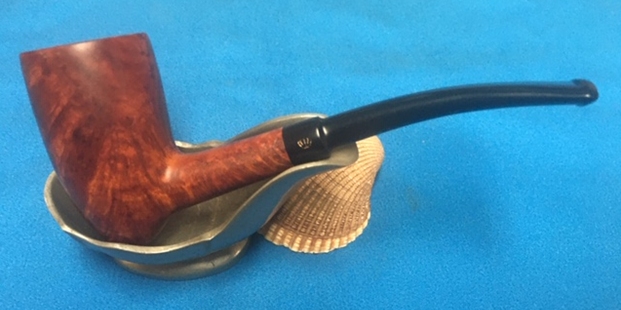
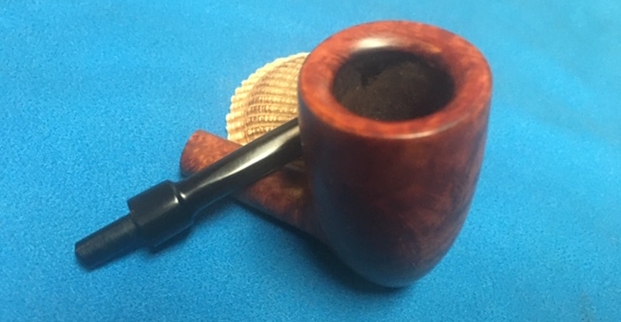
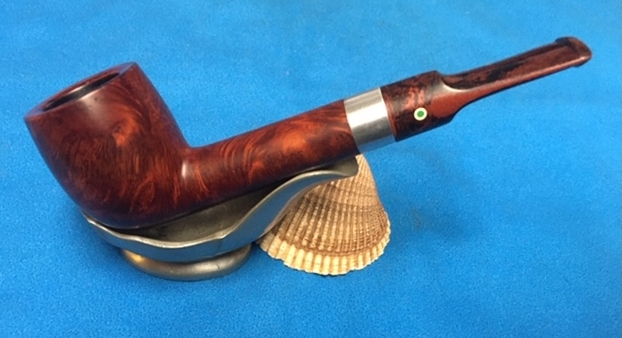
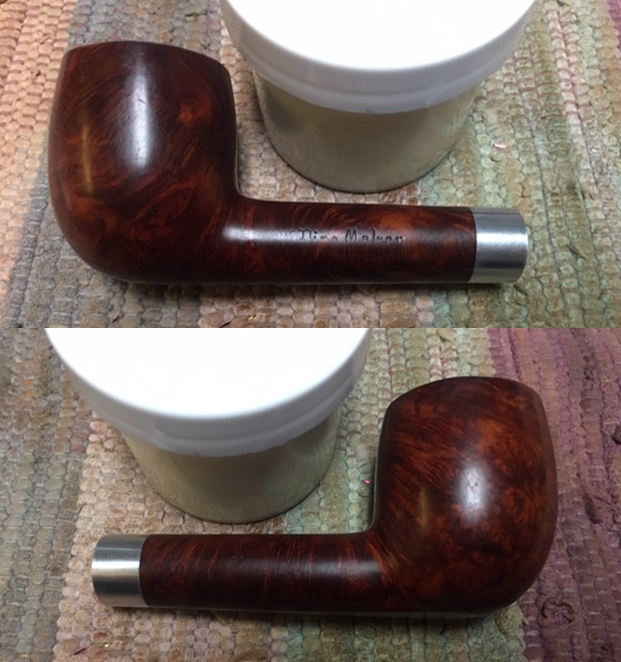
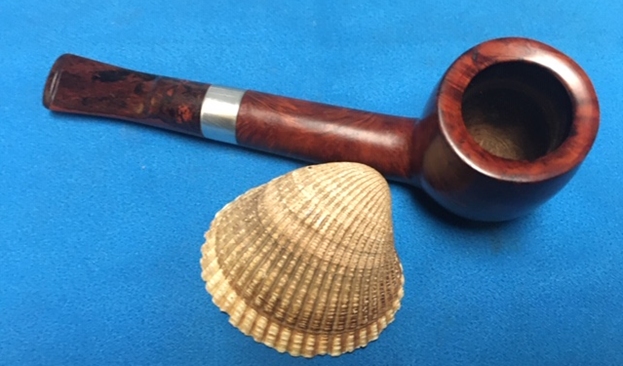
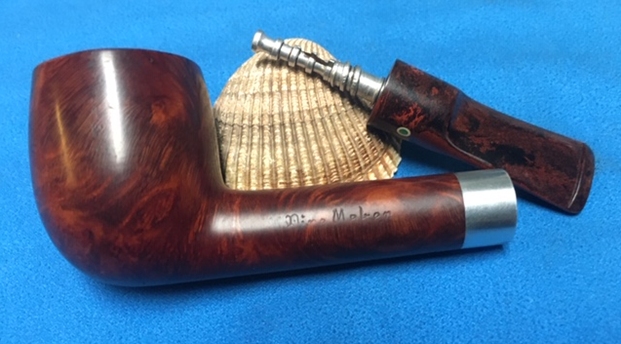
This afternoon I chose the next pipe from my boxes to work on. It is stamped Ligne Bretagne. I am not sure what I would call the shape. At some level it is almost a Cutty with a saddle stem and at another level an oval shank Billiard. You be the judge on the shape but it is a beautiful pipe. It is stamped on the underside of the shank with the Ligne Bretagne logo and the numbers 11 and 3 at the shank stem junction. It was in pretty good condition – just a little dirty and dusty when we received it. The bowl had a thin cake but the top and the edge of the rim was clean and in excellent condition. The pipe had a rich brown stain on the bowl that highlighted some nice grain on the bowl sides under the dust. The vulcanite saddle stem was in good condition with light tooth chatter and marks on both sides ahead of the button and on the button surface itself. Jeff took photos of the pipe before he started his cleanup work.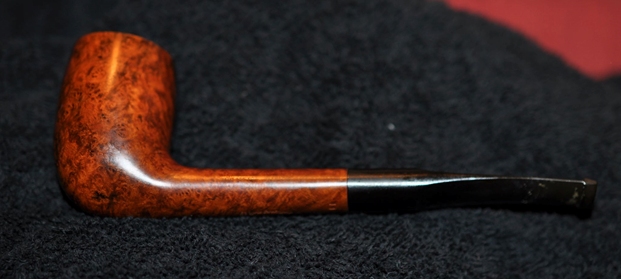
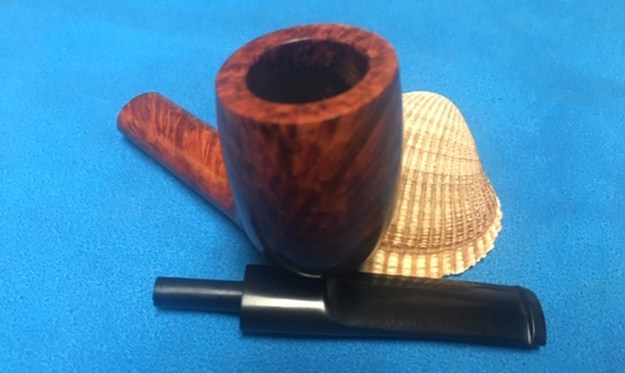
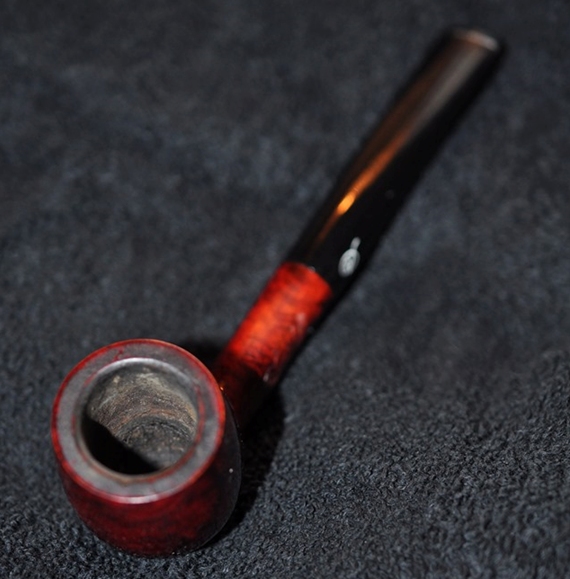
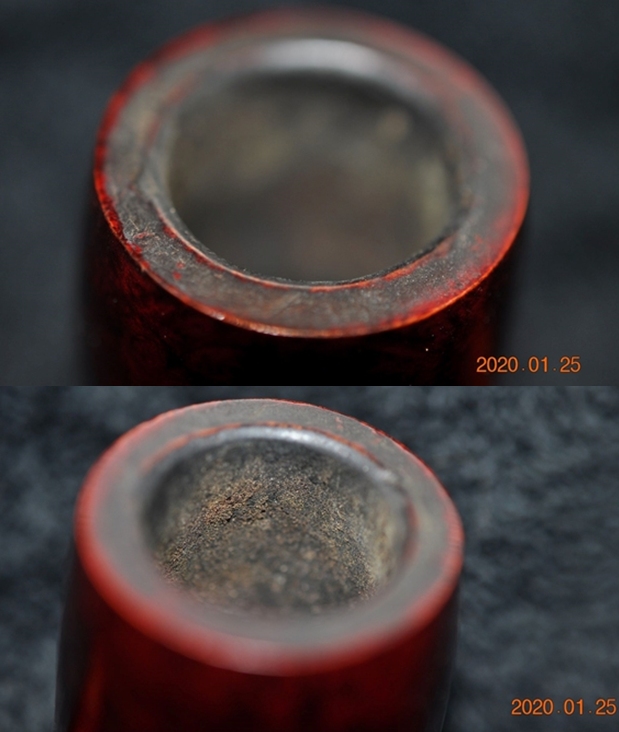
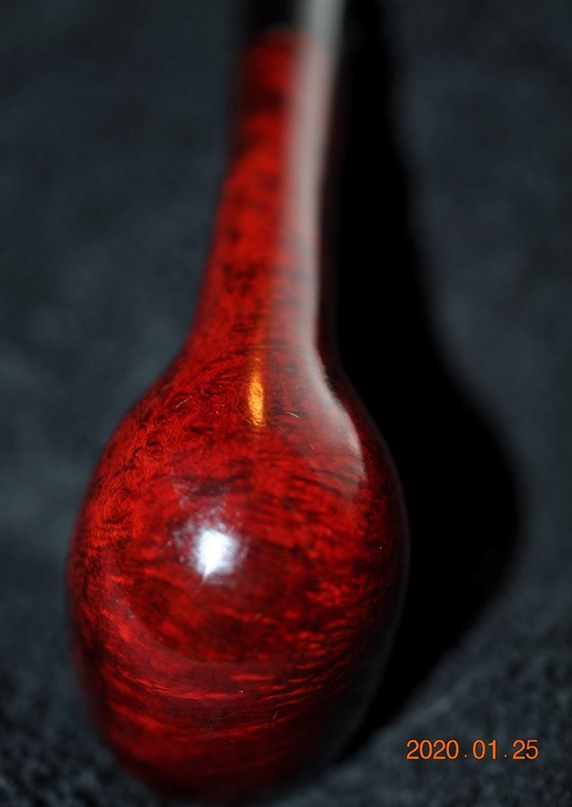
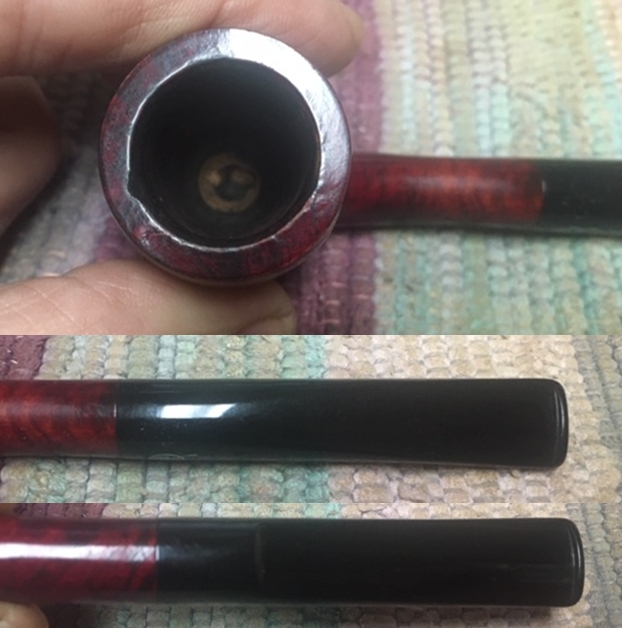
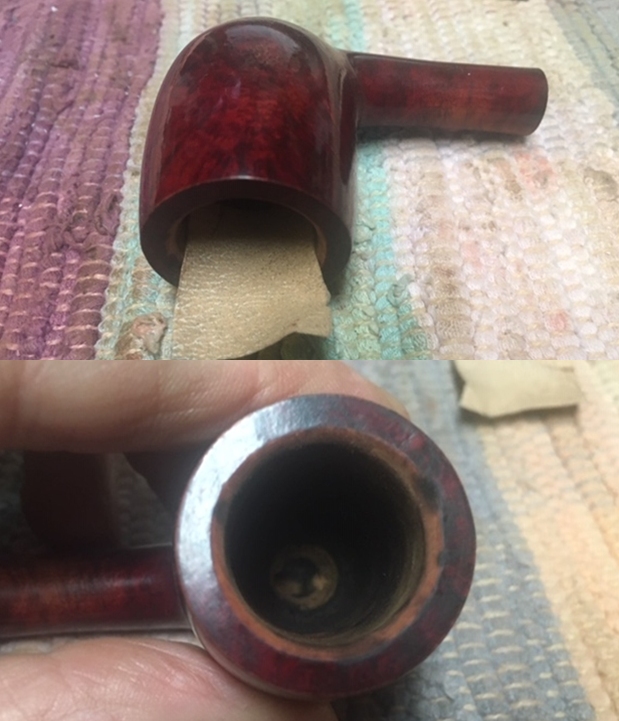
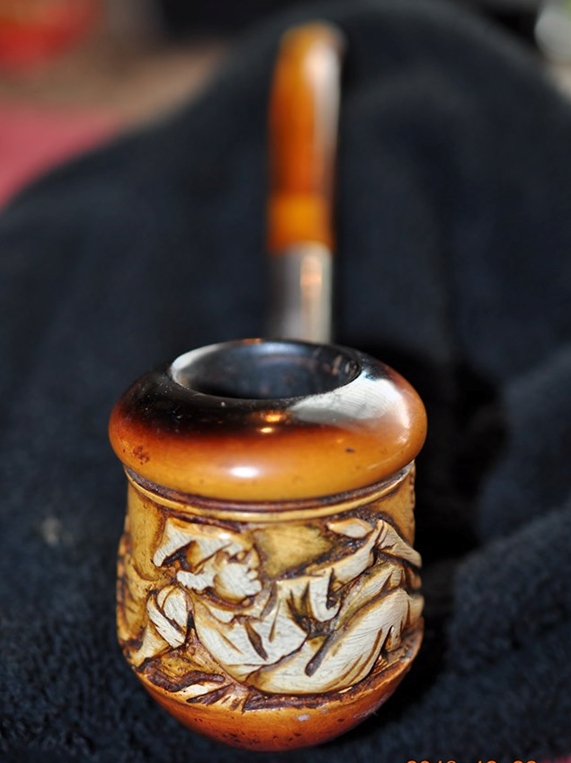
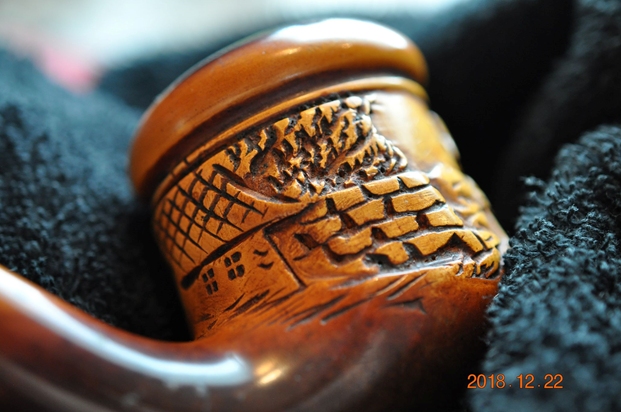
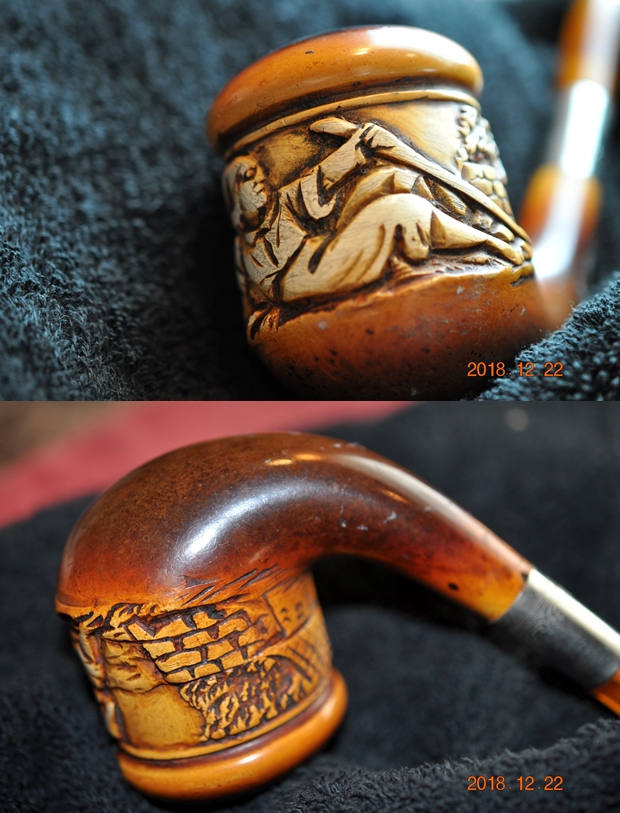
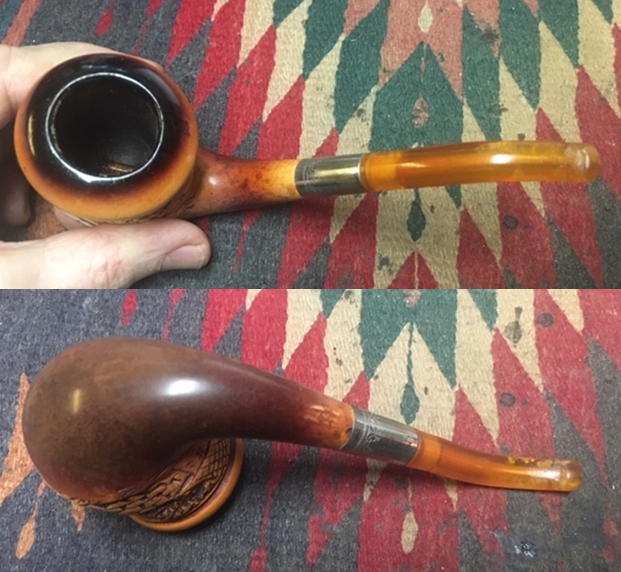
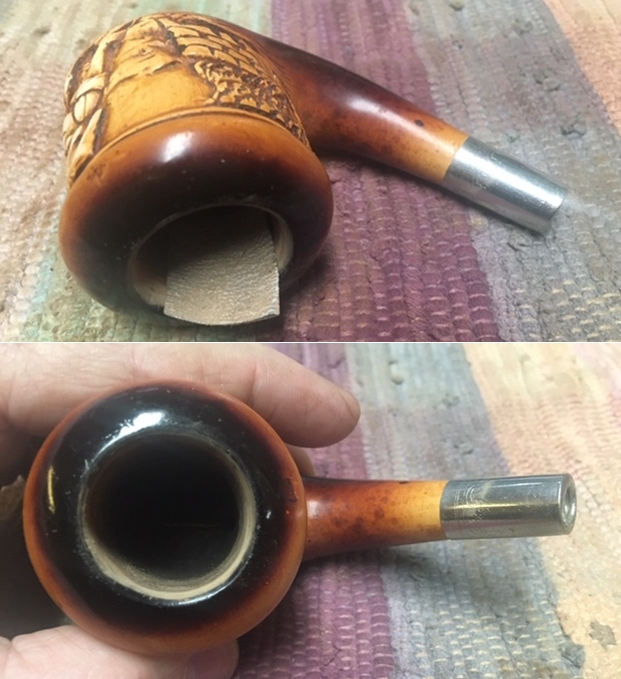
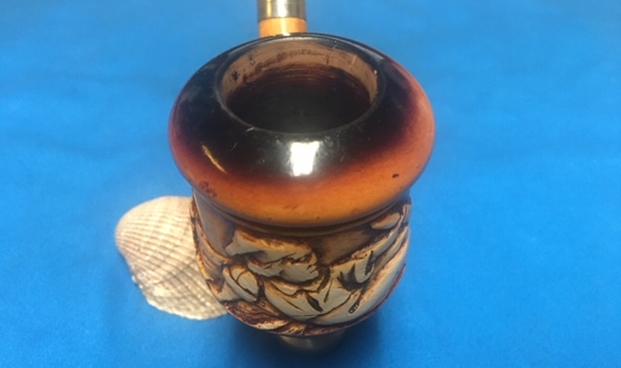
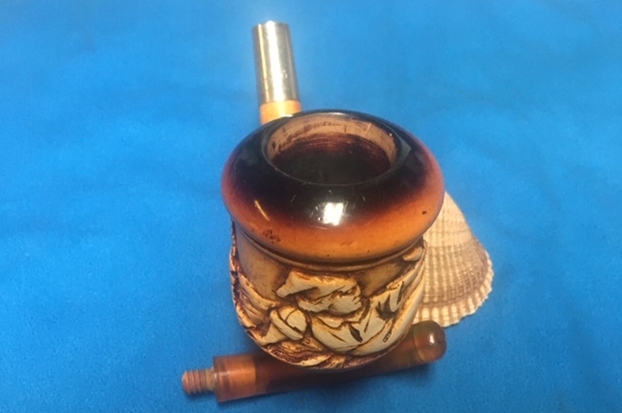
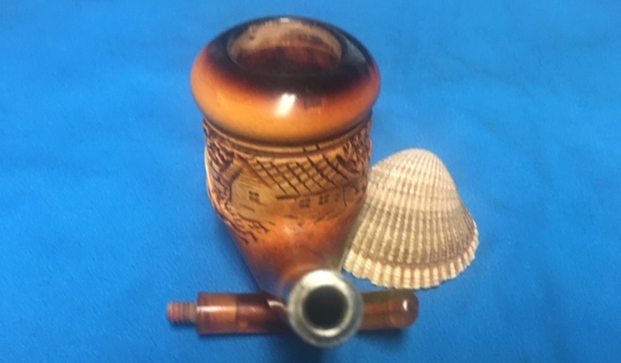
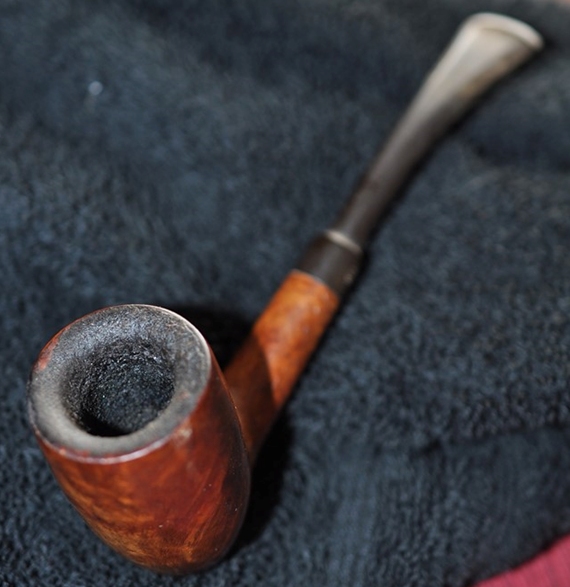
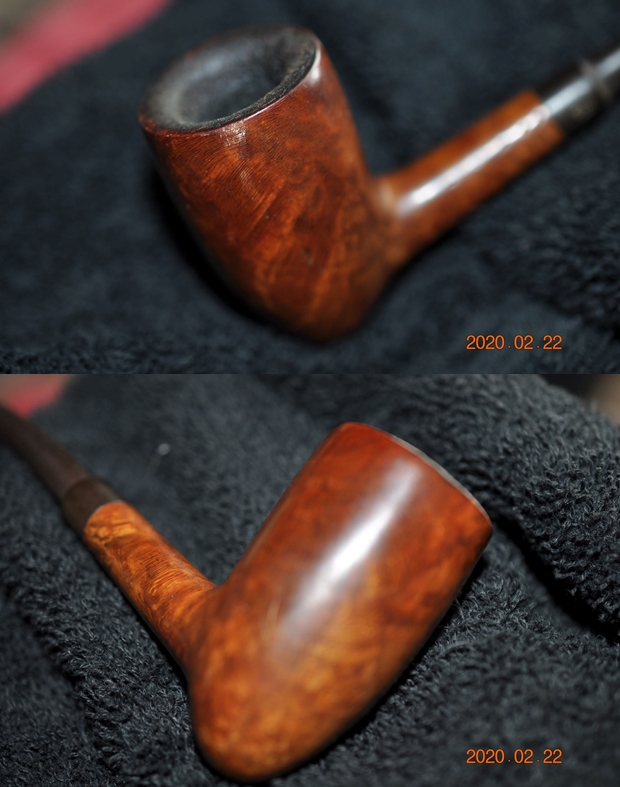
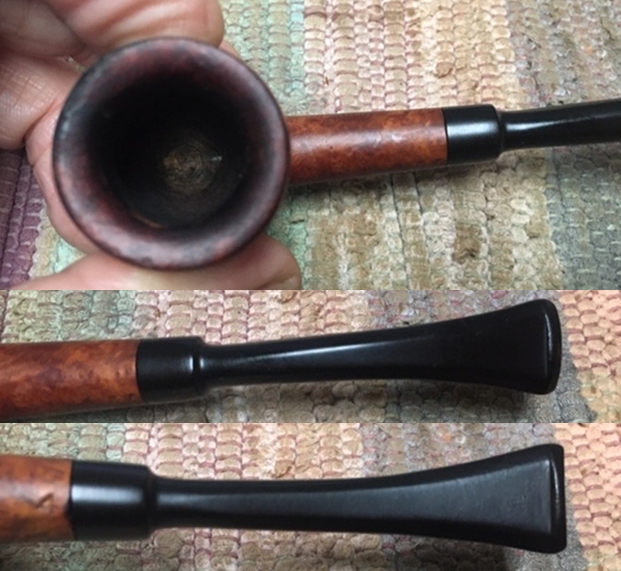
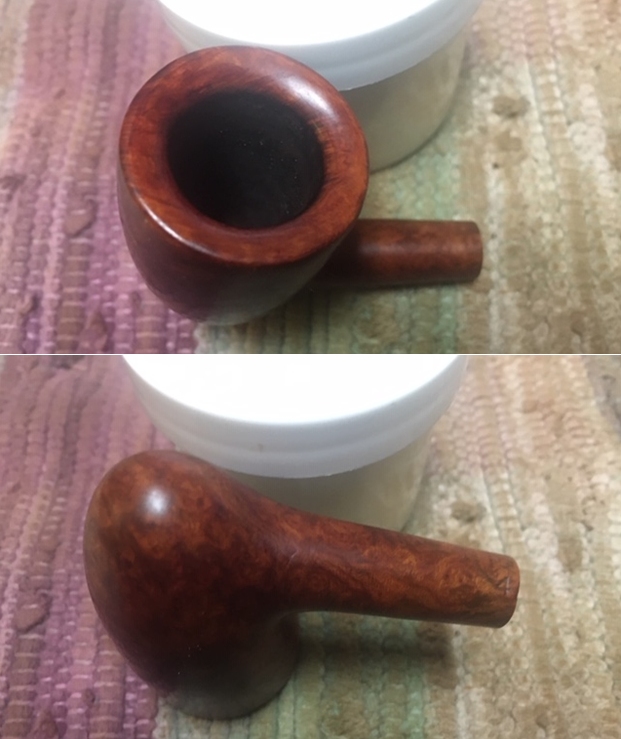
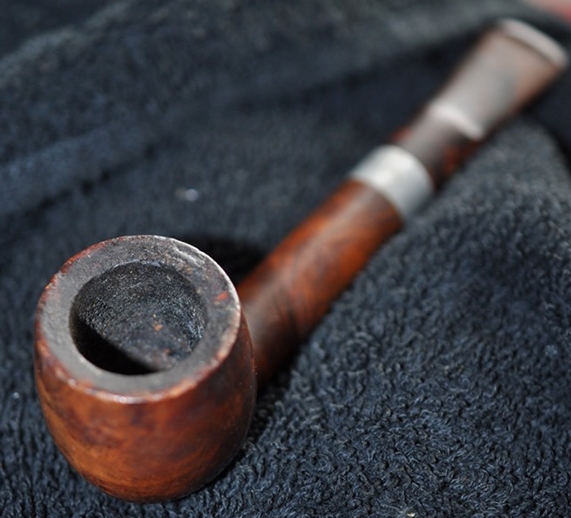
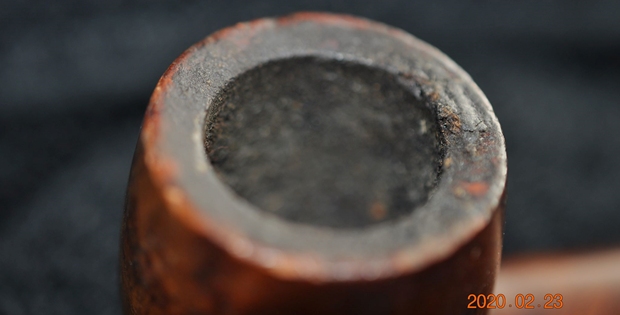
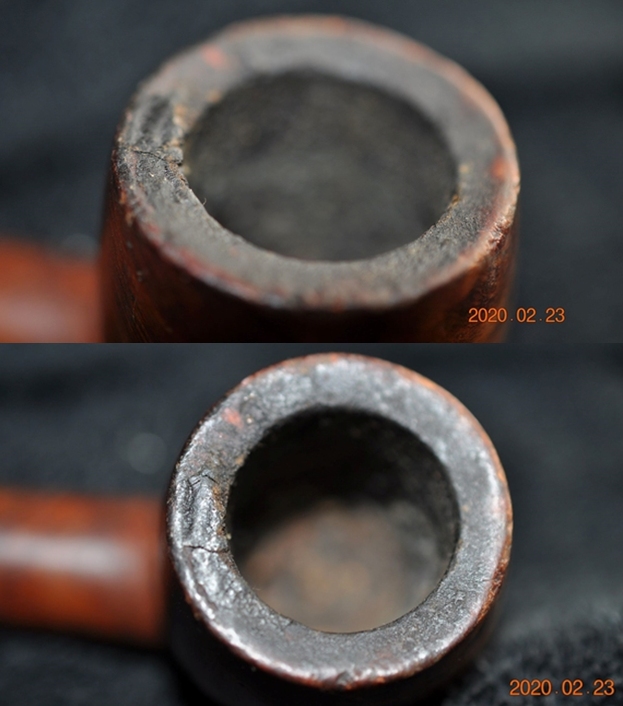
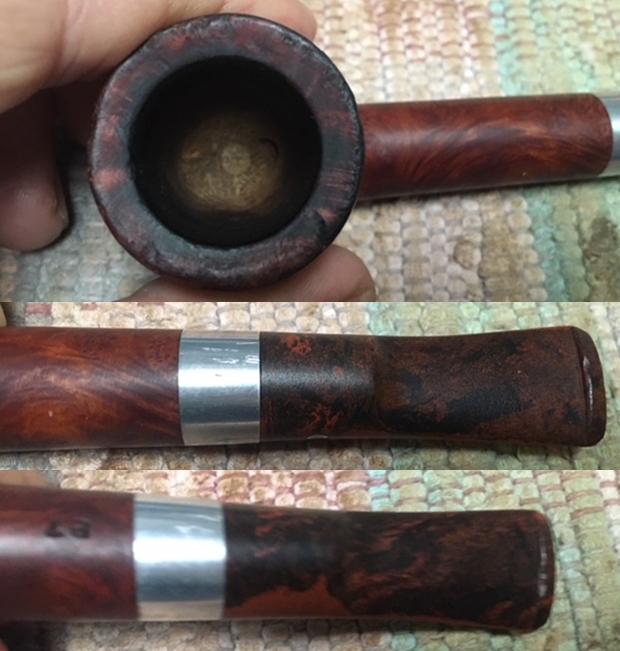
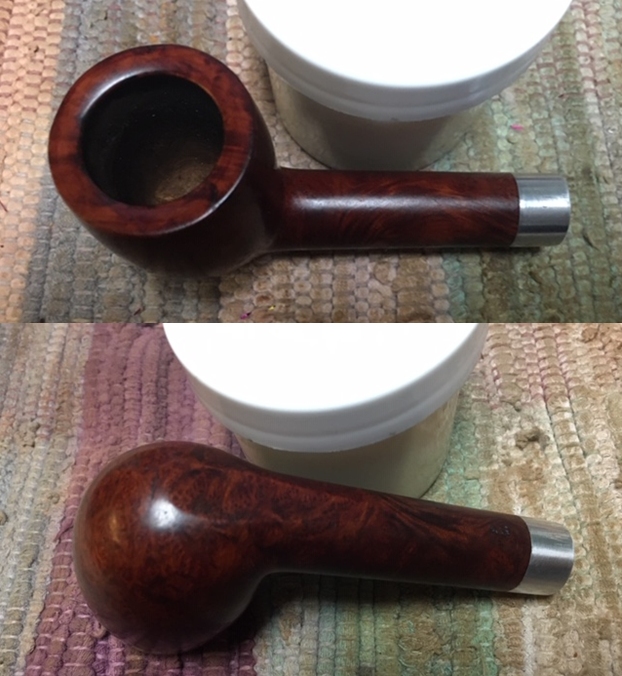
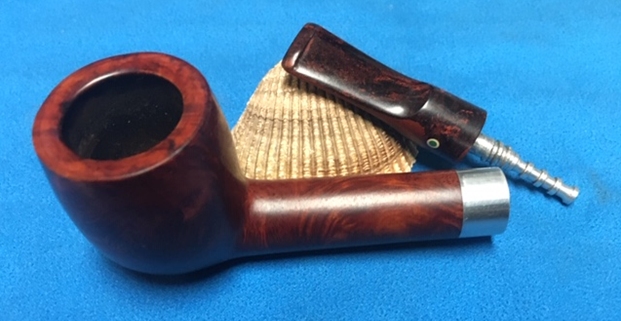
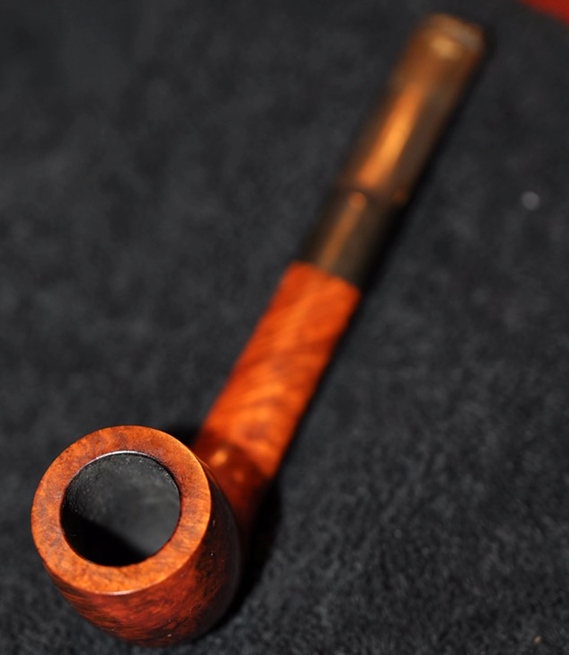 Jeff captured the condition of the bowl and rim top with the next series of photos. You can see the work that is ahead of us there.
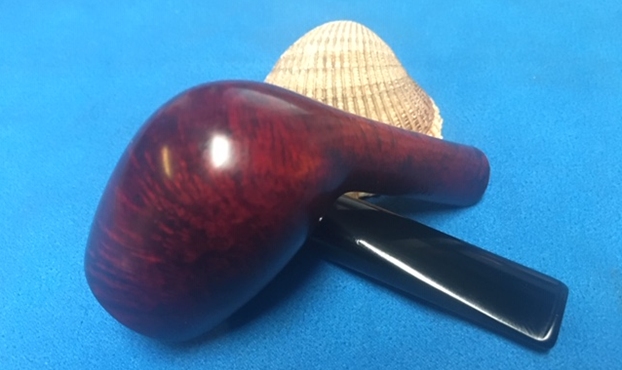
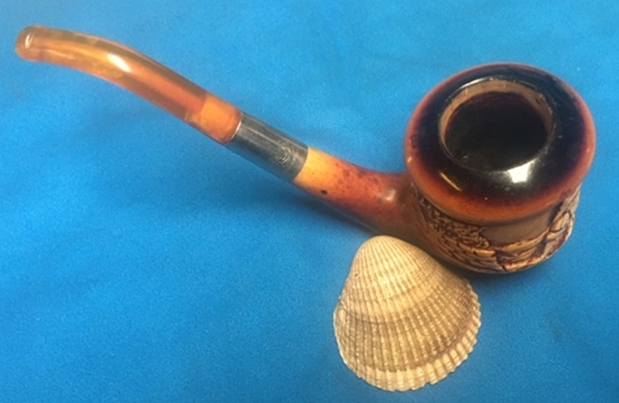
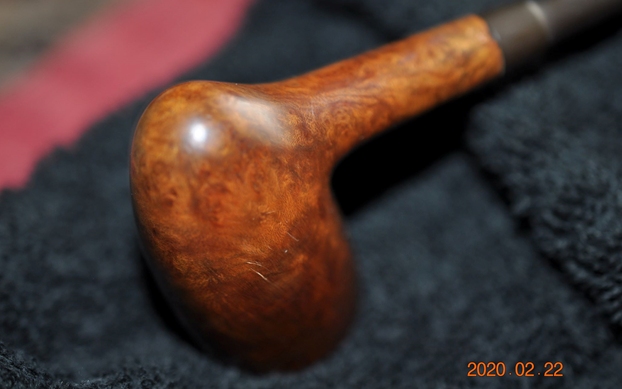
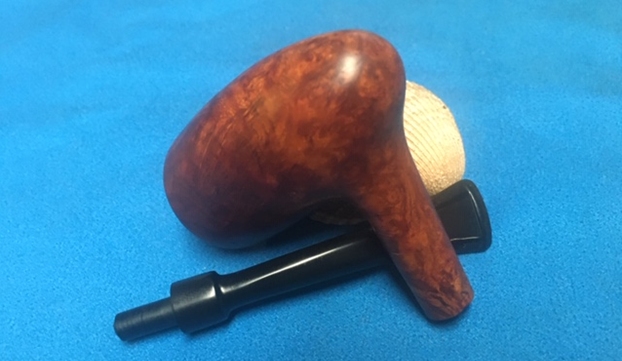
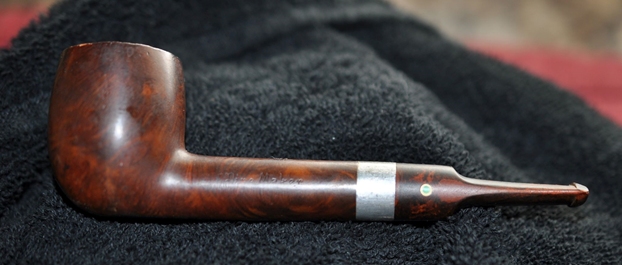
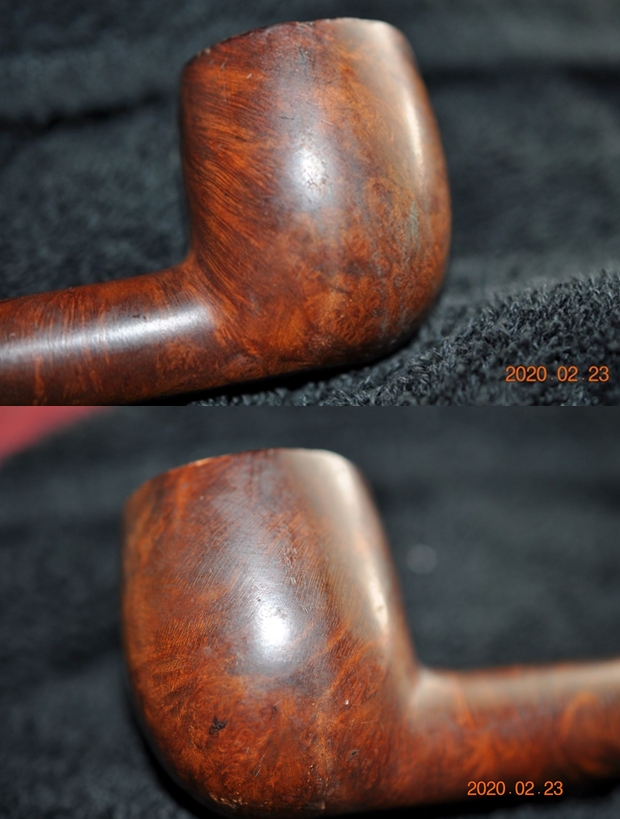
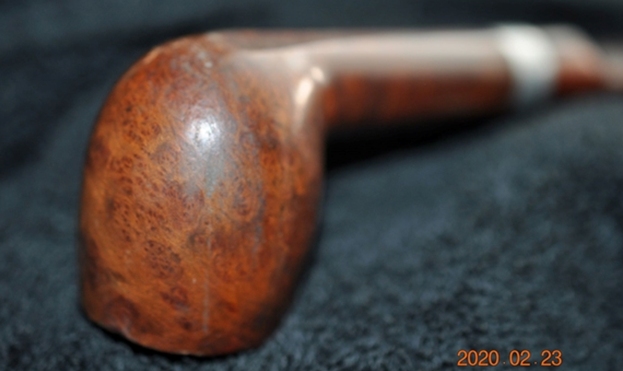
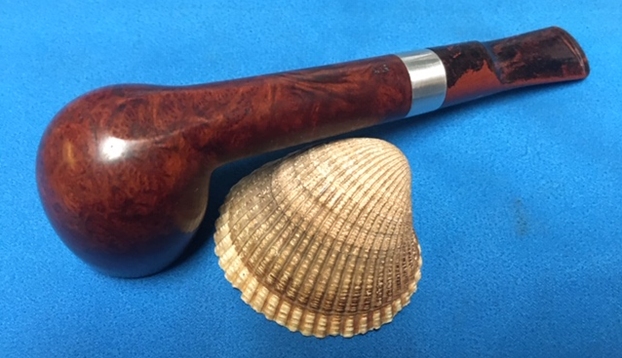
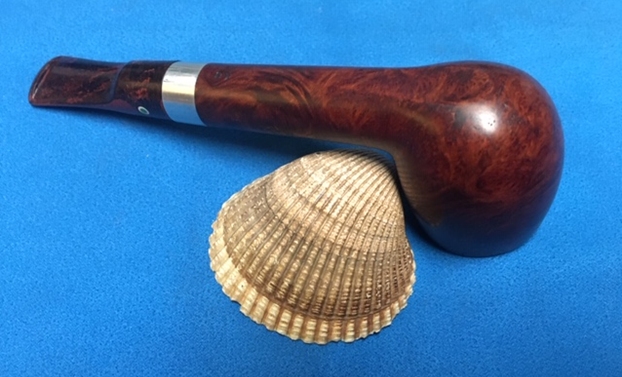
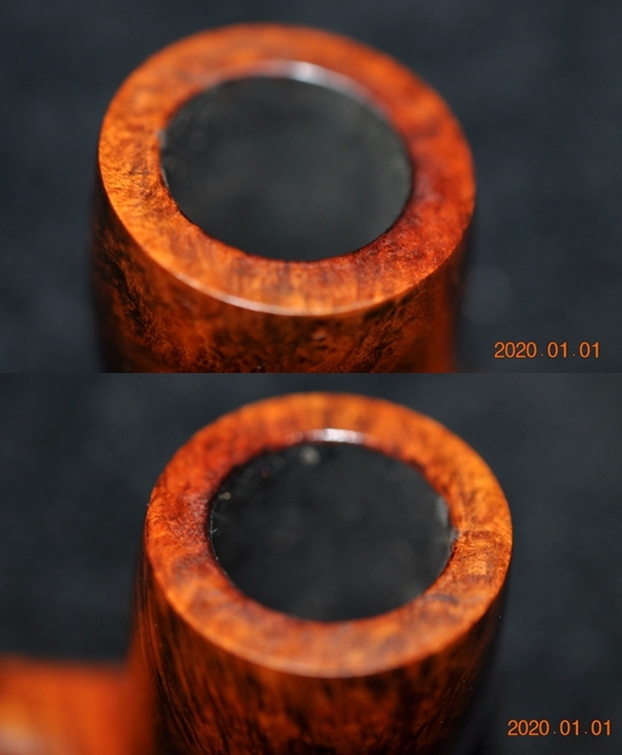 The birdseye and cross grain around the bowl is quite stunning. Jeff took some great photos showing what is underneath the grime and debris of time and use.
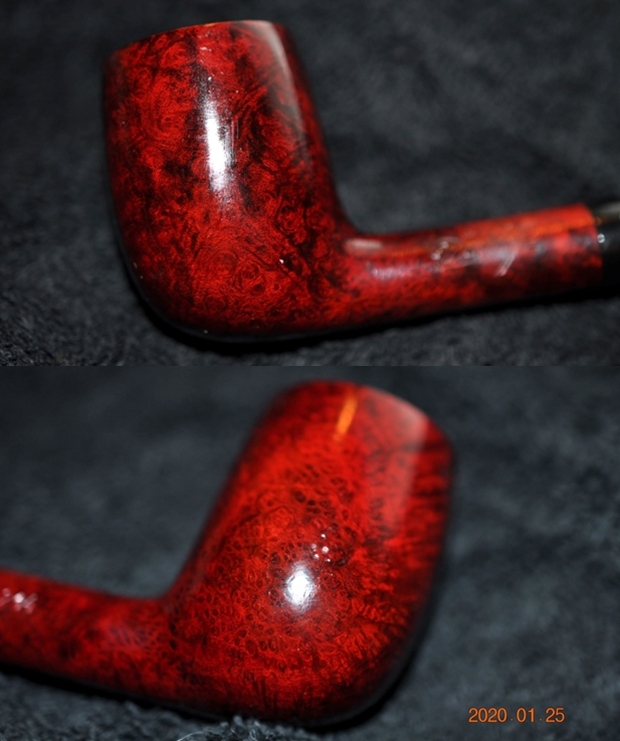
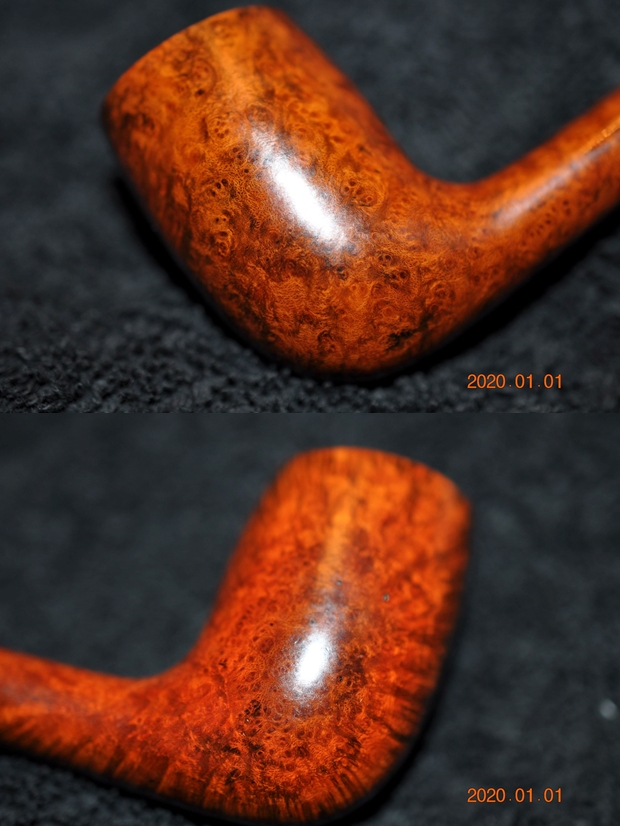
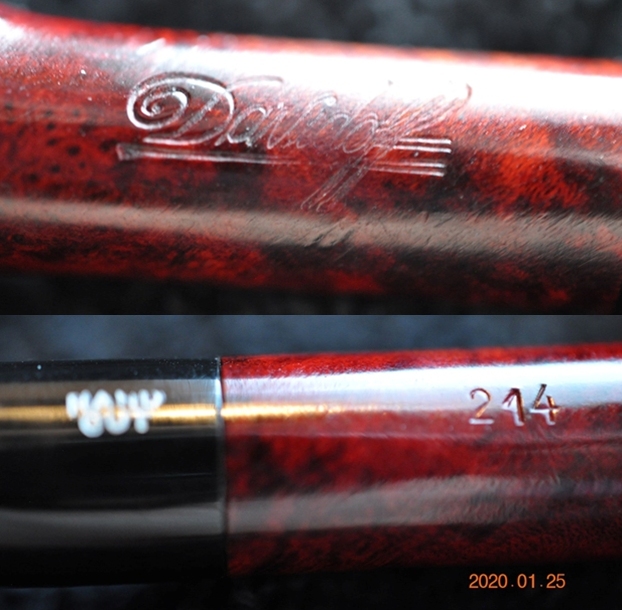
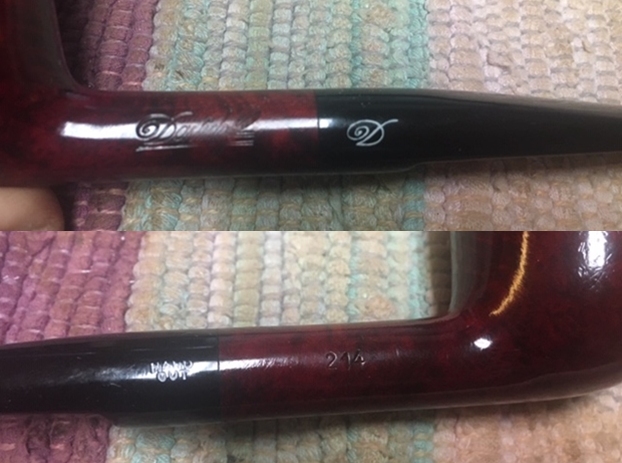
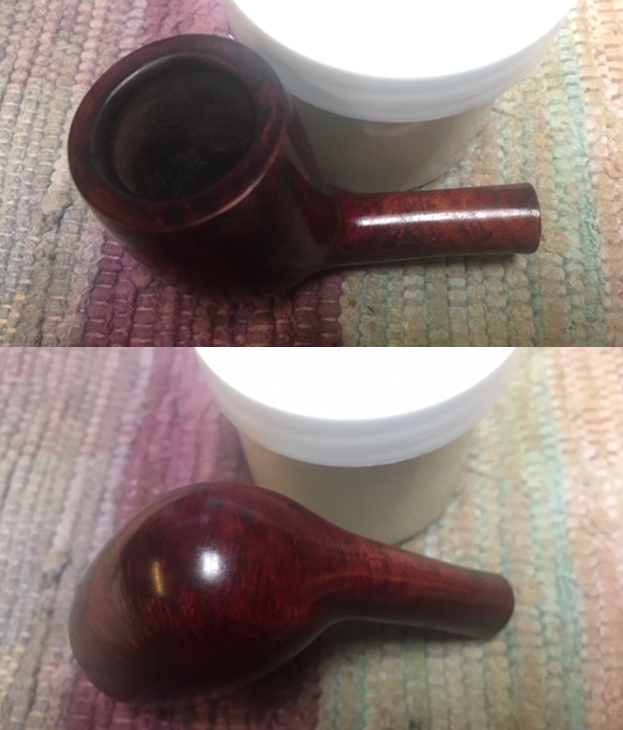
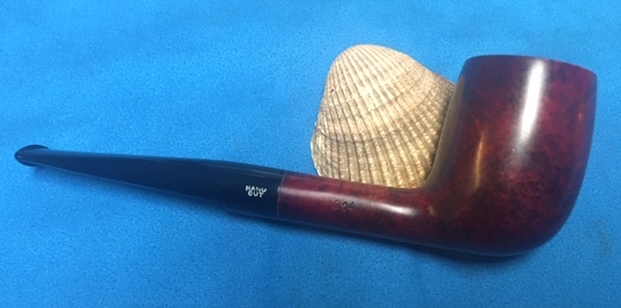
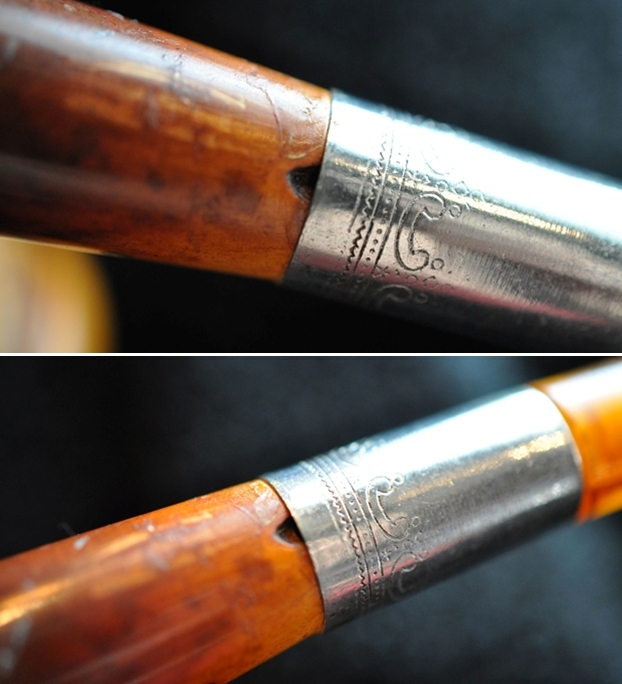
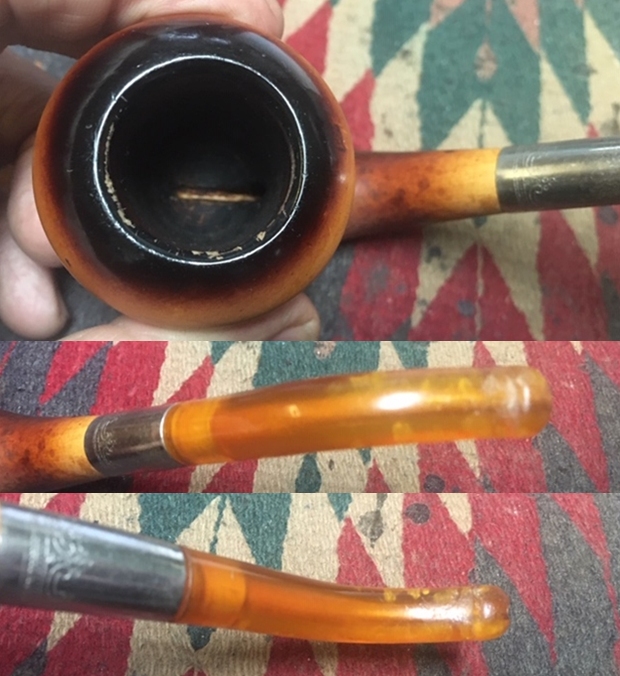
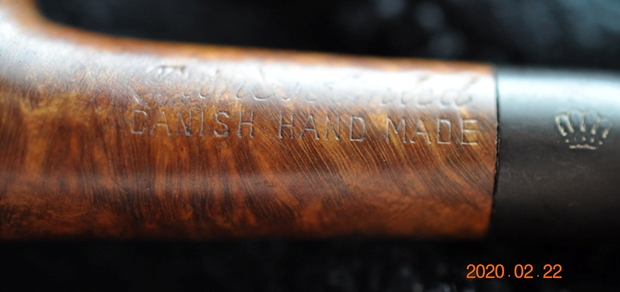
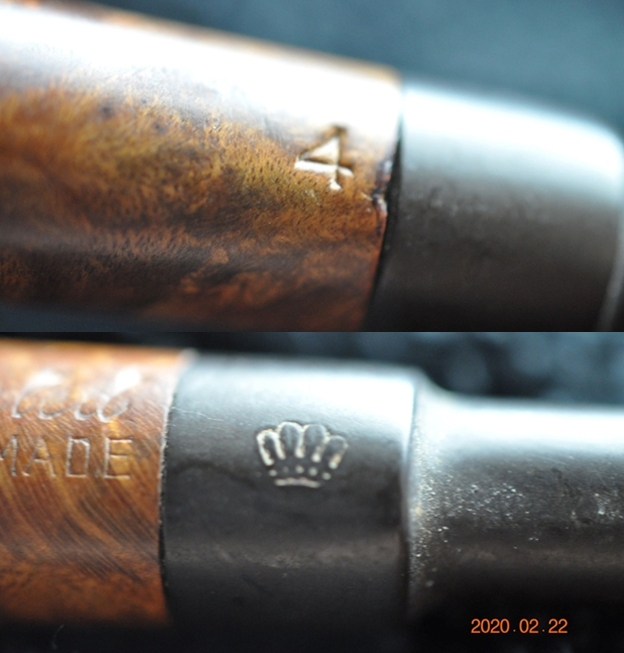
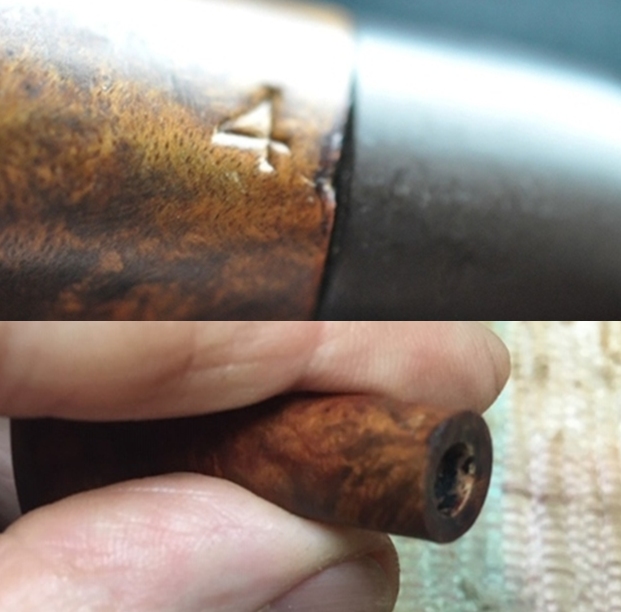
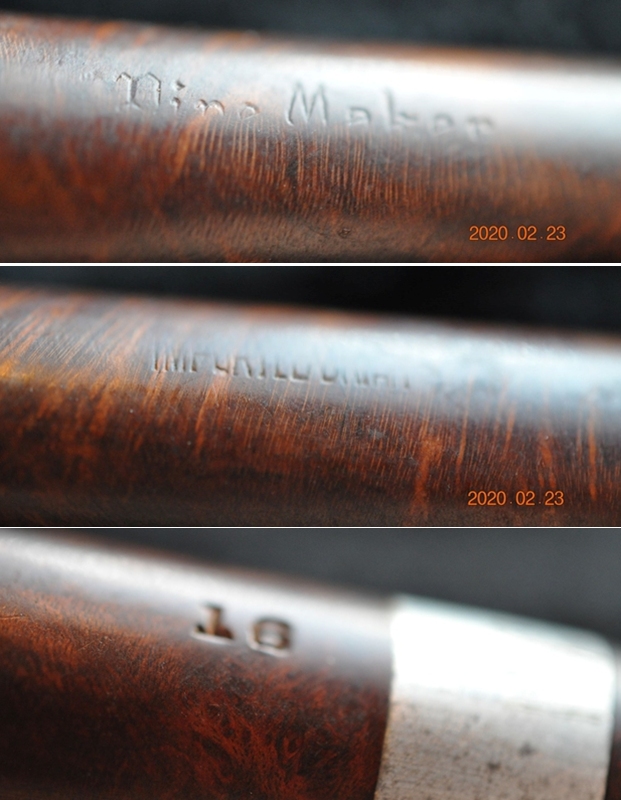
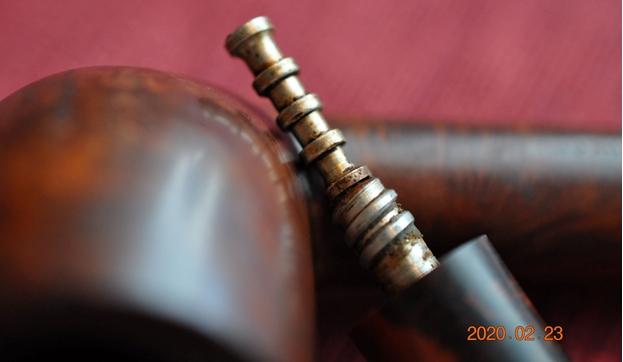
 He took photos of the stamping on the underside of the shank. It is clear and readable. It read Ligne Bretagne underlined with a long line. At the shank end it is stamped with an 11 and a 3.
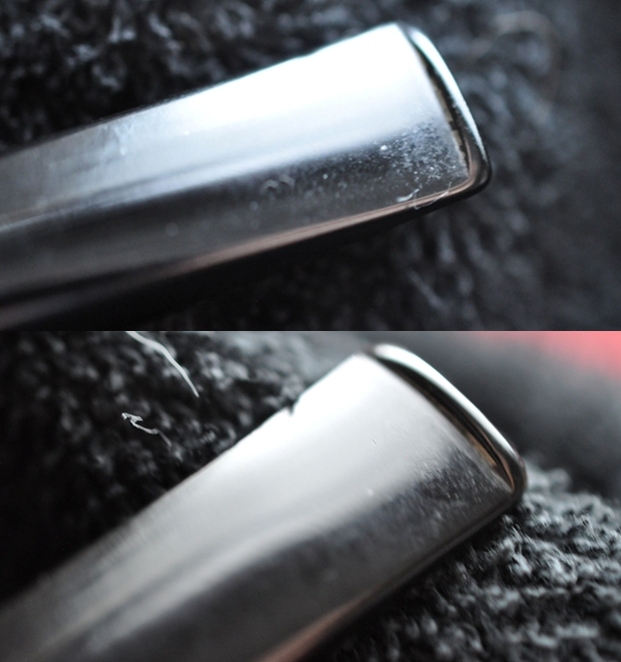
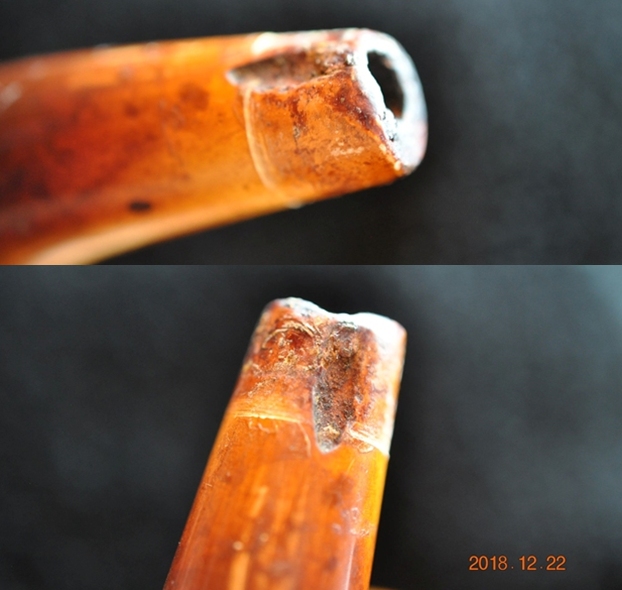
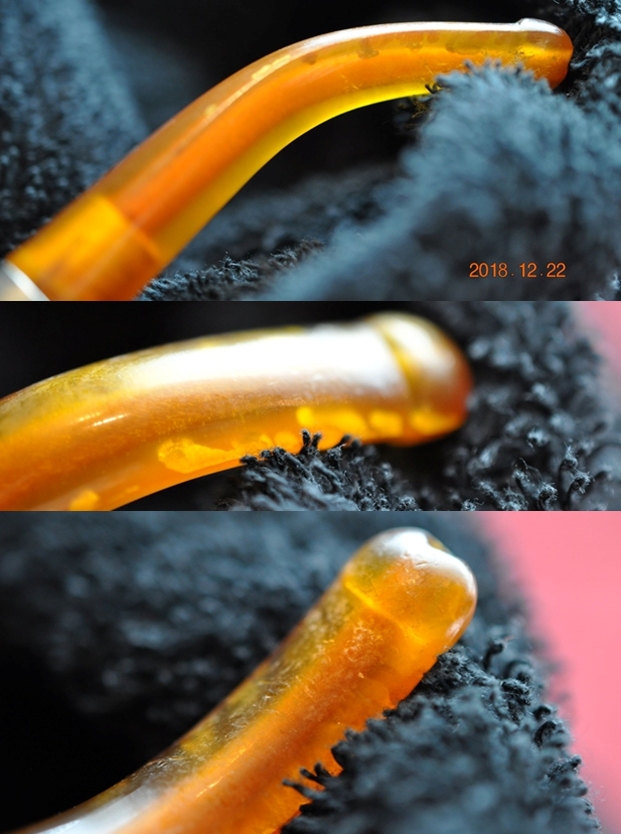
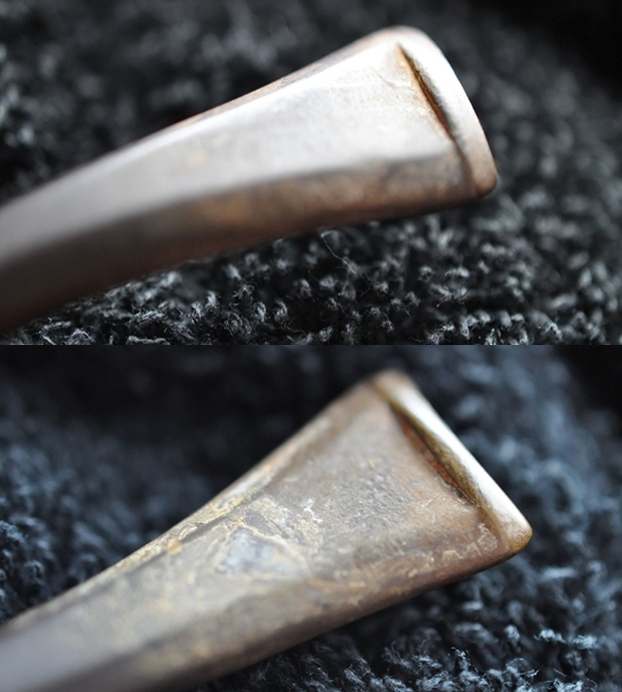
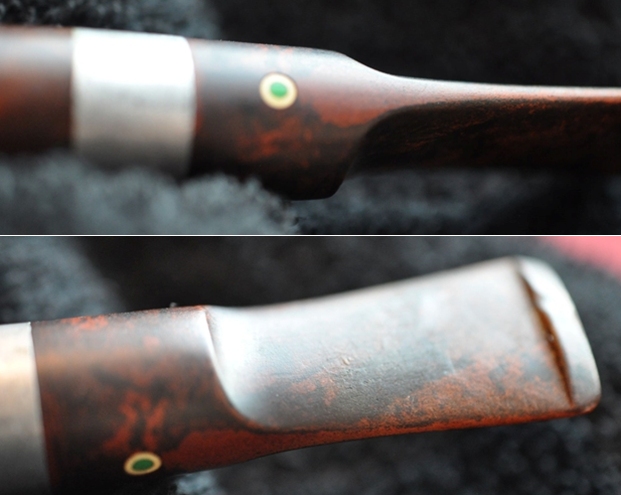
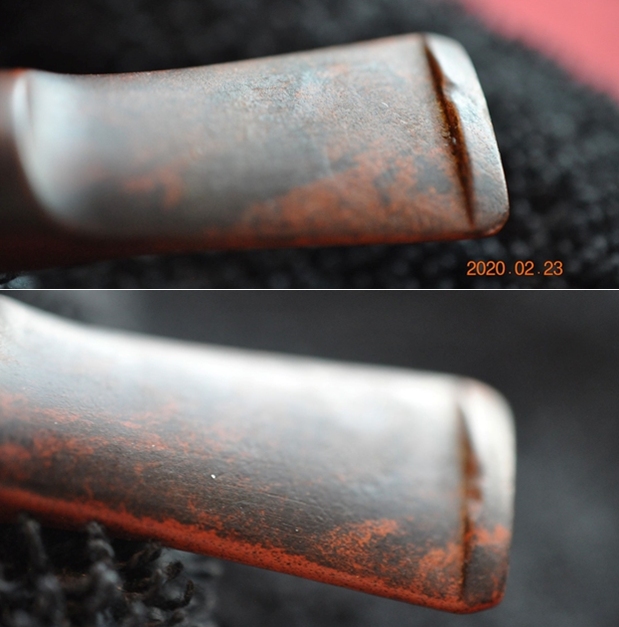
 The photos of the stem show the stem surface. It is dirty and has light tooth marks and chatter on both sides ahead of the button.
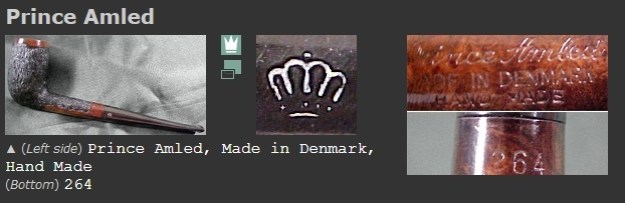
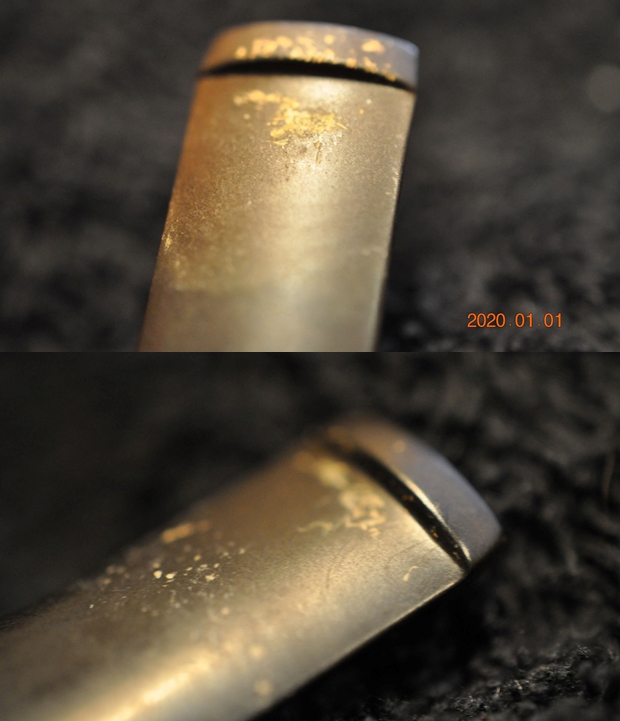 This is the first Ligne Bretagne pipe that I have worked on. I knew from previous reading that the pipe was connected with Trever Talbert but was not sure how. I turned to Pipephil to get a quick overview on the brand so I knew a bit about the pipe I was working on (http://www.pipephil.eu/logos/en/logo-t2.html). I have included a screen capture of the pertinent section below.
  I turned to the Talbert Pipes Website and found a lot of helpful information on the pipe that I was working on. I quote from the first link a great short history of the brand and company written by Talbert (https://www.patreon.com/talbertpipes).
Talbert Pipes was founded in 1998, shortly after Trever Talbert won the first Pipes & Tobaccos Magazine national carving contest. Emily Talbert joined the business fulltime in 2002, when husband and wife relocated to the western coast of France for seven years to acquire tools, stock, and experience, as well as adding the Ligne Bretagne brand of pipes to our offerings. Now back in the USA, Talbert Pipes continues to offer a wide selection of classical and fantasy-themed shapes for all our fans worldwide.
From there I turned to read about the Ligne Bretagne pipes so I could have a clearer picture about the pipe in hand (https://talbertpipes.com/). I quote:
Ligne Bretagne – Aged, factory-turned shapes in classical designs, finished here in our shop for the discerning collector seeking a more individual alternative to mass-produced brands.
The final link provides a helpful explanation of the stamping on the shank of the pipe. The pipe I am working on is stamped with the Ligne Bretagne logo and the numbers 11 and 3 at the shank stem junction (https://talbertpipes.com/grading/). From this I learned that the pipe I have was made in 2011 and is a Grade 3 with is the first of the smooth finished pipes. I am including a screen capture of the site’s explanation below.
With that information in hand I knew what I was dealing with a beautifully grained factory-turned shape in a classical design, finished by the Talberts. I also knew that it was made in 2011 and was a Grade 3 smooth pipe. Now it was time to turn to work on the pipe.
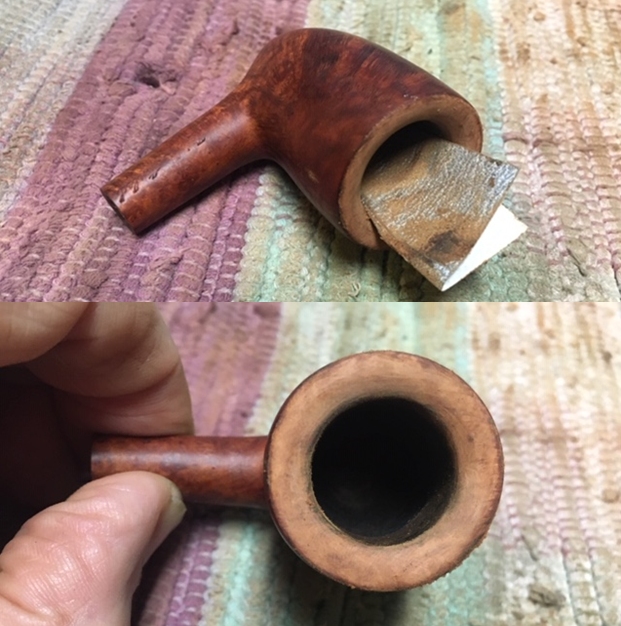
Jeff cleaned the pipe thoroughly with his usual care. He reamed it with a PipNet pipe reamer and cleaned up the reaming with a Savinelli Fitsall Pipe Knife. He scrubbed out the internals with alcohol, pipe cleaners and cotton swabs until the pipe was clean. He scrubbed the exterior of the bowl with Murphy’s Oil Soap and a tooth brush to remove the grime and grit on the briar and the lava on the rim top. The finish looks very good with good looking grain around the bowl and shank. Jeff scrubbed the stem with Soft Scrub to remove the grime and build up on the surface and soaked it in a bath of Before & After Deoxidizer. When the pipe arrived here in Vancouver for the second stop of its restoration tour it looked very good. I took photos before I started my part of the work.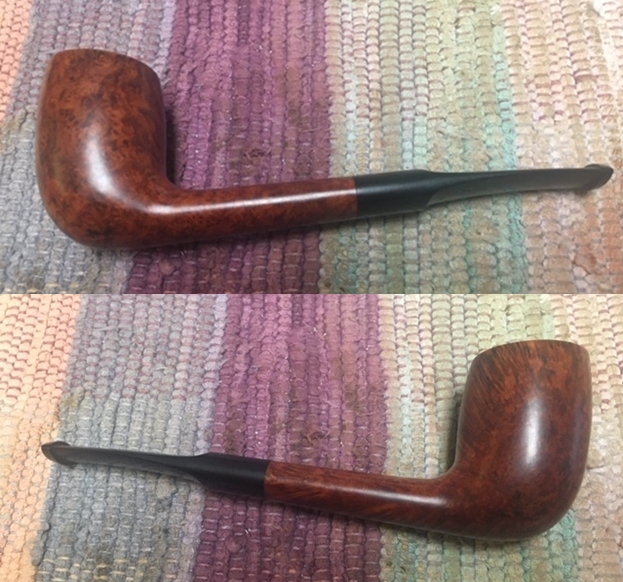
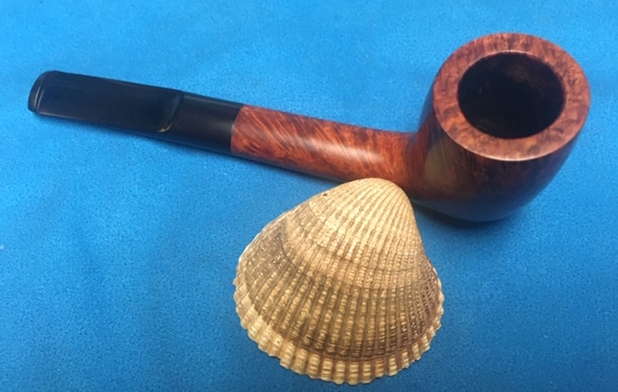
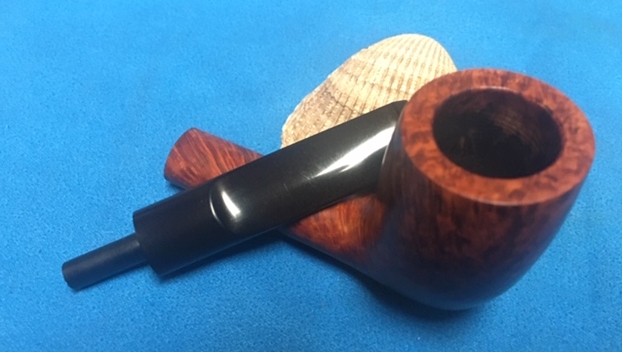
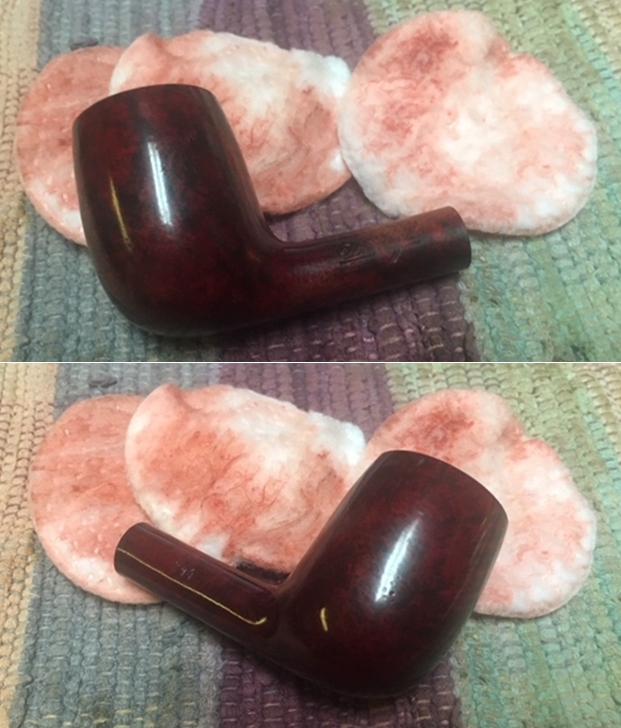
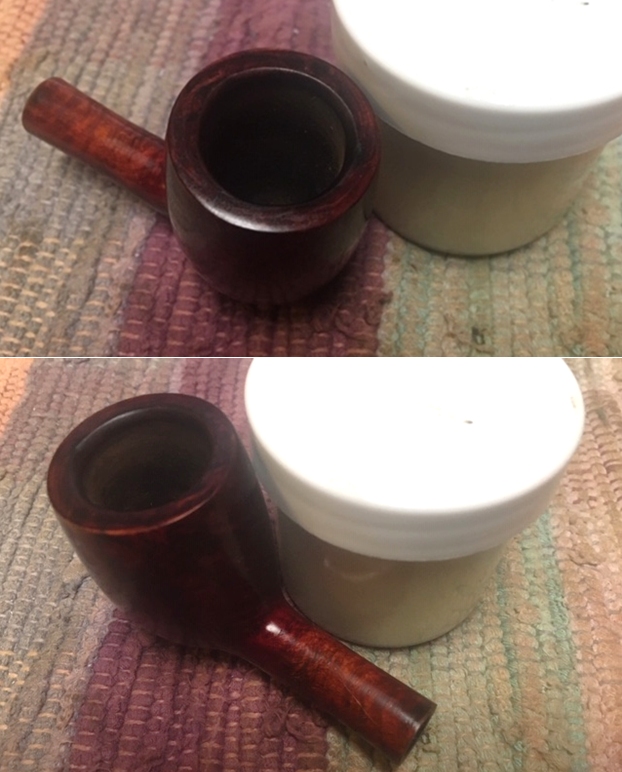
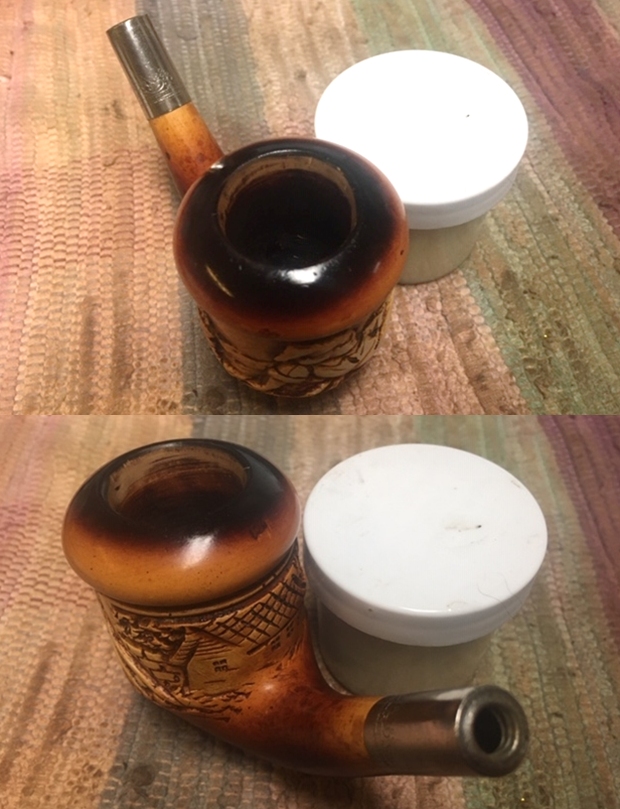
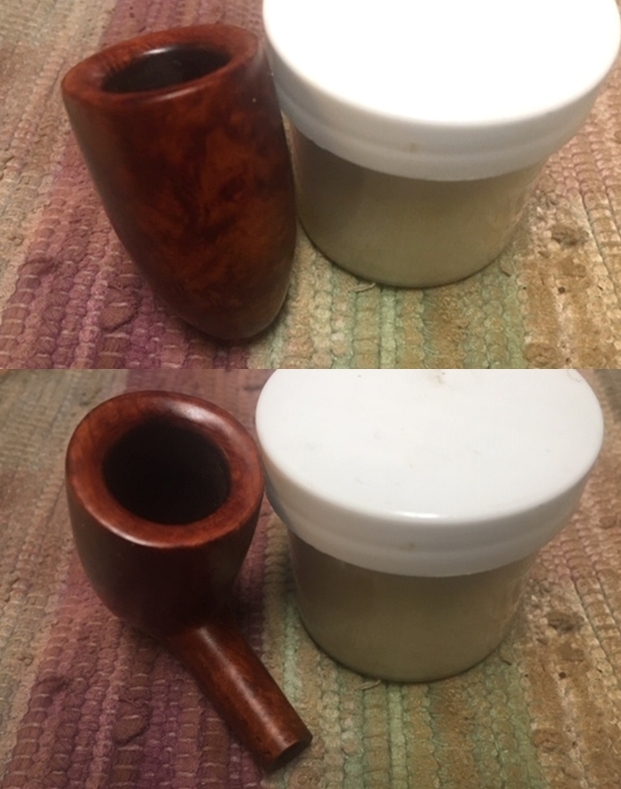
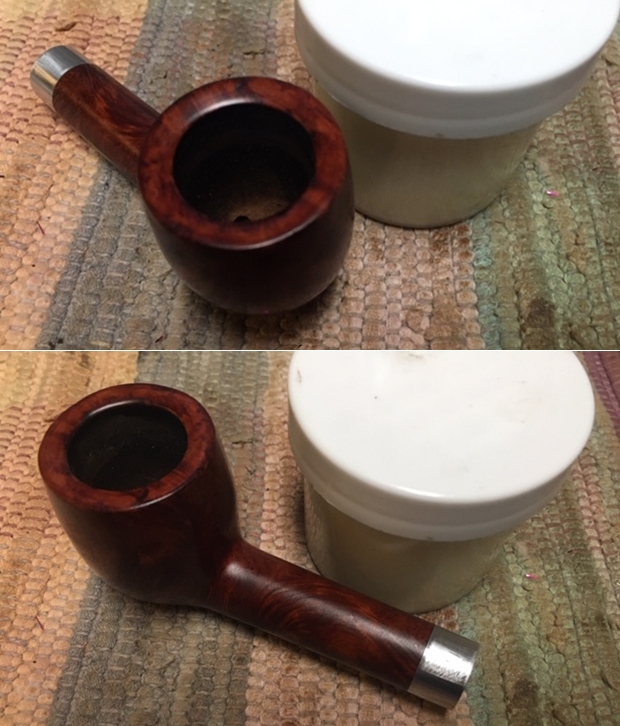
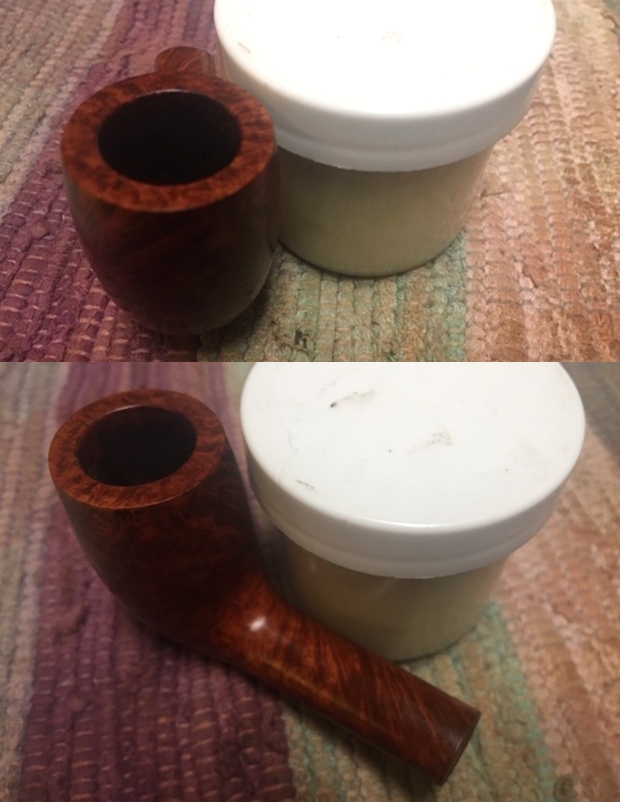
 I took some photos of the rim top and stem. The photo of the bowl shows how clean the bowl and the smooth rim are. The inner and outer edges of the bowl look really good. They are in excellent condition. The close up photos of the stem shows that is it very clean.
 I took photos of the stamping on the underside of the shank of the pipe. It is clear and readable as noted above.
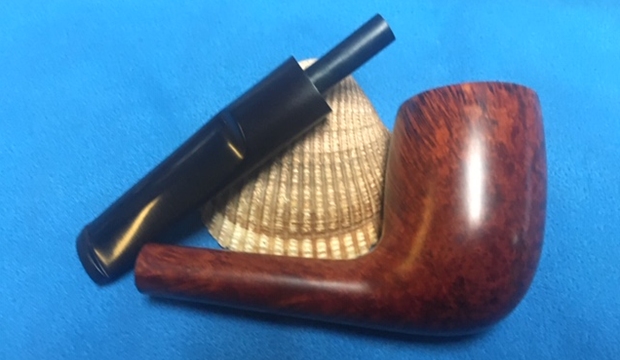
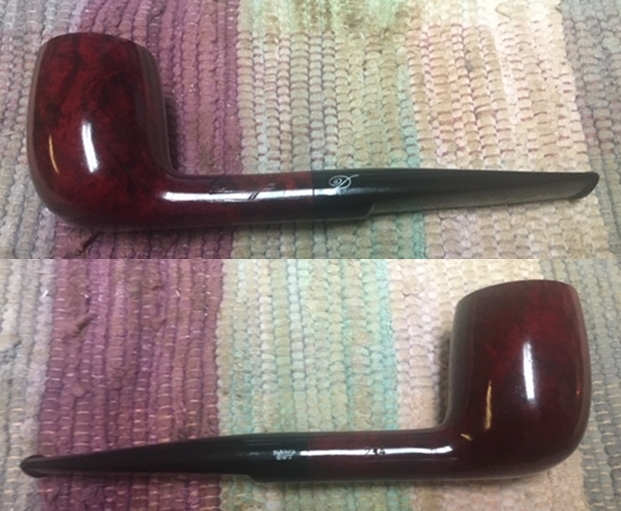
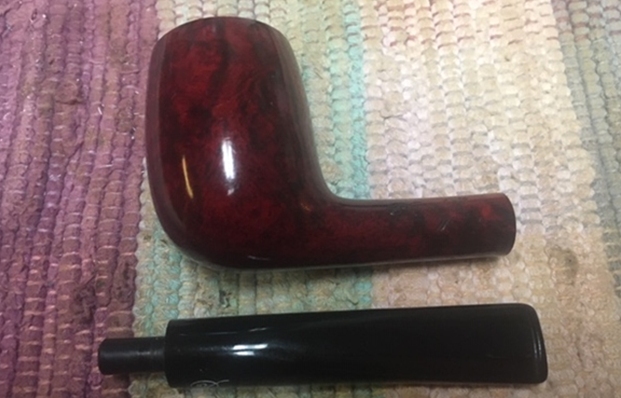
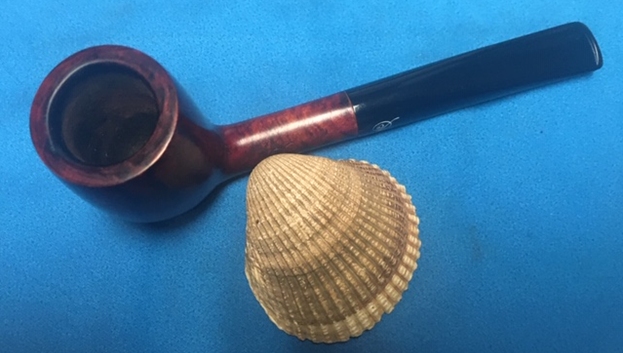
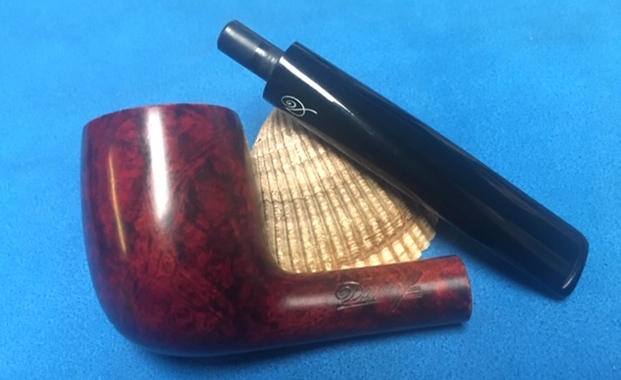
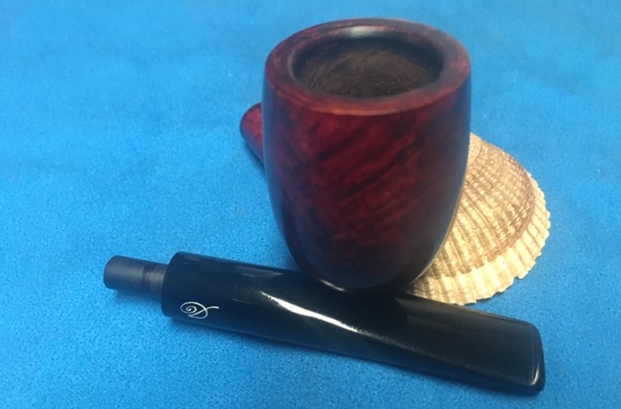
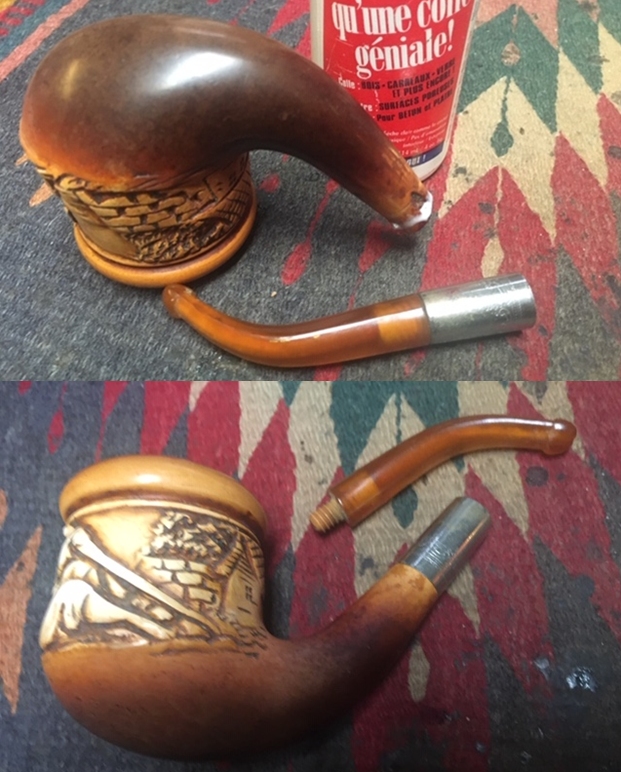
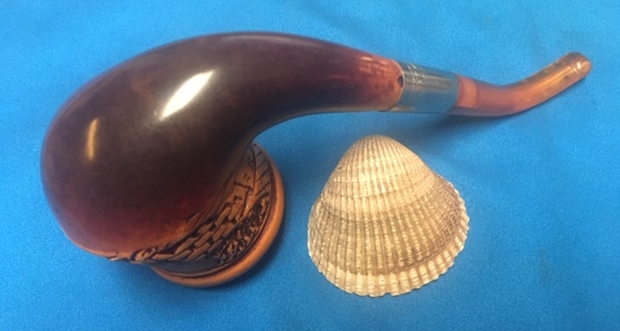
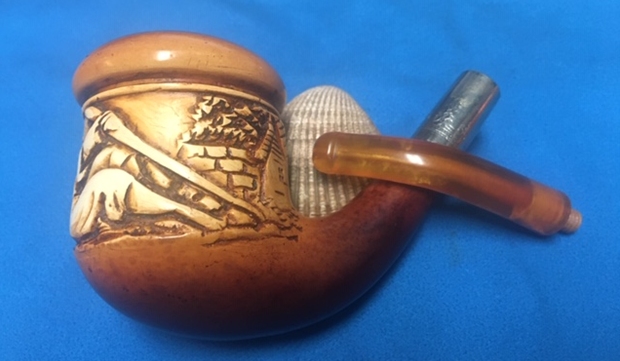
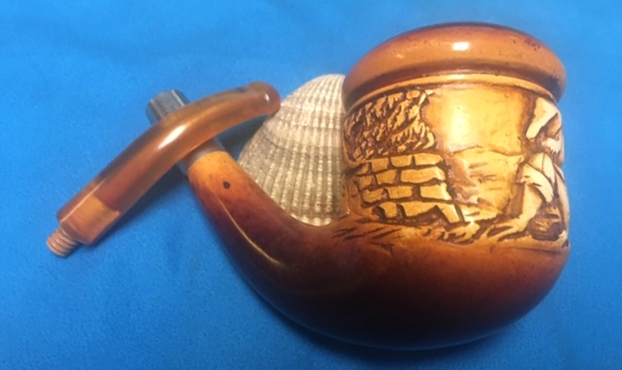
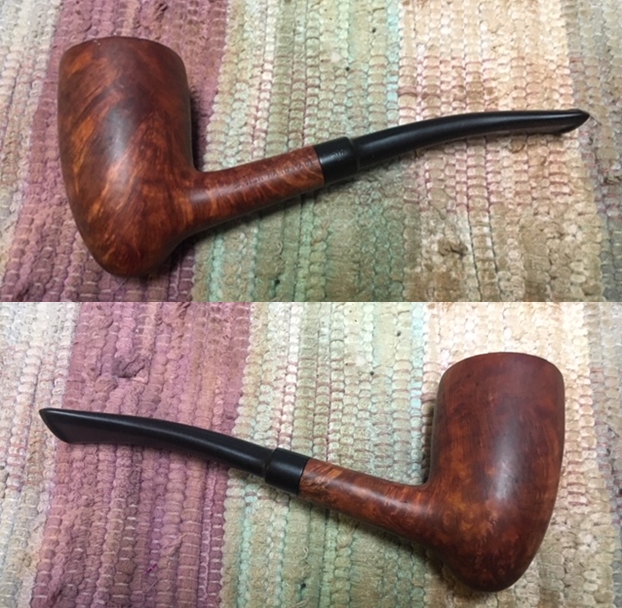
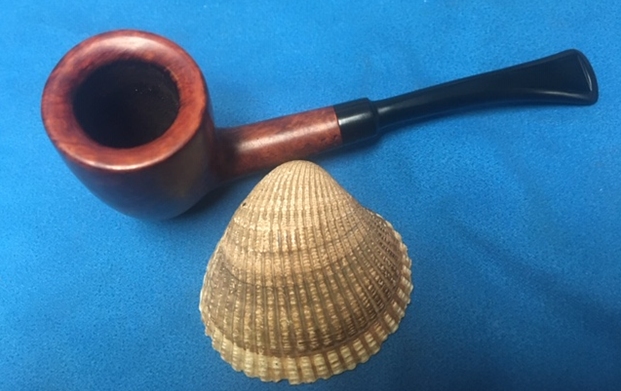
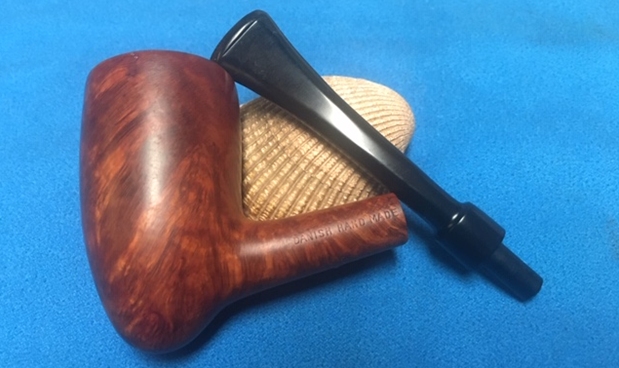
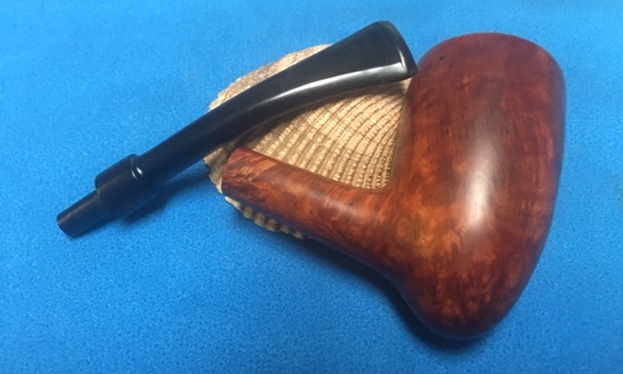
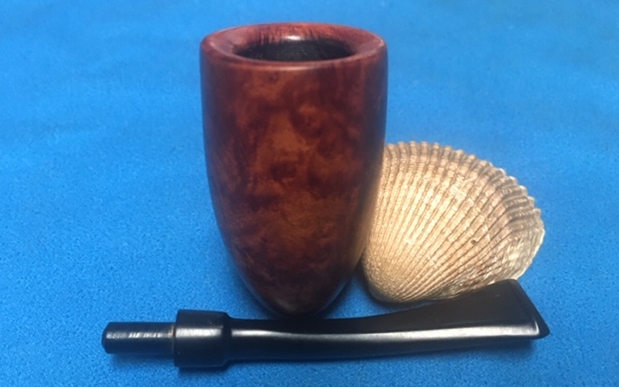
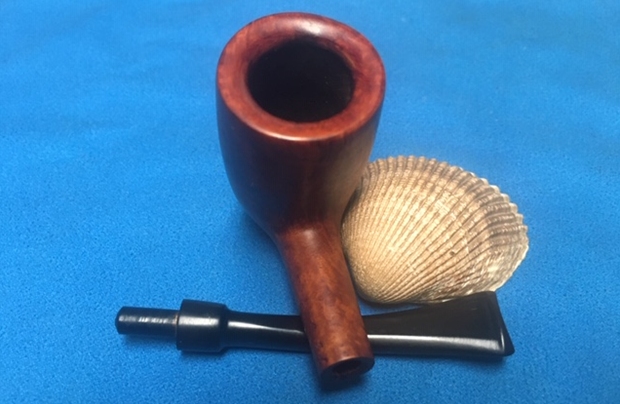
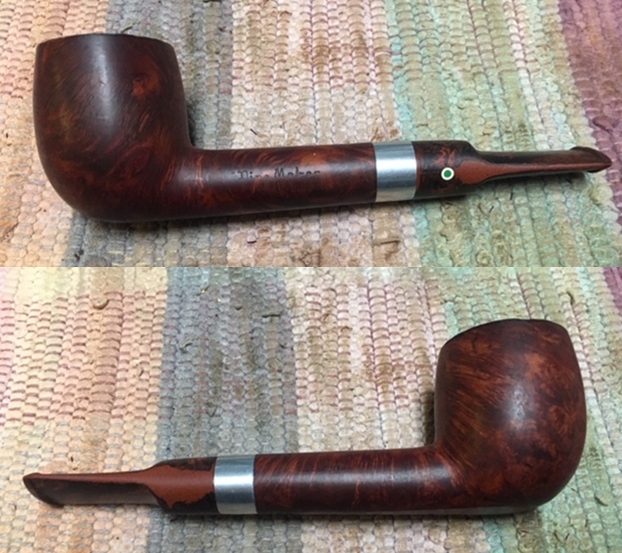
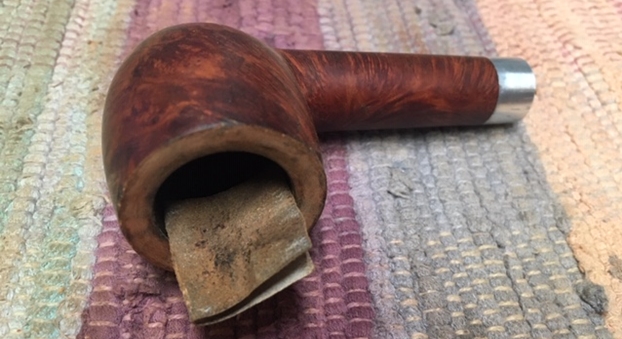
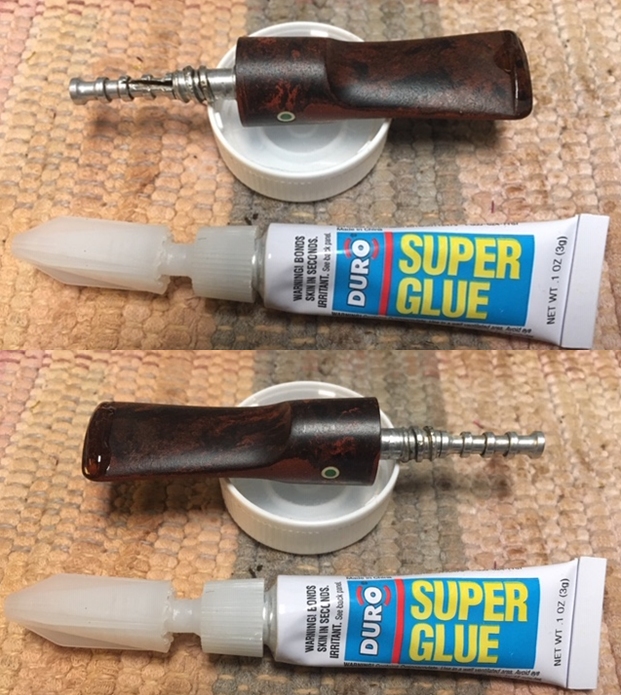
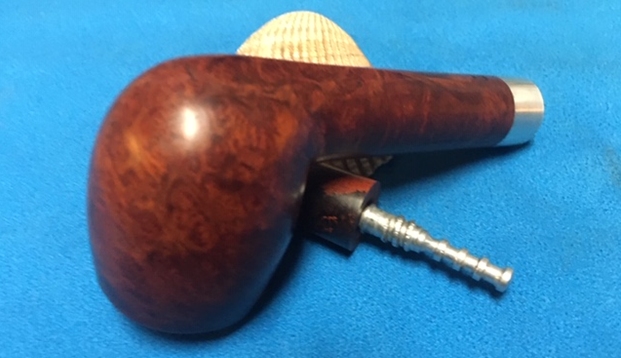
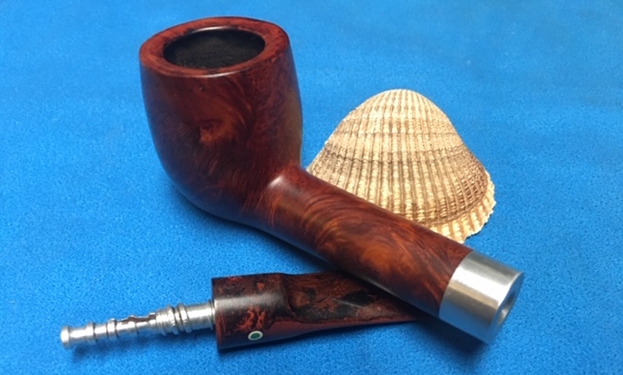
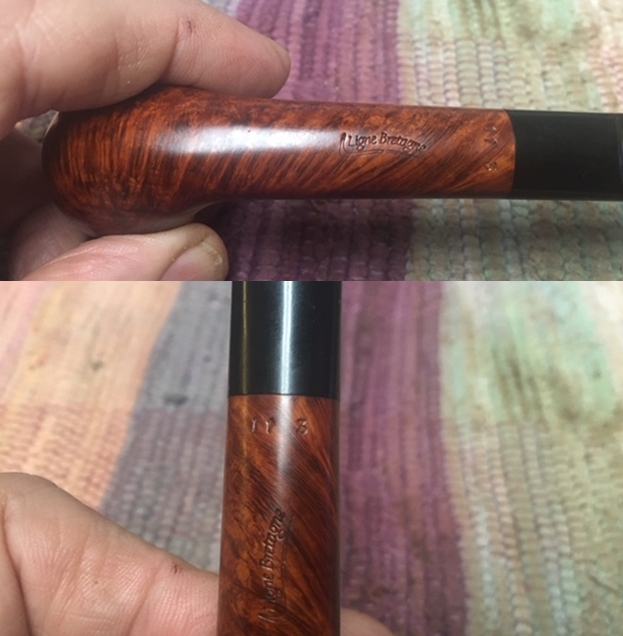 I took the stem off the shank and took a picture of the pipe. It really is a nice looking pipe with great lines.
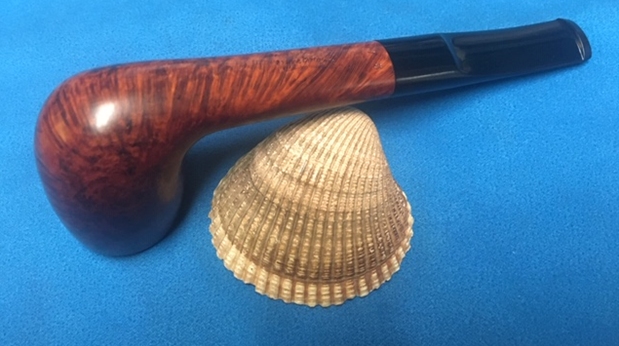
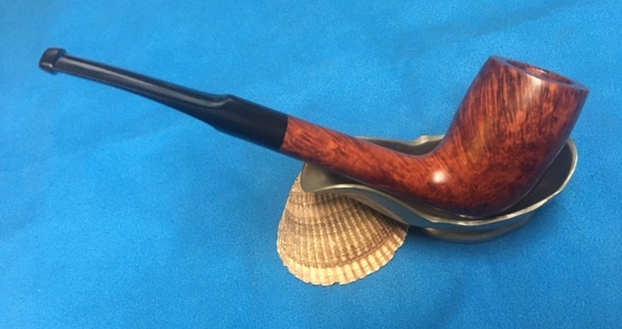
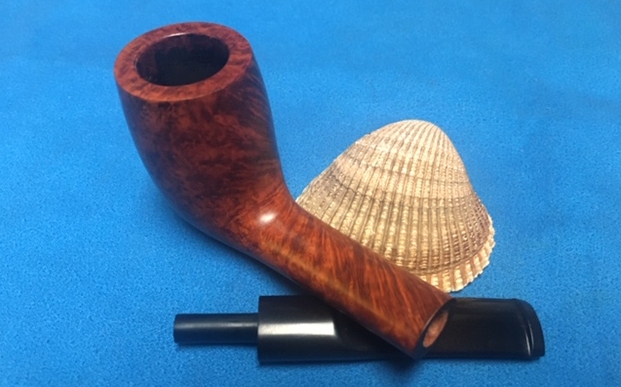
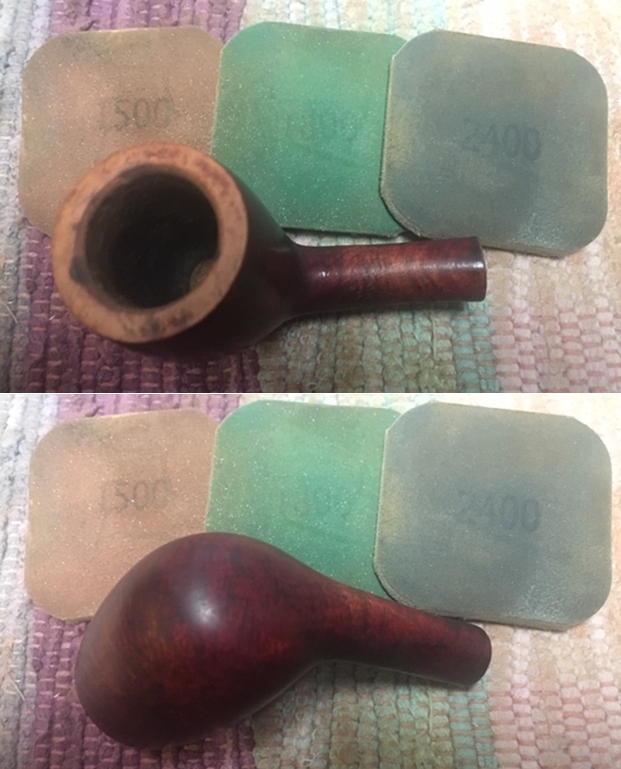
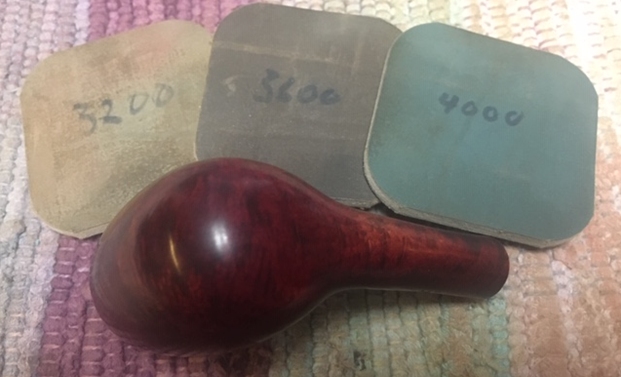
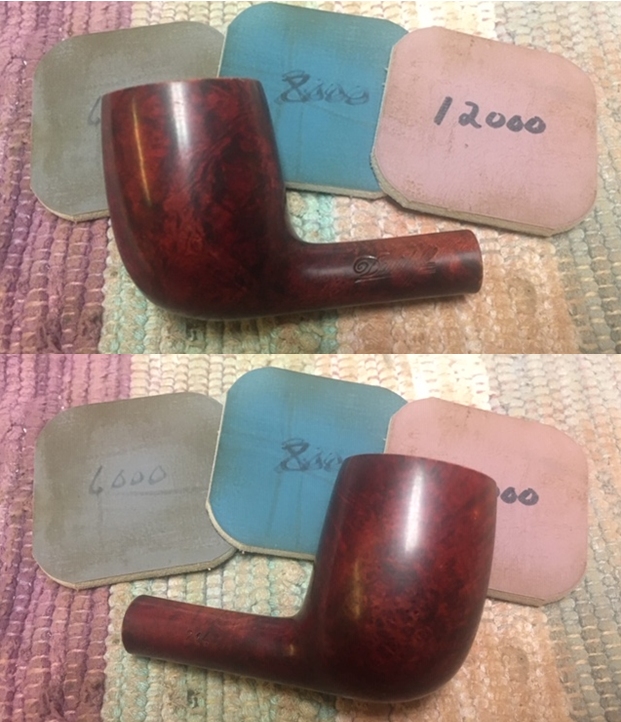
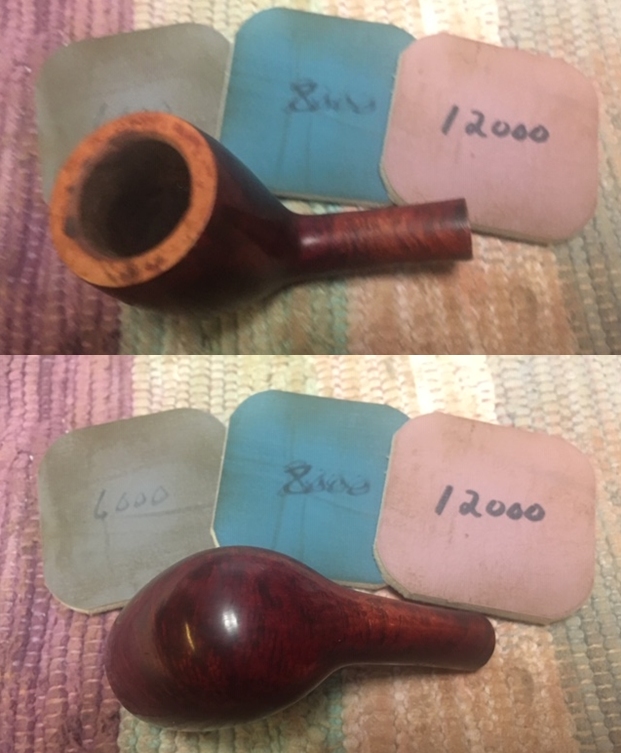
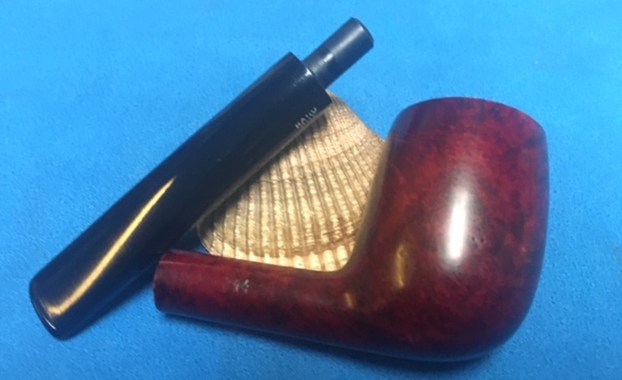
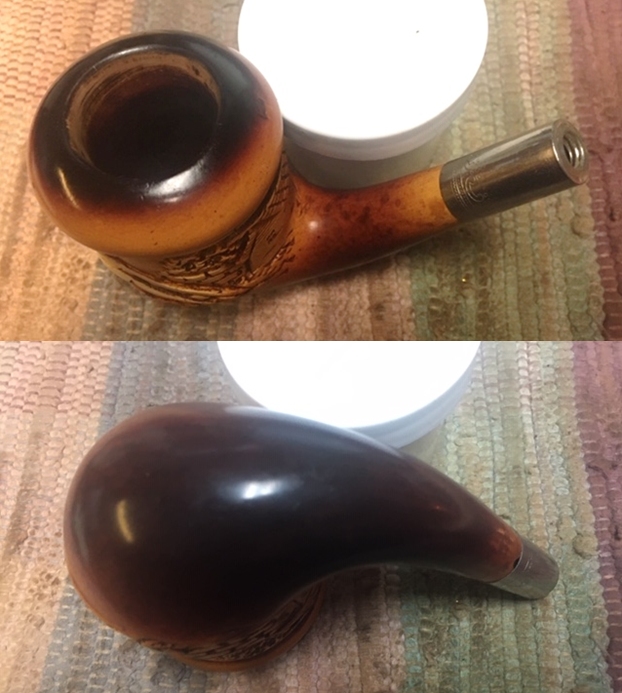
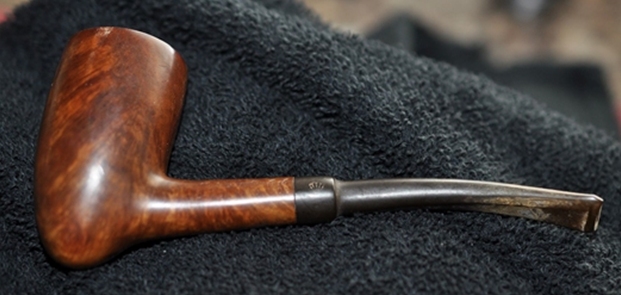
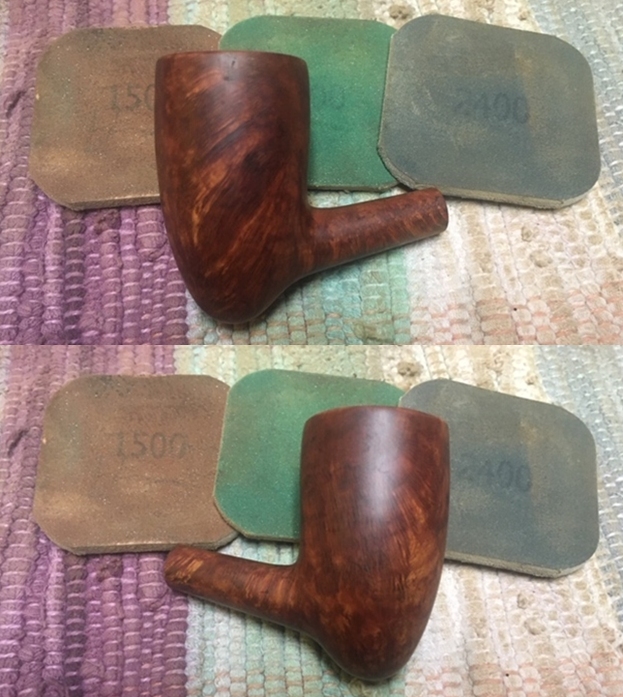
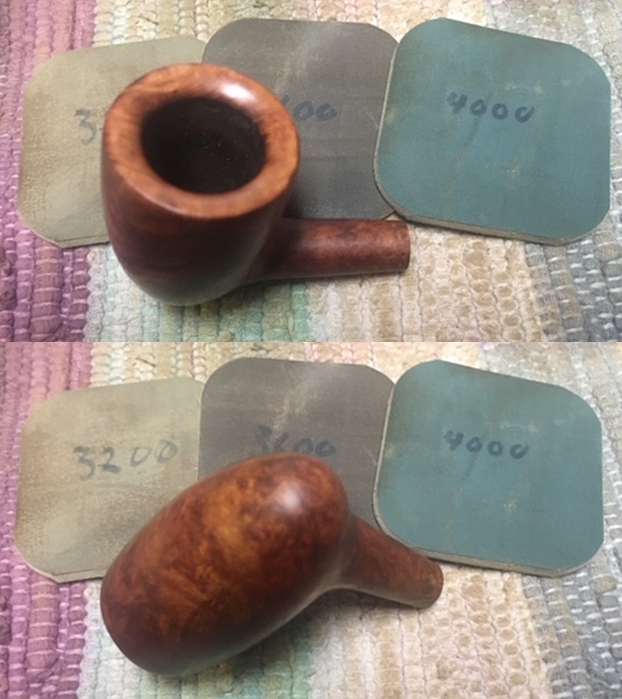
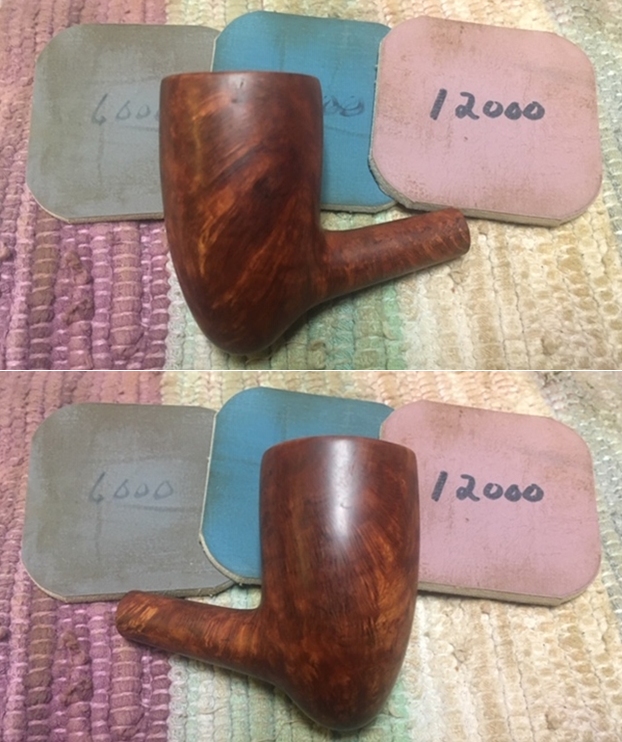
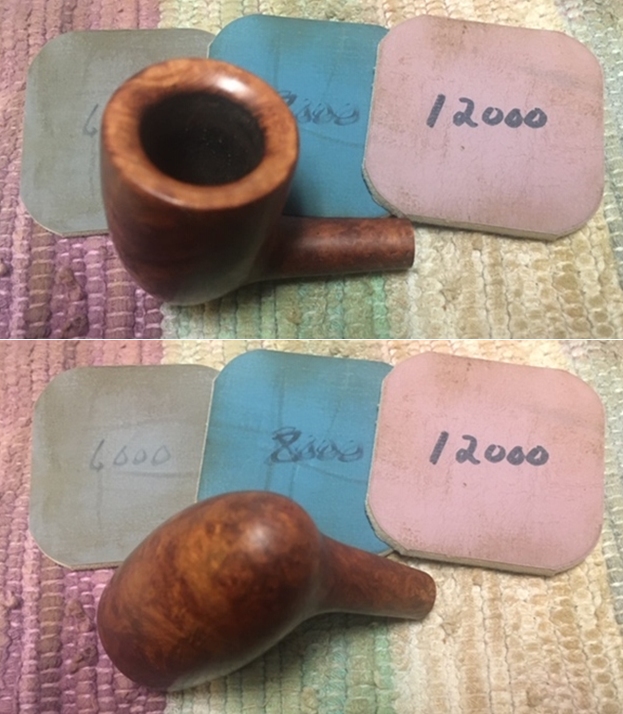
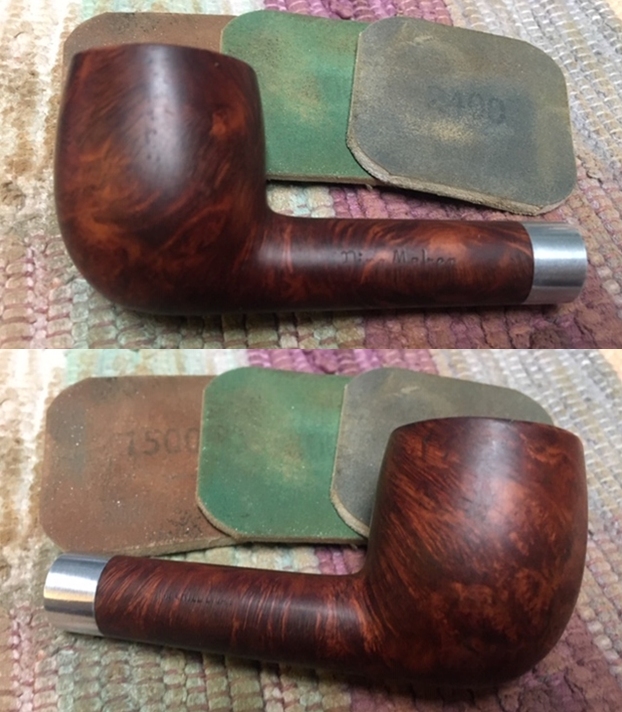
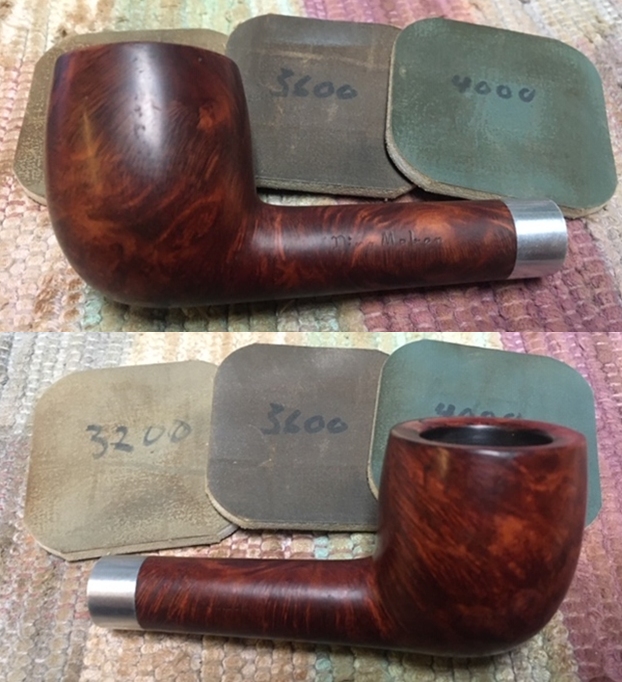
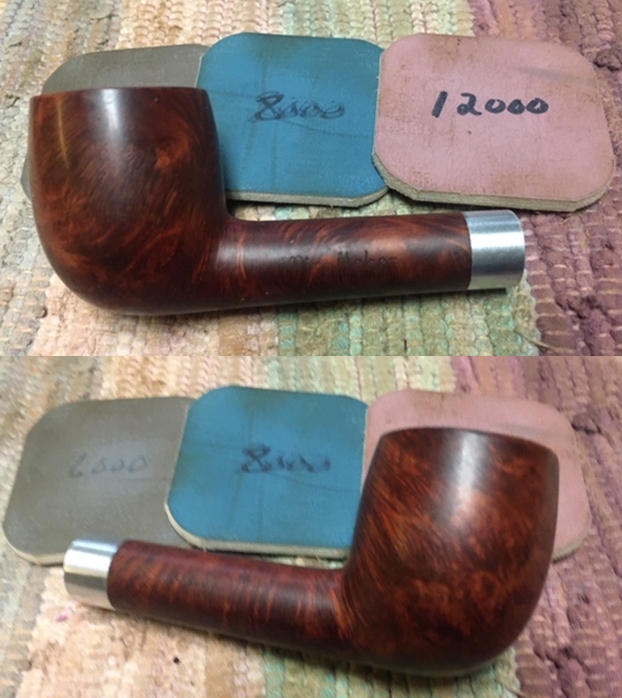
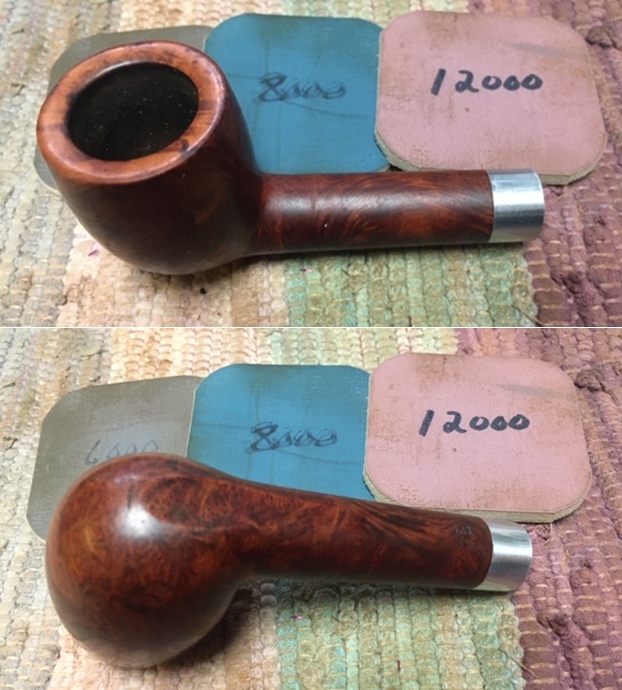
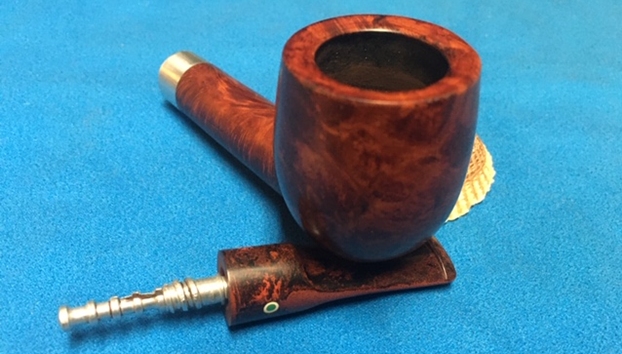
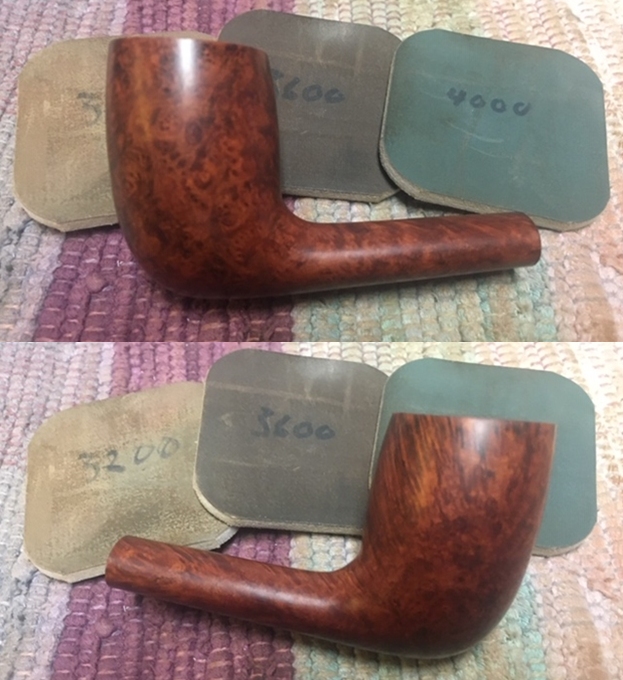
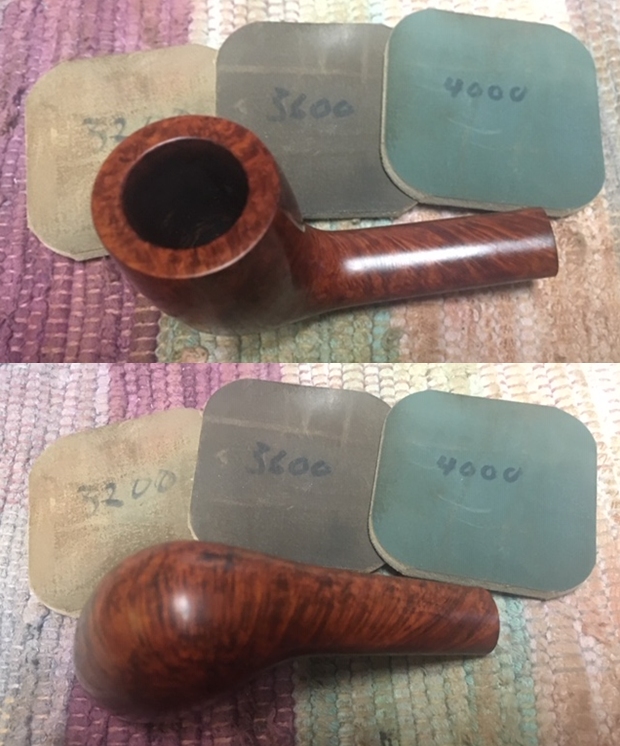
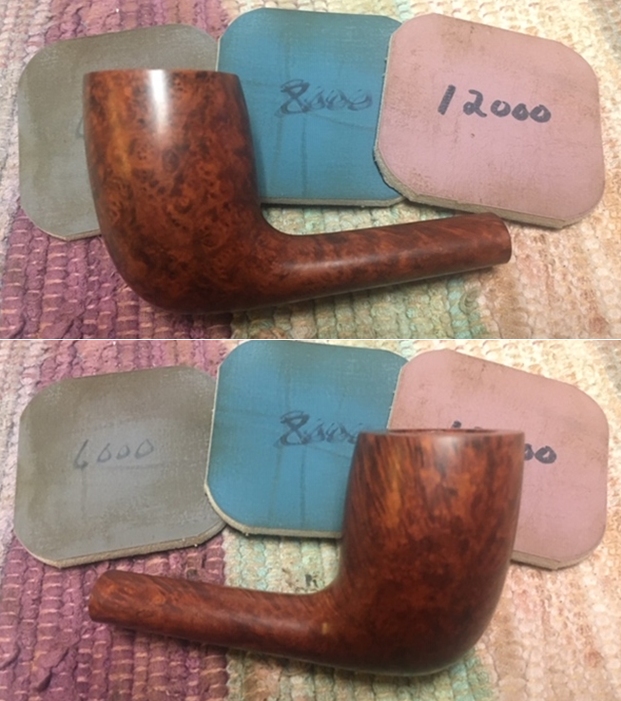
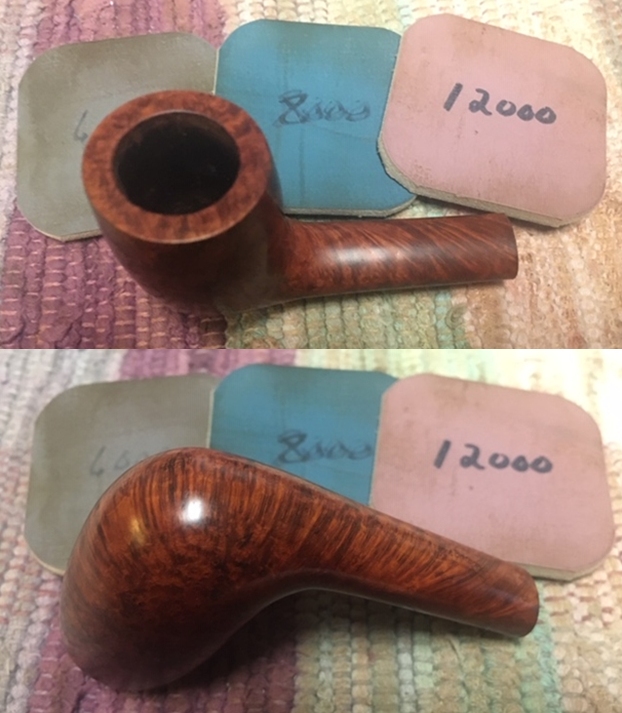
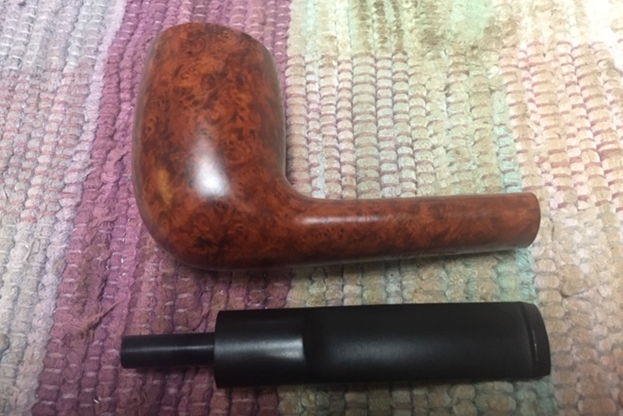 The pipe was in great condition and only needed to be polished. I polished the beautifully grained briar with micromesh sanding pads – dry sanding with 1500-12000 grit pads. I wiped the bowl down after each pad with a damp cloth. The grain really began to stand out and the finish took on a natural shine by the last sanding pad. The photos tell the story!
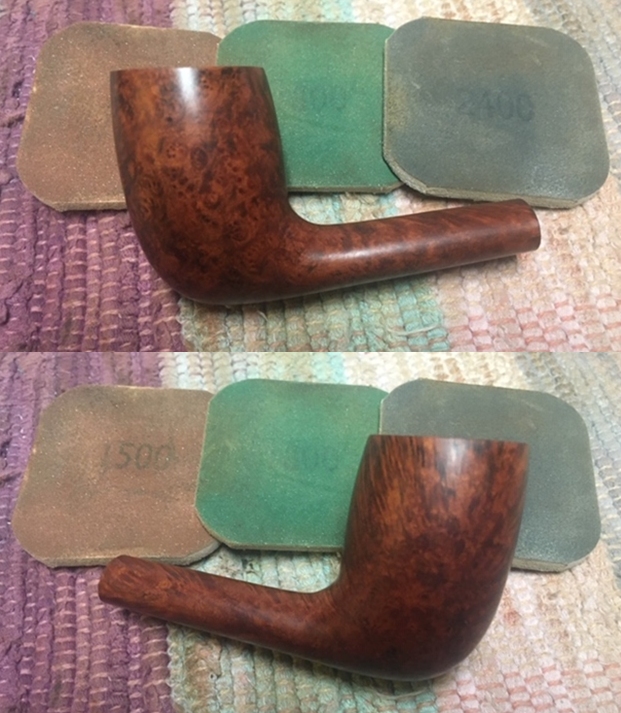
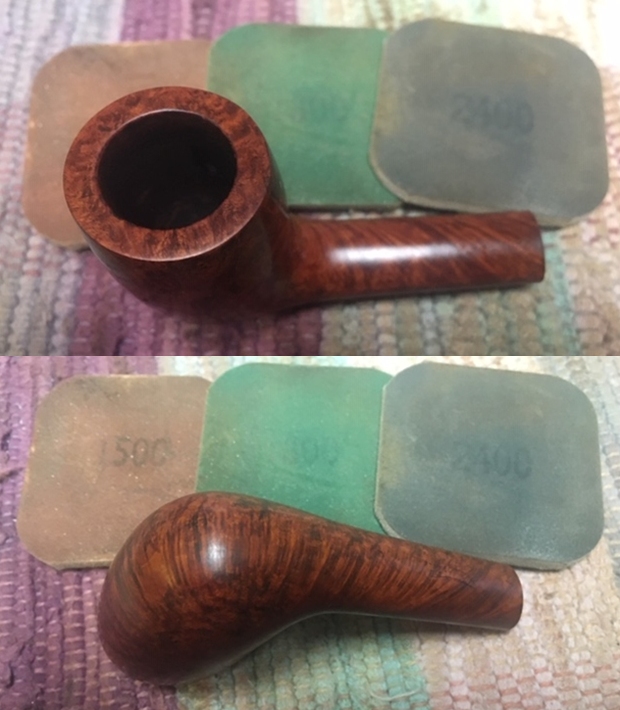
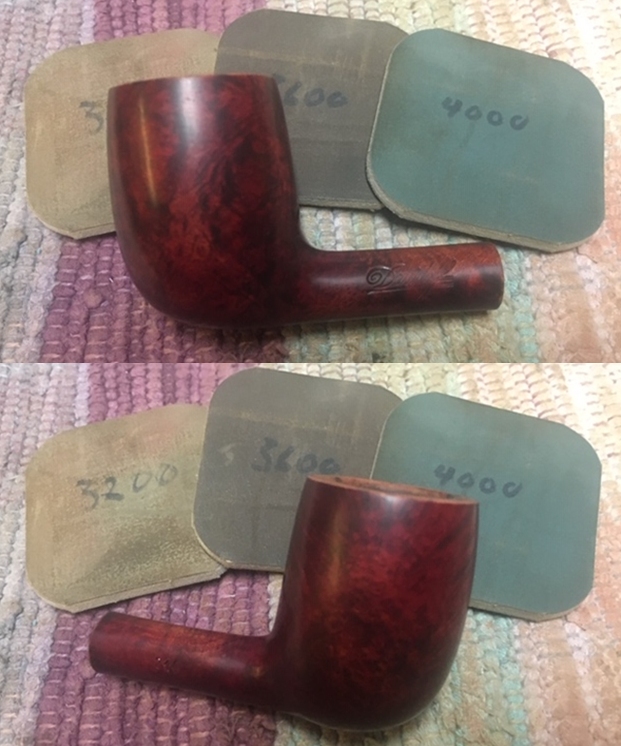
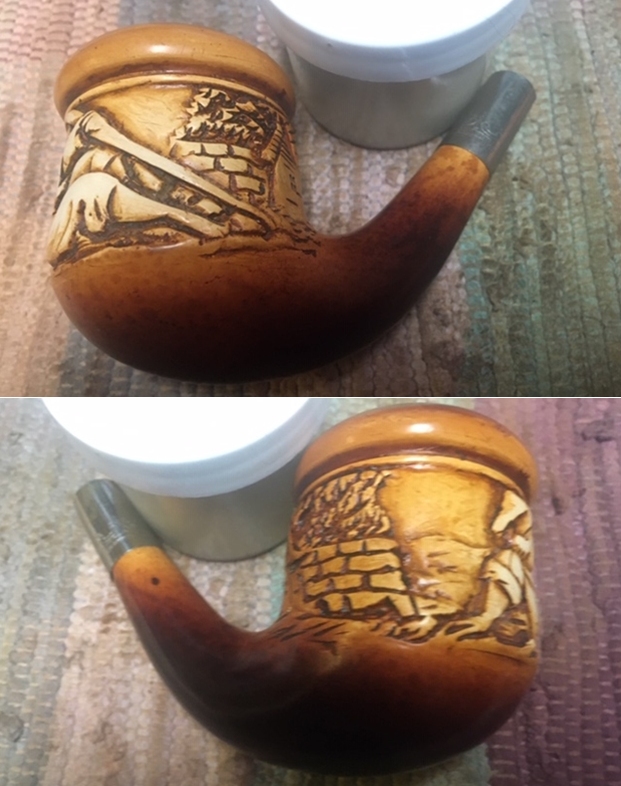
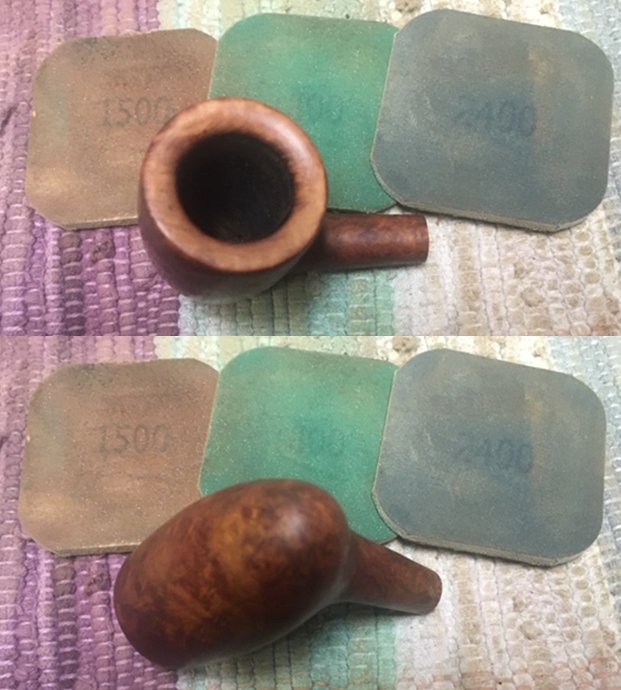
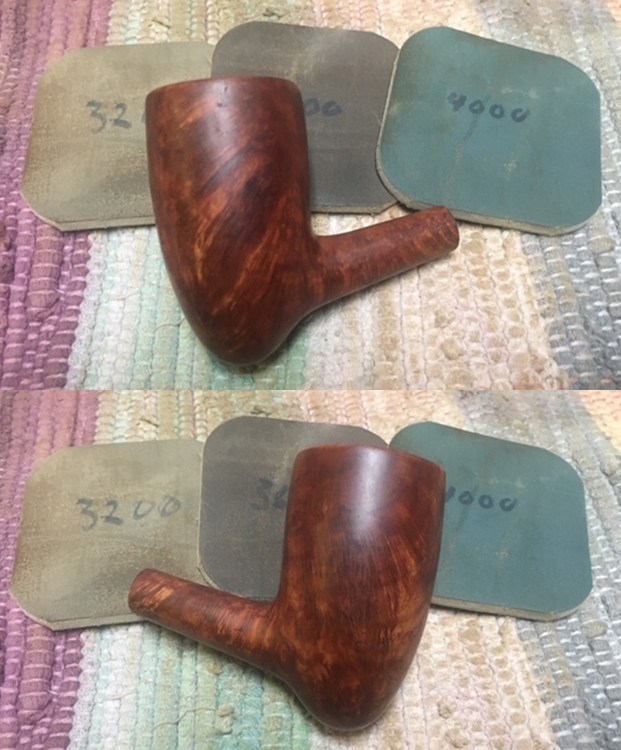
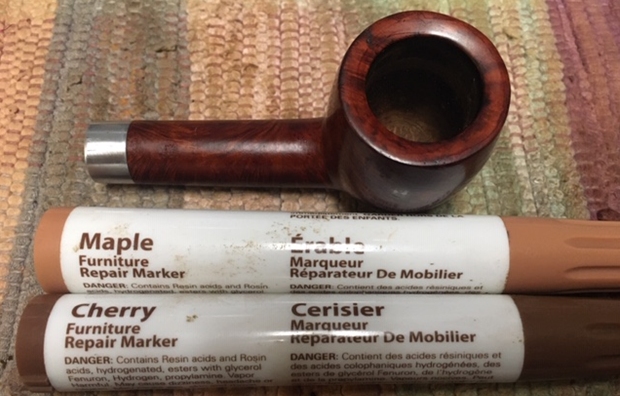
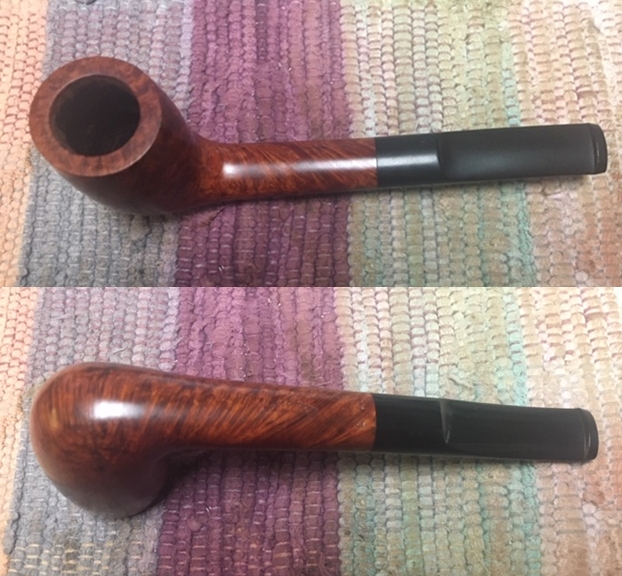
 I worked some Before & After Restoration Balm into the surface of the briar with my fingertips. The product works to clean, enliven and protect the briar. I let the balm sit for about ten minutes and then buffed with a cotton cloth to raise the shine. The photos show the bowl at this point in the restoration process.
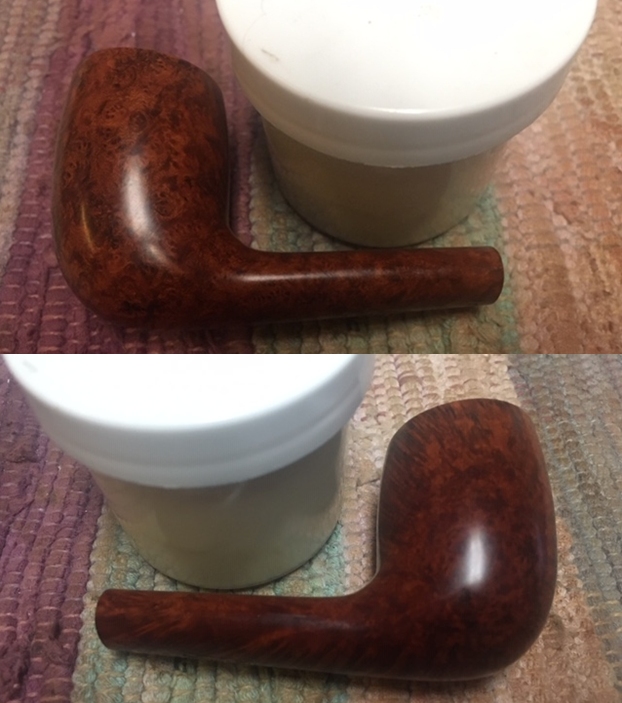

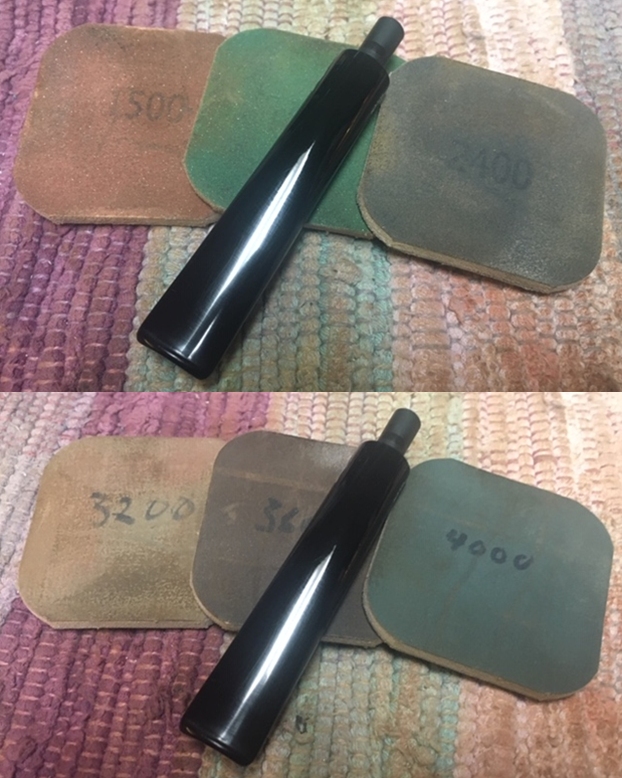
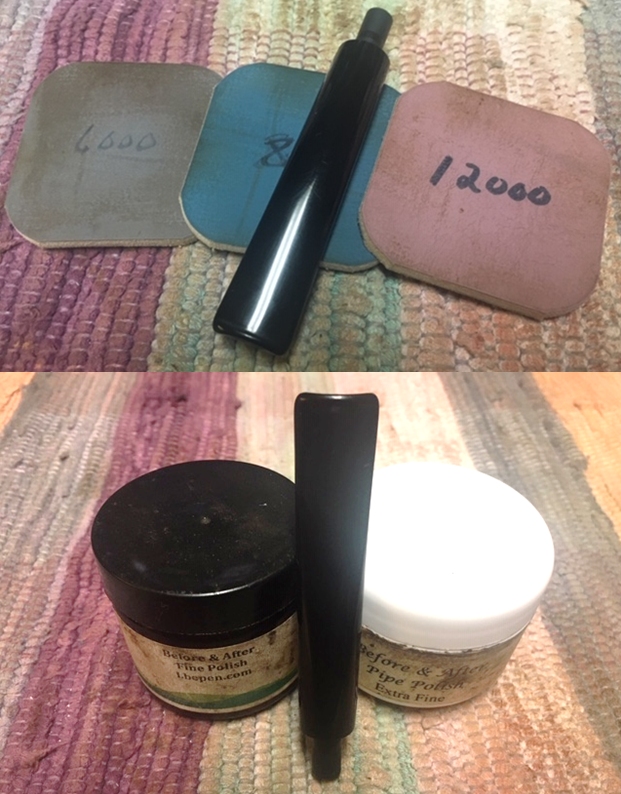
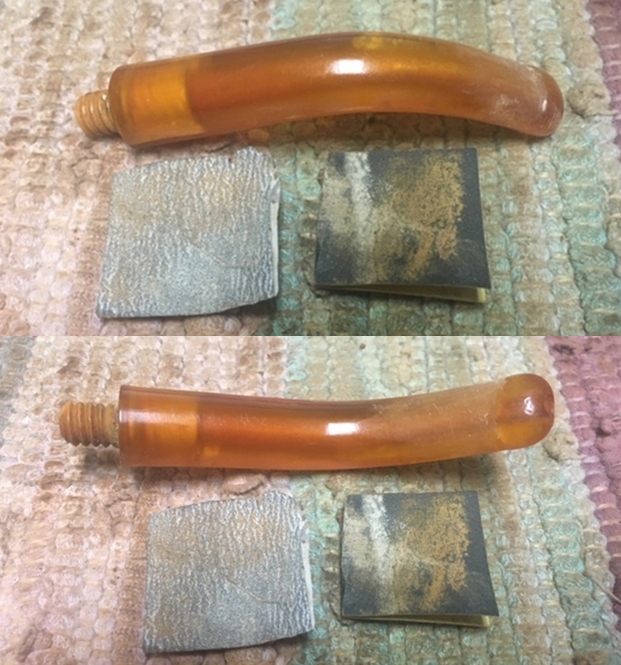
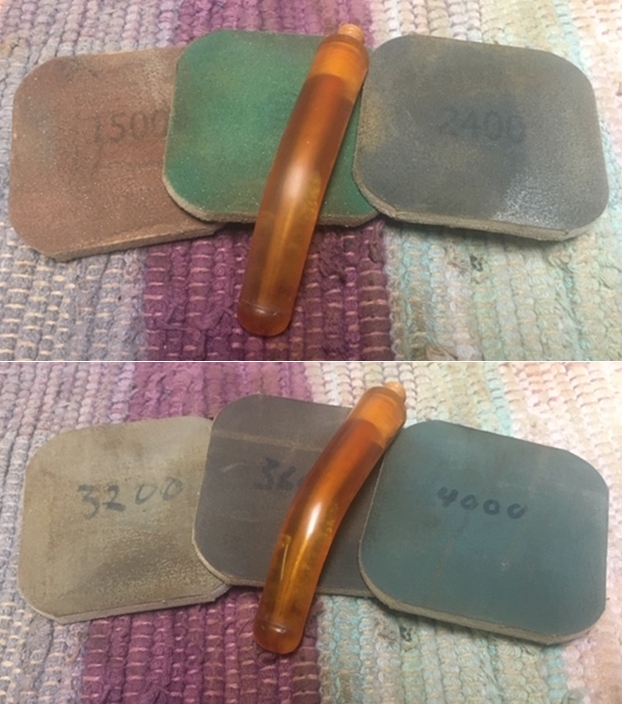
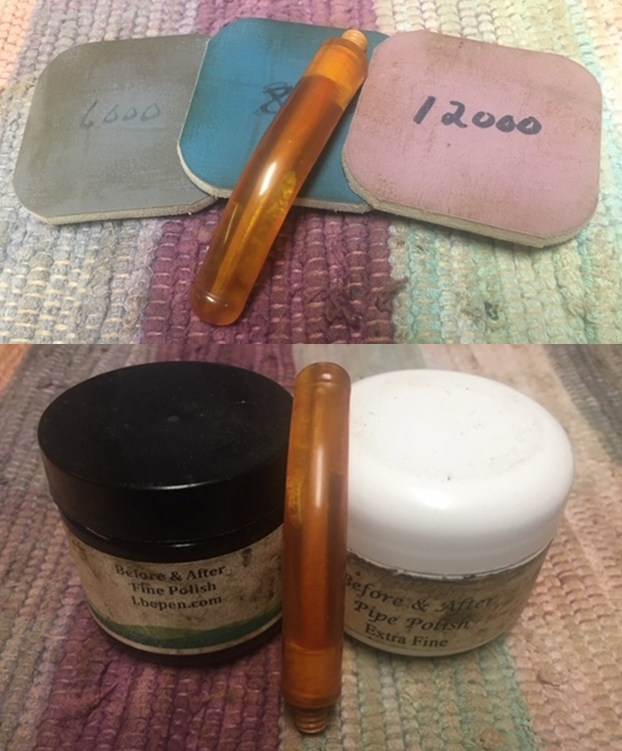
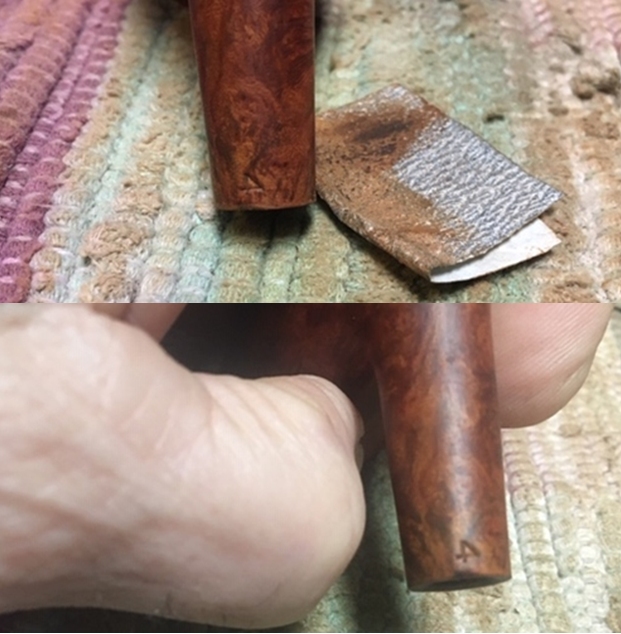
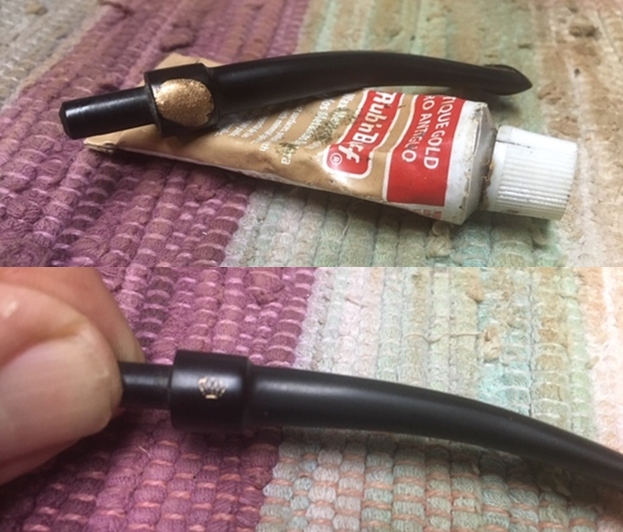
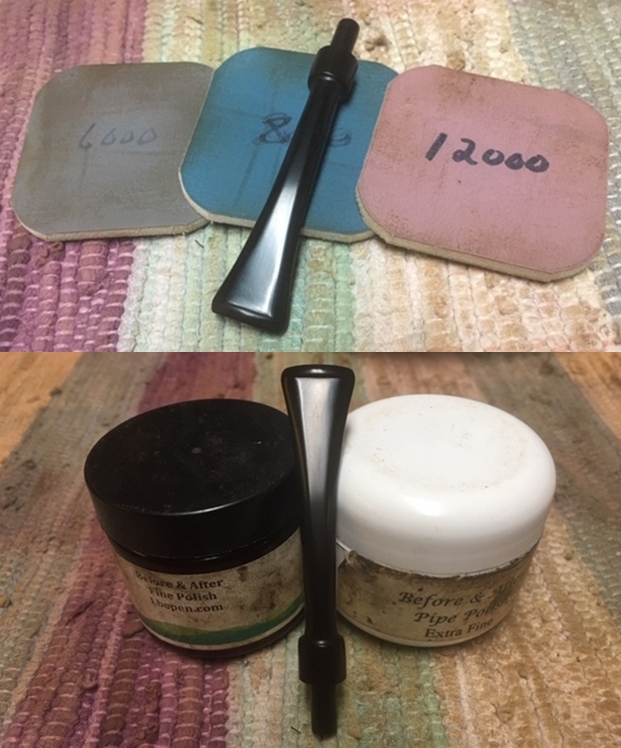
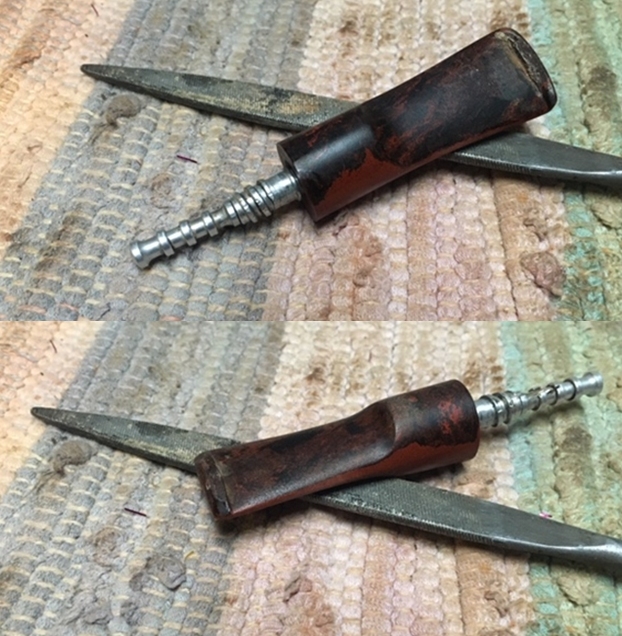
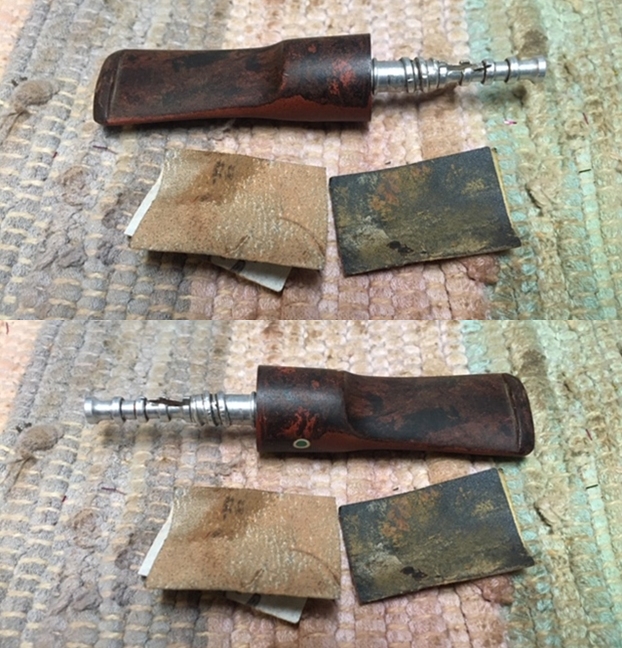
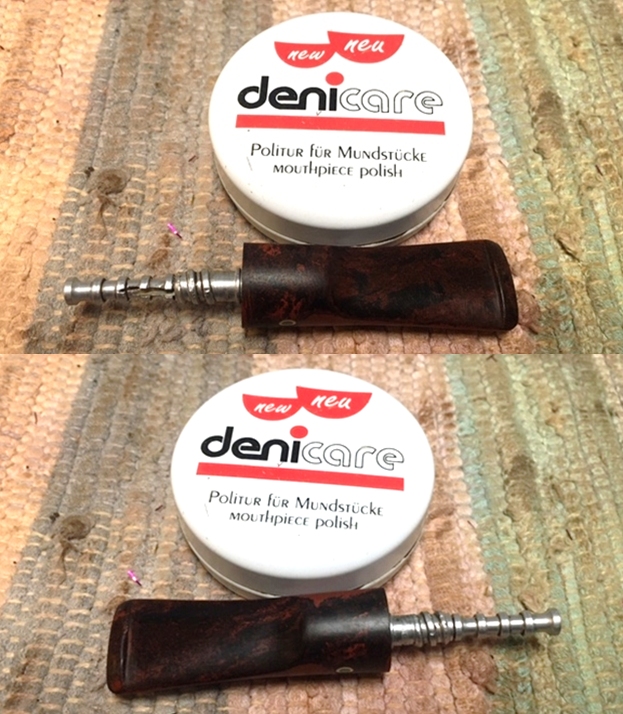
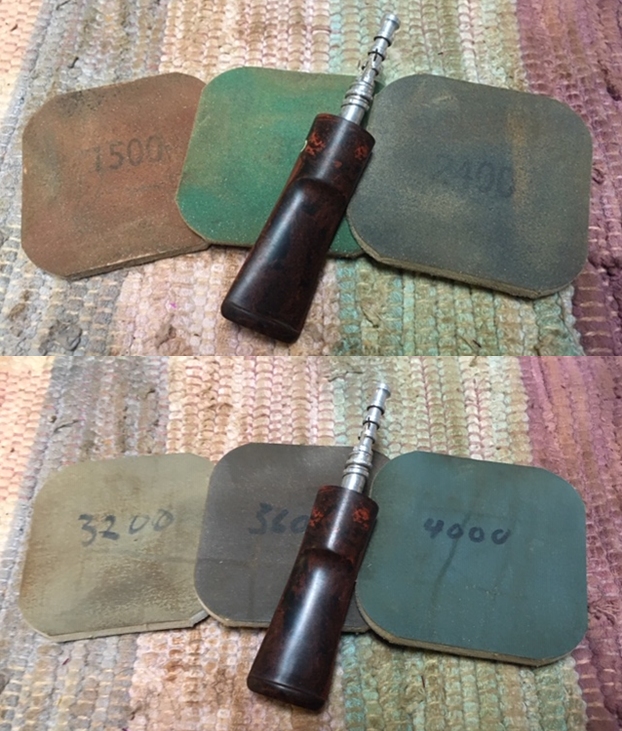
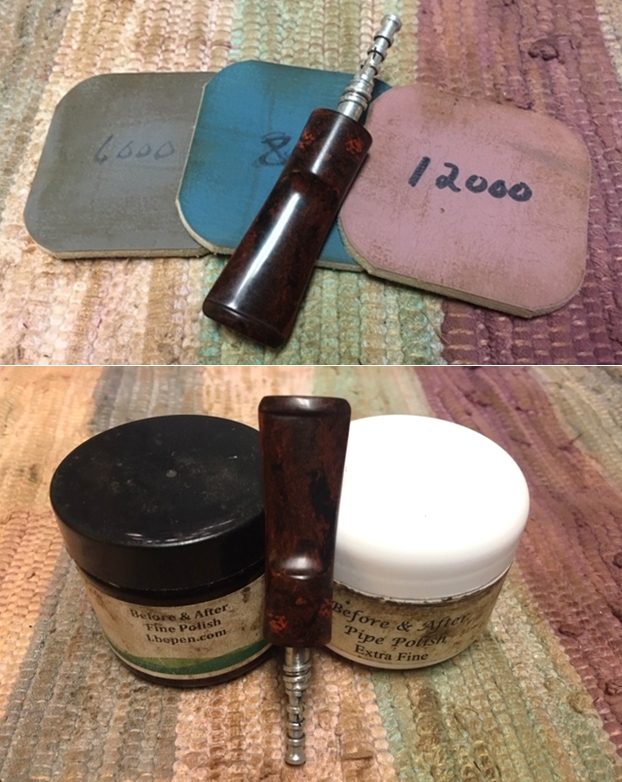
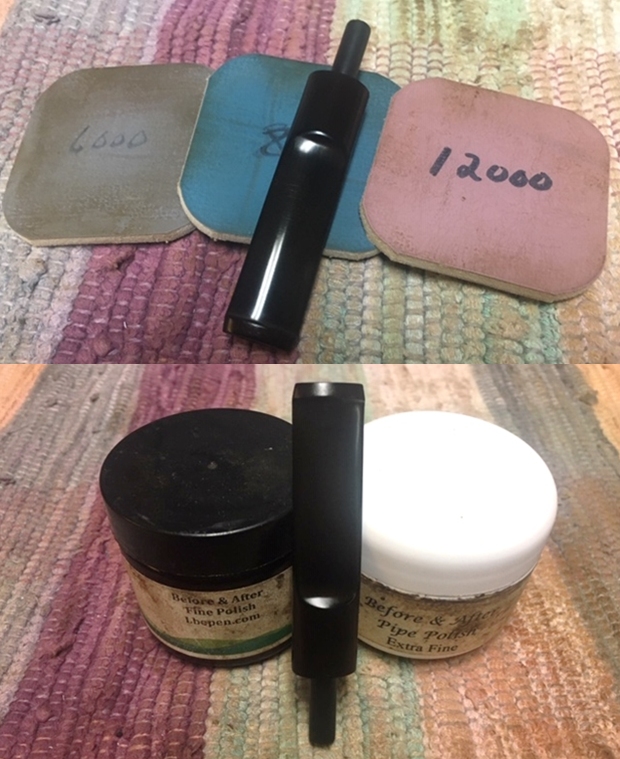
 I laid the bowl aside and turned to deal with the stem. The tooth marks and chatter on the stem were not deep. I polished the stem with micromesh sanding pads – dry sanding with 1500-12000 grit sanding pads. I wiped it down after each sanding pad with a cloth containing some Obsidian Oil. I finished polishing it with Before & After Pipe Stem Polish – both Fine and Extra Fine and buffed it off with a cotton cloth.
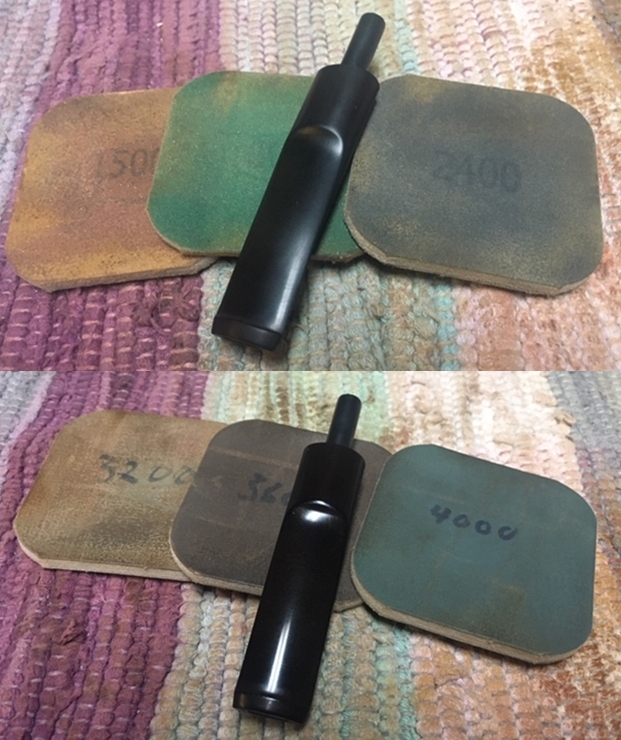
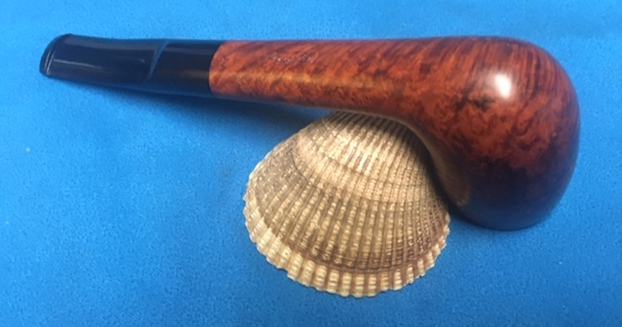
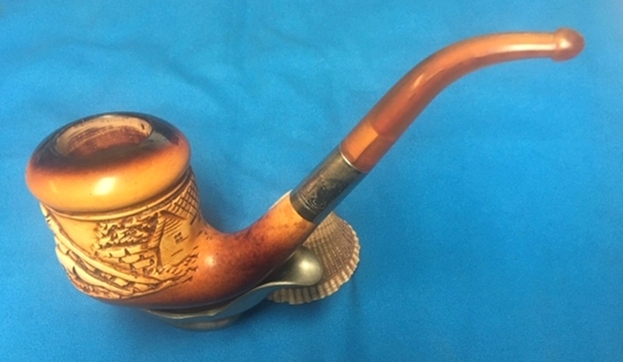
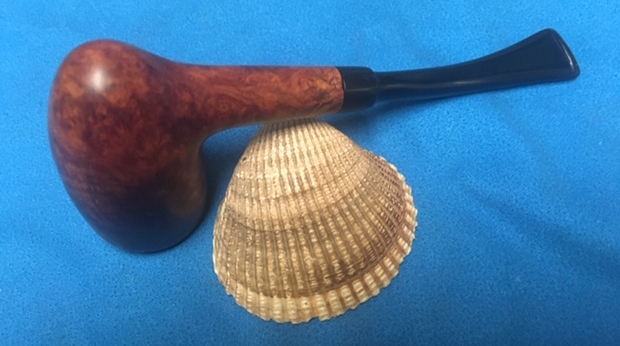
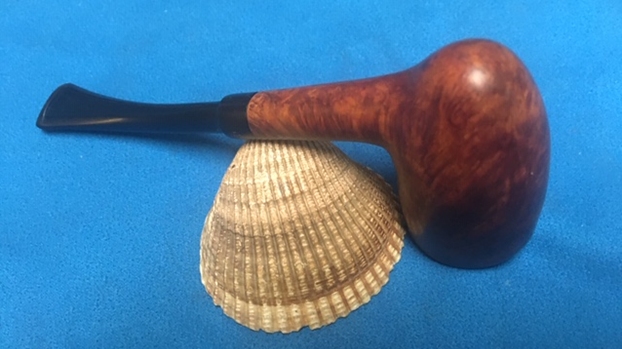
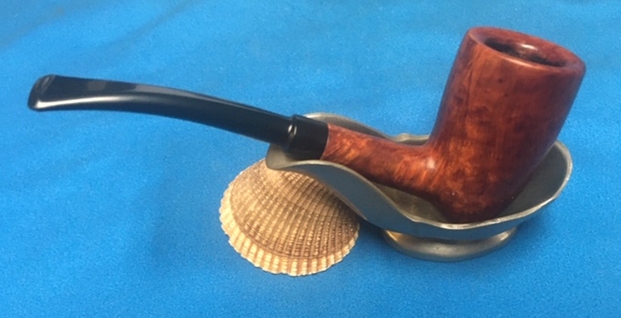
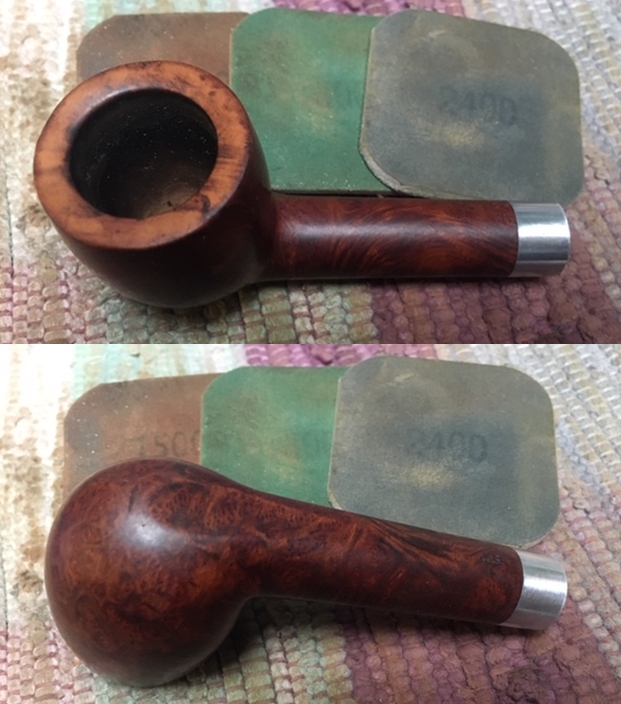
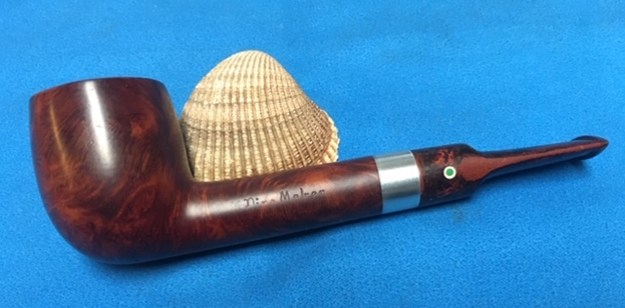
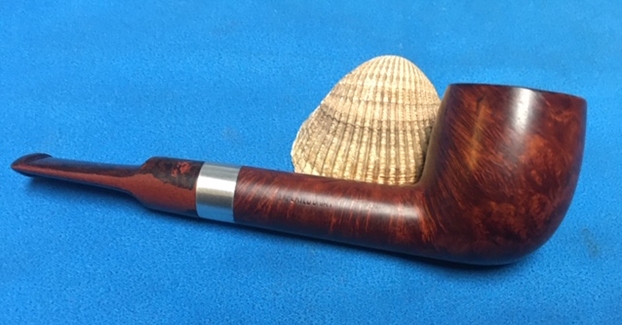
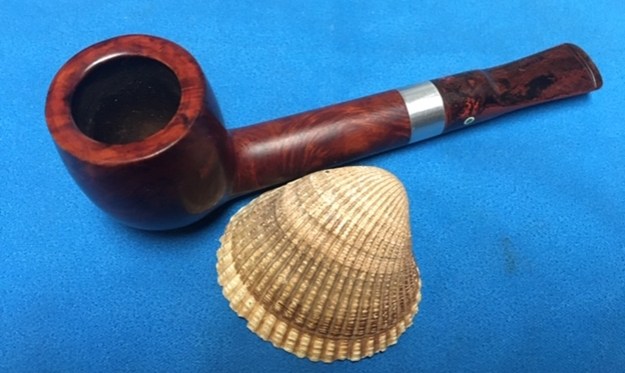
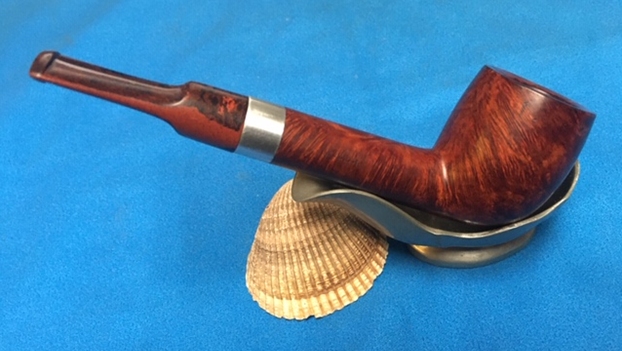
 The pipe came together quite well. The finish on the pipe is in excellent condition and the contrasting stains work well with the black vulcanite stem. With the grime and debris gone, the bowl had a natural beauty and grain that pops. I put the stem back on the bowl and buffed the pipe with Blue Diamond on the buffing wheel. I carefully avoided the stamping on the shank during the process. I gave the bowl and the stem multiple coats of carnauba wax on the buffing wheel and followed that by buffing it with a clean buffing pad on the buffer. I hand buffed the pipe with a microfiber cloth to deepen the shine. The finished Ligne Bretagne pipe is quite beautiful and is comfortable looking pipe. Give the finished pipe a look in the photos below. I can only tell you that it is much prettier in person than the photos capture. The dimensions of the pipe are Length: 5 ½ inches, Height: 1 ¾ inches, Outside diameter of the bowl: 1 ¼ inches, Chamber diameter: 5/8 of an inch. I really like the looks of this pipe. It is great looking and in great condition. Thanks for walking through the restoration with me as I worked over another beautiful pipe. Thanks for your time.