Blog by Steve Laug
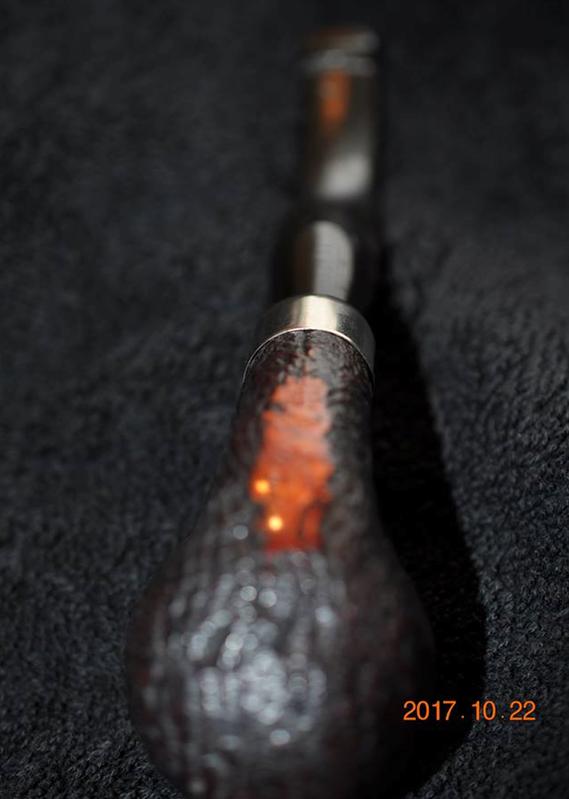
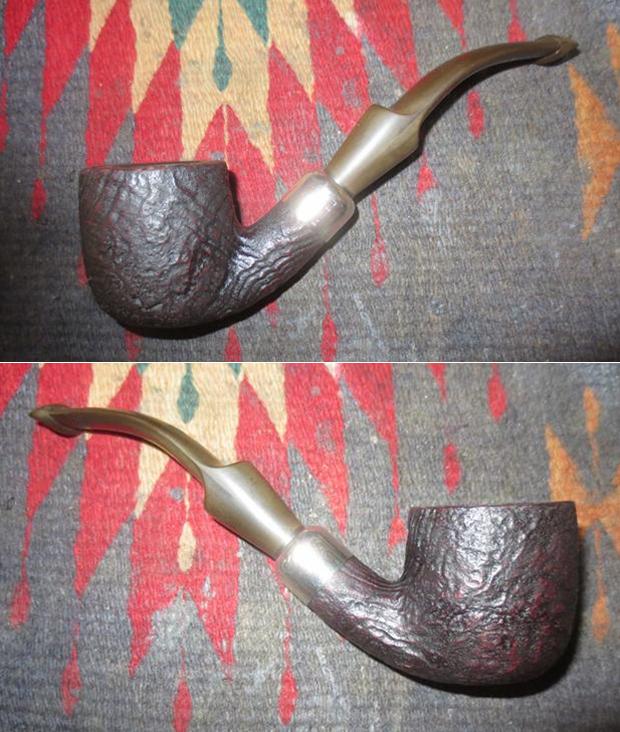
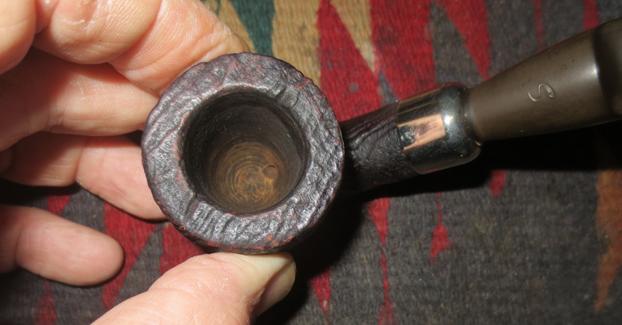
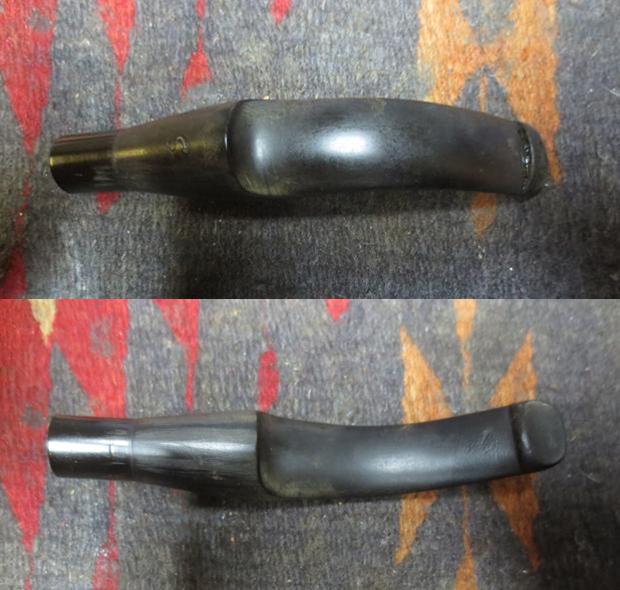
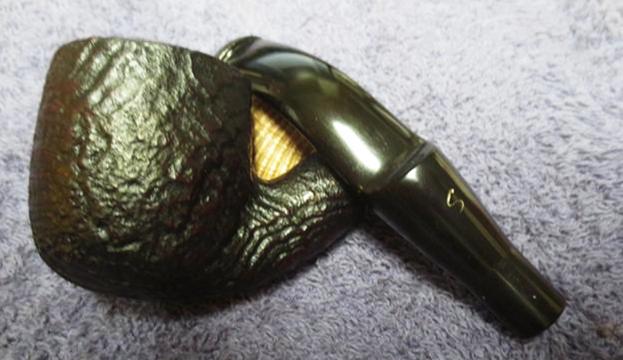
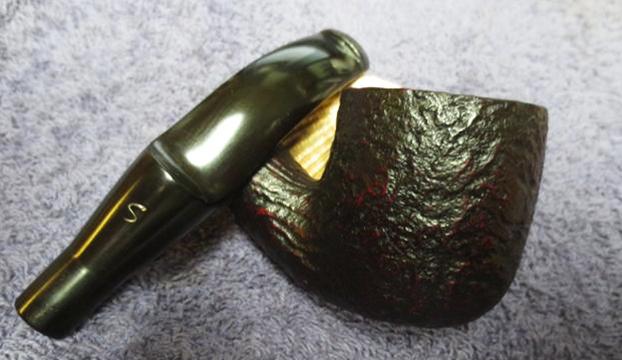
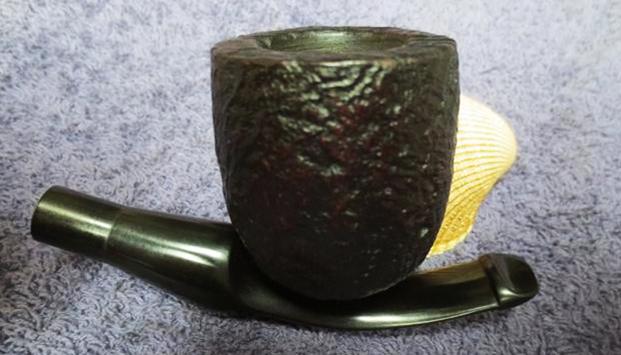
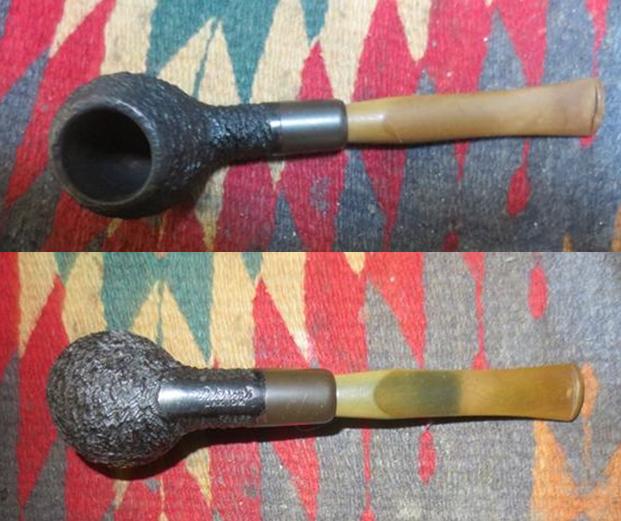
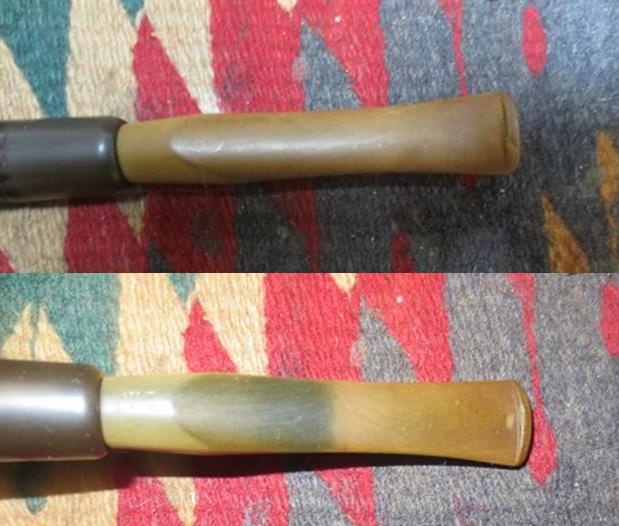
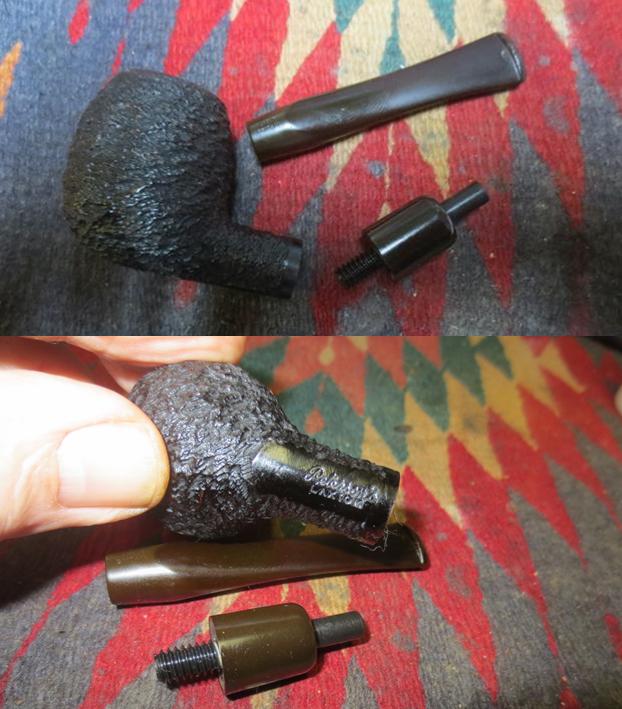
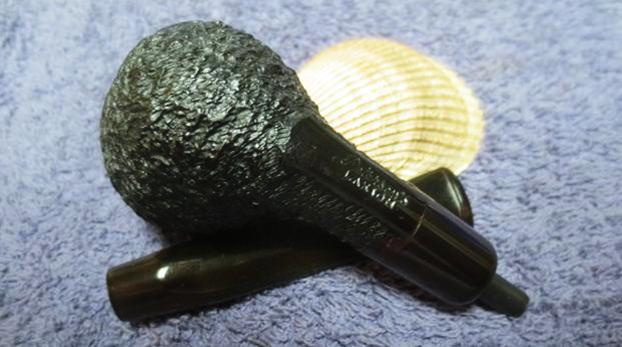
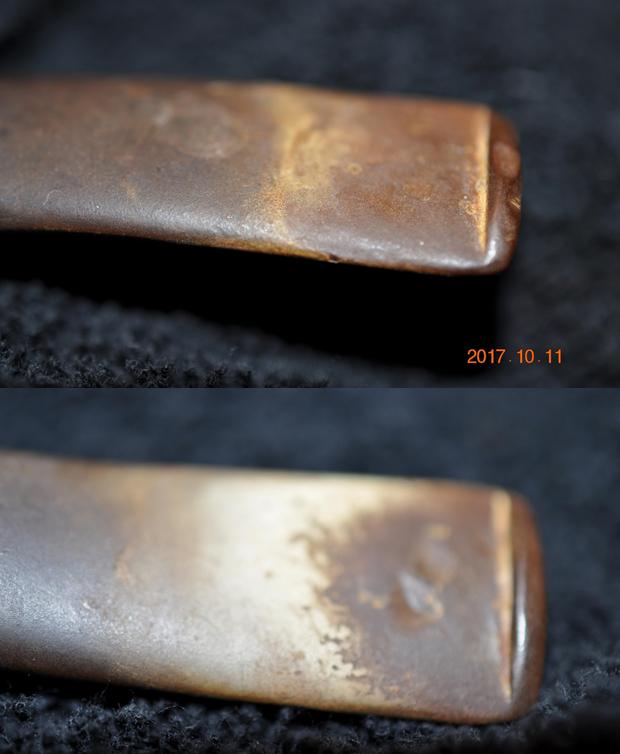
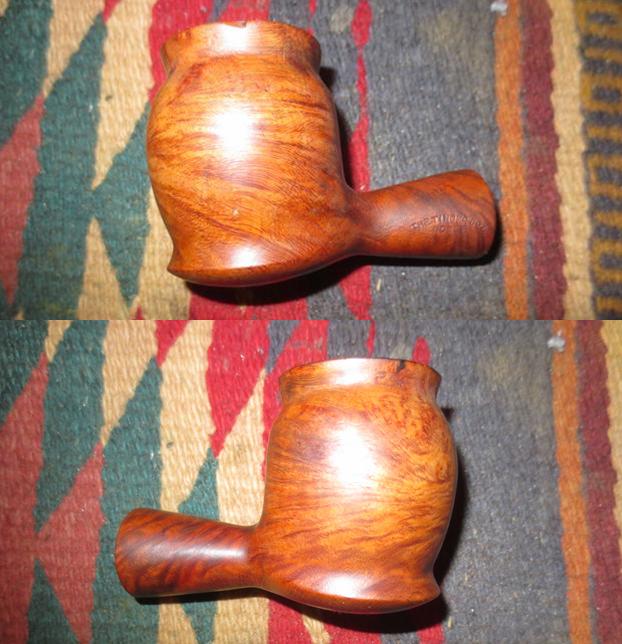
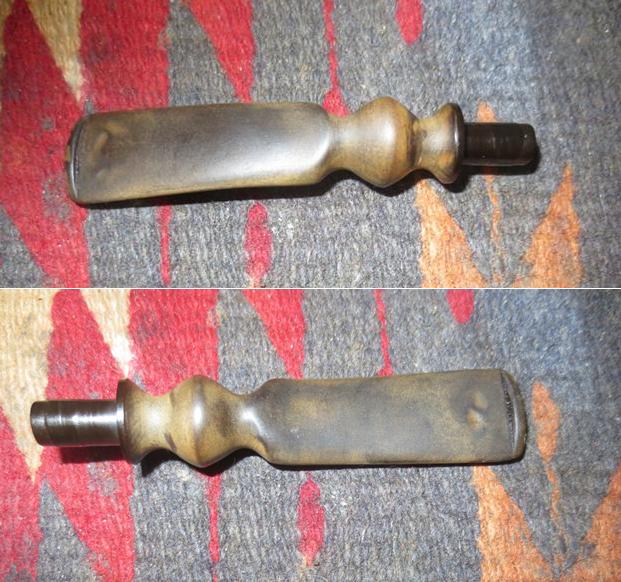
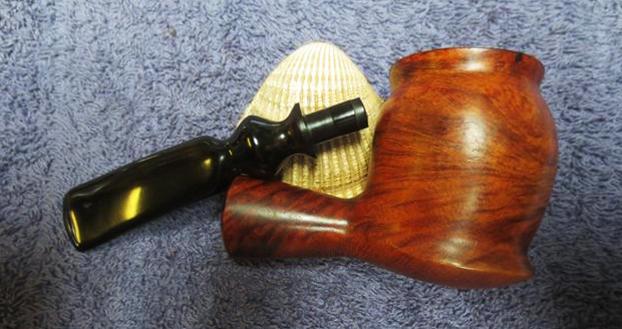
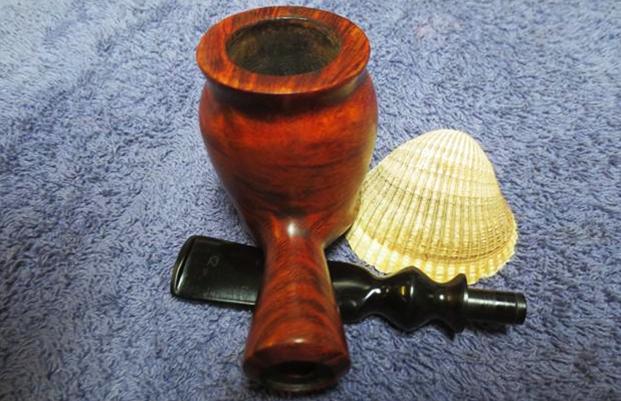
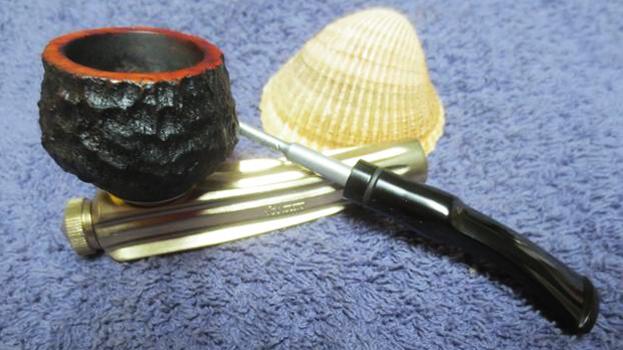
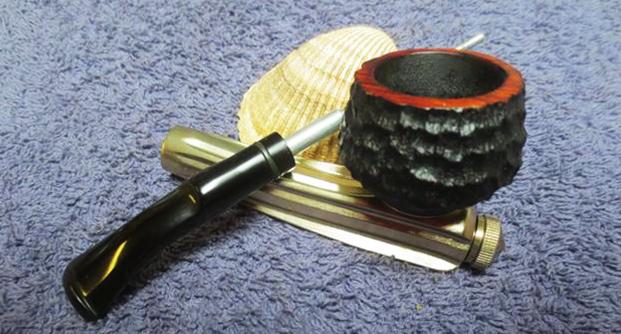
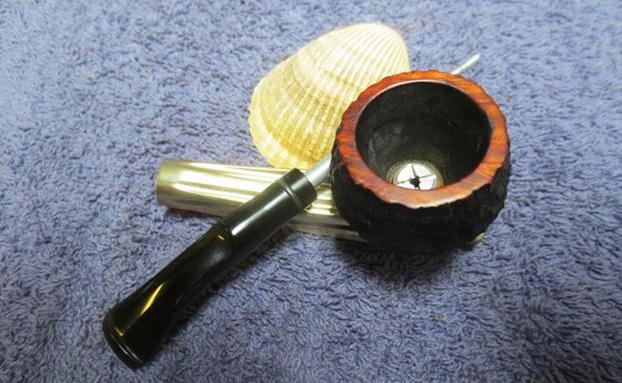
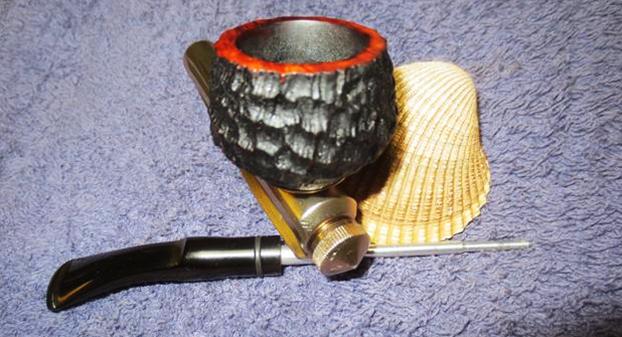
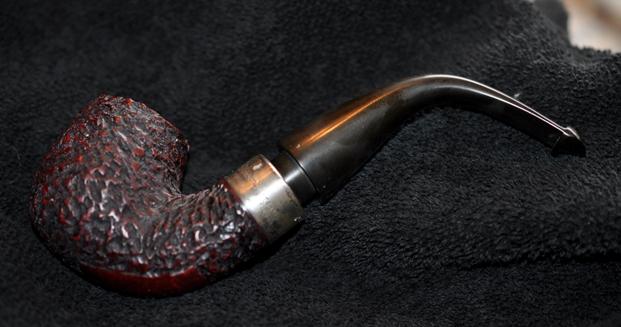
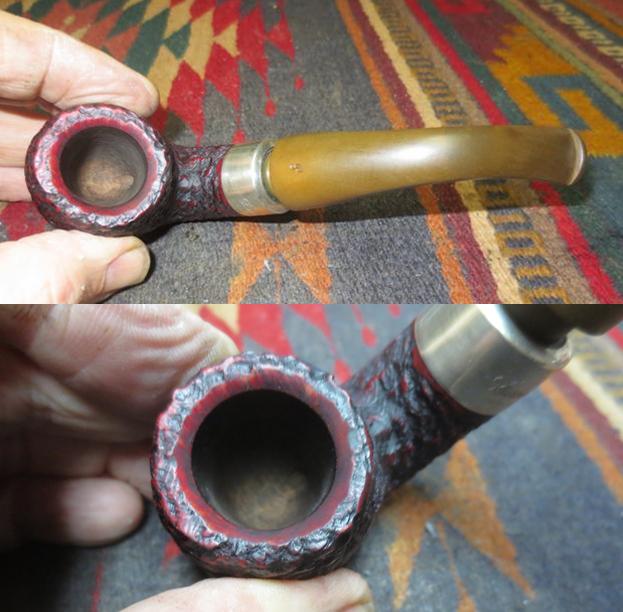
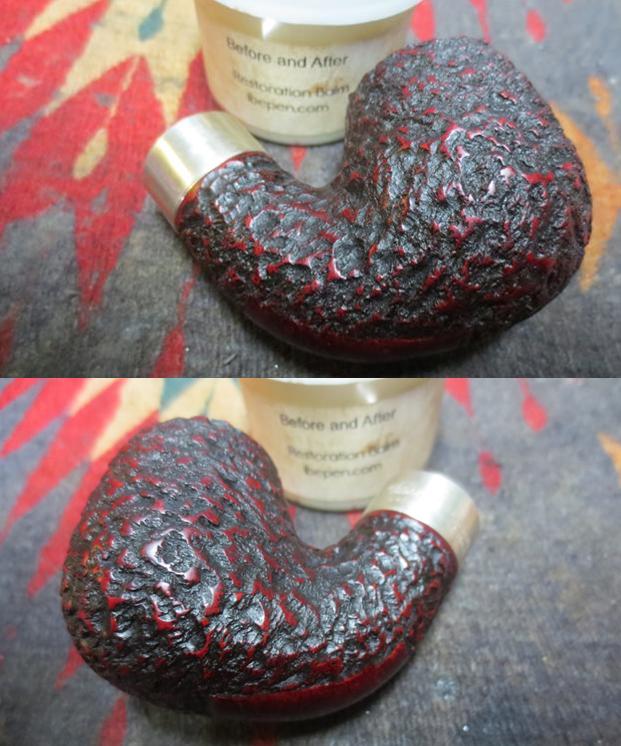
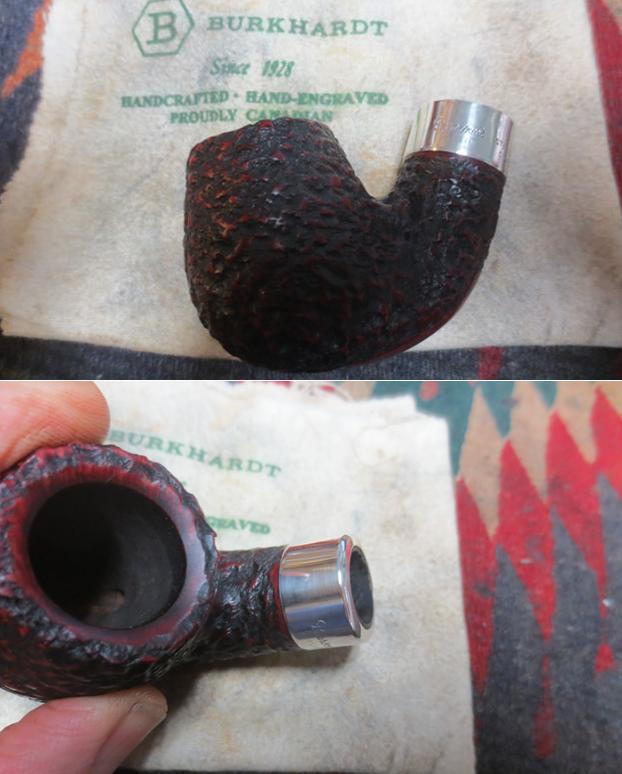
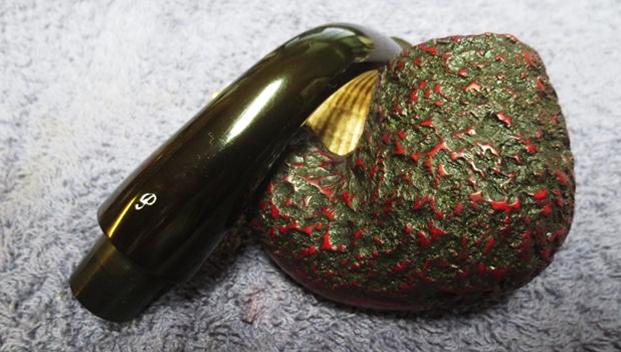
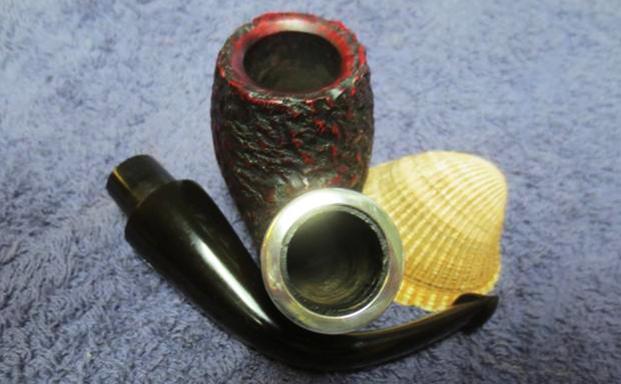
Those of you that collect Tracy Mincer made pipes know all about the variety of stampings on the pipes that he made. They go from Custom-Bilt, Custom-bilt, Custombilt, Doodler and even those named after himself. His pipes are unique and the Custom-Bilt pipes (no matter how you spell the name) that he made are immediately recognizable. Their chunky Rhodesian or Bulldog/Bull moose shape along with the unique worm trail deep rustication and the stubby fit in the hand makes them easy to identify. When Jeff sent me photos of the next pipe that came to the worktable, I was not sure where it fit in the world of this brand. I have read Bill Unger’s opus on the brand so I had a bit of an idea but I wanted to spend time working on the pipe before I narrowed down the period. It has a more refined shape and refined application of the rustication to the bowl. It seemed more controlled and predictable than the other typical Custom-Bilt pipes I have worked on and restored. The stem also had a different feel than the others I have worked on and the amount of briar in the body of the pipe seemed less that what I expect in these pipes. Jeff took photos of the pipe before he started to work on it so I could have an idea of what we had in our hands. The pipe appeared to be in decent condition. The finish was dirty but did not look like it was damaged. The bowl had a thinner cake that the others I have been working on lately. There was lava overflow on the top of the rim. I am sure there would be some darkening and possible some burn marks on the inner edge of the beveled rim top. The outer edge appeared to be undamaged. The stem was vulcanite and had a very light oxidation on the top surfaces. There was tooth chatter on both sides of the stem just ahead of the button. The edge of the button also had some tooth wear. The previous owner had put a light bend in the stem in the last 1 inch. To me it did not look right and would need to be straightened.
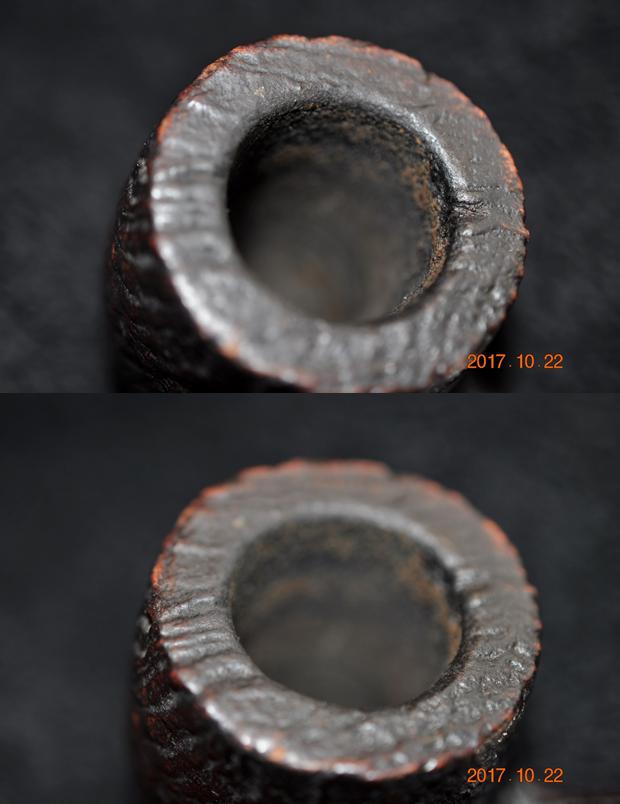
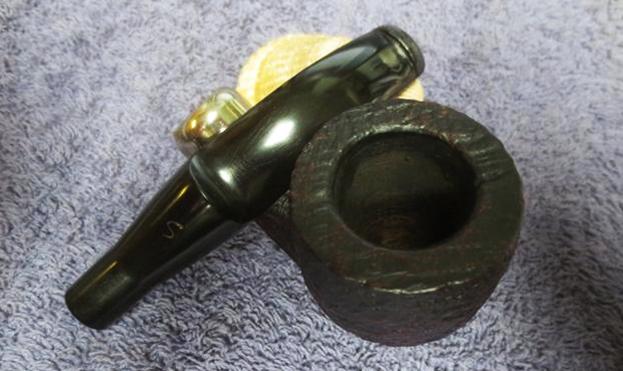
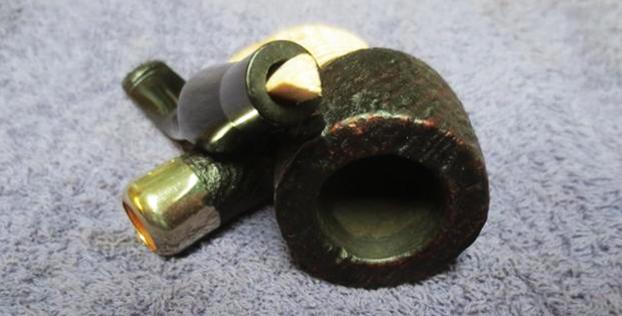
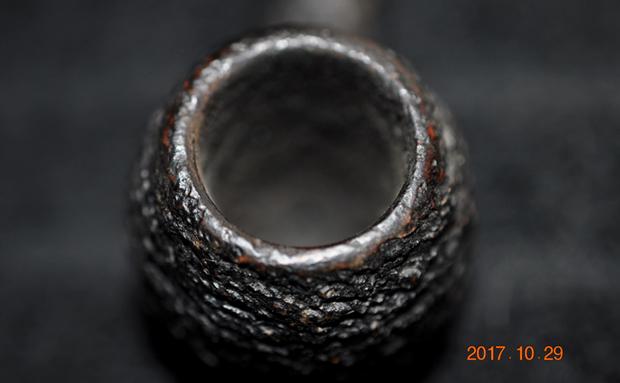
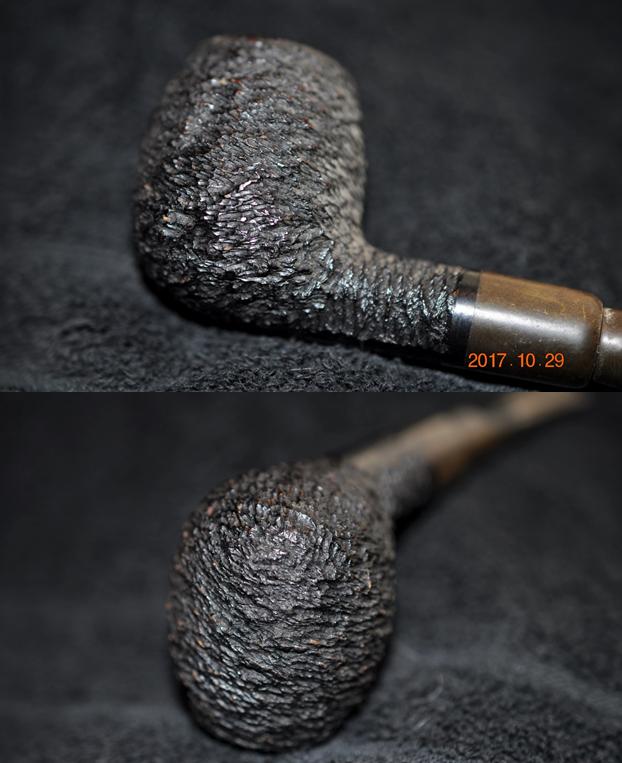
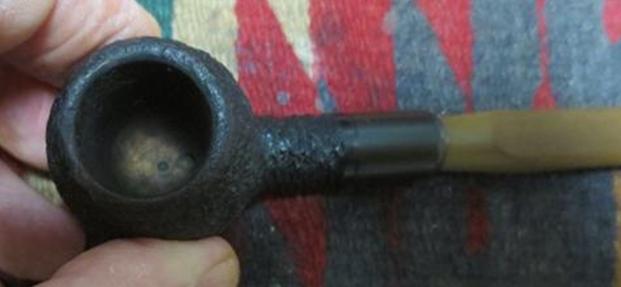
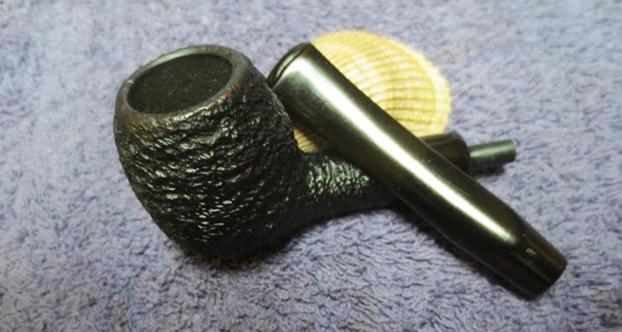
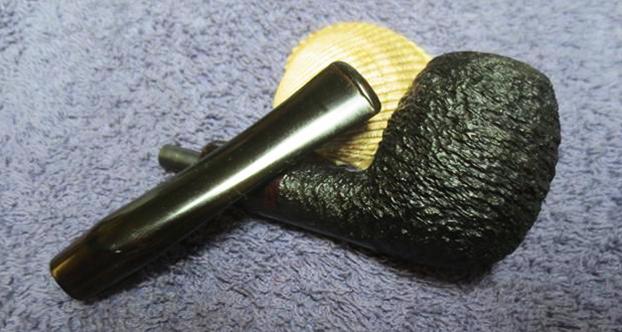
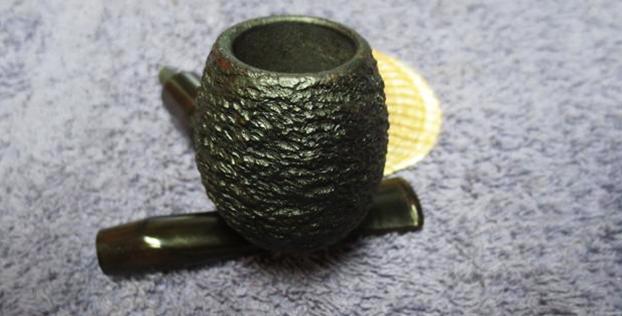
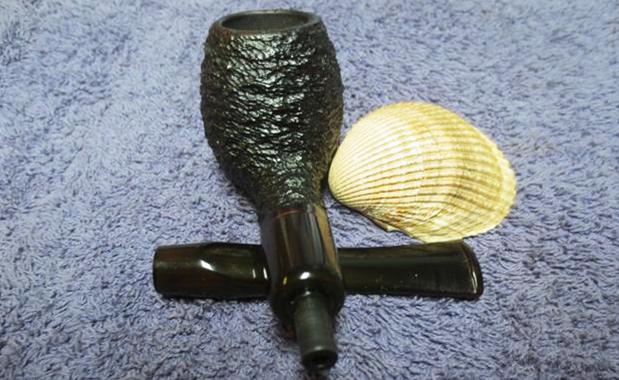
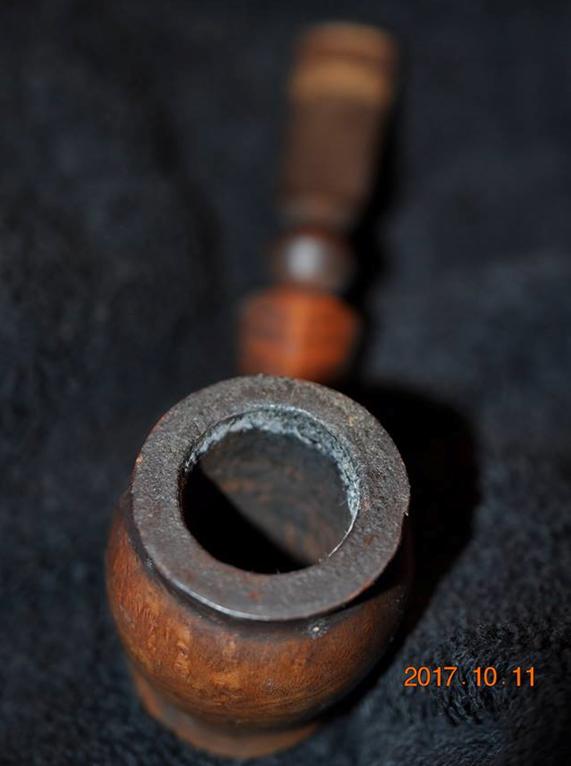
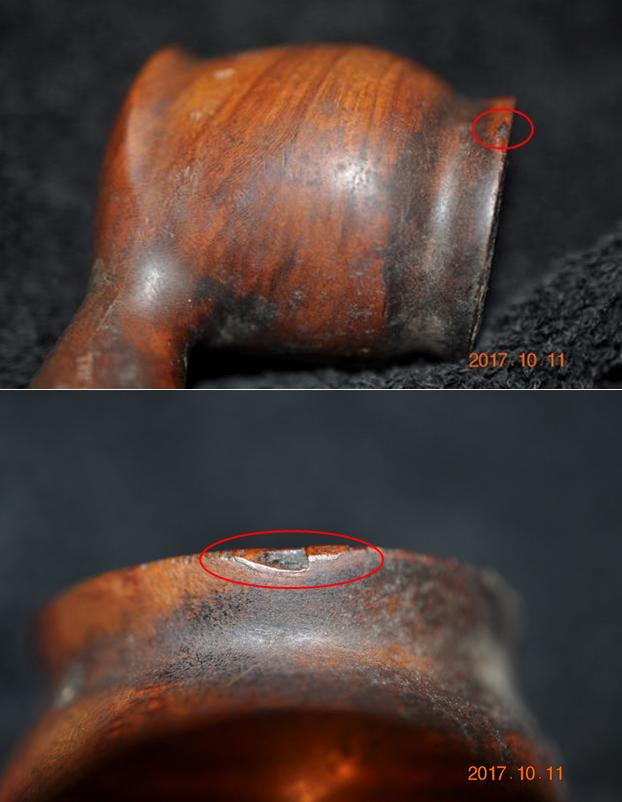
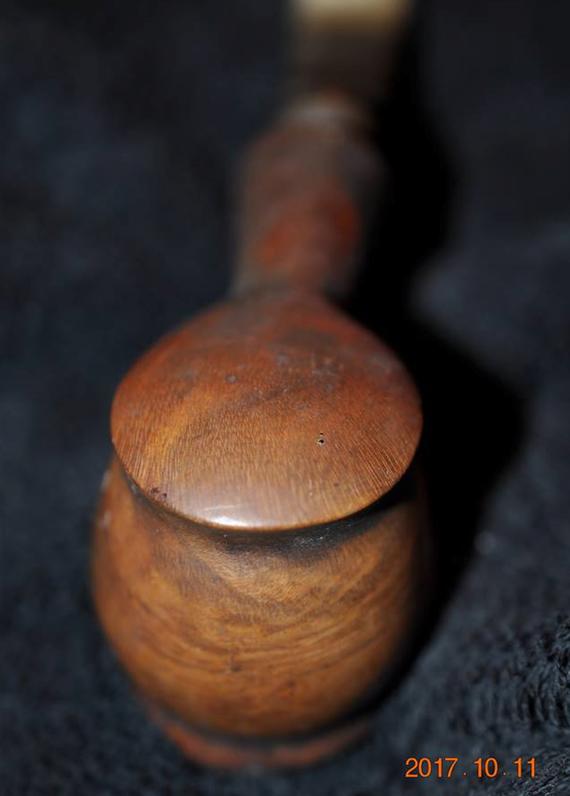
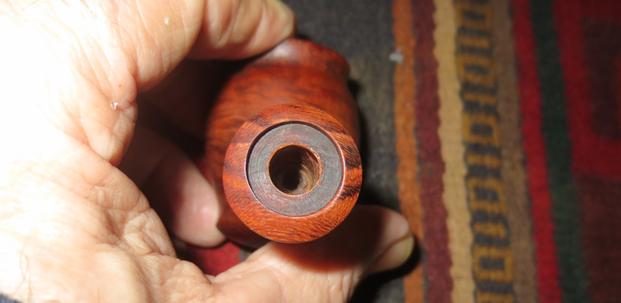
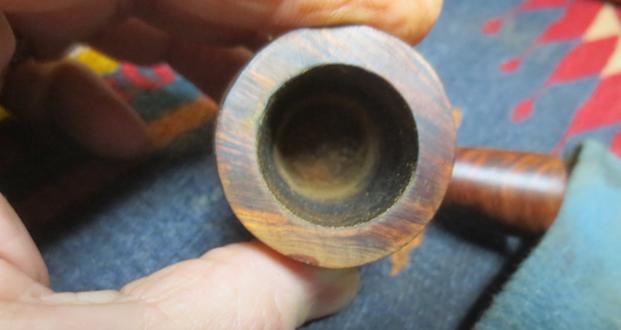
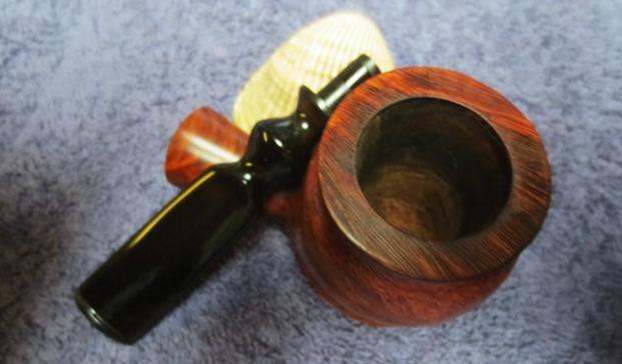
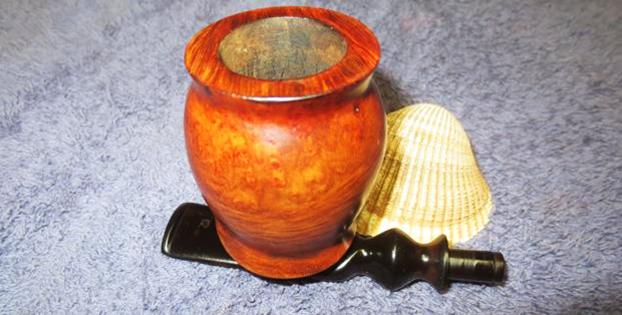
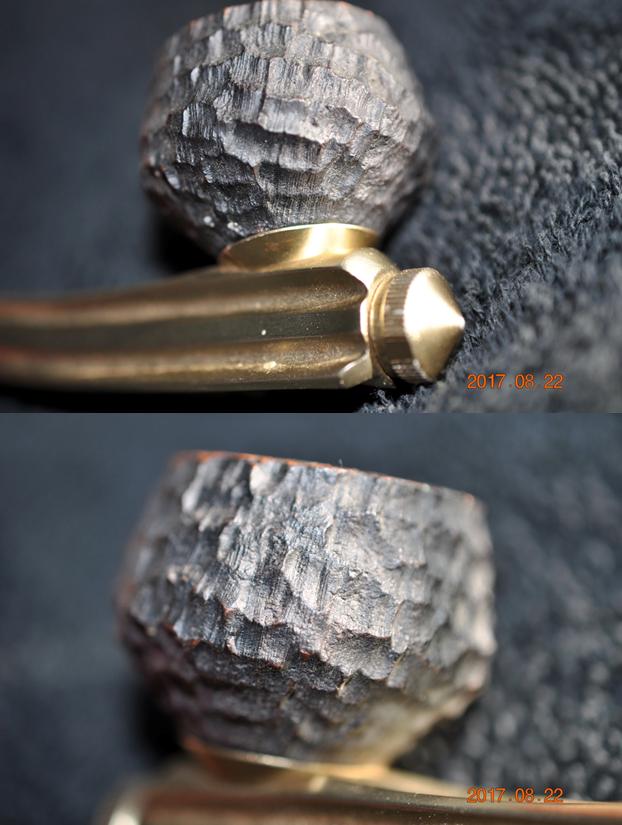
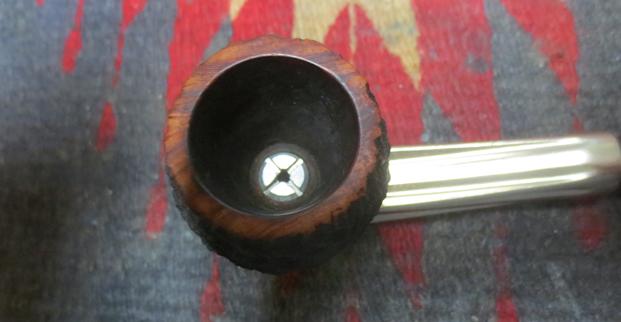
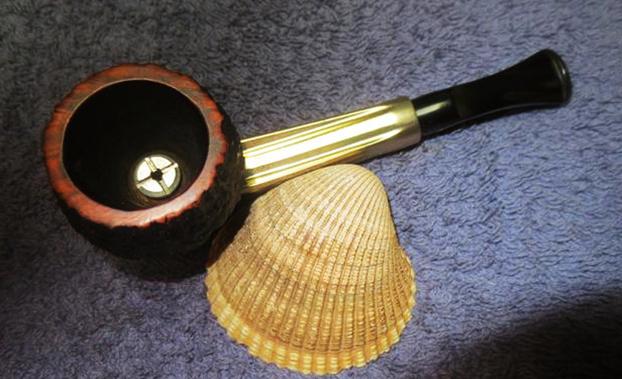
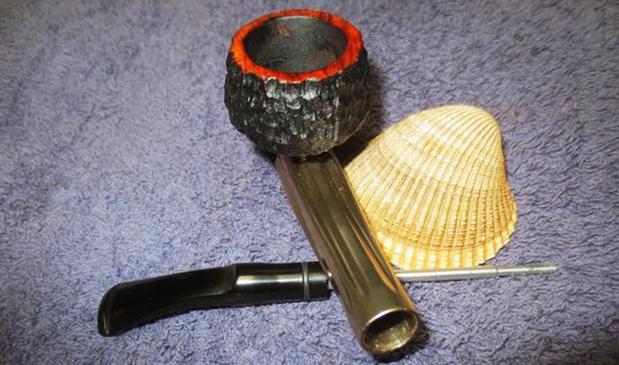
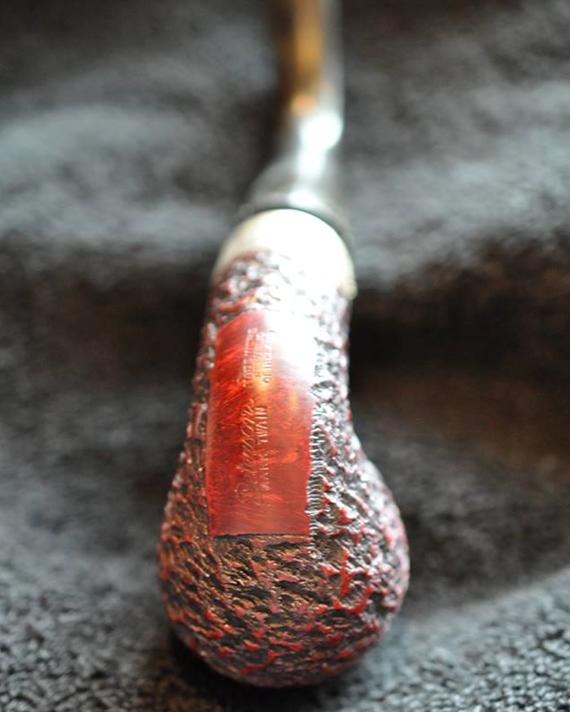
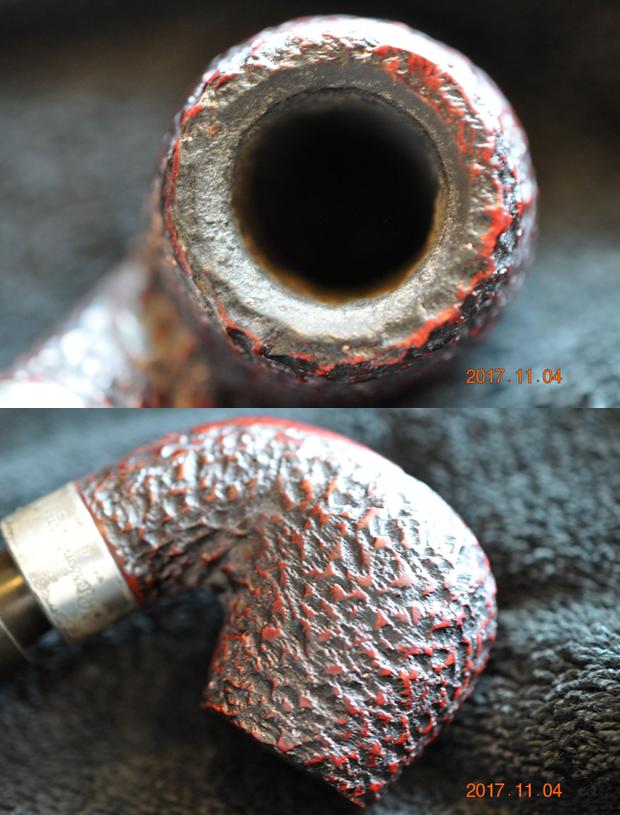
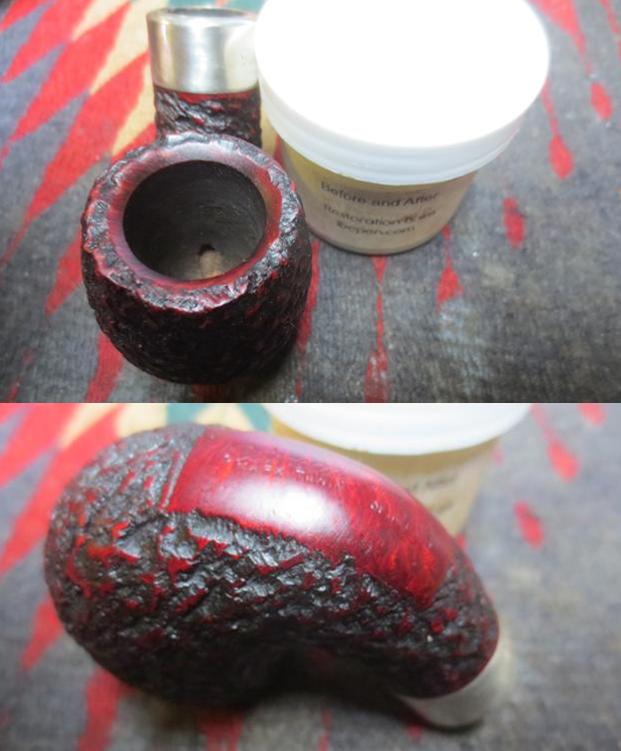
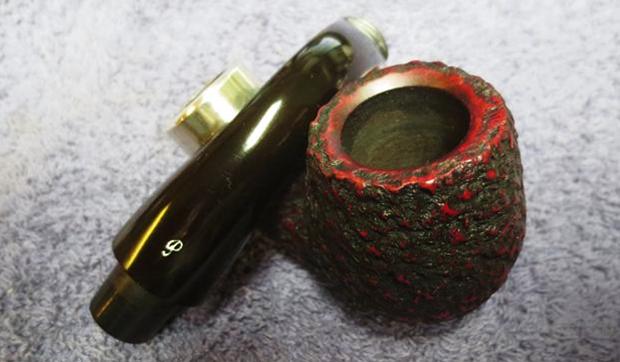
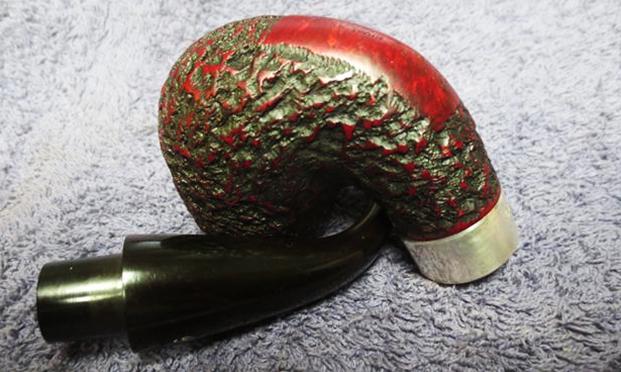
 Jeff took two close up photos of the bowl and rim top to show the condition of the pipe when it arrived. The first shows the rim close up and the second shows it in relation to the rest of the bowl. He also included a photo of the underside of the bowl to show the carving and rustication pattern there.
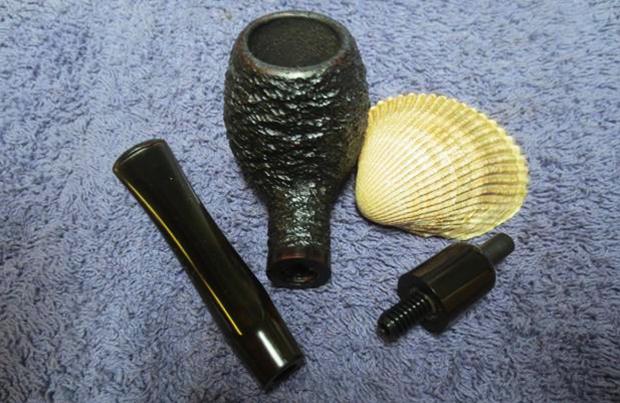
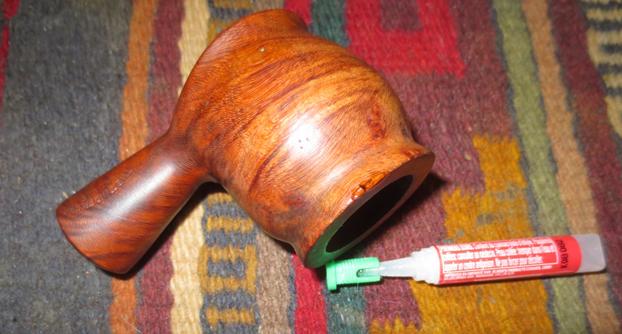
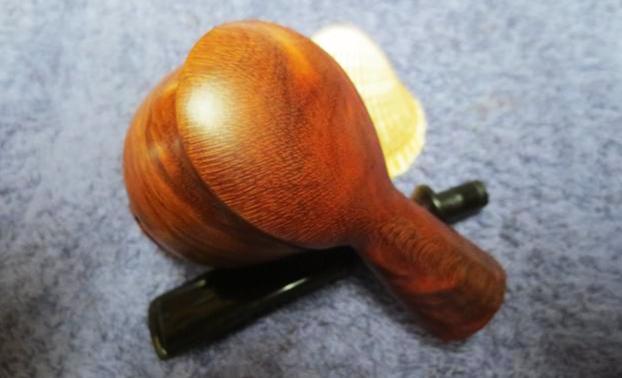
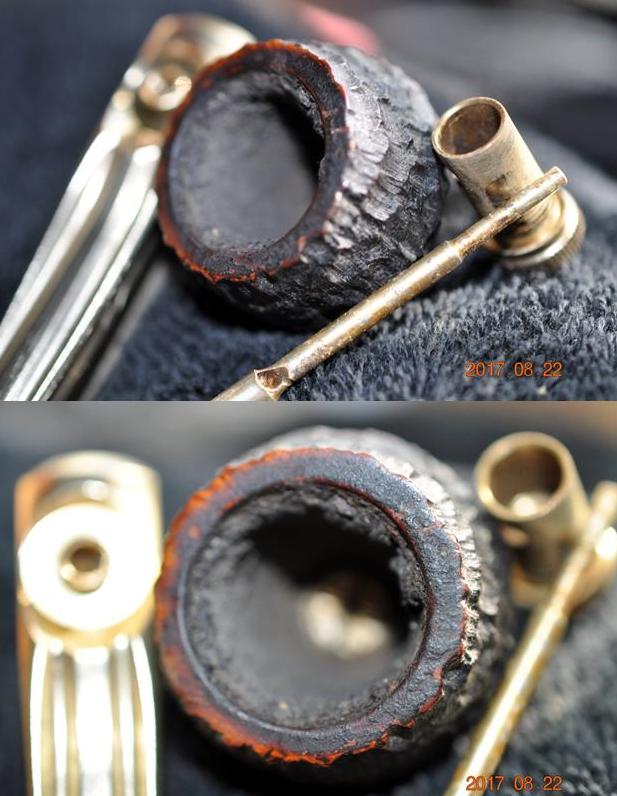
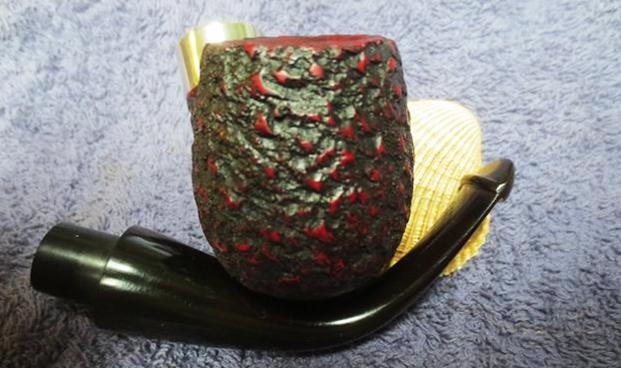
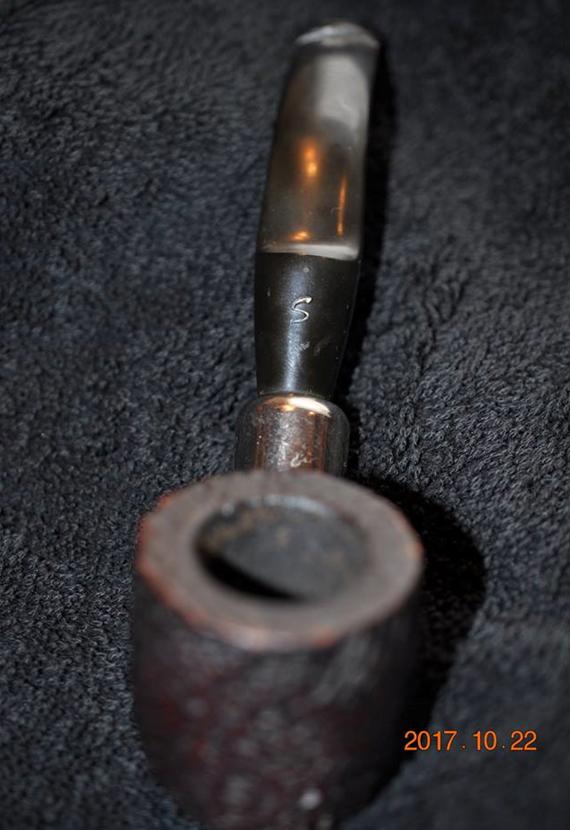
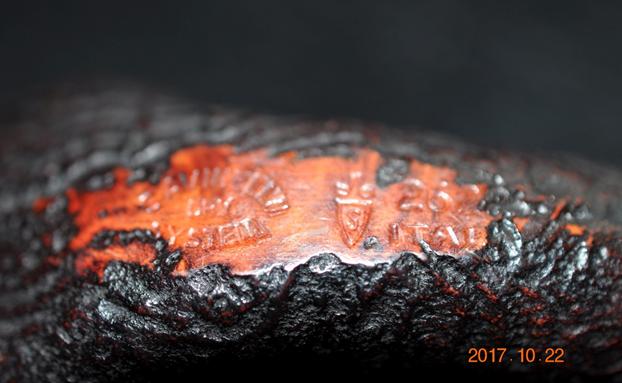
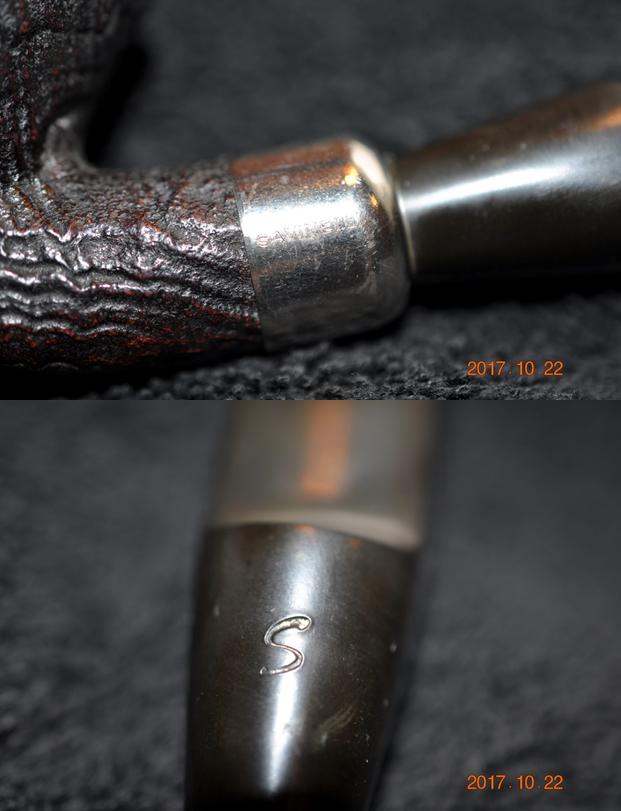
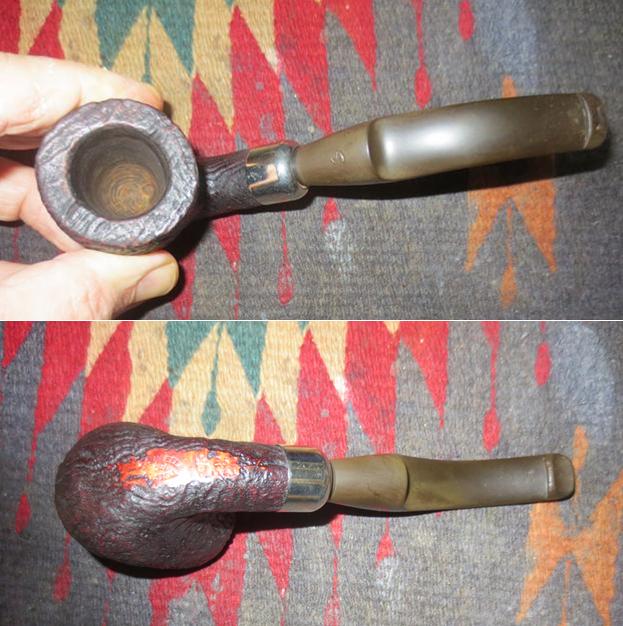
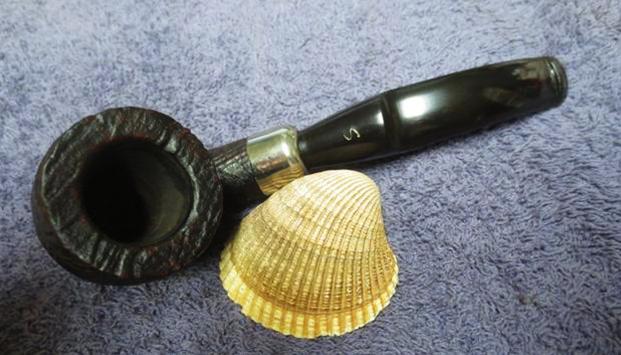
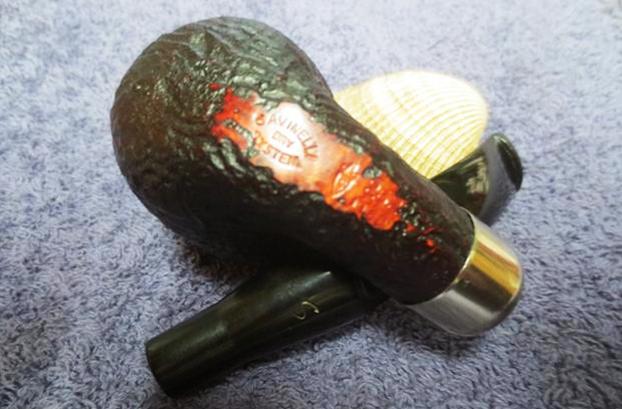
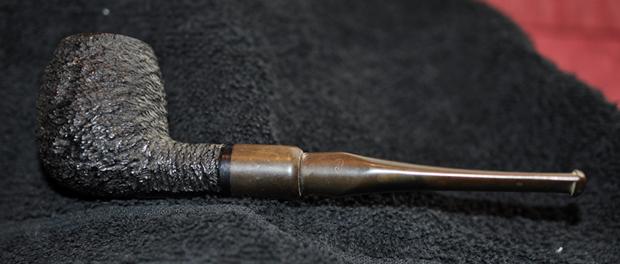
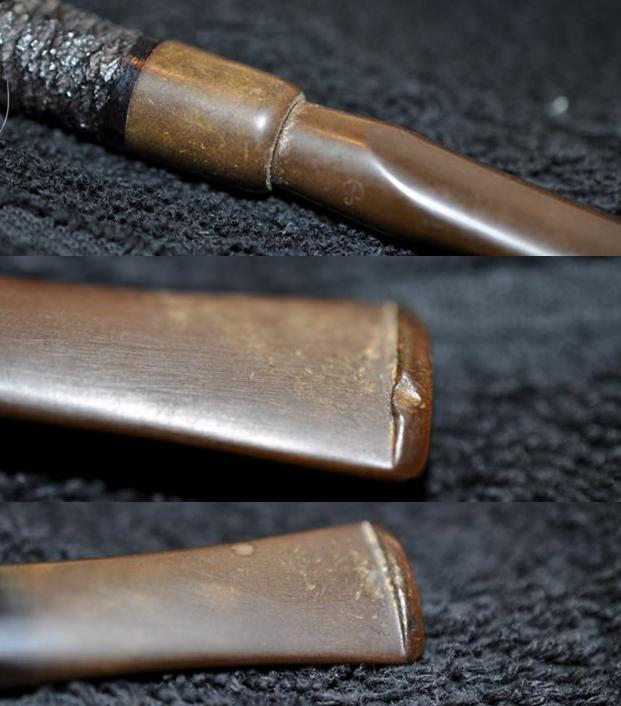
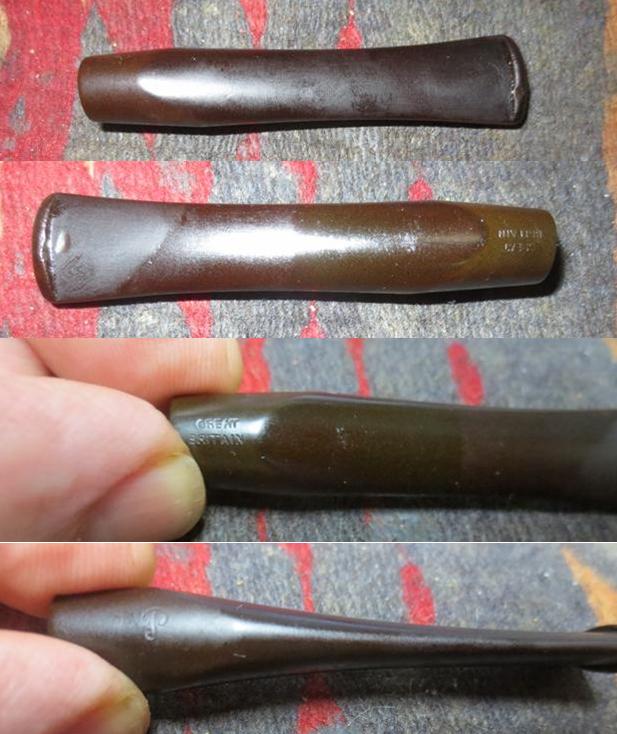
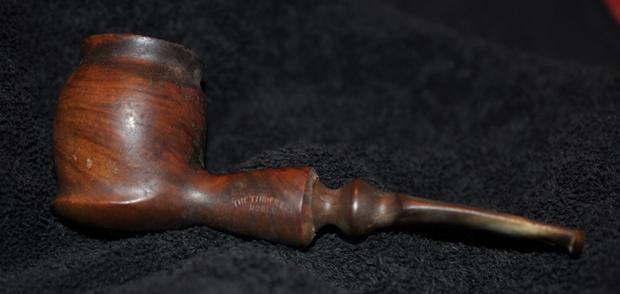
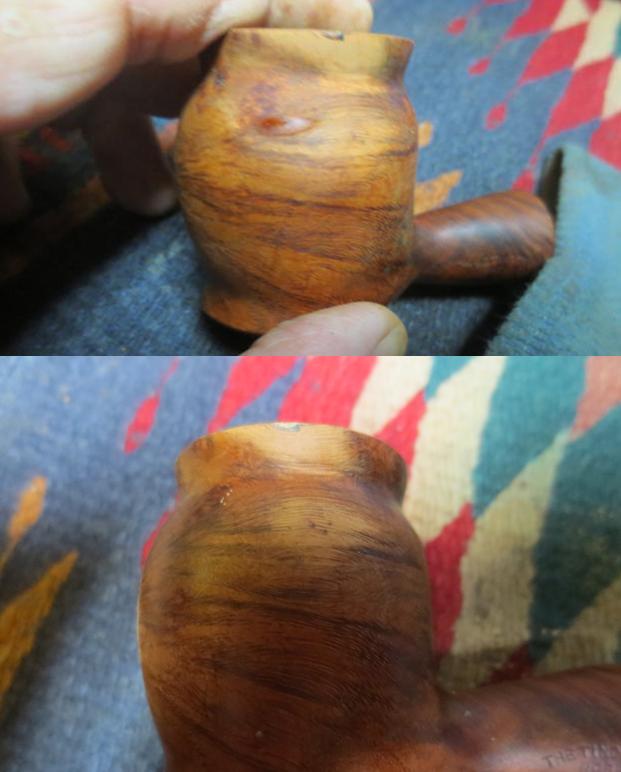
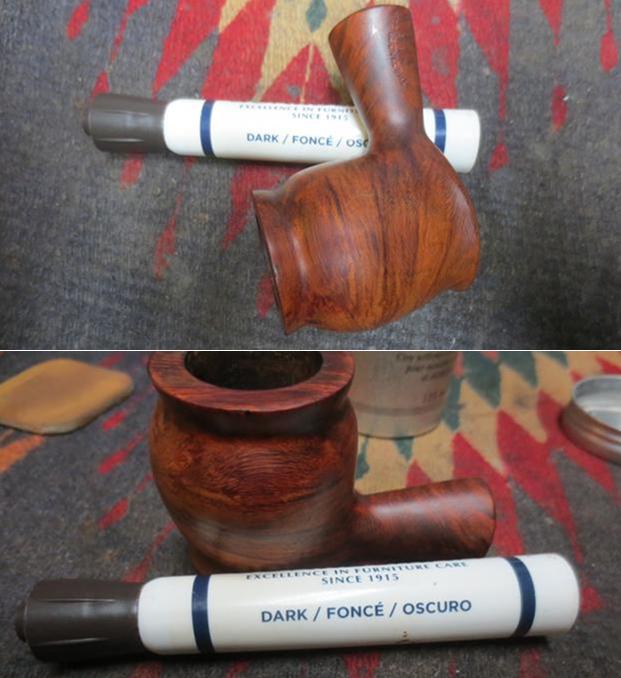
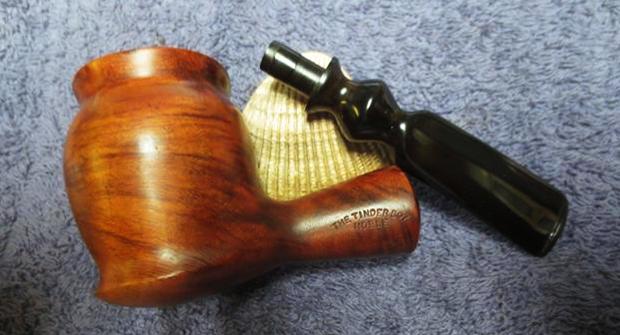
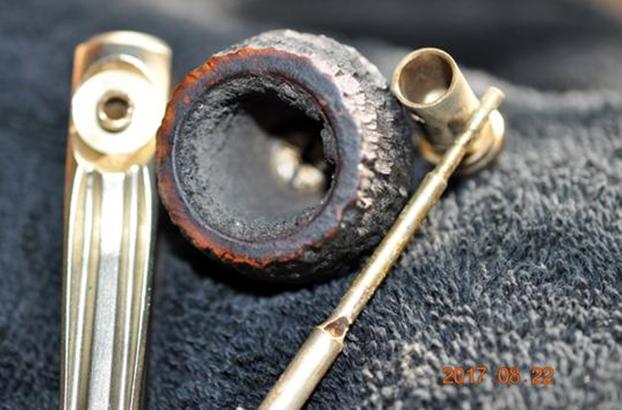
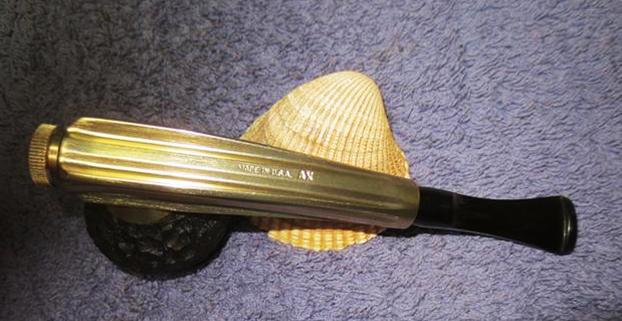
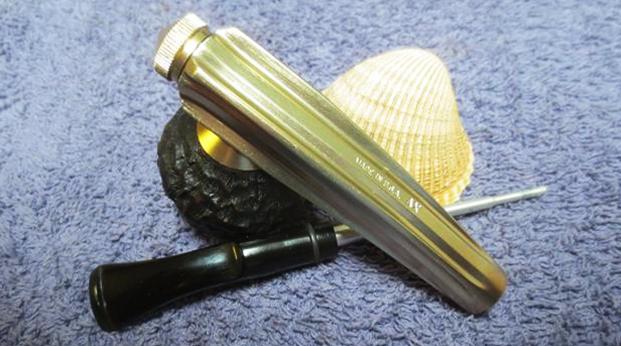
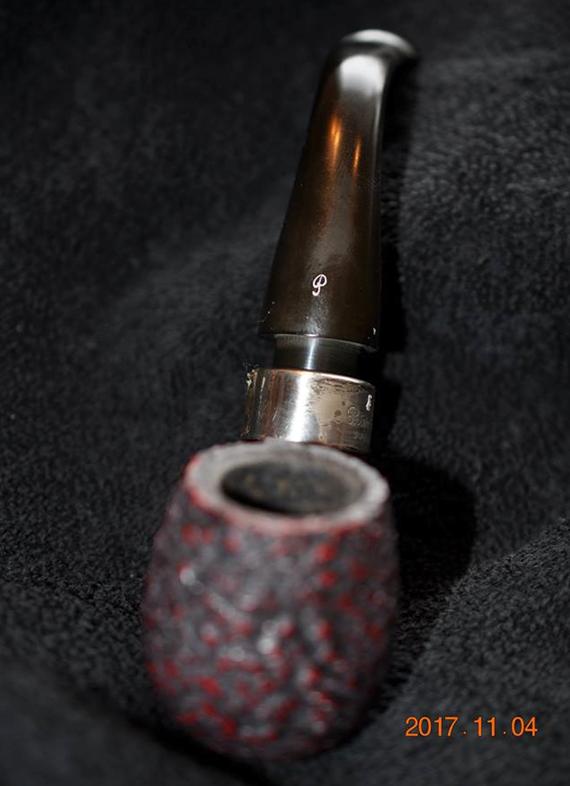
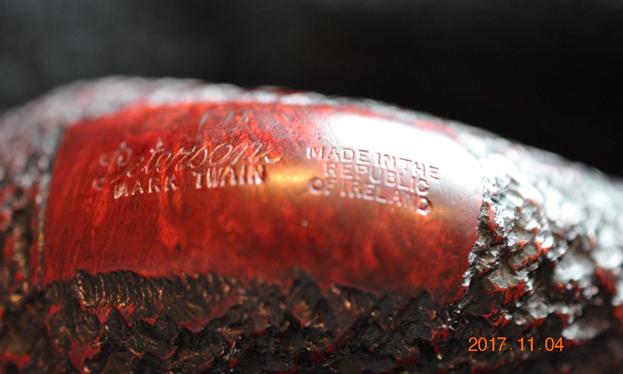
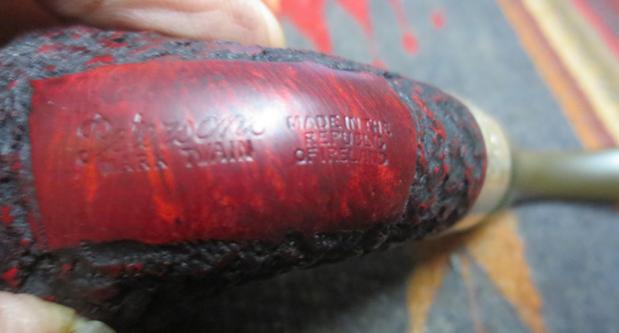
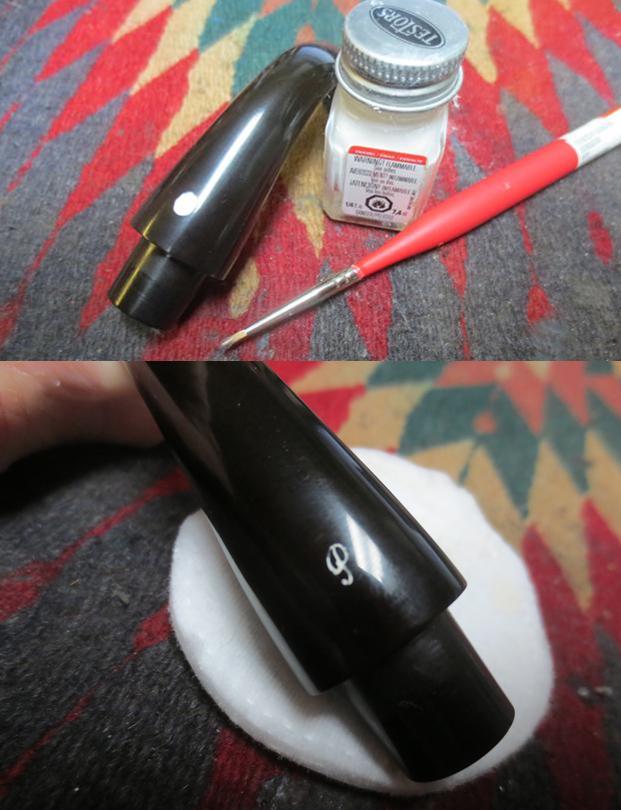
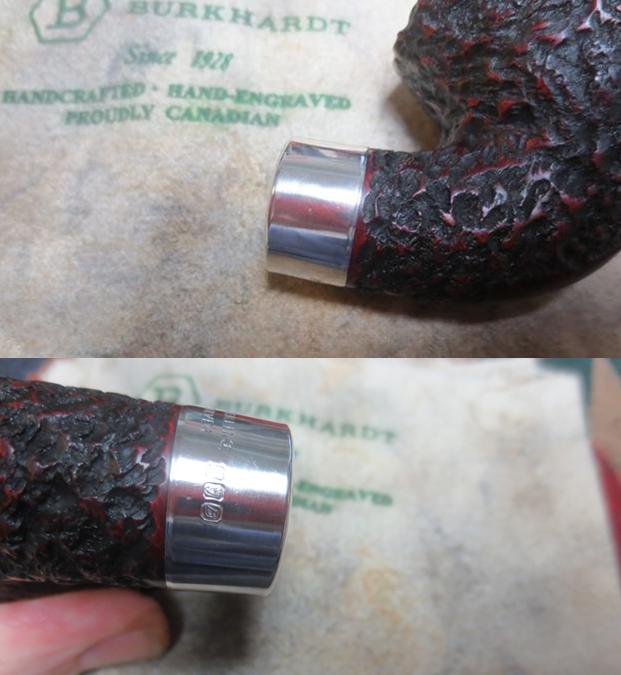
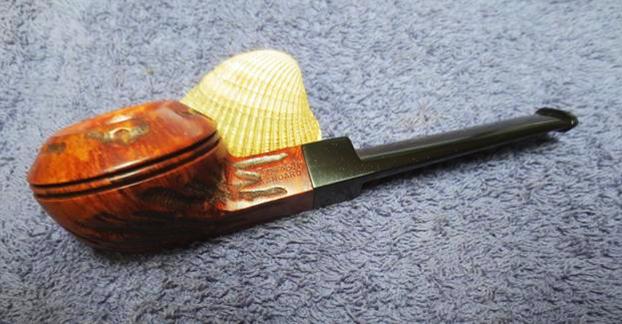
 The pipe is stamped on the left side and reads Custombilt as one word over Standard. On the right side of the shank it is stamped with a number which I assume identifies the shape – 302.
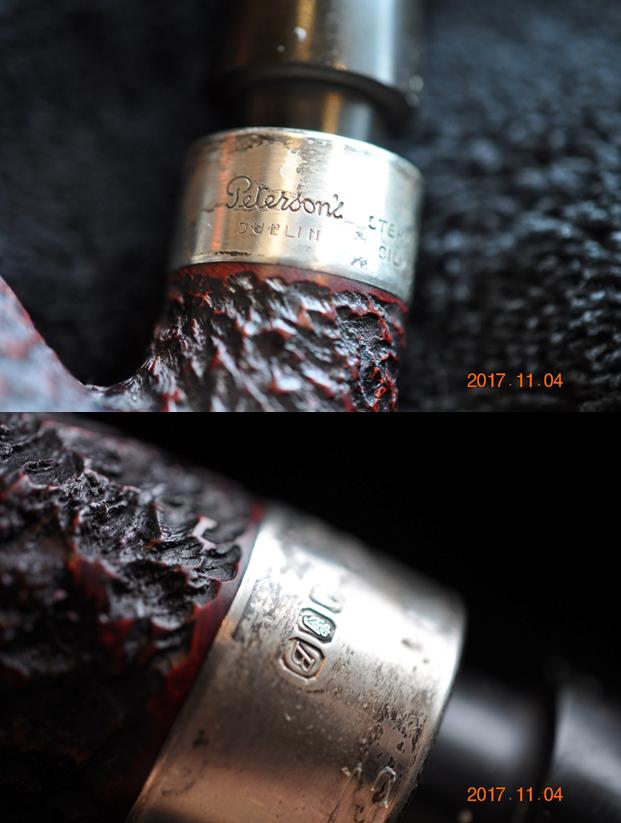
 The stem had light oxidation and tooth chatter so it would be a pretty straightforward cleanup as well.
 I wanted to refresh my memory regarding the time periods the different Custom-Bilt pipes were made so I did a bit of research. I looked first on the Pipephil website to see what information he had on the brand. This is the link: http://www.pipephil.eu/logos/en/logo-c8.html
Tracy Mincer stopped making Custom-Bilt pipes in the early 1950s. The trademark was successively bought by Leonard Rodgers (1953), Consolidated Cigars (1968) and Wally Frank Co. (early 1970s). The later began to produce again his version of the pipe in 1974 or 1975 at Weber pipe factory (NJ). In 1987, the pipes were made out of the Butz-Choquin factory (France) and then Mexico until the late 1990s. Currently (2010), the Custombilt name is owned by Tobacalera of Spain which is part of Altadis. It is generally admitted (but not proved) pipes stamped “Custom – Bilt” (with the hyphen) are from the Mincer era. The name might have changed from Custom-Bilt to Custombilt (without the hyphen) in 1946.
I also looked on the Pipedia website and found confirmation to the Pipephil information and some additional information. Here’s the link to that article: https://pipedia.org/wiki/Custom-Bilt
In 1946, the name was changed to Custombilt after Mincer began an association with Eugene J. Rich, Inc. There were some big changes in advertising and distribution. The slogan “AS INDIVIDUAL AS A THUMBPRINT” began at this time as well. In the early 1950’s, Tracy Mincer developed severe financial problems that caused him to stop making the Custombilt, and he lost the name. In 1953, Leonard Rodgers bought the company and emphasized tobacco pouches and butane lighters. (However, it appears Mincer was working on his new pipe, the Doodler.) In 1968, Rodgers sold the Company to Consolidated Cigars. In the early 1970s, Wally Frank Co. bought the Custombilt trademark and began to produce their version of the pipe in 1974 or 1975. Hollco Rohr owned the Weber pipe factory, located in New Jersey, and produced the Custombilt pipes there. In 1987, the pipes were made out of the Butz-Choquin factory (France) and then Mexico until the late 1990s. Currently, the Custombilt name is owned by Tobacalera of Spain…
Given that information I knew that the pipe was made after 1946 when the name was changed to Custombilt. To me the lack of the characteristic shape and carving pointed to after Mincer lost the company and stopped making the brand. The shape reminds me of several Wally Frank pipes that I have had in the past so I am thinking it was made after they bought the trademark in 1974-1975. It also could be the Weber version of the brand when Hollco Rohr owned it. That is as specific as I can get in identifying the time frame for the manufacture of this pipe. I am pretty certain it is not a Tracy Mincer made pipe so that pushes it to the later 1974-75 dates.
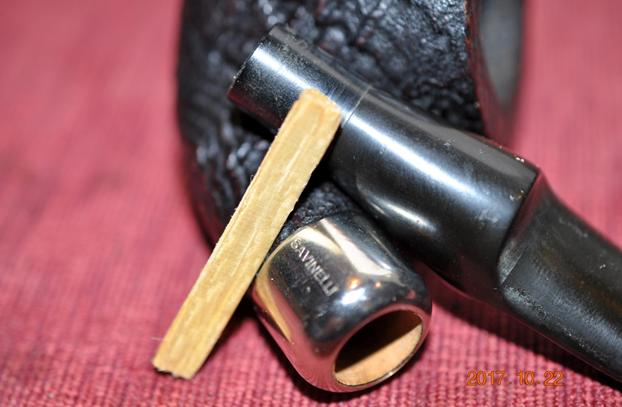
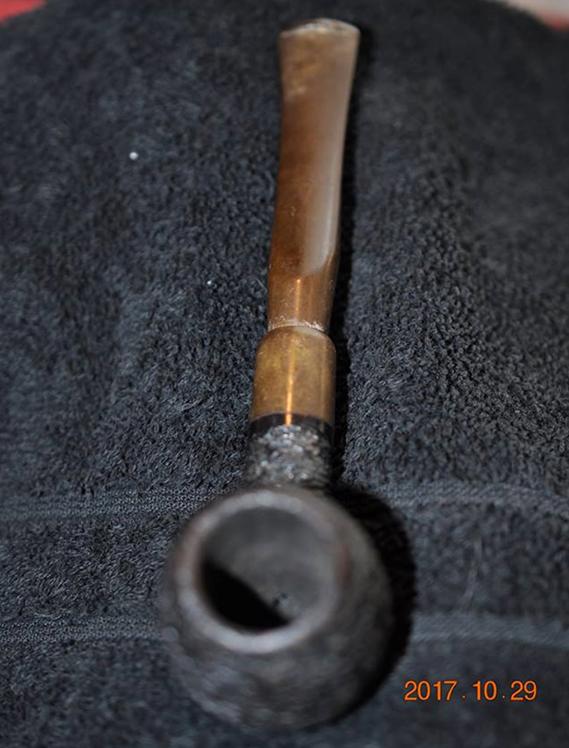
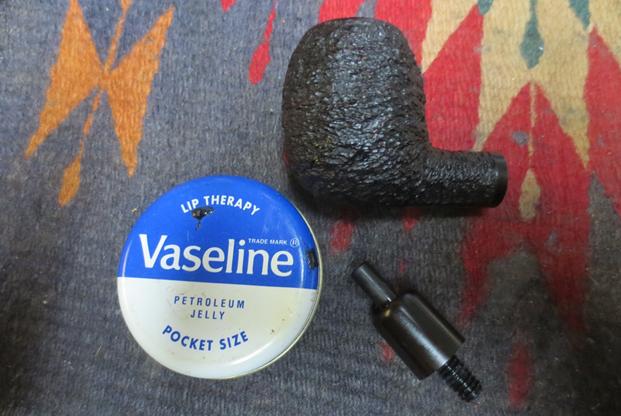
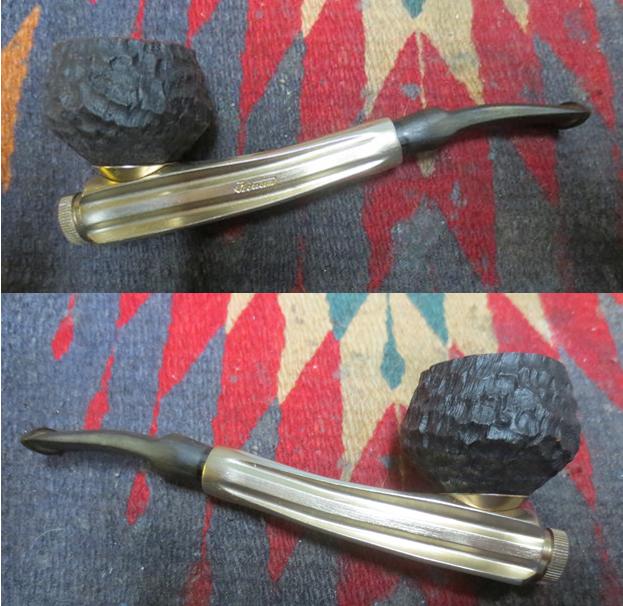
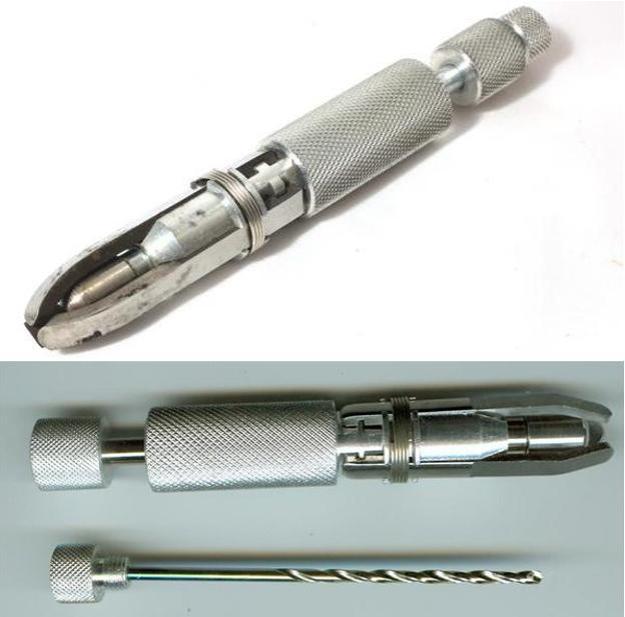
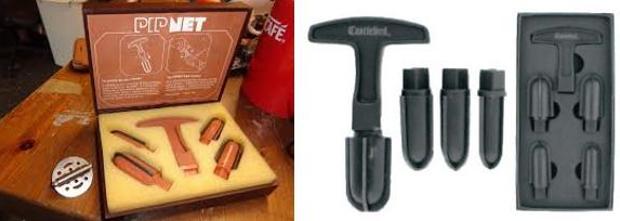
Jeff did a thorough cleanup on the bowl and stem. He reamed the bowl with a PipNet pipe reamer and cleaned up the last bit of cake with a Savinelli Fitsall reamer. He cleaned the internals with alcohol, pipe cleaners and cotton swabs – scrubbing out the mortise as it was very dirty. He scrubbed the exterior of the pipe with Murphy’s Oil soap and a tooth brush and was able to remove all of the tars and oils built up on the briar. He was able to remove all of the tars and lava on the rim top and left it looking very clean. He soaked the stem in an Oxyclean bath to raise the oxidation to the surface of the vulcanite. When it arrived I took some photos of it to show how it looked before I did the restoration.
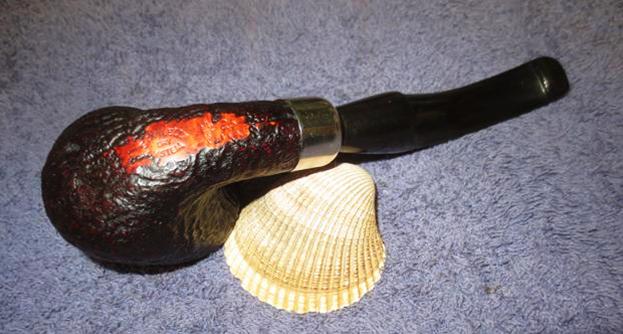
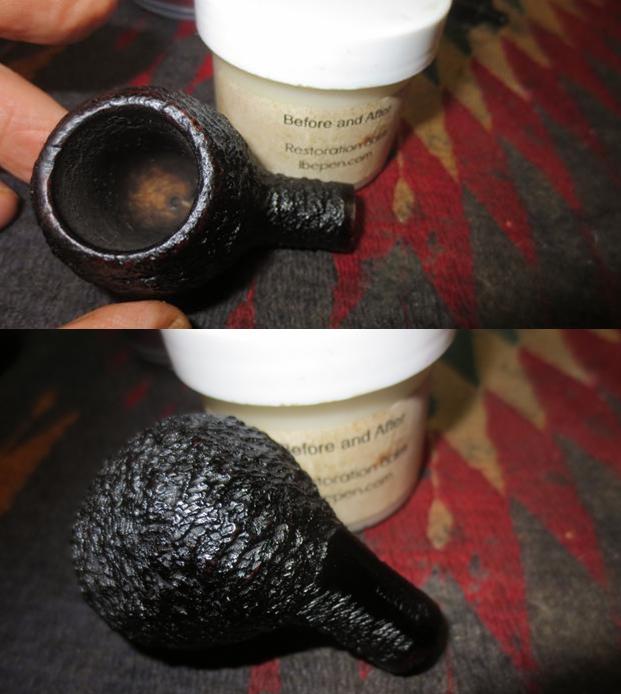
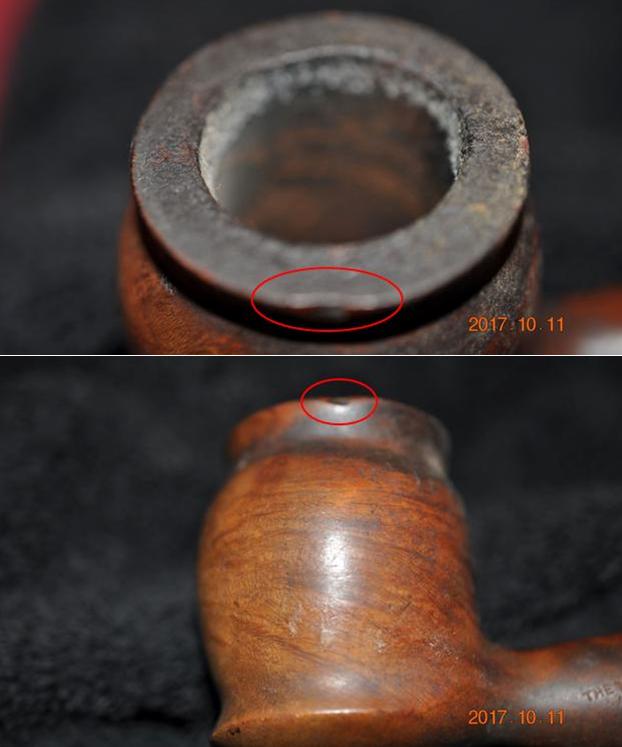
 He did a great job removing the cake in the bowl and the lava on the rim top. The inner edge of the bowl is damaged on the back right side and the left front of the pipe. There were also some burn marks in those spots on the rim surface.
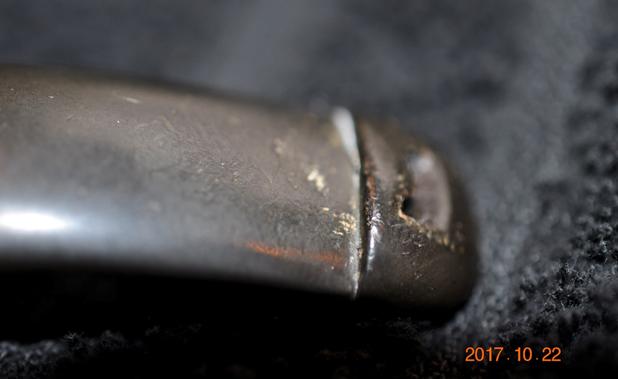
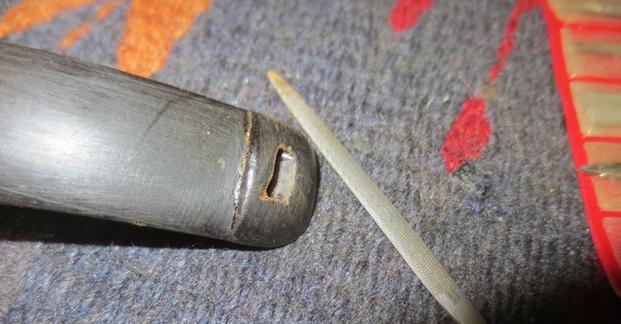
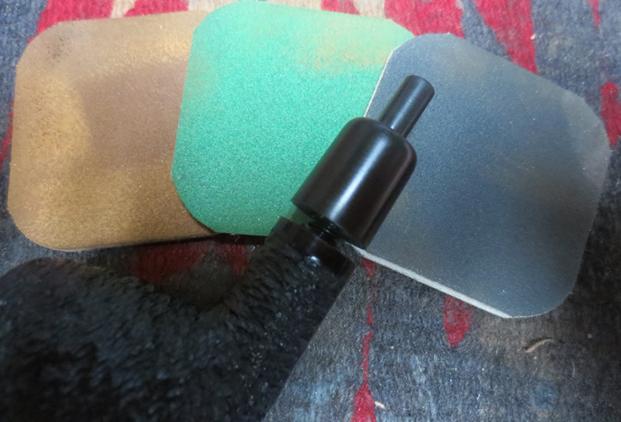
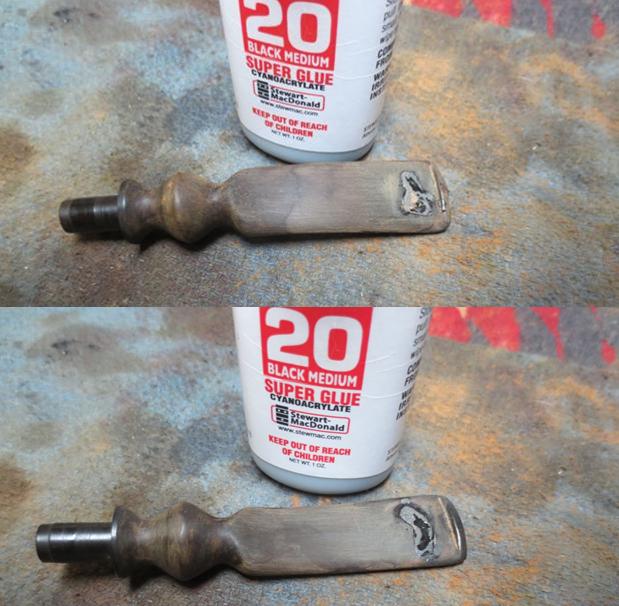
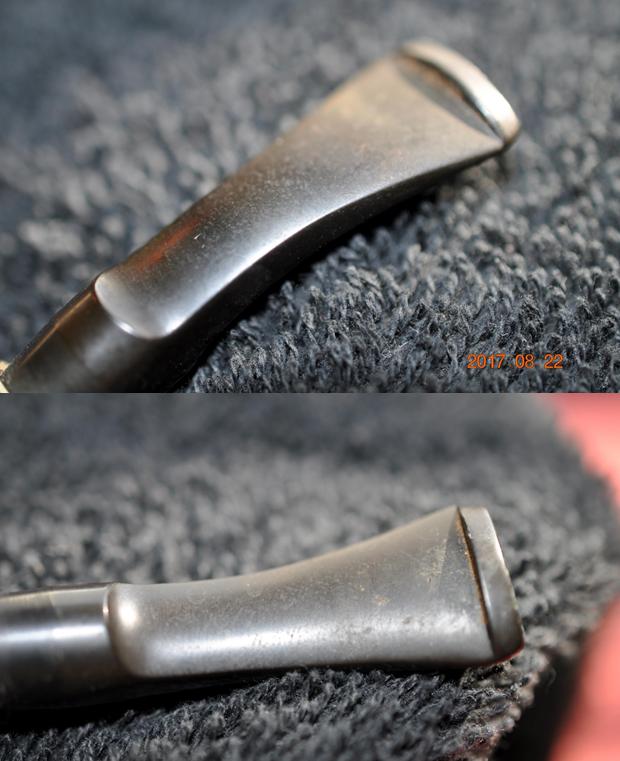
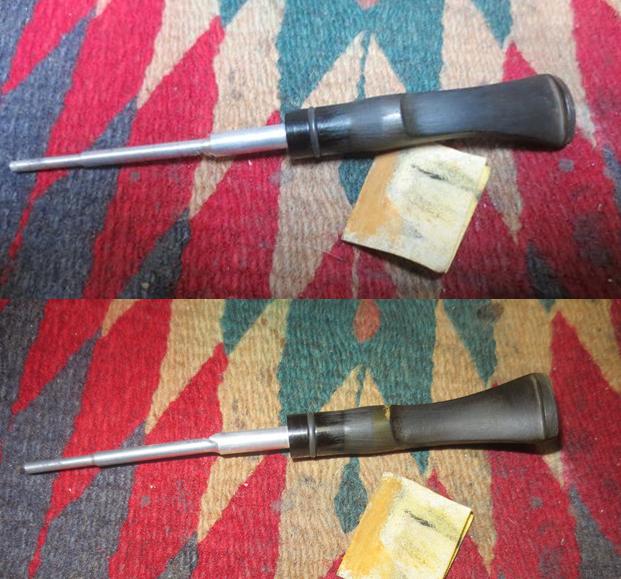
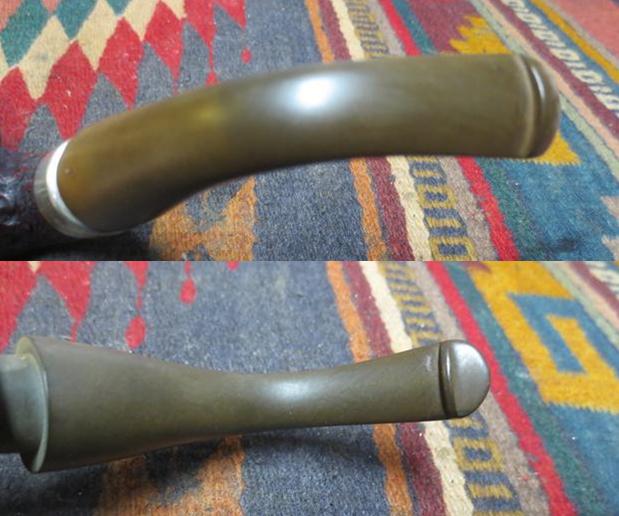
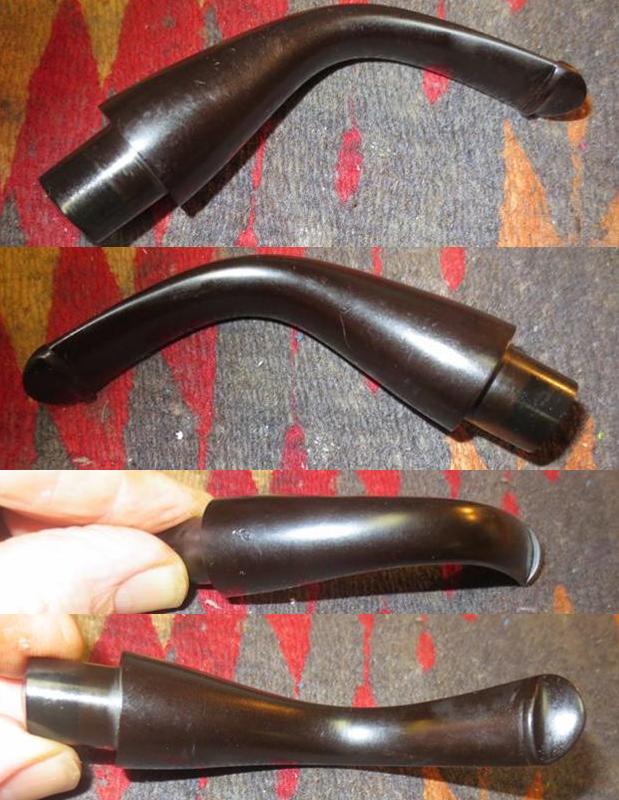
 The oxidation came to the surface of the stem after the soak in Oxyclean. The tooth chatter is visible on the top and underside near the button. You can also see the light damage on the edge of the button on both sides. I put it in a bath of Before & After Pipe Stem Deoxidizer to soak overnight and work on the vulcanite oxidation.
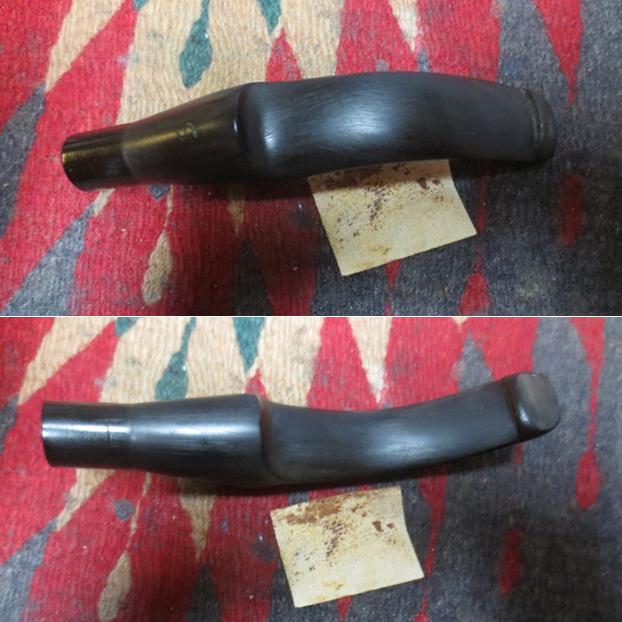
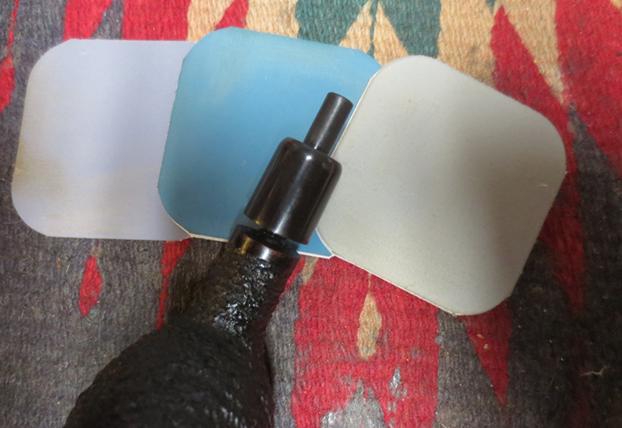
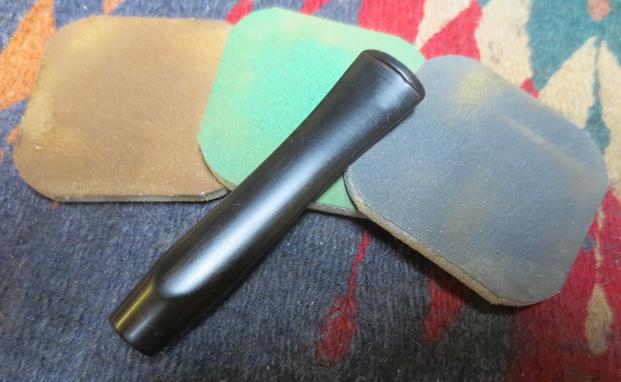
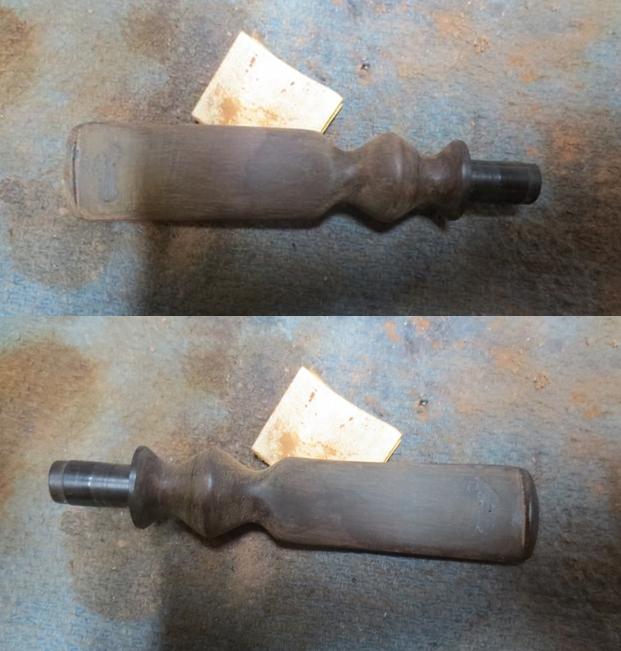
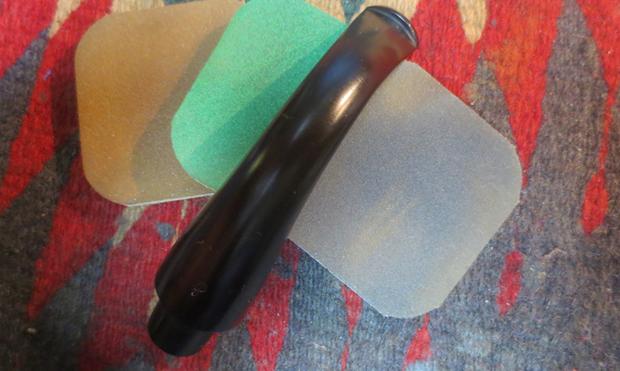
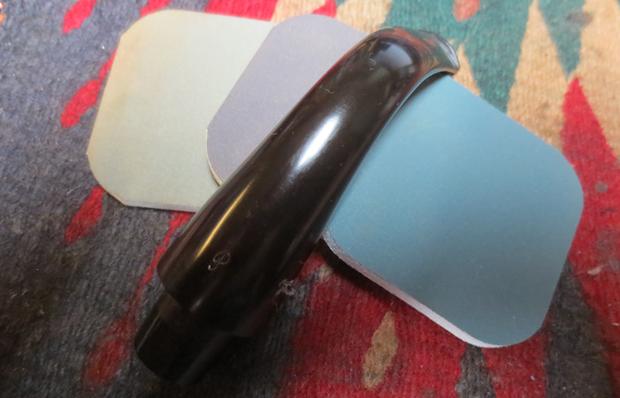
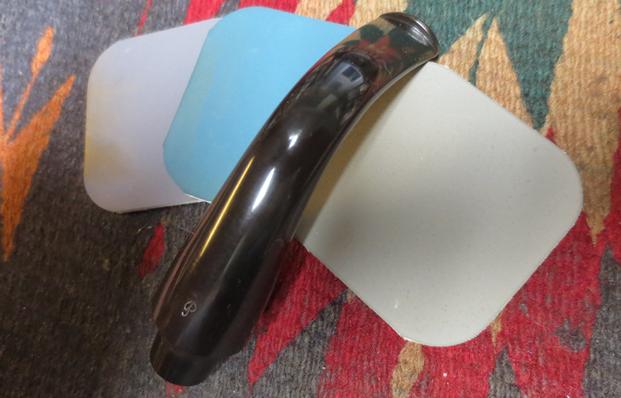
 In the morning I removed the stem from the deoxidizer and wiped off the excess deoxidizer from the surface of the stem with a paper towel. I cleaned out the airway in the stem with pipe cleaners and alcohol to remove any remnants of the bath from that part of the stem. The photos below show the stem after the soak and rub down. The oxidation was pretty much gone and what remained would be easily dealt with. The tooth chatter on the top and underside of the stem is hard to see in the photos, but it is present.
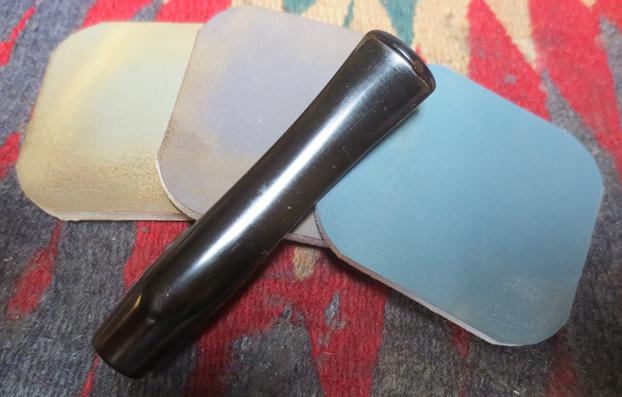
 I sanded the stem with 220 grit sandpaper to remove the tooth chatter on both sides of the stem as well as the oxidation that remained in the angles of the saddle stem.
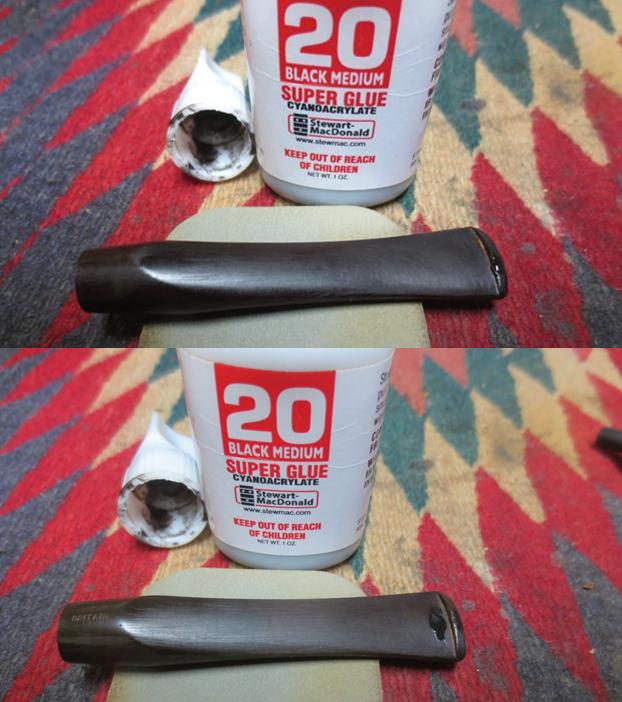
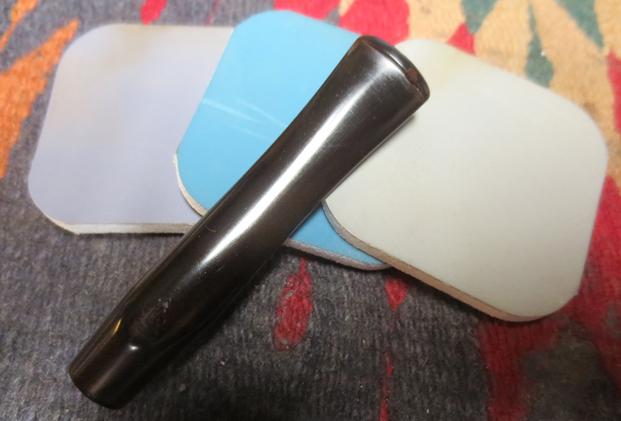
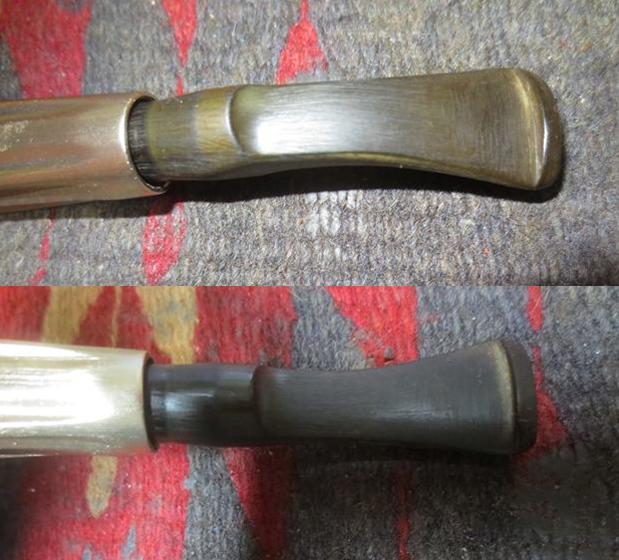
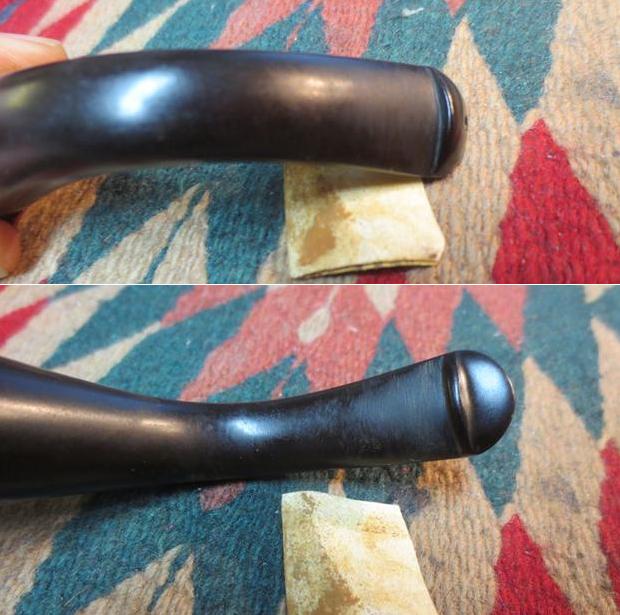
 I heated the stem with a heat gun to straighten out the bent end. I liked the straight look on the stem better than the slight tweak that last pipe man had put in it.
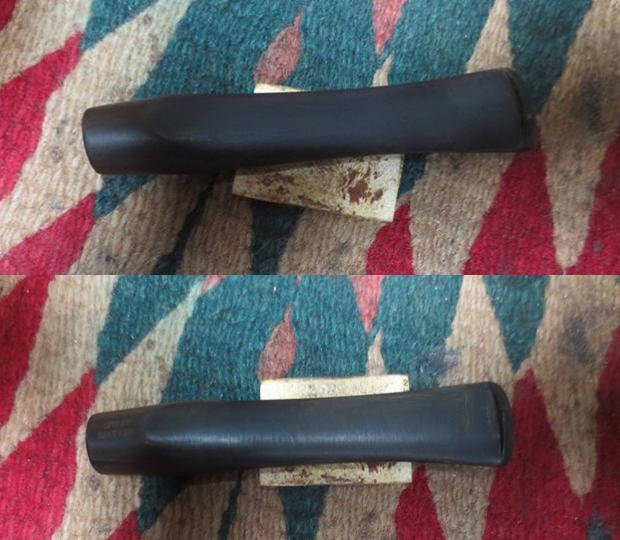
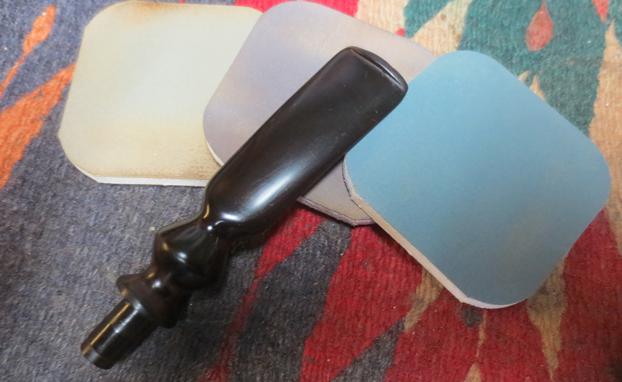
 I polished out the sanding scratches and marks in the vulcanite with micromesh sanding pads – wet sanding it with 1500-2400 grit pads and dry sanding it with 3200-4000 grit pads. I wiped the stem down with Obsidian Oil after each sanding pad. I buffed the stem with Blue Diamond on the buffing wheel. I brought it back to the table and sanded it with the final three 6000-12000 grit pads. After the final pad I gave it a final coat of oil and set it aside to dry.

 I sanded out the burn marks on the rim with 220 grit sandpaper to remove them and smooth out the surface. I worked on the inside edge of the rim to bring it back to round. When I was finished I polished the rim top and edge with micromesh sanding pads – wet sanding with 1500-2400 grit pads and dry sanding with 3200-12000 grit pads. I was able to polish out all of the scratches in the rim top and edges.


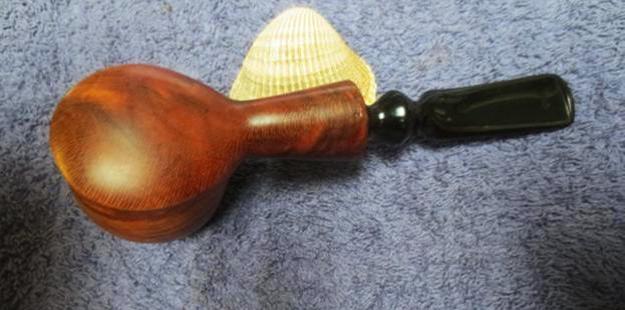
 I used a medium brown stain pen to restain the rim and inner edge of the bowl to blend it in with the rest of the bowl. The burn marks are invisible now and the polished rim top looks pristine.
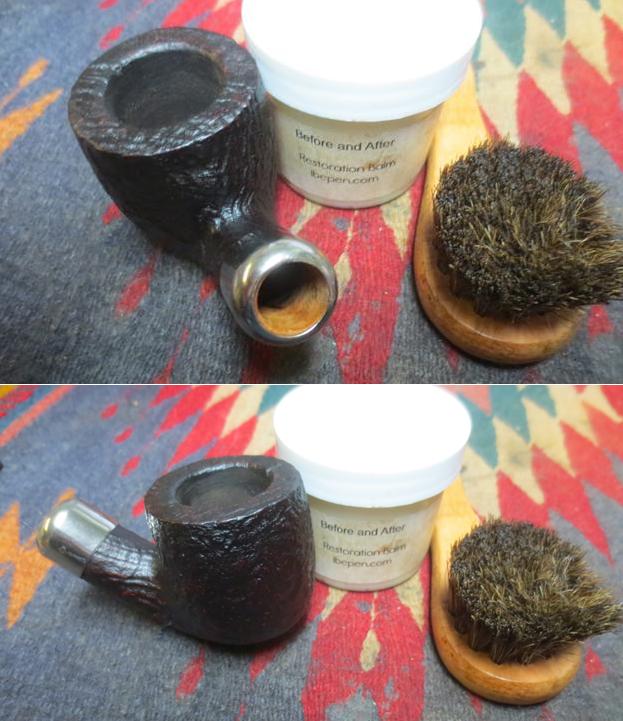
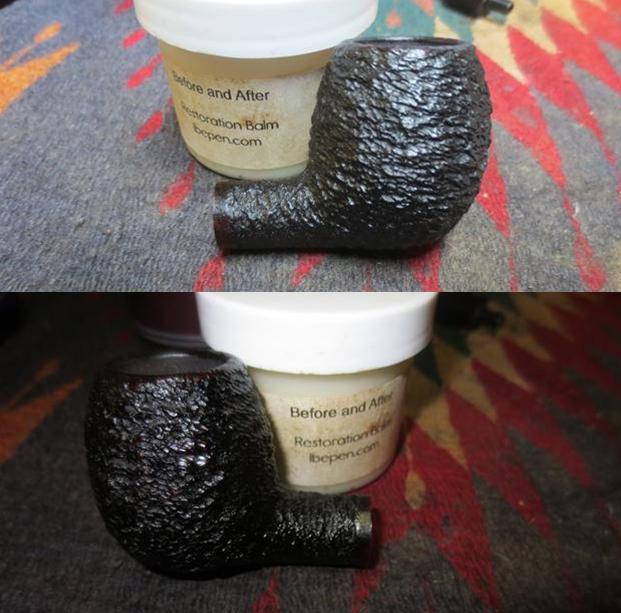
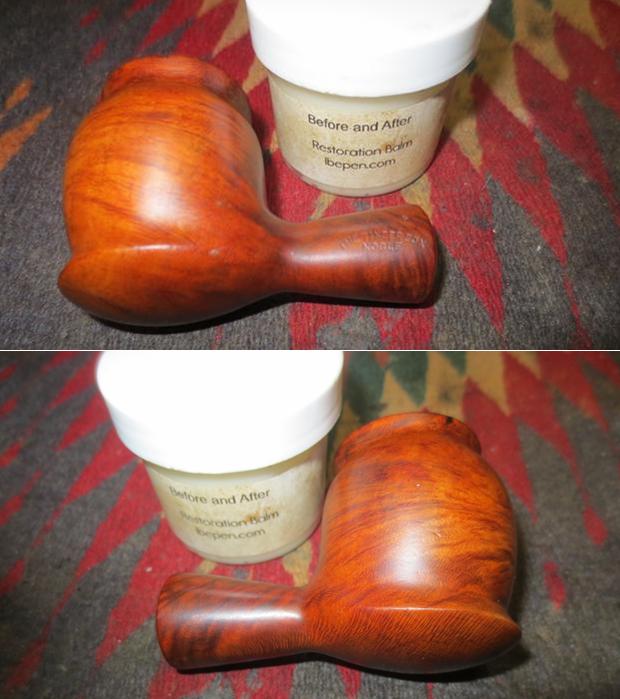
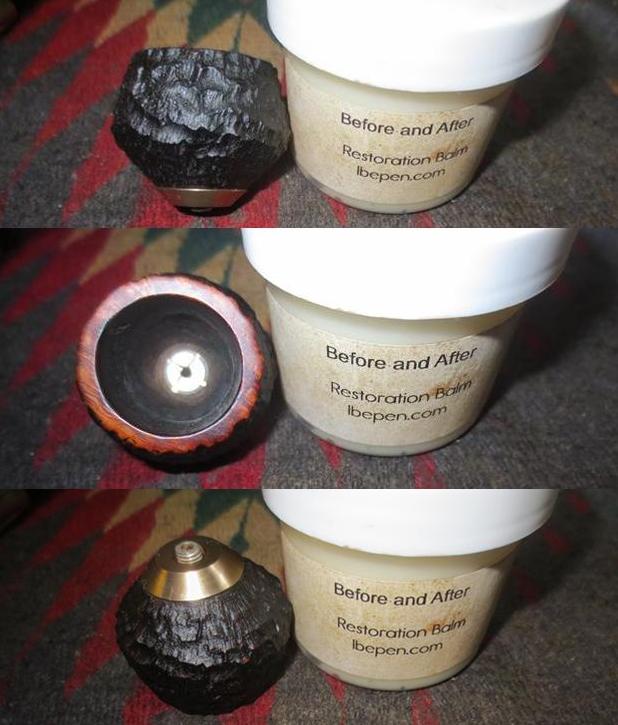
 I rubbed the bowl down with Before & After Restoration Balm to deep clean the nooks and crannies of the rusticated finish, enliven and protect the briar. I hand rubbed it with my fingers and wiped it off with a soft cloth. I buffed the bowl with a horsehair shoe brush to polish it. It really began to have a deep shine in the briar. I took some photos of the bowl at this point to mark the progress in the restoration.
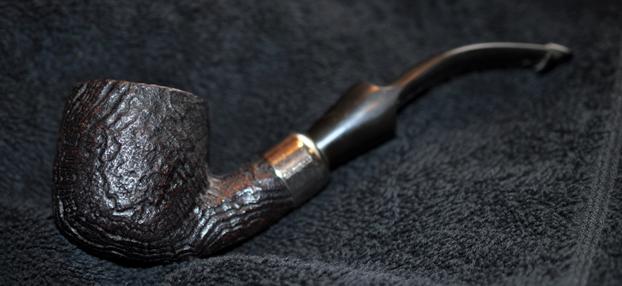
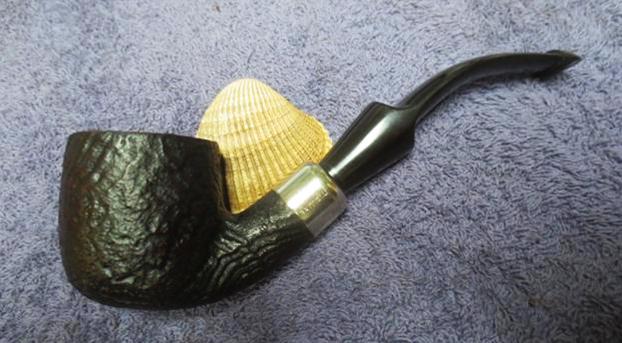
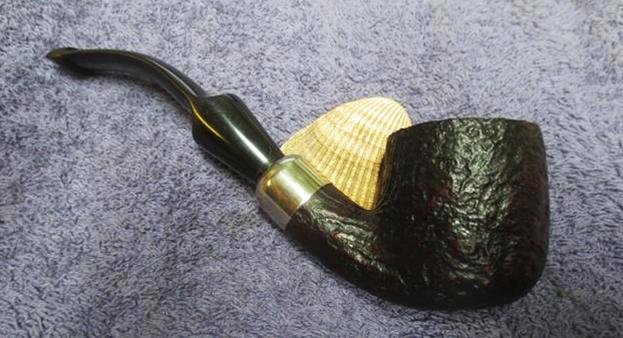
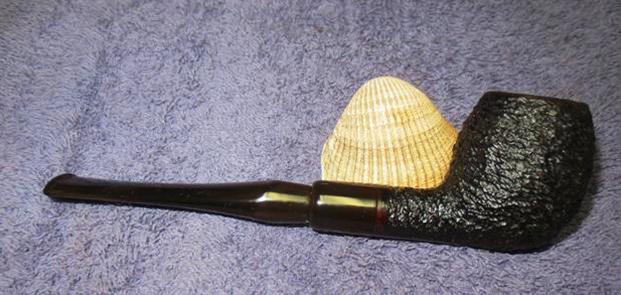
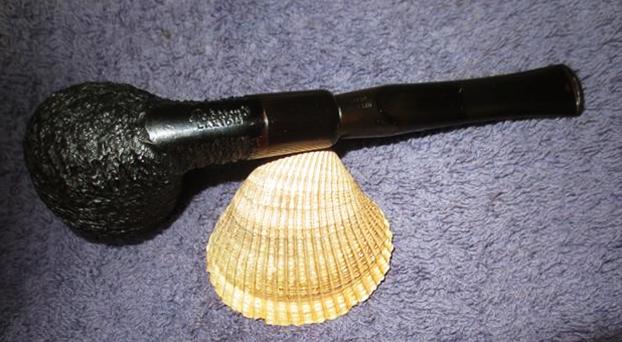
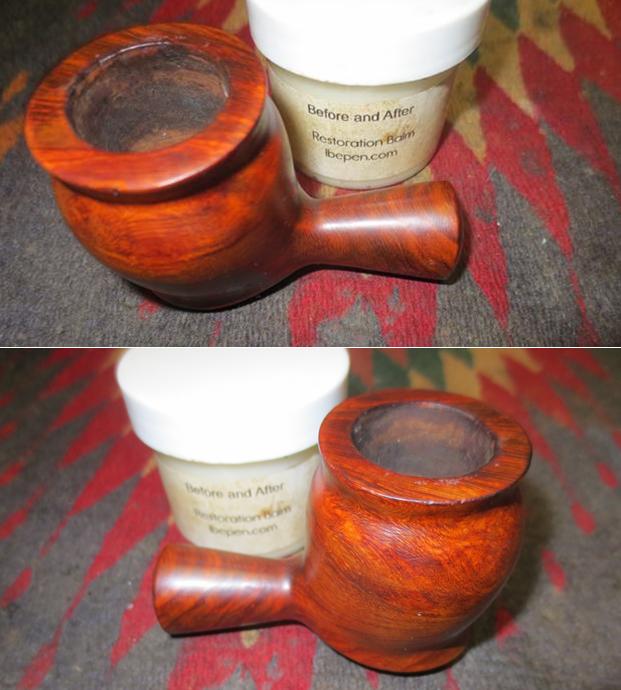
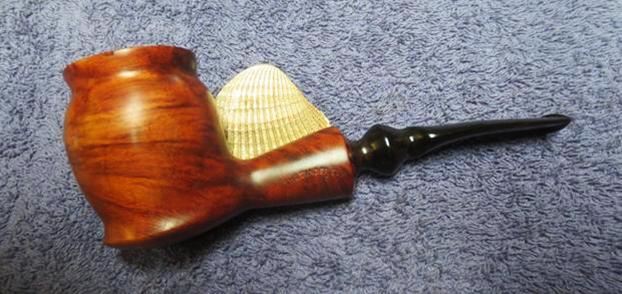
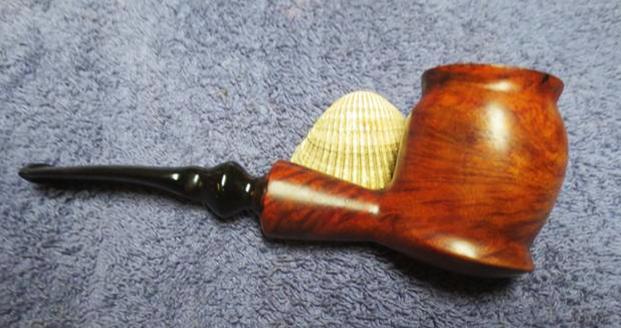
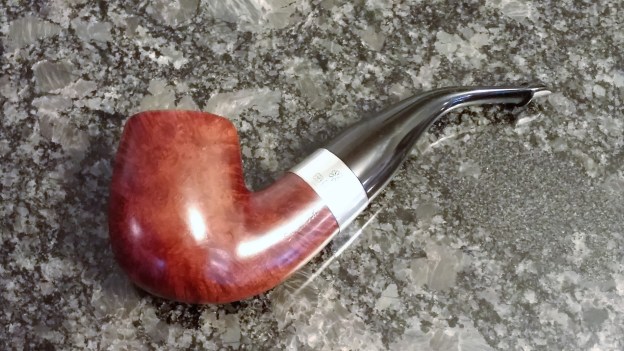
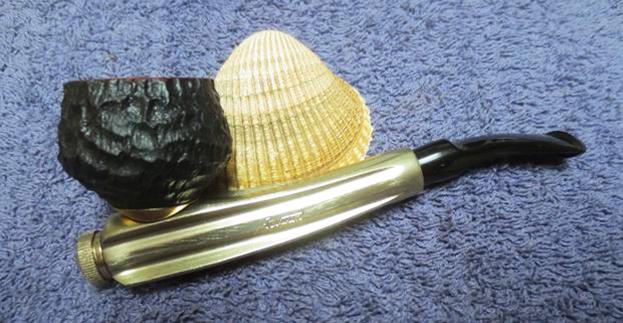
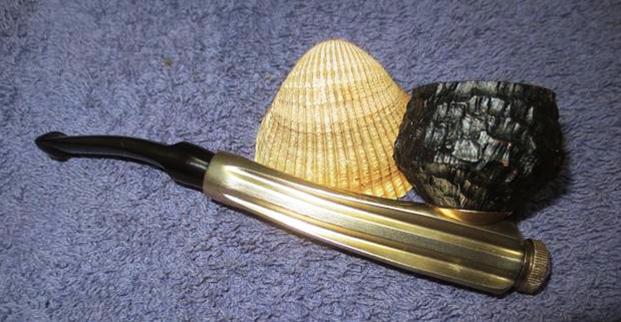
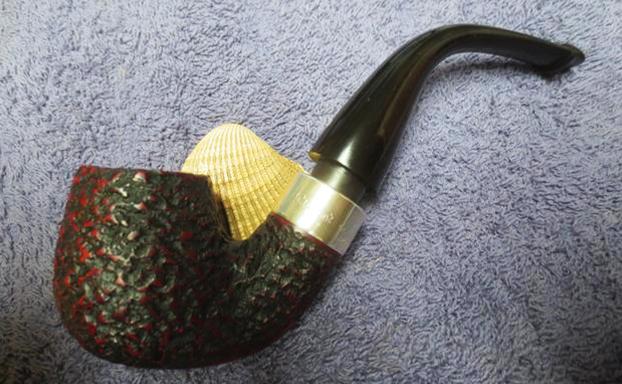
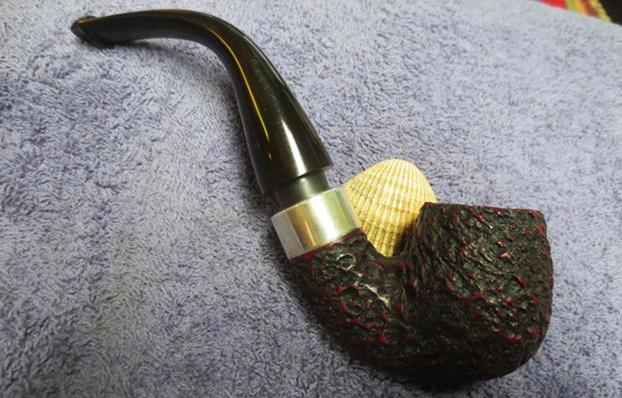
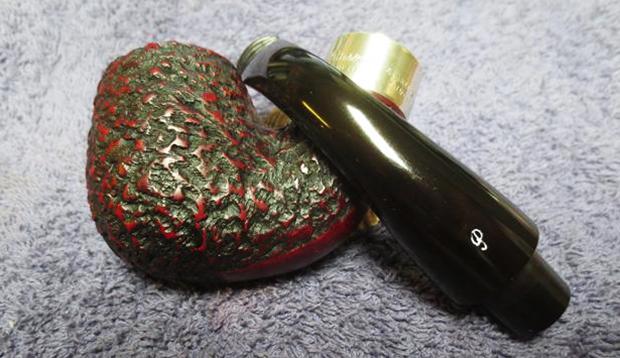
 I buffed the bowl with a soft cloth to polish away the remaining Restoration Balm. I put the stem back on the bowl and worked the pipe over on the buffing wheel using Blue Diamond to polish the bowl and shank. I buffed the bowl with a light touch so as not to get any of the buffing compounds in the grooves of the rustication. I buffed the stem to raise the gloss on the vulcanite. I gave the bowl multiple coats of Conservator’s Wax and gave the stem multiple coats of carnauba wax. I buffed the entire pipe with a clean buffing pad to raise the shine. I hand buffed it with a microfiber cloth to deepen the shine. The finished pipe is shown in the photos below. The medium brown stains on the rusticated bulldog shaped bowl works well with the rich black of the vulcanite stem. The polish and the reworking of the stem material left this a beautiful and well-made pipe. The dimensions of the pipe are: Length: 6 inches, Height: 1 ½ inches, Outside Diameter: 2 inches, Diameter of the chamber: 3/4 inch. I will be adding this one to the rebornpipes store shortly if you are interested in adding it to your collection. It will make a fine addition to the rack. If you are interested email me at slaug@uniserve.com or send me a message on Facebook. Thanks for looking.