Blog by Steve Laug
 The next pipe on my work table is a nice looking Oom Paul sandblast that is stamped Rich’s Cigar Store on the underside of the shank and Italy below that next to the stem shank union. The pipe was in decent shape with some minor nicks on the outer edge of the bowl and some darkening in the bowl. I am not sure whether the bowl was even smoked at all as the darkening could well be a bowl coating. Either way it is either NOS (New Old Stock) or lightly smoked. The stem was lightly oxidized and had some price sticker residue on the underside near the button. The R stamp on the right side of the saddle stem is clean and undamaged. It would be an easy cleanup for Jeff and me when it finally arrived in Vancouver.
I did a bit of quick research and found that Rich’s Cigar Store is a Cigar and Magazine shop in Portland, Oregon. It is located at 820 SW Alder Street – Portland OR and can be reached by phone at 503.228.1700 or 800.669.1527. I looked up the website and scrolled through the various pages on the site (https://www.richscigarstore.com/).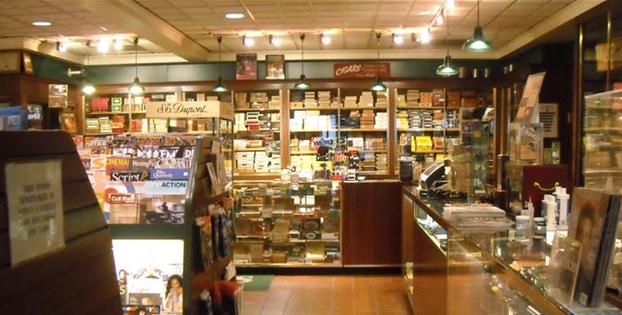 As I scrolled through the website I spent time on their history page. I read through the background material to the shop. I enjoyed reading about the company and how it came to be and what it looks like now. They call themselves, “Portland’s Mecca for smokers…”. They have existed for over 100 years. I quote in full from the History section of their website and have included a few photos as well. It is fascinating that the page does not give much history but more of a full blown advertisement for the shop.
“In our store locate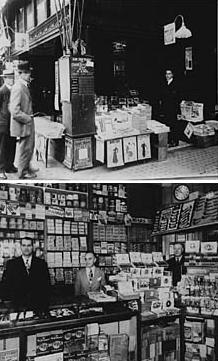 d at 820 S.W. Alder St. in the heart of Downtown Portland, we have expanded our extensive inventory of over 2500 periodicals, 1500 facings of cigars, hundreds of pipes, and over 200 blends of Tobacco on display. Our increased humidor storage areas allow us to keep thousands of boxes of cigars on hand for immediate in-store purchases.
An essential element for pipe smoking is the right tobacco blend. With this in mind we have brought in a master tobacco blender with over 30 years experience. Has your favorite Tobacco become increasingly difficult to find? Then put him in use to create a new blend to suit your needs. He has already created a new blend to fill the void of a popular Balkan blend, and we age all blends so that their full richness and taste come through each time you light up a bowl. Click here to see our extensive custom tobacco blends.
Please call us at 800.699.1527 for further information on availability and prices, or e-mail us at info@richscigarstore.com. Our sales staff is happy to assist with recommendations, product information and alternatives to guide you with your purchases. They are not merely order takers, so please put them to use. This could be the most important service we offer.”
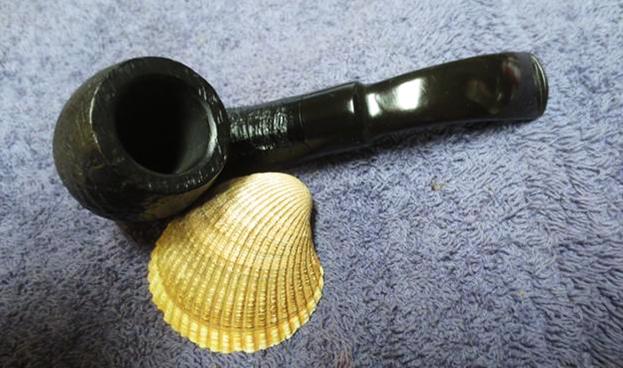
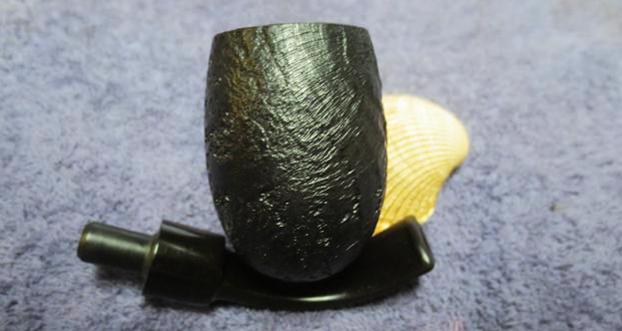
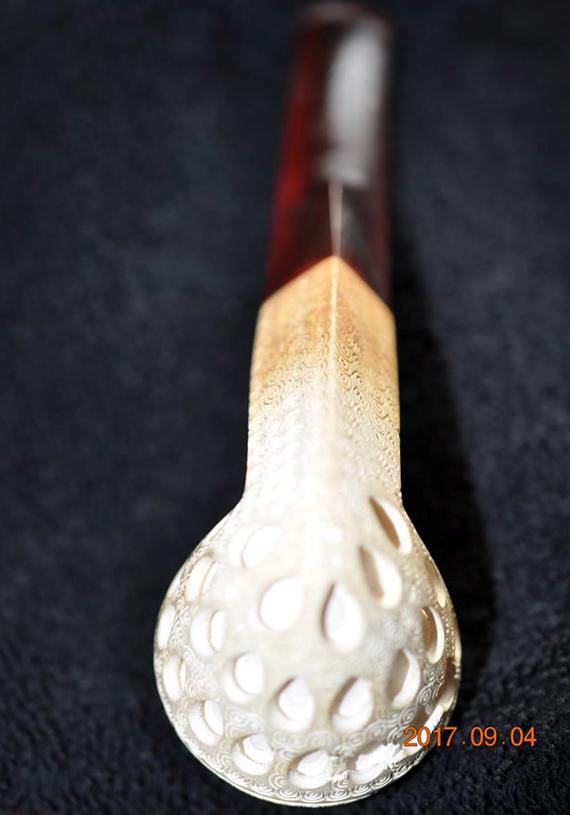
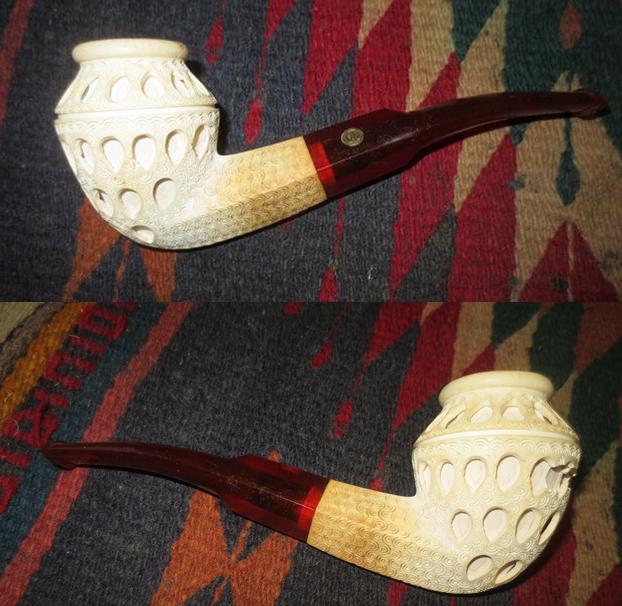
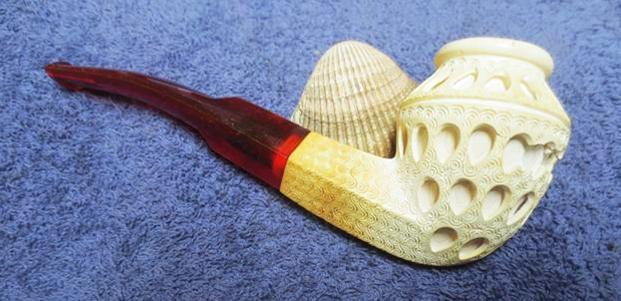
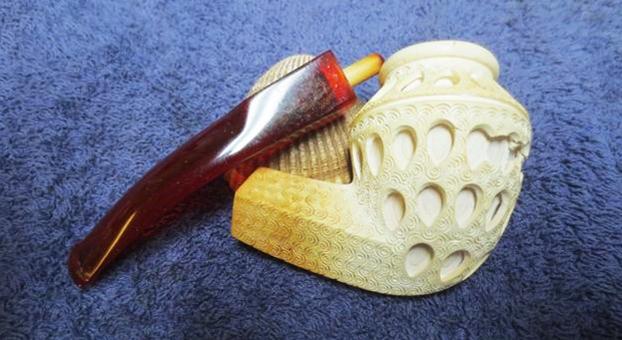
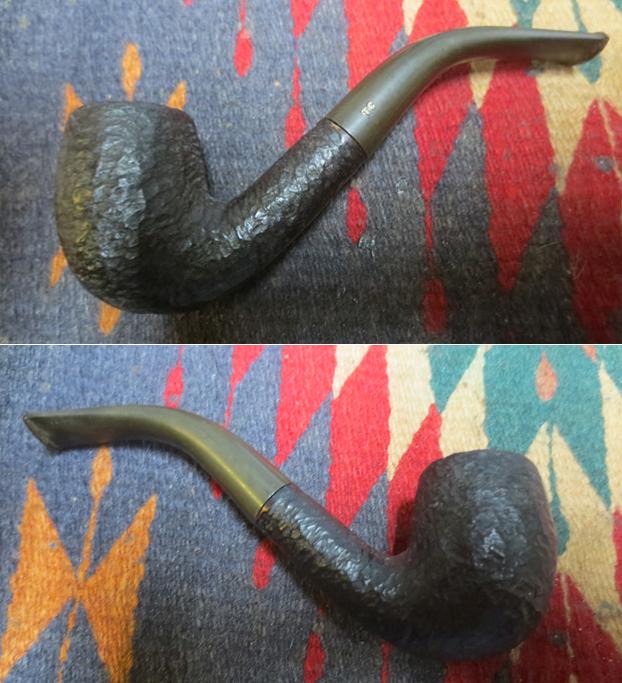
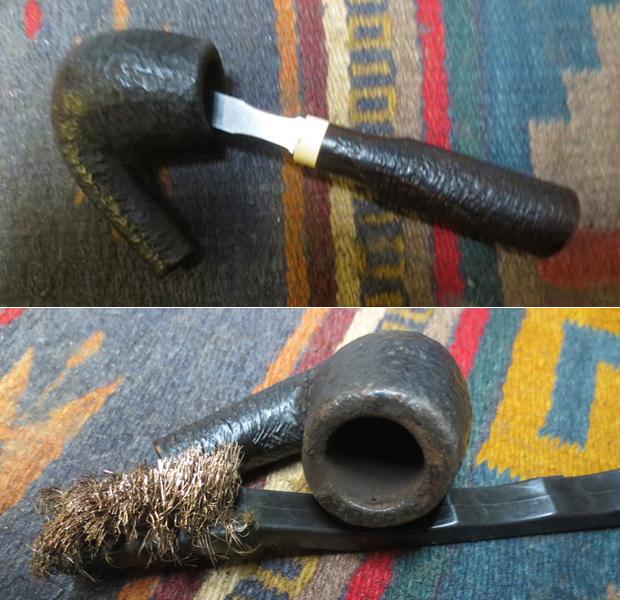
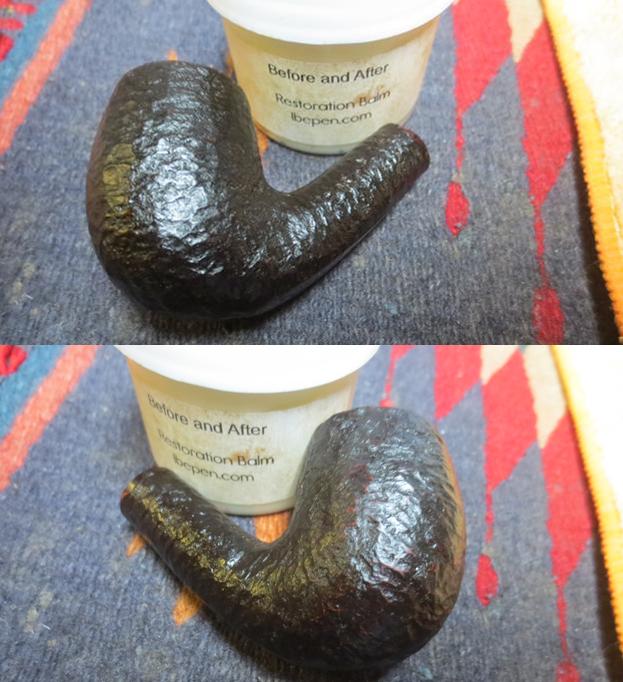
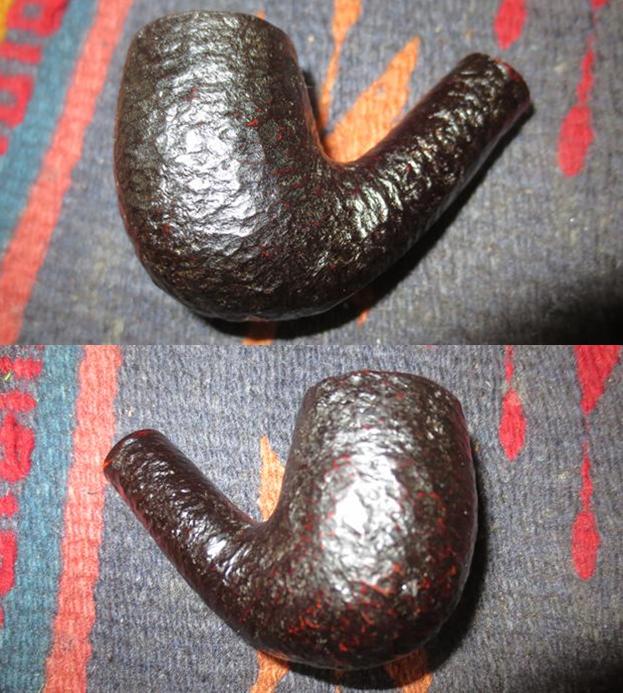
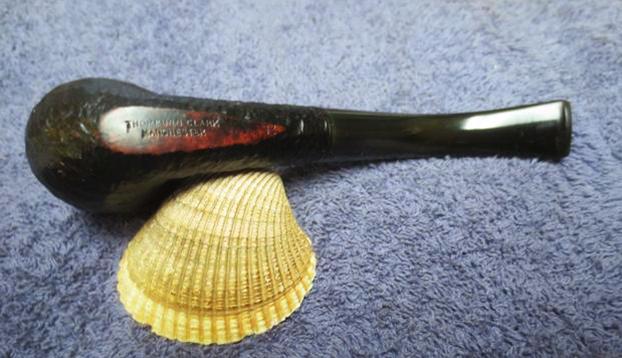
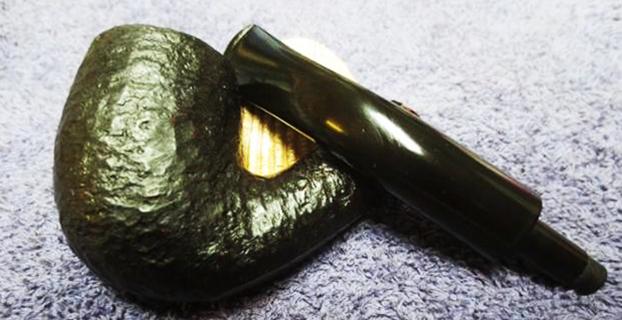
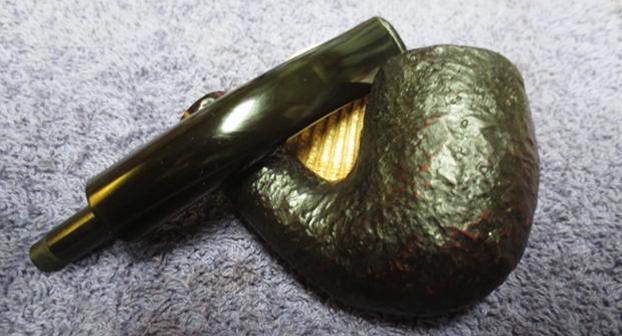
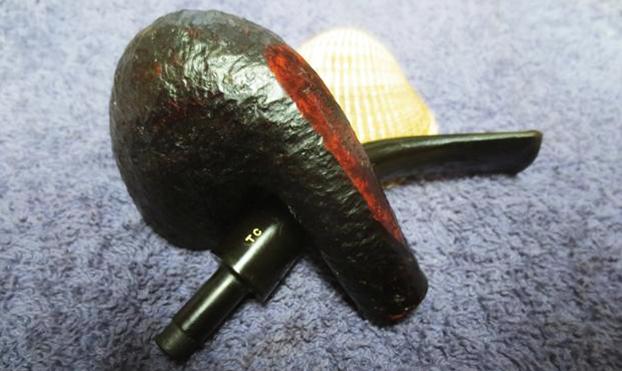
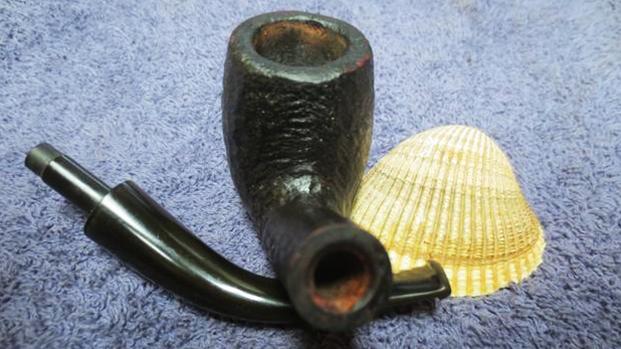
Jeff took some photos of the pipe when it arrived in Idaho before he cleaned it up. It was a beautiful full bent pipe with a nice tactile finish. The seller’s photos were very accurate and the wear on the pipe was visible around the out edge of the bowl. The fit of the stem to the pipe is very well done. It fit snug in the shank and tight against the shank end.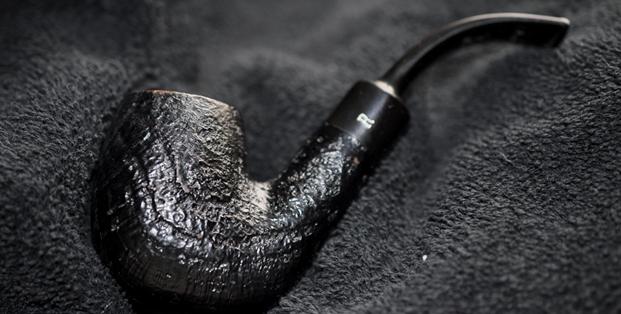
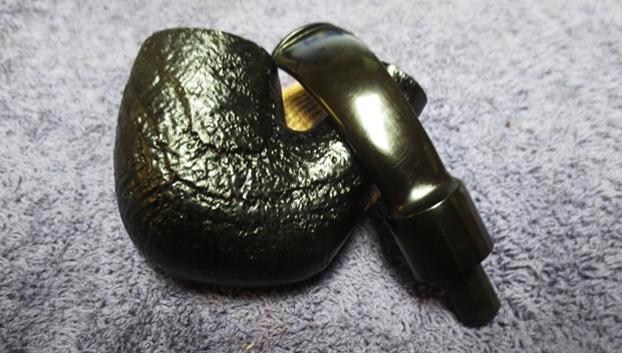
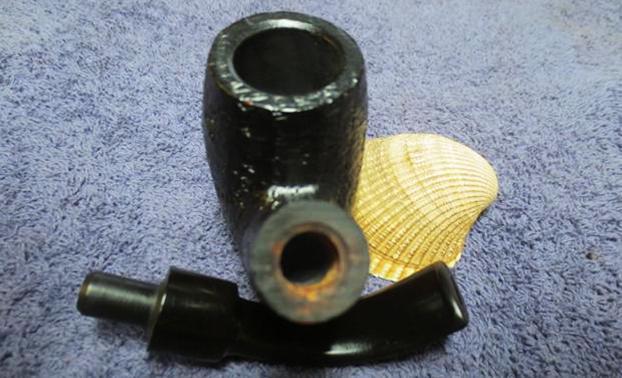
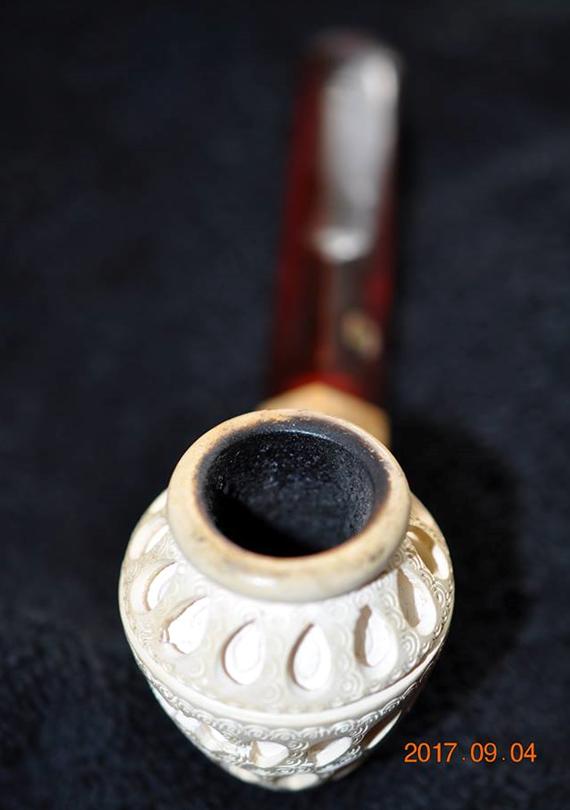
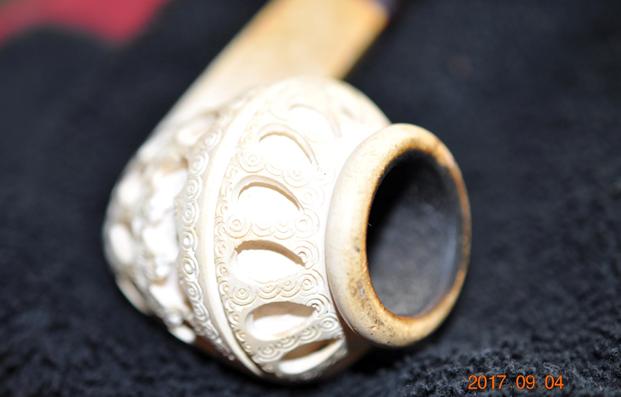
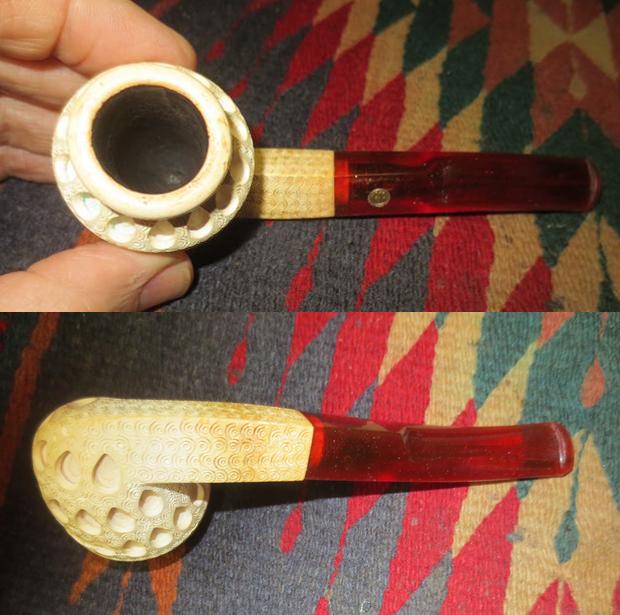
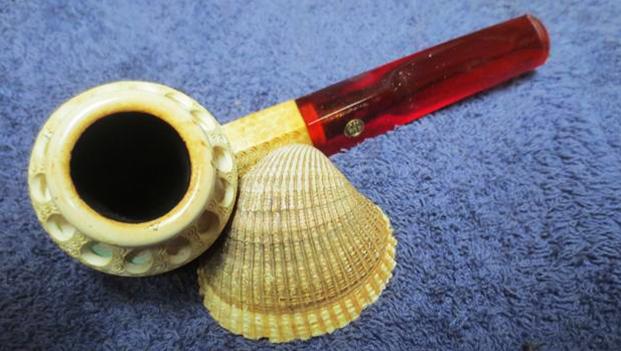
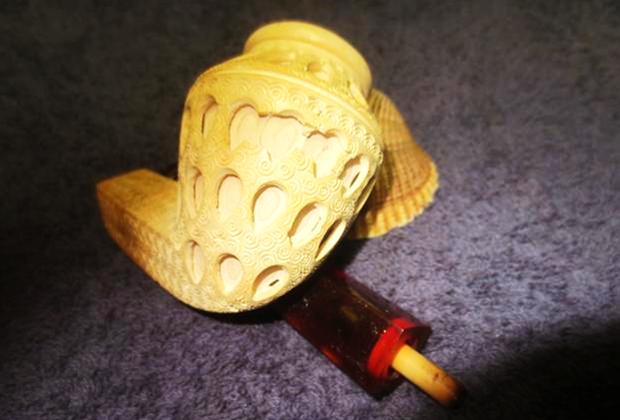
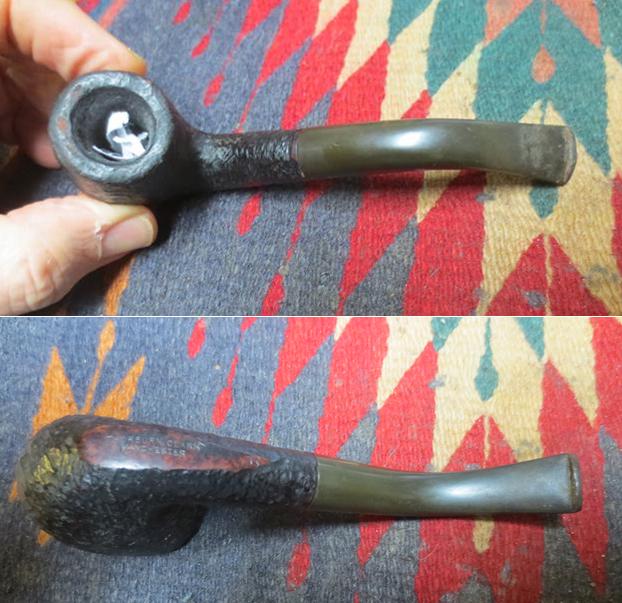
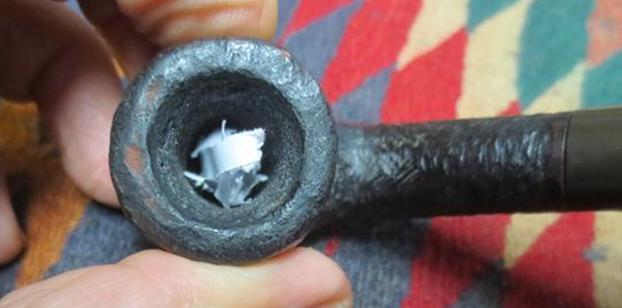
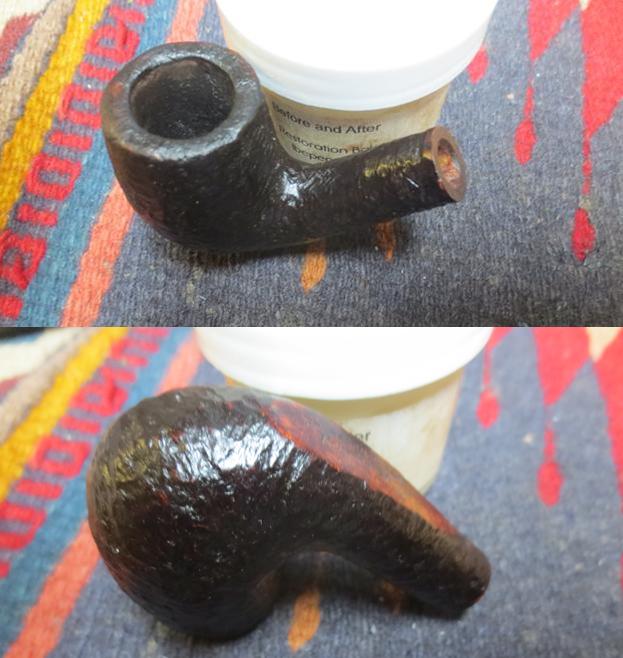
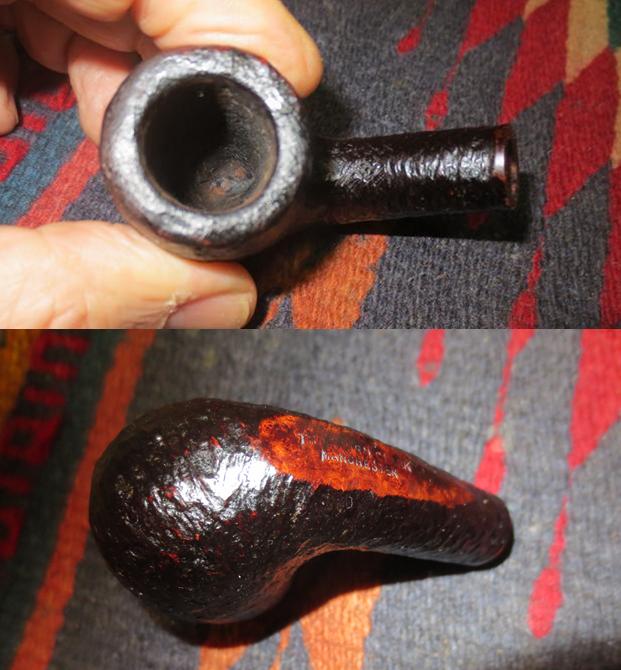
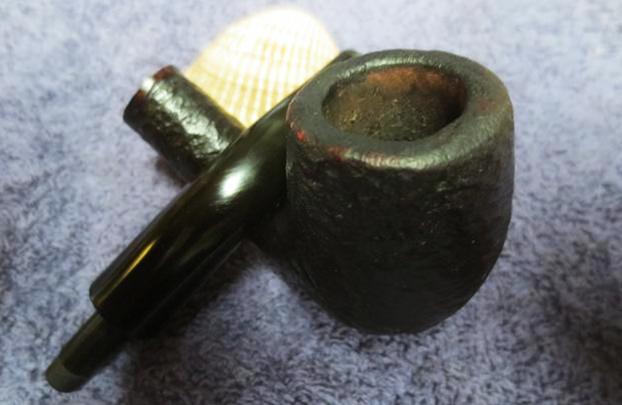
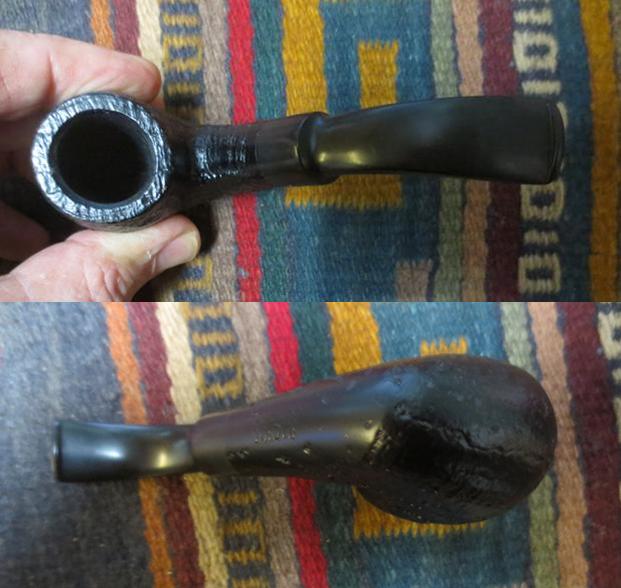
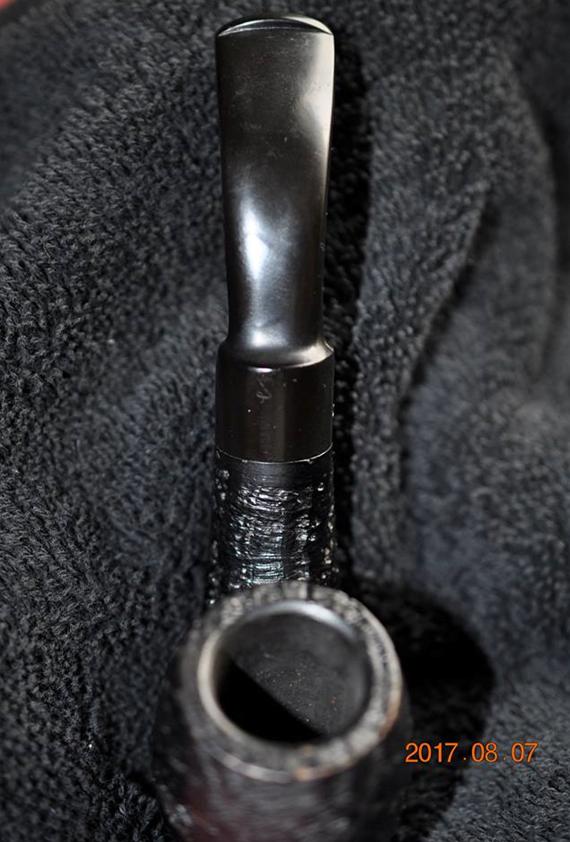 The next photo shows the bowl and the inner and outer edge. The outer edge had some worn spots along the edges. The finish was worn but the briar was undamaged. The inner beveled edge is clean and undamaged.
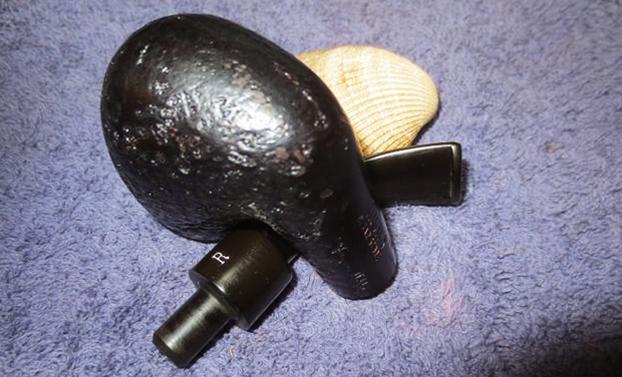
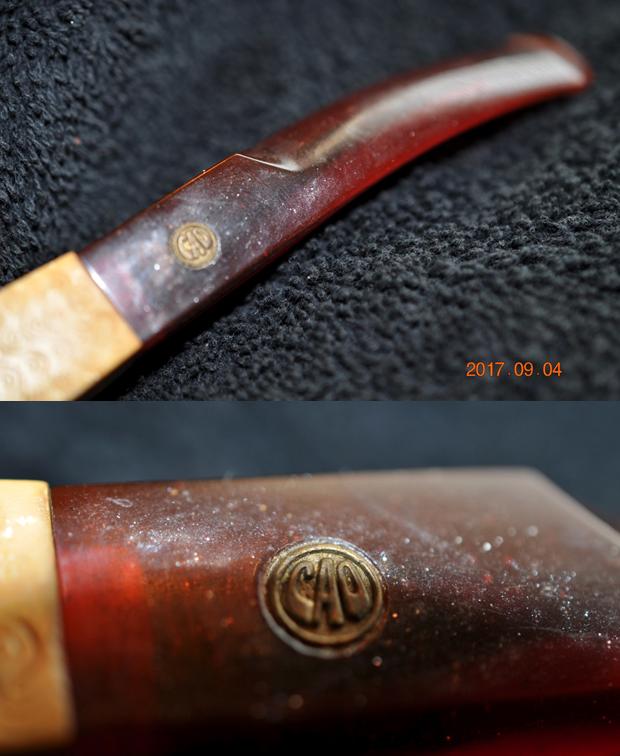
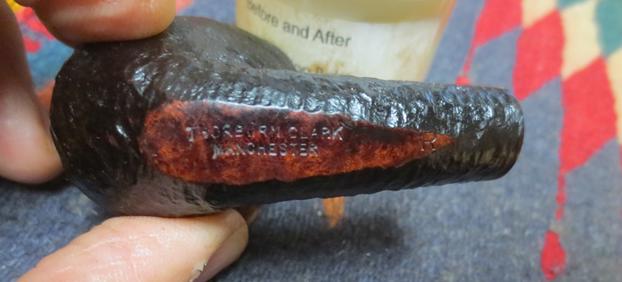
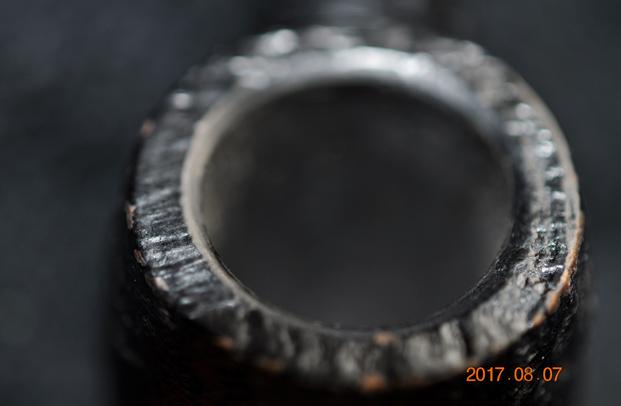 The next two photos show the stamping on the smooth underside of the shank. It is deeply stamped and very readable. The third photo shows that stamped R on the left side of the saddle stem is in excellent condition.
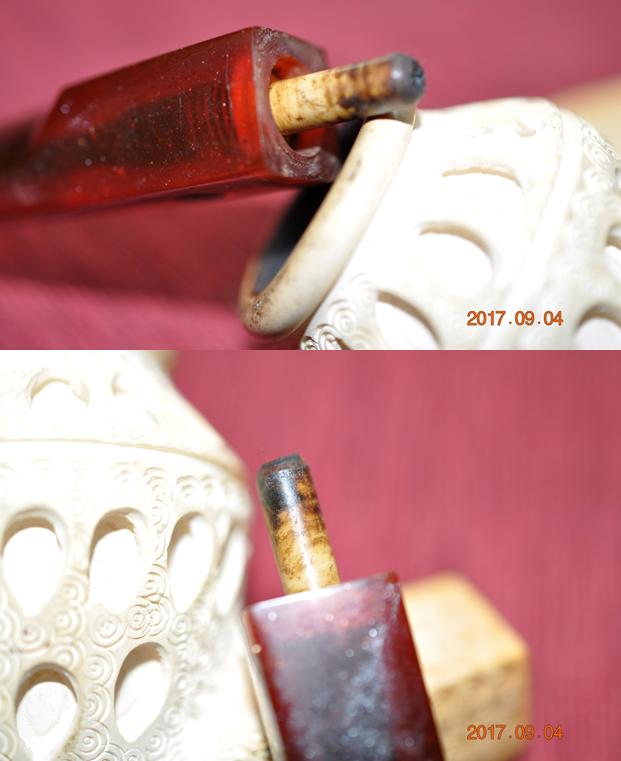
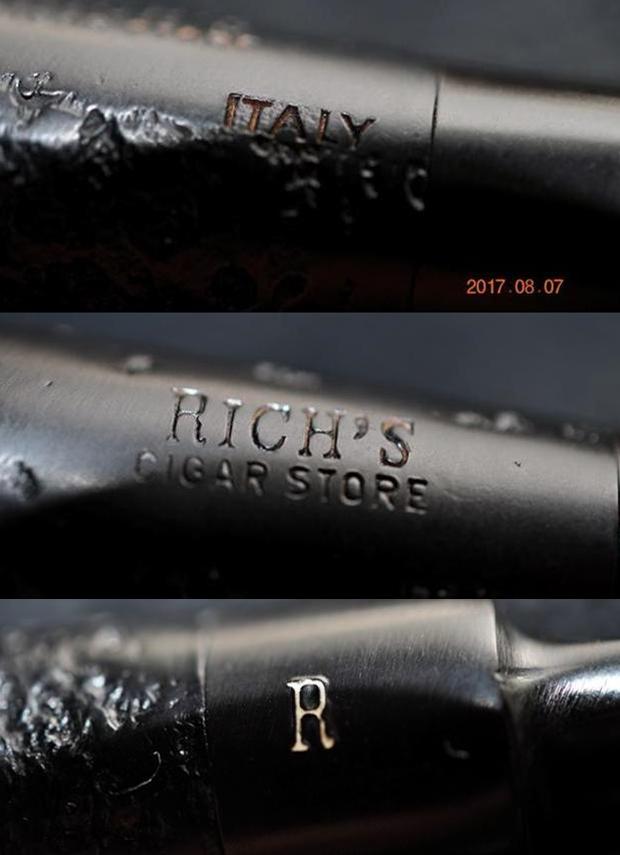 The stem was lightly oxidized as mentioned above. There was some residue on the underside of the stem near the button. It was the rubberized glue from a price tag. When the tag was peeled from the stem it left behind the residue. I wonder if it was not from the price tag that was put on at Rich’s Cigar Shop in Portland when the pipe was first sold. This would also lend to the theory that the pipe was NOS. I would be able to prove that it was unsmoked more adequately once the pipe arrived in Vancouver and I had a chance to look at it.
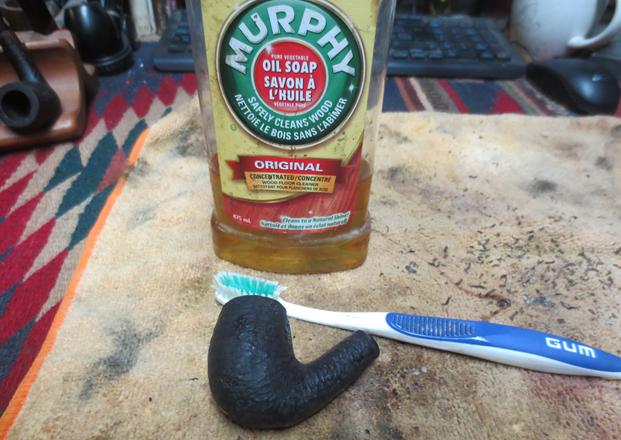
 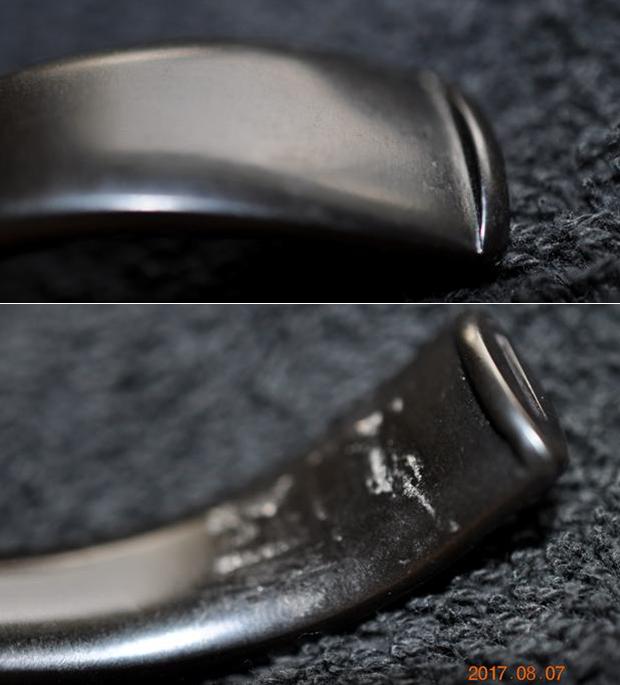 Jeff cleaned of the dust by a quick scrub with Murphy’s Oil Soap and a tooth brush. He was able to get all of the grime off the sandblast finish – even in the nooks and crannies the dust came off. He rinsed the pipe in running water to remove the soap and dried the pipe off with a soft cloth. He soaked the stem in Oxyclean to raise the oxidation to the surface of the rubber. The bowl was clean inside as was the shank. The pipe was indeed unsmoked. It still had the original bowl coating intact and it was unblemished. I took photos of the pipe before I did the finishing touches on it. It had a great sandblast and the finish was very nice.
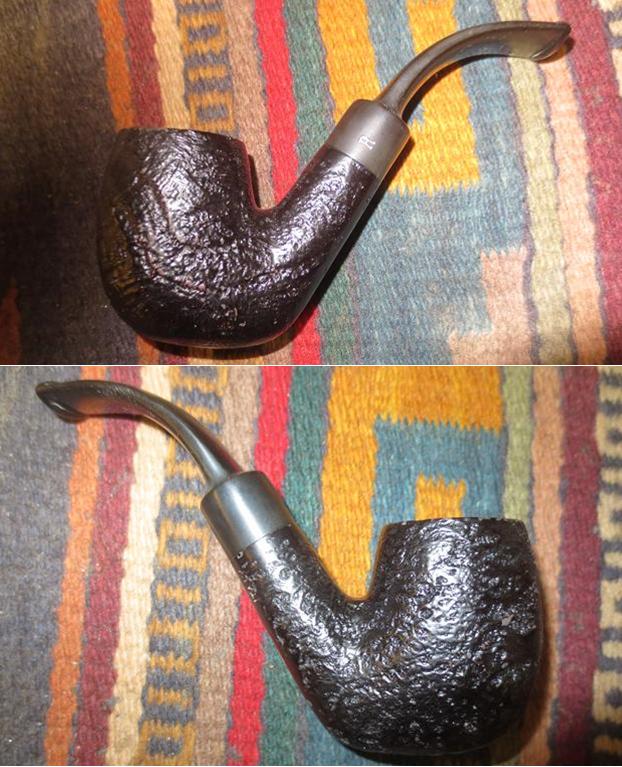
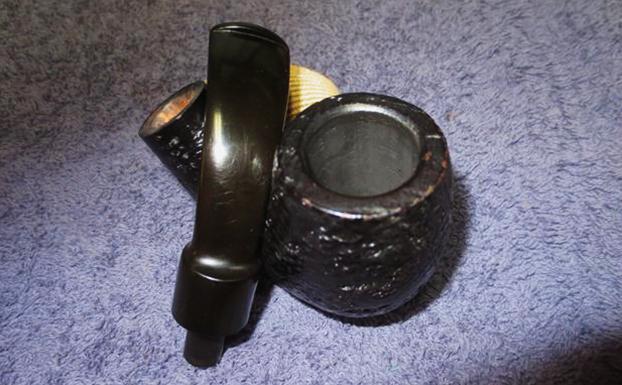
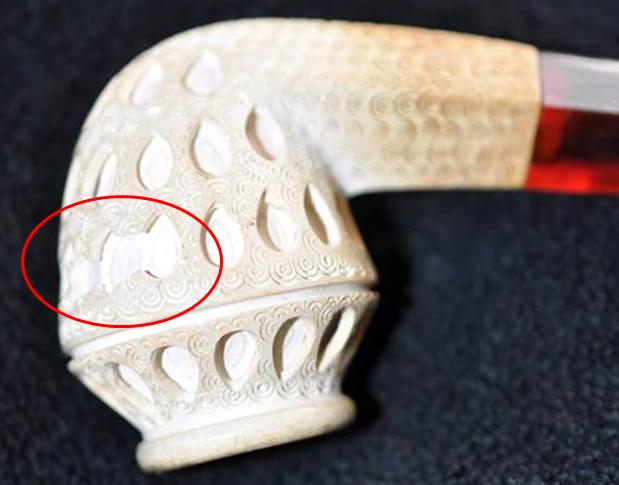
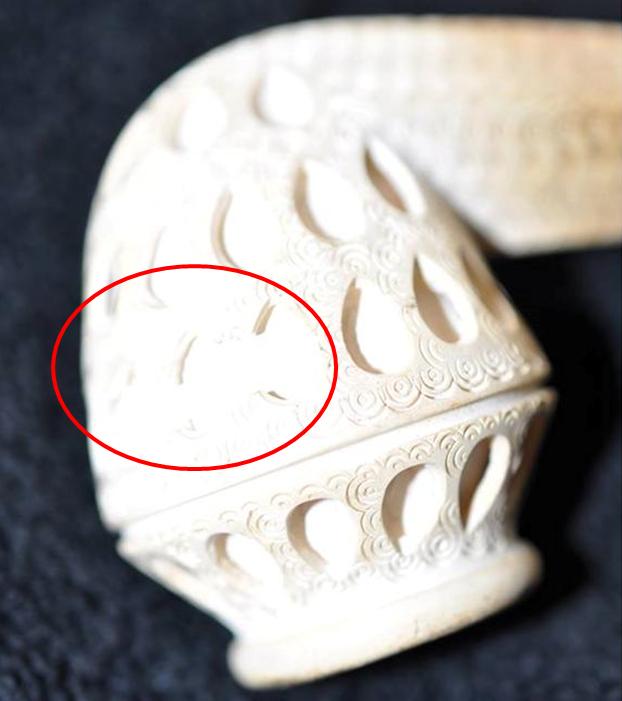
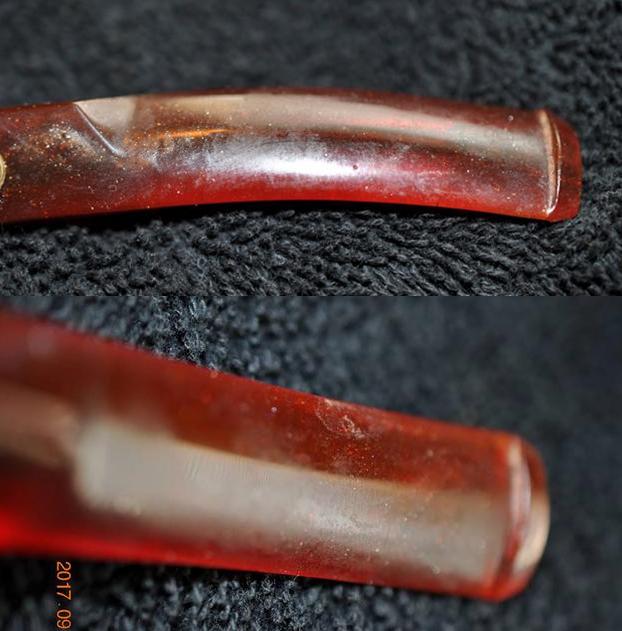
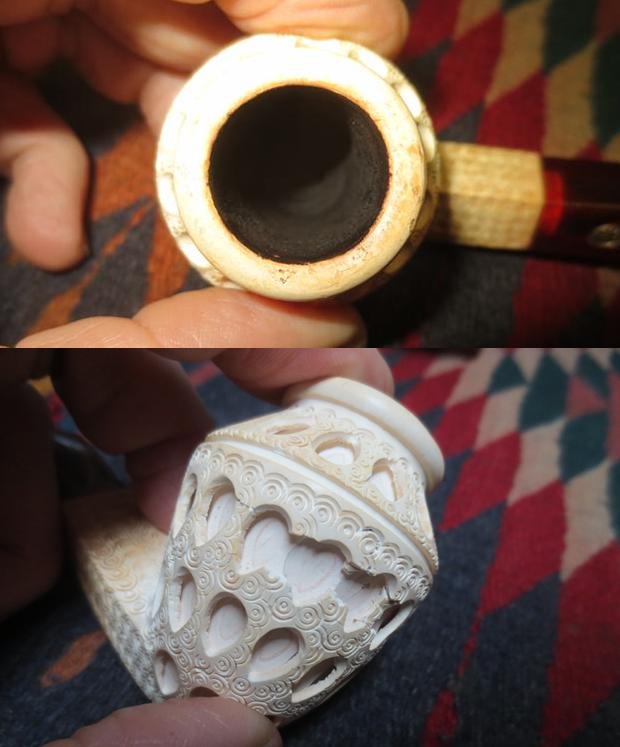
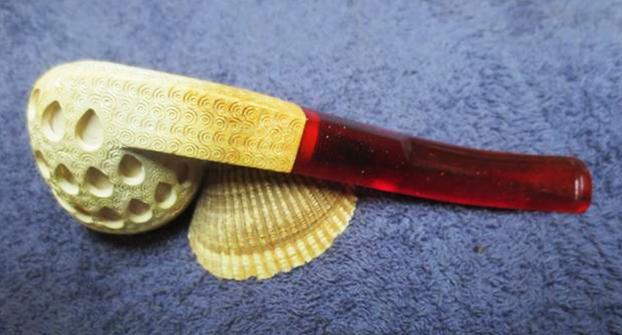
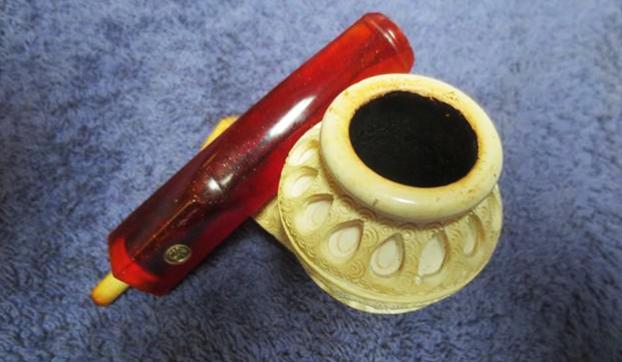
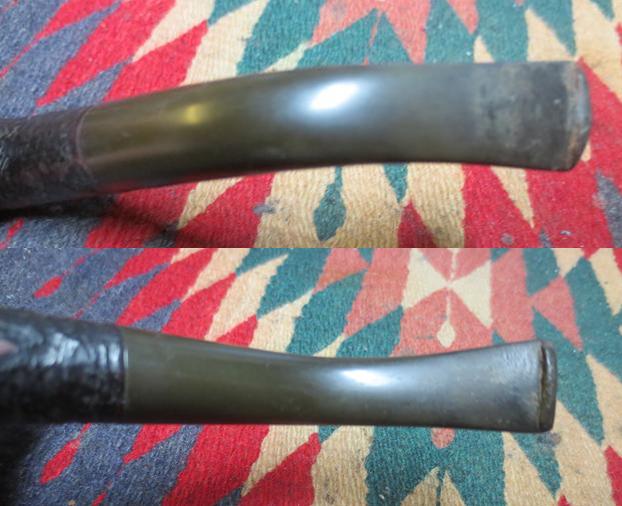
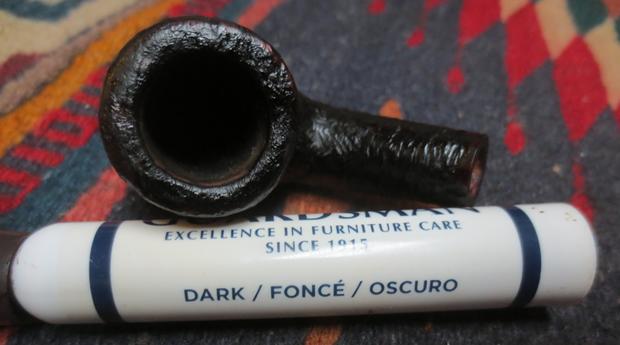
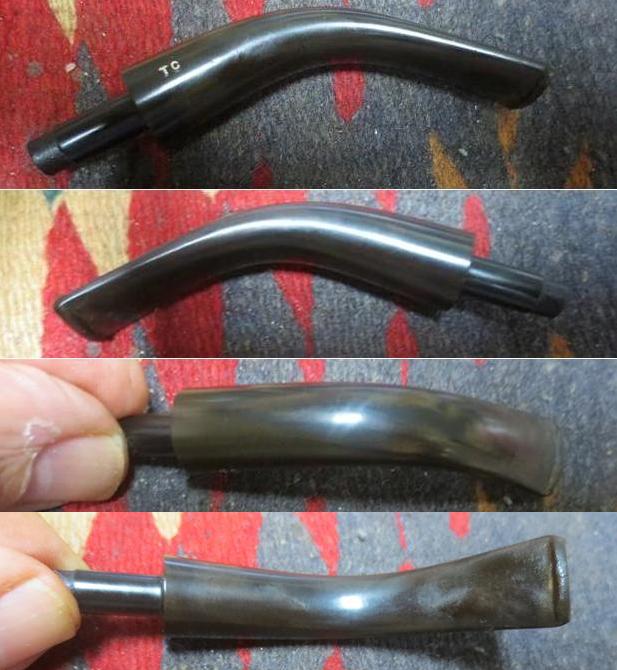
 What had appeared to be wear on the outer edge of the rim must have been dust in the grooves of the finish. When Jeff scrubbed the pipe the marks disappeared and the rim looked very good. Other than the stem oxidation the pipe looked new. The close up photo shows the rim and bowl. I also included photos of the stem to show its condition as well – no tooth chatter or marks. All that was present was light oxidation of the rubber.
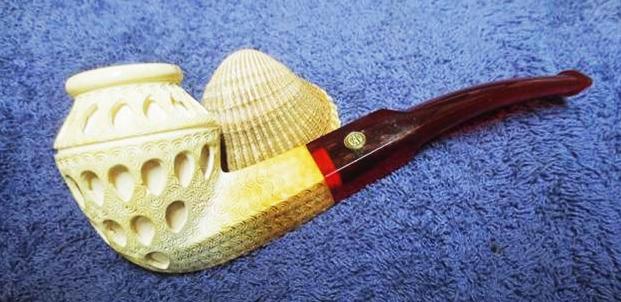
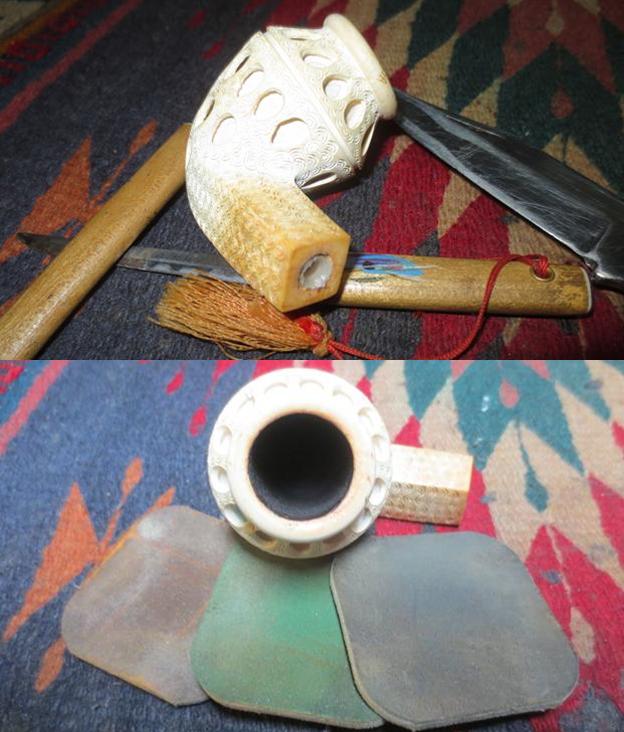
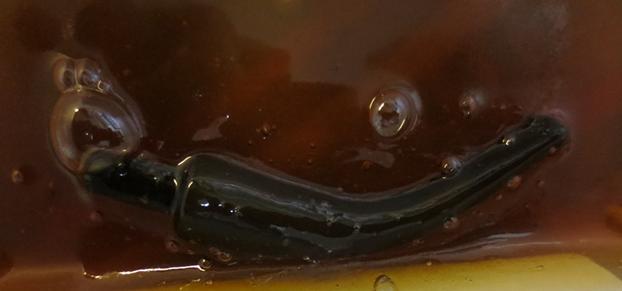
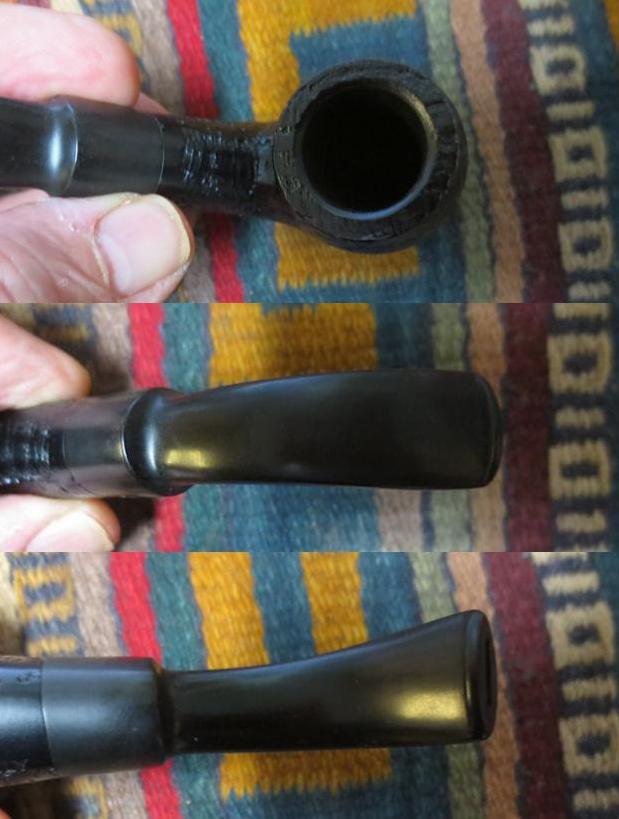 I put the stem in a bath of Before & After Stem Deoxidizer to soak while I worked on the bowl. I figured it would not take to long as it was not badly oxidized. I also put a second more oxidized stem in at the same time.
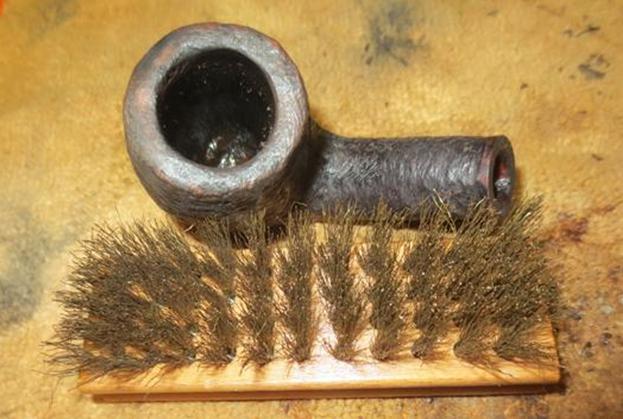
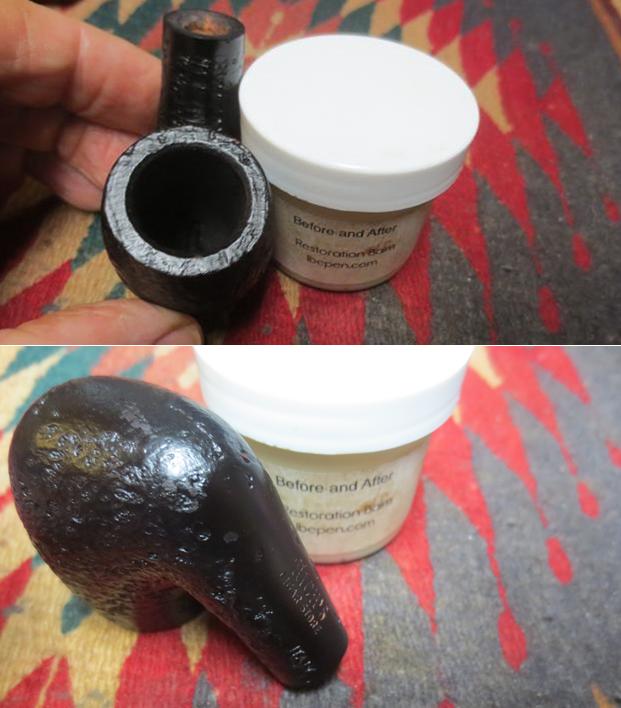
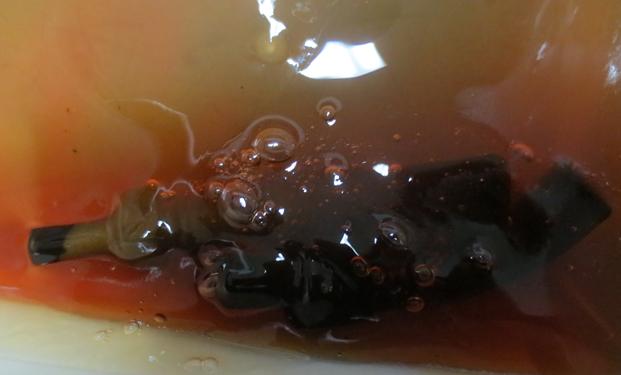 I turned my attention back to the bowl or stummel to finish it while the stem soaked. I scrubbed the briar with Before & After Restoration Balm to enliven and deep clean the sandblast finish. I worked it into the grain with my finger and a tooth brush. I rubbed it in and then buffed it with a horsehair bristle shoe brush.
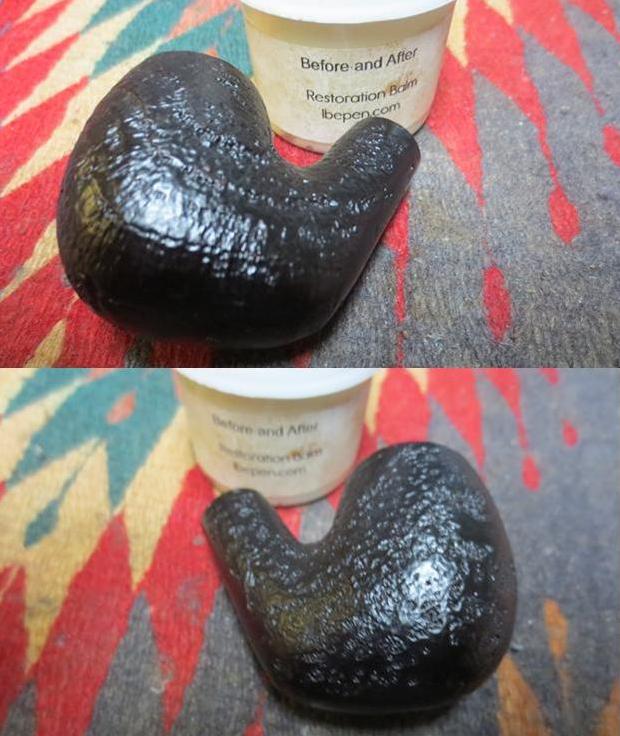
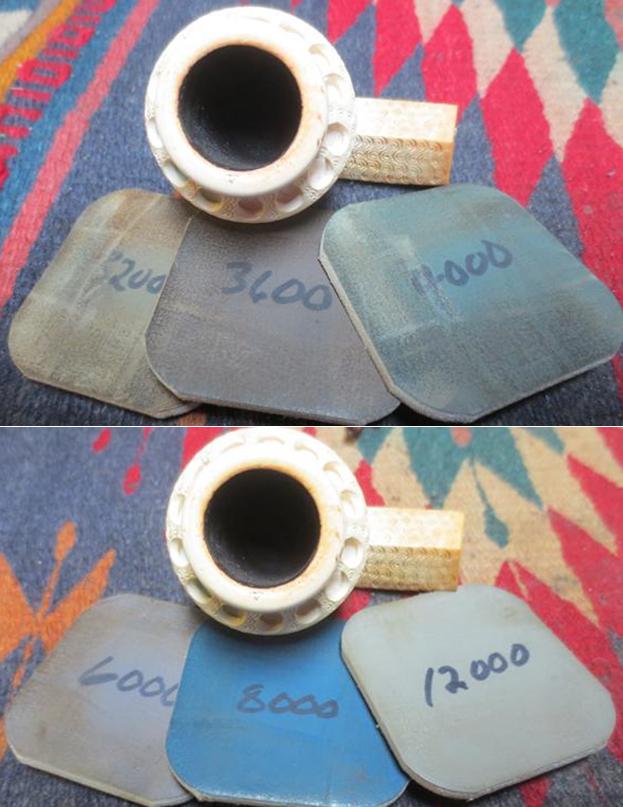
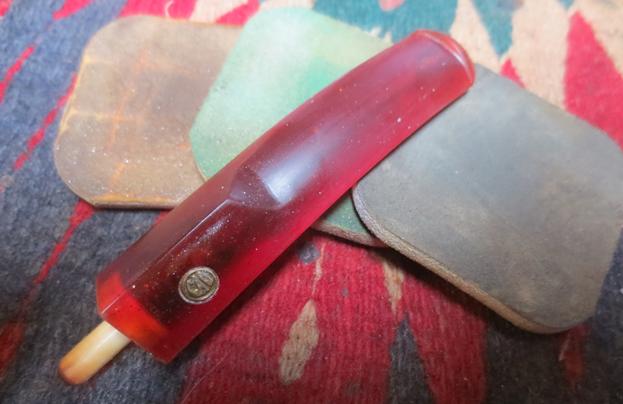
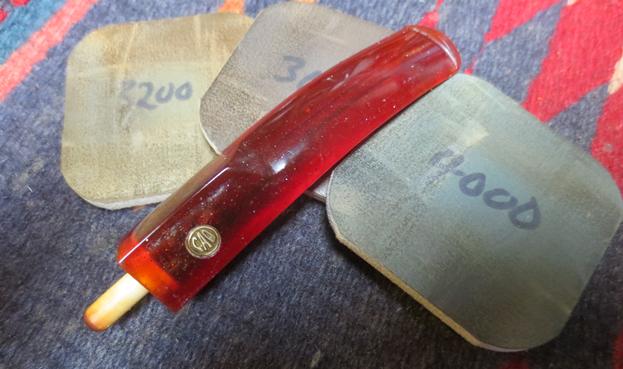
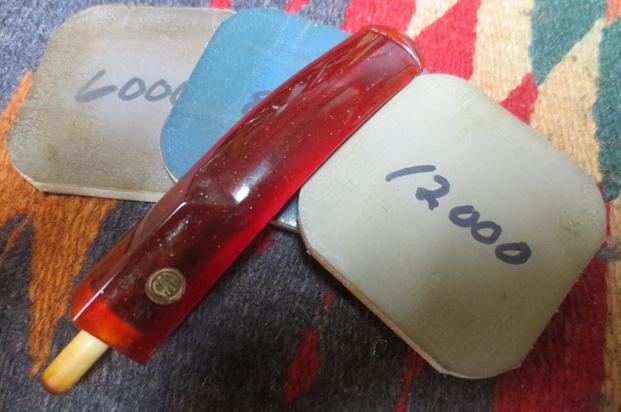
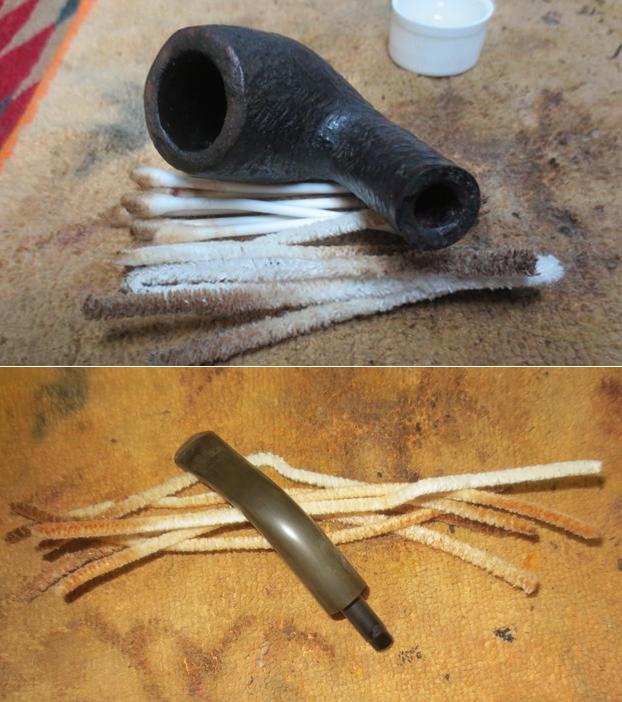
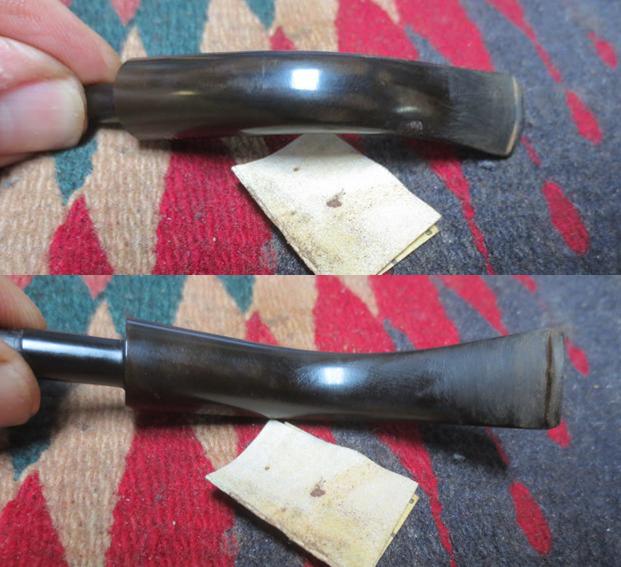
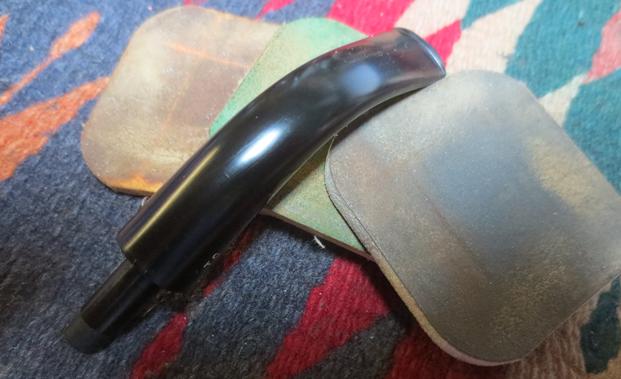
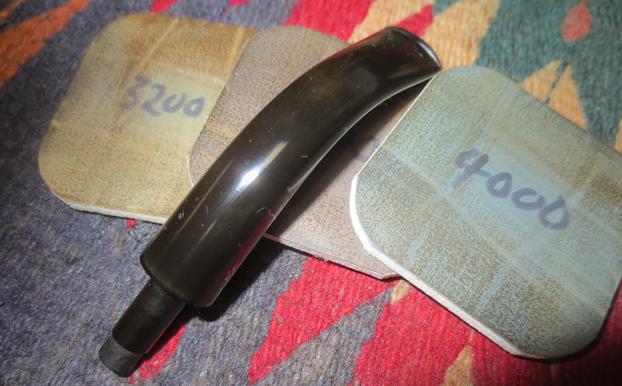
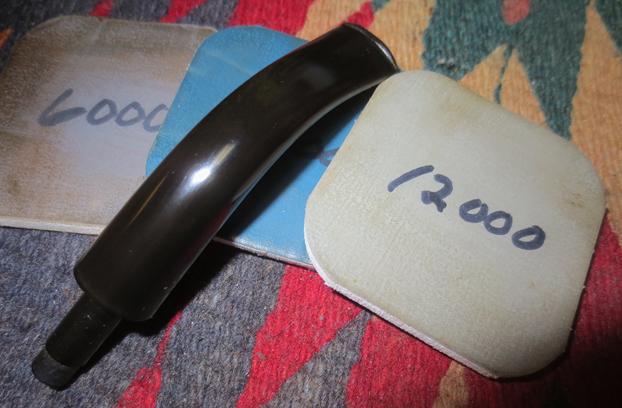
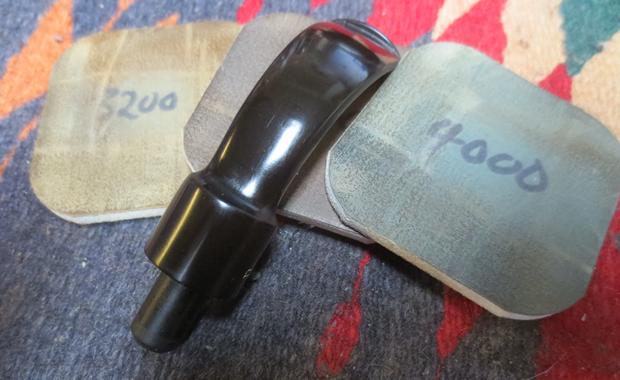
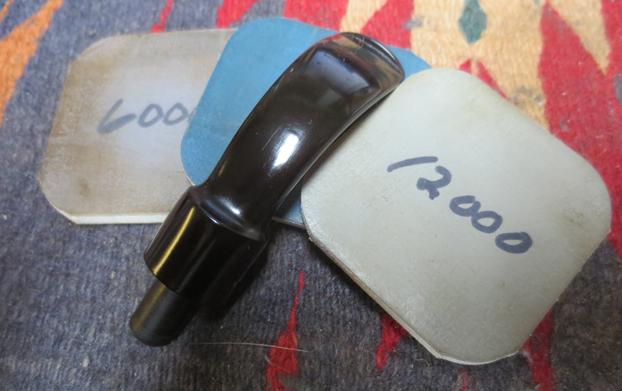
 I put aside the bowl and turned back to the stem. I removed it from the deoxidizer soak and dried it off with a cloth. I rubbed off the remaining oxidation and then cleaned out the airway with alcohol and pipe cleaners. The stem looked really good at this point. It would not take too much work to bring it back to a rich shine. I polished the vulcanite with micromesh sanding pads – wet sanding it with 1500-2400 grit pads and dry sanding it with 3200-4000 grit pads. I wiped the stem down with Obsidian Oil after each sanding pad. I buffed the stem with Blue Diamond on the buffing wheel. I brought it back to the table and sanded it with the final three 6000-12000 grit pads. After the final pad I gave it a final coat of oil and set it aside to dry.
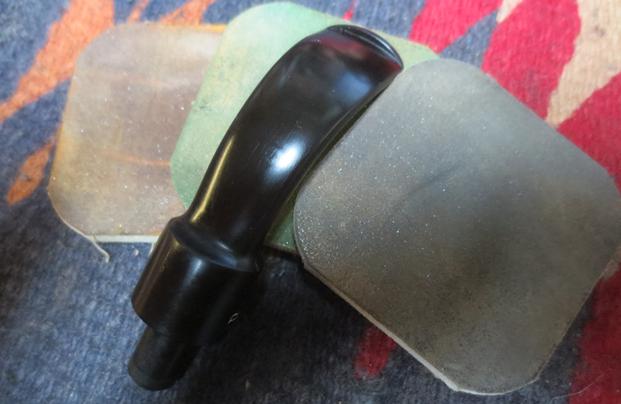
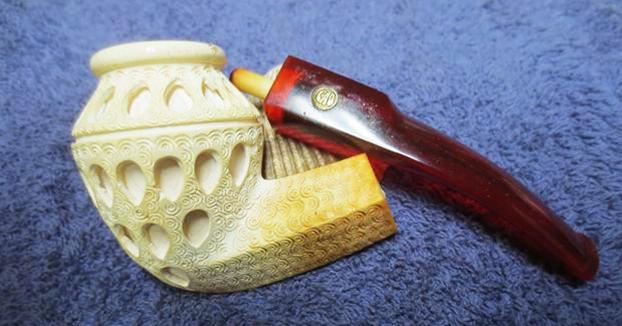
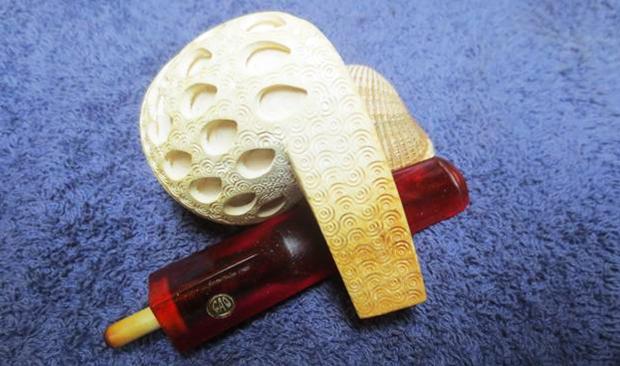
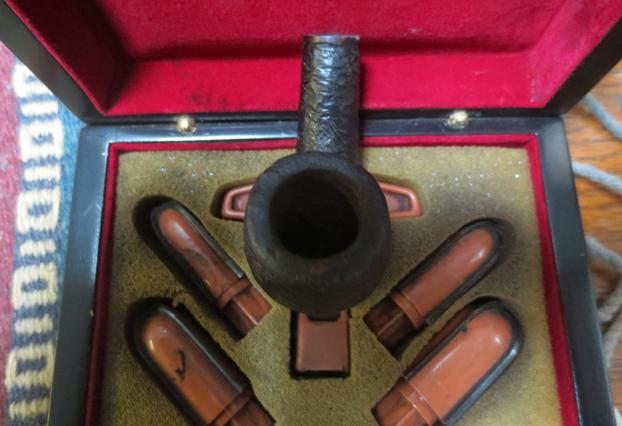
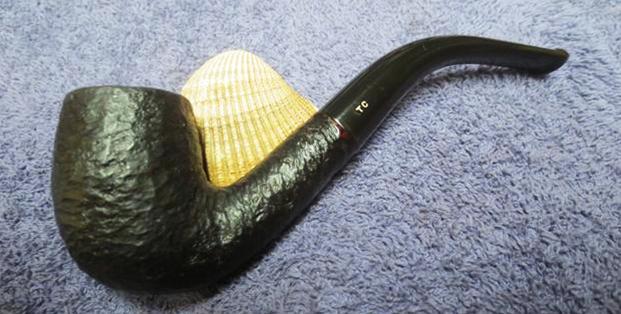
 I put the stem back on the bowl and worked the pipe over on the buffing wheel using Blue Diamond to polish the bowl and shank. I used a gentle touch on the briar when I was buffing it so that the nooks and crannies of the sandblast finish would not be filled in and make more work for me. I buffed the stem with a harder touch to raise the gloss on the rubber. I gave the bowl multiple coats of Conservator’s Wax and gave the stem multiple coats of carnauba wax. I buffed the pipe with a clean buffing pad to raise the shine. I hand buffed it with a microfiber cloth to deepen the shine. The finished pipe is shown in the photos below. The oxidation and dust from sitting on a shelf somewhere was gone and the pipe looks like new again – very fitting for a unsmoked, NOS pipe. It is truly a beautiful pipe. The dimensions of the pipe are: Length: 5 inches, Height: 2 inches, Diameter of the bowl: 1 ¼ inch, Diameter of the chamber: 3/4 inches. I will be adding this one to the rebornpipes store shortly if you are interested in adding this NOS, unsmoked pipe to your collection. It will make a fine addition to the rack. If you are interested email me at slaug@uniserve.com or send me a message on Facebook. Thanks for looking.