Blog by Steve Laug
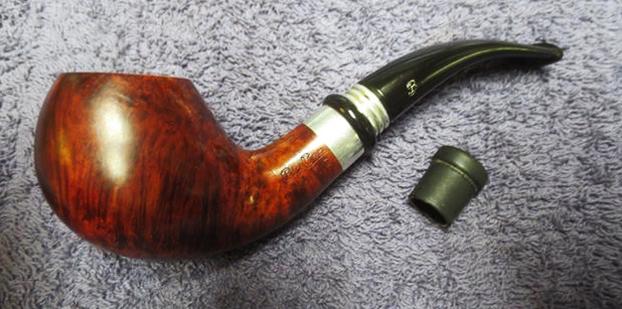
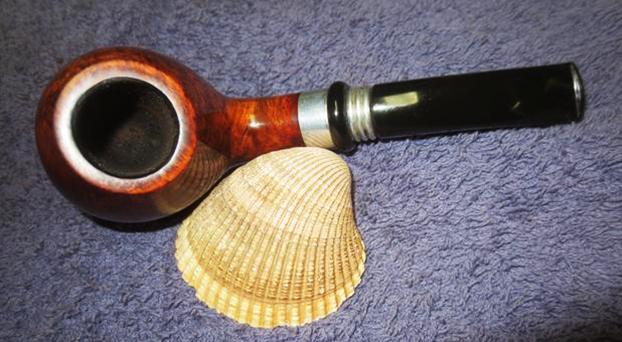
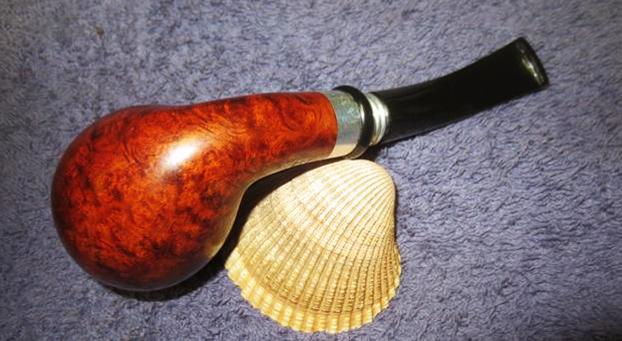
Not long ago I received a phone call from an interesting woman who had been given my phone number by a local pipe and cigar shop. She had a couple of pipes that needed some stem repair. In our conversation it turned out that they belonged to her husband and he had a total of two pipes. Both of them needed work and she was determined to get them repaired for him. In our talking we spoke of the options – either repairing the stem or making a new stem. She spoke with him and they decided to repair them. A few days later her husband stopped by the house to show me the two pipes. We talked and he decided to work on one pipe at a time so that he would have one to smoke while I repaired the other one. The first of these was a Big Ben Nautic shape 252. It is a bent apple kind of quasi brandy shaped pipe with some really nice grain on the sides of the bowl. I took some photos of the pipe to show the condition it was in before I started my clean up.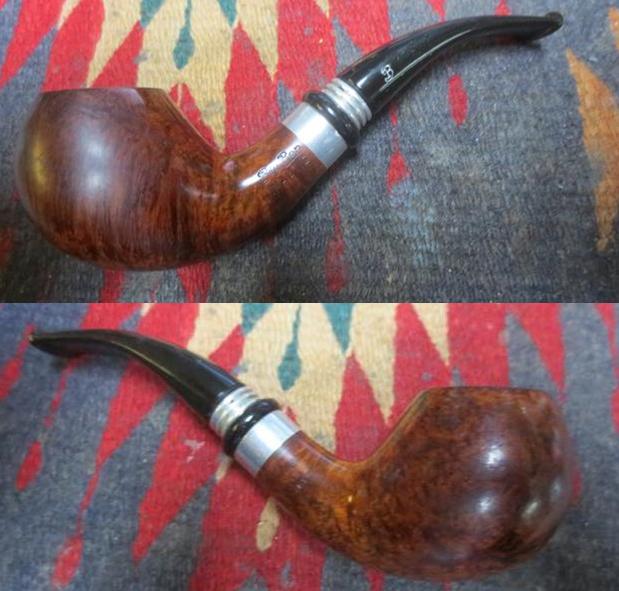 From the side view photos above the pipe looked pretty good. The finish was dirty but the pipe appeared to be in decent condition. The next photos show what the bowl and stem looked like from the top and underside views. The bowl had never been reamed and there was a thick cake that was composed of aromatic tobacco. It was soft and sticky. The lava overflow on the rim top was also sticky to touch. The smell of the pipe was a sickly sweet and sour smell of a pipe that had never seen a pipe cleaner and never had been cleaned. The stem had suffered gnawing that had broken the top edge and a bit of the stem in front of the button. It was a mess. The underside had deep bite marks and was also damaged. The poor pipe was a mess but it was obviously his favourite pipe to smoke.
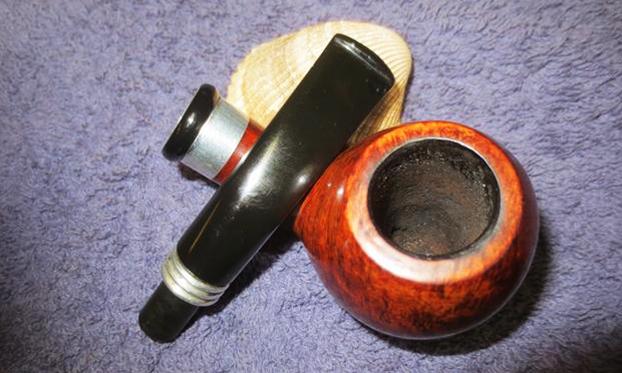
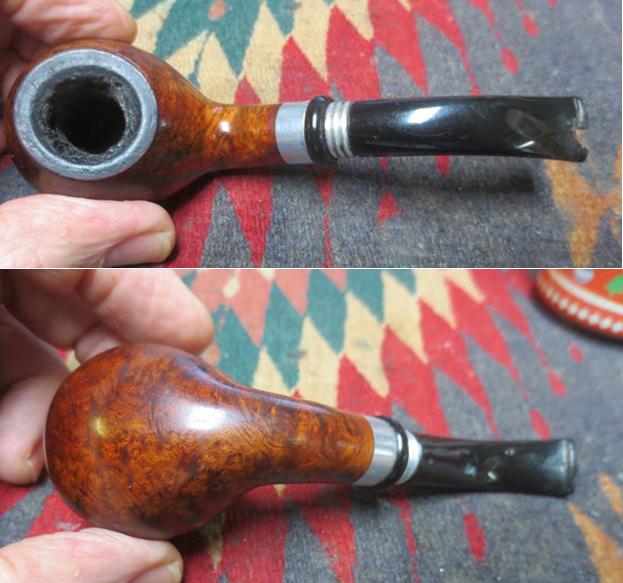 I took a close up photo of the bowl and rim to show the thickness and composition of the cake and the thick overflow of lava on the rim top. The good news was that since it had never been reamed or scraped the edges of the rim looked to be in very good condition.
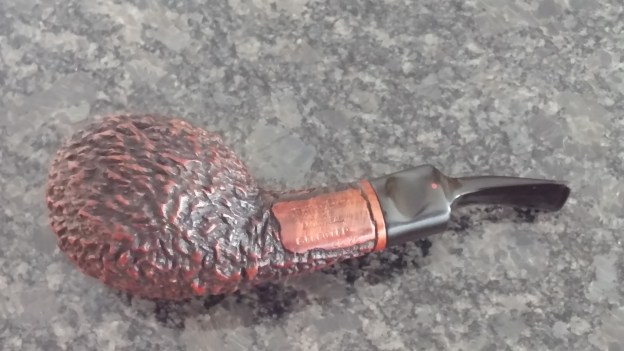
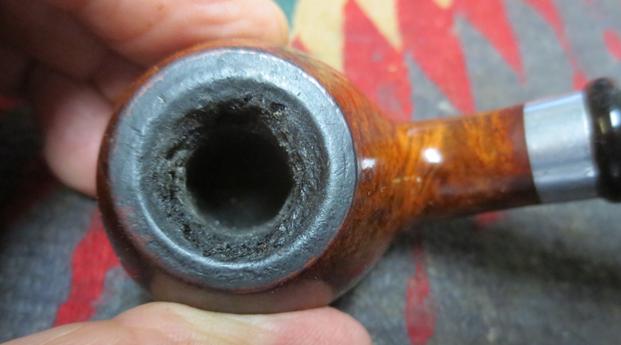 I also took some photos of the stem damage so that you could see what I was up against. The sad thing to me was that his second pipe had exactly the same damage to the stem and the bowl looked identical as well.
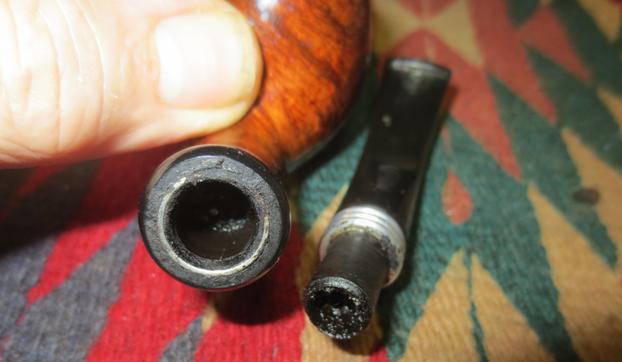
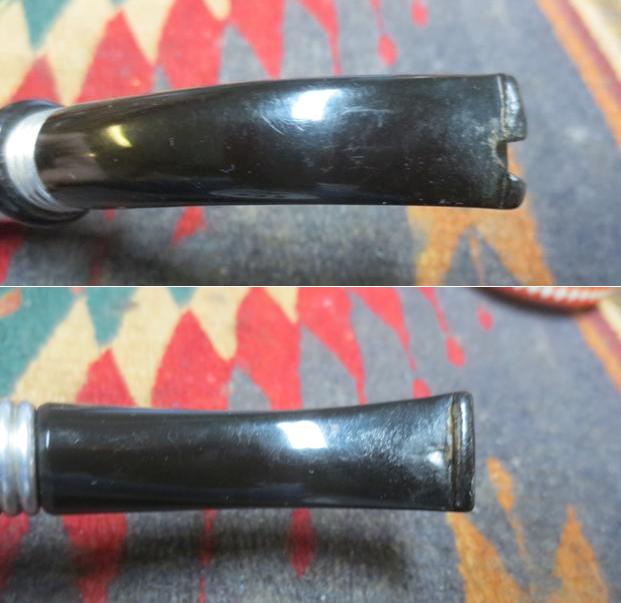 When I removed the stem I was not surprised to find that the mortise and the airways in the shank and stem had also never been cleaned. But even more surprising was the fact that the stem and shank were made for a 9mm filter and the pipe had been smoked sans filter to the point that the airway in both were almost closed off with the gunk (technical term for the black, oily, tarry stuff that filled the stem and shank). The next series of three photos show the clogged condition of the airways and mortise. I am amazed that the pipe man was able to load any tobacco in the bowl and draw any smoke through the pipe.
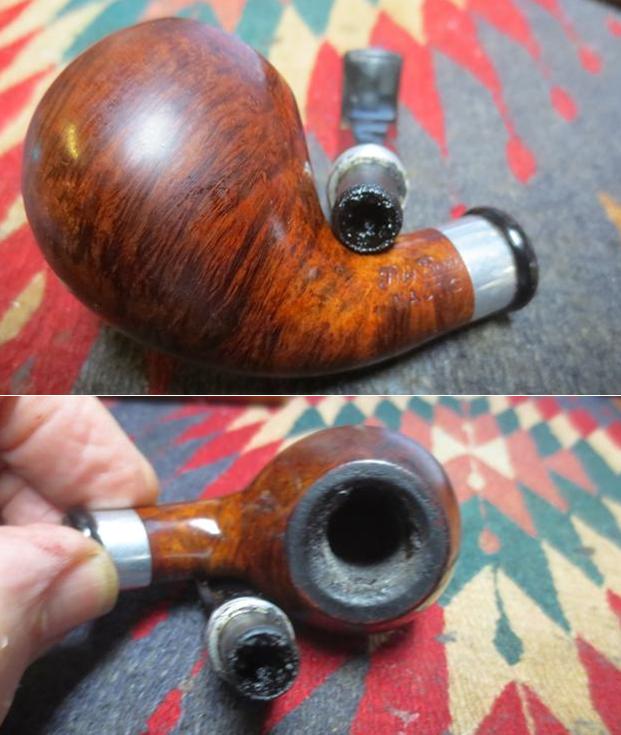
 I decided to rid the pipe of the smell that permeated my work space when I had the pipe on the worktable. I used pipe cleaners, cotton swabs and alcohol to clean out the interior of both. I used a dental spatula to scrape the walls of the shank and the filter tenon. It took a lot of pipe cleaners to remove all of the buildup but once it was clean the pipe smell better and would be easier to work on.
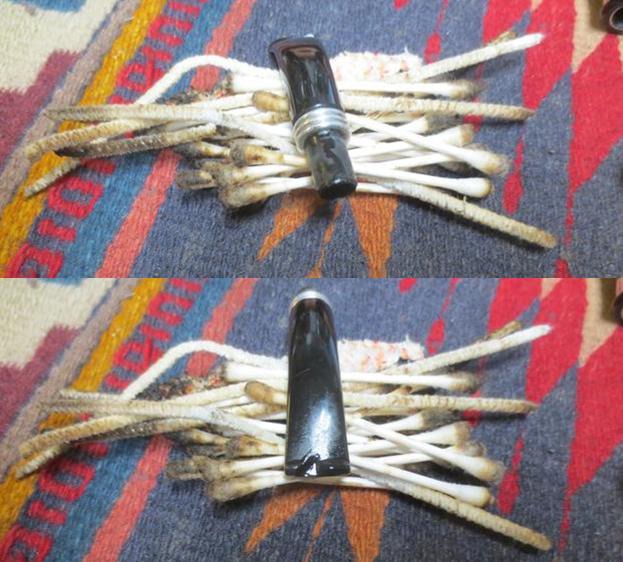
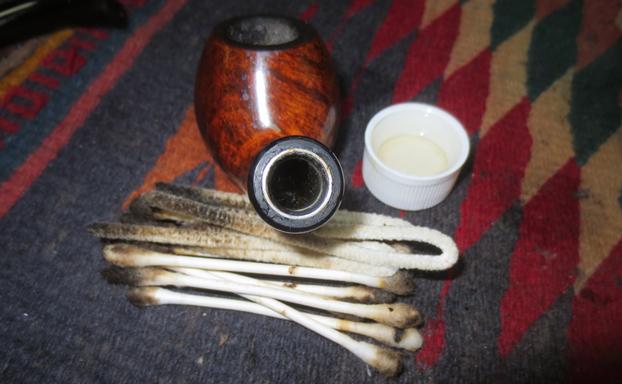 I reamed the bowl back to bare briar with a PipNet pipe reamer. I started reaming it with the smallest cutting head and worked my way up to the cutting head that fit the diameter of the bowl. I touched up the reaming with a Savinelli Fitsall Pipe knife.
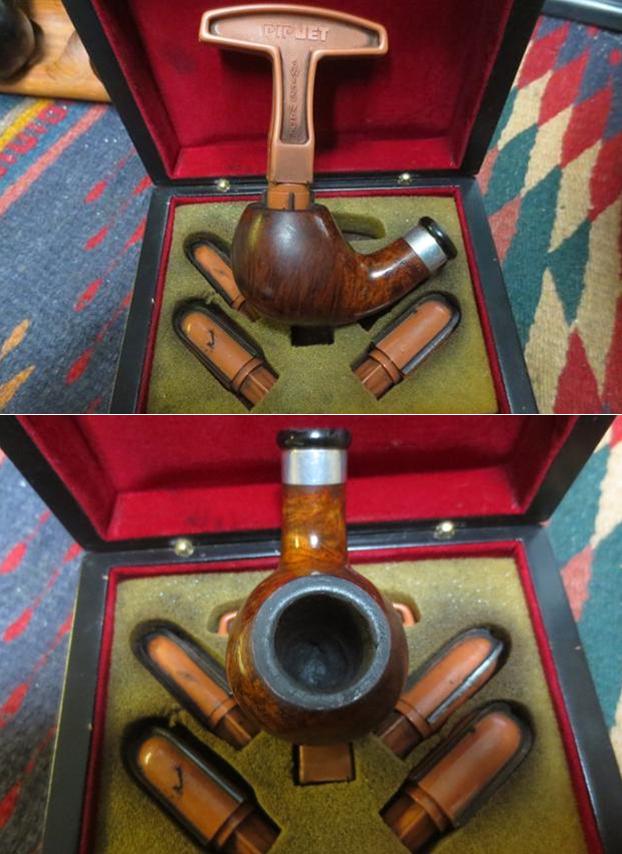 I scraped off the thick lava coat on the rim top using a pen knife. I was able to remove all of it. There was still some rim darkening but I figured that it would also come of the rim. I scrubbed the rim top with saliva and cotton pads.
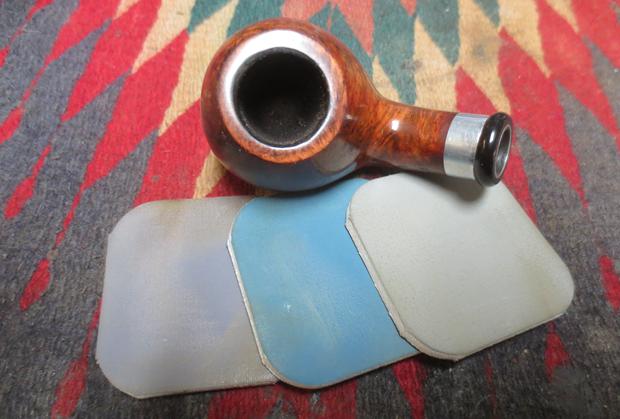
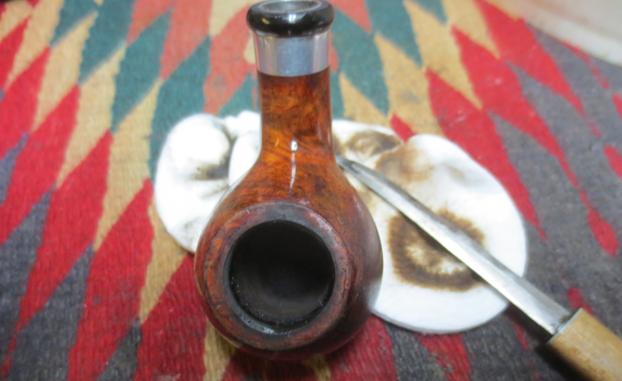 I polished the rim of the bowl with micromesh sanding pads. I started by wet sanding it with 1500-2400 grit pads until all of the darkening and remnants of lava on the rim. I dry sanded it with 3200-12000 grit pads until the rim was shining. I wiped it down with a damp cotton pad after each micromesh sanding pad to remove the grime that came free. The rim began to look almost new again.
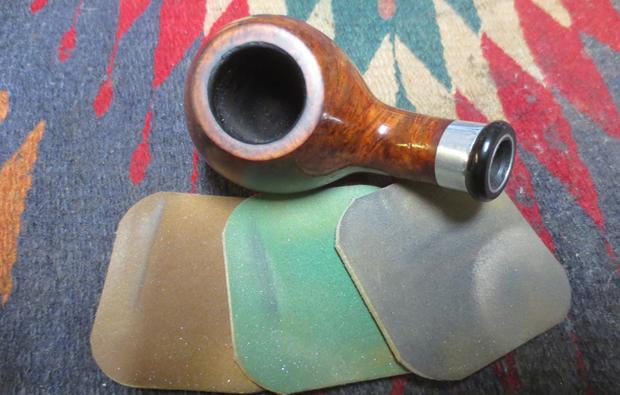
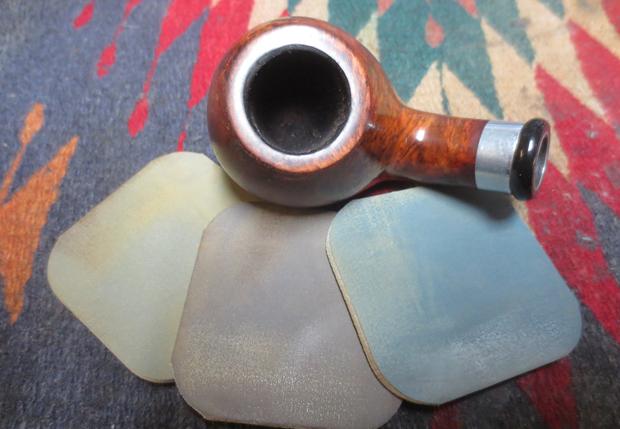
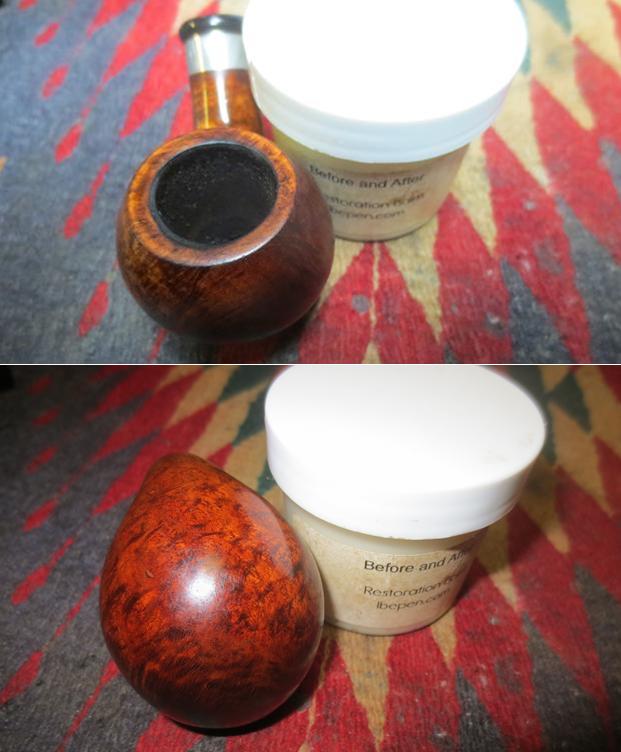
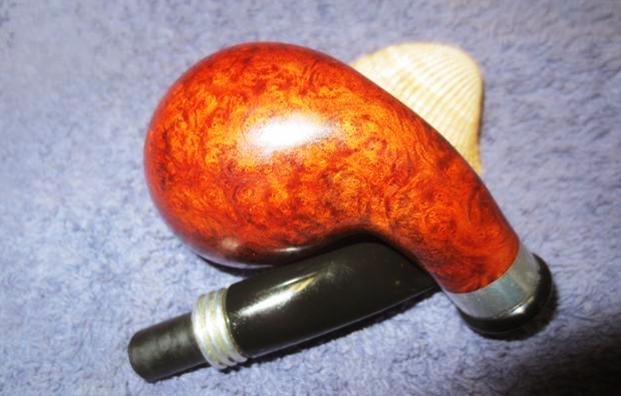
 I rubbed the bowl and shank down with Before & After Restoration Balm to deep clean the smooth finish, enliven and protect the briar. I hand rubbed it with my fingers and wiped it off with a soft cloth. I buffed the bowl with a soft cotton cloth to polish it. It really began to have a deep shine in the briar. I took some photos of the bowl at this point to mark the progress in the restoration.
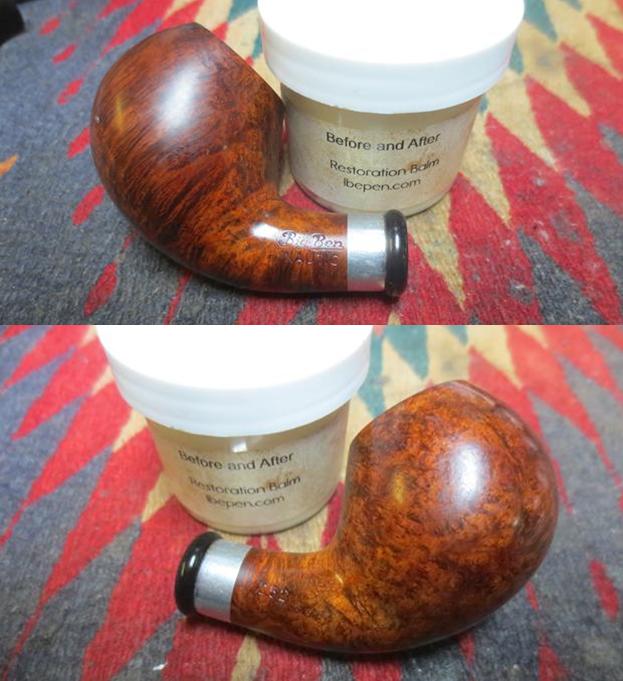
 I sanded the top and underside of the stem with 220 grit sandpaper to clean up the edges of the damaged area on the top side of the stem and button and on the underside where there was a deep tooth mark and lots of tooth damage. I roughened the surface of the stem to give the glue and charcoal powder something to bite into and hold.
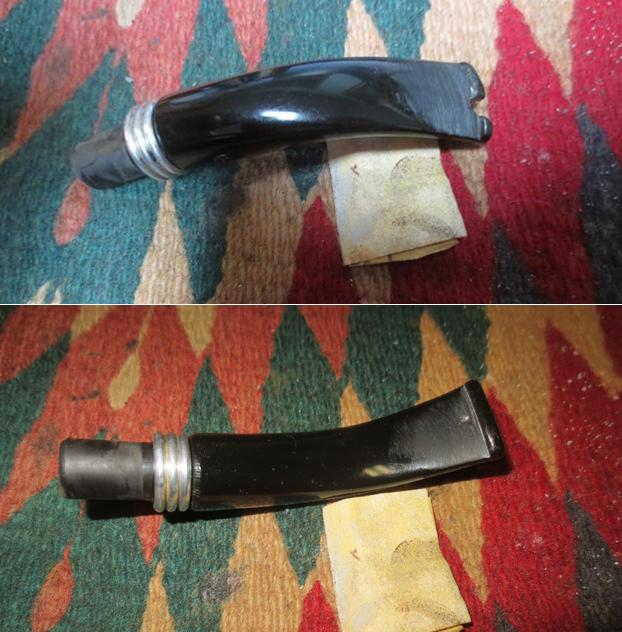 I filled in the deep tooth mark on the underside of the stem with black super glue. The damaged area was not too large so the black super glue alone would work on this part of the stem. Once the repair had dried I used a needle file to sharpen the edge of the button and sanded out the repair to blend it into the surface of the underside of the stem.
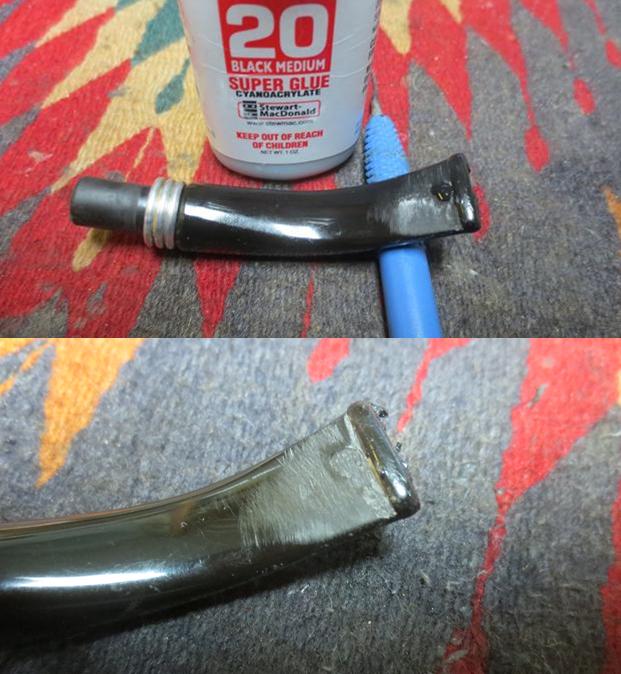 I greased a pipe fluffy pipe cleaner with Vaseline and flattened it to insert into the slot in the stem. I wanted to keep the airway open when I applied the repair material. I mixed some activated charcoal powder with black super glue to make a thick paste and applied it to the top of the stem with a dental spatula. I flattened it with the spatula and built it up heavier on the top of the button than on the flat portion of the stem. The repair dries fairly quickly to touch but I like to let it sit and cure for several days to make sure that the very centre of the patch is hardened.
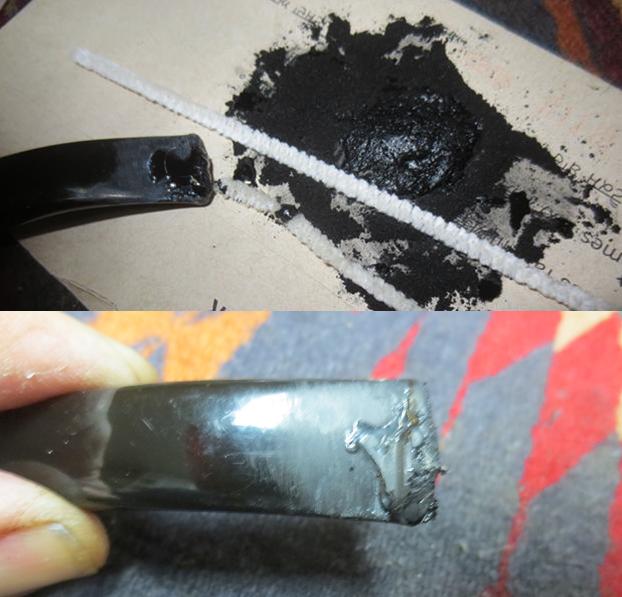 After the repair had cured I used a small flat bladed needle fill to recut the button and smooth out the repaired area on the stem. Once I had flattened out the repair there were some air bubbles in the patch that needed to be touched up. I filled in the air bubbles with clear super glue.
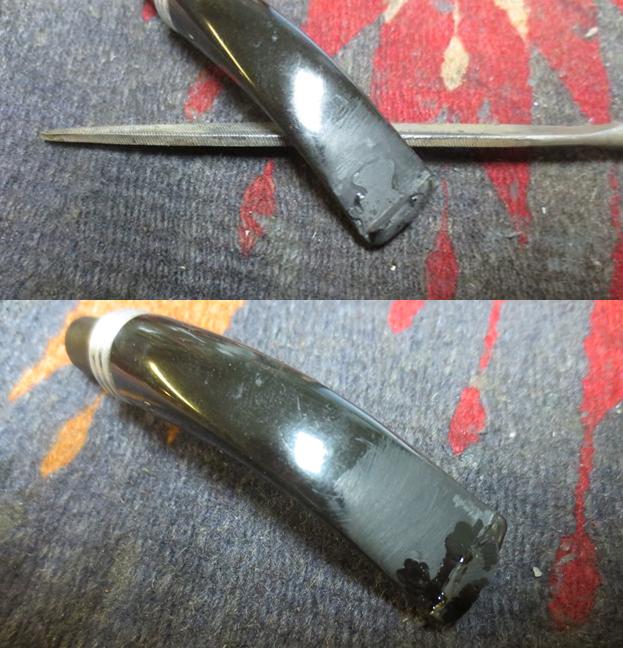 When the repair had dried I used a knife blade and a round needle file to open and reshape the slot in the button.
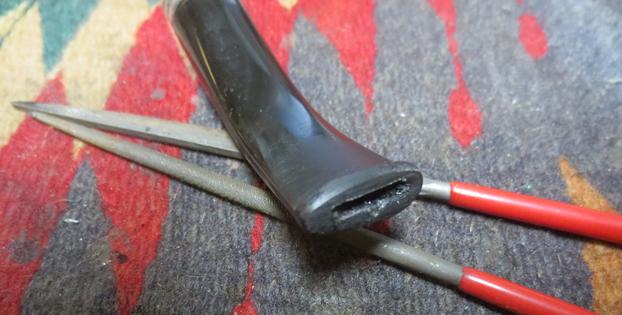 I sanded the repaired area with 200 grit sandpaper to smooth out the repair and blend it into the rest of the stem. I reshaped the button with the sandpaper at the same time so that it was the same all the way across the stem and on the top and underside of it.
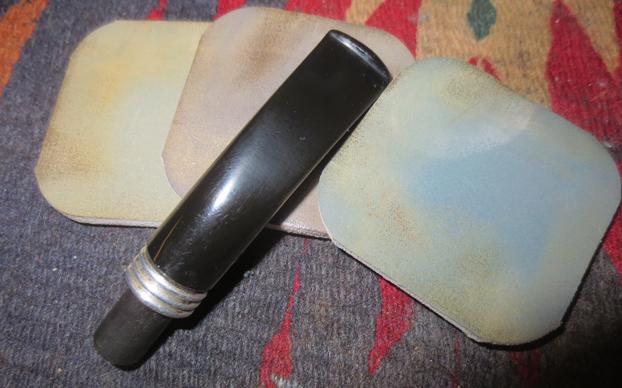
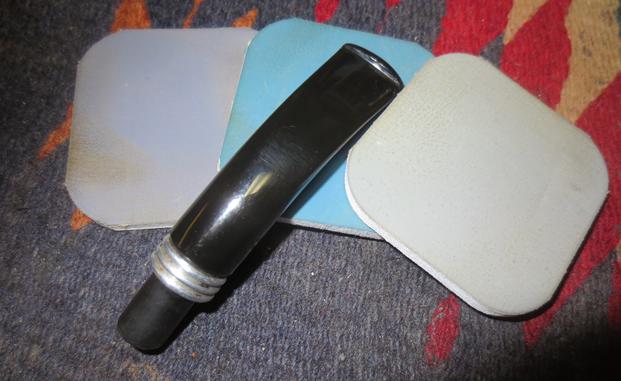
 I polished out the sanding scratches and marks in the repaired area in front of the button on both sides of the stem and the button surface itself with micromesh sanding pads – wet sanding it with 1500-2400 grit pads and dry sanding it with 3200-12000 grit pads. I wiped the stem down with Obsidian Oil after each sanding pad. After the final pad I gave it a final coat of oil and set it aside to dry.
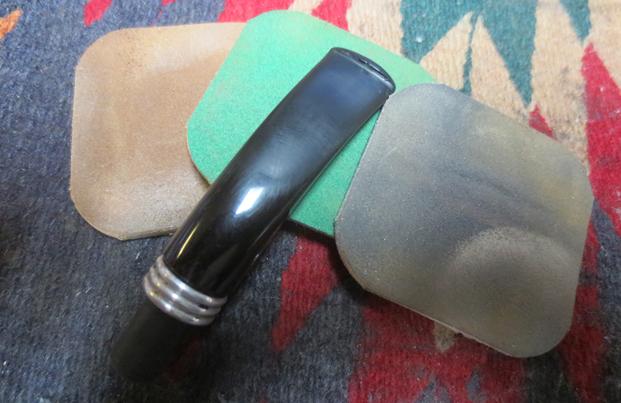
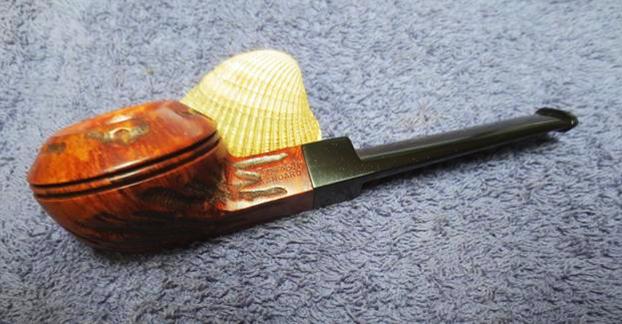
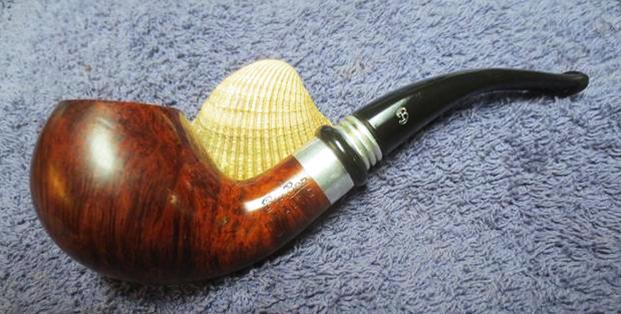
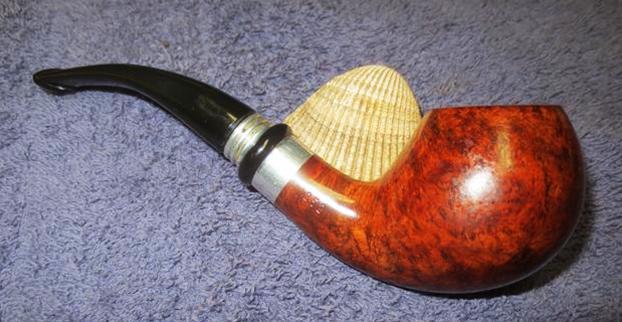
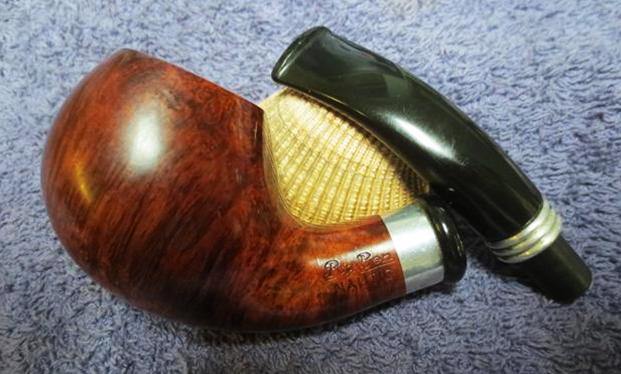
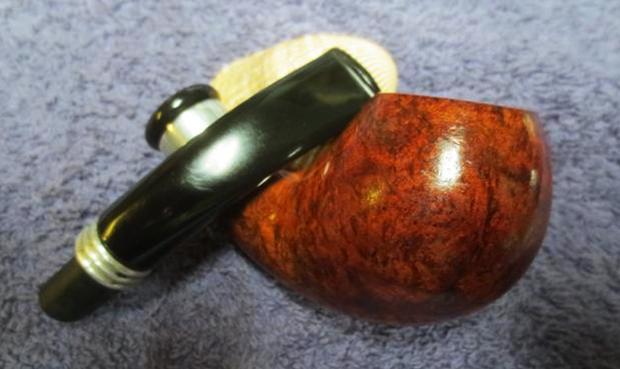
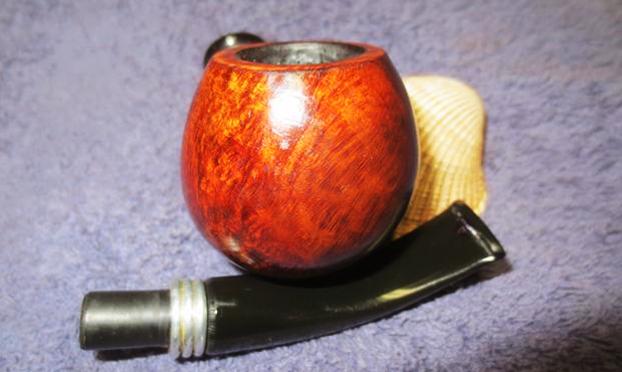
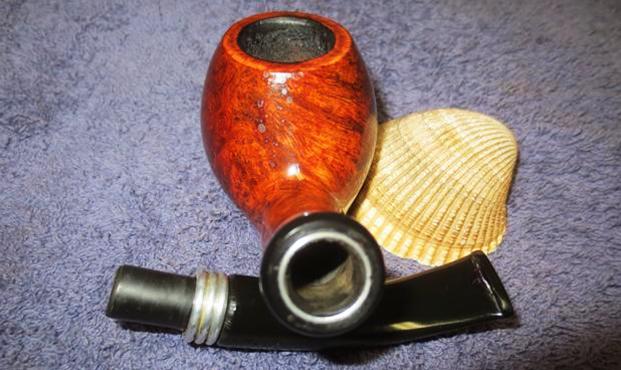
 I buffed the bowl with a soft cloth to polish away the remaining Restoration Balm. I worked the pipe bowl over on the buffing wheel using Blue Diamond to polish the bowl and shank. I hand buffed the stem to raise the gloss on the stem and polished the metal stem adornment with a silver polishing cloth. I gave the bowl multiple coats of carnauba wax and buffed it with a clean buffing pad to raise the shine. I gave the stem multiple coats of Conservator’s Wax. I buffed the entire pipe with a clean microfiber cloth to deepen the shine. The finished pipe is shown in the photos below. The medium brown stains on the apple/brandy shaped bowl works well with the rich black of the Lucite stem. The polish and the reworking of the stem material left this a beautiful and well-made pipe. Thanks for looking.
 I am recommending that the pipe man smoke this pipe with a softee bit in place to protect the repair. Once he has seen the repair I will install the softee bit on the stem. It should give some protection from his incessant chomping on the stem. If not the stem will face repeated repairs.