Tag Archives: Yello Bole pipes

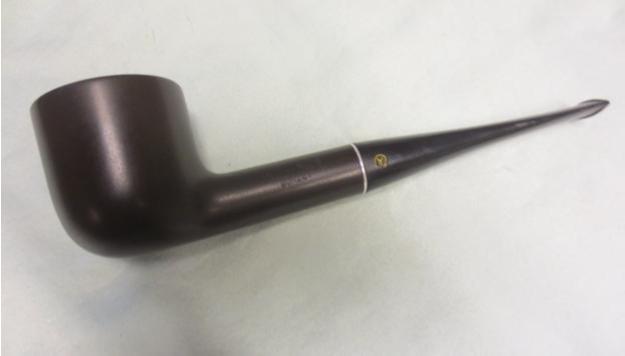
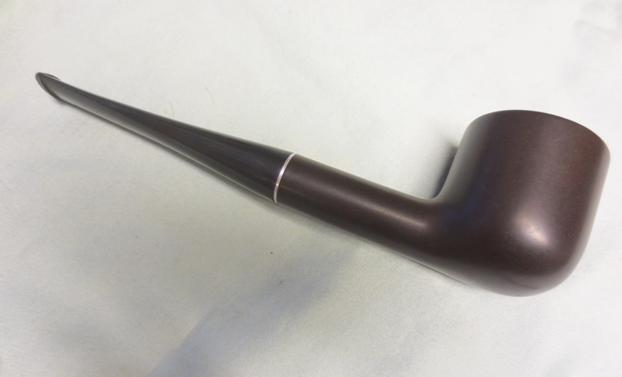
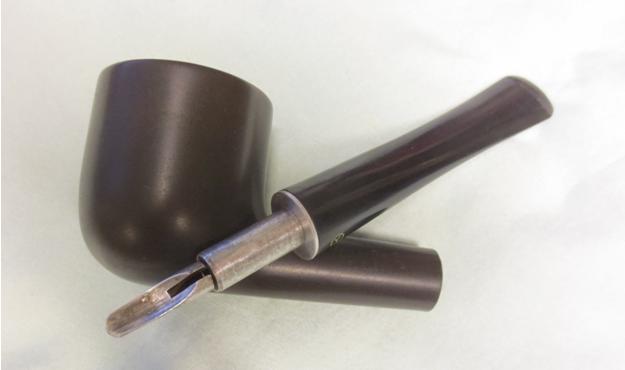
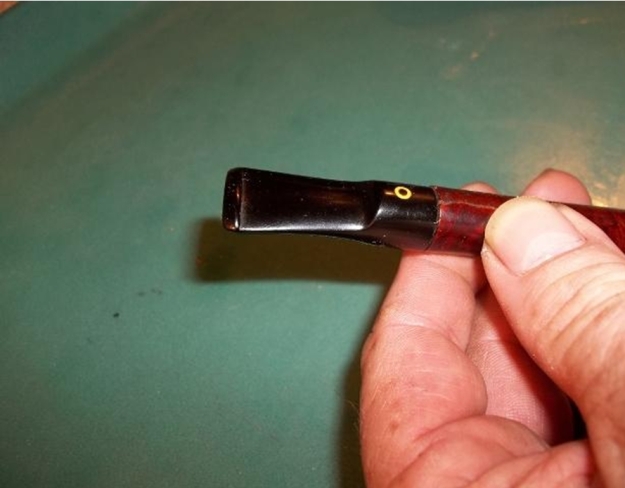
Refreshing Another Giant – a KBB Yello-Bole Imperial 3068C Bent Billiard


Blog by Steve Laug

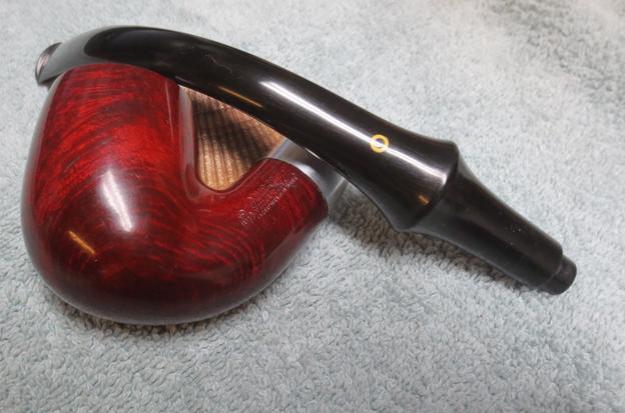
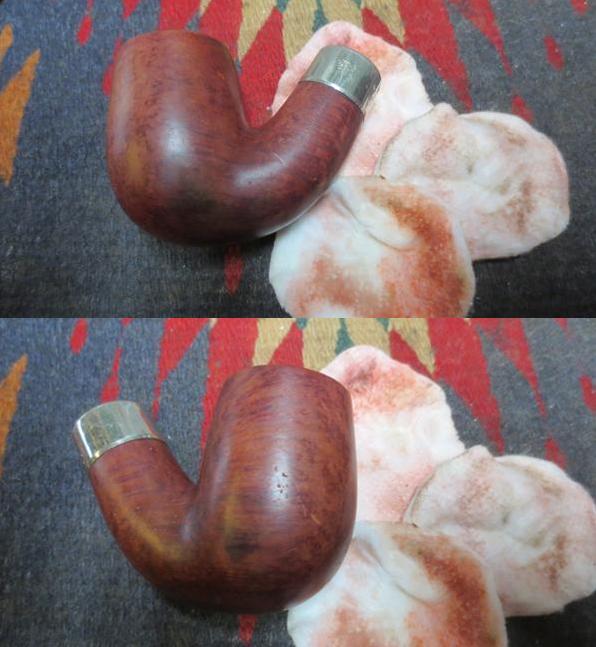
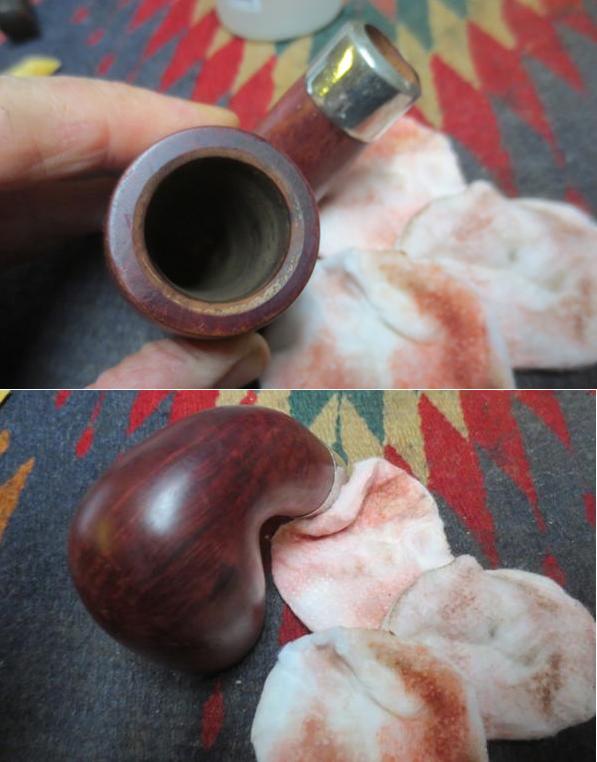
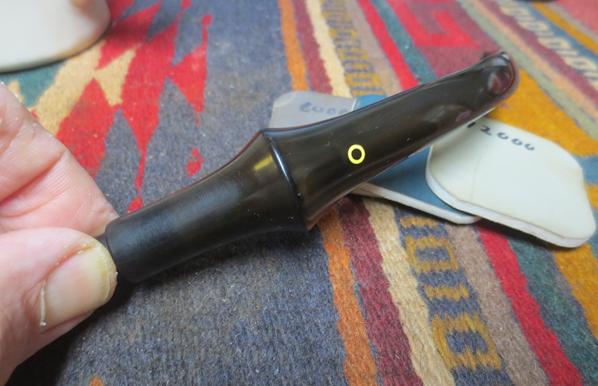
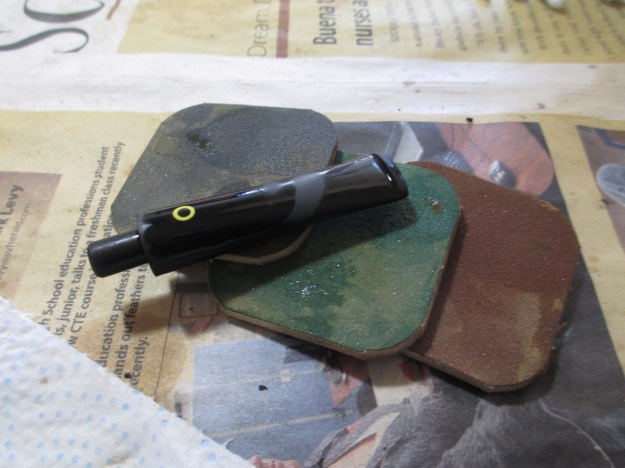
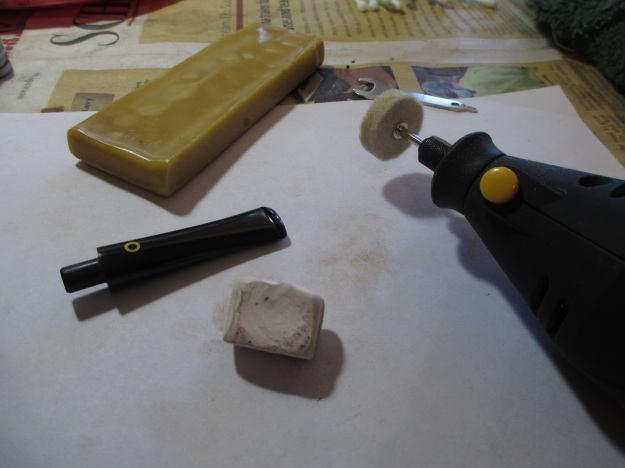
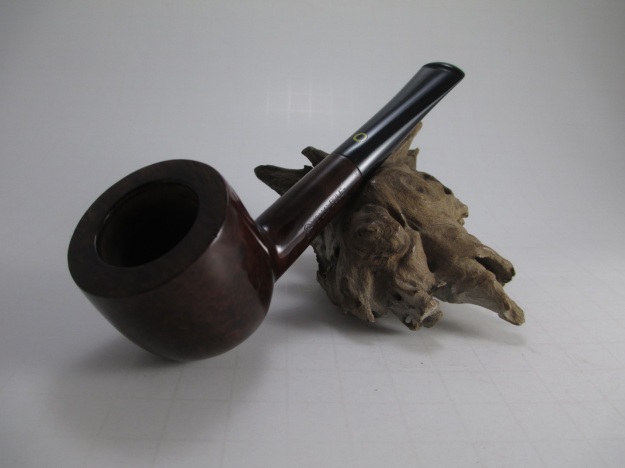
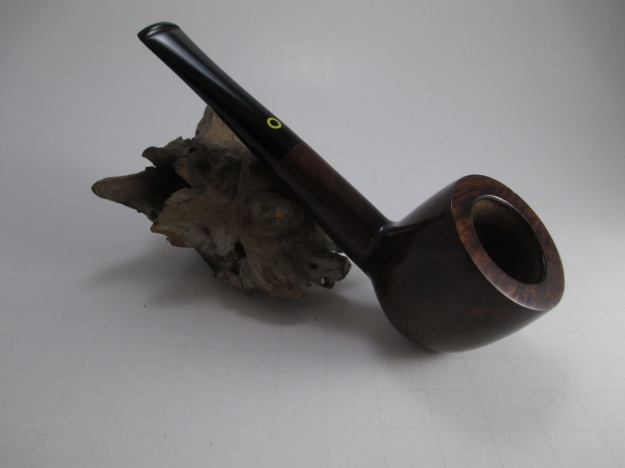
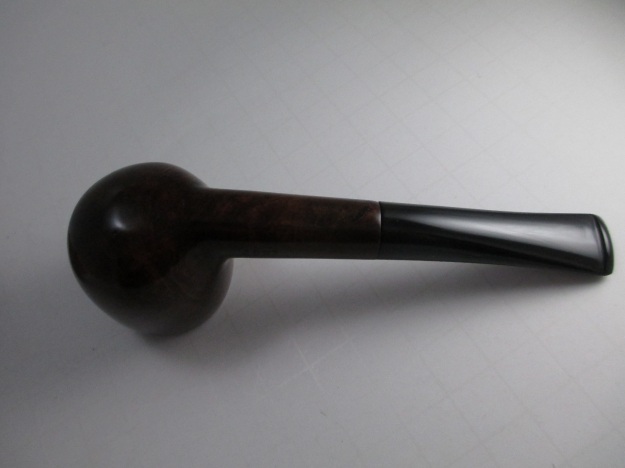
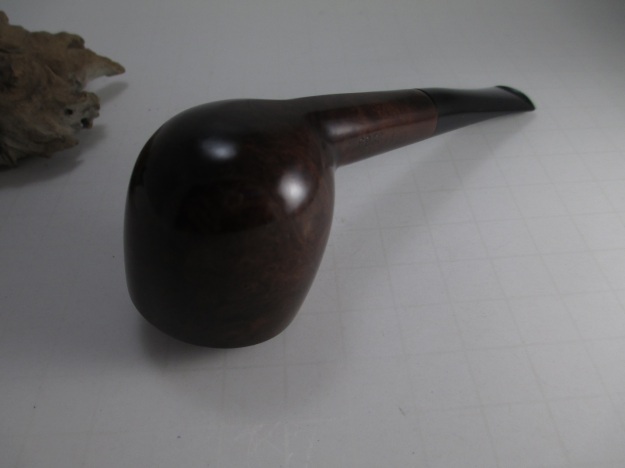
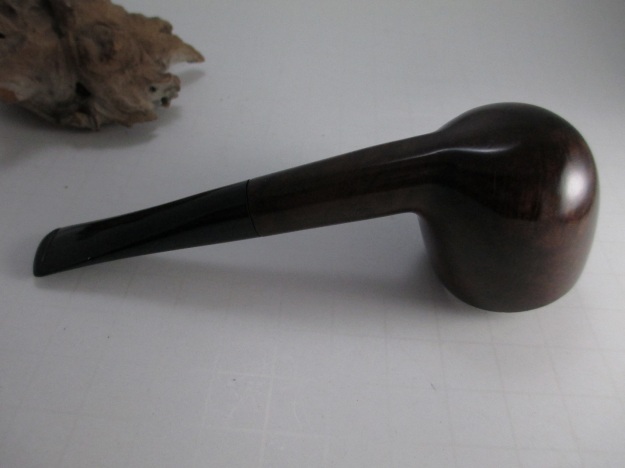
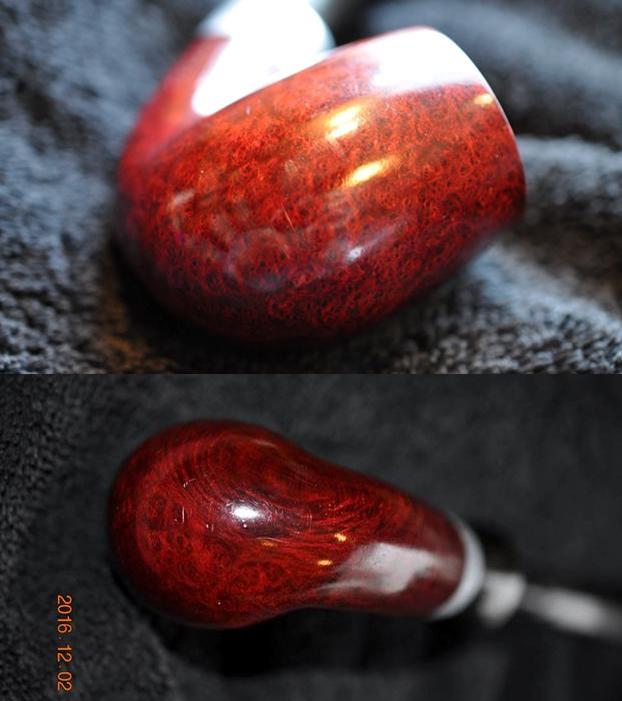
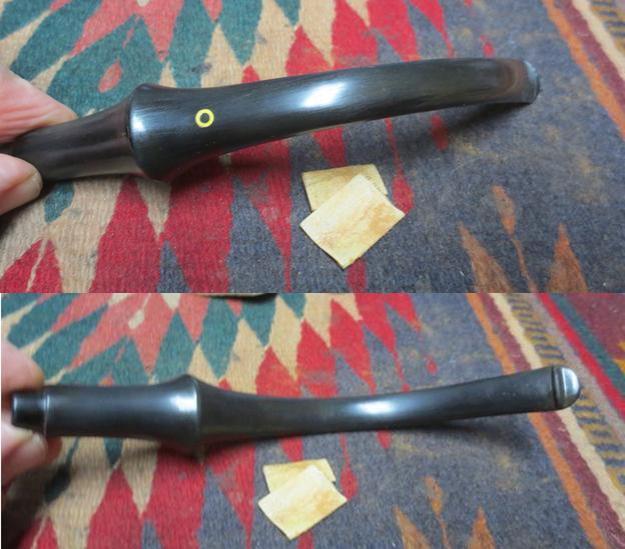
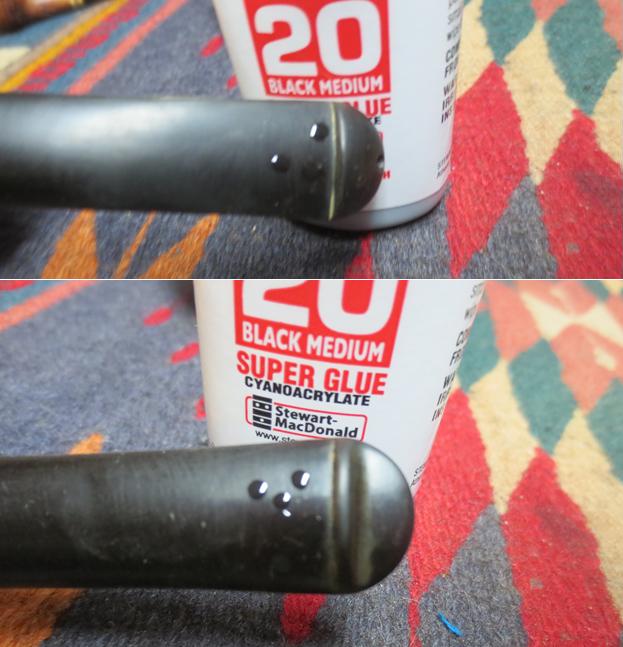
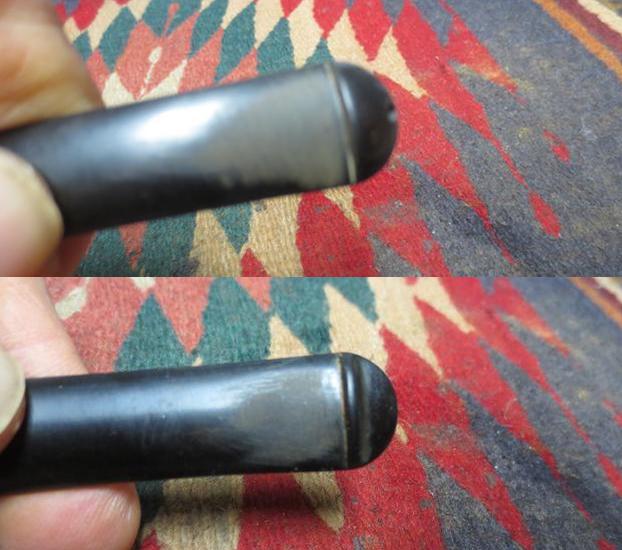
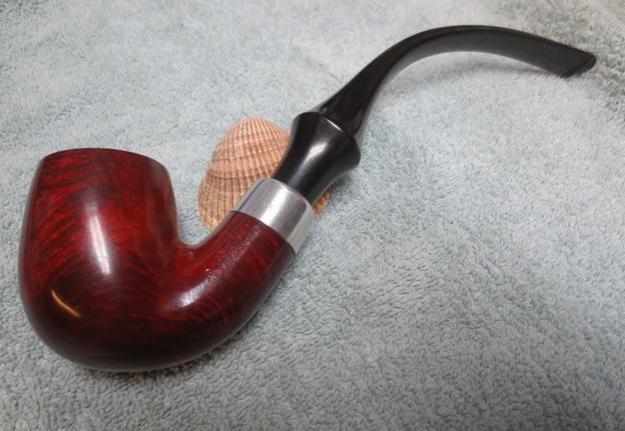
When I cleaned up a previous KBB Yello-Bole Imperial 3068C for a reader of the blog my brother immediately was struck by the beauty of the old pipe. He decided he would find one for me that matched the one I cleaned up for the reader. If you want to read about the cleanup of that one here is the link: https://rebornpipes.com/2016/11/10/breathing-life-into-a-huge-kbb-yello-bole-3068c-bent-billiard/. The 3068C is a large pipe. It is reminiscent of the WDC Wellington in many ways but to me there is a simple elegance to the lines of the 3068C that are more smooth and beautiful. This is another giant pipe. The dimensions are: length 10 inches, height 2 ¼ inches, outer diameter of the bowl 1 ½ inches, inner bowl diameter 7/8 inches. I took a photo of the pipe in hand to give an idea of the size of this old giant.imp1As opposed to the other 3068C I cleaned up this one was in remarkably good shape. The shiny varnish coat actually was perfect with no peeling or nicks in it. The grain shone through and was a great mixture of birds-eye and cross grain. The Yello-Bole Honey Cured coating still showed on the bevel of the inner rim and in parts of the bowl. The rim surface had some very small dents or scratches in it but they did not seem to break the finish on the bowl. There was a light cake in the bowl. The nickel ferrule was oxidized and lightly scratches but otherwise undamaged. The stem had the classic older Yello-Bole circle on the top of the stem just behind the saddle and was lightly oxidized with minimal tooth chatter on the top and underside of the stem at the button.imp2 imp3My brother took the above photos and the ones that follow to show the overall condition of the pipe. The next two close up photos show the rim top and inner rim bevel. The Yello-Bole Honey Cured coating can be seen on the edge of the bowl and going down into the bowl. You can also see the small dents in the rim and the light grime that had built up on the surface of the rim.imp4The next two photos give a good idea of the grain that shone through on this old pipe. The front and back of the bowl has some amazing birds-eye grain and the sides, rim and bottom show some really nice cross grain.imp5The stamping on the shank was sharp and readable. The left side bore the KBB cloverleaf logo with Yello-Bole over stamping that read Reg.U.S.Pat.Off. Beneath that was the line stamping in script Imperial. Finally underneath all of that was stamped Cured with Real Honey. On the aluminum ferrule cap there was a remnant of the KB&B cloverleaf. It is interesting to me that while all Yello-Bole pipes are stamped with KBB (minus the ampersand &) in a cloverleaf on the shank both this pipe and the previous one had the KB&B cloverleaf on the ferrule. I wonder if the company made one size fits all with the ferrules and used them on both Yello-Boles and KB&B pipes. The right side of the shank is stamped Real Bruyere over the shape number 3068C.imp6The final two photos that my brother included show the tooth marks and chatter on the top and underside of the vulcanite stem at the button. The mild oxidation is also visible in the photos.imp7My brother did the necessary cleaning on the pipe – reaming and cleaning out the mortise and the airway in the stem and shank. I cleaned off the grime on the finish and wiped down the stem. When I received the pipe it looked be in excellent condition and would not take a lot of work to refresh it. I took the next four photos to show what it looked like when it arrived in Vancouver.imp8 imp9I took some close up photos of the rim and the stem to show the condition. The rim was in excellent shape and Jeff was able to clean up the inner bevel on the rim to reveal the Yello-Bole Honey Coating. The stem photos show the oxidation and the small tooth marks and chatter on both sides of the stem near the button.imp10 imp11I sanded the oxidation on the stem with 220 grit sandpaper to remove the brown topcoat that it had and also worked over the tooth chatter and tooth marks on both sides.imp12I used drops of medium viscosity black super glue to fill in the small tooth marks on both sides of the stem. They are shown in the photos below. The small black spots are the super glue repairs to the stem surface. You will note that there were more issues on the underside of the stem than the top side.imp13Once the repairs were dry I sanded them back to the surface of the stem with 220 grit sandpaper.imp14I polished the sanded spots by wet sanding with 1500-2400 grit micromesh sanding pads.imp15I wet sanded the entire stem and continued to sand the repaired areas with 1500-2400 grit micromesh sanding pads. I rubbed the stem down with Obsidian Oil and then dry sanded it with 3200-12000 grit pads. I rubbed it down with oil after each set of three pads and after the final set I gave it a last coat of Obsidian Oil and set it aside to dry.imp16 imp17 imp18The nickel ferrule had a lot of tiny scratches in the surface of the metal. I sanded it with micromesh sanding pads to polish out the scratches and raise a shine in the nickel.imp19I polished the briar with 3200-12000 grit micromesh sanding pads to raise the shine and smooth out the small scratches on the sides and bottom of the bowl as well as the rim.imp20 imp21 imp22I buffed the bowl and stem with Blue Diamond on the buffing wheel to further polish the briar and vulcanite. I gave the stem multiple coats of carnauba wax and buffed the bowl and stem with a clean buffing pad to polish and raise the shine. I hand buffed it with a microfibre cloth to deepen the shine. The finished pipe is shown in the photos below. It turned out to be a very beautiful pipe that needed just a few touches of TLC to bring it to its fullest. It is another large pipe that would make a great reading or house pipe. It is comfortable in hand and the grain is interesting enough to give hours of observation pleasure. Thanks for looking.imp23 imp24 imp25 imp26 imp27 imp28 imp29 imp30
Breathing Life into a Huge KBB Yello-Bole 3068C Bent Billiard


Blog by Steve Laug

A good friend of rebornpipes, Jim emailed me about a pair of pipes that he had that he wanted me to have a look at. The first of them is on the work table and it is going to take a bit of work to bring back to life. The second is the one I just finished and it is a beautiful pipe. It is a Yello-Bole like none I have seen before and I have worked on many of them over the years. This one is a large KBB Yello-Bole bent billiard similar in style to the WDC Wellington big pipes. This one is 10 inches long and 2 ¼ inches tall. The bowl is 7/8 inches in diameter and 1 ¾ inches deep. The stem was in decent shape other than oxidation and light tooth chatter on the top and bottom sides near the button. The button itself was very clean with a few tooth marks but the airway was in perfect condition. The stem has the older style inlaid Yello-Bole logo of the yellow circle on the top side. The stem appears to be a P-lip but it is the faux P-lip that has the airway coming out straight at the end of the P.

The finish on the bowl was dirty and the varnish coat was peeling away and flaking off around the bowl. There was a deep, rich oxblood colour to the stain underneath the peeling finish. The rim was dirty but otherwise it was pretty clean with no dents, dings or nicks in the surface or in the inner or outer edges of the rim. In the photos it appears that the bowl was meerschaum lined but I assure you that it was not – it is merely coated with the famous Yello-Bole Honey Curing yellow mixture. The bevel on the rim shows the yellow as does the bottom of the bowl. In fact, though the pipe was smoked it appears that it was never smoked all the way to the bottom of the bowl and the lower 1/4th of the bowl still shows the yellow bowl coating. There was a light cake that was spotty around the inside of the bowl but it was not thick of overflowing onto the rim.

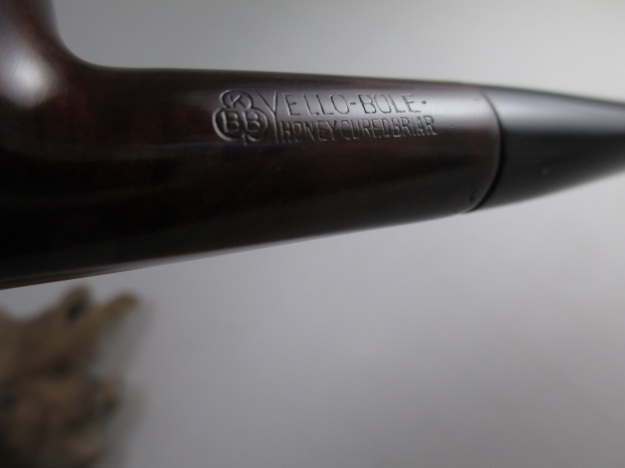
The stamping on the left side of the shank reads KBB in a cloverleaf/club and next to it Yello-Bole over Reg. U.S. Pat. Off. Under that it is stamped Imperial in script and below that the fourth line of the stamp reads Cured With Real Honey. The nickel ferrule on the shank end is stamped with the KB&B Cloverleaf and underneath reads Nickel Plated. It is interesting to me to see this stamping on the band. Typically the Yello-Bole pipes bore the KBB stamp without the ampersand (&) between the two “b’s” which is true on the logo on the left side of the shank. It simply reads KBB in the leaf. On the band however the logo has the KB&B stamp which is usually reserved for the better quality Kaywoodie pipes of the time. The right side of the shank is stamped Algerian Briar over 3068C which I assume is the shape number.

I took the photos below to show what the pipe looked like when it arrived and I had unpacked it on my work table.yb1 yb2I took some close up photos of the bowl, rim and stem to show the condition of those areas when I received the pipe. You can see the clean bevel on the rim with the slight darkening of the yellow bowl coating and the light, uneven cake in the bowl. You can also see the yellow bowl coating on the bottom portion of the bowl. The stem shows the oxidation and the light tooth chatter on the top and underside near the button. You can also see the airway exiting the stem at the end rather than the top of the “P-lip”.yb3 yb4I reamed the bowl with the Savinelli Fitsall Pipe Knife to clean the cake back to bare briar. I used that tool as I wanted to leave the yellow bowl coating intact in the bowl to leave it as original as possible.yb5I scrubbed off the peeling finish with cotton pads and acetone (fingernail polish remover) until the surface of the briar was smooth and the oxblood stain coat shone through. I used 1500-2400 grit micromesh sanding pads to work on the rim top and the inner bevel of the rim until they also were clean.yb6 yb7Once I had removed the varnish coat there were a lot of dings and dents in the rim and the sides of the bowl. I used a hot butter knife and a wet cloth to steam out the dents. It took some time but I continued to steam the dented areas on the bowl until I had removed all but the small nicks on the bowl. I took photos of the bowl after I had steamed it and you can see from the photos that the briar looked far better after steaming.yb8 yb9I took some close up photos of the stamping on the shank and the nickel ferrule to show what I talked about in the earlier paragraphs. The nickel-plated ferrule had a lot of scratches in the surface of the nickel. You can also compare the KBB stamp on the shank with the KB&B stamp on the ferrule in the photos.yb10 yb11I polished the nickel ferrule with micromesh sanding pads to remove the scratches. I started with 1500 grit and worked my way up to 12000 grit. It removed the scratches and also polished the nickel. I cleaned out the interior of the mortise, the sump at the bottom of the shank and the airways in the shank and the stem with alcohol, pipe cleaners and cotton swabs. The first photo below shows the clean briar in the shank.yb12I sanded the stem with 220 grit sandpaper to remove the oxidation on the surface of the stem. I scrubbed it with the Before & After Pipe Stem Deoxidizer to lift more of the oxidation. I wet sanded the stem with 1500-2400 grit micromesh sanding pads and dry sanded with 3200-12000 grit pads. After sanding with each set of three pads I rubbed the stem down with Obsidian Oil. After sanding with 12000 grit micromesh I gave the stem a final coat of the oil and set it aside to dry.yb13 yb14 yb15I buffed the bowl and stem with Blue Diamond on the buffing wheel to further polish the bowl and the stem. I was seeking to remove even the micro scratches left behind in the vulcanite by the micromesh sanding pads and the remaining scratches in the briar as well. I gave the pipe multiple coats of carnauba wax to protect the pipe. I buffed it with a clean buffing pad on the wheel and raise a shine. I personally do not like the high gloss look of a pipe when it first comes off the wheel so I hand buff it with a microfibre cloth to deepen the shine and give it a rich look. The finished pipe is shown in the photos that follow. I look forward to hearing from Jim as to his thoughts regarding this “rare to me” older KBB Yello-Bole. Thanks for walking with me through the process.yb16 yb17 yb18 yb19 yb20 yb21 yb22 yb23

ADDENDUM:

Andrew commented below regarding the size of the pipe. I have added this photo of the pipe in my hand to give an idea of the size.yb1

A Living Tiny KBB Yello-Bole Salesman’s Pipe


Blog by Steve Laug

I have always been fascinated with miniature copies of larger items. When my daughters were younger we used to buy them brass miniature stoves and household items that were surprisingly real. All of them had working parts and were small copies of the larger counterparts. I found out that Salesmen’s samples were similar to these items I bought my daughters. They were a common item in the early 20th century. Salesmen needed a smaller version of their product to show off to retailers, and retailers in turn needed a way to demonstrate the features of larger items, which might need to be ordered from the manufacturer, to their customers. Many salesmen’s samples were highly detailed, with additional marketing copy pointing out important features of the product. http://www.collectorsweekly.com/advertising/salesmans-samples I have cleaned up a few tiny salesmen’s pipes over the years that were working models of larger pipes. They have all been smokeable.

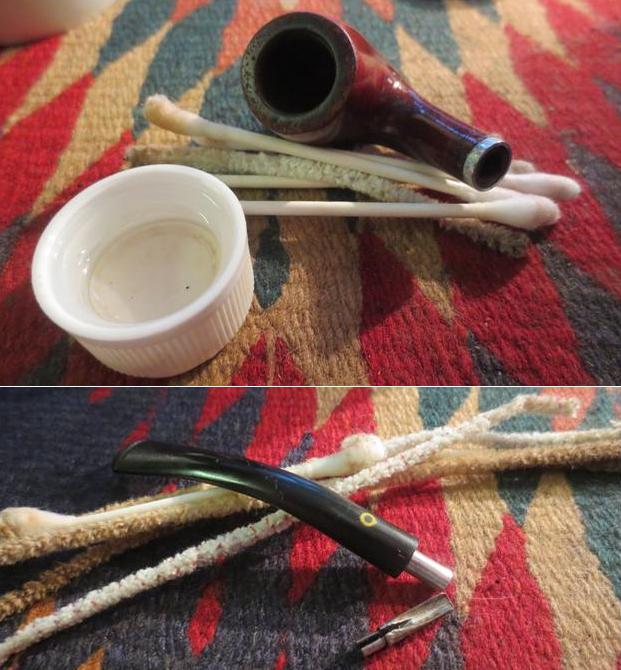
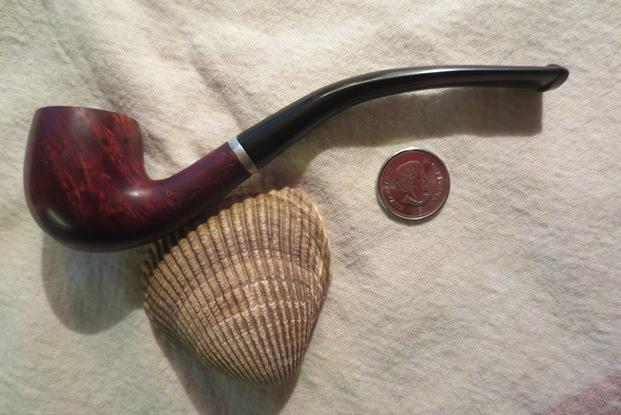
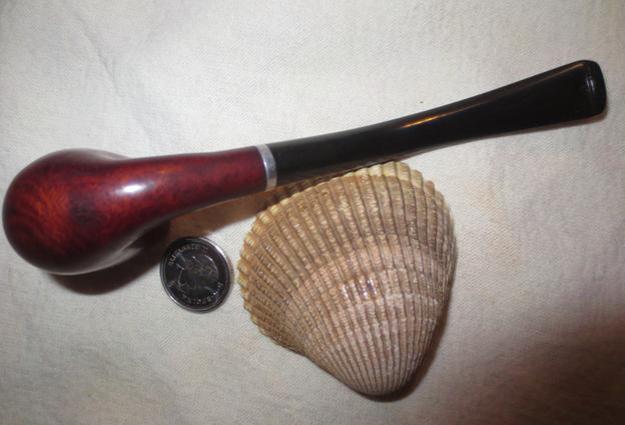
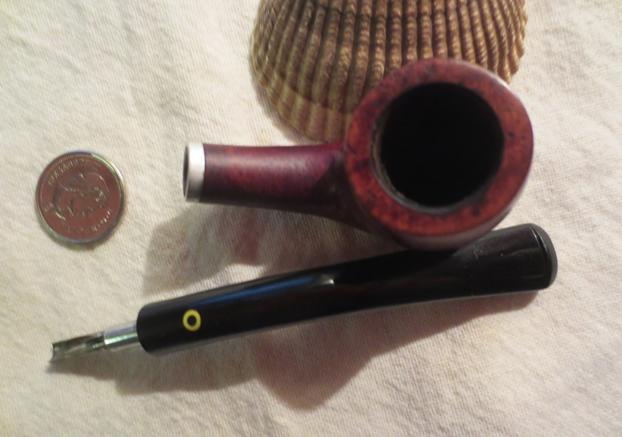
Today I worked on one that came in my brother’s box of pipes. It is stamped KBB in a cloverleaf and next to that Yello-Bole over Imported Briar. The stem is vulcanite and the pipe bowl is briar. It had been smoked and there was a light cake in the bowl.yb1None of the reamers that my brother had would fit the tiny bowl of the pipe. My little finger is still too big to fit into the bowl. The bowl had a light cake in it and the rim was damaged both with tars and with dents from tapping the pipe out. The stem was lightly oxidized and there were tooth marks and chatter on the top and the bottom sides near the button. The finish on the bowl sides was peeling and flaky. The pipe was tiny but well used. I took the next four photos to show what the pipe looked like when I started to work on it. I put the pipe next to the seashell that I have been using for all my photos to give an idea of its diminutive size. I reamed the bowl with the Savinelli Pipe Knife but forgot to take photos of it before and after.yb2 yb3When I took the stem off the pipe it had the standard Yello-Bole shovel like stinger. It was pressure fit in the tenon. The tenon on this tiny pipe was metal which was different from previous Yello-Bole Salesmen’s pipes I have refurbished.yb4I carefully removed the stinger from the tenon with a pair of pliers. While the pipe was apart I cleaned out the shank and the airway in the shank and the stem with pipe cleaners, cotton swabs and alcohol.yb5I cleaned the spoon shaped stinger with a brass bristle wire brush, cotton swabs, pipe cleaners and alcohol to remove the tars and oils. Once it was clean and the stem was clean I pushed it back in place in the shank.yb6I took off the peeling varnish coat on the bowl with acetone and cotton pads. It did not take a lot of scrubbing to take off all of the finish. The acetone took off the varnish coat and some of the opaque stain on the bowl. Once it was gone I could see some nice grain showing through. The cotton pads give an idea of how small this pipe is.yb7 yb8I sanded the bowl with 1500-12000 grit micromesh sanding pads to even out the finish and smooth out some of the dings and dents on the briar. There was a dark spot on the bottom of the shank where it joined the bowl that appeared to be a burned area. I sanded it and was able to remove most of it. Each successive grit of micromesh sanding pad brought more shine to the surface of the briar. By the end of the progression, the 12000 grit pad the bowl had a shine to it that looked really good and showed off the nice grain on the bowl.yb9 yb10 yb11 yb12I sanded out the tooth chatter with 220 grit sandpaper and then wet sanded the stem with 1500-2400 grit micromesh sanding pads. I dry sanded the stem with 3200-12000 grit pads. I rubbed the stem down with Obsidian Oil after each set of three pads. I set the stem aside to dry after sanding it with the 12000 grit pad.yb13 yb14 yb15I put the stem on the bowl and buffed the pipe with Blue Diamond on the buffing wheel. The polish made the bowl and the stem shine. I was careful around the stamping so as not to damage it. I gave the pipe multiple coats of carnauba wax and buffed it with a clean buffing pad to raise the shine. The finished pipe is shown in the photos below. To give an idea of the size of the pipe I took the photos with a Canadian dime or 10 cent piece next to it. The Canadian dime is the same size as the American dime. Thanks for looking.yb16 yb17 yb18 yb19 yb20 yb21 yb22 yb23

Bringing New Life to a Yello-Bole Metal


Blog by Steve Laug

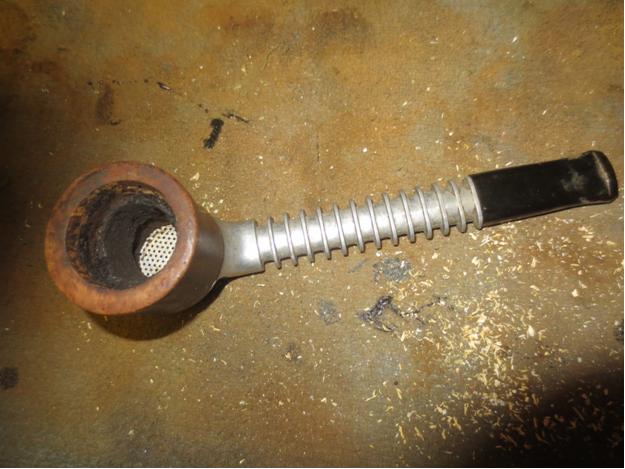
My brother found this older Yello-Bole metal pipe. It is a lot like the older Grabow Vikings but the bottom of the bowl is different from the Grabow. Between the bowl and the metal base there is a flat perforated screen or disk that the tobacco sits on. It acts as the bottom of the bowl. The wooden bowl itself is a threaded tube that screws into the base. There are two pin holes on the sides of the base (one on each side about mid base below the bowl). These serve as openings to draw air into the bowl. This one was in decent shape and would take a little work to clean up. The photos below were provided by the eBay seller and show the state of the pipe. From the first two photos below you can see the wear on the stem and the white calcification that generally builds up under a rubber softee bit. The finish on the bowl is shot. There is nothing but bare briar showing. The outer edge of the rim looks good. YB1 YB2The next two photos give a top and underside view of the pipe. You can see the ring of cake in the bowl around the middle and lighter on the top and bottom edges. You can see the metal disk in the bottom of the bowl. I have purchased a few of these over the years and almost all of them were missing the metal disk that sat in the base between the bowl and base. The stem shows some tooth marks on the top and underside.YB3 YB4The final photo included by the seller showed the stamping on the underside of the base. It read Yello-Bole horizontally along the bottom of the shank. It also gave the patent number on the bottom of the base. It read PAT. over 2467002 over PAT. PEND. That was enough data to do a patent search on the US Patent Information site. http://www.uspto.gov/patents-application-process/search-patents. From there I copied the patent drawing and included it below.YB5The diagram and the accompanying documents show the conceptual and descriptive narrative of what the pipe was about and what its maker hoped to achieve with his design. The inventor was a Samuel Laurence Atkins of New York. He filed his patent application on July 14, 1945. The patent was granted April 12, 1949. The pipe that I have is stamped Patent Pending thus it is easy to extrapolate that it was made between the dates July 14, 1945 and April 11, 1949 which are the dates before the patent was granted. That makes this pipe between 67-71 years old. It is in pretty decent shape for a pipe of that age.YB6 YB7I took the following photos when the pipe arrived. The seller’s photos were pretty good at showing the issues with the pipe. All the things noted above were correct.YB8 YB9 YB10 YB11The pipe was quite easy to take apart. I unscrewed the bowl and tapped out the disk in the base. The stem came out of the shank with little effort. I took the photo below to show the parts. The second photo shows the cake in the bowl.YB12 YB13I started the clean up with reaming the bowl. I used the PipNet reamer and the largest cutting head to ream from the top of the bowl. I used the second head to ream the bowl from the bottom. I reamed it back to bare briar. There was still some of the signature Yello-Bole bowl coating showing near the top just below the rim.YB14 YB15I scrubbed the bowl base with a brass bristle brush to loosen up the dried tars and oils in the base. I used a dental pick to clean out the threads. I also scrubbed the disk with the brush. YB16 YB17I used pipe cleaners, cotton swabs and alcohol to clean the surface of the disk and the inside of the base and airway.YB18 YB19

I scrubbed the interior and exterior of the stem with alcohol and pipe cleaners to remove the build up on the outside and the oils on the inside.YB20With the cleanup finished I set the parts on the table and took a few photos of the cleaned up pipe. Now it was time to restore it.YB21 YB22I wiped down the bowl with cotton pads and acetone to remove the grime and the remaining finish on the bowl.YB23

I stained the bowl with a dark brown stain pen.YB24 YB25I buffed the bowl with red Tripoli to spread and polish the stain. I buffed it with Blue Diamond and rubbed the bowl down with a light coat of olive oil. At this point in the process the bowl and the metal base was complete. I took the following photos to show the state of the progress thus far.YB26 YB27 YB28 YB29 YB30I cleaned the stem and used a clear super glue to repair the deep tooth marks in the top and underside of the stem near the button.YB31 YB32I sanded the repairs with 220 grit sandpaper to blend it into the surface of the stem. YB33 YB34I worked on the stem with micromesh sanding pads. I wet sanded with 1500-2400 grit sanding pads and then rubbed the stem down with Obsidian Oil. I wet sanded with 3200-4000 grit pads and gave it another coat of oil. I finished by dry sanding with 6000-12000 grit pads. I gave it a final coat of oil and let it dry.YB35 YB36 YB37I buffed the bowl and stem with Blue Diamond on the wheel and then gave both multiple coats of carnauba wax. I buffed it with a clean buffing pad and then by hand with a microfiber cloth. The finished pipe is shown in the photos below. Thanks for looking.YB38 YB39 YB40 YB41 YB42 YB43

Breathing New Life into a Yello-Bole Burley Pot


Blog by Steve Laug

In one of the antique malls in Idaho Falls I found a pipe that I had not seen before. I have had Medico Brylon pipes and other pipes from manmade materials but I had not seen one of these before. This pipe was stamped on the left side of the shank with the words Yello-Bole over Burley with a ® trademark symbol. It appeared to be made of the same material as a Medico that I picked up the day my eldest daughter was born – Brylon. I was sure that the Medico and the Yello-Bole were made by the same company. I was not sure but thought it would be worth picking up as I had not seen one of these before. Besides the price was right – I think it was $8 or so. The bowl had a fairly thick cake at the top and some remnants of the last tobacco smoked in the bottom of the bowl. The stem was stuck in the stem and took a little effort to move it as it was inserted upside down. When I got it out of the shank the aluminum tenon was badly oxidized and there was some corrosion on the surface. The shovel scoop stinger that is a hallmark of Yello-Bole pipes was black with tars and it was stuck in the tenon. The pipe had a heavy smell of English tobacco that made me wonder if it had ever met a pipe cleaner.Burley1

Burley2 I took some close up photos of the bowl and the tenon and shovel stinger apparatus when I got the stem off the shank. The first photo shows the thick cake on the inside of the bowl, the remnants of tobacco and the tars on the rim. It takes a long time (from my experience) and lots of smoking to build up a cake like this in a Brylon pipe. The second photo shows the corroded metal tenon as well as the dirty shovel stinger apparatus. The stem also had some tooth marks and a lot of tooth chatter on both sides of the stem at the button. I was able to wiggle the stinger out of the tenon with a little effort the third photo shows the tenon and stinger.Burley3

Burley4 Since I had not heard of the brand before I did some research before I cleaned up the pipe. I found a link to Pipedia that gave a short history of the brand and I found out that Brylon was developed by SM Frank and Company in 1966. It was a combination of resins and briar dust and was a synthetic that was cheaper alternative to briar. It is virtually indestructible and I have read other place that folks used to throw them in the dishwasher to clean them… The one I had certainly had never met this fate and I would not resort to that method in cleaning it. Here is a portion of the quote from Pipedia with a photo of the Brylon pipe. It also gives information regarding the four lines of Brylon that SM Frank sold.Burley5“This material was immediately used for Yello-Bole pipes, and millions of these pipes have been sold in the decades since then. They continue to be part of the Yello-Bole and Medico brands. At the moment Yello-Bole offers:
• 4 lines of Brylon pipes: Ebony, Nova, Burley and Standard (Prices $15.95 – $18.95) and
• 4 lines of Briar pipes: Spartan, Pug, Checker and Imperial (Prices $19.95 – $24.95).
The Yello-Bole Burley was billed as a great pipe delivering top-notch Brylon quality for just a few bucks. Featuring a push-bit with an aluminum scoop, this no-nonsense pipe is a great starter, or knock-around pipe. http://pipedia.org/wiki/Yello-Bole

I also found another link that lead on tobaccopipes.com that gave a little more history of the Yello-Bole line. I cite from that article below. http://www.tobaccopipes.com/yello-bole-pipes-history/

Yello Bole Changes Hands -Throughout the 1950s the brand changed hands a few times, finally coming to rest with S.M. Frank & Company in 1955. The brand has been made by this corporation ever since. Brylon, a synthetic pipe material, first began to be used after S.M. Frank took control and is still used today.

Affordable tobacco pipes – Today Yello Bole pipes are made of both Brylon and briar and are made to be an affordable tobacco pipe for the every-man.

Today Yello Bole tobacco pipes come in eight different lines. The Brylon pipes are Ebony, Nova, Burley, Standard and Spartan series. The smoking pipes made from briar wood include Pug, Checker and Imperial lines.

Brylon pipes are generally less expensive than briar wood pipes, generally costing only a little more than a corn cob pipe. All Brylon pipes come with a push bit and scoop. The scoop helps to trap hot flakes of tobacco. It is removable for those who don’t care for this device.

I also found several pictures of the pipe online. The first is one that I include to show the look of the pipe when it was new. The second and third photos show the same model of Burley that I had found. The pipe has a jaunty look to it that catches the eye. The one I have must have been a good smoking pipe as it was heavily used.Burley6

Burley7 I scrubbed the tenon and the stinger with 0000 steel wool to remove the corrosion and grime. It did not take much scrubbing before it was shiny and clean. I cleaned out the inside of the shank and the stem with alcohol, cotton swabs and pipe cleaners. There is a rubber grommet inside the end of the tenon that holds the shovel stinger tightly in place.Burley8 I reamed the bowl with a PipNet reamer using the largest cutting head. I was able to get most of the cake out of the bowl. I also sanded the inside of the bowl to finish removing the buildup. It was fascinating to find some of the Yello-Bole bowl coating underneath the cake on the bottom half of the bowl.Burley9

Burley10 The next photo shows the cleaned and sanded bowl and the cleaned rubber grommet in the end of the tenon. The second photo shows the shovel inserted in the grommet.Burley11 I scrubbed the exterior of the Brylon with a cotton pad and alcohol to remove the grime and build up on the rim. With the bowl finished I worked on the stem. I sanded it with 220 grit sandpaper, 400 grit wet dry sandpaper and with a fine grit sanding sponge to minimize the scratches. On both the top and the bottom side I was able to get rid of most of the tooth chatter but there were some deeper tooth dents that would need some more work.Burley12 I cleaned the surface of the stem with alcohol and then used clear super glue to fill the deeper dents on both surfaces.Burley13 I resanded the stem with 220 grit sandpaper and with 400 grit wet dry sandpaper to smooth out the repairs and blend them into the surface of the stem. I sanded it with a medium and a fine grit sanding sponge.Burley14 The nylon stems are a pain to work on and it takes a lot of sanding to get rid of the scratches. I wet sanded with 1500-2400 grit micromesh and paid a lot of extra attention to the repaired areas. I avoided the stamping on the stem so as not to damage that. I rubbed the stem down with Obsidian Oil and while it was still wet sanded the stem with 3200-4000 grit micromesh sanding pads. I gave it another coat of oil and sanded it with 6000-12000 grit pads.Burley15

Burley16

Burley17 I buffed the pipe and stem with Red Tripoli very lightly to raise a shine on the stem and then finished buffing it with Blue Diamond plastic polish. I gave the bowl and stem several coats of carnauba wax and buffed it with a clean flannel buff. I finished by hand buffing it with a microfibre cloth to deepen the shine. The finished pipe is shown in the photos below.Burley18

Burley19

Burley20

Burley21

Burley22

Burley23

Doing an interior shank repair and restemming a KBB Yello Bole Lovat


Blog by Troy Wilburn

I got this pipe from a member of Dr. Grabows Collector Forum, John McP. He hails from across the pond in Scotland. He had contacted me about a old KBB Yello Bole pipe that he had picked up that did not have a stem and wanted to know a little about it and what kind of stem it originally had. He also informed me it had an old repair of a cracked shank.

It is stamped 2079 and had the “Honey Cured Briar” under the KBB Yello Bole, which made it a pre 1936 model. I then checked my Kaywoodie charts. It’s a large bowl, long shank Lovat saddle bit. Even though the KW shape charts call it a Canadian I don’t think so because of its round shank. I’ll never consider a round shank as a Canadian.K1 I informed him that it was a nice pipe and should be a good smoker once cleaned up and a replacement stem found. Unfortunately for John the old repair was not a good one and it had made the shank weak. When John tried to fit some stems to it, a piece broke out of the shank. He asked me if I wanted it free of charge as he did not want to tackle repairing the pipe.

The pipe as John showed me before he sent it.K2 I agreed that I would see what I could do with it. Well after over a month in the mail it finally arrived and I got a good look at it and found a donor saddle bit from another Yello Bole.K3

K4 The bowl had some black scorch marks from smoking hot.K5 I was going to get this pipe blasted after repairs to help hide them and cover some dark burn marks on the bowl. After much thought I decided to restore it close as factory as I could. The possible history of this pipe was just too good to alter it. In the short time of my possession of this pipe it had already been half way around the globe. That’s just a fraction of the long life that this pipe has had over it’s at least 80-year-old life. Maybe it was taken over by an allied soldier and left behind as a gift of friendship? Maybe it was carried by an OSS agent behind German lines during the war? Maybe not but its fun to think of the possibilities.

So all the sand pits and small fills were left as is and not covered or filled. After all it’s a Yello Bole if it did not have these imperfections it would have been a Kaywoodie. The old war horse has some scars from repairs and wear. The stamping’s are quite worn but it’s a pipe someone had thought enough of to repair it once before. Hopefully it has many more years left in it.

I decided to do an inner band like Steve did on a YB I sent him for repair. I found an old metal tenon from a Grabow filter stem I had.K6 I filed out the inner shank and broken shank piece to clean up and to give the glue something to grab too.K7 After grinding the metal tenon to fit inside the shank. I cleaned up the shank and broken piece with some 91% alcohol and marked the best way it fit with a black sharpie so I know where to place it when glued.K8 I mixed up some two part epoxy and then set the inner band in the shank.K9 After it set up I got ready for the broken piece and cleaned off the Sharpie from the metal band to ensure a good bond. I put two part epoxy on the metal band then super glue on the briar edges and set the broken piece. Then I applied briar dust before the glue set. I had to work fast so no pics during this process, only before and after.K10

K11

K12 I then sanded the repairs; the old repair had a bad high spot and took some filing.K13 I had to build up the bottom from making the old repair flush again. It was a bit lower than the stem.K14 I then filed the stem to match the shank.K15 After cleaning out the shank and bowl I noticed that all the old YB coating was gone from wear or scraped out over time. I decided to remove all the cake and address this later.K16 I then stripped off the old finish with warm water and Oxy Clean bath. I did some light scrubbing with a toothbrush and a Scotch Brite pad used on the stubborn spots. I then wet sanded repairs and bowl with various grits of wet dry paper from 600 – 2500.K17 After this I wiped the pipe several times with household bleach to lighten the dark spots and repairs so it would be harder to spot with the dye.K18 After bleach bath the pipe is ready for dye.K19 I then mixed up some dye close to original stain but slightly darker to help cover the repairs and black marks. I applied three coats.K20 Pipe dry and ready for some base wax.K21 After applying three coats of wax to lock in the dye I mixed up some homemade Yello Bole bowl coating.K22 I applied the bowl coating and found a Yello Bole paper cover from a NOS pipe I have. The cover is from an Imperial but I thought it would look nice for the pictures.K23

K24 After several more coats of wax the pipe is done. First off the repairs are not perfect and I wish I could have gotten a tighter fit with the stem. This was my first inner banding so I didn’t get the band quite as square as I should have making the stem fitting a bit difficult .The more I tried to get a tight fit the more gap I would get on one side, so I settled for a uniform gap. I’ll know better next time and should get a better fit. Here are some pics of the finished repairs.

As Steve pointed out to me on the Dr. Grabow Collectors Forum, if you flare the tube it will make it fit more squarely. I think showing your mistakes is as important as showing your successes for the next person trying to do a similar repair. So if you are doing an inner band repair soon I suggest you flare the end before you set it with epoxy.K25

K26

K27

K28 I did manage to save what little of the stamping’s were left.K29

K30 Pictures of whole completed pipe K31

K32

K33

K34

K35

K36

K37

K38

K39

K40

K41 Even though this was a tough and time consuming refurbish it was quite fun and wish to thank John for sending me this old soldier to be used and enjoyed again.

Another Pre-War Yello Bole


Blog by Andrew Selking

In my quest to corner the market on pre-war Yello Bole pipes, I snagged this nice little oval shank Dublin. It’s between a group one and group two size, my smallest reamer head only fits about half way into the bowl. The best part is the pipe had not suffered serious abuse. It had some tar on the rim, along with a few nicks and a small tooth mark on the back of the stem. Here is what it looked like when I got it.Andrew1 You will notice the varnish, in a lot of cases a finish like that is to cover up imperfections in the briar. So it was with a little trepidation that I dropped the bowl into the alcohol bath.Andrew2 While the bowl marinated, I soaked the stem in Oxyclean. Next I reamed the bowl. As I mentioned earlier the reamer head didn’t fit all the way down, so I carefully removed the remaining cake with a small pen knife (which you can see in the corner of the picture) and a dental pick.Andrew3 Next up the retort. Judging from the stinger I didn’t expect a dirty pipe.Andrew4

Andrew5

Andrew6 The stem was a little dirtier, but a second retort cleared it up nicely.Andrew7

Andrew8

Andrew9 With the internals sorted, I could now see what lurked under the varnish. I used 0000 grit steel wool and acetone to remove the tar on the rim and the varnish.Andrew10 I was pleased to only find a single fill.Andrew11 It was the pink putty though, and I hate pink putty, so it had to go.Andrew12 I’ve tried as many different techniques for fixing fills as I can think of. My current technique is to use a push pin to spread a small amount of CA glue into the hole, next I pack it full of briar dust, followed by a drop of CA, followed by a drop of accelerator. The nice thing about using accelerator is you can work the repair right after drying off any remaining accelerator. Here is what the repair looked like before sanding.Andrew13 Next I tackled the oxidation on the stem. I used 400 grit wet/dry with water followed by 1500, 1800, and 2400 grit micro mesh pads with water. I always hold a washer over the tenon to prevent rounding the shoulders of the stem. Here is the stem after removing oxidation.Andrew14 I still had the tooth mark on the bottom of the stem to fix, so I mixed up some clear CA and finely ground charcoal dust and applied it with my push pin. You may notice the yogurt container, I use that to mix the glue and charcoal. When it gets too dirty I throw it away and get a new one.Andrew15 I used 400 grit sand paper to shape the fill, followed by 1500-2400 grit micro mesh. I usually don’t use water when sanding down fills. I removed the top coat of finish on the bowl with a progression of 1500 to 2400 grit micro mesh pads. Next I used 3200 to 12,000 grit micro mesh pads to polish the entire pipe. You will again notice the washer on the stem. Here is the pipe ready for final polish.Andrew16 I used my rotary tool with white diamond and carnauba wax on the stem.Andrew17 I took the bowl to the buffer and used white diamond and carnauba wax on it as well. Just a word of caution when using a buffer, hold onto whatever you’re buffing with both hands.

Here is the final result. Thanks for looking.Andrew18

Andrew19

Andrew20

Andrew21

Andrew22

Building a Better Button on a 1930’s Yello Bole Oom Paul


Blog by Andrew Selking

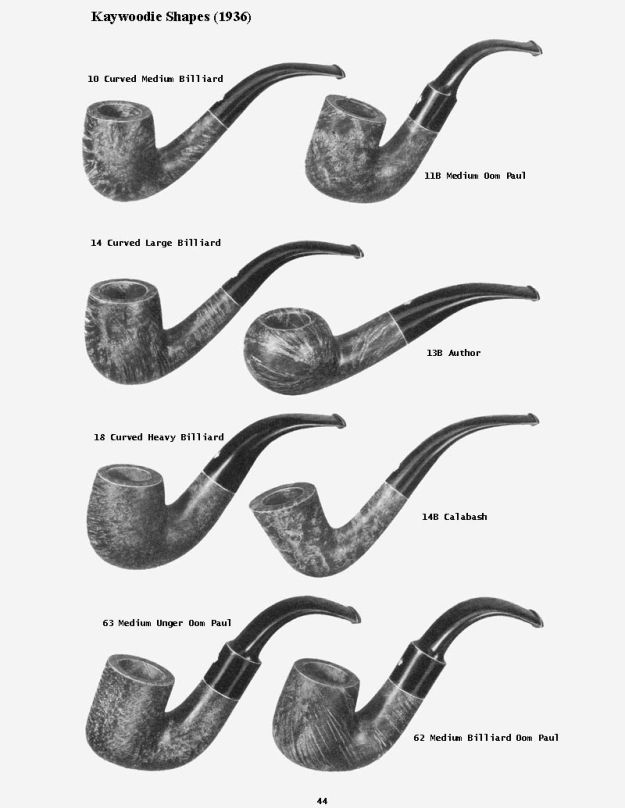
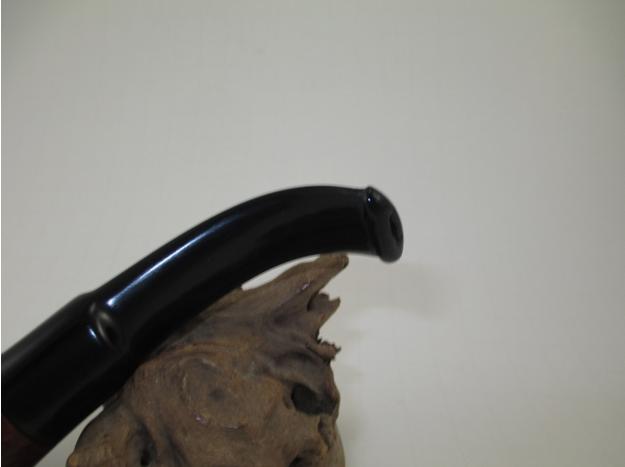
Have you ever found that Holy Grail pipe only to realize that it has a major flaw? For me, this pipe ticked all the boxes, a KB&B pipe made between 1933 and 1936, it was a less common shape and looked to be in decent condition. The only problem I could see was that a previous owner had filed off the button.Andrew1

Andrew2

Andrew3

Andrew4 I’ve been experimenting with super glue and ground charcoal for stem repair and I had an idea how I might use that to re-create the button. Now just a quick disclaimer. I am not a medical professional and I do not pretend to know any potential health hazards to the use of super glue on something you put in your mouth. On the other hand, I am aware that the state of California has found that pipe smoking is not healthy for pregnant women or their unborn children. As an adult, I accept these risks as the relaxation benefit outweighs the health risks.

Before tackling the button I needed to clean up the pipe. I started the process by giving the bowl an alcohol bath.Andrew5 While the bowl marinated, I dropped the stem into a solution of Oxyclean. After a good long soak, I reamed the bowl.Andrew6 After reaming the bowl, I retorted the stem and bowl. I forgot to take pictures of the bowl during this process.Andrew7 The stem was pretty clean, which I expected based on the minimal amount of chatter and the lack of cake build up in the bowl. A couple of fuzzy sticks dipped in alcohol did the trick.Andrew8 The alcohol bath serves two purposes, it loosens up the internal gunk and it helps remove the old finish. On this particular pipe, I noticed that the bowl was stained a purplish read and had a heavy varnish on it. That’s usually a sign of inferior briar and lots of fills. With great trepidation, I used acetone and 0000 steel wool to see what was under the old finish.Andrew9 I was pleasantly surprised to find beautiful grain and not a single fill.Andrew10

Andrew12

Andrew11

Andrew13 I was not happy with the purple tint of the wood though, I mean who does that? My guess is, this pipe could have made the cut as a Kaywoodie, maybe they were short on the Yello Bole line so they put a Yello Bole stem on it and that hideous varnish. Interestingly enough, this pipe has the identical shape number as the Kaywoodie medium billiard Oom Paul. Just to give you an idea how many pipes Kaywoodie used to make, they had three models of the Oom Paul shape.Andrew14 I decided the best way to take care of the purple stain was with some judicious sanding. Since the bowl didn’t have any scratches or dents, I didn’t have to go too heavy. I started out with 1500 grit micro mesh and worked my way up to 12,000 grit. You will notice the washer between the stem and shank. I’ve learned that the best way to get a sharp shoulder on the shank and the stem is by using the washer to prevent the sanding medium from rounding it off.Andrew15 This is what the bowl looked like after the micro mesh pads.Andrew16

Andrew17 I decided to keep the stain light, so I diluted some Pimo Pipe Supply mahogany and used a single coat. Unfortunately I didn’t take a picture of that process, I was kind of excited about fixing the stem.

I removed the oxidation on the stem with a progression of 1500-2400 grit micro mesh pads with water. I didn’t have the bowl attached, so I just held the washer over the tenon to prevent rounding.Andrew18 With the oxidation addressed, it was time to start building the new button. I’m not the best when it comes to carving the bottom side of the button so I decided to use clear tape to create definition.Andrew19

Andrew20 I built up layers of tape until it was the thickness that I wanted for the underside of the button. Next, I mixed some ground charcoal and super glue and started applying it. After each application I put a drop of accelerator on the end and applied another layer. It was not looking the way I wanted it to look.Andrew21 I remember Steve said that when he used activated charcoal it was very fine. So I sanded off the mess and started over. To get a finer charcoal I used our coffee grinder, which did a pretty good job, but still left some larger chunks.Andrew22 To solve that problem, I used a tea strainer. The result was very finely ground charcoal.Andrew23 I mixed the super glue and charcoal and applied it as before.Andrew24 I sanded between applications and filled in any remaining divots.Andrew25 Once I had the button shaped to my liking, I used a progression of micro mesh pads from 3200-12,000. Then I used my rotary tool with white diamond and carnauba wax to bring out the shine.Andrew26 I gave the bowl a quick spin on the buffing wheel with white diamond and carnauba wax. Here is the result.Andrew27

Andrew28

Andrew29

Andrew30

Andrew31

Andrew32

Andrew33

Andrew34

Andrew35

Andrew36

Andrew37 I am happy to say that this pipe smokes as well as it looks. It is a system pipe. I couldn’t be happier with the button. The thing I like about using the charcoal and super glue is, it polishes and shines just like the vulcanite. This pipe is a keeper. Thanks for looking.

Bringing a Yello Bole Pot back to Life


Blog by Andrew Selking

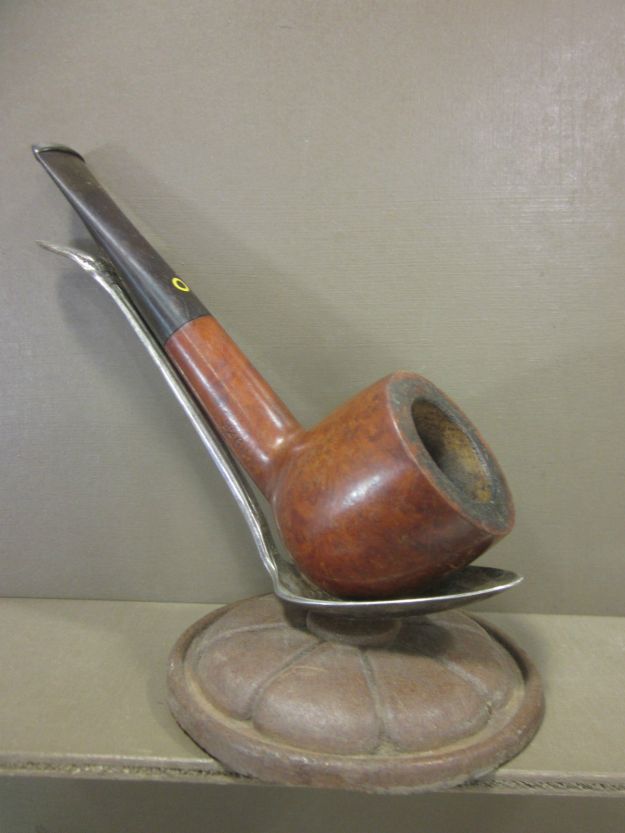
Anyone who reads my previous postings know that I have a fondness for early KB&B pipes. Since the briar used in Yello Bole pipes was generally inferior to those used in Kaywoodies, most Yello Bole pipes are smaller. This was a work around for defects found in the briar. I saw this Yello Bole pot and was intrigued. It’s a full size pipe. Here is the seller’s picture.YB1 When the pipe arrived, the stem was nearly perfect with the original stinger intact (not that I planned to leave it there). The bowl looked decent with a minimal amount of tar on the rim and very light cake. I dropped the bowl into the alcohol bath and soaked the stem in Oxyclean.

I noticed the first indication of trouble when I pulled the bowl out for reaming: it had a heavy varnish coating. That’s usually a sign that the pipe maker wanted to hide imperfections in the wood.

YB2

I quickly reamed the bowl then broke out the 0000 steel wool and acetone to remove the varnish.

YB3

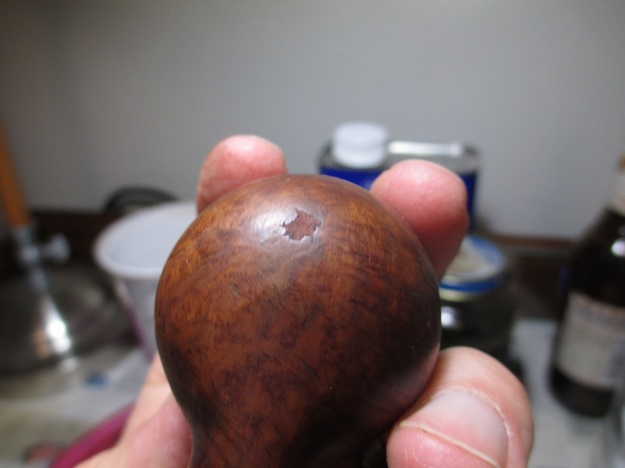
I’ve seen some pits in briar before, but this is the first time I’ve encountered a pit so deep that I gave it a name. I named it the pit of despair. Here’s the picture before I removed the pink putty.

YB4

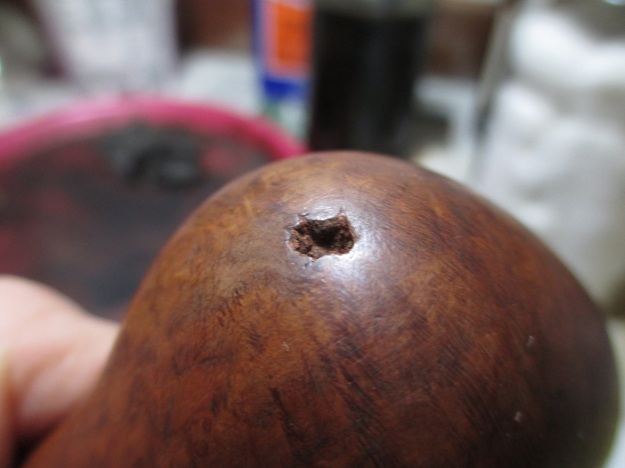
Here’s the pit of despair fully revealed. My dental pick had a good ¼ of an inch of room to explore.

YB5

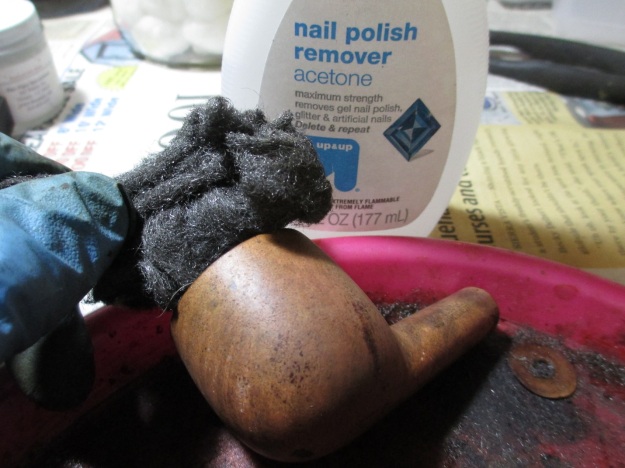
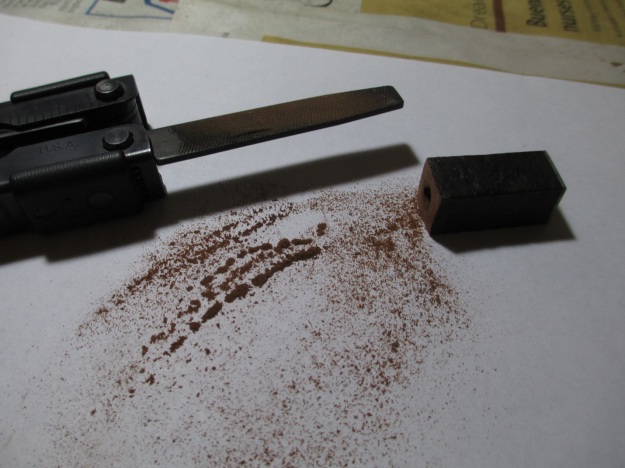
Even with the pit I still liked the pipe and decided to fix it anyway. I filed a good amount of briar dust from a broken shank onto a piece of paper. The paper makes it easier to collect the briar dust. Or you could do like Steve and just have a big jar of briar dust.YB6 I packed the pit and added super glue followed by accelerator.YB7 After applying the super glue and accelerator, I had to add briar dust two more times. This was the final result.YB8 In addition to the pit of despair, there were three minor pits on the front of the bowl and two deep pits on the bottom of the shank near the juncture of the stem. I finally got the exterior of the pipe sorted out and turned my attention to the insides.
I did my retort on the bowl.YB9 There was some gunk on the brush, but the stinger did a decent job keeping the shank clean.YB10 After a few passes with the brush dipped in alcohol, I moved on to q-tips. Not a terribly dirty pipe.YB11 Next I retorted the stem. I anticipated it would be dirty, since stingers tend to make pipes smoke wet. I retorted it three times to be safe and had an easy time cleaning the remaining tar.YB12

YB13

YB14I next turned my attention to removing the oxidization from the stem. I used 400 wet/dry with water and my sanding wedge, followed by 1500-2400 grit micro mesh pads with water.YB15 I polished both the bowl and stem with a progression of micro mesh pads, 1500-12,000 in preparation for final finish. I used my rotary tool with white diamond, followed by carnauba wax on the stem. I have to say this will be the new standard from now on.YB16 I decided to use Pimo Pipe Supply’s dark walnut stain on the bowl. This would give me a fighting chance to cover the pit repairs while still allowing the grain to show. It turned out better than I expected. I now have a very classy looking short pot. I also had the chance to try extreme pit repair. Even though this pipe had several pits, the briar still had nice grain. This one is a keeper.YB17

YB18

YB19

YB20

YB21

YB22

YB23

YB24

YB25

YB26