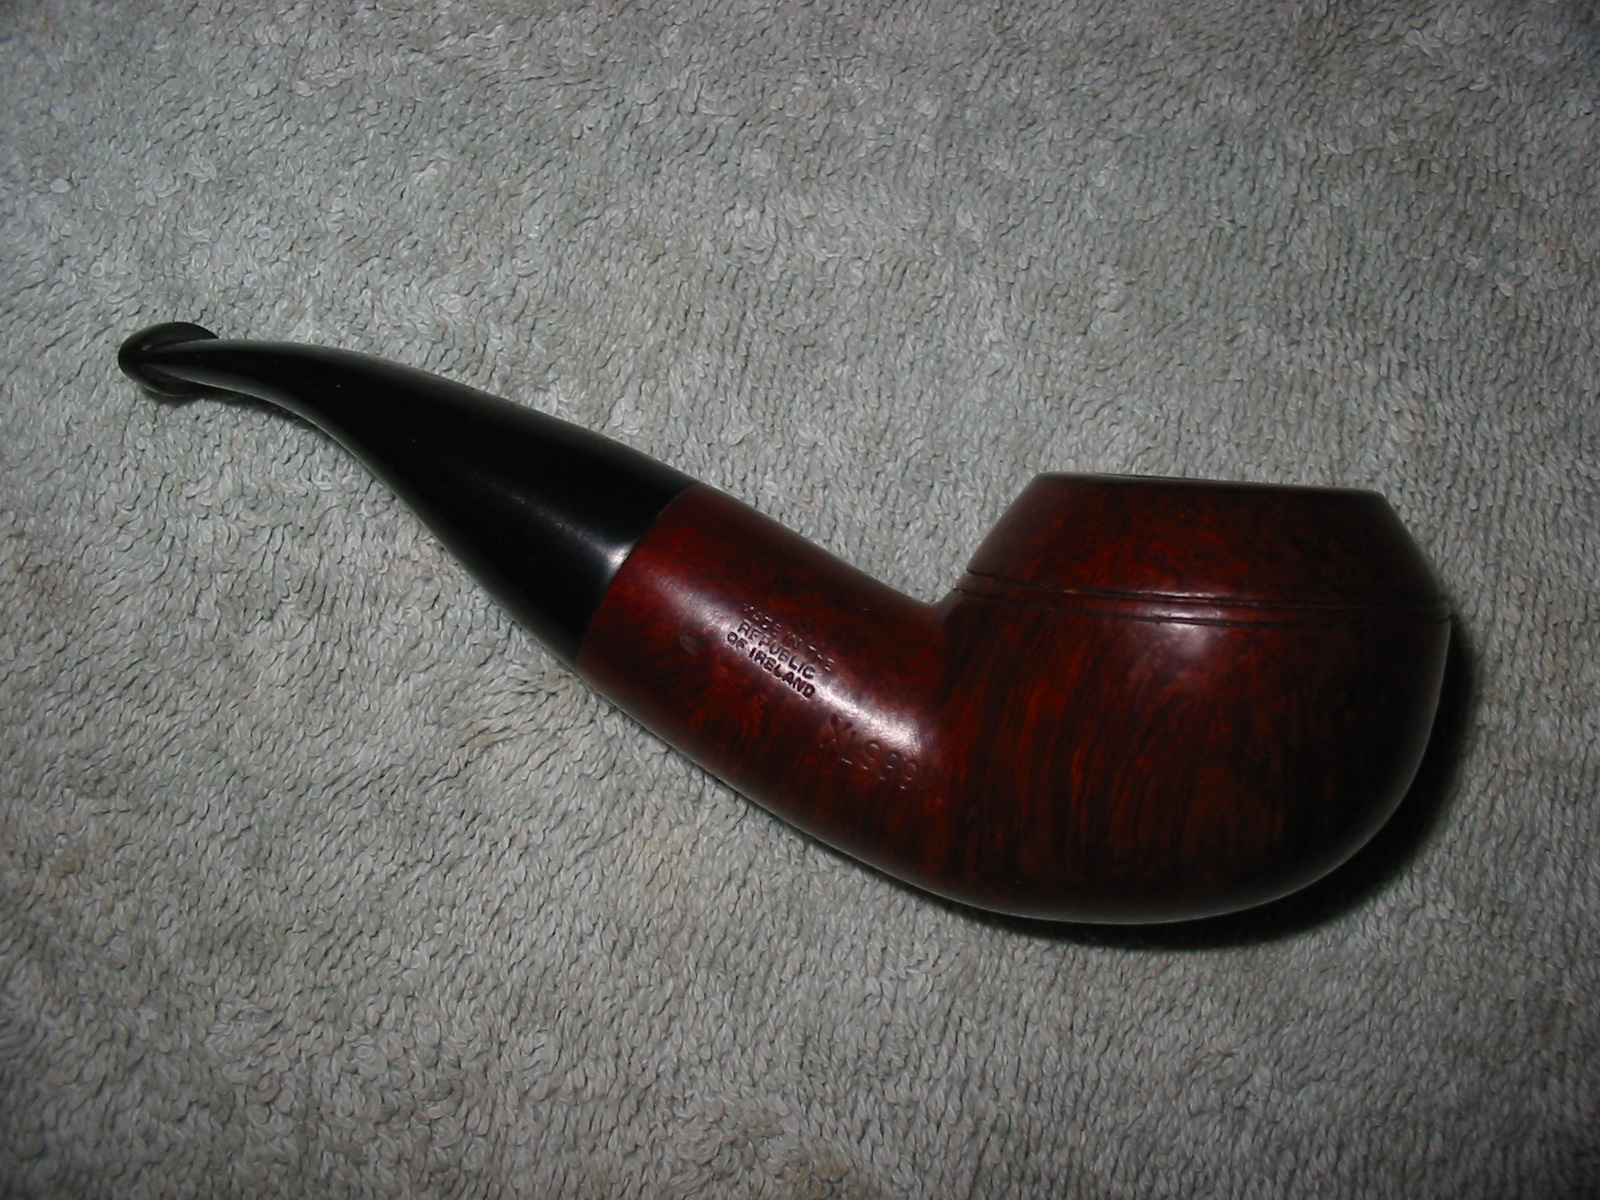
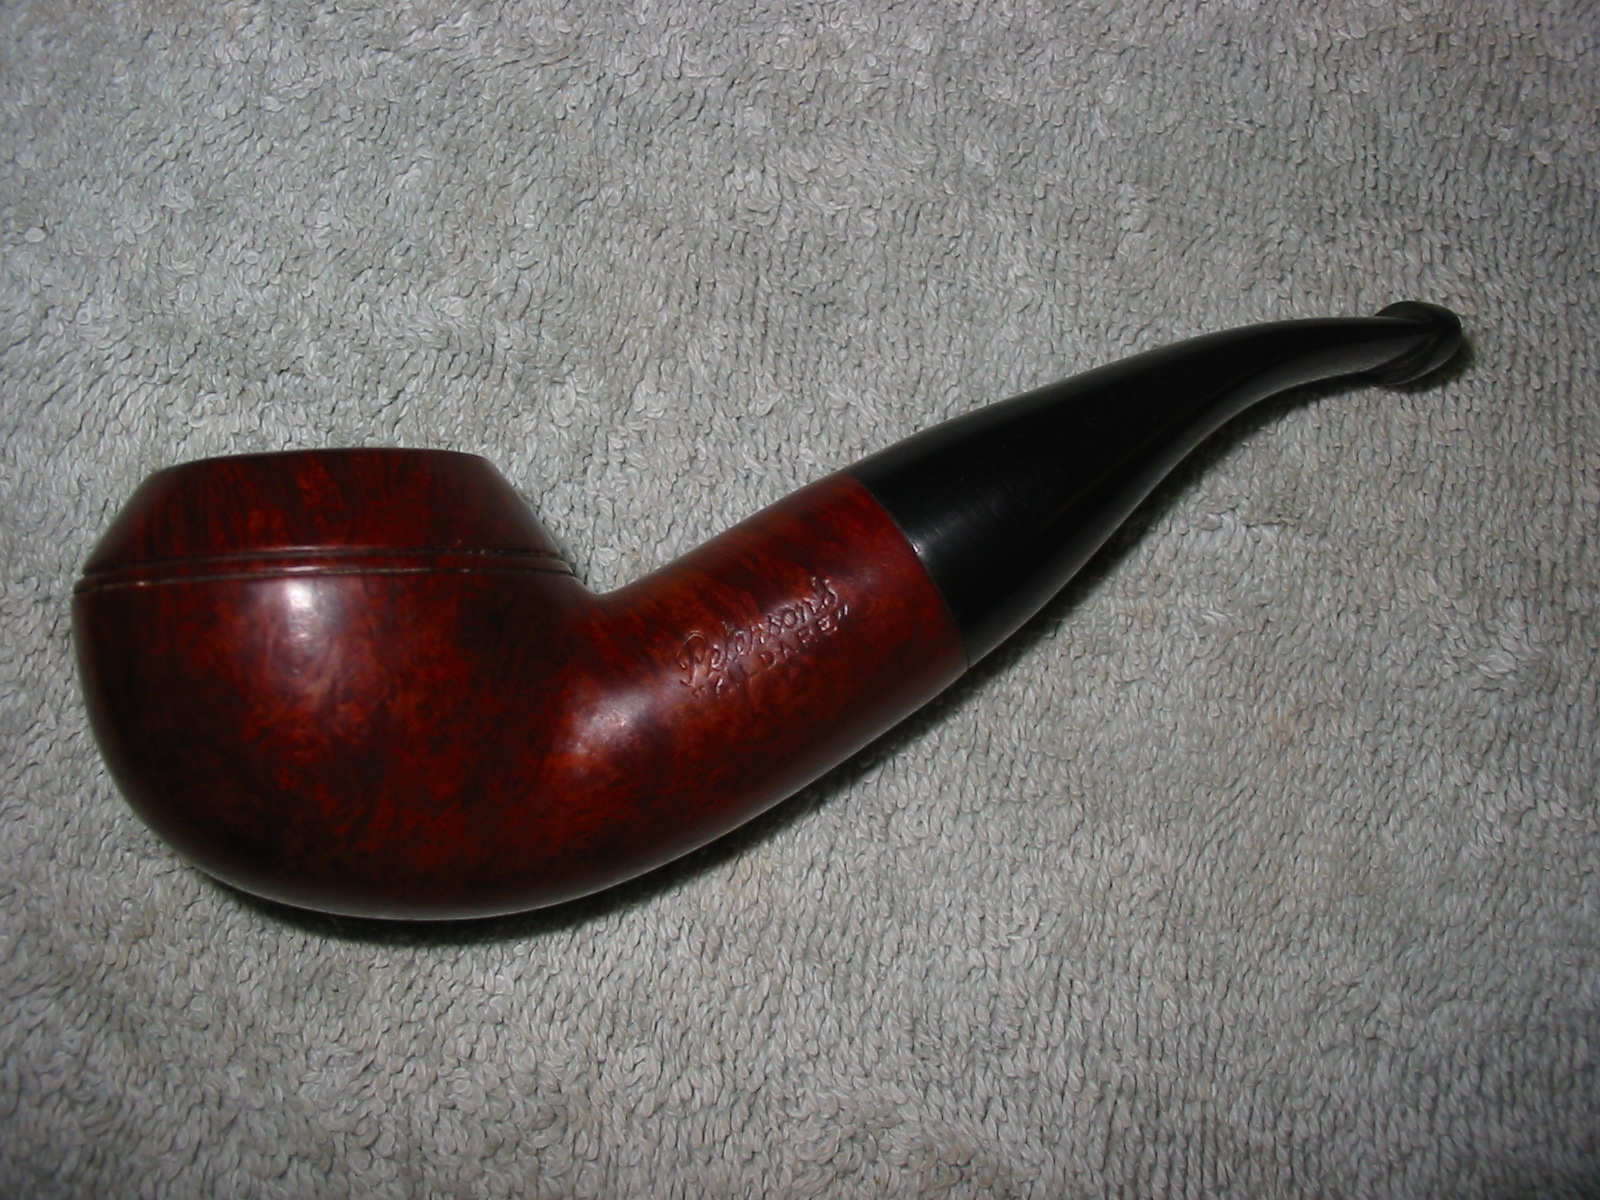
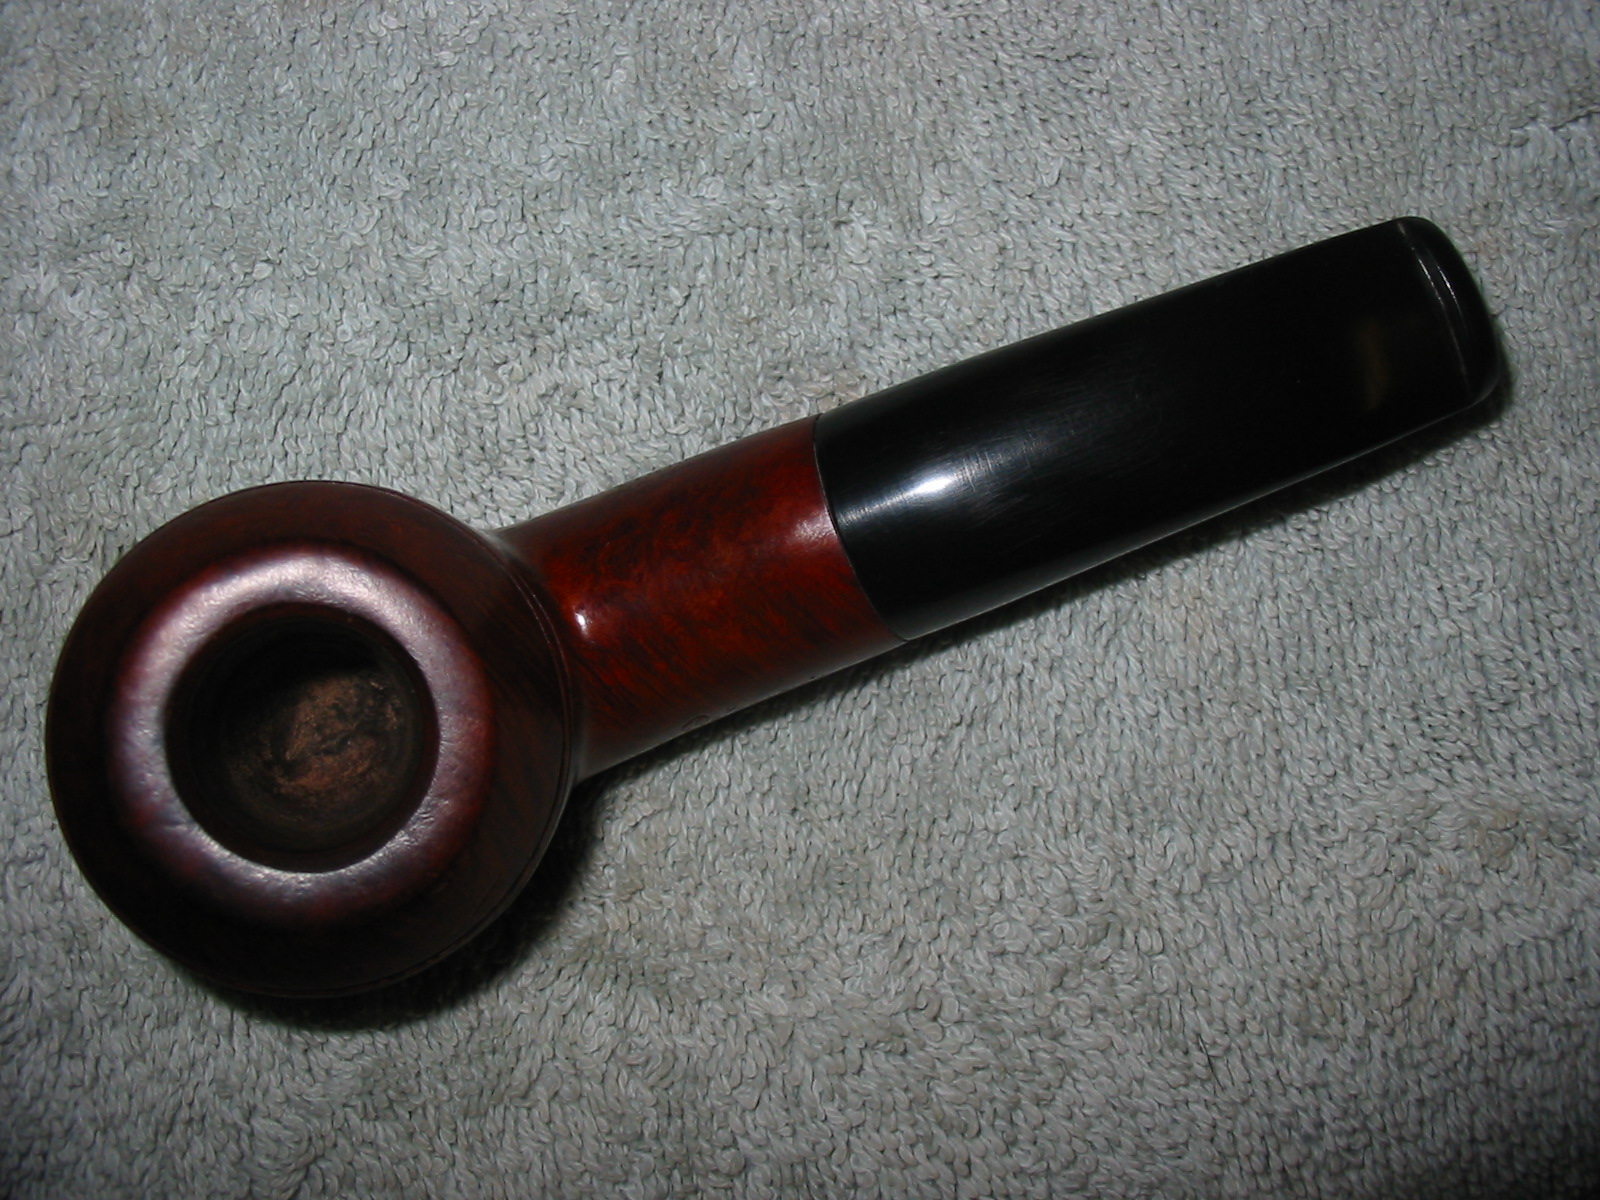
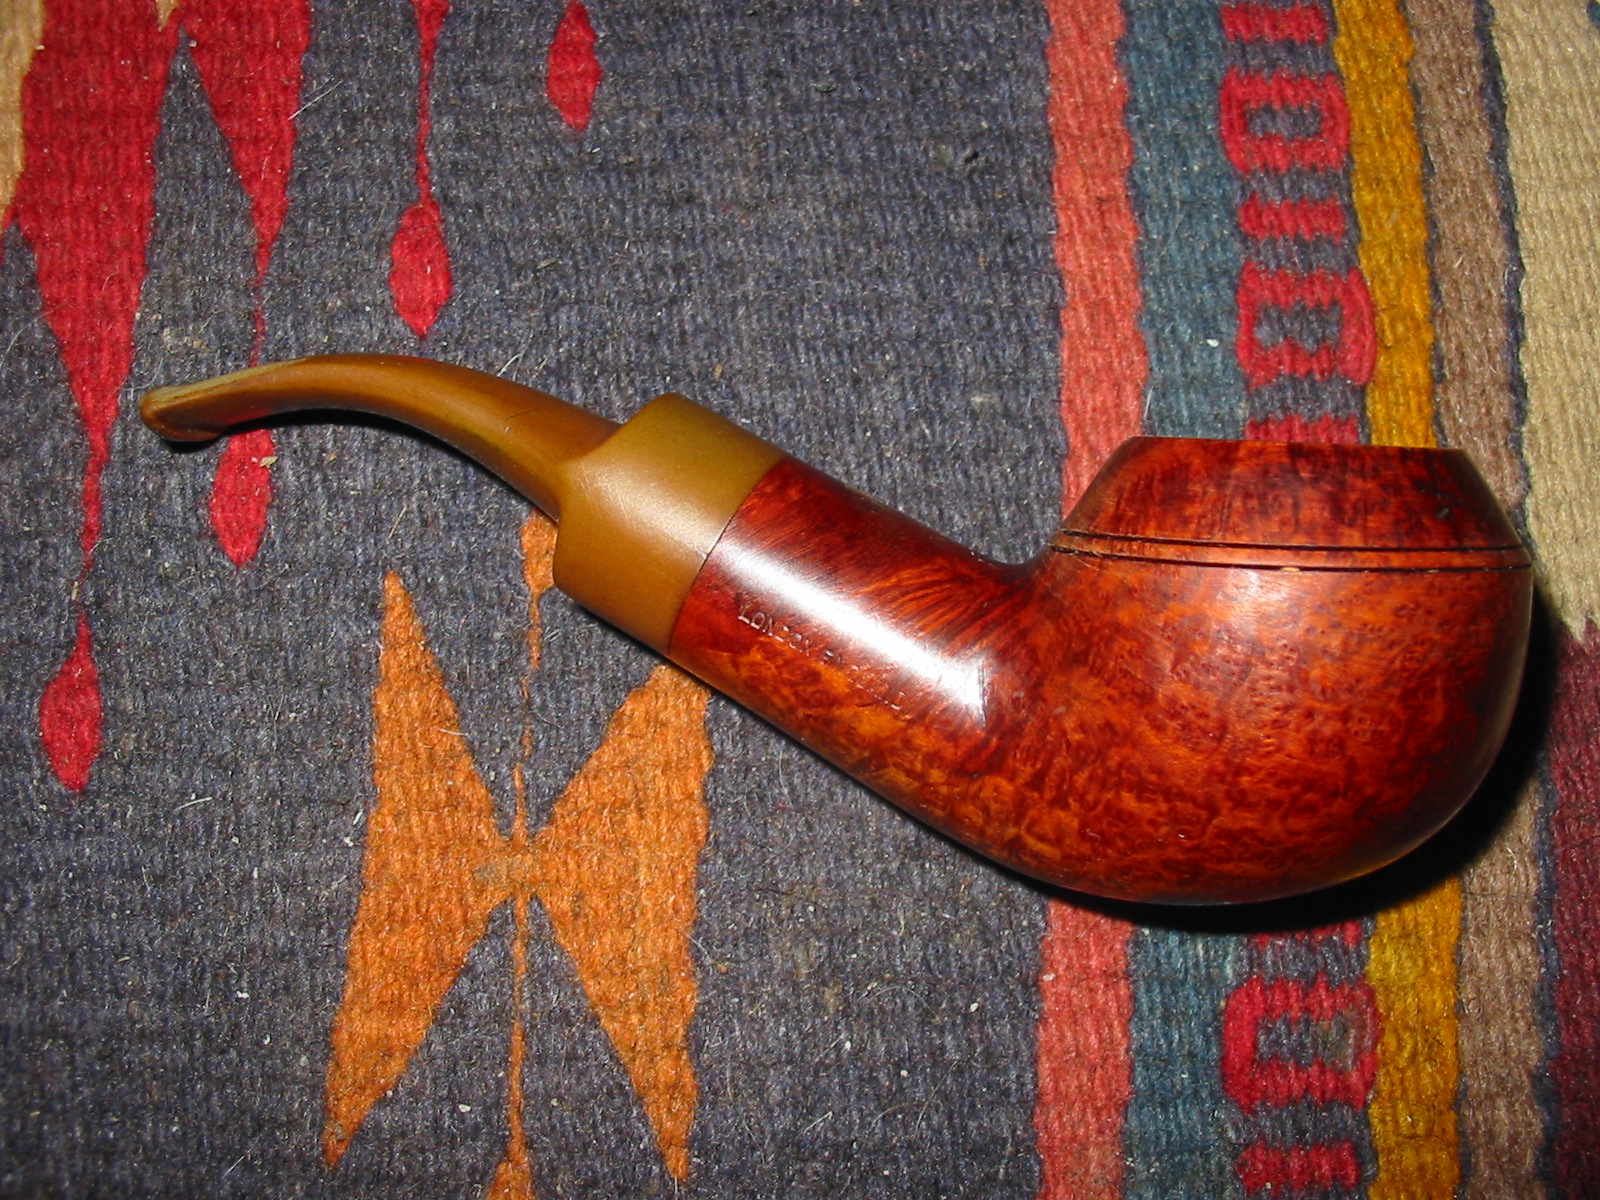
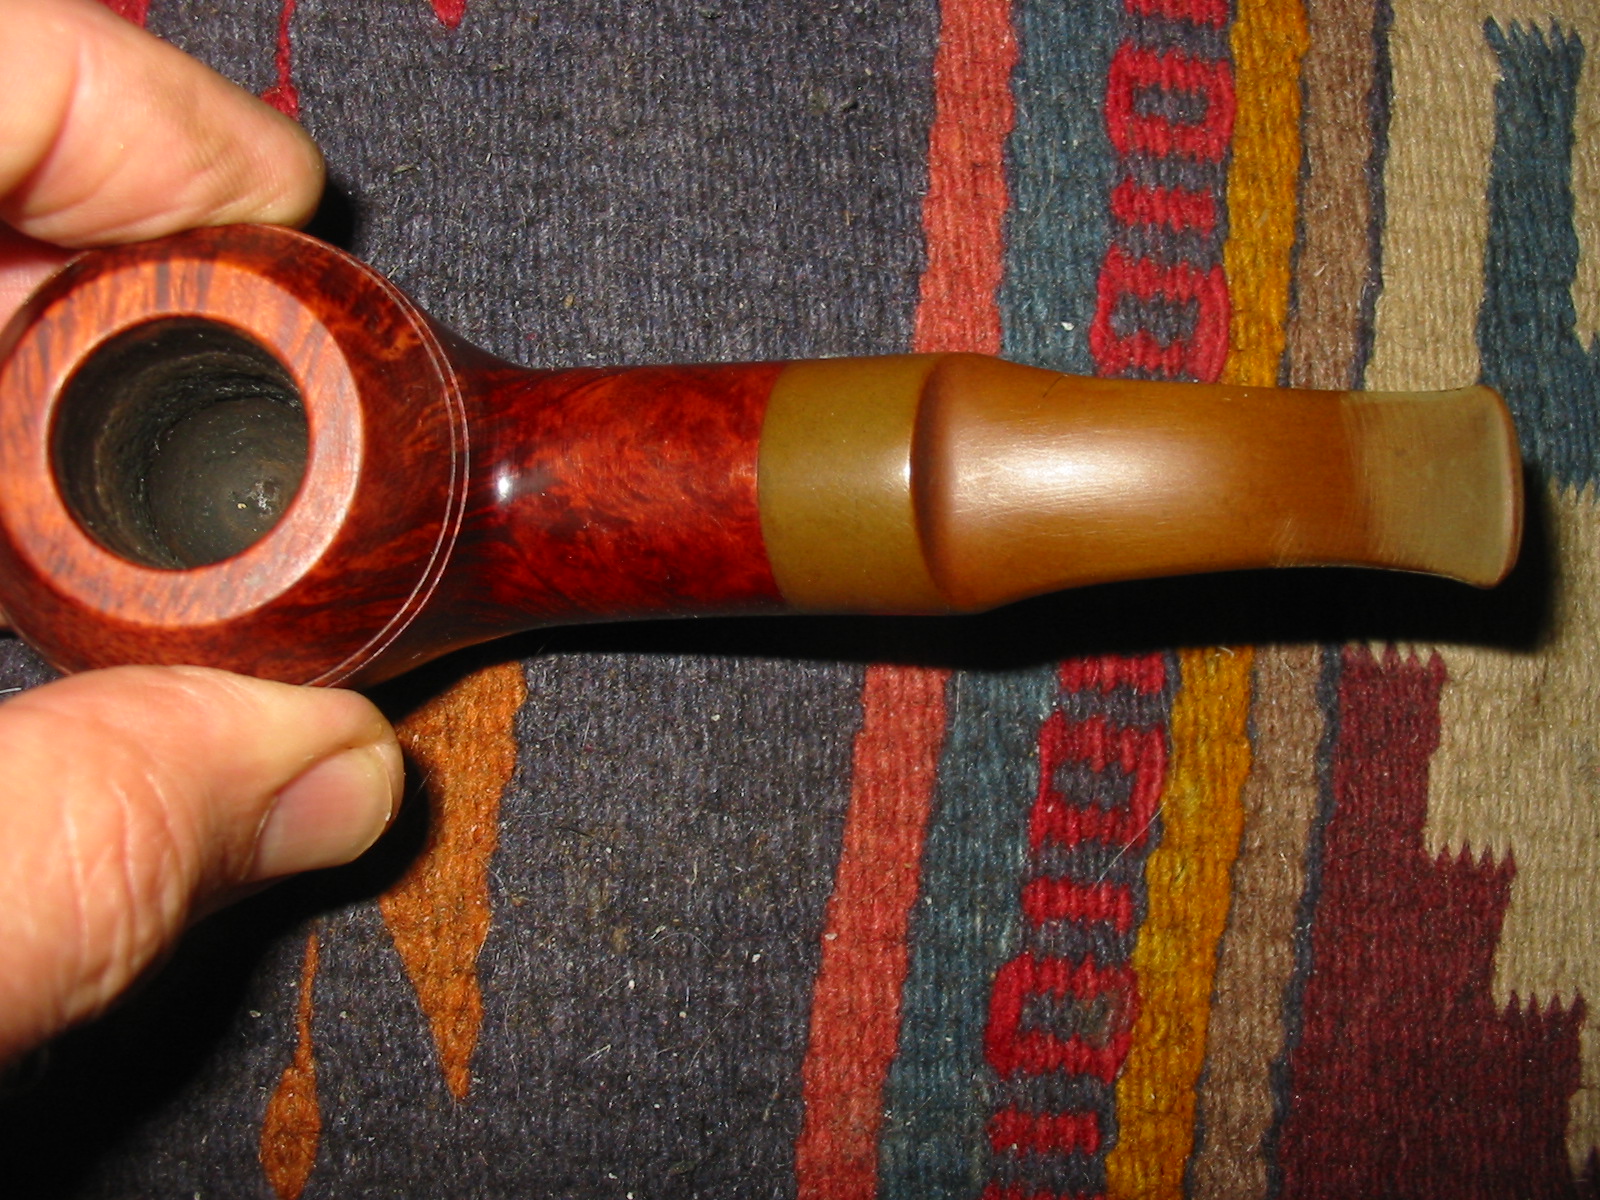
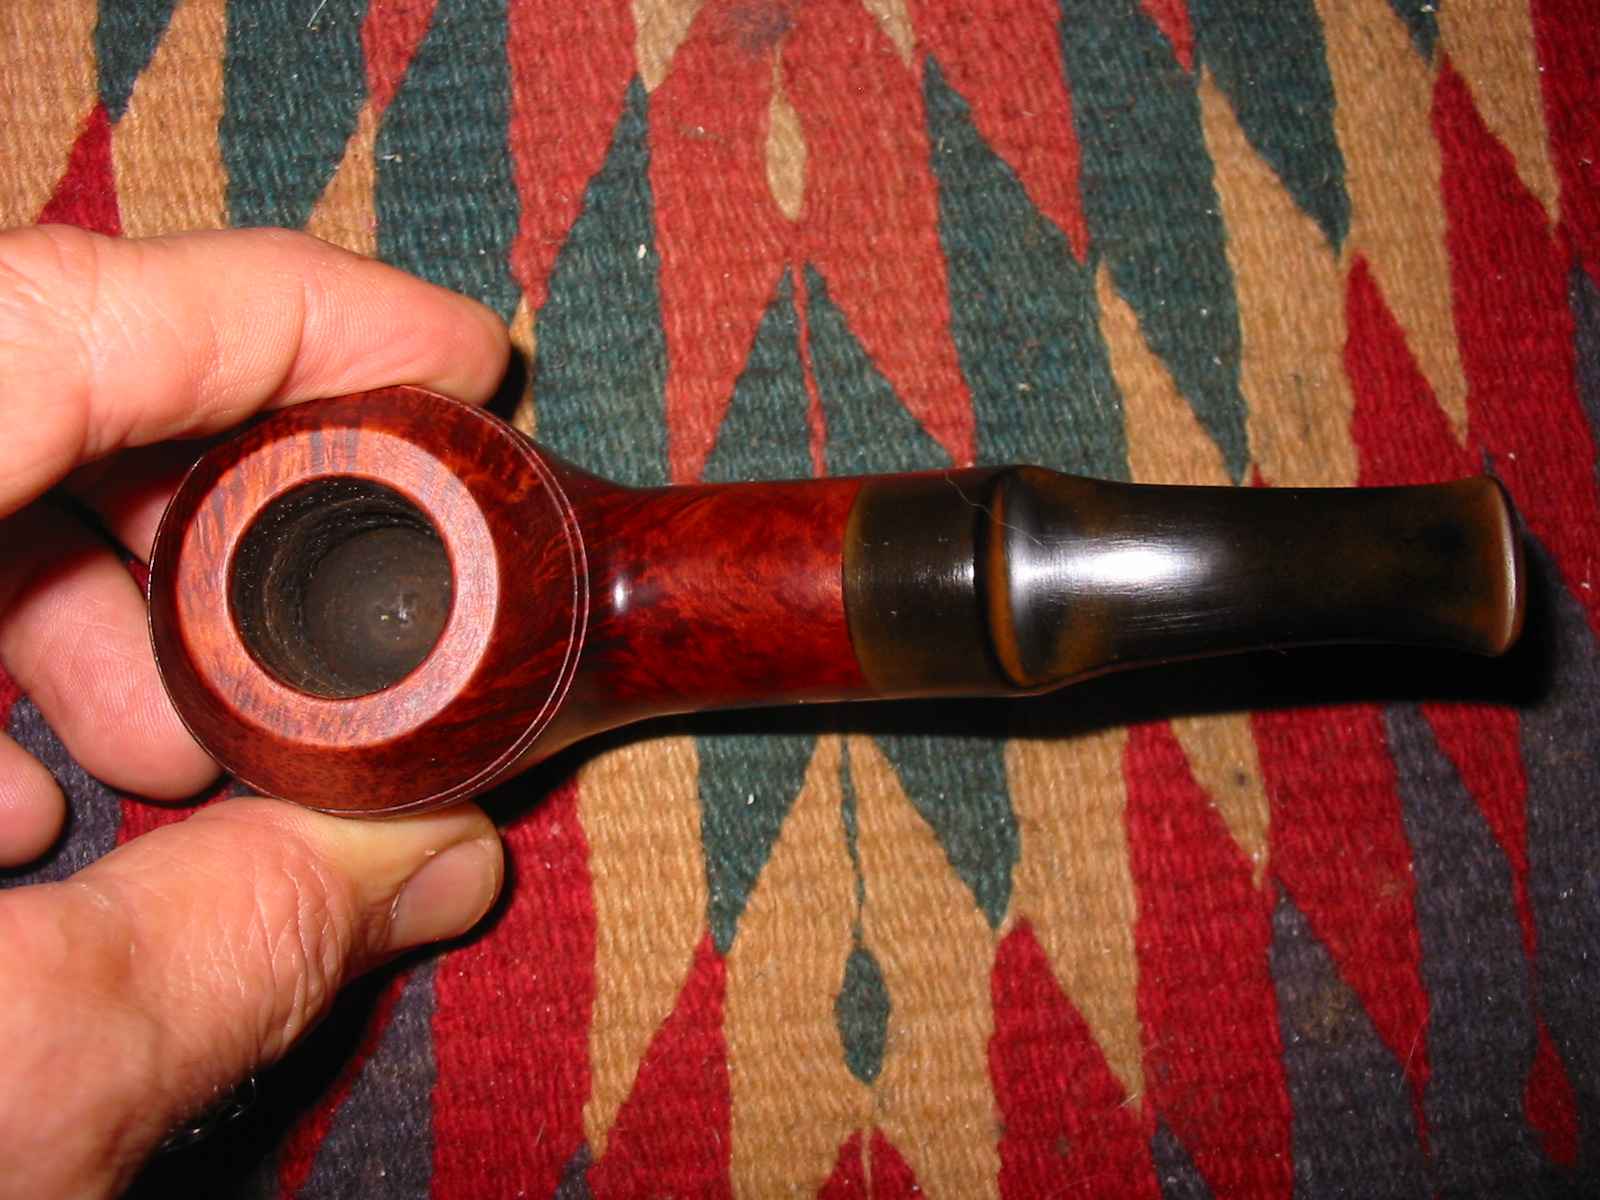
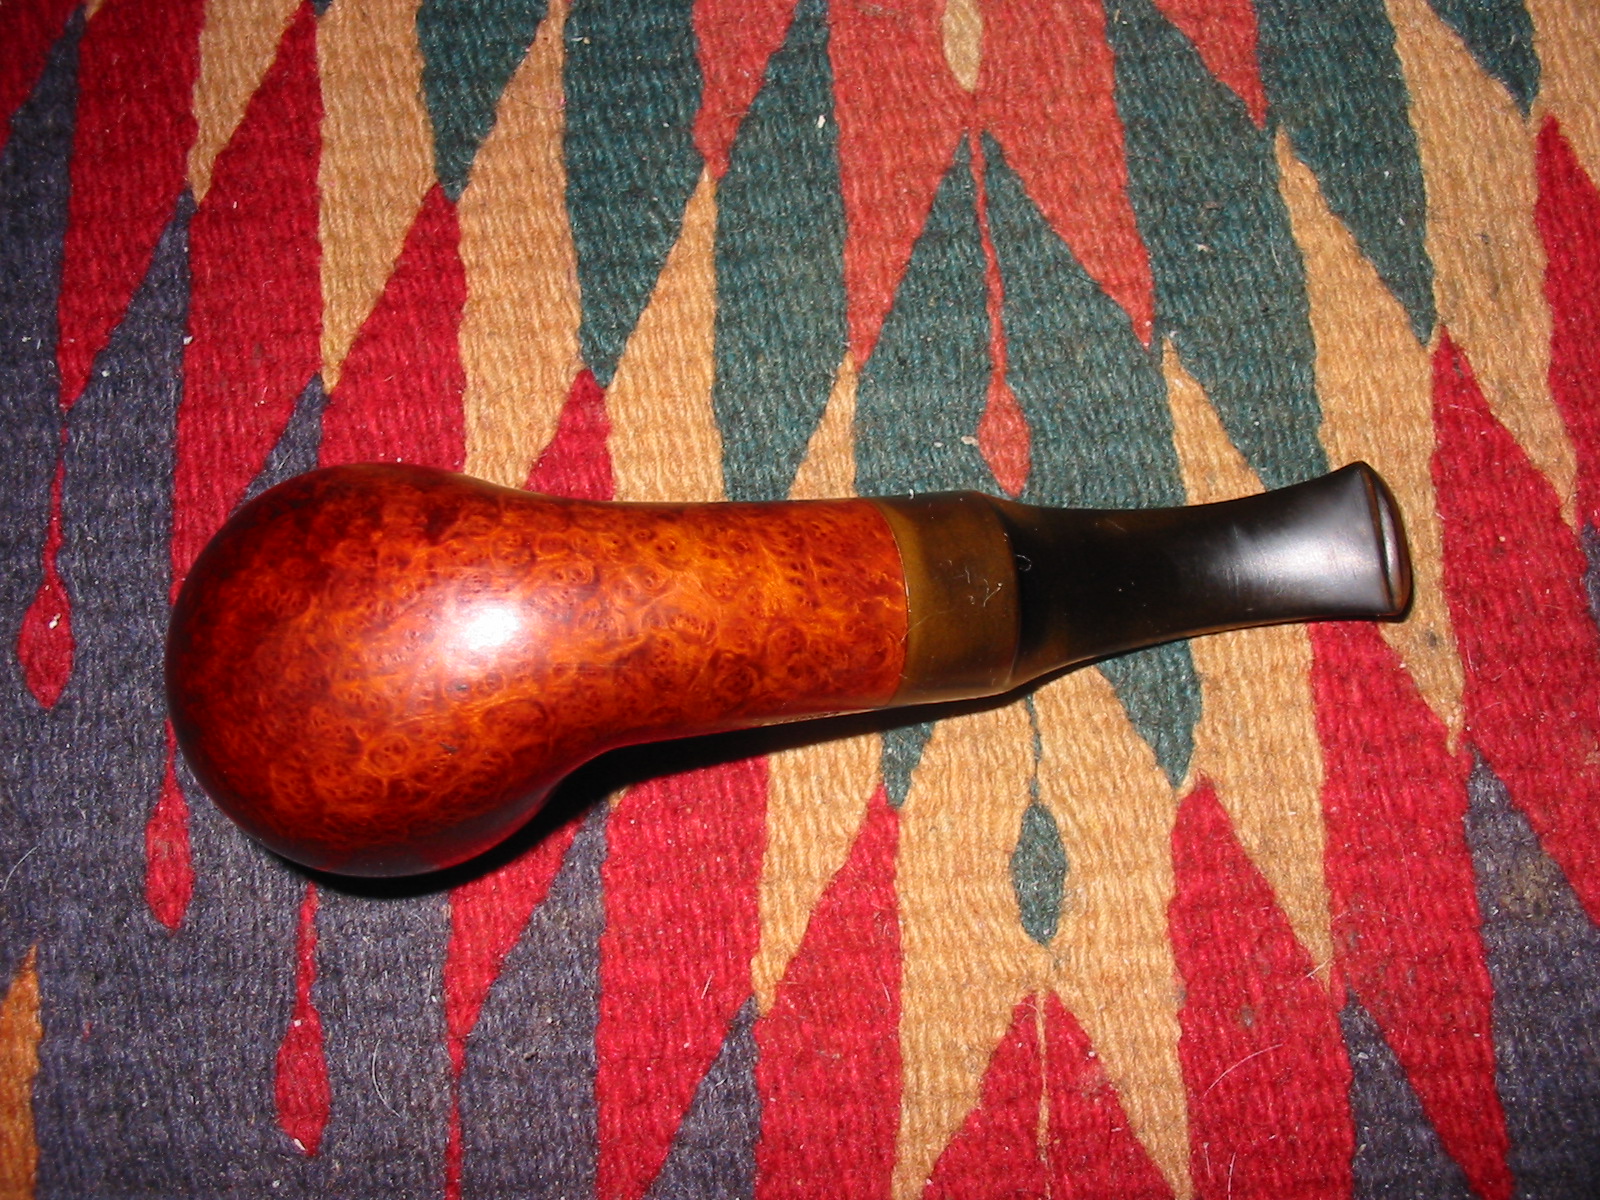
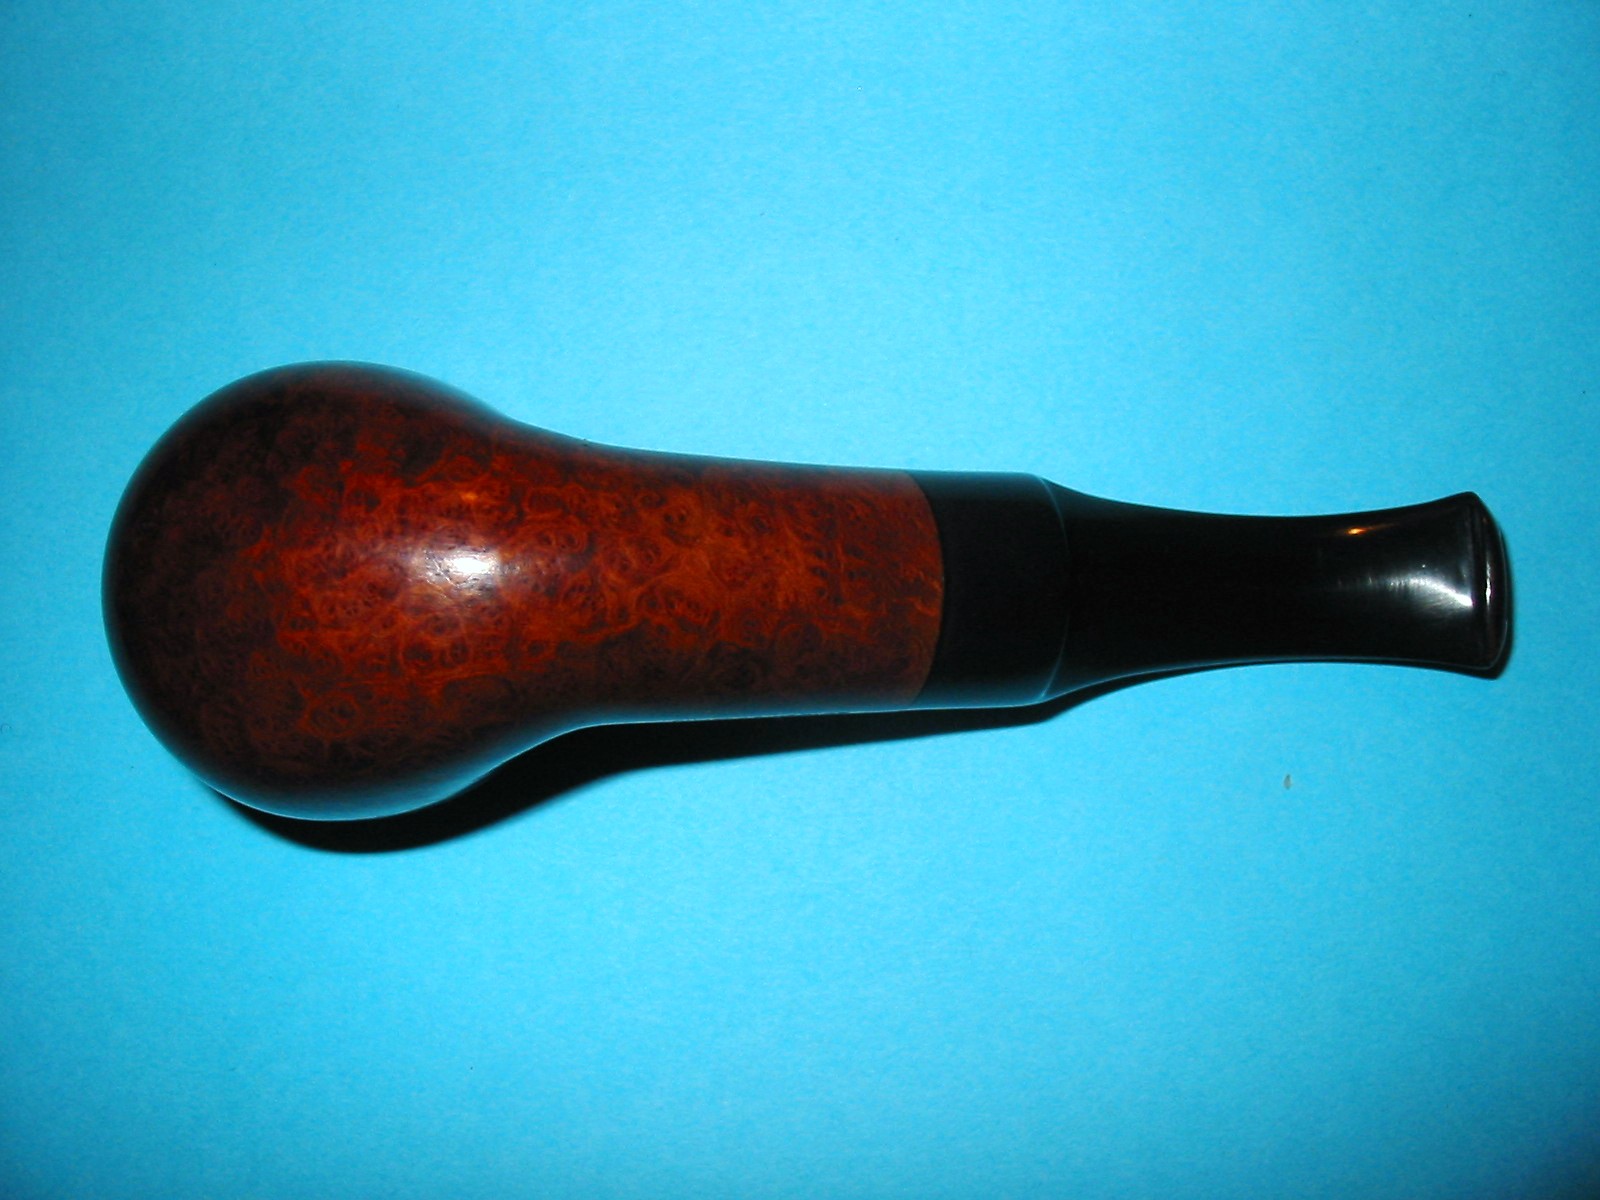
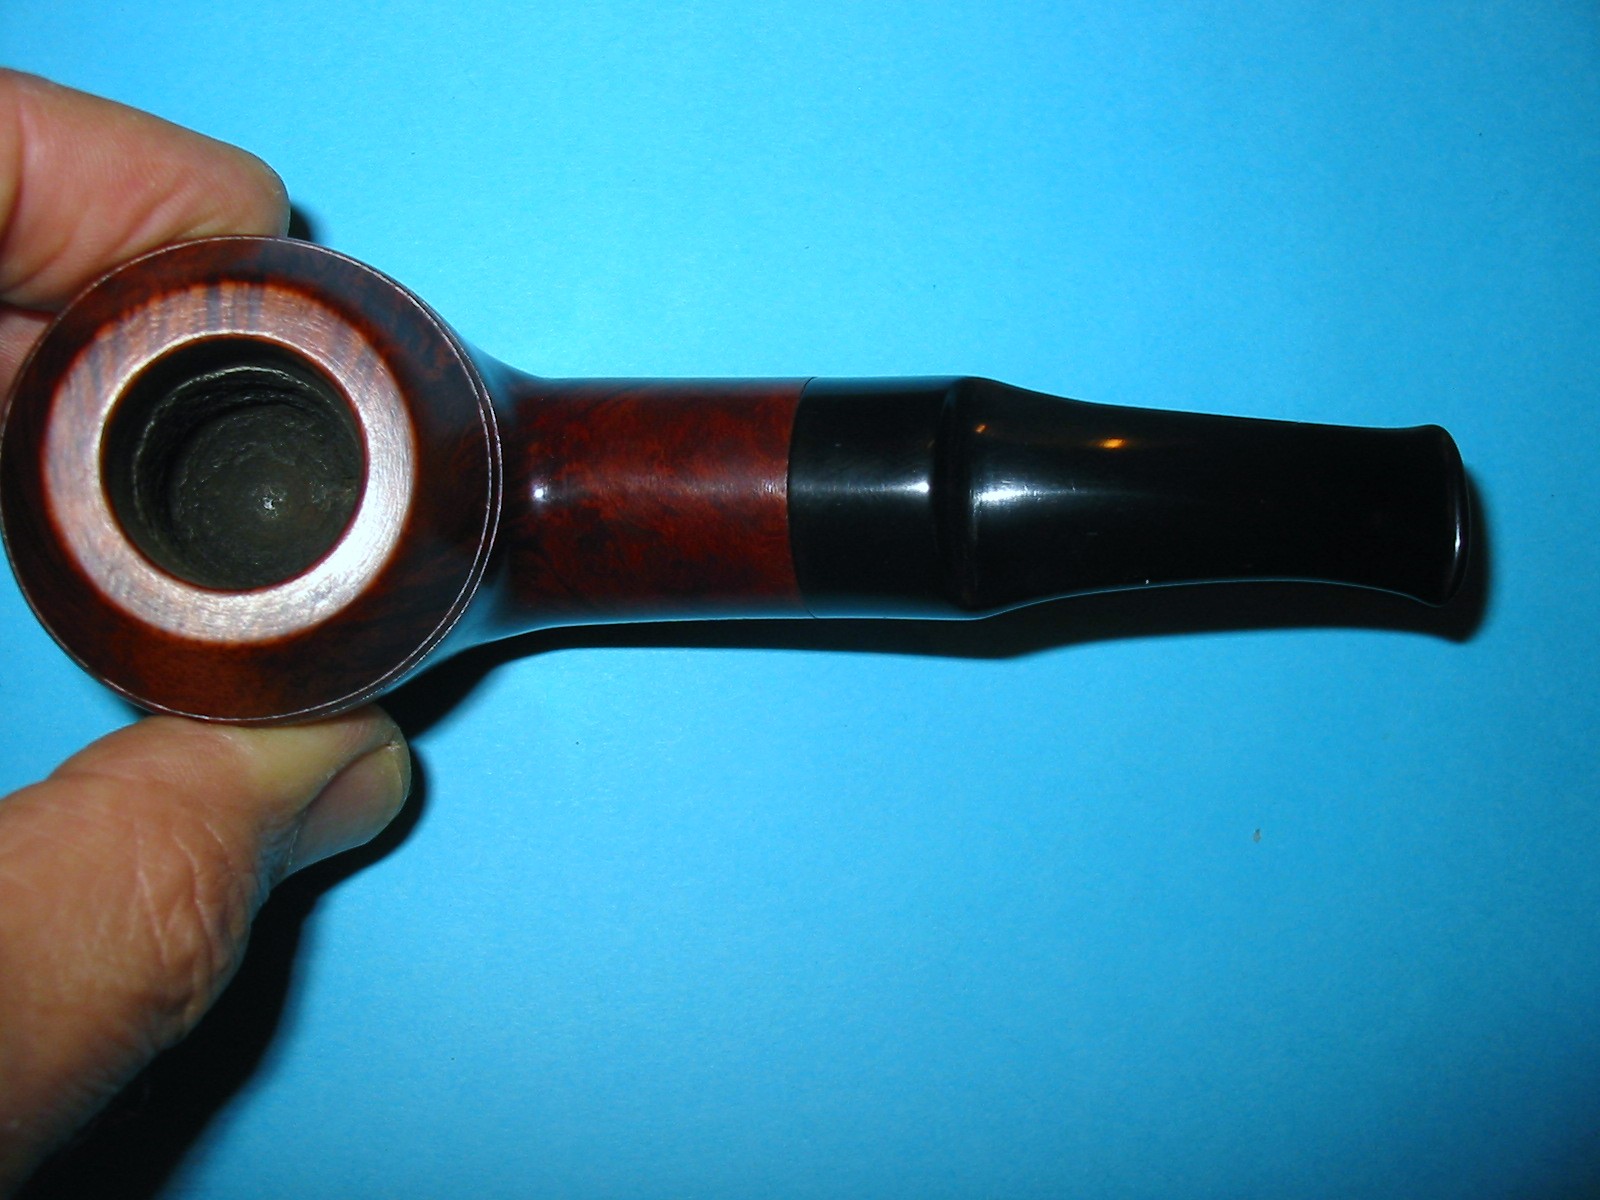
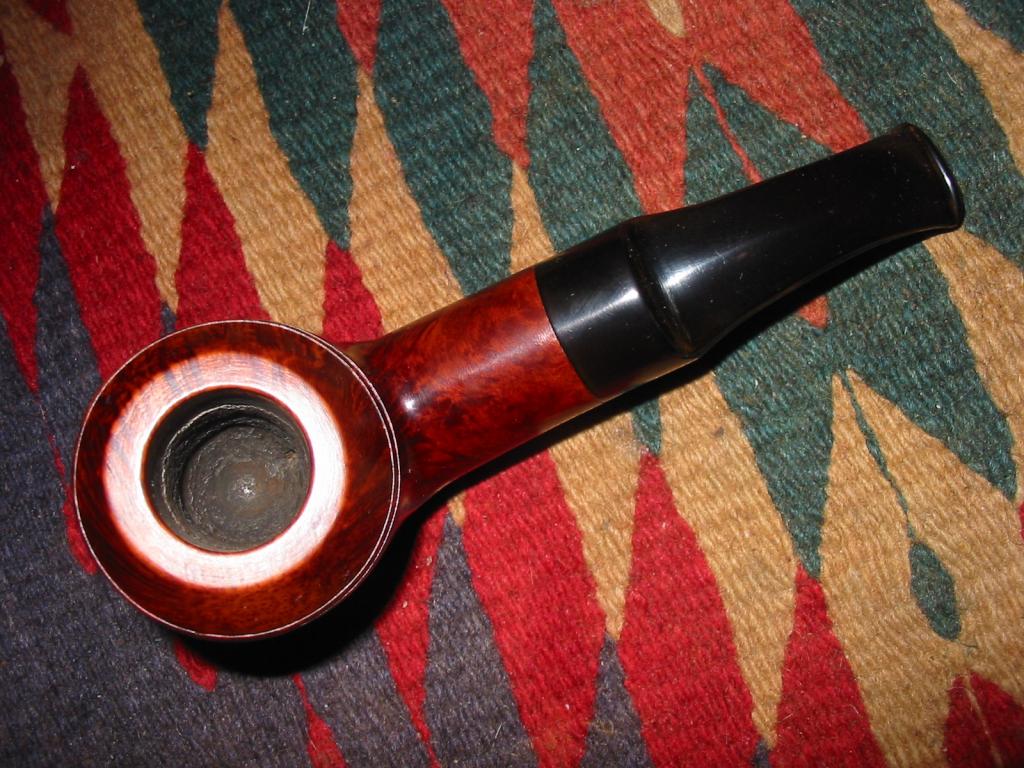
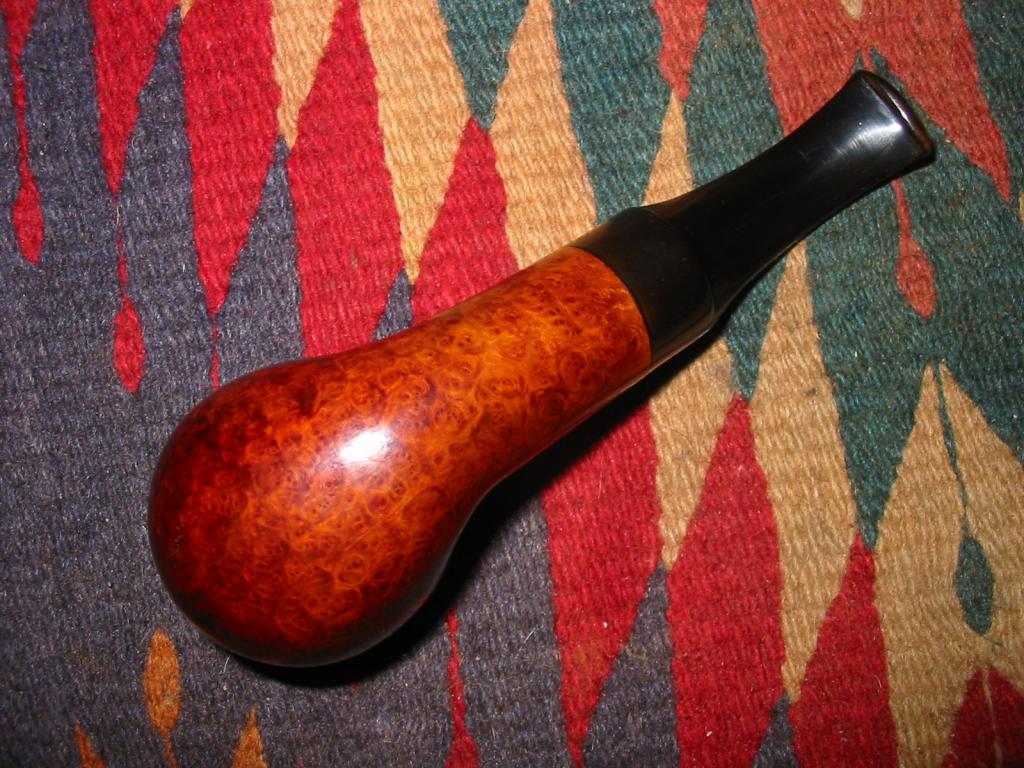
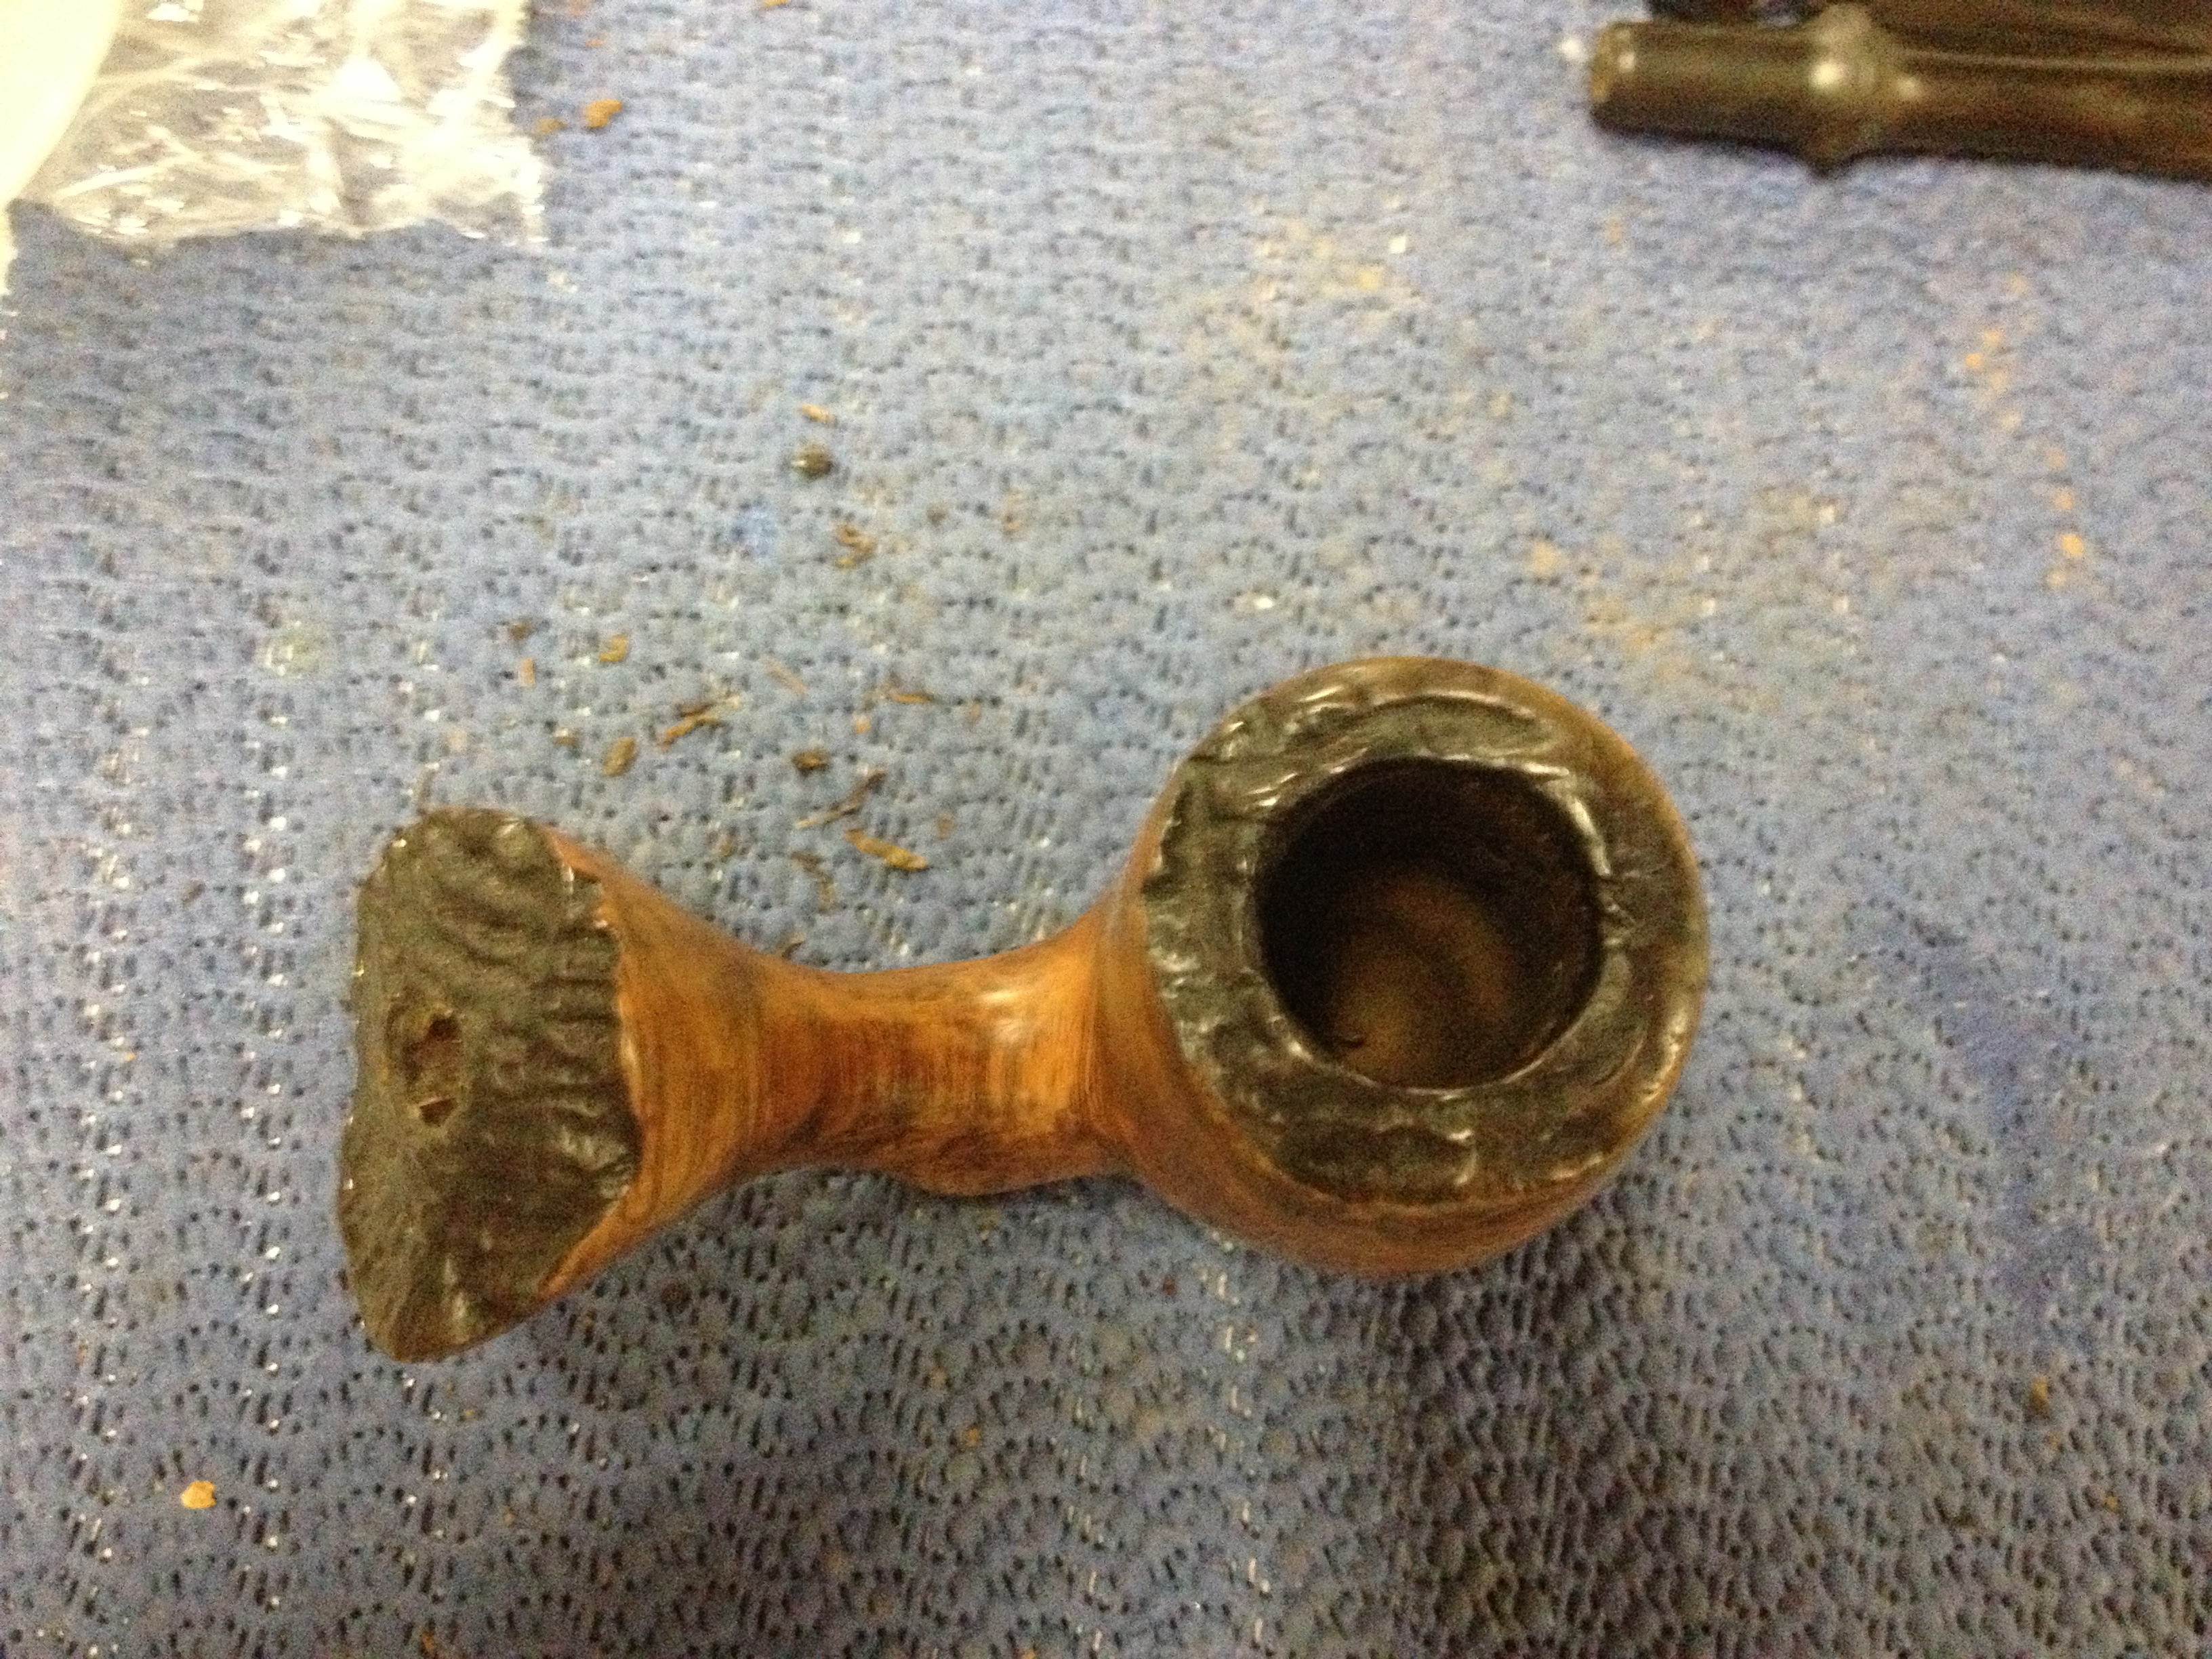
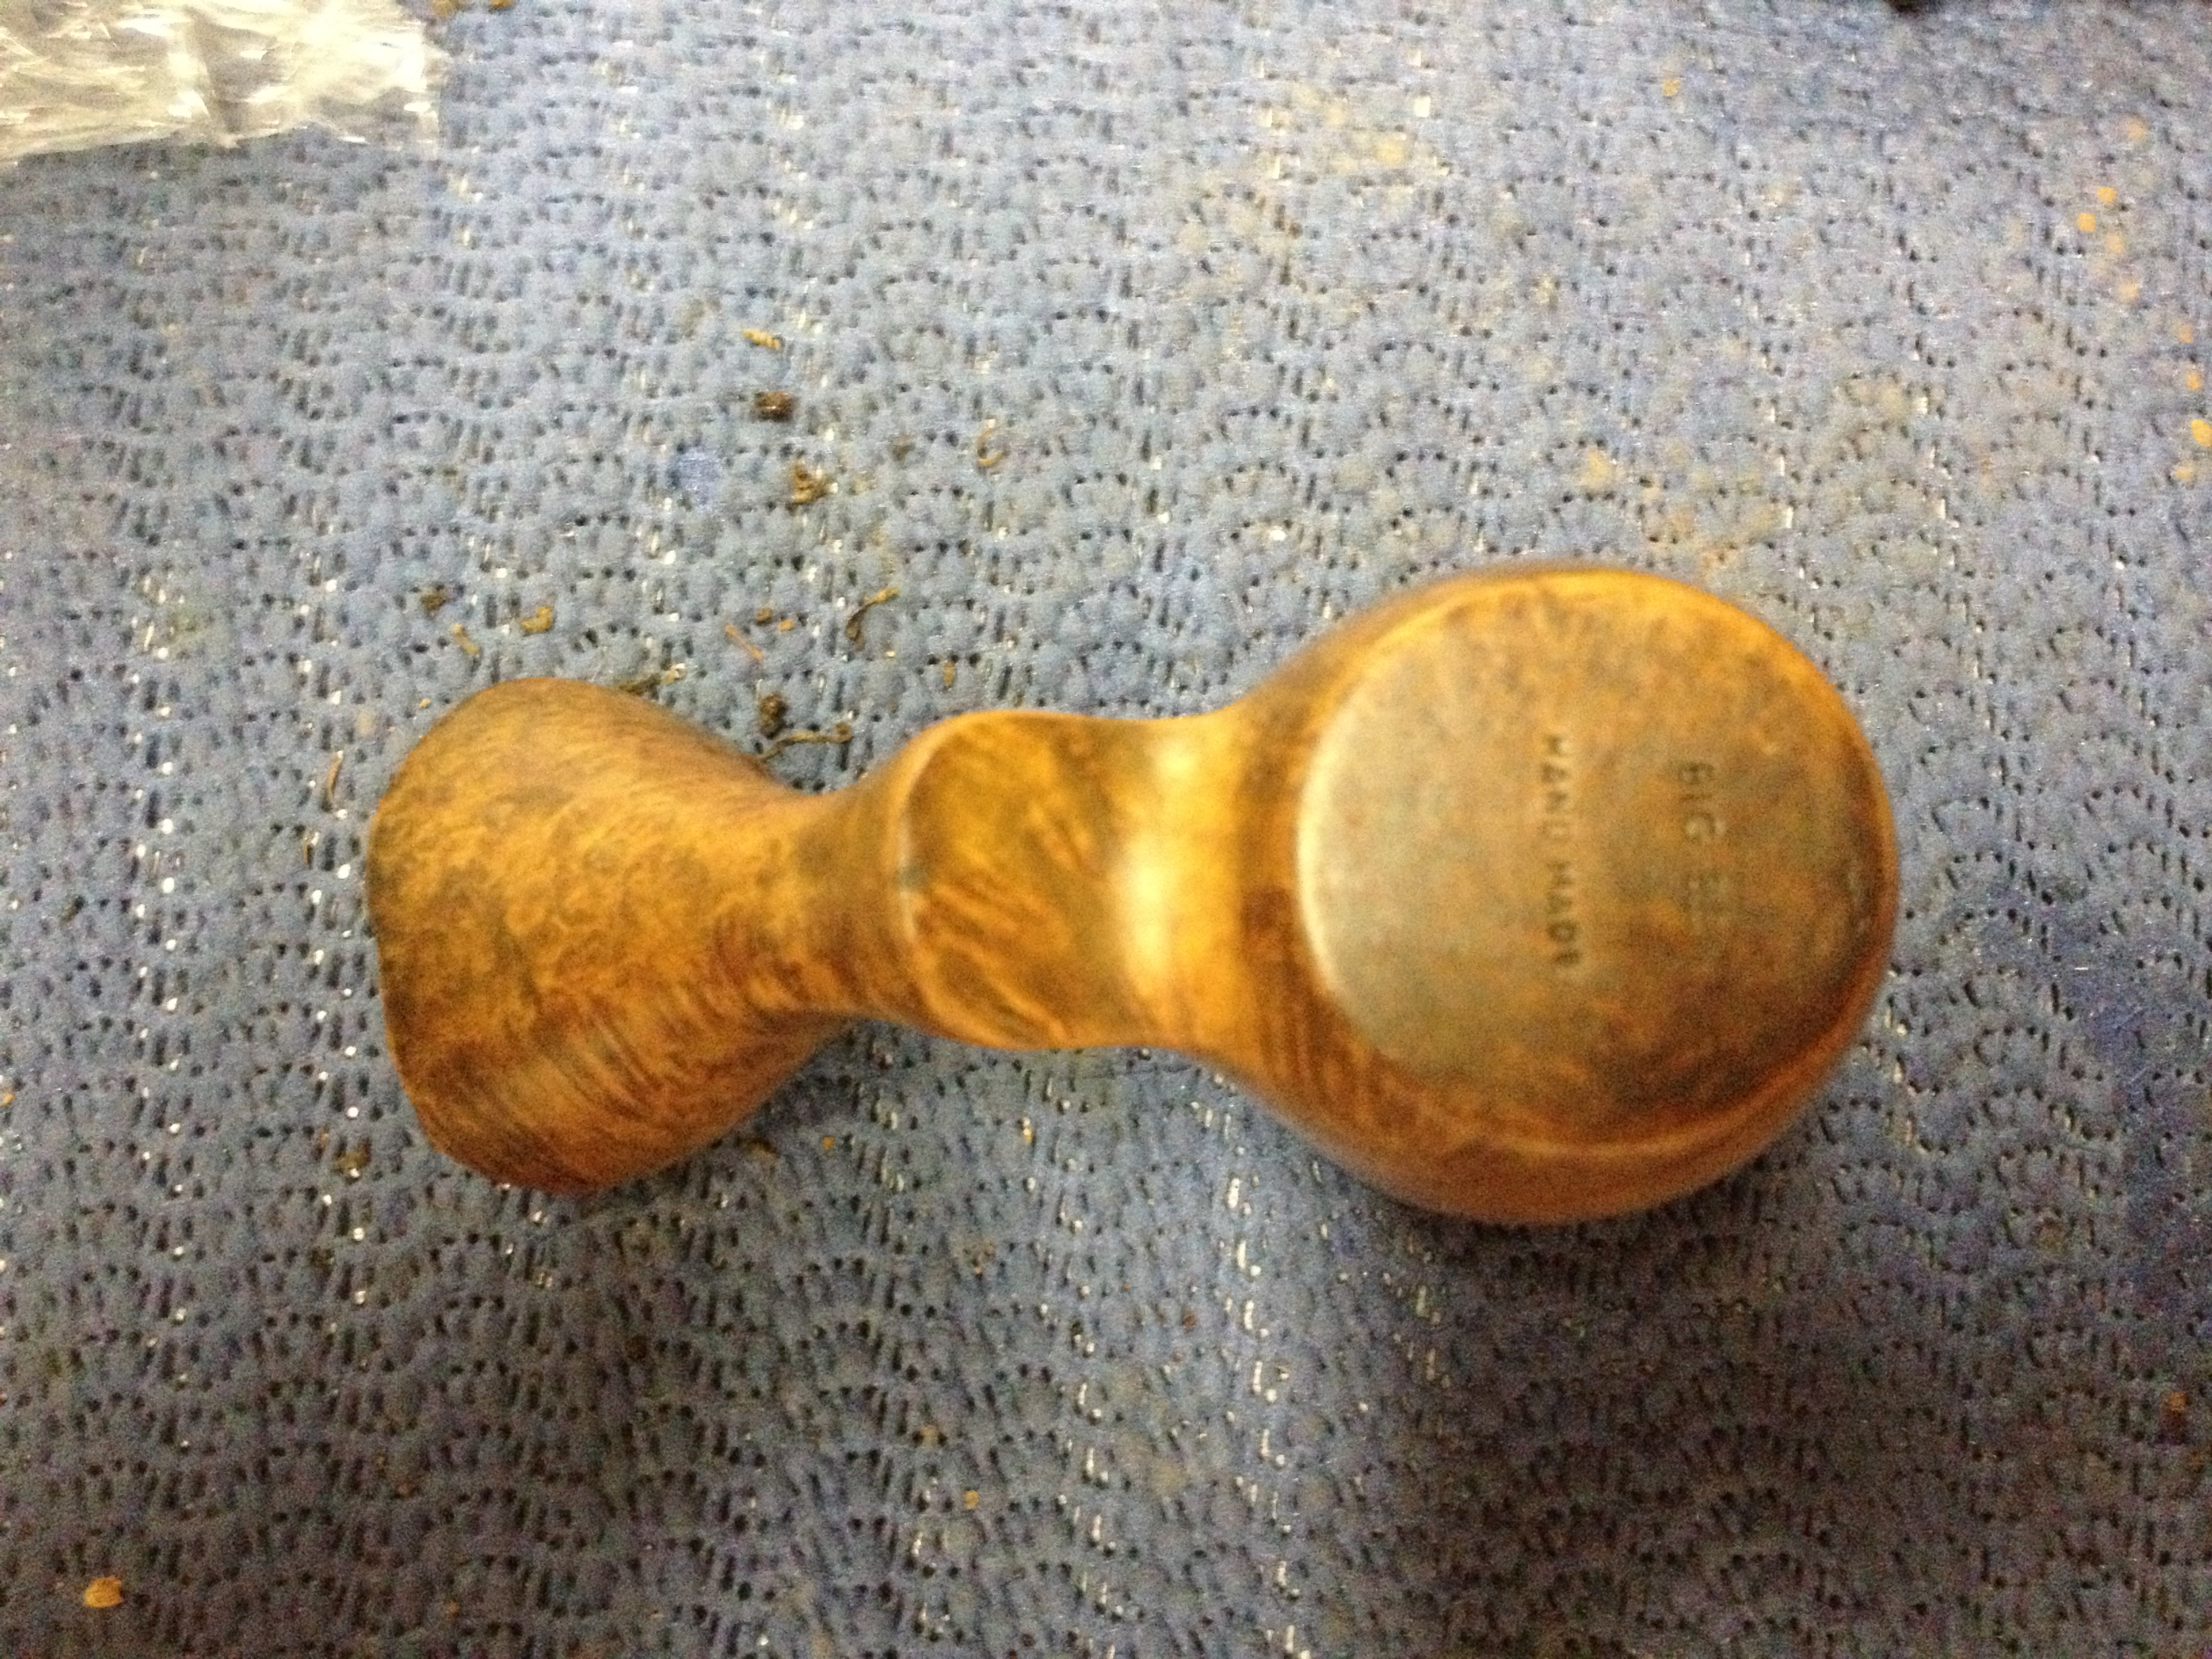
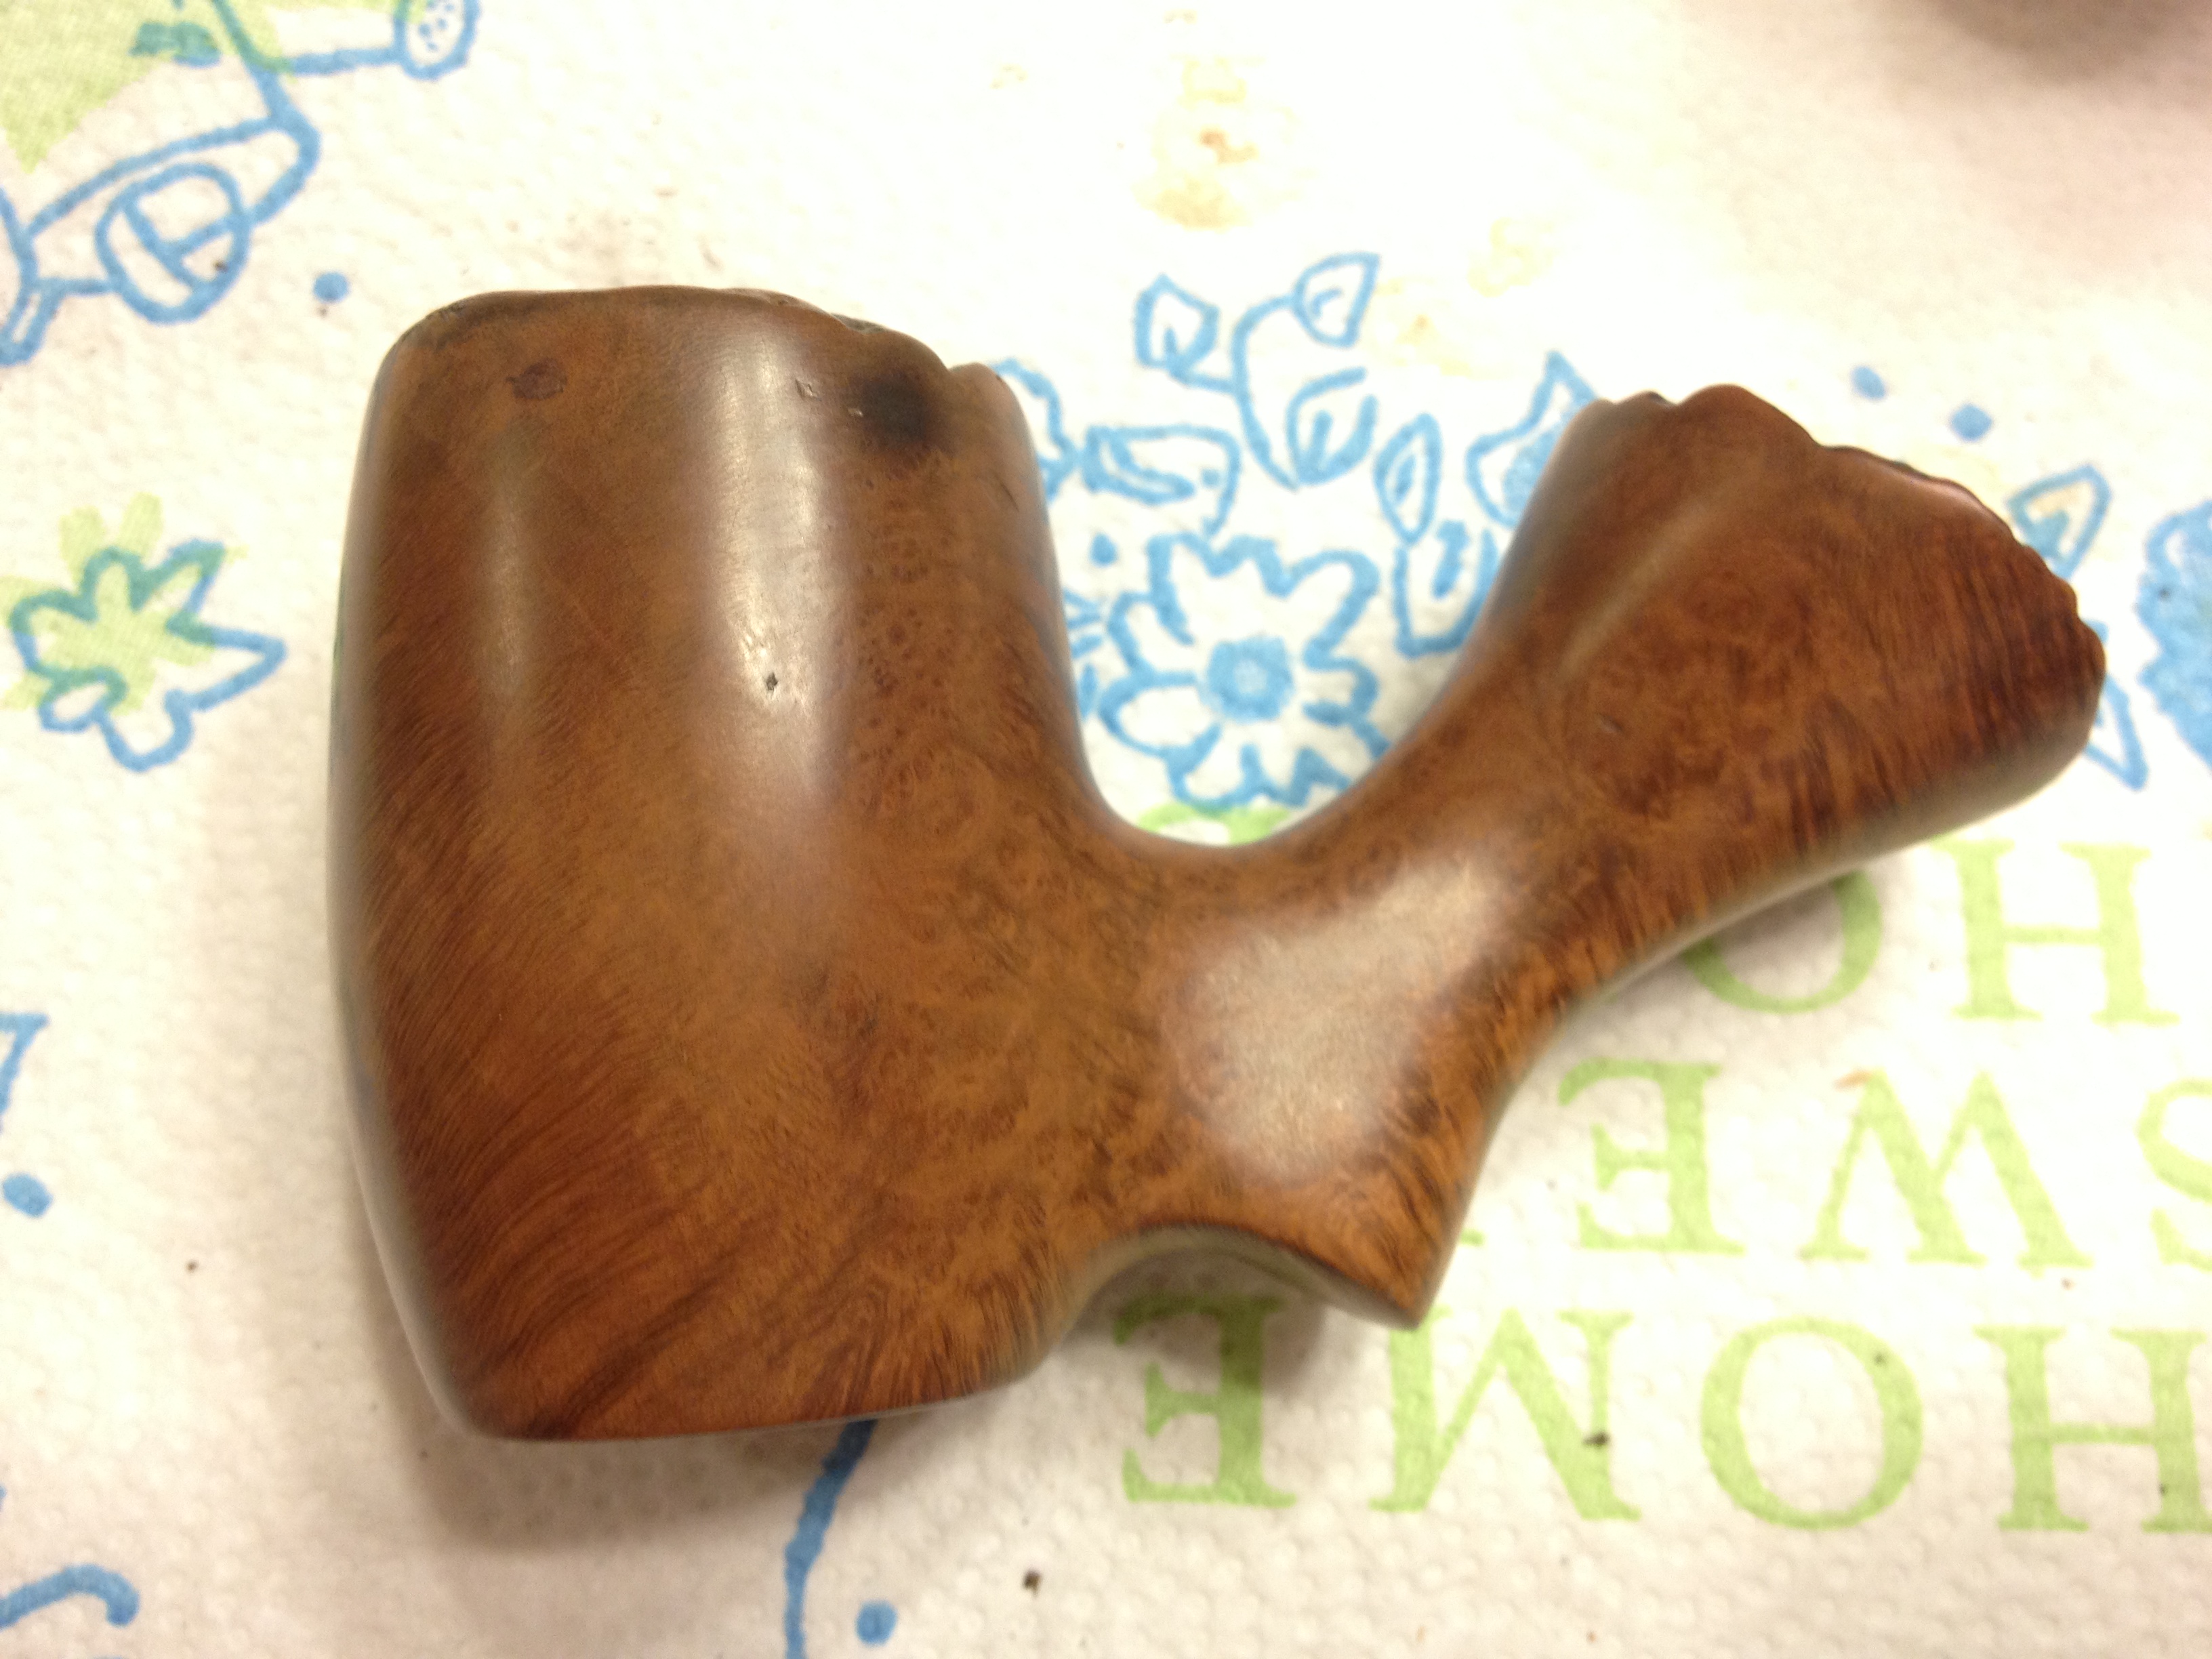
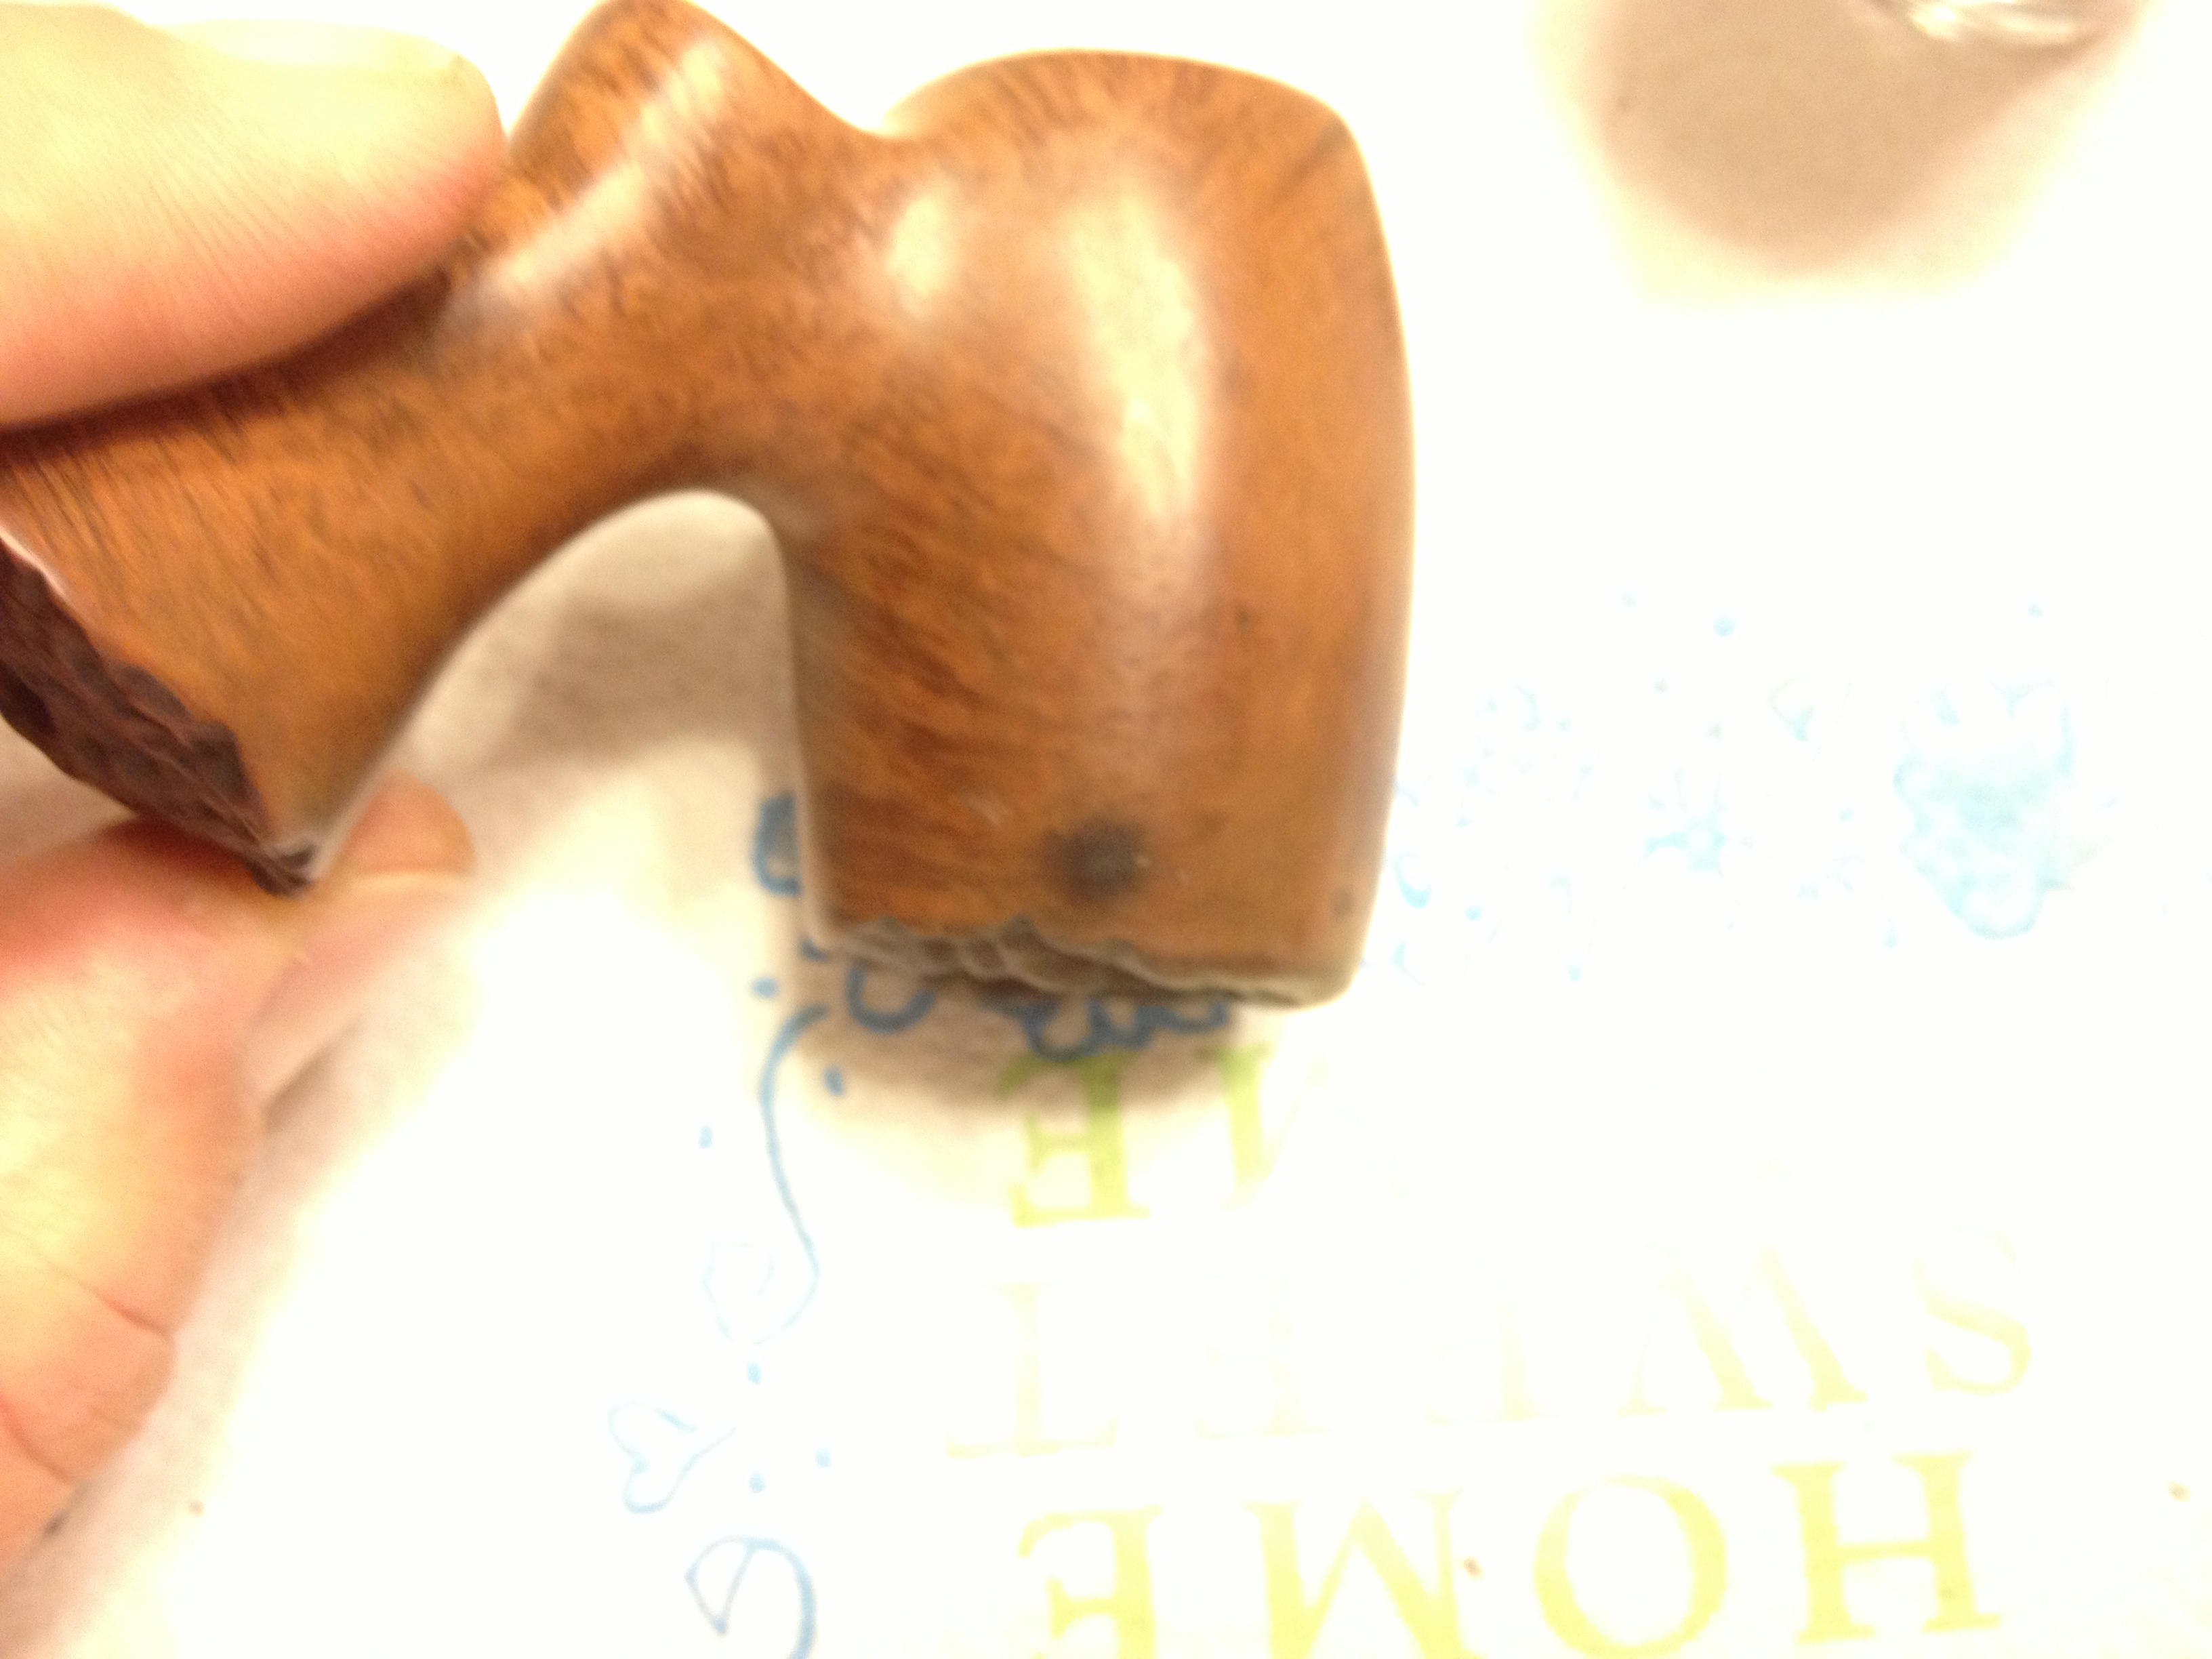
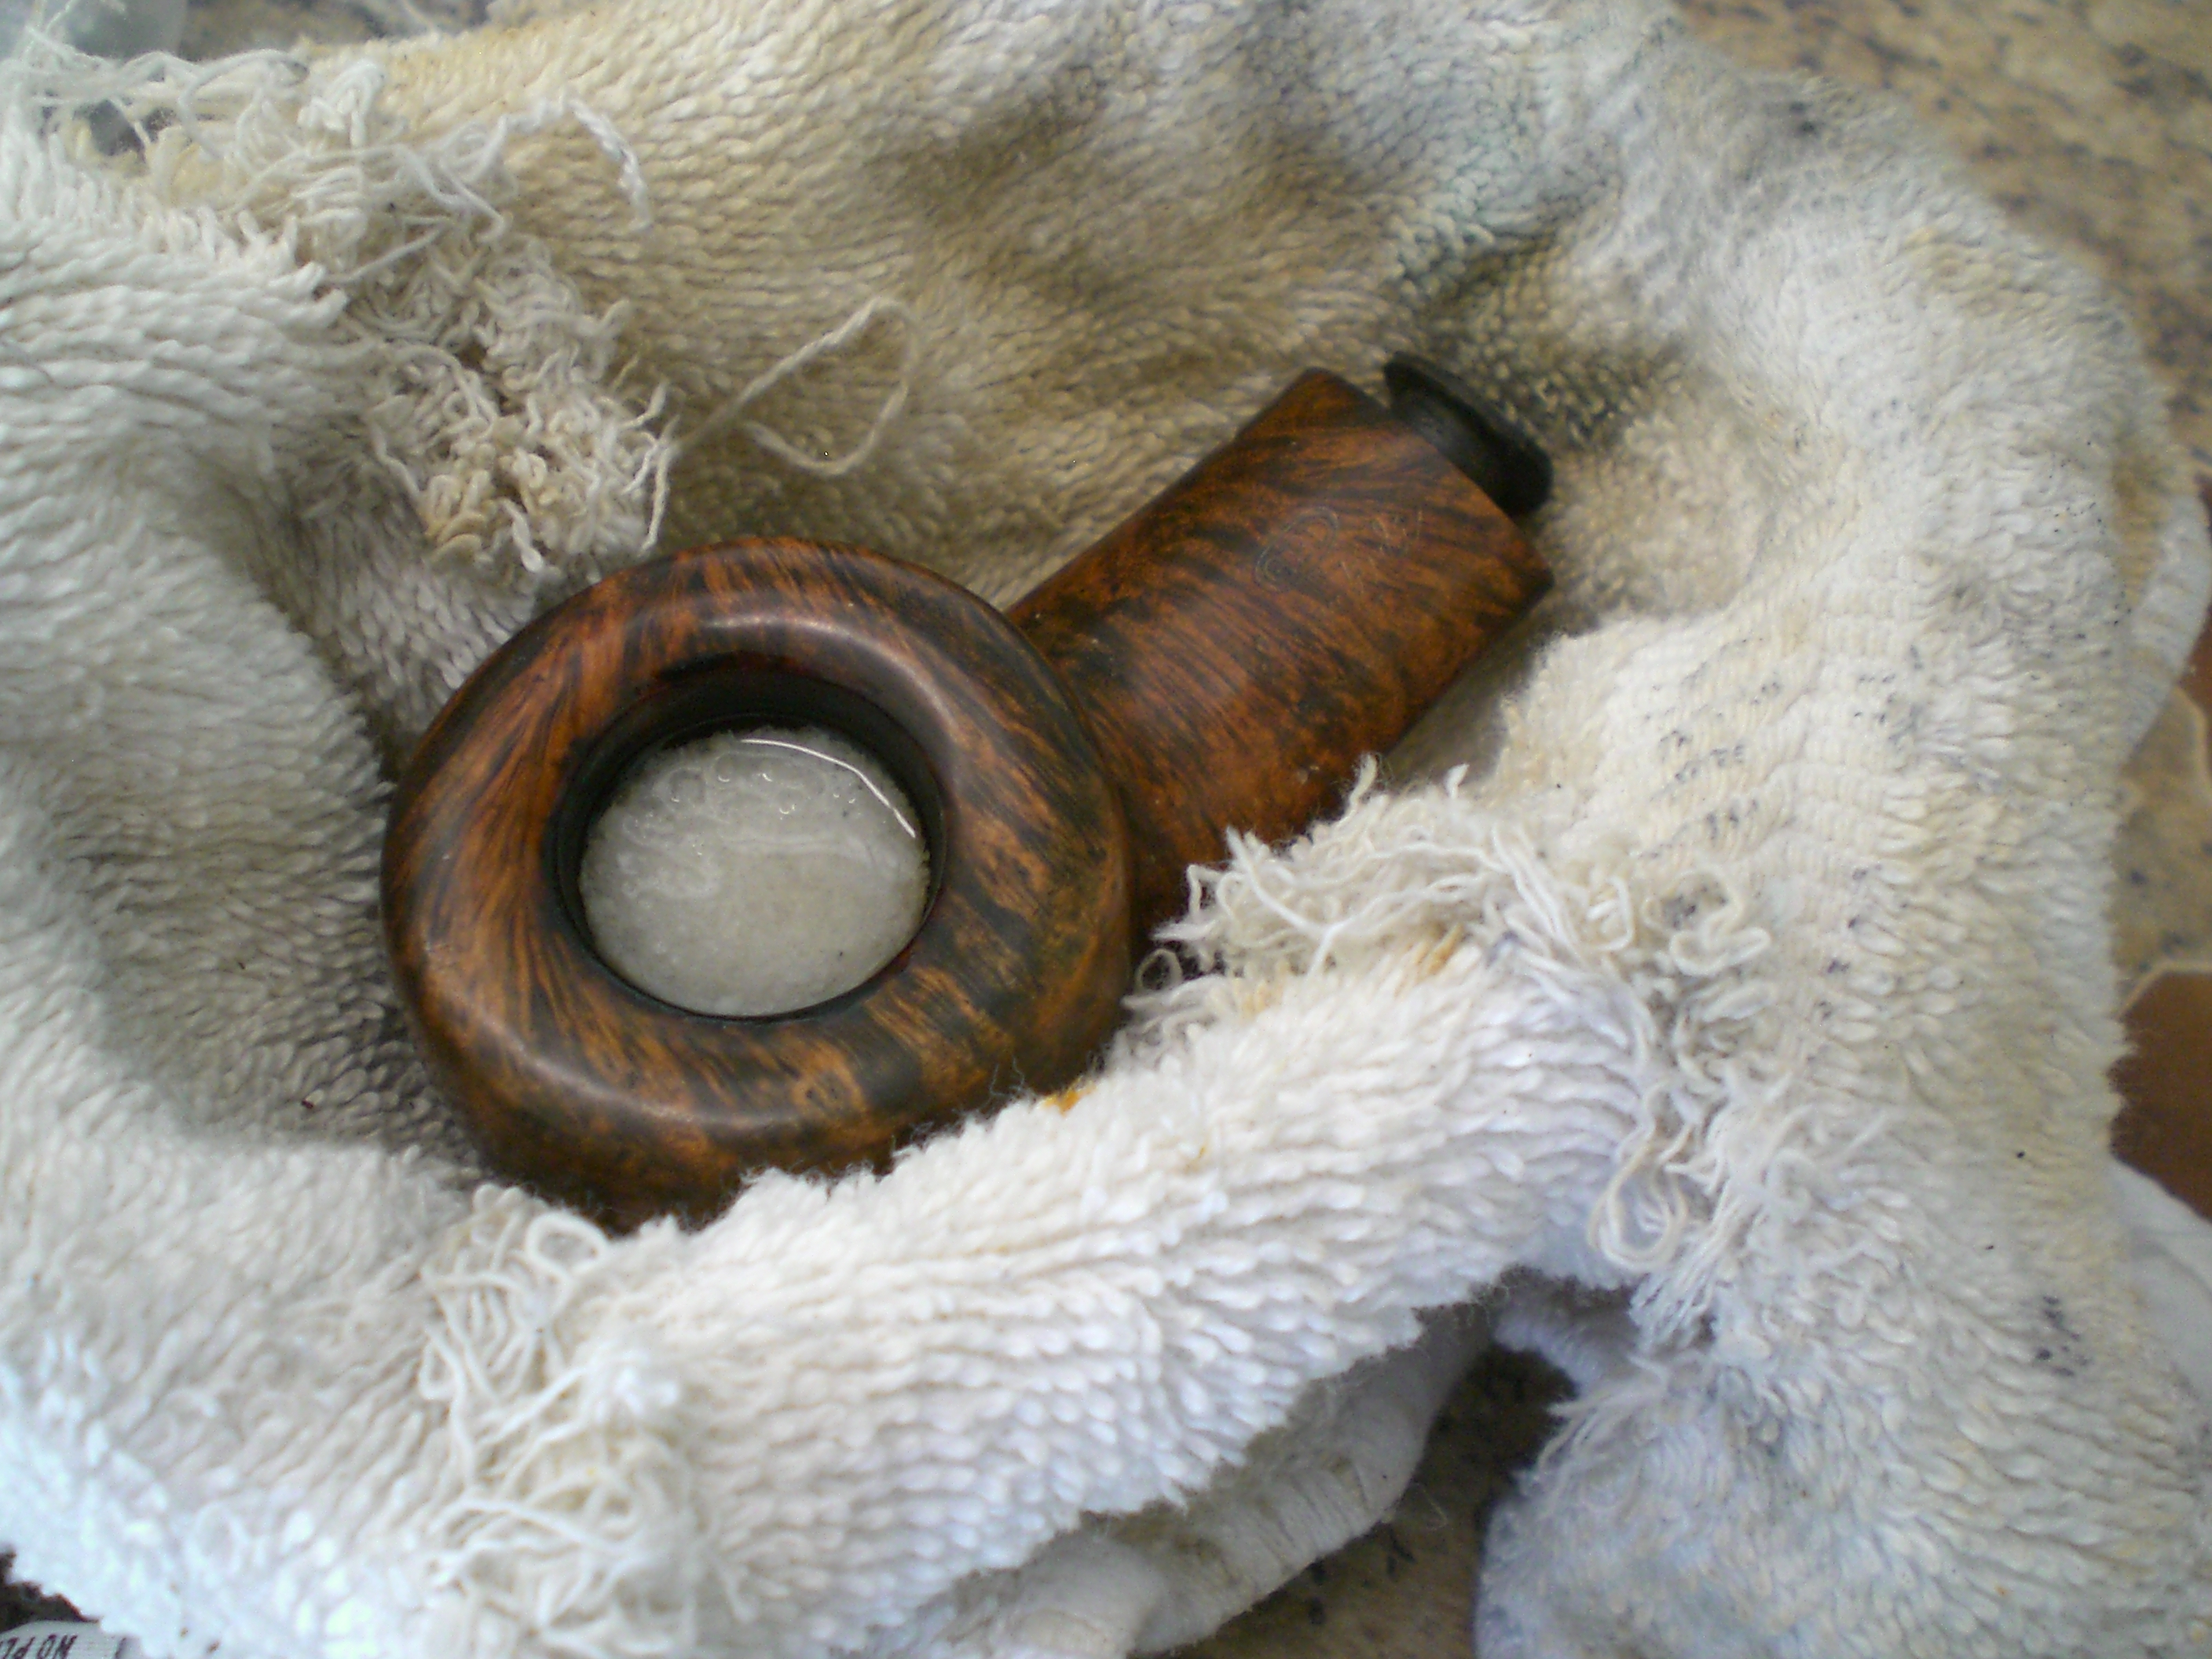
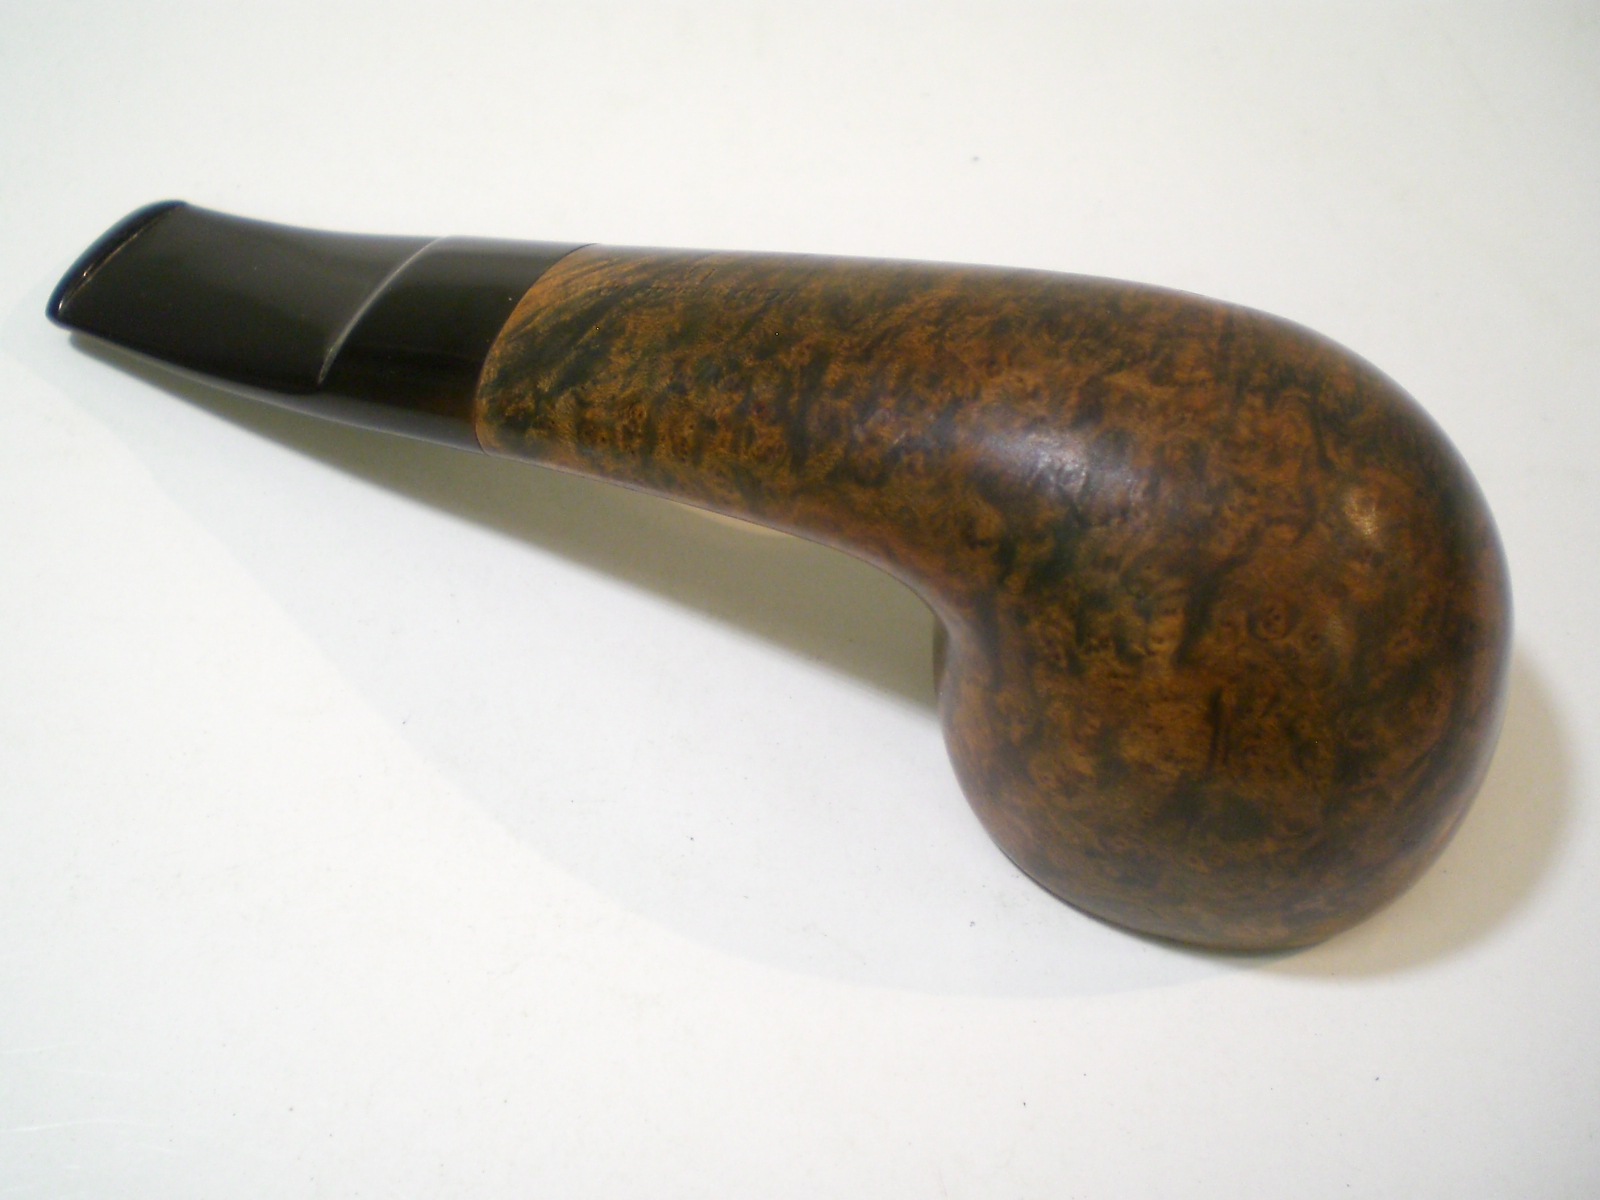
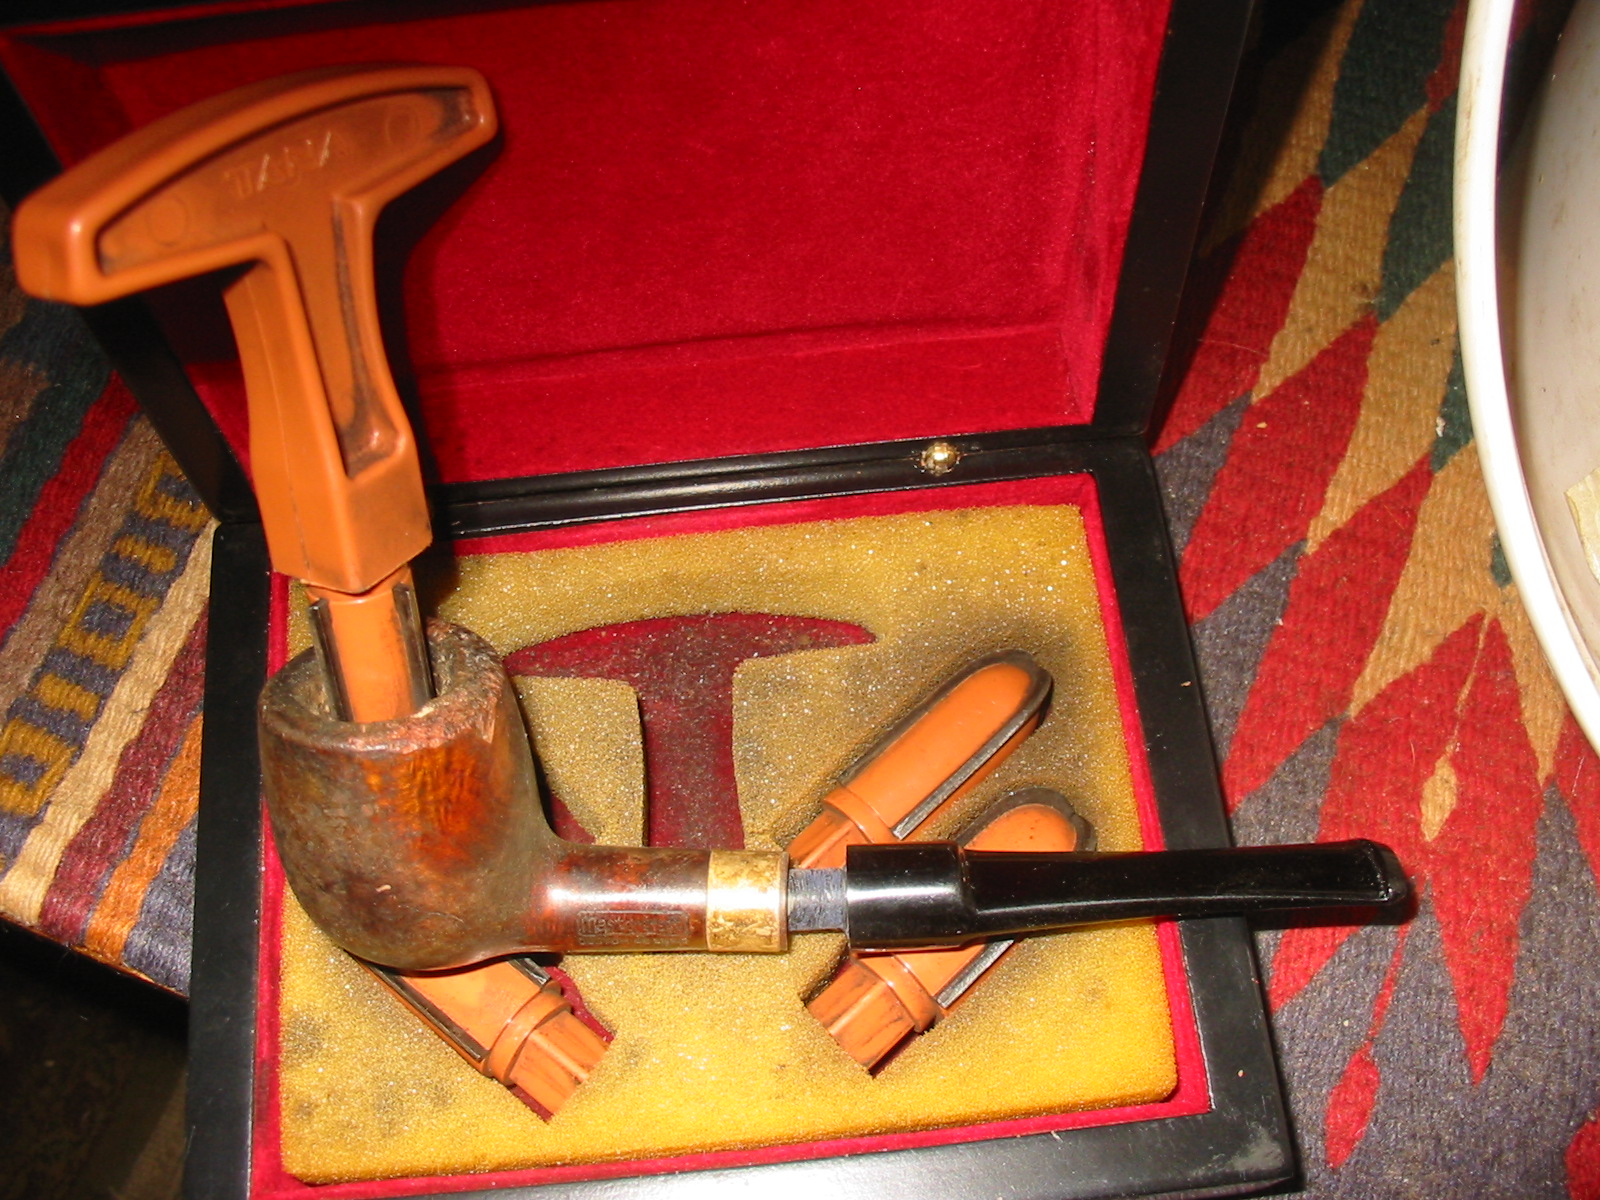
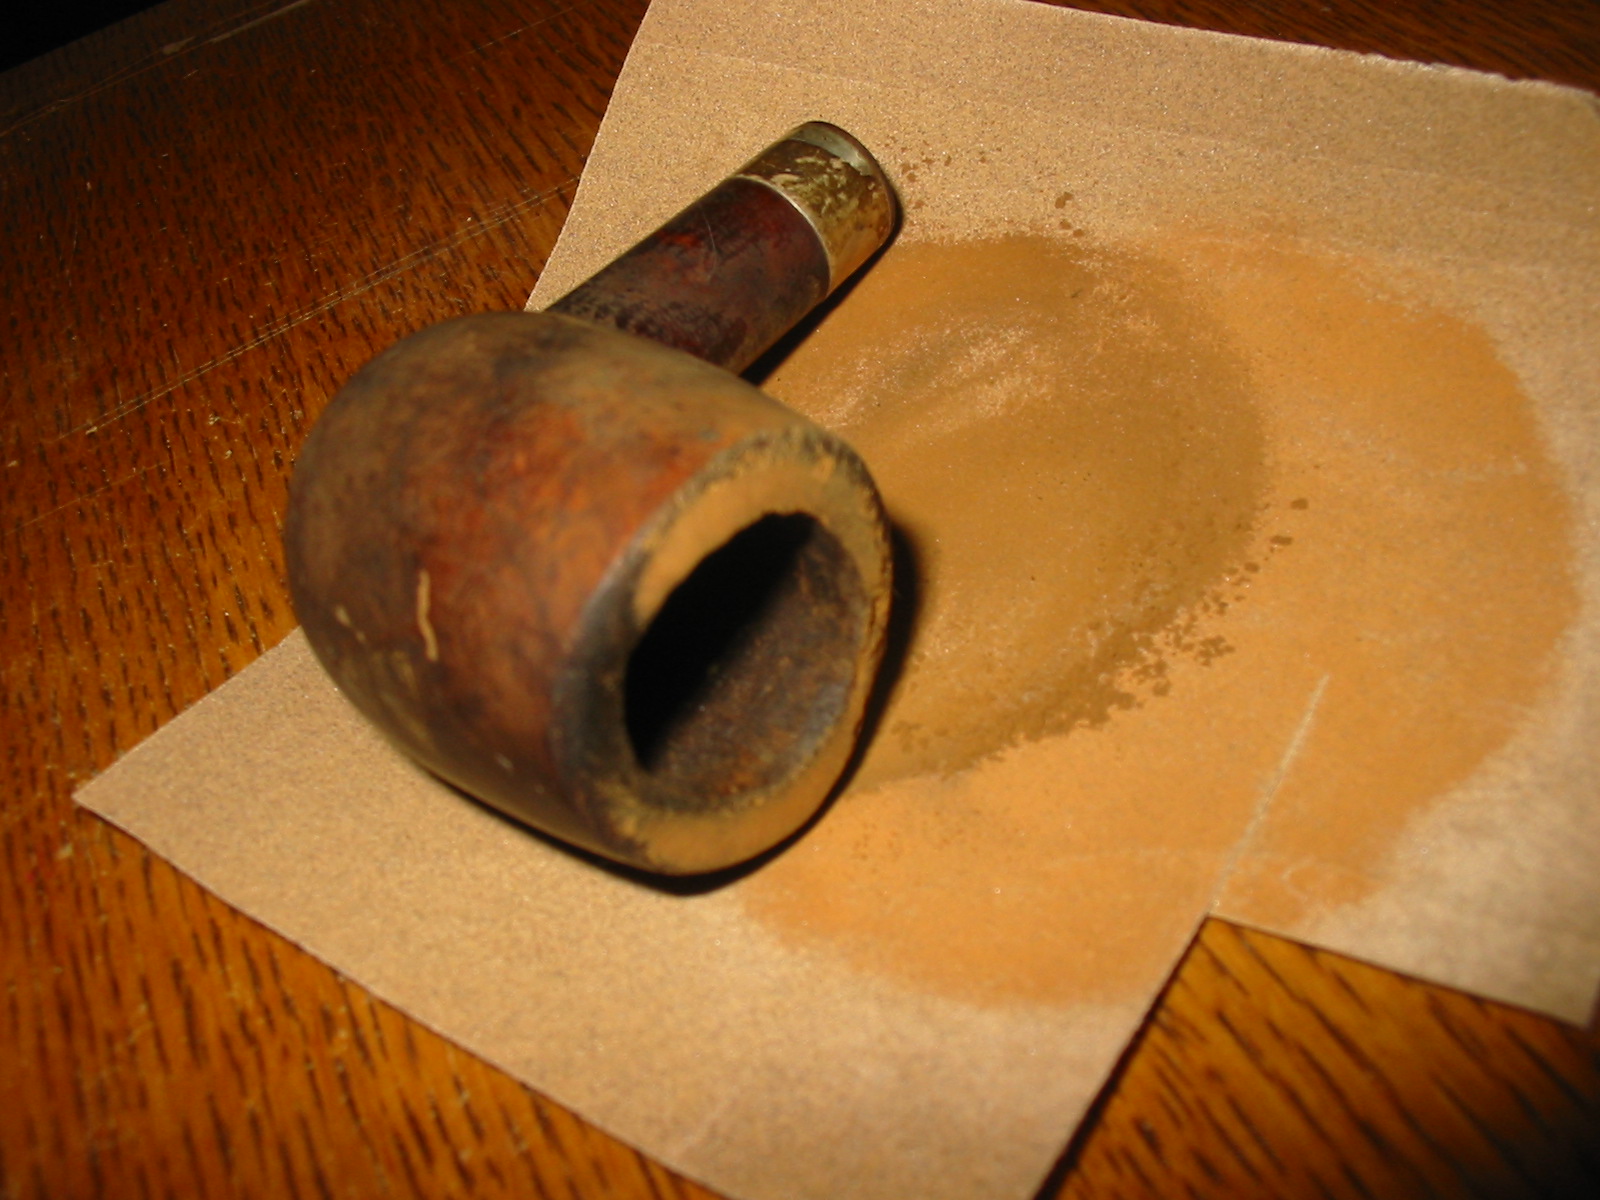
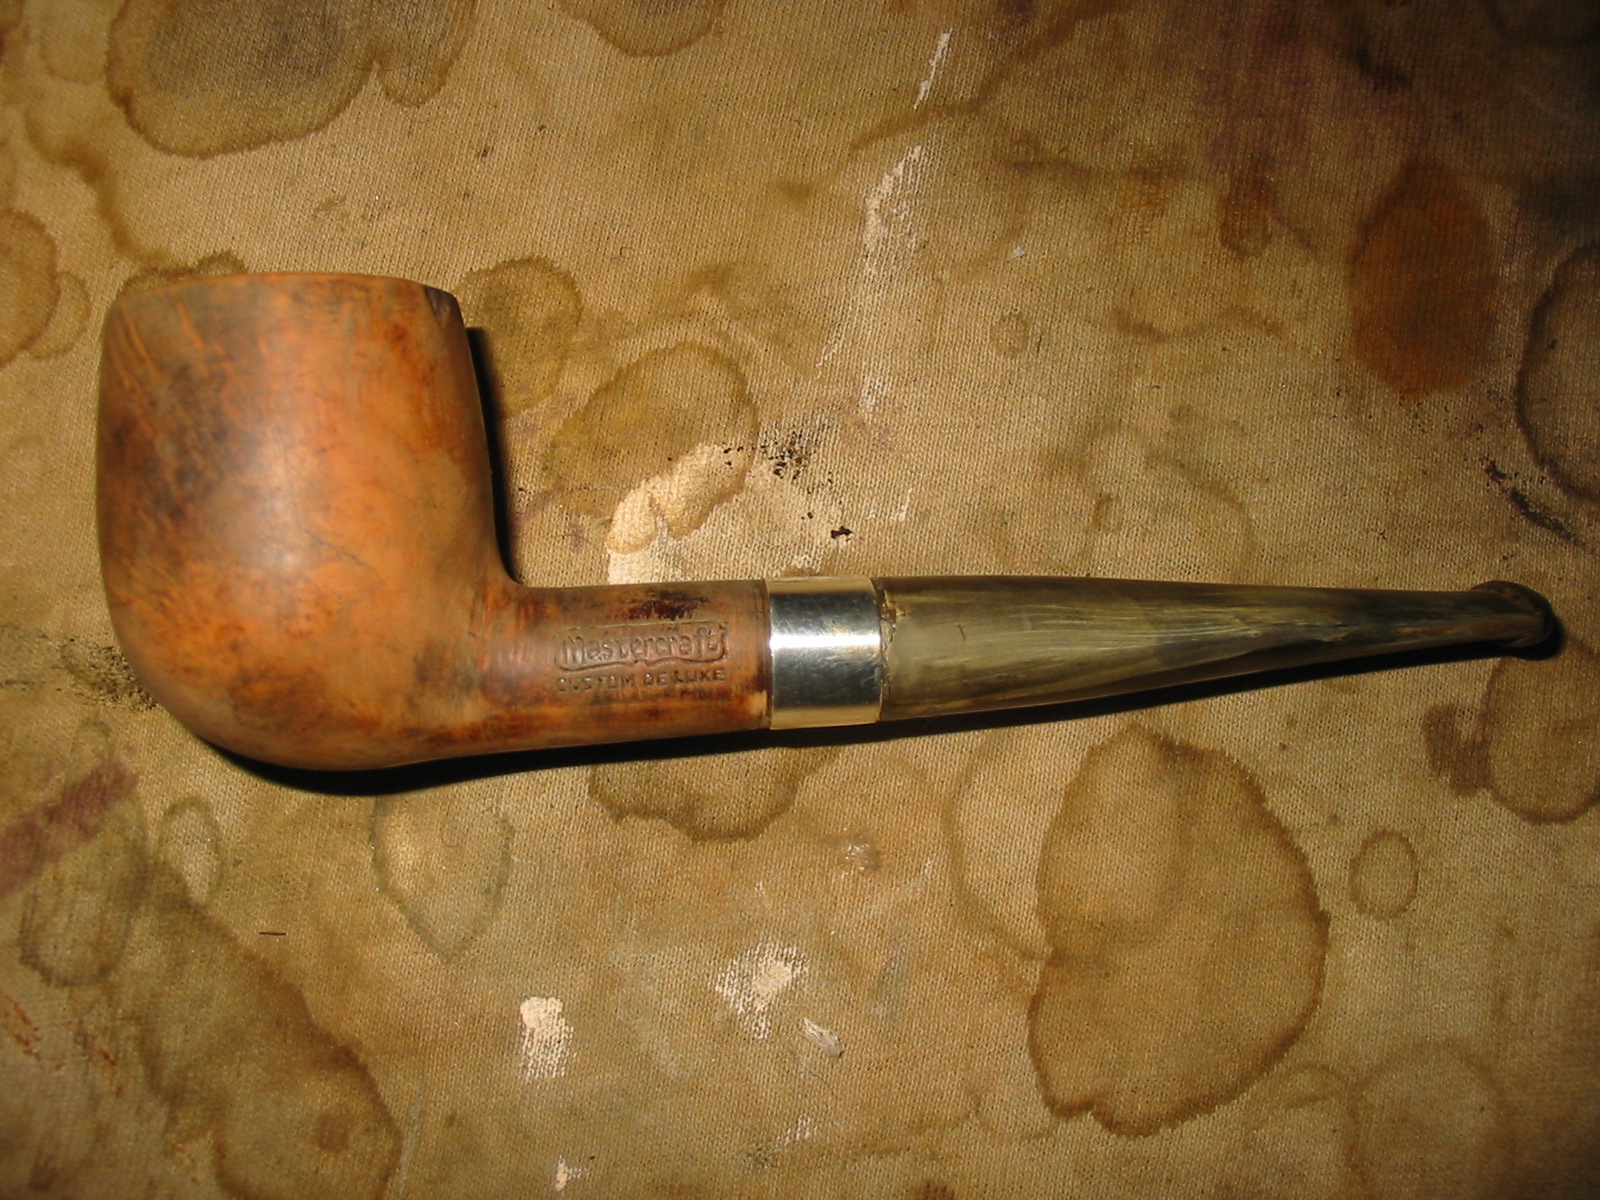
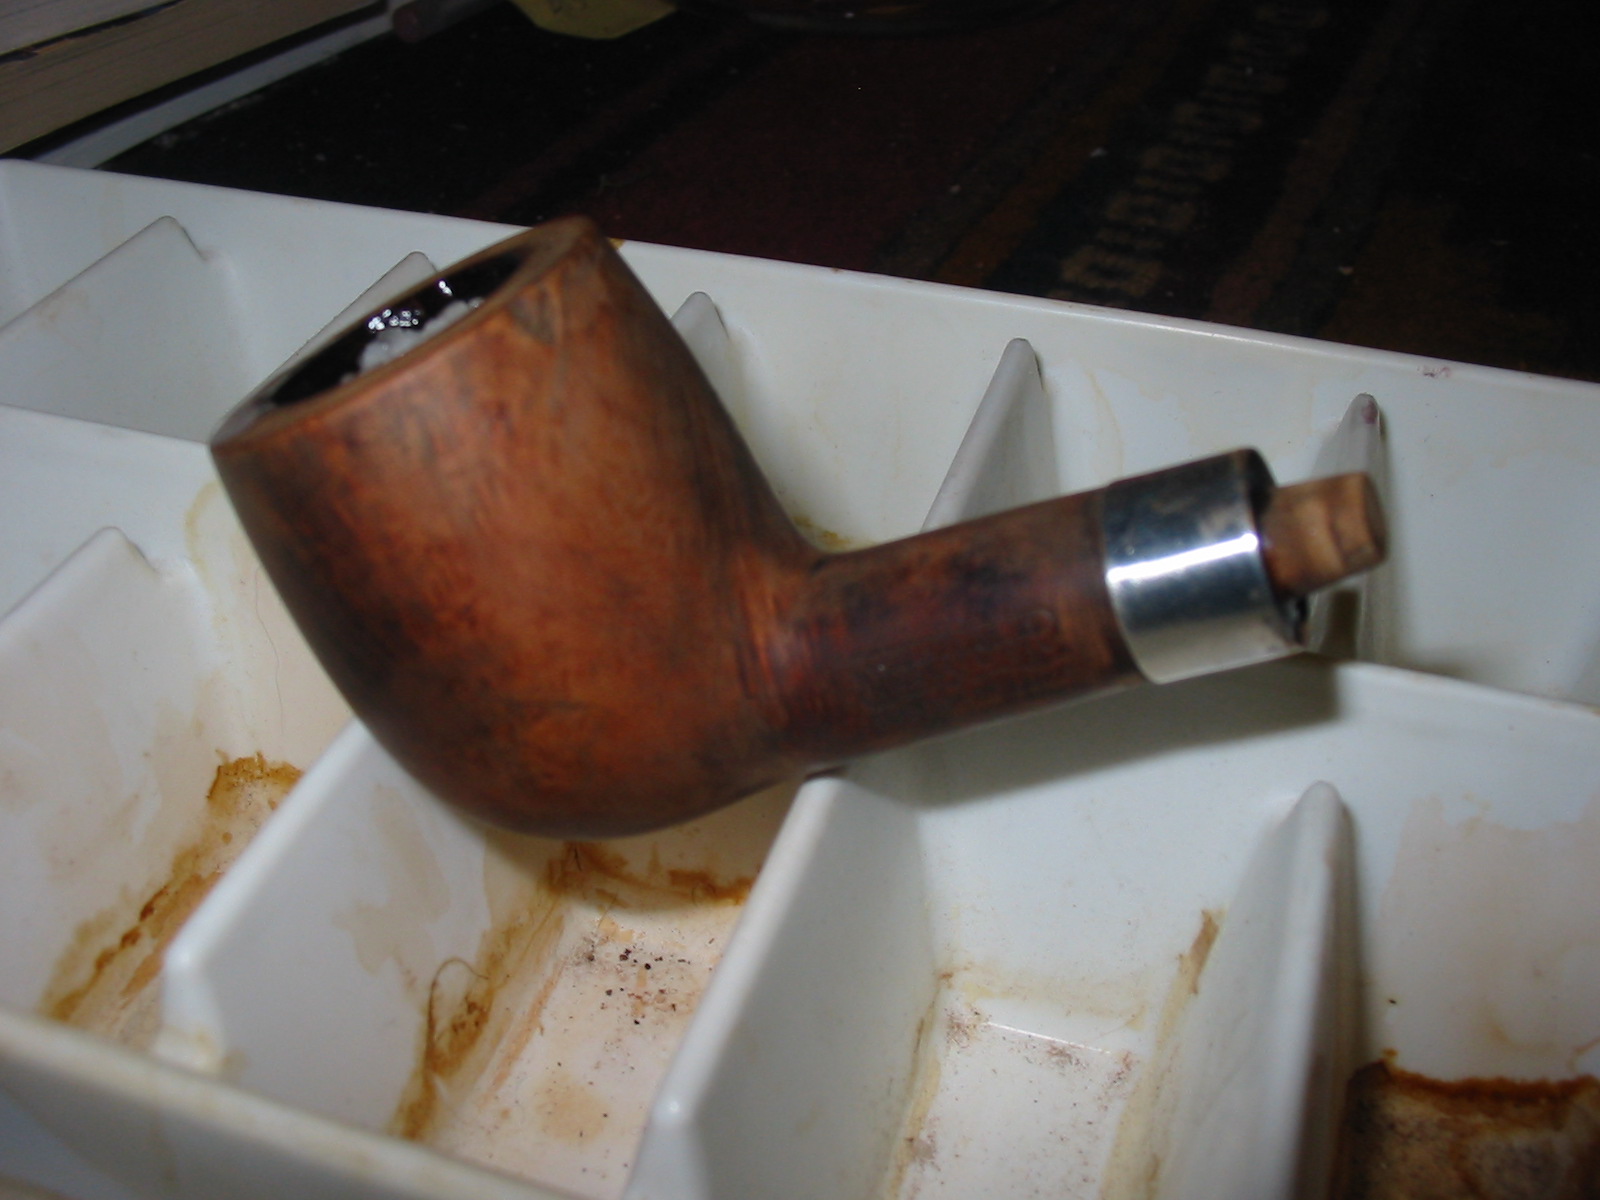
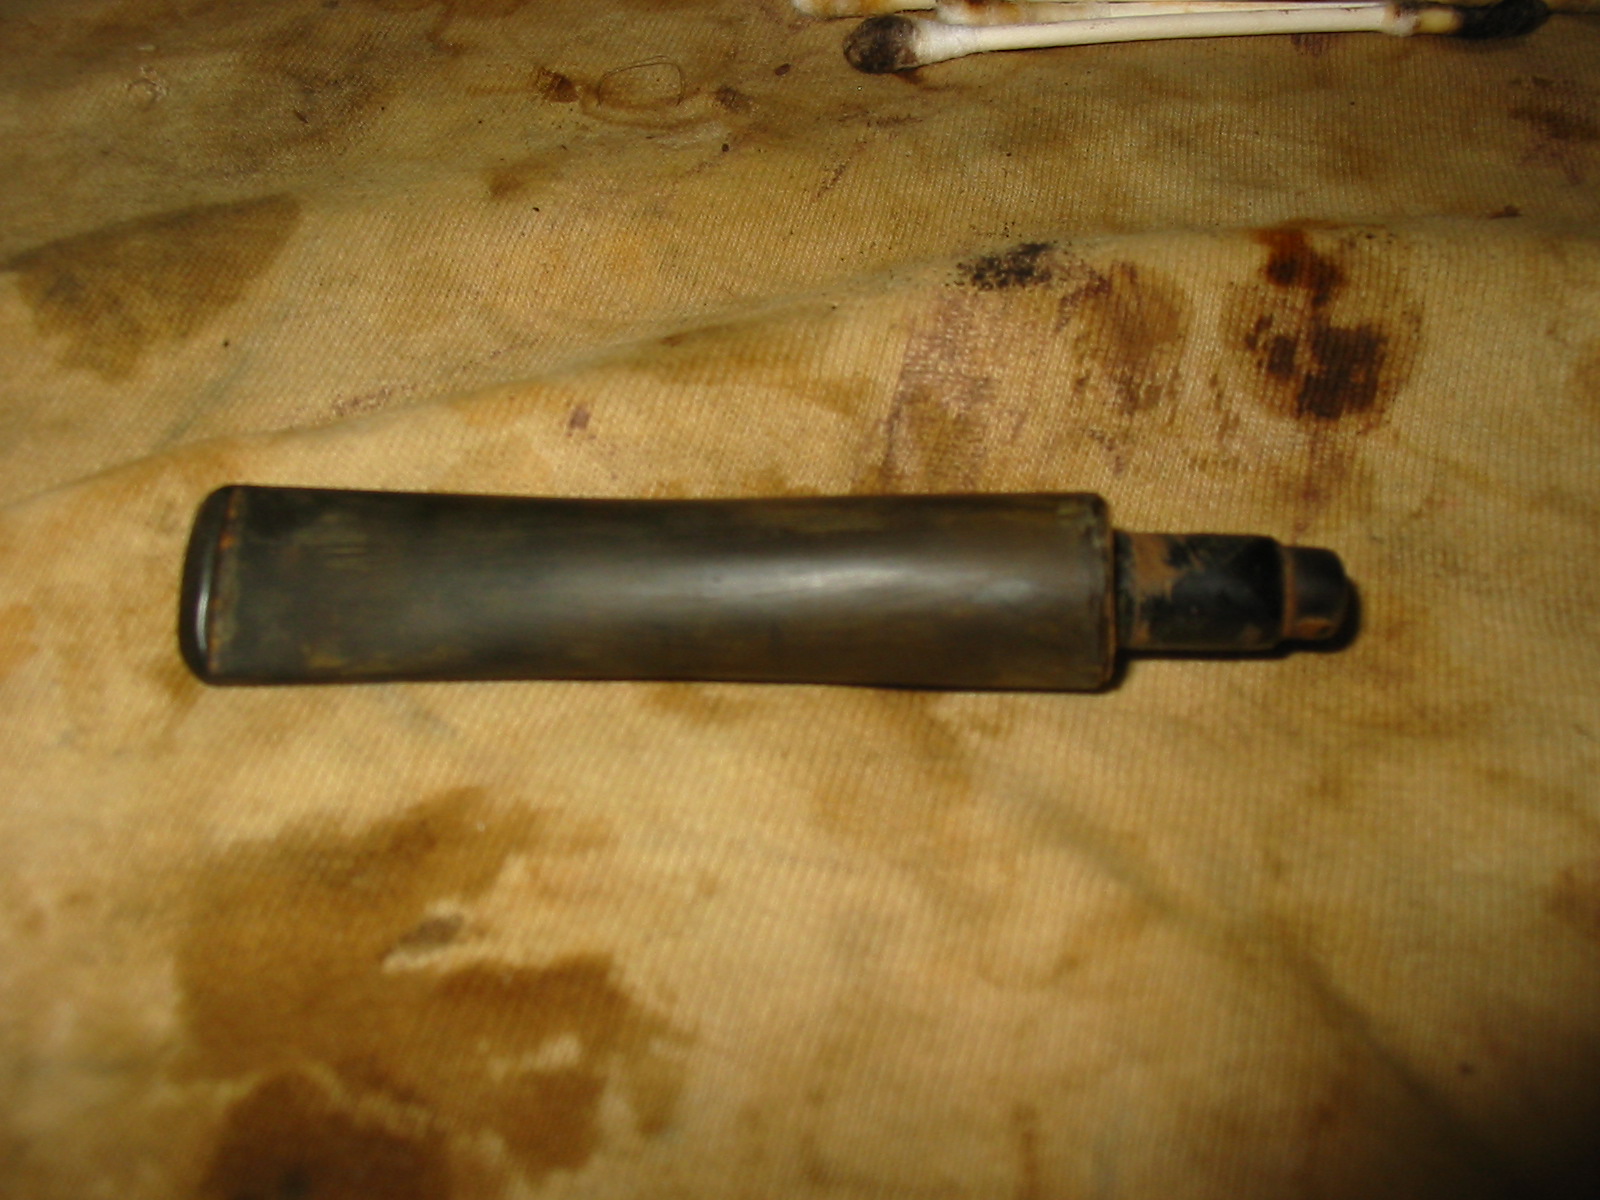
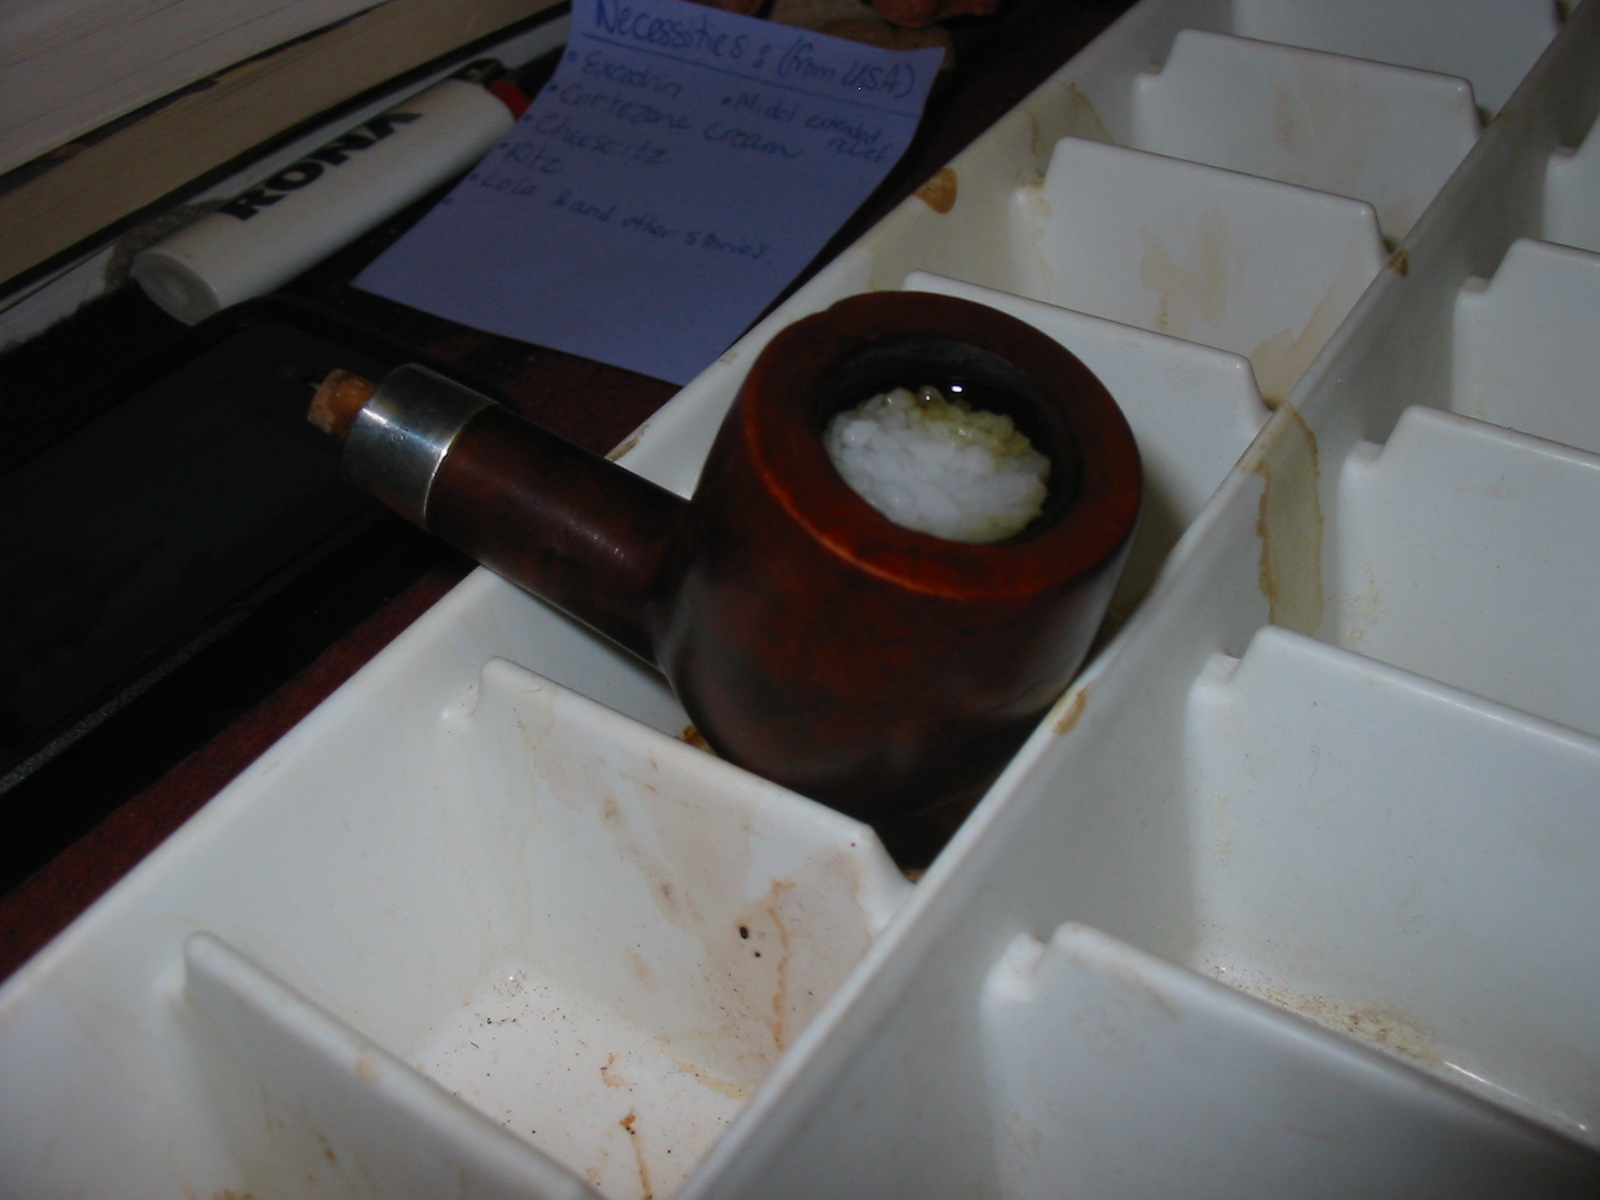
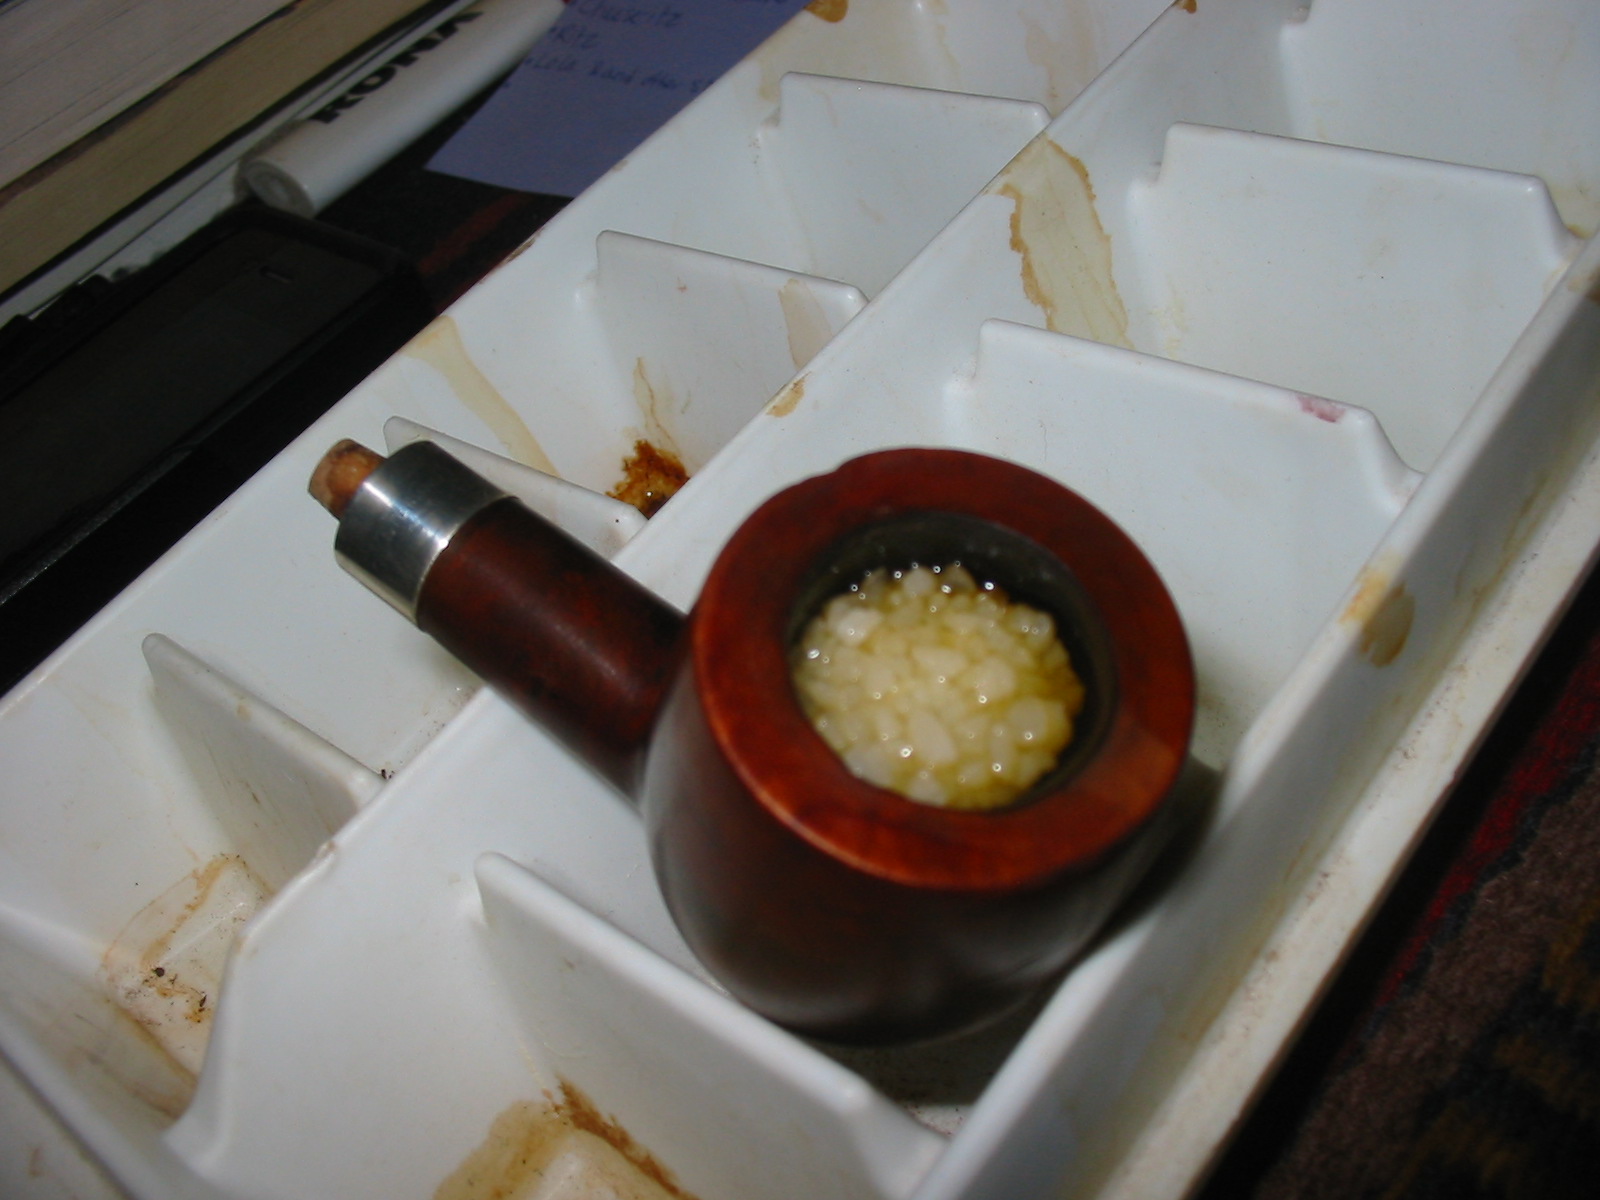
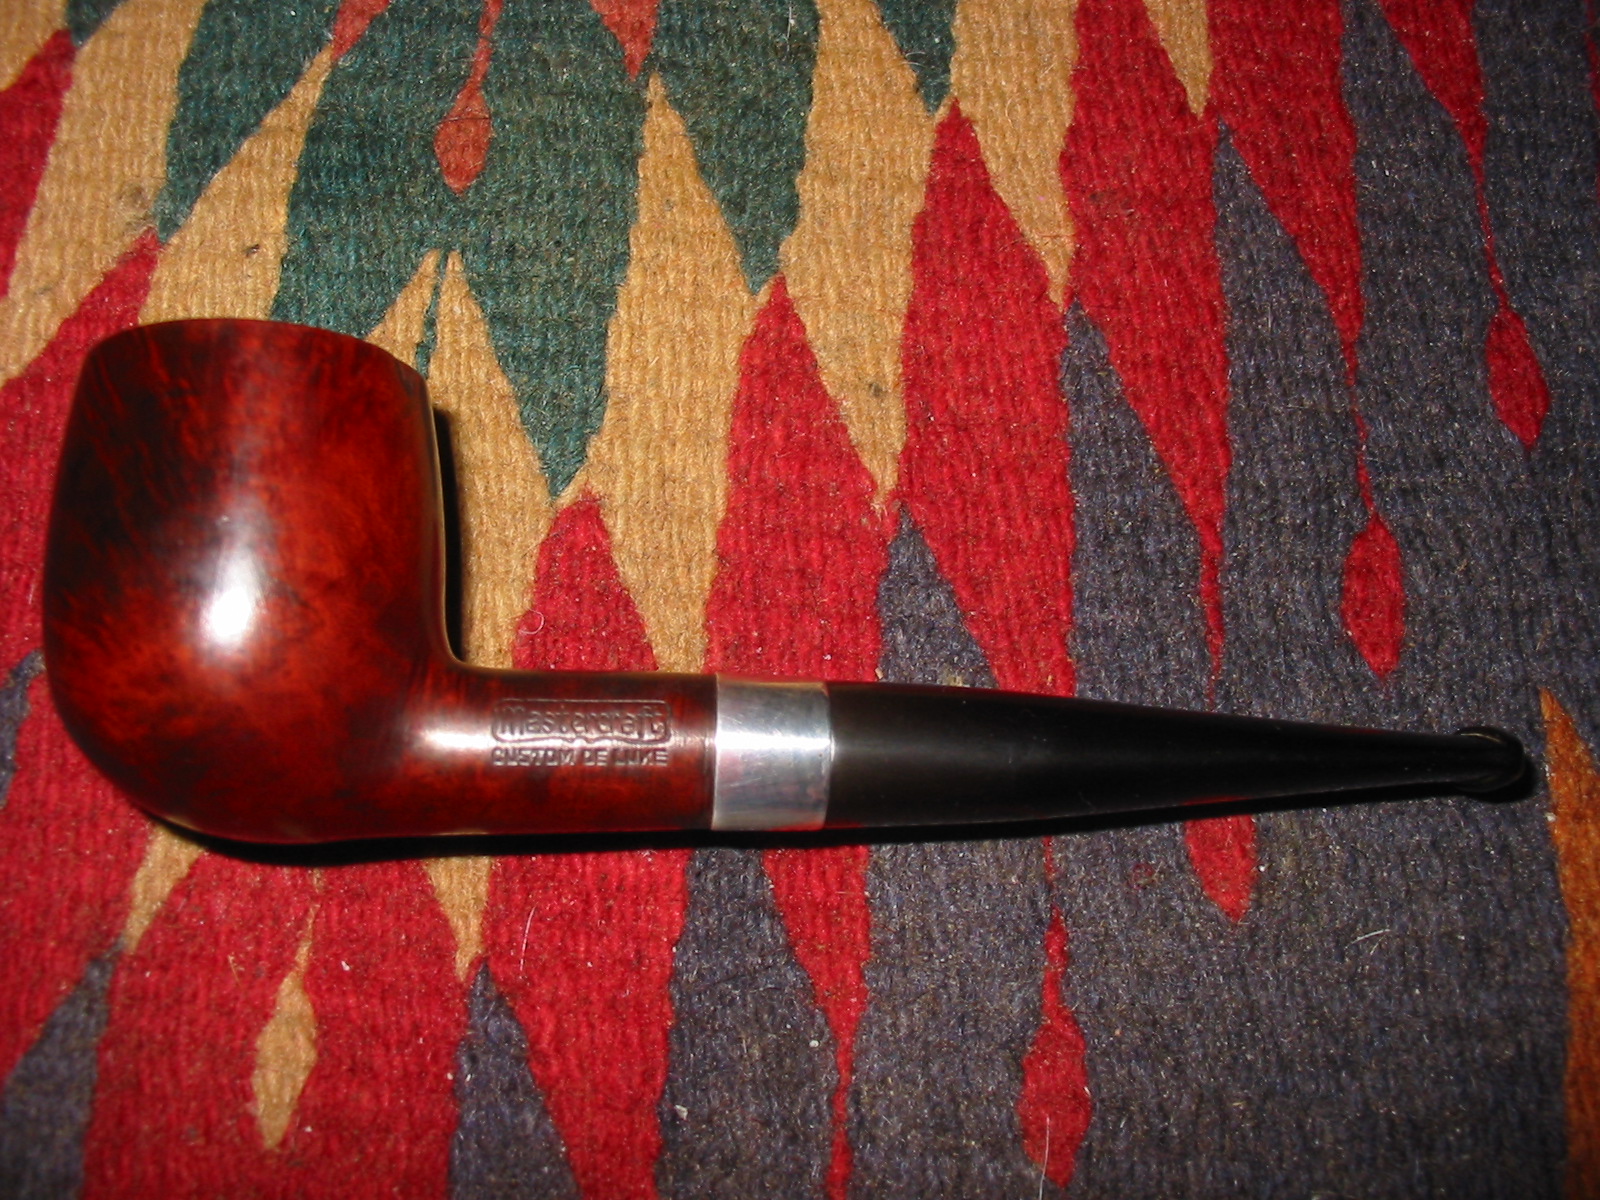
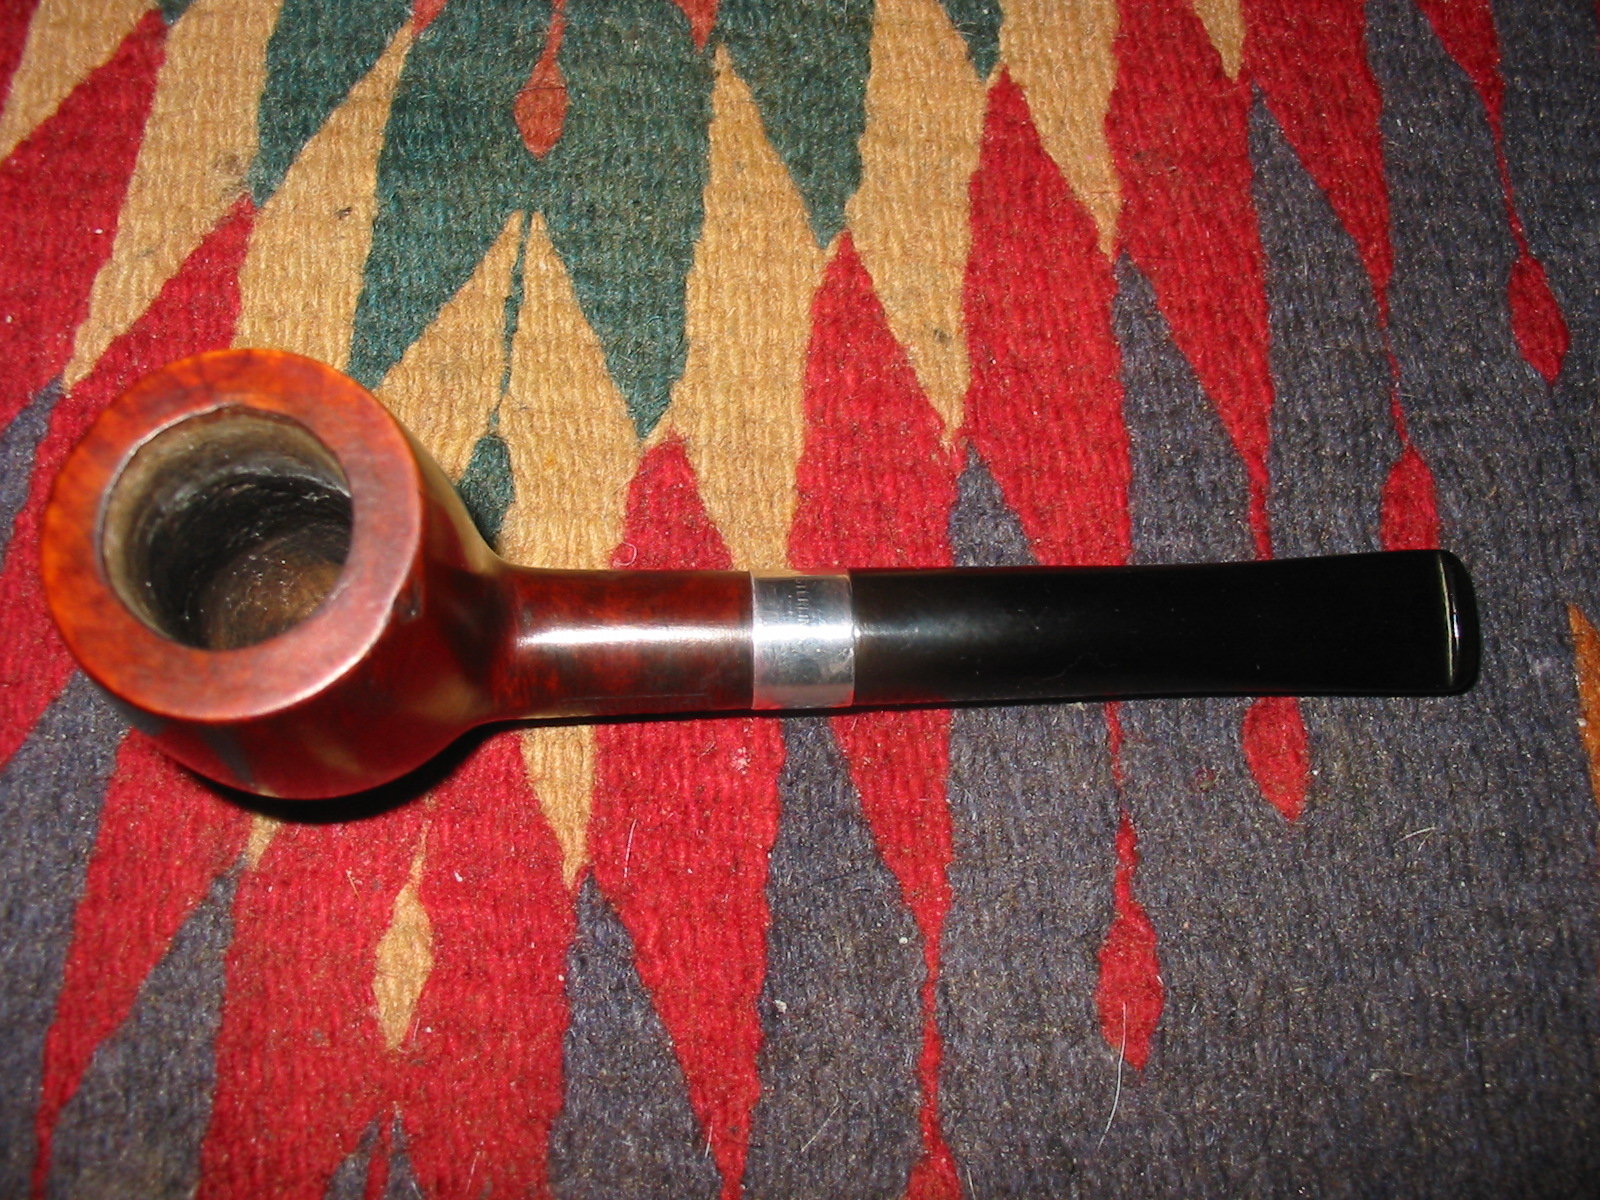
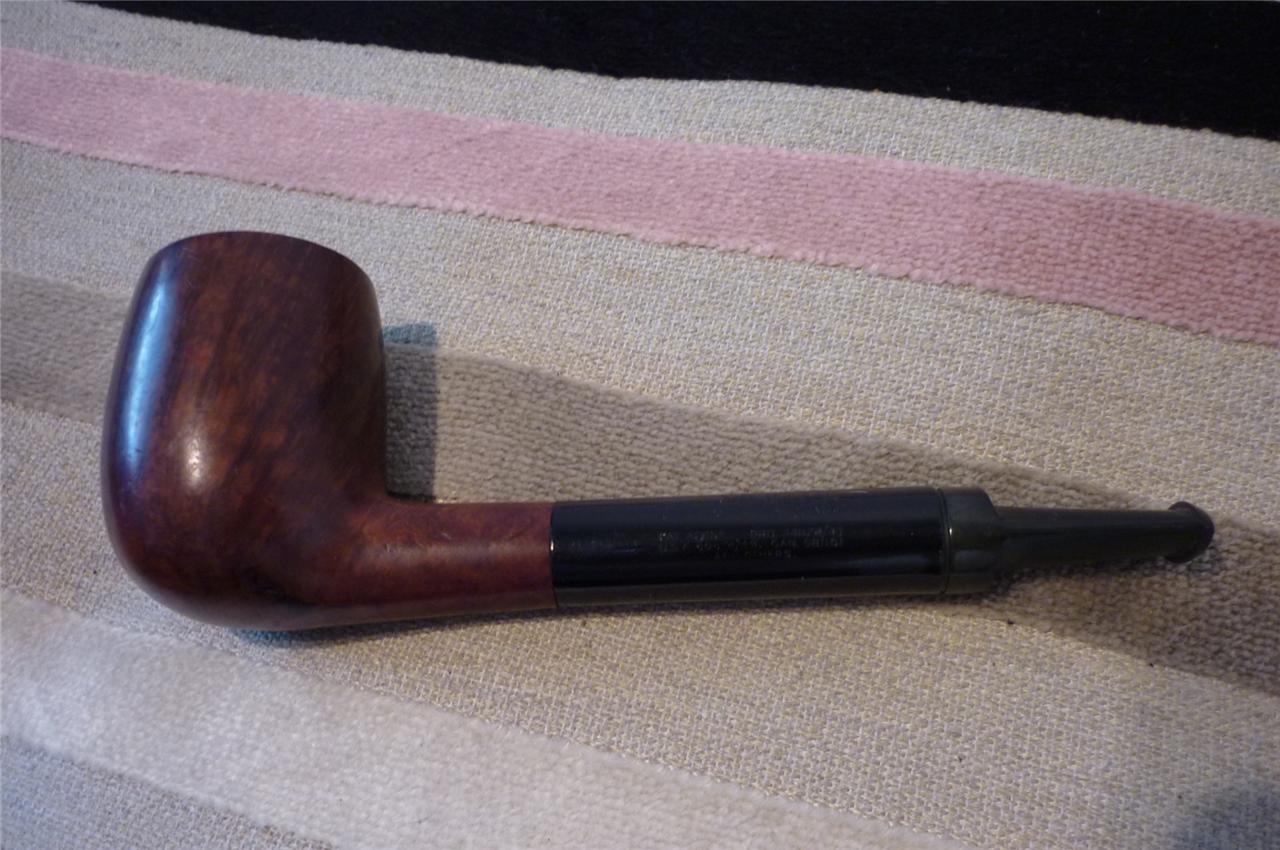
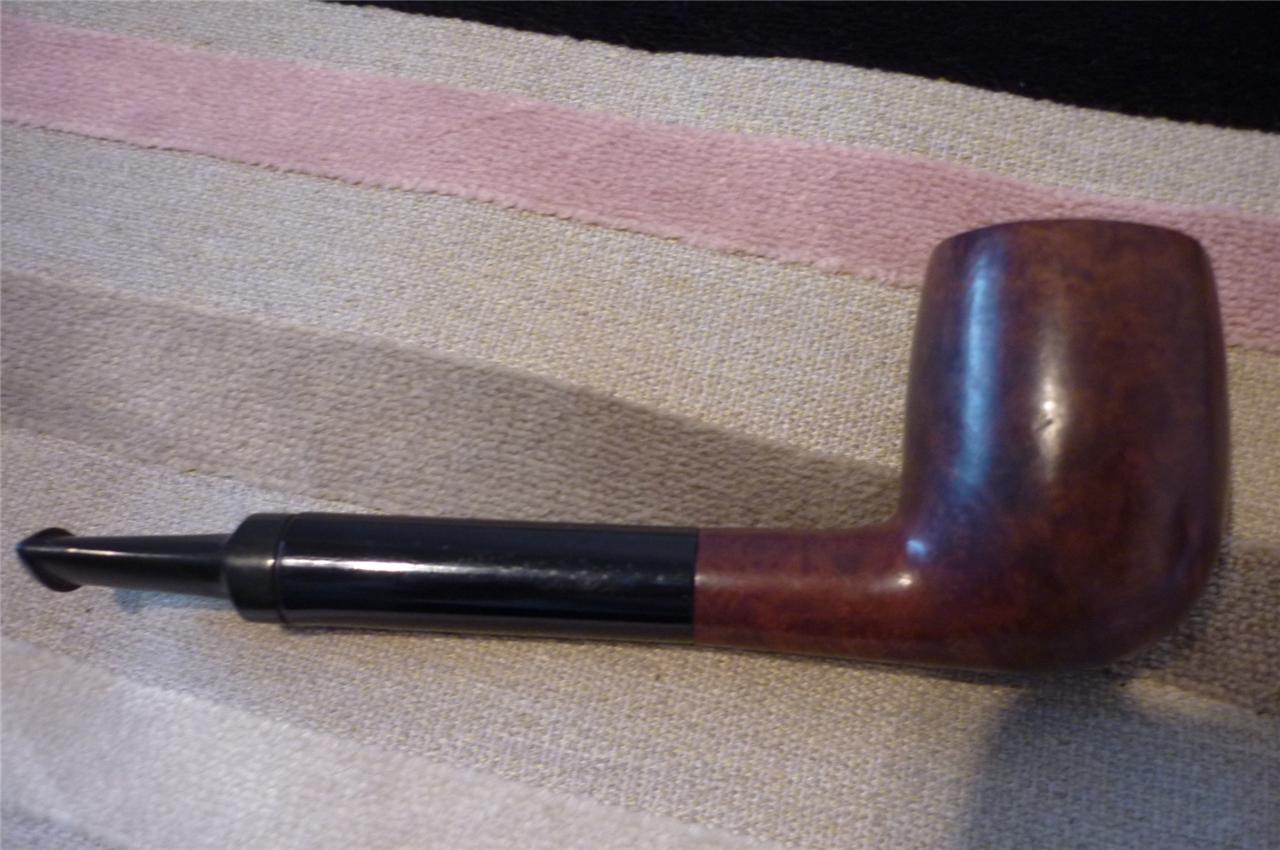
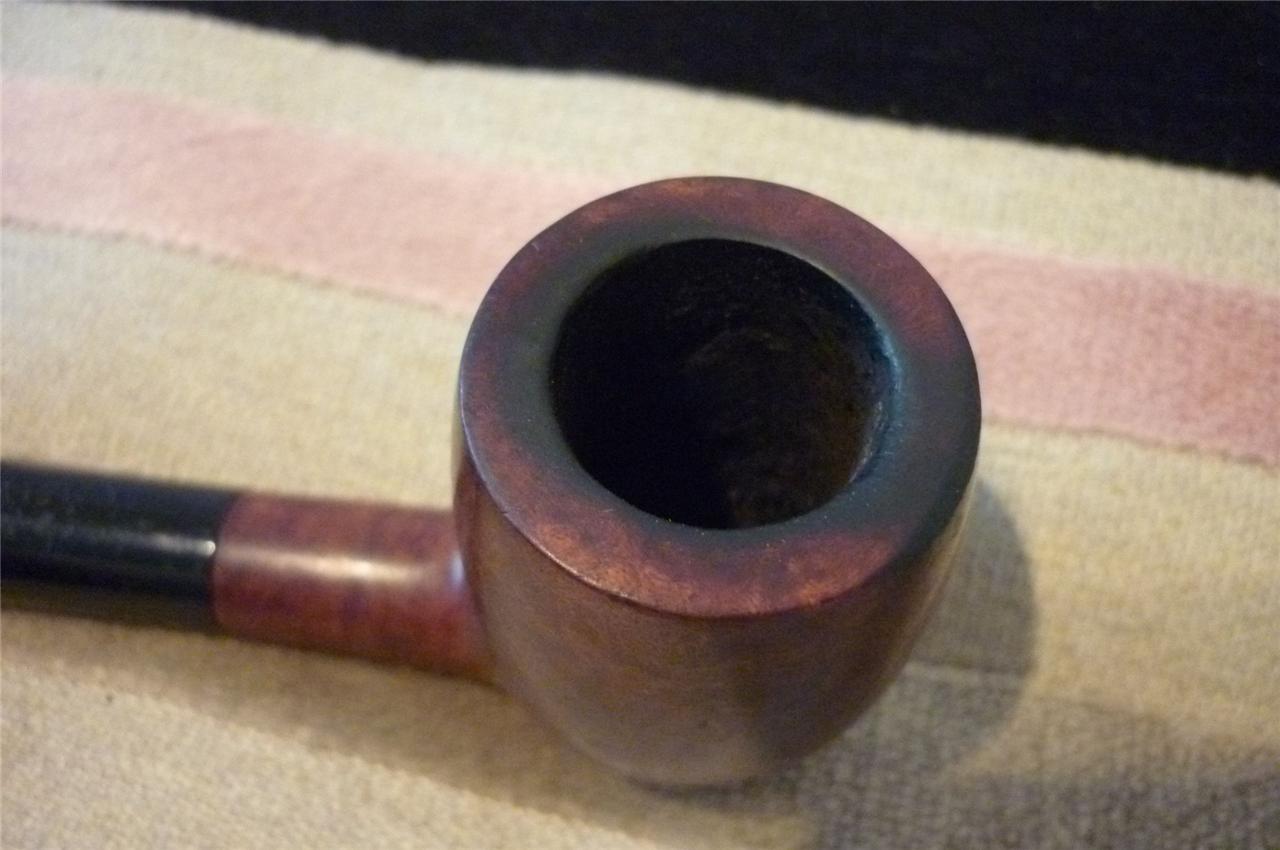
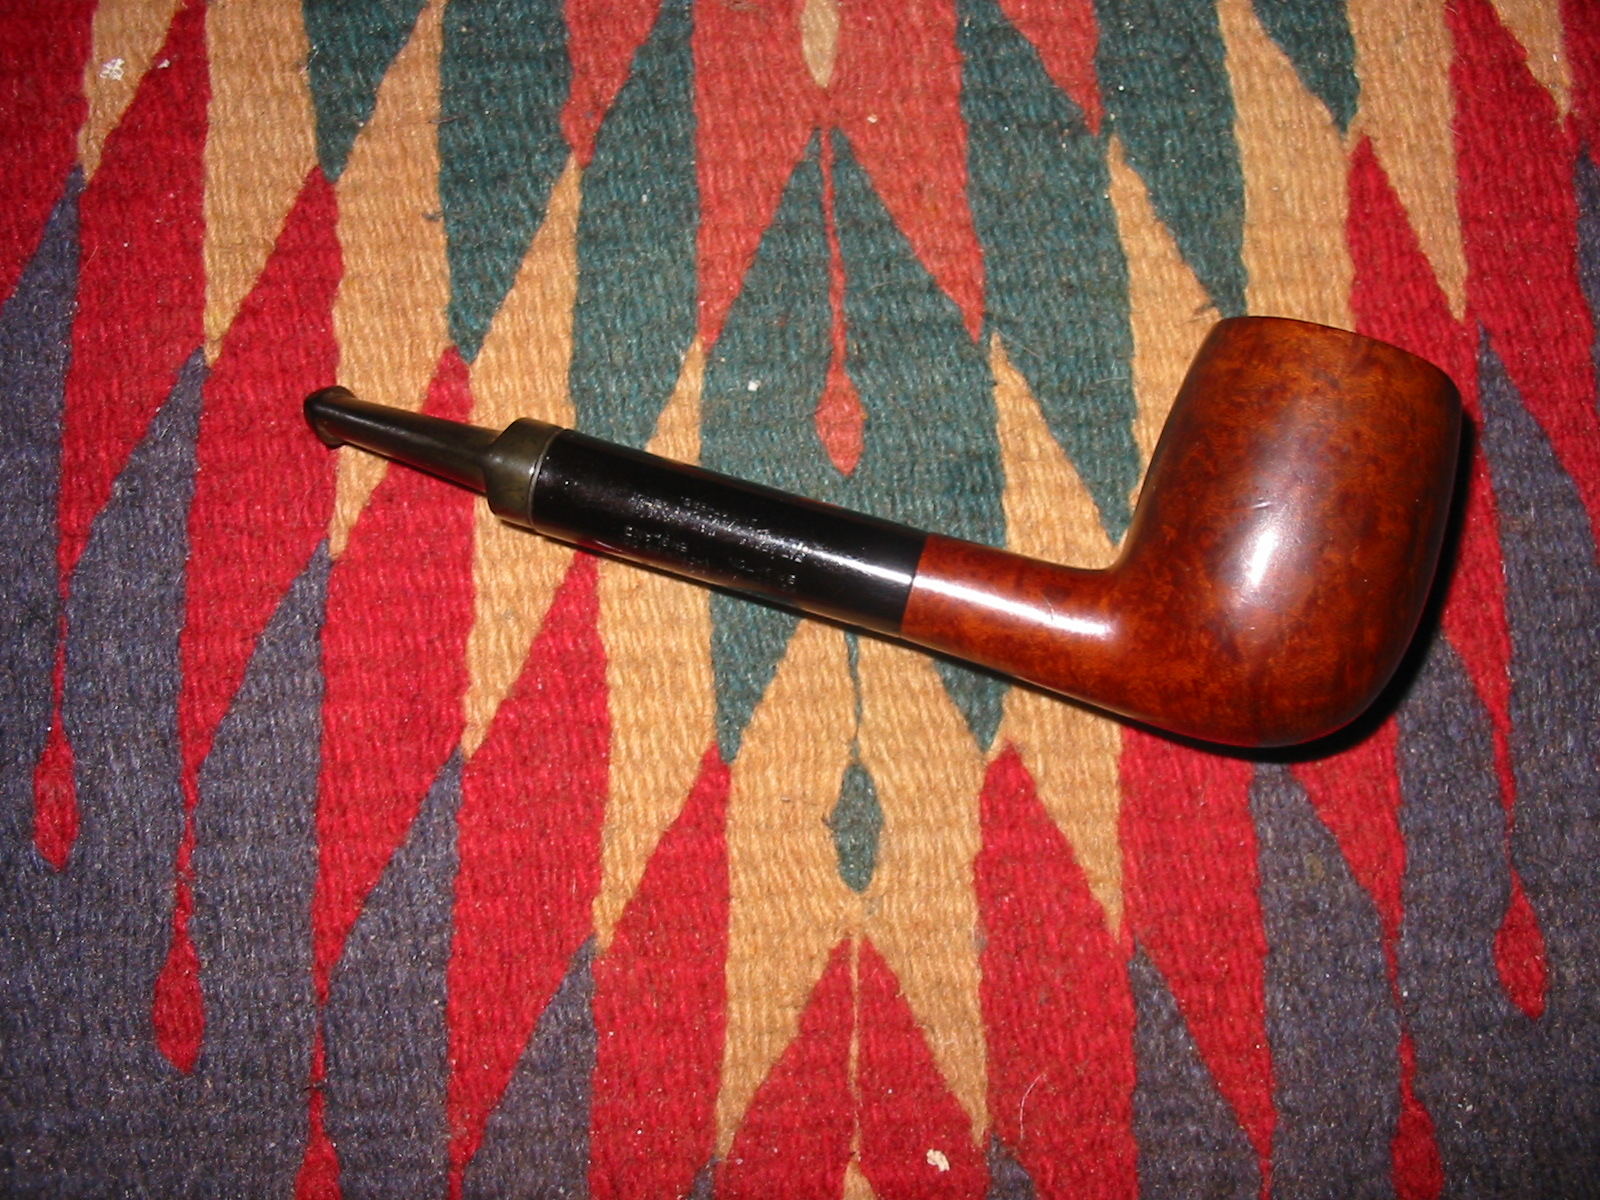
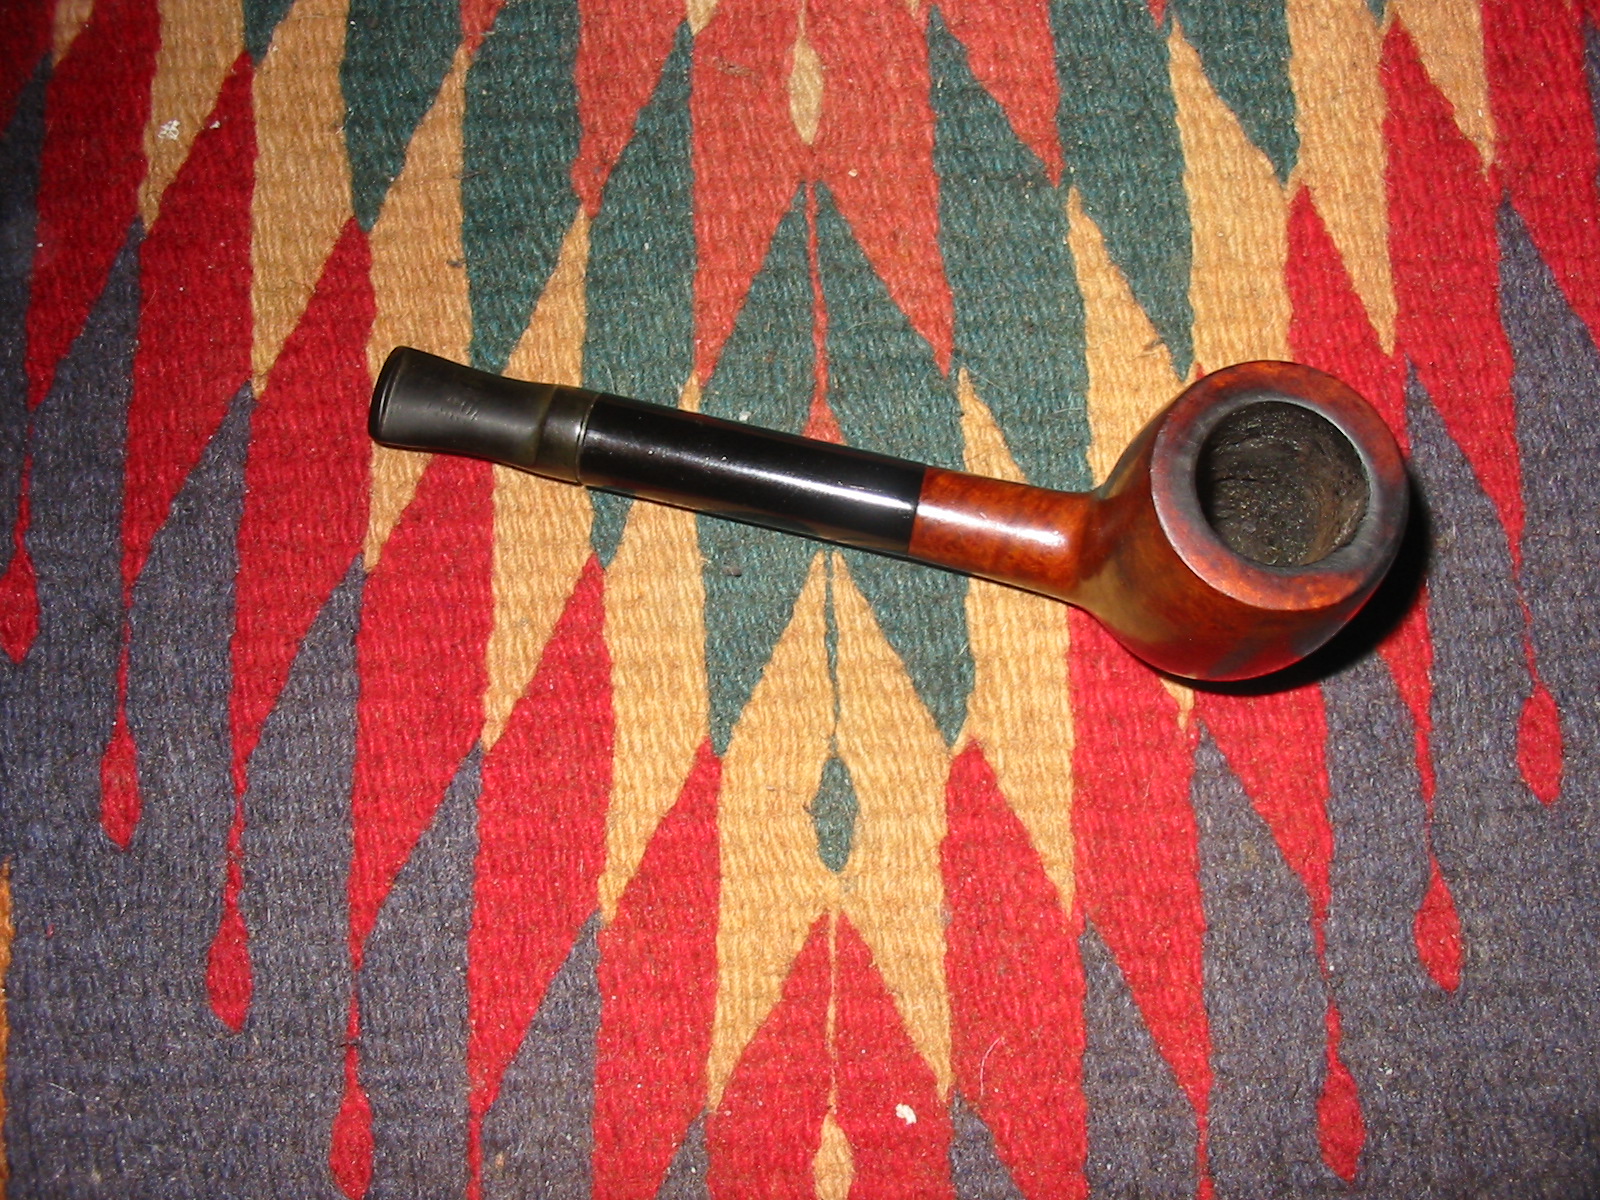
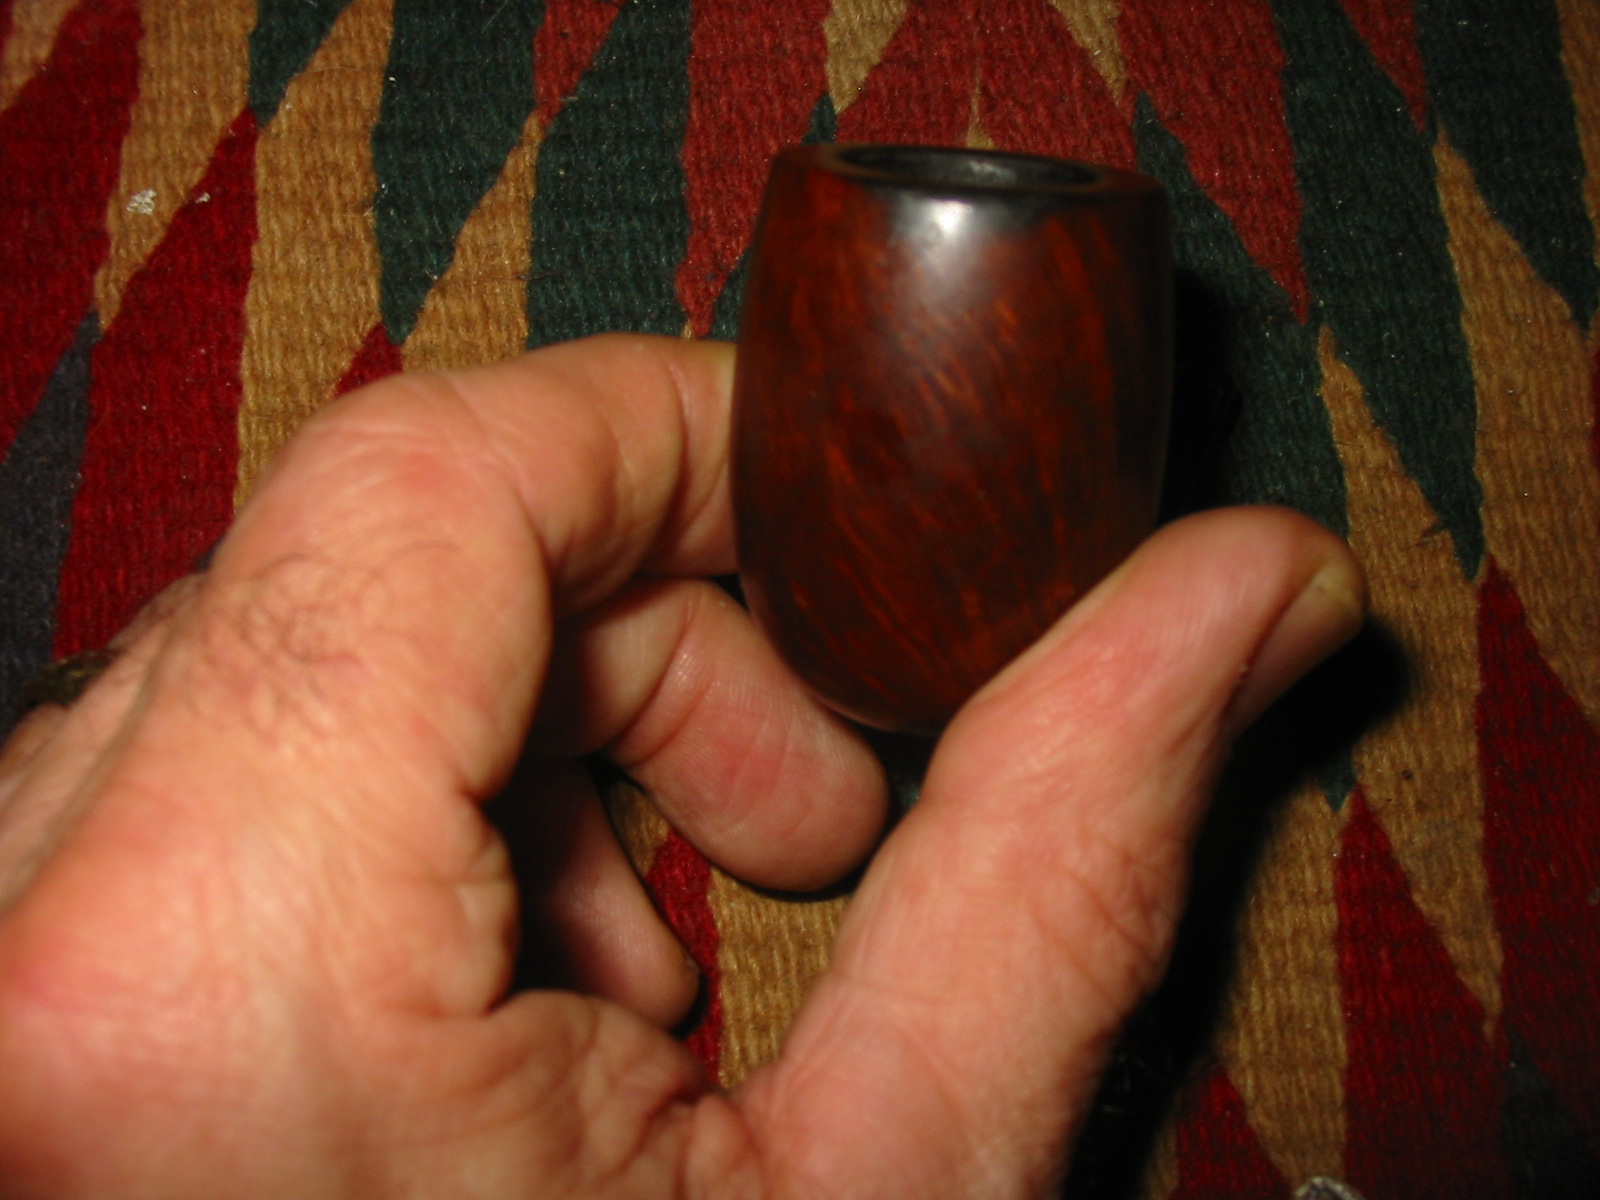
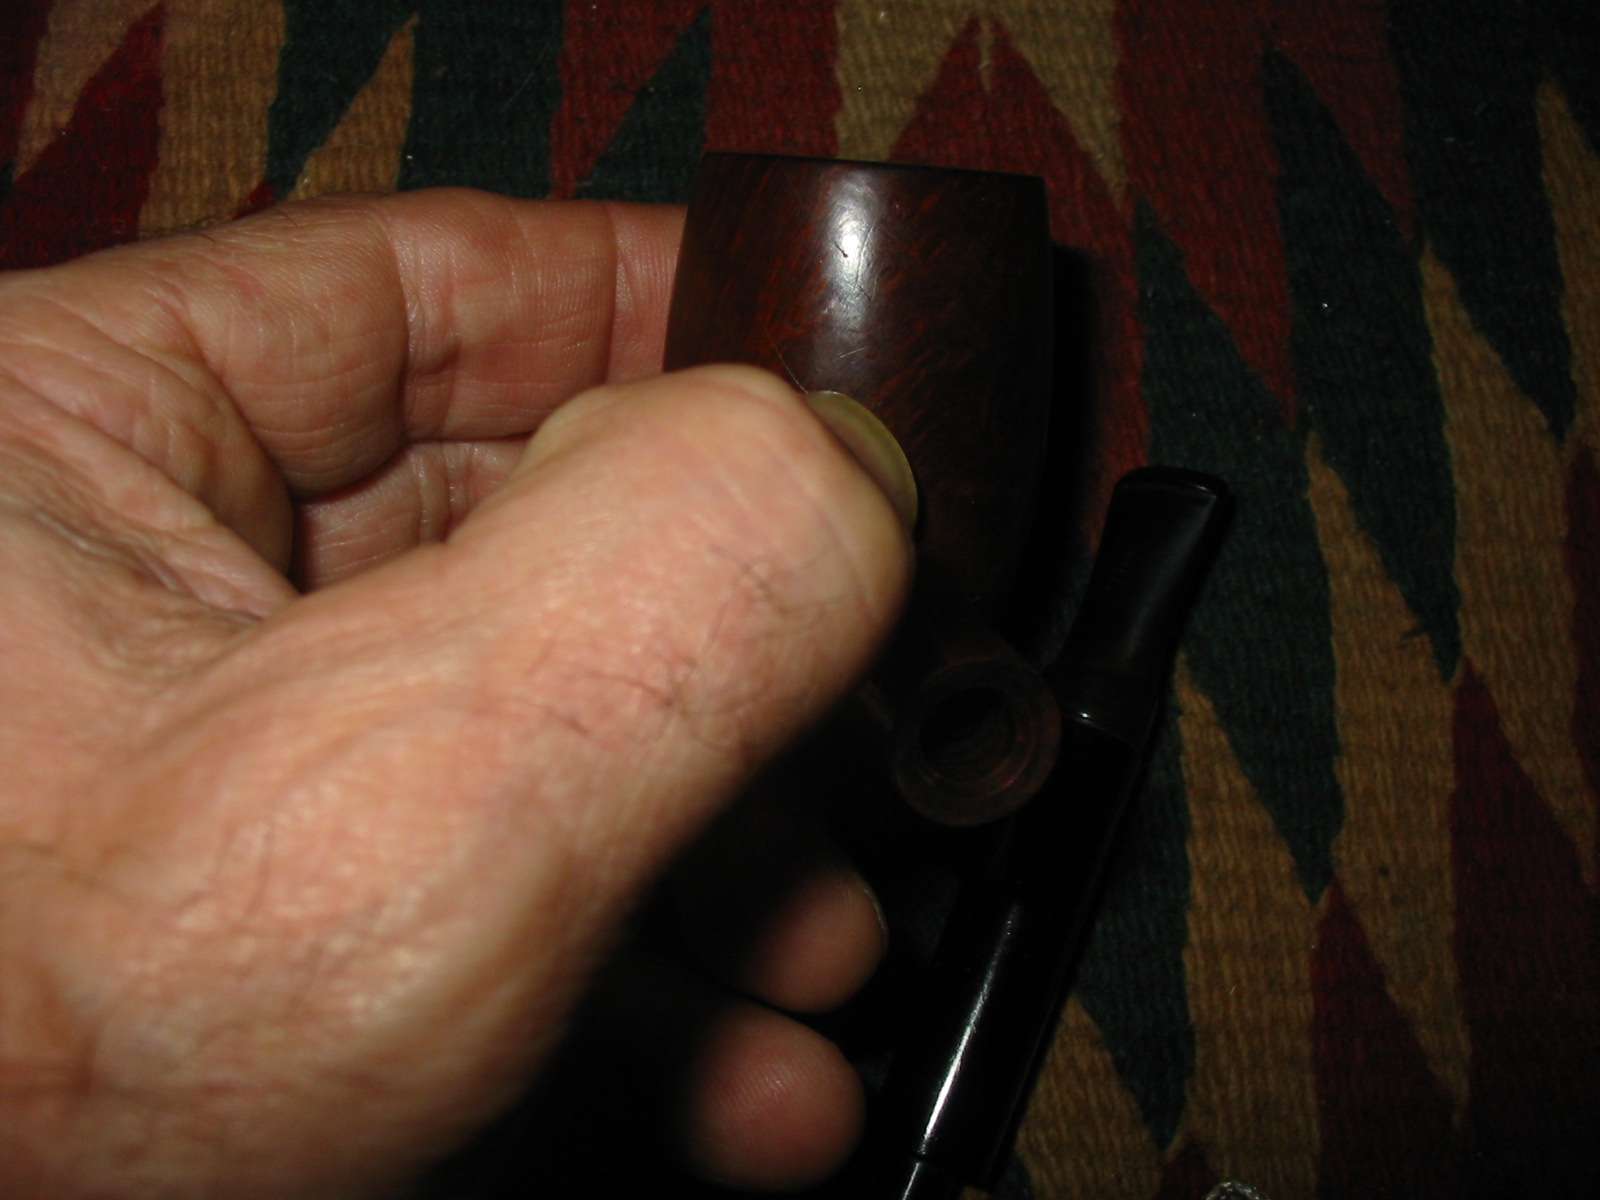
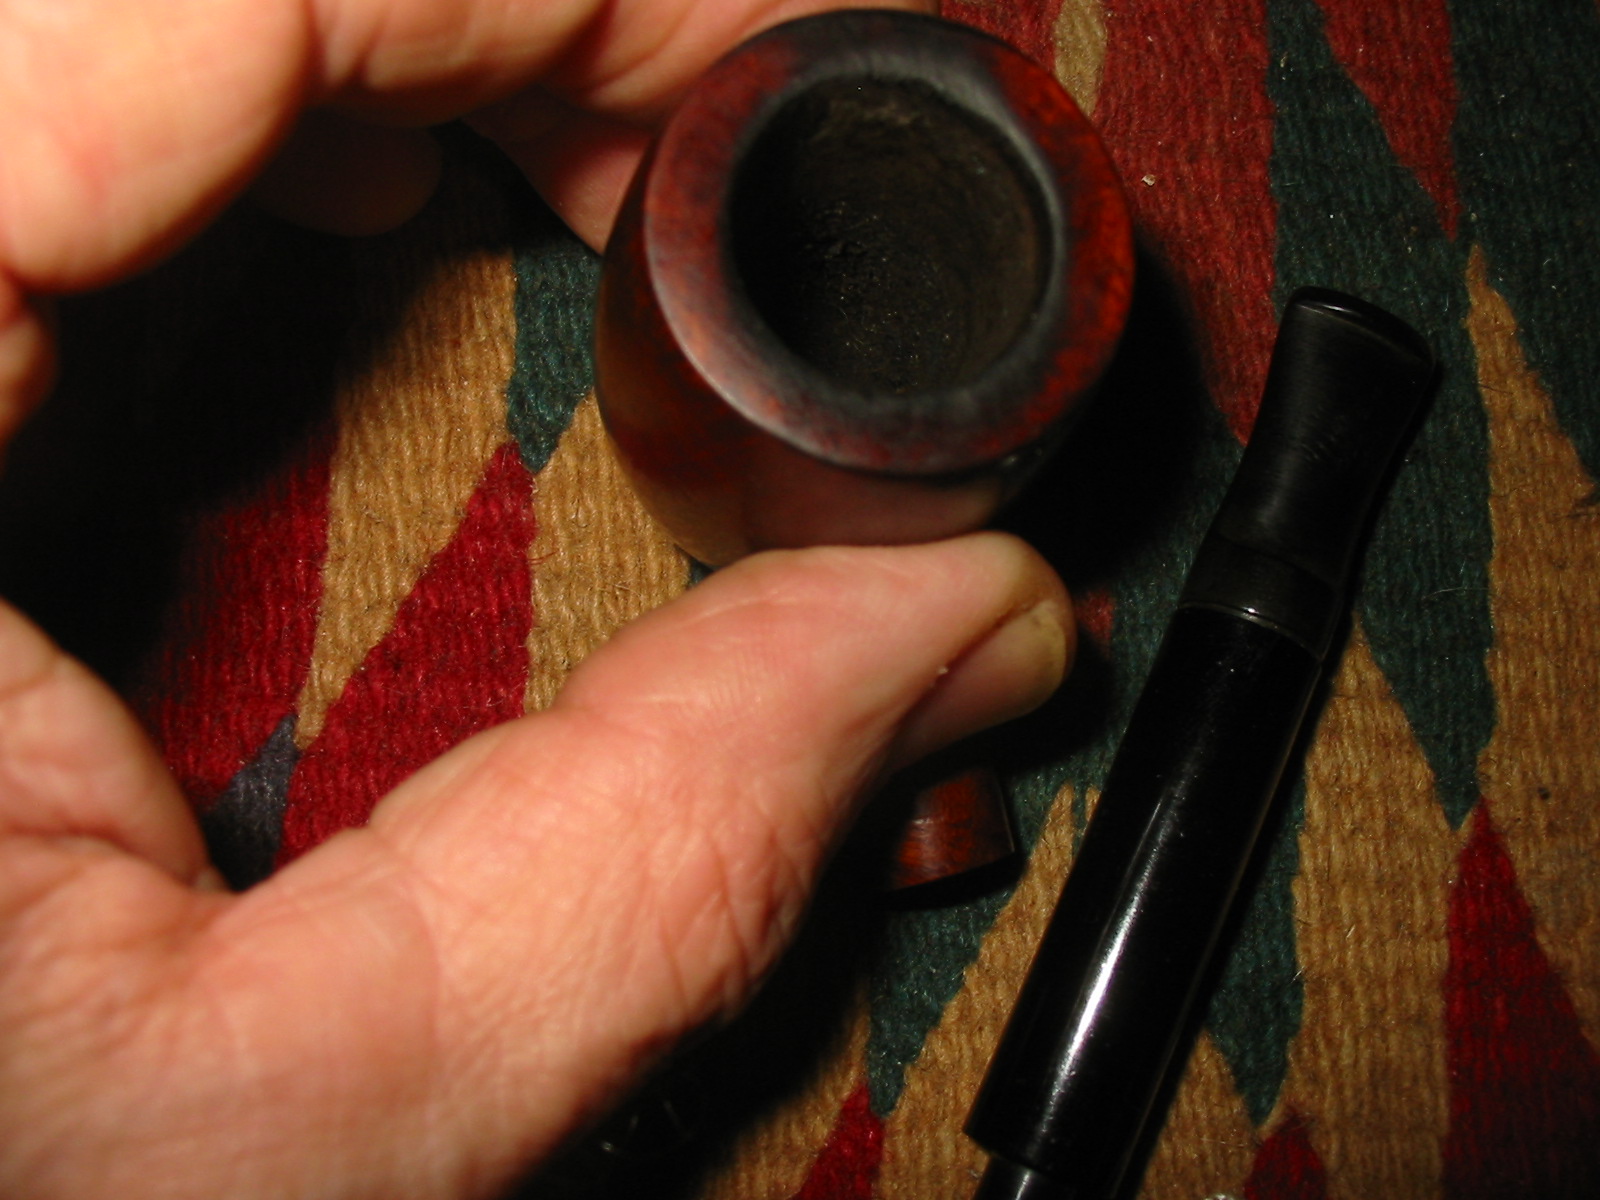
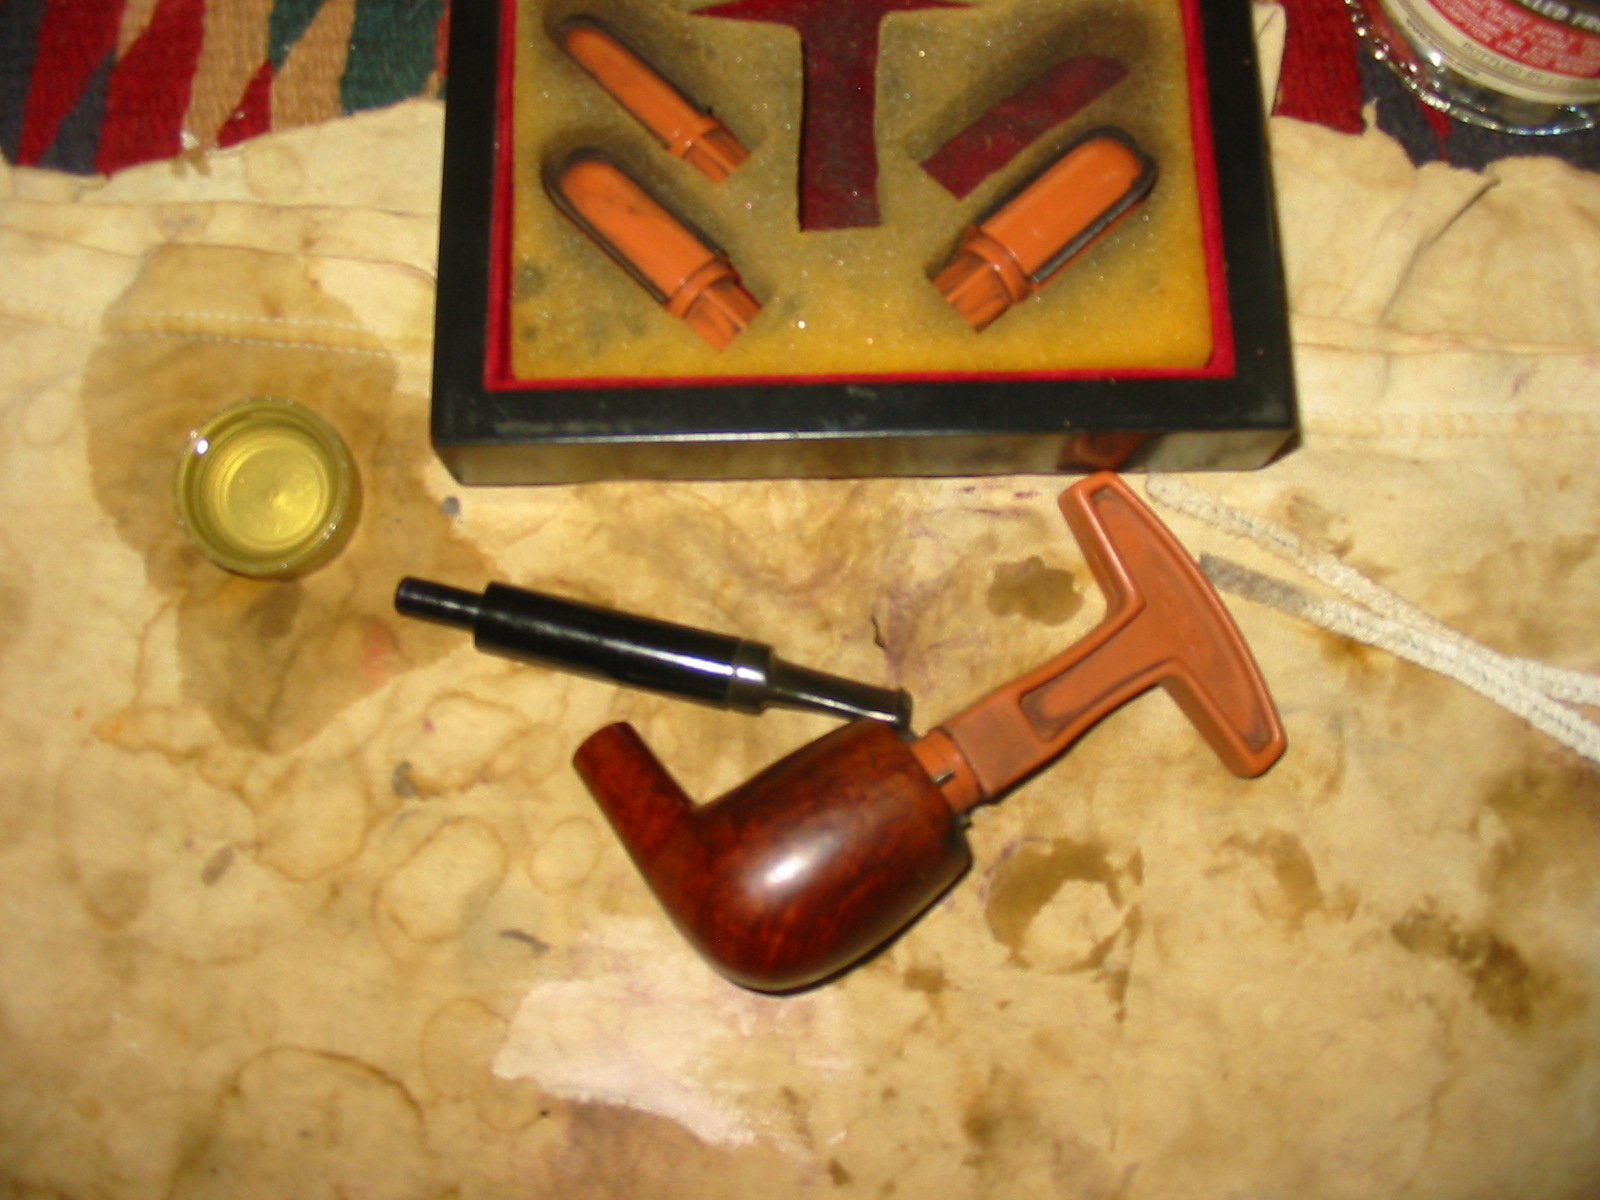
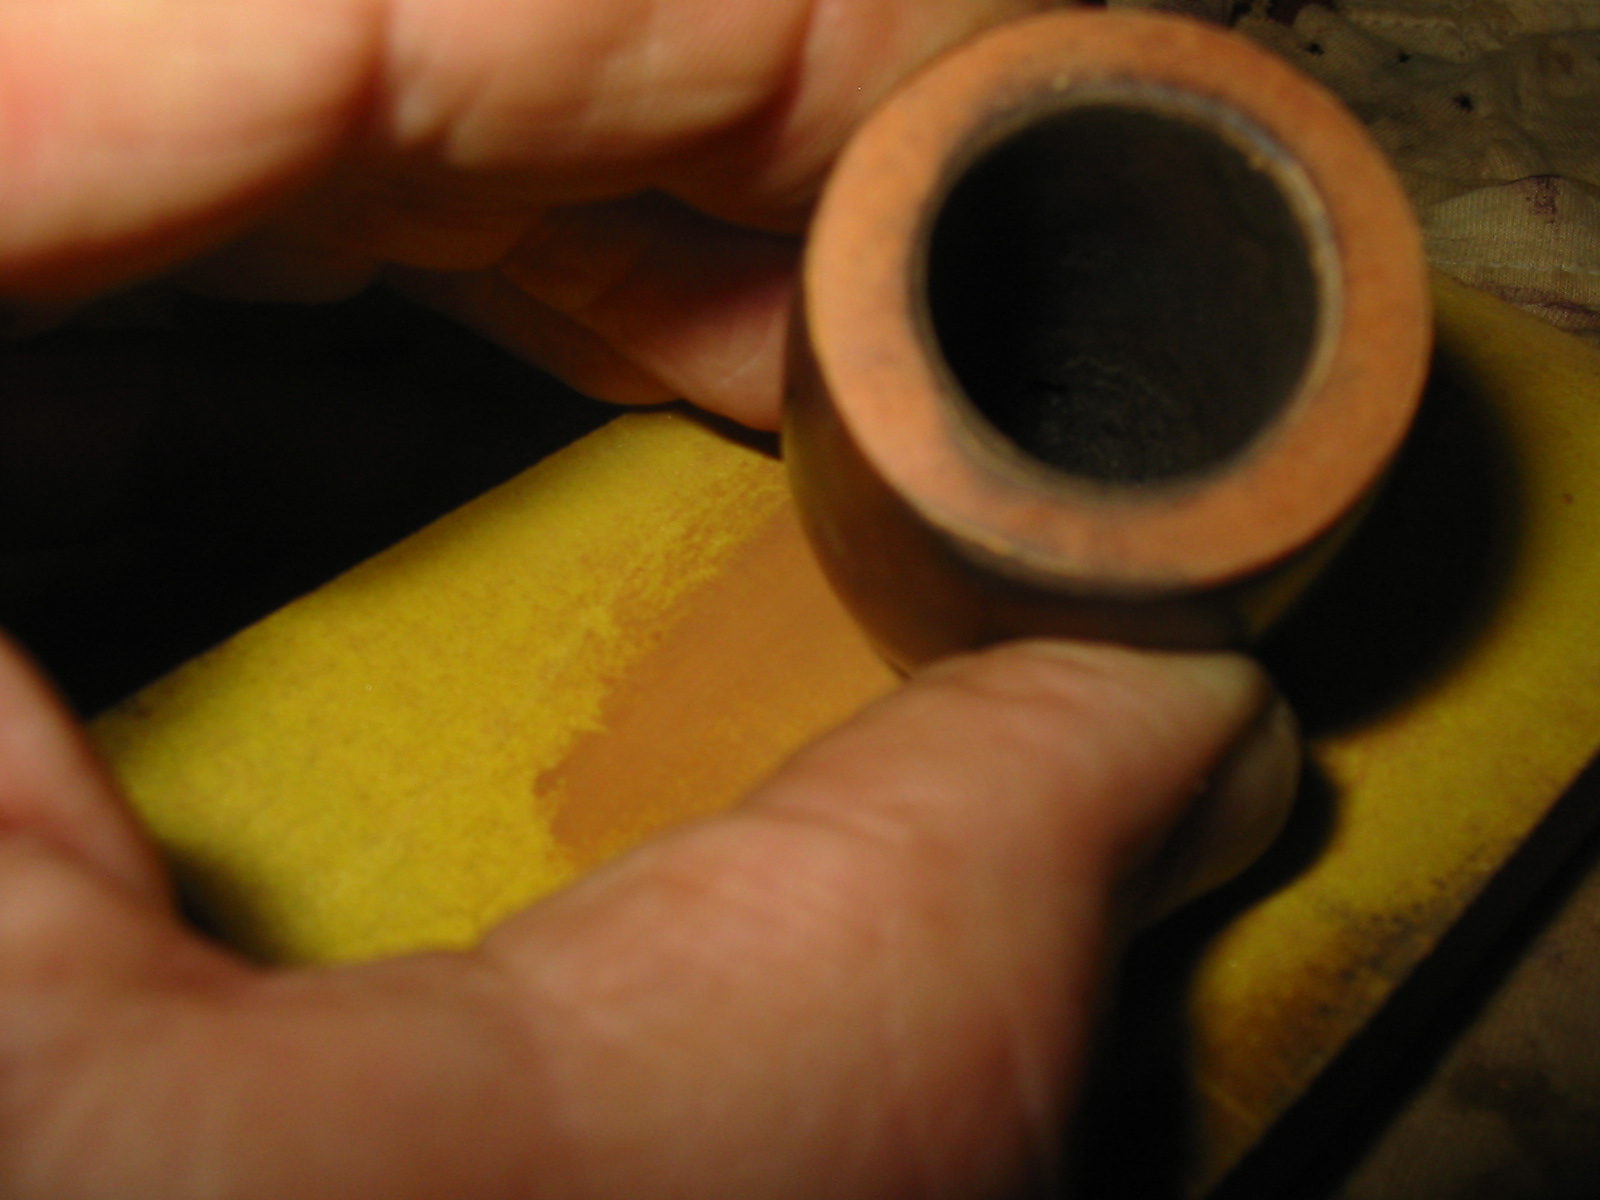
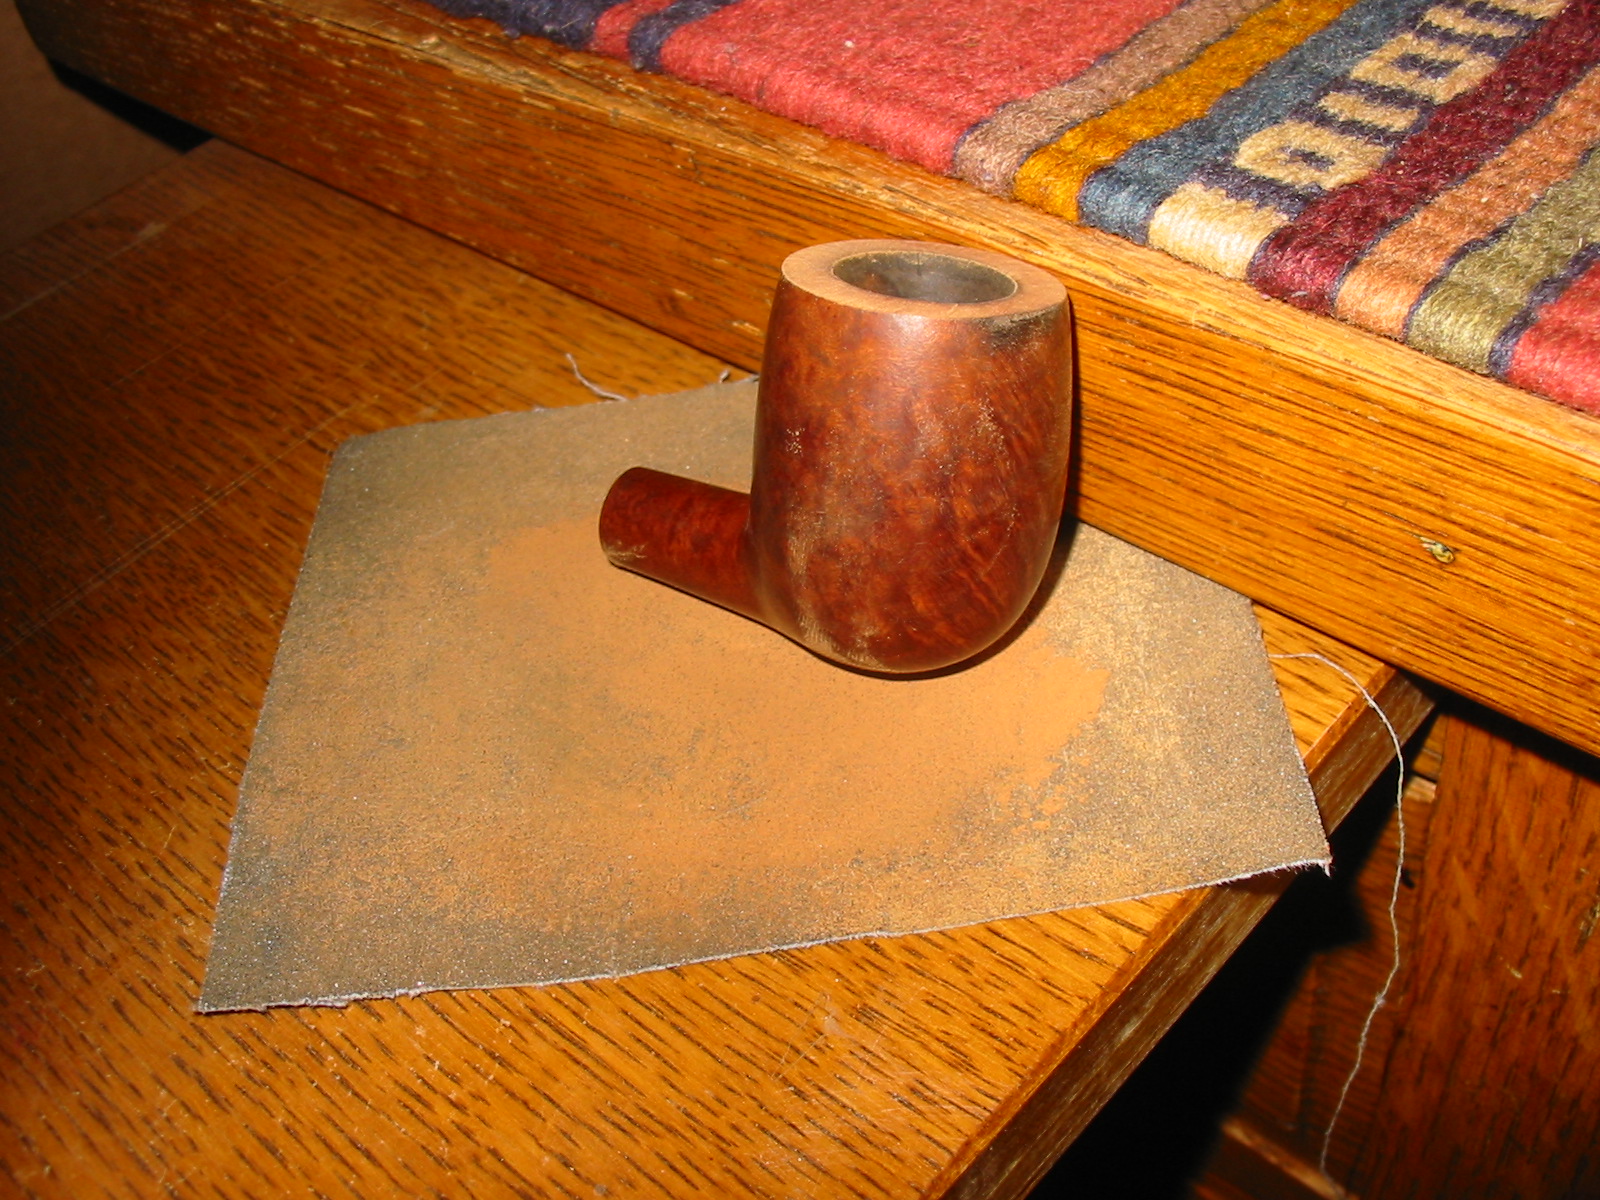
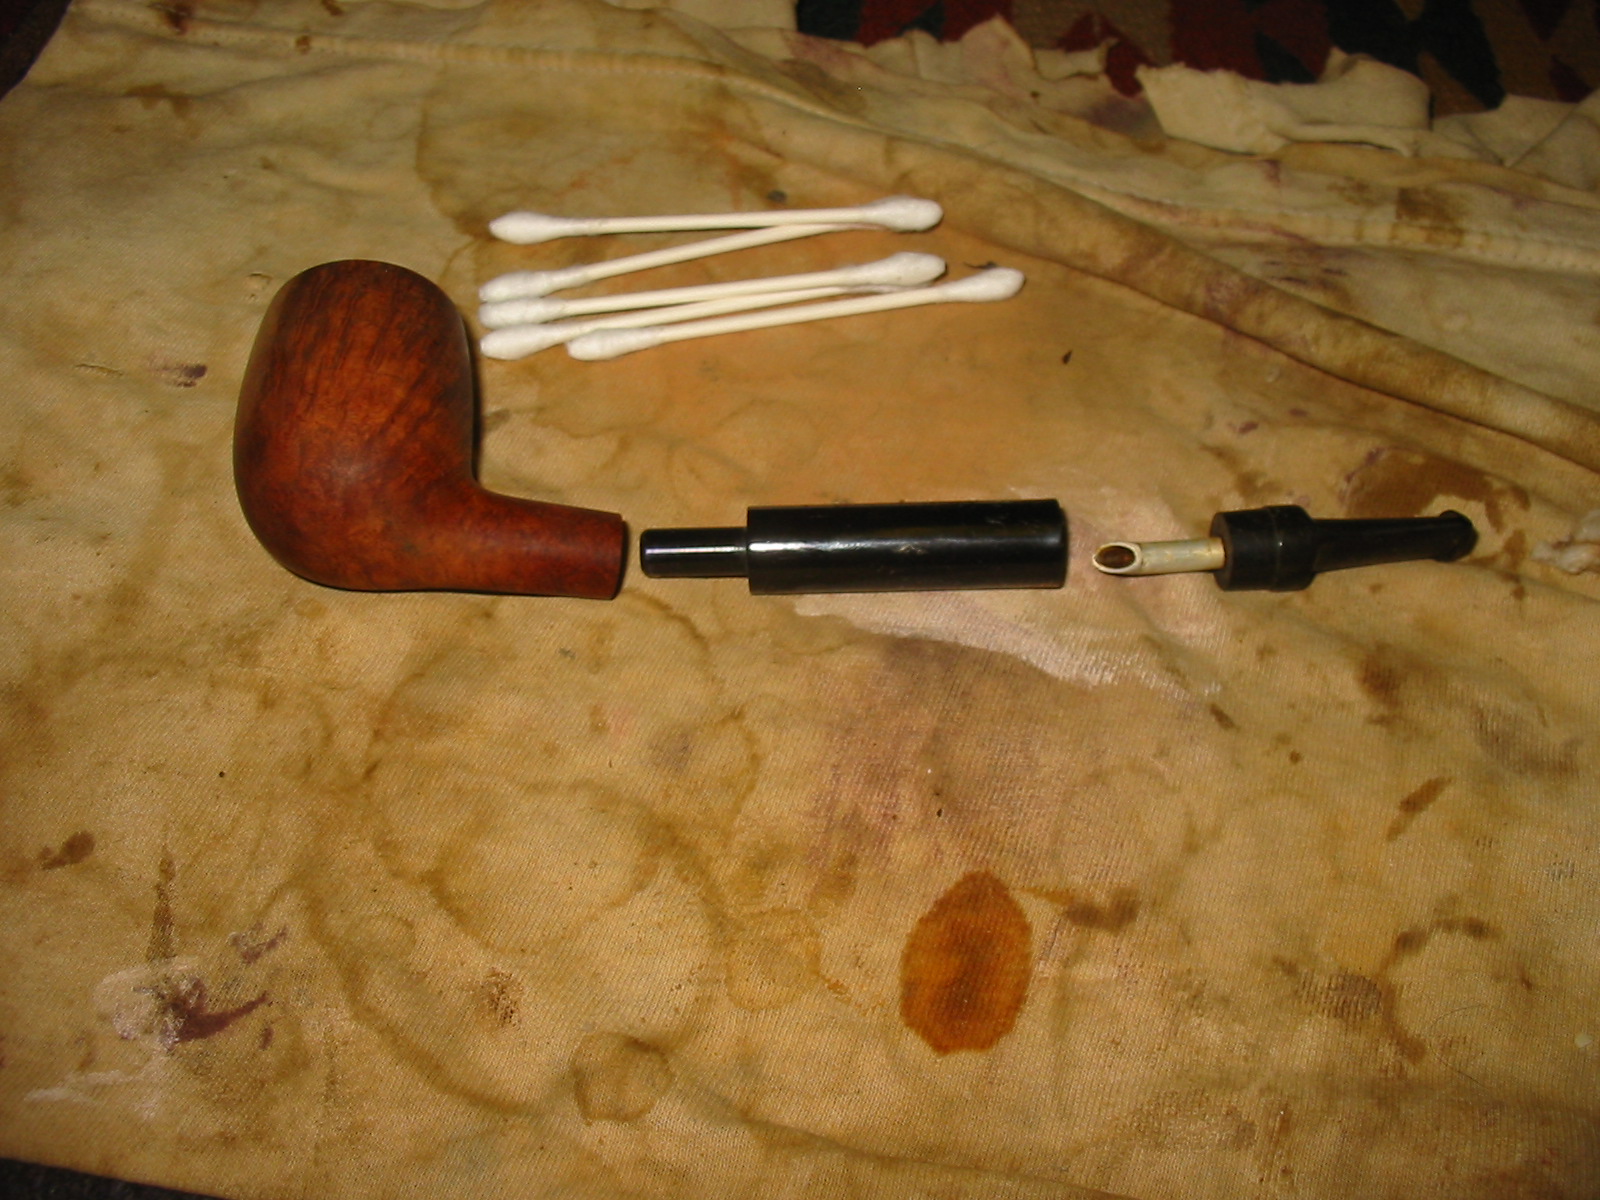
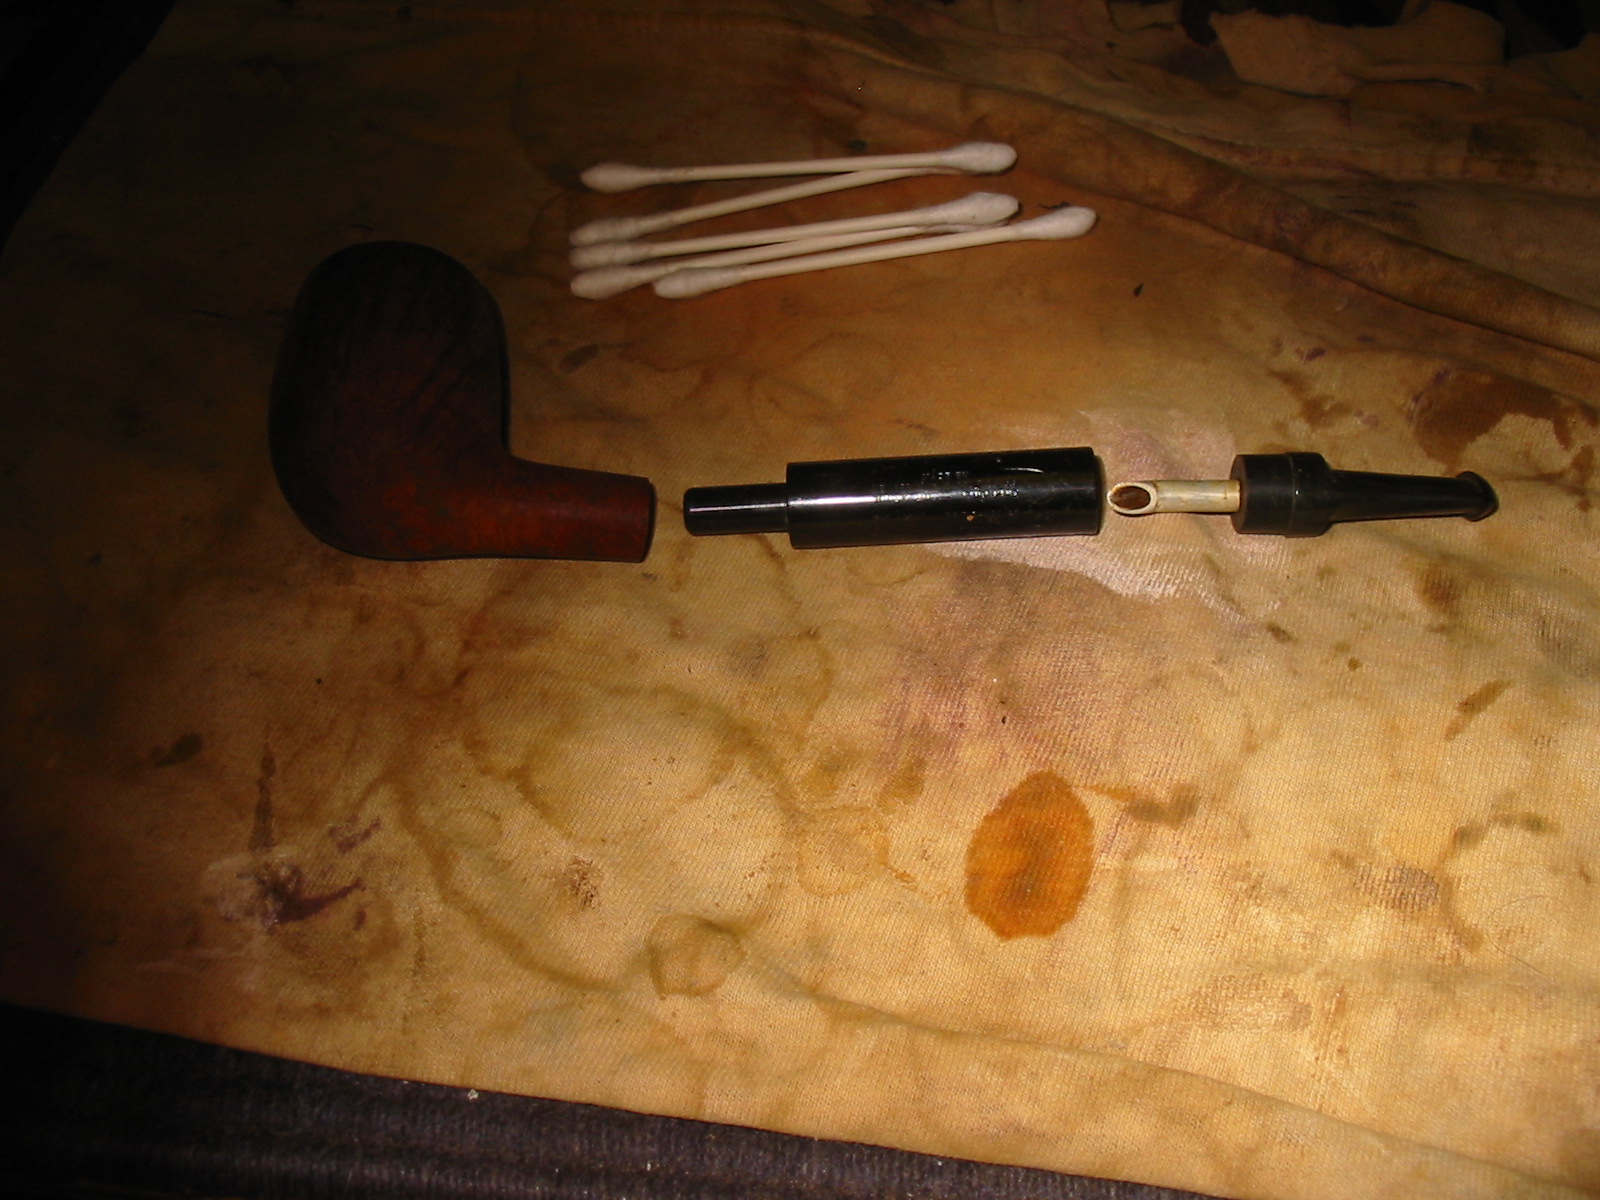
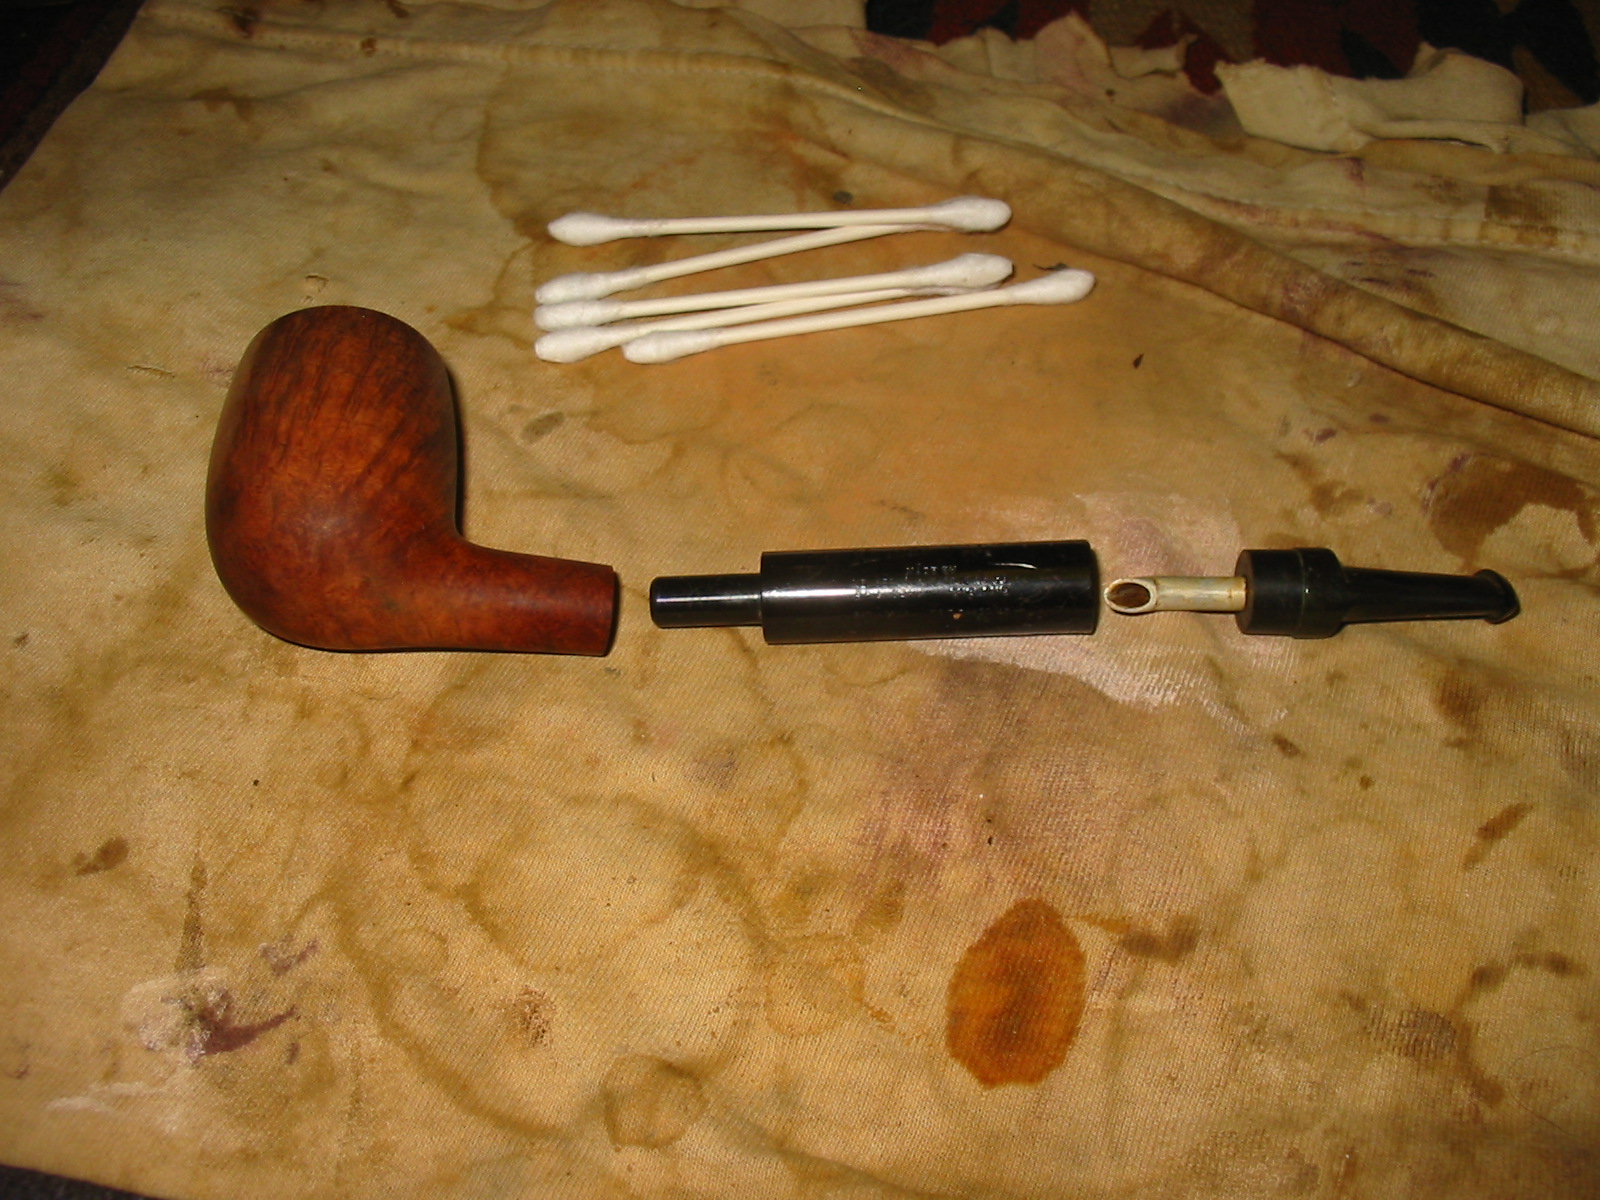
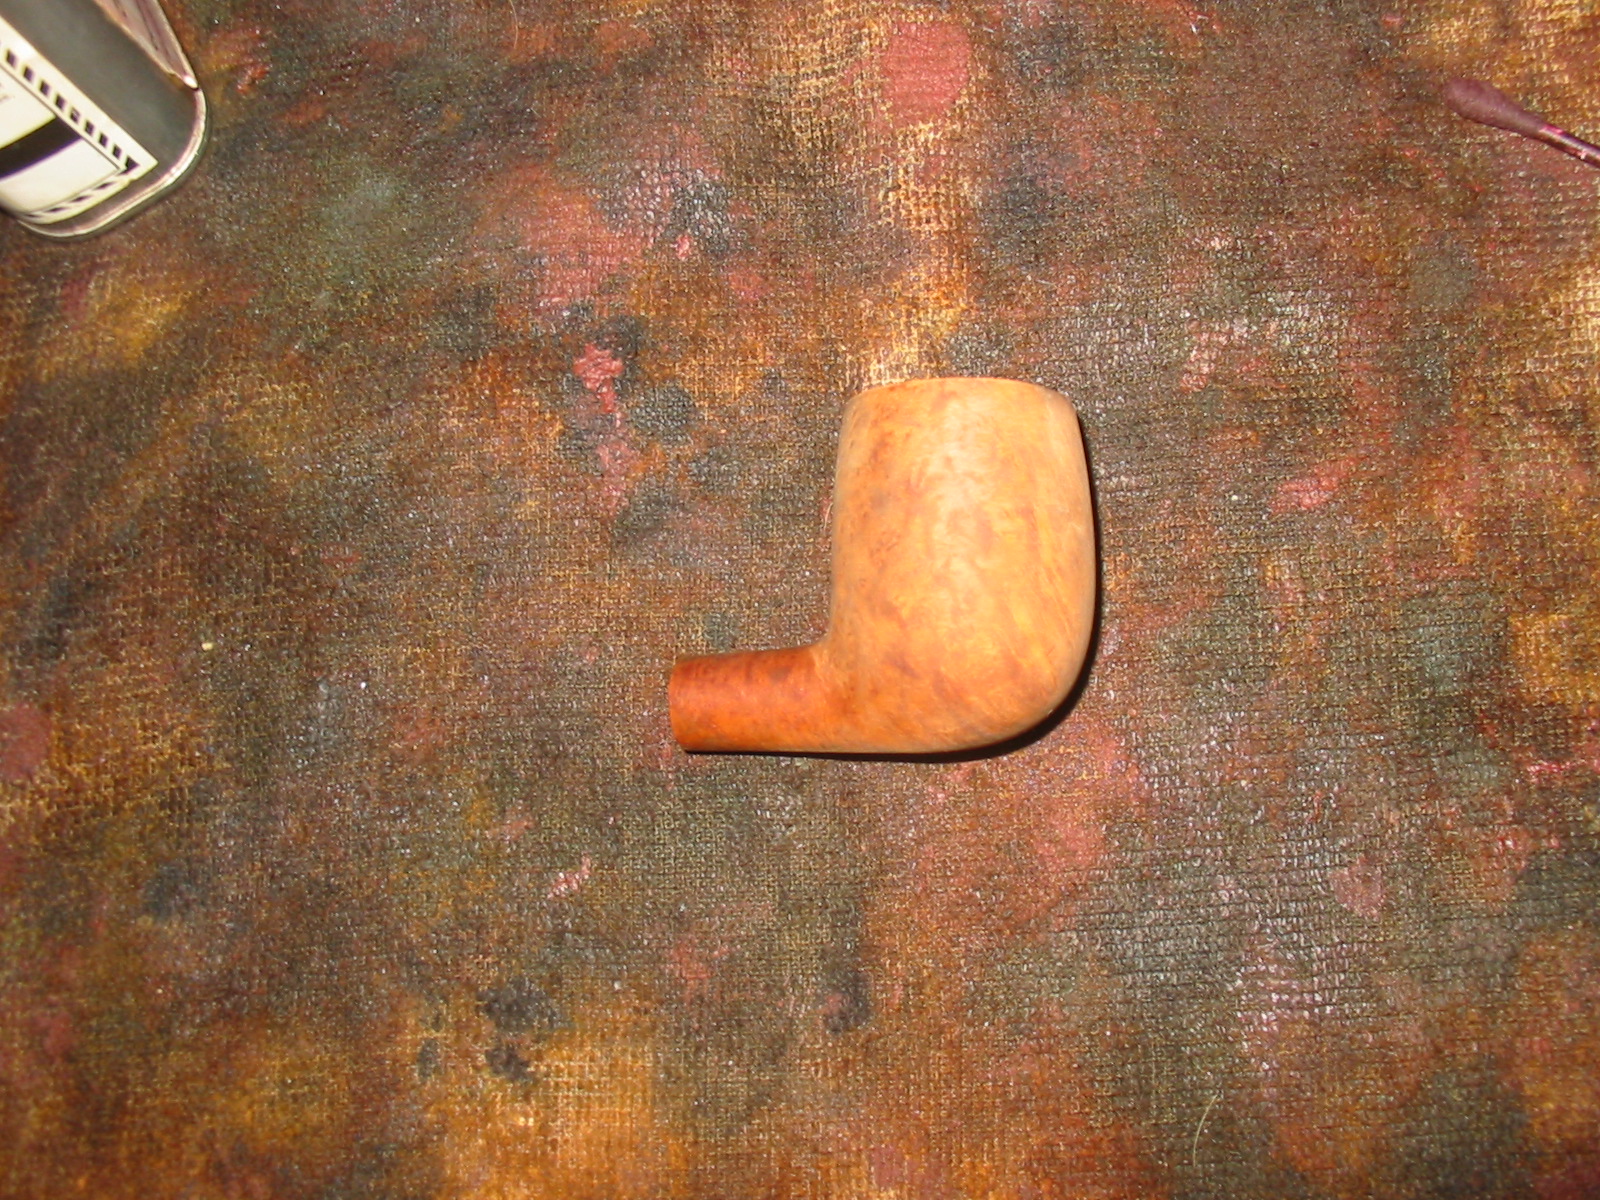
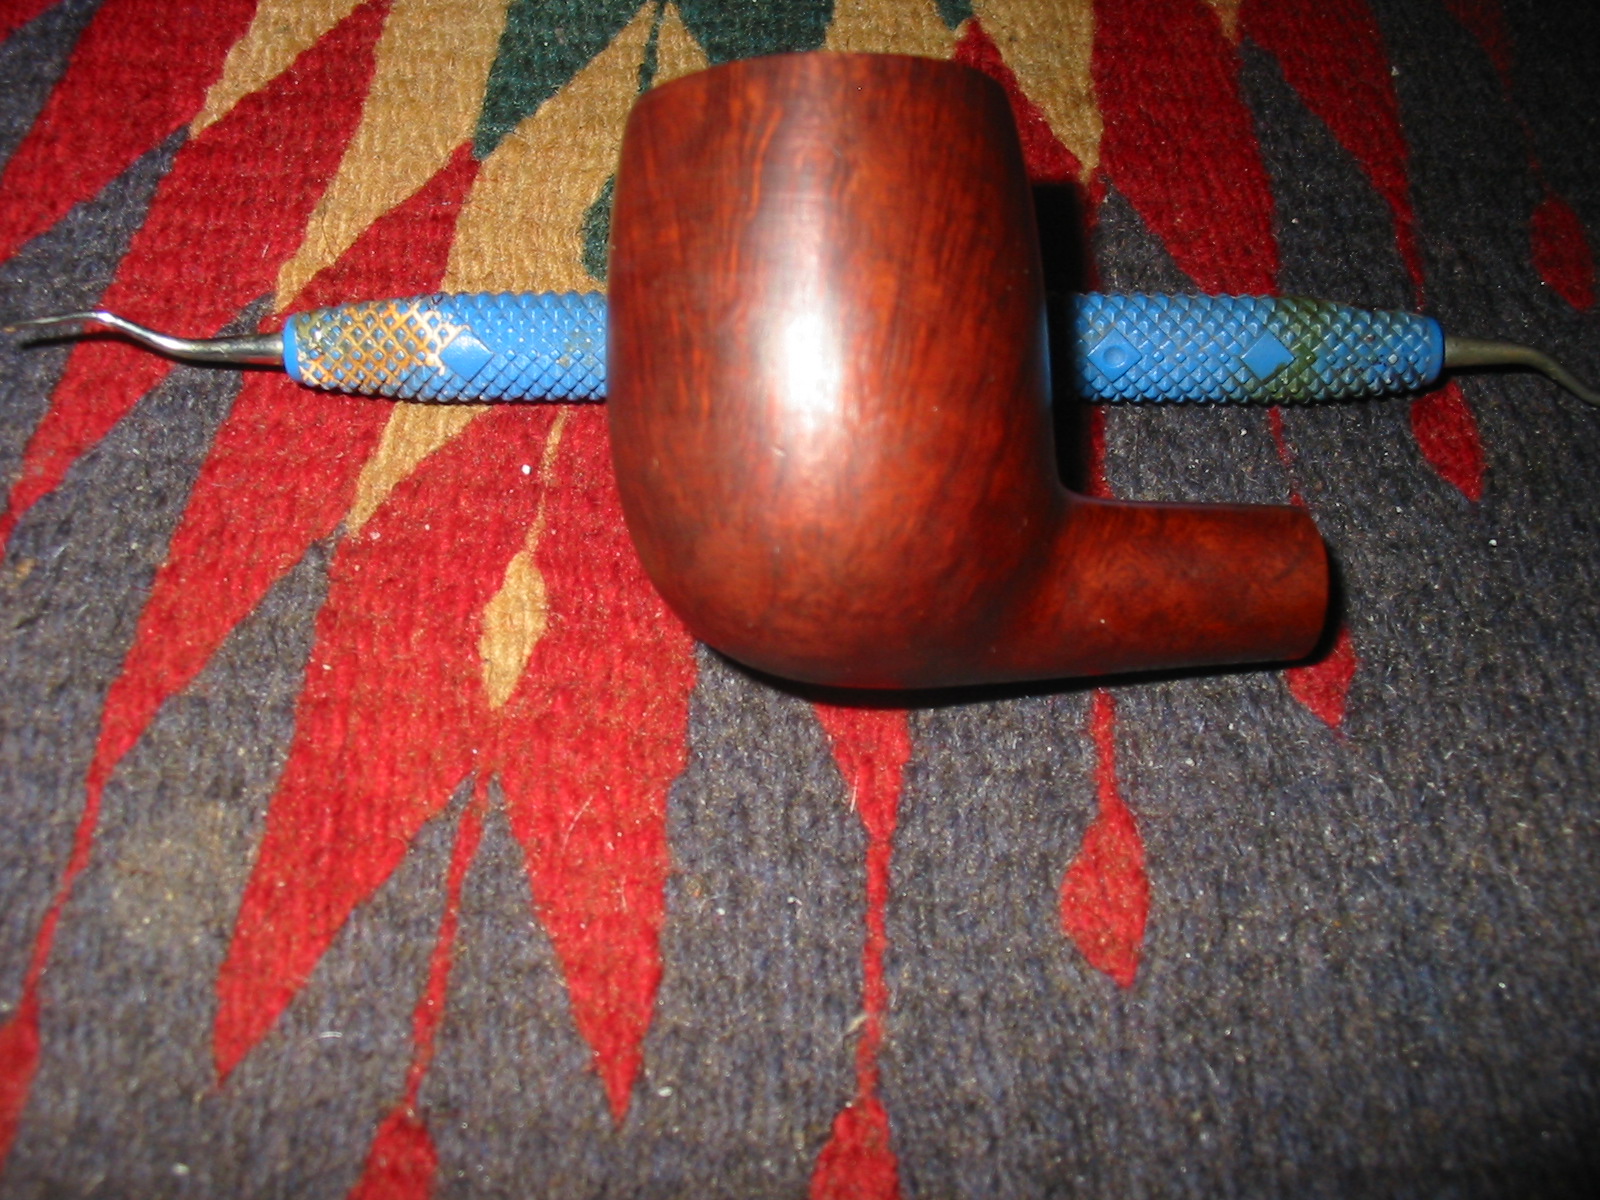
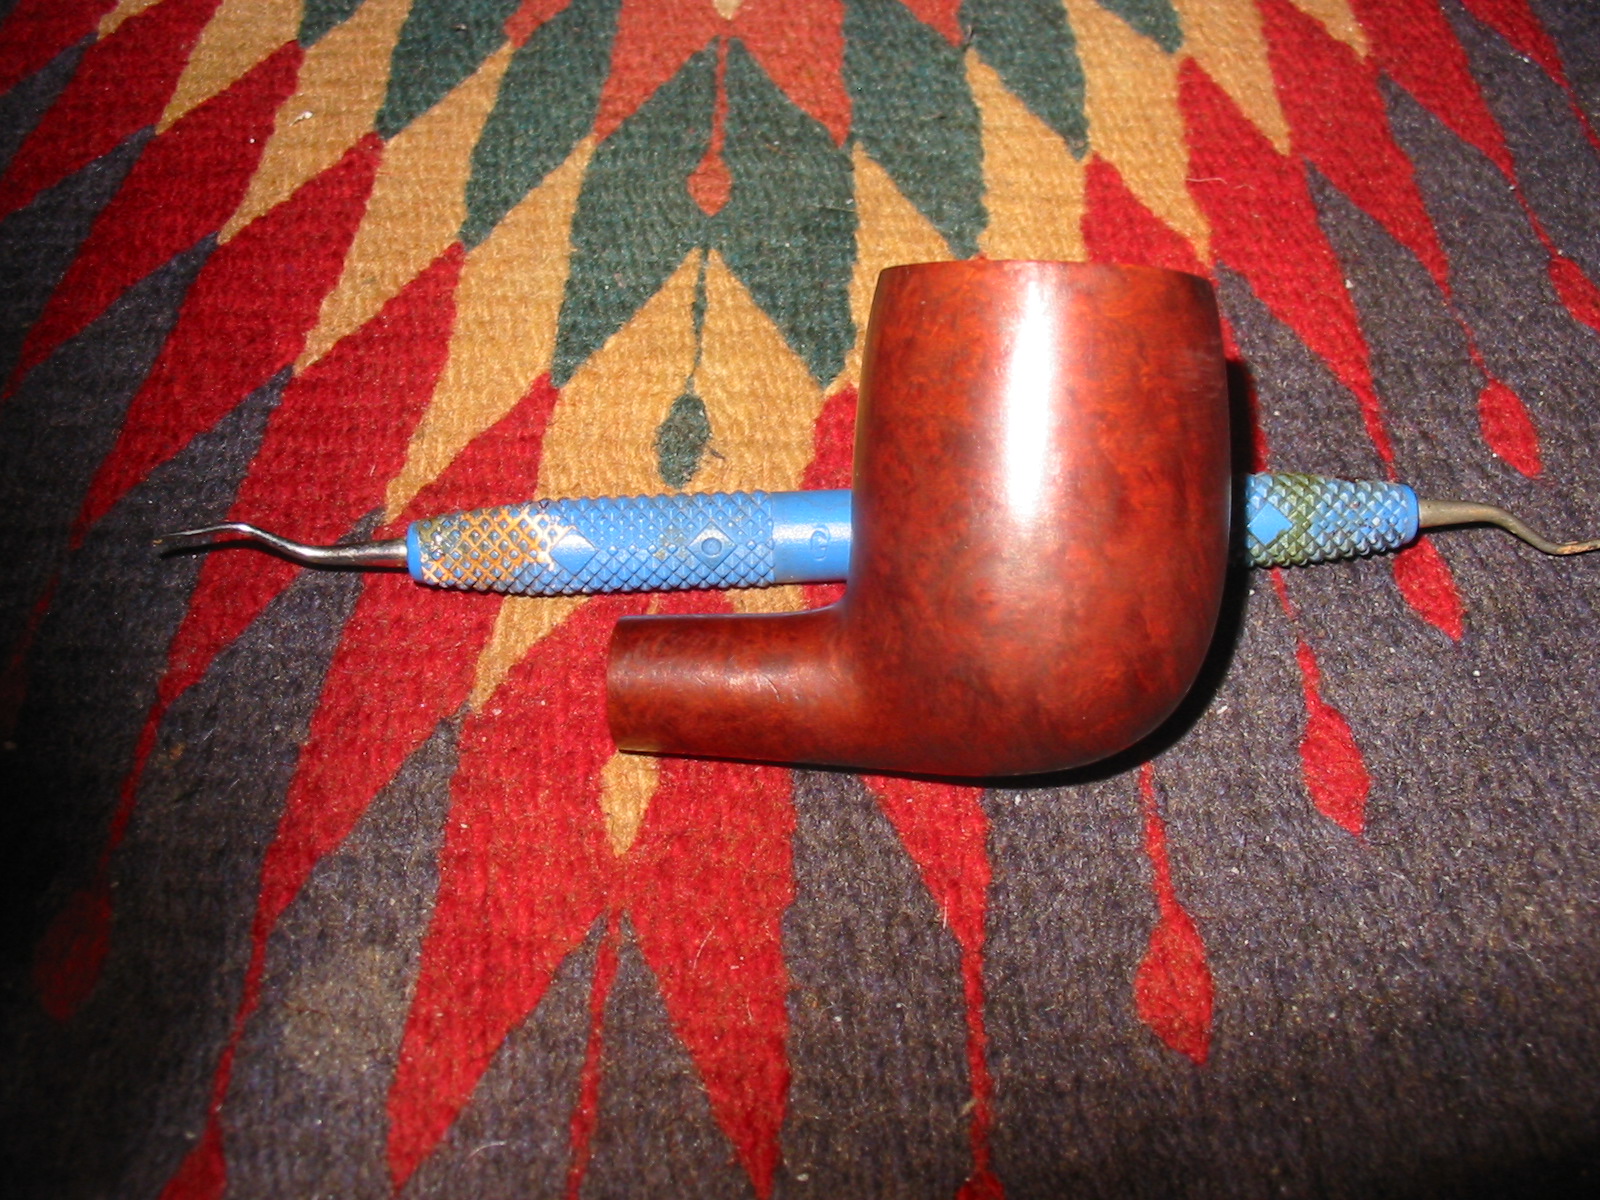
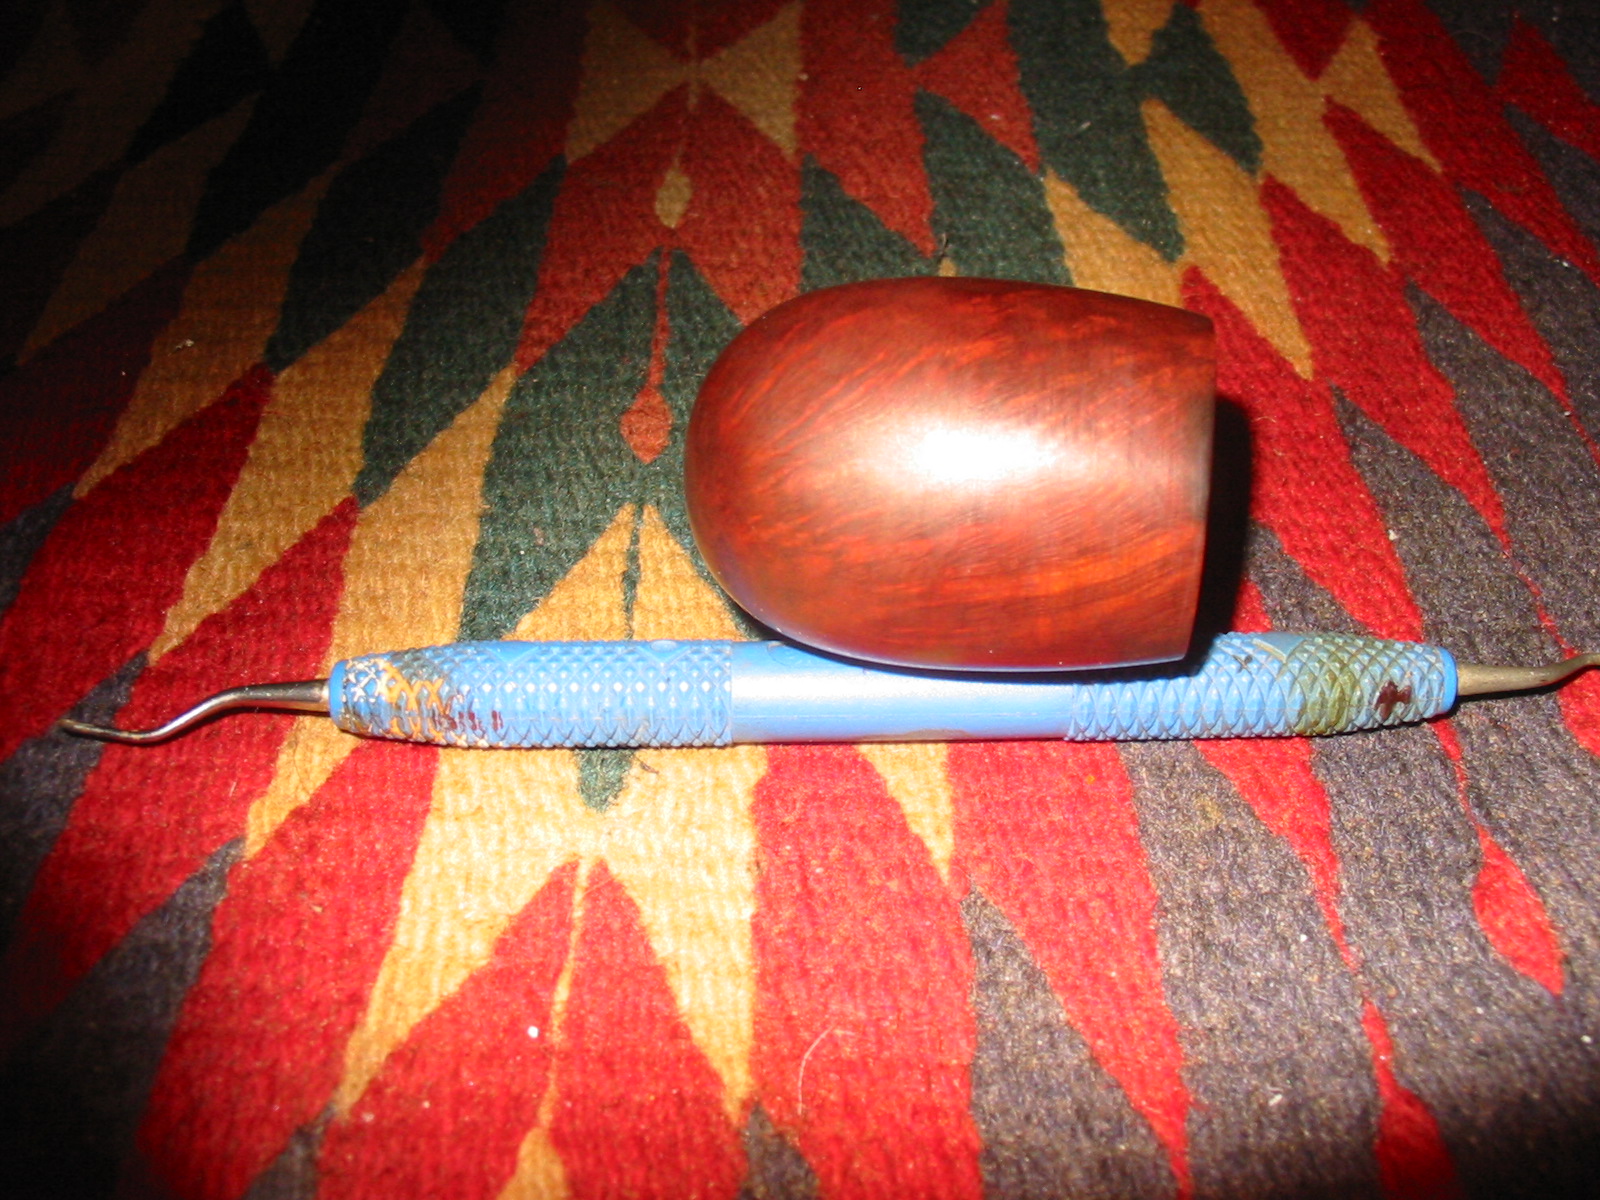
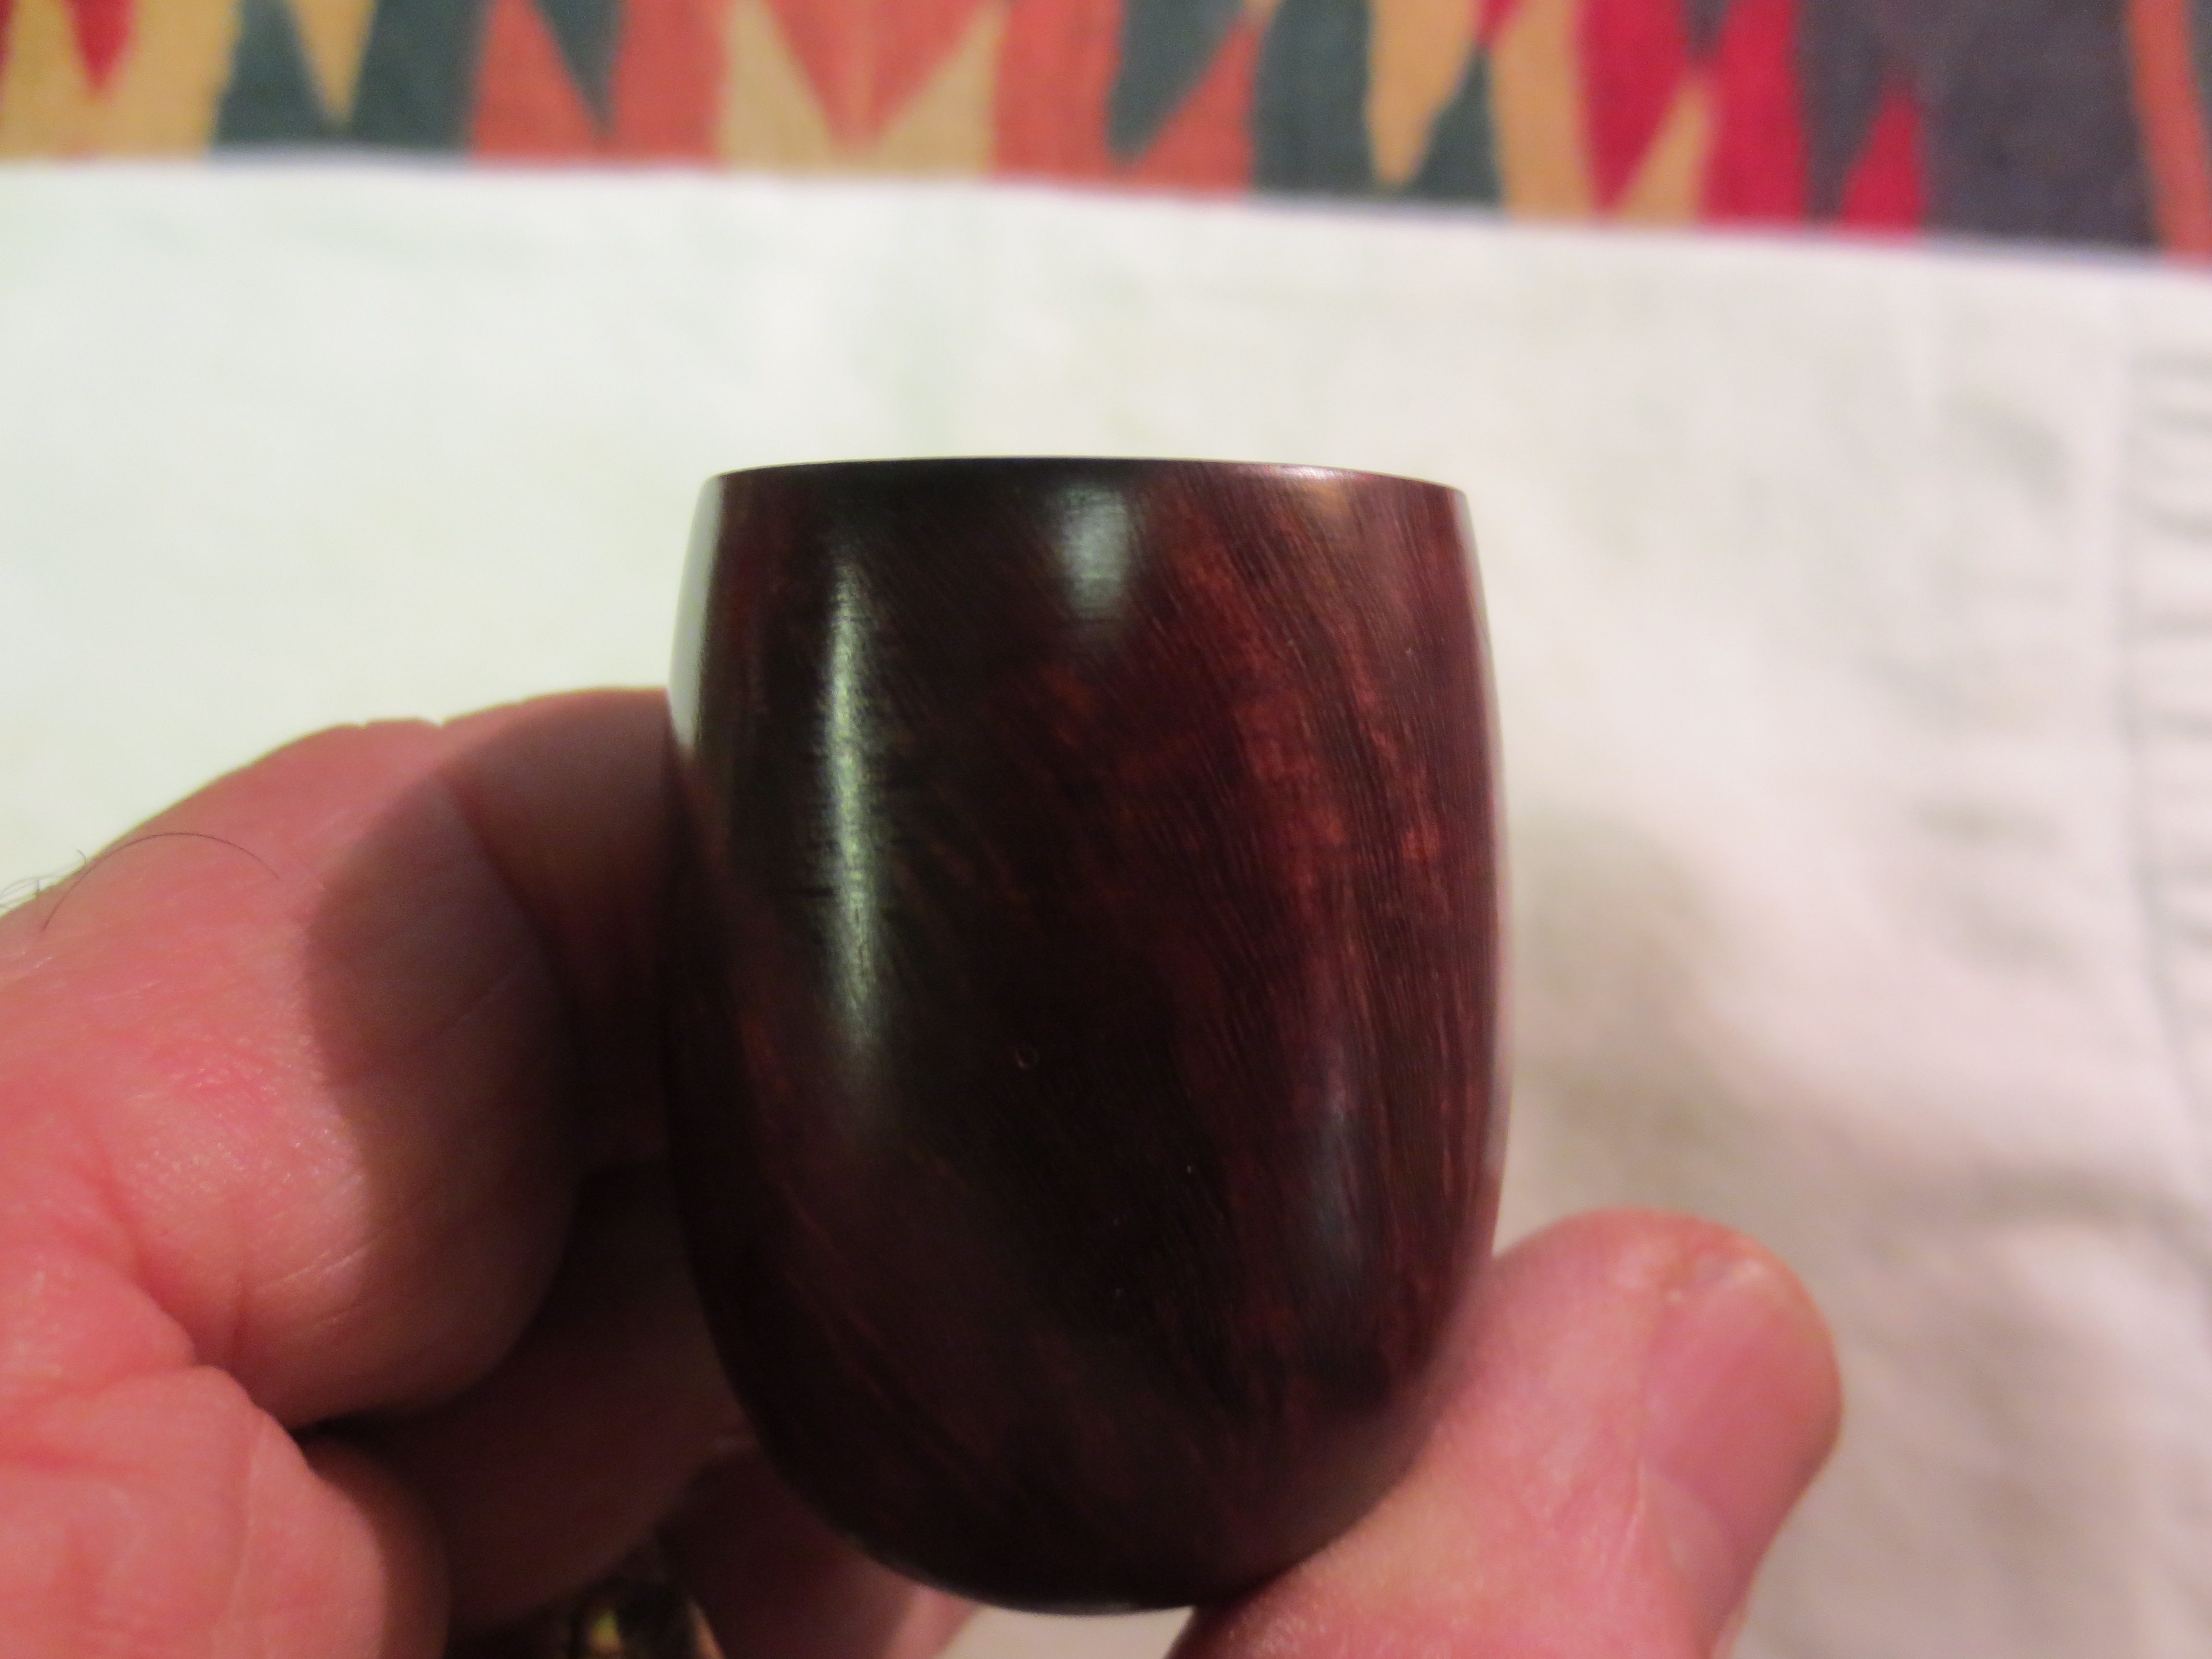
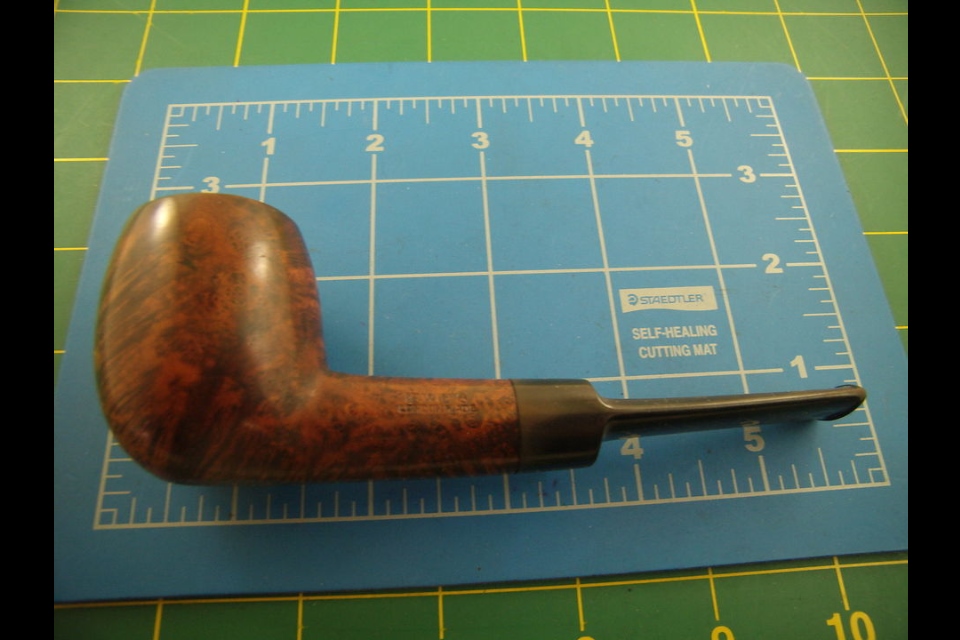
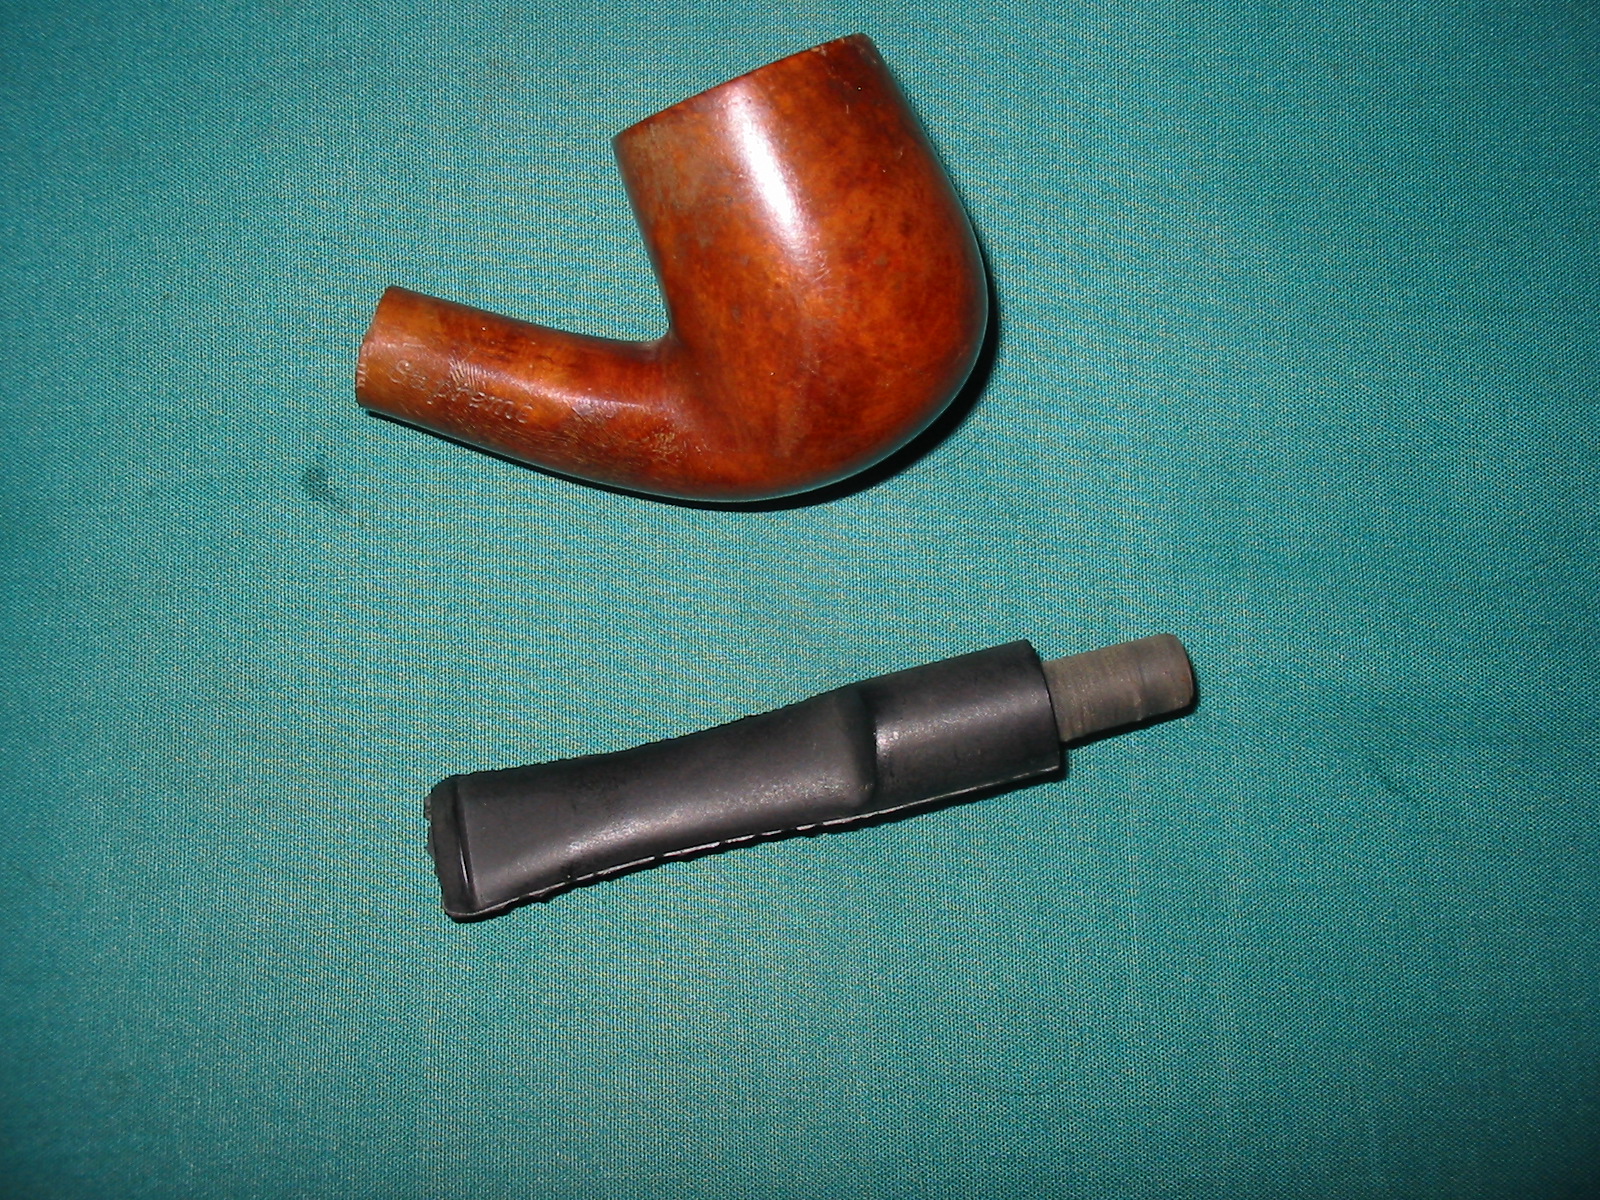
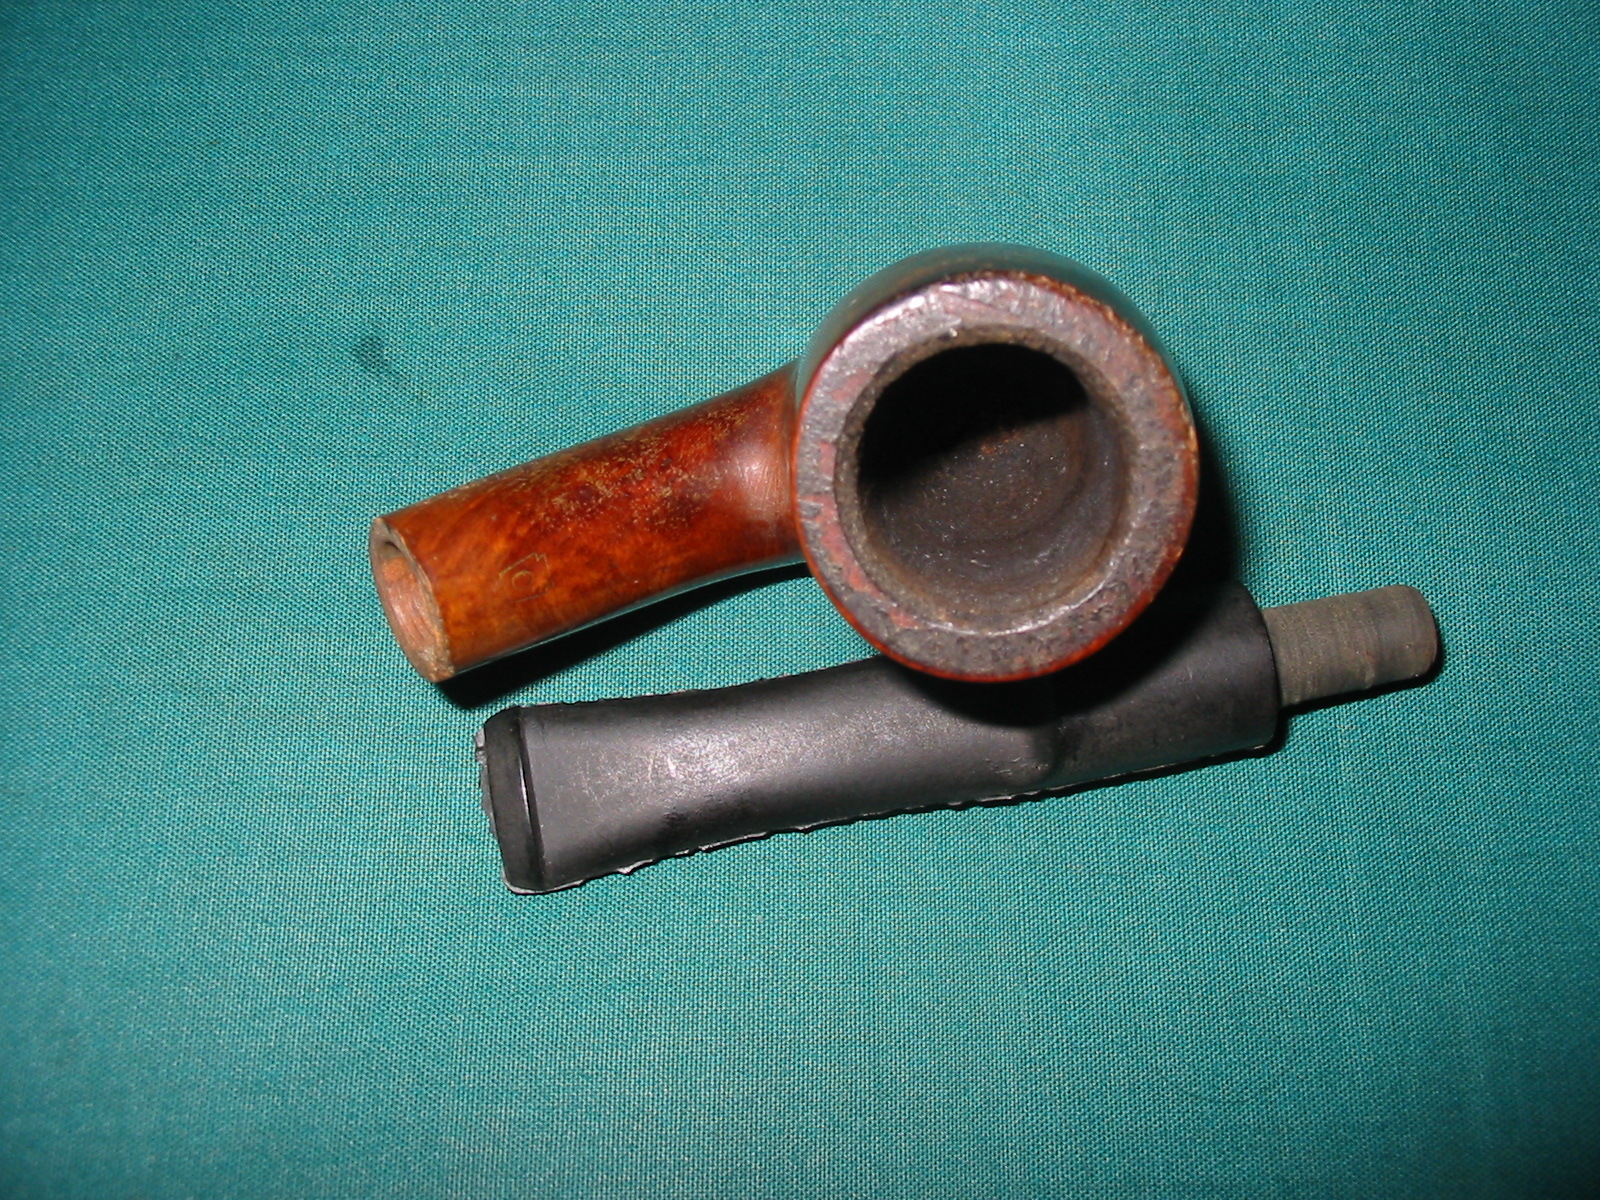
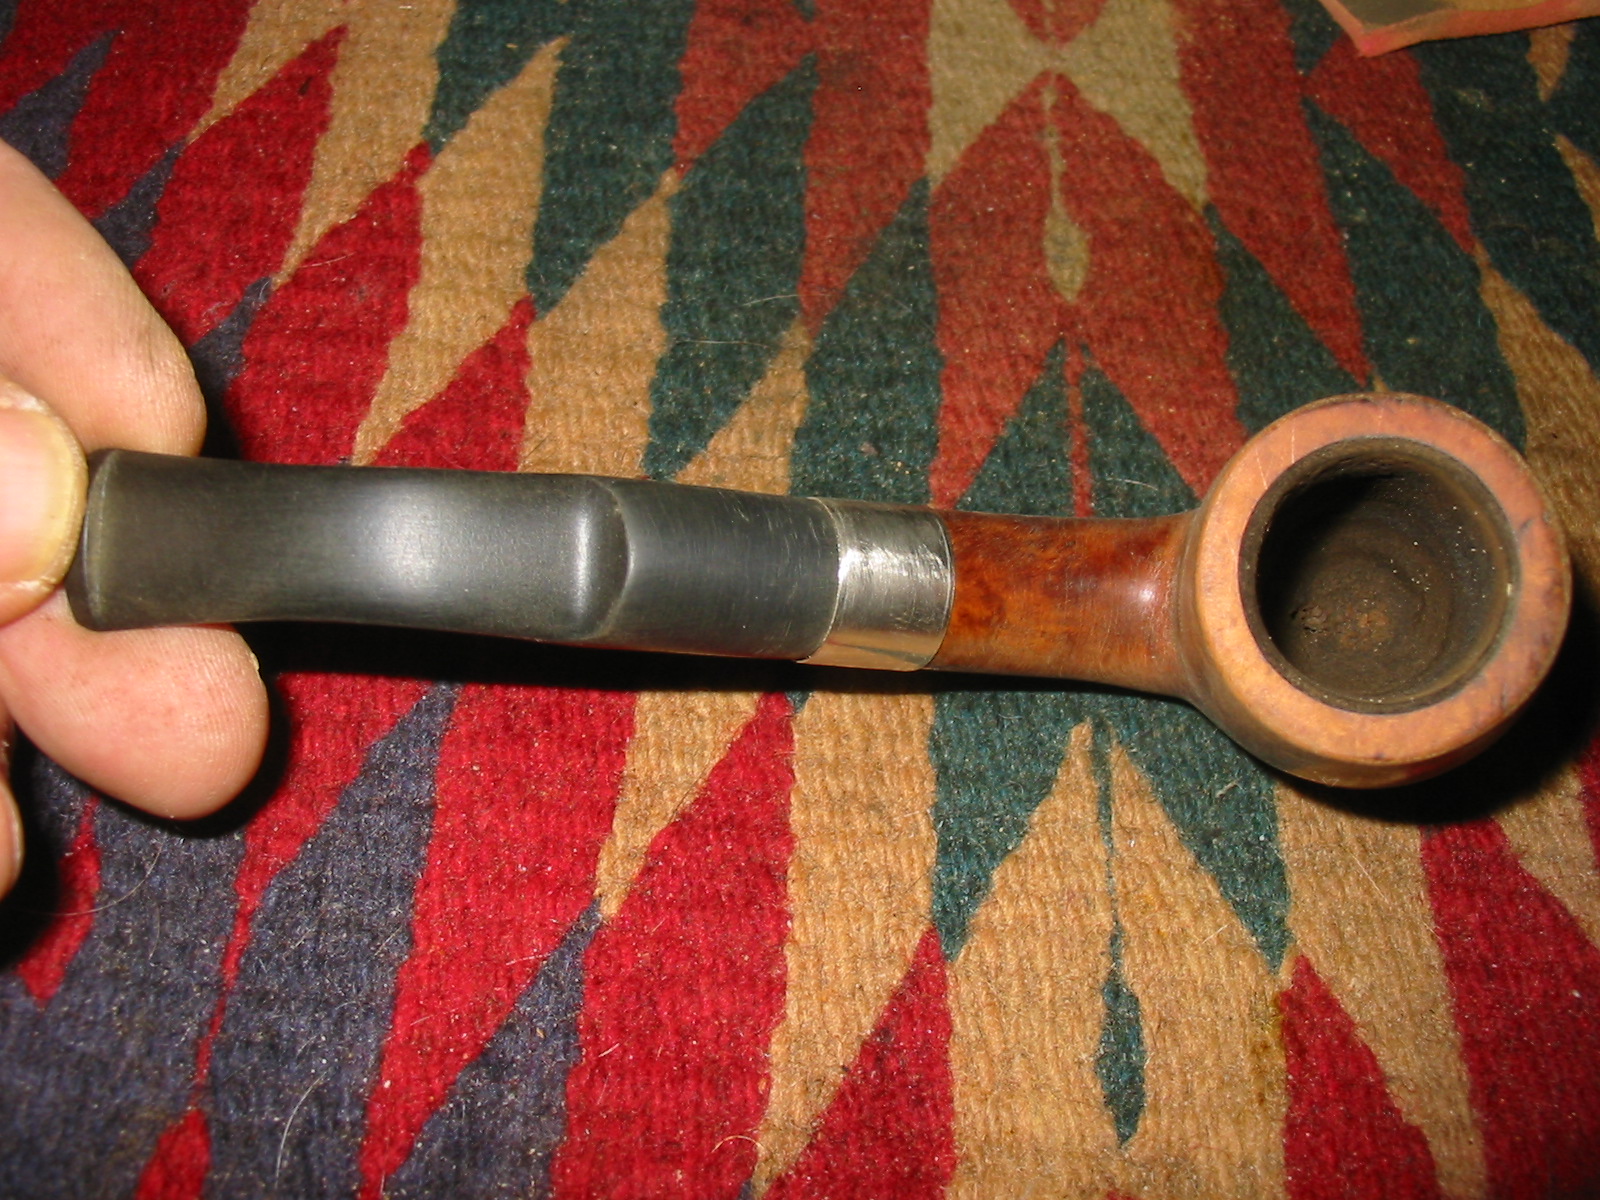
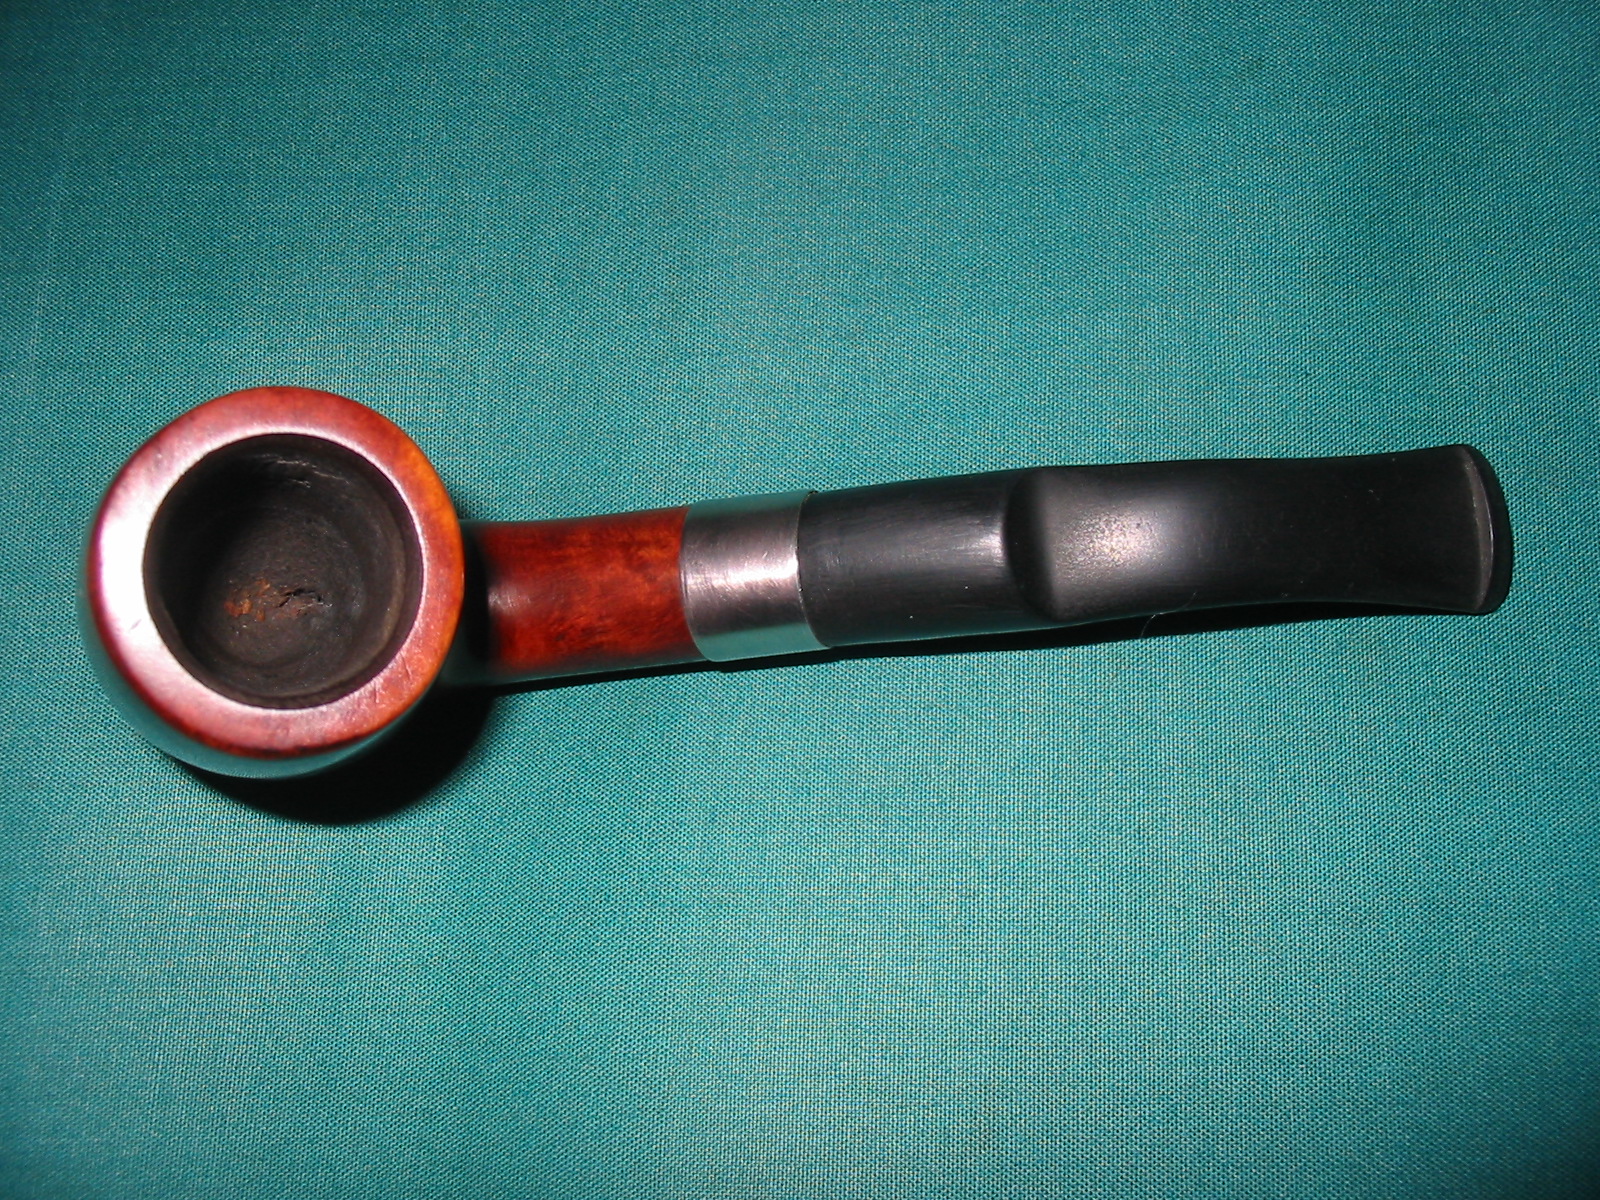
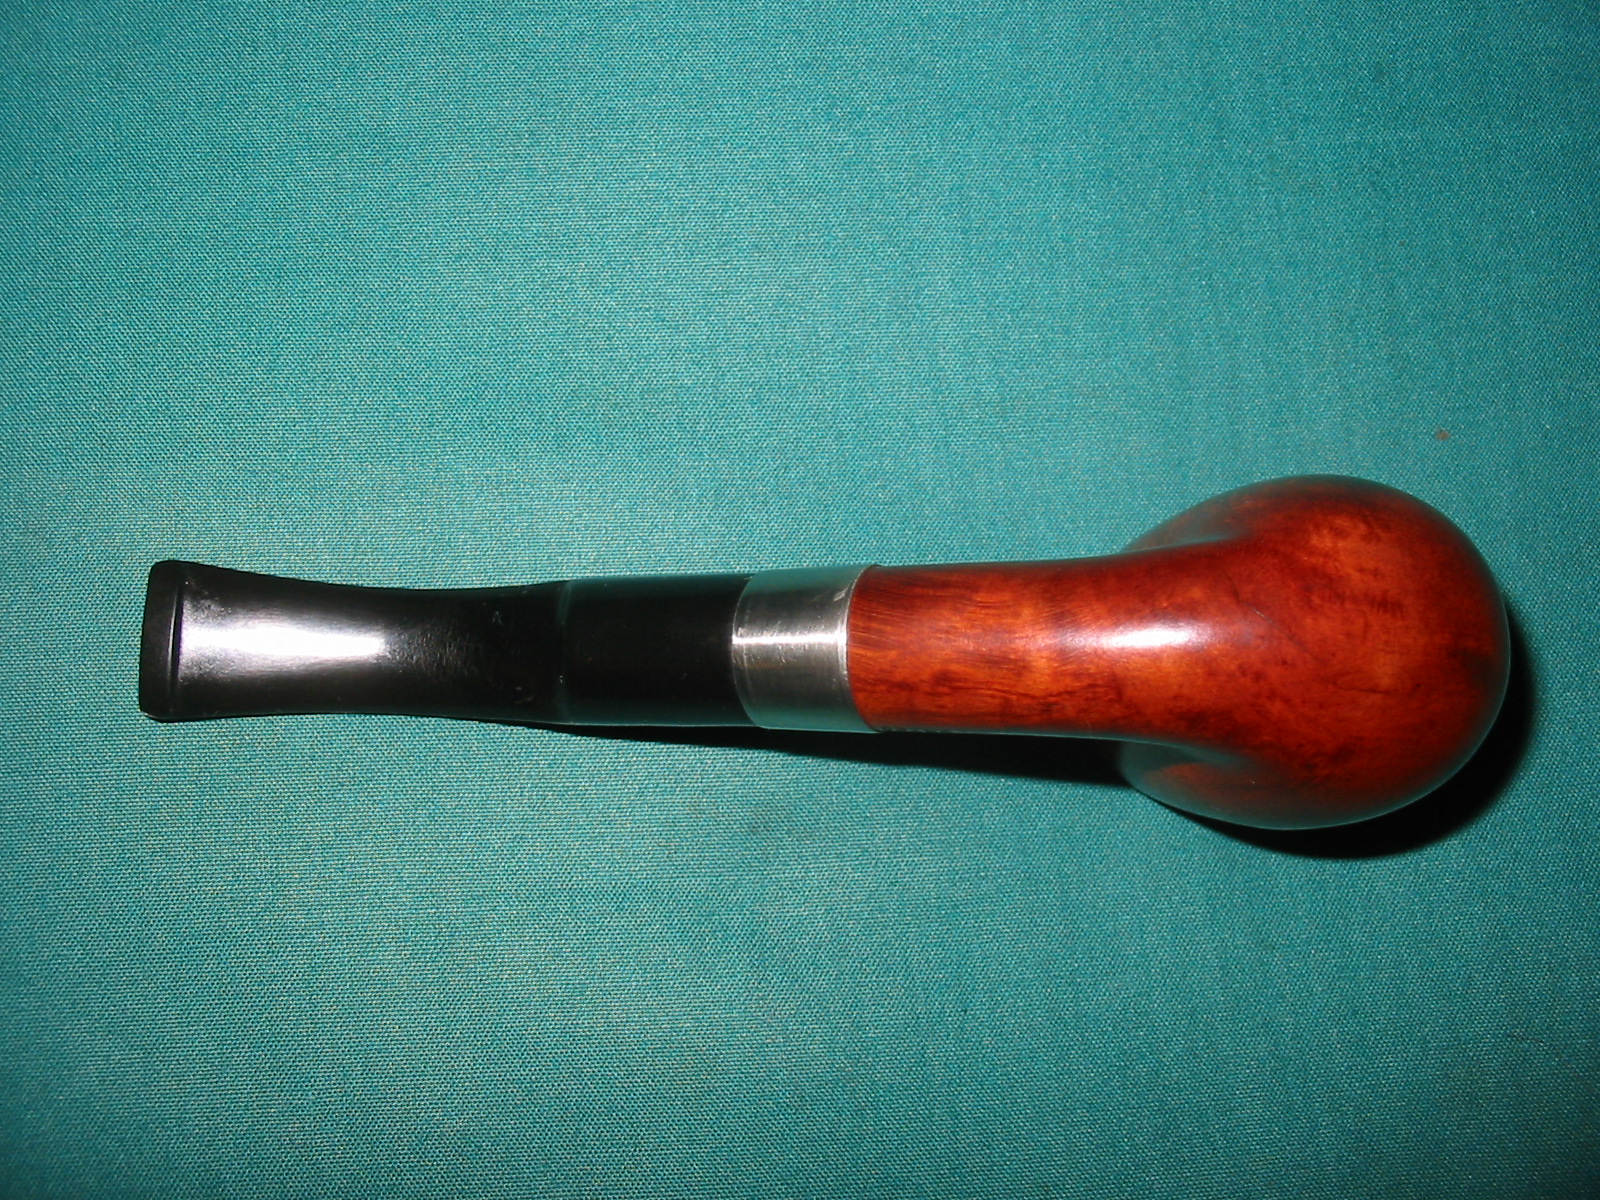
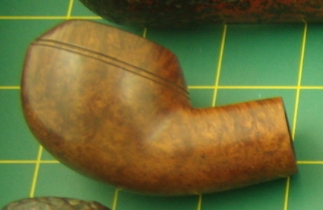
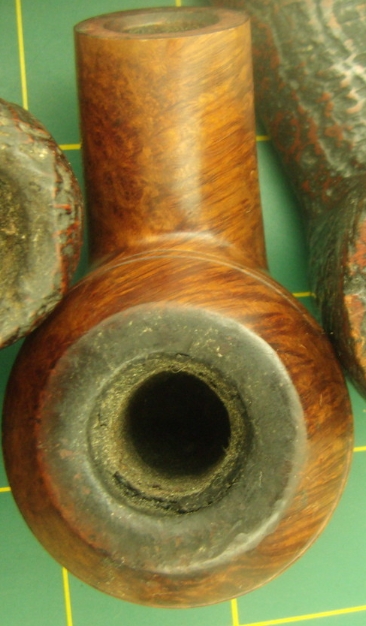
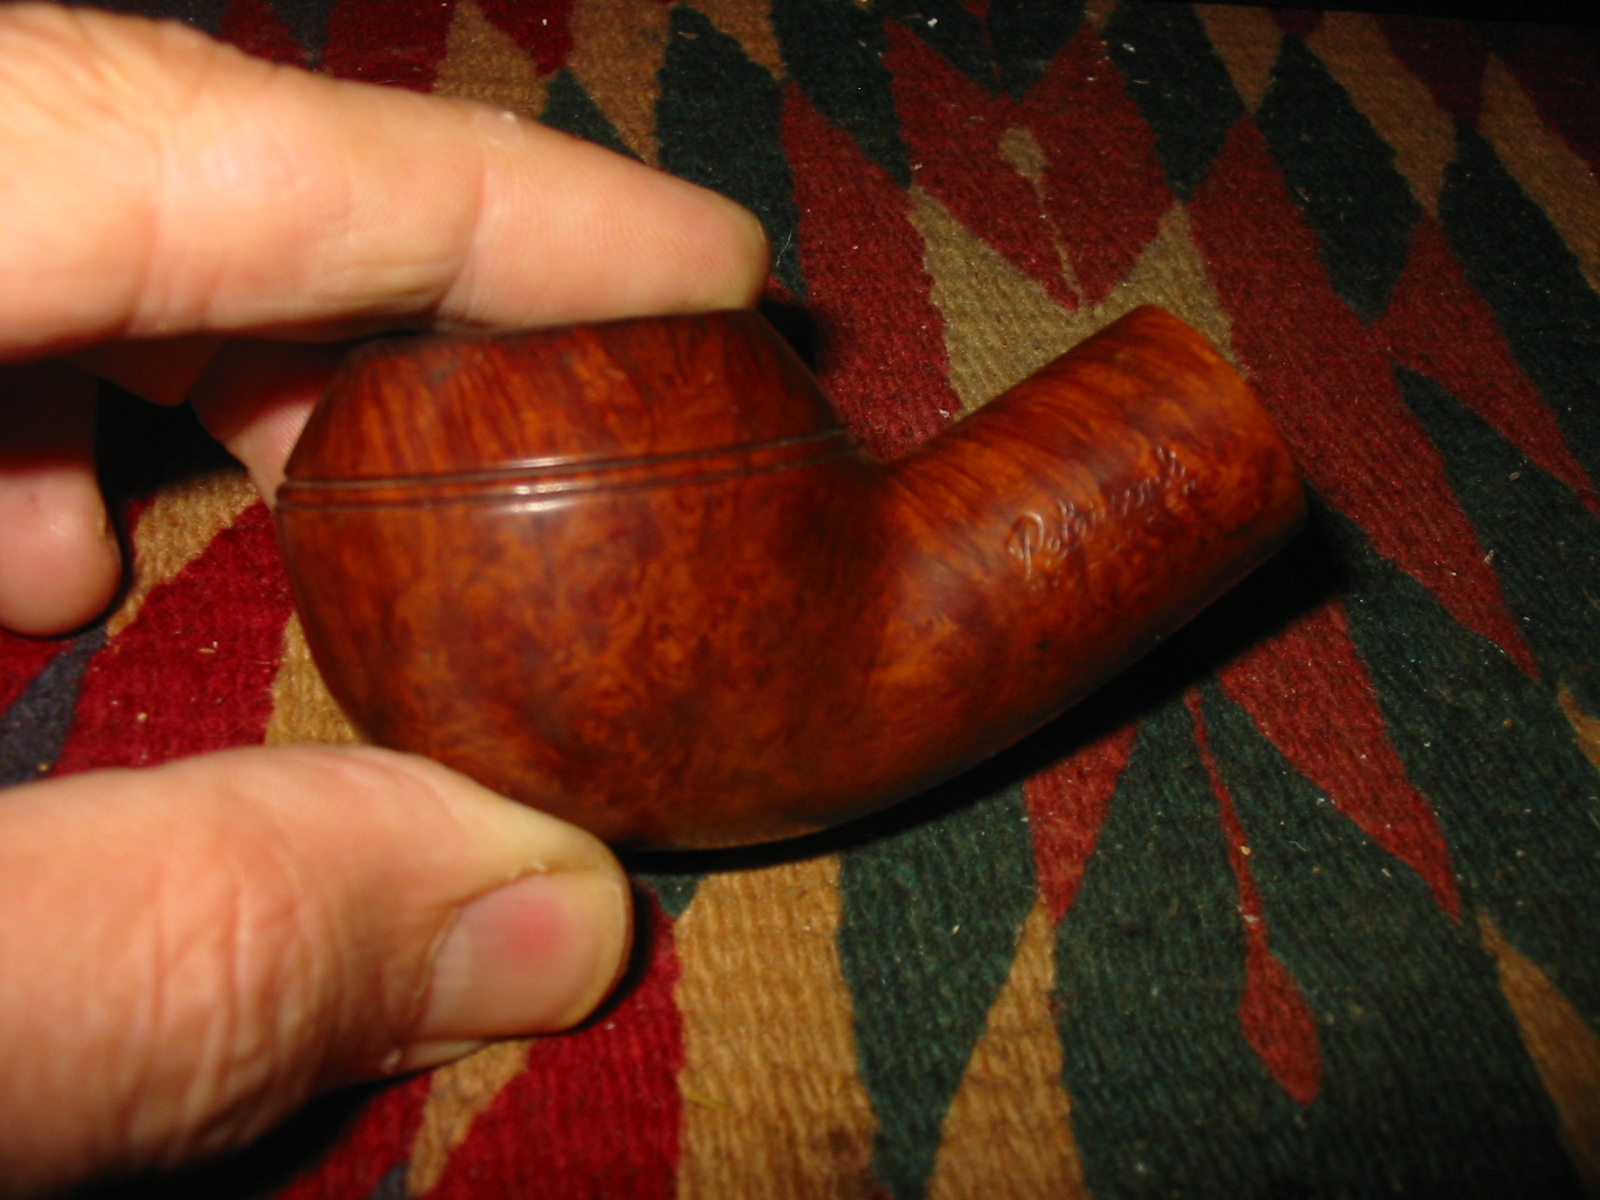
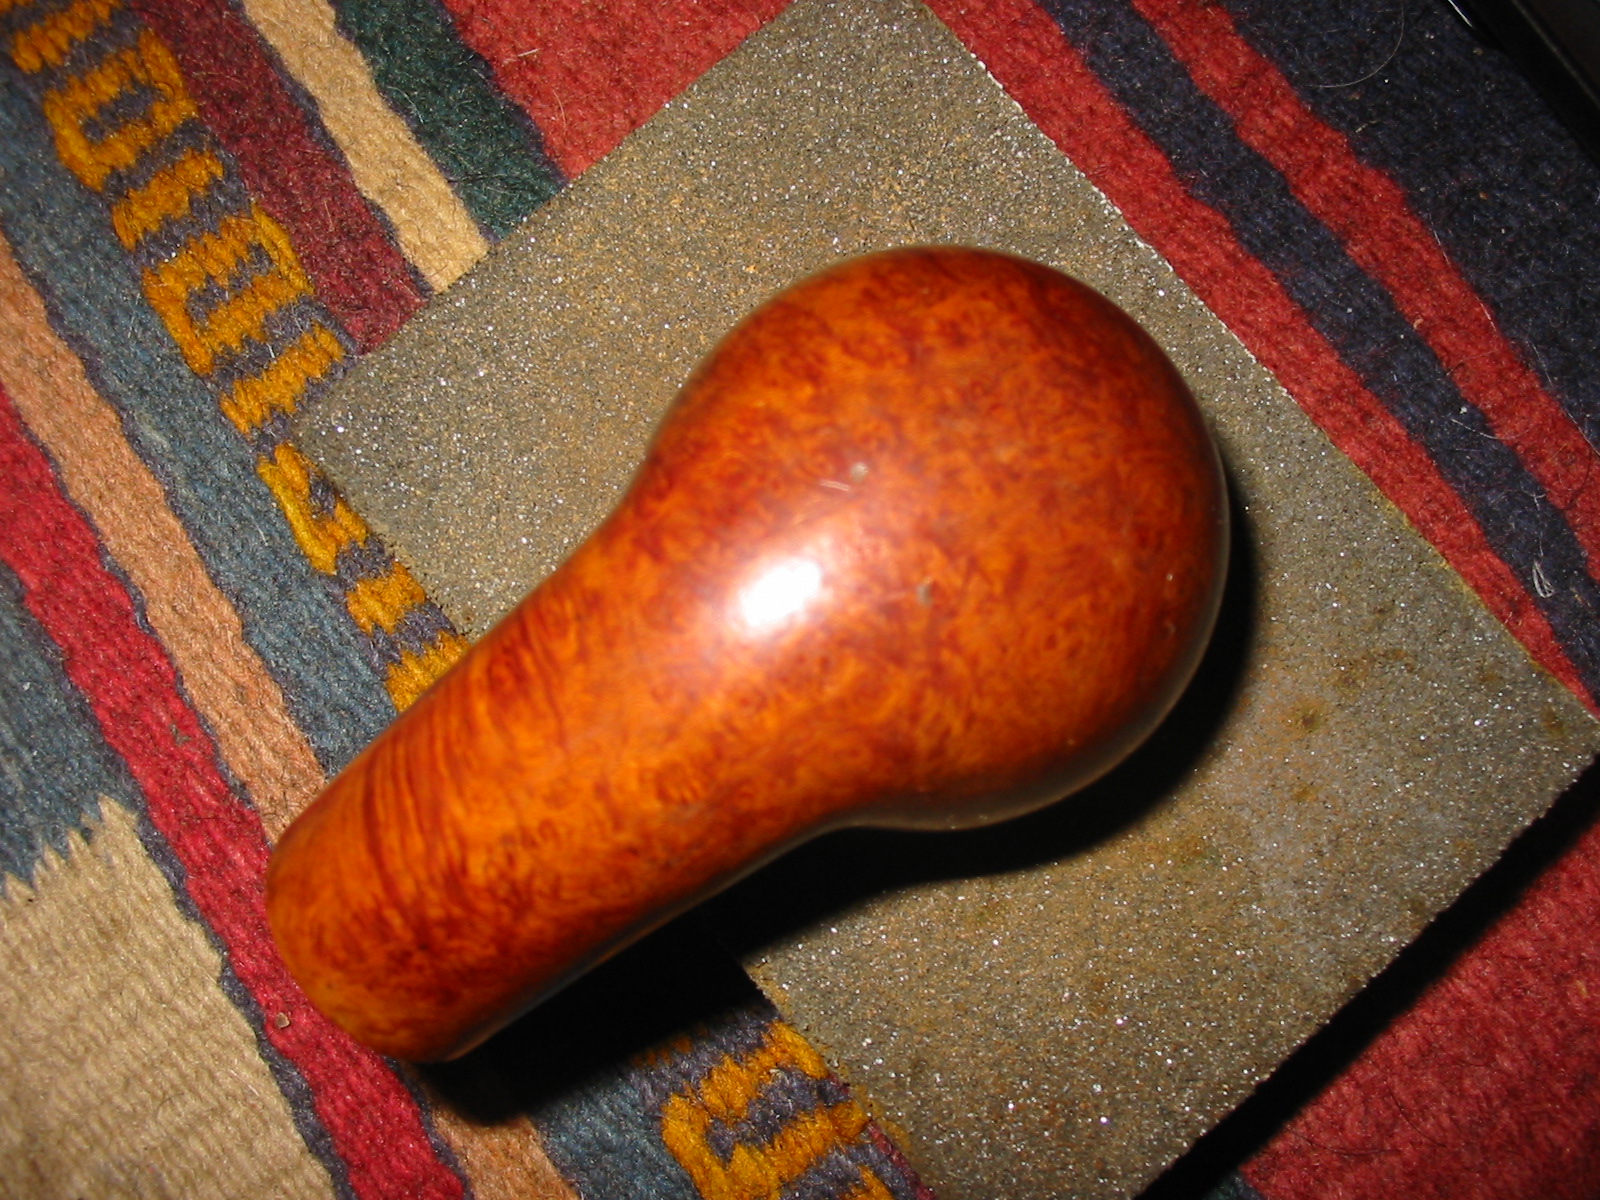
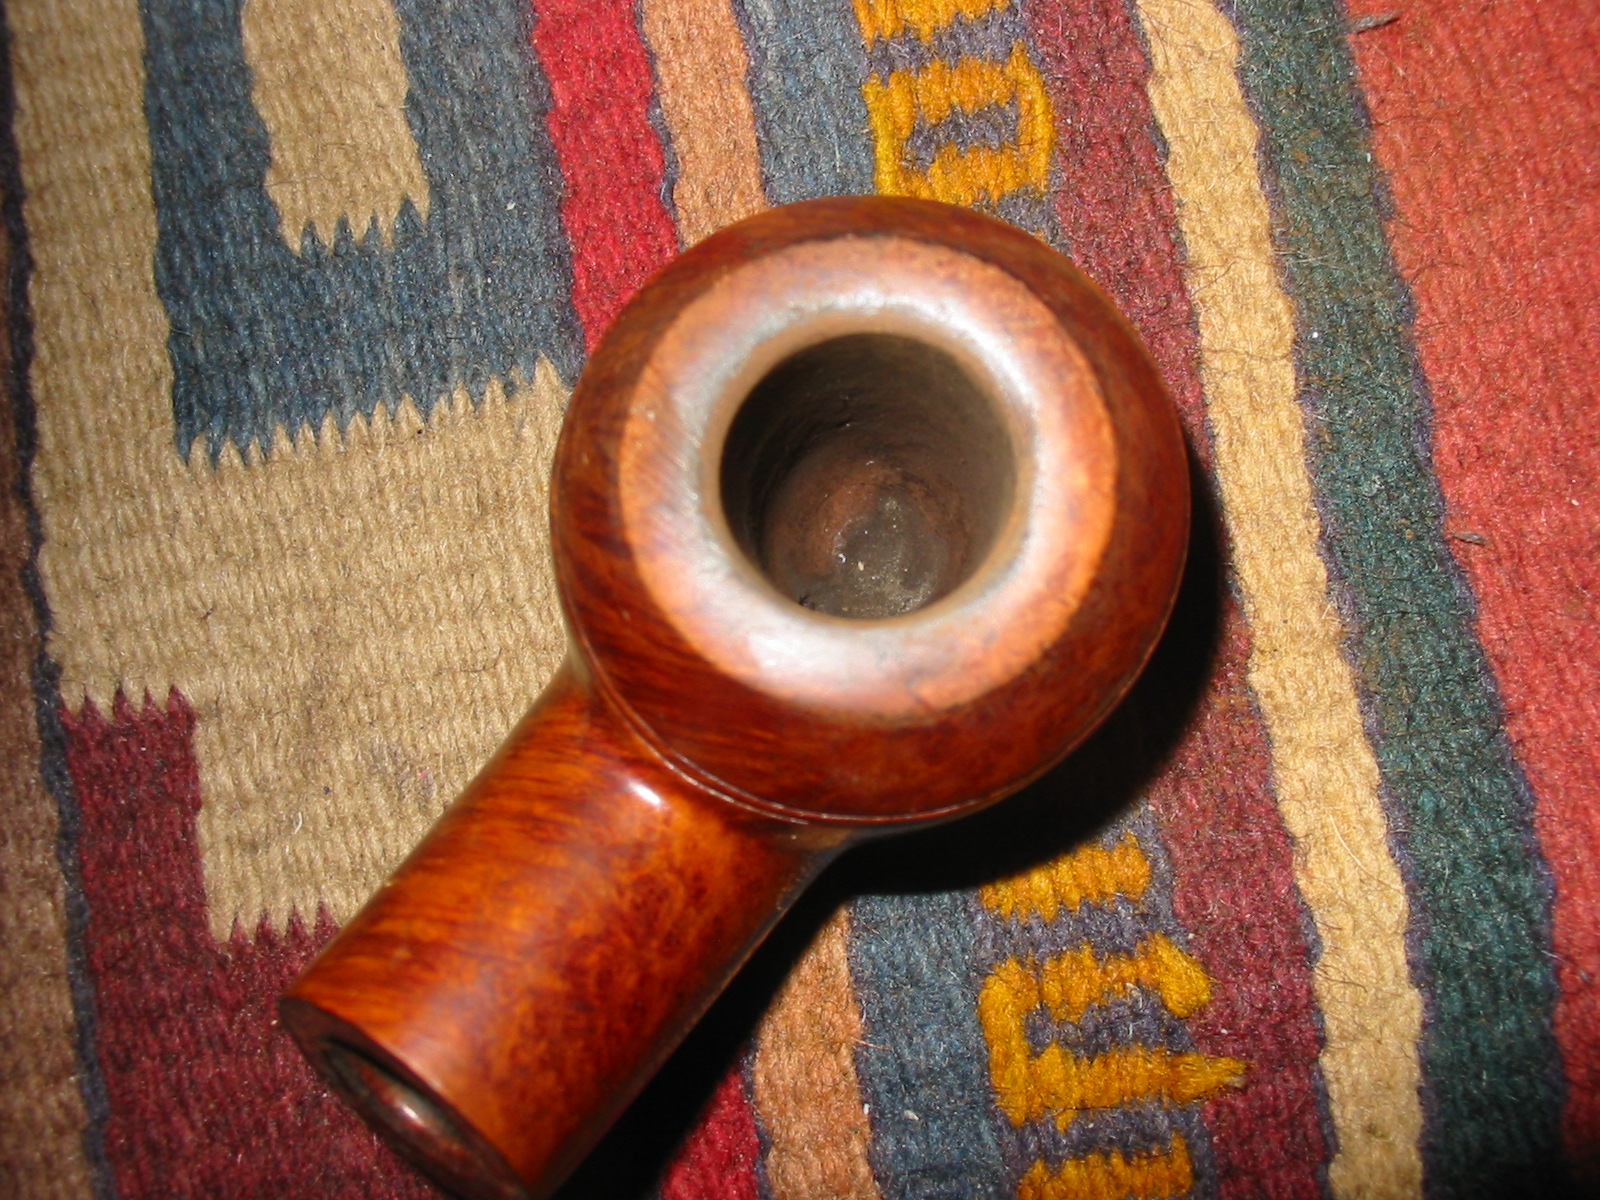
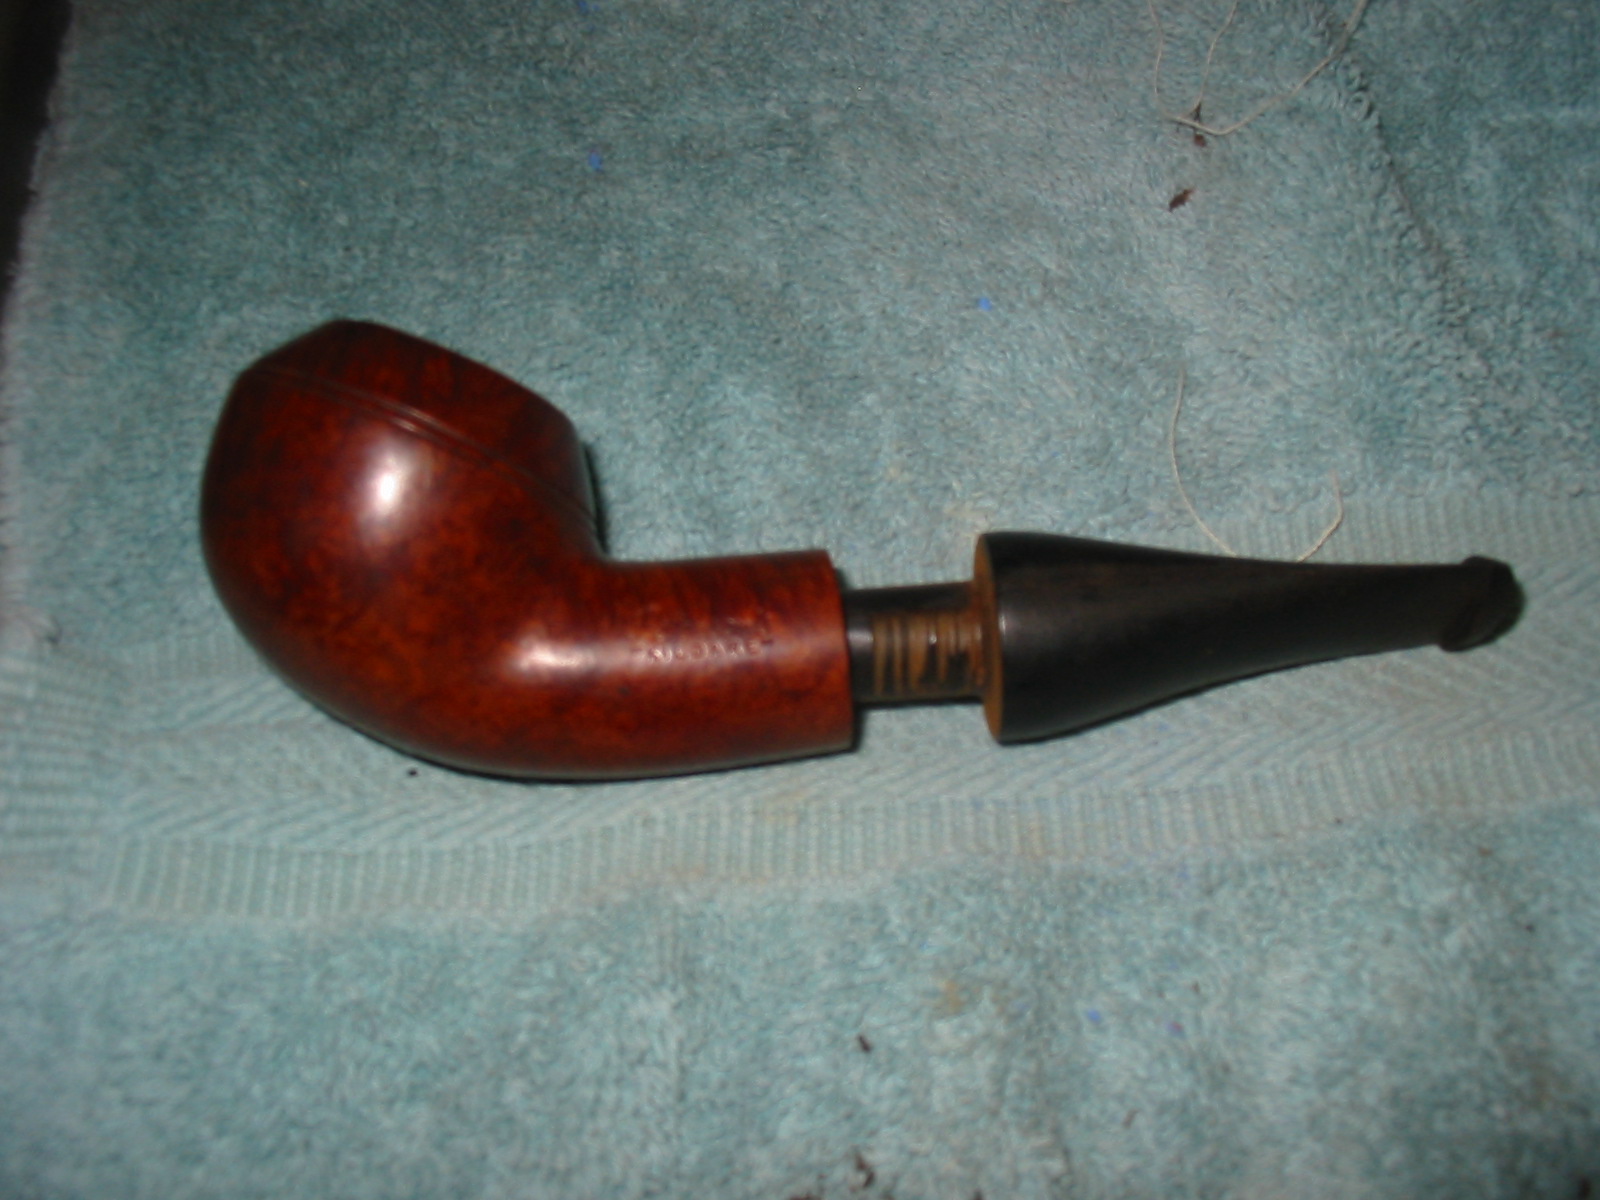
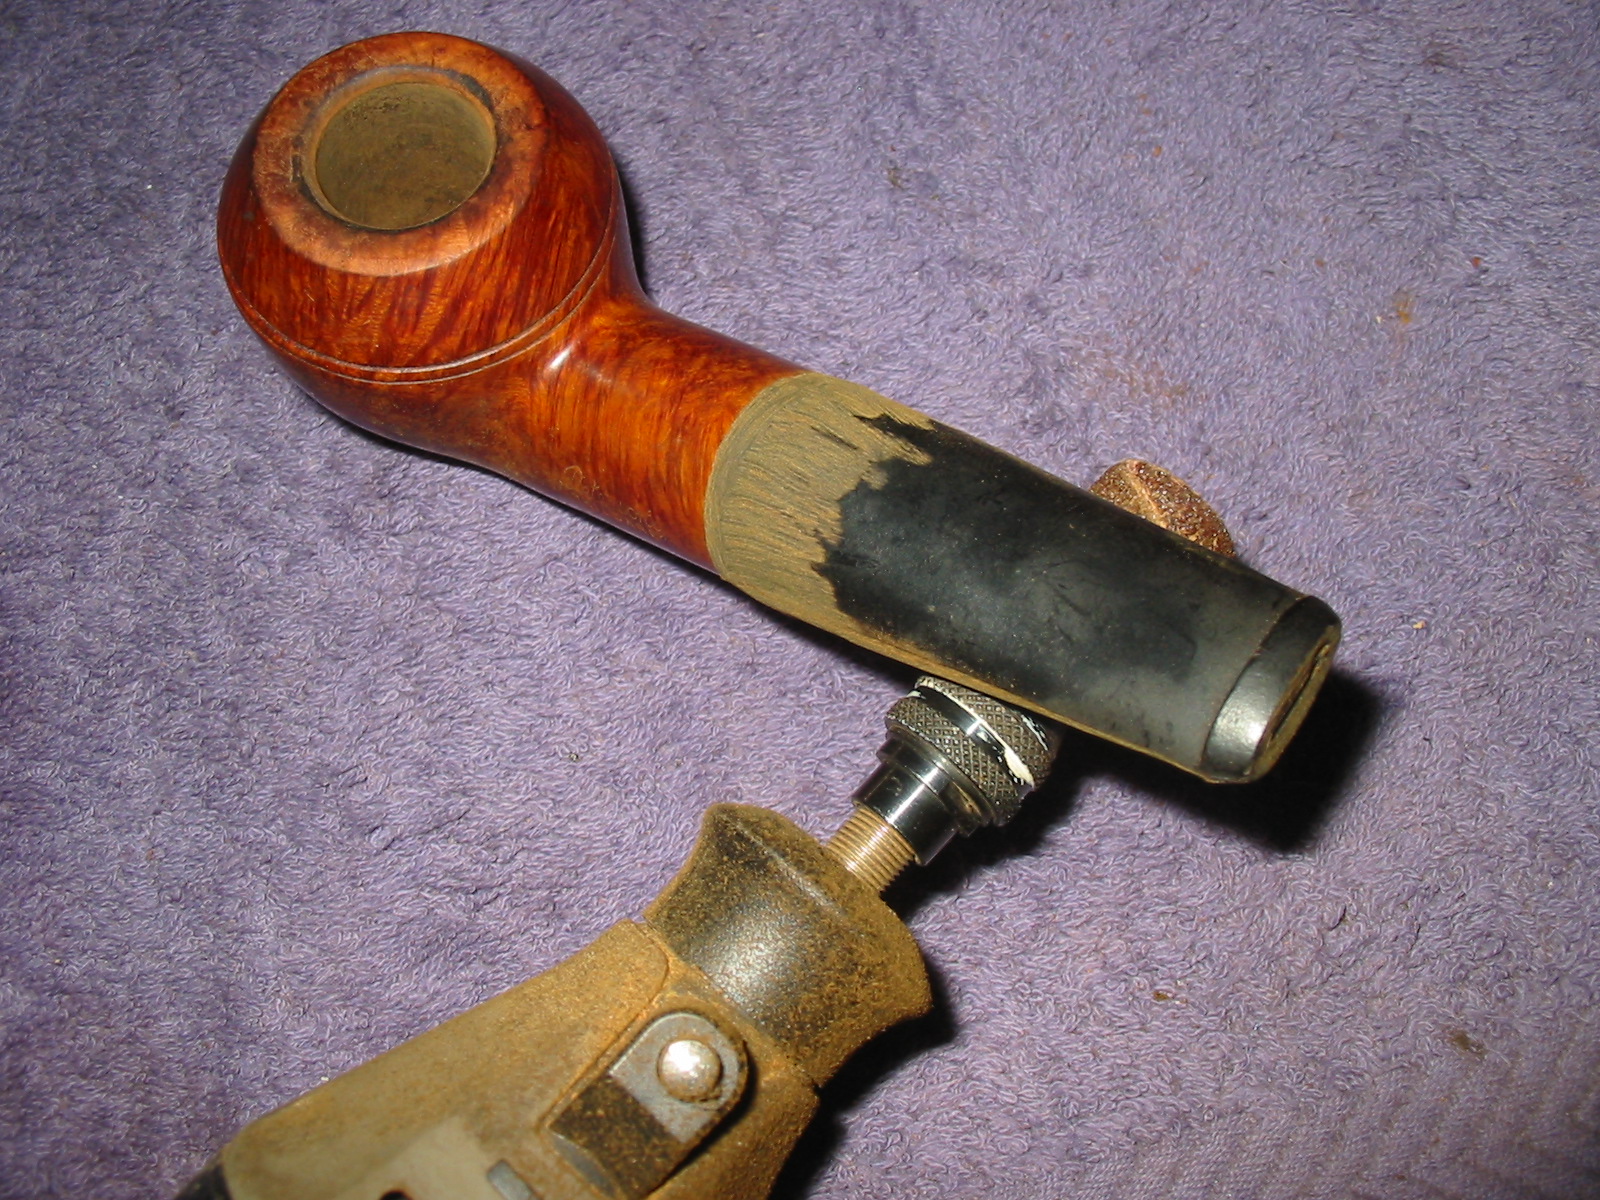
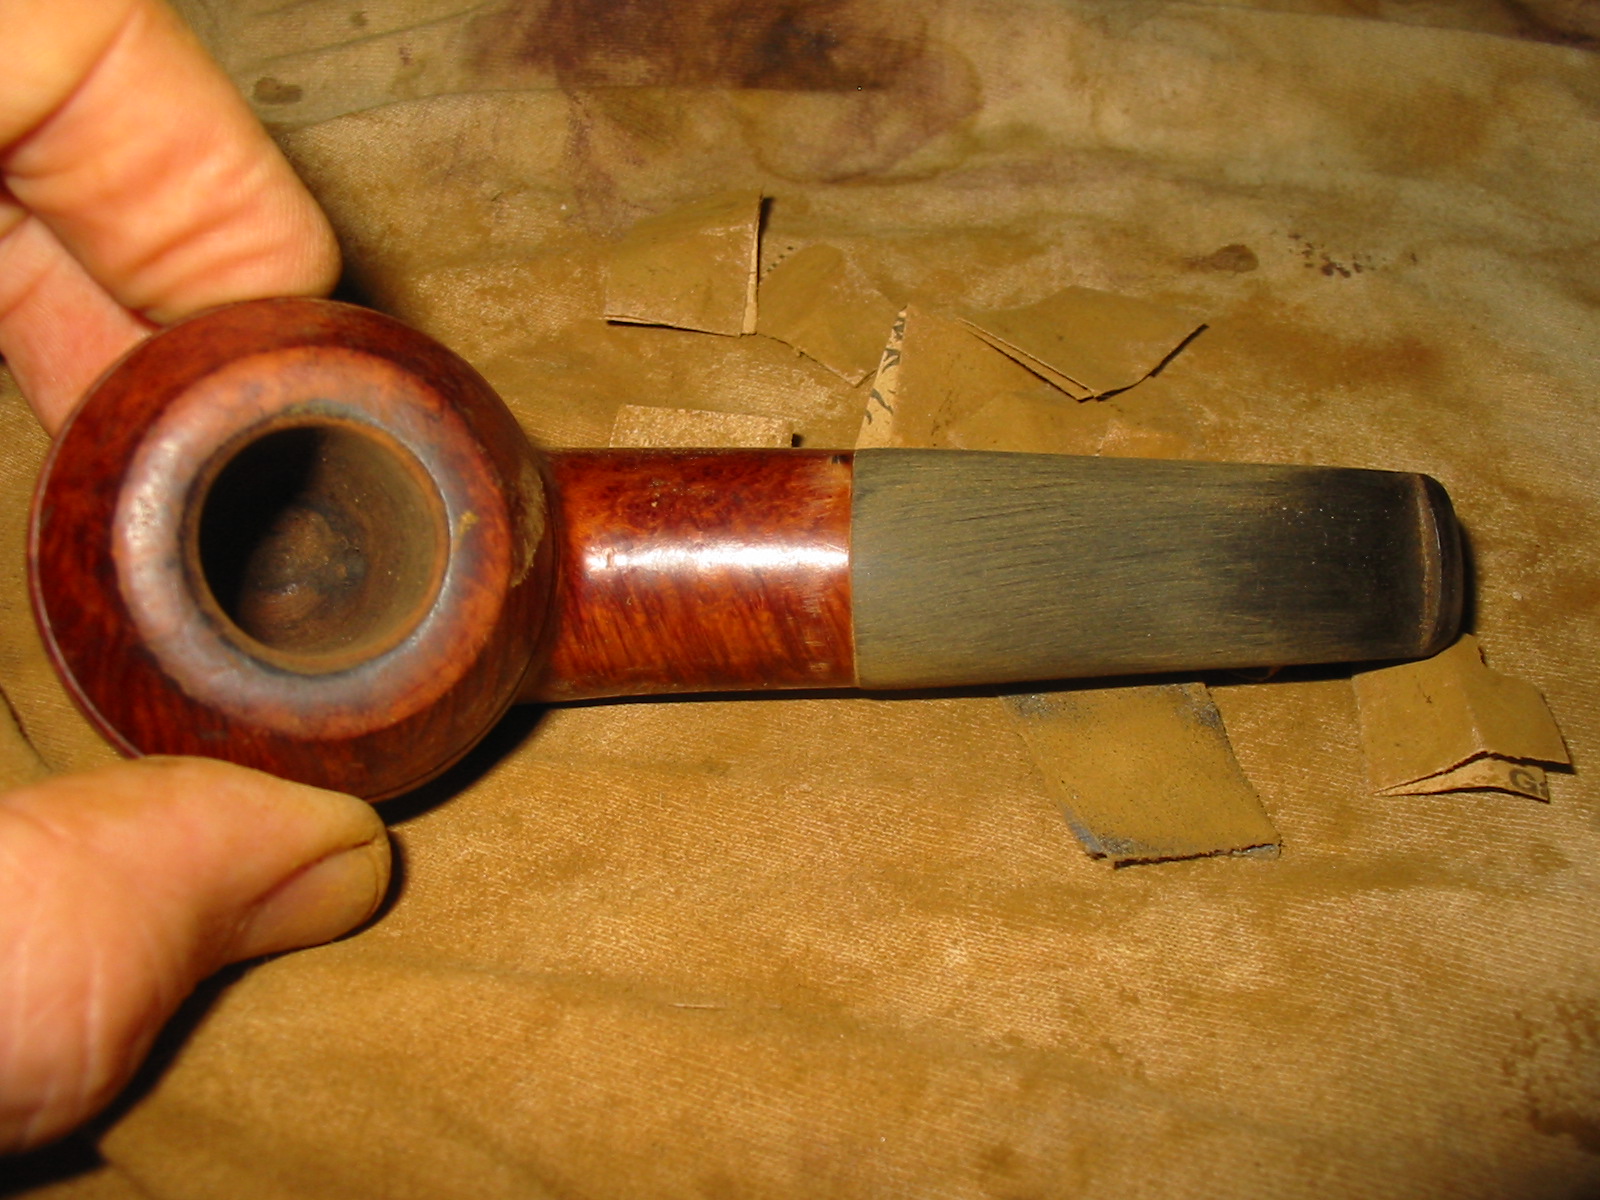
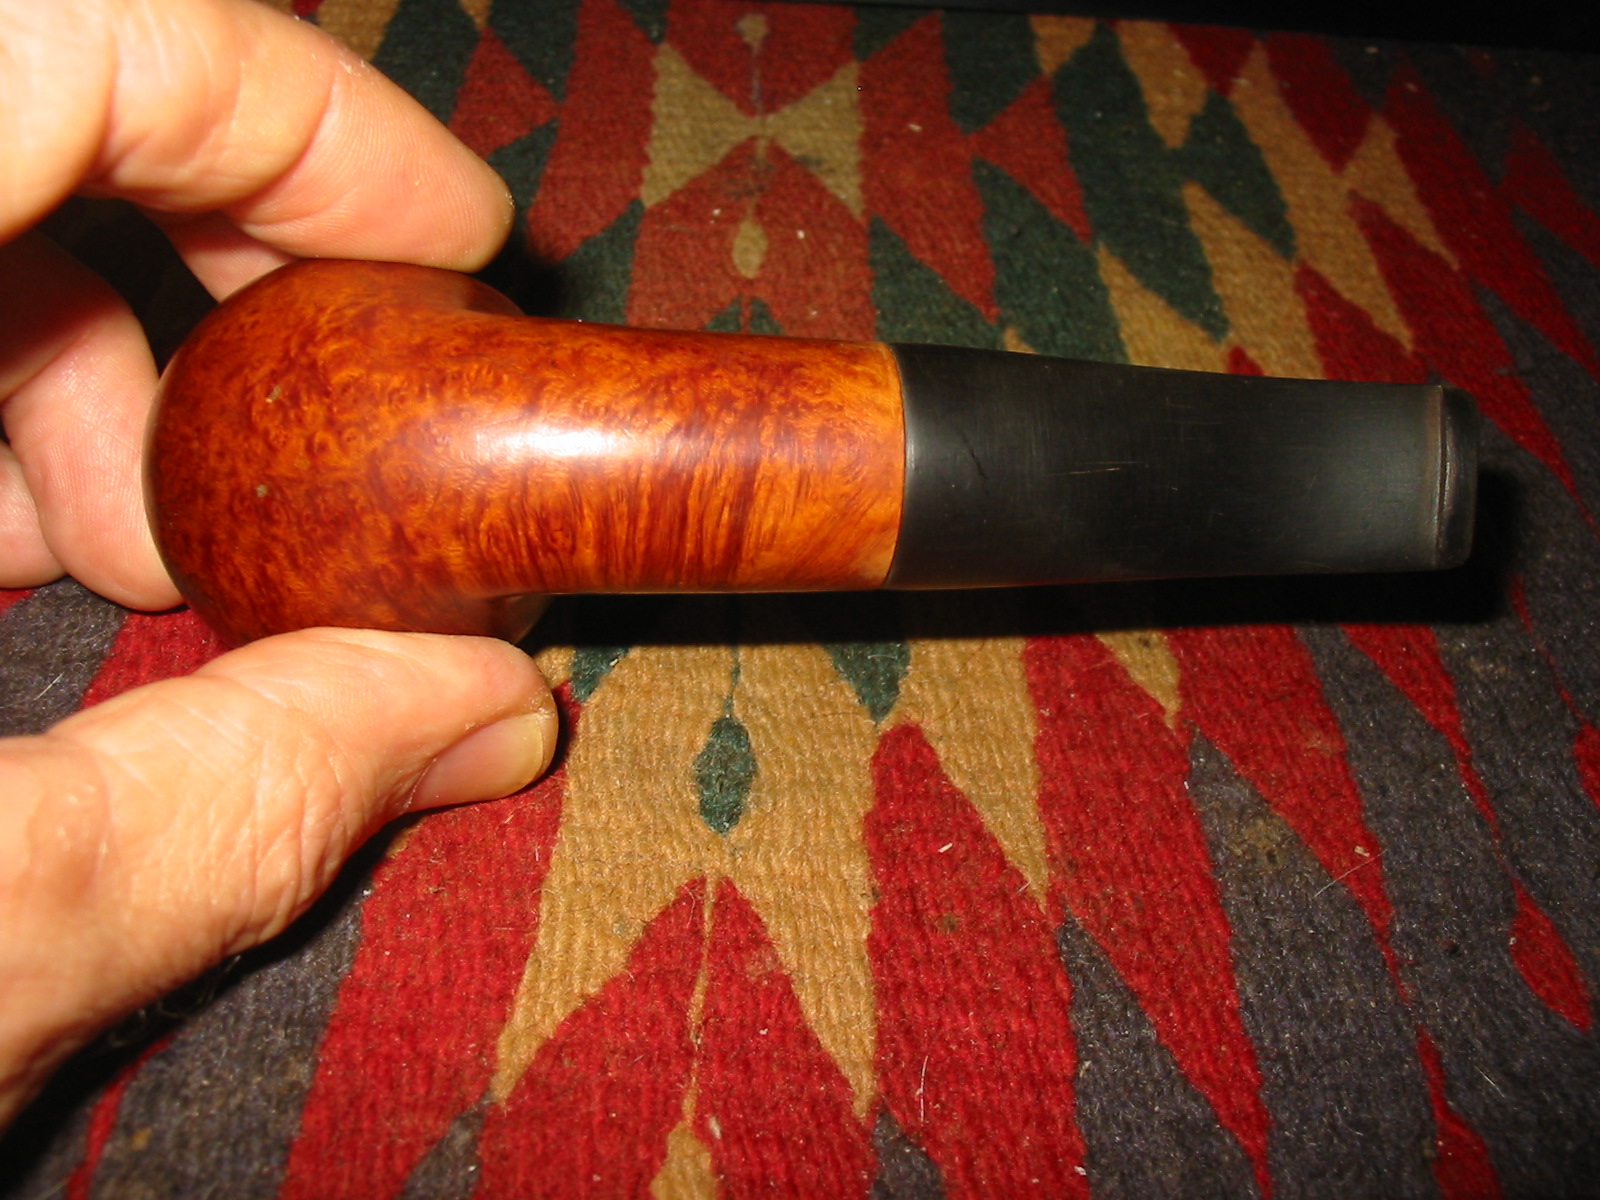
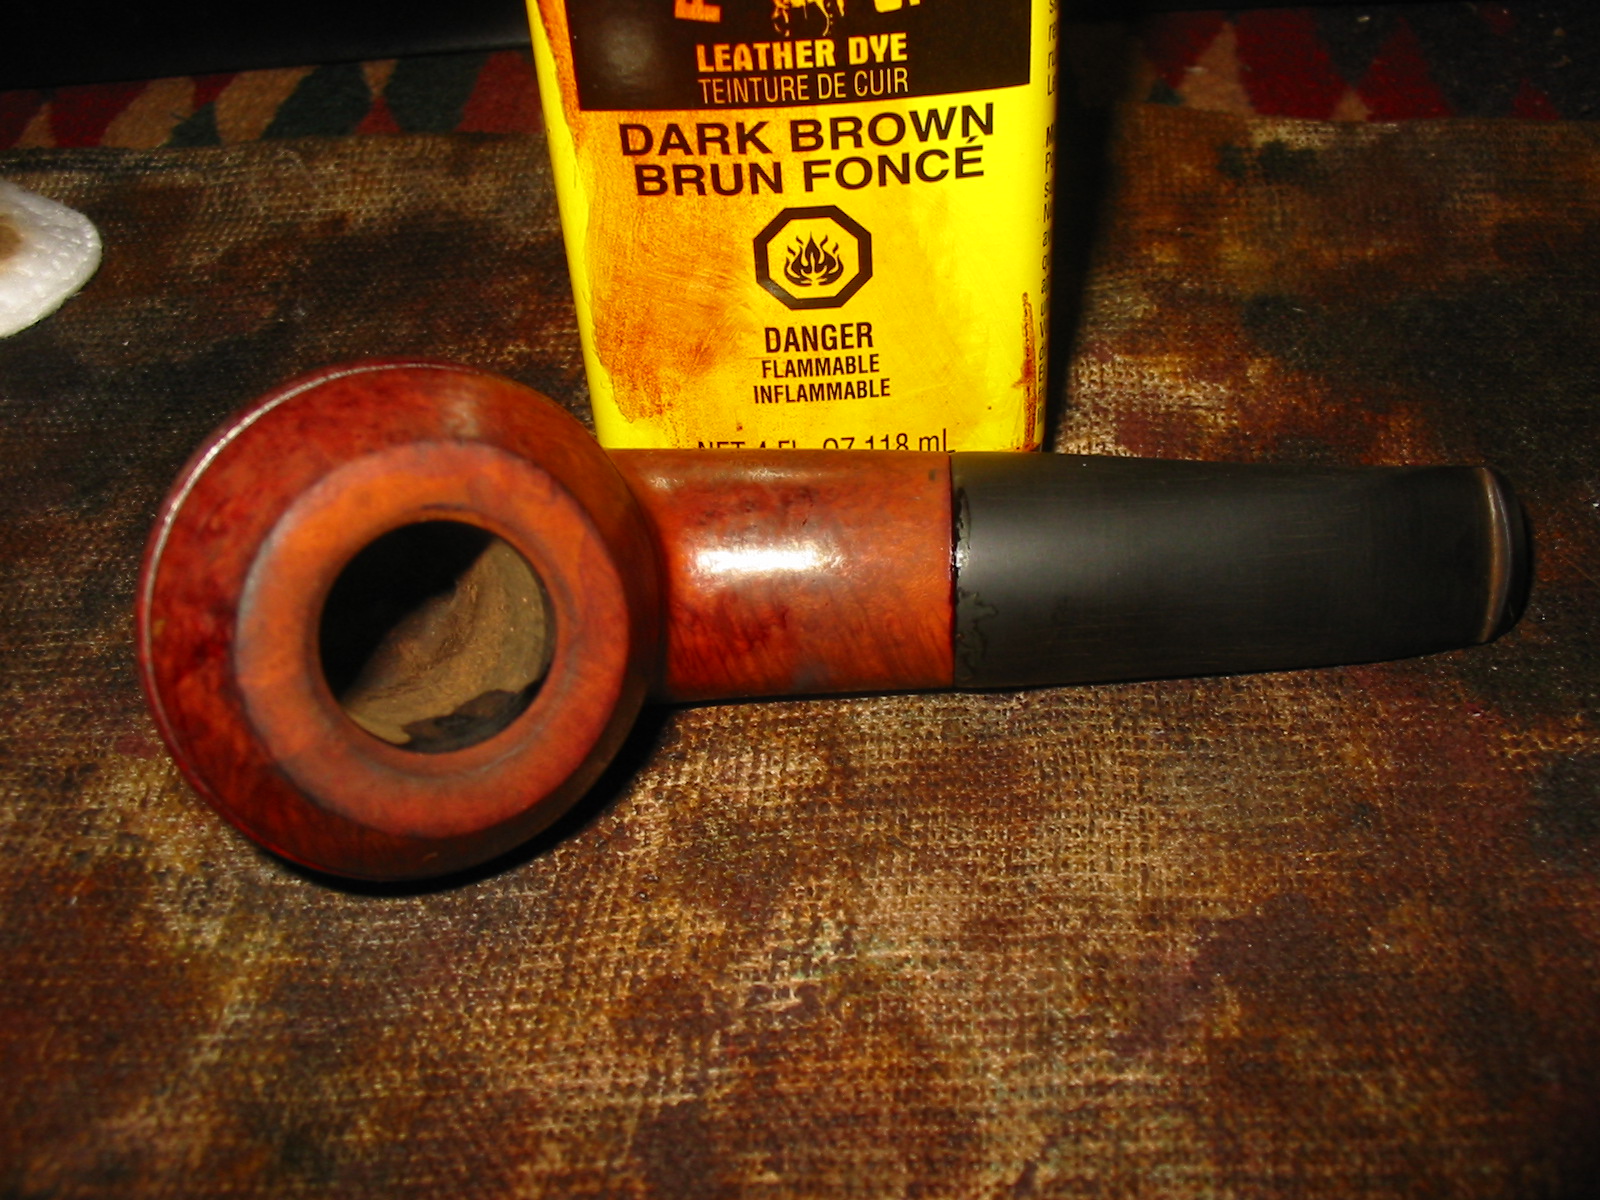
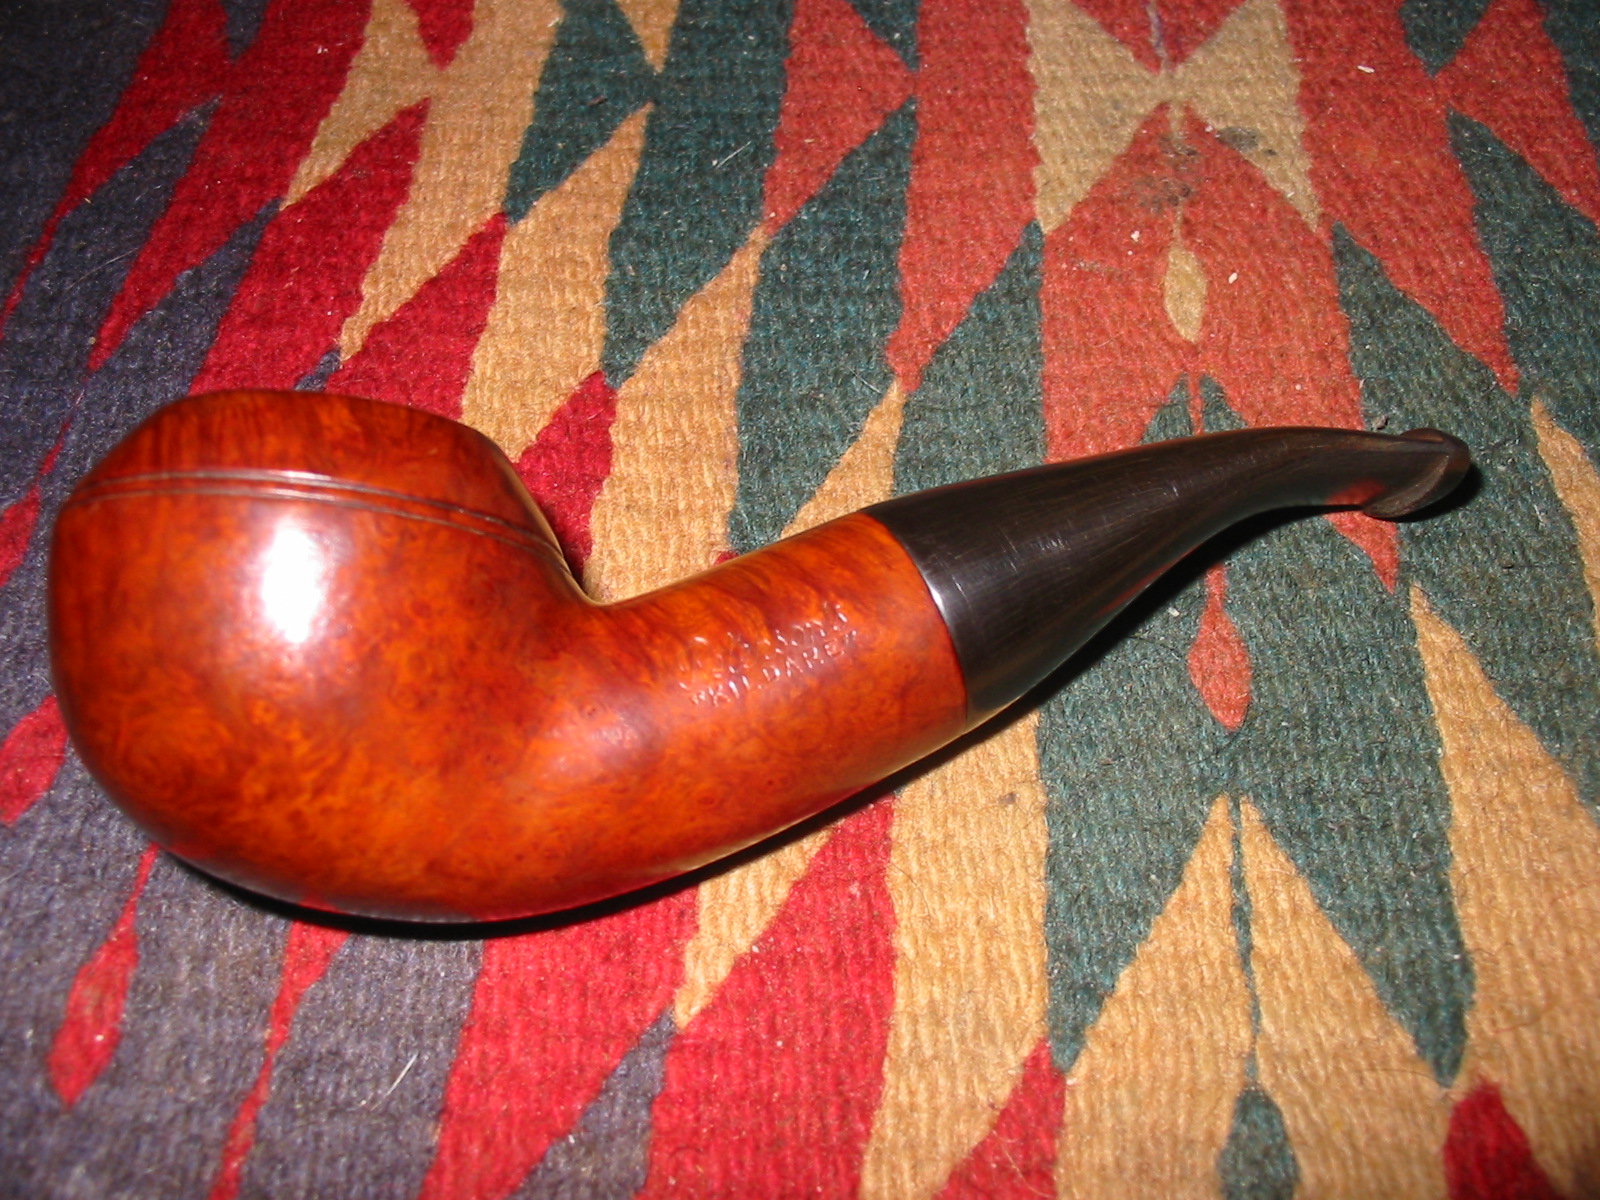
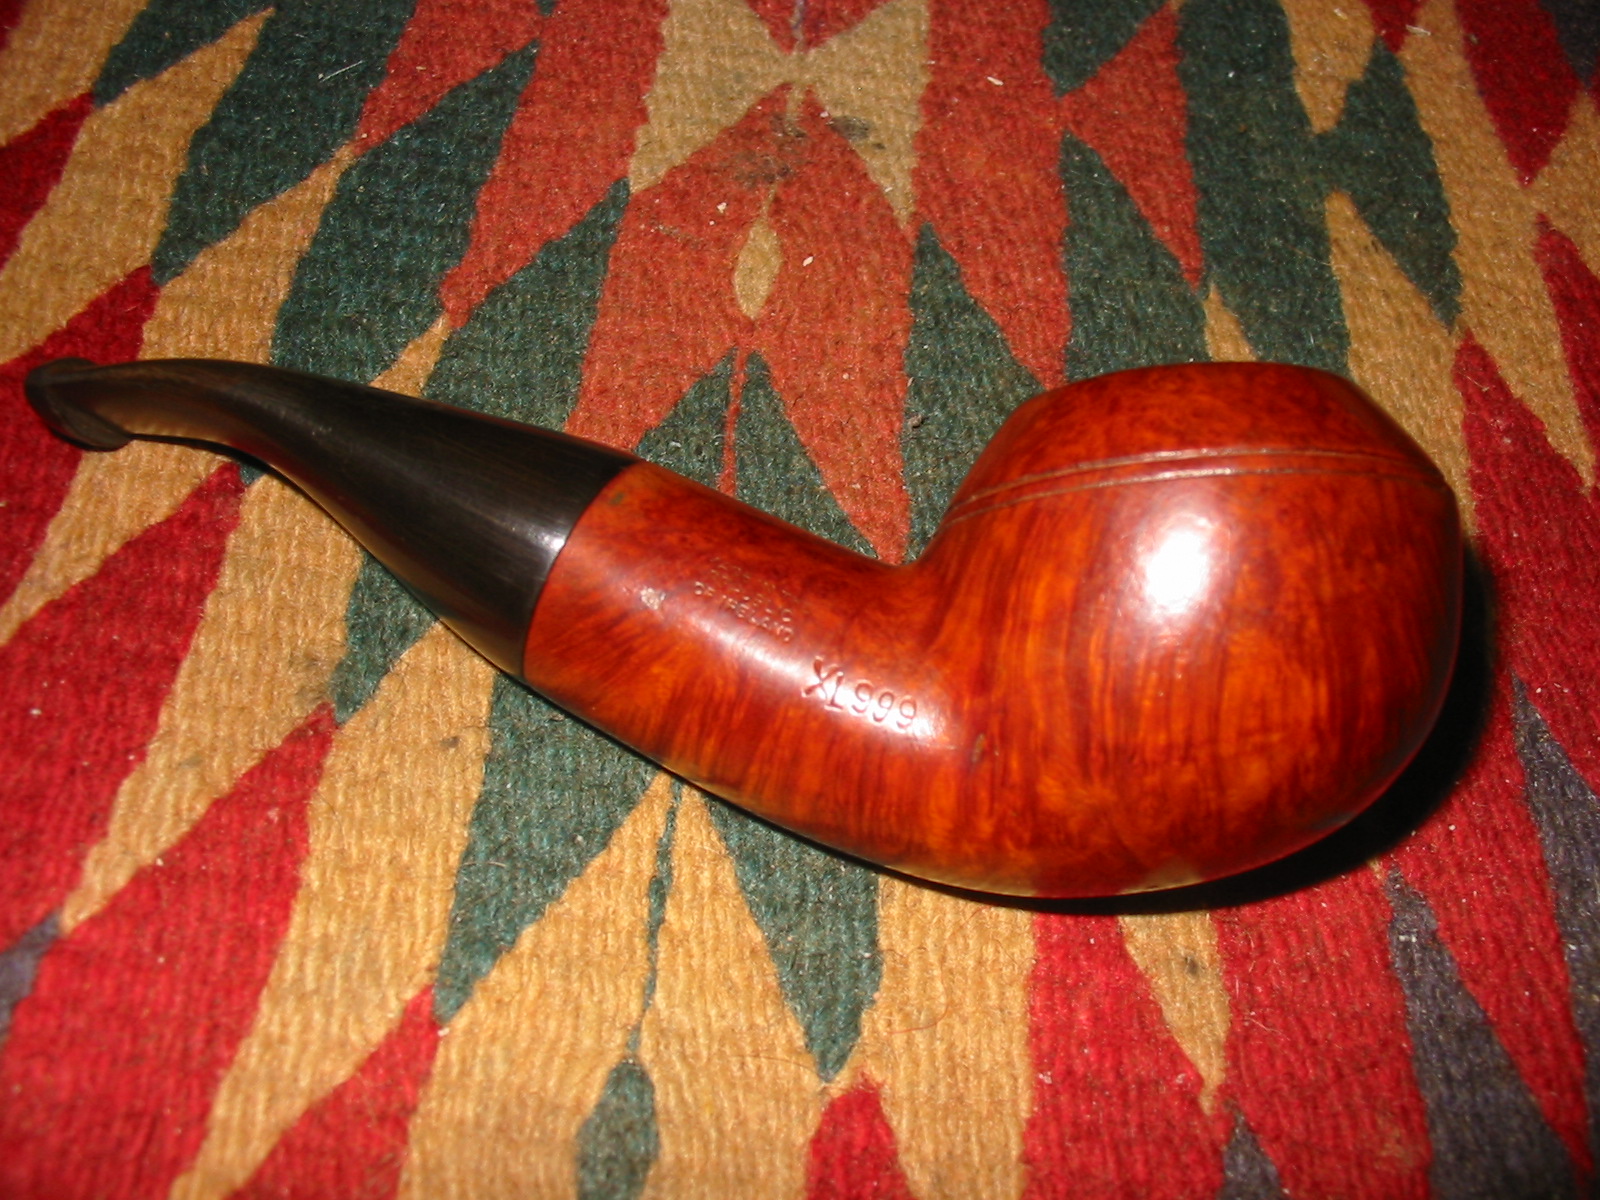
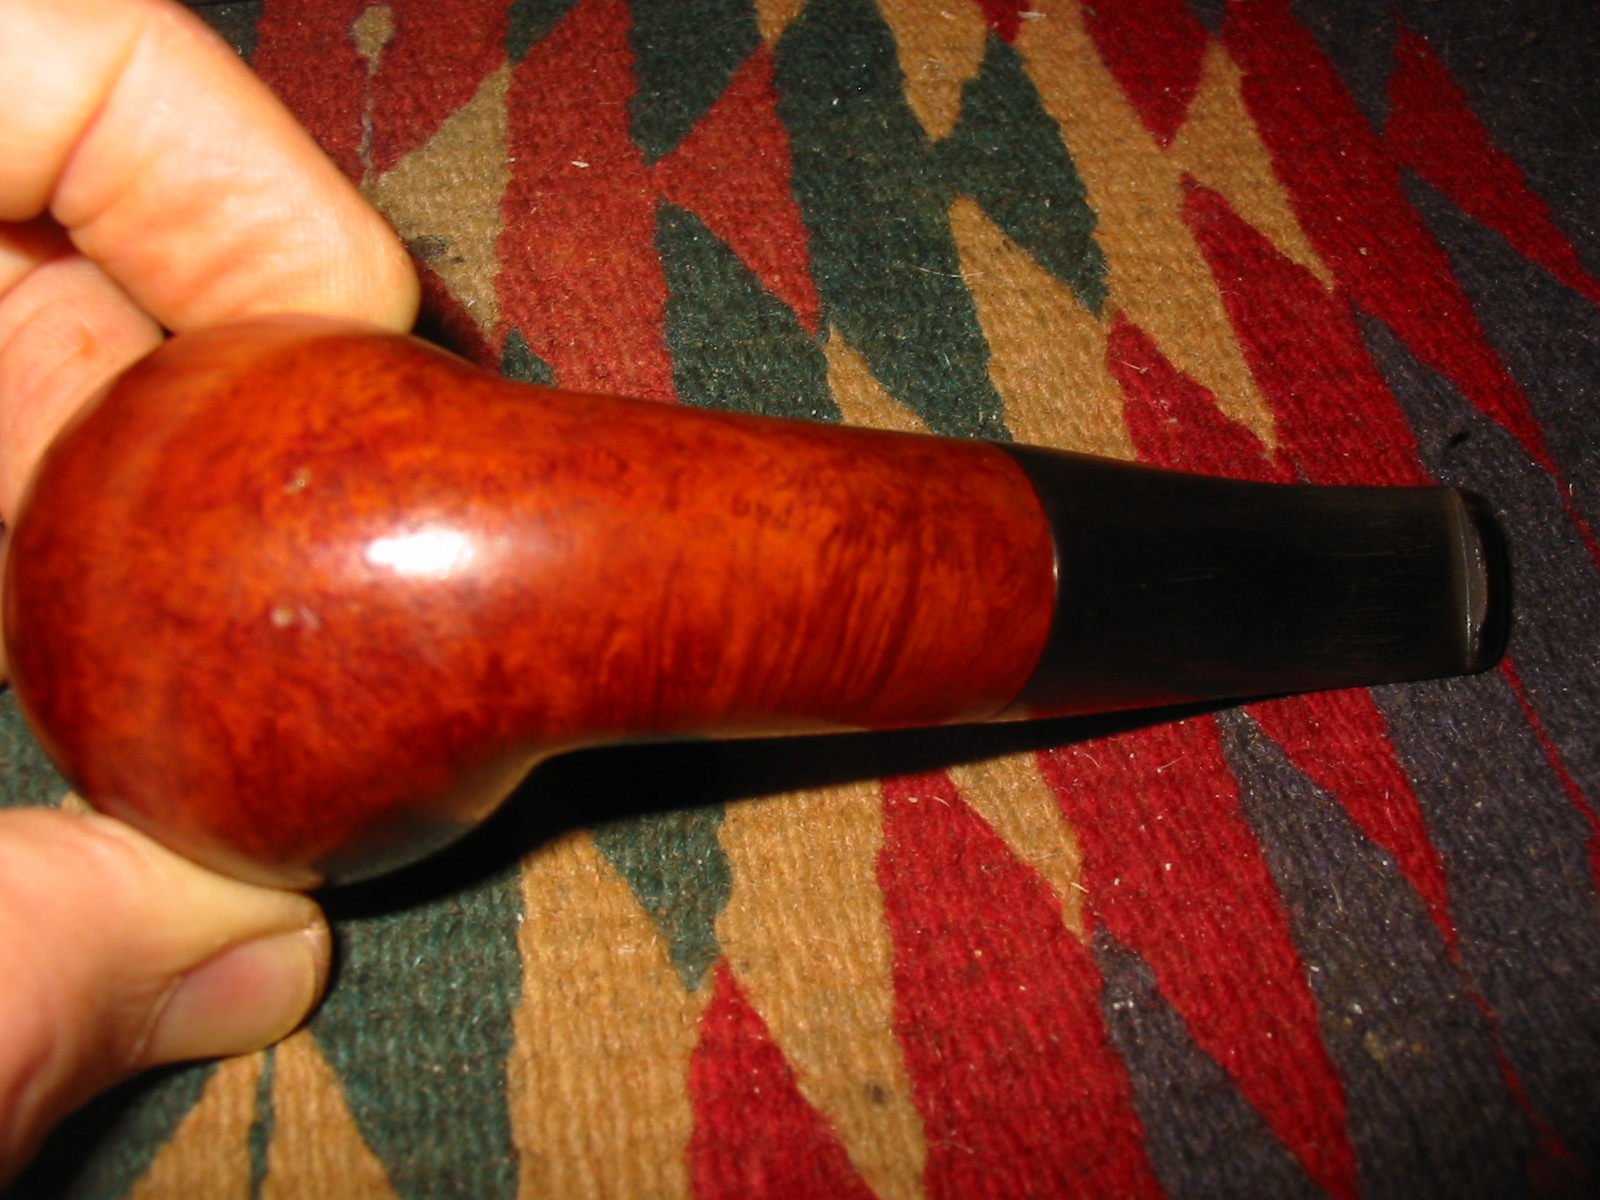
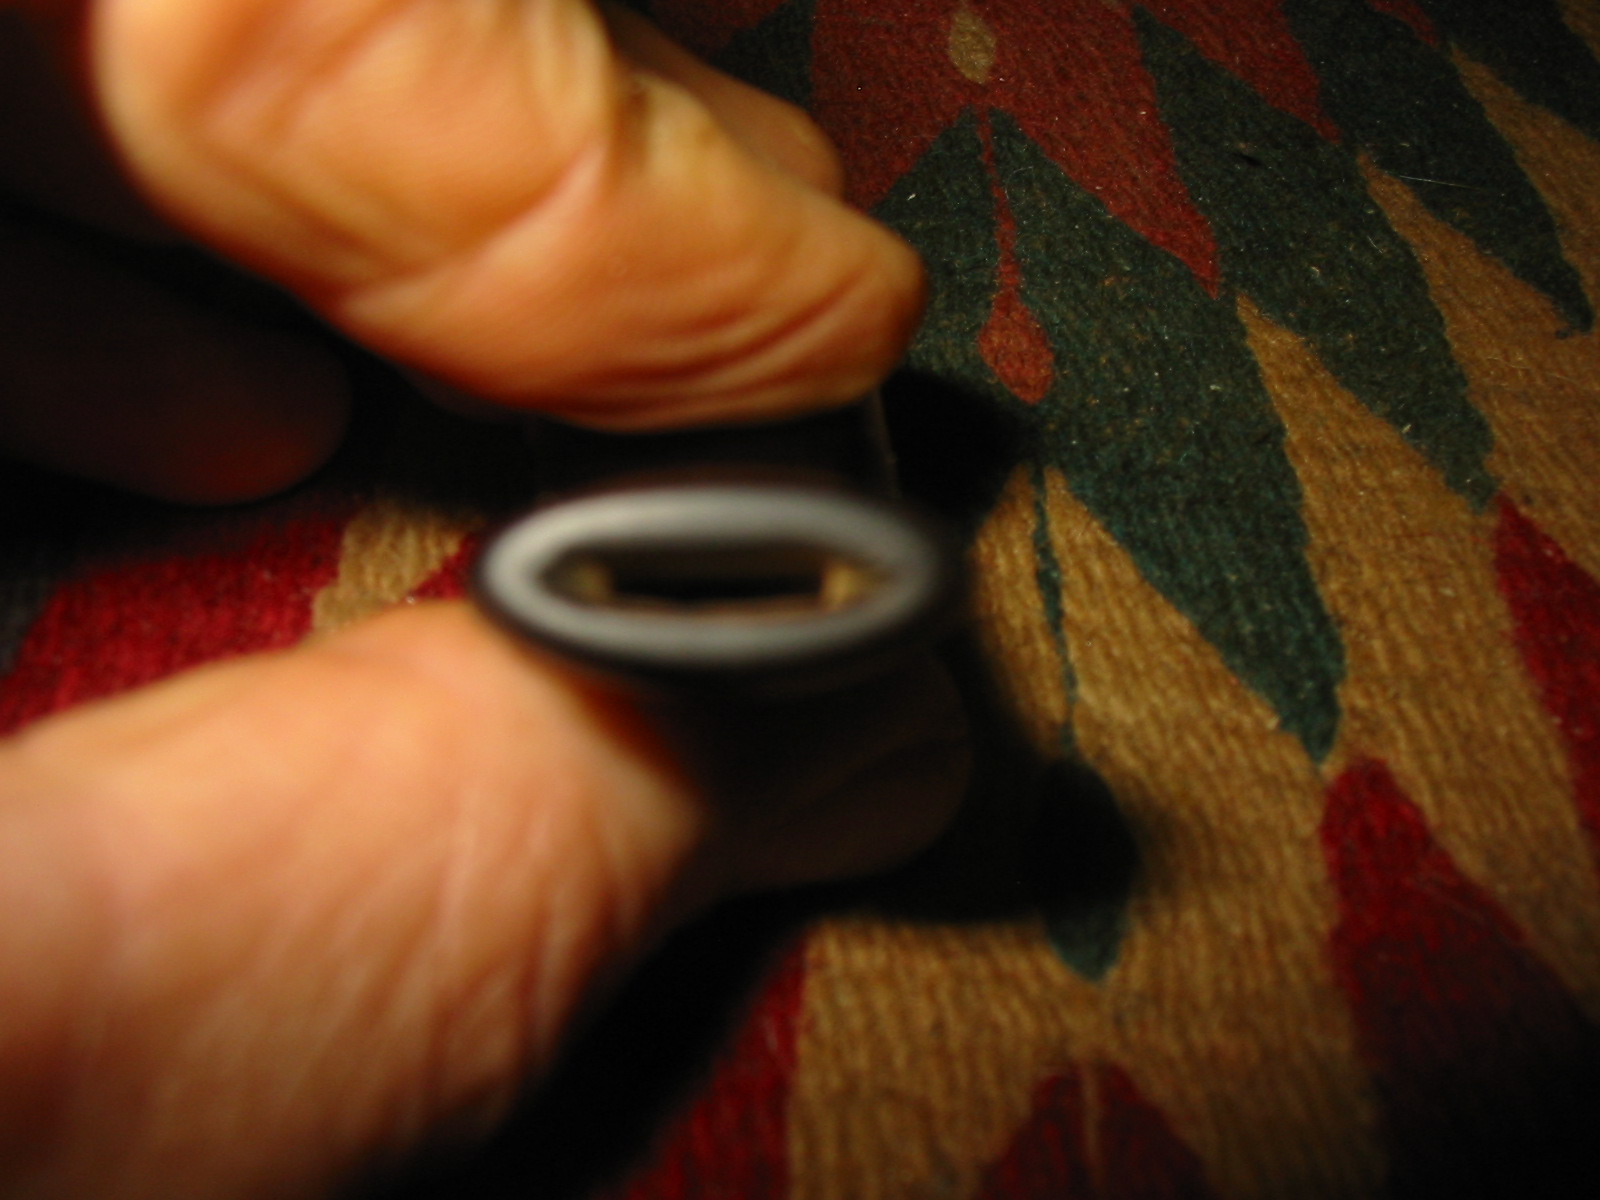
The Peterson’s Kildare is the second pipe down in the left column in the photo below. The second and third photos are of the pipe bowl apart from the lot. The externals were in pretty decent shape but the rim has a heavy buildup of tars and the cake in the bowl is quite thick and hard. To give an idea of the thickness of the cake I was unable to put my little finger in the bowl. The shank was quite large – the tenon is ½ inch in diameter for a snug fit in a clean tenon. The shank itself is 7/8 inches in diameter. It is a large mortise and airway. The pipe is stamped Peterson’s “Kildare” on the left side of the shank and Made in the Republic of Ireland XL999 on the right side of the shank. The finish is quite clean. The top will need to be topped to remove the buildup and dents. I also will need to chamfer the inner edge of the rim to repair the damage that is present on the surface of the rim.

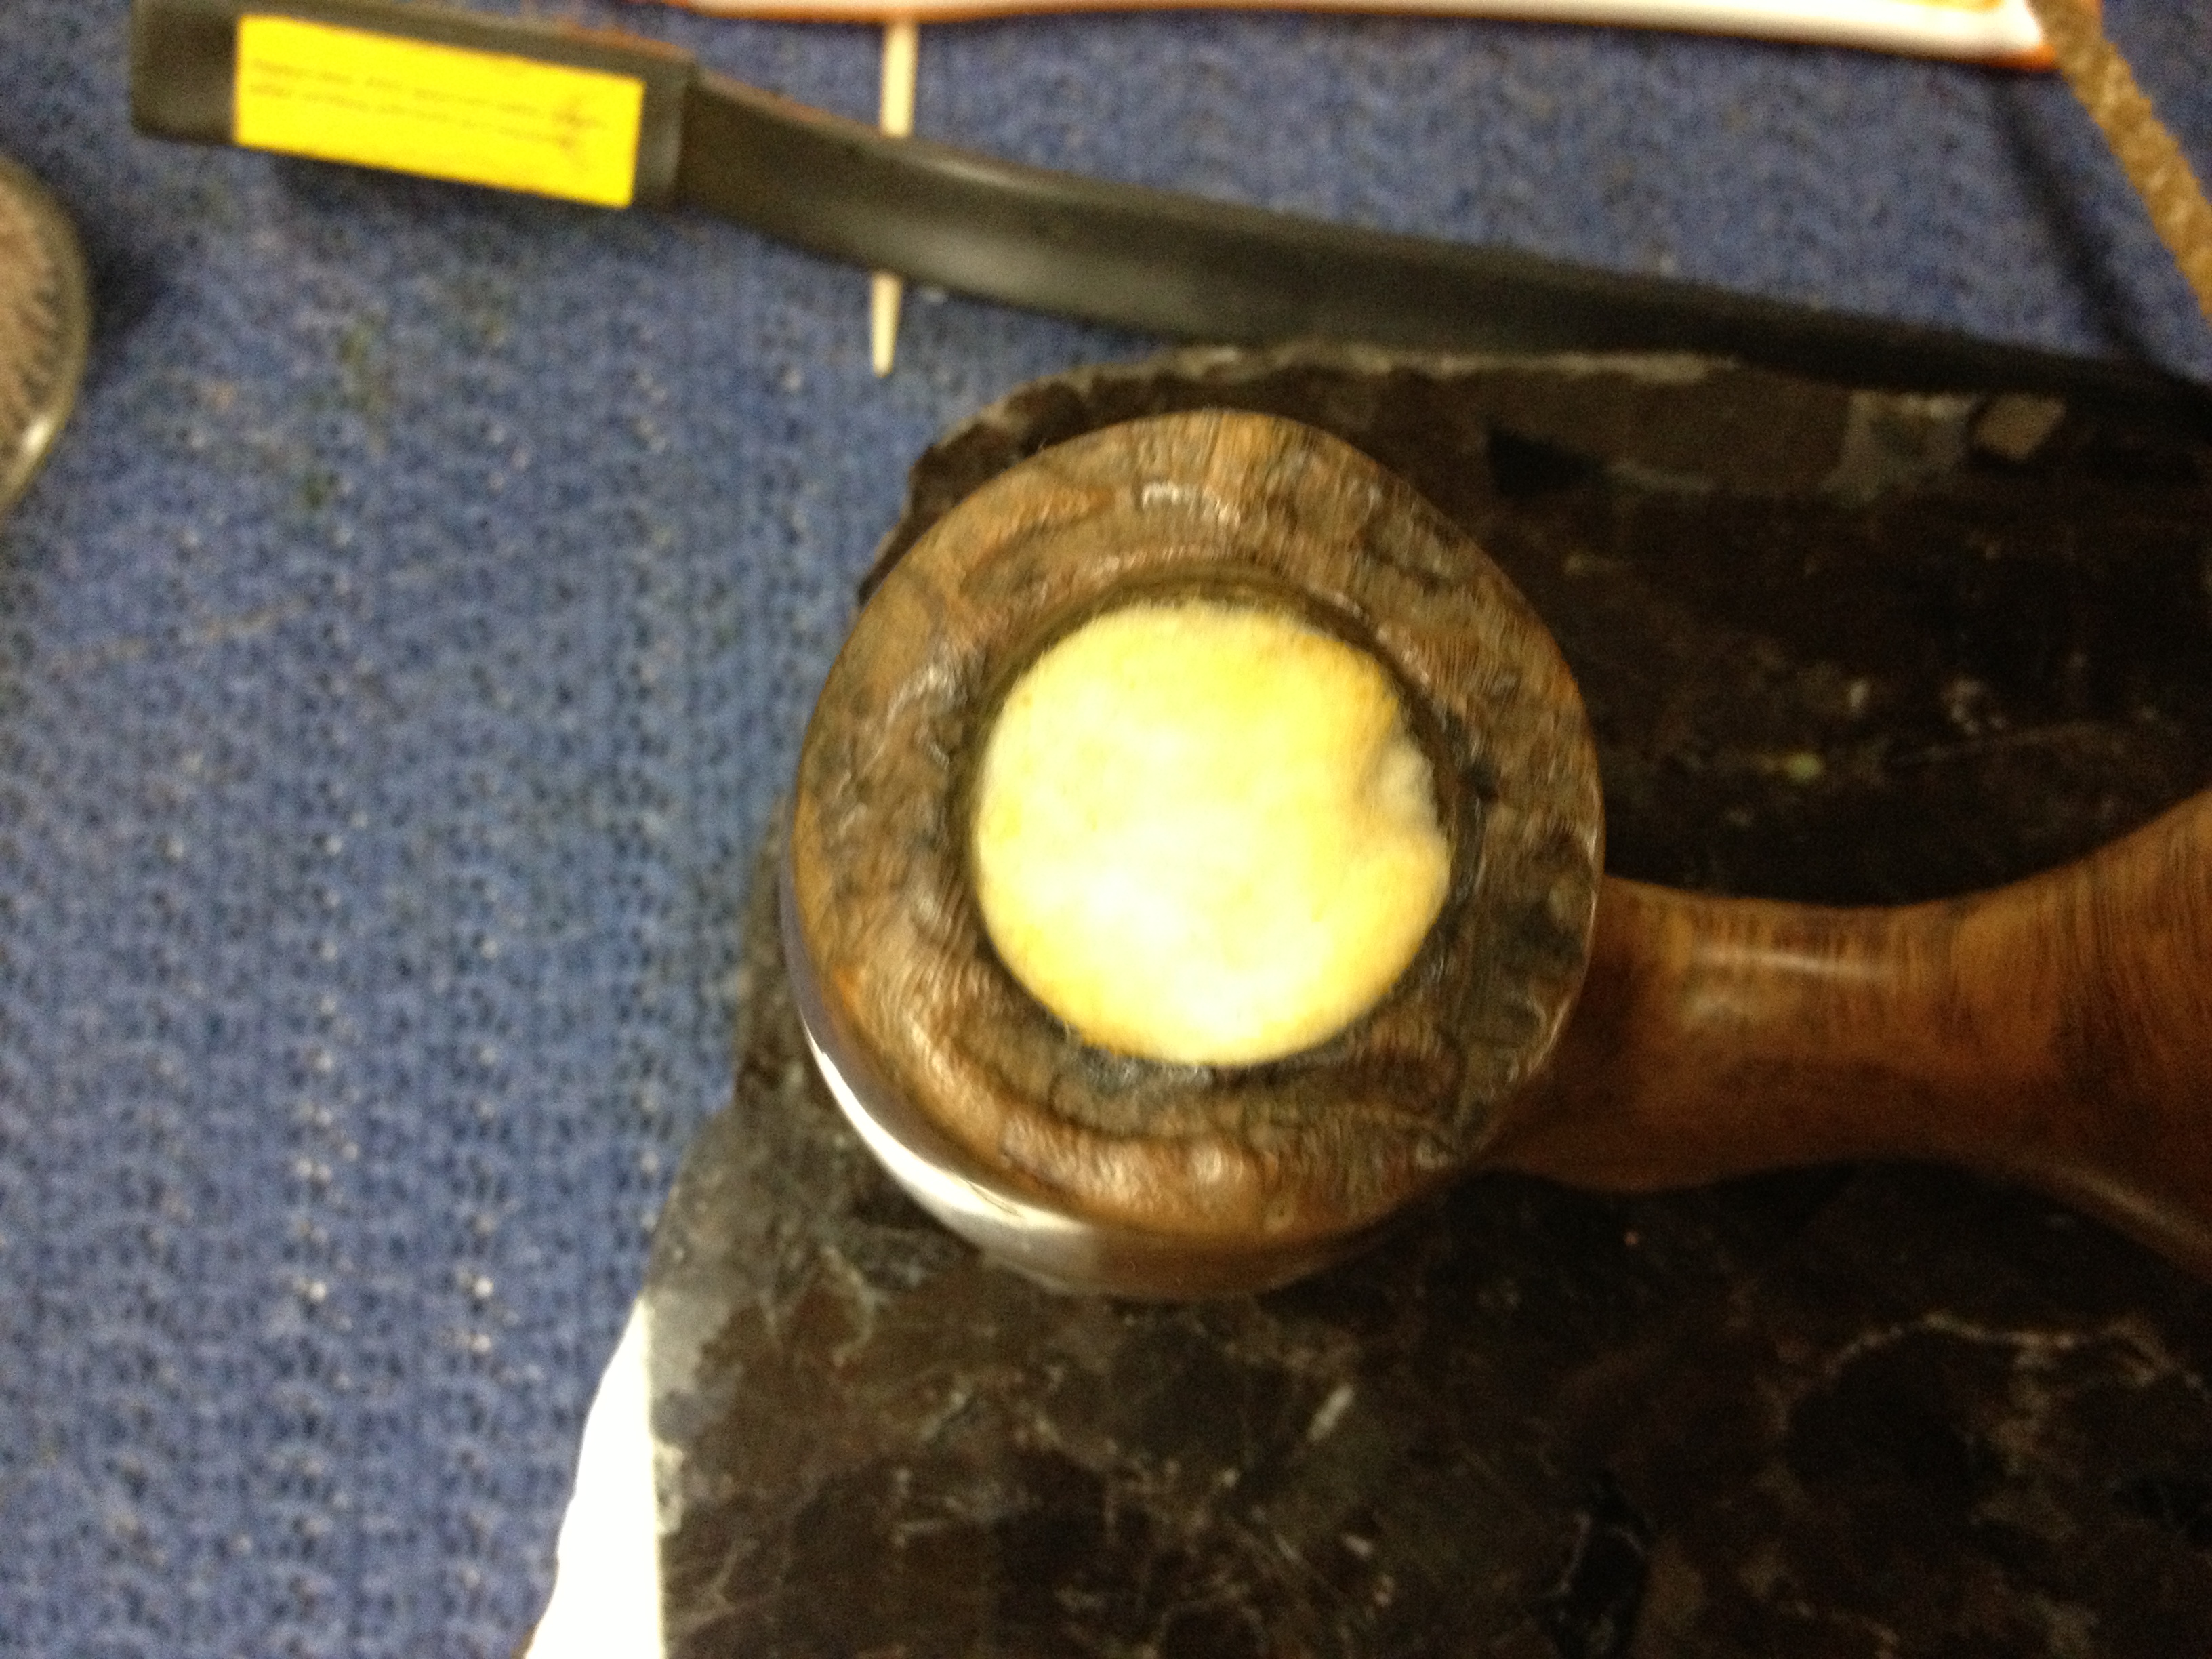
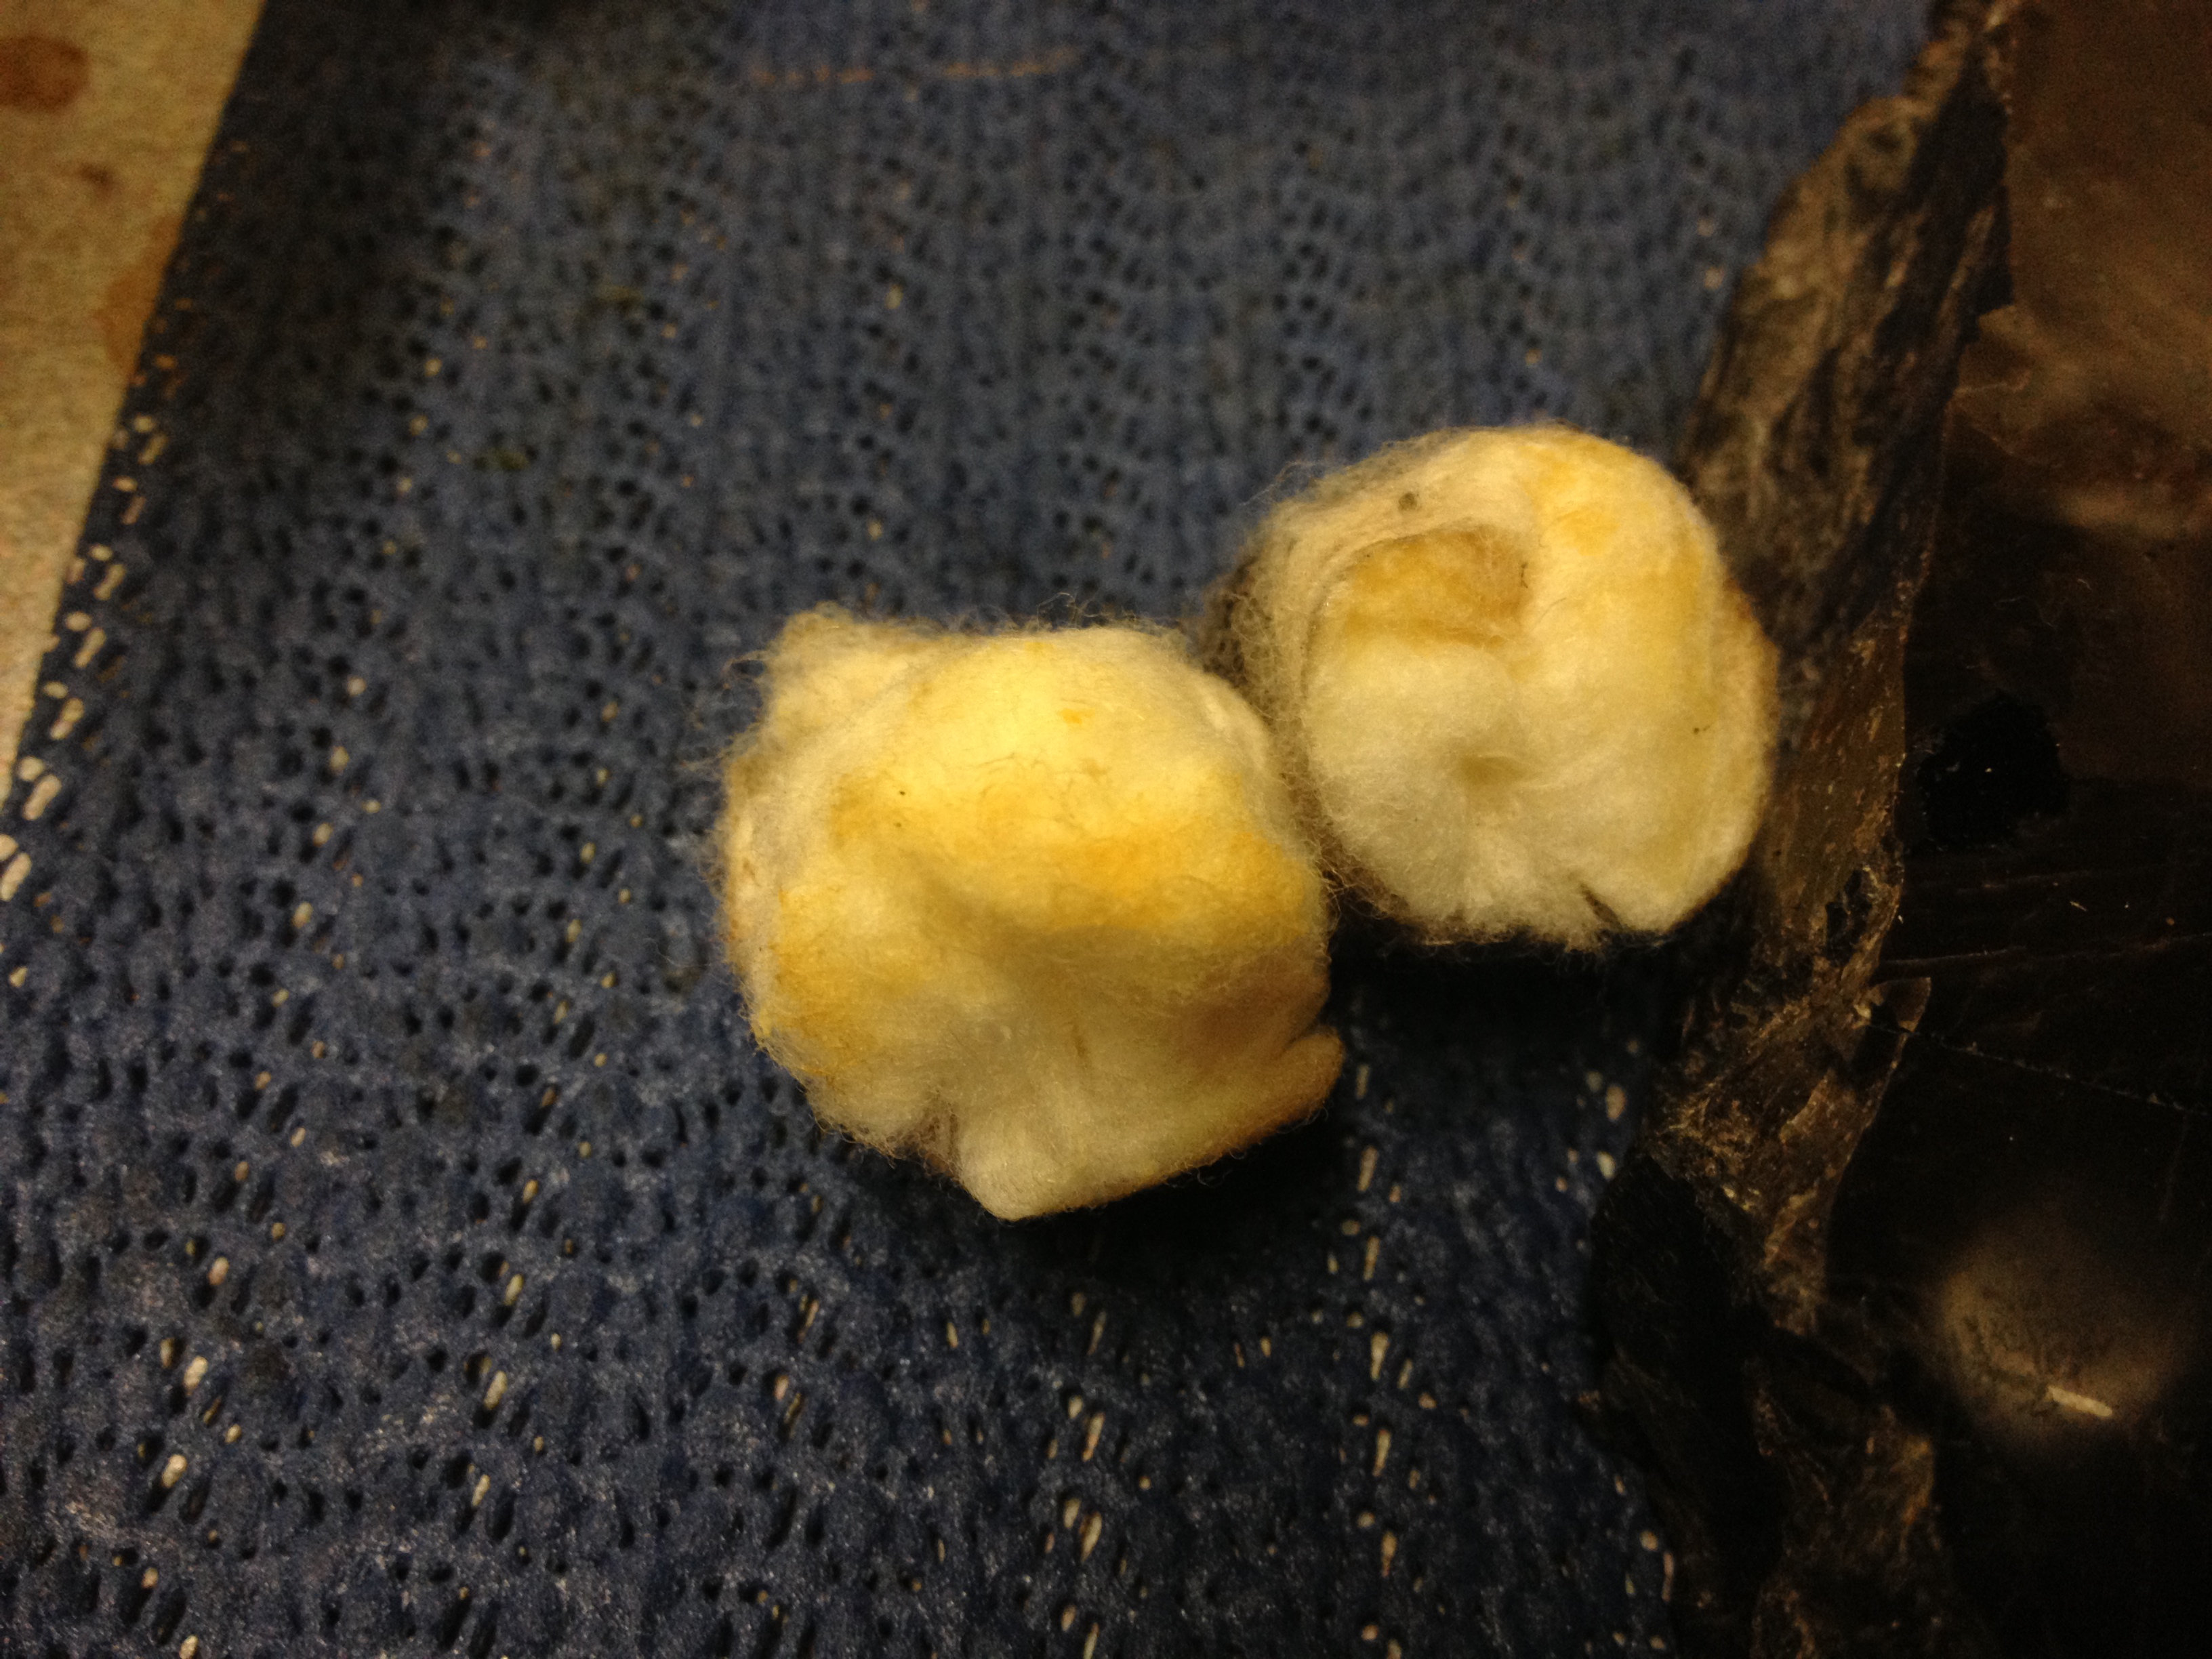
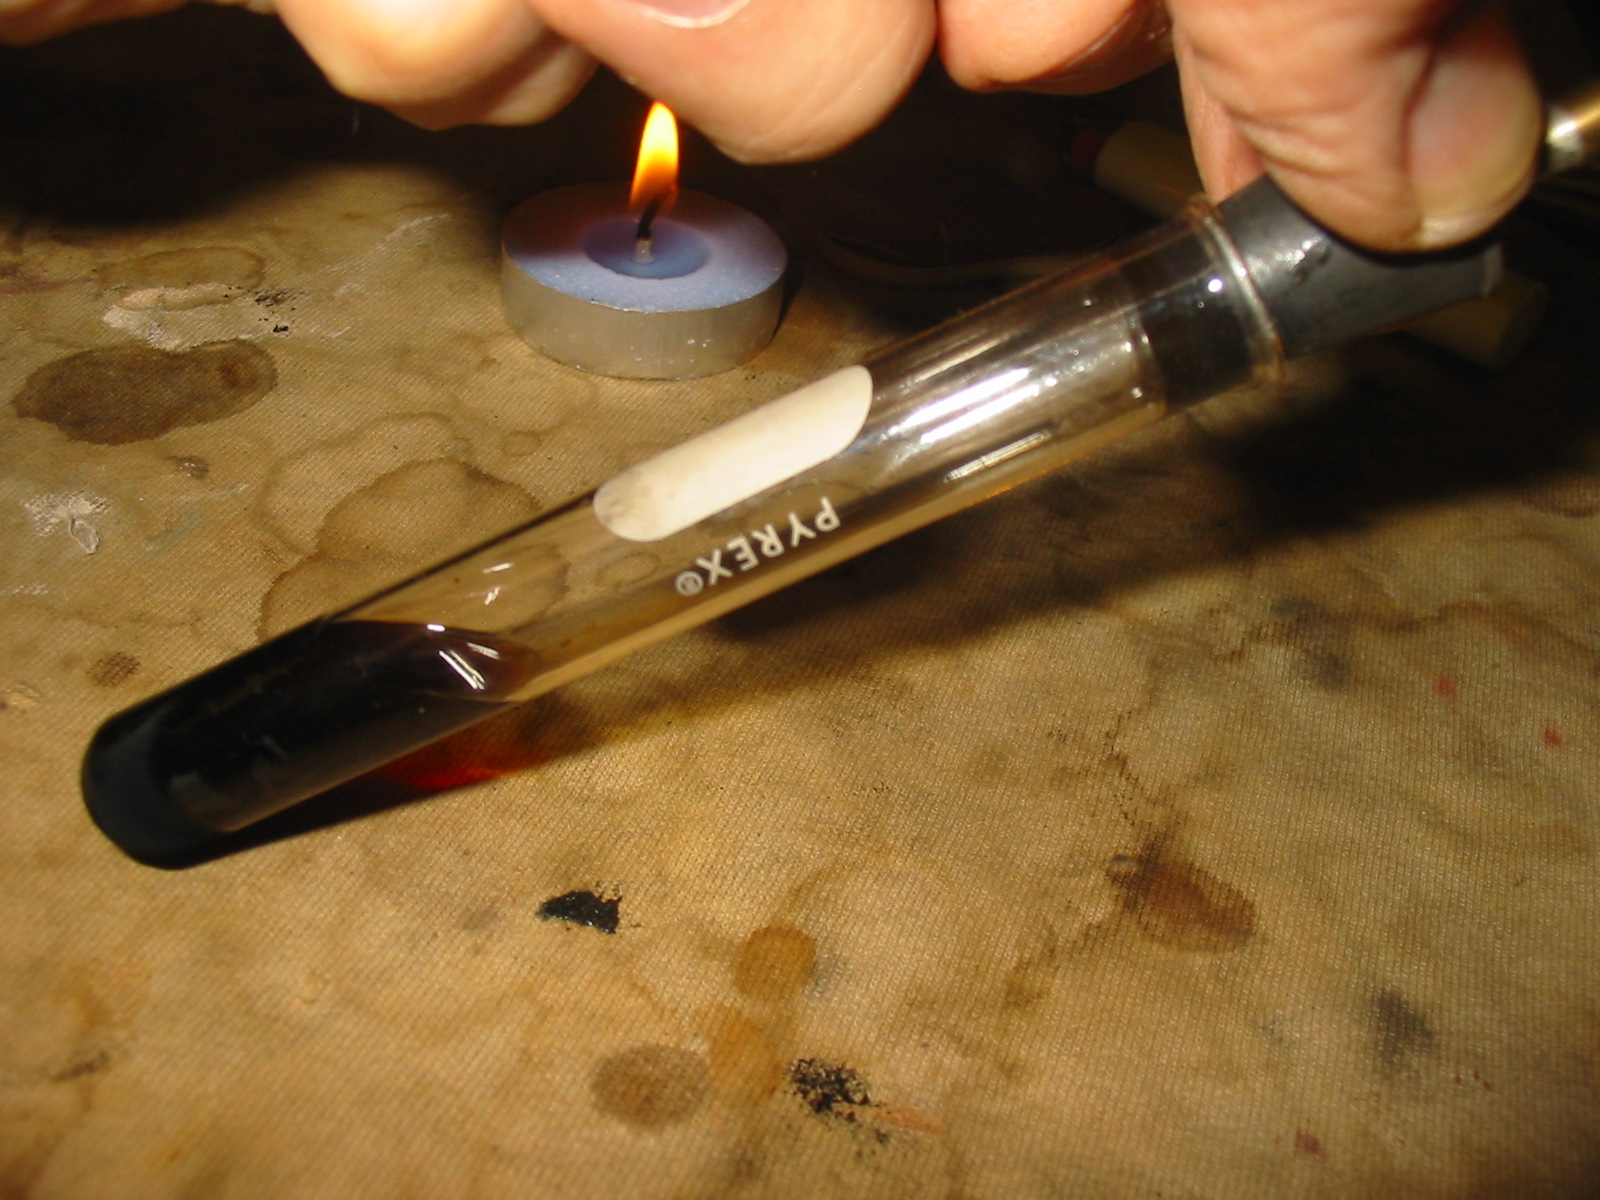
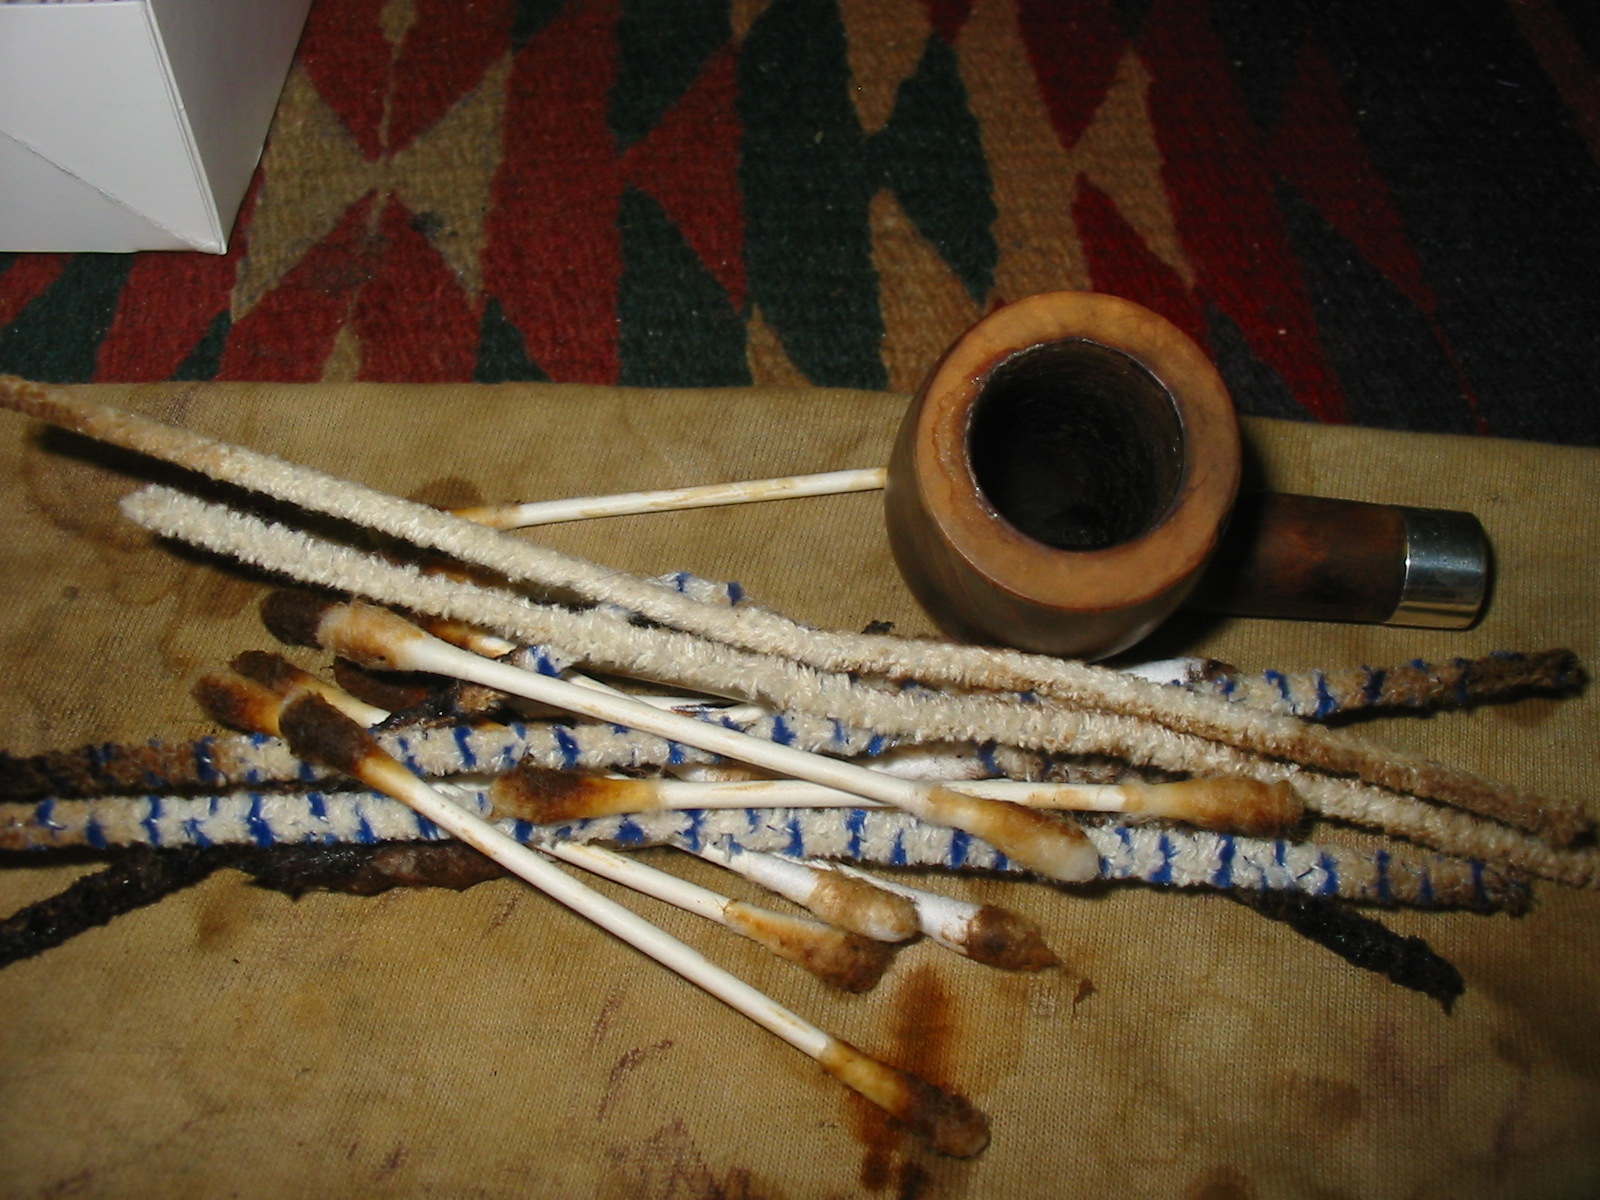
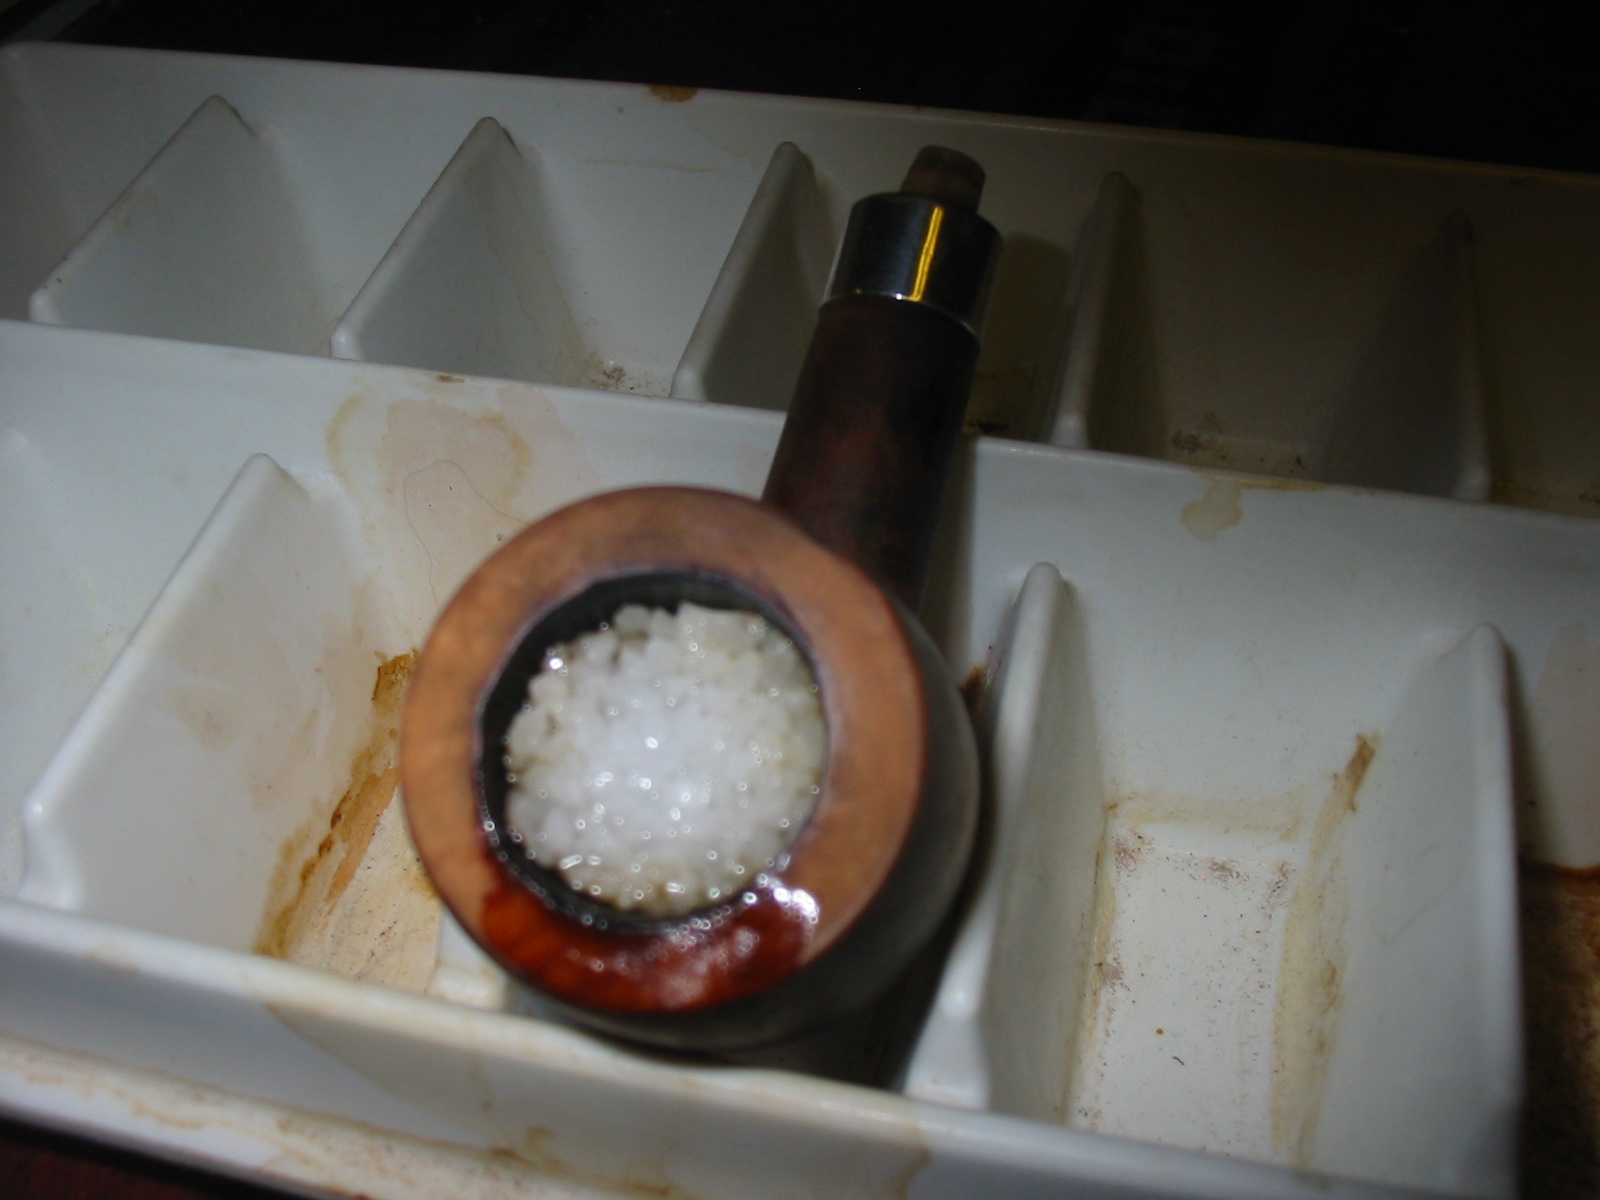
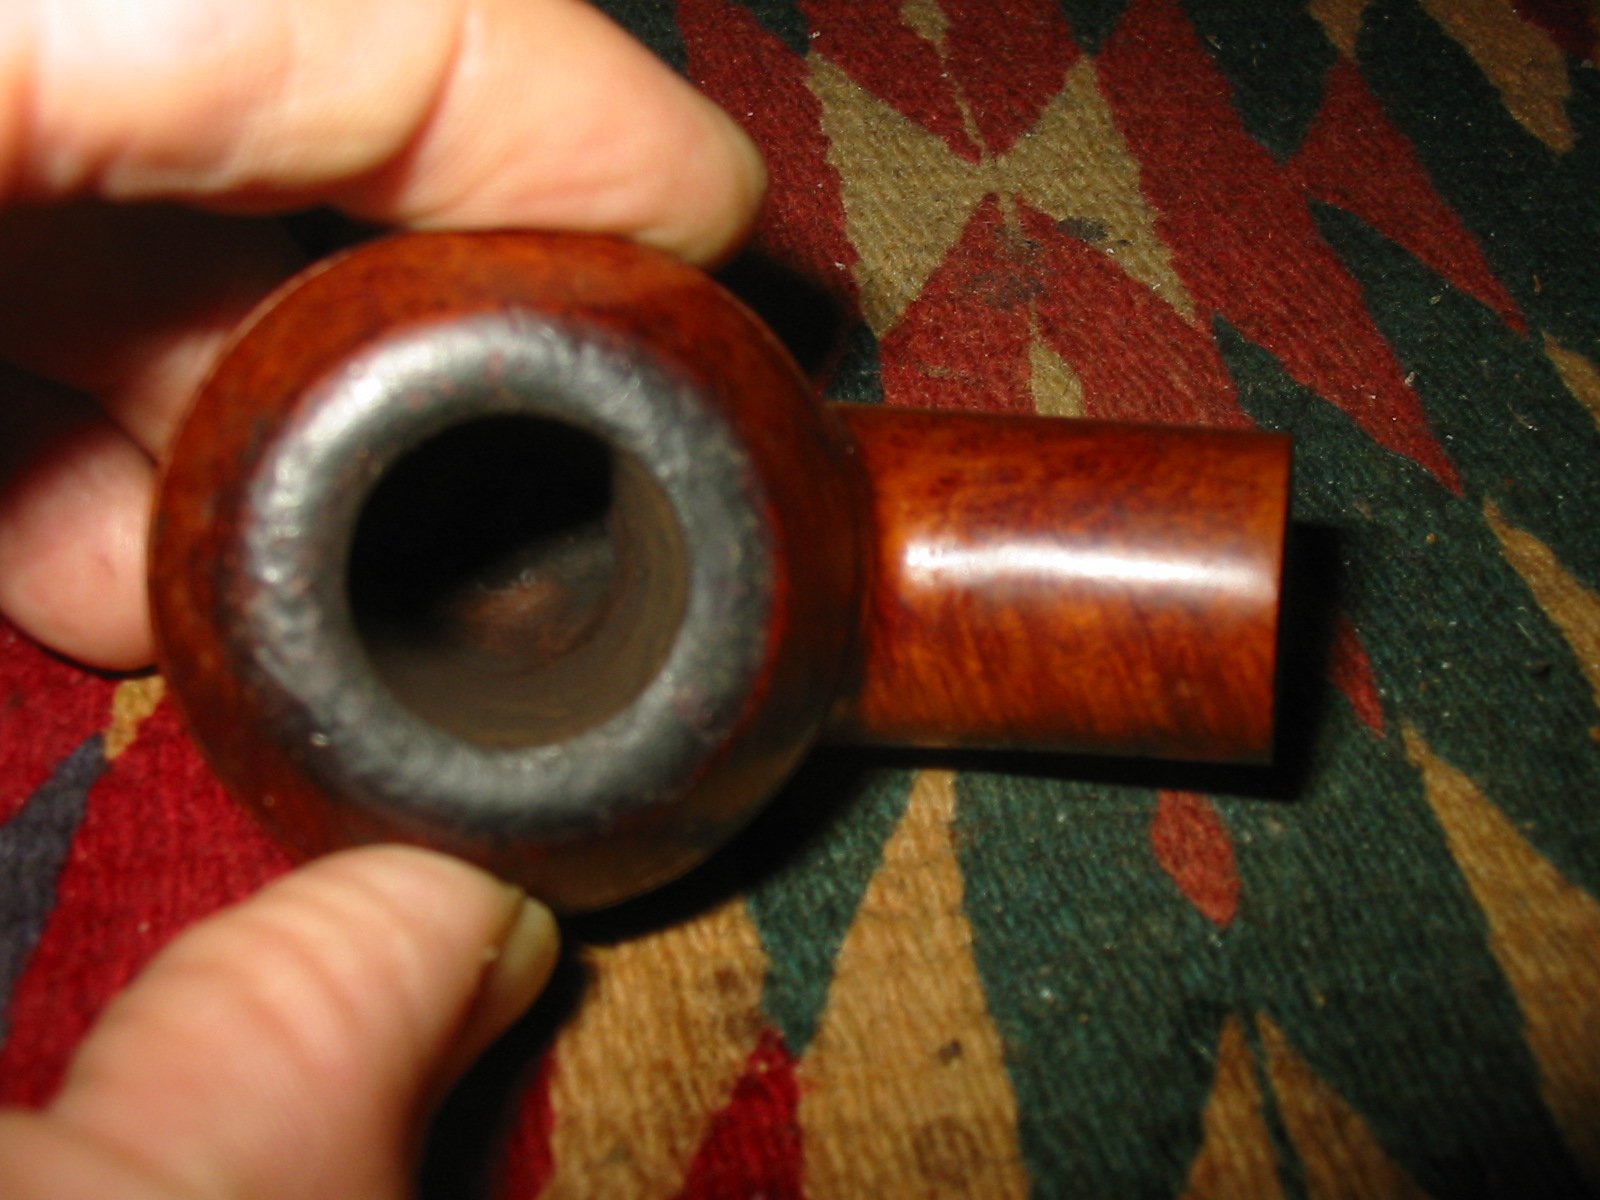
I reamed the pipe with a PipNet Reamer beginning with the smallest cutting head on the T handle and working up to the diameter of the bowl. I carefully ream the cake so as not to damage the bowl roundness or the inner edge of the rim any more than it already is. I emptied the carbon out of the bowl repeatedly until it was clean and empty. I reamed the cake back to bare wood to begin to rebuild on a clean surface. I scoured the bowl and shank with Everclear and cotton swabs and pipe cleaners.
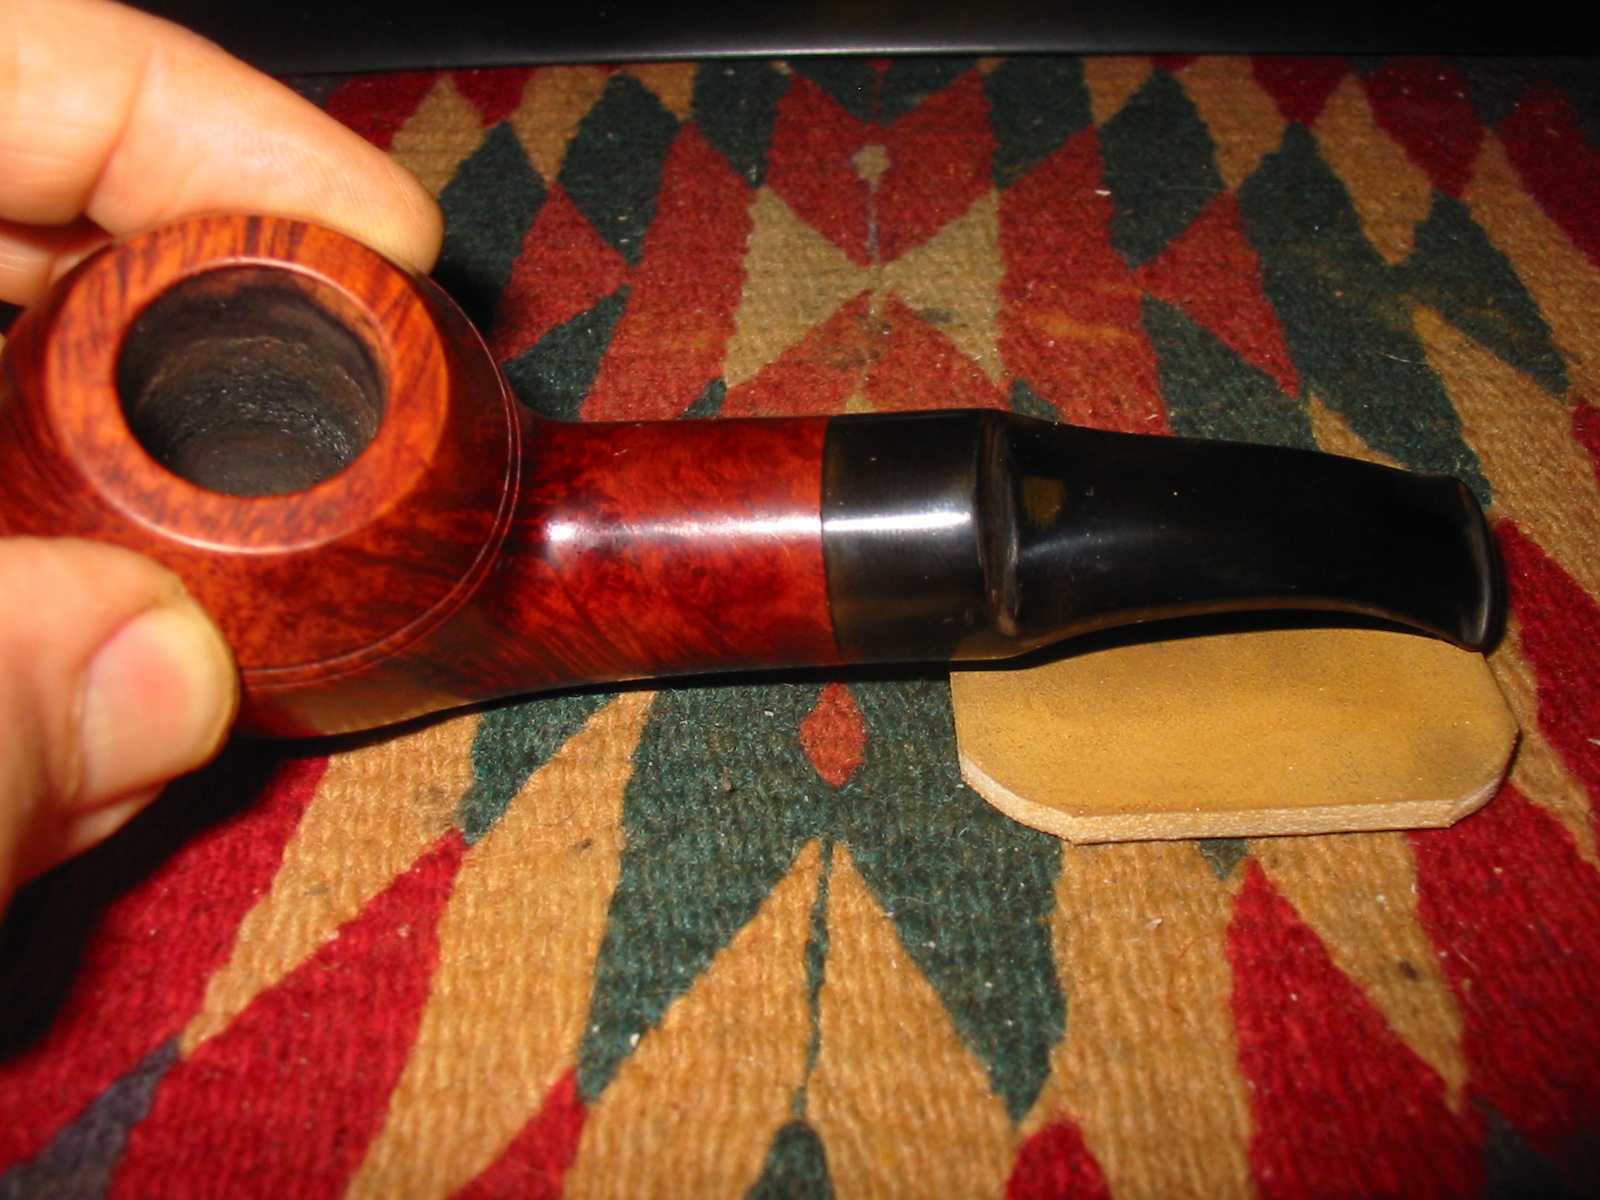
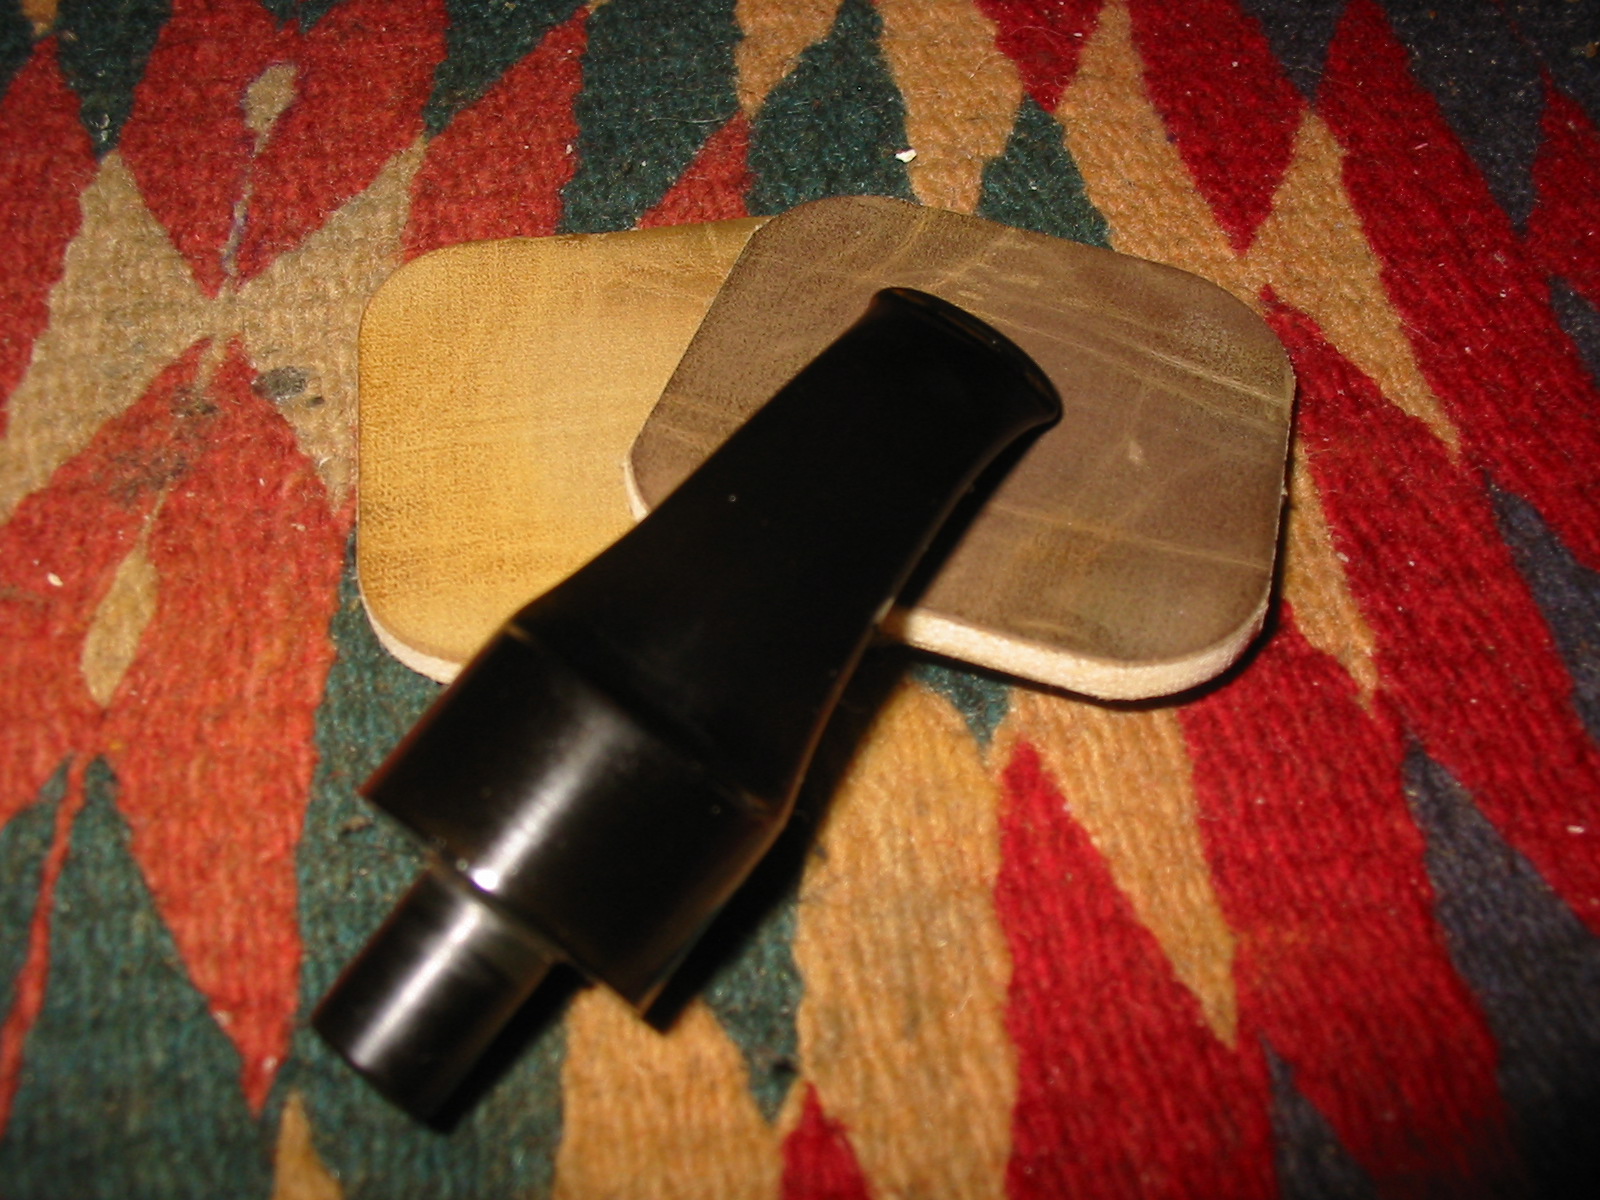
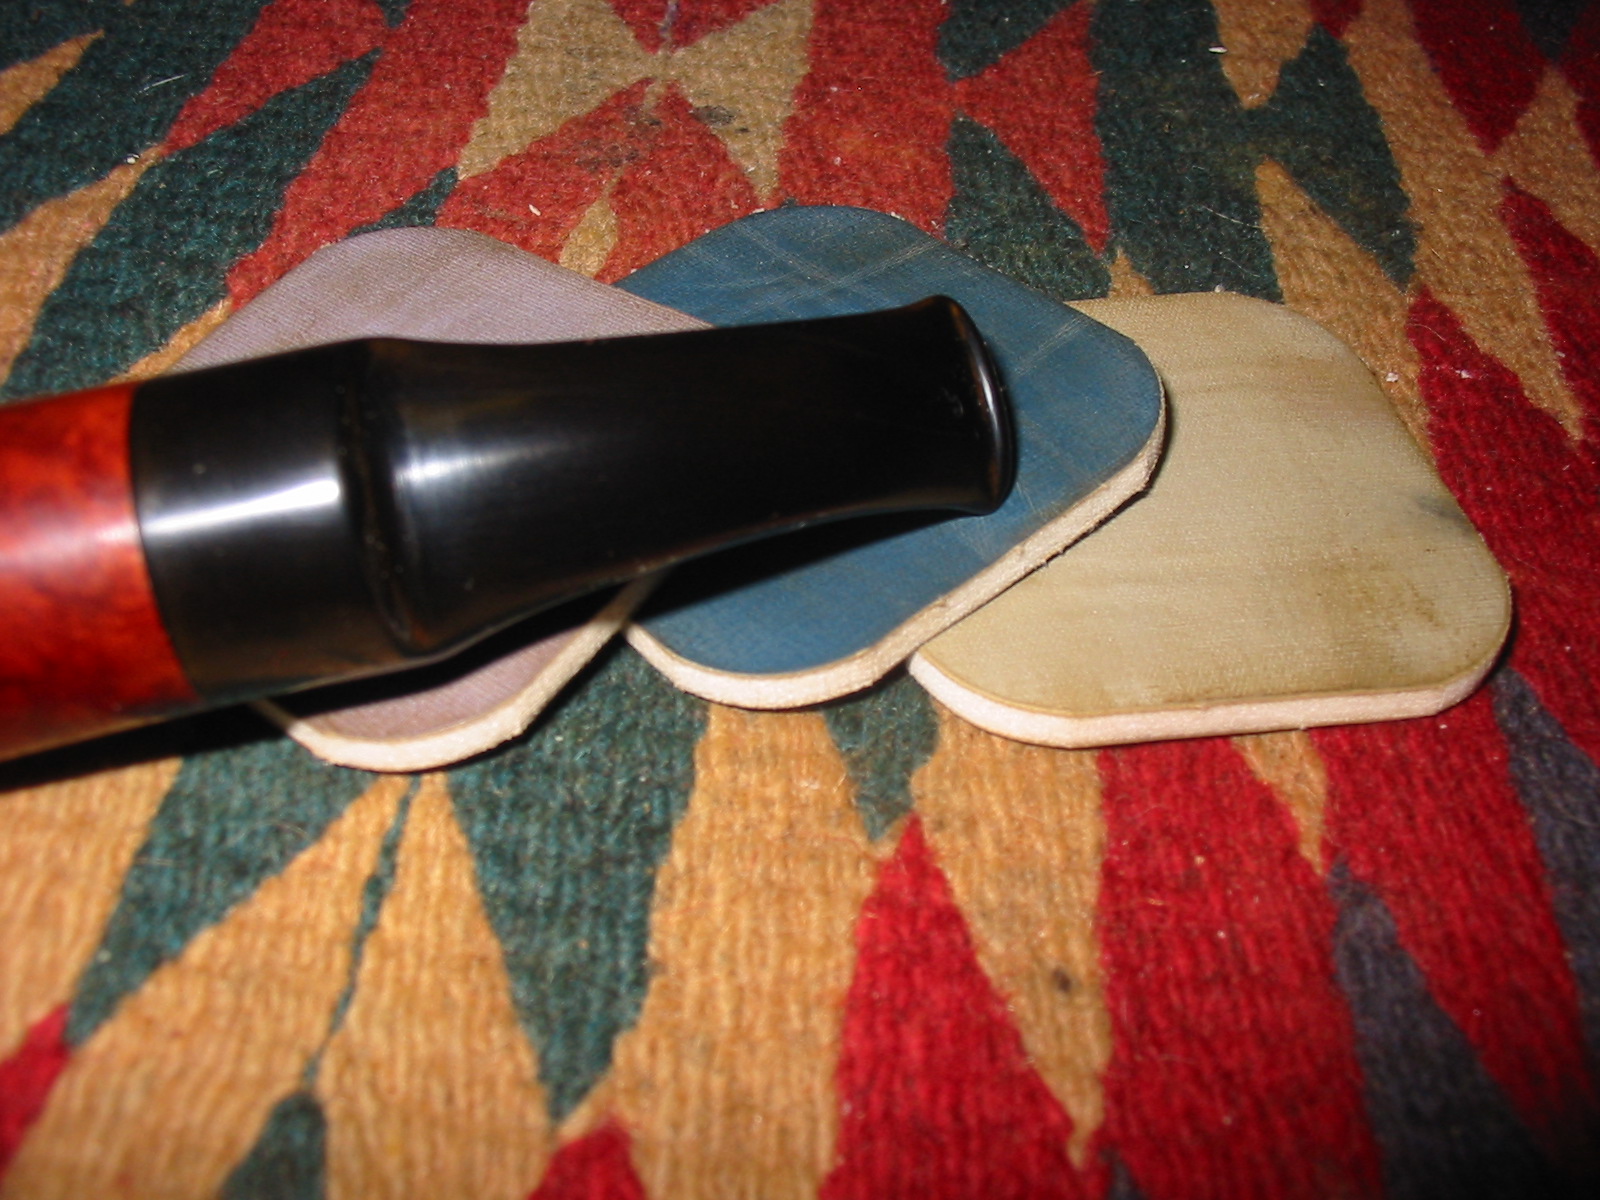
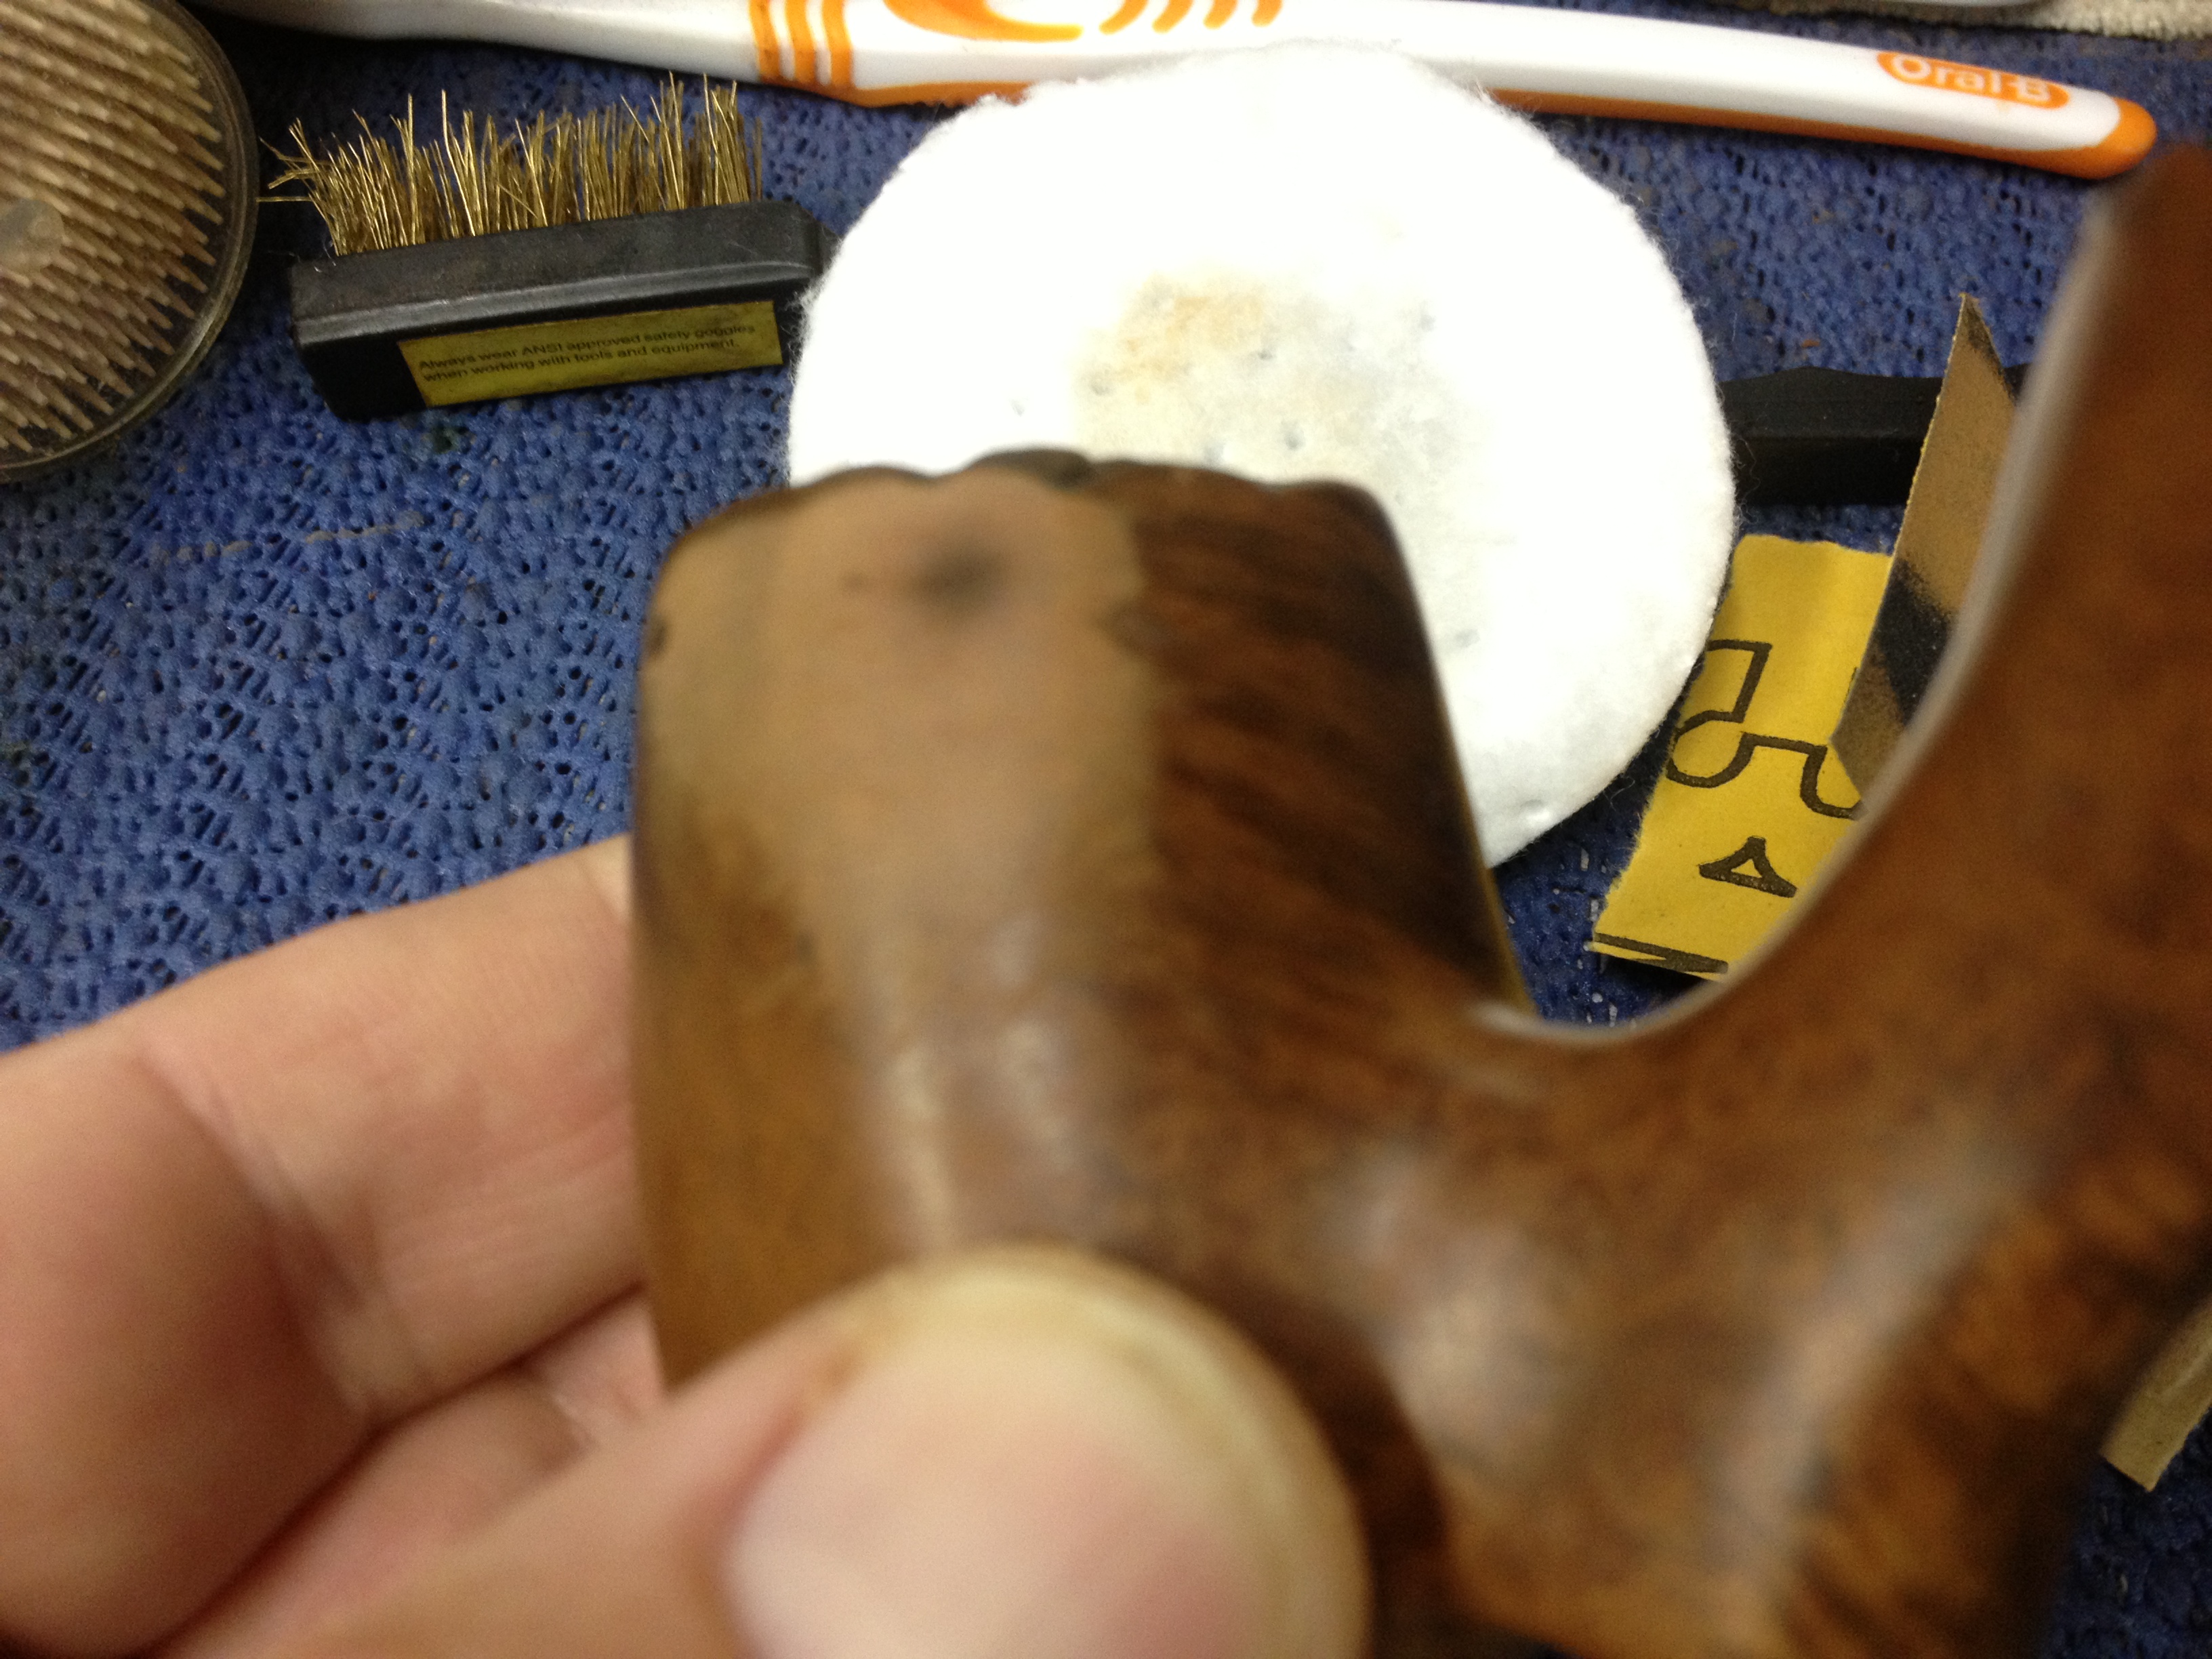
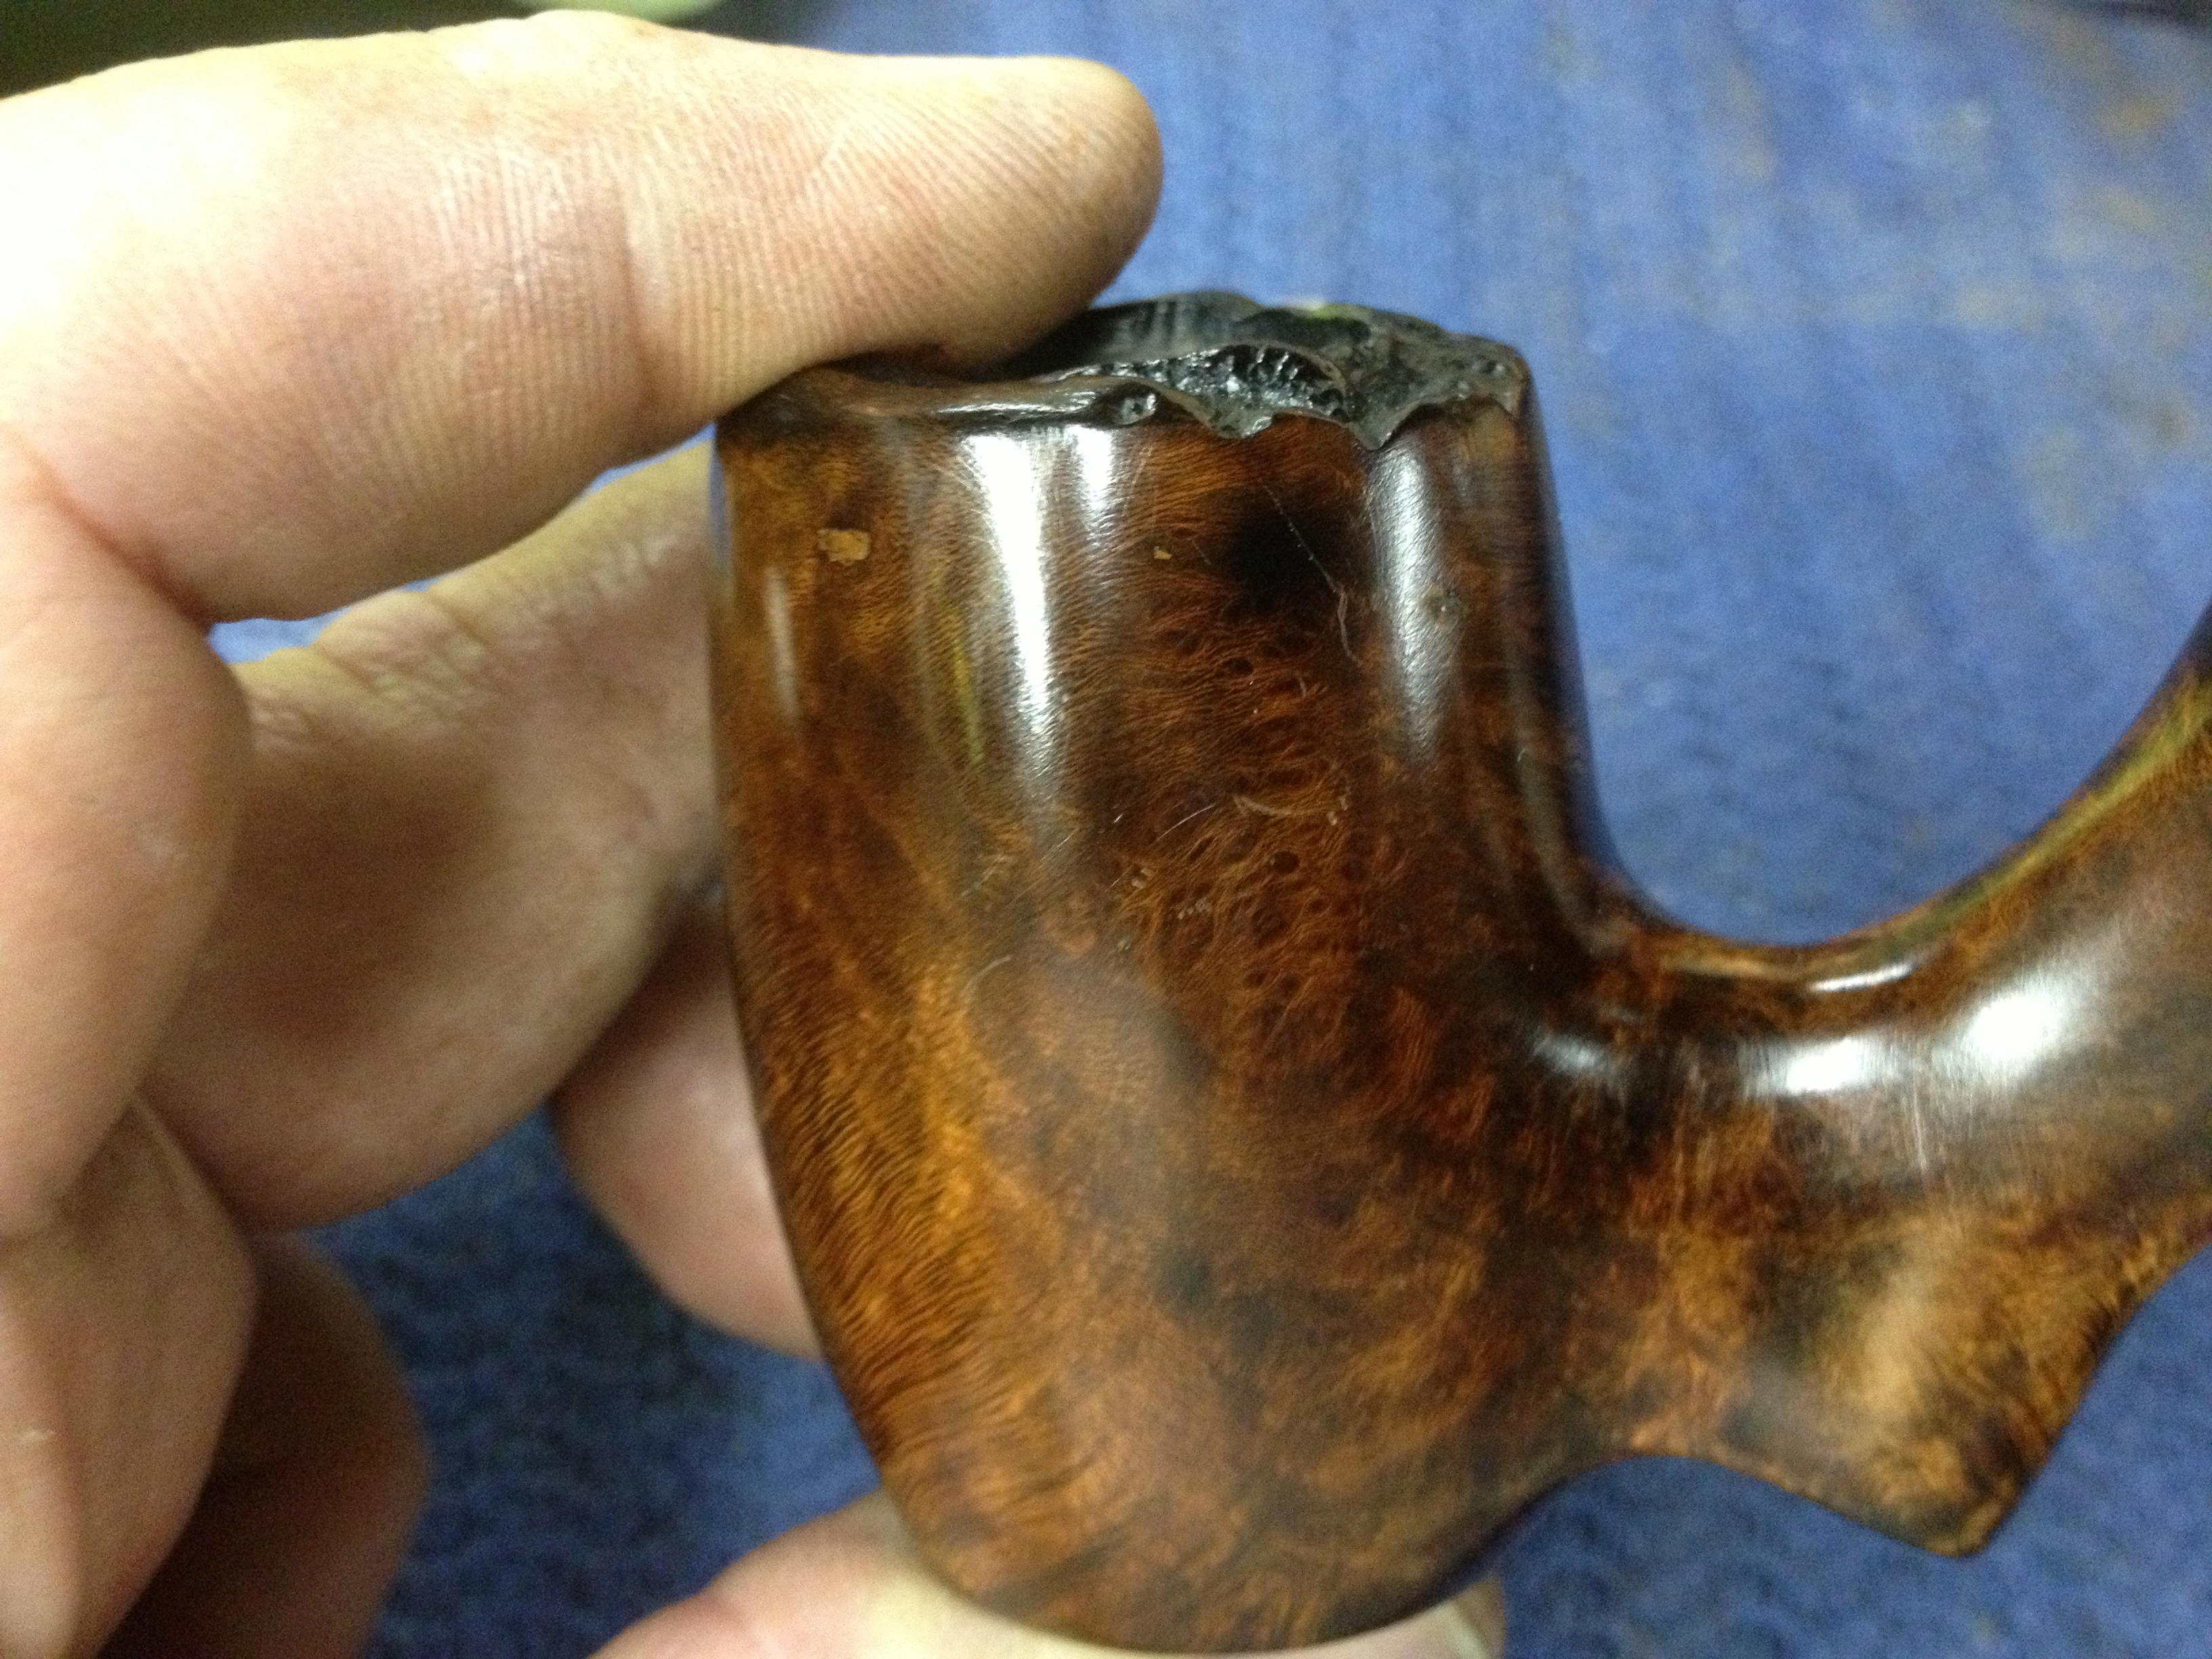
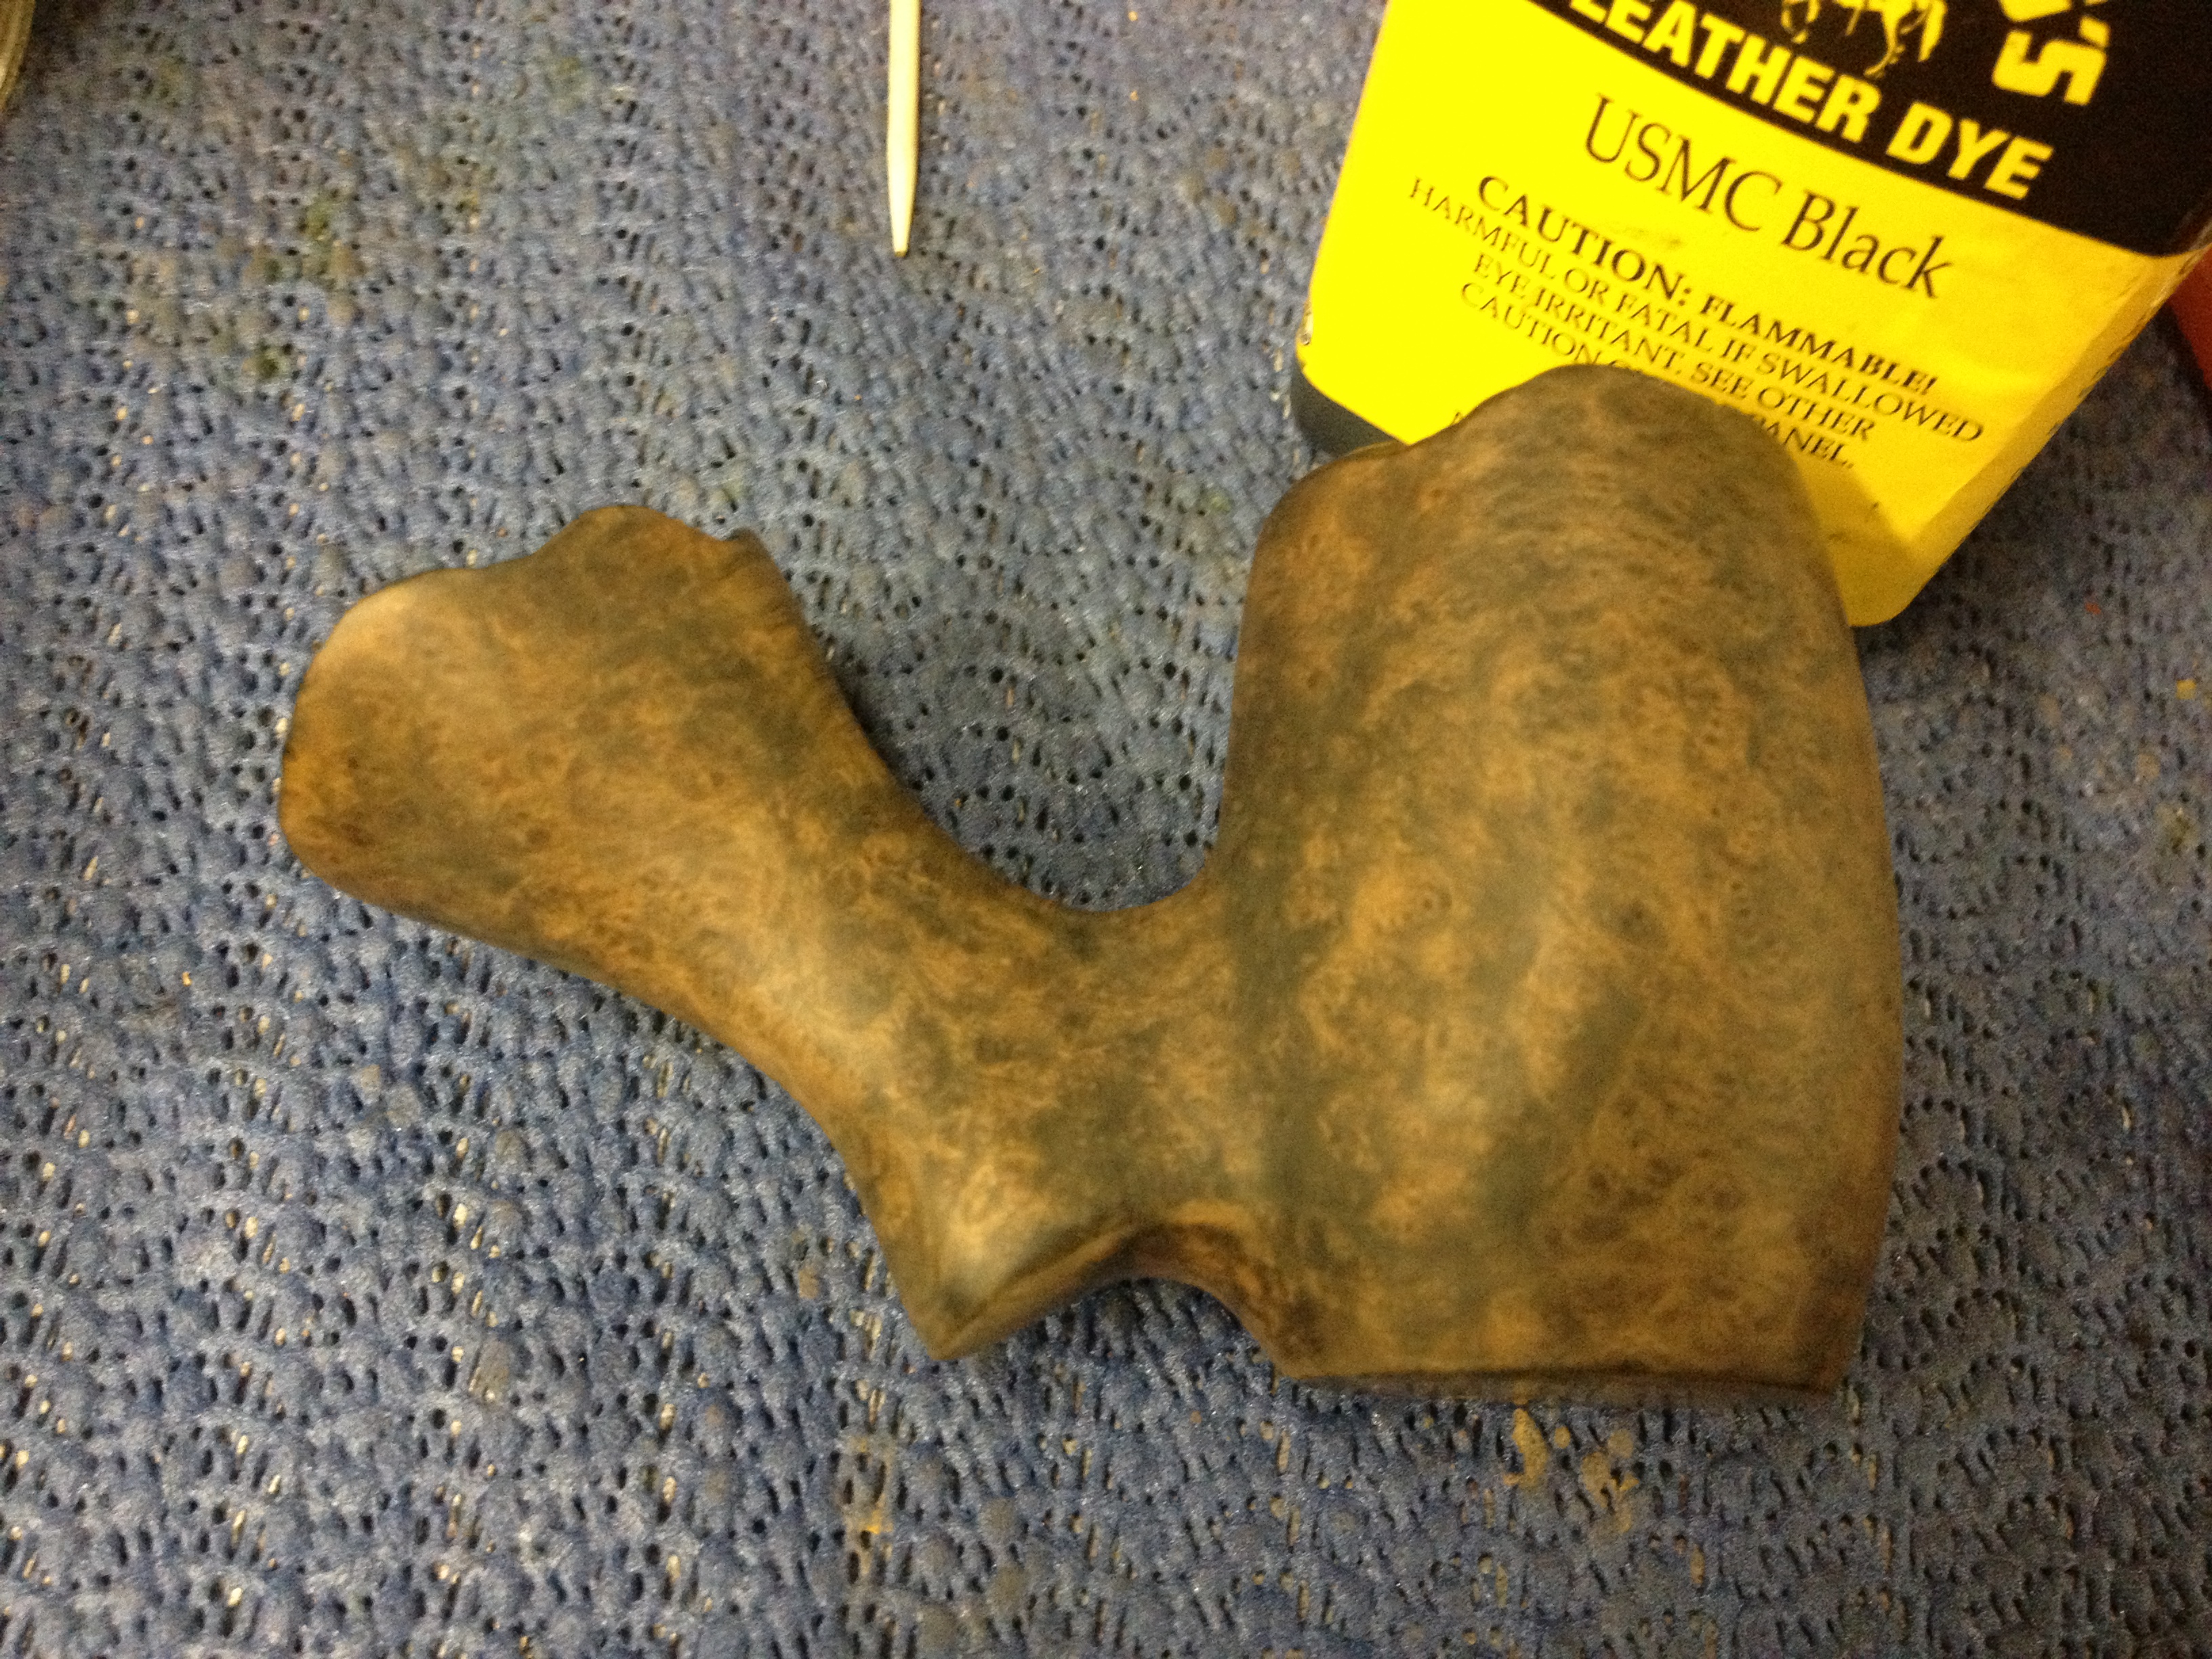
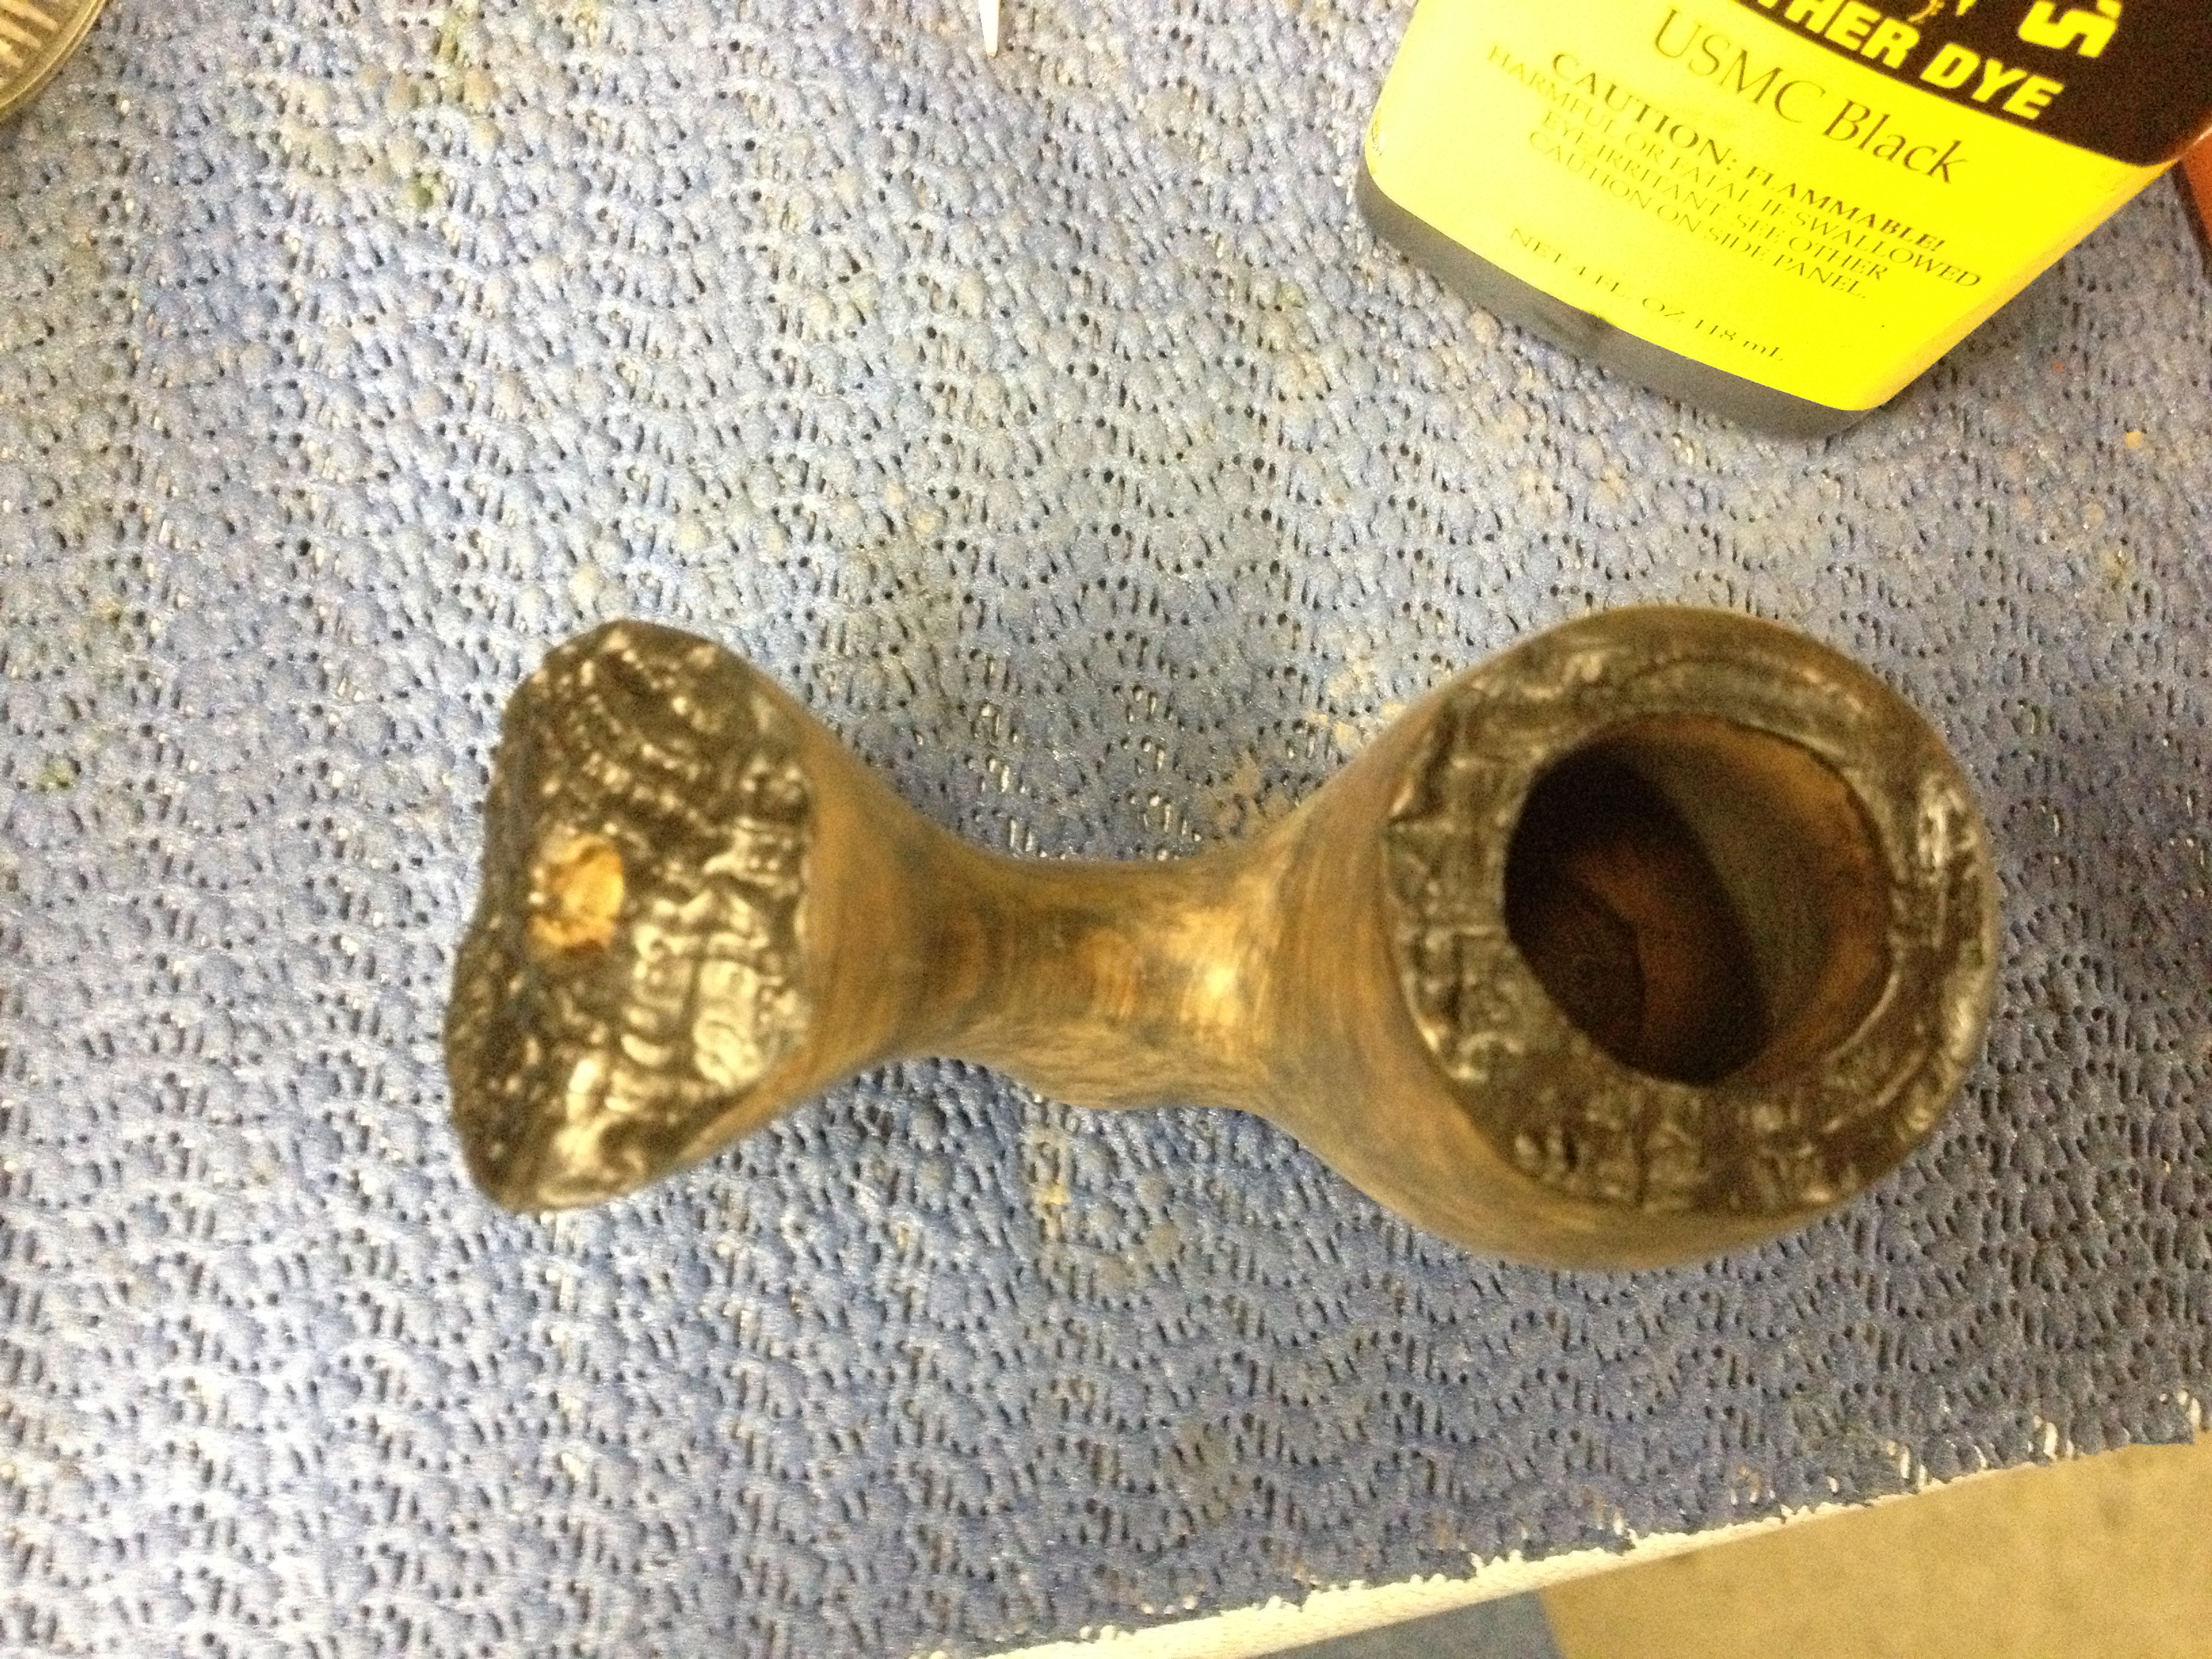
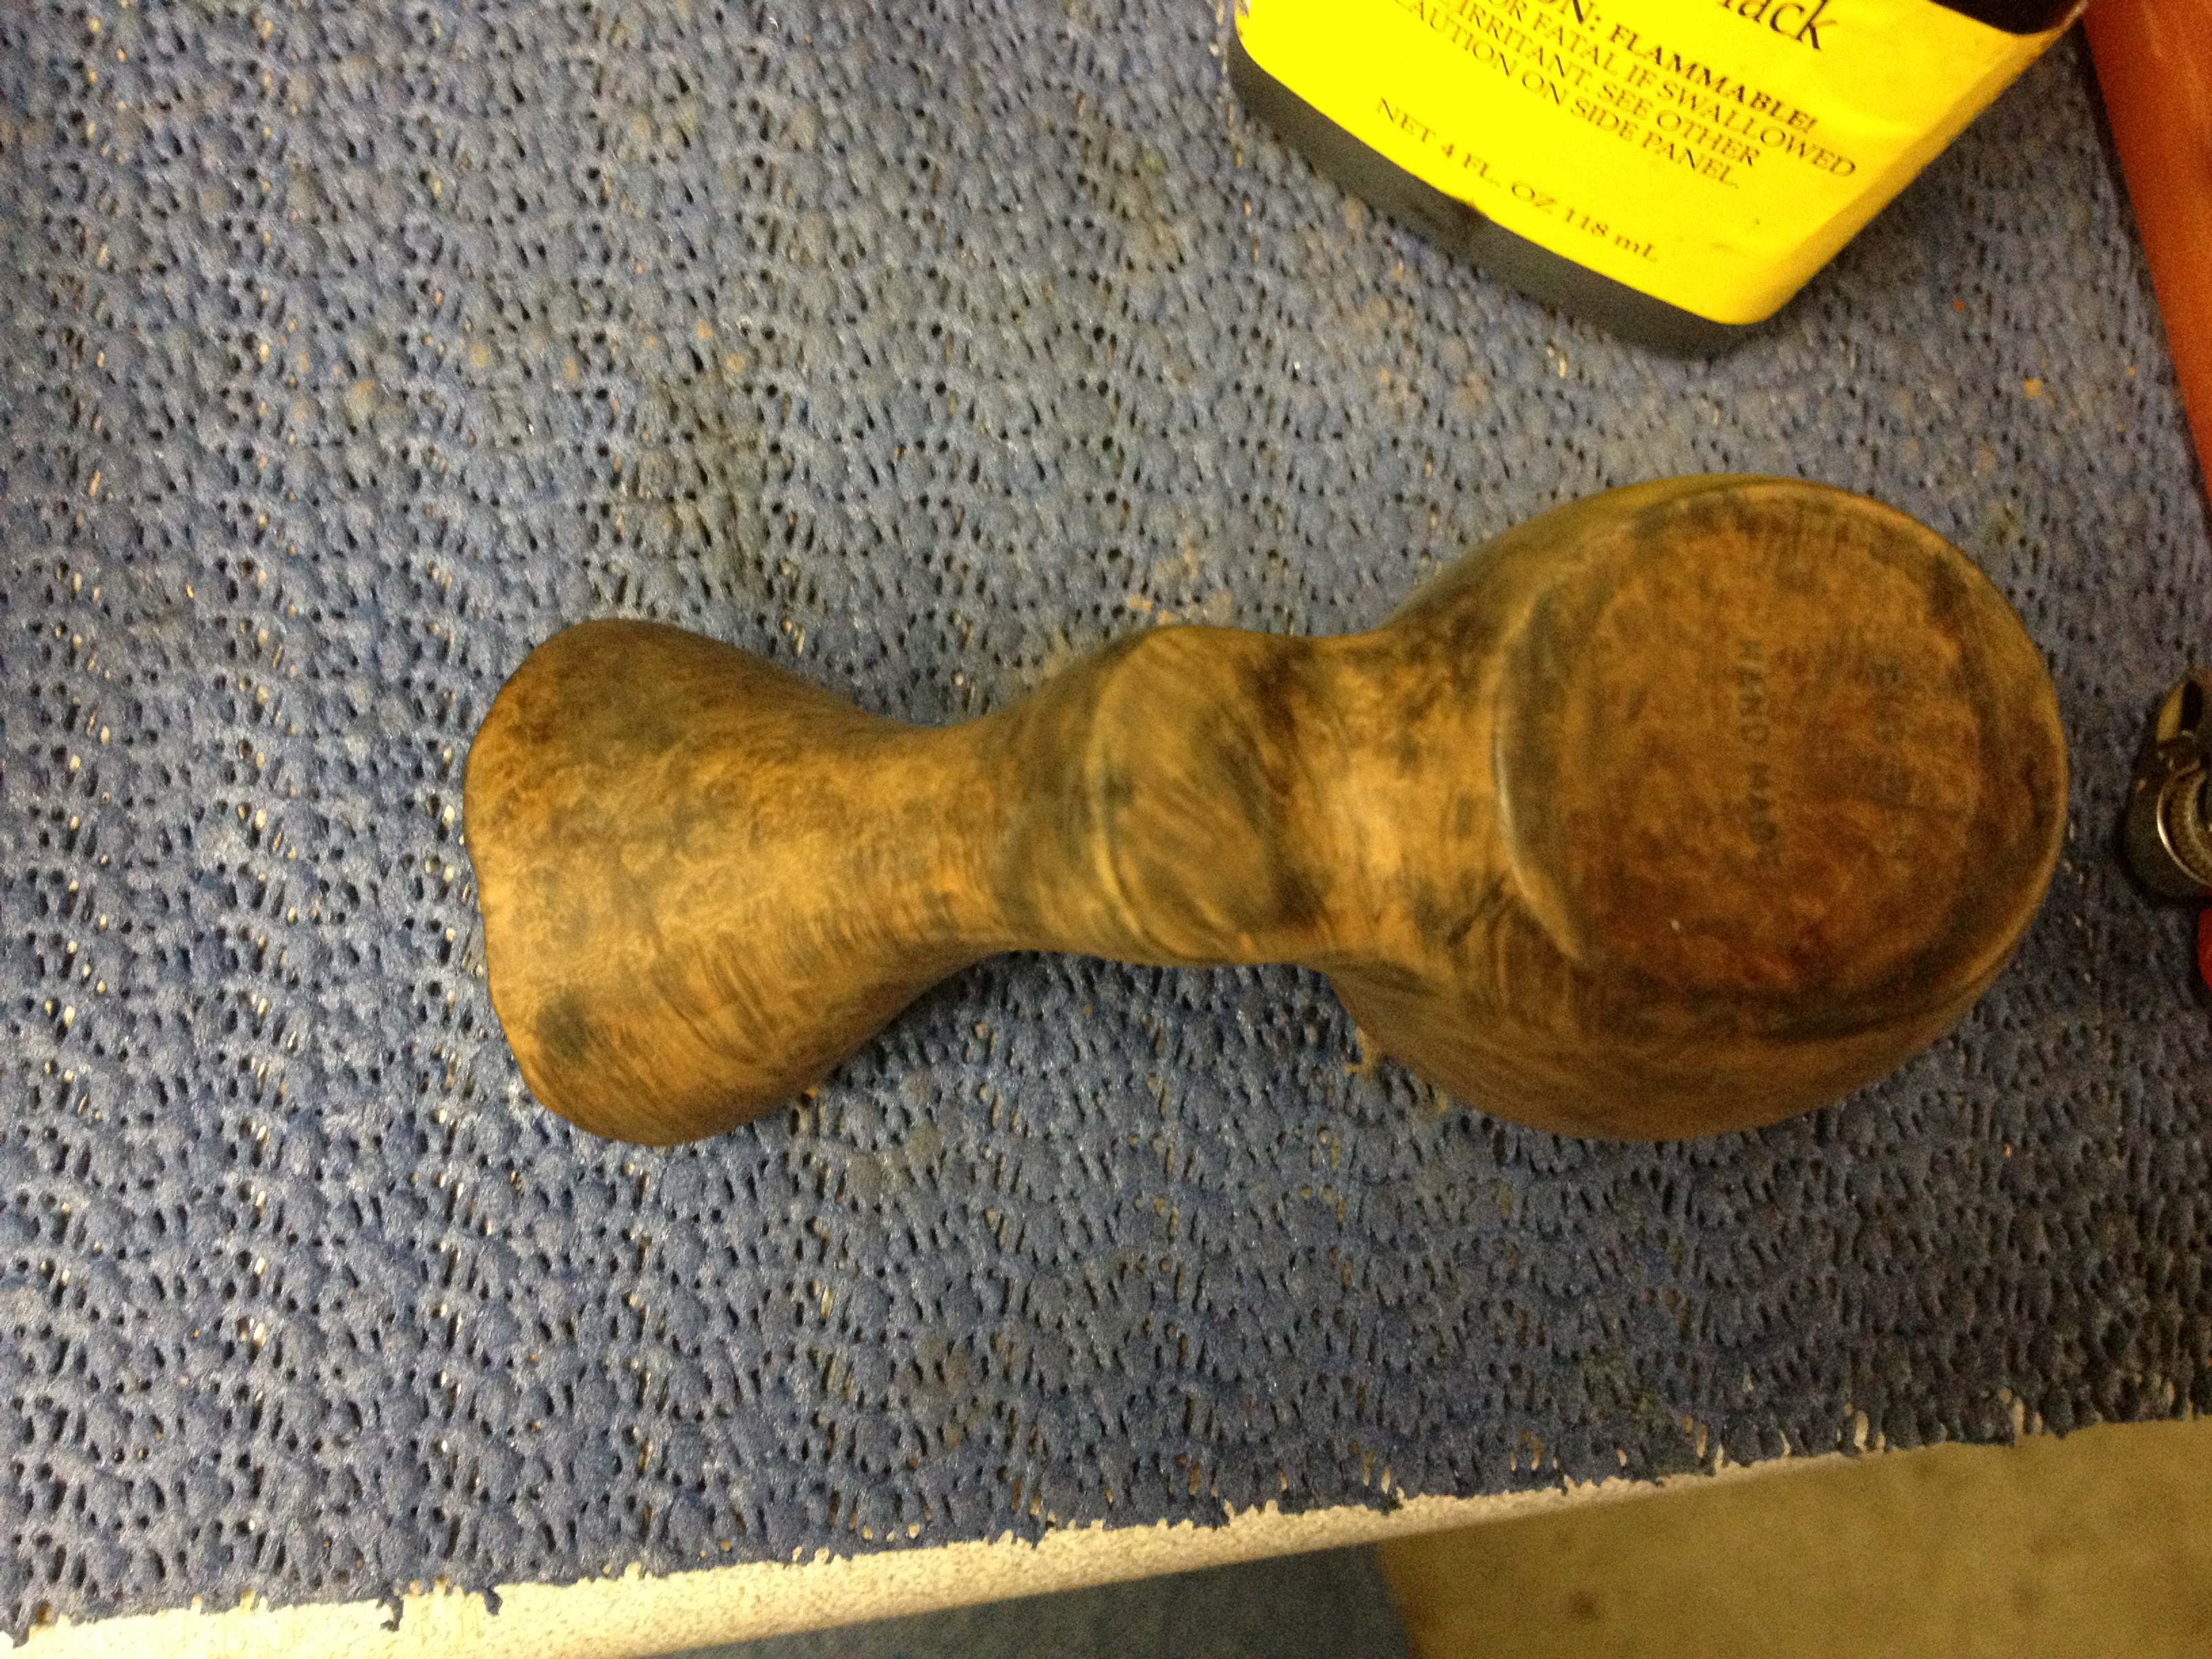
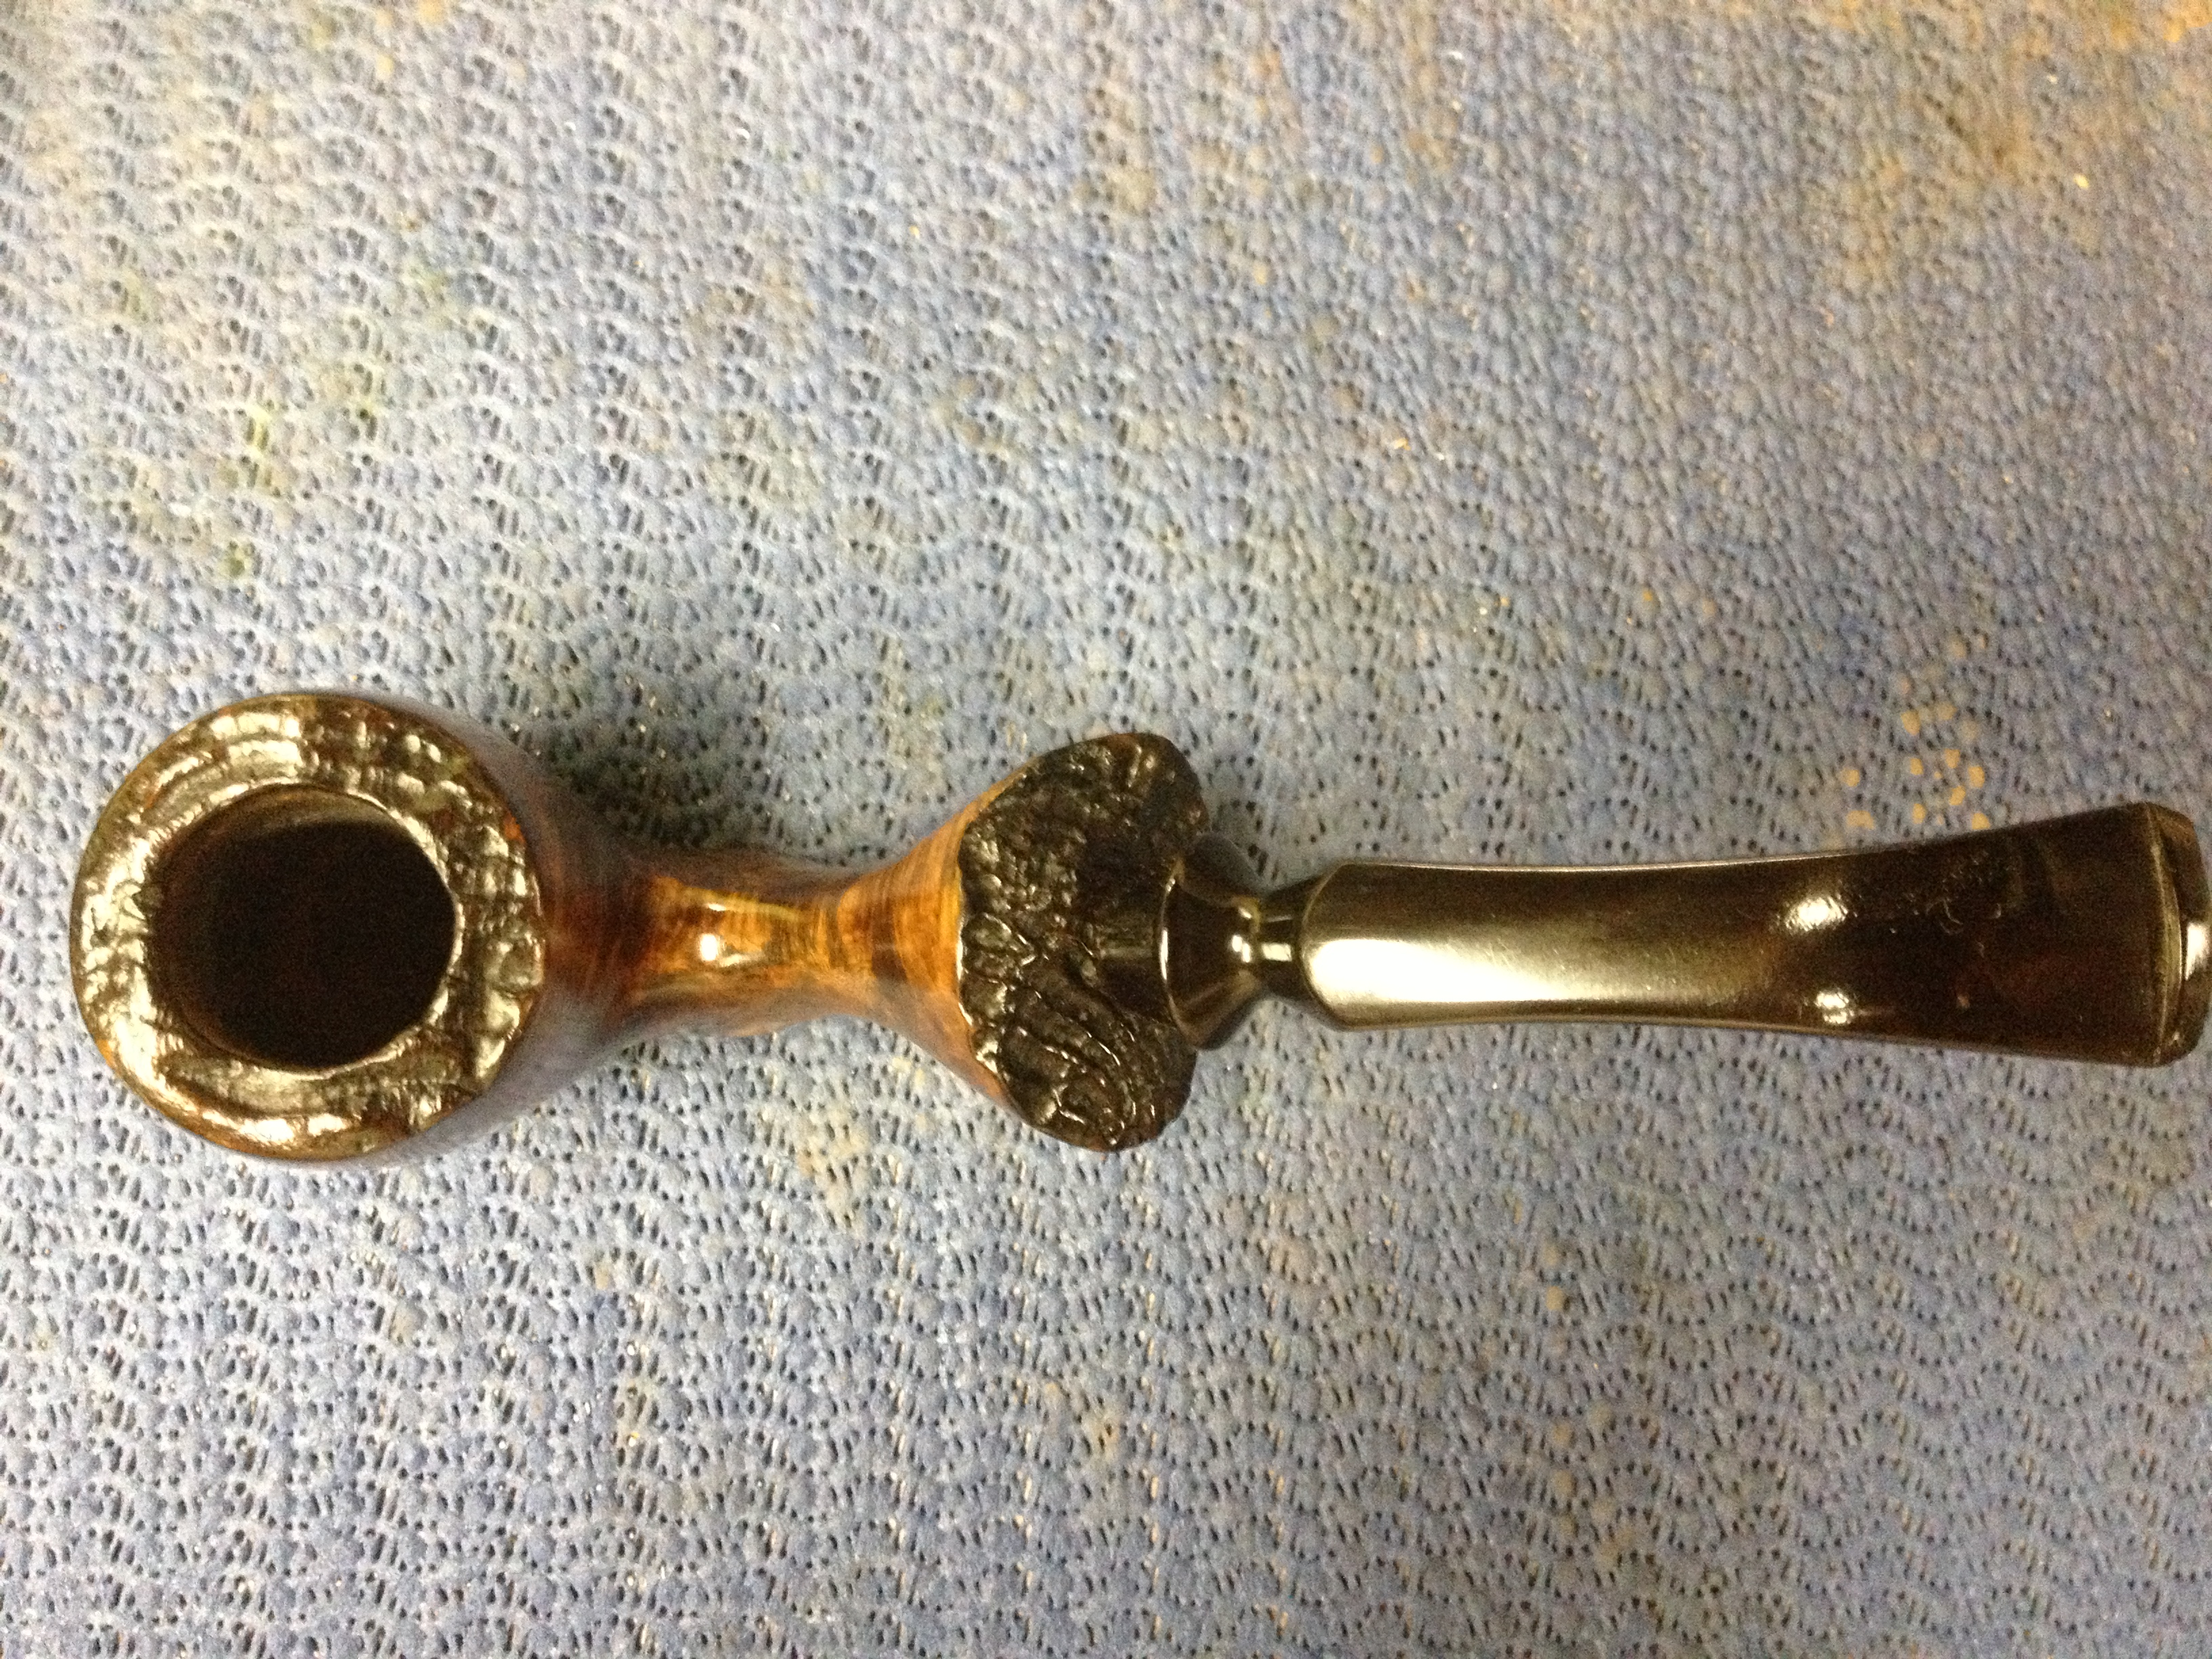
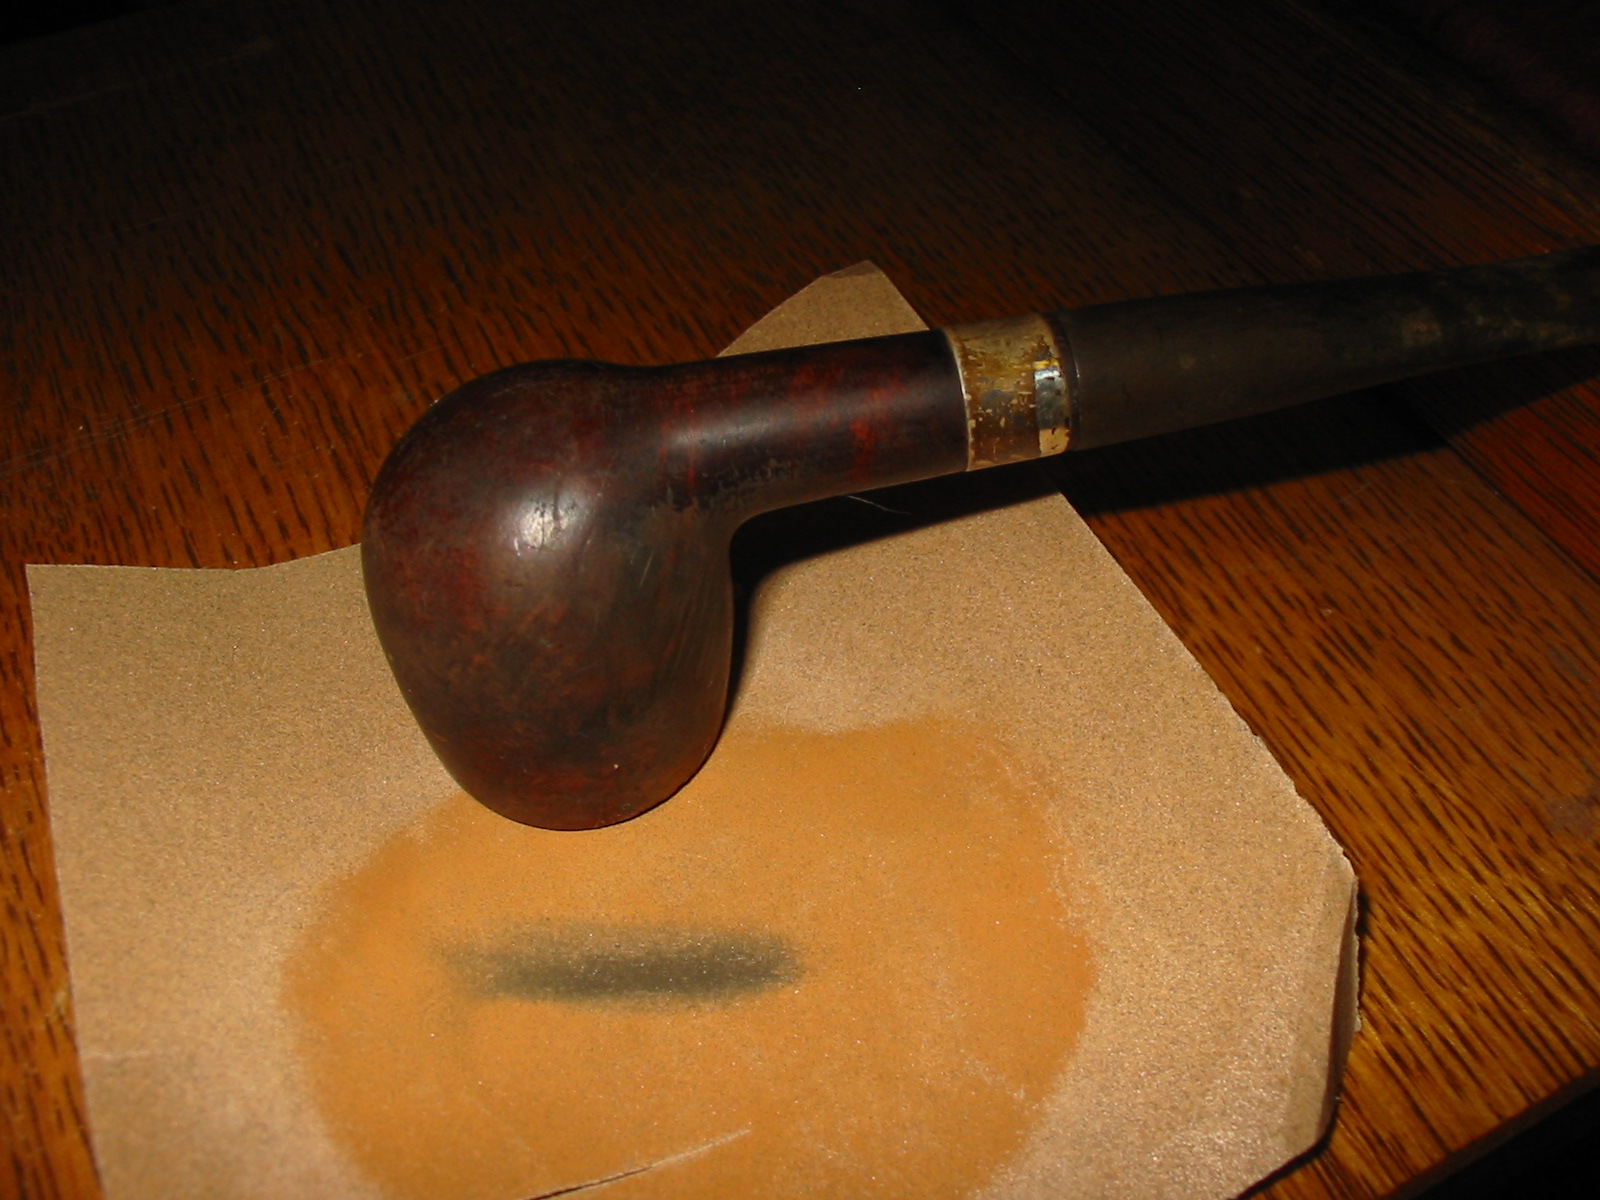
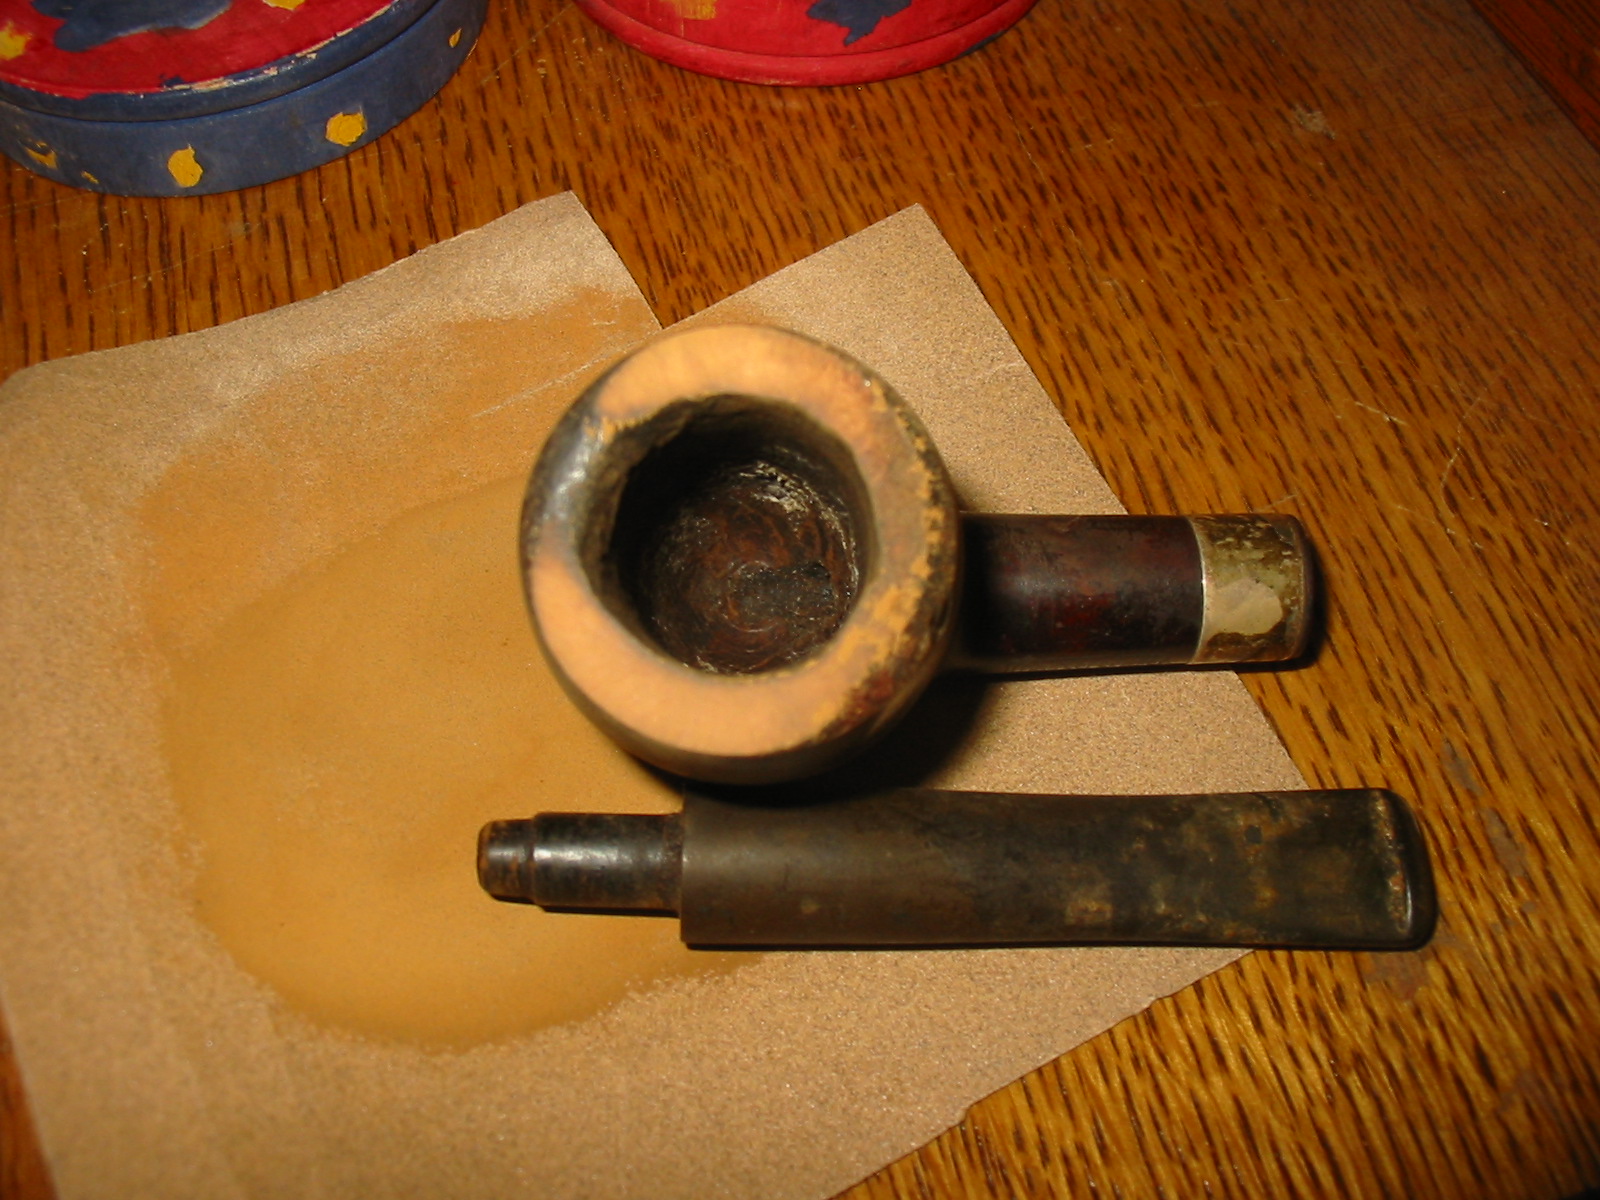
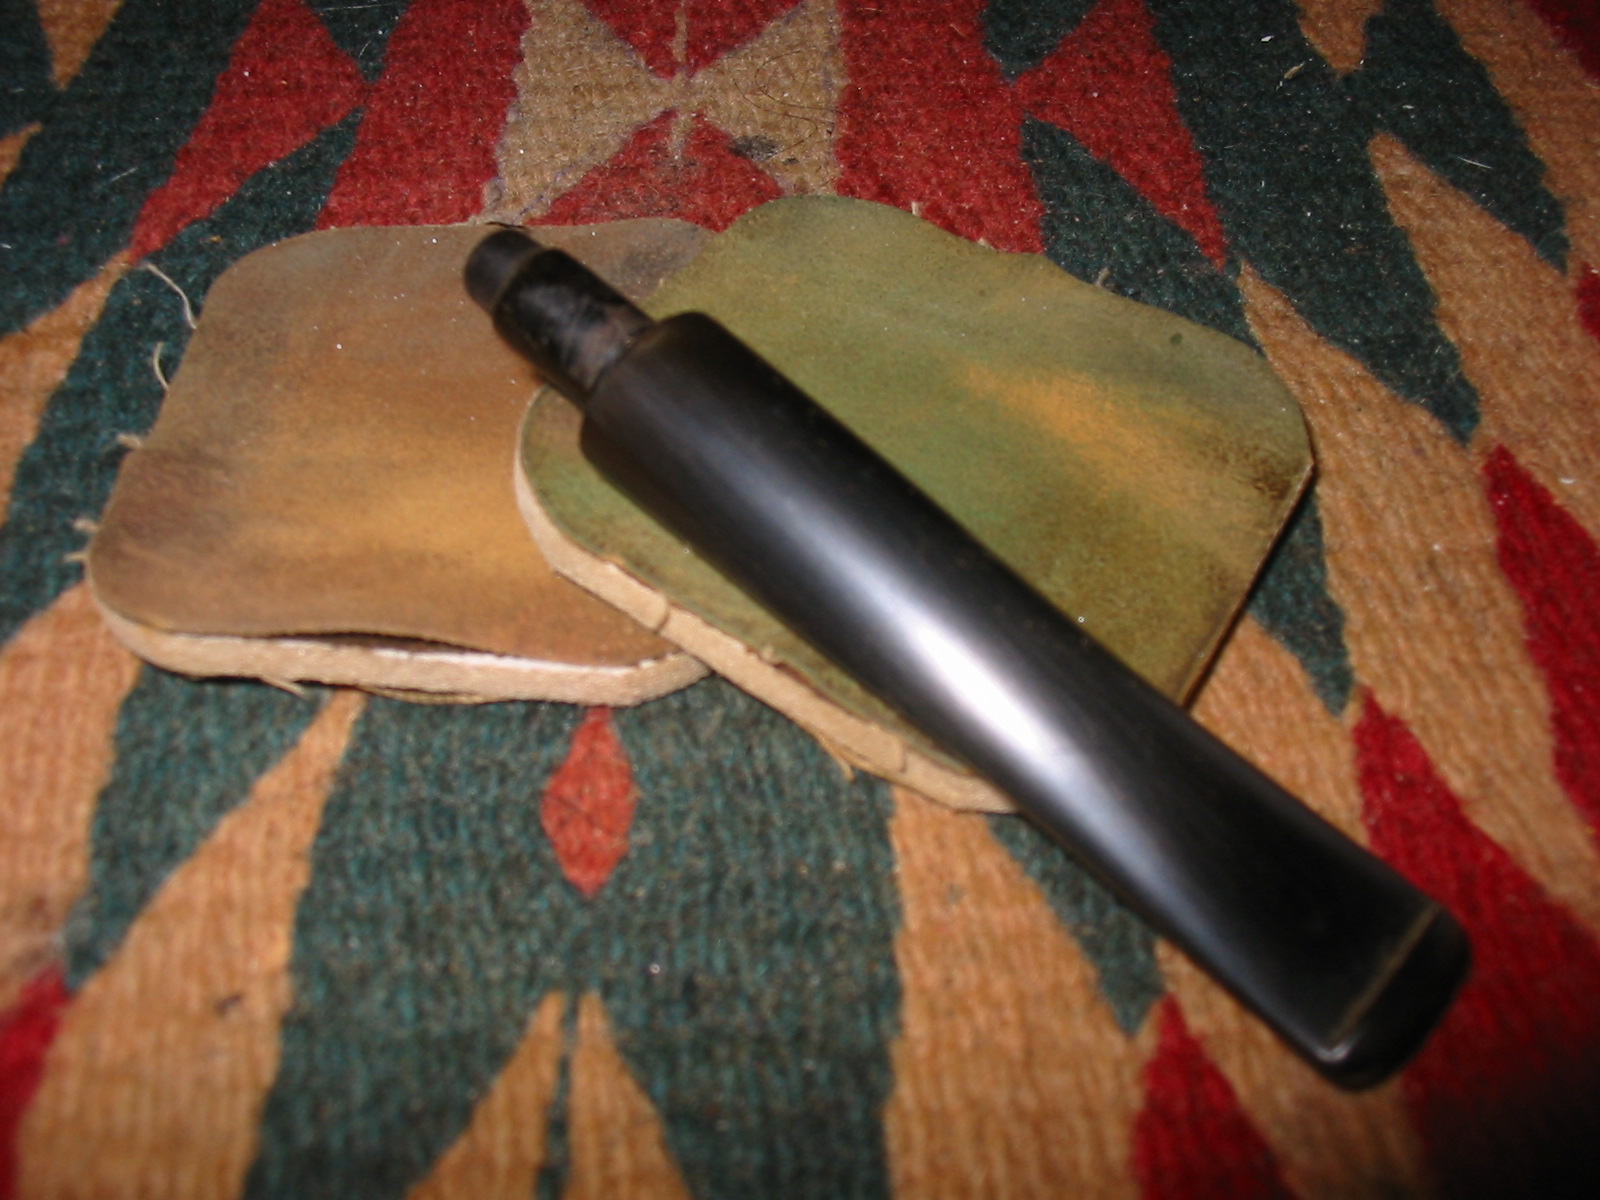
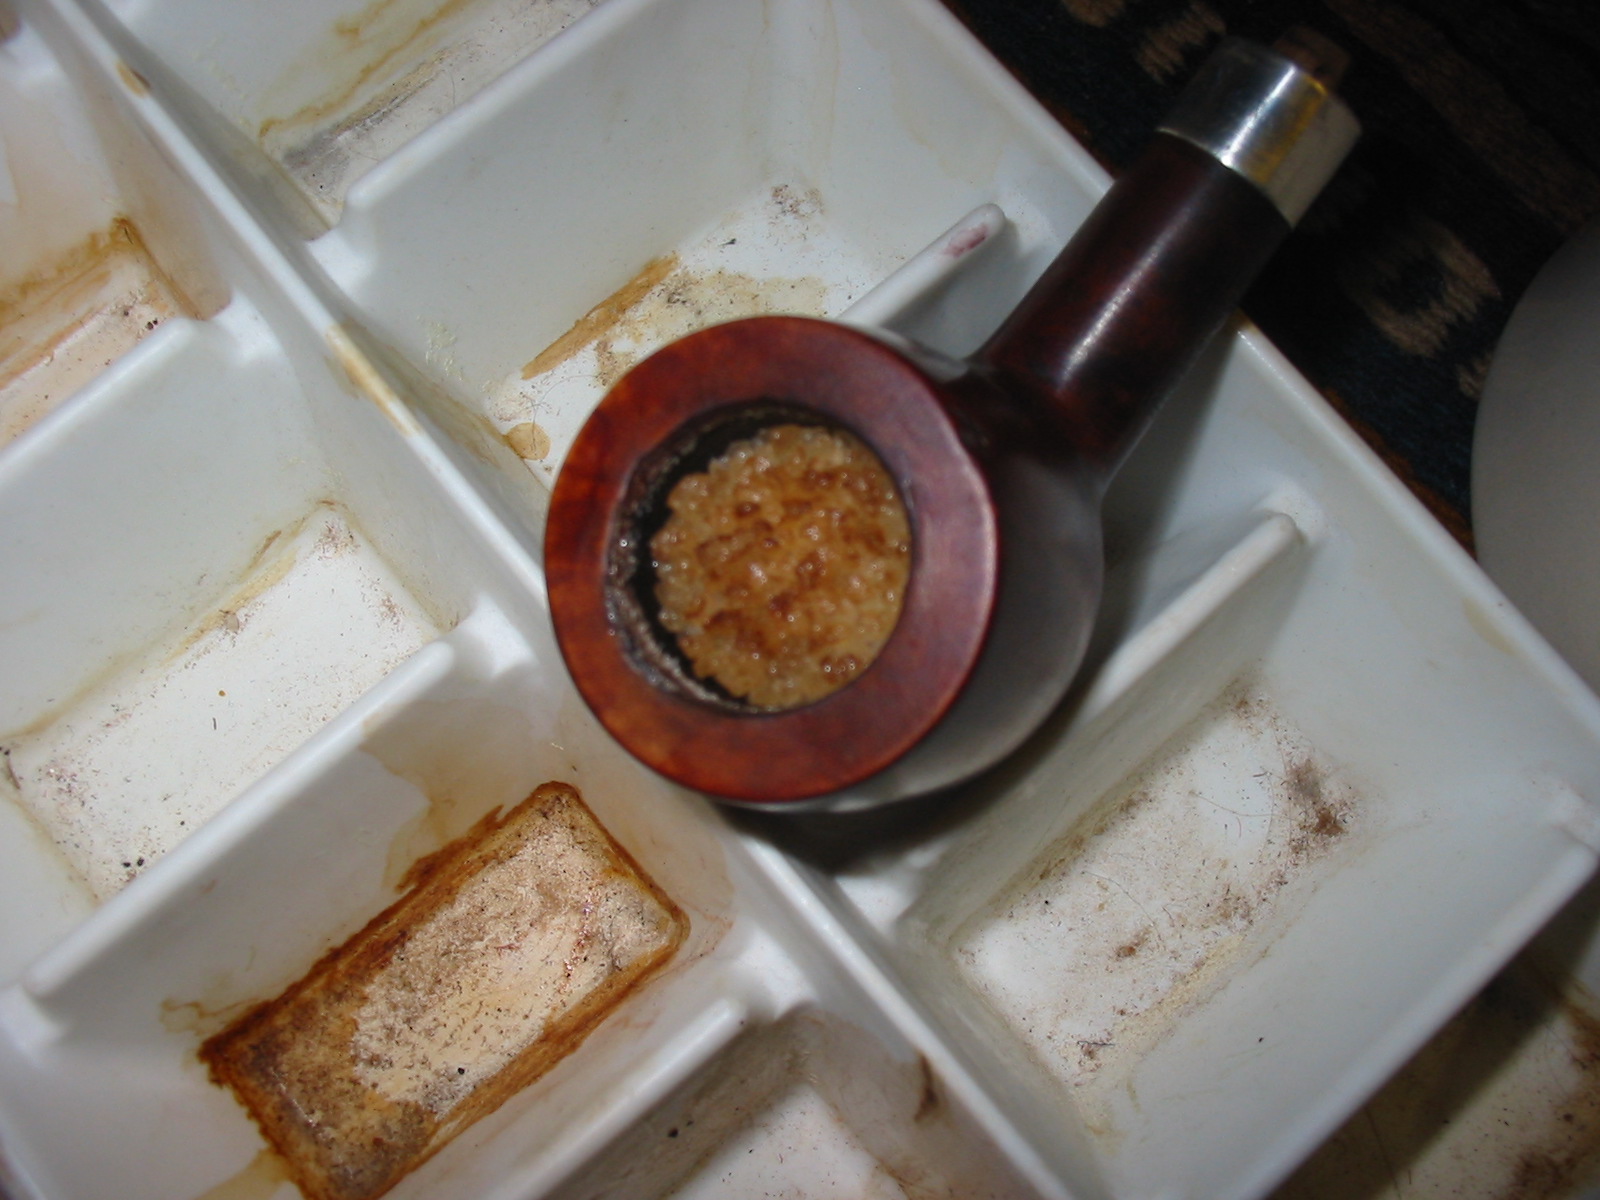
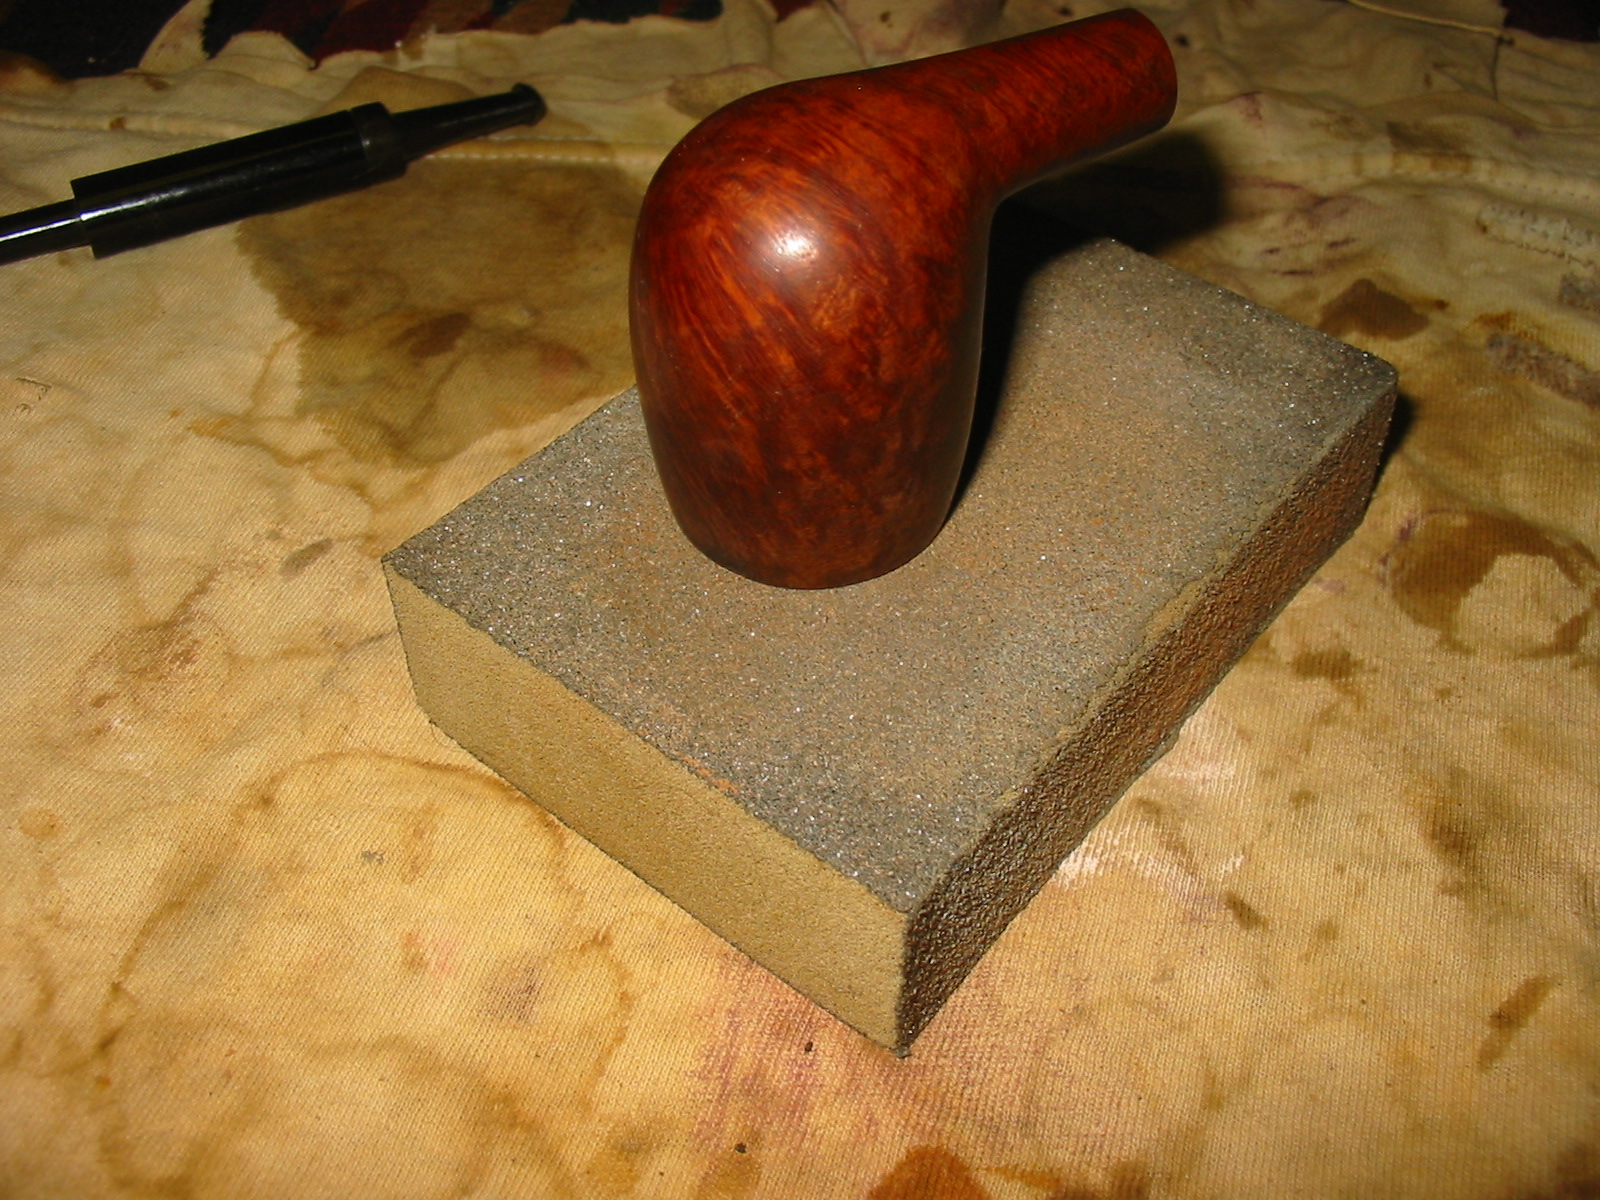
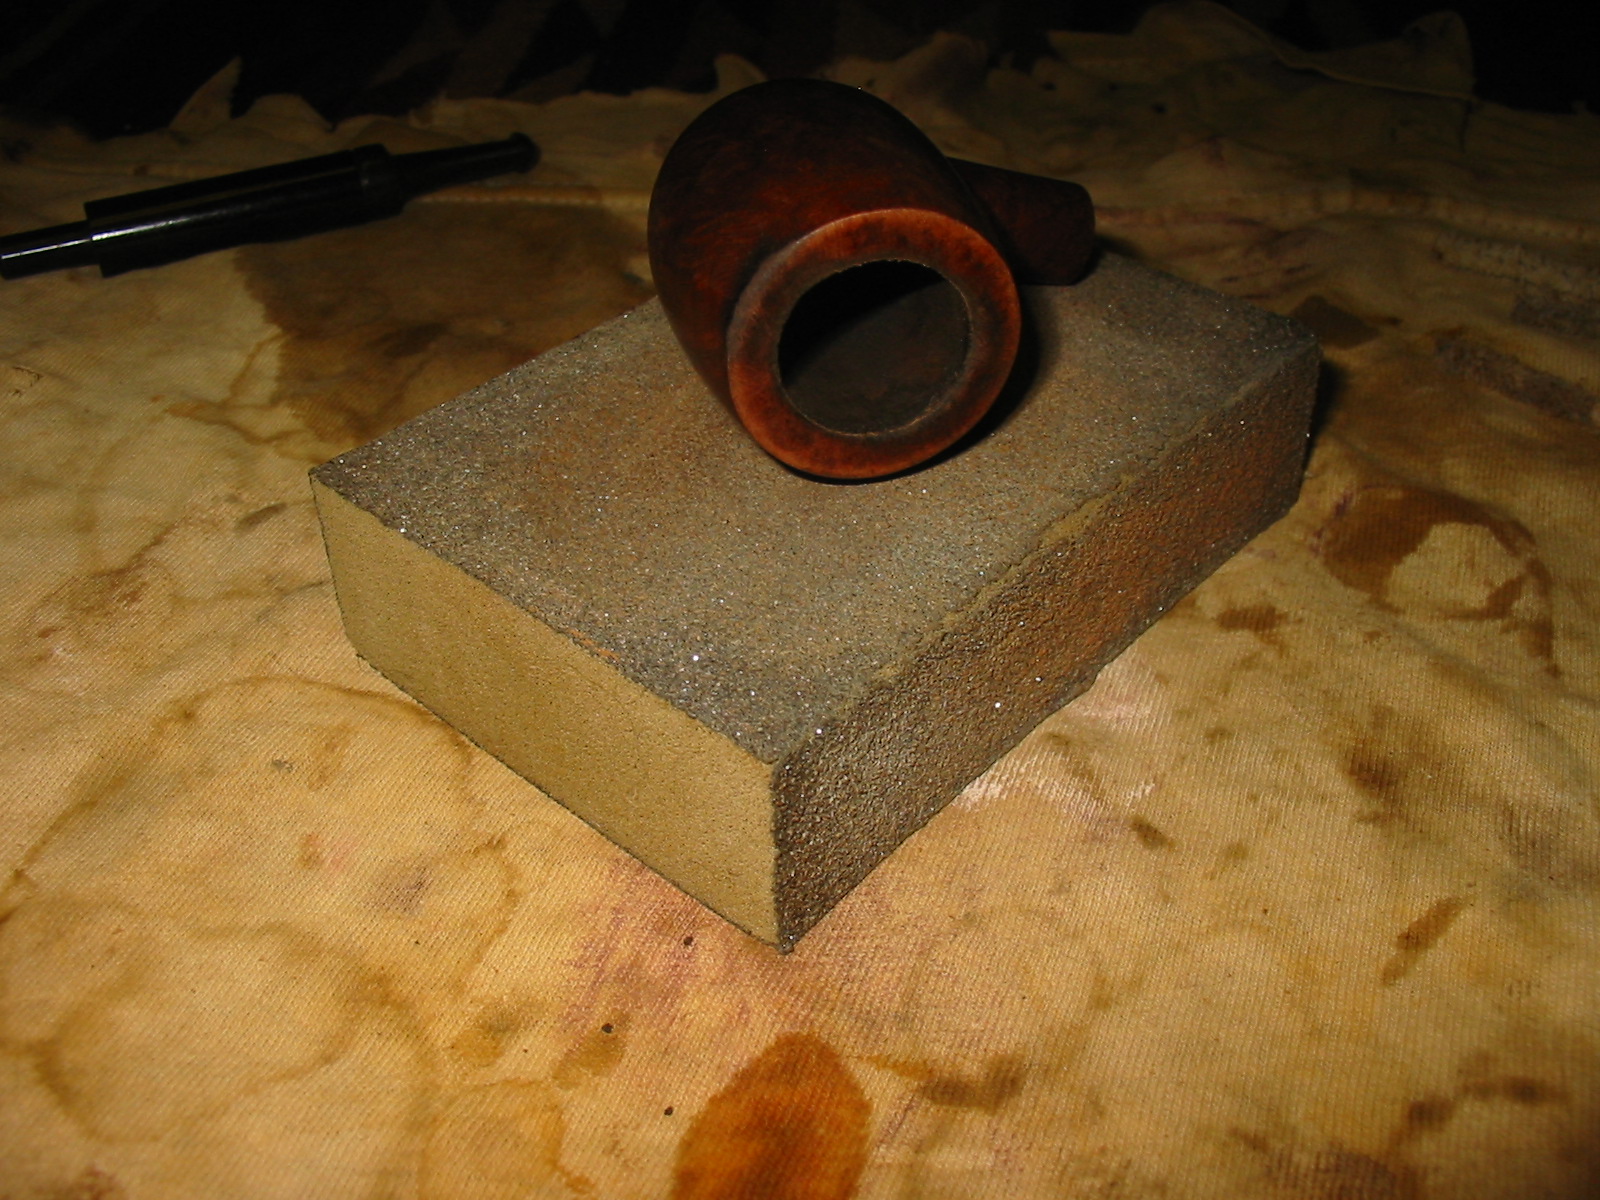
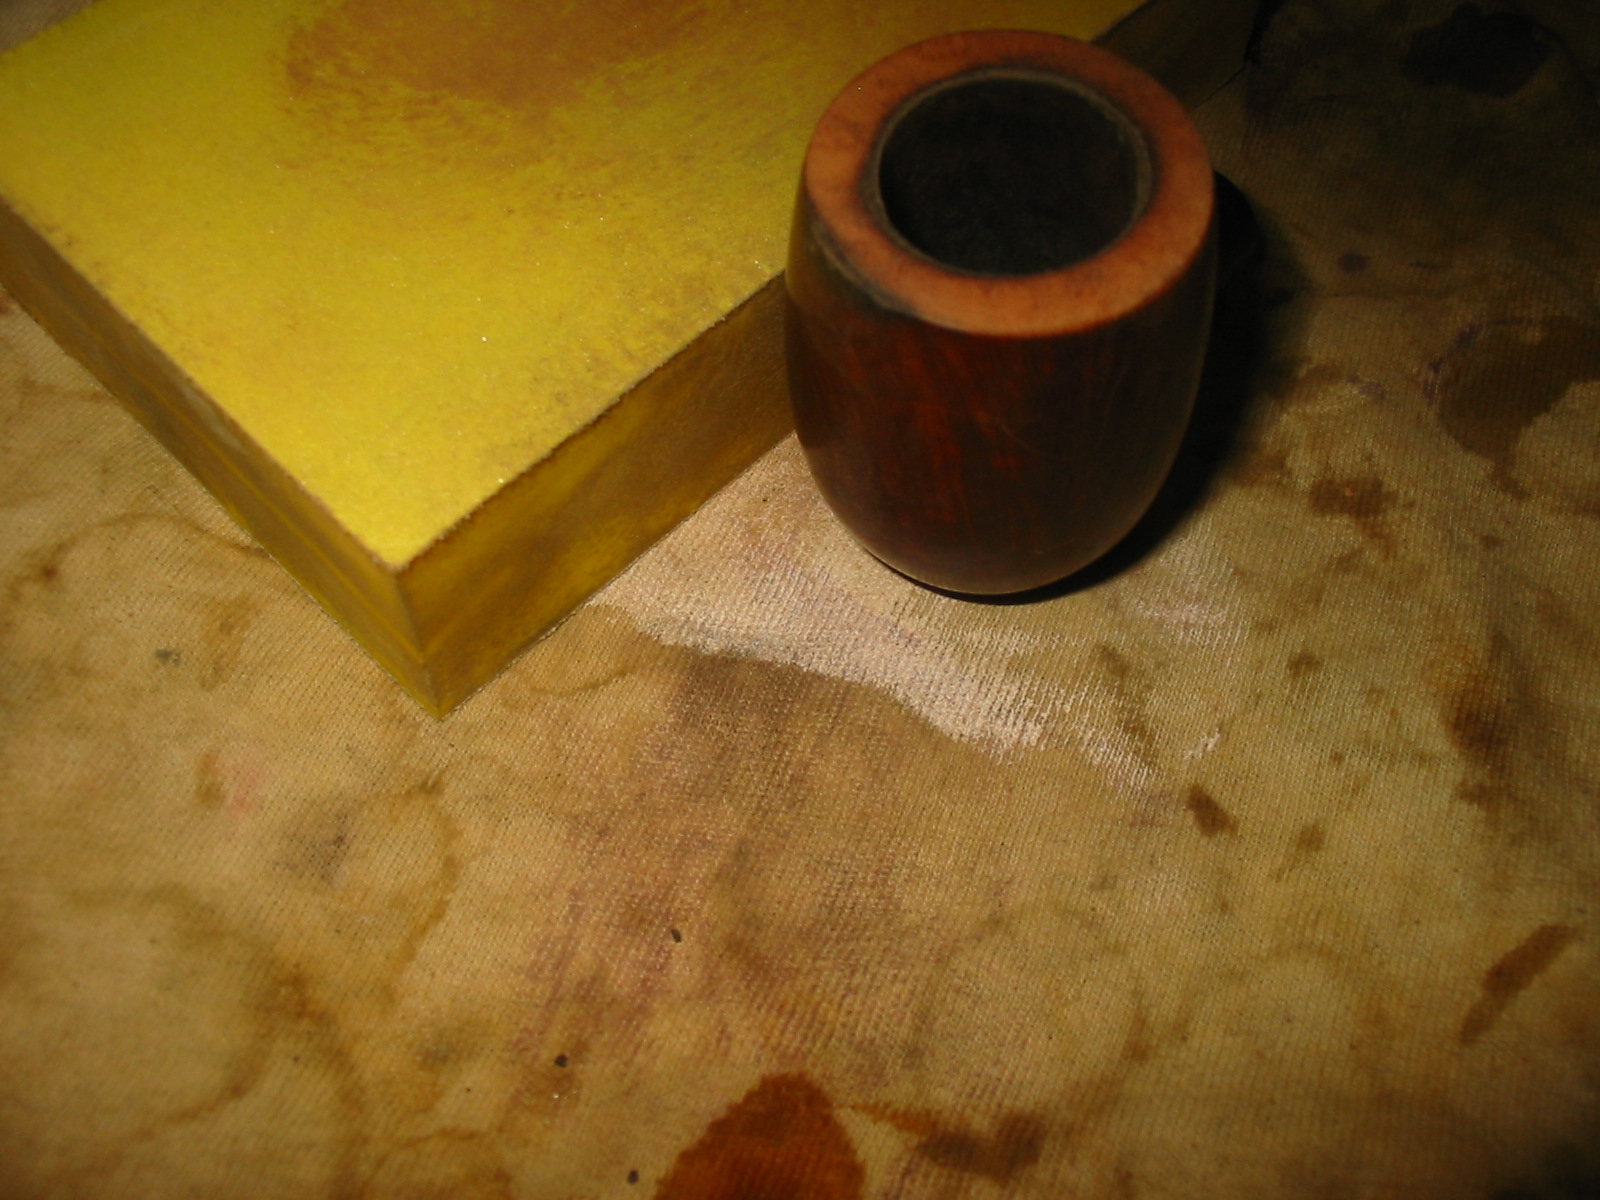
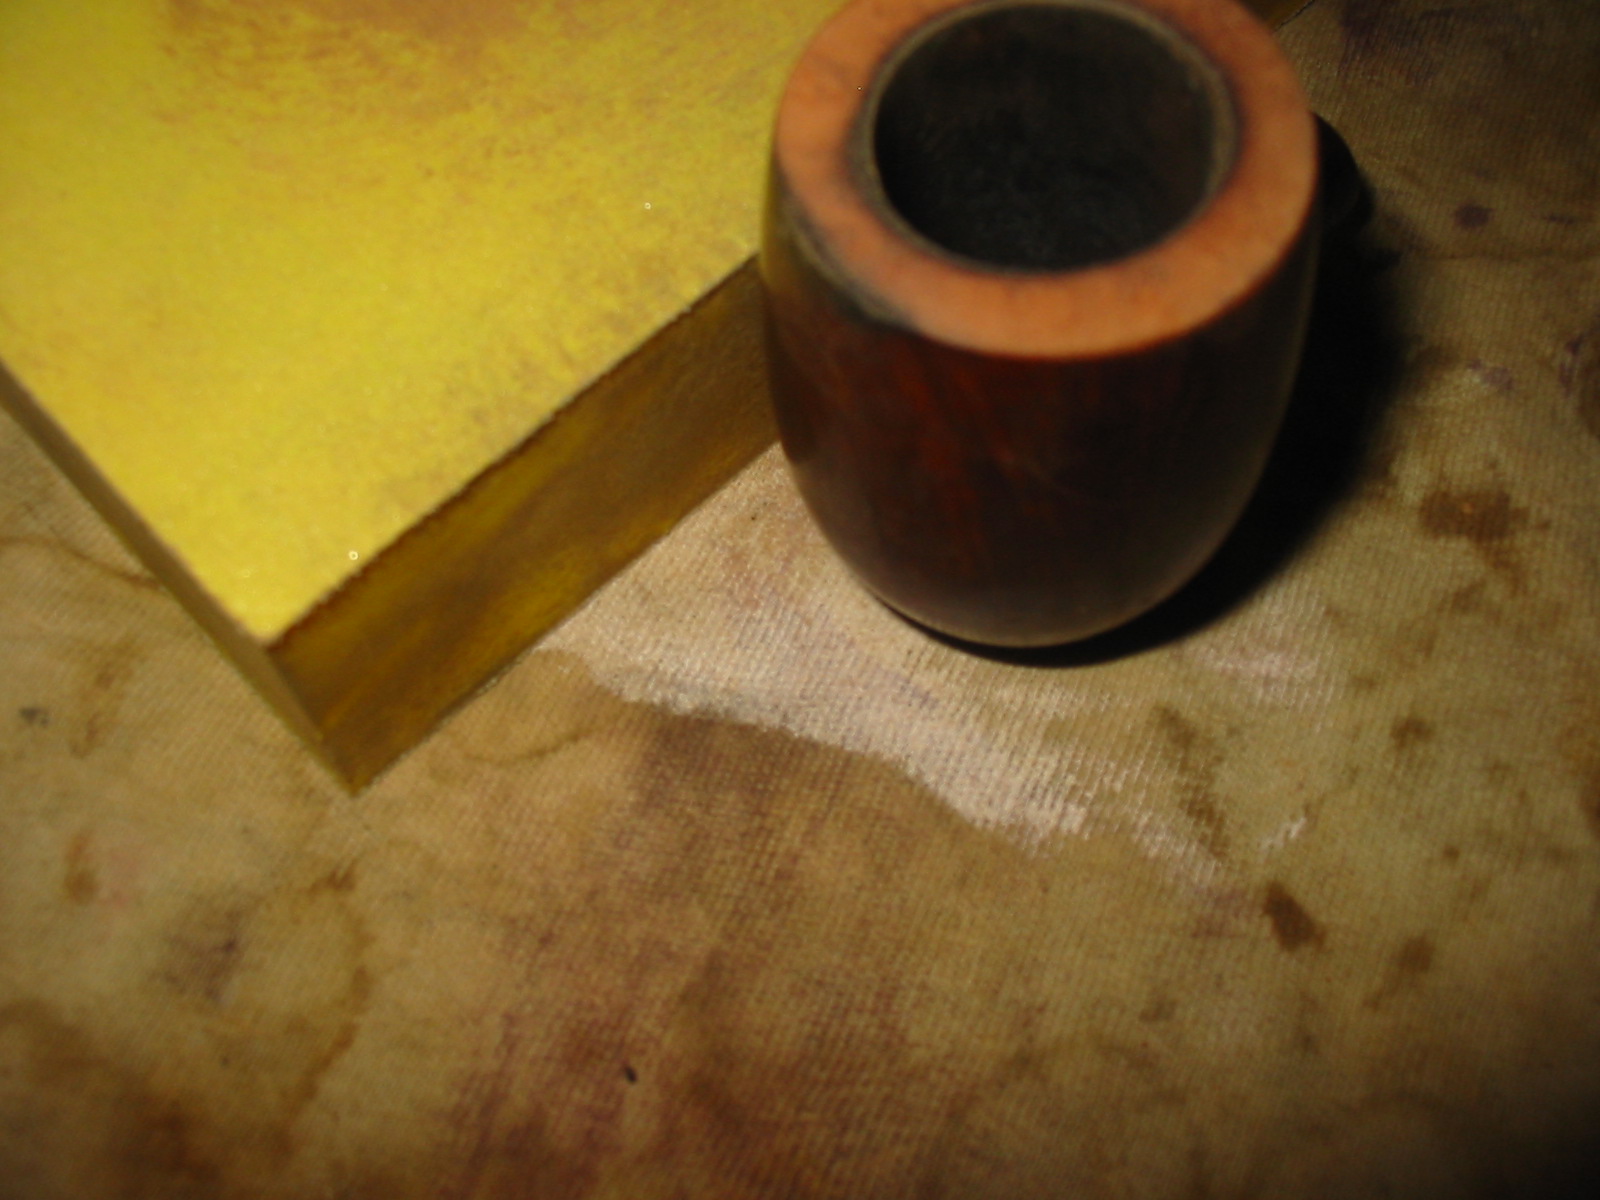
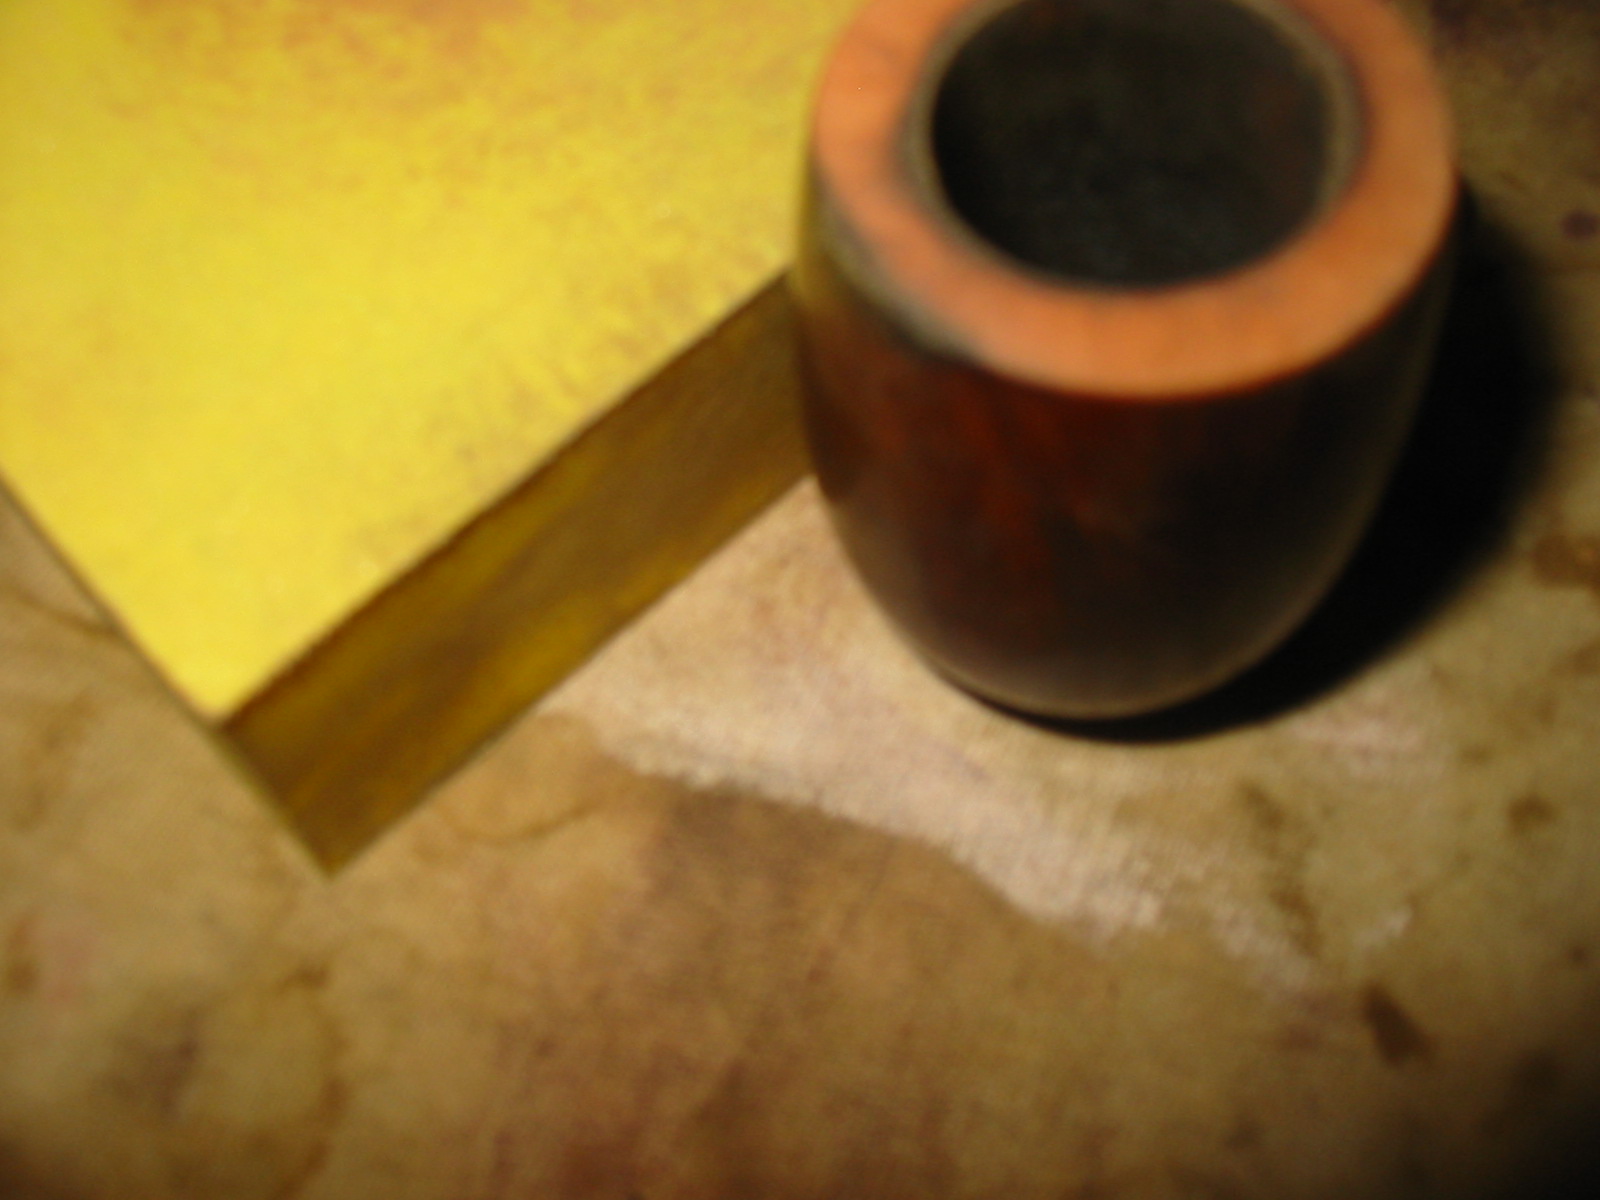
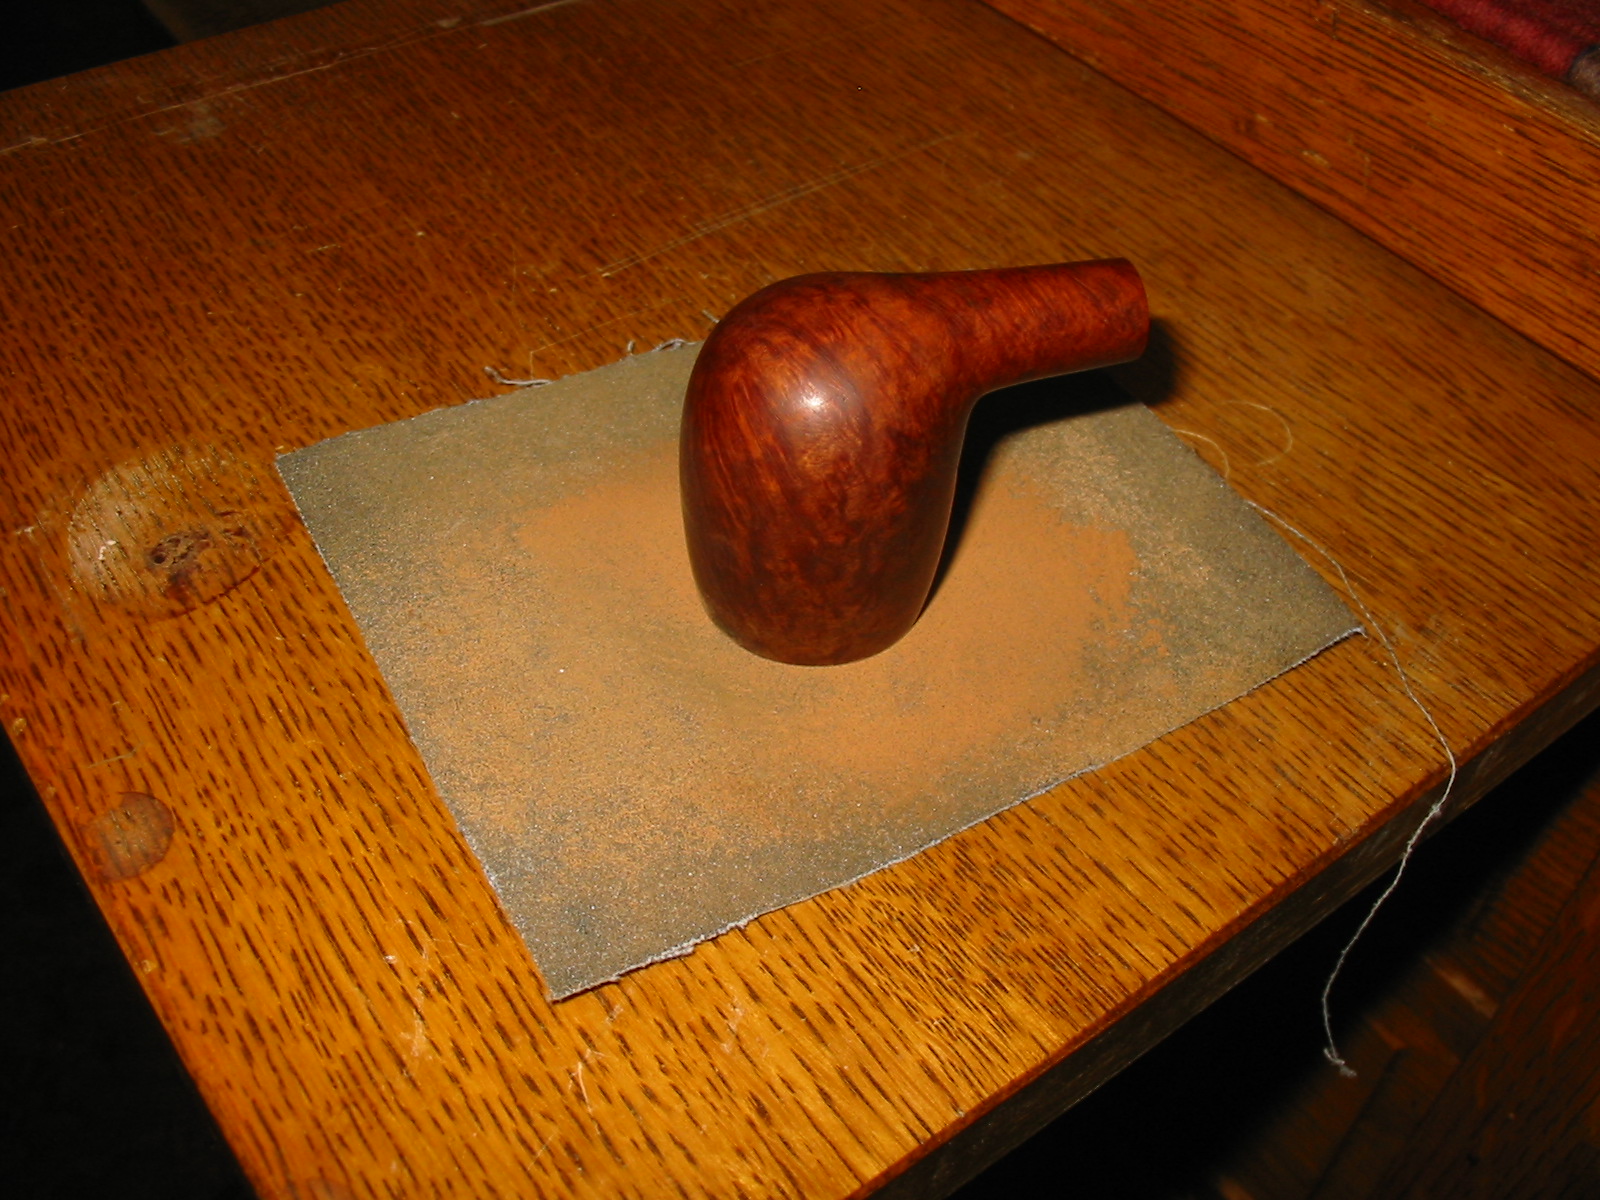
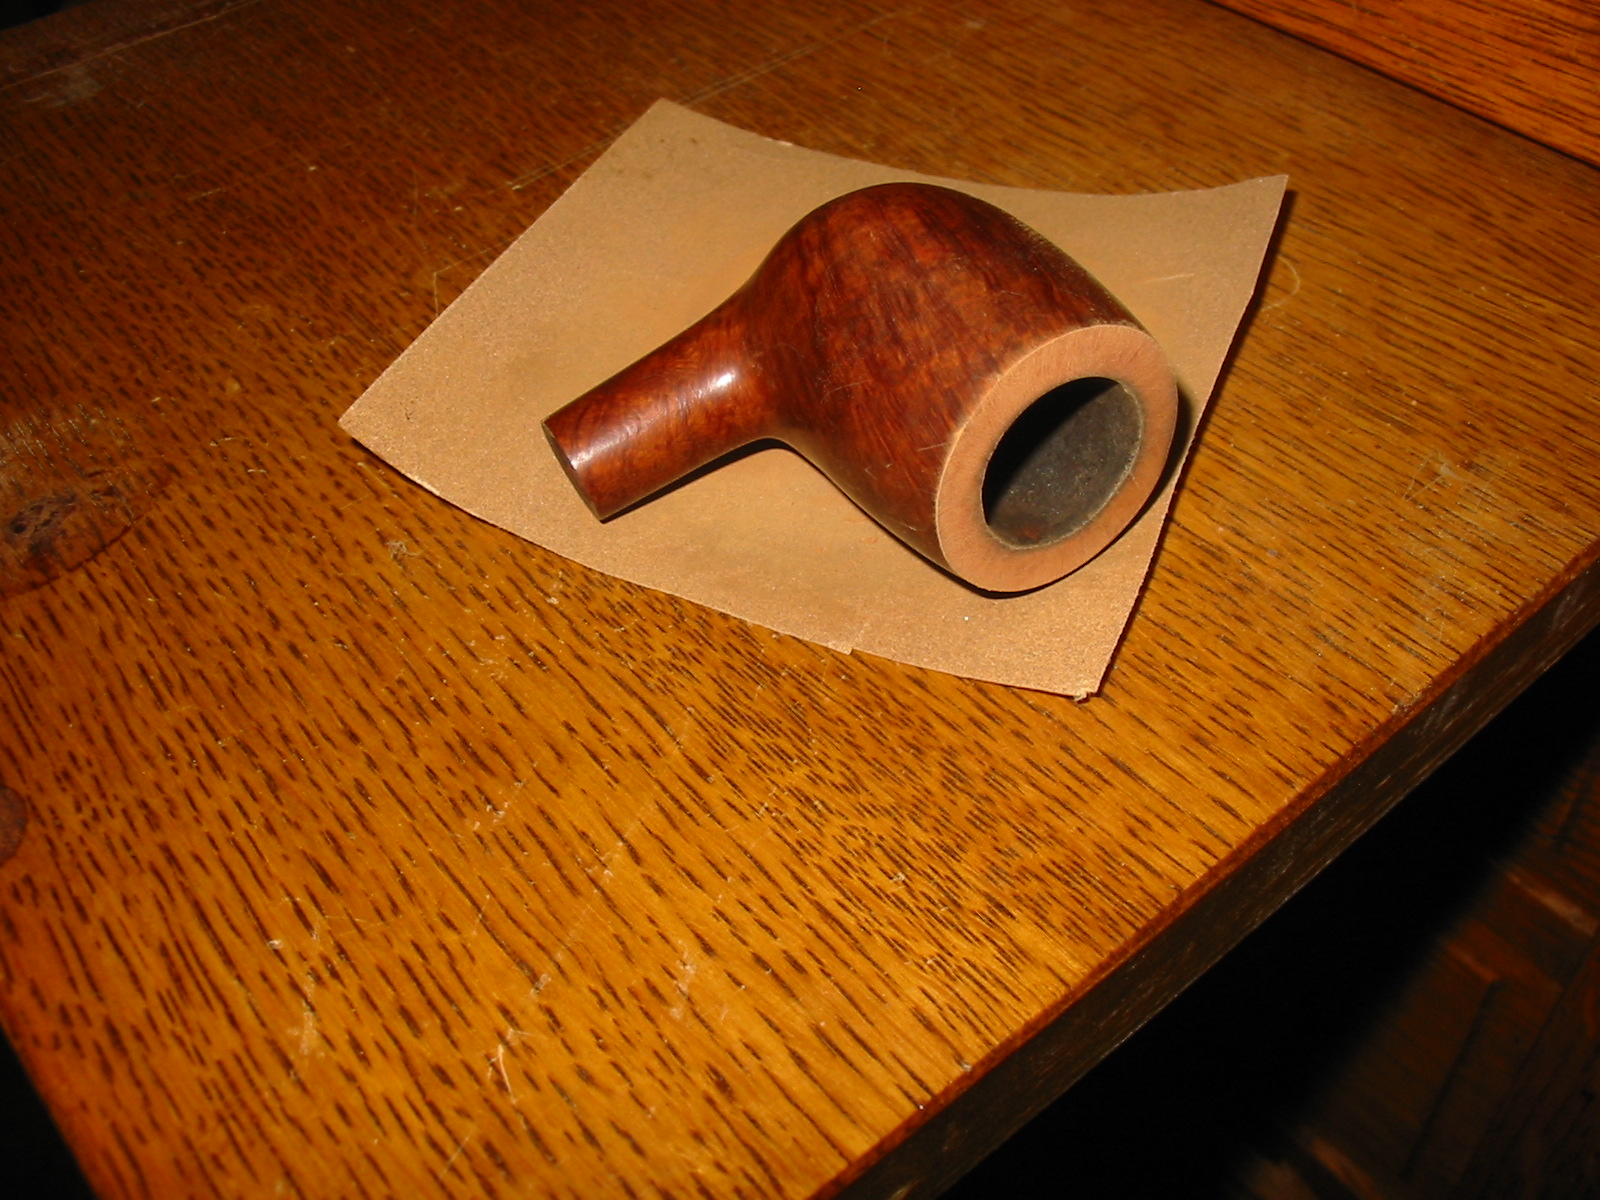
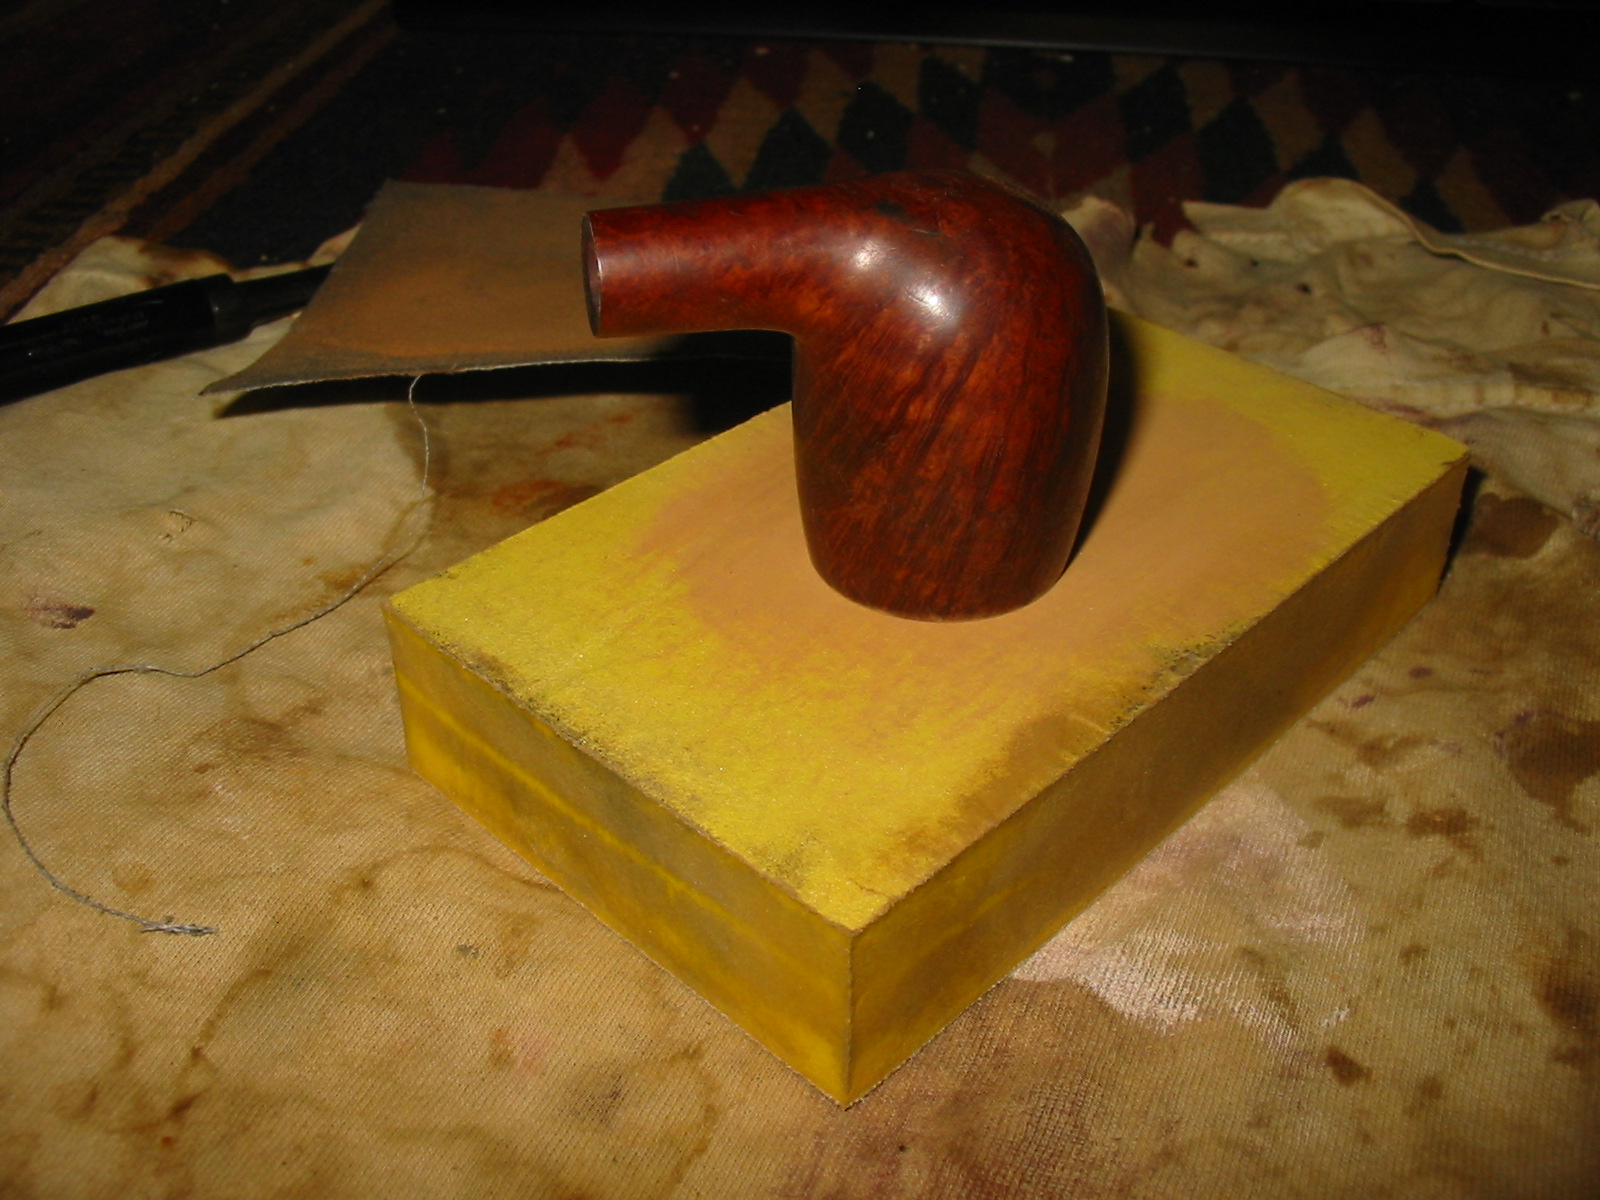
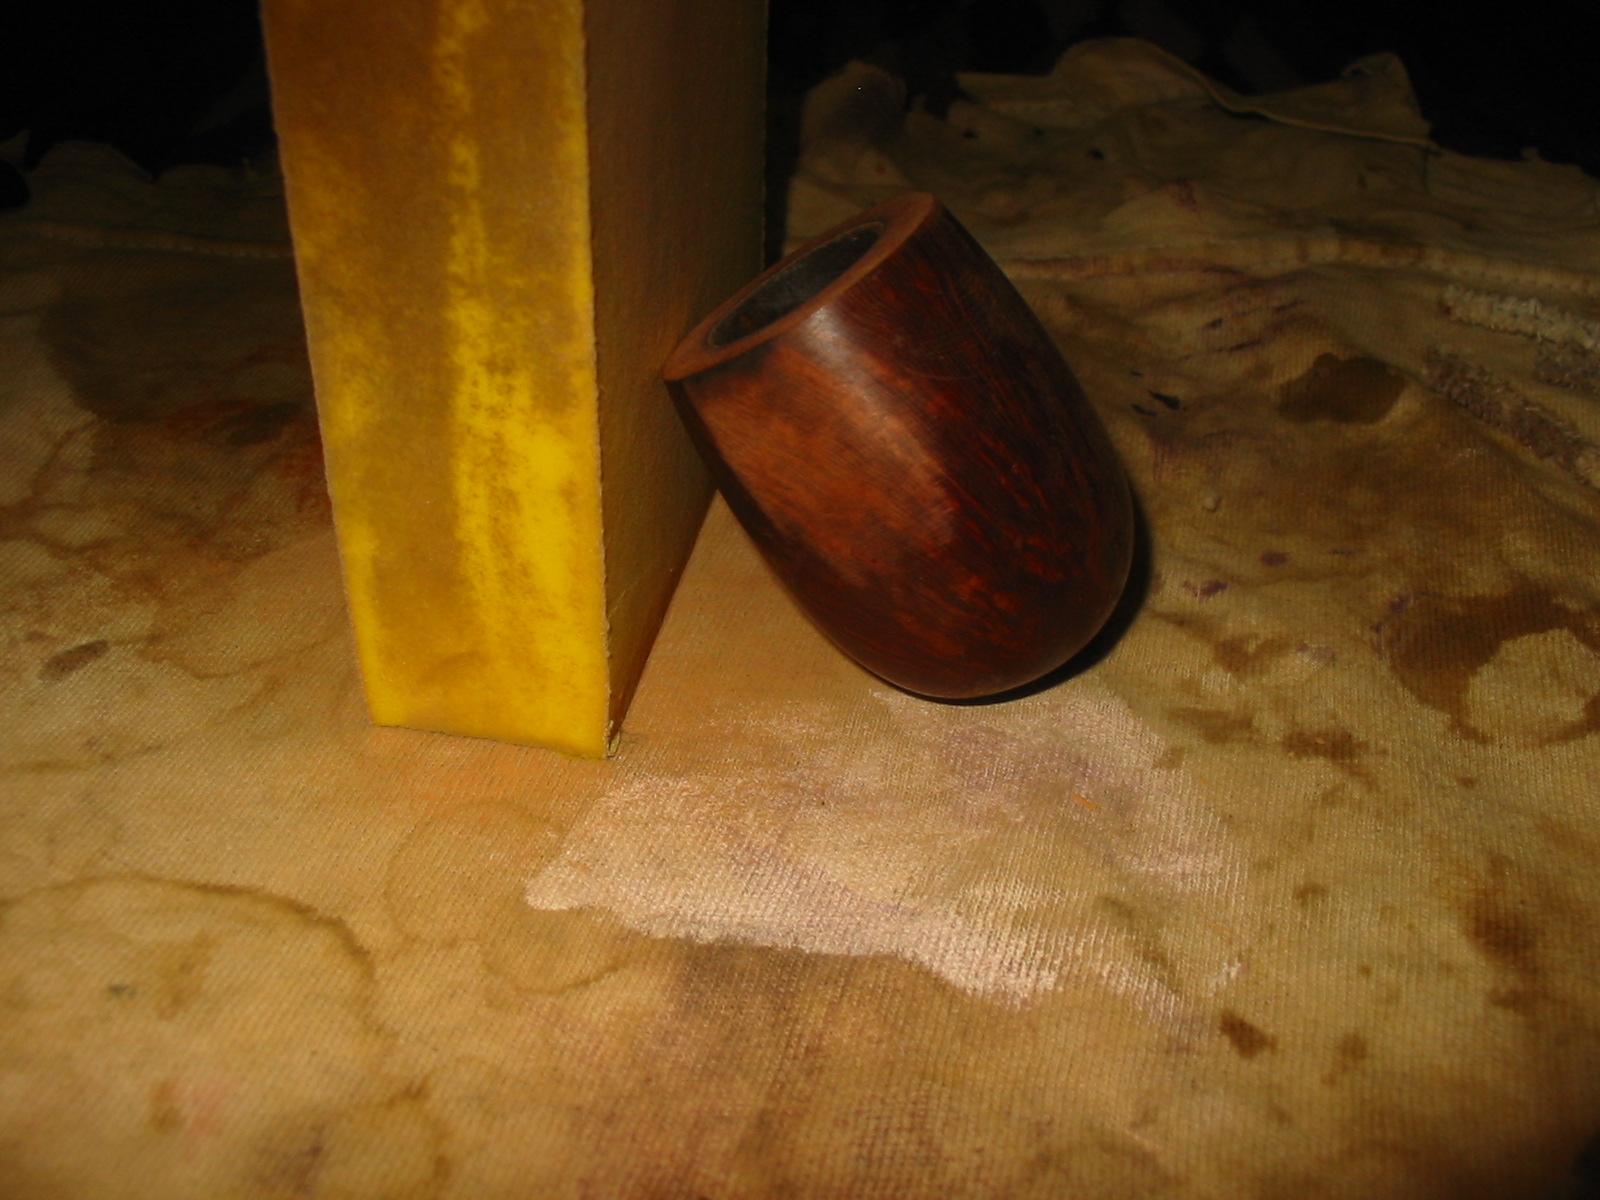
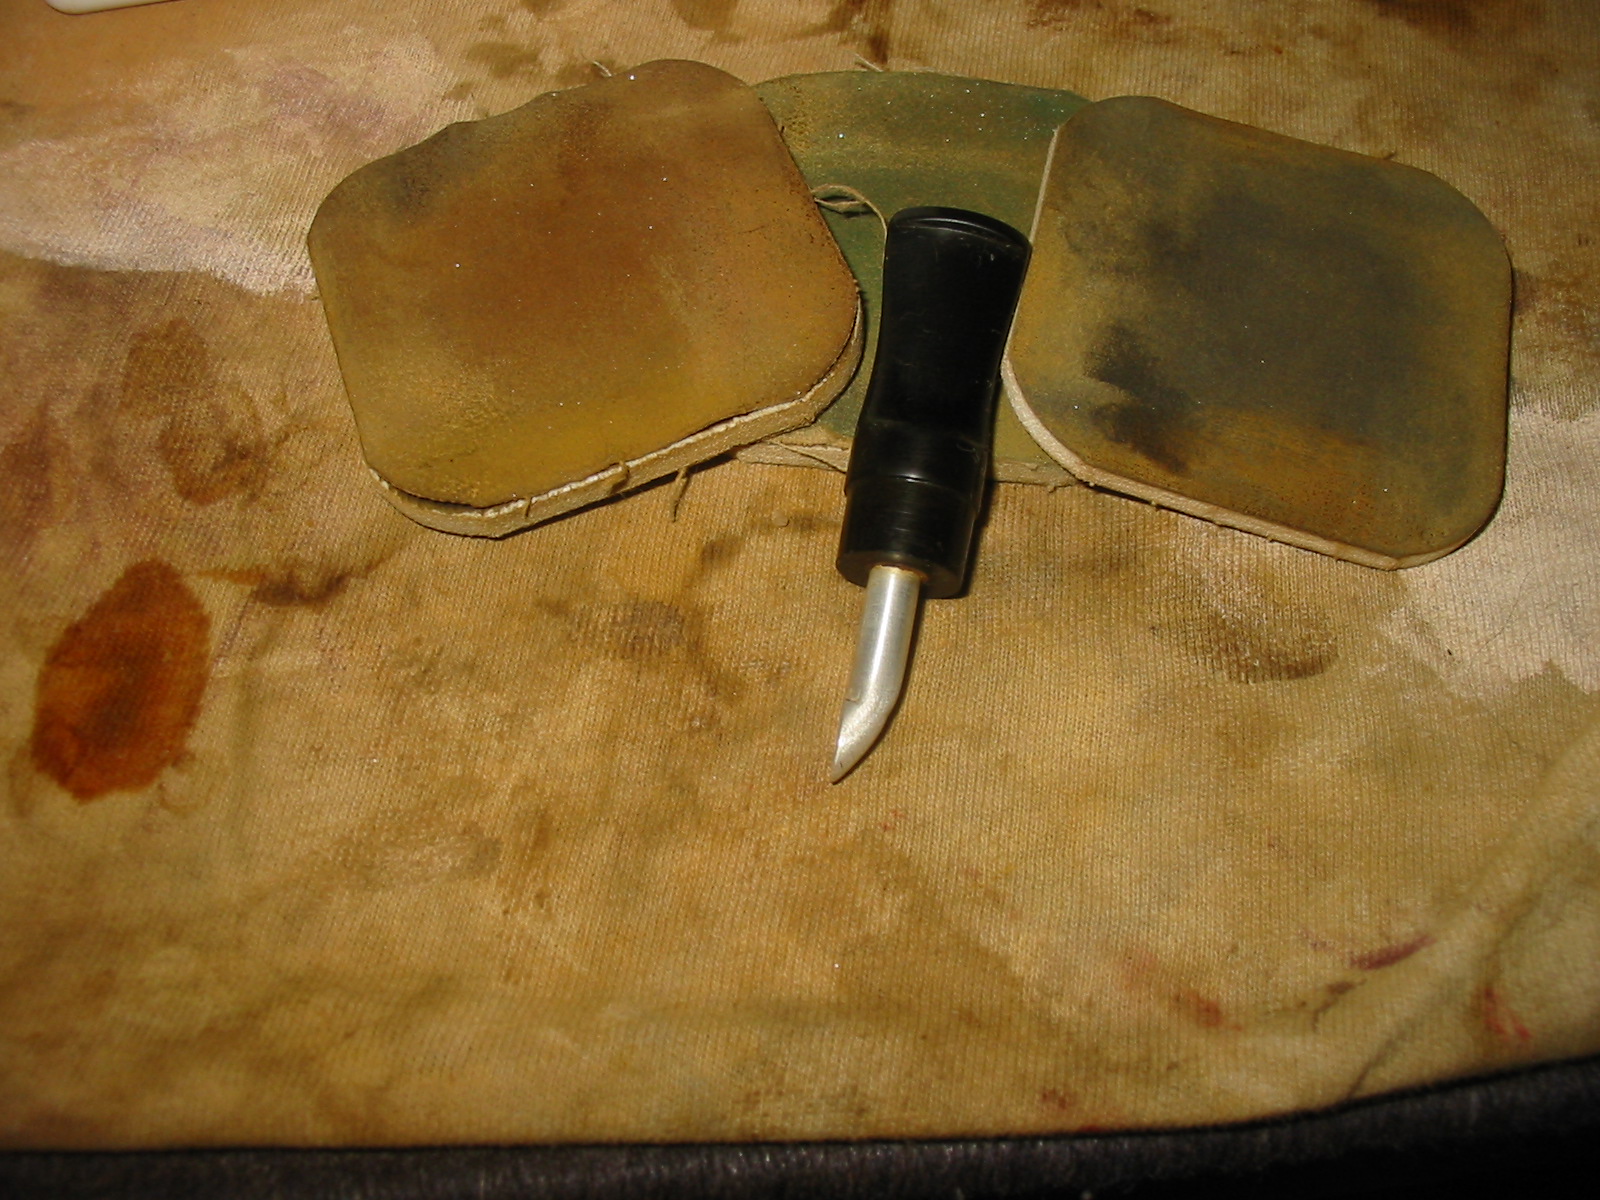
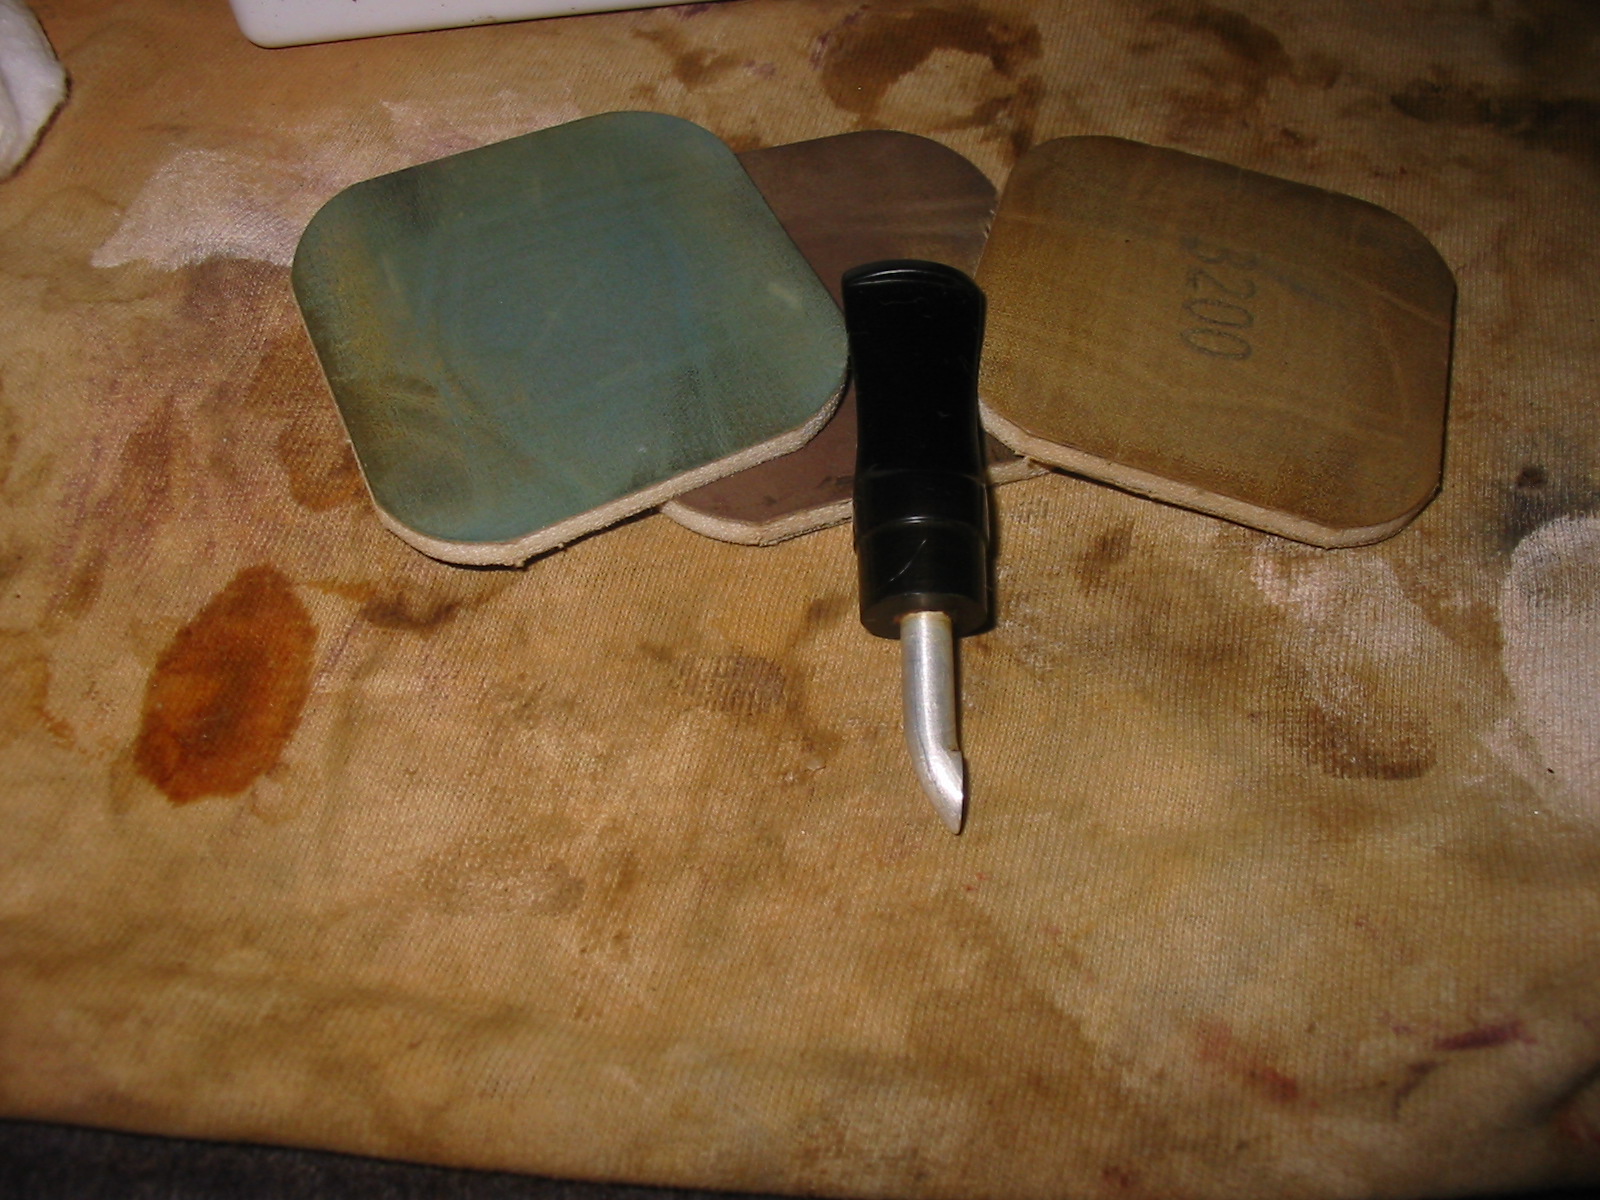
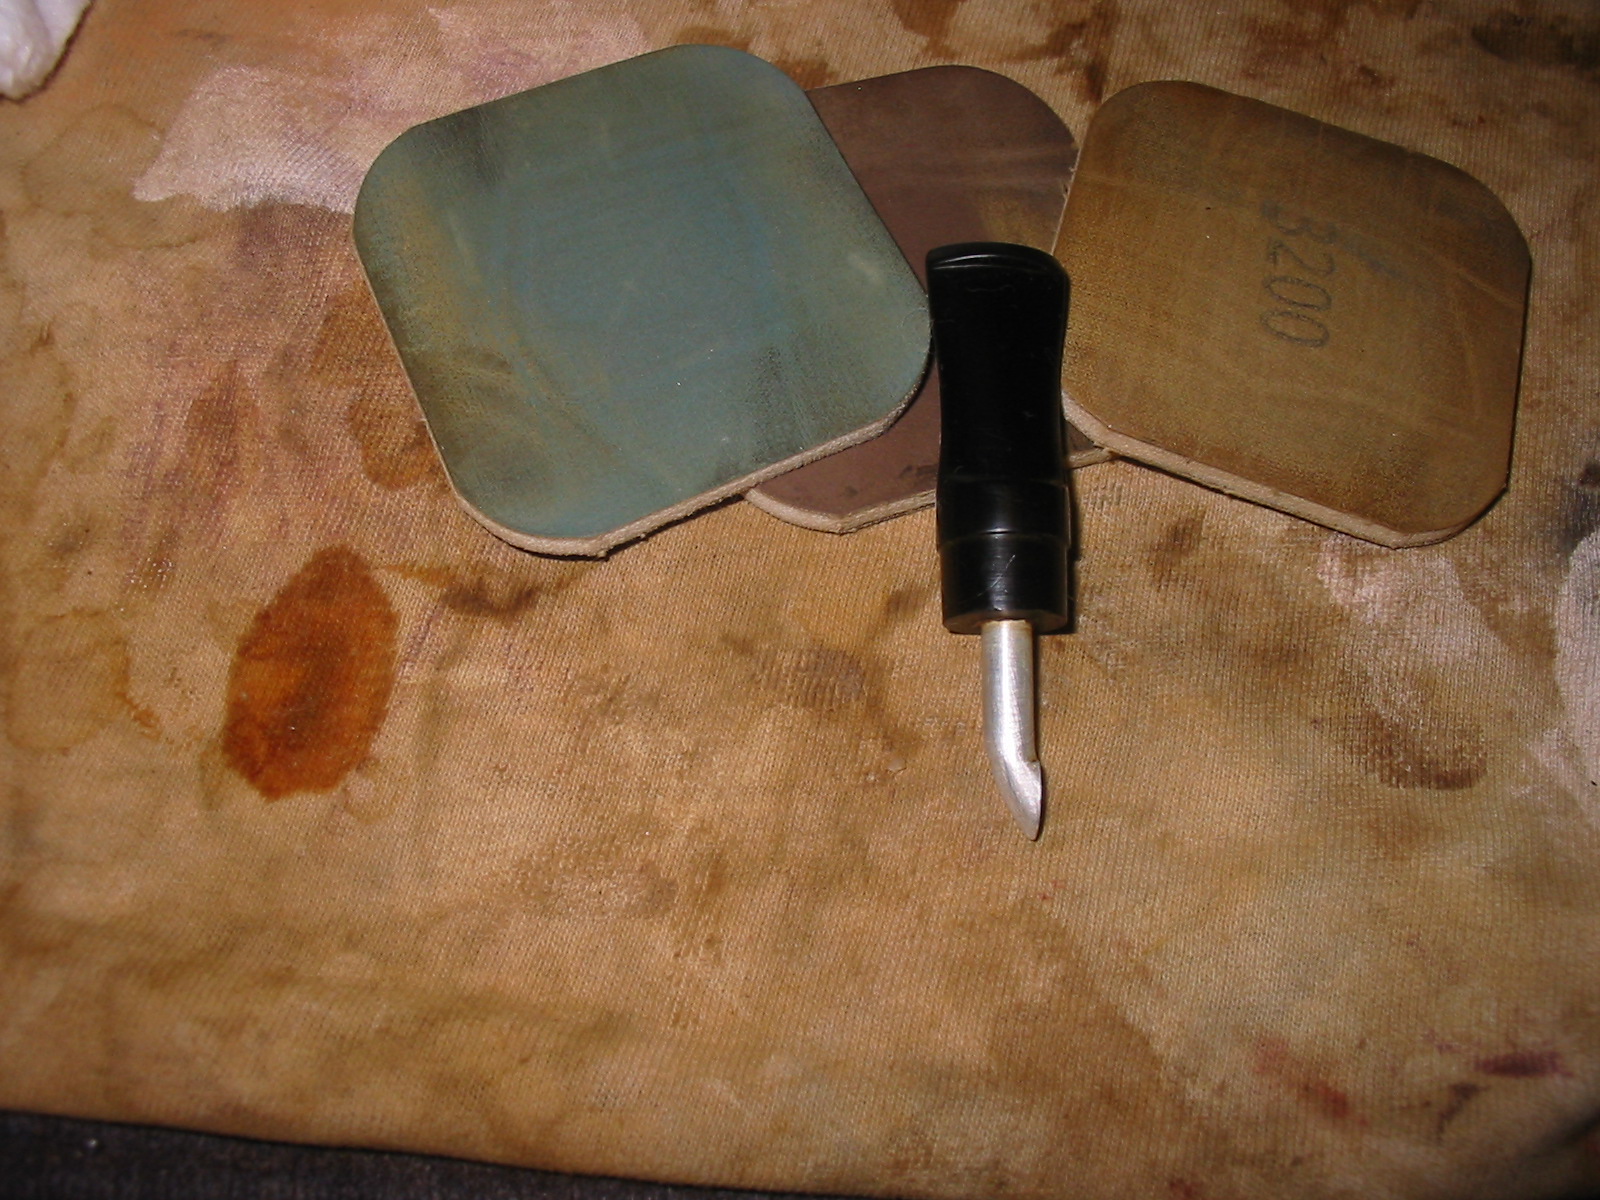
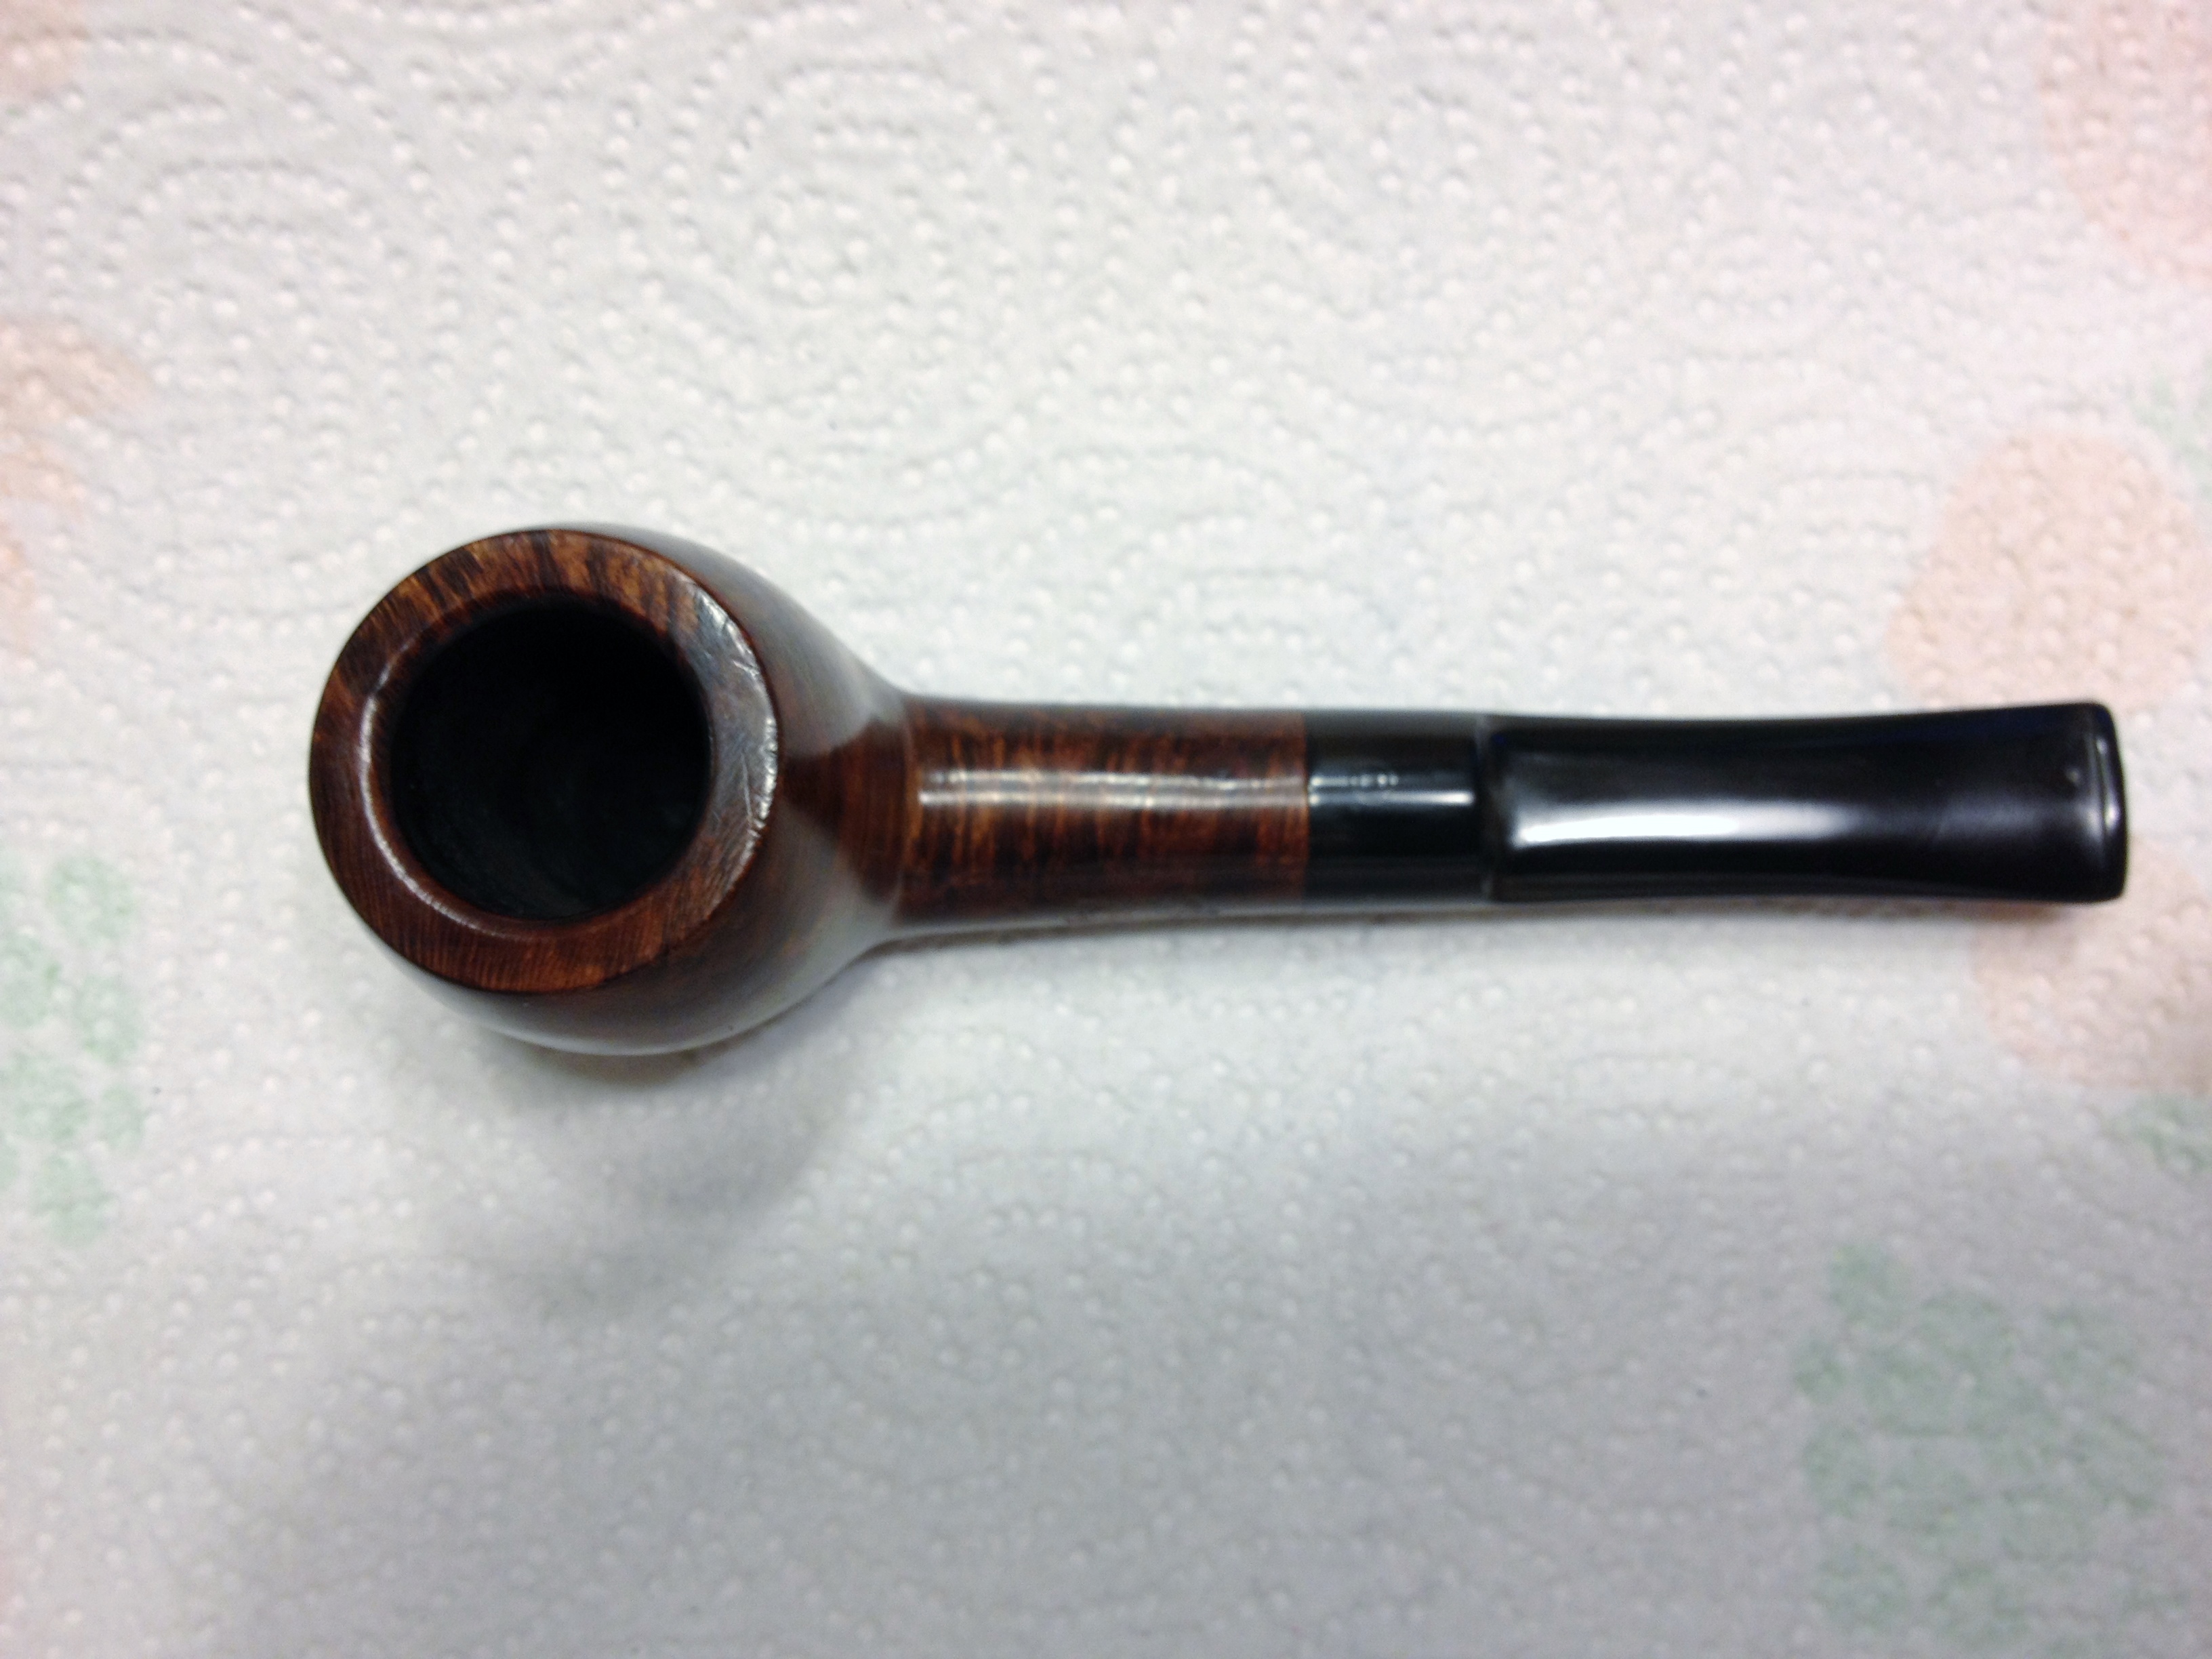
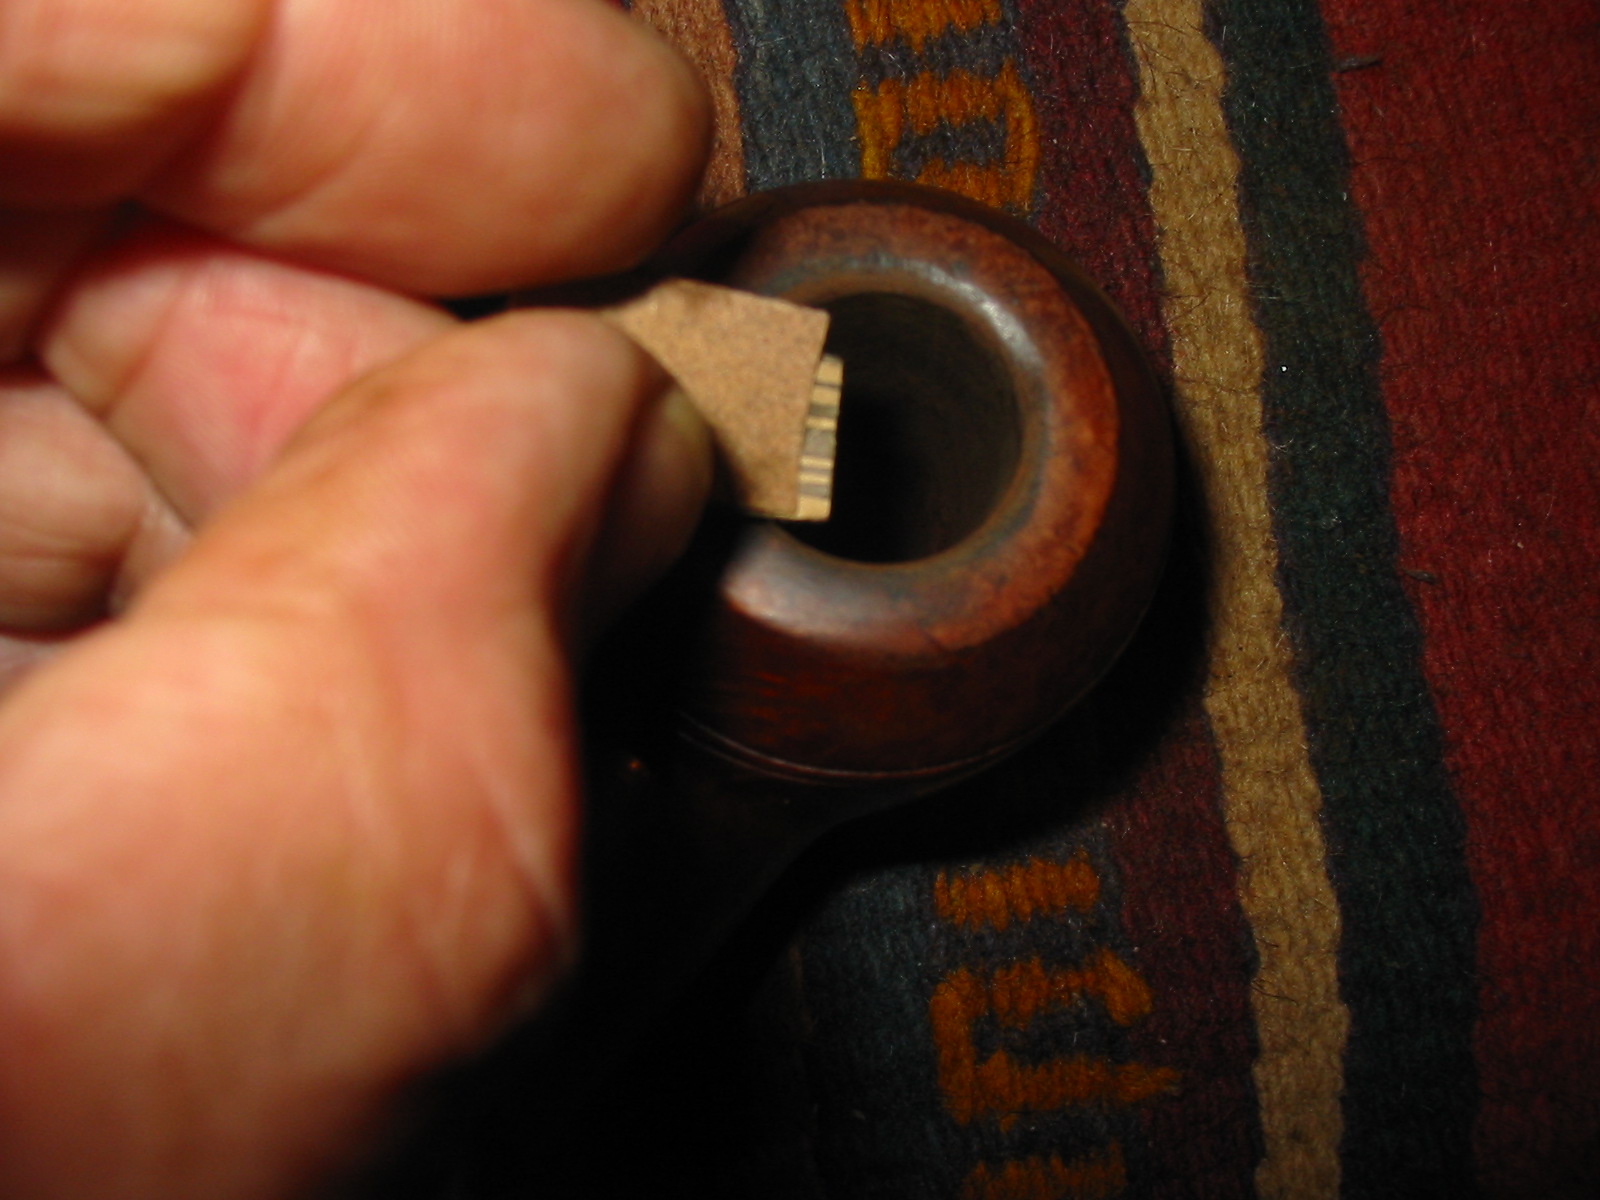
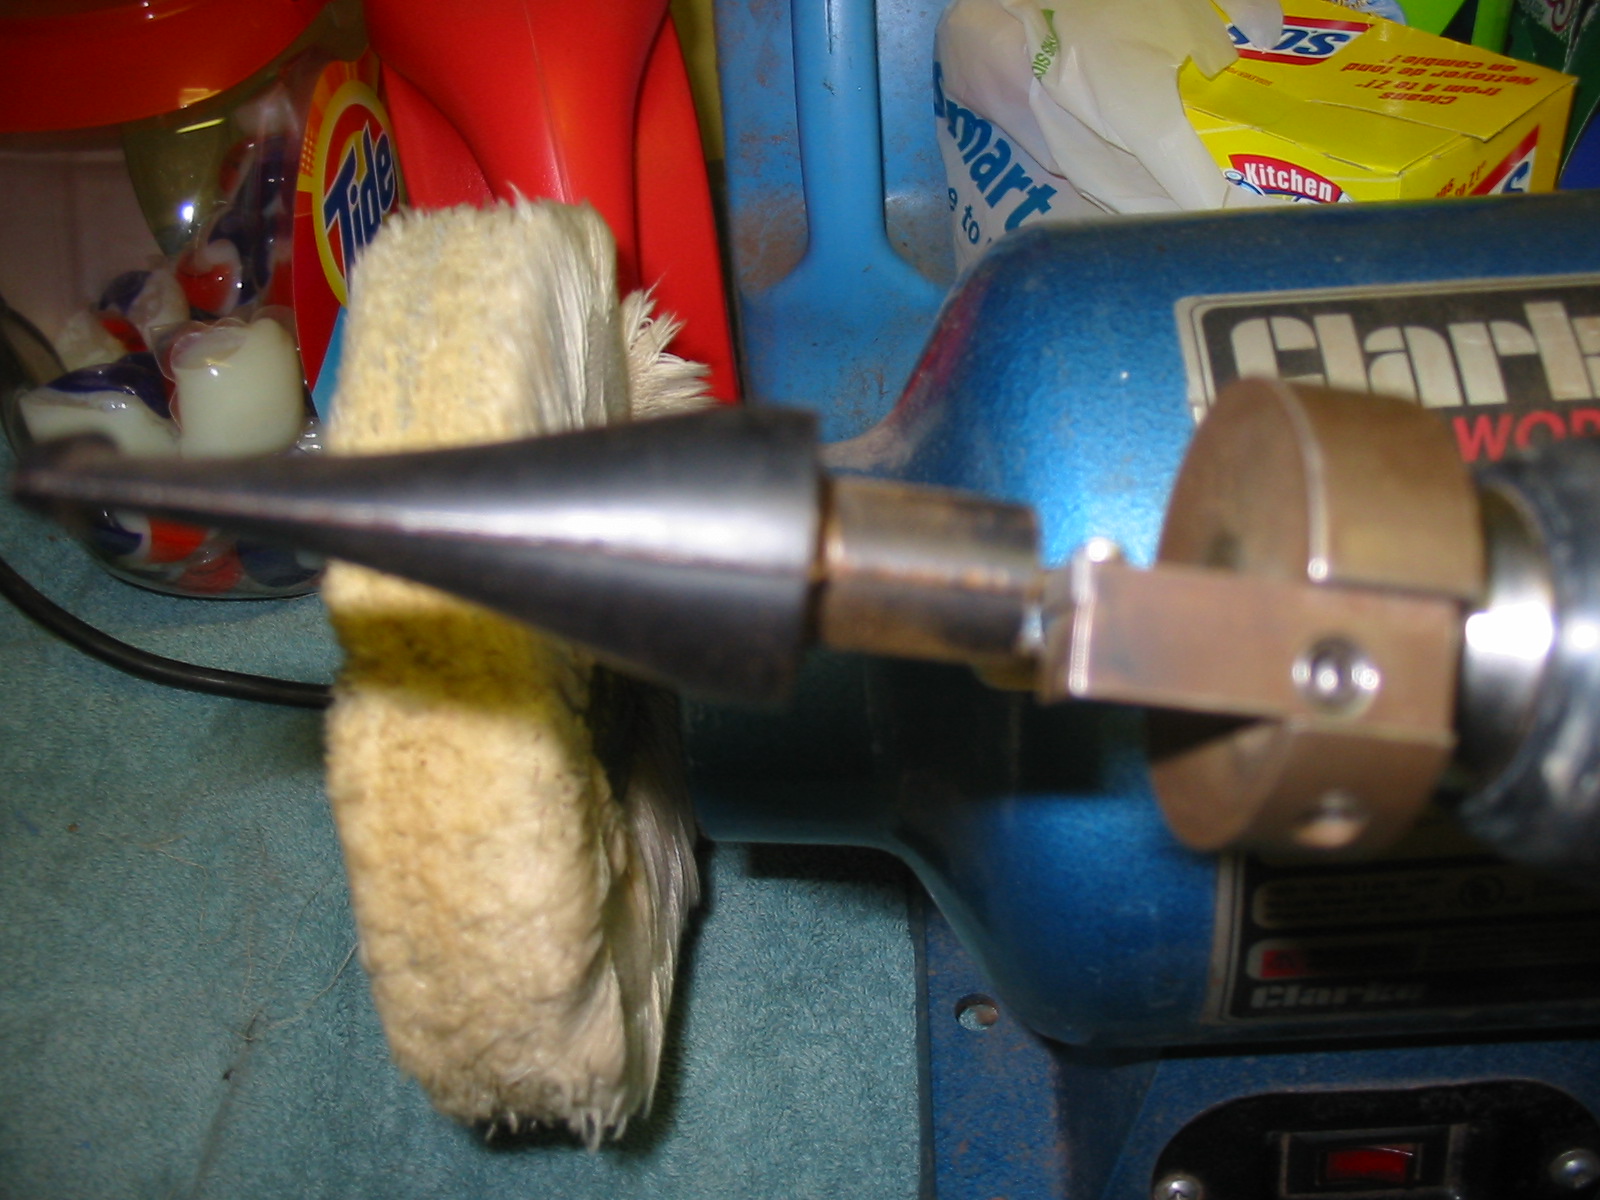
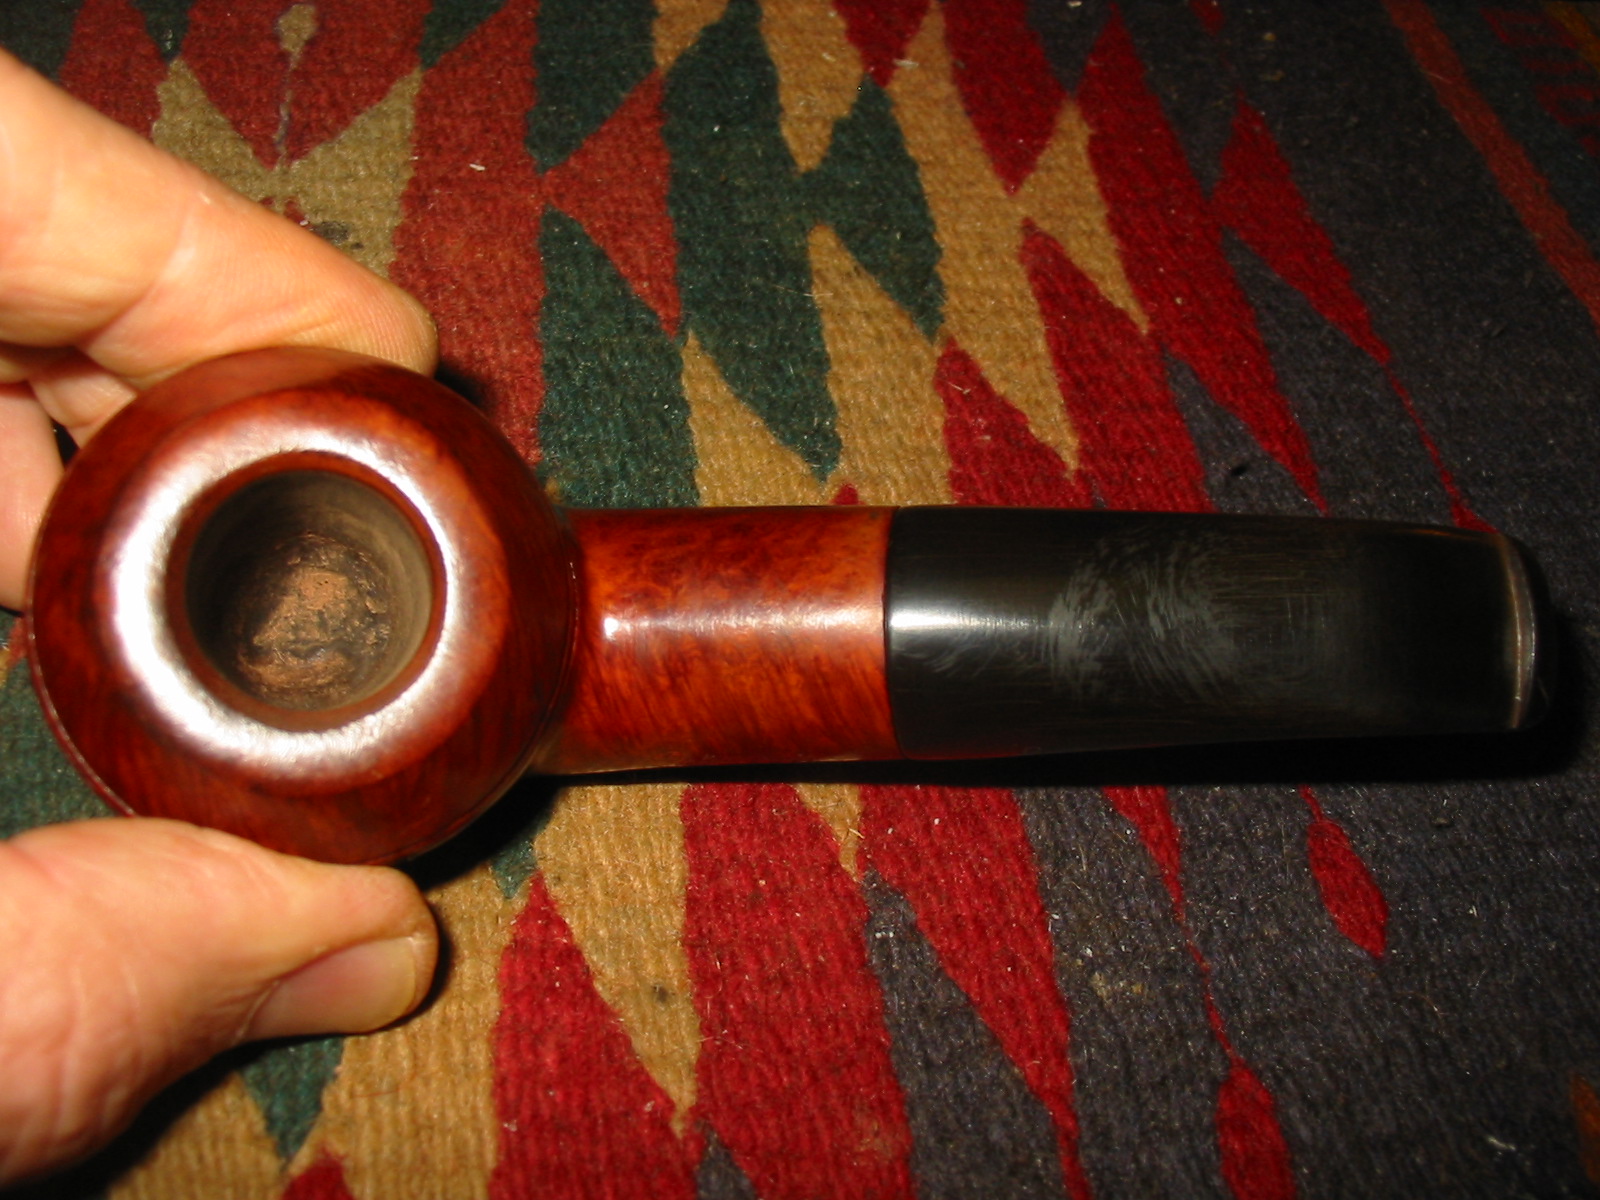
Once the inside was clean I decided to gently top the bowl. I used a medium grit sanding sponge flat on the table top and worked the rim against that to remove the buildup of tars. The first photo shows the set up and the second the result of the topping. Very little briar was removed from the rim, mostly tars. The finish however also was removed so the rim would need to be restained. The third photo shows how I used a folded piece of 220 grit sandpaper to bevel/chamfer the inner rim to repair the damage that had been done to the rim.
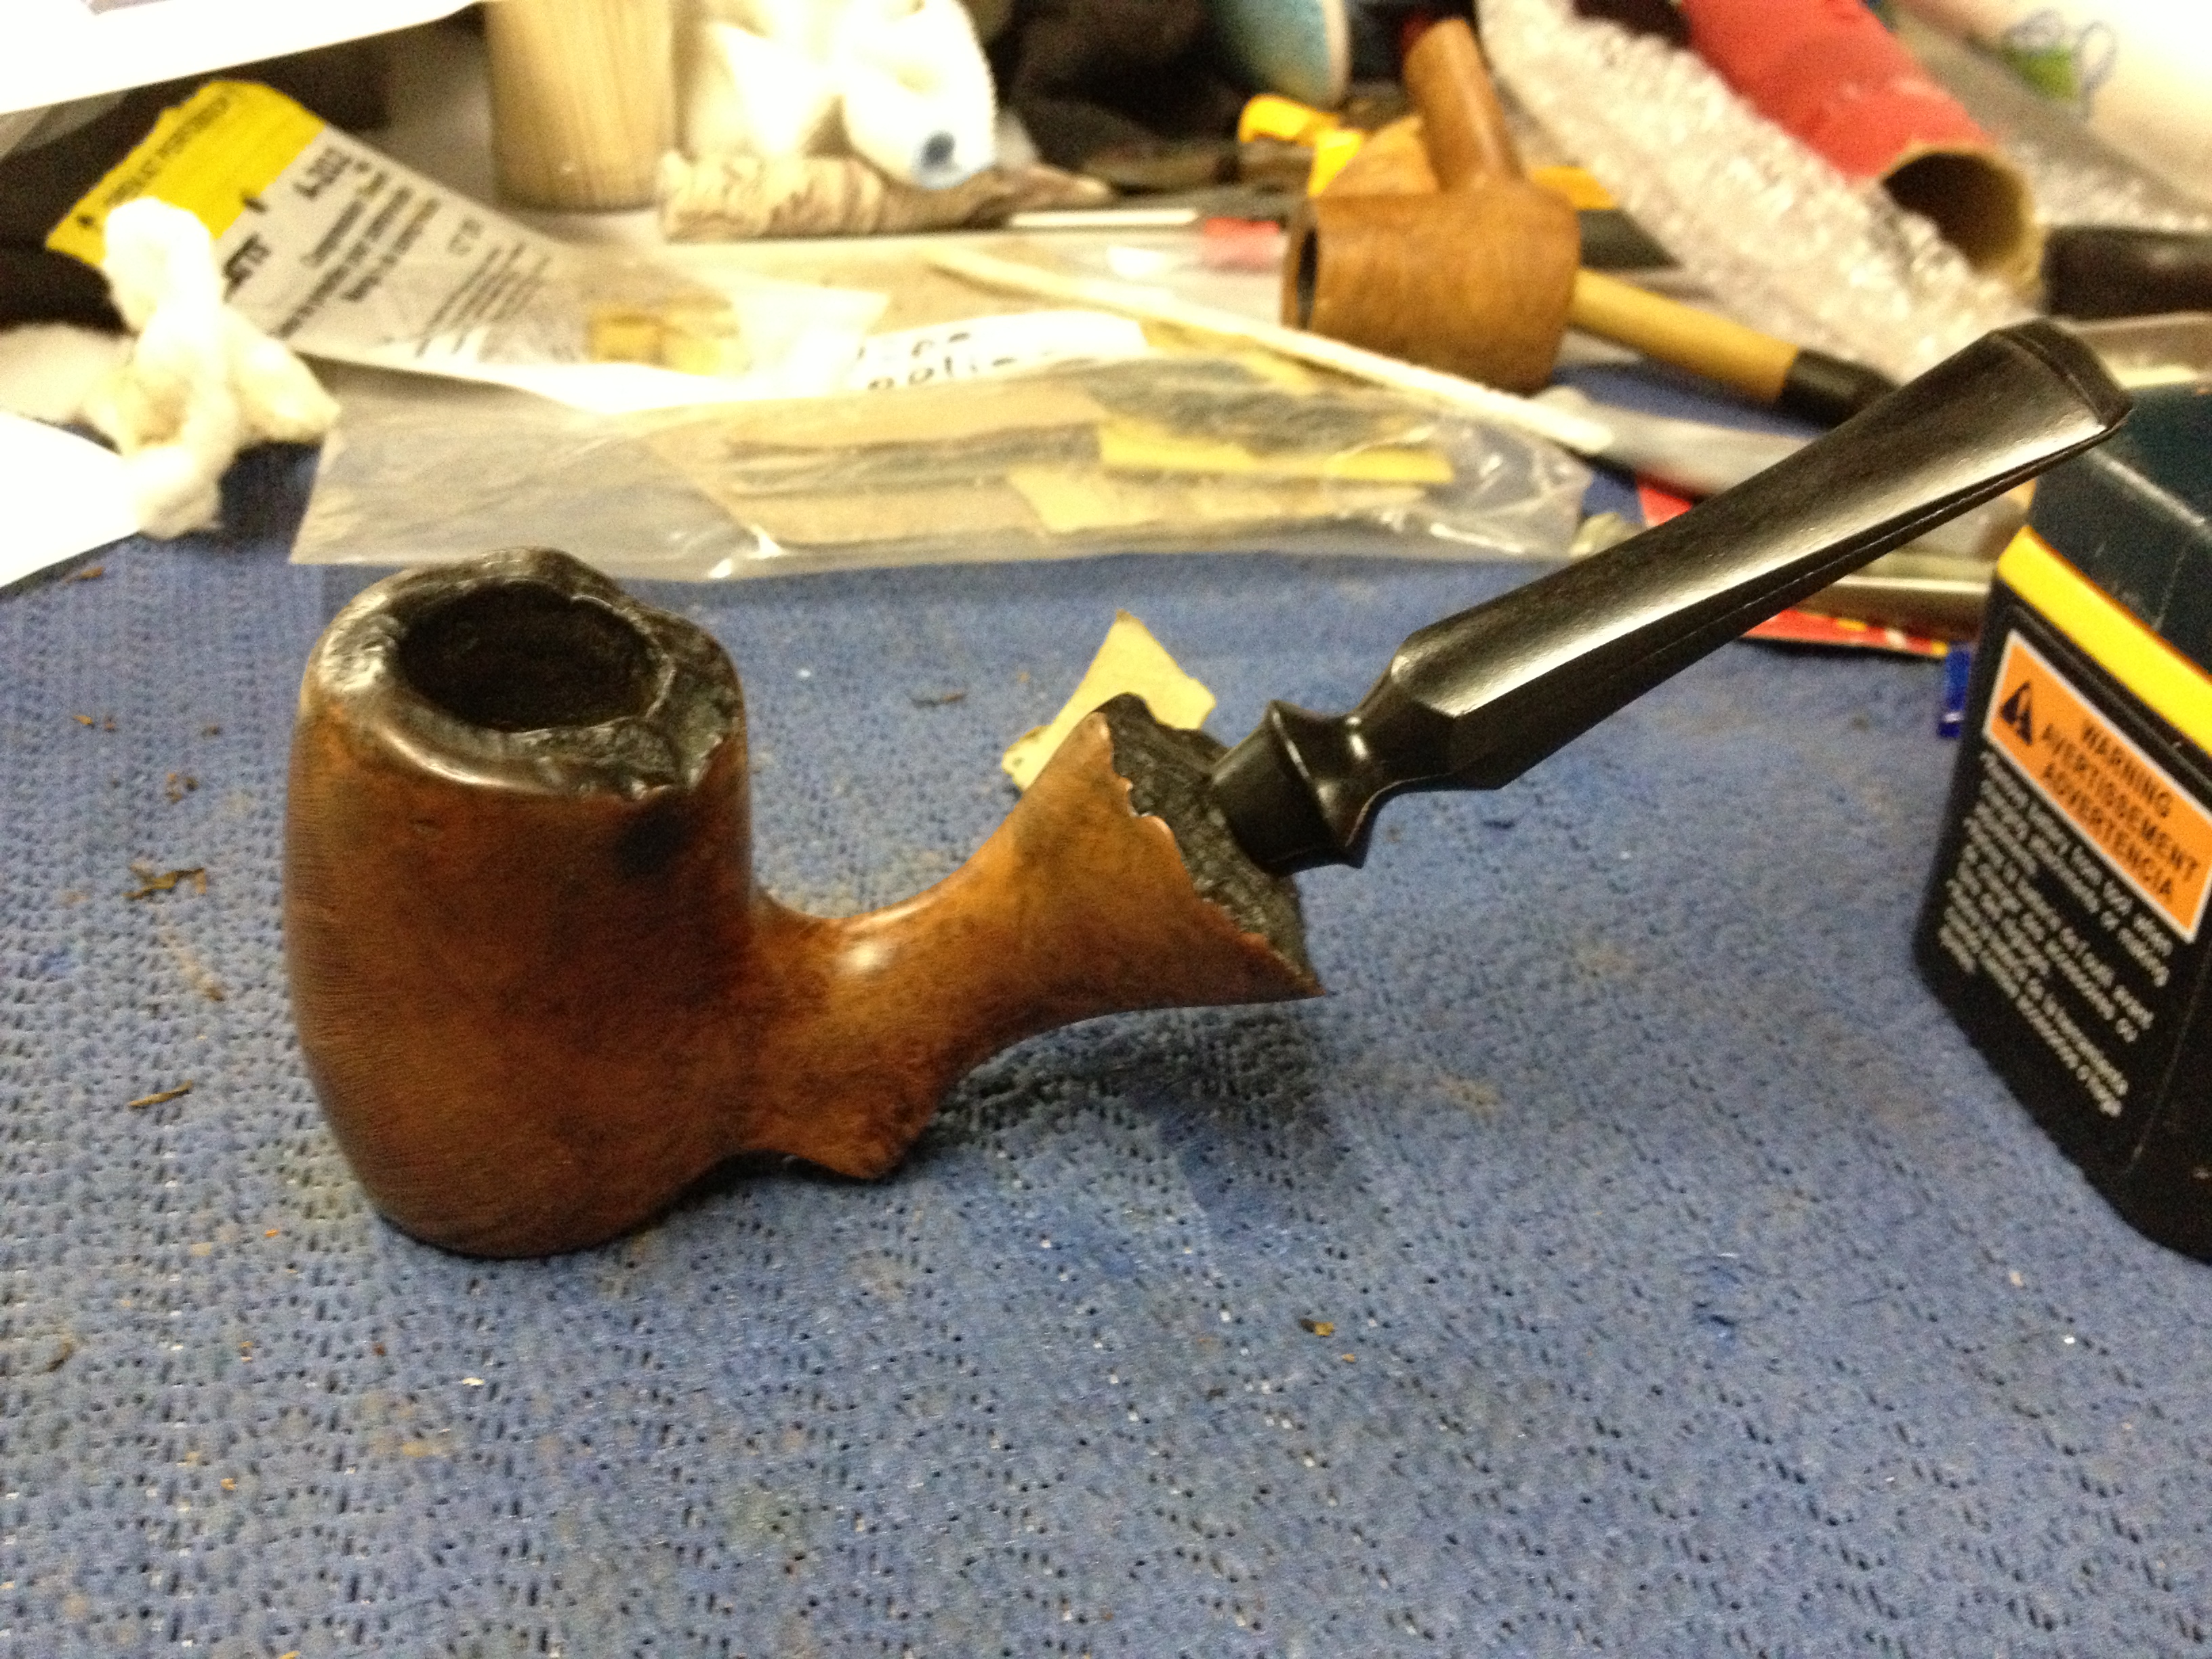
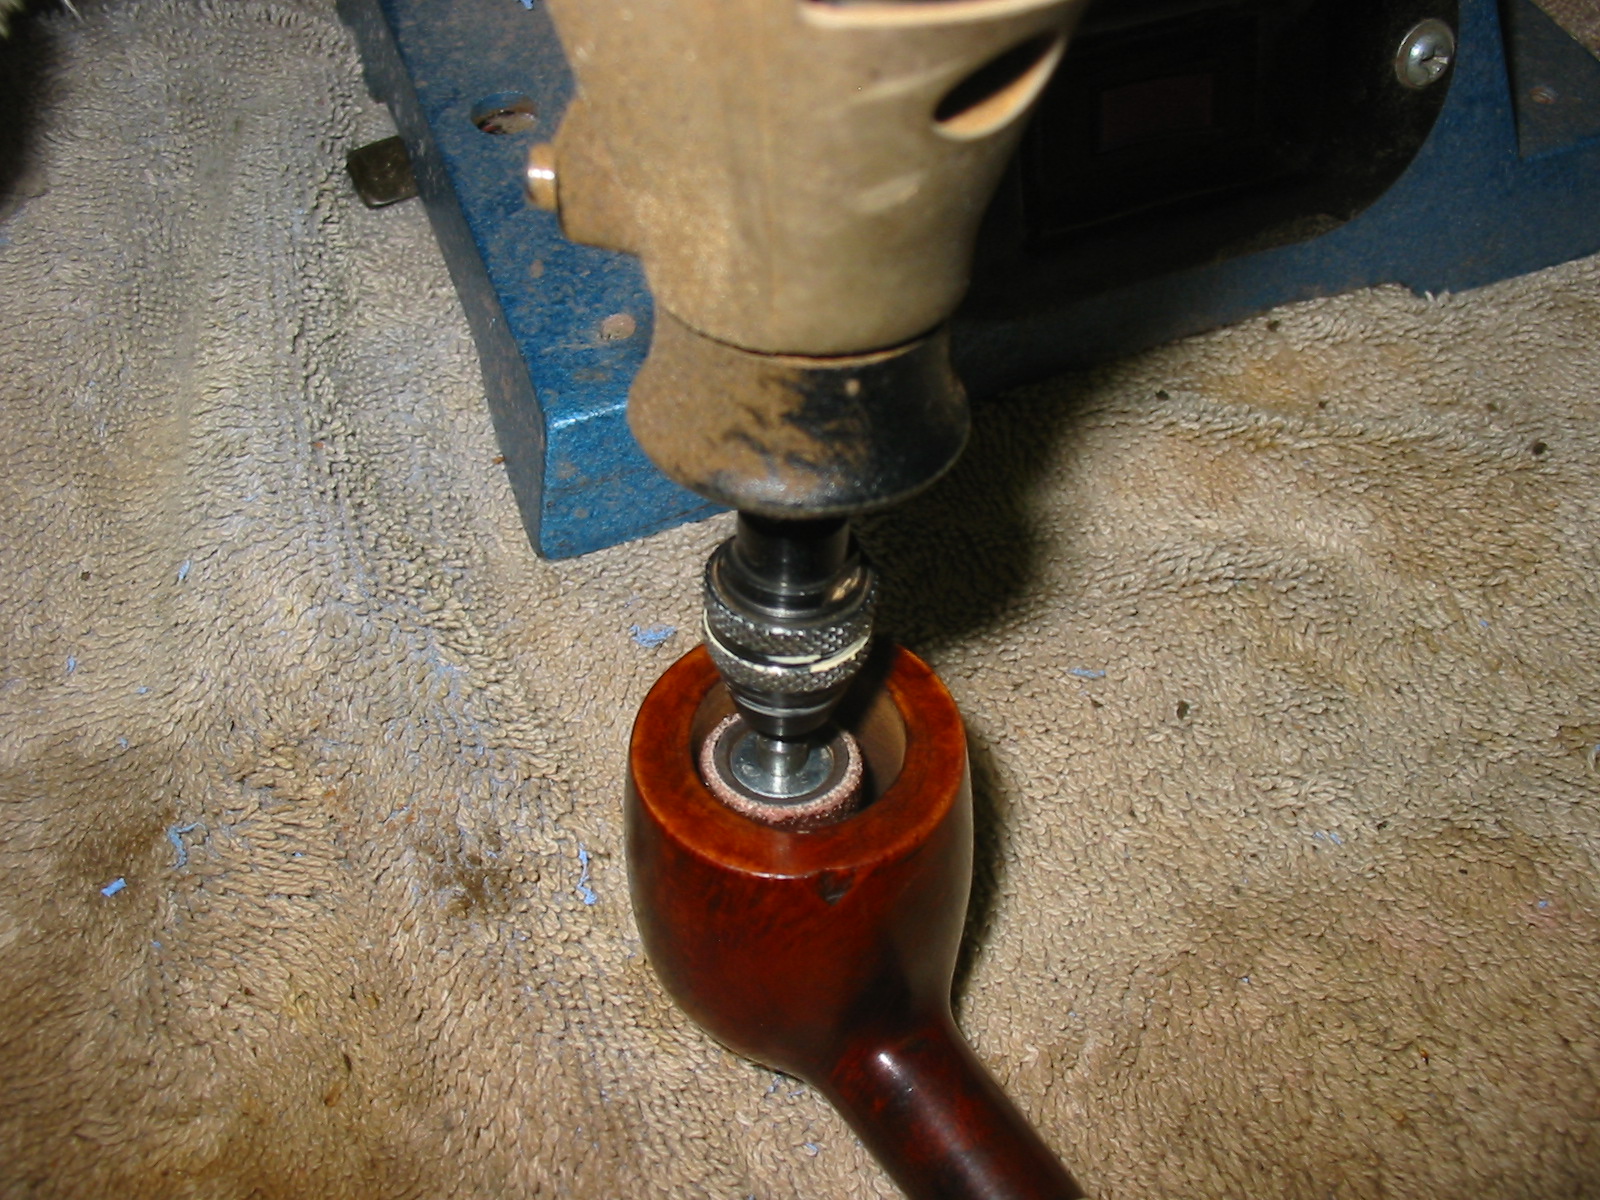
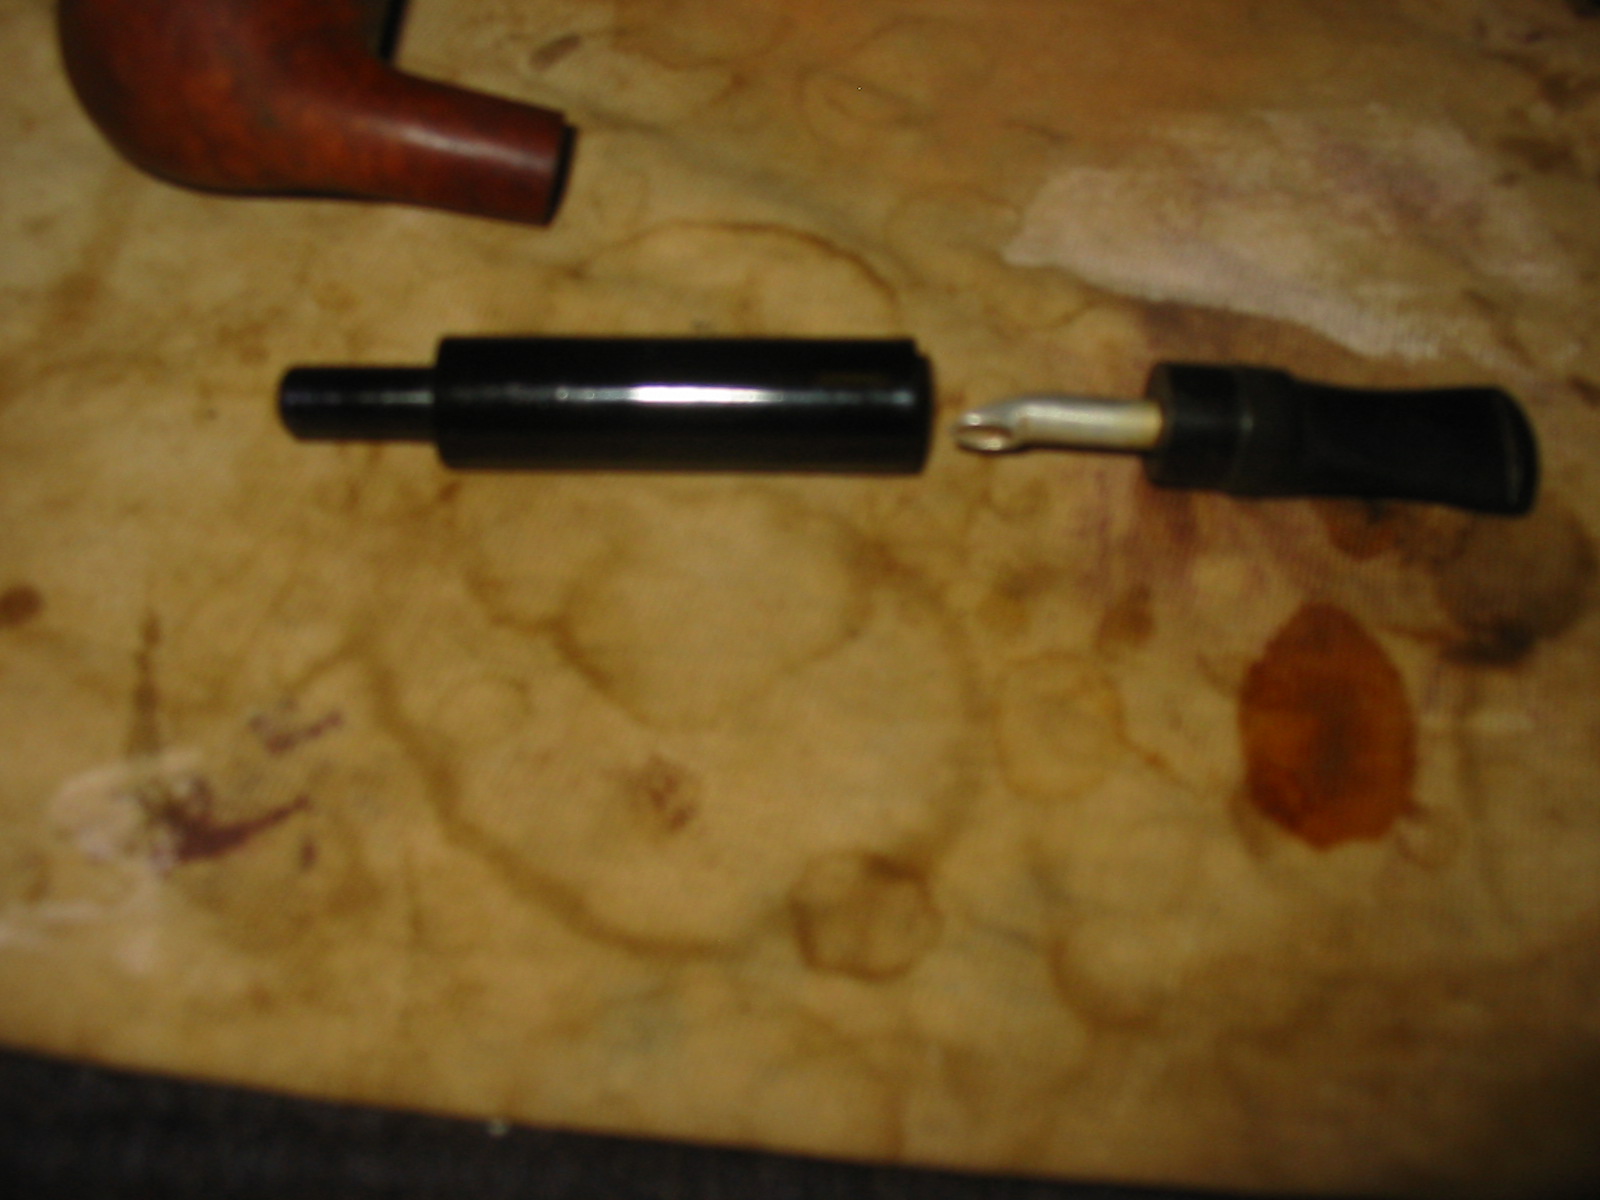
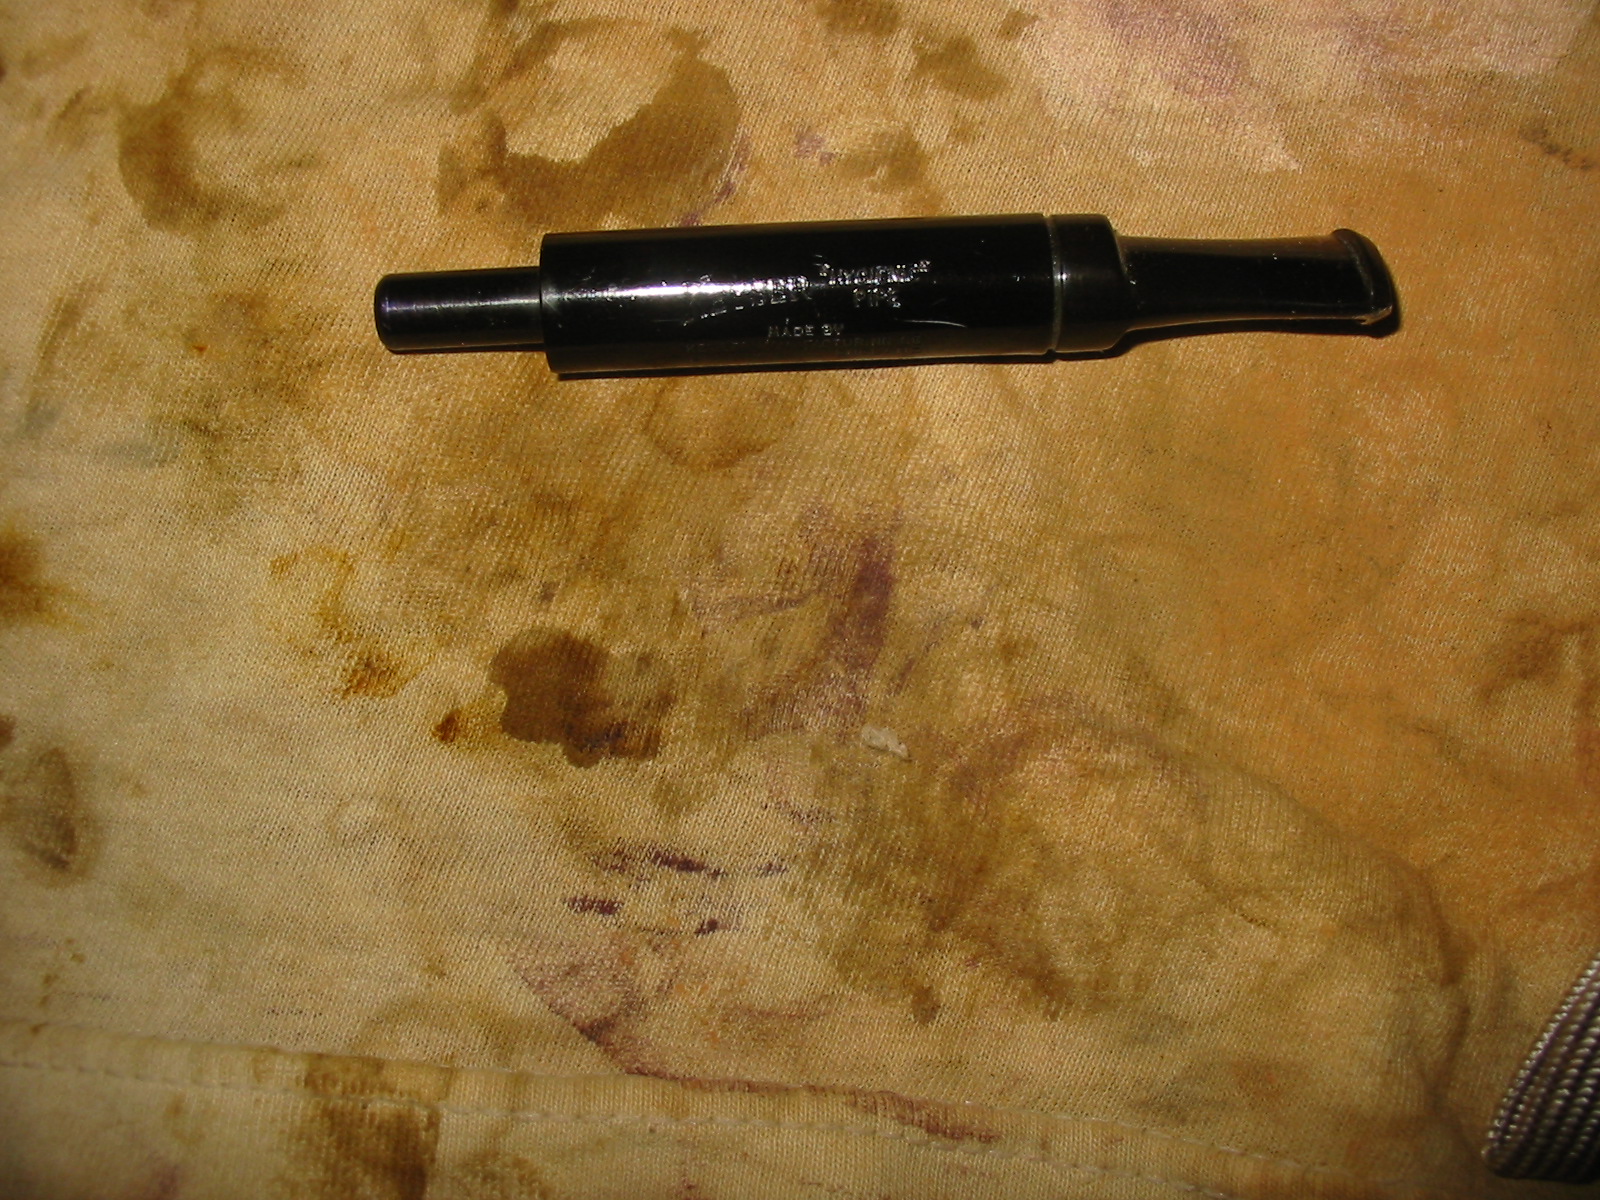
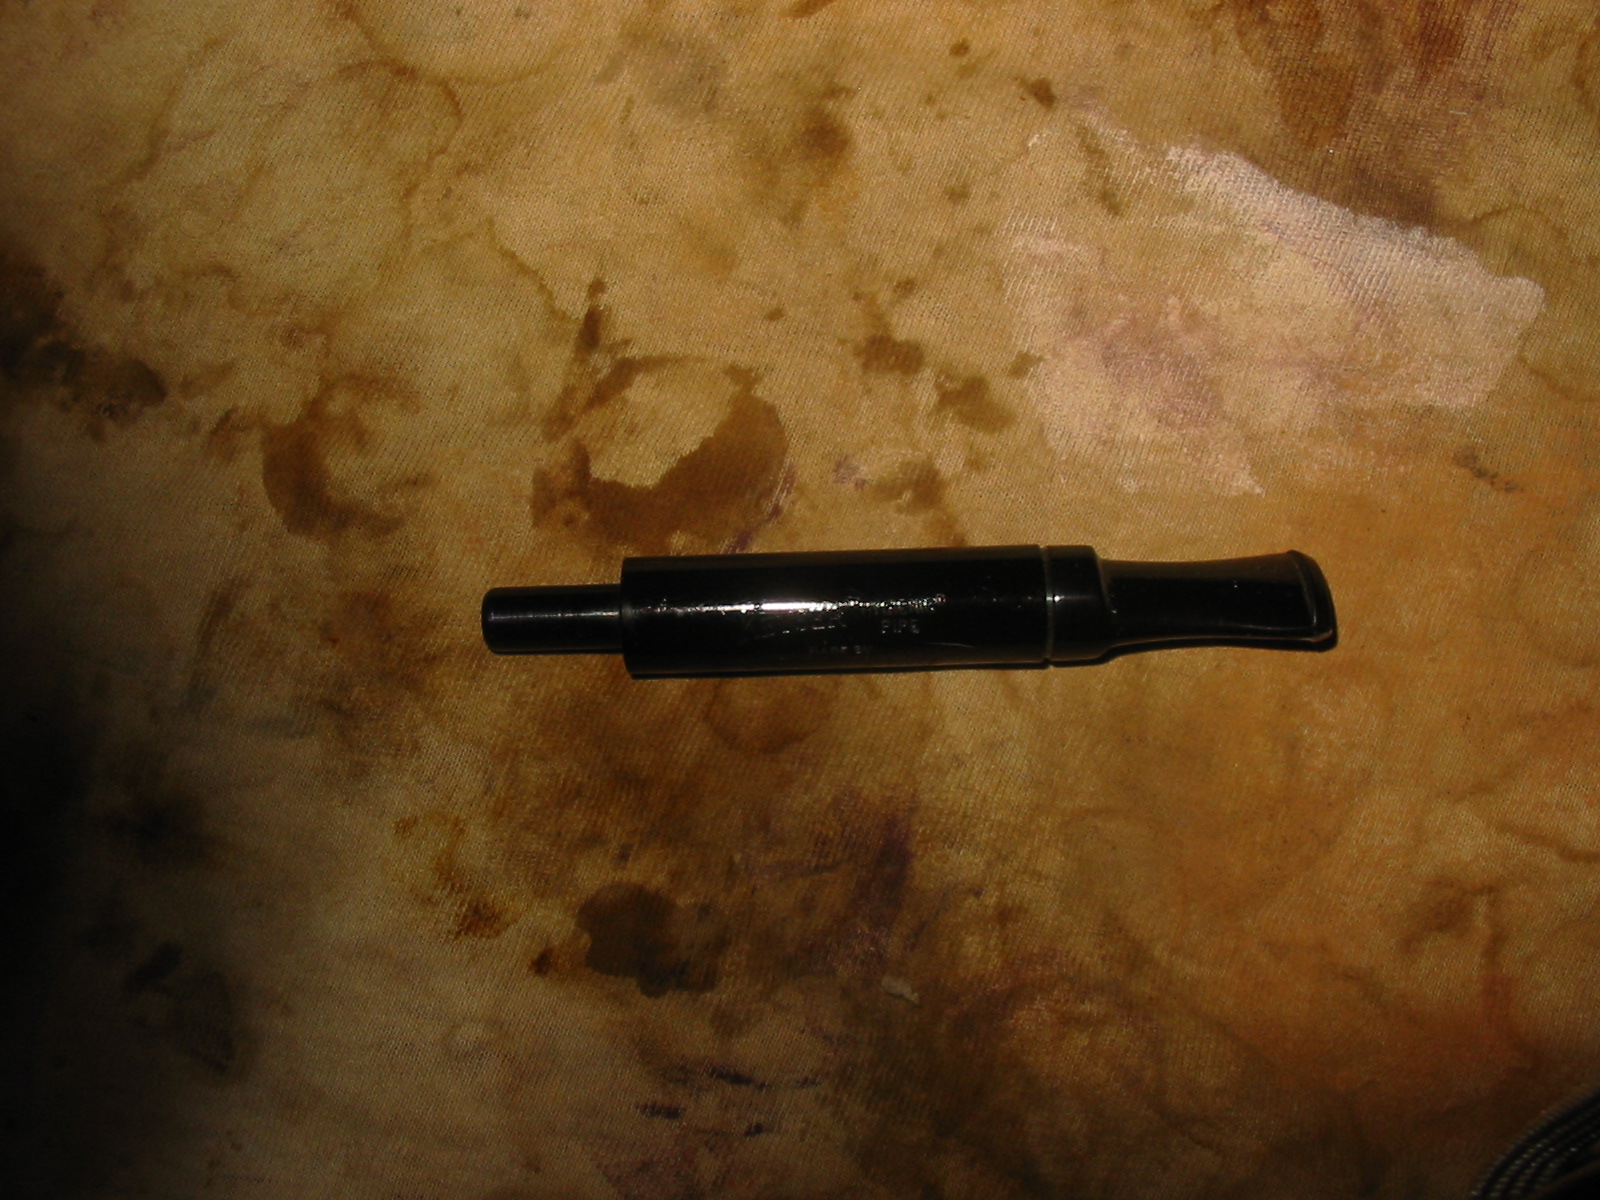
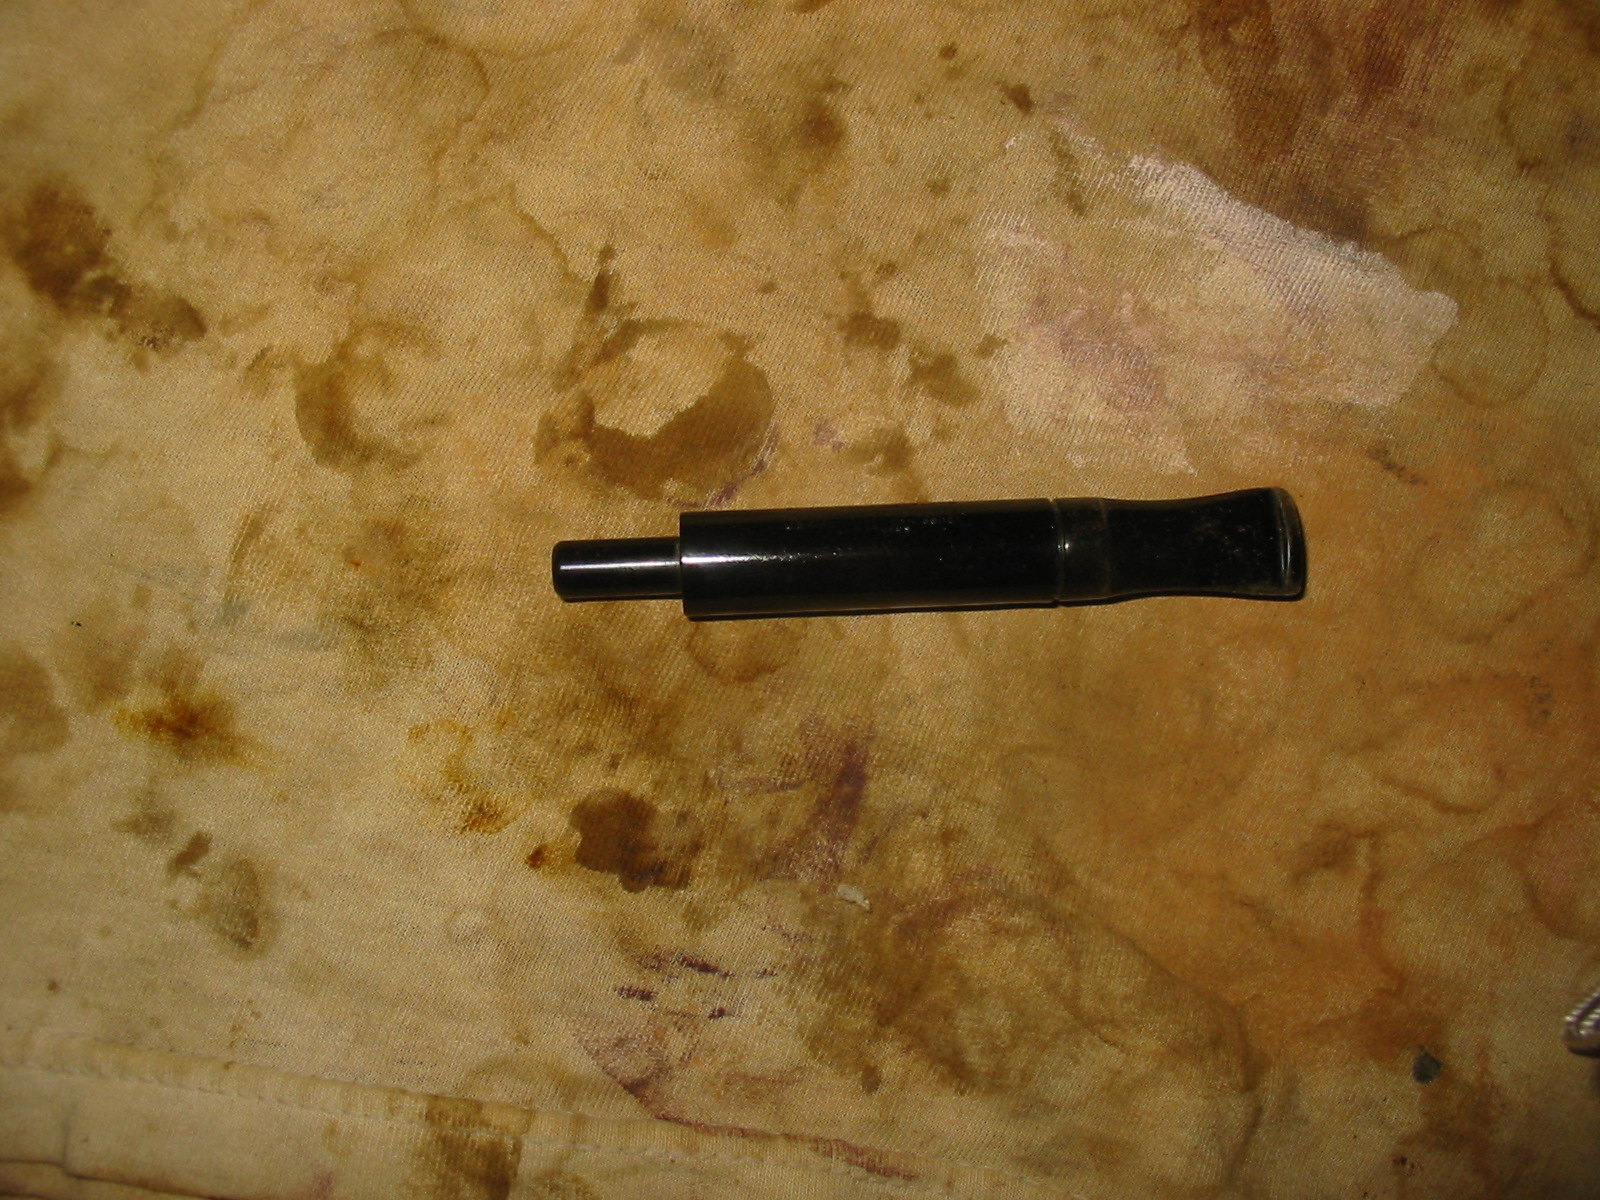
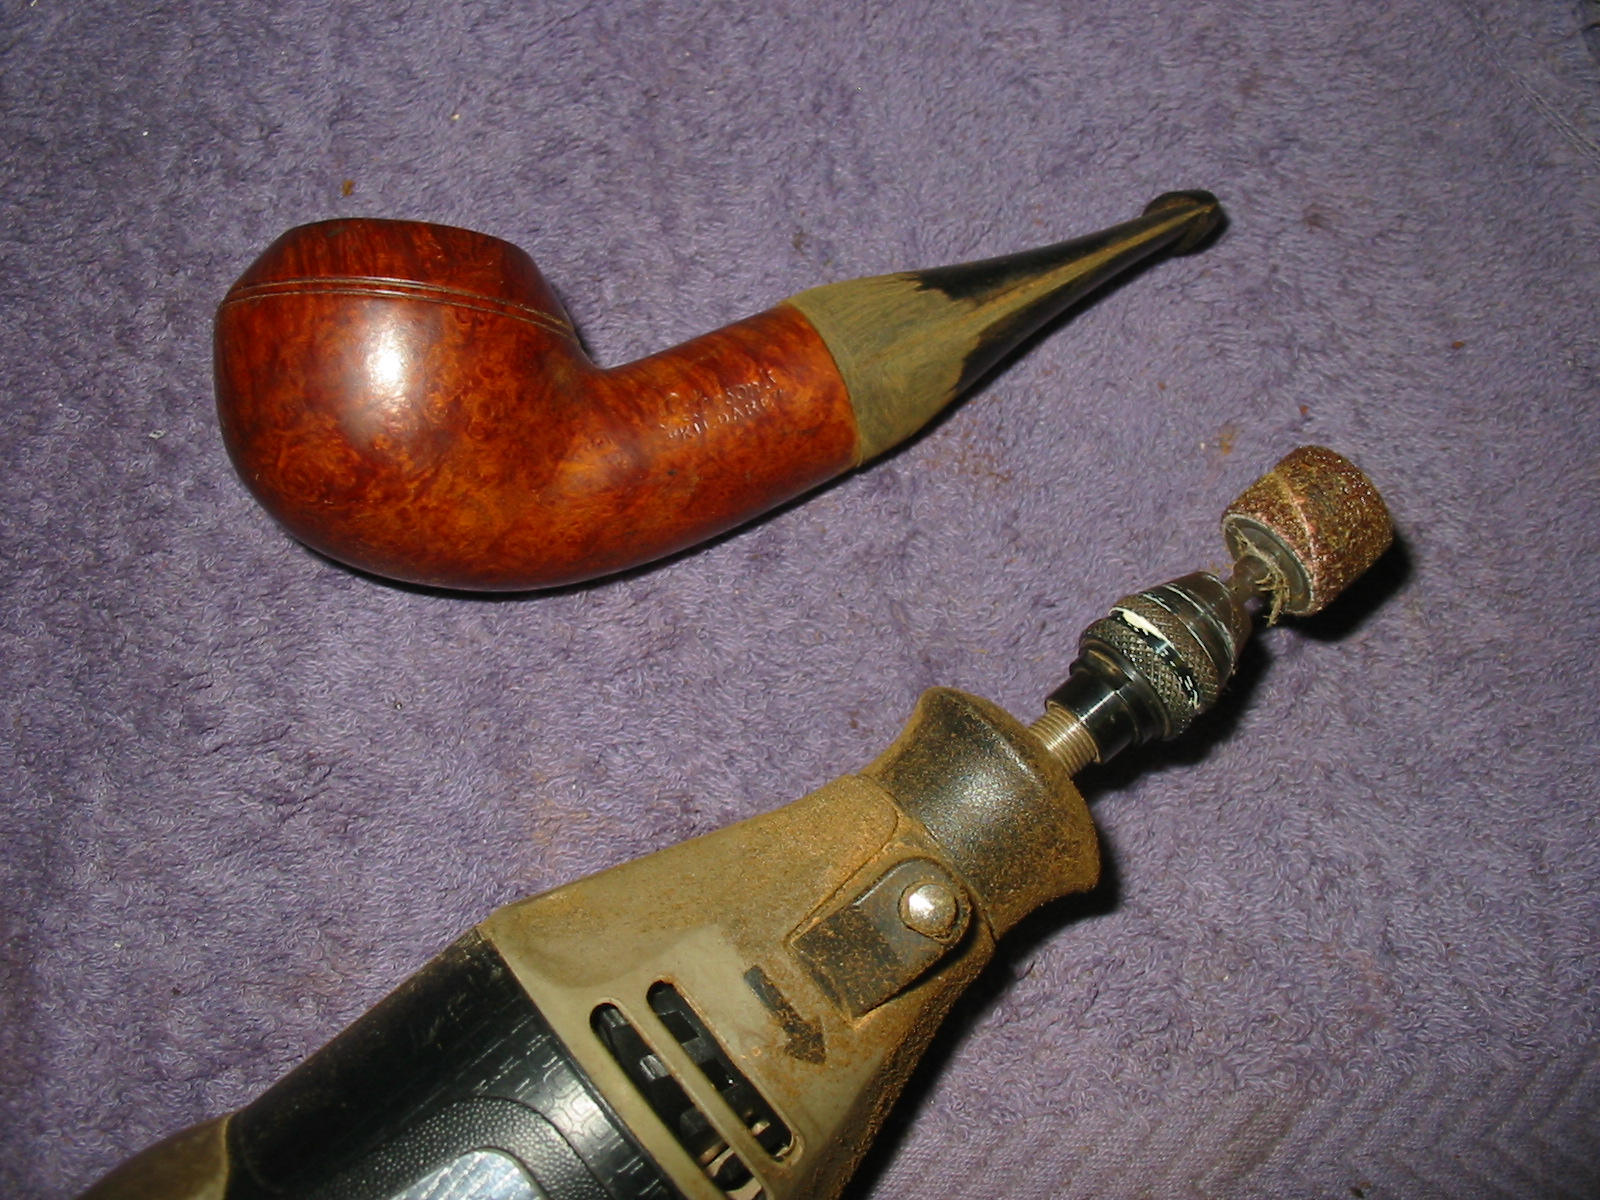
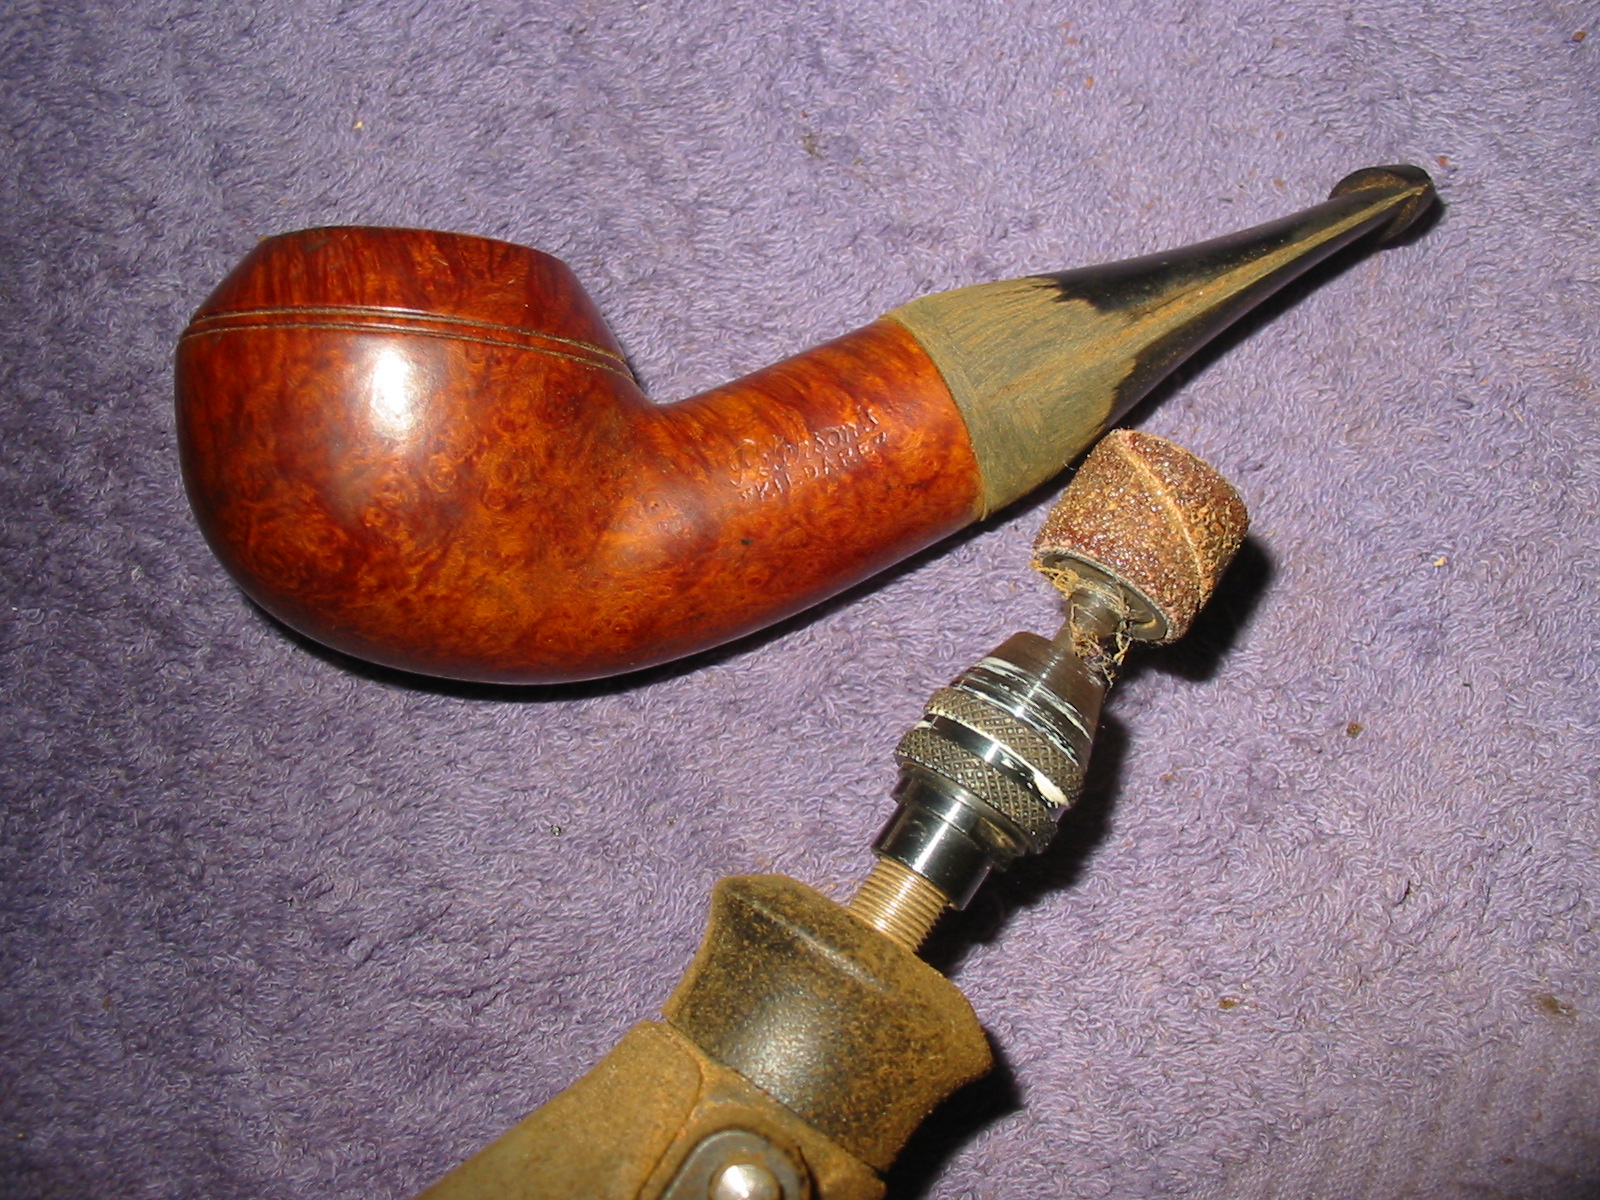
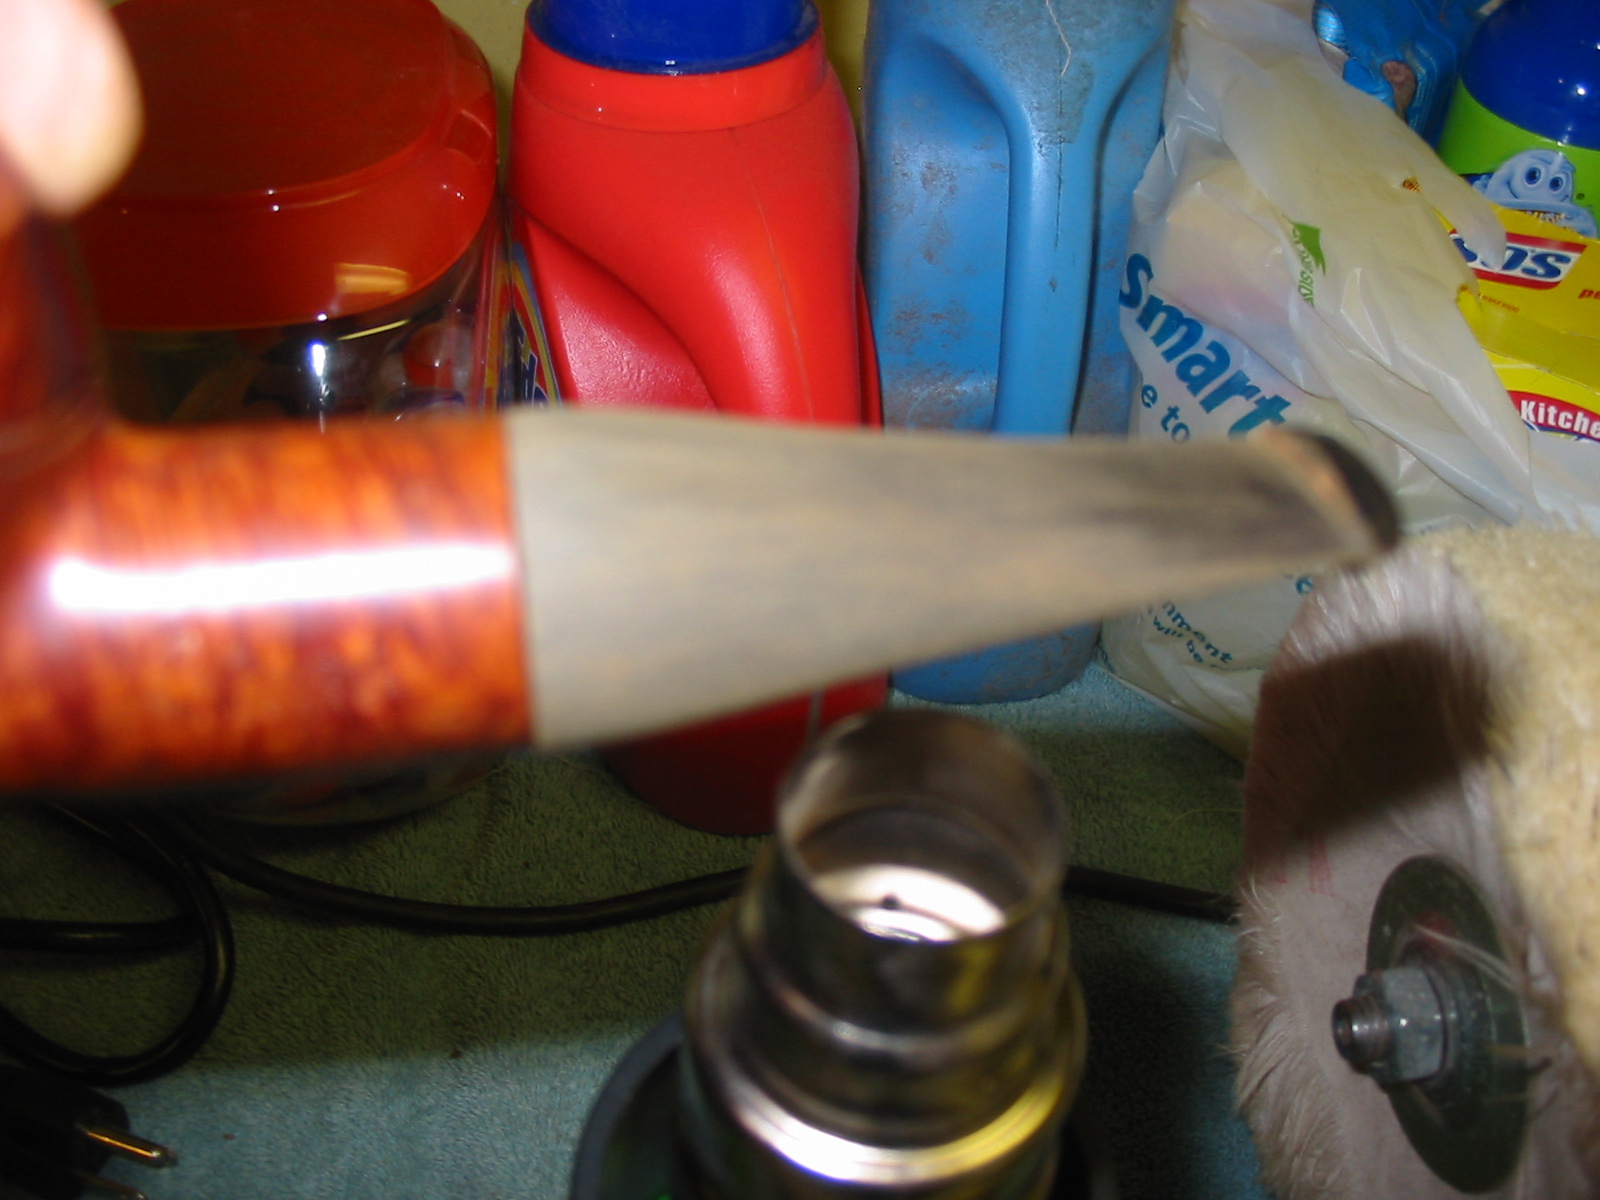
I sent out several emails and private messages to folks on the online forums to see if I could find a Peterson stem with these dimensions. I received many answers and several possible stems that could work for this pipe. Thanks to those who sent them. For the most part they were either too long or the diameter of the stem was not large enough to fit the shank. Chuck (desertpipe on SF) sent me several that would work. I also have a piece of brindle rod coming that Todd (Sasquatch on SF) was willing to cut for me. So in the end I will have two different stems for the pipe. While awaiting the arrival of the Cumberland stock I decided to turn the tenon on a vulcanite stem blank from Chuck. I turned it with a PIMO tenon tool and fit it to the bowl. The end fit was a ½ tenon for the mortise so I did not need to remove much of the existing vulcanite on the cast stem to make it fit well. To fit the stem on the tool I drilled the airway so that it slid easily over the pin on the tool but did not have too much play. I held the stem and ran the drill over the tenon for a first pass (second photo below) I adjusted the cutting tip and spun it several more times until the fit in the mortise was close. I used the Dremel with a sanding drum to take off more of the material and fine tune the fit (third photo below). I spun it one last time to clean up the face of the stem where it sat against the shank. I want that surface to be smooth and seamless in its fit.

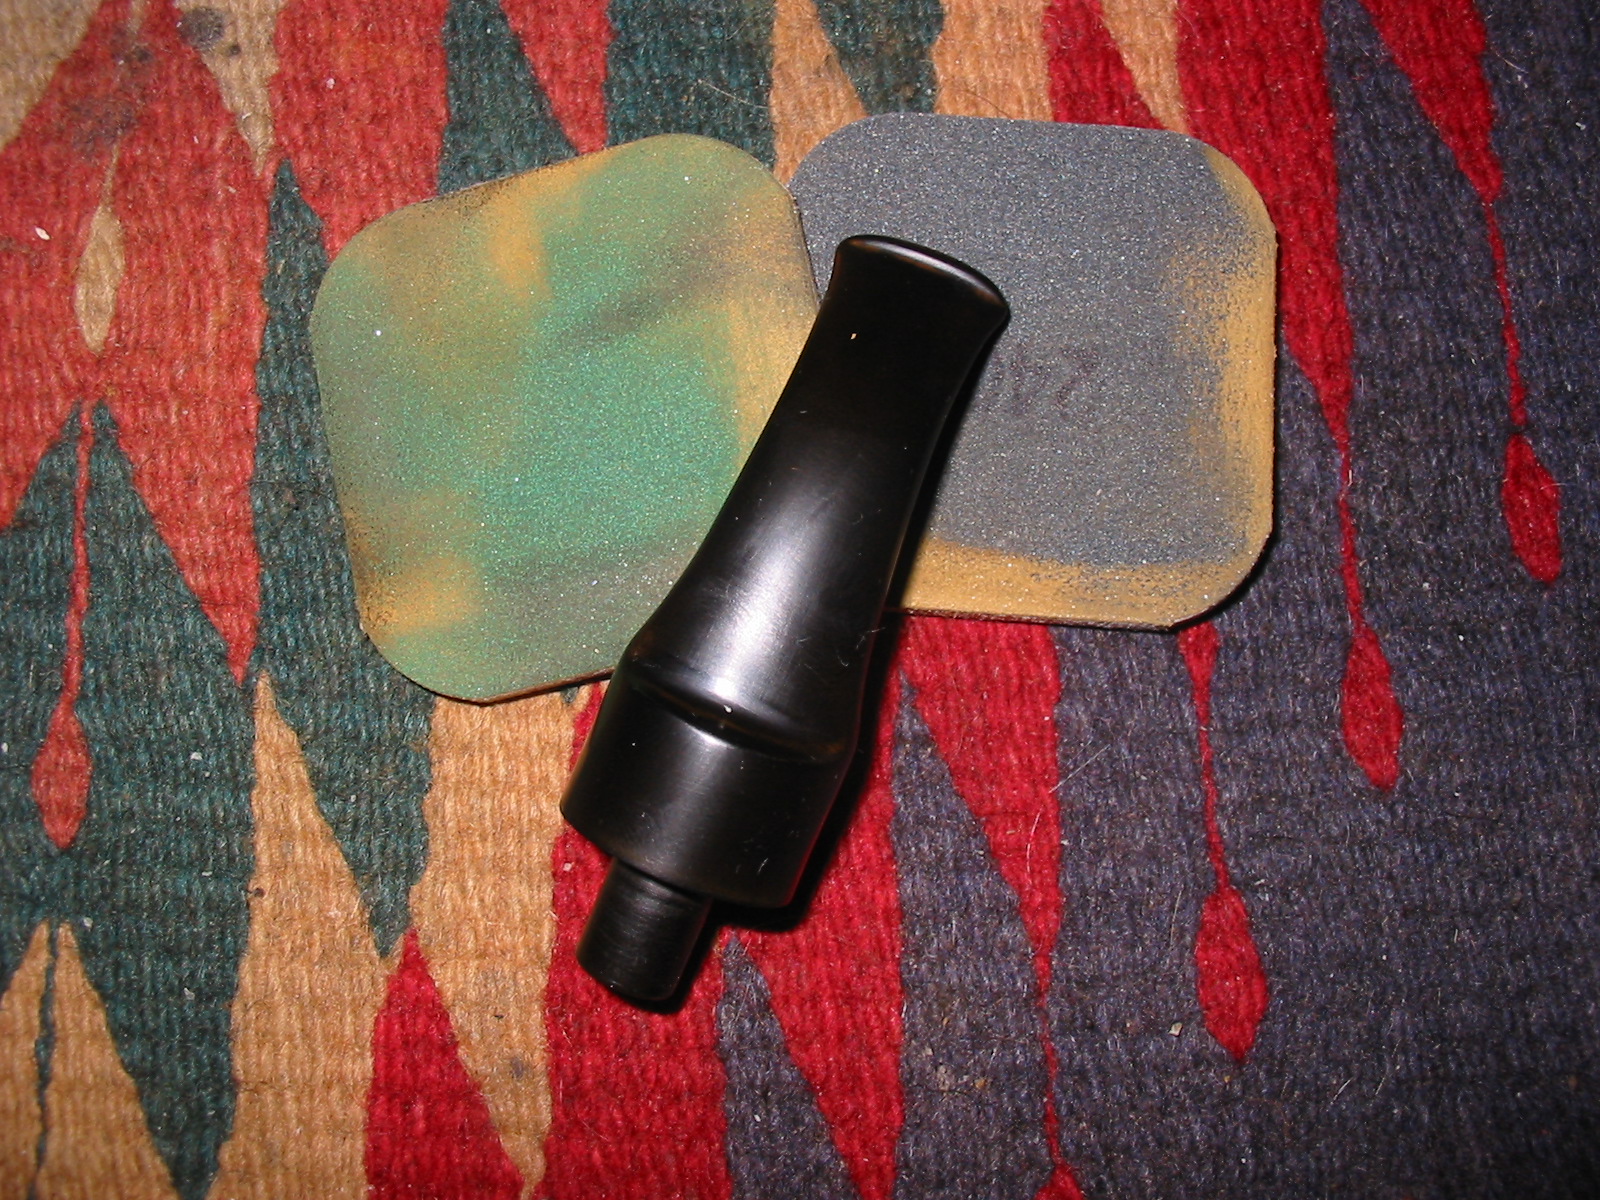
After fitting the tenon to the mortise I used the Dremel with a sanding drum to remove the excess vulcanite on the diameter of the stem. I carefully sand with the Dremel and bring the stem as close to the diameter of the shank as possible without nicking the briar. I also sand down the sides of the stem to remove the casting overrun on the stem and button. The idea is to get as close as possible to the stem diameter and then sand the rest of the fit by hand with medium grit emery cloth and 220 grit sandpaper.
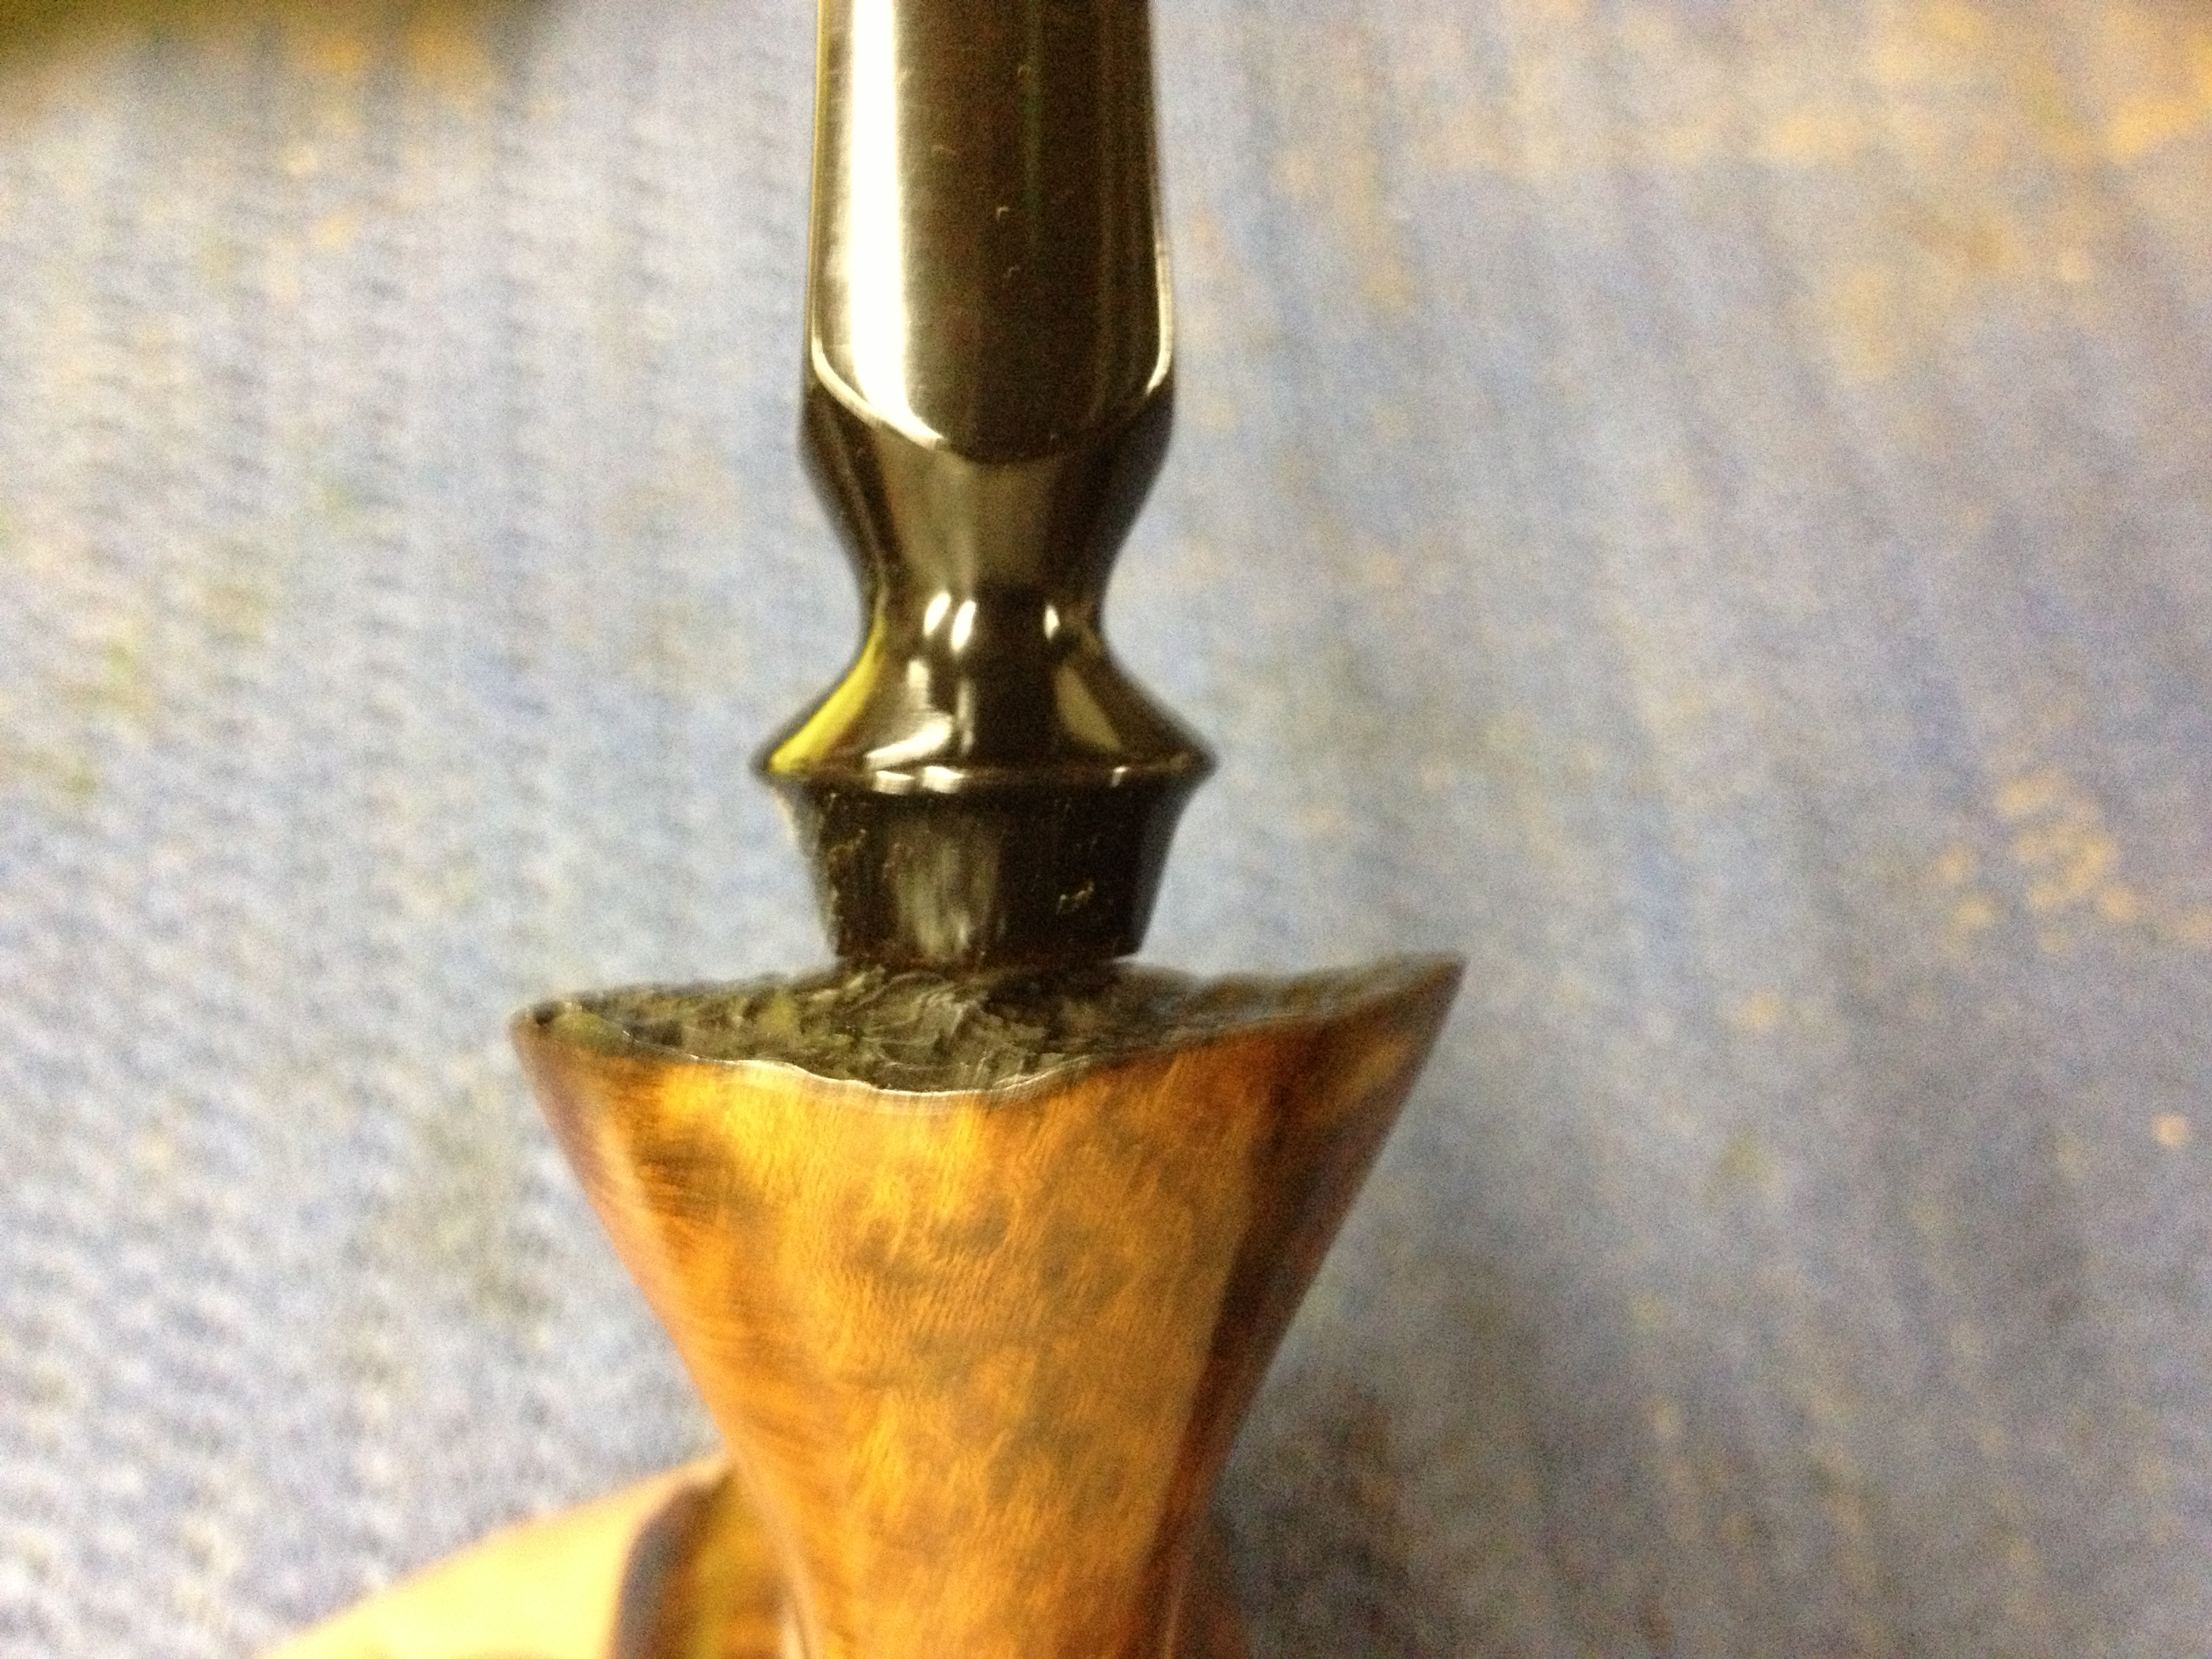
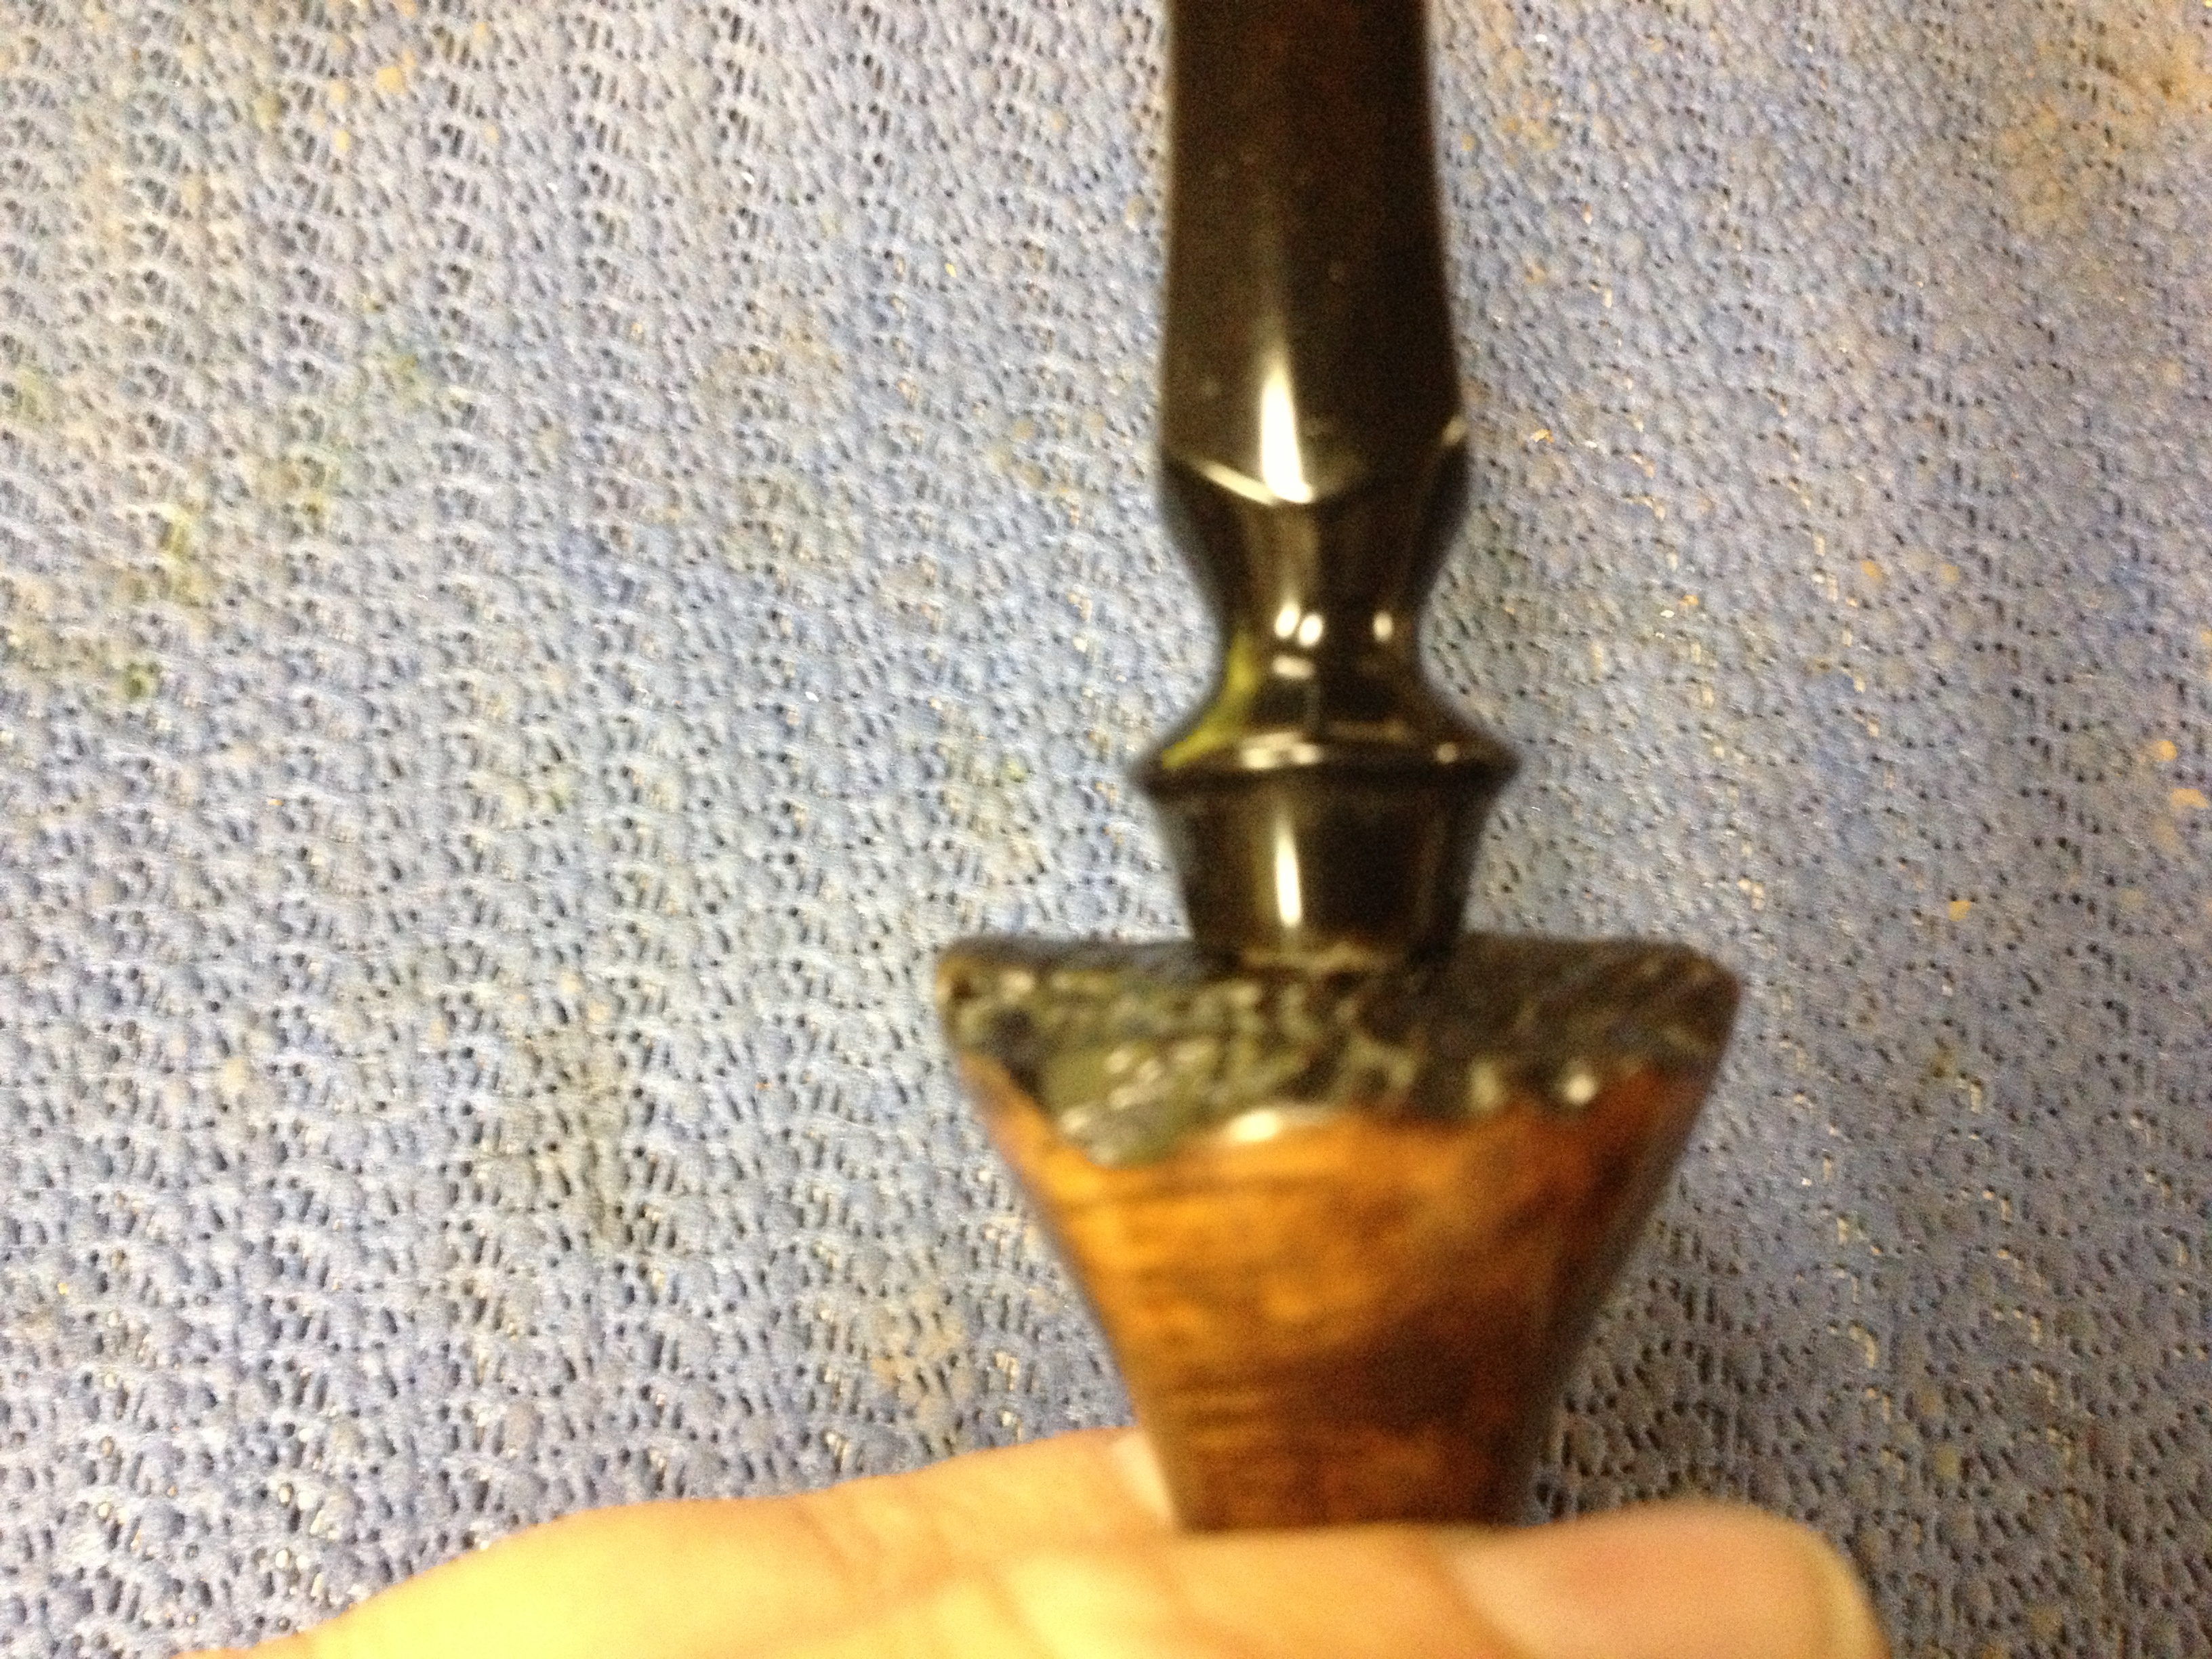
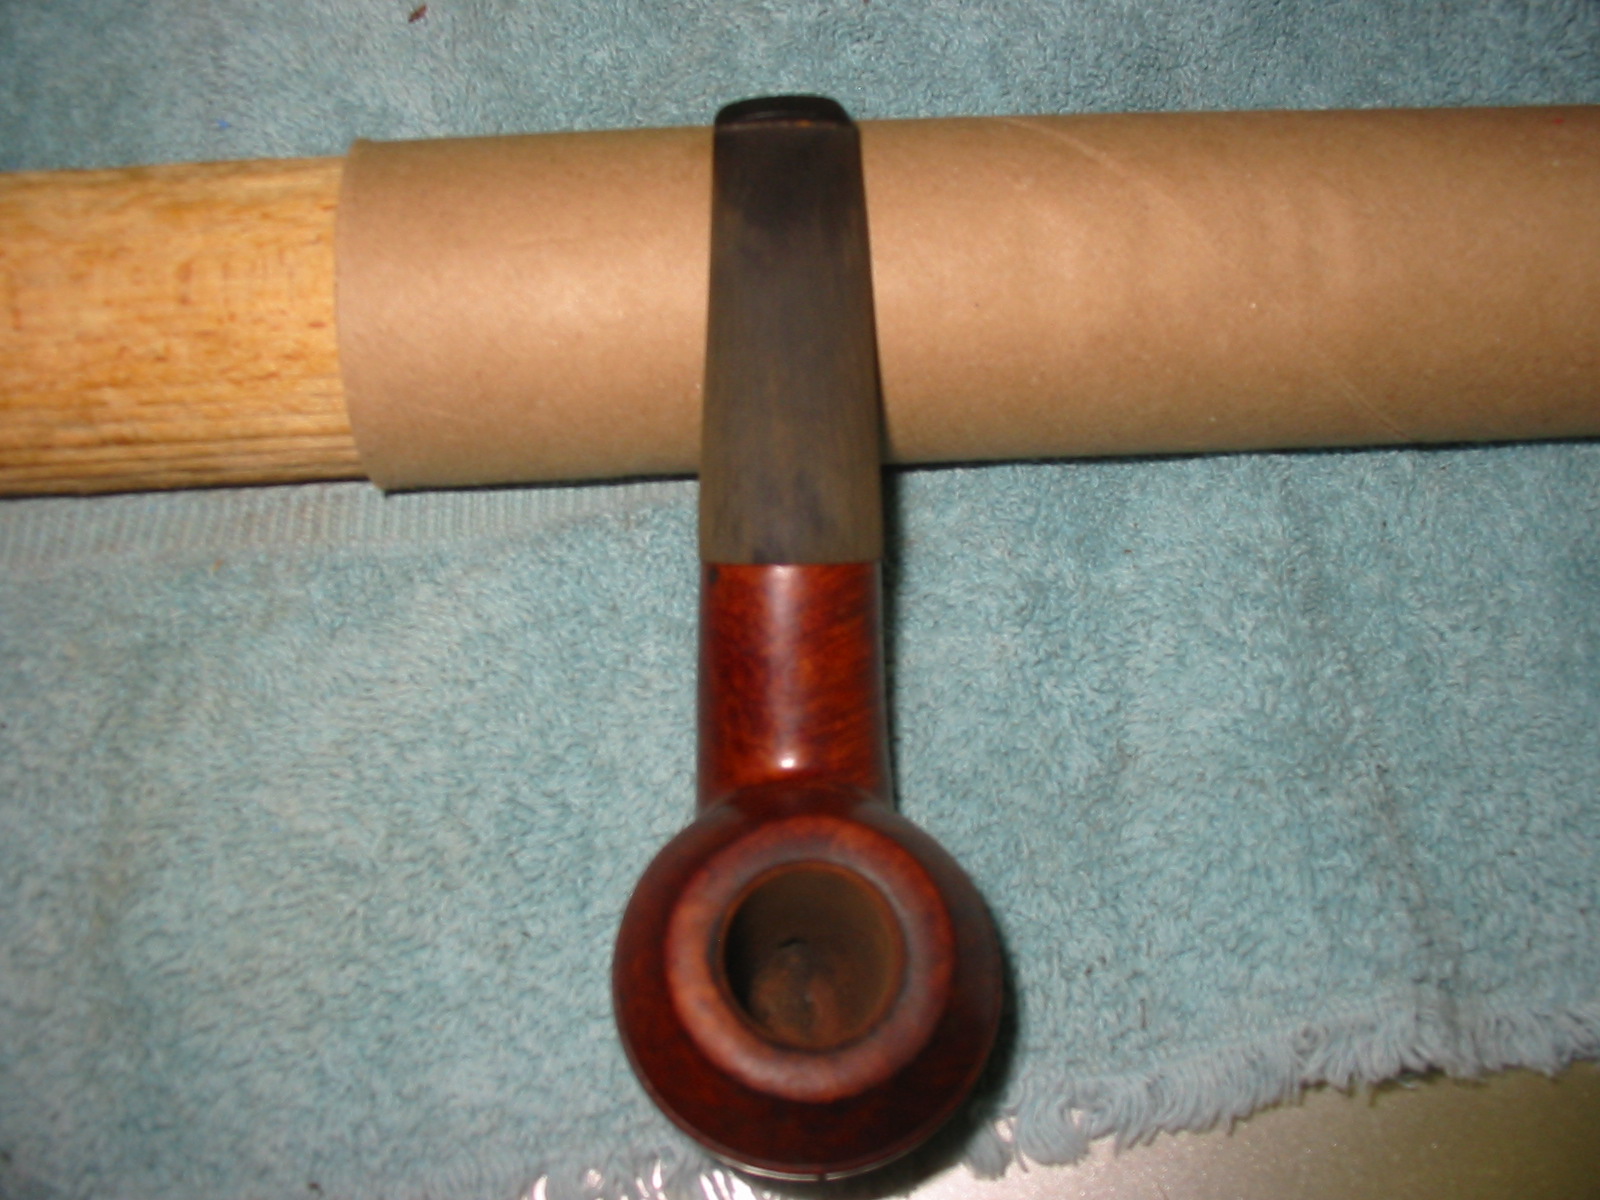
I took the pipe back to my work table and removed the stem and sanded it until the fit was perfect and the marks left by the Dremel were gone. The hand sanding is probably the longest part of the process of fitting a new stem. I sanded it repeatedly with emery paper and 220 grit sandpaper until it was smooth enough to move to the next step in the process. At this point I am not looking for a smooth and perfect fit but one that is getting close. I then heat the stem with my heat gun in order to bend the stem to fit the flow of the pipe. I heated it until it was pliable and then bent it over the rolling pin and cardboard tube that I use for getting the curve of the stem smooth and correct.

I took the pipe back to my table and showed it to my sidekick and helper, Spence for his approval. He gave it a sniff and looked it over. It passed his inspection so I continued to sand and shape the shank/stem union. Lots of pieces of sandpaper and emery paper later the stem is getting closer and closer to a good fit.

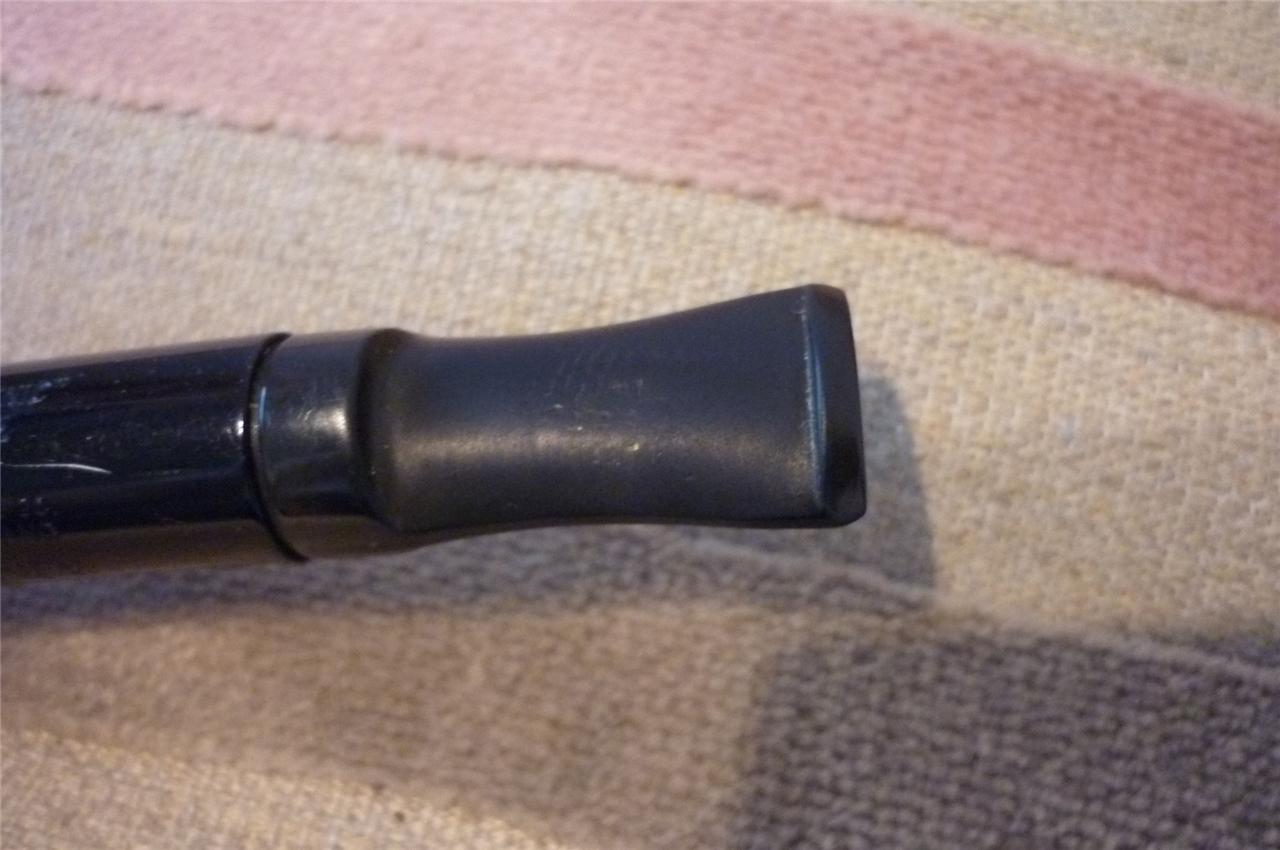
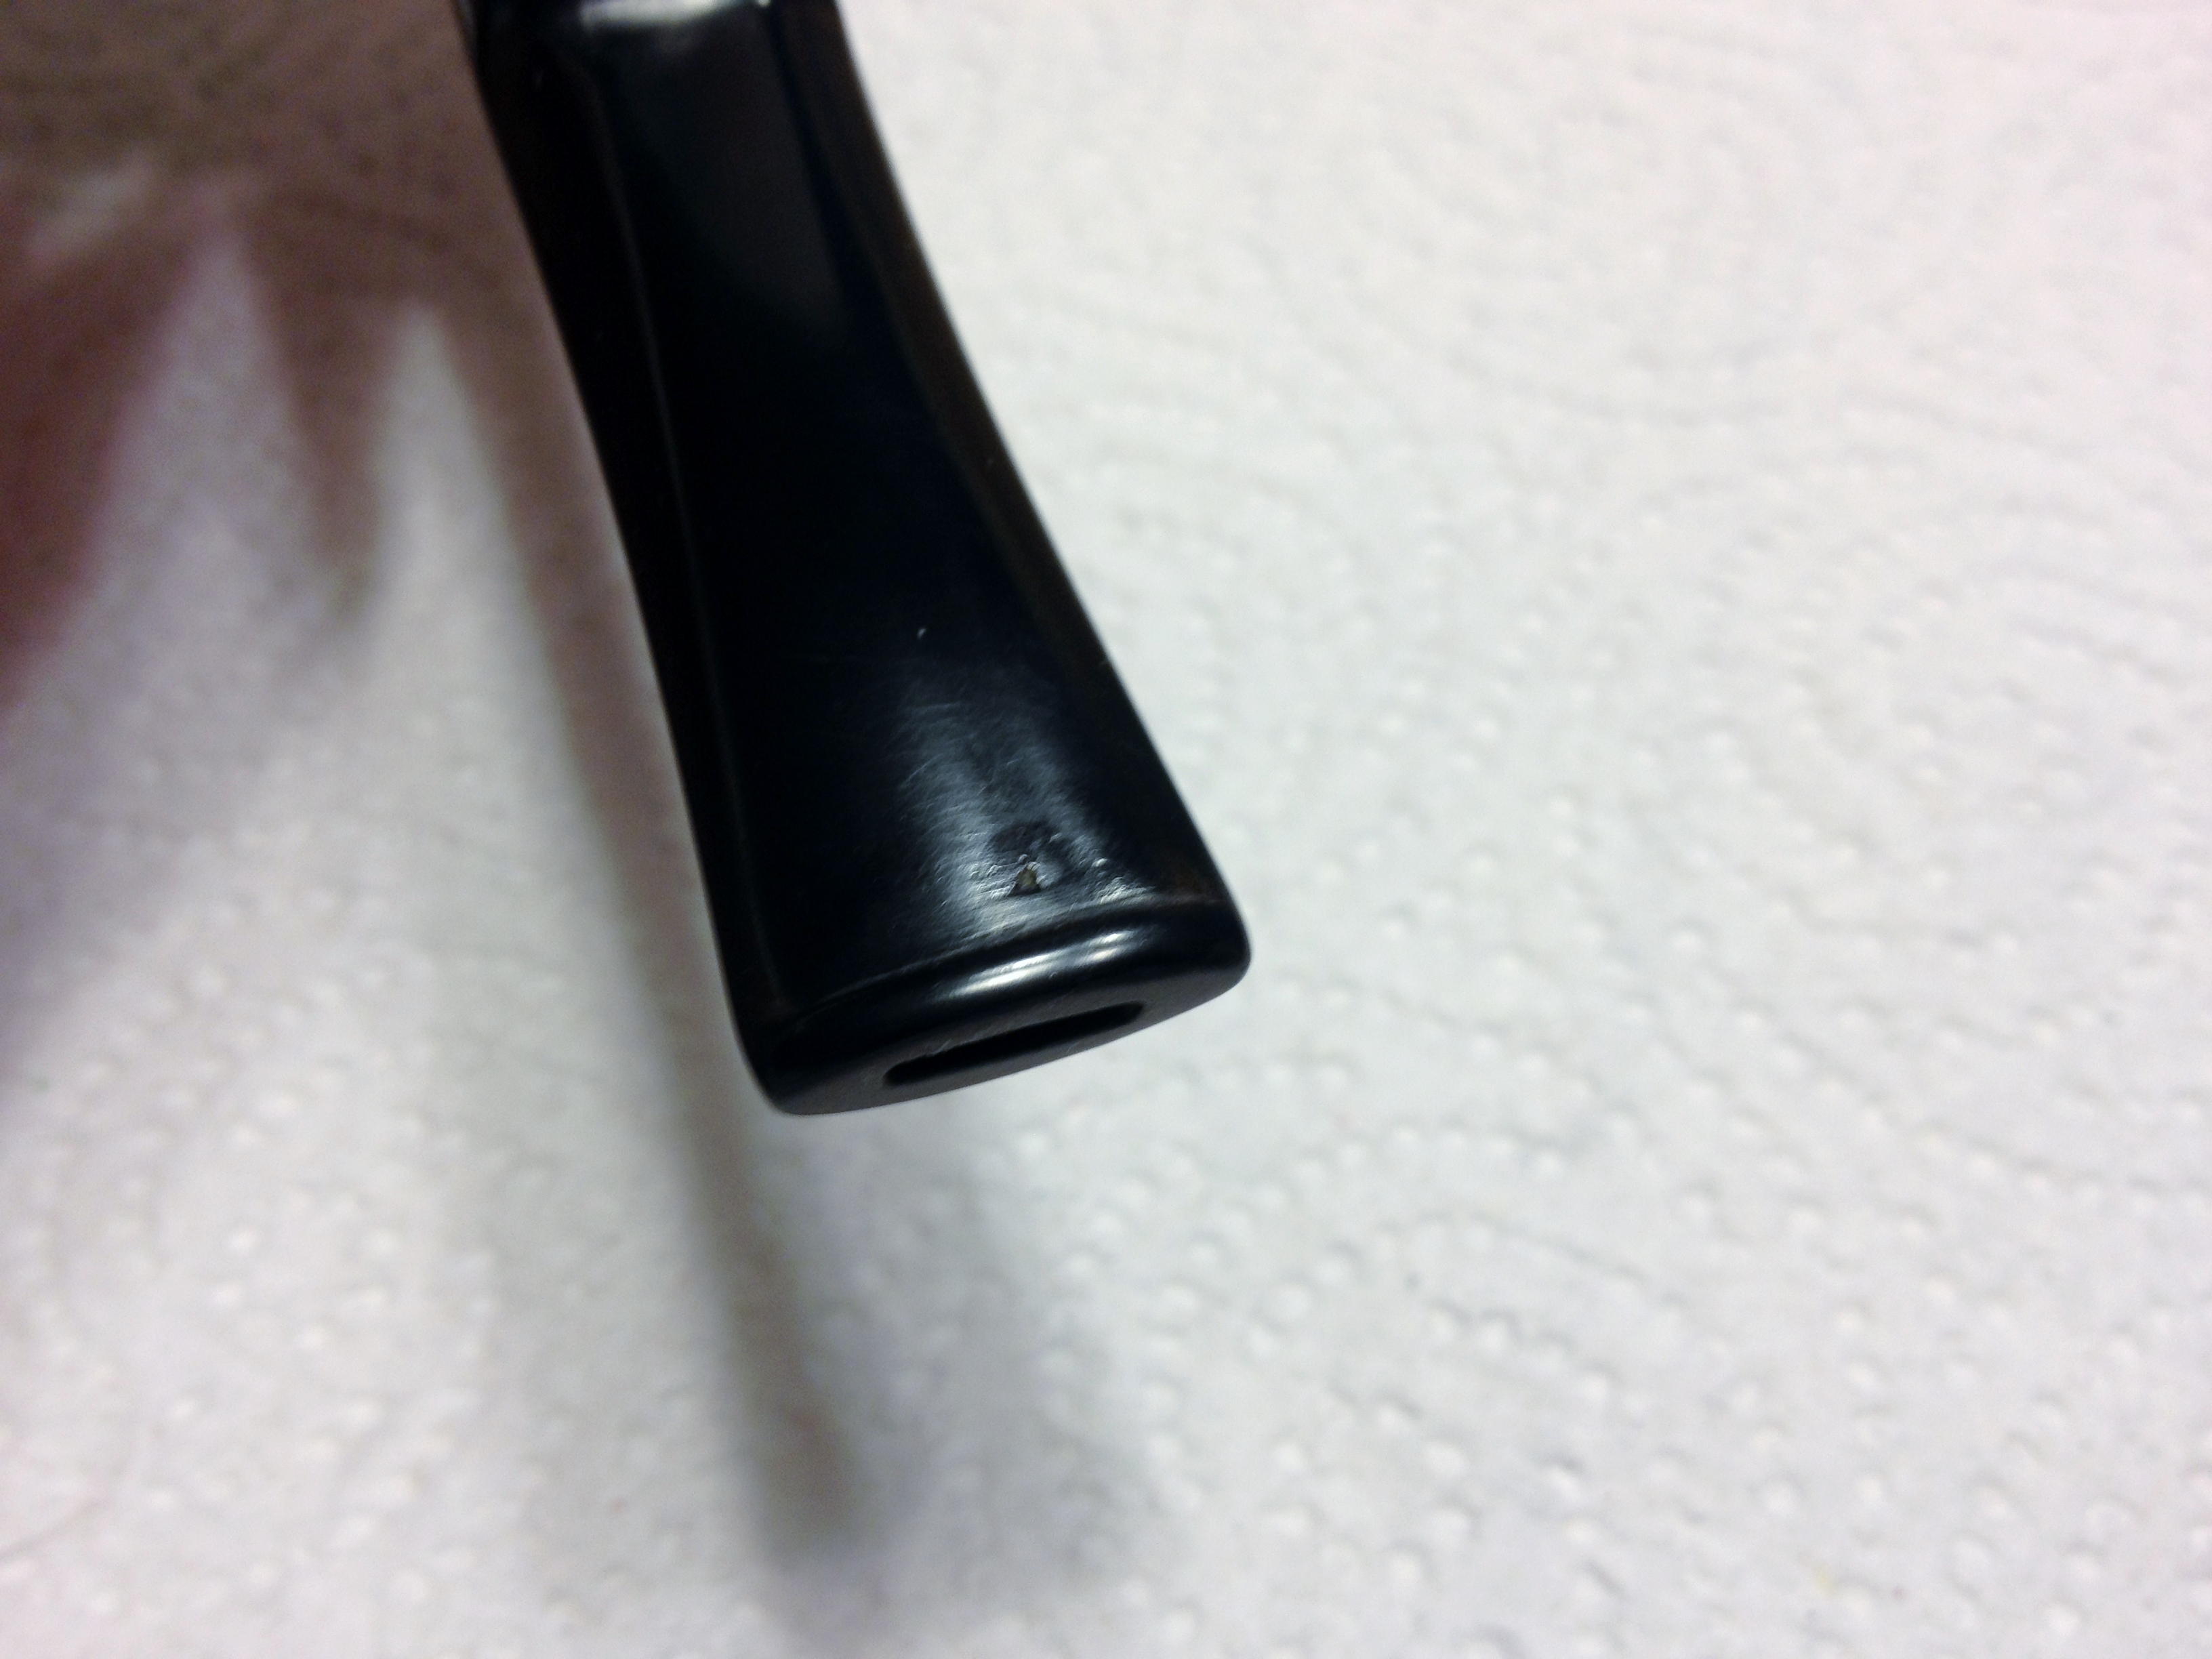
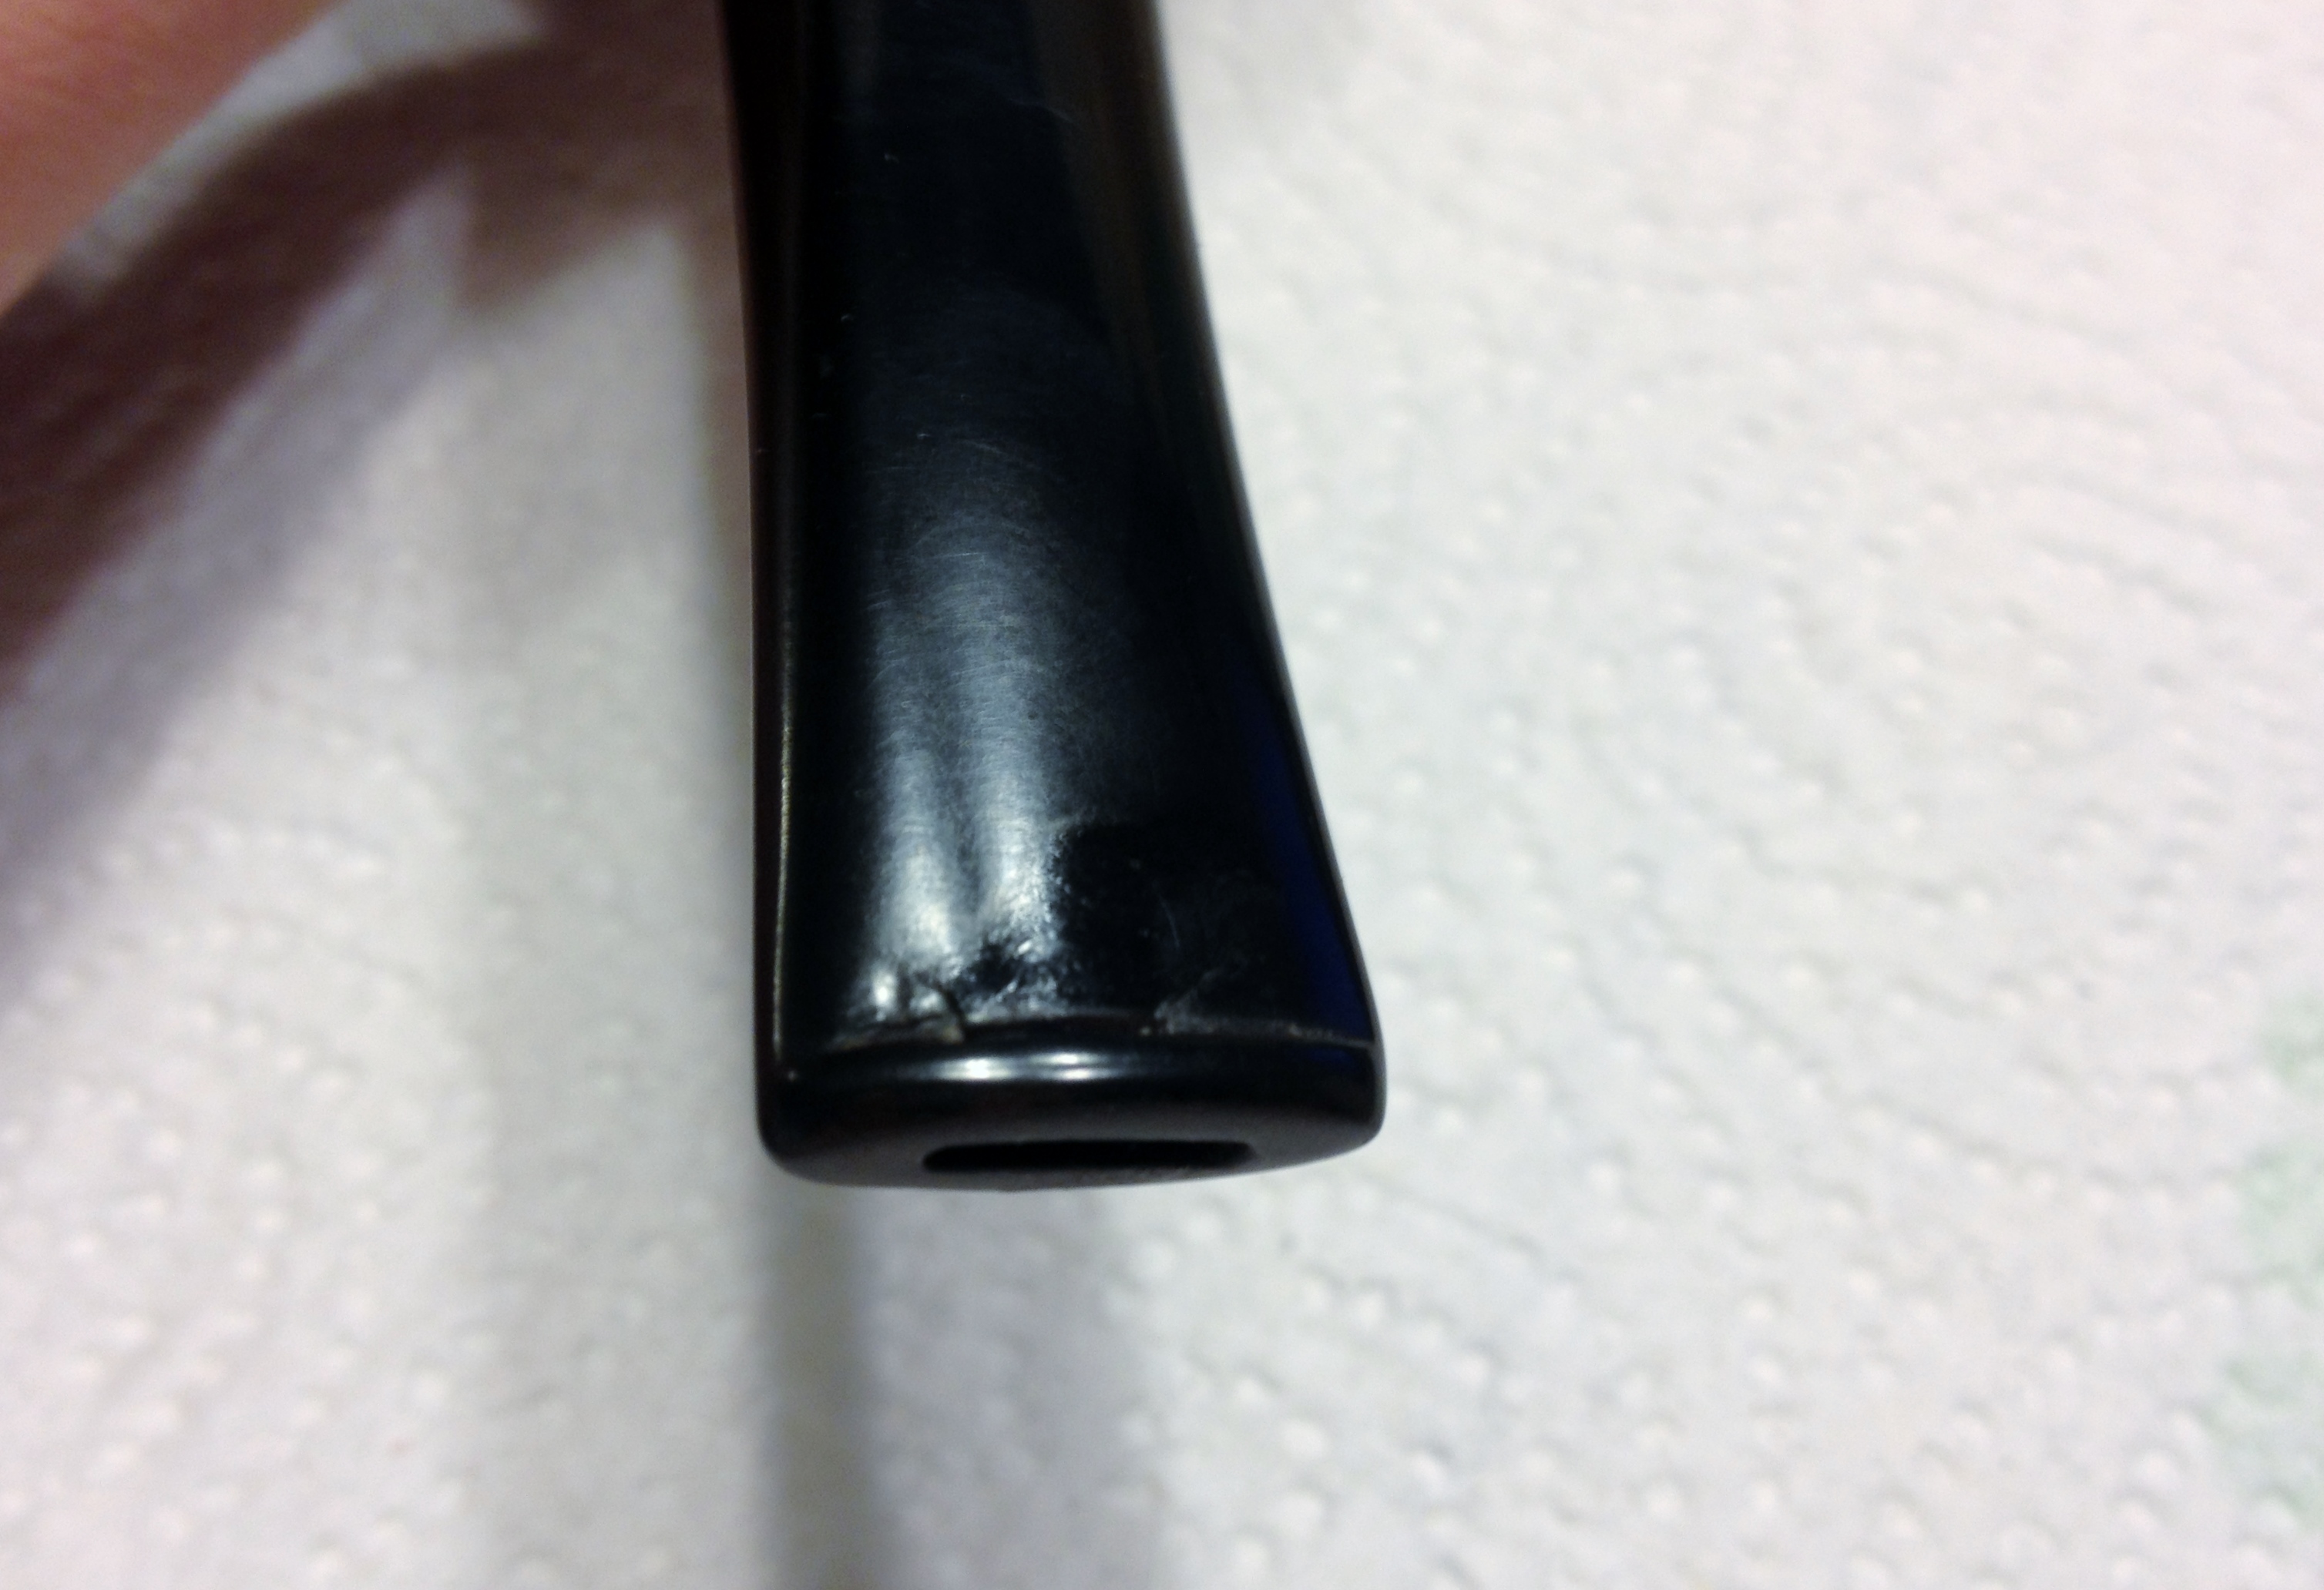
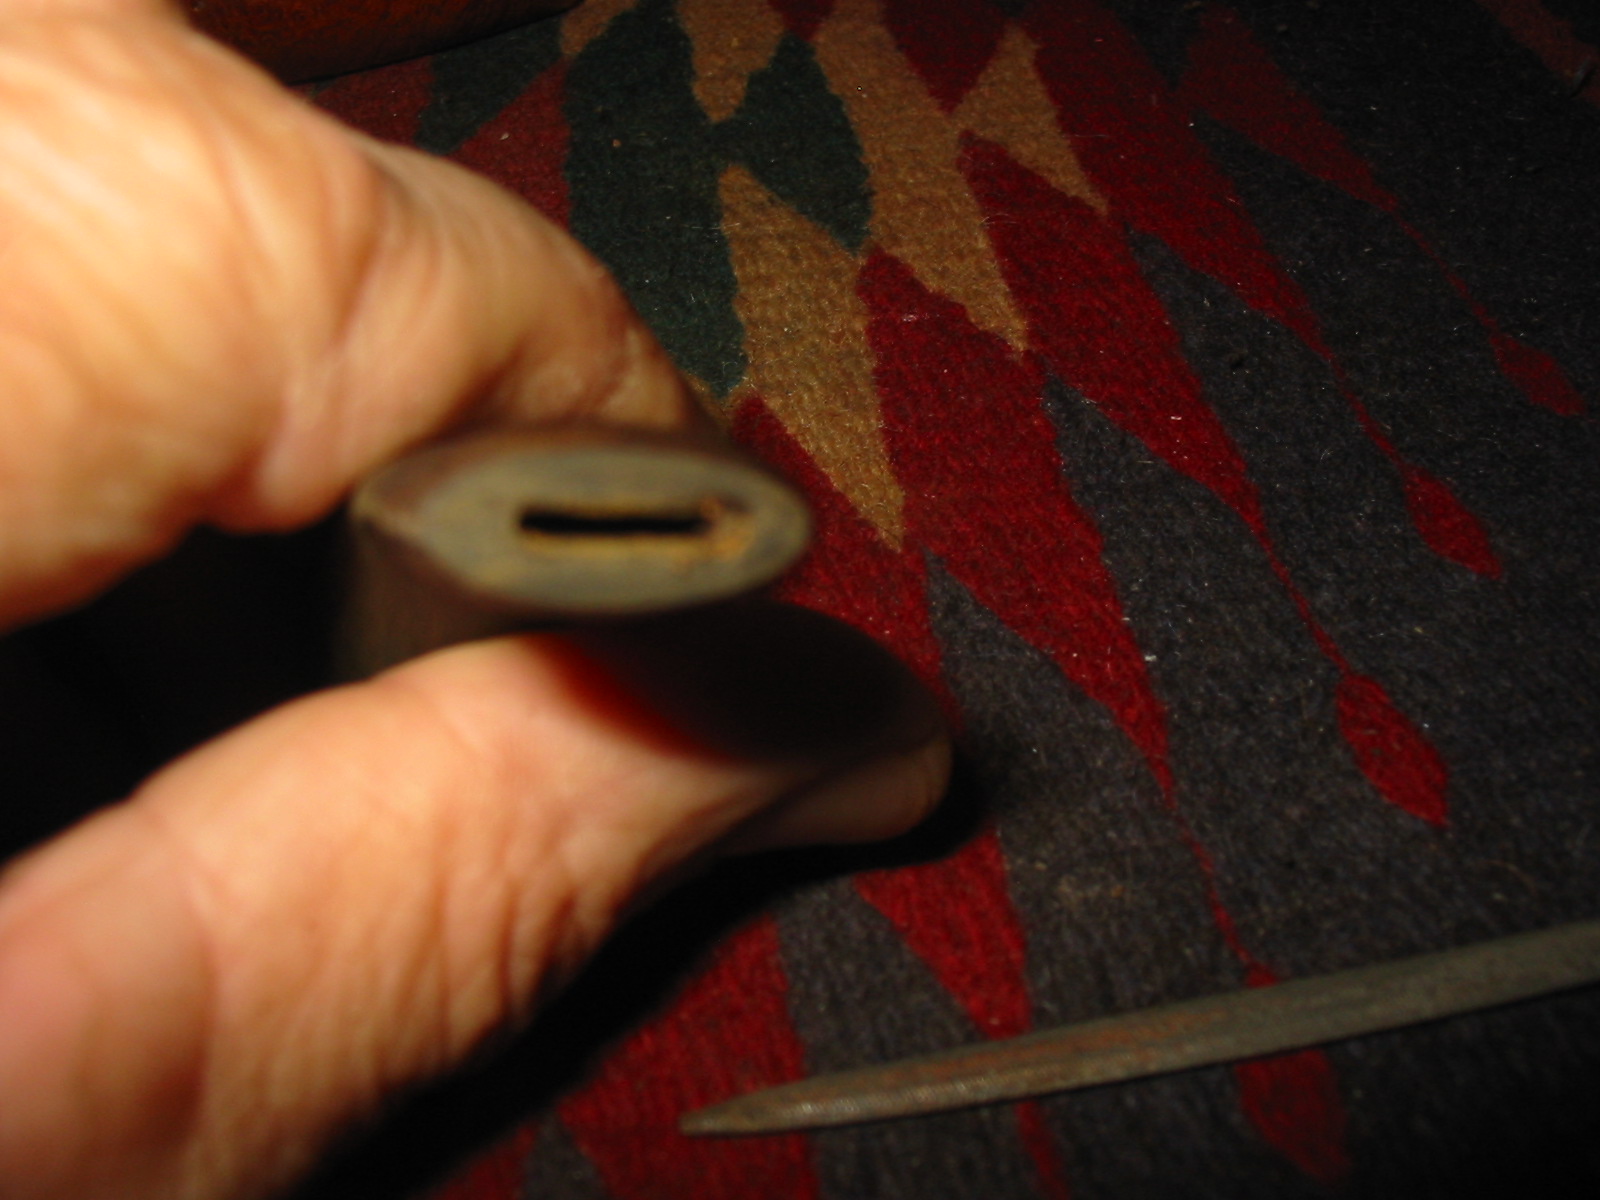
The button was very tight and I was not able to push a pipe cleaner through the slot so I opened the slot with needle files and reshaped it into an oval that was open and flared back to the airway in the stem.
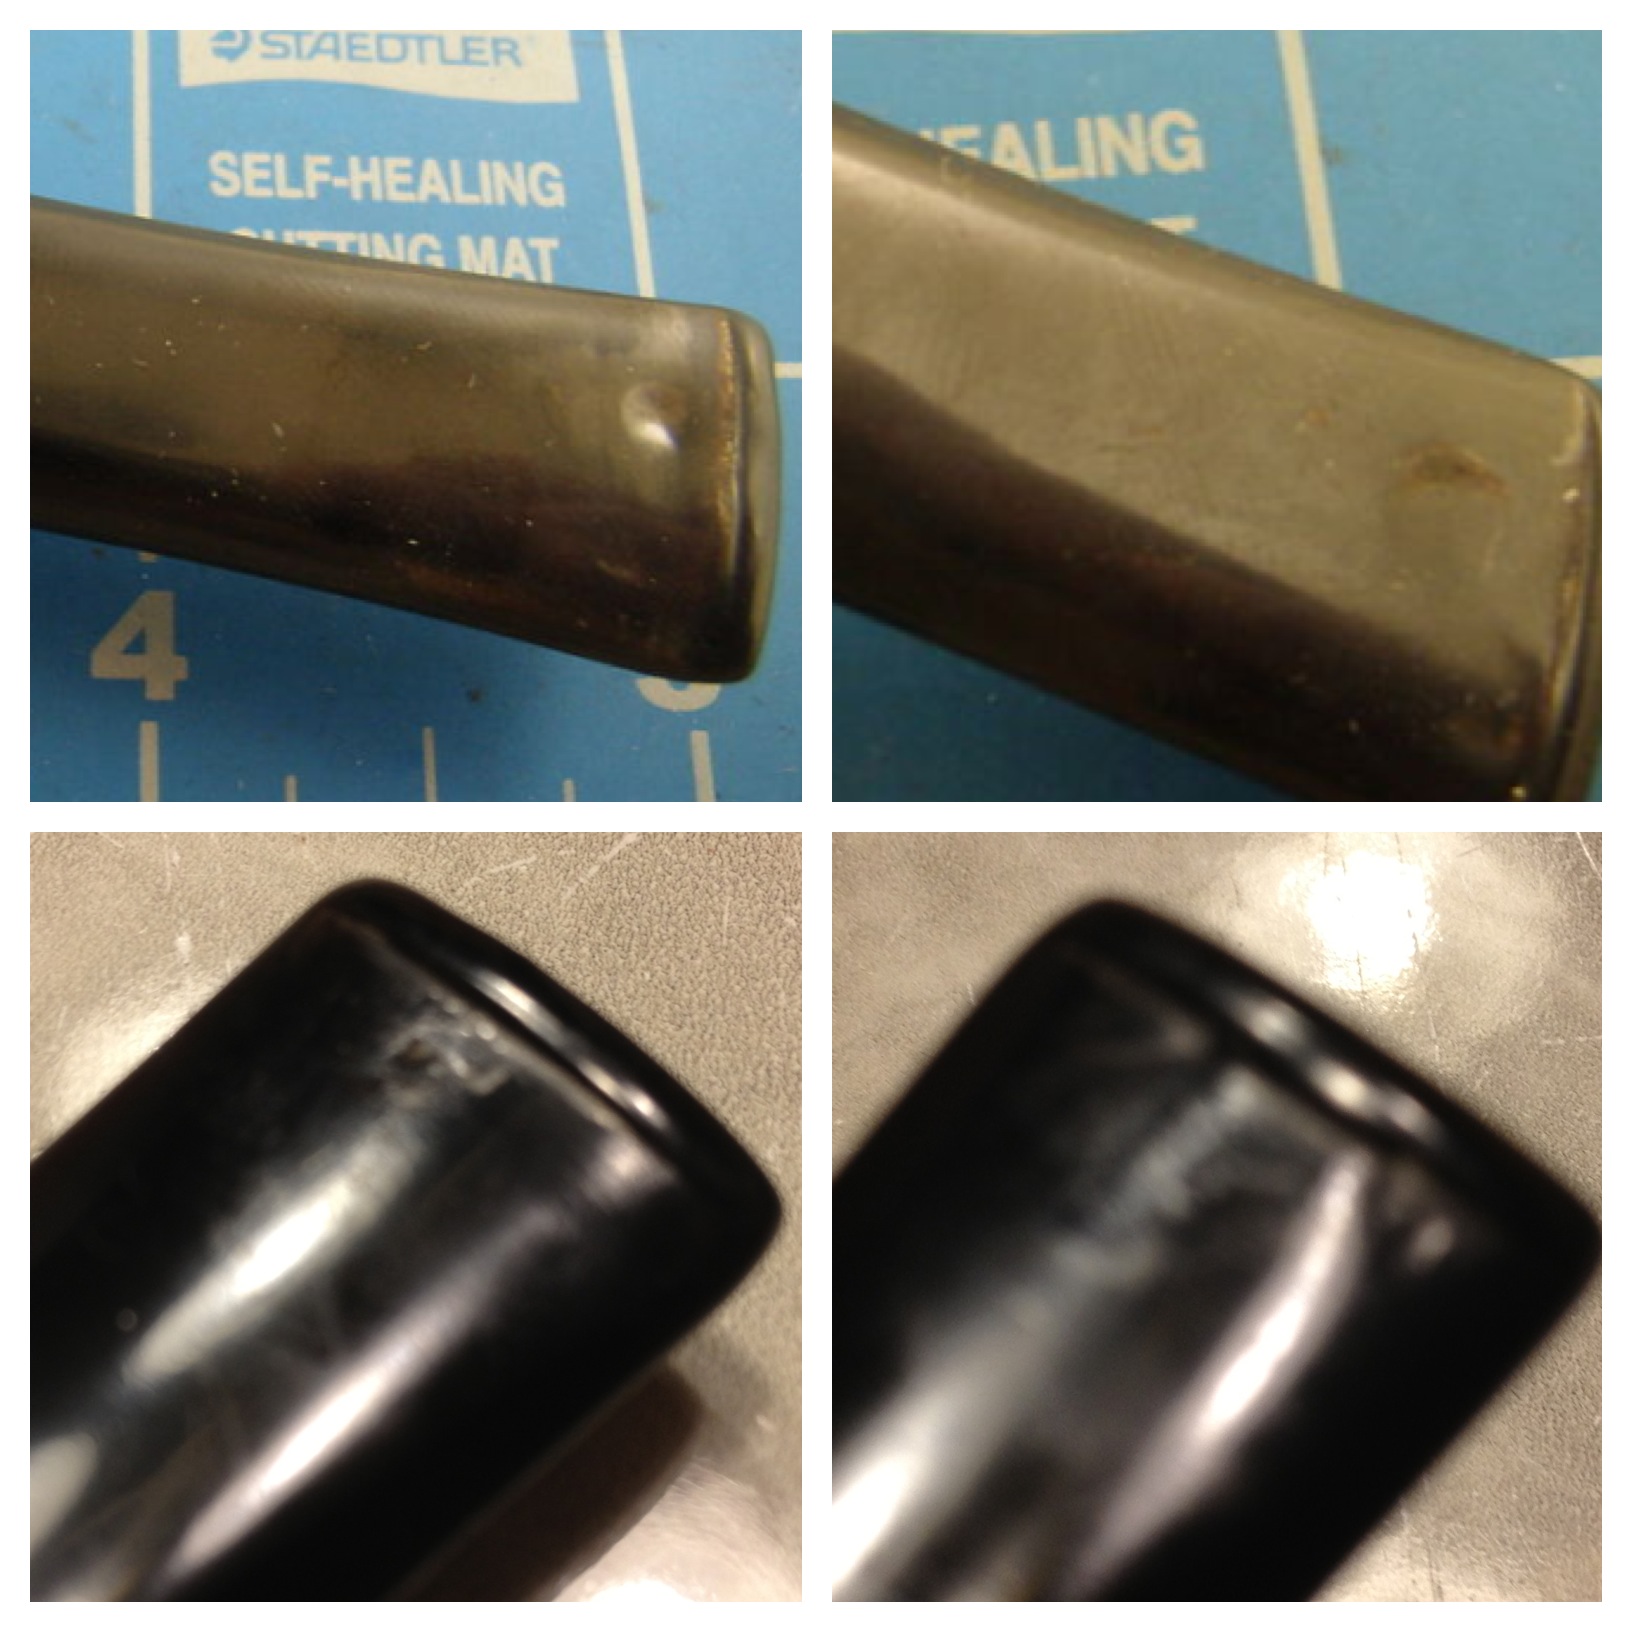
I sanded the stem with a medium grit sanding sponge and a fine grit sanding sponge to remove the scratches left behind by the sandpaper. Each step of sanding brought both the fit and finish closer to the look I was aiming for with the finished stem.
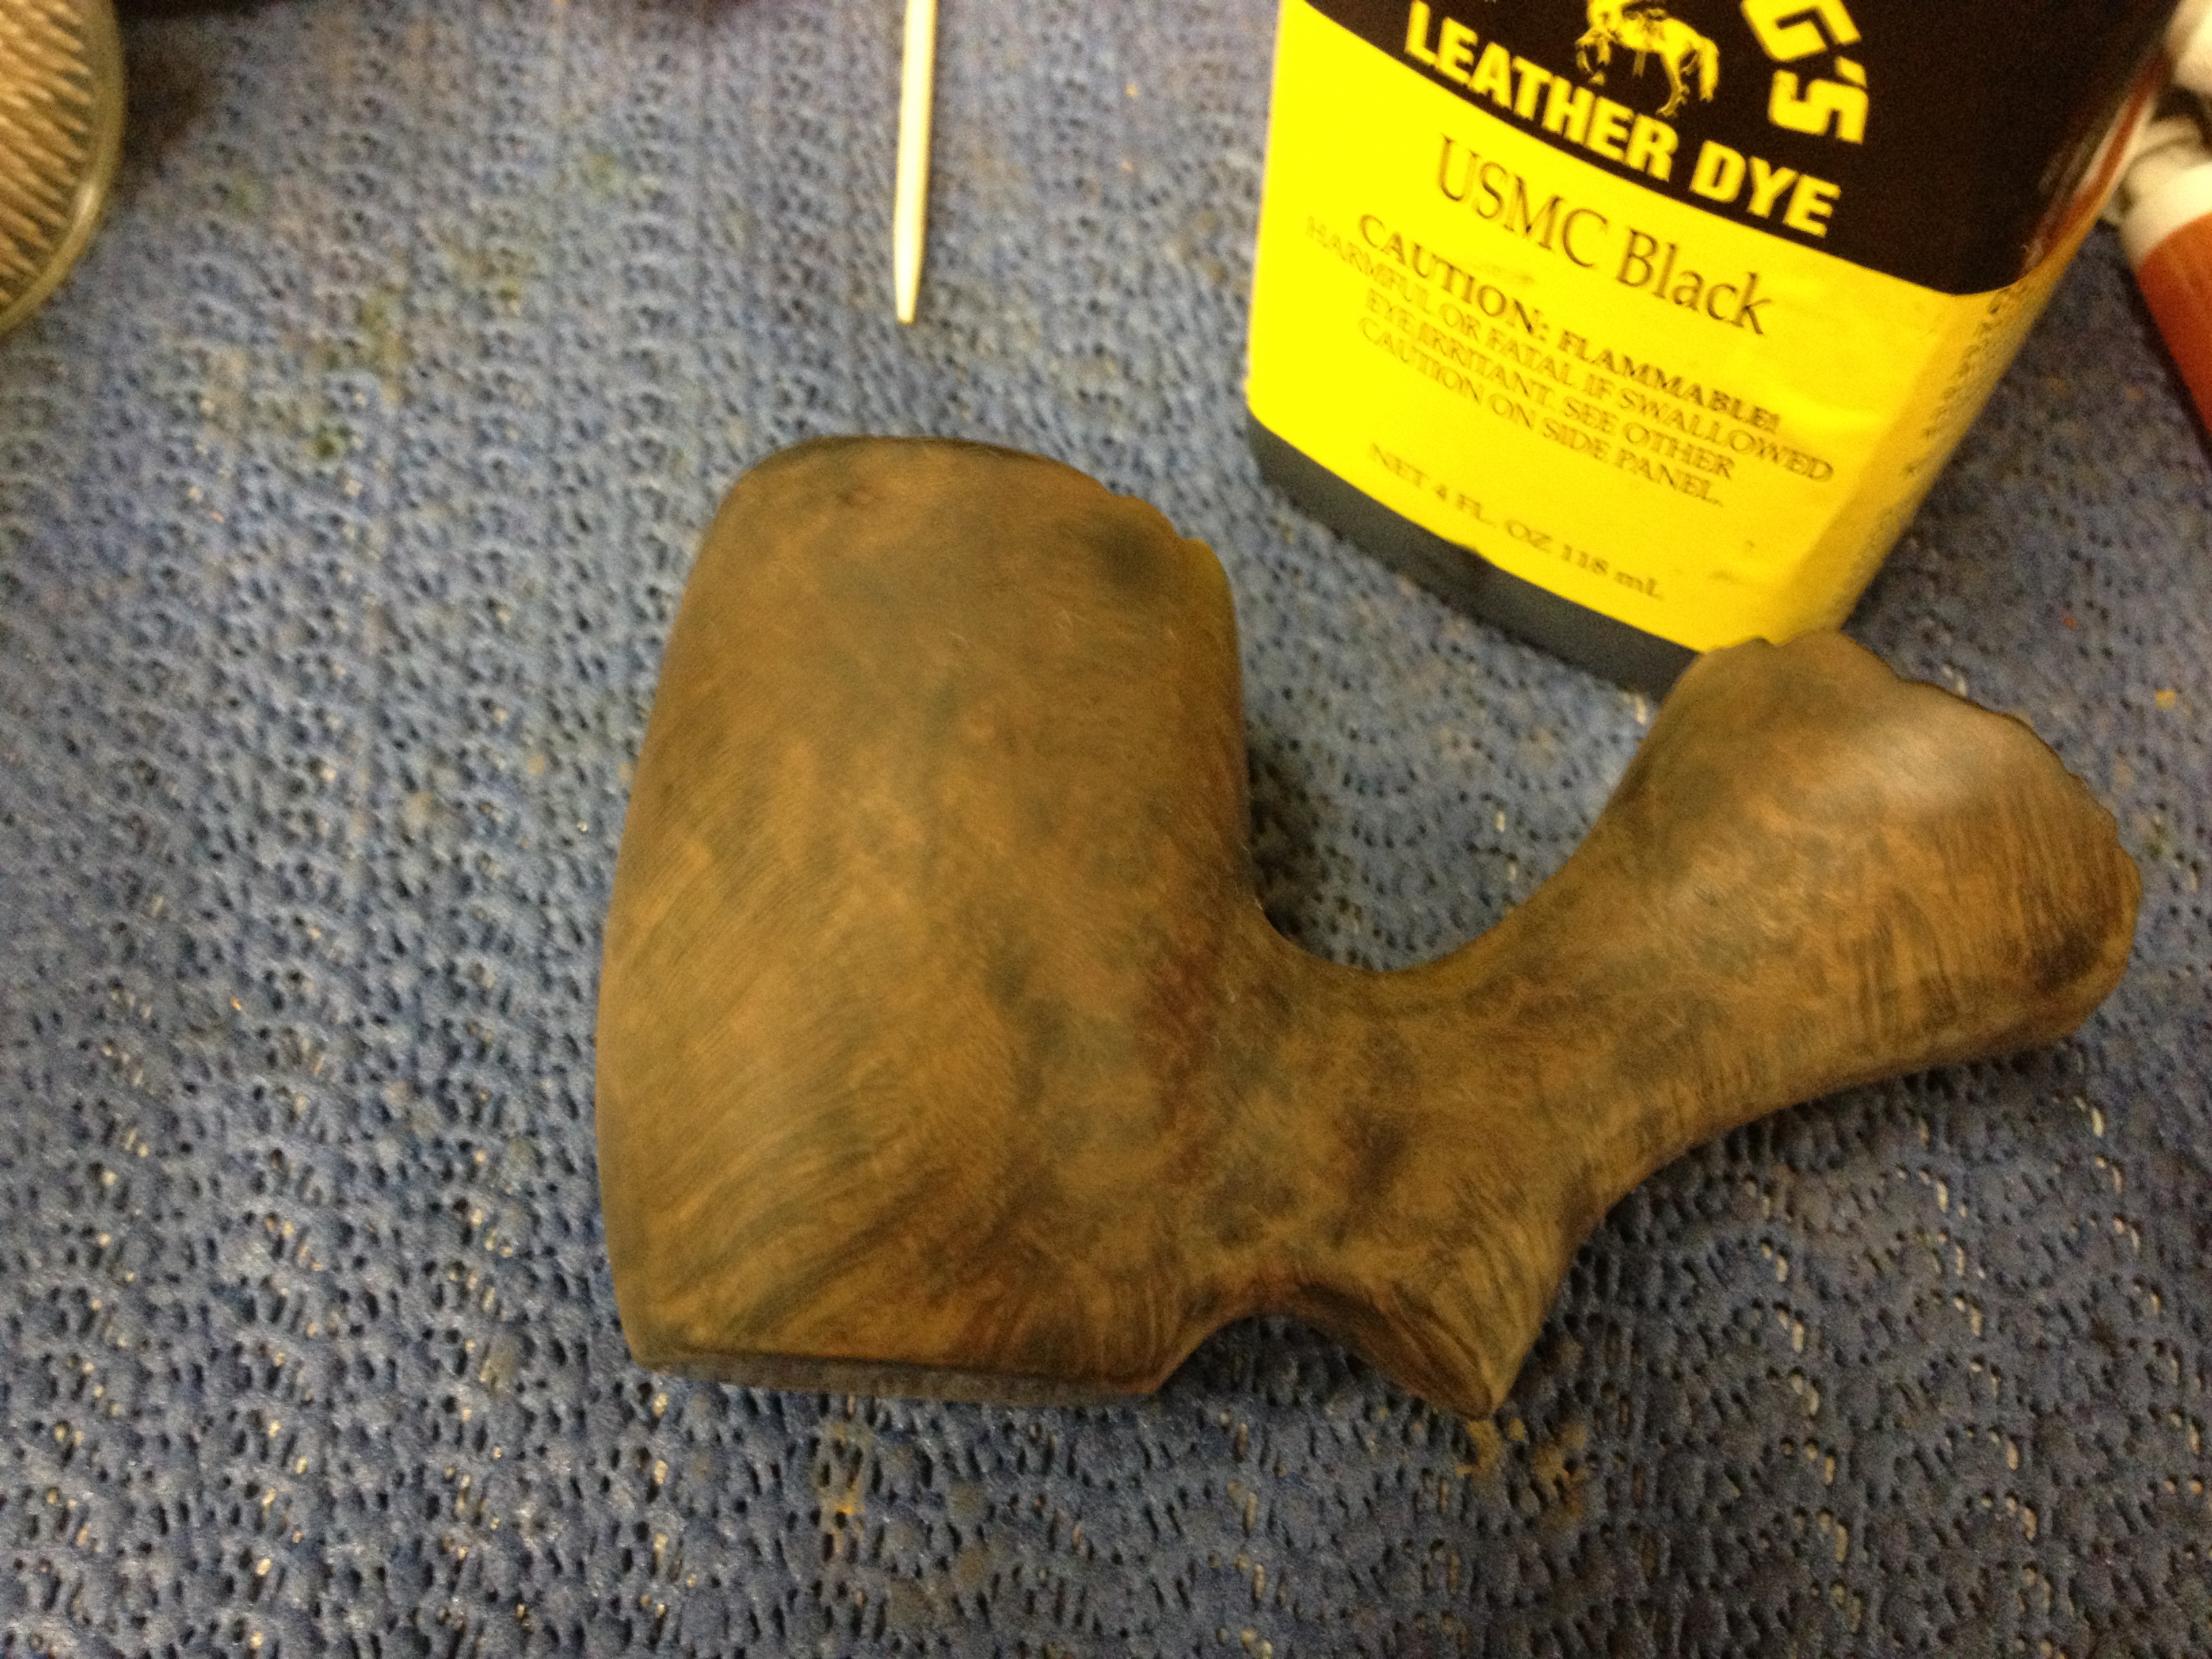
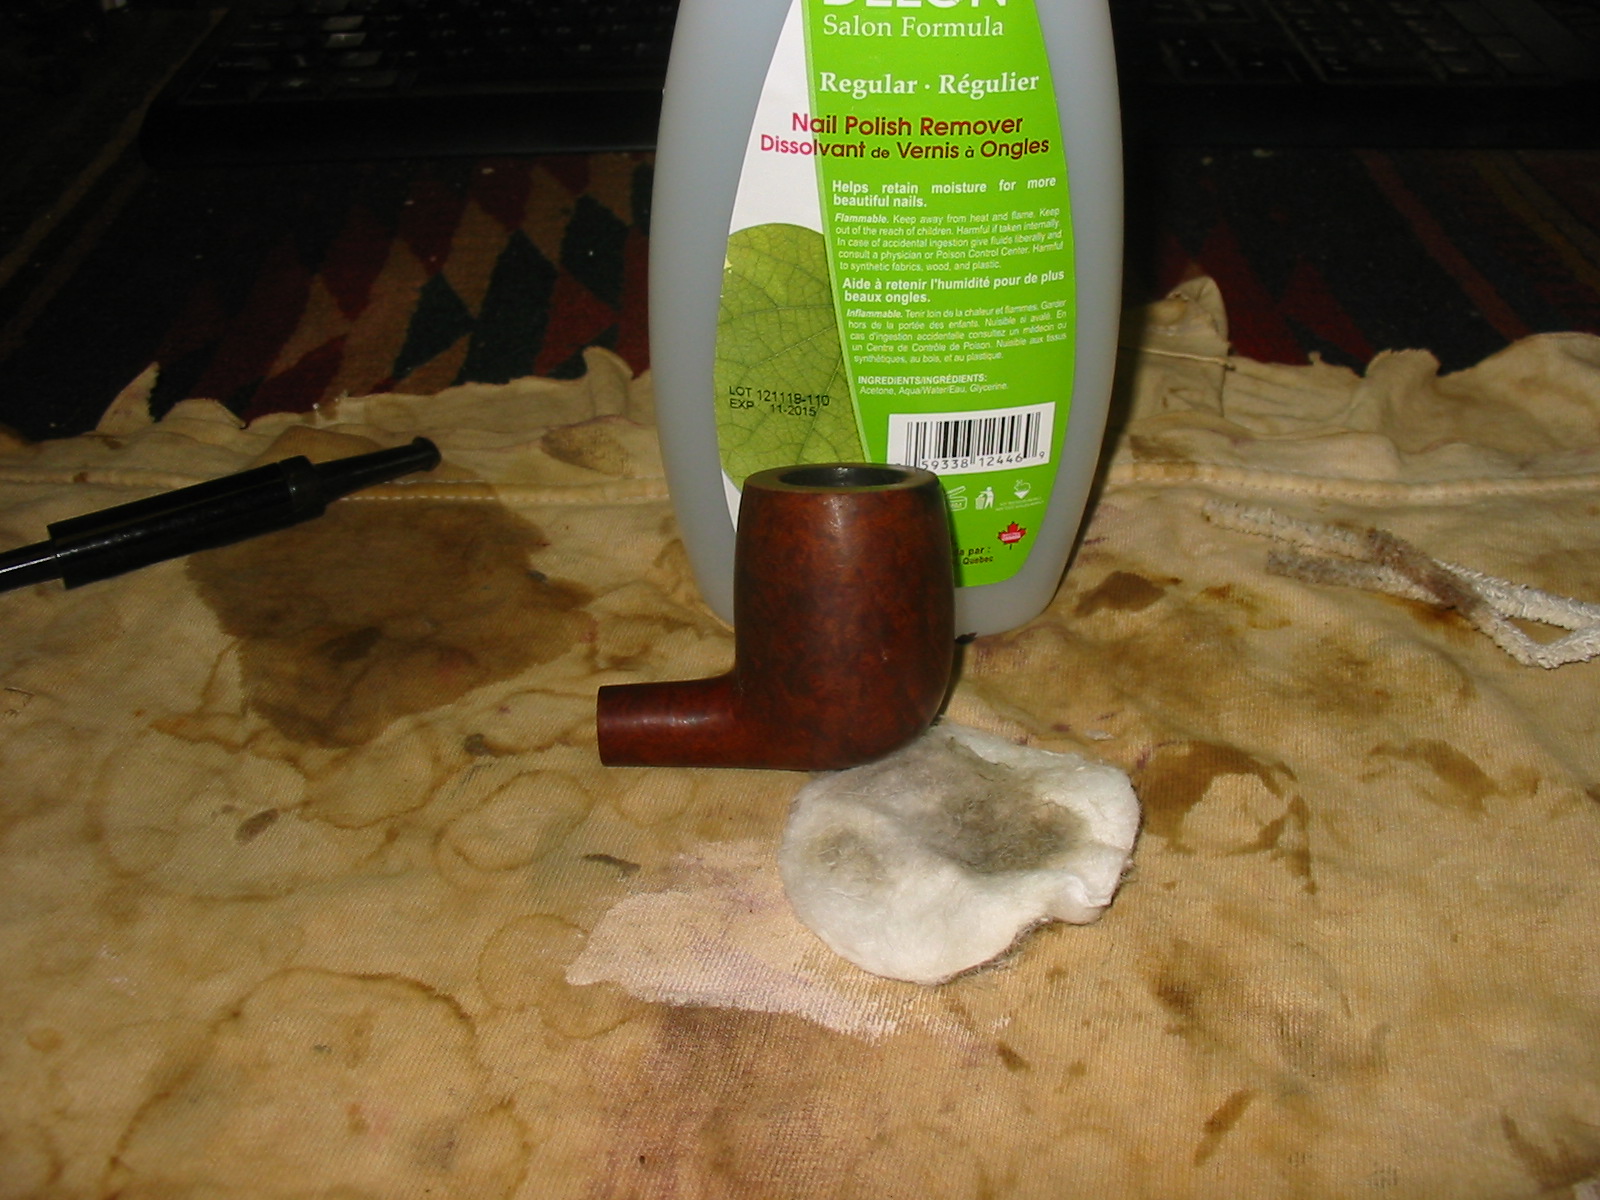
I wiped the bowl down with acetone on a cotton pad to remove the finish and prepare the bowl for a new coat of stain. I have found that if I do not remove the stain then it is very hard to match the rim to the colour of the bowl. With the finish gone the staining is very simple.
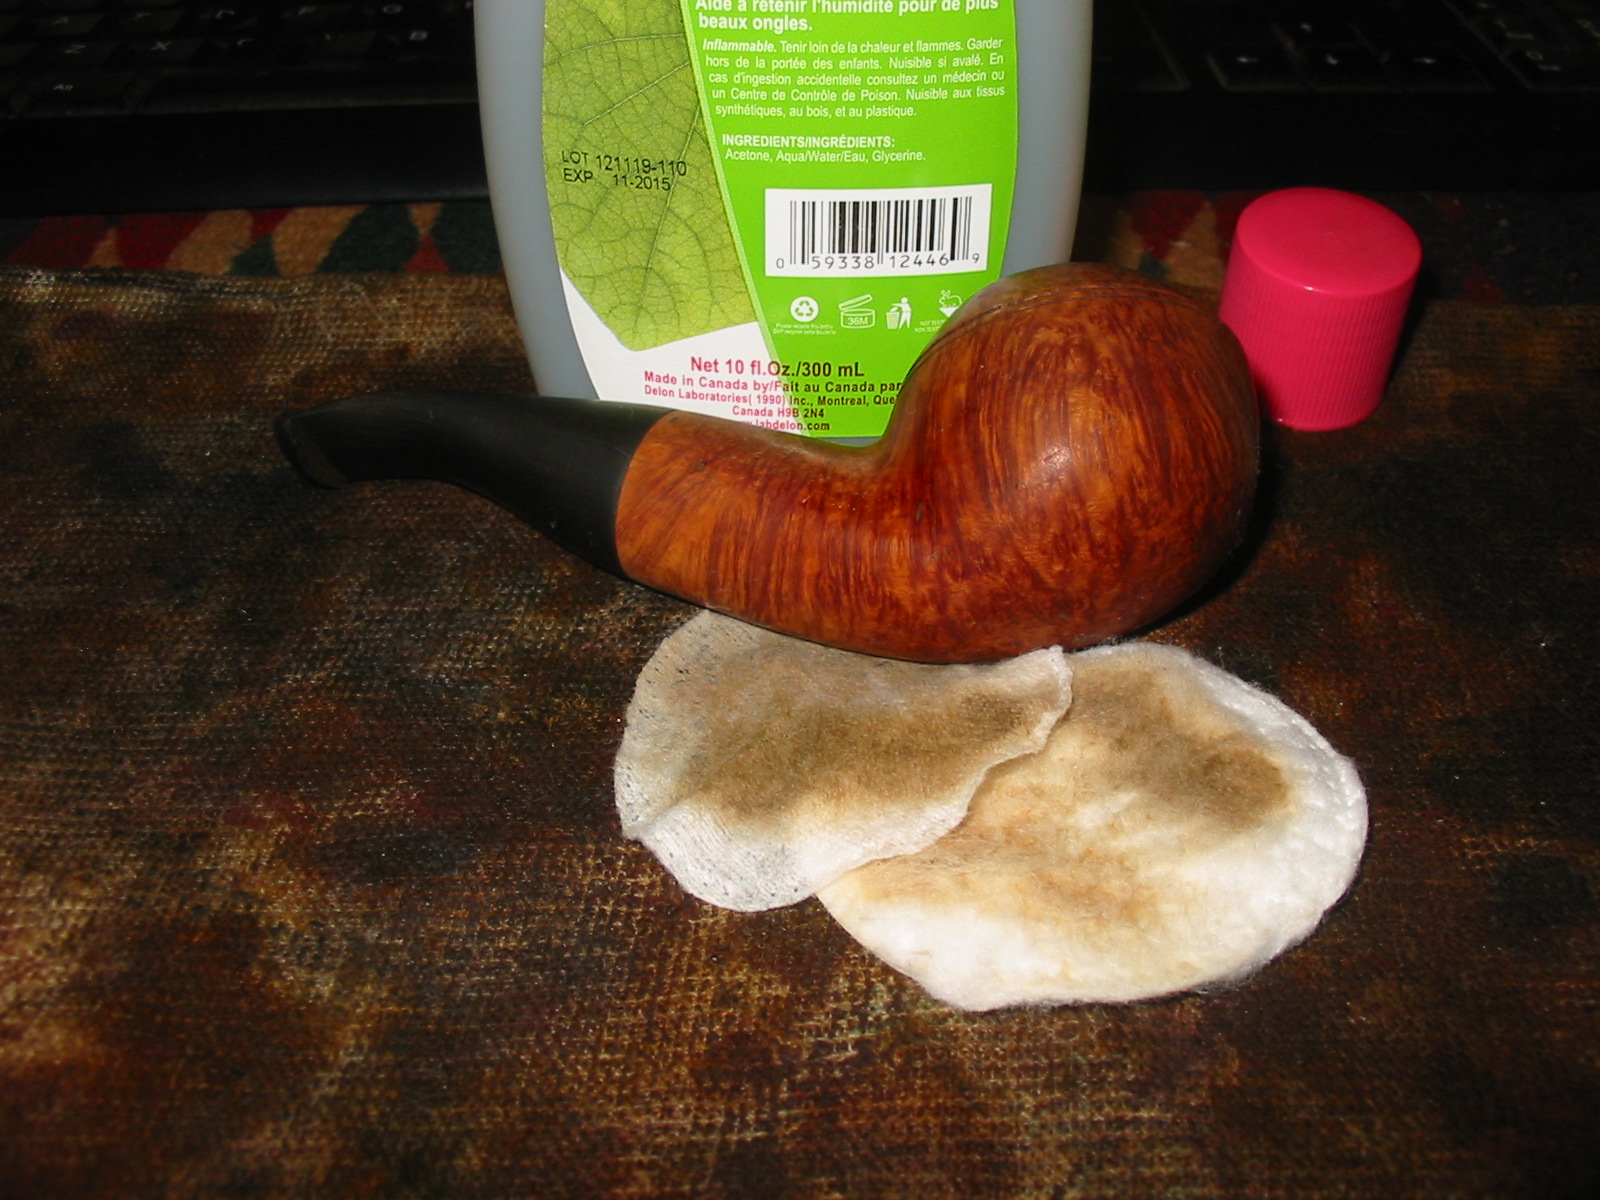
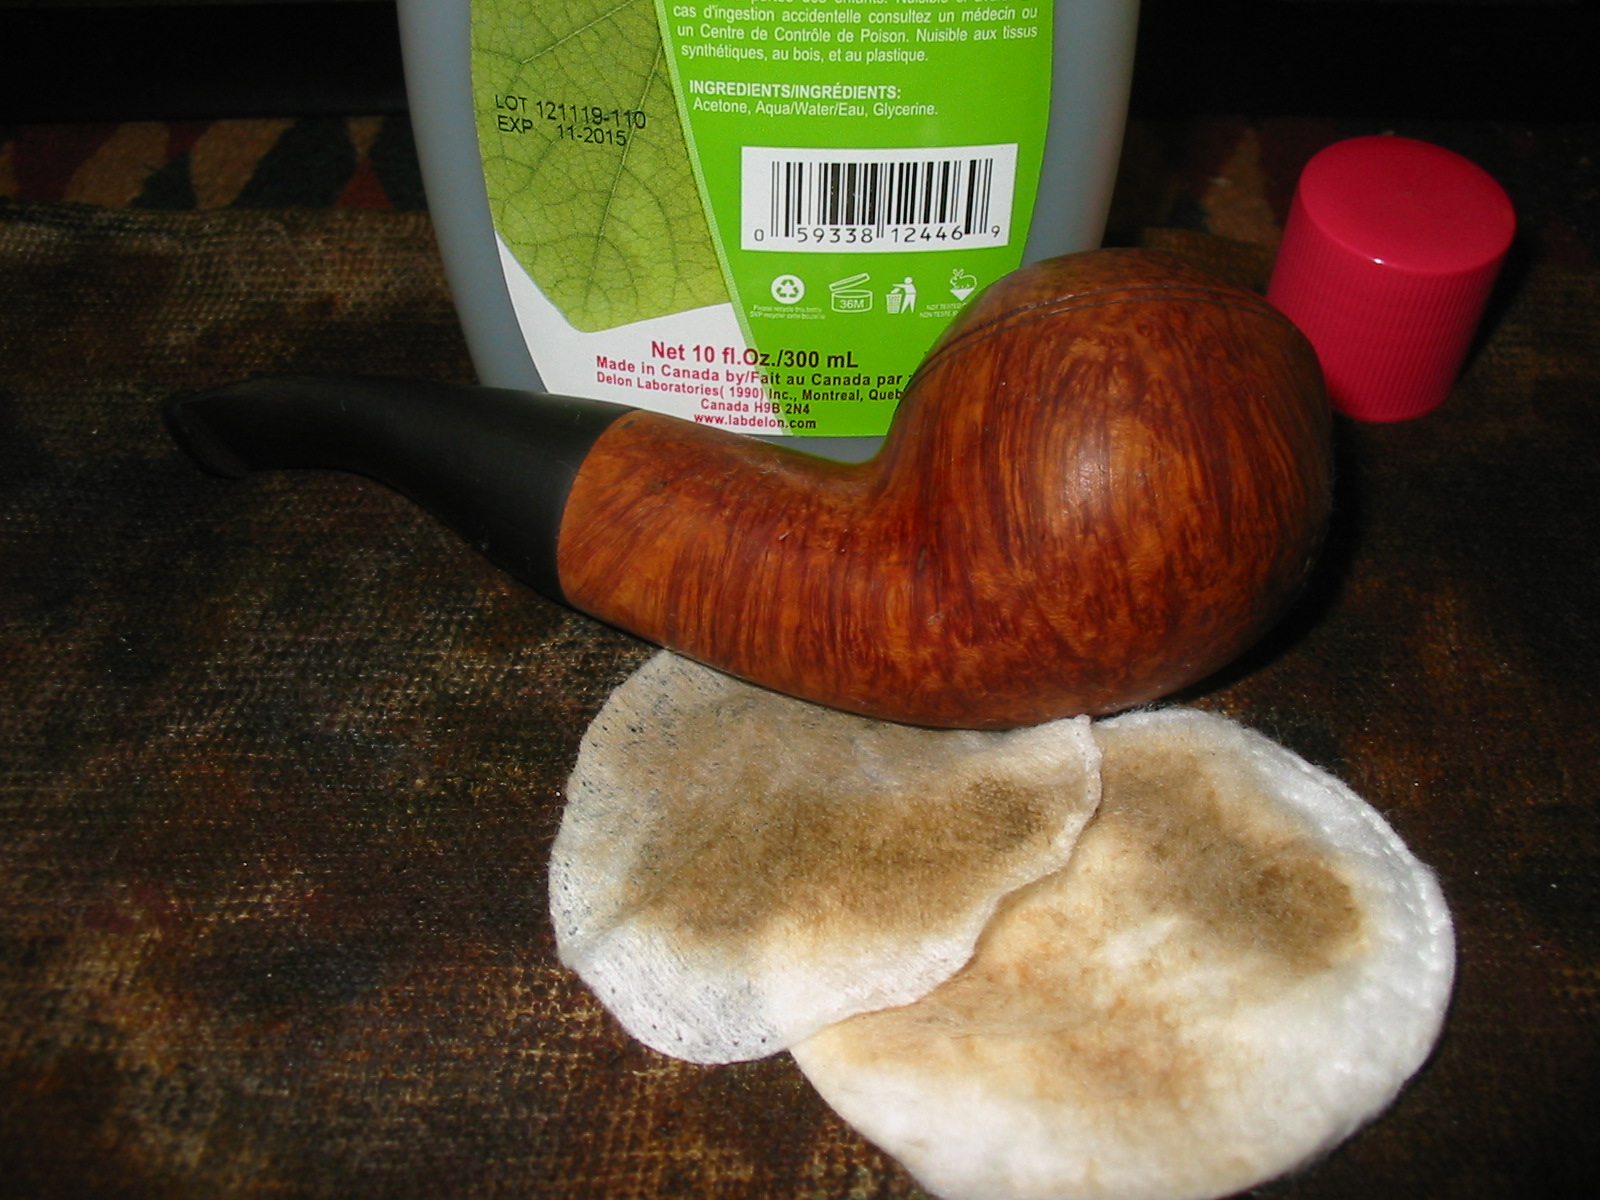
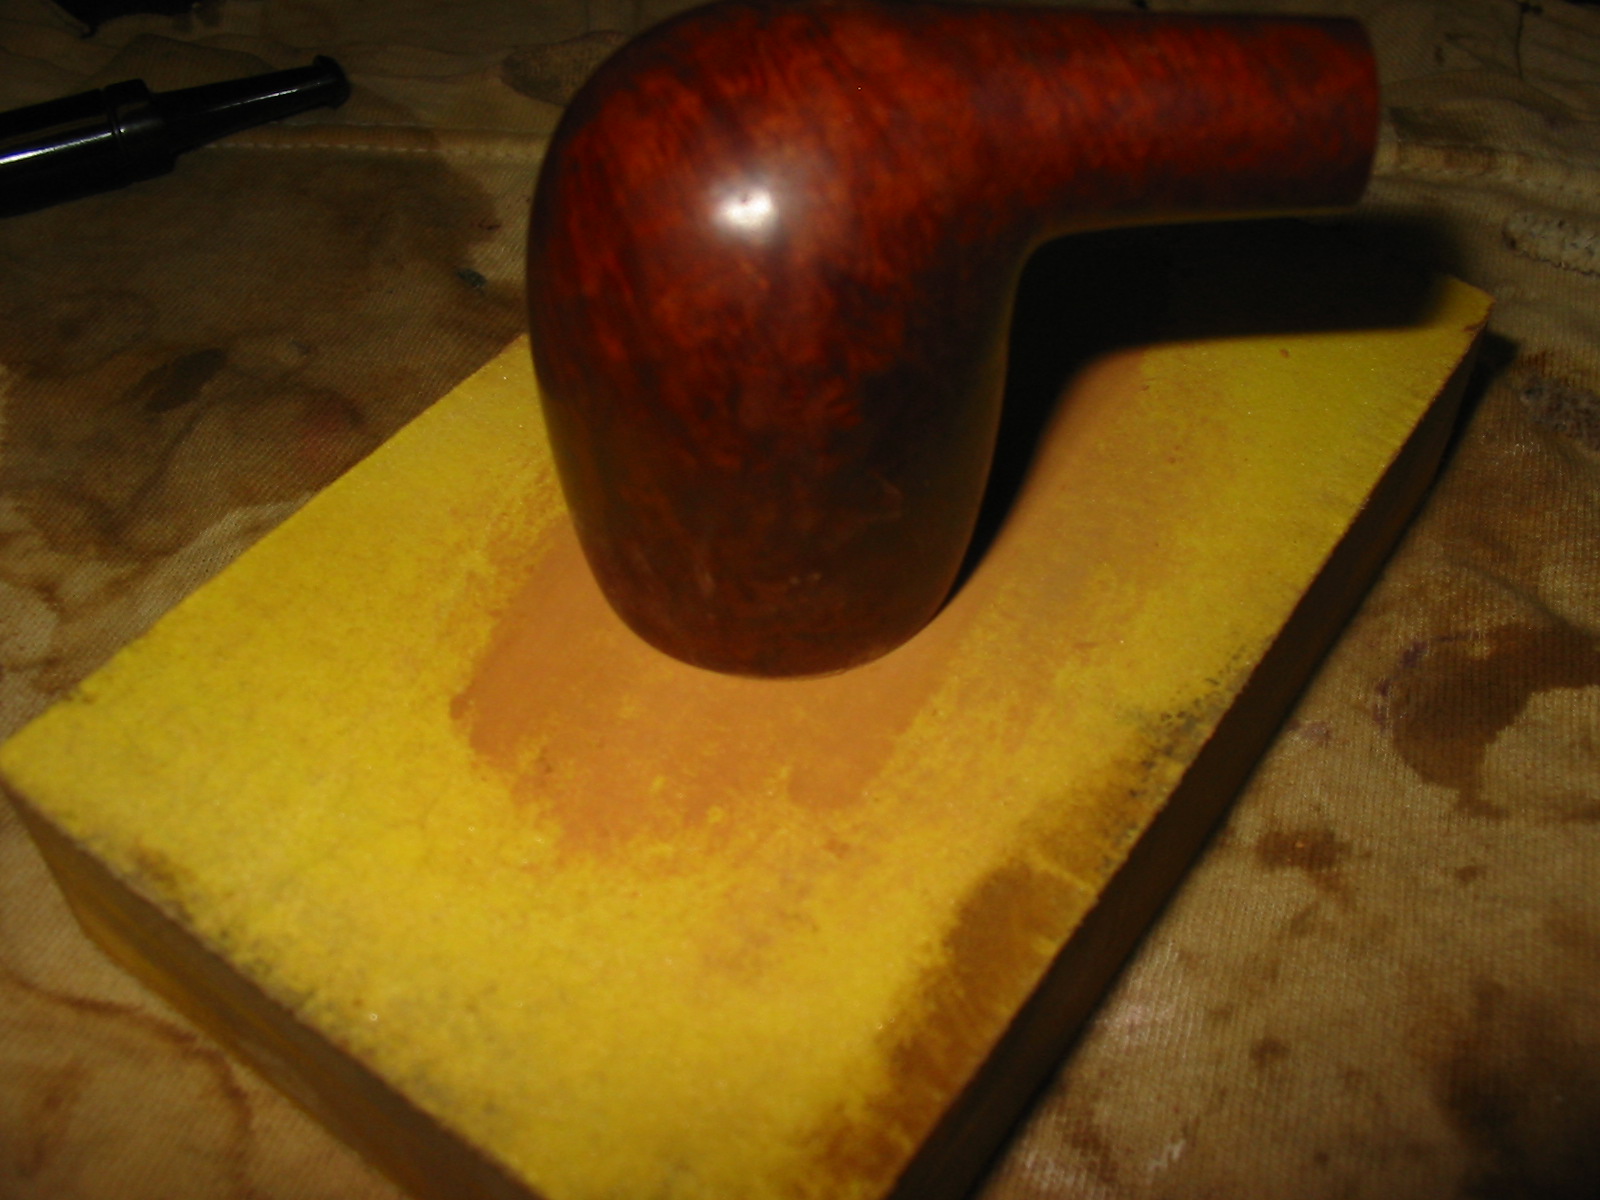
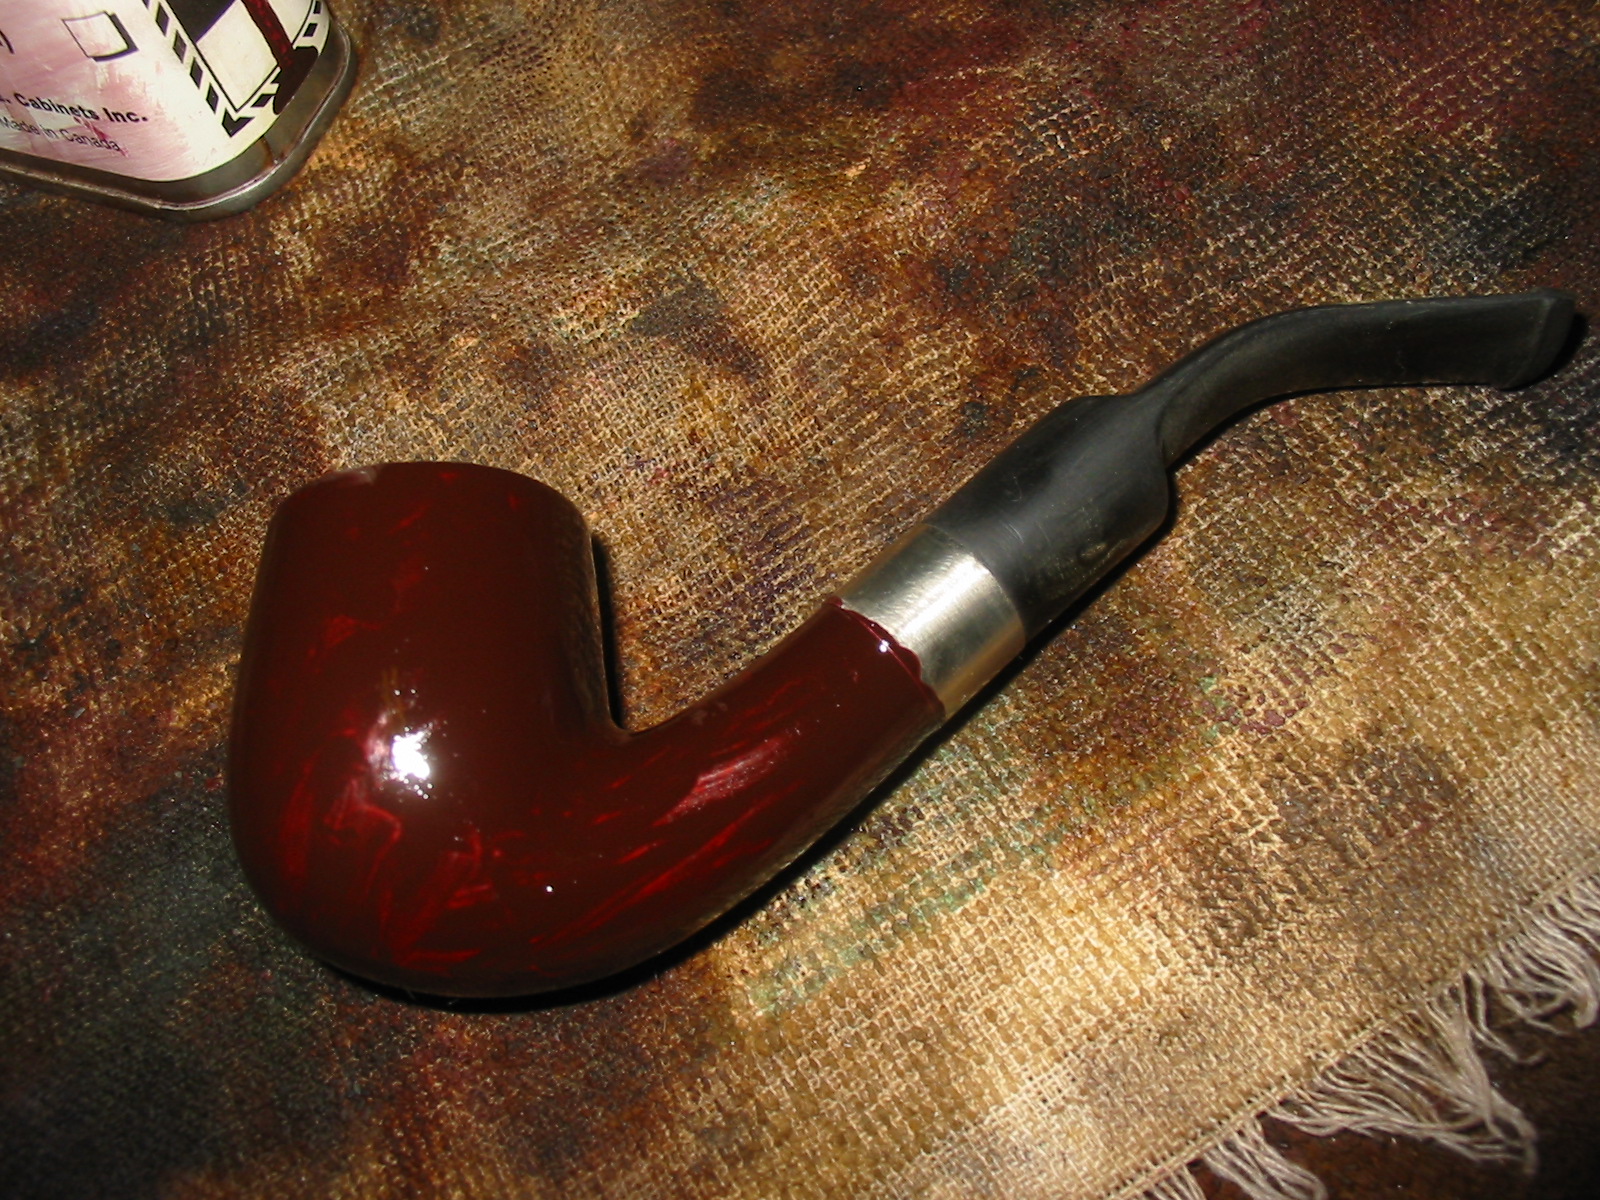
I thinned the stain, a dark brown aniline stain, with isopropyl alcohol – 1 part stain to two parts alcohol. I had picked a stain that matched the previous colour of the bowl and also matched another 999 Peterson that I have here. I heated the surface of the bowl with my heat gun to warm the briar and open the pores in the wood. Once it was warmed I applied the stain with a cotton swab and repeated until I had good coverage over the entire surface. I flamed the stain, repeated the application and flamed it a second time. Once it was dry I took it to the buffer and gave it a light buff with White Diamond to even out the stain coverage and remove the excess on the surface of the briar. I wiped down the inside of the bowl where the stain ran in with a cotton swab dipped in Everclear.
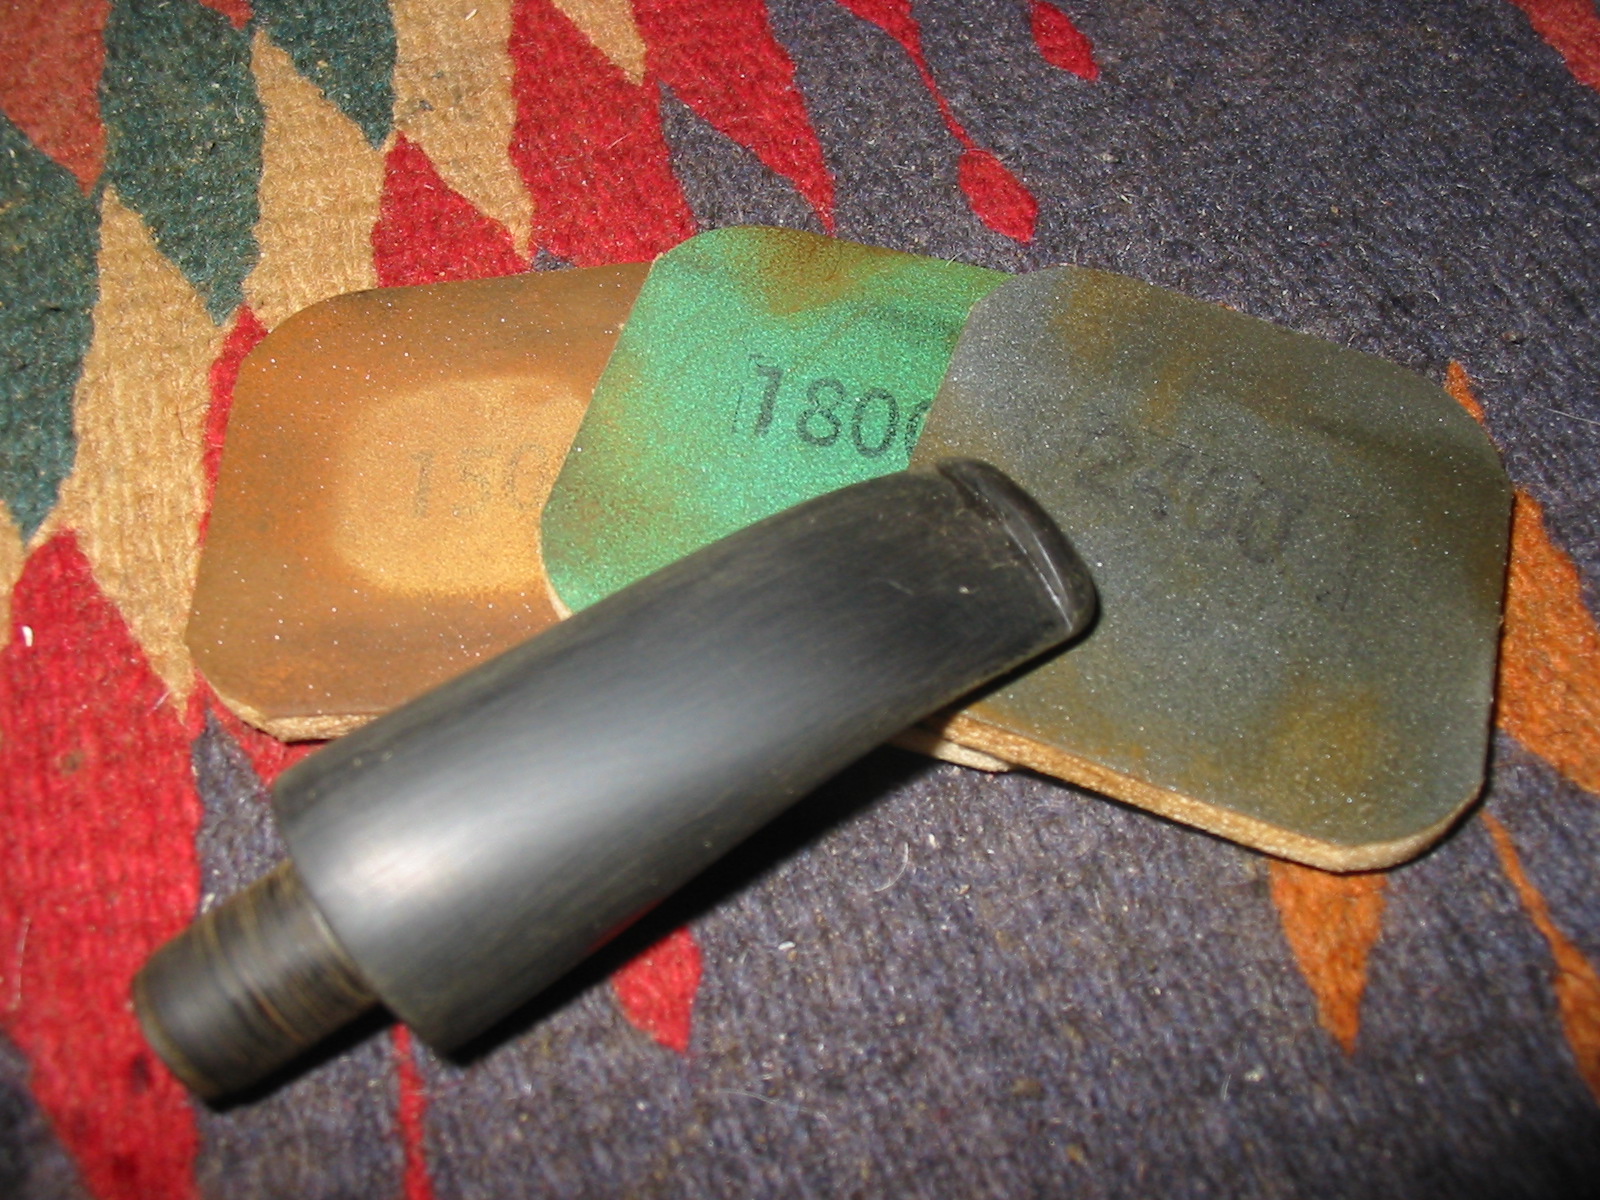
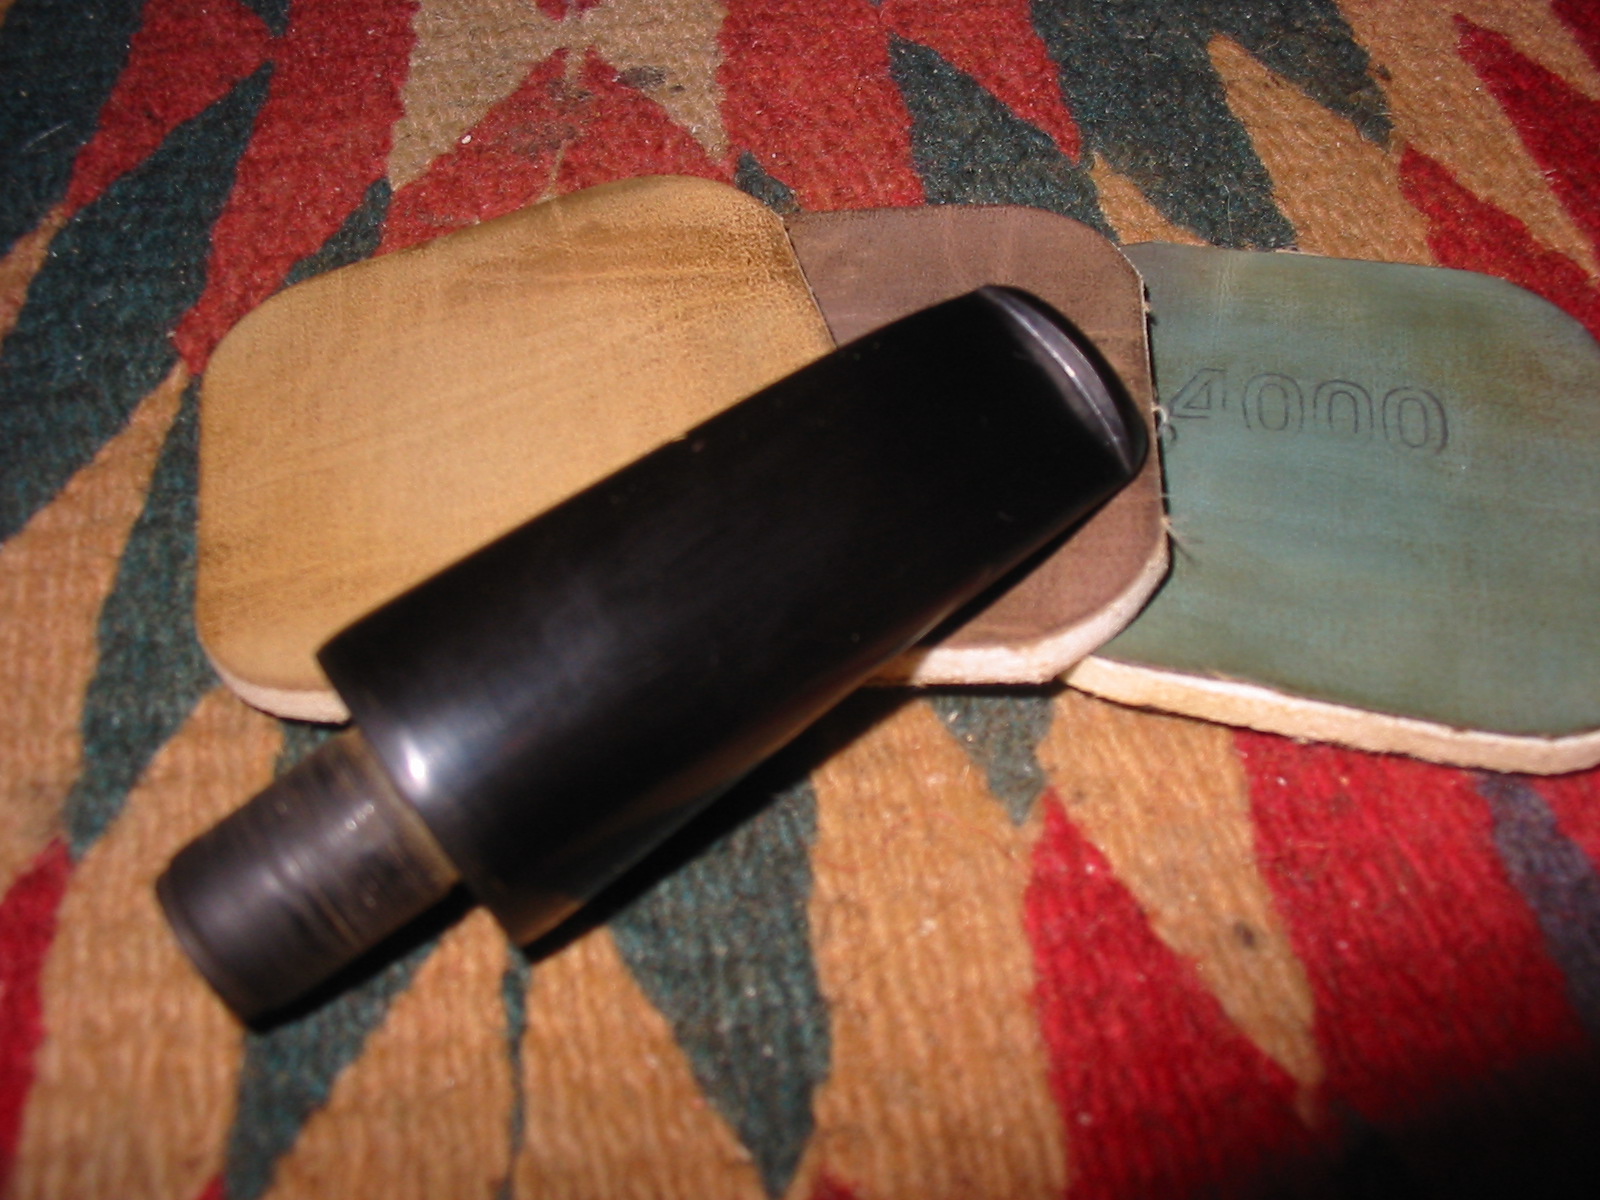
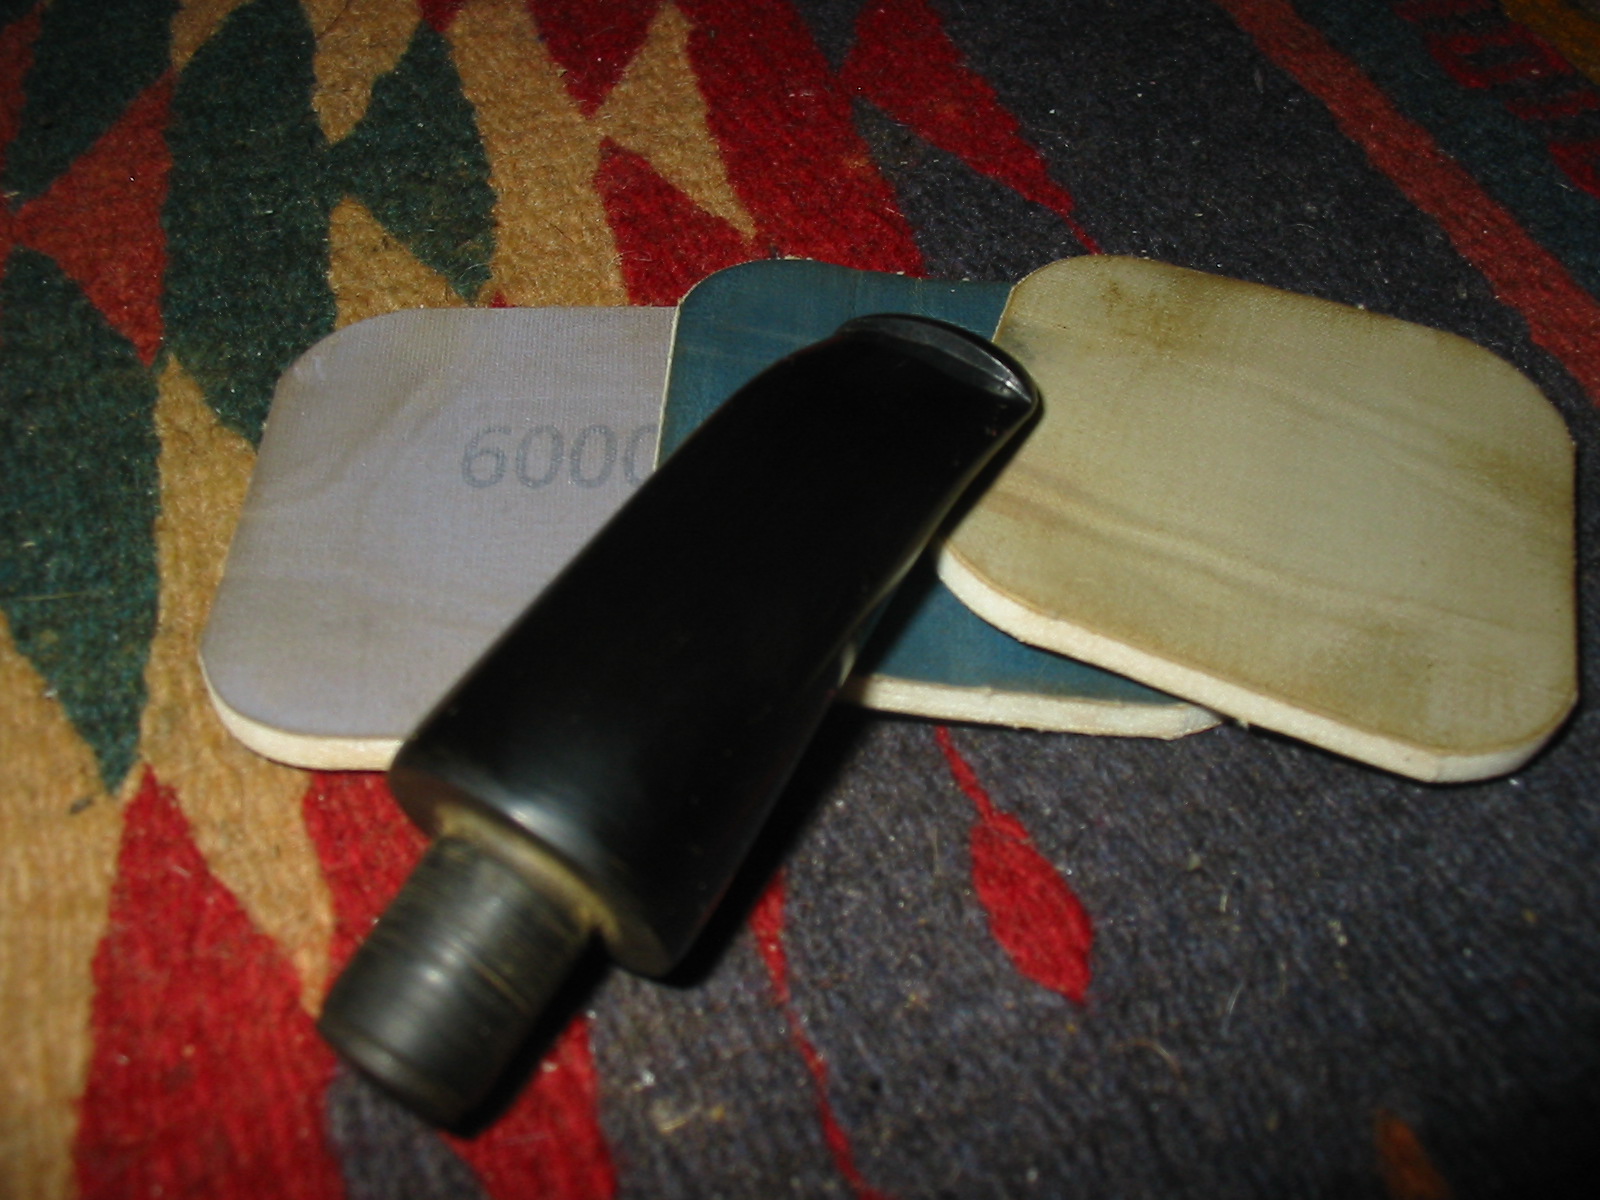
With the bowl finished and ready to buff it was time to finish the work on the stem. I sanded it with micromesh sanding pads. I wet sanded with 1500-2400 grit and dry sanded with 3200-12,000 grit. Each successive grit brought more of a shine to the stem and removed the scratches left behind by previous sanding.
I worked on the slot with a folded piece of sandpaper to smooth out the surface of the inside. I also shaped it with the sandpaper until I had the look I wanted. The oval slot now easily took a pipe cleaner no matter how fluffy.
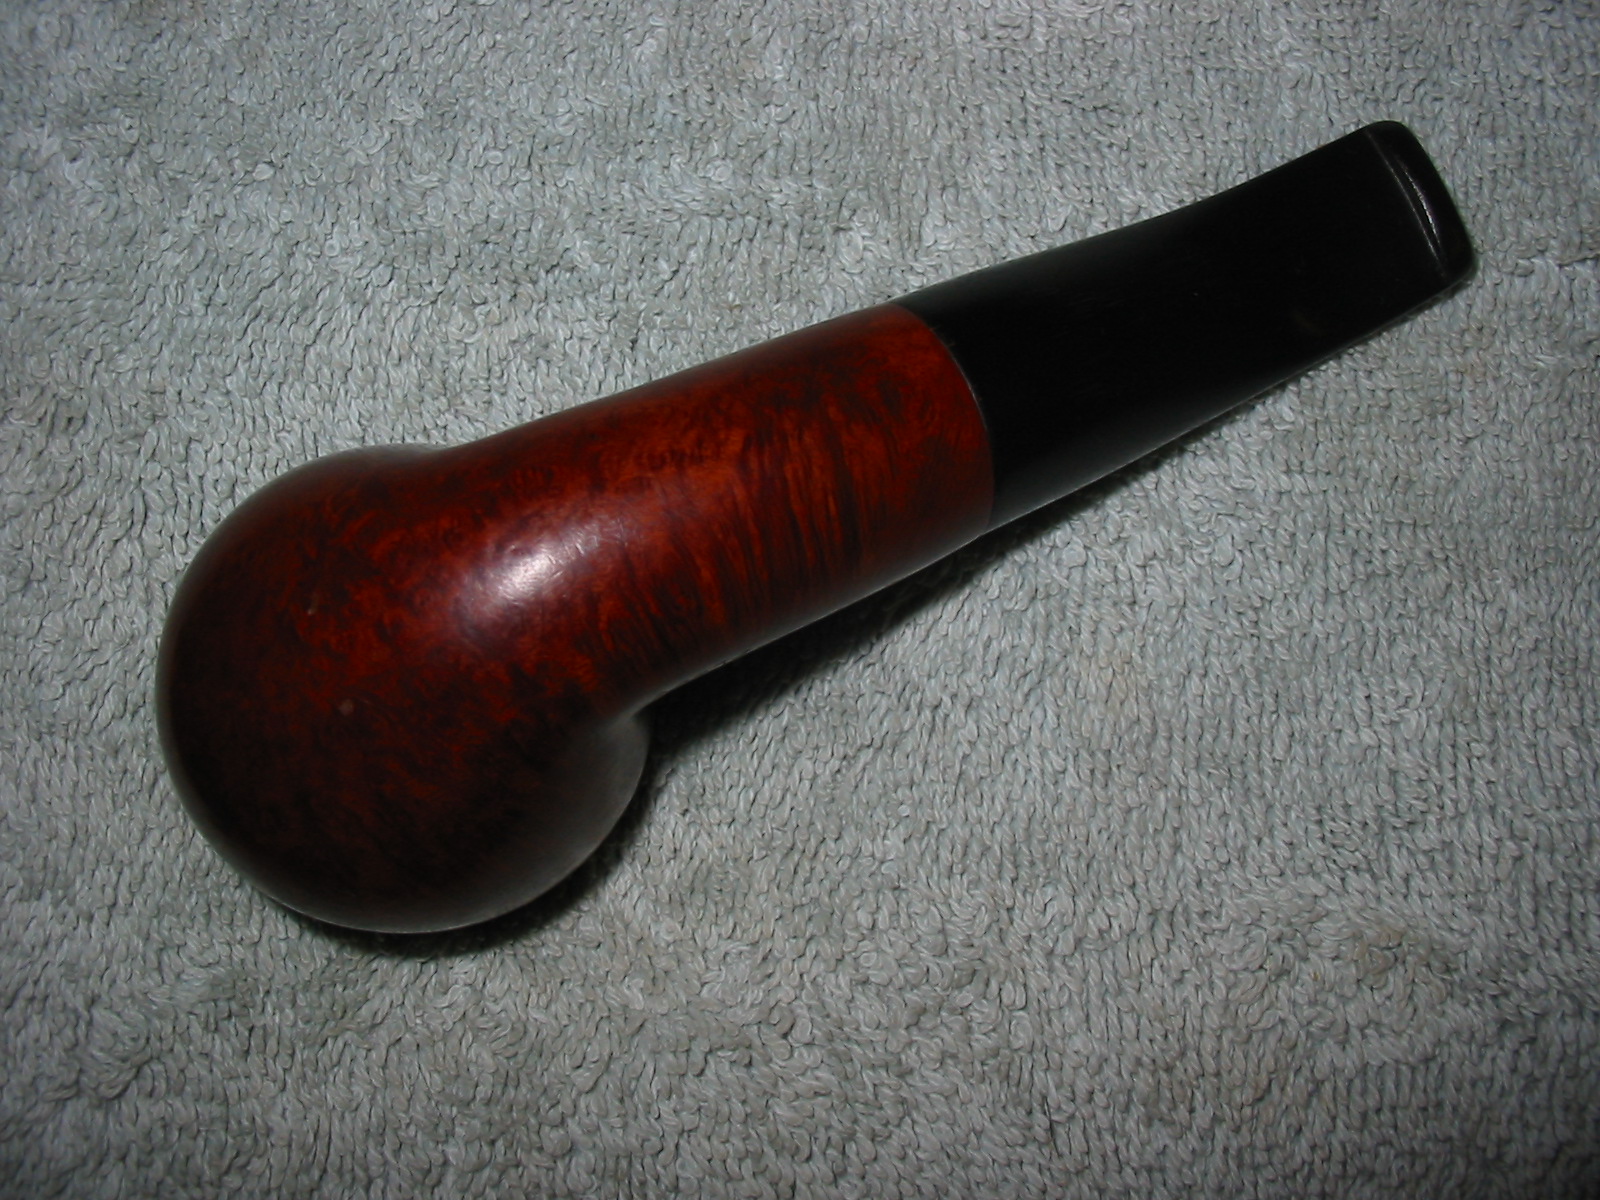
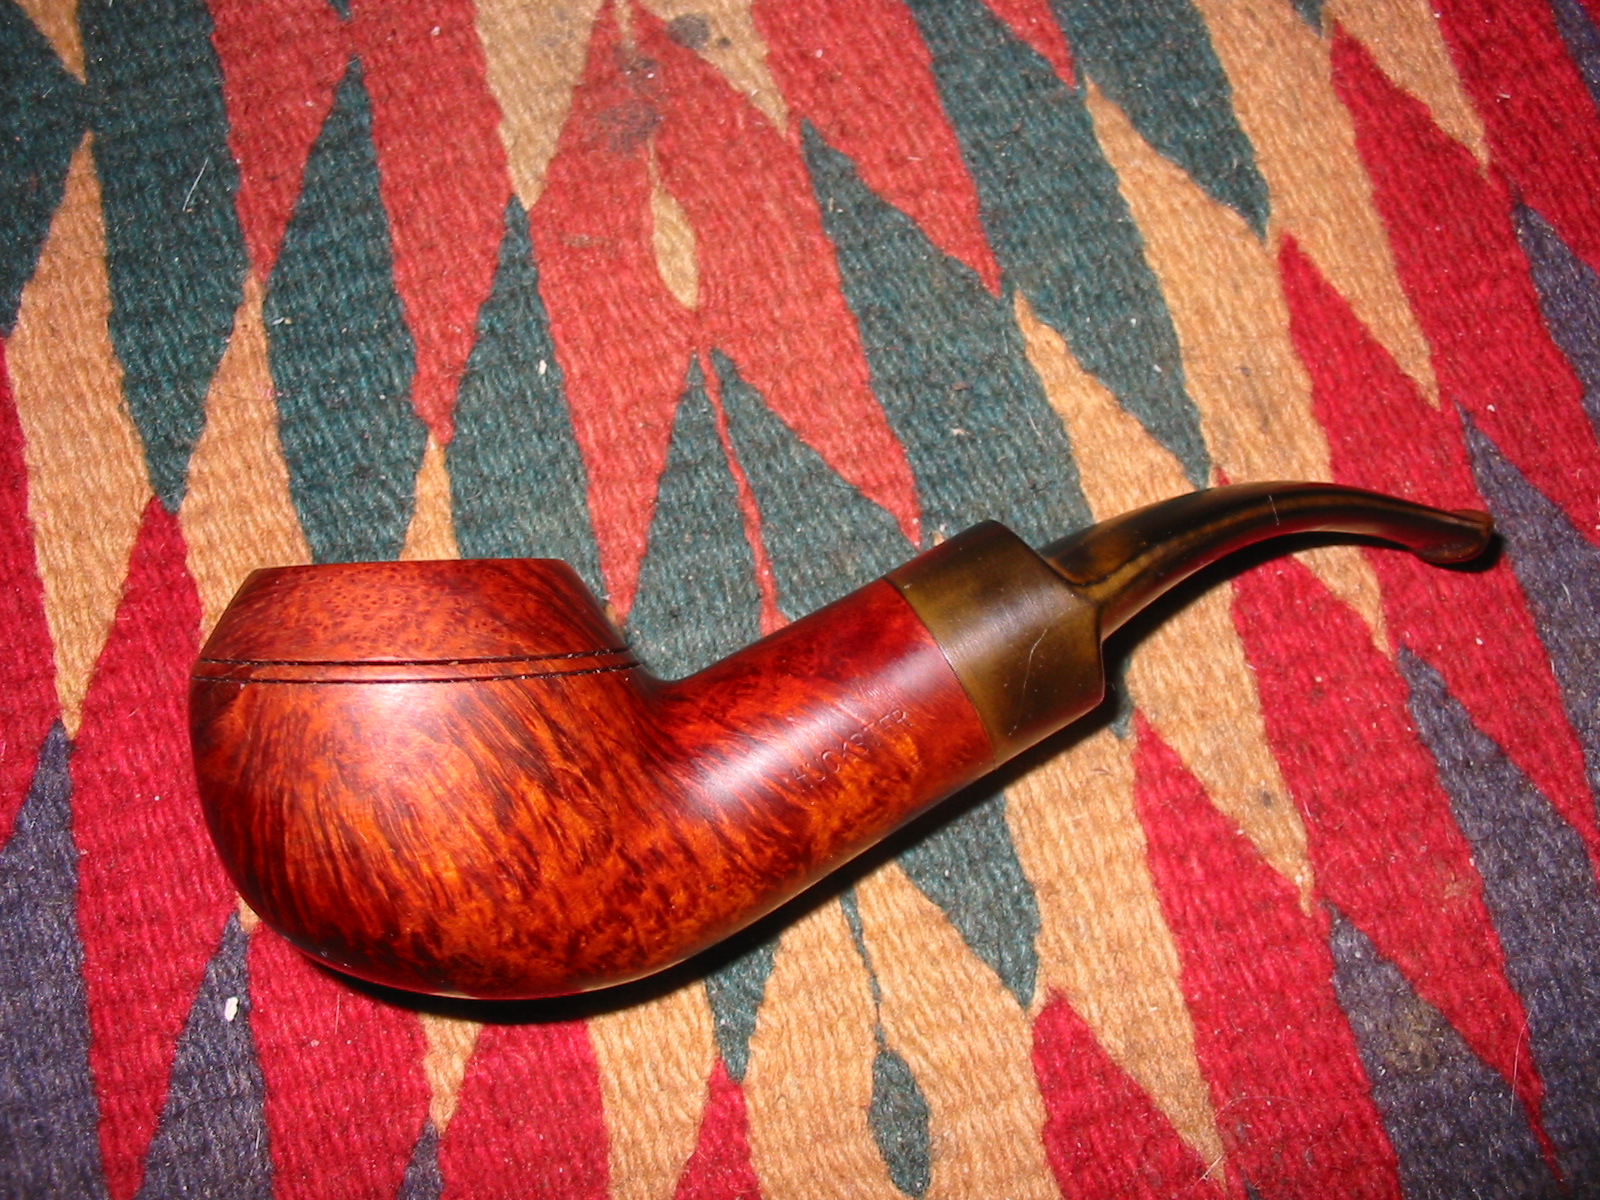
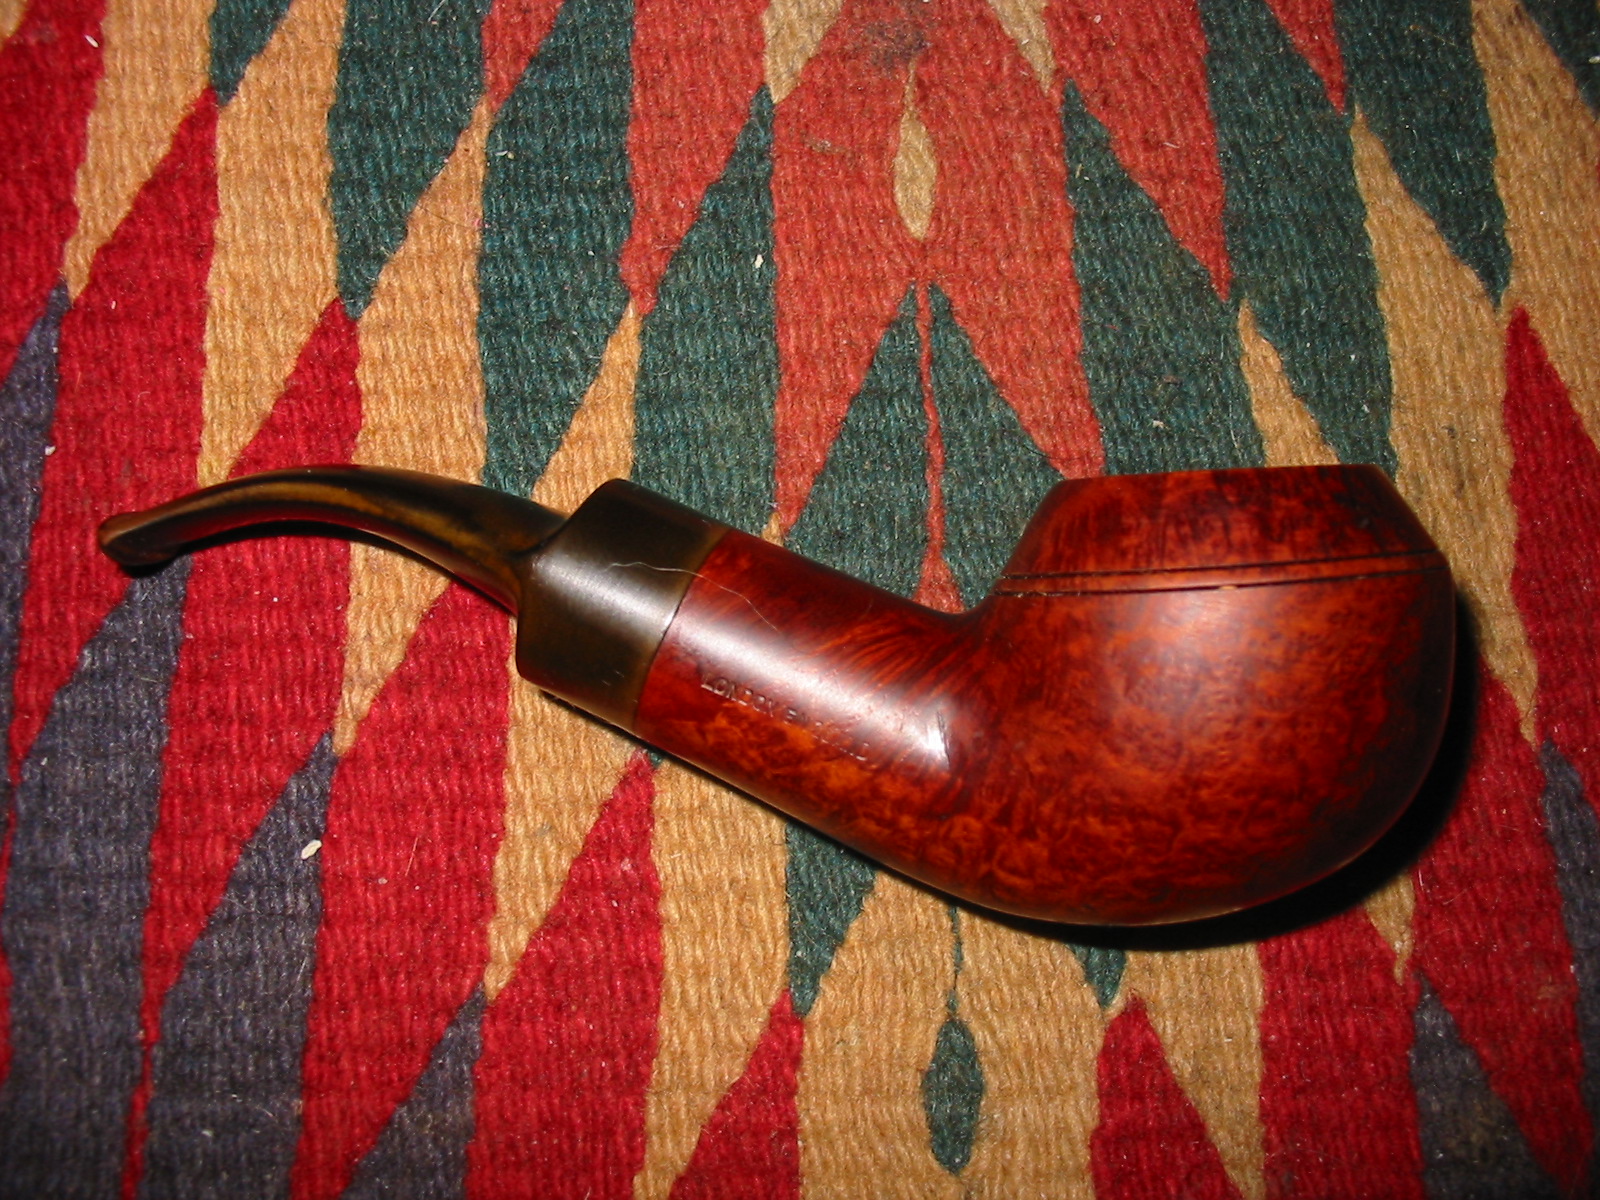
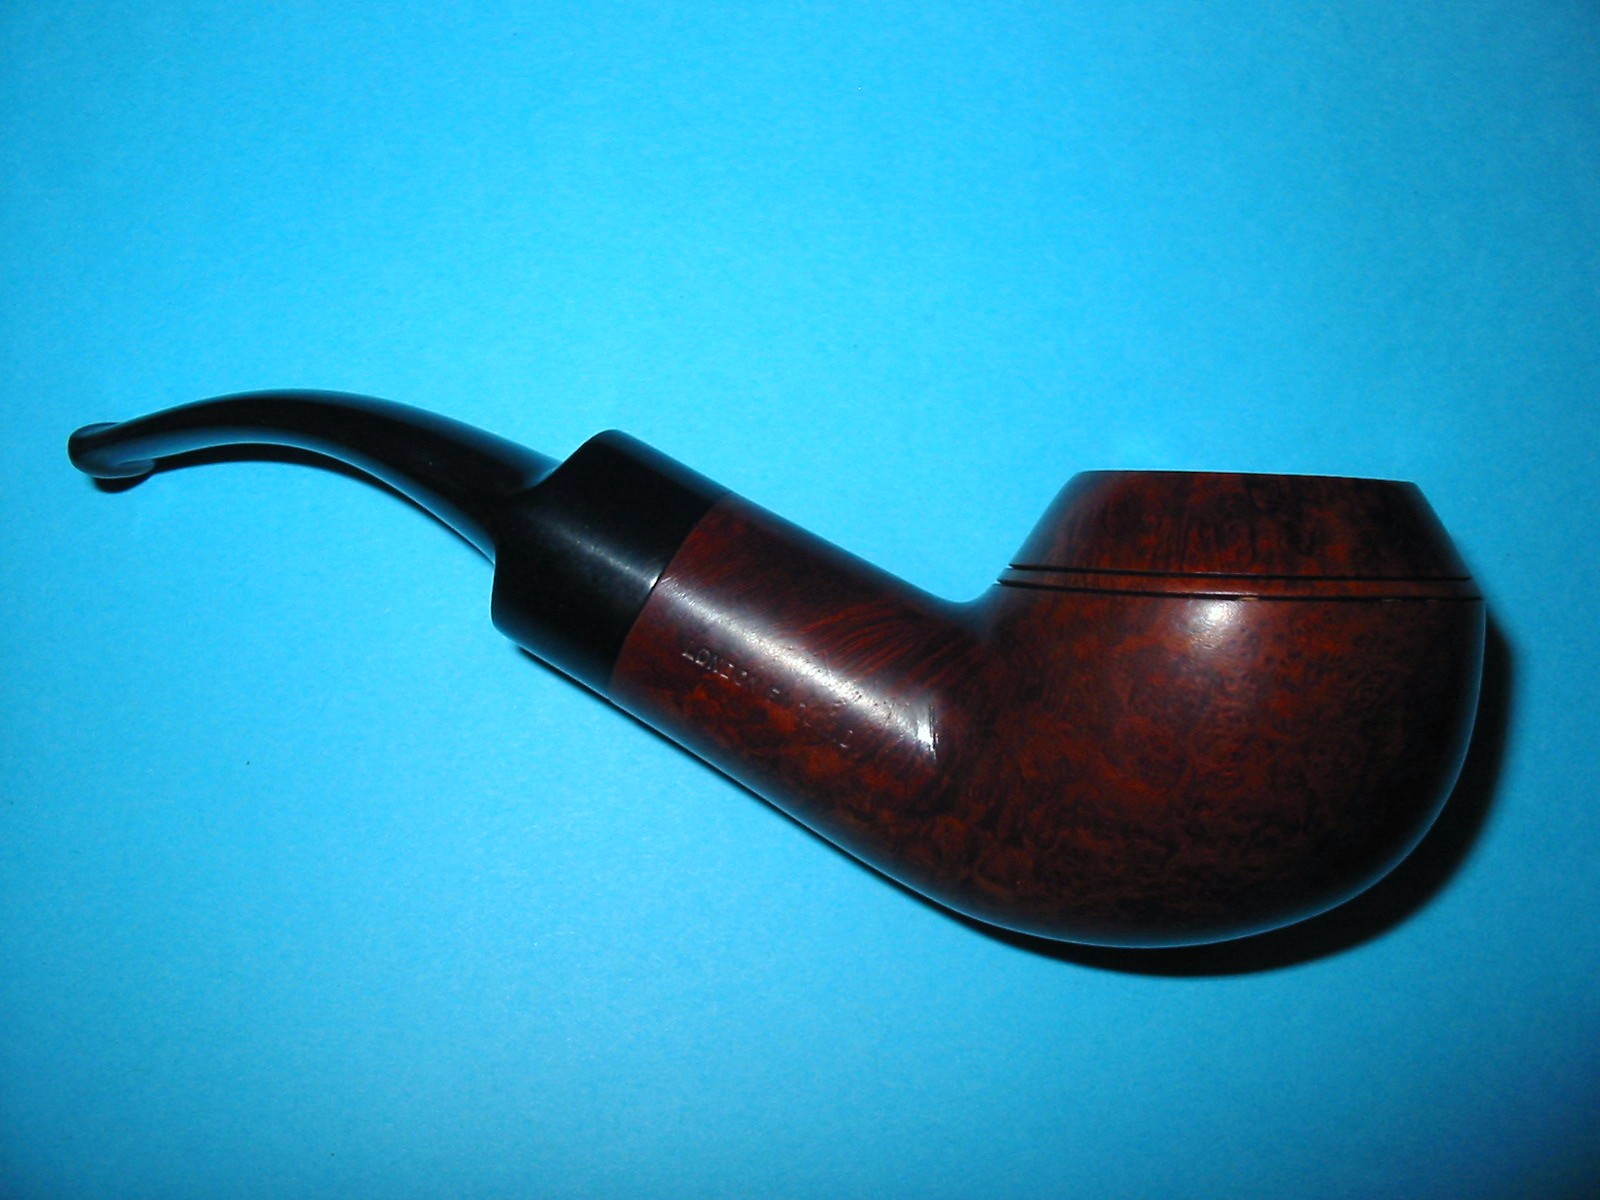
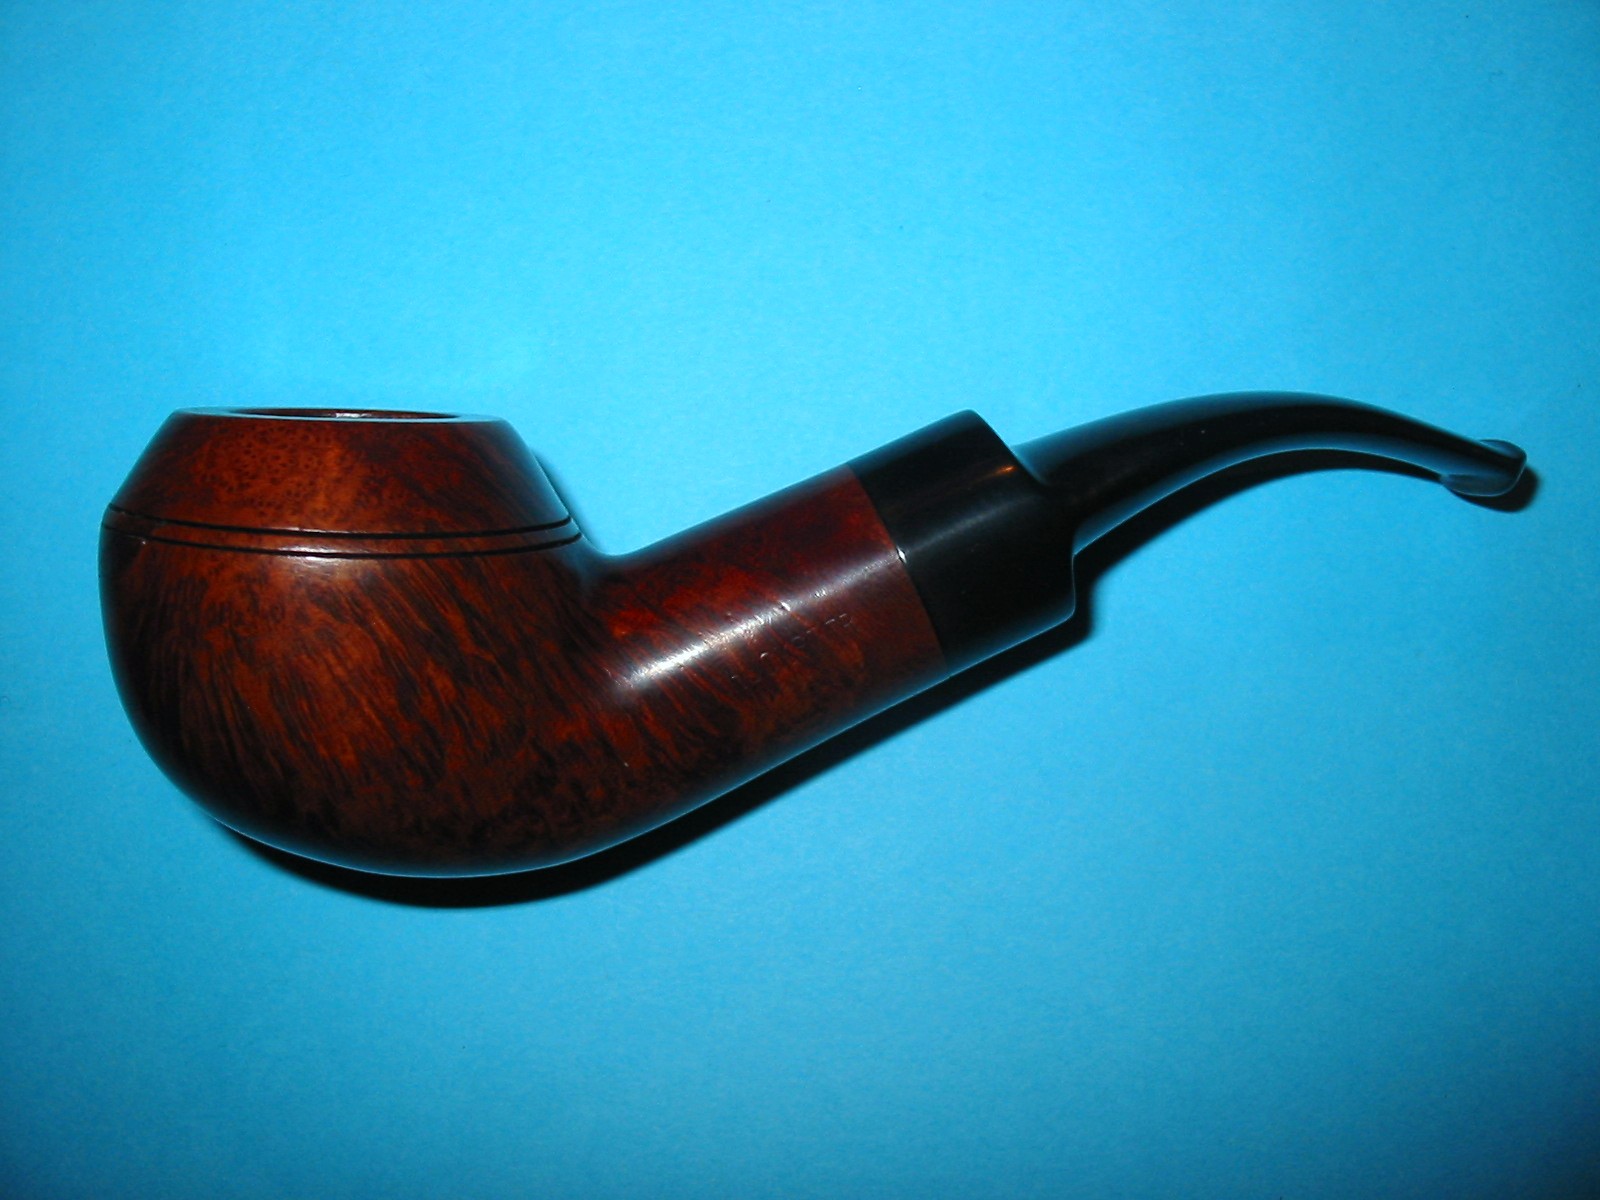
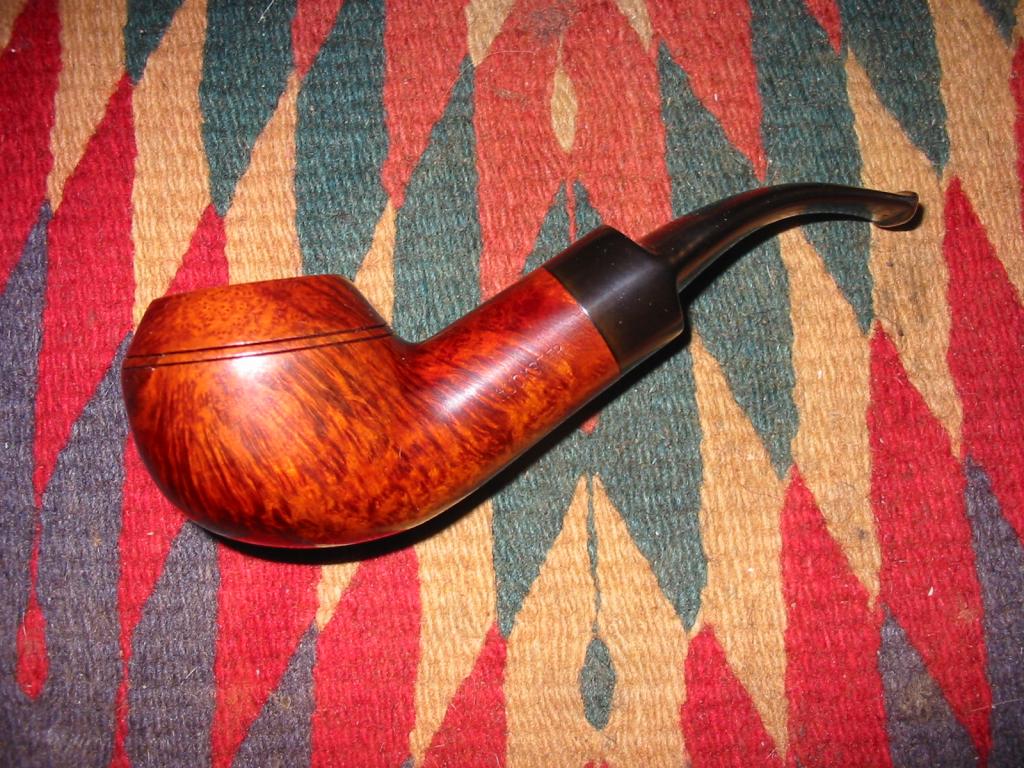
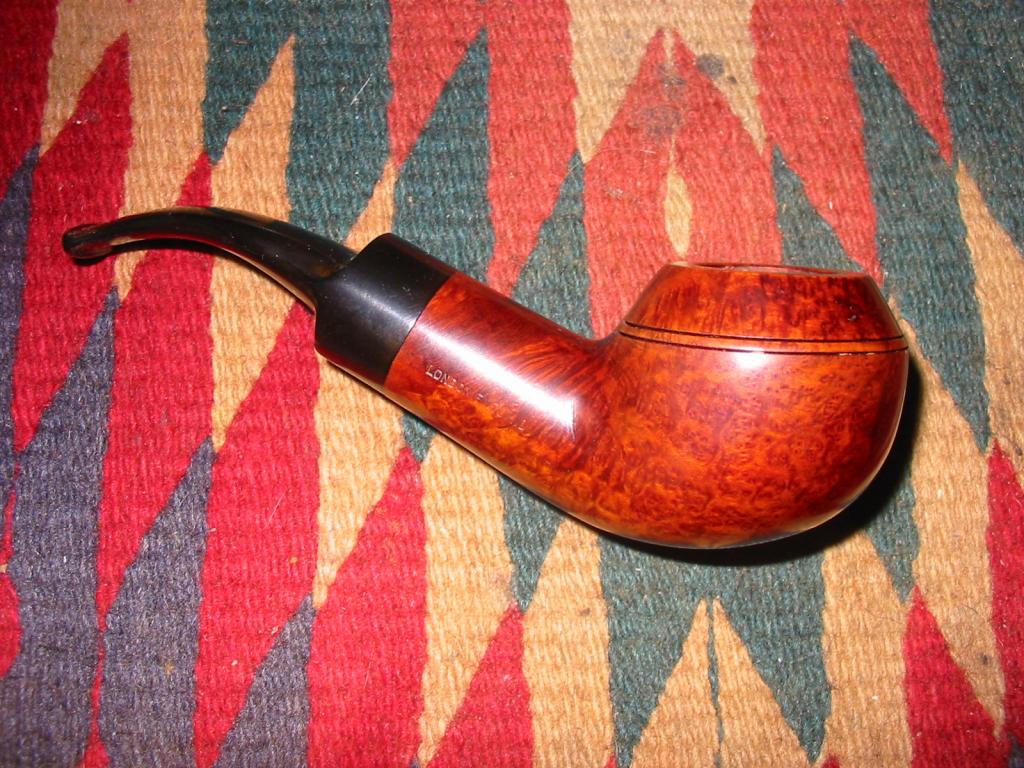
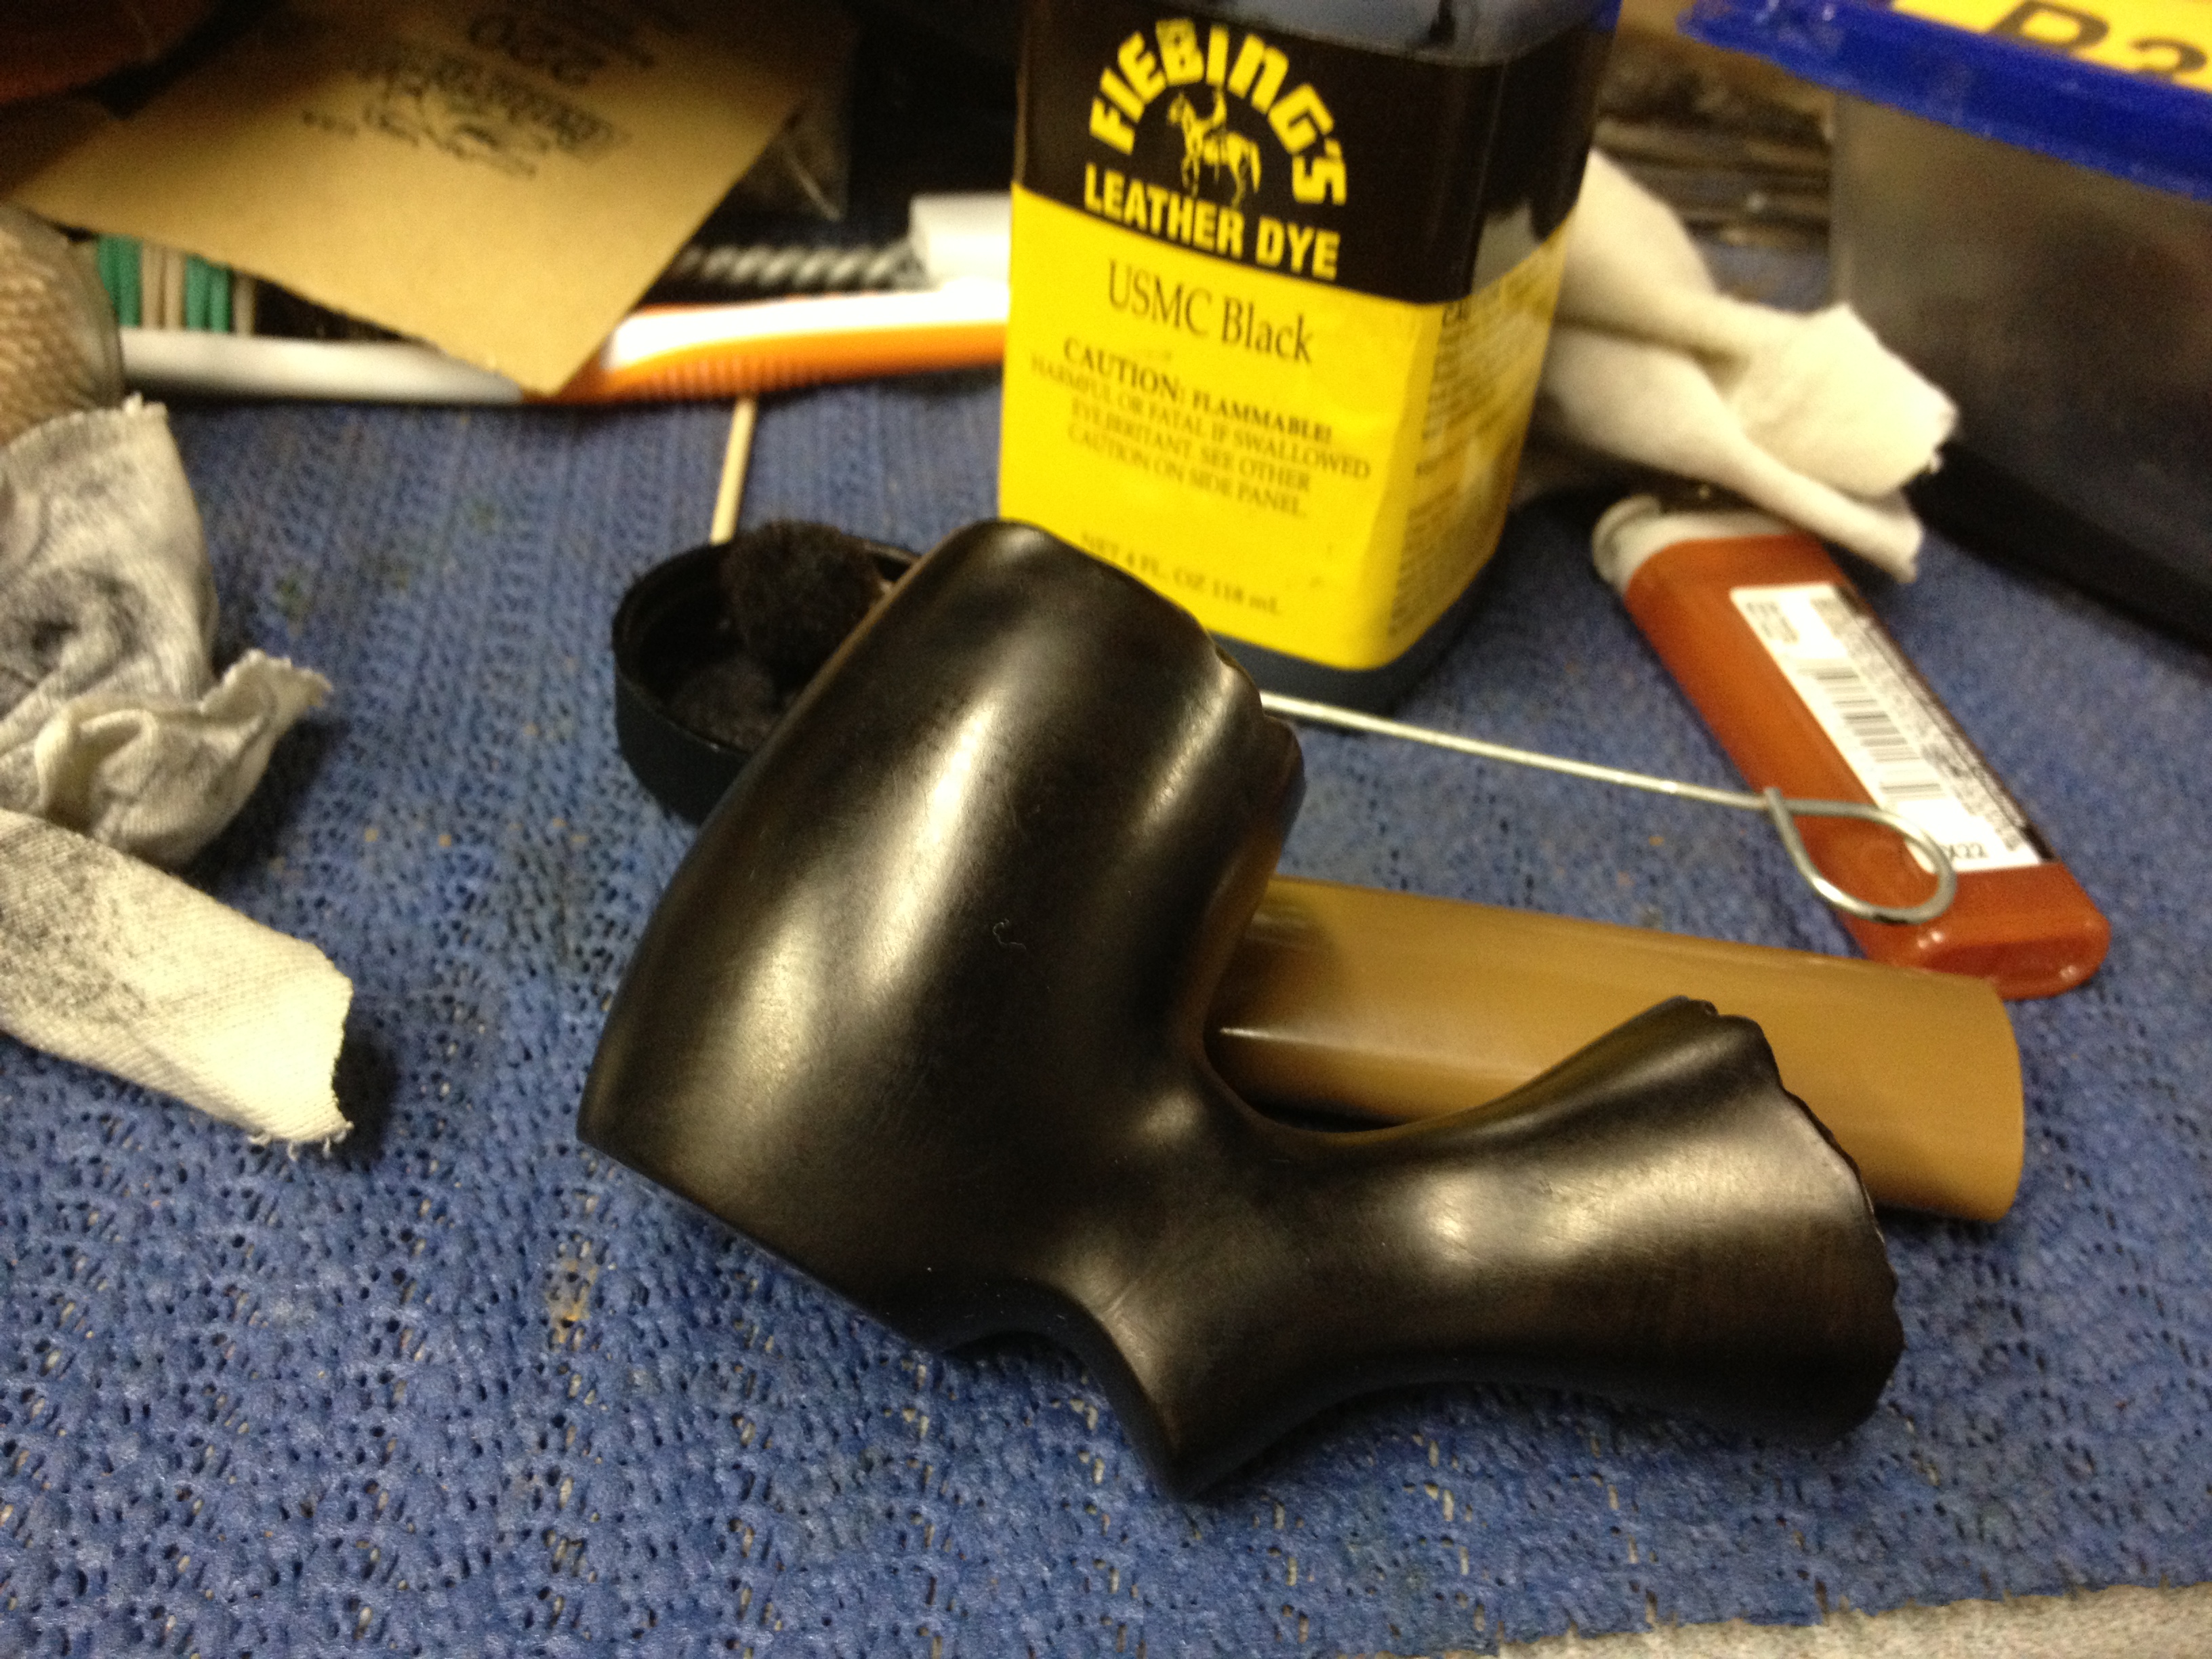
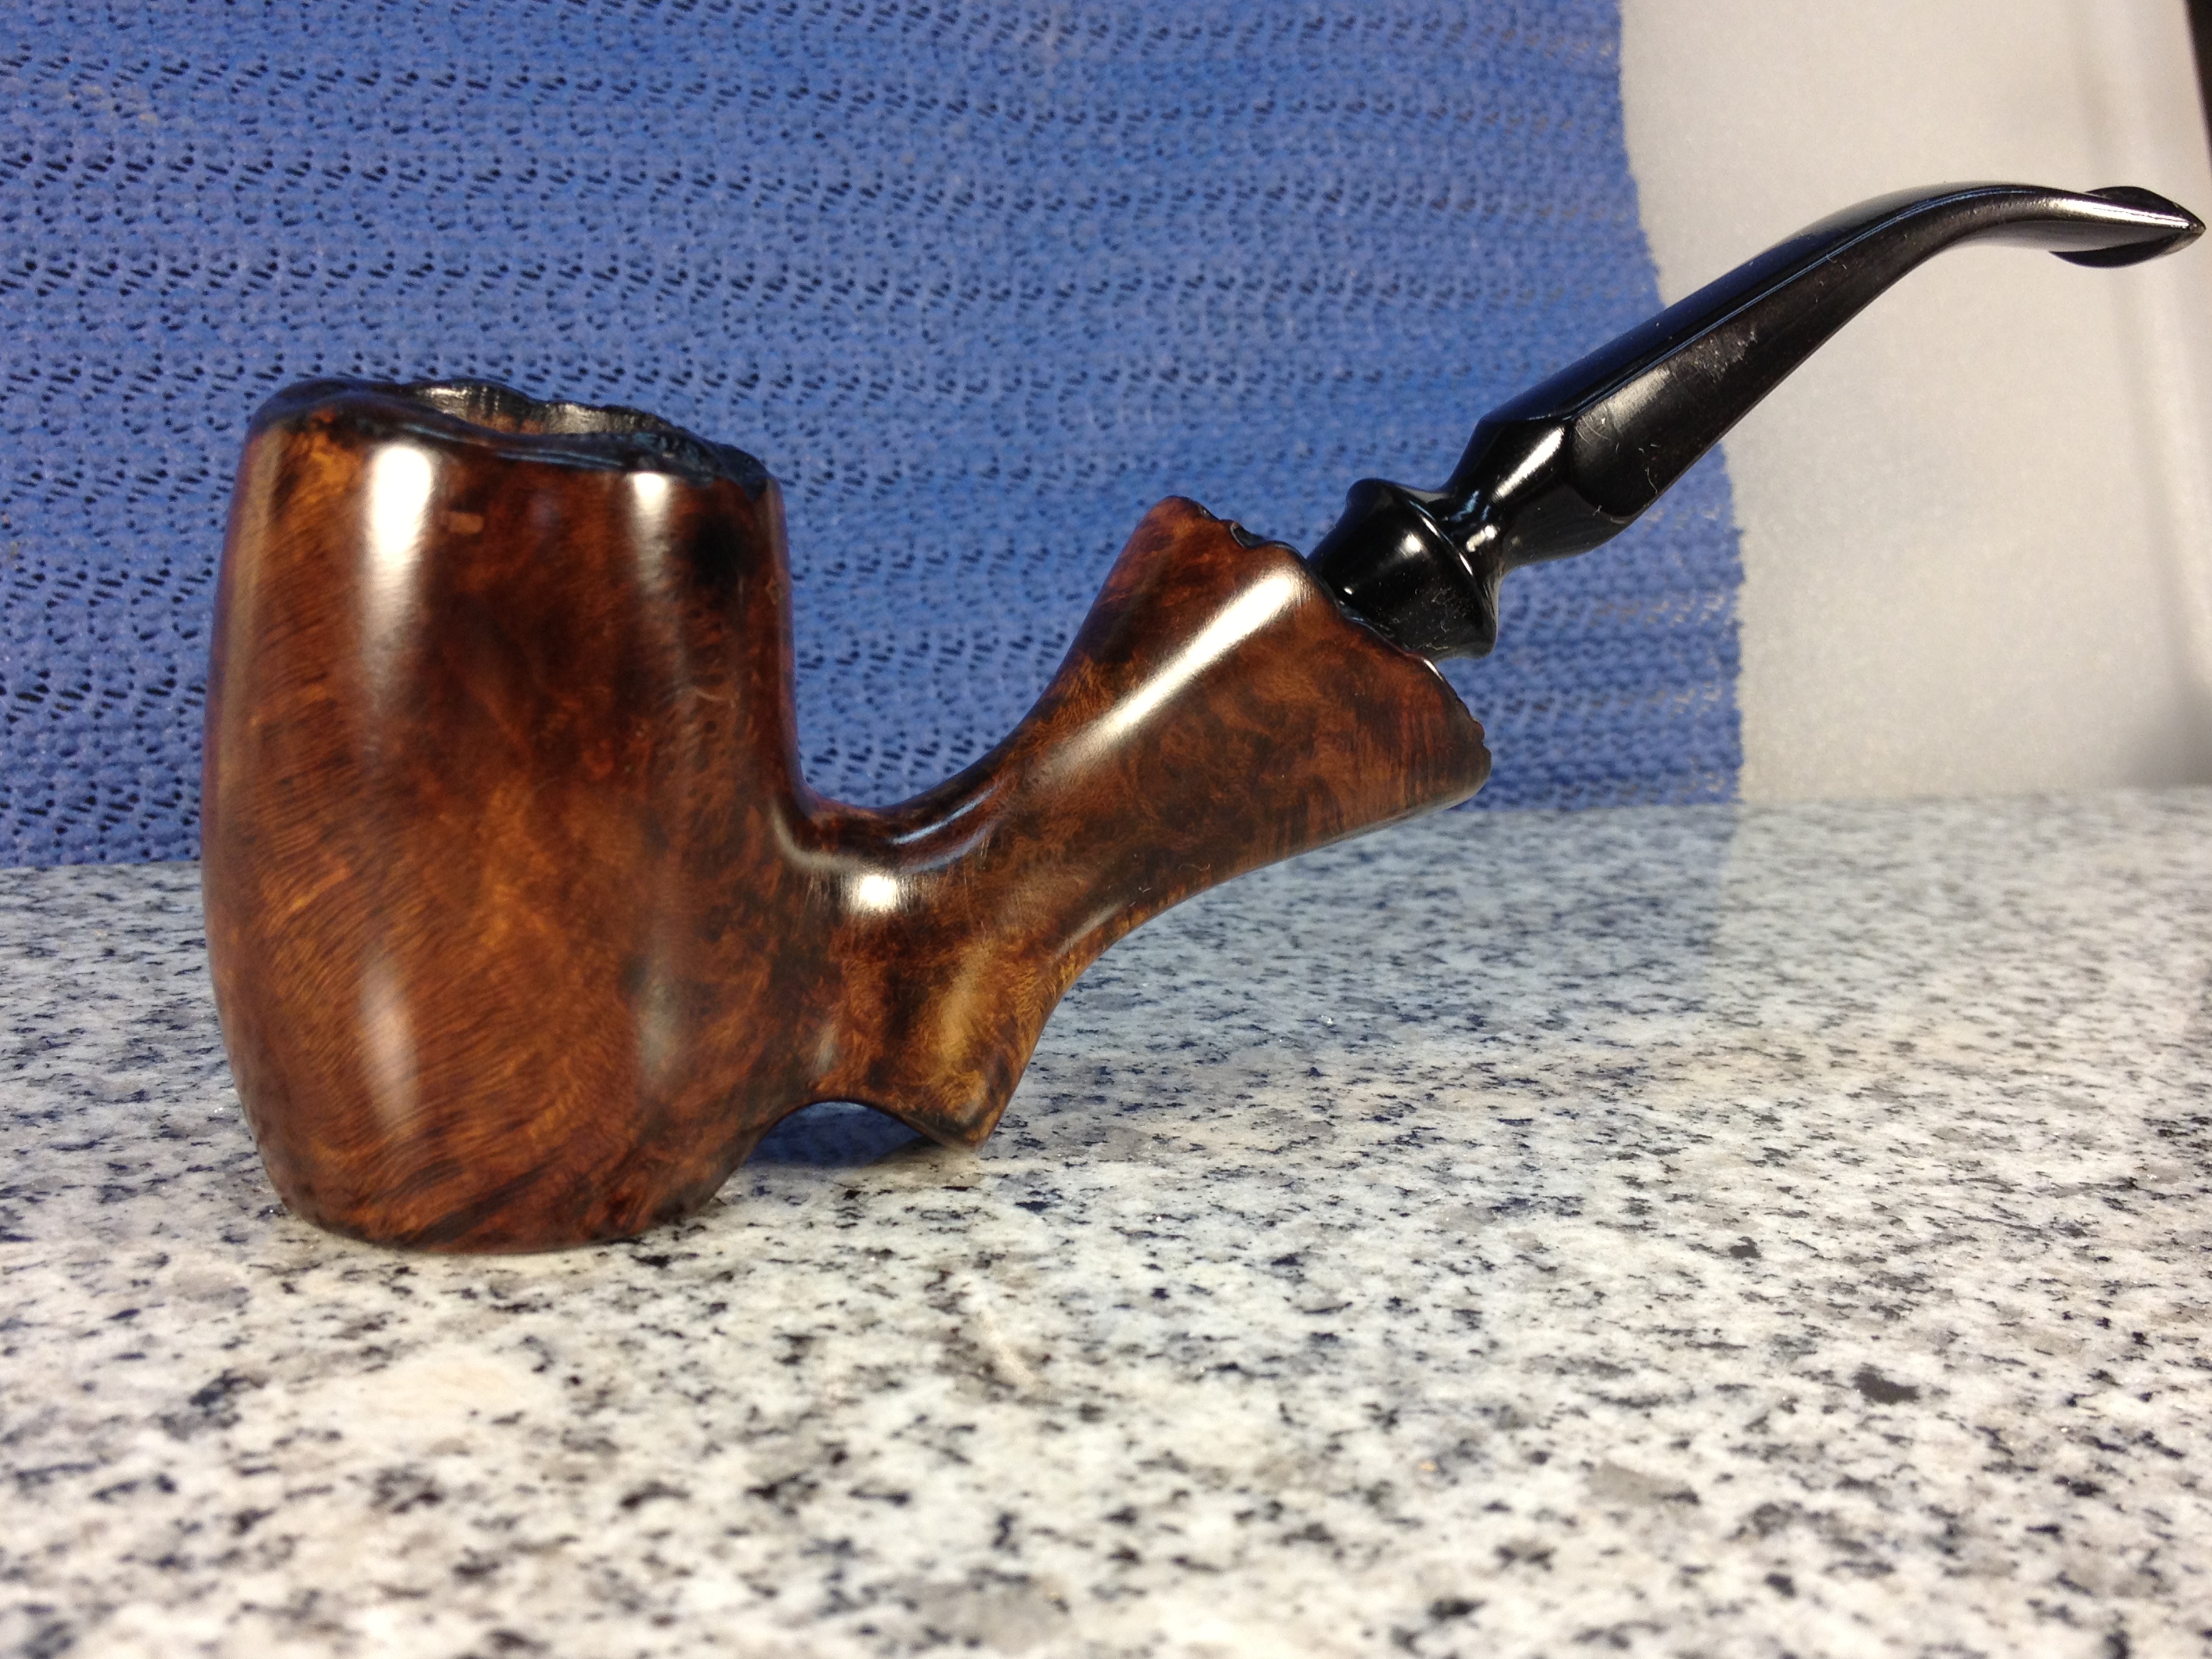
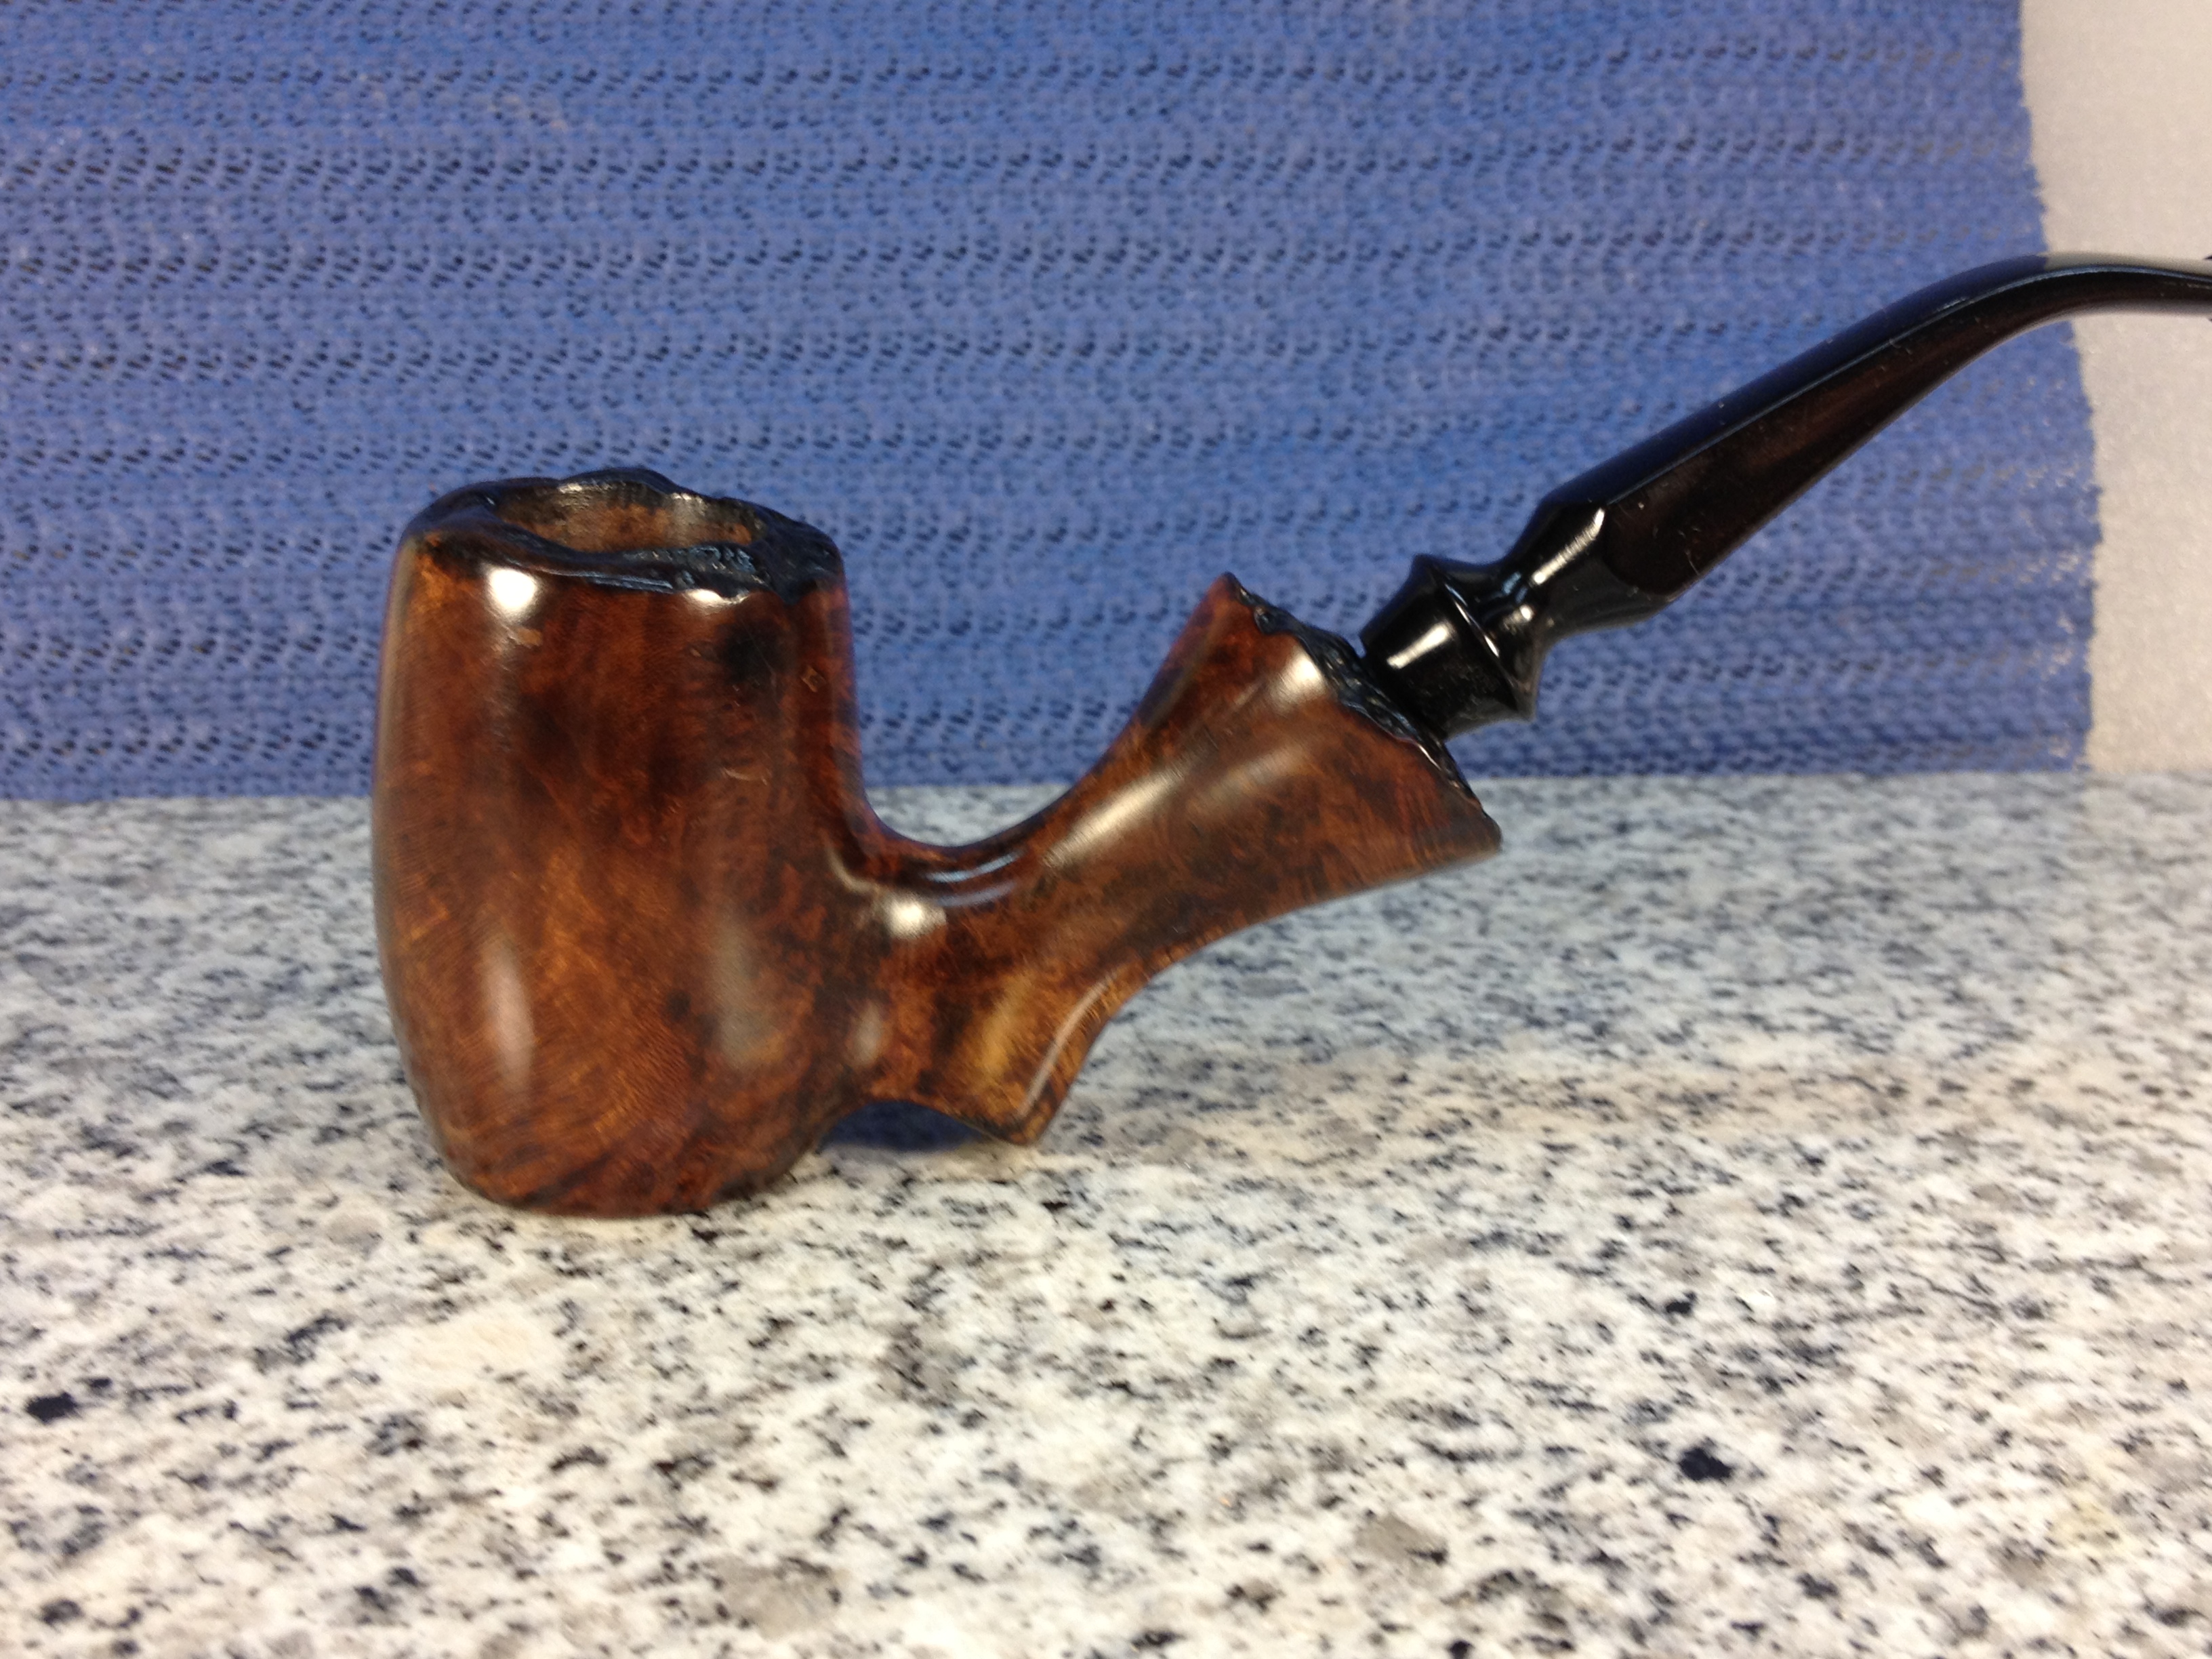
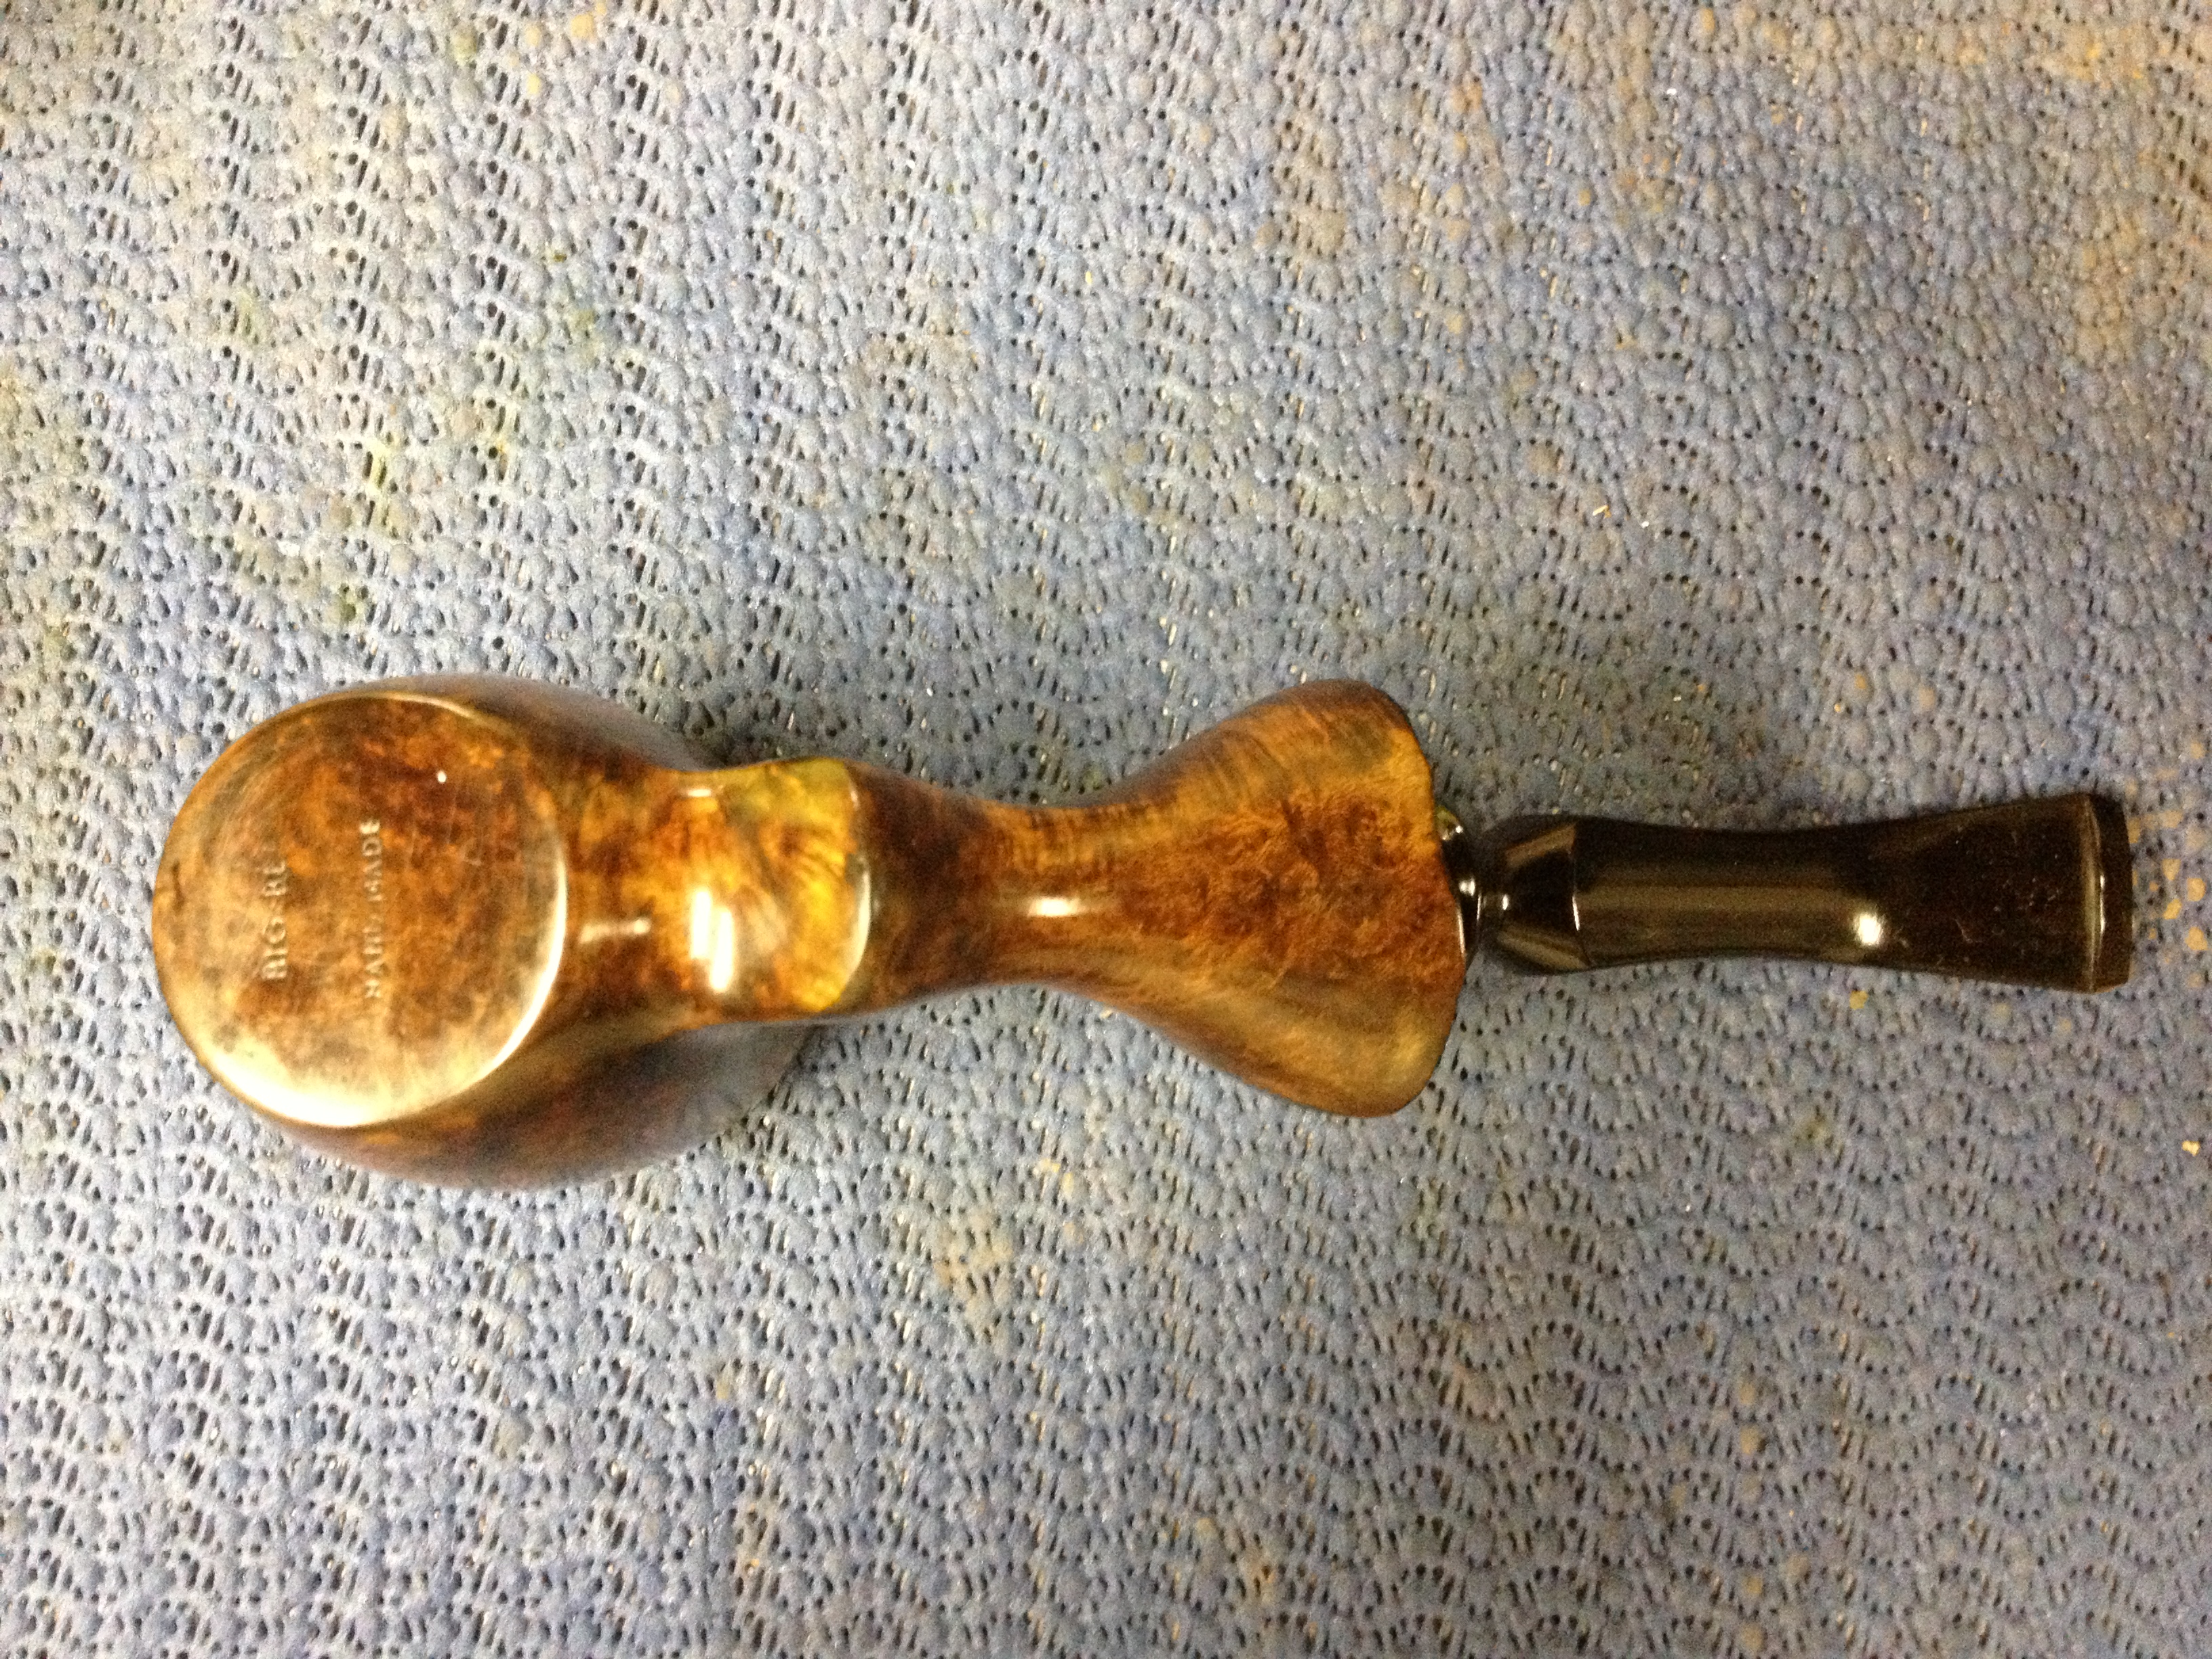
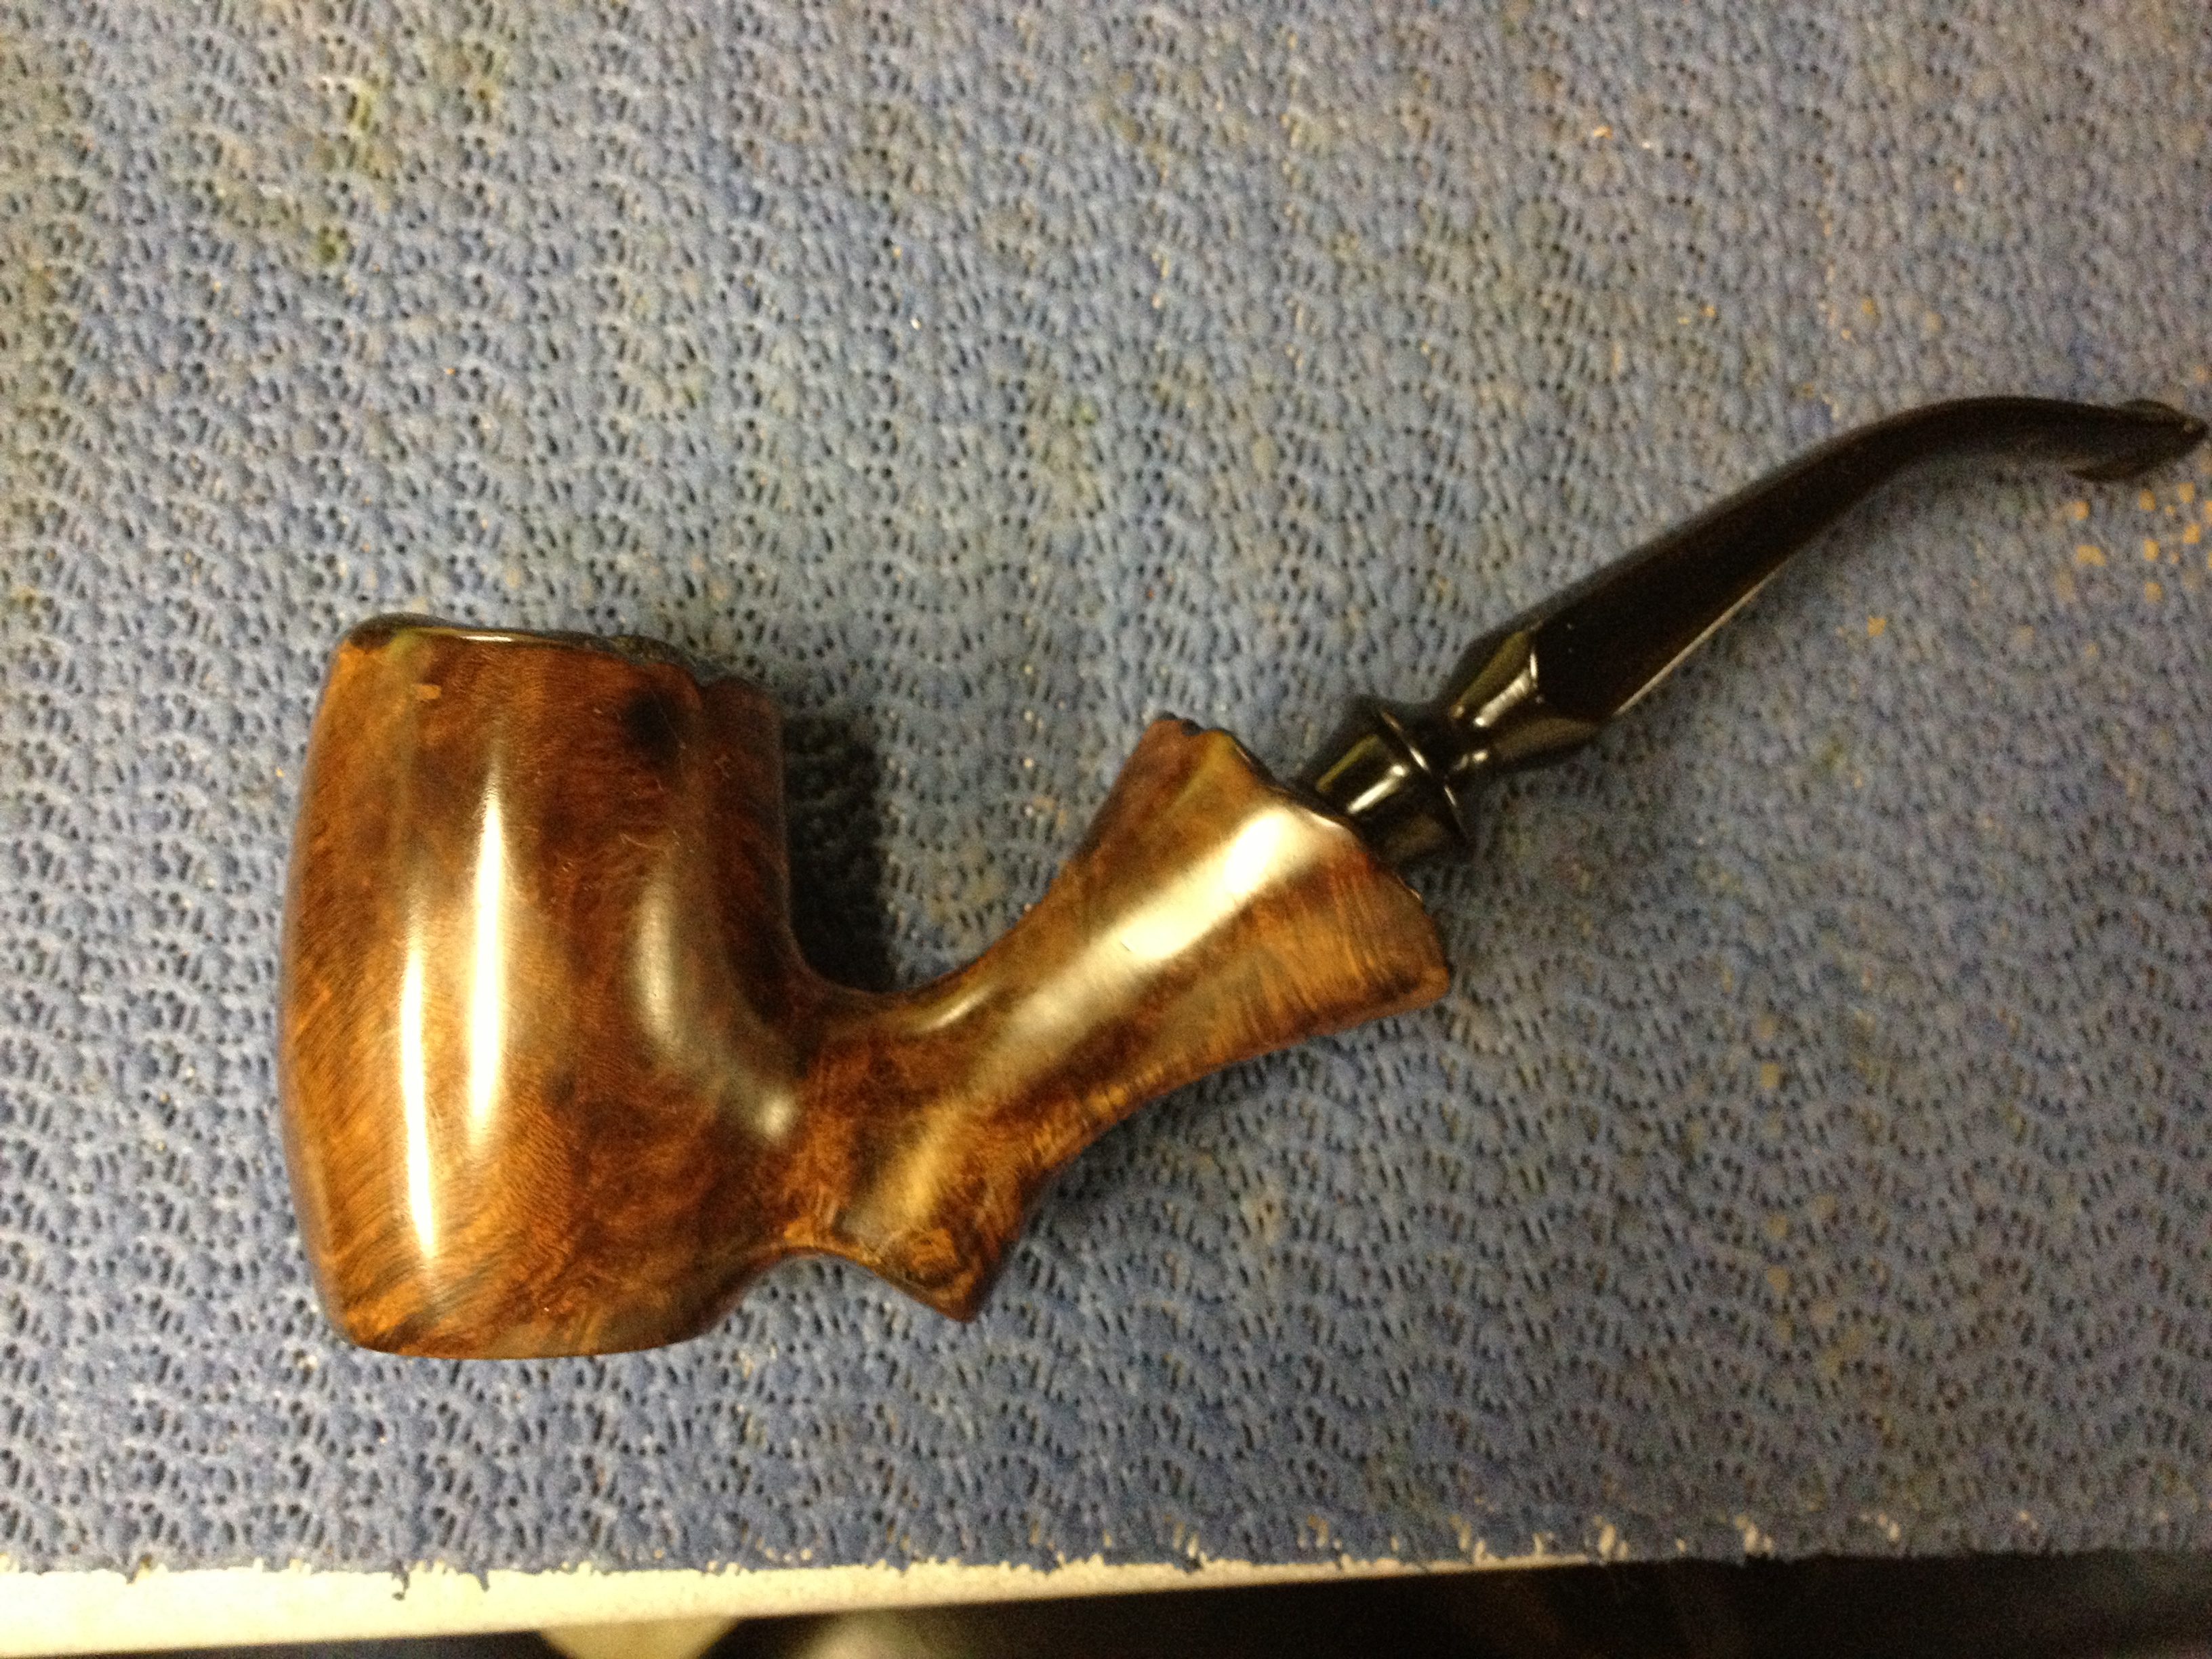
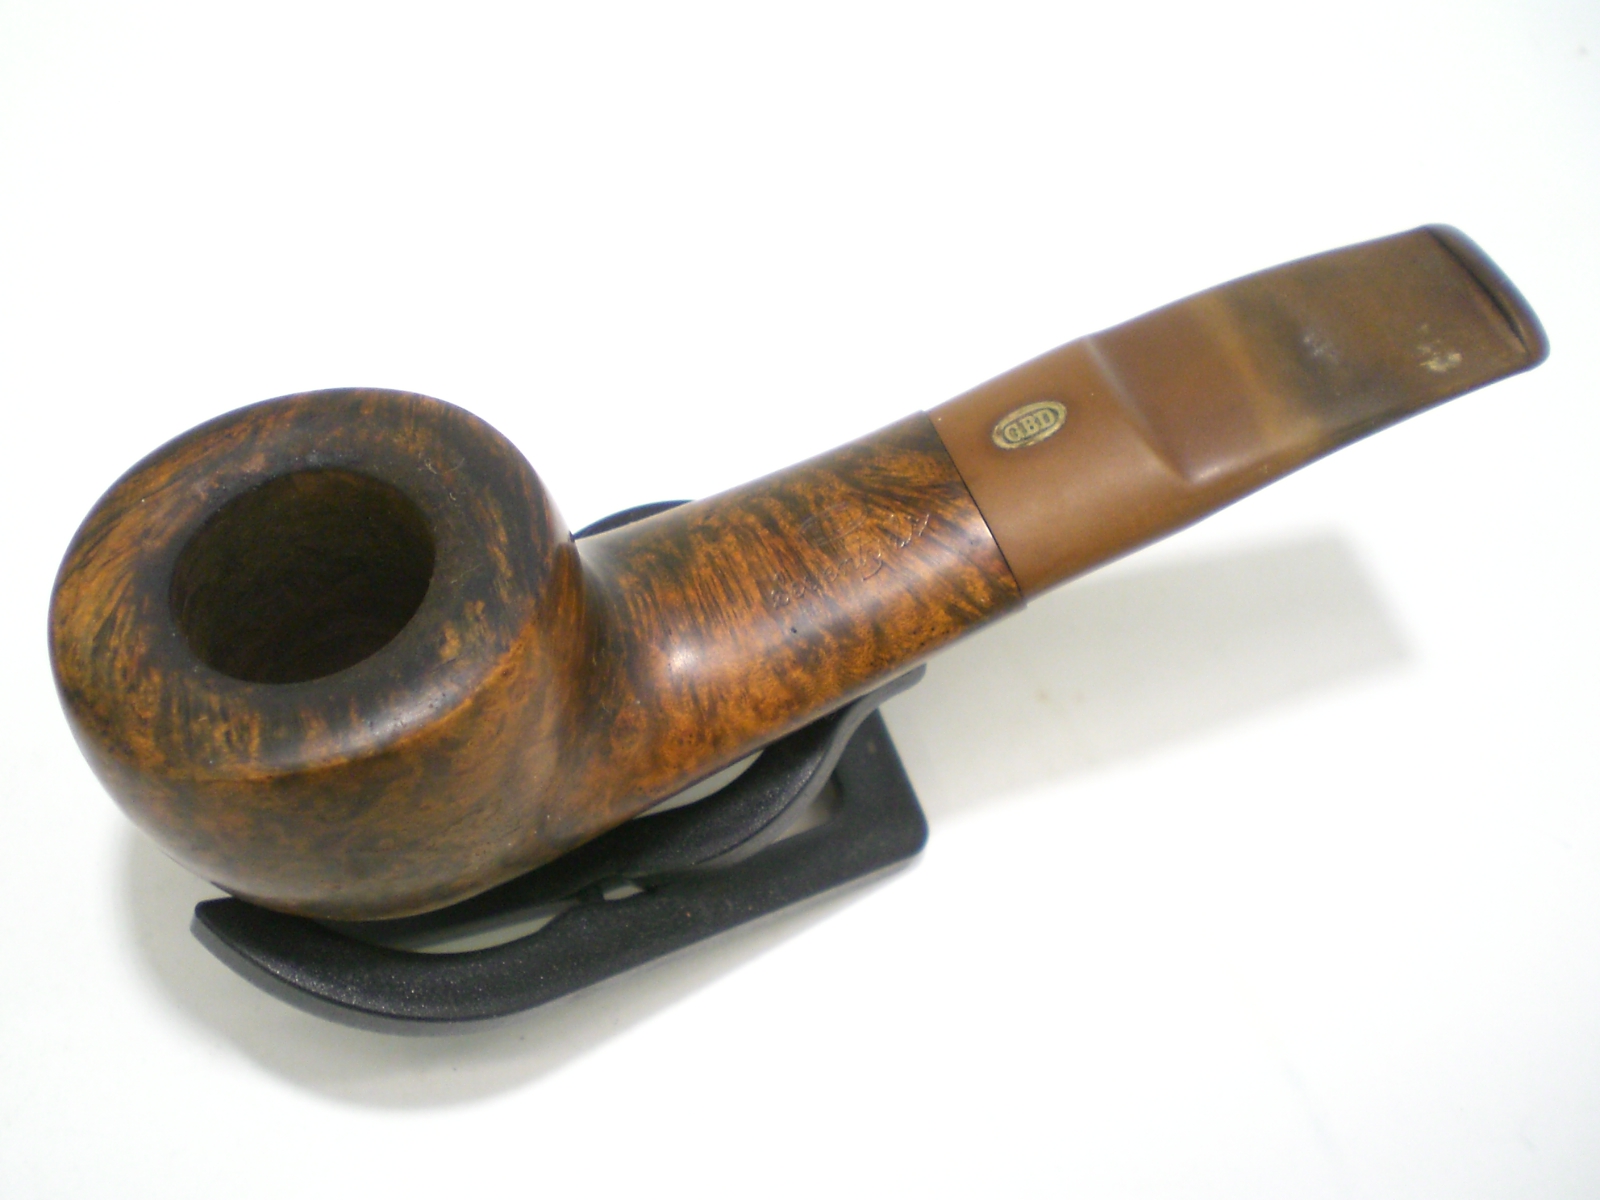
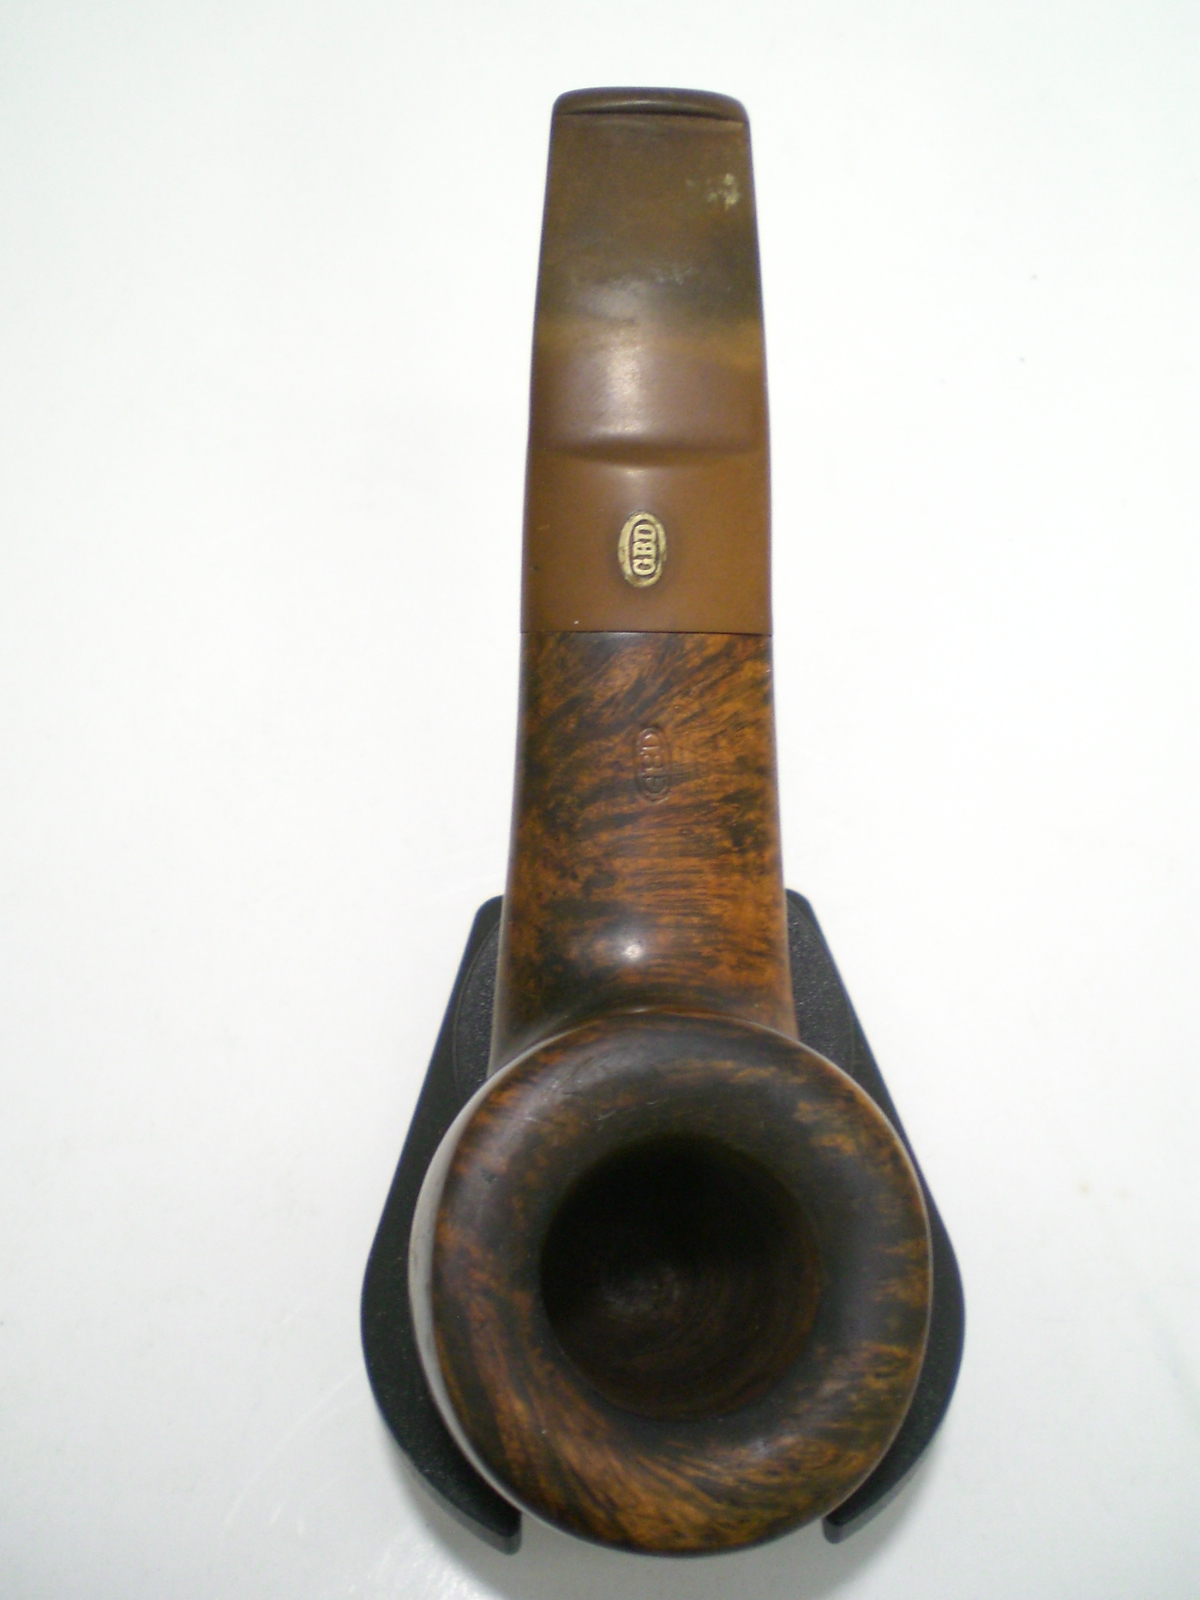
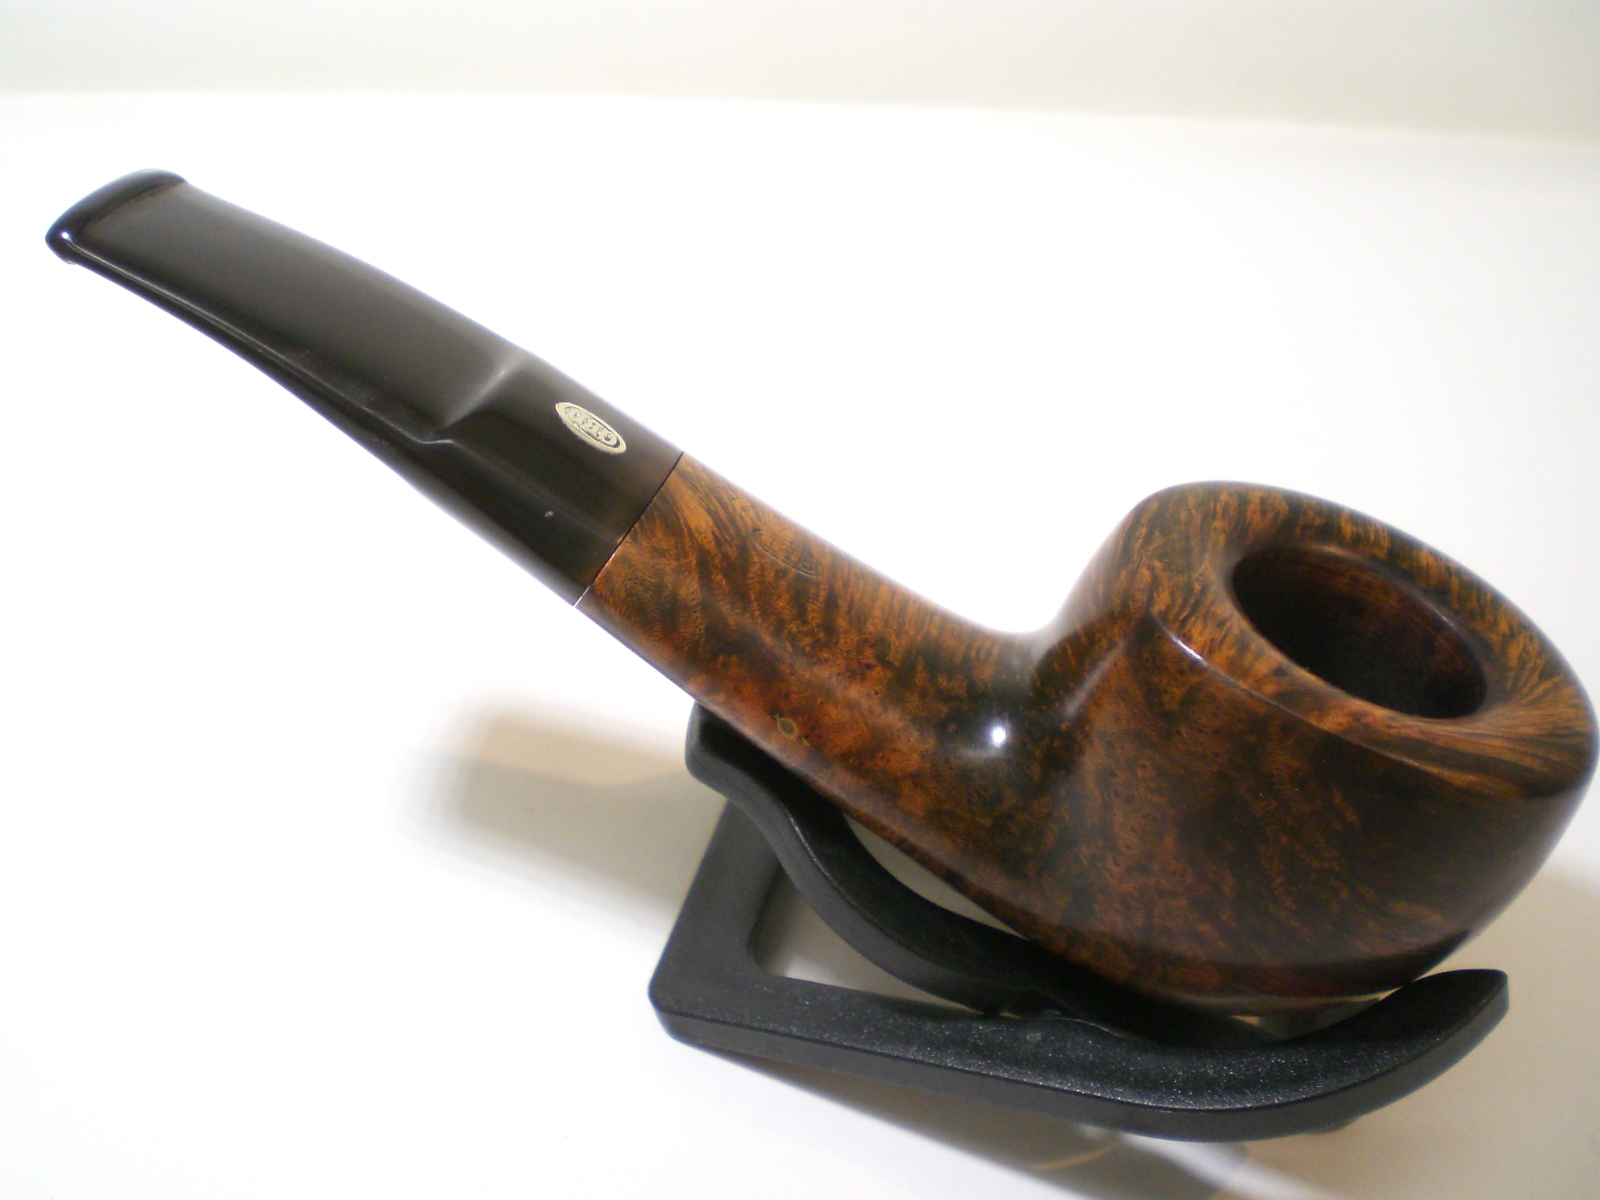
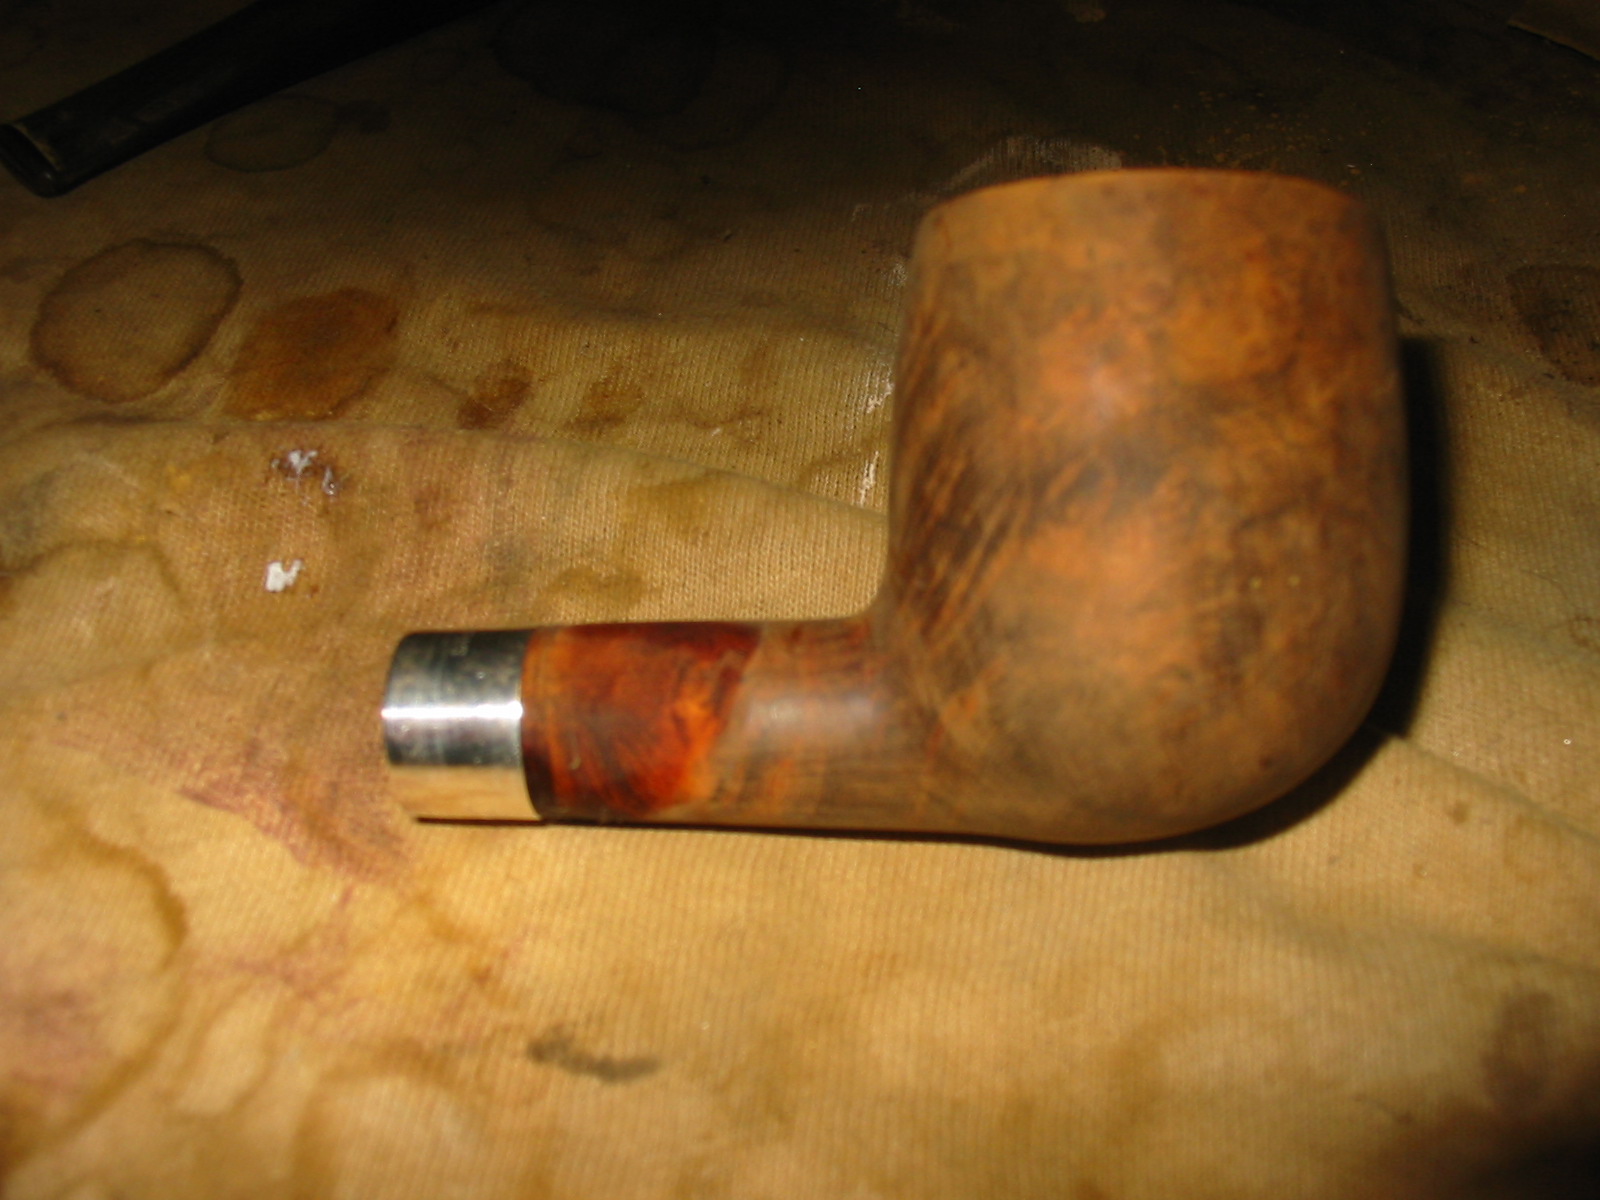
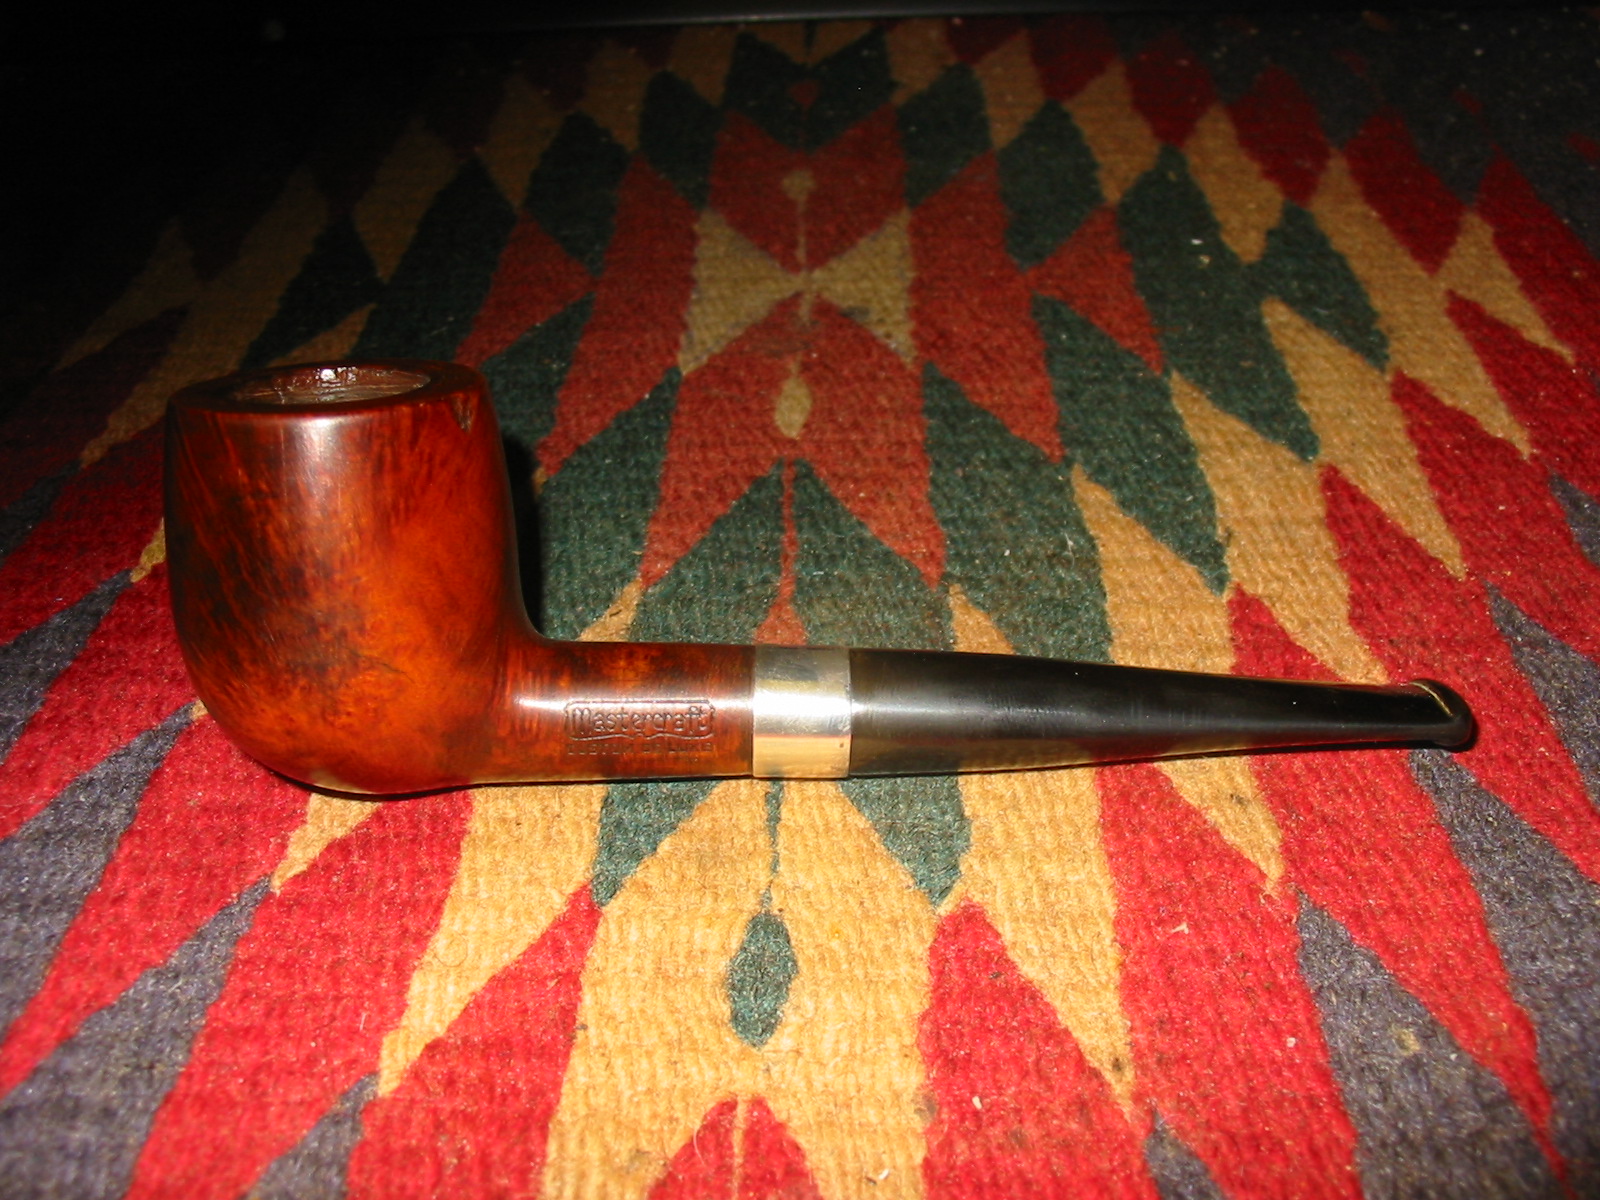
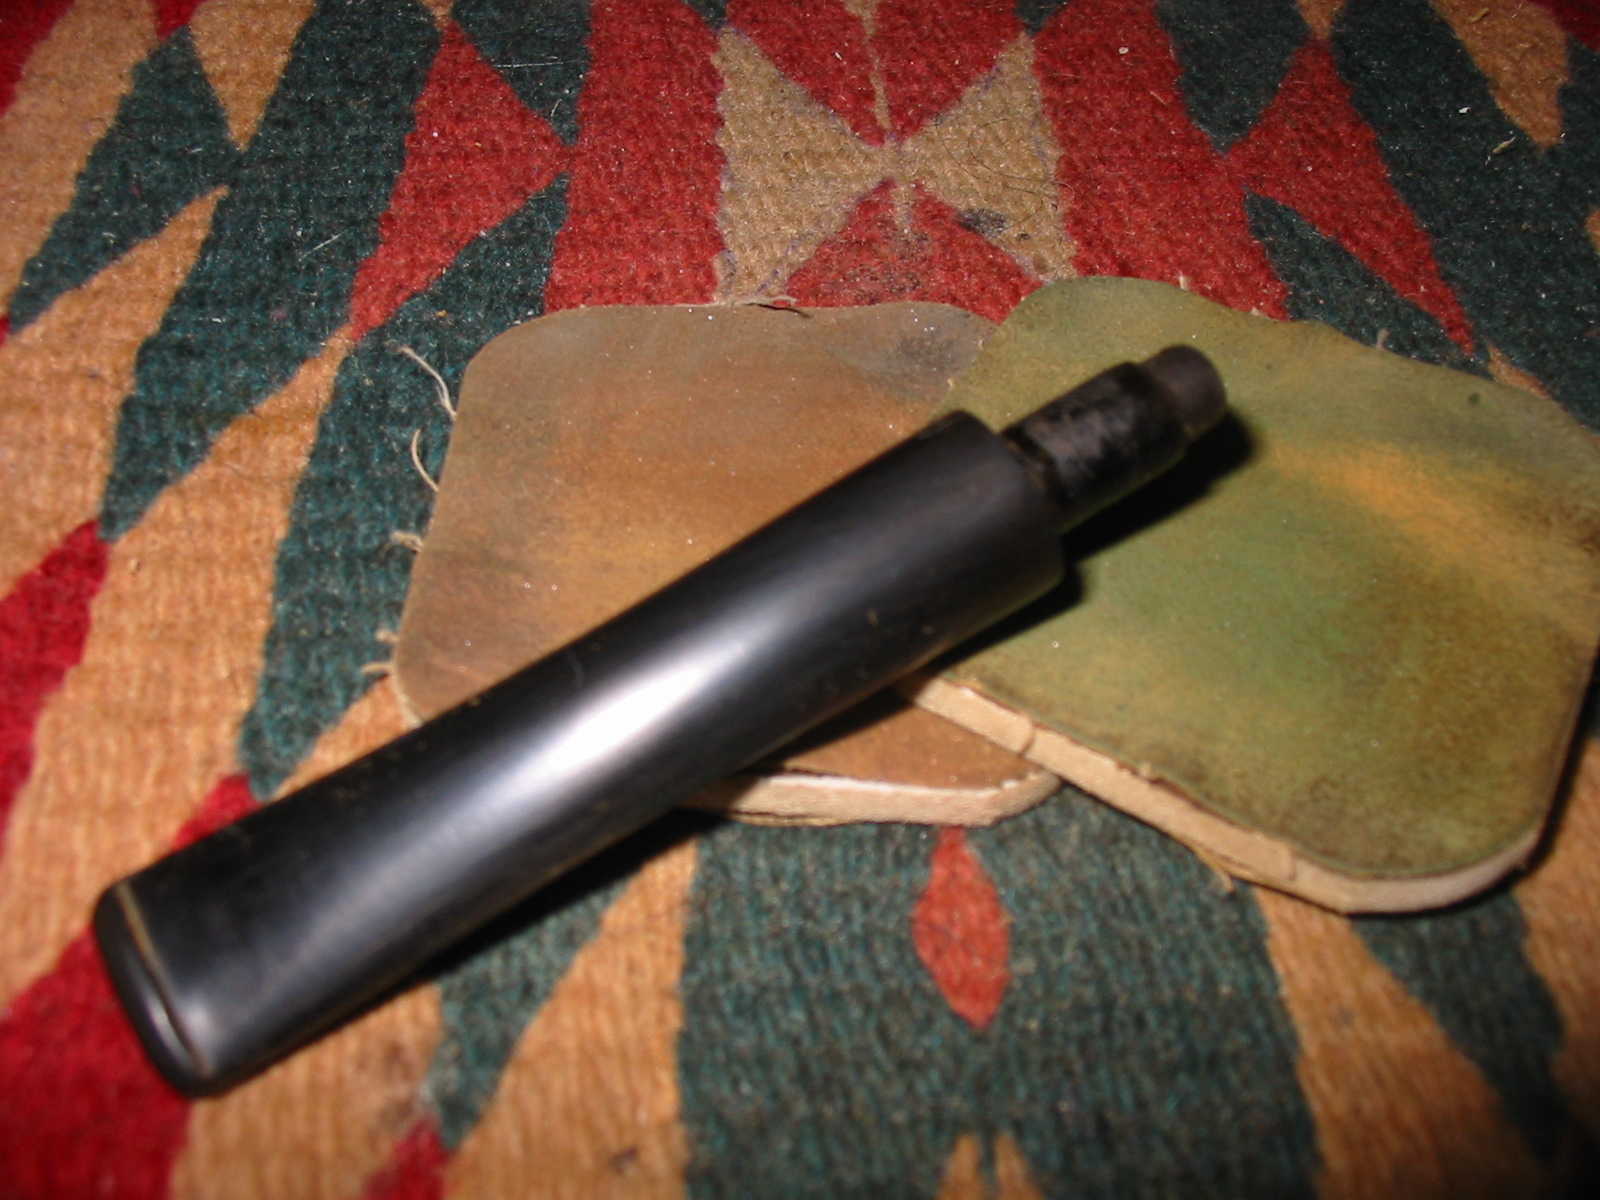
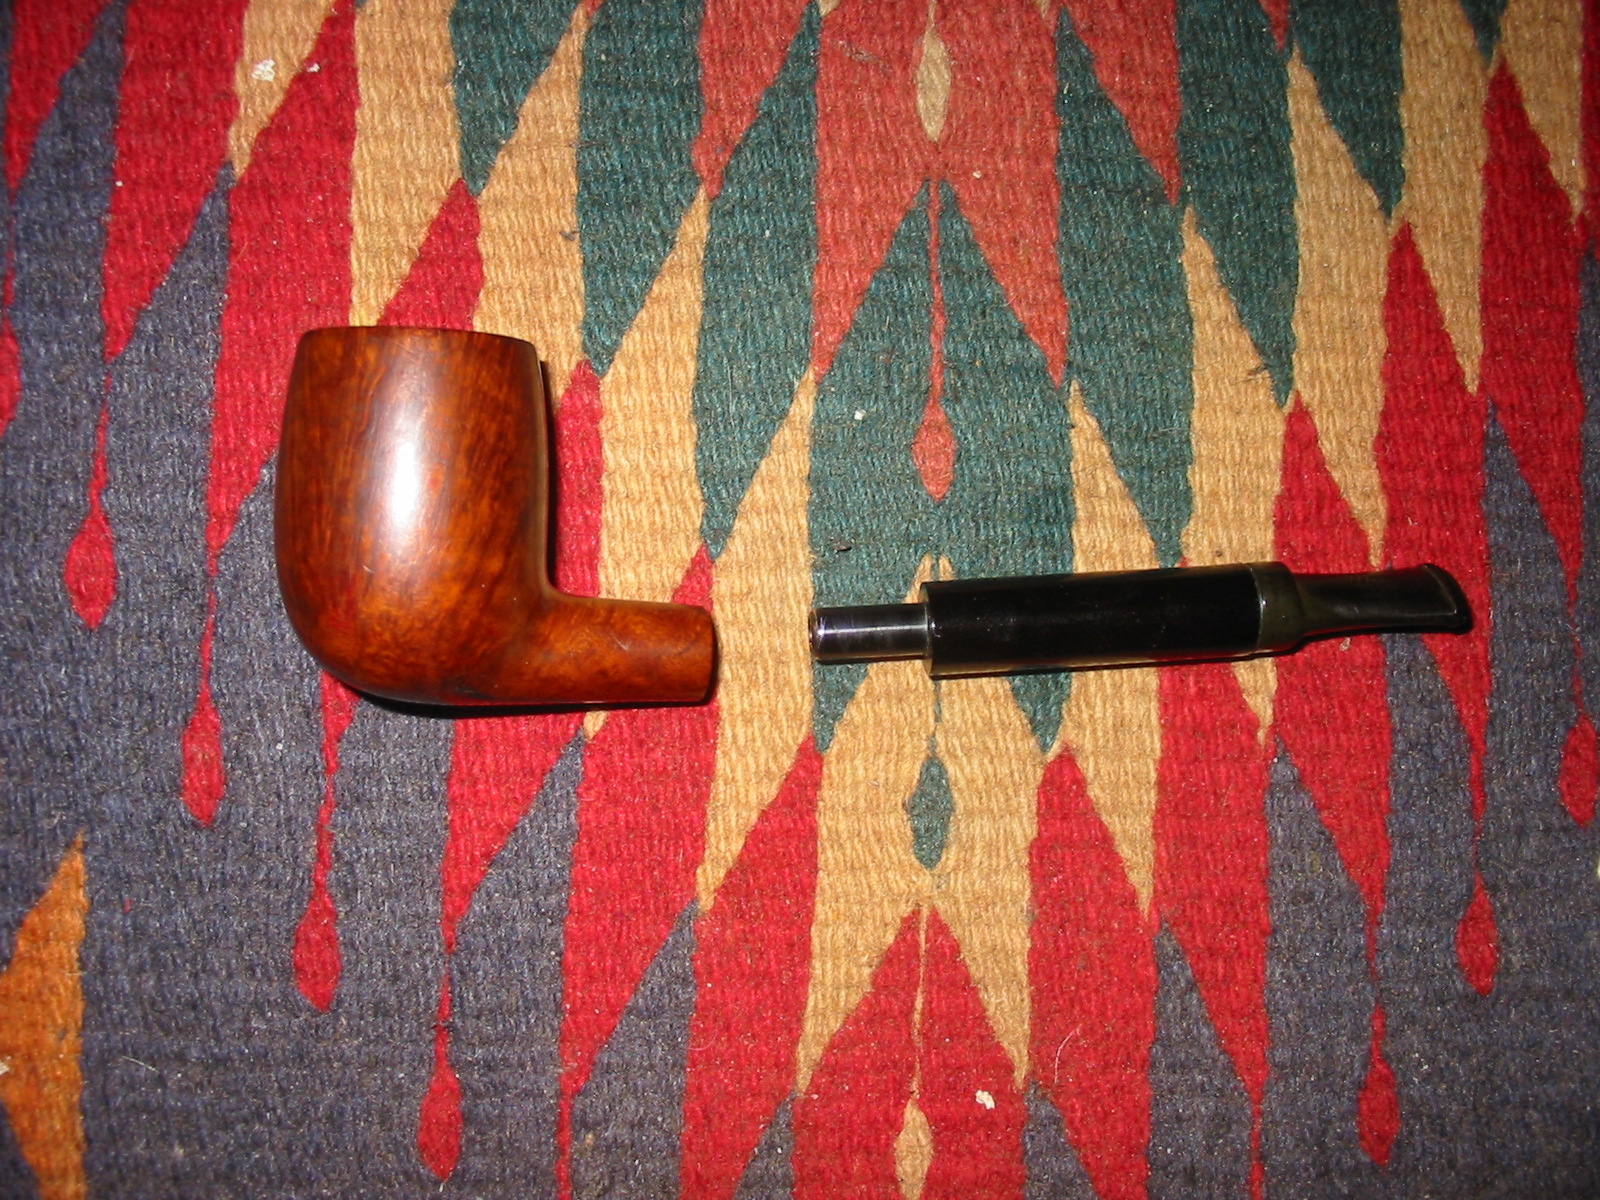
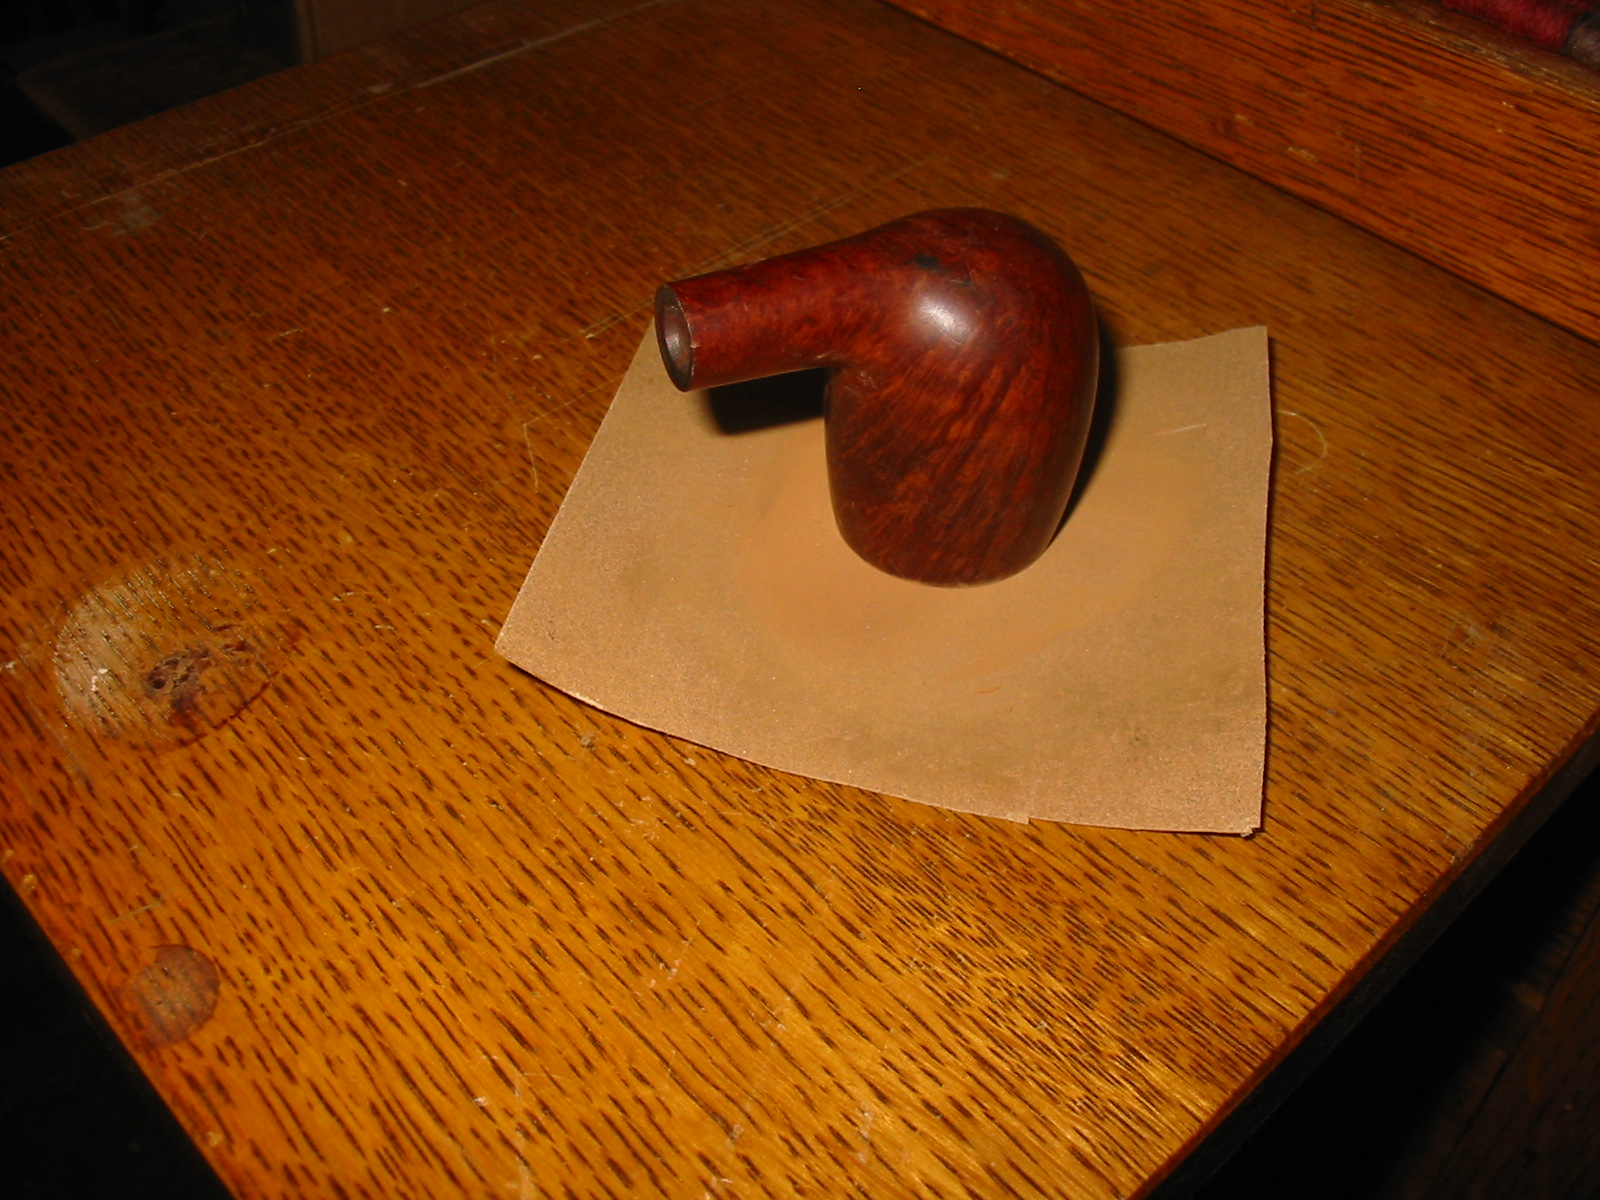
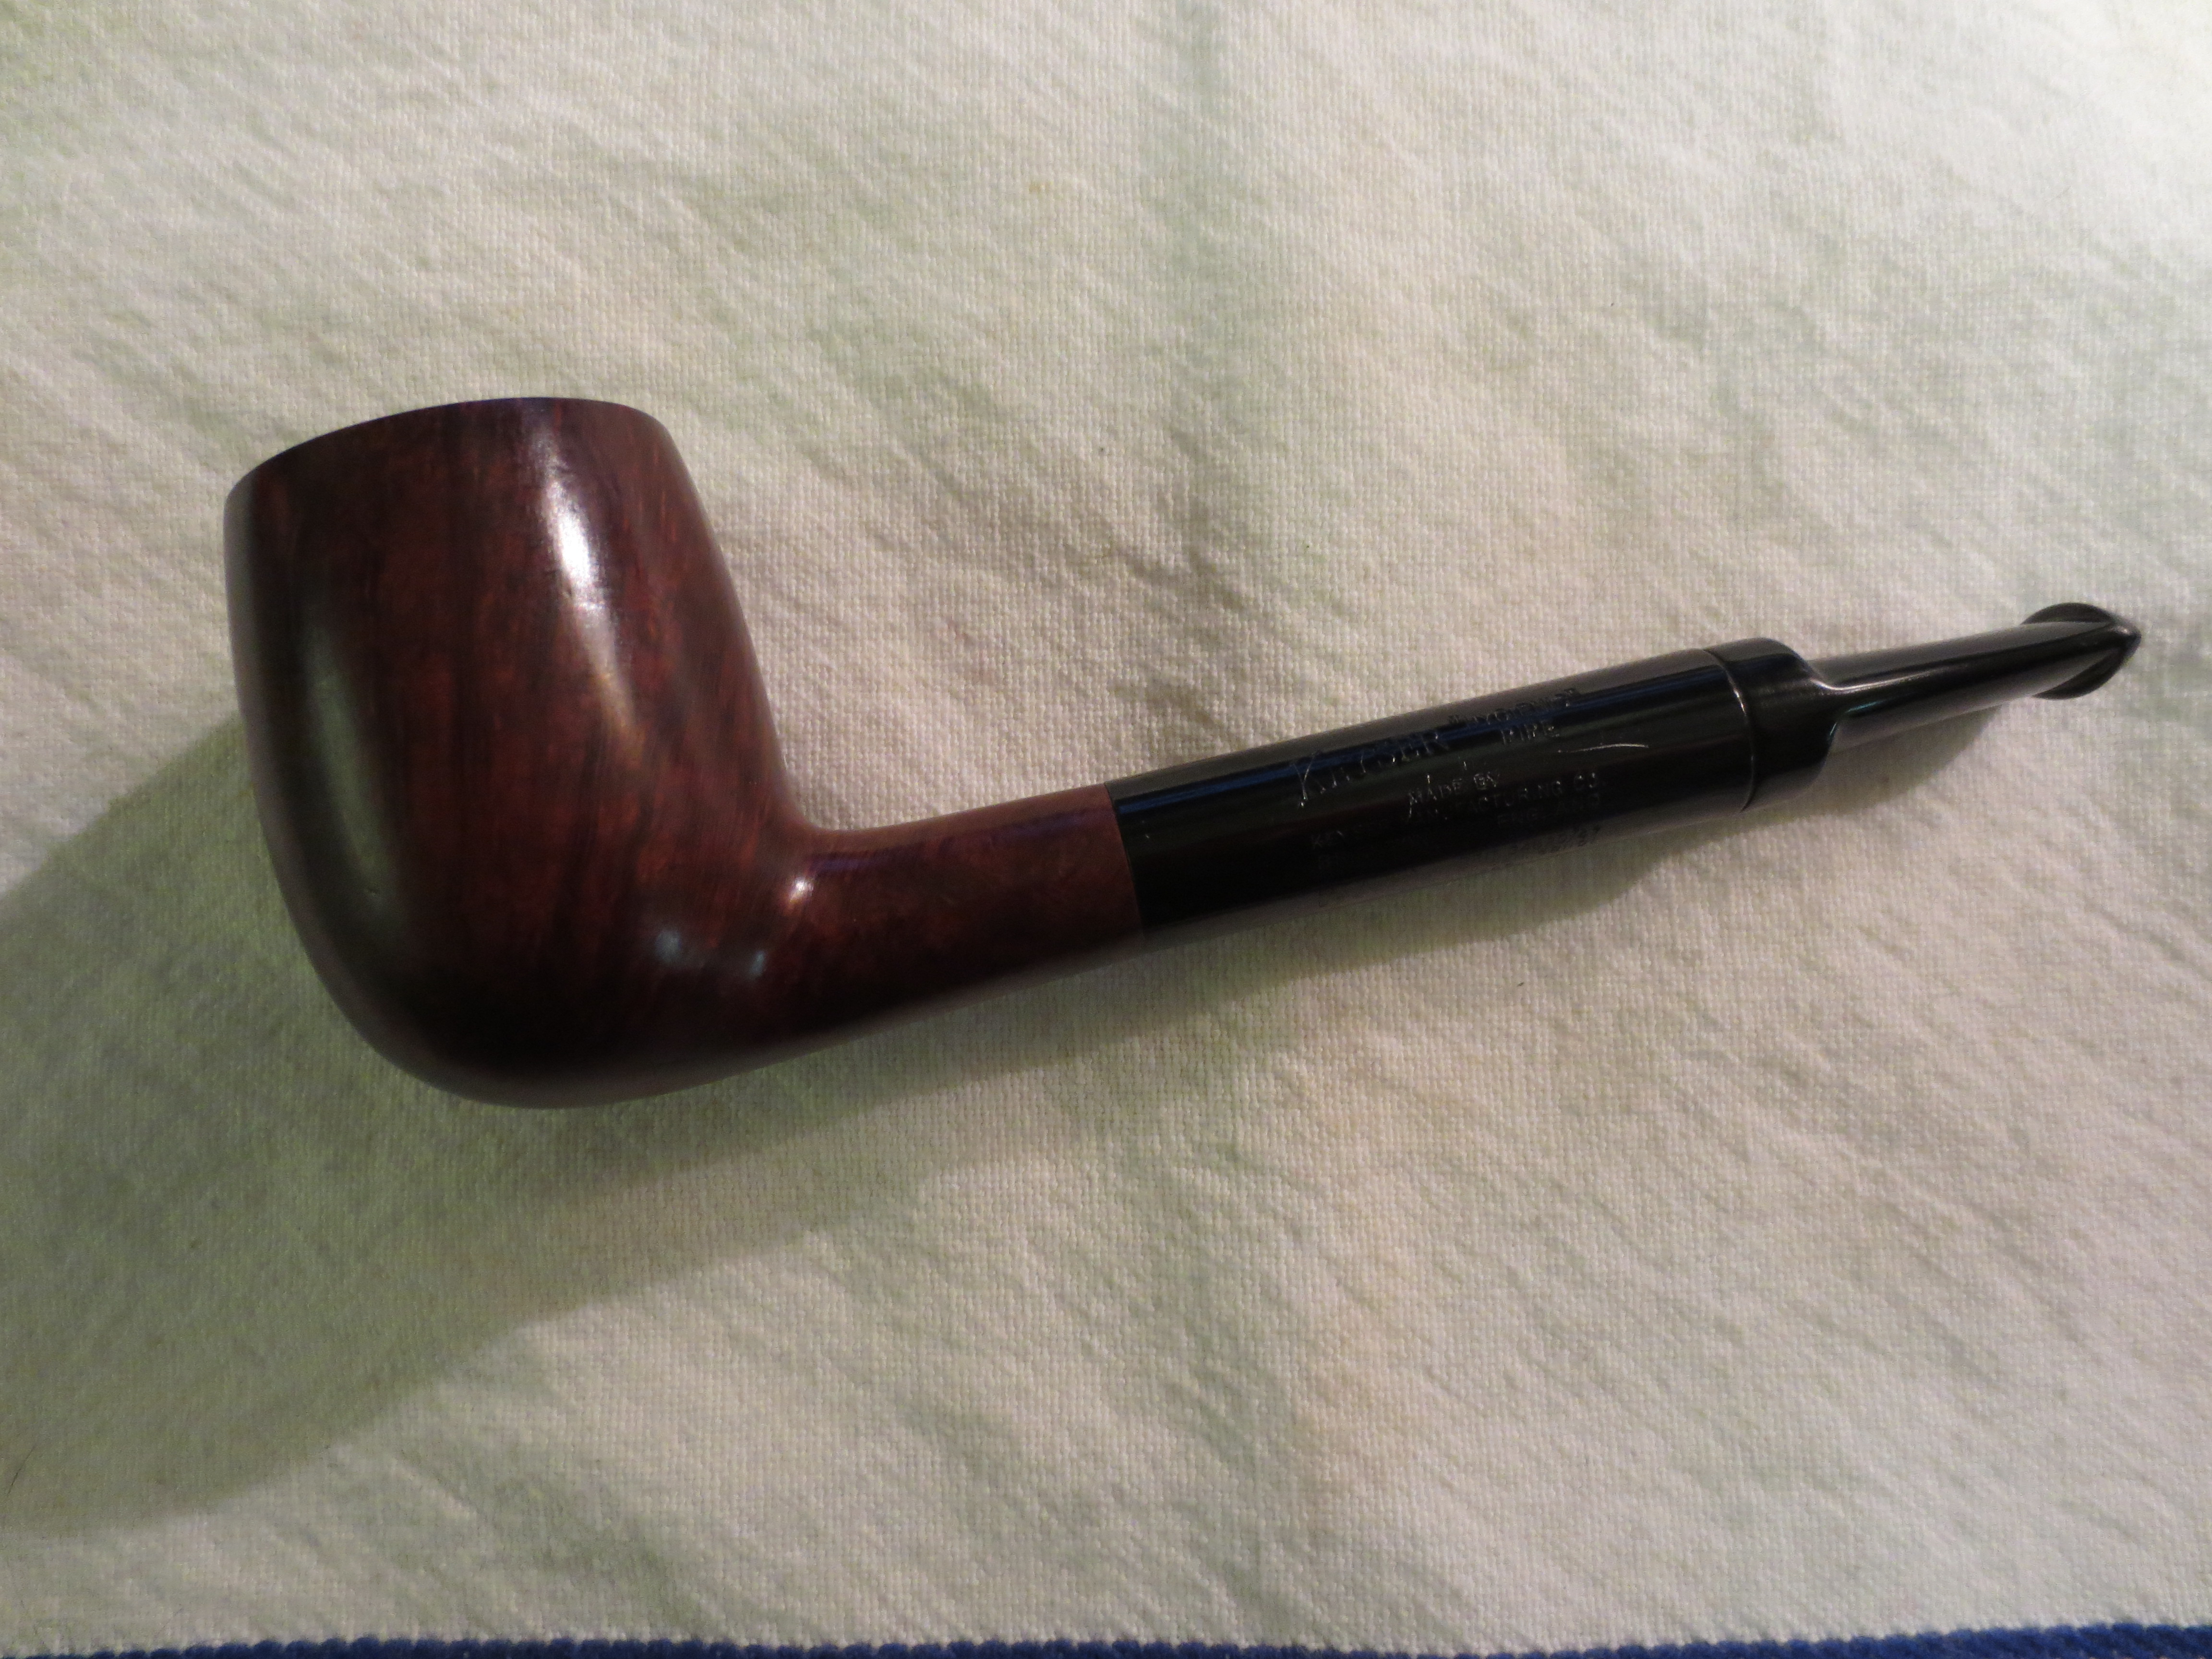
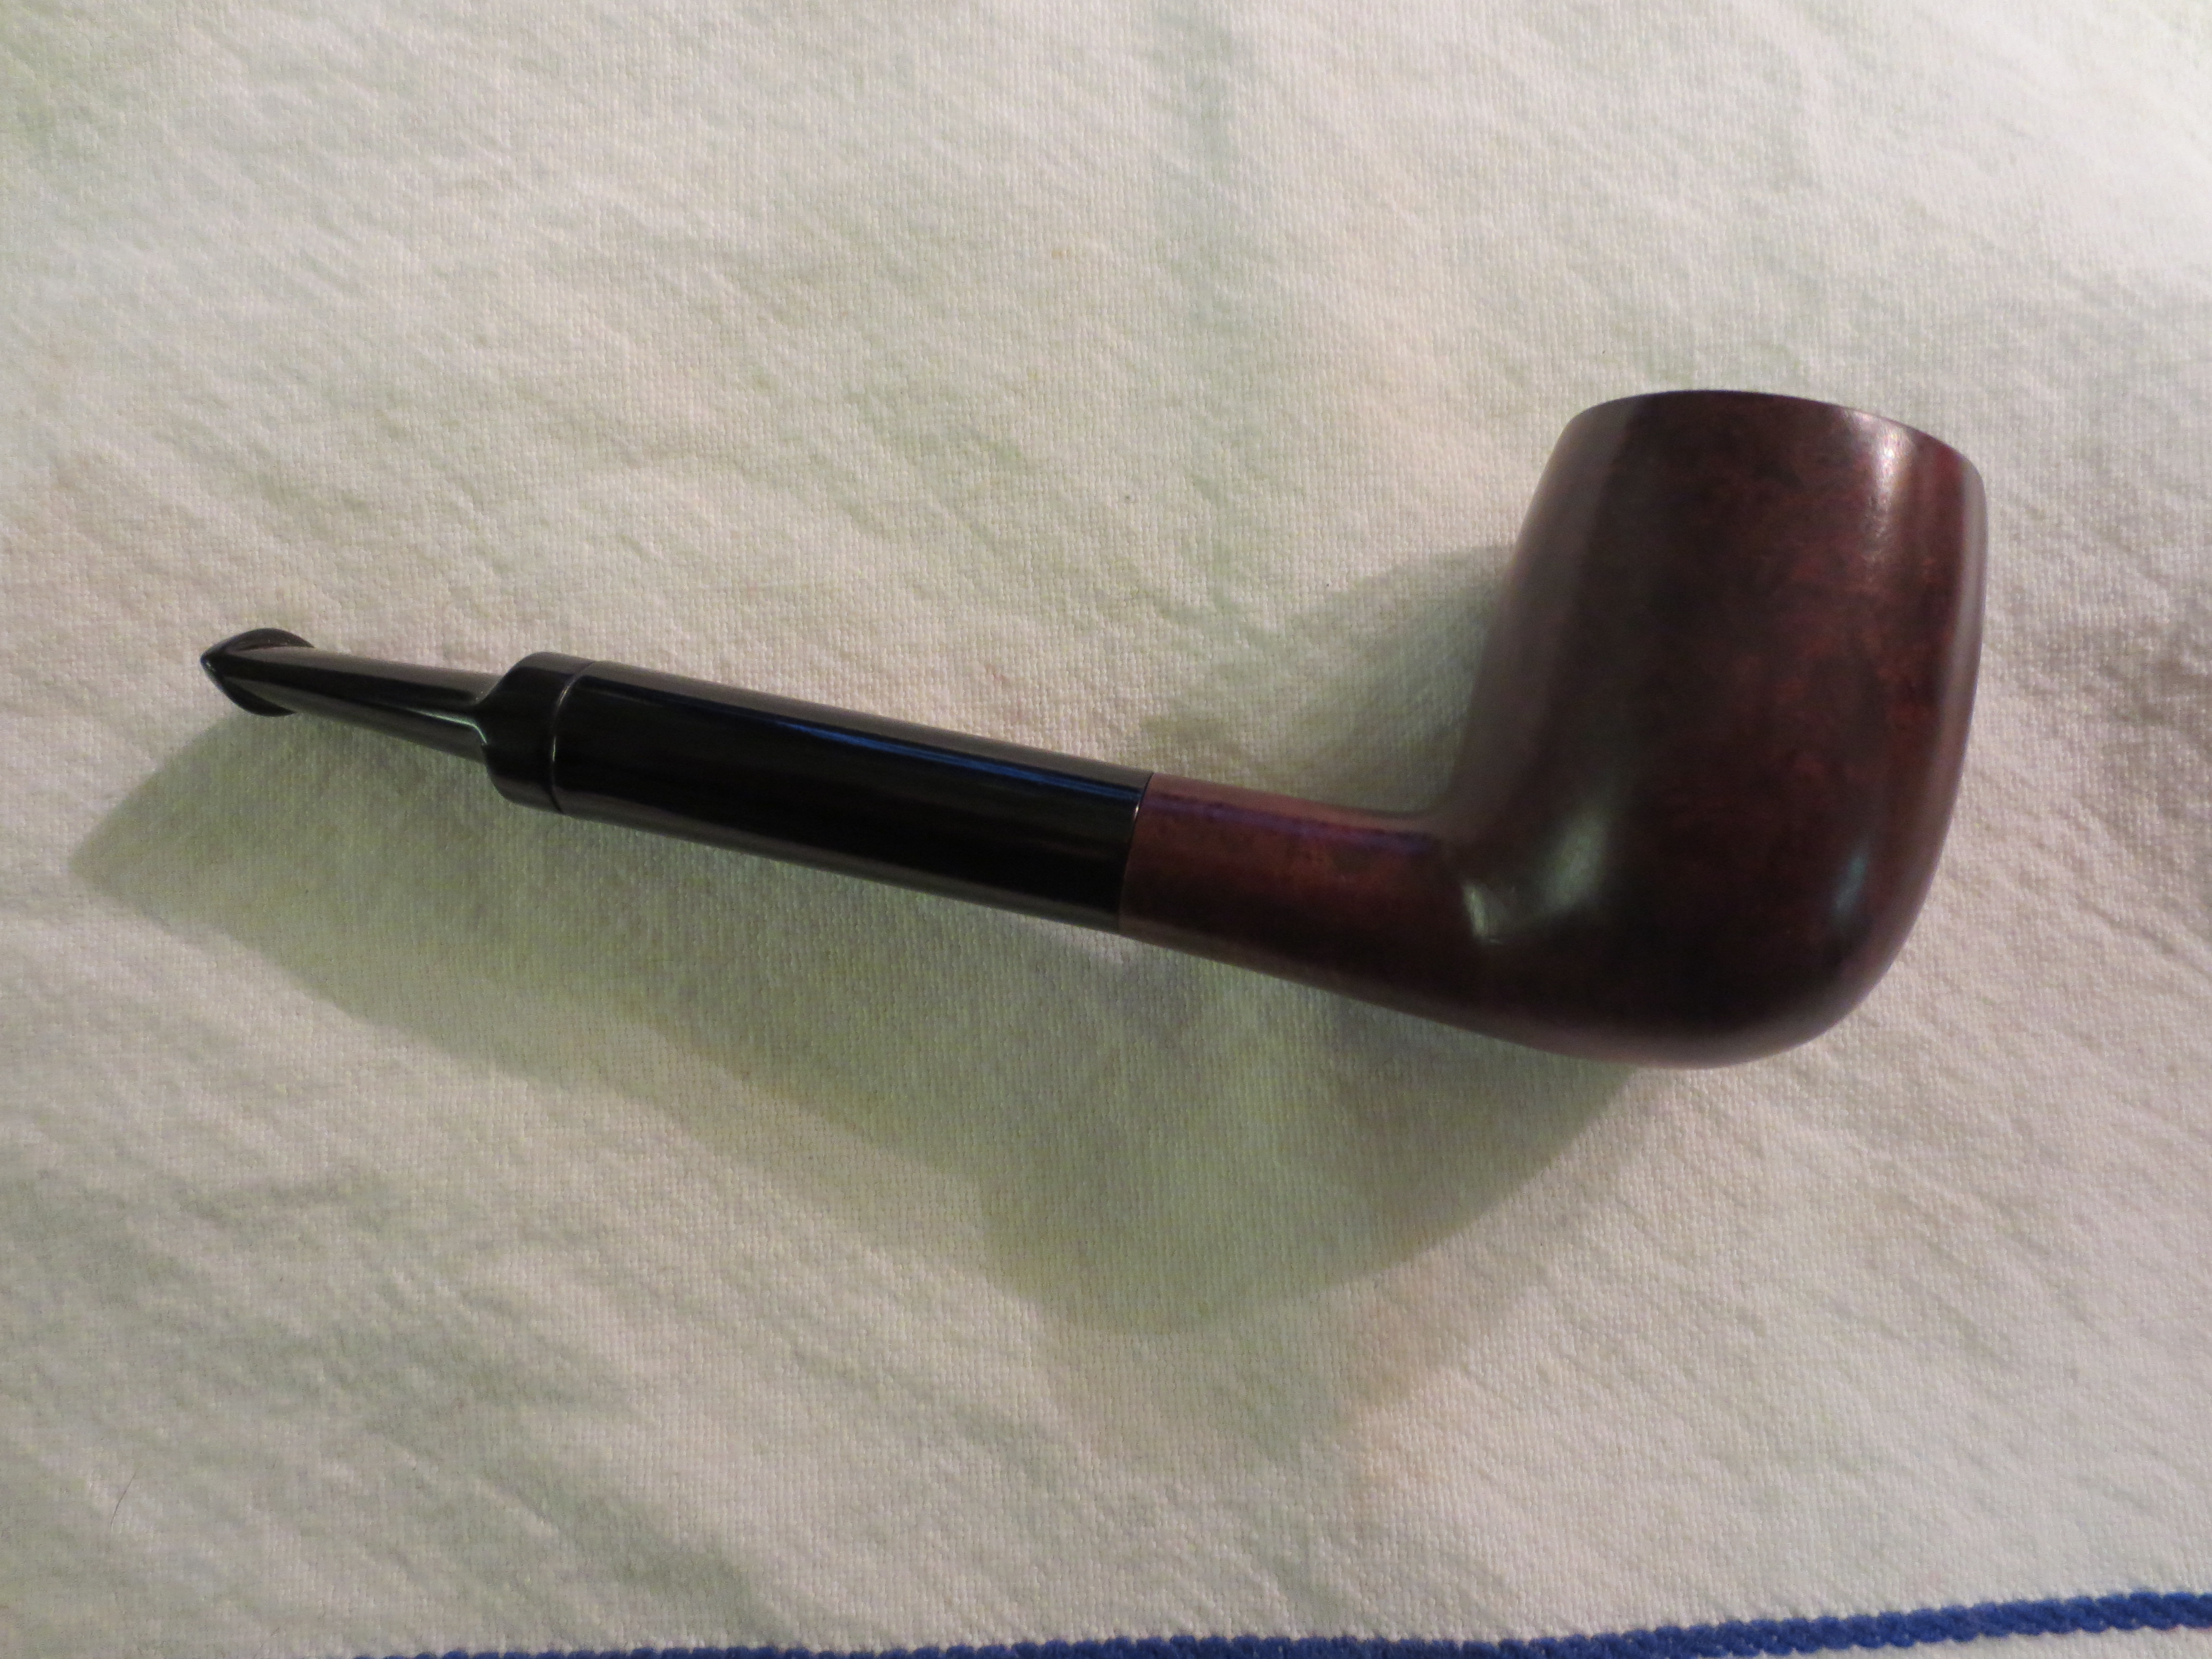
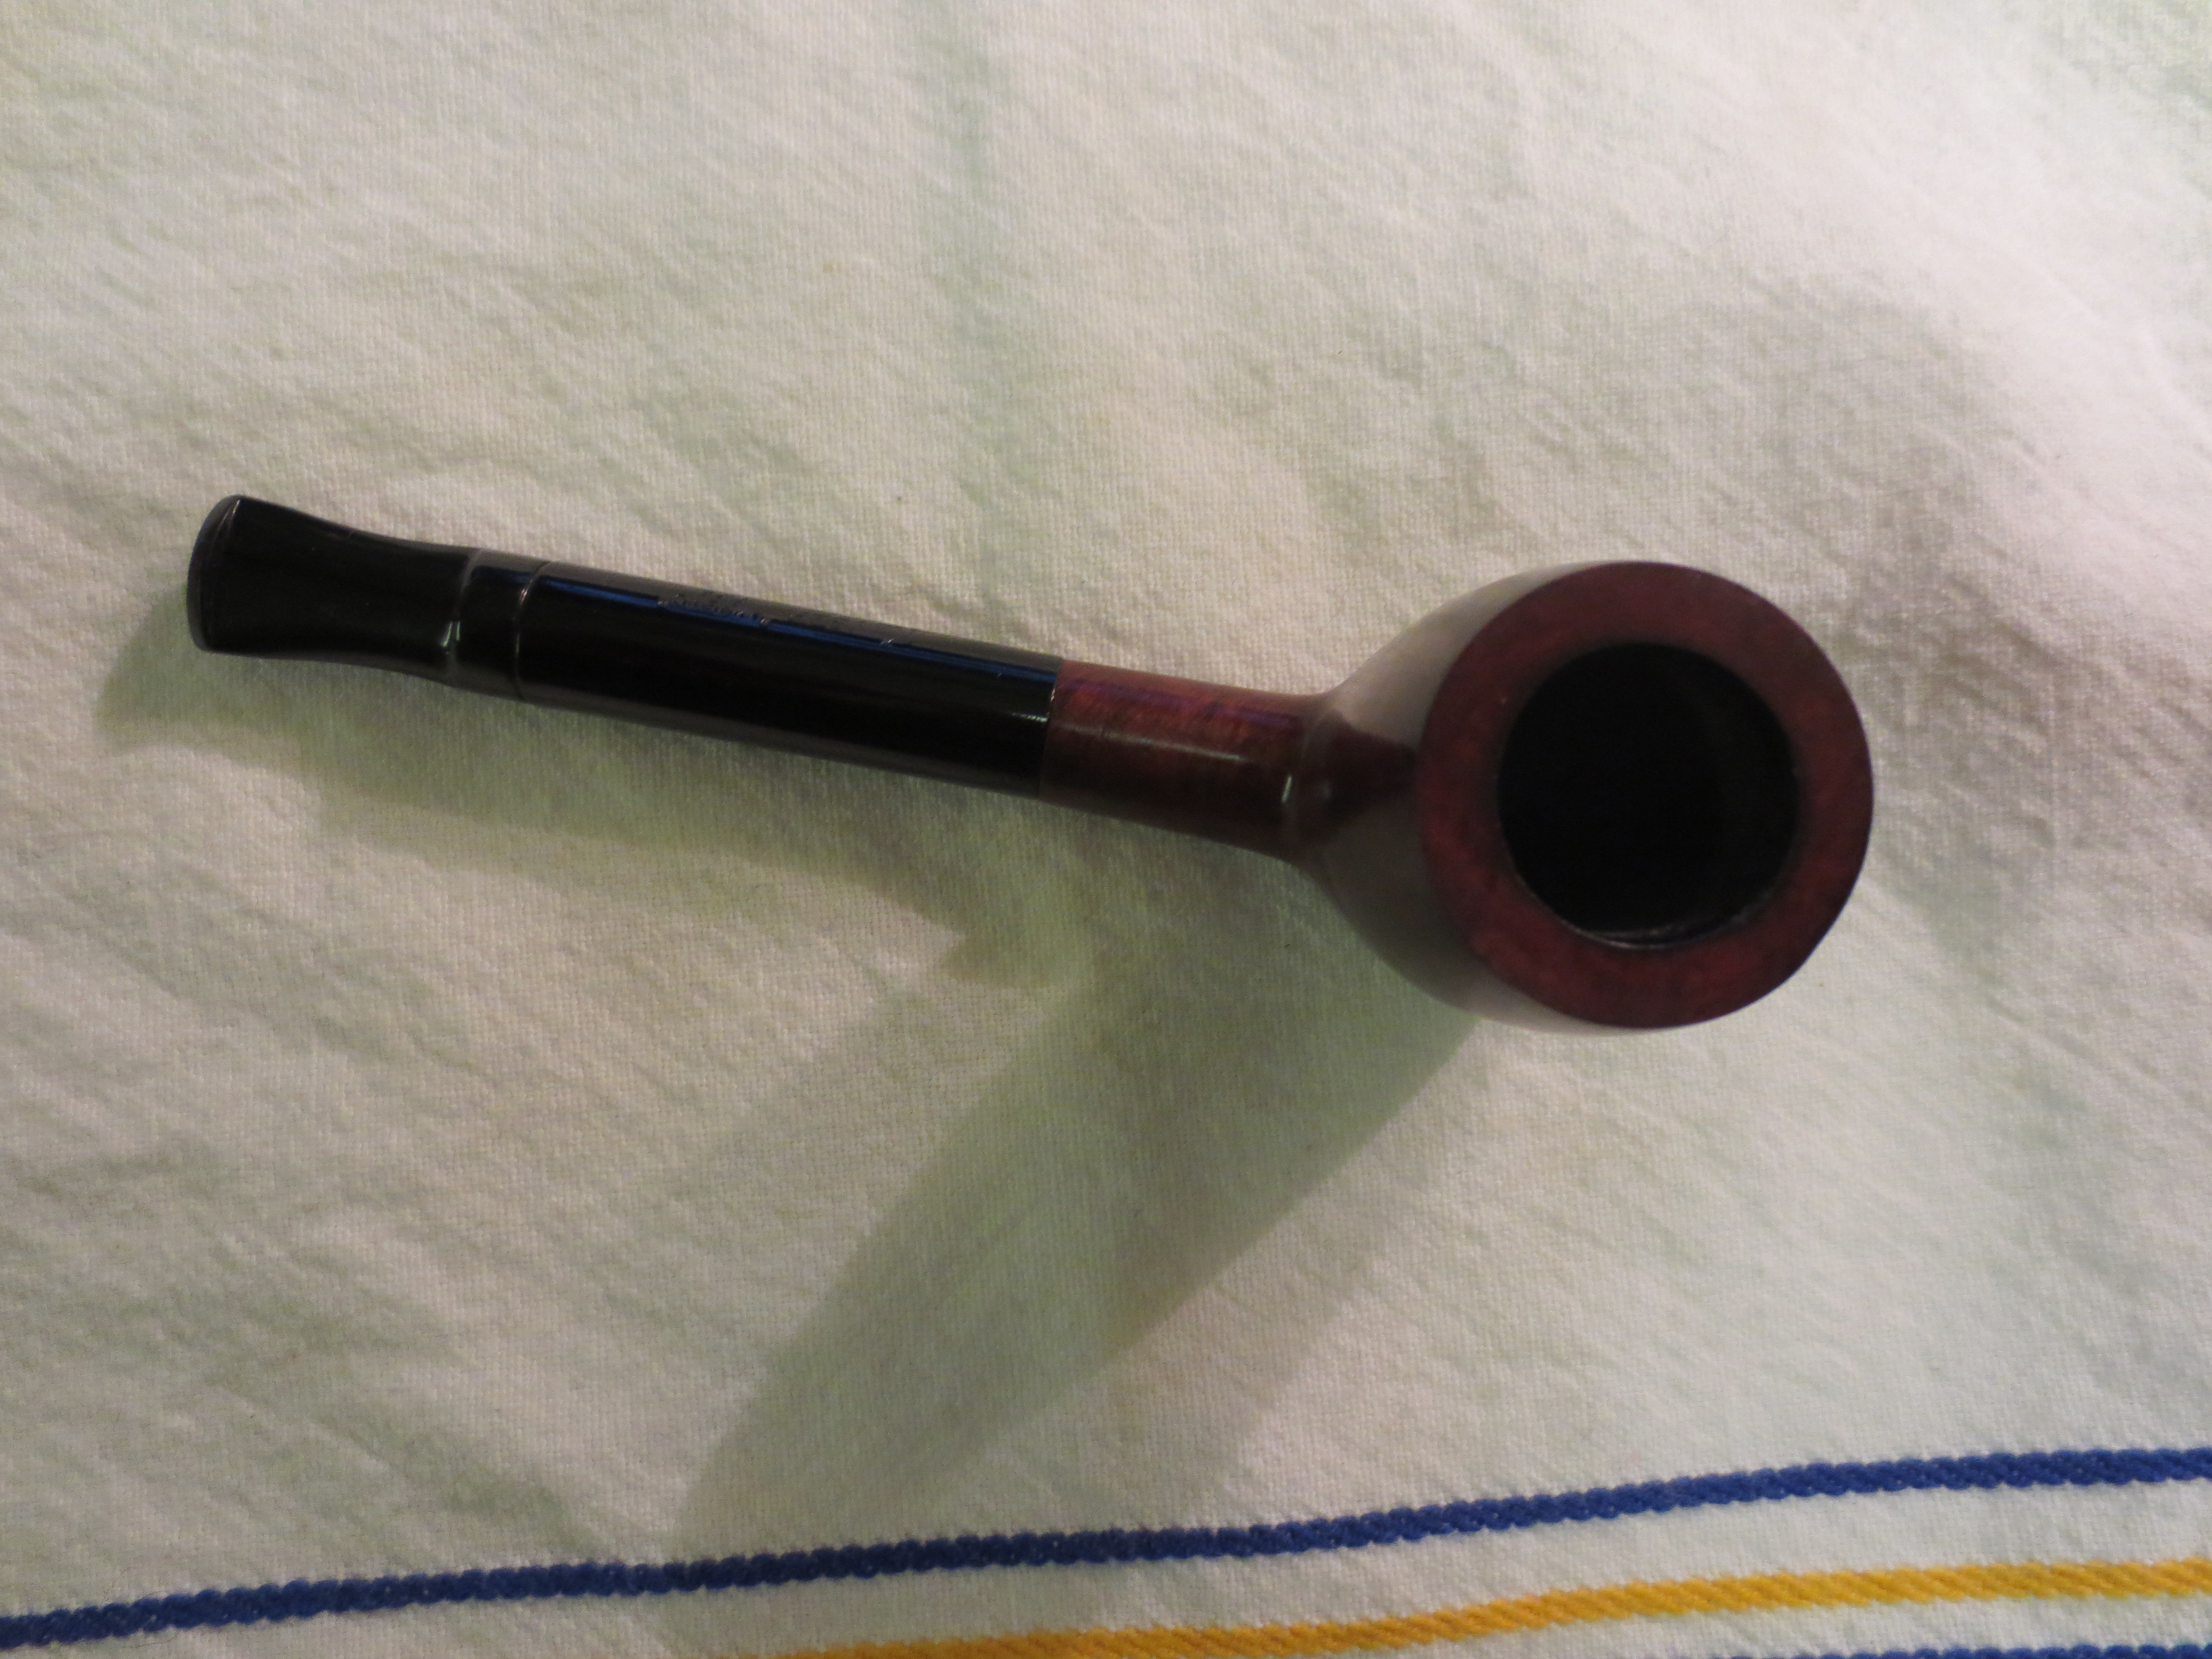
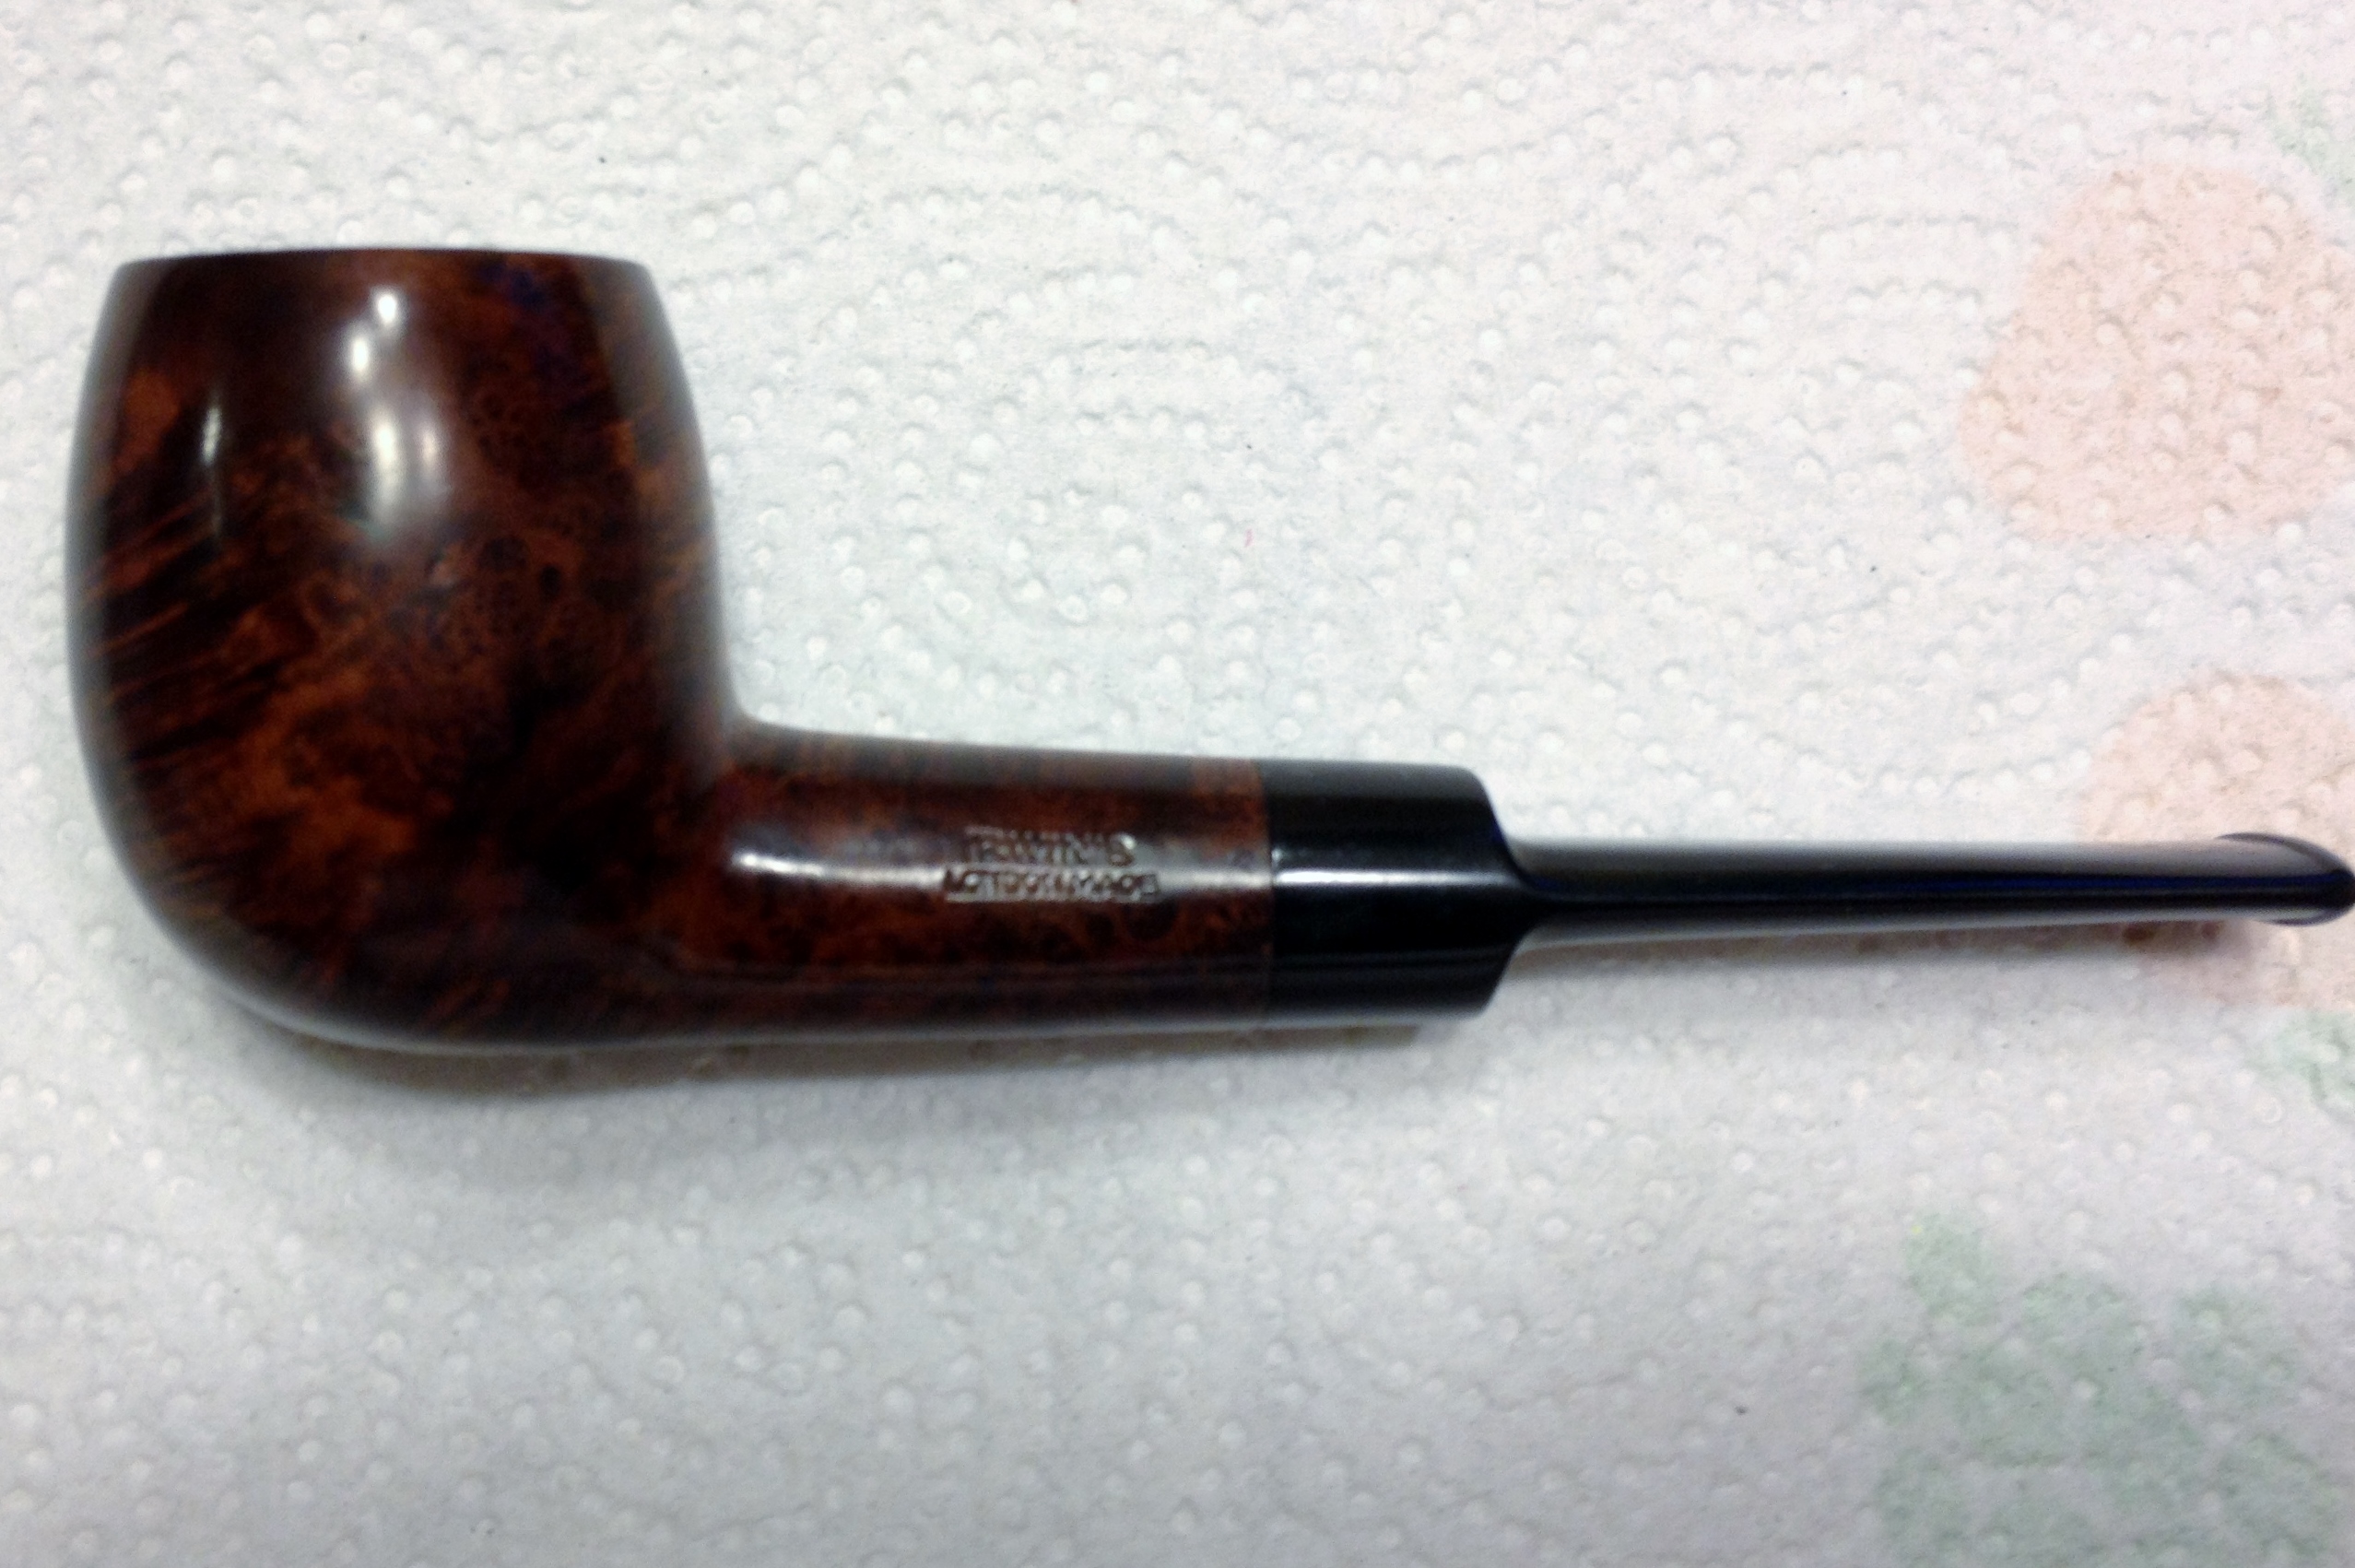
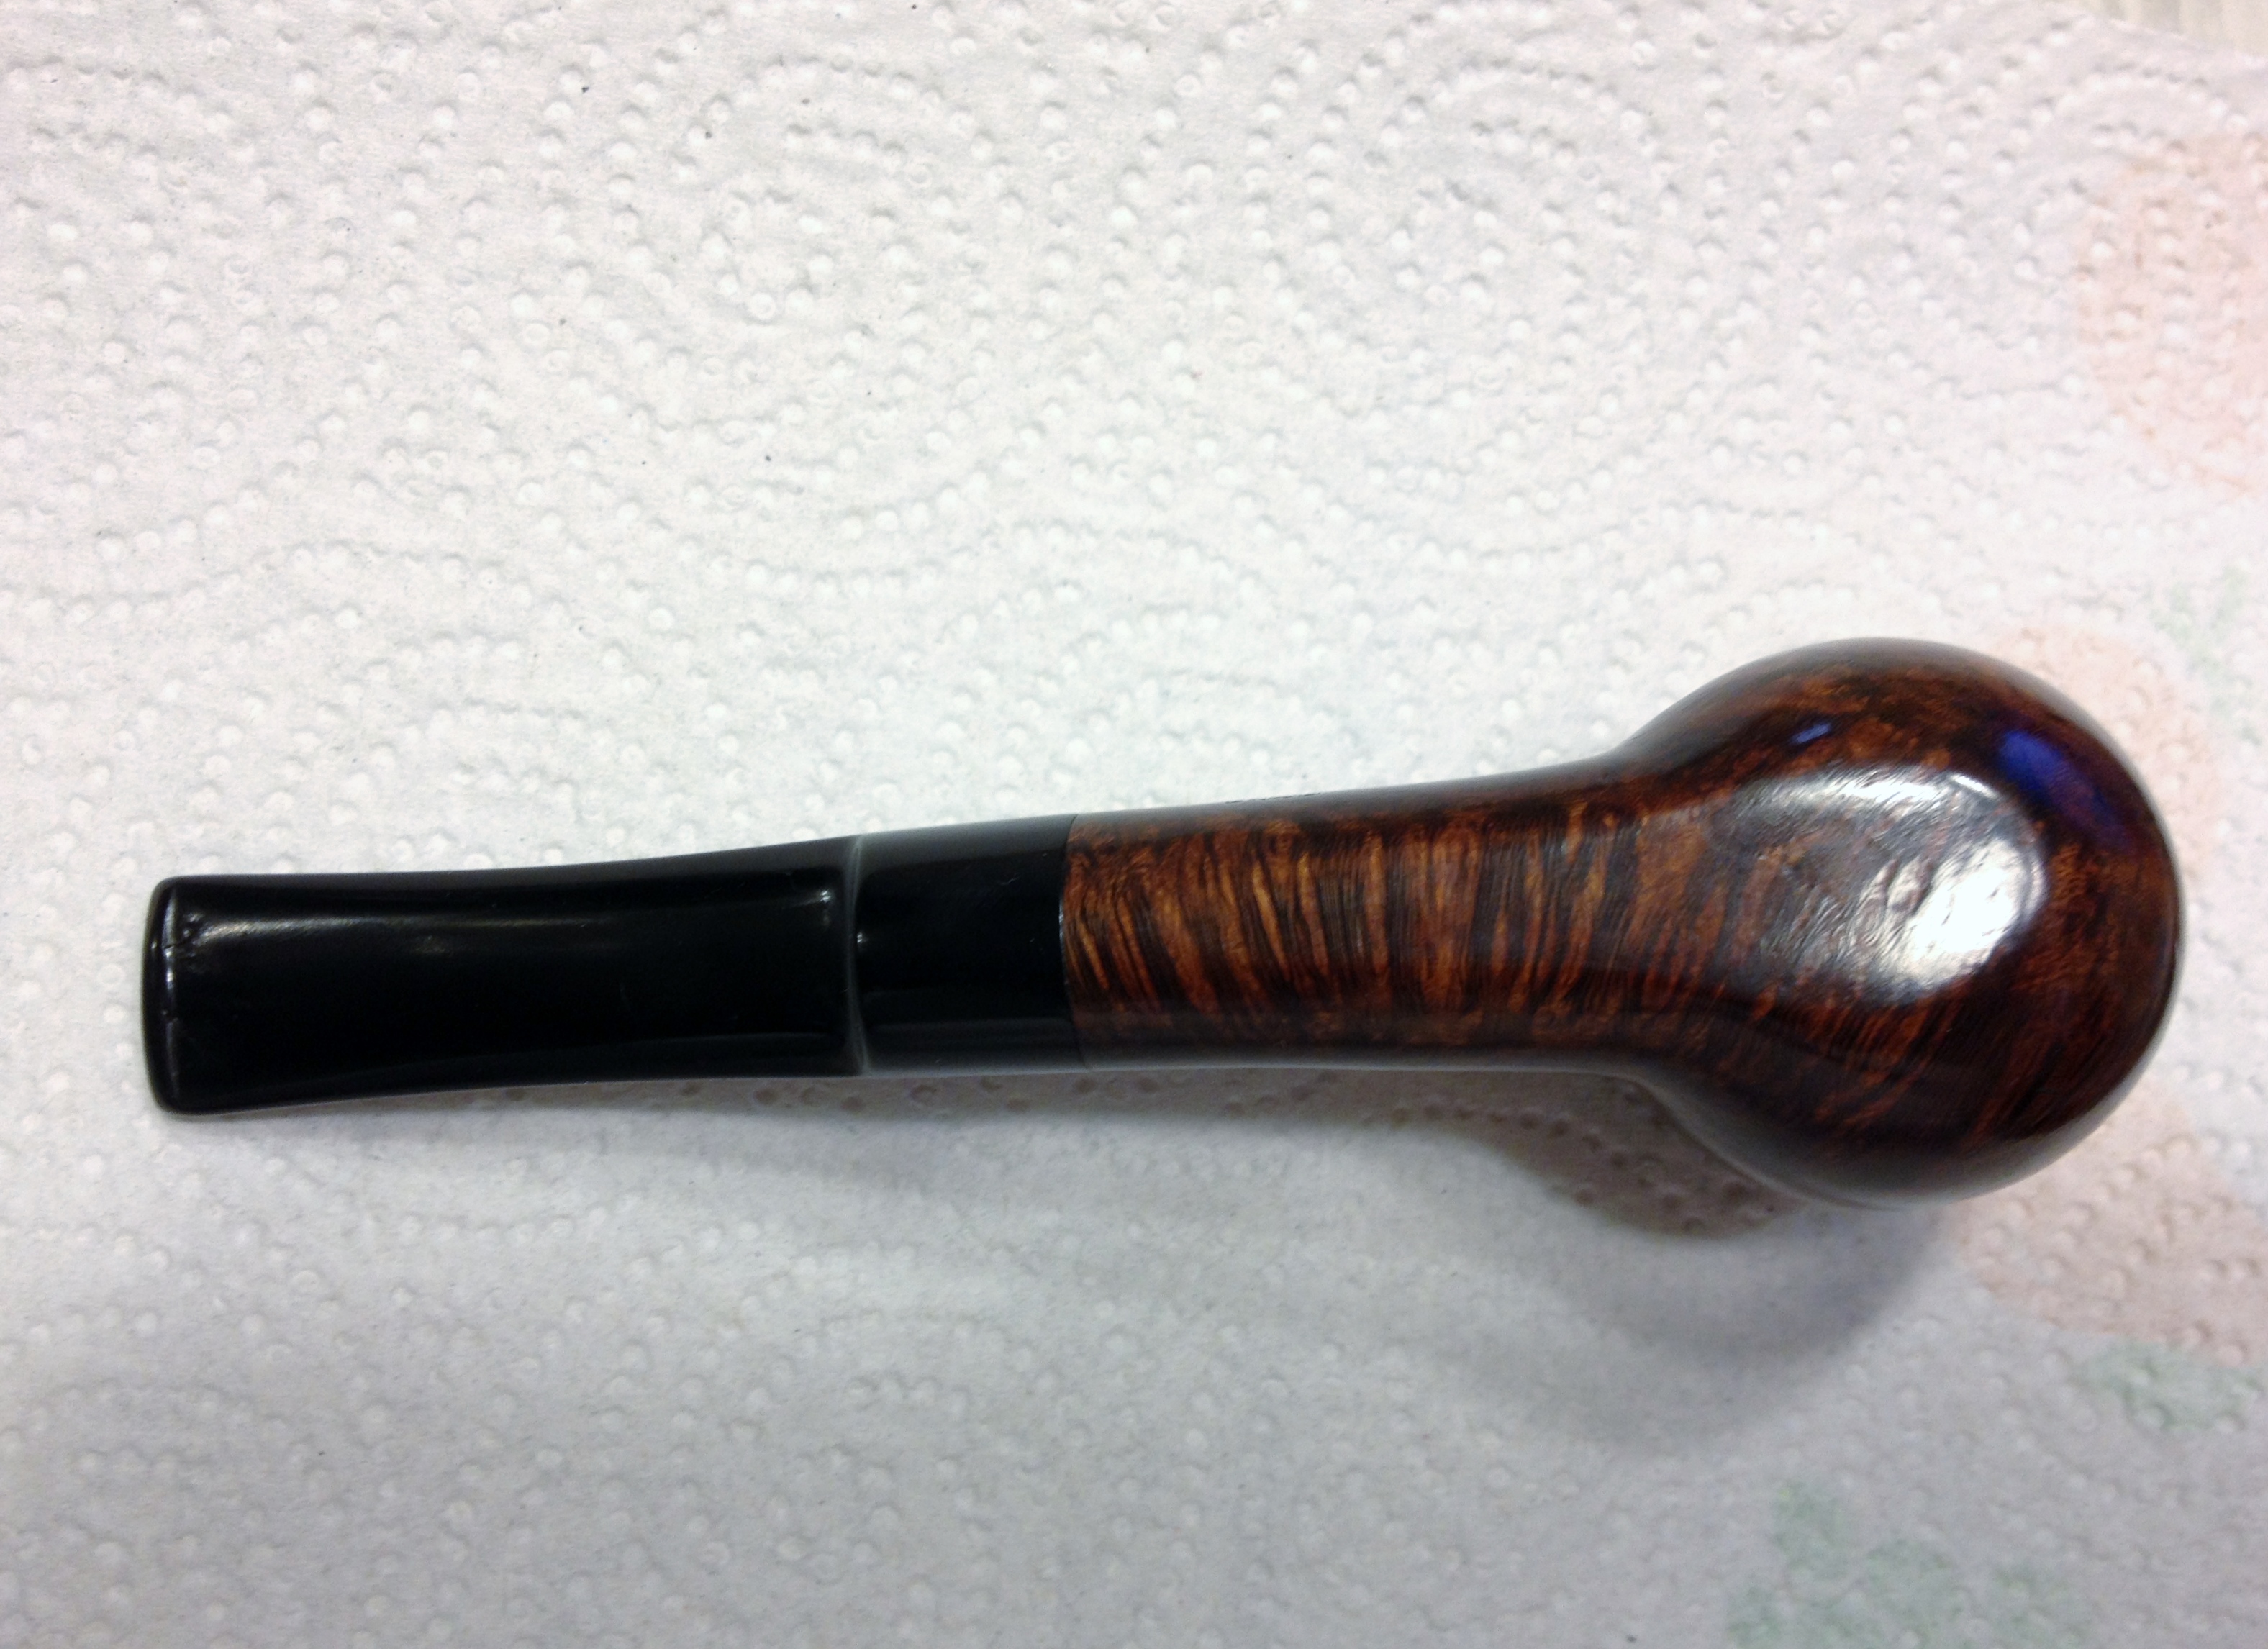
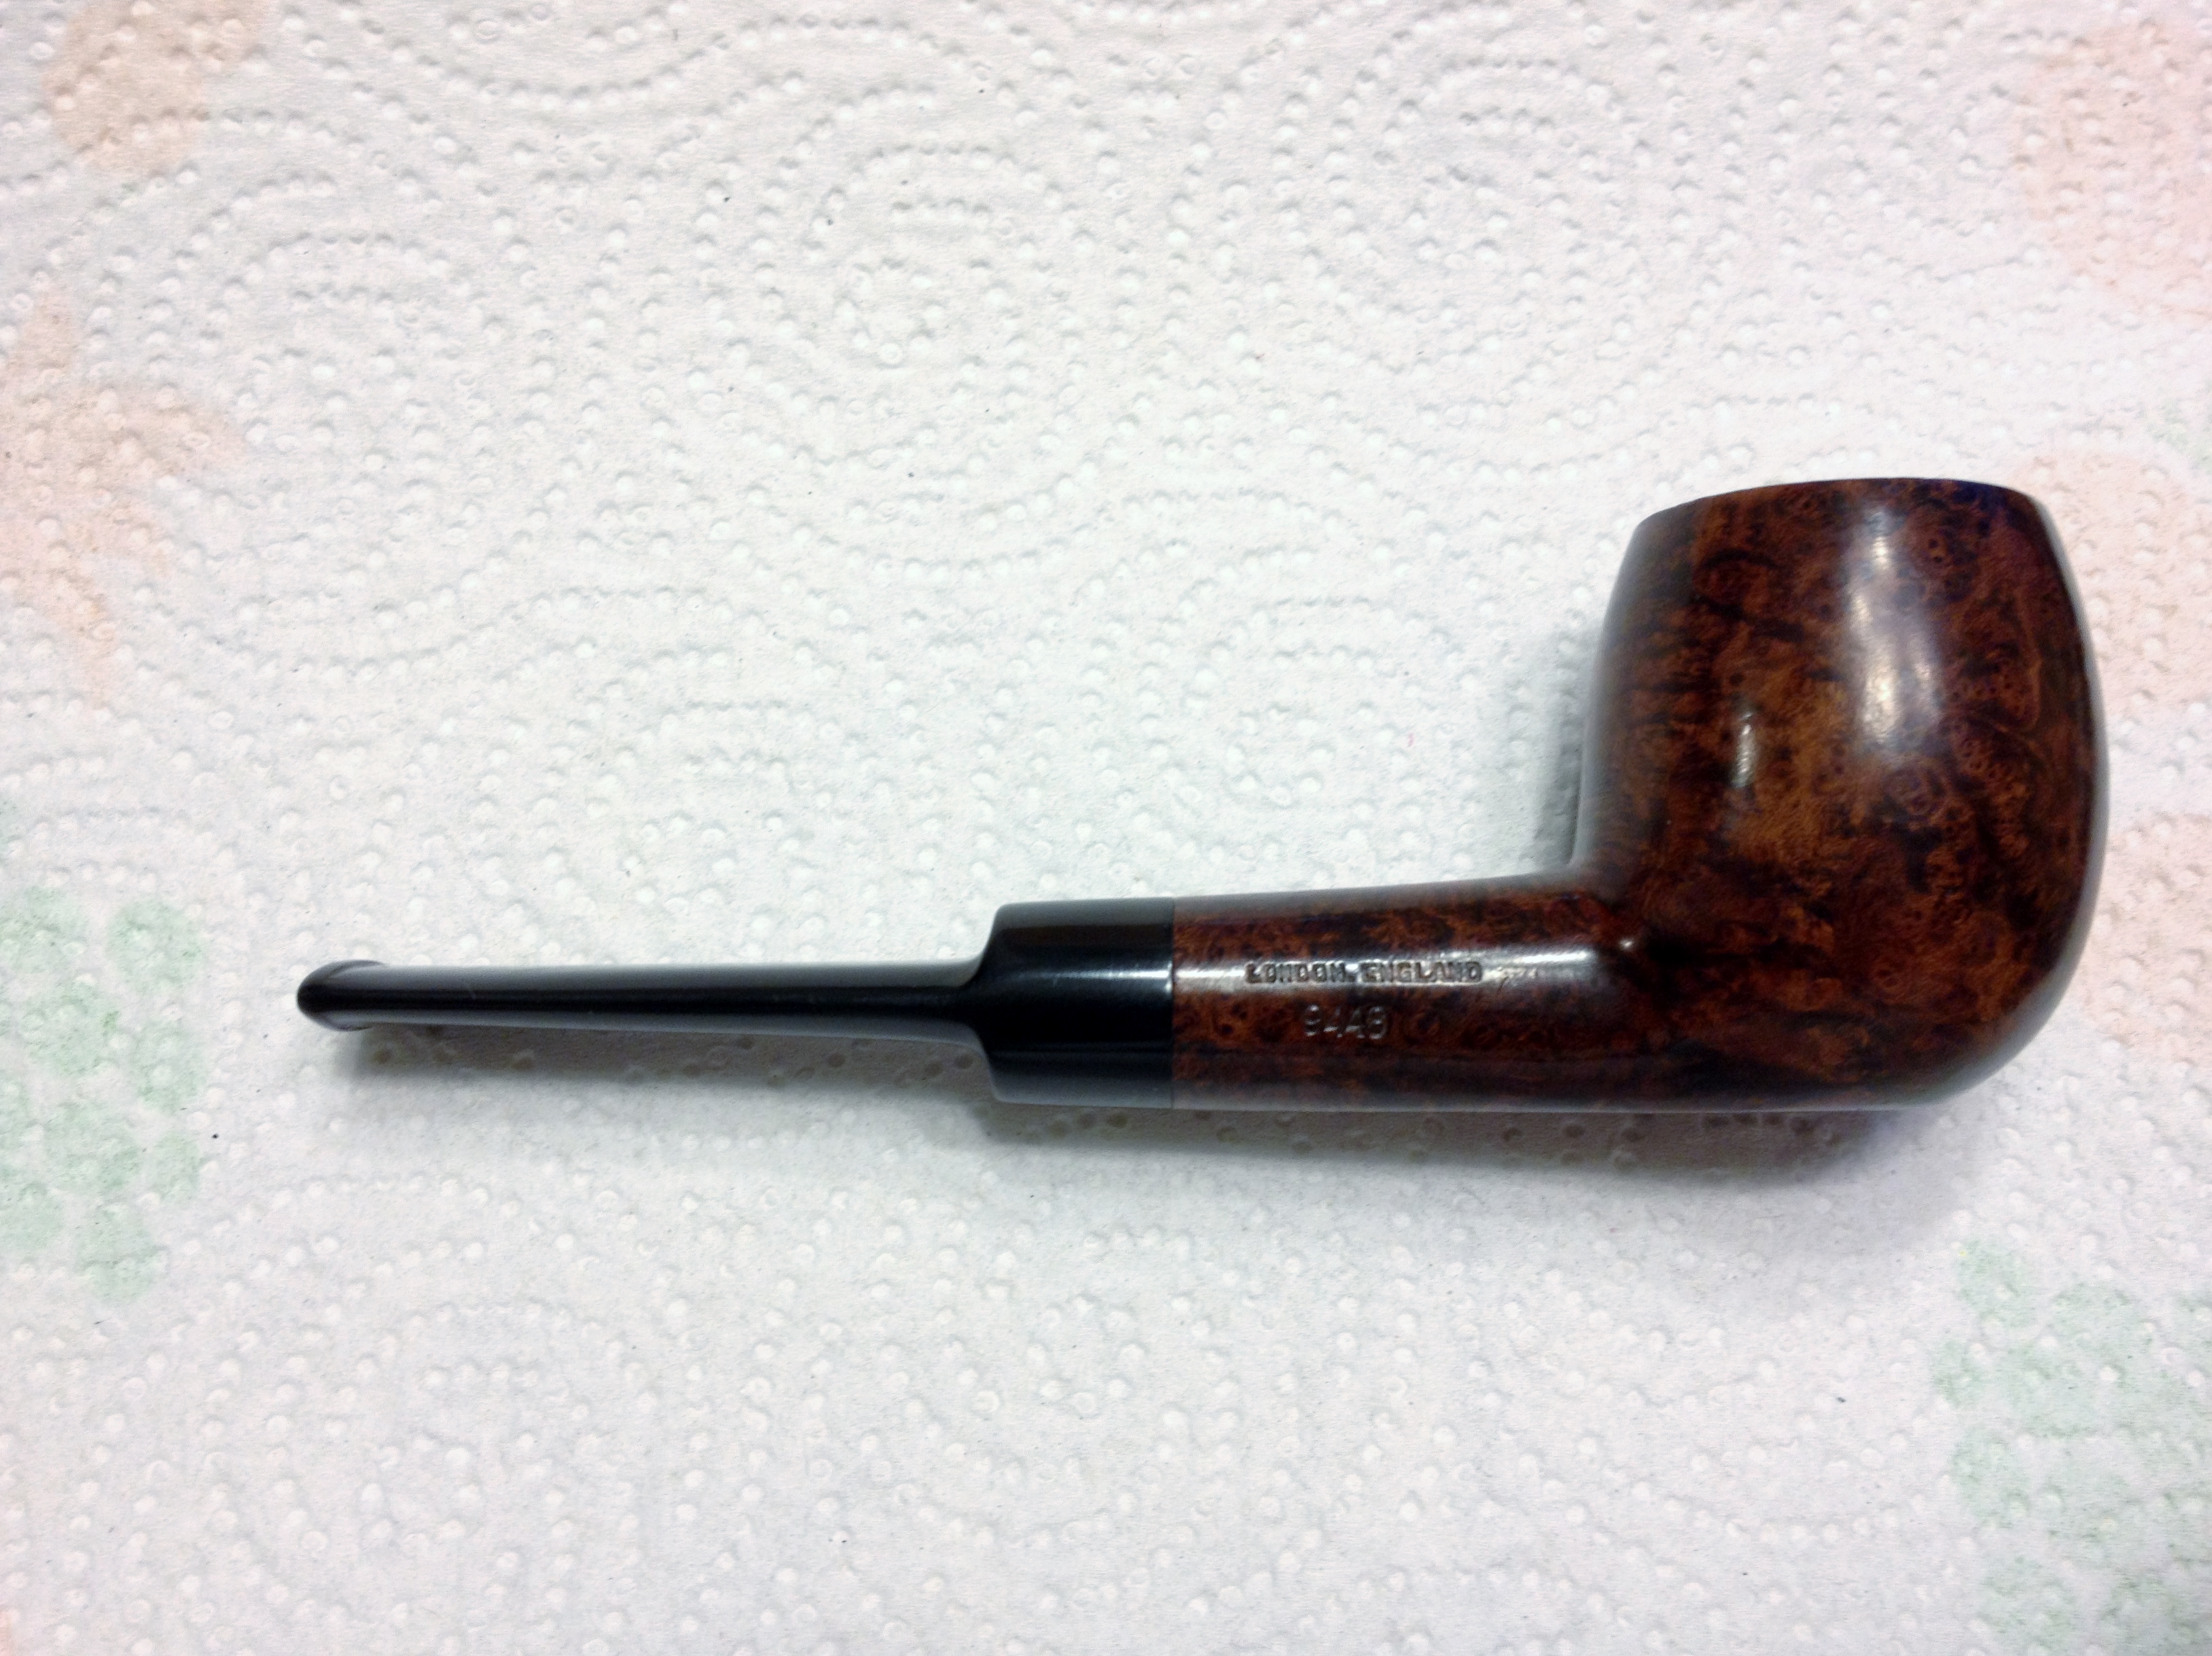
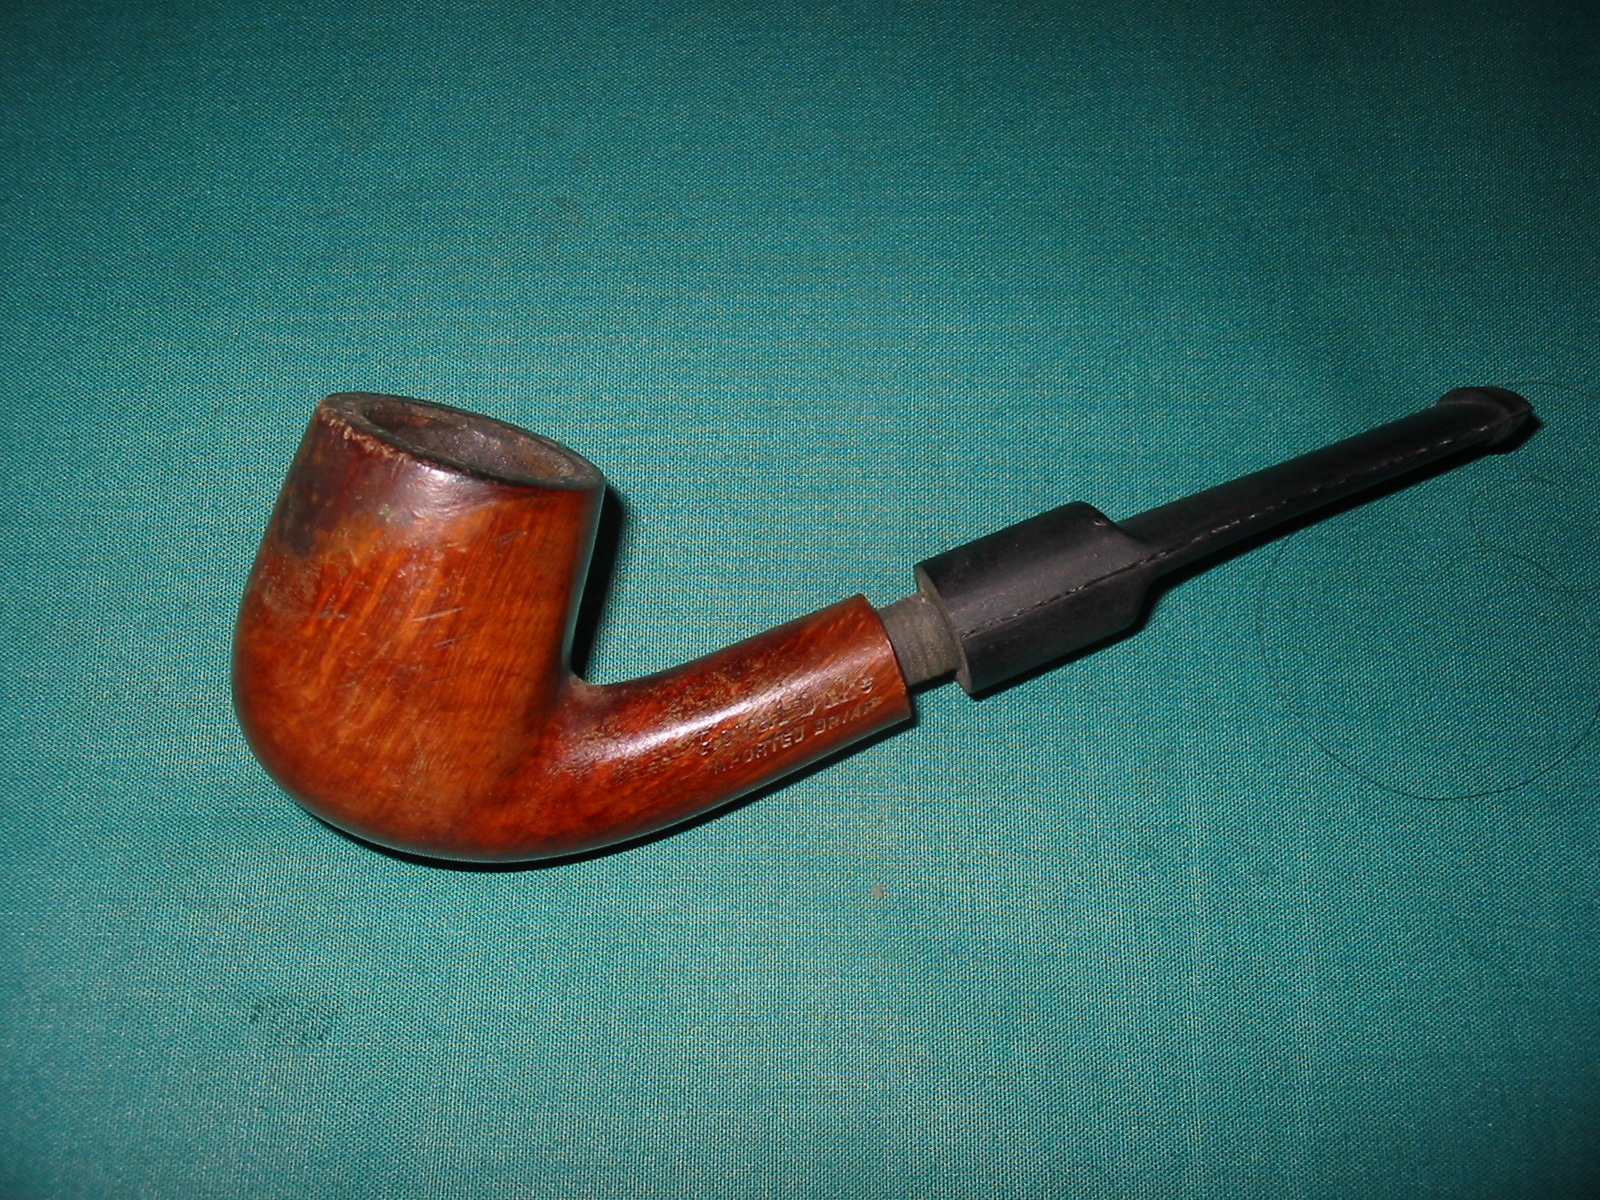
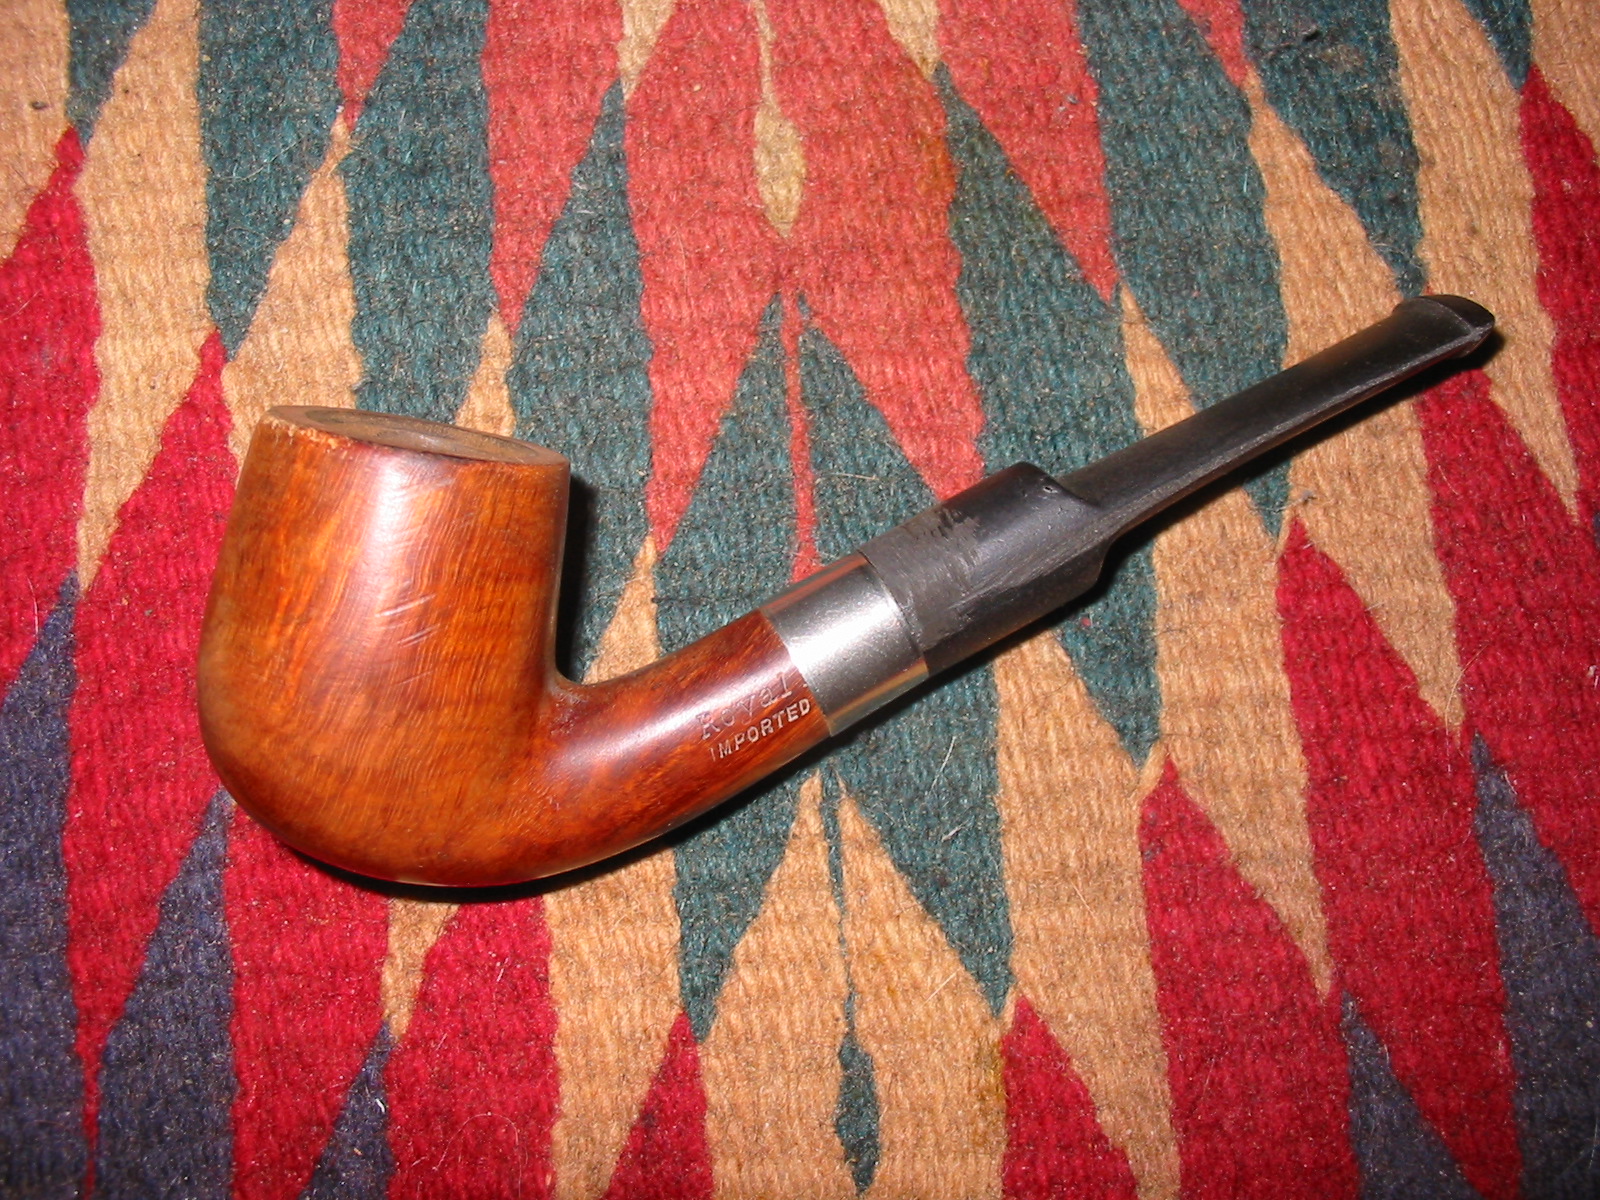
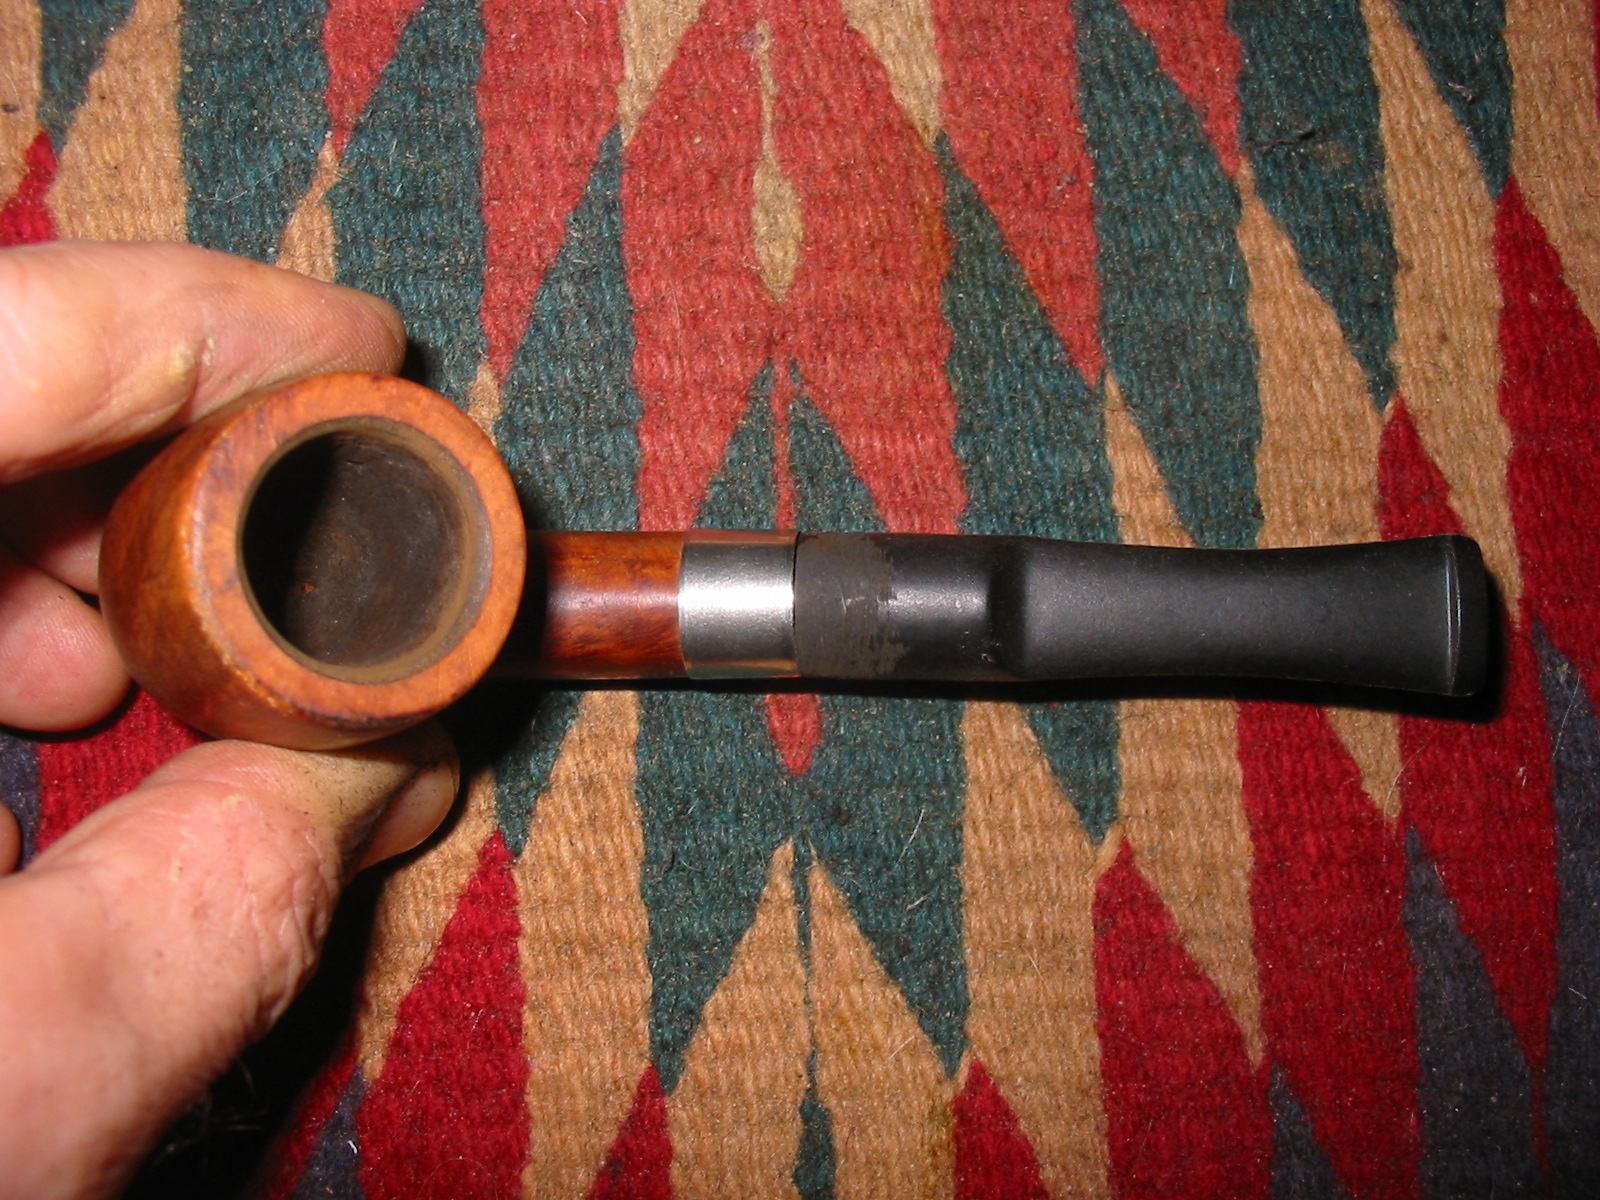
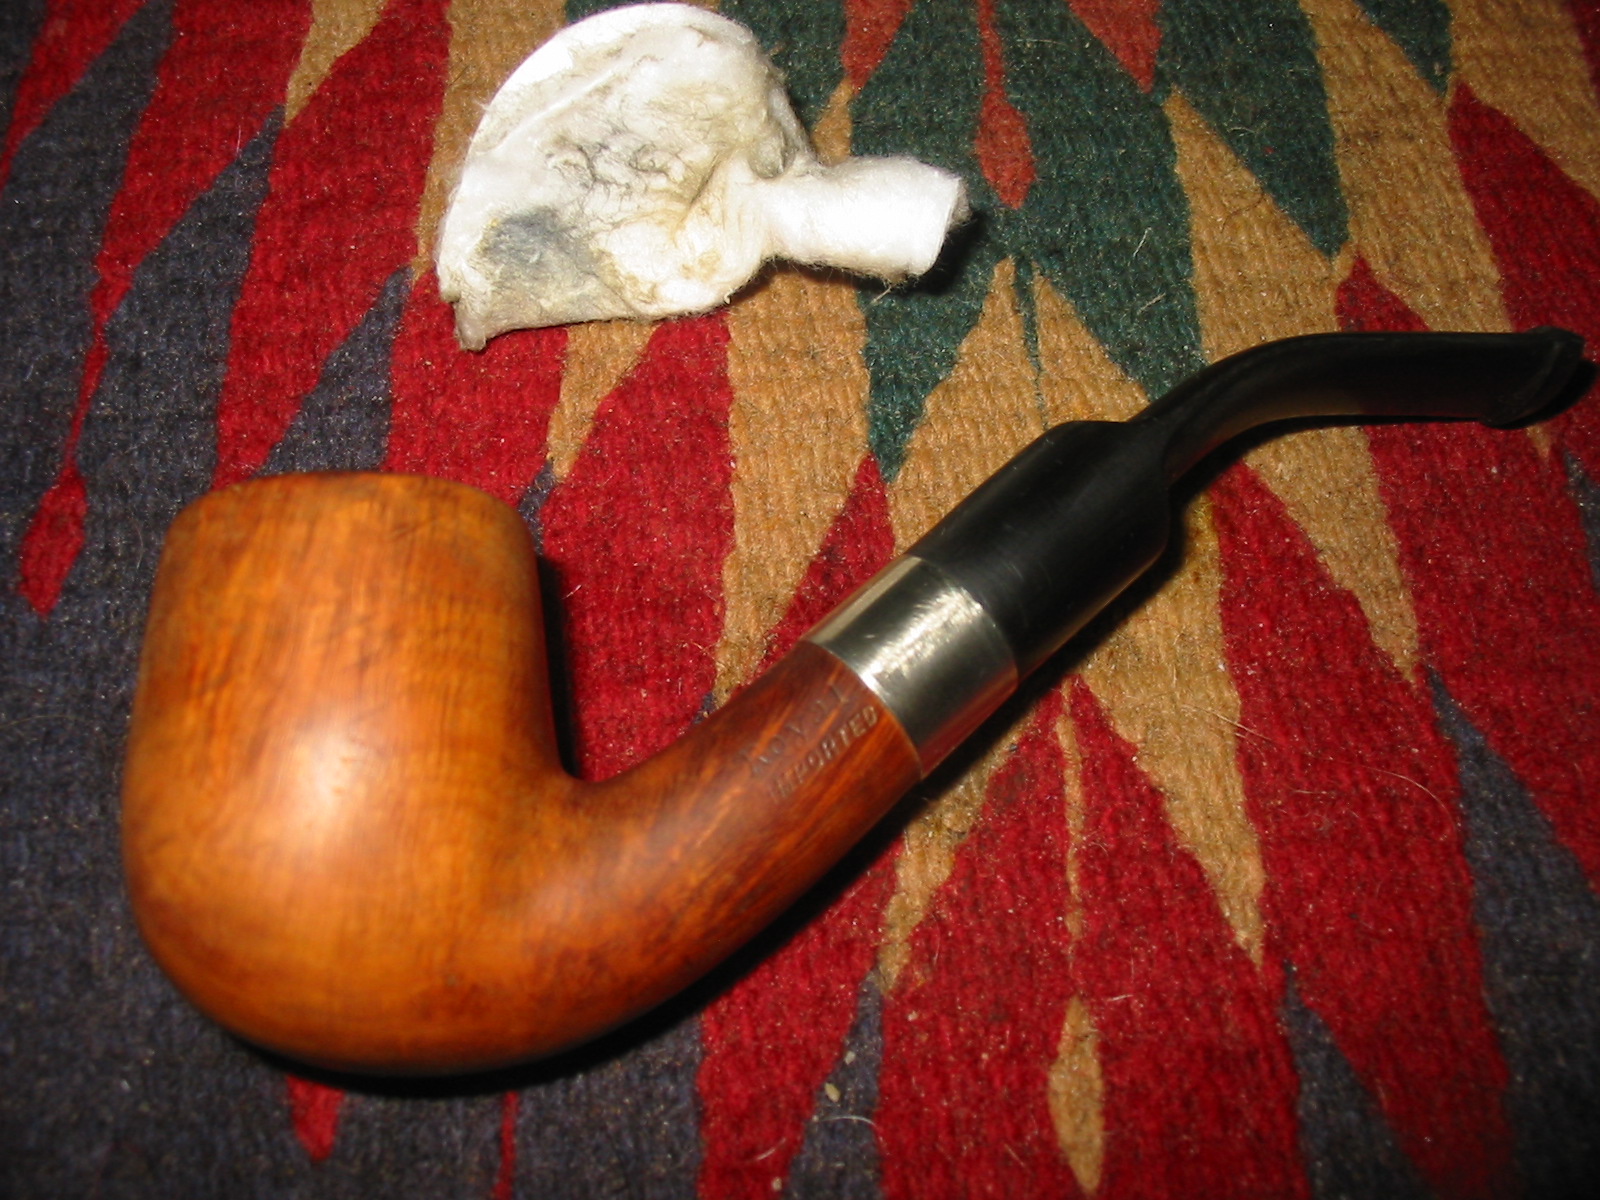
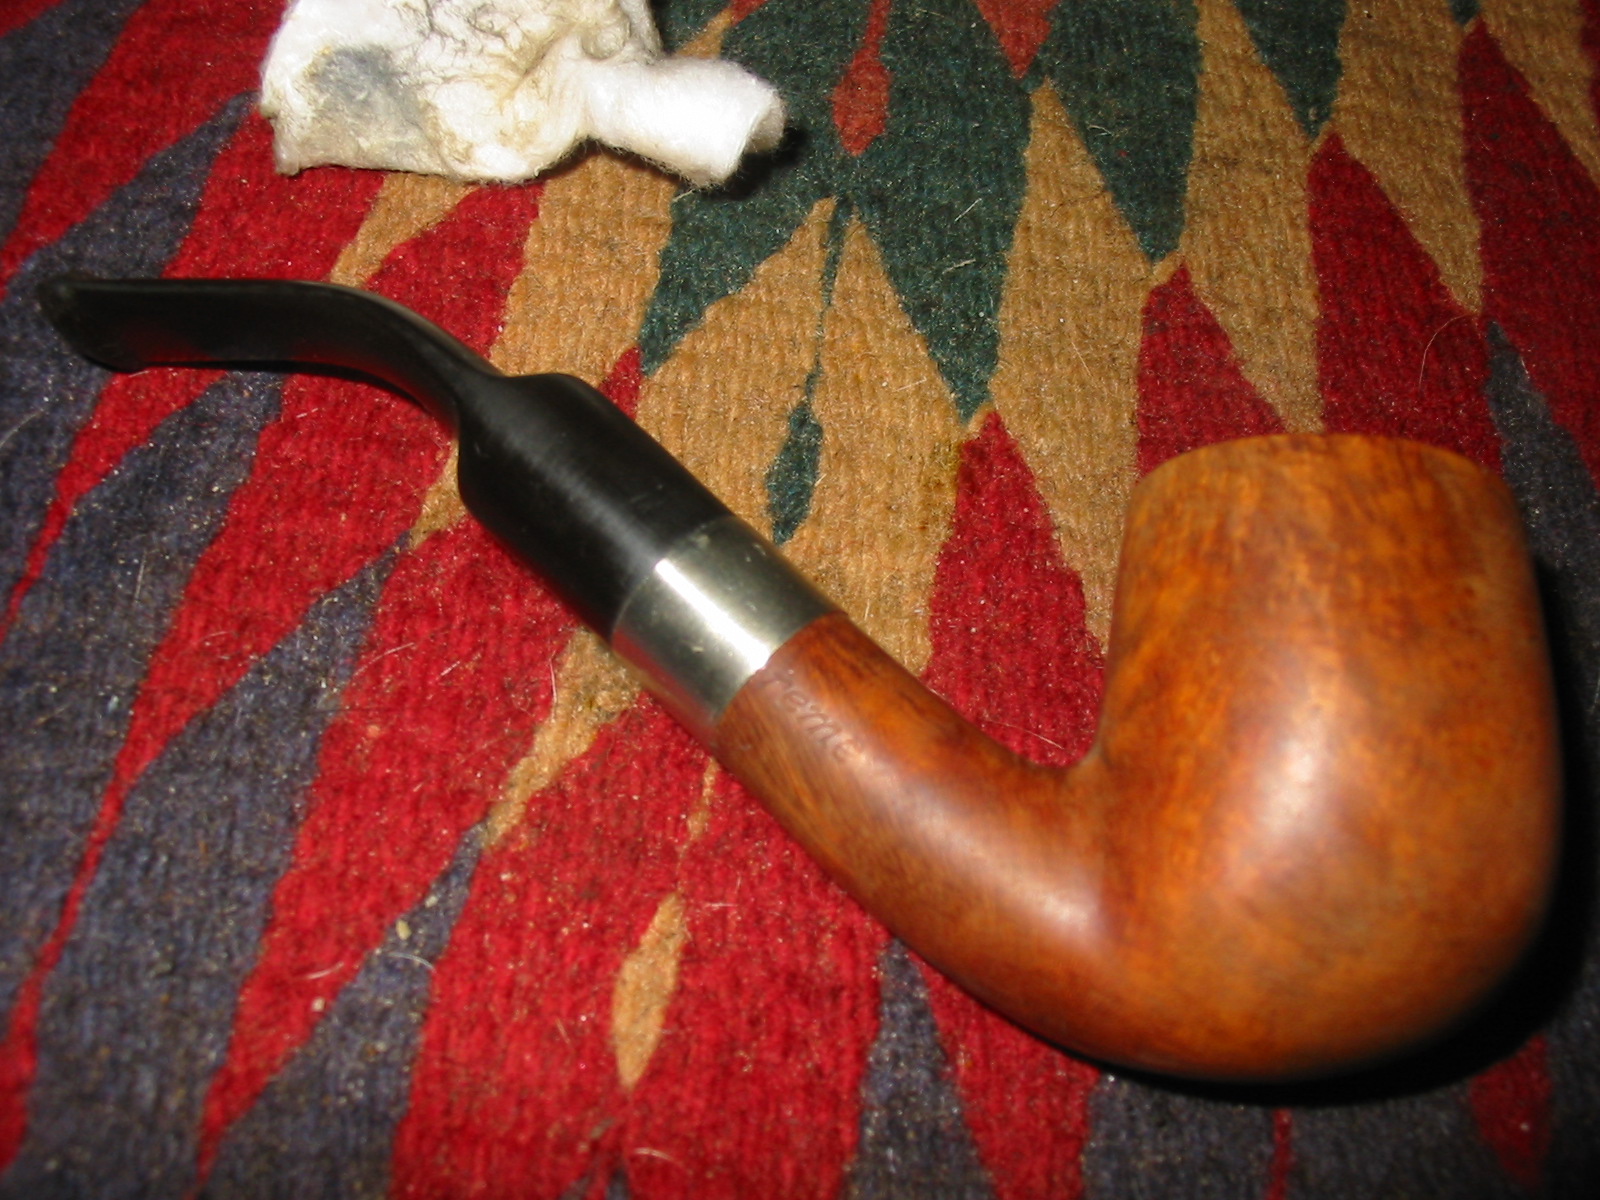
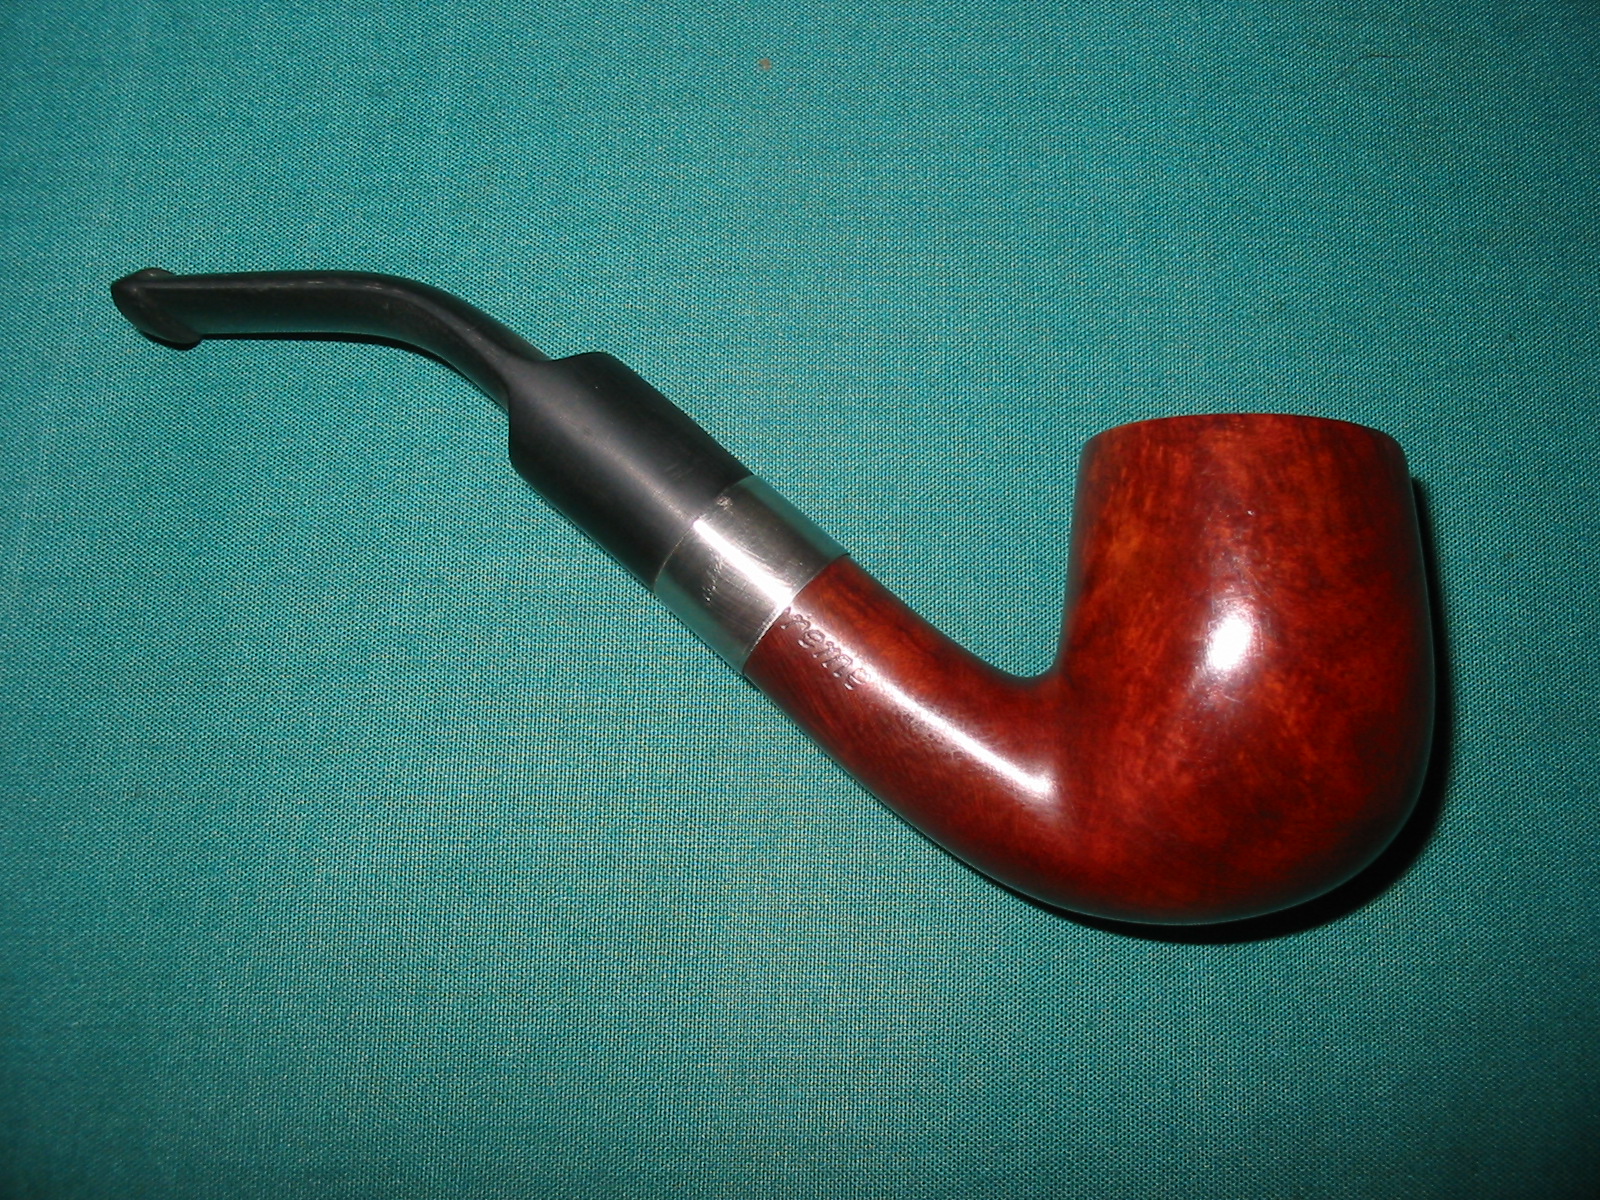
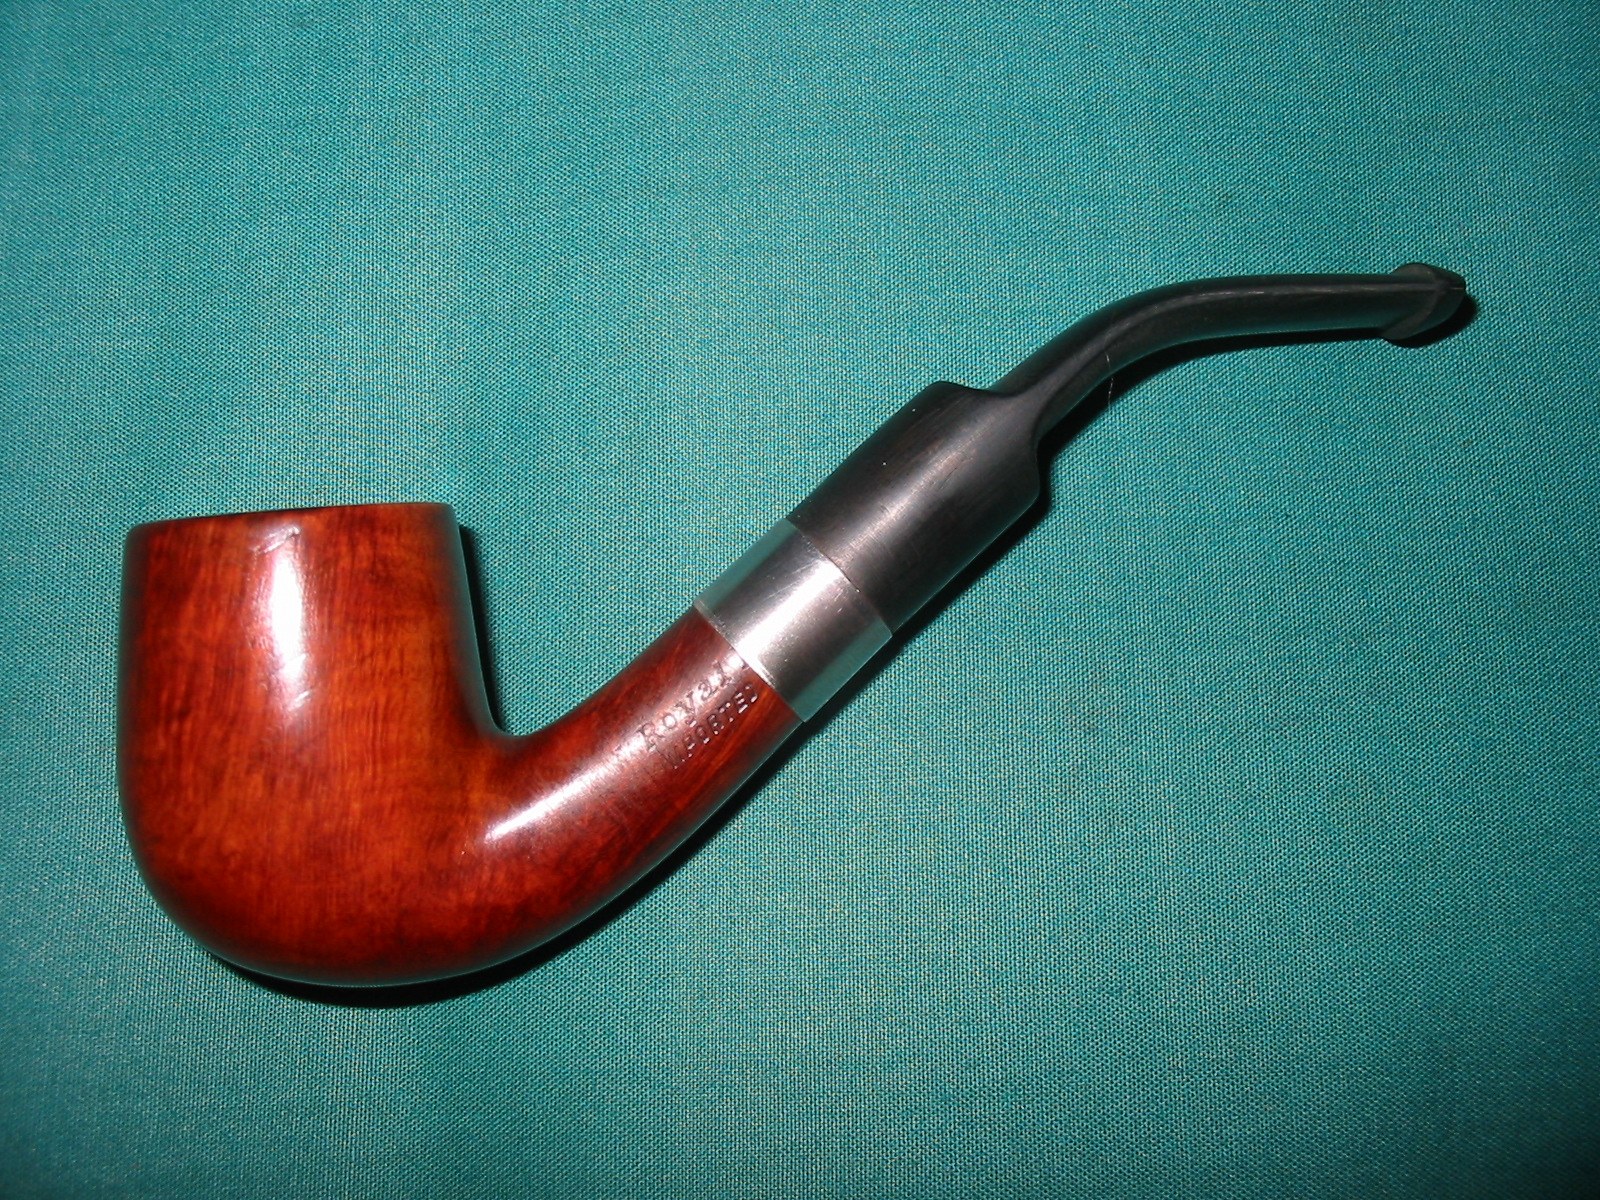
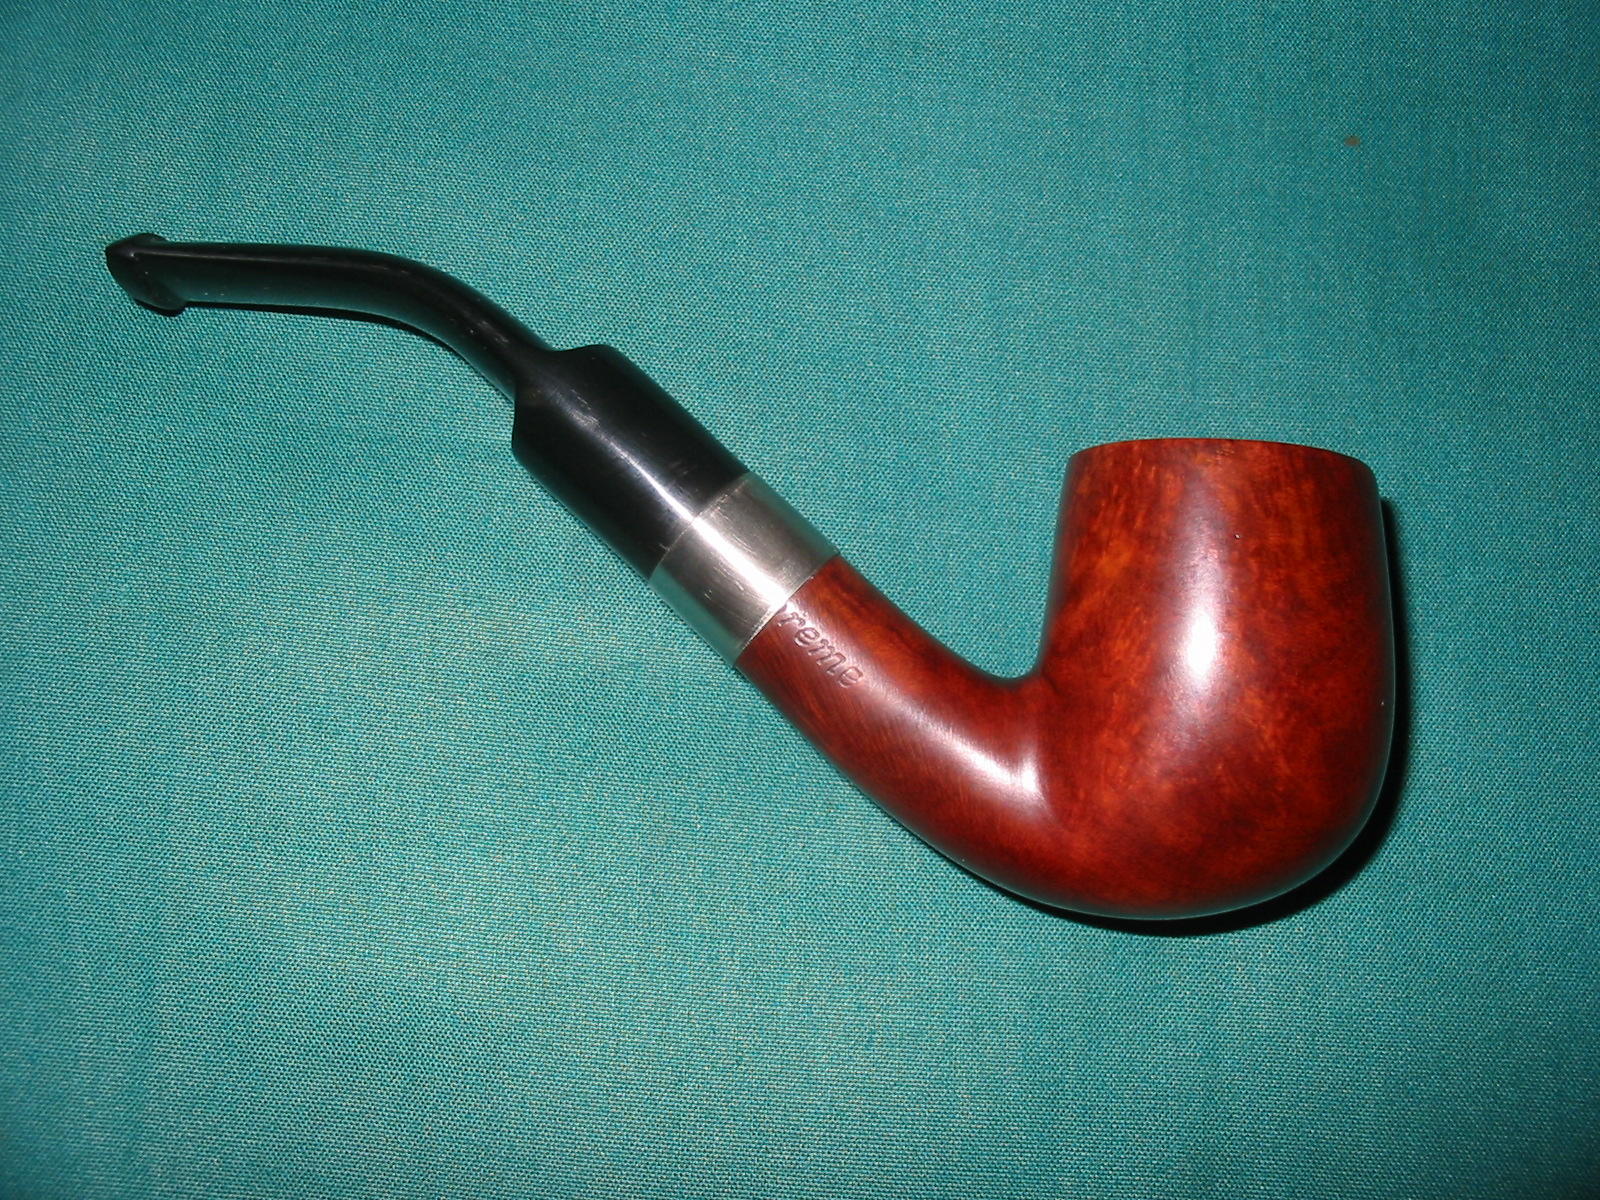
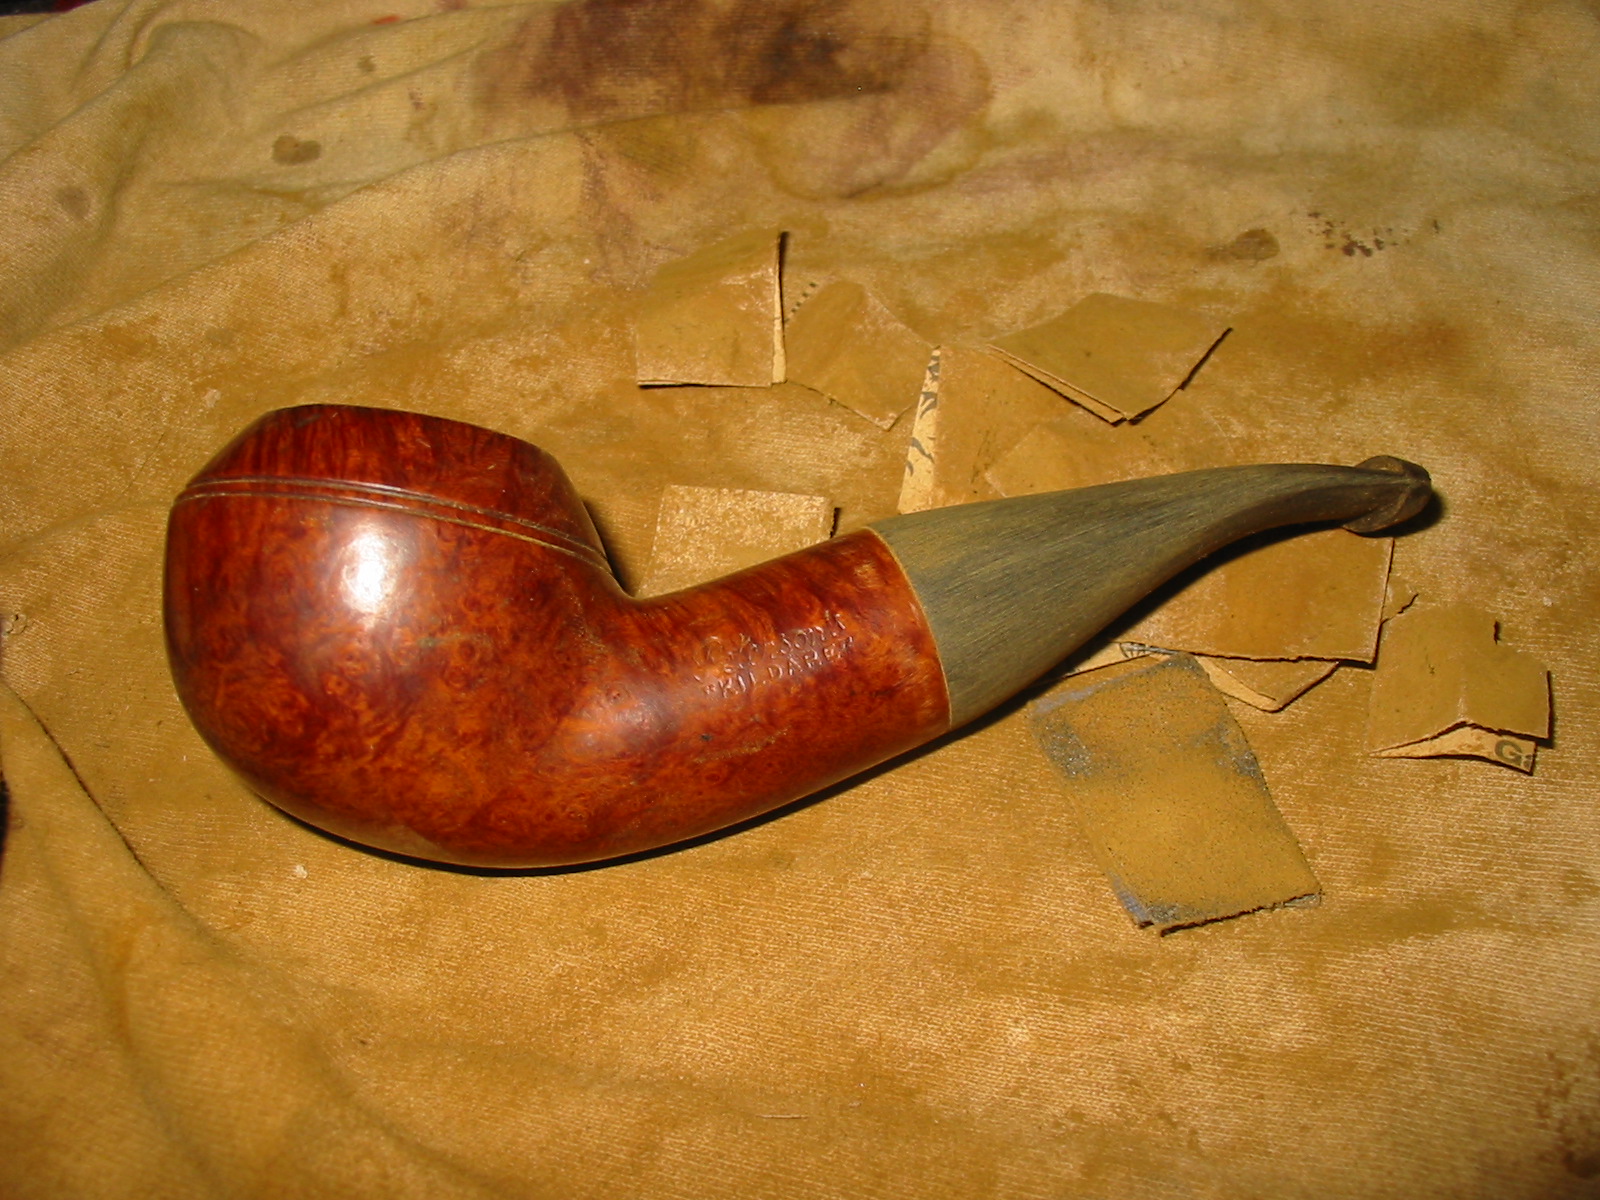
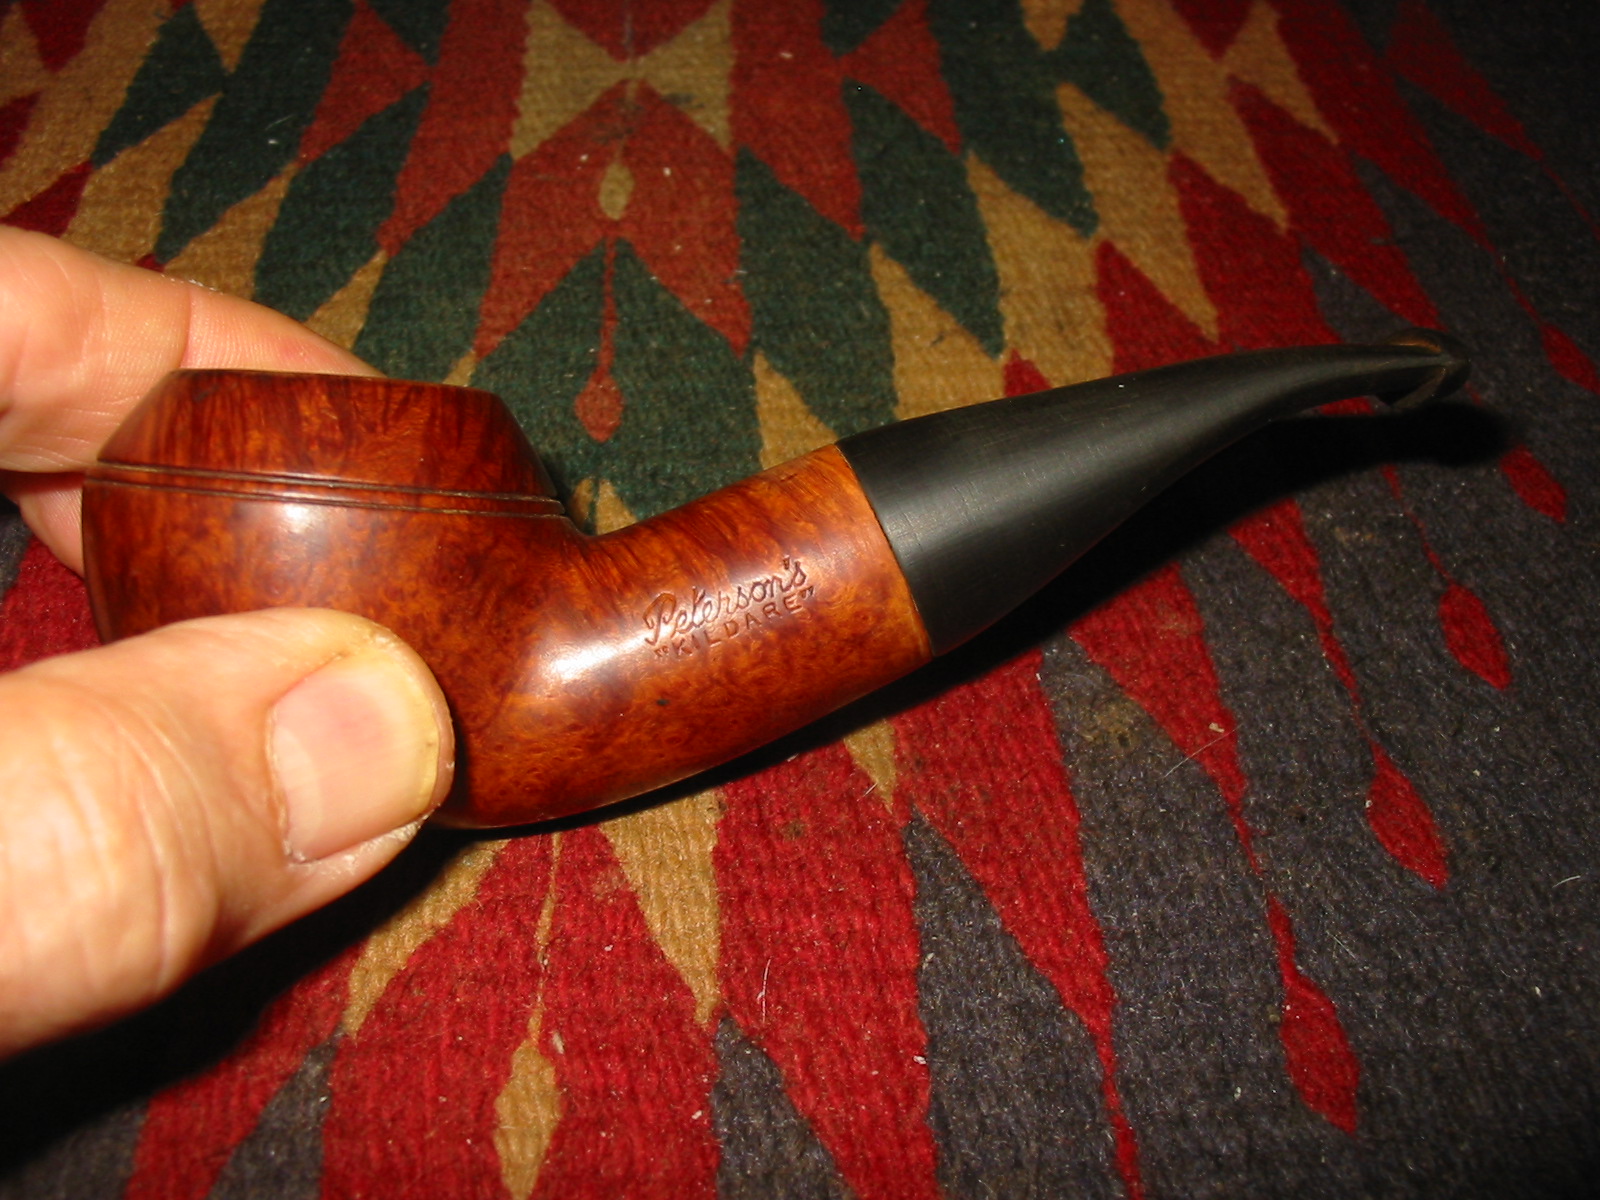
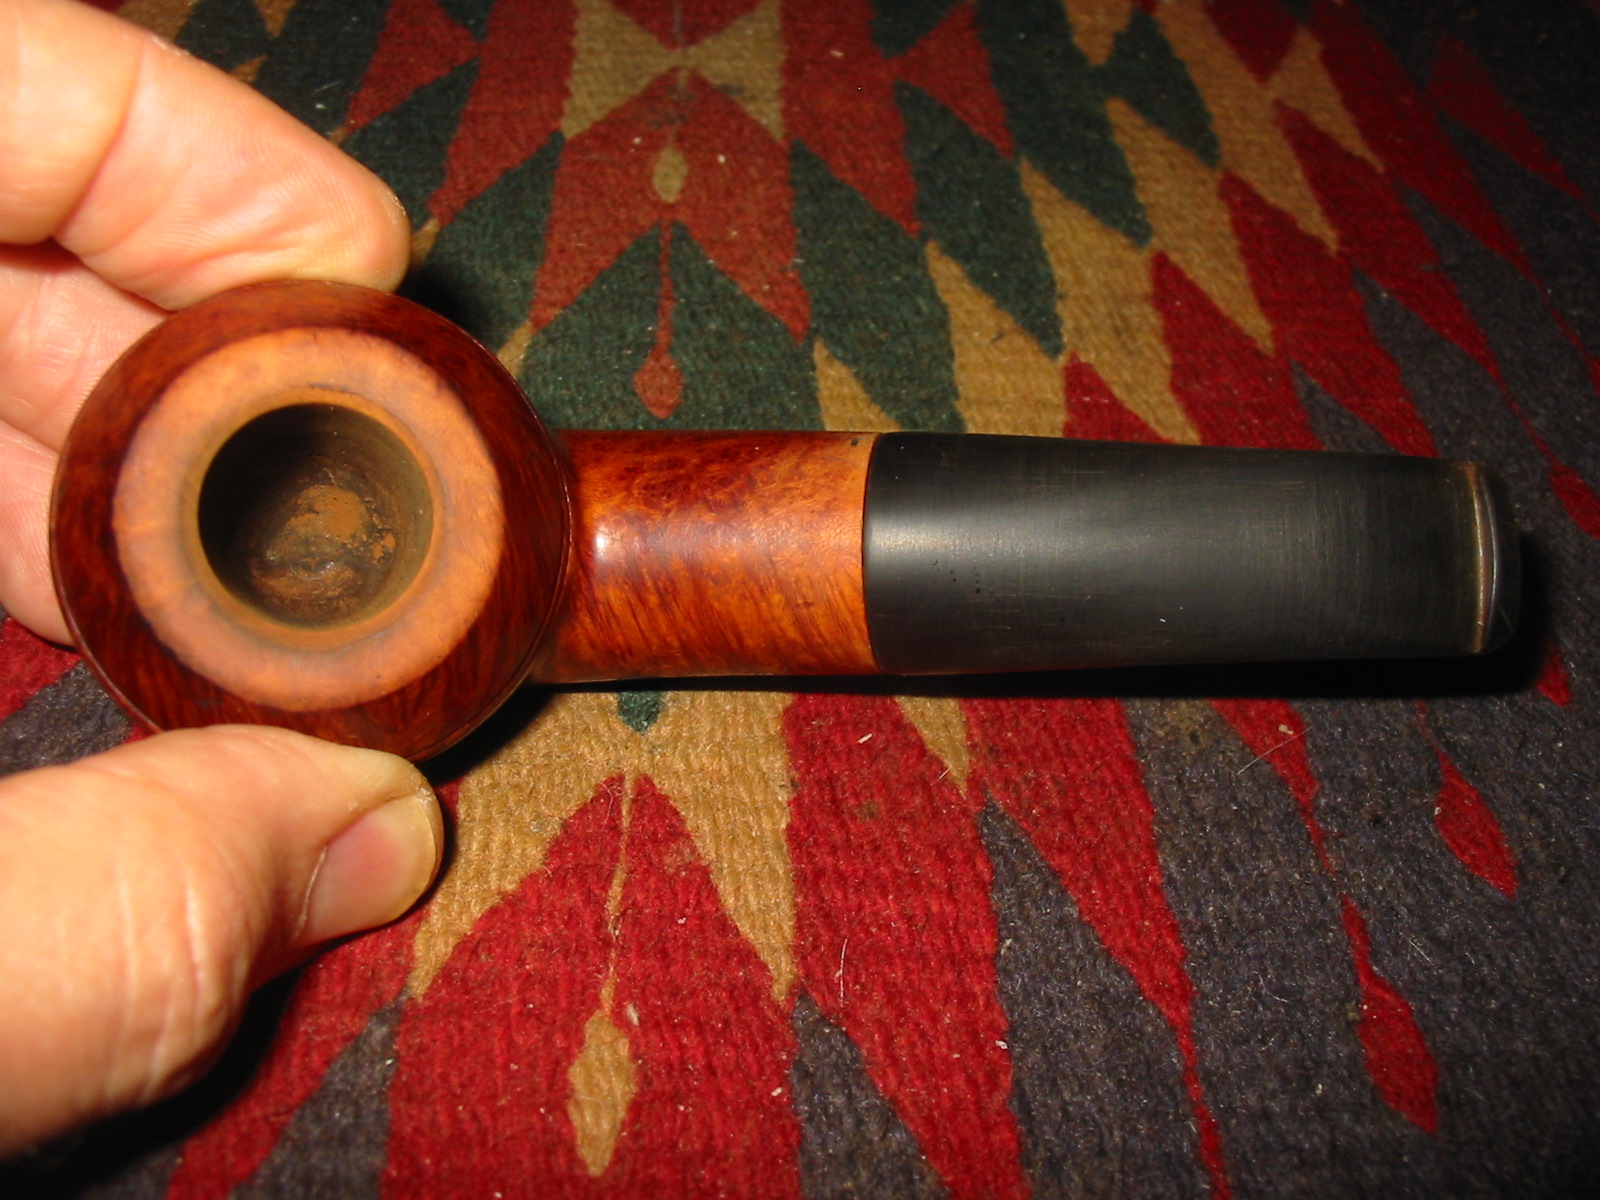
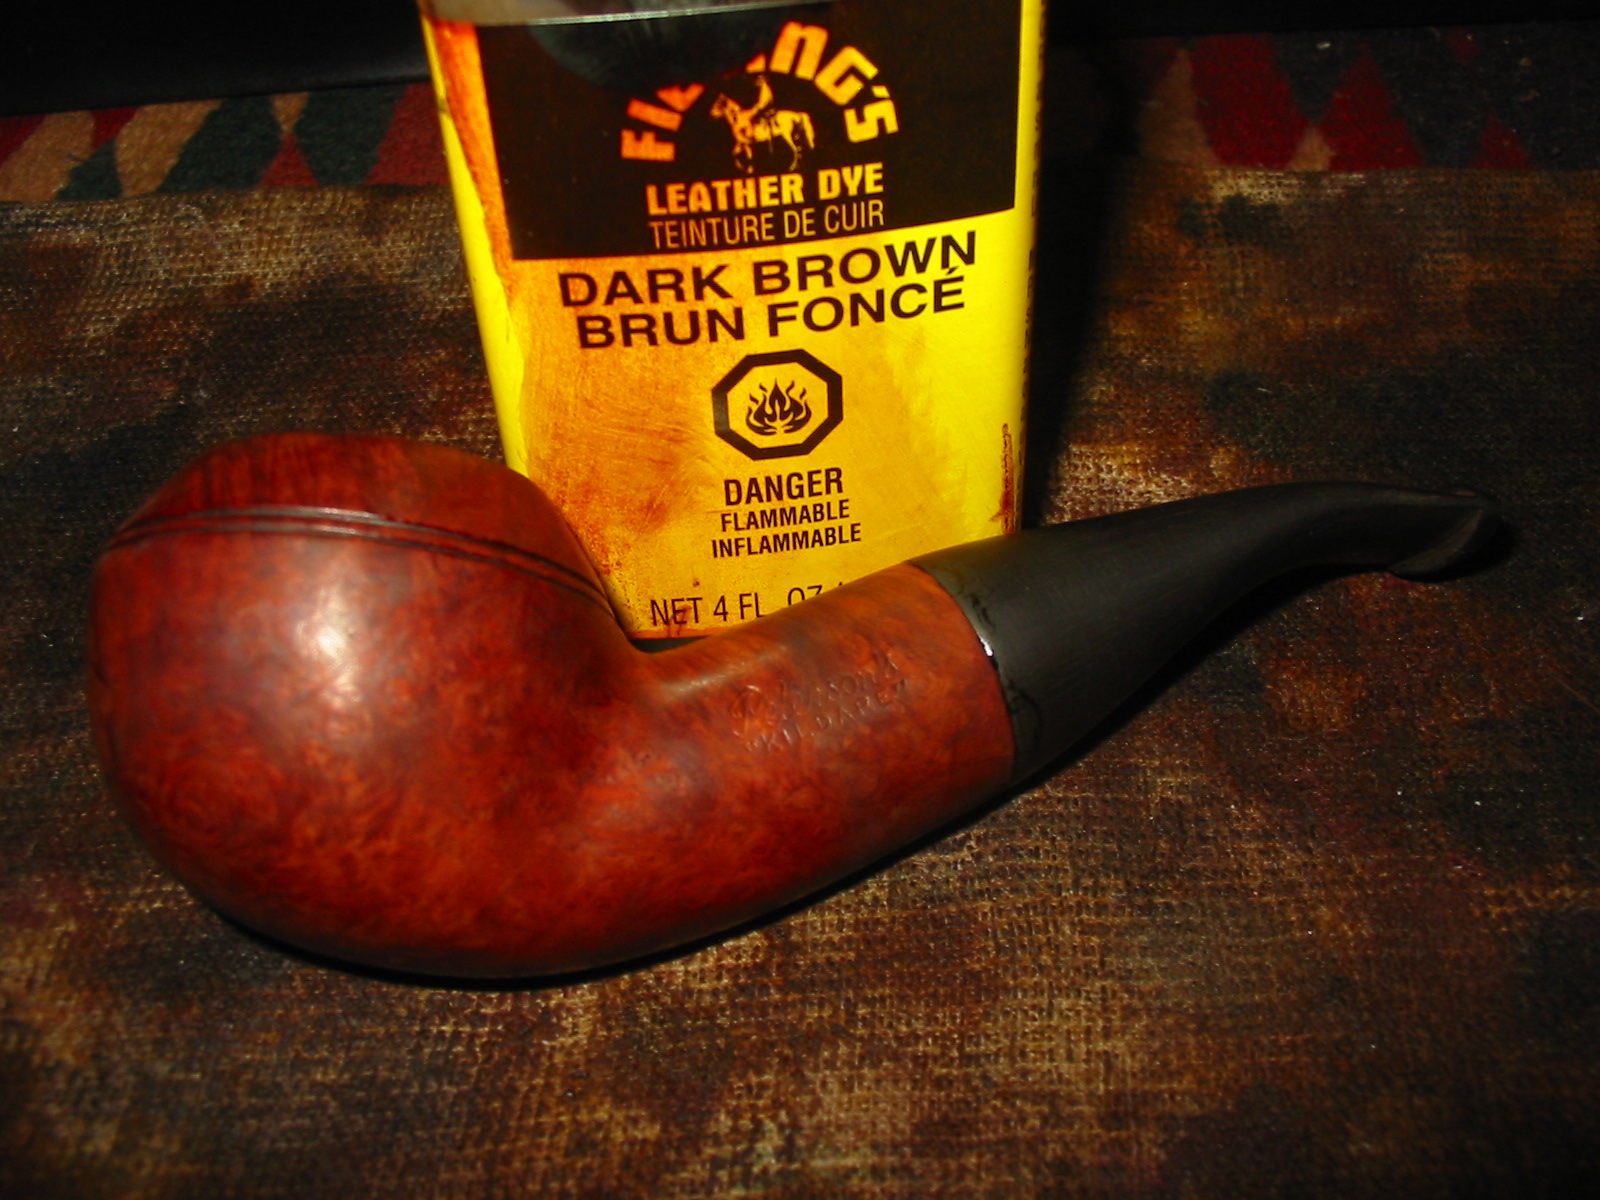
After much sanding and fitting, the vulcanite stem is finished. The pipe is smokeable while I wait for the Cumberland/brindle rod stock to come from Todd. I like the look and feel of the pipe as it is very close in size and design to the GBD 9438 with a tapered stem. The finished pipe is pictured below after buffing with multiple coats of carnauba wax and with a clean flannel buff.