Blog by Steve Laug
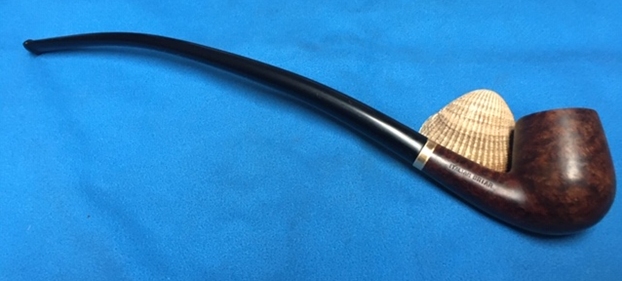
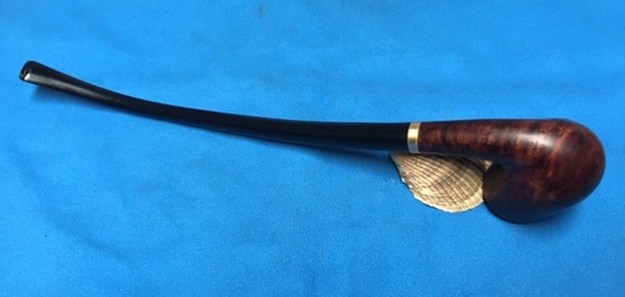
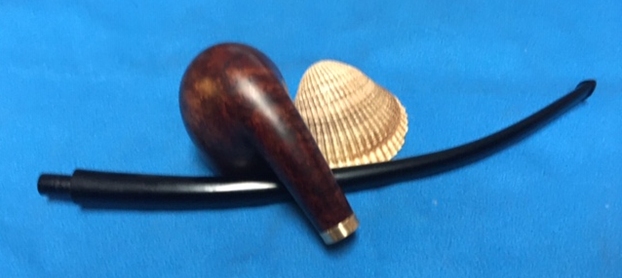
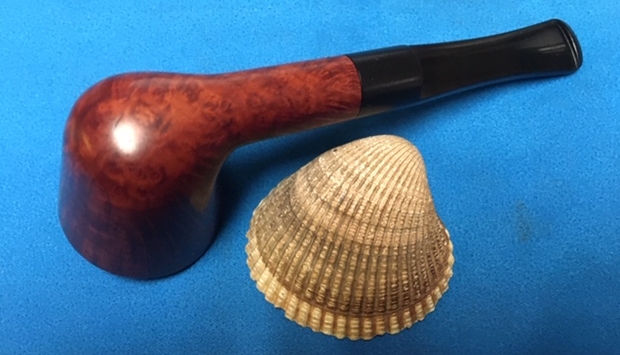
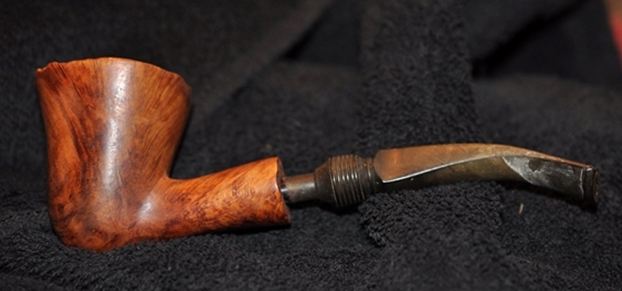
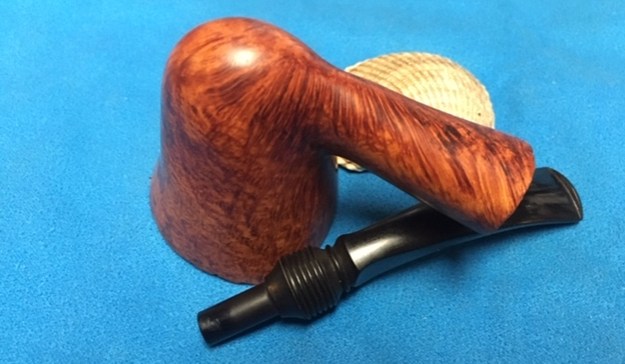
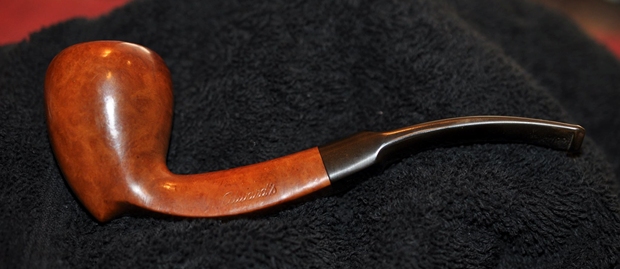
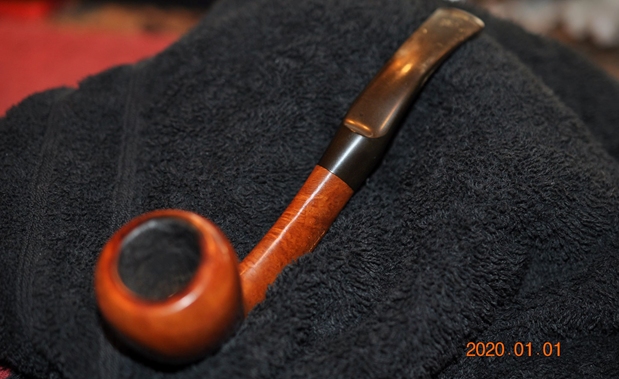
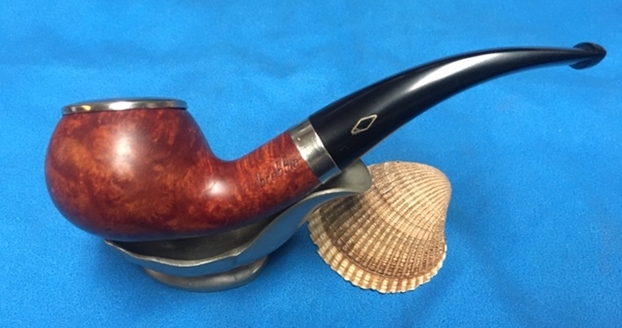
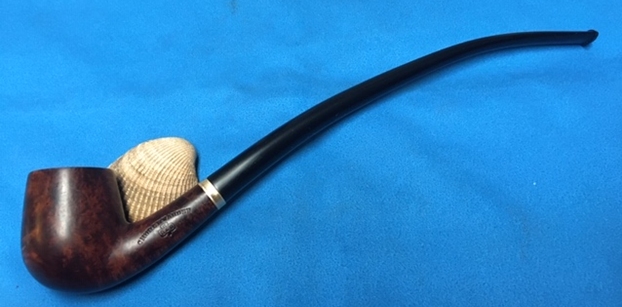
The next pipe on the table is an interesting KB&B Churchwarden and that is how it is stamped on the left side of the shank. On the right it reads Italian Briar. It is an interesting piece of briar in that it is a mix of grains hidden beneath a dark coat of stain and a top coat of shellac. The briar was very dirty. The bowl had a thick cake overflowing like lava onto the rim top. It is hard to know what the inner edge of the rim looks like because it is buried under the cake and lava coat. The fit of the stem in the shank appeared to be a bit off but cleaning would make that clear. The long vulcanite stem was dirty and oxidized. It was calcified near the button. The bend on the stem was also too much leaving the bowl tipped downward when in the mouth. There were tooth marks and chatter on both sides near the button. Jeff took photos of the pipe before his cleanup work.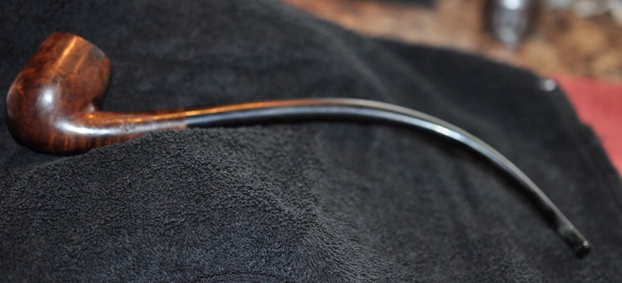
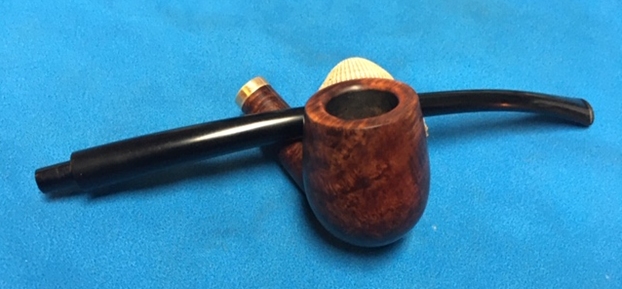
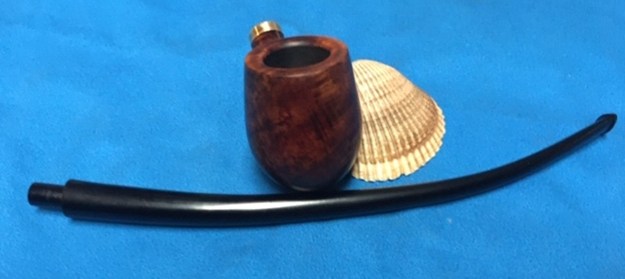
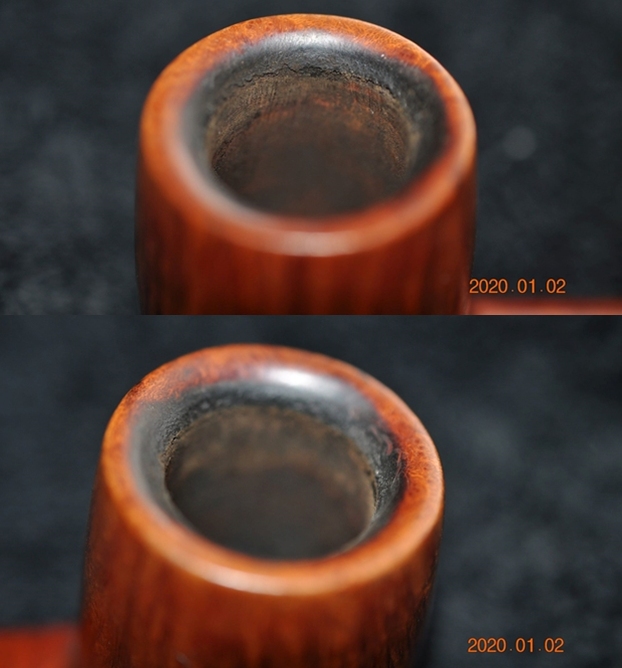
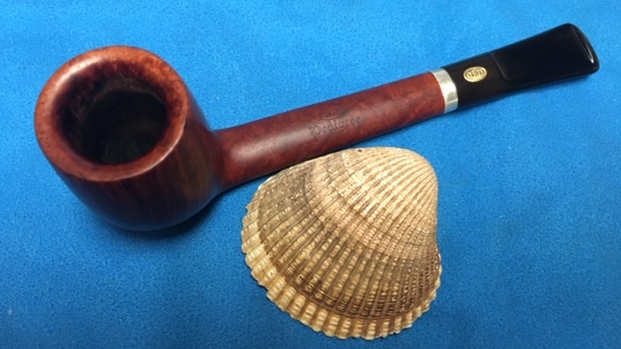
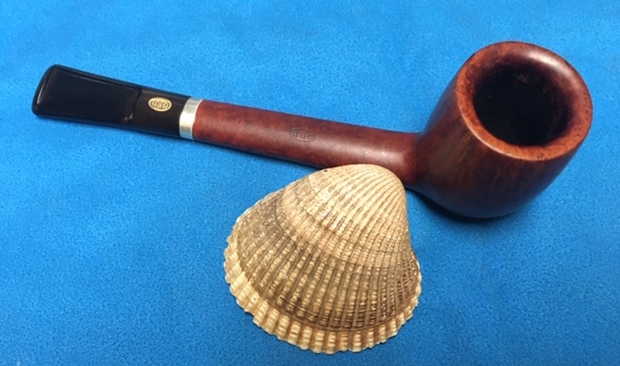
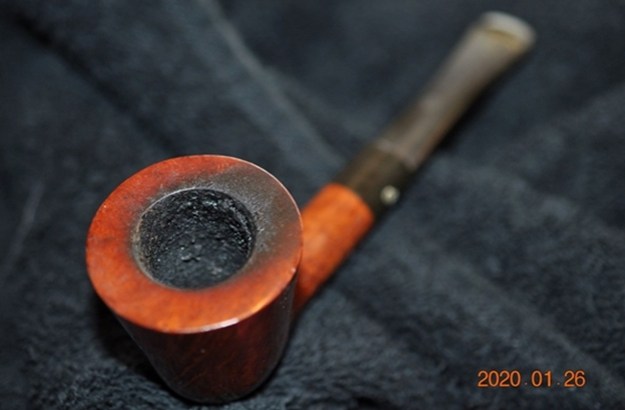
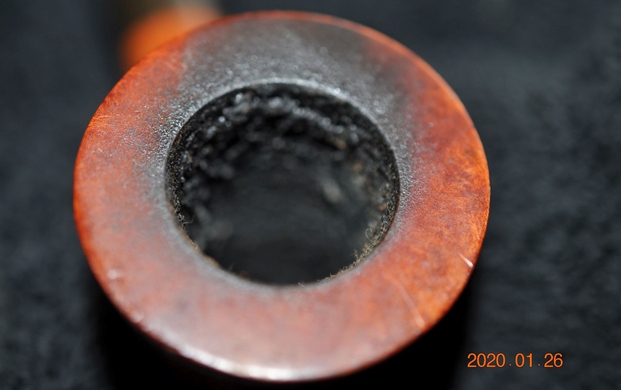
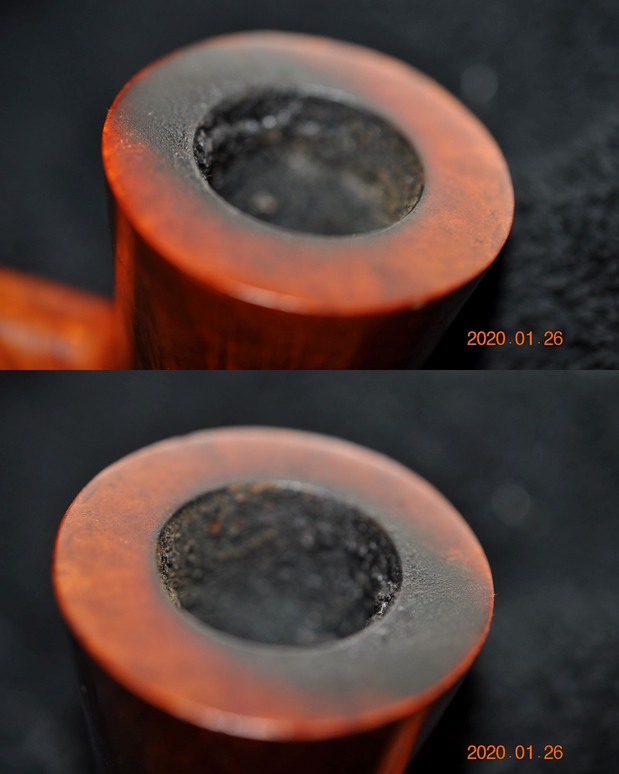
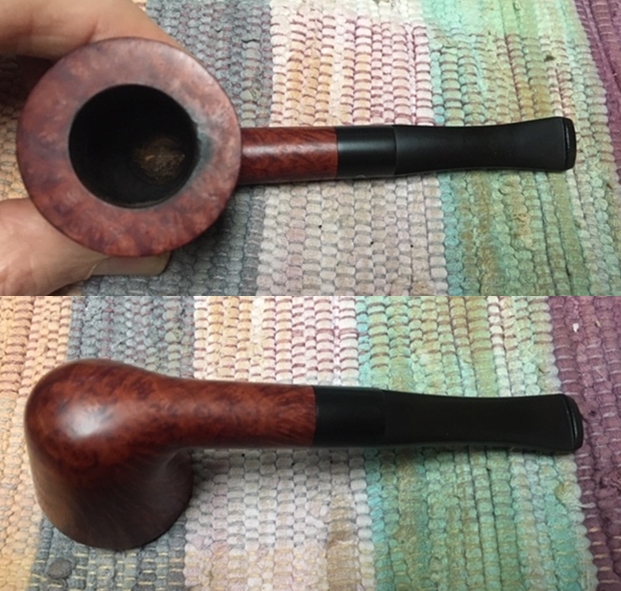
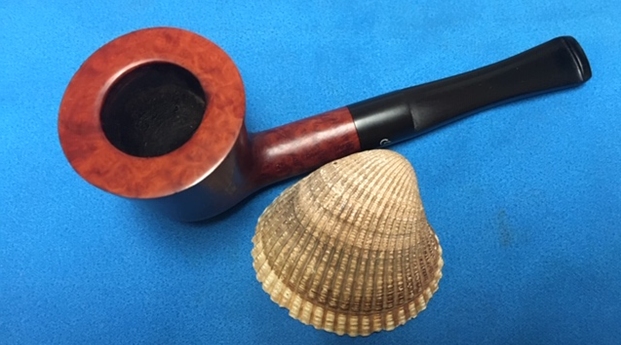
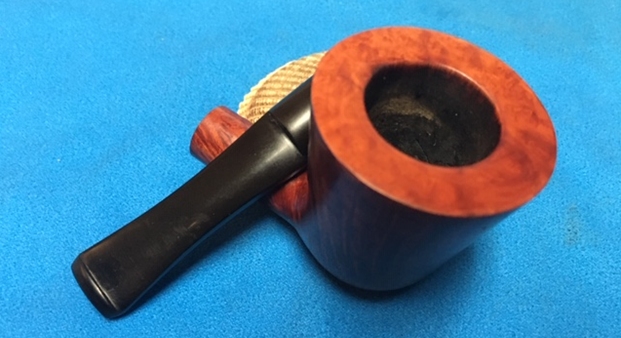
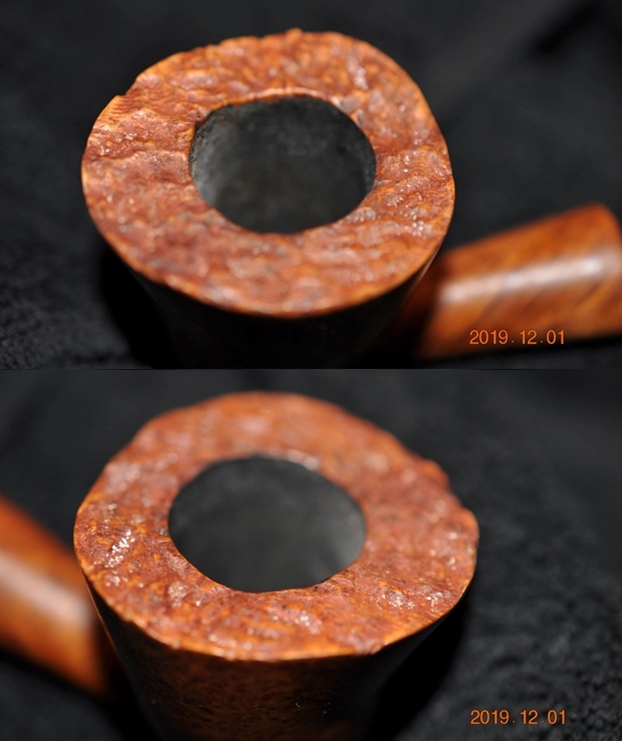
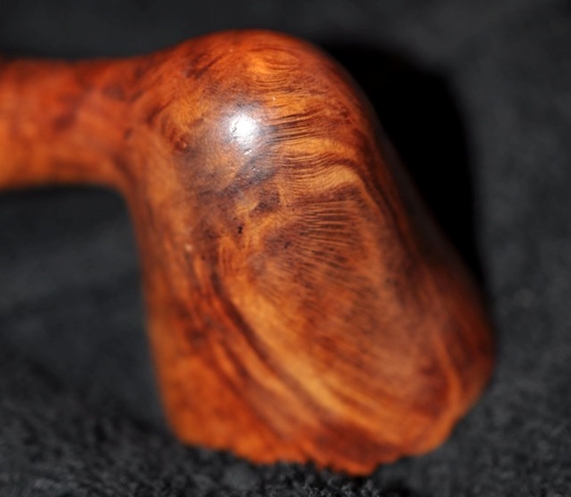
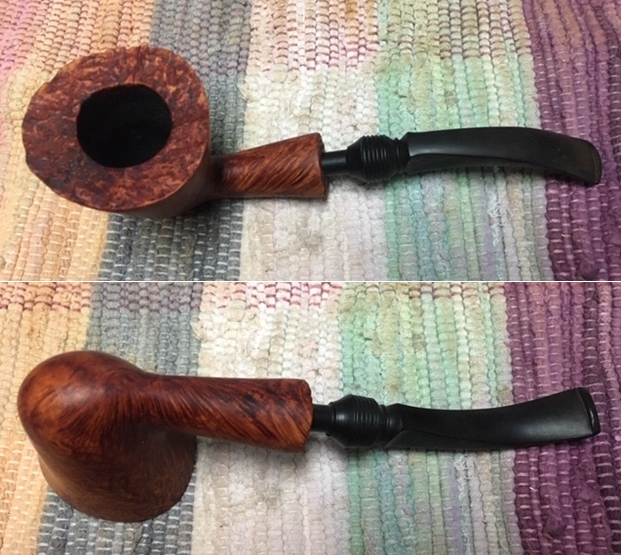
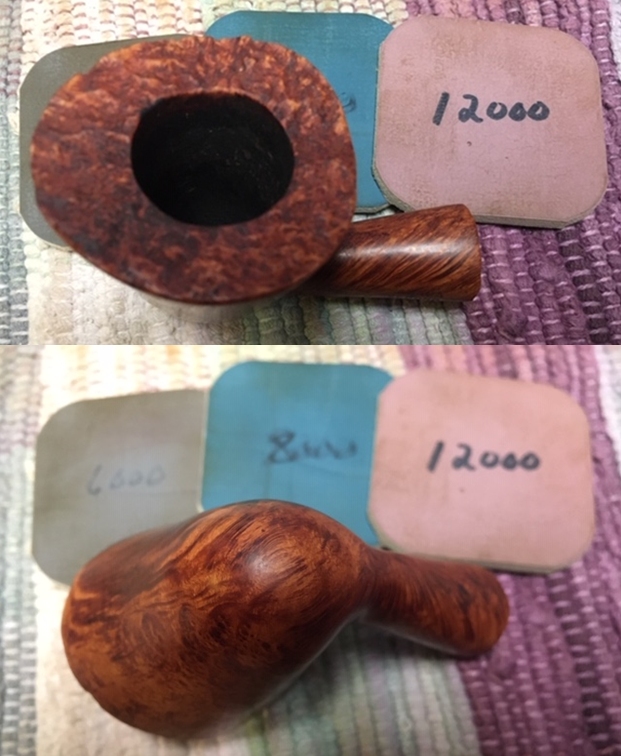
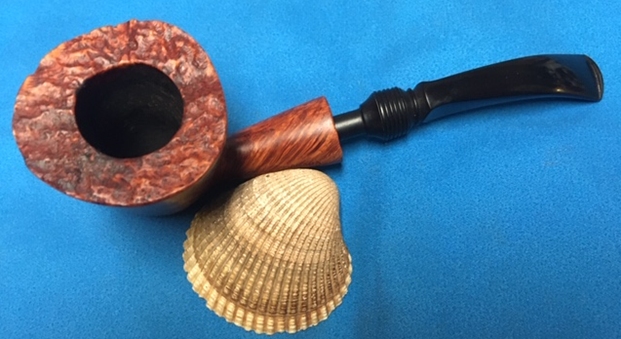
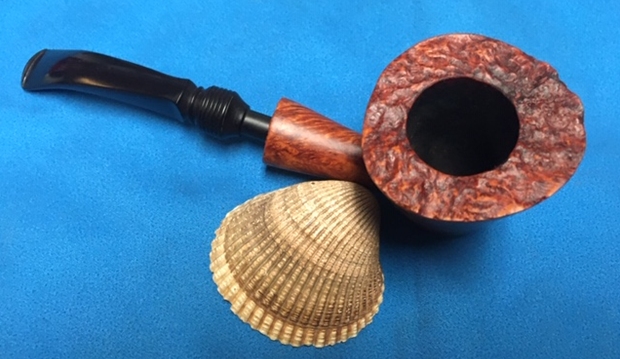
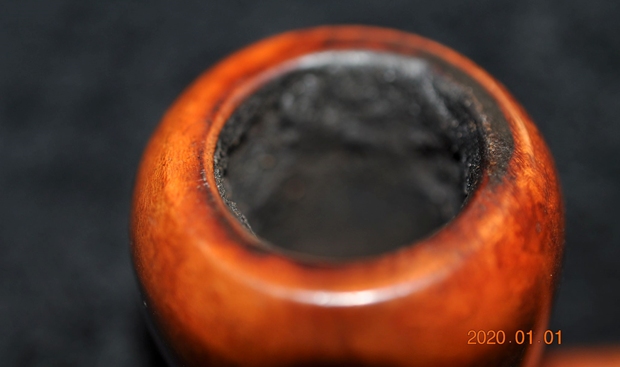
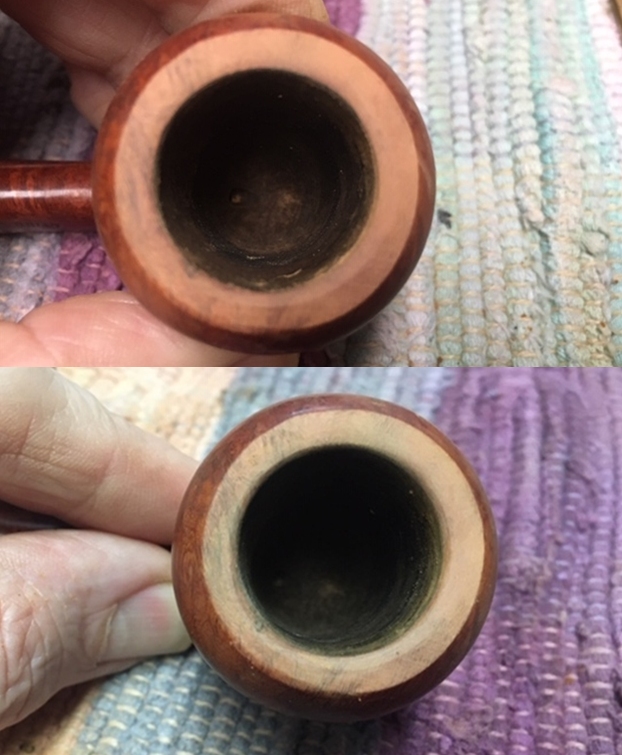
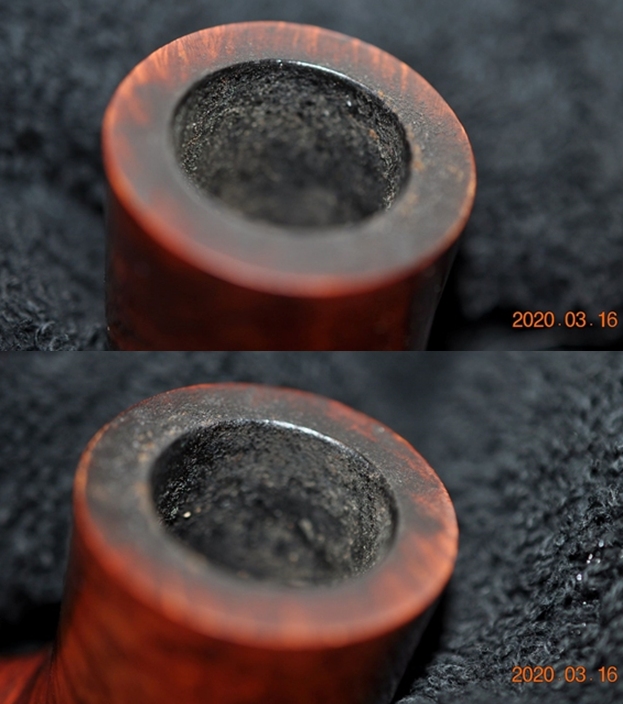
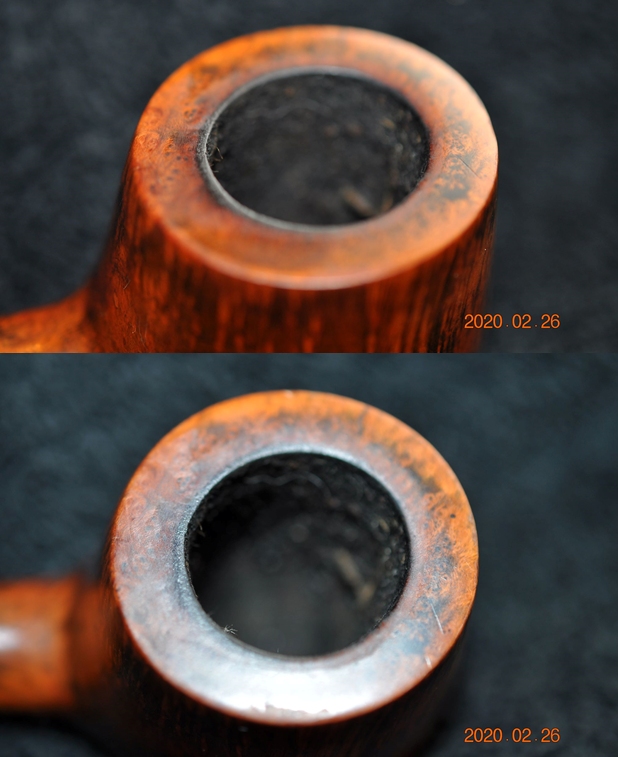
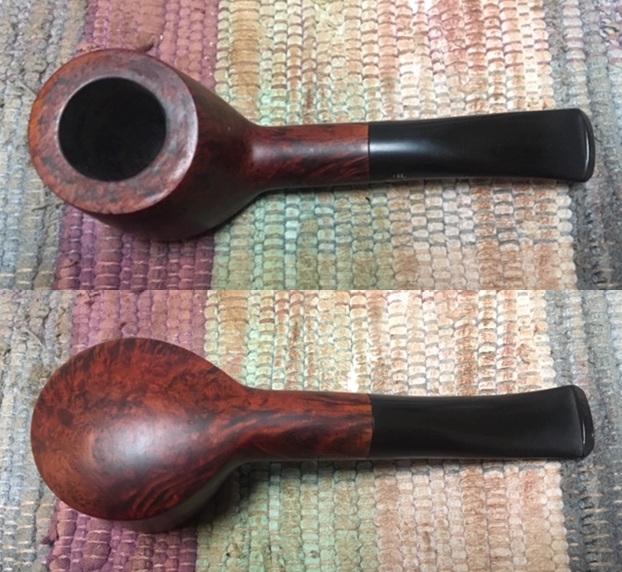
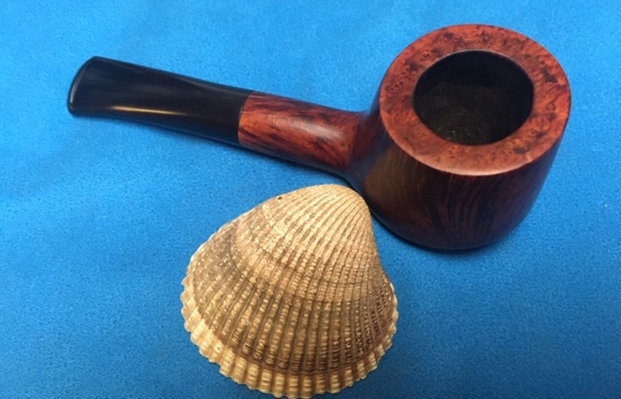
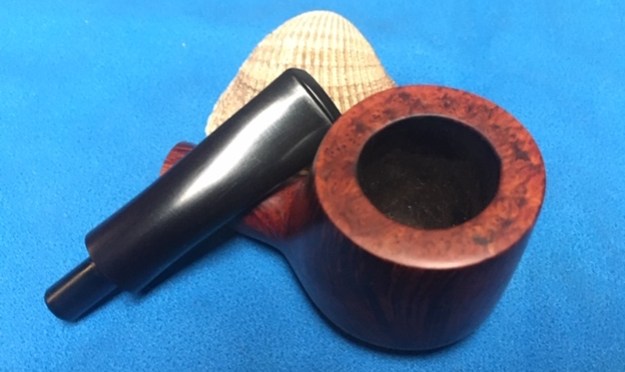
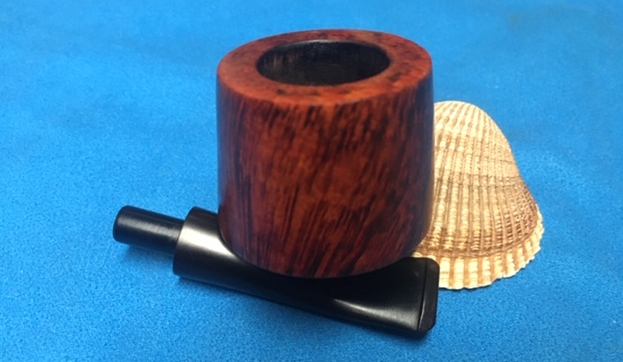
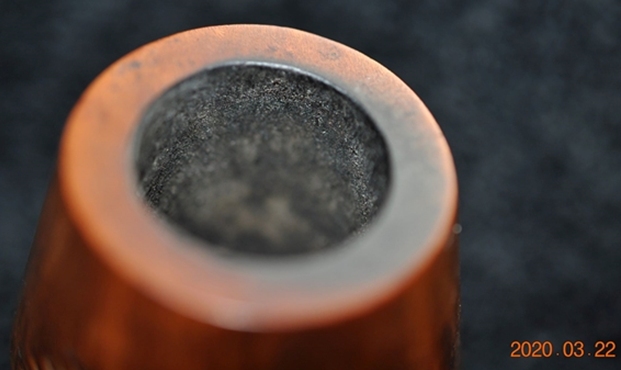
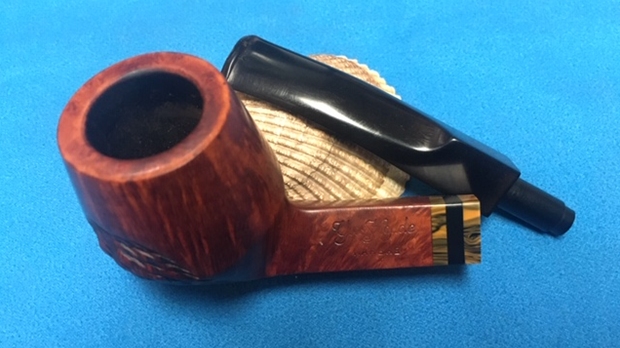
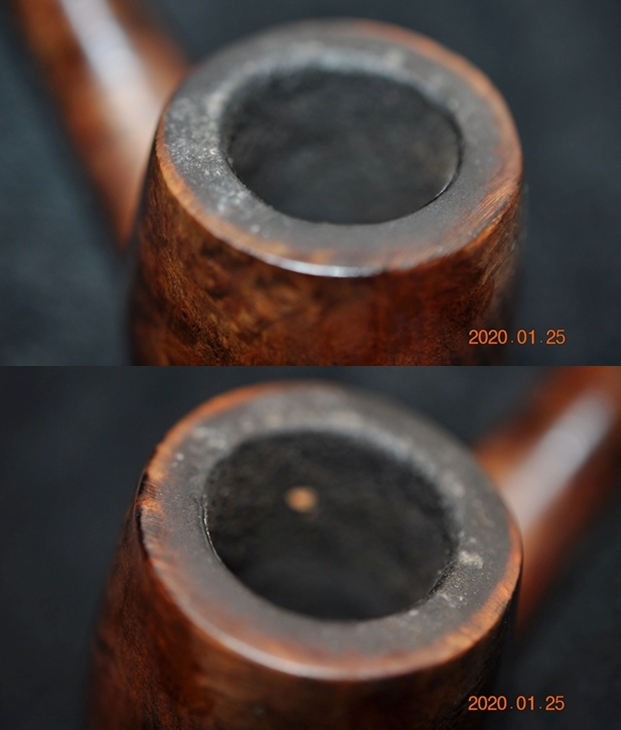
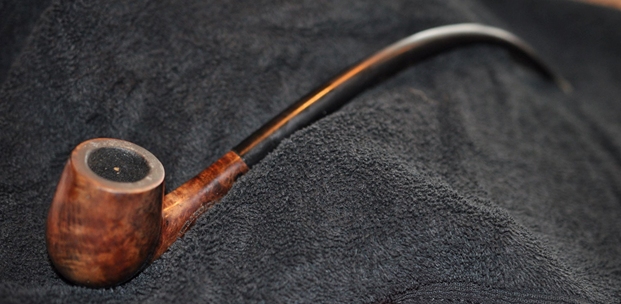 Jeff tried to capture the condition of the bowl and rim top with the next series of photos. You can see the work that is ahead of us in terms of cake and lava buildup.
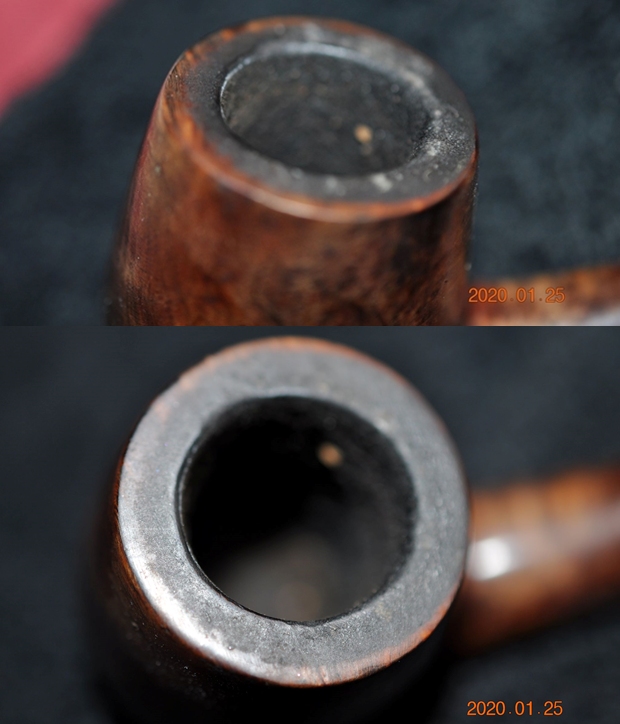
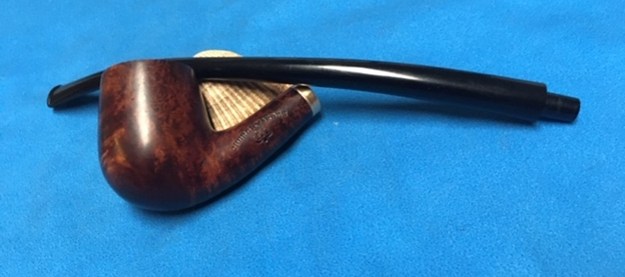
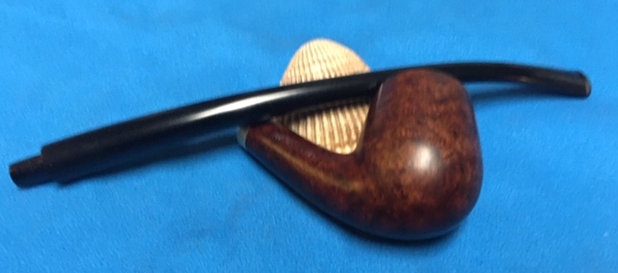
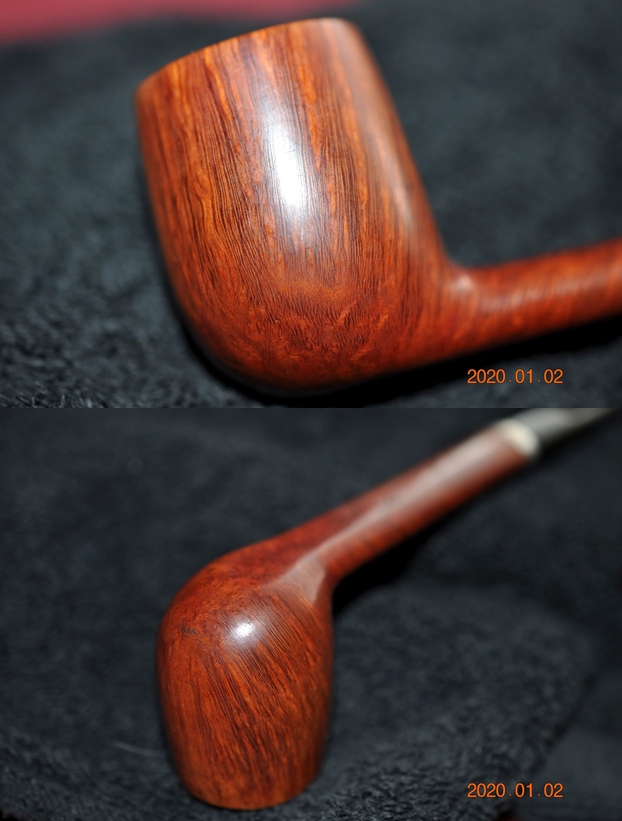
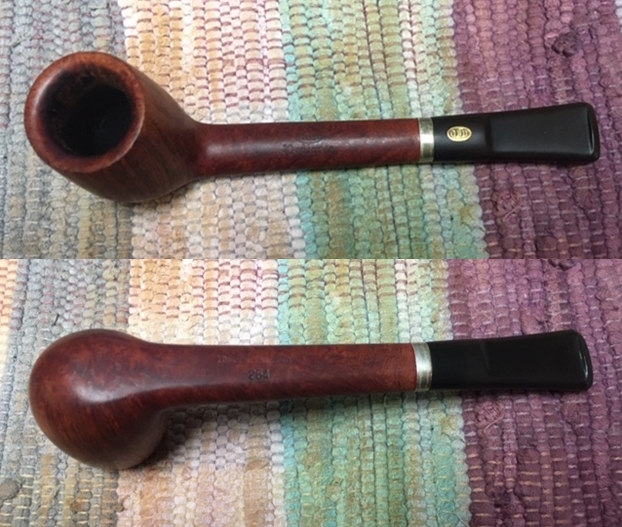
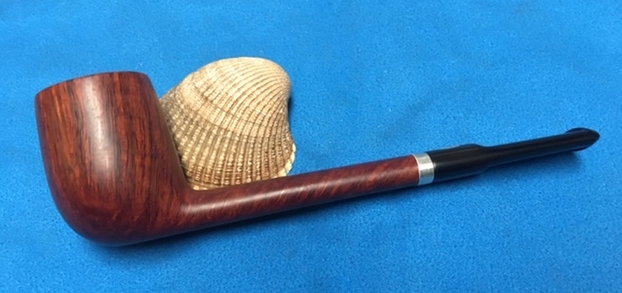
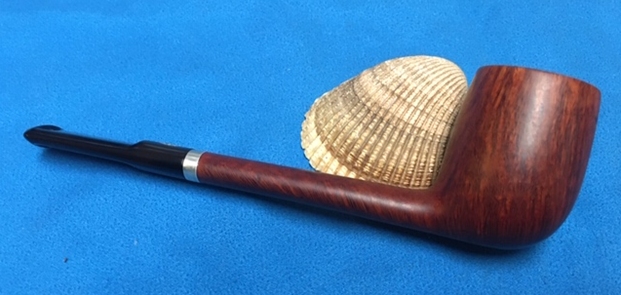
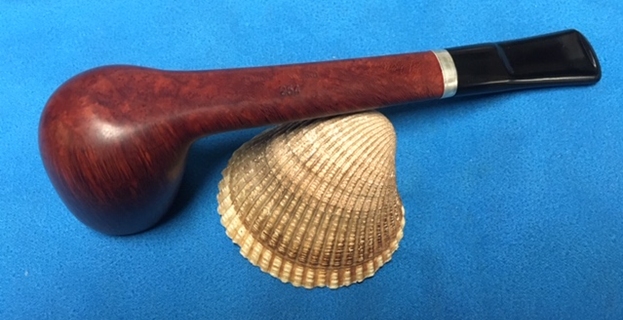
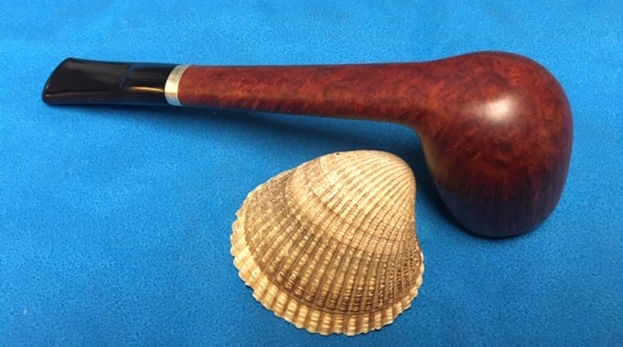
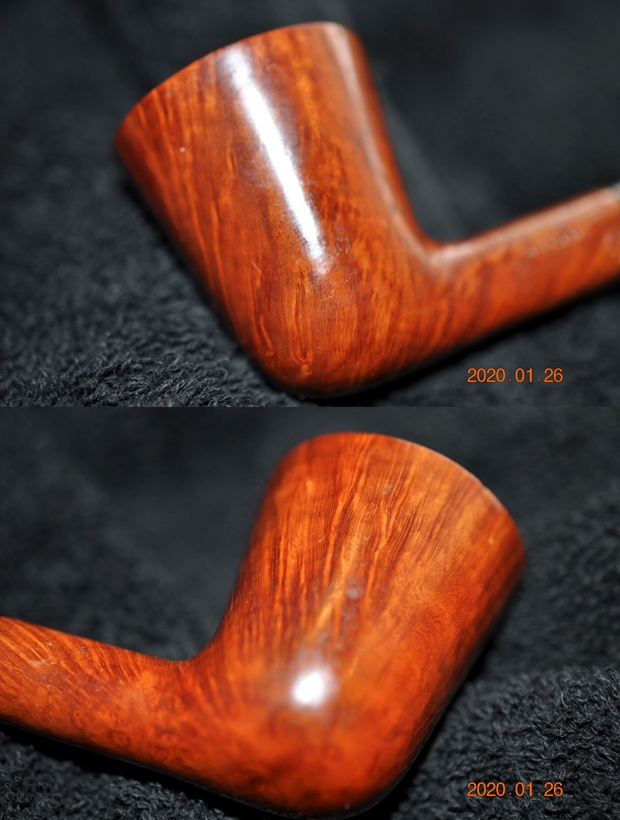
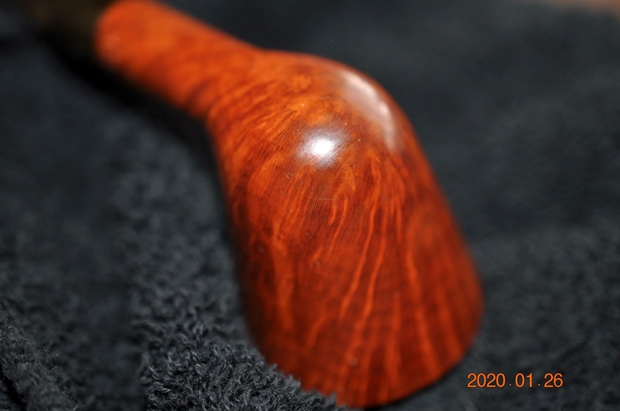
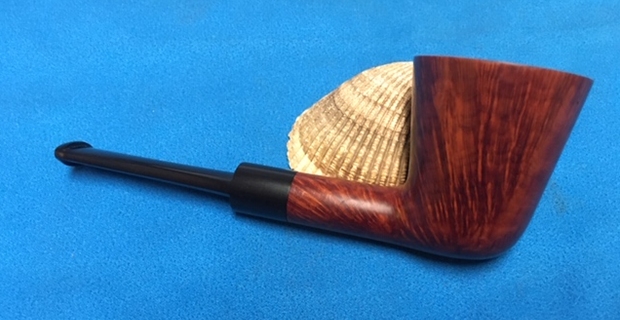
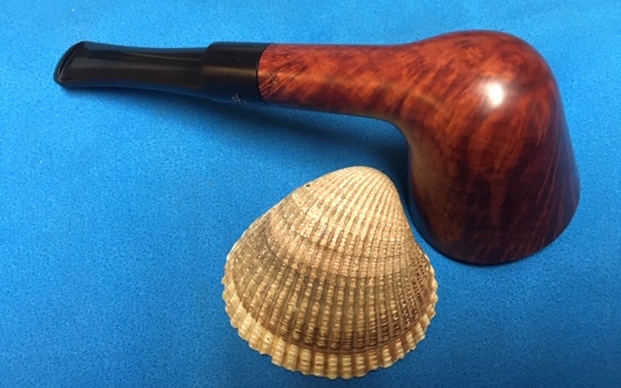
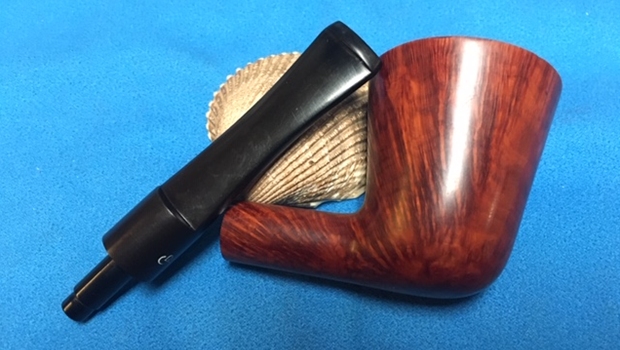
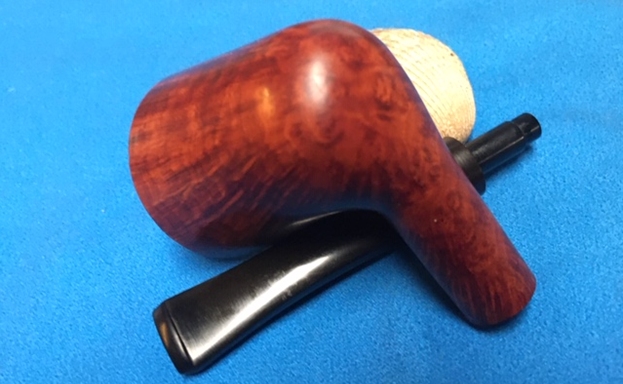
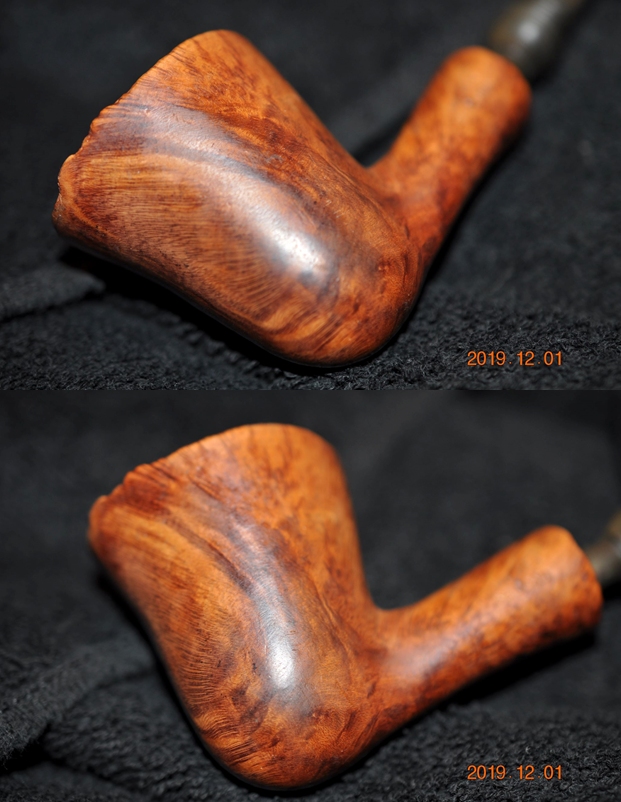
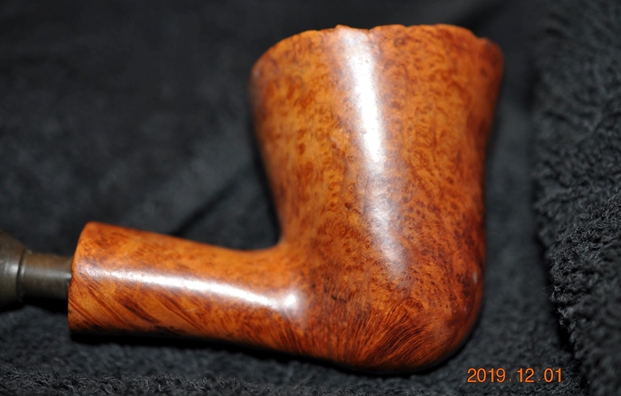
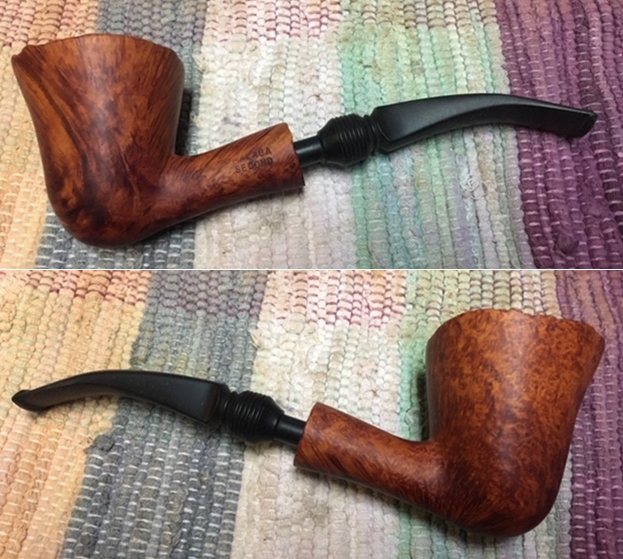
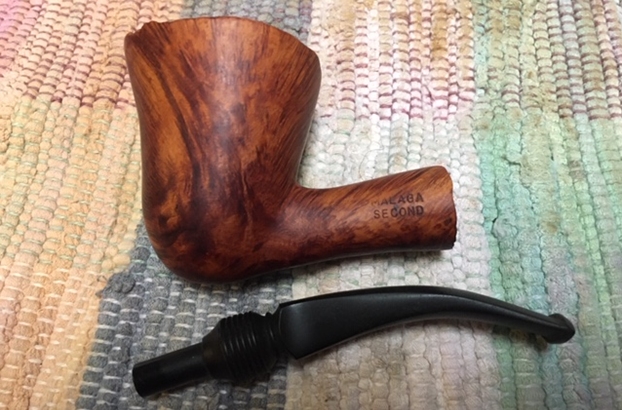
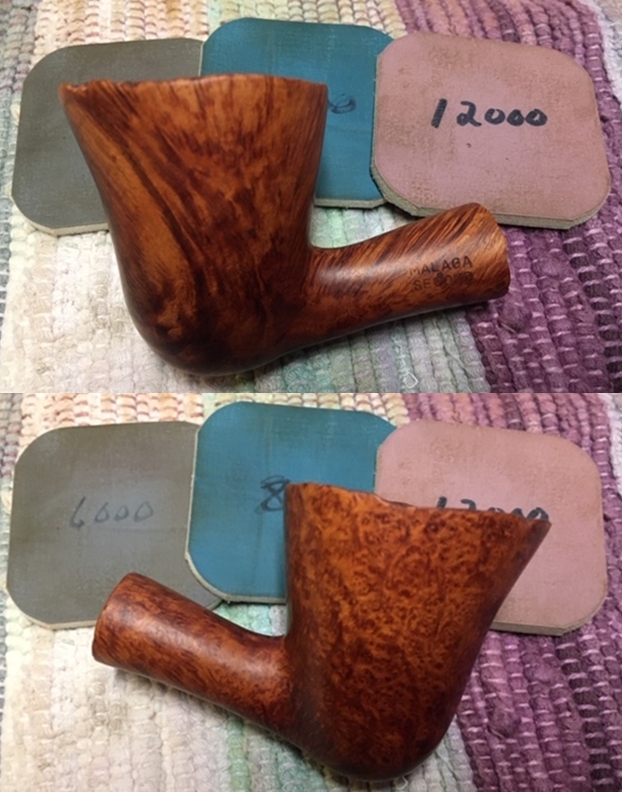
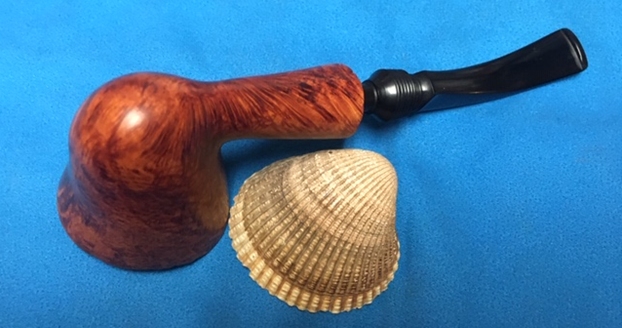
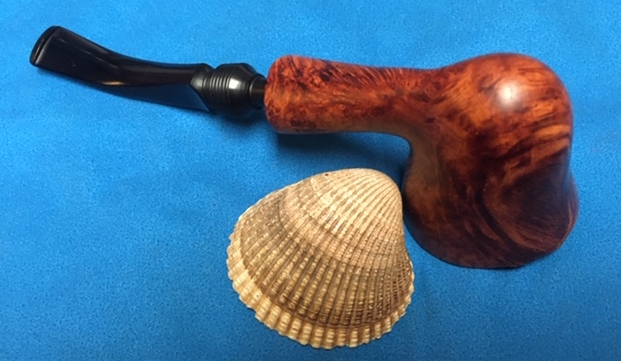
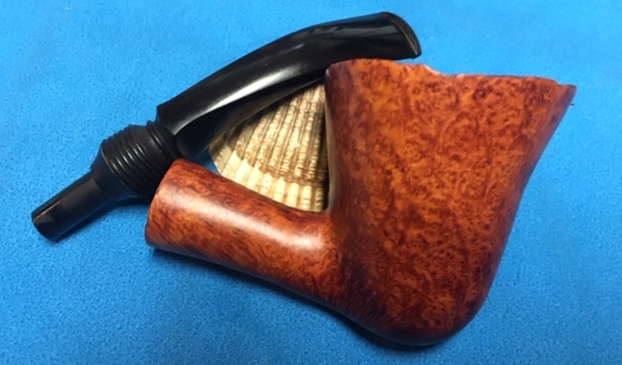
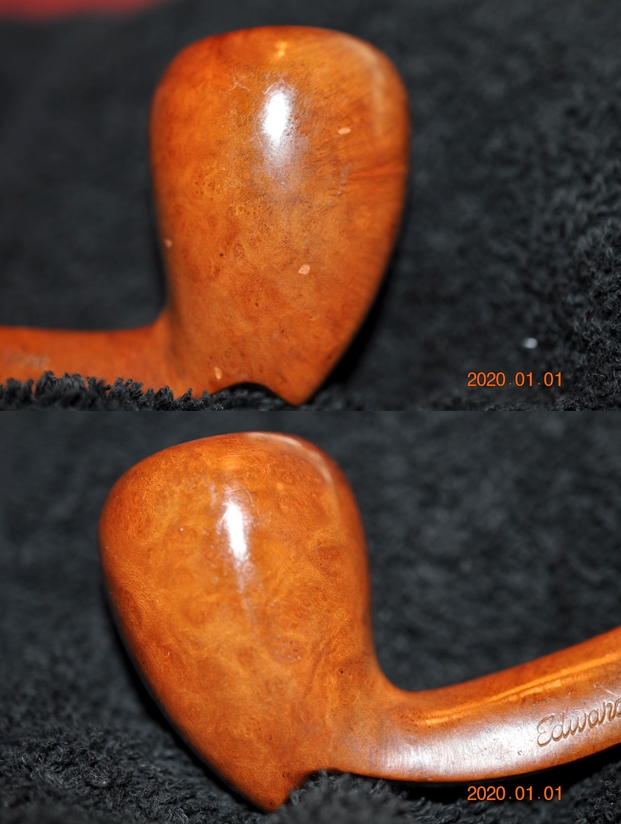
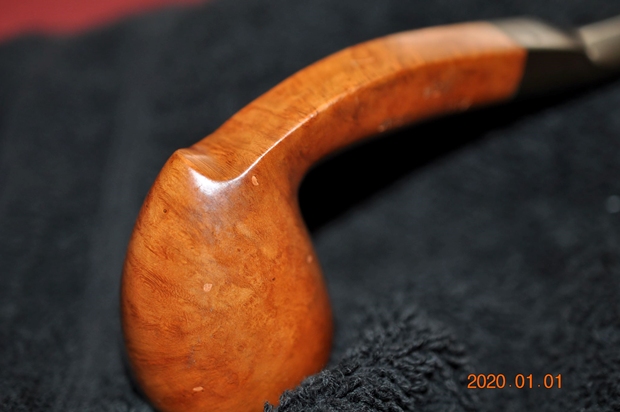
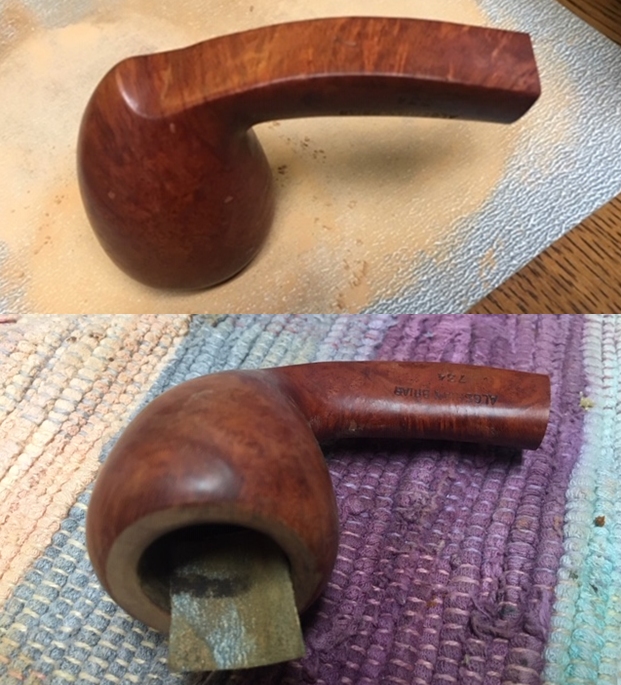
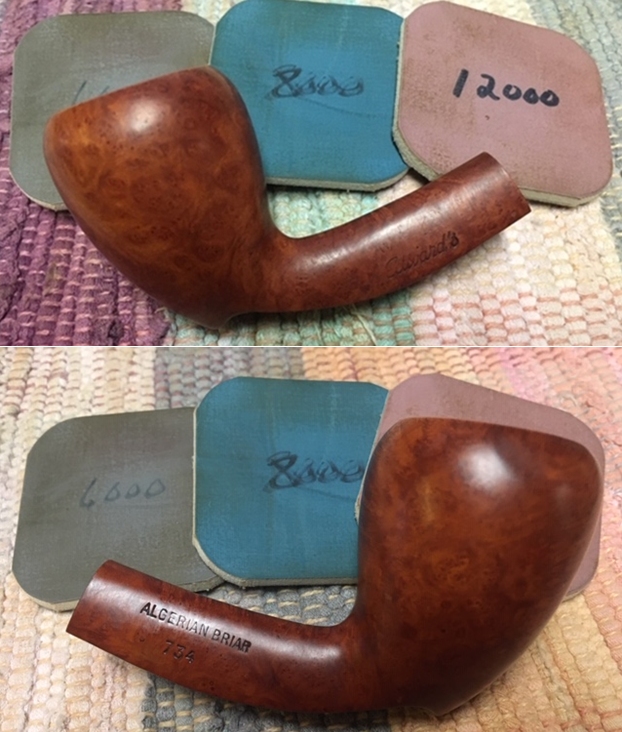
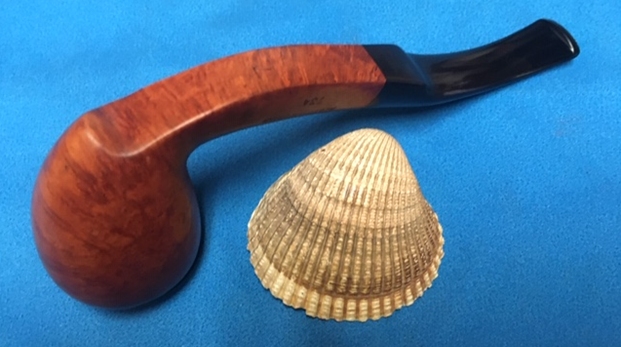
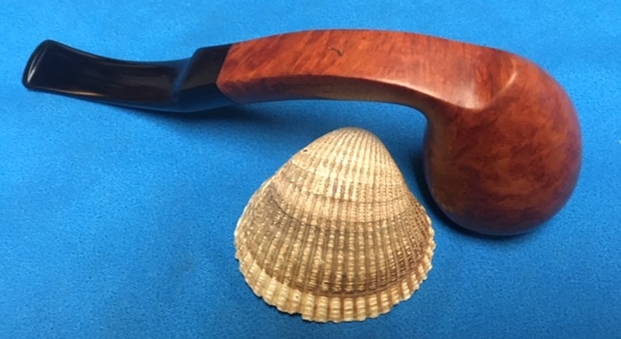
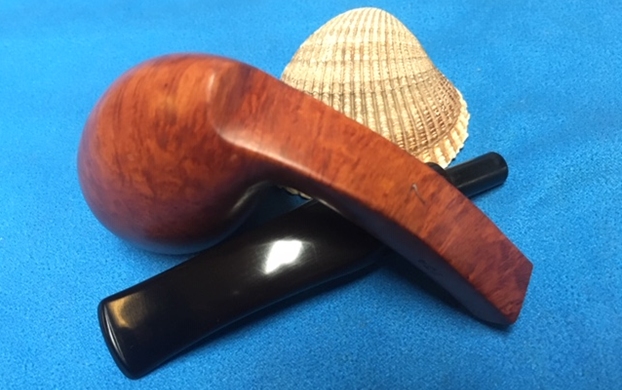
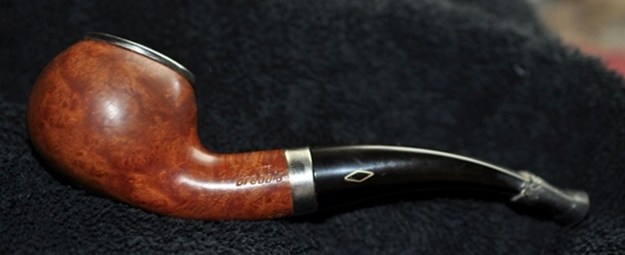
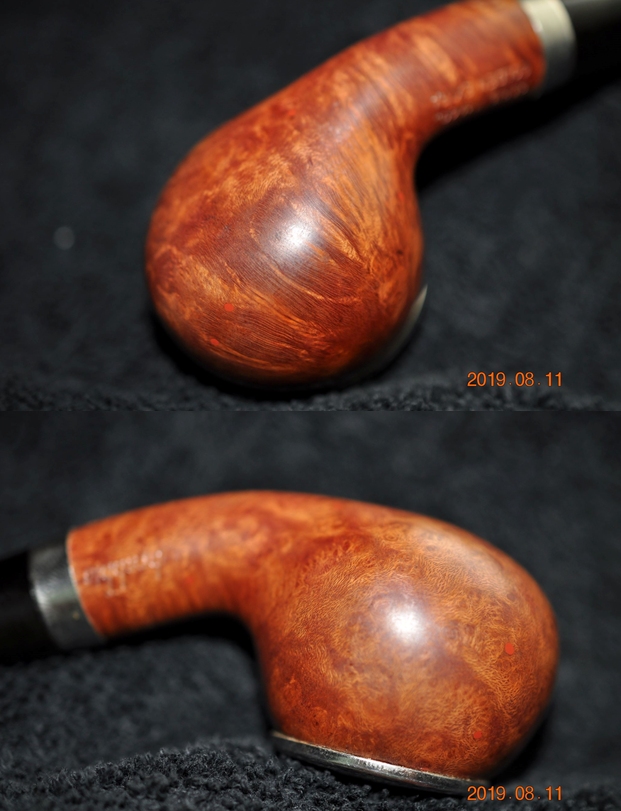
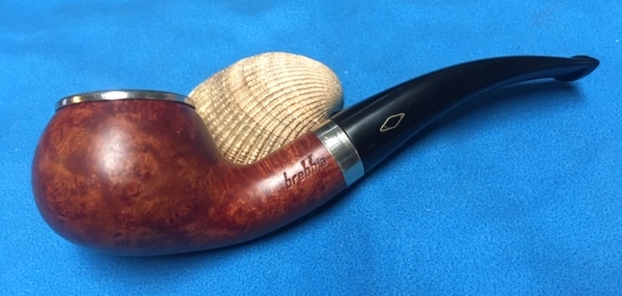
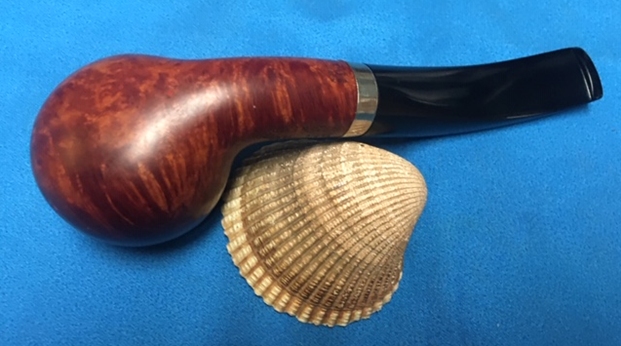
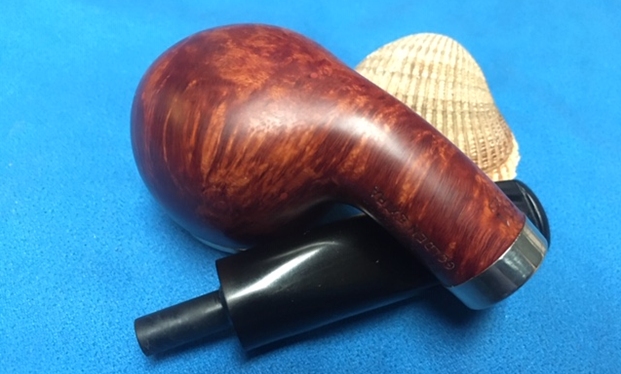
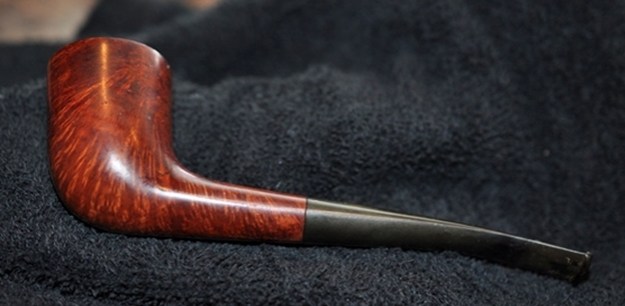
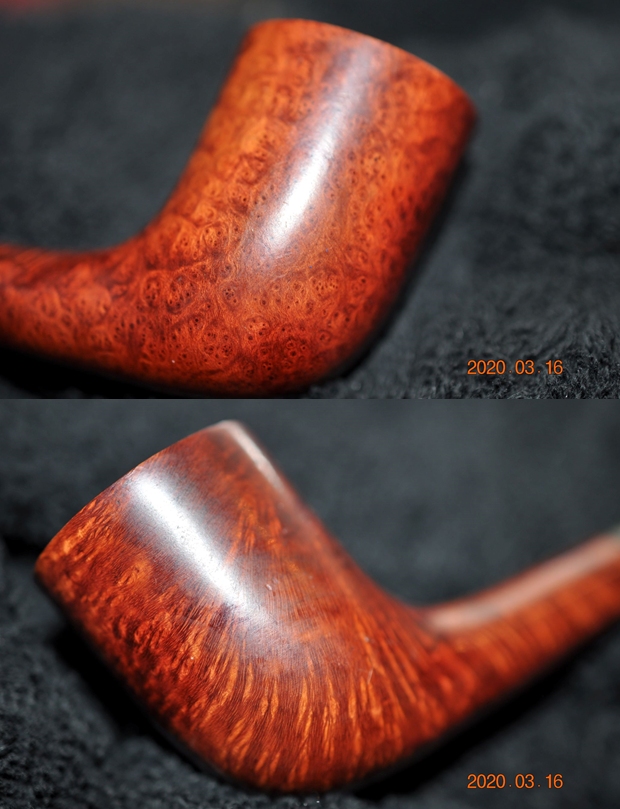
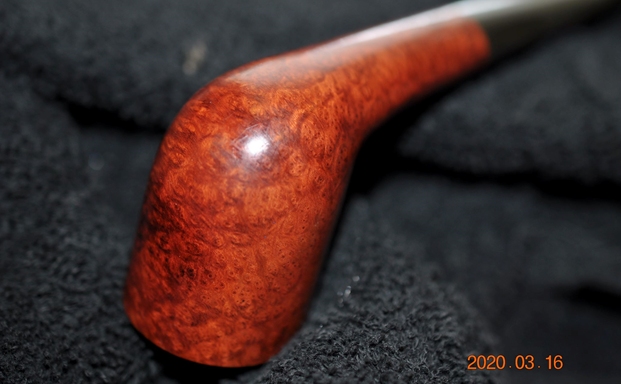
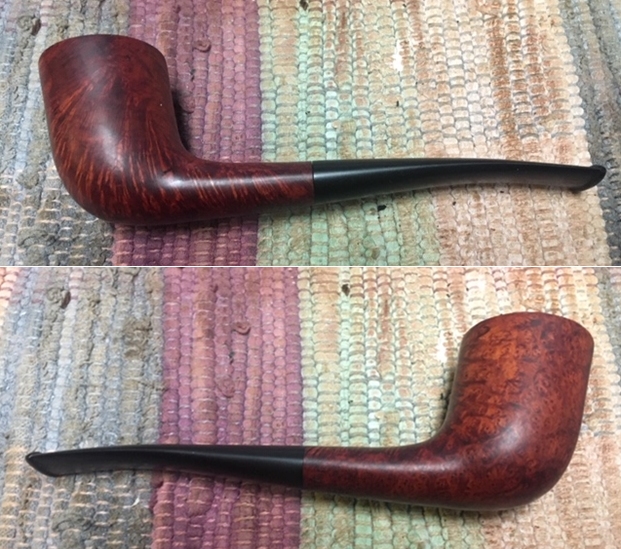
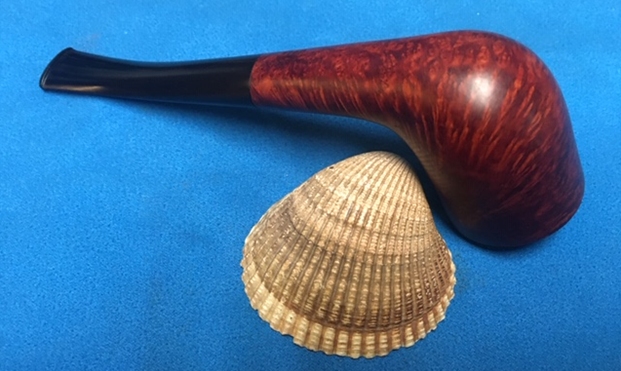
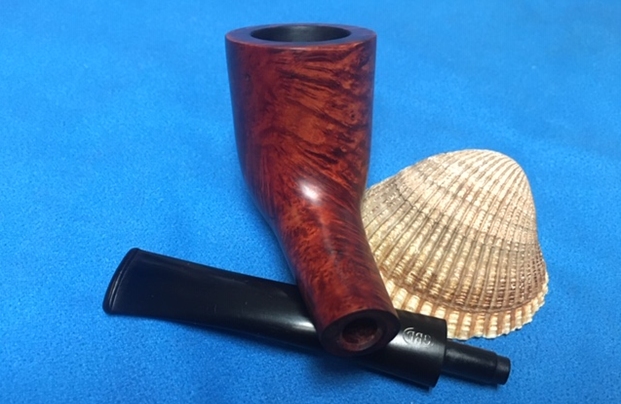
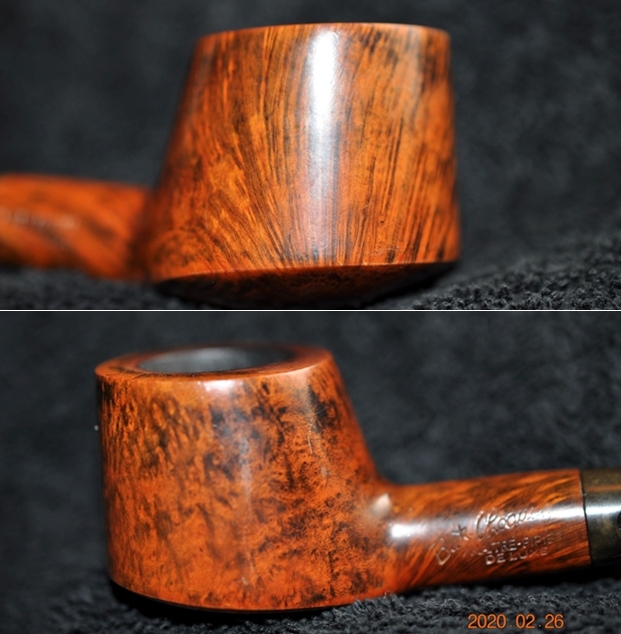
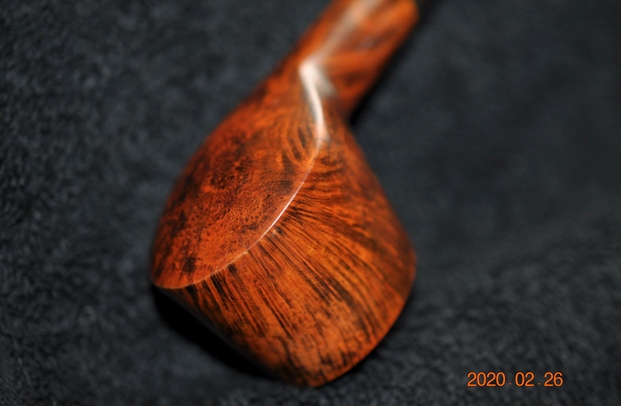
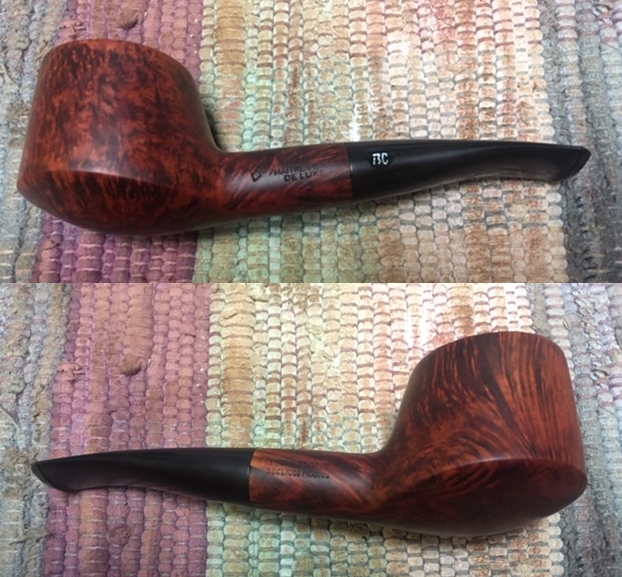
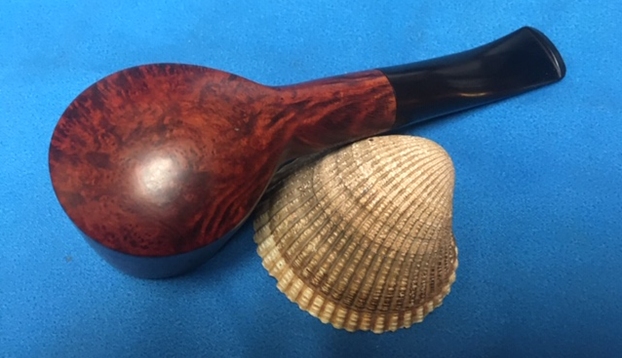
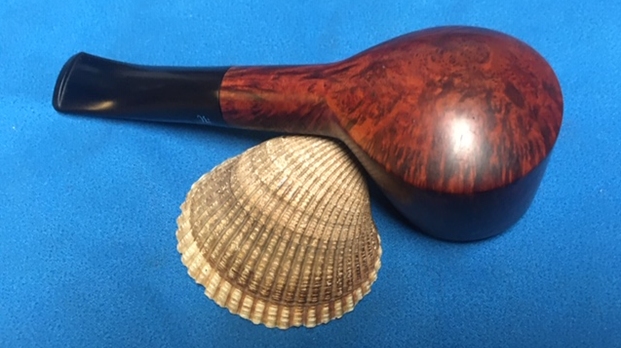
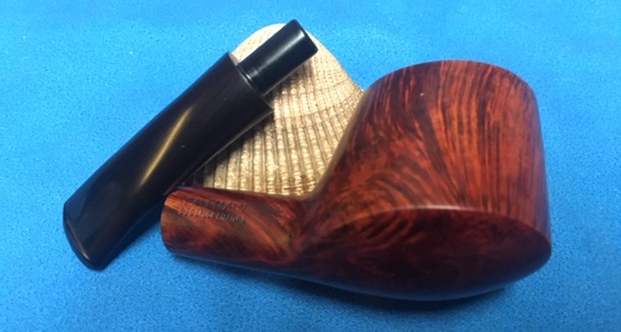
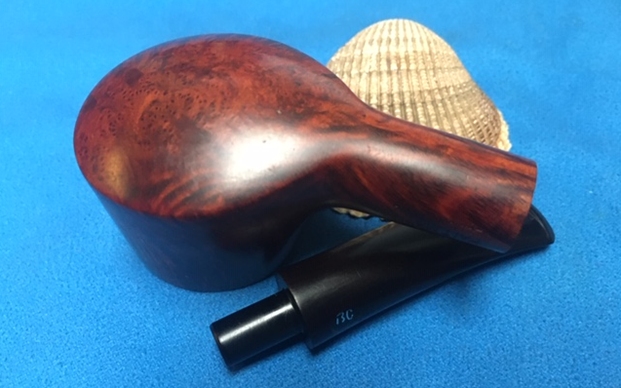
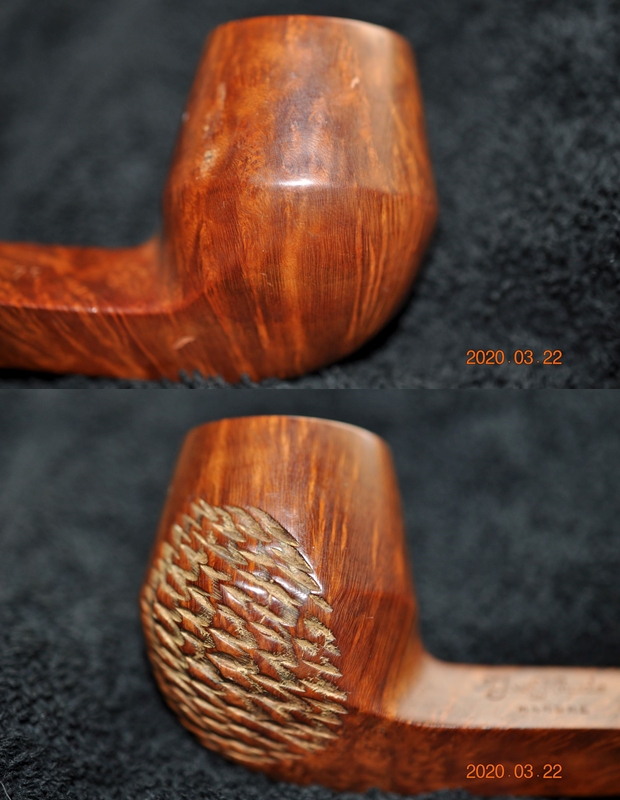
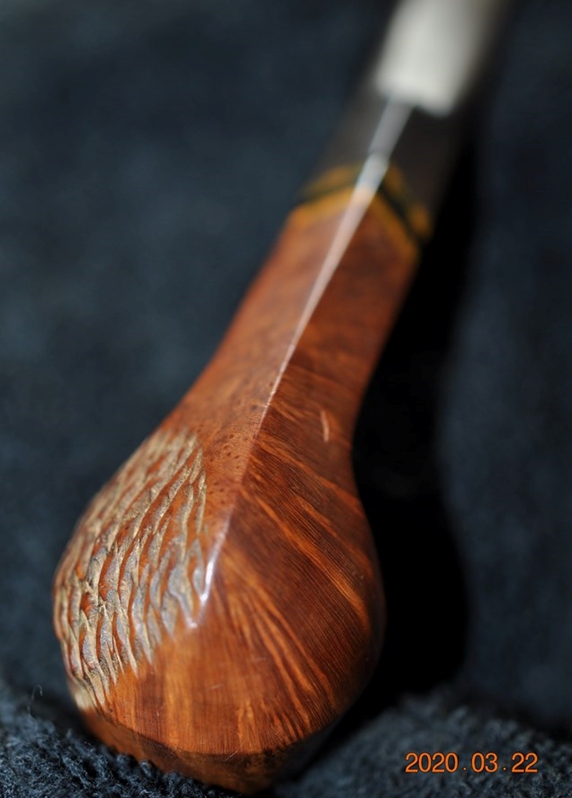
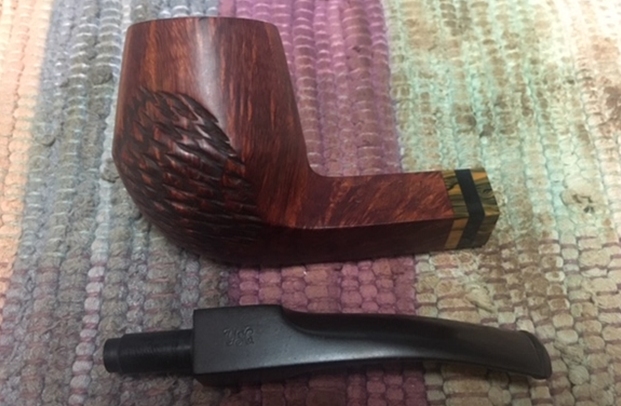
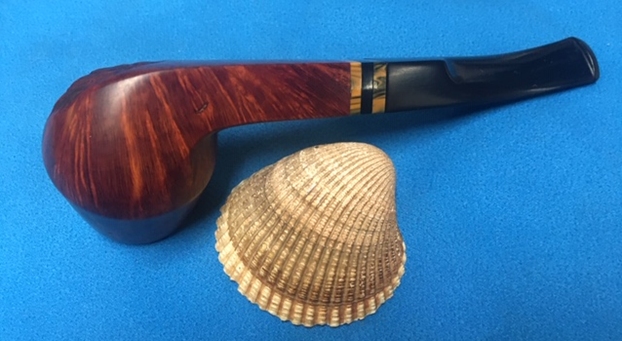
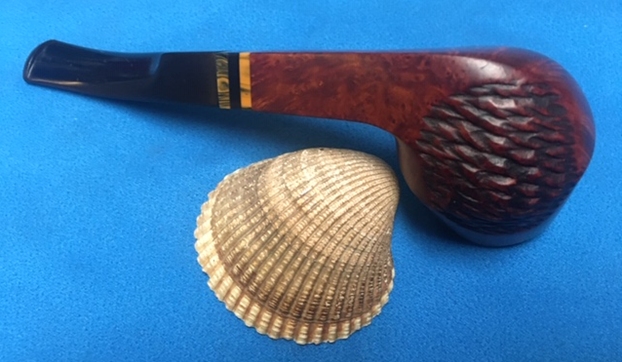
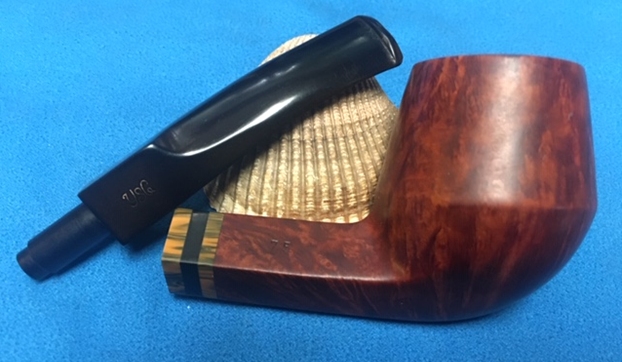
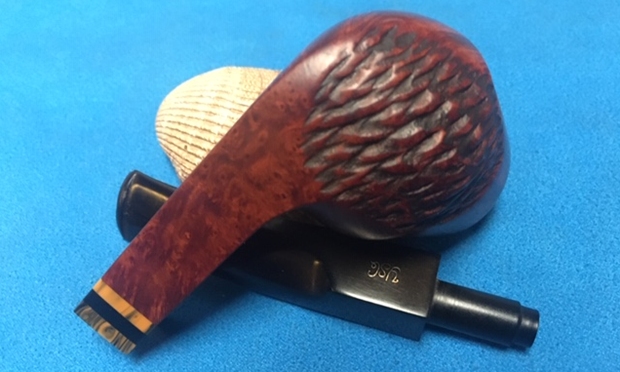
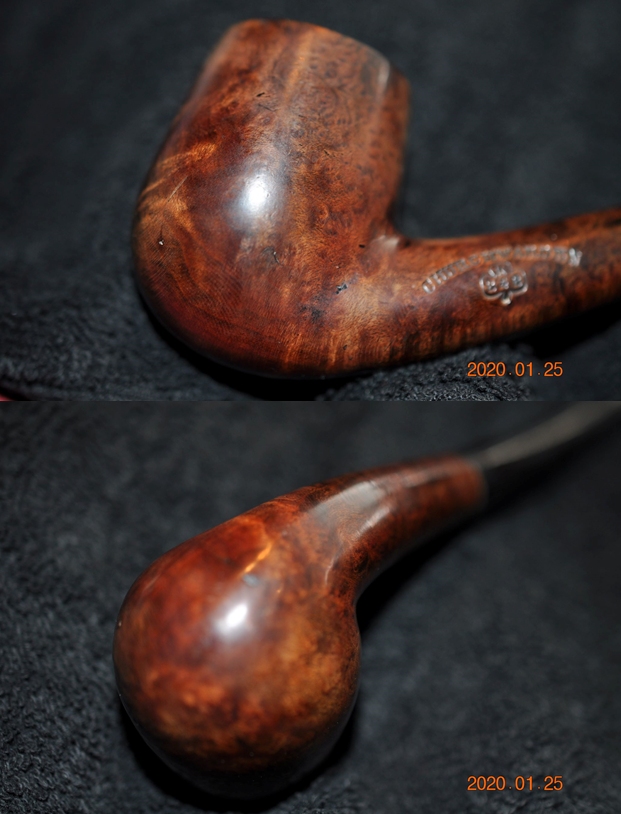
 The grain around the bowl is quite stunning. Jeff took some great photos showing what is underneath the grime and debris of time and use.
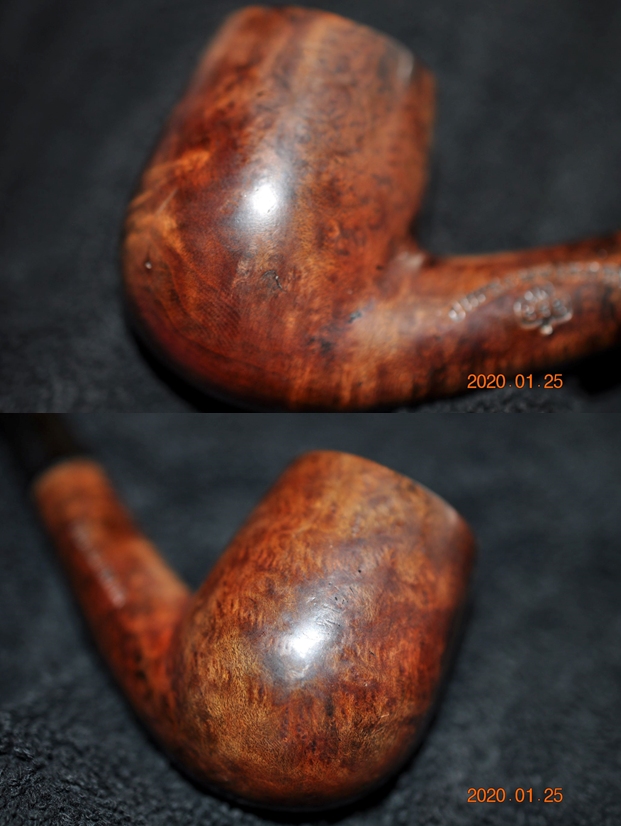
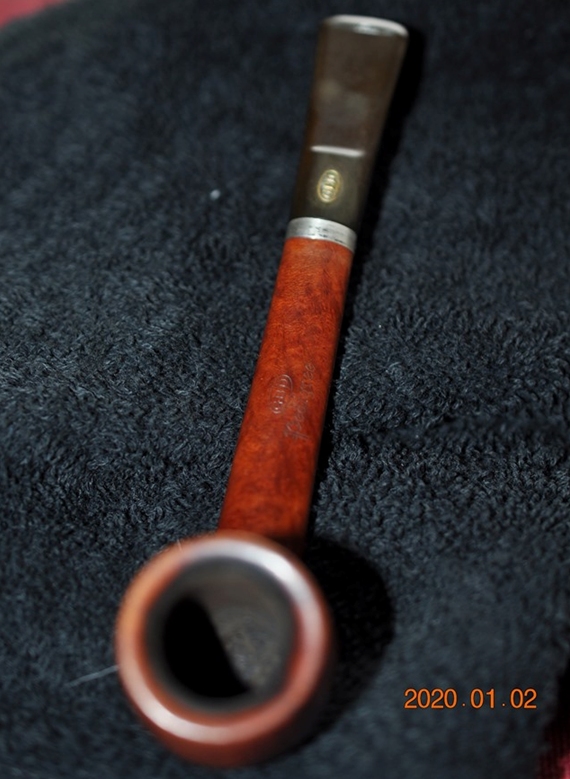
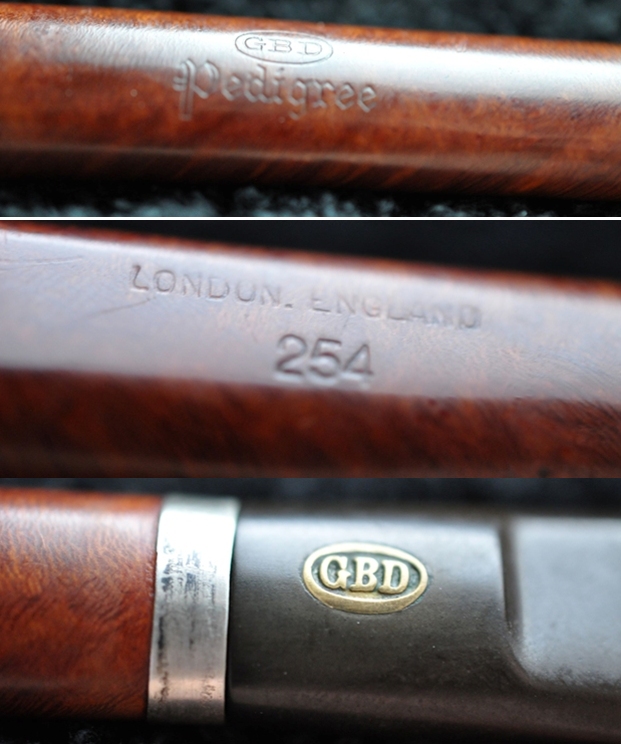
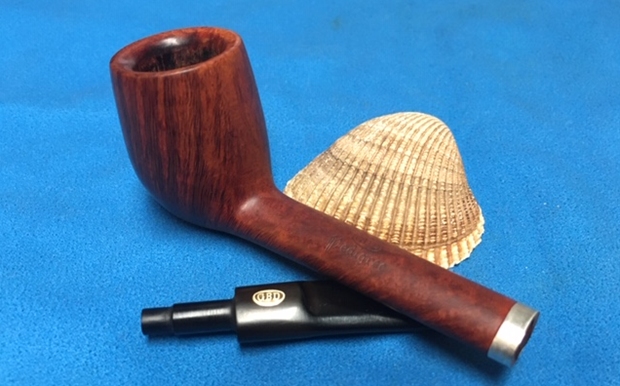
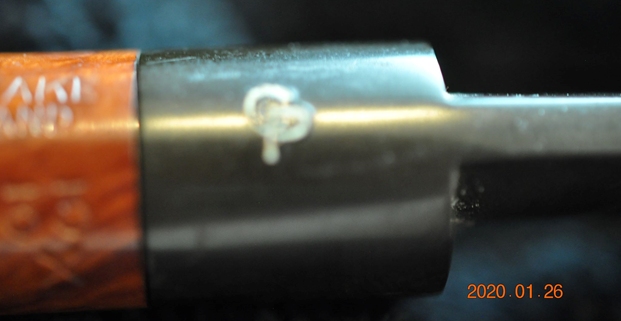
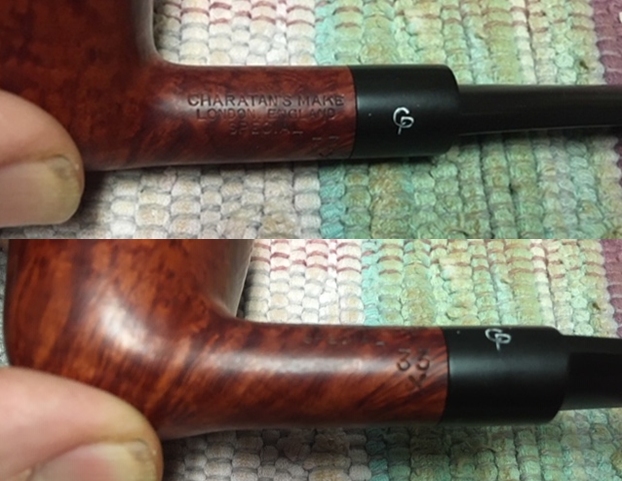
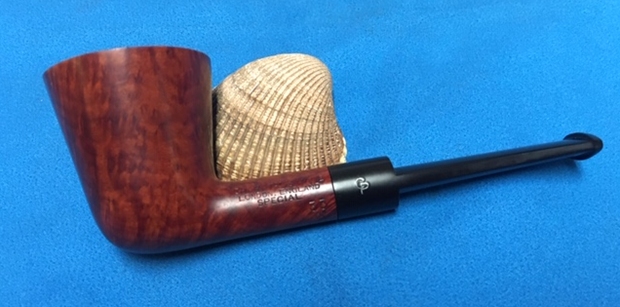
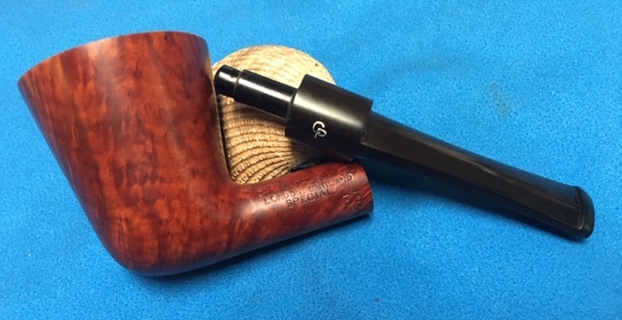
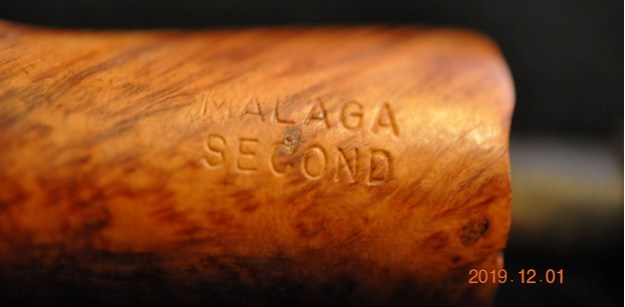
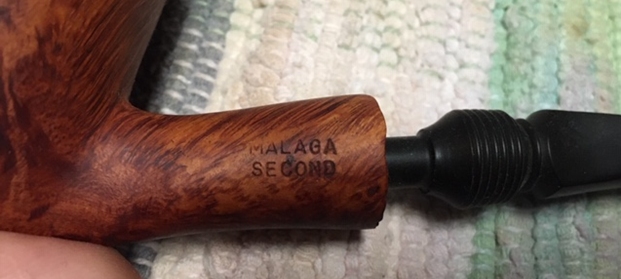
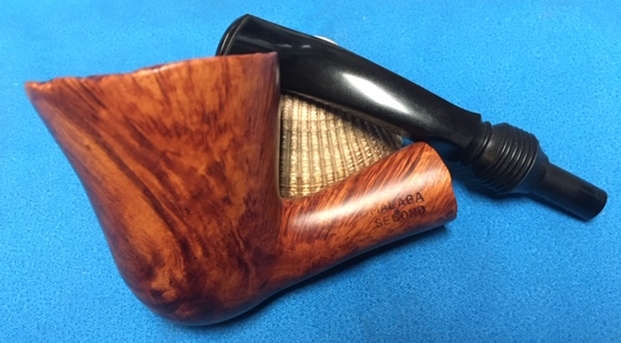
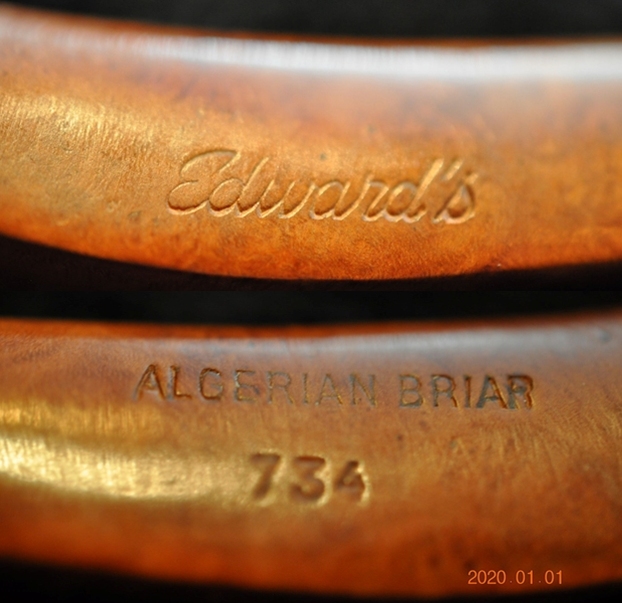
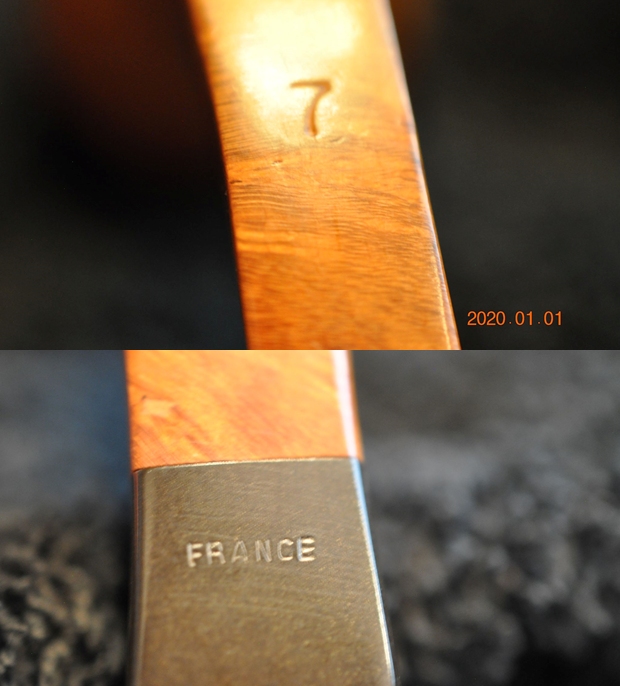
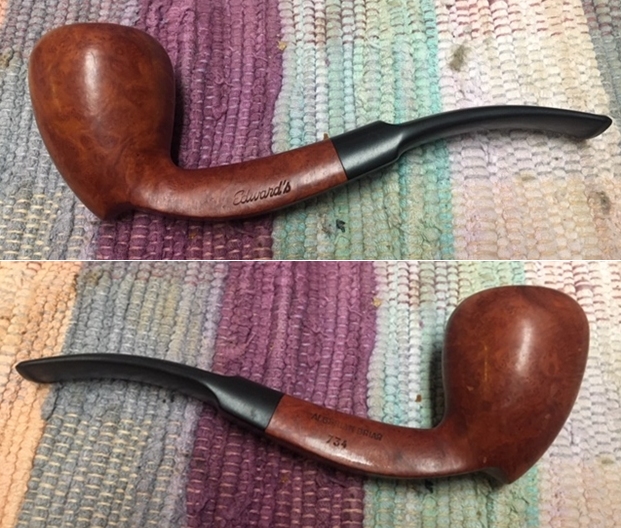
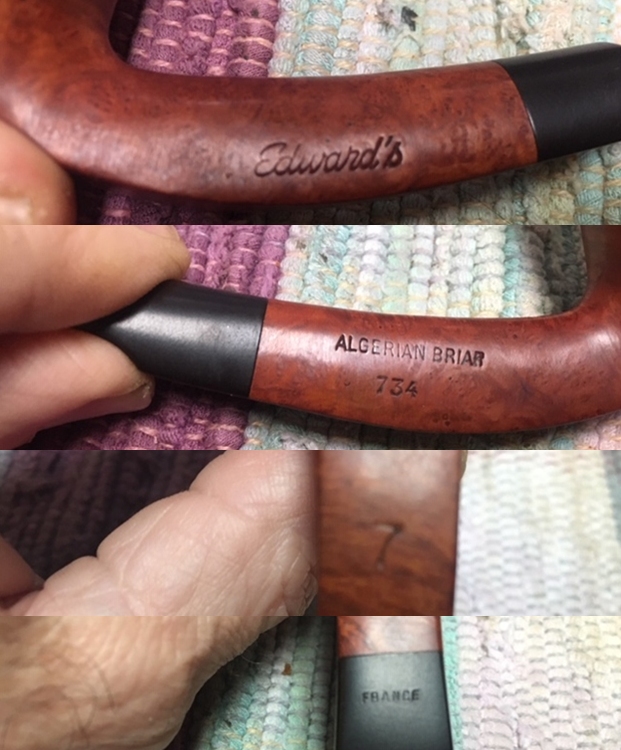
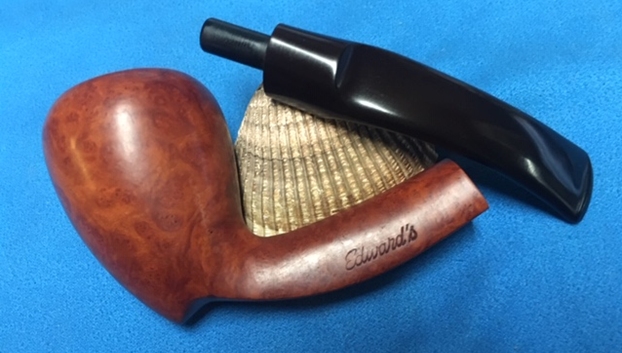
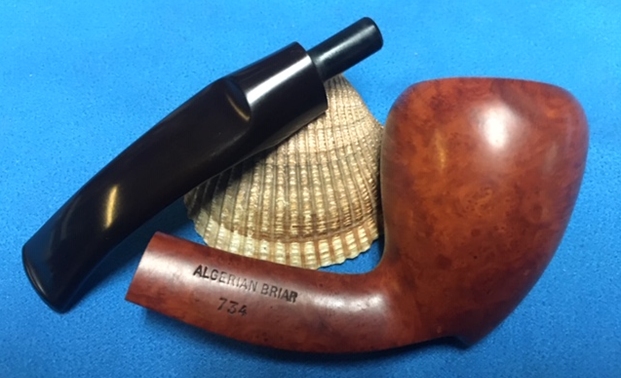
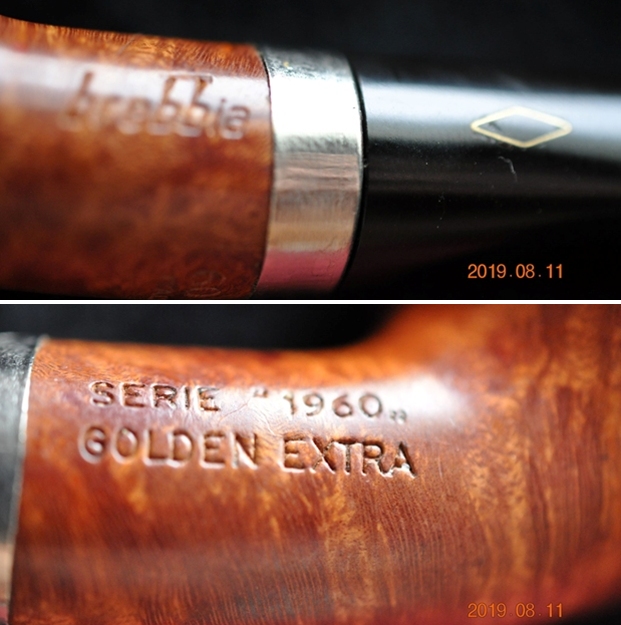
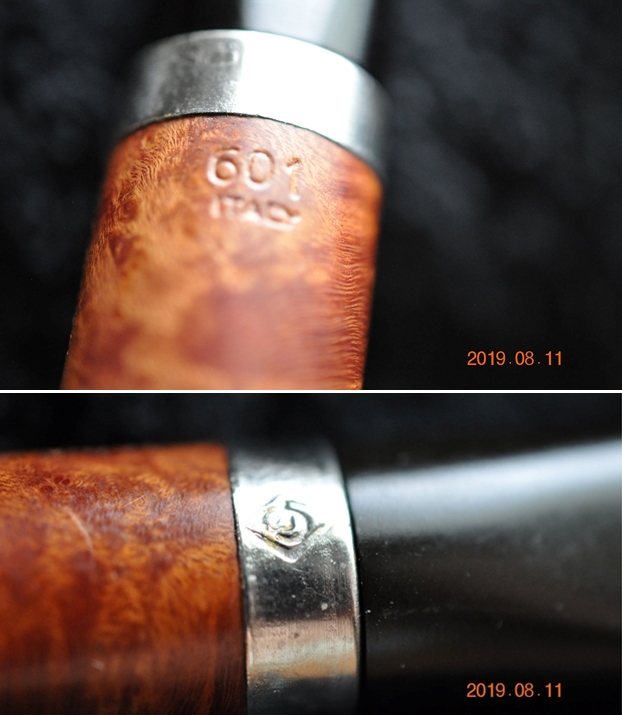
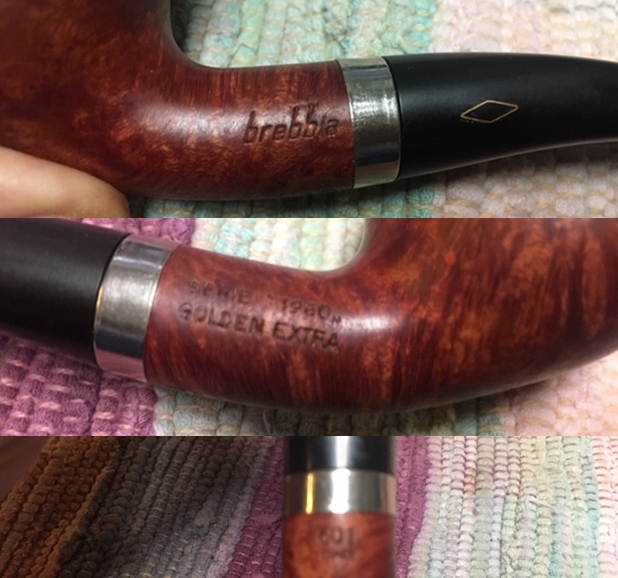
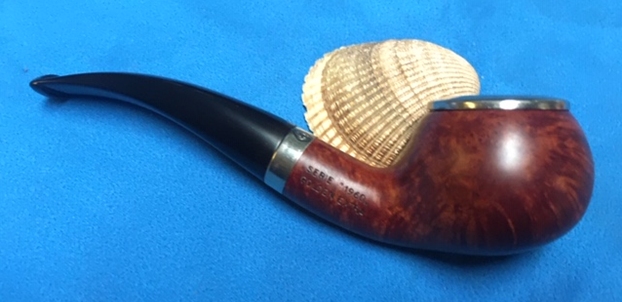
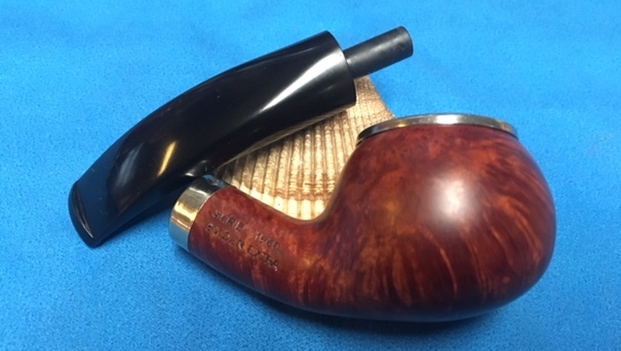
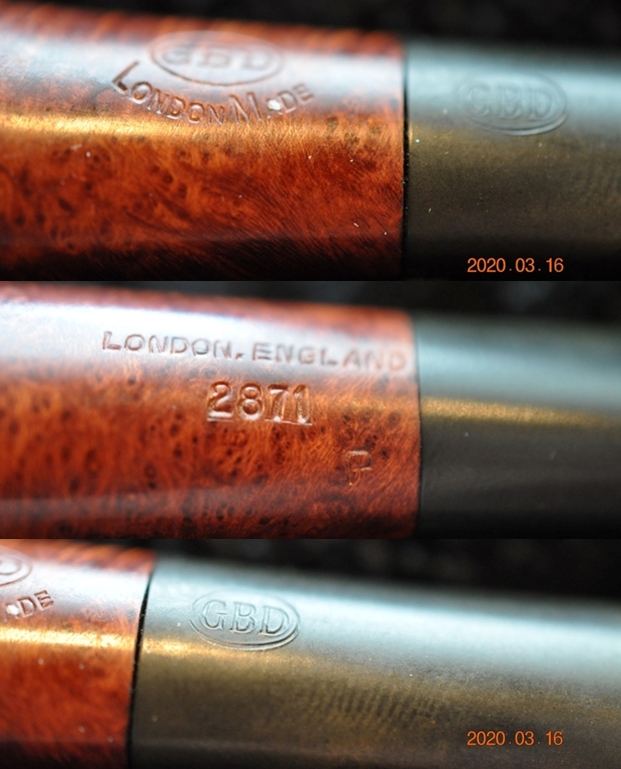
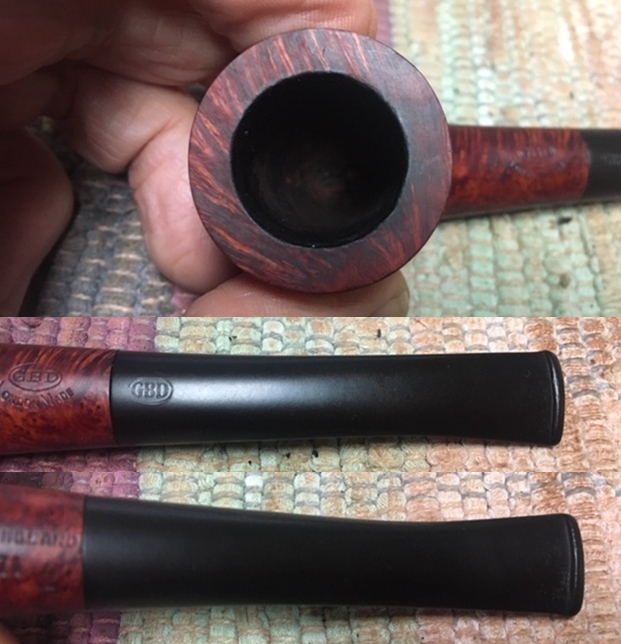
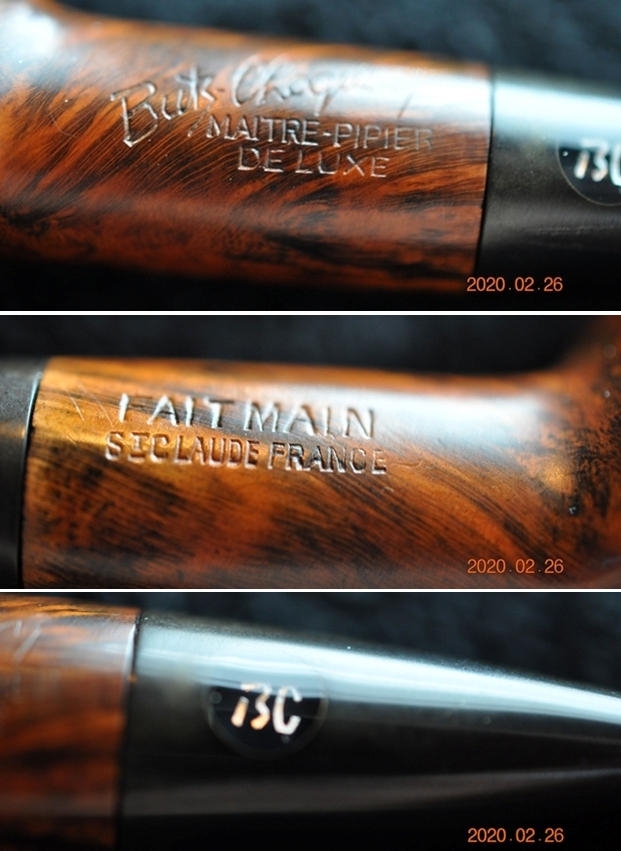
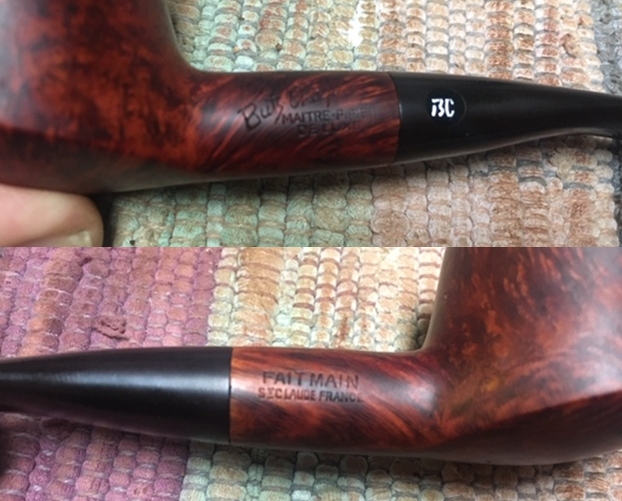
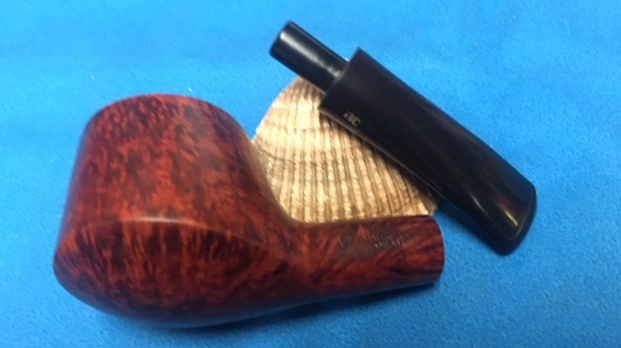
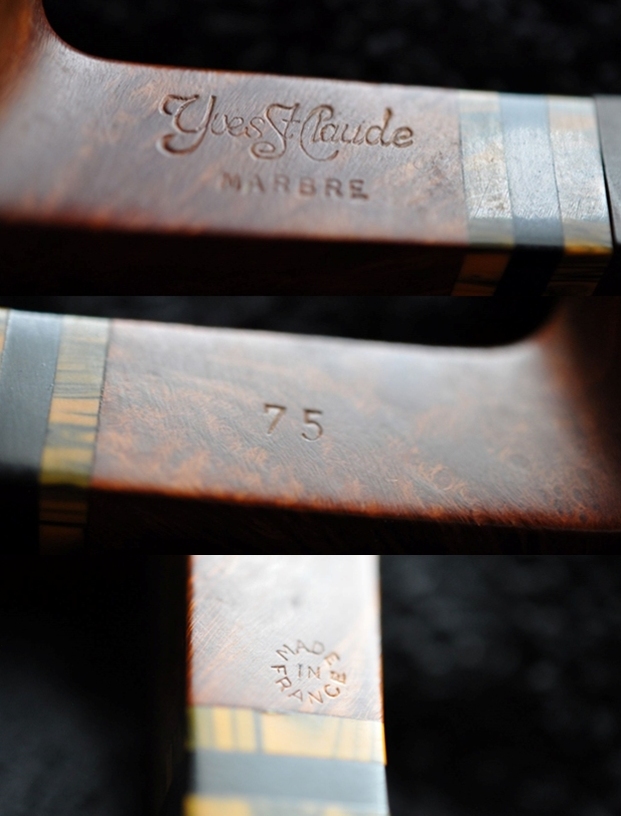
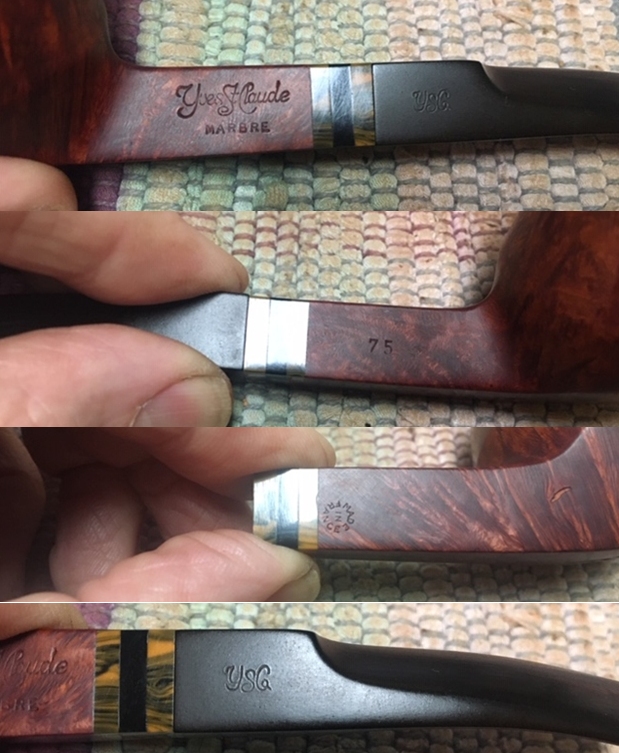
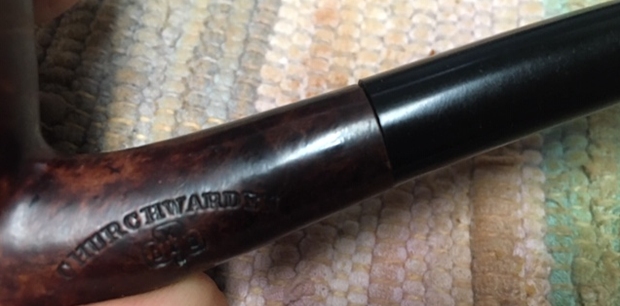
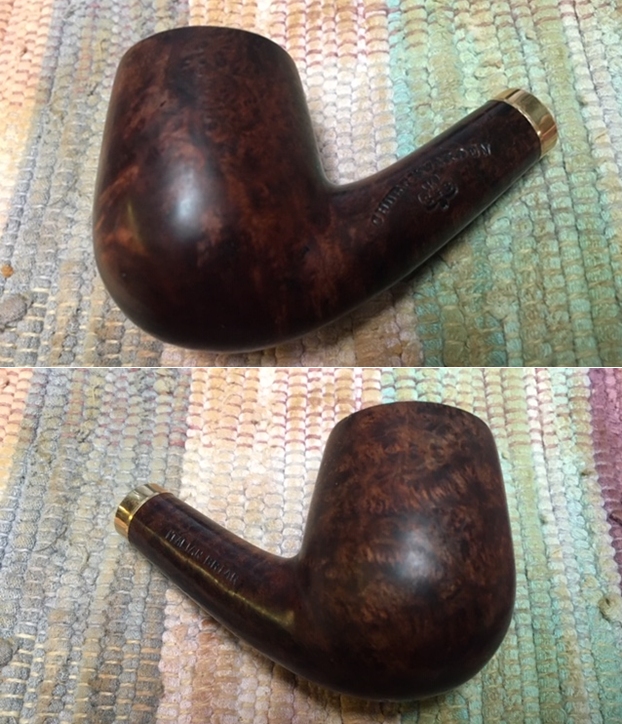
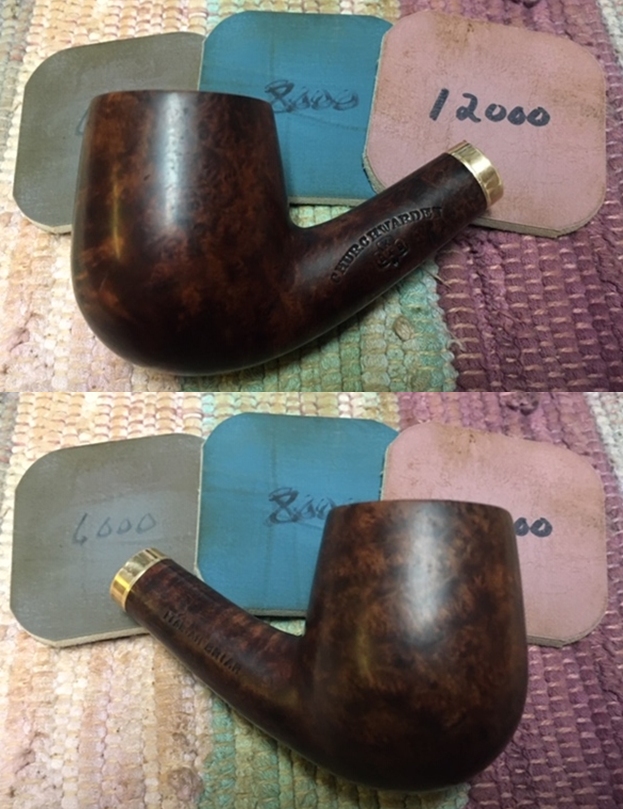
 He captured the stamping on the both sides of the shank it read as noted above.
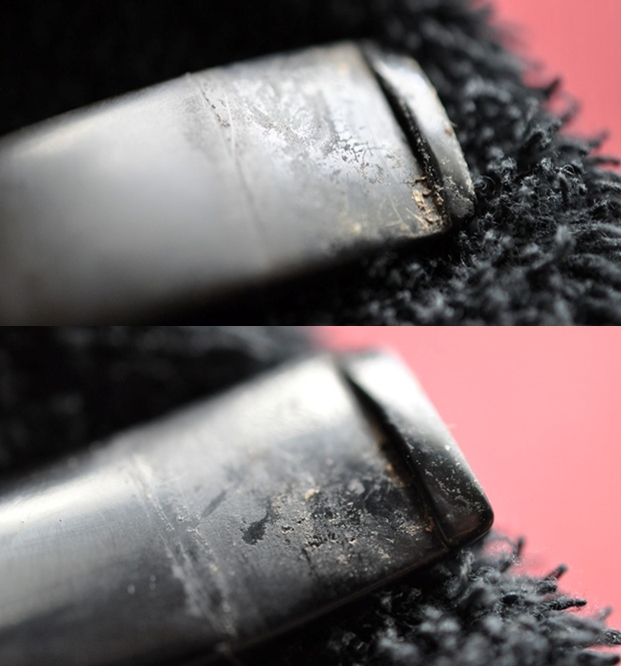
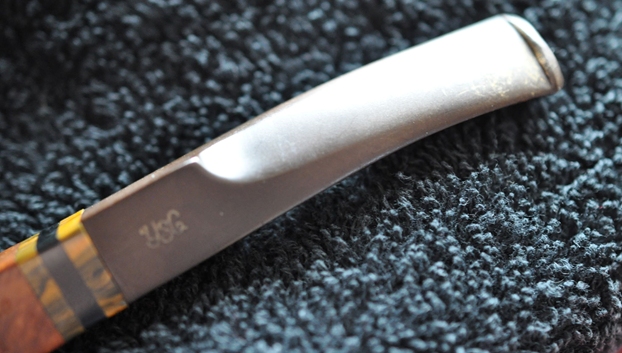
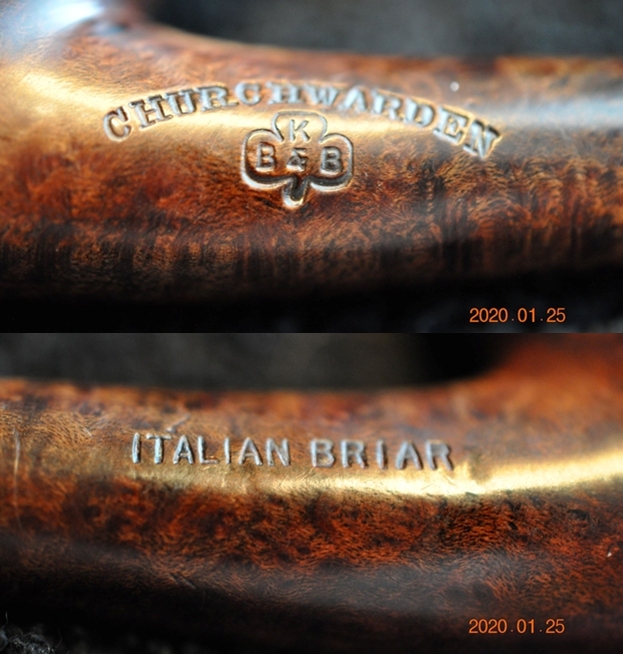 The photos of the stem show the stem surface. It is dirty and has light tooth marks and chatter on both sides ahead of the button.
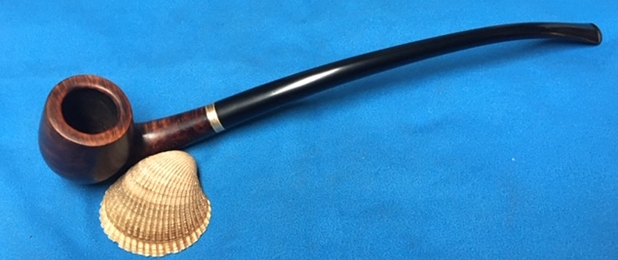
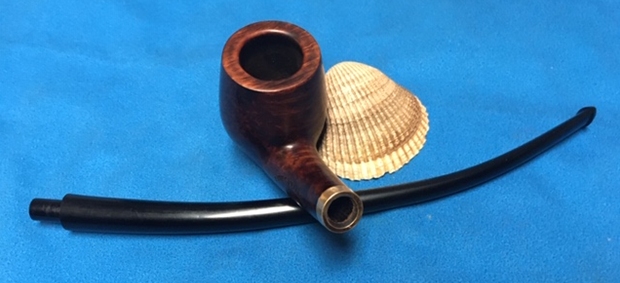
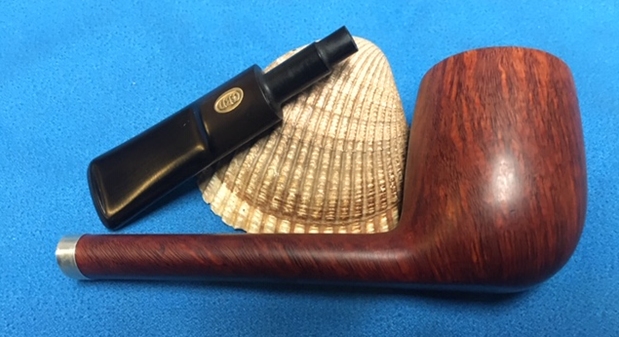
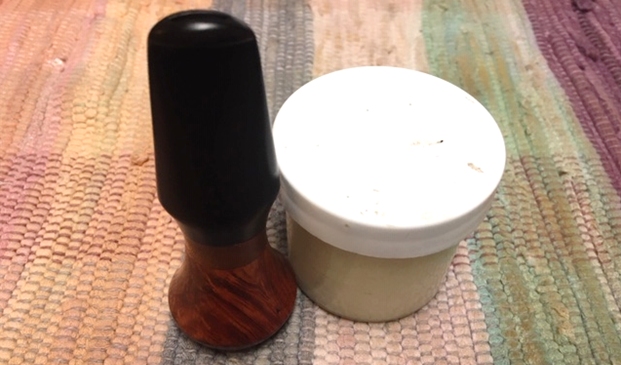
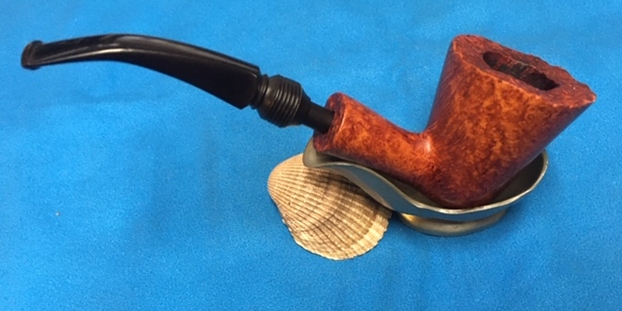
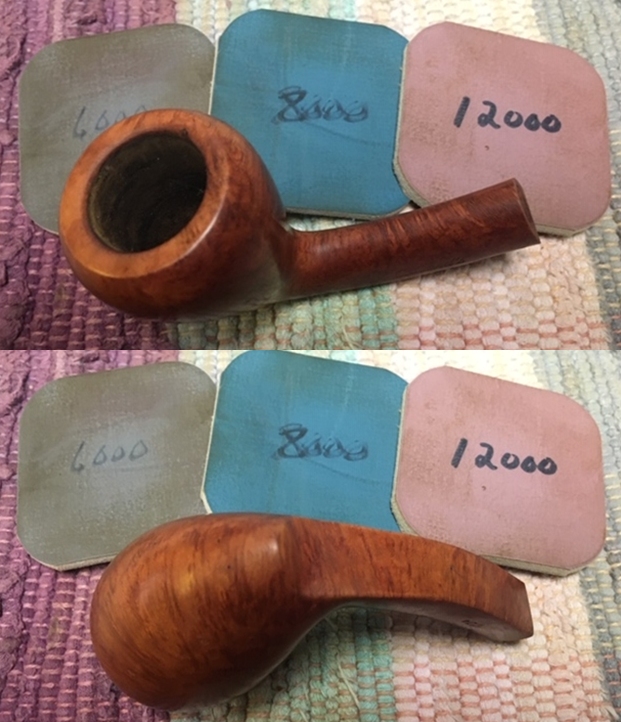
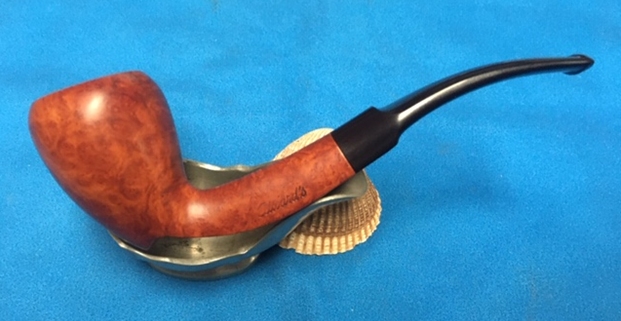
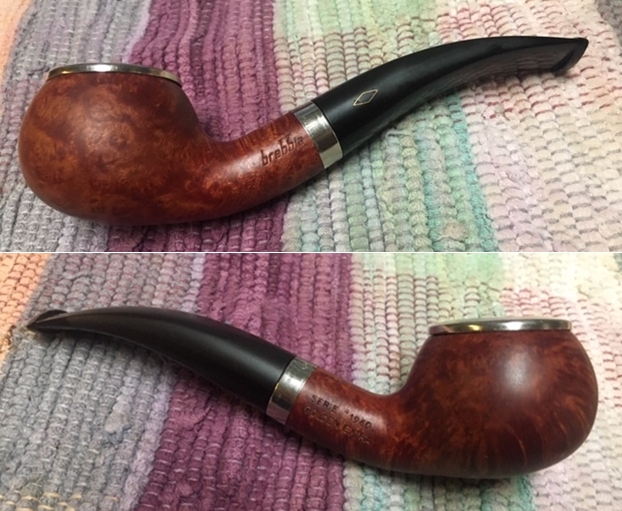
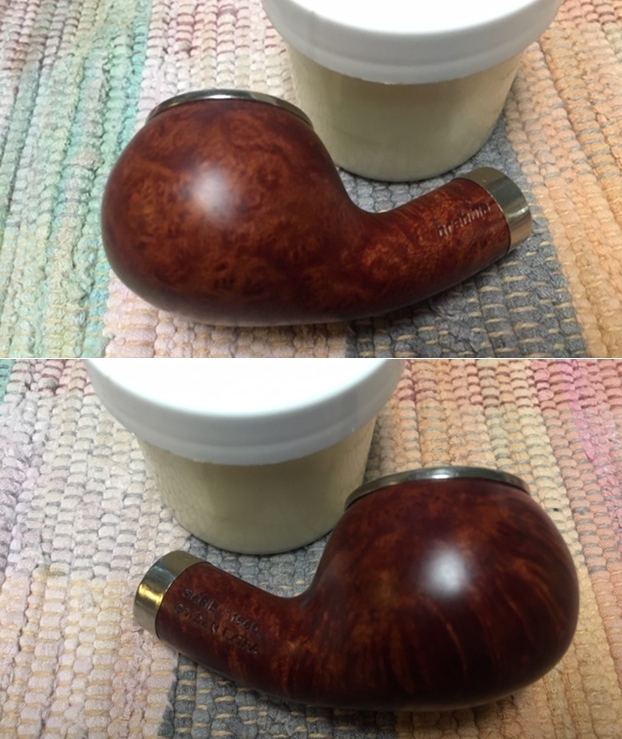
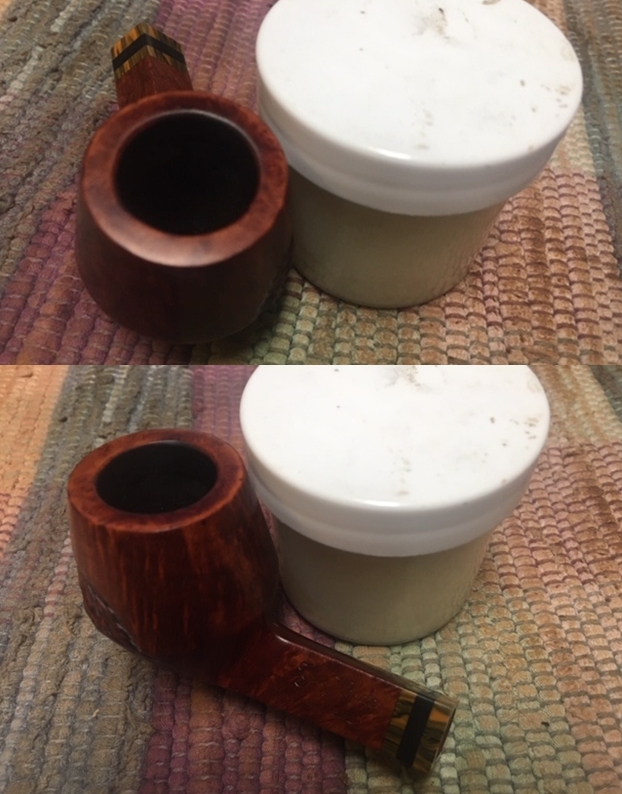
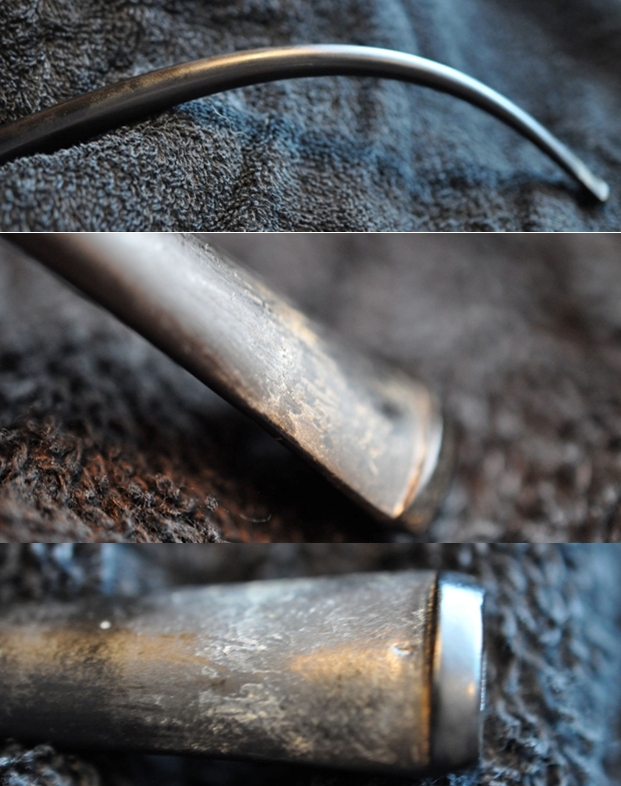 Now it was time to work on my part of the restoration of the pipe. Jeff had cleaned the pipe with his usual penchant for thoroughness that I really appreciate. This one was in decent condition with a bit of buildup on the rim top but virtually no cake in the bowl. He cleaned up the bowl walls with a Savinelli Fitsall Pipe Knife. He scrubbed out the internals with alcohol, pipe cleaners and cotton swabs until the pipe was clean. He scrubbed the exterior of the bowl with Murphy’s Oil Soap and a tooth brush to remove the grime and grit on the briar and the light lava on the beveled rim top. The finish looks very good with good looking grain around the bowl and shank. Jeff scrubbed the stem with Soft Scrub and then soaked it in Before & After Deoxidizer to remove the oxidation on the rubber. When the pipe arrived here in Vancouver for the second stop of its restoration tour it looked very good. I took photos before I started my part of the work.
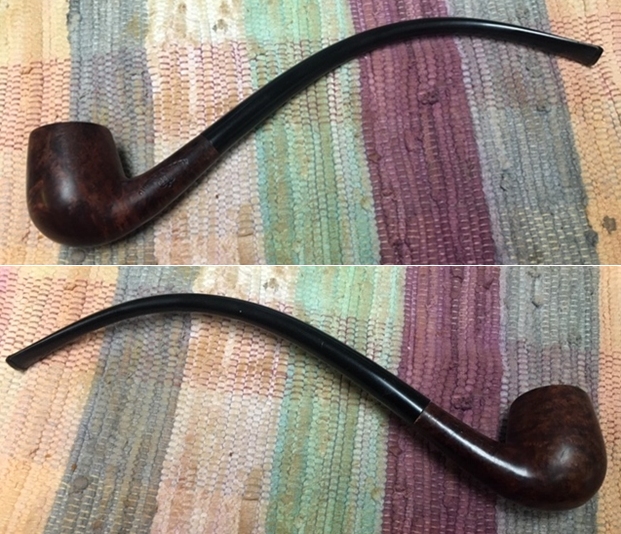
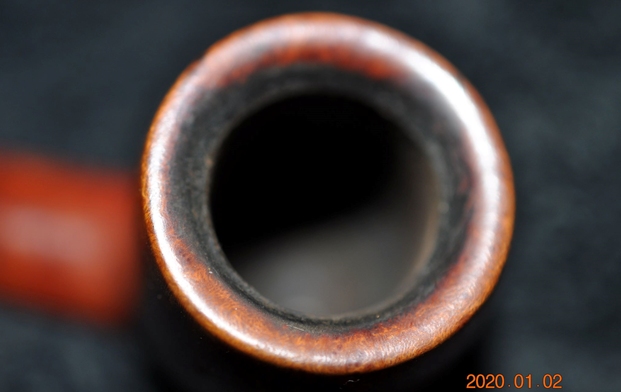
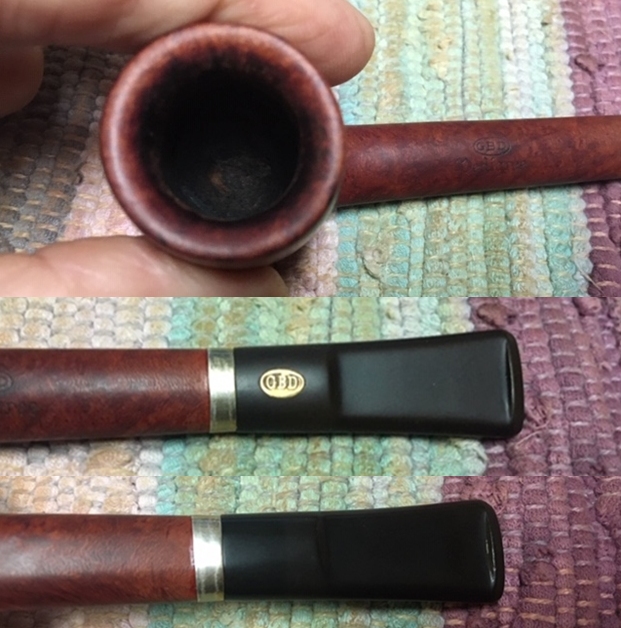
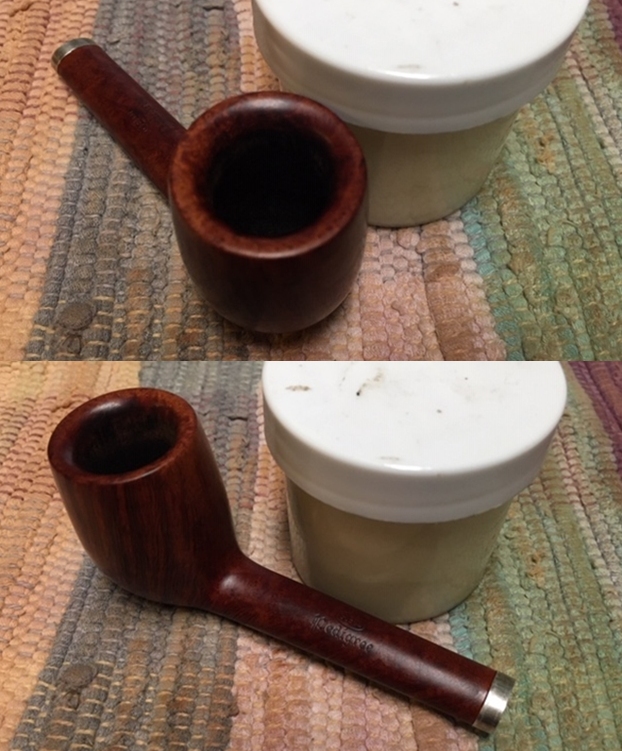
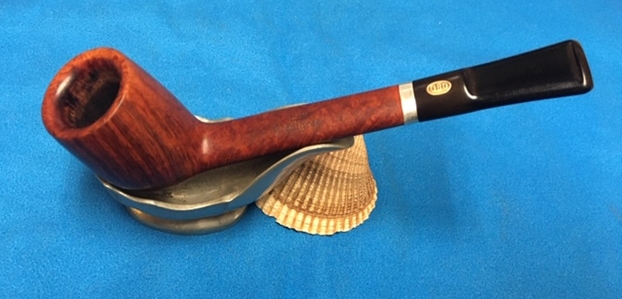
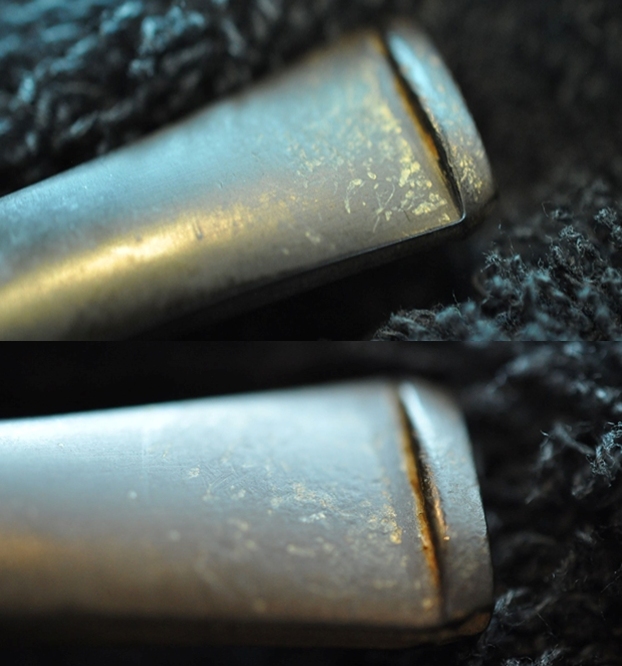
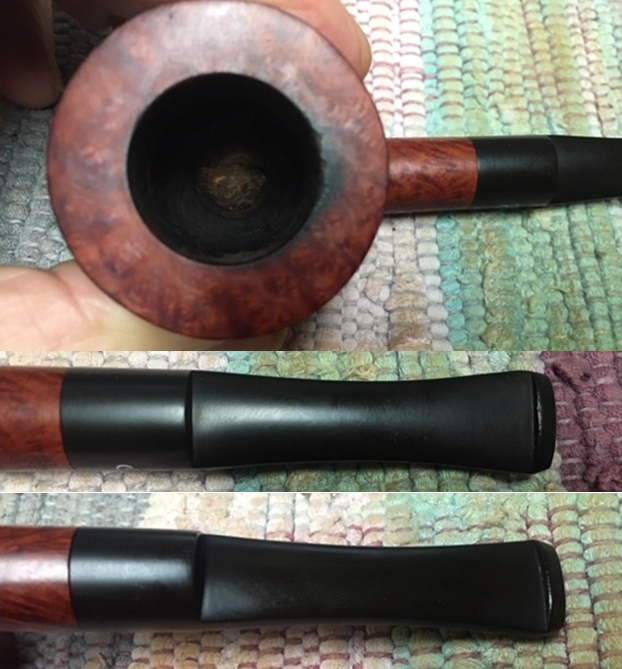
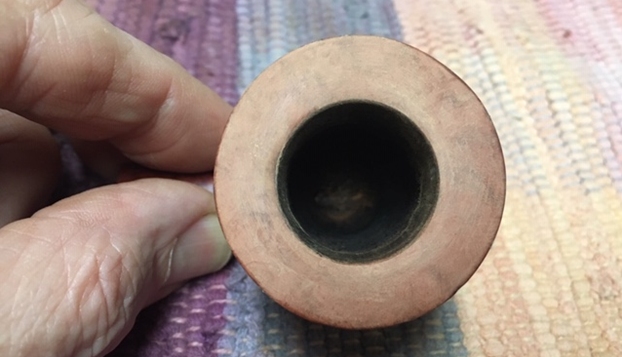
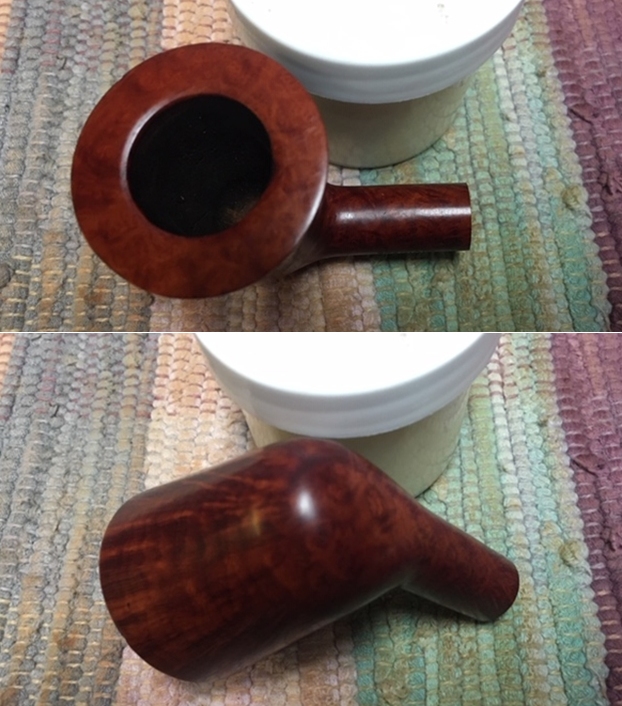
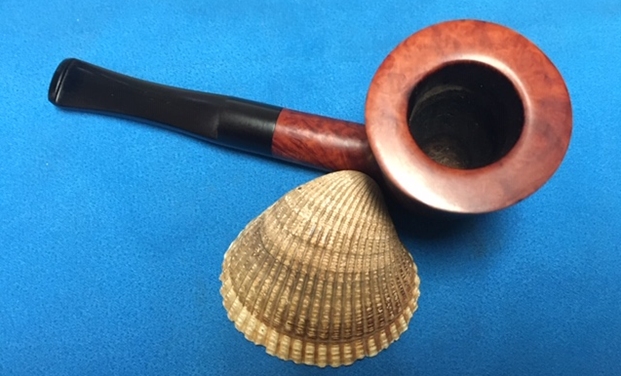
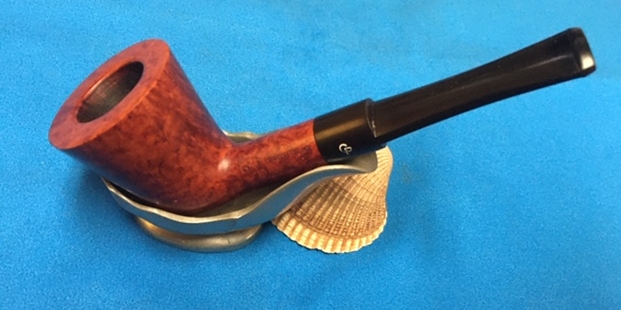
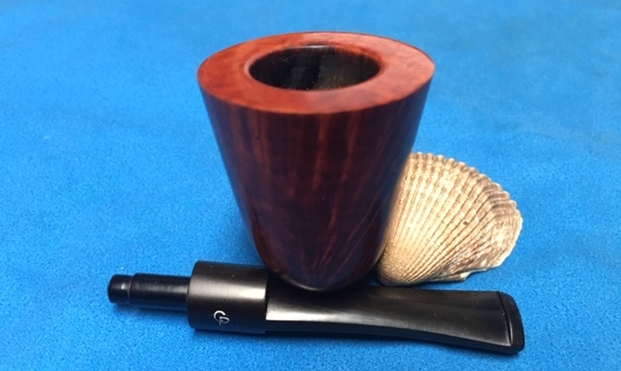
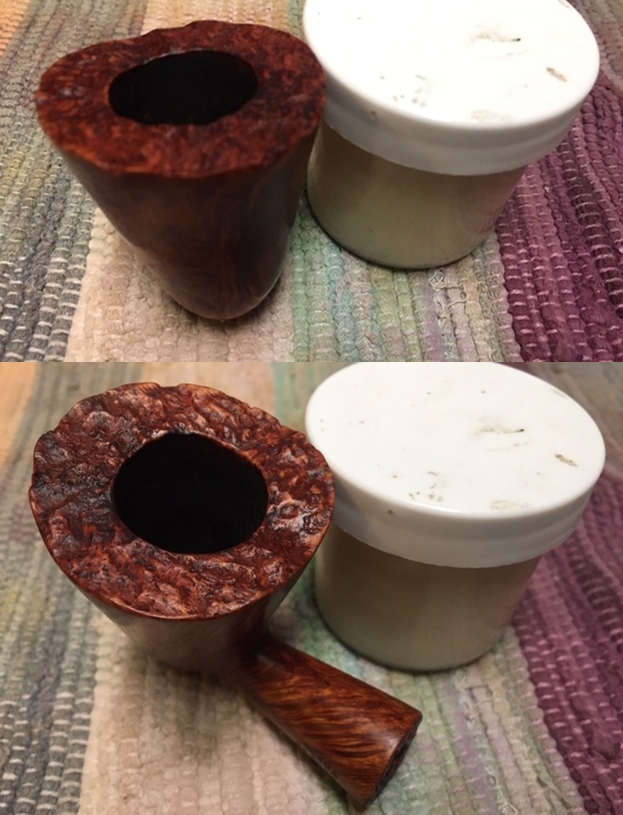
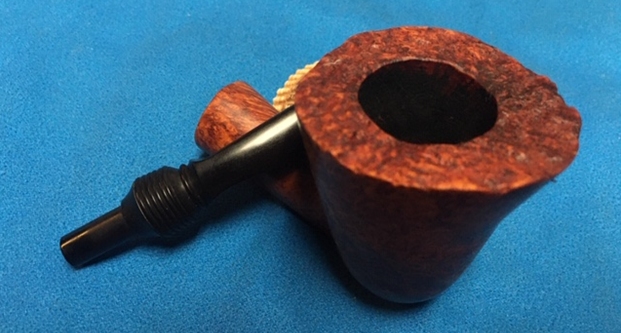
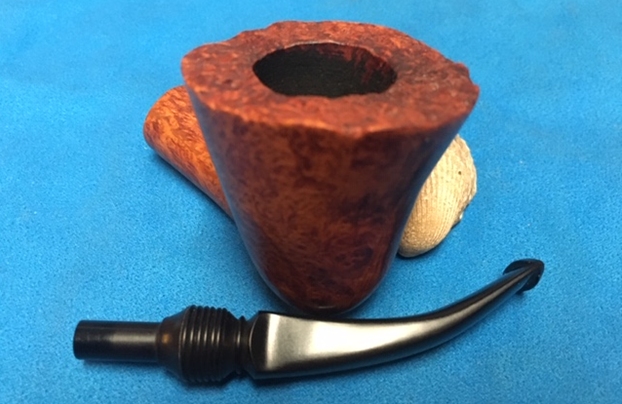
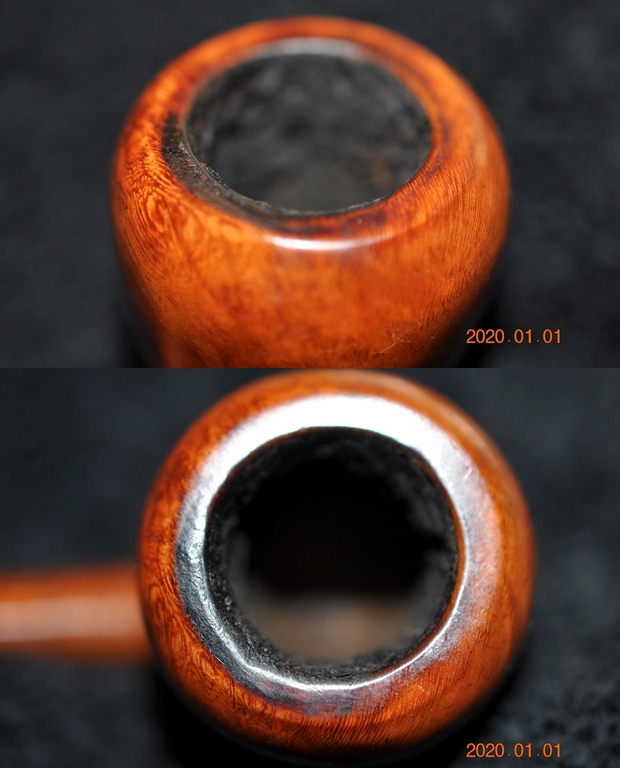
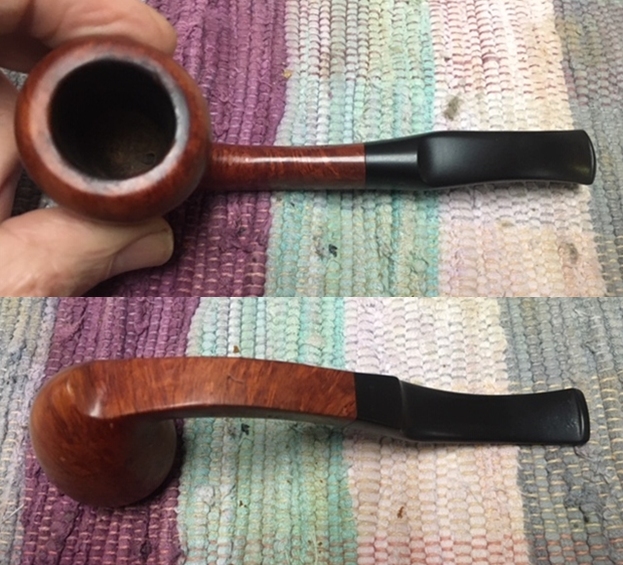
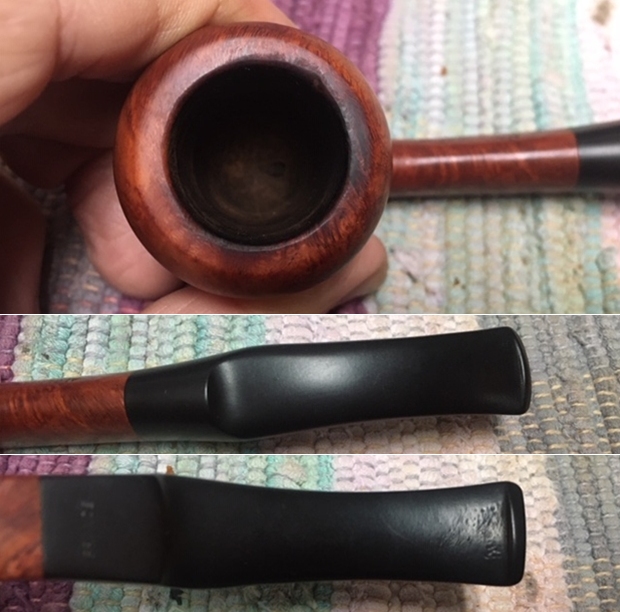
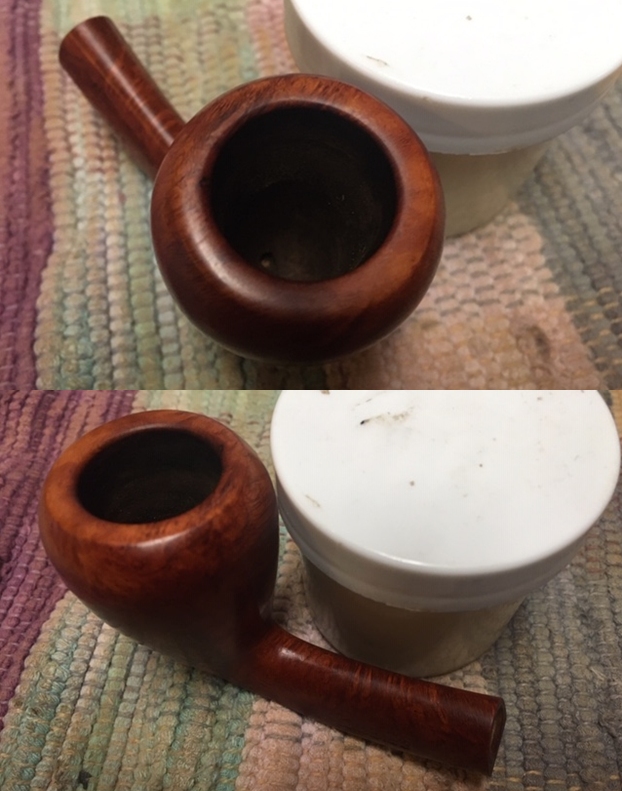
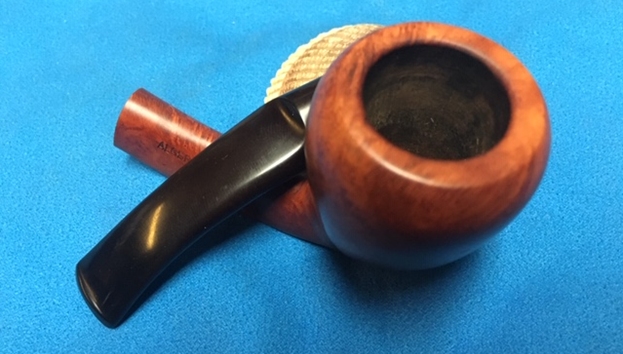
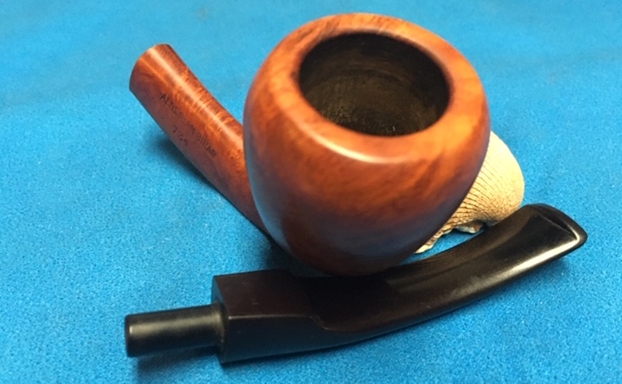
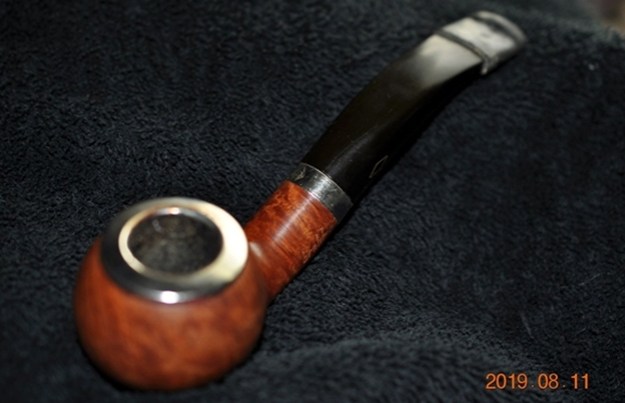
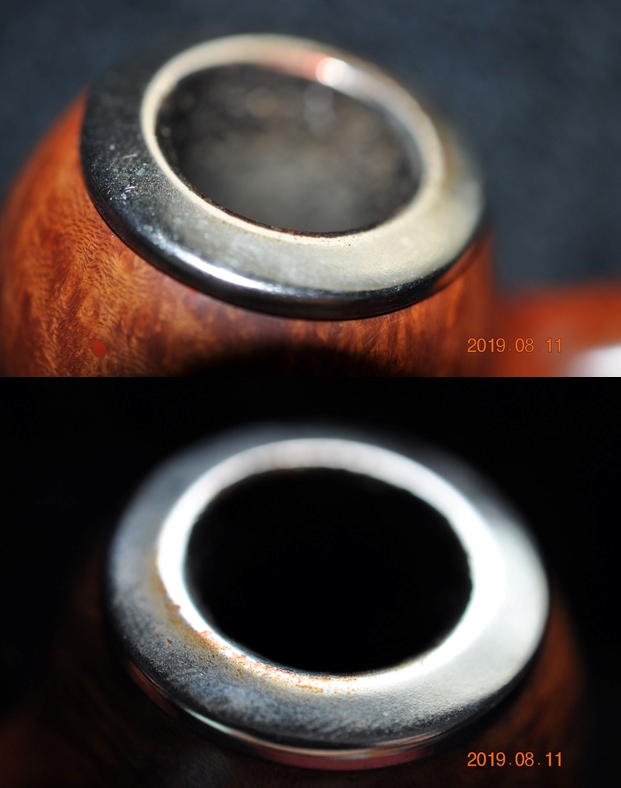
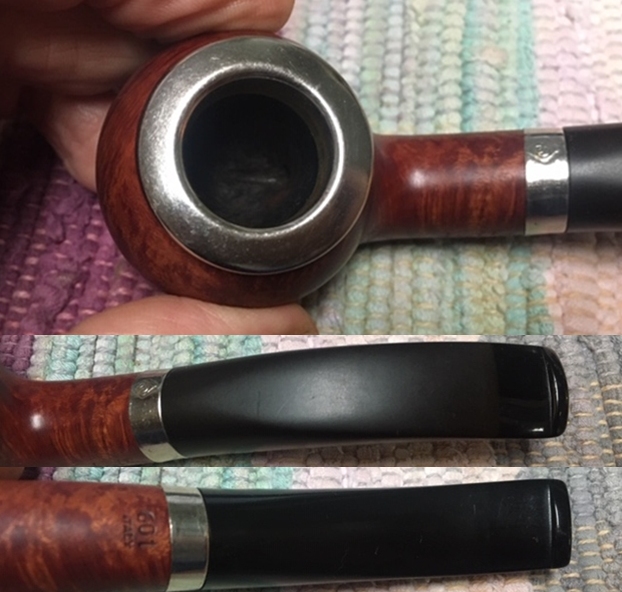
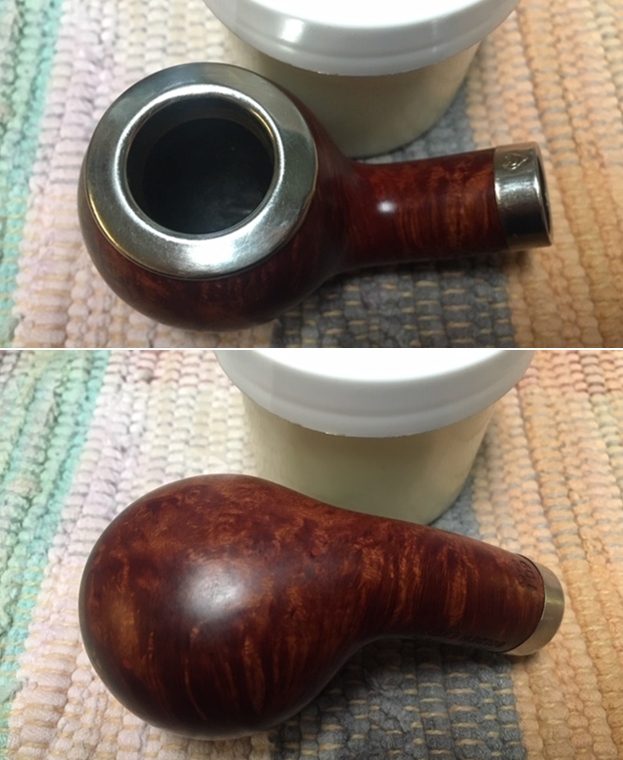
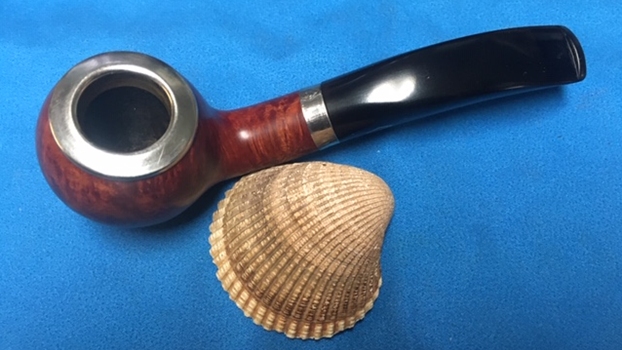
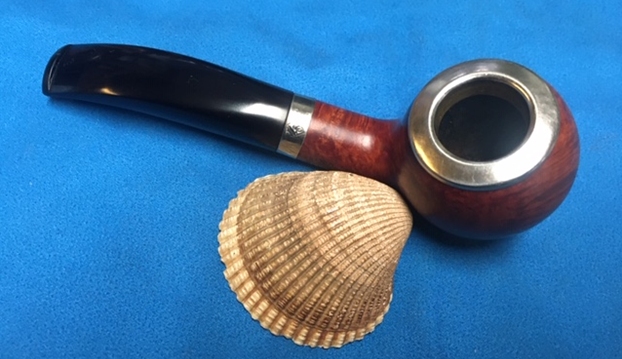
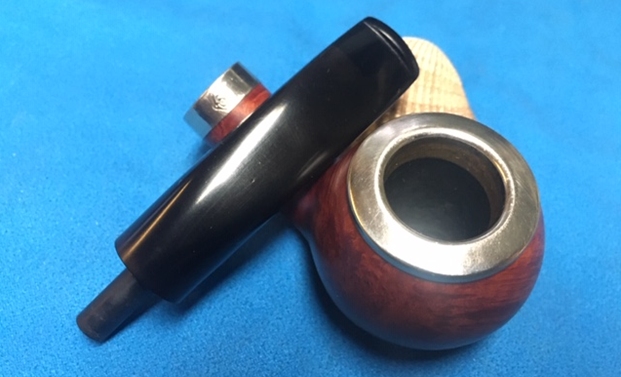
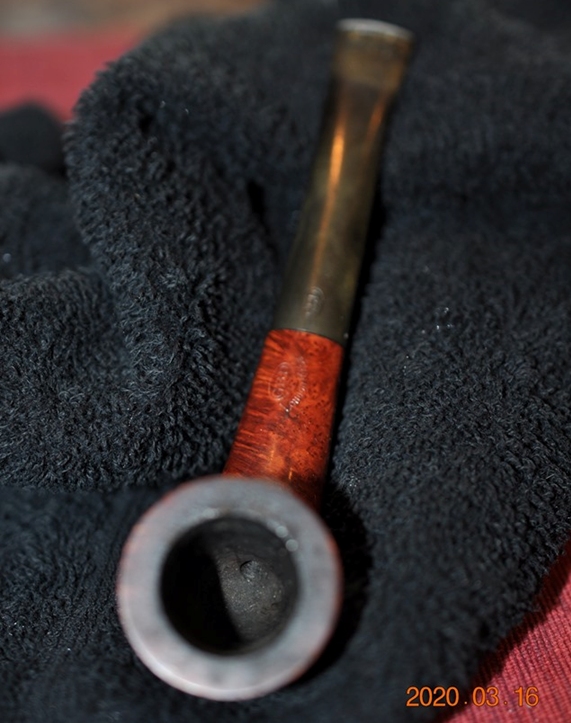
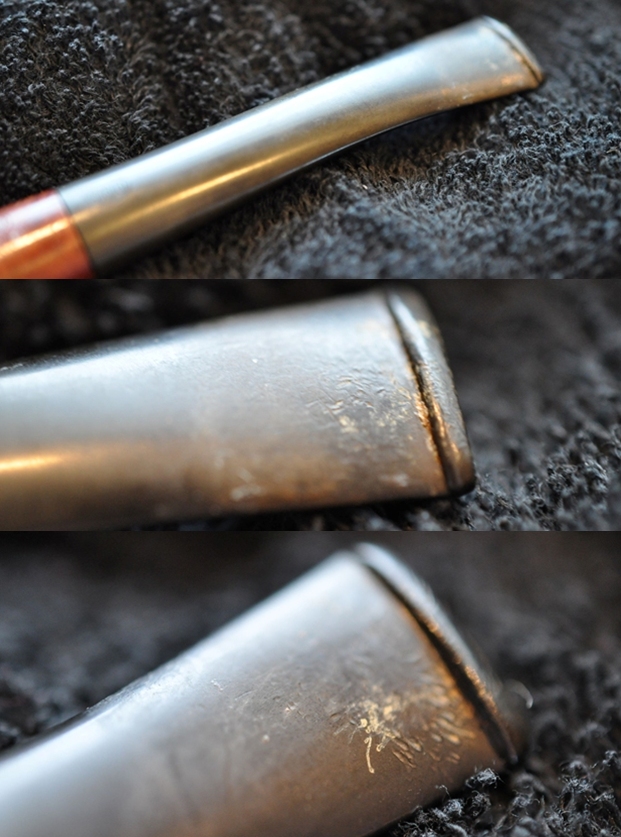
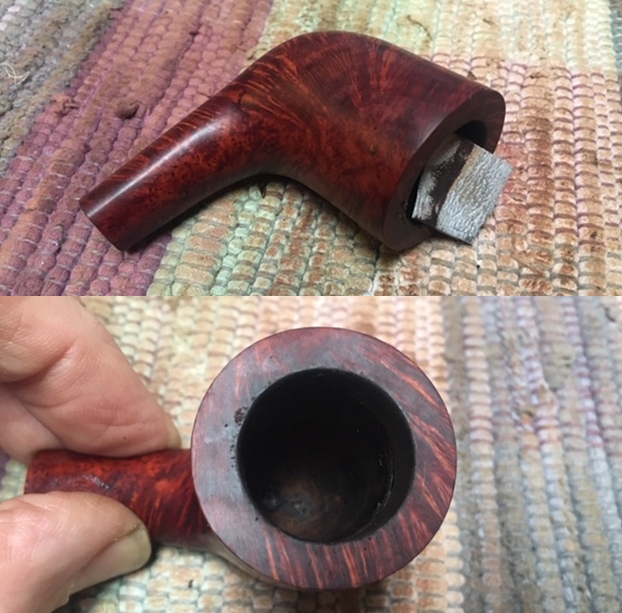
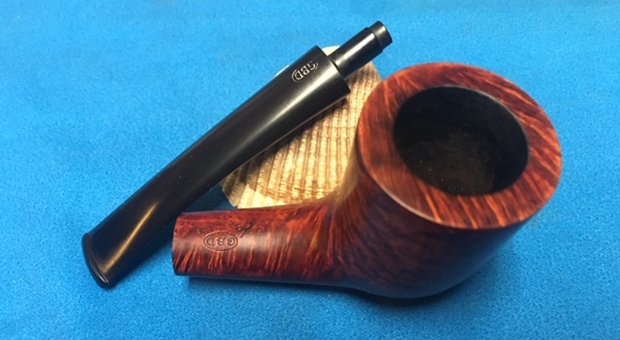
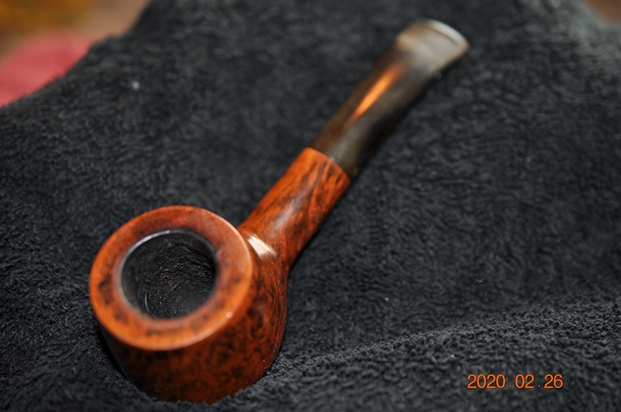
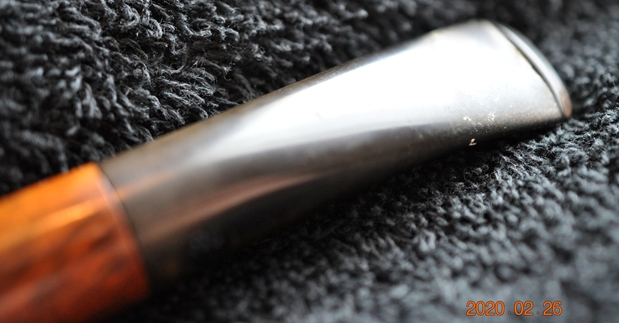
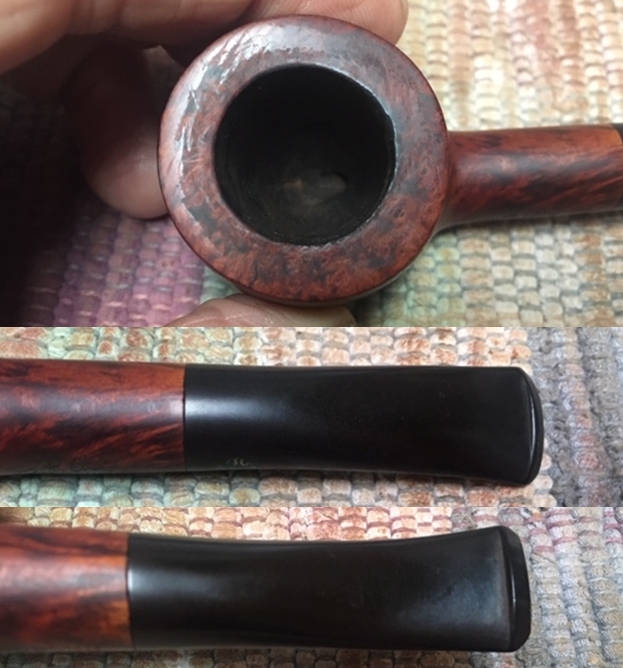
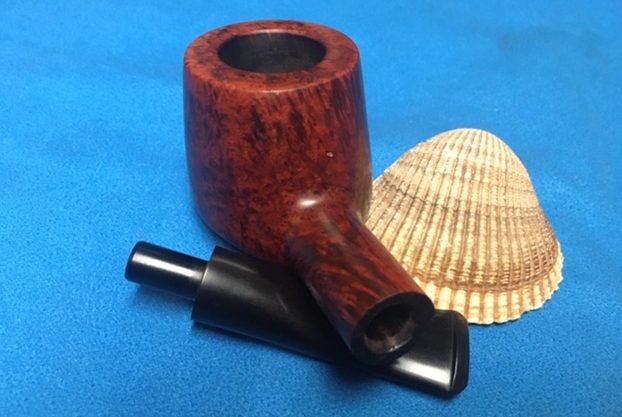
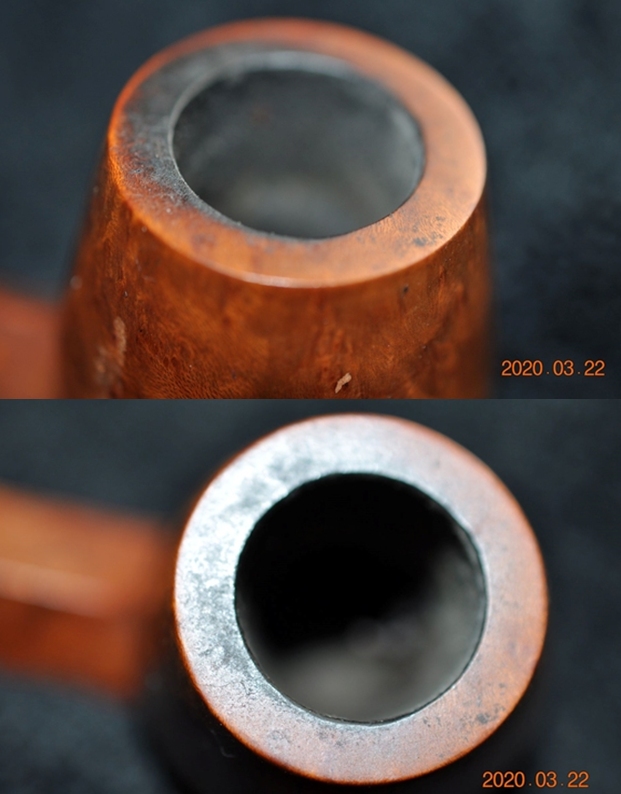
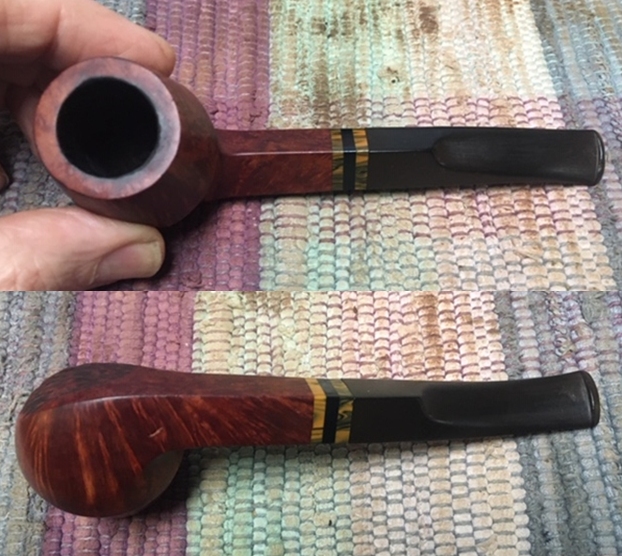
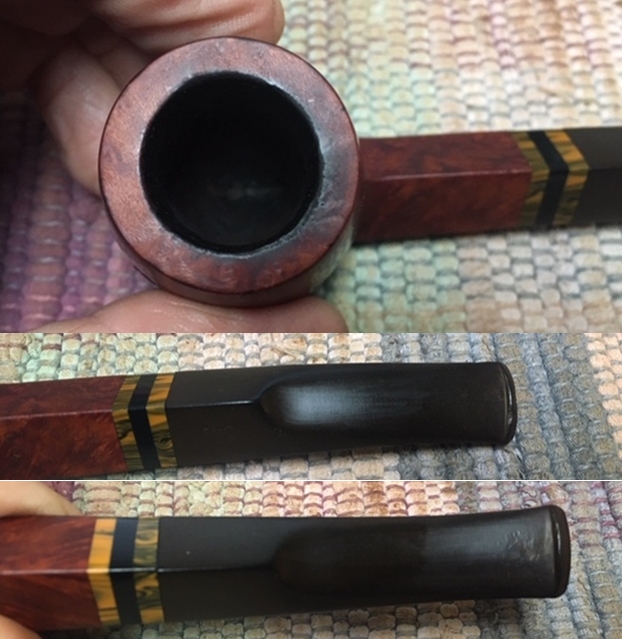
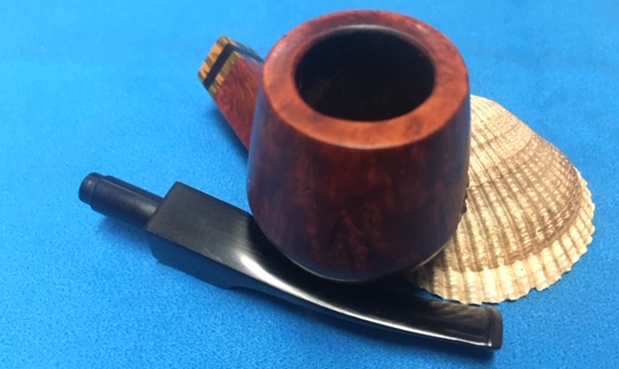
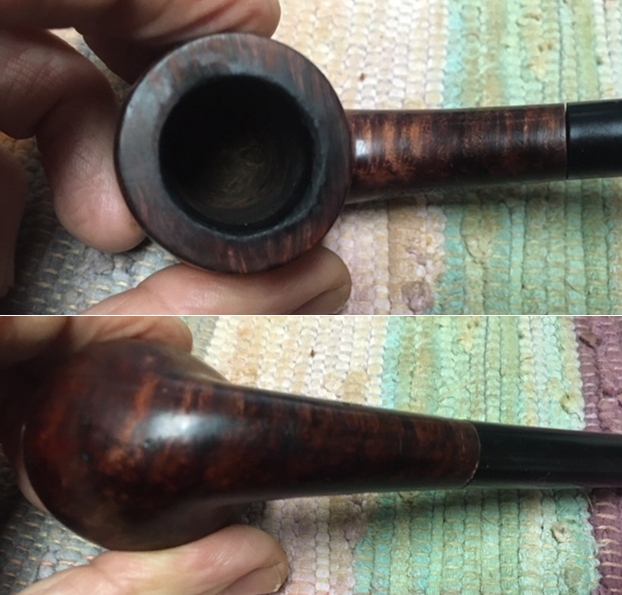
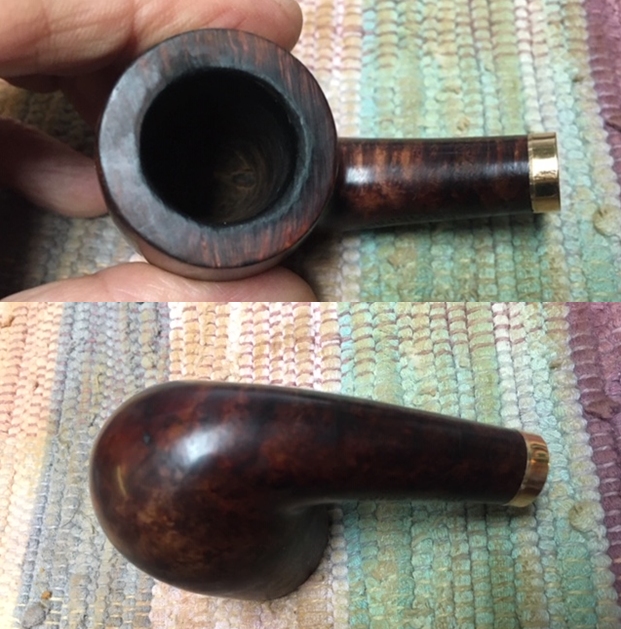
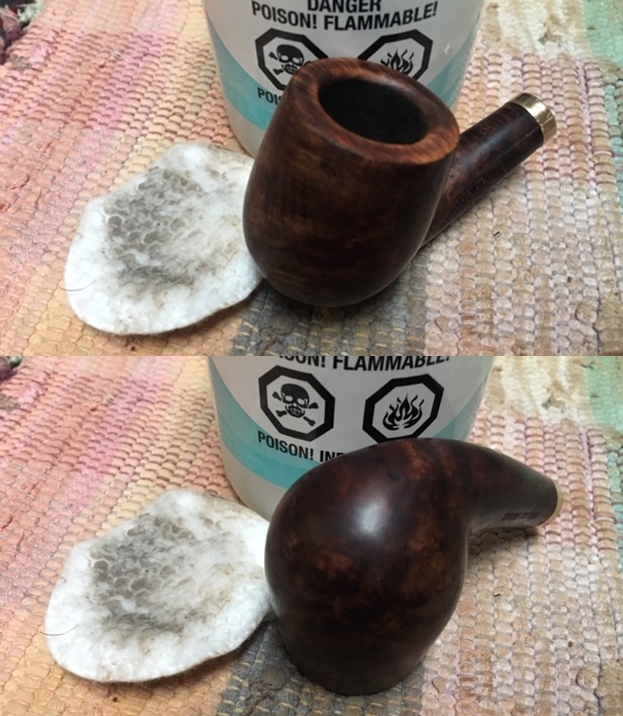
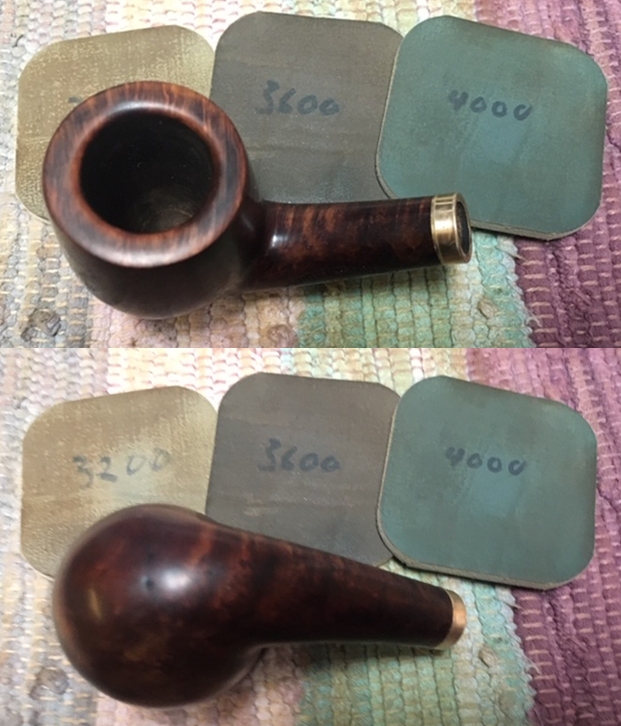
 I took some photos of the rim top and stem. Once Jeff removed the lava on the inside edge of the rim top it was in pretty rough condition. There were cuts, nicks and burned areas all around the inner edge and the bowl was out of round from the damage. The outer edge of the bowl looked very good. The close up photos of the stem shows that it was very clean and there was some tooth marks and chatter on the stem just ahead of the button.
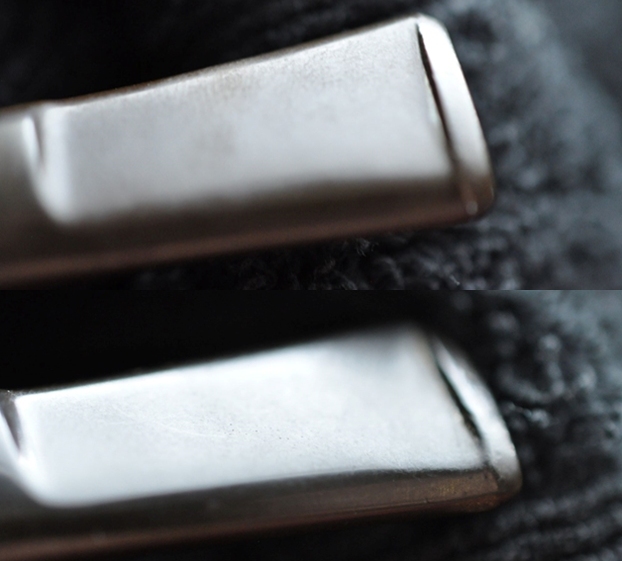
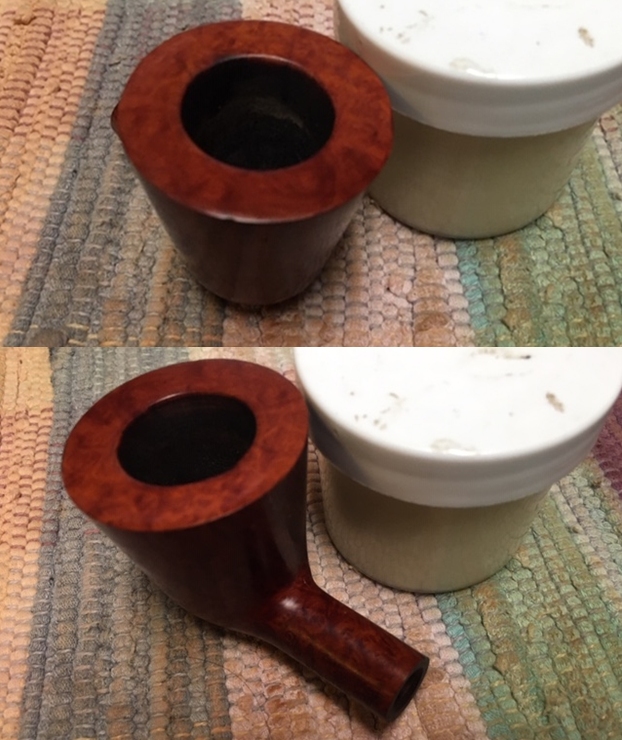
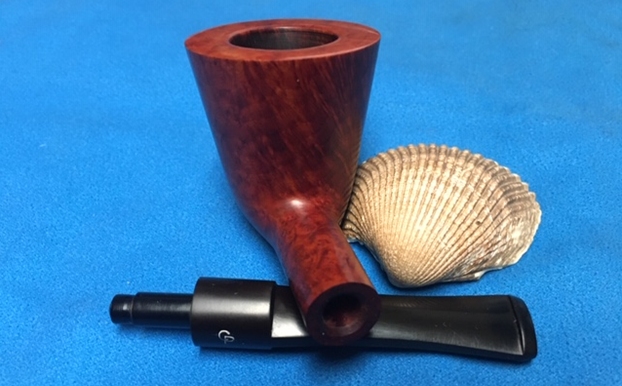
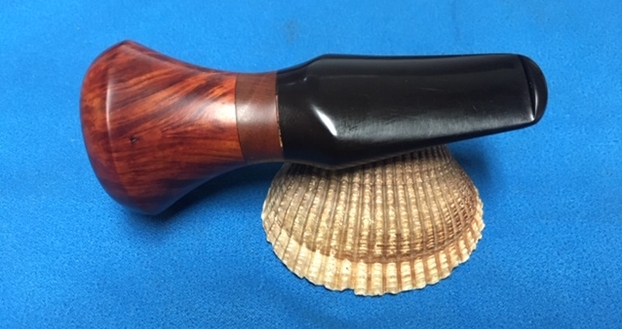
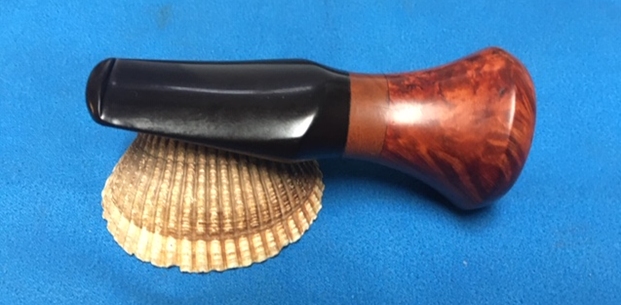
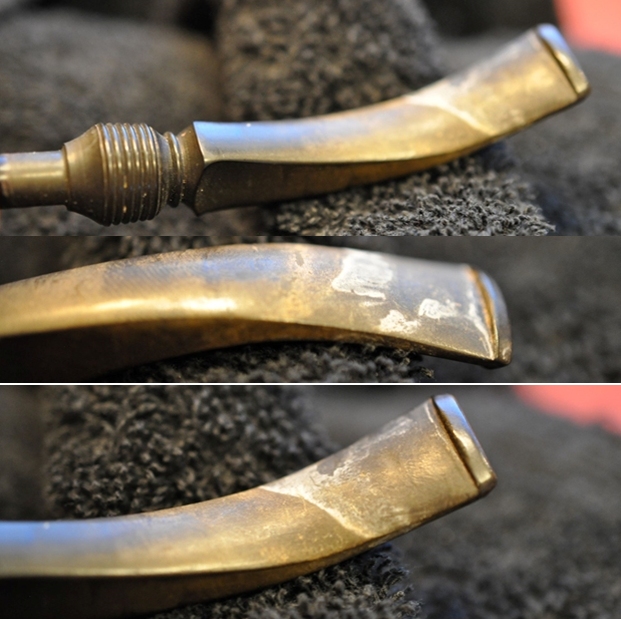
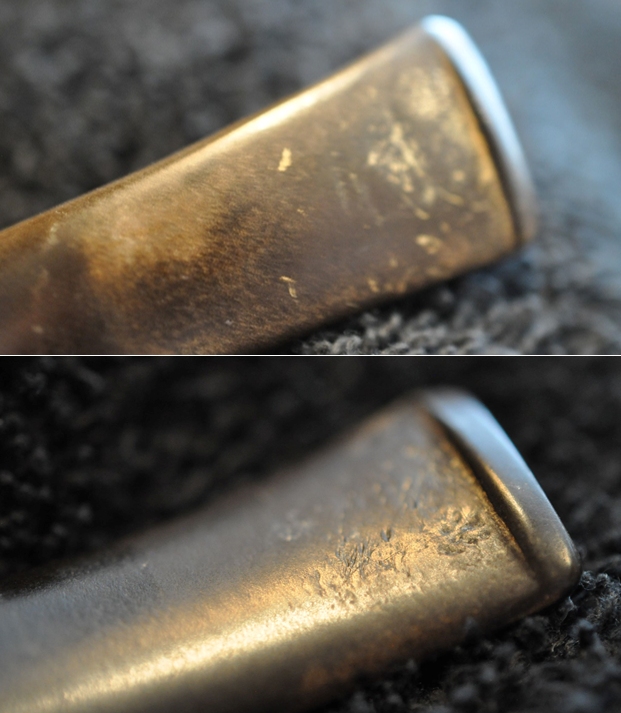
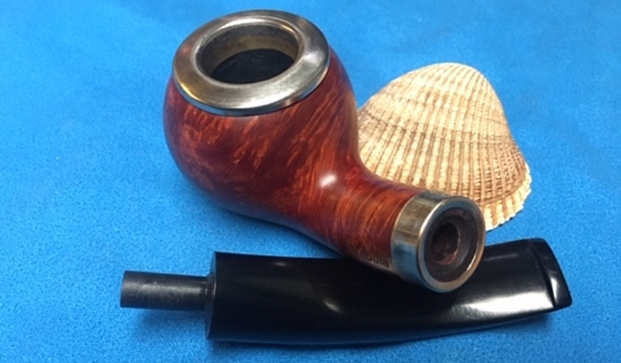
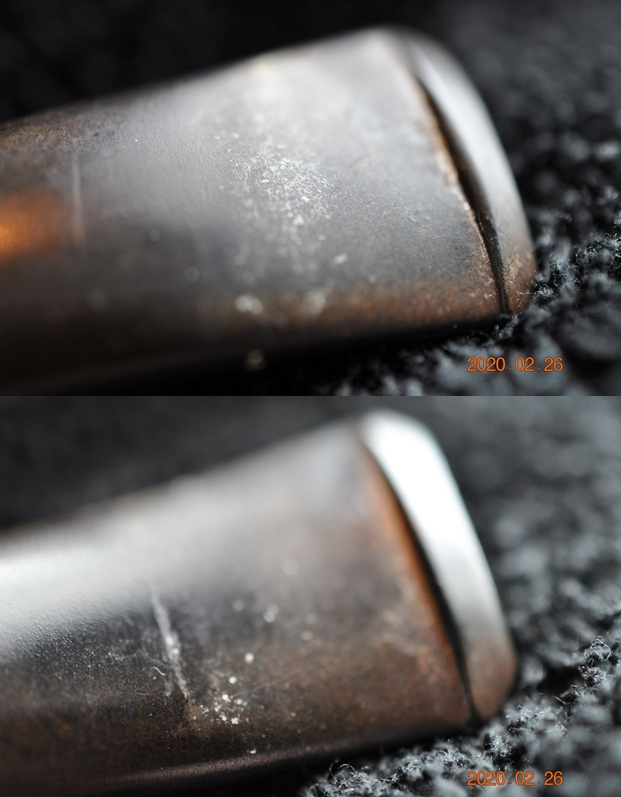
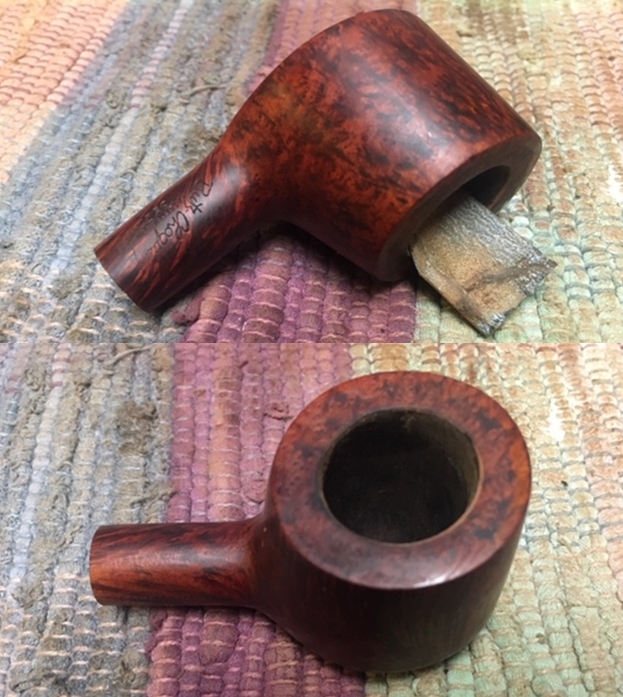
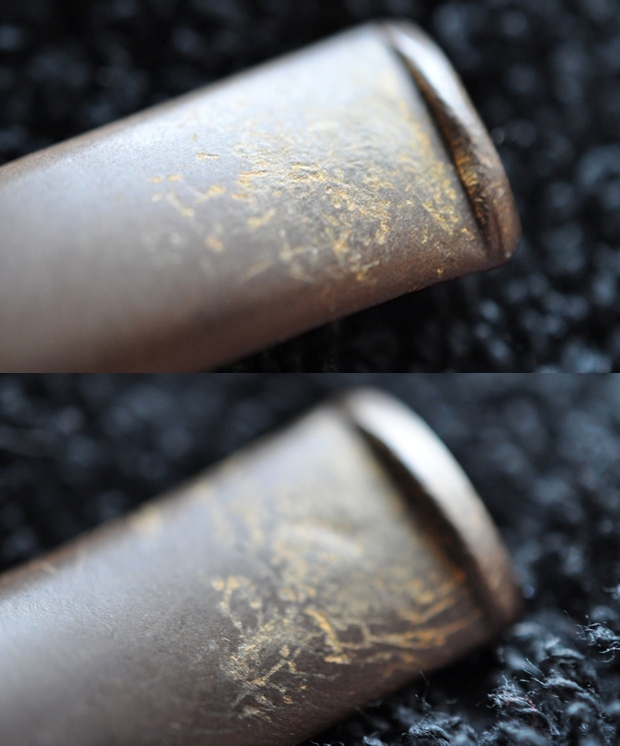
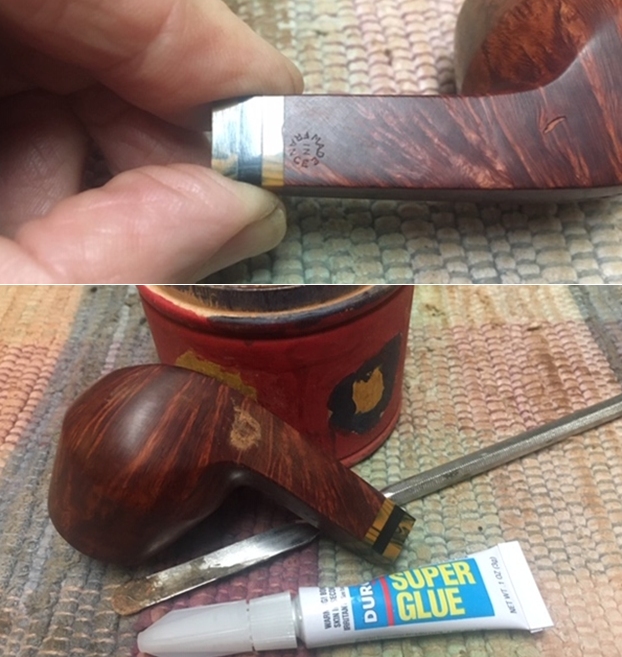
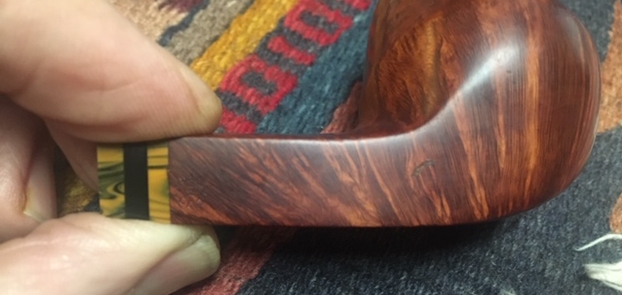
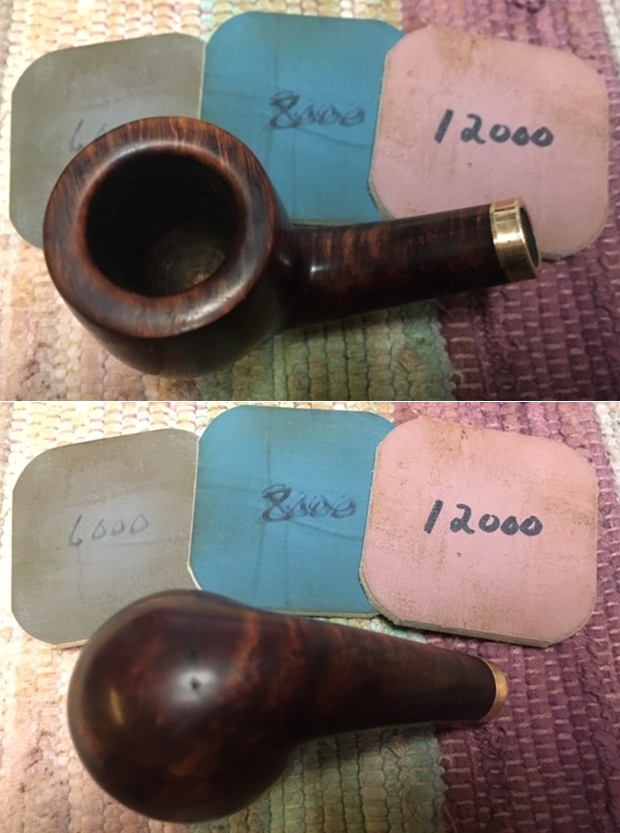
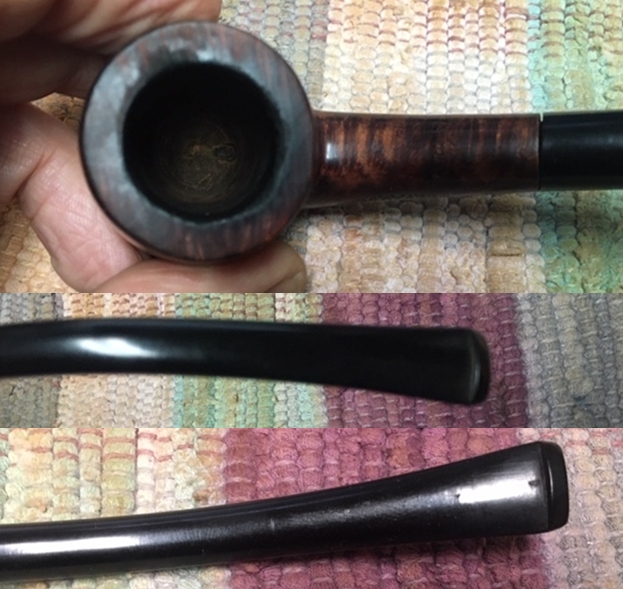 The fit of the stem in the shank is off. It looked like the shank end had a slight cant to it and the stem did not seat evenly against the shank end. The gap was obvious and made worse by the fact that the diameter of the shank was less than that of the stem. It was worse on the top side and the right side. I checked the shank end and there was some damage there. I could top it lightly but that is a hit or miss proposition. I decided that I would see what a thin band did to the fit. I took some photos to try to capture what I was seeing at the shank stem junction.
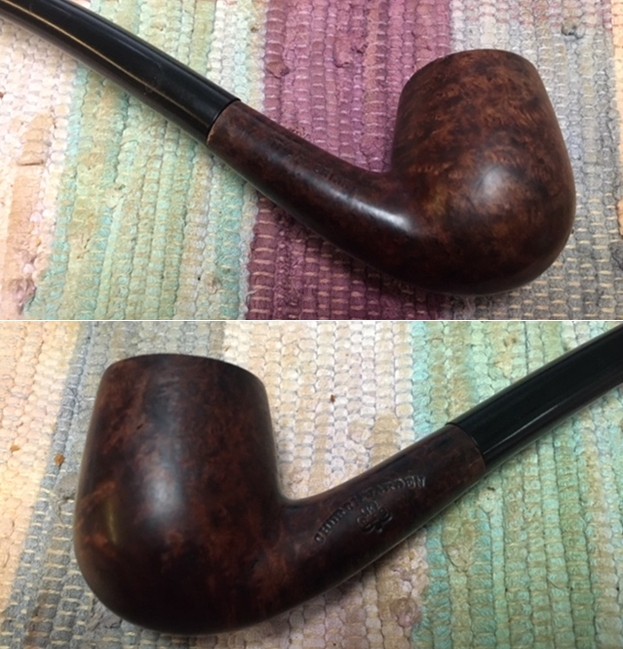
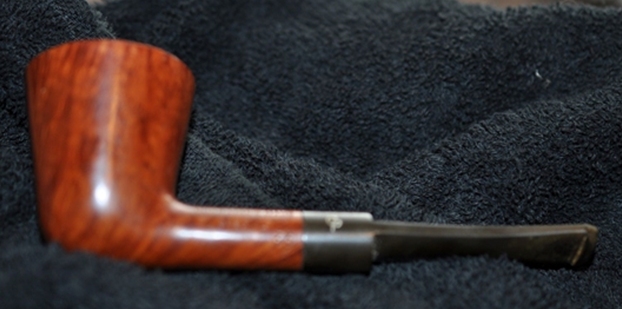
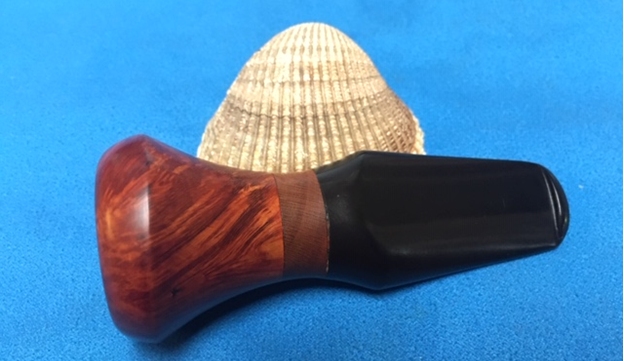
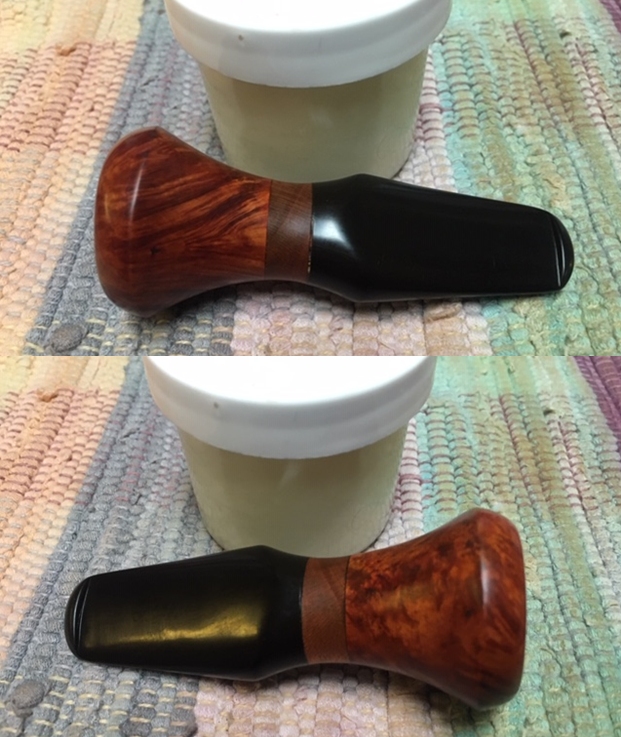
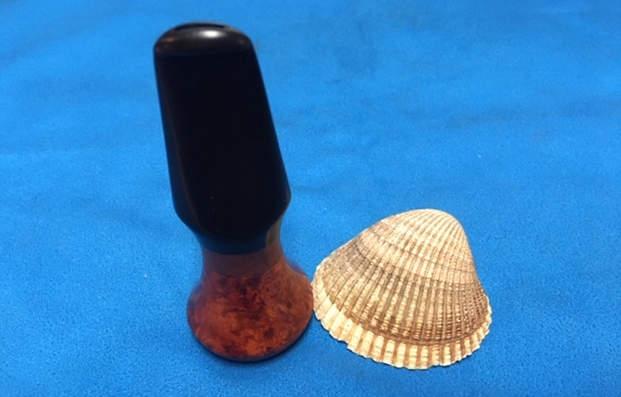
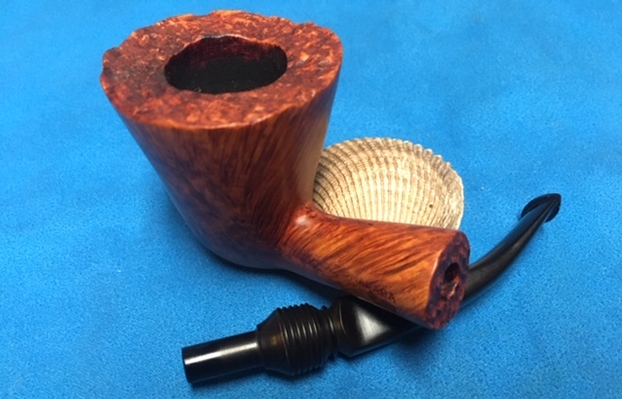
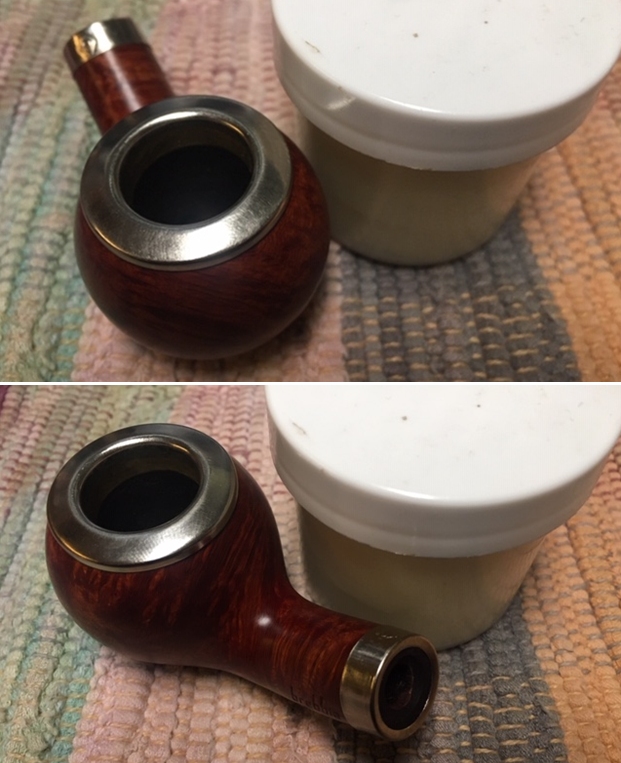
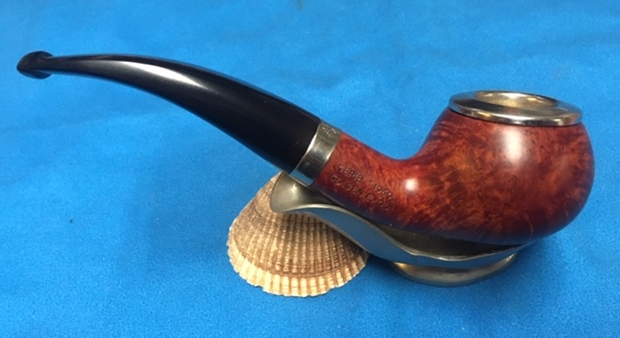
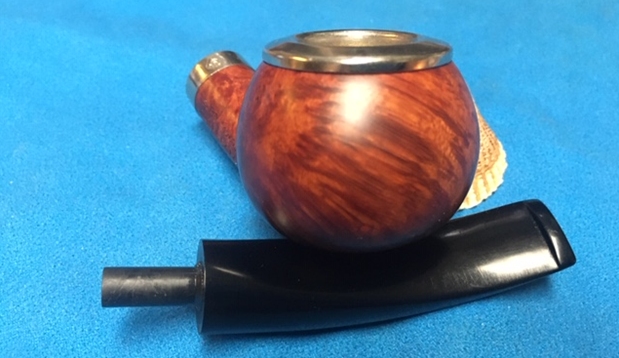
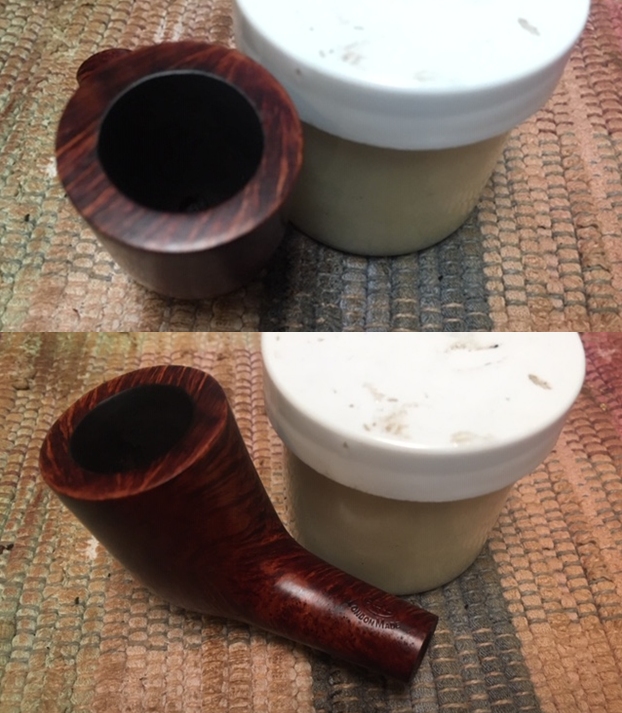
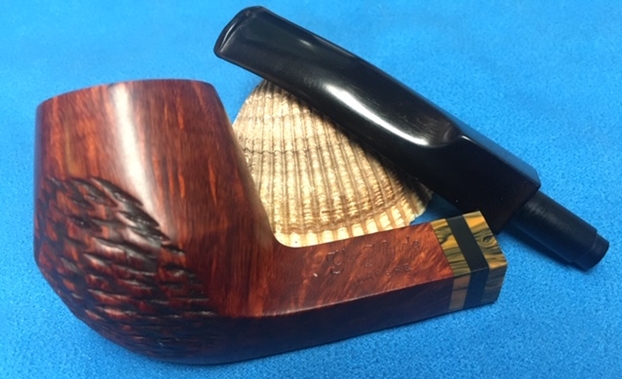
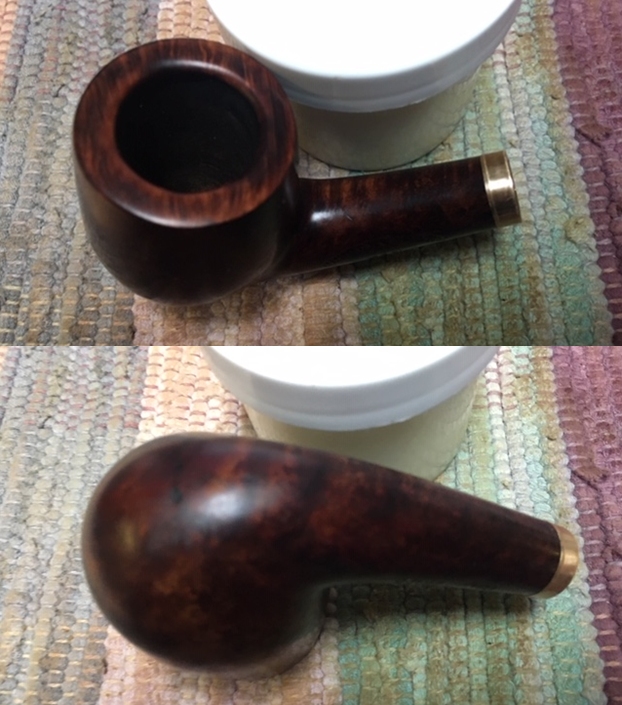
 I went through my various bands. I had picked up a bag of older style bands that included a slight cap that went over the shank end. It was my thinking that this would smooth the surface of the junction for the stem. I heated the band with a lighter and pressed in place on the shank. It was a very tight fit and I liked the look of it. There is something about the look of these thin brass bands that just looks right on older pipes. I took photos of the bowl and the pipe at this point.
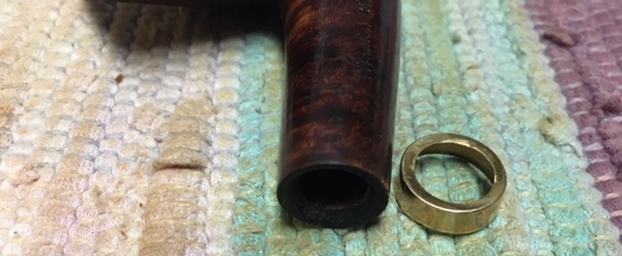
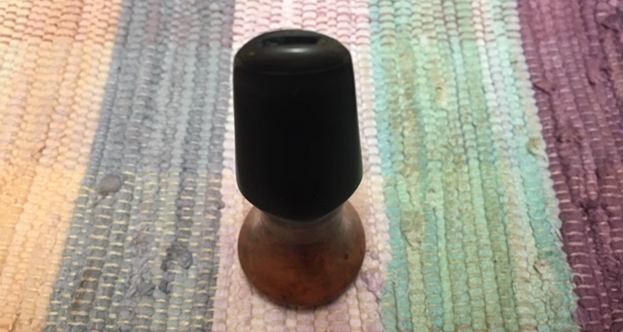
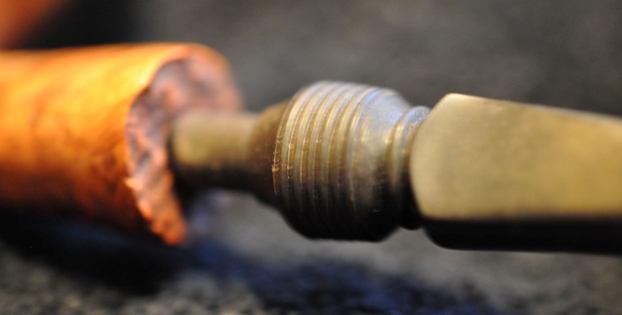
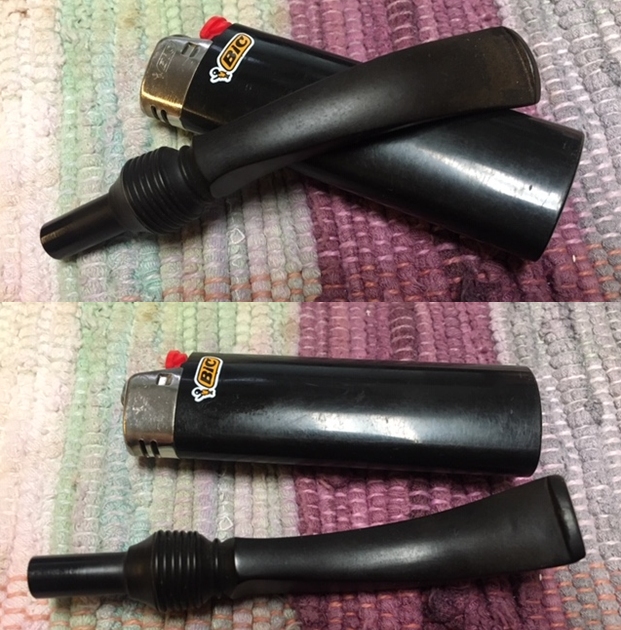
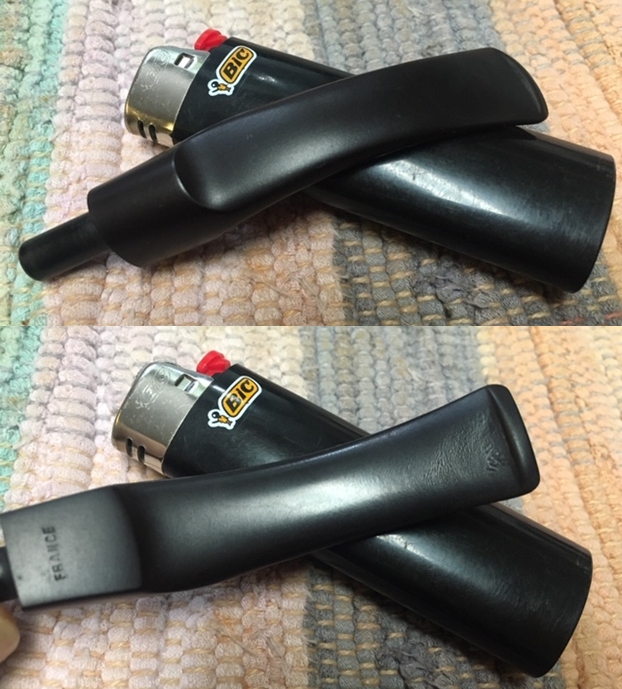
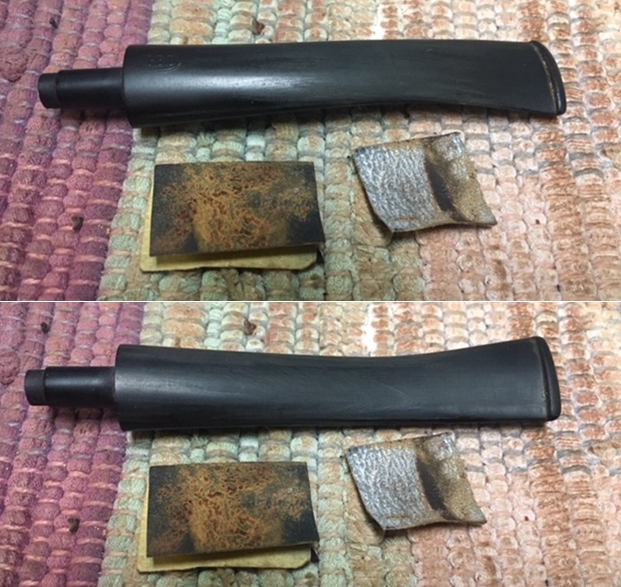
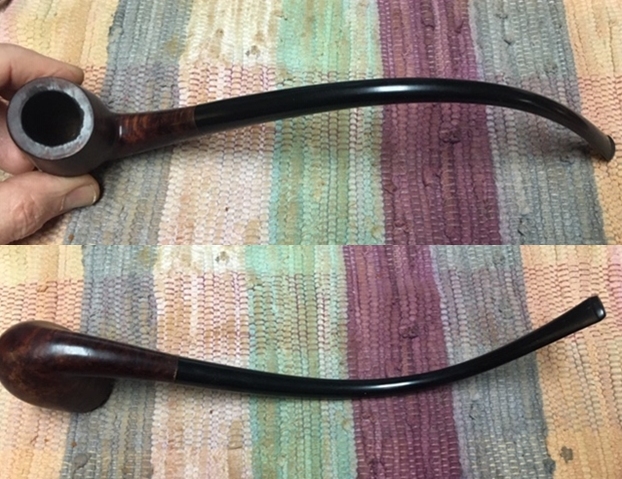
 I decided to address the over bent stem at this point since I was working on the pipe as a whole. I want the bent to be more in keeping with the top of the bowl so that when it sat in the mouth the line was even from the bend to the top of the bowl. I used a heat gun on the lowest setting to soften the vulcanite. To “unbend” is far easier than to bend. You heat the top side of the stem at the bend, constantly moving the pipe and the stem automatically begins to straighten. The key is to stop in time before it is totally straight! I paid attention and caught it at the right moment. I cooled the stem with water to set the new bend.
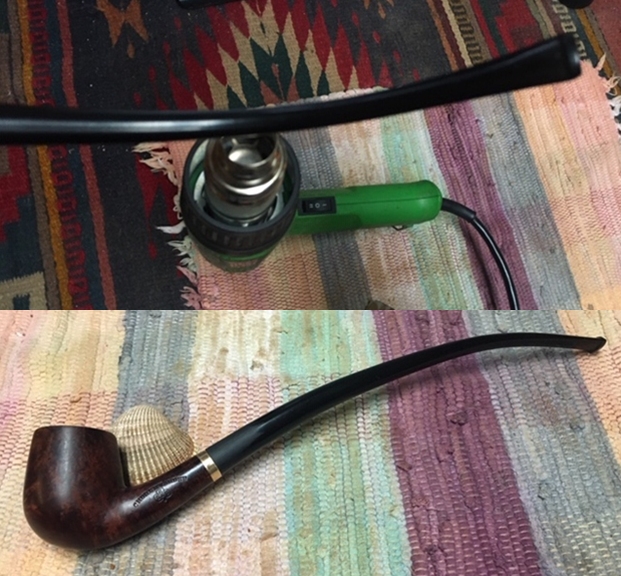 With the shank/stem connection repaired and the bend in the stem reset I was ready to move on to dealing with the issues of the inner edge and rim top. I removed the stem and set it aside and took the bowl in my hands. I used a folded piece of 220 grit sandpaper to smooth out the edge and give it a slight bevel to mask the damaged areas. Once the bowl is polished the bevel is hardly visible and the bowl looks better.
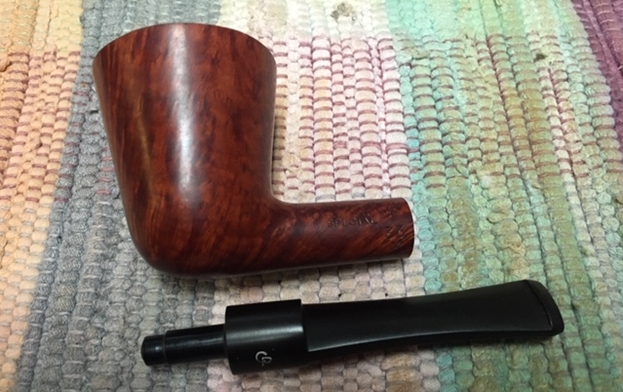
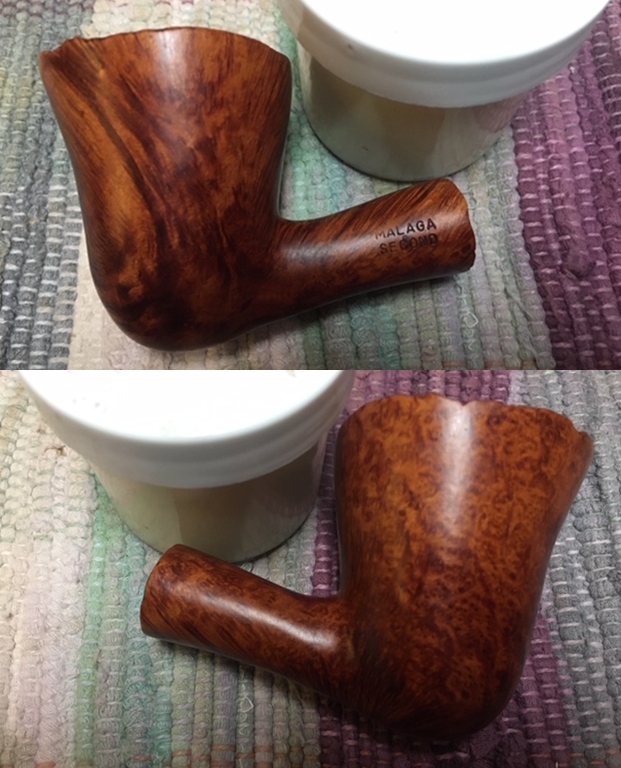
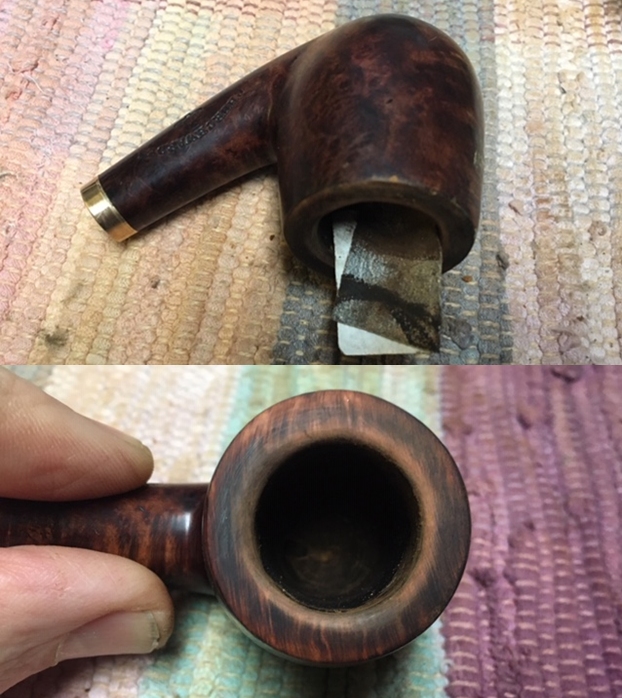 I wiped off the remnants of the shellac finish on the bowl with isopropyl alcohol on a cotton pad. Once the finish was removed the grain began to really stand out nicely.
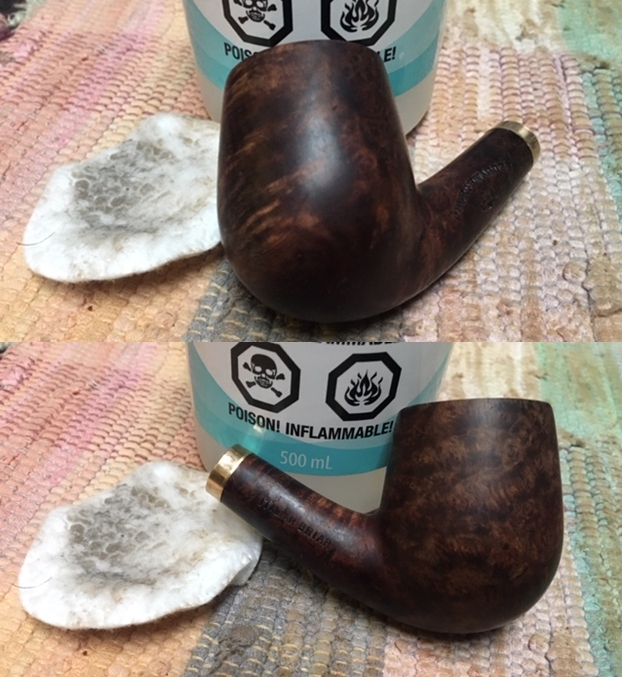
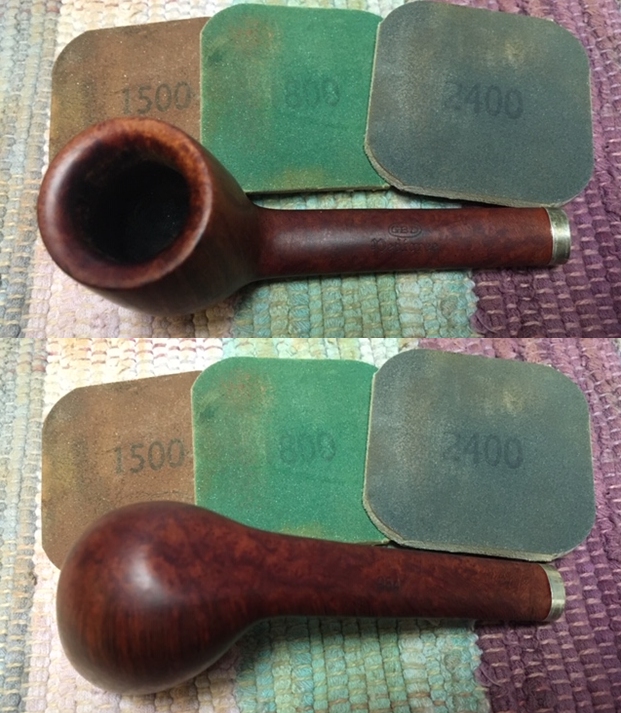
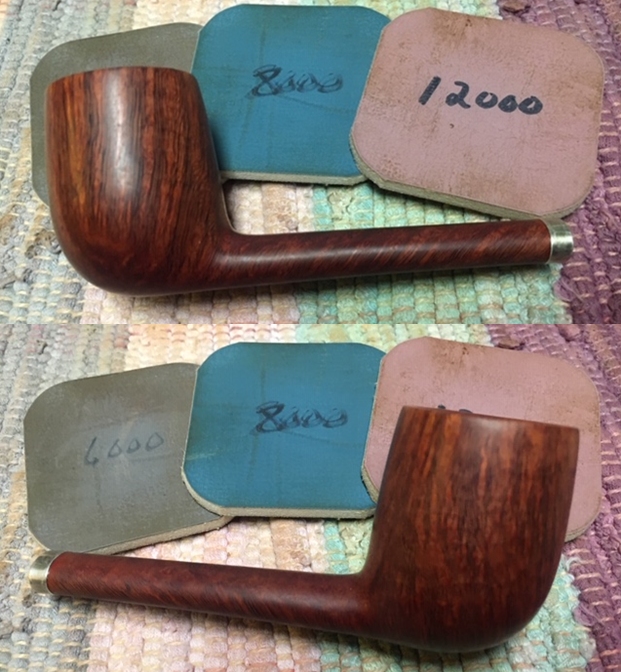
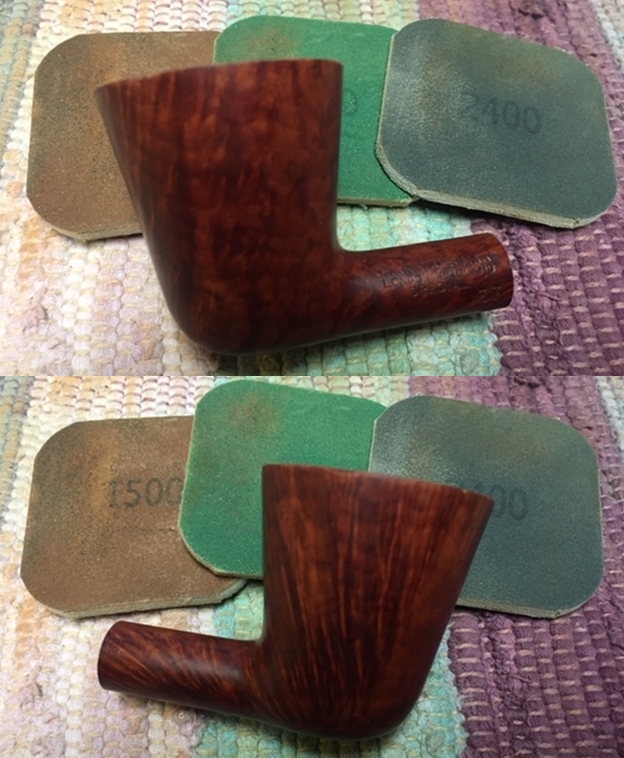
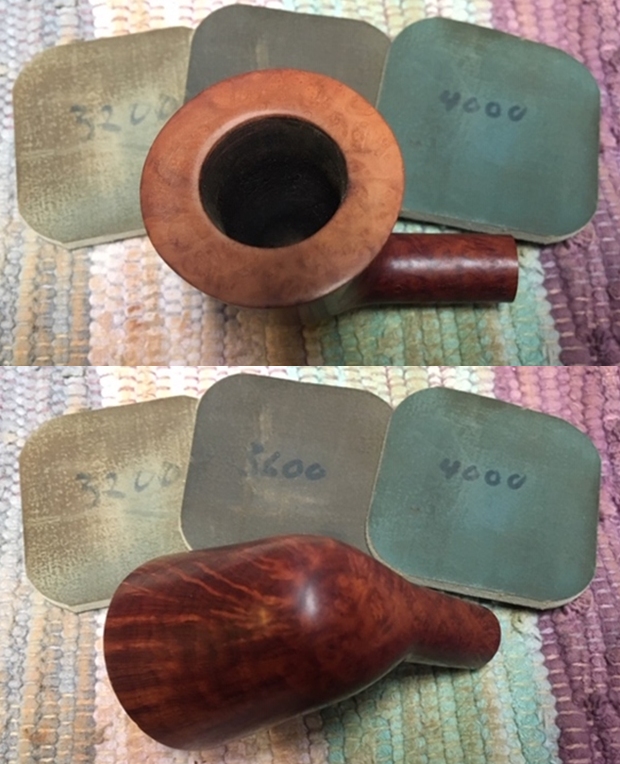
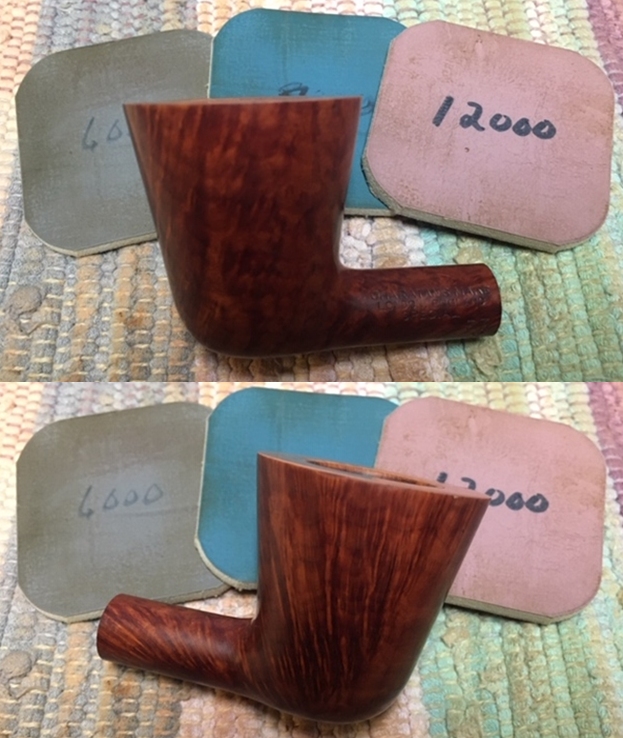
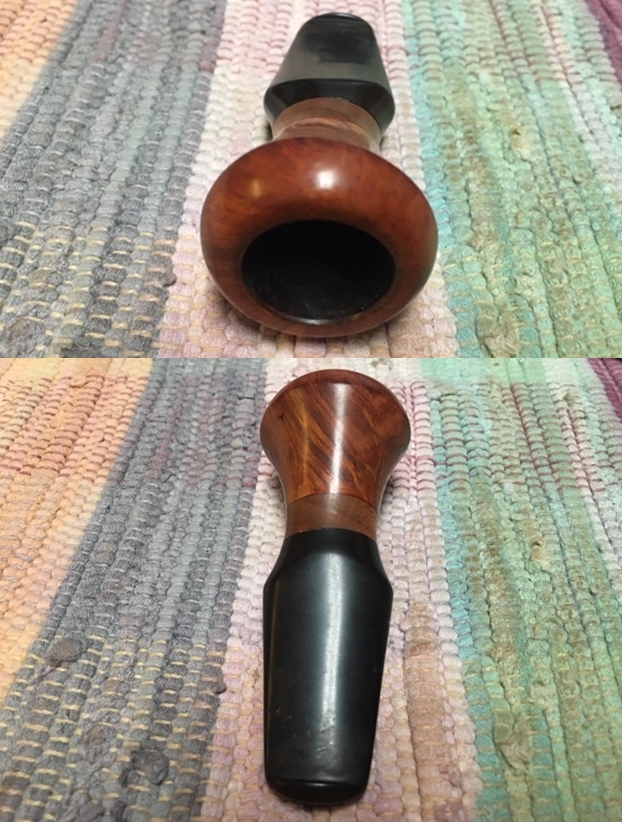
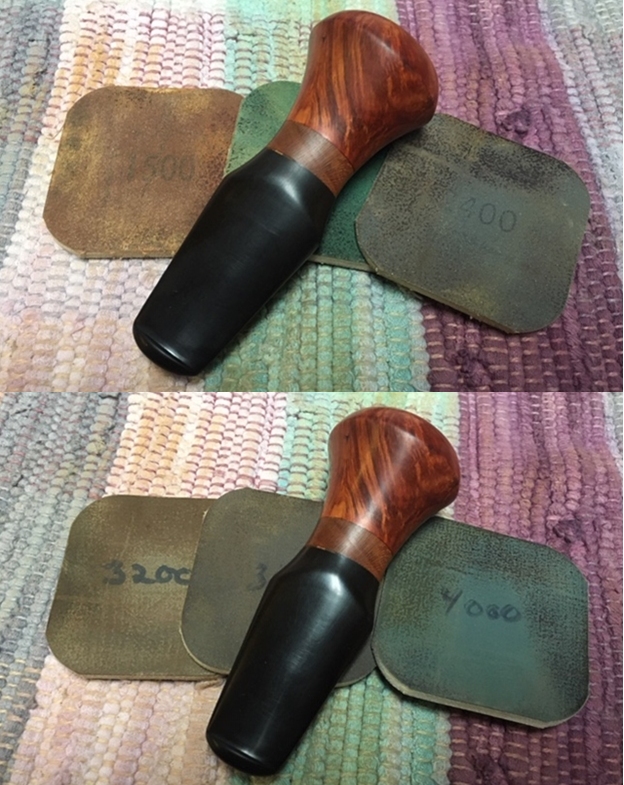
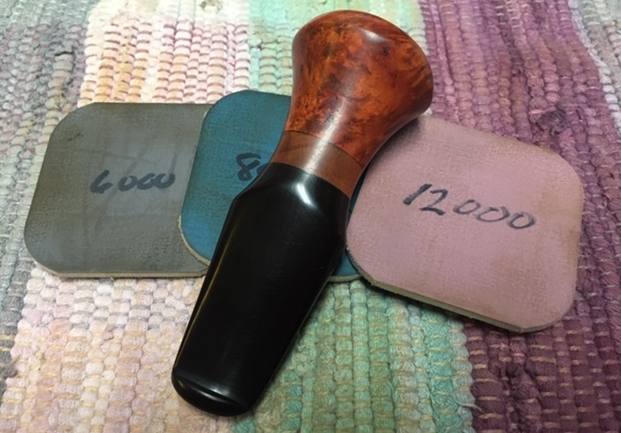
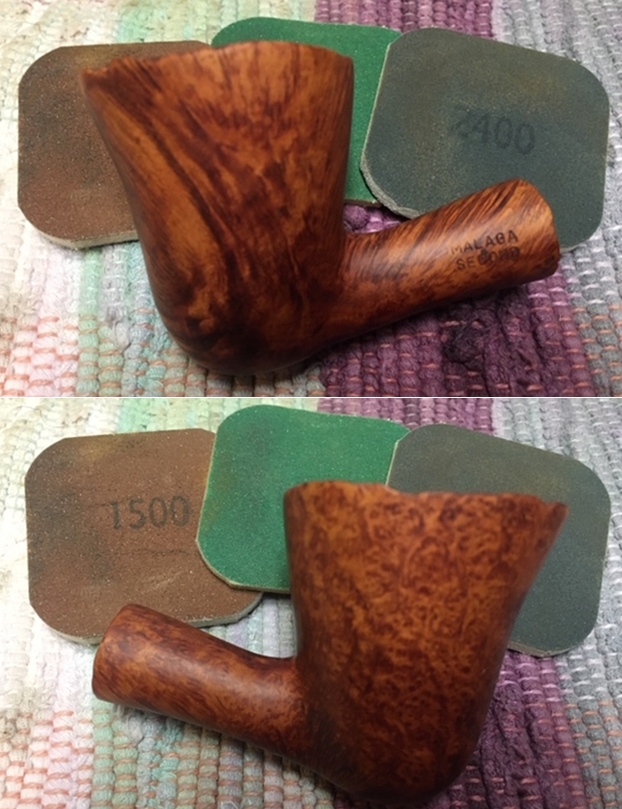
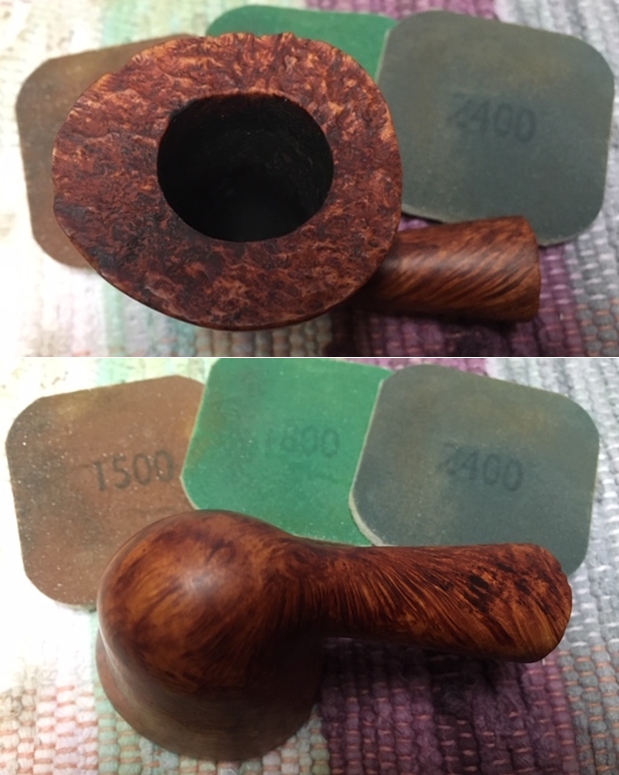
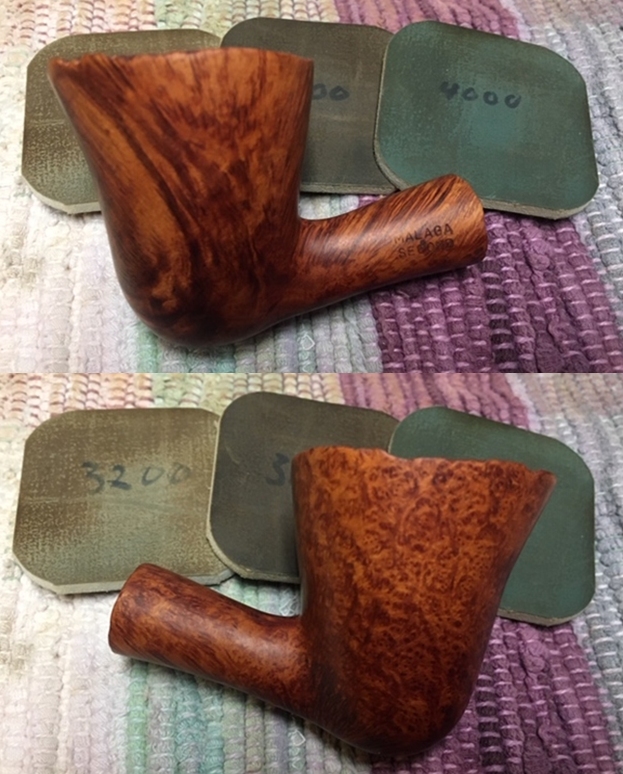
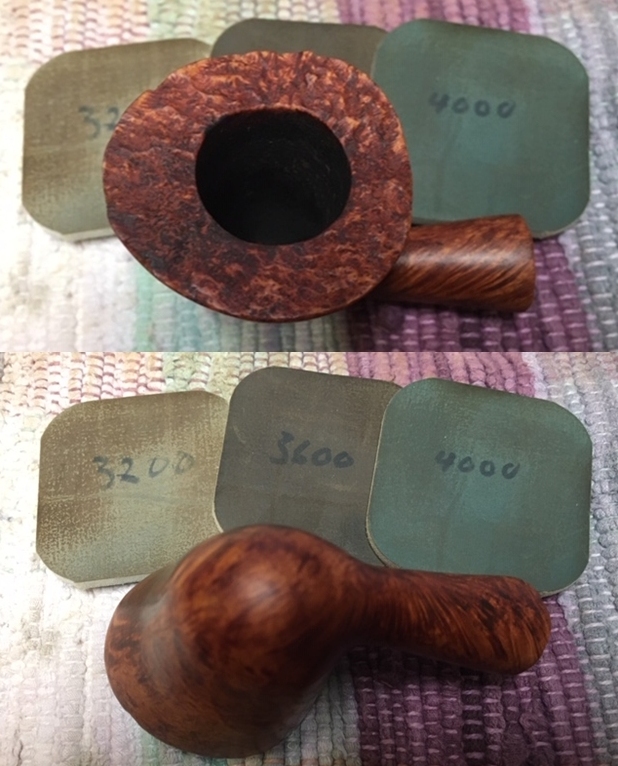
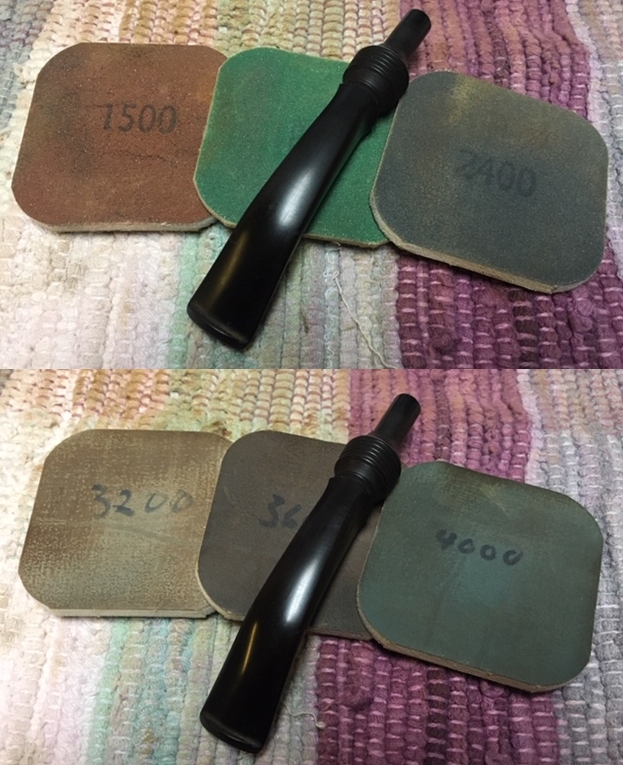
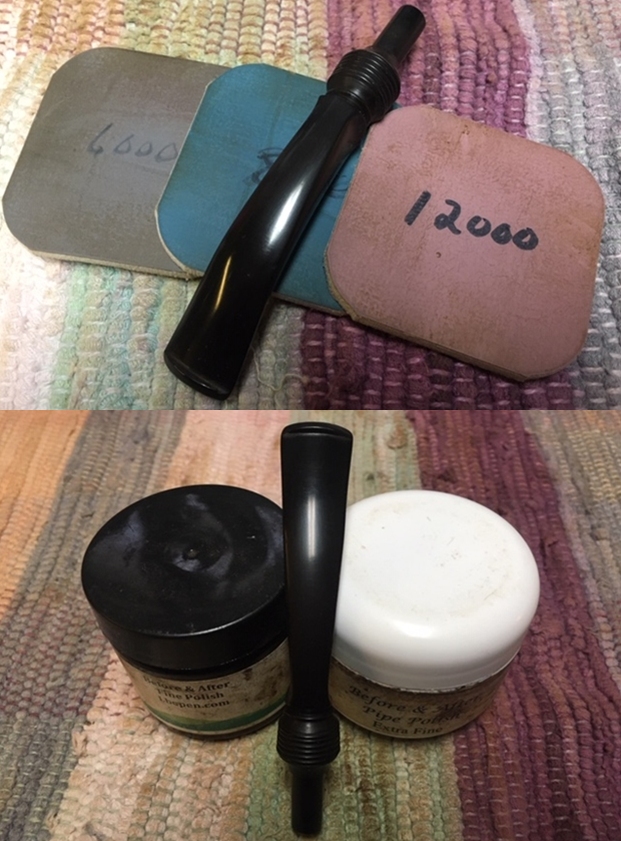
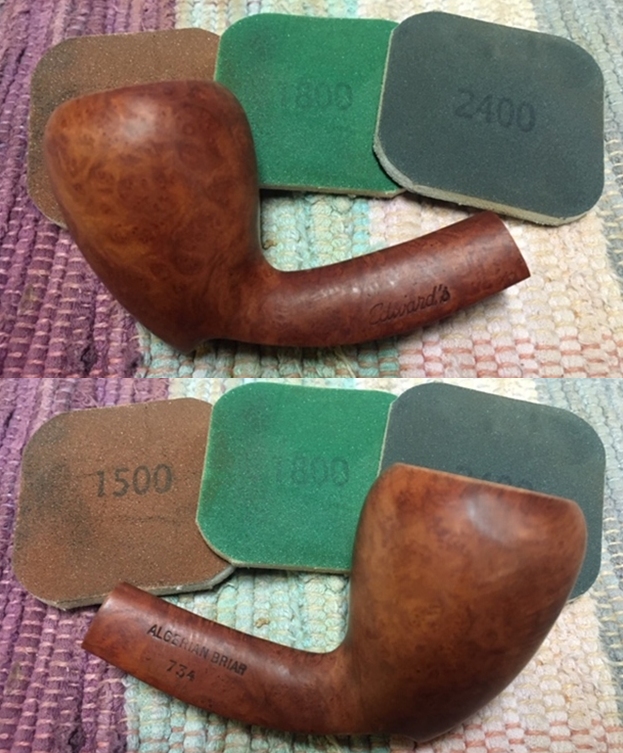
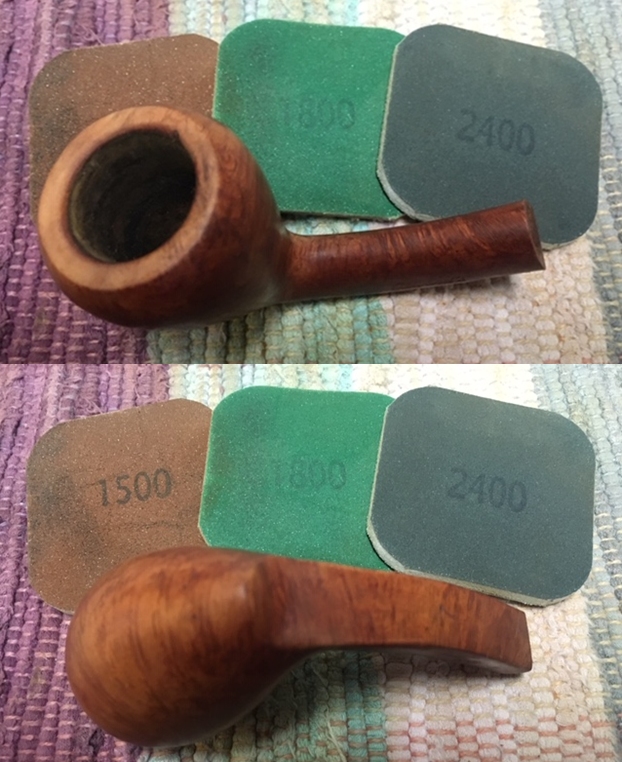
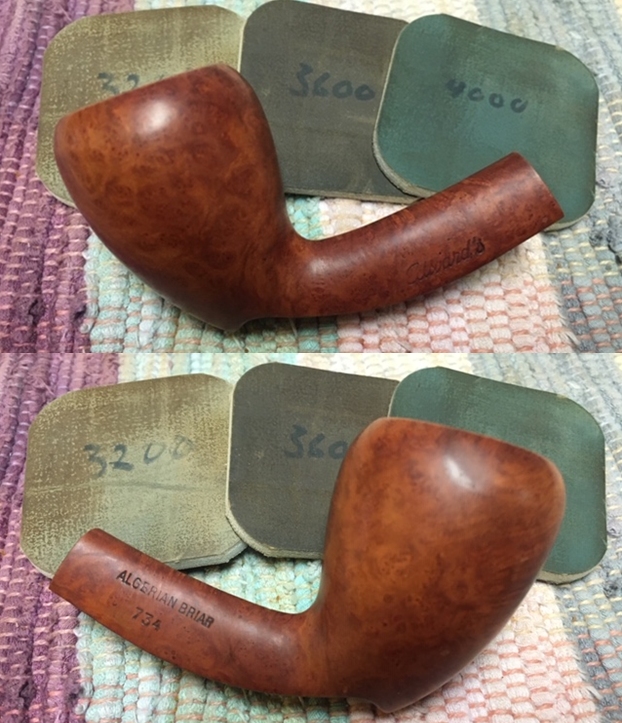
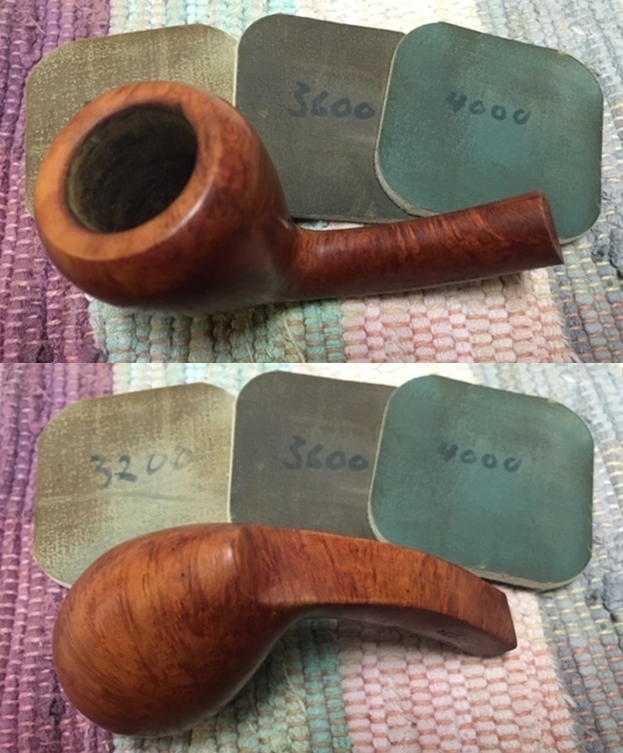
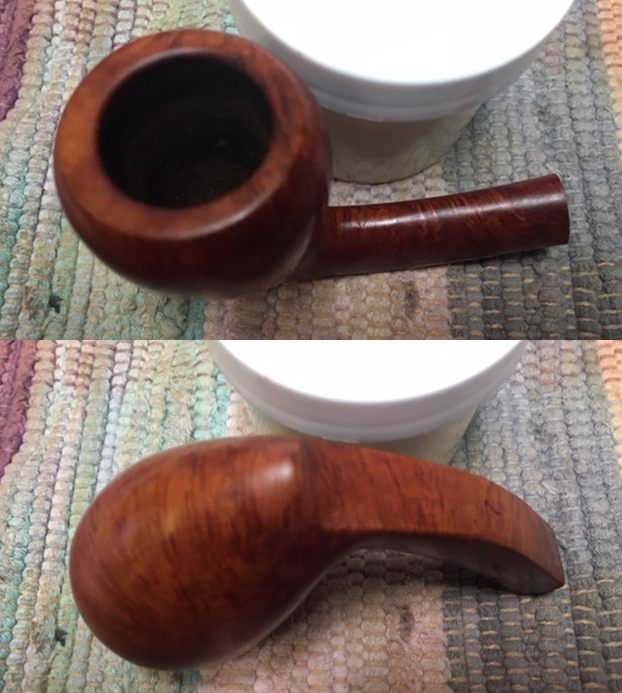
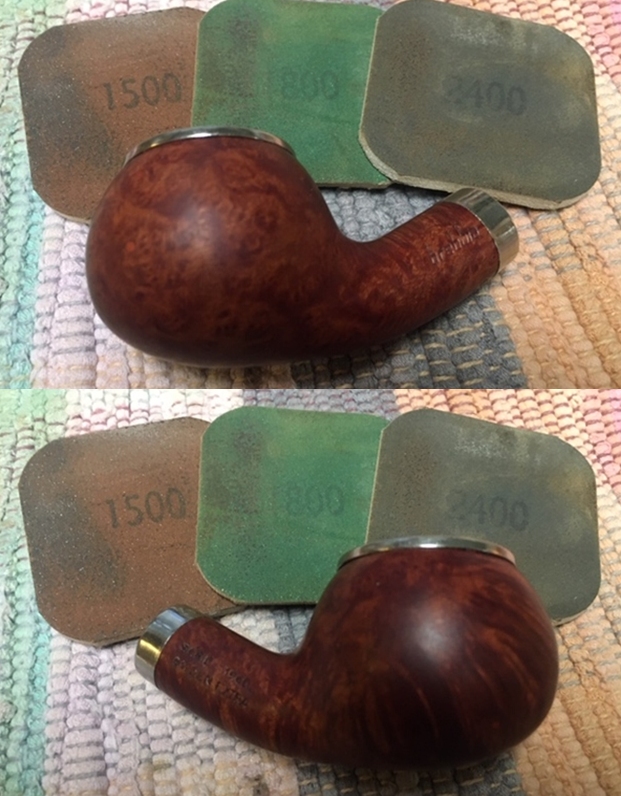
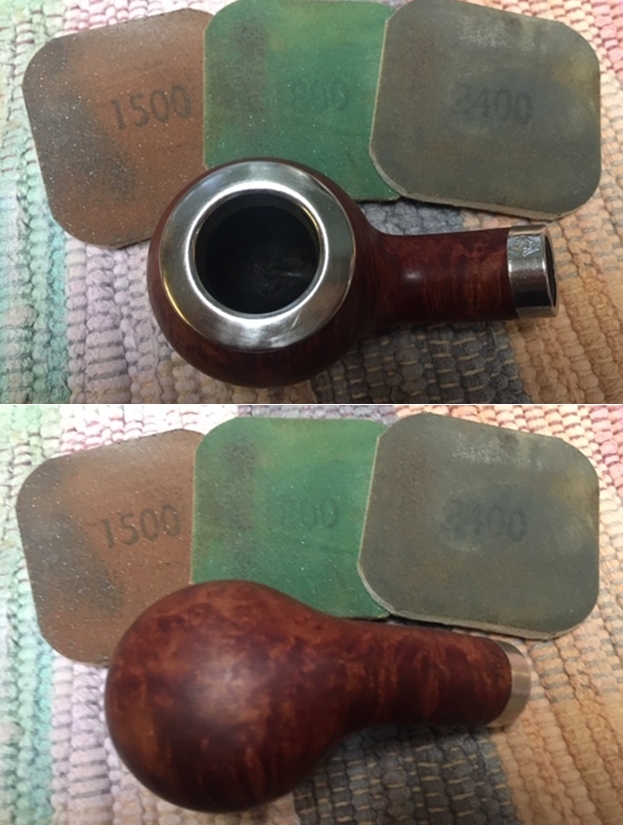
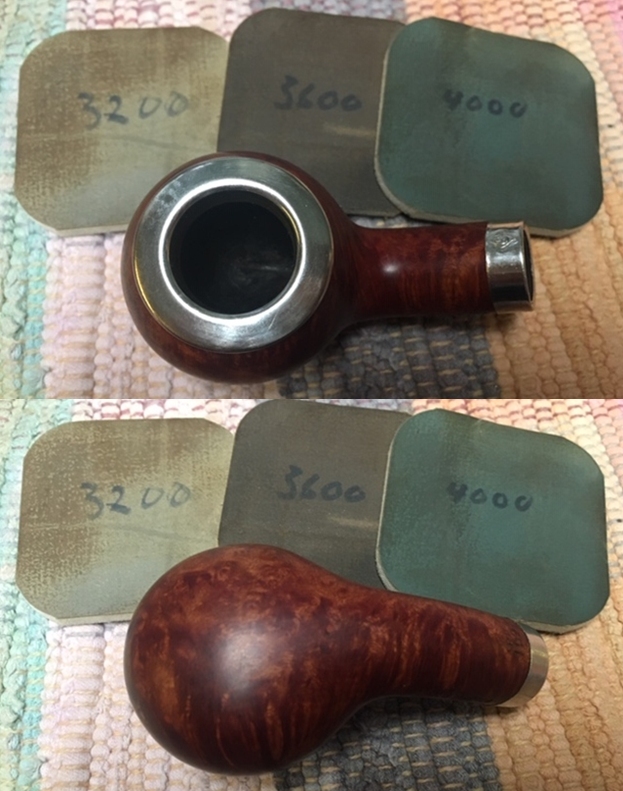
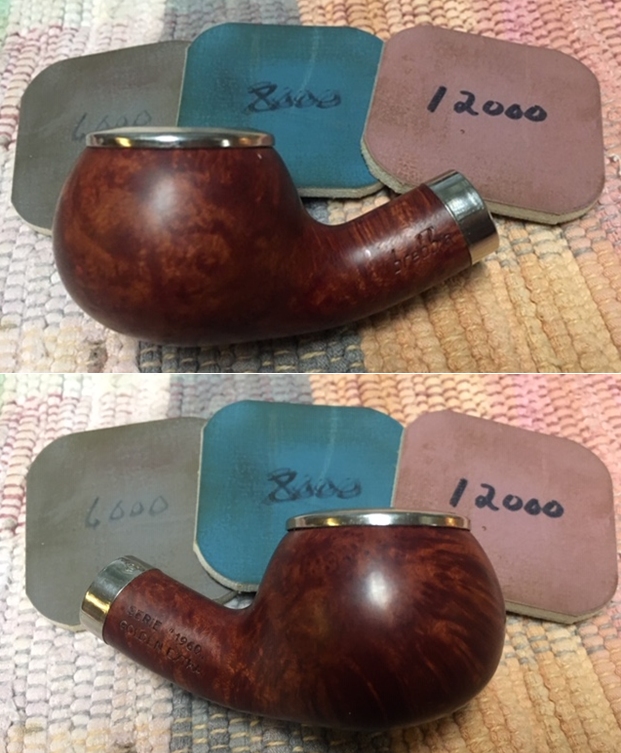
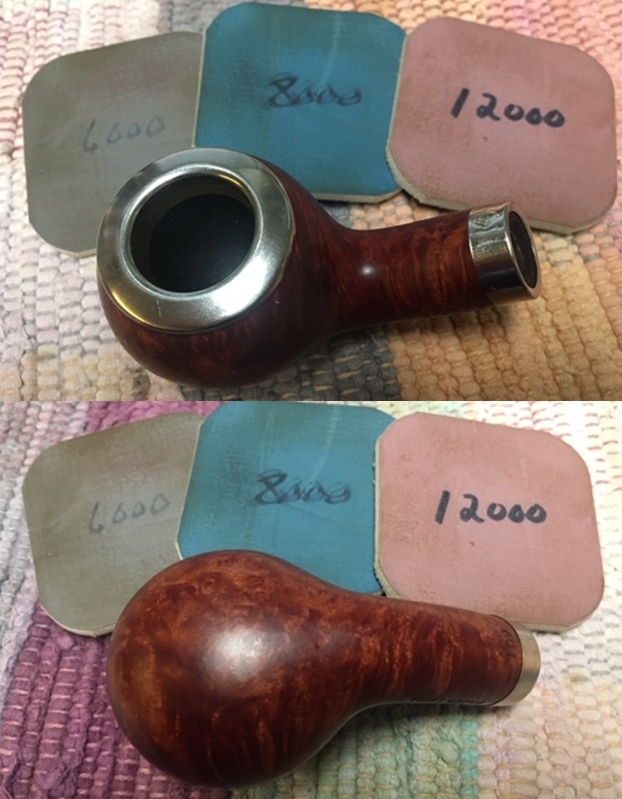
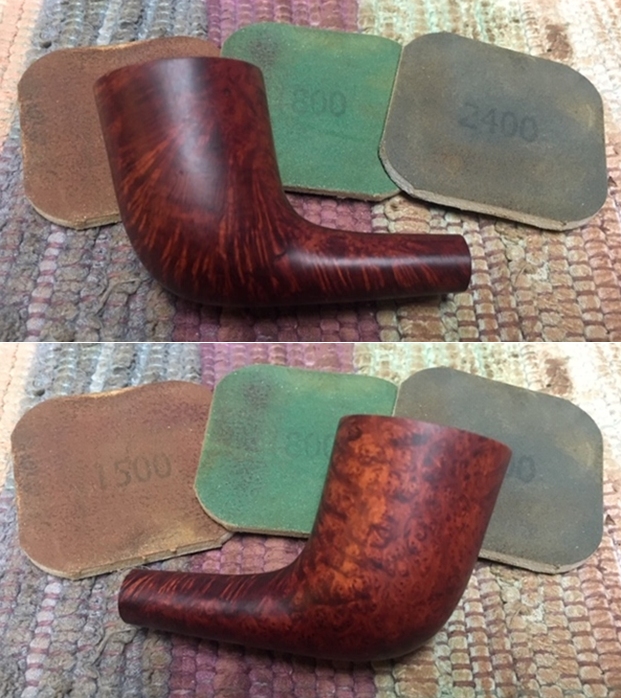
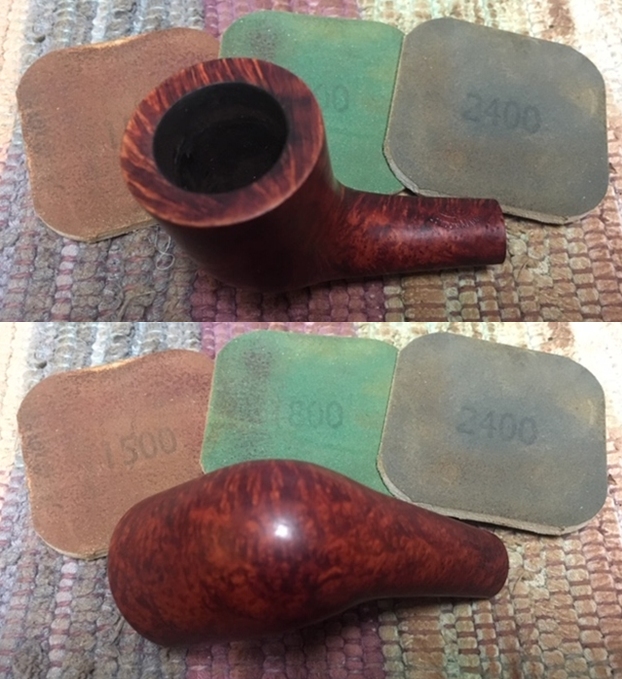
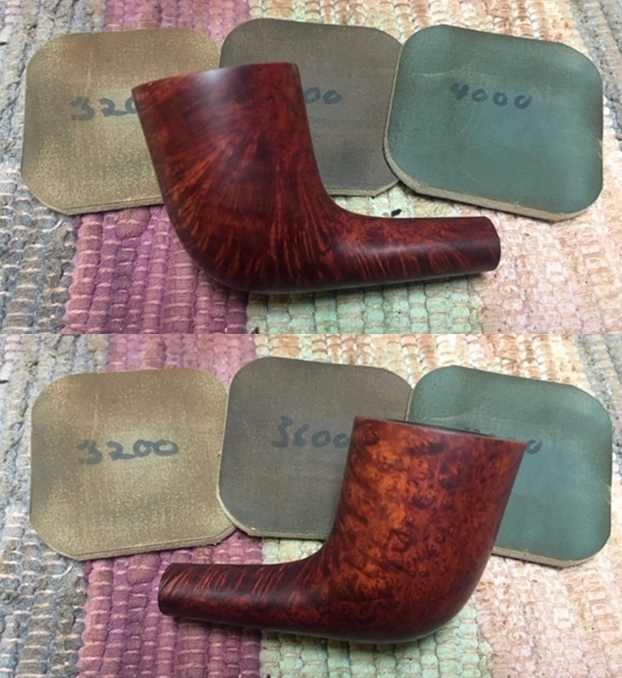
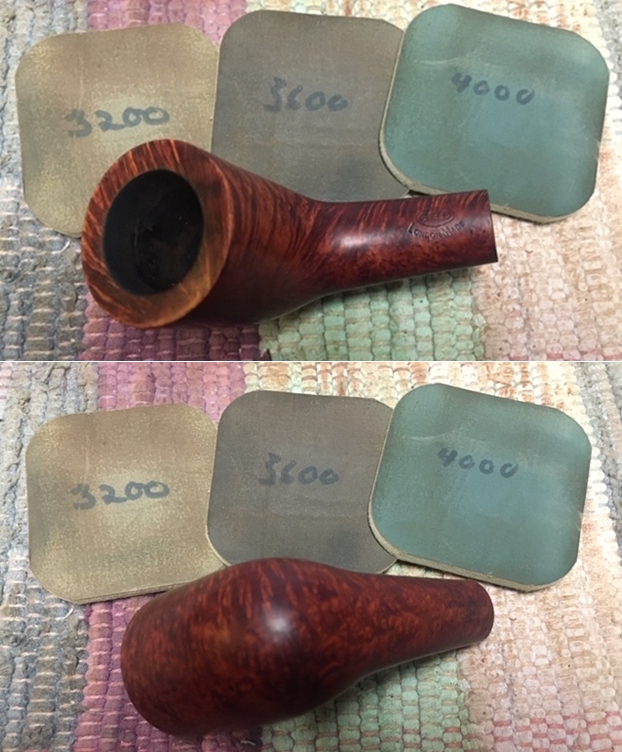
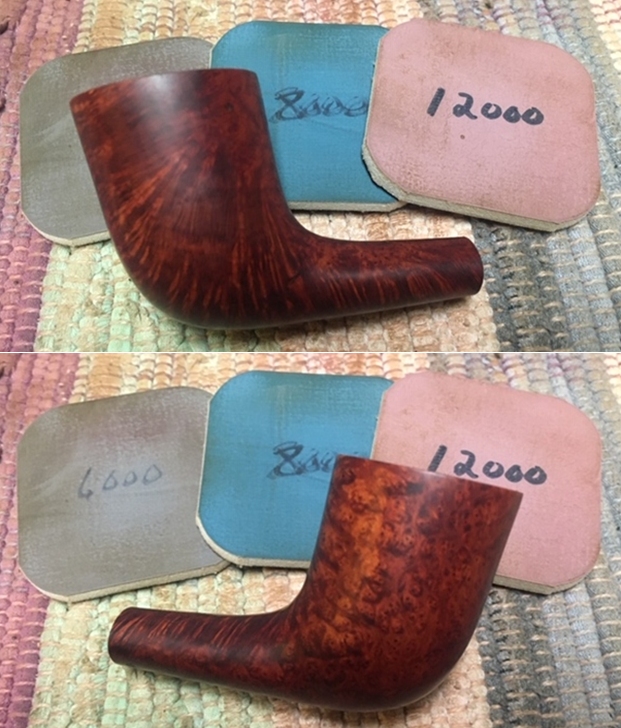
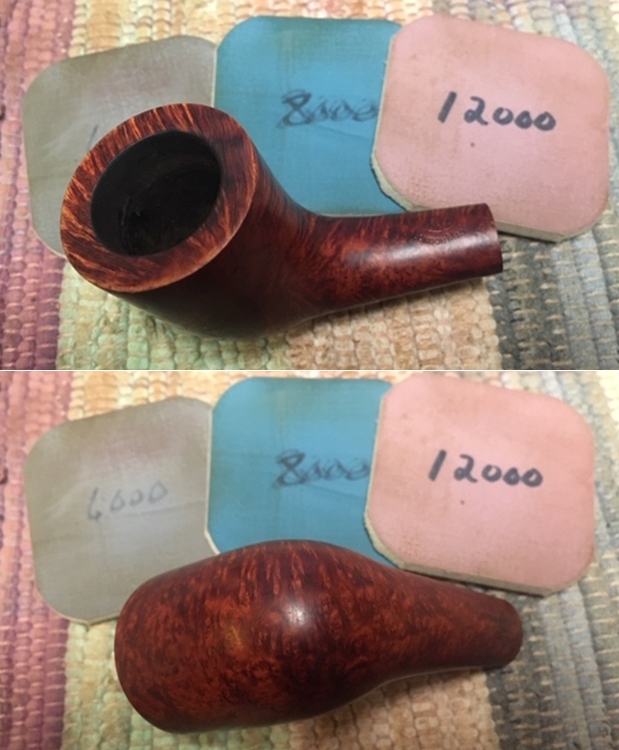
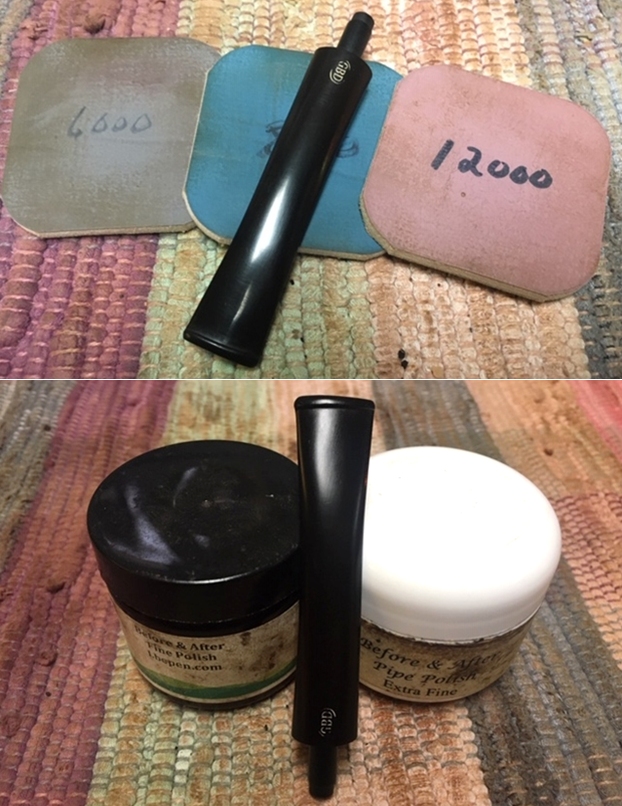
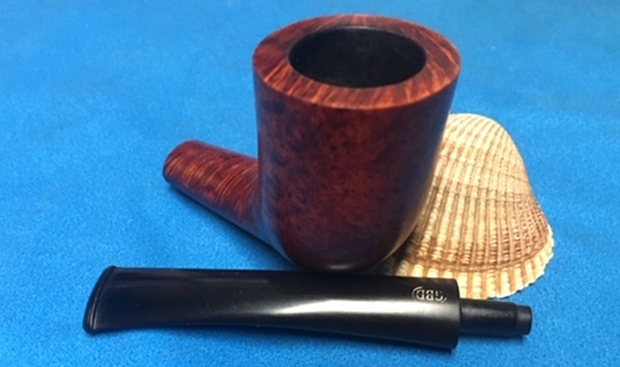
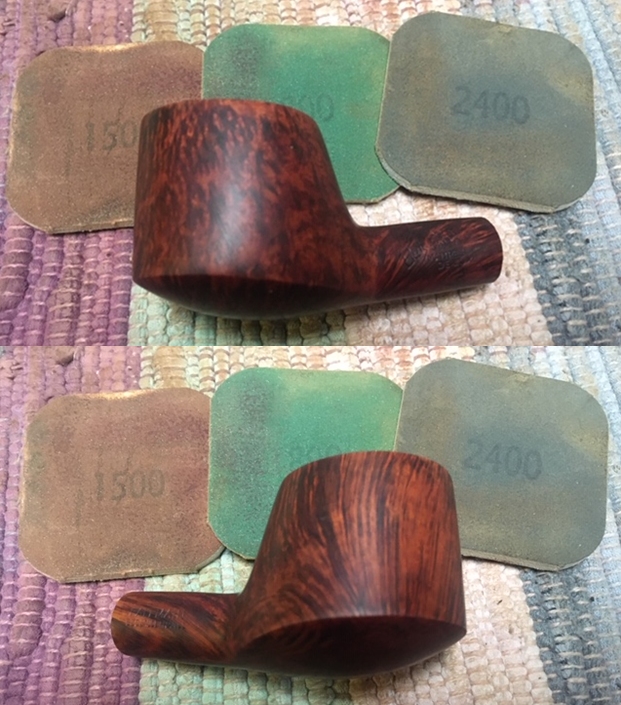
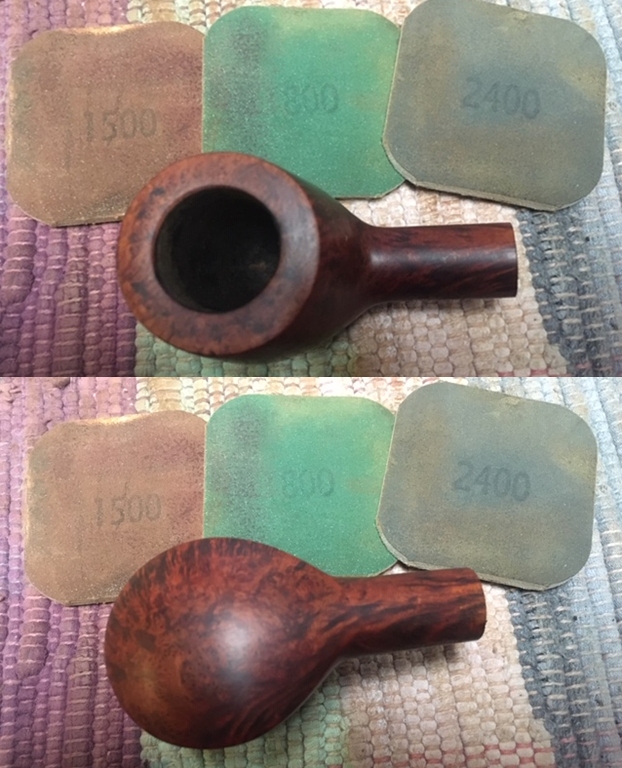
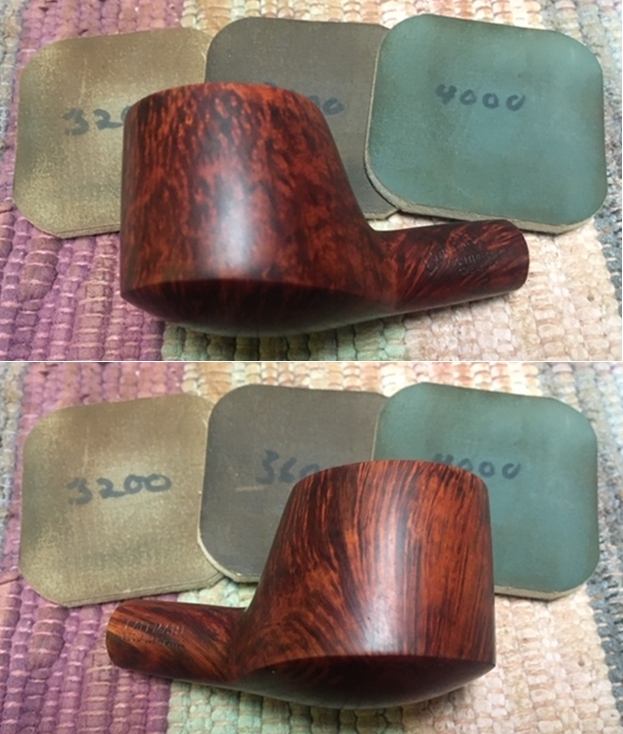
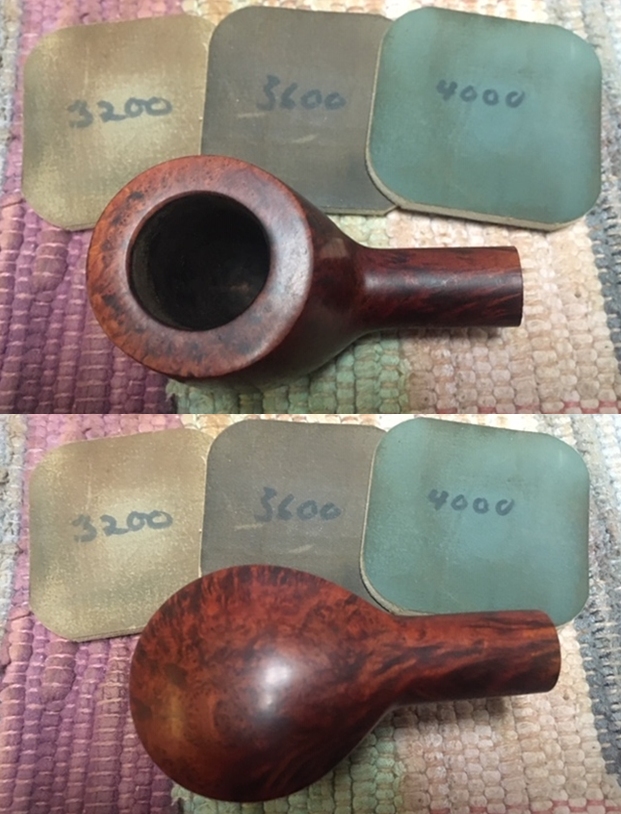
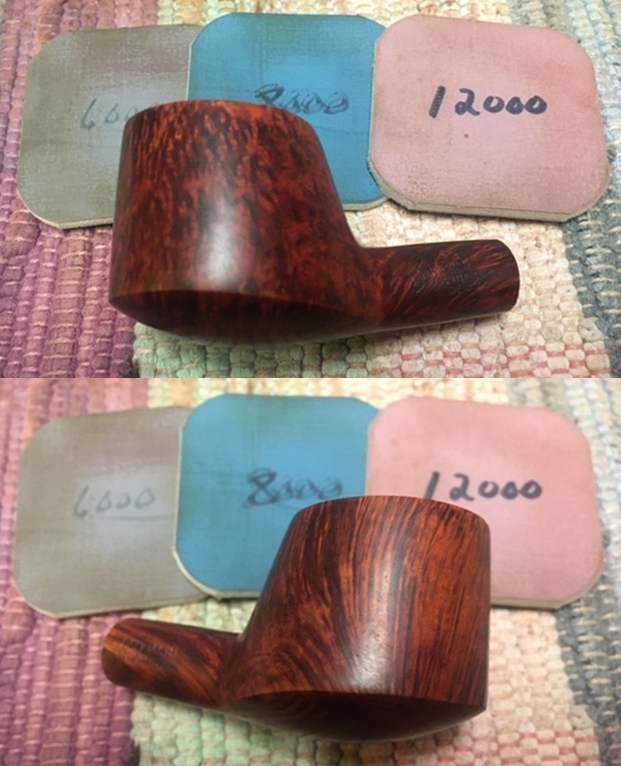
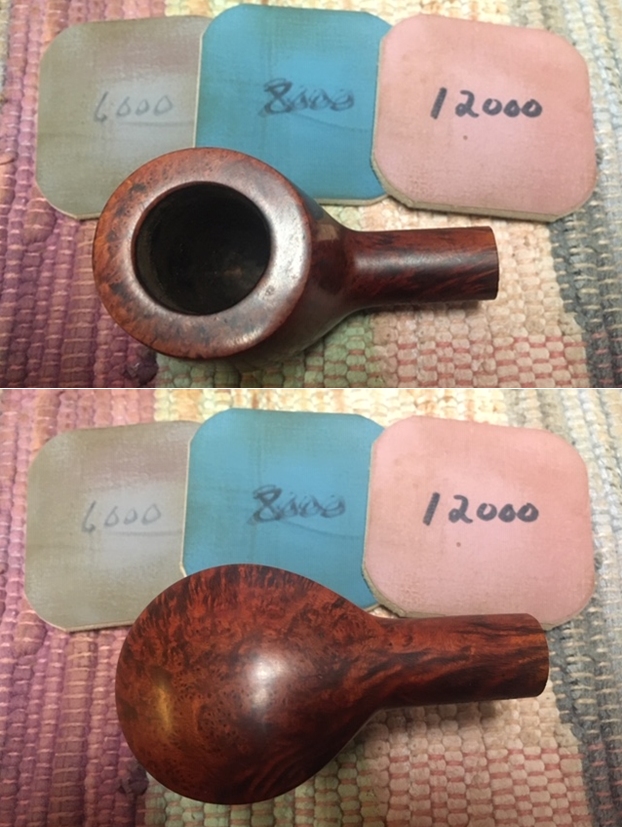
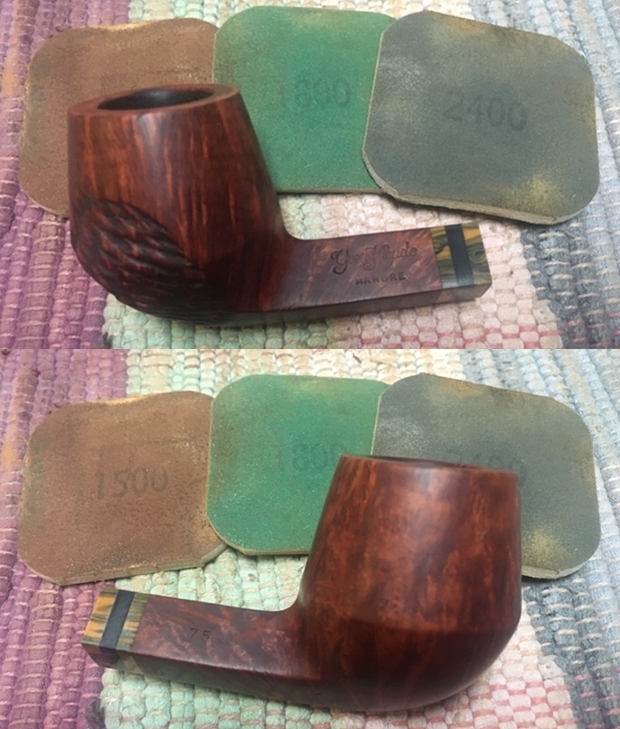
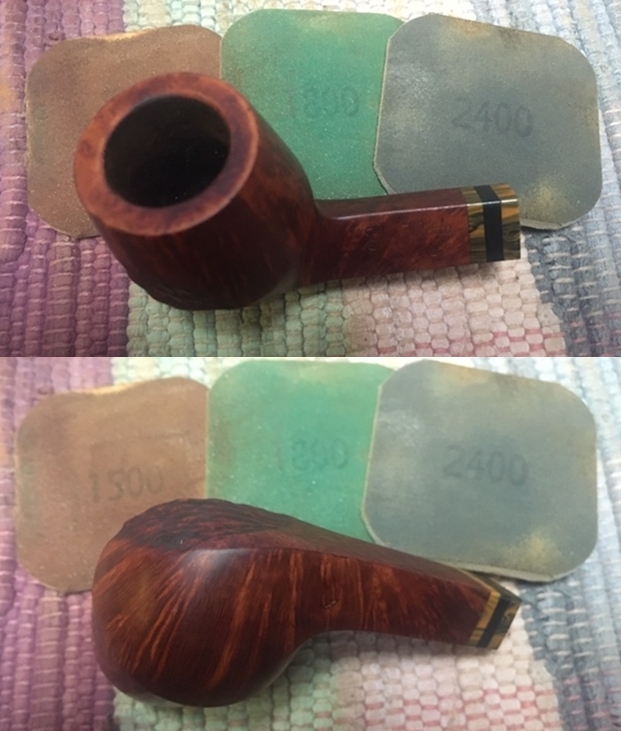
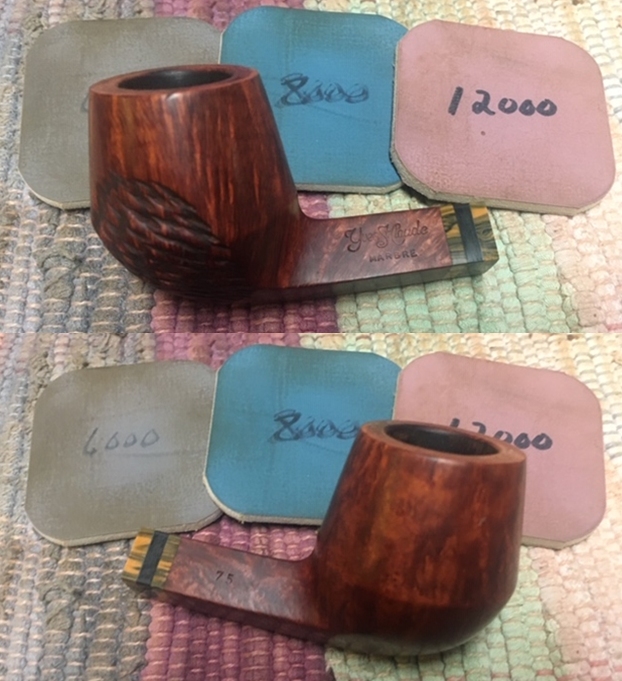
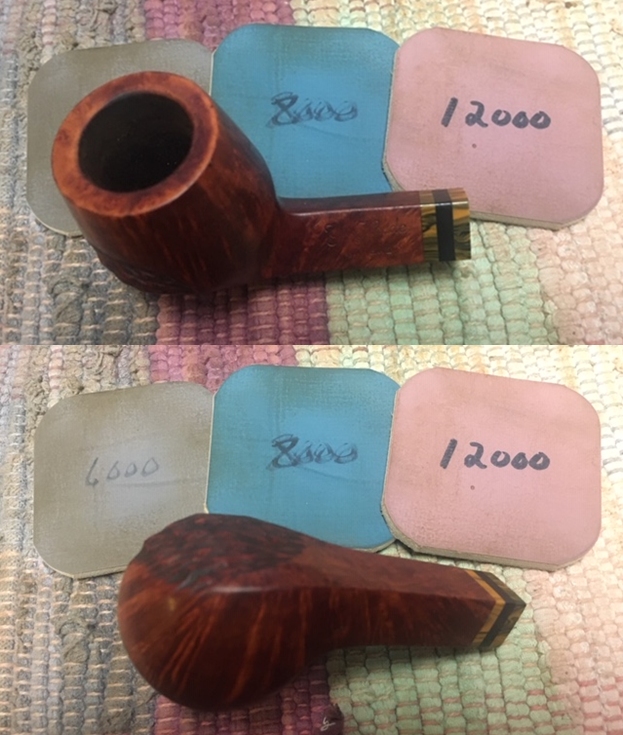
 I was happy with the way the rim top and edges looked so I moved on to polish the briar with micromesh sanding pads – dry sanding with 1500-12000 grit pads. I wiped the bowl down after each pad with a damp cloth. The grain really began to stand out and the finish took on a shine by the last sanding pad. The photos tell the story!
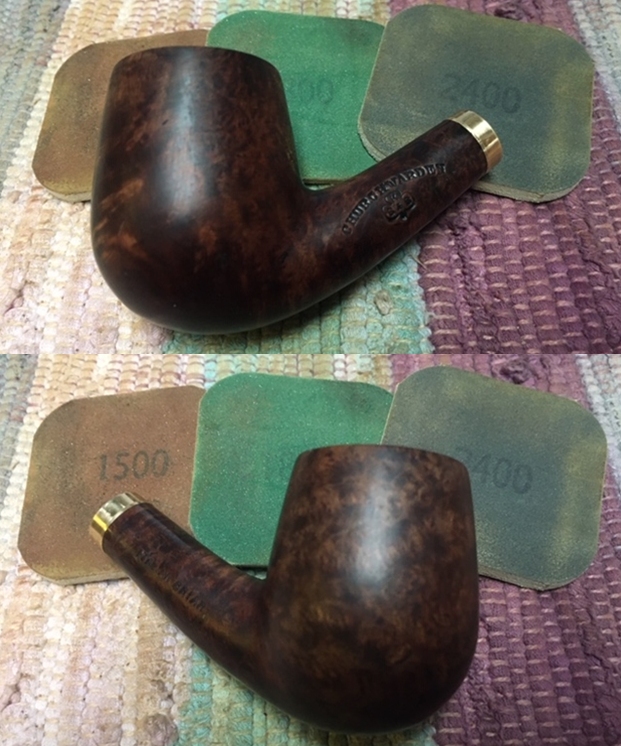

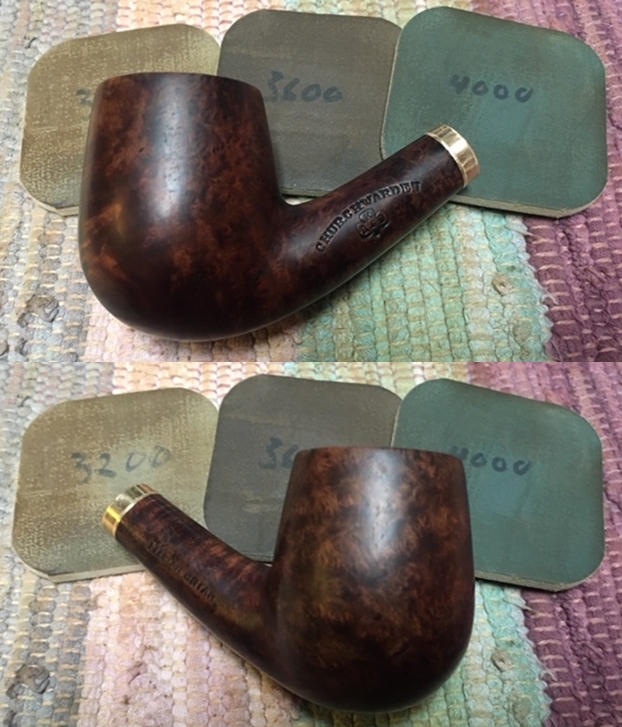
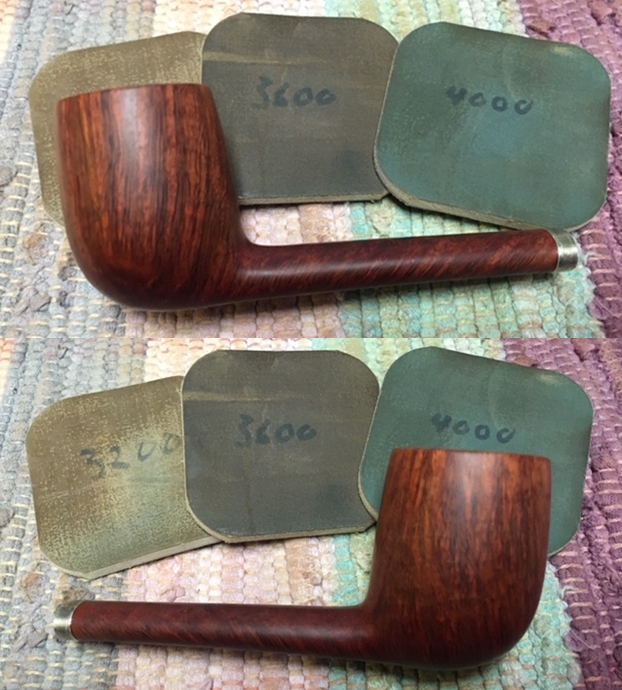
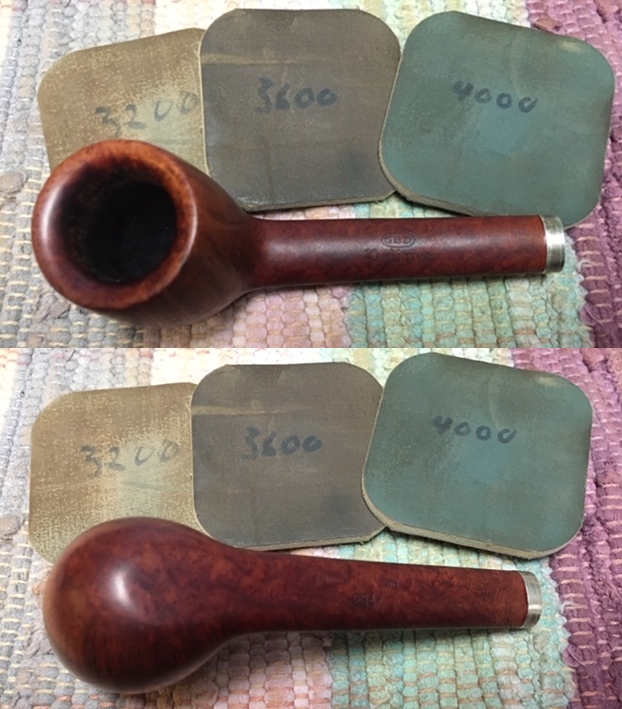
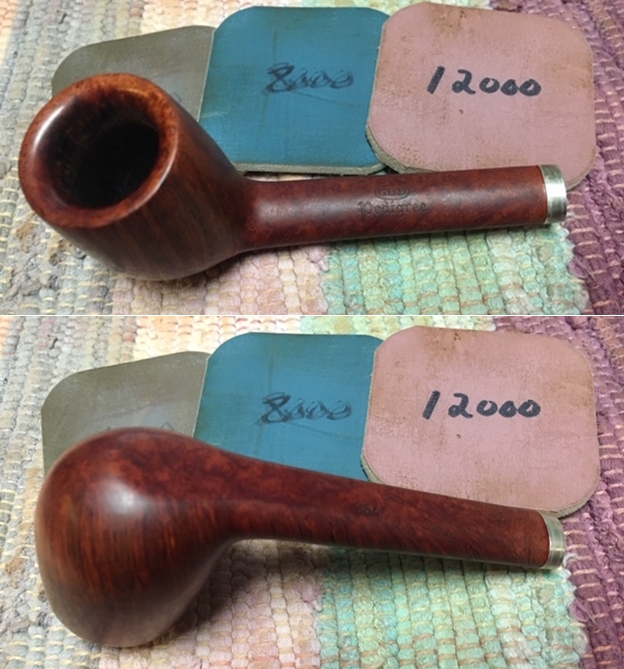
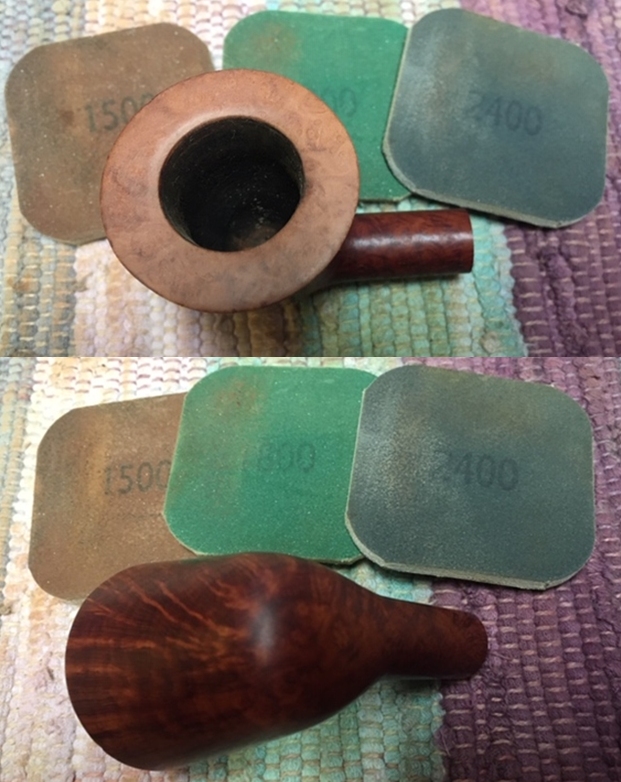
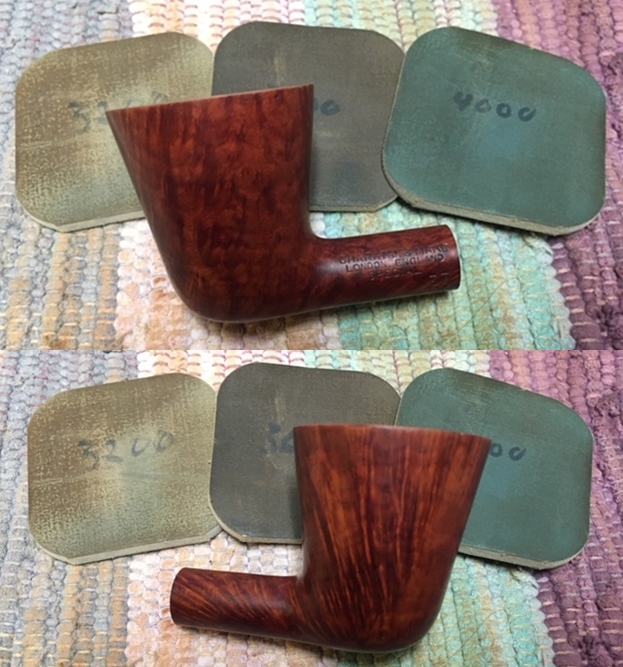
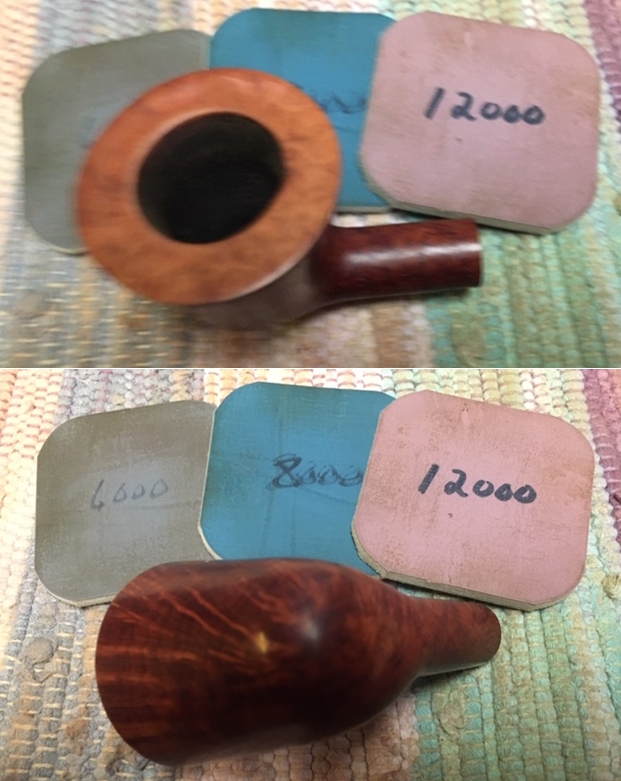
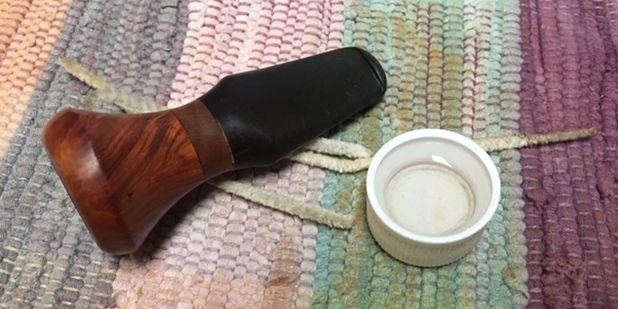
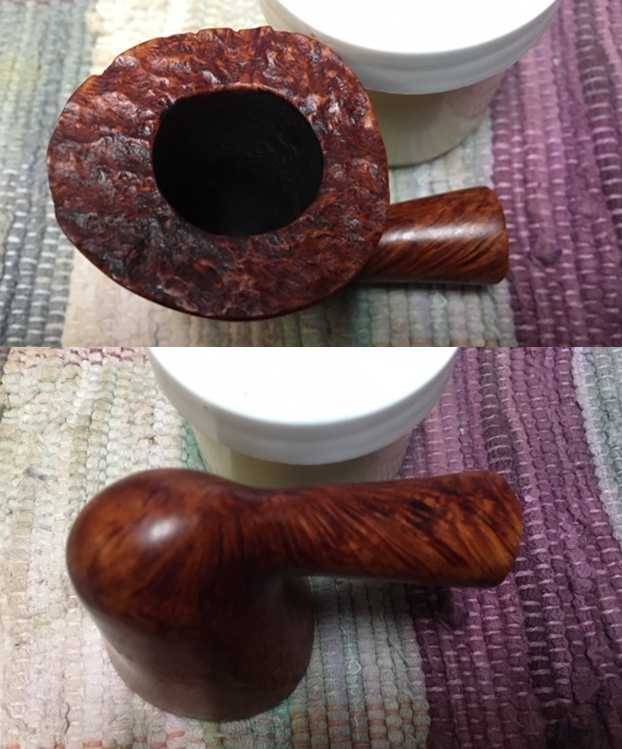
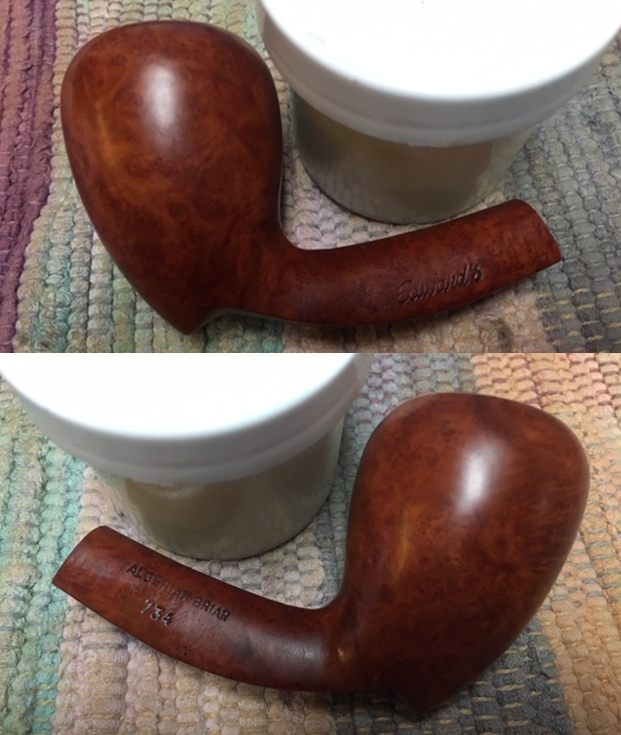
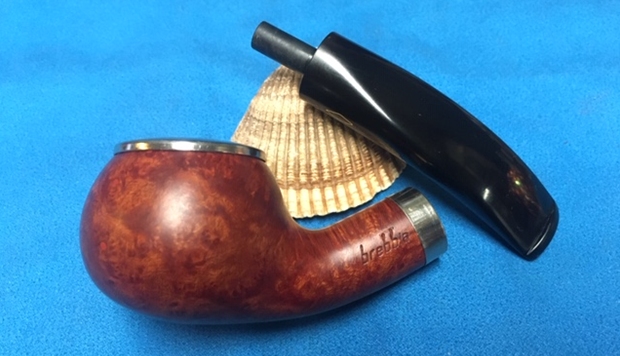
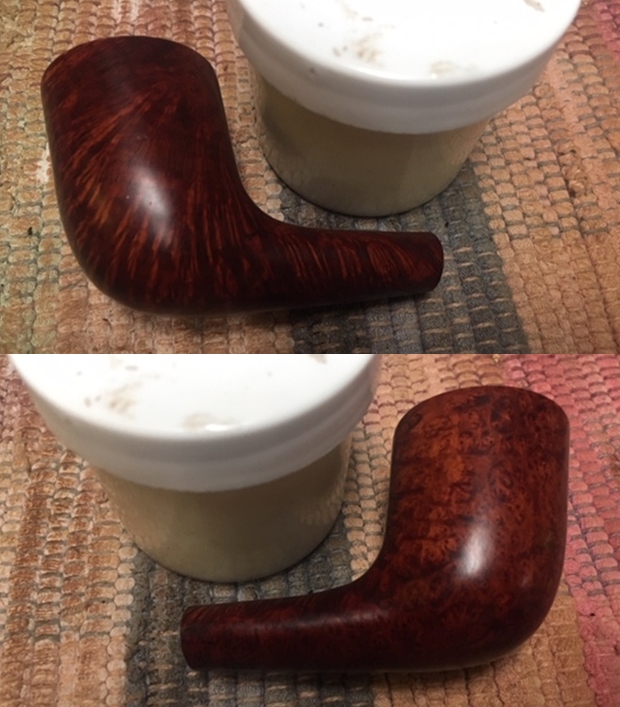
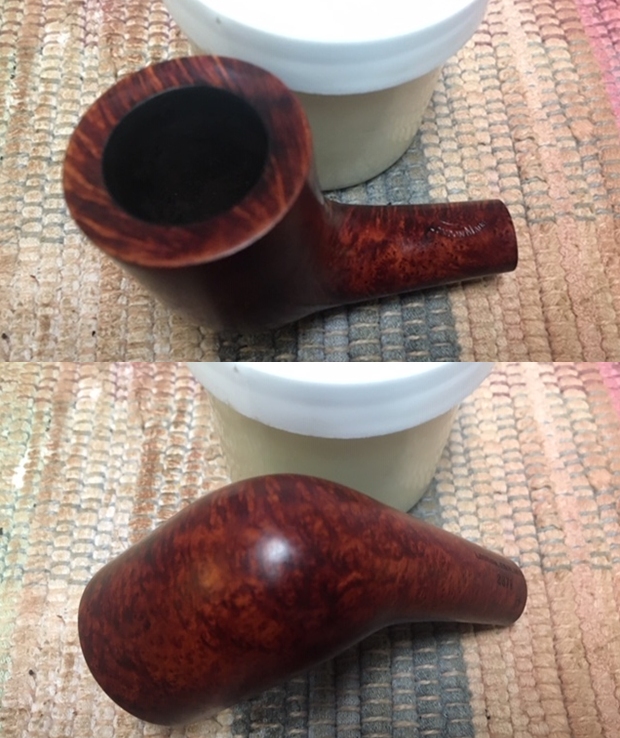
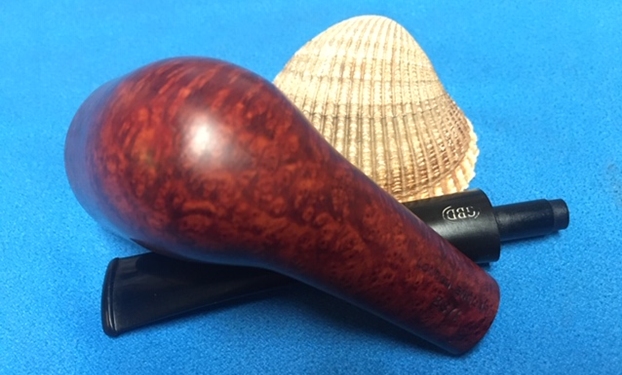
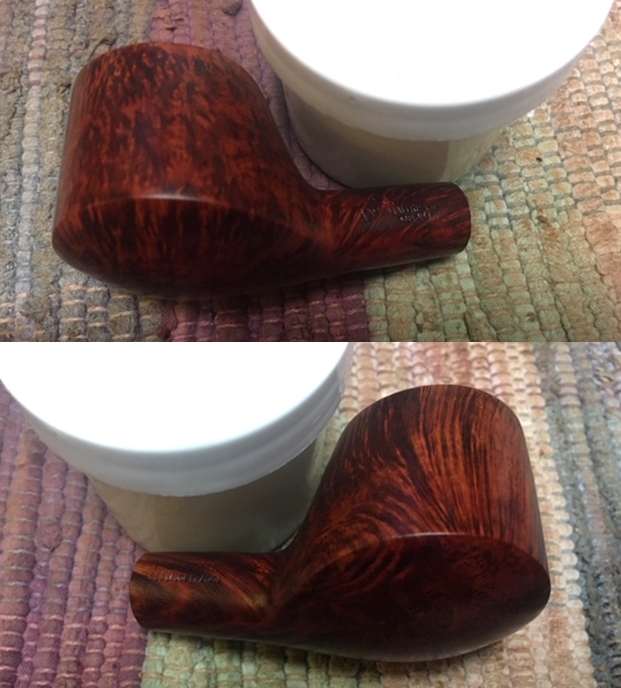
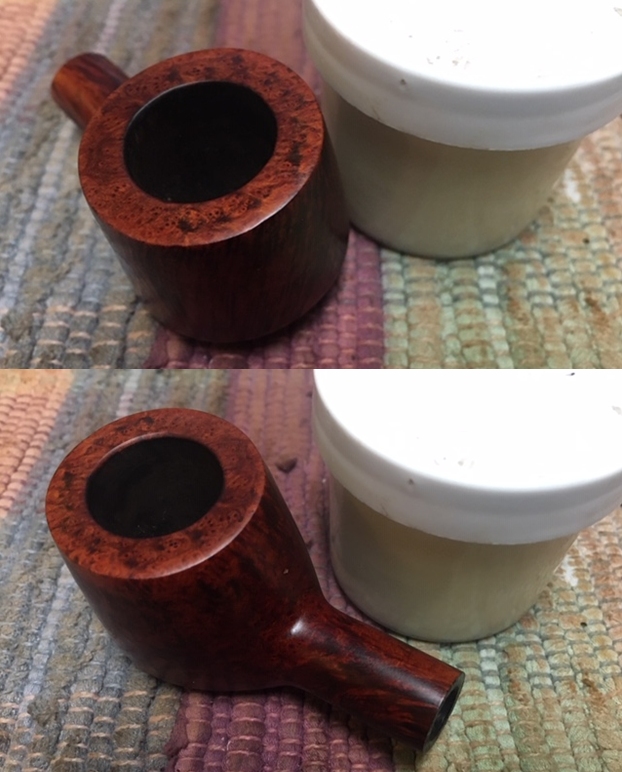
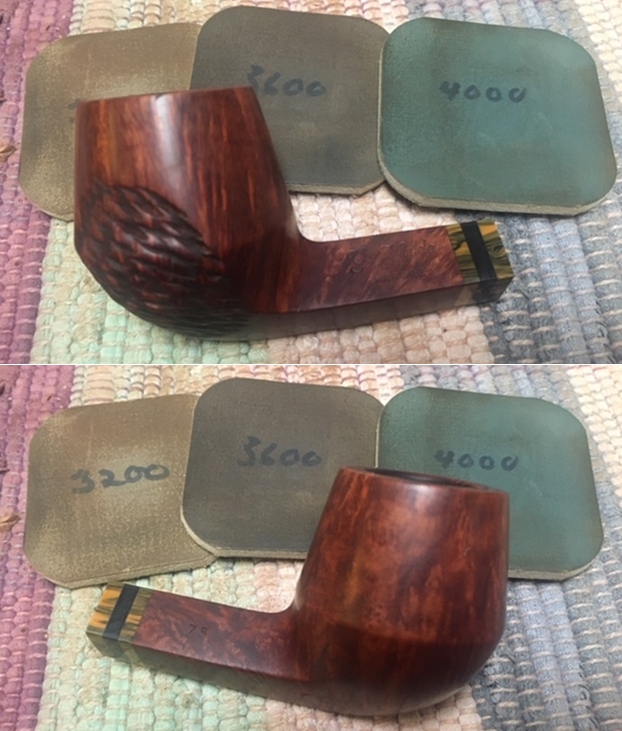
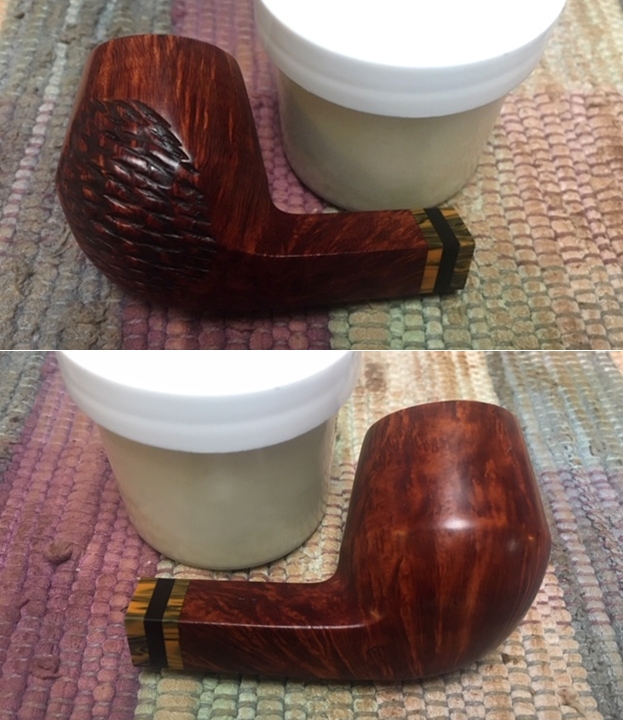
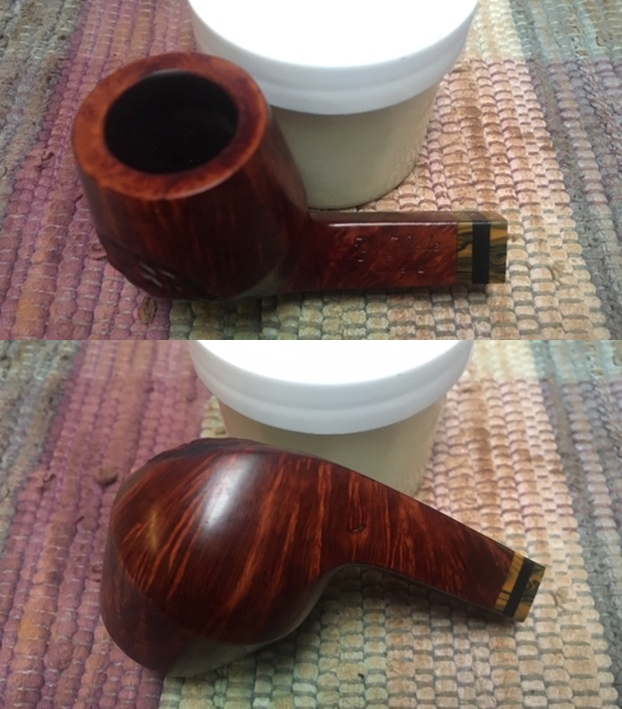
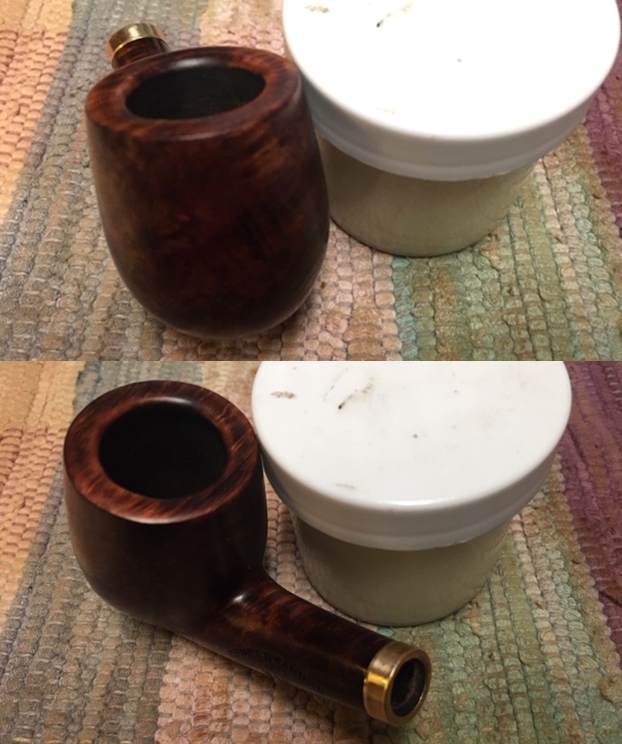
 I worked some Before & After Restoration Balm into the surface of the briar with my fingertips. The product works to clean, enliven and protect the briar. I let the balm sit for about ten minutes and then buffed with a cotton cloth to raise the shine. The photos show the bowl at this point in the restoration process.
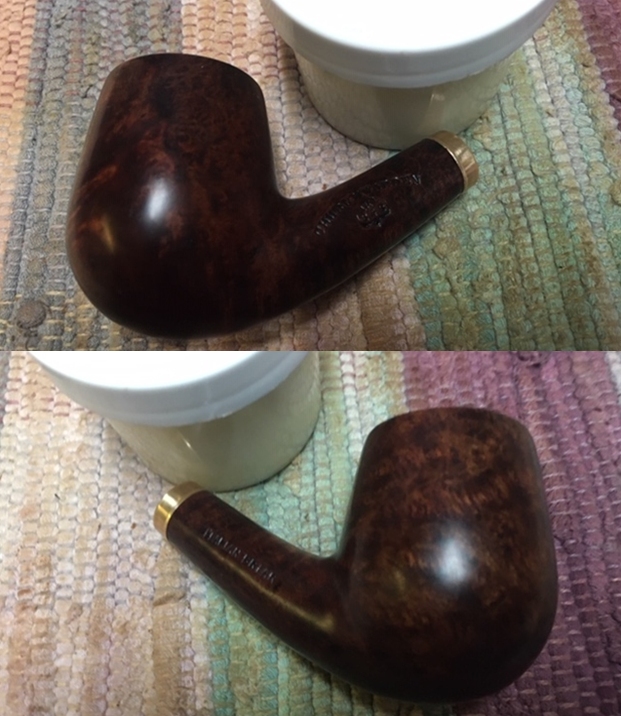
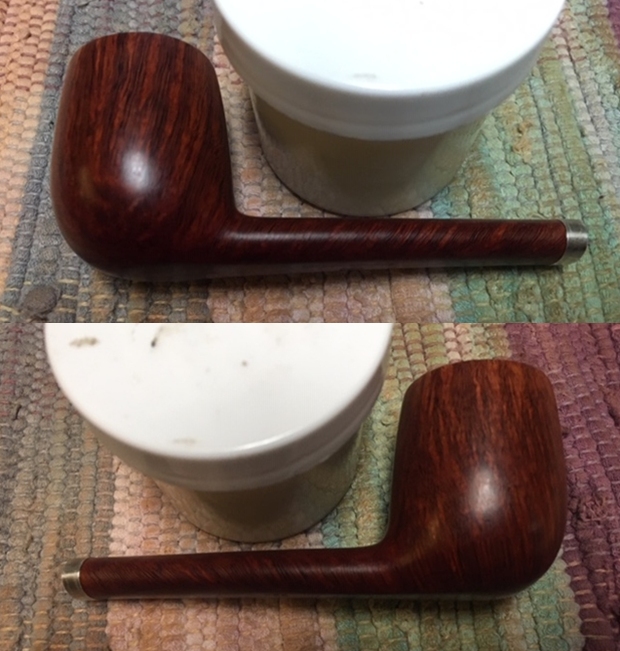
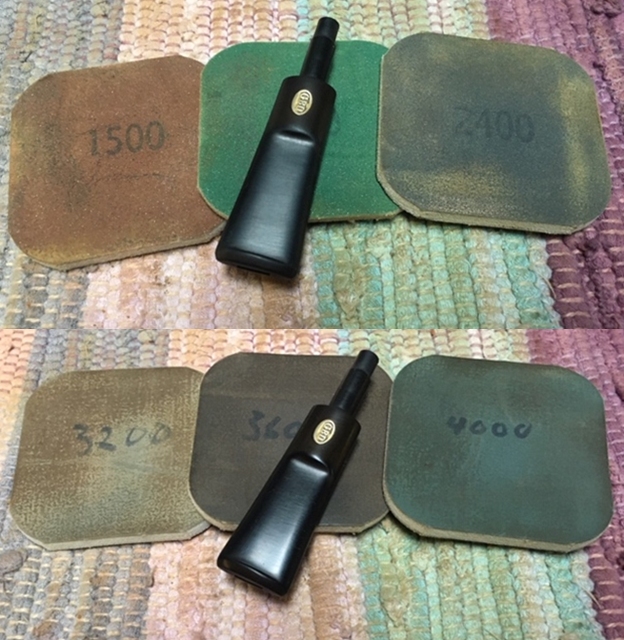
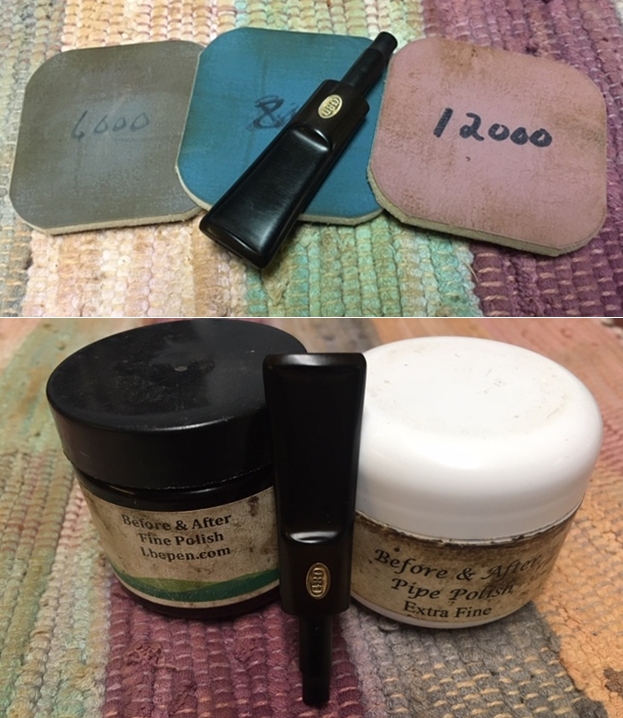
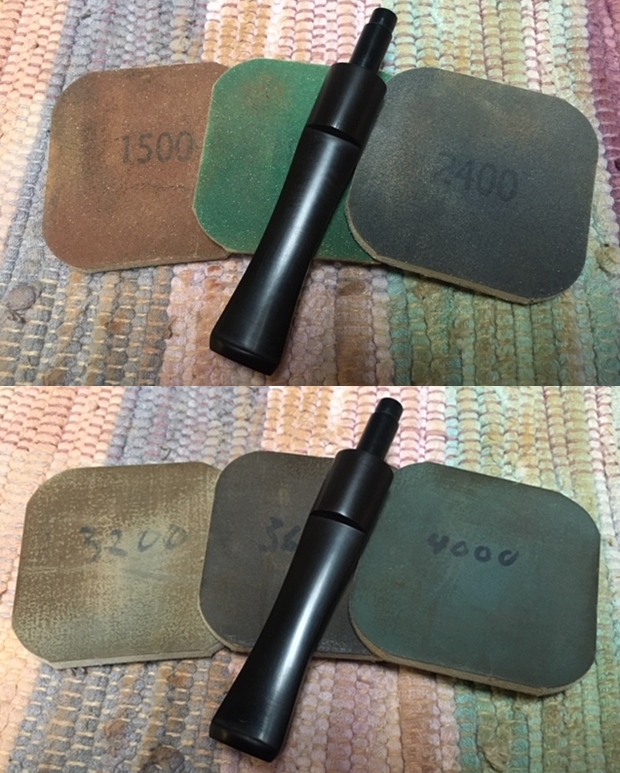
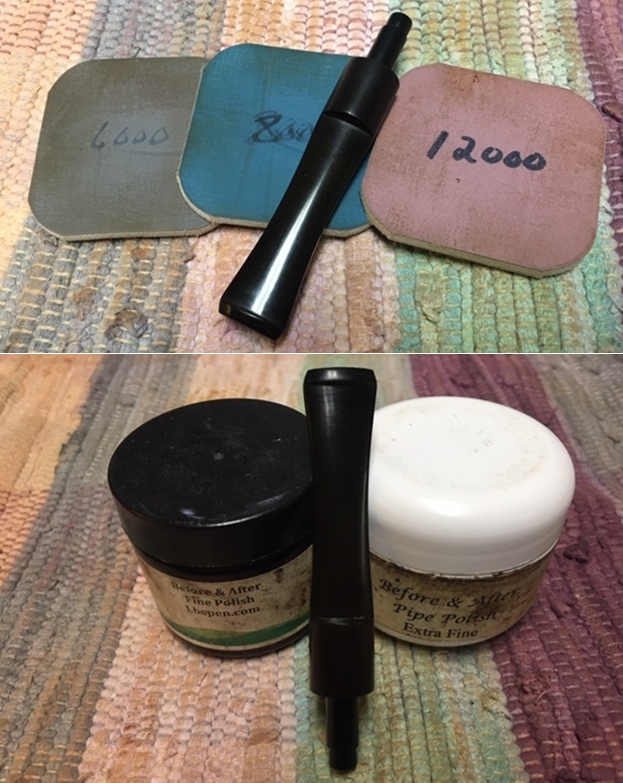
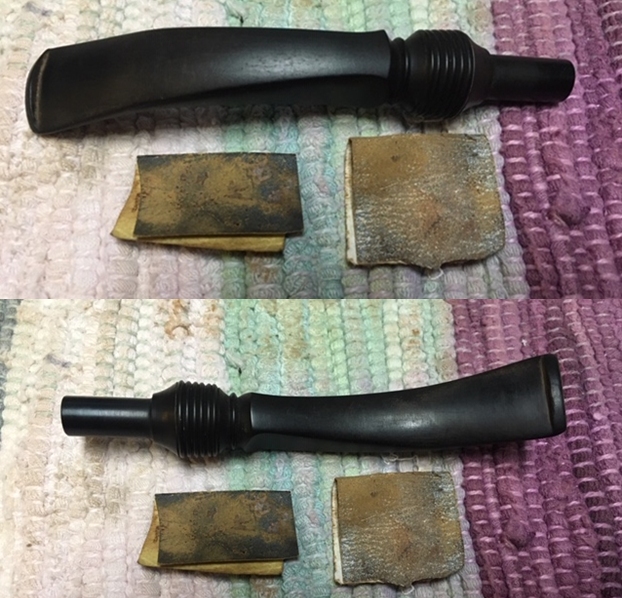
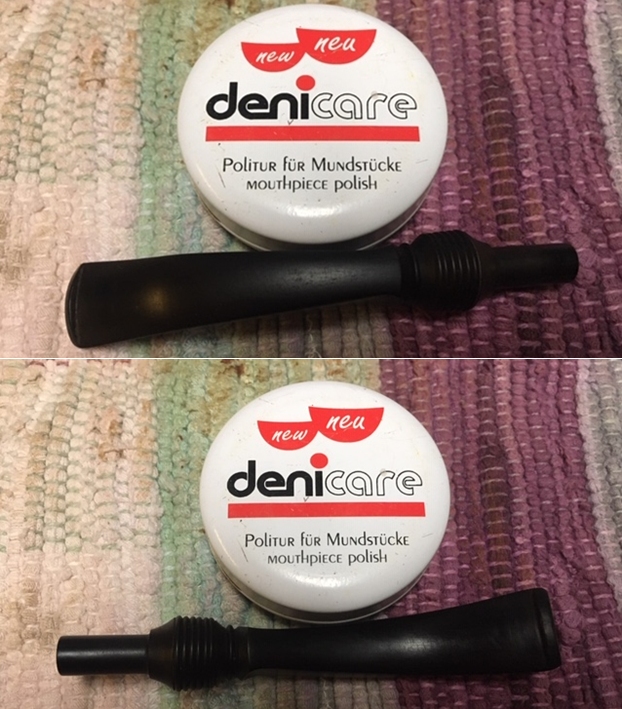
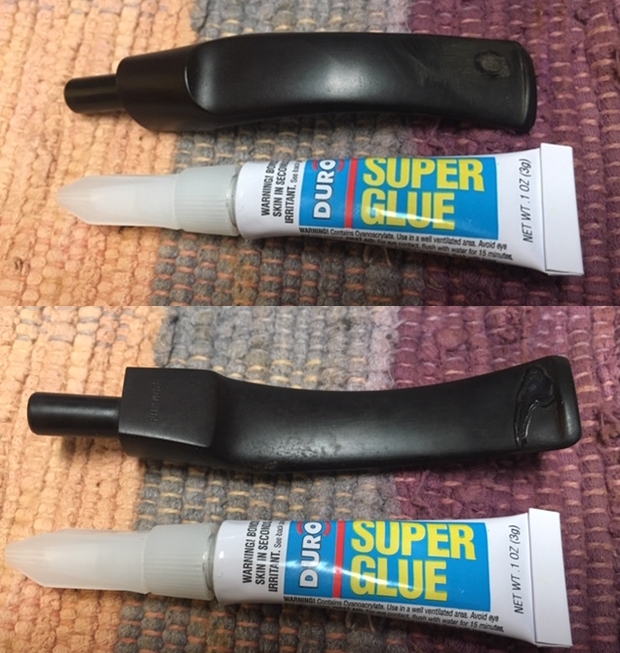
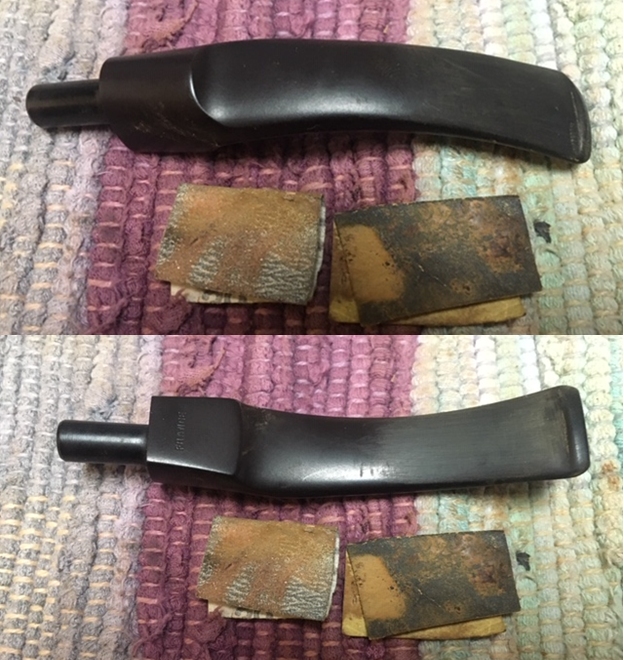
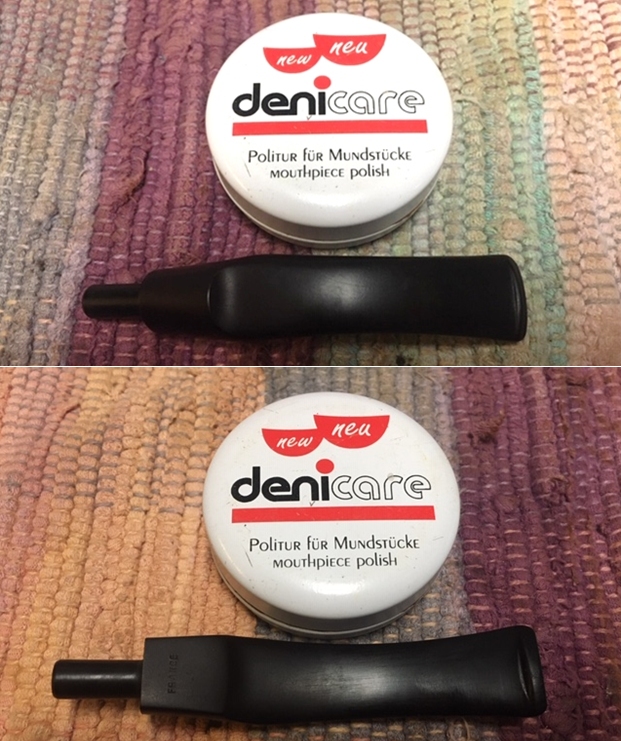
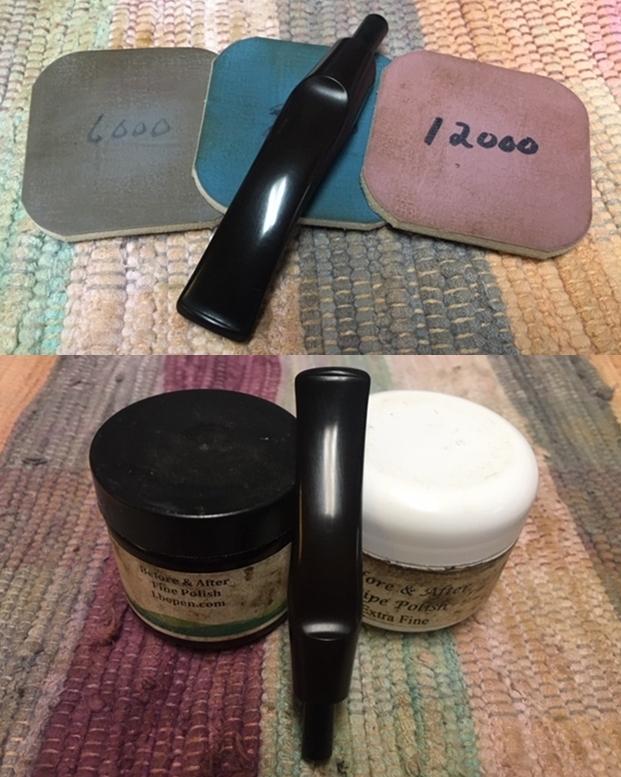
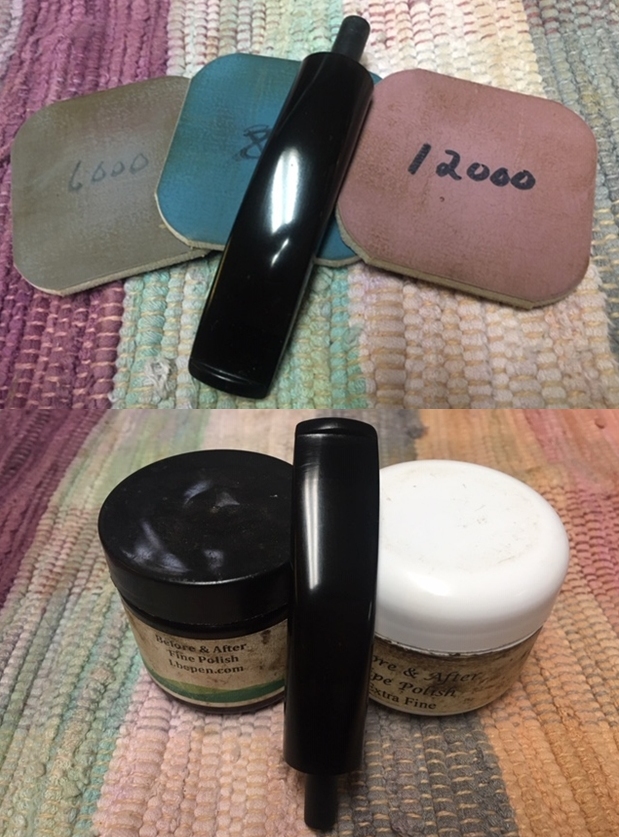
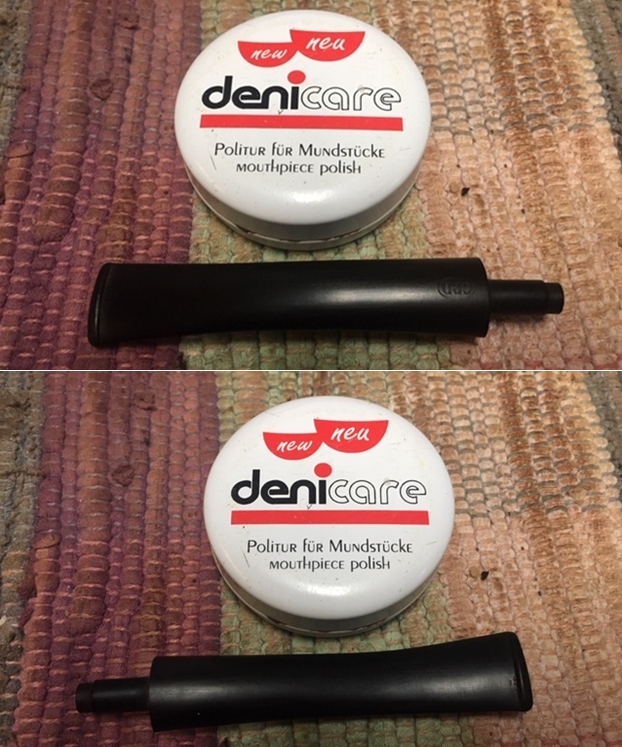
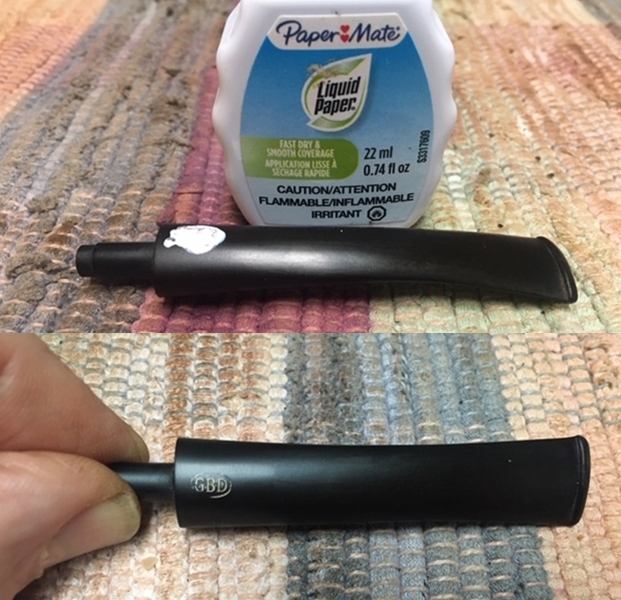
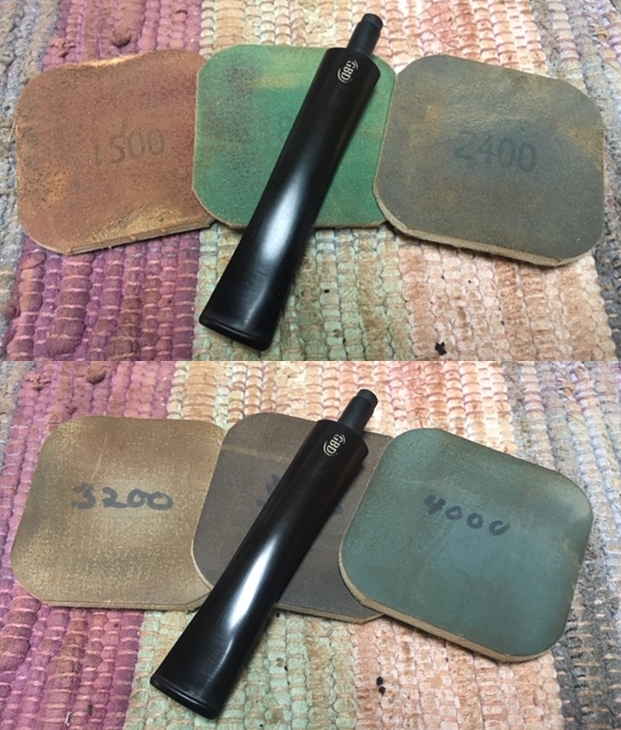
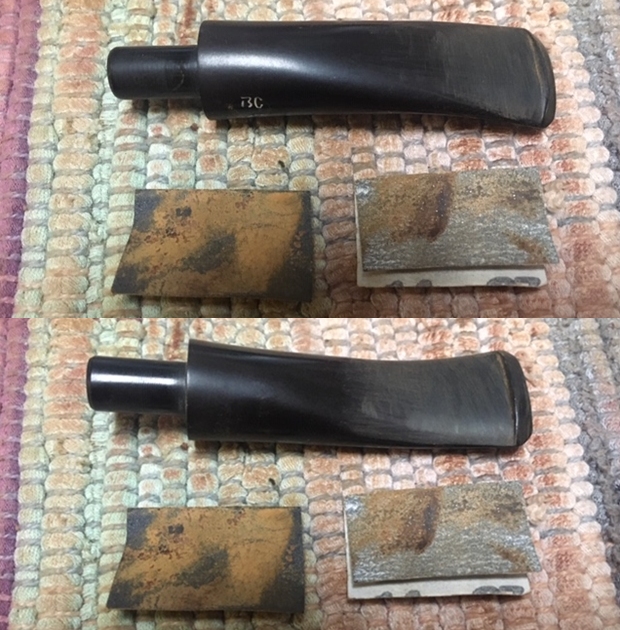
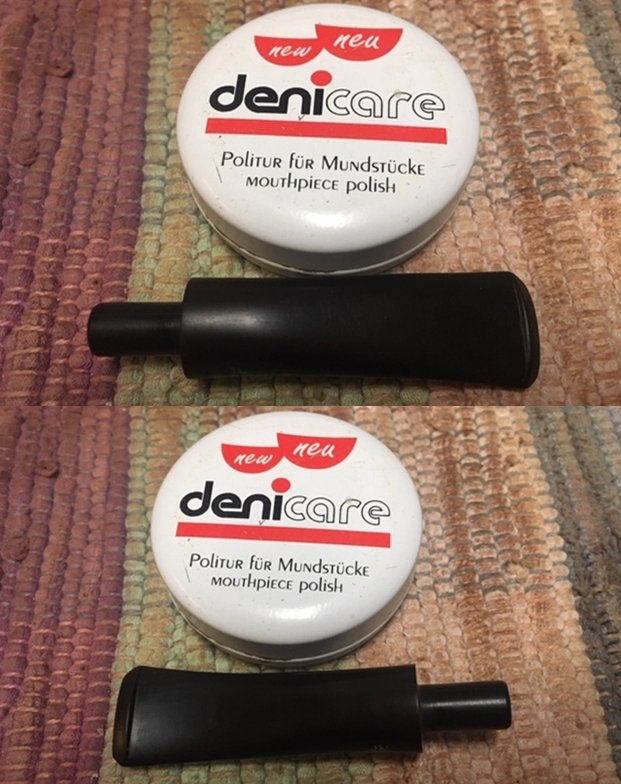
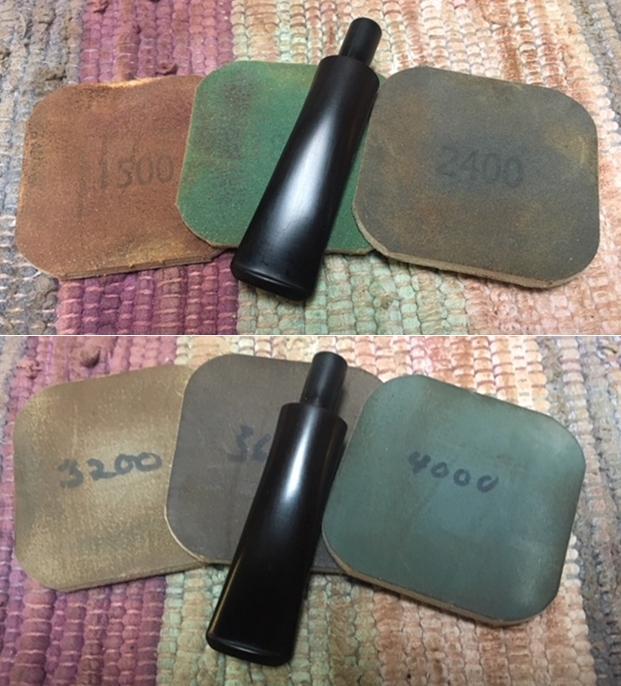
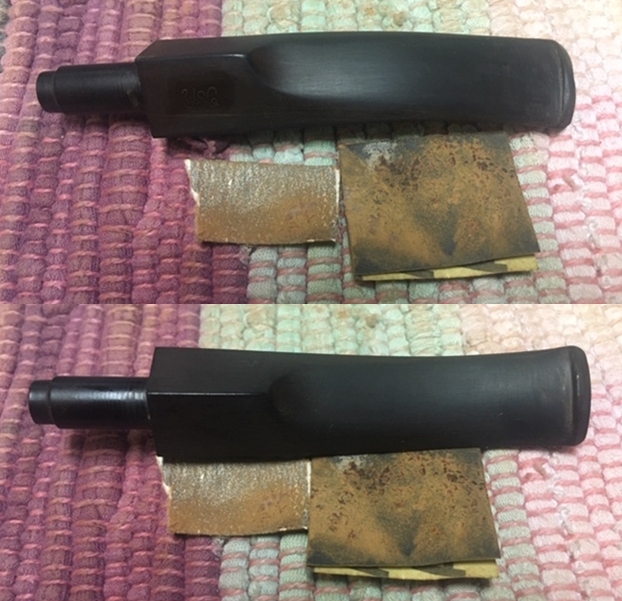
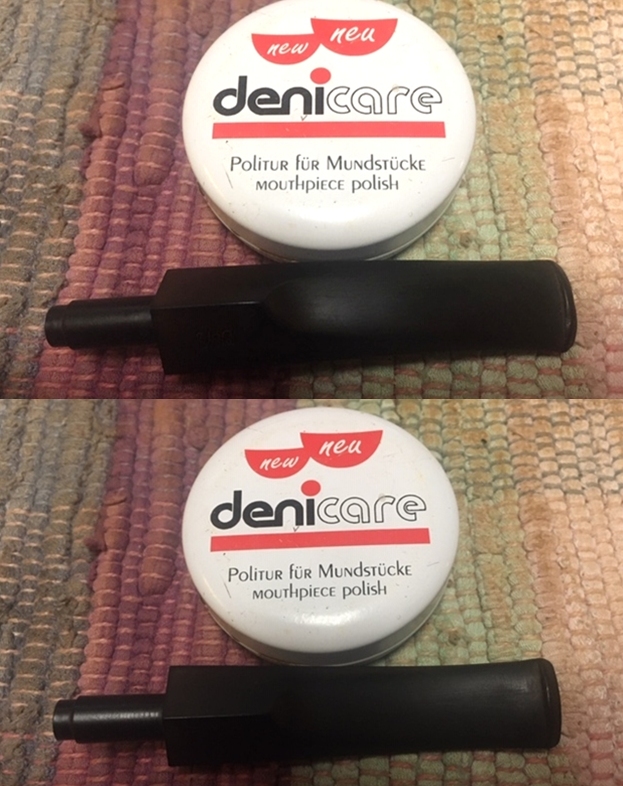
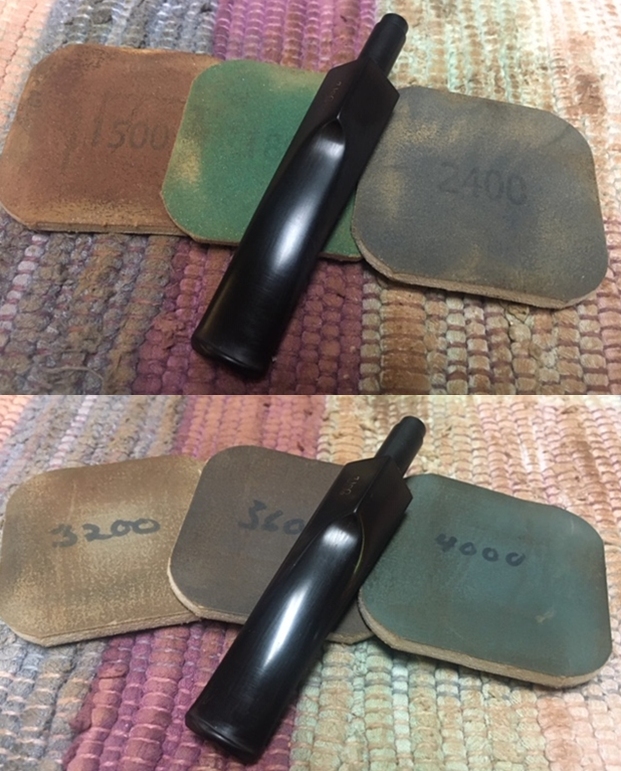
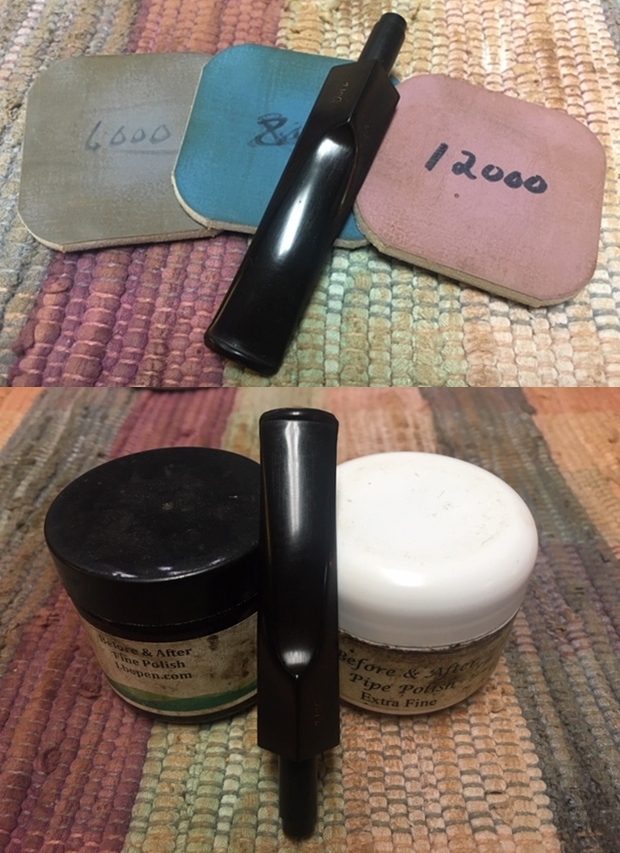
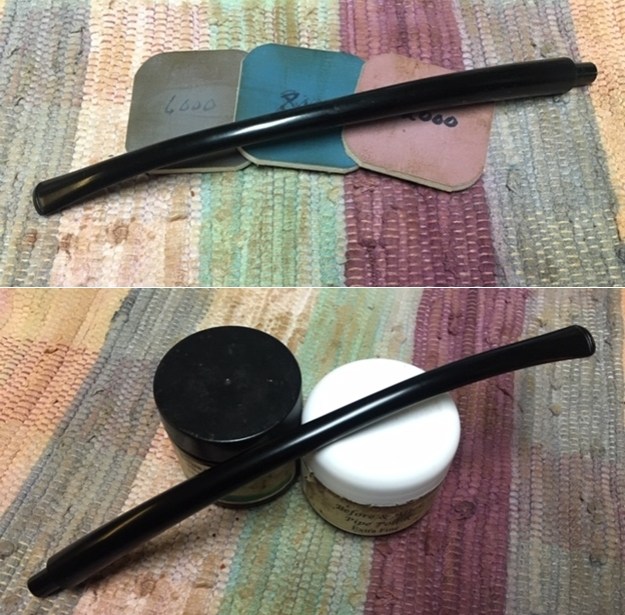
 I laid the bowl aside and turned to deal with the stem. I sanded off the excess diameter at the shank with 220 grit sandpaper until the shank and stem were the same diameter. Unfortunately I utterly forgot to take photos of this part of the process. My photos pick up again when I polished the stem with micromesh sanding pads – dry sanding with 1500-12000 grit sanding pads. I was able to remove the scratching and tooth marks with the micromesh. I wiped it down after each sanding pad with a cloth containing some Obsidian Oil. I finished polishing it with Before & After Pipe Stem Polish – both Fine and Extra Fine and buffed it off with a cotton cloth.
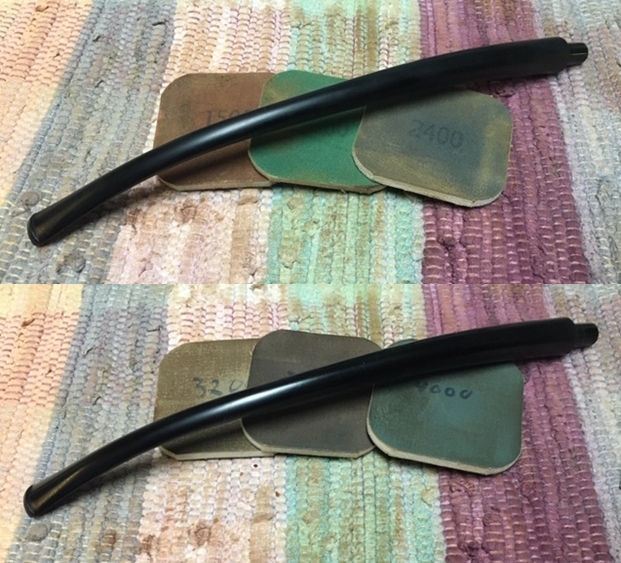
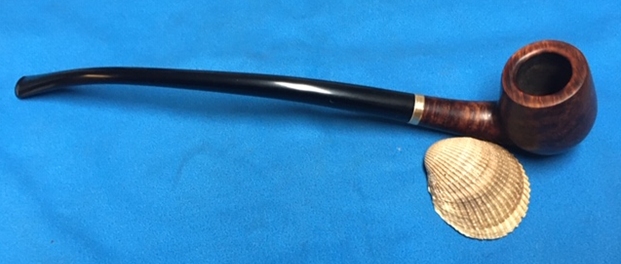
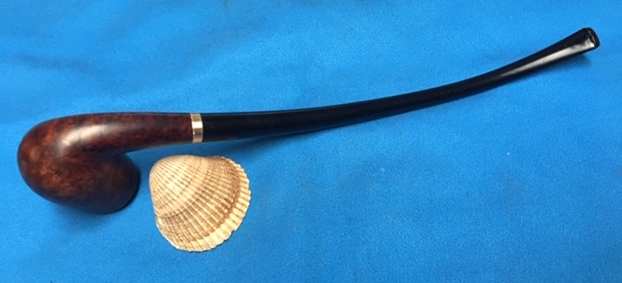
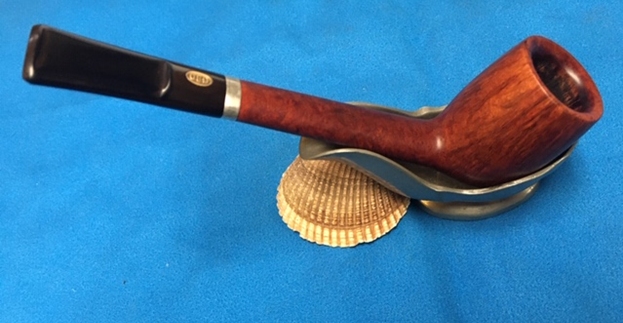
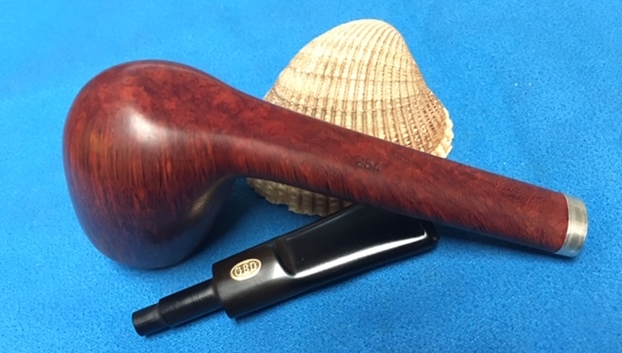
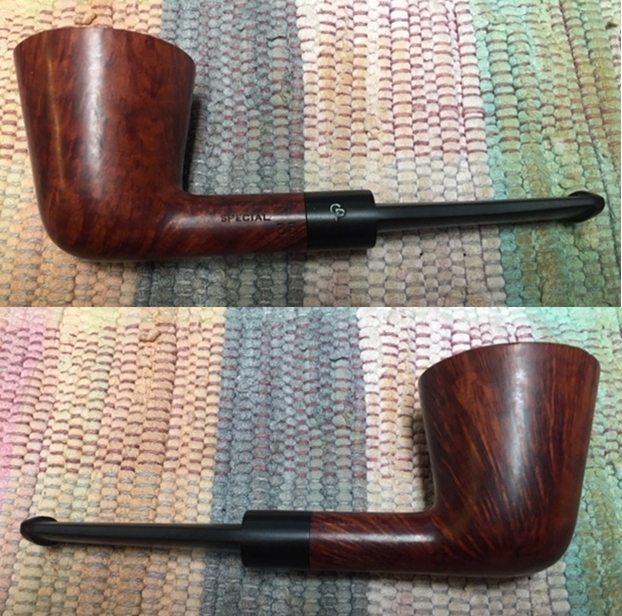
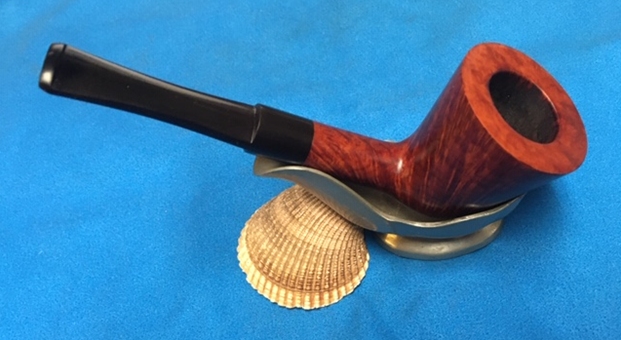
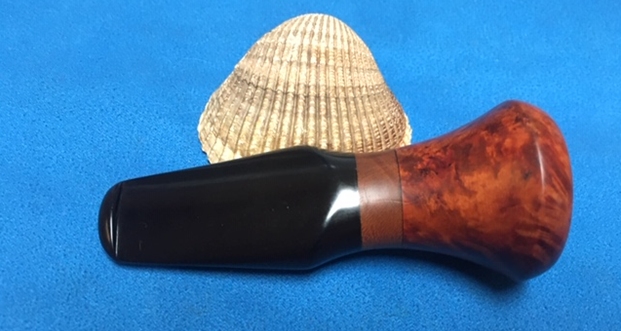
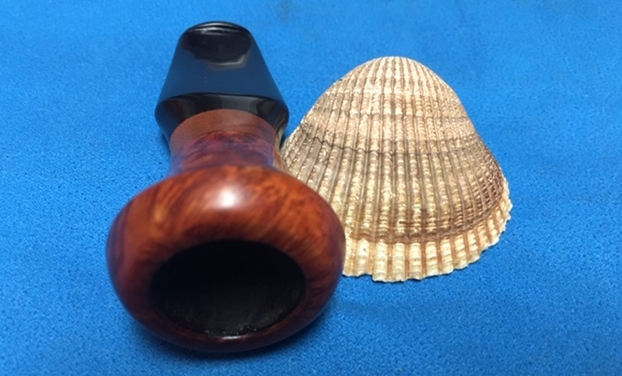
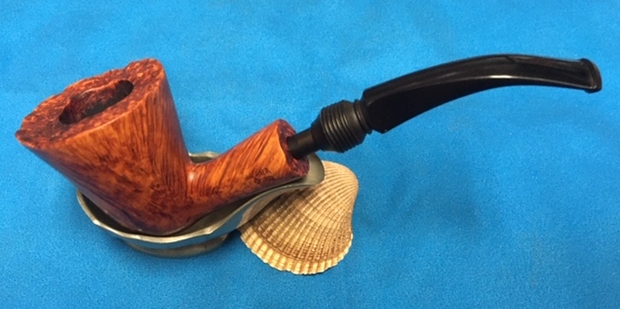
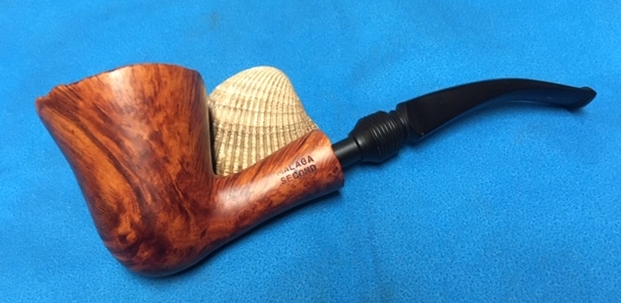
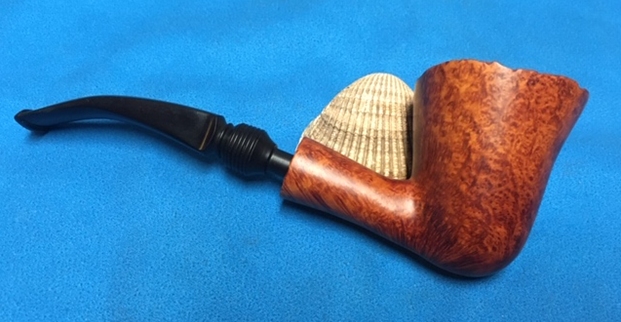
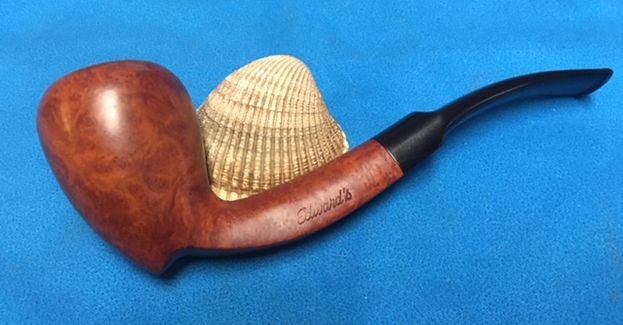
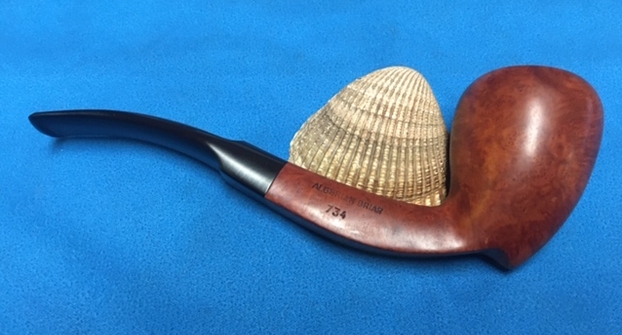
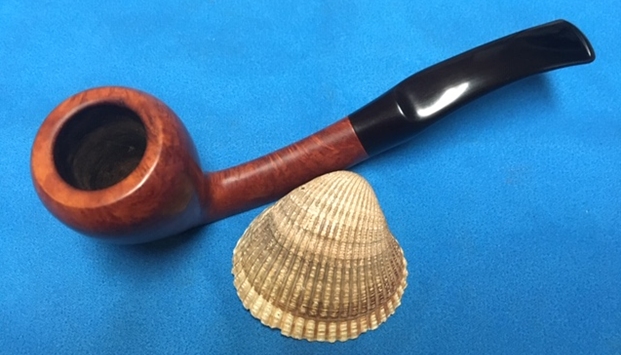
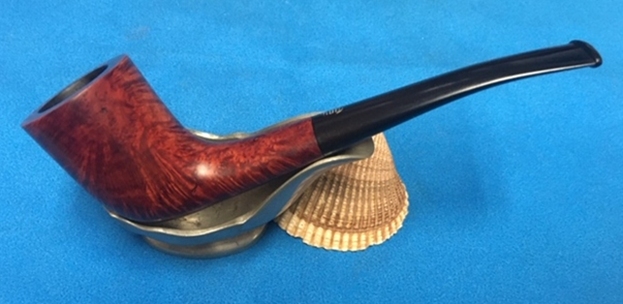
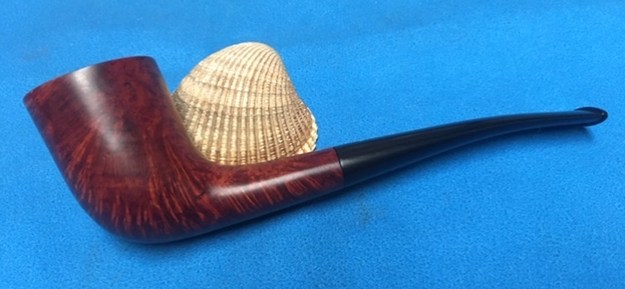
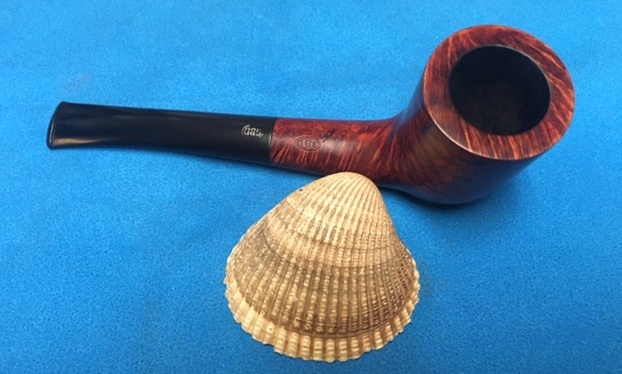
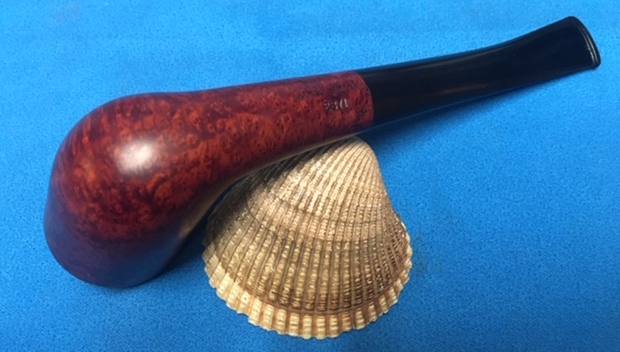
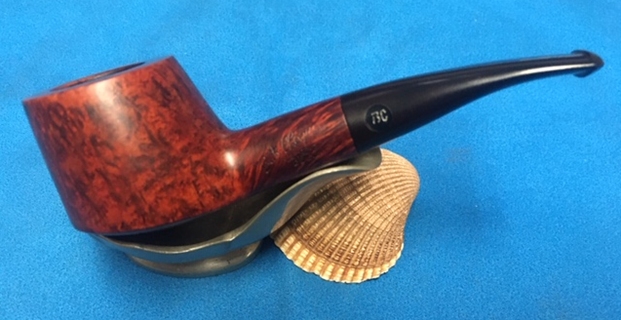
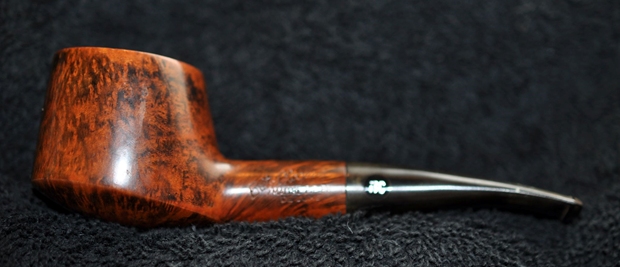
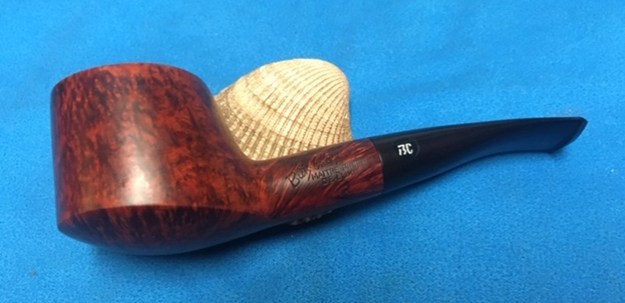
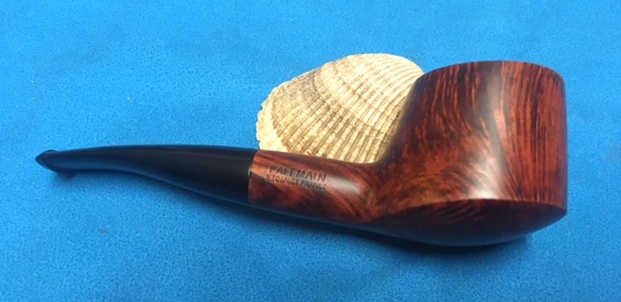
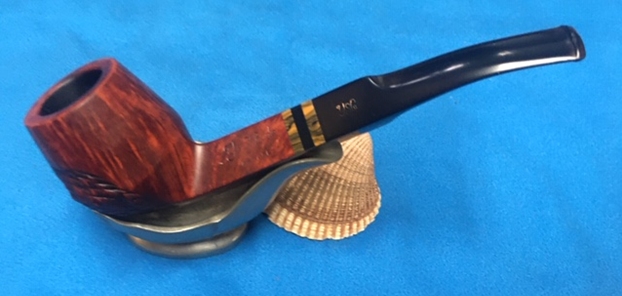
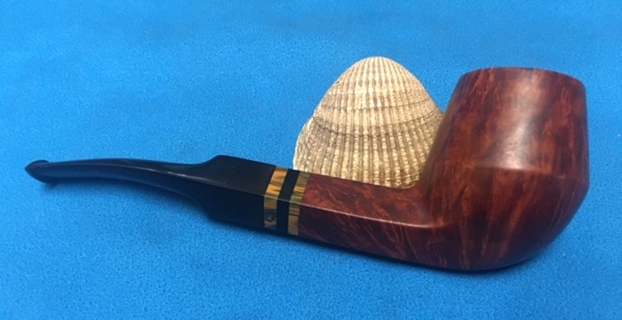
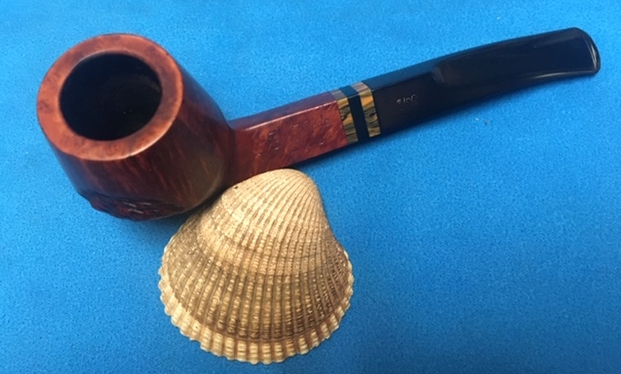
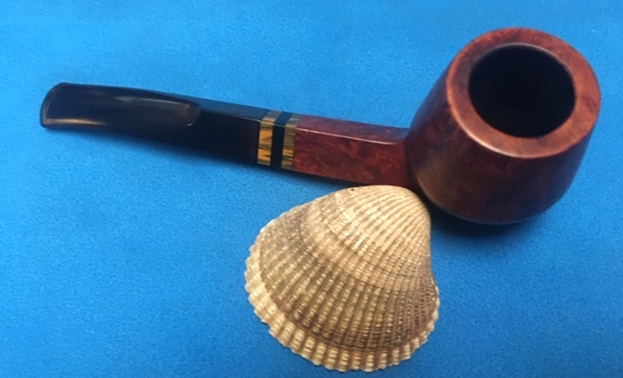
 This KB&B Churchwarden was a fun pipe to work on. I knew that I had to do some work to bring it back to smooth transitions between the shank and stem and to get the bowl looking better and not so beat up. But I was very happy when I got to the point of putting it all back together and everything worked very well. The finish on the pipe is in excellent condition and the contrasting stains work well to highlight the different grain patterns on the pipe. The black vulcanite Churchwarden stem just adds to the mix. With the grime and debris gone from the finish and the bowl it was a beauty and the grain just pops at this point.
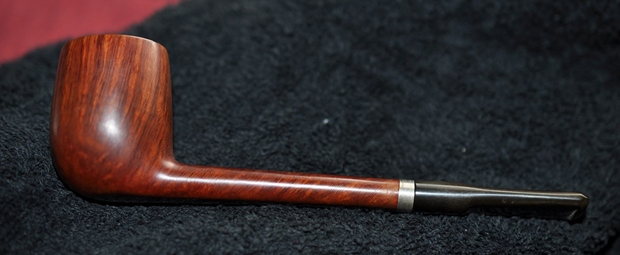
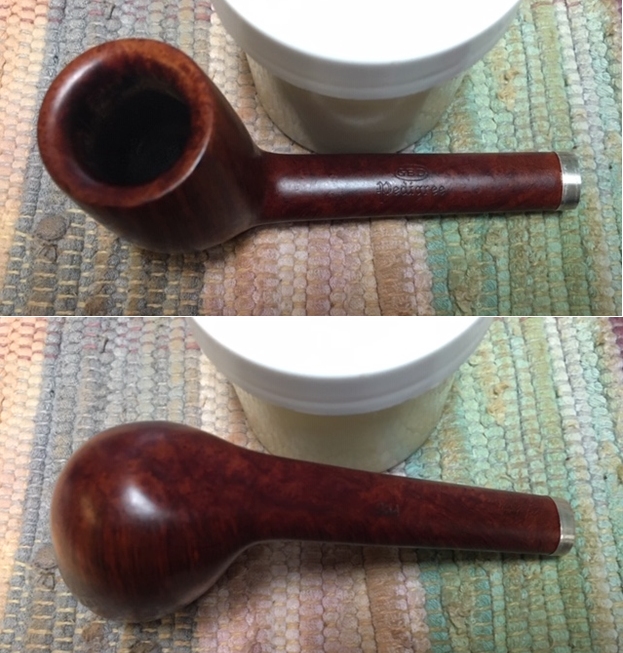
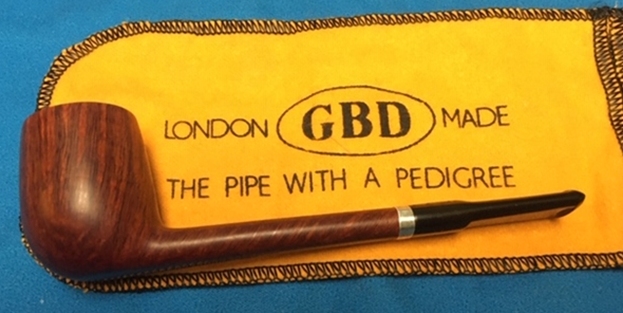
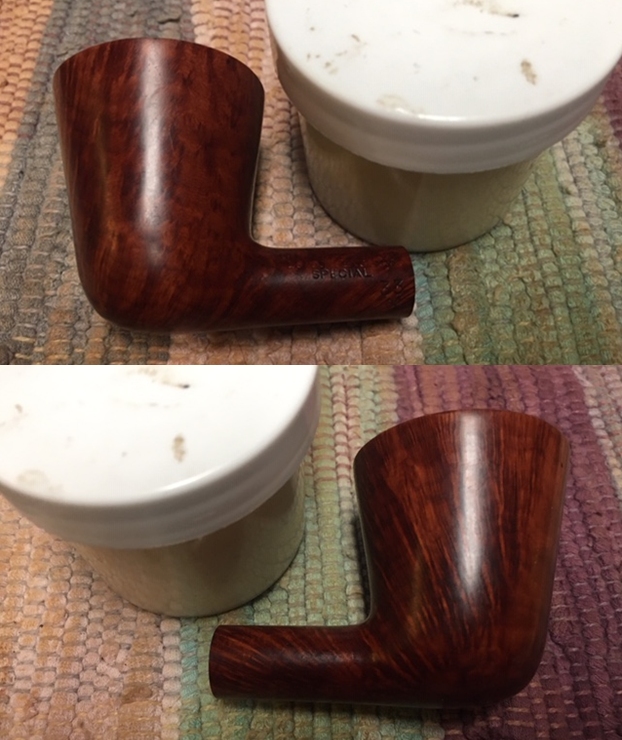
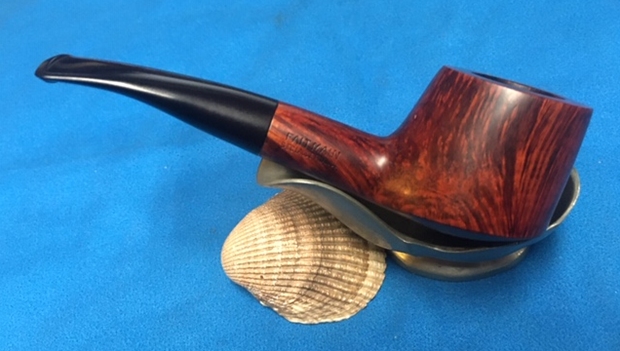
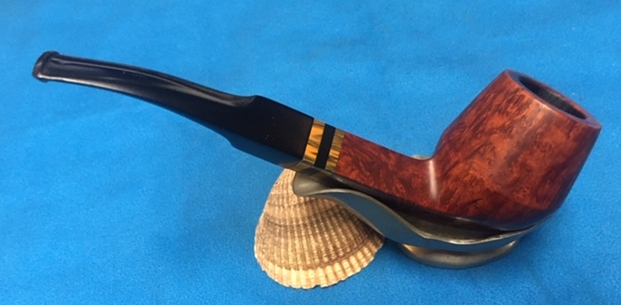
I put the stem back on the bowl and buffed the pipe with Blue Diamond on the buffing wheel. I carefully avoided the stamping on the shank and stem during the process. I gave the bowl and the stem multiple coats of carnauba wax on the buffing wheel and followed that by buffing it with a clean buffing pad on the buffer. I hand buffed the pipe with a microfiber cloth to deepen the shine. The finished KB&B Churchwarden is quite beautiful and is a classic bent Churchwarden shaped pipe. The finish on the bowl combines various stains to give it depth. It is very well done. Give the finished pipe a look in the photos below. I can only tell you that it is much prettier in person than the photos capture. The dimensions of the pipe are Length: 10 ½ inches, Height: 2 inches, Outside diameter of the bowl: 1 ¼ inches, Chamber diameter: ¾ of an inch. I really like the looks of this Churchwarden and it is a great looking pipe in great condition. Thanks for walking through the restoration with me as I worked over another beautiful pipe. This pipe will be added to the rebornpipes store soon. If you want to add it to your collection send me an email or a message! Thanks for your time.