by Steve Laug
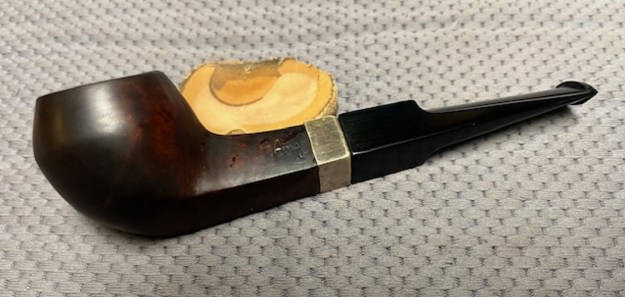
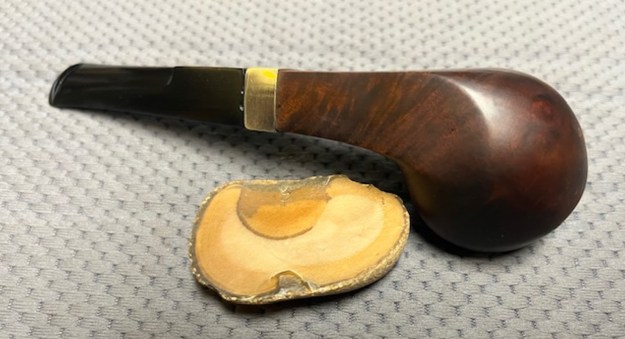
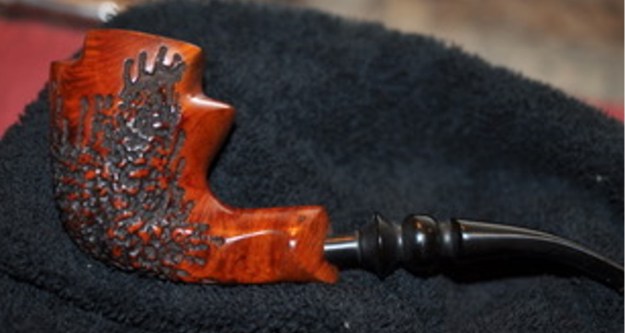
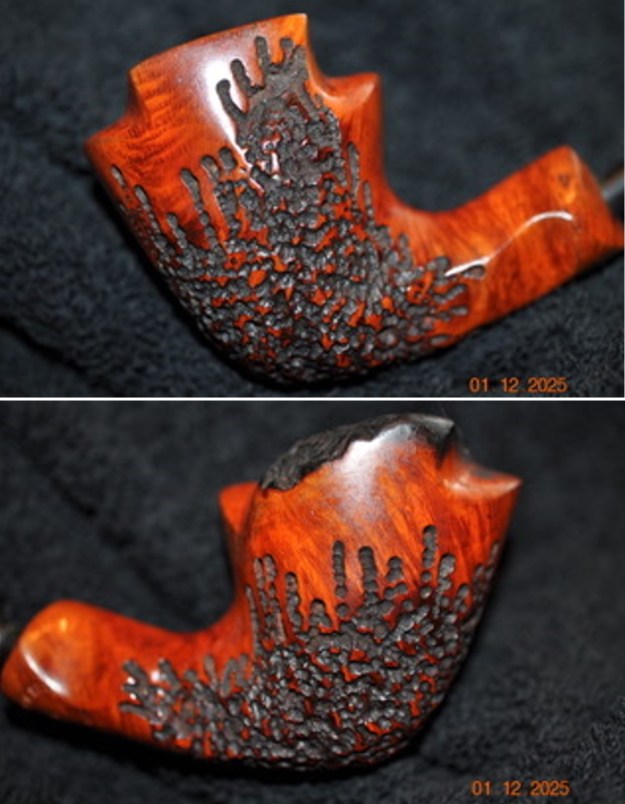
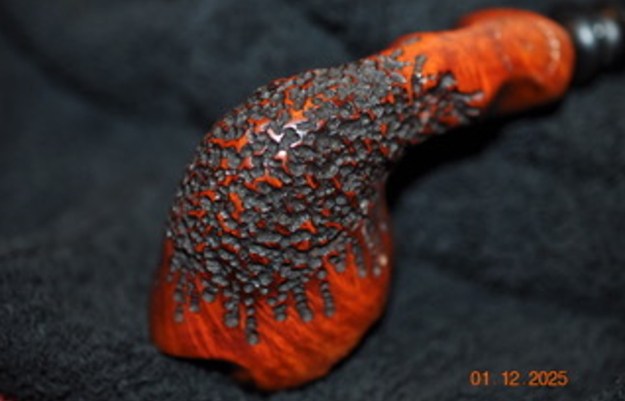
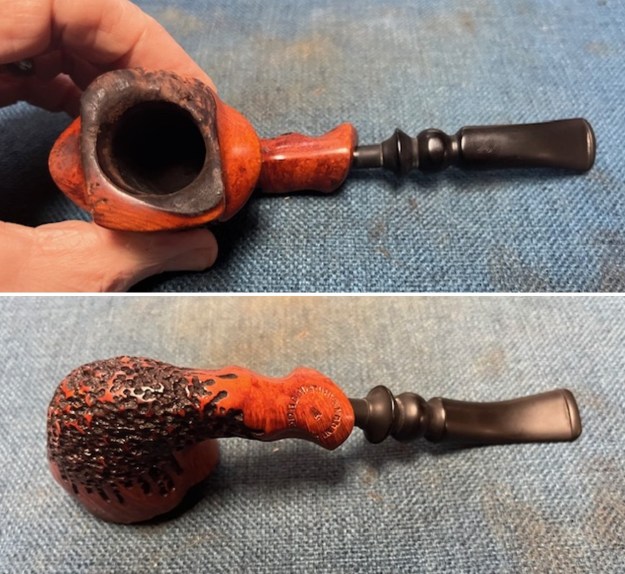
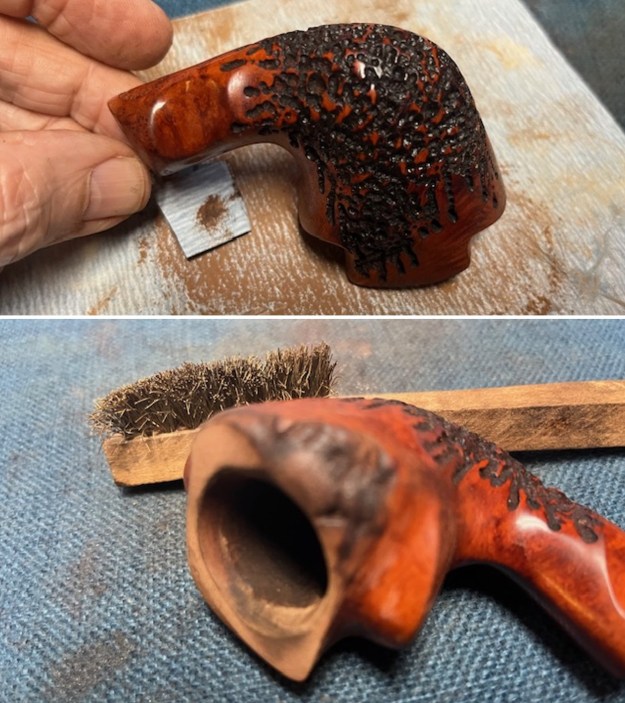
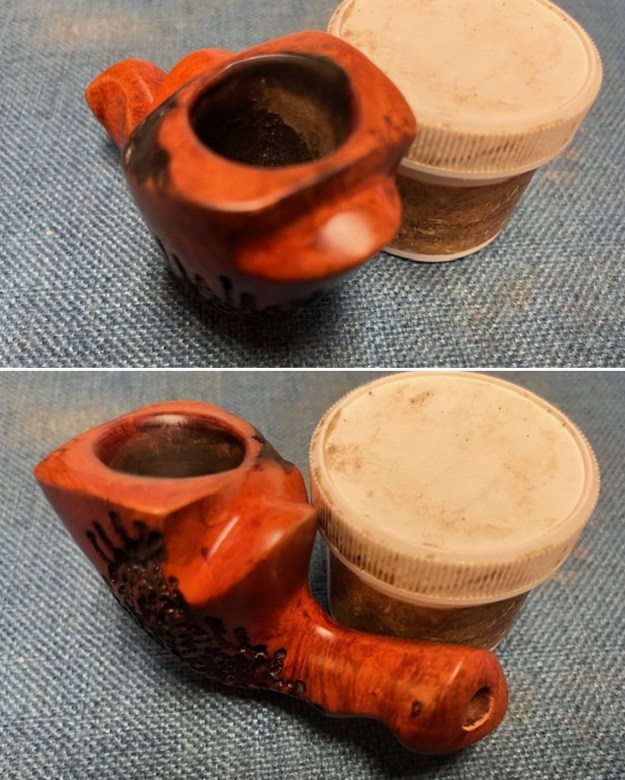
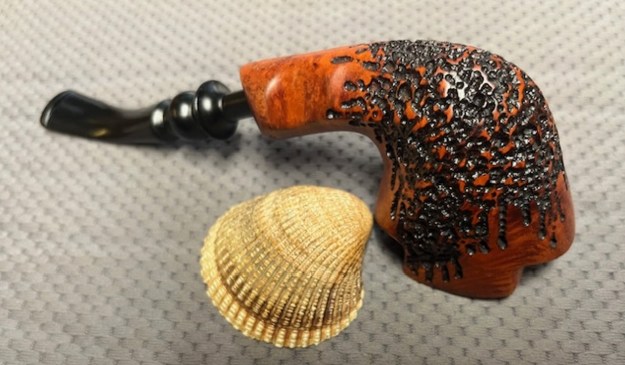
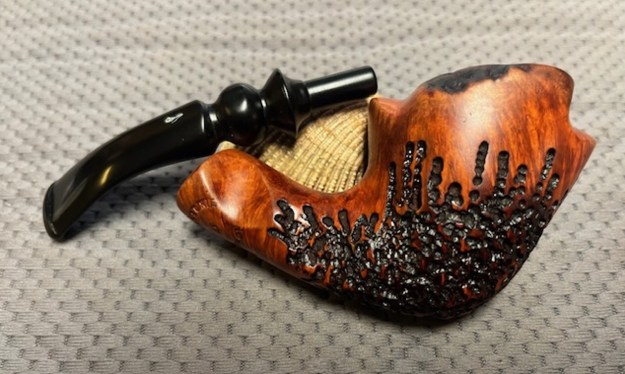
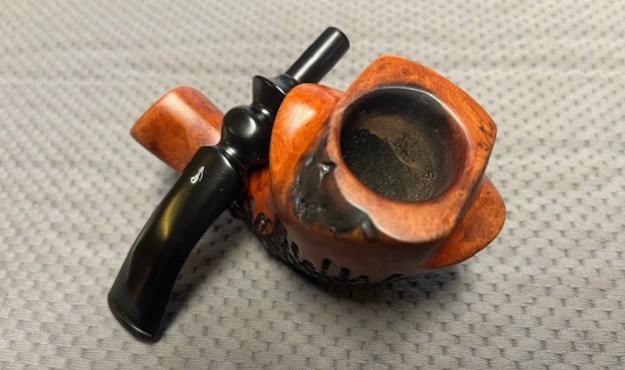
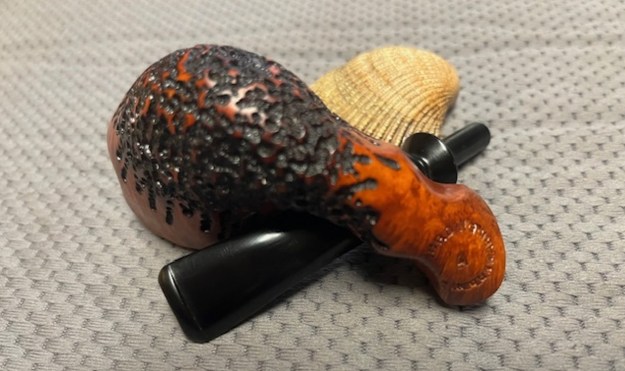
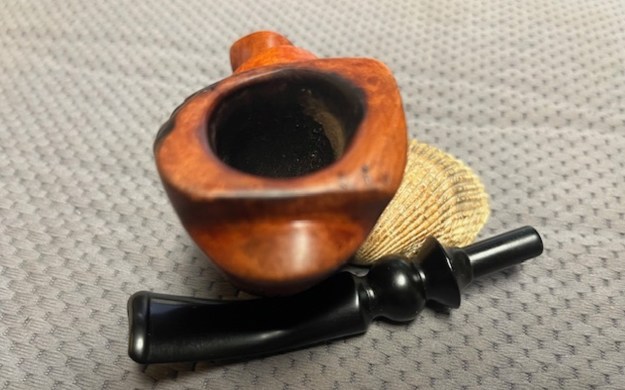
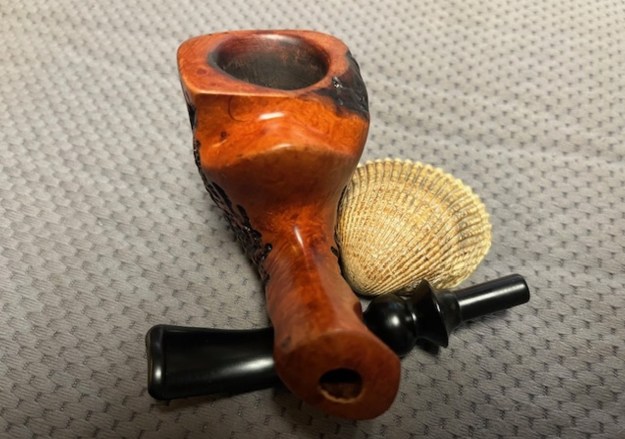
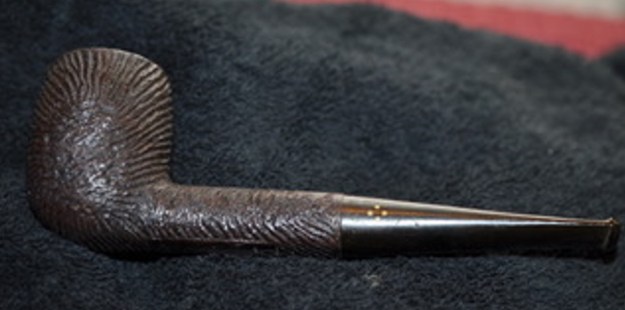
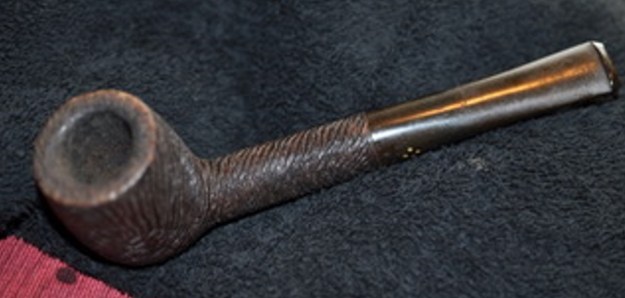
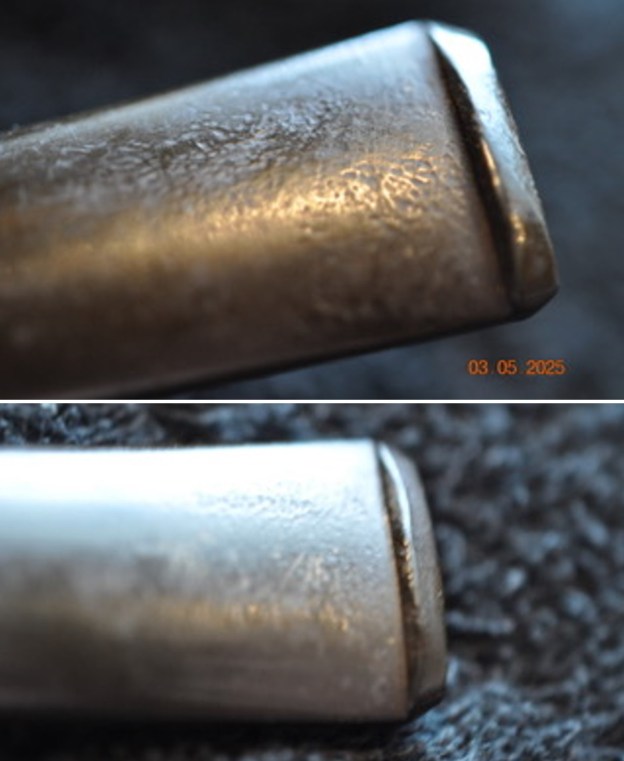
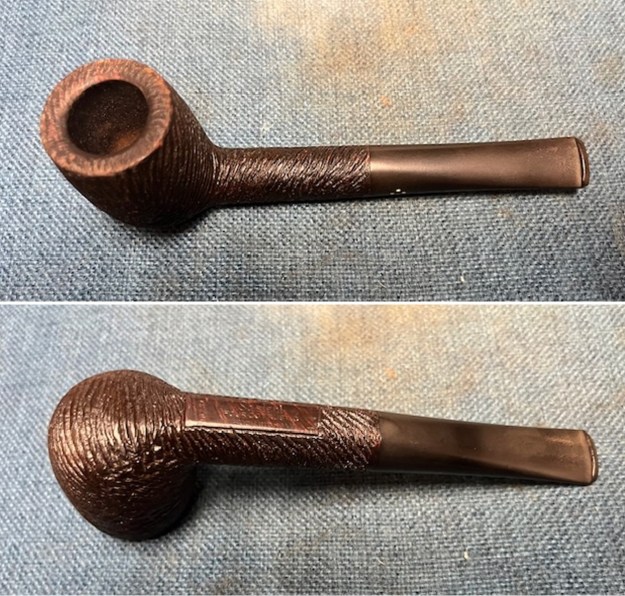
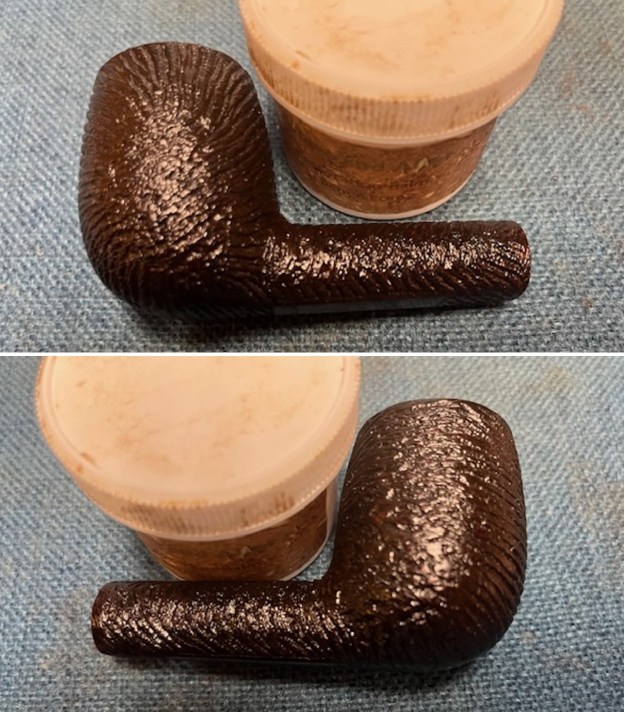
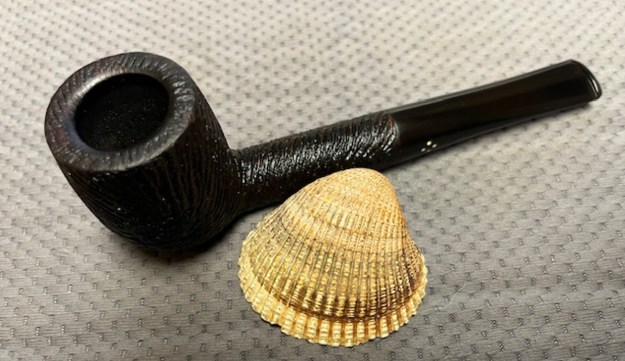
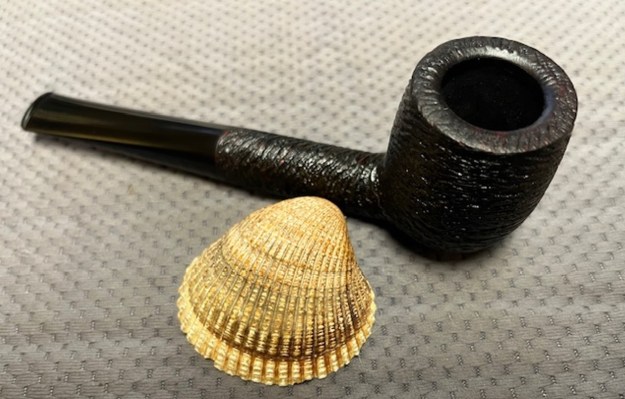
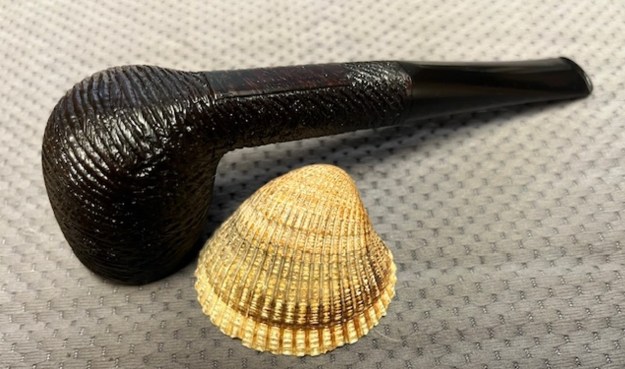
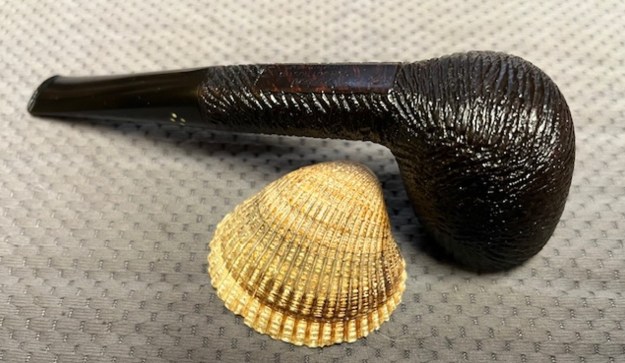
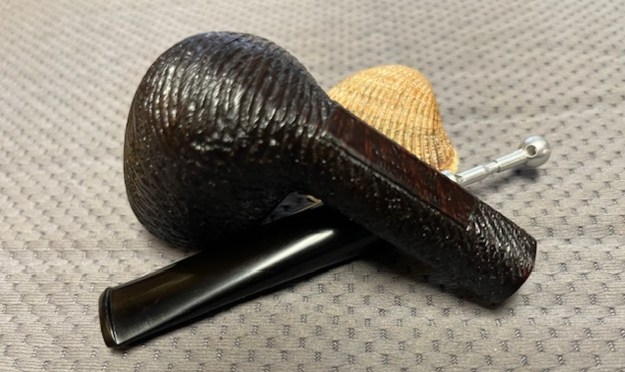
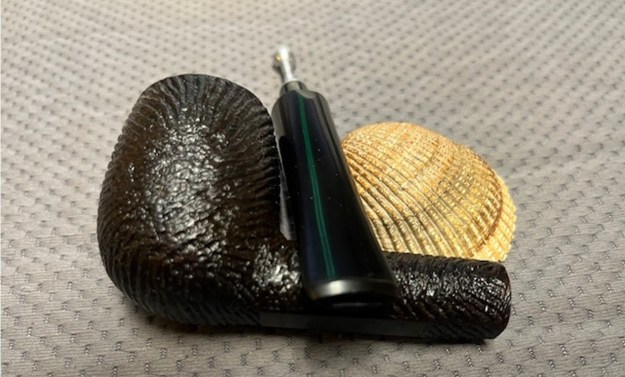
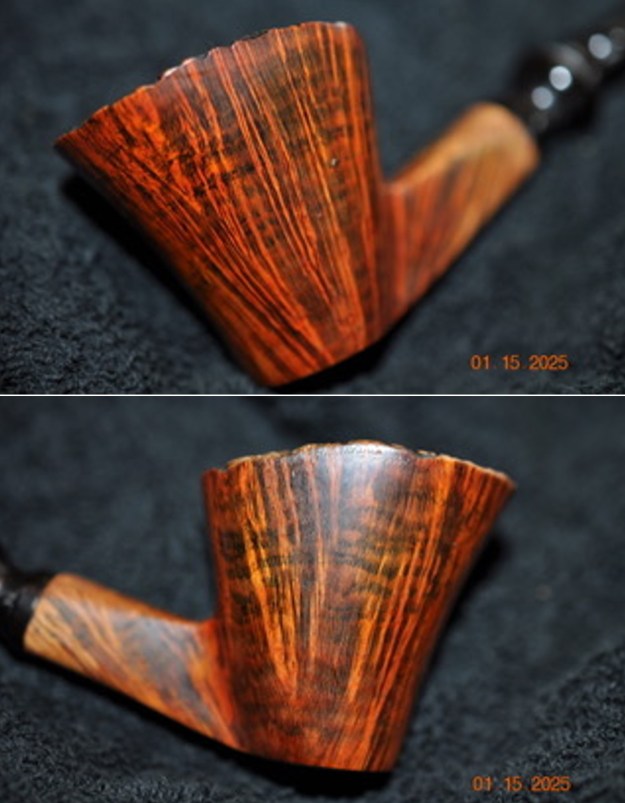
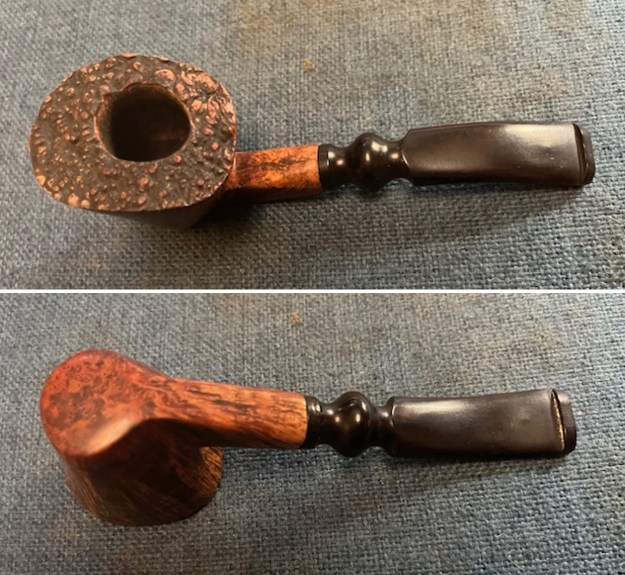
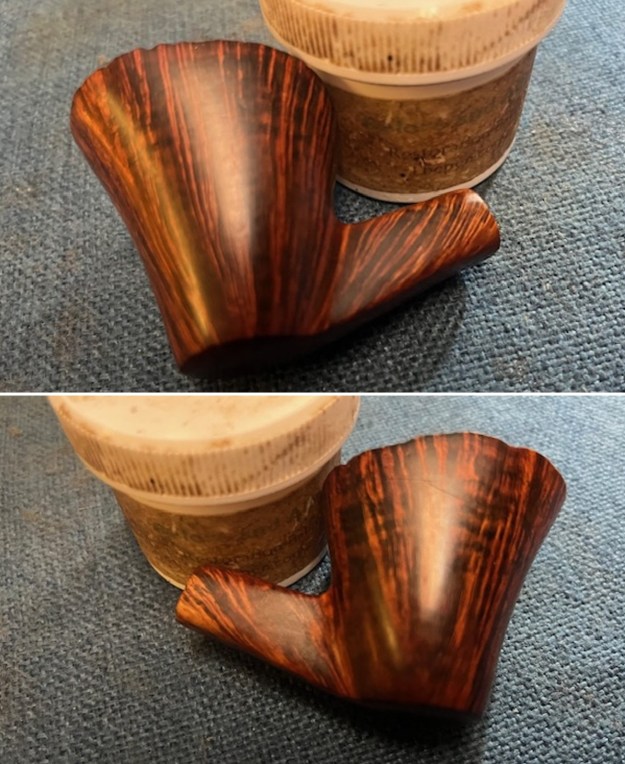
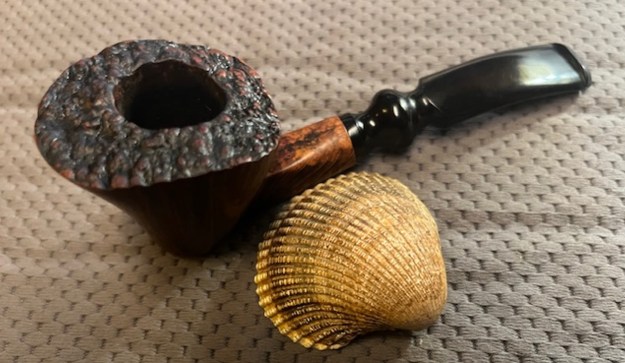
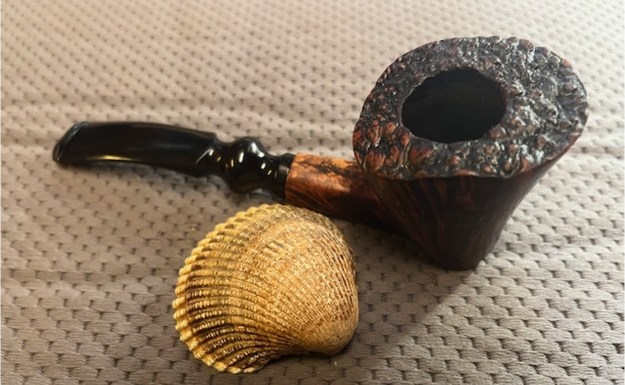
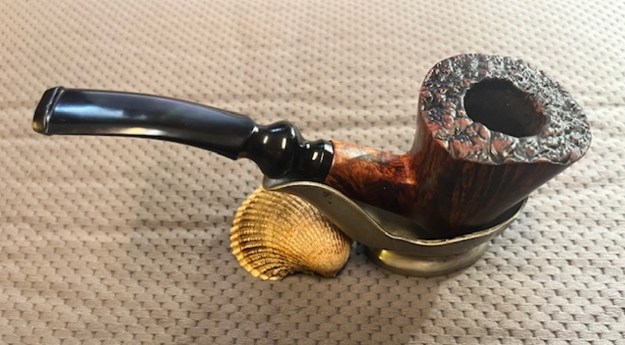
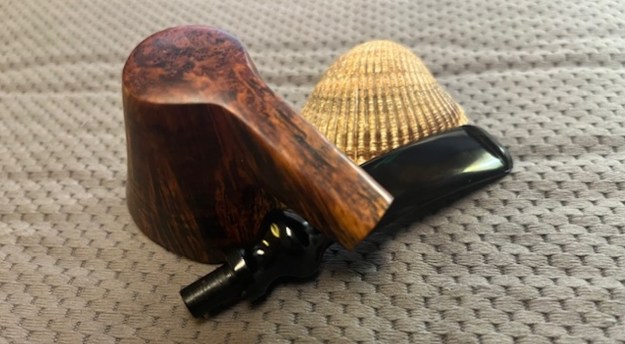
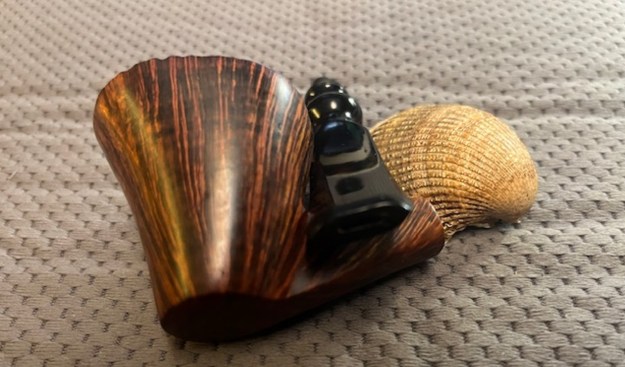
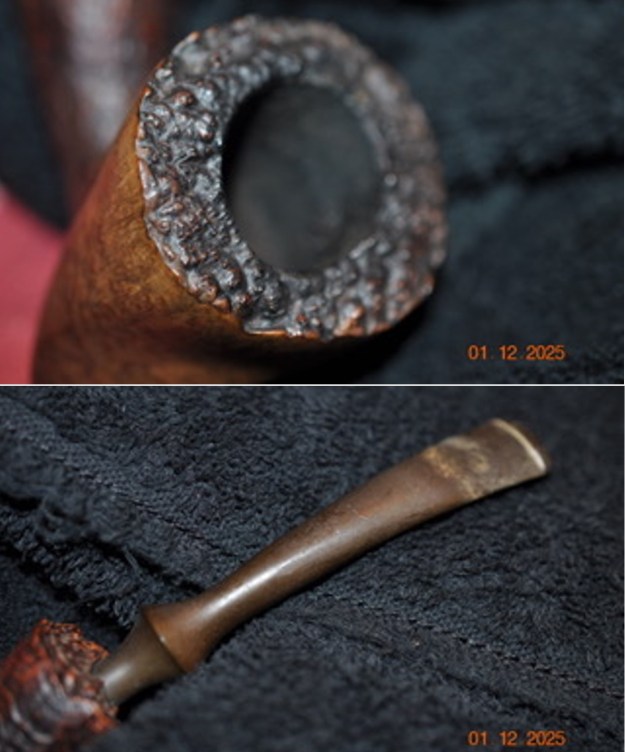
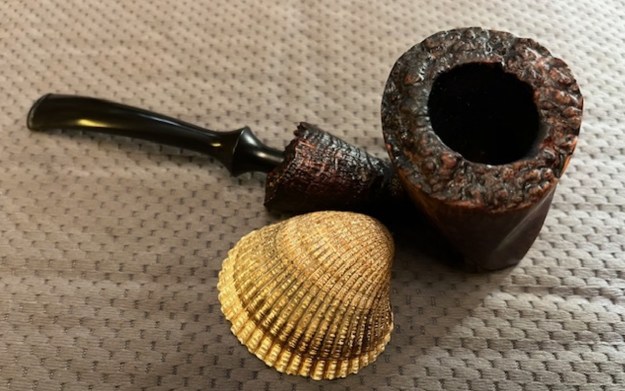
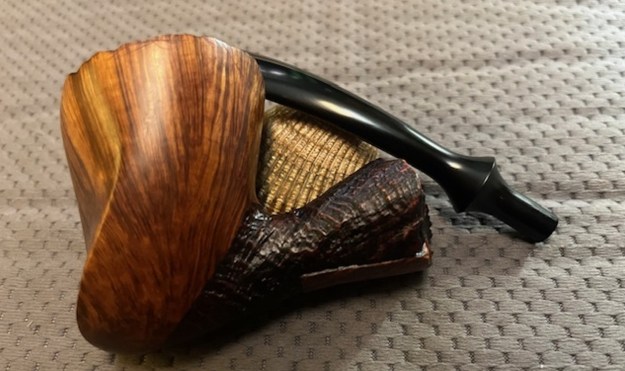
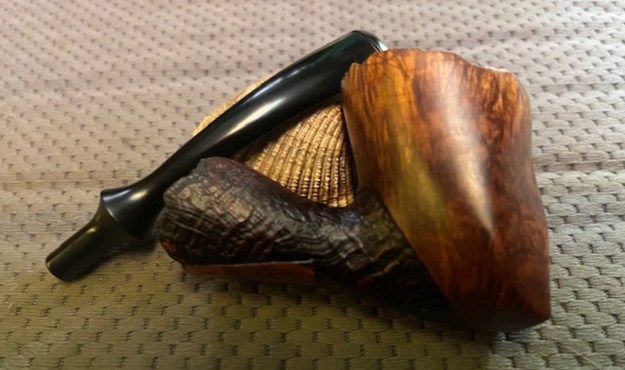
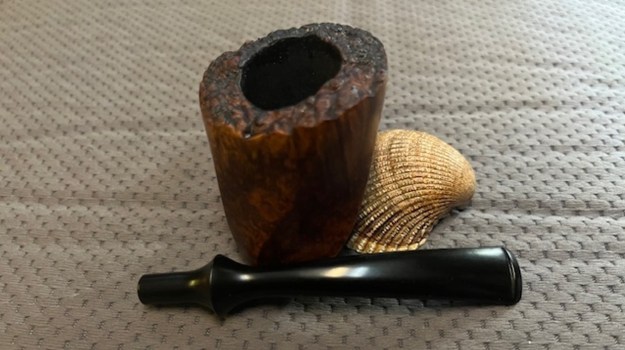
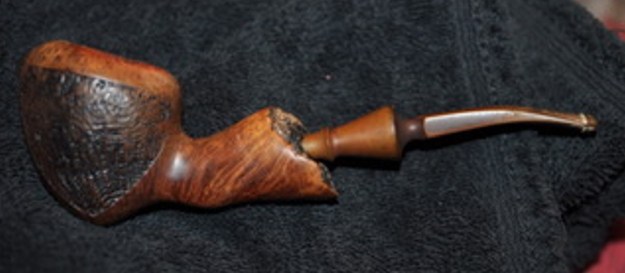
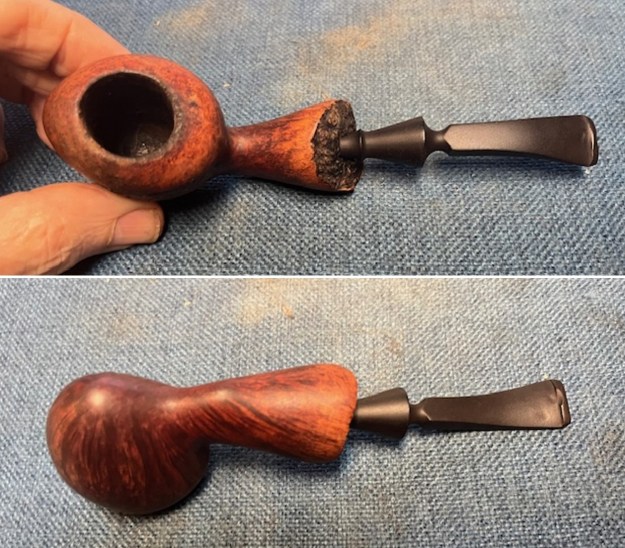
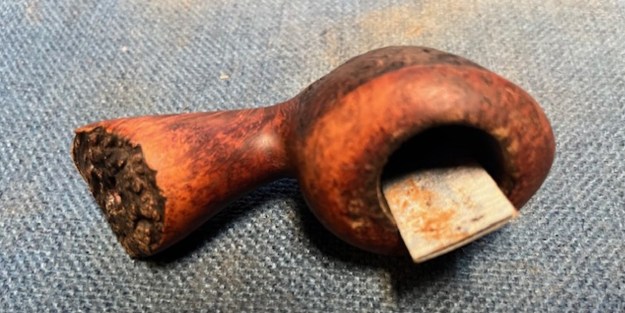
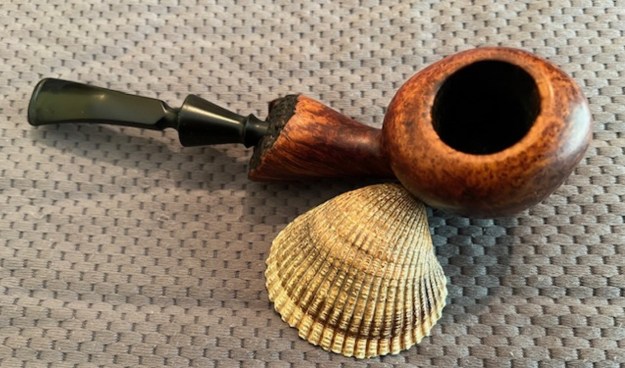
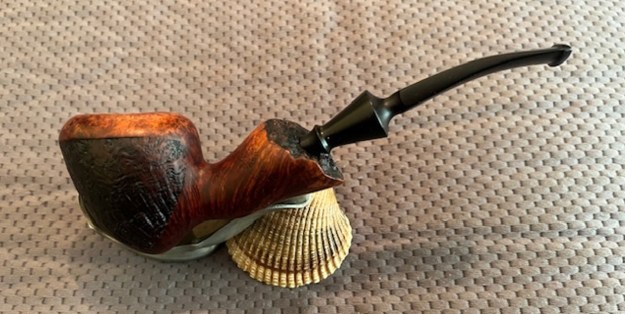
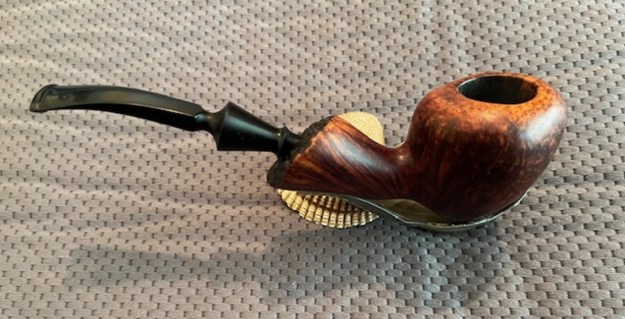
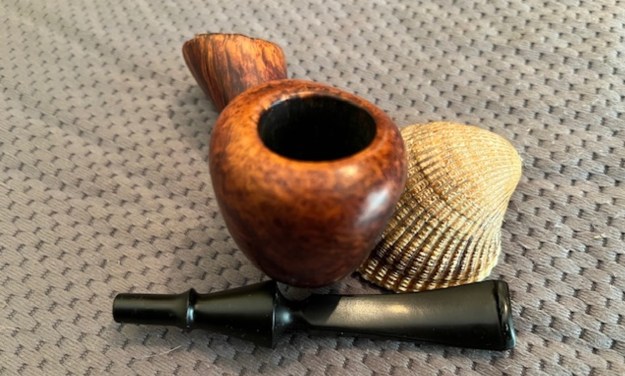
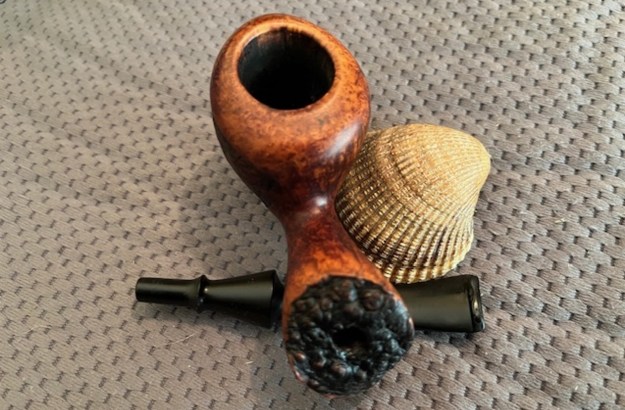
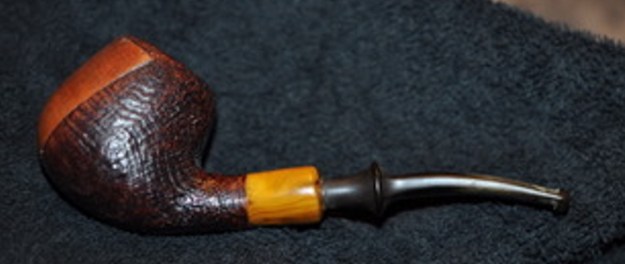
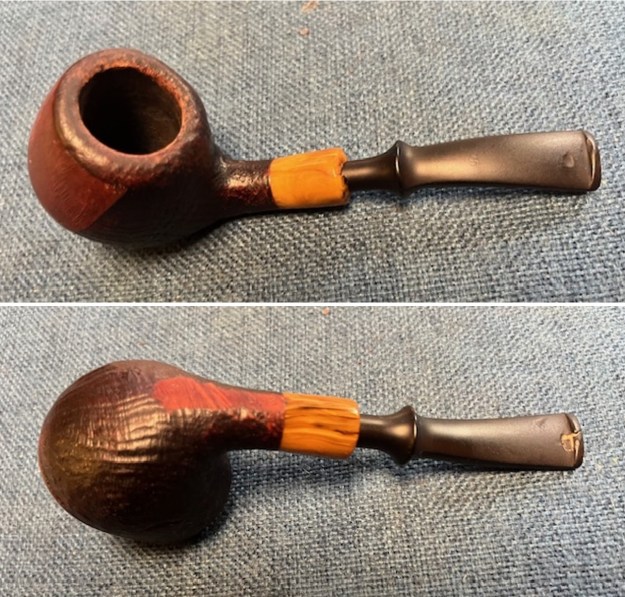
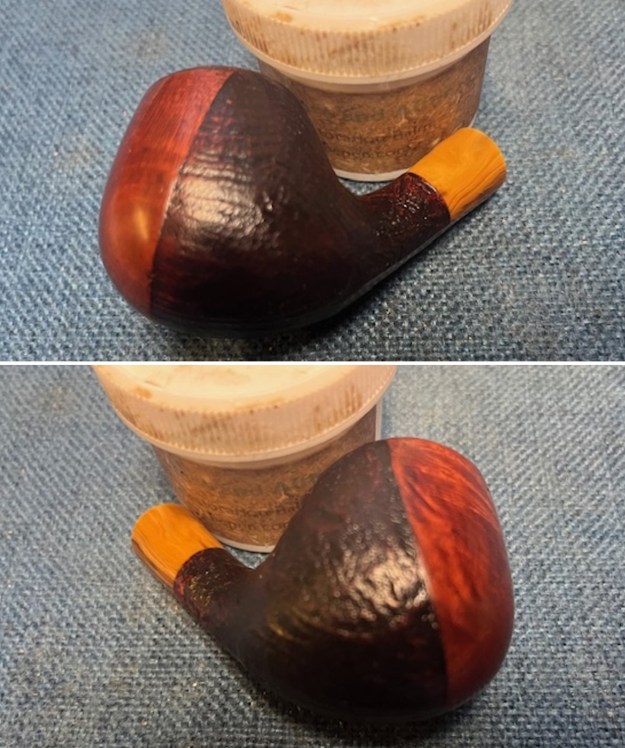
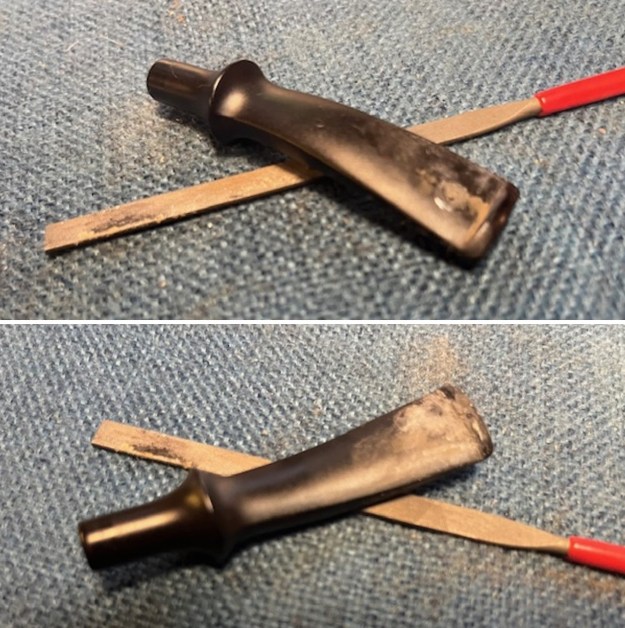
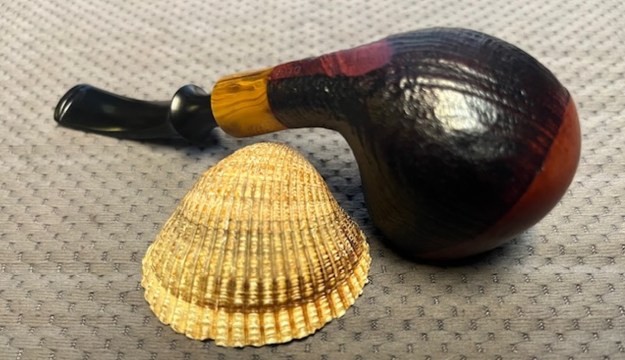
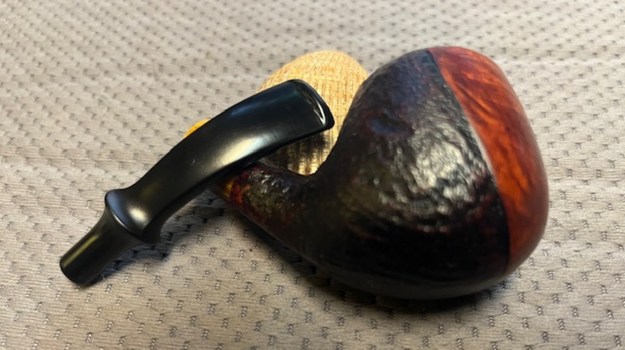
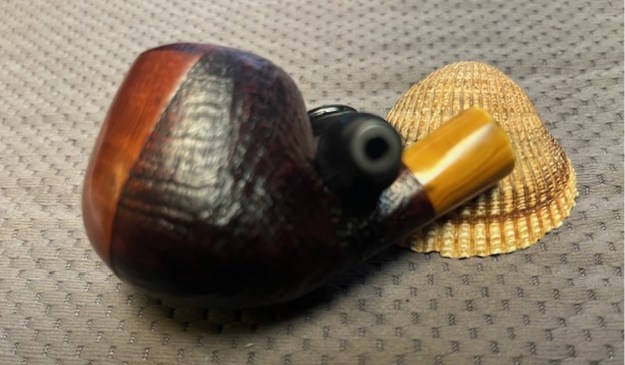
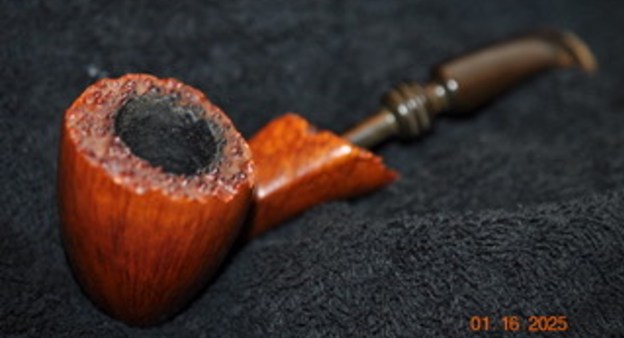
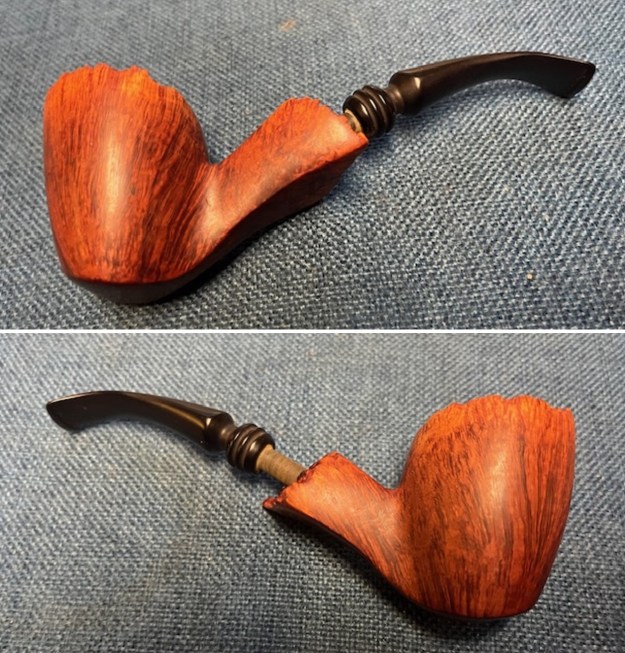
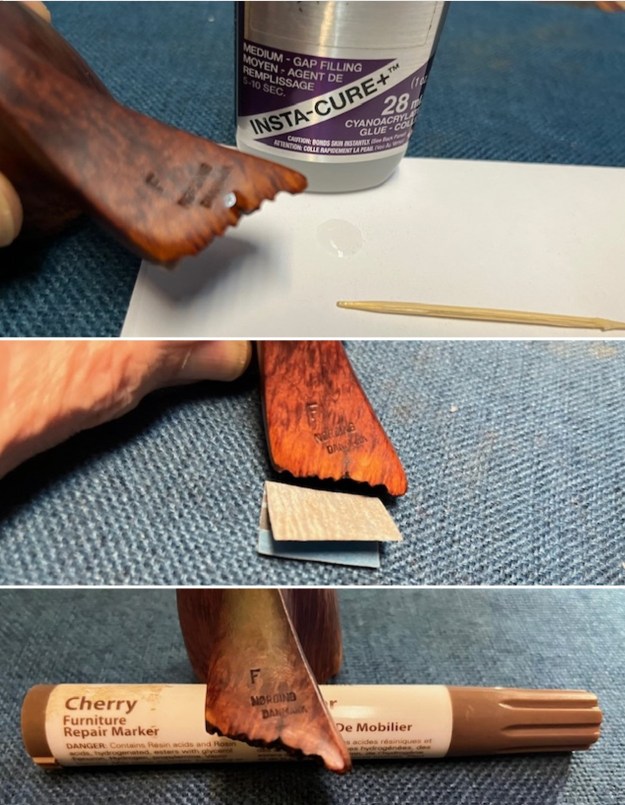
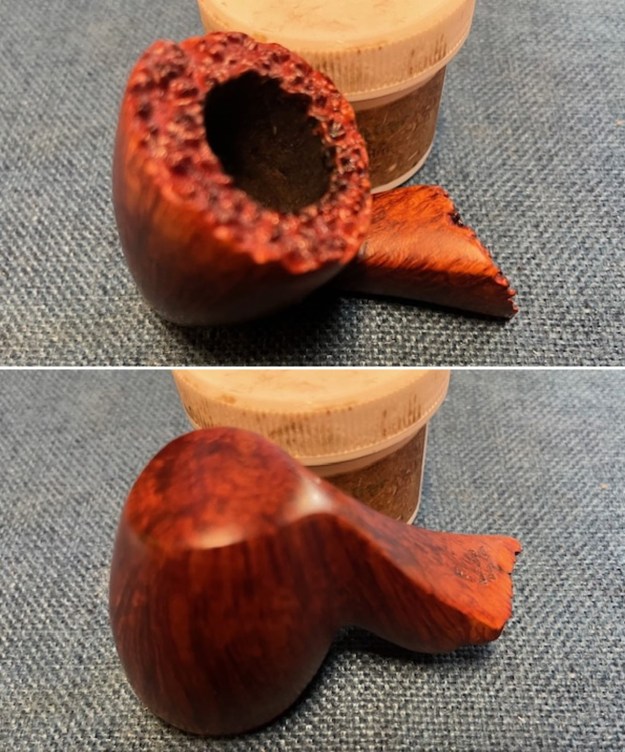
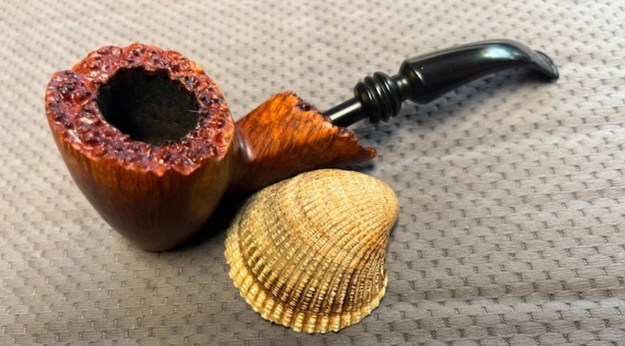
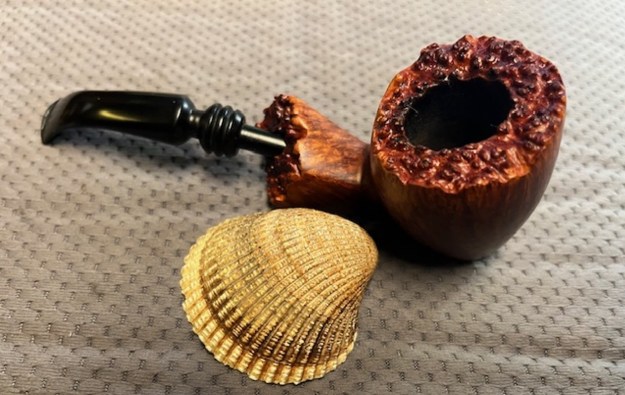
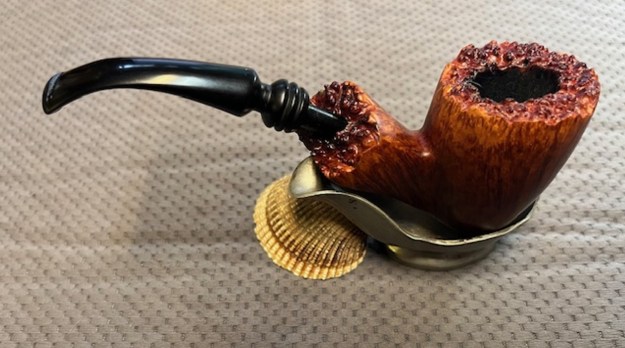
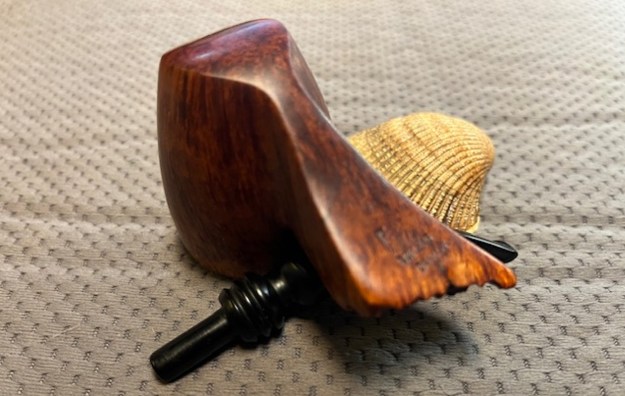
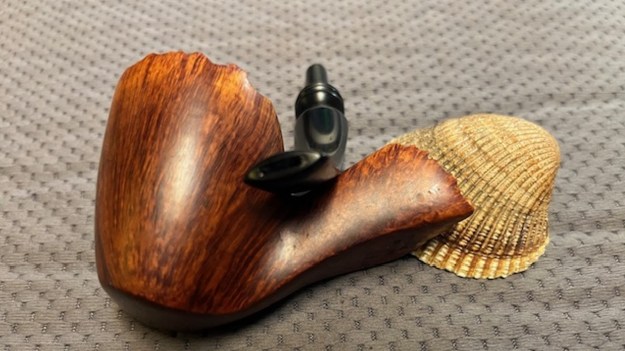
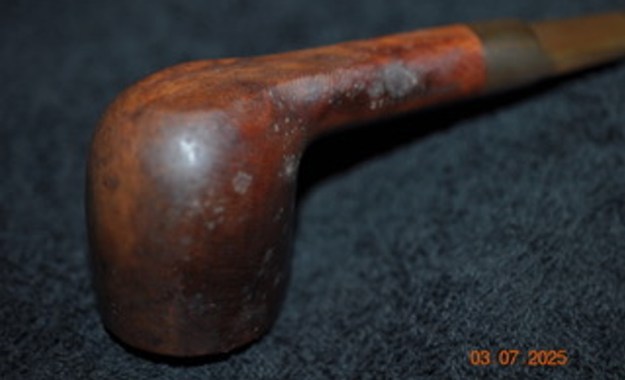
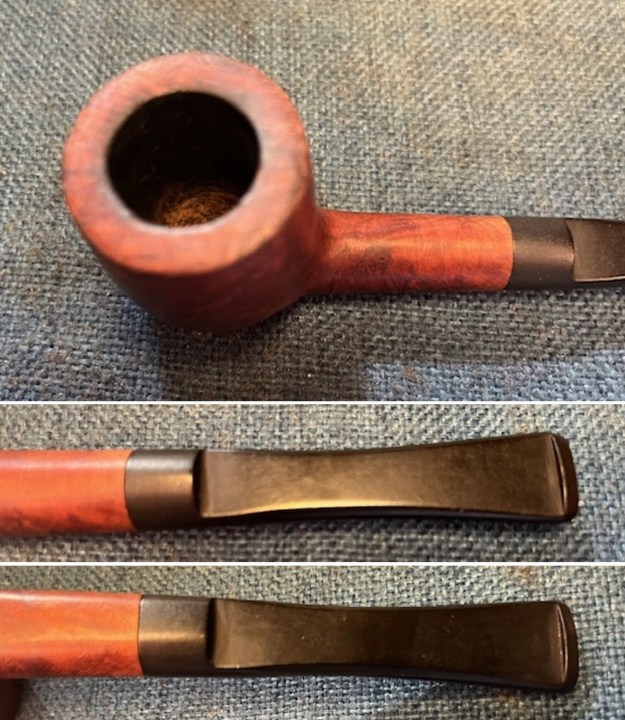
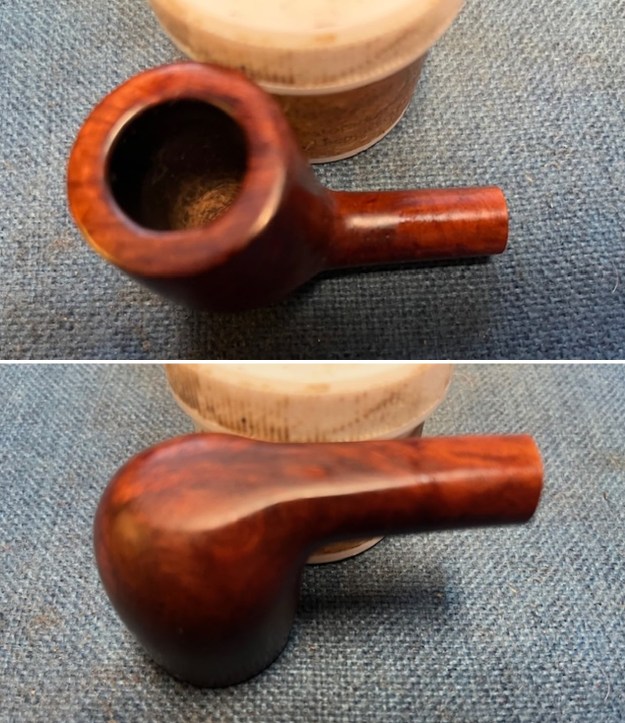
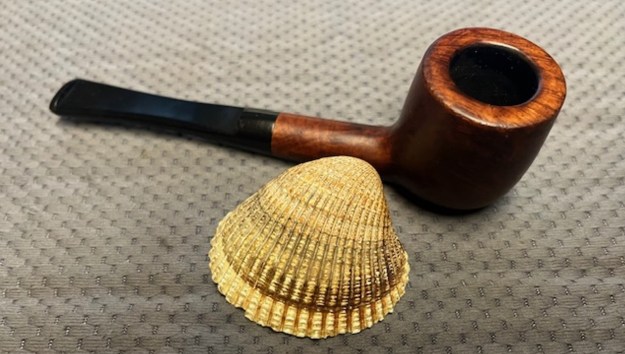
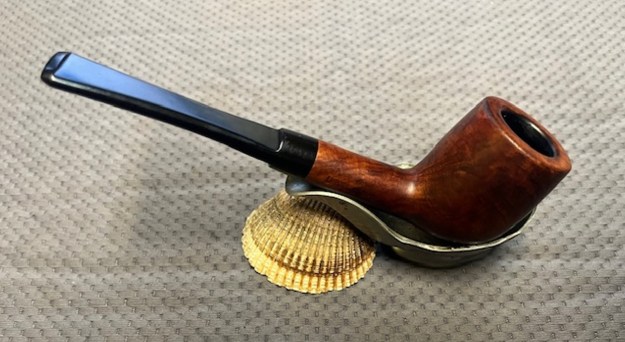
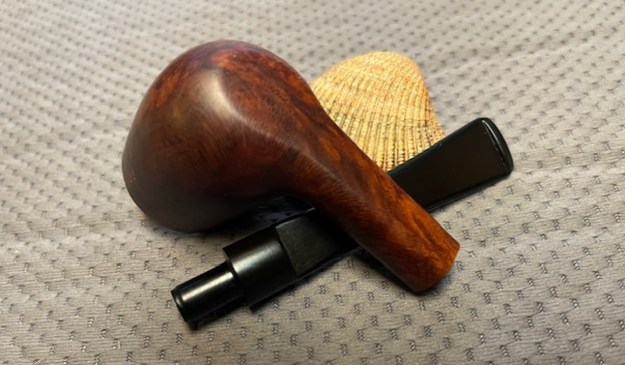
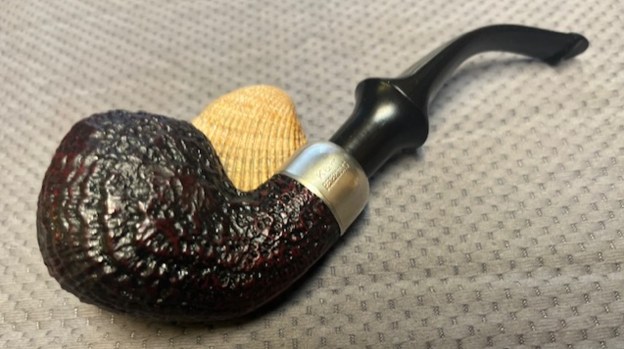
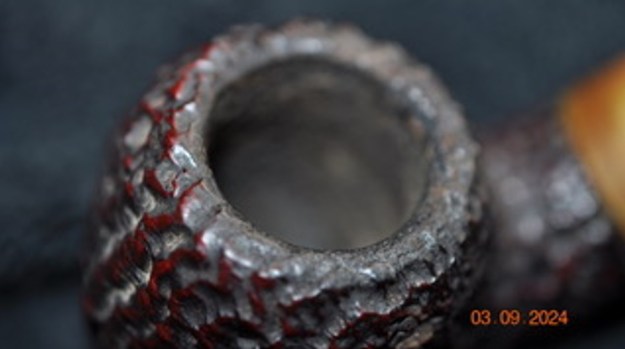
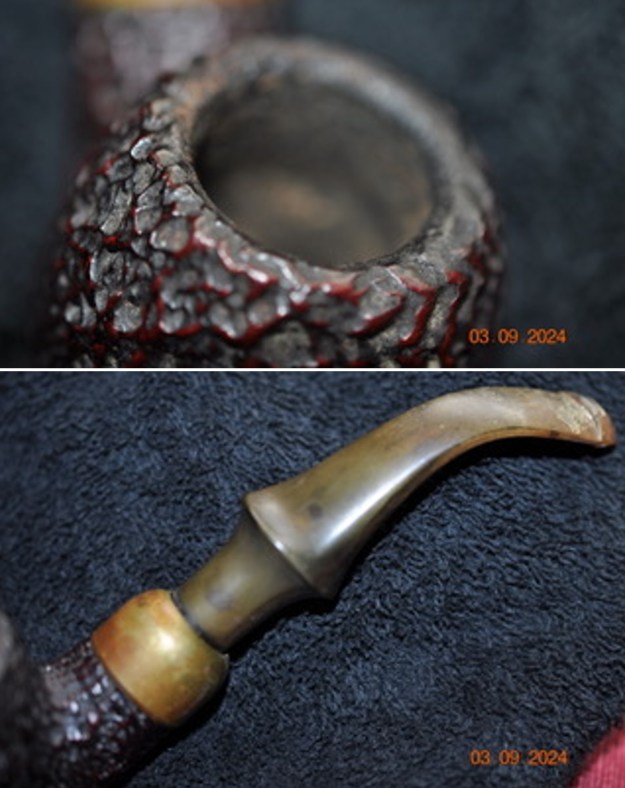
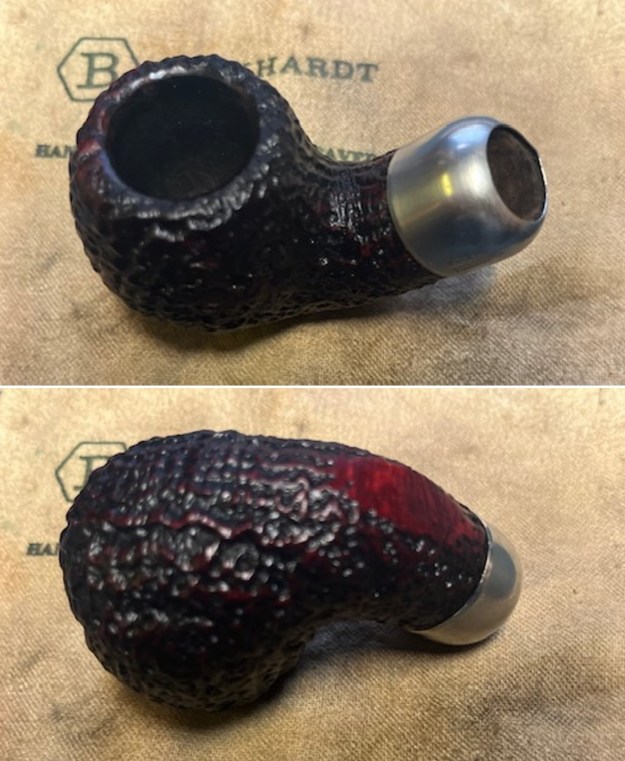
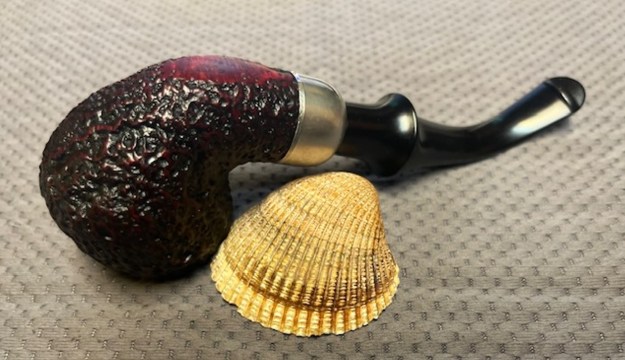
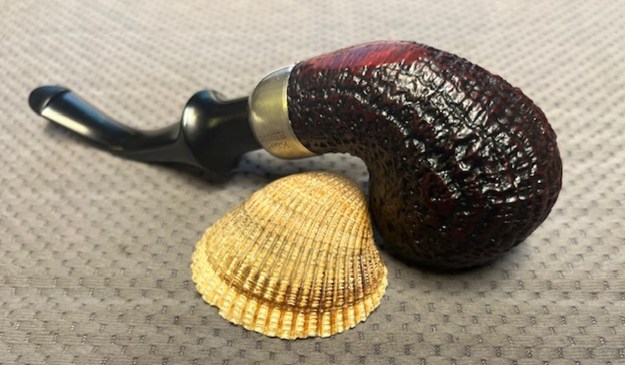
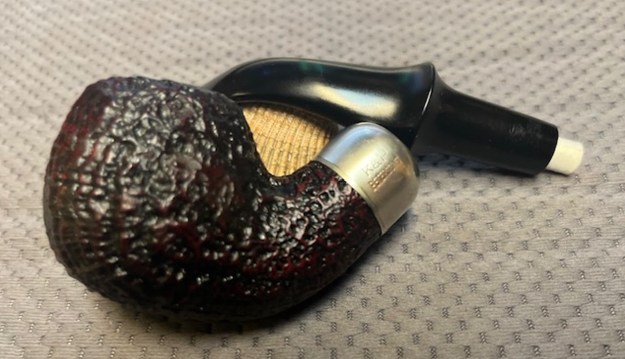
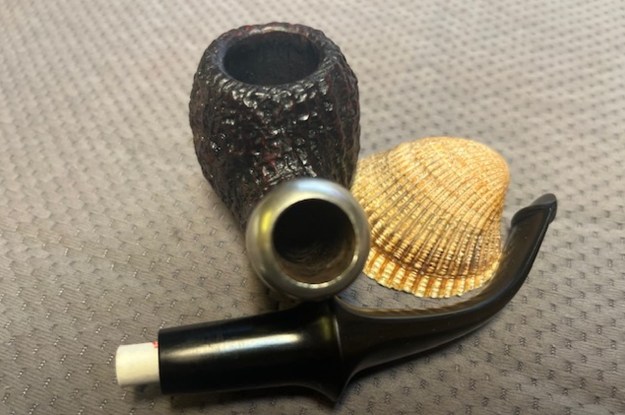
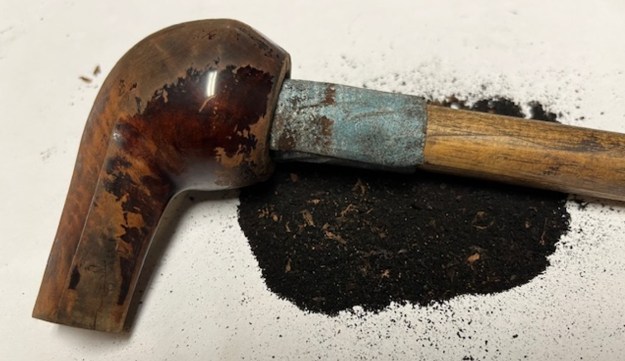
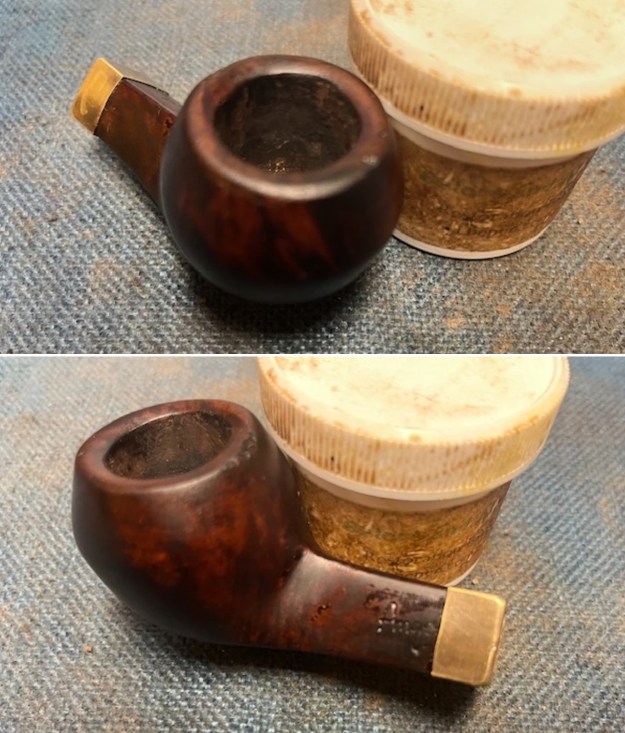
While I was travelling Rob stopped by with a bag containing a pipe that was gift from his daughter. It was a mess with a very thick cake in the bowl, burns and damage to the rim top and inner edge of the bowl. The finish was very worn and the shiny varnish coat was spotty and very damaged. The shank end was coated with a lot of grime and oils and had cracks on the topside of the diamond shank on both right and left sides. The tenon was stuck in the shank and the stem was wrapped in electrical tape to hold it in the shank. The button on the top side was chomped and showed a lot of tooth marks. The underside of the button was cracked and a chunk was missing. The pipe appeared to be a basket pipe from Italy and bore the stamp Angelo on the top left side under the dirt and debris. The crack ran through a portion of it and obscured it. It was a brand I was familiar with and had worked on before. Here are some photos of the pipe as it was initially fit together.
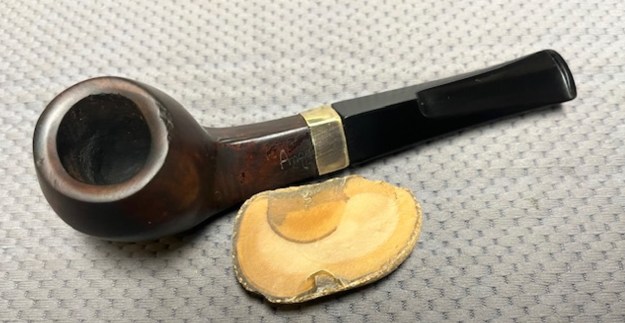
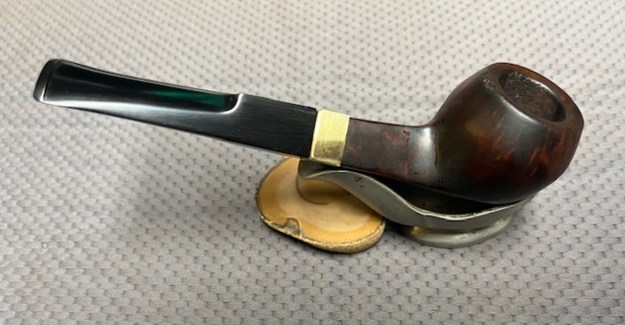
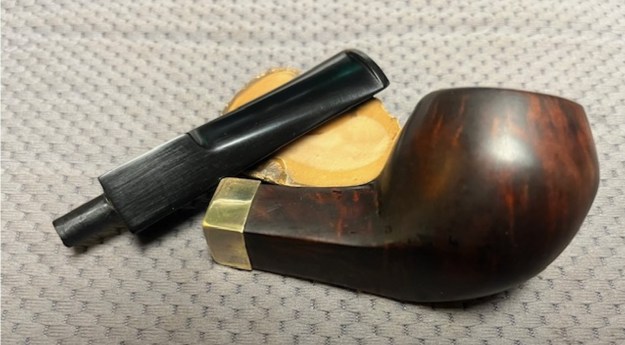
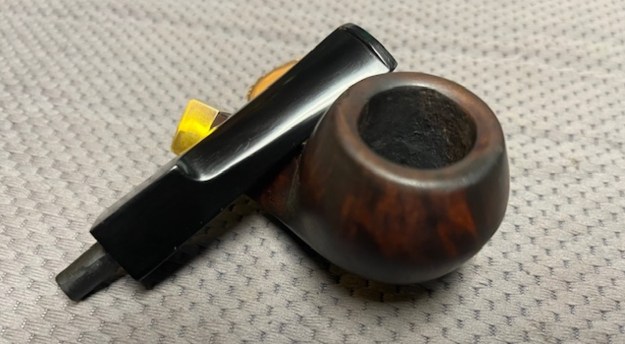
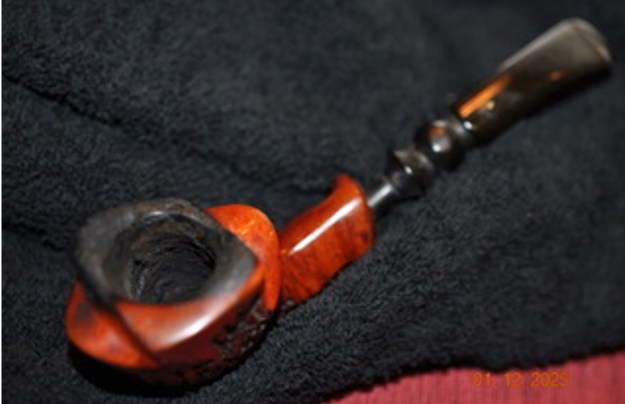
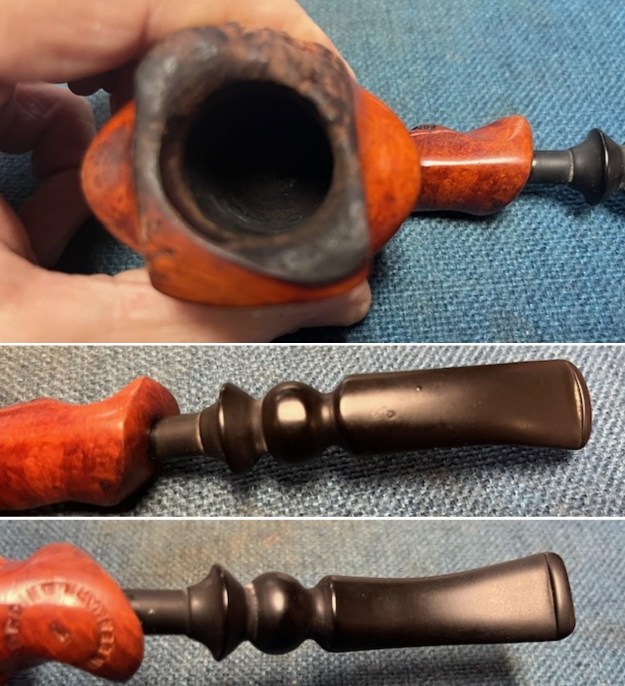
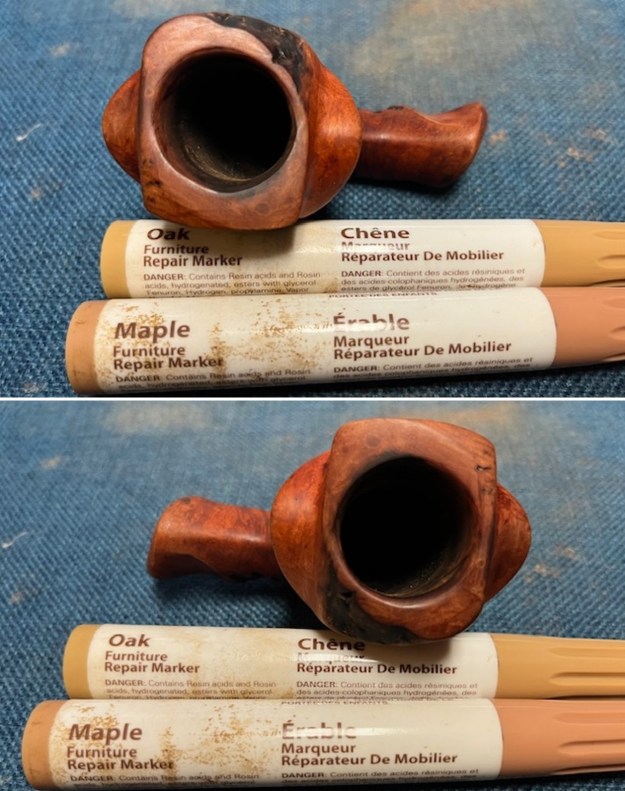
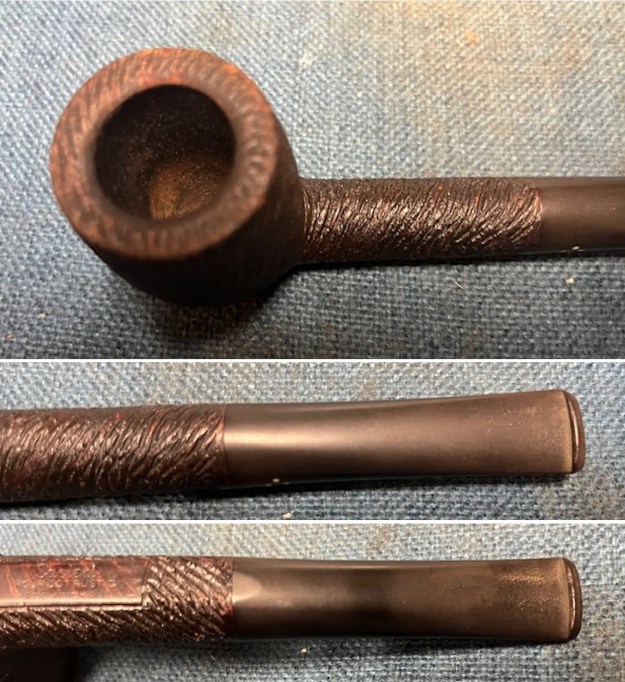
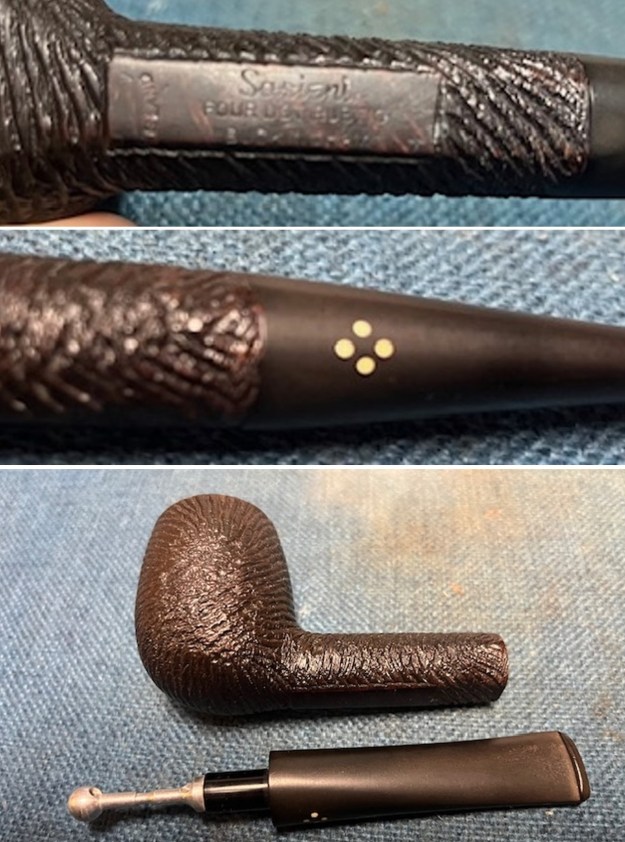
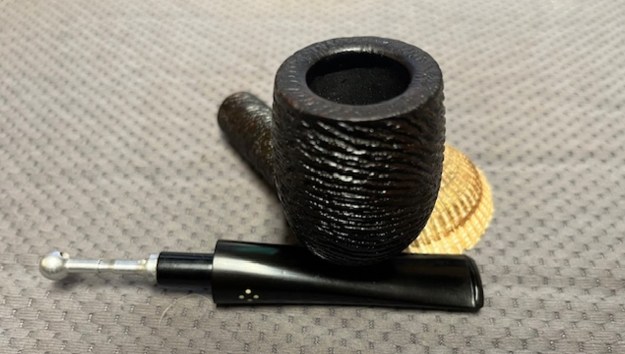
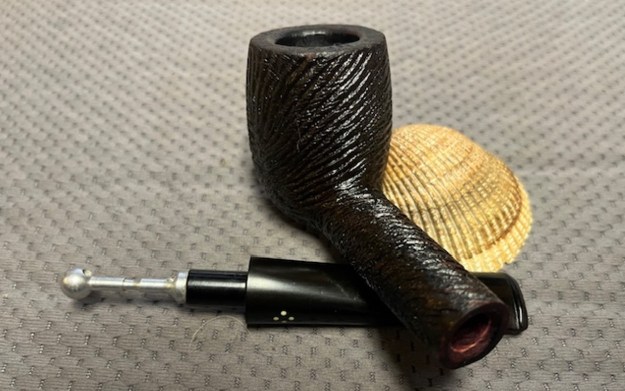
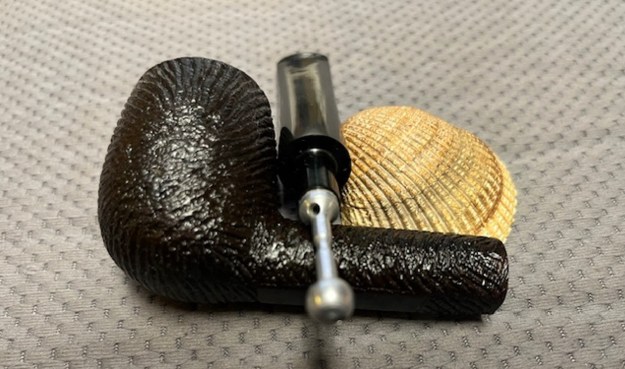
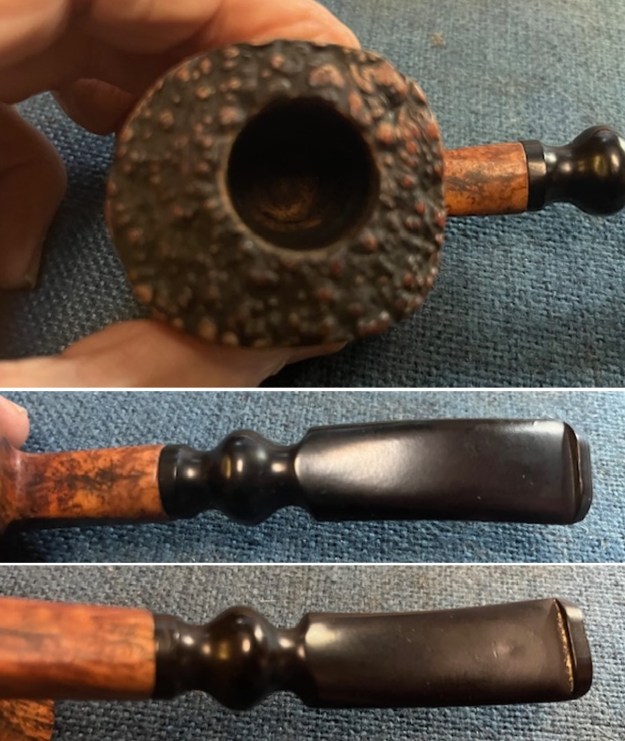
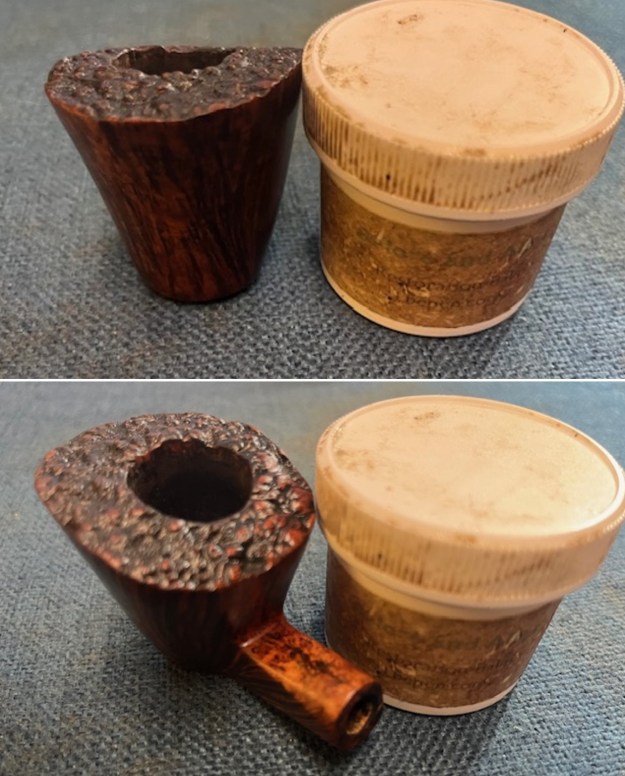
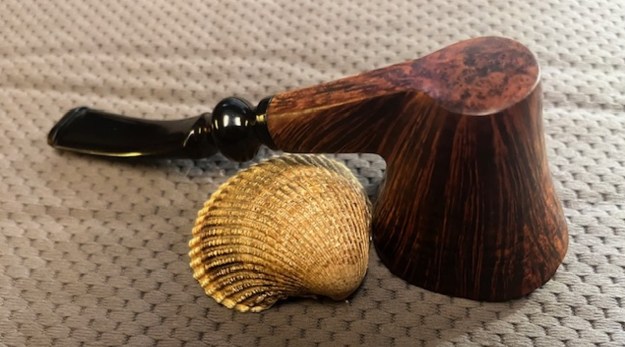
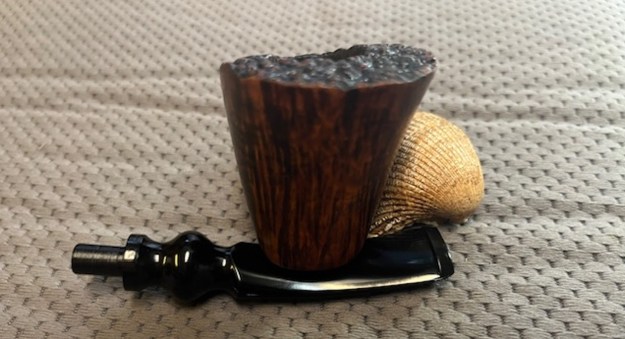
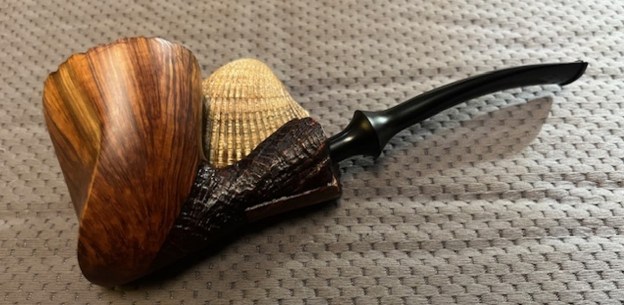
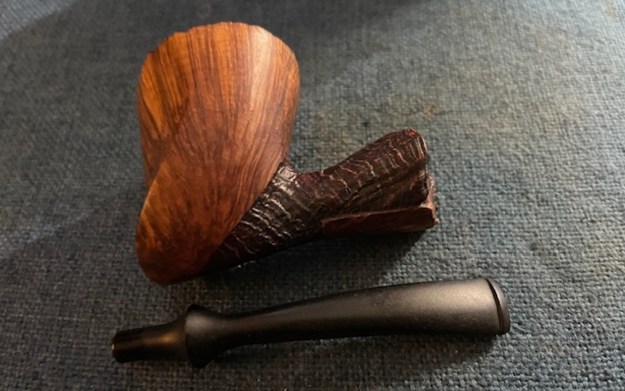
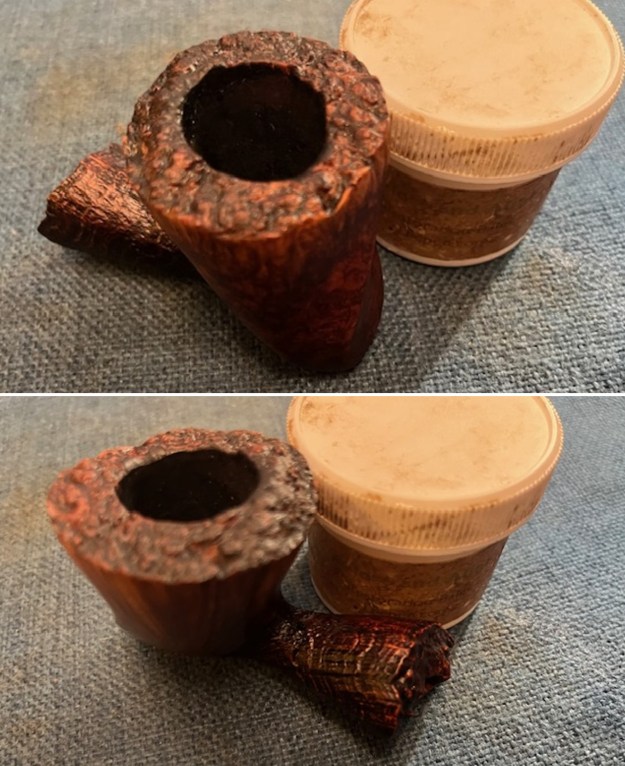
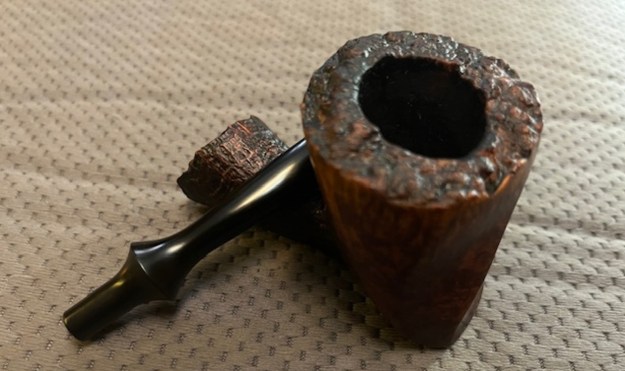
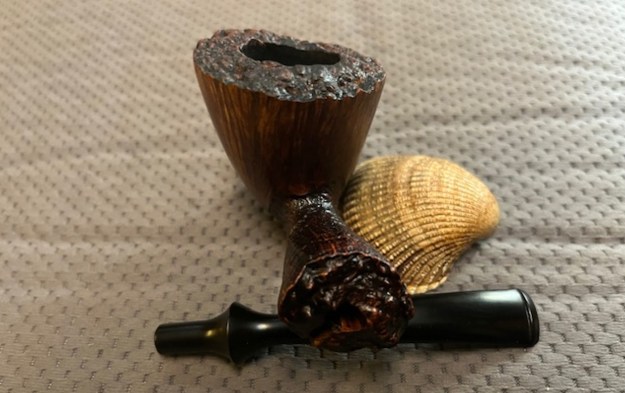
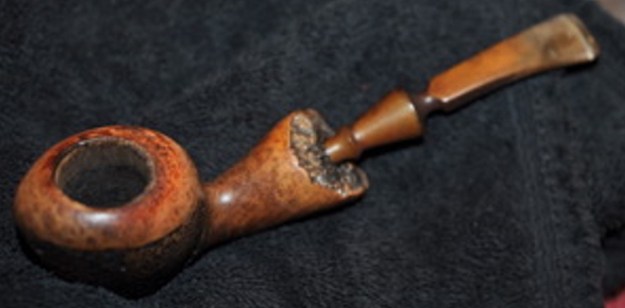
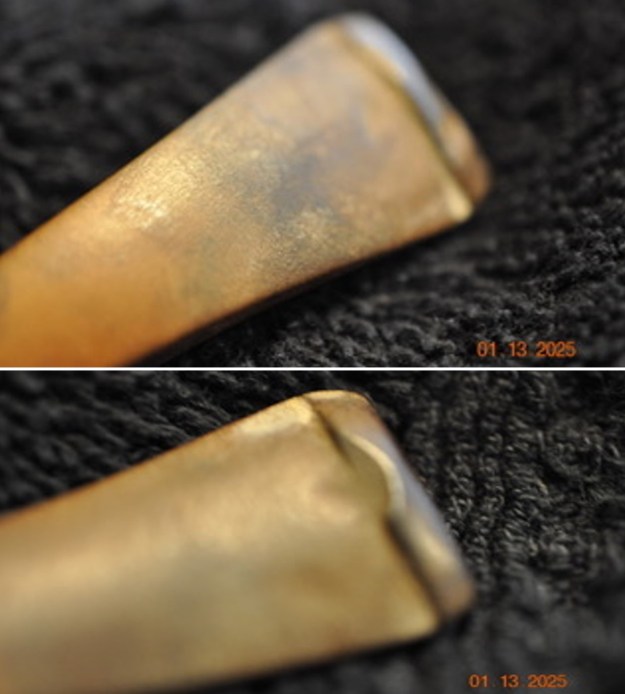
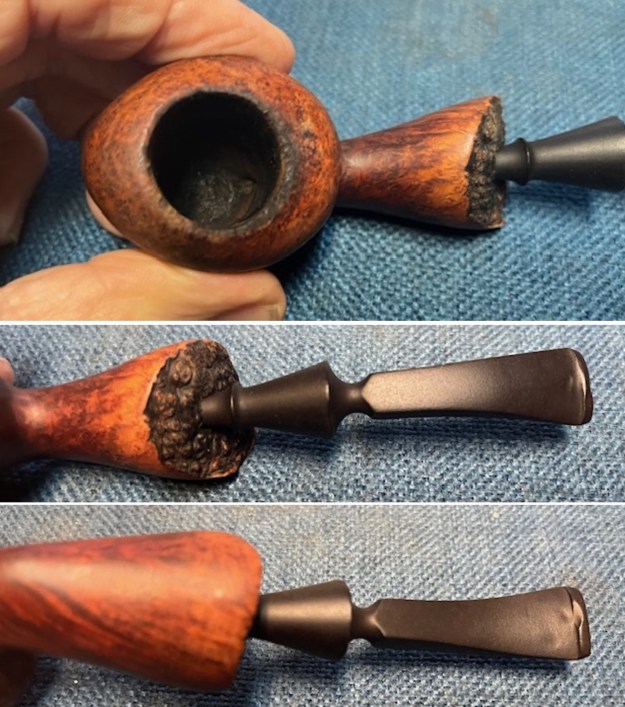
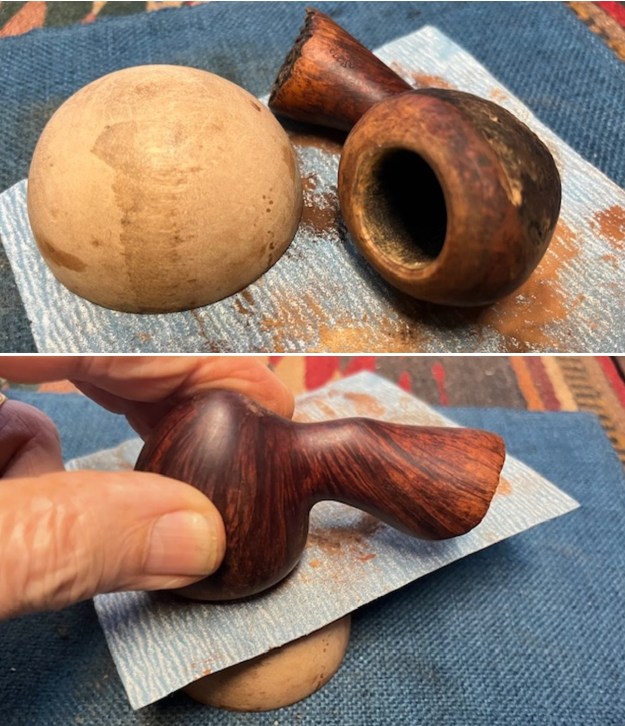
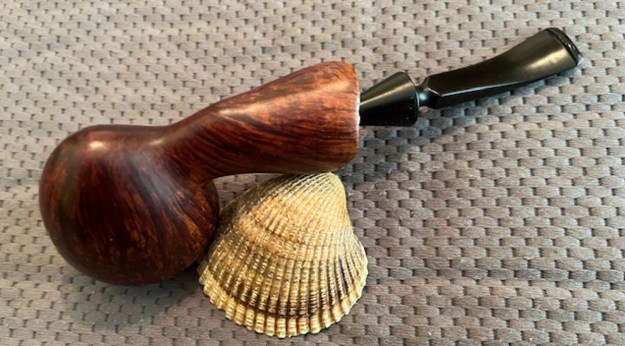
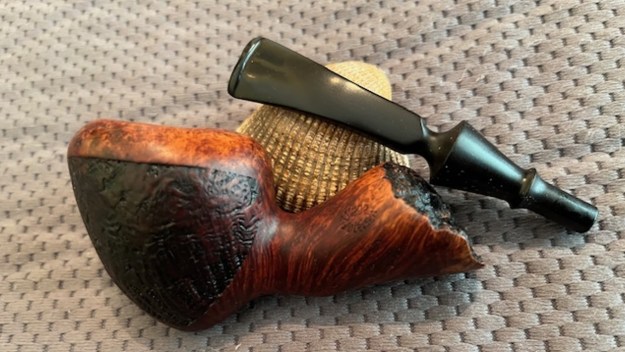
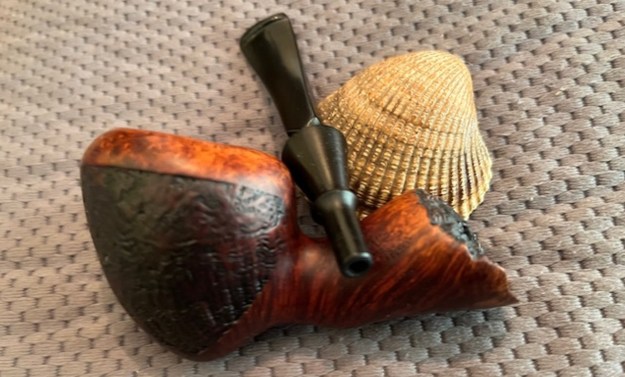
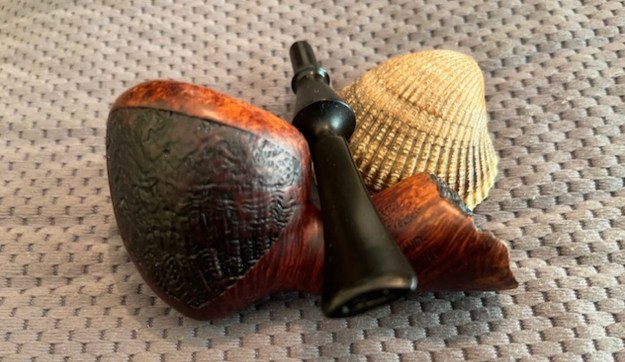
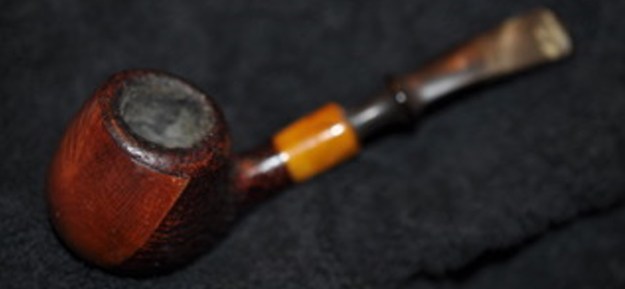
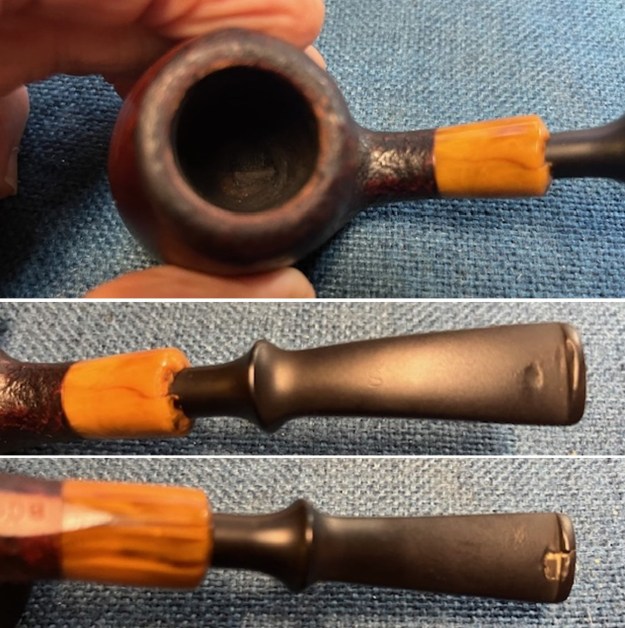
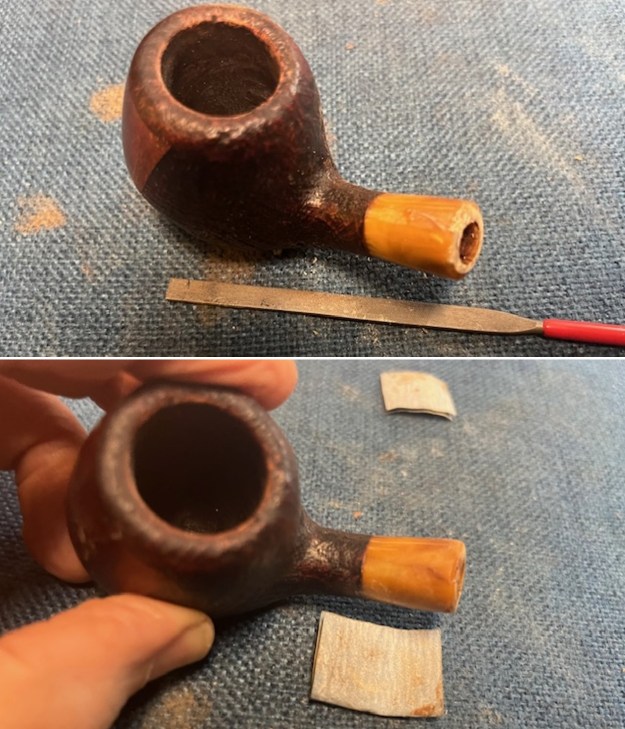
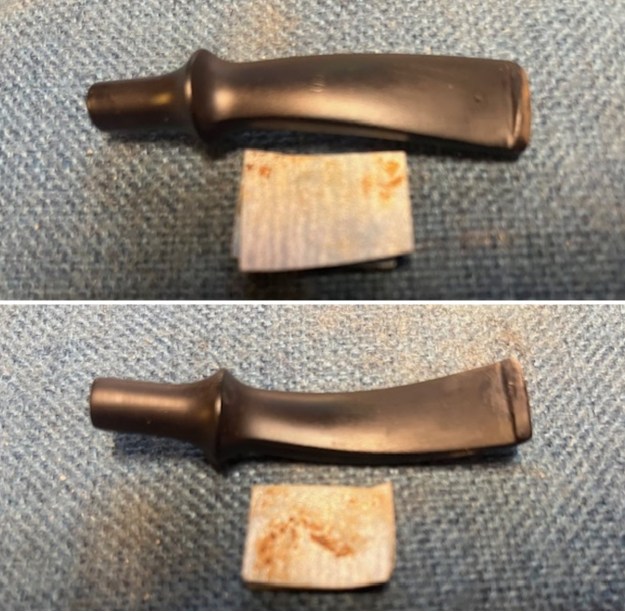
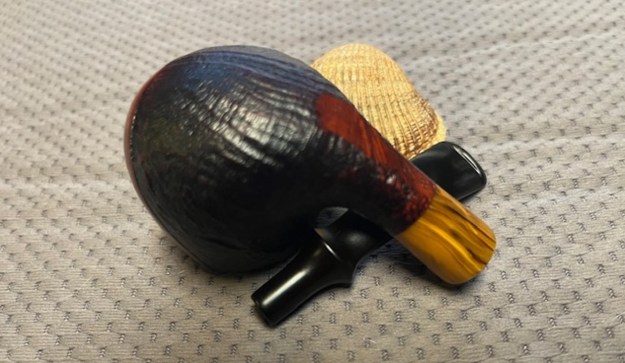
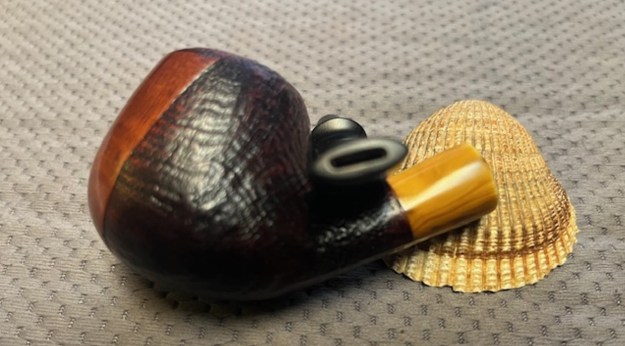
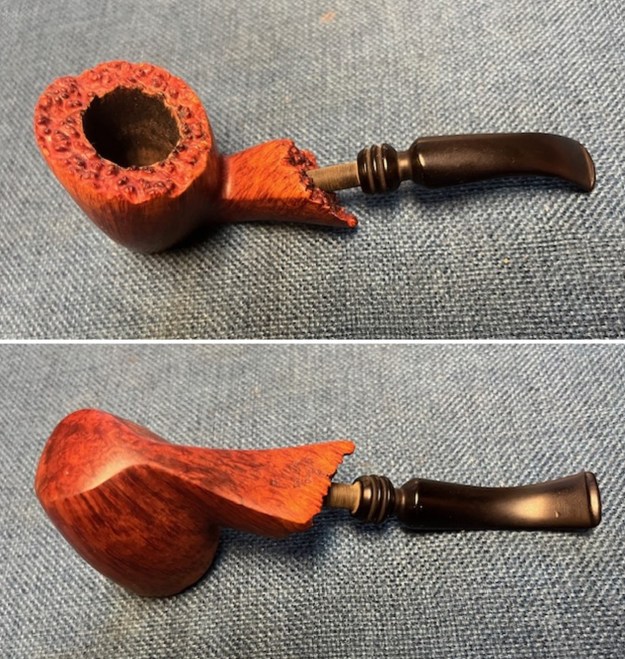
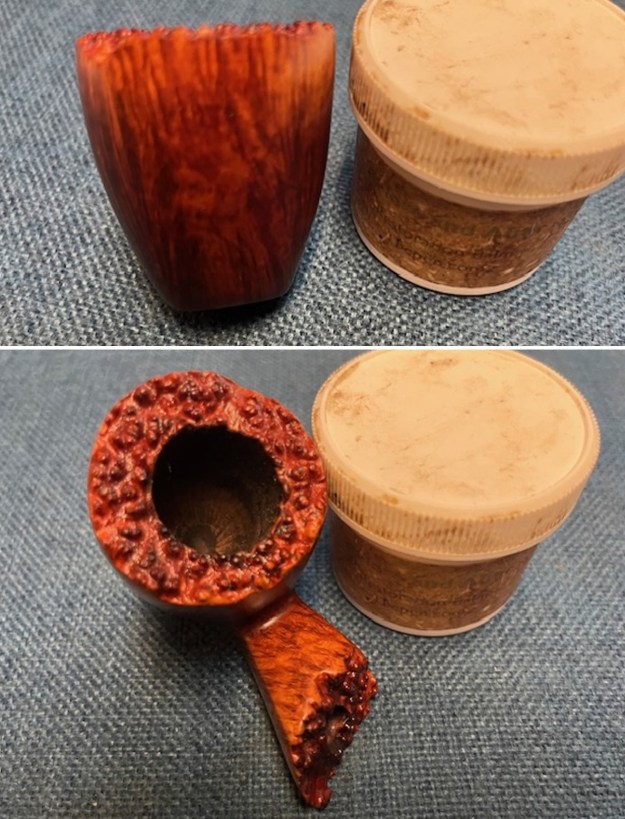
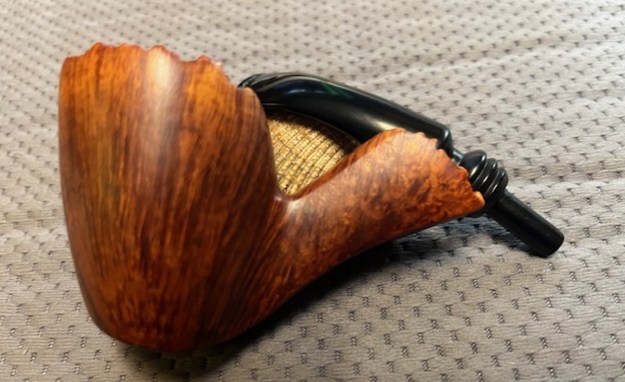
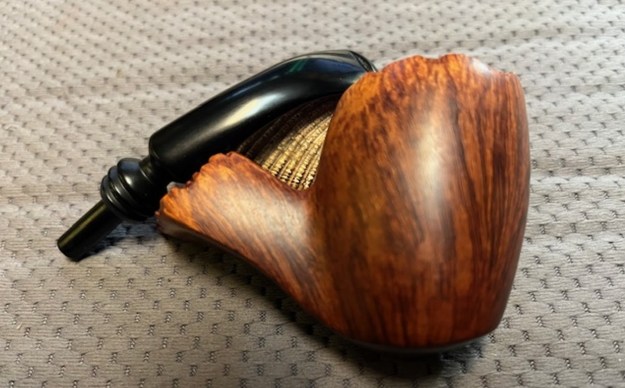
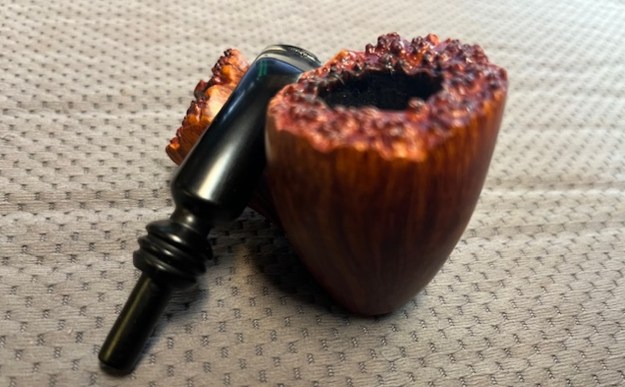
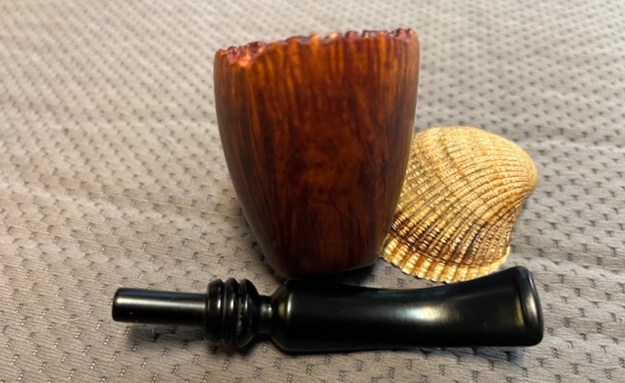
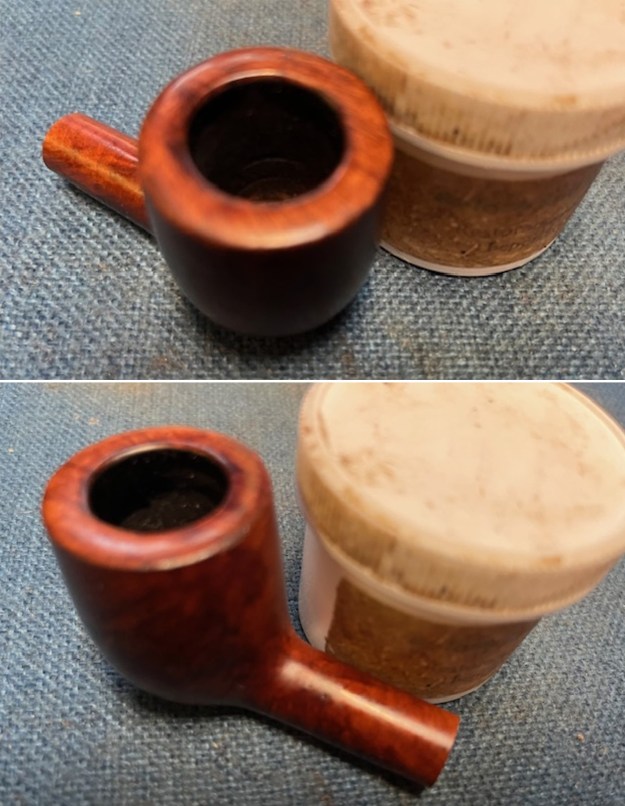
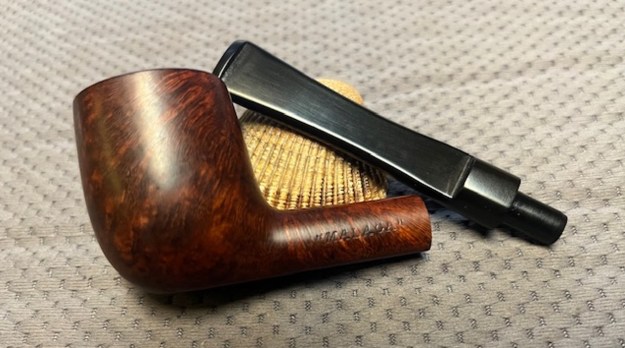
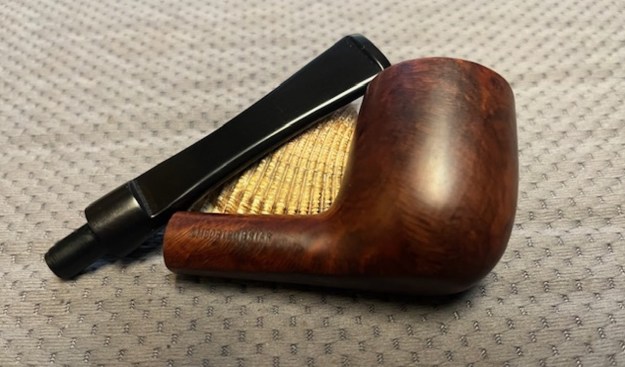
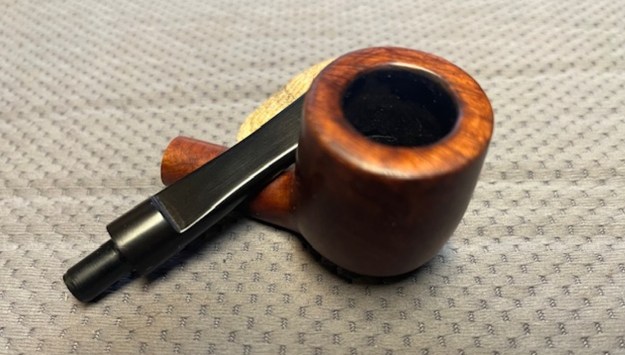
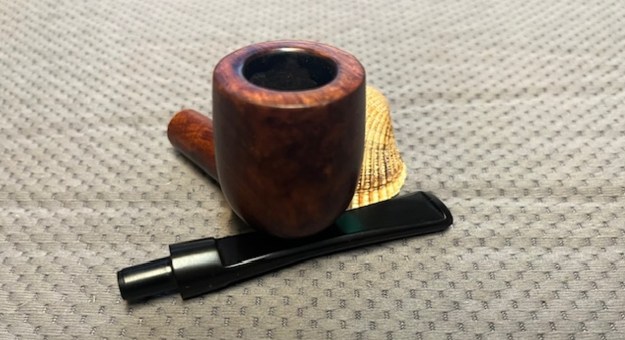
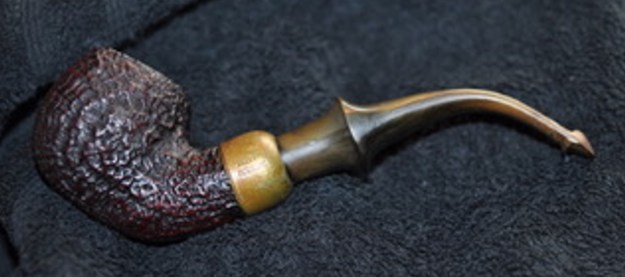
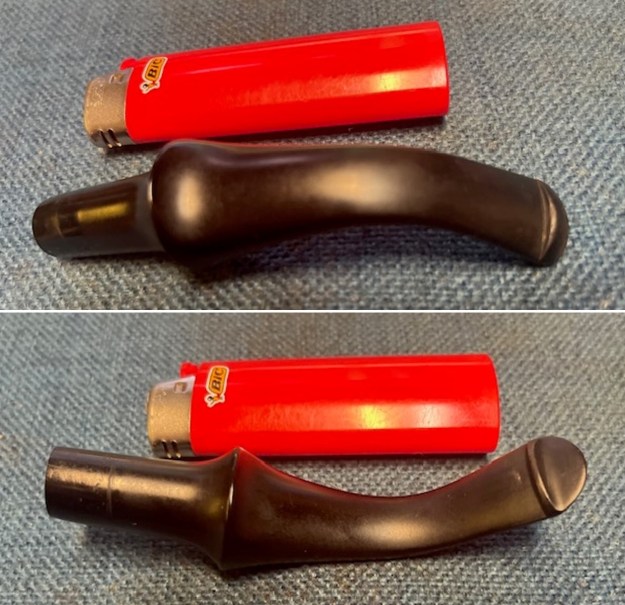
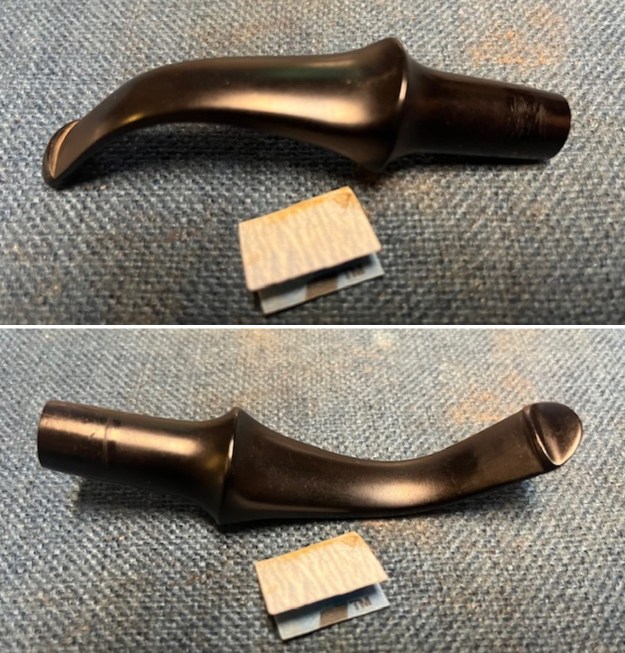
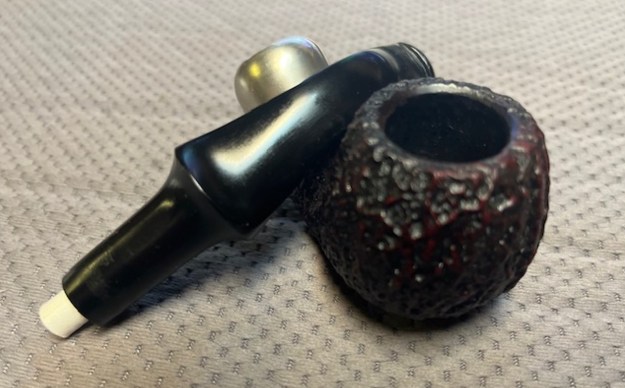
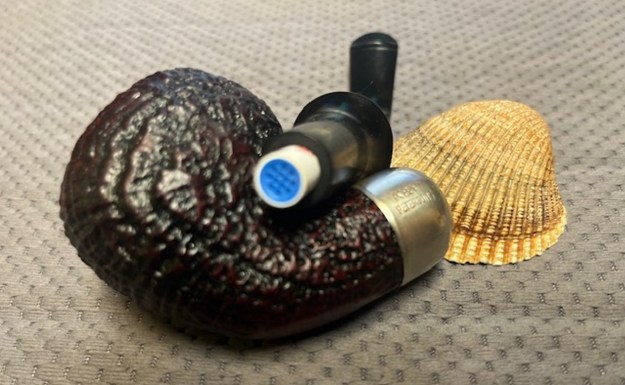
 I removed the stem from the shank and took a photo of the parts. I also removed the tenon from the shank using a pair of pliers and took a photo of the parts.
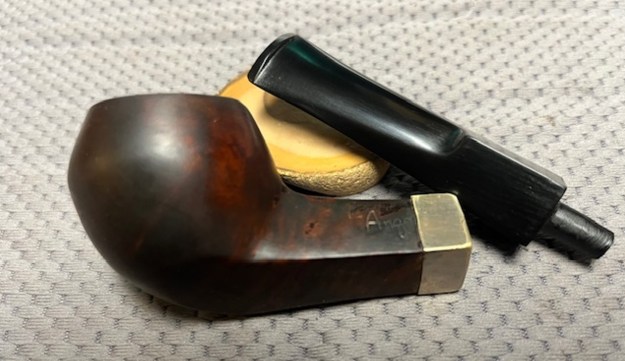
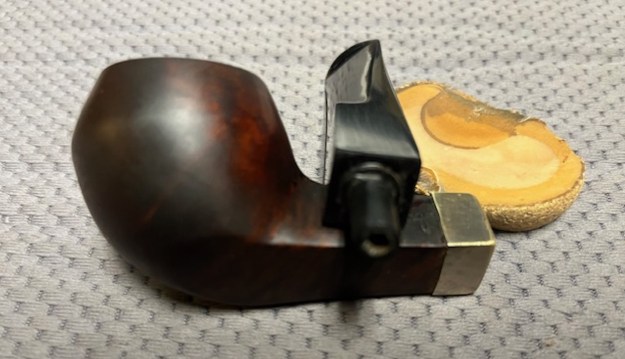
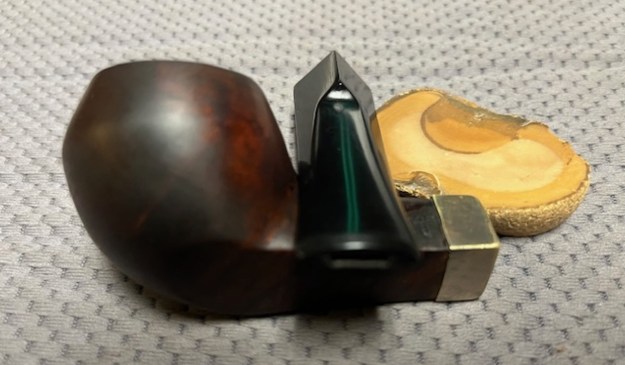
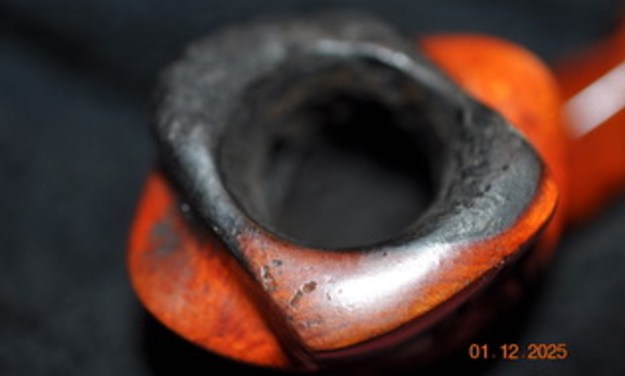
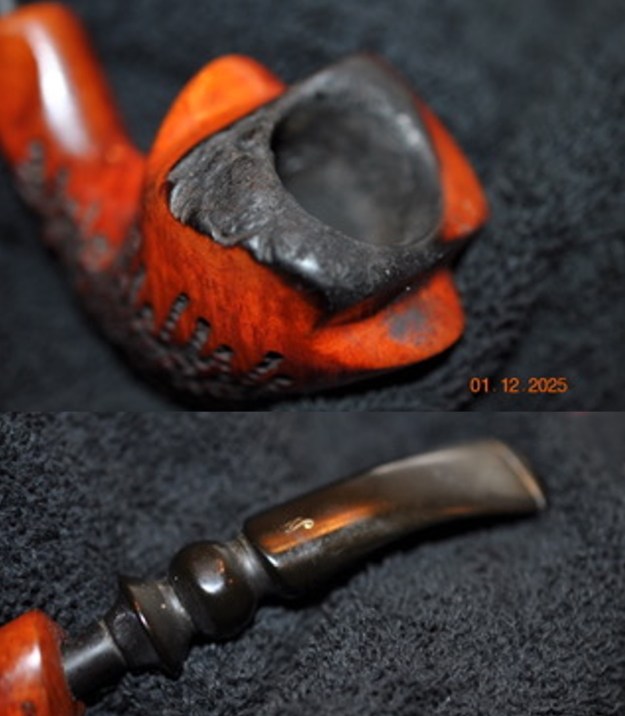
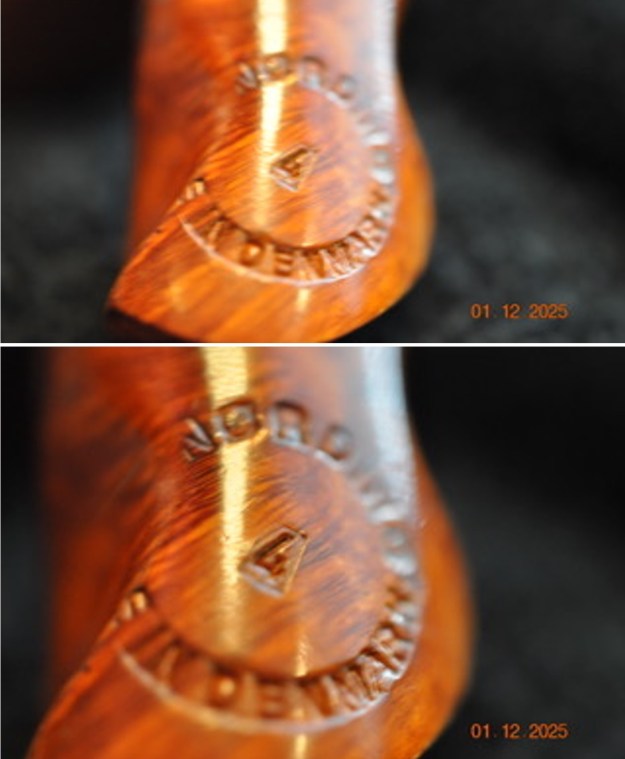
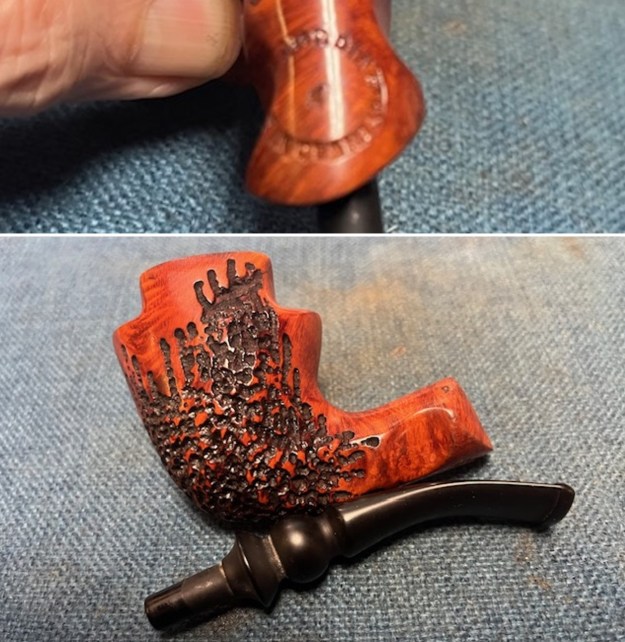
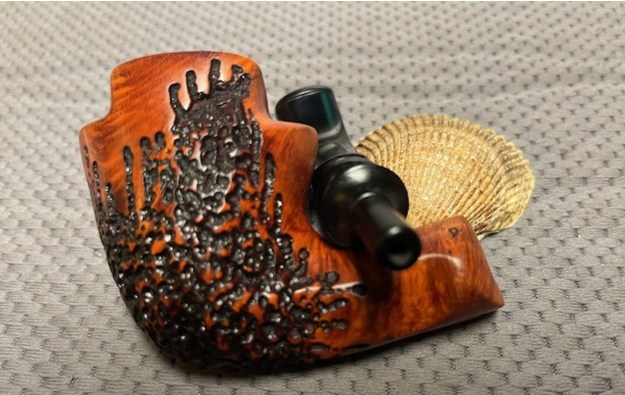
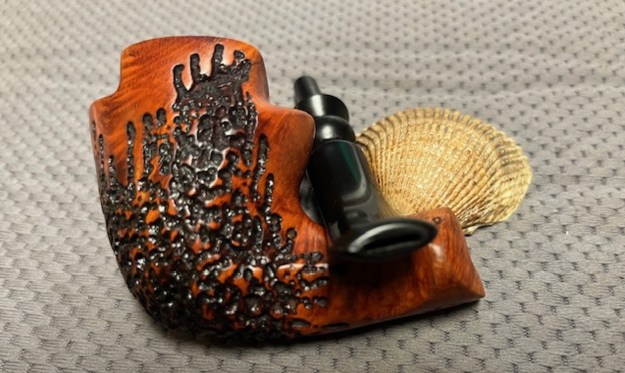
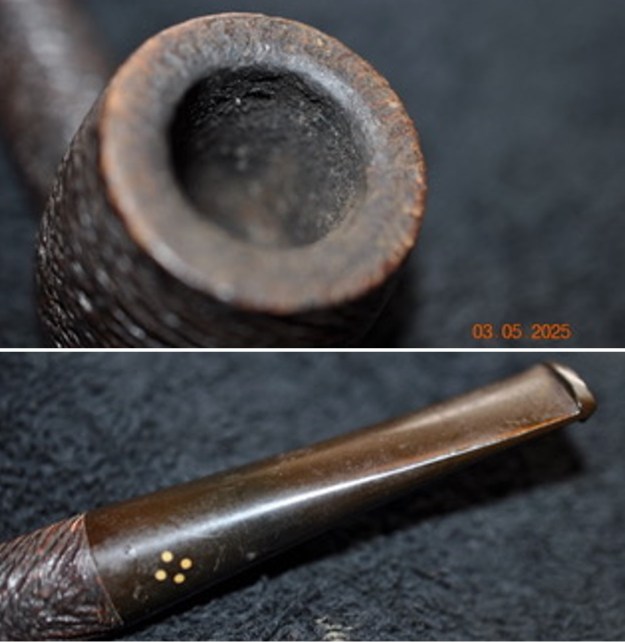
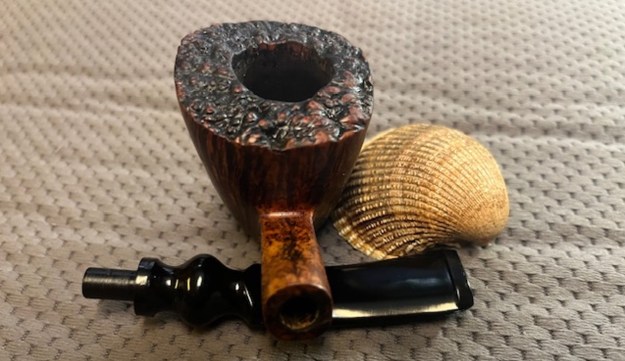
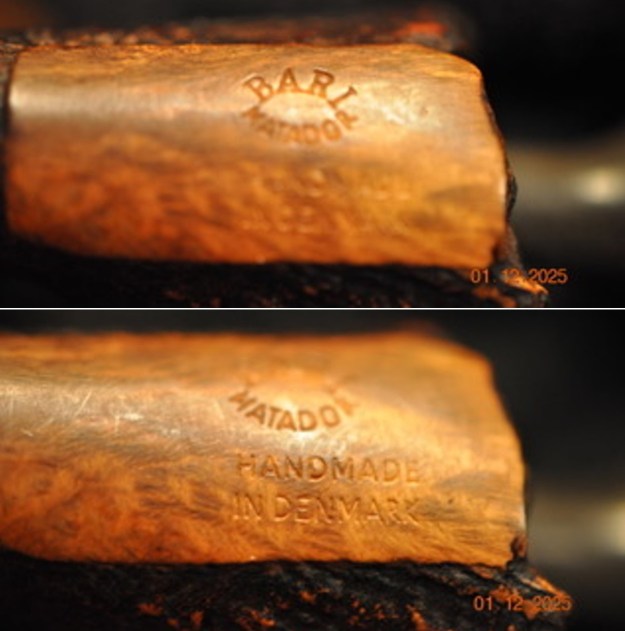
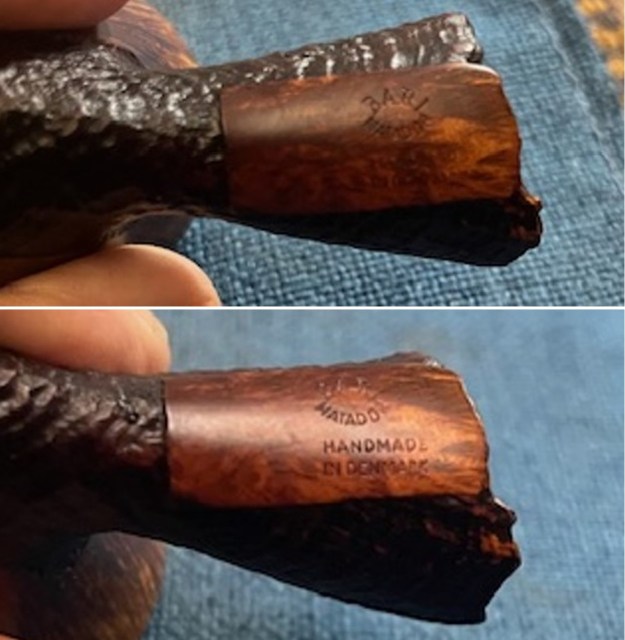
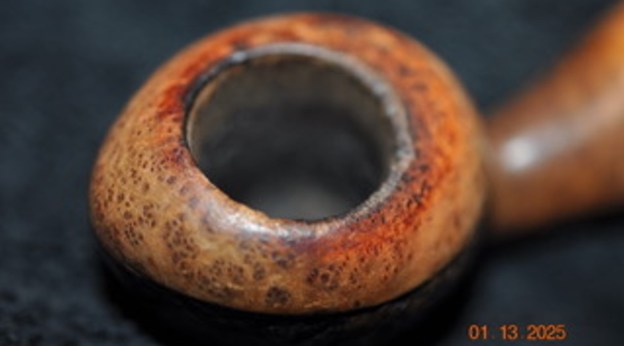
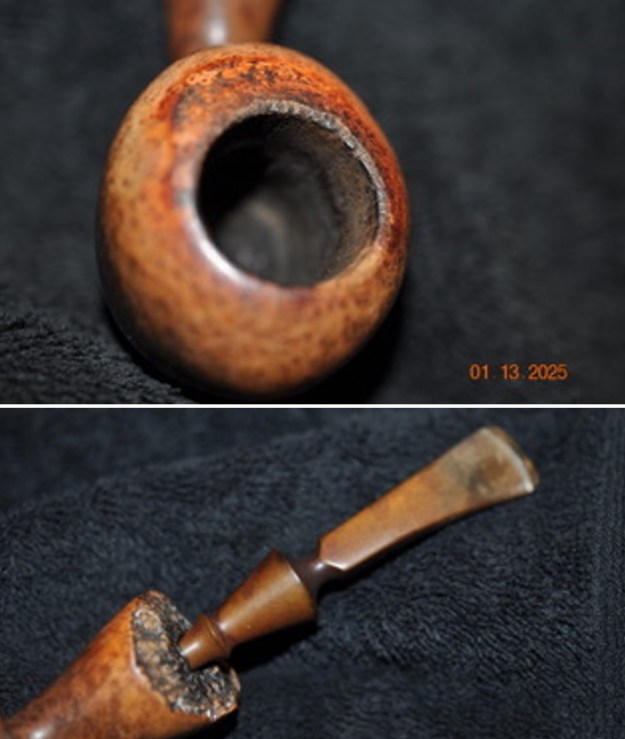
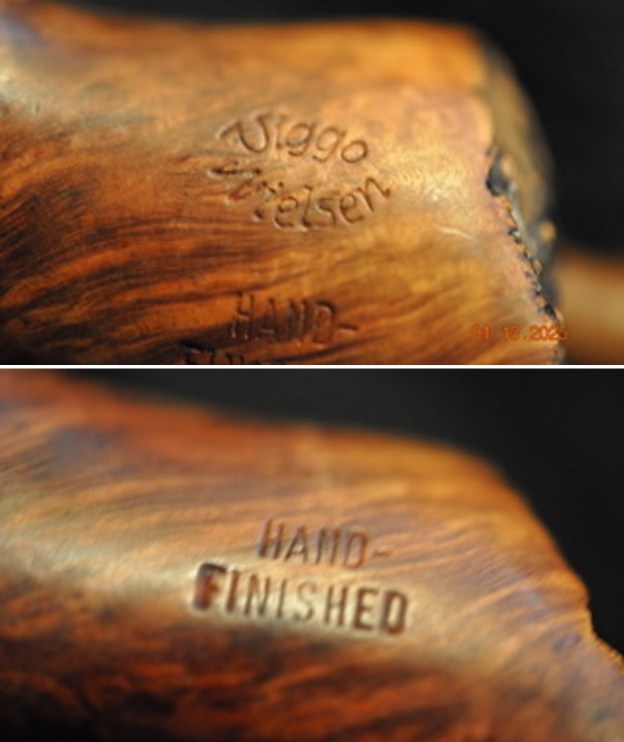
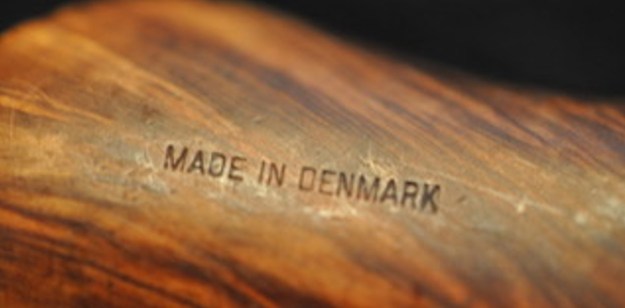
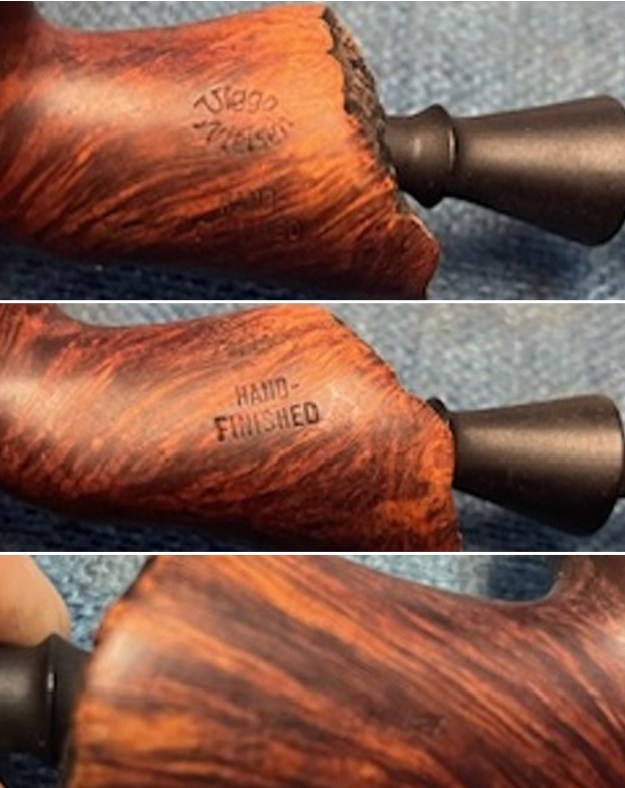
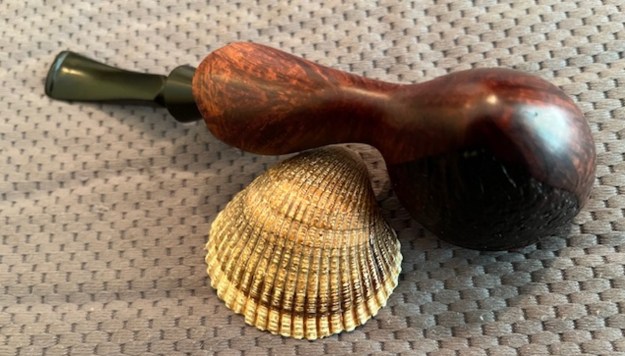
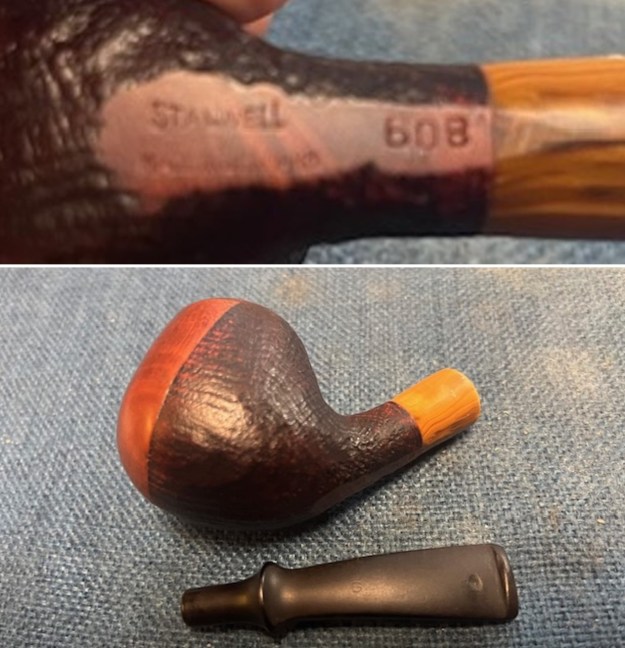
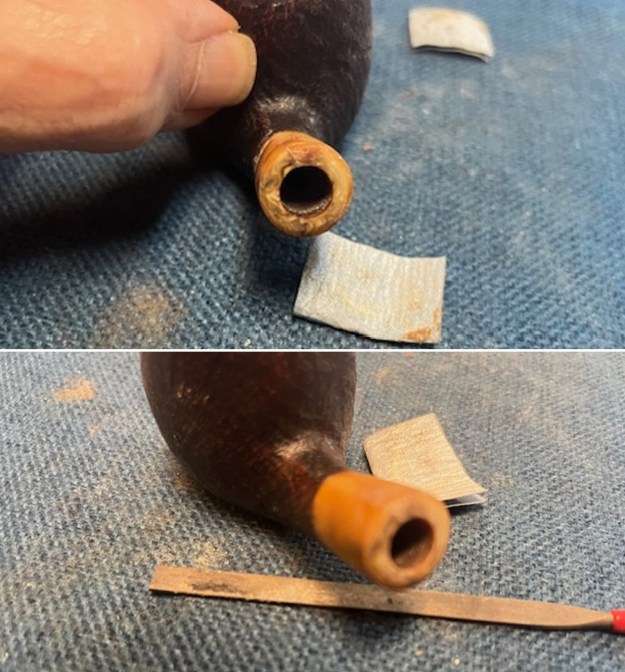
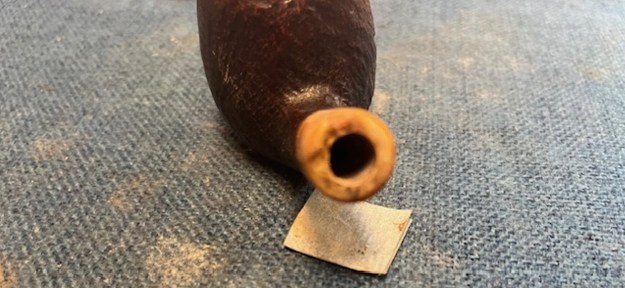
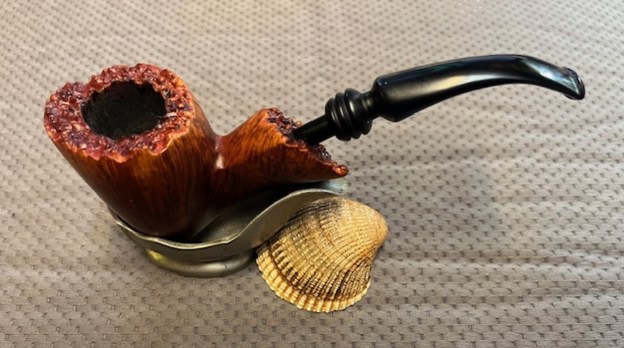
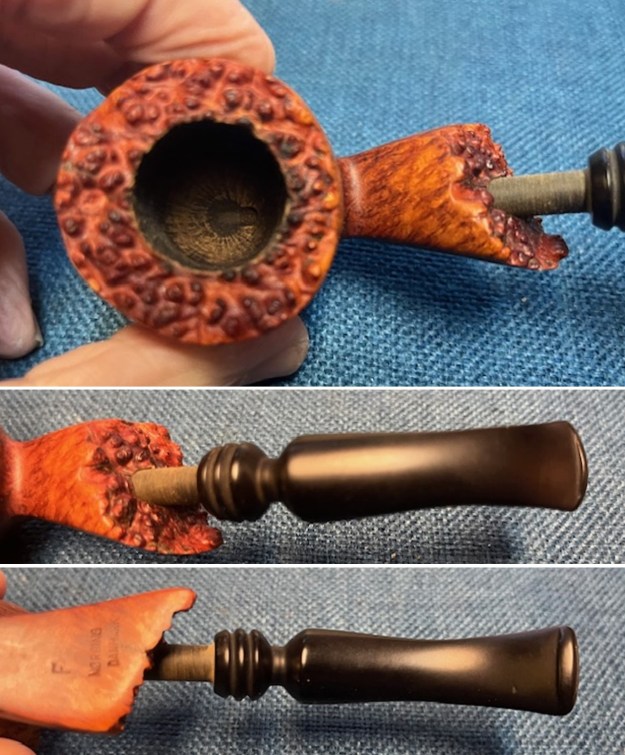
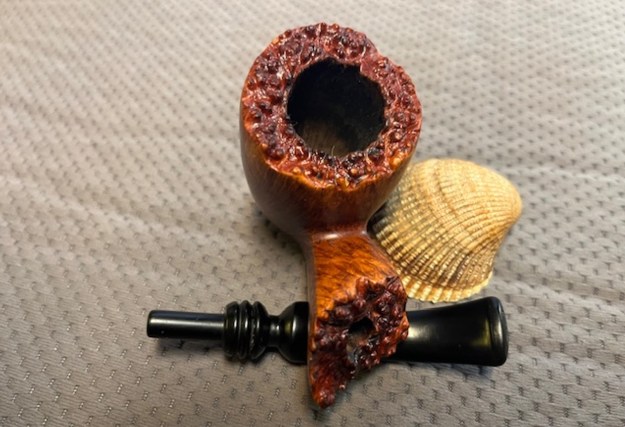
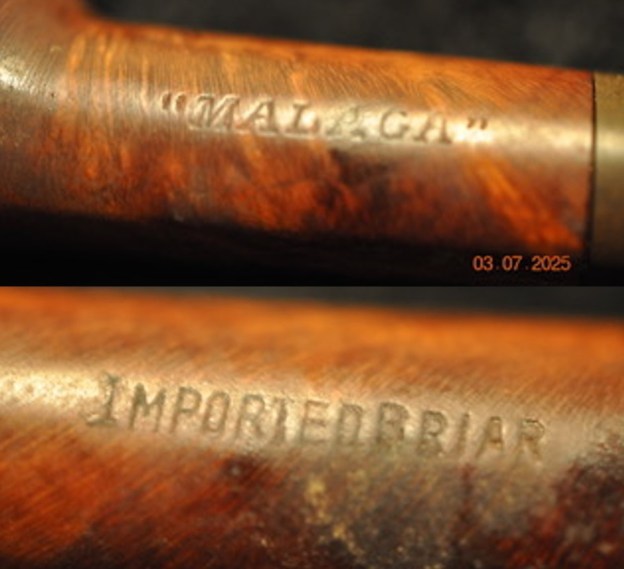
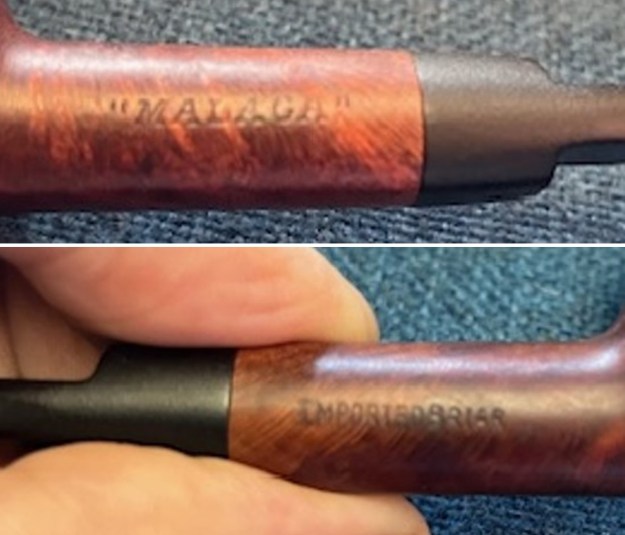
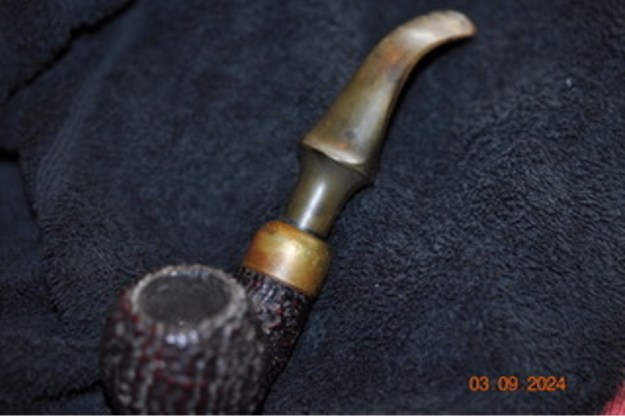
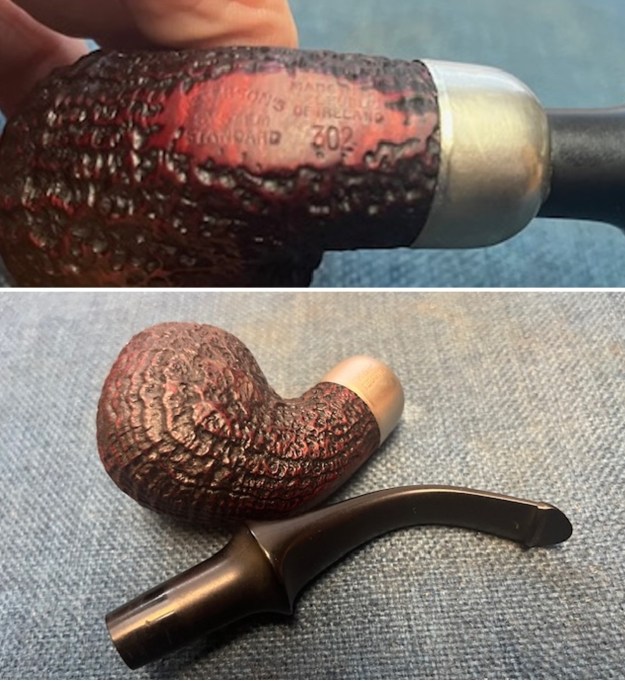
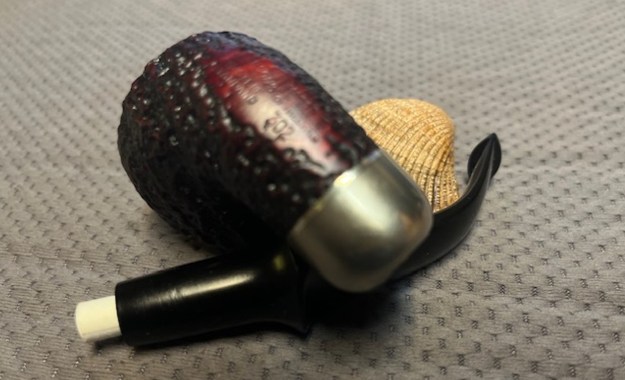
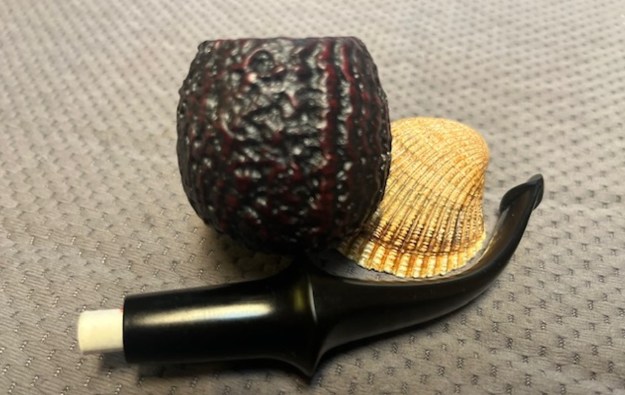
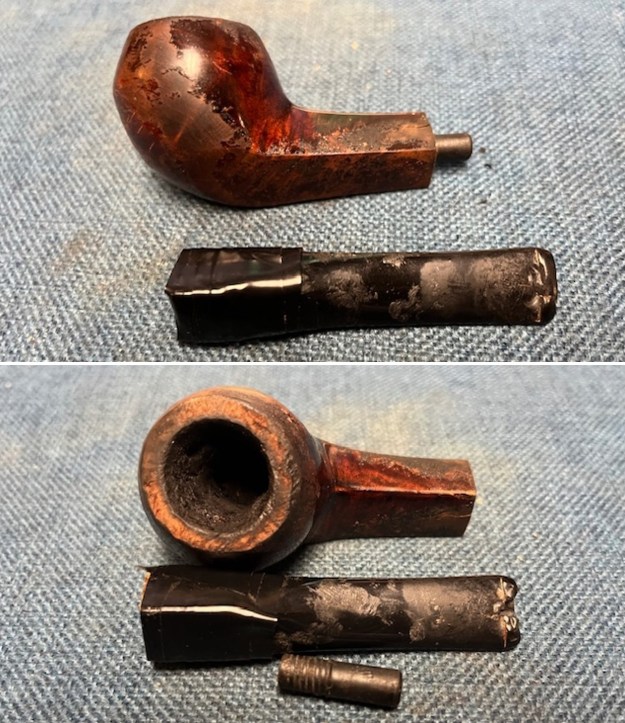 I took a photo of the stamping on the left topside of the shank and captured crack on that side of the shank as well.
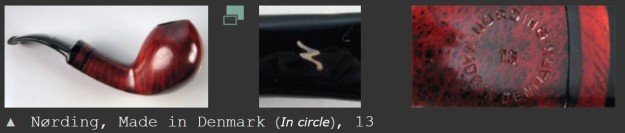
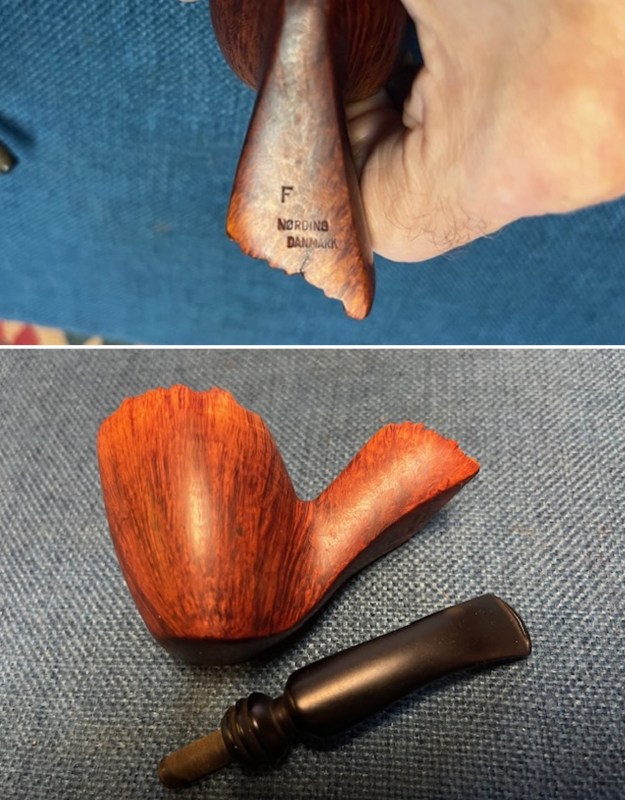
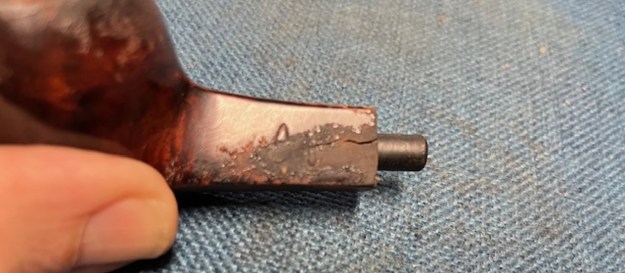 Before I started my cleaning up the and crafting a new stem for the pipe I wanted to have a bit of information on the Angelo brand. I personally like to have the background so that when I am working on a pipe I know who carved or made it originally. Then as I work on it I can carry on a dialogue with them (at least in my mind) about my changes. I turned to PipePhil’ site for information (http://www.pipephil.eu/logos/en/logo-a6.html#angelo). I have included a screen capture of the pertinent section and the sidebar information below the photo.
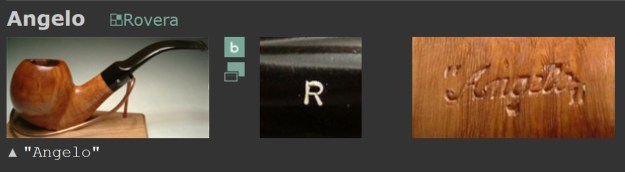 Second brand used by the Rovera family (Angelo and Damiano) who produces Ardor, Roverart and Rovera.
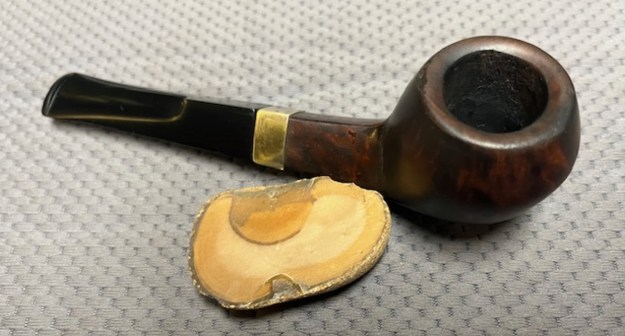
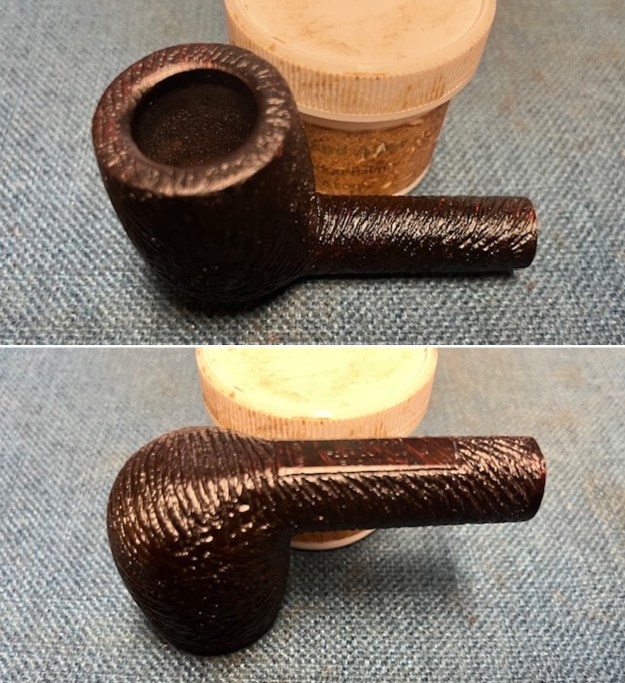
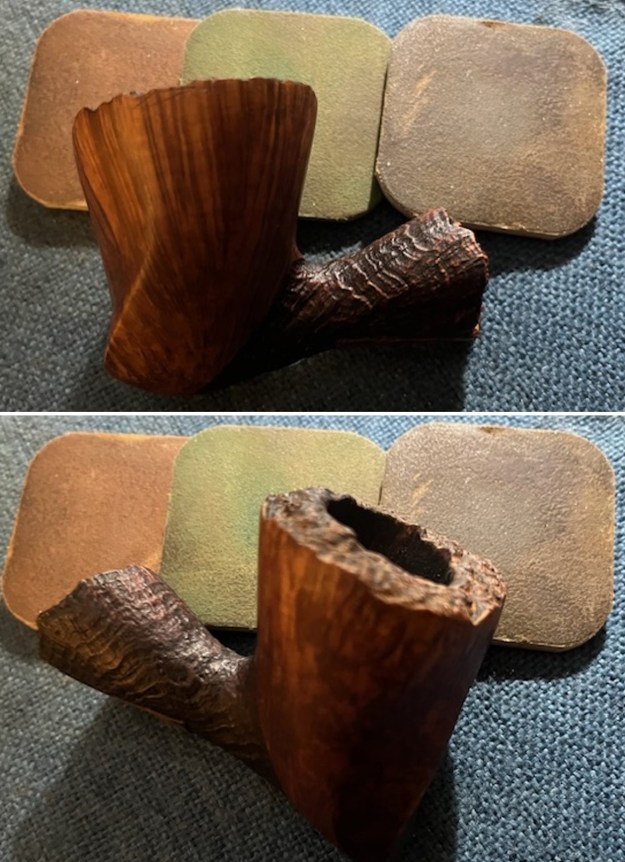
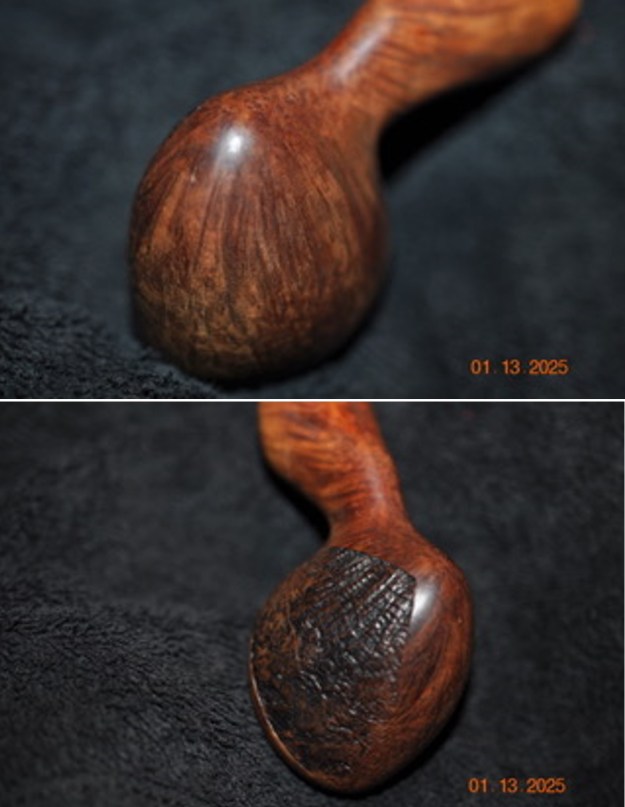
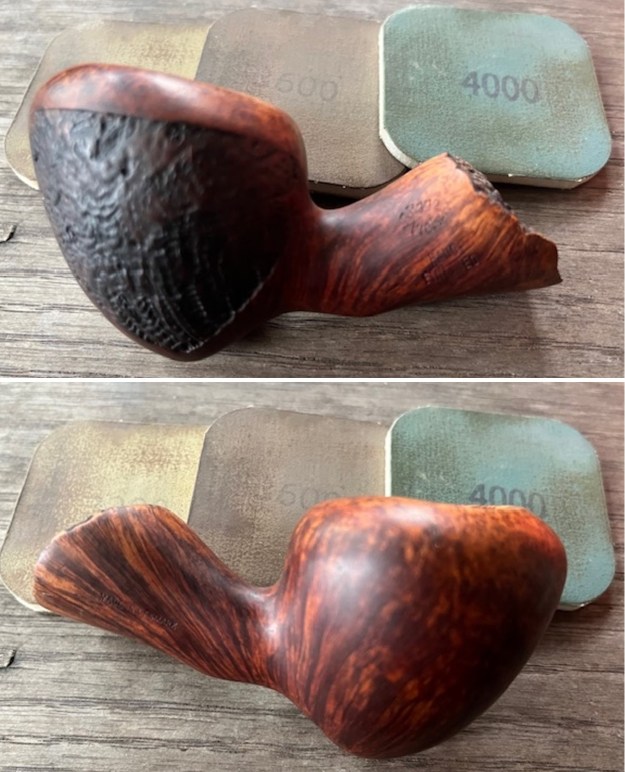
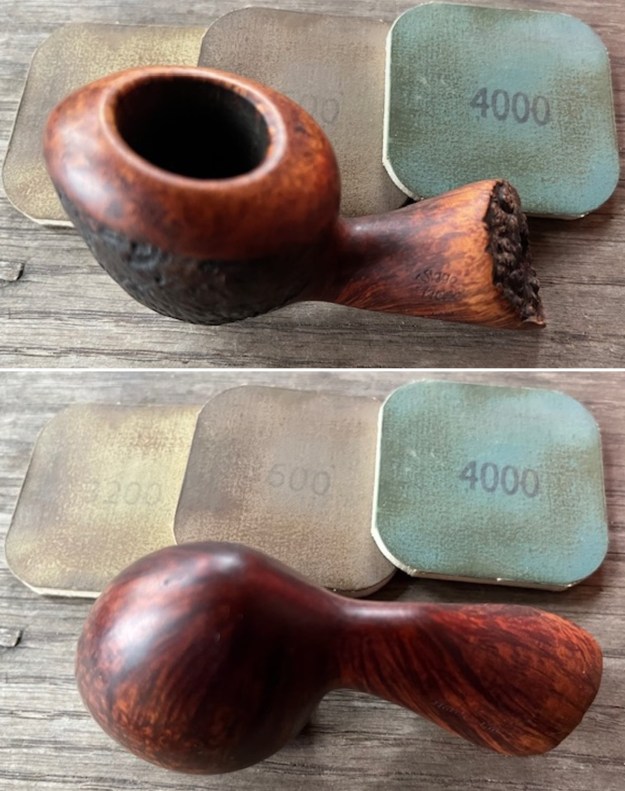
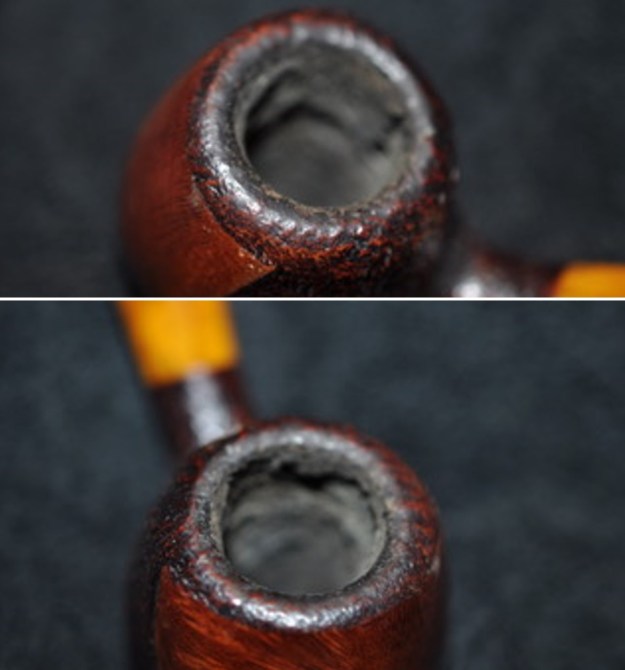
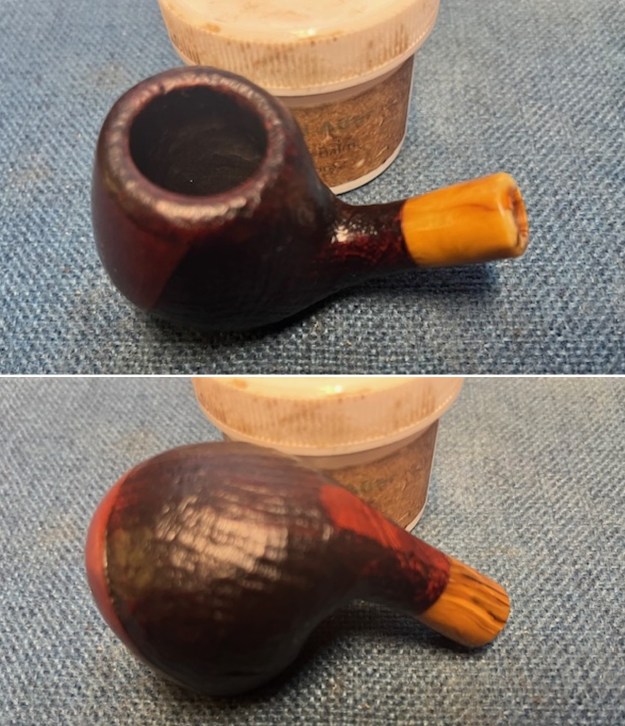
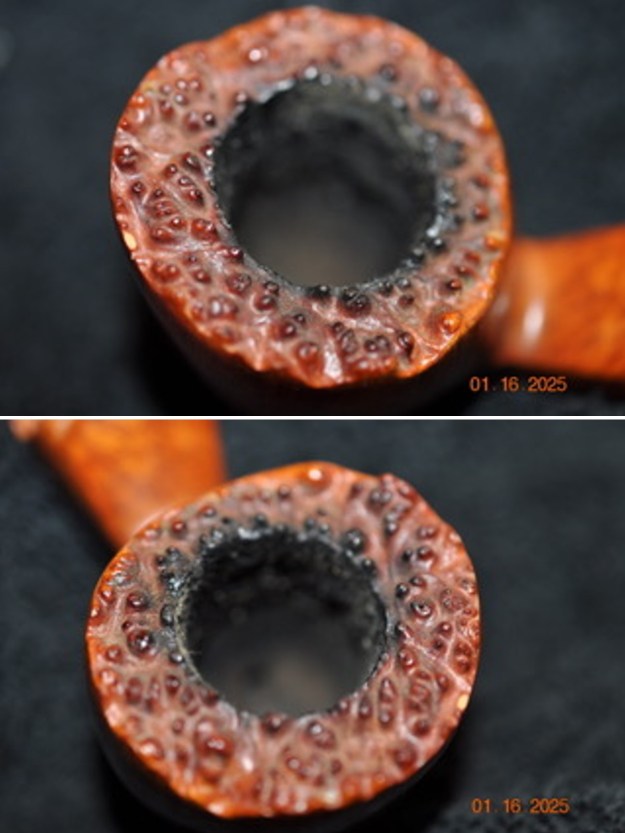
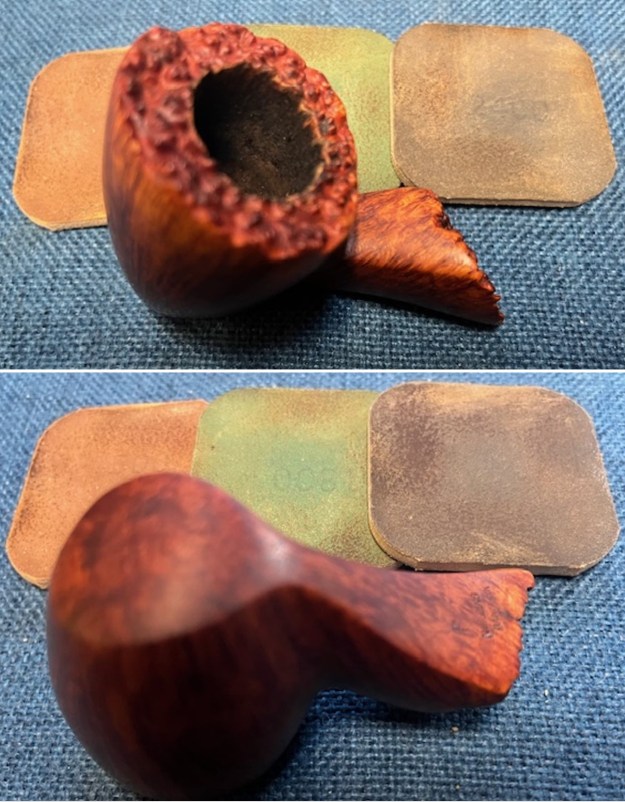
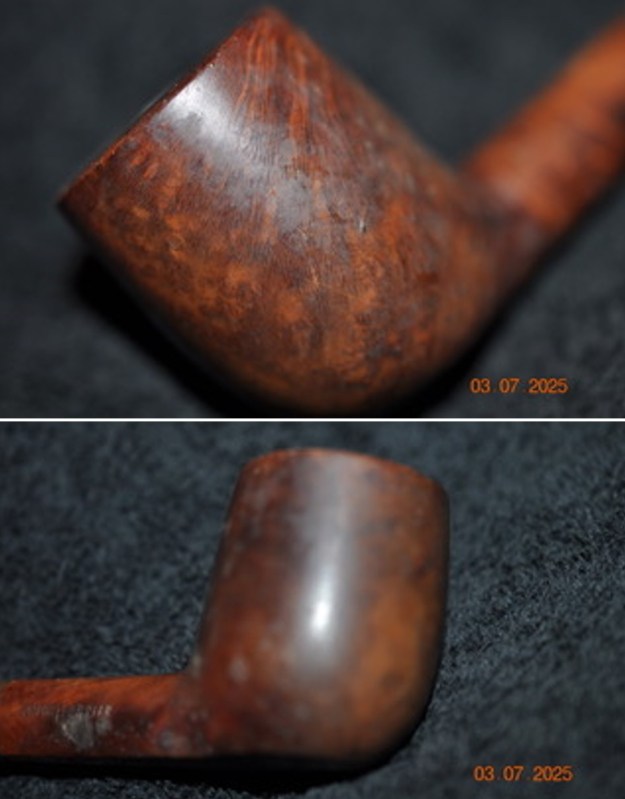
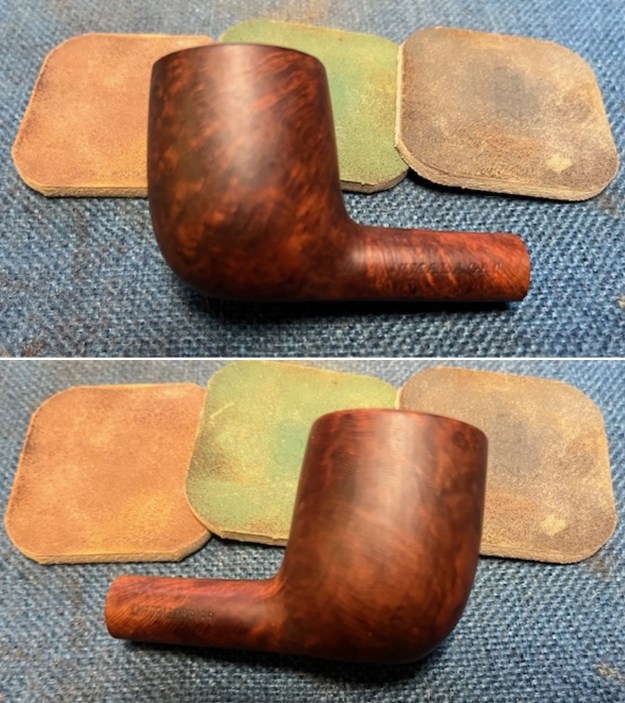
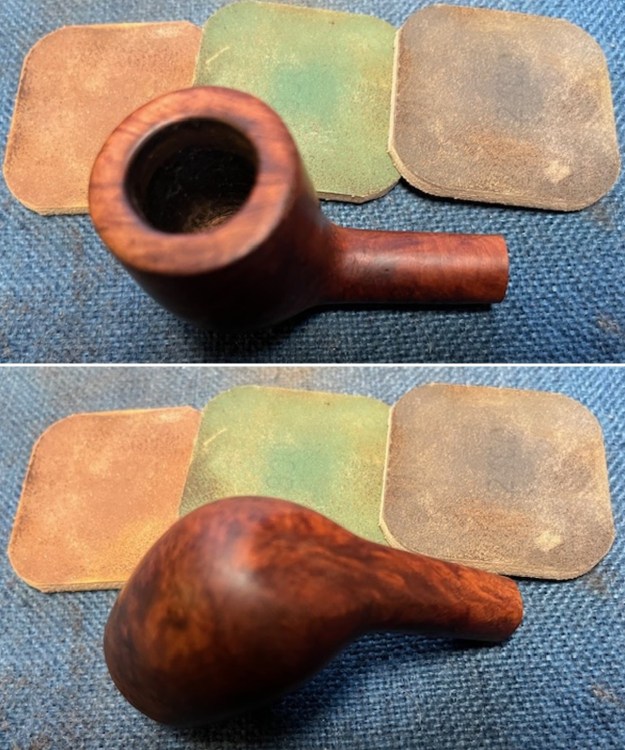
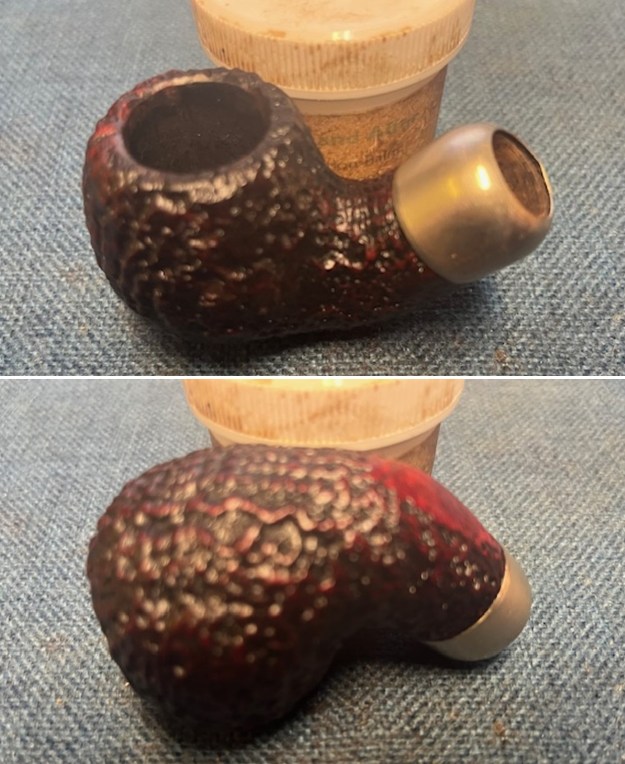
I started my work on the pipe by reaming the bowl. You can see the spotty varnish coat of the finish on the bowl and shank in the photos. I started the reaming with a Pipnet Pipe Reamer using the second and third cutting heads to take back the cake to the bare walls. I cleaned up the reaming with a Savinelli Fitsall Pipe Knife to scrape the remnants. I sanded the bowl walls with 220 grit sandpaper wrapped around a piece of dowel. It looked. much better.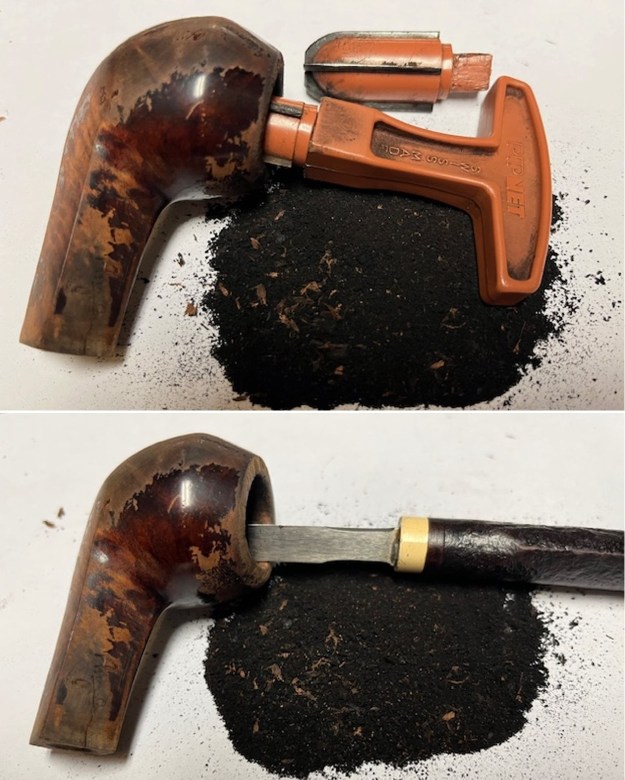
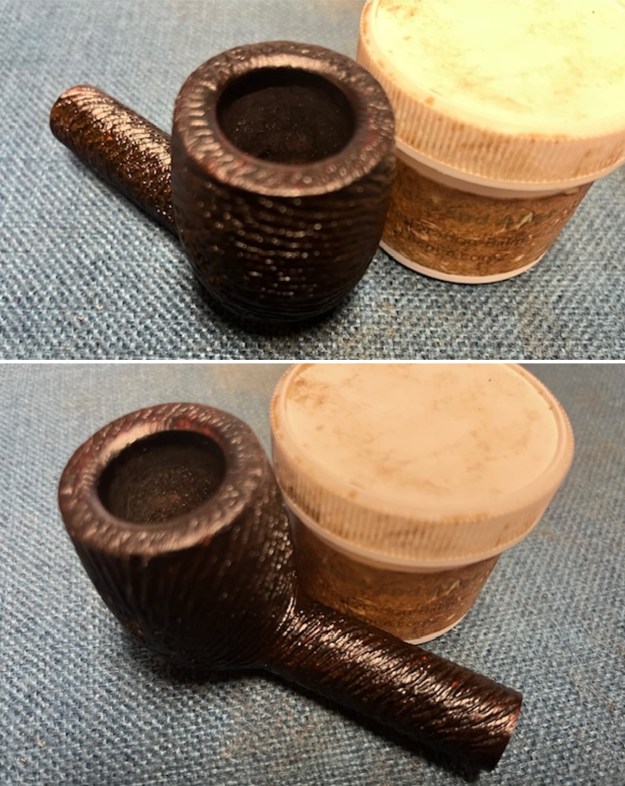
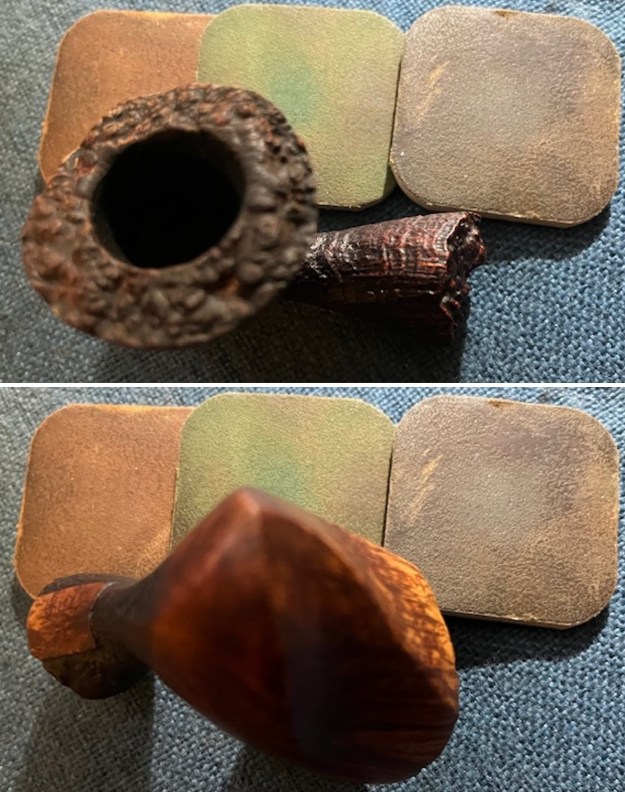
 I decided to try and remove the spotty varnish coat. I wiped the bowl down with acetone on cotton pads to remove as much as I could. I would need to do some sanding on it as there were still dark spots on the finish that would need to be removed.
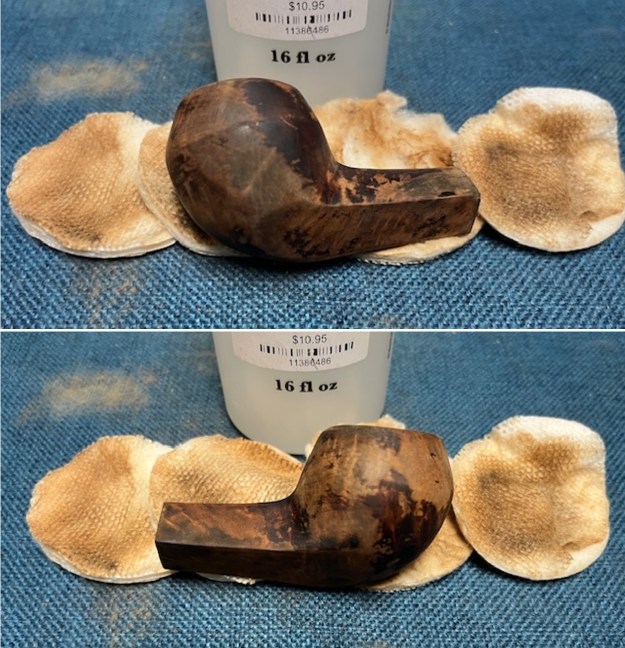
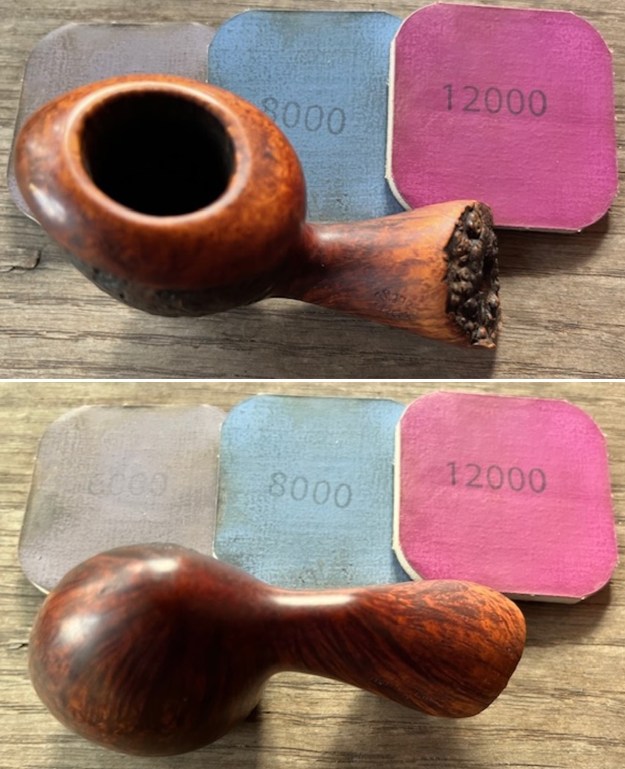
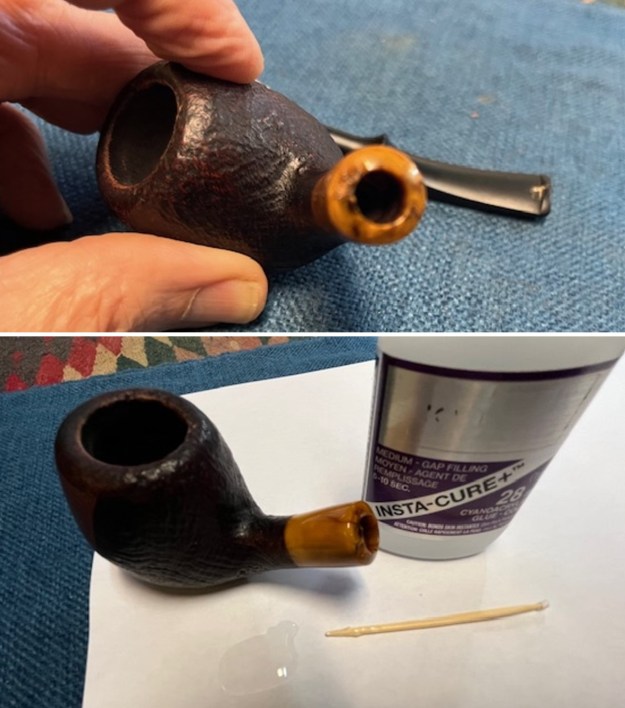
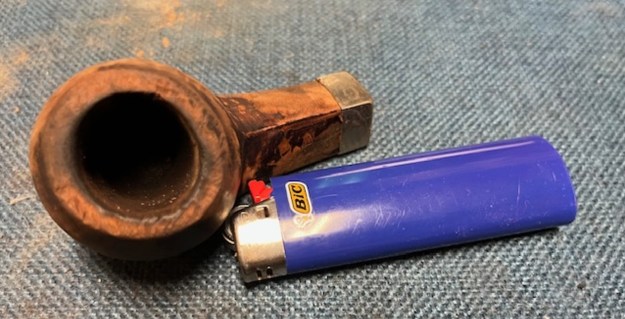
 I went through my bands and found a ferrule style diamond band from the shank end. It was a good fit from the look of it. I heated it with a lighter and pressed it onto the cracked shank. It fit very well and brought the cracks together. It slight covered the “o” on the end of the Angelo stamping.
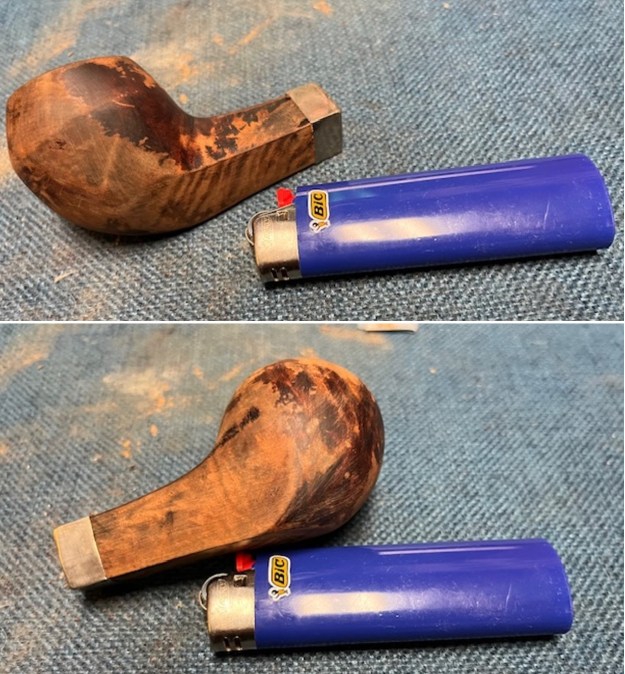
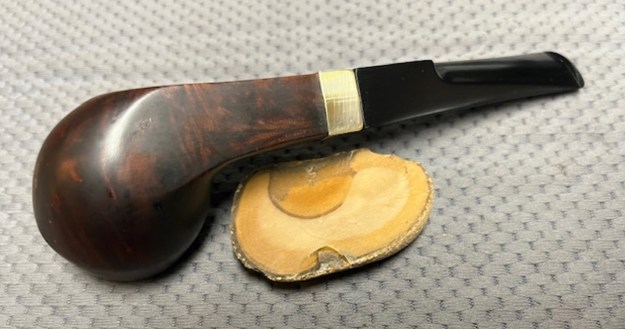
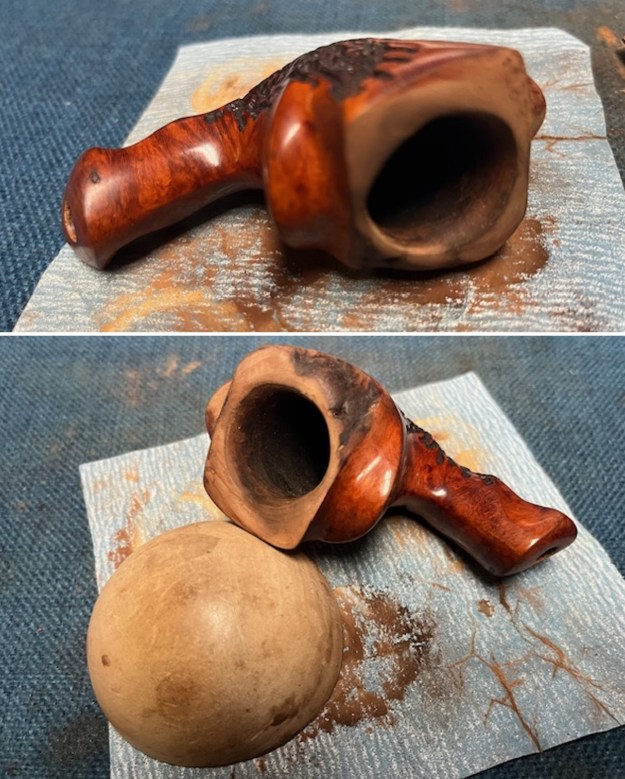
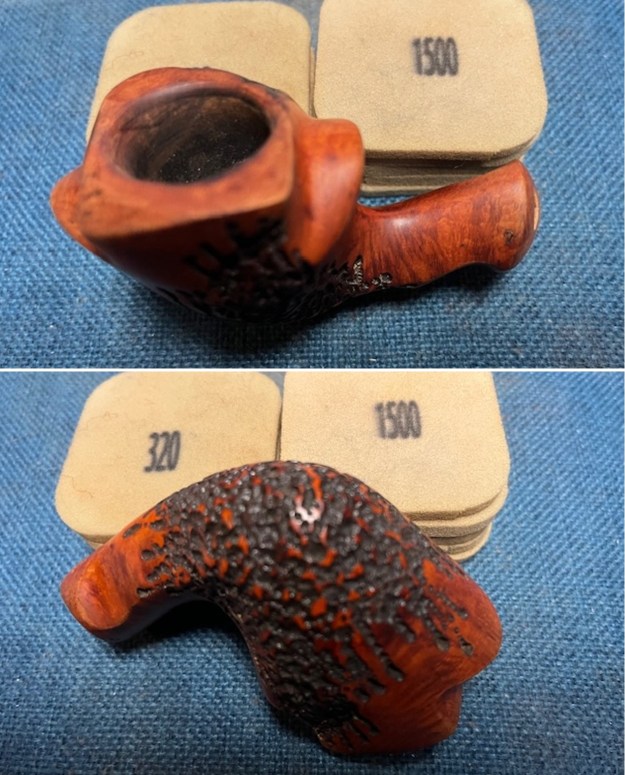
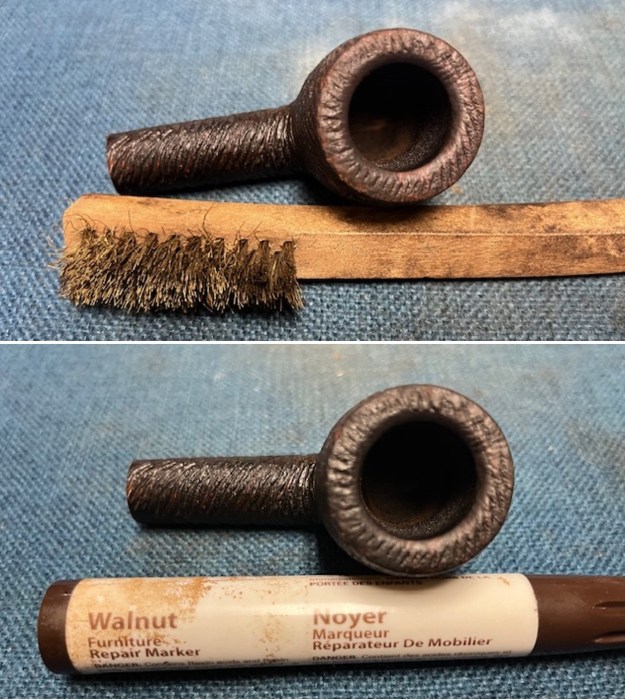
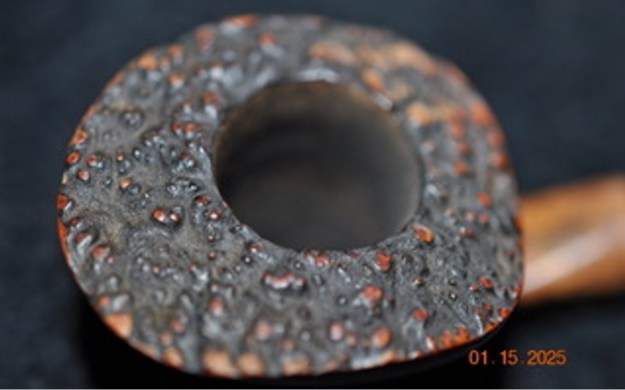
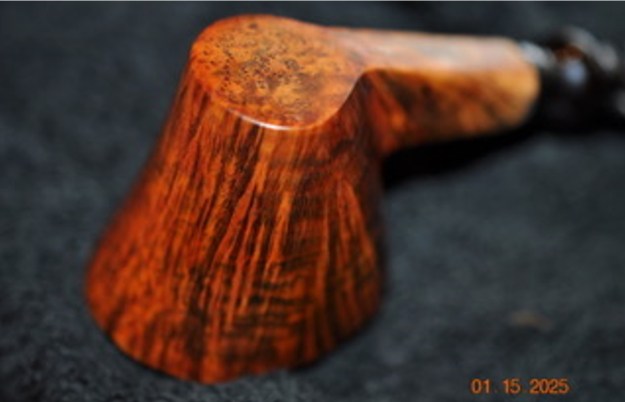
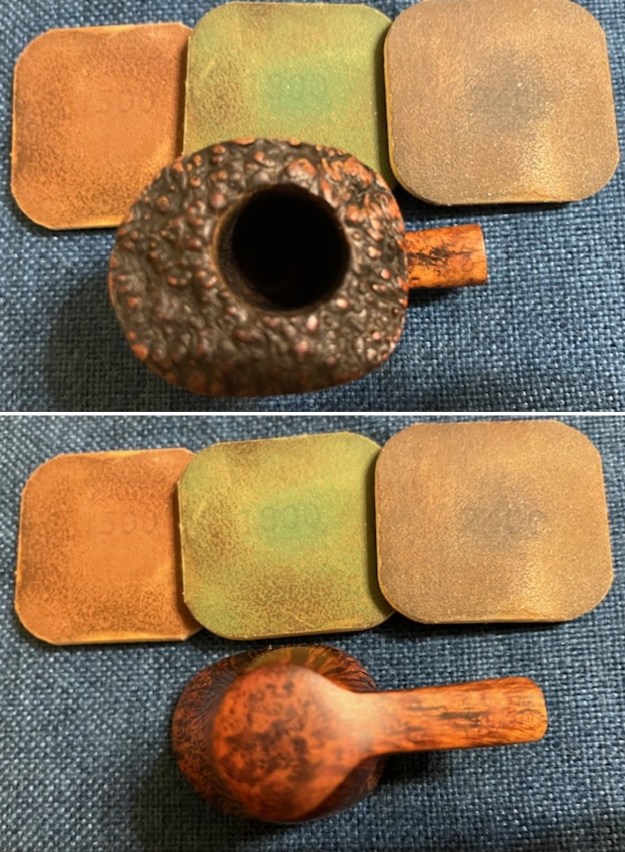
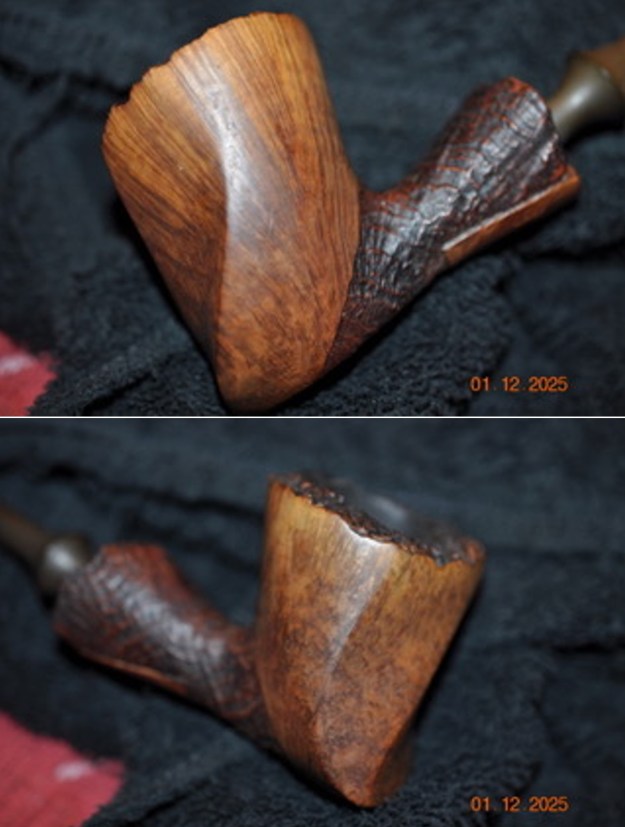
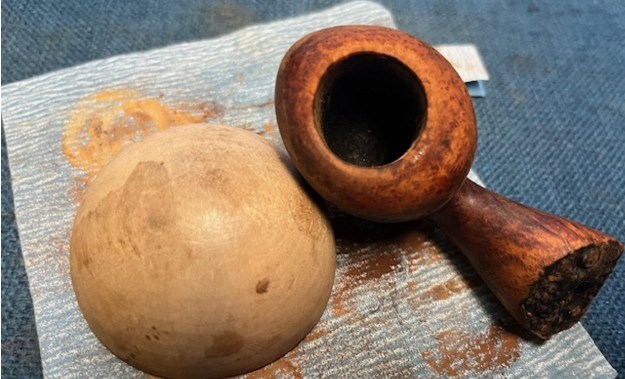
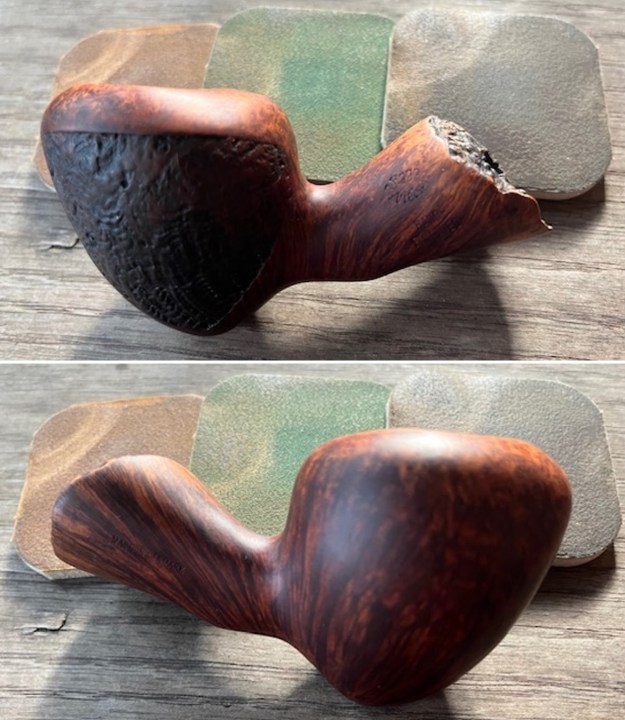
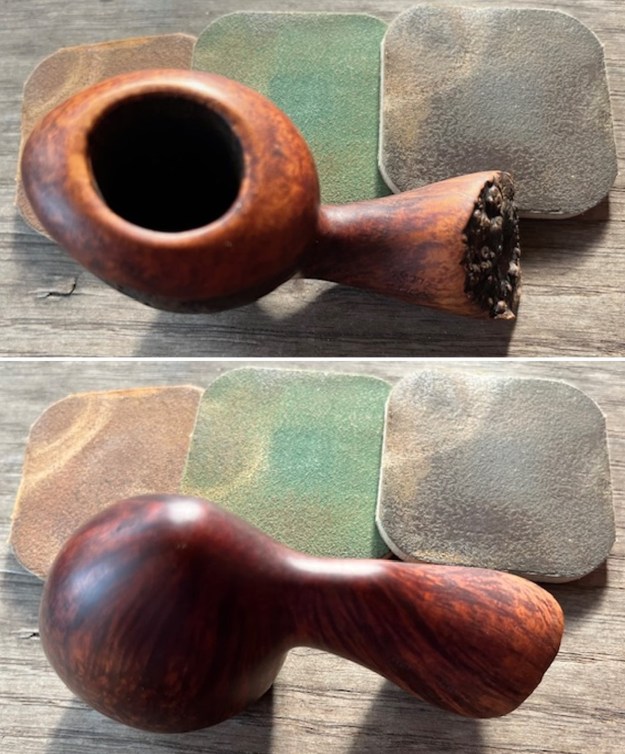
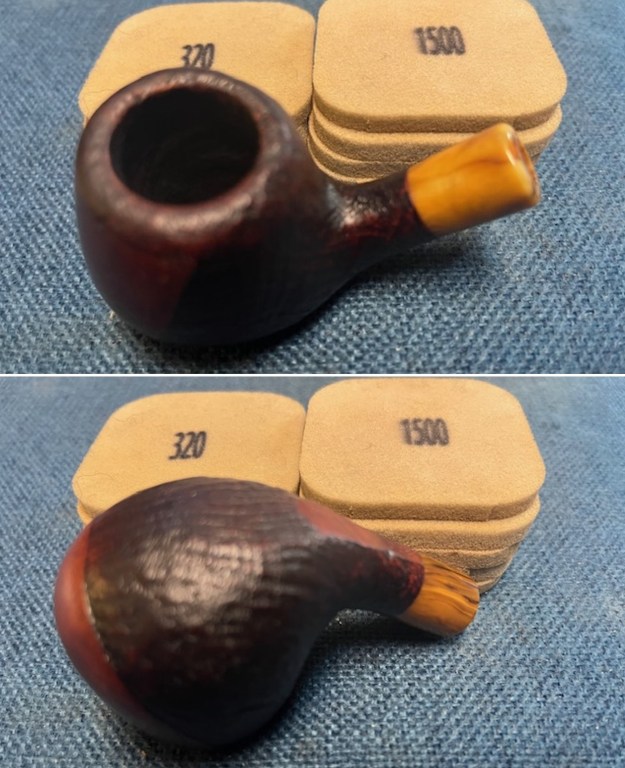
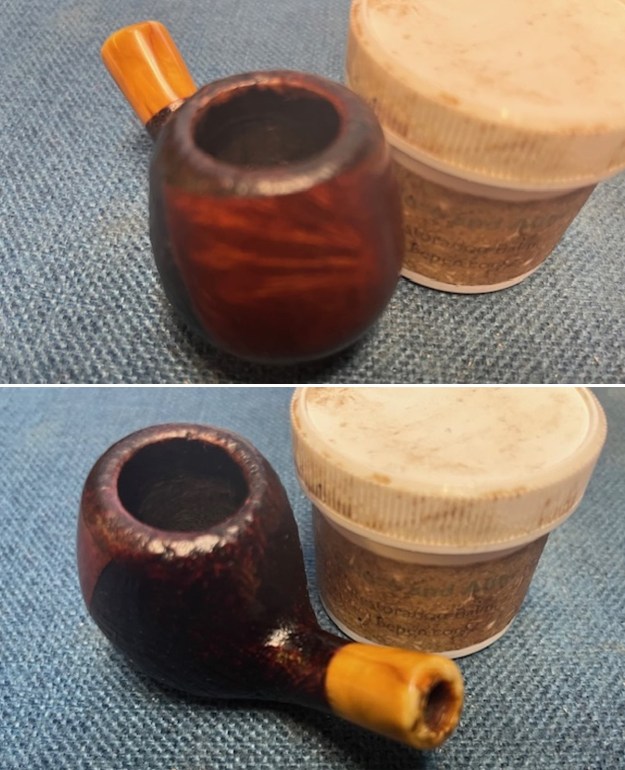
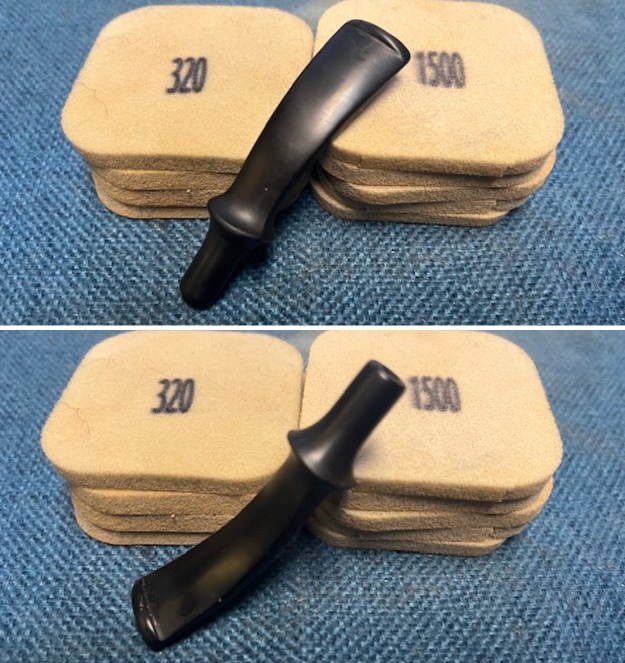
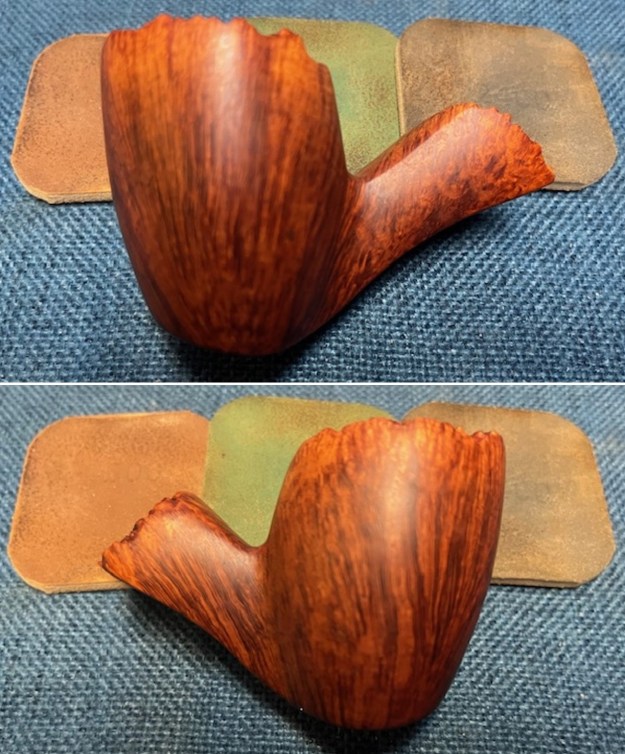
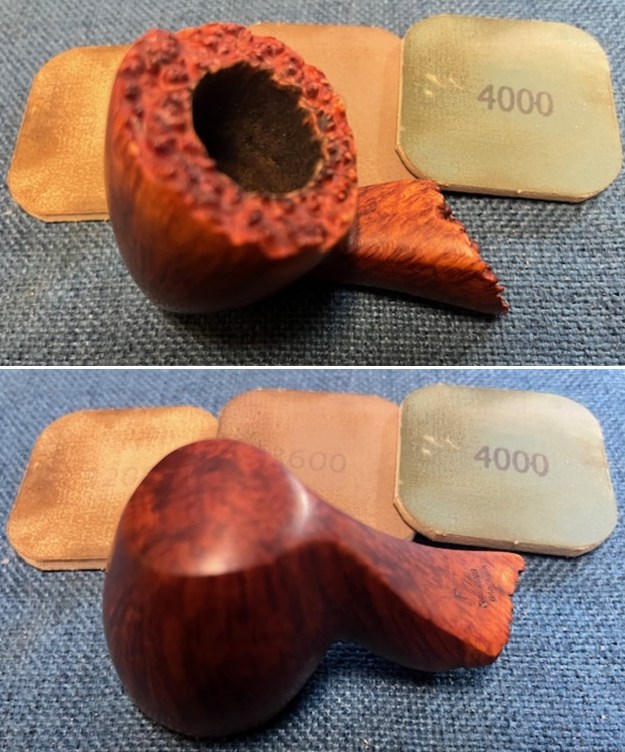
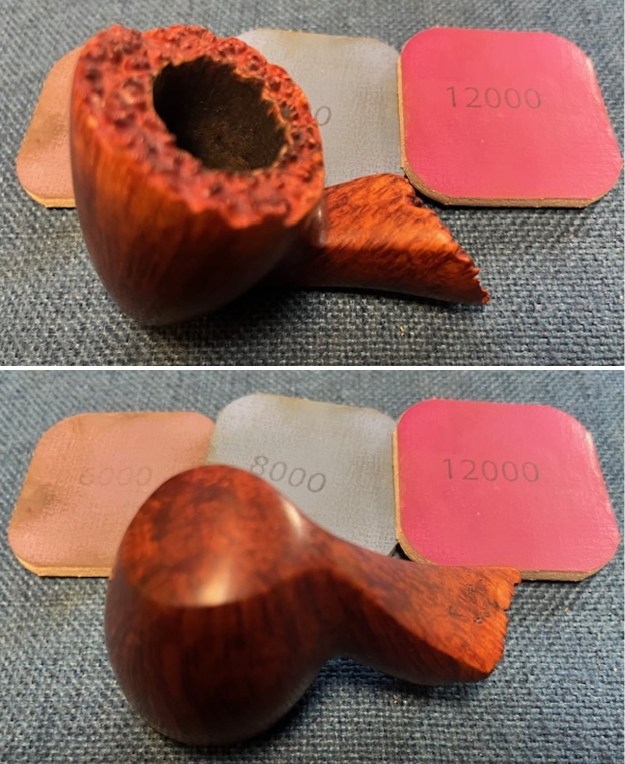
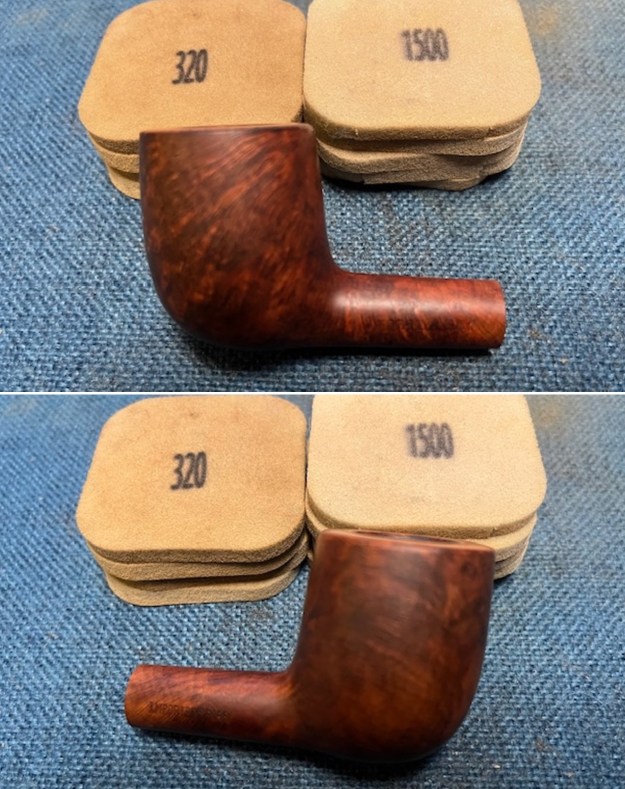
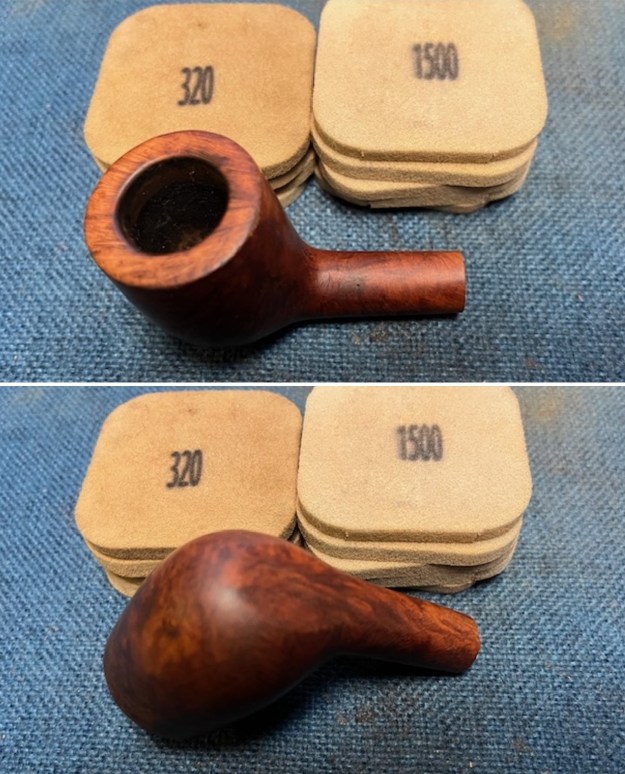
 I sanded the top of the bowl with a folded piece of 320 sandpaper to clean up the rim damage and the inner edge. Once it was flattened I used a wooden sphere to further clean up the rim top and to minimize the damage on the inner edge of the bowl. I sanded to remove the darkening around the rim and inner and outer edge of the bowl. It is frustrating, but I forgot to take photos at this point so I posed the bowl after my polishing to show what I had done.
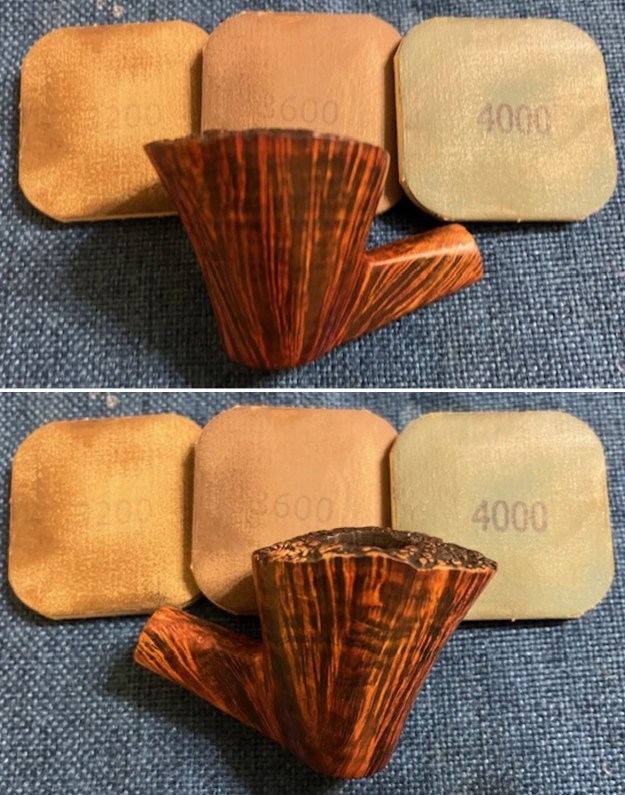
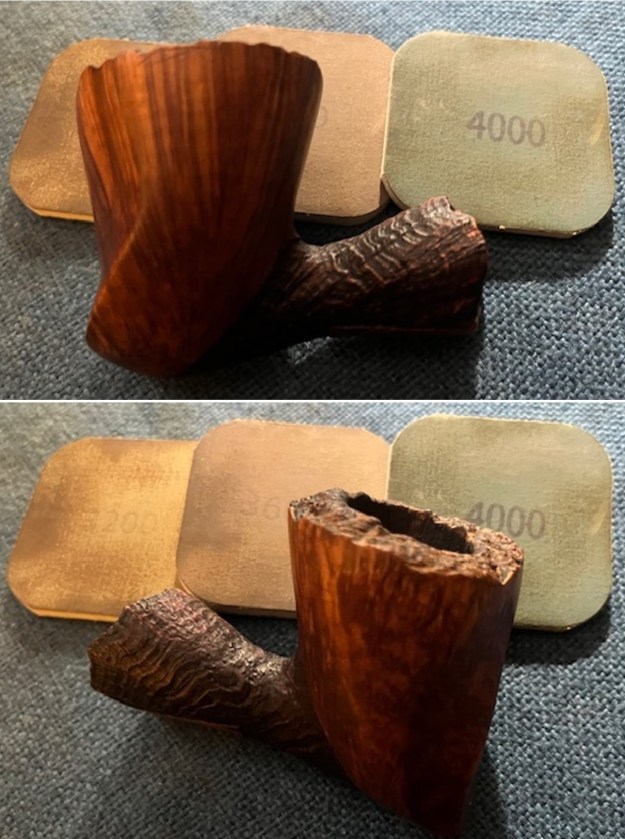
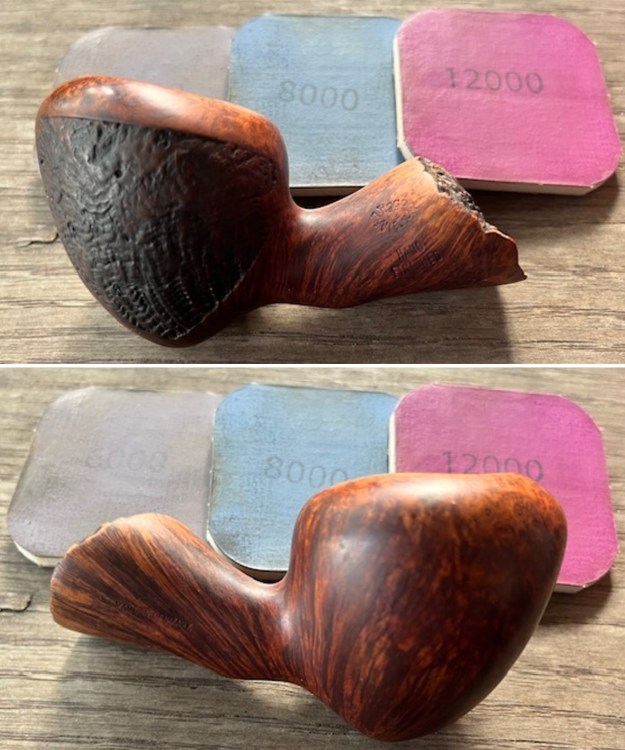
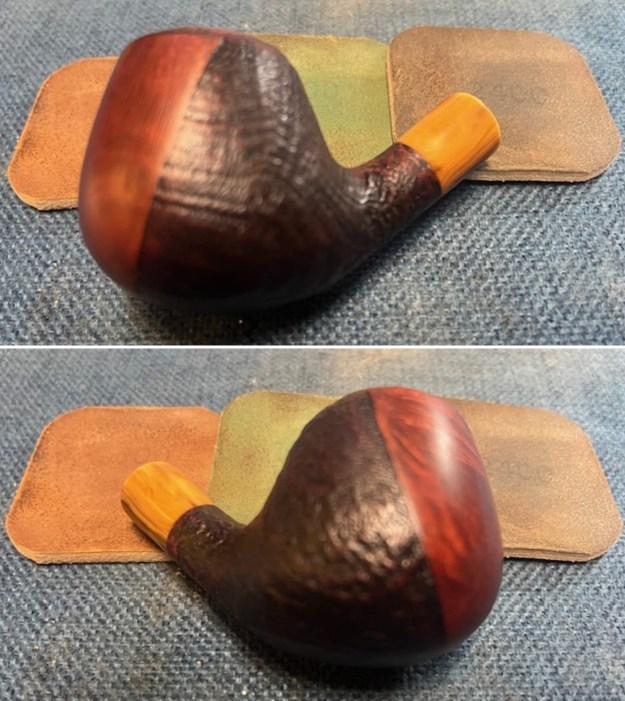
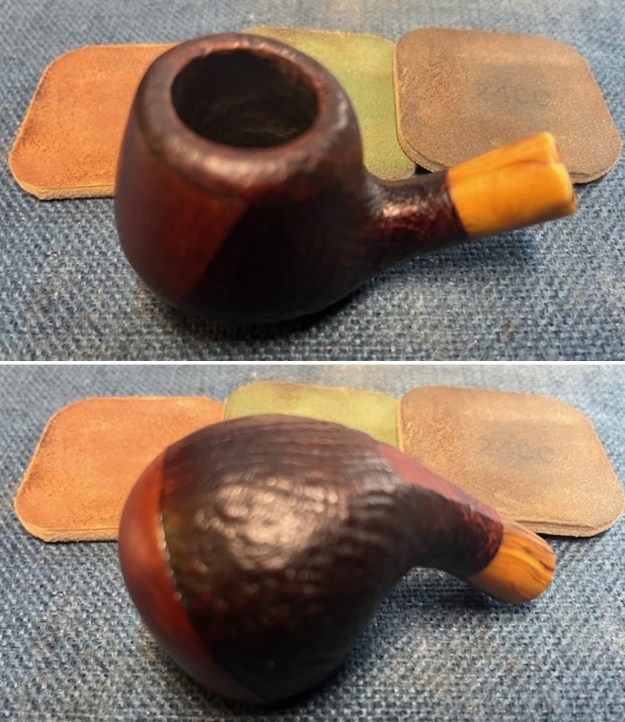
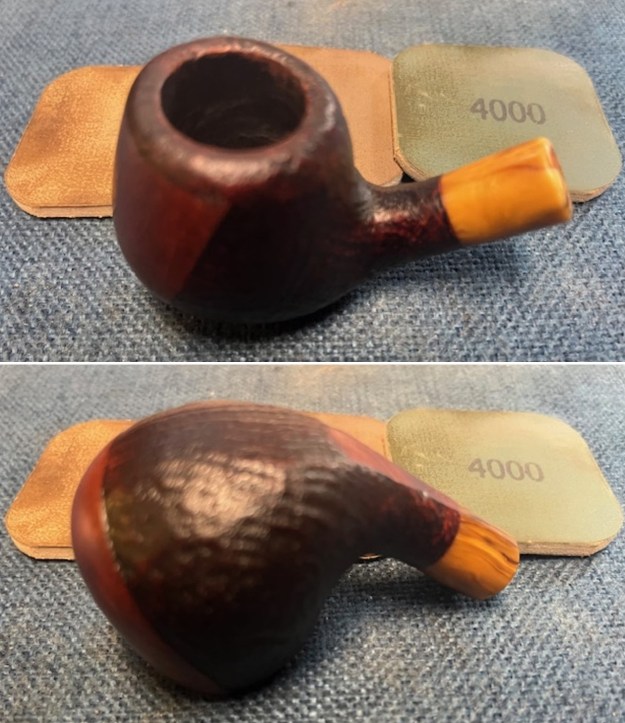
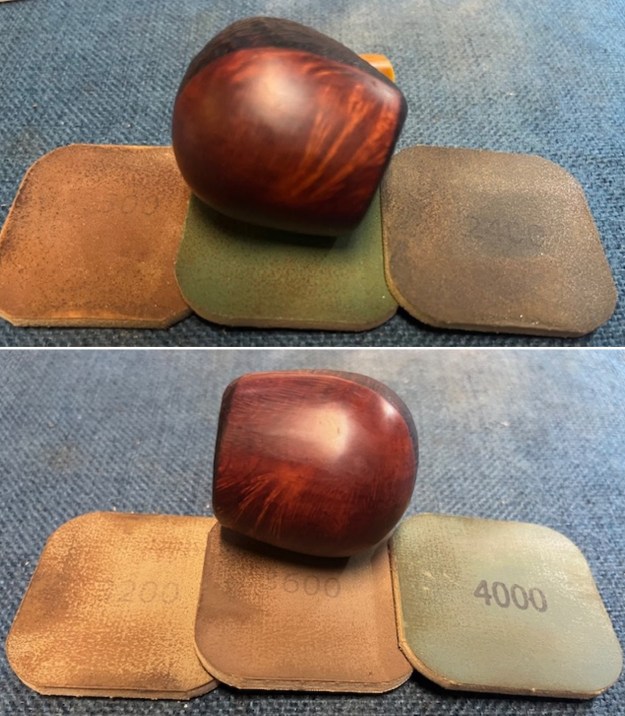
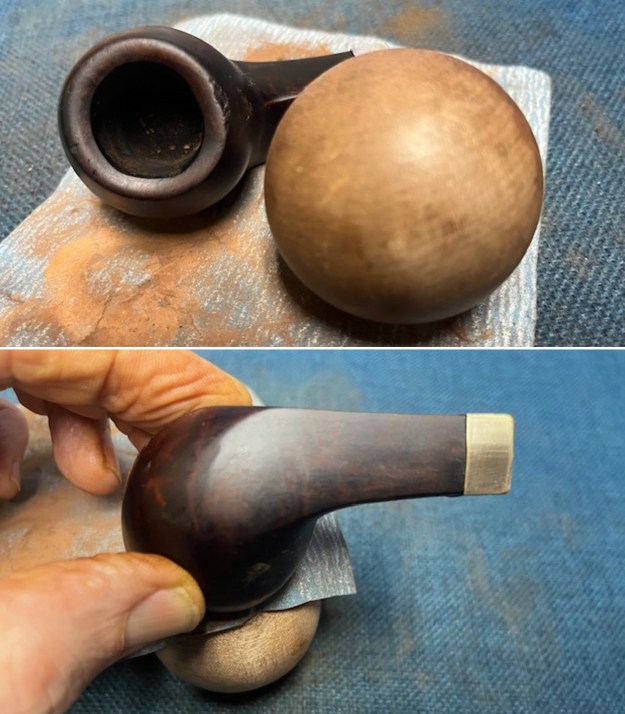 I stained the bowl with dark brown aniline stain (Feibings Shoe Dye) and flamed it to set it in the briar. Once the stain cured, I sanded the bowl with sanding pads – 320 -3500 to smooth out the finish and remove all the scratches and excesses. Once again, I forgot to take these photos. I think I am out of the habit of photographing the pipes as I work on them.
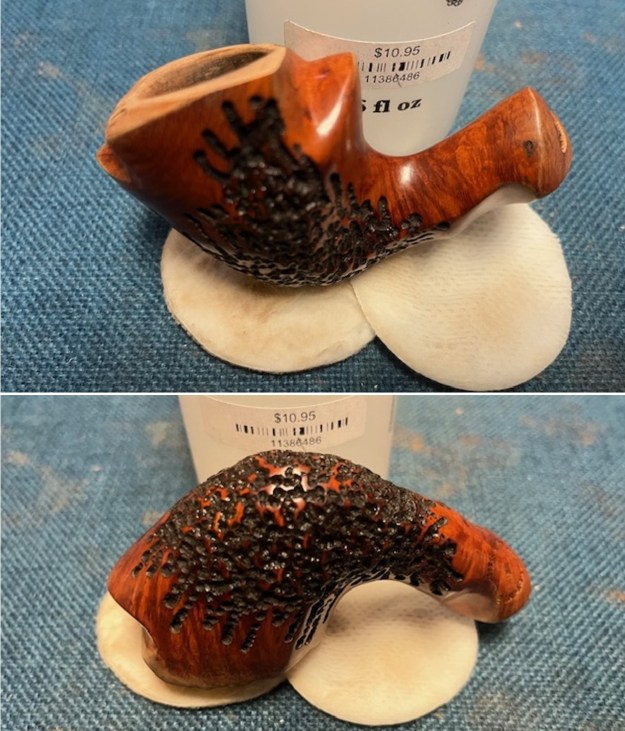
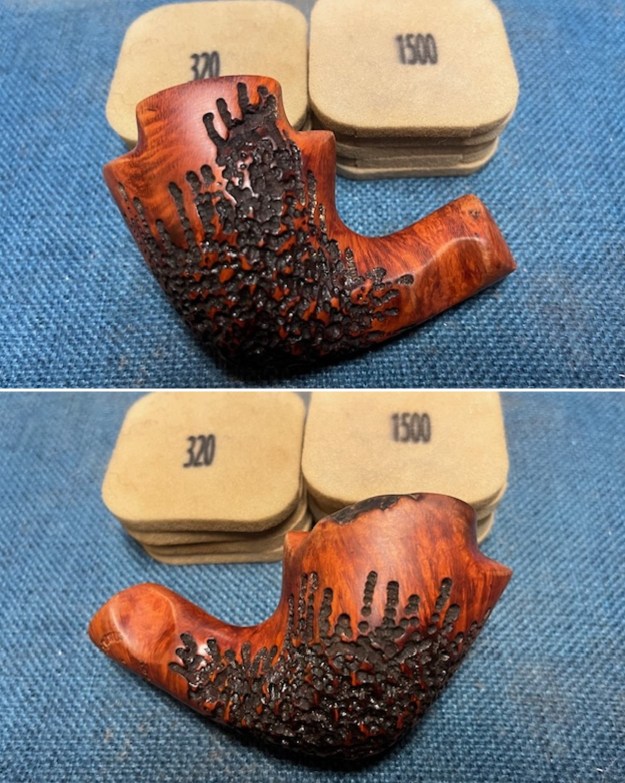
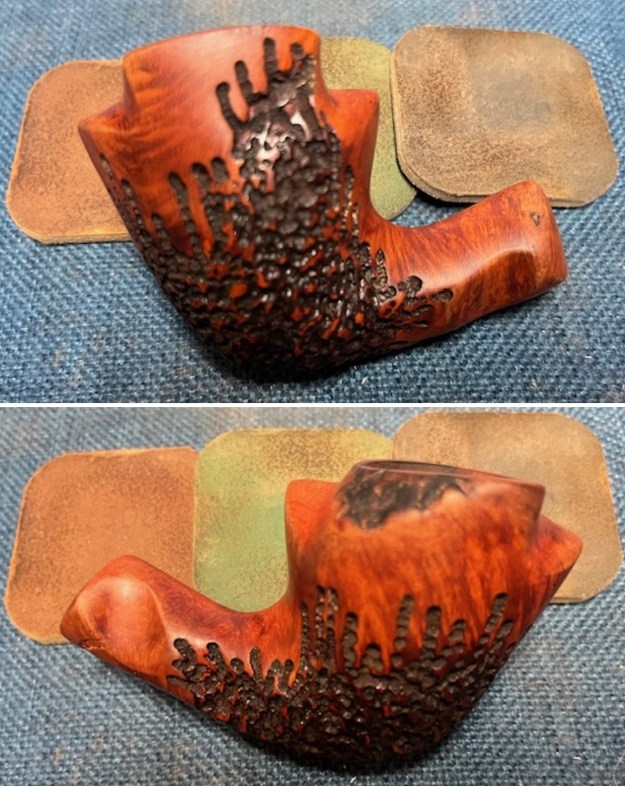
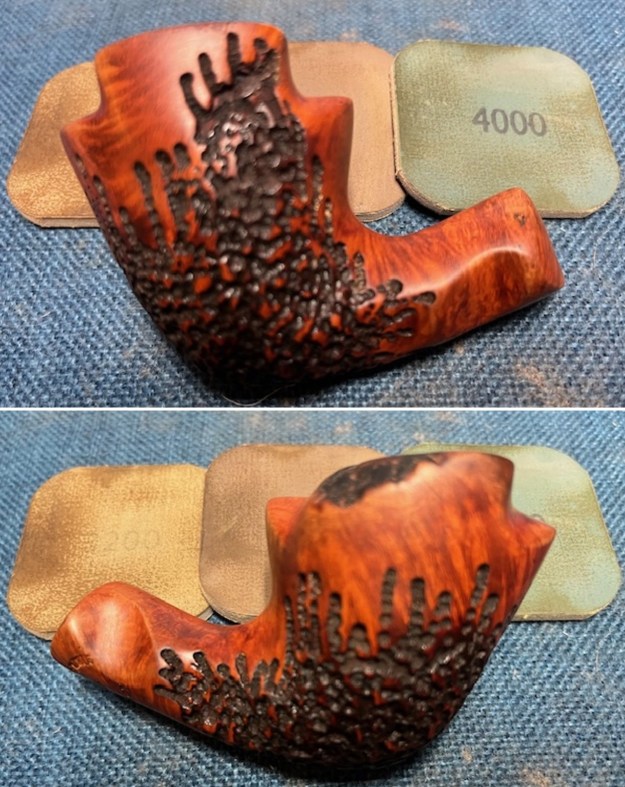
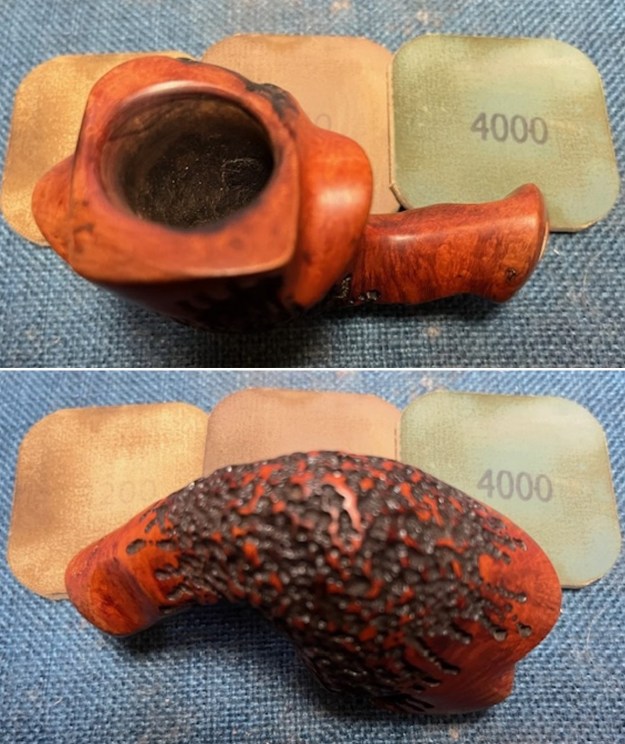
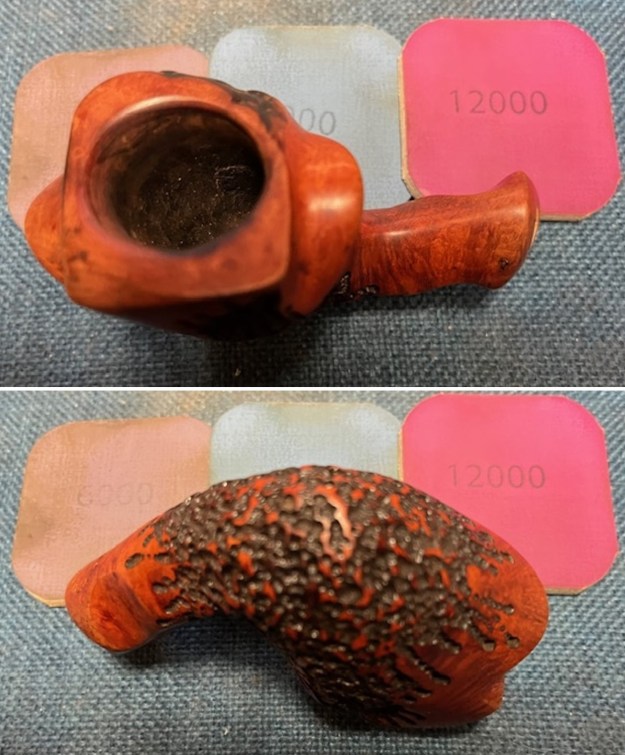
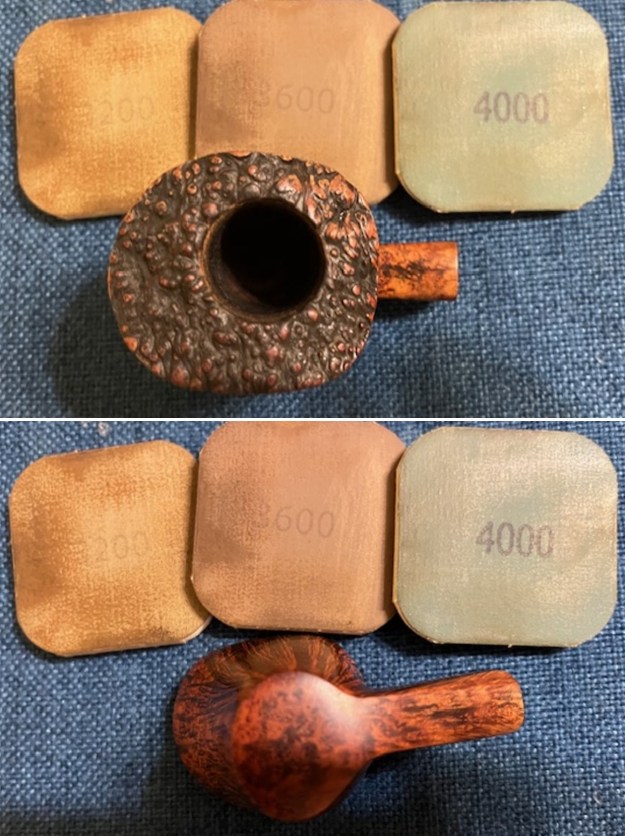
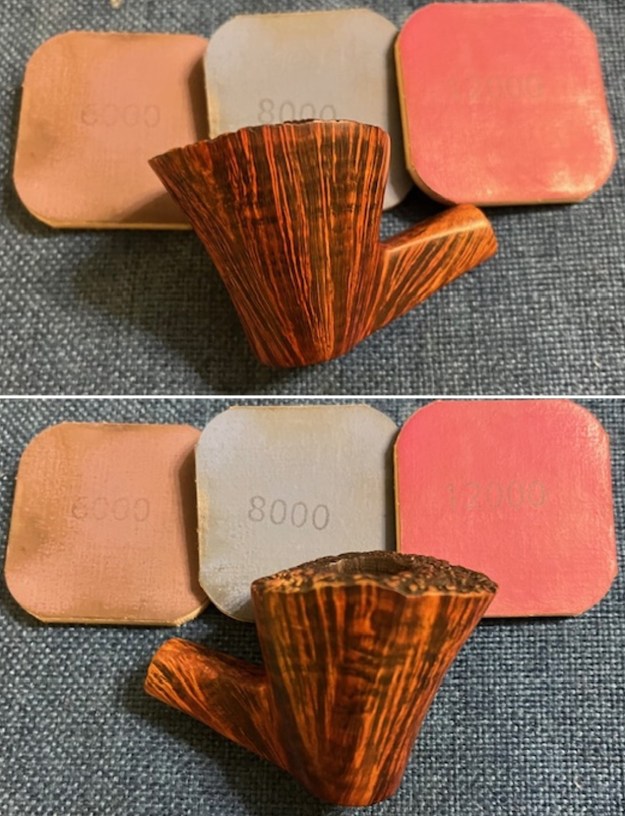
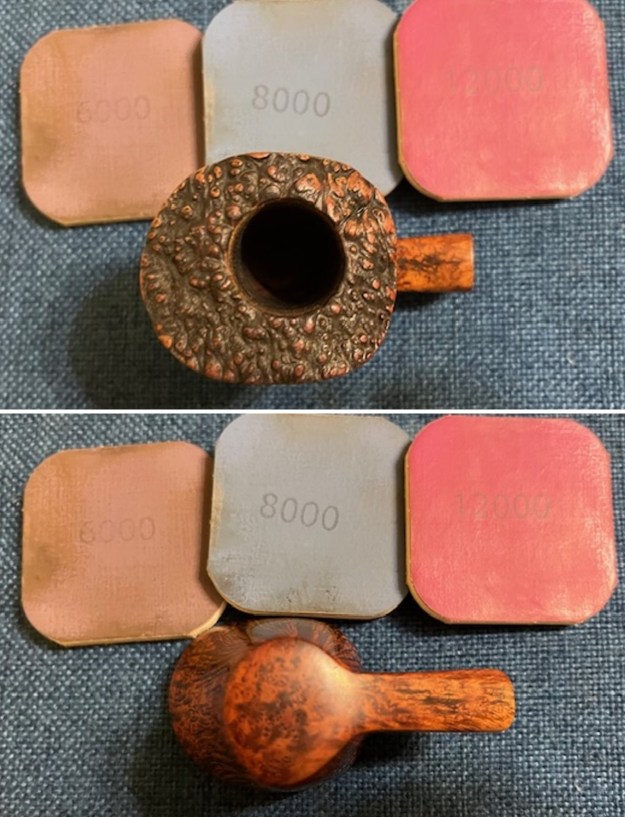
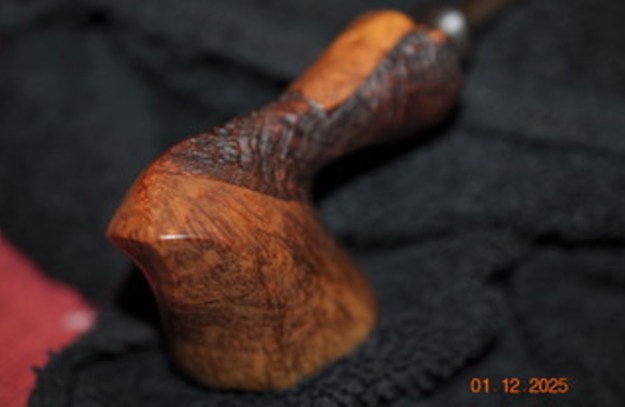
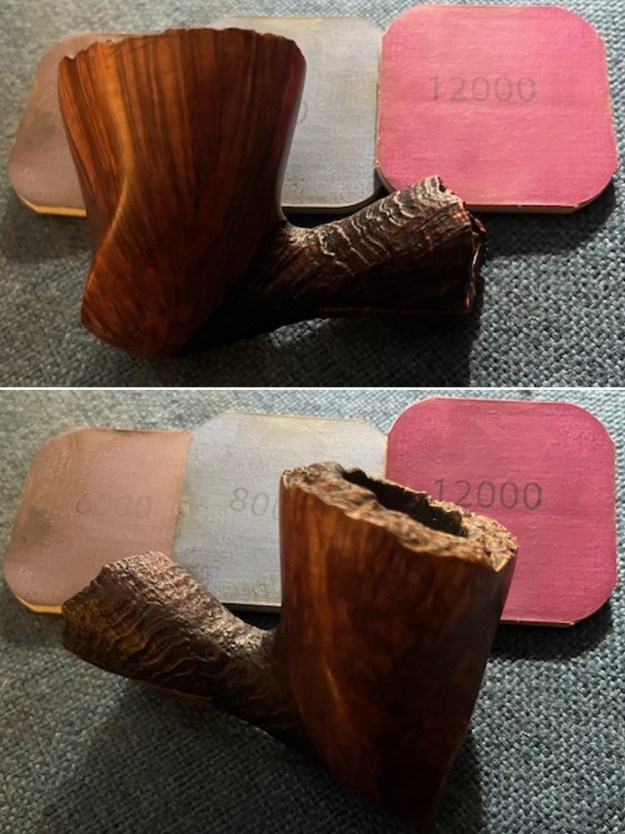
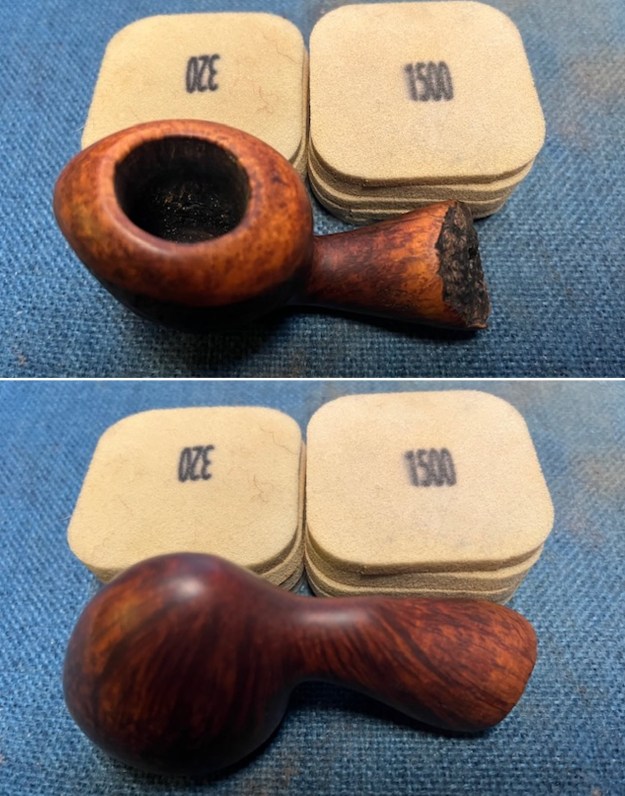
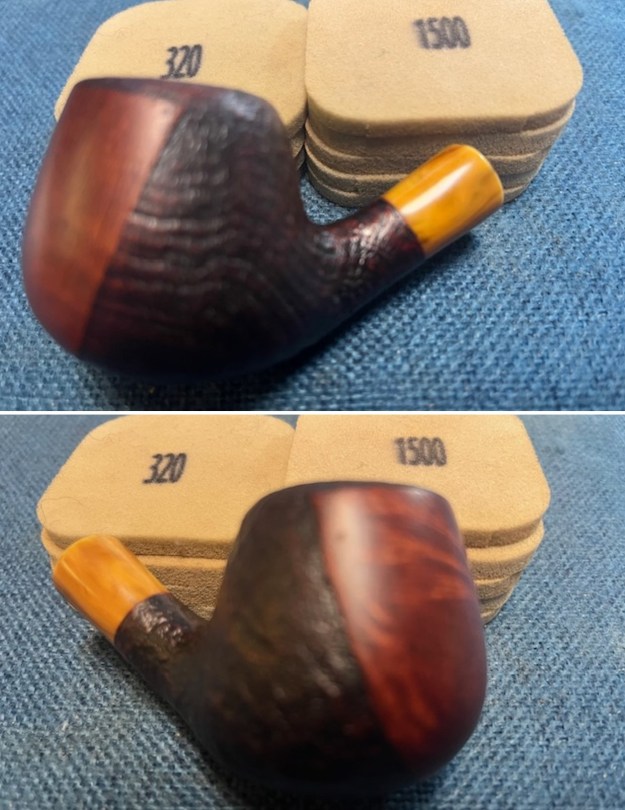
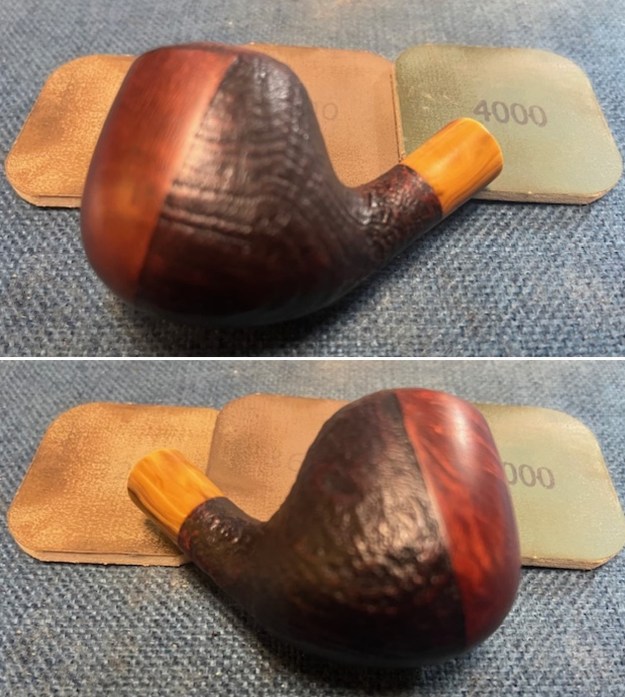
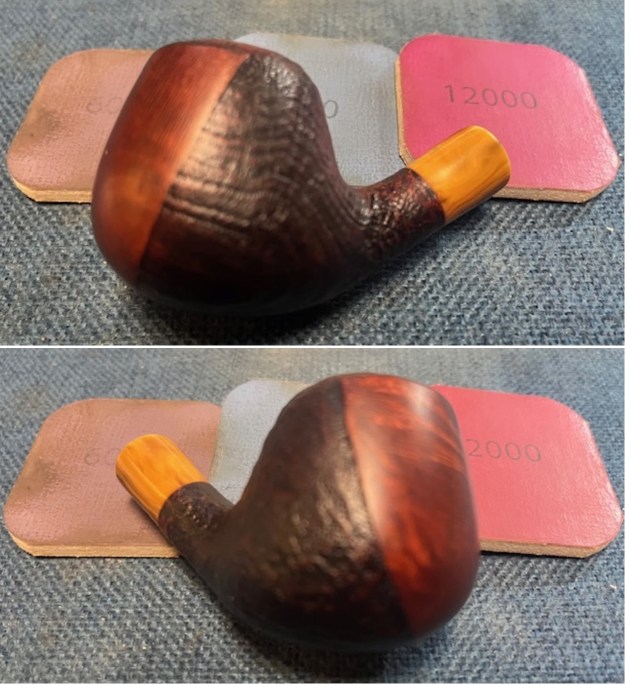
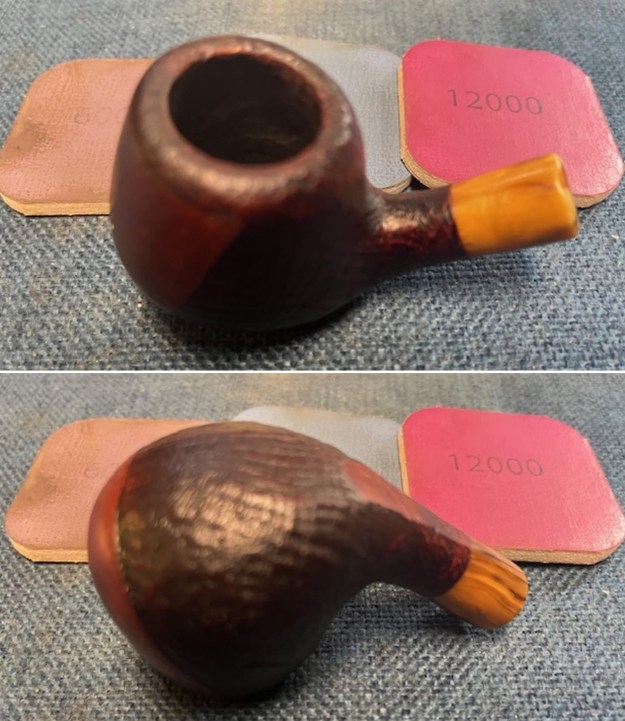
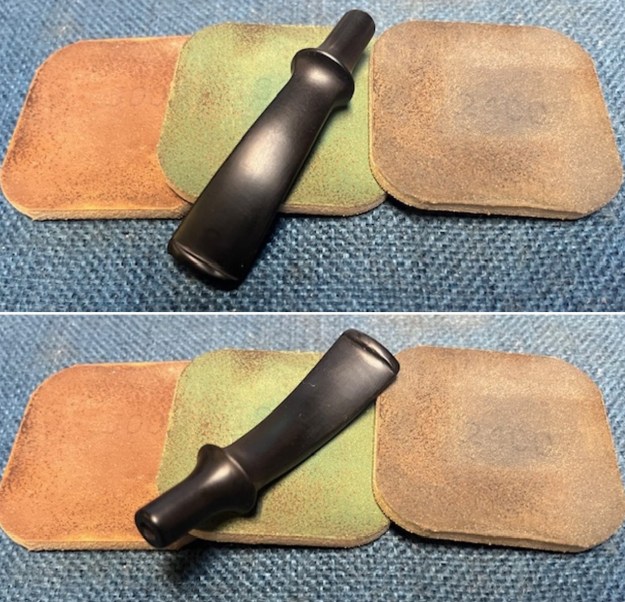
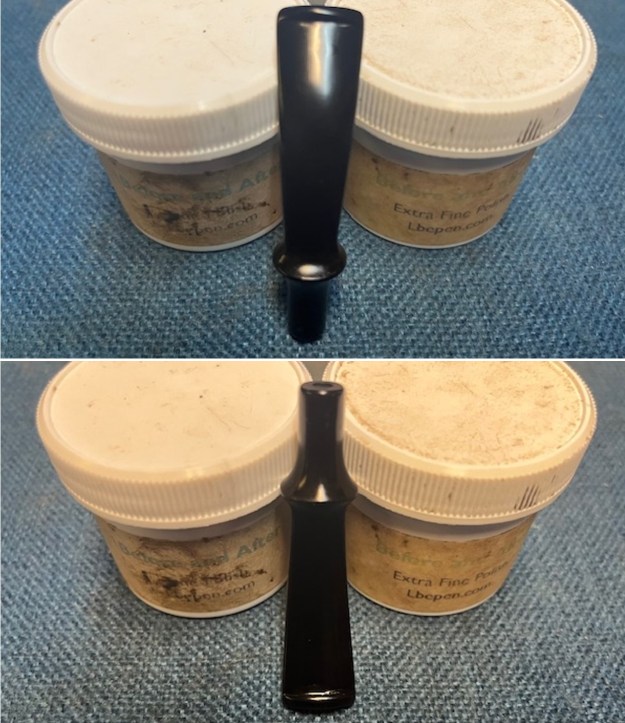
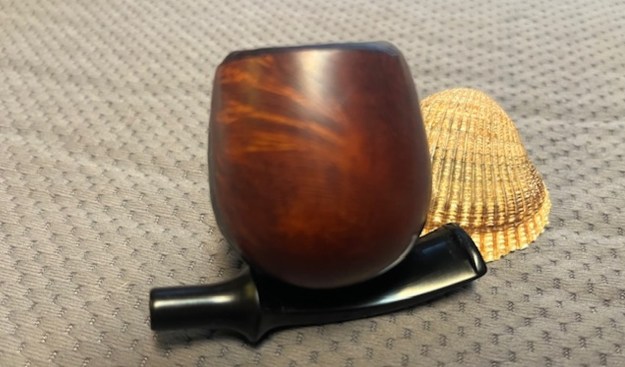
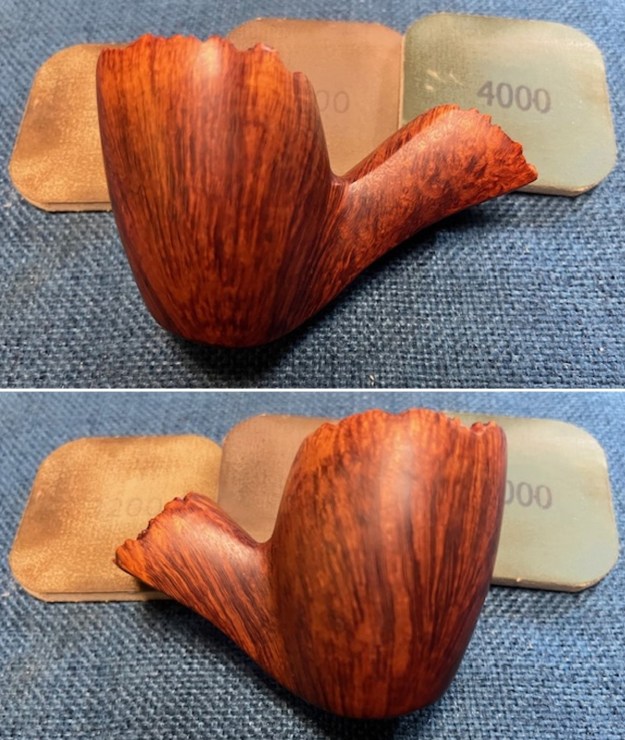
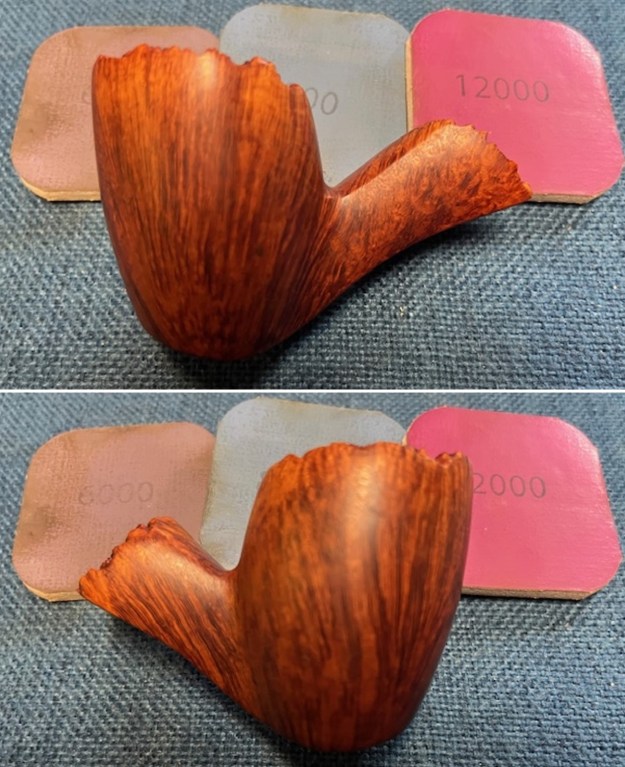
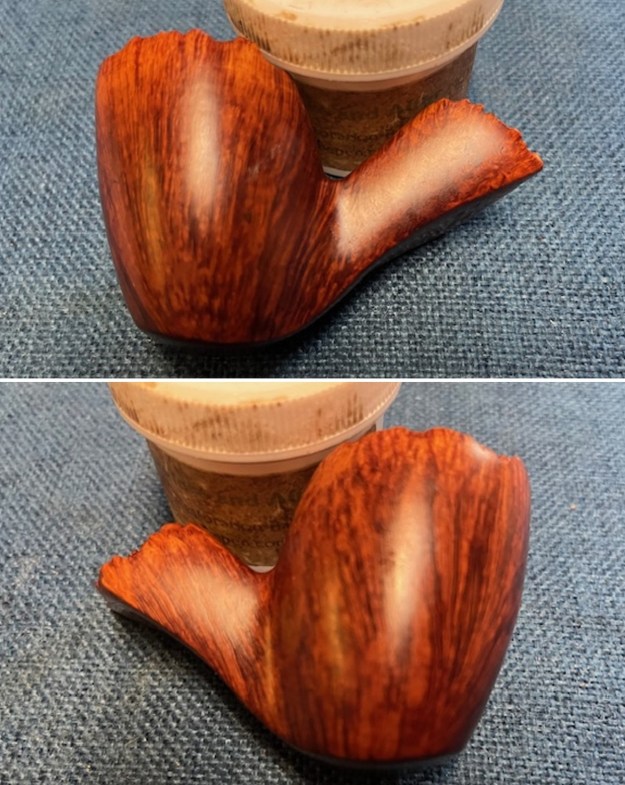
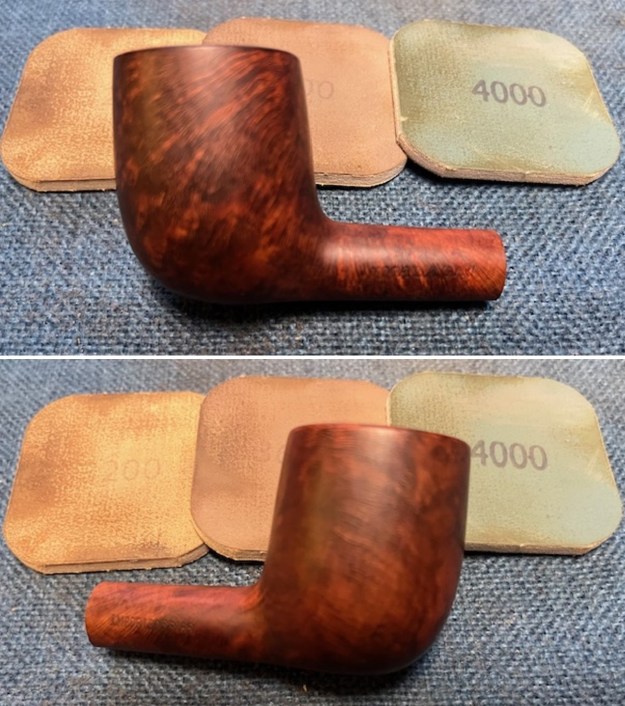
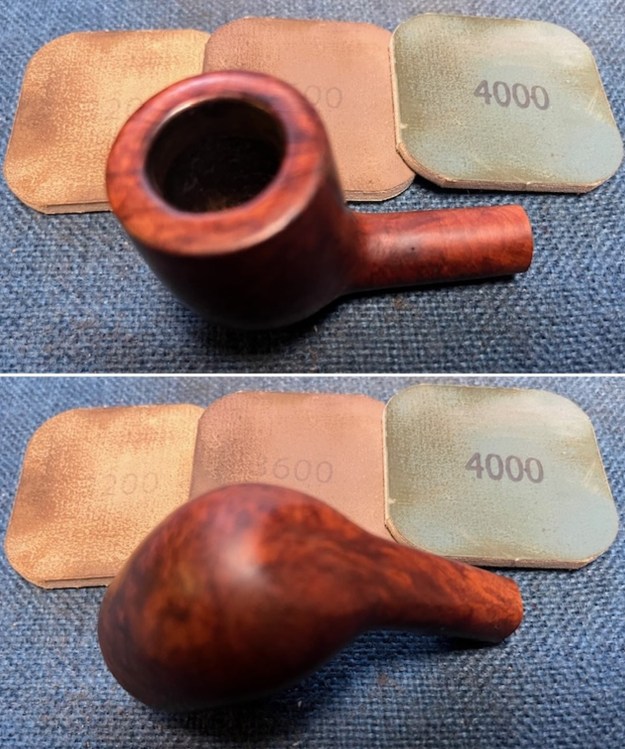
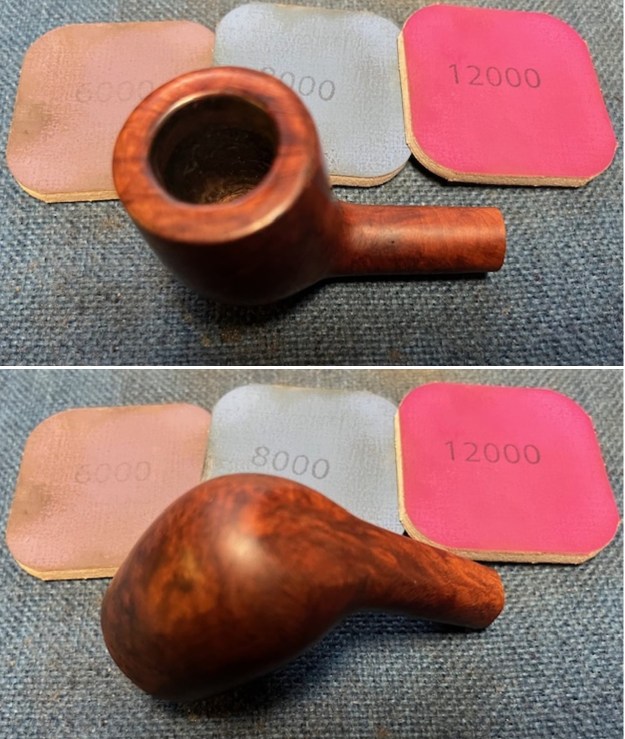
 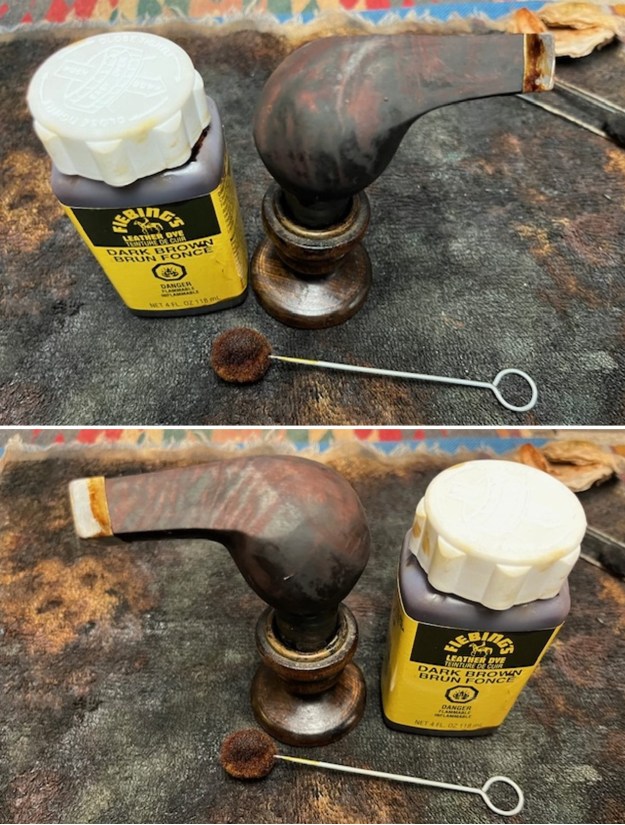 After sanding the bowl with the 320-3500 grit sanding pads I moved on to polish the briar with 1500-12000 grit sanding pads. I wiped it down with a damp cloth to remove the dust and debris left behind. I rubbed the bowl down with Before & After Restoration Balm and set it aside to let the product do its work. After about 10 minutes I buffed it off with a soft cloth to polish the briar. The pipe bowl and polished band looked very good.
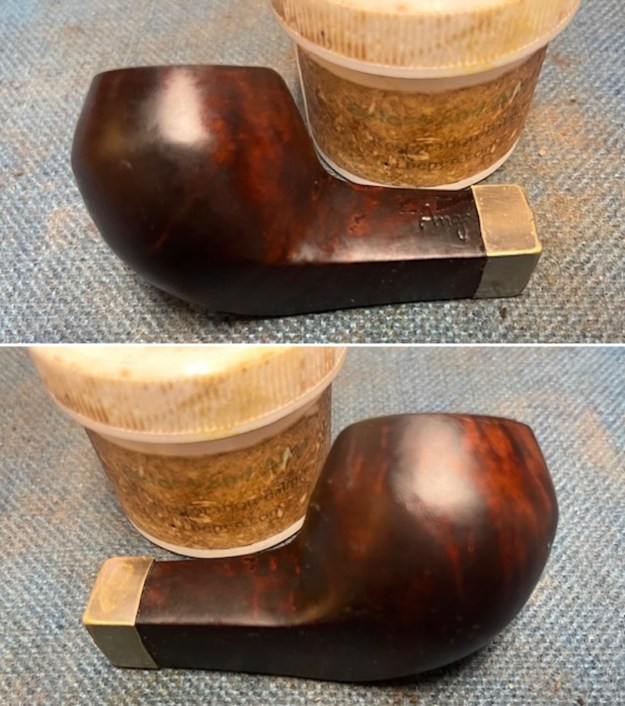
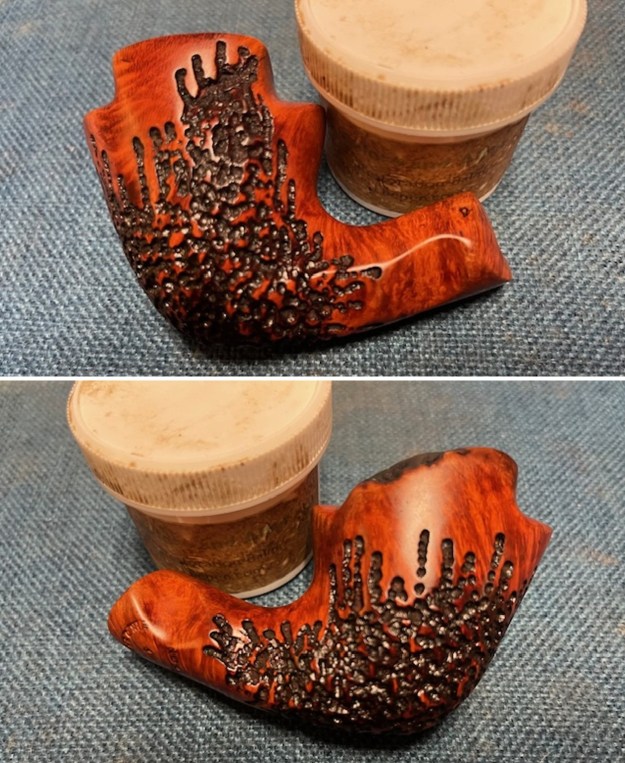
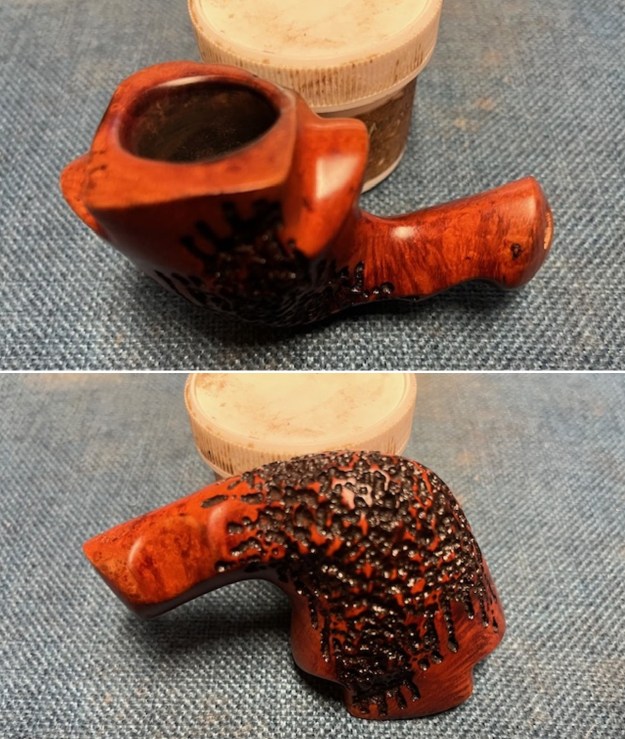
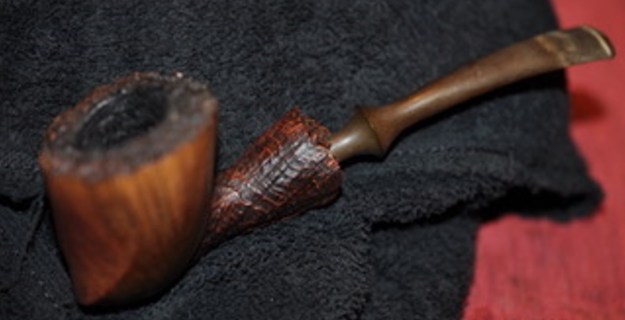
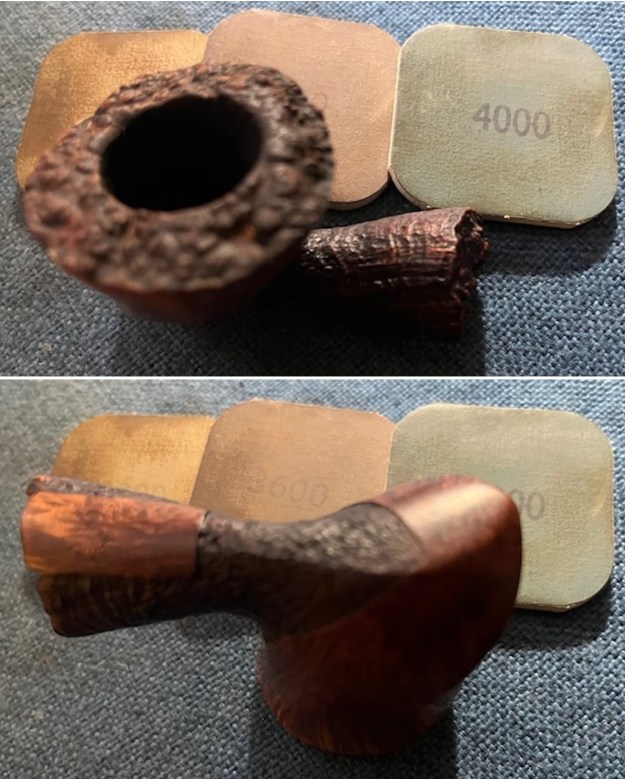
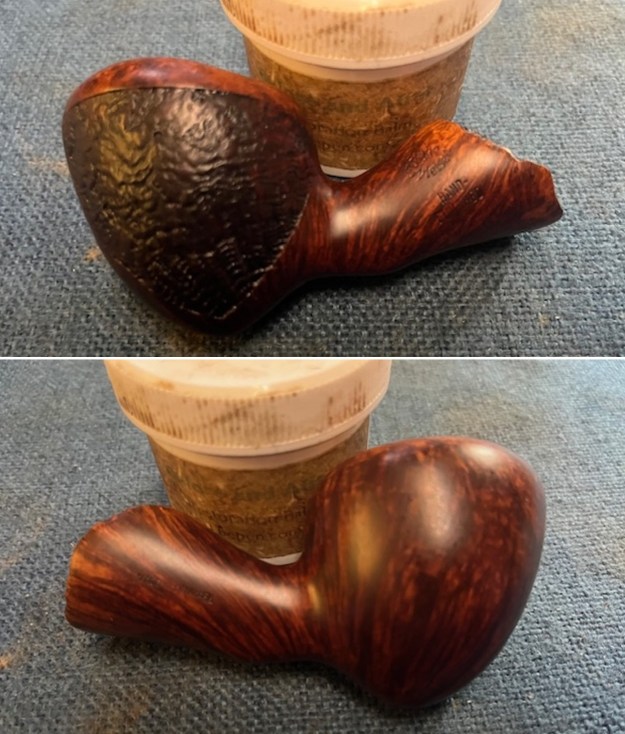
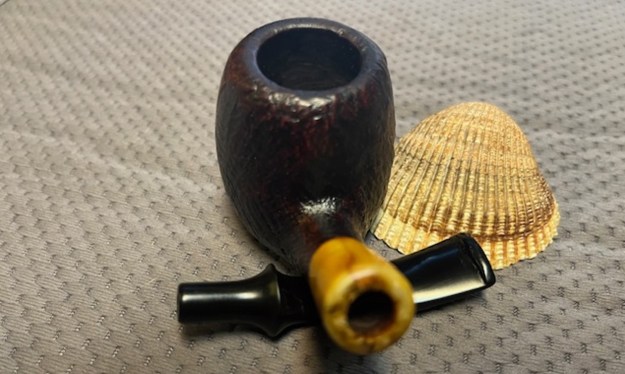
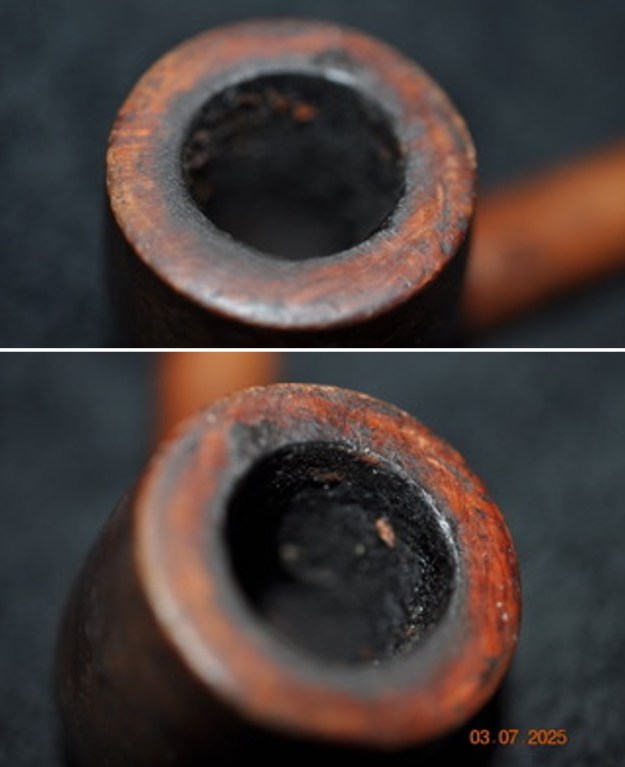
 I really am rusty after a month of not restoring any pipes. I forgot to clean out the inside of the shank. I used cotton swabs, pipe cleaners – both bristle and fluffy and isopropyl alcohol to work over the inside of the shank. It is much cleaner now that I remembered to do it!
 I polished the nickel band on the shank with a jeweller’s cloth to give it a shine and protect it from oxidizing. It looked much better with the shine.
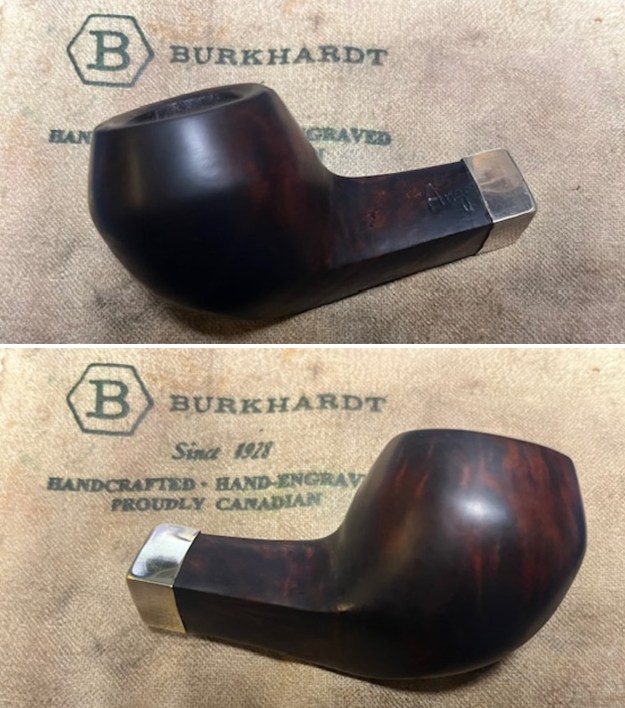
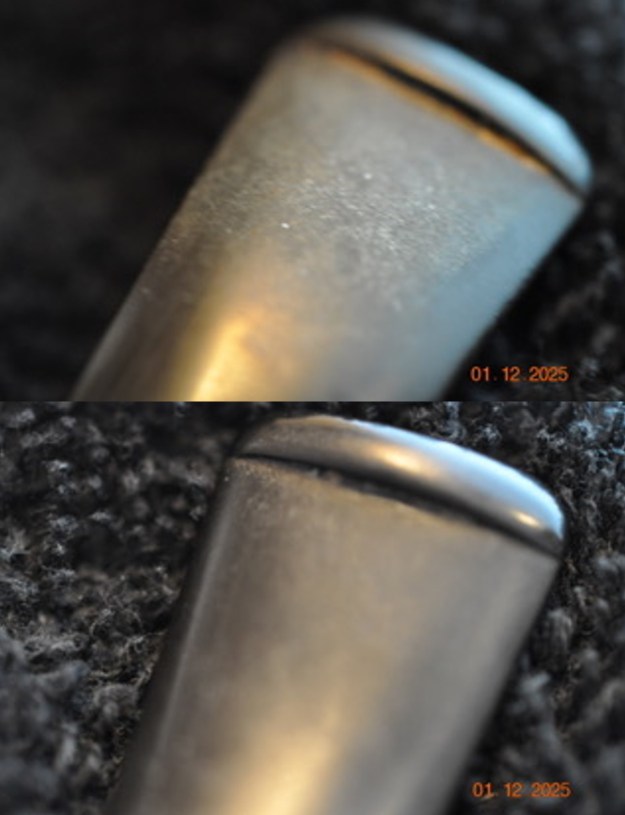
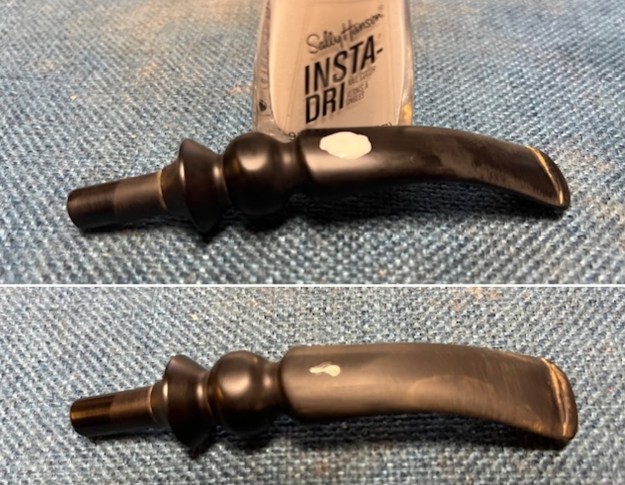
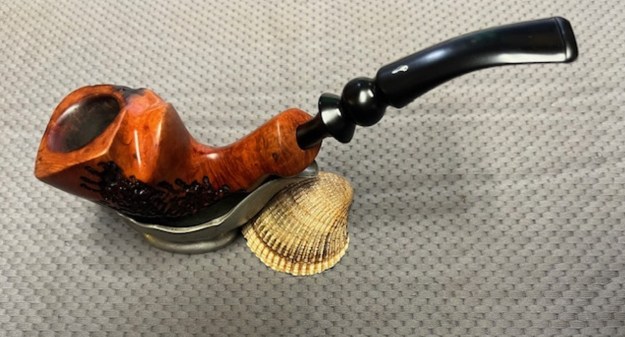
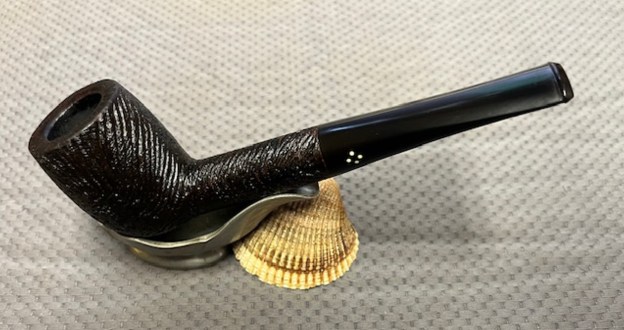
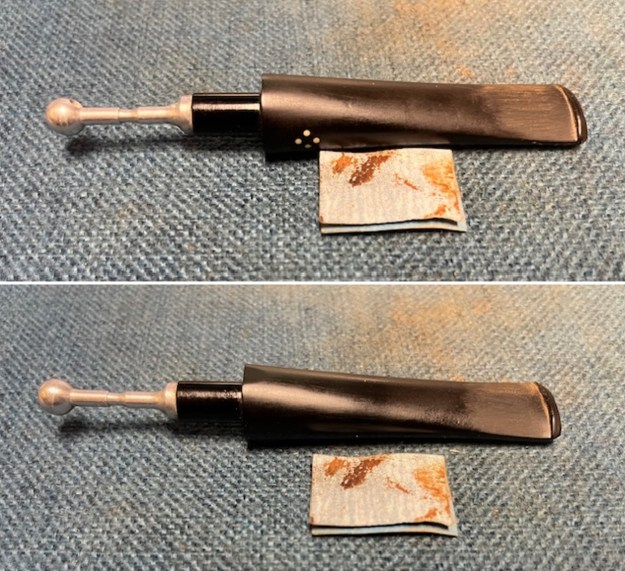
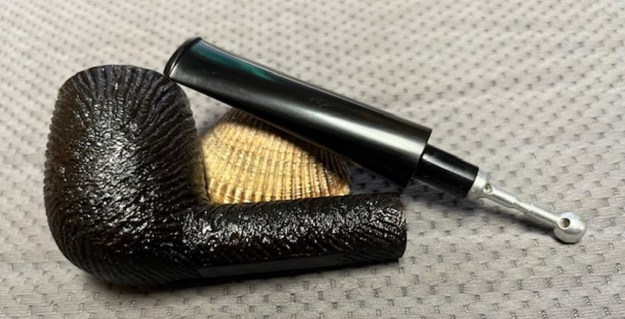
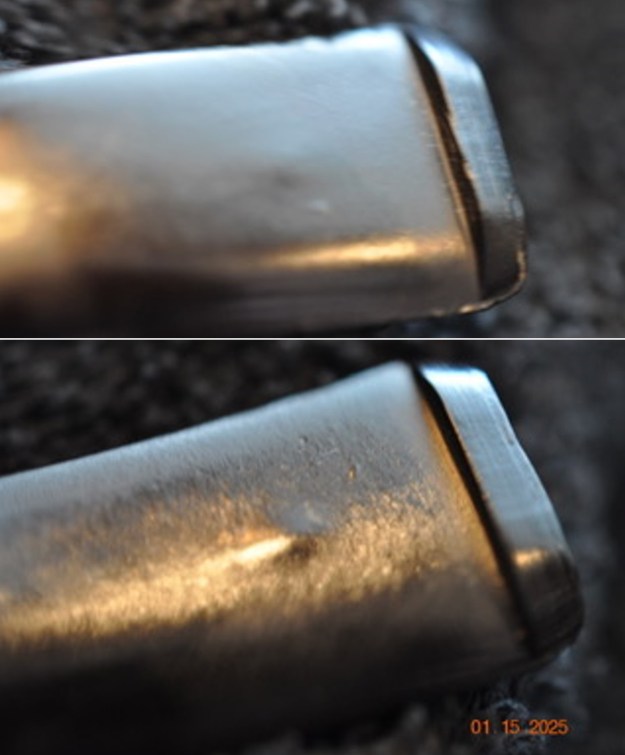
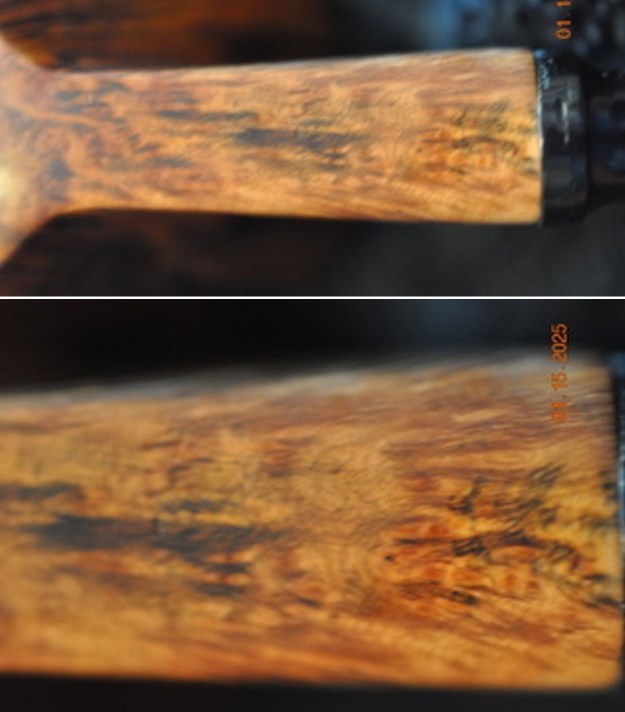
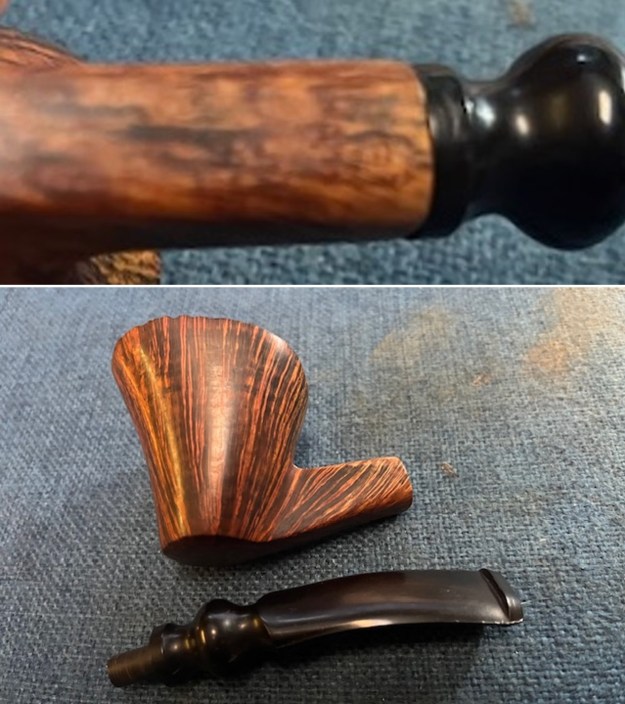
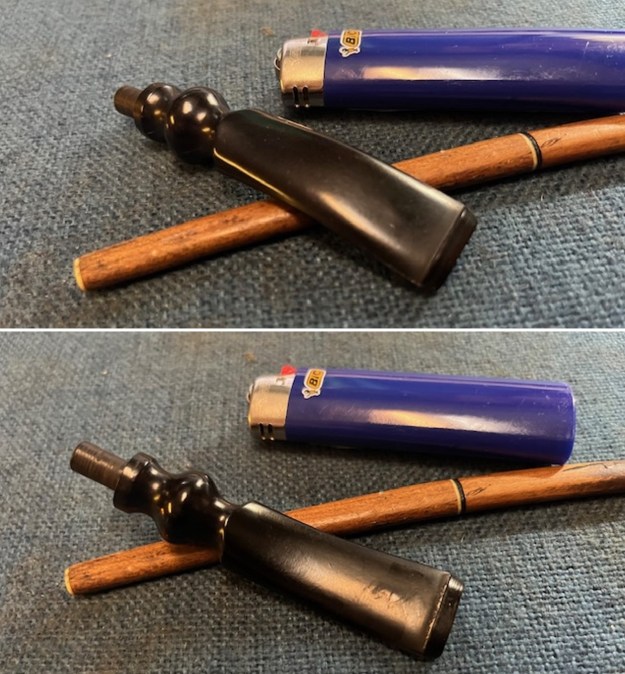
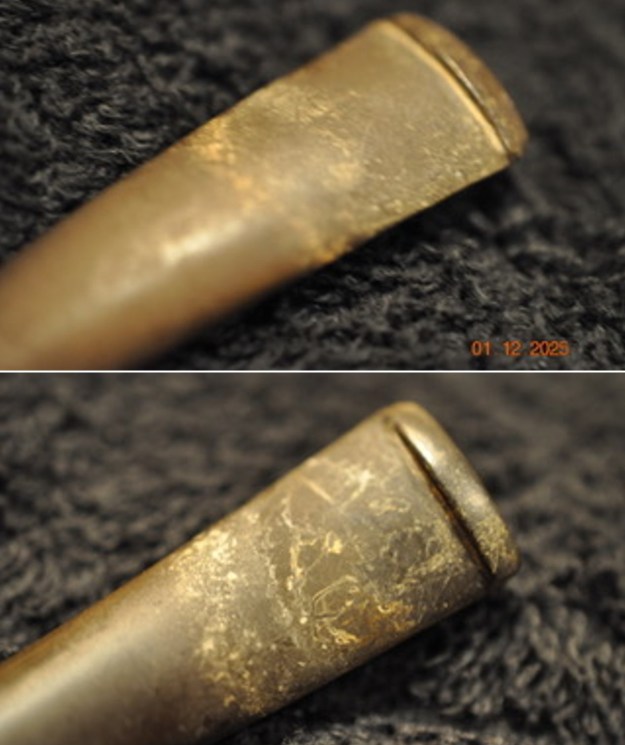
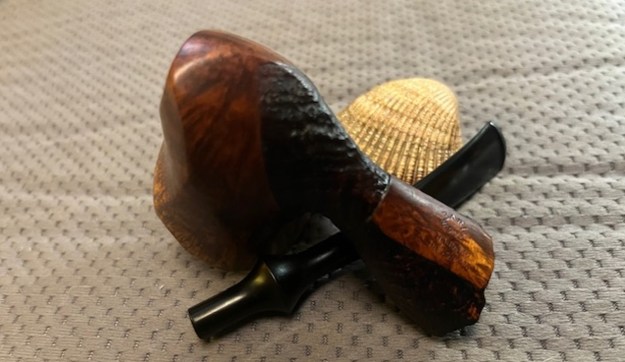
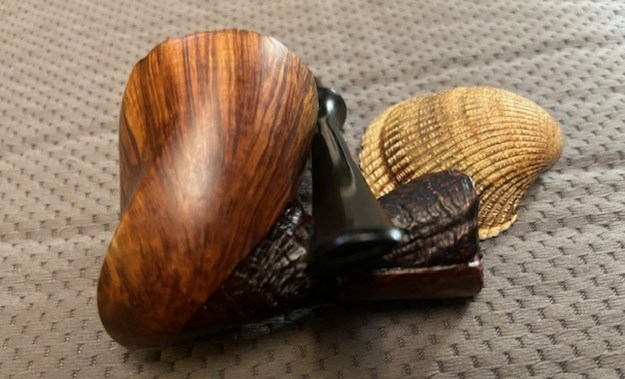
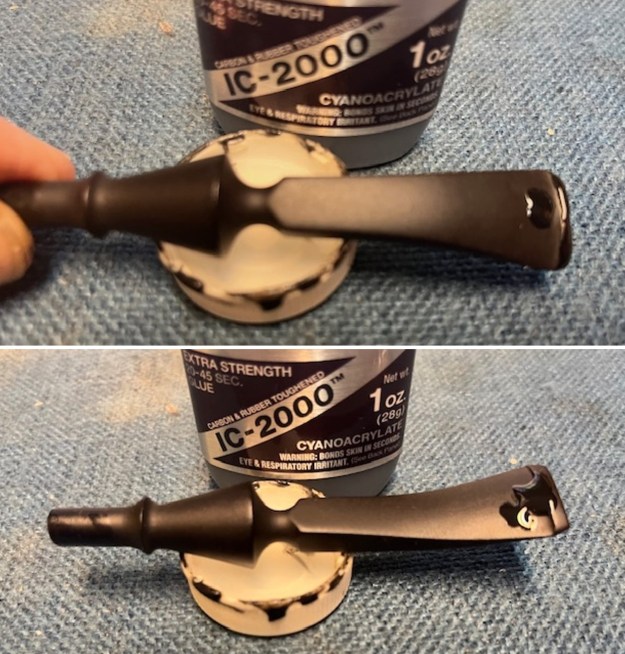
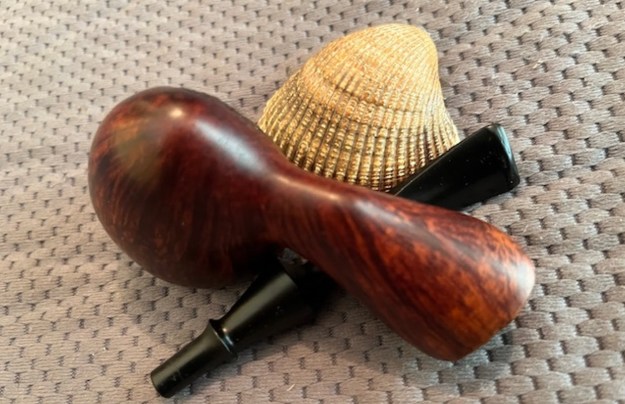
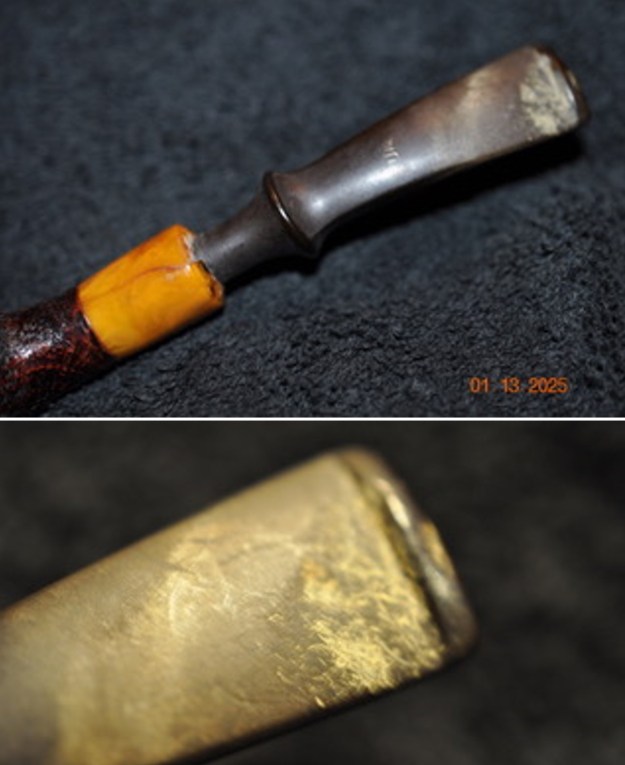
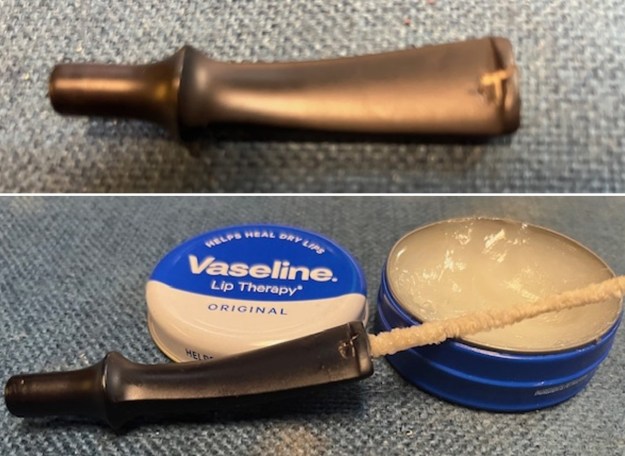
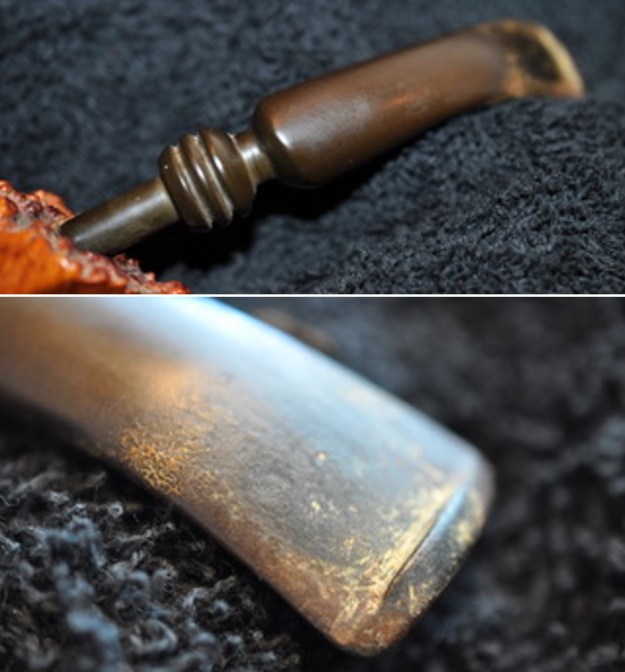
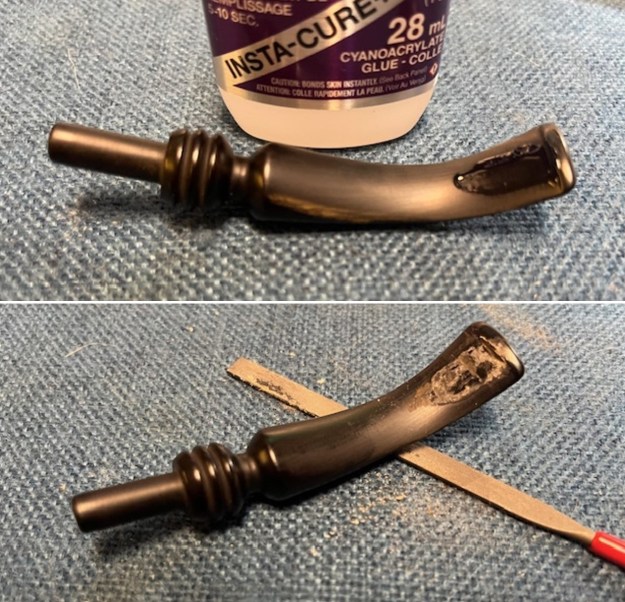
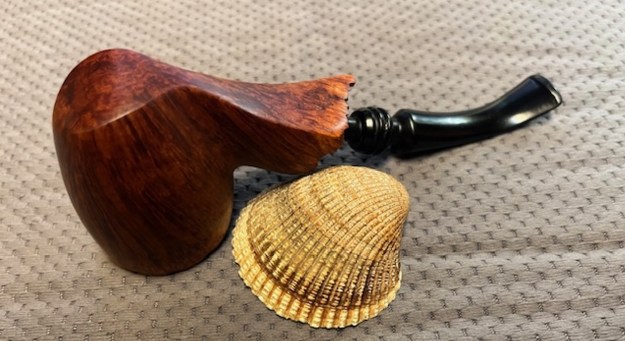
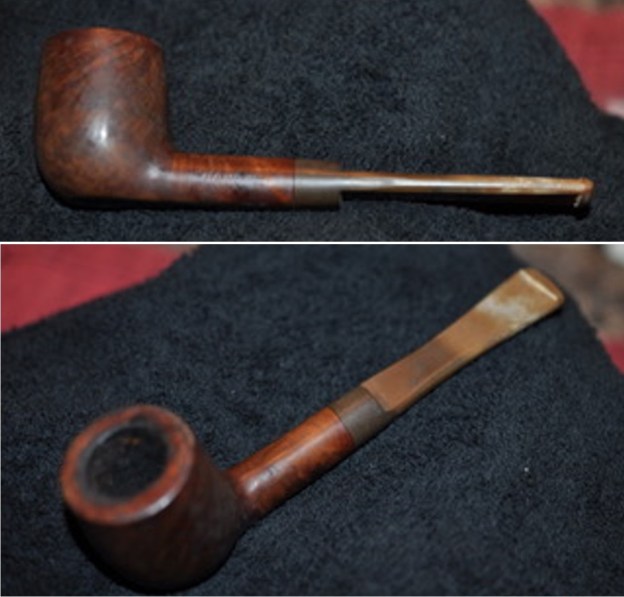
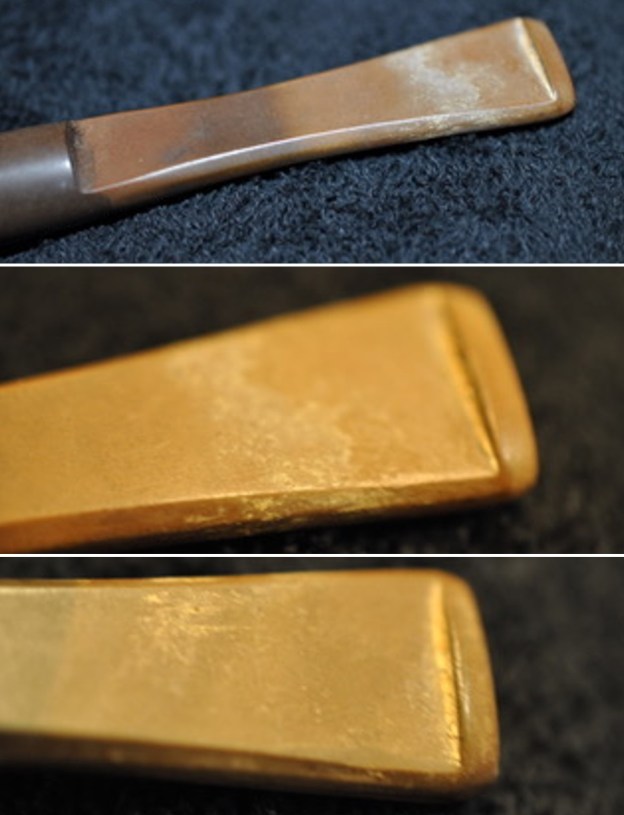
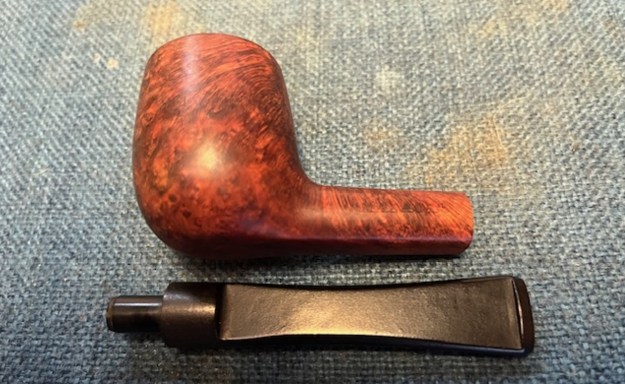
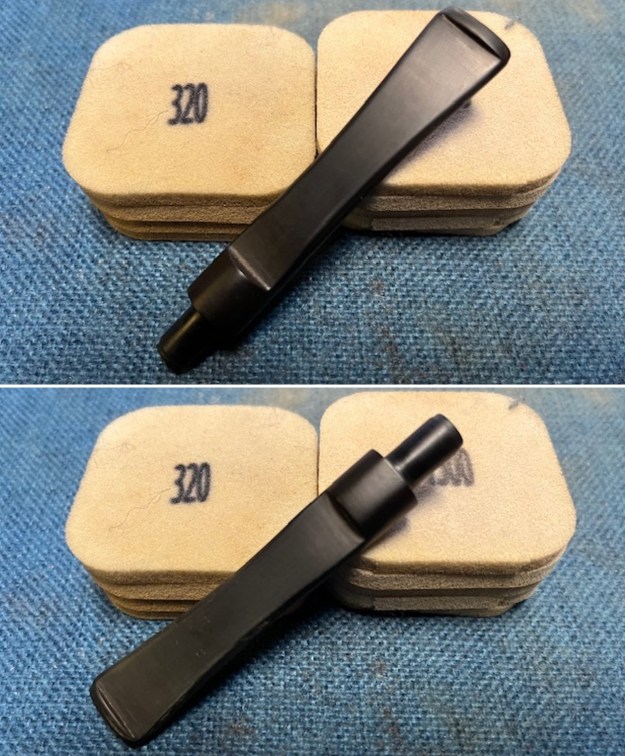
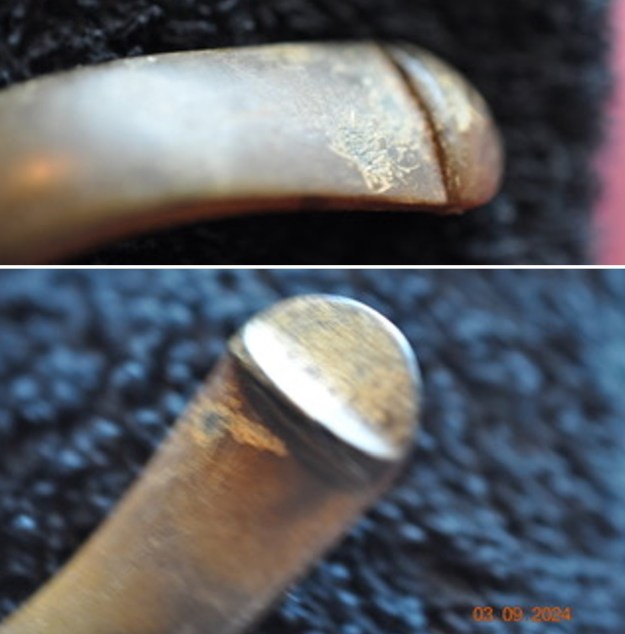
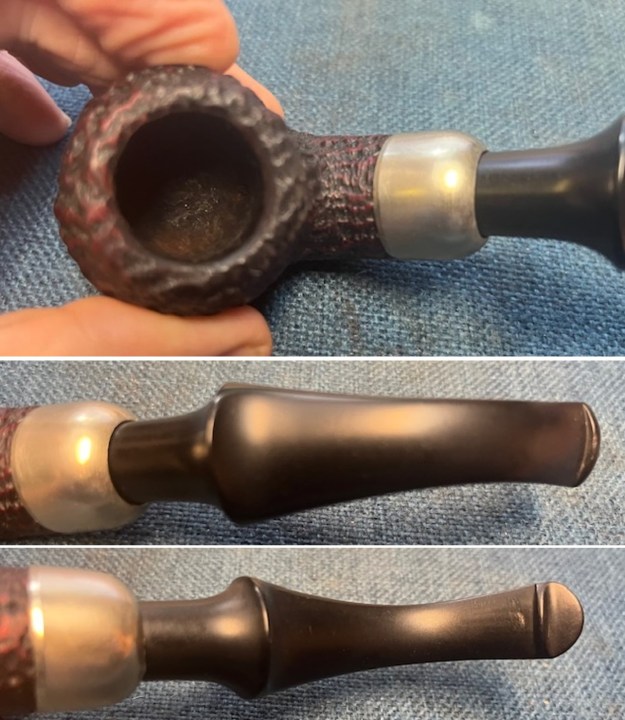
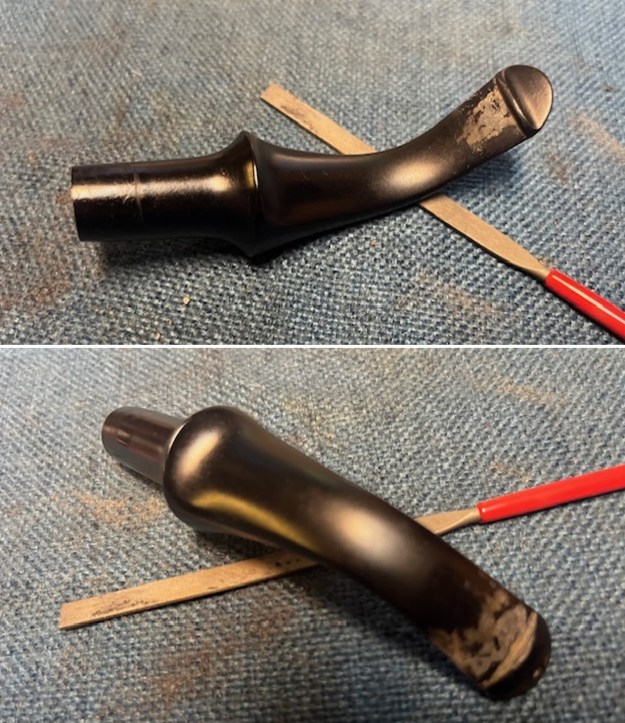
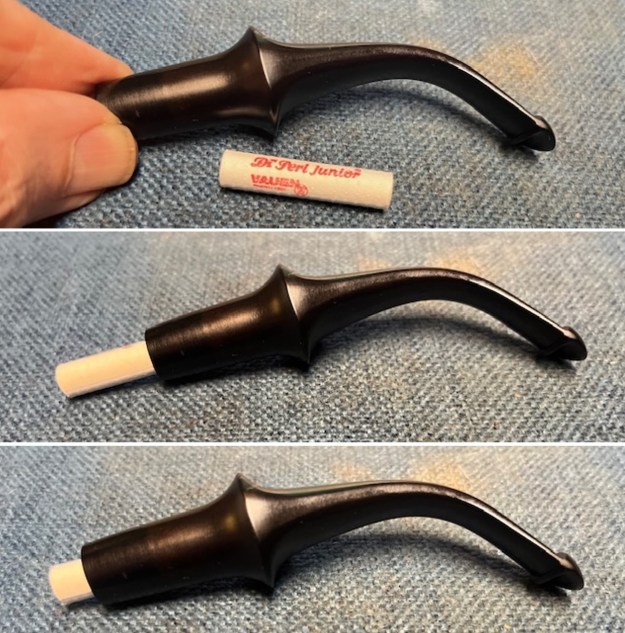
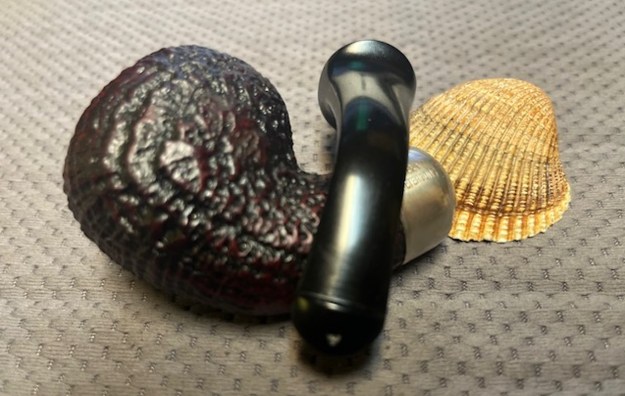
 I set the bowl aside and turned my attention to the new stem I needed to fit on the pipe. The previous stem (origianal??) had many cracks in the saddle portion, the tenon was loose and the whole thing had been wrapped tightly with electrical tape. I went through my stems and found one that would work well wit the bowl. In the photo it looks longer but it is actually about the same length. The tenon will need to be reduced in diameter and the casting marks removed but the stem should look great once it is finished.
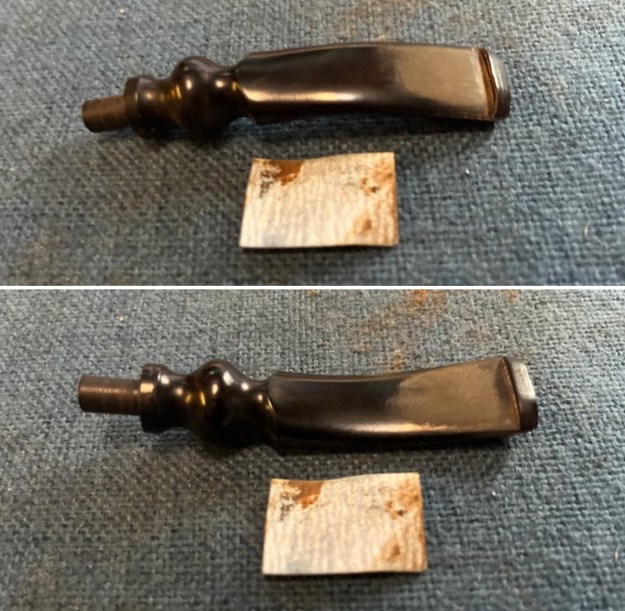
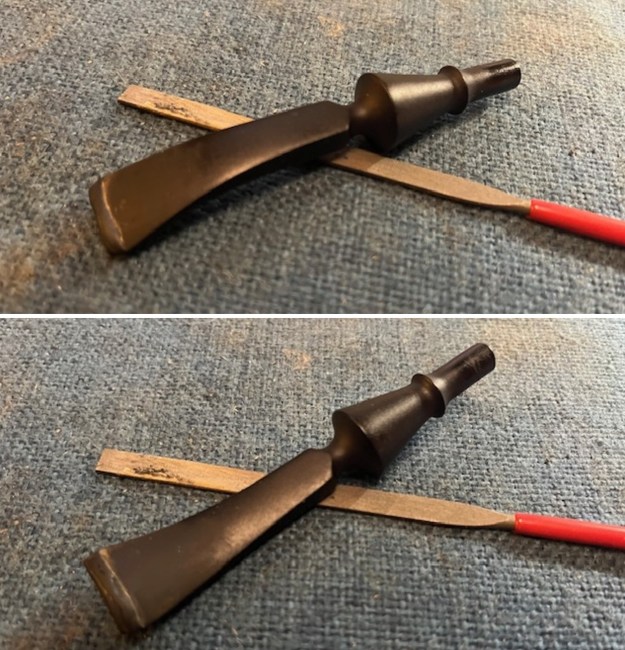
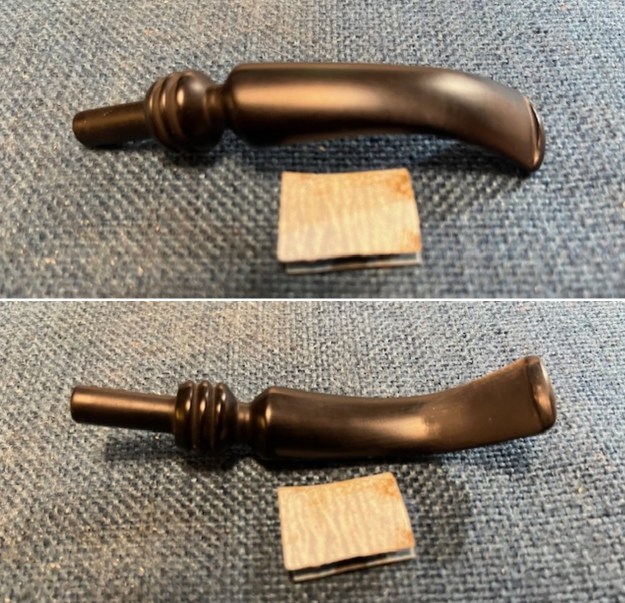
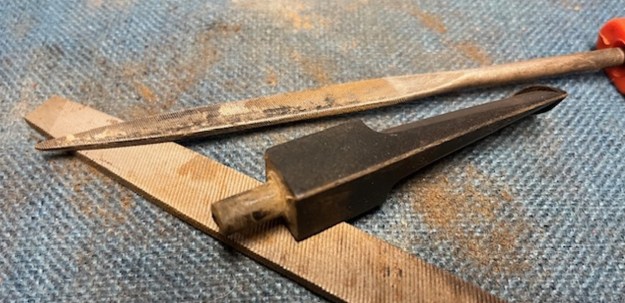
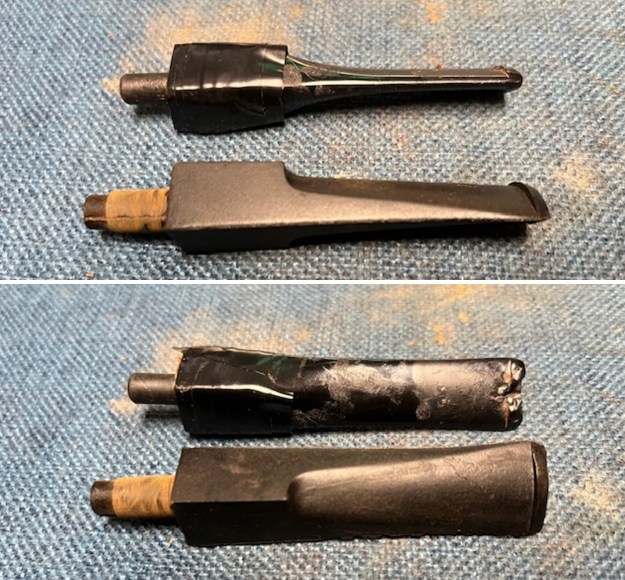 The next phojto showed the bowl before I had finished it. I started fitting the stem to the shank before I worked on the bowl finish. I used two files to reshape the tenon. I shortened the tenon to match the depth of the shank with the Dremel and sanding drum.
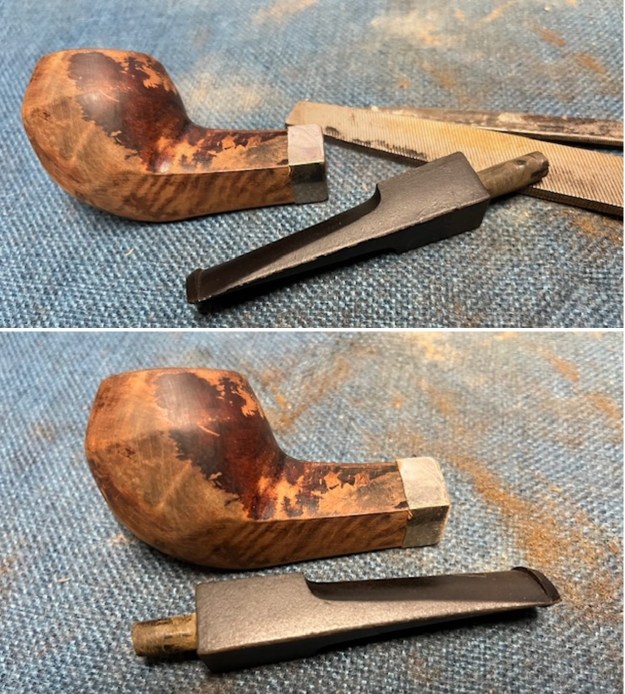
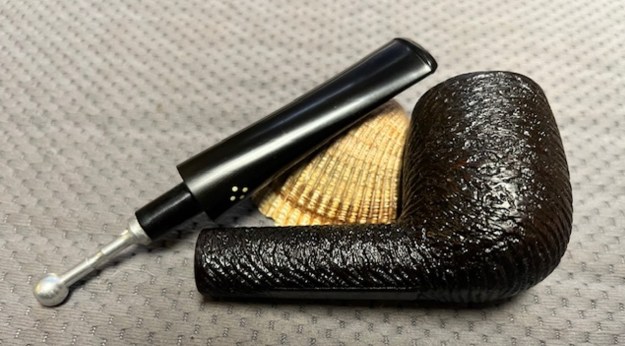
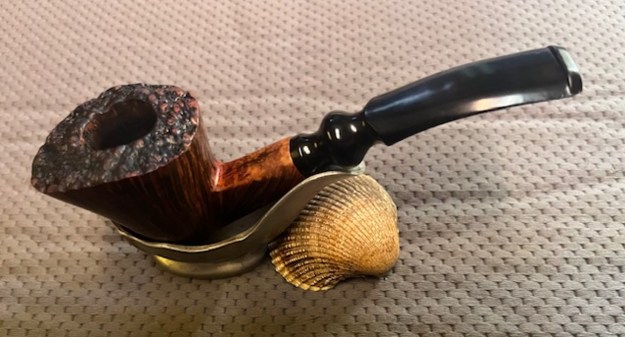
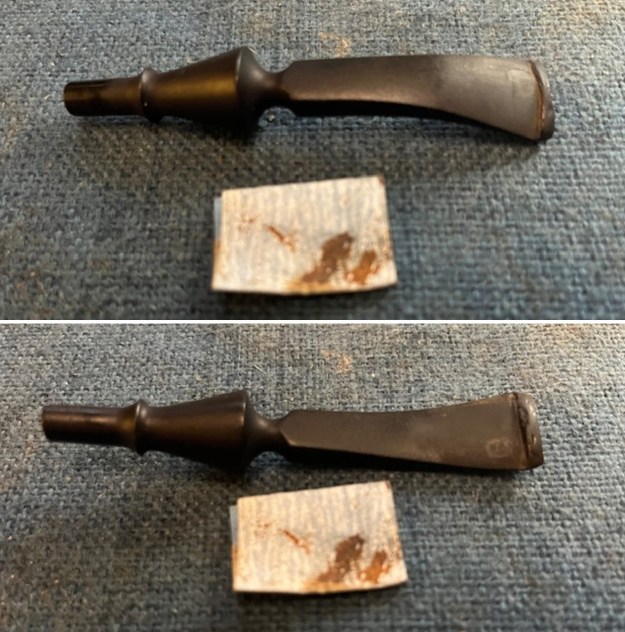
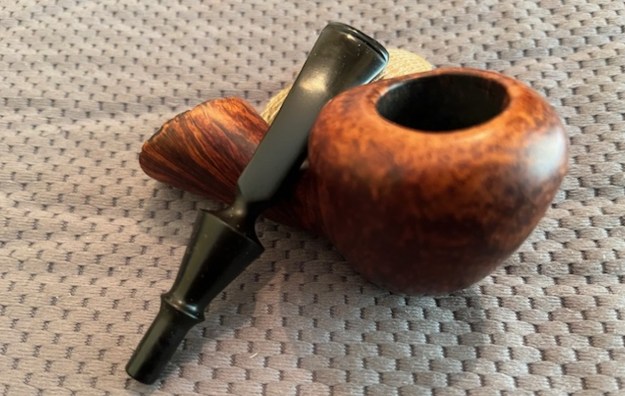
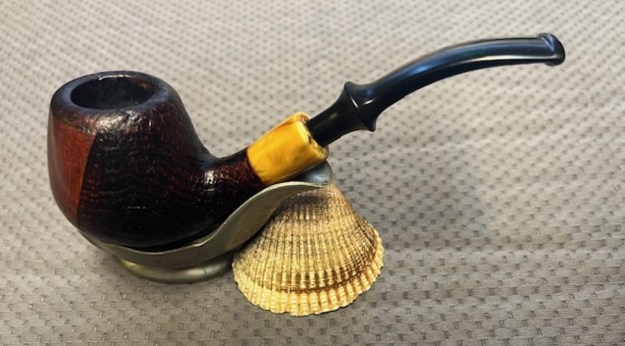
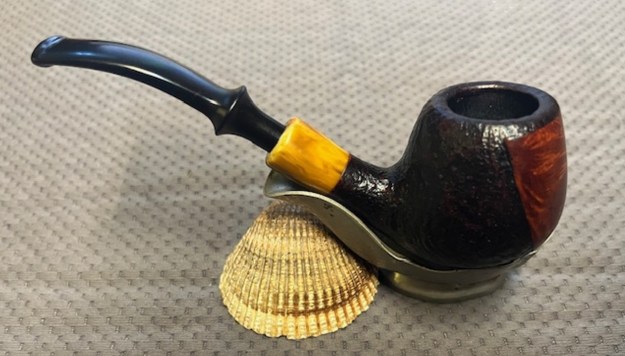
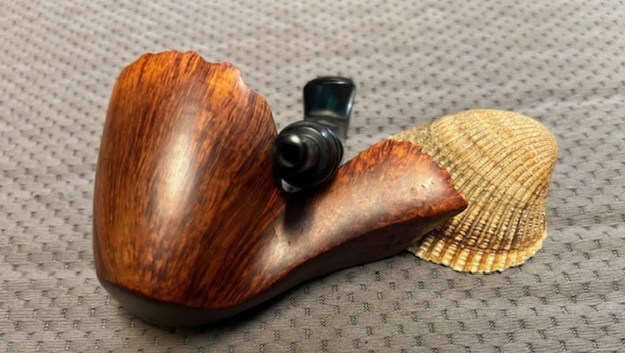
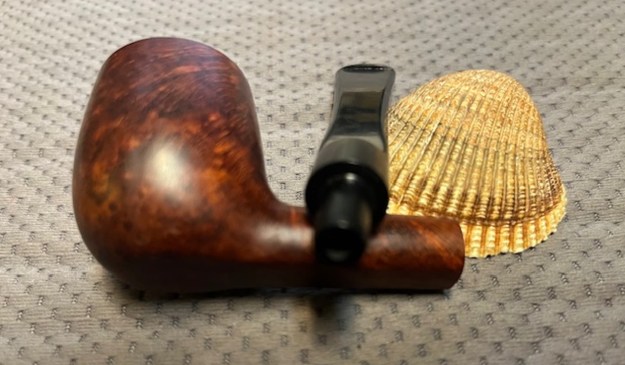
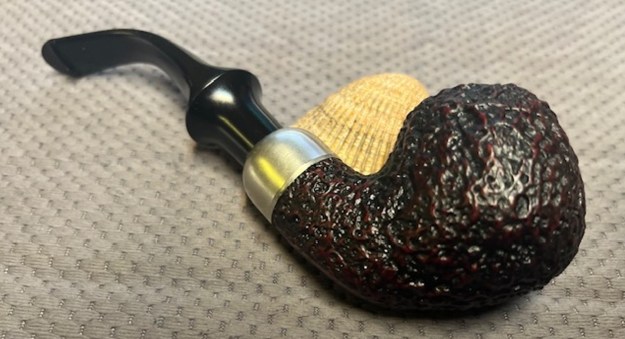
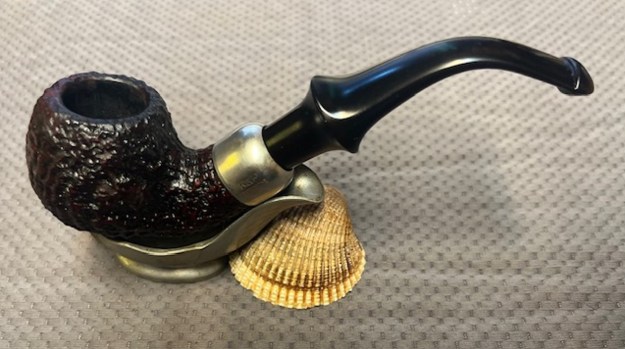
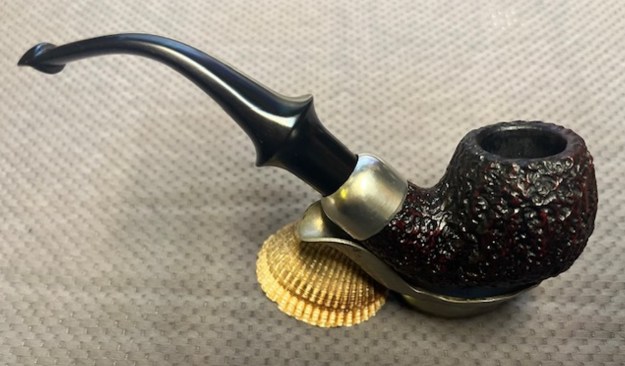
 Once I had the length correct and the fit of the tenon correct I put it on the shank and took photos of the pipe to show the new look it had with the new stem. It still needed much more work to smooth out the stem surface but it looked good on the shank with the band.
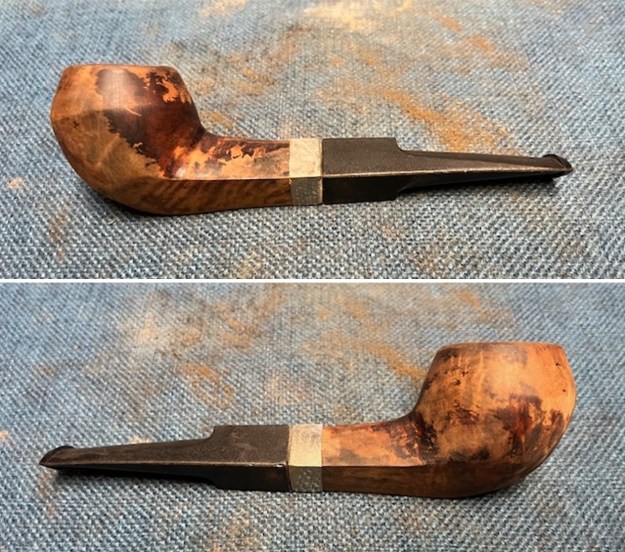
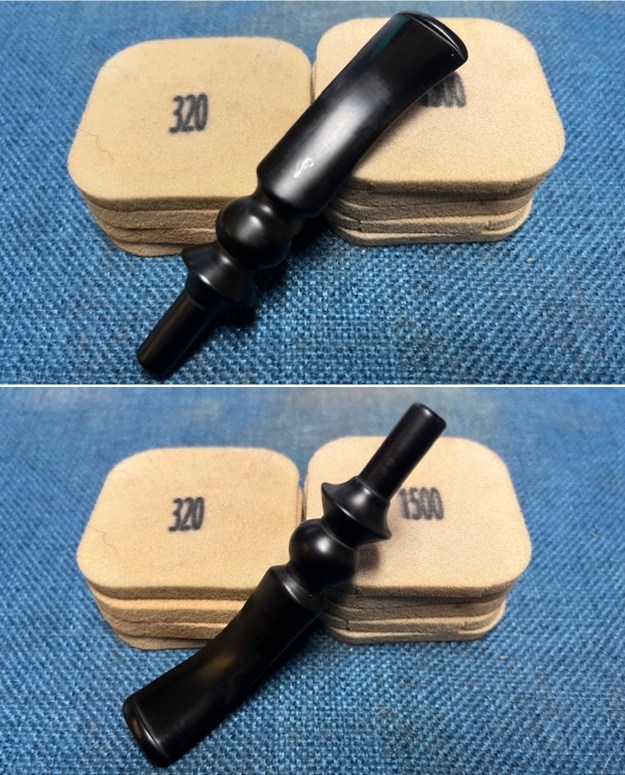
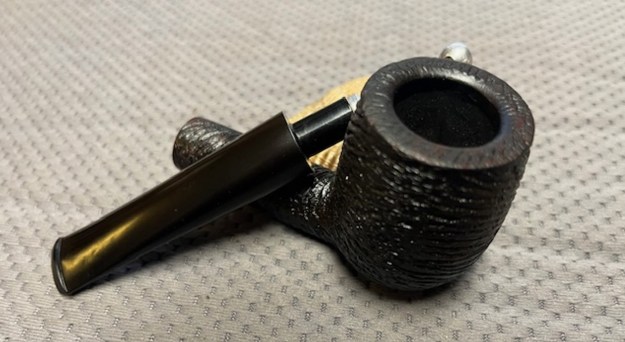
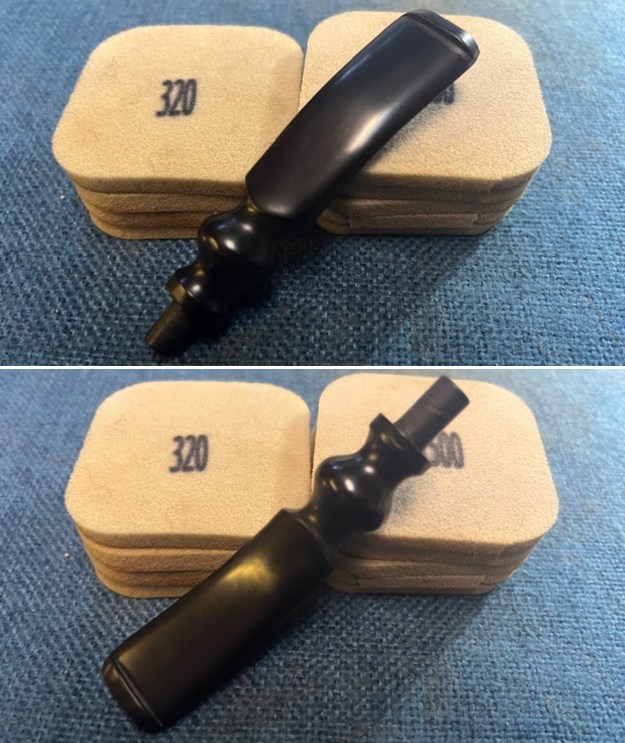
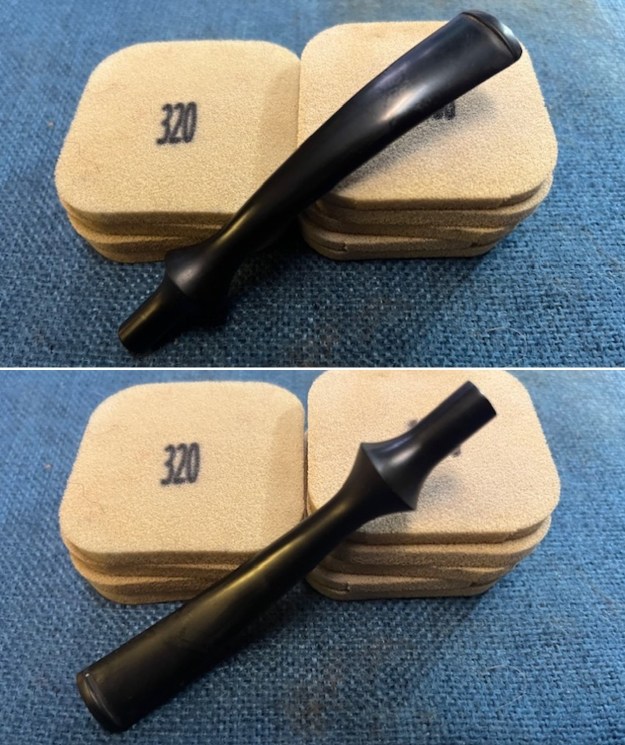
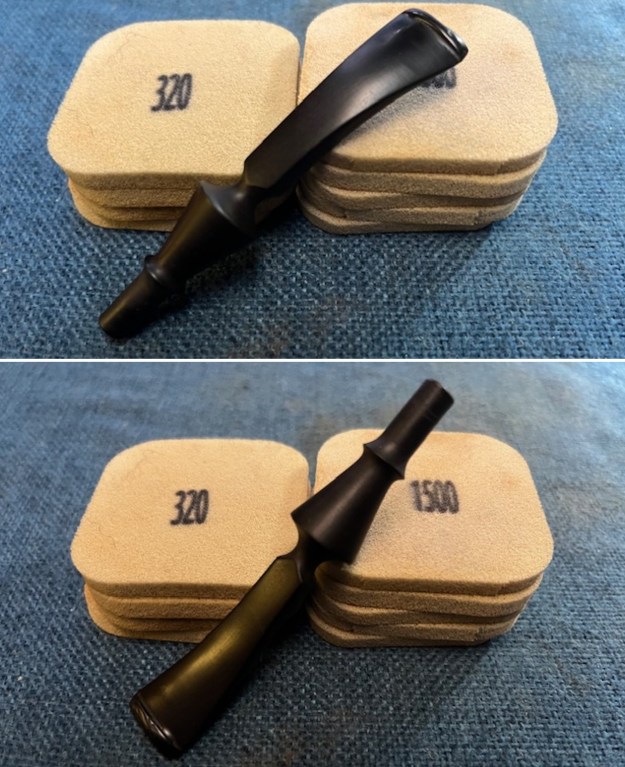
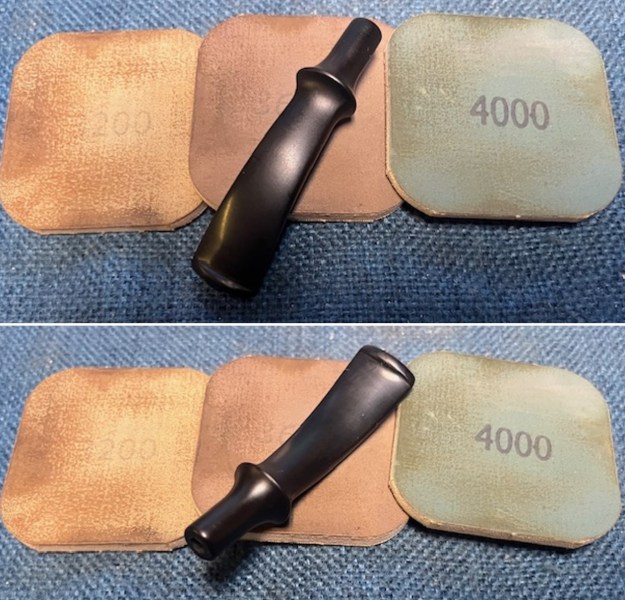
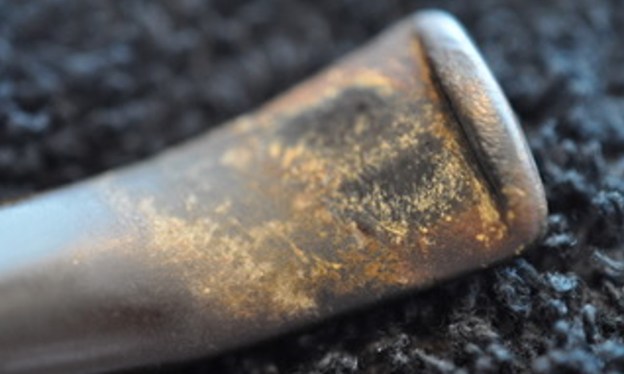
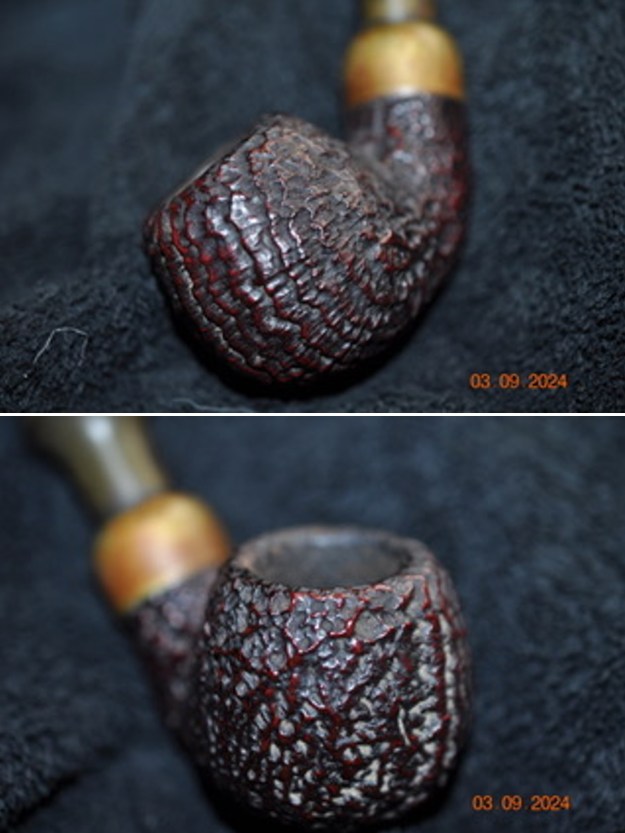
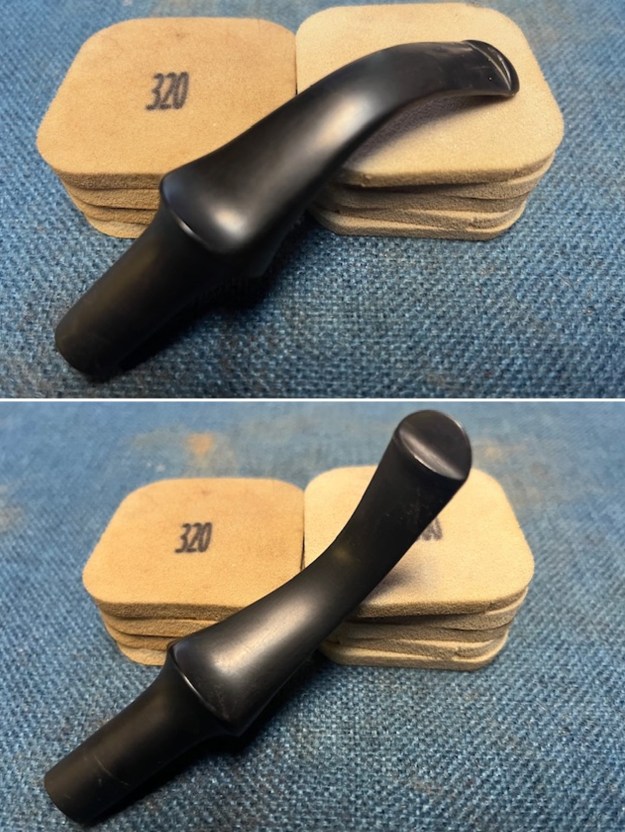
 I sanded the stem surface with 220 grit sandpaper. I smoothed out the castings on the sides of the stem and the button surface. I sanded the saddle portion and the top and underside of the blade with the 320 sandpaper. It looked better and the fit to the band on the shank end was very good.
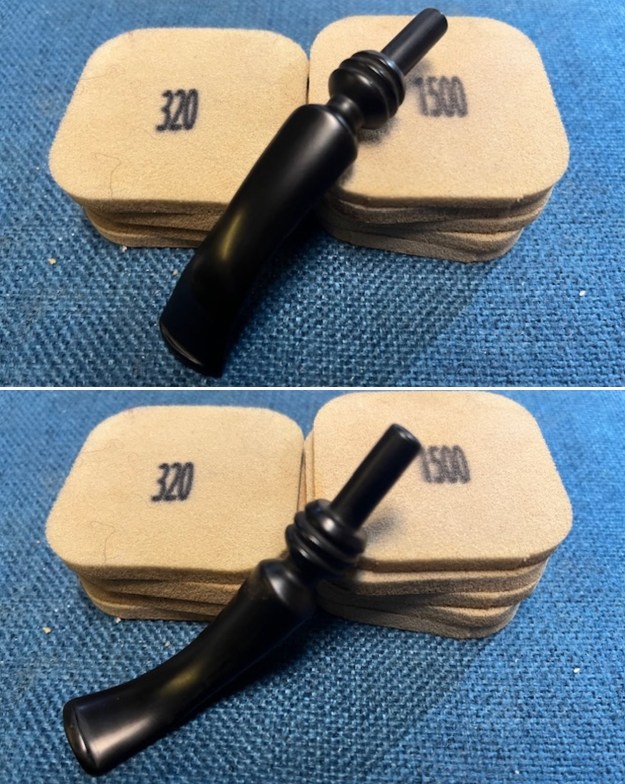
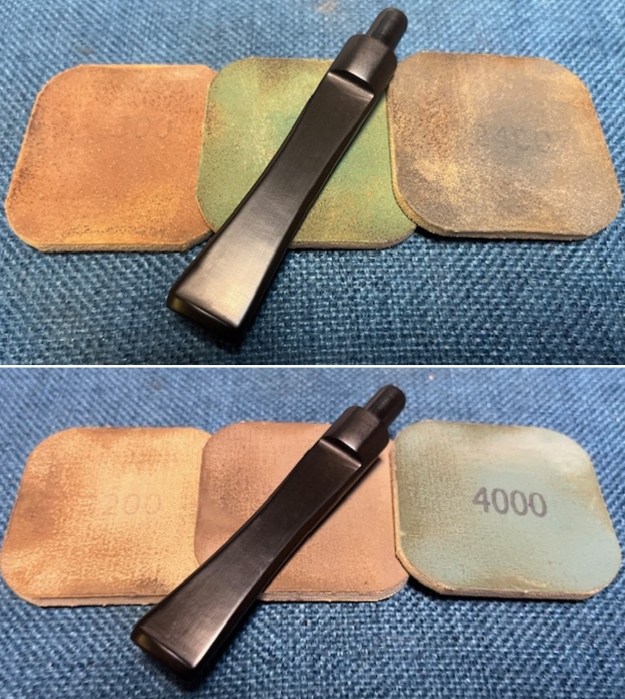
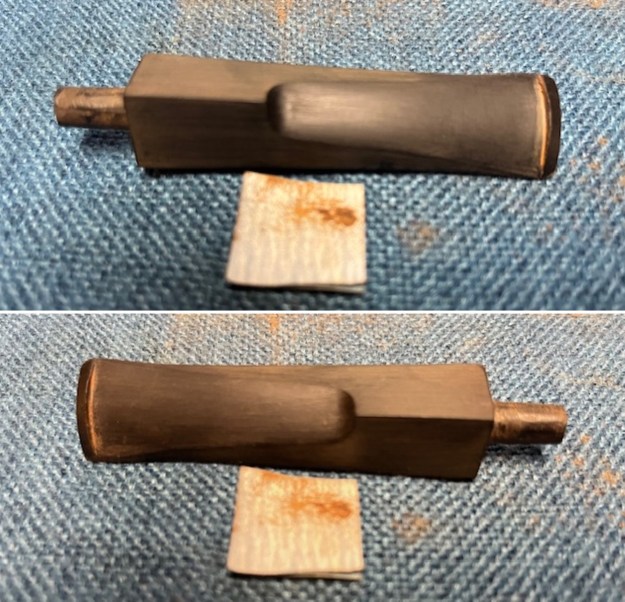 I sanded the stem further with 320-3500 sanding pads. I worked on the surface of the stem to give it a smooth finish. The finish on the stem was getting smoother with the work.
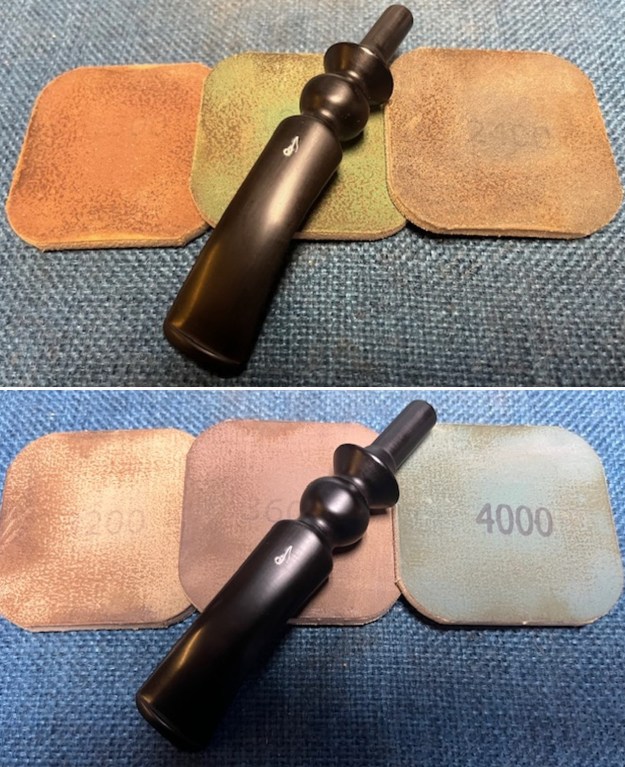
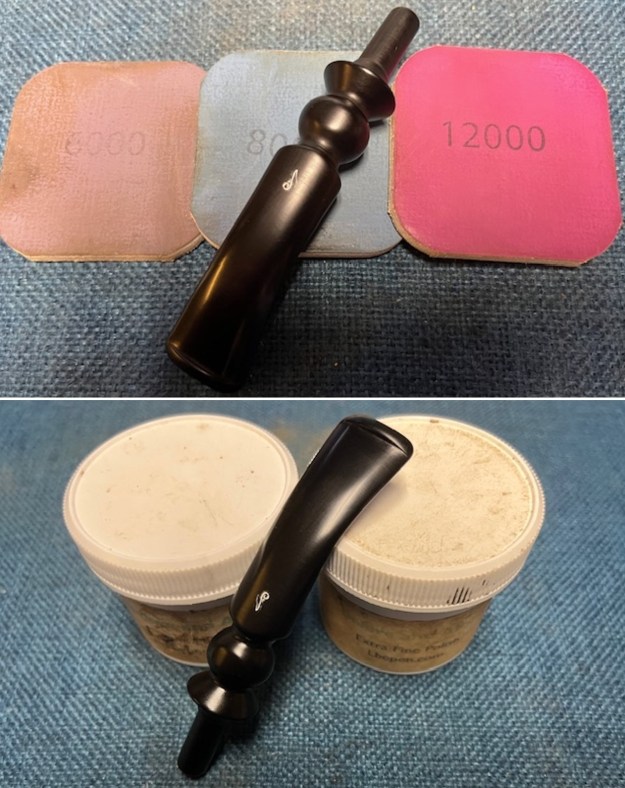
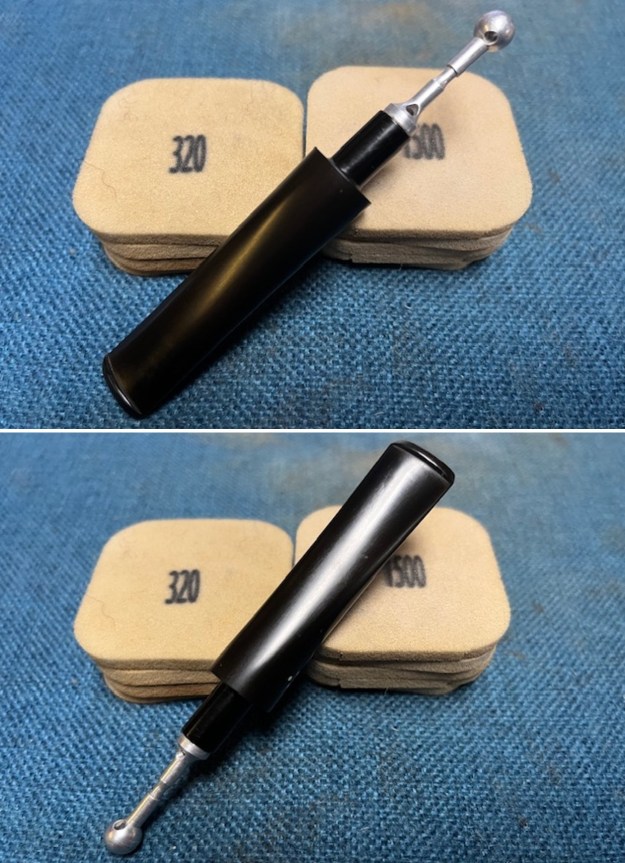
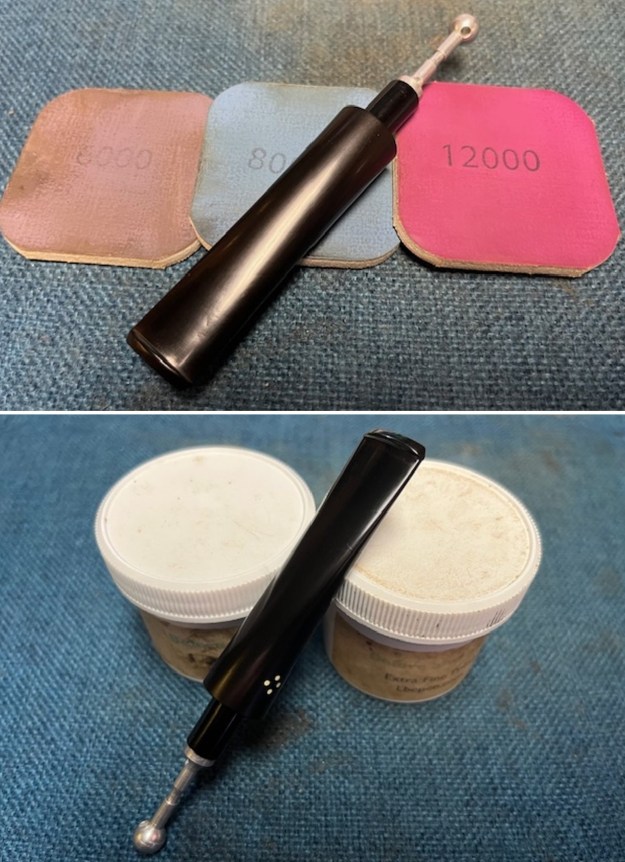
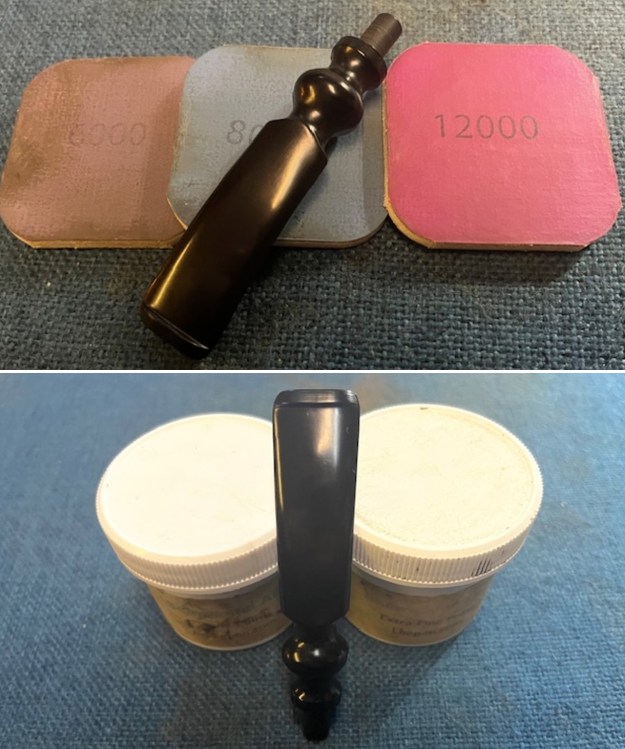
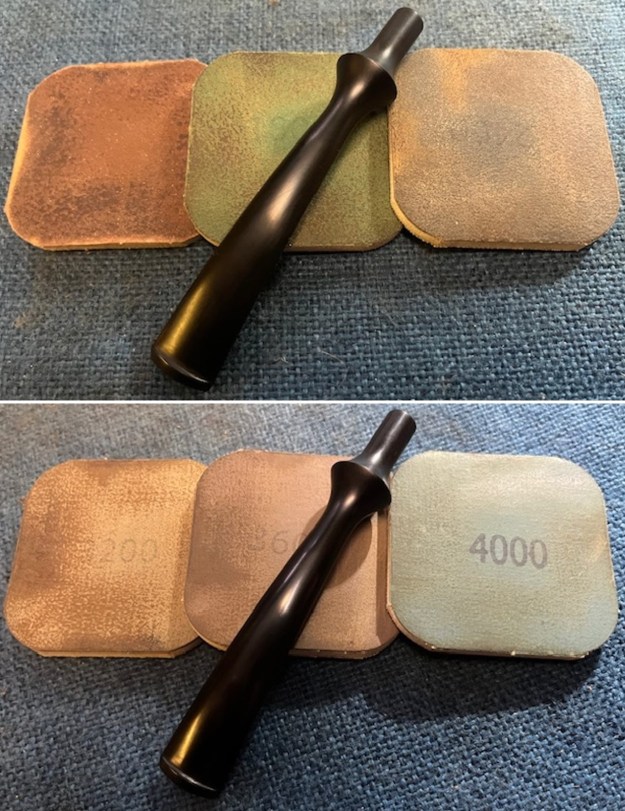
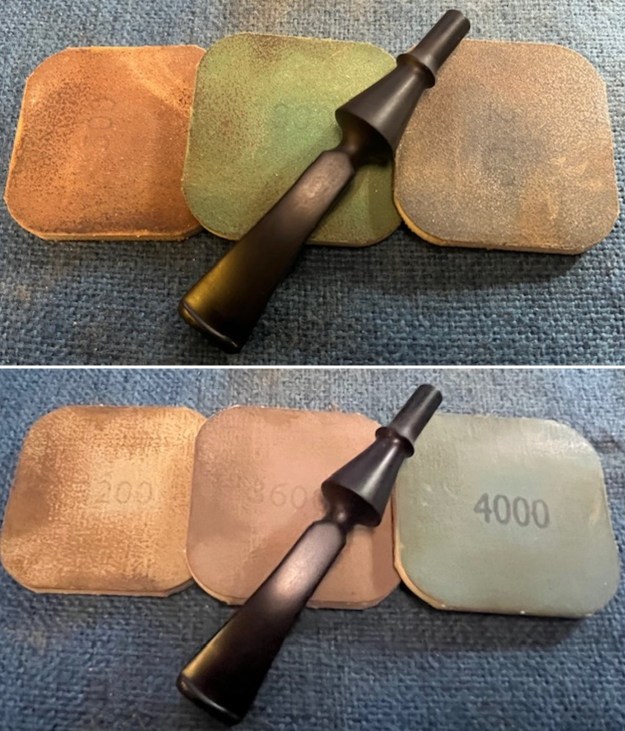
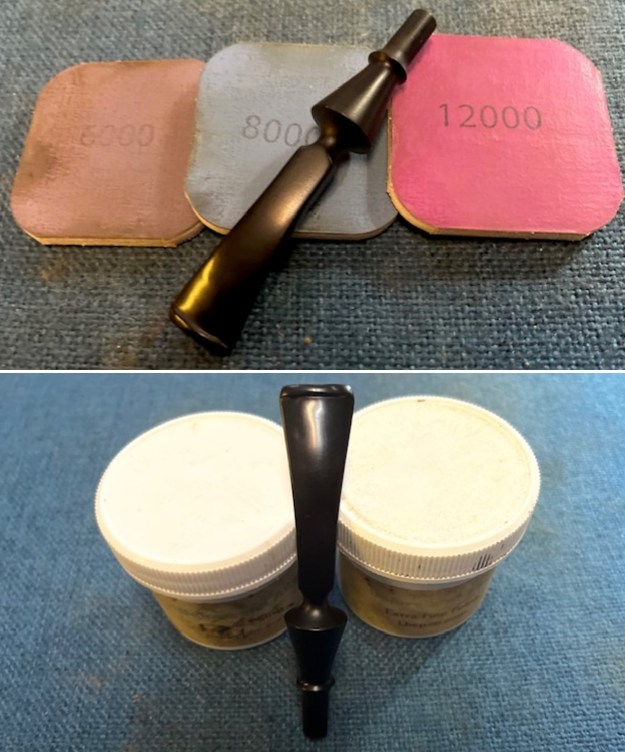
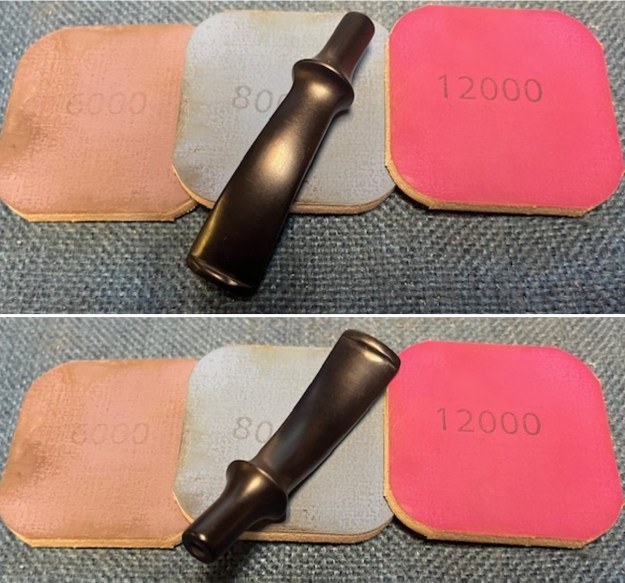
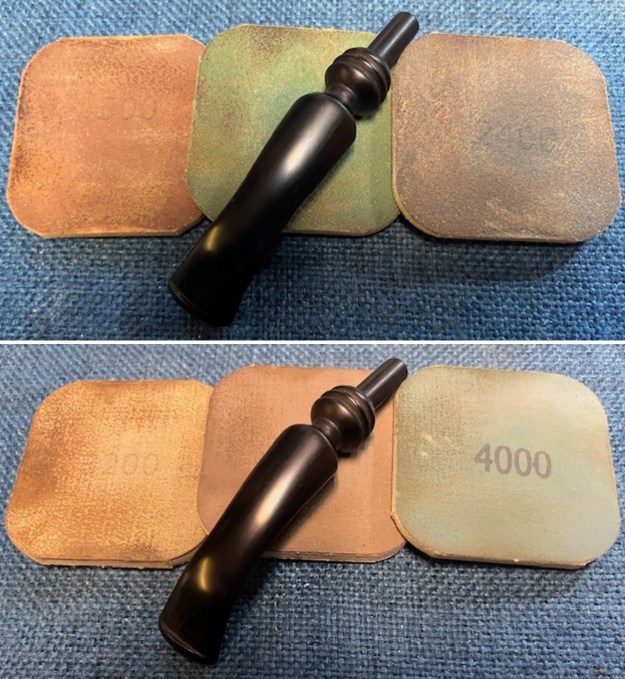
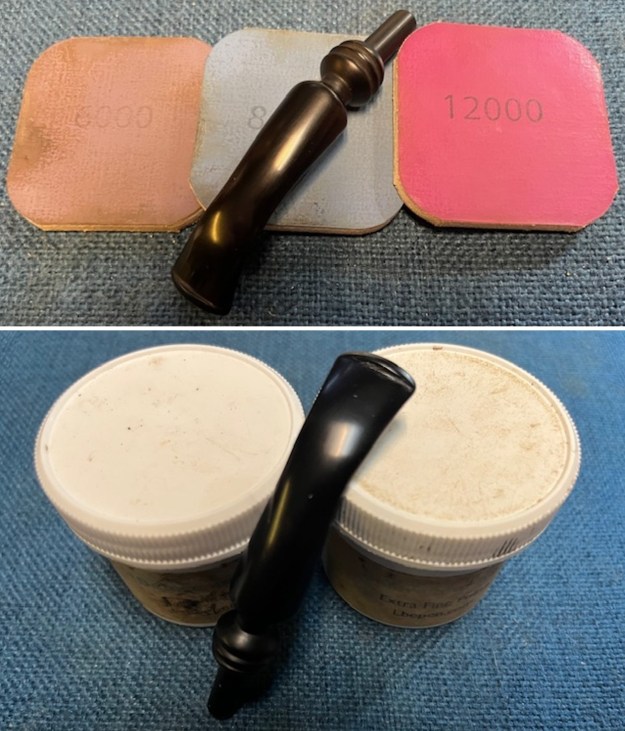
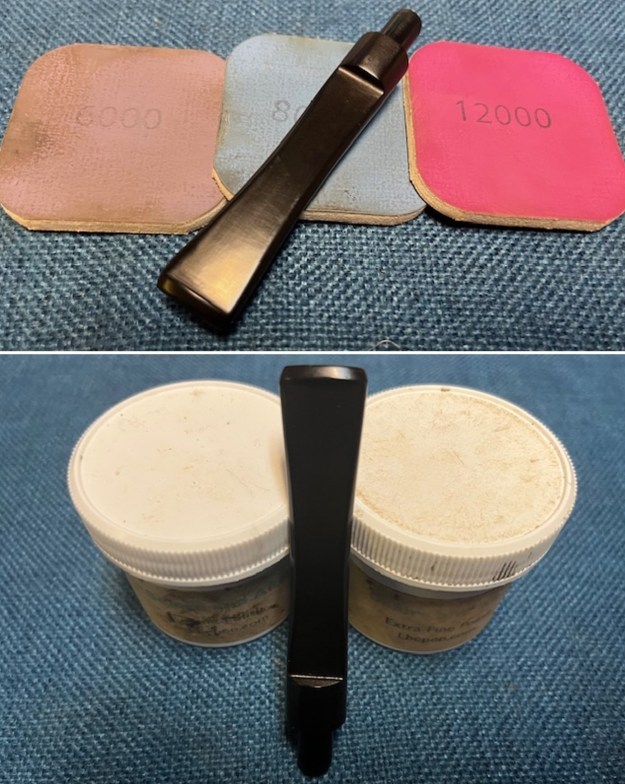
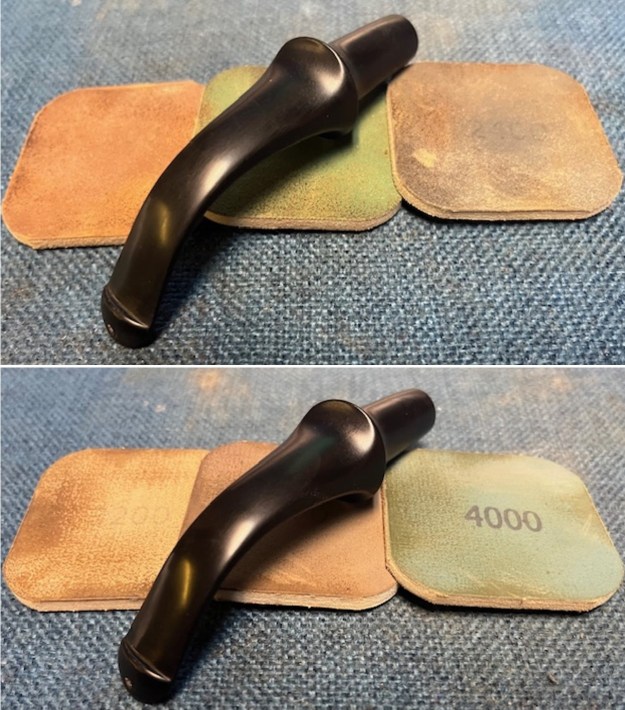
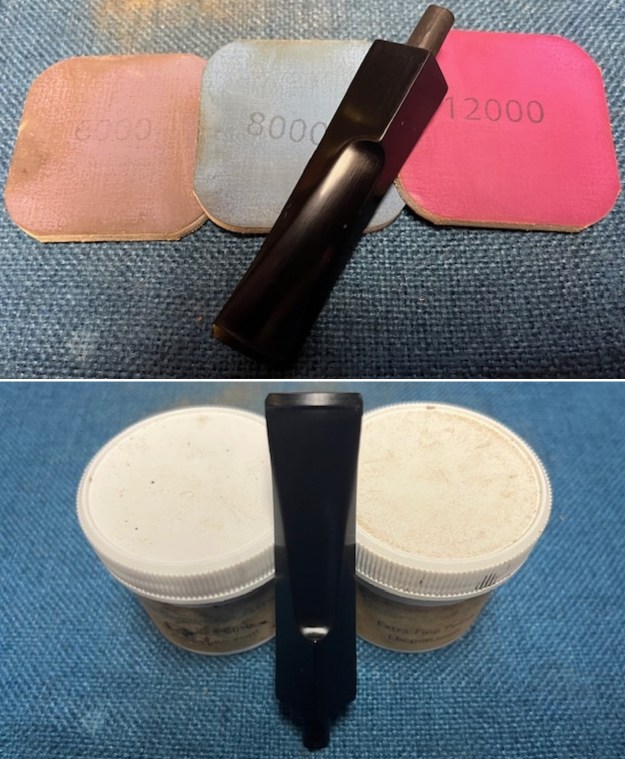
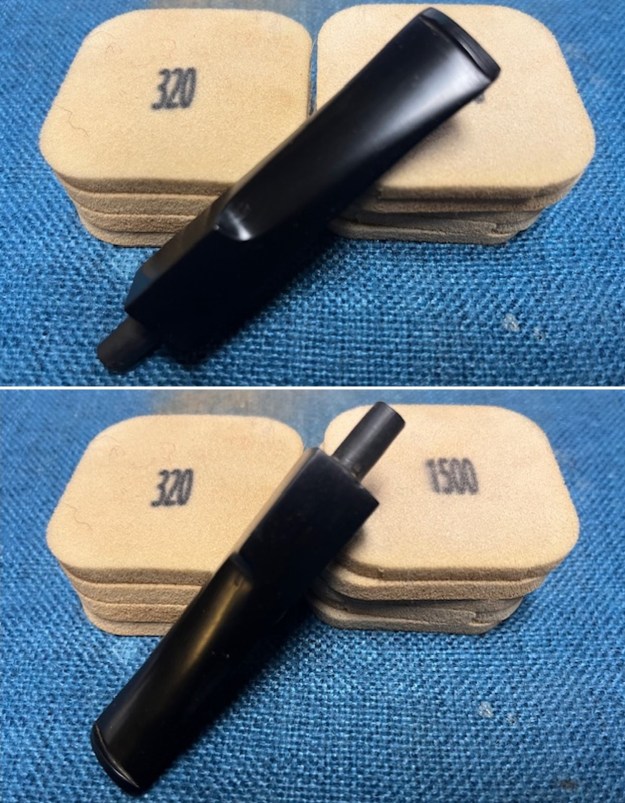 I polished the stem with 1500-12000 grit micromesh sanding pads. It began to take on a rich glow and the surface was very smooth.
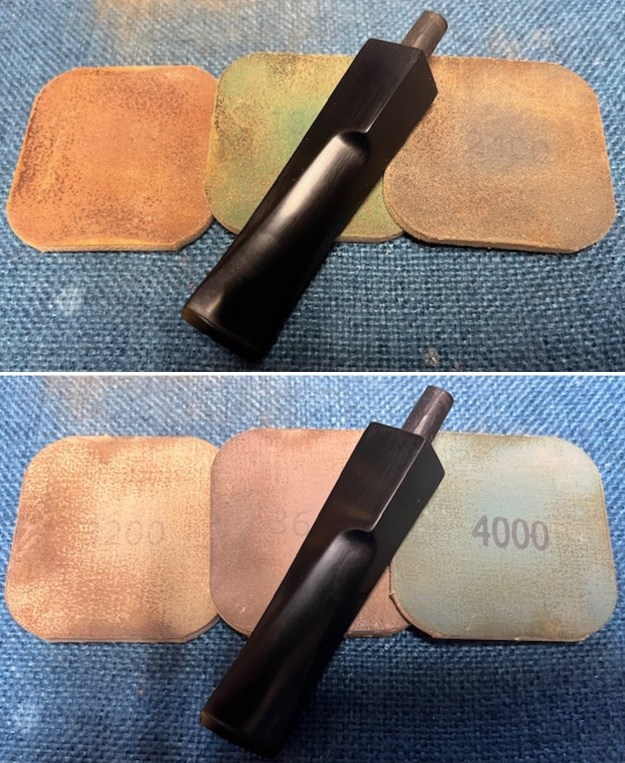
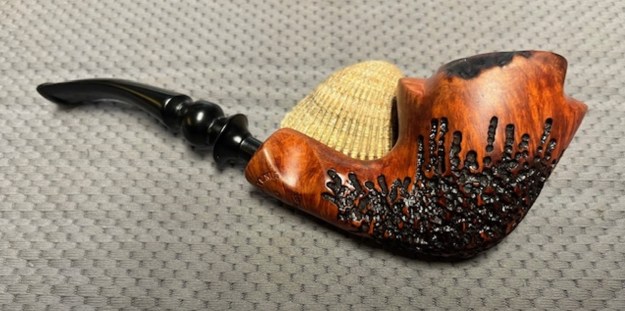
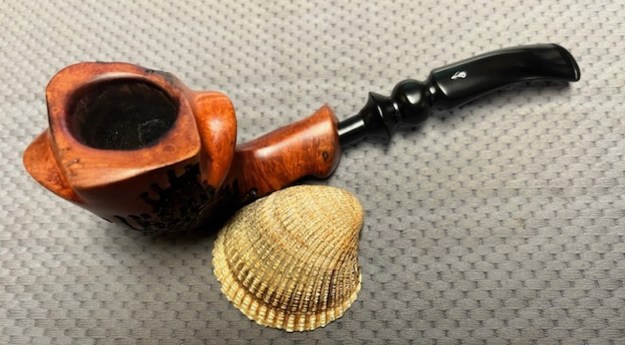
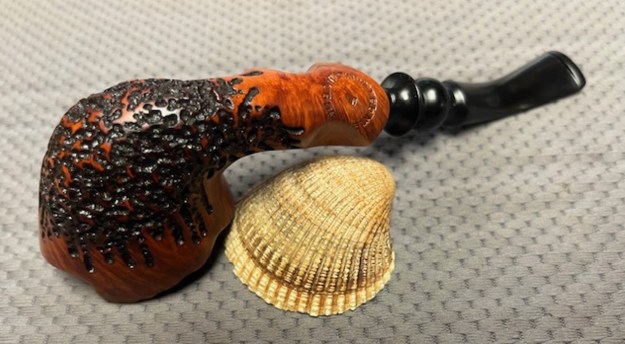
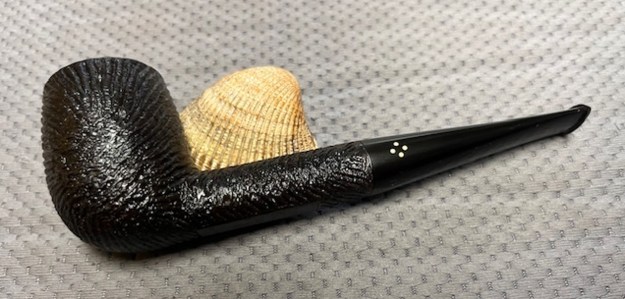
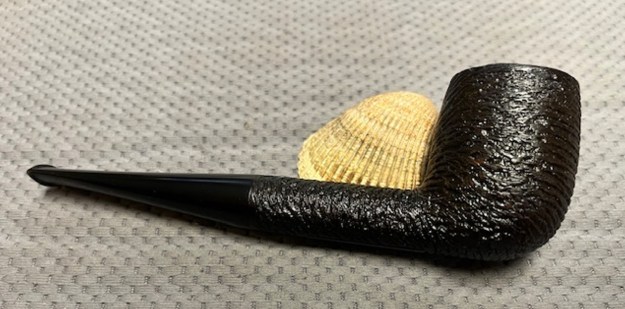
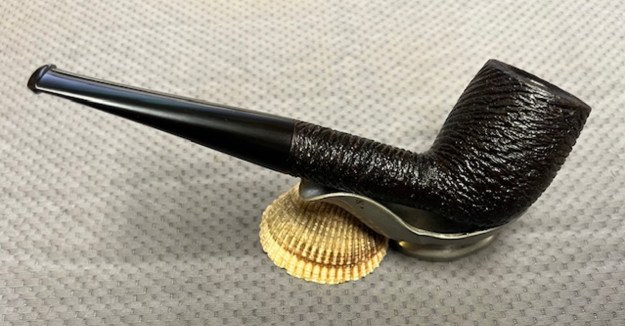
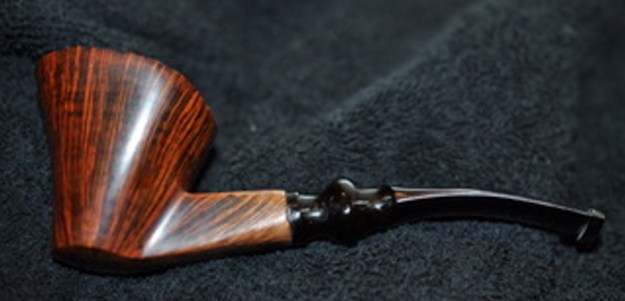
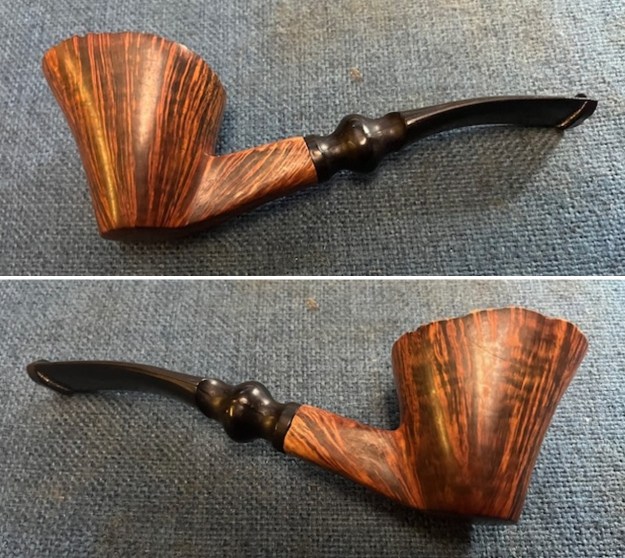
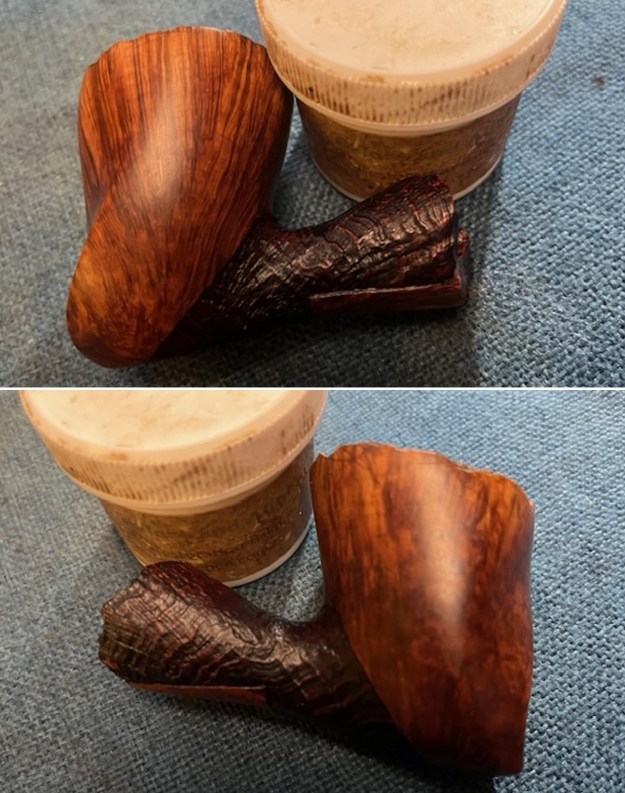
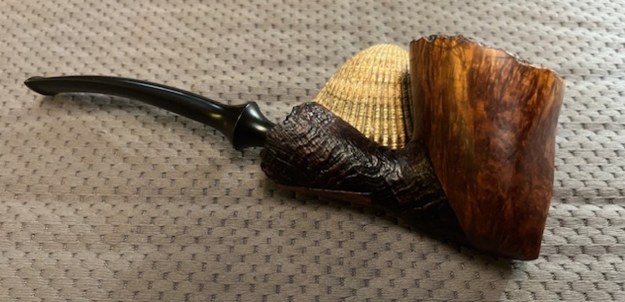
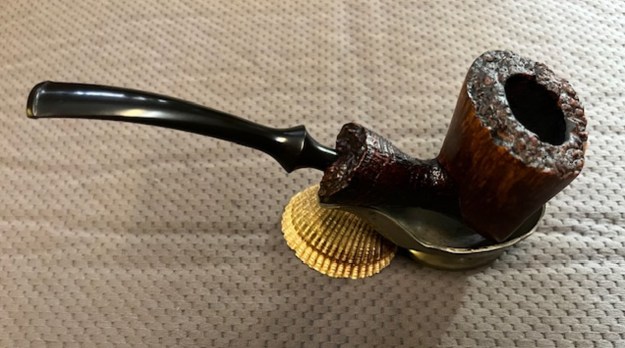
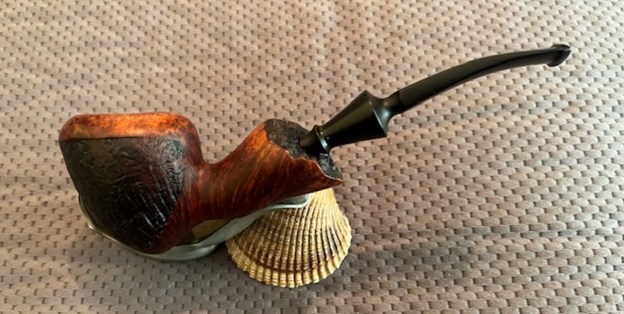
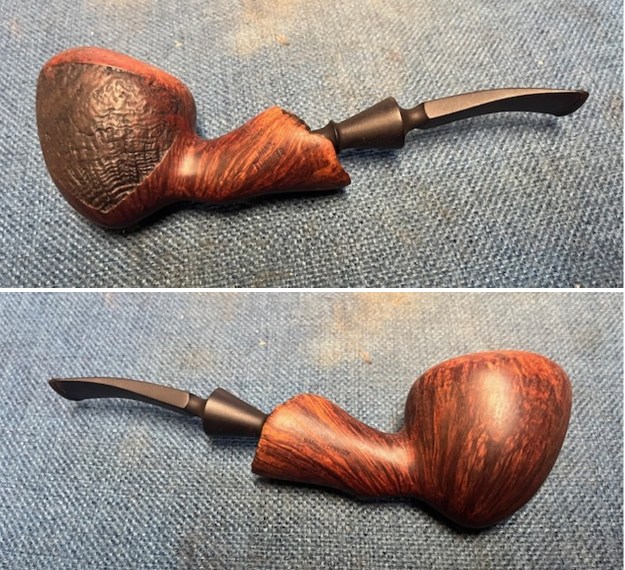
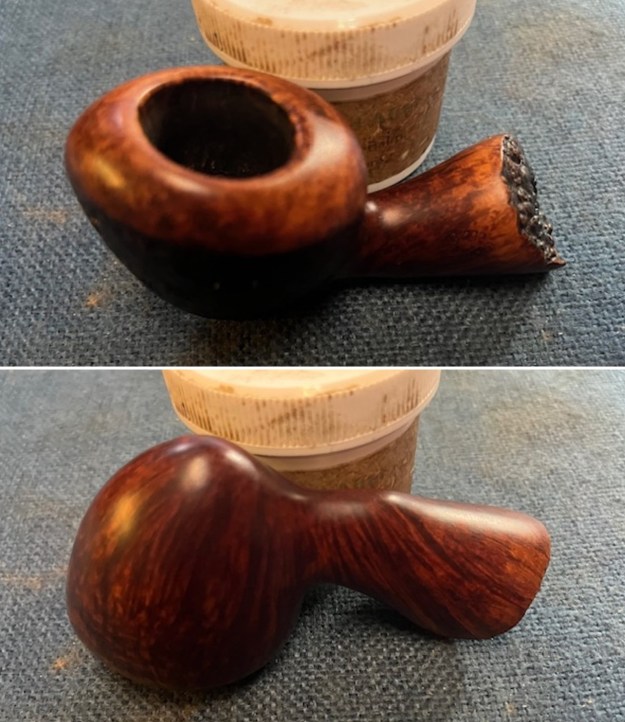
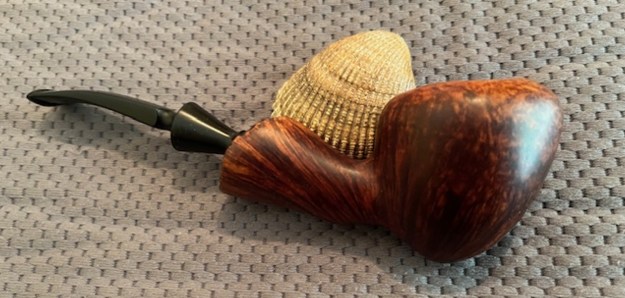
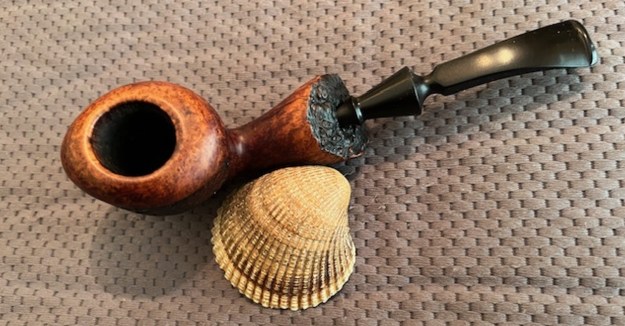
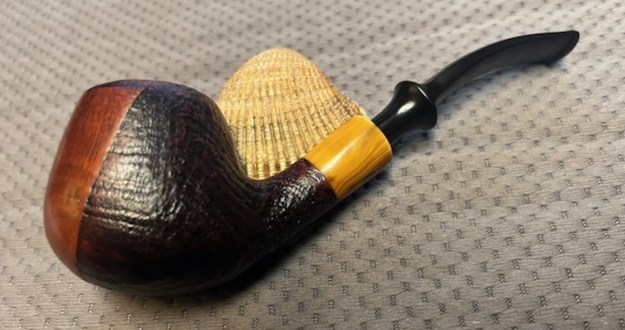
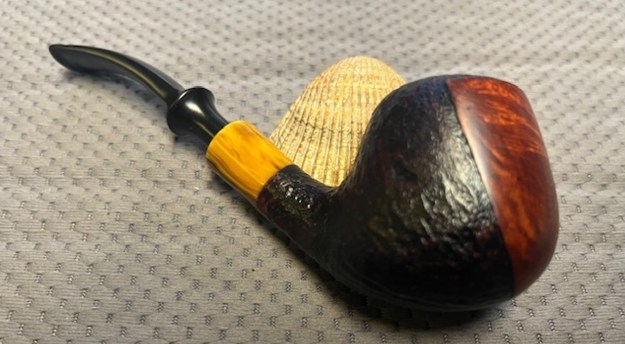
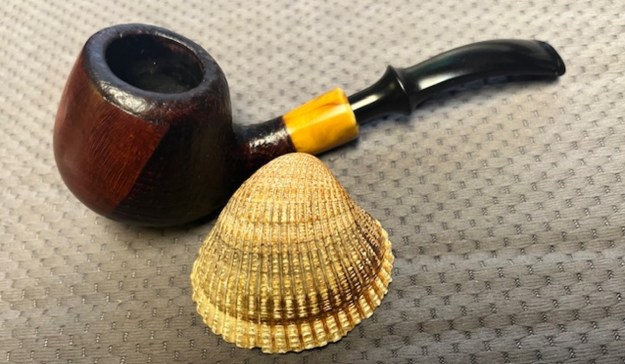
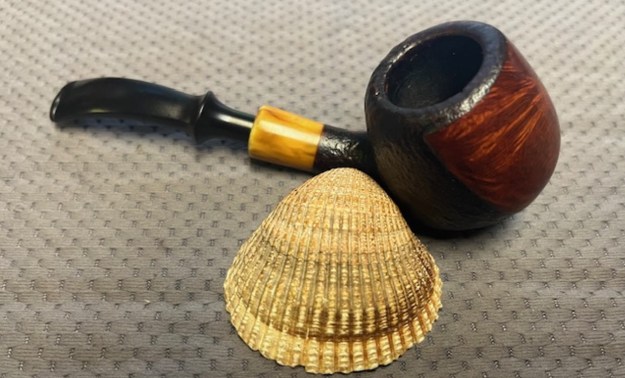
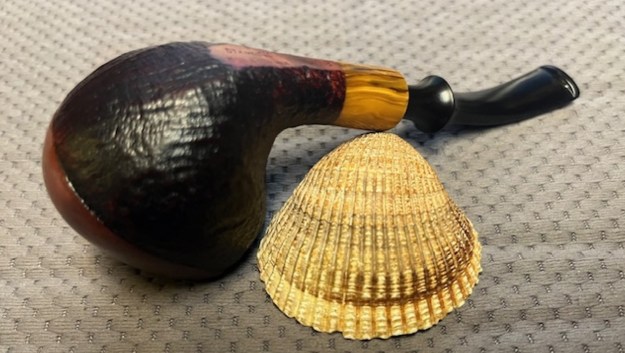
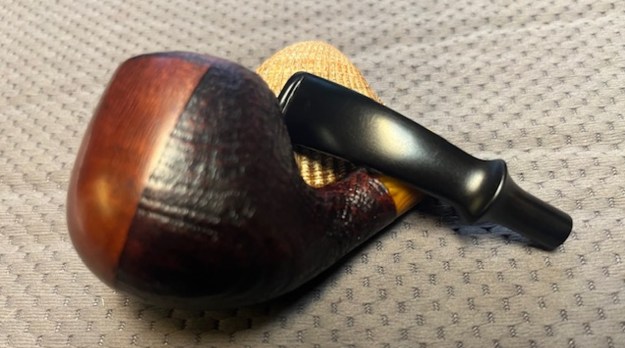
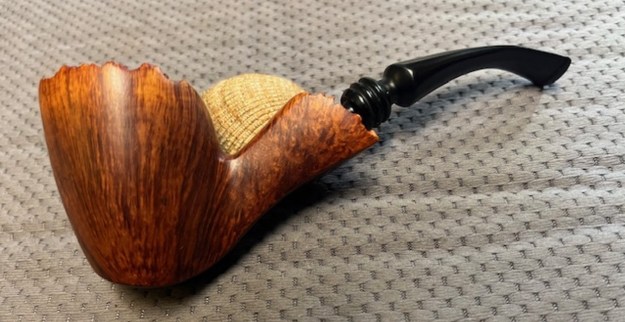
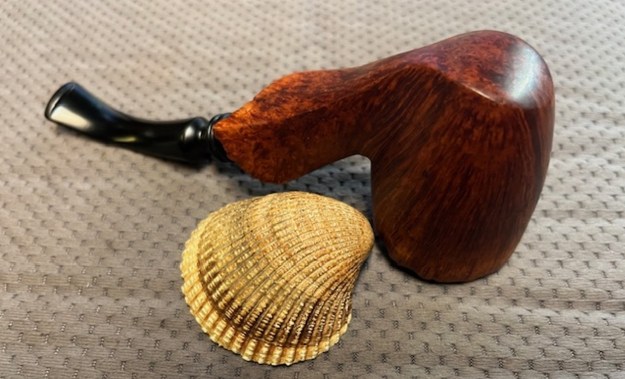
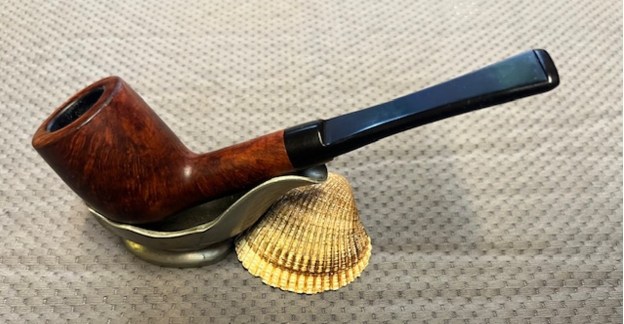
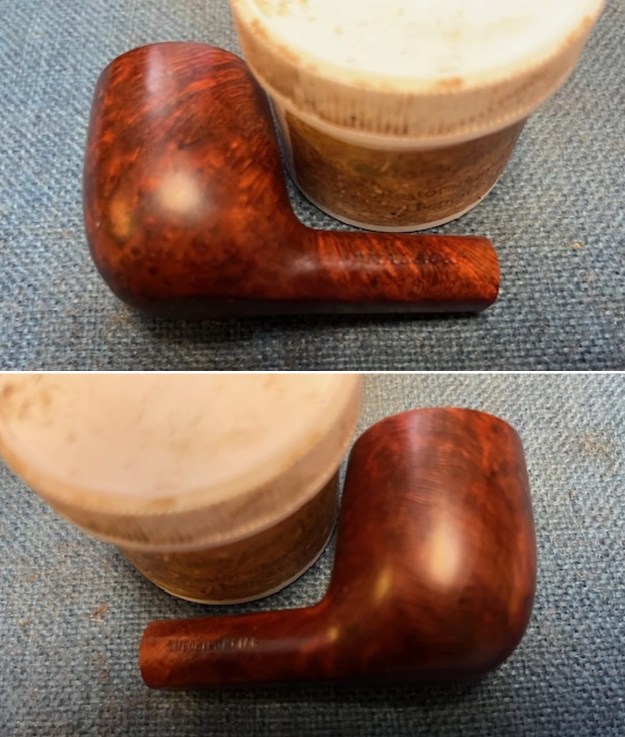
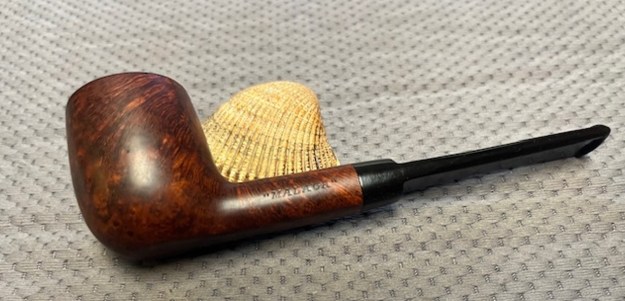
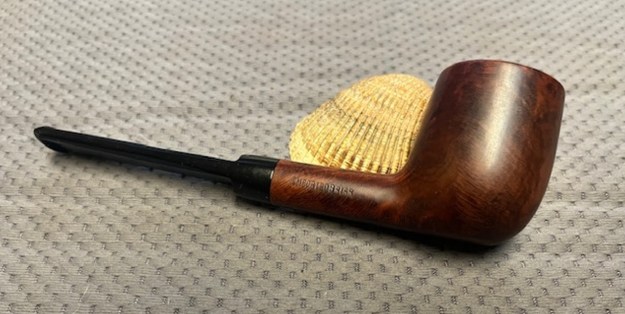
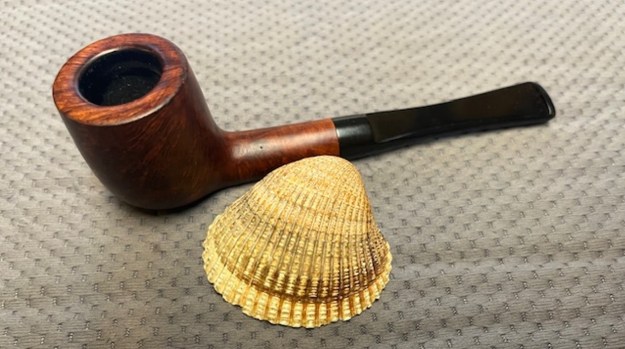
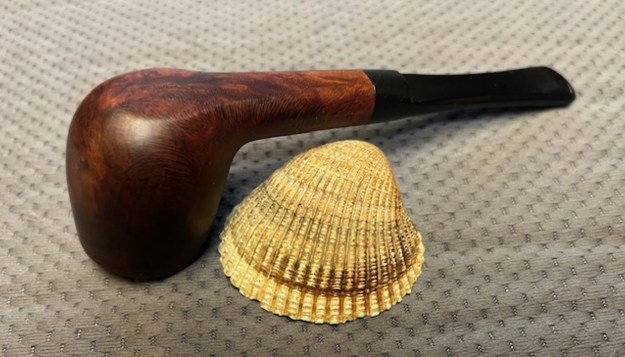
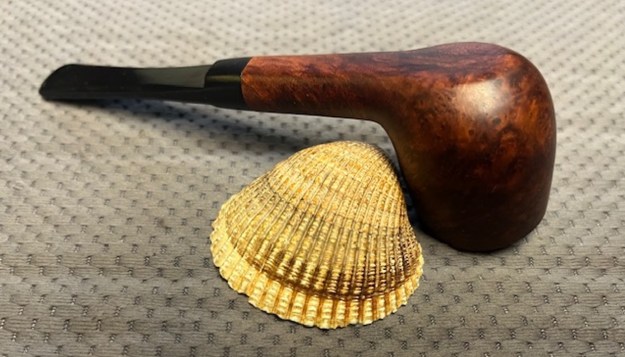
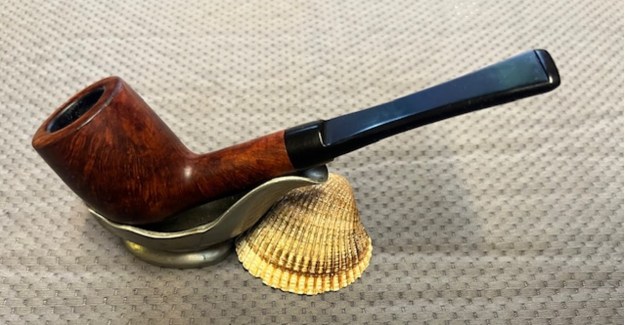
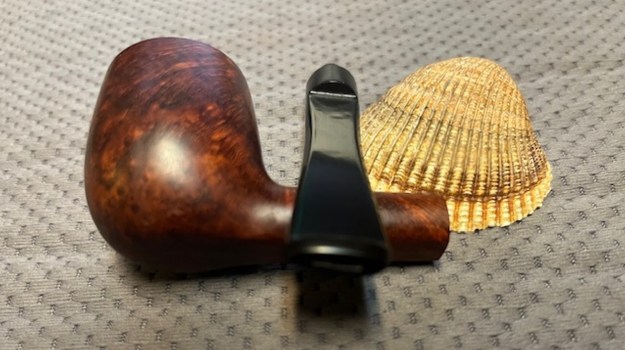
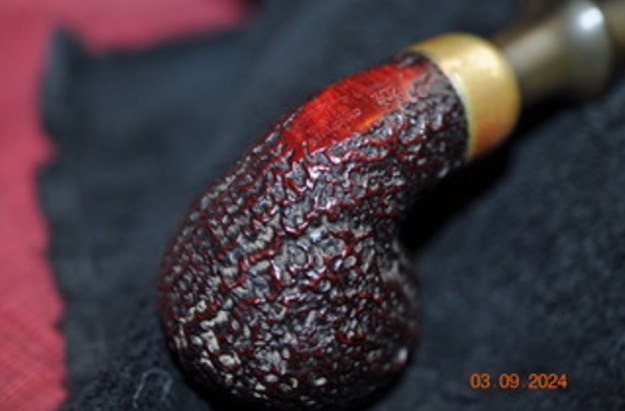
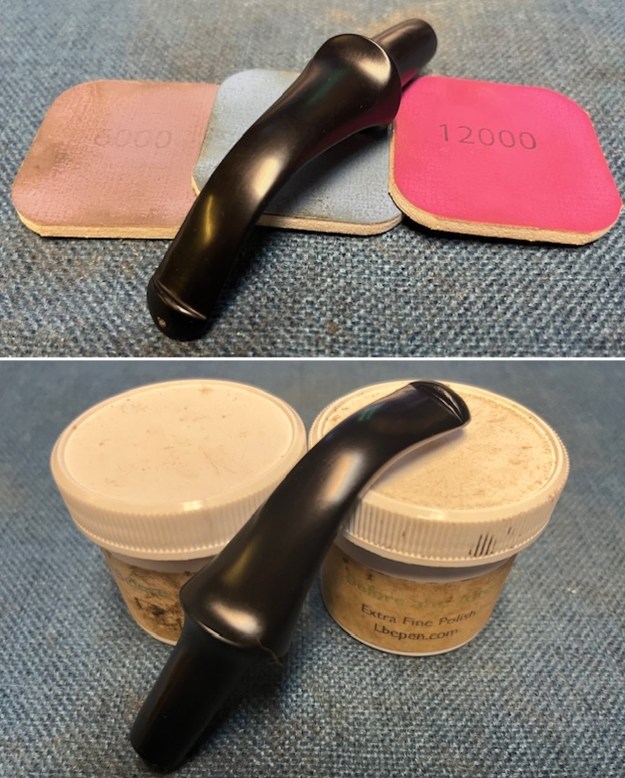
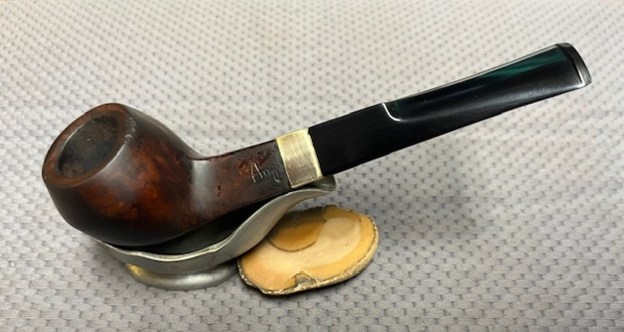
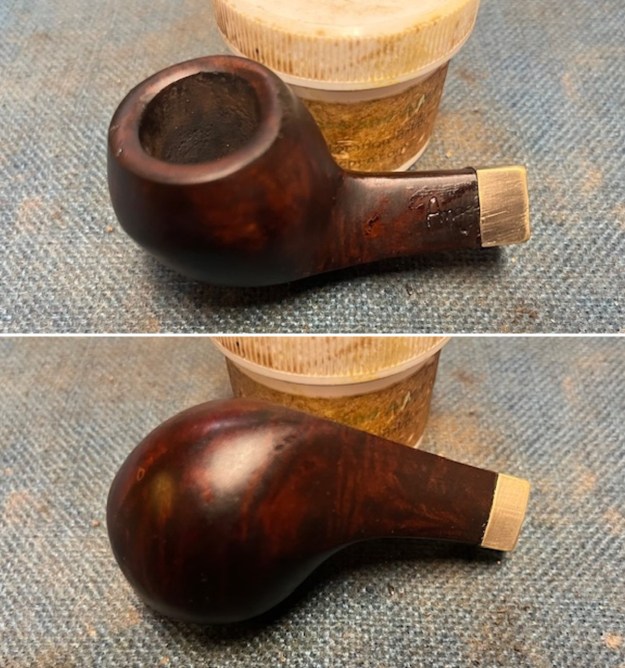
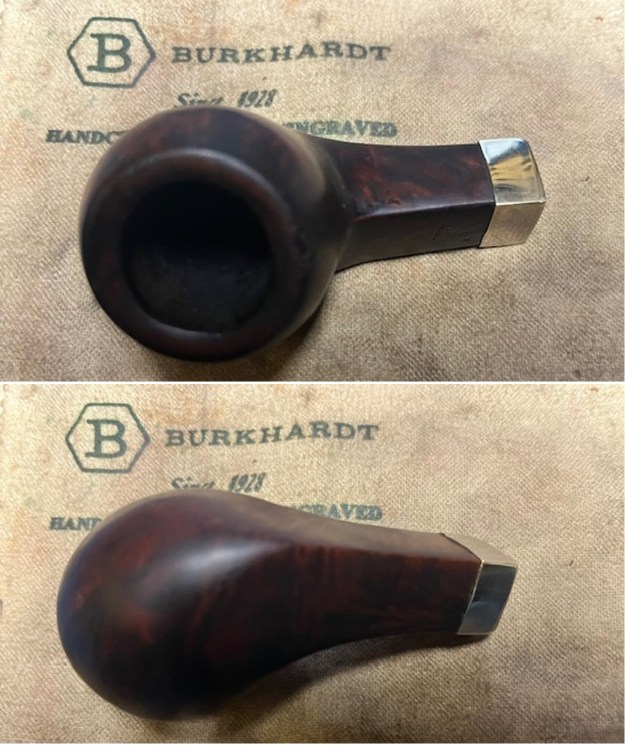
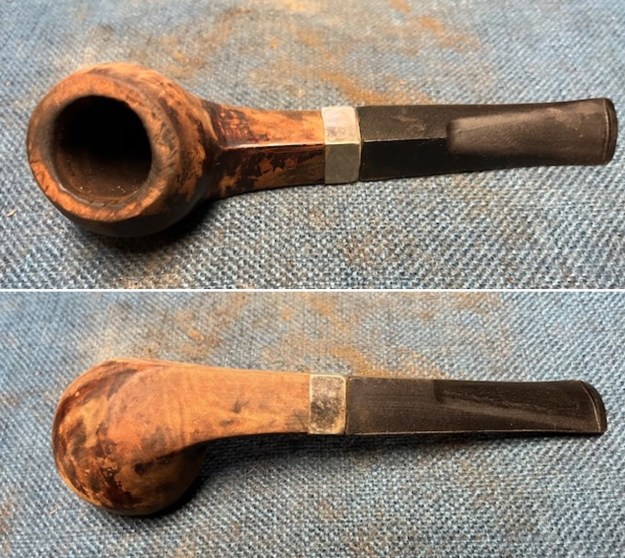
 This reworked and restemmed Angelo Straight Bulldog has a beautiful finish now that the varnish coat has been removed and the bowl restained. It truly has a new lease on life. The medium brown/black finish gives depth to the grain around the bowl and shank. The newly fit polished black vulcanite stem adds to the mix. I put the stem back on the bowl and buffed the pipe with Blue Diamond on the buffing wheel being careful to not buff the stamping. I gave the bowl and the stem multiple coats of carnauba wax on the buffing wheel and followed that by buffing it with a clean buffing pad. I hand buffed the pipe with a microfiber cloth to deepen the shine. The finished Angelo Straight Bulldog is quite nice and feels great in the hand. Give the finished pipe a look in the photos below. The dimensions of the pipe are Length: 6 inches, Height: 1 ¾ inches, Outside diameter of the bowl: 1 ¼ inch, Chamber diameter: ¾ of an inch. The weight of the pipe is 1.66 ounces/49 grams. Thanks for walking through the restoration with me as I worked over another beautiful pipe. The fellow who dropped it off will pick up his pipe on the weekend. I am looking forward to seeing what he thinks of it.