Blog by Steve Laug
 This is the sixth of the “Malaga” pipes that I am working on from Kathy’s Dad’s pipes. For those of you who have not read the other blogs let me tell the story. Last fall I received a contact email on rebornpipes from Kathy asking if I would be interested in purchasing her late Father, George Koch’s estate pipes. He was a lover of “Malaga” pipes – all shapes and sizes and she wanted to move them out as she cleaned up the estate. We emailed back and forth and I had my brother Jeff follow up with her as he also lives in the US and would make it simpler to carry out this transaction. The long and short of it is that we purchased her Dad’s “Malaga” pipes. There are some beautiful pipes in that lot. I have never seen this many “Malagas” together in one place in all of my years of pipe restoring and refurbishing. They varied from having almost pristine to gnawed and damaged stems that will need to be replaced. Many of the pipes already had replacement stems or maybe George had the staff at the Malaga shop in Michigan put Lucite stems on them because he was such a gnawer. I don’t know if we will ever know the answer to that as Kathy did not know for sure. She did know though that he loved the brand and that most of the pipes he smoked he purchased from the shop. These were some well used and obviously well loved pipes. Cleaning and restoring them will be a tribute to this pipeman. (Here is a link to some history of the Malaga Brand if you are interested: https://rebornpipes.com/tag/malaga-pipes/. There are also links there to a catalogue and the maker George Khoubesser.)
 Knowing about the pipeman who held the pipes in trust before me gives another dimension to the restoration work. This is certainly true with this lot of pipes. I can almost imagine George picking out each pipe in his assortment at the Malaga shop in Michigan. I may well be alone in this, but when I know about the person it is almost as if he is with me work on his pipes. In this case Kathy sent us not only information but also a photo of her Dad enjoying his “Malagas”. Once again, I am including that information so you can know a bit about the pipeman who held these pipes in trust before they are passed on to some of you. I include part of Kathy’s correspondence with my brother as well…
Jeff…Here is a little about my dad, George P. Koch…I am sending a picture of him with a pipe also in a separate email.
 Dad was born in 1926 and lived almost all his life in Springfield, Illinois. He was the youngest son of German immigrants and started grade school knowing no English. His father was a coal miner who died when Dad was about seven and his sixteen year old brother quit school to go to work to support the family. There was not much money, but that doesn’t ruin a good childhood, and dad had a good one, working many odd jobs, as a newspaper carrier, at a dairy, and at the newspaper printing press among others. He learned to fly even before he got his automobile driver’s license and carried his love of flying with him through life, recertifying his license in retirement and getting his instrumental license in his seventies and flying until he was grounded by the FAA in his early eighties due to their strict health requirements. (He was never happy with them about that.) He was in the Army Air Corps during World War II, trained to be a bomber, but the war ended before he was sent overseas. He ended service with them as a photographer and then earned his engineering degree from University of Illinois. He worked for Allis Chalmers manufacturing in Springfield until the early sixties, when he took a job at Massey Ferguson in Detroit, Michigan. We lived in Livonia, and that’s where his love for Malaga pipes began. After a few years he returned to Allis Chalmers and we moved back to Springfield. I remember that when we went back to Michigan to visit friends, Dad had to go to the Malaga store and acquire a few new pipes. Many a year I wrote to Malaga and they picked out a pipe for me to purchase that I could give Dad for a Christmas or birthday present. He was always pleased. His favorites were the straight stemmed medium sized bowl pipes, but he liked them all. He had some other pipes, but the Malagas were his favorites. I remember him smoking them sitting in his easy chair after work, with feet up on the ledge by the fire burning in the fireplace. Growing up it was my job to clean them and he liked the inner bowl and stem coated with Watkins vanilla, leaving a little of that liquid in the bowl to soak in when I put them back on the rack. Dad quit smoking later in life and so they’ve sat on the racks for many years unattended, a part of his area by his easy chair and fireplace. Dad passed when he was 89 years old and it finally is time for the pipes to move on. I’m very happy they are being restored by you and your brother and hope they find homes who enjoy them as much as Dad did. Thank-you for your care and interest. — Kathy, the oldest daughter
Kathy, once again I thank you for providing this beautiful tribute to your Dad. We will appreciate your trust in allowing us to clean and restore these pipes. I am also trusting that those of you who are reading this might carry on the legacy of her Dad’s pipes as they will be added to the rebornpipes store once they are finished.
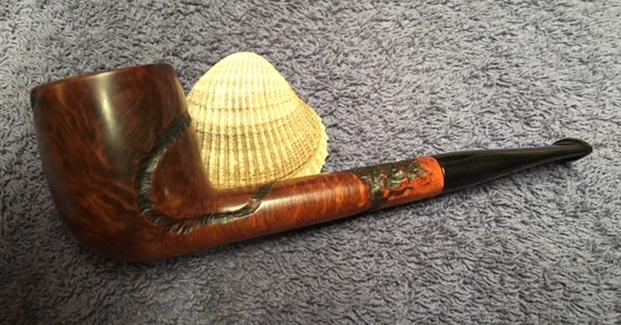
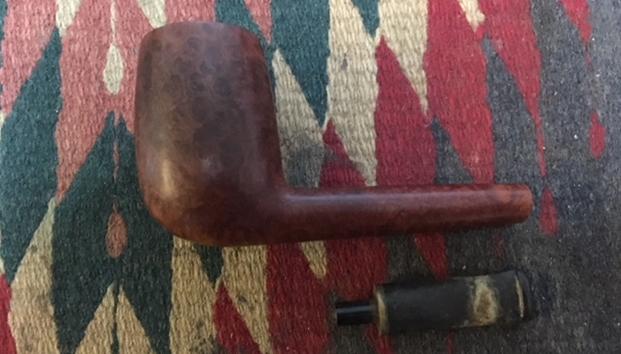
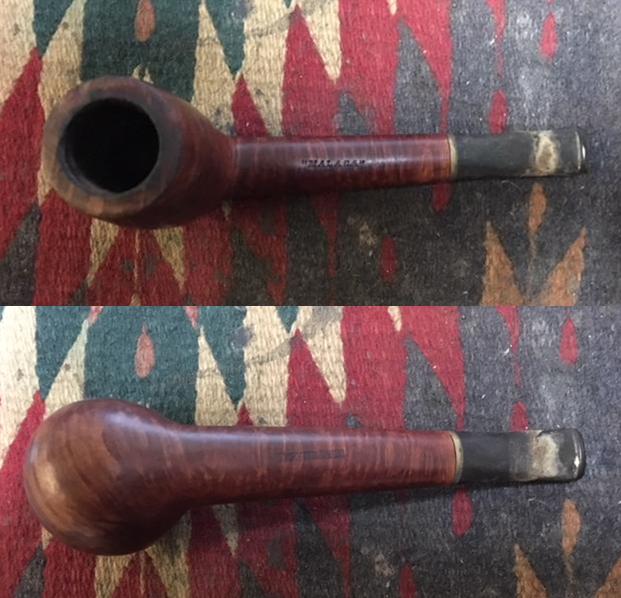
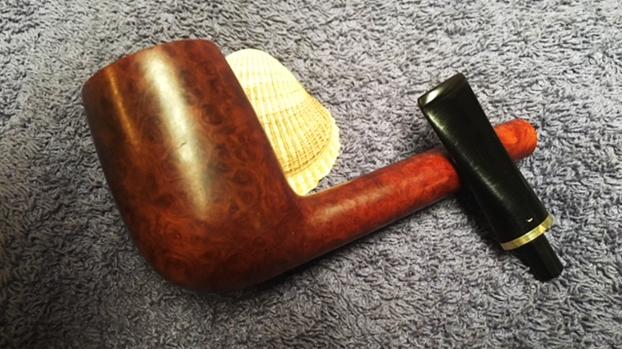
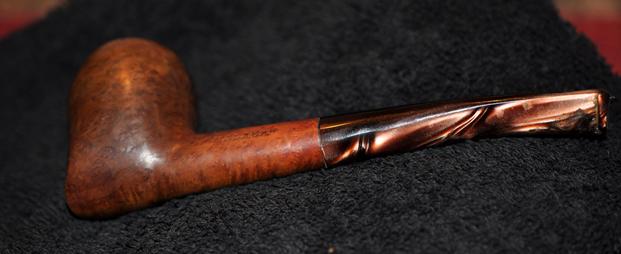
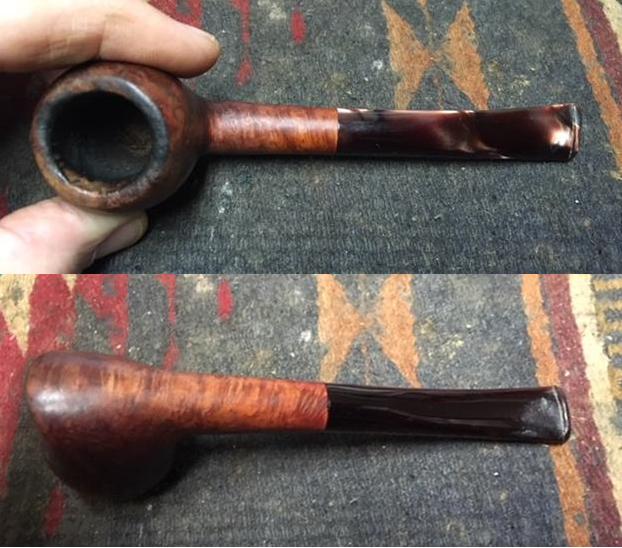
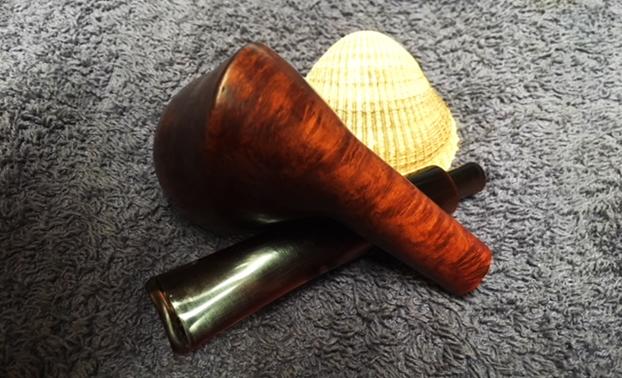
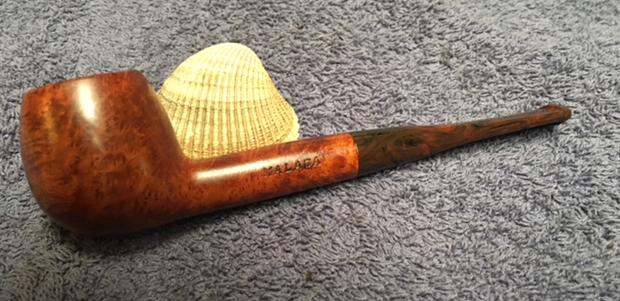
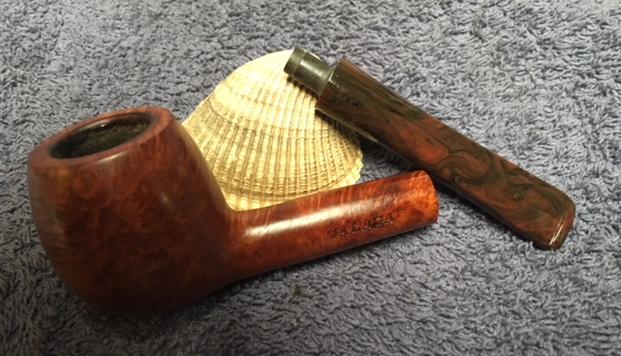
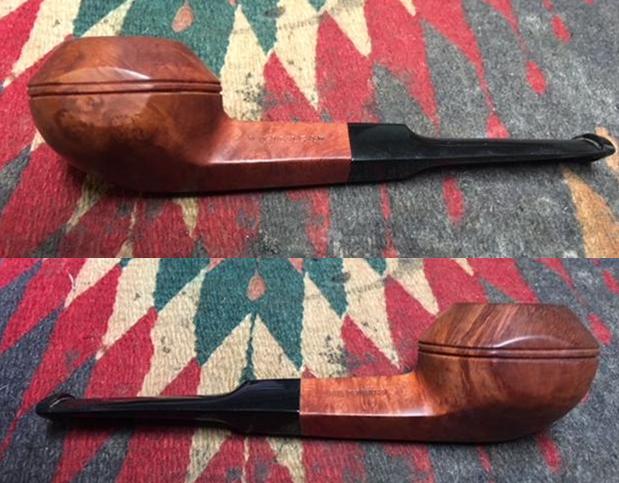
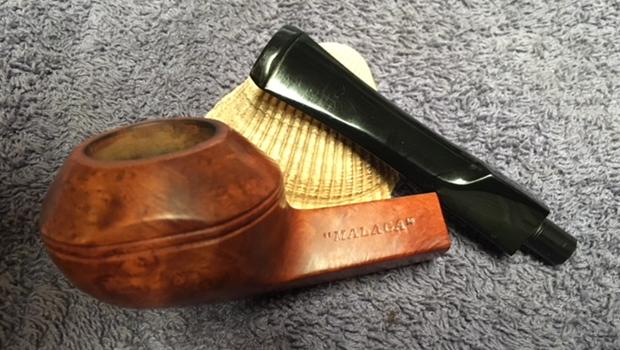
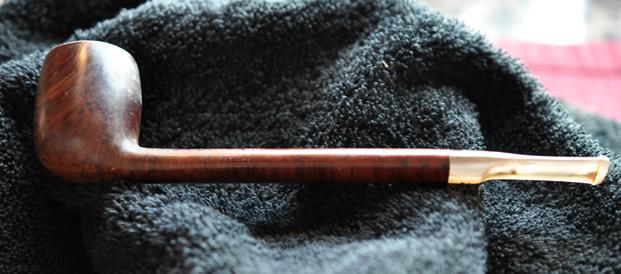
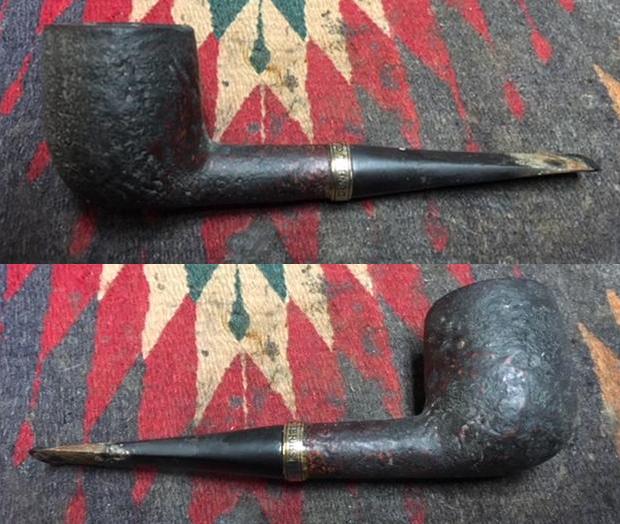
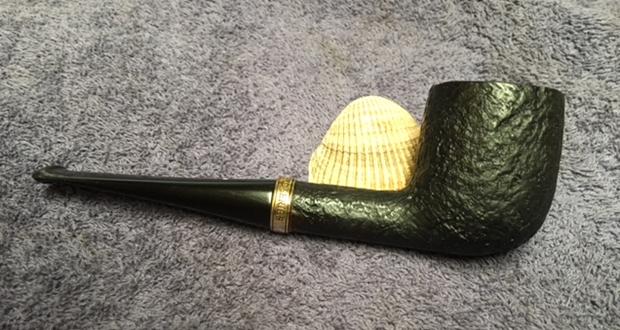
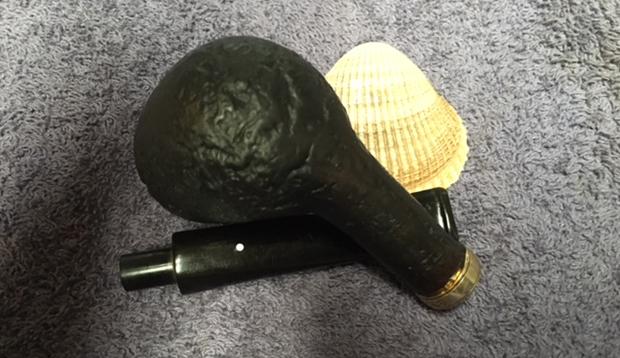
The sixth of the pipes that I chose to work on is a “Malaga” Carved Canadian with some different rustication. There are trails around the pipe and the top of the shank is rusticated in an unusual and interesting pattern. It had a chewed and ruined vulcanite stem. Some great grain peeks through the grime between the trails carved around the bowl. The warm brown finish on the bowl appeared to be good condition under the dust and tars of time. I am pretty certain that Malaga pipes must have been oil cured. The uniform finish and the light weight lead me to think that is the case. Once more there are no fills in the bowl or long shank. I have yet to find a fill in any of the bowls I have worked on in this lot and looking through what remains I think it is fair to say I won’t find any in them either.
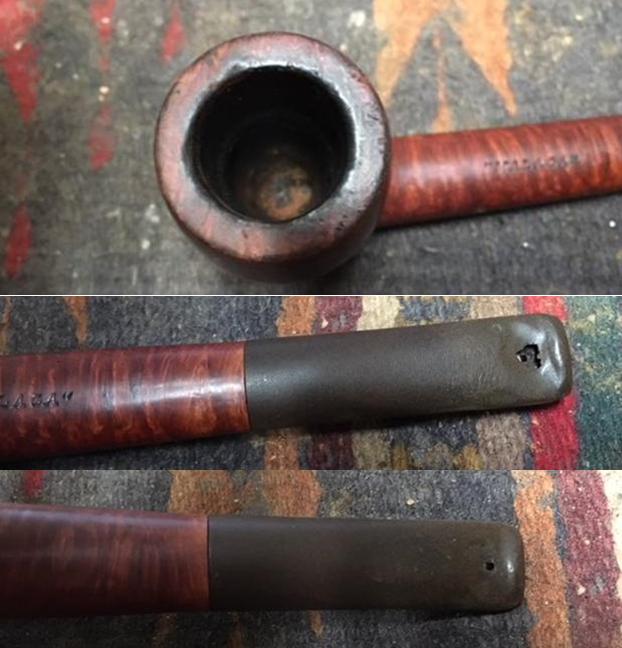
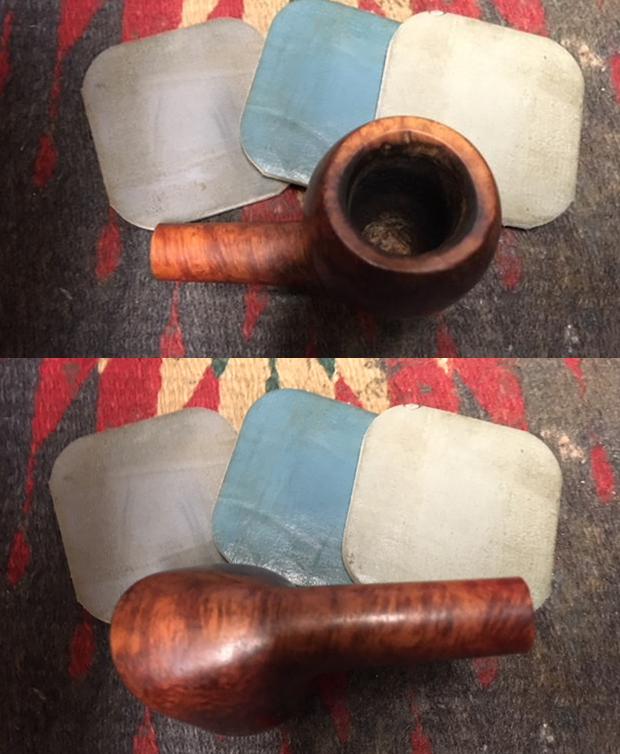
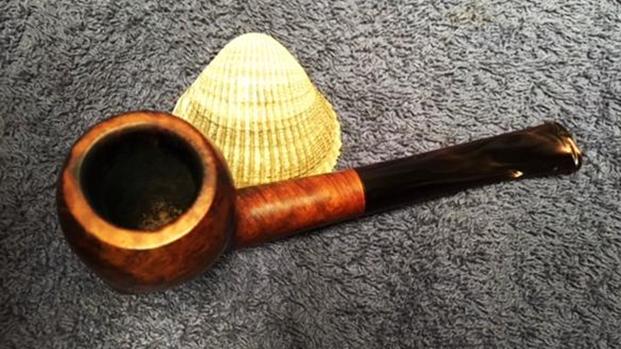
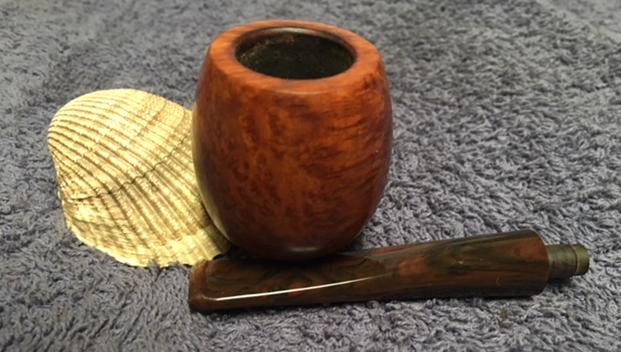
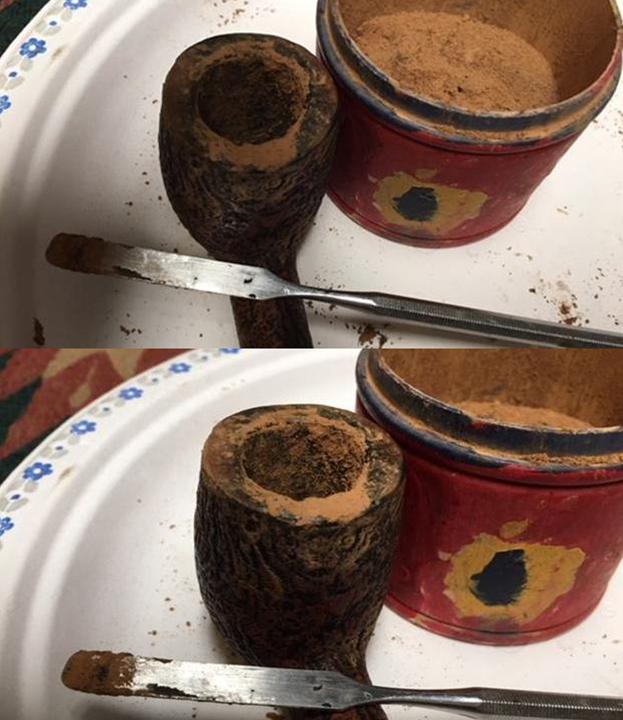
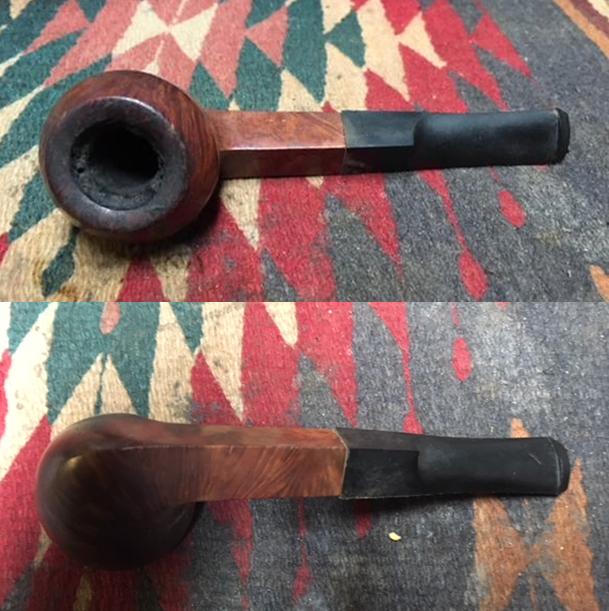
The rim top on this Canadian was lightly beveled inward and was covered with an overflow of lava from the thick cake in the bowl. The bevel was almost invisible. The rim top at the back of the bowl was more thickly caked than the front. The rim top along with the inner and outer edge of the bowl was damaged. There were some nicks on the outer edge and there was some darkening on the inner edge. The bowl was out of round from previous reaming. The rim top and outer edge showed signs of being knocked against a hard surface to empty the dottle from the bowl. The stamping on the underside of the shank was clear and read “Malaga” near the stem/shank junction. There were no shape numbers on the pipe. The black vulcanite stem was ruined with bite marks on the top and a major portion of the underside of the stem missing. It would need to be replaced. The interior of the pipe was dirty. I know that George thoroughly enjoyed his pipes as is evidenced by the wear that all of them show. Jeff took these photos before he started the cleanup work on the pipe.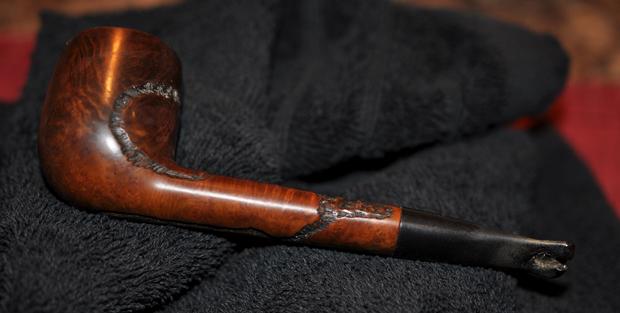
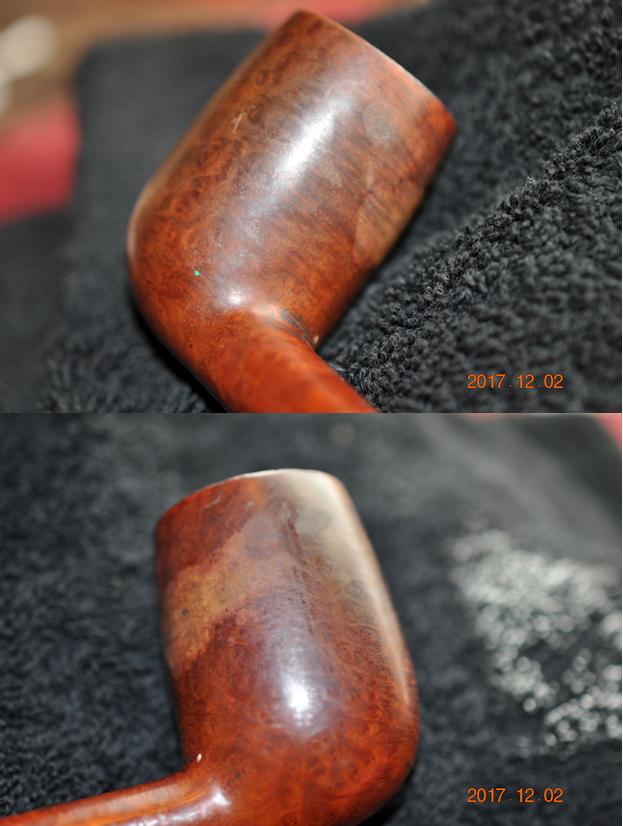
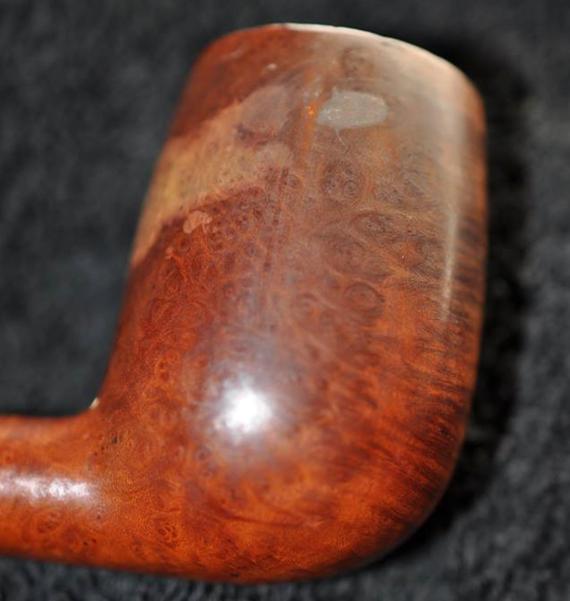
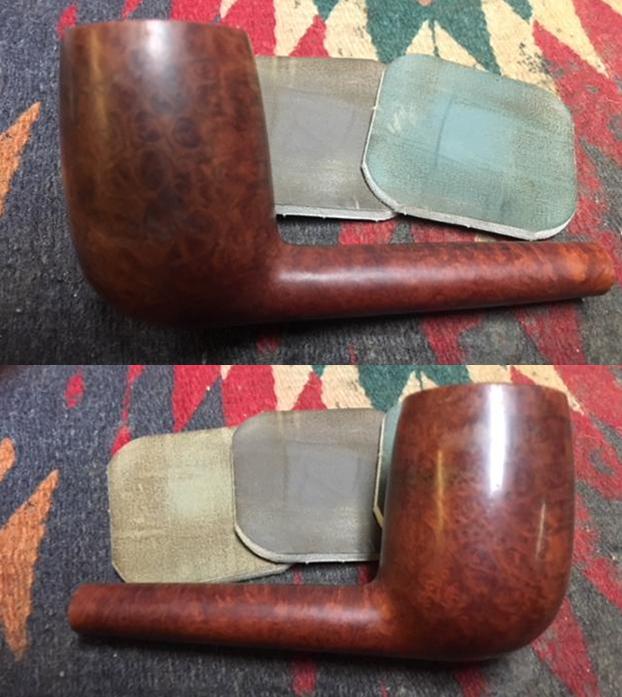
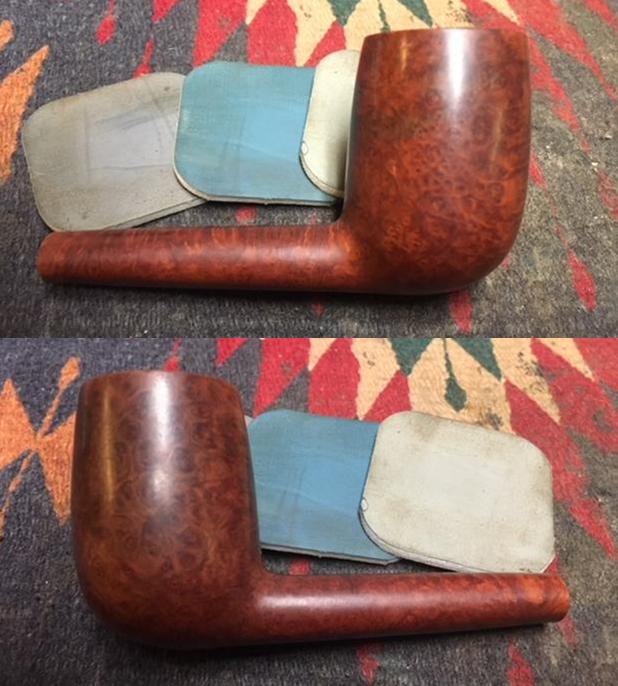
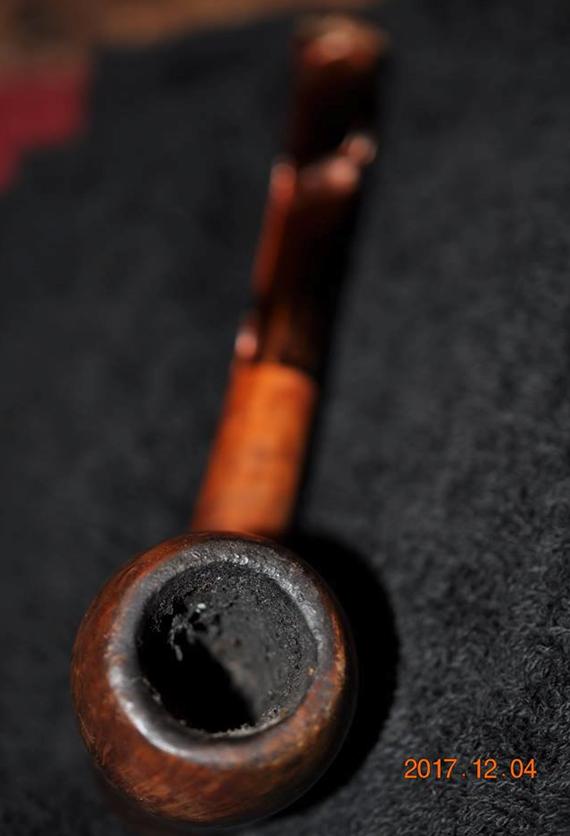
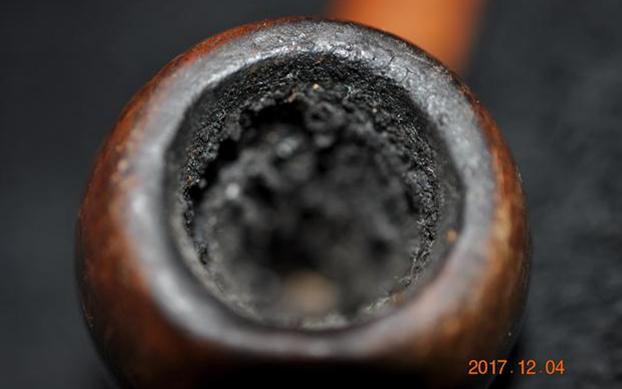
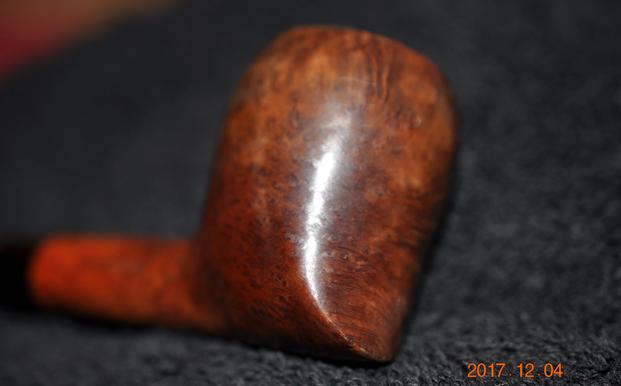
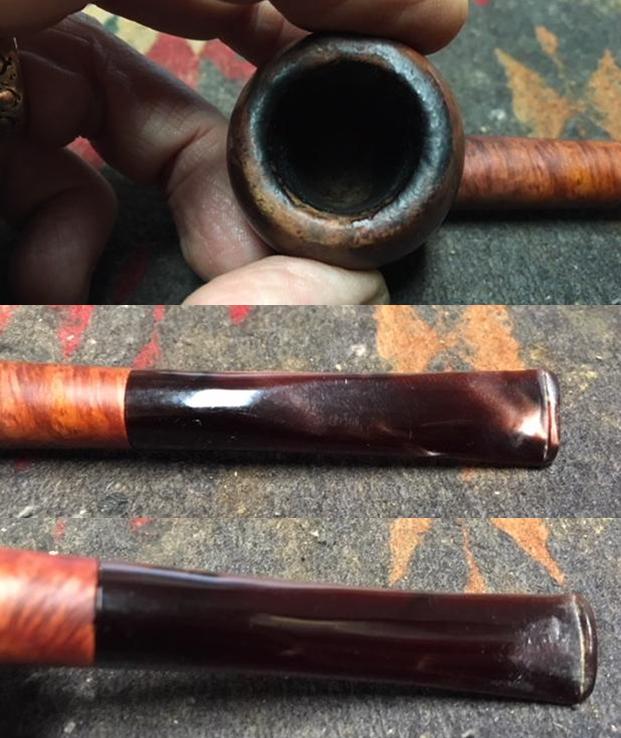
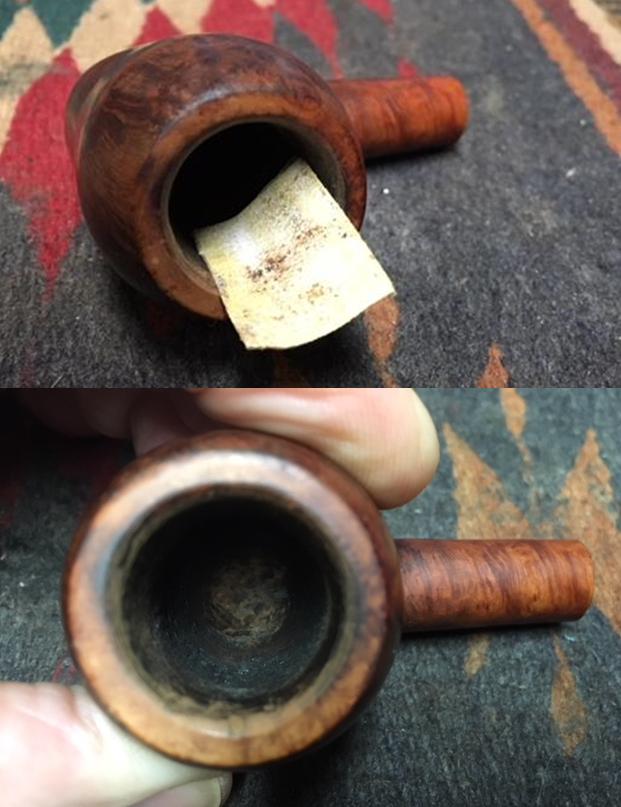
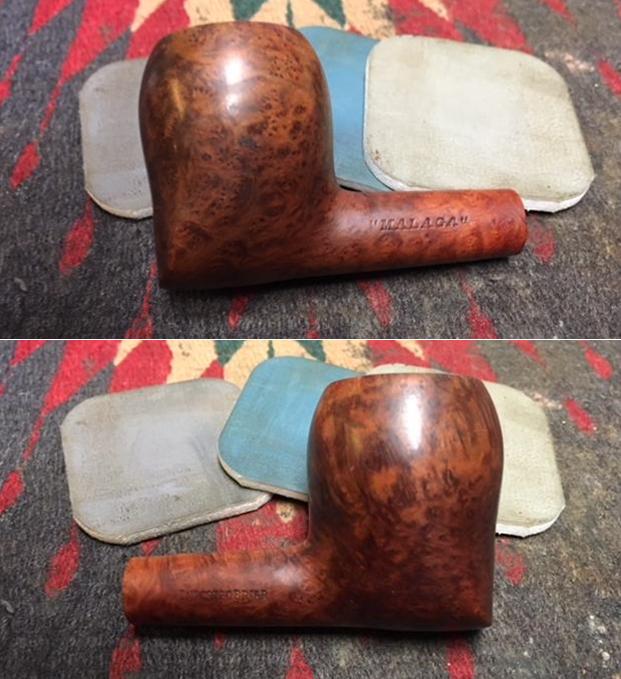
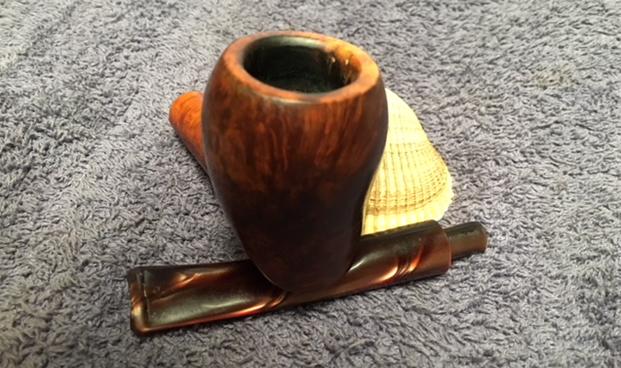
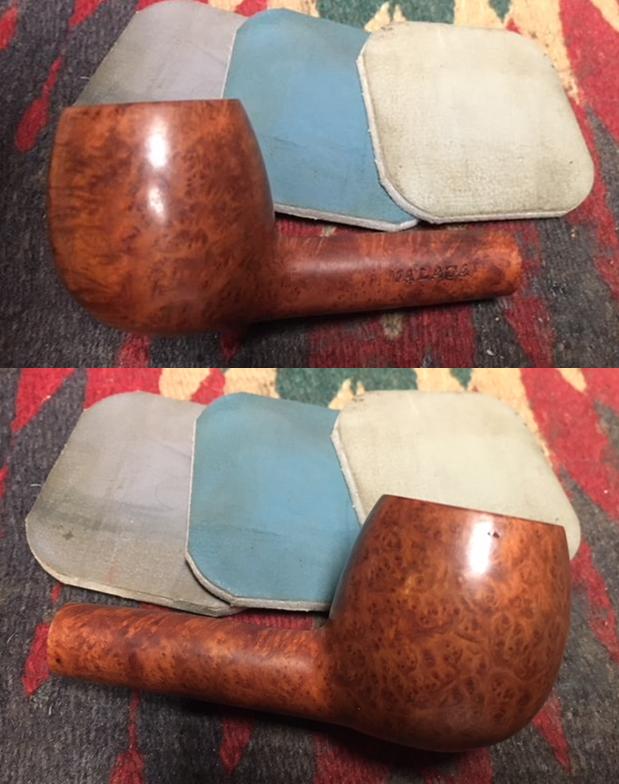
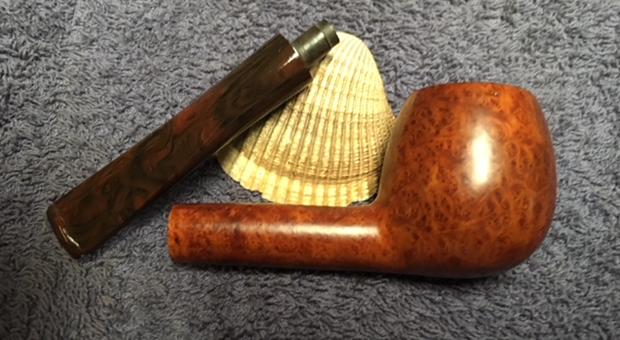
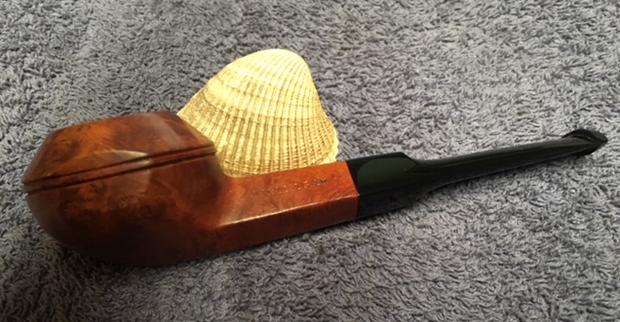
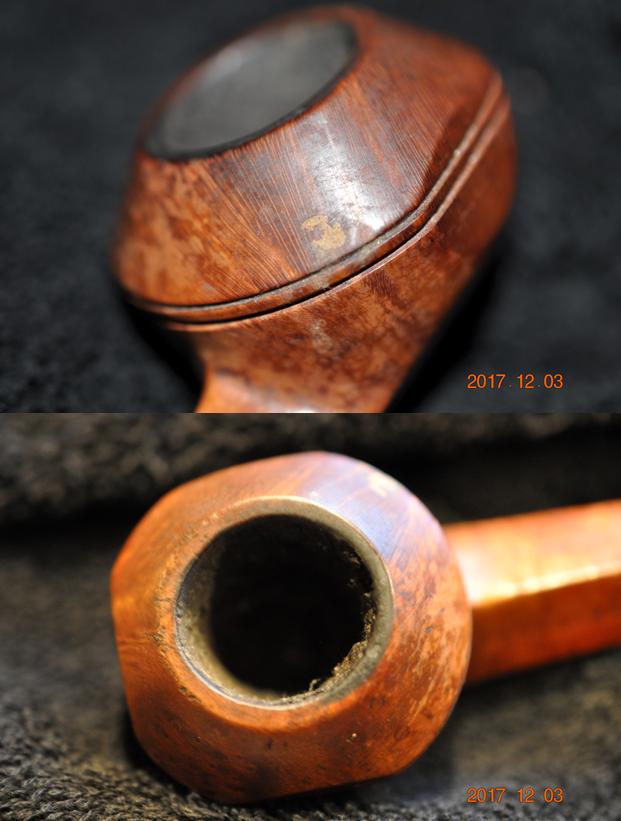
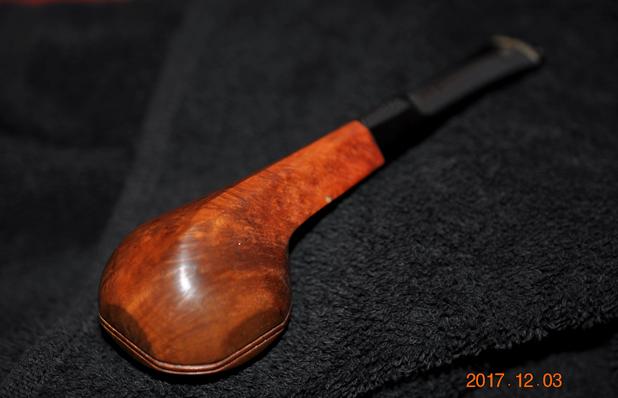
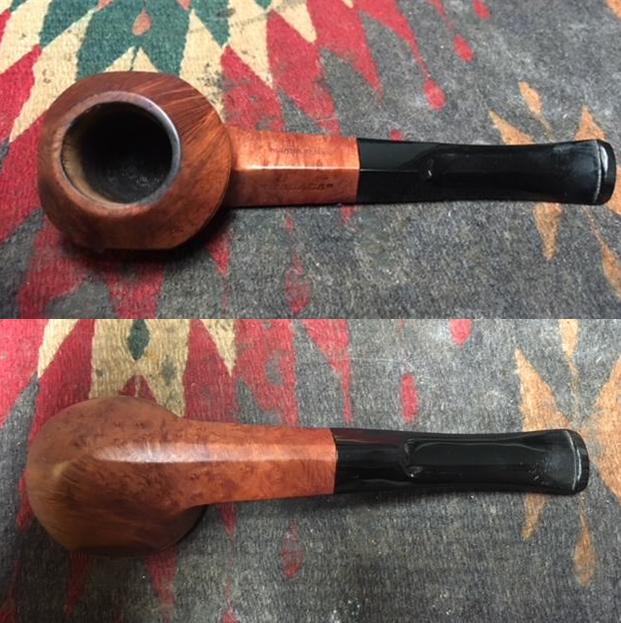
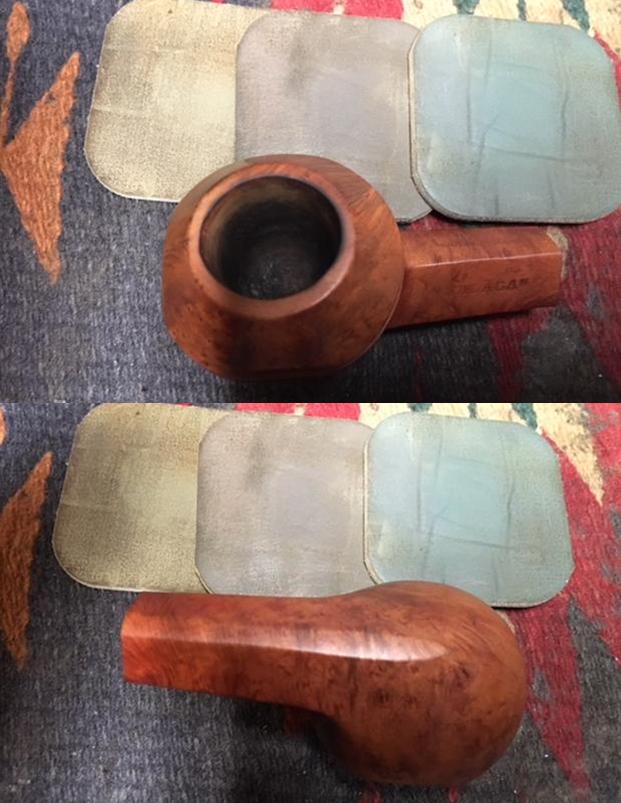
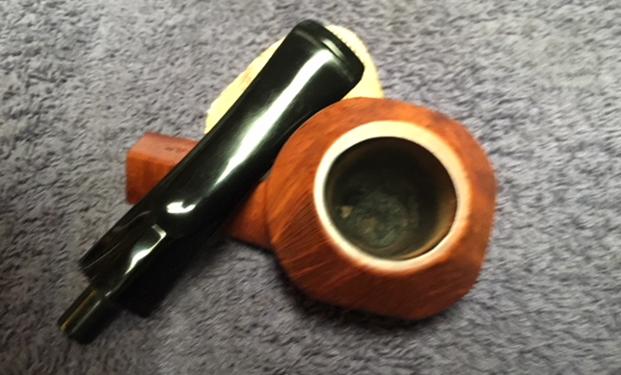
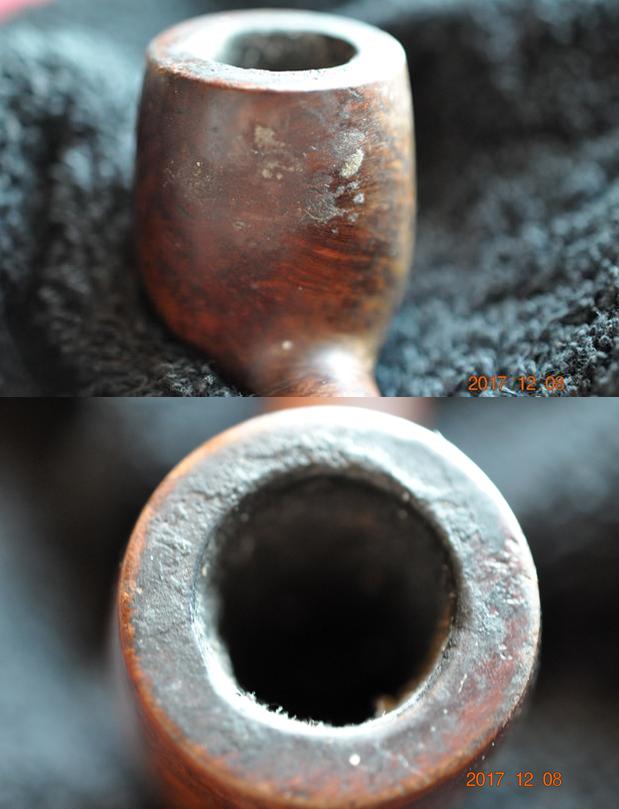
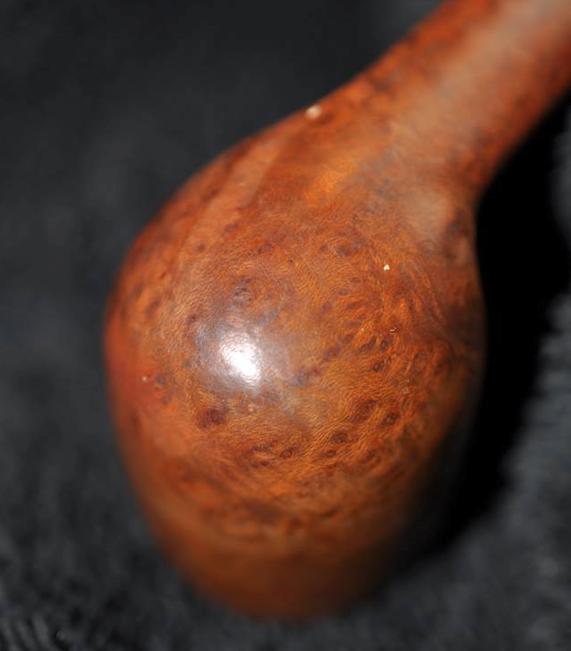
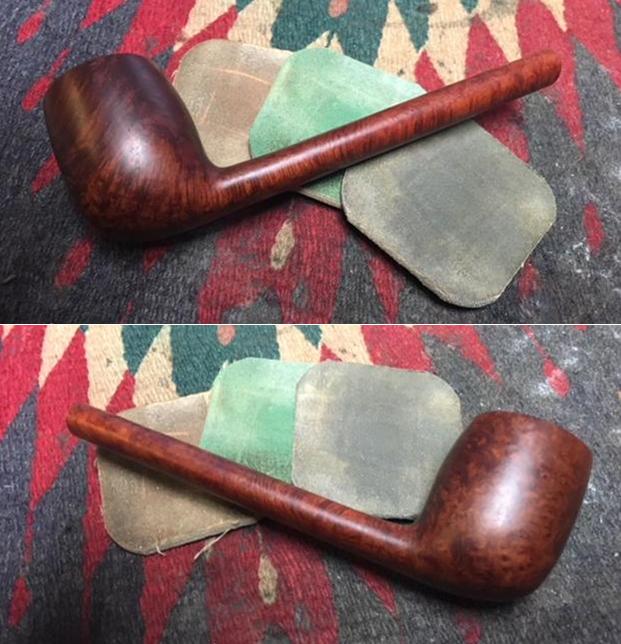
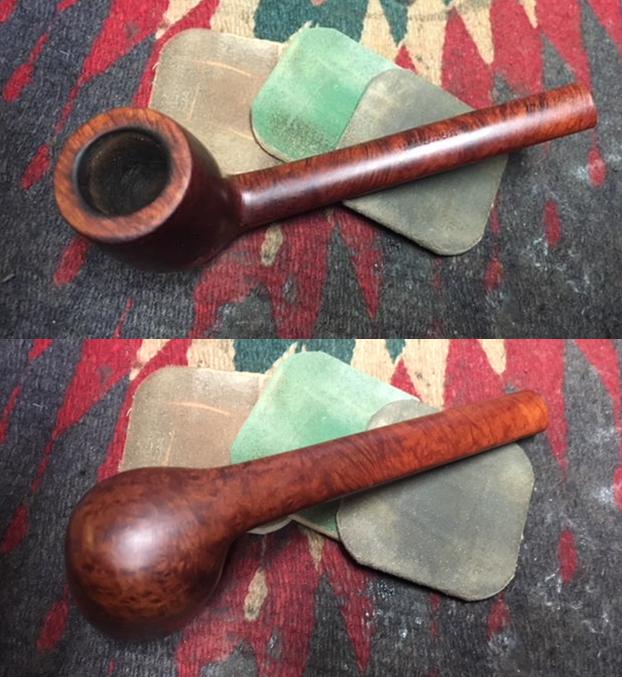
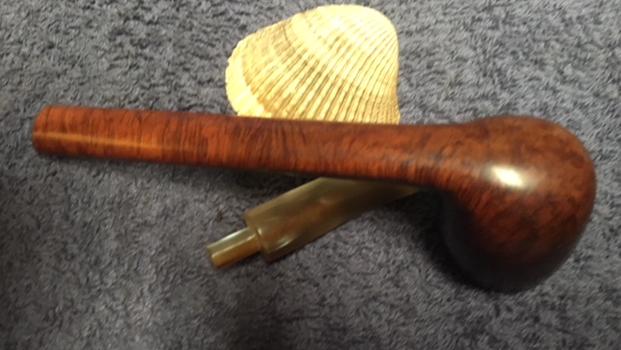
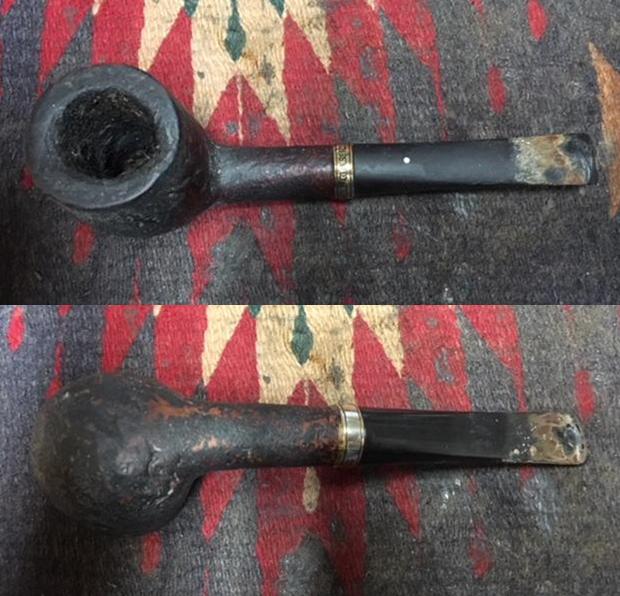
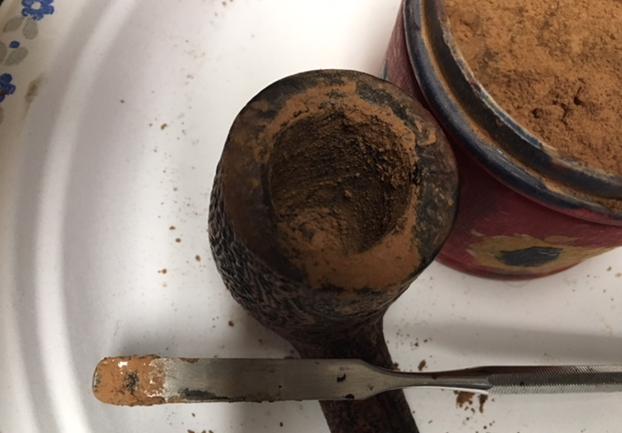
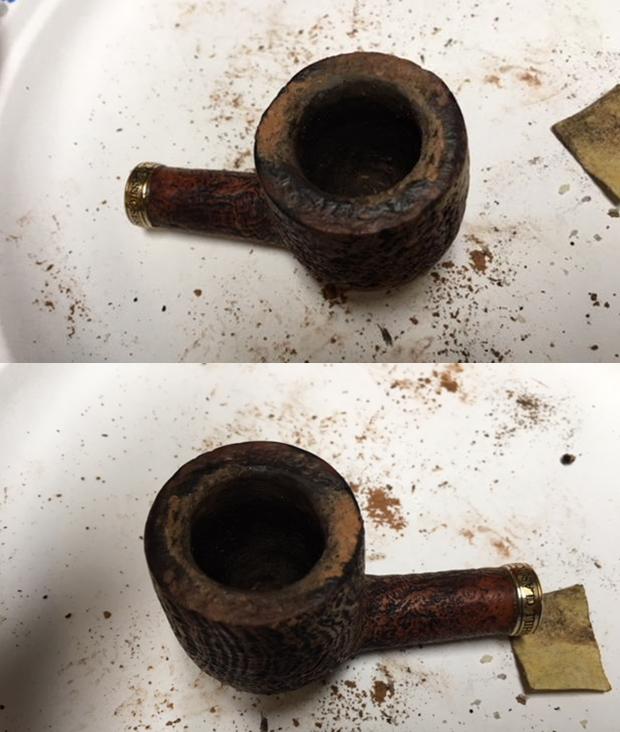
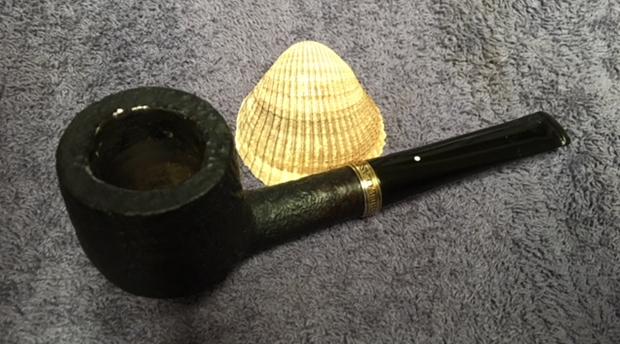
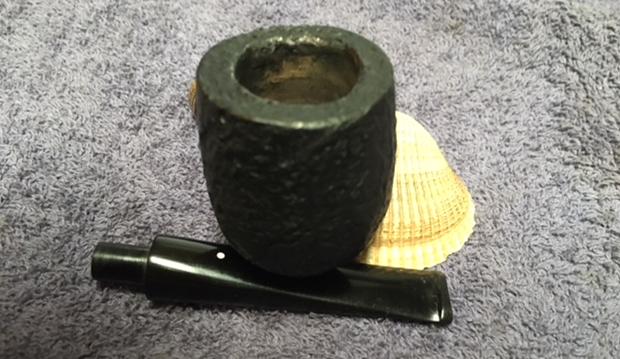
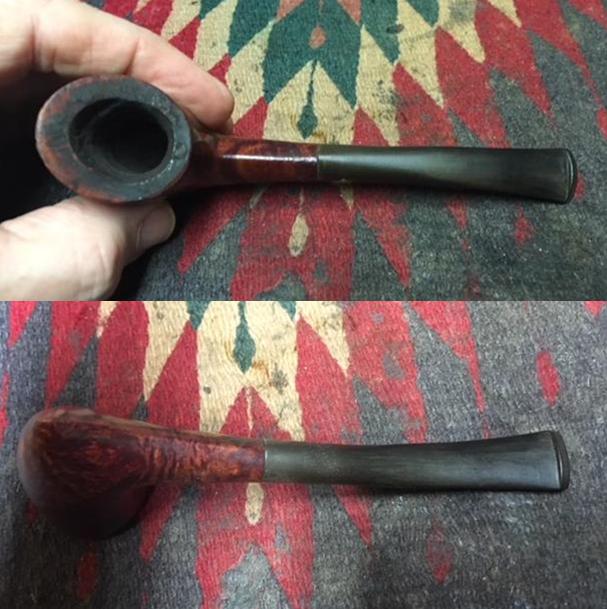
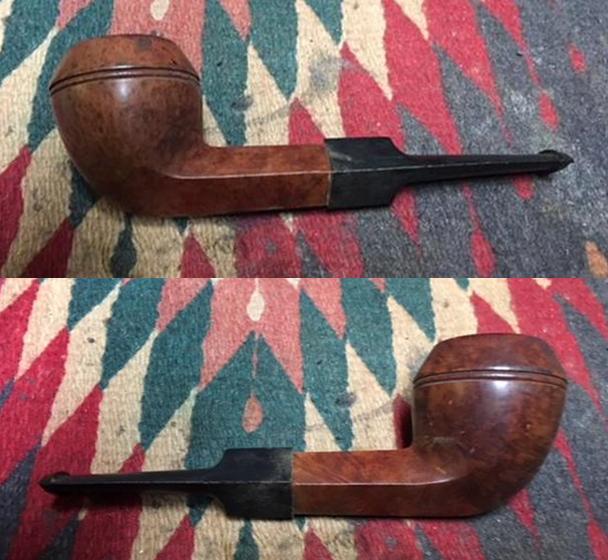
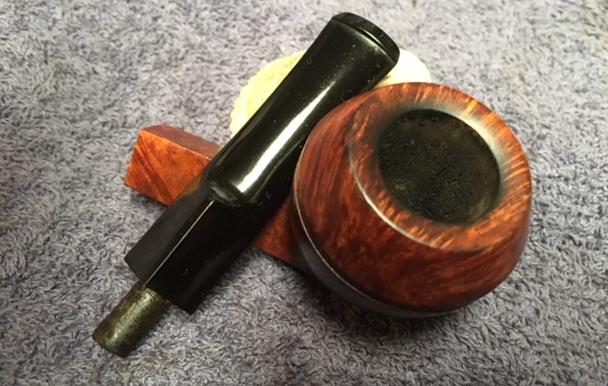
 Jeff took close up photos of the bowl and rim to show the condition of the pipe before he started to work his magic on it. The exterior of the bowl and shank were dirty. You can see the lava on the rim top, the cake in the bowl and the nicks on the rim top and bowl around the outer edge of the rim. It is dirty but in otherwise good condition. He also took a photo of the sides and underside of the bowl and shank.
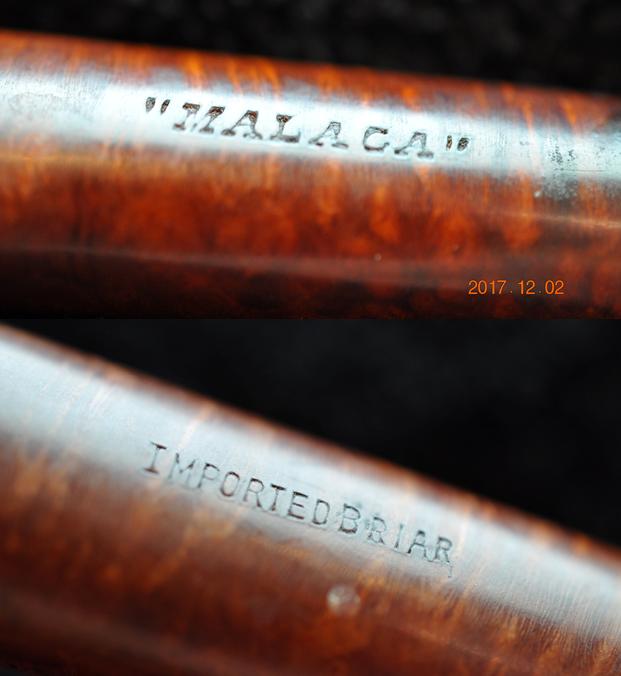
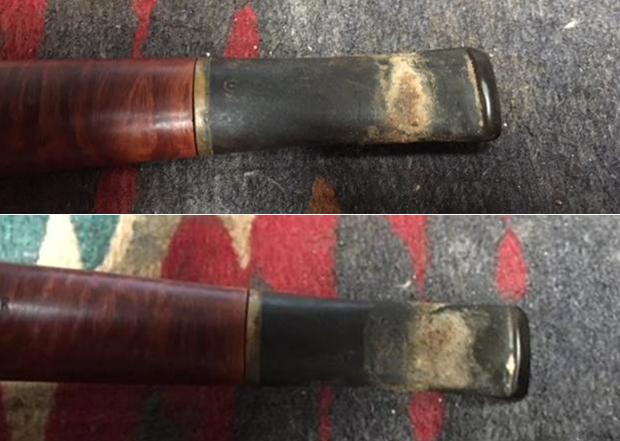
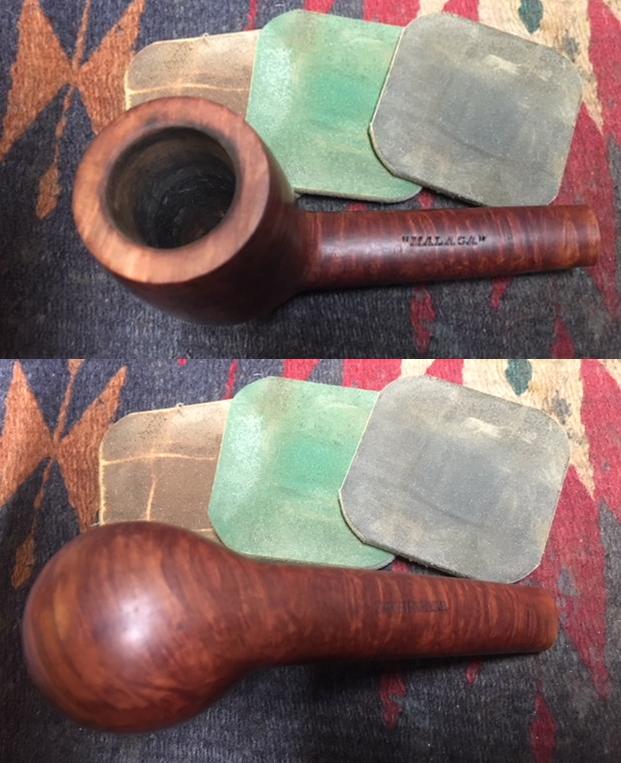
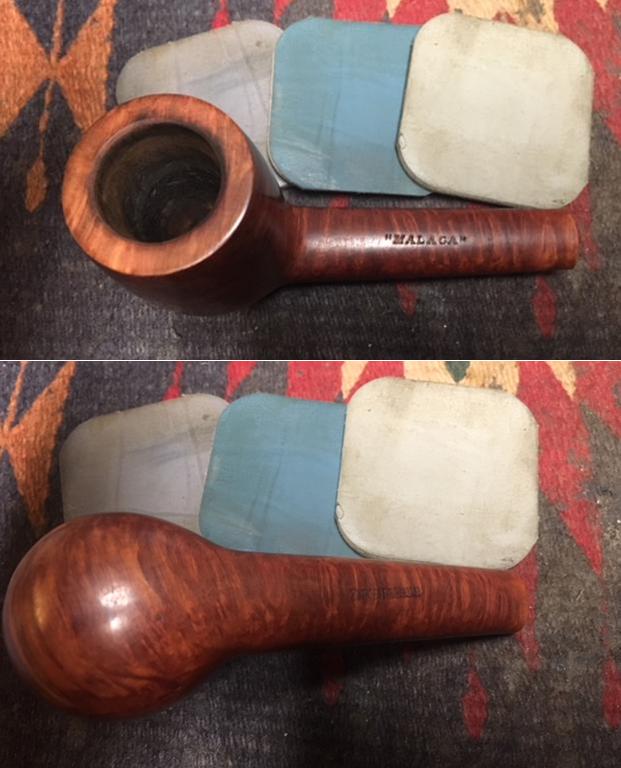
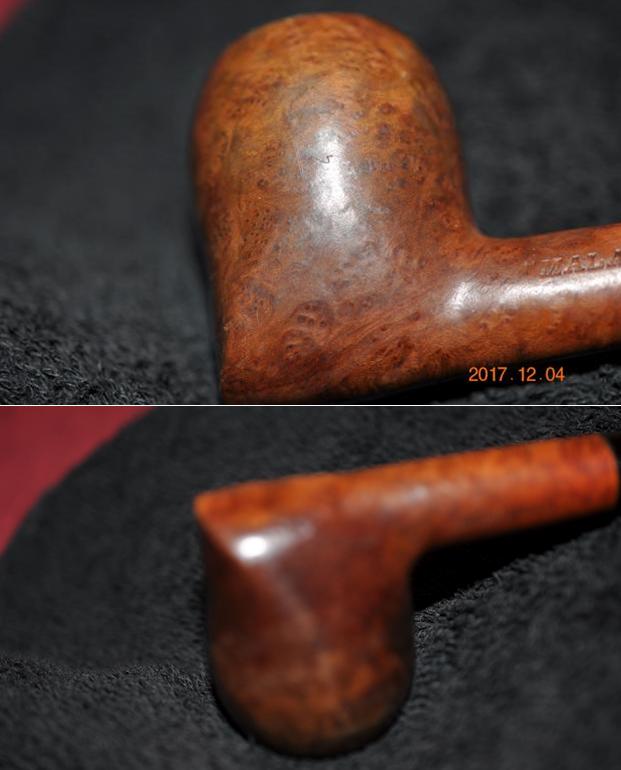
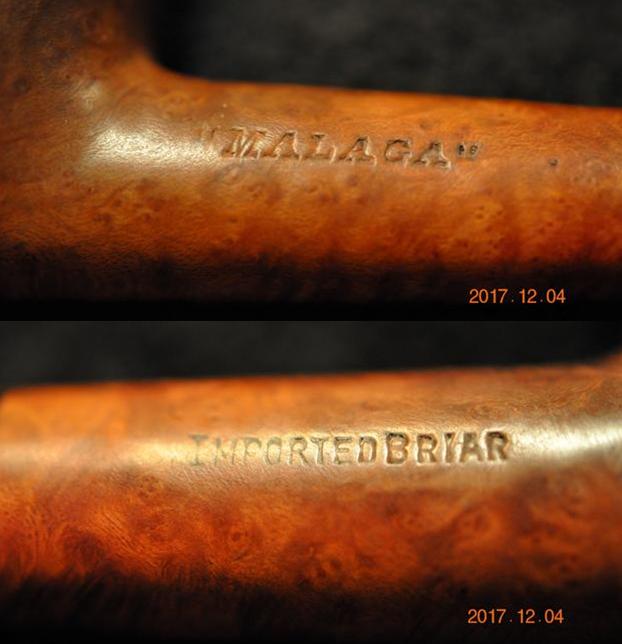
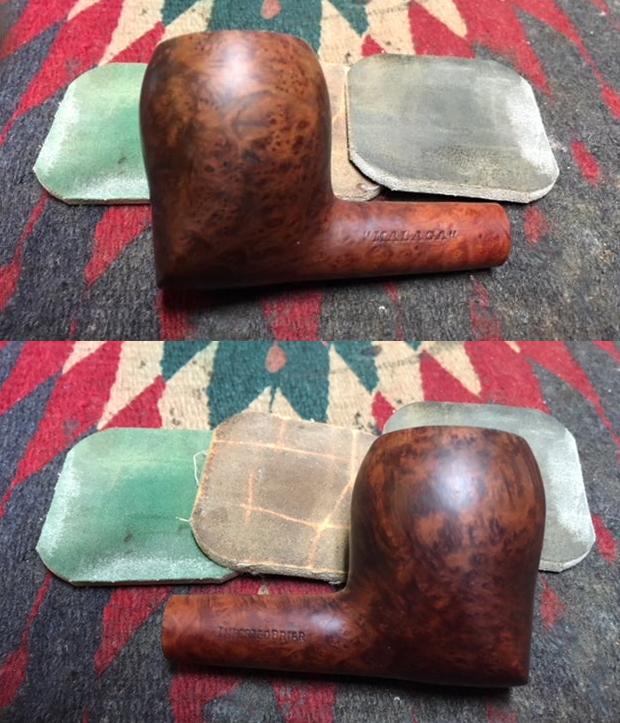
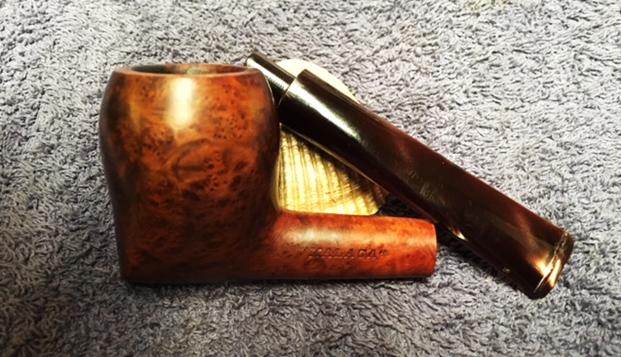
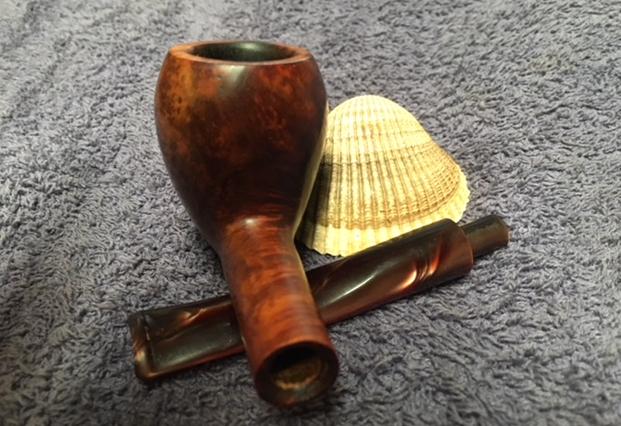
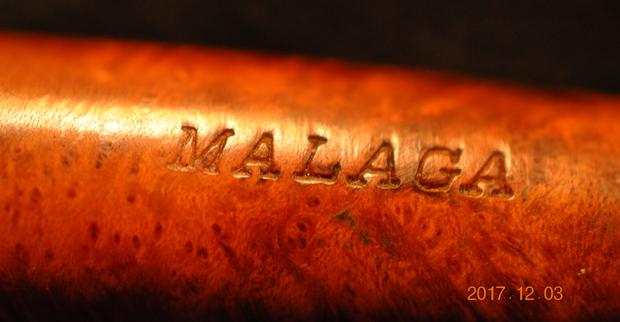
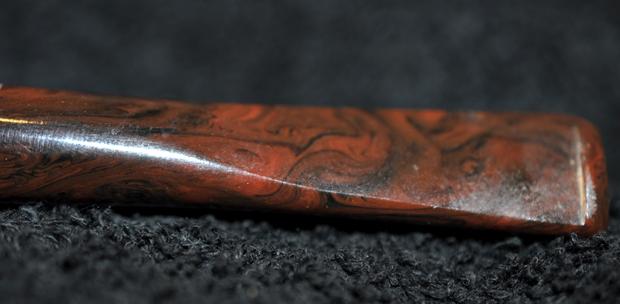
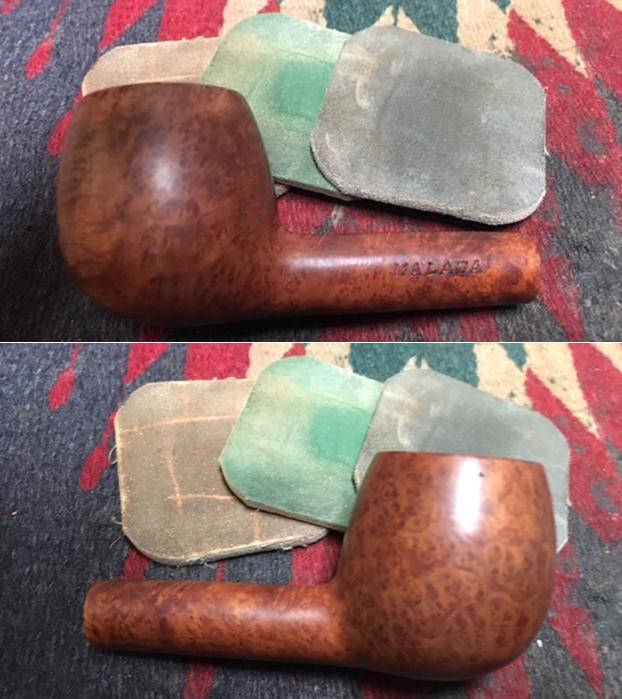
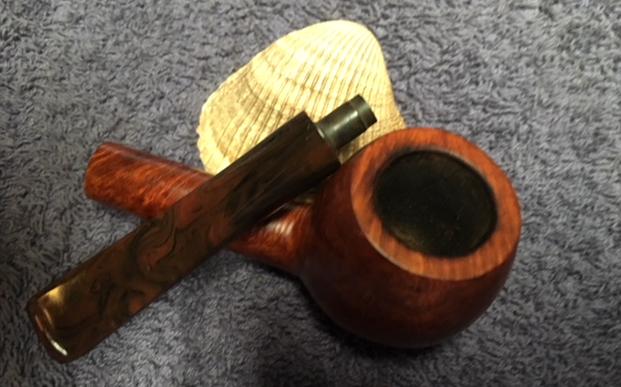
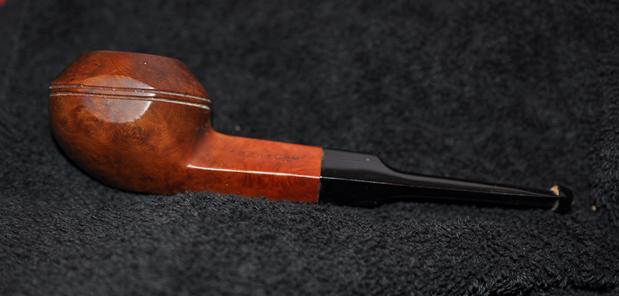
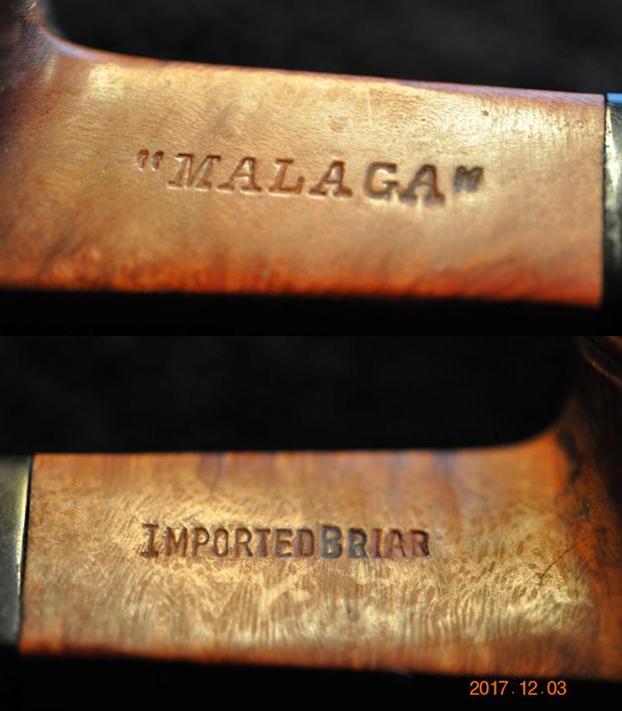
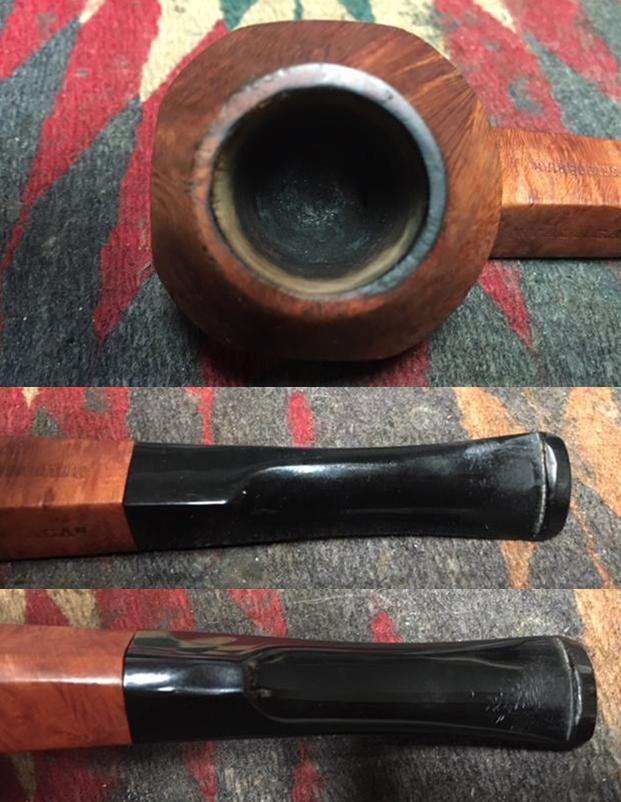
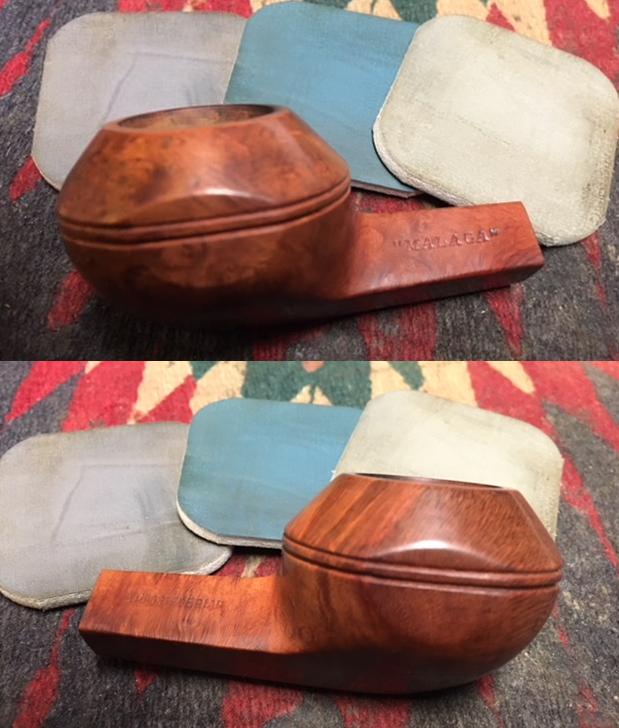
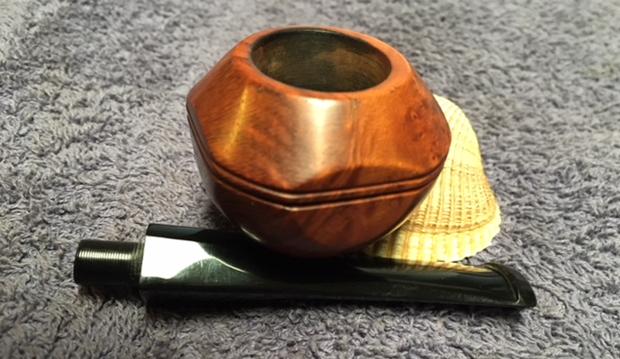
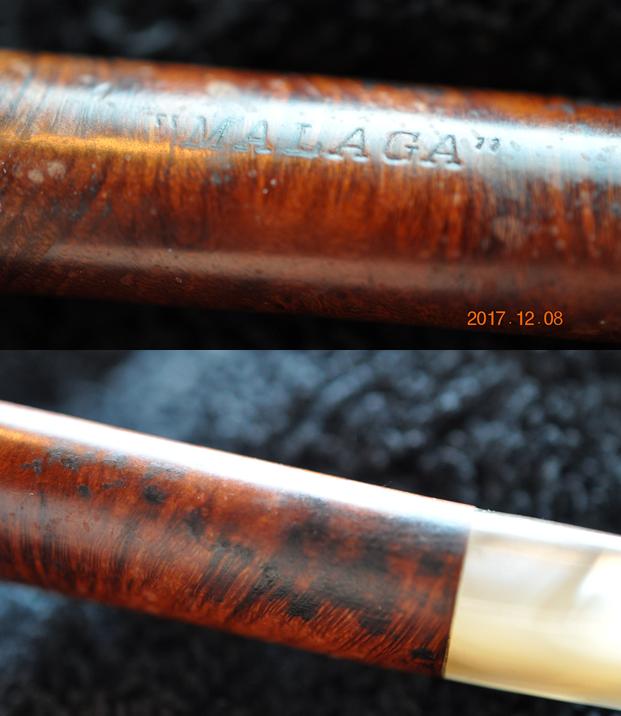
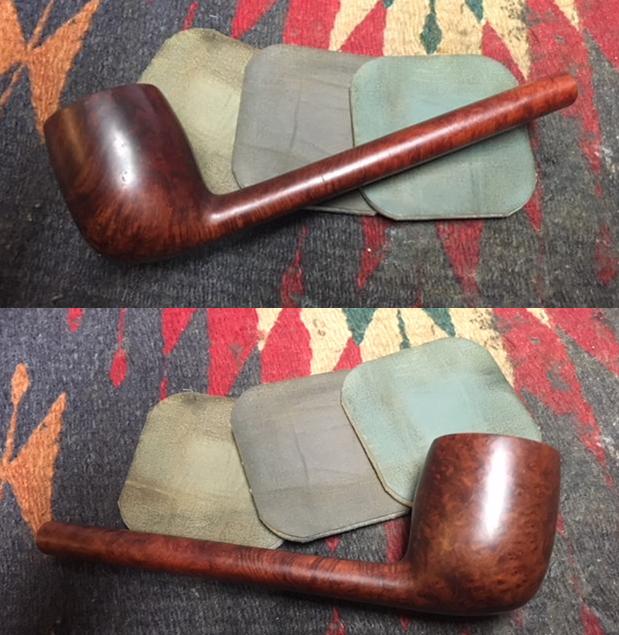
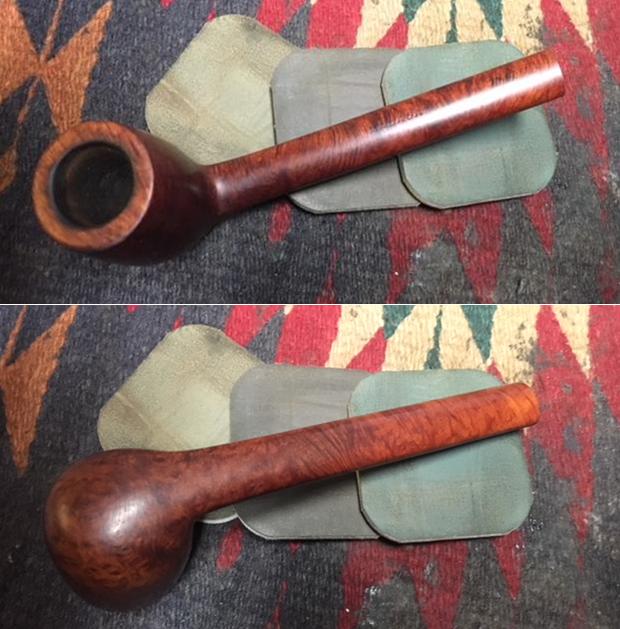
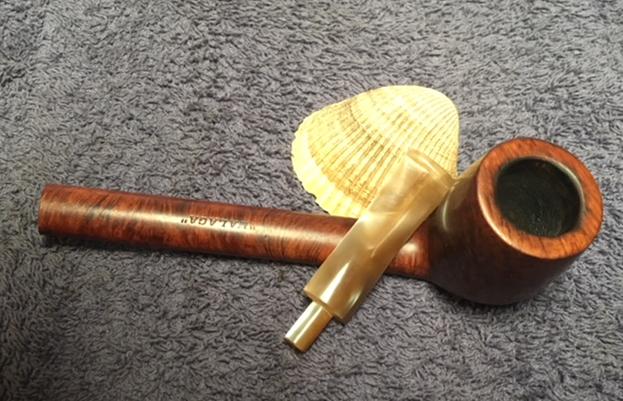
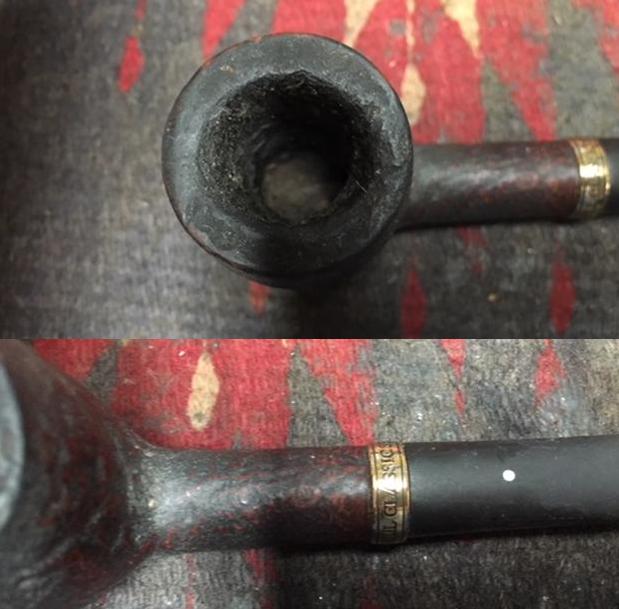
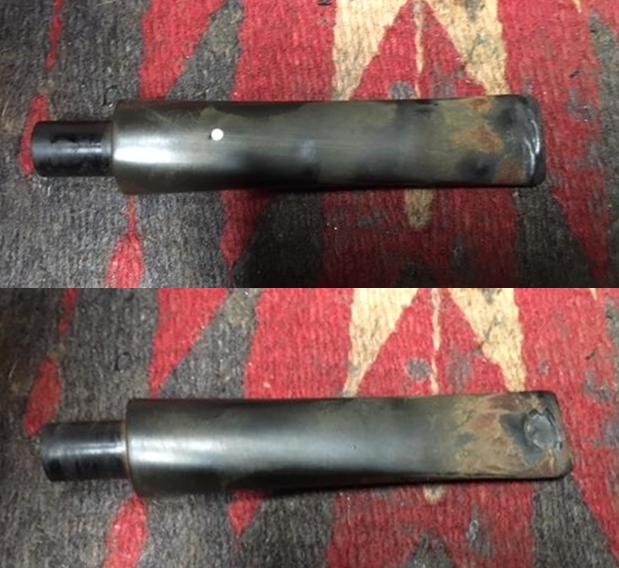
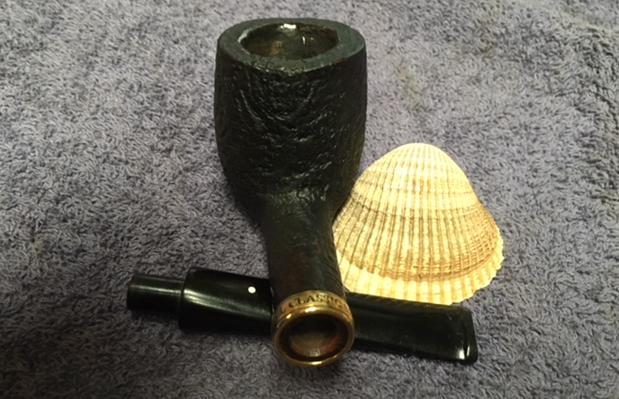
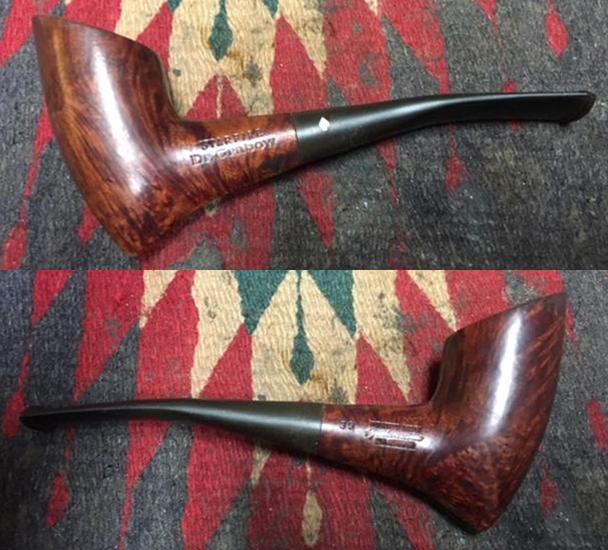
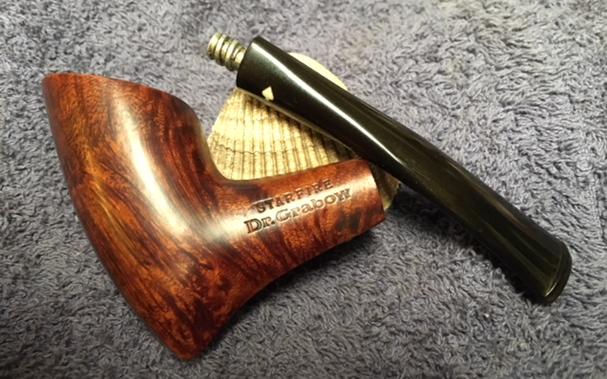
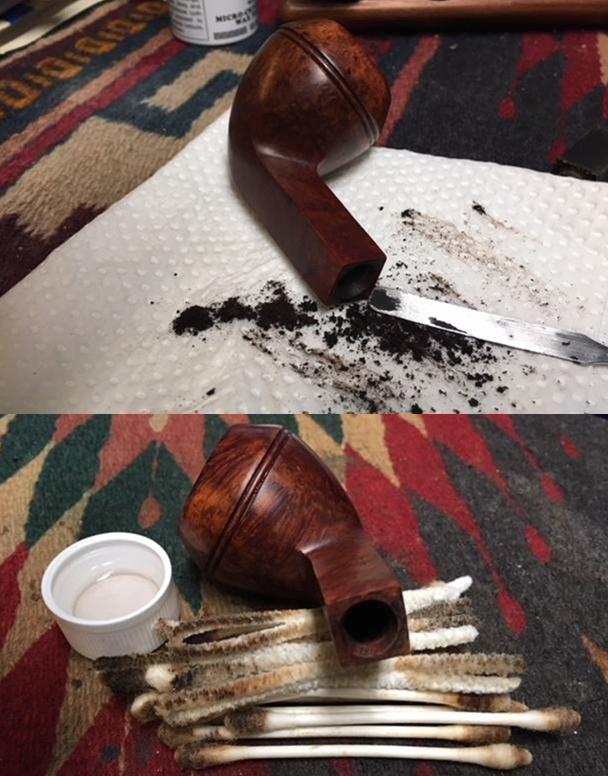
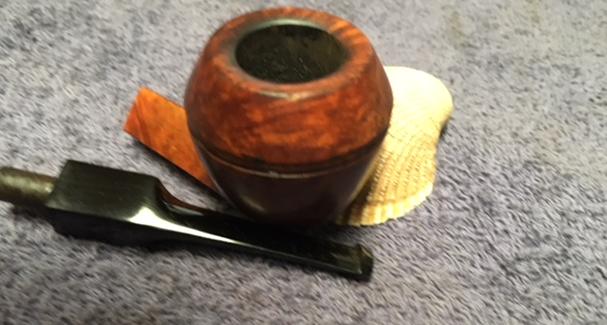
 He also took a photo of both sides of the shank to show the rustication pattern on the topside and the stamping on the underside. You can see the overall condition of the shank before cleanup.
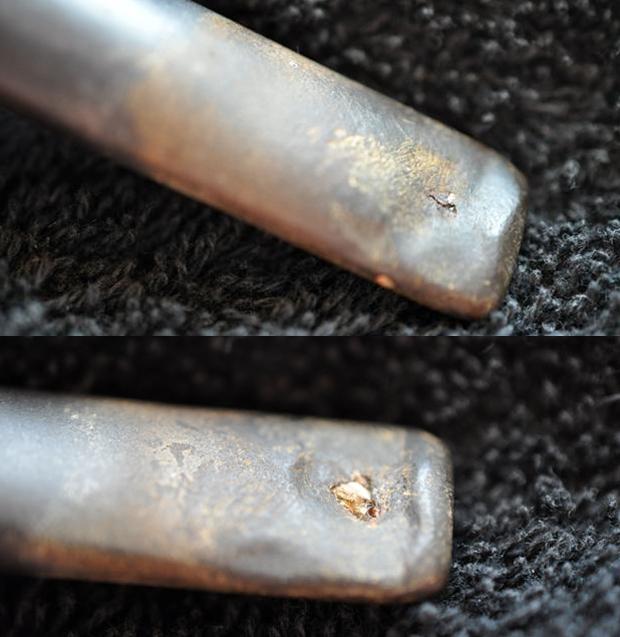
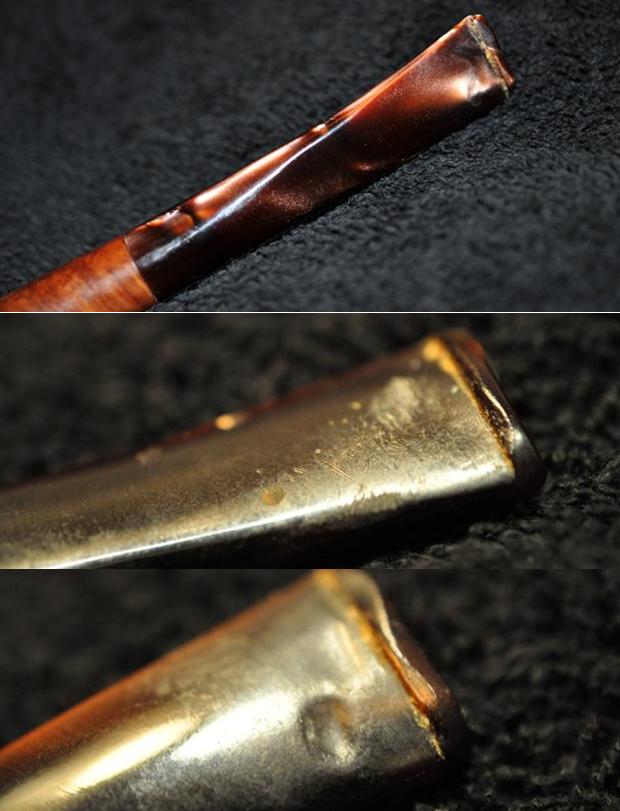
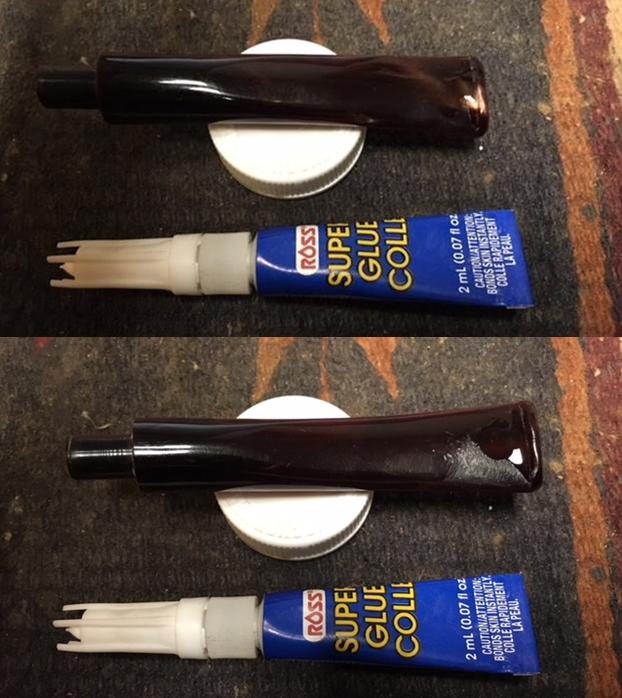
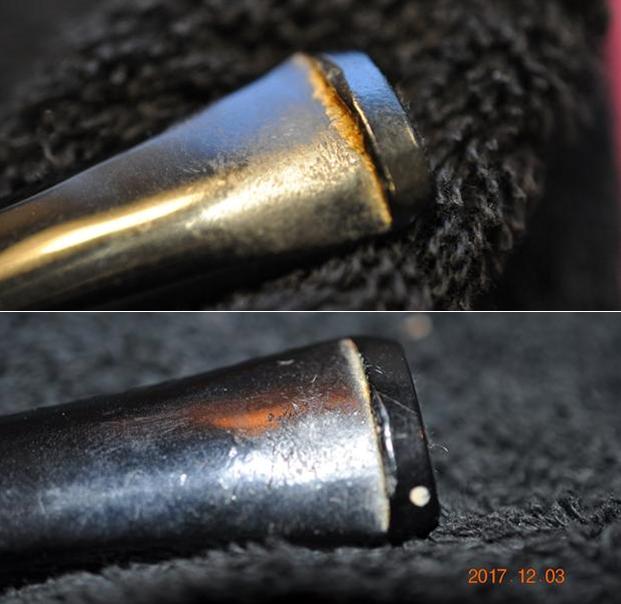
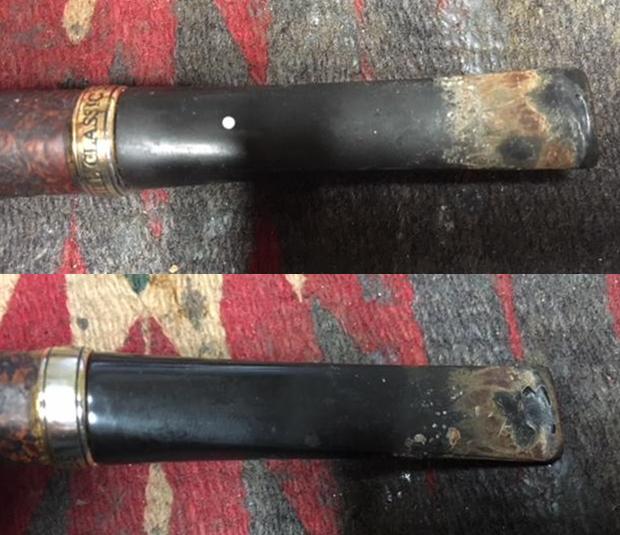
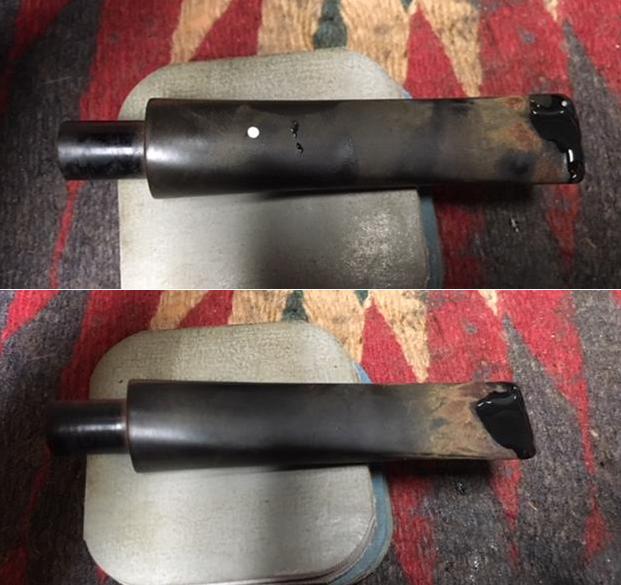
 The next photo shows the damage to both surfaces of the stem near the button, the worn and chewed down button and the missing underside of the stem. The stem is a write off – misshapen and ruined.
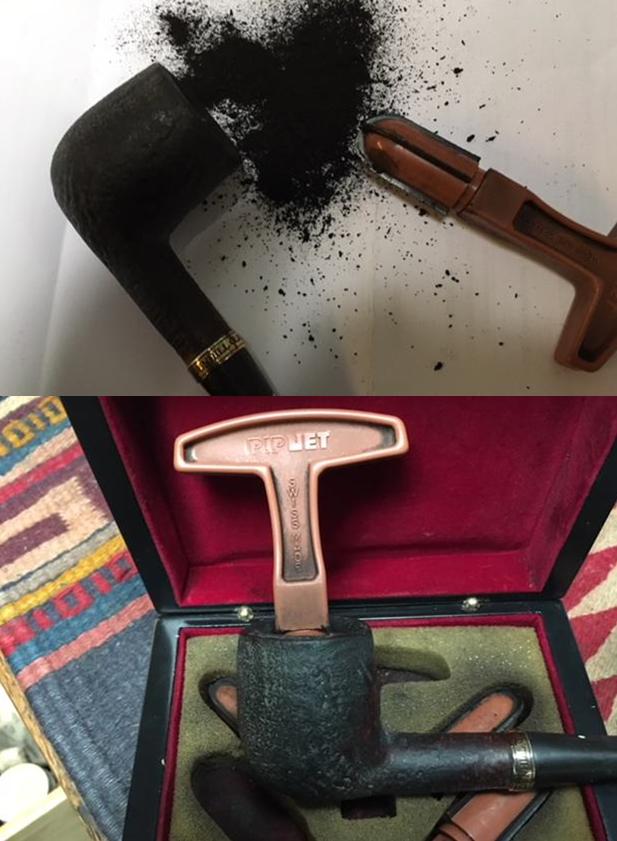
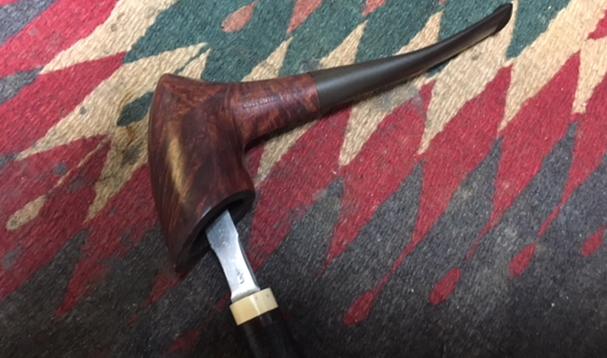
 Working on this sixth pipe followed pretty much the same pattern as all of these pipes. Jeff had reamed the bowl with a PipNet pipe reamer and followed up with a Savinelli Fitsall pipe knife to remove the cake. He scrubbed out the mortise and the airway in the shank and the stem with alcohol, cotton swabs and pipe cleaners. He scrubbed the exterior of the bowl, rim, shank and stem with a tooth brush and Murphy’s Oil Soap to remove the oils and tars on the bowl, rim and shank. He rinsed it under running water. He dried it off with a soft cloth. The lava mess on the rim was thoroughly removed without harming the finish underneath it. The slight bevel to the rim was visible once the pipe was clean. Without the grime the finish looked really good. As noted above the stem was a write off and would need to be replaced with a suitable one. I took photos of the pipe to show its condition before I started my work on it.
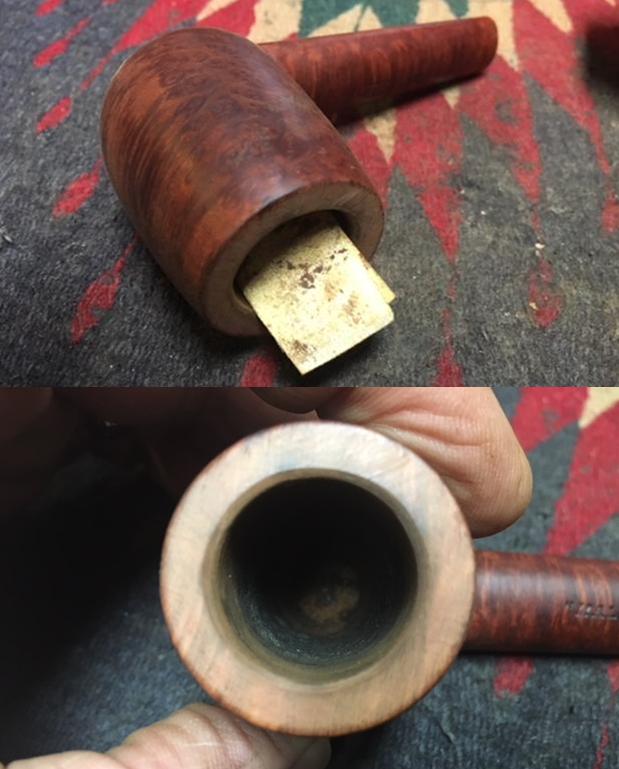
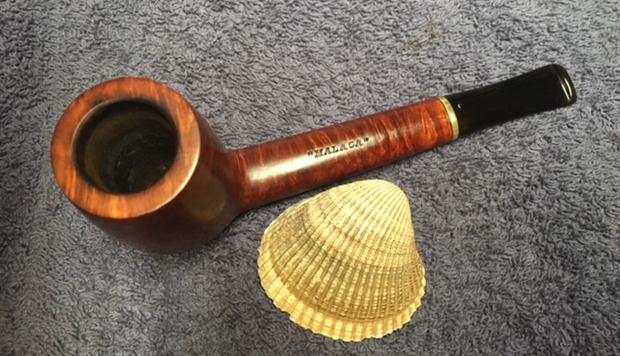
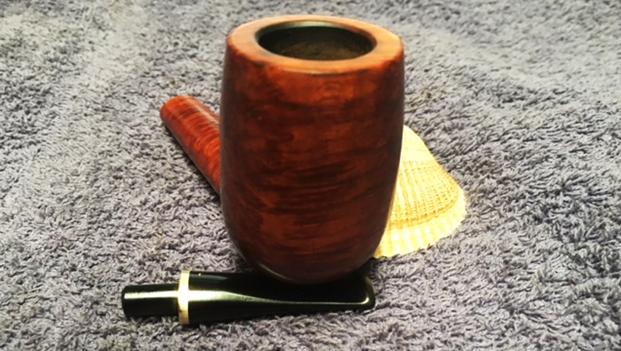
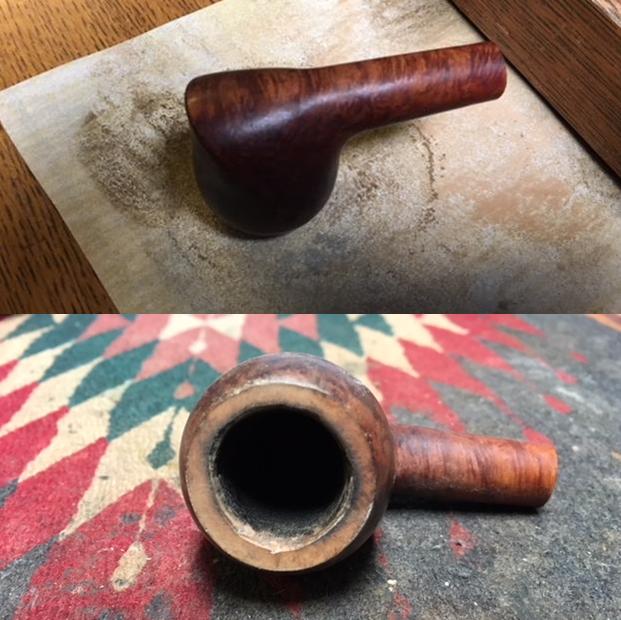
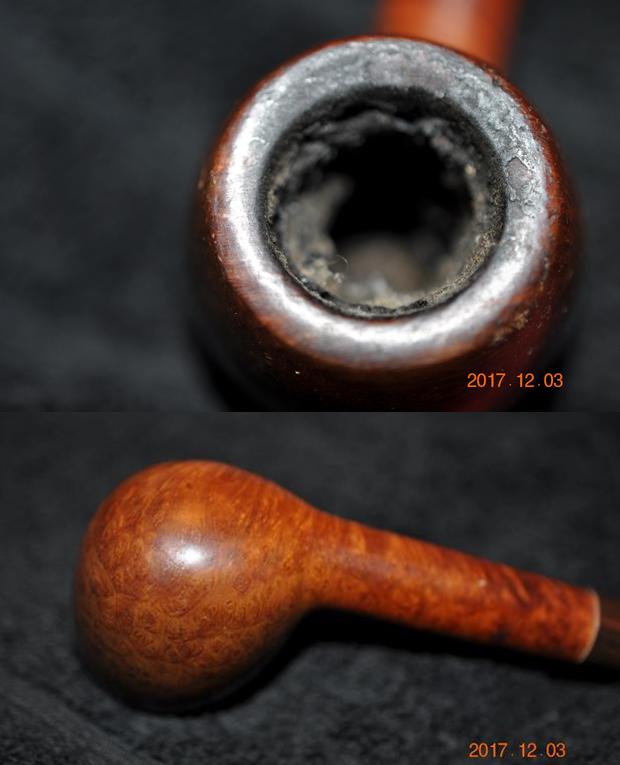
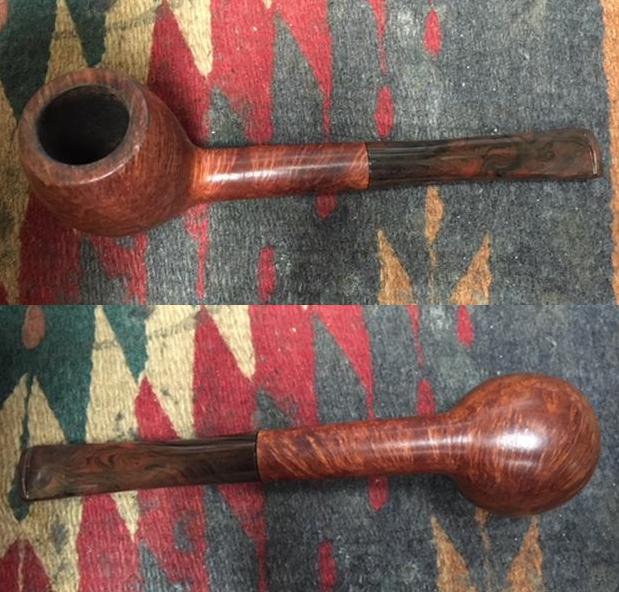
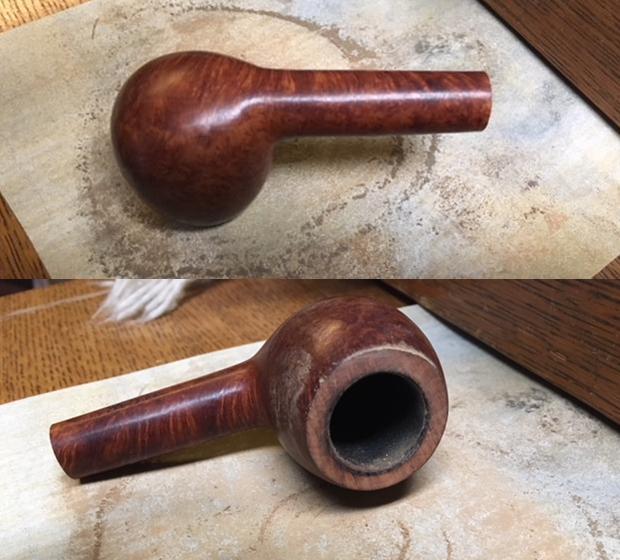
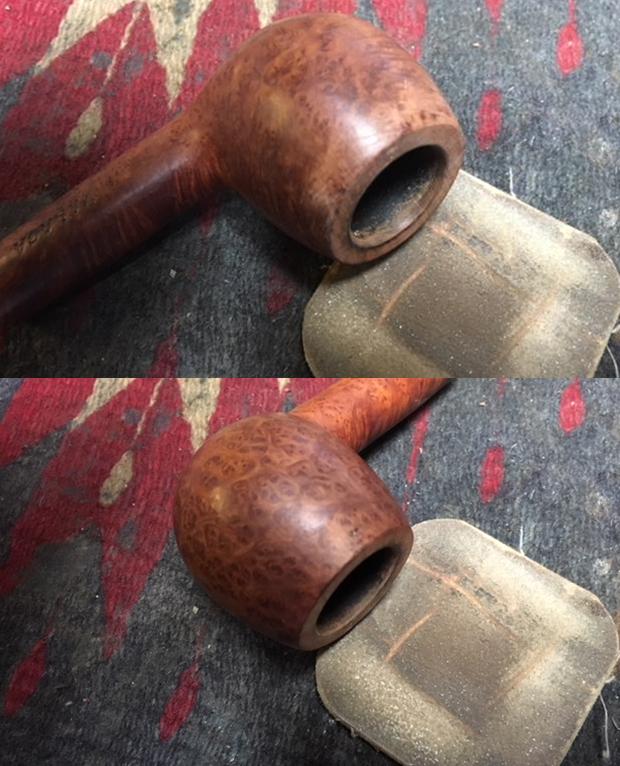
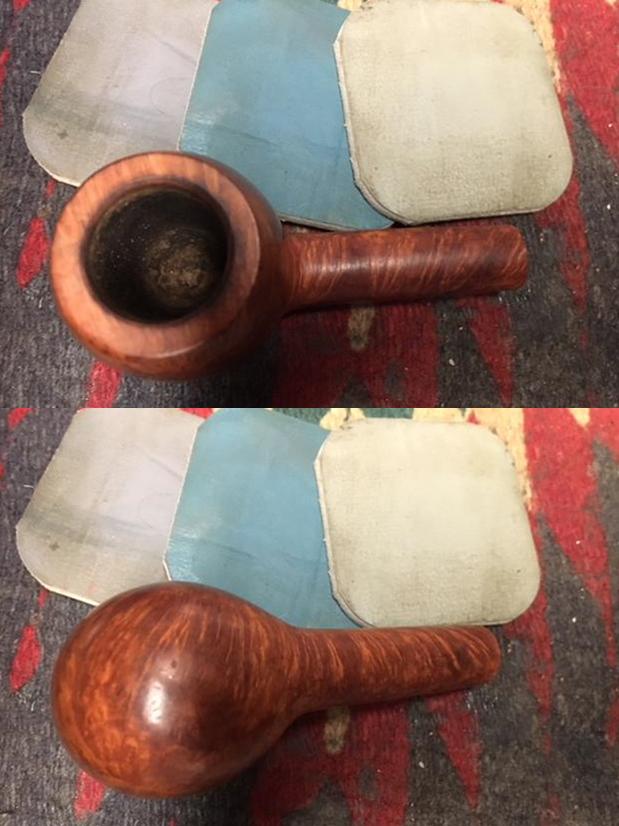
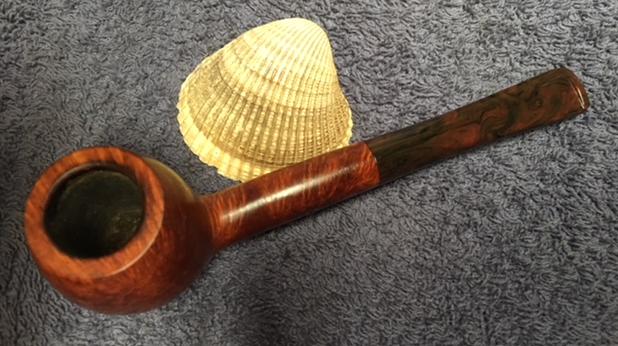
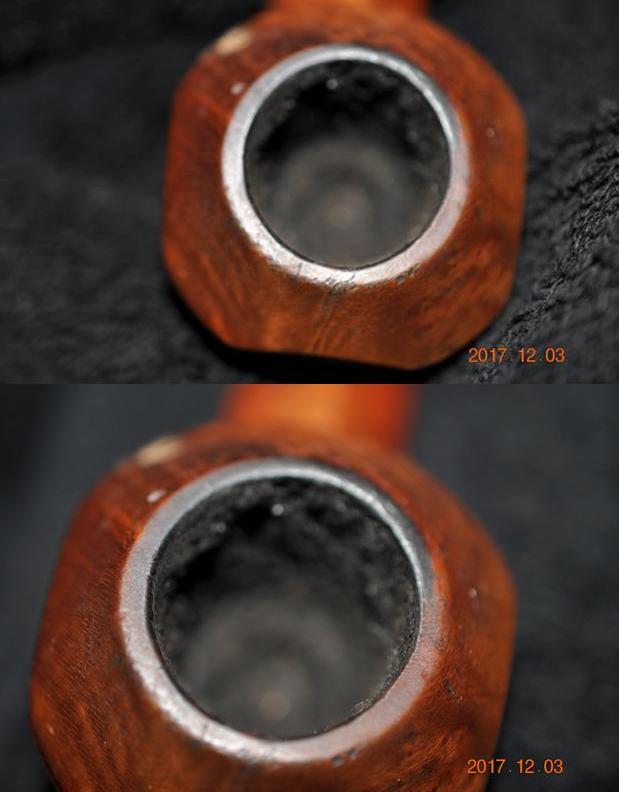
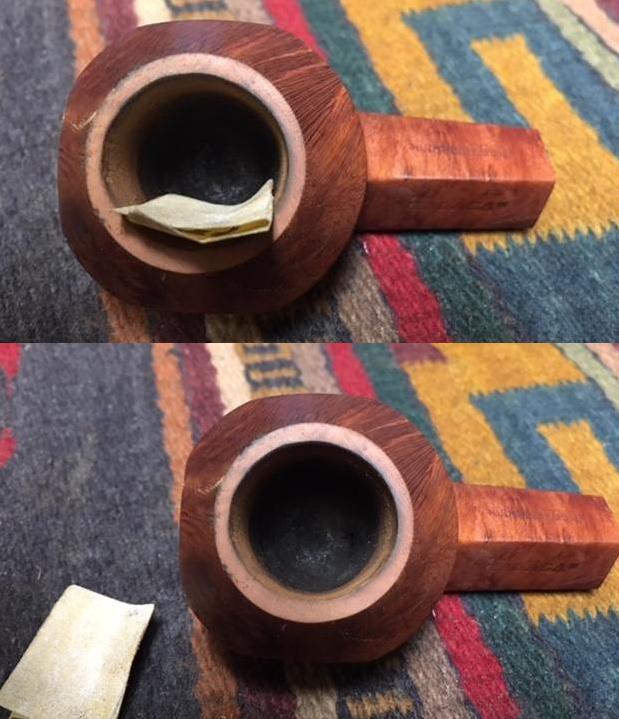
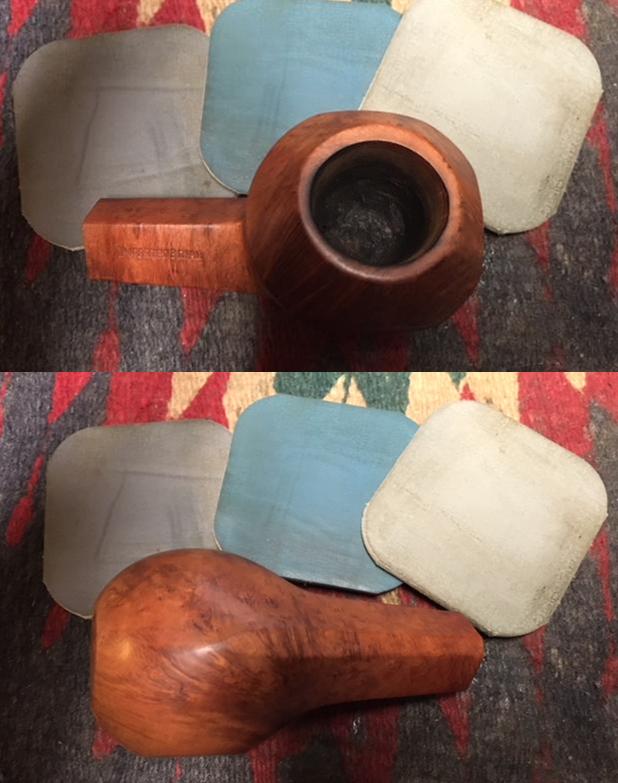
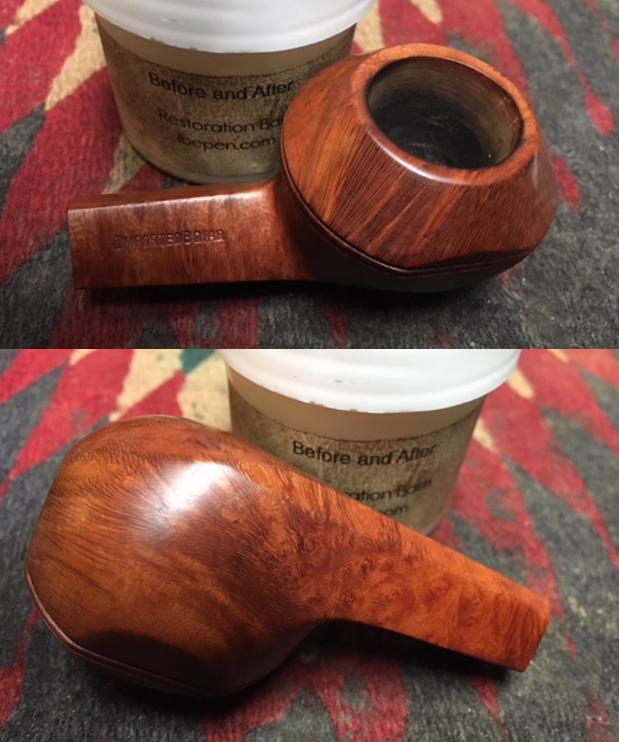
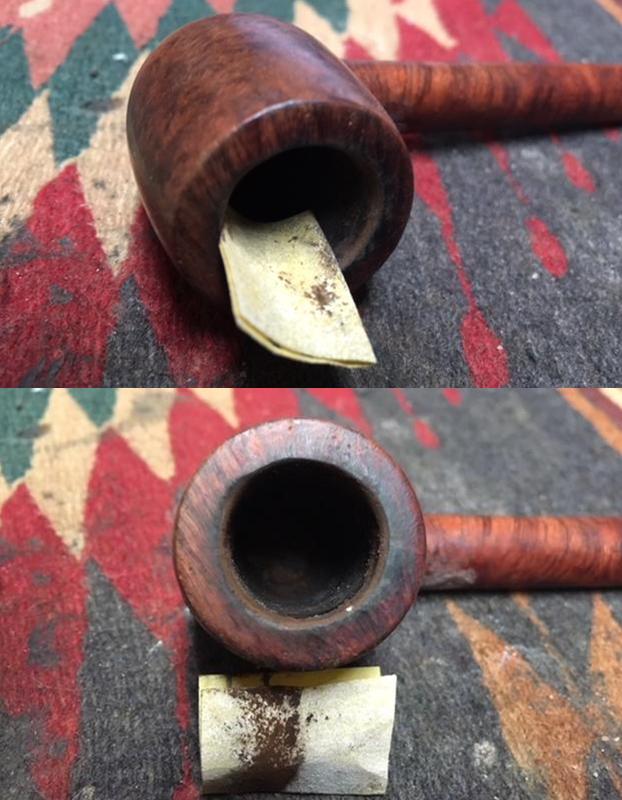
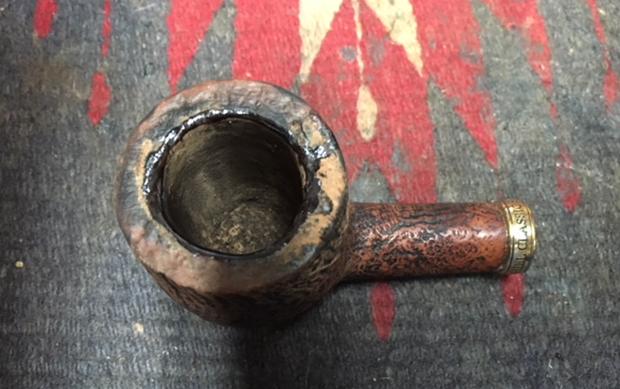
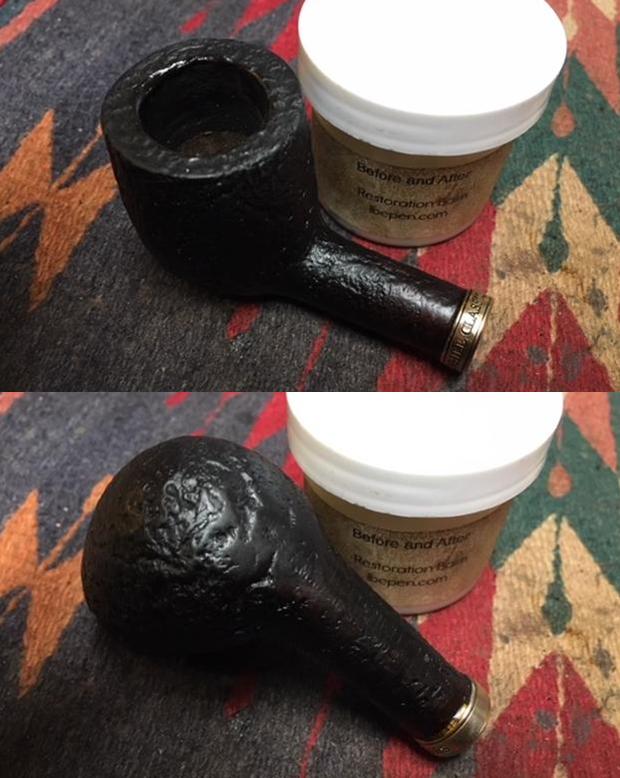
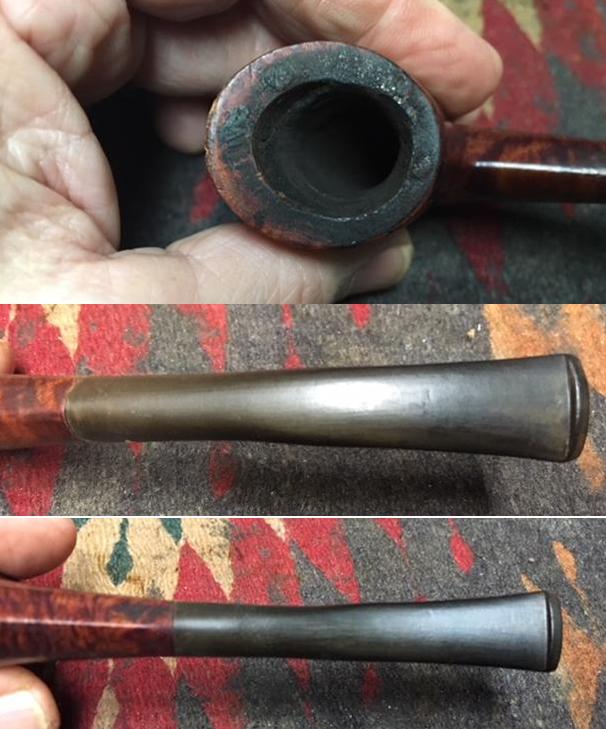
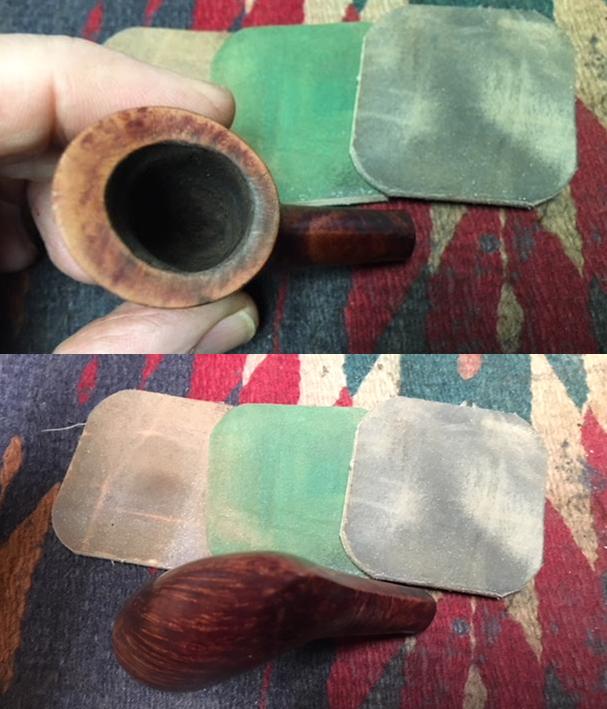
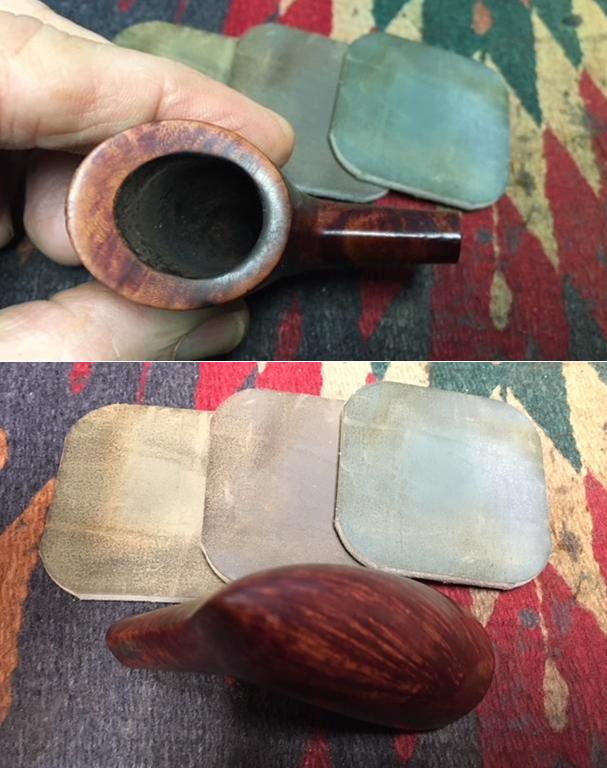
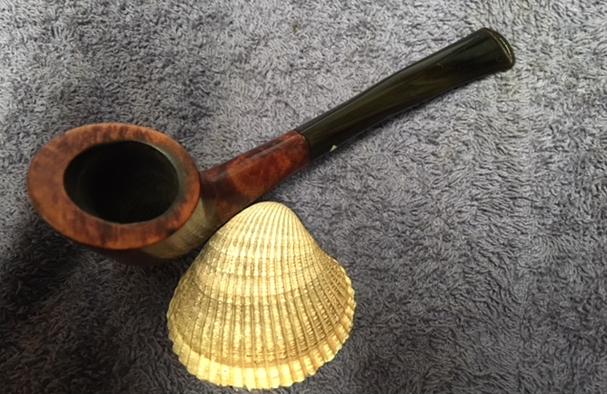
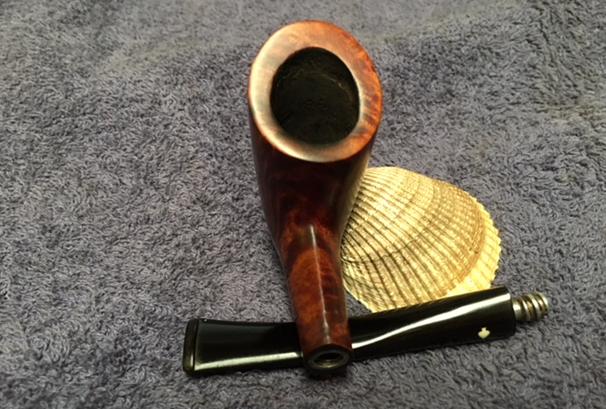
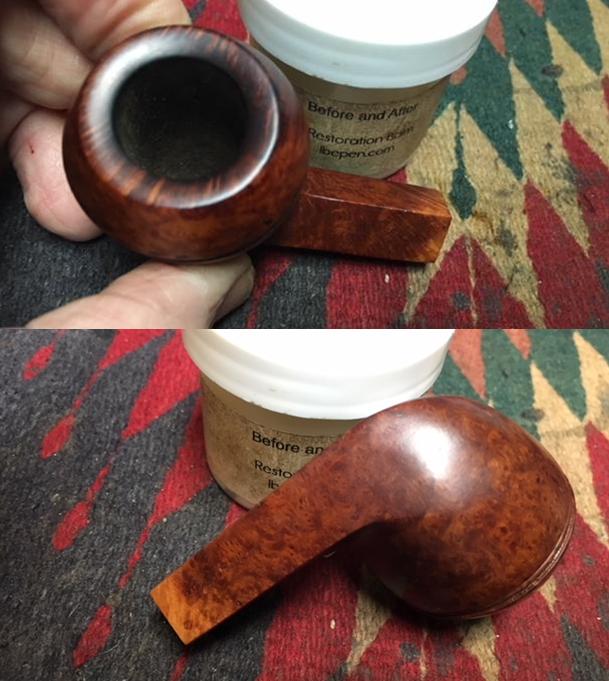
 I took a photo of the rim top to show the condition it was in after the cleanup. Jeff was able to remove all of the lava on the rim top and edges. There is still some darkening on the rim top. You can see the damage on the top itself and around the outer edges from knocking out the pipe on a hard surface. The inner edge of the bowl had a lot of nicks and cuts and was out of round. The stem was clean and you can see the tooth chatter and marks on the surface near the button and the large deeper tooth mark on the underside.
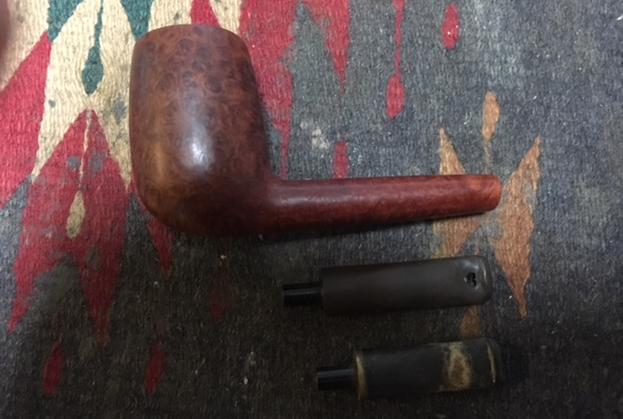
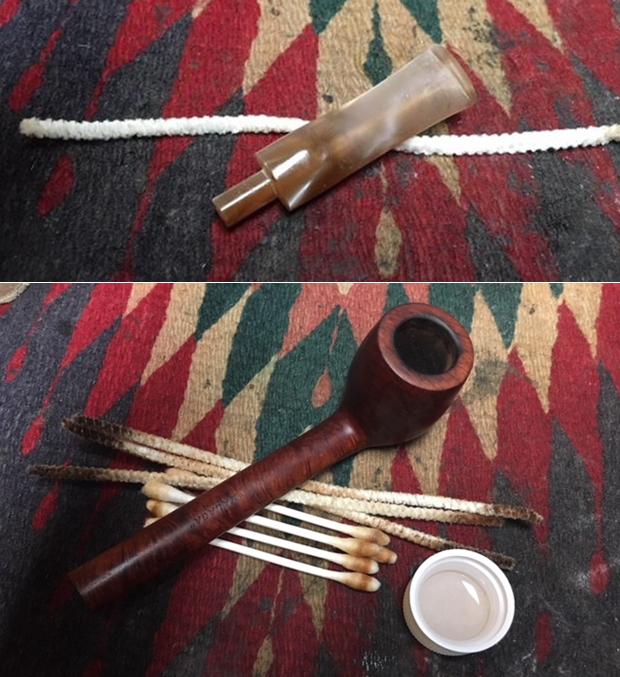
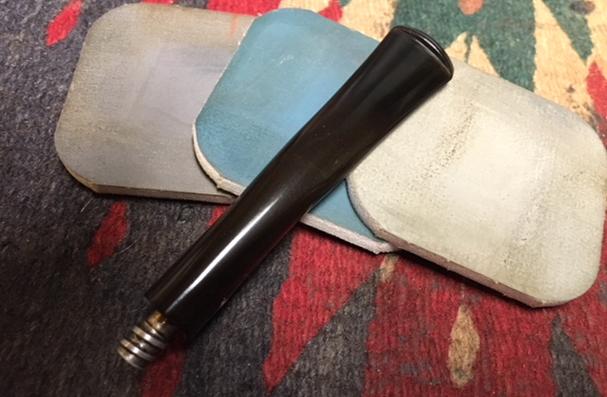
 I went through my can of extra stems and found one that was suitable for a replacement on this Canadian. It was the same shape and size as the replacement that had been chewed through. Once it was cleaned up it would work nicely. The tenon was the right size which was a bonus. I put the stem on the shank and took the following photos.
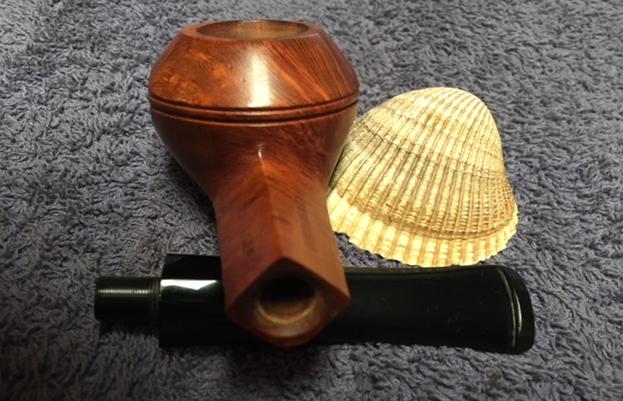
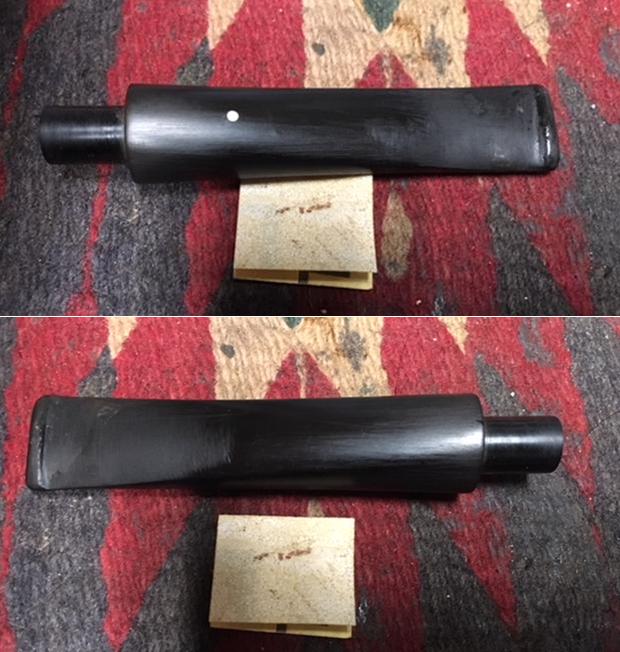
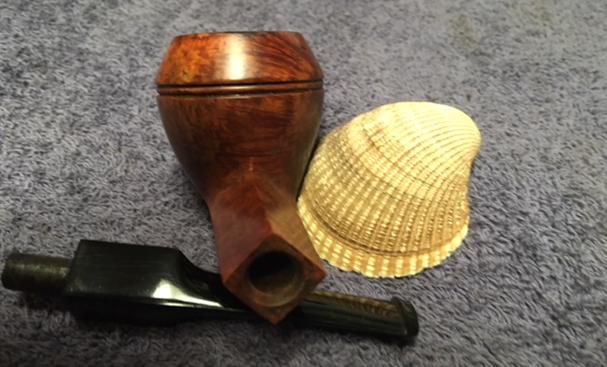
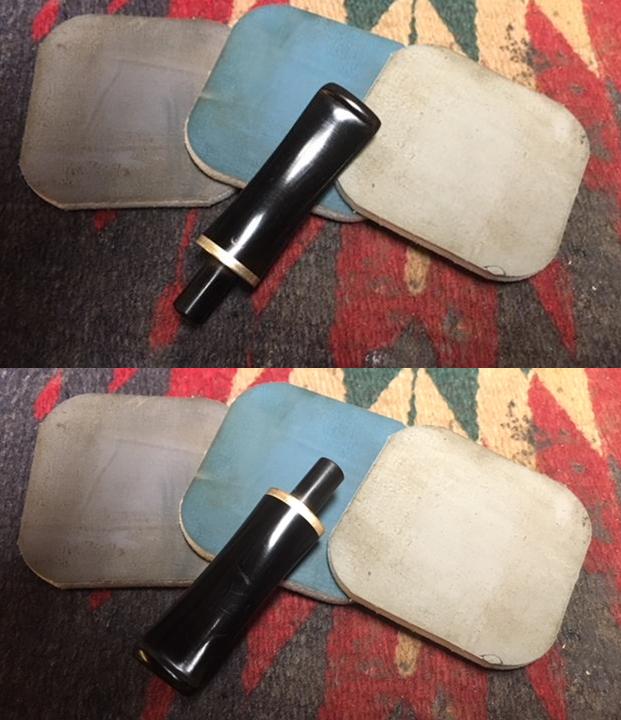
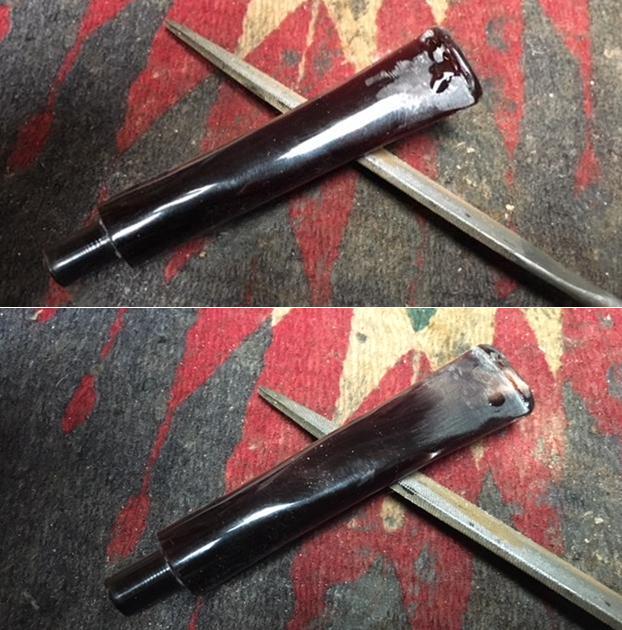
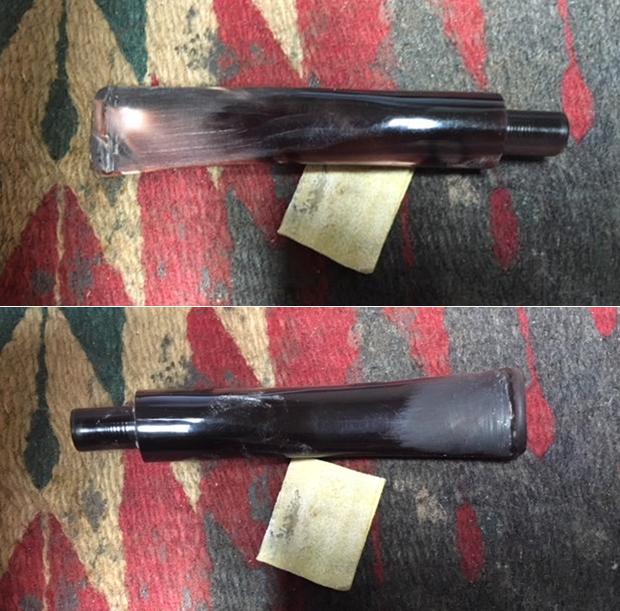
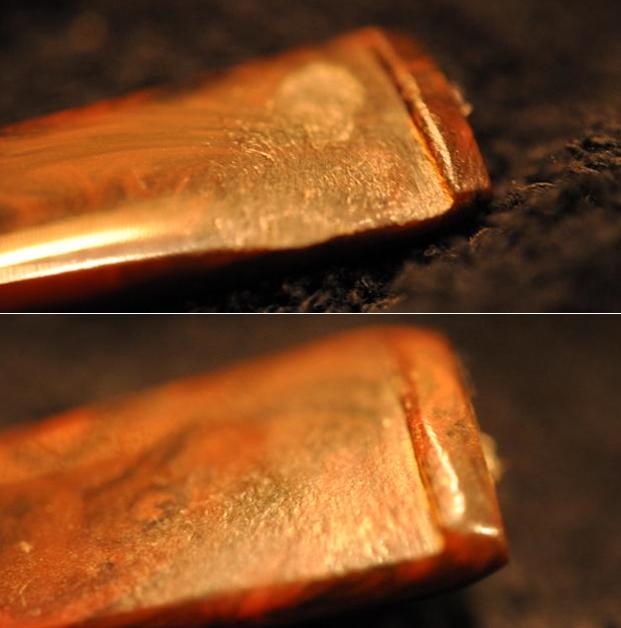
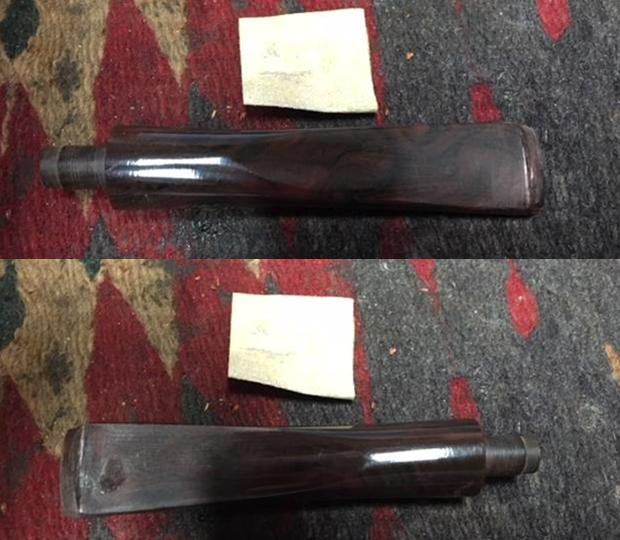
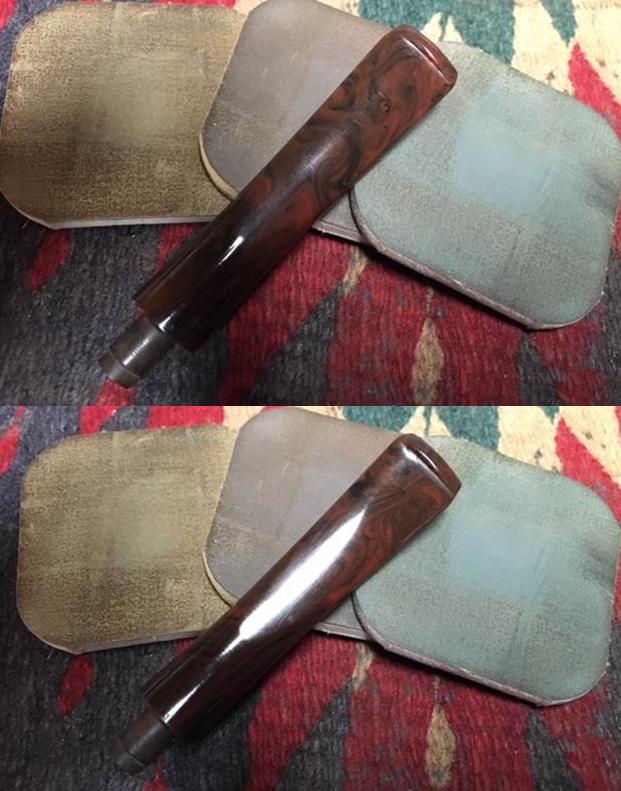
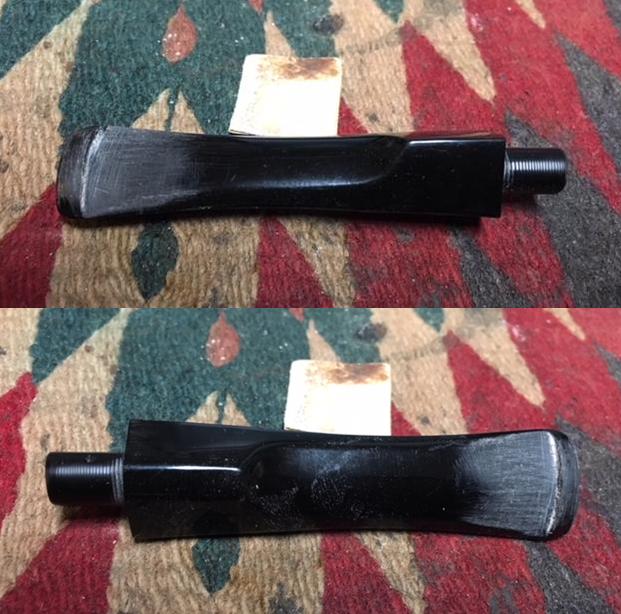
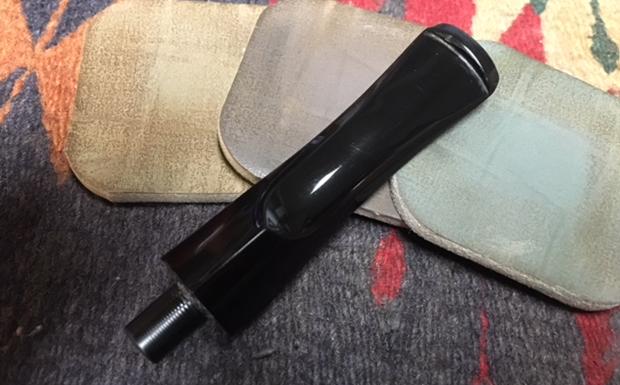
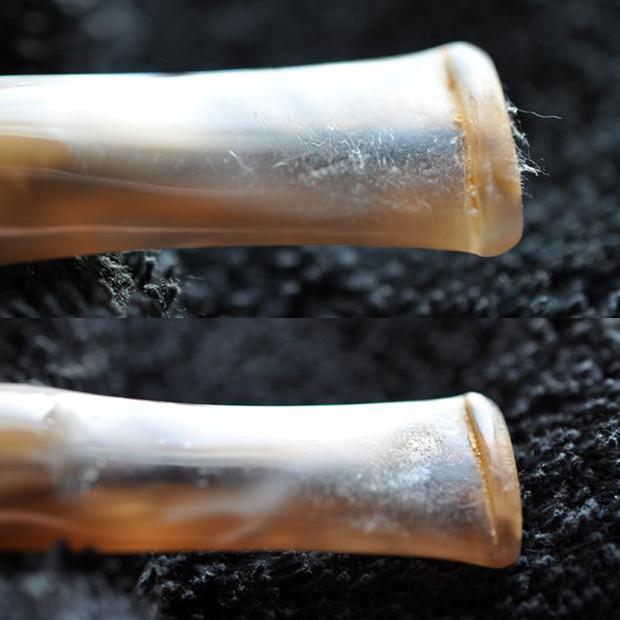
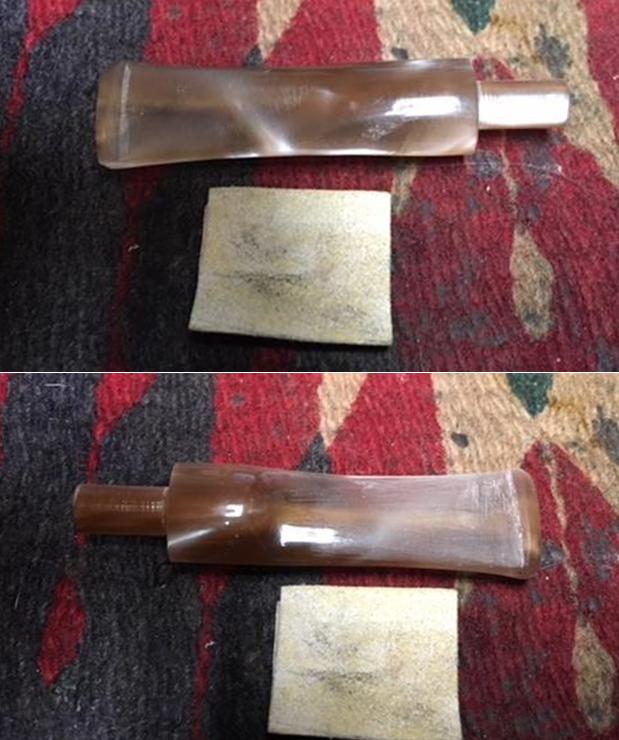
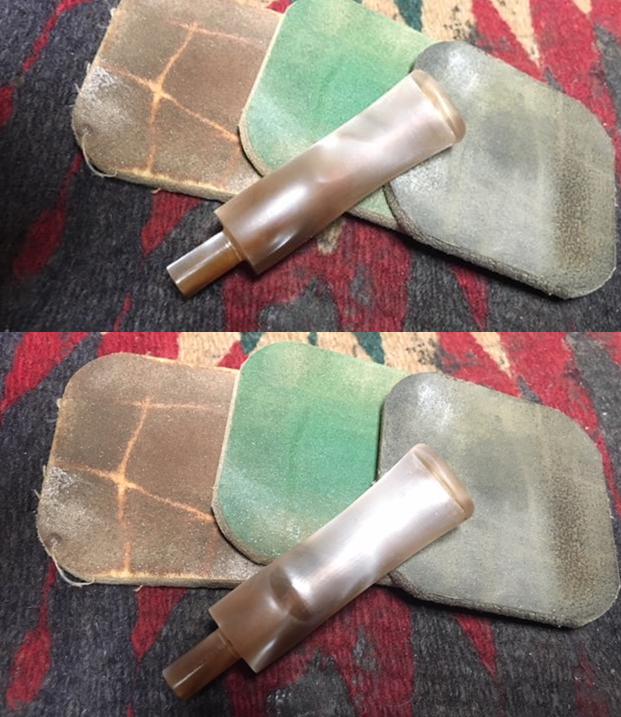
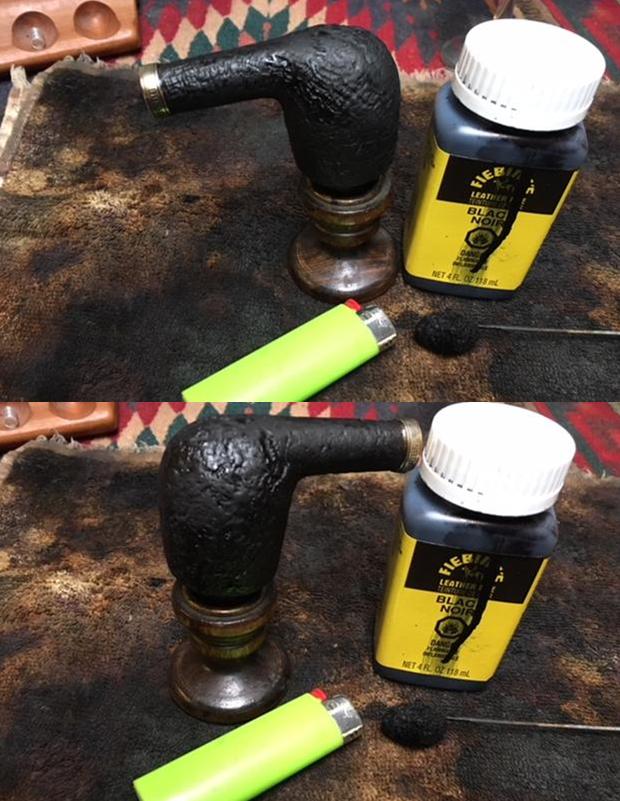
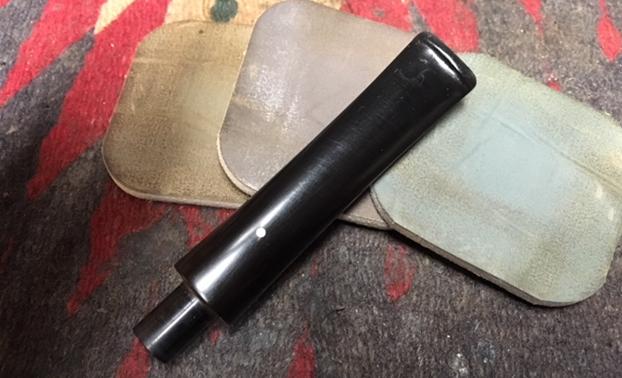
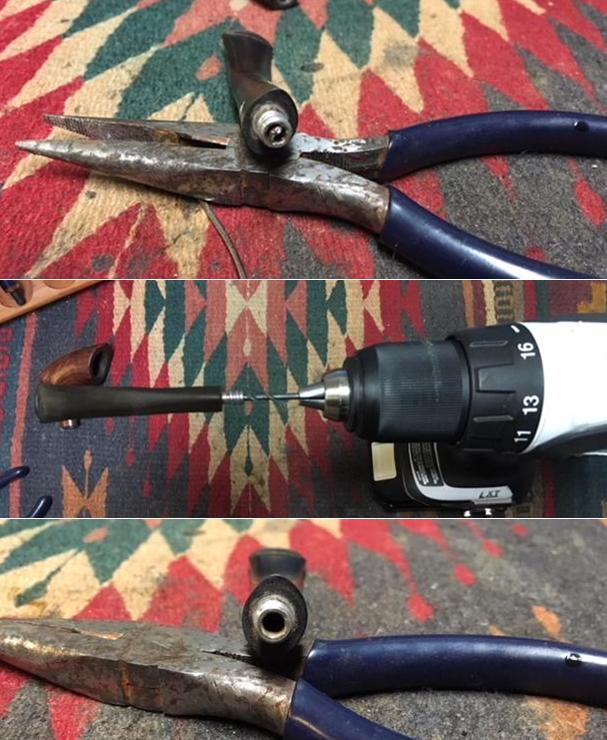
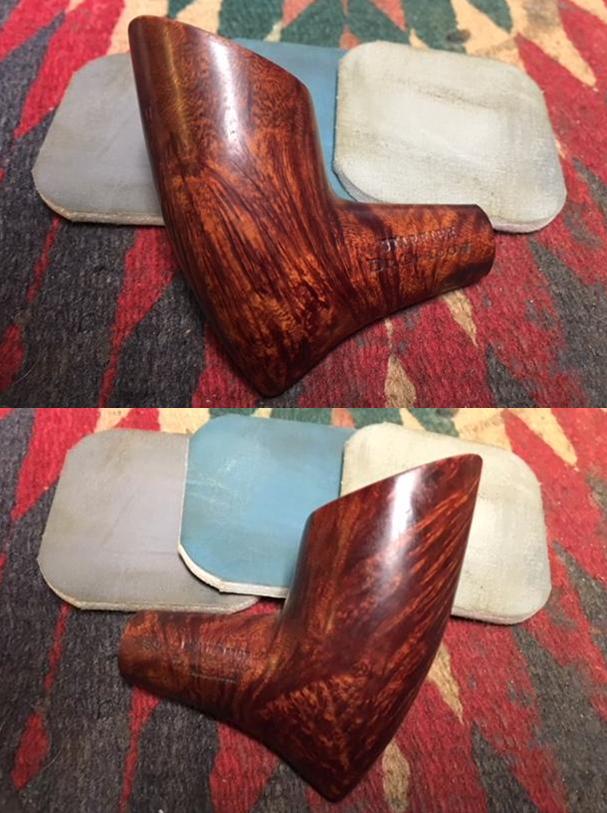
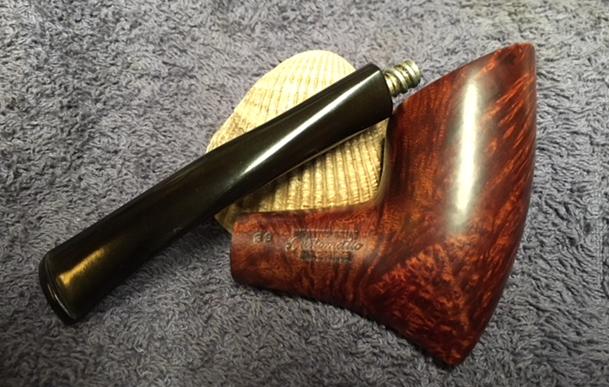
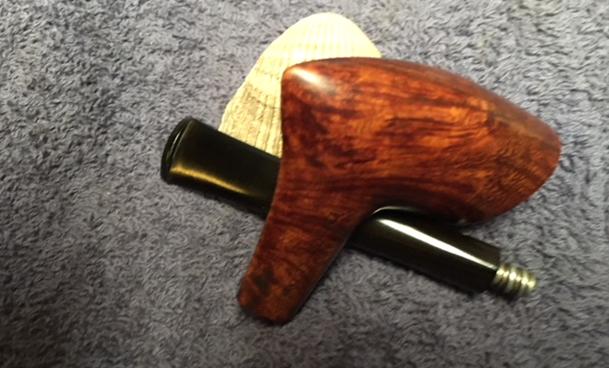
 This is the part of restemming that is always a challenge. The new stem is always slightly off because the shank is never truly oval or round. Either the shank needs to be taken down slightly to accommodate the fit of the new stem or the stem needs to be taken down to meet the shank. In this case you can see from the following photos that the stem fit the underside of the shank perfectly. In the photo of the top side you can see that it is slightly smaller. That tells you that the shank is not perfectly oval and adjustments will need to be made.
 I sanded off all of the calcification on both sides of the stem with 220 grit sandpaper and cleaned up the area around the button edge. I sanded the surface of the button to reshape it on both the top and underside.
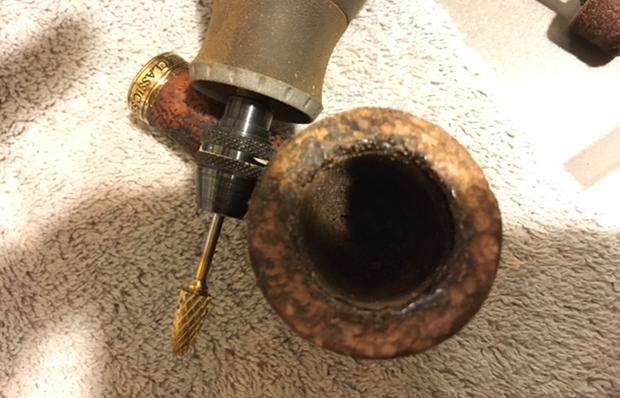
 I decided to work over the rim top, reshaping the bevel and the inner and outer edge of the rim with 220 grit sandpaper. I was able to remove all of the damage to the rim surface and reshape the inner edge of the rim. The rounded flowing bevel that was originally present was restored.
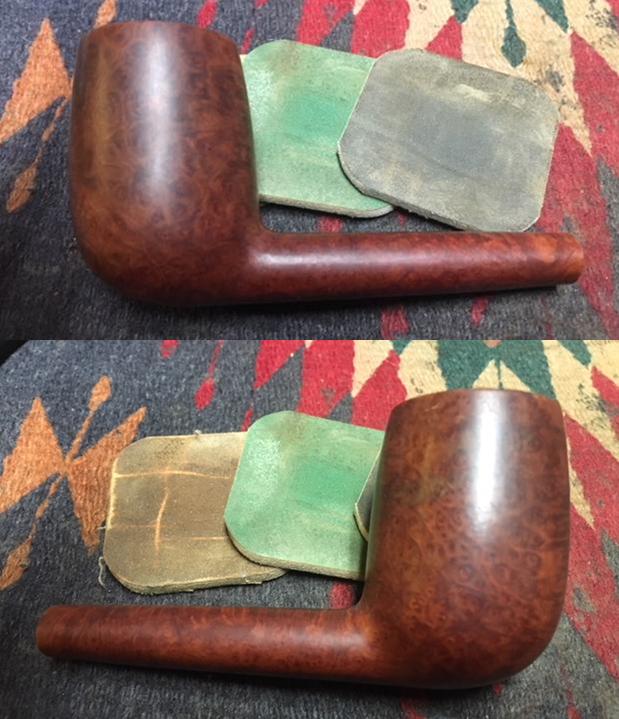
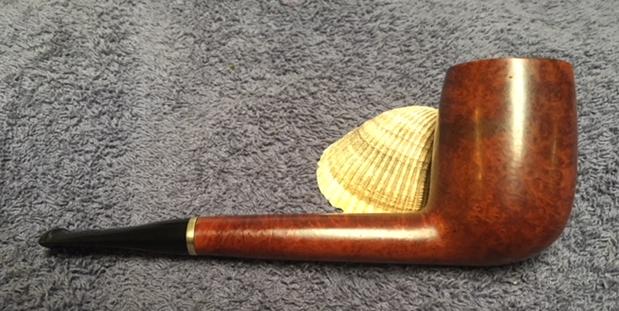
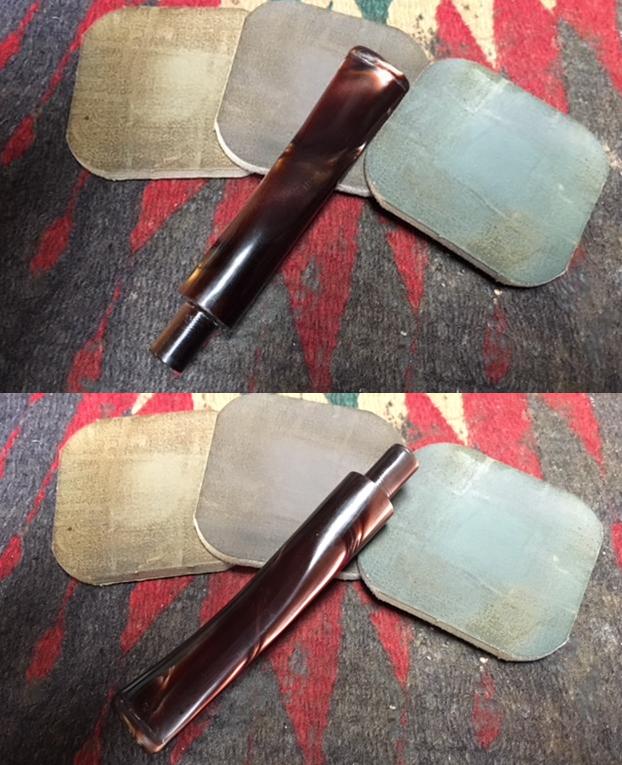
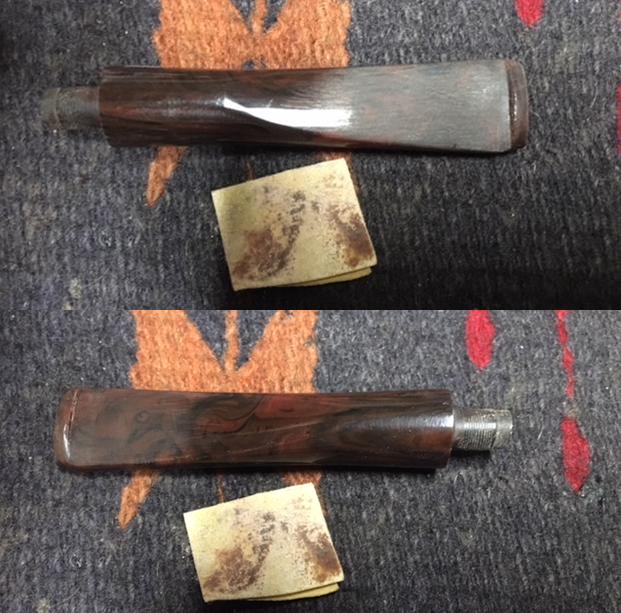
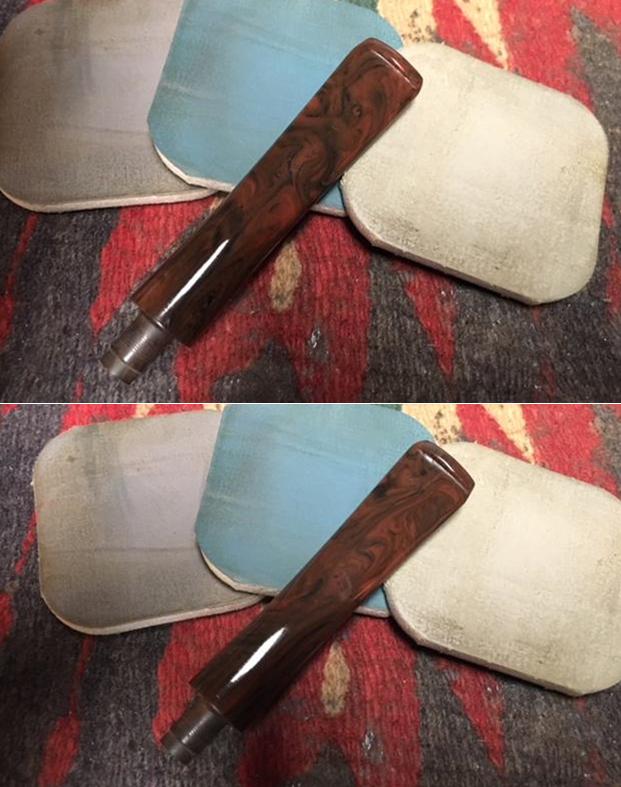
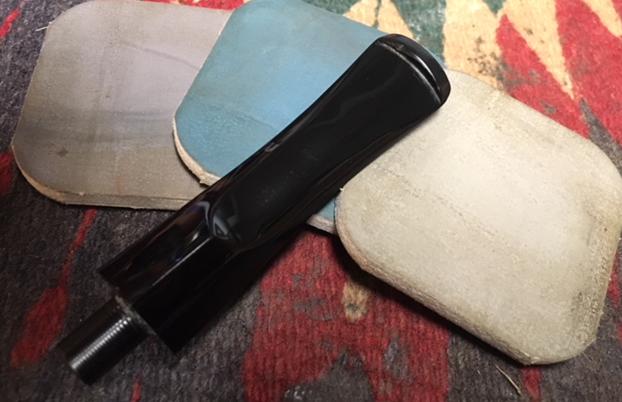
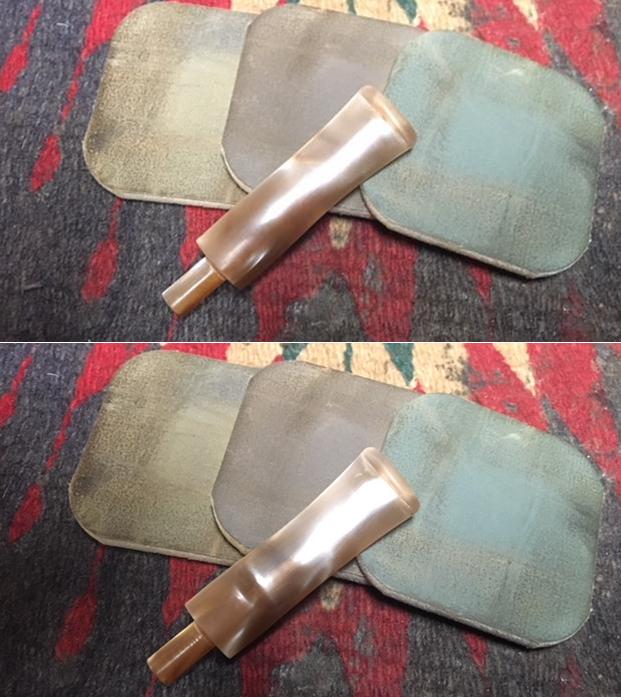
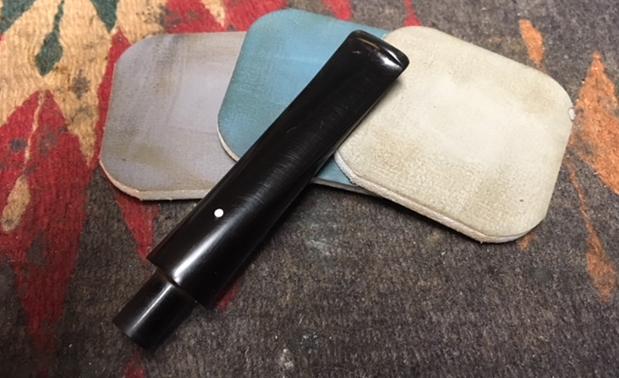
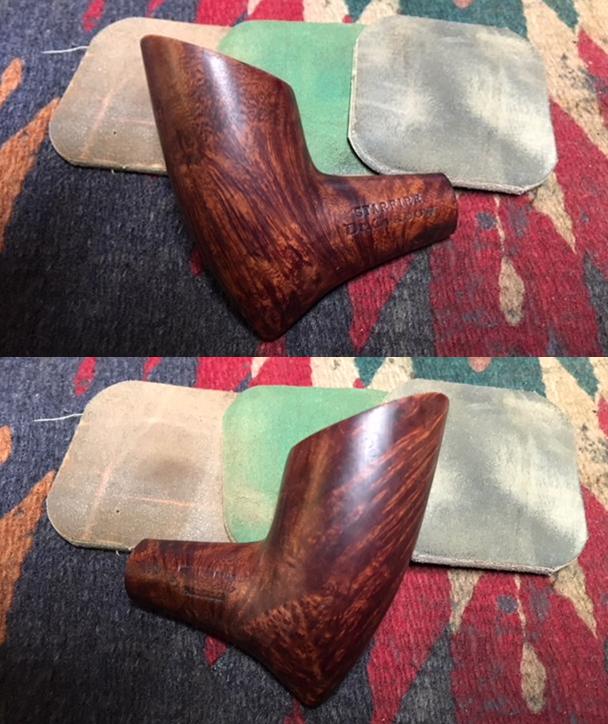
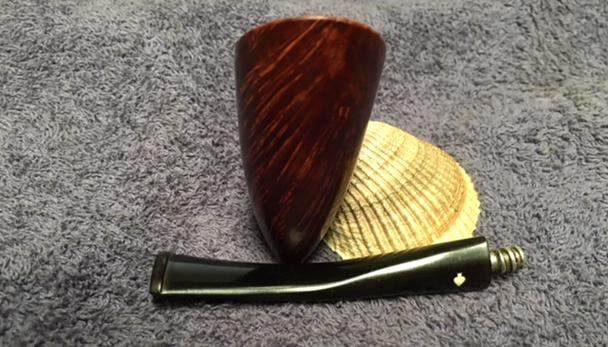
 With the rim reshaped I turned my attention to fitting the stem to the shank. I carefully sanded the shank to reduce the diameter to match the stem. It was interesting that most of the work had to be done on the sides of the shank with a little on the top and bottom. In essence I made the shank more oval to match the stem. The photos below show the fit of the new stem at this point.
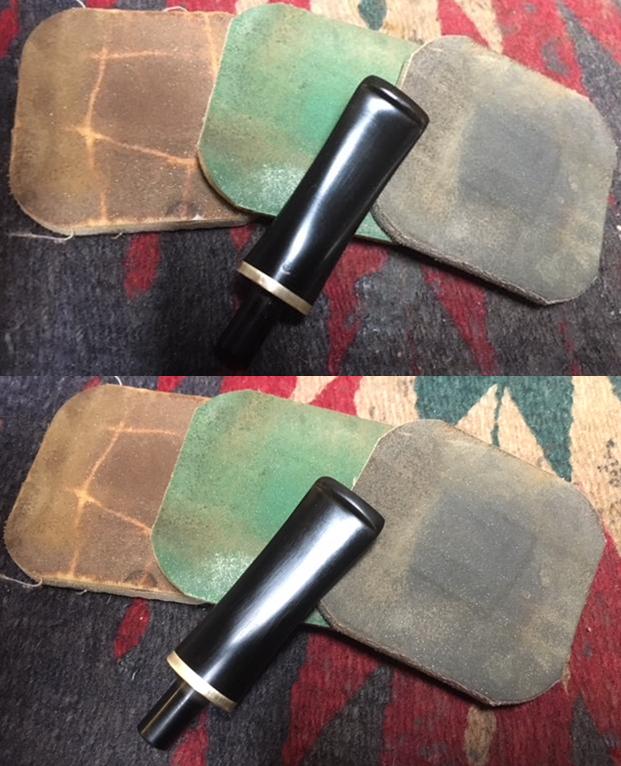
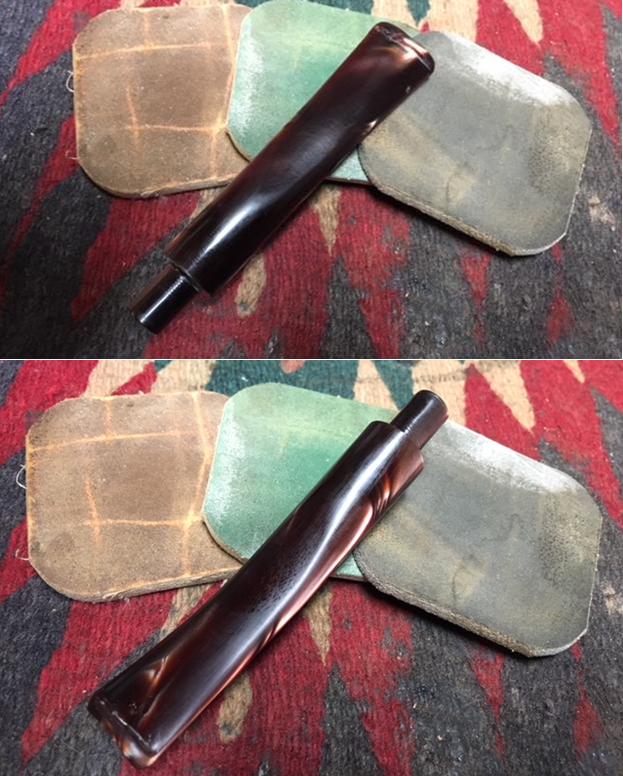
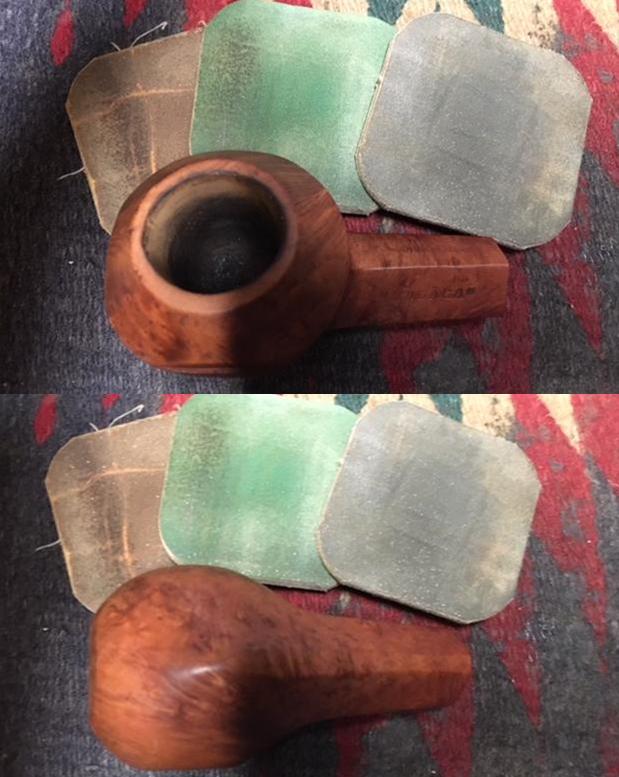
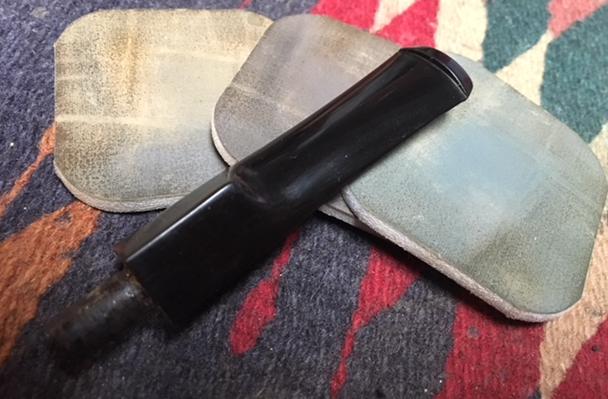
 I polished the briar with micromesh sanding pads – wet sanding with 1500-2400 grit pads and dry sanding with 3200-12000 grit pads. I wiped the briar down after each pad with a damp cloth to remove the sanding dust.


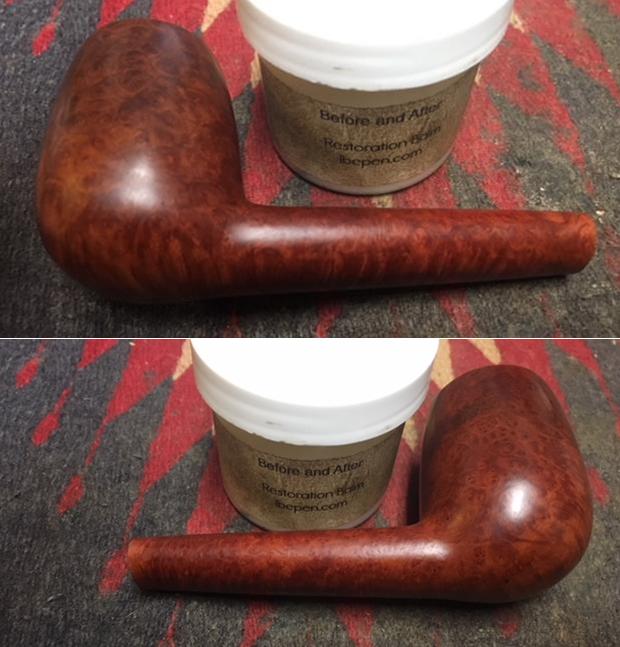
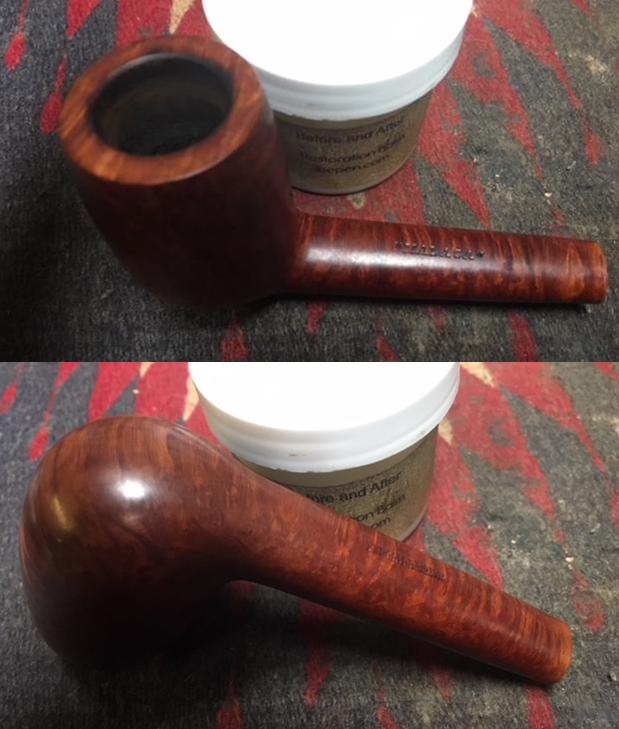
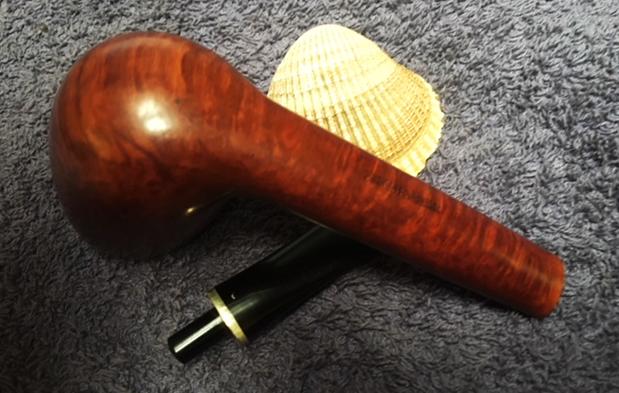
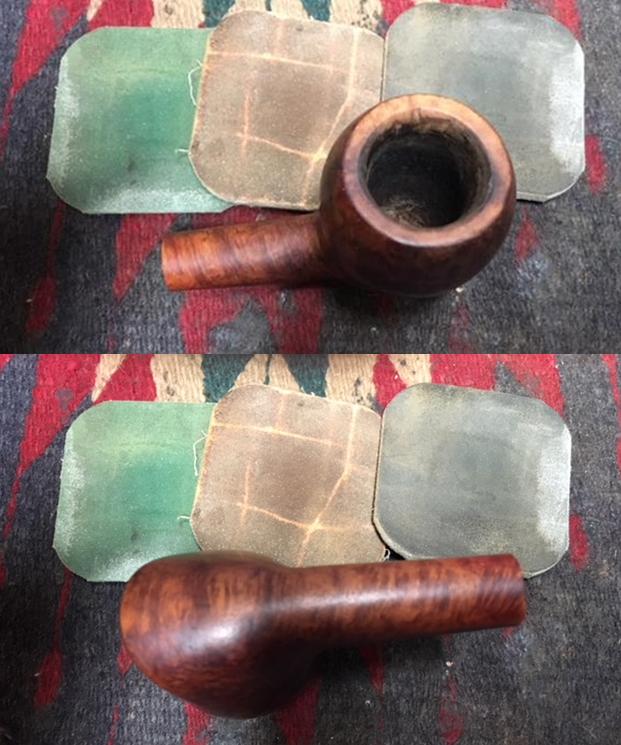
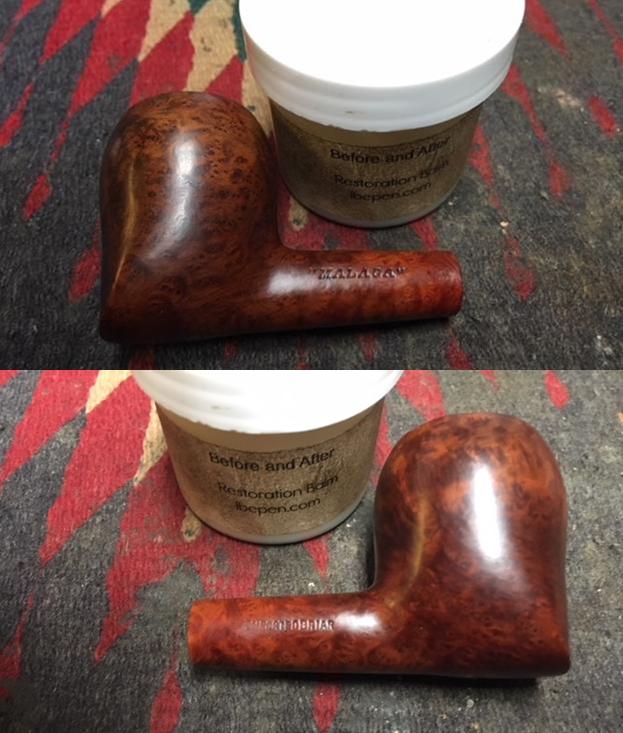
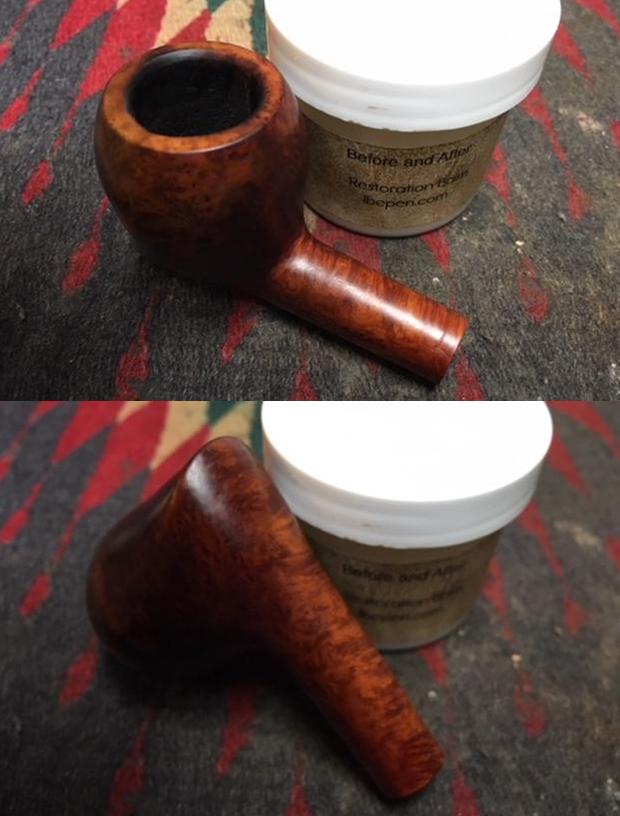
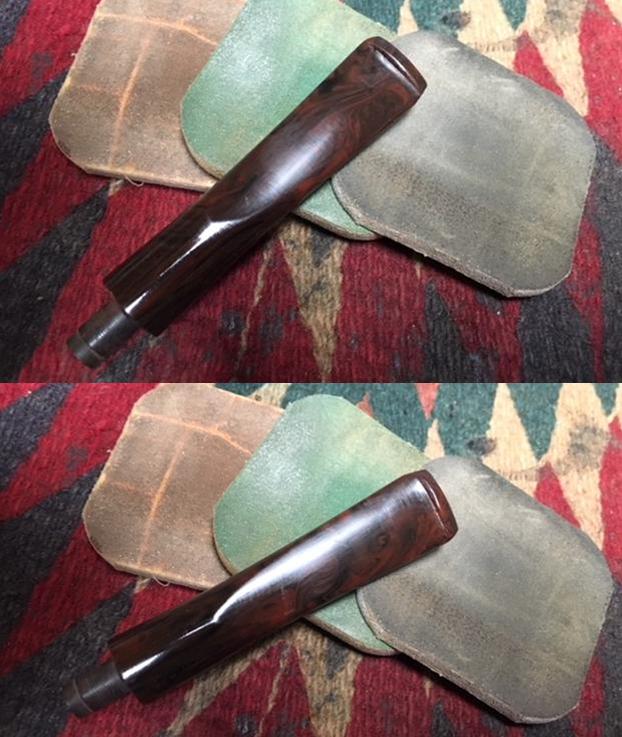
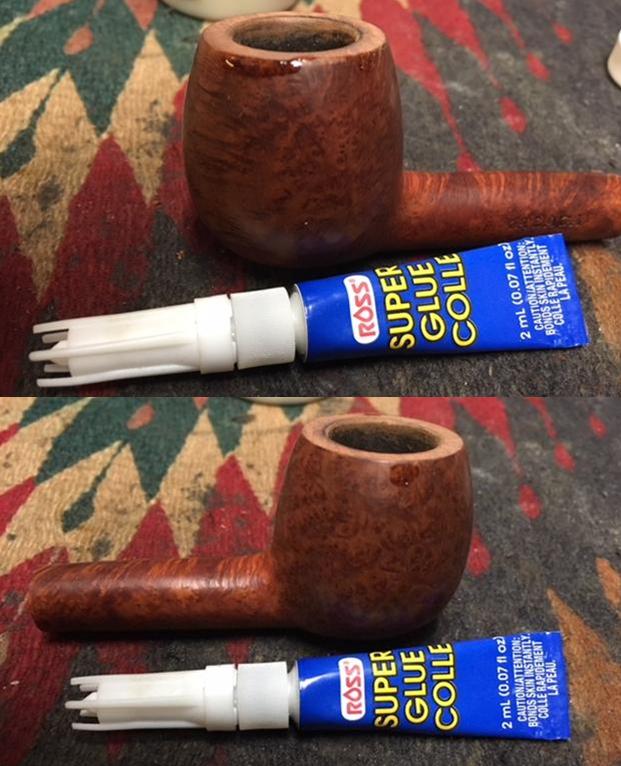
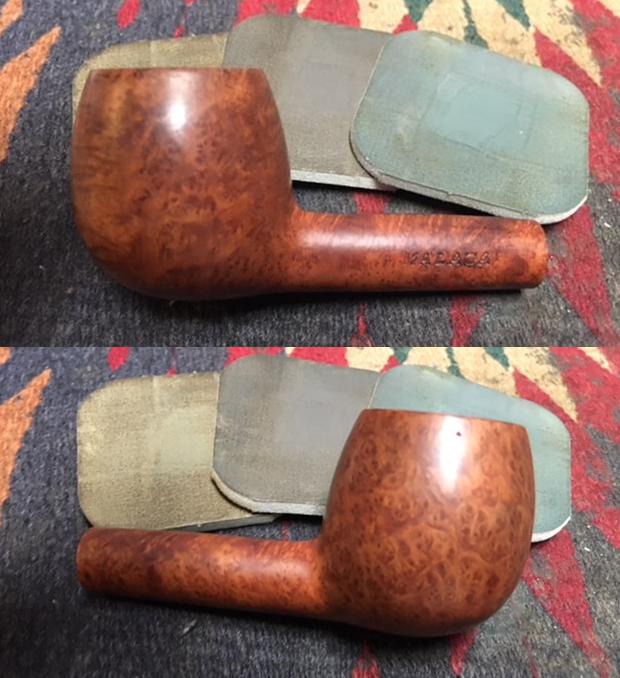
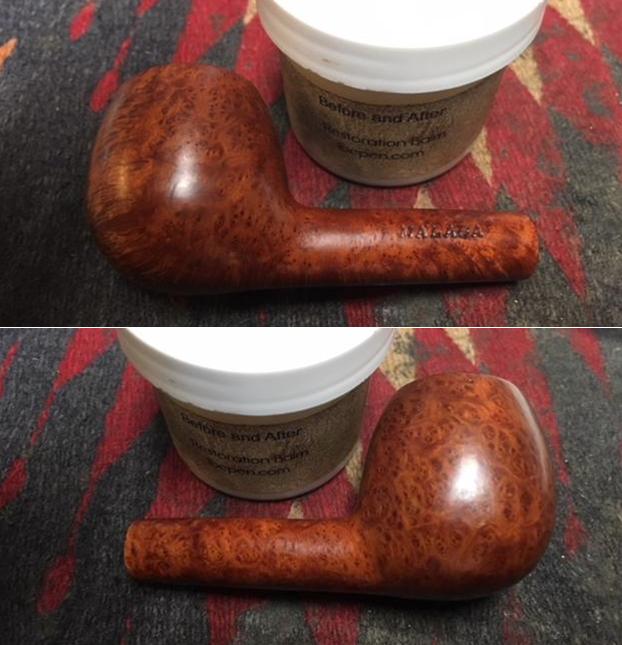
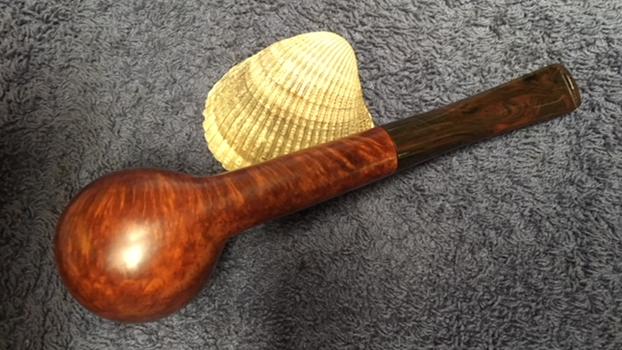
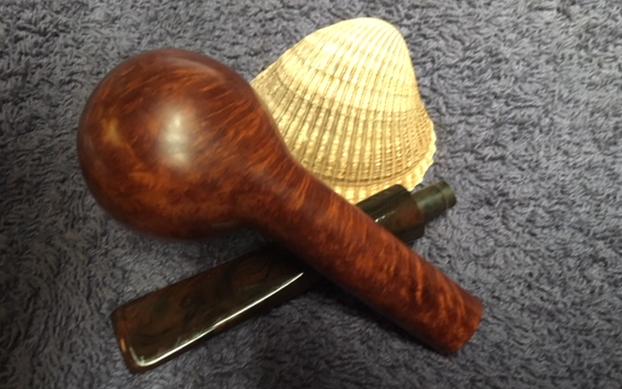
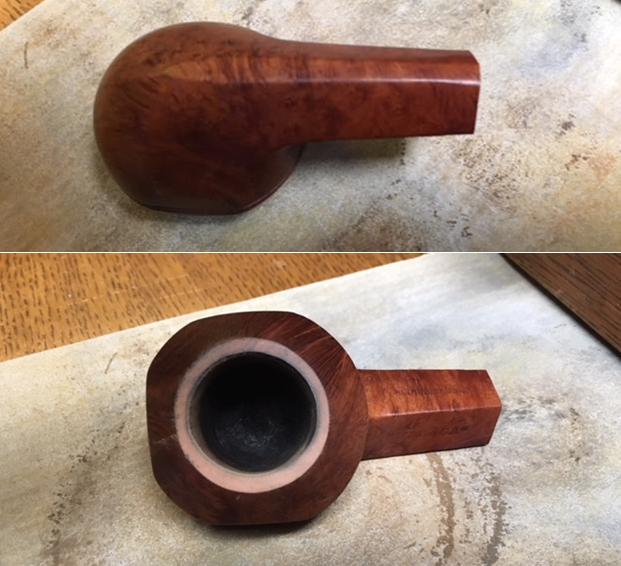
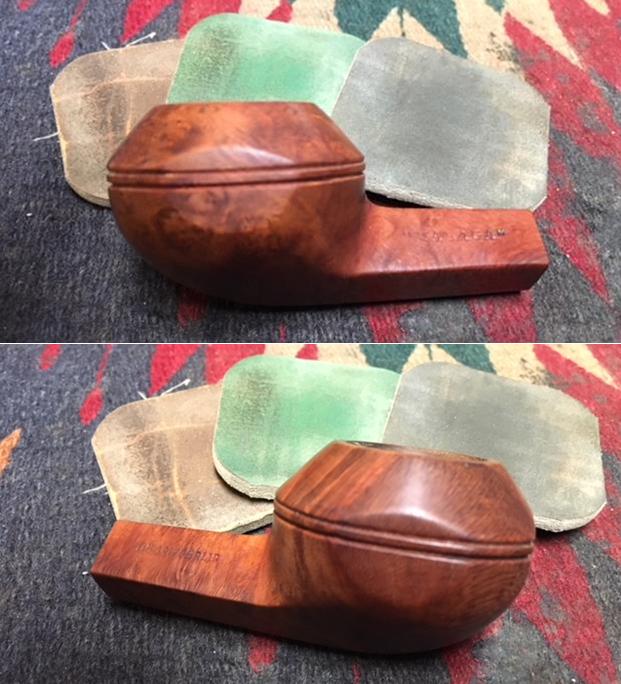
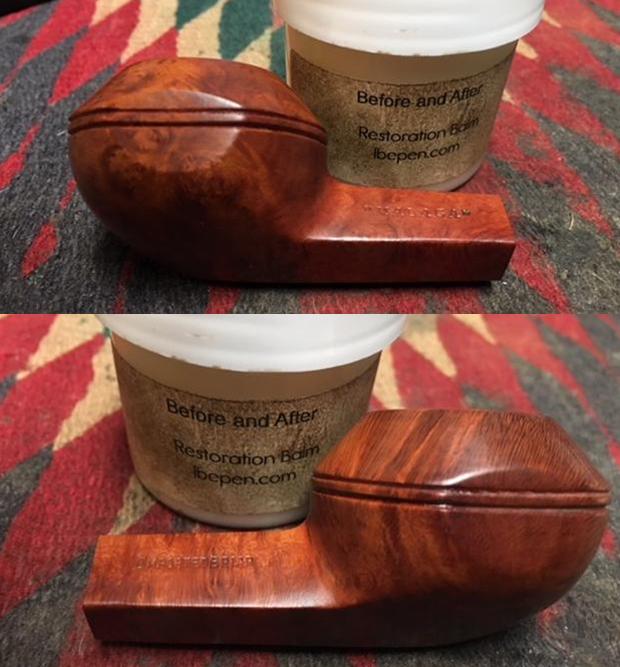
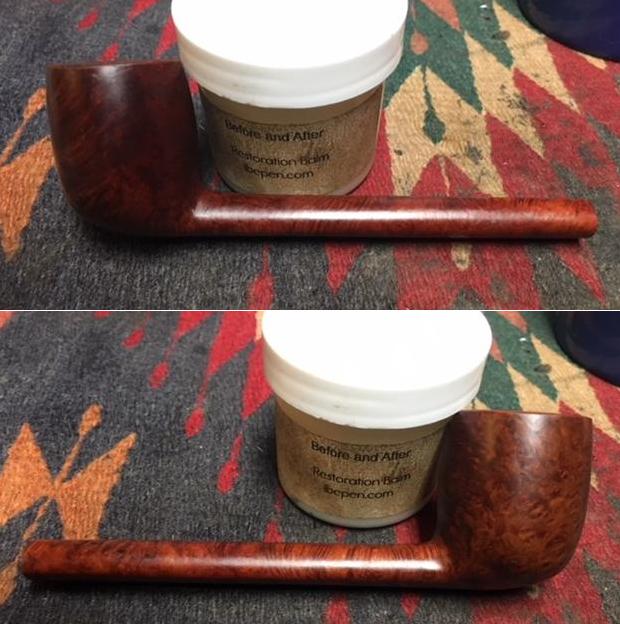
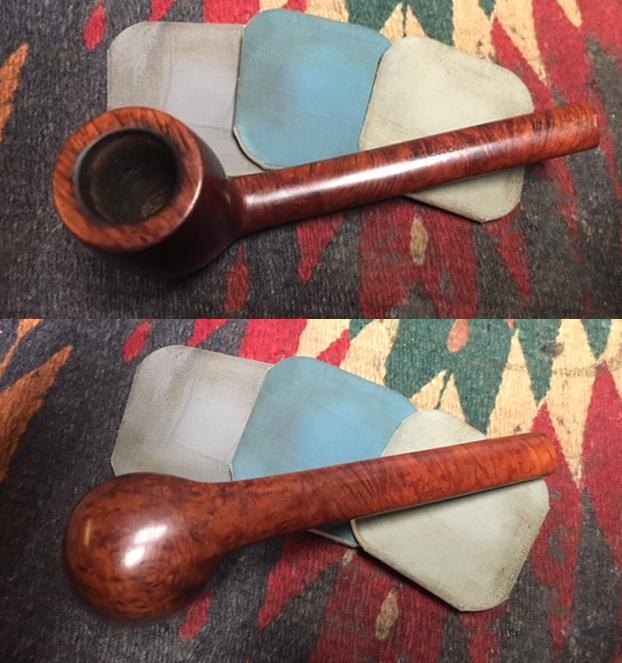
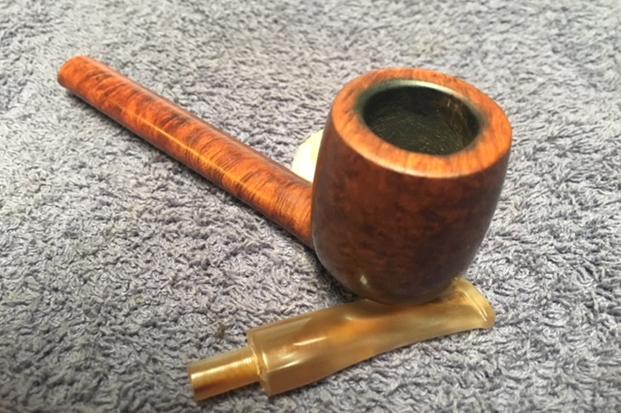
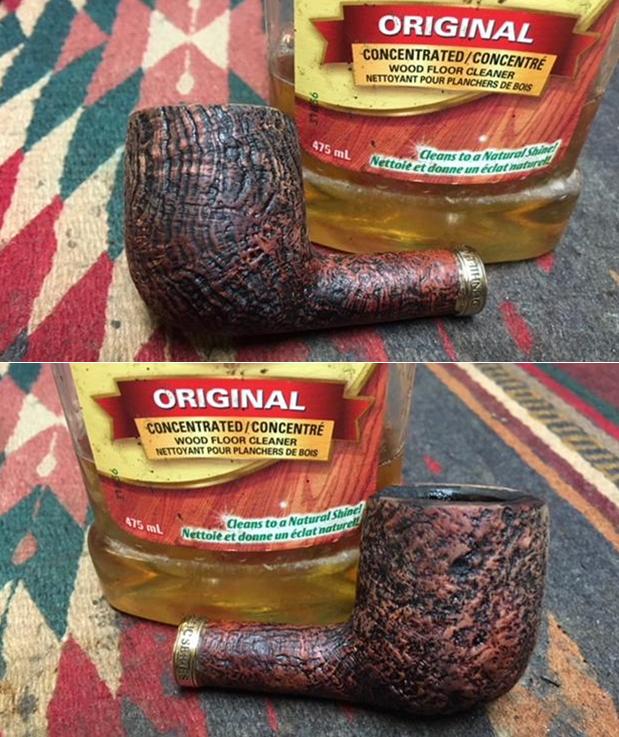
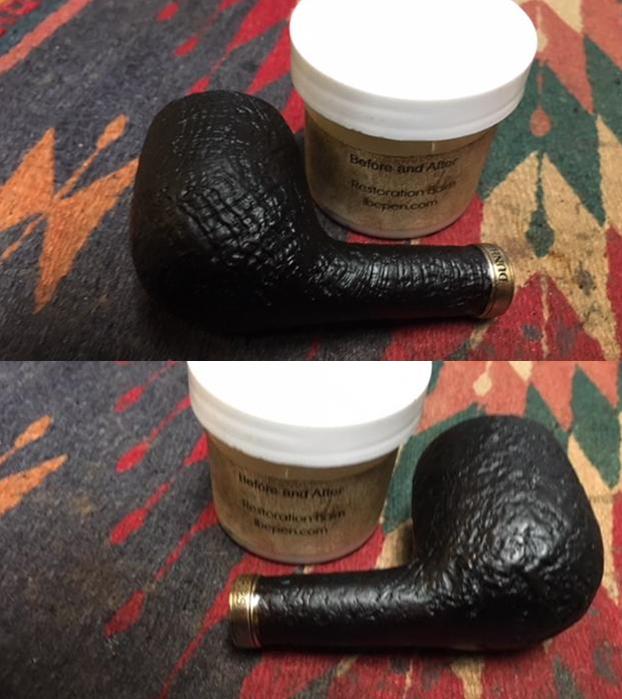
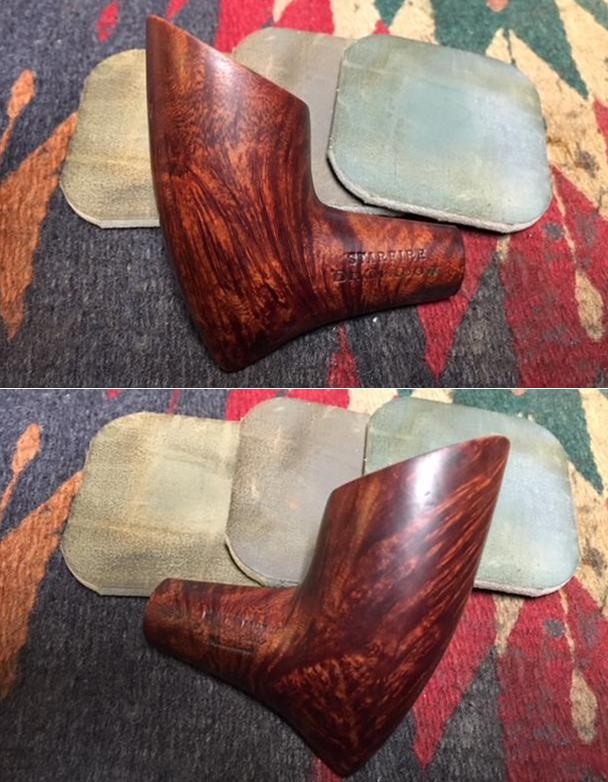
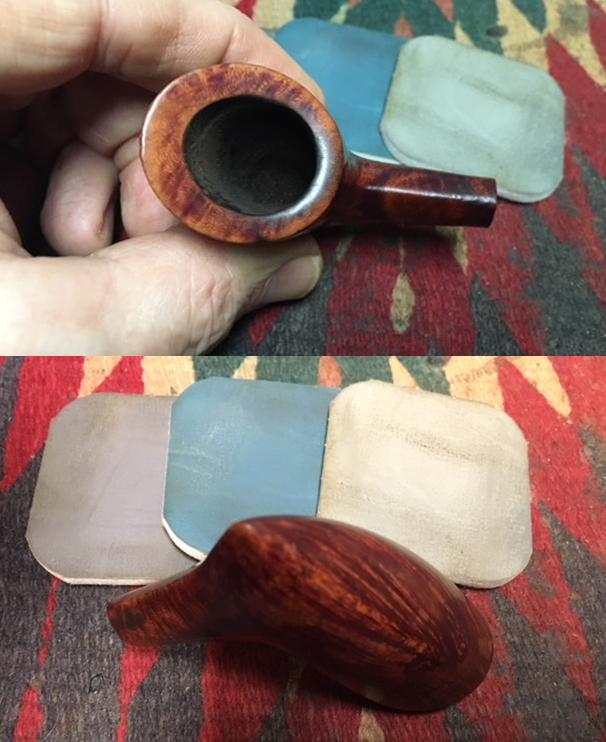
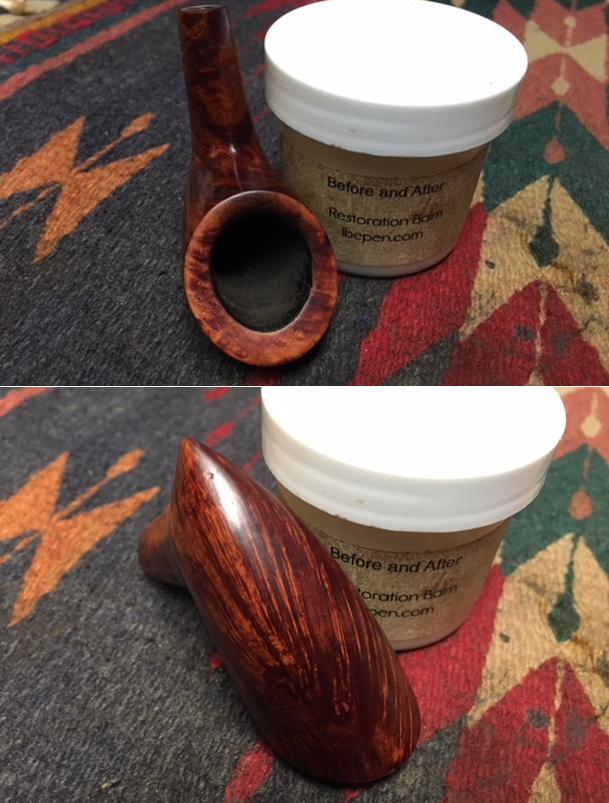
 I rubbed the bowl down with Before & After Restoration Balm to deep clean the nooks and crannies of the rustication paths and patches as well as the smooth areas. The product works to clean, enliven and protect the briar. I hand rubbed it with my fingers and wiped it off with a soft cloth. I buffed the bowl with a horsehair shoe brush to polish it. The briar really began to have a rich shine. I took some photos of the bowl at this point to mark the progress in the restoration.
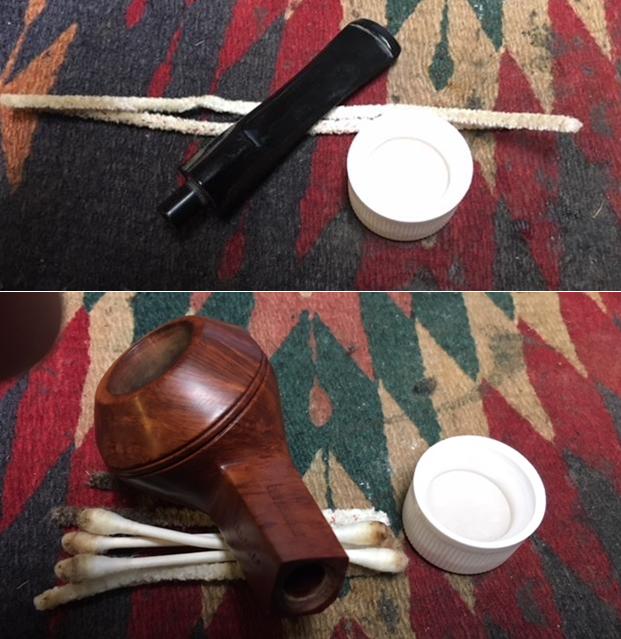
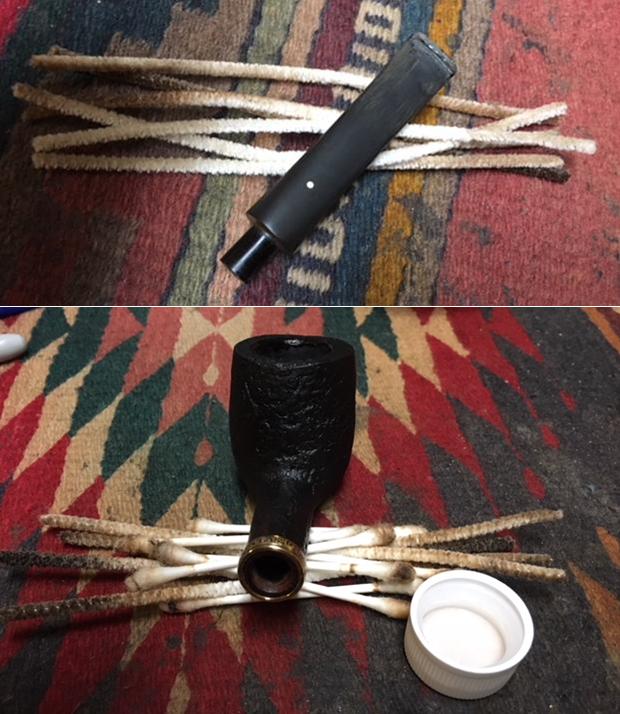
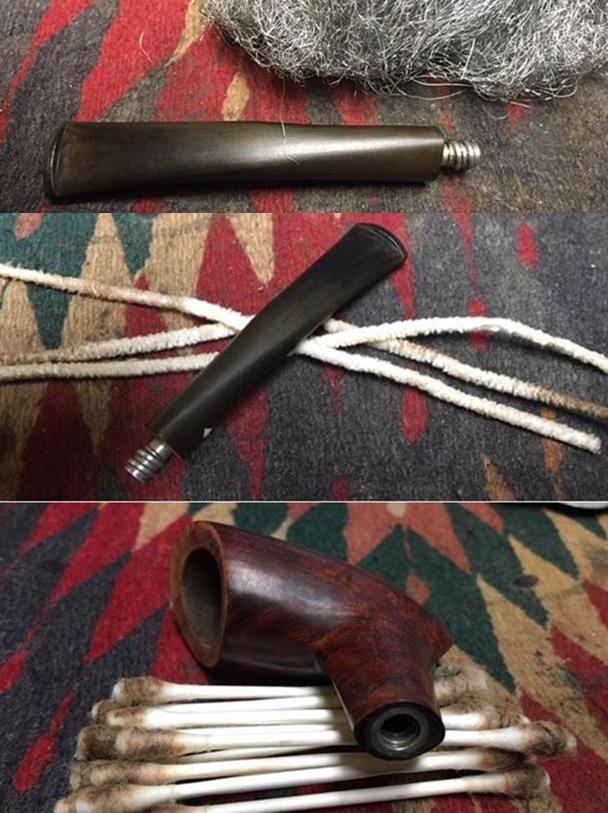
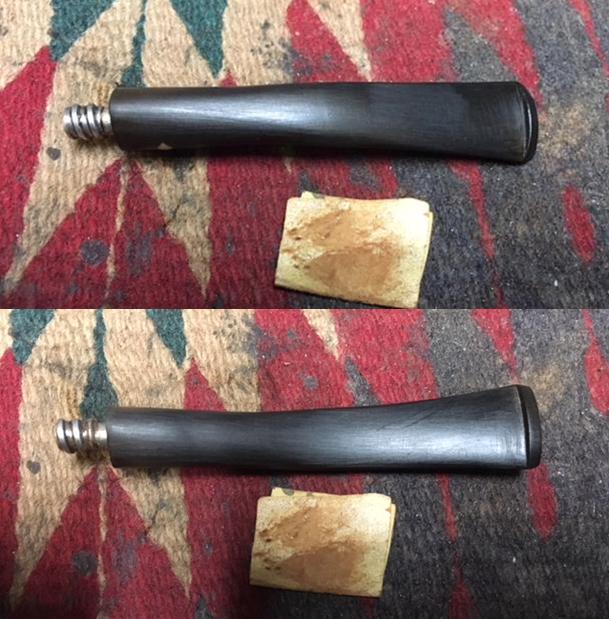
 I cleaned out the stem with alcohol, pipe cleaners and cotton swabs. It took a bit of scrubbing but before too long the airway was clean.
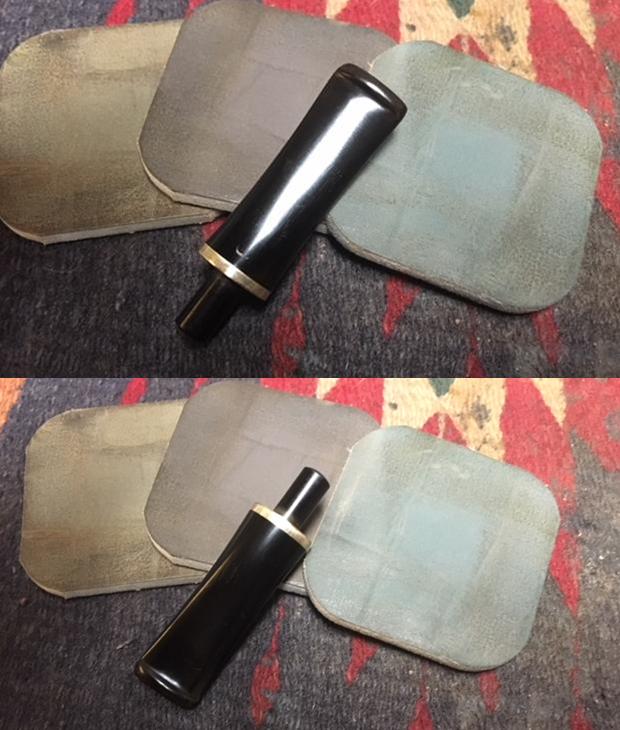
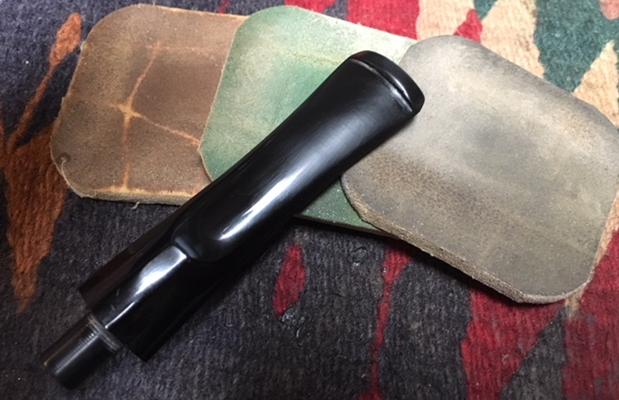
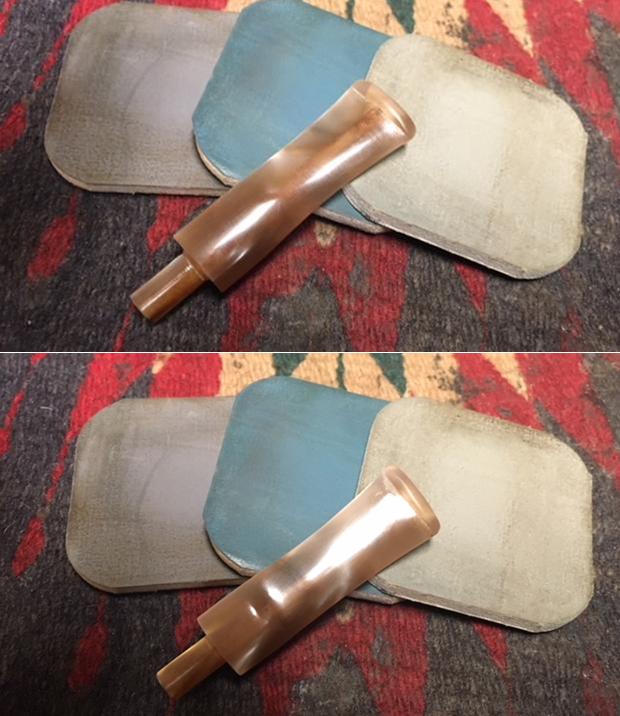
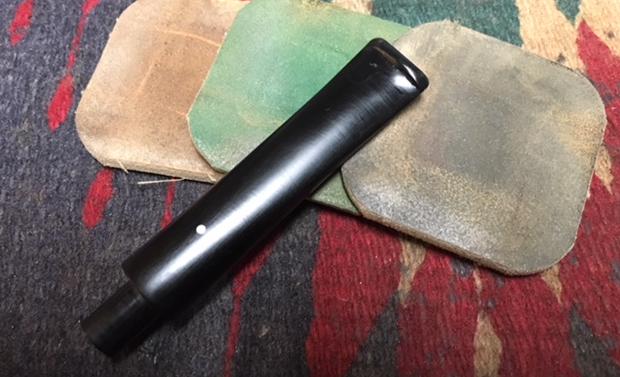
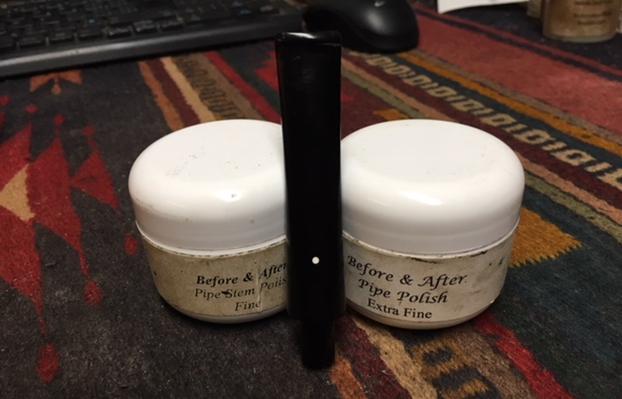
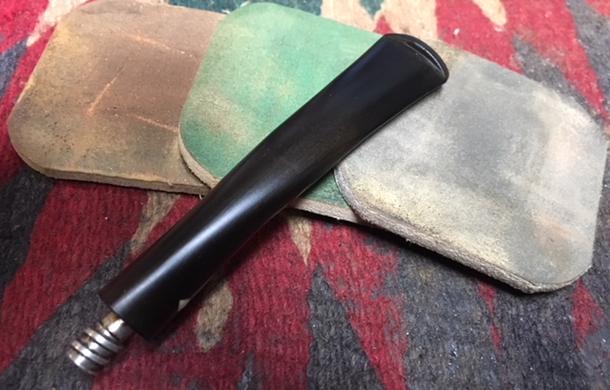
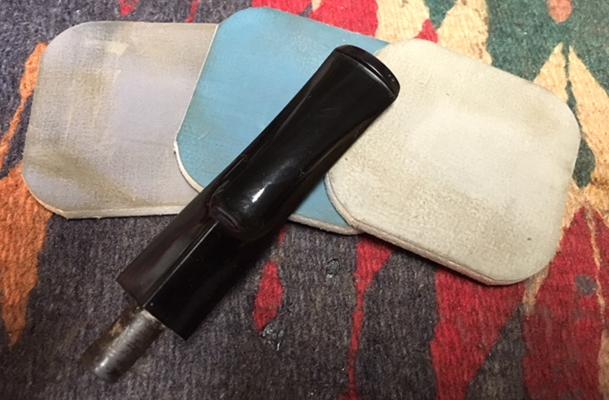
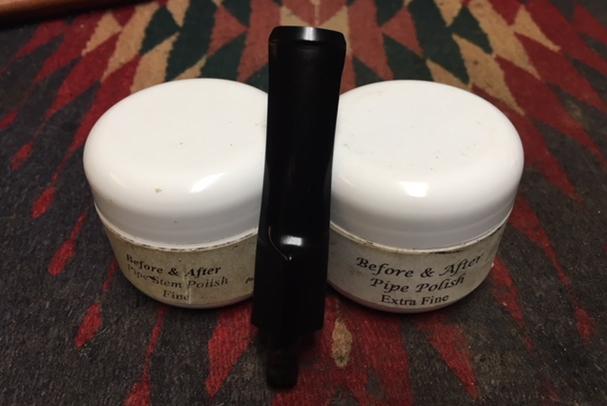
 I polished the stem with micromesh sanding pads – wet sanding with 1500-2400 grit pads and dry sanding with 3200-12000 grit pads. I wiped the stem down after each pad with a damp cloth to remove the sanding dust. I used the Before & After Pipe Polish to remove the small minute scratches left in the brass and the vulcanite. I finished by wiping the stem down with a final coat of Obsidian Oil and set it aside to dry.
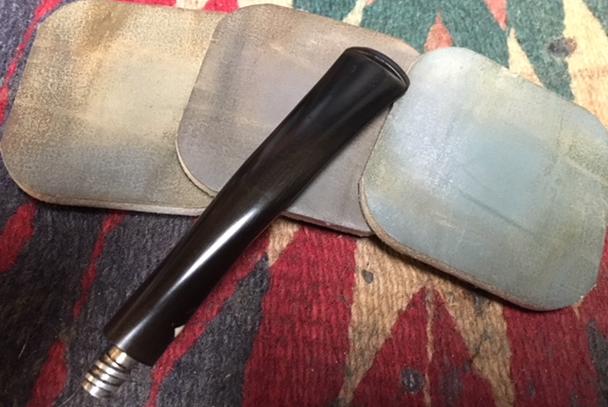
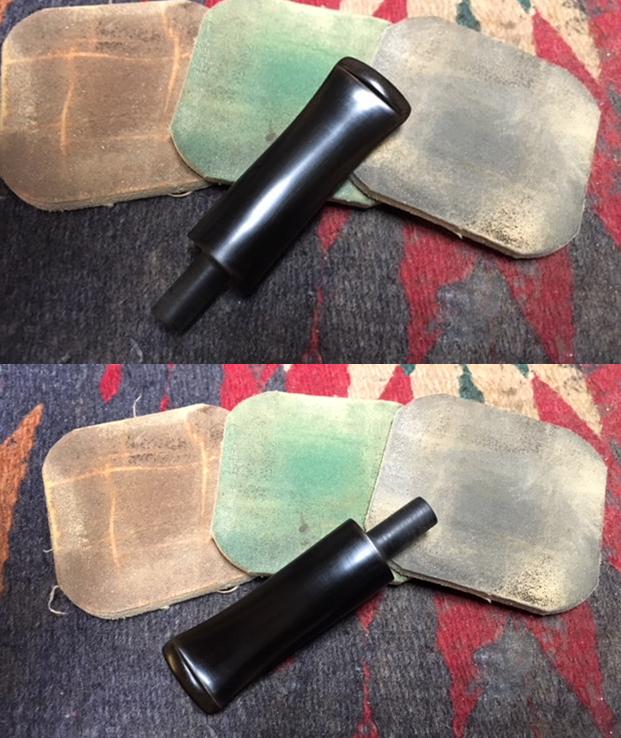


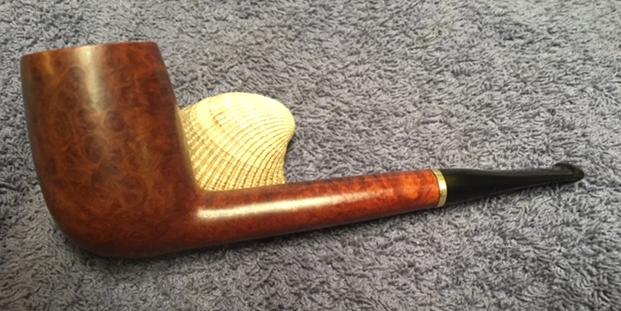
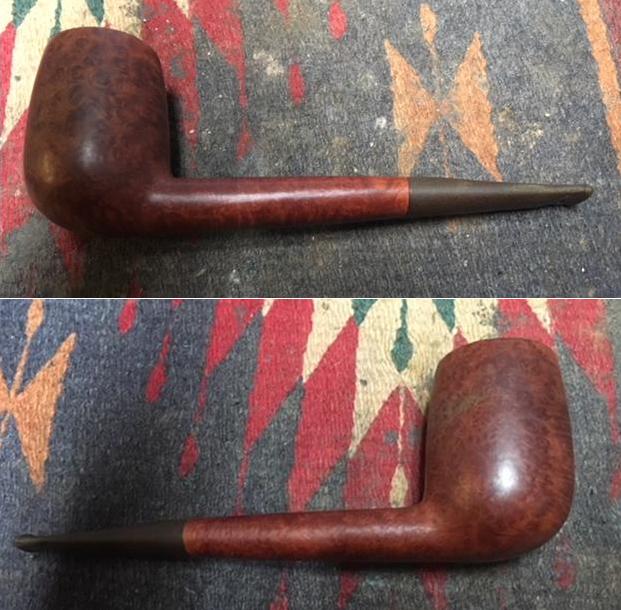
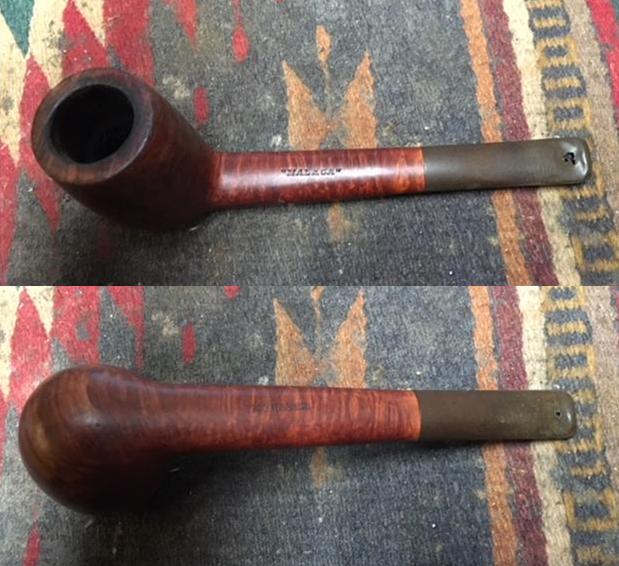
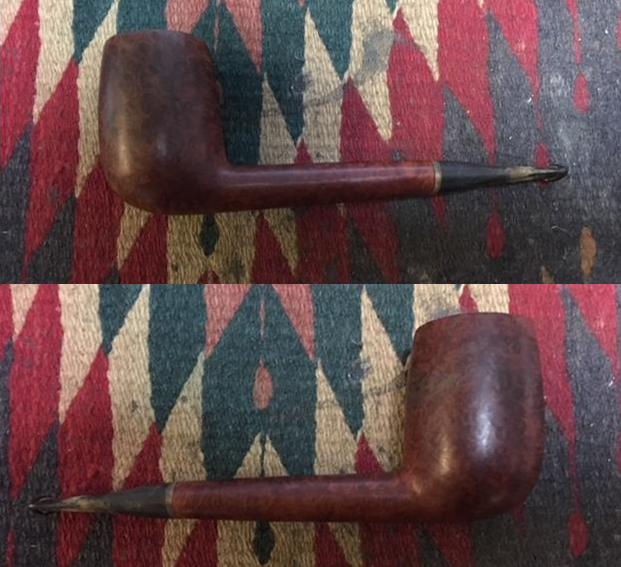
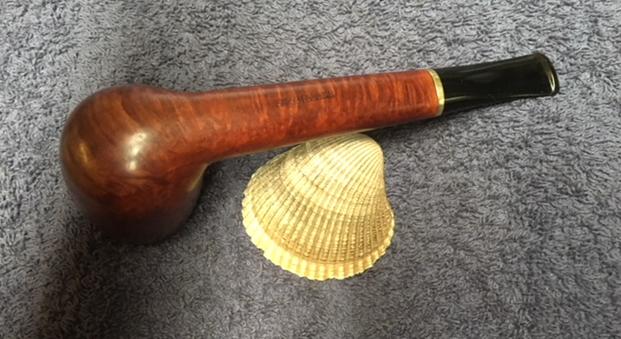
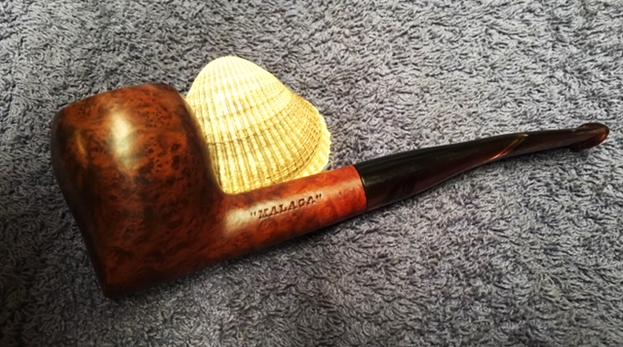
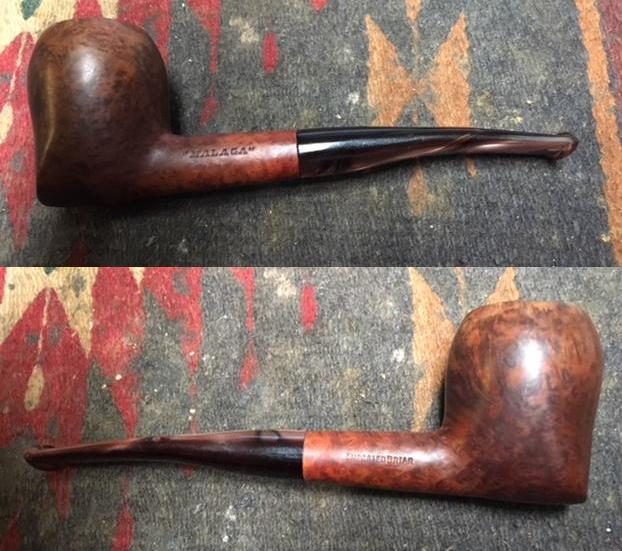
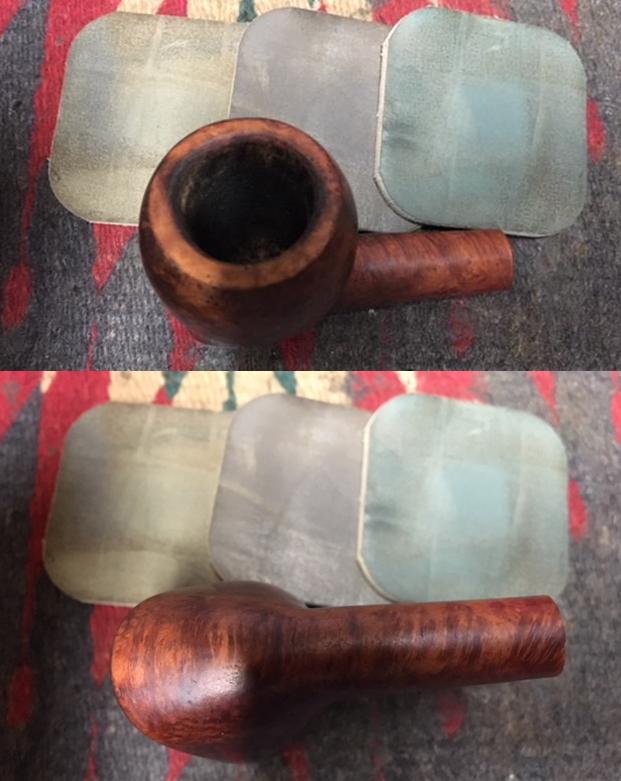
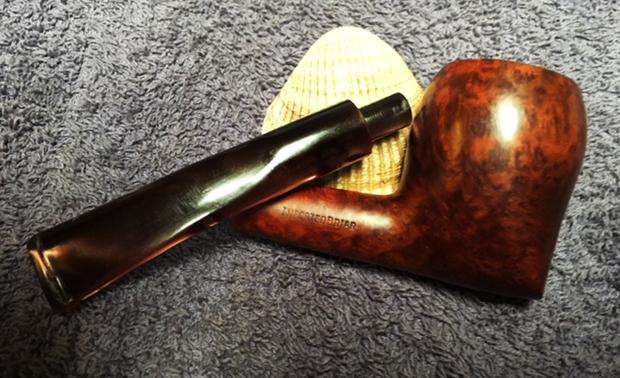
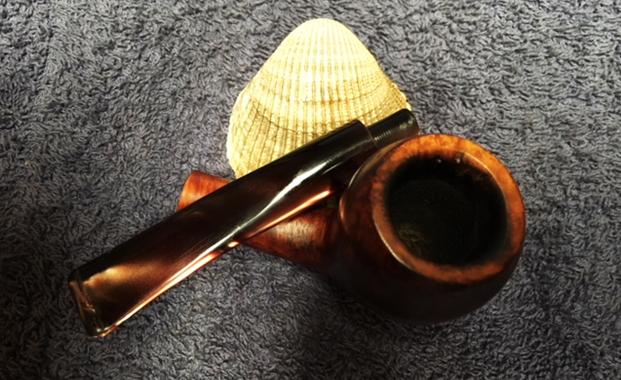
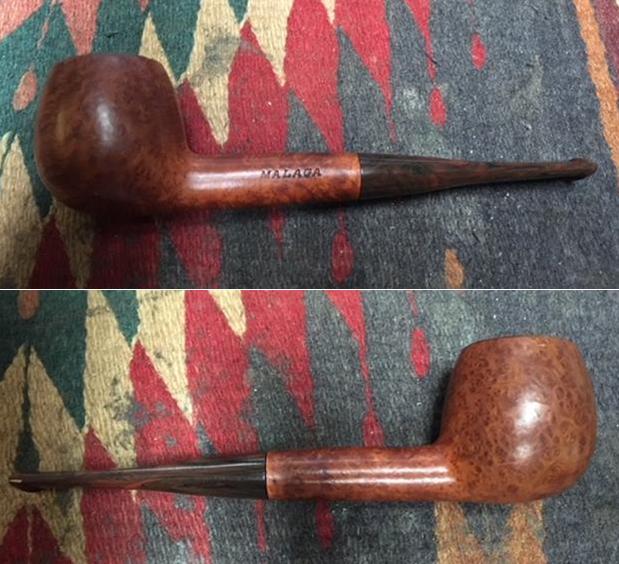
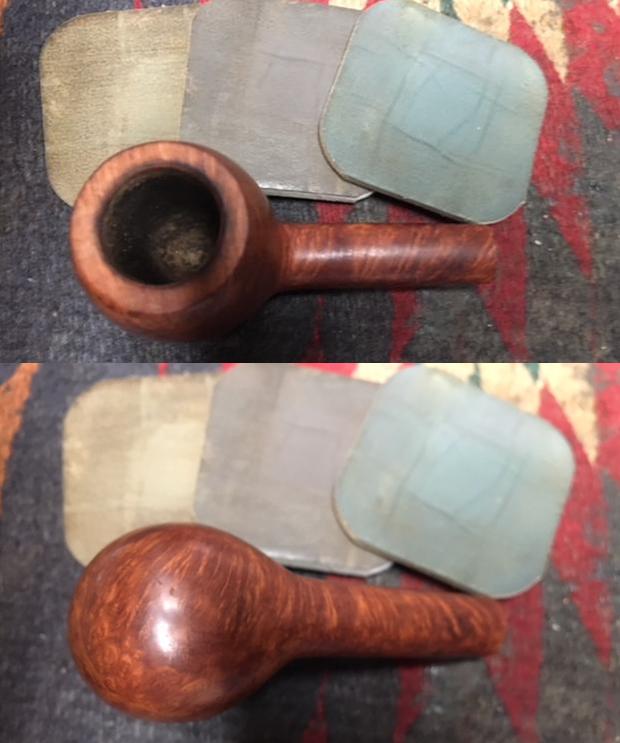
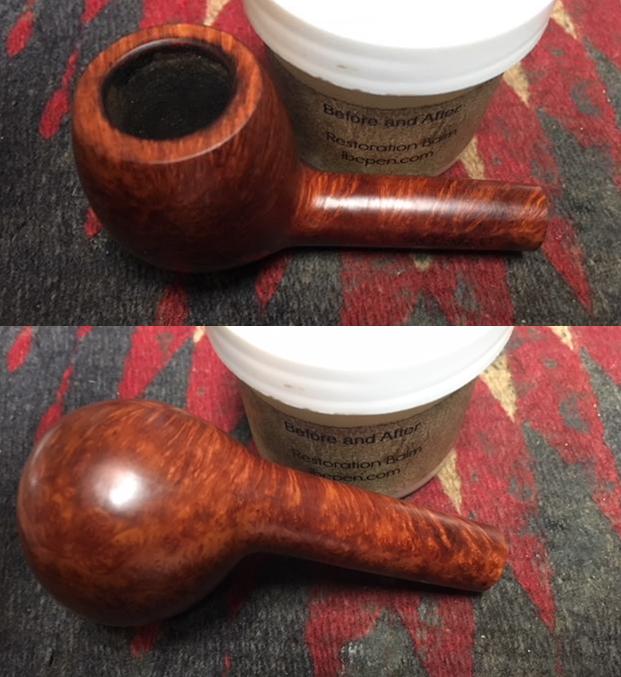
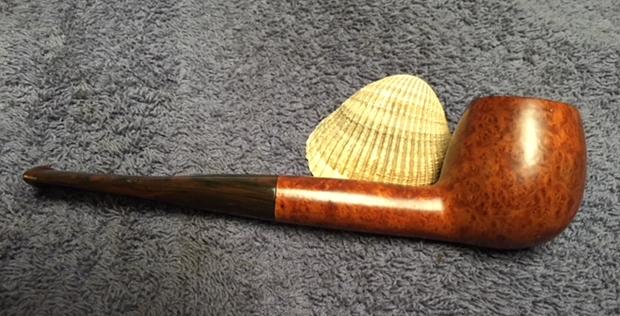
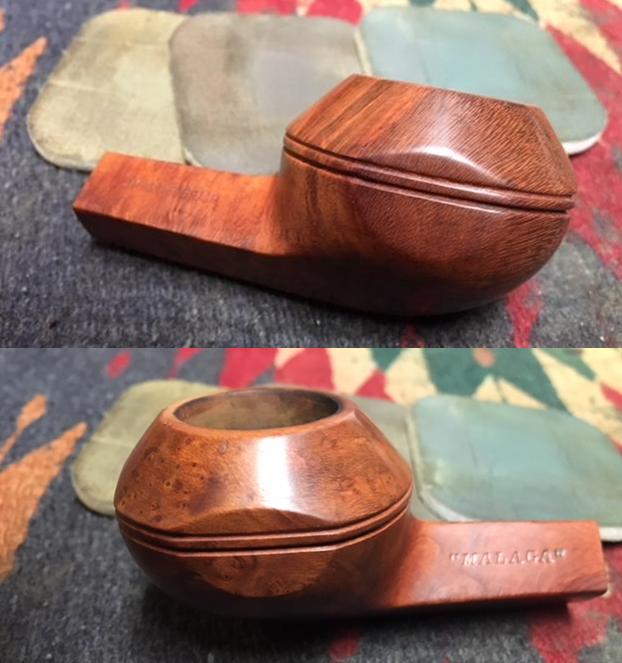
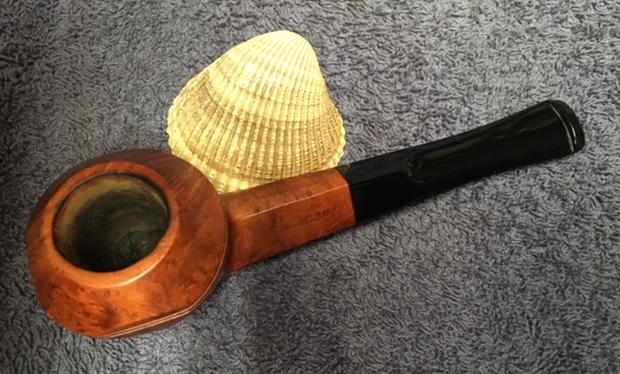
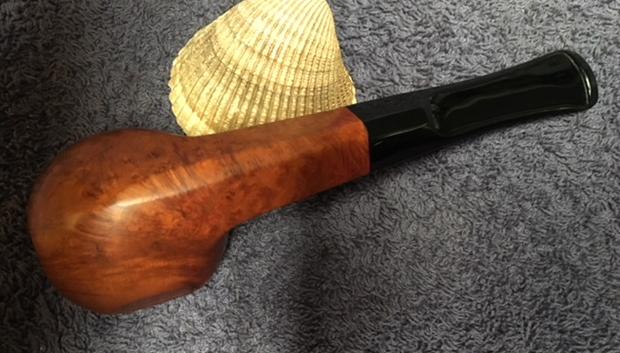
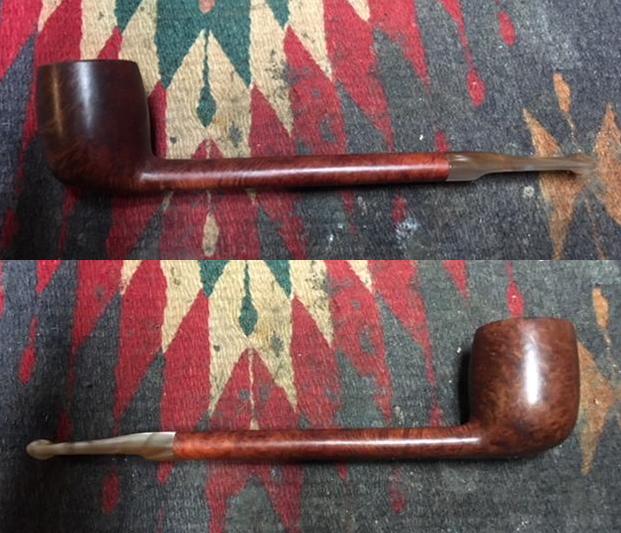
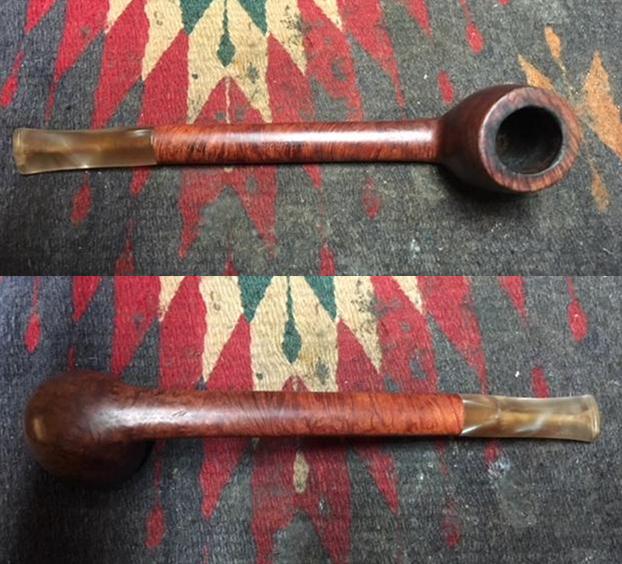
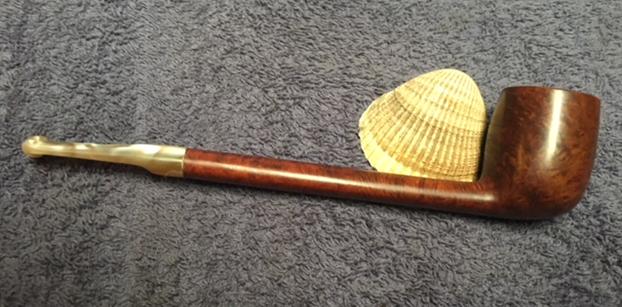
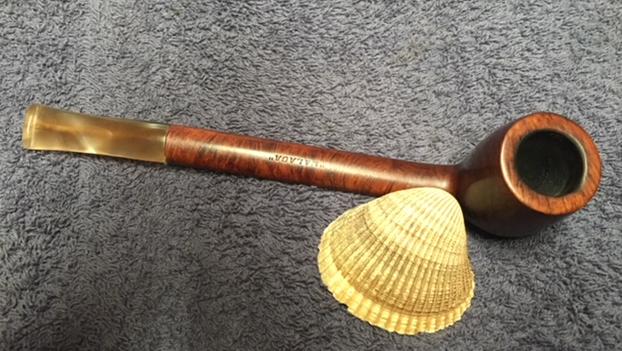
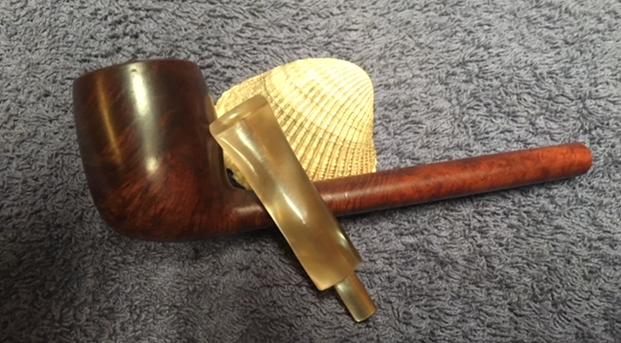
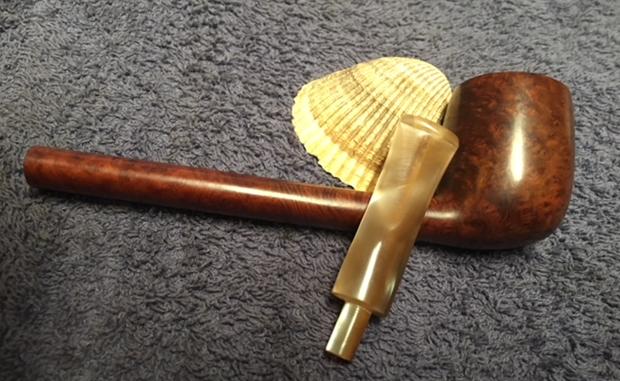
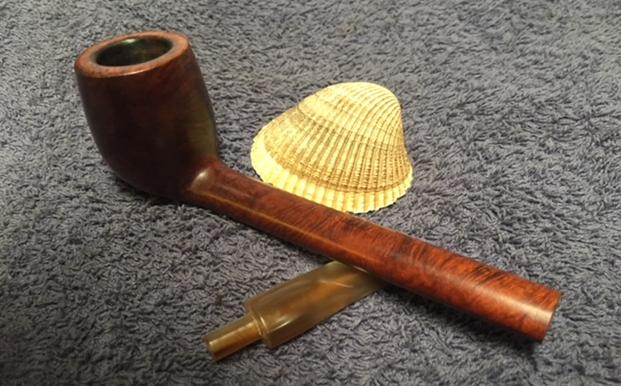
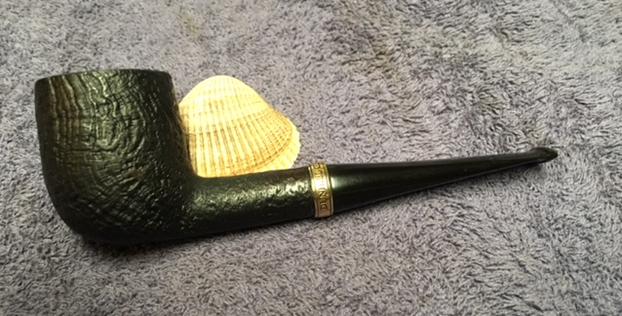
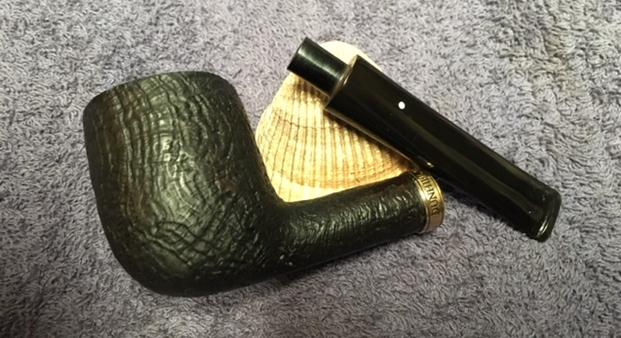
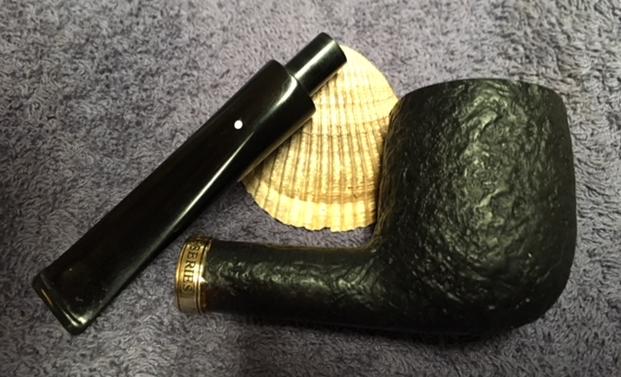
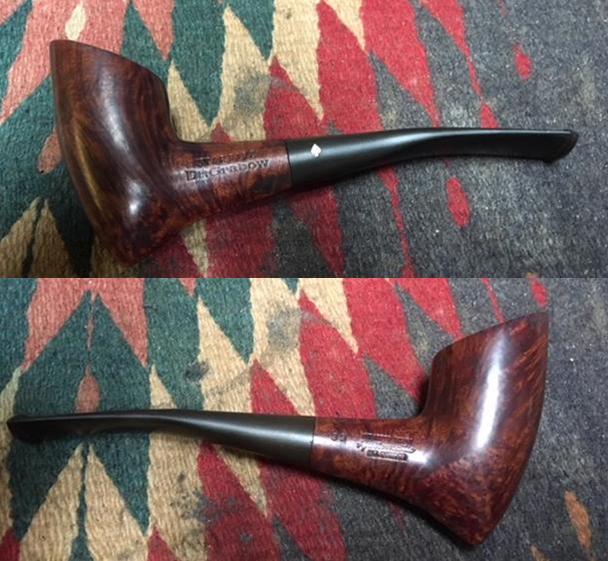
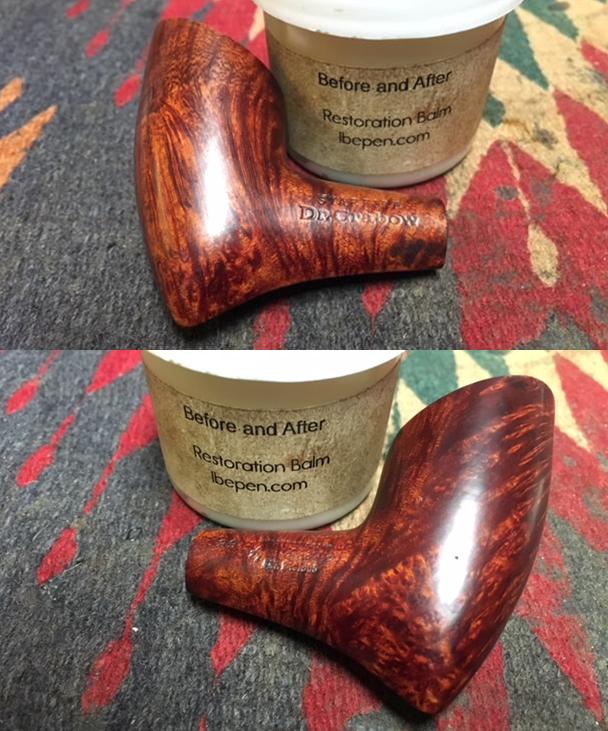
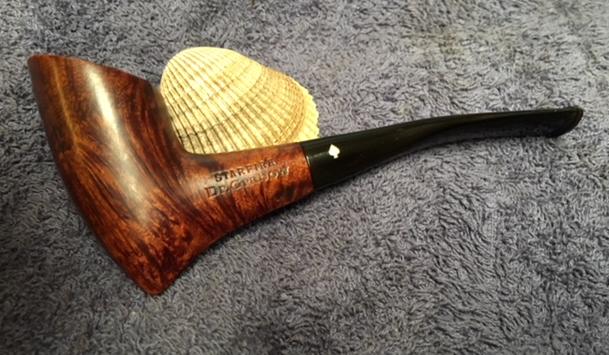
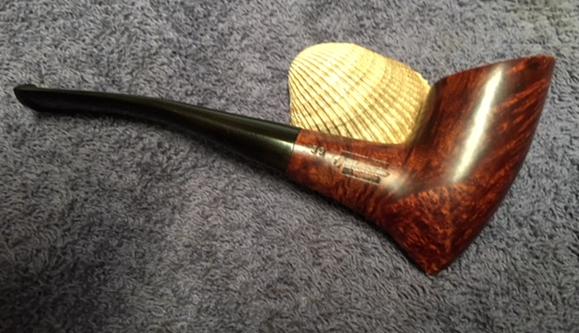
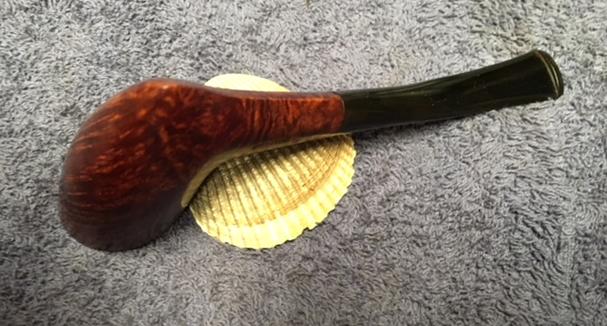
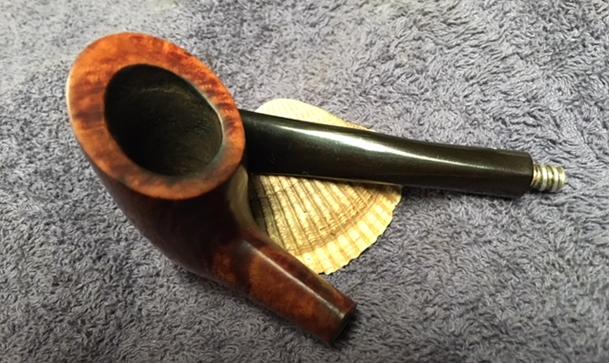
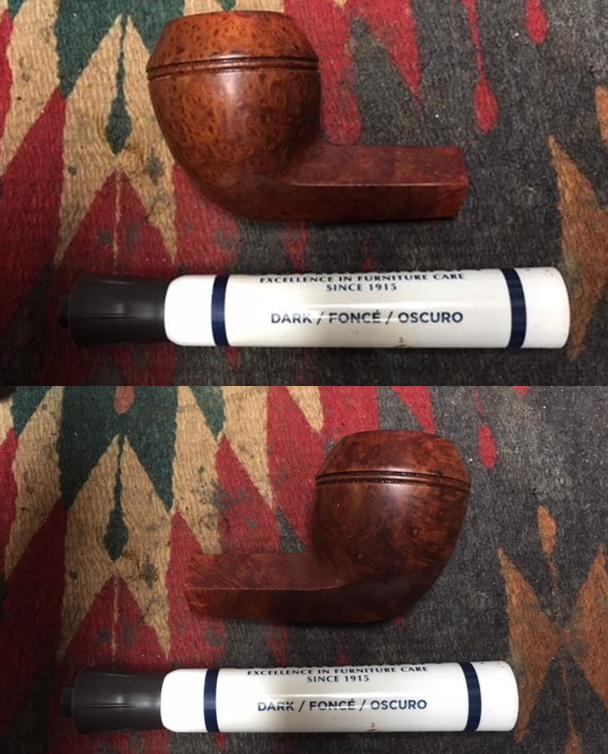
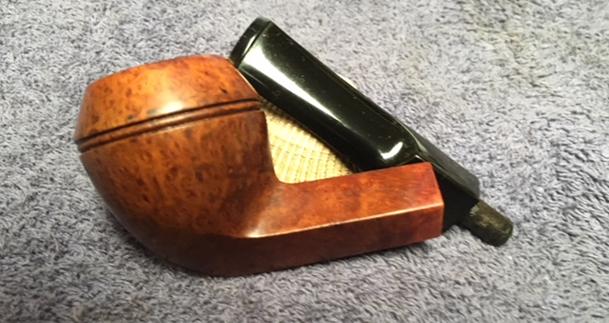
 I the polished stem and bowl with Blue Diamond to polish out the remaining small scratches. I gave the bowl multiple coats of Conservator’s Wax and the stem several coats of carnauba wax and buffed the pipe with a clean buffing pad to raise the shine. I hand buffed it with a microfiber cloth to deepen the shine. The pipe polished up pretty nicely. The finished pipe is shown in the photos below. This is the sixth of the many “Malaga” pipes that I am restoring from Kathy’s Dad’s collection. I am looking forward once again to hearing what Kathy thinks once she sees the finished pipe on the blog. I will be posting it on the rebornpipes store very soon. It should make a nice addition to the next pipeman’s rack and in purchasing it you can carry on the trust from her father. The dimensions are Length: 6 inches, Height: 1 7/8 inches, Outside diameter of the bowl: 1 3/8 inches, Chamber diameter: 3/4 inches. Thanks for walking through the restoration with me as I worked over this Malaga from George’s estate. More will follow in a variety of shapes and sizes.