by Steve Laug
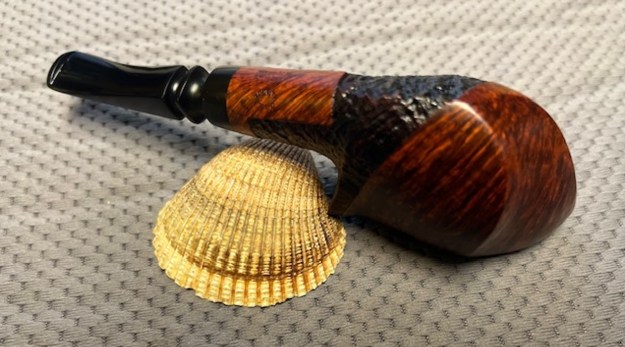
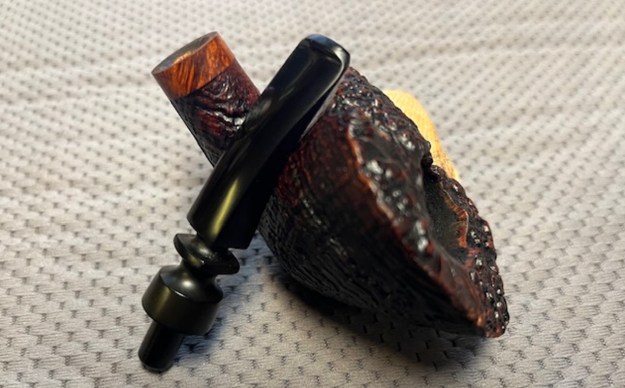
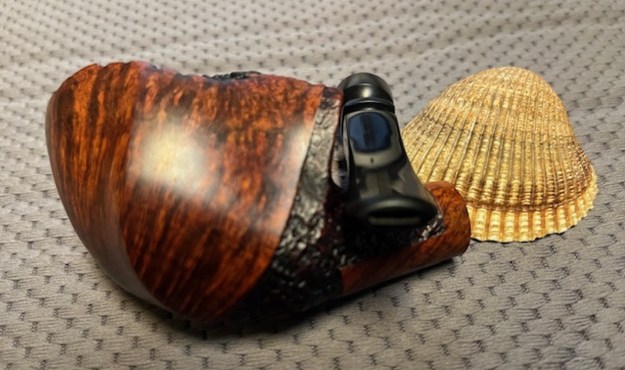
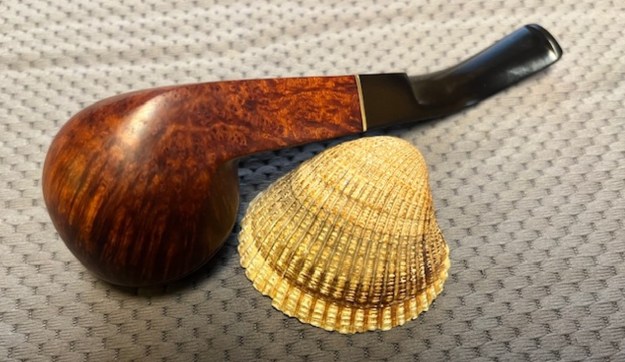
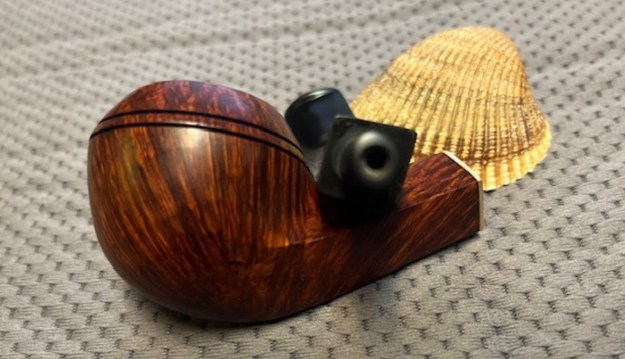
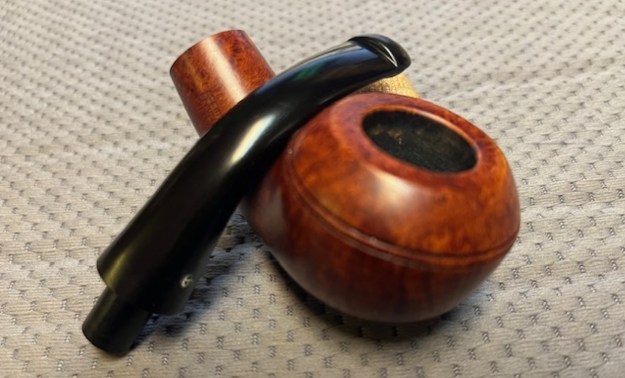
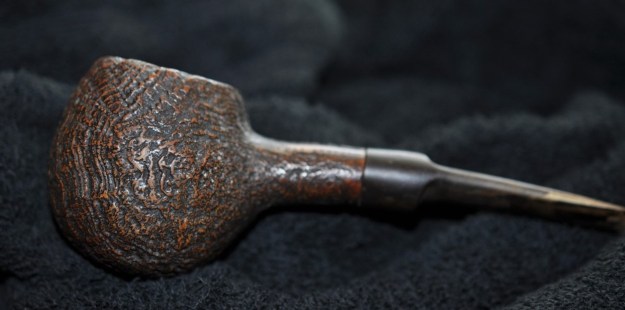
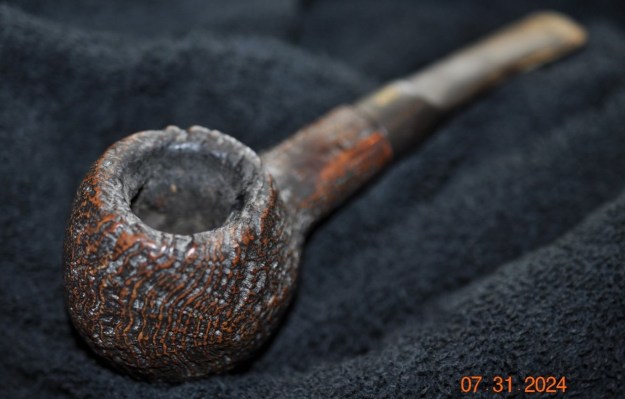
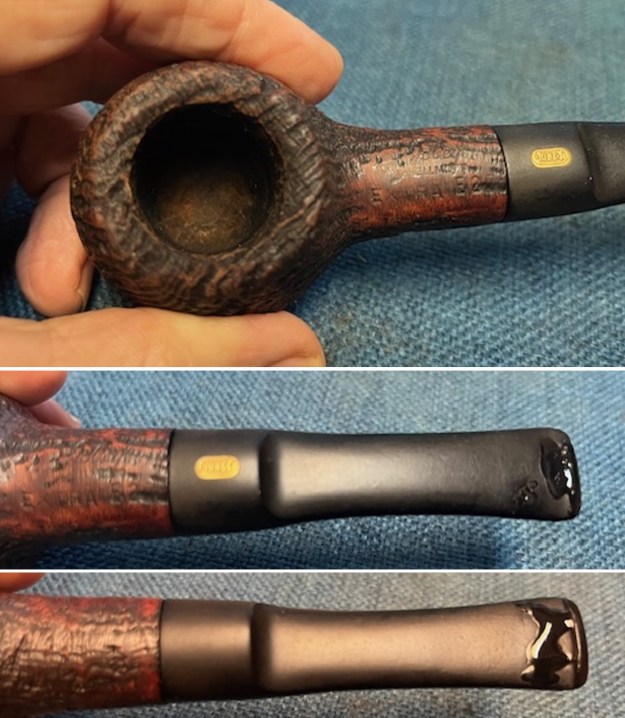
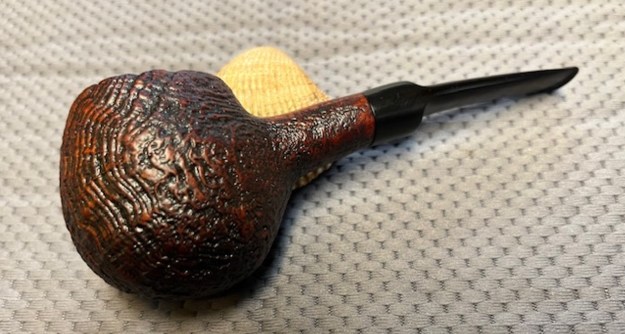
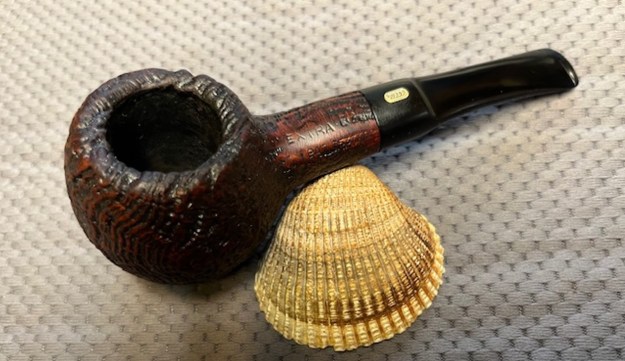
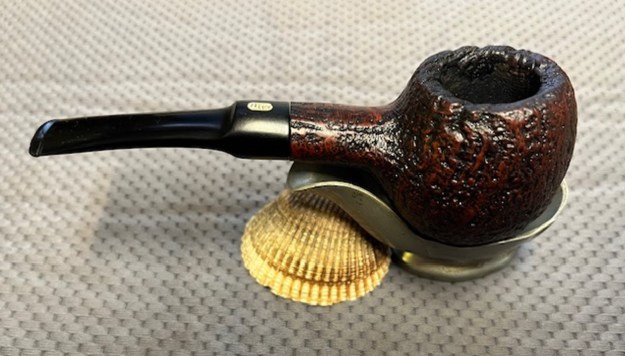
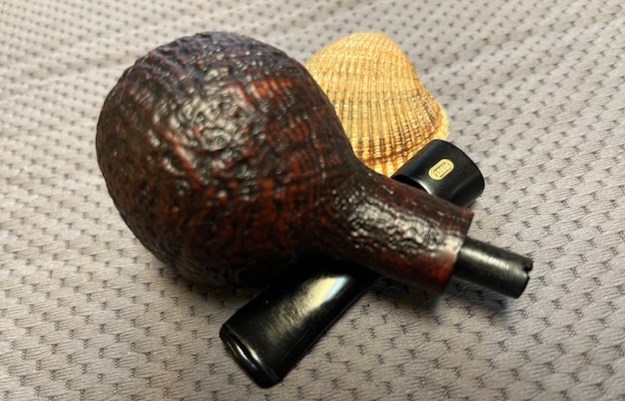
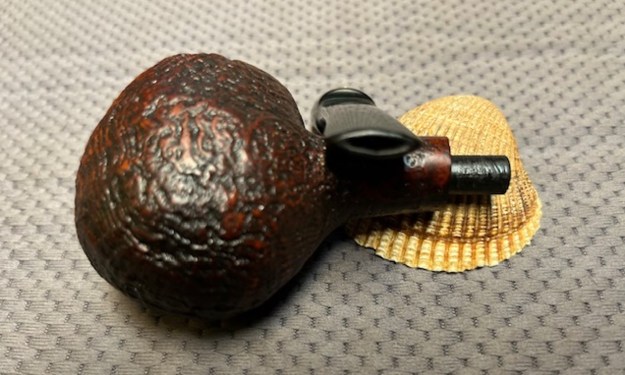
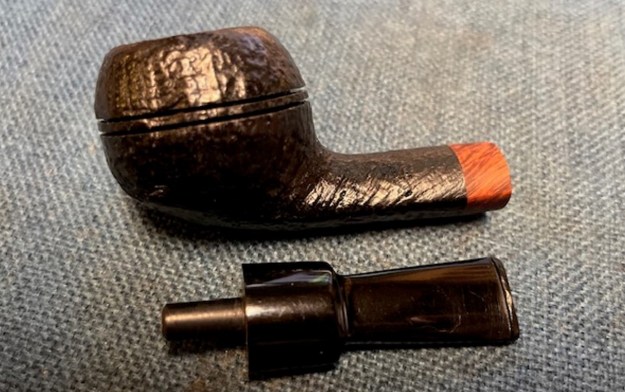
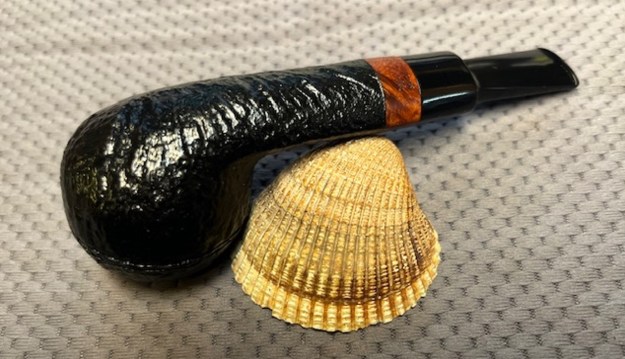
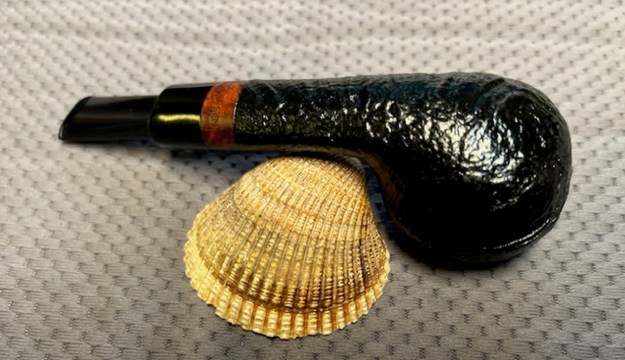
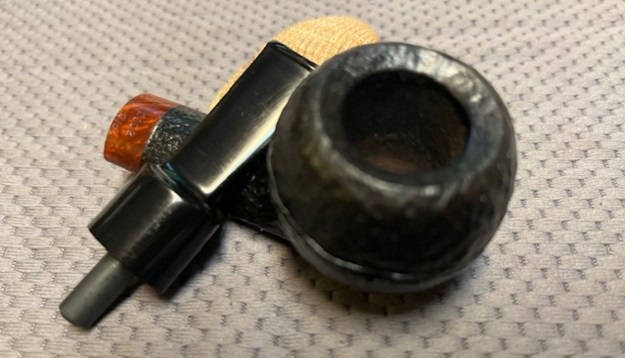
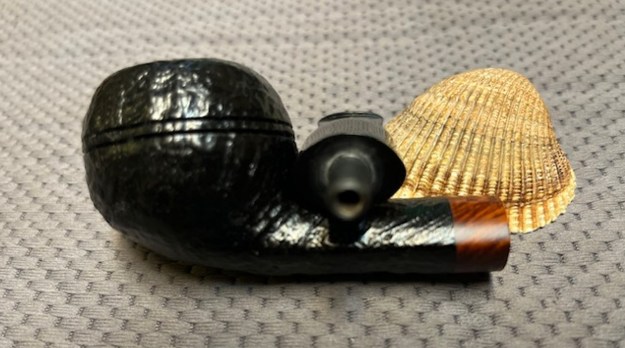
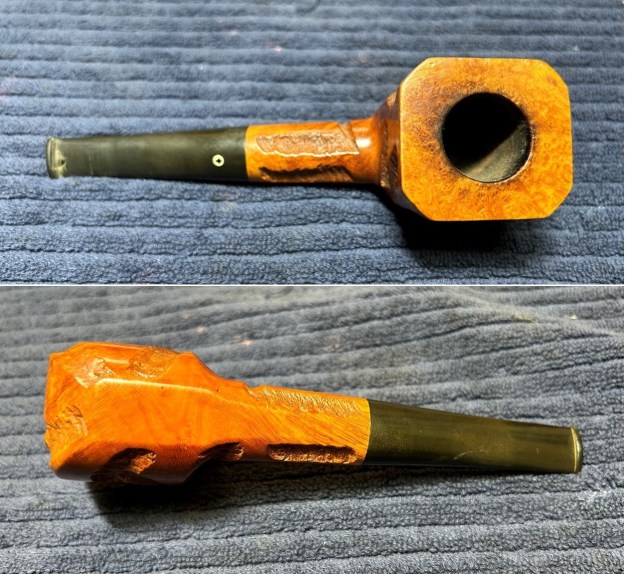
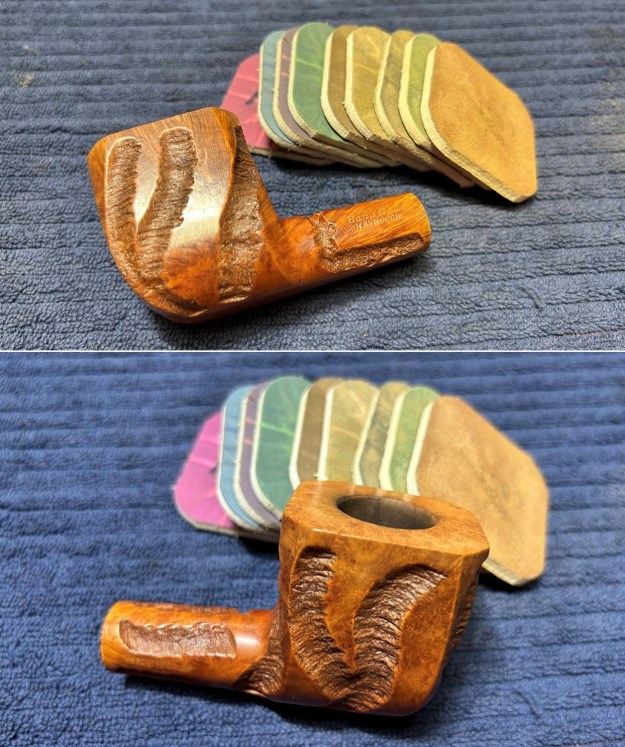
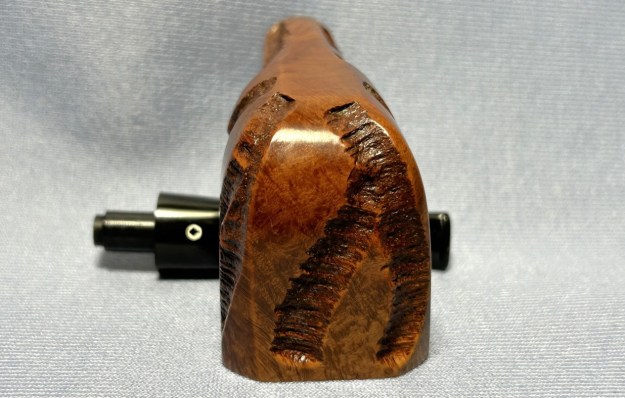
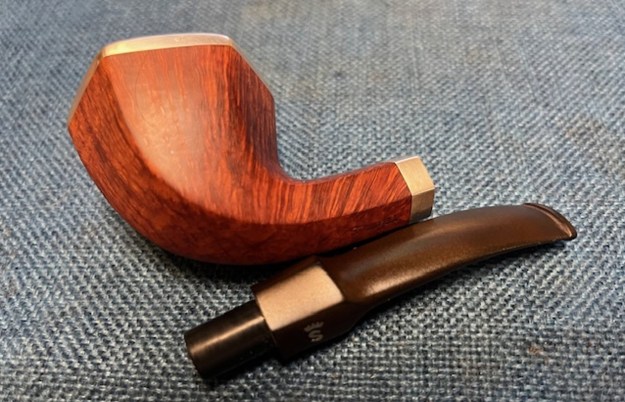
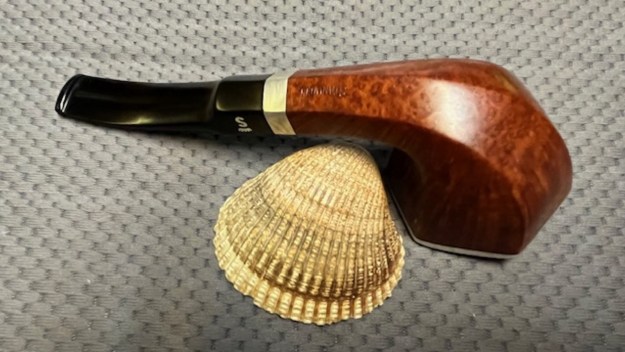
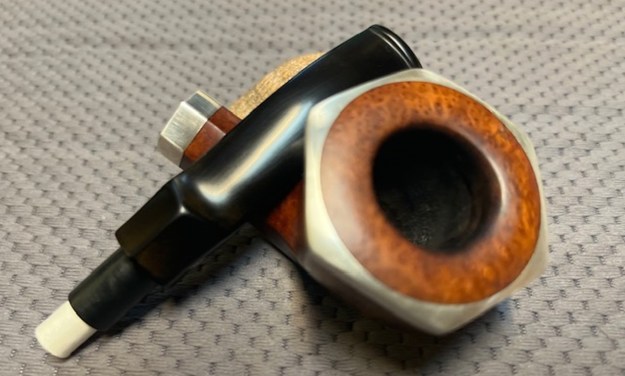
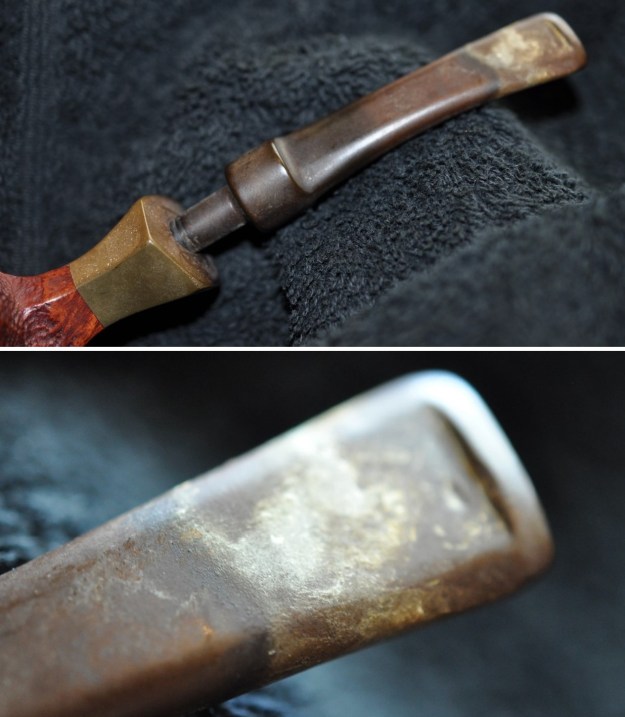
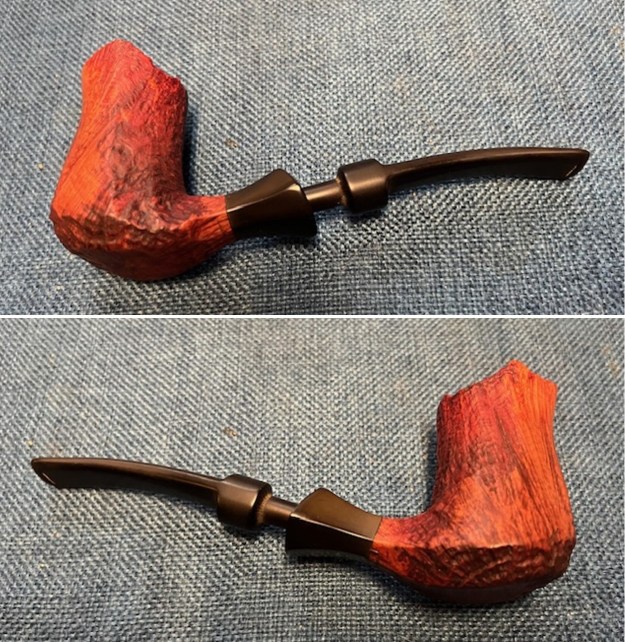
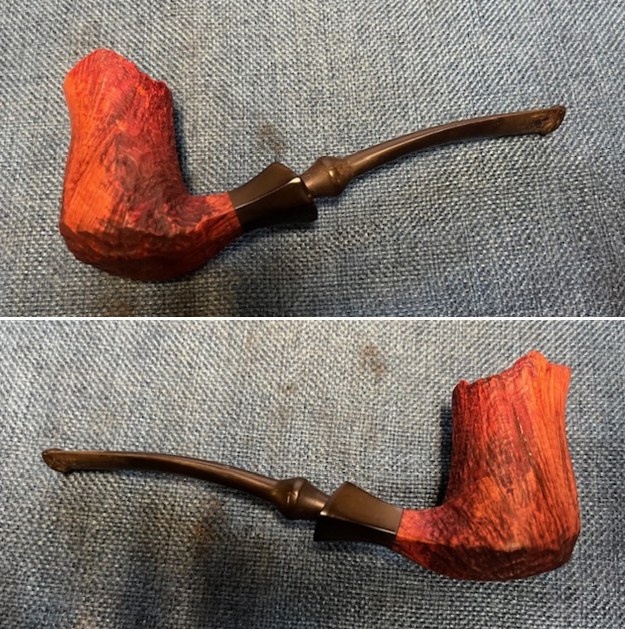
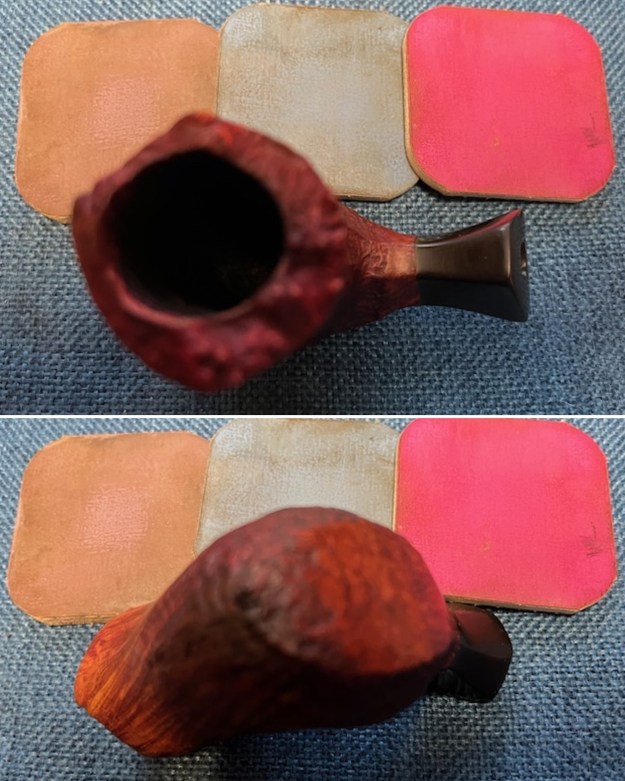
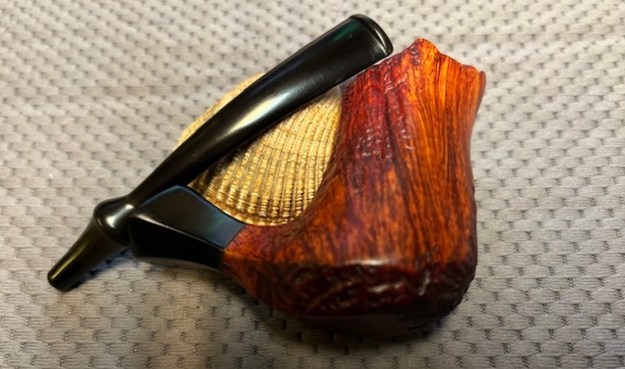
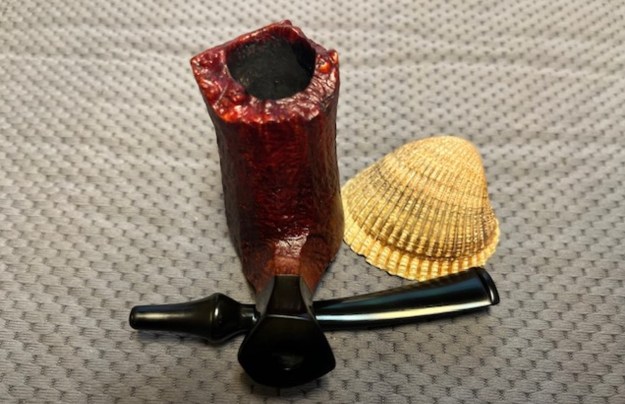
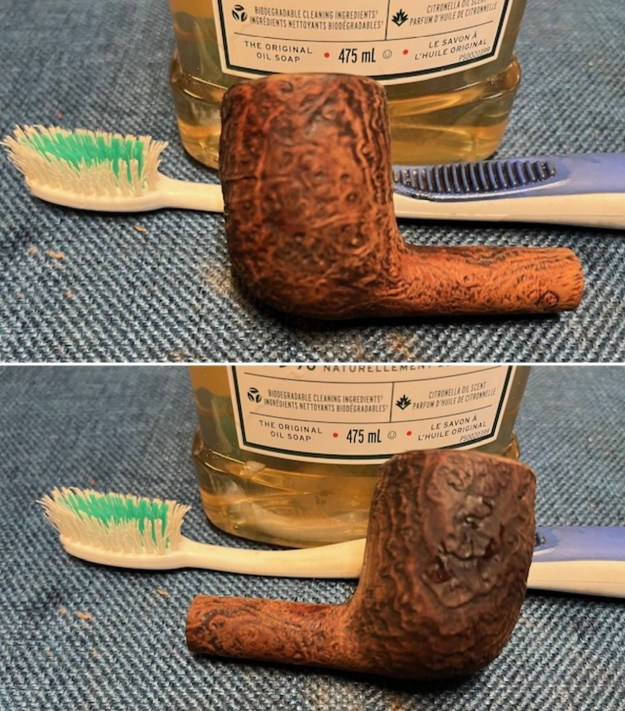
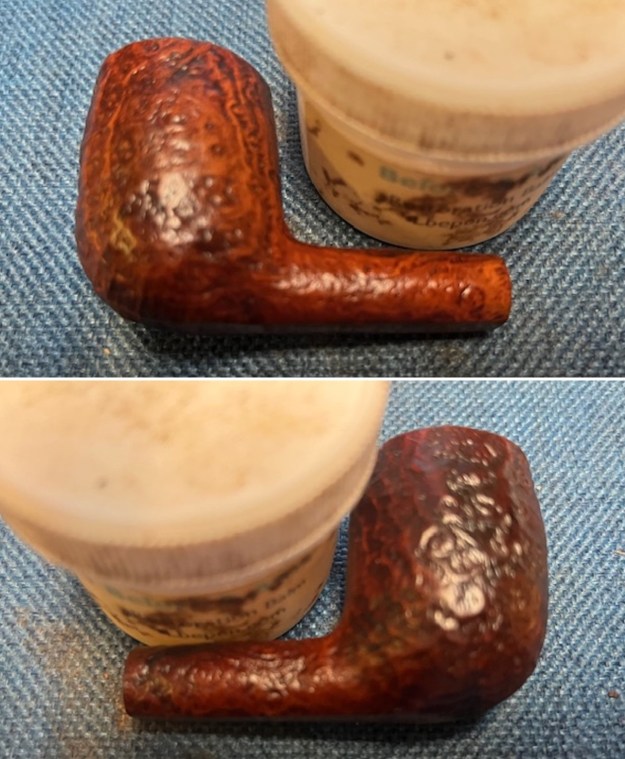
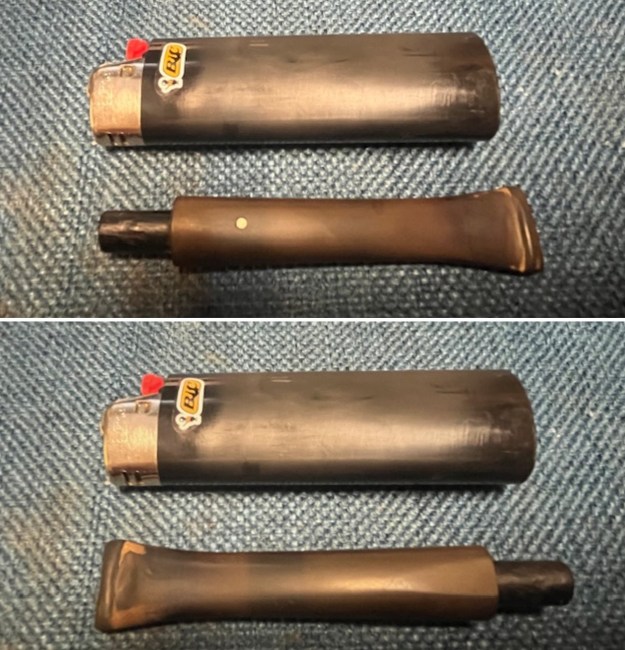
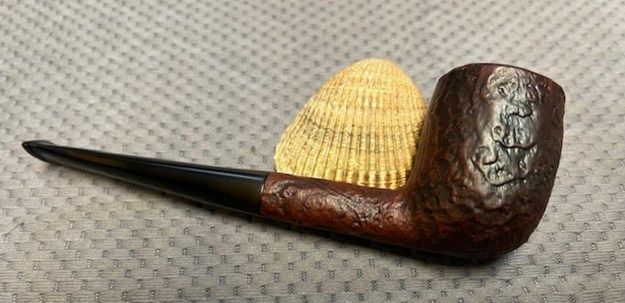
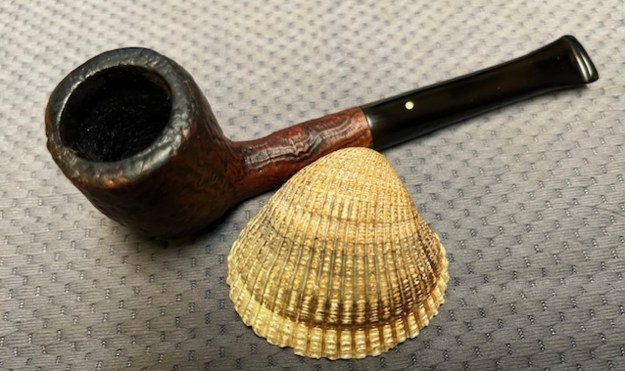
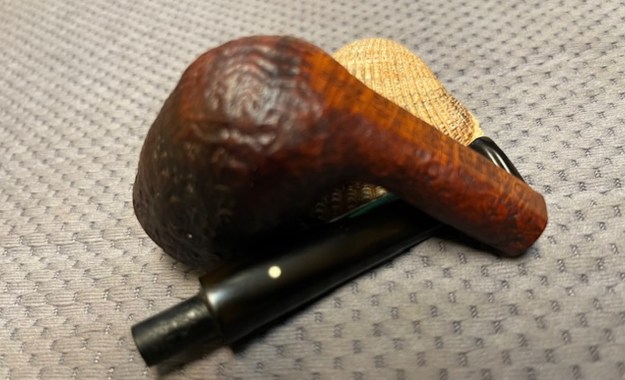
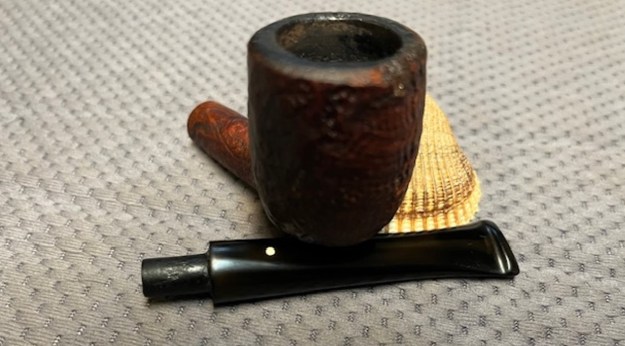
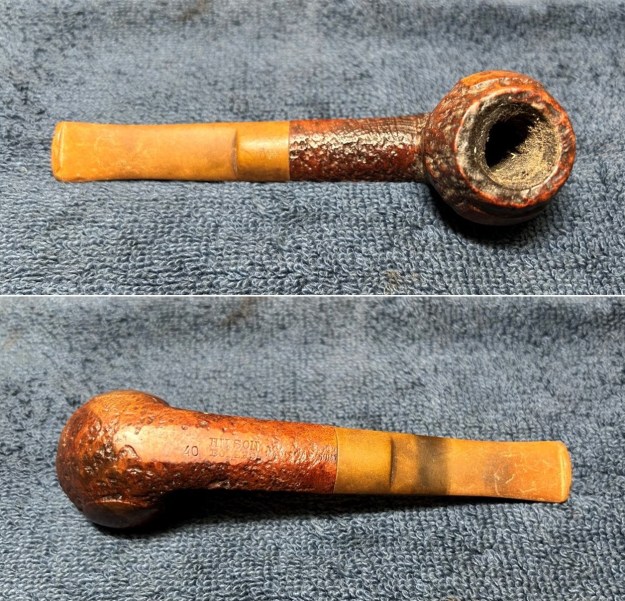
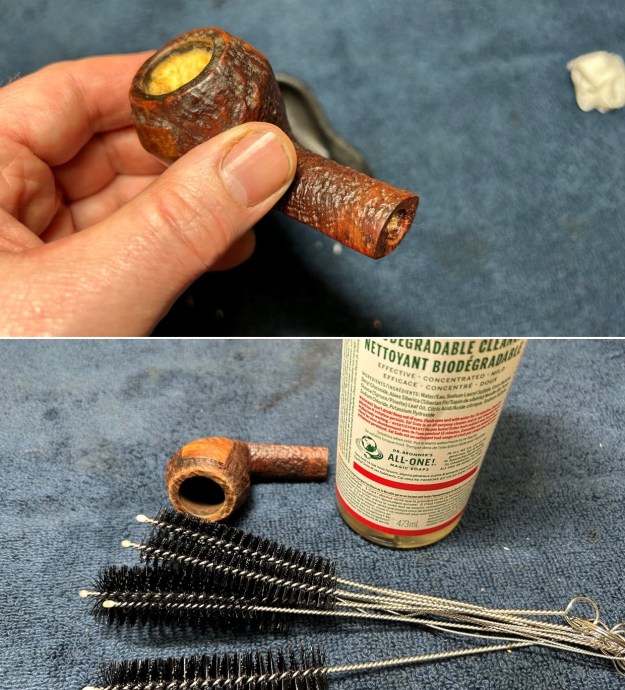
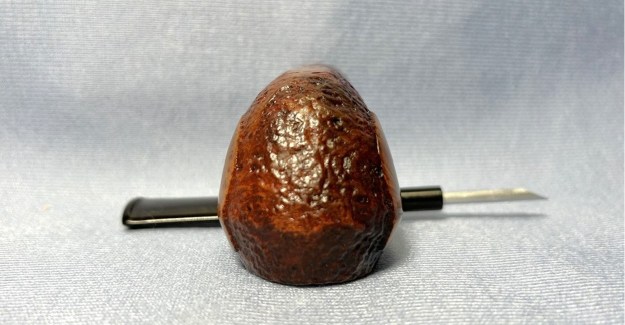
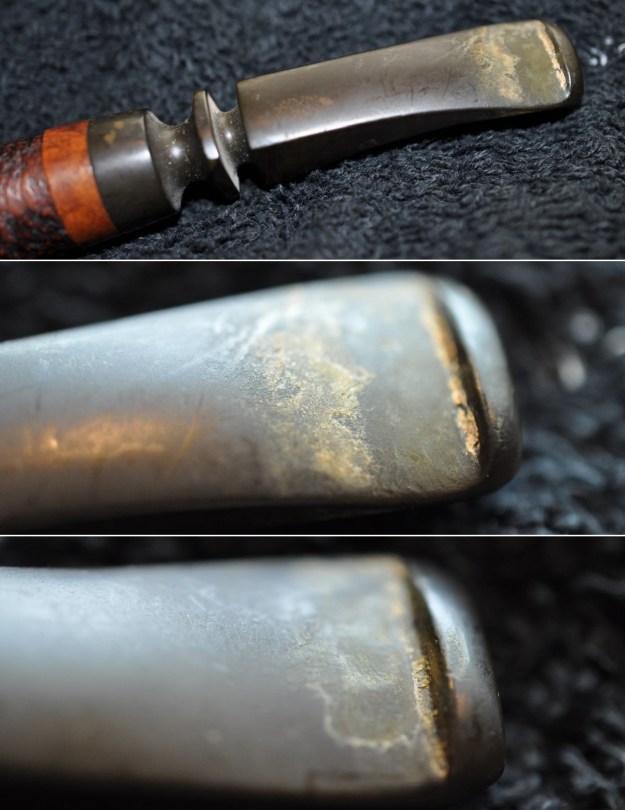
 The next pipe on the work table is a pipe that came to us from Eric in Brazil, Indiana, USA on 10/28/2021. It is stamped on the underside of the shank and read Bari [arched over] Matador. Underneath it read Handmade [over] In Denmark. The finish on the pipe was a classic Matador style finish combining smooth and sandblast. The left side and front of the bowl is smooth and the right side and back of the bowl are sandblast. The shank is sandblasted with a smooth band on the underside of the shank and as a ring around the shank end. The plateau rim top was dirty with grime and also lava overflowing from the thick cake in the bowl. It was an intriguing pipe with a combination of sandblast and smooth finishes. The left side of the bowl is sandblasted and the rest of the bowl is smooth. The rim top of the bowl is a plateau finish. The fancy saddle stem was vulcanite and had tooth marks and chatter on both sides near the button. It was oxidized and had some calcification on the end. Jeff took some photos of the pipe to show the general condition of the pipe before he started his clean up.
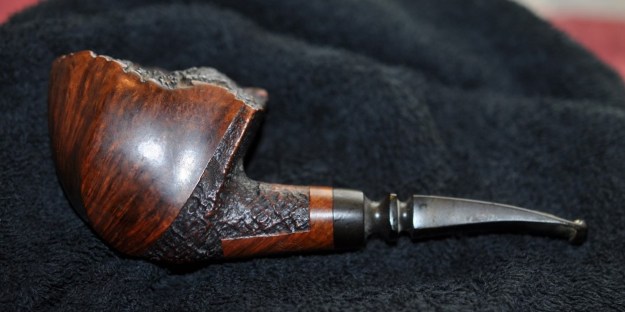
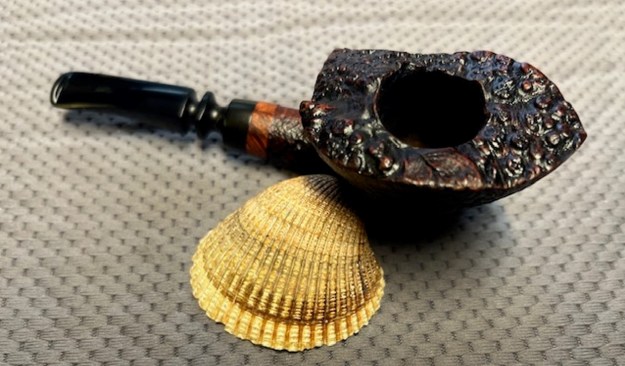
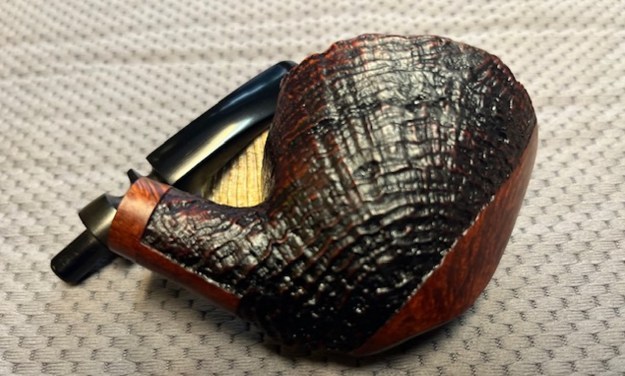
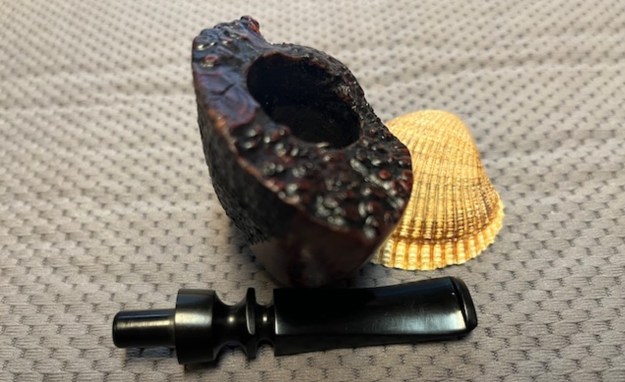
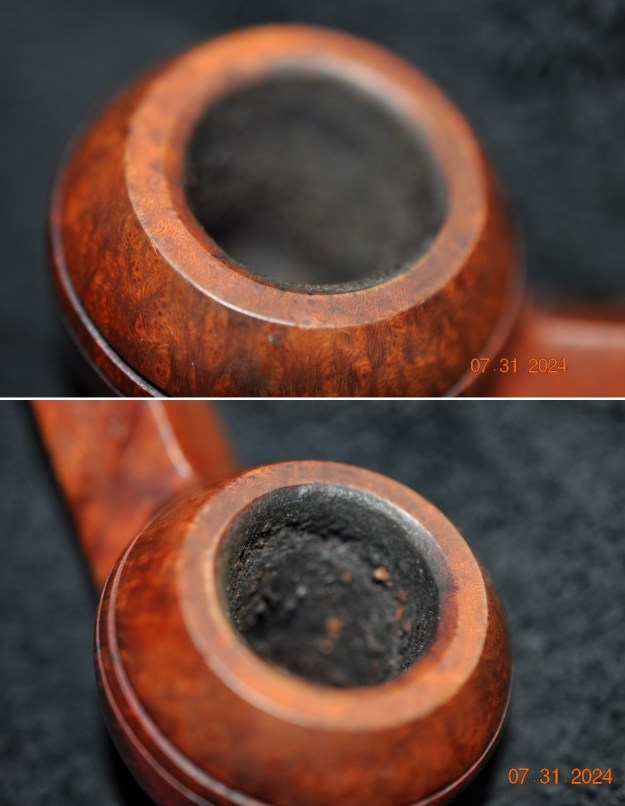
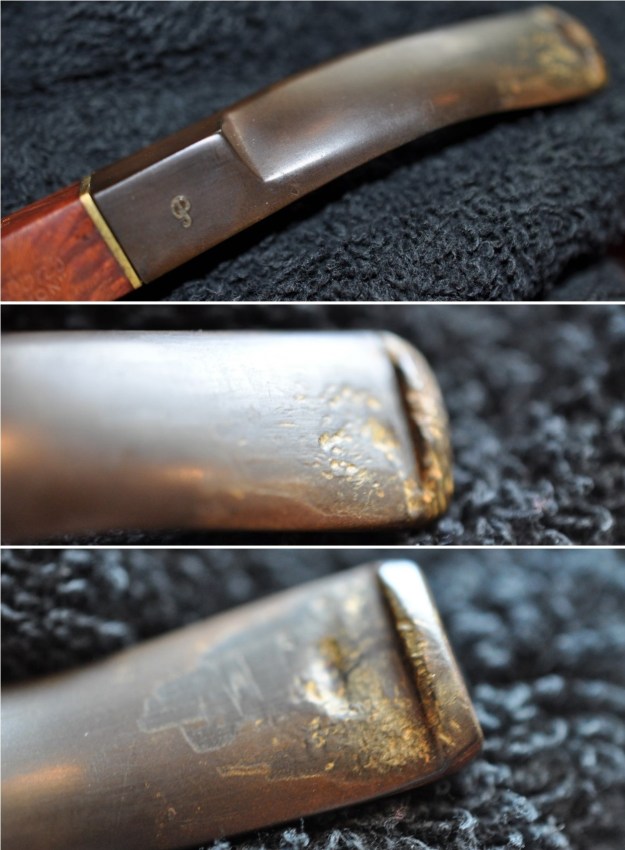
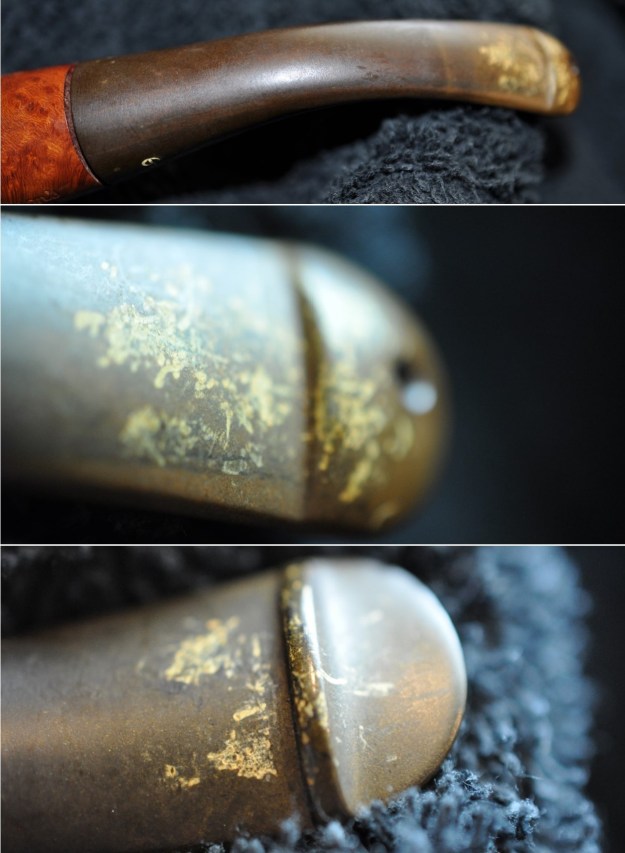
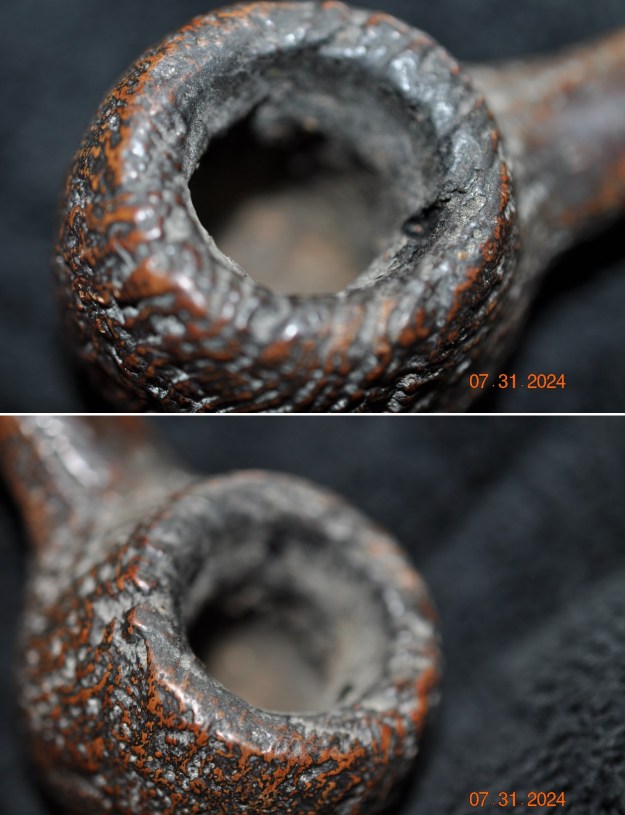
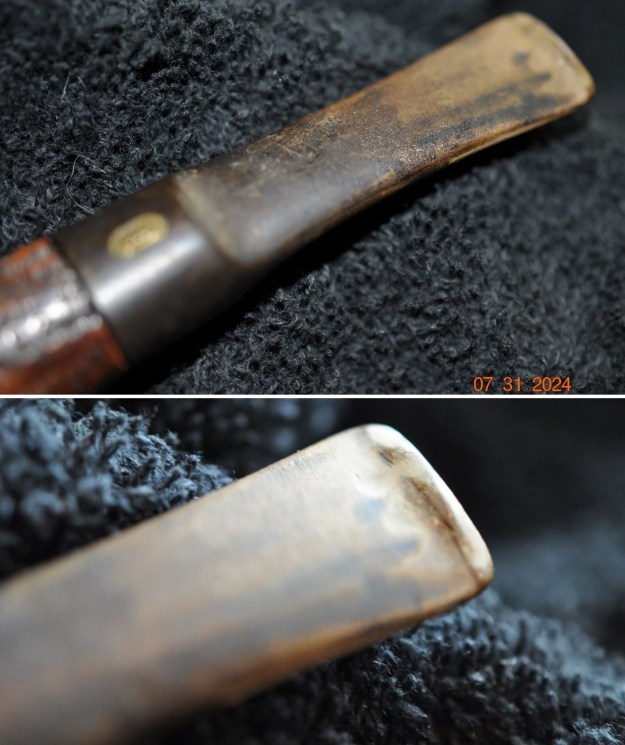
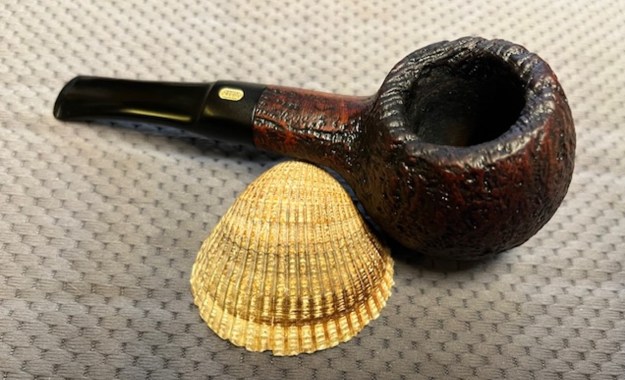
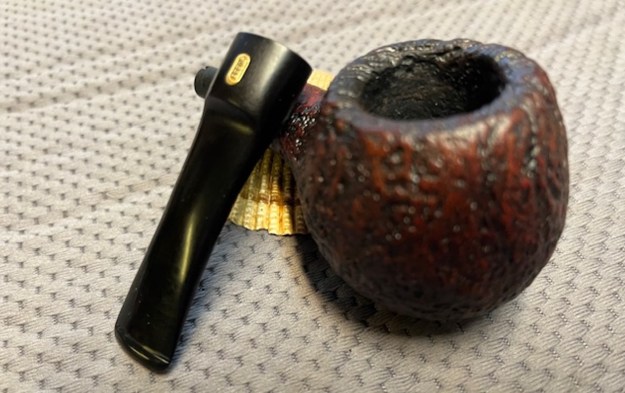
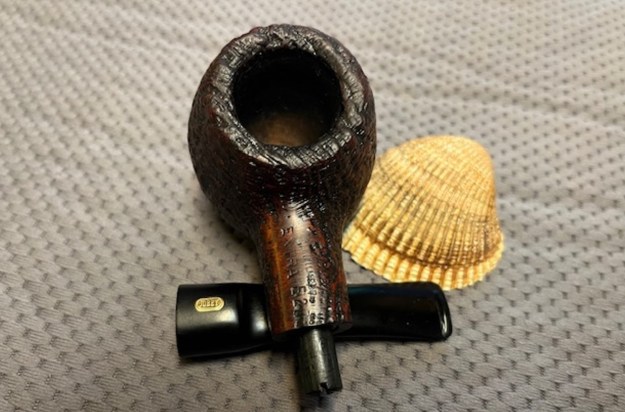
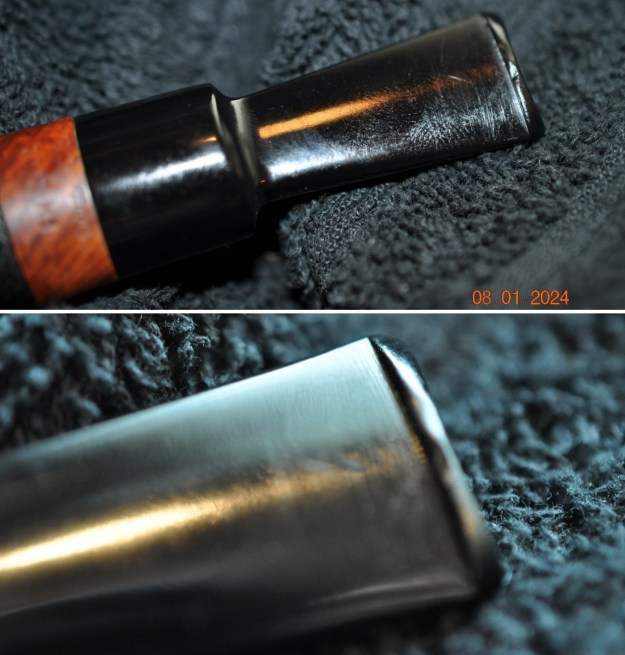
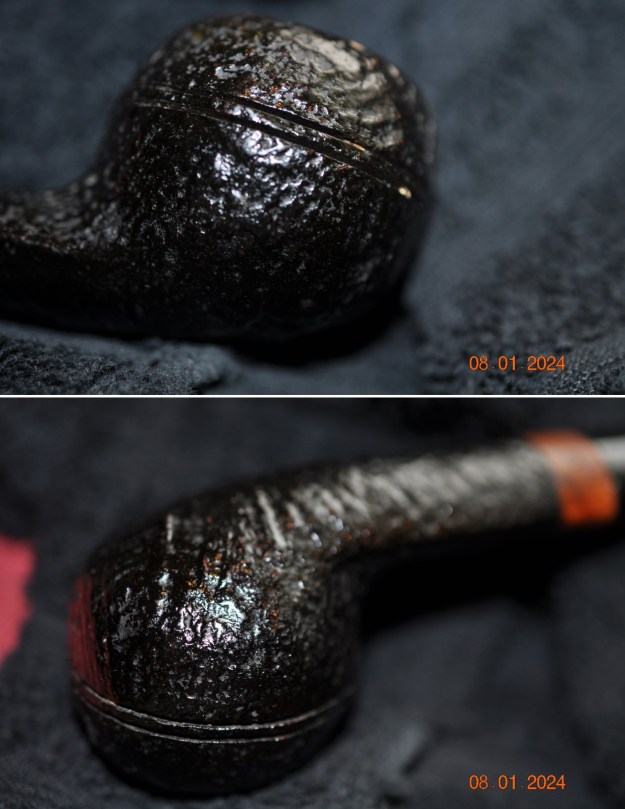
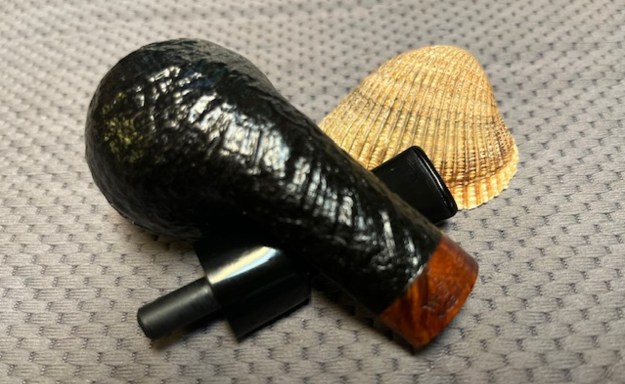
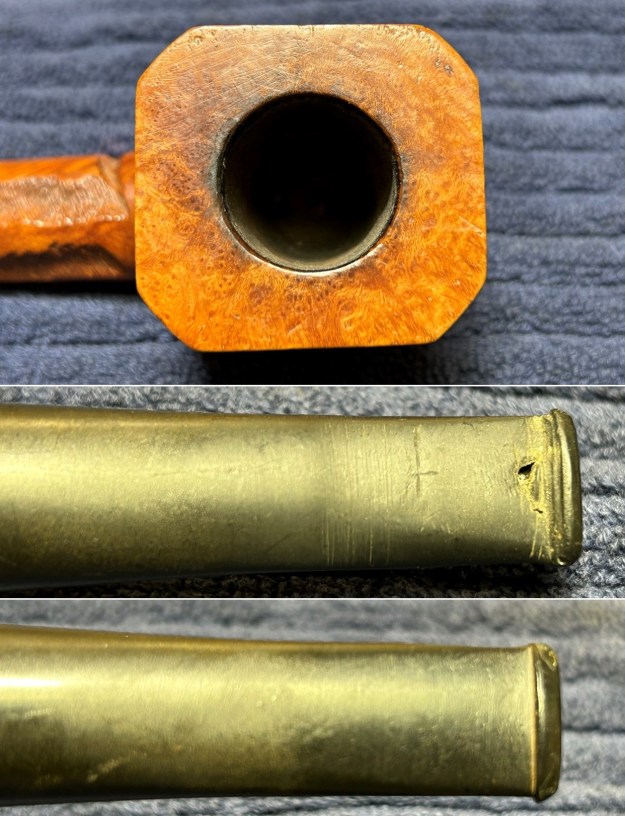
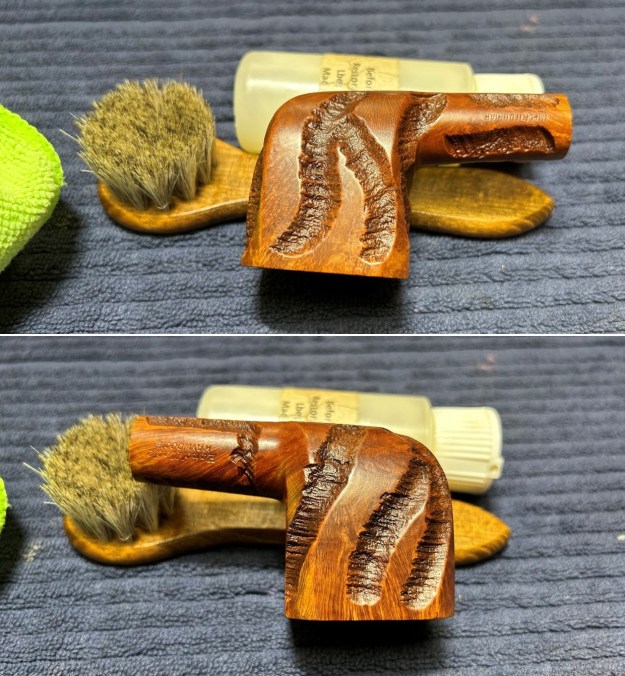
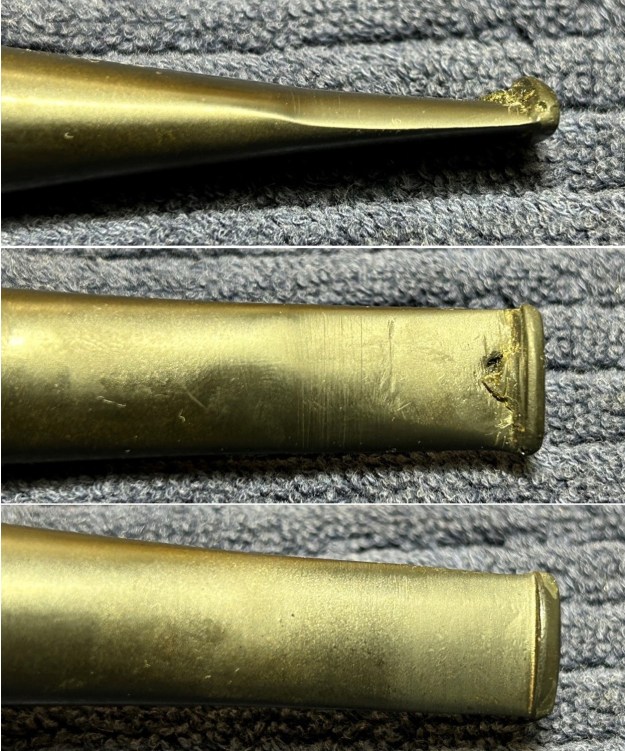
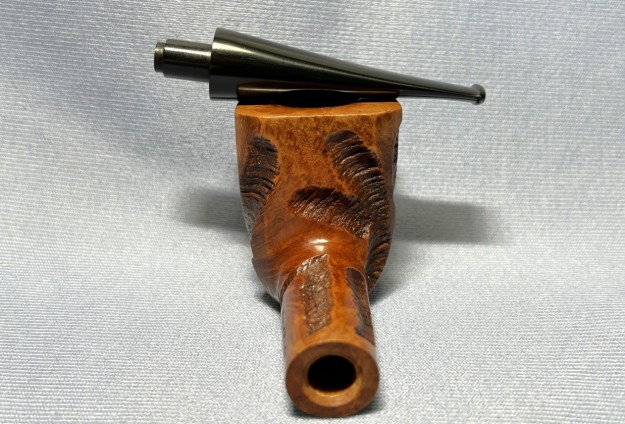
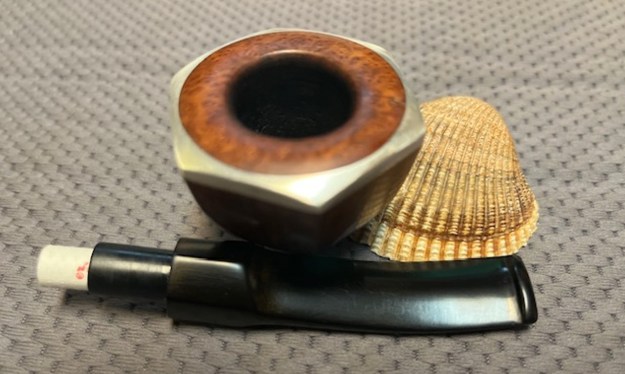
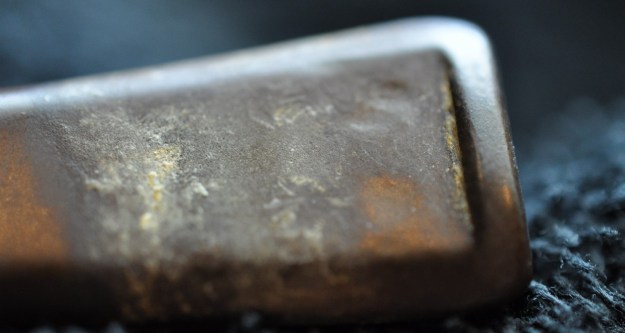
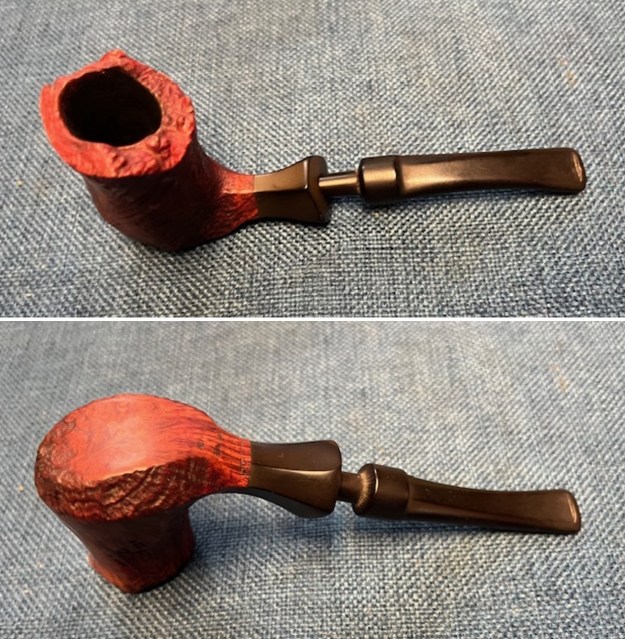
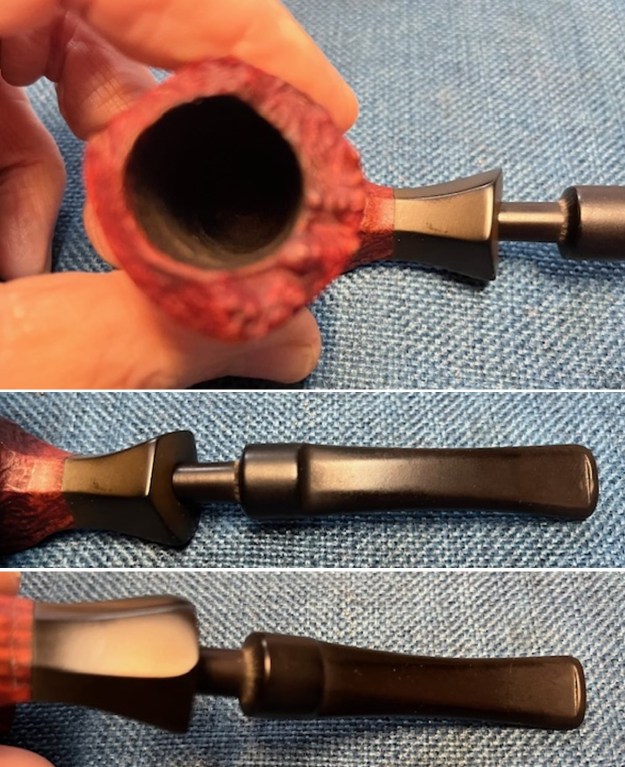
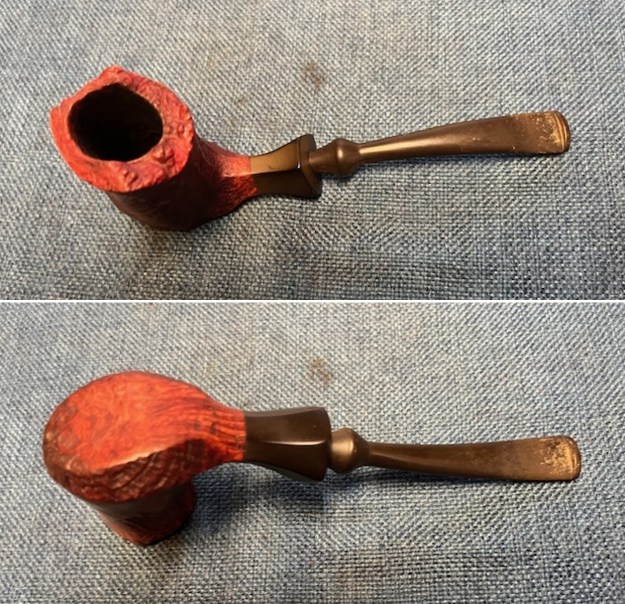
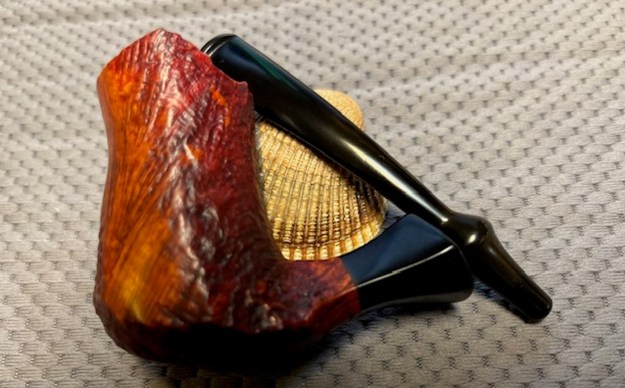
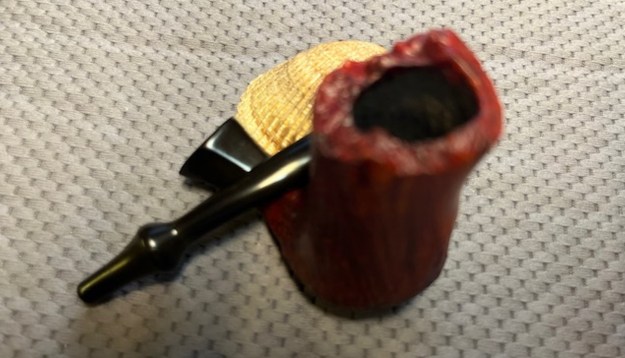
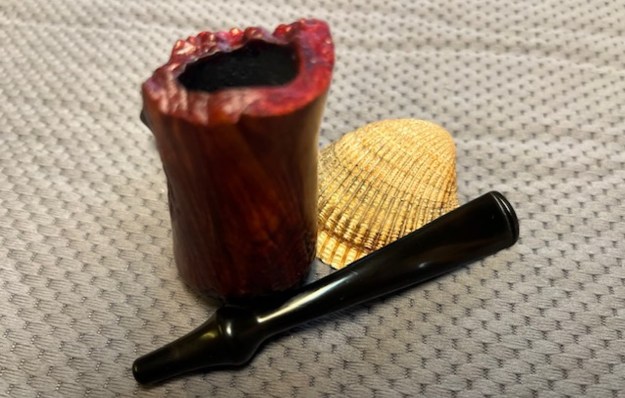
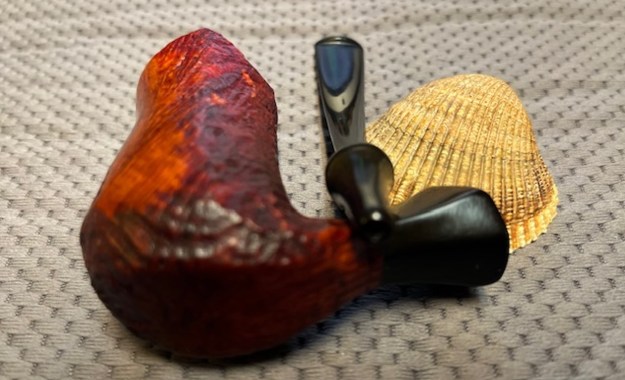
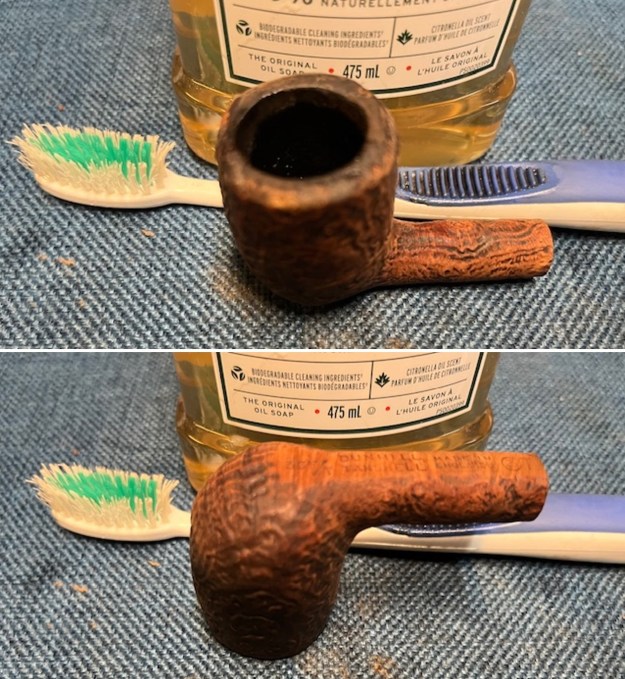
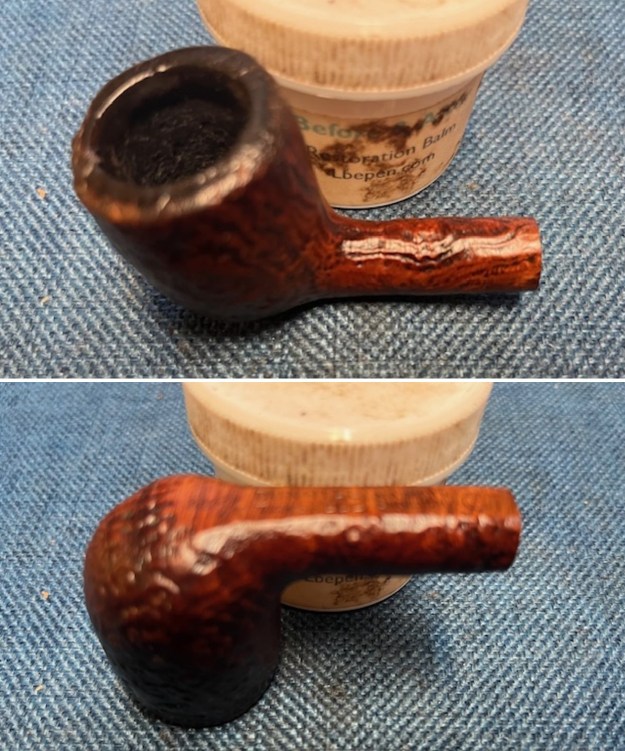
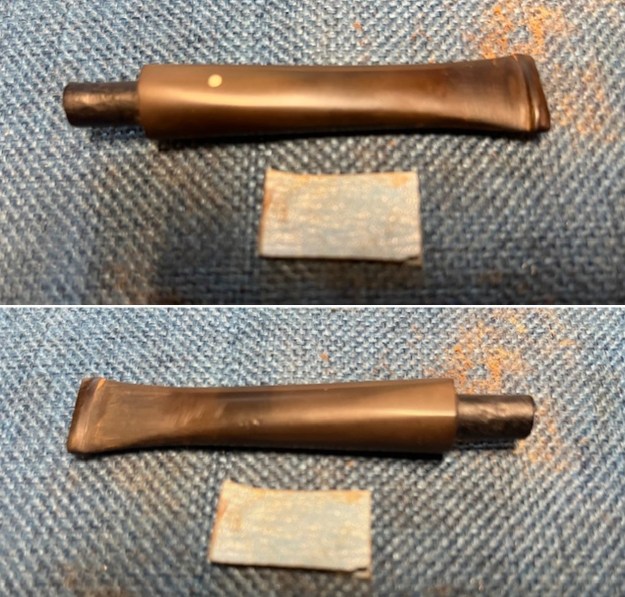
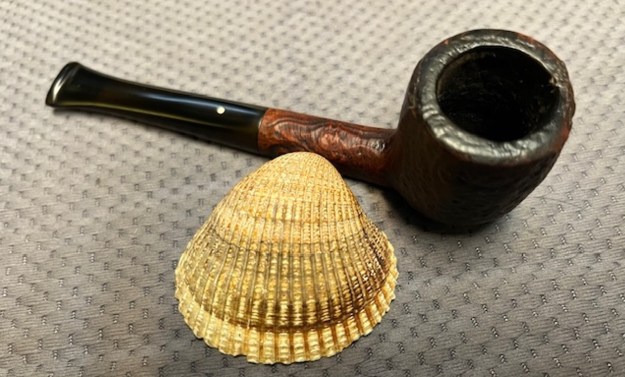
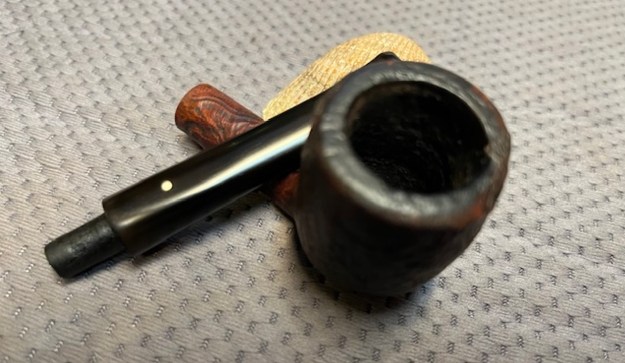
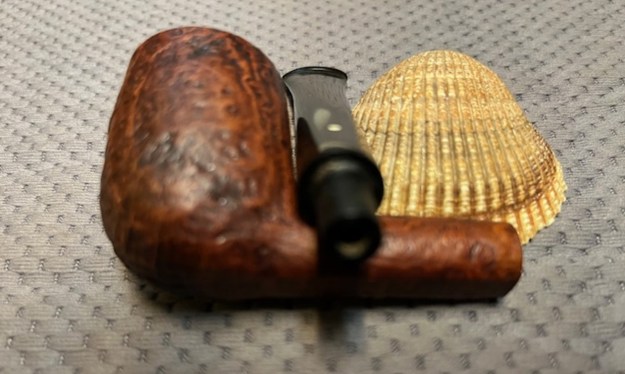
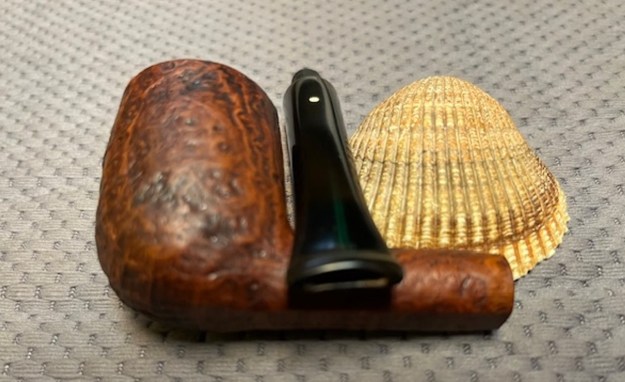
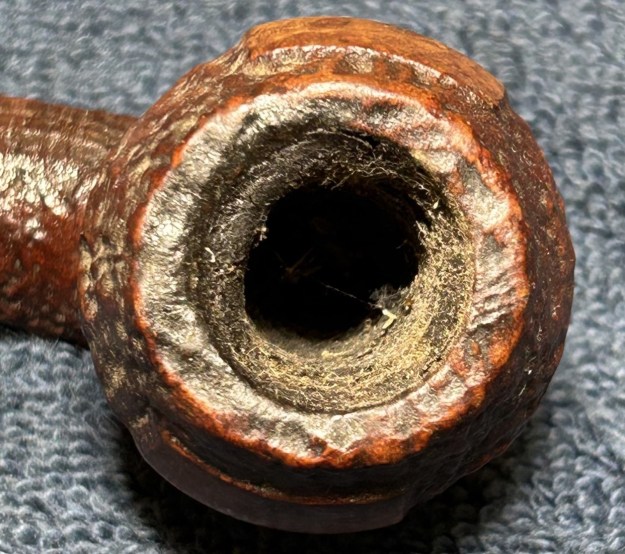
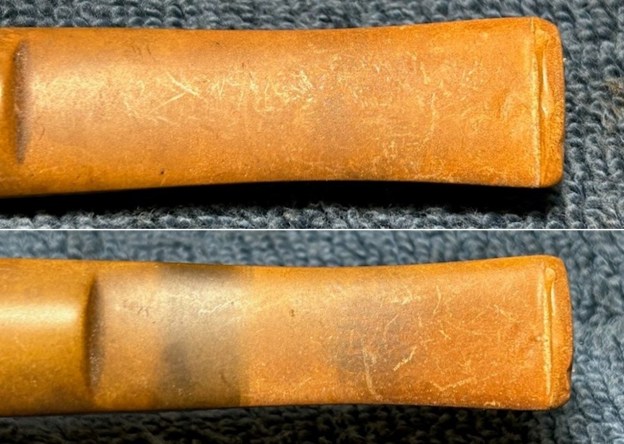
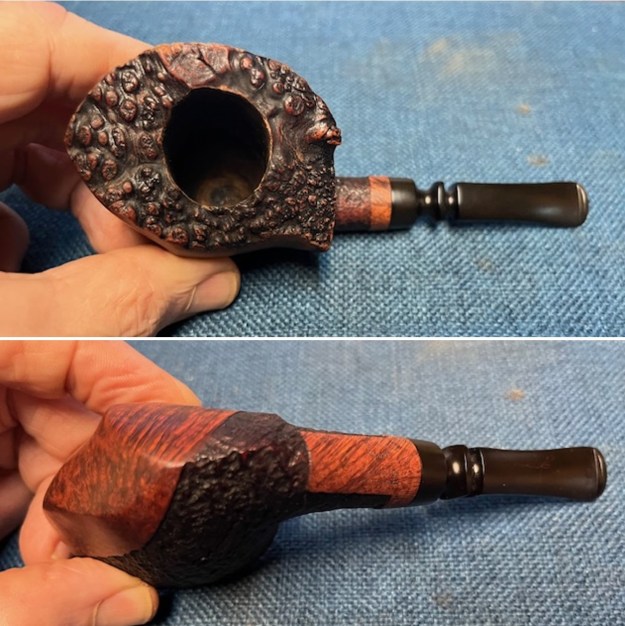
 Jeff took some close-up photos of the rim top and bowl to show the overall condition. There is dust and lava in the grooves of the plateau. The edges have a lava overflow but appear to be in good condition. The fancy turned vulcanite stem is dirty and has calcification on both sides at the button. There is also some tooth chatter and some tooth marks. Past the turning the stem is a tapered panel.
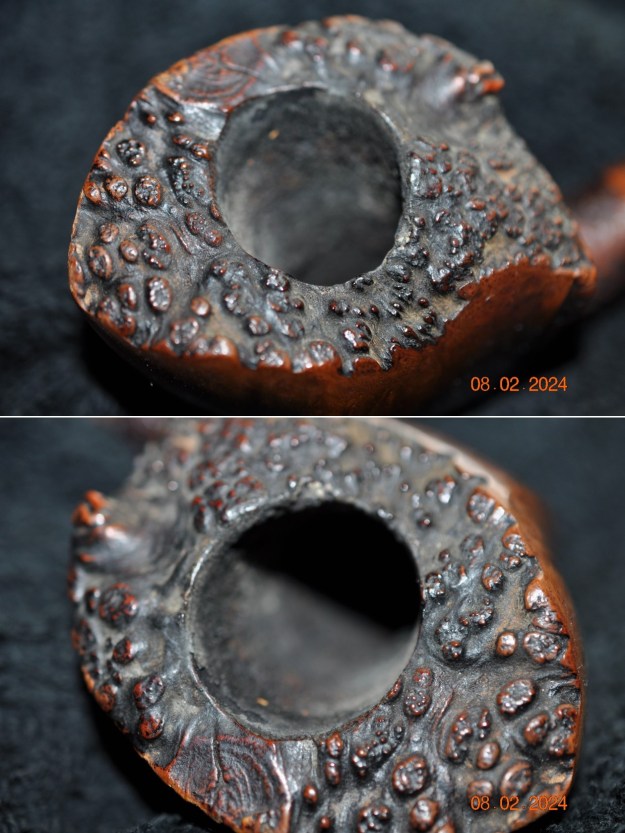
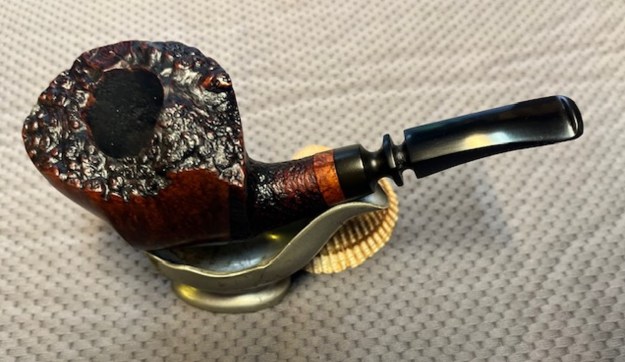
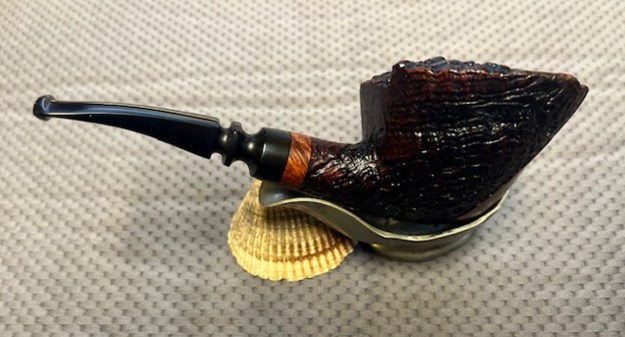
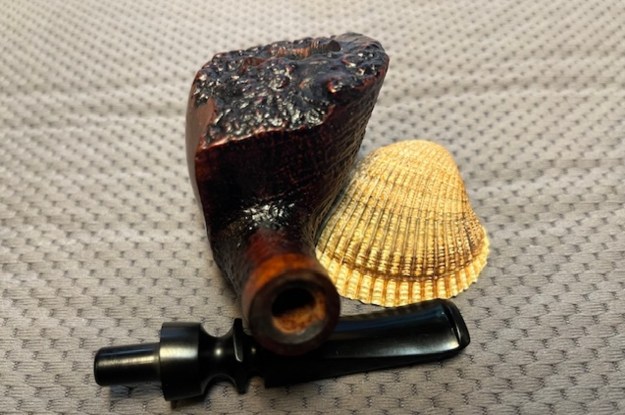
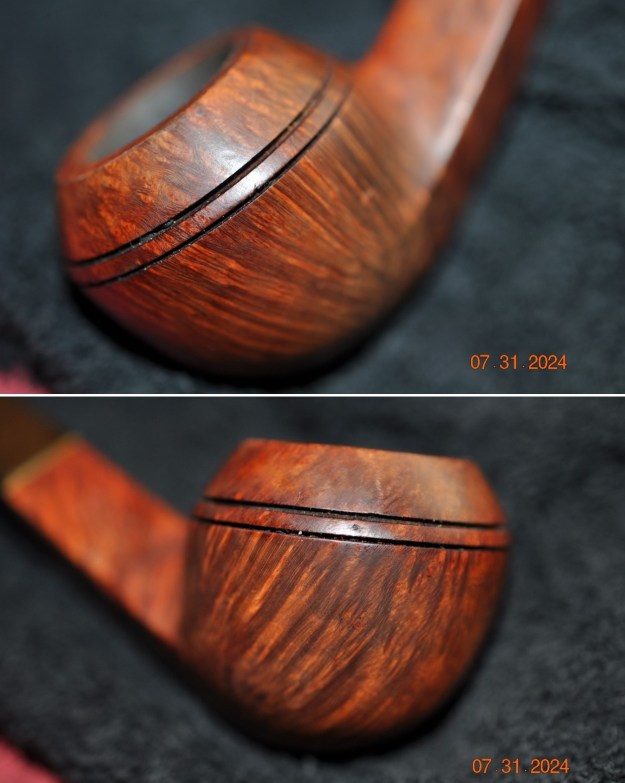
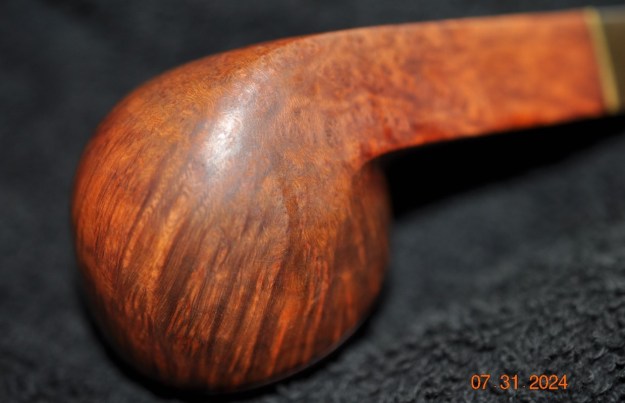
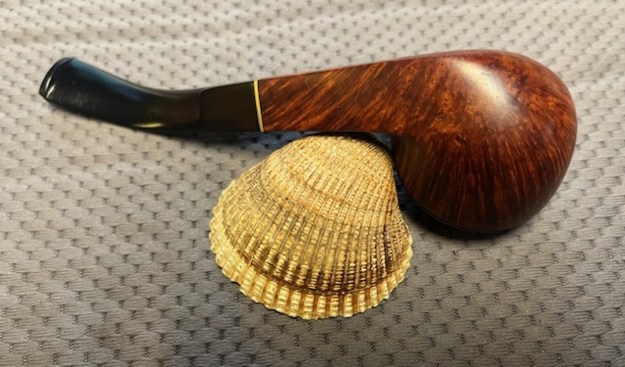
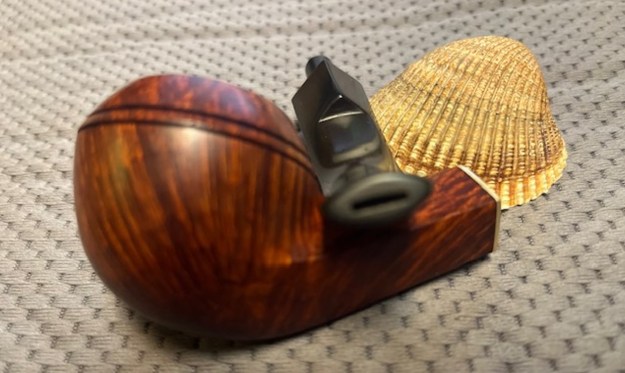
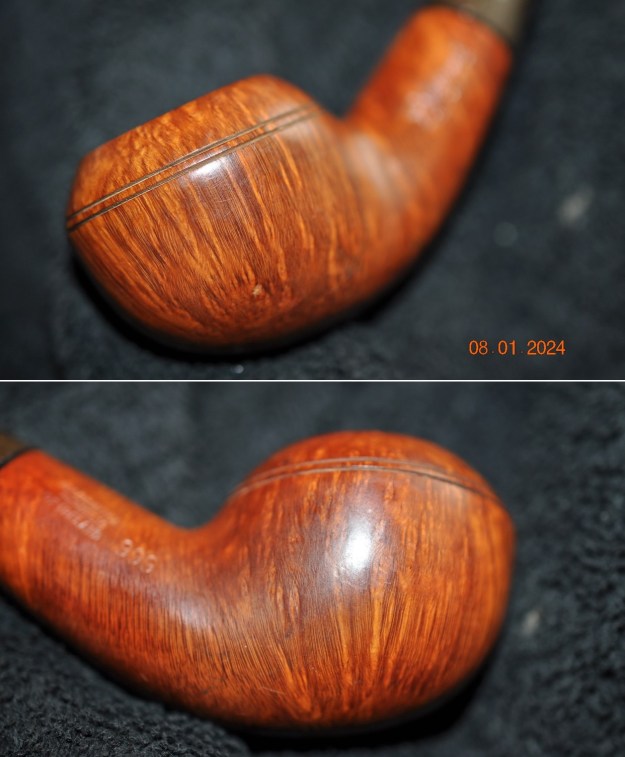
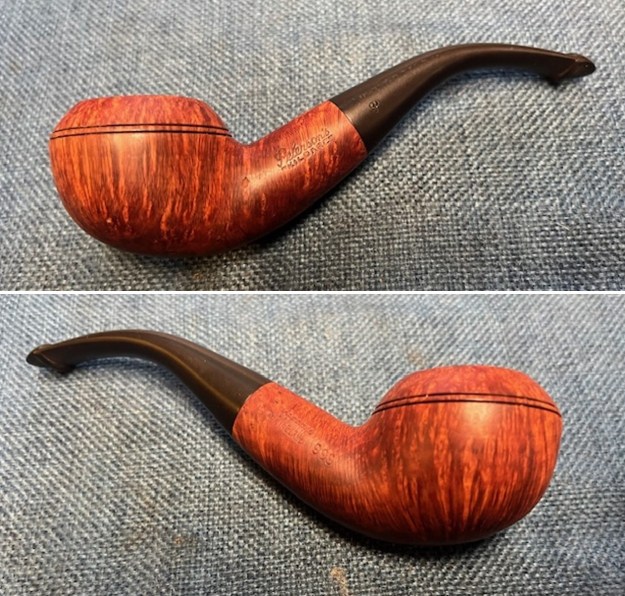
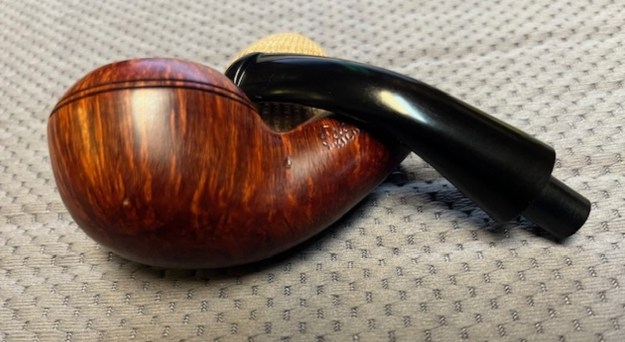
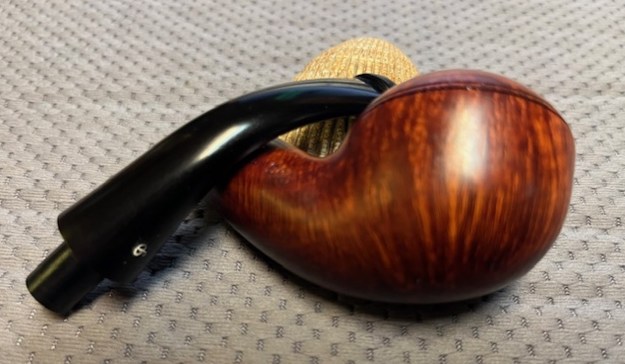
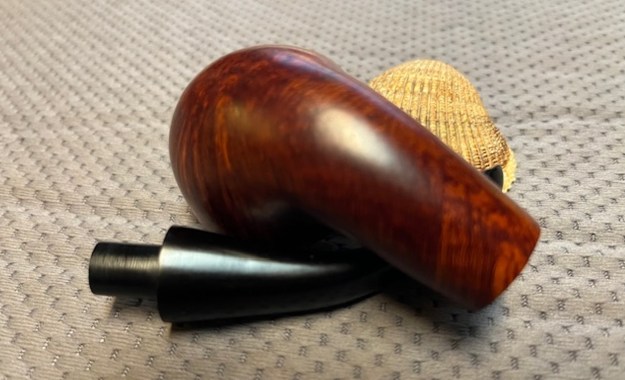
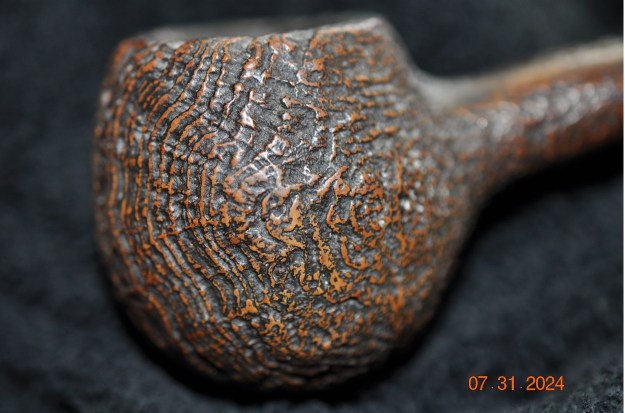
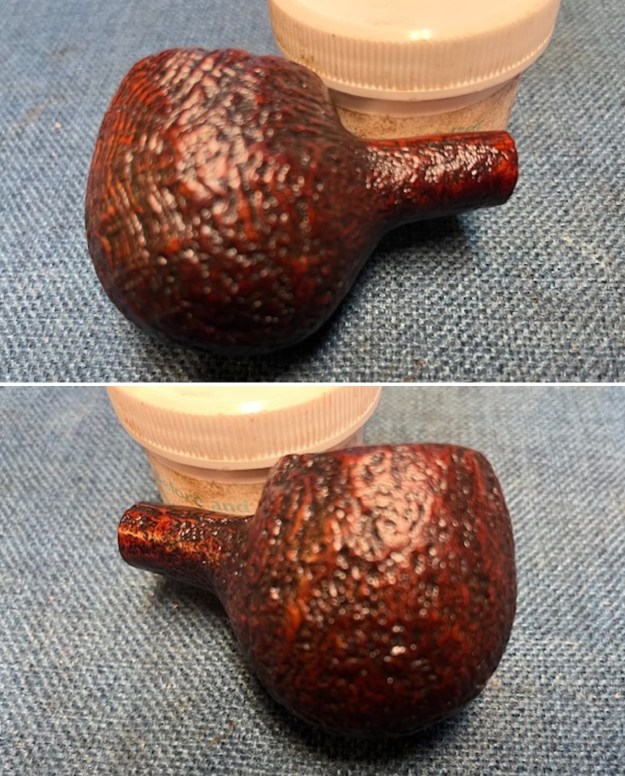
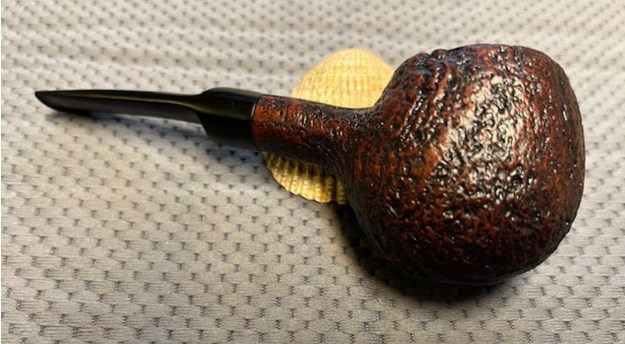
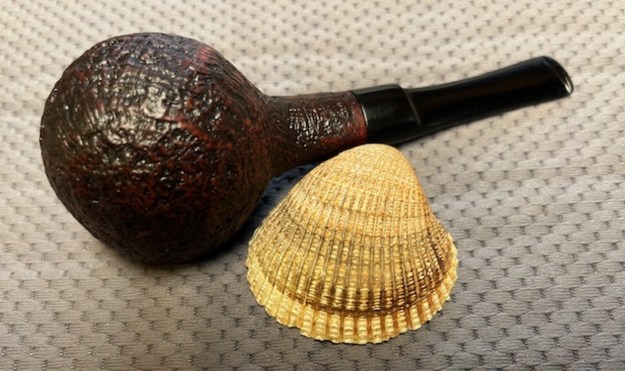
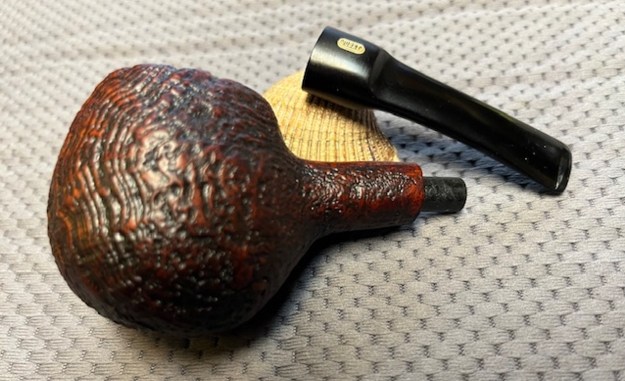
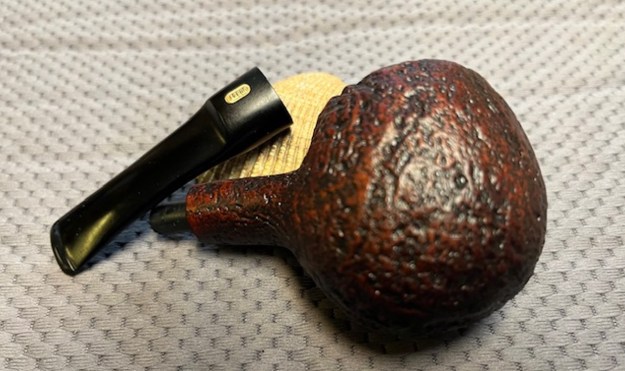
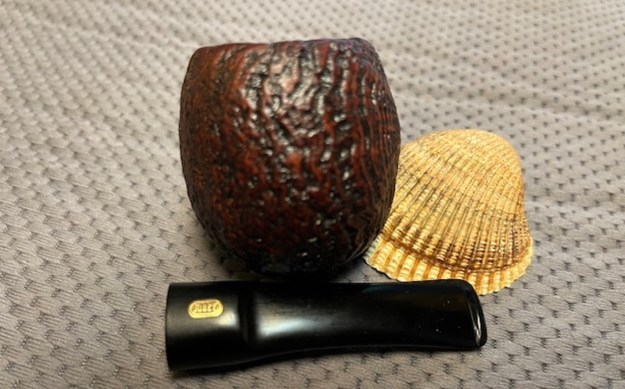
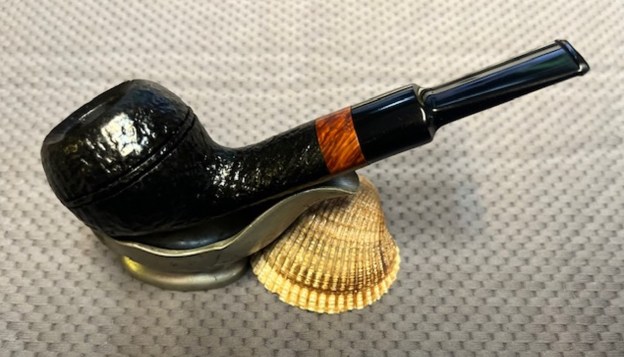
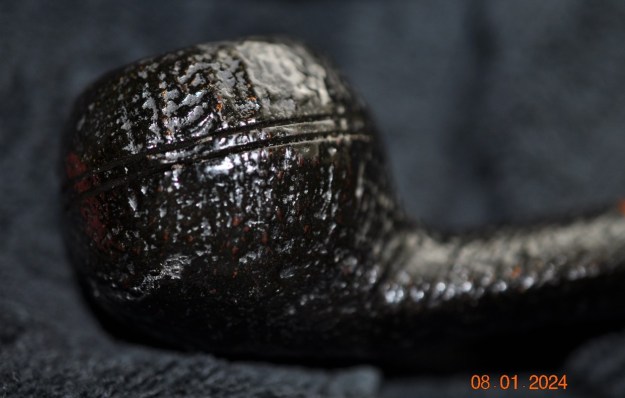
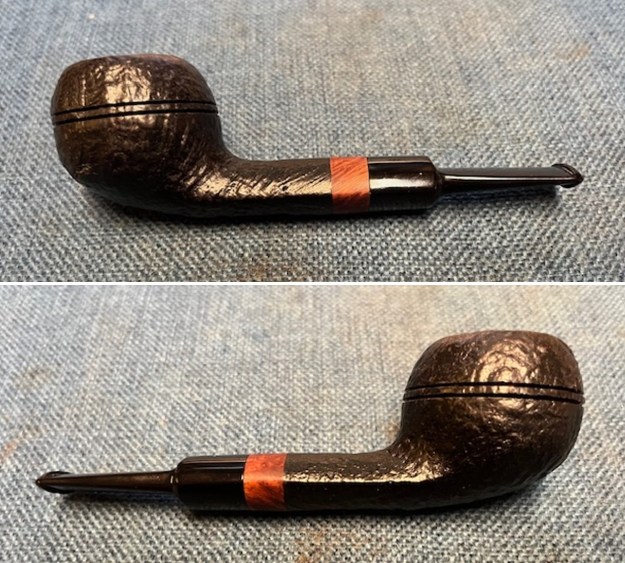
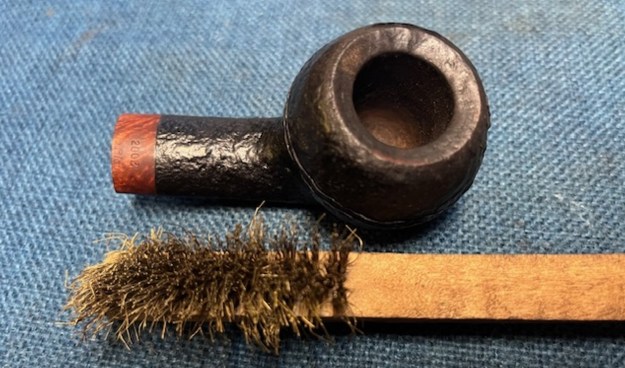
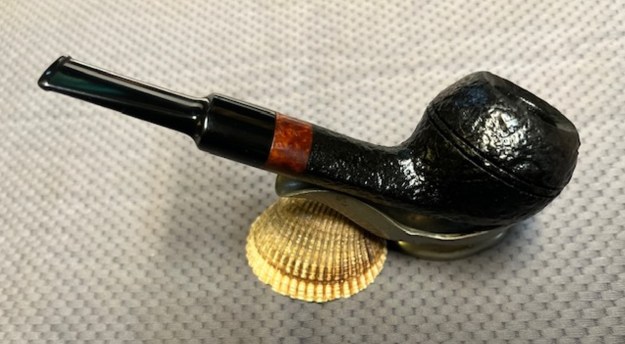
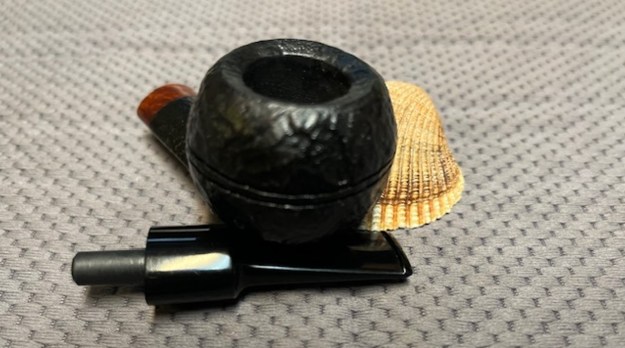
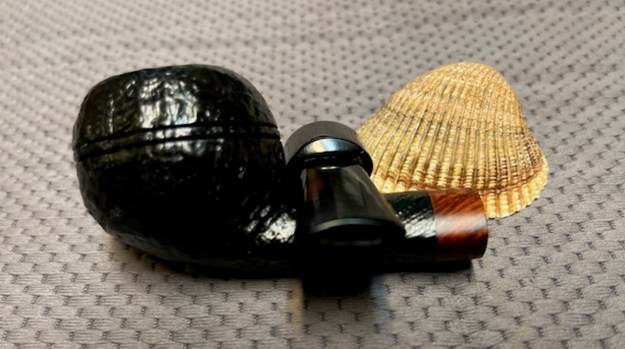
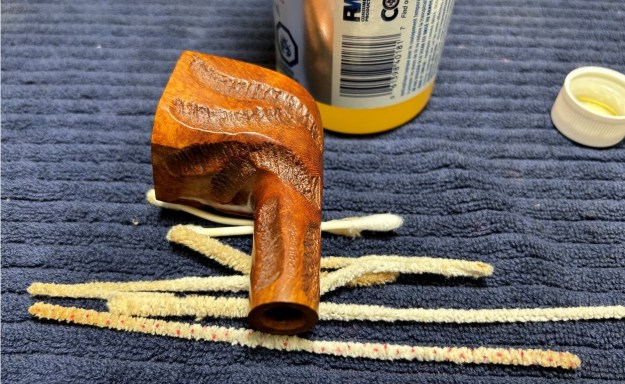
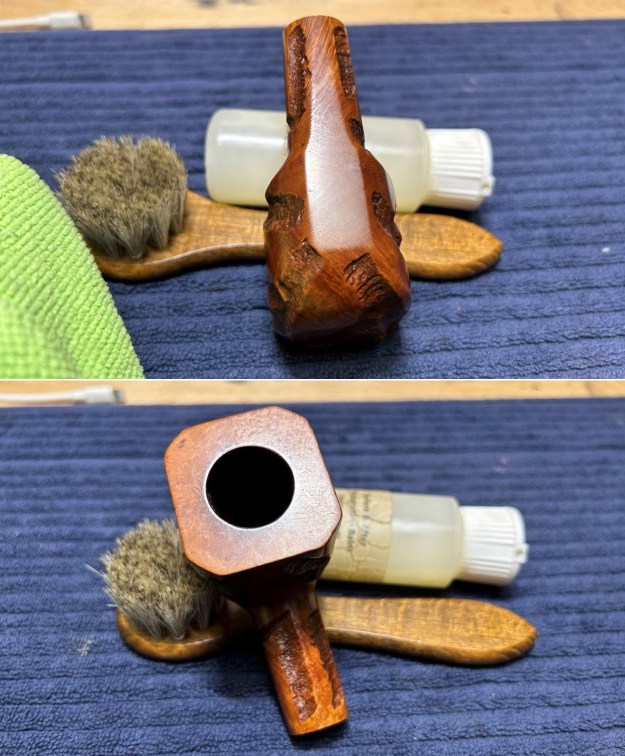
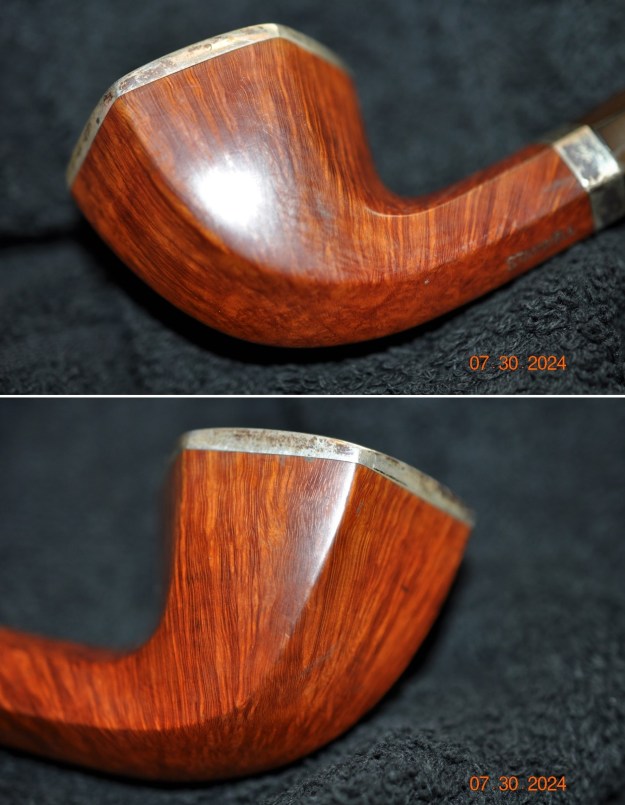
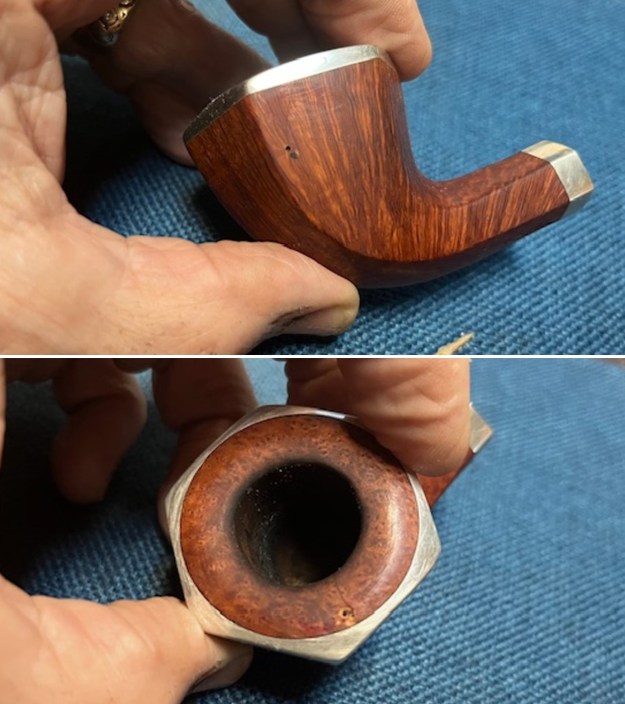
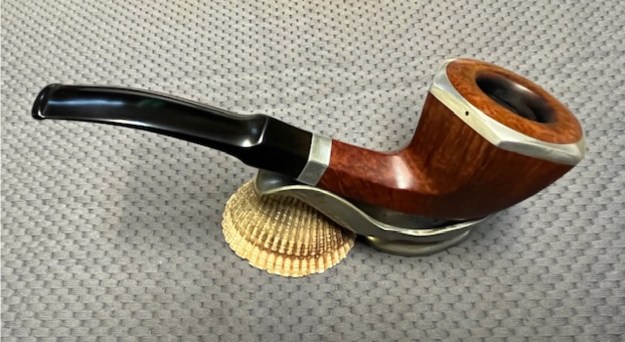
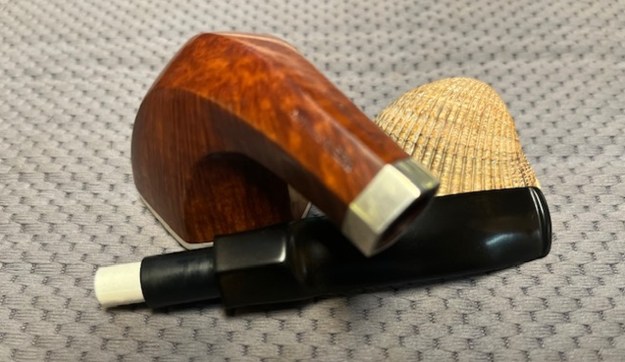
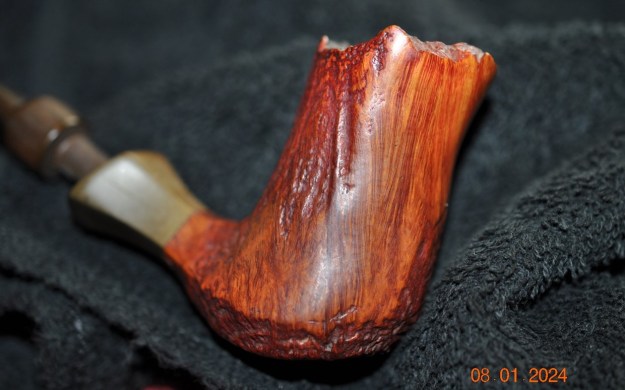
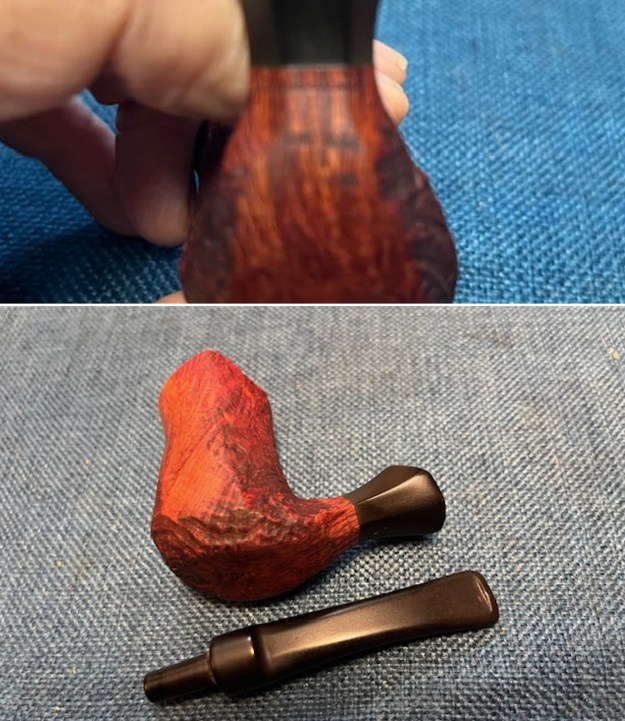
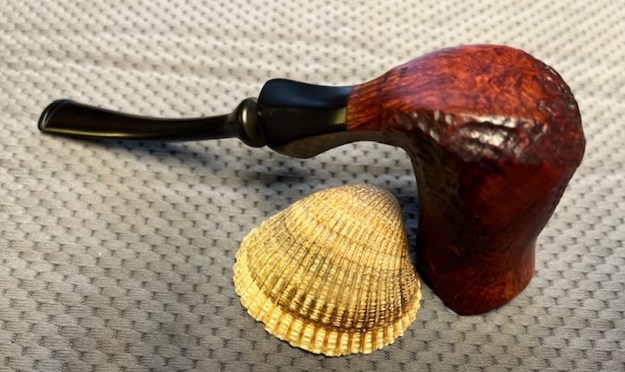
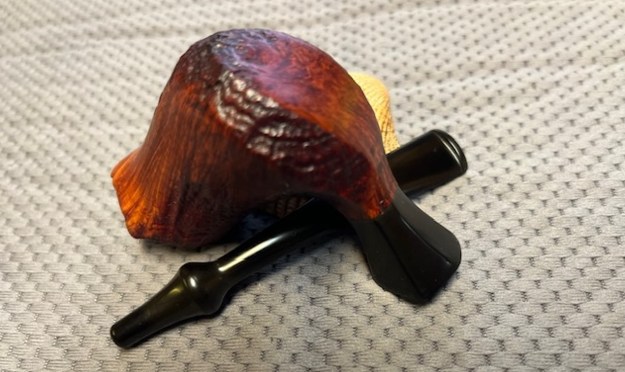
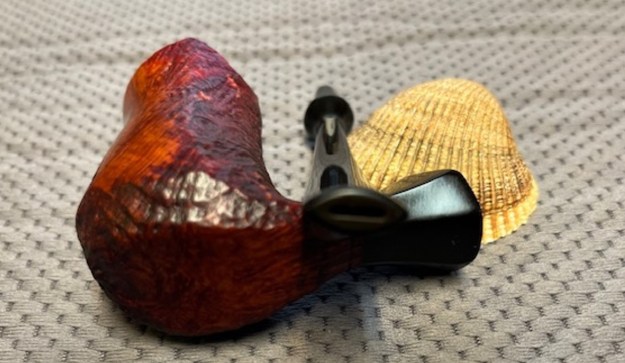
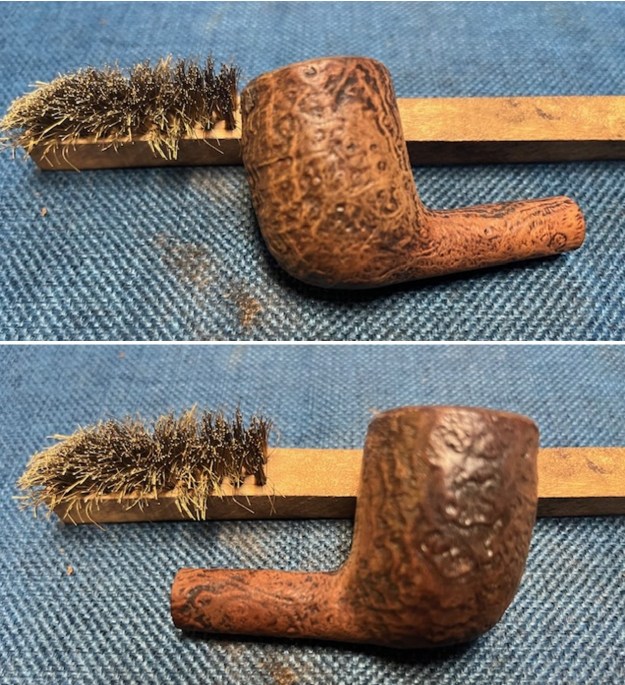
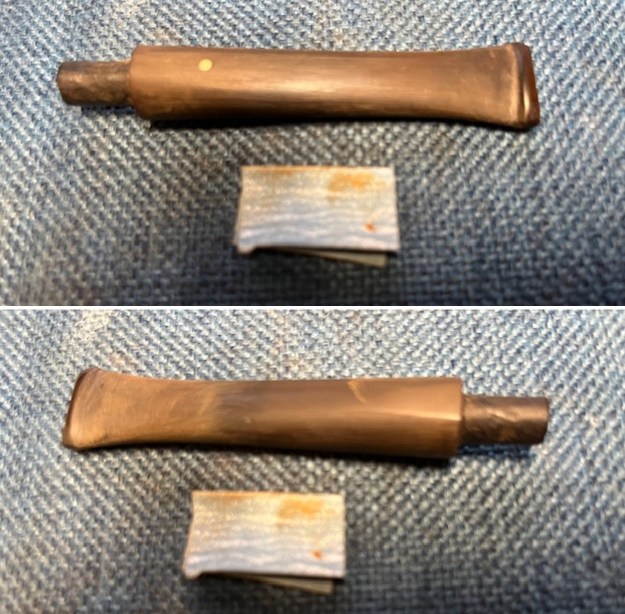
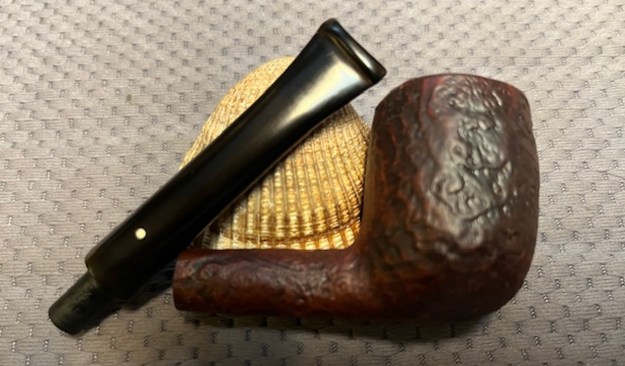
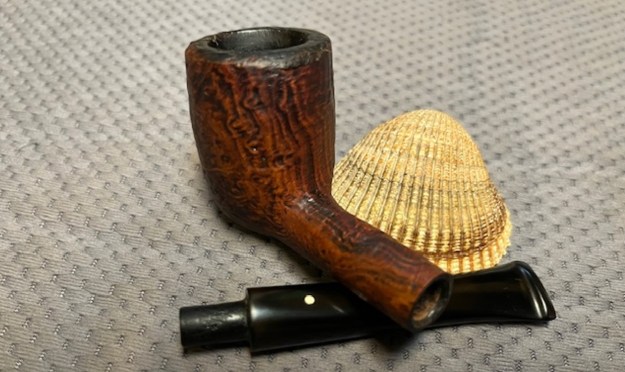
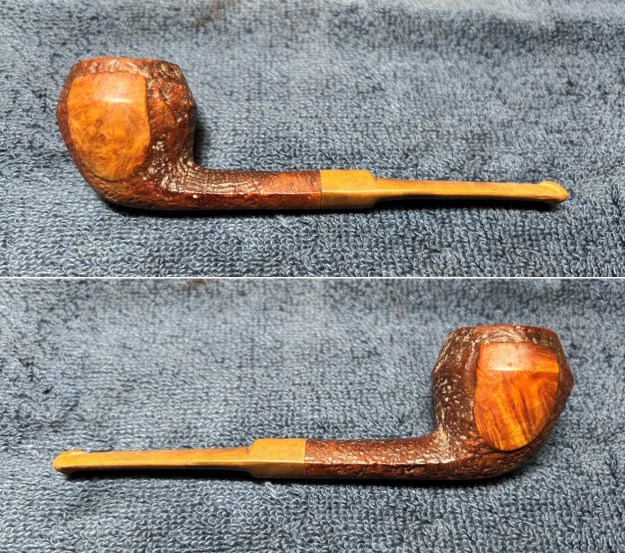
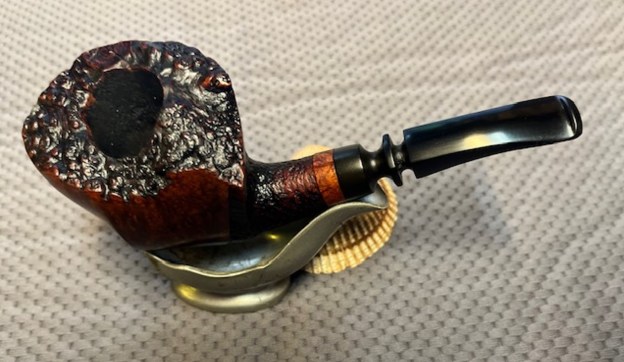
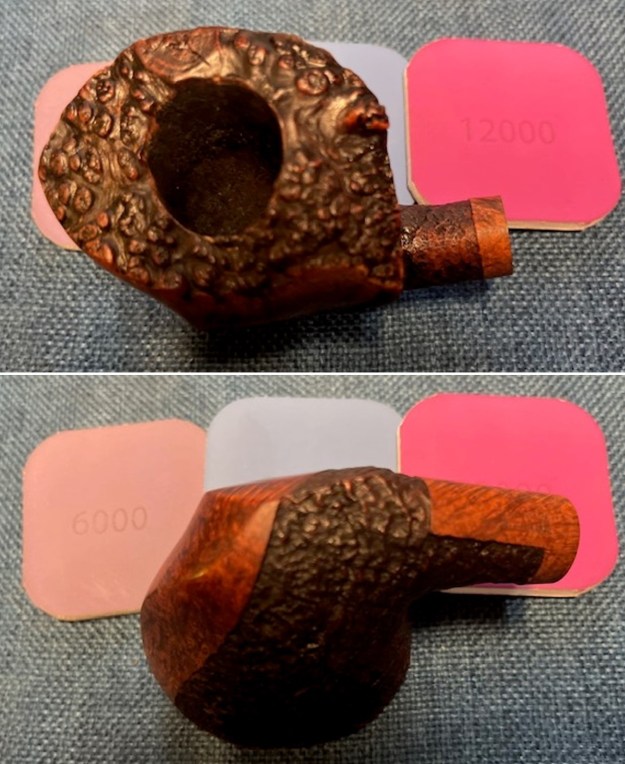
 Jeff took some photos of the sides and heel of the bowl to show the condition of the finish on the pipe. The photos show the beautiful grain around the bowl. Under the dust and grime it was a nice looking bowl. I think it will be a beautiful Freehand pipe once it is restored.
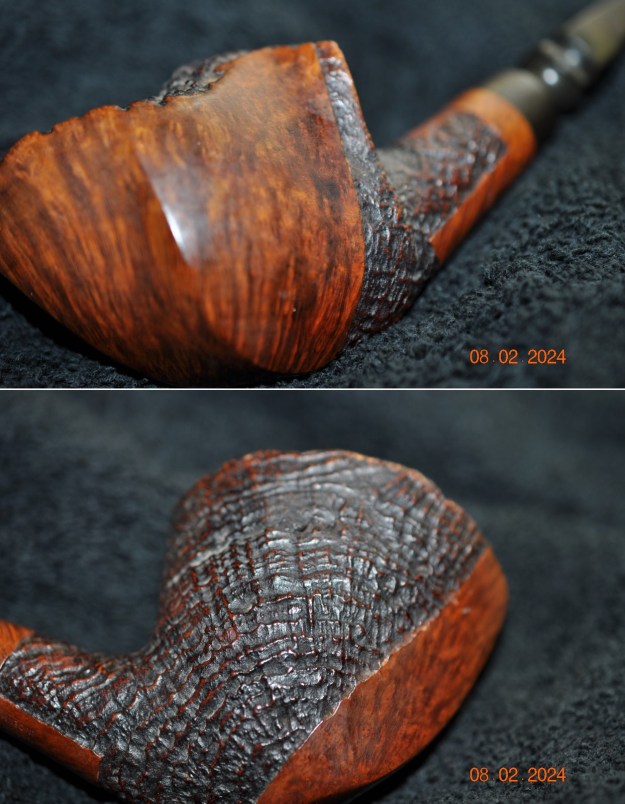
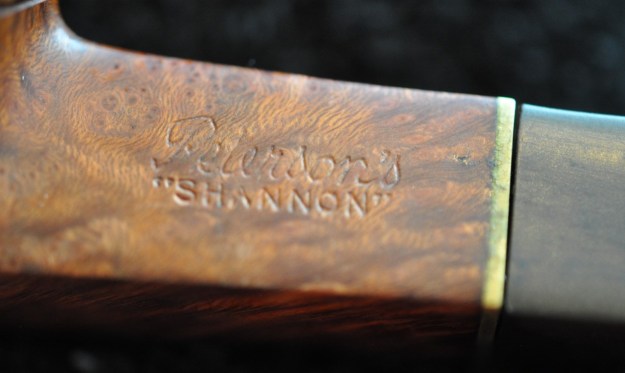
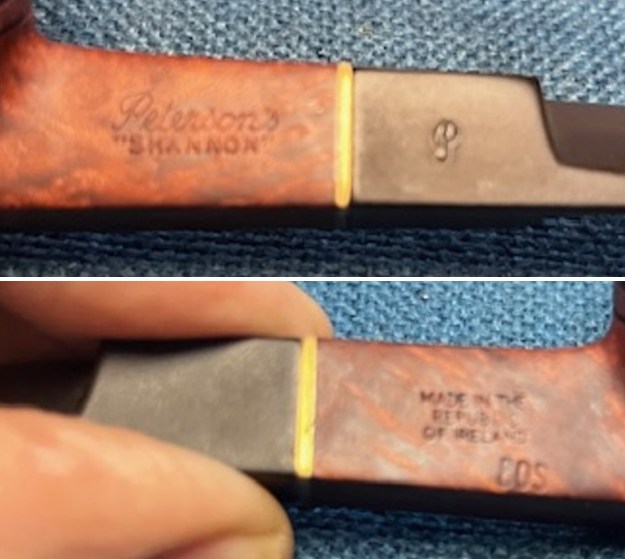
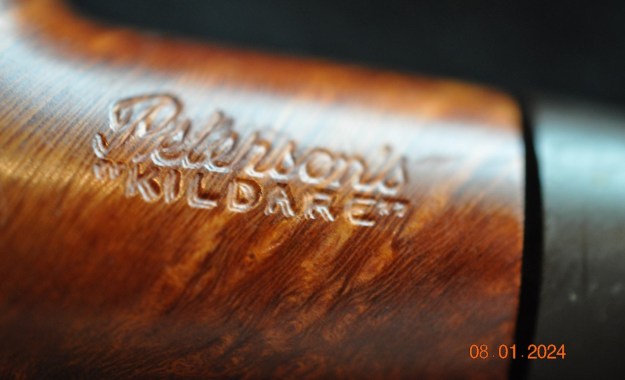
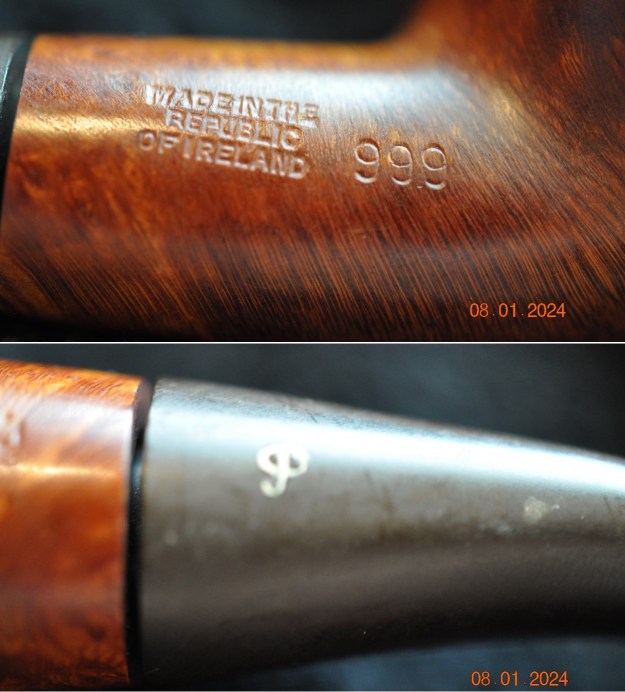
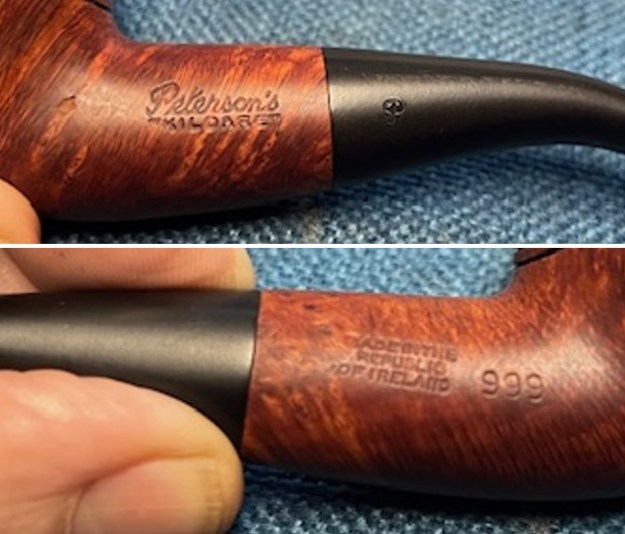
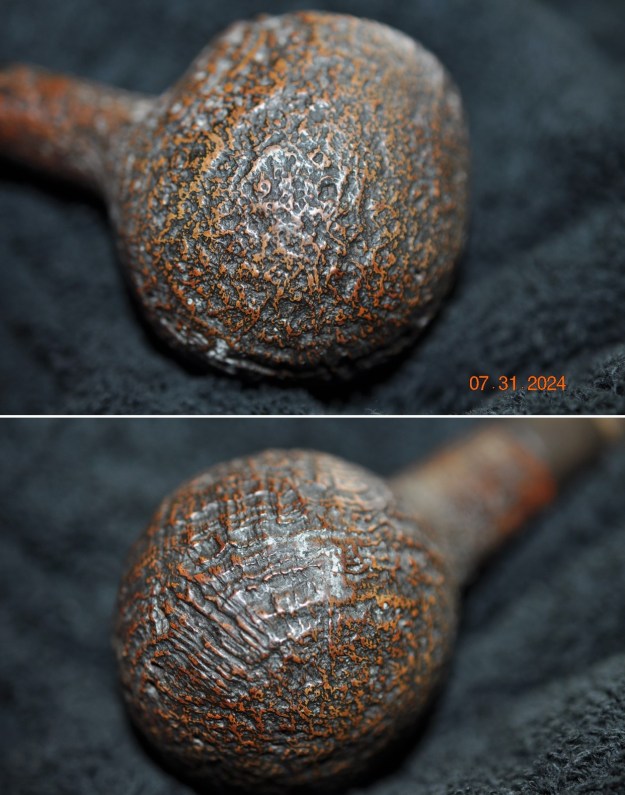
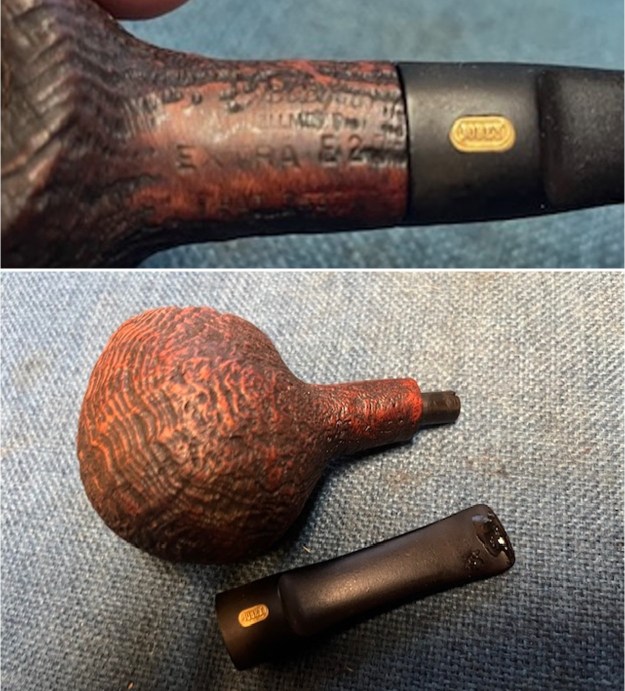
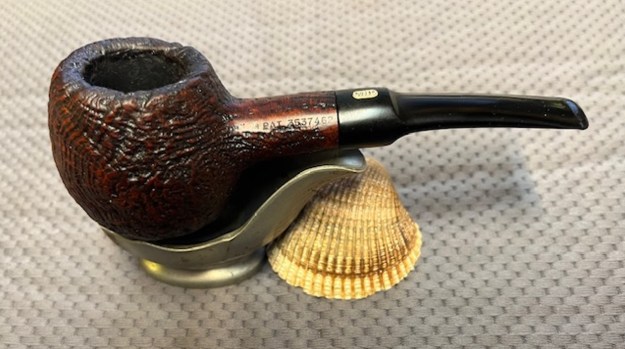
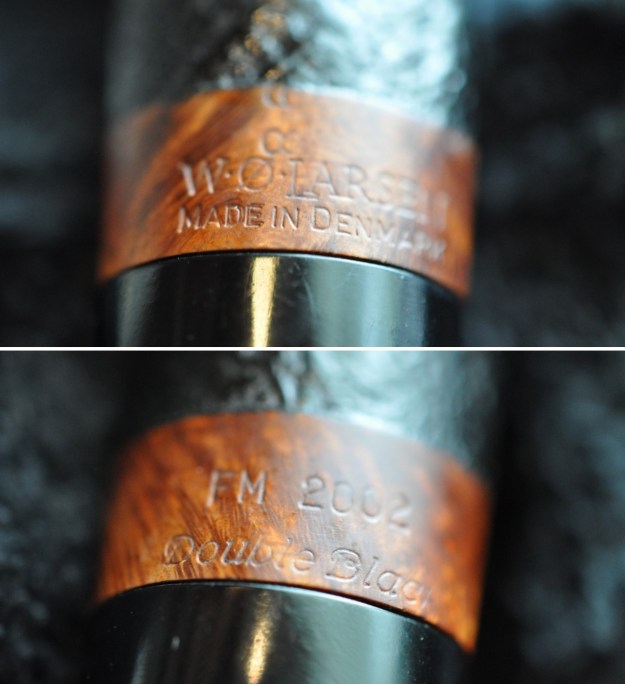
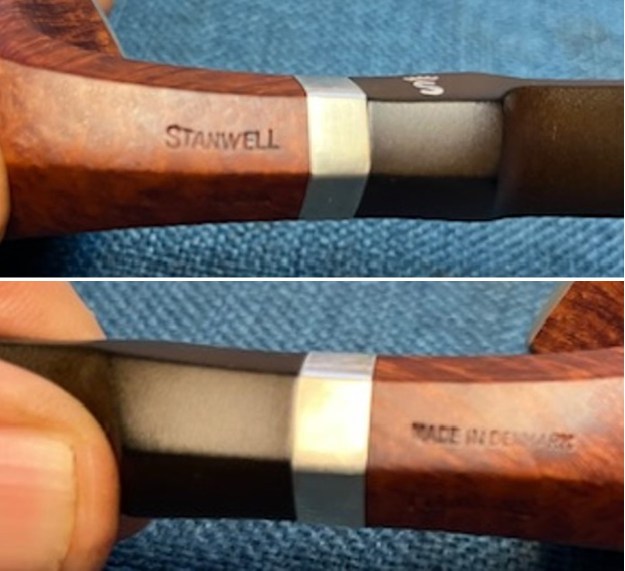
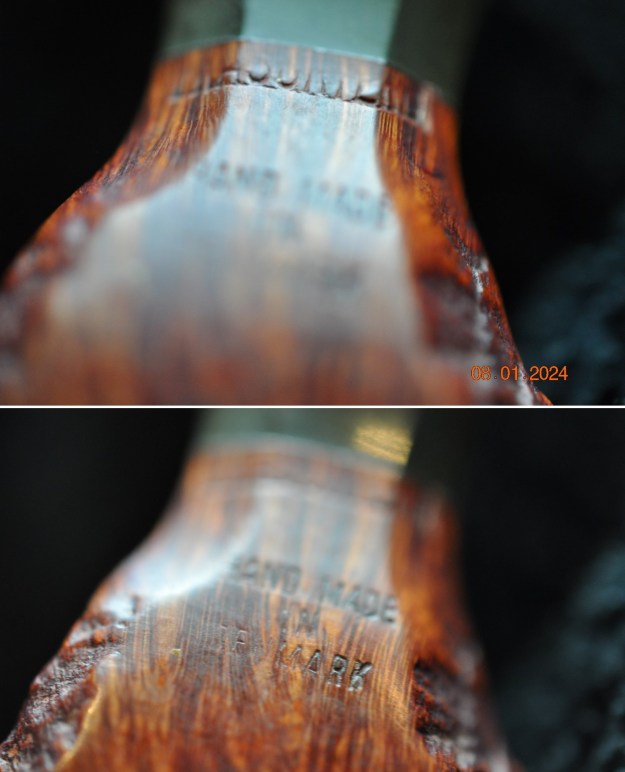
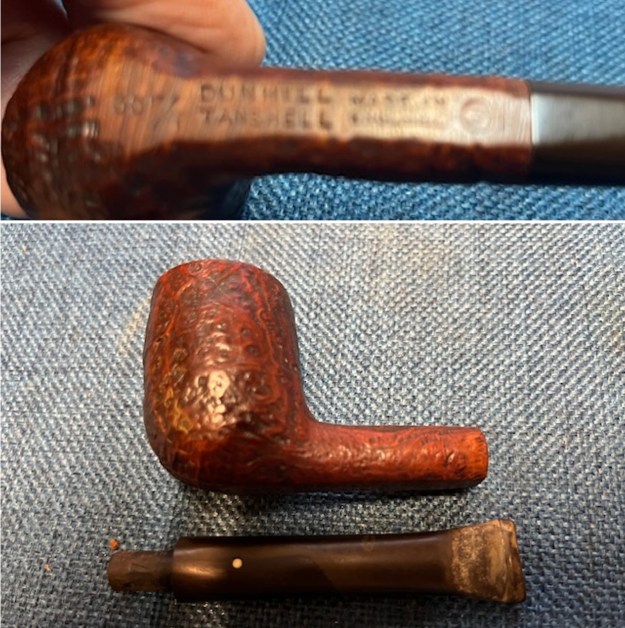
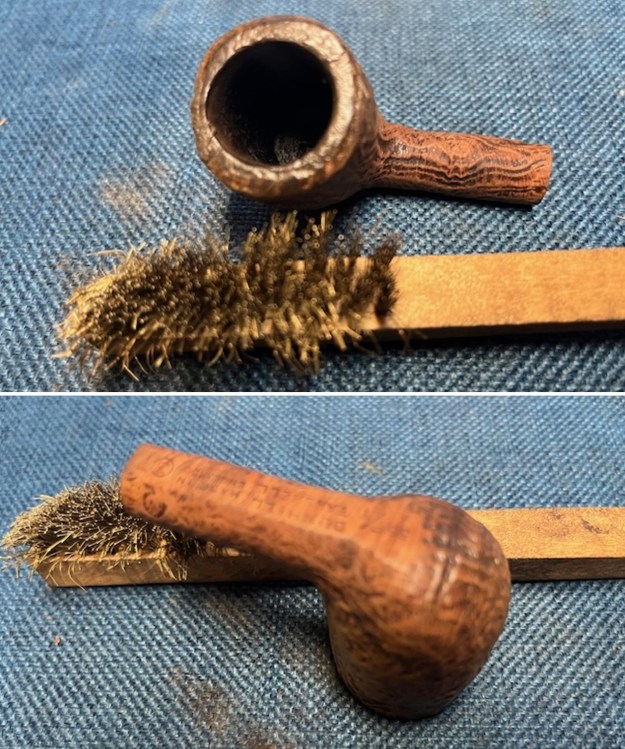
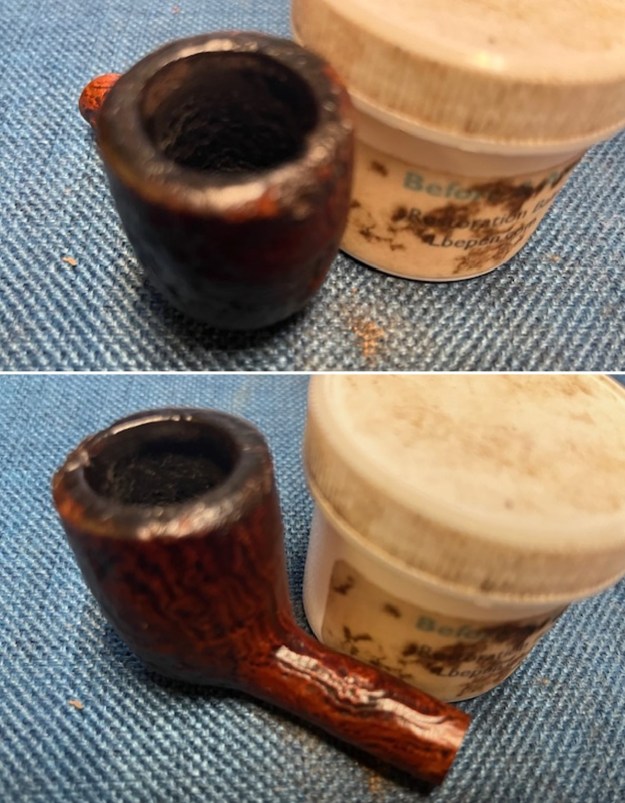
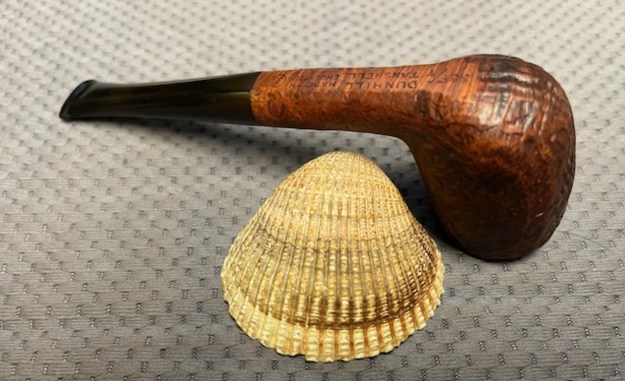
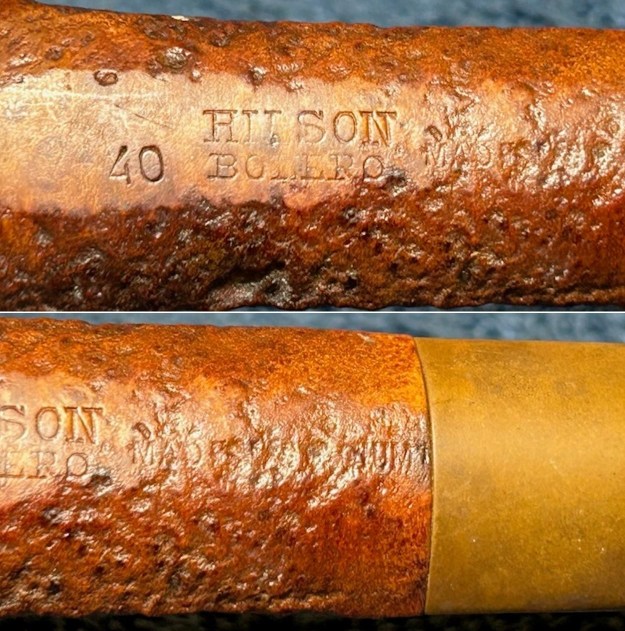
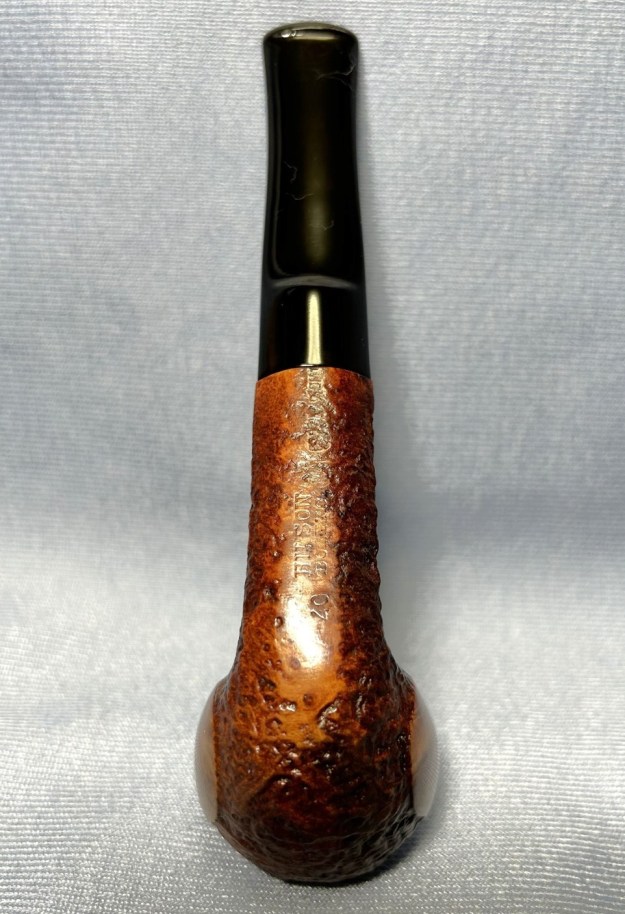
 He took a photo of the stamping on the underside of the shank. The stamping is clear and readable as noted above.
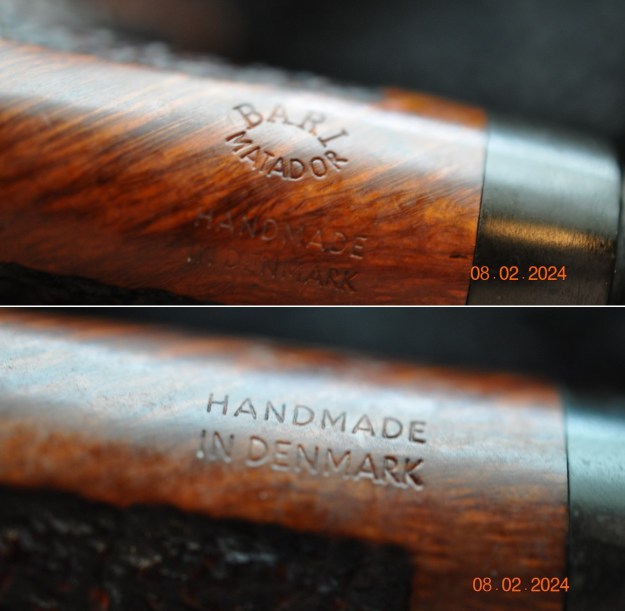 I remembered that Paresh has restored a similar Bari Matador and written about it on a blog. It is an informative piece so I have included the link to it here (https://rebornpipes.com/2019/05/15/a-simple-refurbishing-of-a-bari-matador/).
I also have worked on quite a few Bari’s in the past and did the work on the brand information so rather than rework all of that I am including the information I found while working on a Bari De Luxe Freehand. I quoted a section from Pipedia on Bari pipes (https://pipedia.org/wiki/Bari). I am including the material that I found previously on the brand. It is good to be reminded of the fact that Viggo Nielsen was the pipe maker. I quote:
Pipedia states that Bari Piber was founded by Viggo Nielsen in Kolding, Denmark around the turn of 1950/51. His sons Kai and Jørgen both grew into their father’s business from a very young age and worked there till 1975. Both have become successful pipe makers.
Bari successfully adapted the new Danish design that had been started mainly by Stanwell for its own models. Bari was sold in 1978 to Van Eicken Tobaccos in Hamburg, Germany though the pipes were still made in Denmark. From 1978 to 1993 Åge Bogelund and Helmer Thomsen headed Bari’s pipe production.
Helmer Thomson bought the company in 1993 re-naming it to “Bari Piber Helmer Thomsen”. The workshop moved to more convenient buildings in Vejen. Bogelund, who created very respectable freehands of his own during the time at Bari got lost somehow after 1993. Bari’s basic conception fundamentally stayed the same for decades: series pipes pre-worked by machines and carefully finished by hand – thus no spectacular highgrades but solid, reliable every day’s companions were what they turned out. The most famous series are the smooth “Classic Diamond” and the blasted “Wiking”.
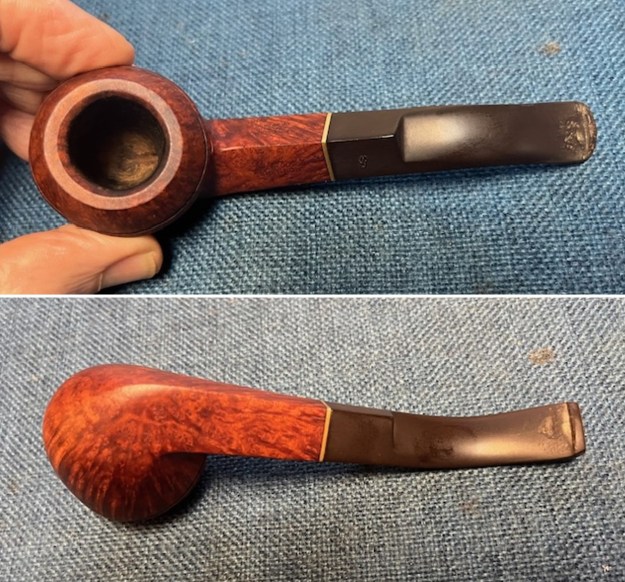
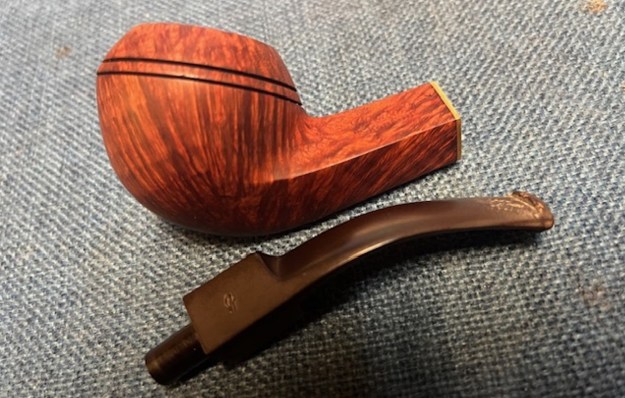
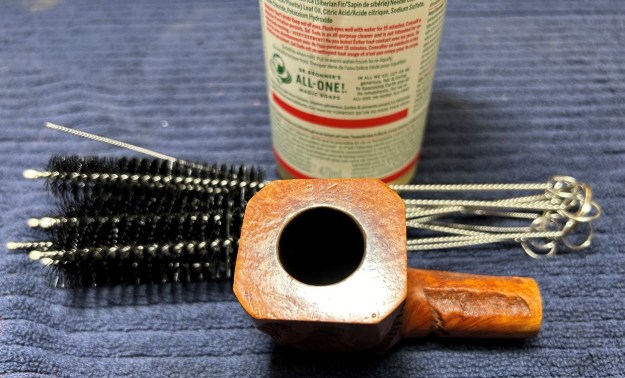
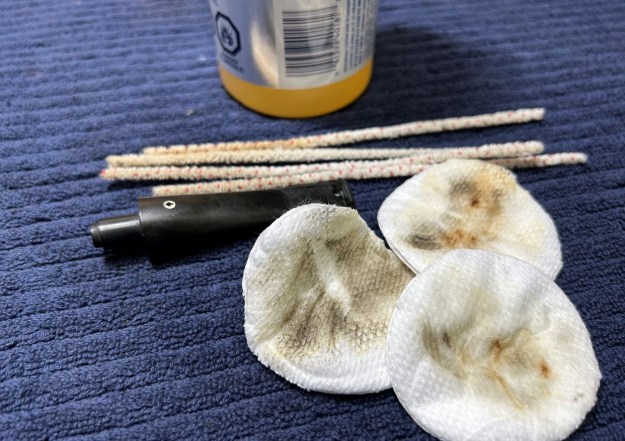
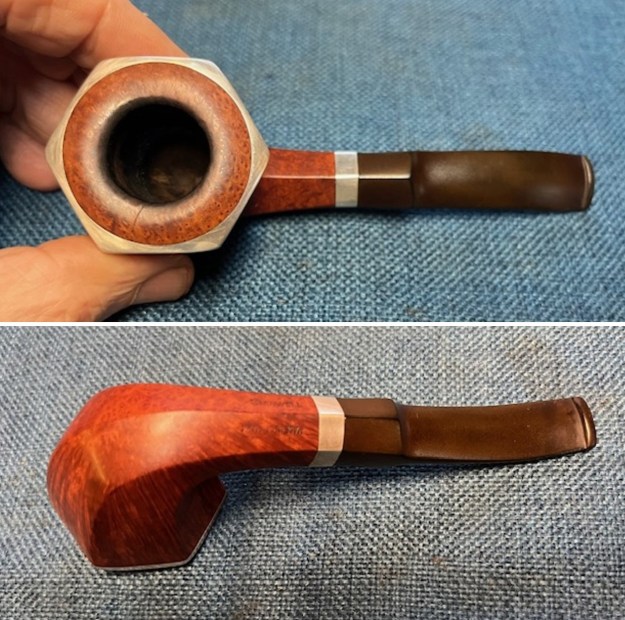
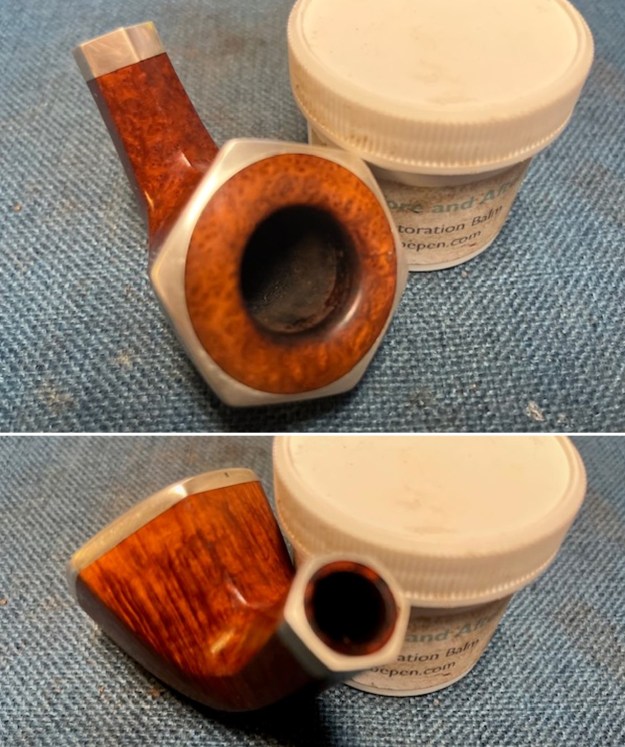
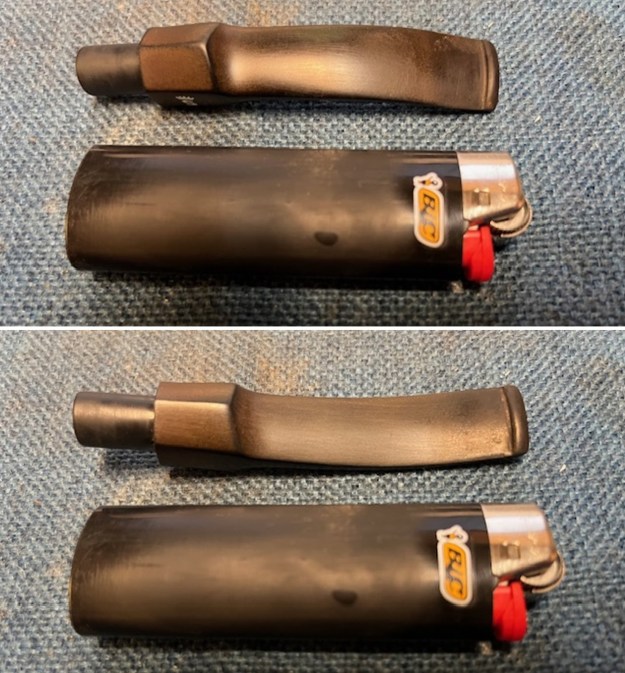
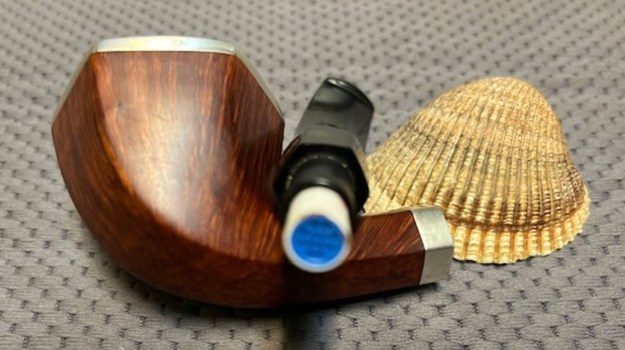
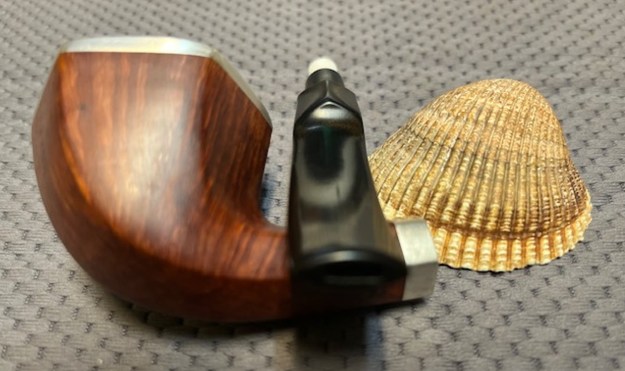
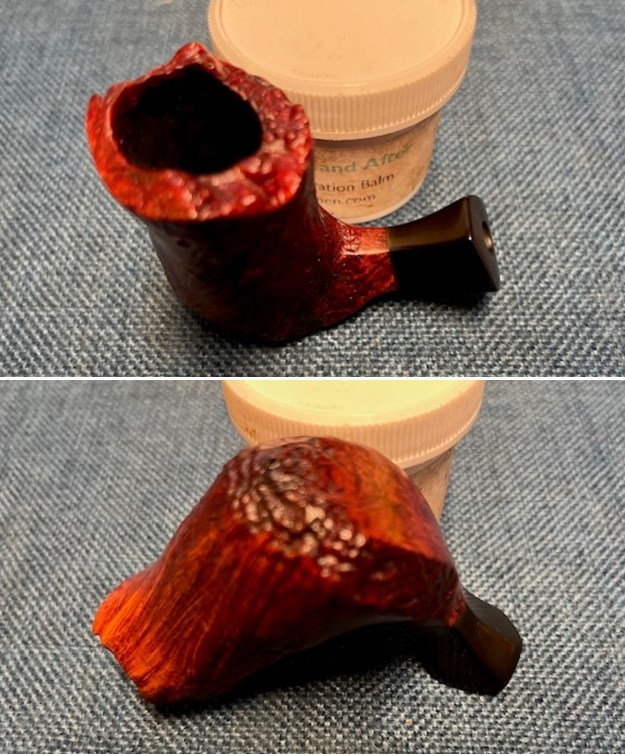
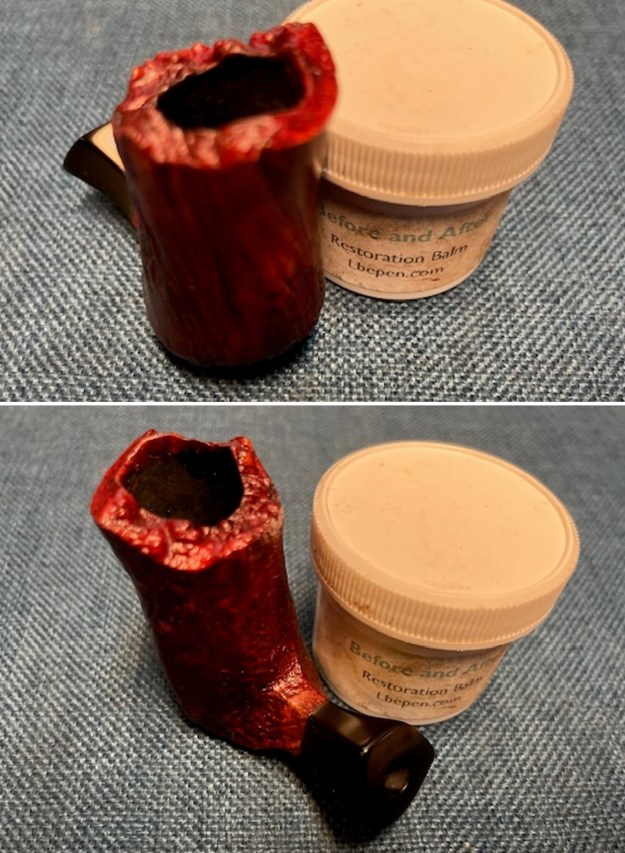
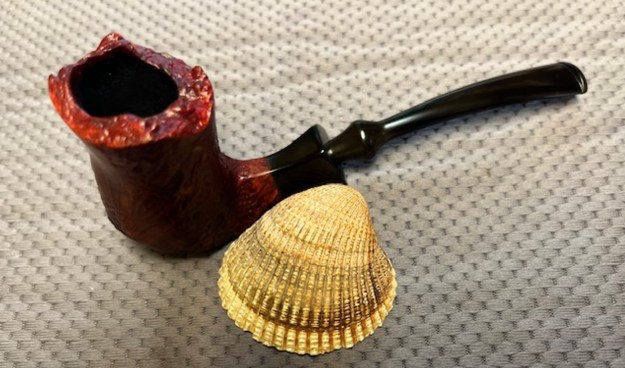
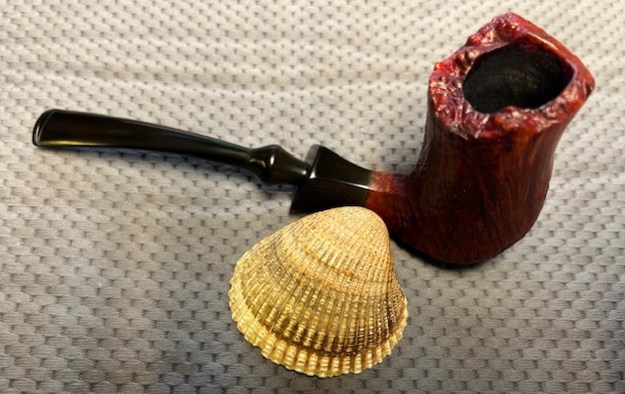
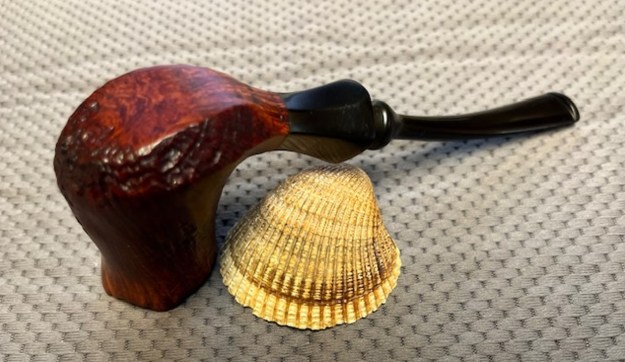
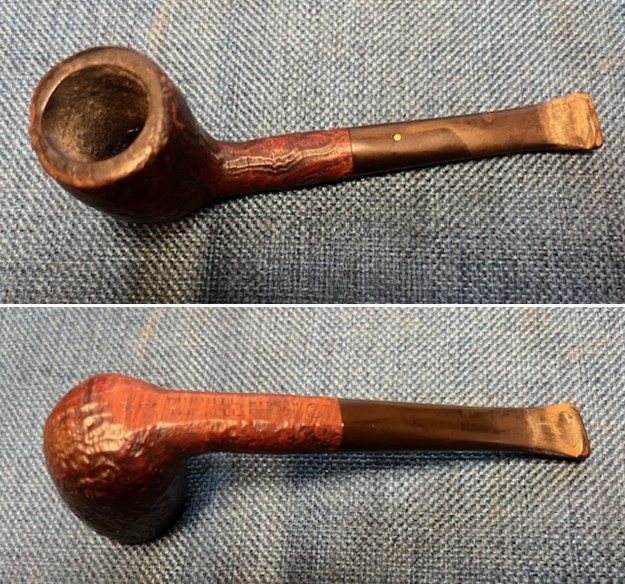
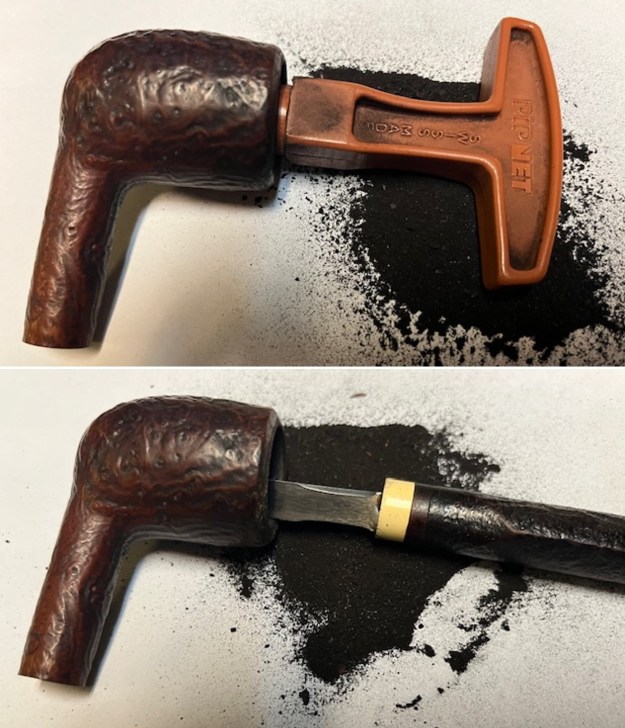
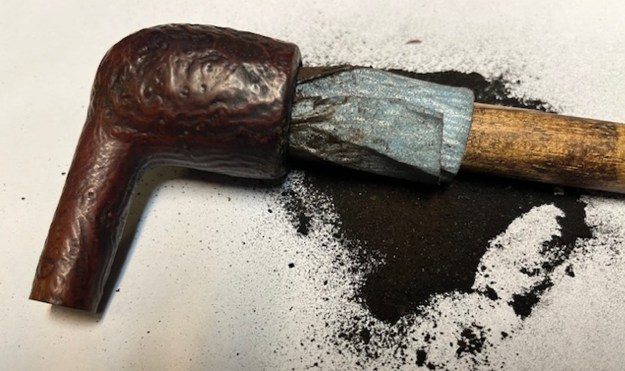
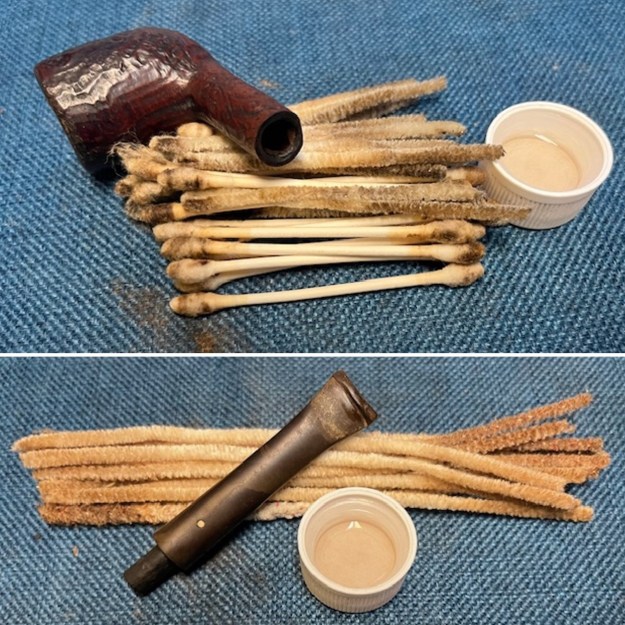
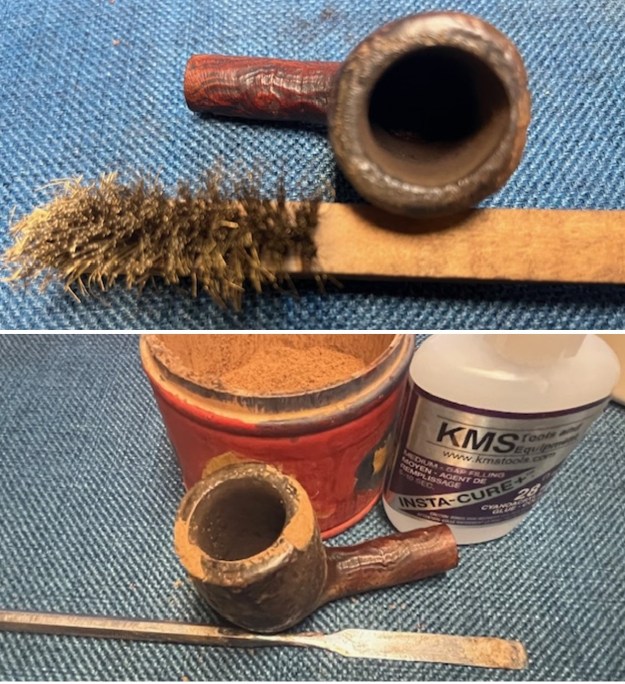
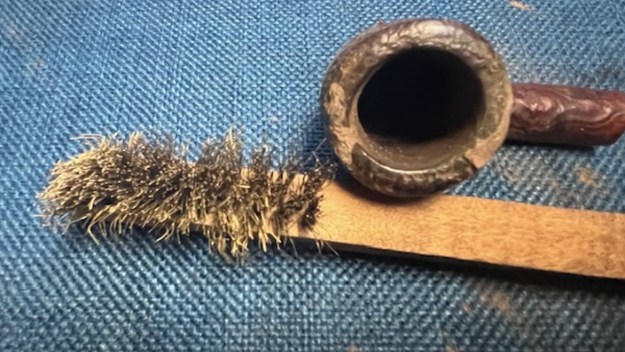
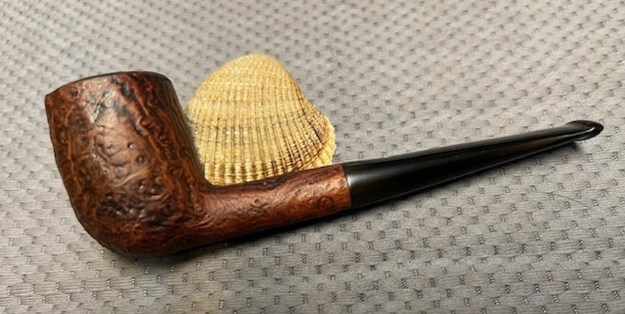
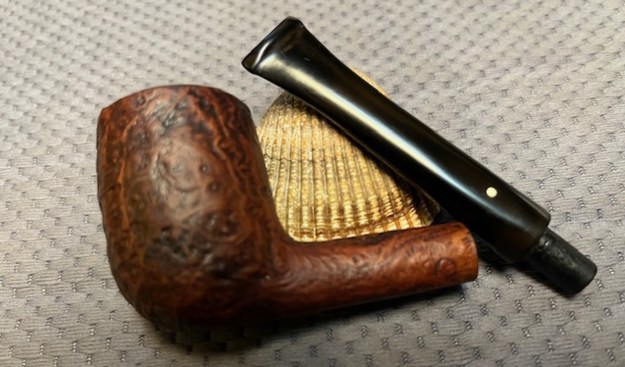
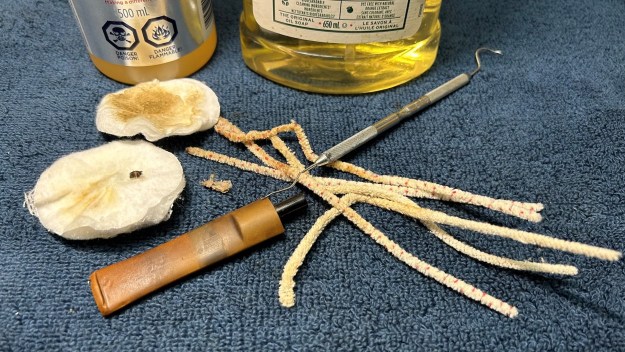
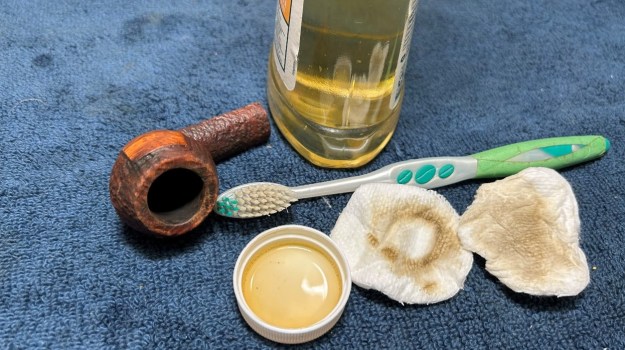
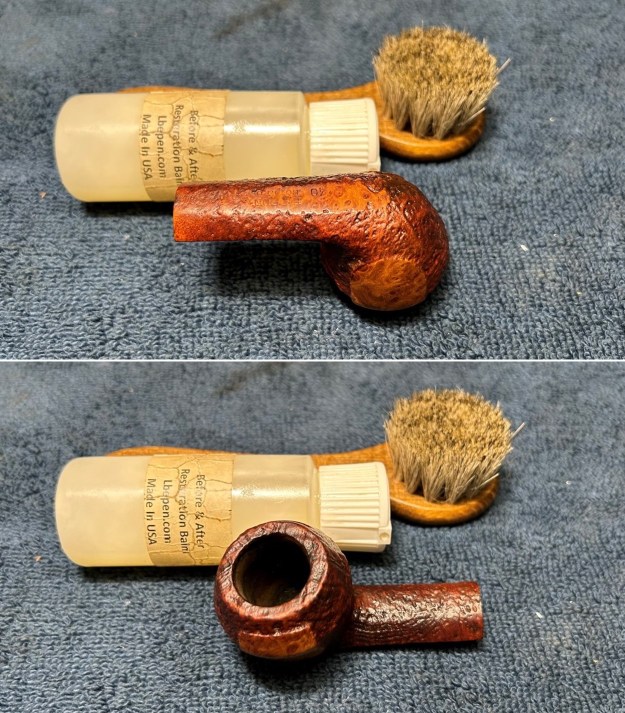
Now that I was reminded about the Viggo Nielsen connection it was time to work on the pipe on my end. When I received it Jeff had once again done an amazing job cleaning the pipe. He reamed it with a PipNet pipe reamer and got rid of the cake. He cleaned up the reaming with a Savinelli Fitsall Pipe Knife so that we could see the walls of the bowl and assess for damage. He cleaned the internals of the shank and stem with alcohol, pipe cleaners, cotton swabs, shank brushes and alcohol. He scrubbed the exterior with undiluted Murphy’s Oil Soap and a tooth brush. He rinsed the pipe under warm water. He dried it off with a cloth and then let it air dry. The stem was scrubbed with Soft Scrub and soaked in Before & After Deoxidizer. It came out looking very good. The finish on the bowl and the rim top cleaned up nicely. I took pictures of the pipe to show how it looked when I unpacked it.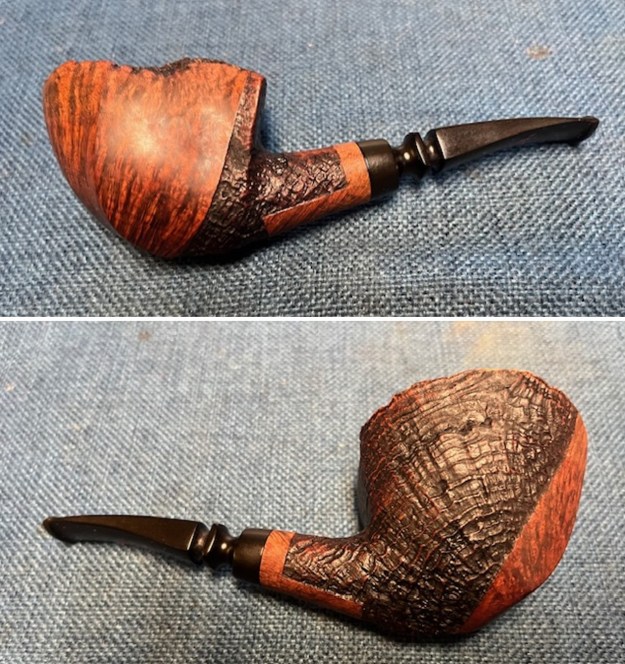
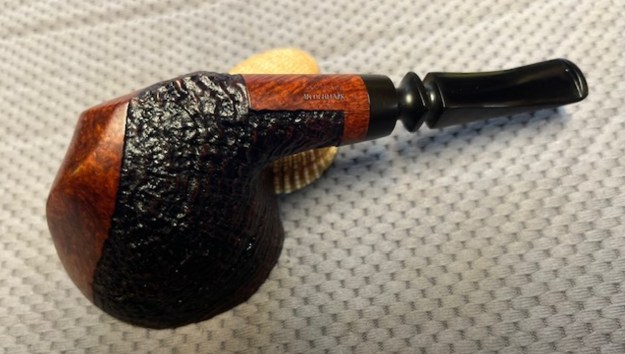
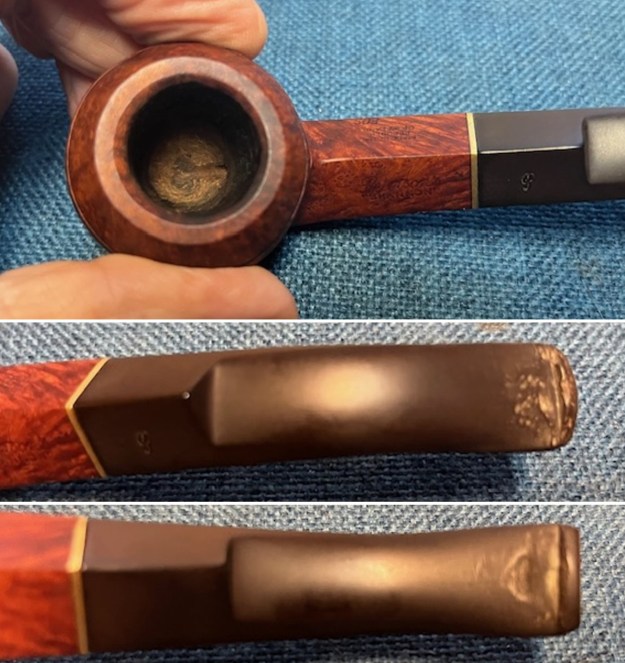
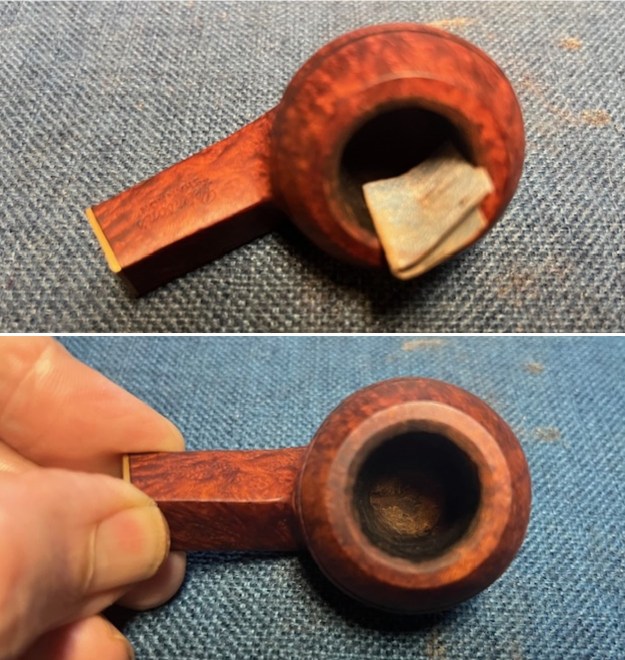
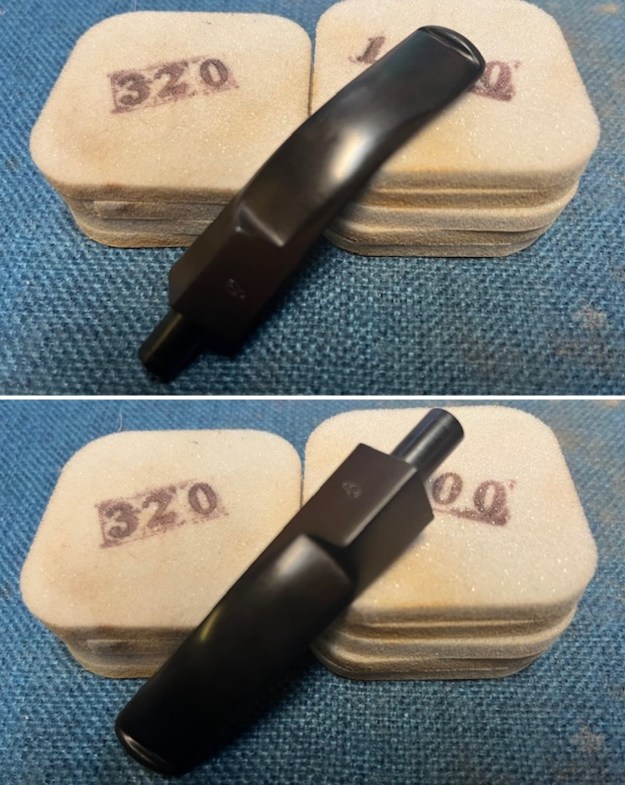
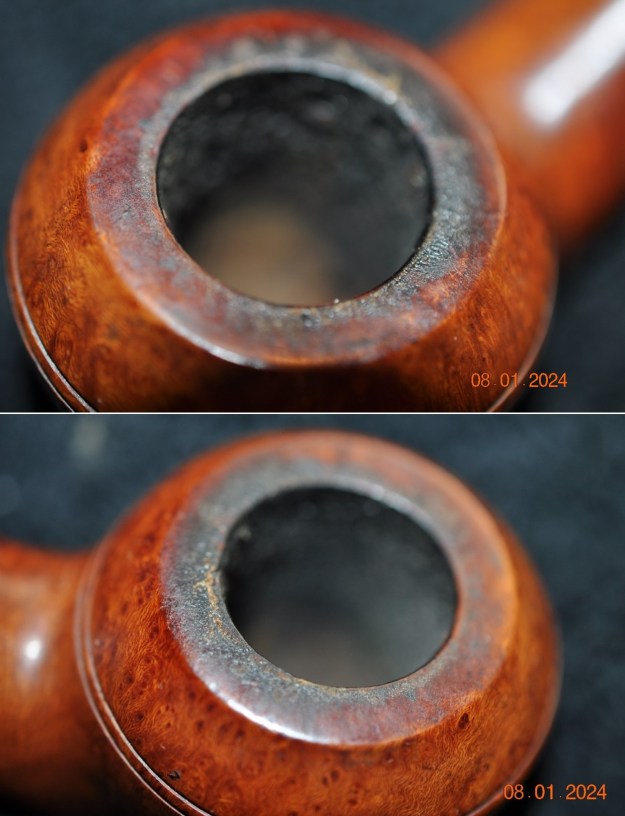
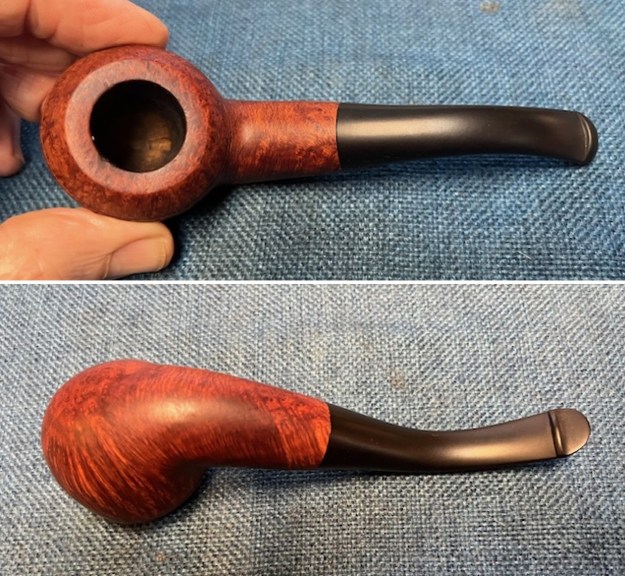
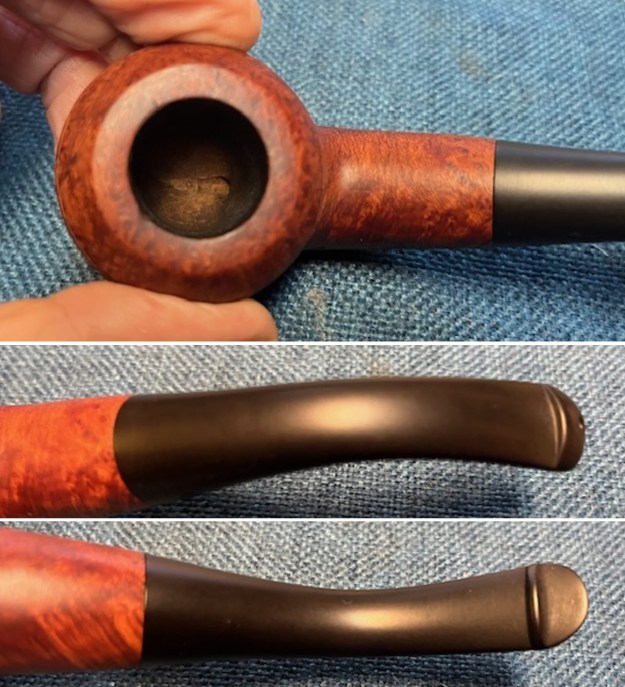
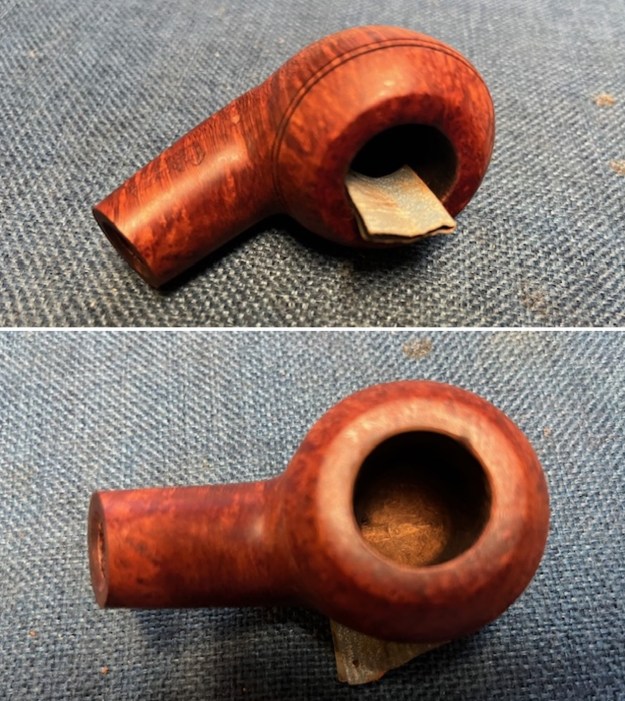
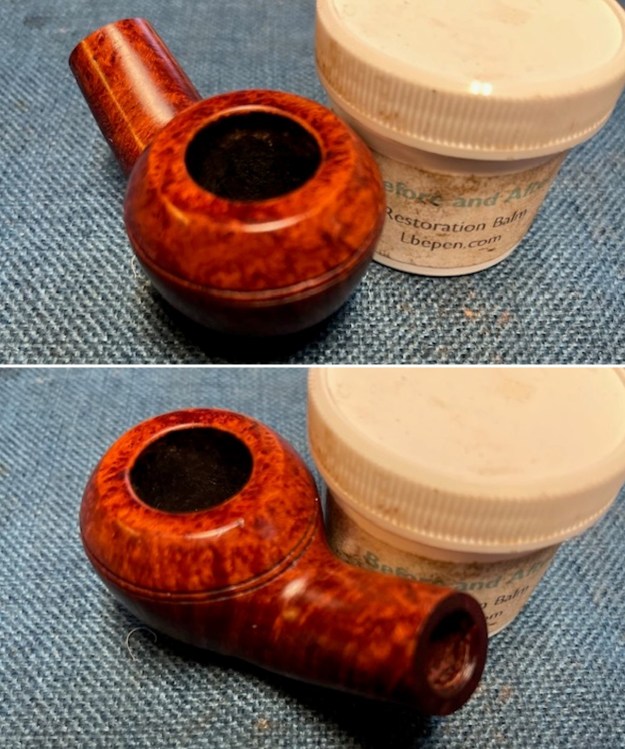
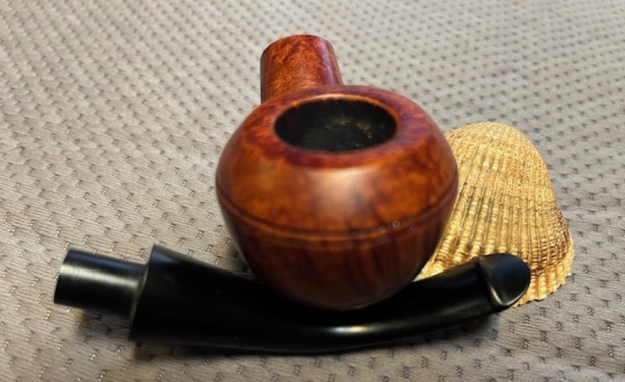
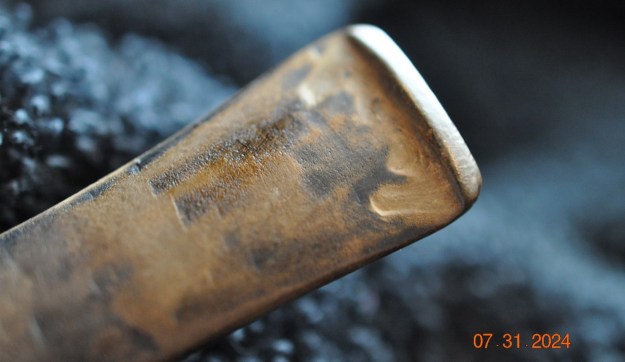
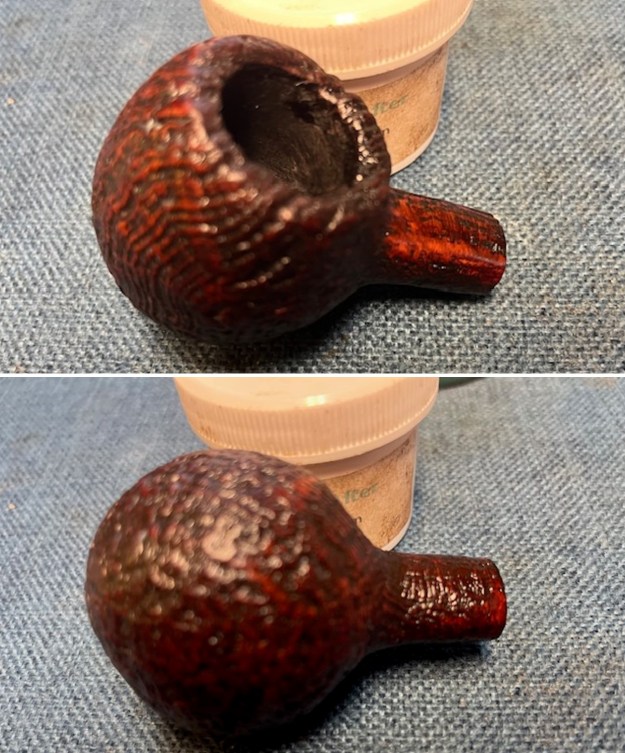
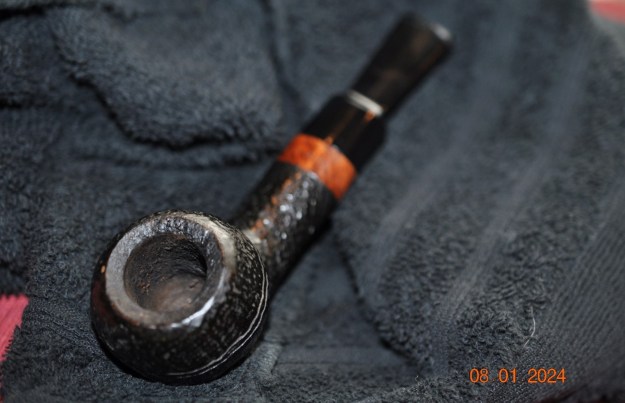
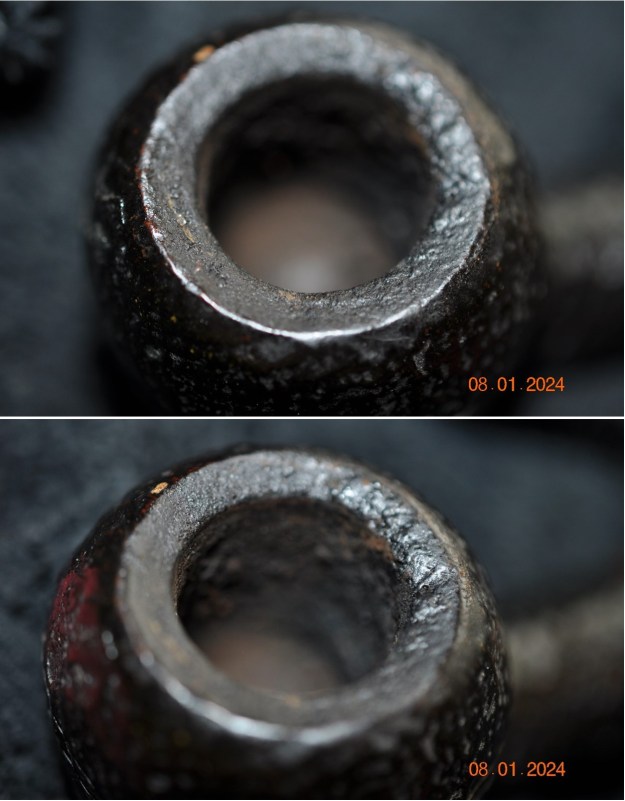
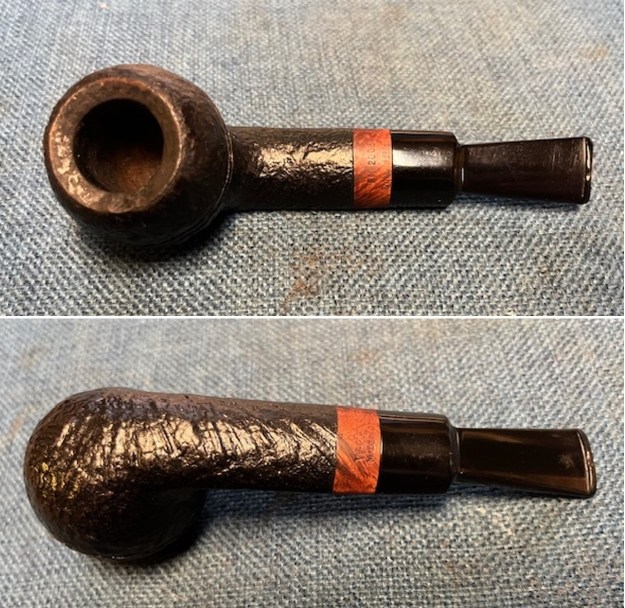
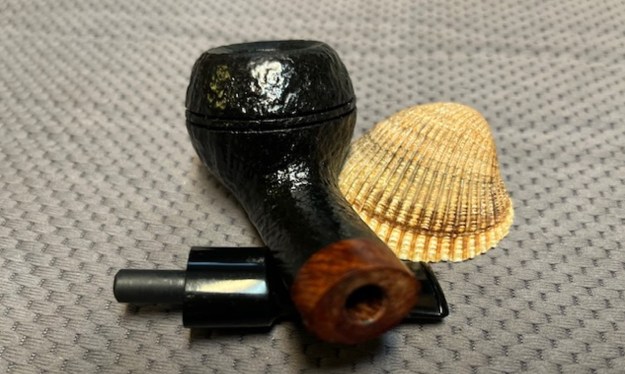
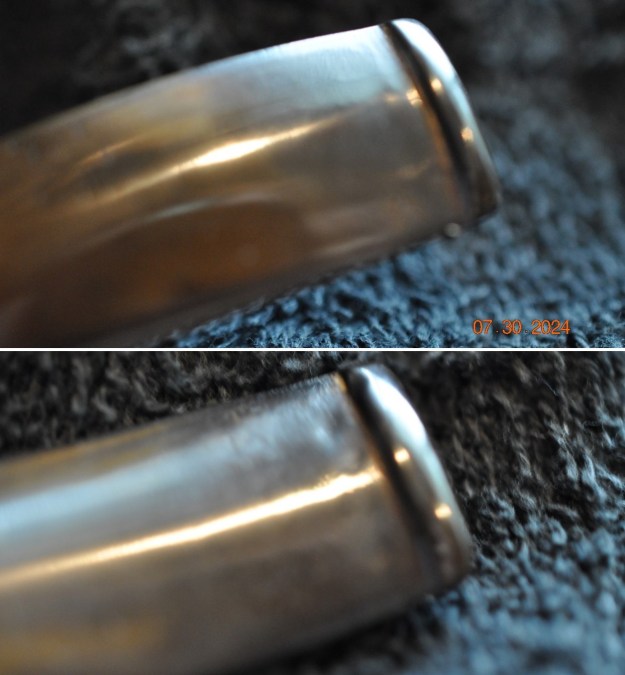
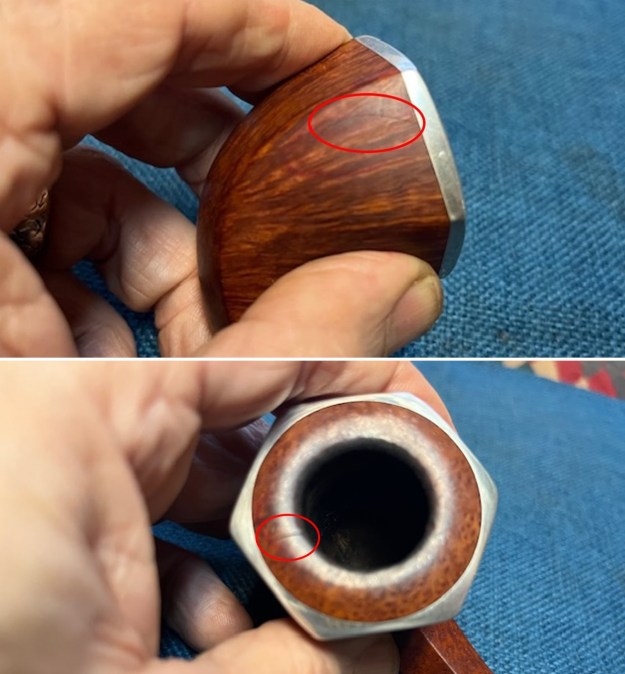
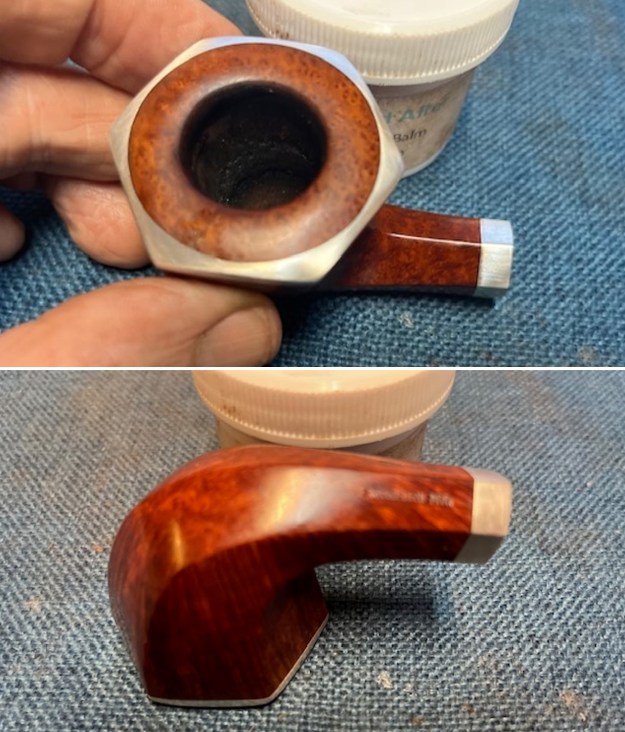
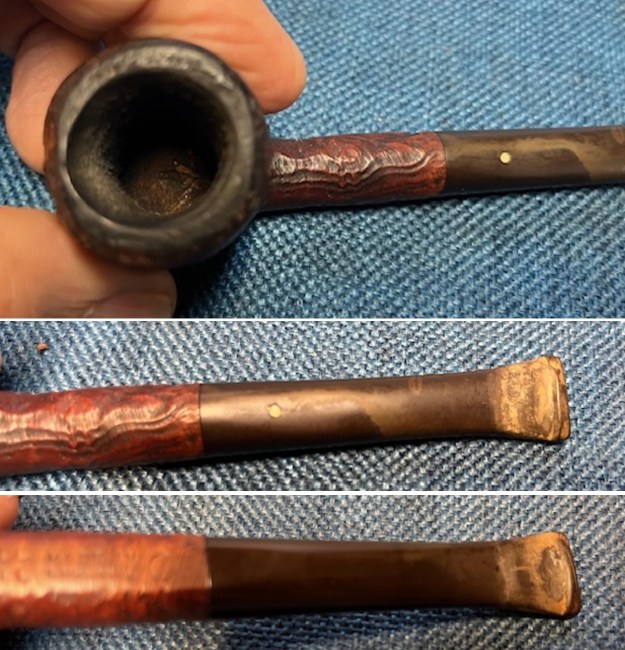
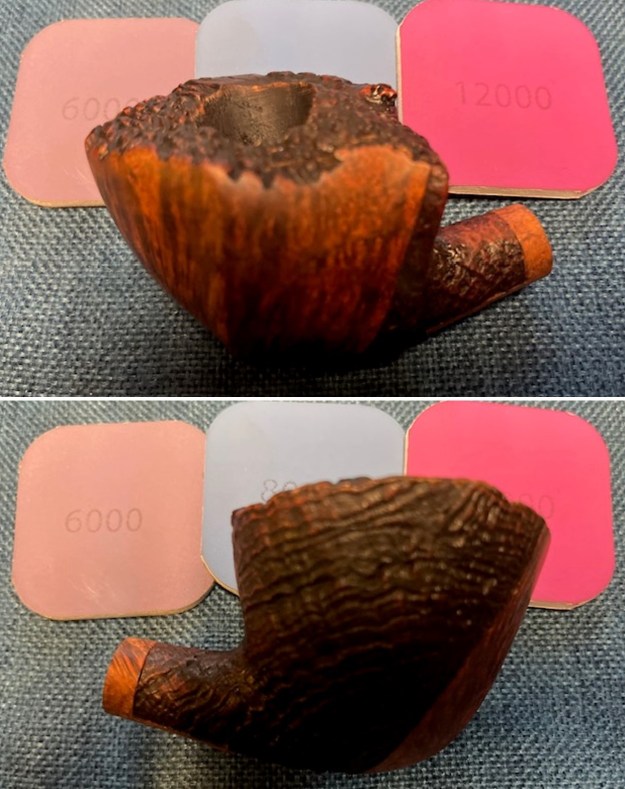
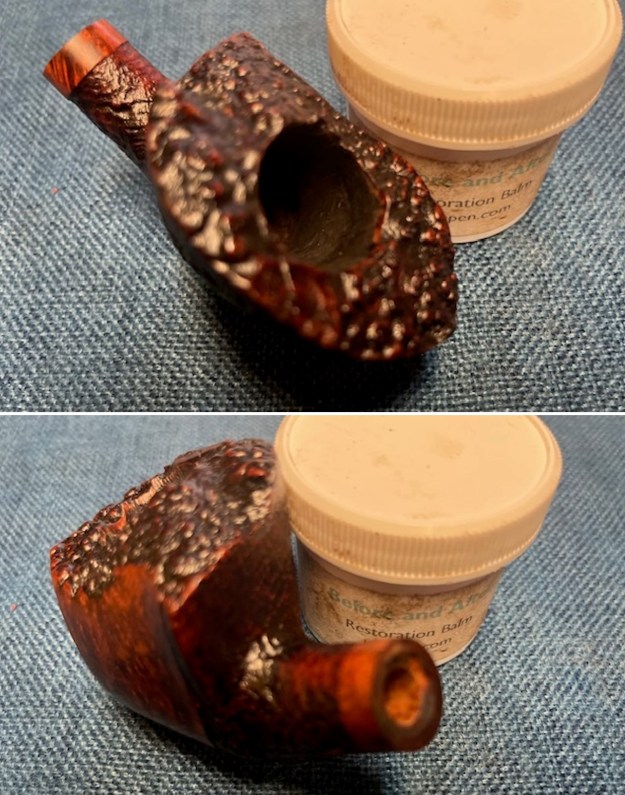
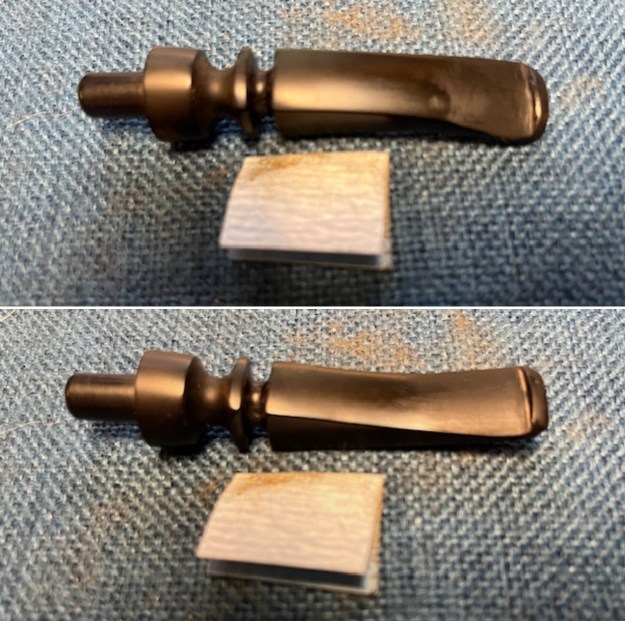
 I took a close up photo of the plateau rim top to show how clean it was. The inner edge of the rim and the ridges and valleys of the plateau looked good. The stem looked good just some light tooth chatter and tooth marks ahead of the button.
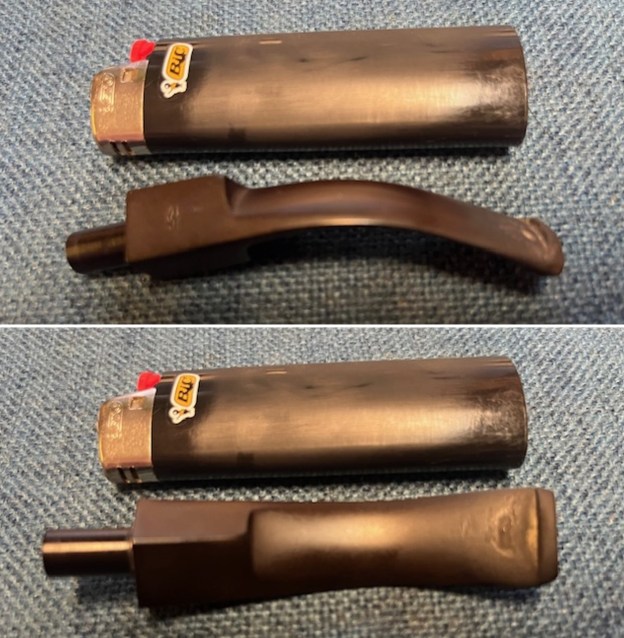
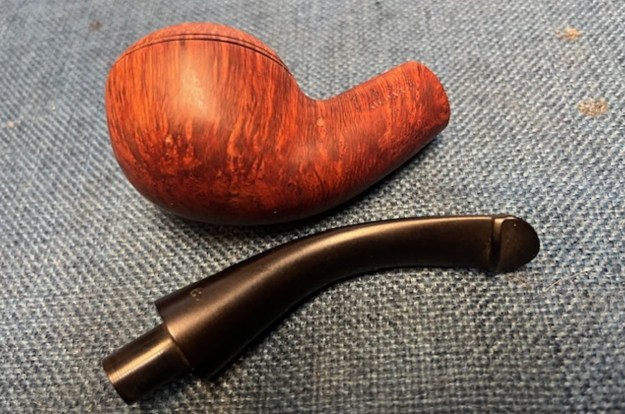
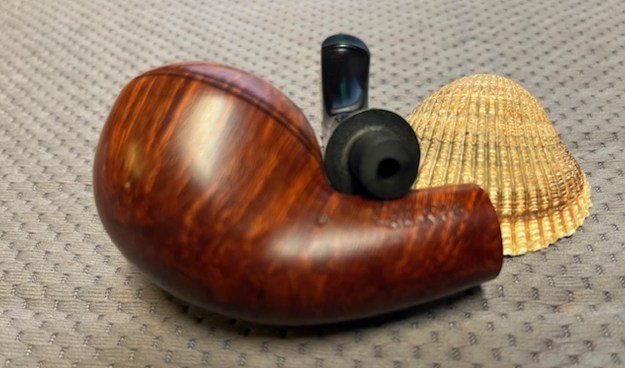
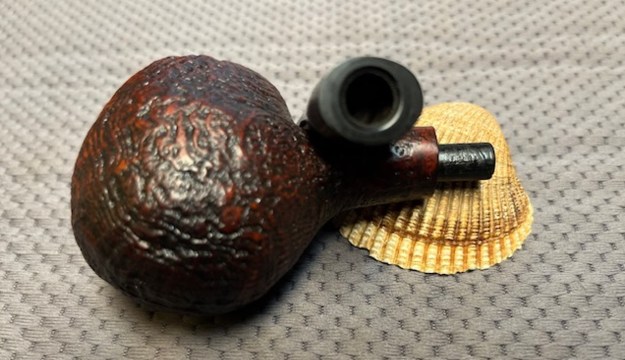
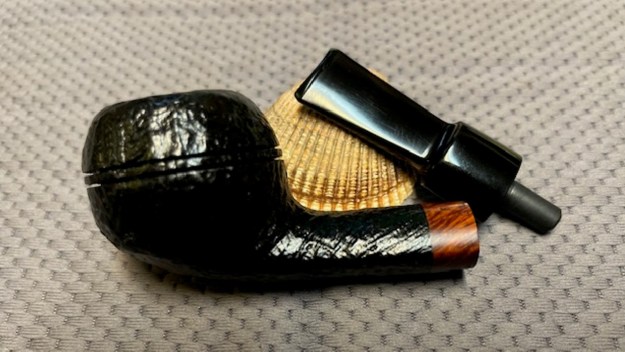
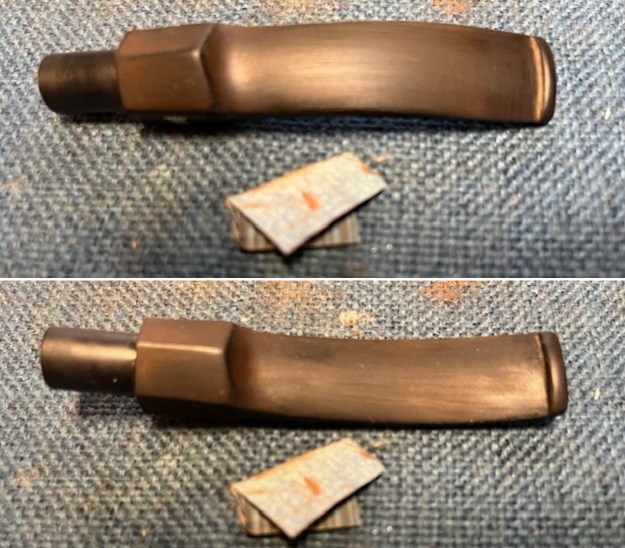
 One of the things I appreciate about Jeff’s cleanup is that he works to protect and preserve the nomenclature on the shank of the pipes that he works on. He was able to preserve and maintain its condition in the process. I took some photos to show the clarity of the stamping. I have noticed that many restorers are not careful to protect the stamping in their cleaning process and often by the end of the restoration the nomenclature is almost destroyed. Be careful in your work to preserve this critical part of restoration! I took the stem off and took a photo of the pipe.
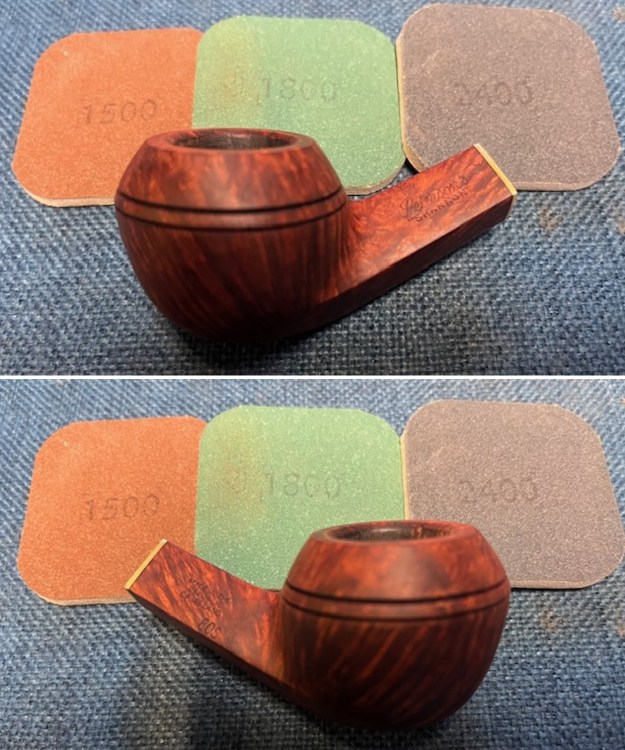
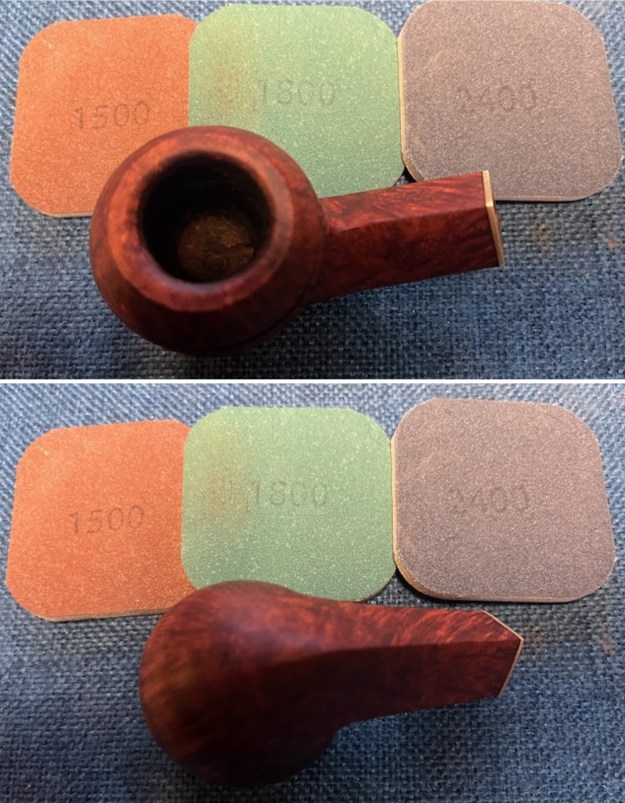
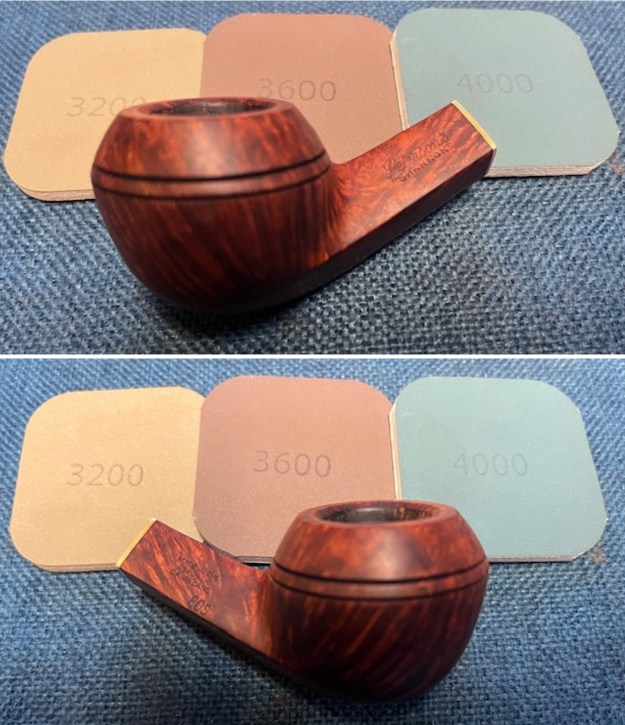
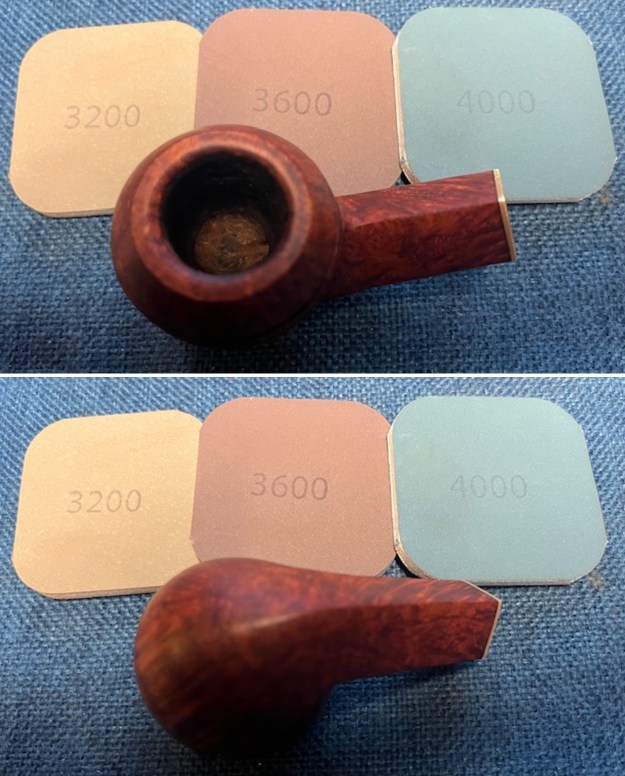
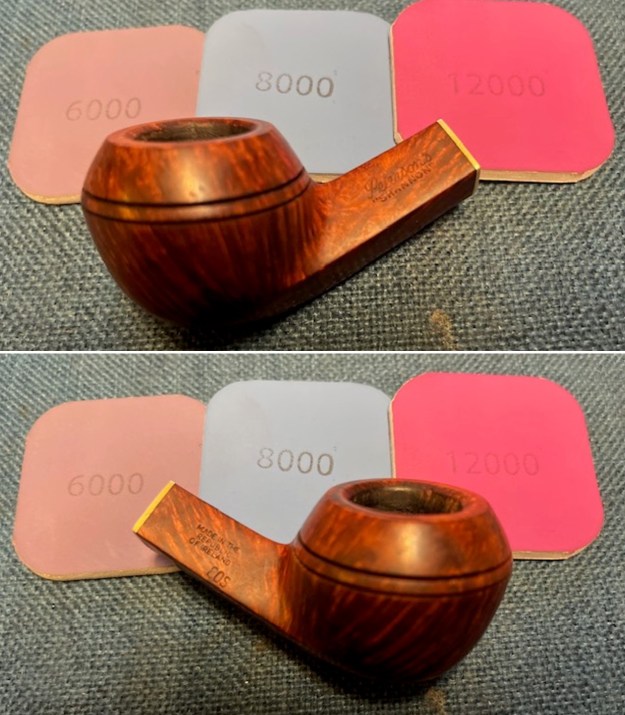
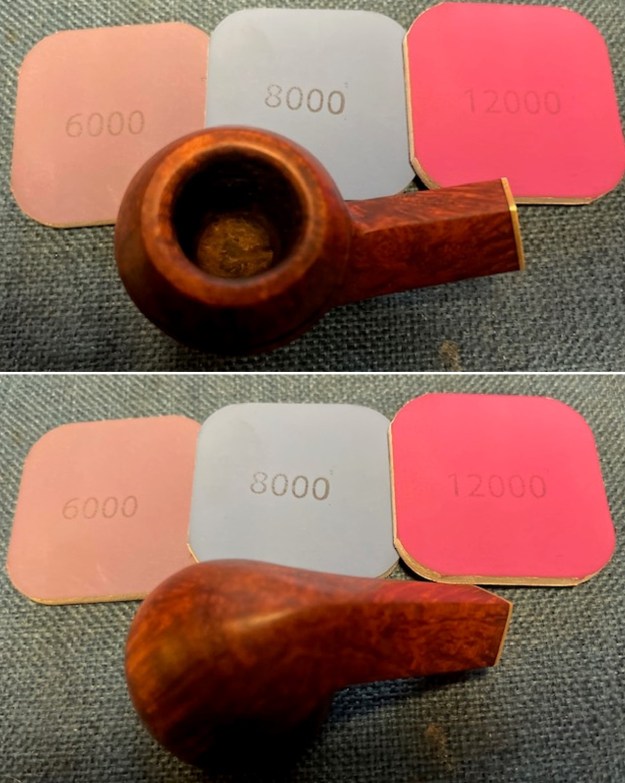
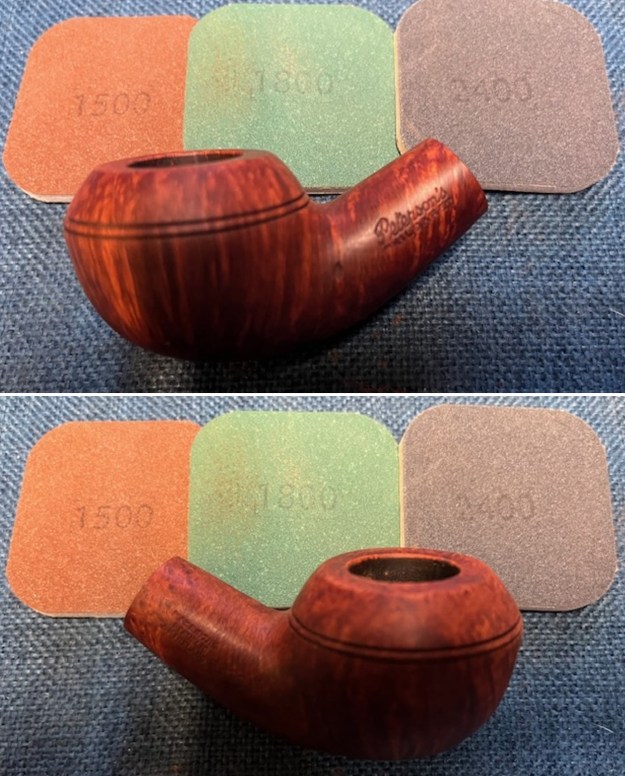
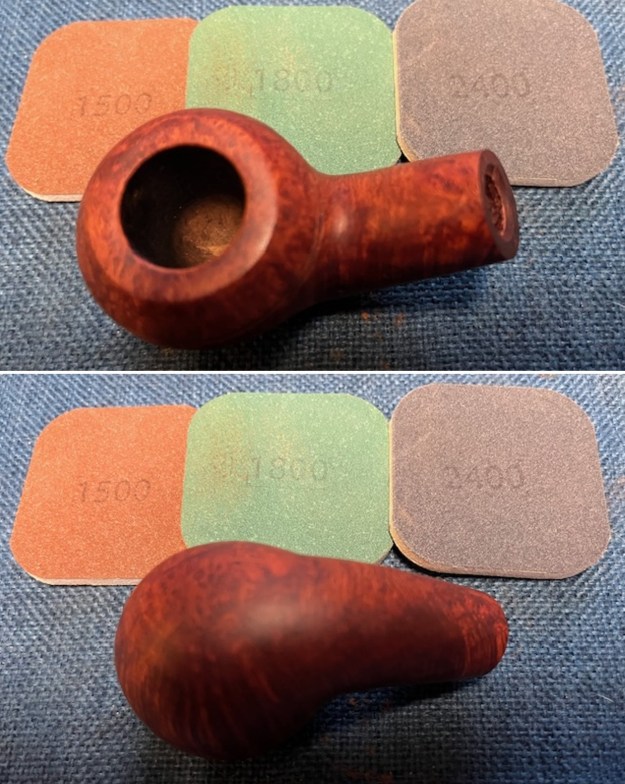
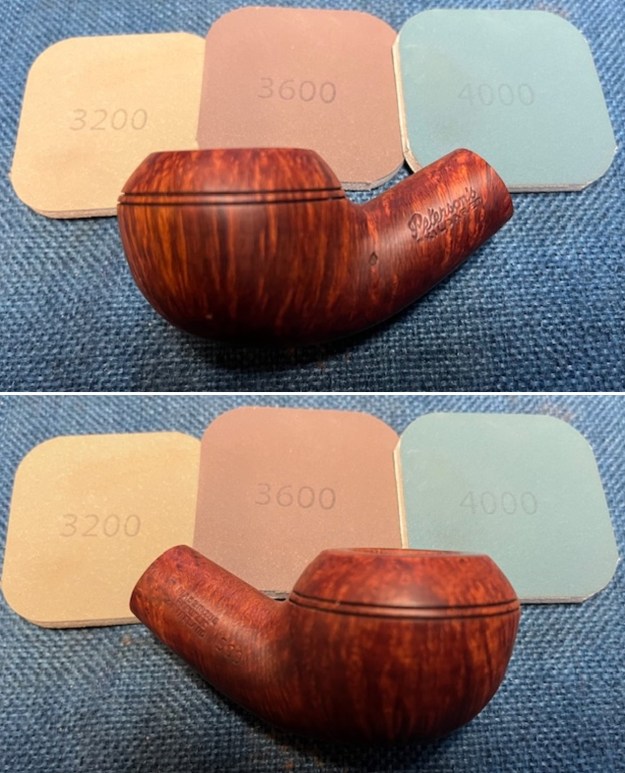
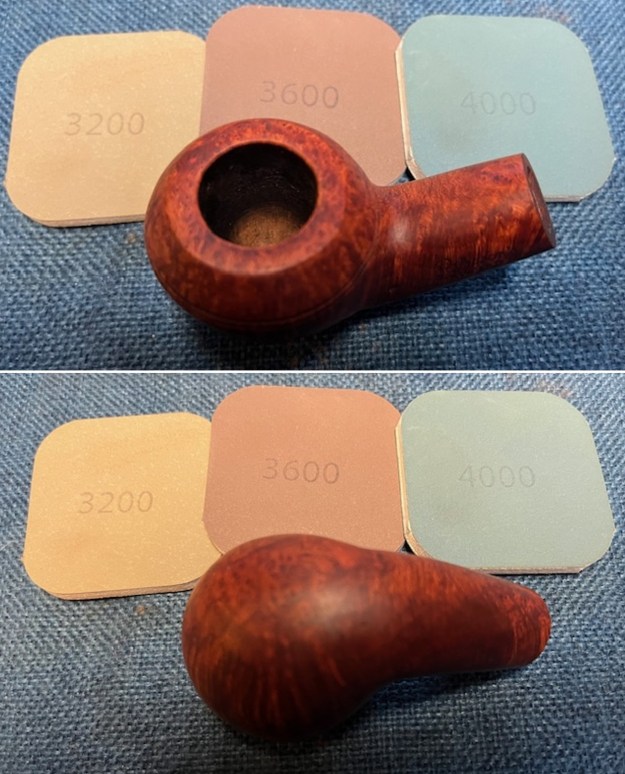
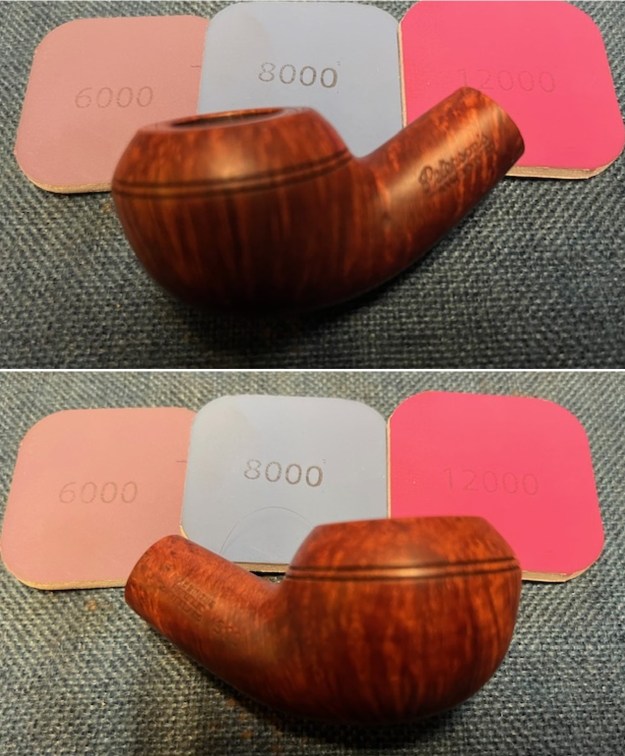
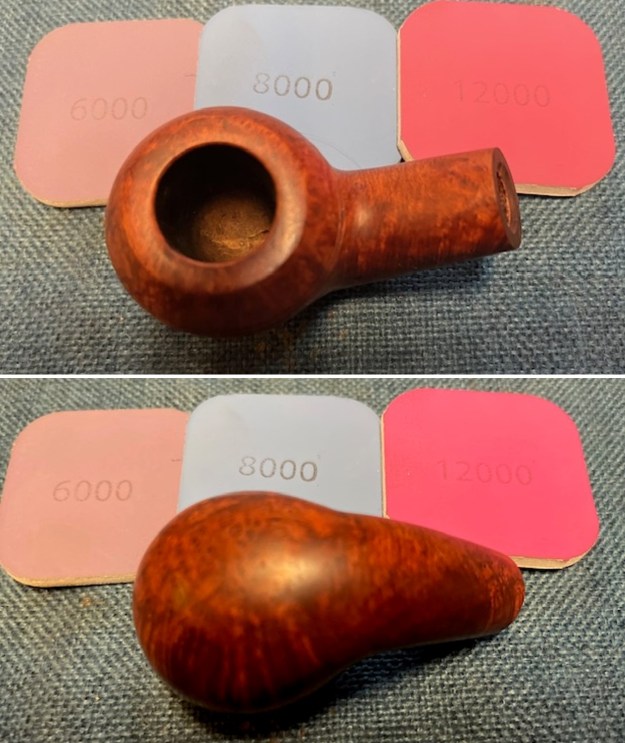
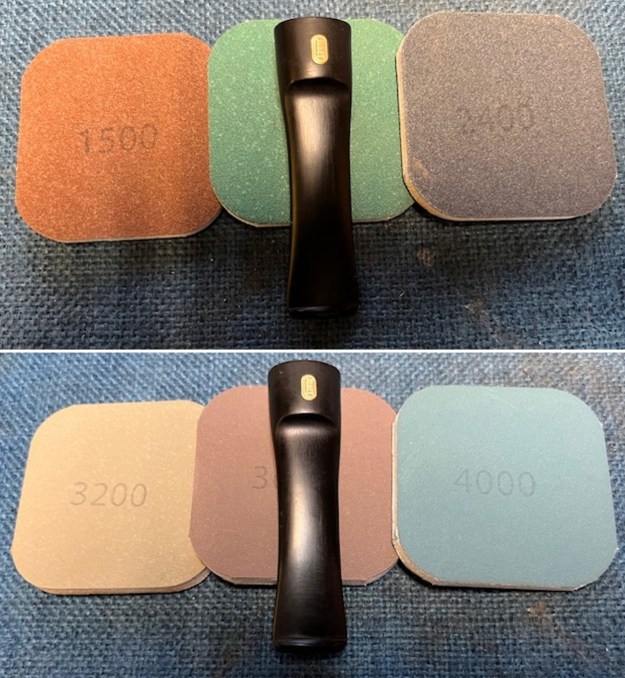
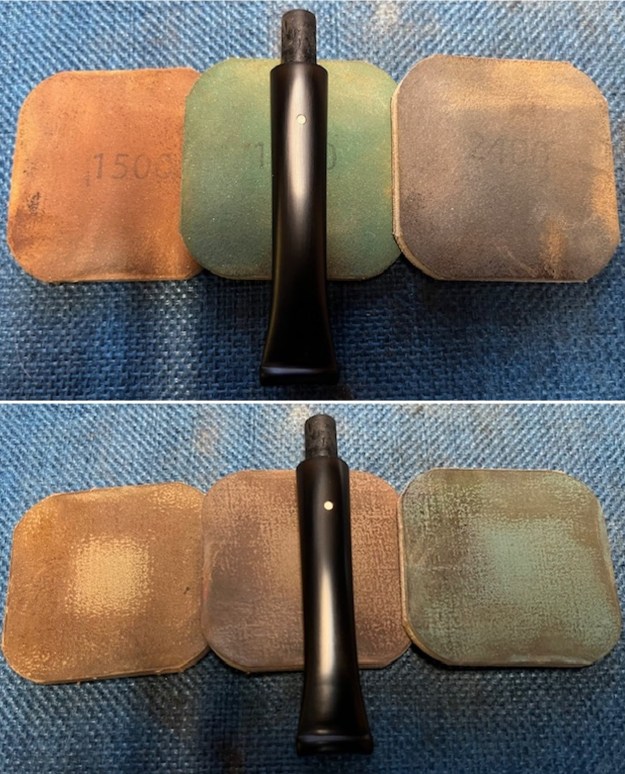
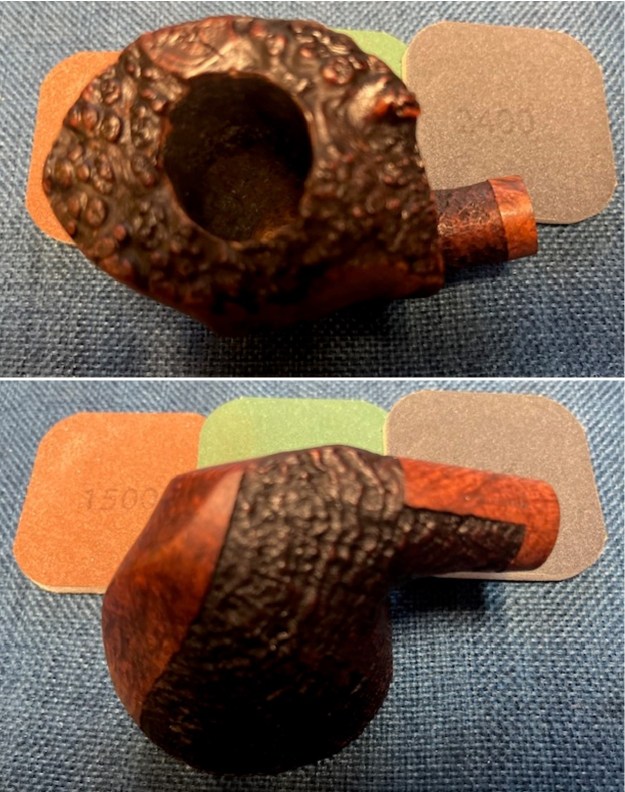
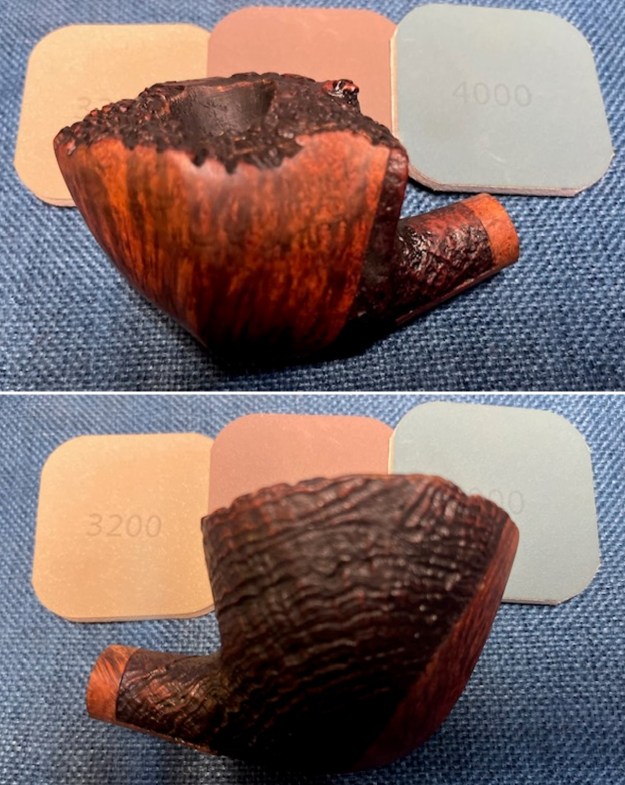
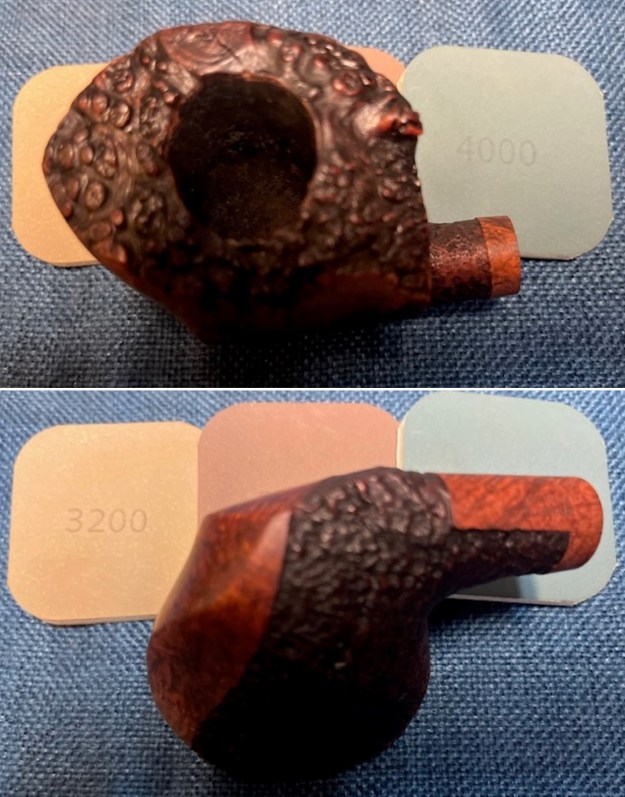
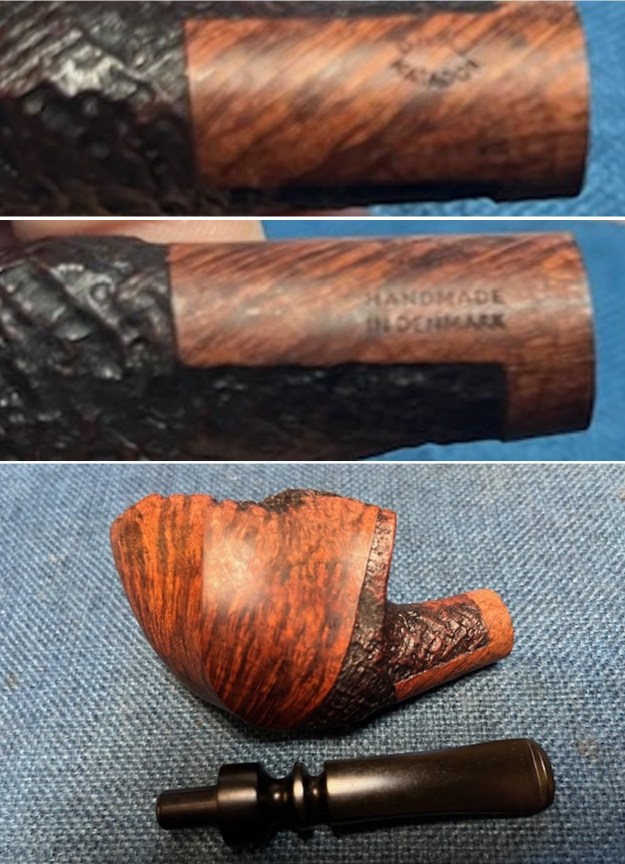 The pipe was in decent condition so I started with the bowl. I polished the smooth portions of the briar with micromesh sanding pads – wet sanding with 1500-12000 grit pads and wiping down the briar after each sanding pad with a damp cloth. The briar began to shine.
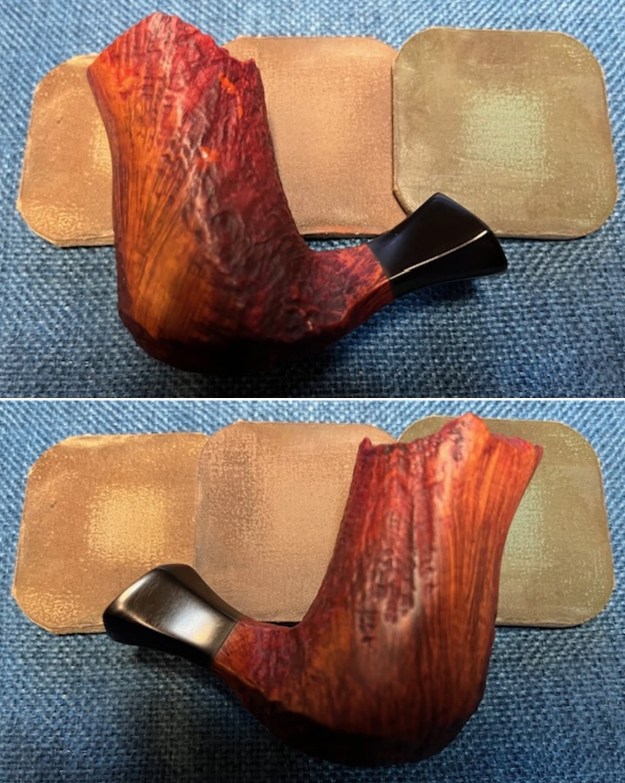
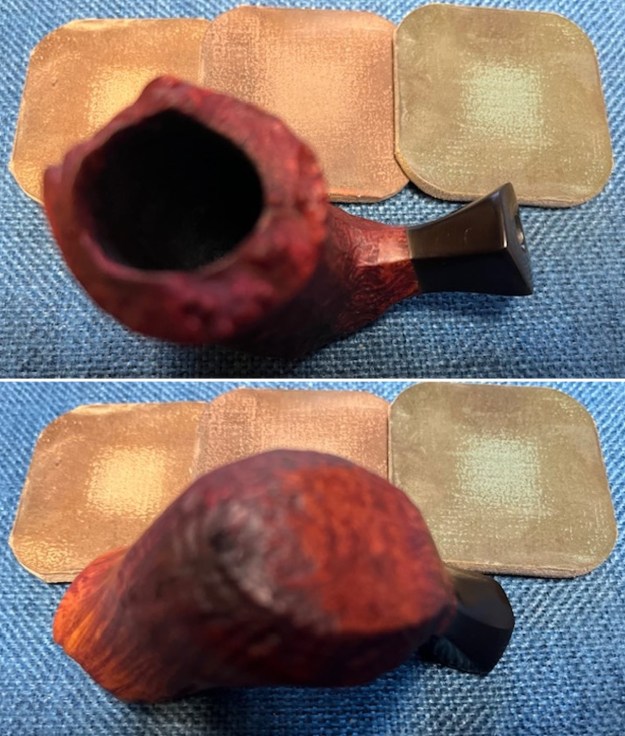
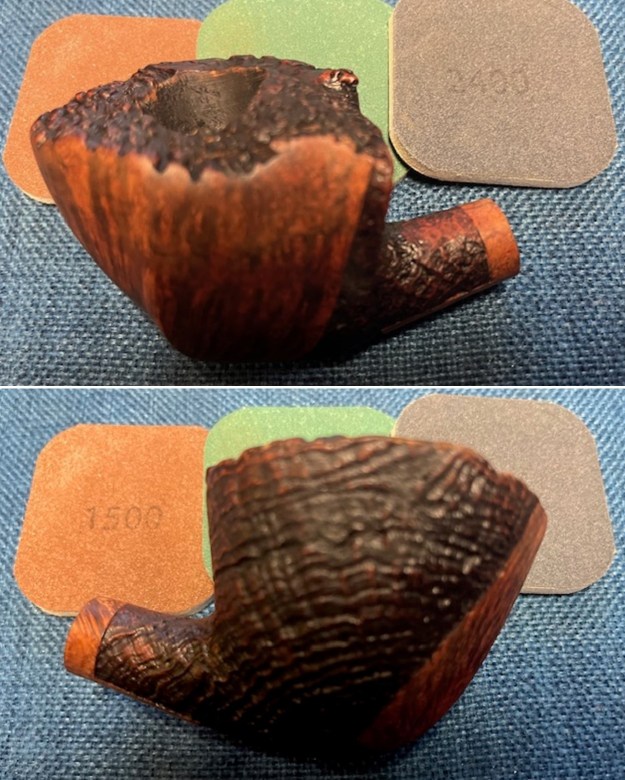
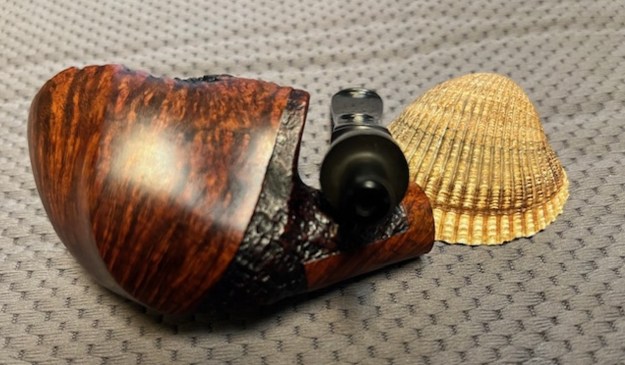
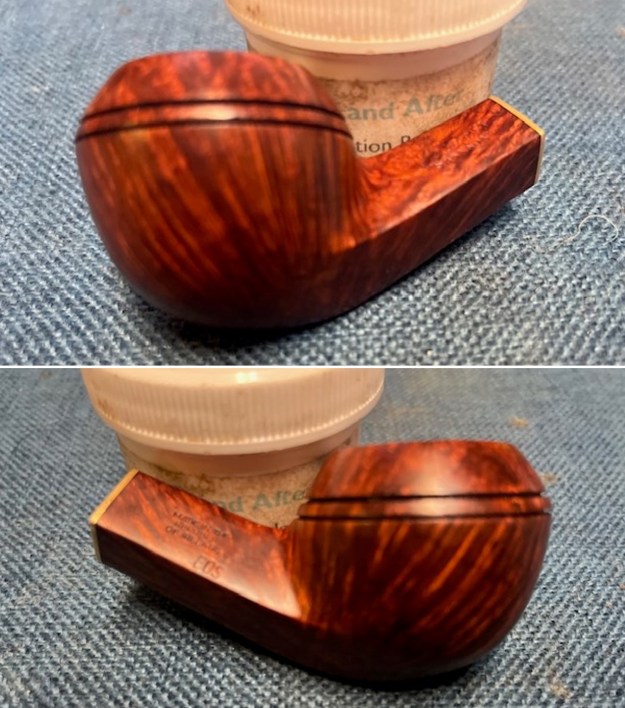
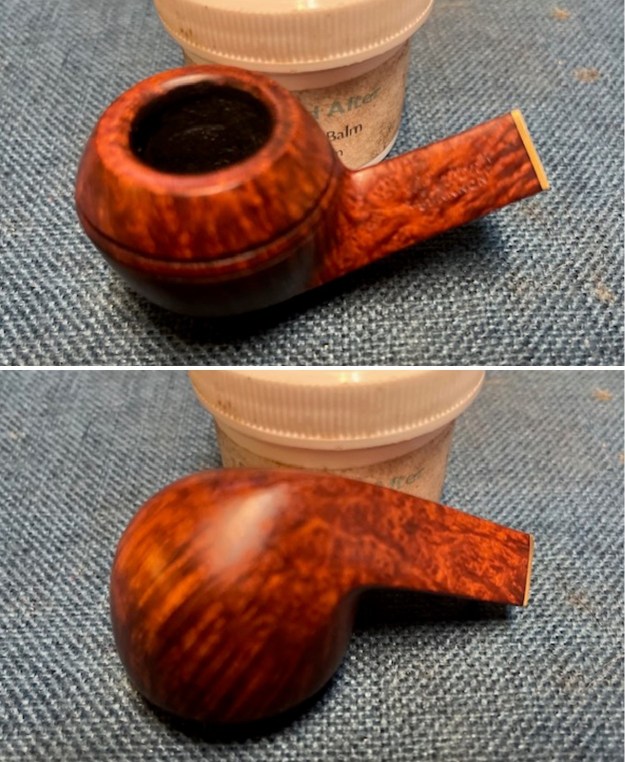
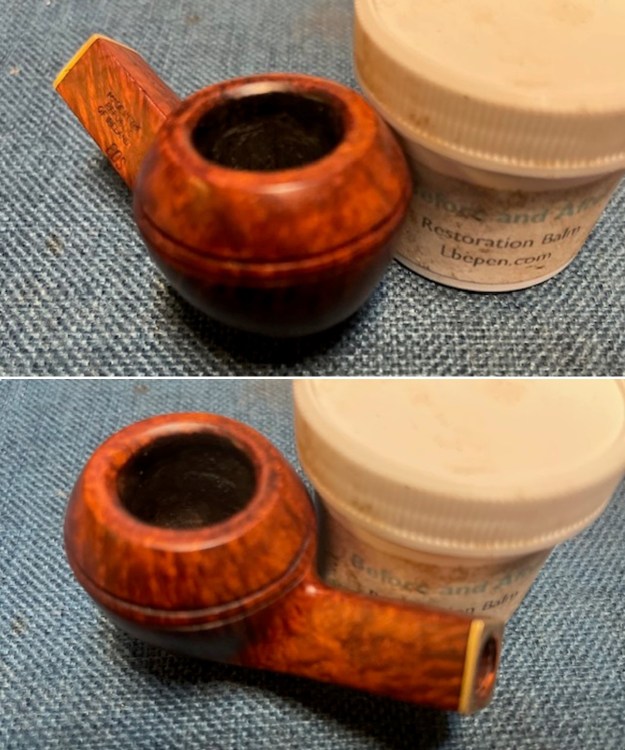
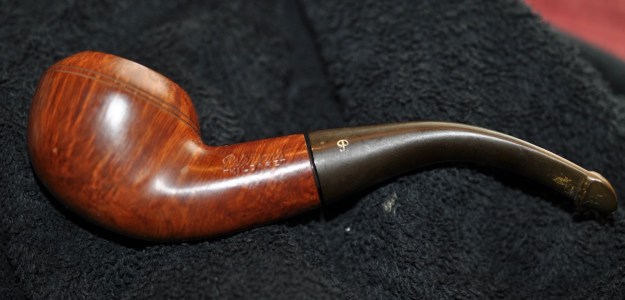
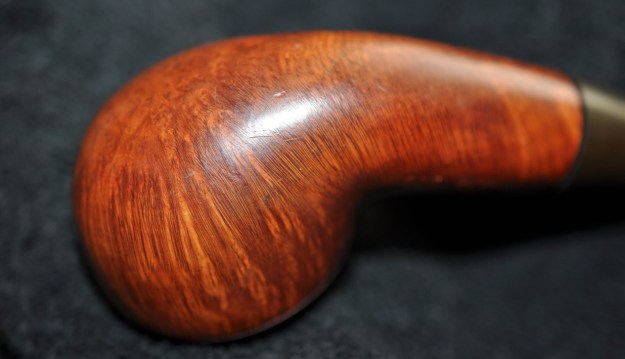
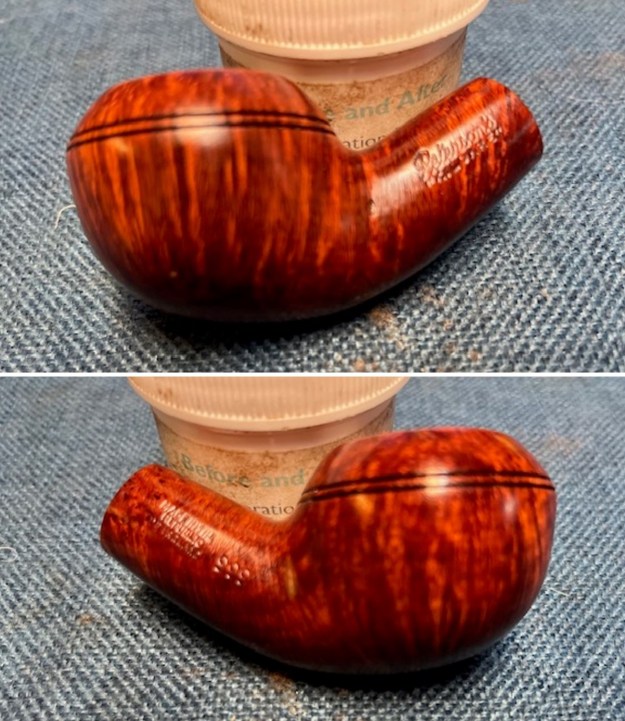
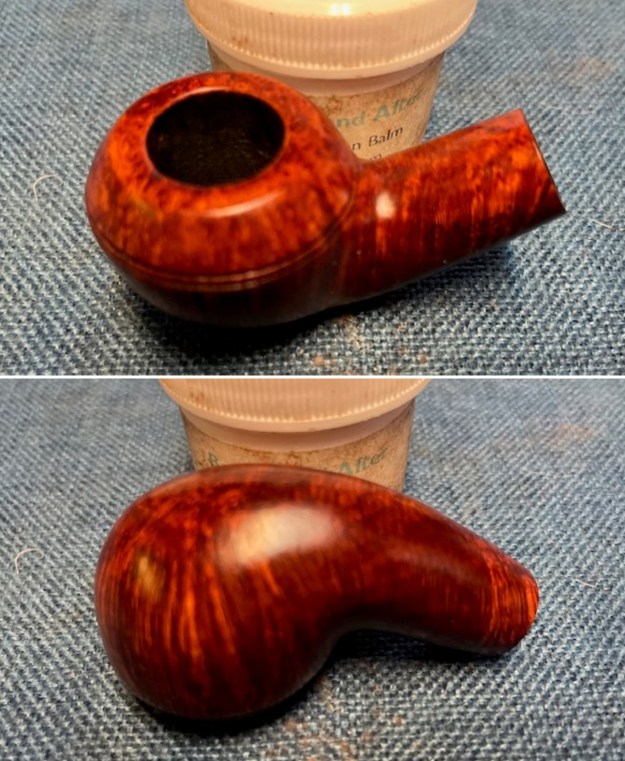
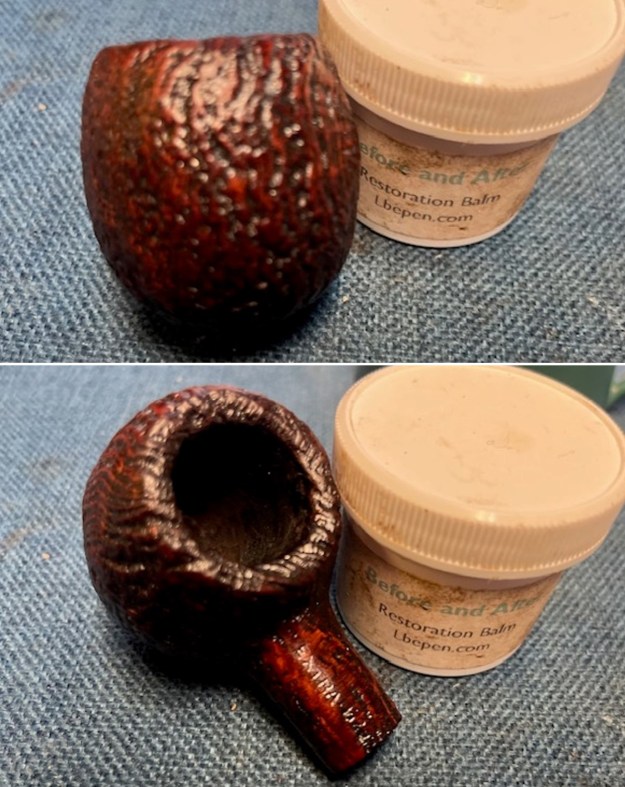
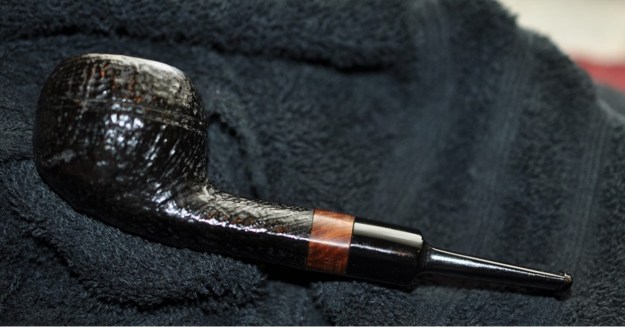
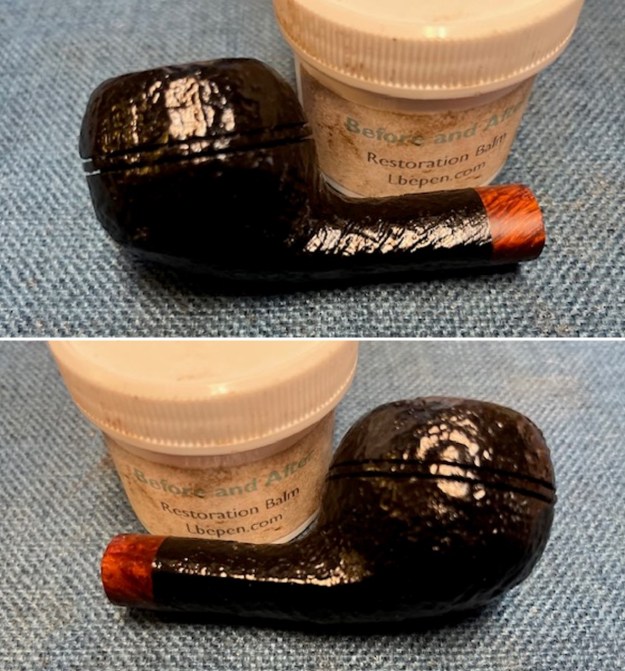
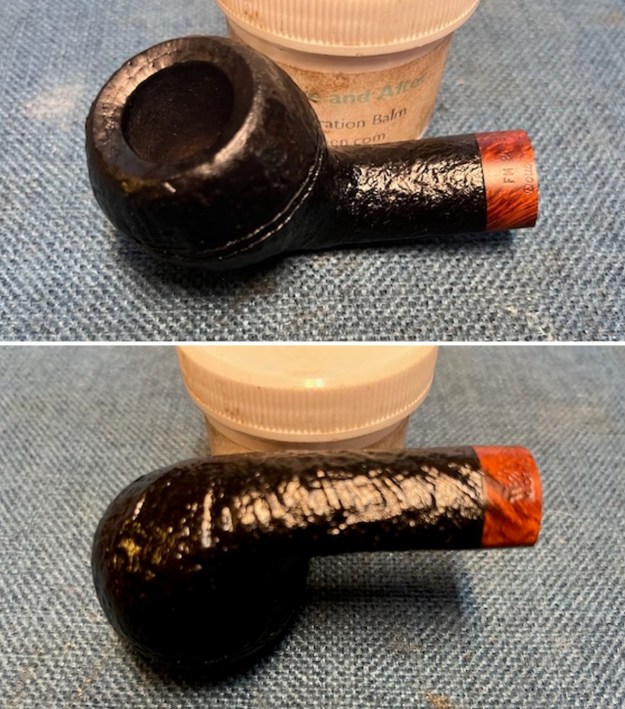
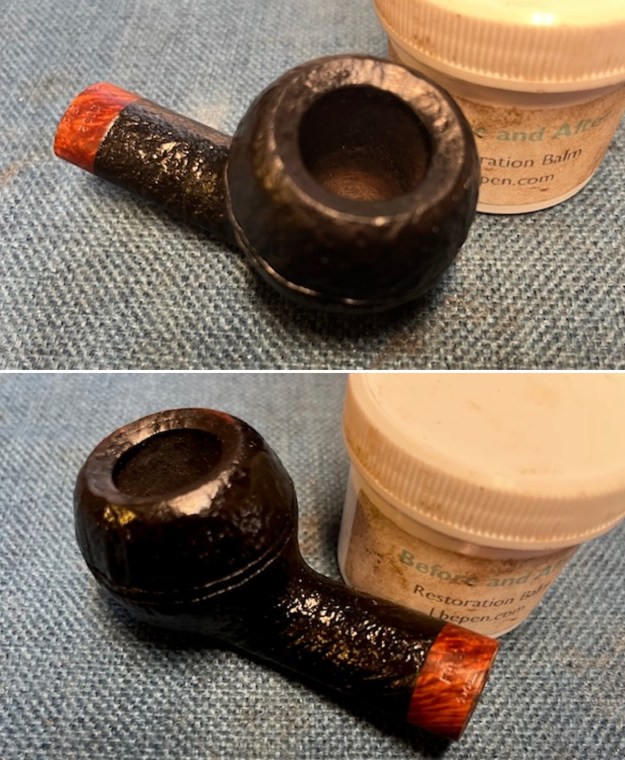
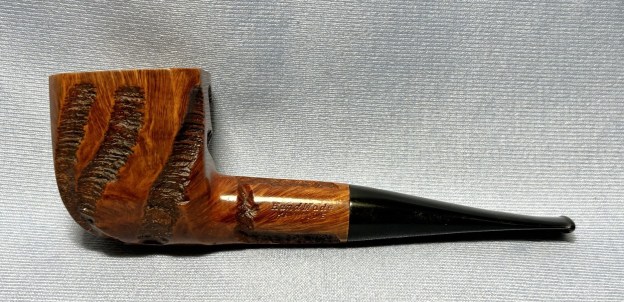
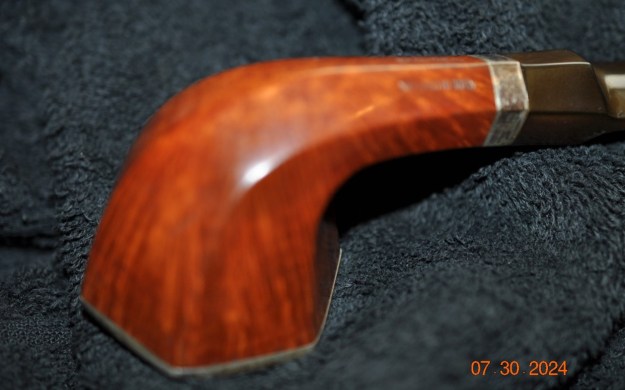
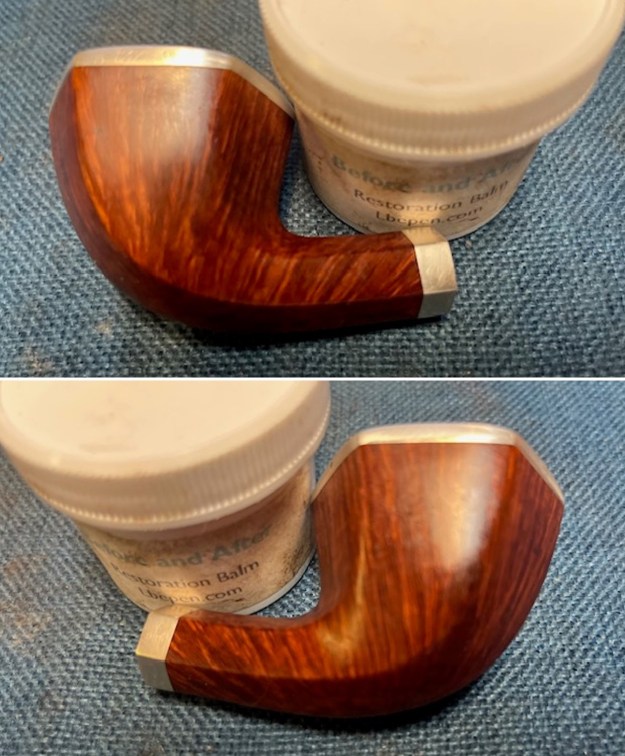
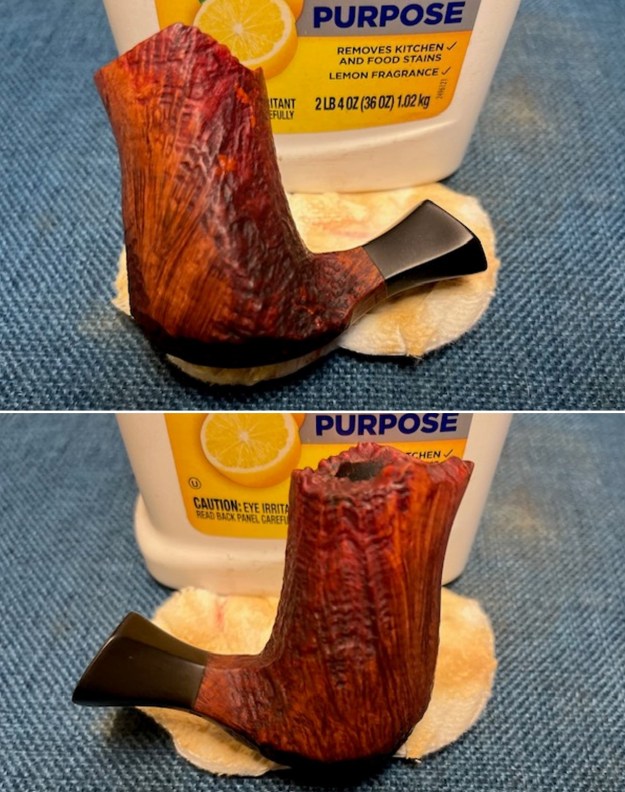
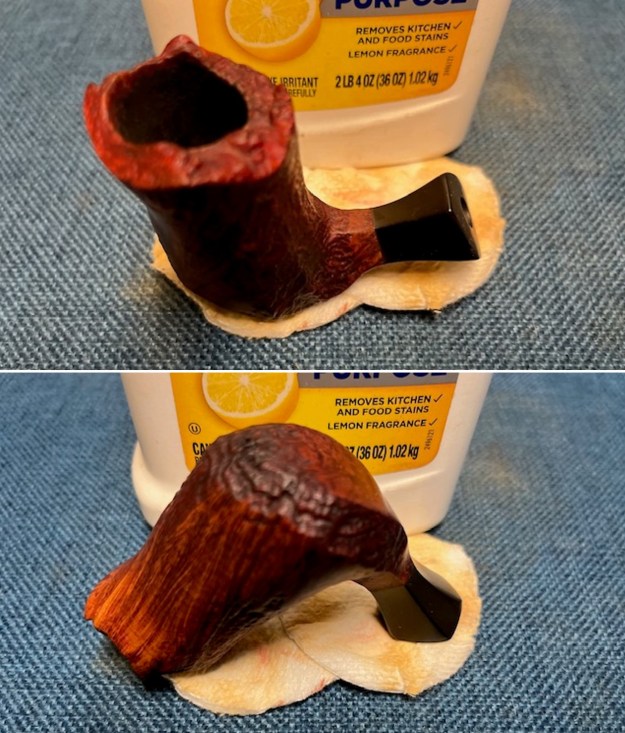
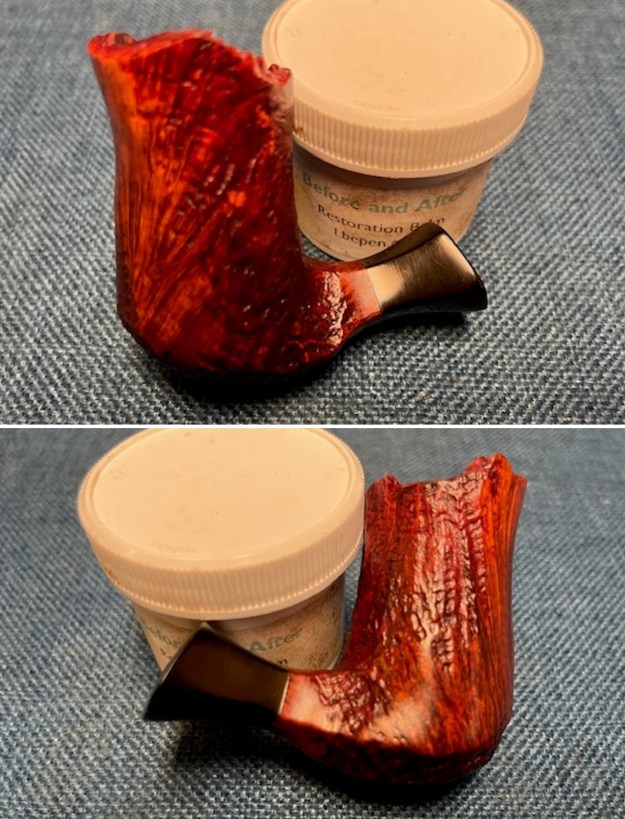
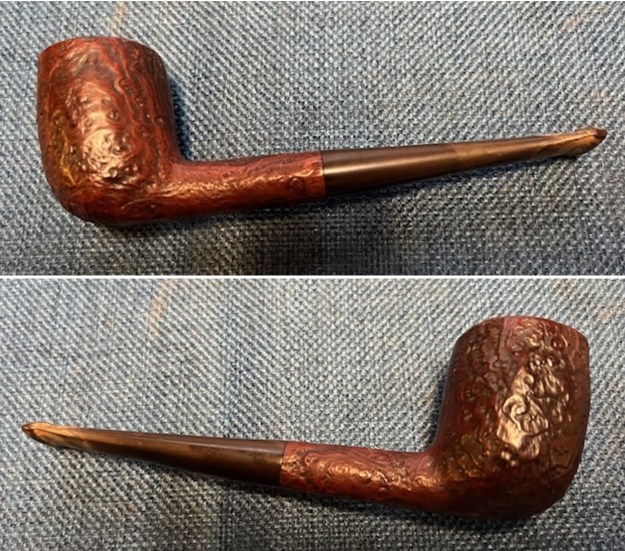
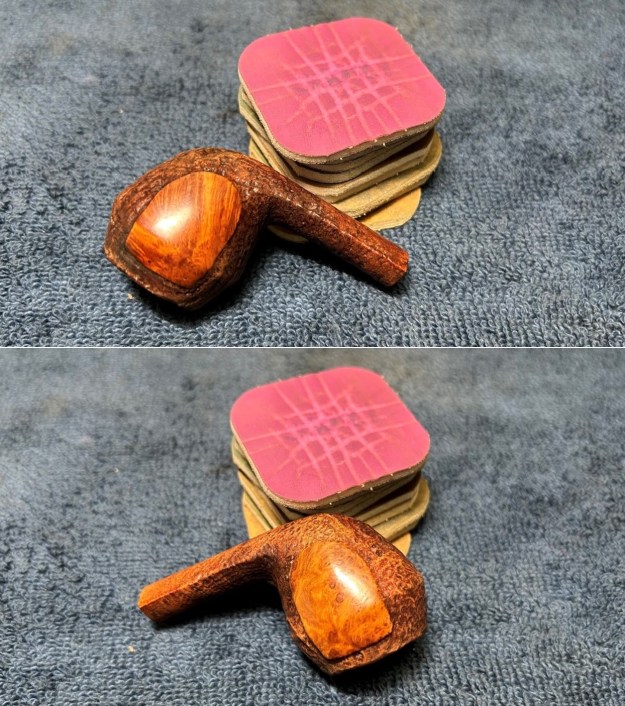
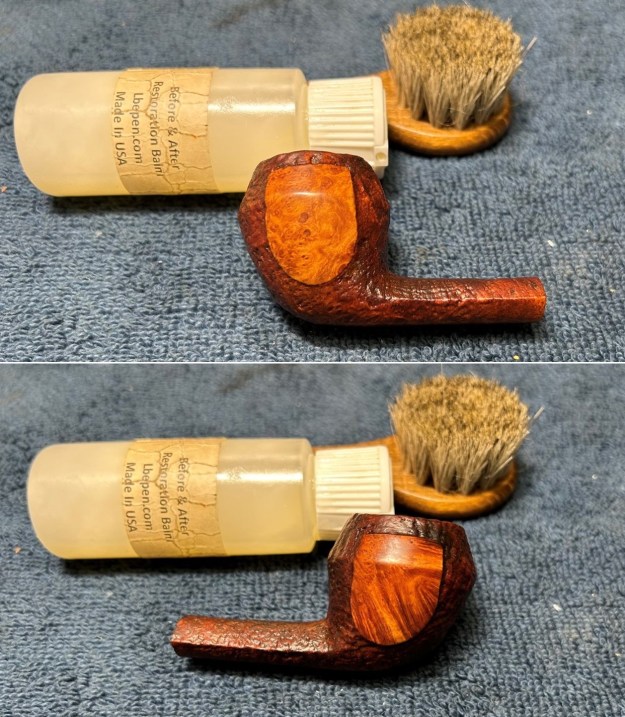
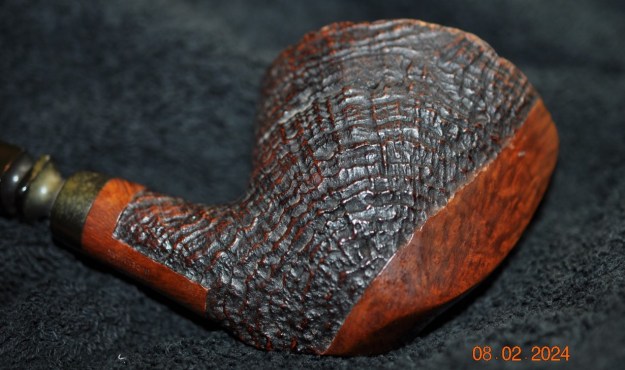
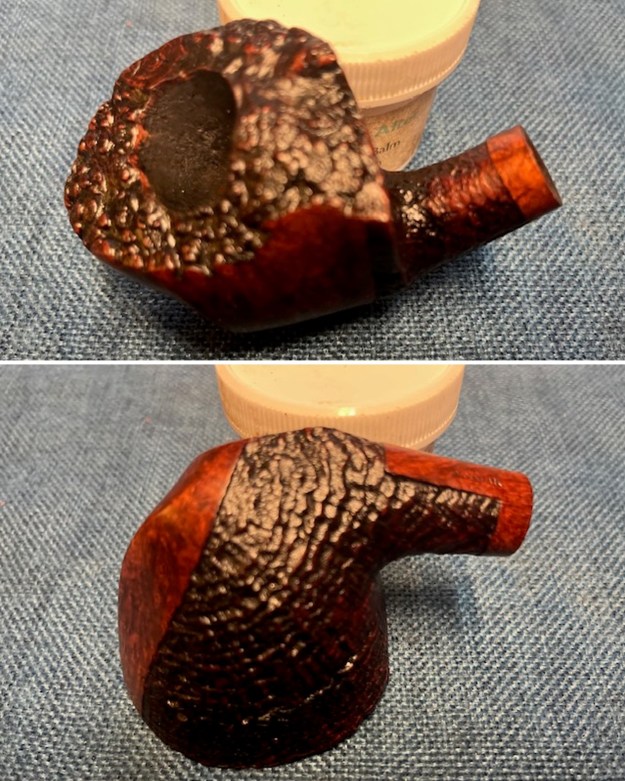
 I worked some Before & After Restoration Balm into the smooth briar with my fingertips and the plateau and sandblasted side with a horsehair shoe brush. It enlivens, enriches and protects the briar while giving it a deep glow. I appreciate Mark Hoover’s work in developing this product. I buffed the pipe with a micro fiber cloth to raise the shine and took photos of it at this point it the process. It is a beautiful looking pipe.
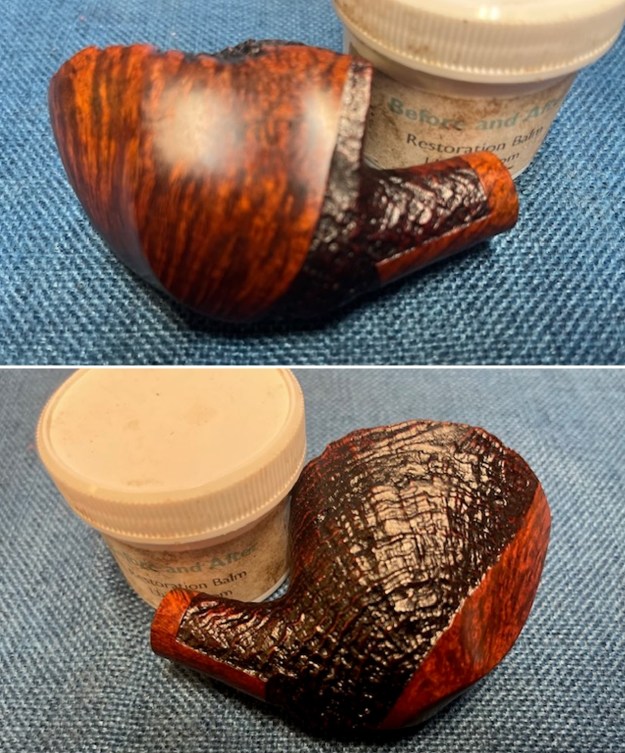
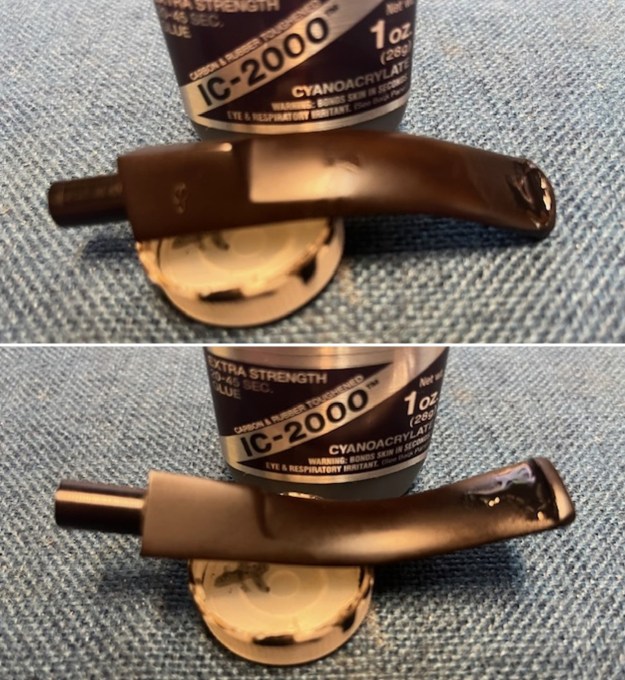
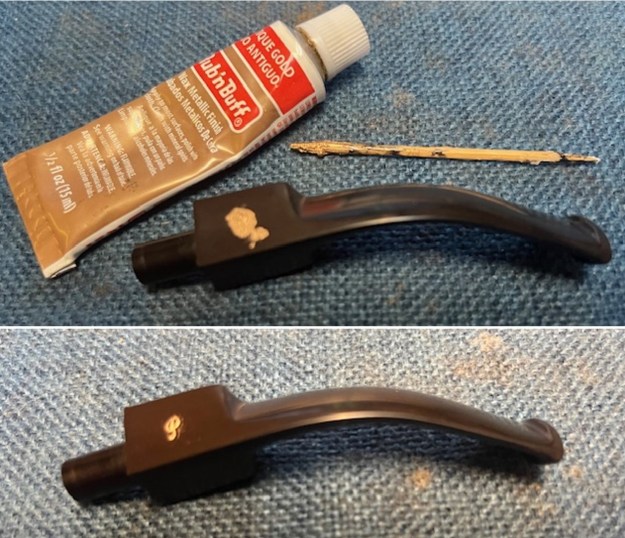
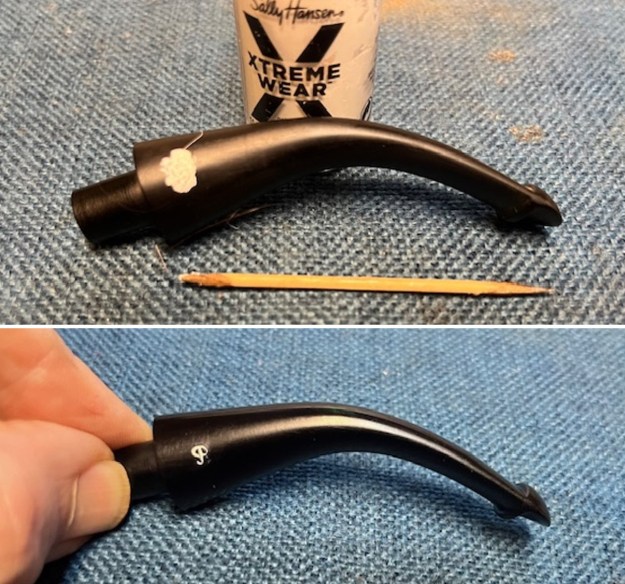
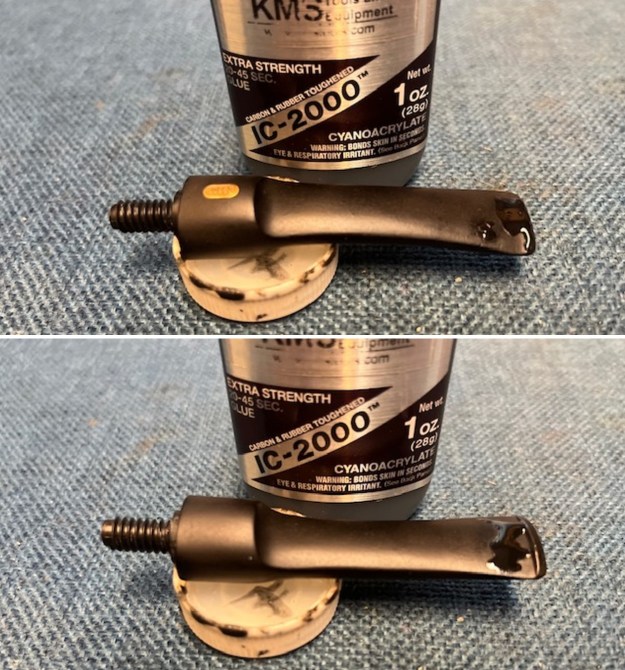
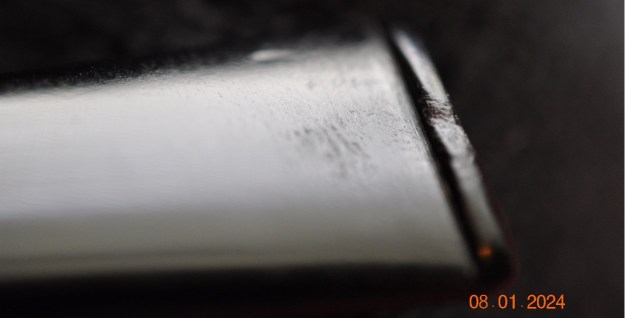
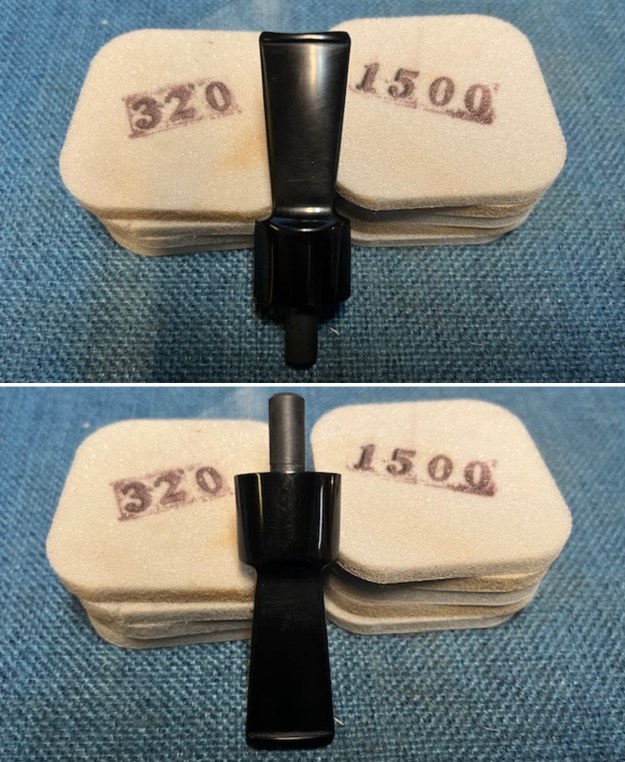
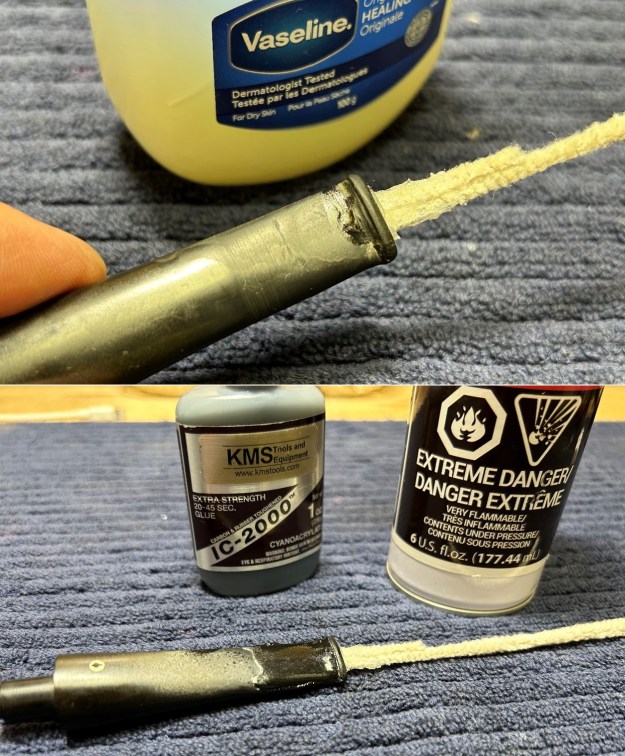
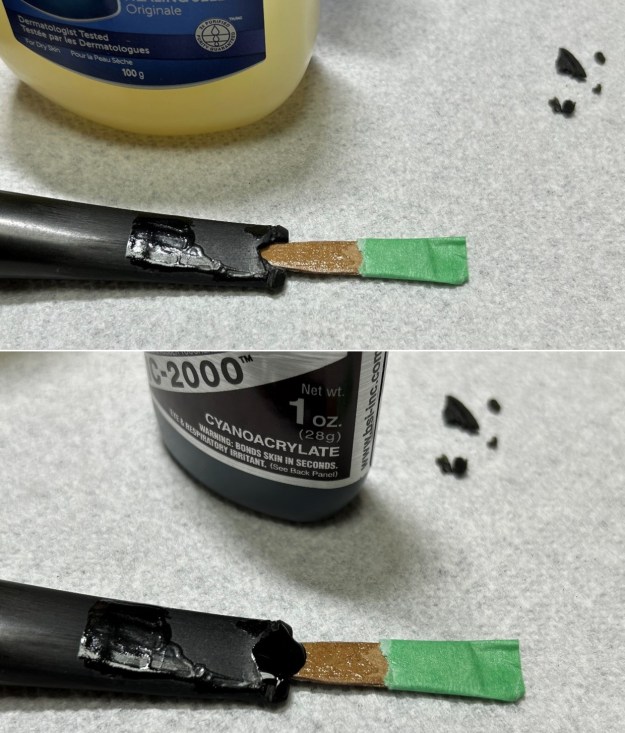
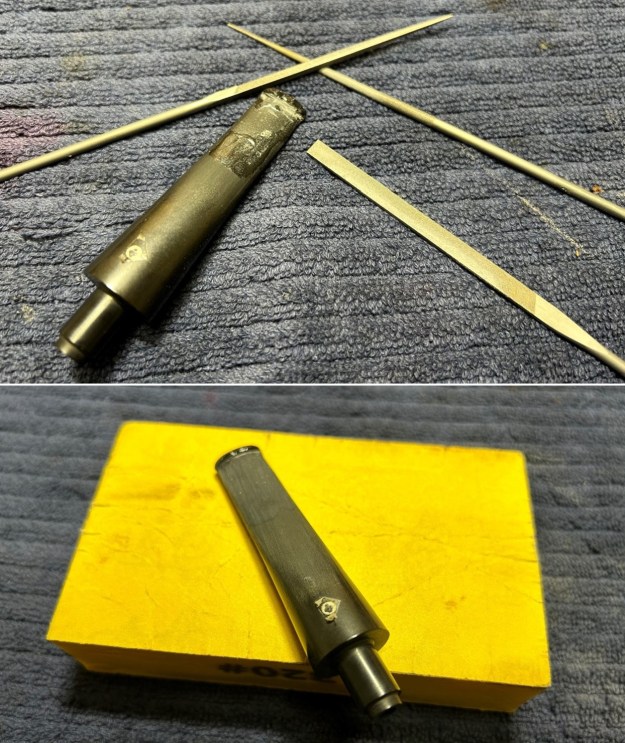
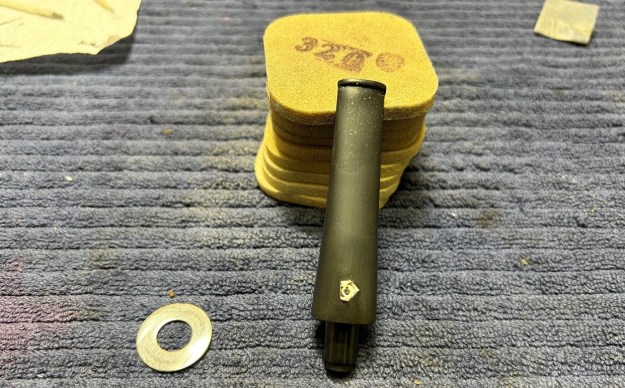
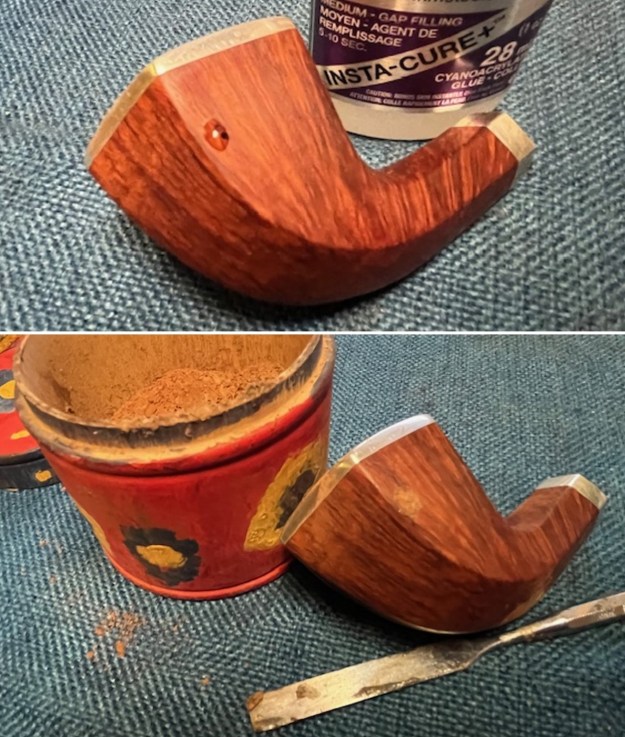
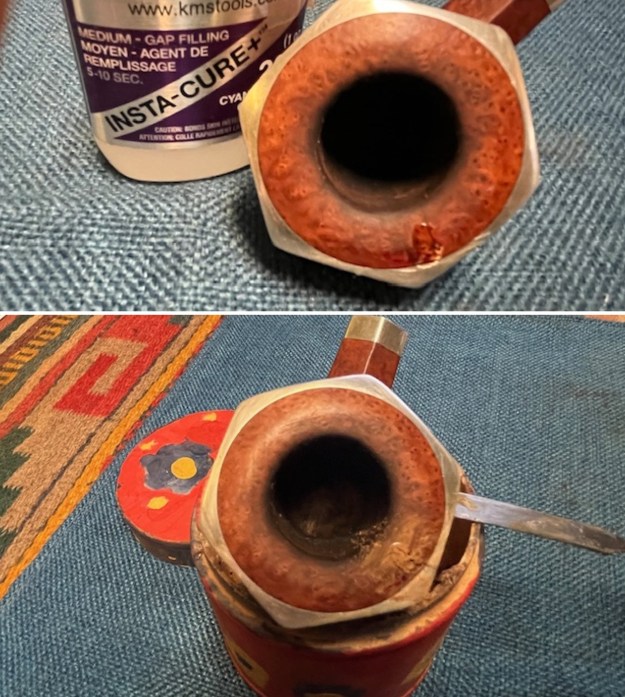
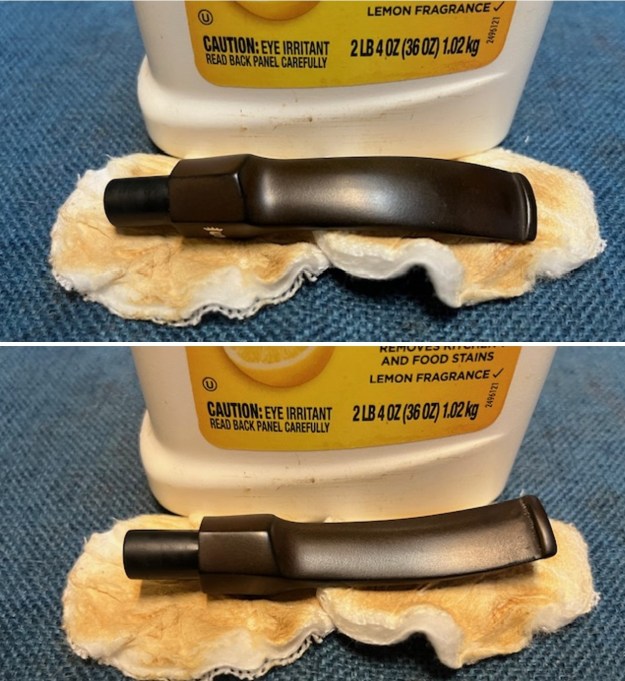
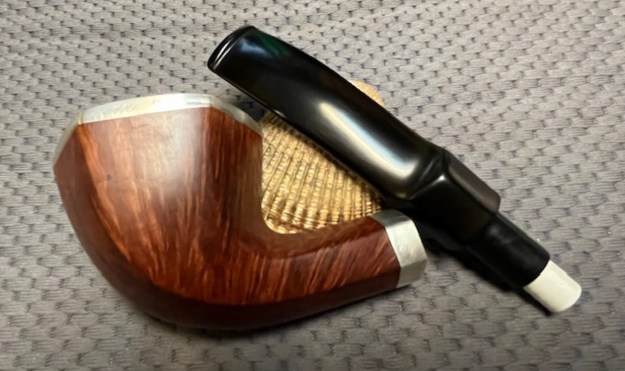
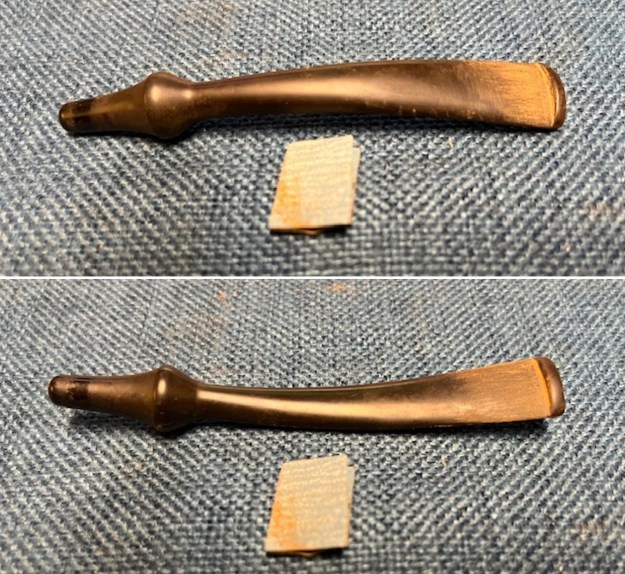
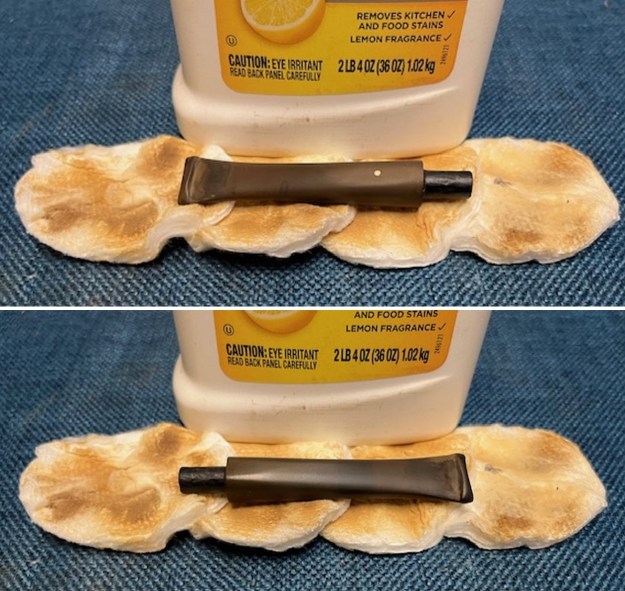
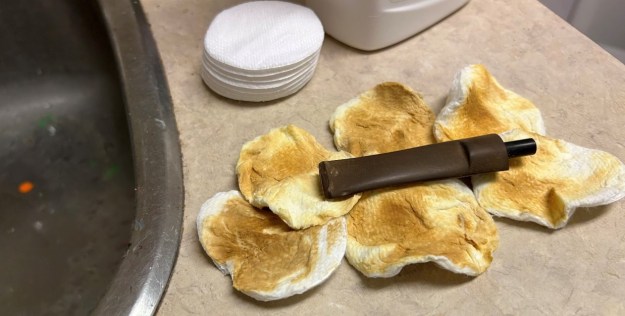
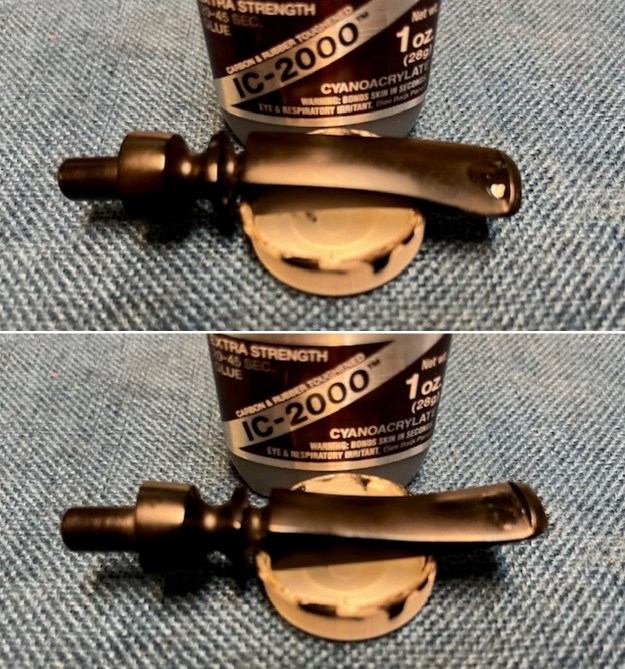
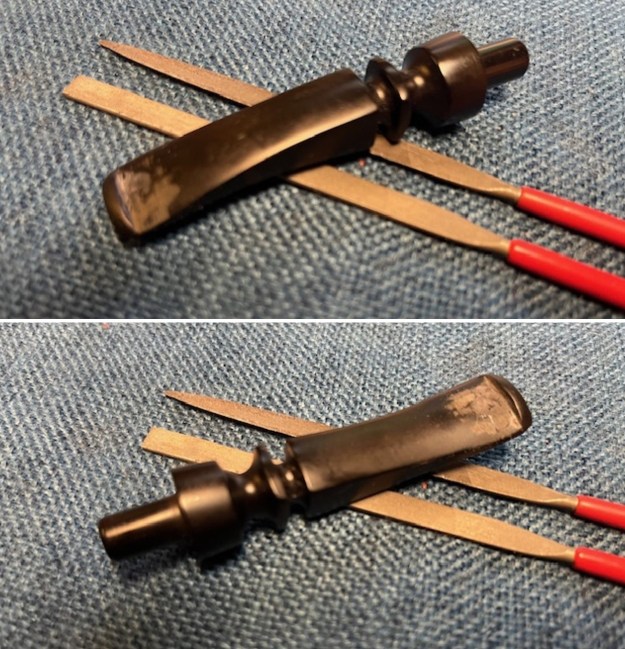
 I set the bowl aside and turned my attention to the stem. I “painted” the vulcanite surface with the flame of a lighter – constantly moving the flame over the tooth marks and was able to lift many of them. I filled in the deeper center tooth marks that remained with black rubberized CA glue. Once it cured I flattened the repairs with needle files. I sanded the stem with 220 grit sandpaper to blend the repairs into the surface.
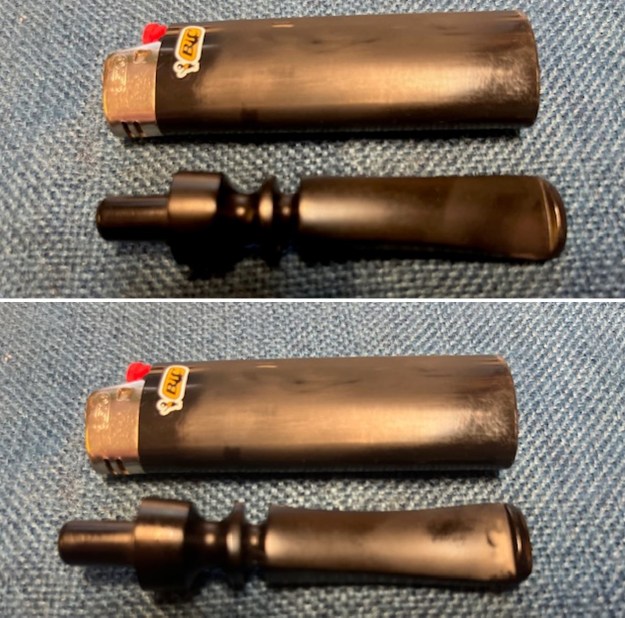
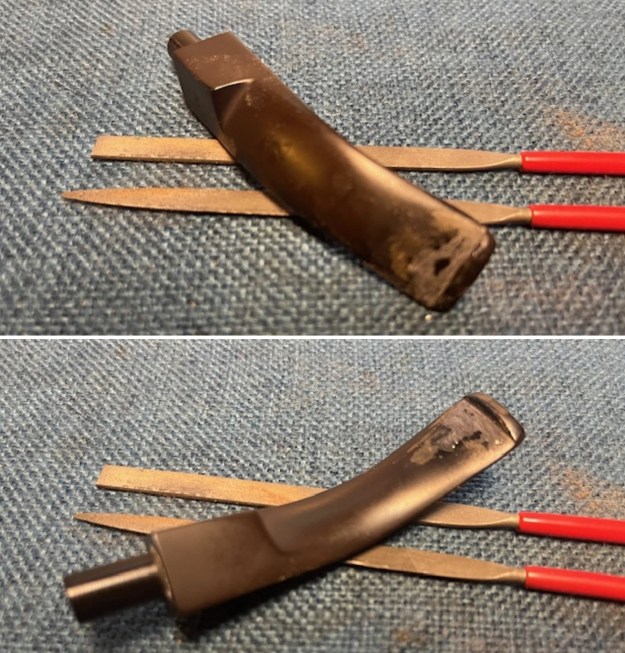
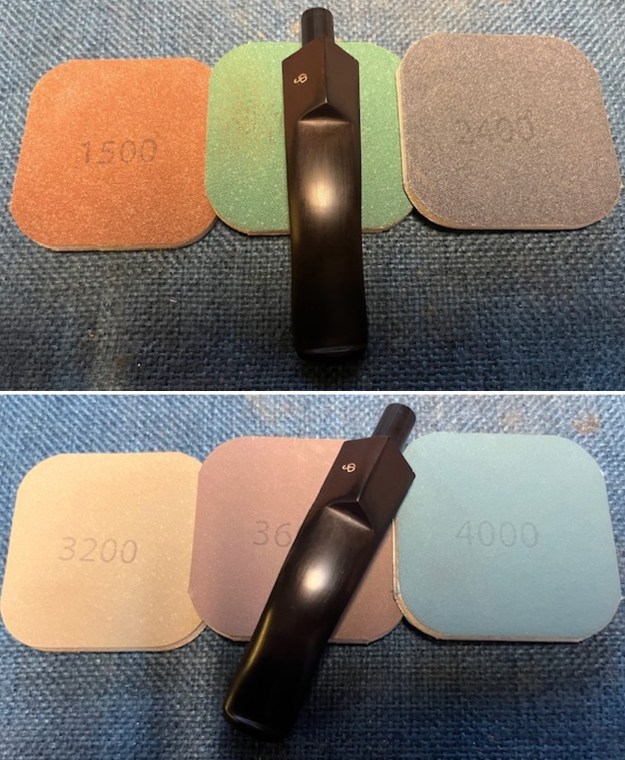
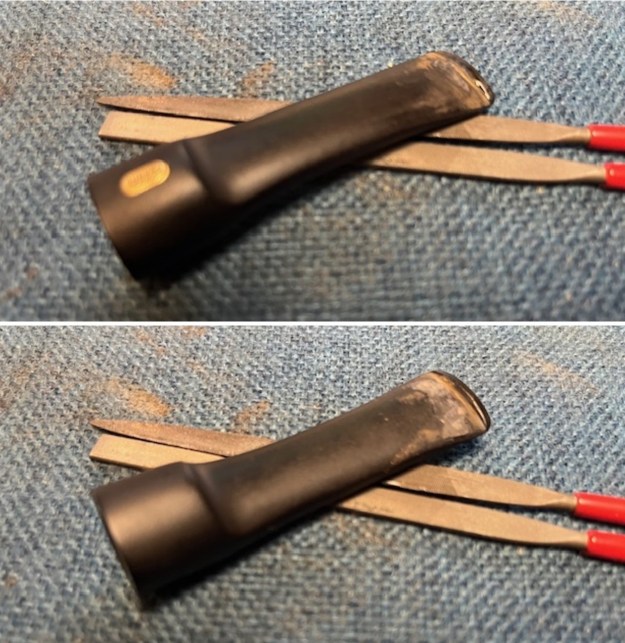
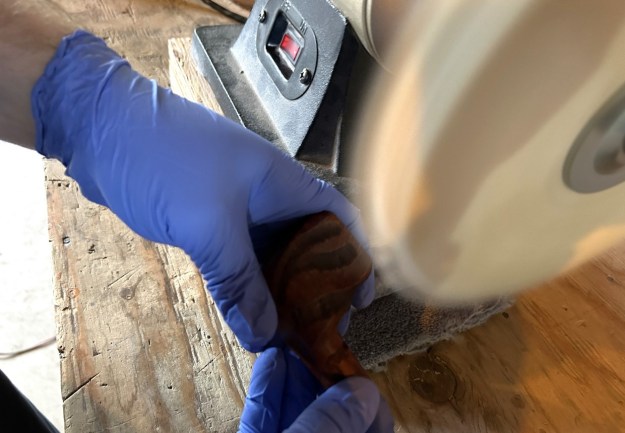
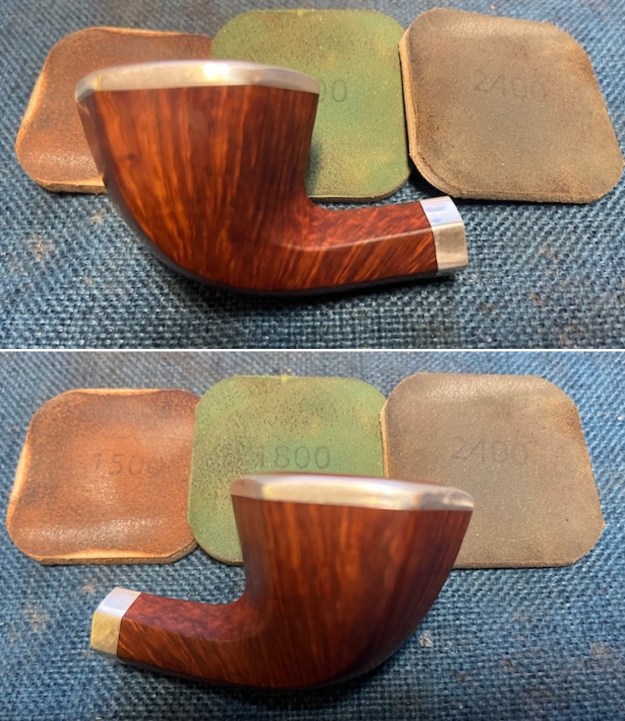
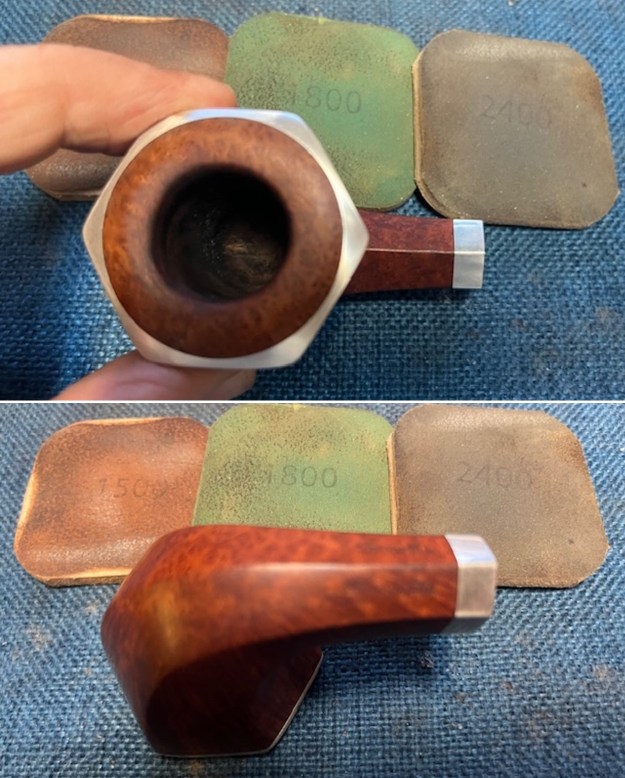
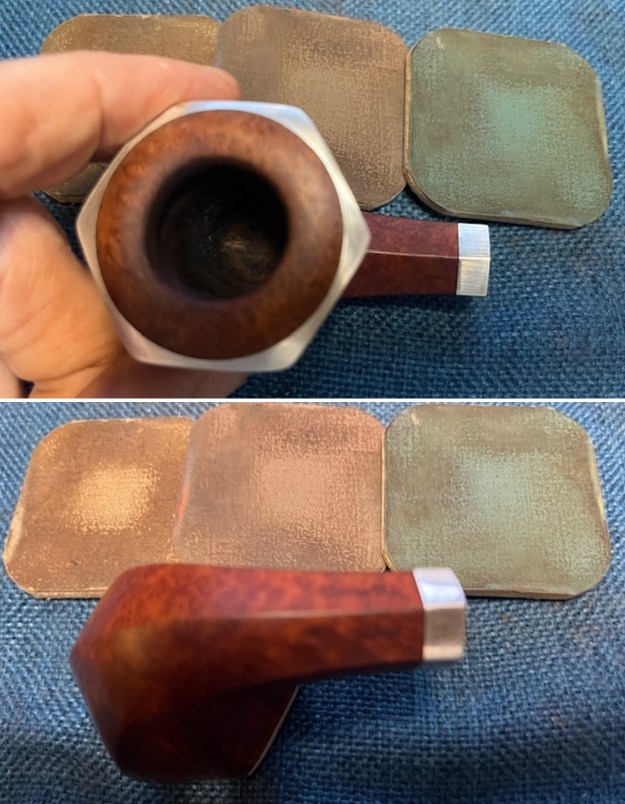
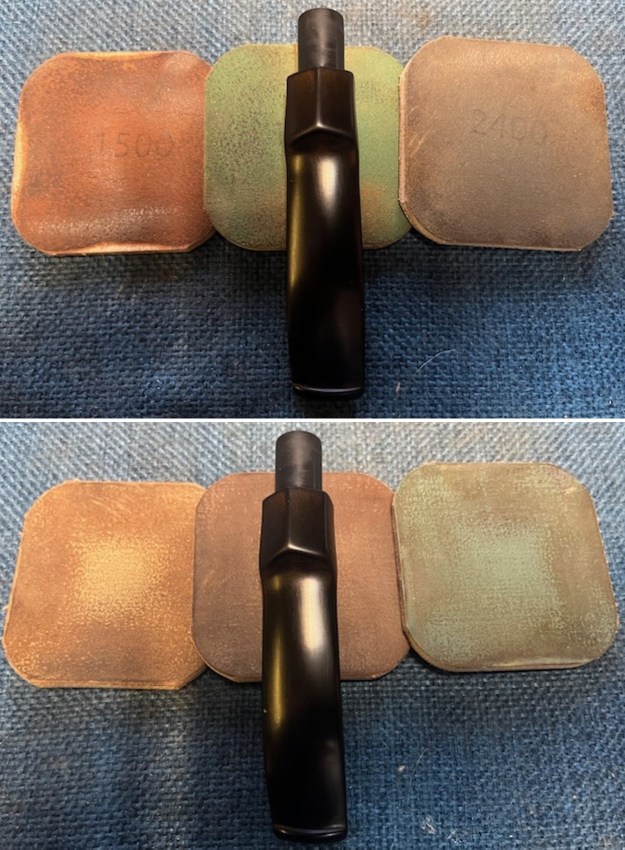
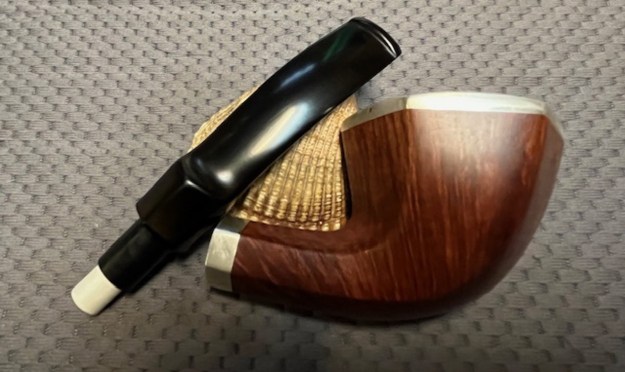
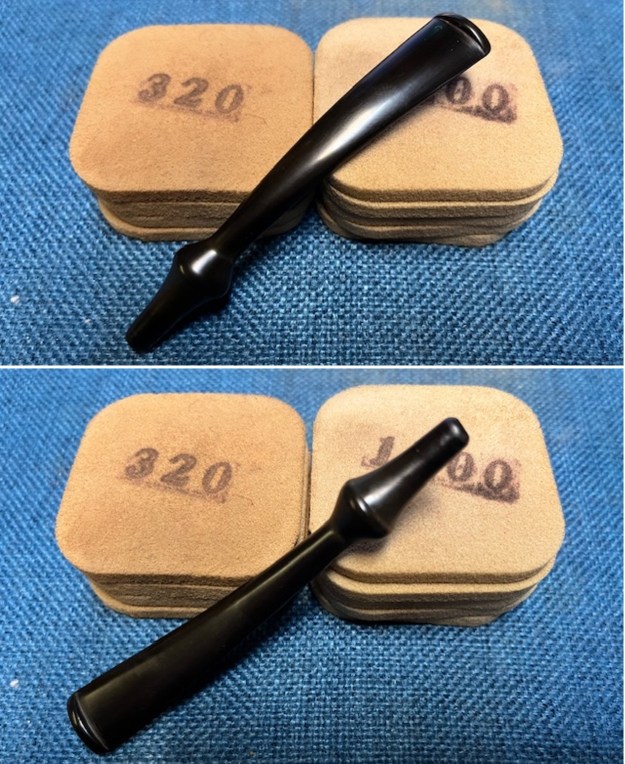
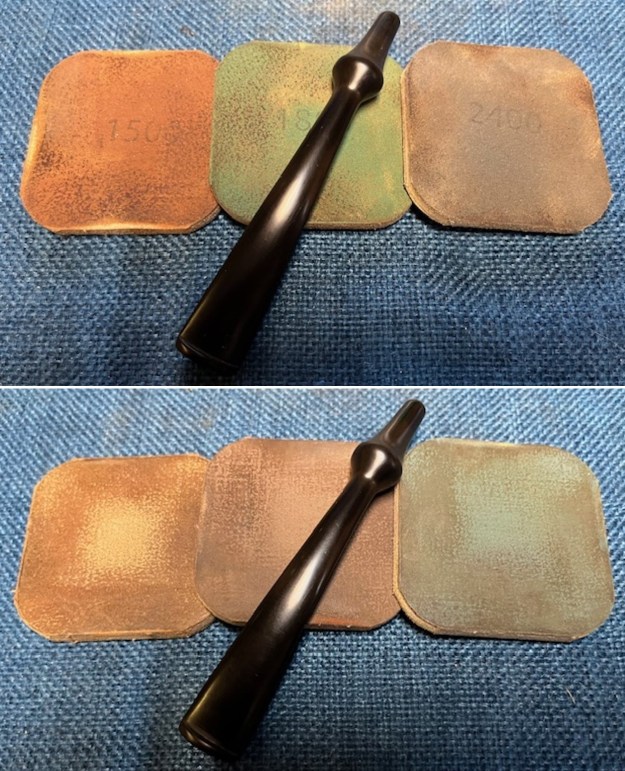
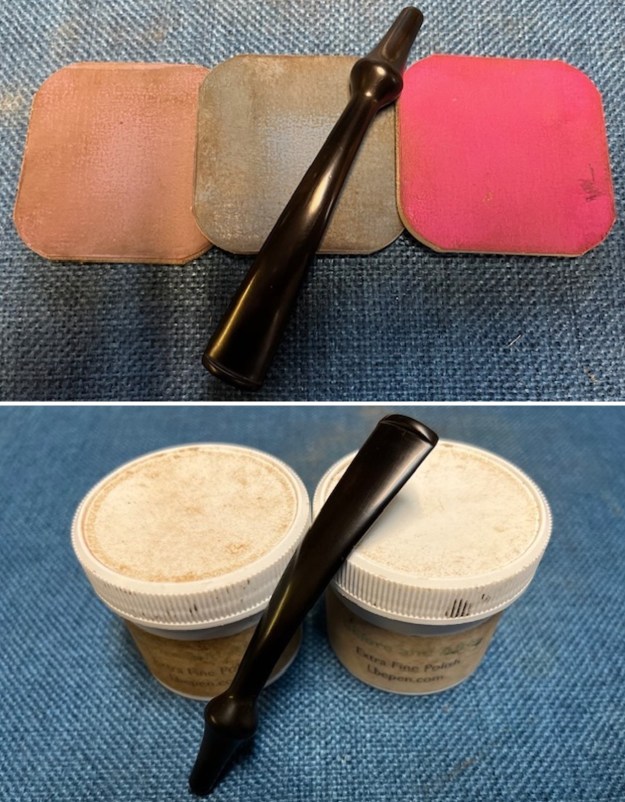
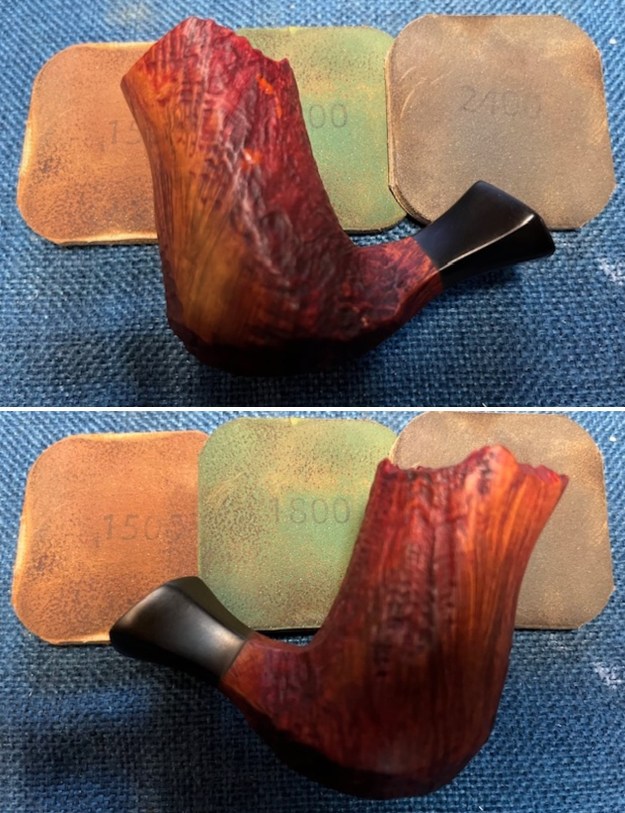
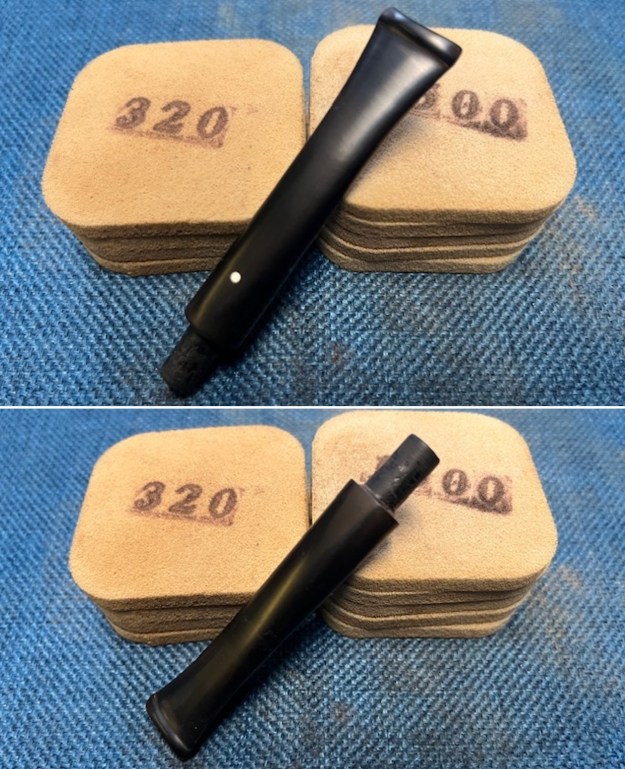
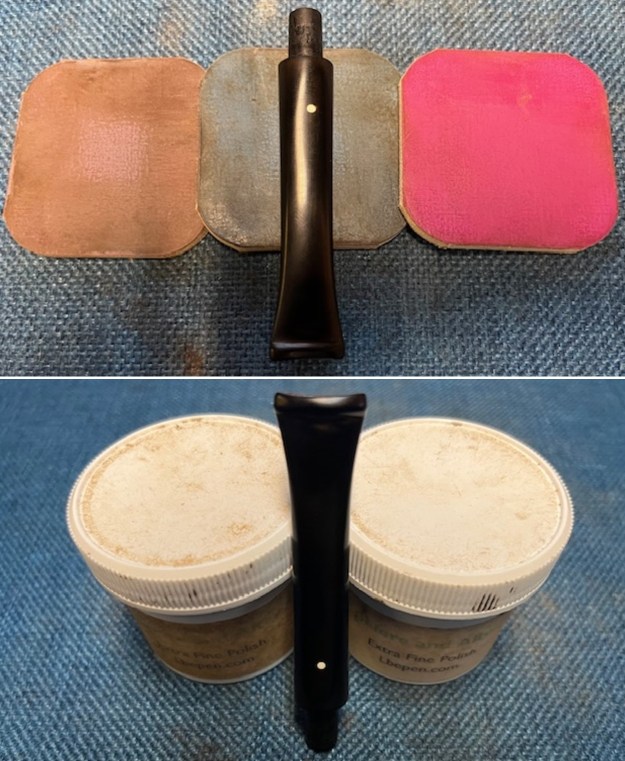
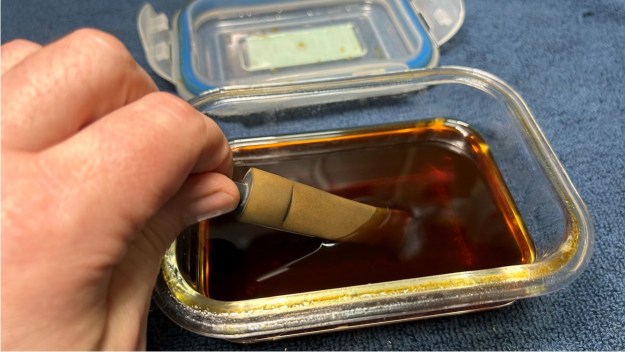
 I sanded the stem with the 2 inch square 320-3500 grit sanding pads. I wiped down the stem after each sanding pad with Obsidian Oil. I polished out the scratch marks left behind by the sandpaper. The stem looked very good.
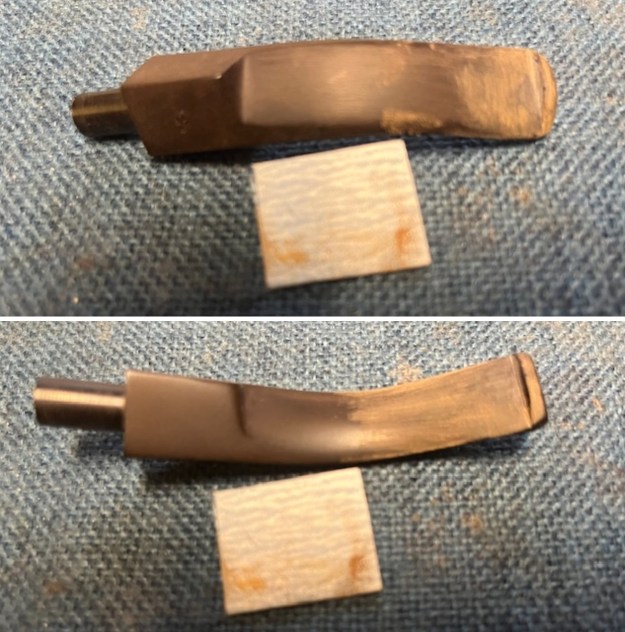
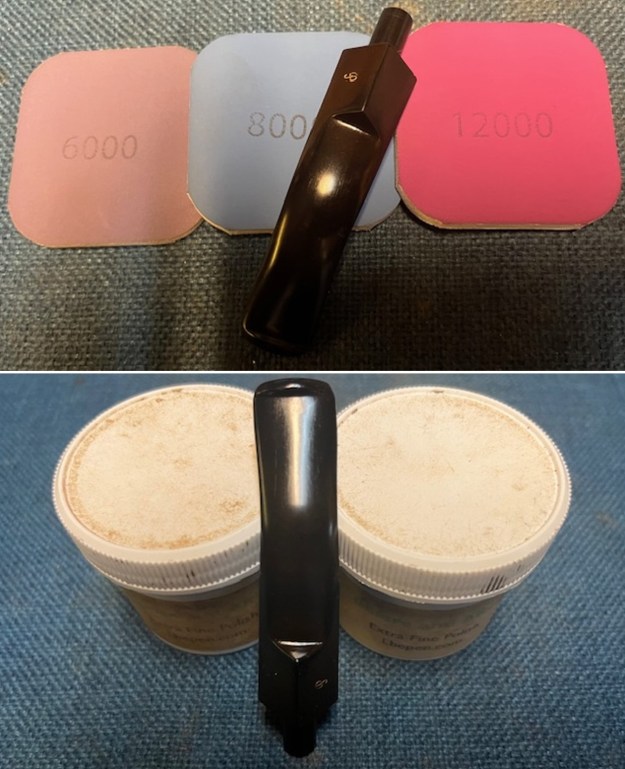
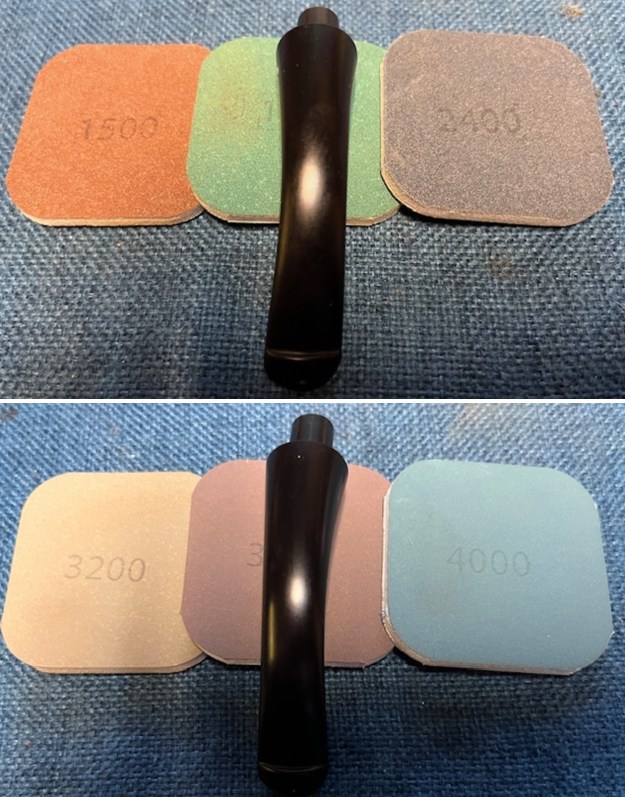
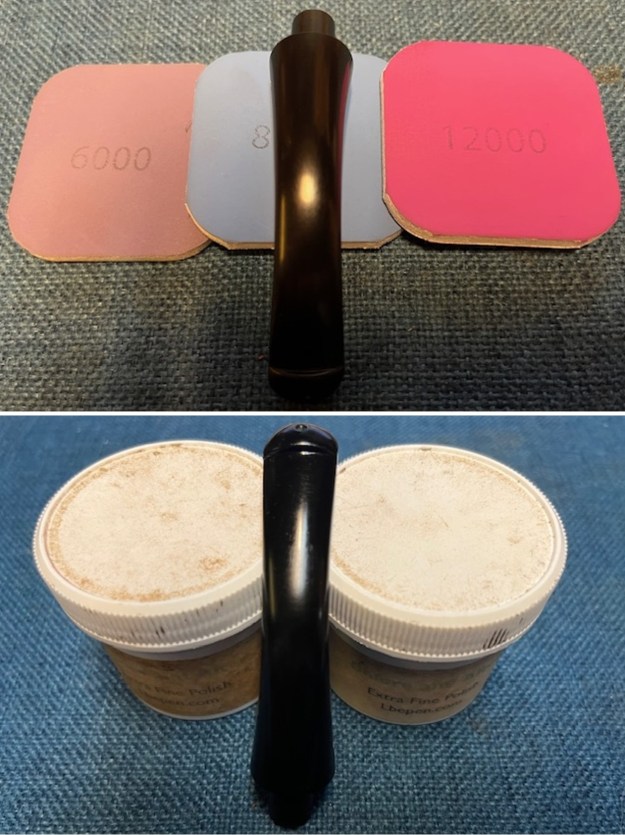
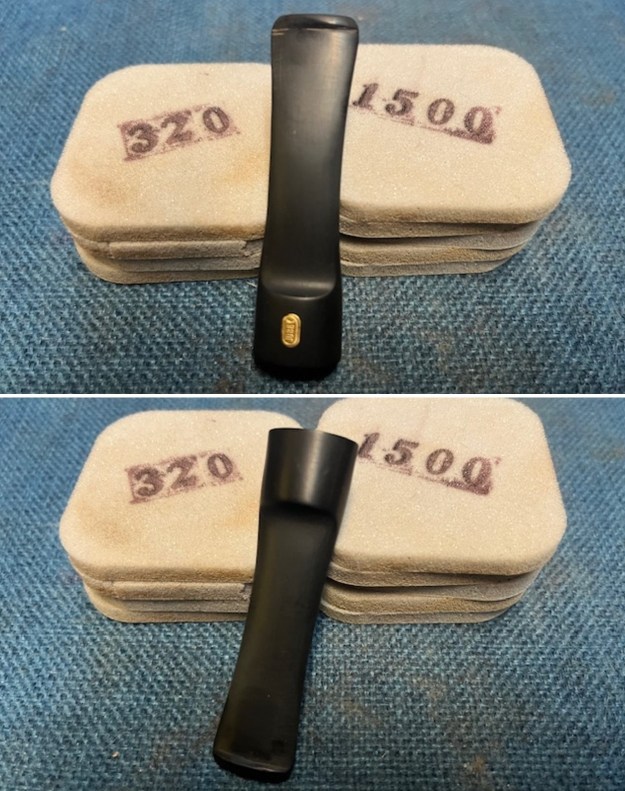
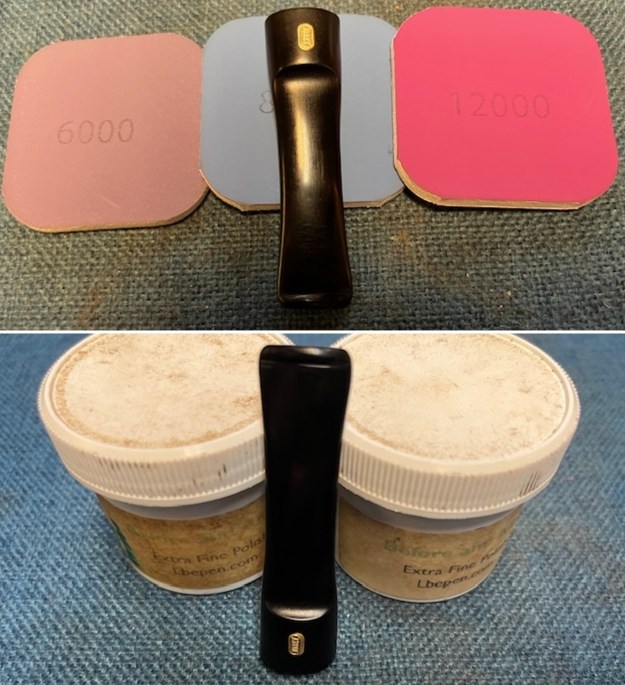
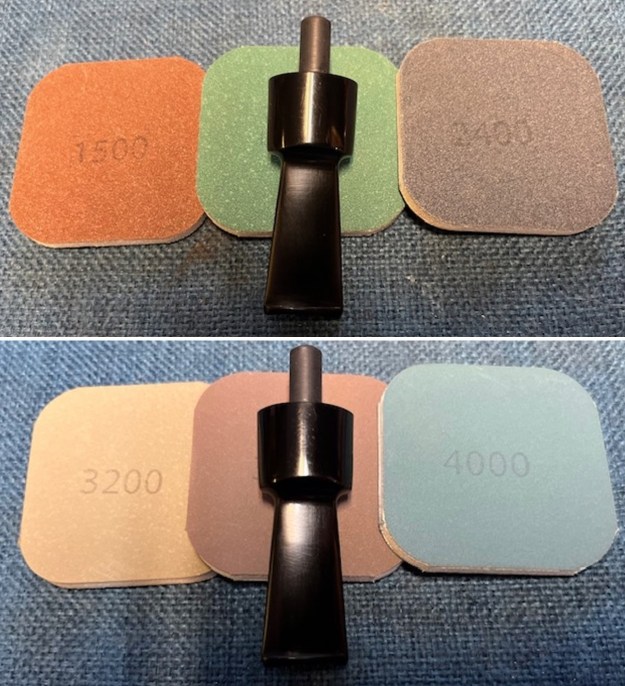
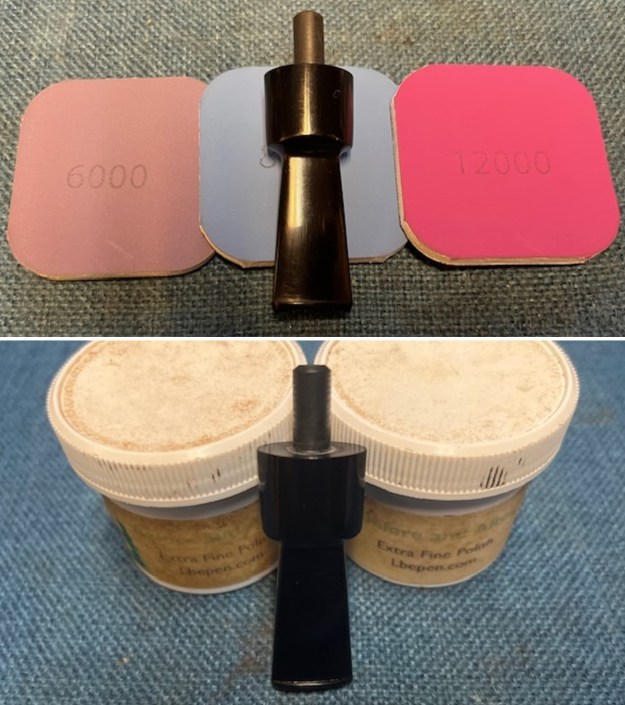
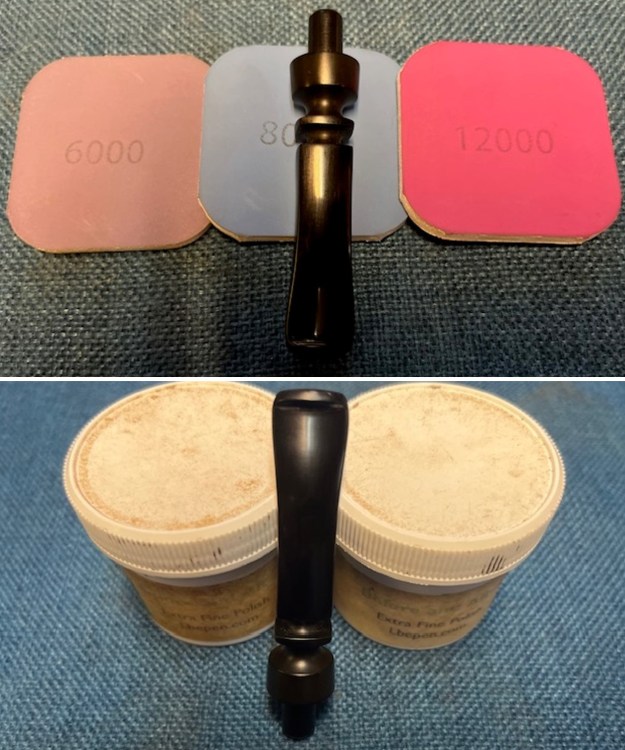
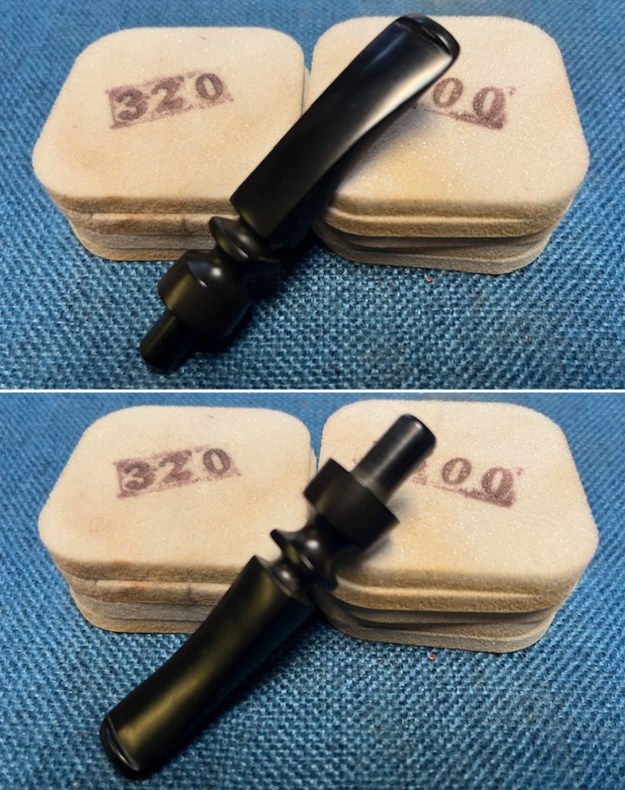 I polished the stem with micromesh sanding pads – wet sanding with 1500-12000 grit sanding pads. I wiped it down after each sanding pad with Obsidian Oil. I polished it with Before & After Pipe Stem Polish – both Fine and Extra Fine. I buffed the stem with a soft cloth to raise the shine. I wiped the stem down with Obsidian Oil to preserve and protect the stem surface.
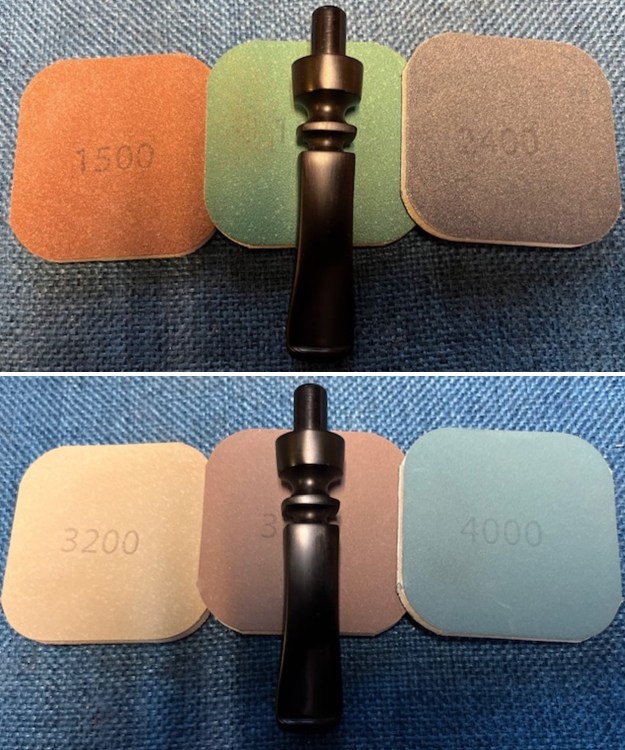
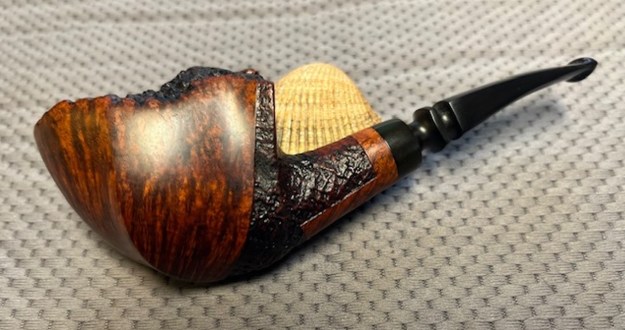
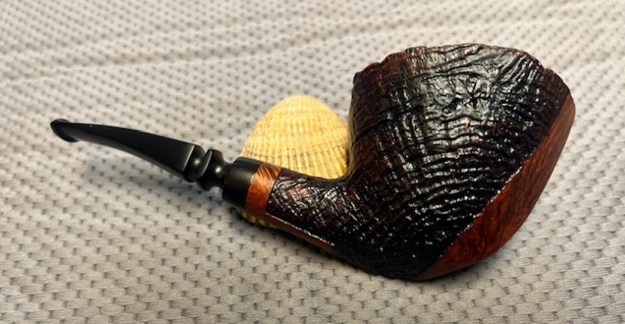
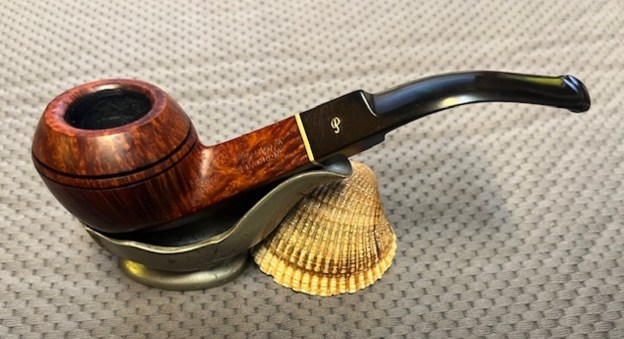
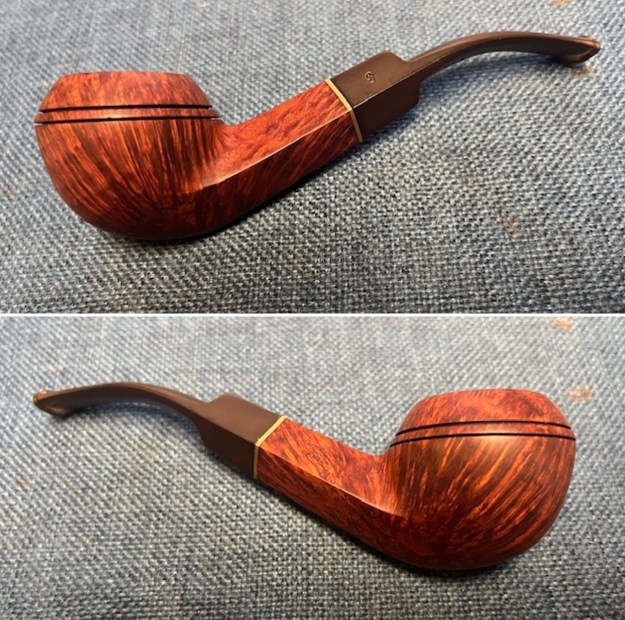
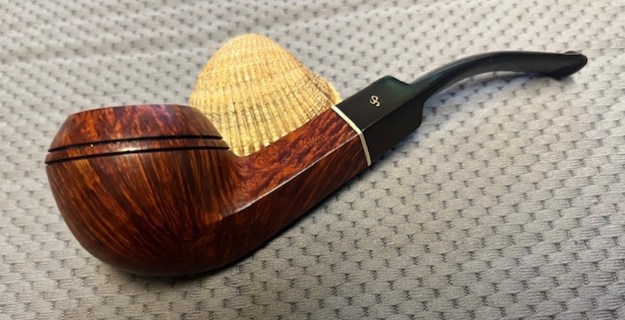
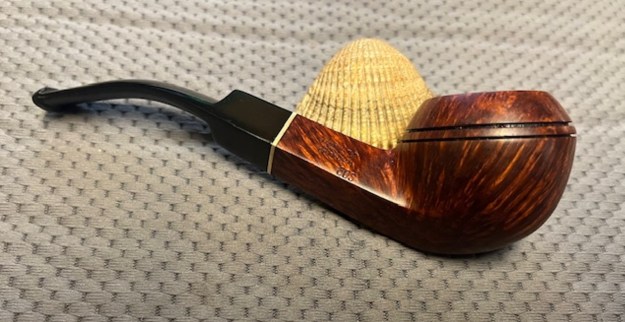
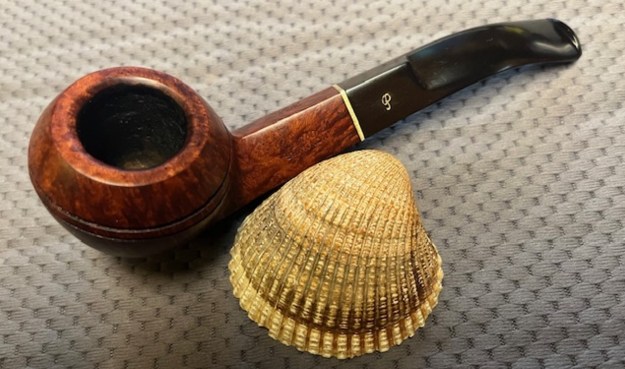
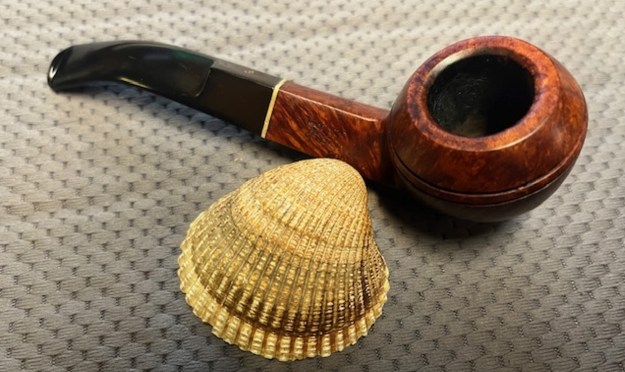
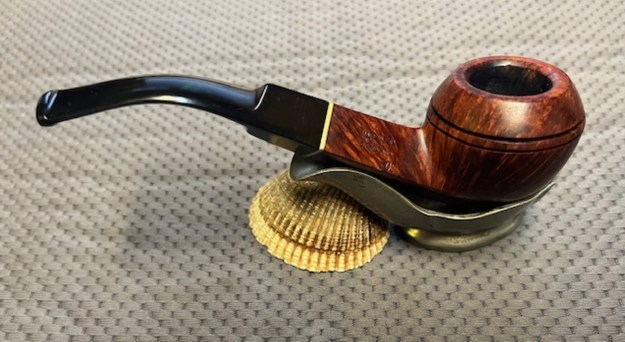
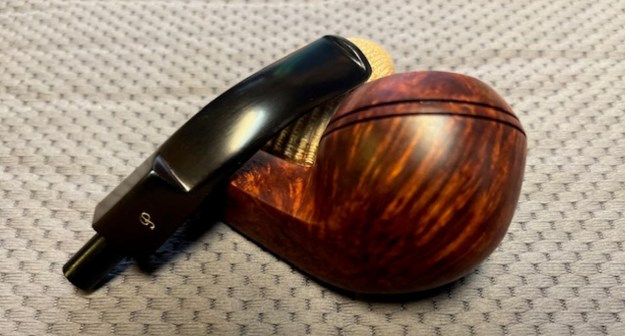
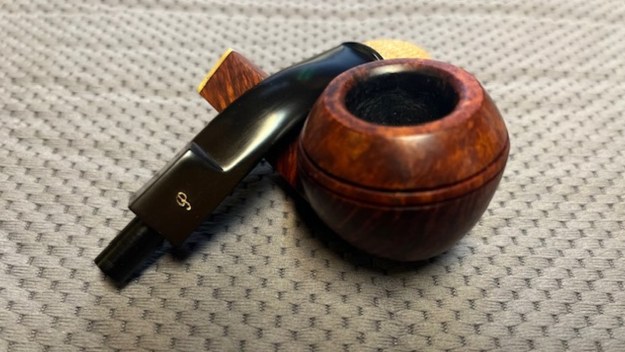
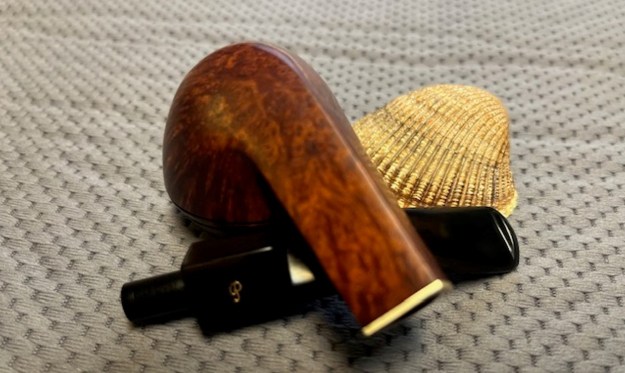
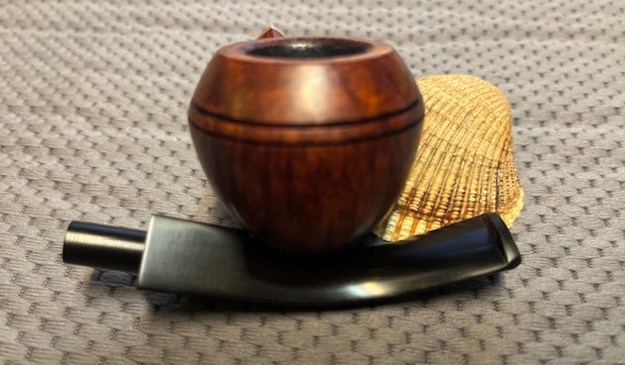
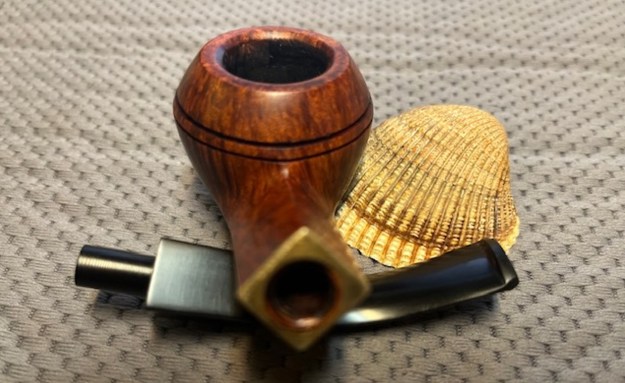
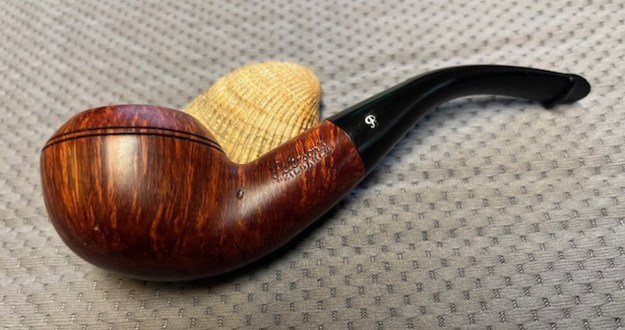
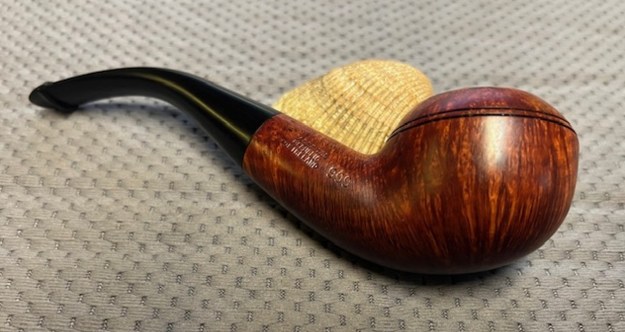
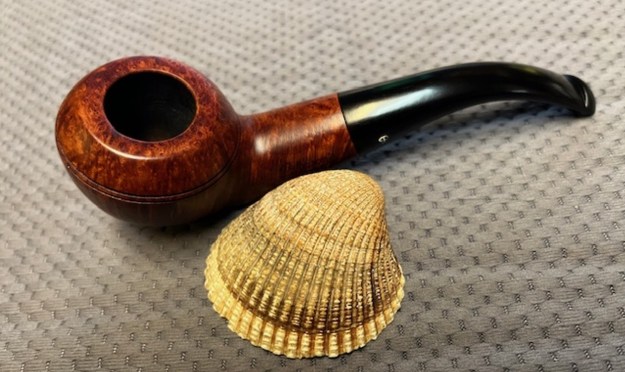
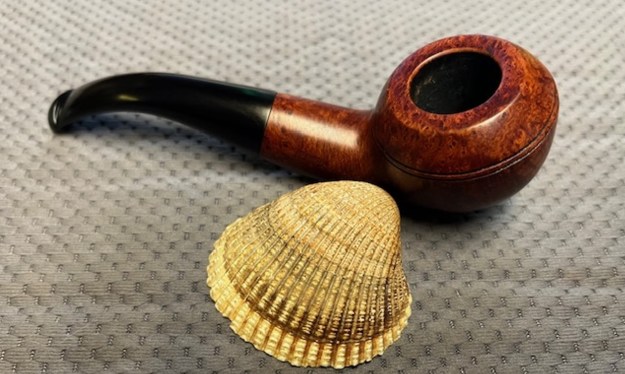
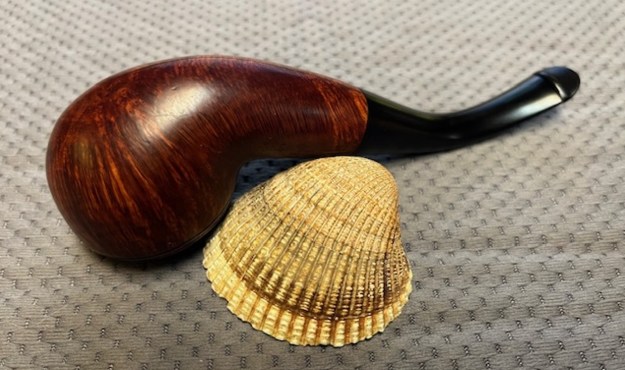
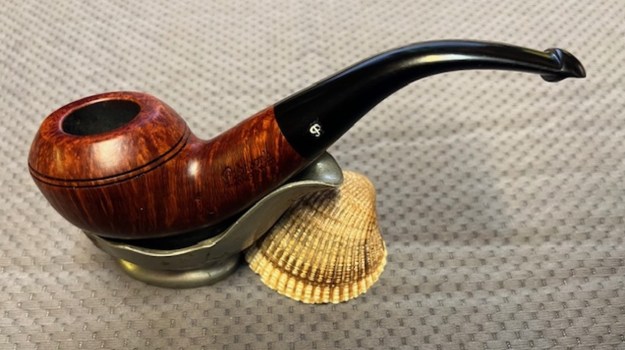
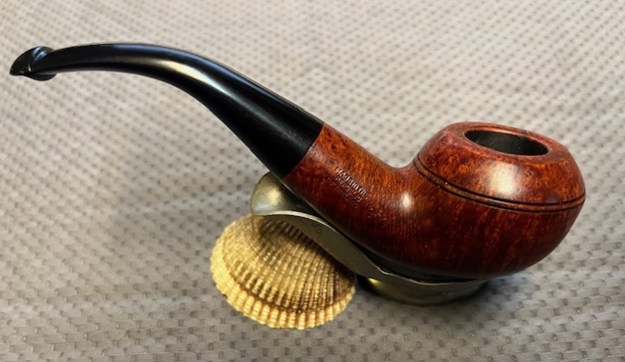
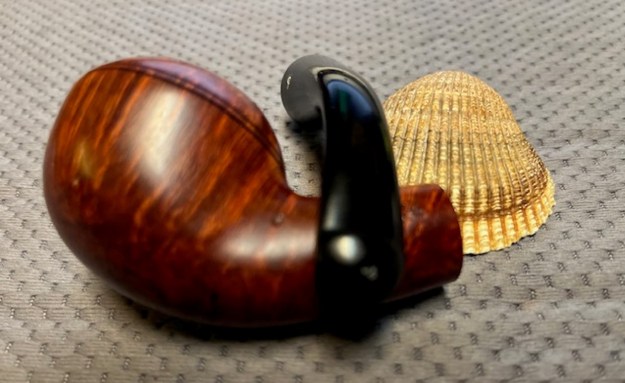
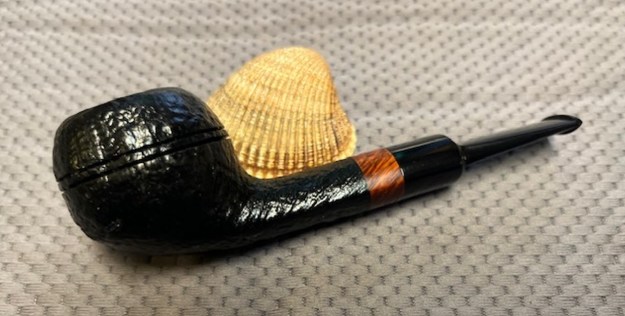
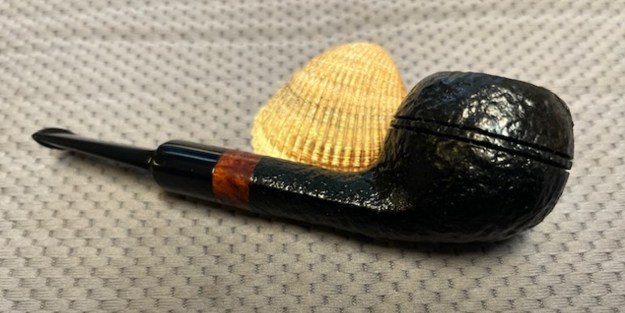
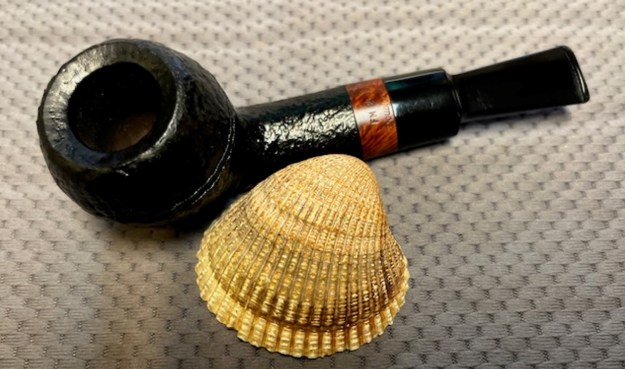
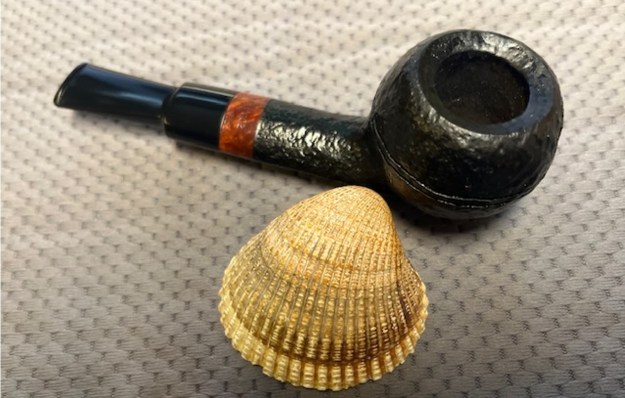
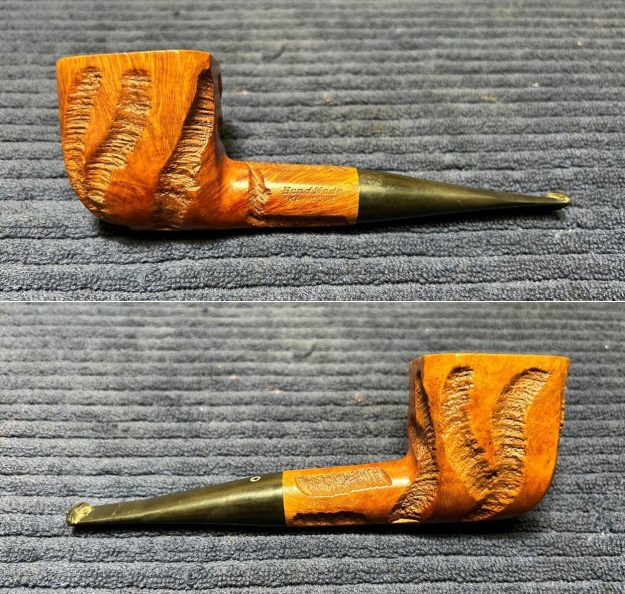
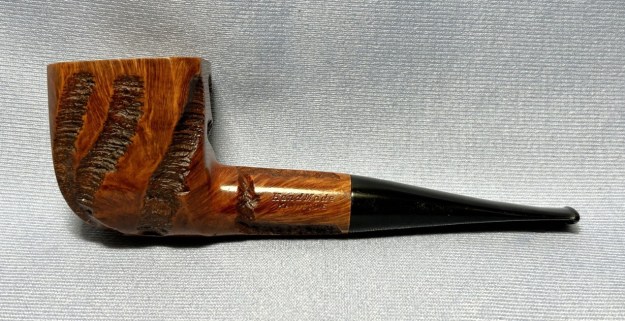
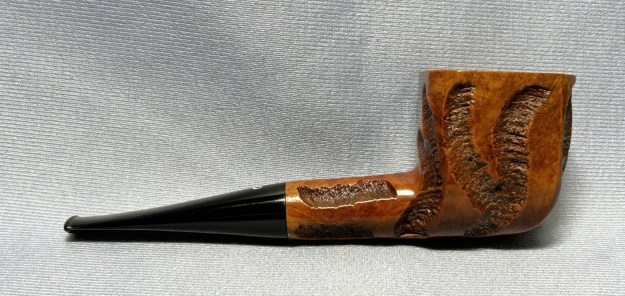
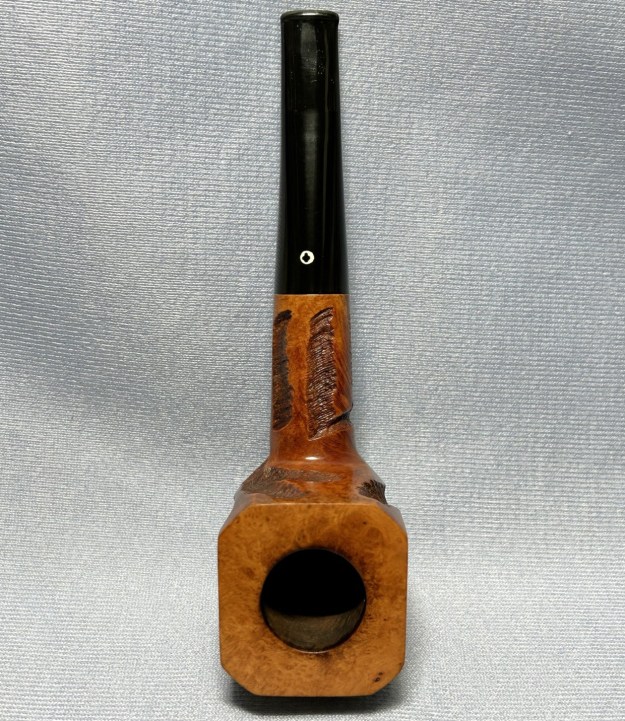
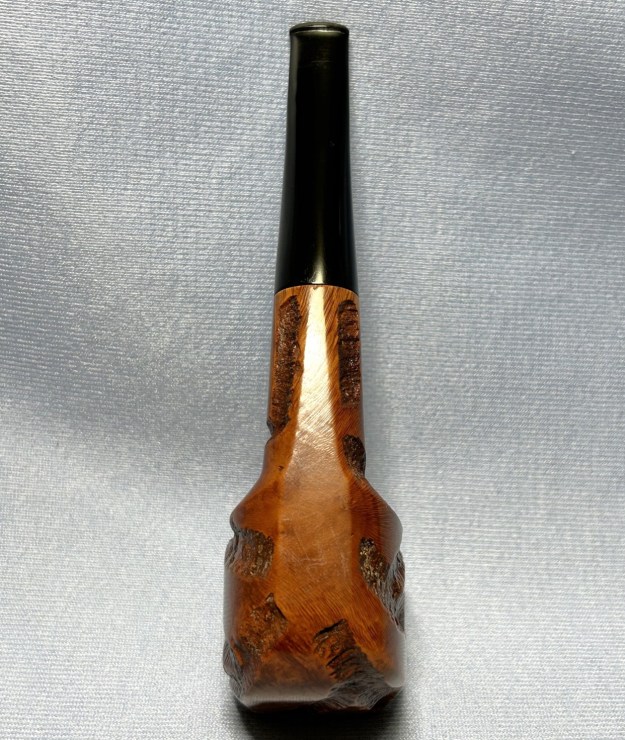
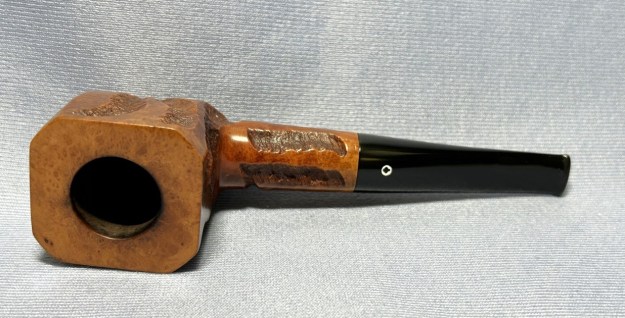
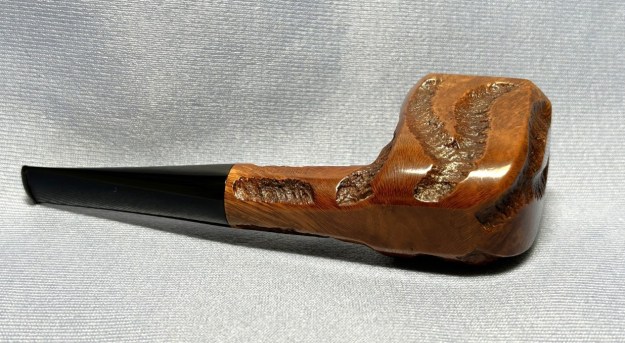
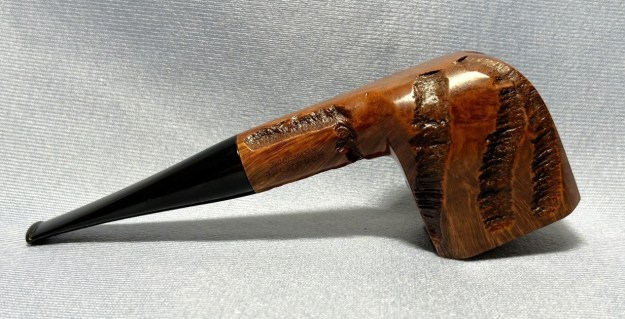
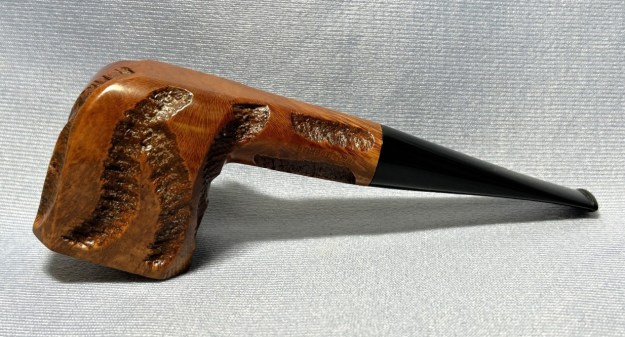
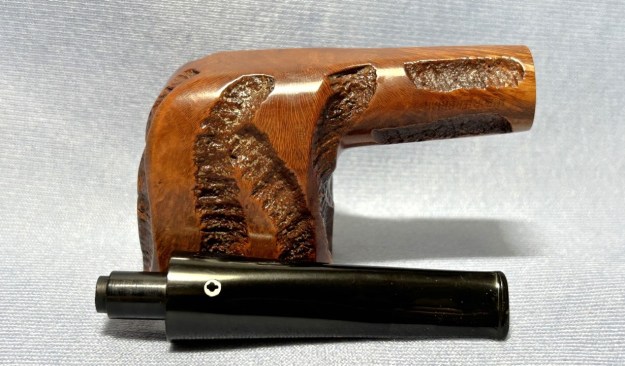
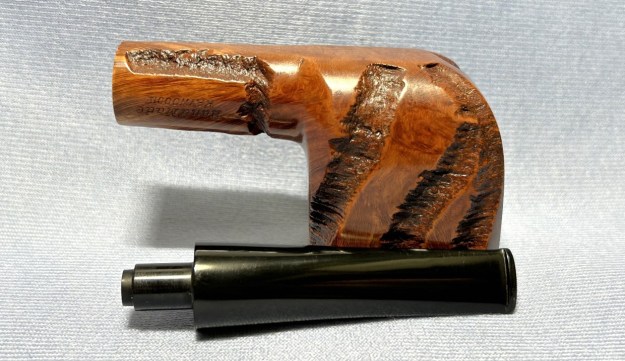
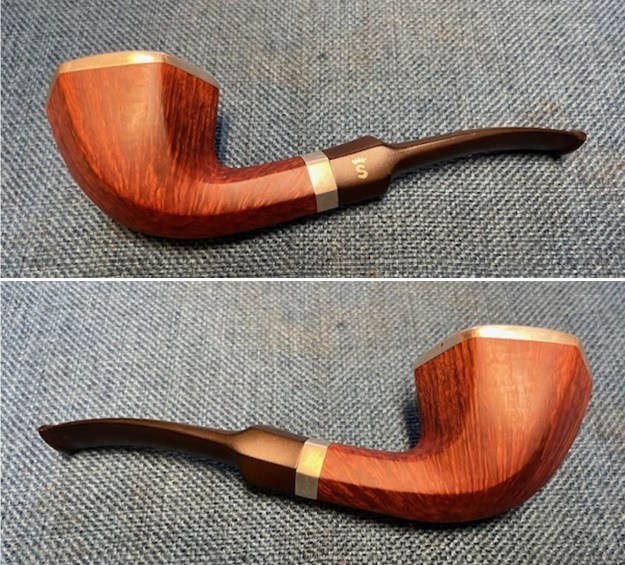
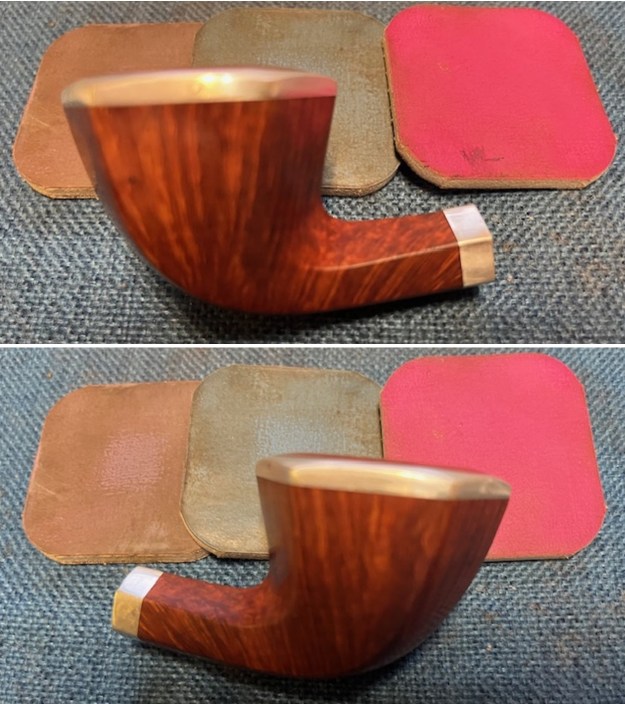
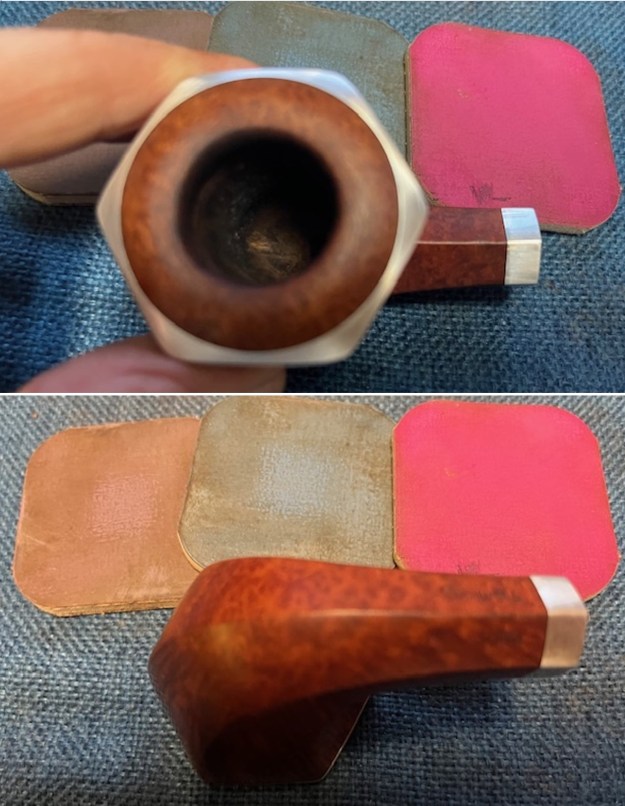
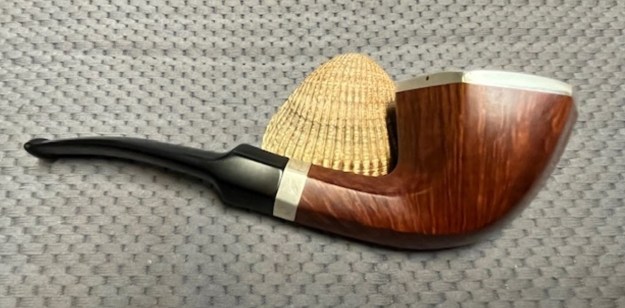
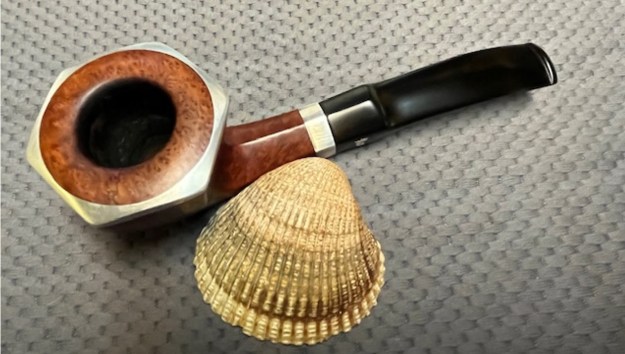
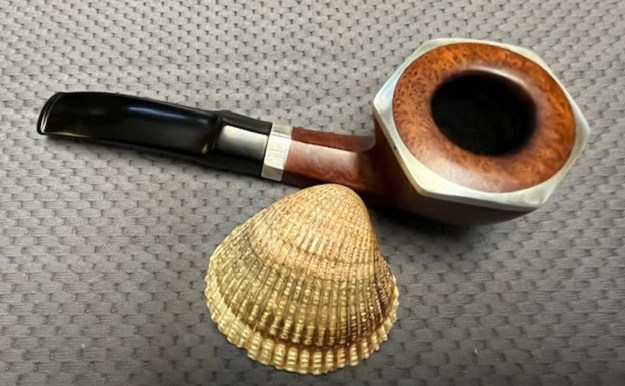
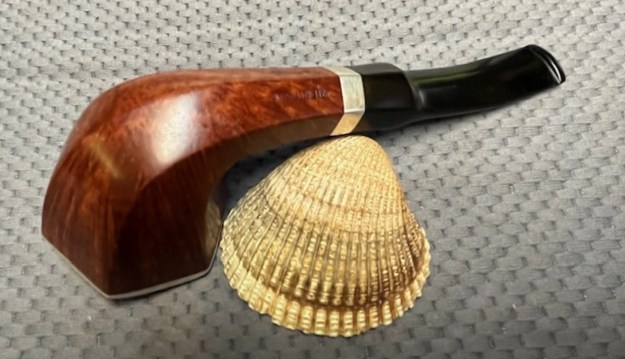
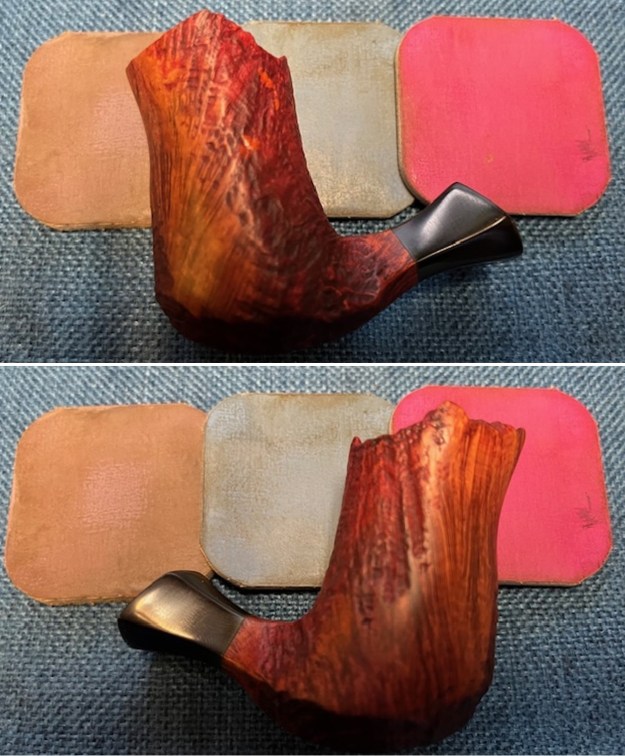
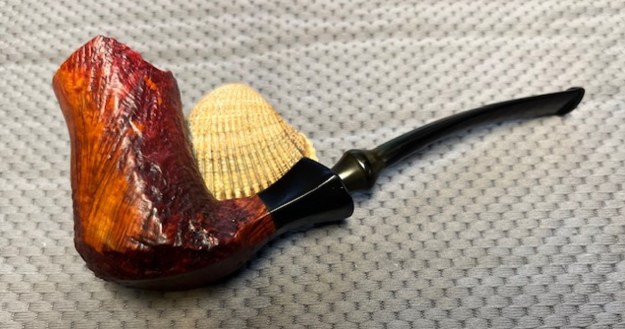
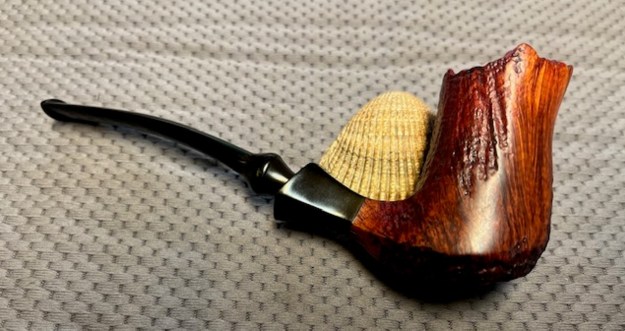
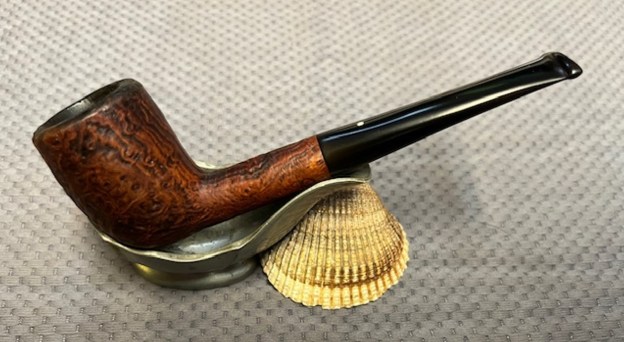
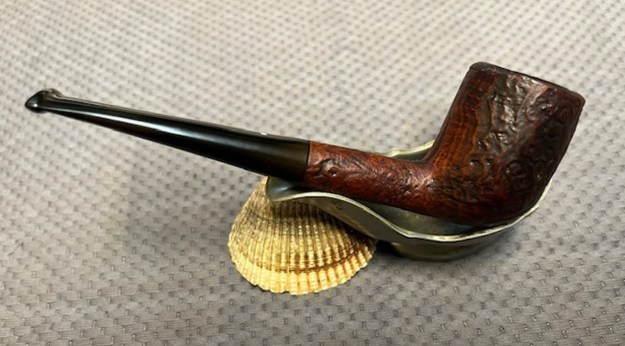
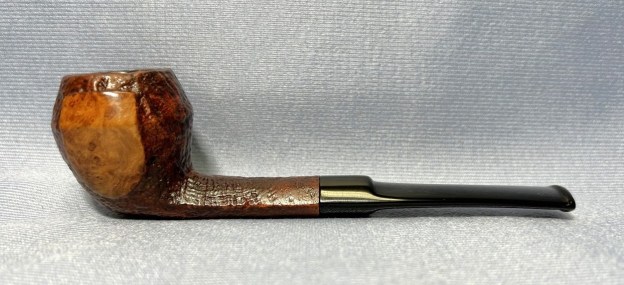
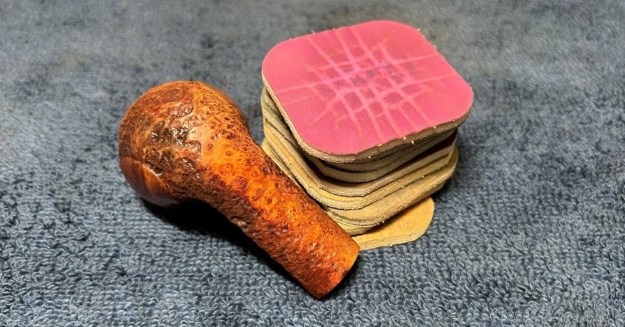
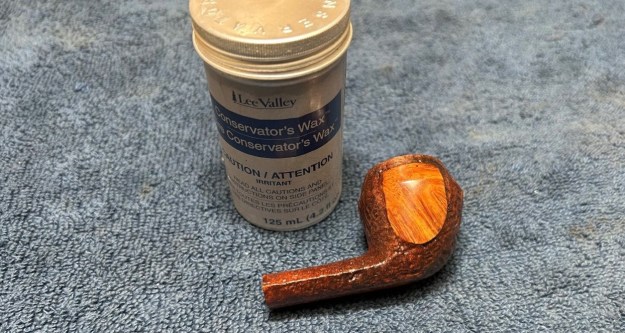
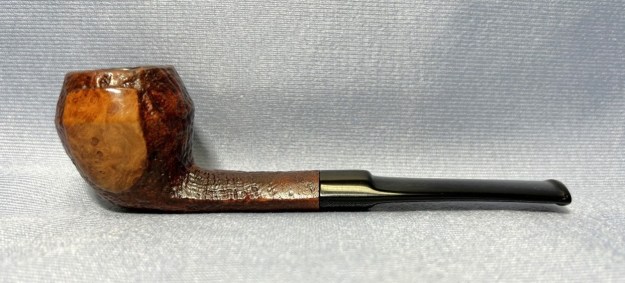
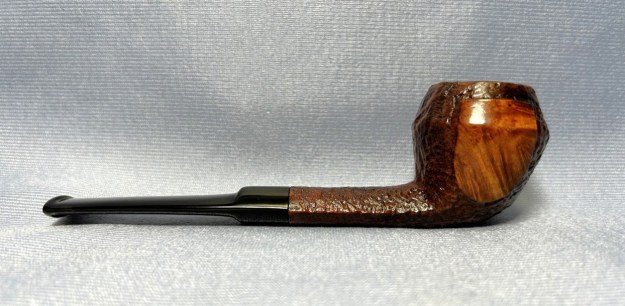
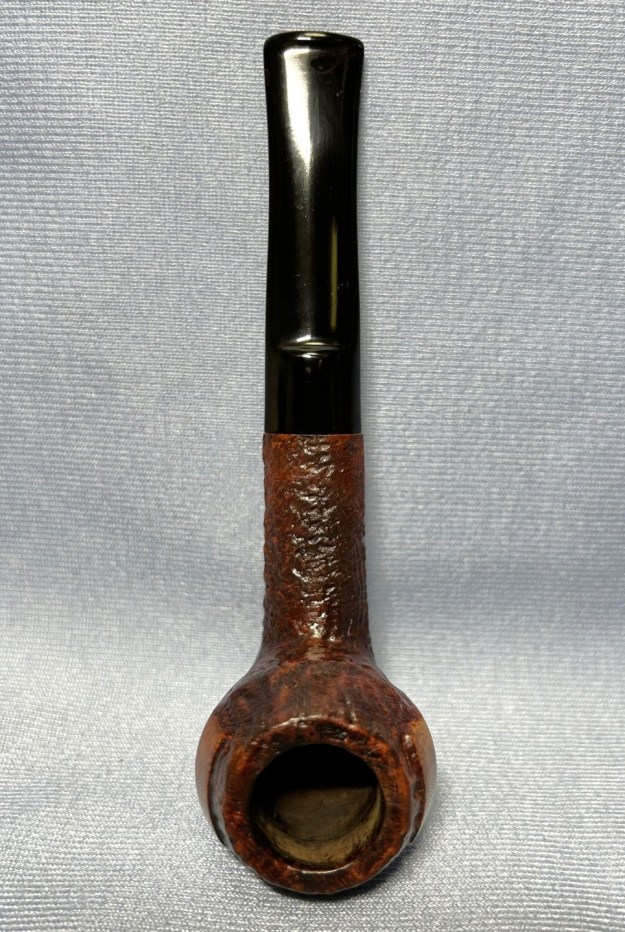
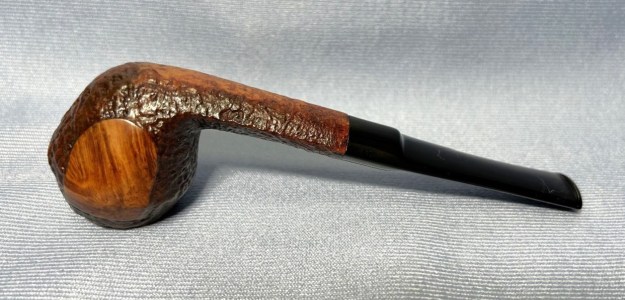
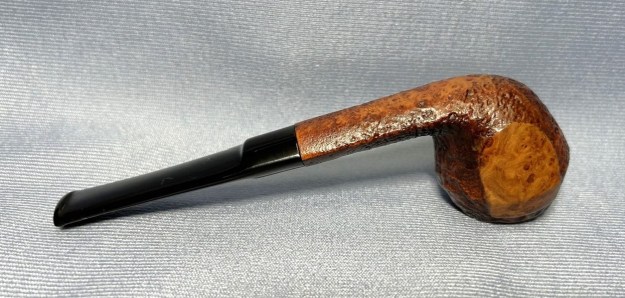
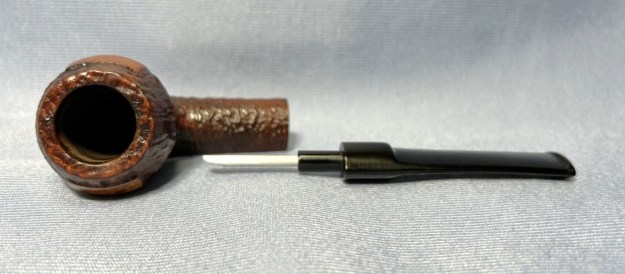
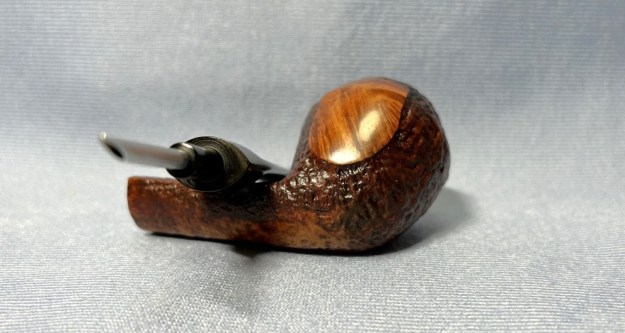
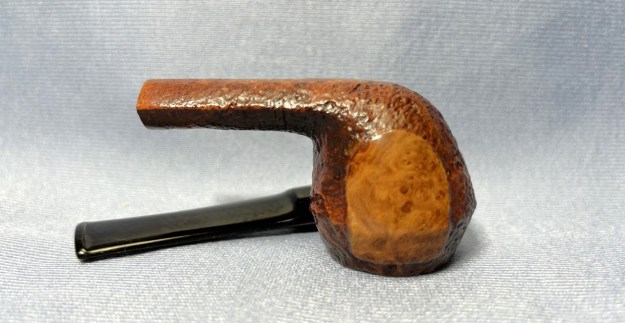
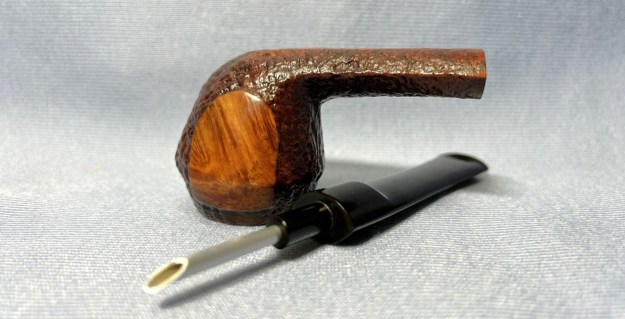
 I am on the homestretch with this Viggo Nielsen made Bari Matador Freehand. As always, I am excited to finish a pipe that I am working on. I put the pipe back together and buffed it with Blue Diamond on the buffing wheel. I used a gentle touch on the sandblast portion of the bowl. I gave the bowl and the stem multiple coats of carnauba wax. I buffed the pipe with a clean buffing pad and hand buffed it to raise the shine. It is fun to see what the polished bowl looks like along with the polished vulcanite stem. This Bari Matador Freehand is a nice looking pipe. It is quite comfortable in hand and should be so when smoking. It is quite light and well balanced. Have a look at it with the photos below. The dimensions are Length: 6 inches, Height: 2 inches, Outside diameter of the bowl: 2×2 1/2 inches, Chamber diameter: 7/8 of an inch. The weight of the pipe is 2.15 ounces/62 grams. It is another beautiful pipe and one that will be on the rebornpipes store soon. You can find it in the section of Pipes by Danish Pipe Makers. If you are interested in adding it to your collection let me know.
As always, I encourage your questions and comments as you read the blog. Thanks to each of you who are reading this blog. Remember we are not pipe owners; we are pipe men and women who hold our pipes in trust until they pass on into the trust of those who follow us.