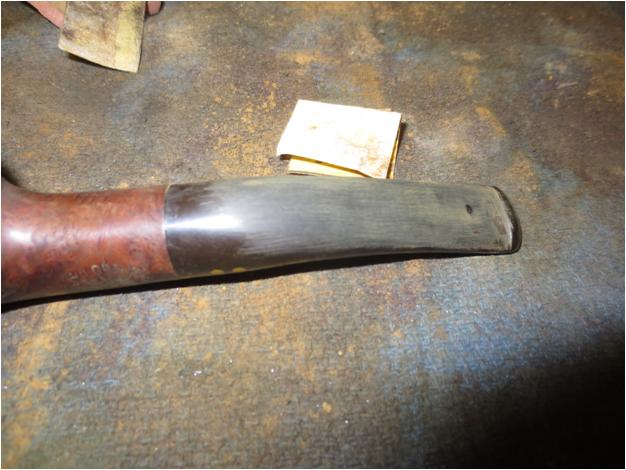
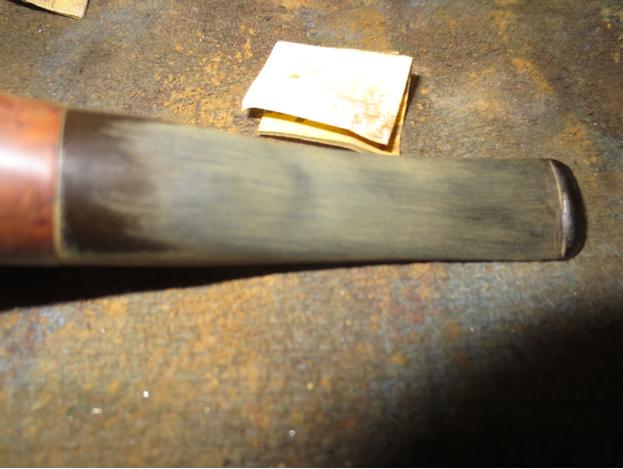
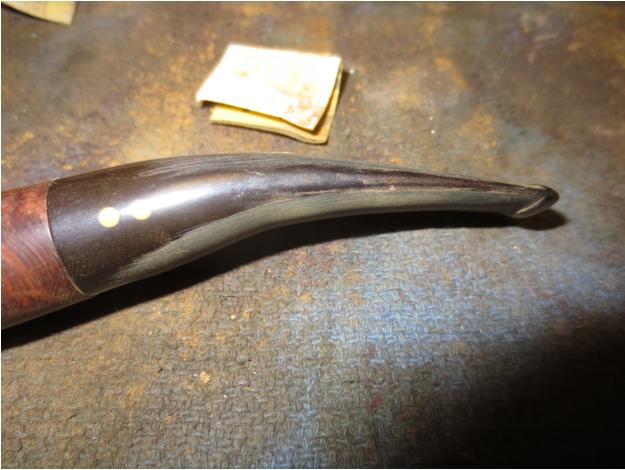
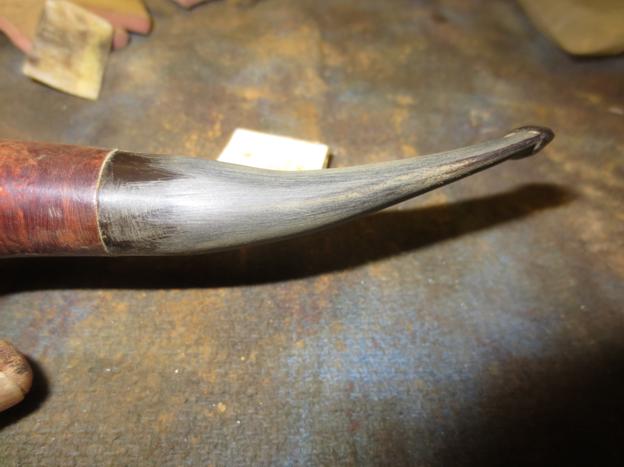
Tag Archives: stem work

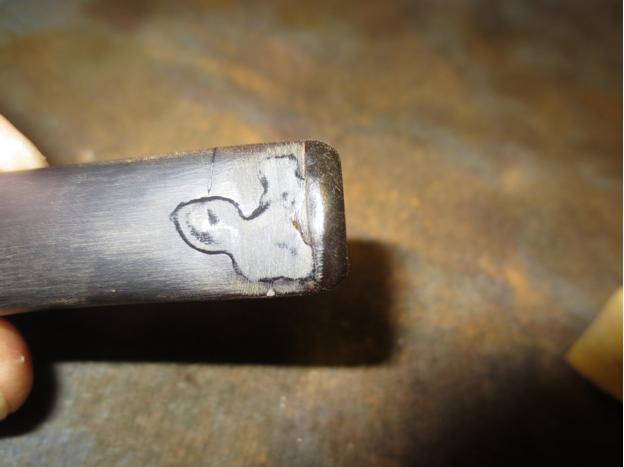
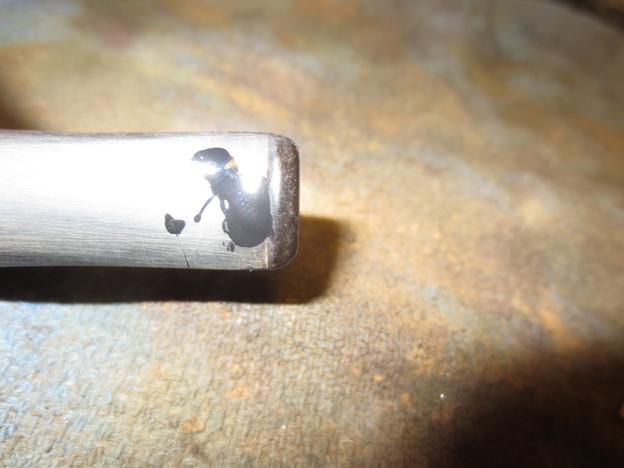
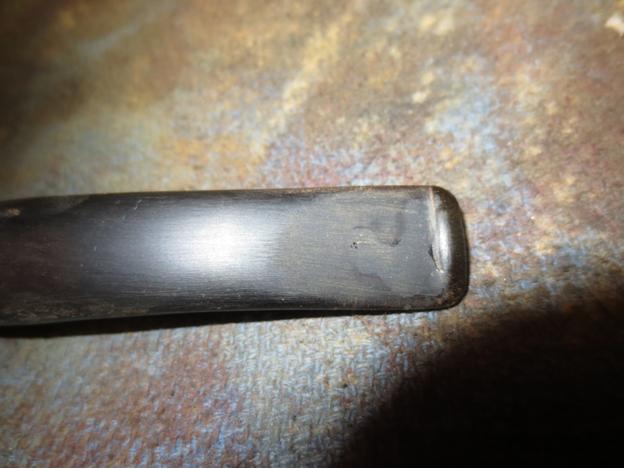
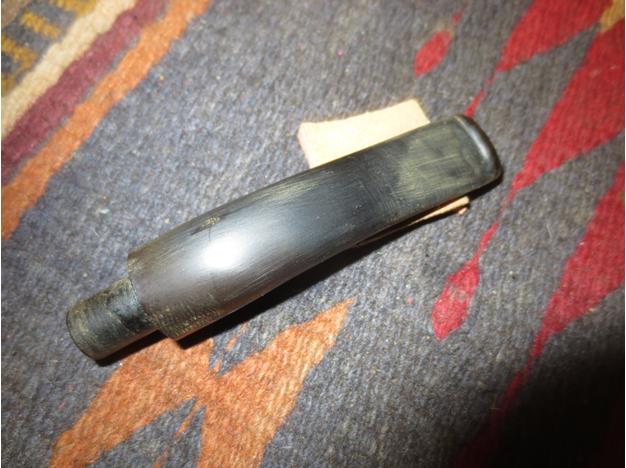
Crafting a Interior Shank Repair for a Cracked Shank Peterson Churchwarden


Blog by Steve Laug

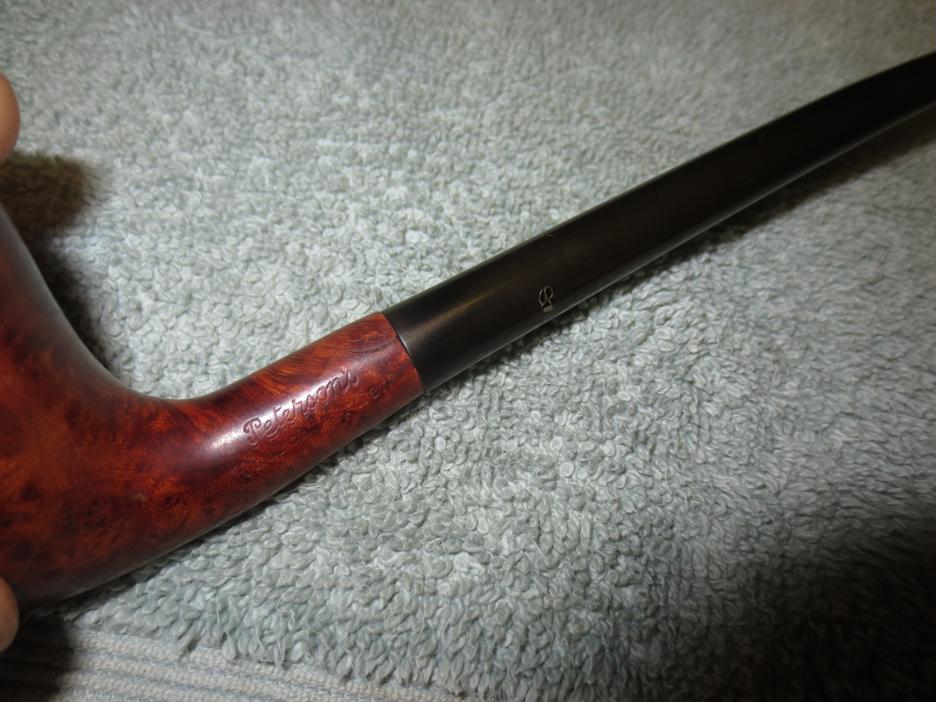
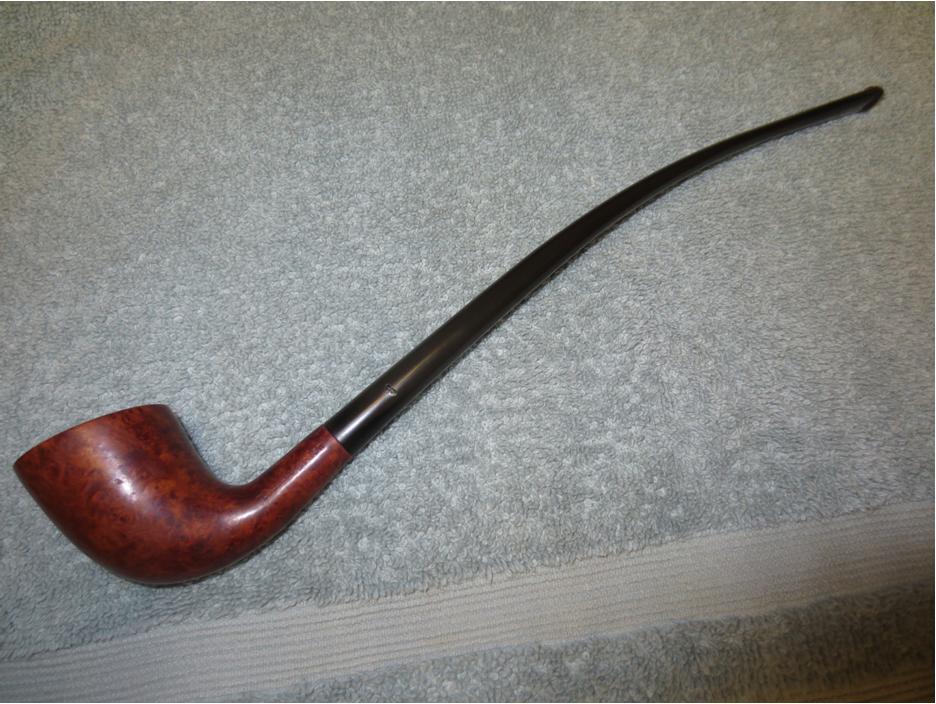
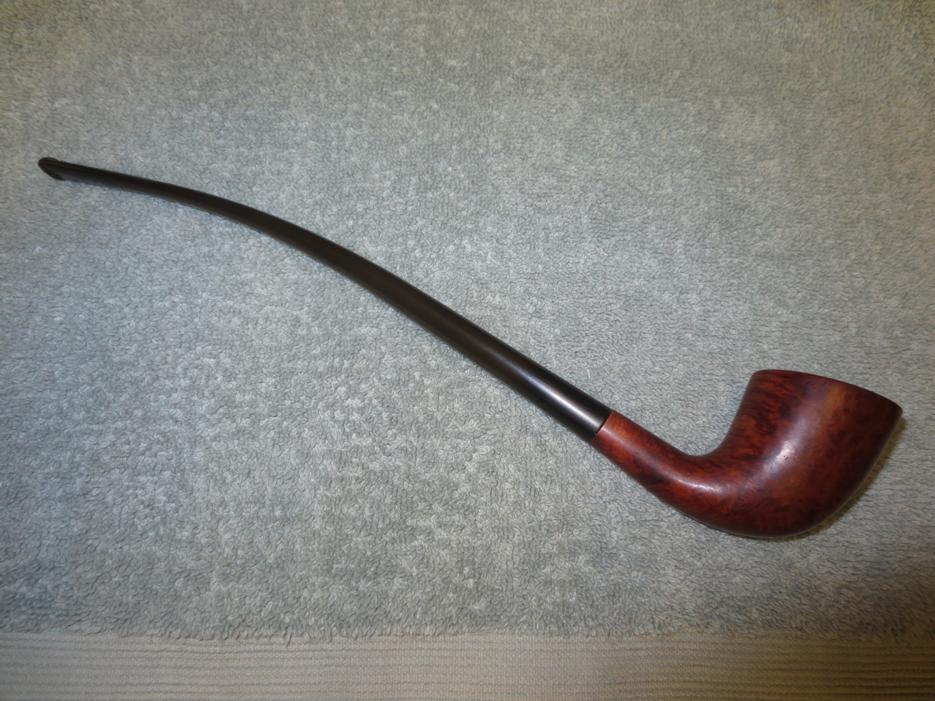
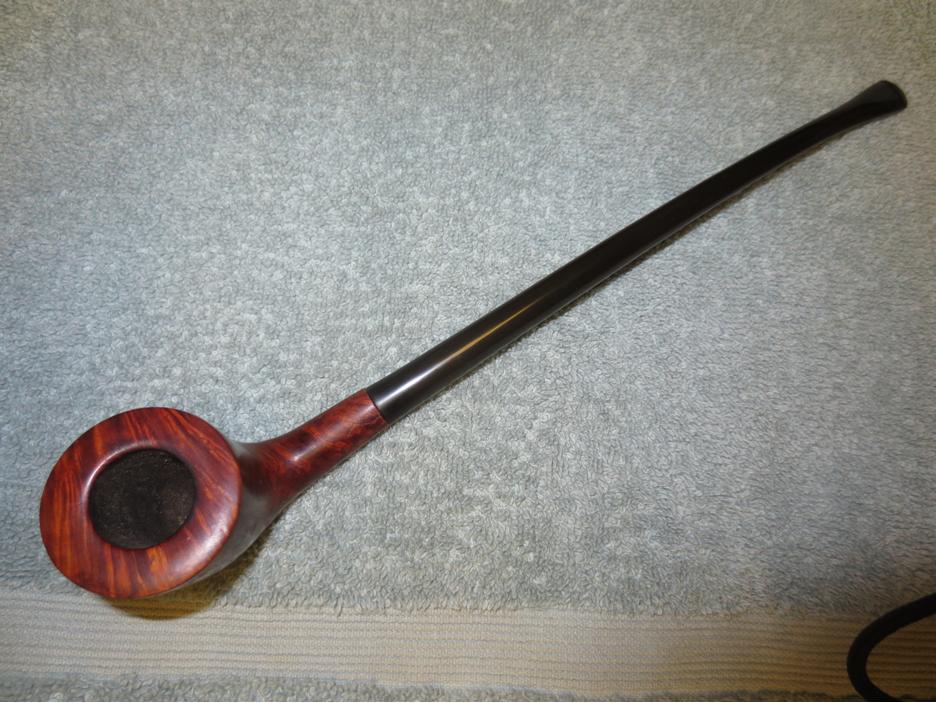
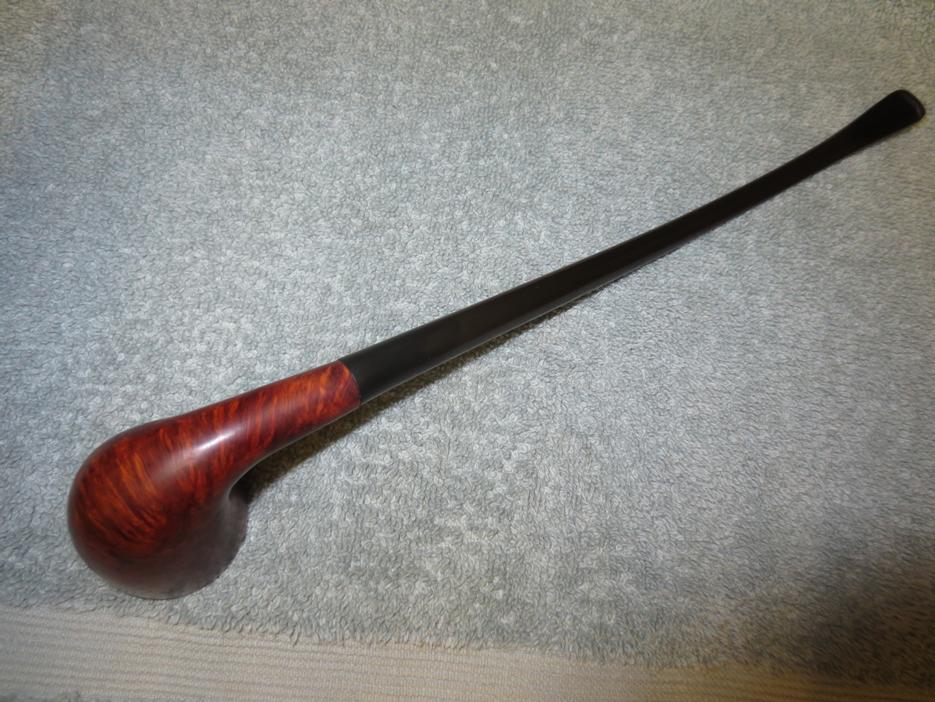
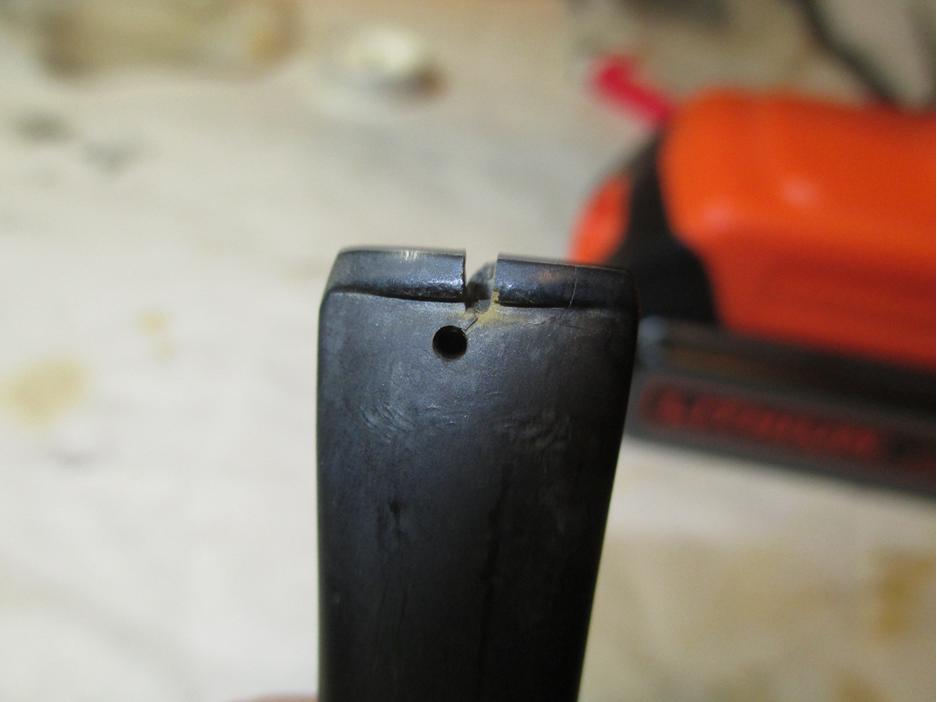
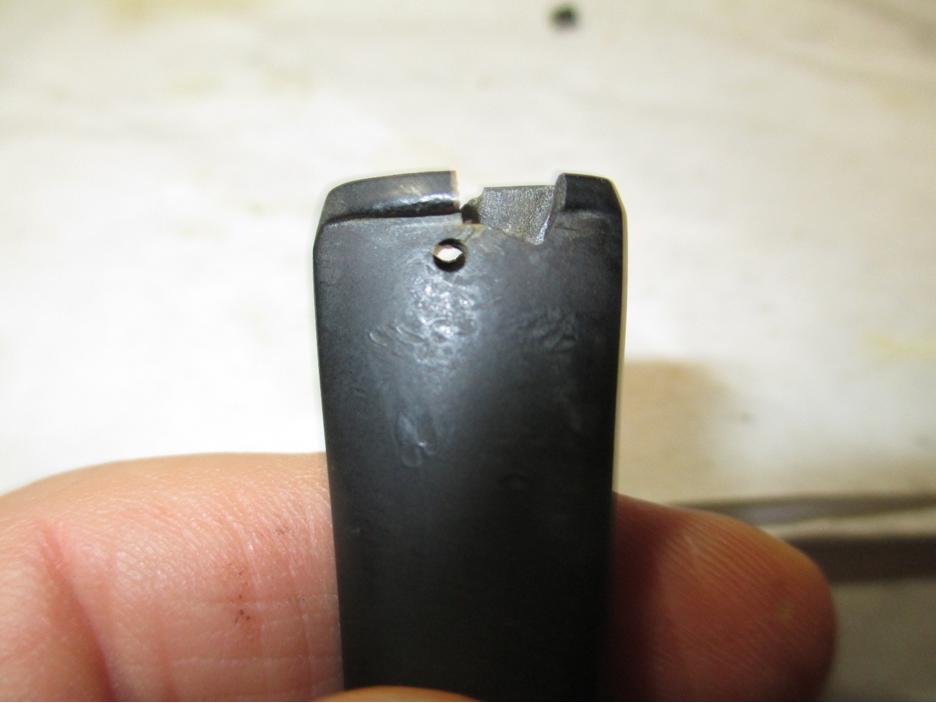
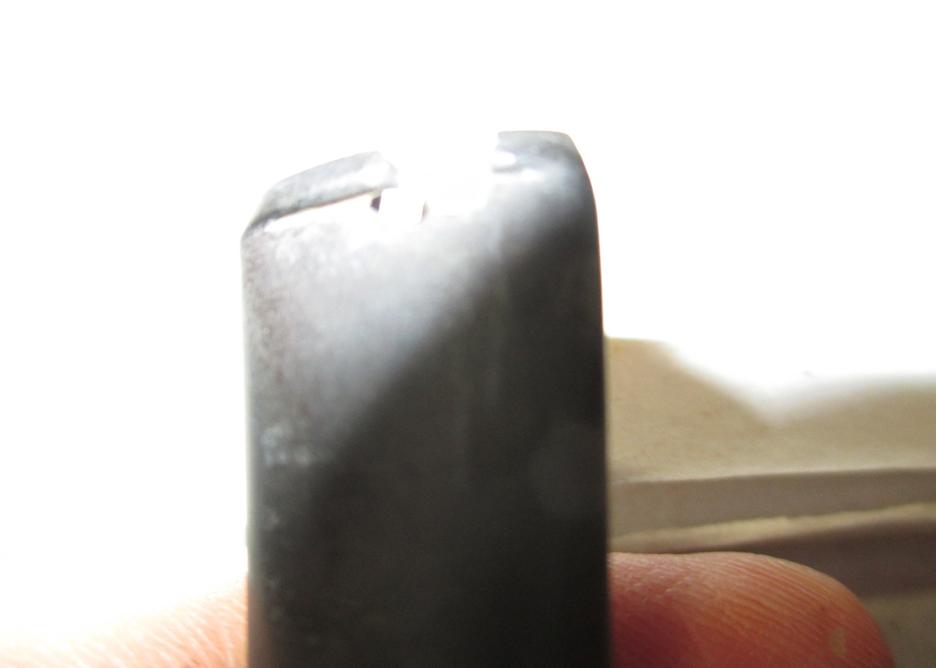
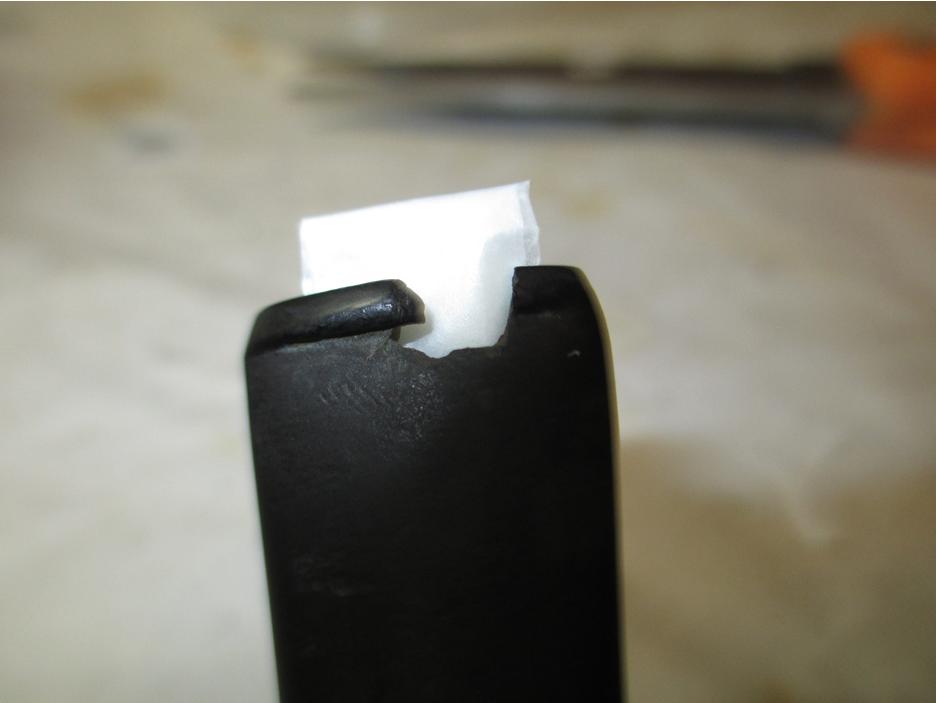
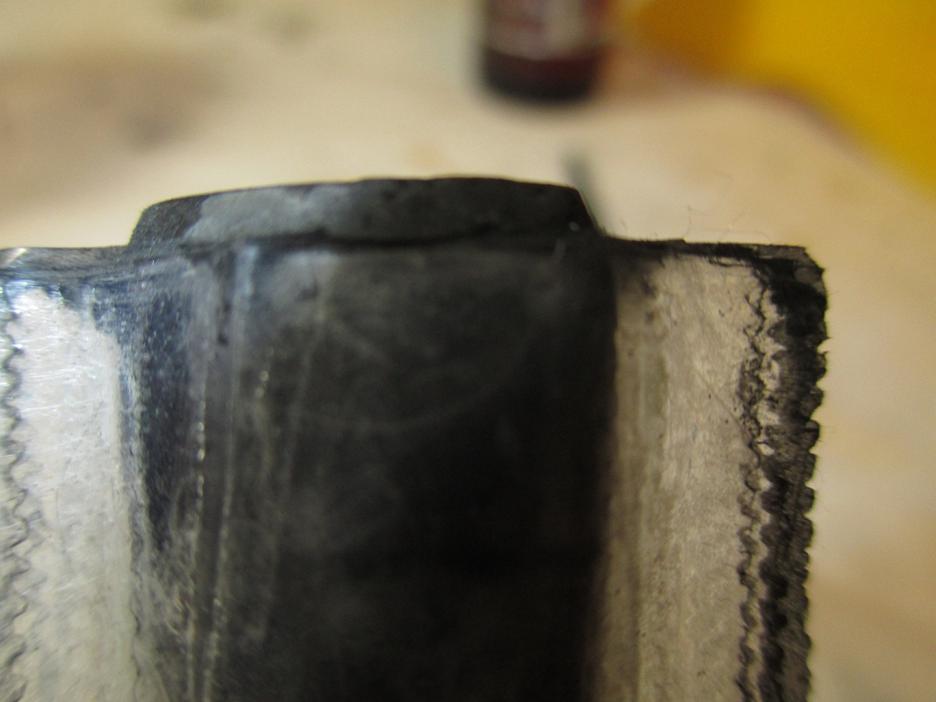
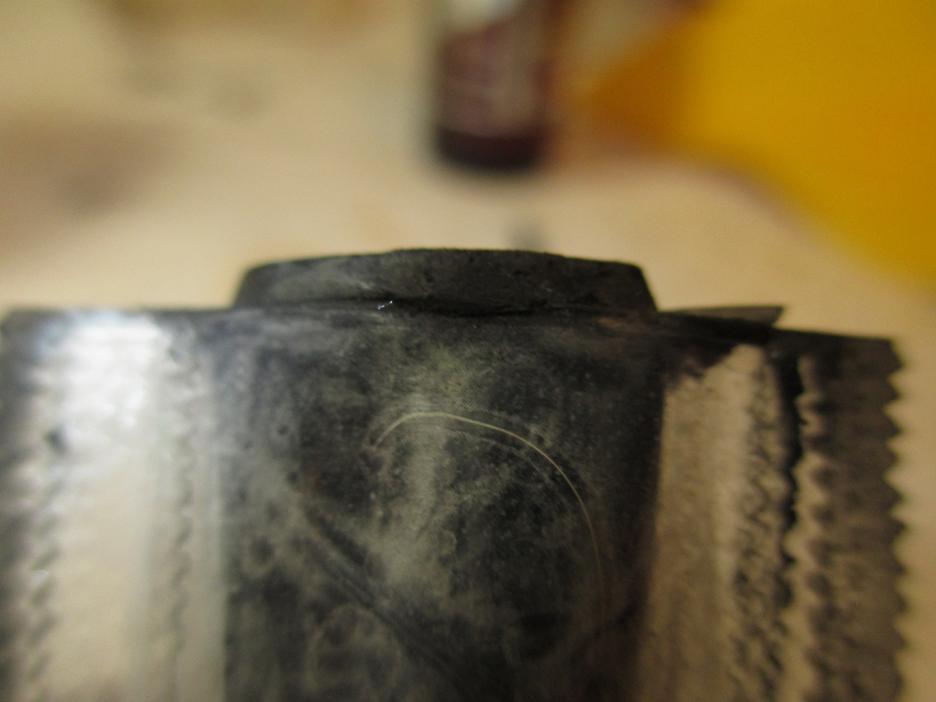
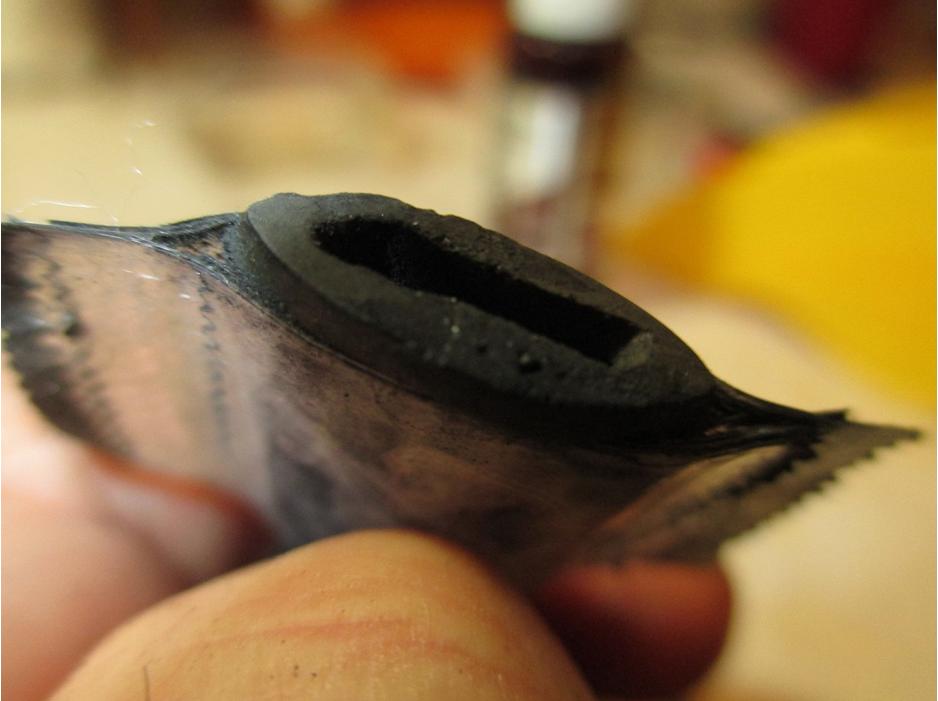
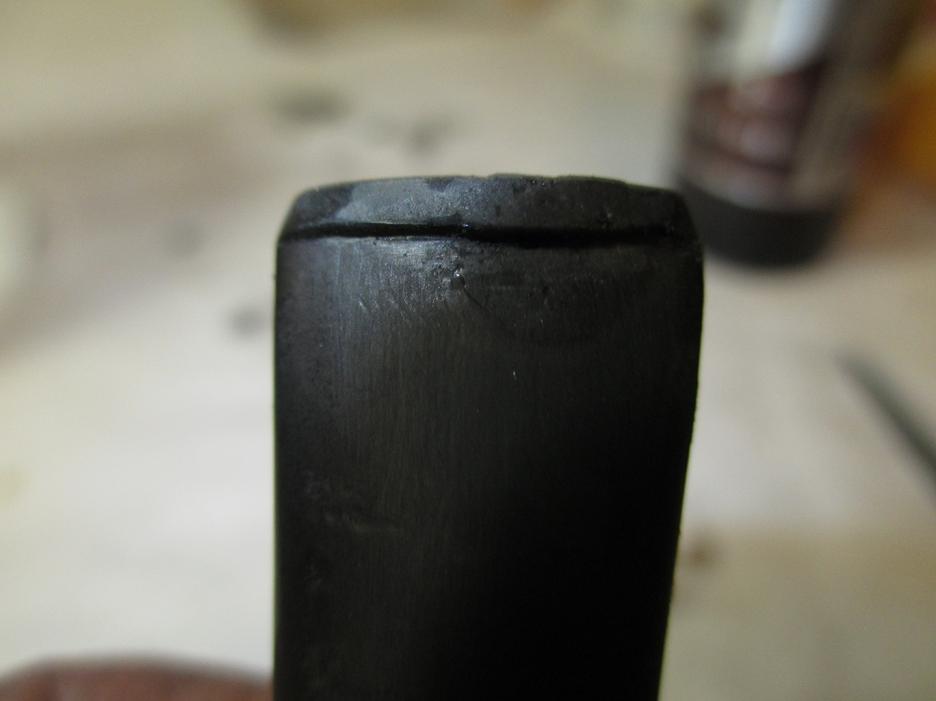
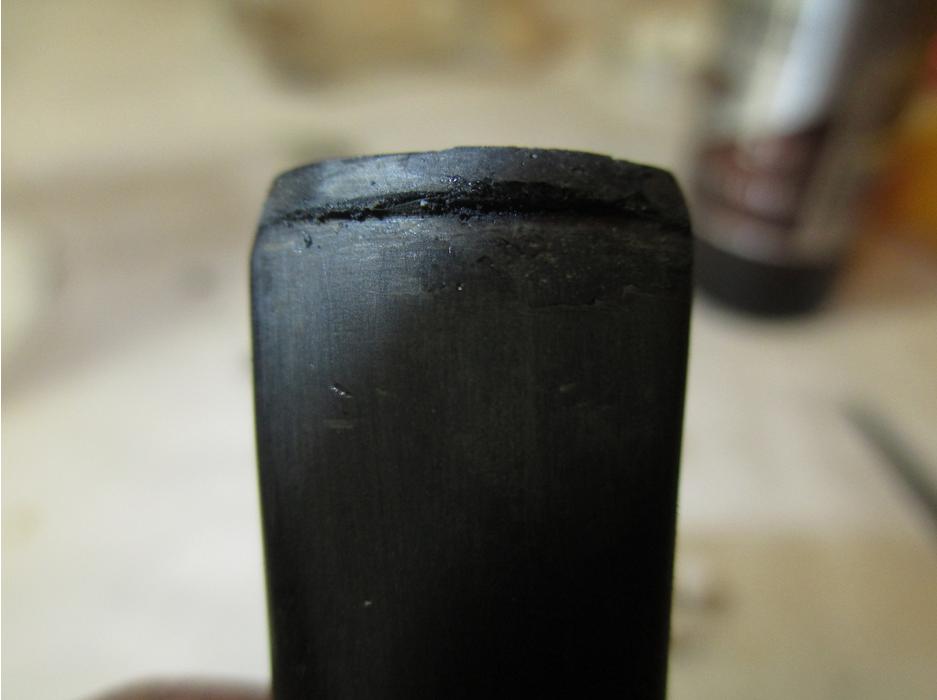
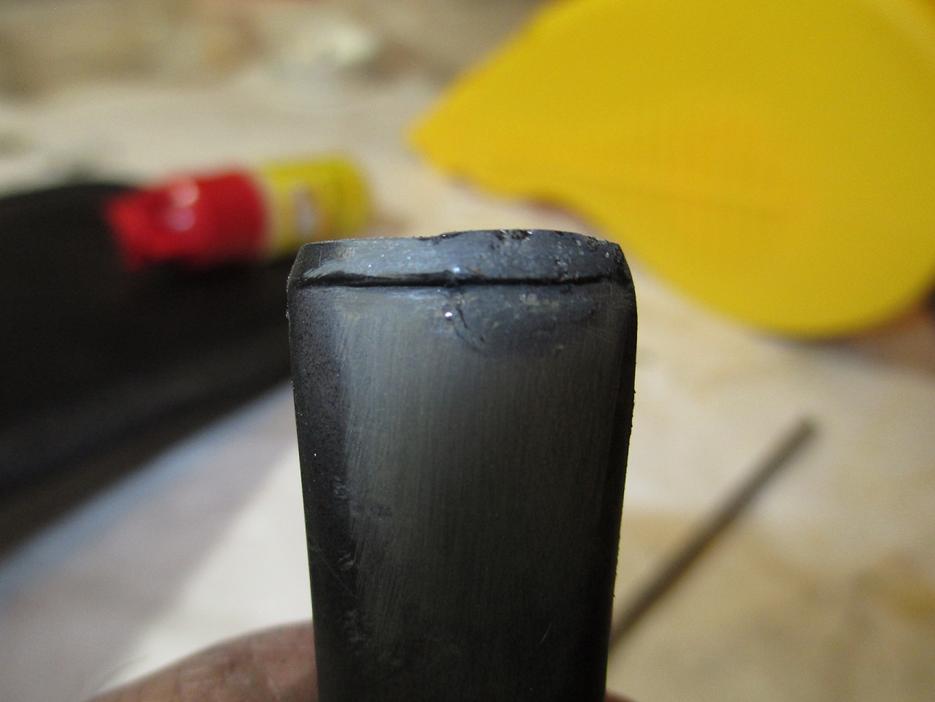
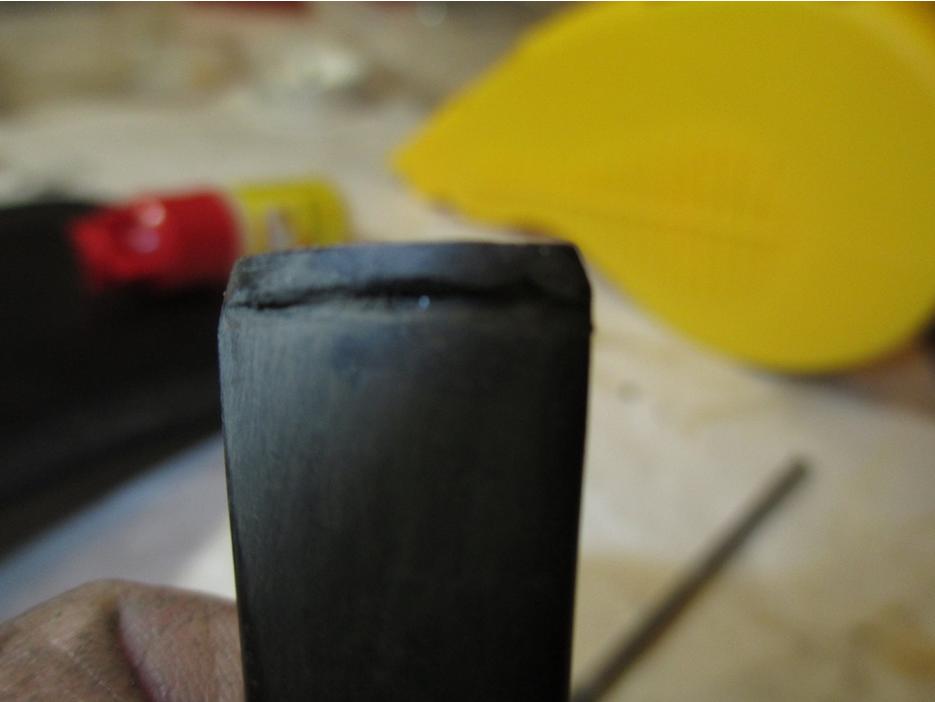
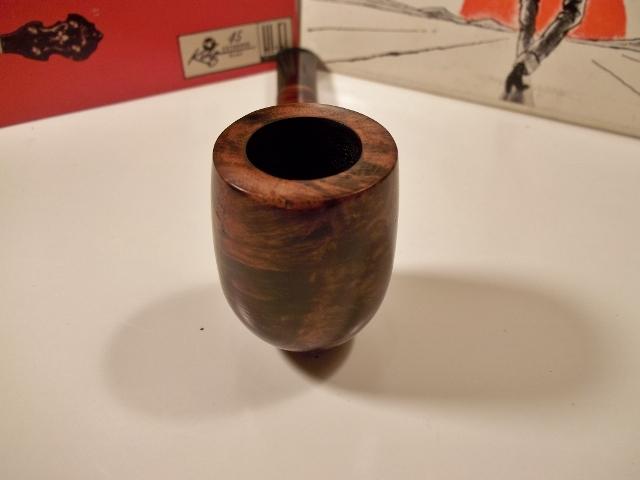
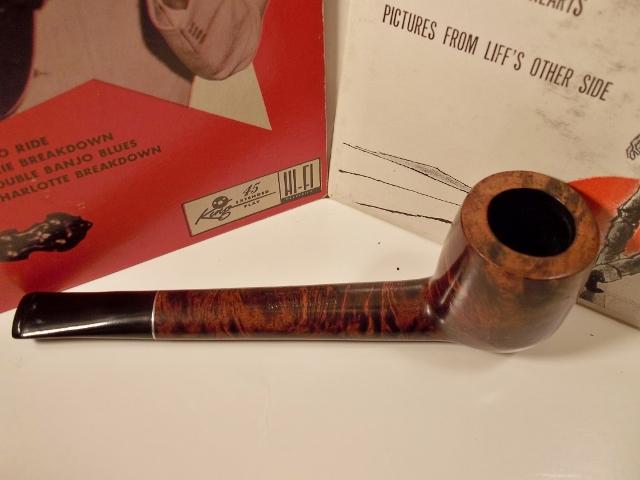
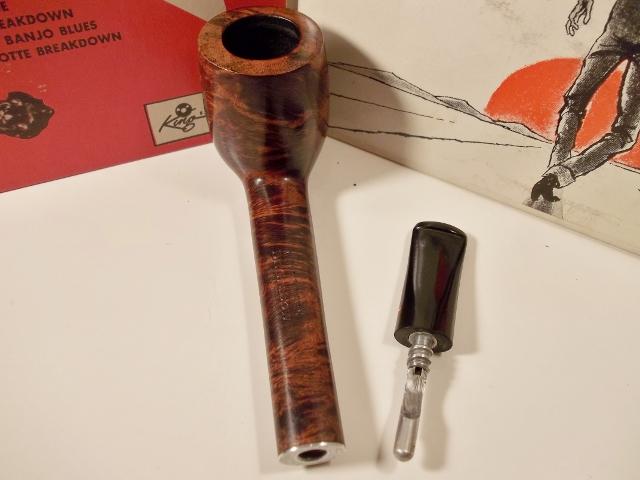
A friend of mine stopped by with a pipe he wanted me to take a look at. It was a beautiful Peterson Churchwarden with a shapely long bent stem. The Dublin shaped bowl was perfect for this pipe. He showed me the issue – a cracked shank. Now that is typically an easy repair – just drill a pin hole at the end of the crack, glue and band the shank. But John being who he is does not like bands or bling on his pipes so he wanted me to see if I could band it from the inside! I thought it would be worth a try as I had done it before using a Delrin tube glued inside the shank to stabilize the cracks and then super glue into the cracked area and clamp until it sets. The issue with this crack was not as straight forward as the two photos below show. It was actually cracked in two places on the top of the shank – about a half-inch apart. The two cracks joined and if I had wanted to I could have removed a triangular piece of briar from the shank. The good news with this was that the joining of the two cracks had stopped the crack from going further up the shank so a repair would be straightforward.CW1

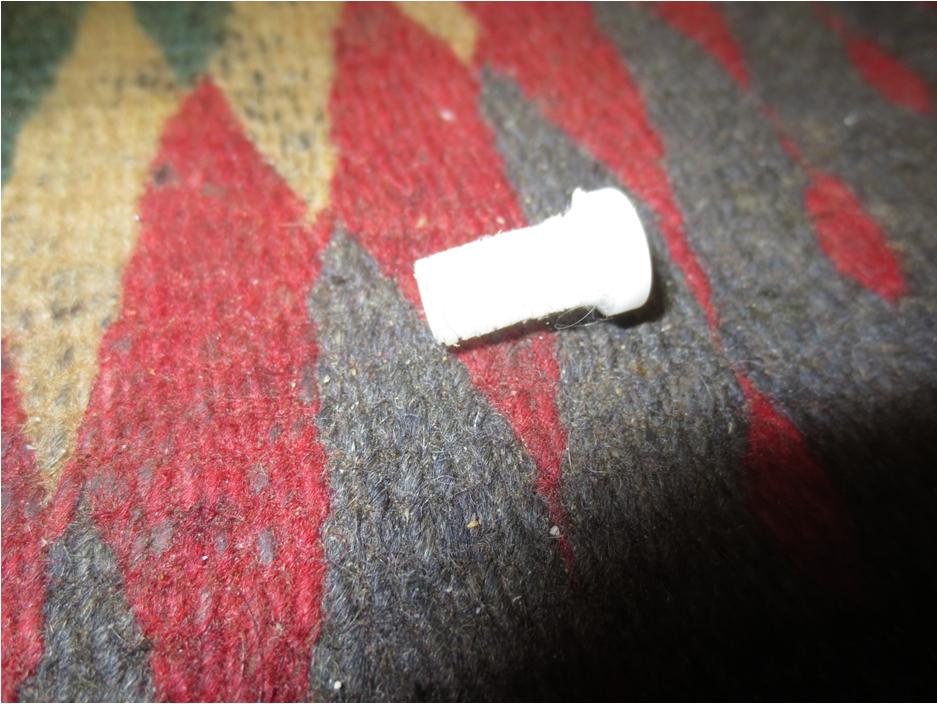
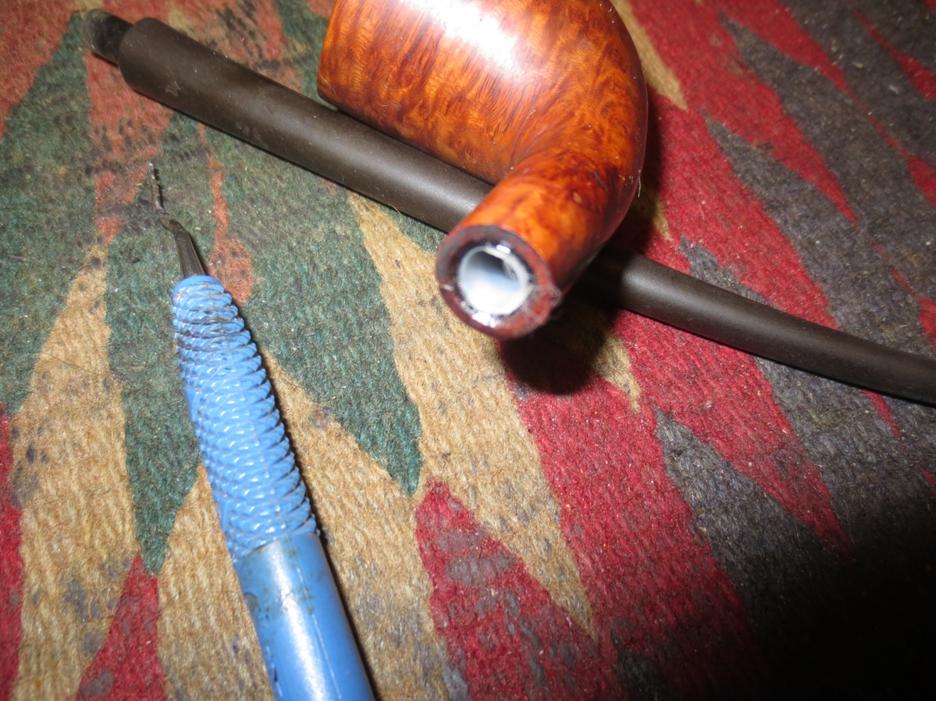
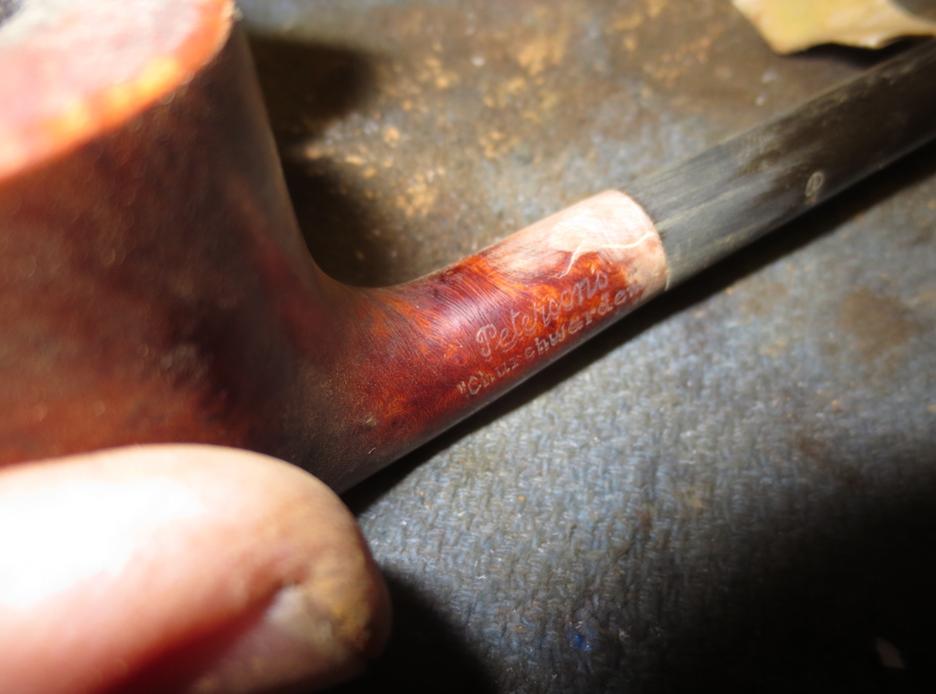
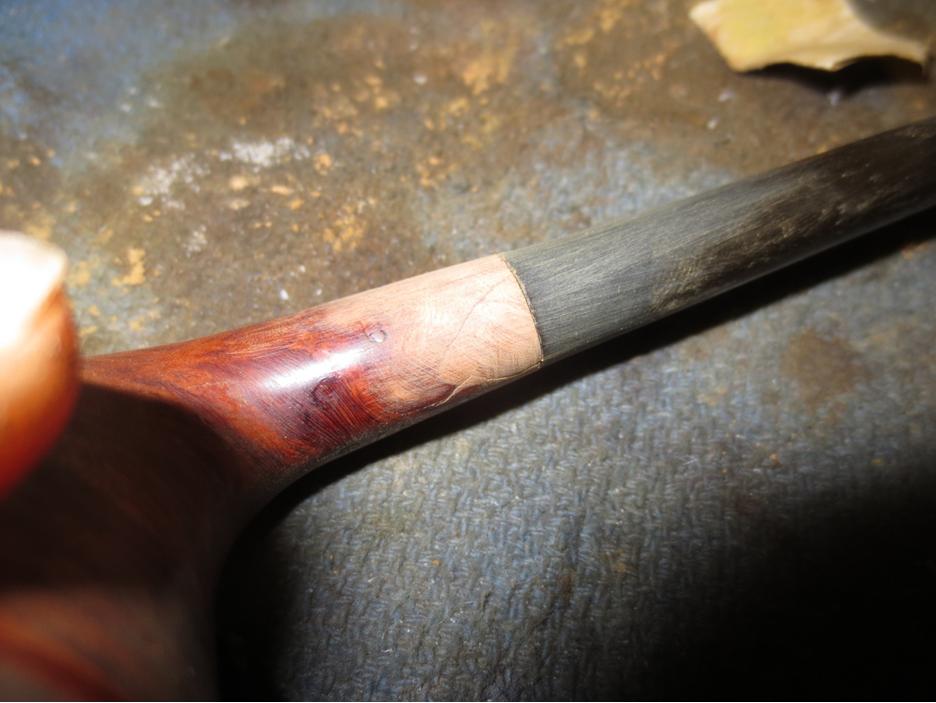
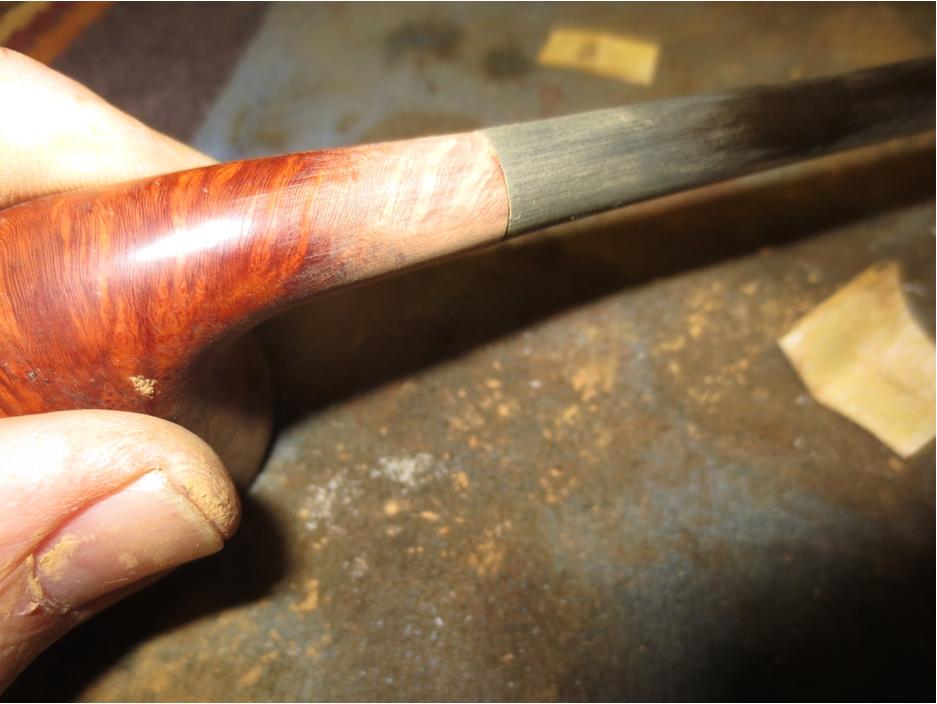
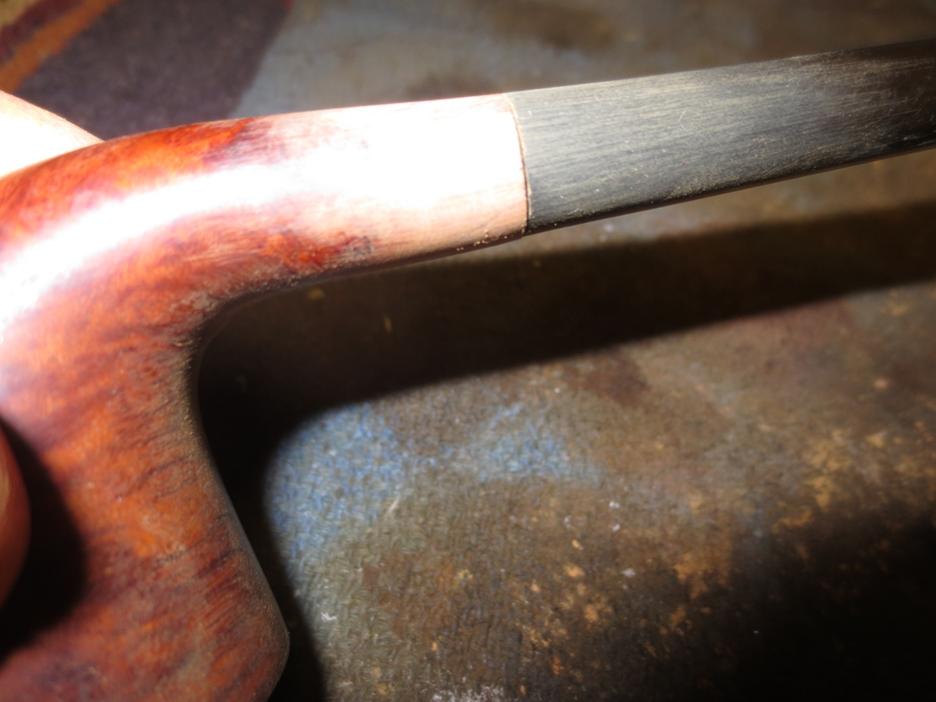
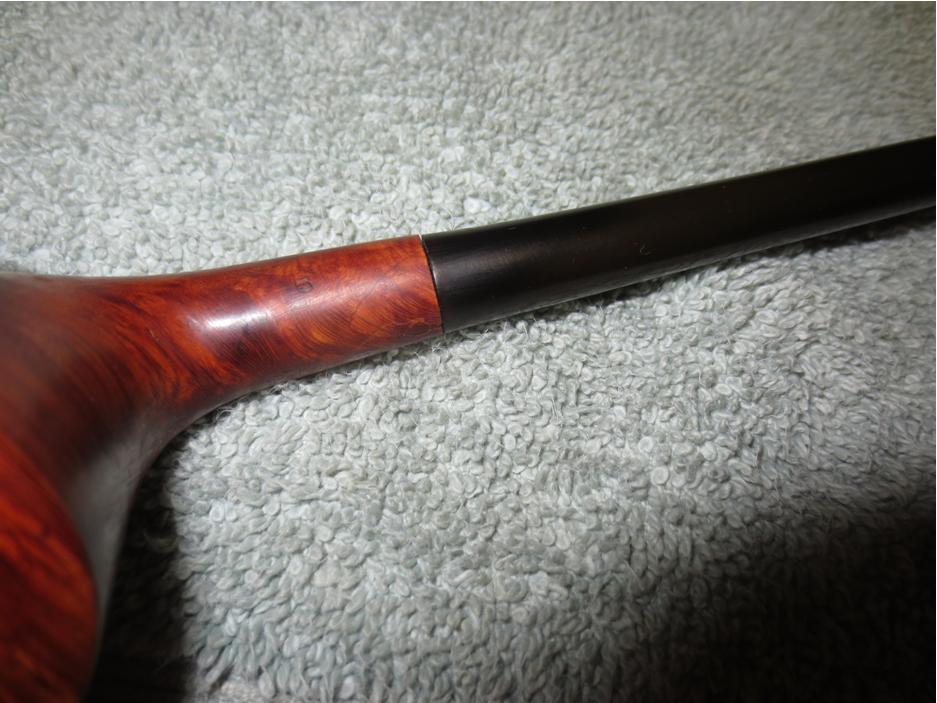
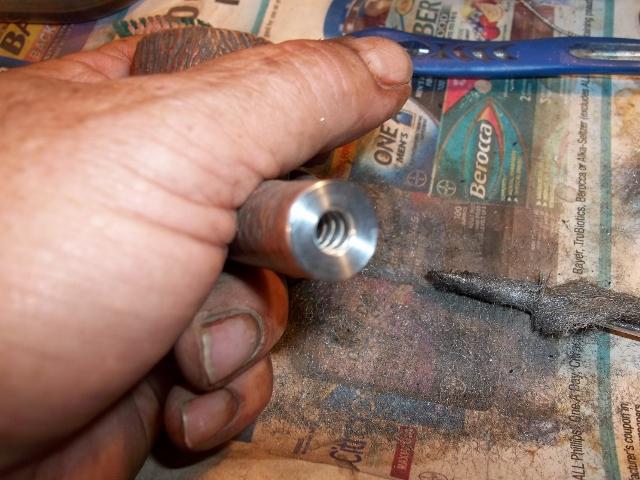
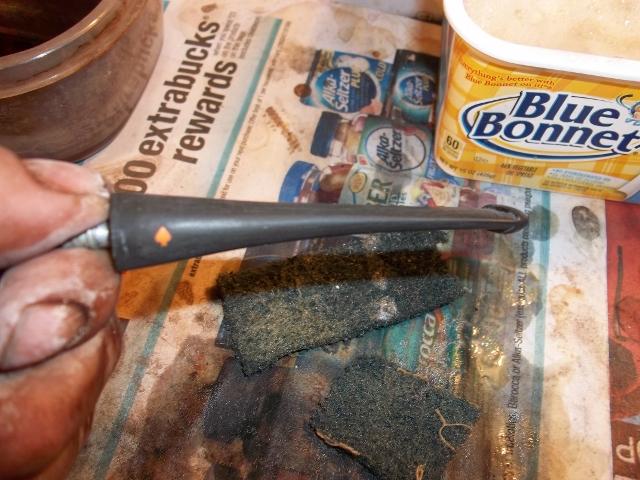
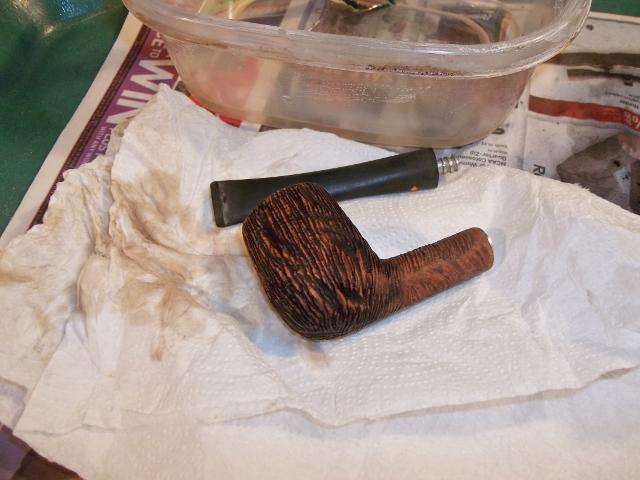
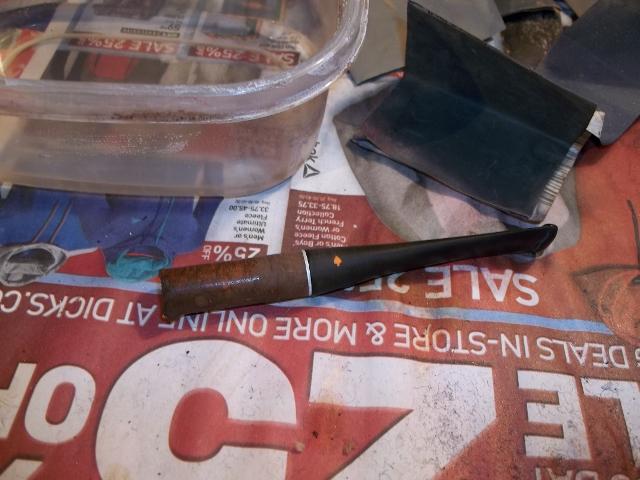
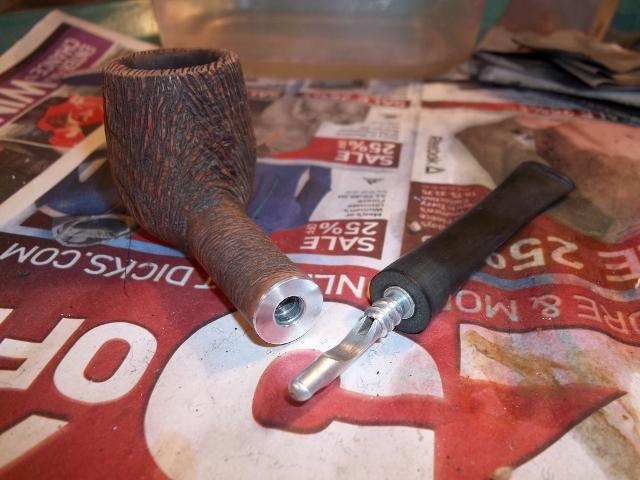
CW2 Now the challenge begins. I did not have any Delrin tenons that I could repurpose so I looked in my parts box and found the shank end of a replacement push tenon insert for meerschaum pipe repairs. Long ago I had used the stem end for something else and saved the shank insert knowing that one day I would be able to use it. Today was the day. I used my Dremel and sanding drum to sand off the edges of the thick end and to take down the threads on the insert. When I was finished sanding I had a rough surfaced tube insert that would sit in the shank of the Peterson with little effort.CW3 I opened the crack in the shank and put clear super glue into the opening. I pressed it together until it set. Then I coated the exterior of the tube with viscous super glue that was slow drying and pressed it into the shank. I set it aside to dry while I worked on the diameter of the tenon to reduce it enough to fit in the repaired shank. To me this is always the tricky part. I was sure I could take the tenon down some without weakening the strength of the tenon too much. With the size of the airway I only had one chance to get it right.CW4 When the insert was set, I used a drill bit and turned it into the shank to remove excess thickness and maximize the room for the tenon. I also used a knife to bevel the end of the tube insert and flare it to fit the bevel of the briar. I put the stem in place and the fit was good! I sanded the shank to clean up the repair glue. I sanded carefully around the nomenclature so as not to harm it but I wanted it to blend with the rest of the shank.CW5

CW6

CW7

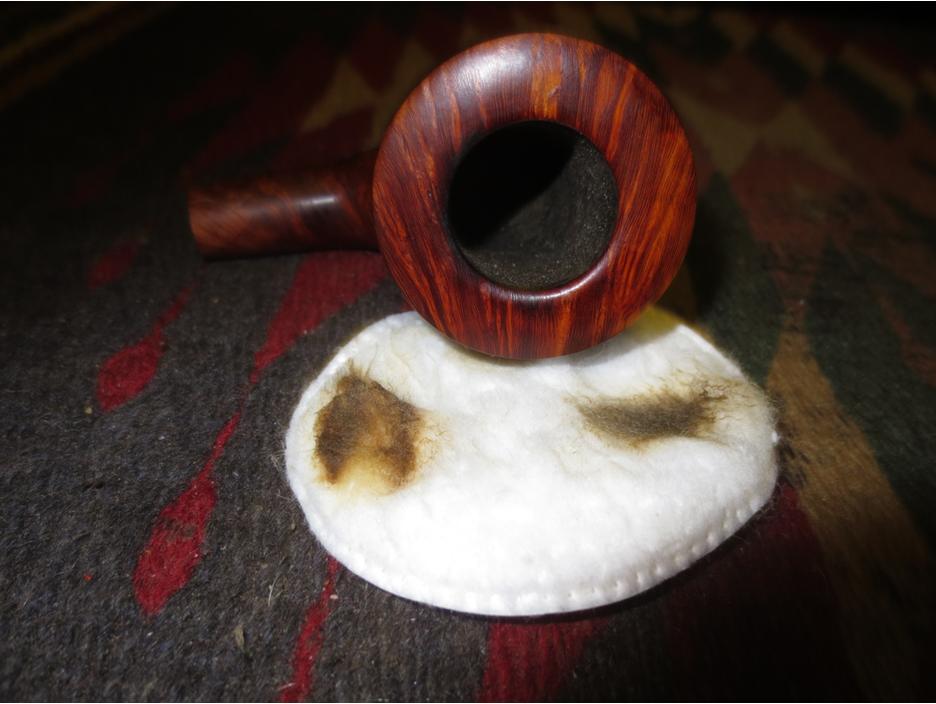
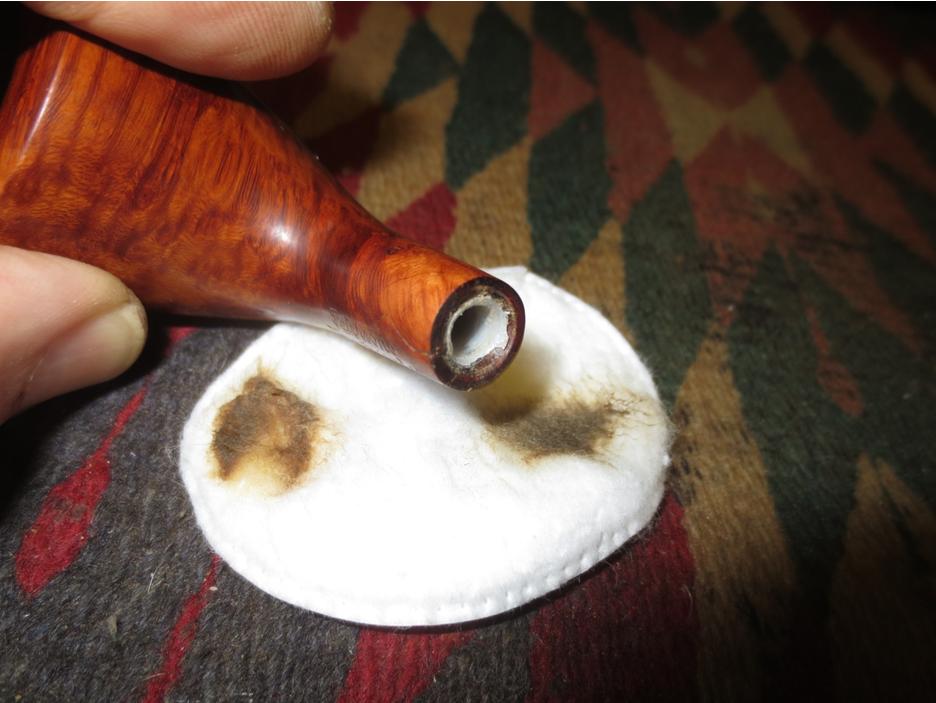
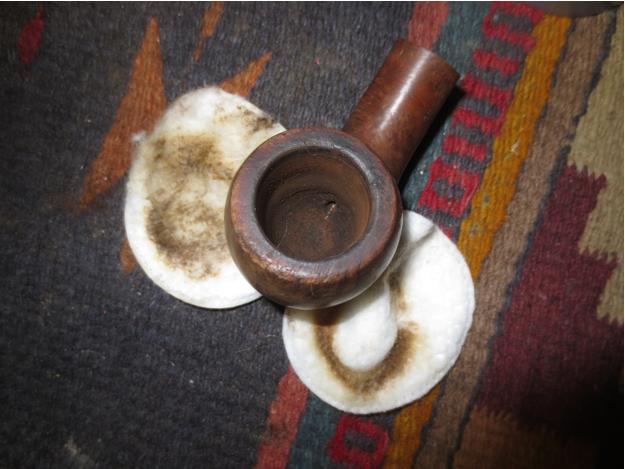
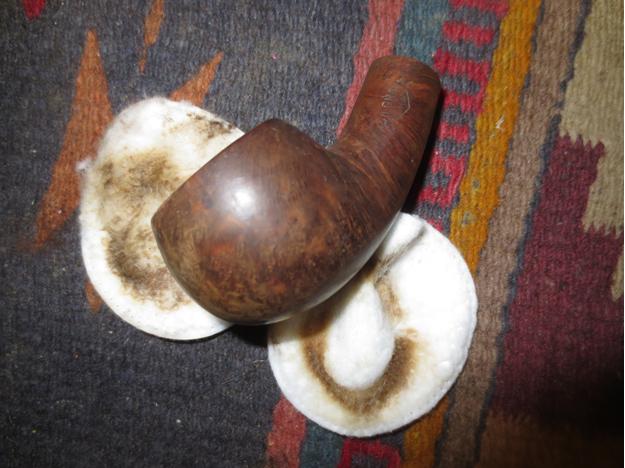
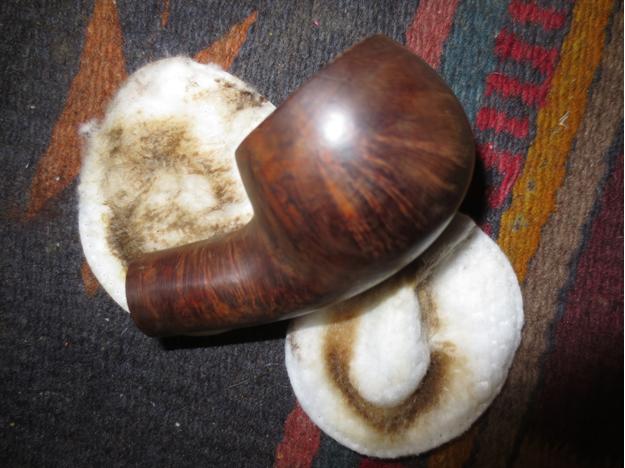
CW8 Once I had the shank/stem fit the way I wanted it I stained it with a medium and dark stain pen to blend it in with the rest of the briar. I also scrubbed the rim with saliva and a cotton pad to remove the tars on the surface. I buffed the bowl with Blue Diamond and then gave the bowl several coats of carnauba wax.CW9

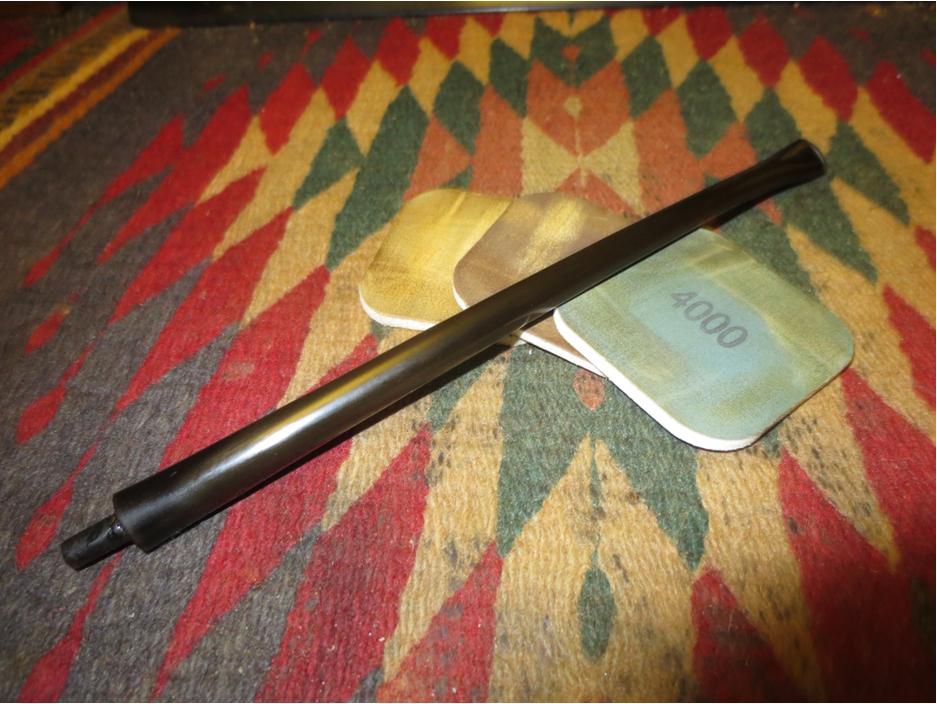
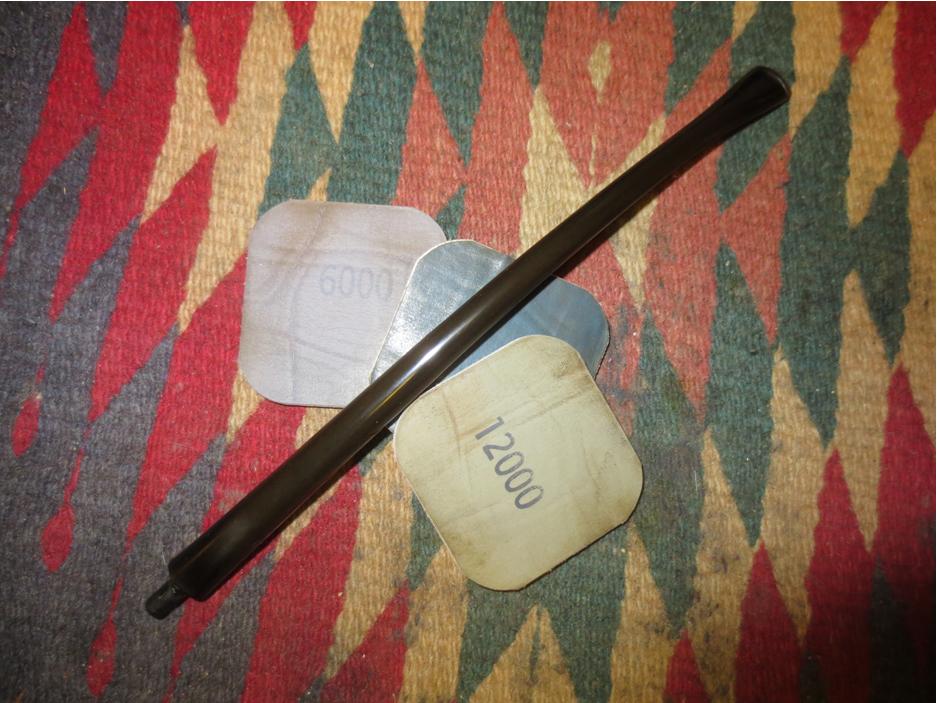
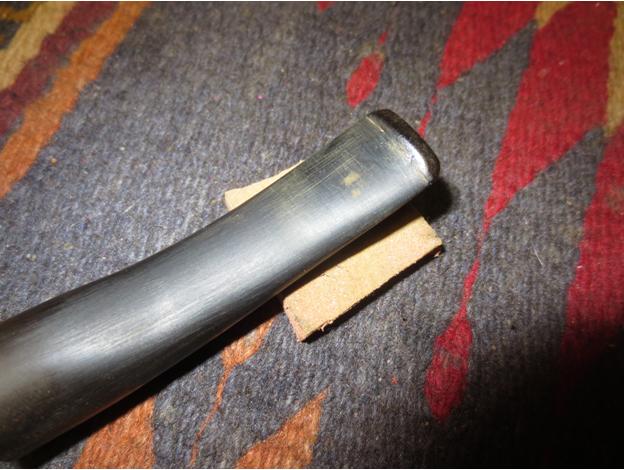
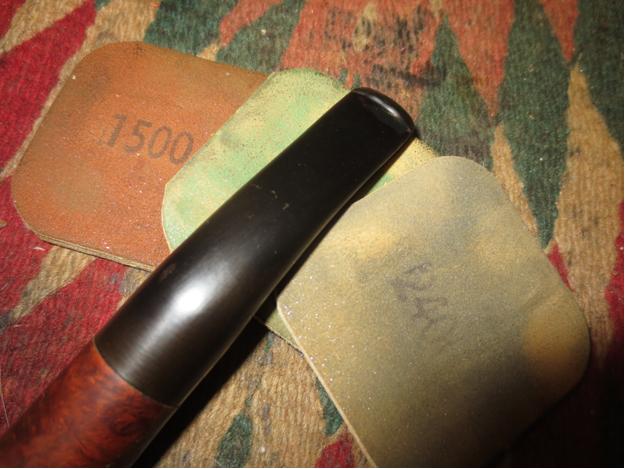
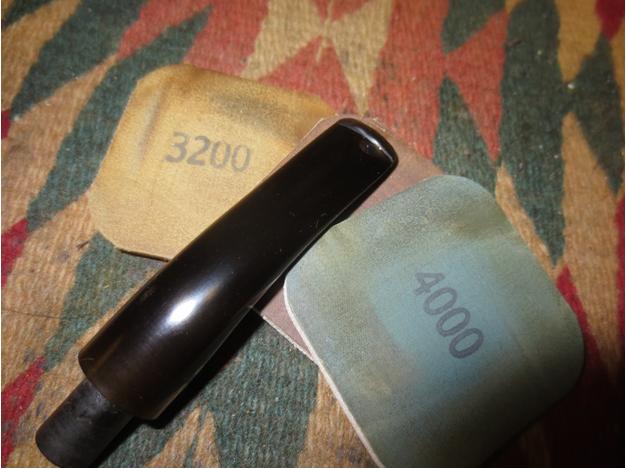
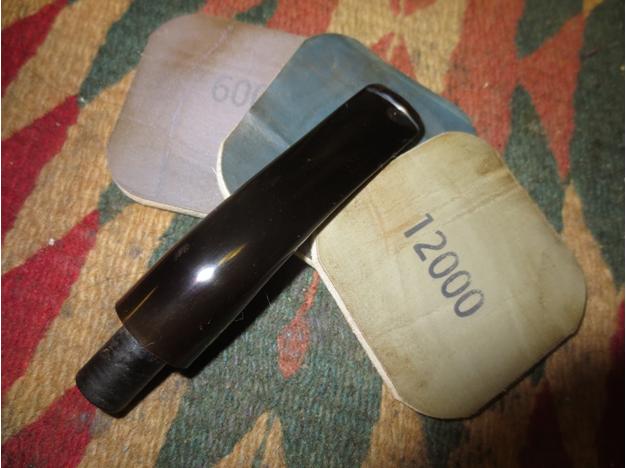
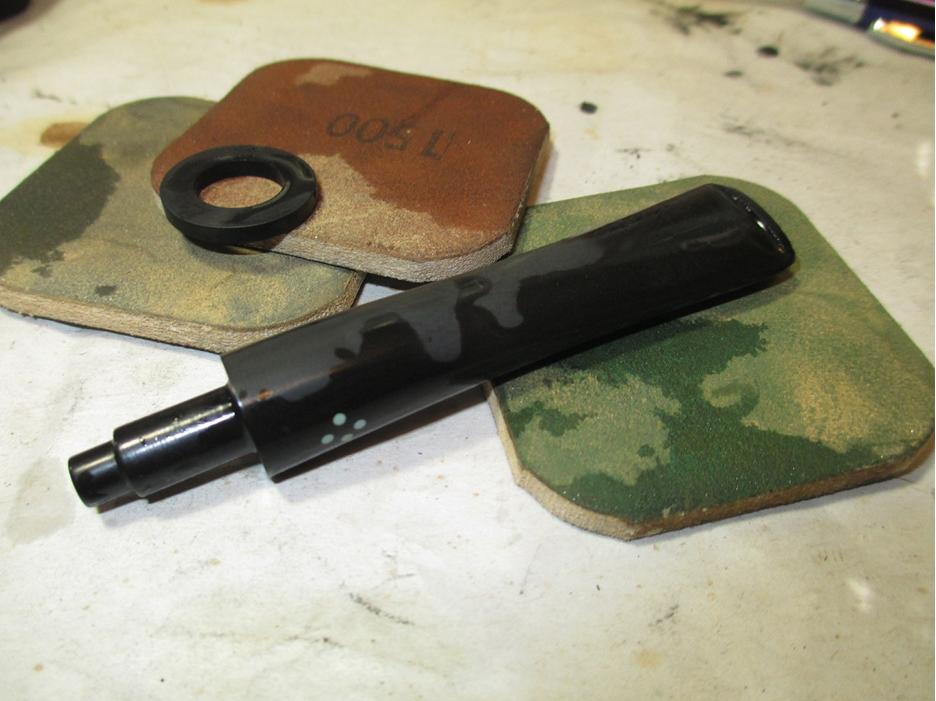
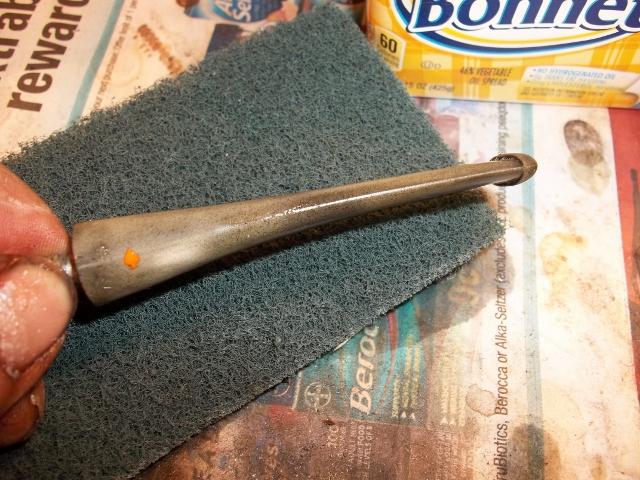
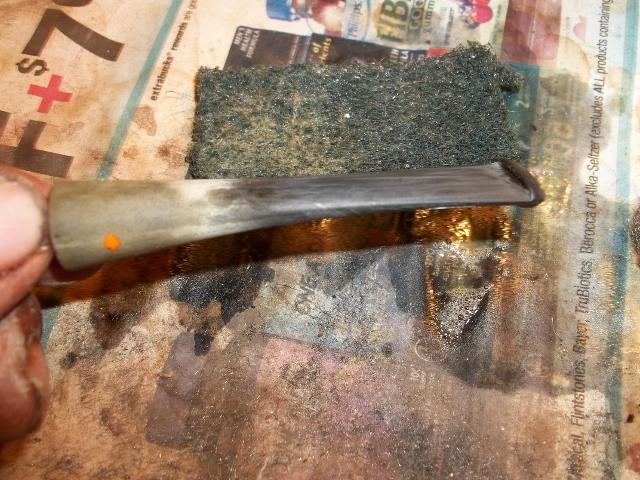
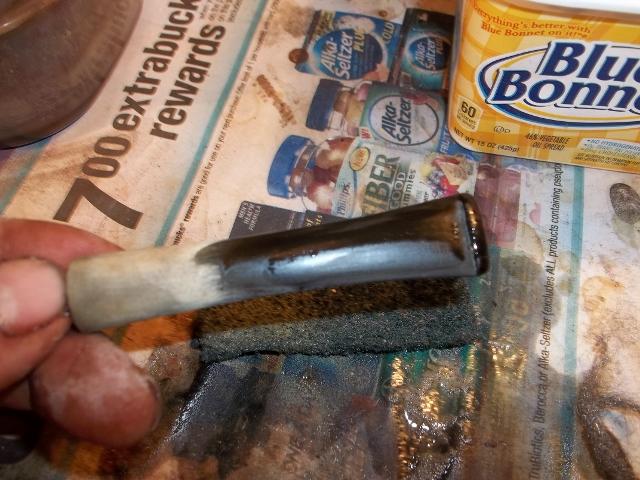
CW10 Though still visible on the exterior of the shank the crack is sealed and repaired. I worked on the stem to give it a polish. I sanded it with micromesh sanding pads – wet sanding with 1500-2400 grit pads and dry sanding with 3200-12,000 grit pads. In between each set of three pads I rubbed the stem down with Obsidian Oil. After the final sanding with the 12,000 grit pad I let the oil soak into the vulcanite before buffing the stem with Blue Diamond.CW11

CW12

CW13 I buffed the stem with Blue Diamond polish on the wheel and then gave the bowl and stem multiple coats of carnauba wax. I polished it with a clean flannel buff and then rubbed it down by hand with a microfibre cloth to give it a final shine. The finished pipe is shown below.CW14

CW15

CW16

CW17

CW18

CW19

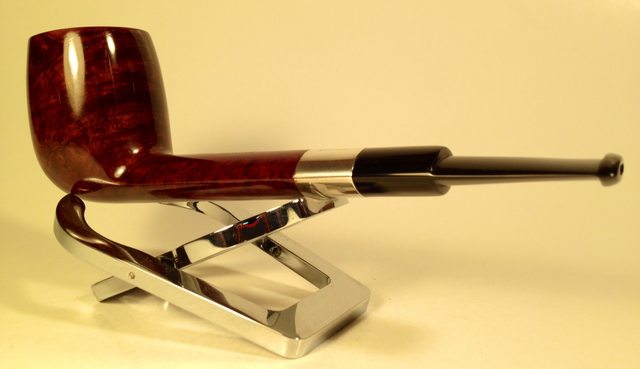
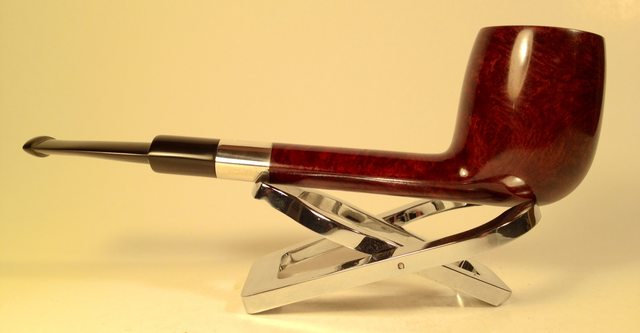
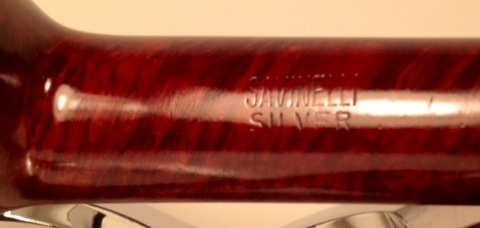
Reviving a Savinelli Silver 806


Blog by Dave Gossett
Dave1 My Army cousin stationed in Italy came to the states recently bearing gifts. He bought me 9 pipes at a swap meet in Vencenza – 5 Savinelli’s, 2 Brebbia’s, 1 Rossi, and 1 lesser known Italian briar. I’m a sucker for silver bands, long shanks, and Sav’s, so naturally this is the first one out of the batch I cleaned up.

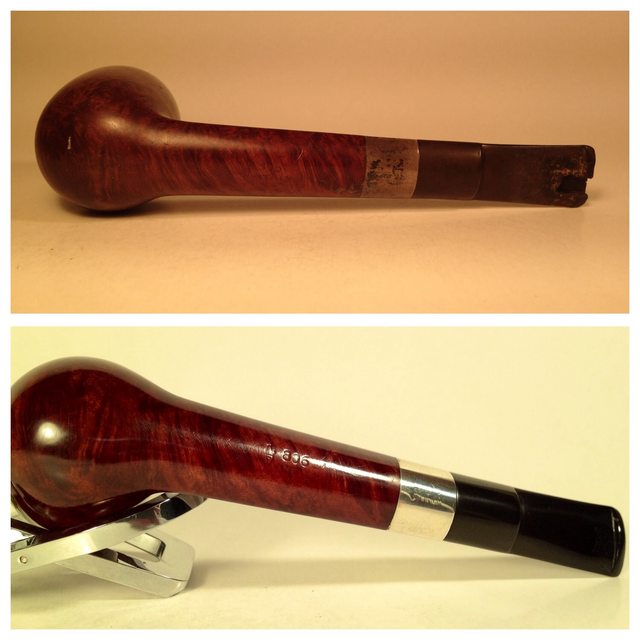
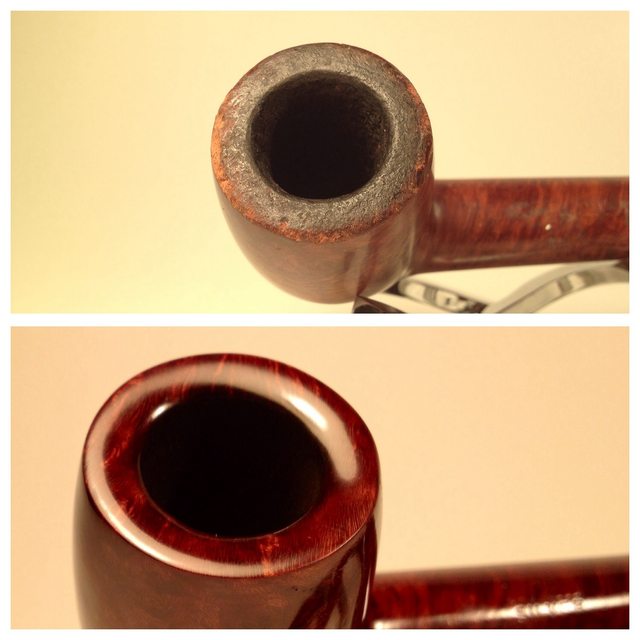
This one had not been “smoked lightly” as the saying goes. The rim was beat up, the stummel had plenty of scratches, and the stem had a hefty chunk missing.Dave2

Dave3

Dave4 I started out by reaming and cleaning the airways. Then I topped the bowl and beveled it, and sanded the scratches from the exterior.Dave5 After removing the damage from the stummel, I gave it a light alcohol scrub to remove the rest of the stain.

I gave it a dark contrast stain starting with Fiebings dark brown and a hint of oxblood, then after drying for 24 hours I sanded it to lighten it up and make the grain pop. A cloth dampened with alcohol can be used around the stampings to lighten the stain a bit without compromising the nomenclature.

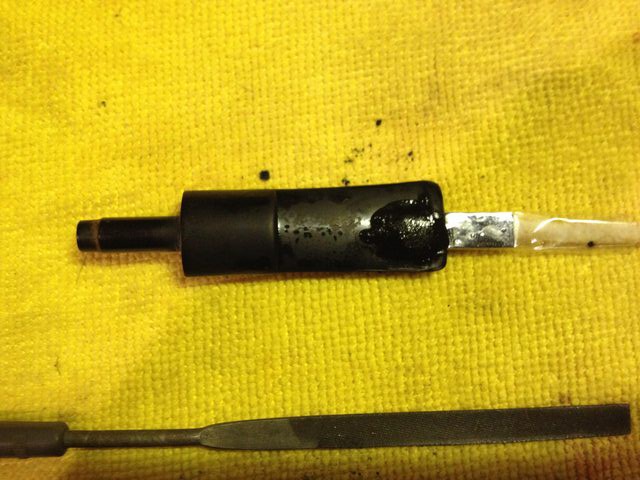
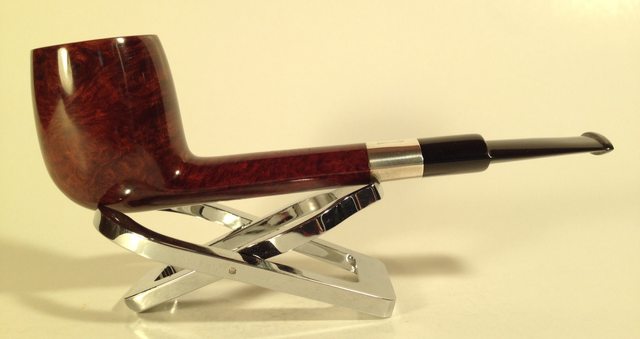
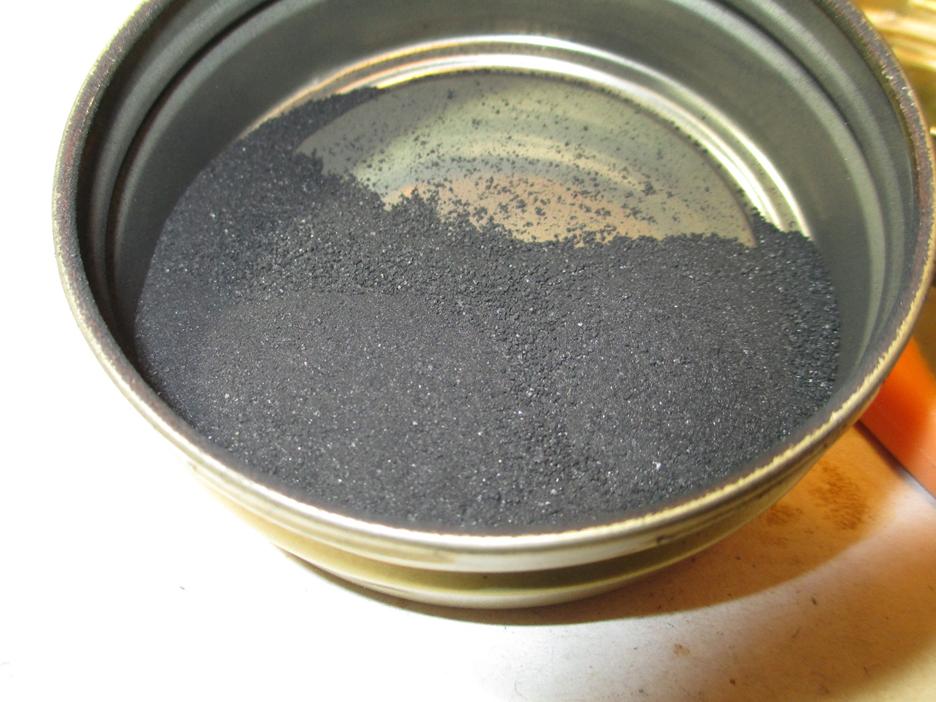
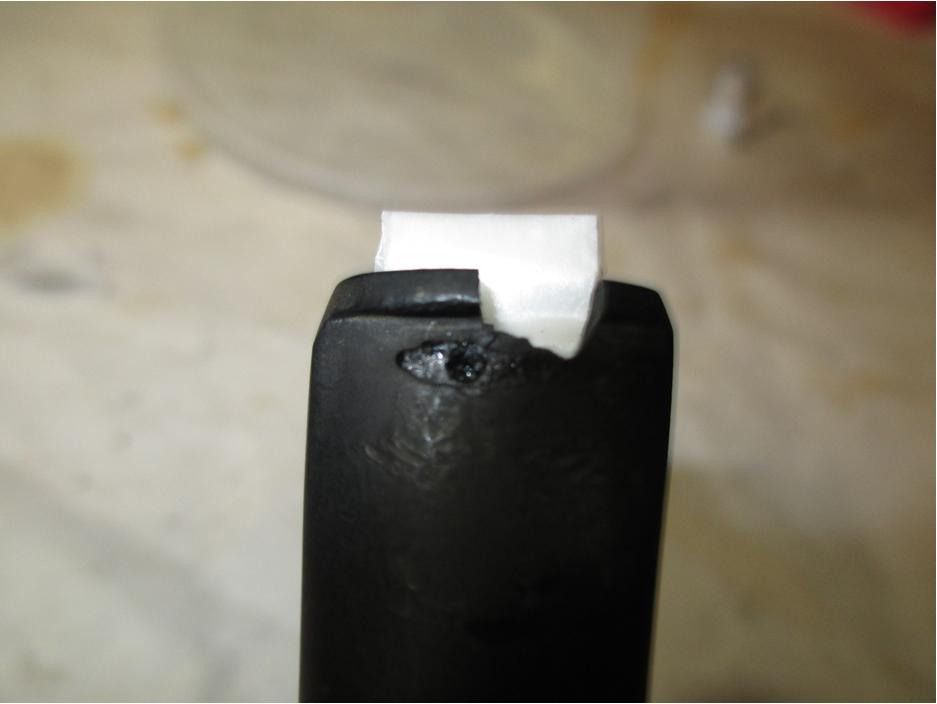
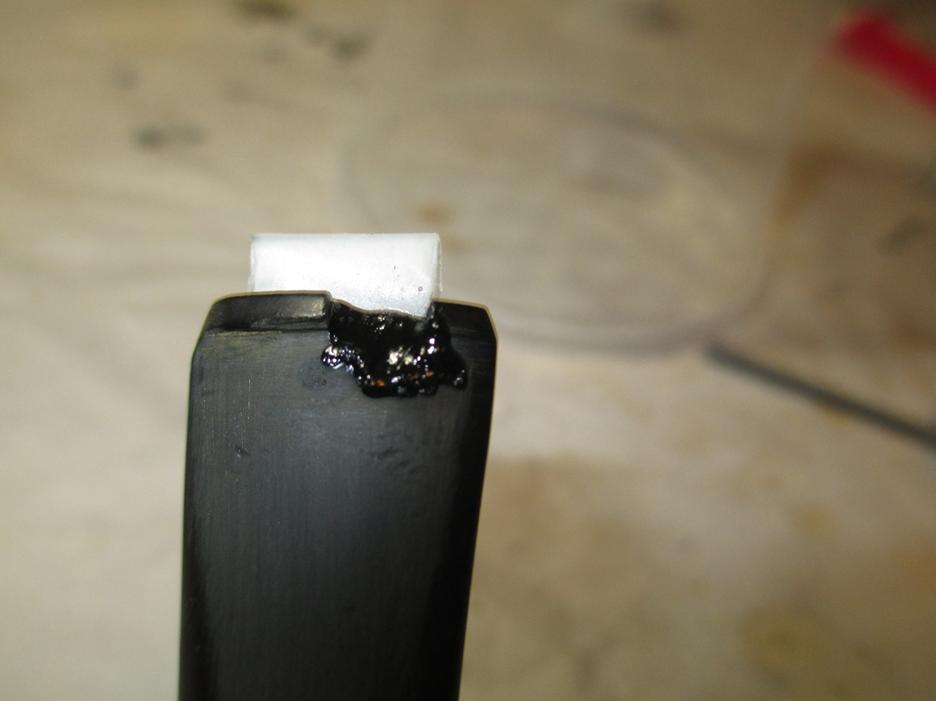
Next up, the stem. I removed the oxidation and scored the area around the repair site. Patched up the missing vulcanite with CA and charcoal, then filed it down and wet sanded smooth, followed by a light run on the wheel with compound.Dave6 I’ve already put a few bowls of Syrian Reserve through it since the pictures were taken. Great smoker. This one’s a keeper.Dave7

Dave8

Dave9

Dave10

Dave11

Dave12

Dave13

Breathing New Life into an LHS Sulgrave


Blog by Steve Laug

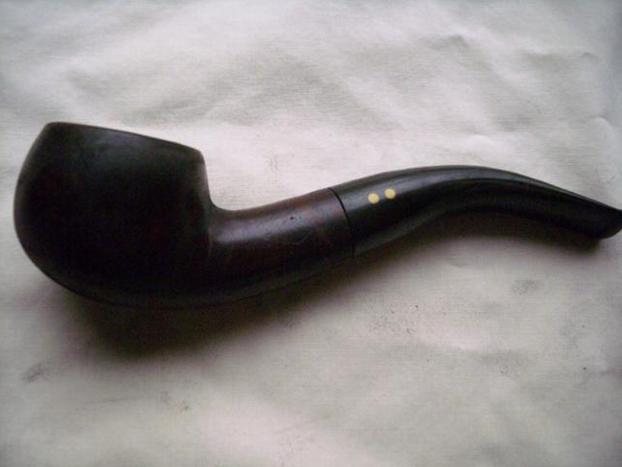
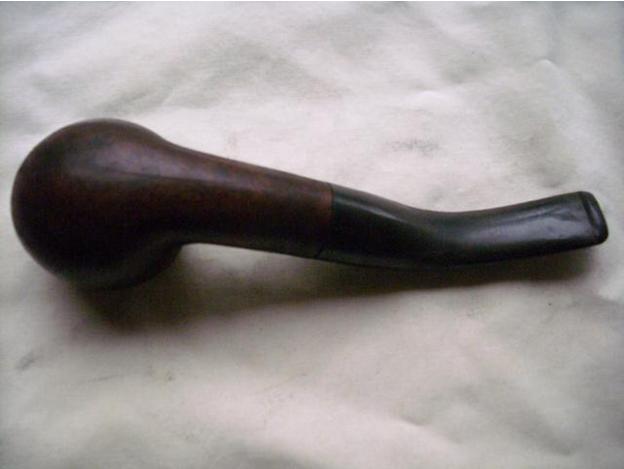
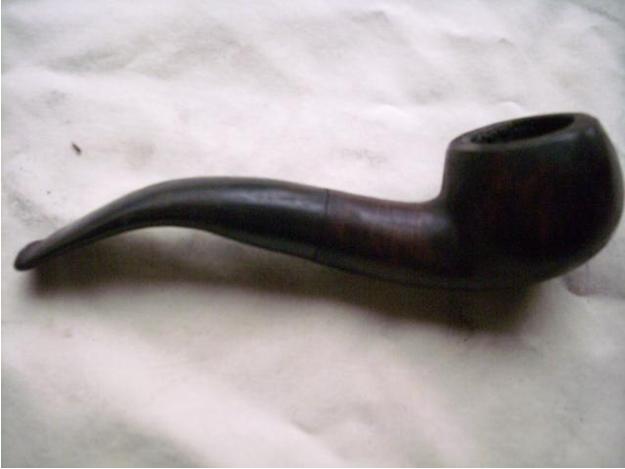
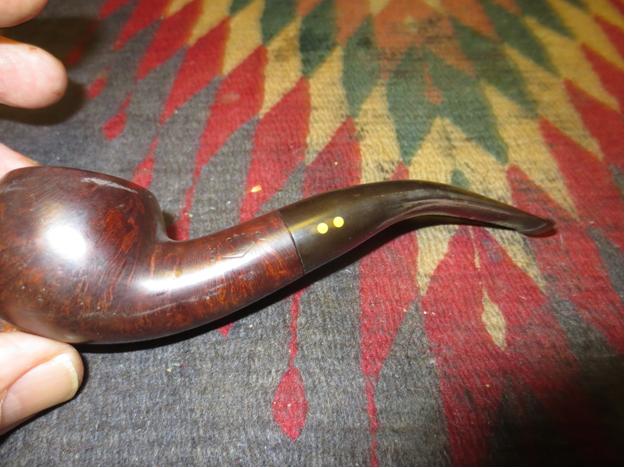
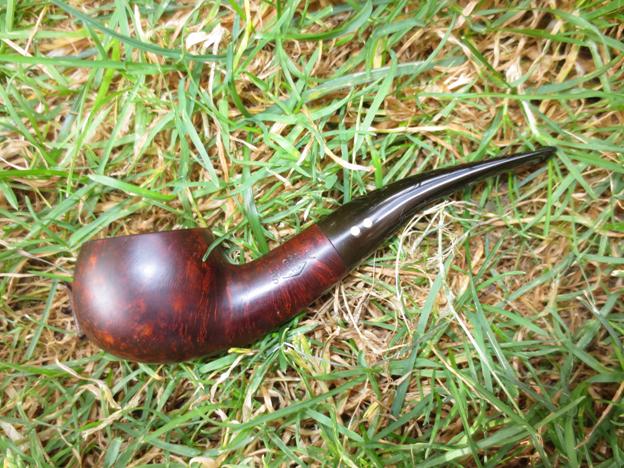
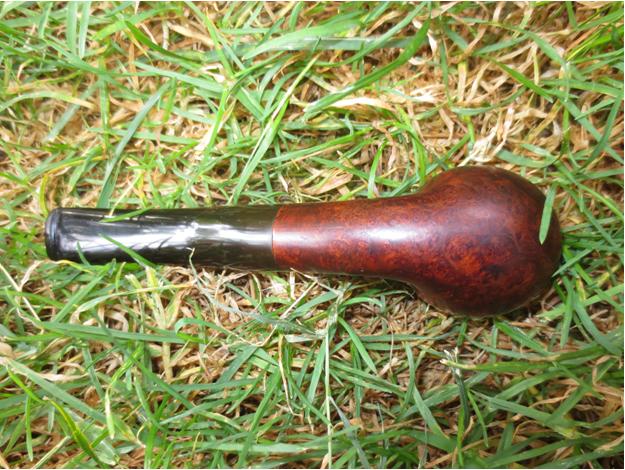
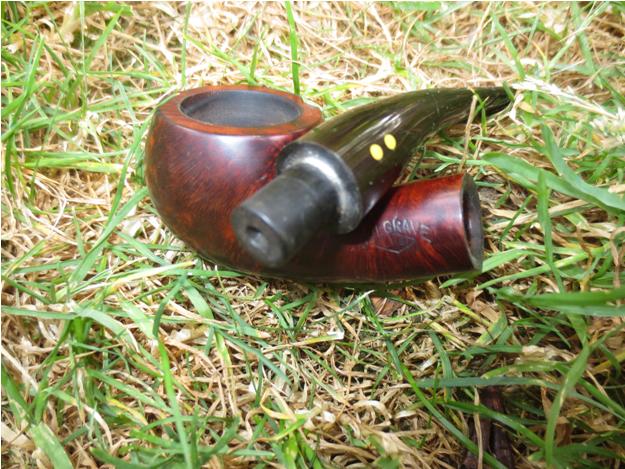
I have become a fan of older LHS pipes and restored quite a few of them lately. I am always on the lookout for different LHS lines that I have not seen. Recently I picked up this LHS Sulgrave from a fellow on the Dr. Grabow Collectors Forum for $15. It is a line that I had not heard of before. He described it as a lightly smoked briar pipe. When I saw it I wanted it as it was my kind of shape. Never sure what to call this shape – bent banker, squat apple – not sure but I like it. He gave the following description in the sale listing. The shank is stamped Purex Sulgrave arched over LHS in a Diamond on the left side. The stem has two light coloured dots on the left side. The pipe is 5 1/8 inches long from the bottom of bowl to end of bit. The bowl chamber diameter is 7/8 inch and bowl depth is 1 1/4 inch. There is light caking in bowl. There is light tooth wear on end of the stem near the button. It has normal wear and tear (dings, oxidation and scratches) for an estate pipe. Nice overall shape and condition. Here are the photos that he included when I emailed him for details.LHS1

LHS2

LHS3

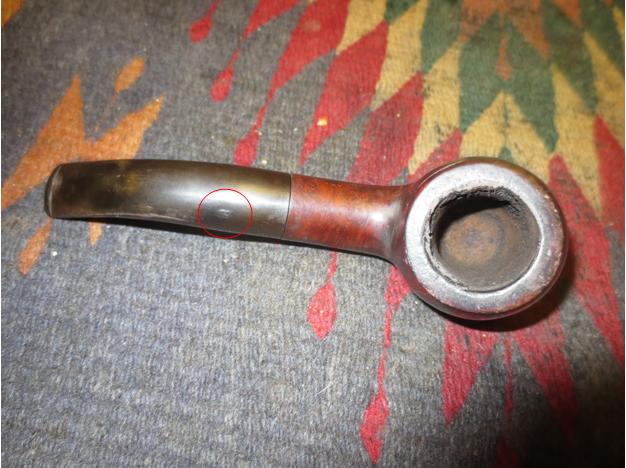
LHS4 When the pipe arrived I was not disappointed. The shape was perfect. The description was accurate and the only variation that I could see was that the stamping did not include PUREX on the shank. Not a big deal in my book. The bowl was unevenly caked and appeared to have been reamed. The back side of the bowl had a thicker portion of cake that gave the inside wall on the back side an uneven and out of round look. I was pretty certain that with a good reaming and a light sanding the rim would look better. The stem was over bent and there was a slight crease on the underside of the bend. There was a coat of wax or some kind of coating on the stem and bowl. The stem was oxidized. In the first photo below you can see slight imperfection in the vulcanite stem. I have circled it to highlight it in the photo below. It is not a hole or worn spot, it is actually a thread of cord in the rubber. Its presence gives some idea of the date of manufacture as recycled rubber was used in WWII pipes.LHS5

LHS6

LHS7

LHS8 The stem also had a lot of tooth dents and chatter along both top and bottom with some very deep marks on both. I tried to capture them in the next two close-up photos but they are still not very clear. The odd thing was that the dents went up the stem over an inch. The slot in the button was not centred and appeared to have left the factory that way. The dents were deep enough that I was concerned regarding the thinness of the stem surface over the airway. The mortise and airway in the shank were dirty and the end of the mortise was chipped away. It looked as if there had originally been a stinger in the tenon but it was no longer with the pipe.LHS9

LHS10 I also have included the next close-up photo of the rim and the bowl interior to show the cake that gave the bowl an out of round appearance.LHS11 I reamed the bowl with a PipNet pipe reamer using the largest cutting head. I took the cake back to bare wood to even out the inner edge of the bowl. I wanted to get rid of the cake so that I could smooth out the edge.LHS12

LHS13 I folded a piece of 220 grit sandpaper to smooth out inner edge. It took a little effort remove the inner edge damage and clean up the roundness of the bowl.LHS14

LHS15 I wiped down the bowl with acetone on cotton pads to remove the tars and the wax coat on the briar. With them removed the outer edge of the bowl showed damage as well. The bowl had been knocked about on the front edge particularly. The grain on this pipe was lovely.LHS16

LHS17

LHS18

LHS19 To minimize the outer edge damage I topped the bowl with 220 grit sandpaper on a topping board. I sanded it to remove the damage to the top of the bowl and clean up the outer edge of the bowl.LHS20

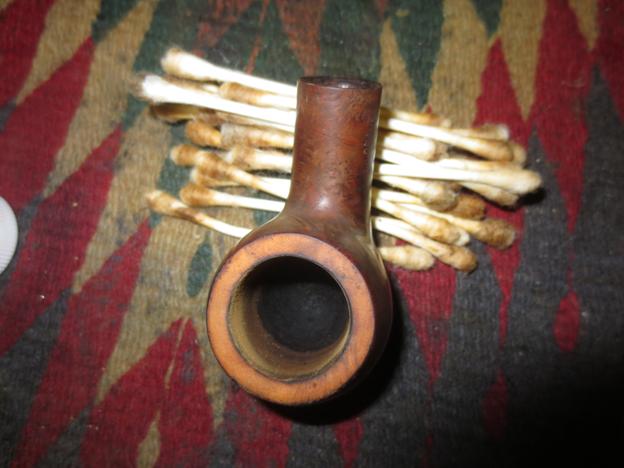
LHS21 I cleaned out the shank and the bowl with pipe cleaners, cotton swabs and alcohol to remove the grime inside. It took quite a few of both to clean out the shank but finally they came out clean.LHS22 I heated the stem with a heat gun to try and lift some of the dents to the surface and to also take out some of the bend. I also wanted to smooth out the sharpness of the bend on the bottom side.LHS23

LHS24

LHS25 I cleaned out the airway in the stem with pipe cleaners, cotton swabs and alcohol.LHS26 The heat had raised most of the dents significantly. The ones that were left in the stem needed to be sanded out and then filled to take care of them. I used 220 grit sandpaper to smooth out the surface. I also worked on the curve on the underside of the stem to make it less sharp looking.LHS27

LHS28

LHS29

LHS30 The dents in the stem needed to be filled to bring the surface back to smooth flowing condition. I used a black super glue to fill the surface and set the stem aside to dry for several hours. Once dry, I sanded the fills with 220 grit sandpaper and then used a medium and a fine grit sanding sponge to feather them into the surface of the stem.LHS31

LHS32

LHS33

LHS34

LHS35

LHS36 I used a needle file to clean up and sharpen the edge of the button and give it more definition. I sanded the sharp edge with sandpaper and then sanded it with micromesh sanding pads. I wet sanded the stem with 1500-2400 grit micromesh pads and dry sanded with 3200-12,000 grit pads. I rubbed the stem down with Obsidian Oil between each set of three pads and then let it dry after sanding with a 12,000 grit pad.LHS37

LHS38

LHS39 I buffed the pipe with White Diamond and Blue Diamond on the buffing wheel to polish and remove the slight remnants of oxidation that had come to the surface. I gave it multiple coats of carnauba wax and buffed it with a clean flannel buffing pad. I brought it back to the table and hand buffed it with a microfibre cloth. The finished pipe is shown in the photos below.LHS40

LHS41

LHS42

LHS43

LHS44

LHS45

LHS46

Dave’s Four Dot Sasieni


Blog by Andrew Selking

I’ve been out of touch for the past few months, between moving, home renovation, and finding a new job my free time has been limited. Dave is sneaky though, he sent a picture of a pipe he bought and asked me if I thought I could fix it. Of course I said yes. Here is the pipe as it looked upon arrival. There is an obvious chunk missing from the button, but there is also a small crack on the other side of the stem. That was uglier than it looks.Dave1

Dave2

Dave3

Dave4

Dave5

Dave6

Dave7

Dave8

Dave9 I did my normal procedure of cleaning the inside of the pipe first. Dave was kind of worried about how the alcohol might affect the finish, so I used new alcohol and only left the bowl in for about 45 minutes. I soaked the stem in an Oxyclean bath.Dave10

Dave11

Dave12 The tar on the rim came right off after removal from the alcohol bath. Next I reamed the pipe using my Castleford reamer, used a brush on the inside of the shank, followed by a retort of the bowl. As I suspected the pipe was pretty clean.Dave13

Dave14

Dave15

Dave16

Dave17 Before dumping out the Oxyclean, I ran a pipe cleaner through the stem. It was not too dirty. I followed that by a retort and more pipe cleaners. That was the easy part, the fun was about to begin.Dave18

Dave19

Dave20

Dave21 As you can see the missing chunk is a problem. The crack on the other side looked like it could keep going, so I drilled a hole to stop it. You might notice a slight micro crack to left of the main crack. Turns out there was a chunk of vulcanite hanging on like a loose tooth. Of course it came out very easily, leaving a stem that was missing most of the button on both sides.Dave22

Dave23

Dave24

Dave25

Dave26

Dave27

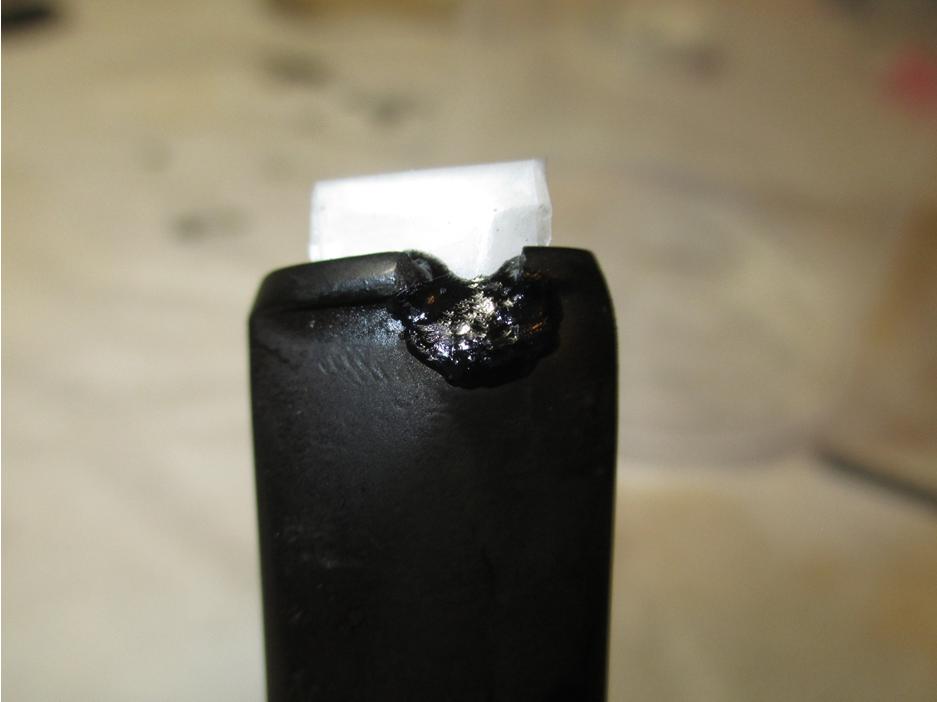
Dave28 The first thing I do when building a new stem is fit some rolled up wax paper inside the stem. I’ve found that the CA glue does not stick to it and it helps give shape to the inside of the stem. I use ground charcoal (which I purchased at the pet store and ran through a coffee grinder and sifter) and CA glue. I started by filling in the hole that I drilled to stop the crack. Once I had that filled in and sanded smooth, I started building up the stem below the button. I forgot to mention that I use CA accelerator throughout the process. I find that you can work the glue within 2 to 3 minutes instead of having to wait overnight.Dave35

Dave36

Dave37

Dave38

Dave39

Dave40

Dave41

Dave42

Dave43

Dave44

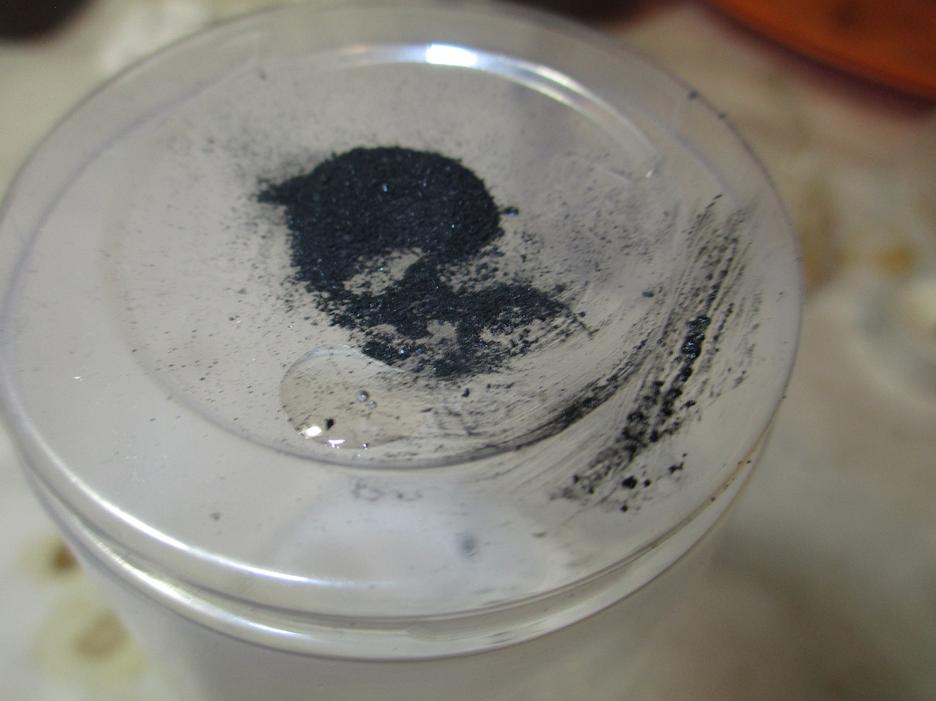
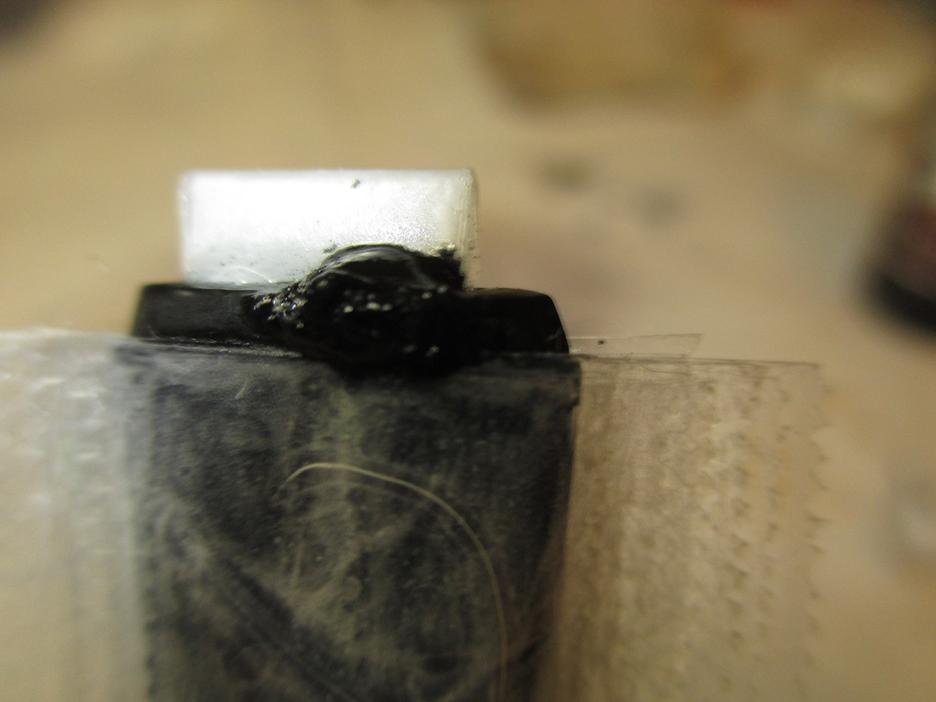
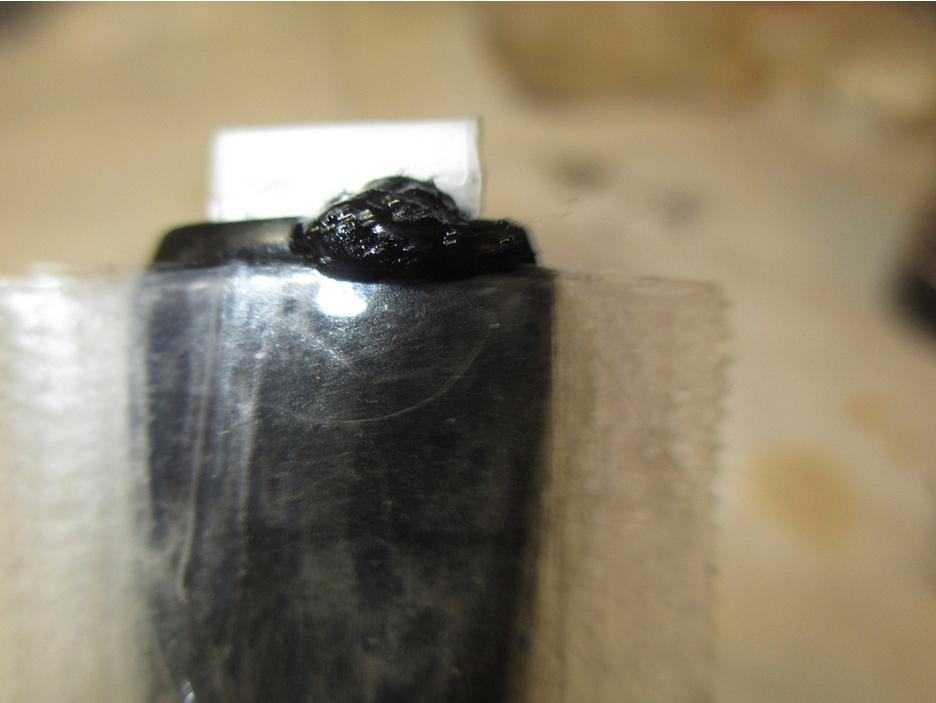
Dave45 Once the stem was repaired, I put layers of clear tape on the stem under the button to serve as a form for the glue. Once the tape was even with the button, I started adding CA glue and charcoal. I put a small amount of charcoal on the bottom of a plastic cup, add a drop or two of CA glue and mix it with a push pin. I use the push pin to add the material to the stem, followed by a few drops of accelerator. Once the material is built up, I start to sand and file it into shape. I use needle files and 400 grit sand paper. This gets me to the final step, which is addressing the micro pits.Dave46

Dave47

Dave48

Dave49

Dave50

Dave51

Dave52

Dave53

Dave54

Dave55

Dave56

Dave57

Dave58 I filled the micro pits with a mixture of CA and charcoal, but used much less charcoal than before. I used 400 grit sandpaper and needle files to get the final shape. I then used 1500-2400 grit micro mesh with water to smooth it all out. Since the bowl was in nice condition and I wanted to preserve the finish, I started polishing with 3200 grit micro mesh. I used a progression of 3200-12,000 grit micro mesh on both the bowl and the stem. Here is what it looked like once it was ready for the buffer.Dave59

Dave60

Dave61

Dave62 I polished the stem using my rotary tool with a felt pad and white diamond, followed by carnauba wax. My rotary tool has variable speed and I use the lowest setting. I used white diamond and carnauba wax on the bowl with the buffing wheel. Here is what the pipe looked like when I finished. This is my second repair of this type. My ultimate goal is to do repairs that look like the original. Thanks for looking.Dave63

Dave64

Dave65

Dave66

Dave67

Dave68

Rescuing a Kaywoodie Flame Grain Meerschaum Lined Doggie


Blog by Andrew Selking

To paraphrase Samuel Clemmons, reports that I’m no longer messing with pipes are greatly exaggerated. Between a cross country move, a new house, renovations to said house, and trying to figure out what I want to be when I grow up, I have not spent as much time working on pipes as I would like. I did manage to squeeze in this nice Kaywoodie Flame Grain Meerschaum lined doggie.

According to a Kaywoodie brochure from the era, Flame Grain pipes were made from “200 to 400 year-old briar burls…the last of their kind to be found in the world.” The meerschaum inlaid Flame Grain is a “superb Flame Grain Kaywoodie with an inlaid inner bowl of imported Turkish meerschaum. This pipe combines the outstanding qualities of the two best materials in the world in which to smoke tobacco.” This pipe represents the pinnacle of American pipe making. As a point of reference, in 1947 this pipe would sell for $12.50 while Dunhill pipes started at $10.00.

As you can see, it took some imagination to see a pipe that might compete with a Dunhill.KW1

KW2

KW3

KW4 The stem was under-clocked and heavily oxidized. The bowl had very thick cake and a buildup of tar on the rim. There was some kind of protective finish on the bowl that left a film after the alcohol bath. Additionally, the stinger was cut. On the plus side, I could see some really nice grain and the stem was virtually unmolested.

The first thing I did was soak the bowl in alcohol. I was hesitant to do that, because I was afraid the alcohol would cause the meer lining to deteriorate. At the same time I was also worried that if I didn’t soften the cake first, just using the reamer might damage the lining as well. I compromised and soaked it for about two hours and the cake came out nicely.

While the bowl was soaking, I used Oxyclean and warm water to soak the stem. Since it was missing the end of the stinger, it was easy to get the worst of the gunk out with a pipe cleaner. As I mentioned, the stem was under-clocked. To fix this problem I usually heat the stinger with my heat gun until I can easily rotate back into place. As the tip of the stinger heats up it transfers heat into the stem and loosens the glue. The whole heat transfer thing wasn’t working very well with this pipe, so I stuck a small nail in the stinger.KW5 That worked like a charm.

Next I did a retort on the bowl and stem.KW6

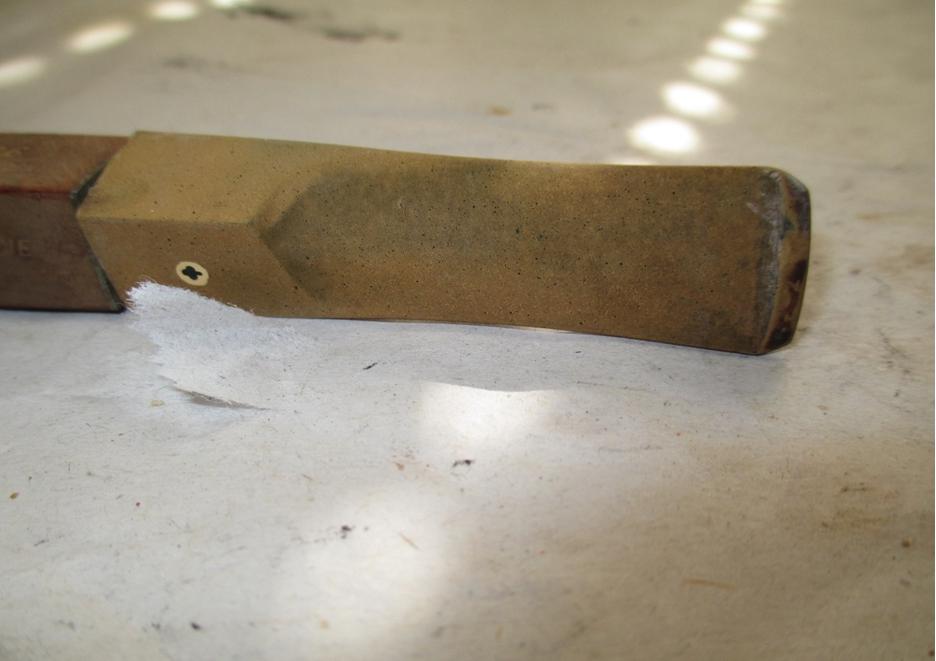
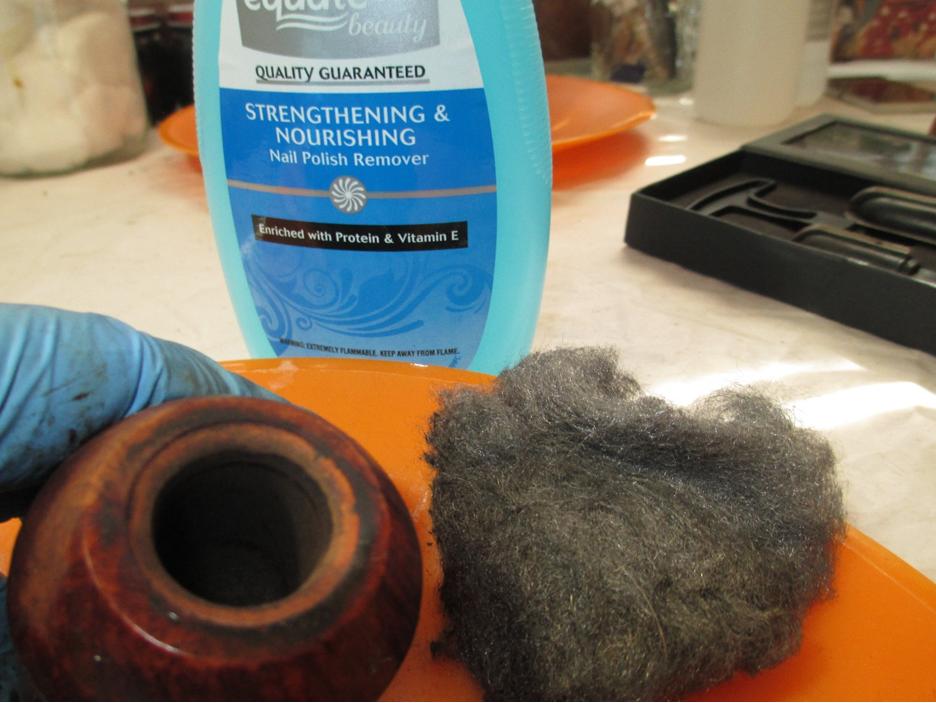
KW7 After scrubbing the insides with brushes, q-tips, and pipe cleaners, it was time to tackle the exterior issues. I used 0000 steel wool with acetone to remove the tar build up on the rim.KW8

KW9 I continued with the 0000 steel wool over the rest of the bowl to remove the film on the finish. After cleaning the bowl, I used 3200-12000 grit micro mesh to polish the bowl. This is what it looked like afterwards.KW10

KW11

KW12 I used 400 grit wet/dry with water to remove the oxidation from the stem, followed by 1800-2400 grit micro mesh with water.KW13 I finished the stem with a progression of 3200-12,000 grit micro mesh.KW14

KW15

KW16 I set up my buffer and polished the bowl with white diamond and carnauba wax. I used my variable speed rotary tool with white diamond and carnauba wax for the stem. Here is the finished pipe. Thanks for looking.KW17

KW18

KW19

KW20

KW21

Refurbishing a Dr. Grabow Westbrook 84L Smooth Canadian


Blog by Troy Wilburn

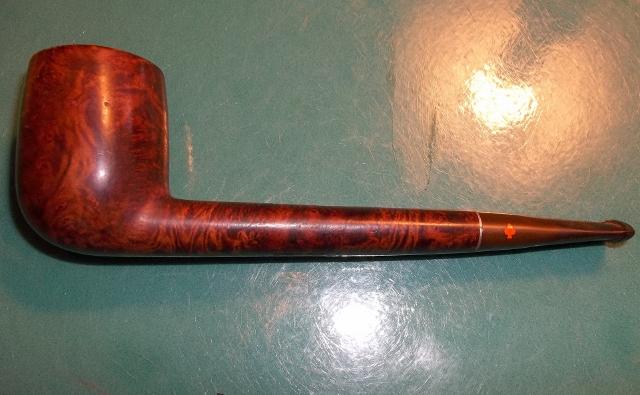
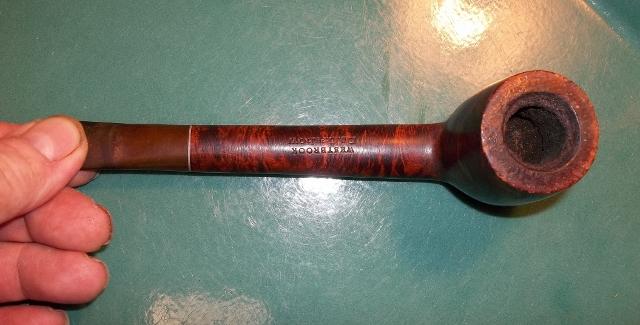
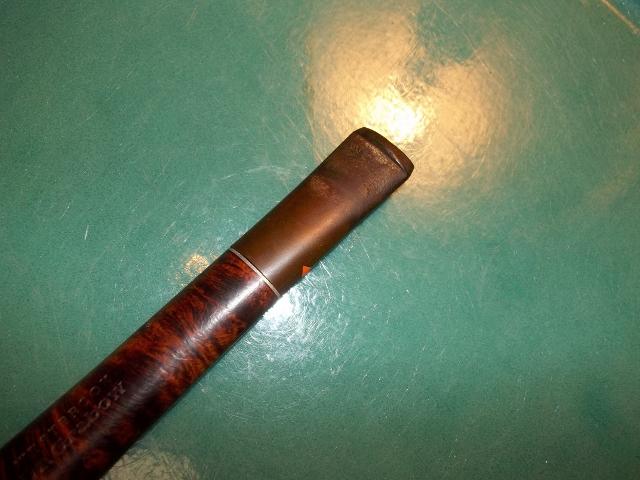
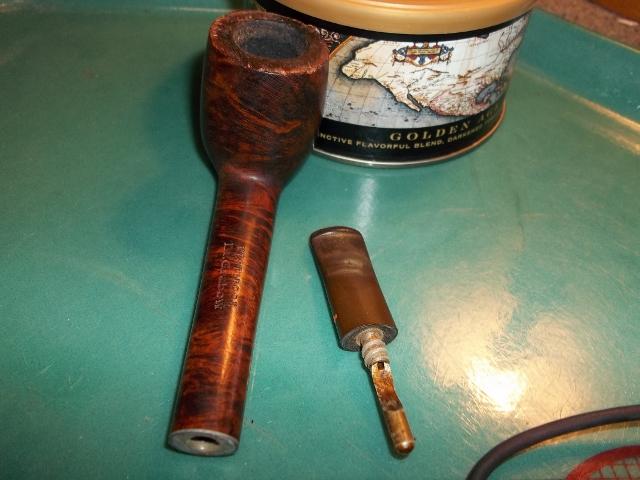
I got this pipe in a trade. I was pleasantly surprised when it showed up it was an 84L and not a regular 84. The stampings are crisp. The rim did have some dings so I had to lightly top it and restain it. There are still some very light dings on pipe but I let them go as the factory finish and color was excellent. So I just cleaned and buffed it other than rim. The stem still has some teeth marks I could not get out fully. The old bowl cake came out easy and the shank was not that dirty and I’m glad because these Canadian shanks are a pain to clean lol. It has zero fills too, which on that much briar was a nice surprise. All and all I’m very happy with it.

Here is the pipe when it arrived.West1

West2

West3

West4

West5 I took pics of it after I had finished restoring it with a couple of my favorite 45 EPs .

After: West6

West7

West8

West9

West10

West11

West12

West13

West14

West15

West16

West17

West18

Revamping a Bavarian Folk Wine Pipe Made in Italy


Guest Blog by Robert M. Boughton
Member, North American Society of Pipe Collectors
http://www.naspc.org
http://www.roadrunnerpipes.com
http://about.me/boughtonrobert
Photos © the Author

“Voters in the southern German state of Bavaria [April 7, 2010] voted for Germany’s strongest smoking ban, meaning lighting up in bars, restaurants and beer tents at Munich’s famous Oktoberfest will be ‘verboten.’”
― David Levitz, journalist, Agence France-Presse

INTRODUCTION
Who would have dreamed that those crazy, fun-loving Bavarians who have been hosting the annual Oktoberfest since October 12, 1810, the day Crown Prince Ludwig (later King Ludwig I) married Princess Therese von Sachsen-Hildburghausen; the culinary health scoffers who gave to the world such artery-hardening treats as Weisswurst, Schweinshaxe, schnitzel and spaetzle, and for snacks and dessert, laugen pretzels, apfelstrudel, Baverische crème and zvetchgenkuchen – would ban smoking in all public buildings just months before the bicentennial of the world’s biggest excuse to get betrunken?

Bavarians are even so fond of beer and schnapps that they have a great little saying: Saufen bis zum Verlust der Muttersprache, or drink until you forget your mother tongue. And if you’ve ever seen many German tourists, how many of them didn’t look like triple bypass candidates? Of course, everyone knows smoking kills more people than drinking and/or diet-related maladies…right?

One 31-year-old Garden Grove, California woman who lost her job and started a blog, and has written a book but is still searching for a publisher, has a particularly active gift of gab. She blogged, “Bavaria’s cuisine is a monster truck. It crumples the delicate-by-comparison culinary offerings of Spain, Italy, and France like tiny little Fiats and Peugots in its path… It is rich and doughy and filling and is the only thing on the planet that can soak up German beer. Every other fare will simply hide in the corner of your stomach, petrified at the sheer awesomeness of the brew that resides in there with it, and it will never get digested.” Perhaps the most succinct line from this particular blog is, “Germans do it with bigger sausages.” [http://www.everywhereist.com/7-badass-bavarian-foods-you-must-try/] I, for one, can’t wait until the book comes out.

If the world is going mad as far as singling out tobacco as the great evil, then Bavaria may now be the capitol for the insanity. Maybe all that ice bockbier and apfelstrudel have saturated their bodies and have nowhere left to go but the brains.

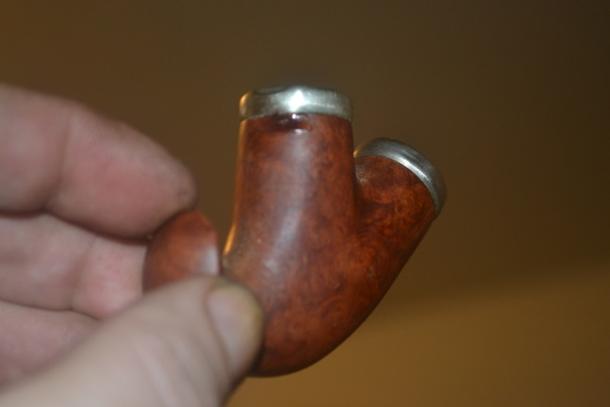
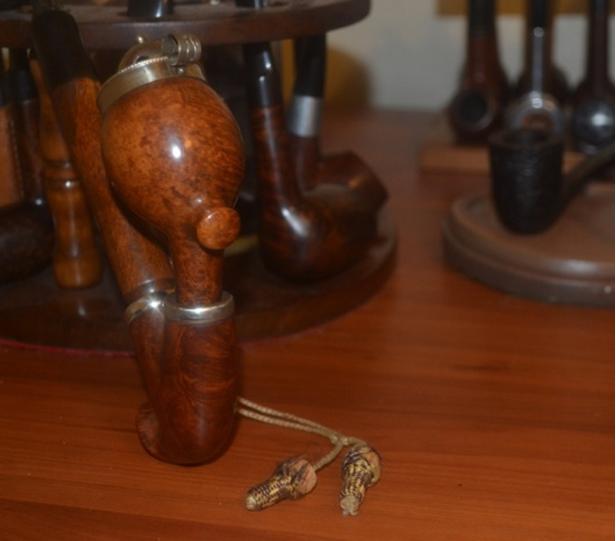
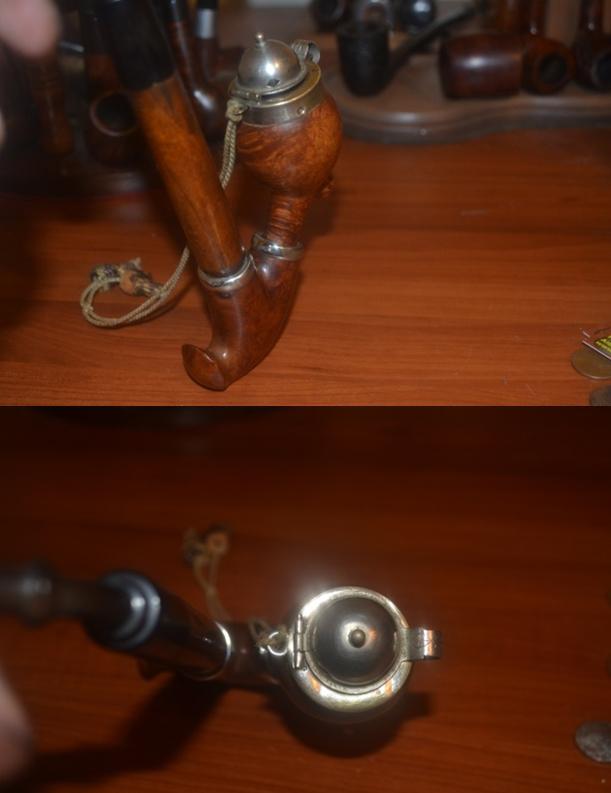
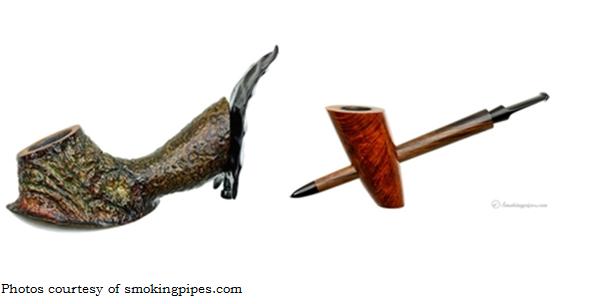
At any rate, there remains for those of us who still appreciate the virtues of pipes and their tobaccos the glorious contributions of German craftsmanship in general and Bavarian in particular.Rob1 And more along the lines of the subject of this blog:Rob2
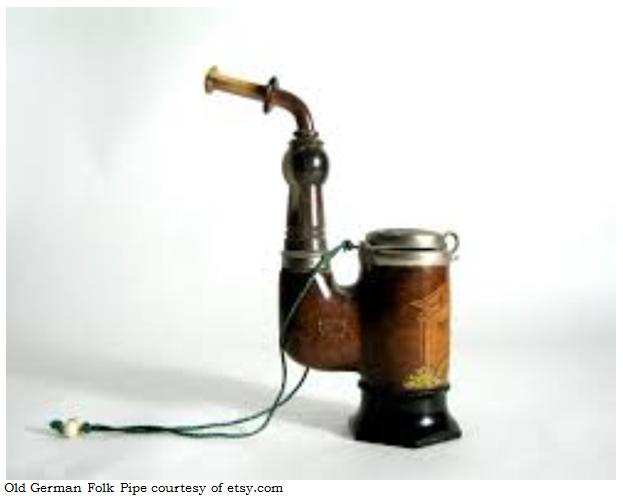
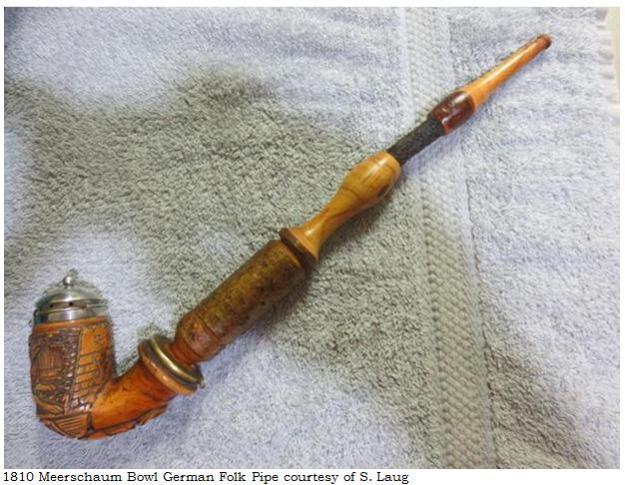
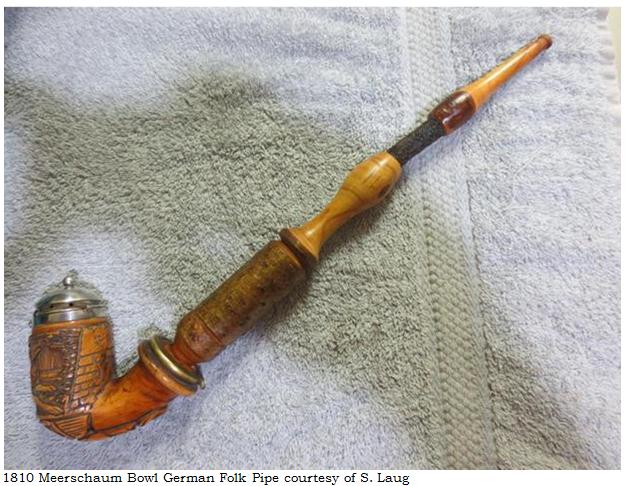
Rob3 When I emailed Steve a few photos of my new acquisition from eBay, for less than $11, I was happy as usual to receive a response but, I must admit, a little disheartened to hear of the 20 hours he spent restoring the 1810 Meerschaum Bowl masterpiece above. Then I considered the facts that his folk pipe was part meerschaum, and of course suspected he had, as his masterful skills and (if I may be so bold) somewhat obsessive creative bent allow, more than just restored it. He had in fact, of course, re-worked parts of it, as I learned when I read with pleasure his July 7 account. I mentioned the conjecture that Steve is a born pipe maker to my mentor, Chuck Richards, who with not an inkling of surprise to me that Steve has made a few pipes in his time. I therefore hereby suggest a blog by our host on these endeavors, which I am certain I am not alone in my curiosity to hear about and see.

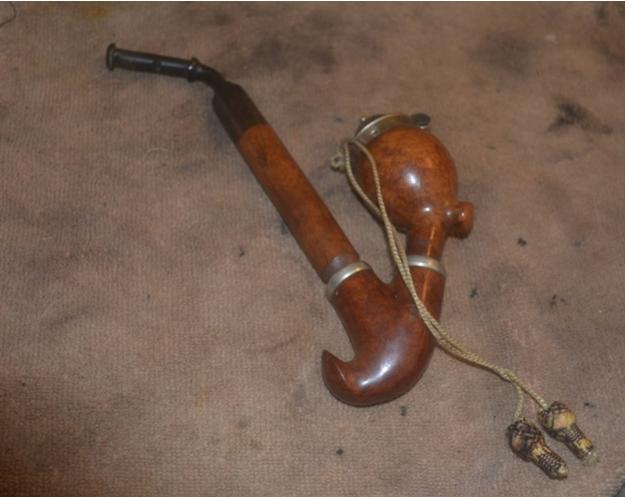
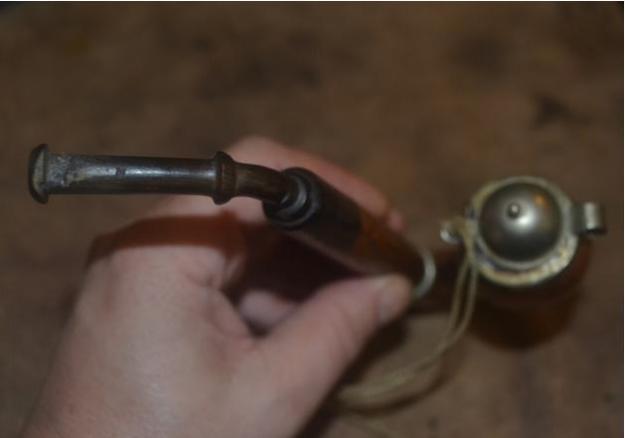
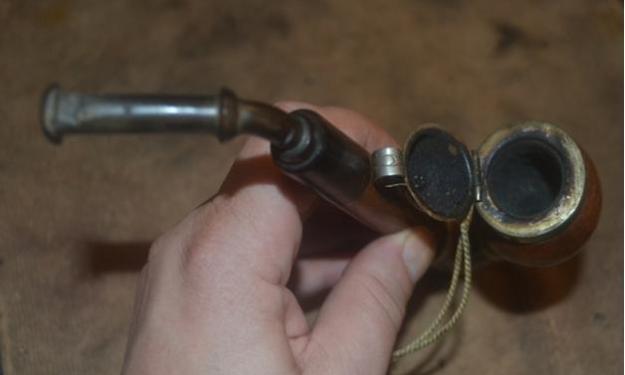
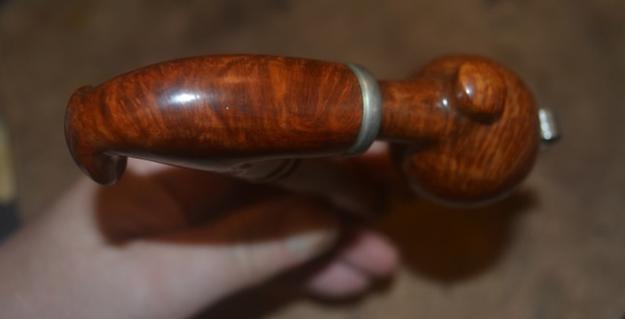
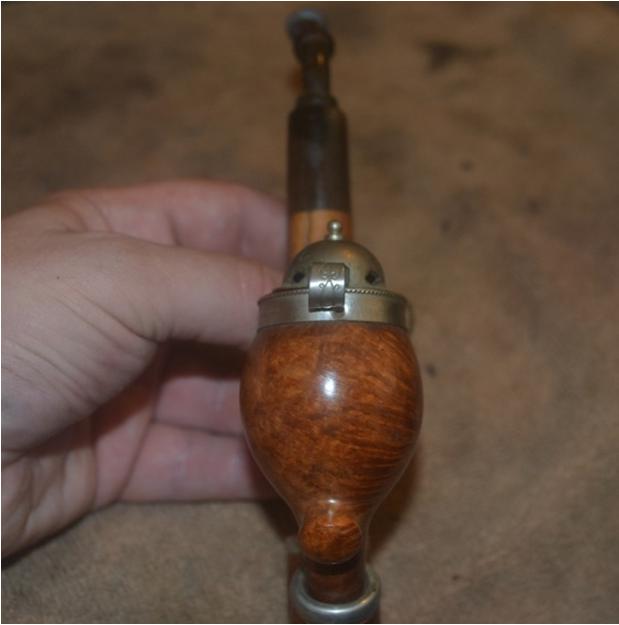
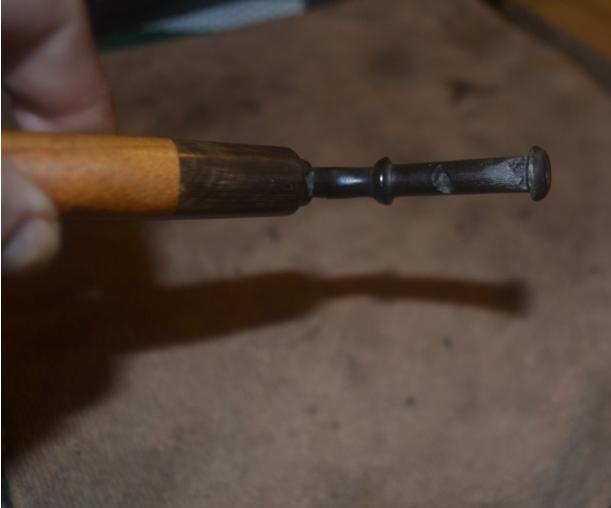
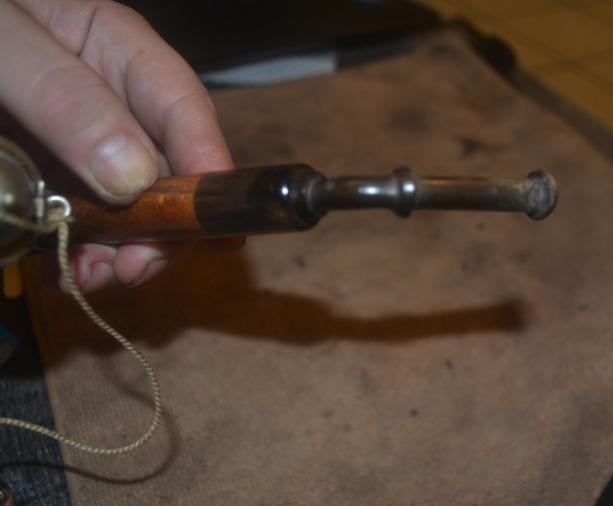
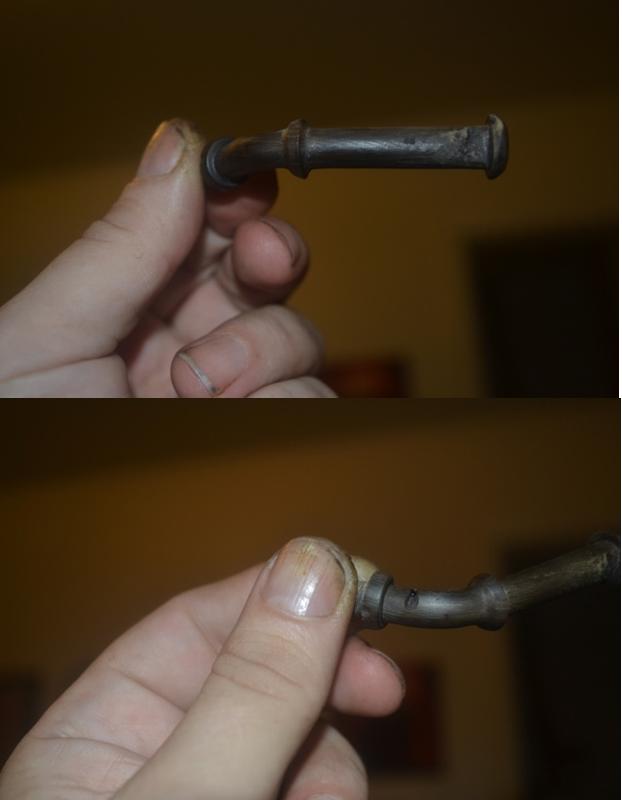
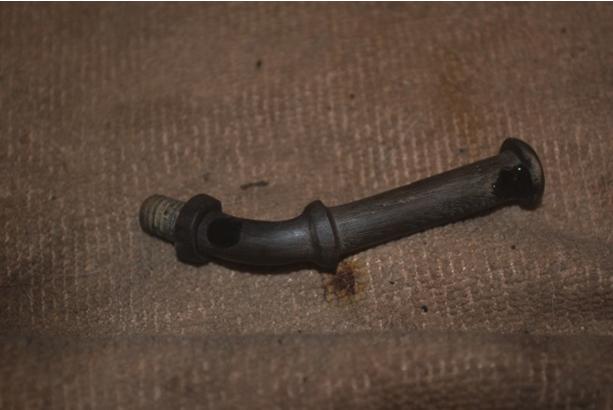
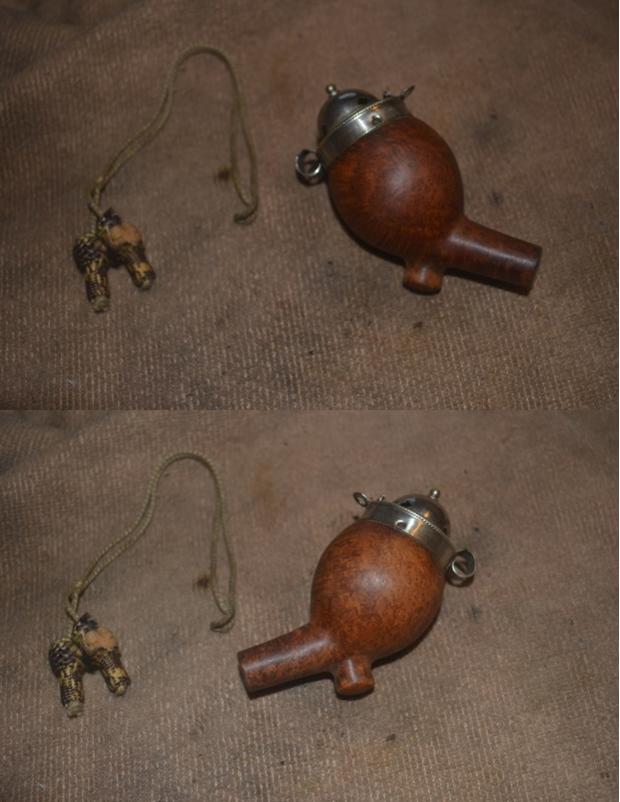
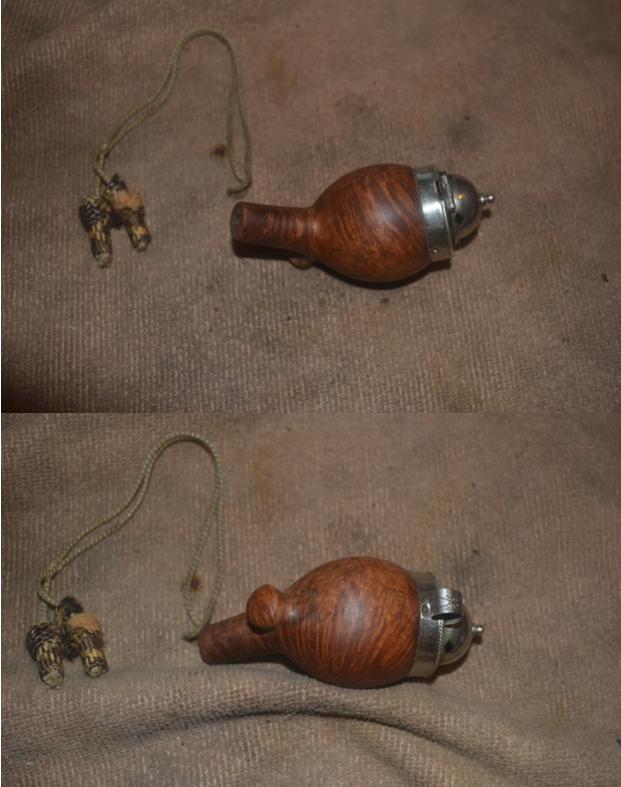
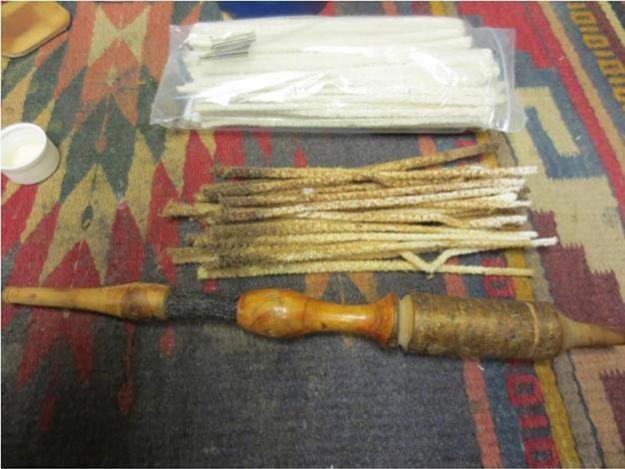
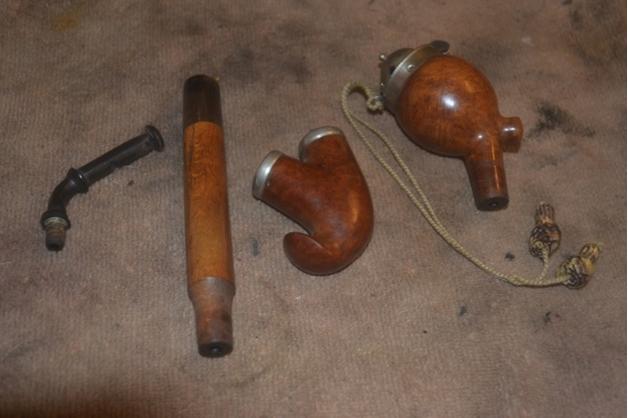
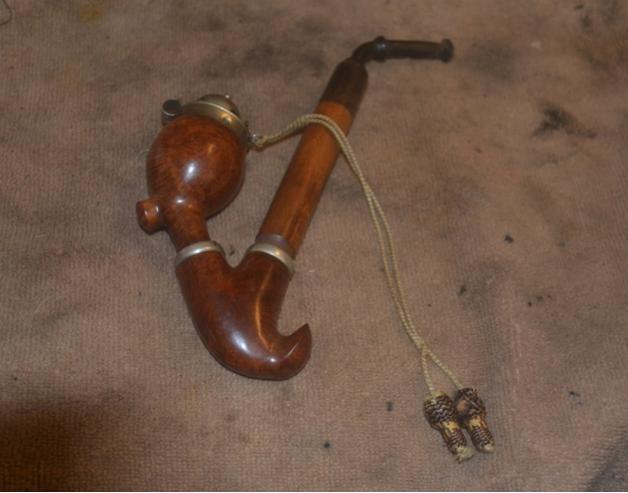
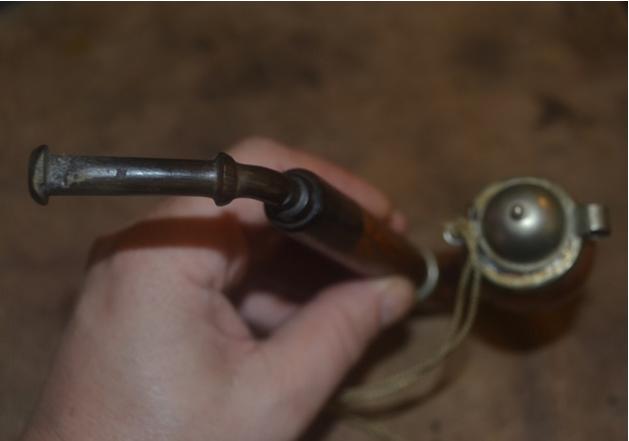
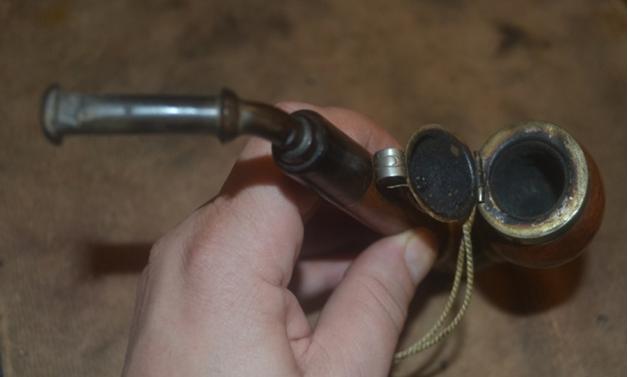
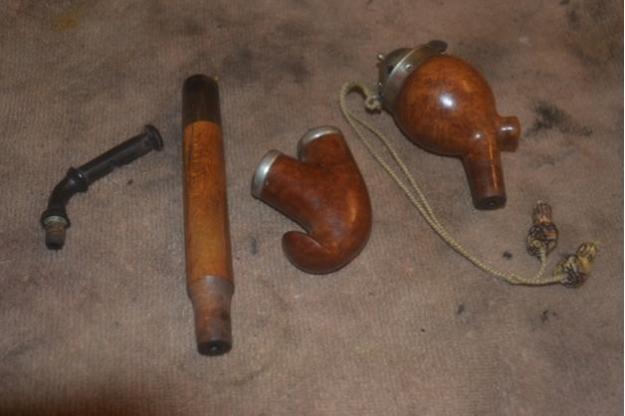
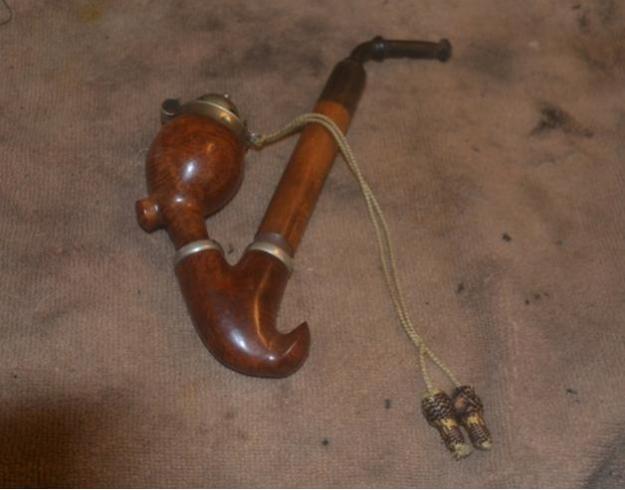
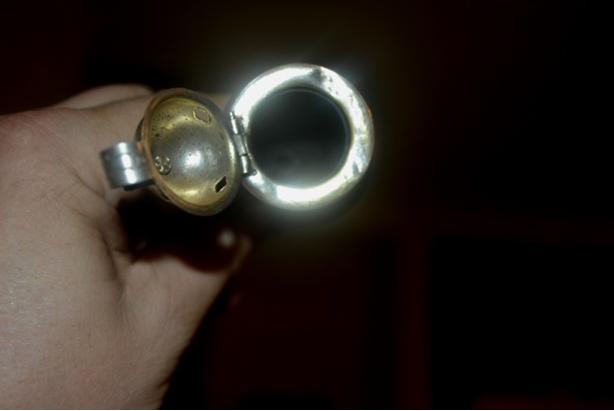
Alas, as shall be seen, my Bavarian Three-Piece Folk Wine Pipe – not counting the screw-in bit – pales in comparison, although it did present problems I had not before encountered. Starting with the bit, the eBay photos revealed one gash that appeared to be so deep that it must have pierced the air hole. As Lady Luck provided, however, such was not the case. On the other hand, there turned out to be three bad divots in the bit, not counting the severe wounds just below the lip, top and bottom, from grinding teeth. Then there were the countless scratches on every piece; the well-caked chamber; scorching of what I believe is the ornate but aluminum wind cap; a serious cleft in the alternative wood shank, the variety of which I have not yet determined, and a hole in the bottom piece, where the wine is placed, too deep for any fix other than wood putty.

All of these complications, I knew, would be nothing compared to the task of cleaning and sanitizing a pipe with a form that defied retorting. Noting this anticipated cleaning conundrum with a quip, “That’s entirely rhetorical,” in fact, was the reason for Steve’s second reply to my email where he mentioned the time he spent on his folk pipe.

By the way, I owe a final nod to Steve, as well as the owner of my local tobacconist who confirmed his assessment, for identifying my Bavarian folk pipe (which turns out to be a no-name Italian version) as being designed to add wine.

RESTORATION Rob4 This, as it happens, is how I decided to approach the restoration: piece by piece.Rob5
Rob6

Rob7

Rob8

Rob9

Rob10 Without thinking – you might say a bit compulsively on my own part – I already cleaned and polished the wind cap before snapping the last shot above.Rob11
Rob12

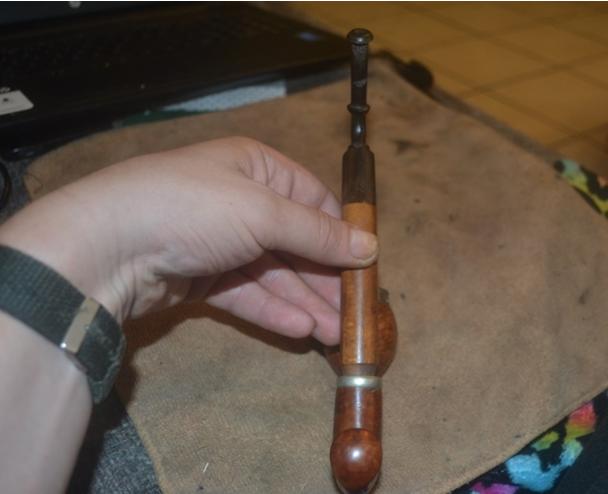
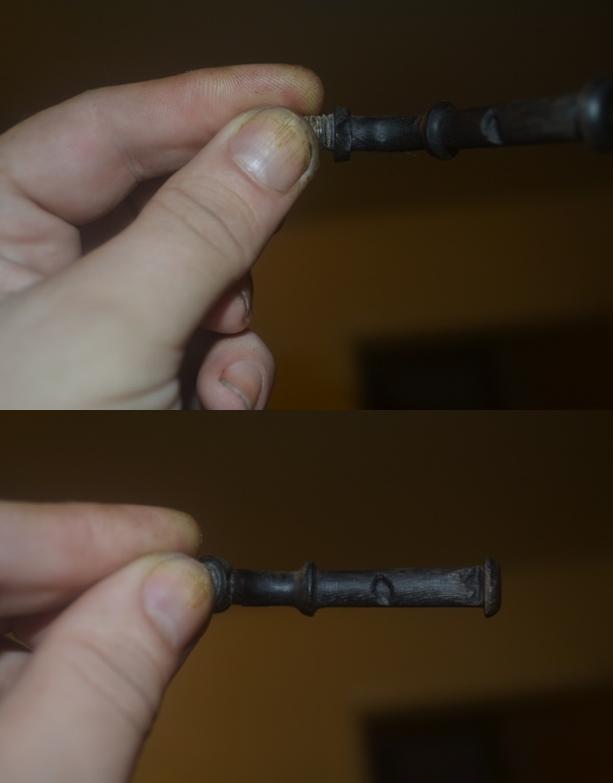
Rob13 Other than the almost unconscious cleaning and shining of the wind cap, inside and out, with Everclear-soaked cotton cloths, super fine steel wool and mostly 500-grit paper except for a few tough spots requiring 320, I saw no reason not to dive in with the bit. After all, filling the crevasses – and I can only imagine the drunken stumbling about that caused them – would take several days of layering with black Super Glue and drying time in between. The remainder of the restore was finished in a day and a half of intense work. I gave the bit a good soak in an OxiClean solution to start and cleaned out the mess inside with about six bristly cleaners dipped in Everclear before they came out clean.Rob14
Rob15

Rob16 With that process begun and the pipe disassembled, I returned to the main tobacco chamber (remember, this three-parter has a second chamber at the bottom for wine) and used my Senior Reamer to take out most of the fairly even though excess cake. After that I swabbed it out with some alcohol-soaked cotton gun cleaner squares and finished the removal of char and smoothing with 200-, 320- and 500-grit paper.Rob17 The yellowing of the cap’s inside area is the fault of my photography, not lack of attention. I know nothing of body work on cars, which is the kind of detail work the metal rim requires, and despite my restoration of this pipe for my own enjoyment, any tips on eliminating dings in metal, preferably without removing the entire rim piece, will be appreciated. Since the pipe is staying in my own collection, after all, I have a long time to work out that part.
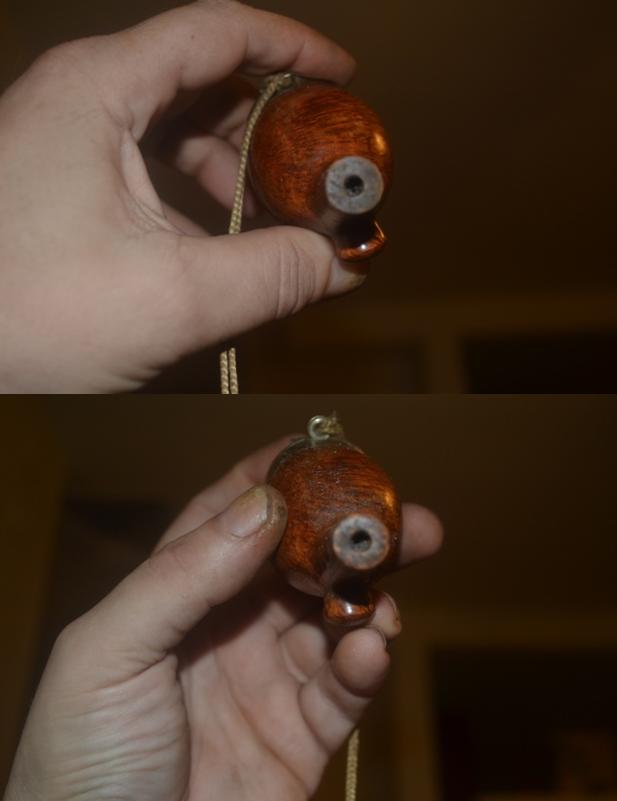
I turned my attention to the outer bowl, first scrubbing out the draught hole with bristly cleaners soaked in alcohol – quite a few, in fact. Then I used 320-grit paper to remove both the old finish and the scratches, starting with the rough, un-sanded opening of the draught hole showing before and after below.Rob18
Rob19

Rob20 From 1500-4000 micromesh, I prepped the bowl for buffing. I liked the natural, lighter shade of the briar and chose not to re-stain it, proceeding straight to the buffer wheels. I used white Tripoli, White Diamond and carnauba.Rob21
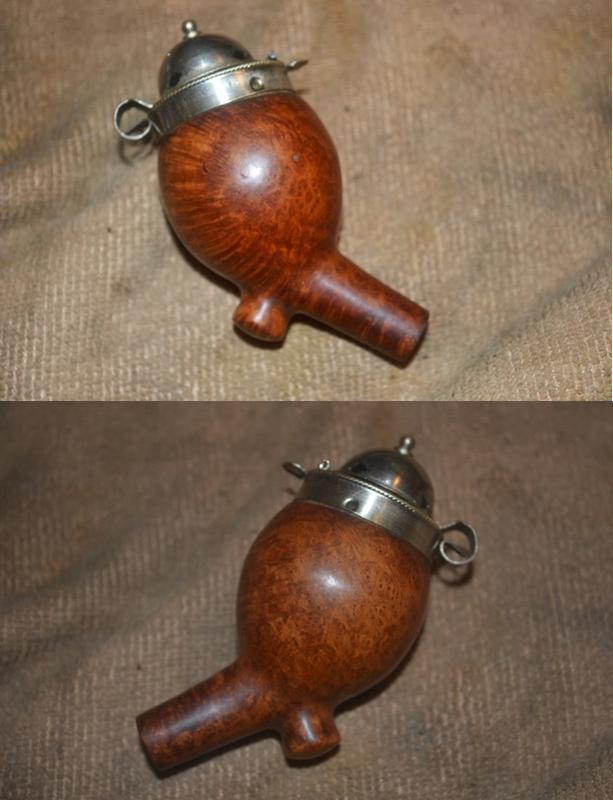
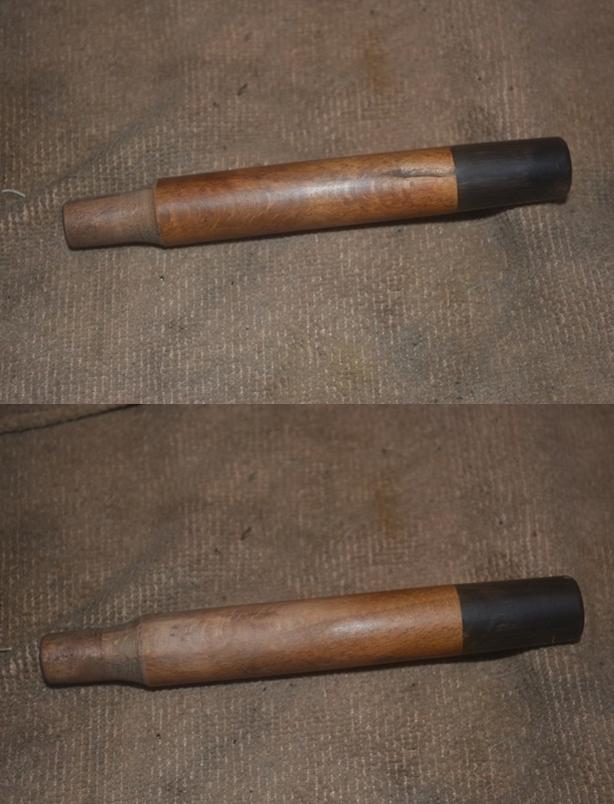
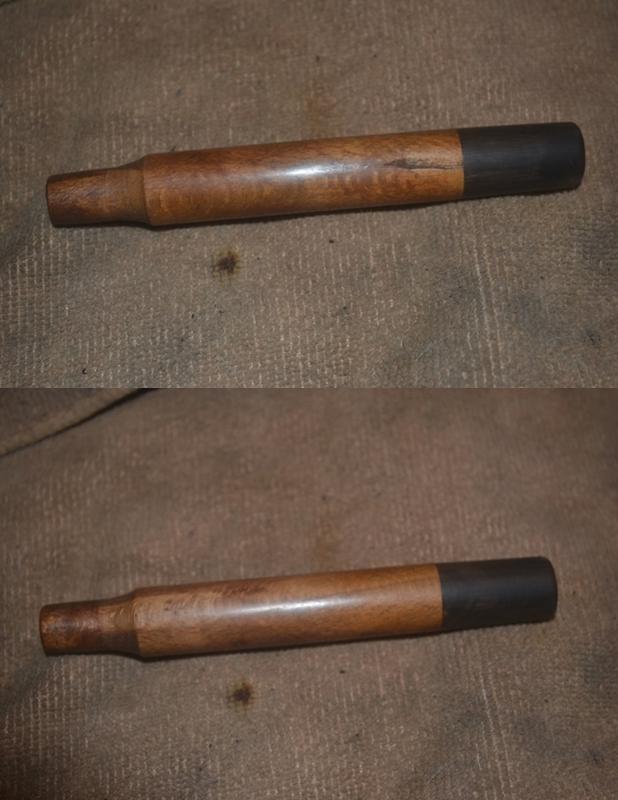
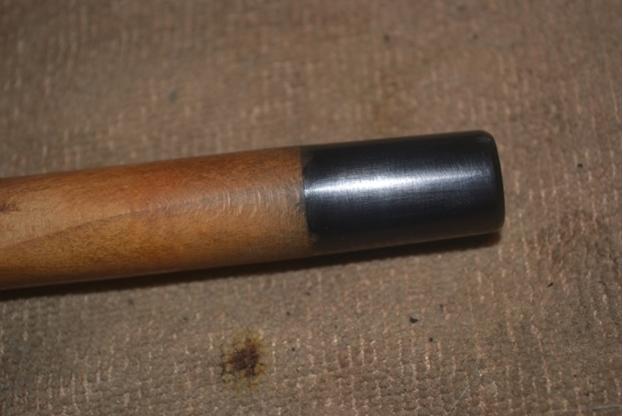
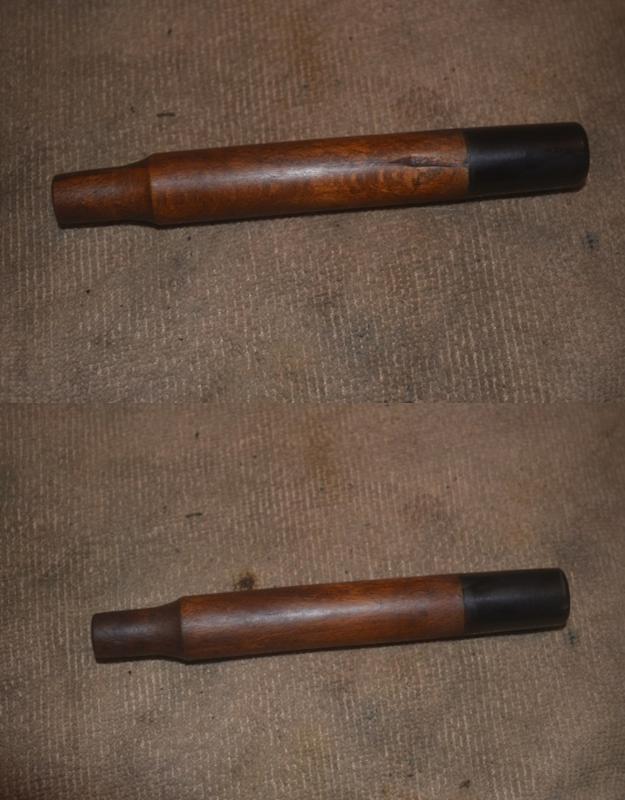
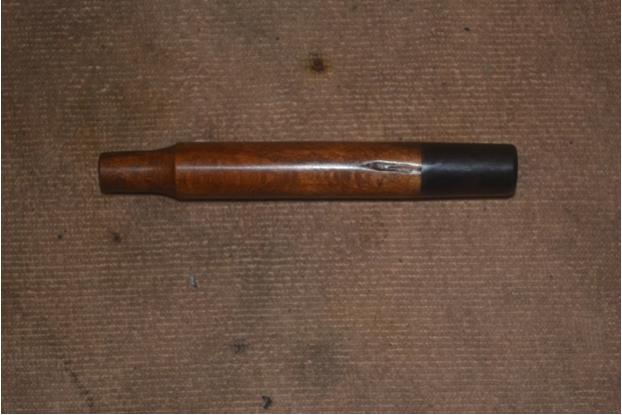
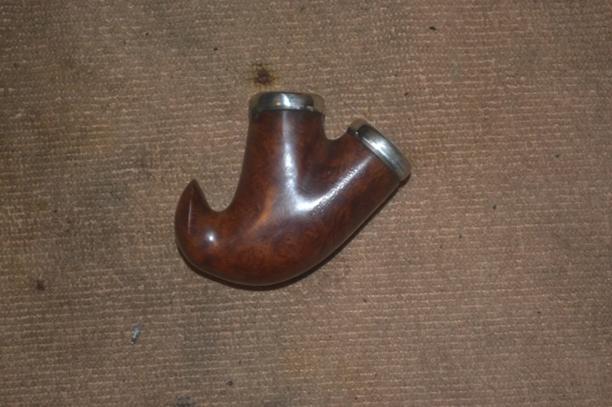
Rob22 The shank was what I expected would take most of the work, and I was right. I sanded the wood with 200 and 320 paper, deciding the cleft in the unknown wood gave it a certain character. Besides, it wasn’t going anywhere without the kind of serious reshaping Steve is into.Rob23 I sanded it again with 500-grit paper and micro-meshed all the way.Rob24 The ferrule was dull and scratched.Rob25 I used micromesh on it and then Lincoln black boot stain, which I flamed, let cool and wiped clean with 4000 micromesh.Rob26 Finally, I used Lincoln brown stain on the shank’s wood and used 4000 micromesh to take off the ash.Rob27 I buffed it with white Tripoli, White Diamond and carnauba, and used red and white Tripoli on the ferrule.Rob28 Onto the final stage – the bottom chamber where the wine is added. Here it is after sanding with 320-grit paper.Rob29
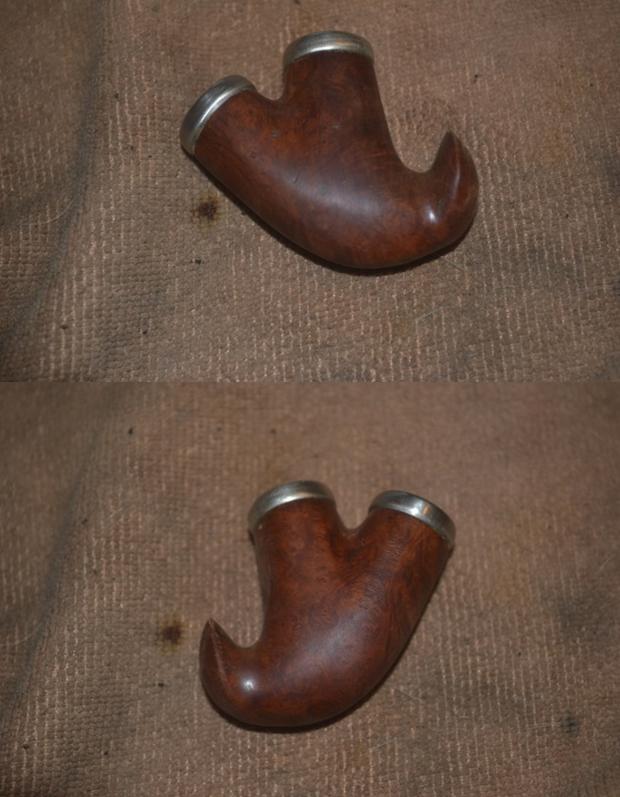
Rob30

Rob31

Rob32 By the time I cleaned it out with bristly cleaners and Everclear, when added to those used for the other parts, I had a pile about as high as Steve’s from his meerschaum bowl folk pipe, only much grimier except for the last that came out clean.

Now take a closer look at the right side, first with the small hole that could neither be sanded away nor ignored, then filled with a dab of wood putty. I let it sit and harden until the next day, when I colored the putty with an indelible brown marker and squeezed a drop of Super Glue over the mark.Rob33
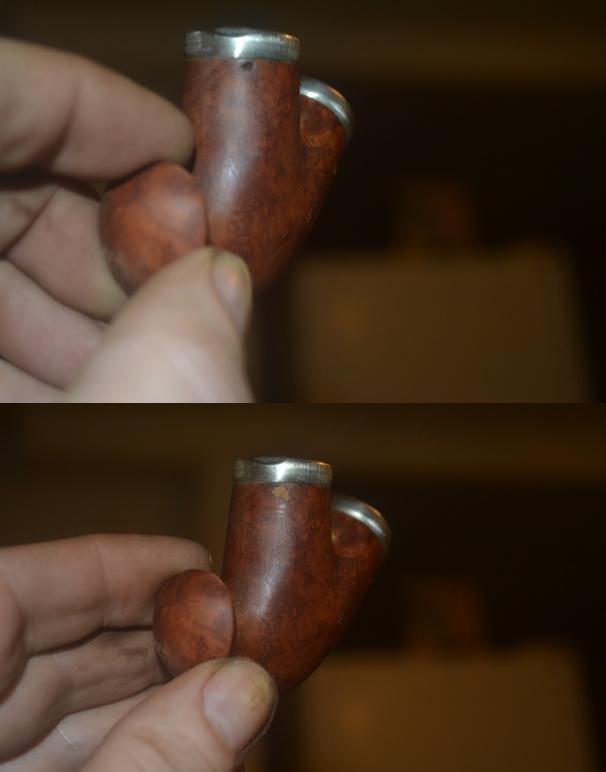
Rob34 Late that night, I sanded off the roughness of the dried Super Glue and smoothed the whole piece with micromesh. And here is the finished, waxed result, without re-staining.Rob35 At last, I was ready to assemble the separately restored parts and wipe it all down with a soft cotton rag.Rob36
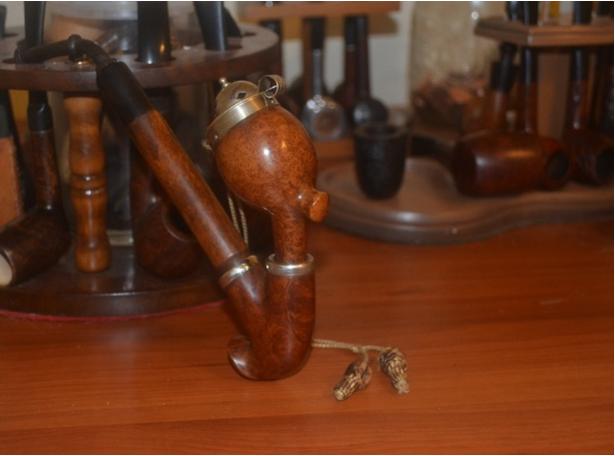
Rob37

Rob38

Rob39

Rob40

Rob41

Rob42 The only nomenclature, just under the bottom ring in the last photo, reads Imported Briar over Made in Italy.

CONCLUSION
This restoration involved two firsts for me: filling a hole with wood putty, as basic as that is, and more significantly, the importance of considering each independent part of the whole. Never before had I encountered a pipe with more than a bit connected to a shank that in turn attached to the bowl. The simple addition of a second chamber for wine with two openings – one for the shank and the other for the regular tobacco chamber – forced me to approach the project from an angle that was novel to me. The ultimate restoration was a unique pleasure for me, and I am happy to report that the finished folk pipe smokes quite well, even without wine. I look forward to seeing how it works with Martinelli’s Sparkling Cider.

Now I have just a few final words on the Bavarian tobacco ban. It seems they tried the same thing in 2008, but the result was a scoff law that the authorities didn’t even try to enforce. Let’s hope that all of the pipe smokers in the southern German state of Bavaria unite to overcome the 61% of voters who decided to deny them the right to run their own lives.

Restoring a Westbrook 36 – A Long & Detailed Explanation for New Refurbishers


Blog by Troy Wilburn

Troy originally wrote this simple step by step methodology for refurbishing pipes for the Dr. Grabow Collectors Forum. Troy’s method is straight forward and he gives great photos to help along the way. I thought it might be helpful for those who are just starting in this hobby of ours. It also may give pause for thought to us who have been doing this for a long time. I firmly believe that there is always something new to be learned from each other as we work to restore old pipes and give them new life. Thanks Troy for this great how to piece. – Steve

I’ve had a few PMs by the newer member asking questions on refurbishing pipes. So I decided to make a more detailed way of what I do on refurbing pipes. Now this is what I prefer and what works for ME. Everyone has their own twist and preferred methods.

The first thing is to pick the right pipe. This to me is very important especially when doing your first pipes. You want one that’s inexpensive and an easy clean up. So ones with holes in stems and rims that look like they were used to hammer walnuts with might be ones to pass until you get a few under your belt. Not having to sand it a lot and restain is a plus.

Now we are not making a show pipe or restoring a rare pipe that you want to keep original. We are going to bang out a good clean pipe for smoking pleasure. I can do a pipe like this in good condition in 2 hours or less start to finish. This pipe will be smoked and smoked a lot so it doesn’t need to be so glossy you need to put sunglasses on to pick it up. Just a good dependable pipe for low cost. The lower the cost the more pipes you can get .

Ok so the pipe I picked is a good old trusty Westbrook Billiard, still a plentiful pipe, easy to refurbish and can be found cheap. They are good quality, tough as nails and extremely fine smokers.

I got this one for 5 dollars and with shipping; I got right under 10 dollars in this pipe. The seller wanted 9.99 but after watching it for a while I took advantage of the best offer and got it for the 5 bucks. It was in good shape from pictures with no stem damage and bowl not banged up. Once cleaned it will smoke just as good as any new pipe you can get today from 20-100+ dollars. I do like to drill out my pipe shanks a little larger diameter so that will help the smoking of it some.

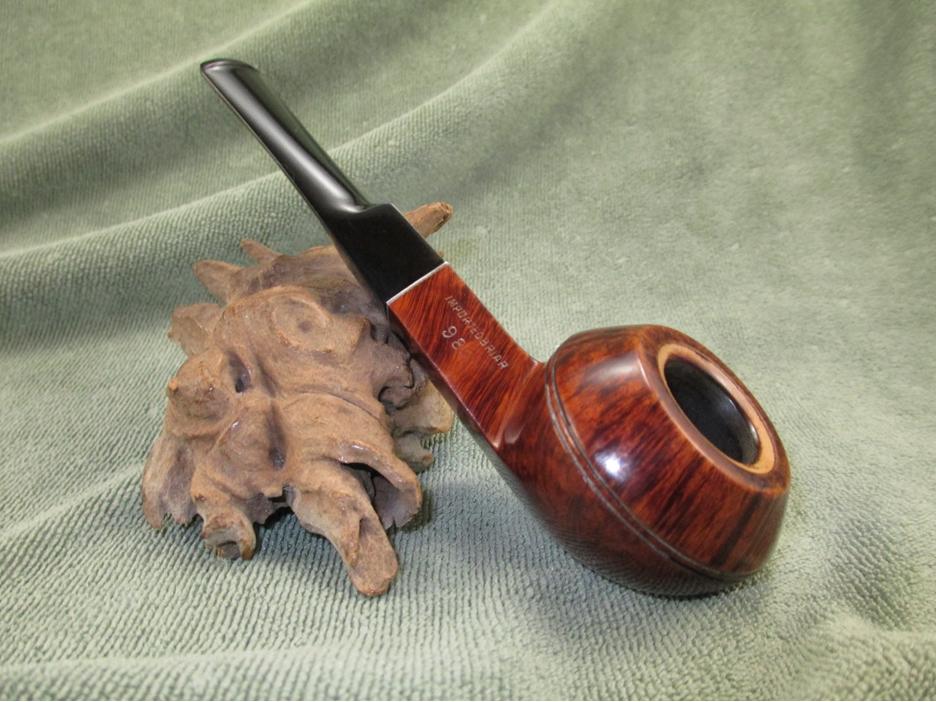
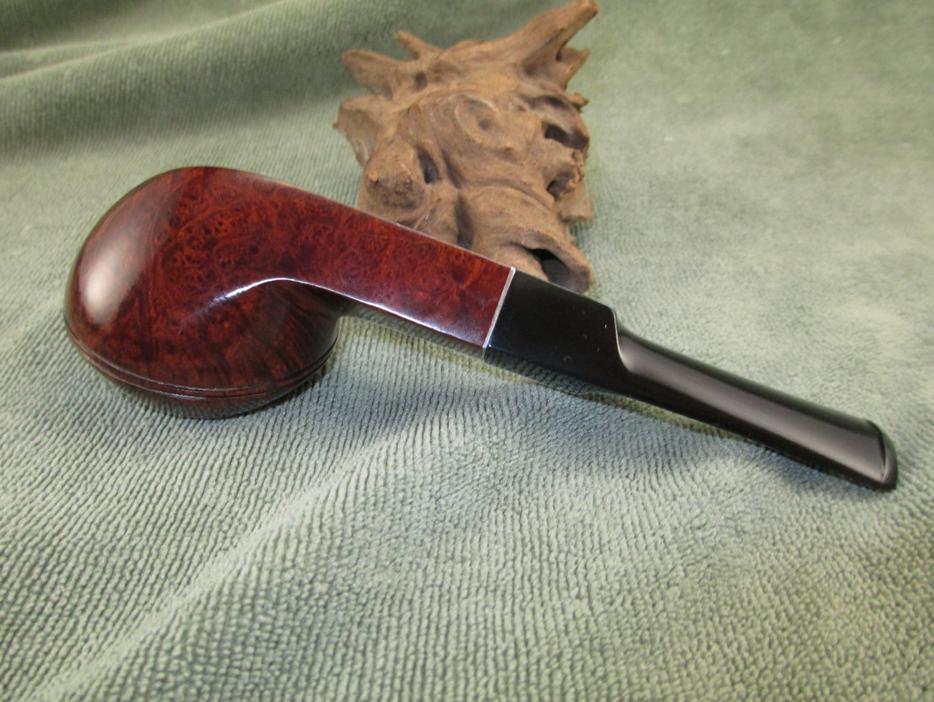
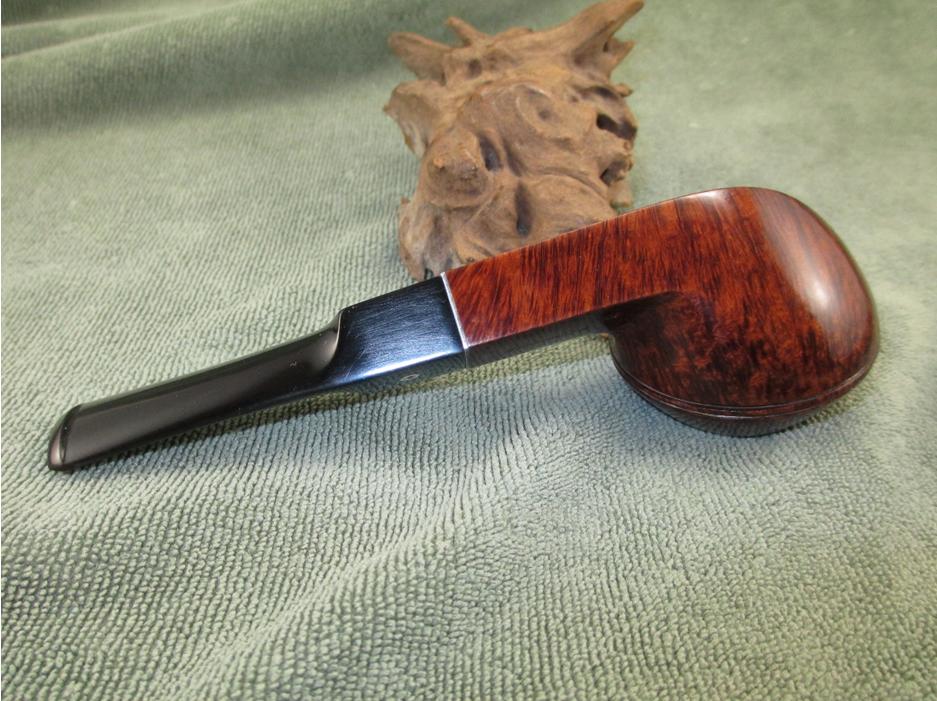
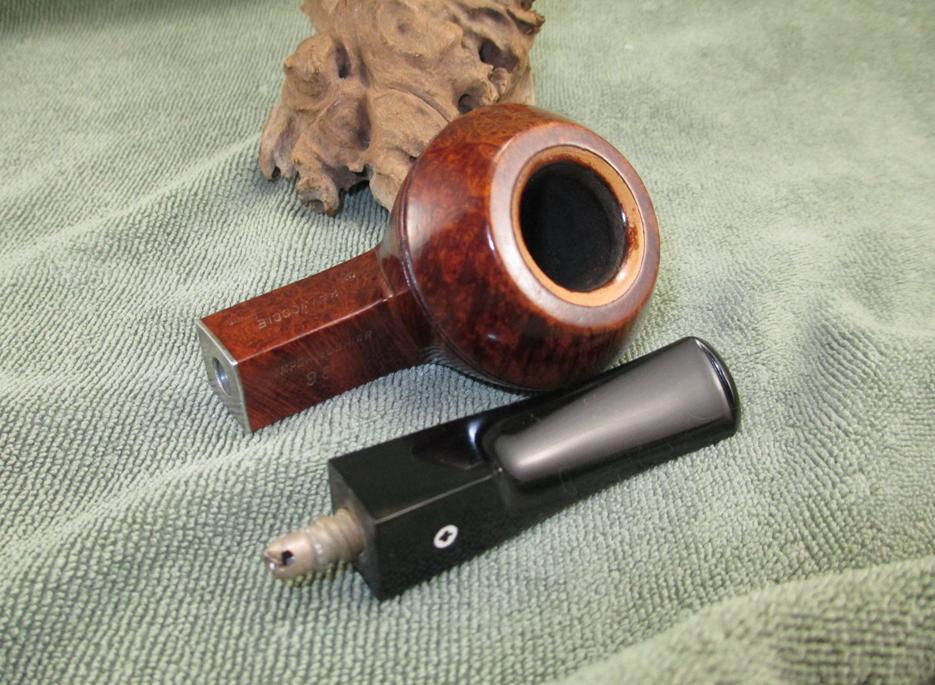
OK now on to the pipe. This is a #36 Westbrook Double Carved coupon pipe.

Before…. The pipe is dirty and has plenty of cake in bowl.Grabow1

Grabow2

Grabow3

Grabow4 The refurbish
Not getting too detailed about how to clean out bowl. All you need if you don’t have a reamer is a dull pocket knife and some coarse sandpaper. I used to use salt baths and or soak them overnight with cotton balls soaked in alcohol (91%), but is not necessary if you do the way I’m going to show you. Be careful not to get over zealous in this as you don’t want to dig gouges in the inner walls of pipe. Just light scrapes to get out biggest part of cake. Most of the time the heavy build up pops right out. After this just roll up your coarse sandpaper in a tight funnel shape and work it up and down and around in bowl. Check progress often as to not take out too much of inner bowl.

Bowl cleaned to right amount and cake removed. Leave a thin coat still in bowl.Grabow5

Grabow6

Grabow7 Cleaning out shank and stem. My advice is to buy a few of those shank brushes as they will save you a small fortune in pipe cleaners.Grabow8 Soak stem and bowl in some 91 % ISO (if it’s a smooth and you want to save finish then don’t soak bowl just clean it with a Scotch Brite pad with 91% very lightly). With these Westbrook double carved you don’t have to worry about as you can just buff them with no staining and they will look fine. Plus I like to soak the bowls on these deep carving to get rid of years of handling with someone else hands. It’s hard to tell what has accumulated in the recess of them carving over the years. Run the shank brush through the shank and stem until (soaked in 91%) until it stops coming out black and gunky.Grabow9 Rinse out the bowl while it is soaking and a good brushing with an old tooth brush over everything including inside bowl. Also rub the bowl with a Scotch Brite pad as it will take off old wax and grime but not so rough you have to sand behind it. After this is done just keep running pipe cleaners in shank and stem with clean ISO until they are coming out clean. I use a combination of the coarse cleaners and regular pipe cleaners. After a good brushing with shank brushes it shouldn’t take too many.

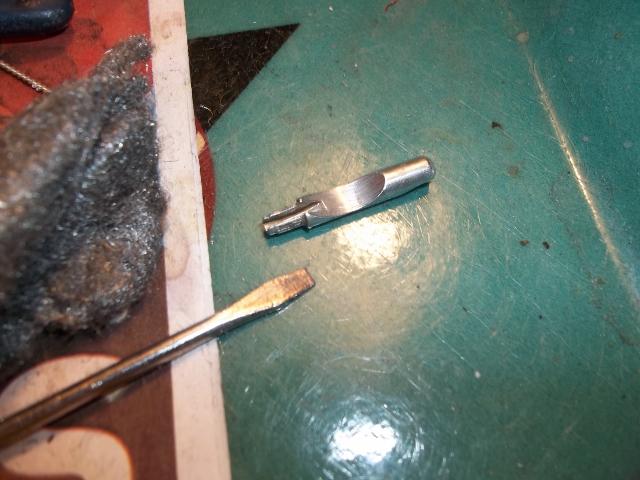
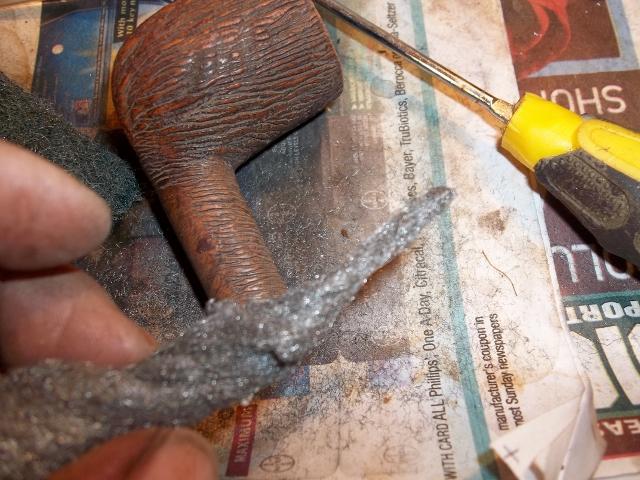
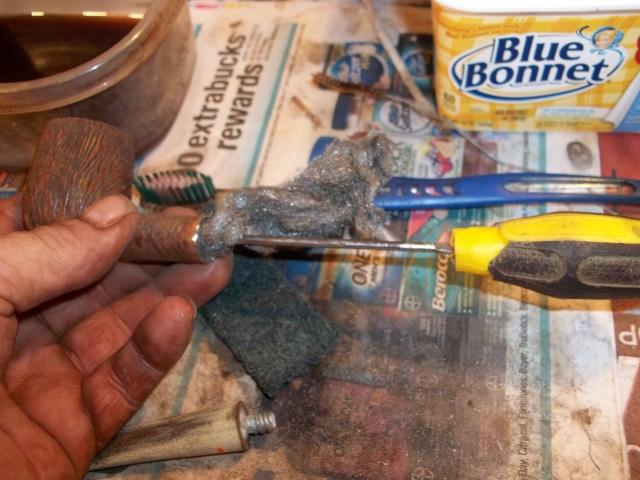
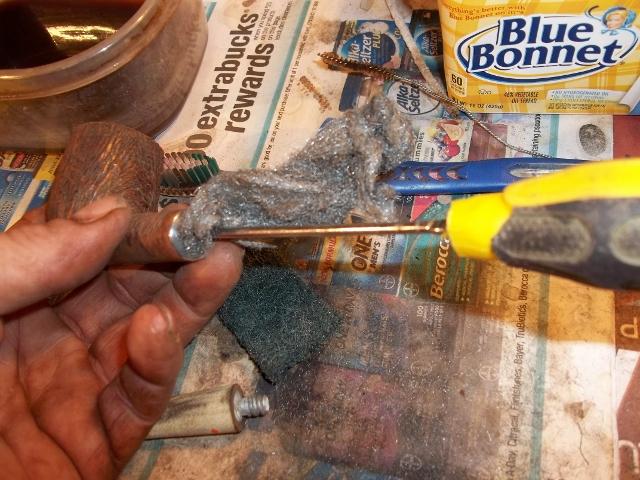
After this I usually place stem in oxy clean and warm water (about half to full scoop that provided in container) and let soak for about 30-40 minutes. It can soak while I work on cleaning the stinger and Adjustomatic female shank.Grabow10 I put the old stinger in an old stem I have to help hold it after it soaked in ISO with bowl and stem. Take some 000 steel wool and just rub it briskly getting into every little part. Take a small screwdriver to use it to push it through the small air trench.Grabow11 Take some steel wool and make it into a long skinny shape.Grabow12 Run it up in shank a little way then take a small screwdriver and run it up alongside. Then twirl the bowl as it will screw the 000 into the threads. Then unscrew it, most of times it will come out but sometimes it will break apart and you will have to push it out with a cleaner or a stiff piece of wire. A small long screwdriver will work also.Grabow13

Grabow14 You might have to do this a couple of times to get it good and clean. Be sure to blow out all the fine pieces of steel wool afterwards.Grabow15 Now we can take the stem out of Oxy Clean bath.Grabow16 Take a Scotch Brite pad and dip into the oxy water and rub the stem. I know people say use Magic Erasers but to me this is much easier and cheaper. It’s a lot less rubbing and faster. Work smarter not harder is what I was taught :). Here it is half done, took maybe 5 seconds.Grabow17

Grabow18 All oxidation that oxy clean bought to the surface is scrubbed off now. Took like a minute.Grabow19 After the oxy bath I take clean water and wipe off bowl and stem with clean water and tooth brush or ISO 91%, your choice, to remove any residue left from the alcohol and oxy clean. I use water because it’s cheaper.Grabow20 Go ahead and run a few pipe cleaners through stem with ISO to remove any debris and residue left behind from oxy bath. The stem is ready for wet sanding. As this stem is in such good shape it won’t take long to wet sand. If it had tooth marks and or heavy scratches you need to sand it more of course. I’m going to use 400, 600, 800 and 1200 grit sandpaper. Any finer grit to me is overkill for this pipe as I said it’s a daily working pipe and not a show pipe. Sand it lightly with each grit of sandpaper, being careful not to over sand it and make it not register with the shank properly. Being ultra careful where the stem goes into the shank as not to take off too much material. As most all the oxidation has been removed it doesn’t need to be sanded too much as we are just trying to make it smooth. Just a few light strokes with the coarse paper is all you need then using the finer grit a little more will do the trick. I have a piece of an old shank that broke off a bowl to use as a holder for Adjustomatic stems. It makes holding them during sanding a lot easier.Grabow21 Ok the pipe bowl is cleaned and scrubbed and the stem sanded.Grabow22 At this point I like to rub the pipe down with Mineral Oil. Some like to use olive oil but Mineral oil is odorless and tasteless. It doesn’t have the danger of turning sour like a type of vegetable oil can. Plus it helps to bring out grain in wood.
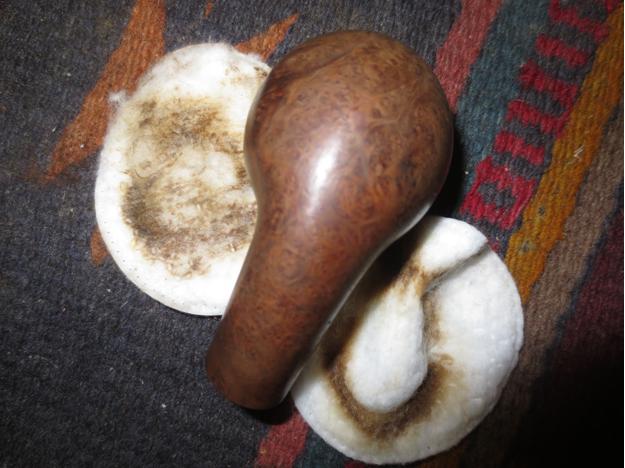
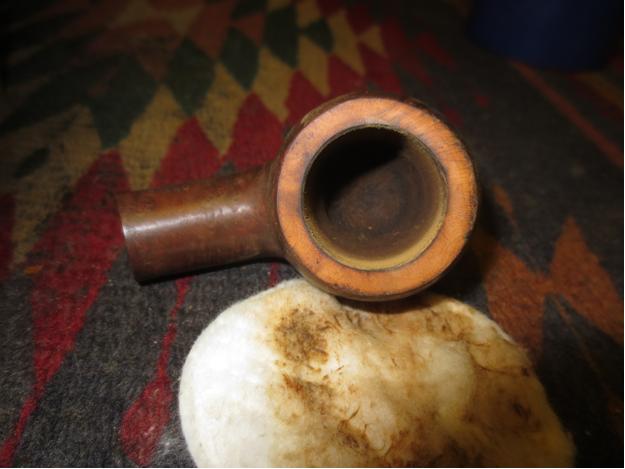
Any defects and or oxidation (brown spots in stem) will show up and allow you the luxury of fixing it before you apply wax. I apply the oil with a cotton ball and take a tooth brush and get into all the recesses. It will also show you pretty much what the color of the pipe will look like after buff and wax.Grabow23

Grabow24

Grabow25 The photo below shows the pipe after the Mineral Oil has been wiped and dry, ready for buffing.Grabow26 I use a buffing wheel and compounds but I know some who read this do not have this. I will not get into this as it will take too long and I’m still learning myself. I used to do all hand buffing. At this point you can just apply hand coats of various waxes you can buy that come in paste form and it will look fine.

Well I hope this can be a help to anyone that wants to start refurbing their own pipes. It’s a lot of fun and can save you a lot of money. Dave Whitney also sells a book that I would suggest getting it is called “OLD BRIAR” and it is a book on restoring and trading estate pipes. It is available via Amazon for Kindle.

Here is after pics.Grabow27

Grabow28

Grabow29

Grabow30

Grabow31

Grabow32

Grabow33

Grabow34

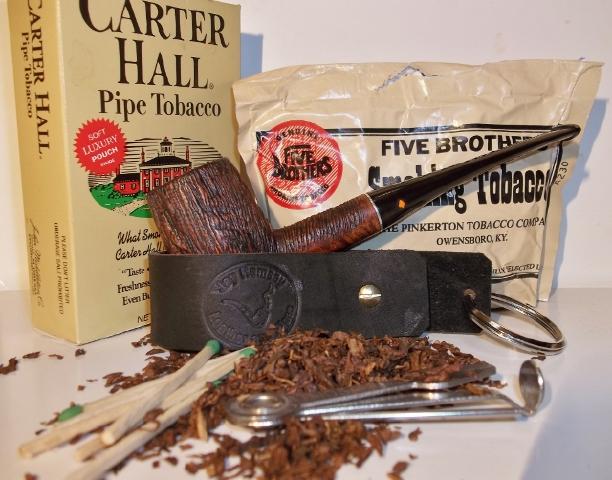
Grabow35 After about a 24 hour rest to let the alcohol evaporate out it will be ready for smoking. This is my favorite combination for breaking in a refurbed pipe: 50% Carter Hall and 50% 5 Brothers. It will be build cake fast and burn out any reminisces of a ghost left behind. It is a strong burley combination and has a good nicotine hit so be warned.Grabow36 Now you don’t have to pick a Westbrook as this is just a guide to help you get started. But I would suggest starting on rusticated pipes as they seem to be an easier pipe to refurbish to me. You can always add your own twist to the pipes you do. Now on occasion a problem does pop up like a frozen Adjustomatic or a stuck stem etc…. That’s pretty rare occurrence from the pipes I’ve done. But if it happens, just post your questions here on the Dr. Grabow Collectors forum (or even here on rebornpipes for that matter). Help and advice is something our forum is not lacking in . Or you can just send me an email and I’ll help you best I can or send you in the right direction to someone who can.

Heritage Heirloom 02 Poker


Blog by Troy Wilburn

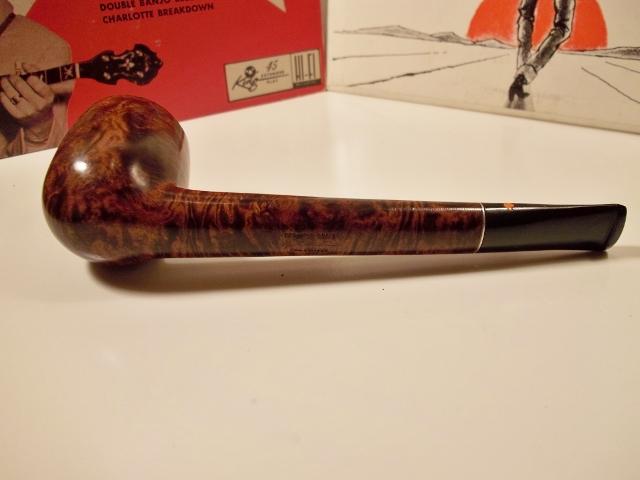
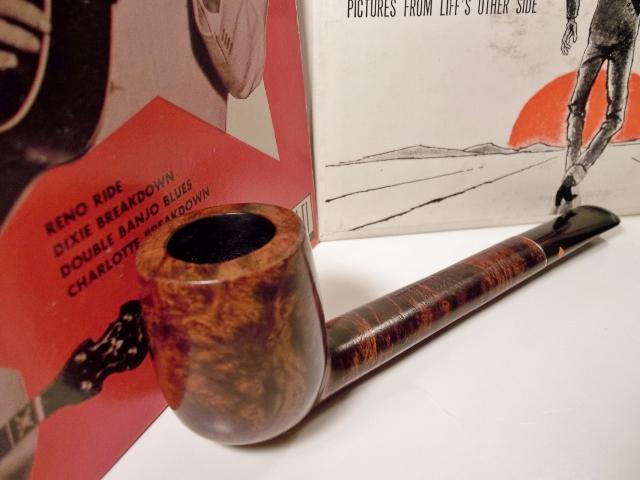
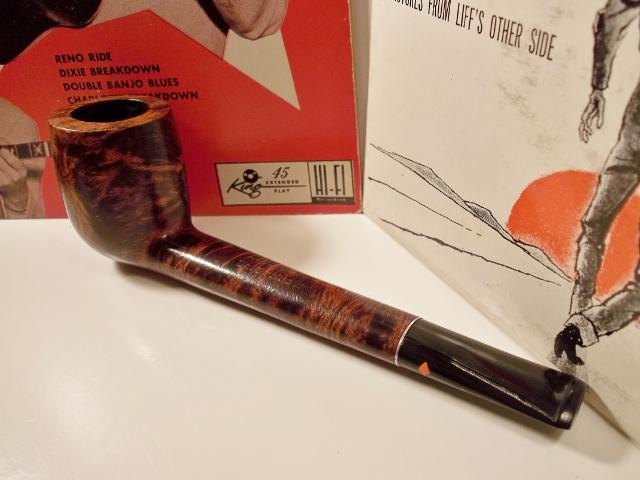
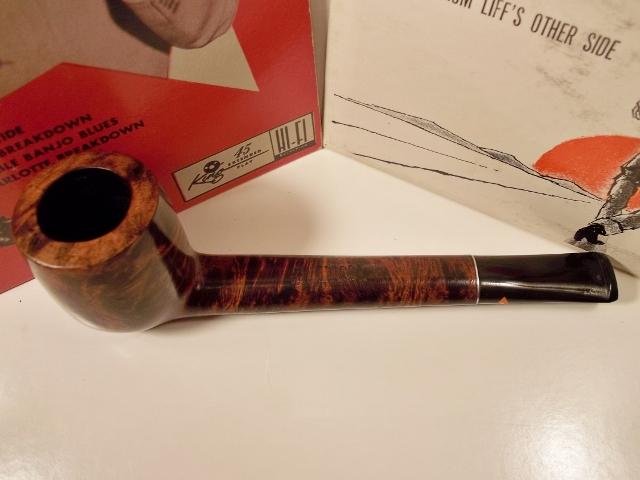
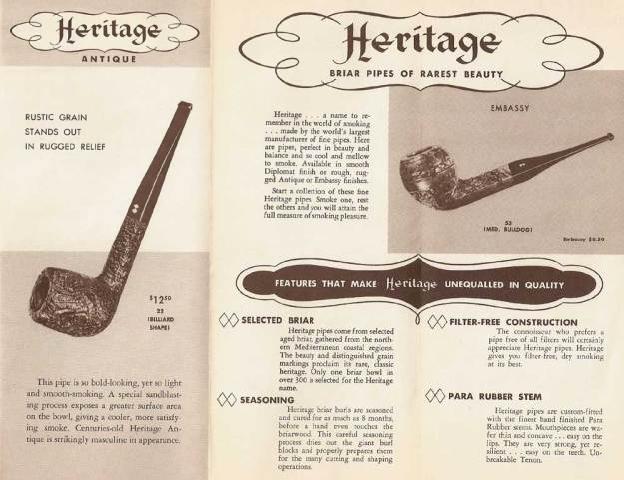
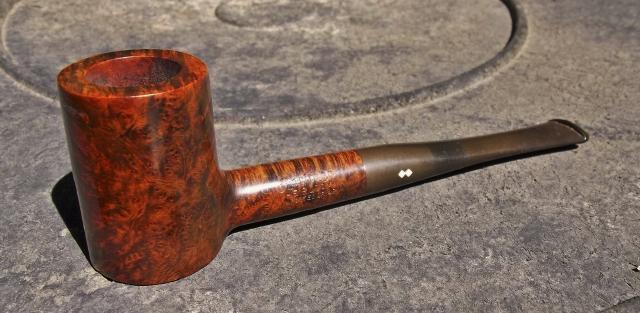
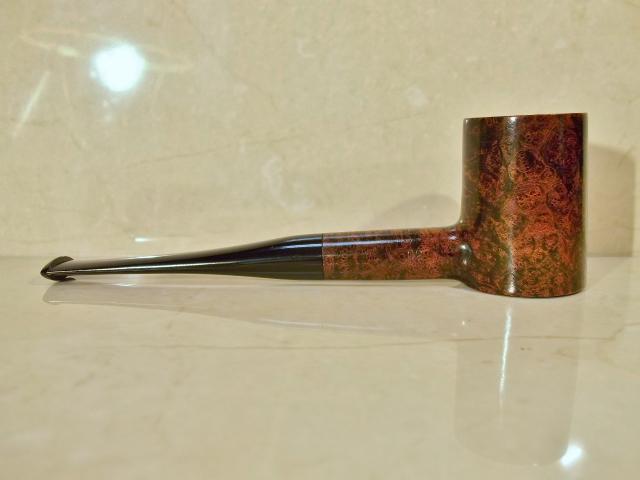
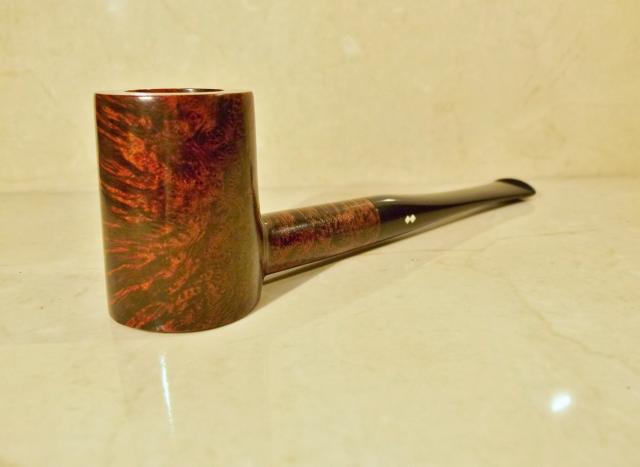
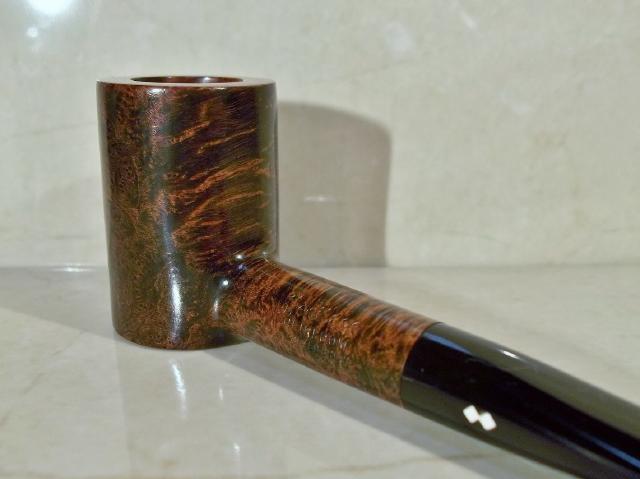
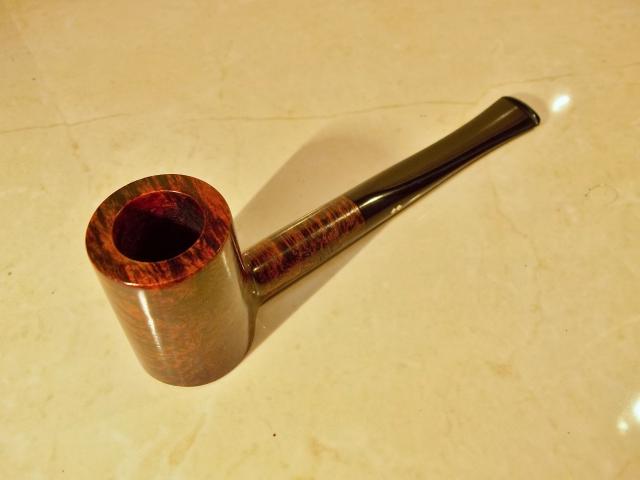
My latest addition to my American factory made poker collection is a Heritage Heirloom made by Kaywoodie. They were made during the 1960’s and production stopped in 1970. Heritage Heirlooms were Kaywoodie’s high end pipes headed up by an ex-Dunhill employee name Stephen Ogdon. Something like only 1 in over 300 pieces of briar was good enough to use in the Heritage Heirloom line. They used top of the line Para rubber on the stems and all briar was seasoned well, before being made into a pipe. Here is part of a brochure about it.heritage2_zps0d4dc760 Here is another part of the same brochure with the 02 poker shape shown.heritage4_zpsdc6295ef I purchased the Heritage Heirloom from a fellow member of the Dr. Grabow Collectors Forum. The pictures I saw of it truly did not do it justice. When I got it in hand I was amazed at the excellent condition the pipe was in. Other than the stem being oxidized I could not see any issues at all with the pipe.Heritage3

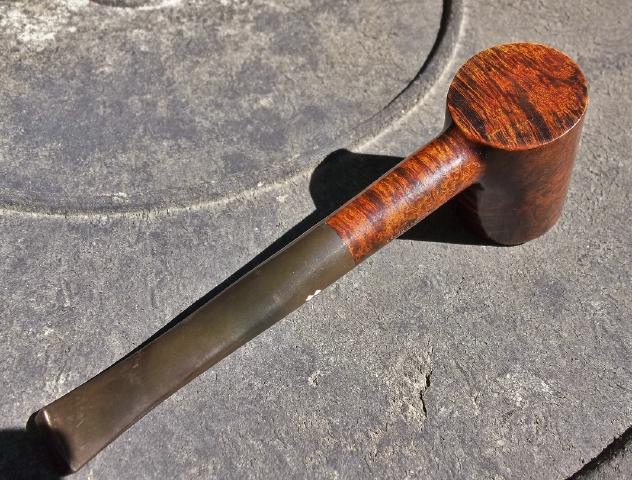
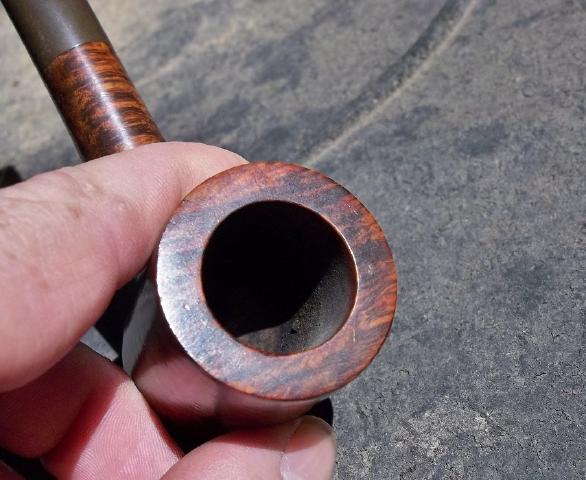
Heritage4 The pipe was barely smoked and still had raw briar showing in the bowl. It looks as though someone stated breaking in the pipe with quarter bowl increments and stopped after the second bowl.Heritage5 The pipe needed very little work. There was not heavy tar to clean out of the stem or shank so just a light swab with a pipe cleaner was all that was needed. I soaked the stem in OxyClean then scrubbed the top layer of oxidation with a green pad and wiped the bowl down with a cotton ball damp with Dawn soap and warm water. I wiped it dry with a clean paper towel.Heritage6 I gave the stem a light sanding.Heritage7 Afterwards I gave the pipe a good wipe with mineral oil and wiped it dry with a clean cloth for the next step of a light buff and wax.Heritage8 Here is the finished pipe.Heritage9

Heritage10

Heritage11

Heritage12

Heritage13

Heritage14

Heritage15

Heritage16

Heritage17

Heritage18

Heritage19 I have smoked a full bowl out of it since I finished it and it’s a very fine smoking pipe that will only get better with some more seasoning and cake.Heritage20

A Very Simple Cleanup on a Dr. Grabow Regal Dublin


Blog by Steve Laug

This pipe came to me in a box of pipes that a friend brought by for me. He was getting rid of a bunch of the pipes that he no longer smoked and thought I might enjoy cleaning them up. This one is stamped on the left side Regal over Dr. Grabow and on the right side, Imported Briar over Adjustomatic over Pat. 2461206. When I took it out of the box it had a half stem. The rest of it had been broken off and it was about 1 ½ inches long. I took it off and put the bowl back in the box. I have no idea what I did with the old stem; I have looked for it for a while now as I wanted to pirate the Adjustomatic tenon from the stem. It will show up when I least expect it and I will deal with it then. Yesterday I took the bowl out of the box and was looking it over. It was in very decent shape. The finish was clean. There were some lighter marks on the back right outside edge of the rim but other than it was clean. There was no cake in the bowl. It was worth a little time to see what I could do with it.

I went through my can of stems and found a Dr. Grabow stem that was the proper diameter. It was in decent shape. There were tooth marks on the top and underside of the stem next to the button. The button itself had some tooth dents. There was some calcification on the surfaces as well. The tenon and stinger were black with tars and oils but would clean up easily enough. The only thing with this stem and tenon is that it was not an Adjustomatic stem but it would do.Dr1

Dr2

Dr3

Dr4

Dr5 I cleaned out the shank and mortise with cotton swabs, pipe cleaners and alcohol. The shank was pretty clean and it did not take much to remove the little that was there. I removed the stinger and cleaned out the stem with alcohol. It too was not in to bad of shape on the inside. I cleaned the stinger and tenon with alcohol and 0000 steel wool.Dr6

Dr7 I heated the stem and raised the tooth dents as much as possible and then sanded them smooth with 220 grit sandpaper. One of the divots was a little too deep to raise so I filled it with a small batch of black super glue and sanded it smooth.Dr8

Dr9 I used a needle file to redefine the sharp edge of the button and make a clean line on both sides of the stem.Dr10 I sanded it with a medium and a fine grit sanding sponge to remove the scratches from the vulcanite and then wiped the stem down with Obsidian Oil.Dr11 I sanded the stem with micromesh sanding pads – wet sanding with 1500-2400 grit pads and then wiping down the stem with Obsidian Oil. I dry sanded with 3200-4000 grit pads, gave it another coat of oil and then continued with 6000-12000 grit pads. Each successive grit of pad made the patch disappear and blend into the surface of the stem. I gave the stem a final rub down with Obsidian Oil and let it dry.Dr12

Dr13

Dr14 I buffed the pipe with Blue Diamond polish on the wheel and then gave it multiple coats of carnauba wax. I buffed it with a clean flannel buff on the wheel and then hand buffed it with a microfibre cloth for a final deep shine. The following photos show the finish pipe. It should work well for many years to come. This one is for sale should anyone wish to add it to their rack. Email me and let me know.Dr15

Dr16

Dr17

Dr18

Dr19