Blog by Paresh Deshpande
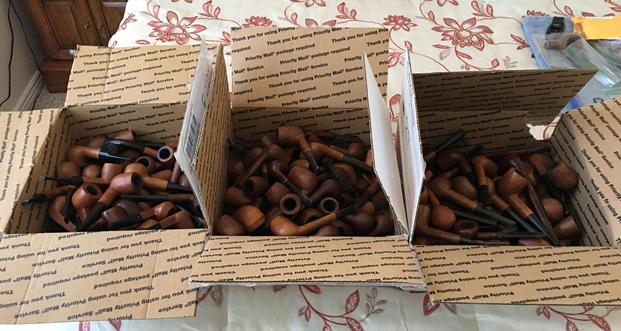
Followers of rebornpipes by now are well aware that Steve, Jeff and Dal Stanton had been on a week long visit here to meet me and my family. Amidst all the program of sightseeing and pipe smoking and getting to know each other, it was but natural that restoration of pipes from my grandfather’s collection was one of the “Bill of Intent” on the agenda. Of all things planned, this agenda was fulfilled to the hilt!!
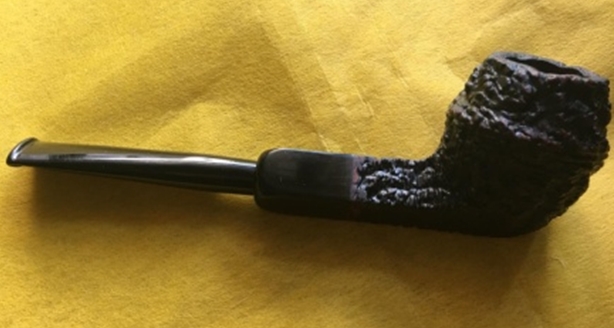
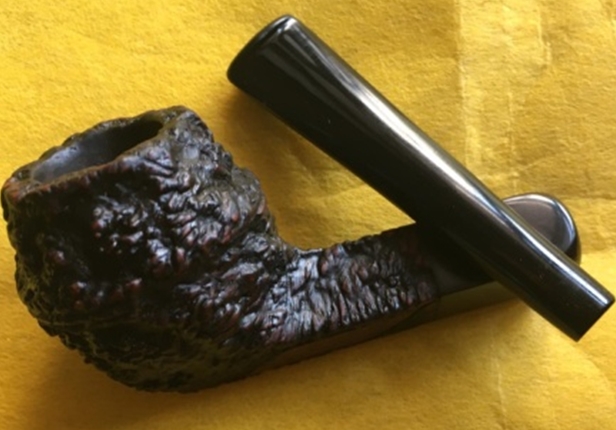
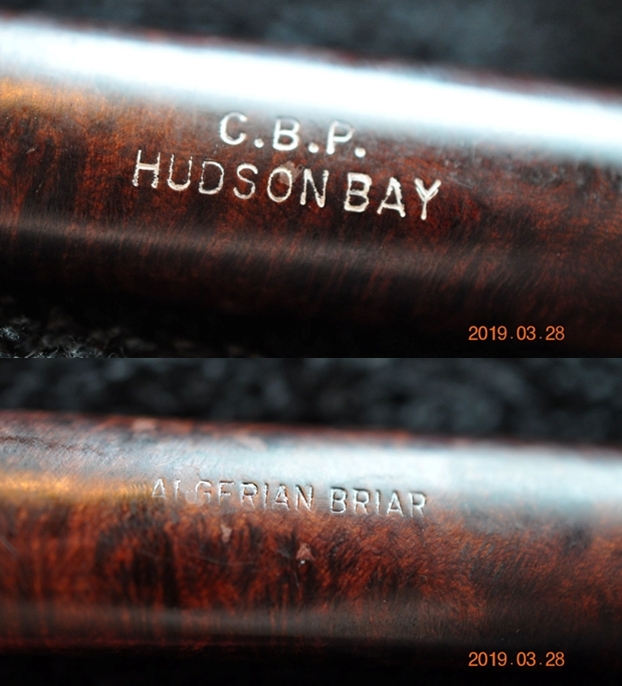
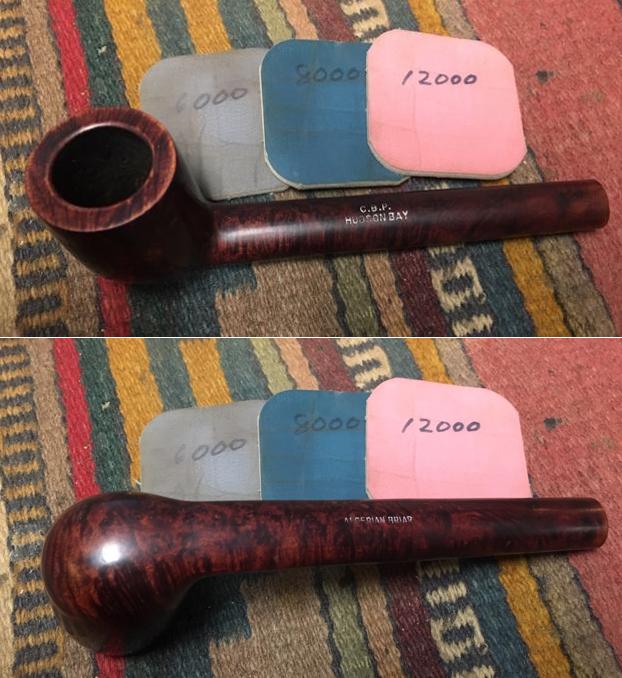
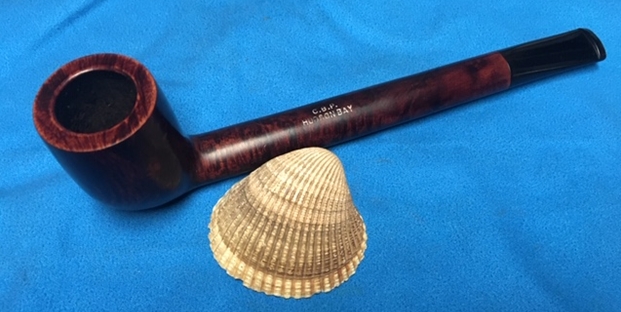
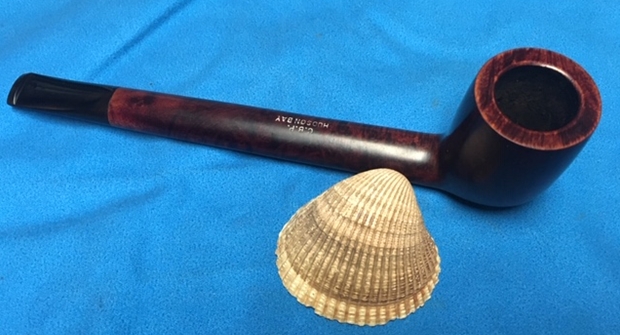
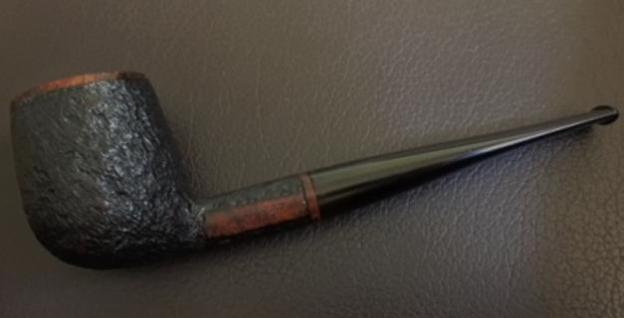
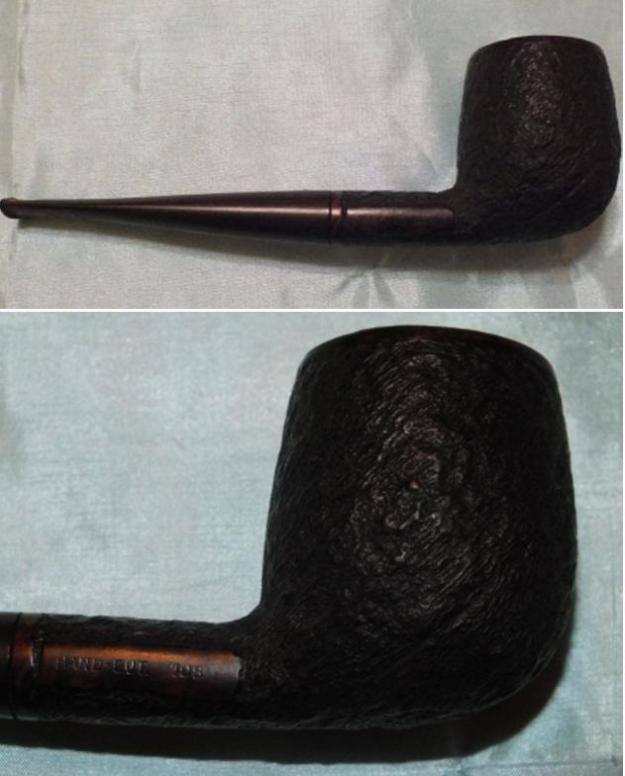
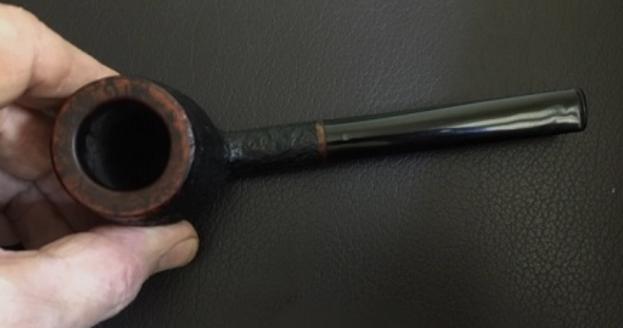
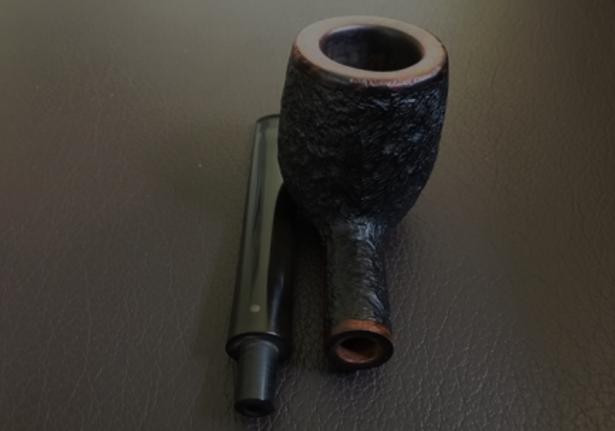
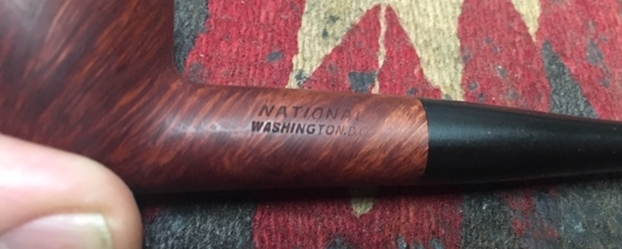
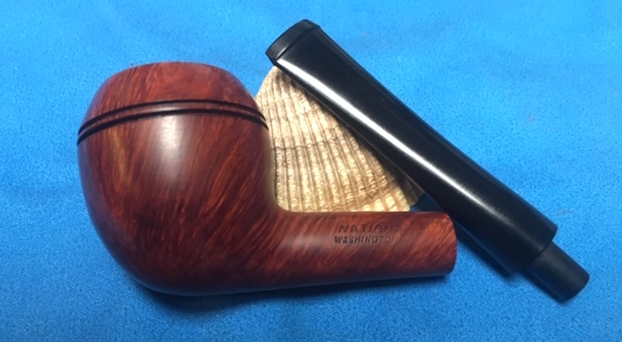
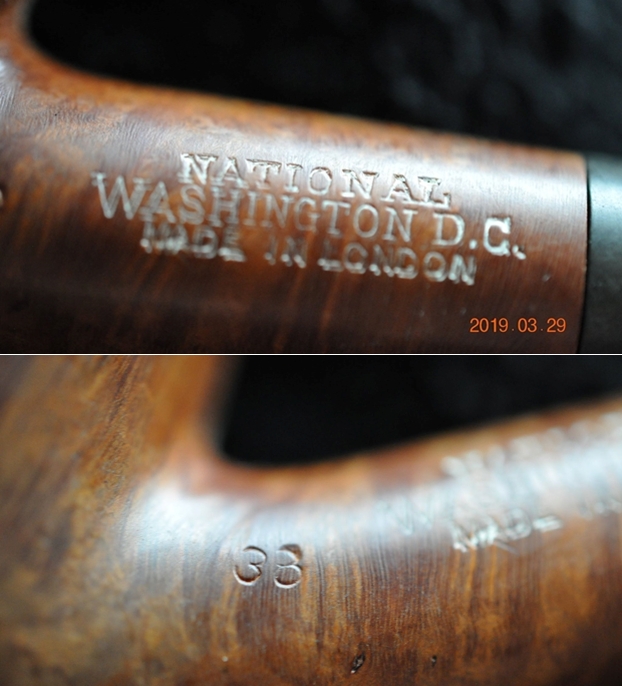
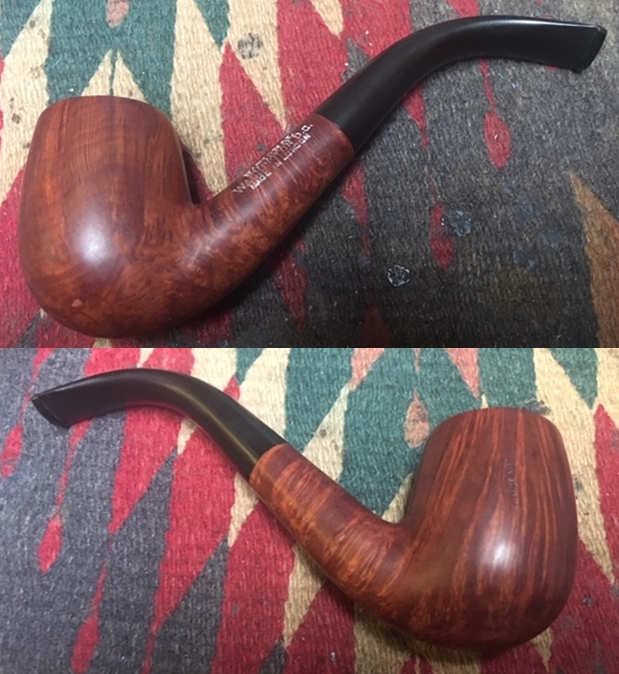
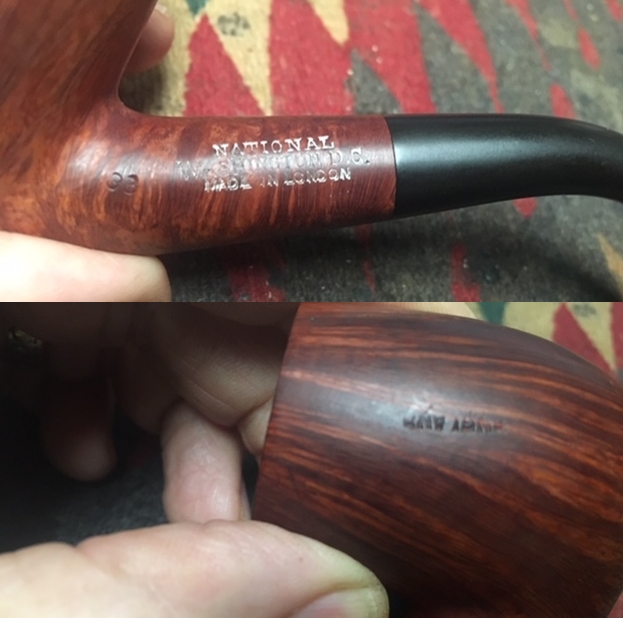
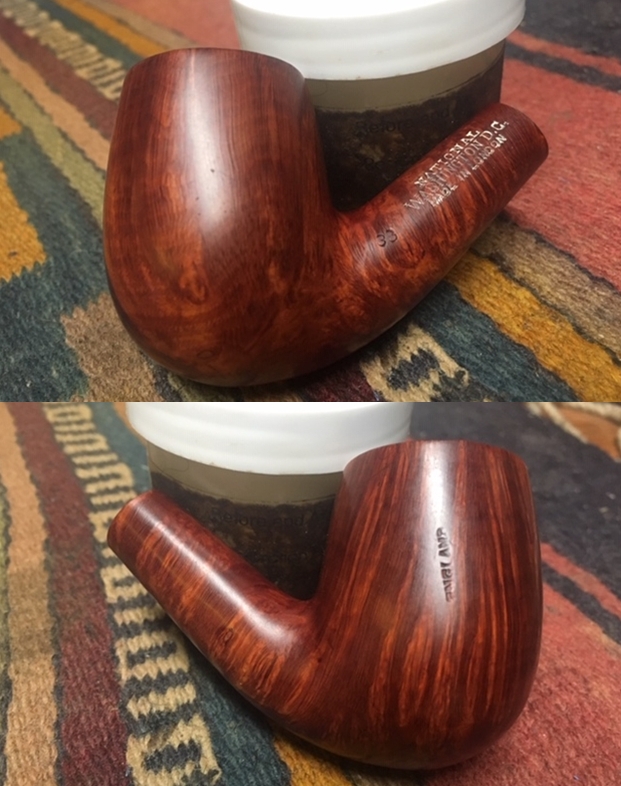
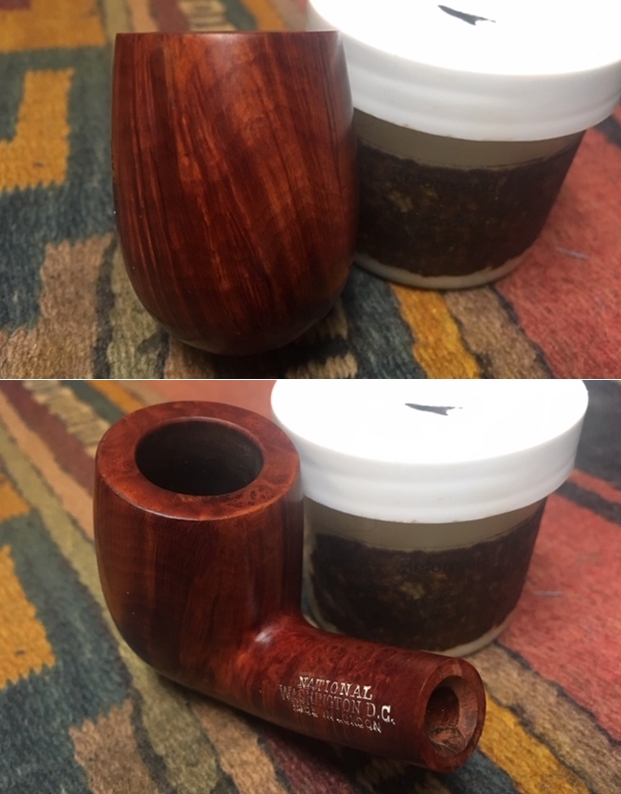
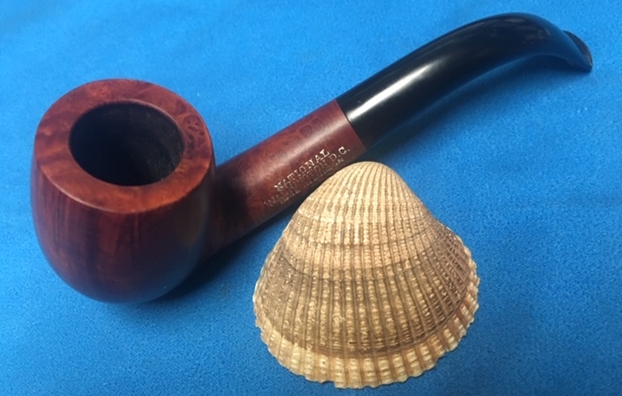
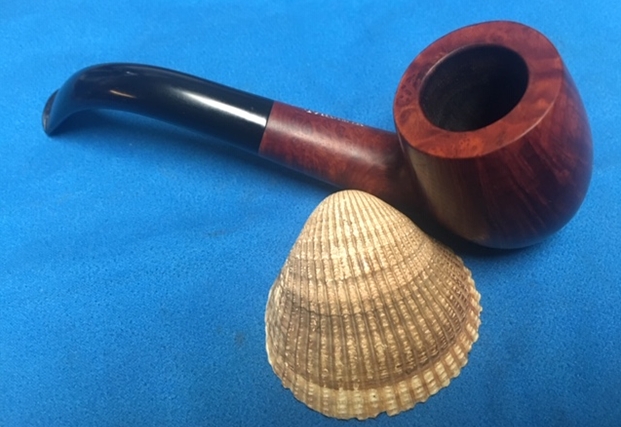
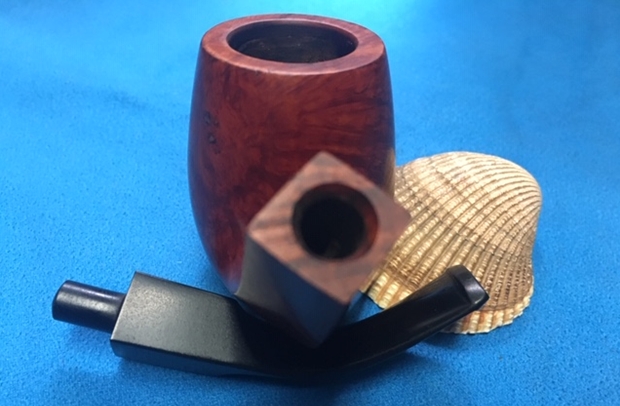
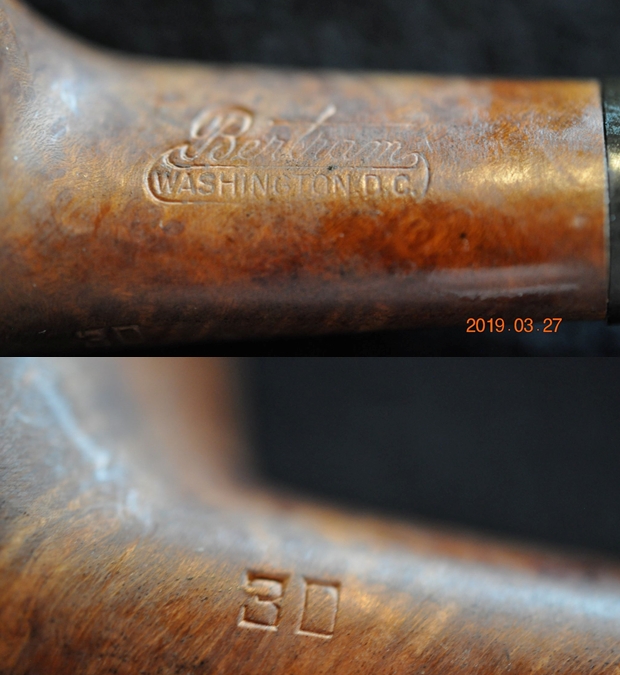
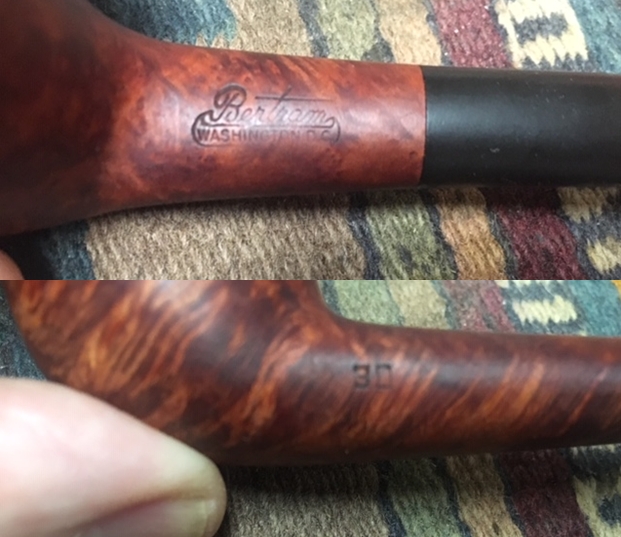
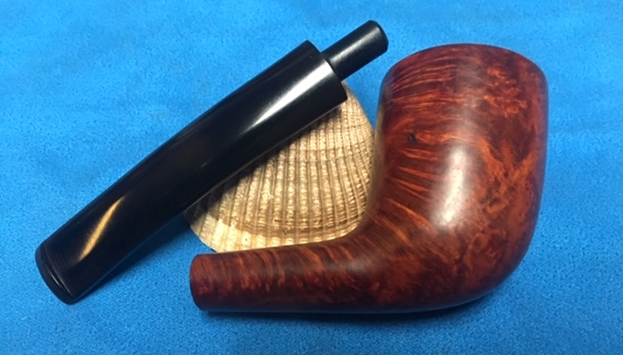
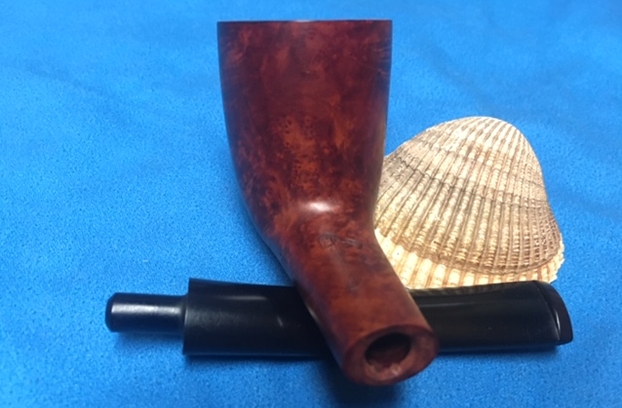
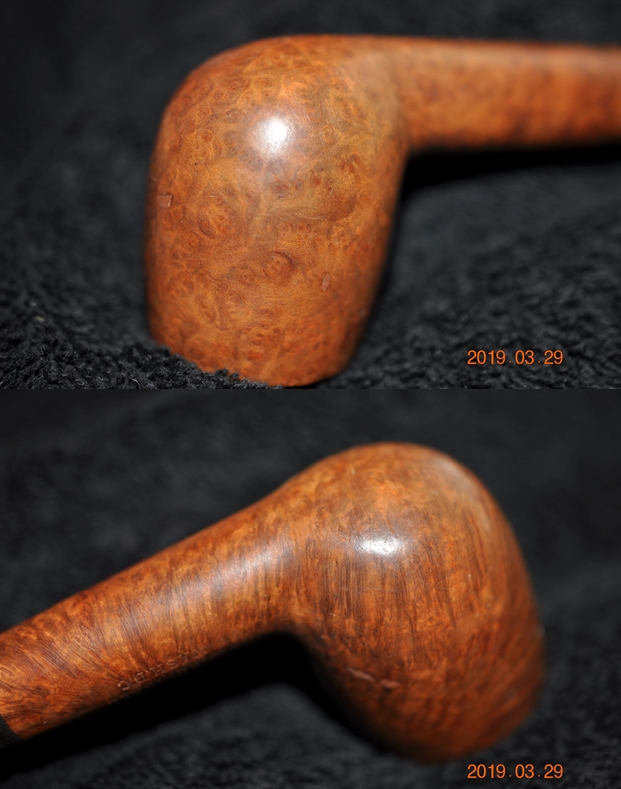
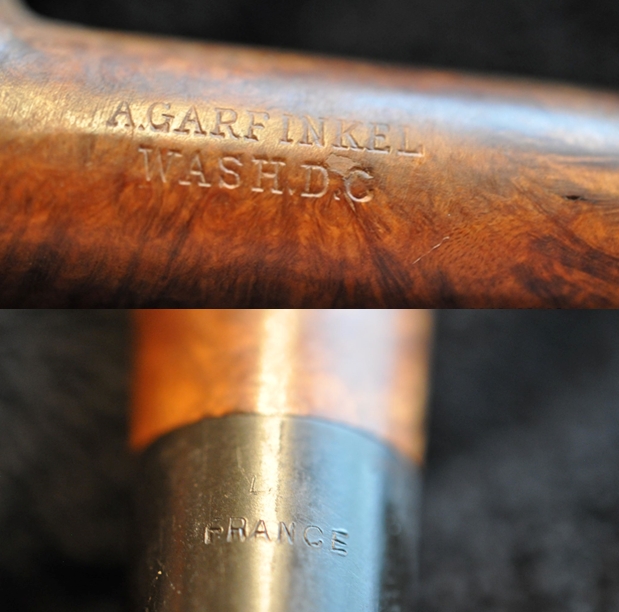
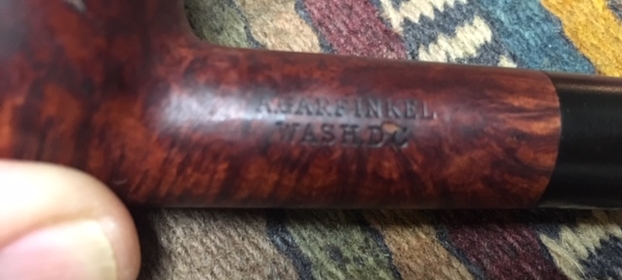
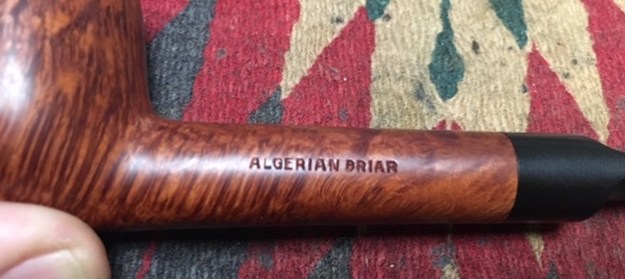
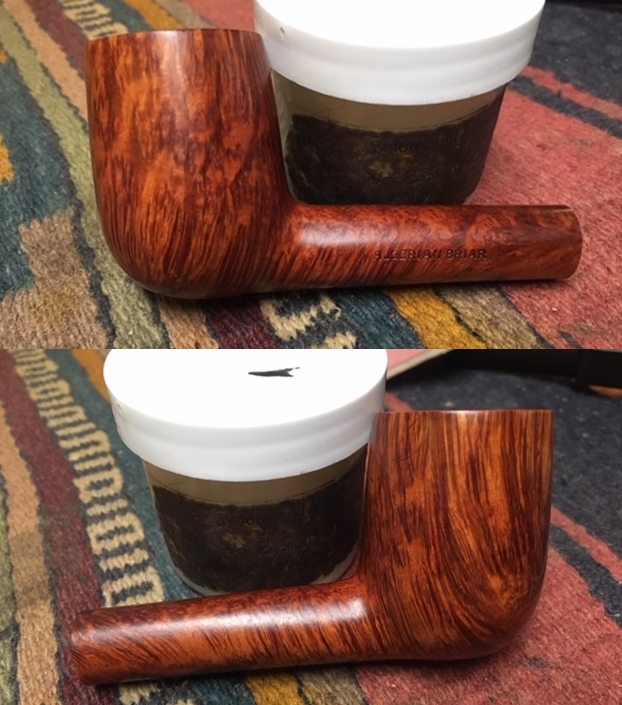
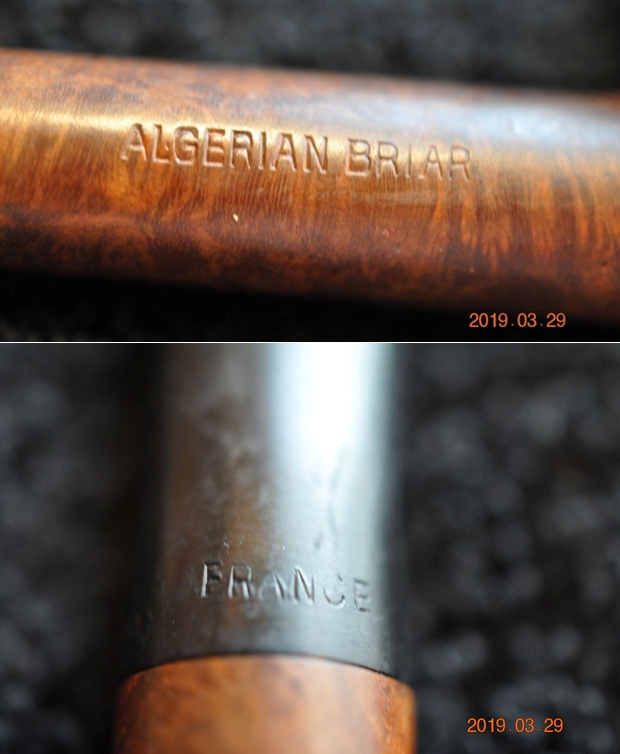
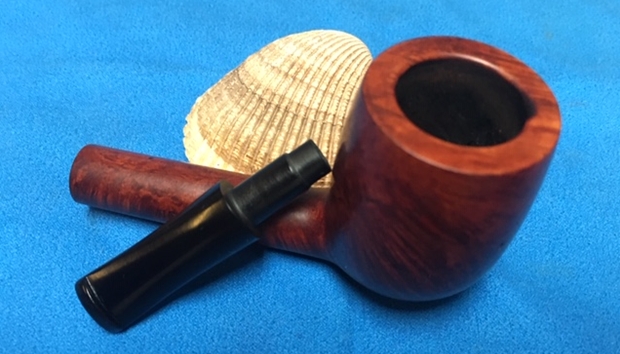
While I was working on the stem of the Brakner Antique #108, which was posted earlier, Steve rummaged through the pile and immediately came up with what maybe the only Italian (as far as I can recollect) pipe from my grandfather’s collection. It is a deeply rusticated pipe with a diamond shank and a slight flair around the middle of the stummel similar to ring cap in a classic Bulldog shape, towards the rusticated rim top. The shank end is adorned with a diamond shaped vulcanite shank extension that tapers at the end to seat an army mount style vulcanite stem. This beautiful pipe is stamped on the lower left smooth shank surface in a parallelogram as “CASTELLO” over “SEA ROCK BRIAR” over “MADE IN CANTU” over “ITALY”, all in capital. Towards the left side of the stampings, in the same space, is the size code “SC” over an unconfirmed code “56 F”. I referred to pipedia.org for a better and detailed understanding of this brand since I have not worked on very many Italian pipes and never on any CASTELLO!! The read was very interesting and I reproduce excerpts from pipedia.org source. The opening paragraphs itself speaks volumes about the quality and craftsmanship of the pipe that we now are working on!!
Pipa Castello was born in 1947 in the artisan workshop of Carlo Scotti in Via Fossano, in Cantù, with the target to produce pipes which could be placed at the very top of quality and perfection from both the technical and aesthetical side.
“I run a craftsman’s shop, not a factory, my pipes are works of art, fruit of expert hands, heart and fantasy” – Carlo Scotti.
So, the Castello Philosophy was born. It prefers to be, not to appear, always looking for a perfection that, in the human limits, Castello tries to reach. Carlo’s work-passion continues unaltered under the faithful guidance of his daughter Savina and Franco Coppo.
If a pipe man wanted to pull out a pipe that conveyed a sense of status, a brand with undeniable cache, he had to go to a pedigreed English pipe, such as Dunhill and Sasieni; a pipe from Italy simply wouldn’t have come to mind. Then, in 1946, a man from Cantu, Italy began carving a pipe that would change all of that. That man’s name is Carlo Scotti, and his pipe brand is called “Castello”.
Carlo’s choice for his company’s name was an inspired one. He needed a name that had a cognate in many of the European languages (Castle, Castillo, Castelo (Portuguese)), and wanted that name to be evocative of pleasant fantasy. While the name did have a dream like quality, the startup of Castello, and the early years of the company were more akin to a nightmare. Early Castello pipes emulated the English classic shapes, if a man leaned toward that aesthetic; he already had plenty of established brand names to turn to. Carlo outfitted his pipes with Plexiglas, something unfamiliar to men who were quite comfortable with vulcanite. Compounding woes, early Castello pipes were quite small in size, usually carved or sandblasted, and were stamped in a bewildering, rapidly changing manner. Some growth did occur via word of mouth. But that growth was too slow, too little, and by 1953, Castello was close to closing the doors.
Most fairy tales introduce a character or an element that allows the protagonist to overcome peril. For Carlo, this character was Wally Frank, who accidentally bumped into Carlo on a pipe buying trip to Italy. Mr. Frank was smitten by the product and agreed immediately to start importation into the US. Upon hitting New York, Mr. Frank replaced the Castello white bar with a superb counter-point to the Dunhill “White Spot”, a “diamond” inlaid in the bit (actually crimped aluminum), and began to market the pipe to highly skeptical Americans with a wholly new angle. The pipe that the prospective buyer held was not churned out in a factory, but crafted start to finish by one man. The shapes were not created by a machine, but by the hands of a master. This was a very different, very special pipe. In short, Mr. Frank redefined in the minds of many an American what it took to give a pipe a pedigree. Combined with the sudden rise in awareness of chic, upper echelon Italian products (Gucci had just opened their first US boutique in NYC), this approach was a success. Castello took off and never looked back.
Small conflicts do not stop great partnerships, Scotti and Frank worked out the product issue and, by the 1960’s, production had moved into high gear. Carlo hired the likes of Luigi “Gigi” Radice and Pepino Ascorti, who carved at full speed to meet demand. Within the synergy of the three legends, a new shaping aesthetic emerged. Emulations of the English standards were replaced by bold shapes with Italian inspiration. This, in turn, fueled American appetites for the pipes to the point that it was not uncommon for a Castello collector to be placed in a position of having to call tobacconists around the country to try to locate a pipe. Often a premium was negotiated for the product.
With this fair bit of background information on this brand, I move towards the prospect of dating this pipe and again an external link on pipedia.org proved to be useful. Here is the link to dating of Castello pipes on Briar Blues – www.briarblues.com/castello.htm
Even though this article makes for an interesting read and is worth reproducing here, for the sake of brevity, I have reproduced only the relevant information which helps to approximate the date of this particular pipe. However, I implore readers to read the complete well researched article.
- 1947 – Carlo Scotti begins the company. In the beginning (1947 – 1949, maybe 1950 ) the pipes were stamped Mi Reserva ( my reserve ). Later the Reg No was added. This Reg No has nothing to do with shape numbers, but is merely the Castello company trademark.
- The Old Sea Rock and the Sea Rock co-existed. As far as I know, the OSR was US only, imported by Hollco Rohr, and sported the rhinestone. The Sea Rock goes back to the early days.
- Shape numbers. Shape numbers are all 2 digits. A 2 in front indicates a “fancy” interpretation, a 3 in front means that the carving is somehow unique. I don’t know when the change was made, but currently, a π symbol is used instead of the 3xx. I’ve only seen this on Sea Rocks, but that doesn’t mean anything.
- Pre ‘K’ grading. Late 1950’s to mid 1960’s the pipe carried stamps which indicated sizes. These were as follows; SA, SB, SC, and SS. SA being the smallest and SS the largest.
- Ever wonder where your pipe came from? Which shop had it first? If so, read below;
N1 = Novelli ( Italy )
N = Noli ( Italy )
F = Fincato ( Italy )
From the above, it is clear that the stampings on the pipe which is being restored, indicates that this pipe most likely is from 1950’s to mid 1960’s with third largest size in the lineup and came from a shop in Fincato, Italy. However, this information also introduces some ambiguities like the shape # 56 and the diamond inlay which points to US market whereas the lack of Old Sea Rock Briar stamp and the letter F after the shape code points to Italian market. It would be nice if these mysteries could be unraveled by the readers of this blog.
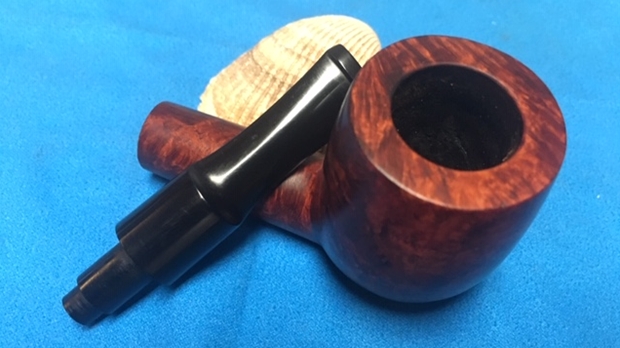
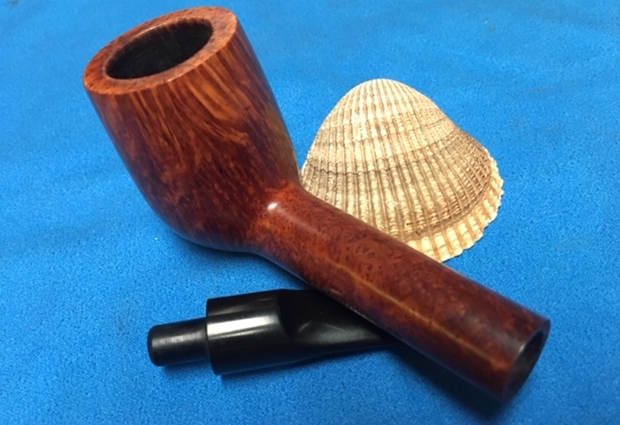
INITIAL VISUAL INSPECTION
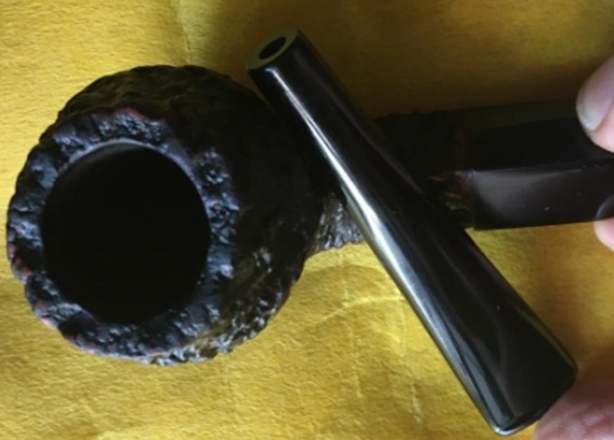
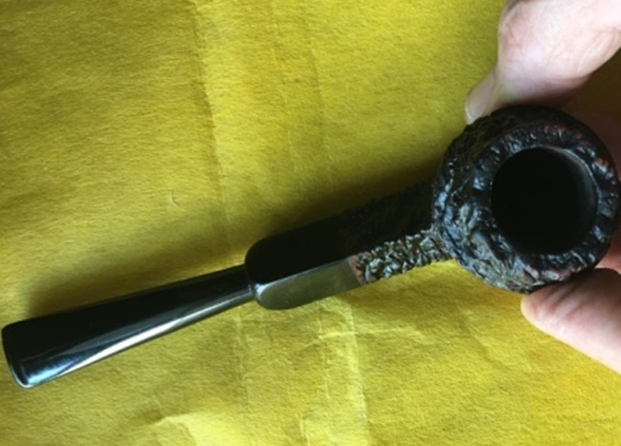
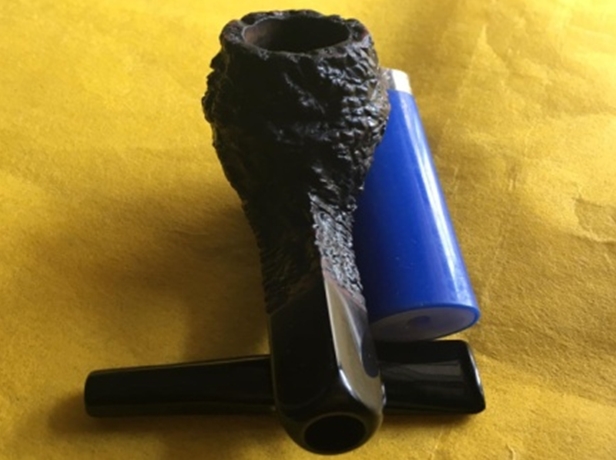
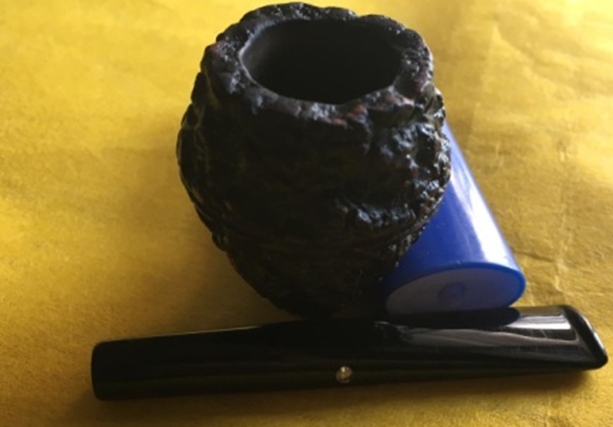
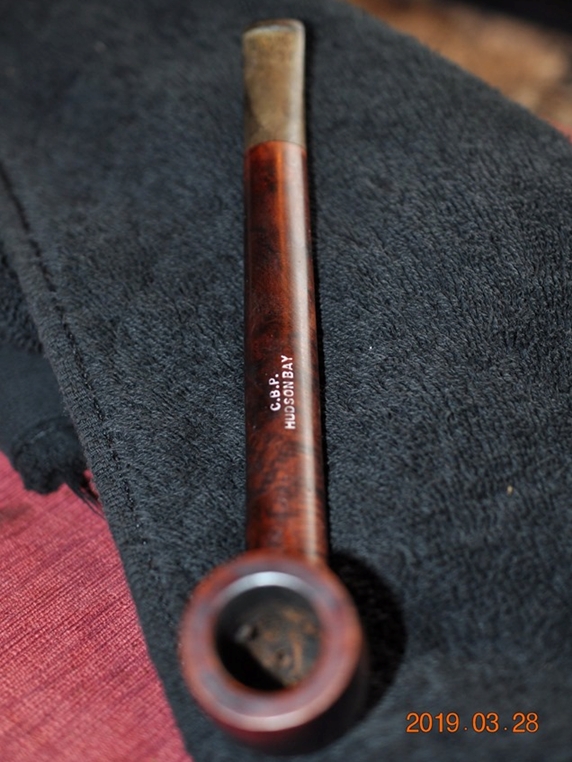
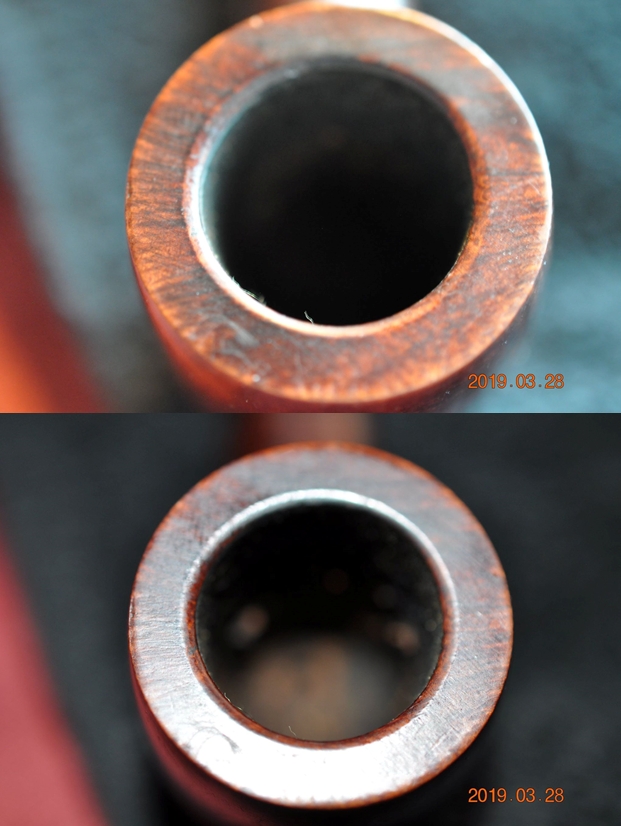
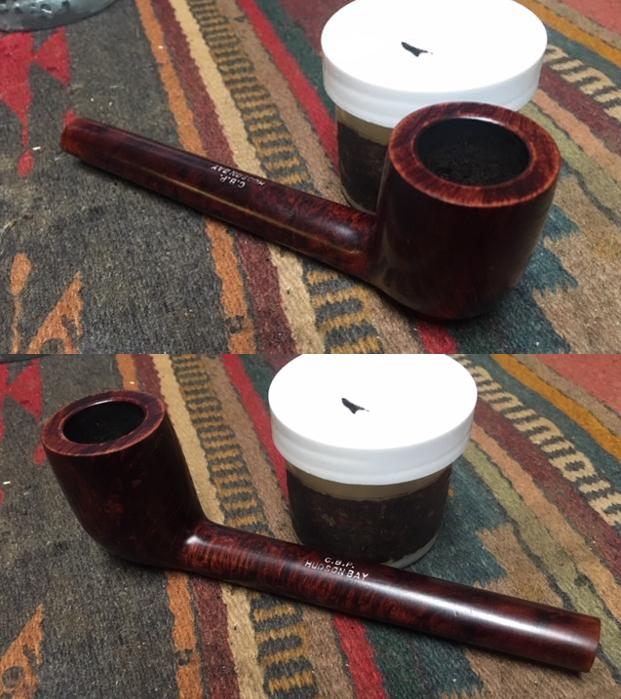
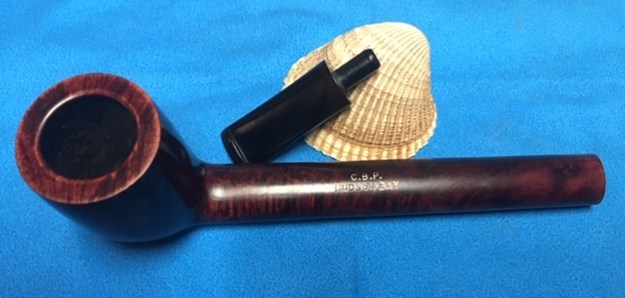
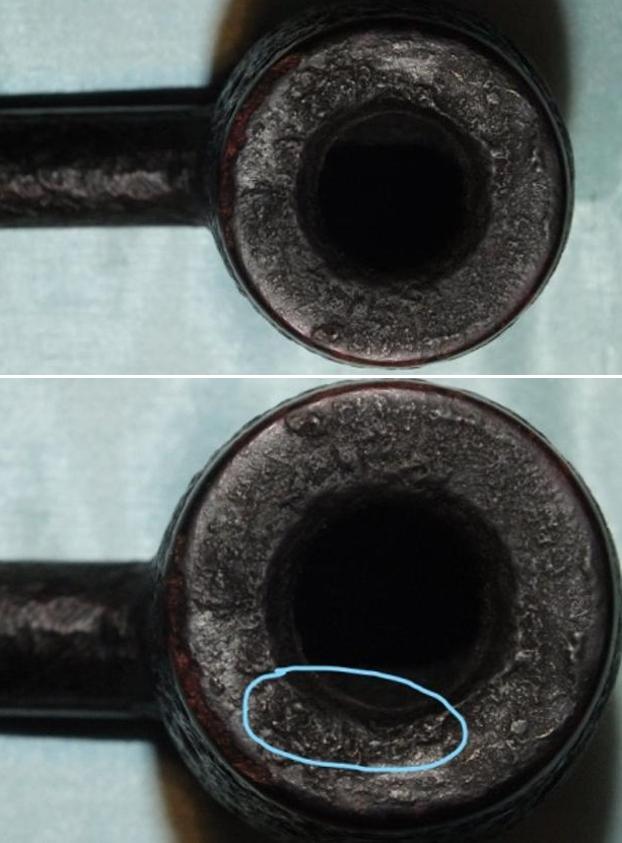
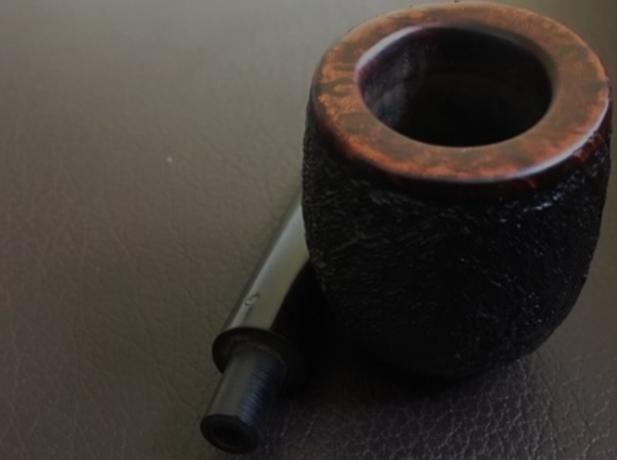
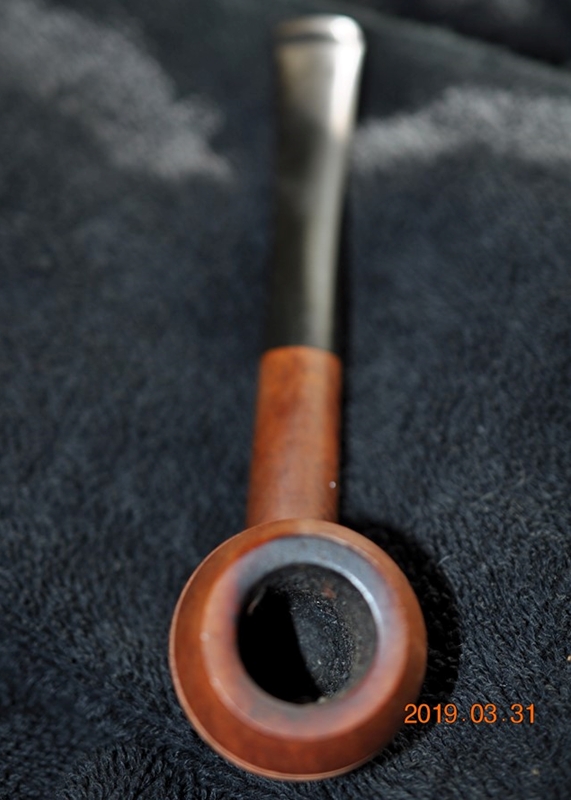
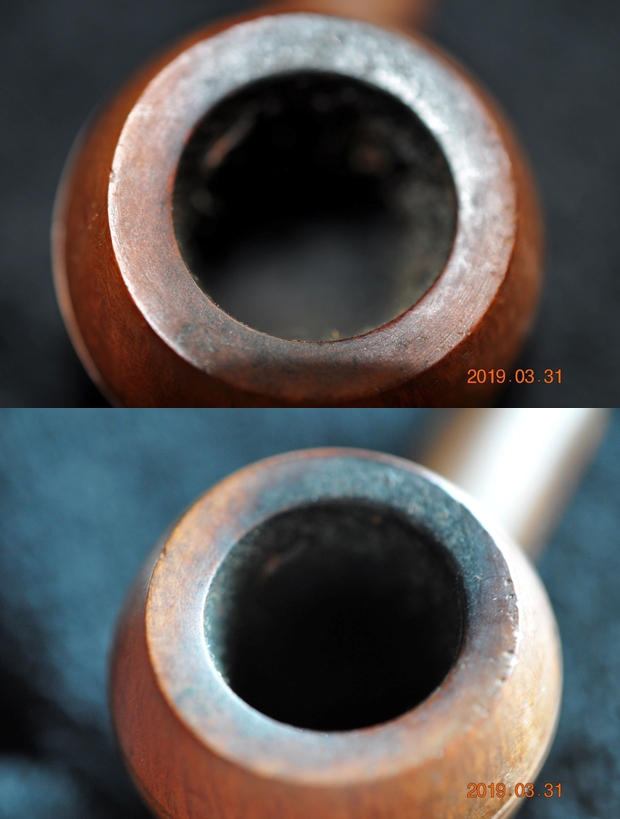
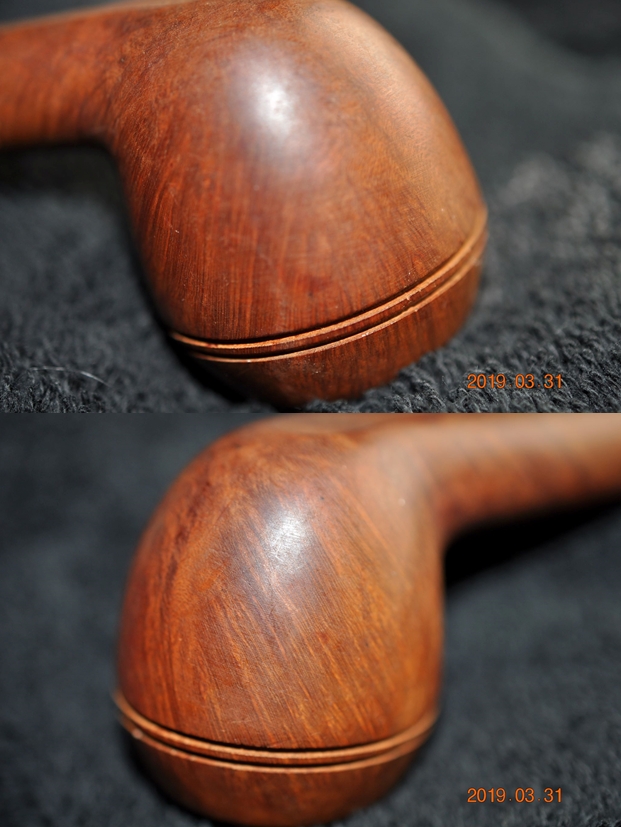
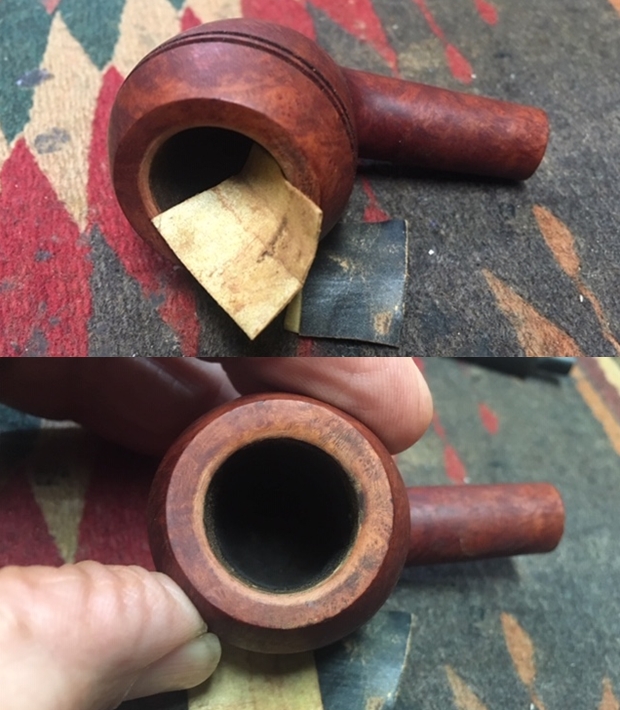
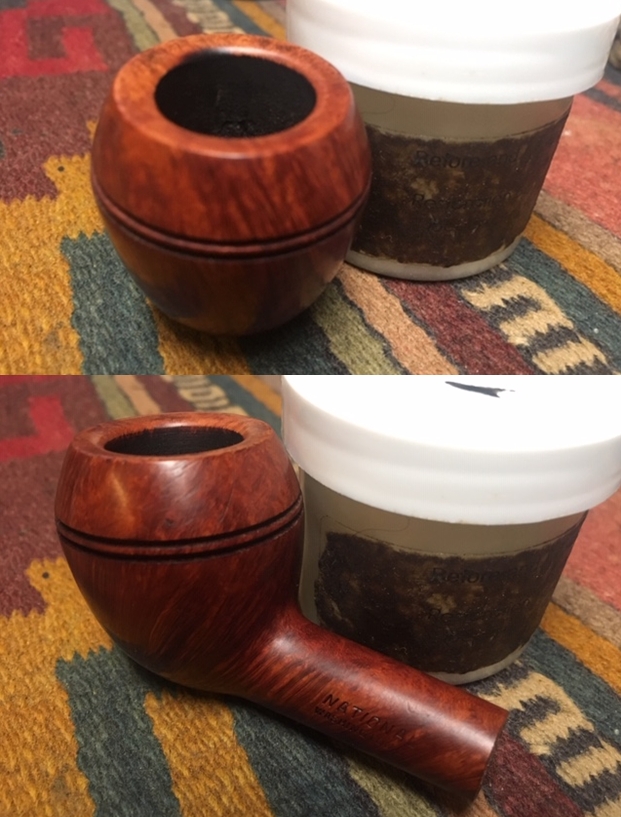
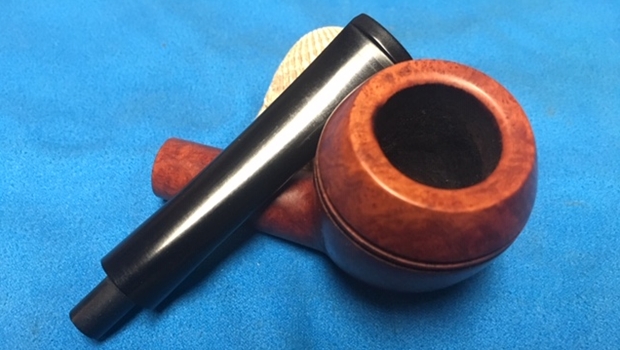
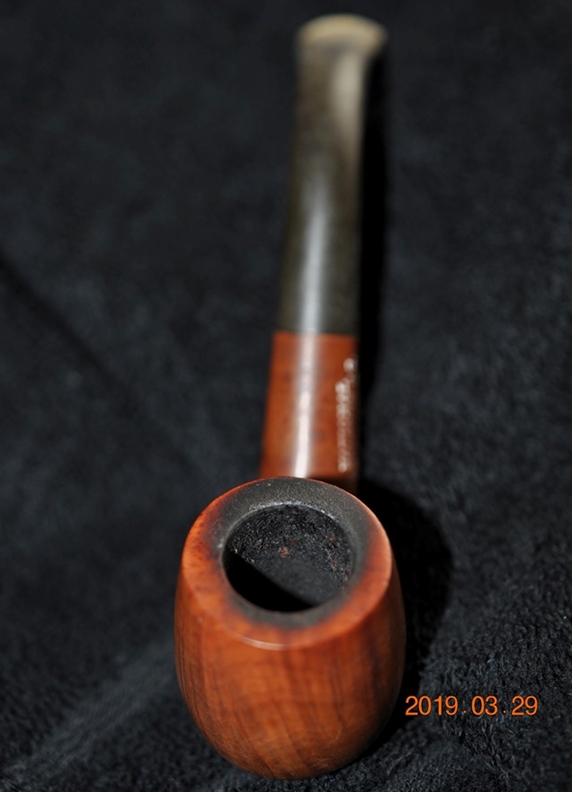
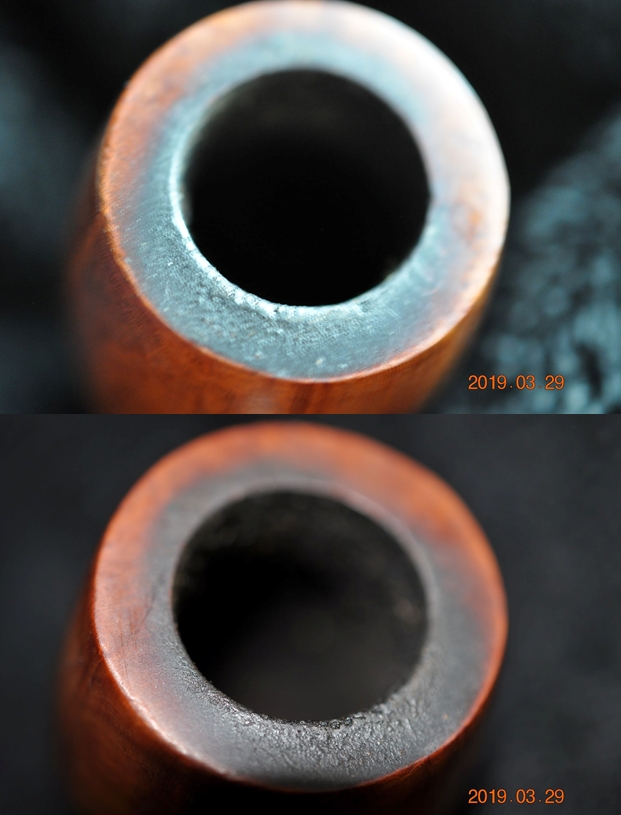
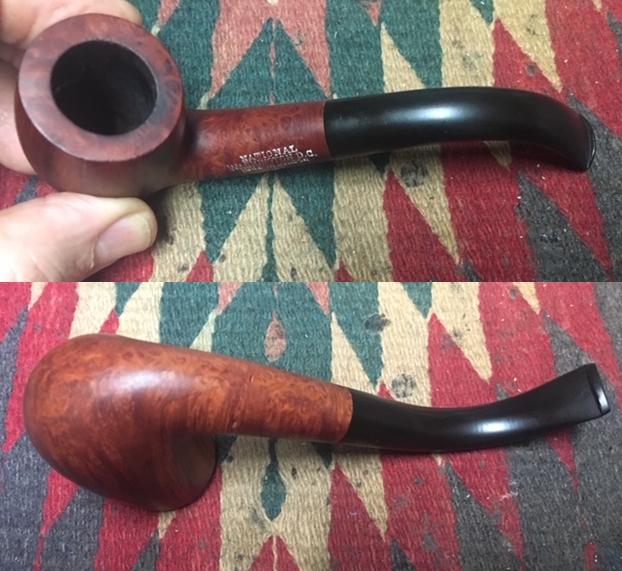
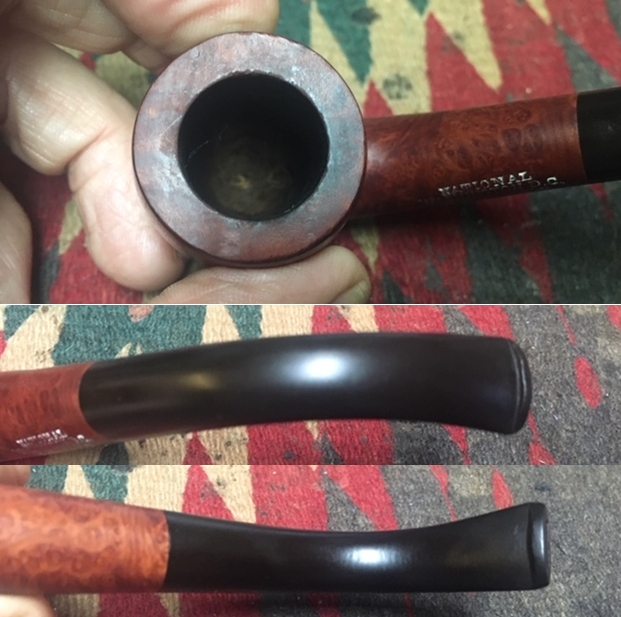
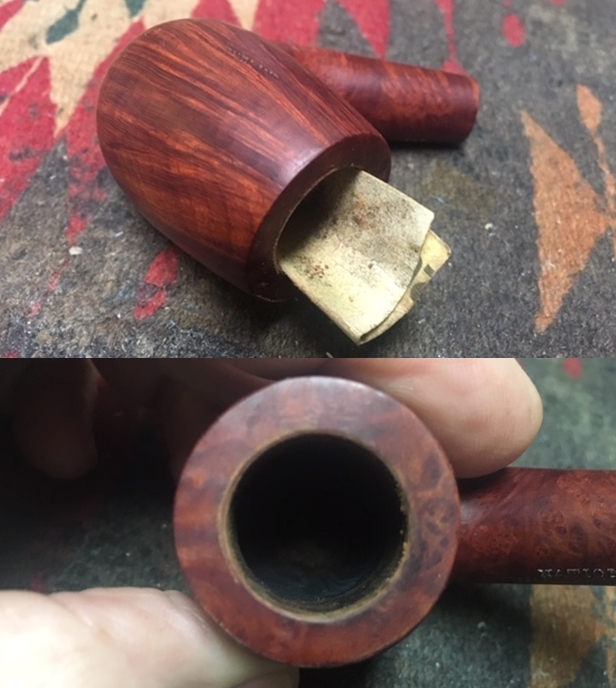
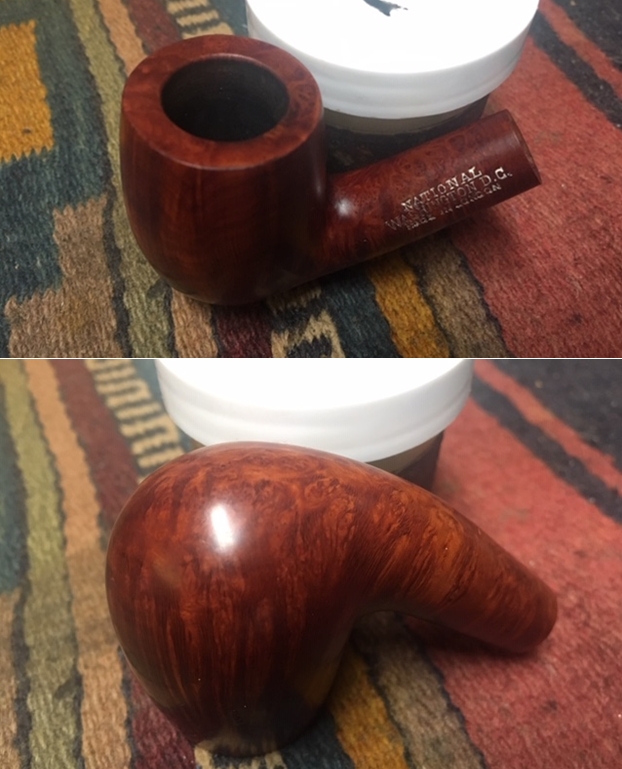
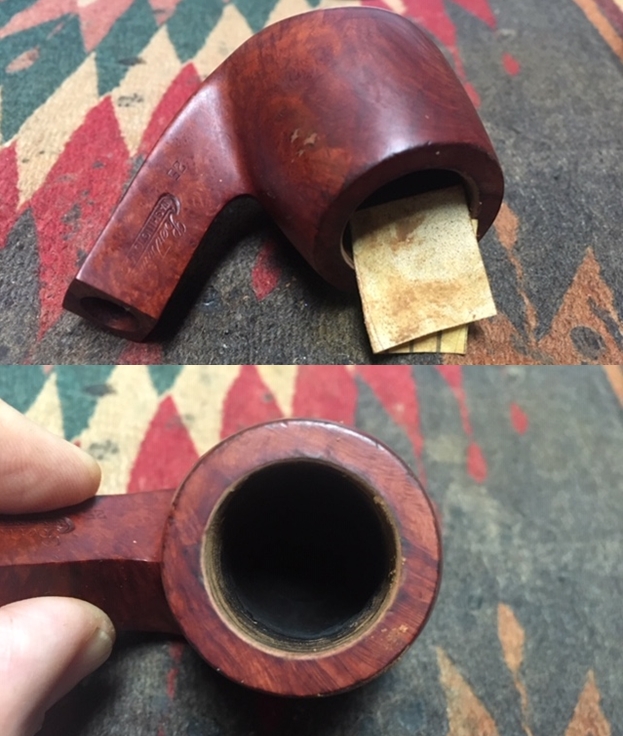
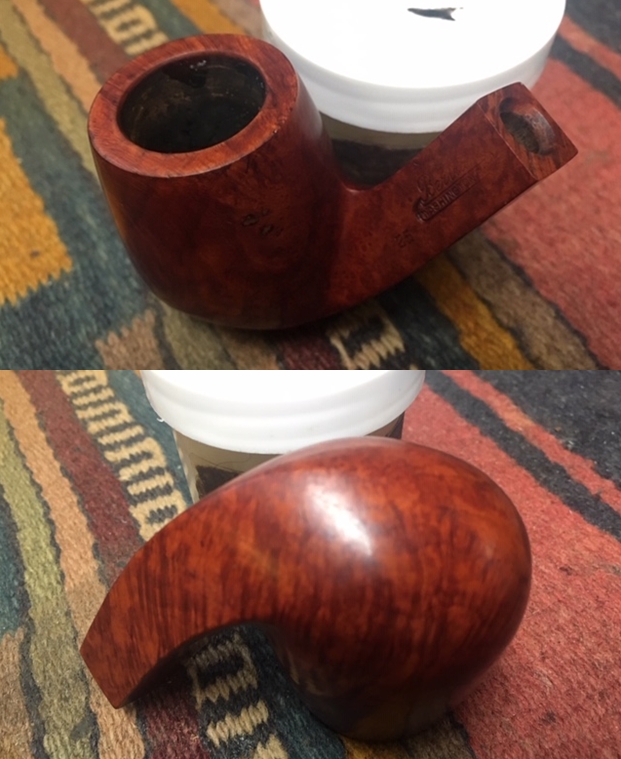
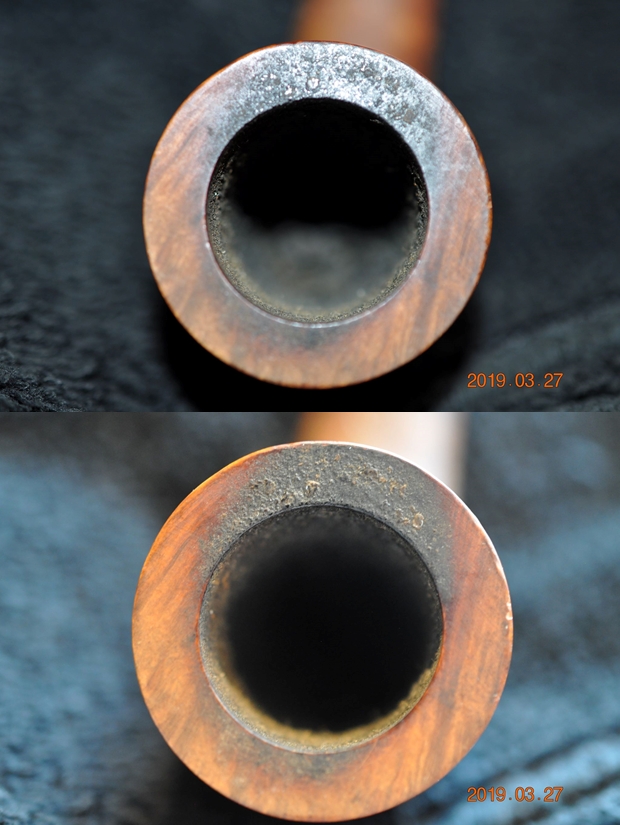
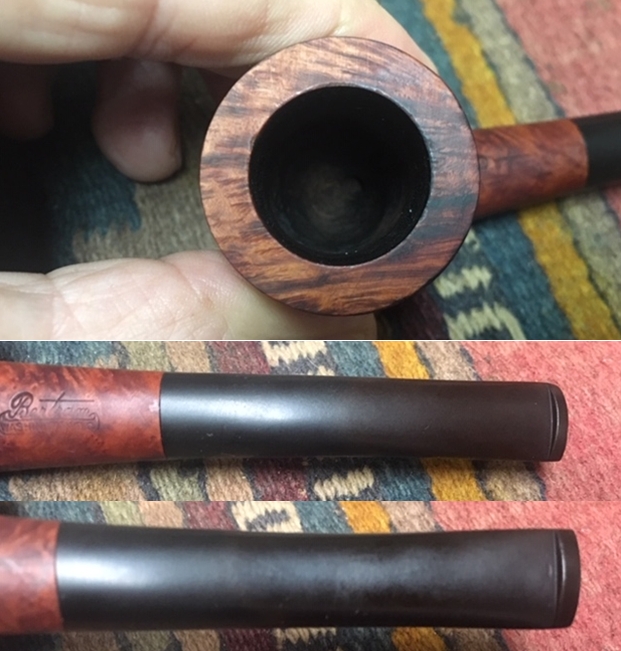
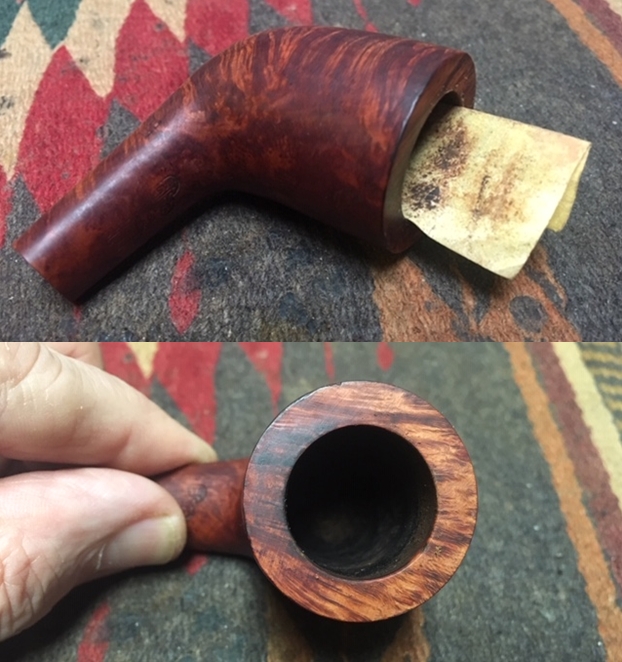
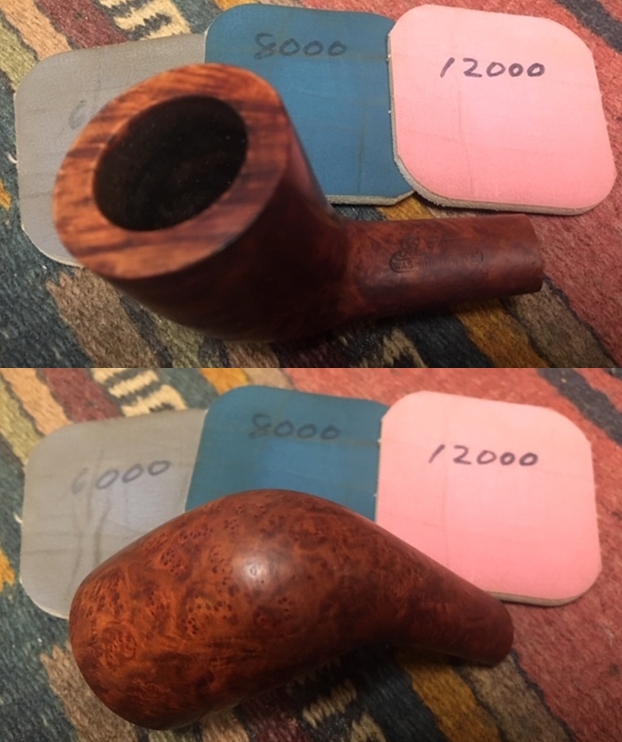
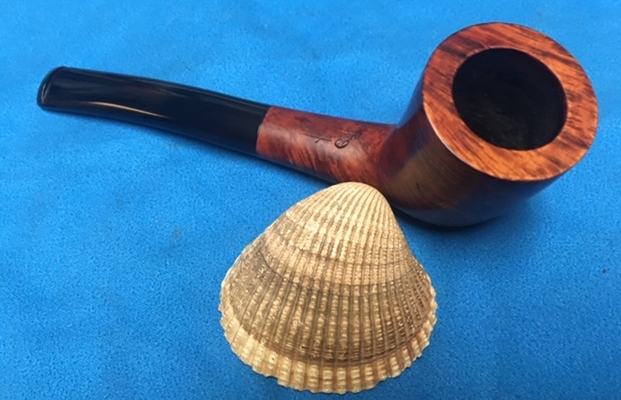
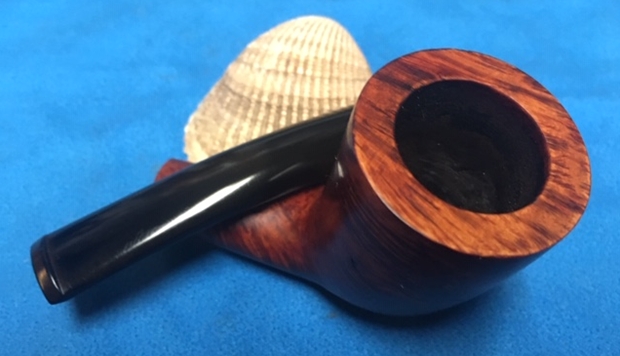
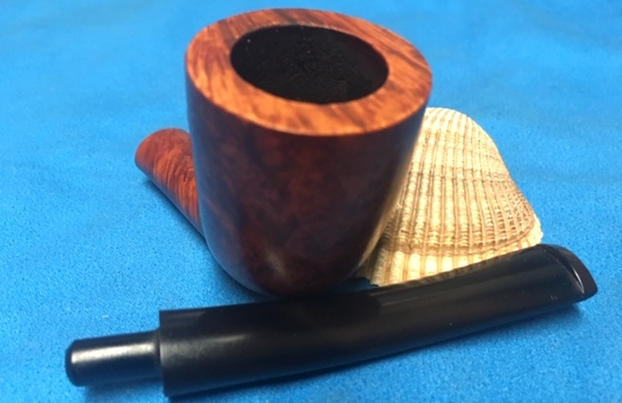
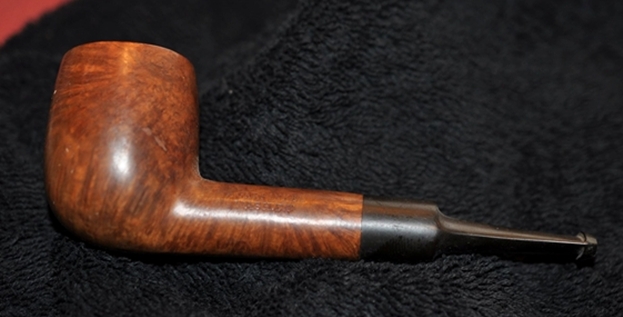
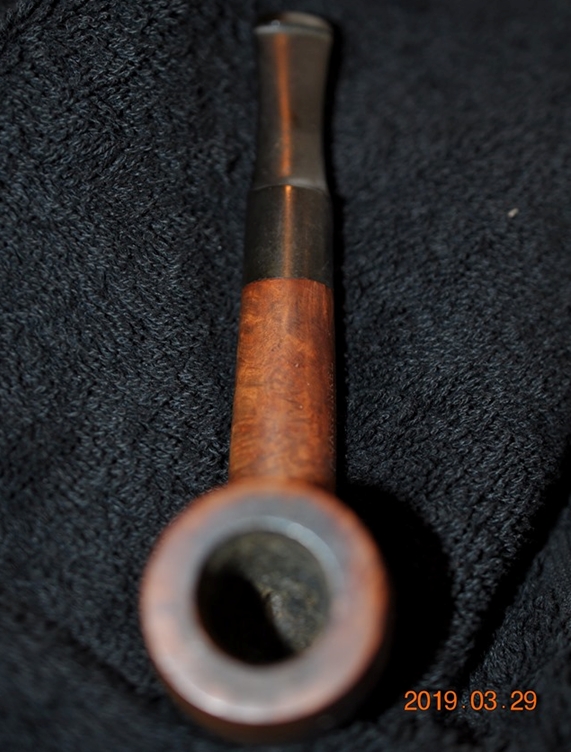
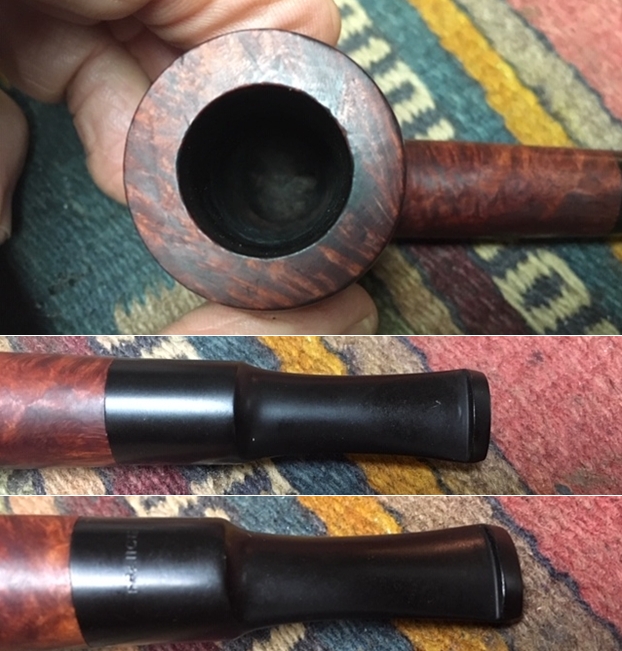
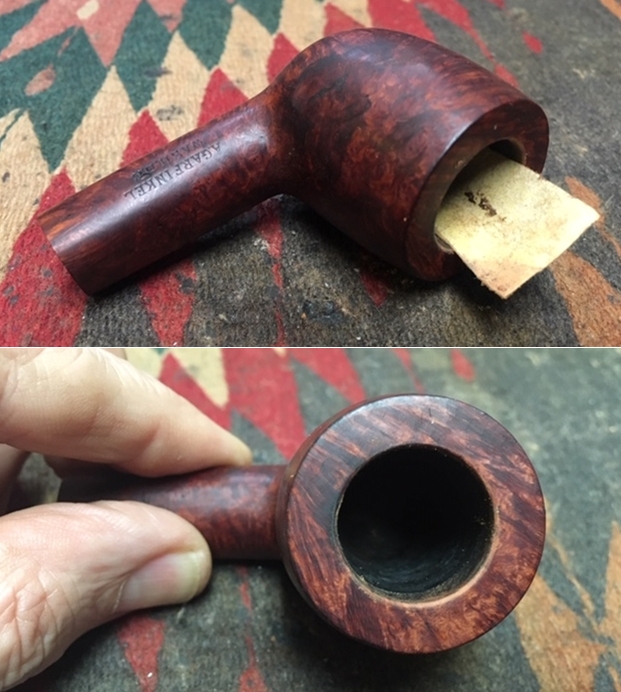
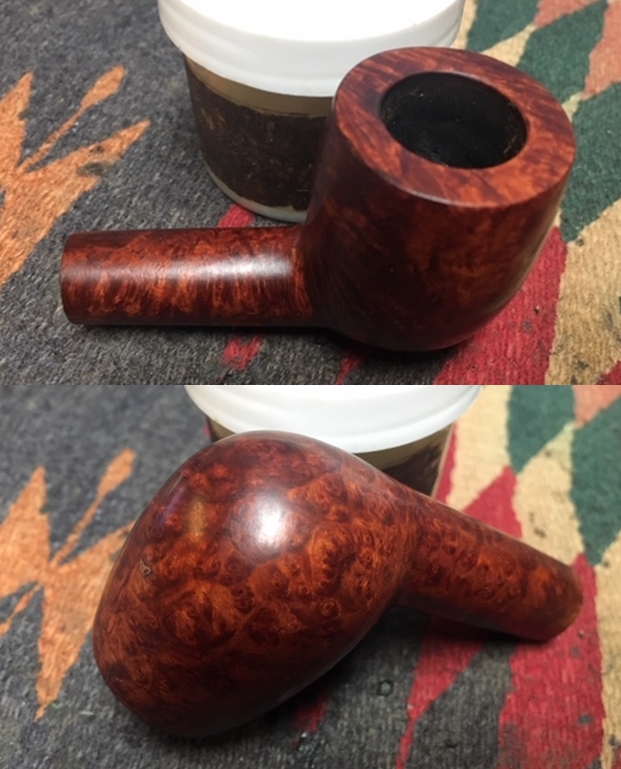
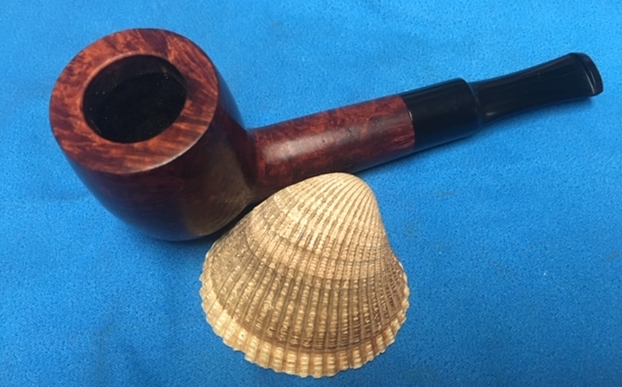
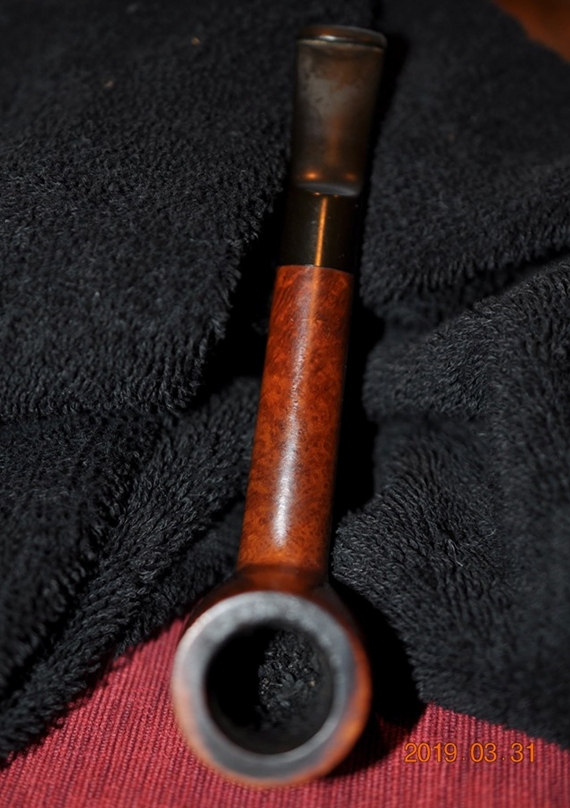
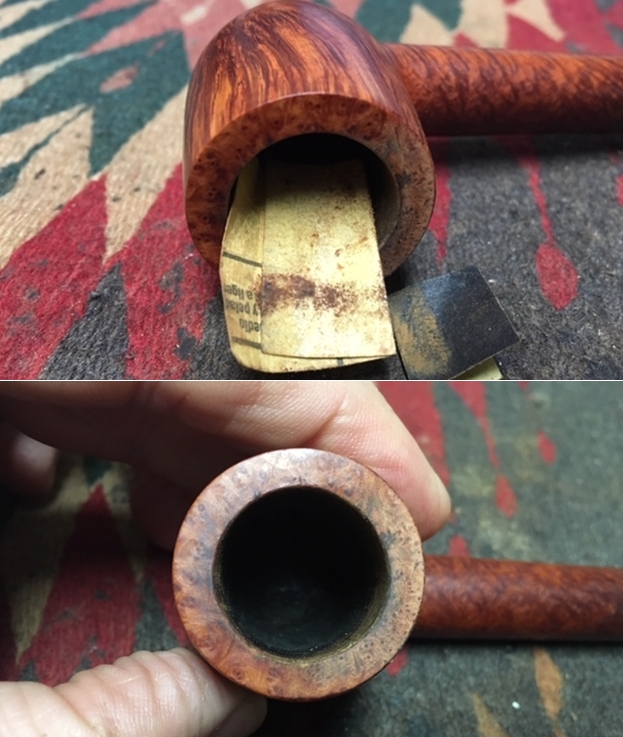
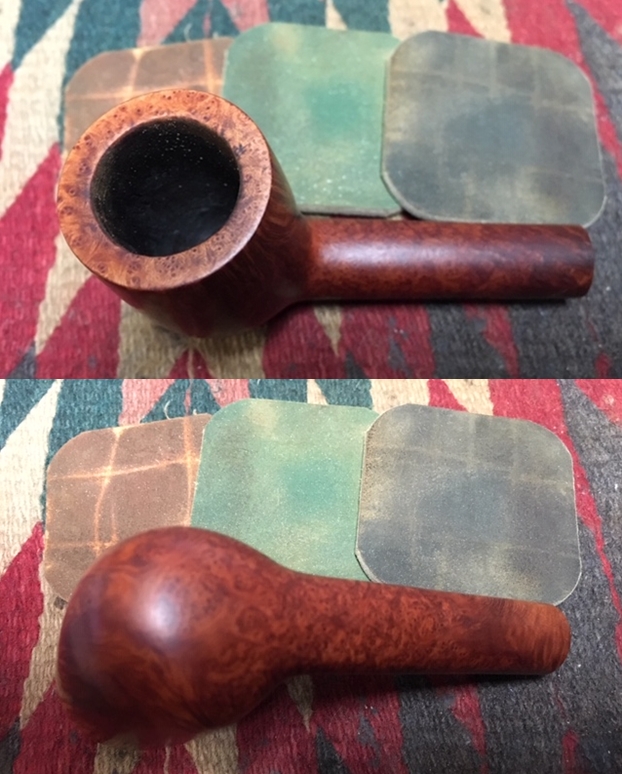
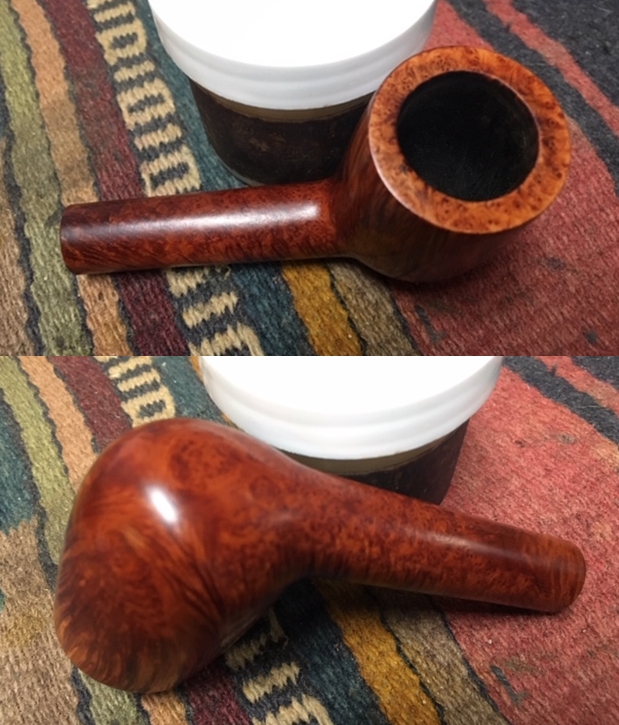
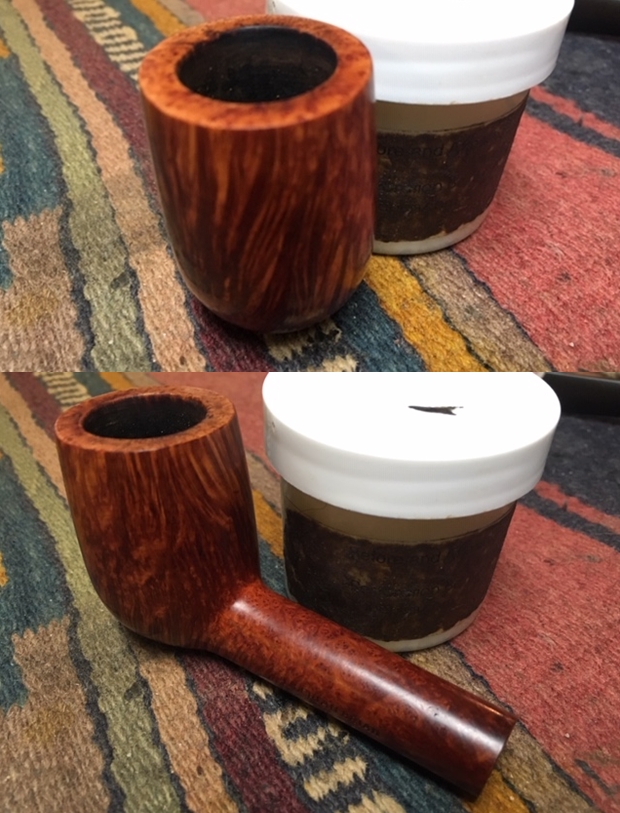
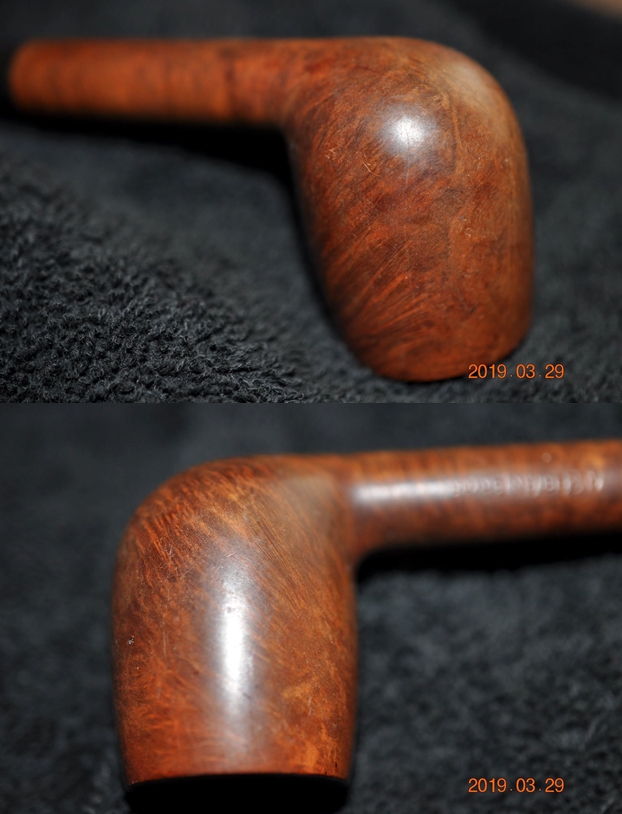
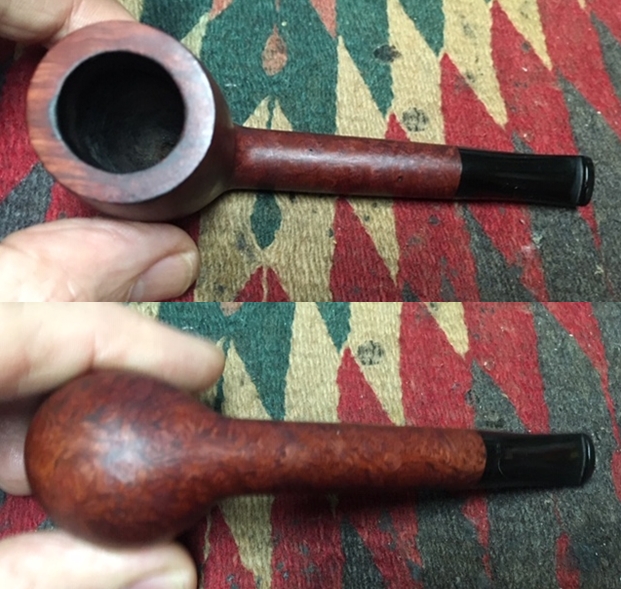
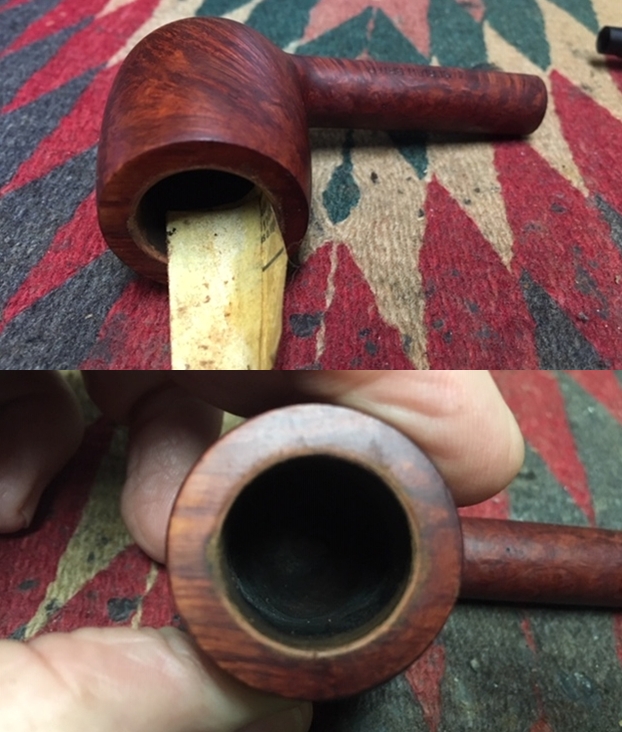
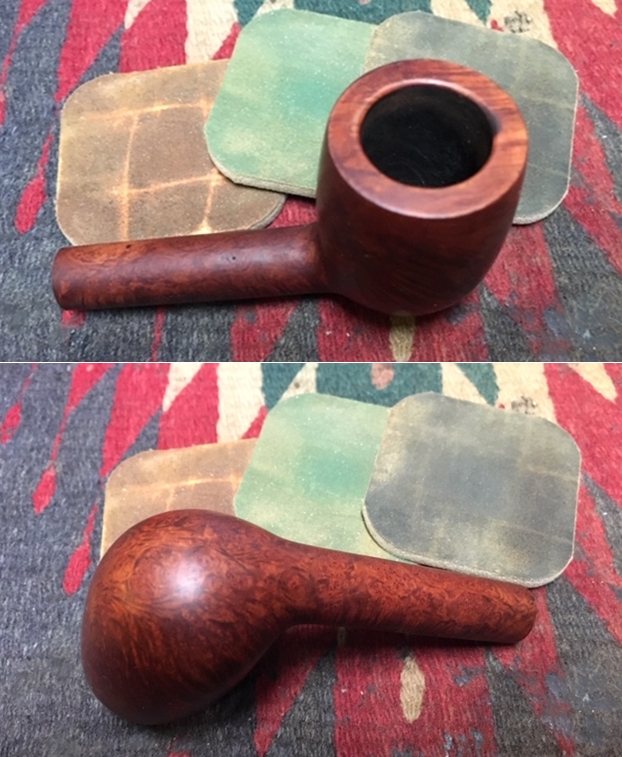
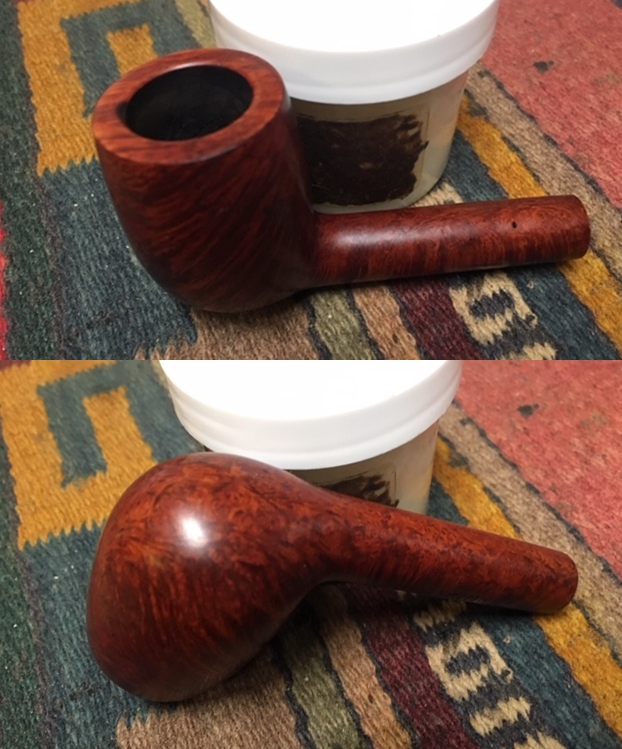
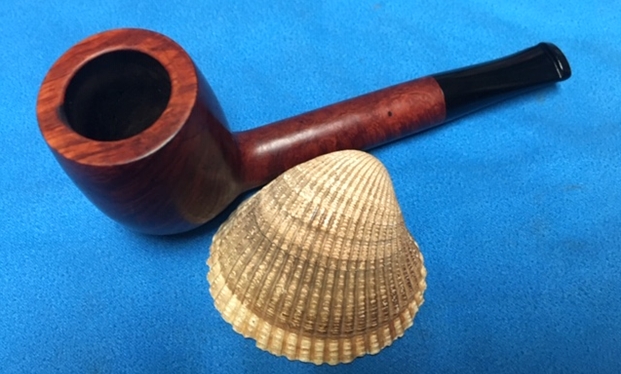
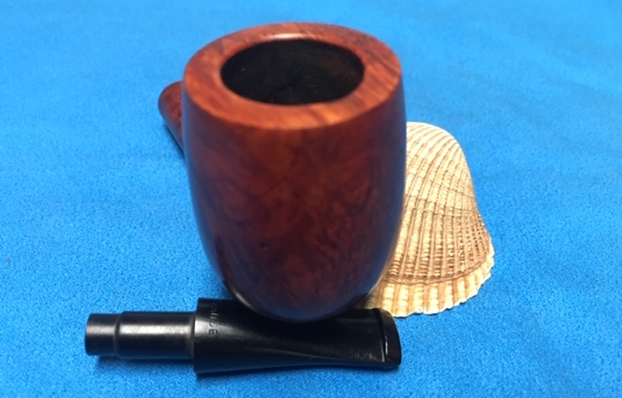
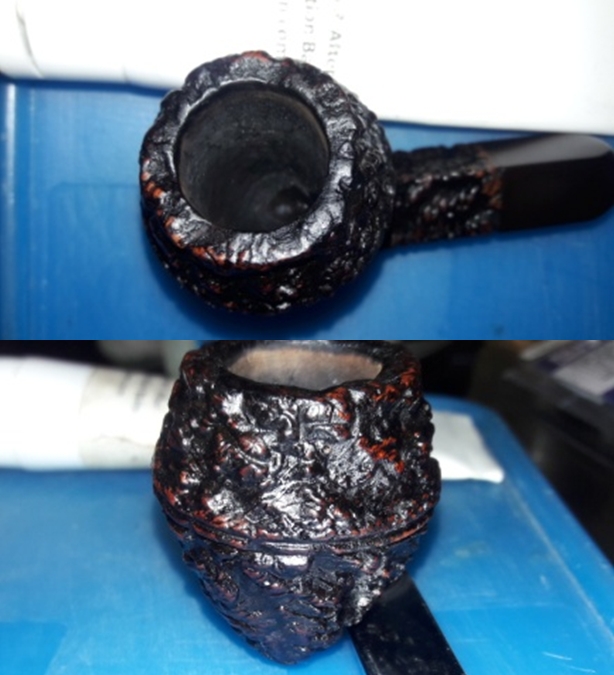
There is a thick layer of cake in the chamber which has been evenly reamed, and this, for me was a big surprise as most of my inherited pipes have not seen the face of a reamer!!!! The Castello, may well be only the second or third pipe from the collection that appears to have been cared for and could be because of the price that he had to pay! Well, nevertheless, there is a thick layer of cake in the chamber and the rusticated rim top surface shows overflow of lava and accumulation of dust, dirt and grime of all these years of storage. There appears to be no damage to the inner and outer rim edges and the same will be confirmed only after the rim top has been thoroughly cleaned. From the thickness of the cake in the chamber, we feel that the chamber walls have been well protected and do not foresee any heat fissures or cracks. However, the same will be ascertained only after the cake has been completely reamed down to the bare briar. The draught hole is perfectly drilled in the center and opens into the chamber at its base. This should be a great smoker, I say.
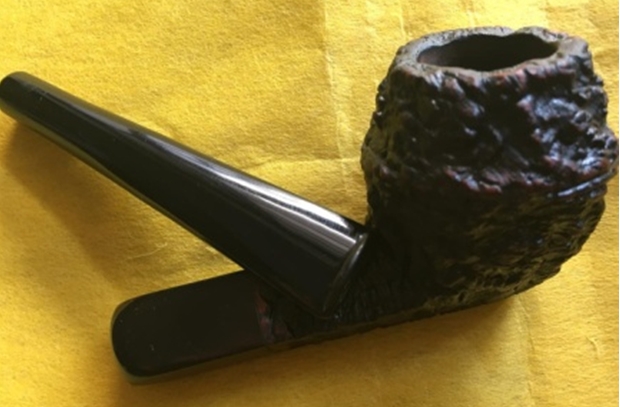
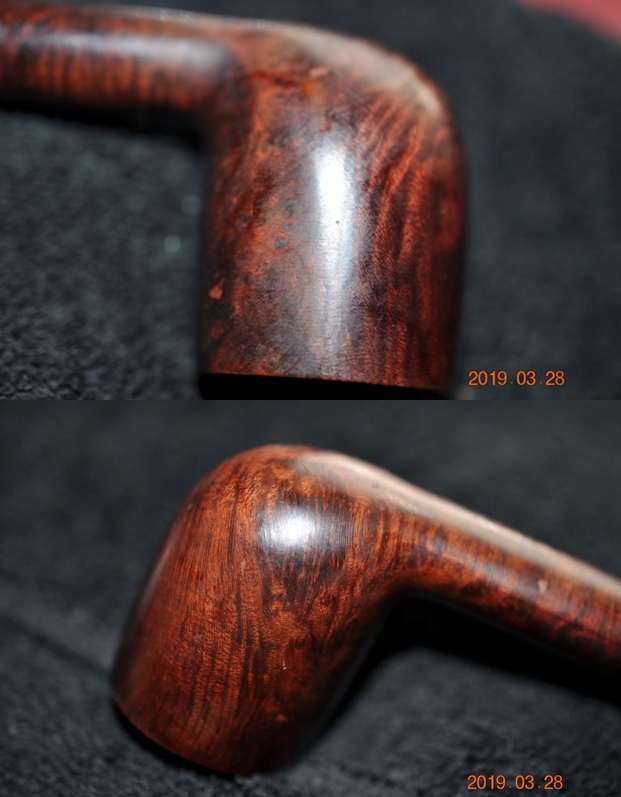
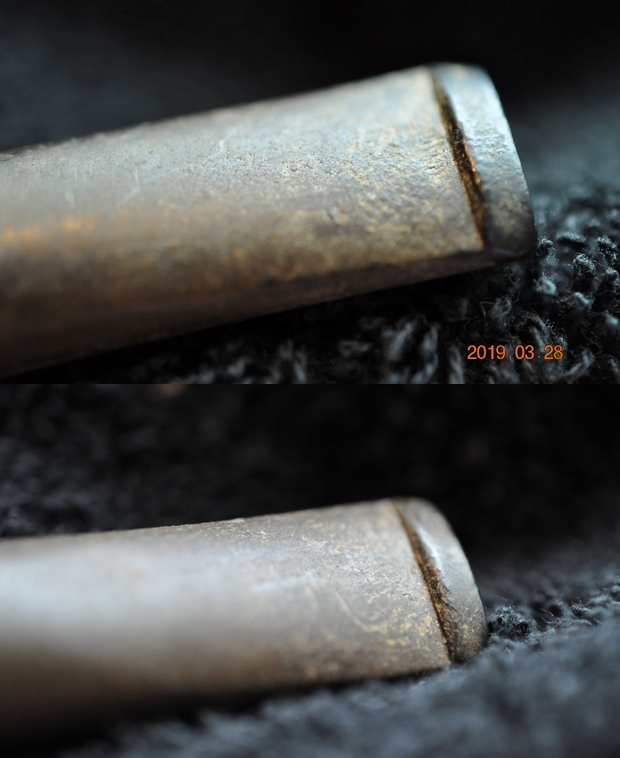
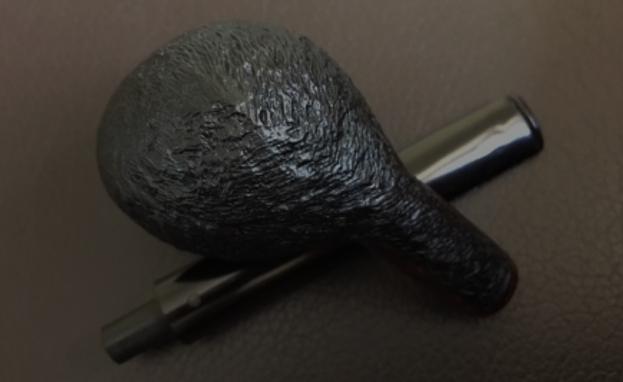
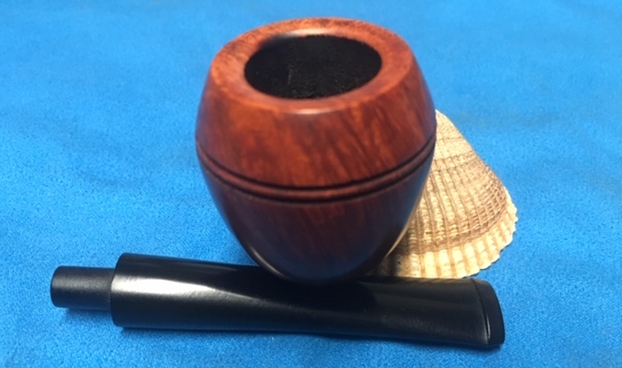
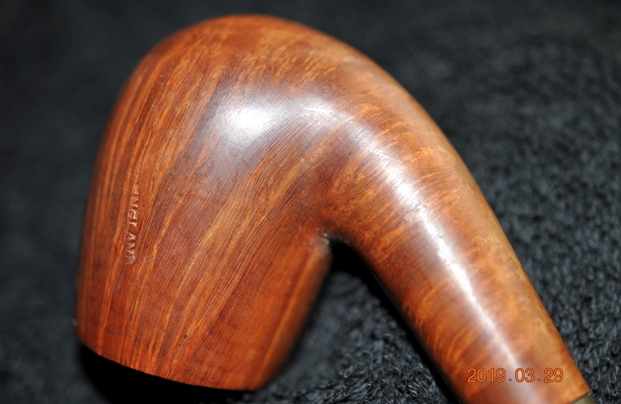
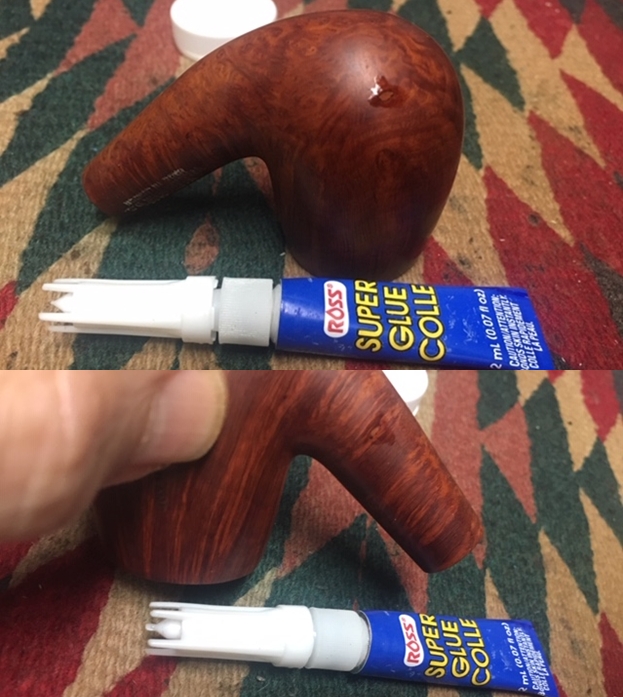
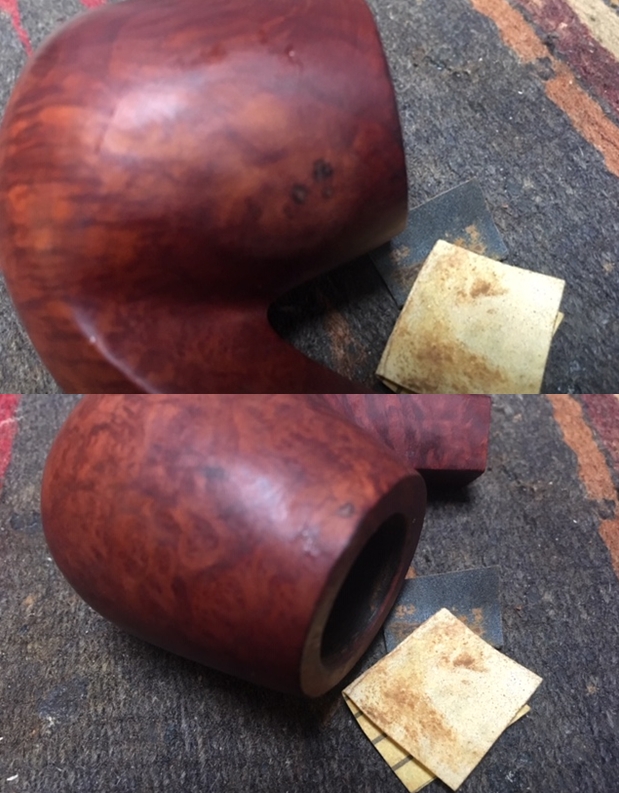
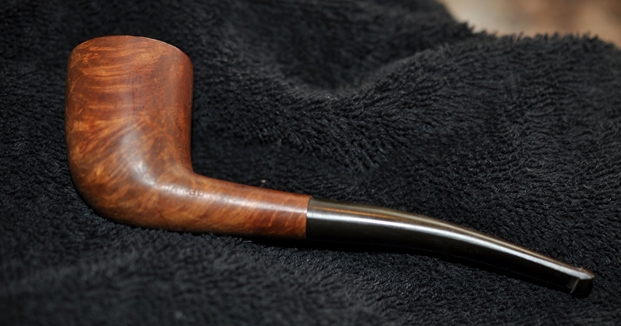
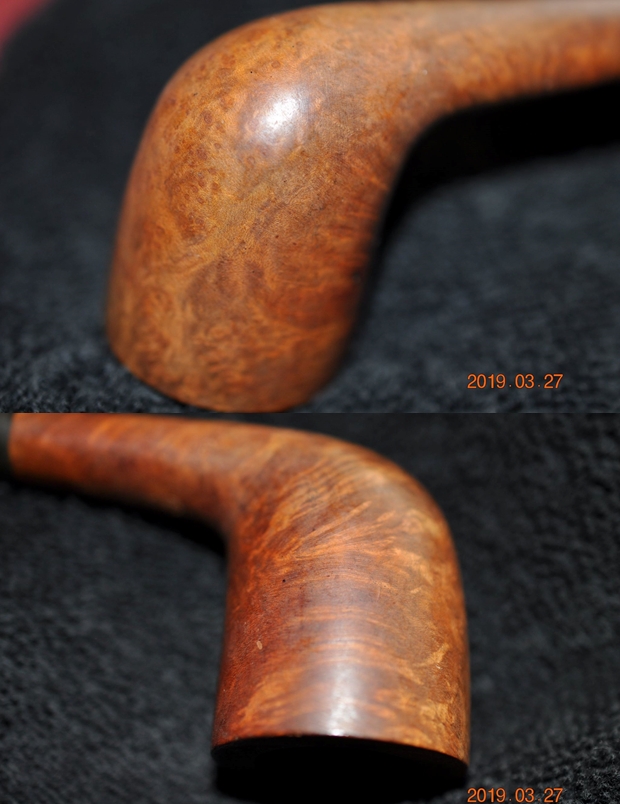
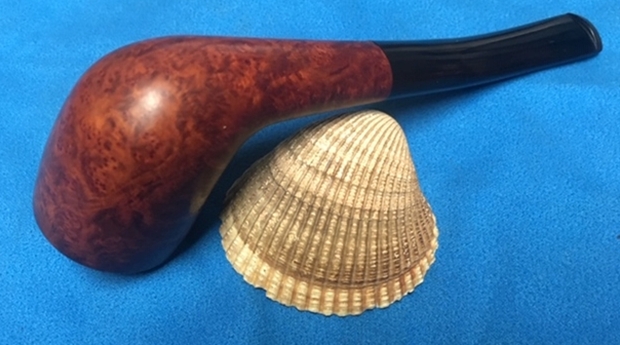
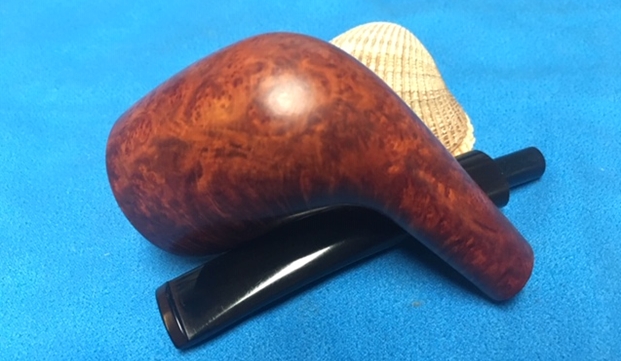
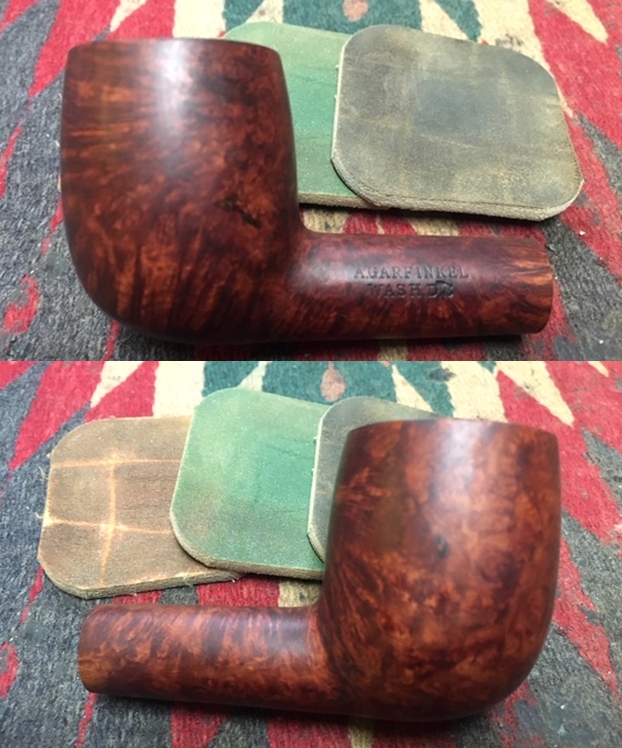
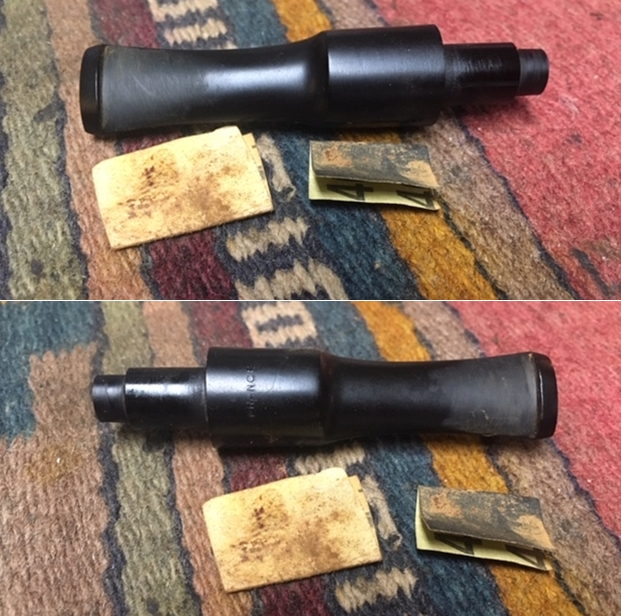
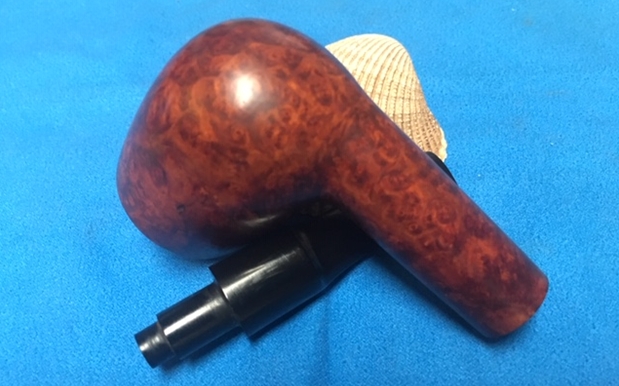
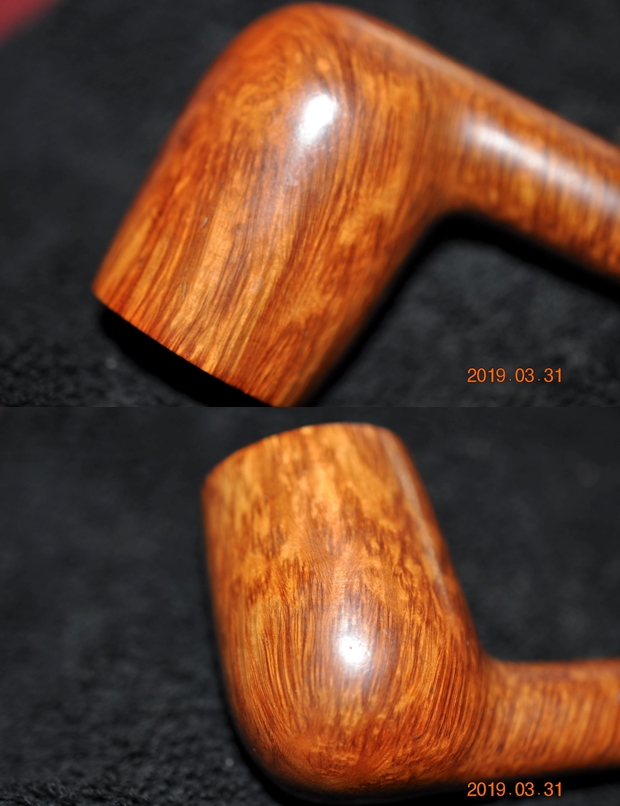
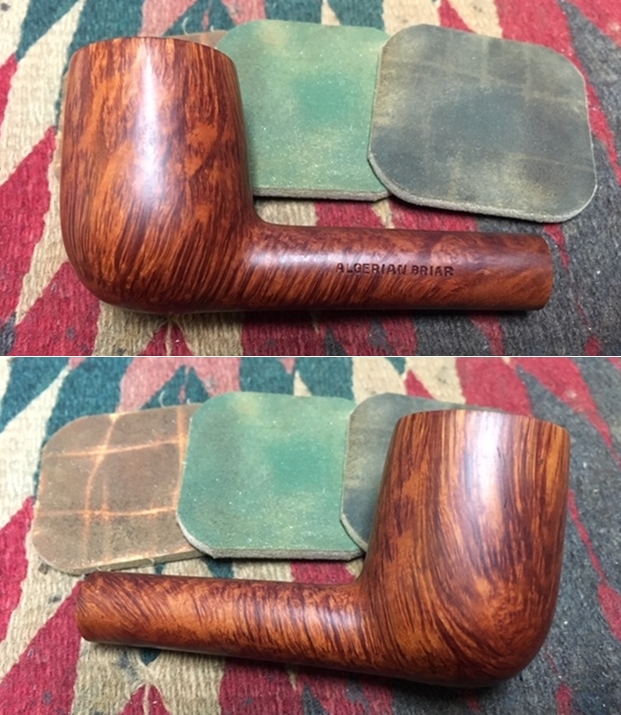
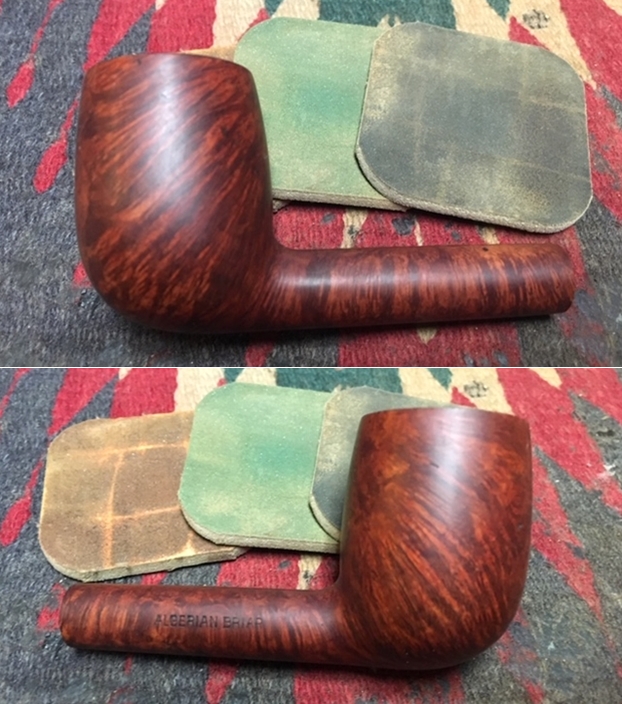
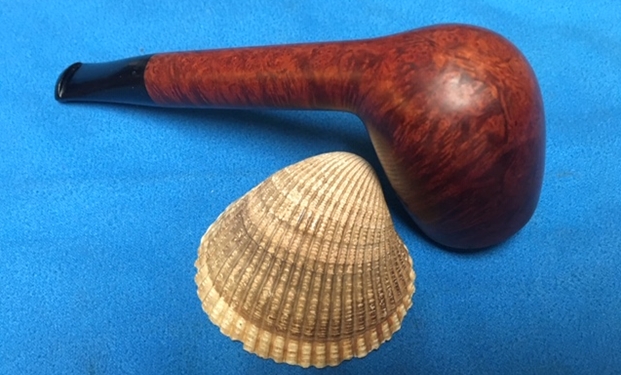
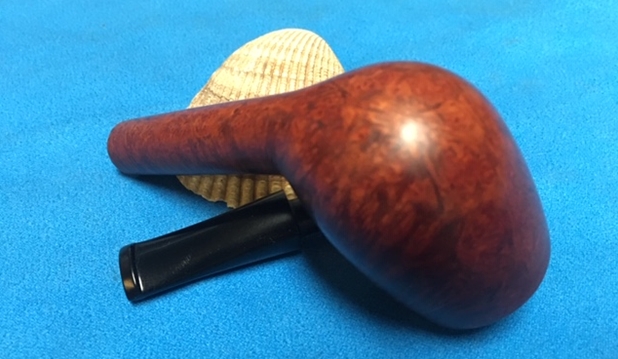
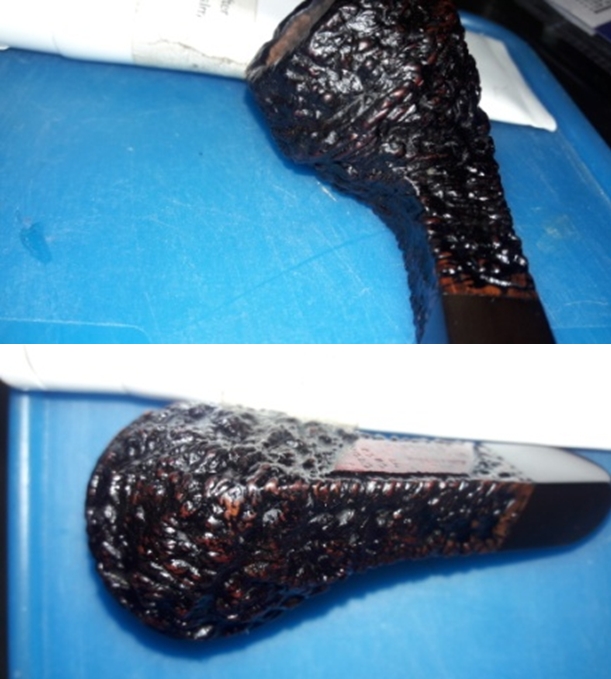
 The beautifully rusticated stummel surface is covered in dust and grime. This grime and dirt can be seen in the deep rustications and lends a dull and lifeless appearance to the pipe. The smooth parallelogram surface bearing the stampings on the shank has darkened as a result of this accumulation. The browns of the raised rustications should contrast beautifully with the rest of the dark stummel surface once it has been cleaned up. The saving grace is that there is no damage to the rustications on the stummel. The vulcanite shank end extension is undamaged but is severely oxidized. The shank end extension will lend a sophisticated and classy touch to the appearance of the pipe once this oxidation is rid off the vulcanite and is nicely polished.

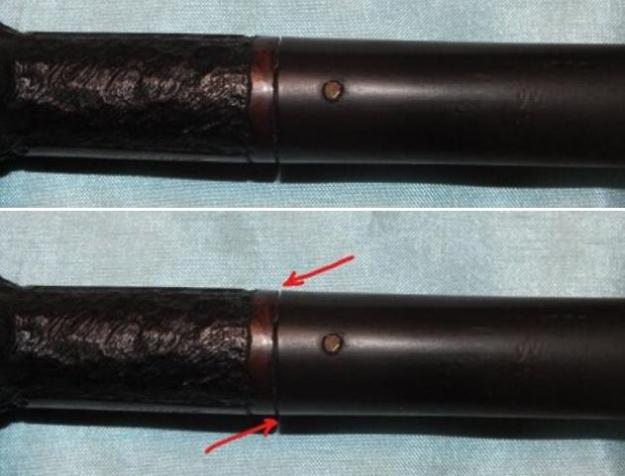
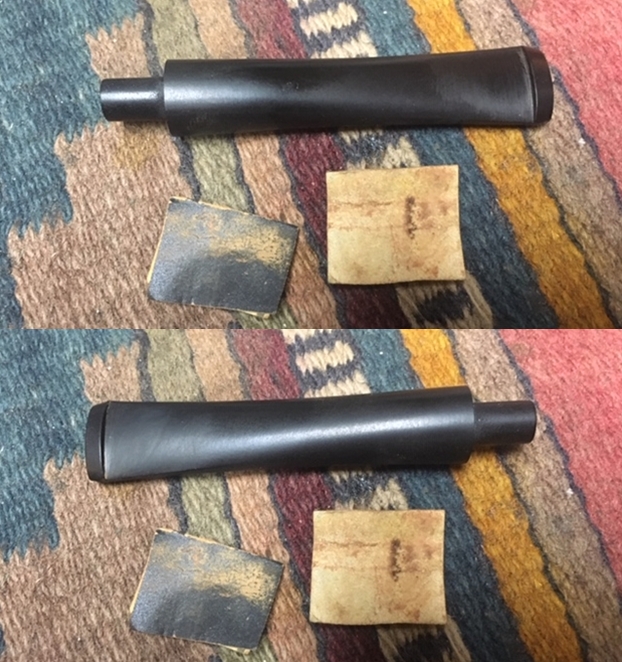
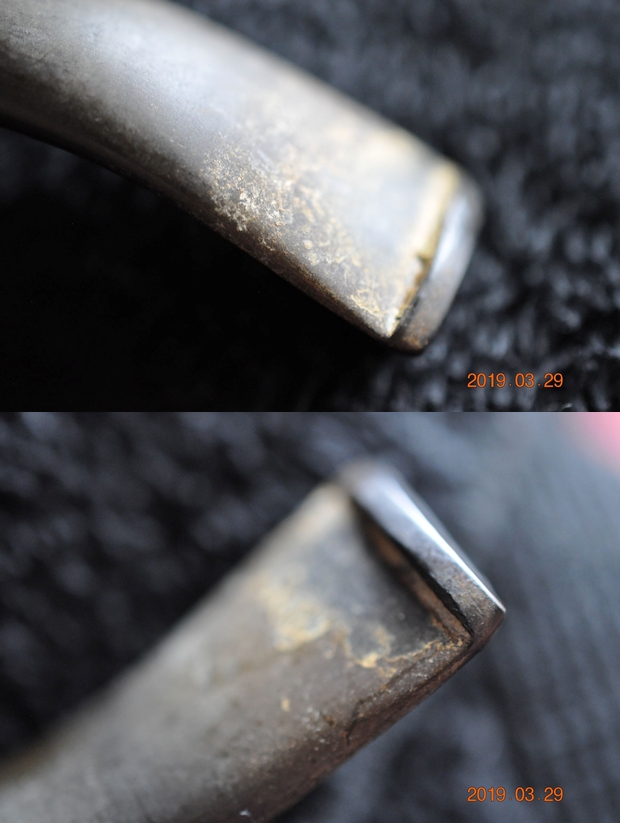
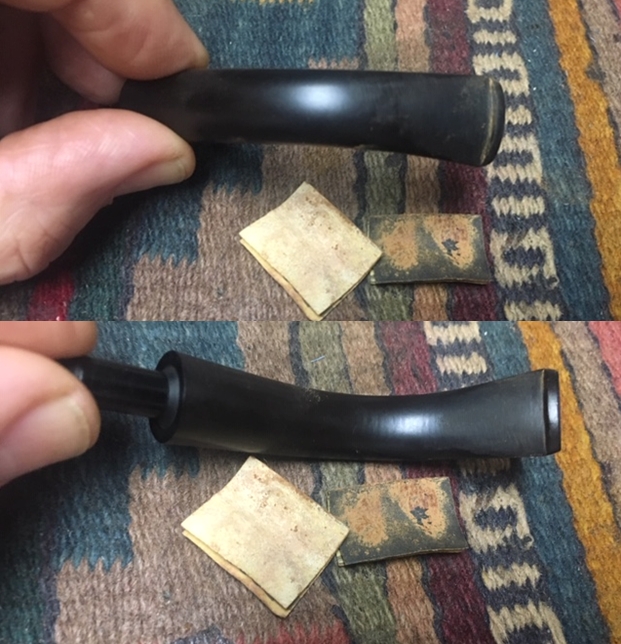
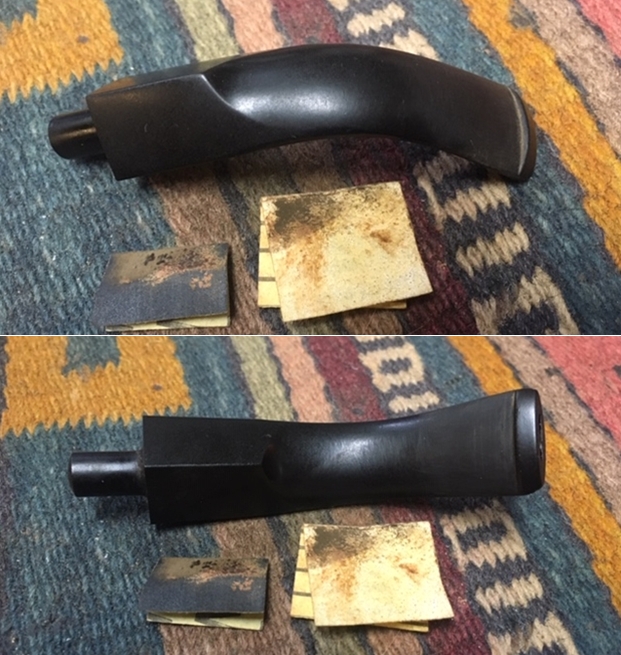
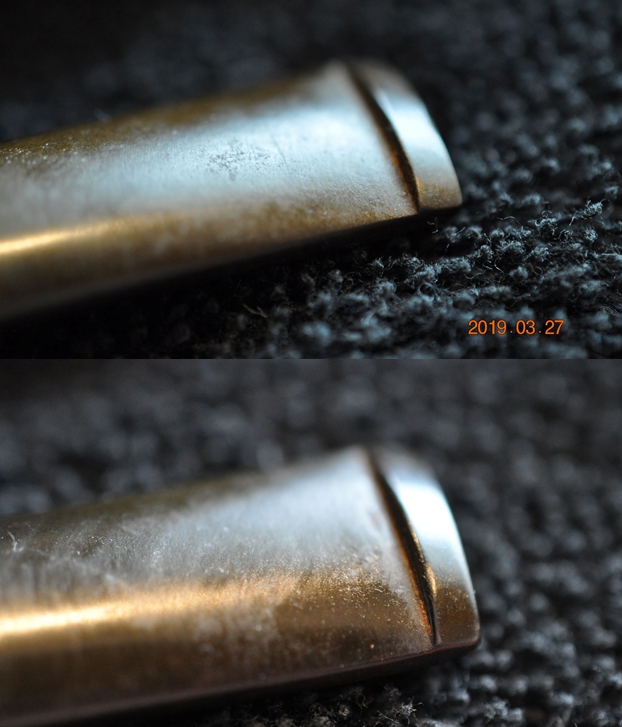
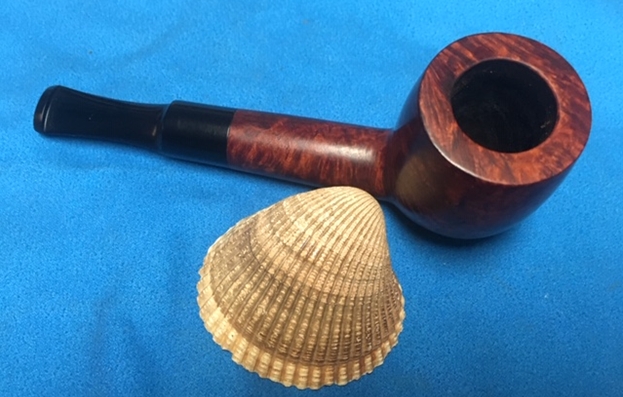
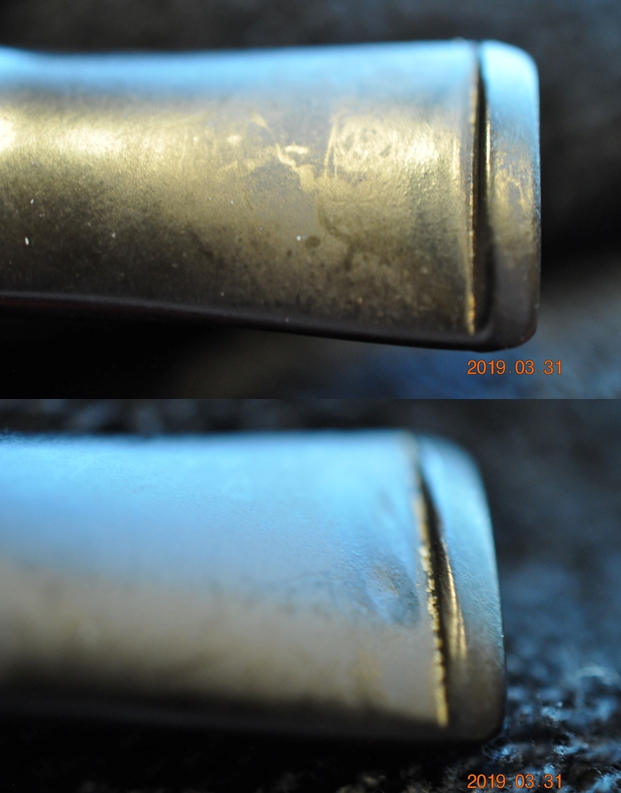
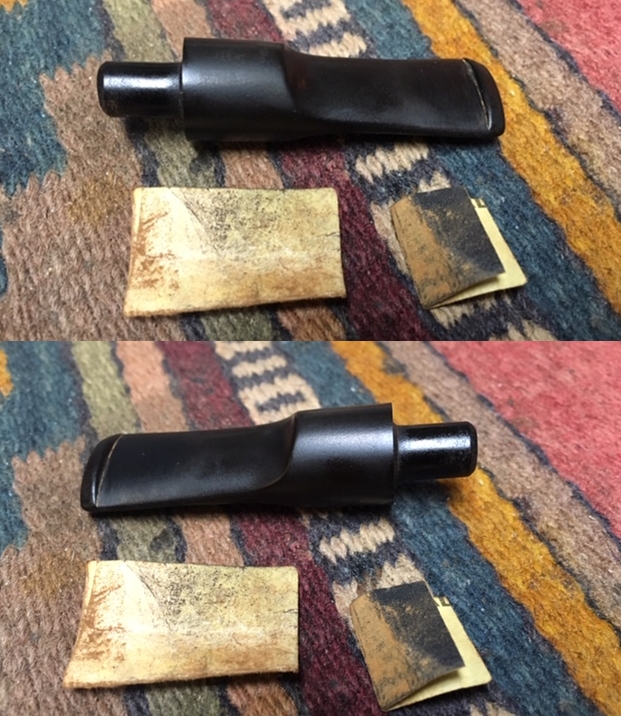
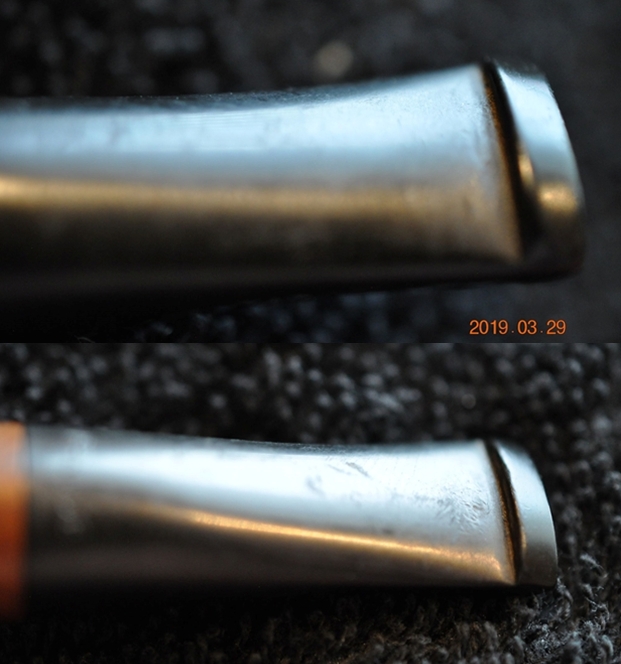
 The mortise is clogged with heavy accumulations of oils, tars and gunk. This will require some heavy cleaning and scraping. However, though laborious, there is airflow through the shank airway. The stem, surprisingly, is nice and shining with very minor traces of oxidation. The upper and lower stem surface shows minor tooth chatter towards the bite area and upper button edge damage. This, we expect, should be easily addressed just by sanding the bite zone. The airflow through the stem airway is full and easy. The diamond inlay on the stem is undamaged.
 THE PROCESS
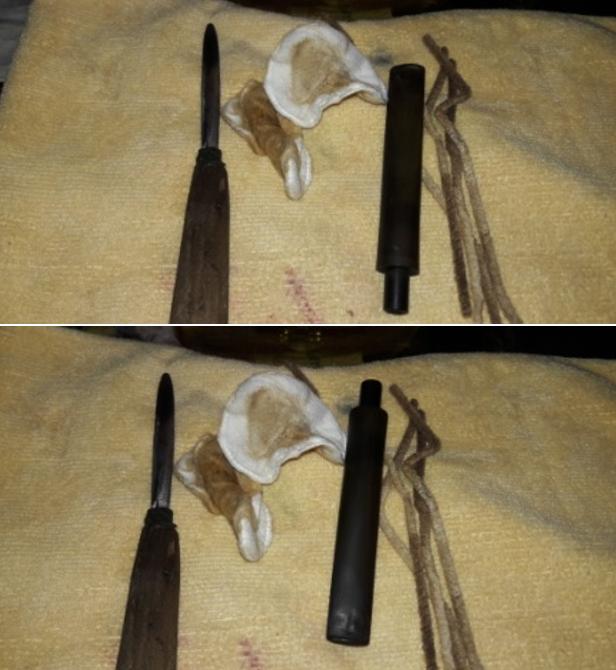
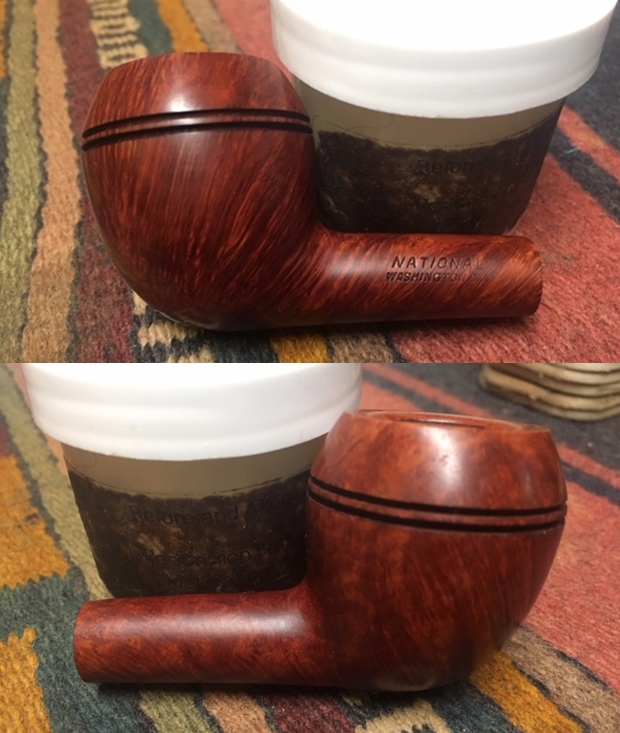
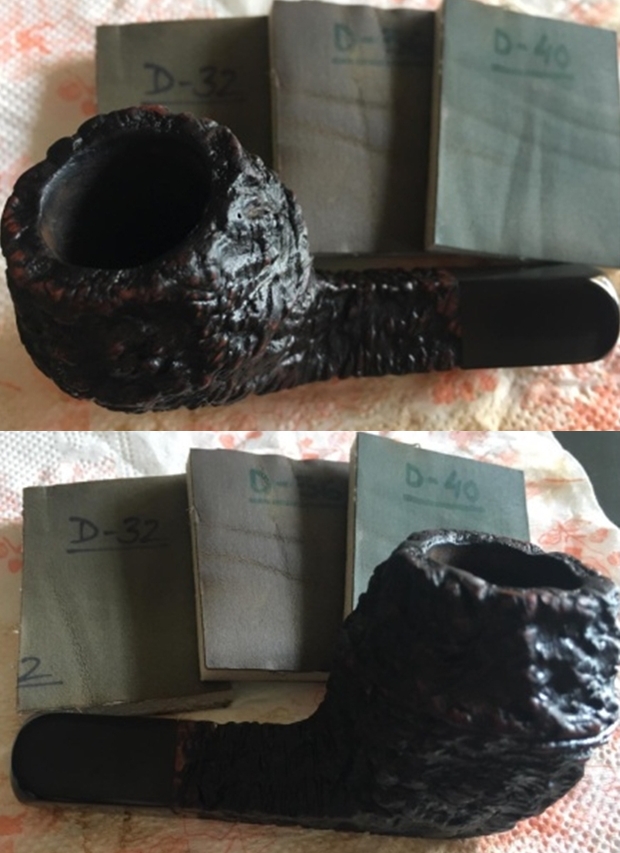
As decided, Abha, my wife, and Jeff worked on the stem first. They ran a couple of pipe cleaners dipped in isopropyl alcohol, through the stem air way. Once satisfied with the internal cleaning, the stem was immersed in “Before and After Deoxidizer” solution to rid the stem of the minor stem oxidation. The discerning reader must have noted the mention of this step for the first time and it’s true. This magic potion/ liquid gold, as Jeff likes to call it, finally reached me, thanks to Jeff who had acted as a courier. The cost of shipping from US is exorbitant and then custom clearance is also a hassle. So when Jeff’s plan to travel here were finalized, I requested him if he could carry it for me and he readily agreed. Thus, I had Mark Hoover send this solution and other products from his store to Jeff and from Idaho, it reached me. By the way, this product works like magic and has reduced my (and now Abha’s…LOL) work by half. After a soak of about 4 hours, Jeff took the stem out, cleaned it under running tap water, wiped it with microfiber cloth and ran a couple of pipe cleaners through the airway to remove the liquid from the internals of the stem. It was amazing to see the transformation in the stem.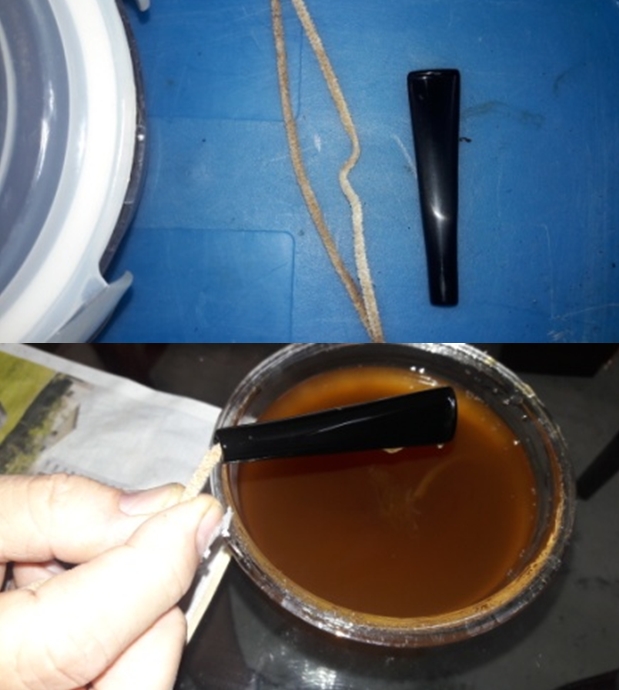 While the stem was soaking in the “liquid gold”, Abha and Jeff reamed out the cake from the chamber using the first three heads of the Castleford reamer. The amount of carbon that was reamed out belied our initial expectations. This was followed by sanding the walls of the chamber with a piece of 220 grit sandpaper by our little expert on this step, Pavni, my youngest daughter. She just loves doing this task and takes immense pride in making the walls smooth. Dear readers don’t even think for a moment that we were sitting idle while all this work was in progress! All this while, Steve and I were deeply engrossed in admiring the pipes from my collection and sipping on our cold, chilled and frosted Beer…LOL!! Once the chamber was cleaned and spruced up, the duo launched an irrepressible and determined assault on the clogged mortise. The battle was so severe that at one point we thought that Jeff and Abha would throw in the towel, but they persisted and a pile of pipe cleaners, q tips and gallons of isopropyl alcohol later, the mortise was declared clean. When Jeff admitted this to be one of the filthiest cleanings he had undertaken, I smiled inwardly as all of my grand old man’s pipes were in such a state!!
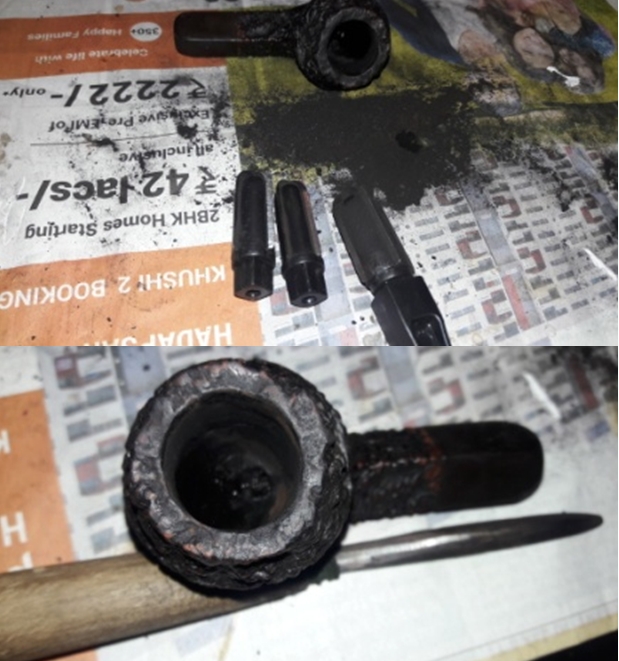 When Abha and Jeff declared that they were through with their cleaning, Steve just glanced at their expressions and the pile of pipe cleaners and q tips in front and immediately started to work further on the stummel (he is indeed a very wise man, I say!!) and seeing him and them, I too left the comfort of my perch to lend him a helping hand.
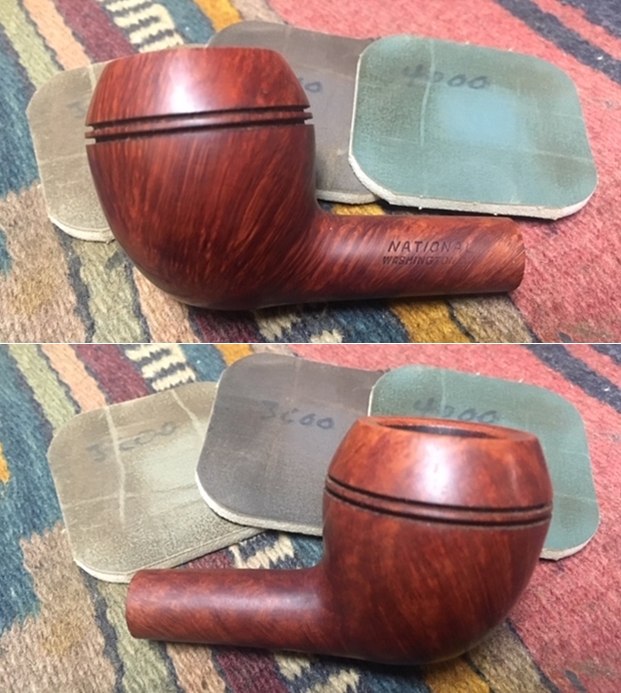
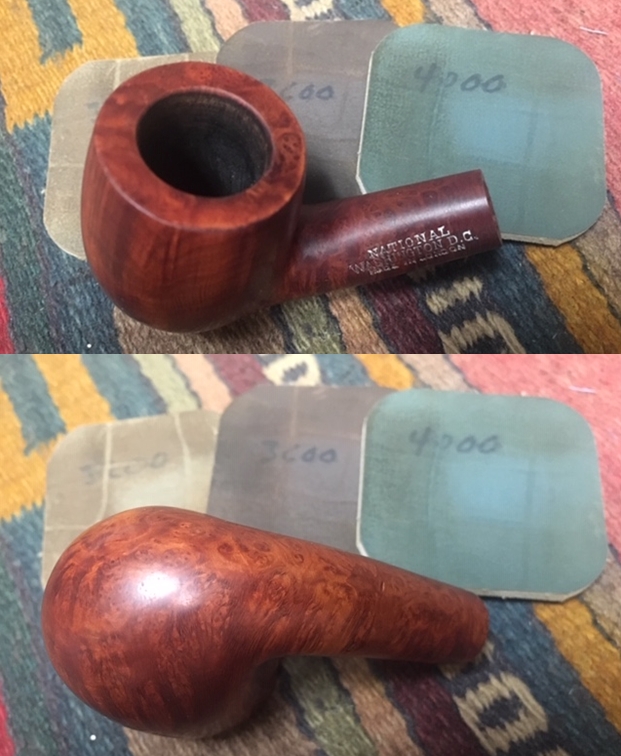
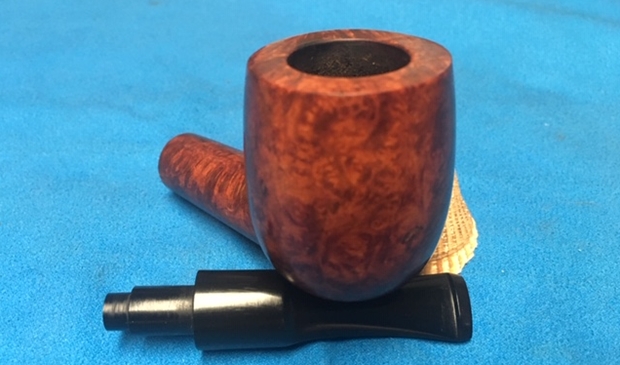
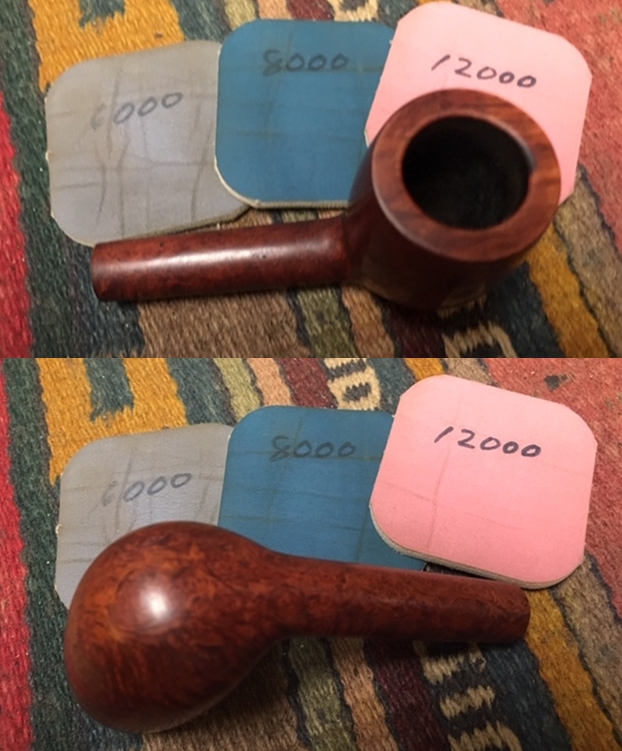
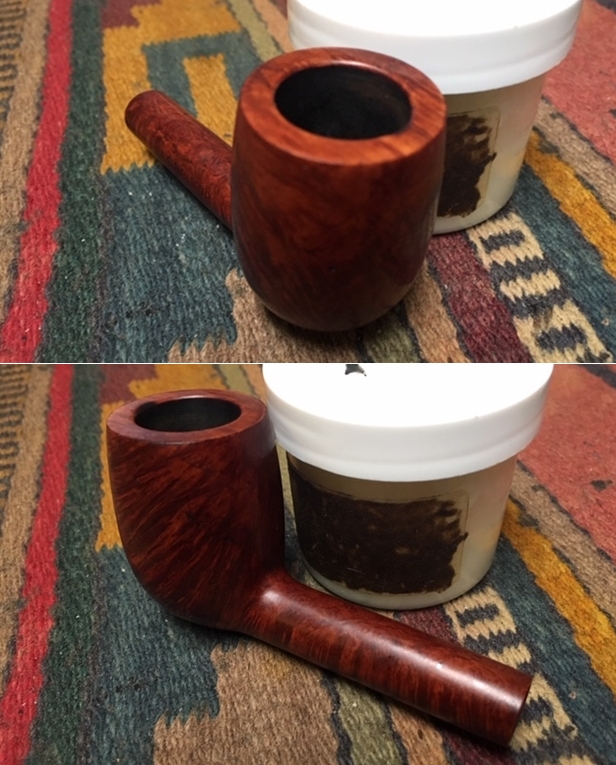
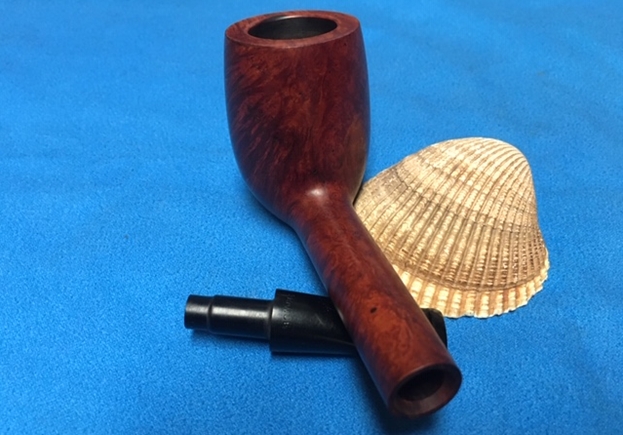
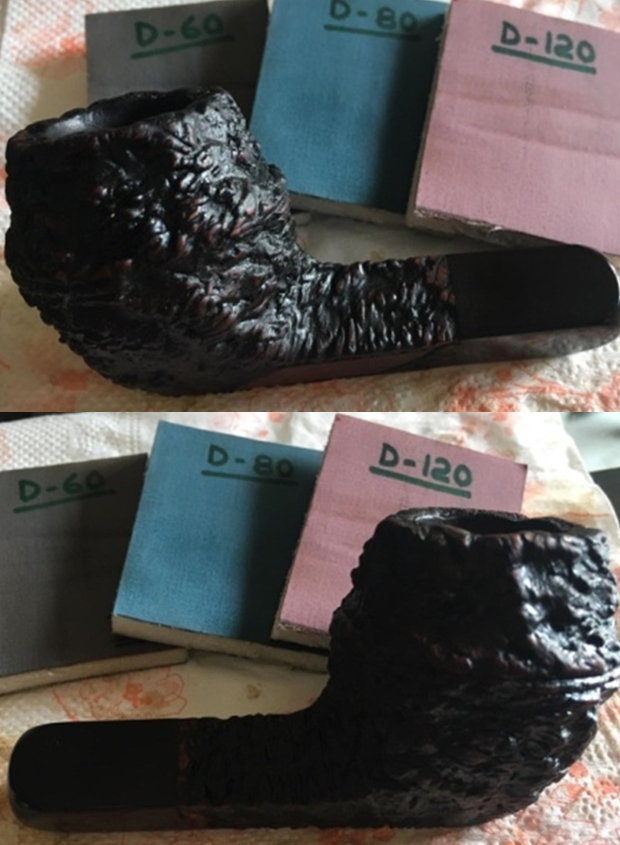
We cleaned the surface of the stummel with cotton pads and Murphy’s oil soap. The deep rustications were thoroughly scrubbed to remove the grime and dirt lodged between them. This was followed by a wash and a scrub under running tap water using a hard bristled tooth brush. The stummel looks clean and vibrant at this stage with the brown tips of the rustications contrasting majestically against the dark of the rest of the stummel surface.

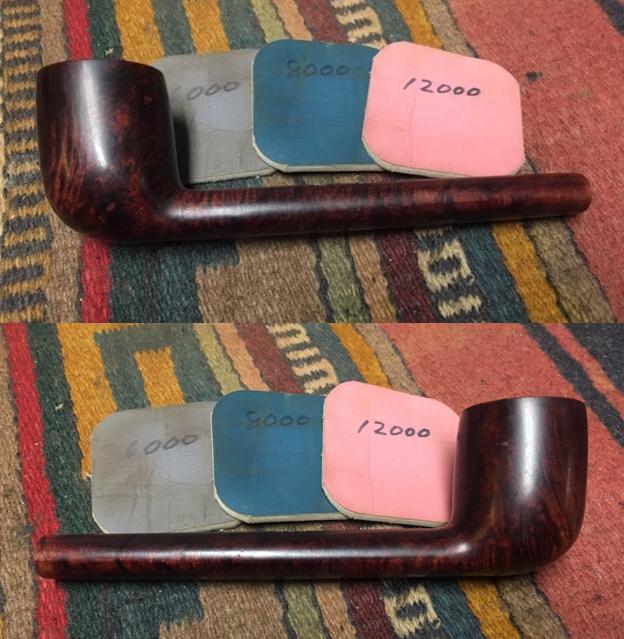
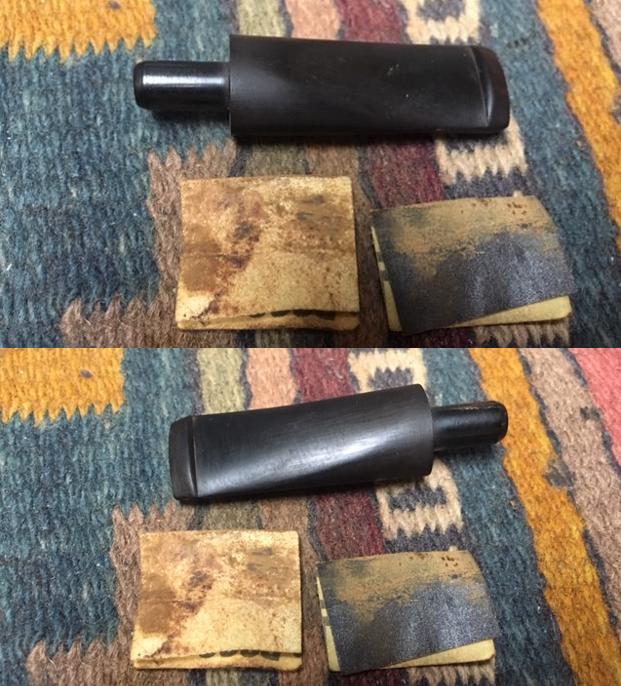
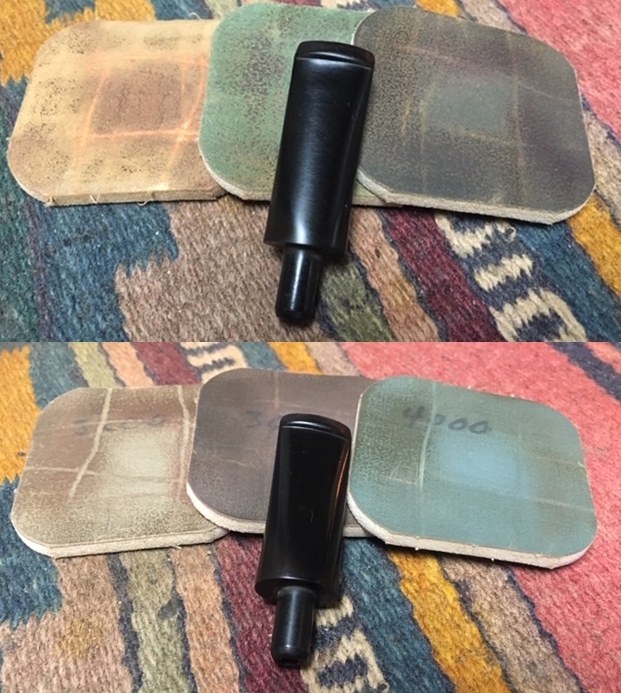
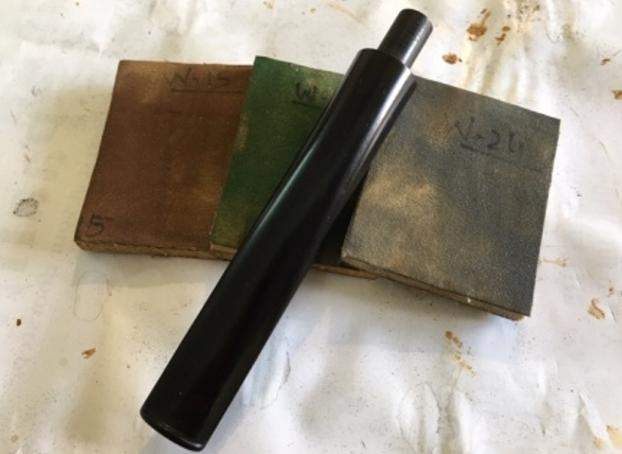
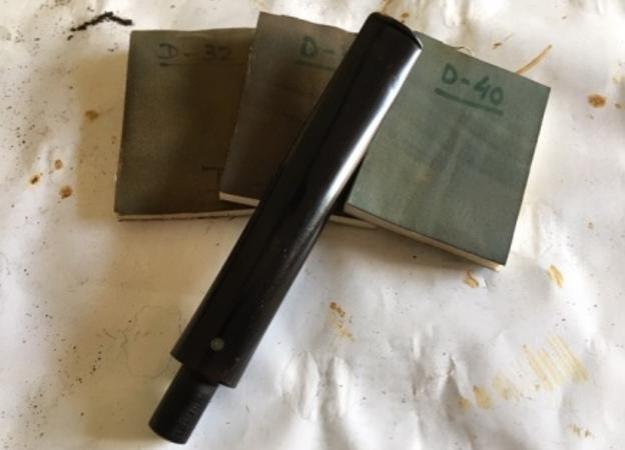
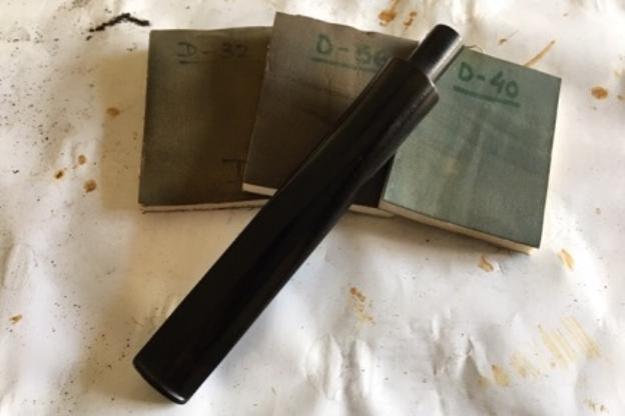
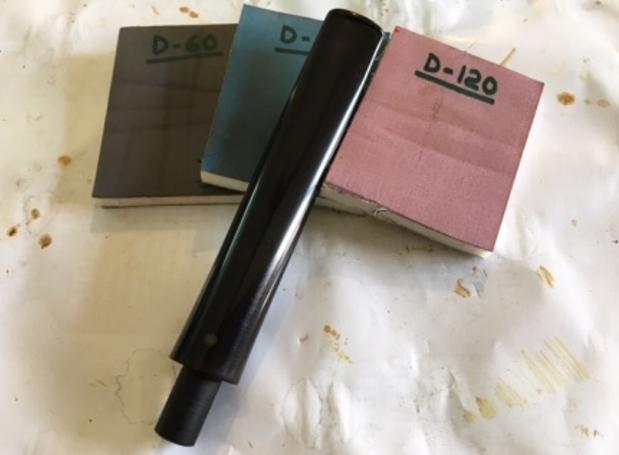
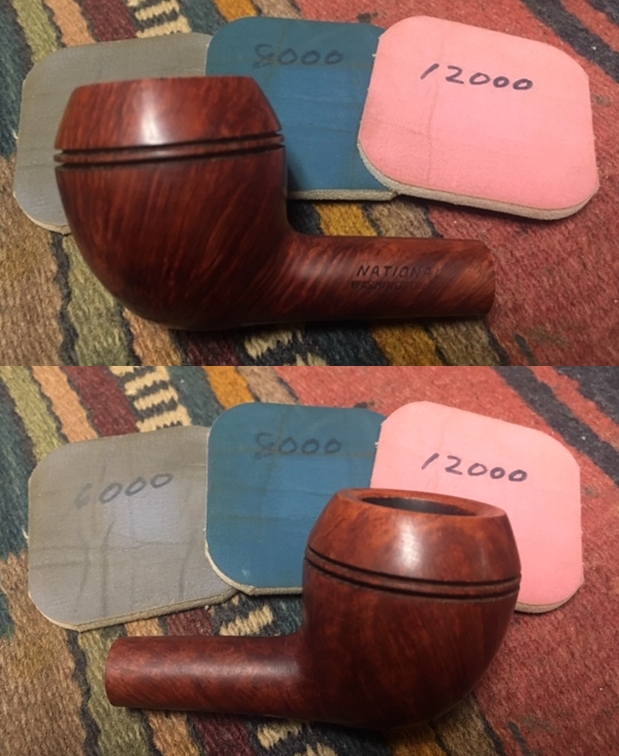
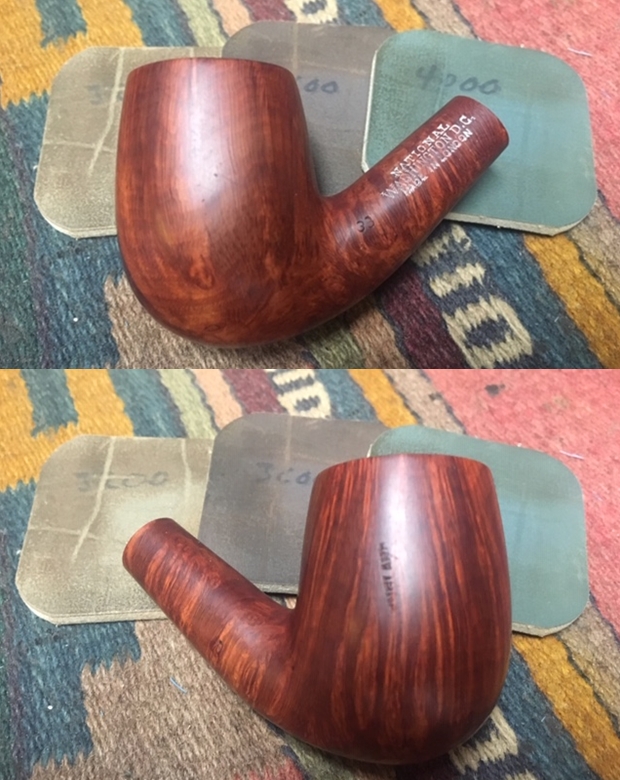
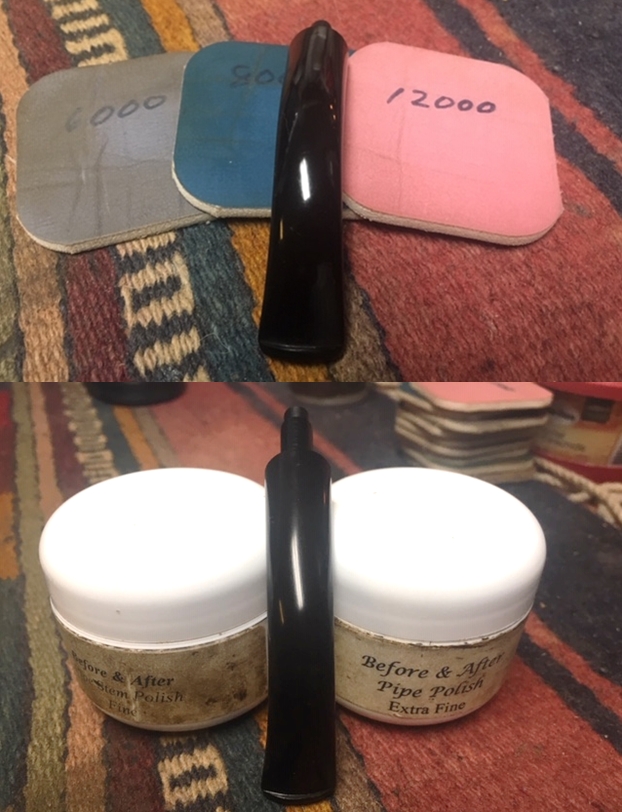
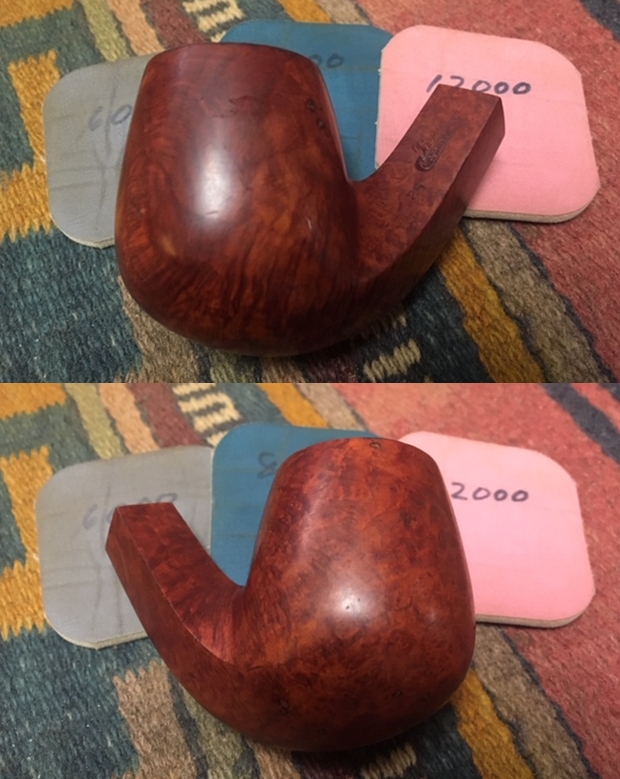
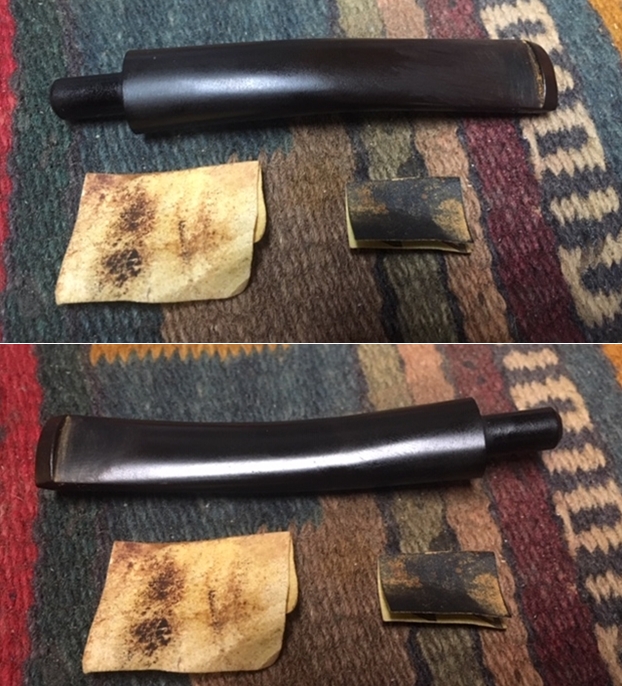
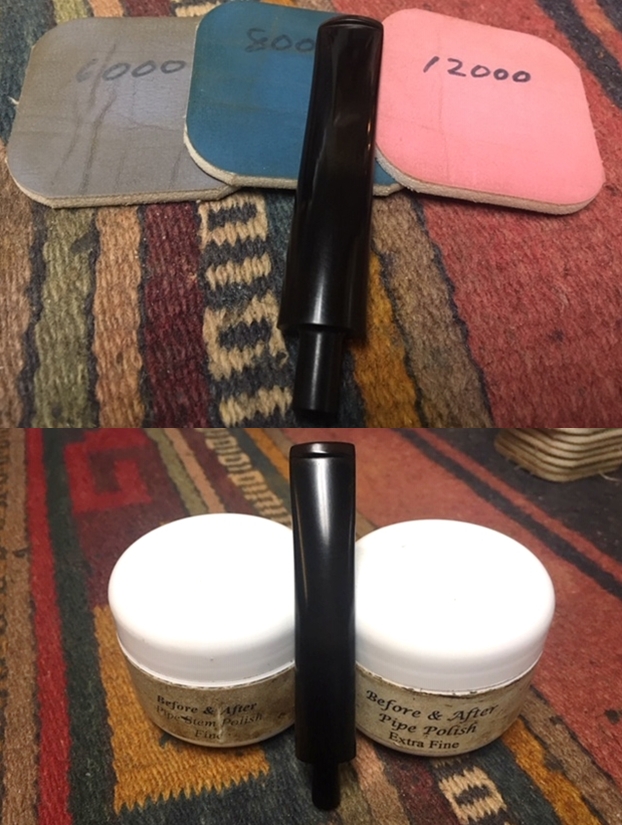
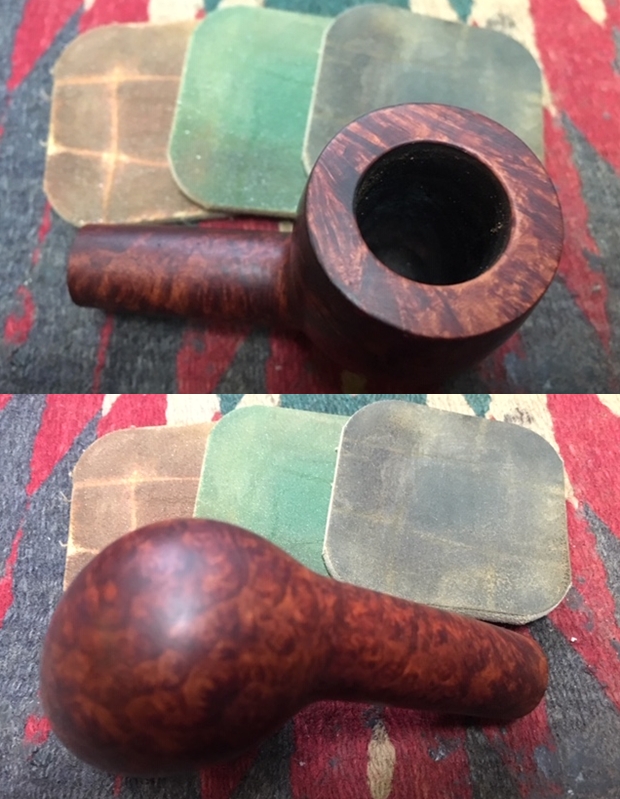
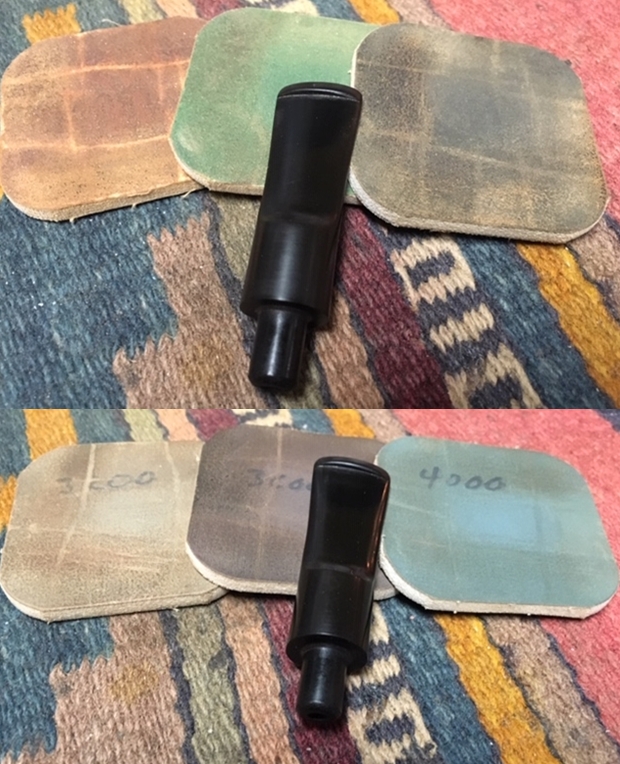
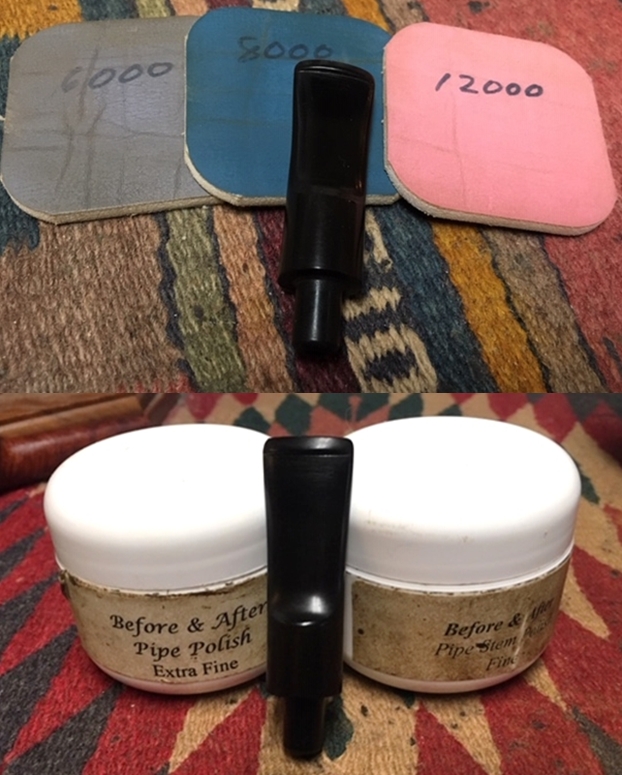
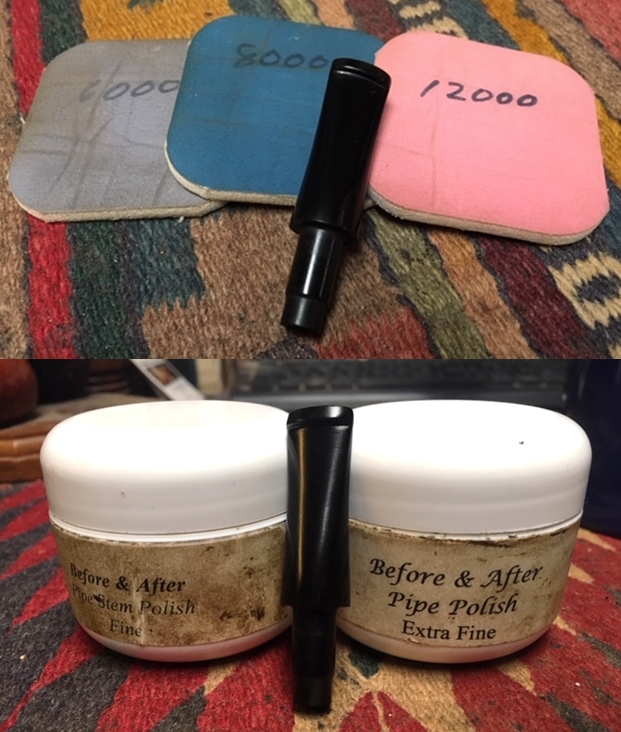
 Next we addressed the heavy oxidation on the vulcanite shank extension. I was mentally prepared for lot of elbow greasing using sandpapers, when Steve just dabbed the shank extension with alcohol, flamed it with a Bic lighter flame and rigorously scrubbed it with the microfiber cloth. A couple of repetitions and the shank extension is clean and oxidized surface is history. This was an interesting learning for me. I followed it up with micromesh cycle of wet sanding with 1500 to 12000 grit pads. I rubbed a small quantity of Extra Virgin Olive oil in to the shank extension and set it aside. The contrast of the shiny black shank extension with the rustications looks amazing and adds additional bling to an already beautiful pipe.
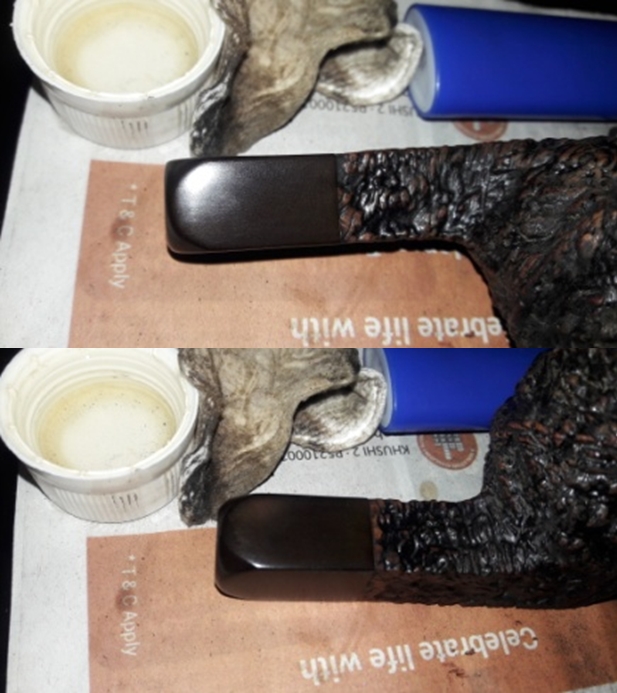
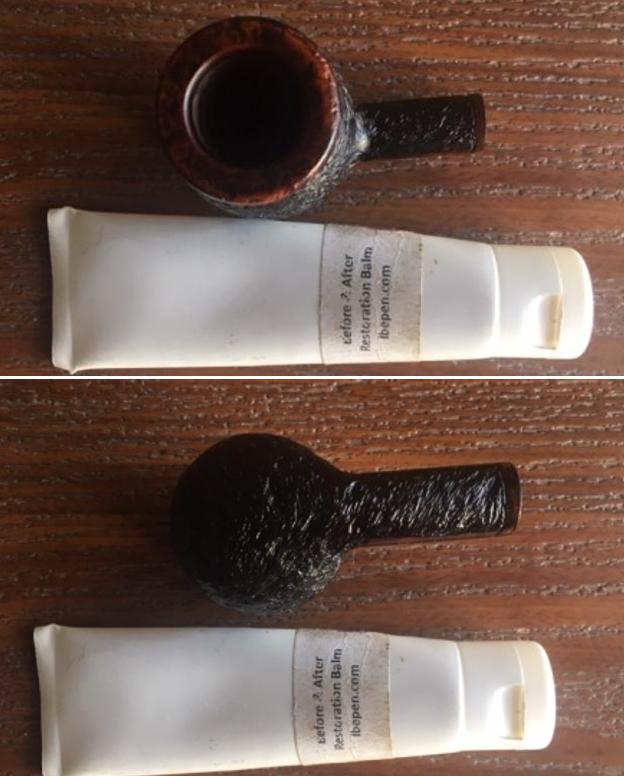
 We further revitalized the briar by rubbing “Before and After Restoration” balm deep in to the briar. Care was taken to ensure that the balm is applied within the surfaces of the rustications by rubbing the balm with our fingers. The stummel was set aside for 20 minutes for letting the balm be absorbed by the briar.
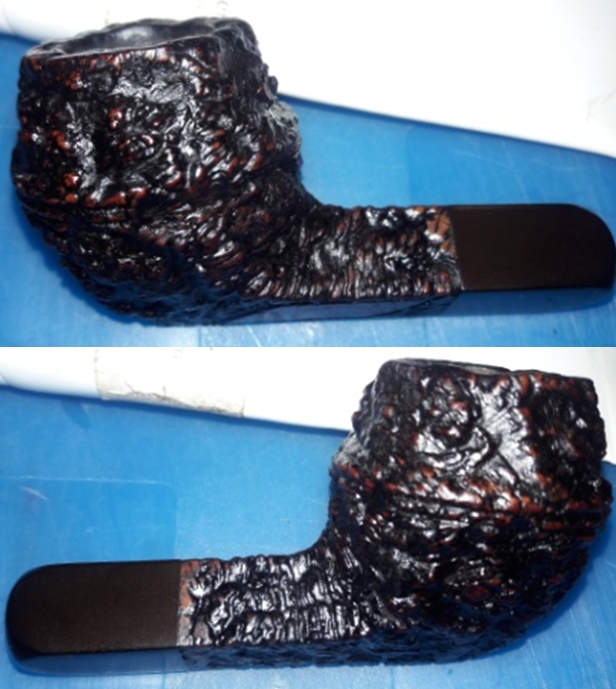
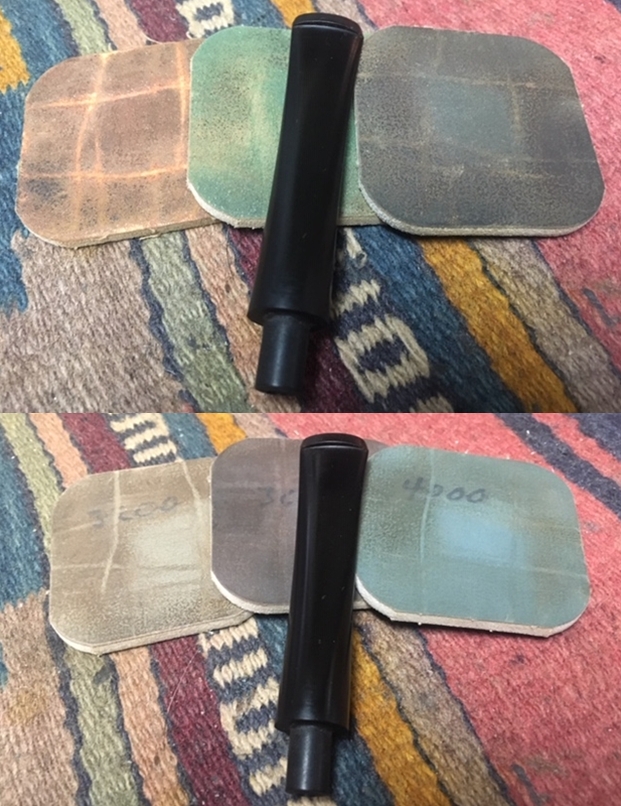
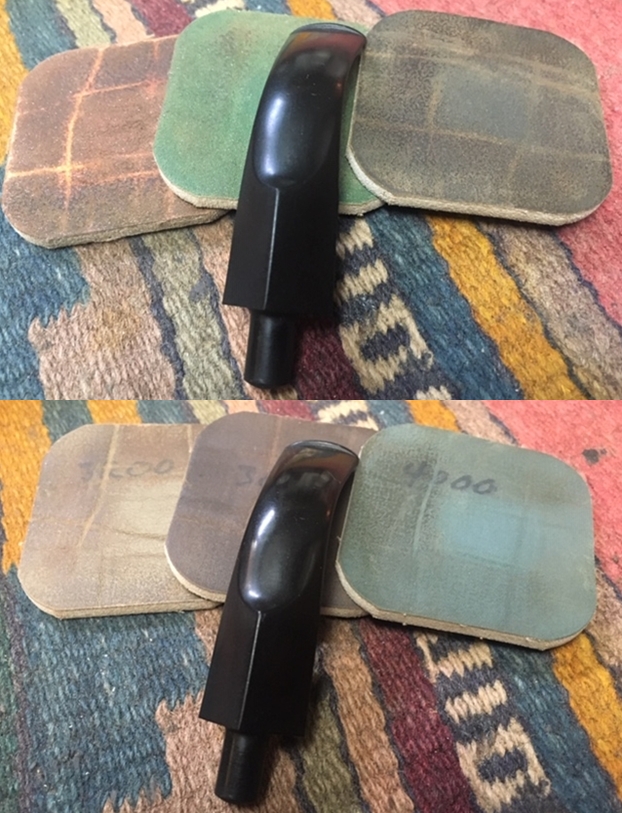
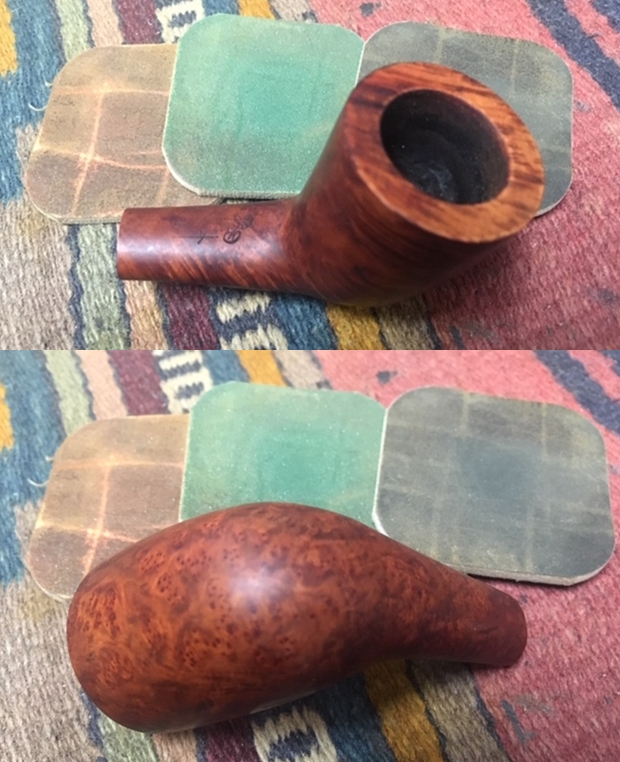
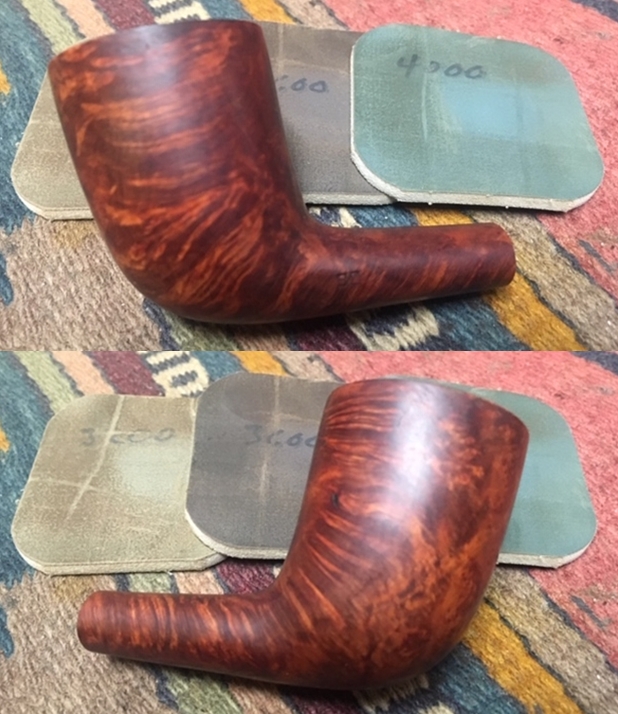
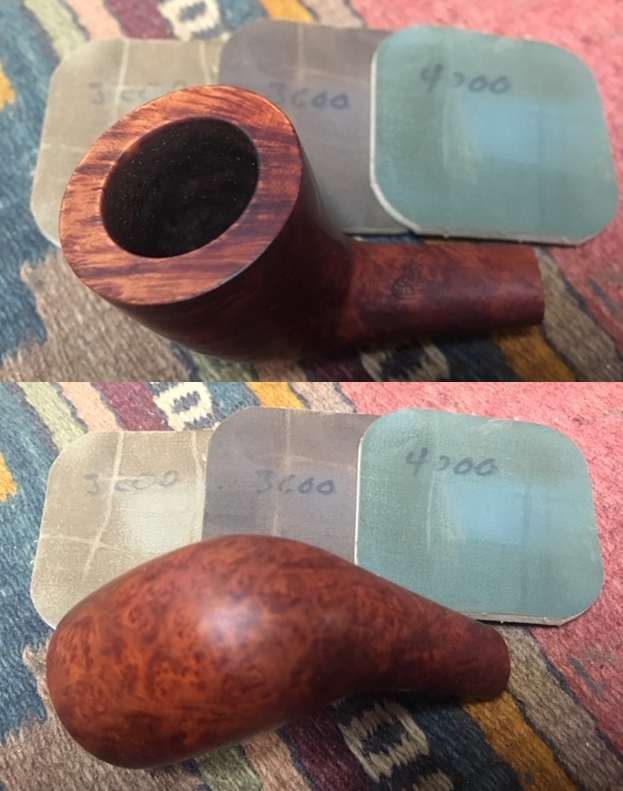
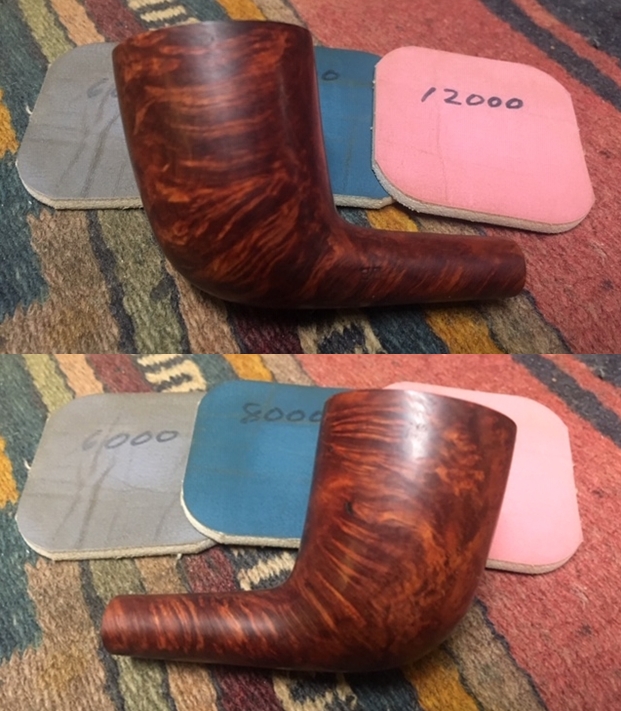
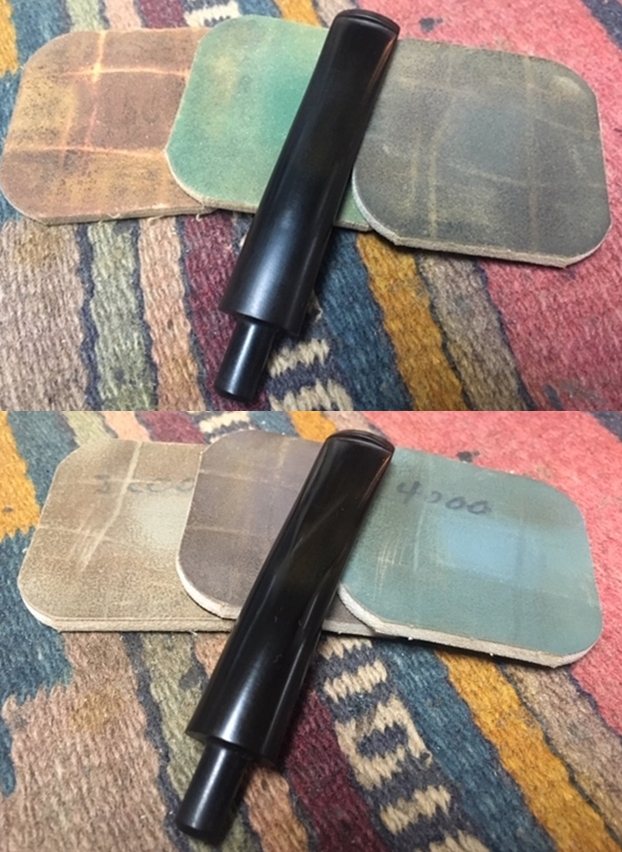
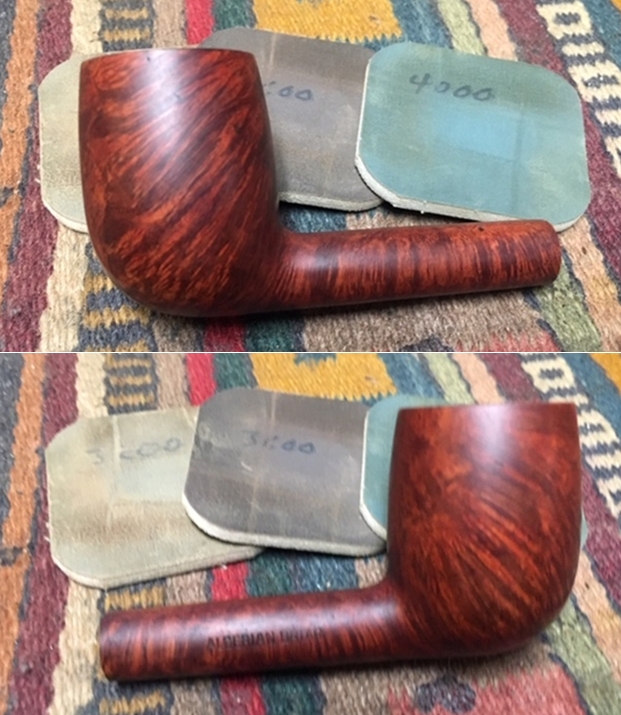
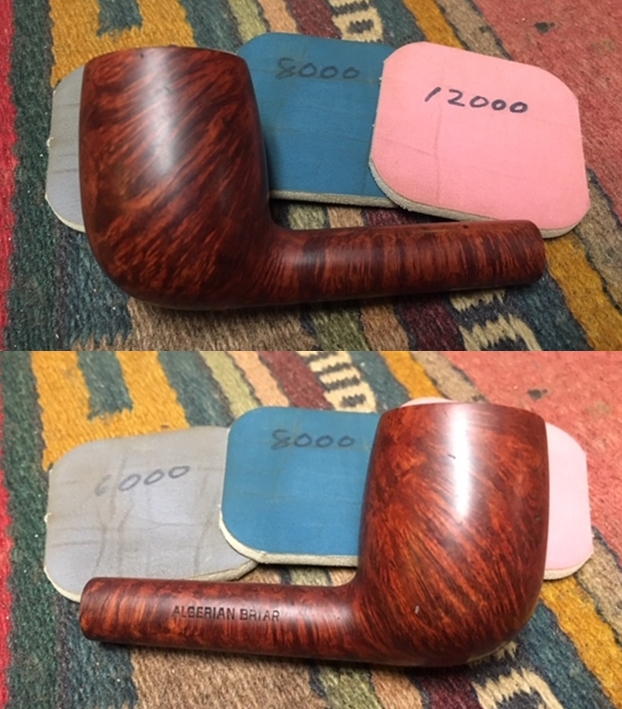
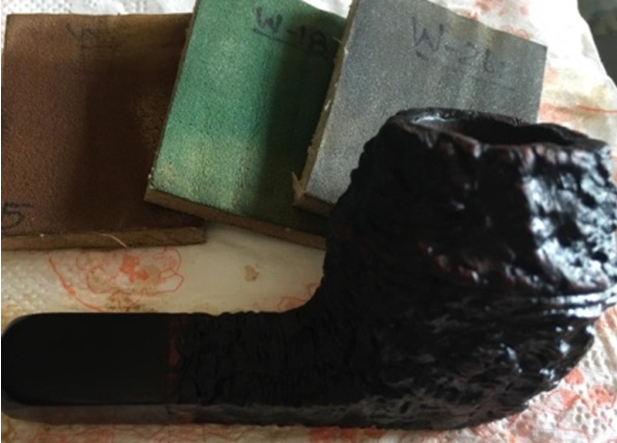
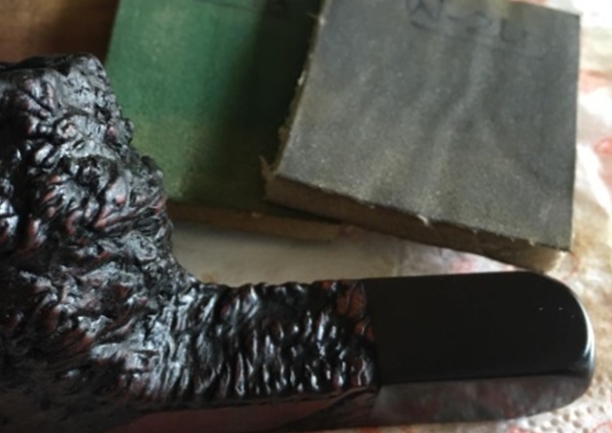
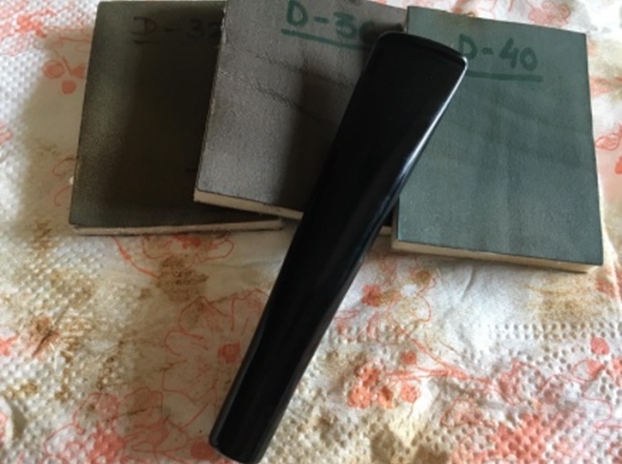
 With the stummel resting, we turned our attention to the stem repairs. As appreciated earlier, it was decided to address the minor tooth chatter by sanding the bite zone with a folded piece of 220 grit sandpaper and if this fails, progress to the next process. Steve did the honors and sanded the tooth chatter with the sandpaper as decided. He also worked the button to crisp edges. Fortunately, the issue of tooth chatter was completely addressed.
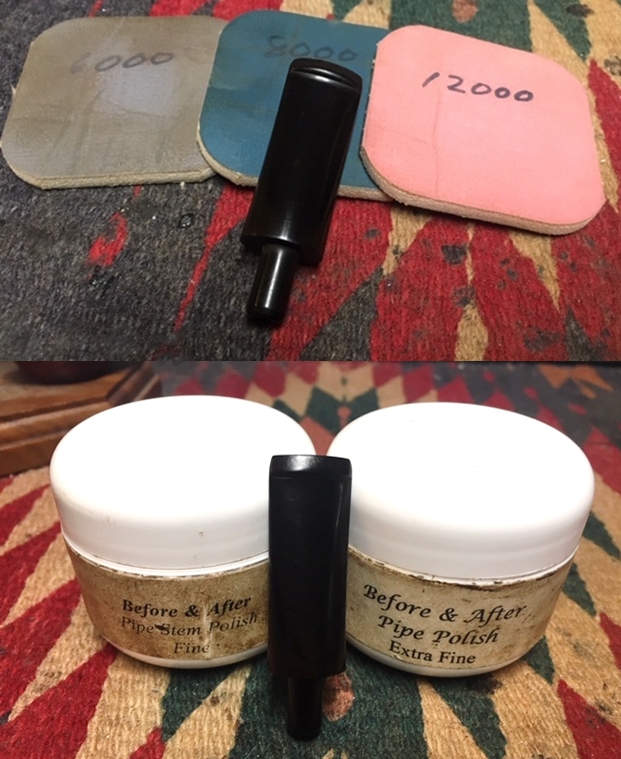
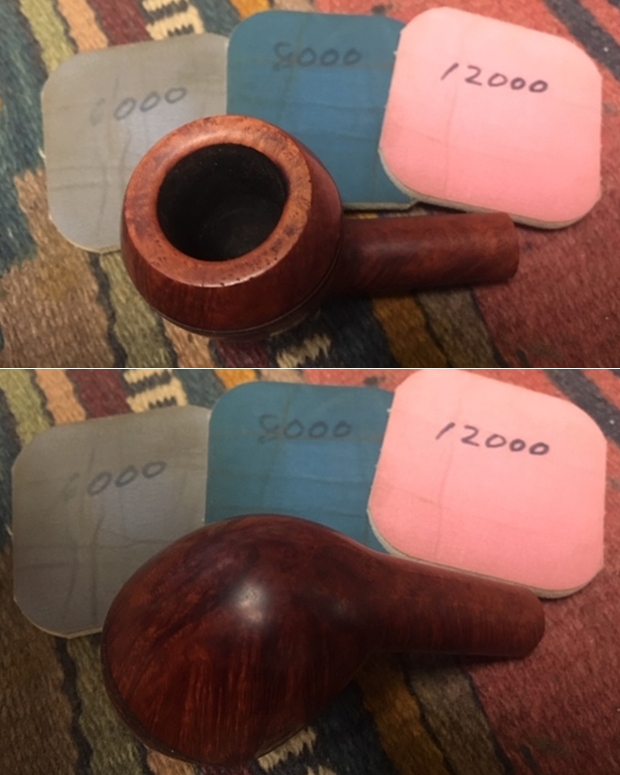
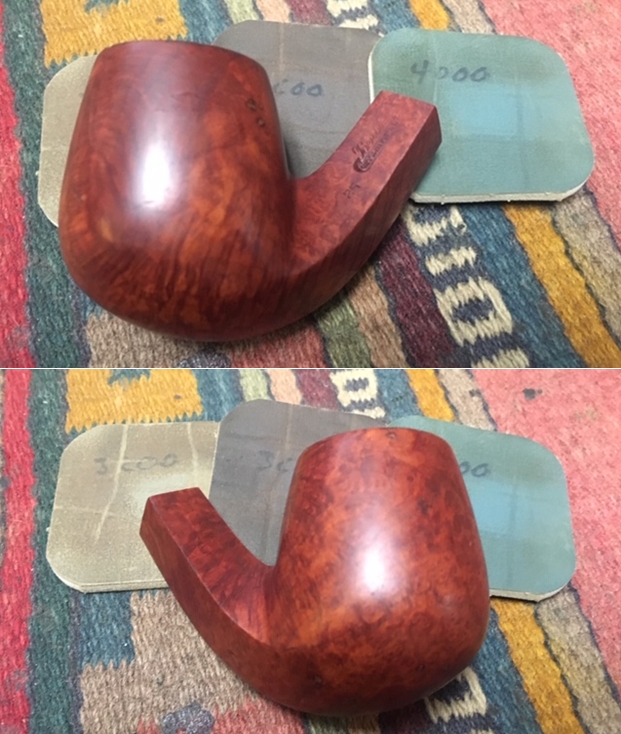
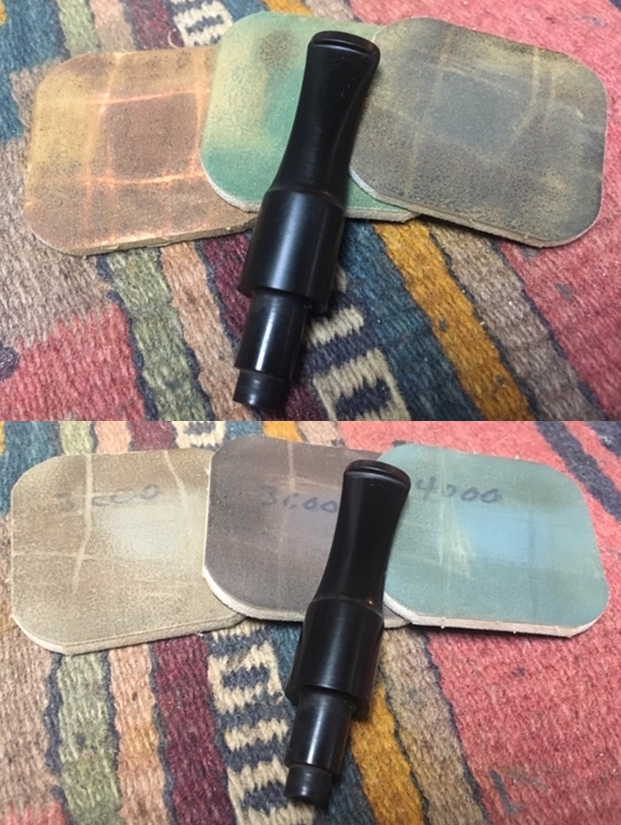
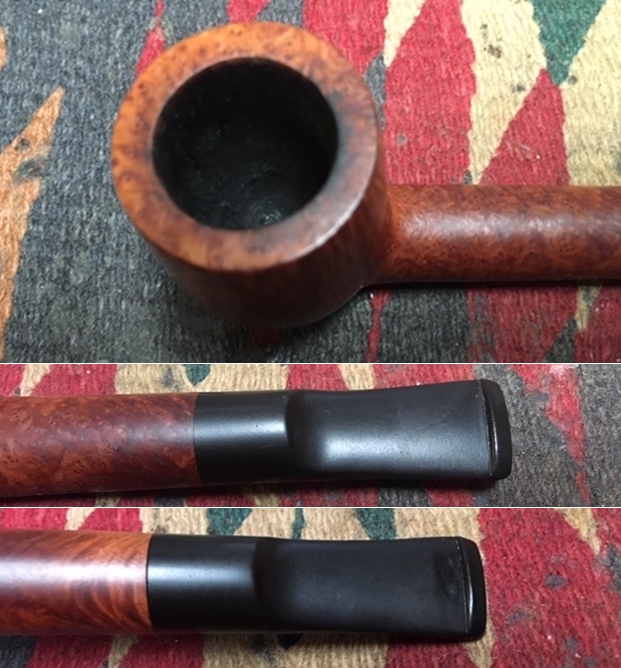
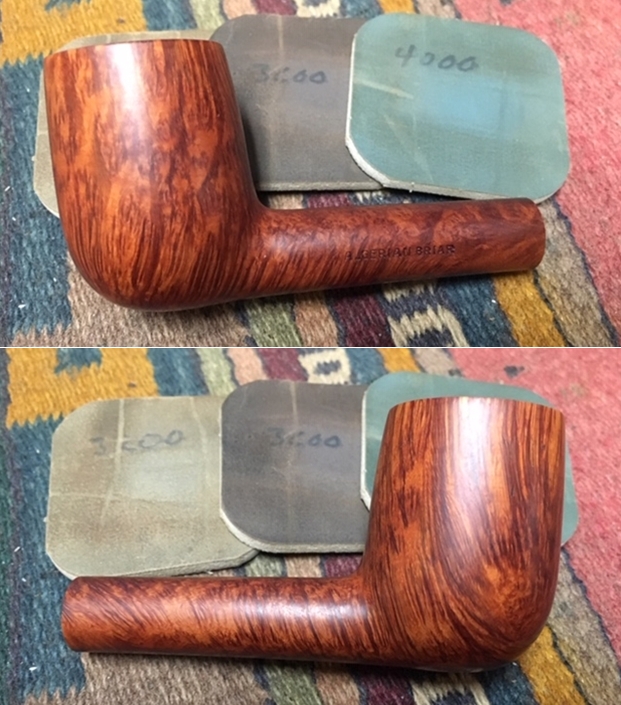
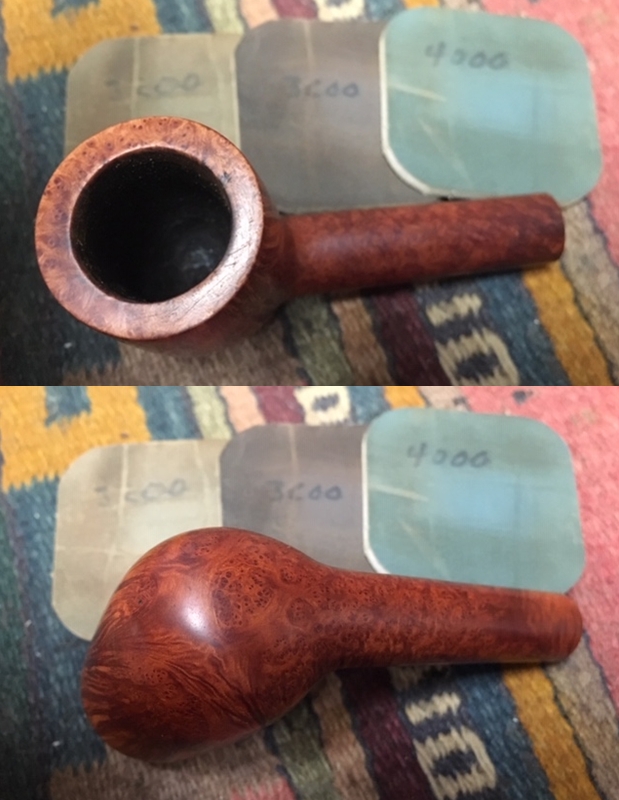
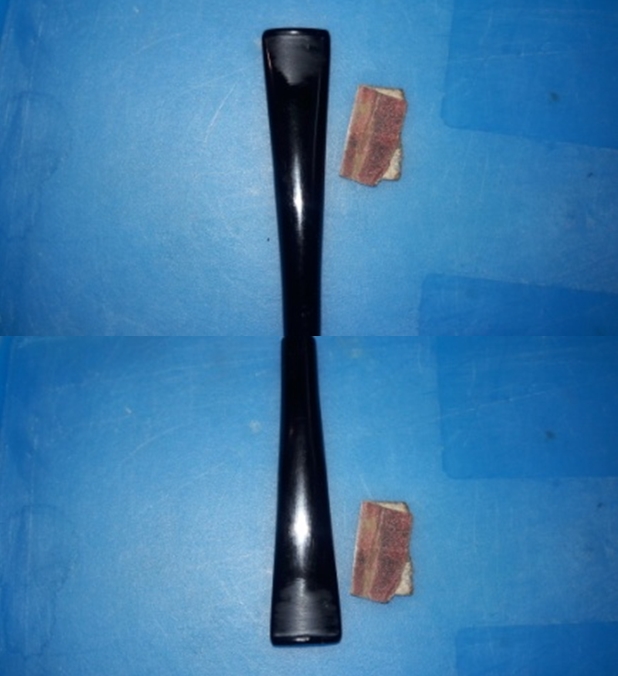 The task of polishing fell on me. Under the watchful eye of my mentor, Steve, I went through the complete cycle of micromesh pads, wet sanding through 1500 to 12000 grit pads. I wiped the stem clean with a moist cloth to observe the progress. Once I was through with the micromesh polish cycle, I rubbed a small quantity of Extra Virgin Olive oil in to the stem and set it aside. The stem looks amazing and the, now clean, diamond inlay adds additional bling to an already beautiful pipe.


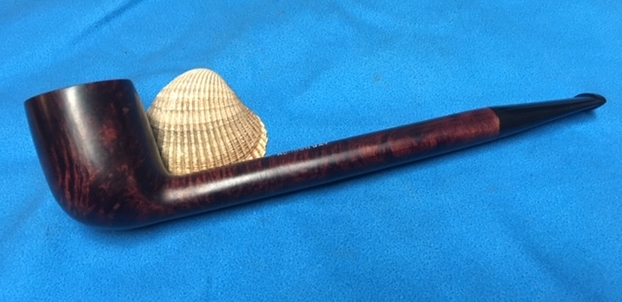
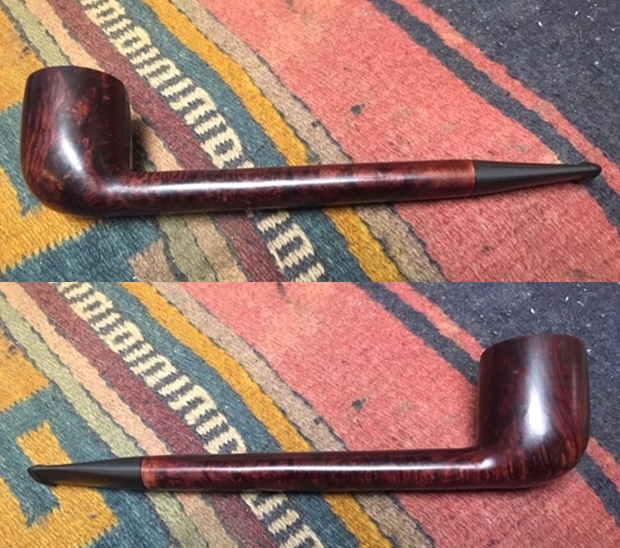
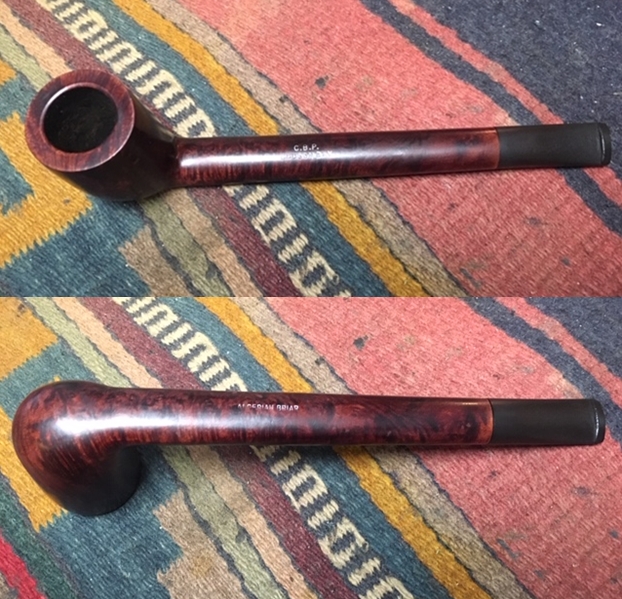
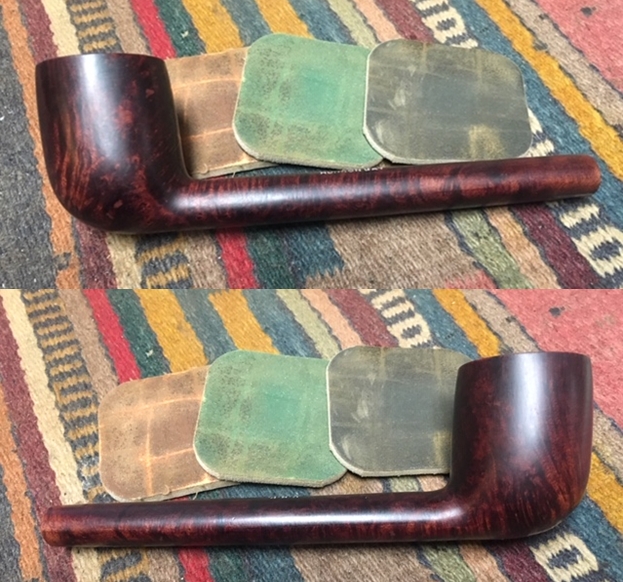
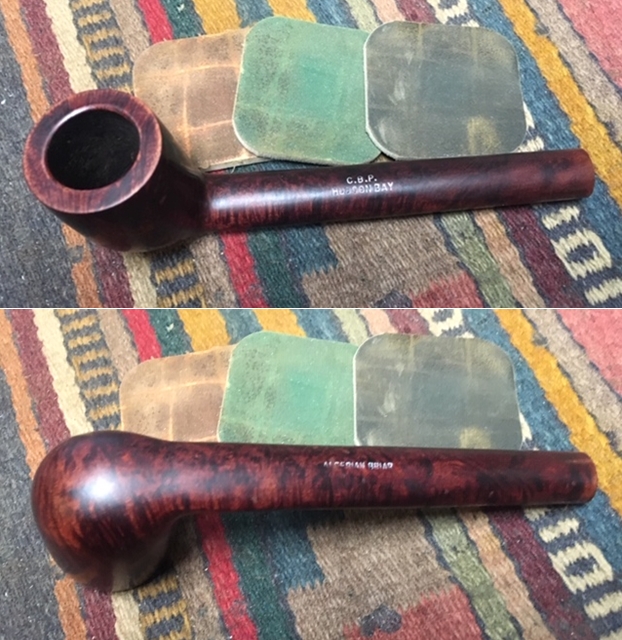
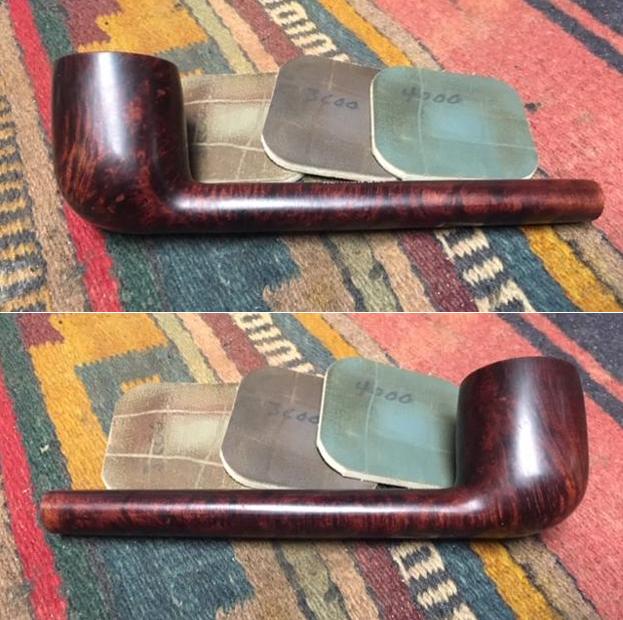
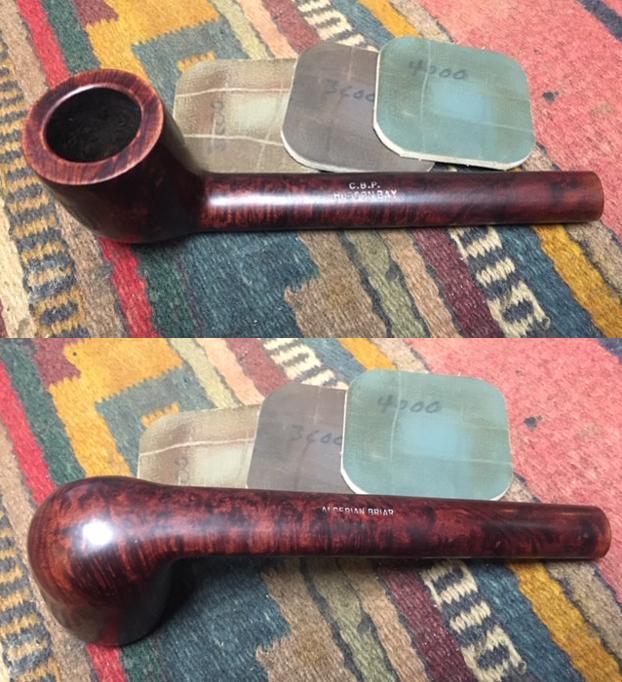
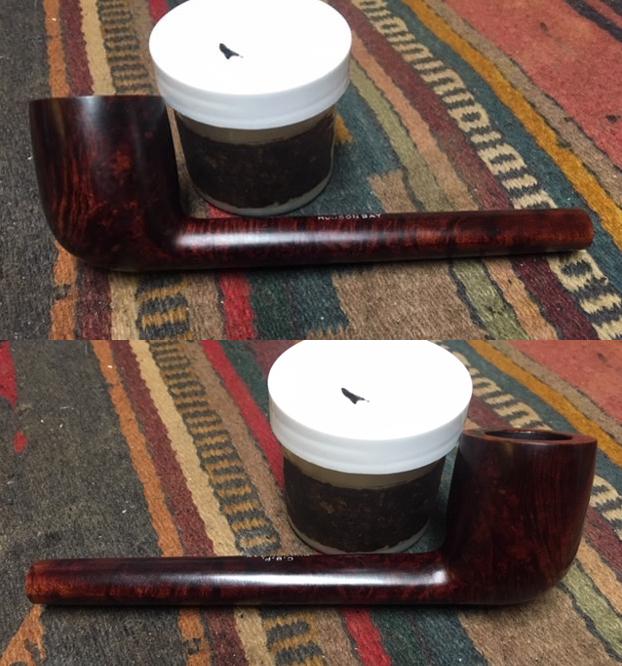
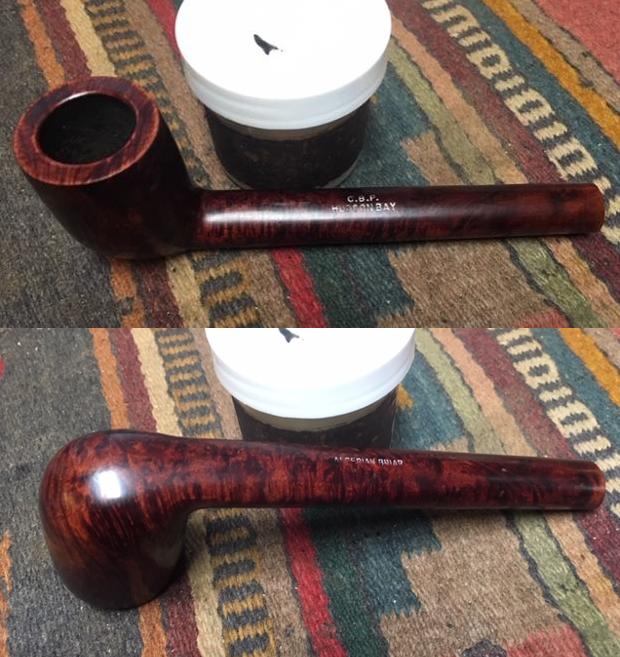
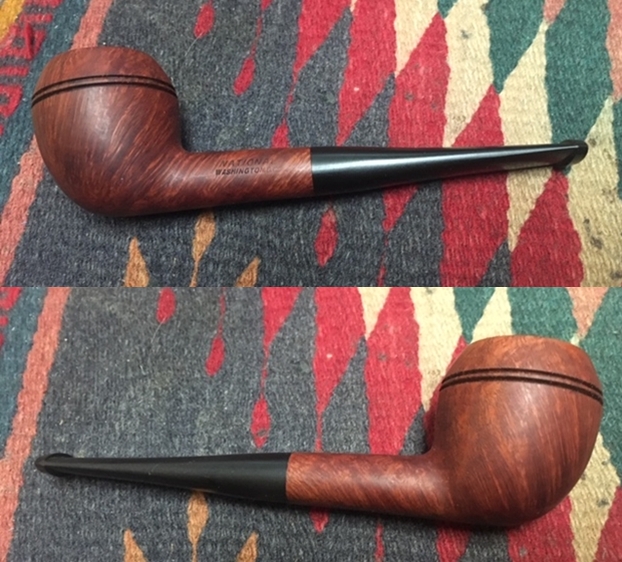
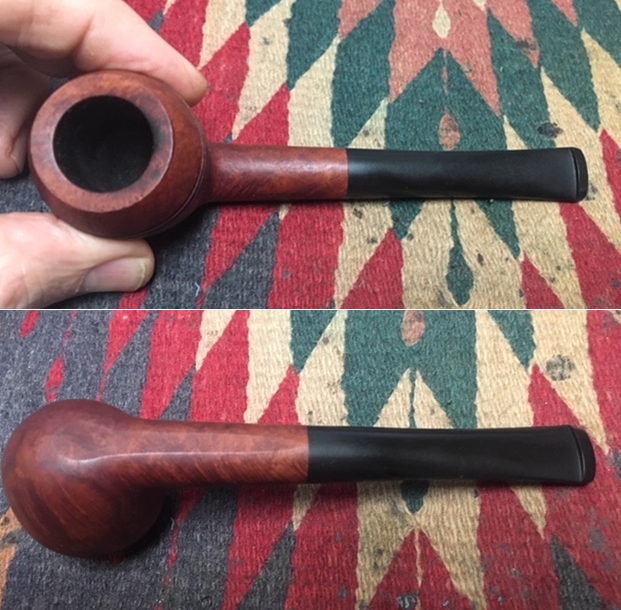
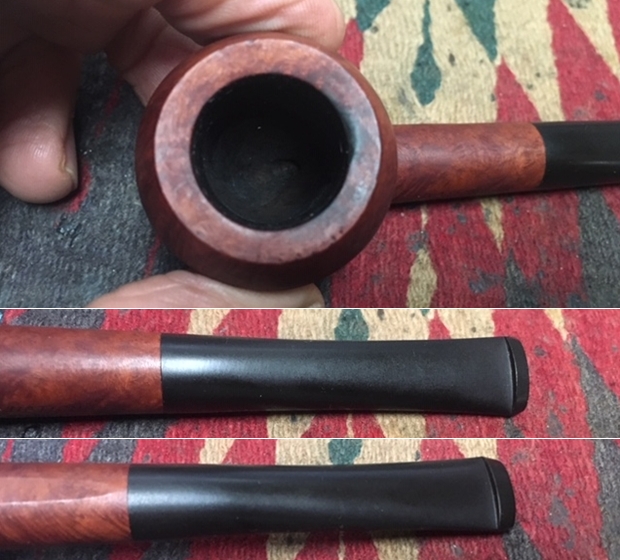
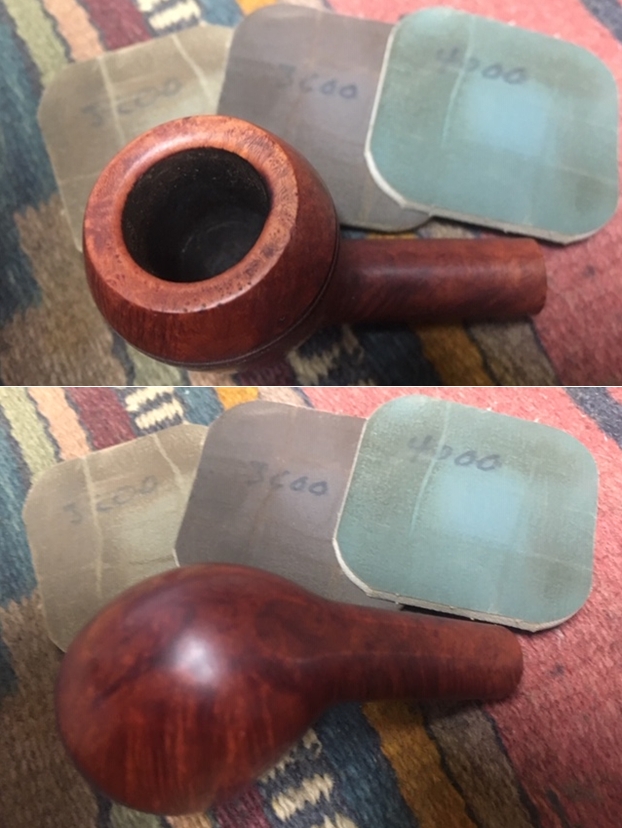
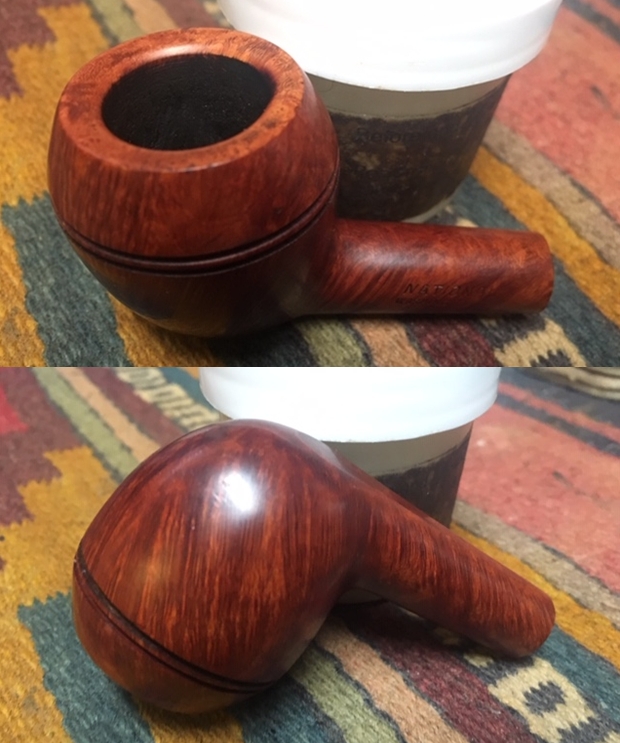
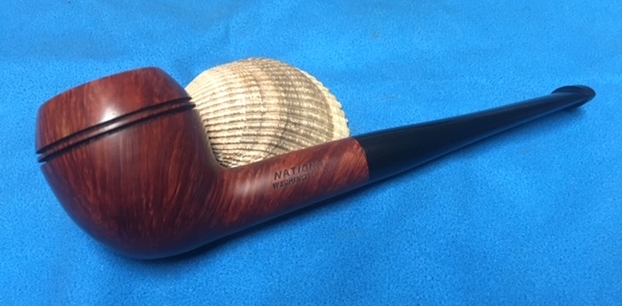
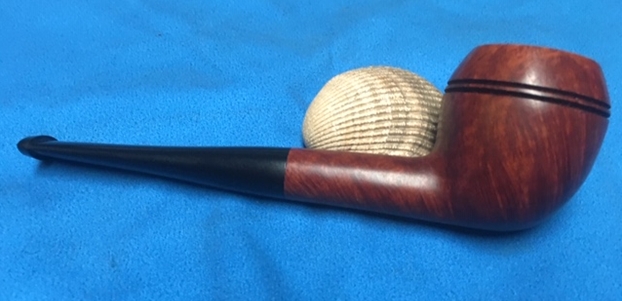
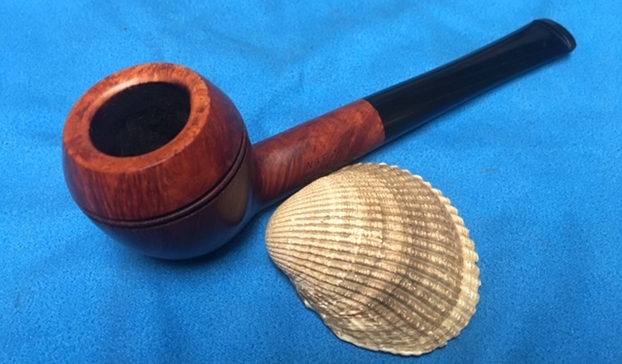
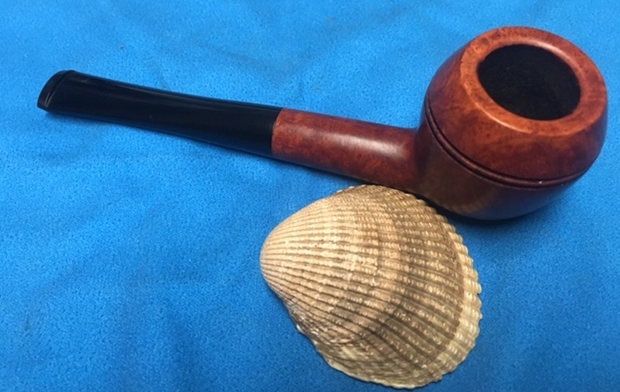
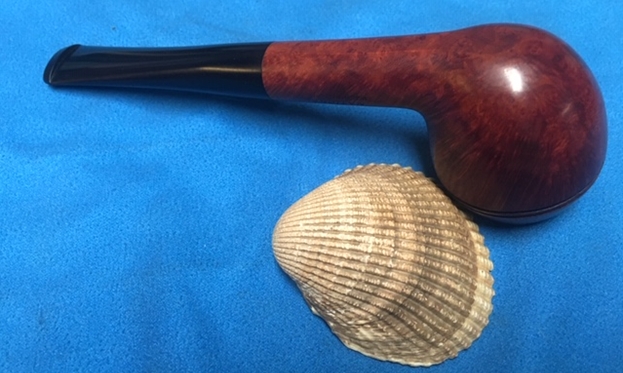
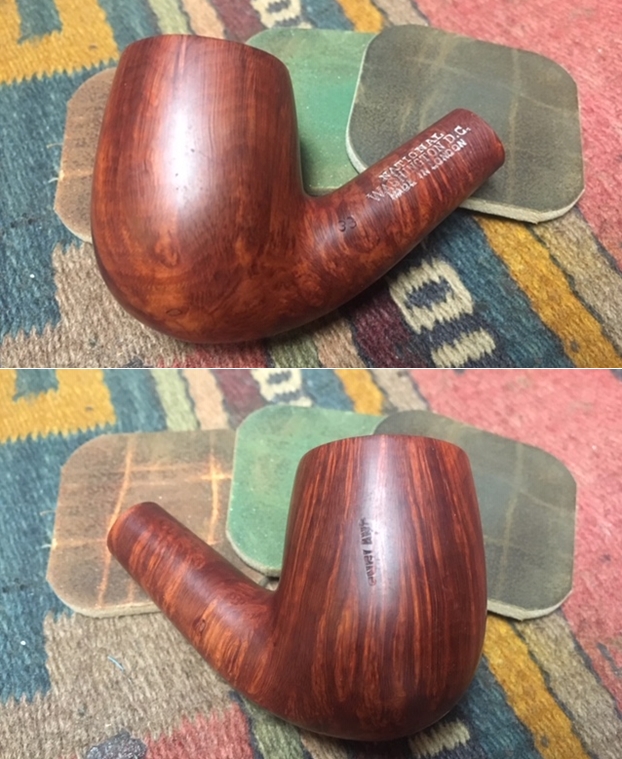
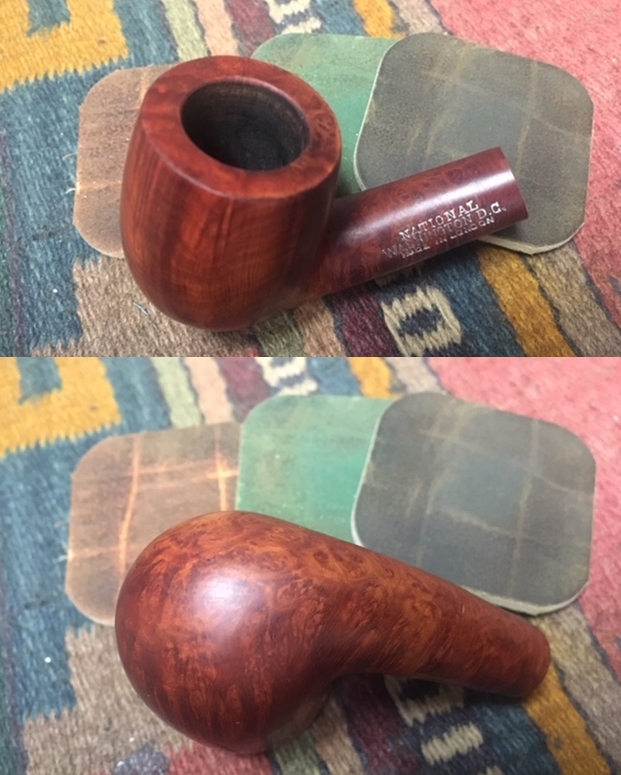
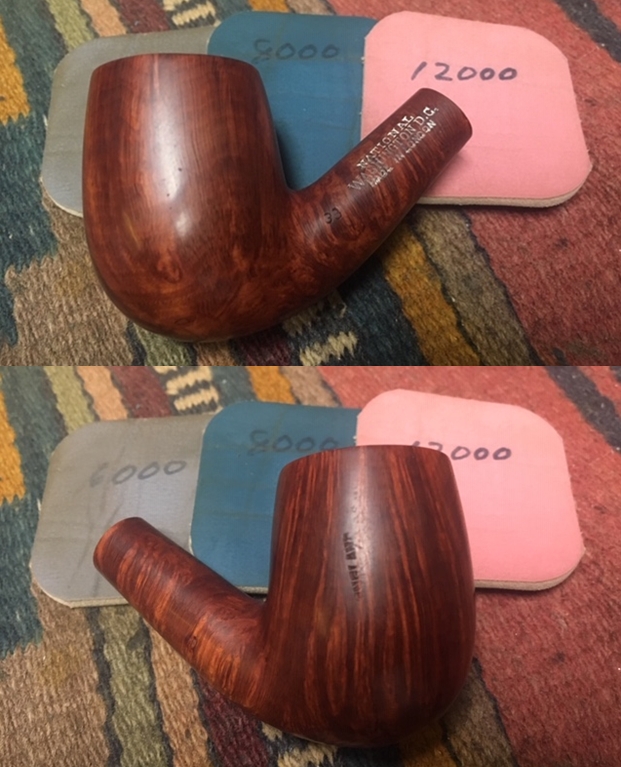
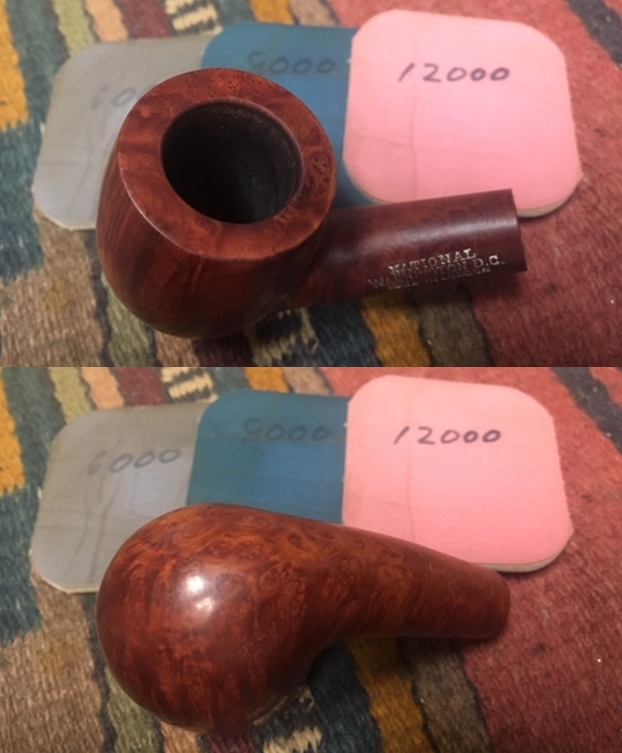
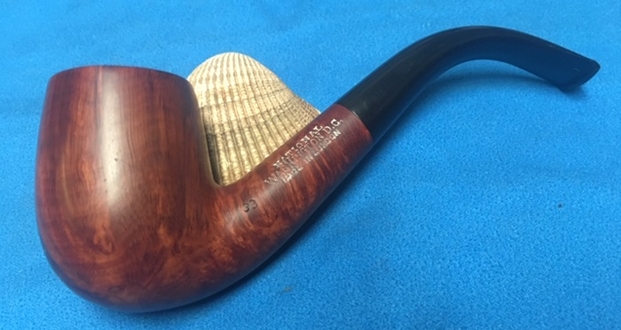
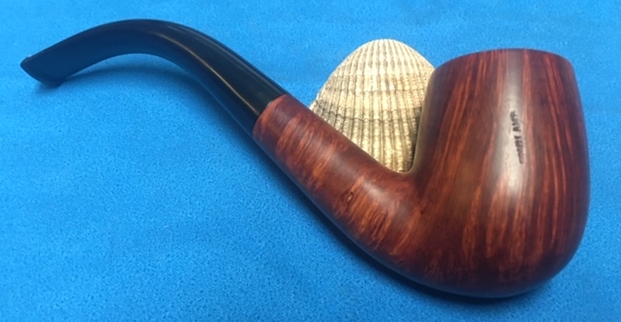
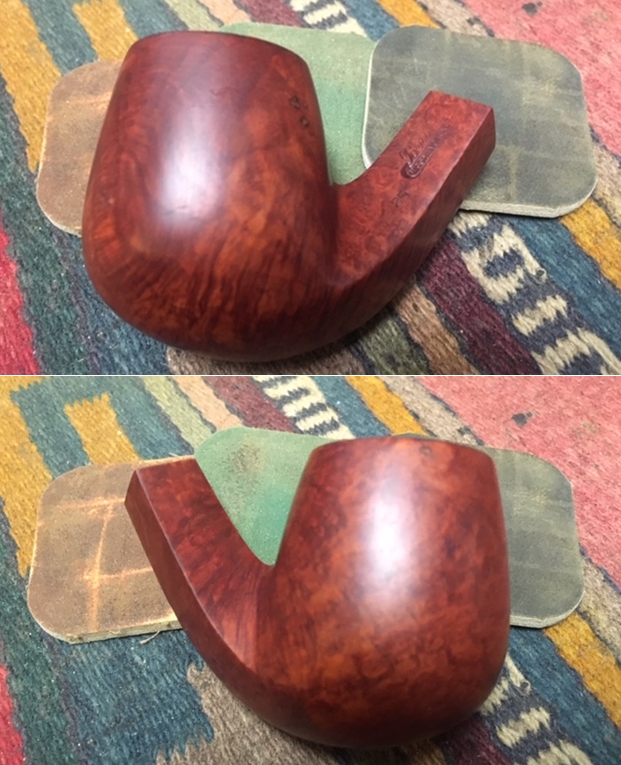
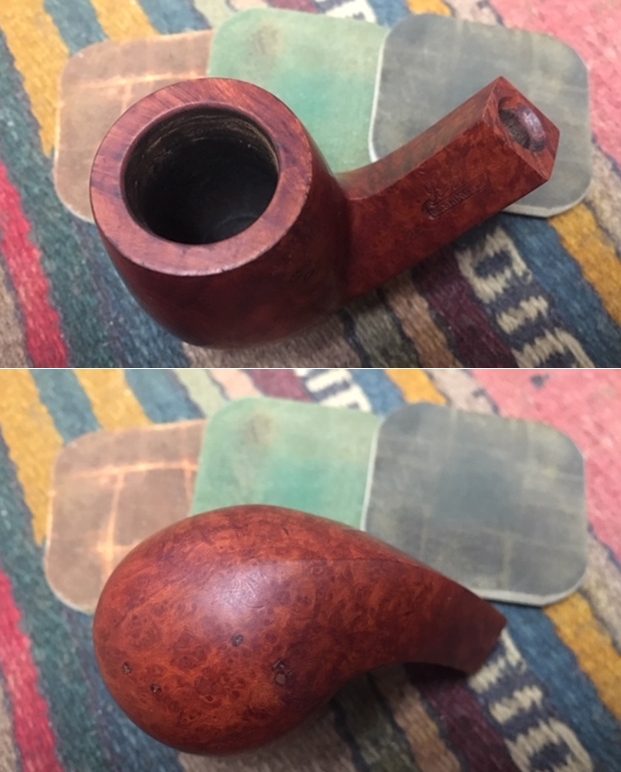
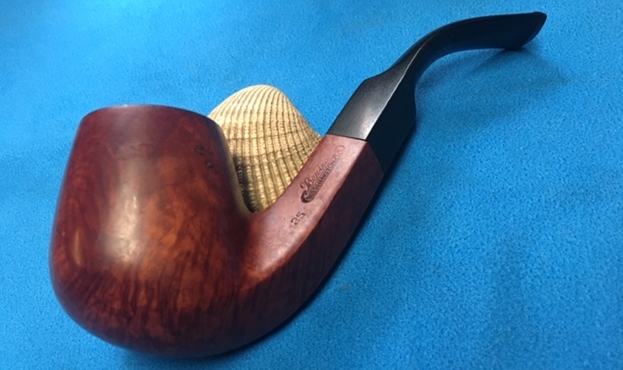
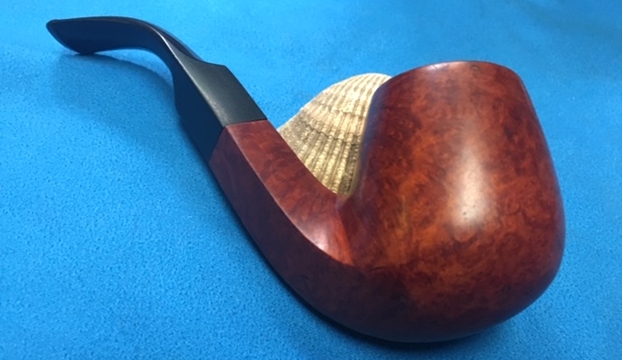
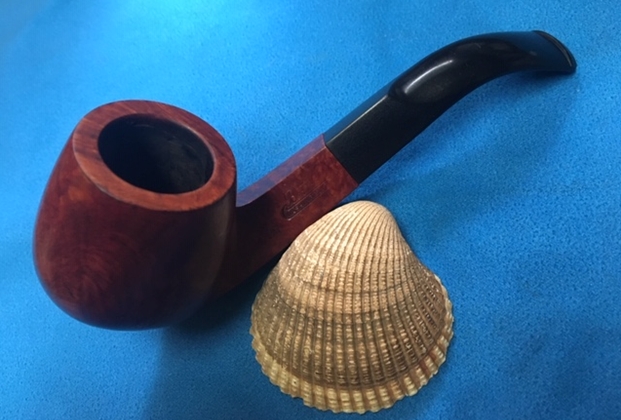
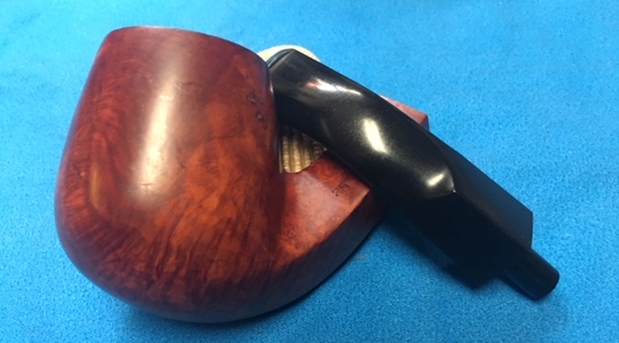
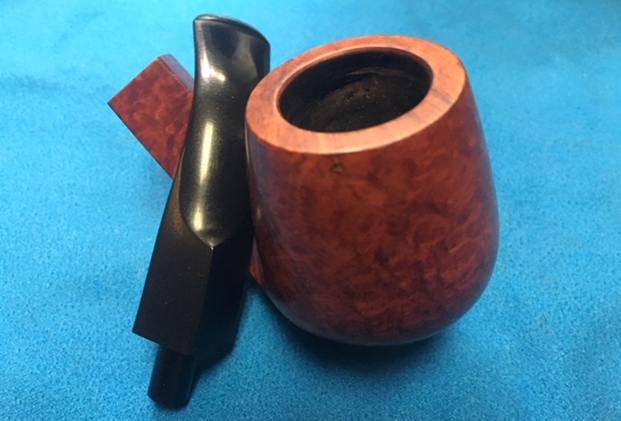
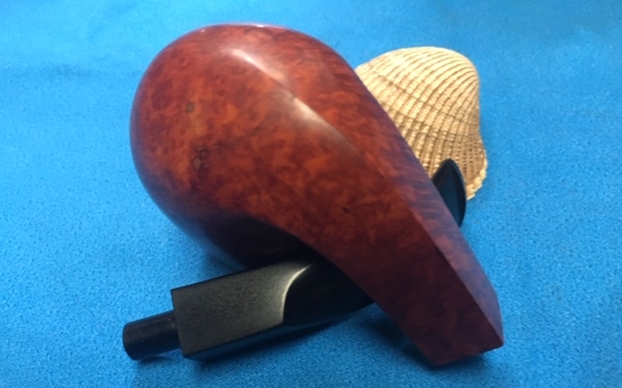
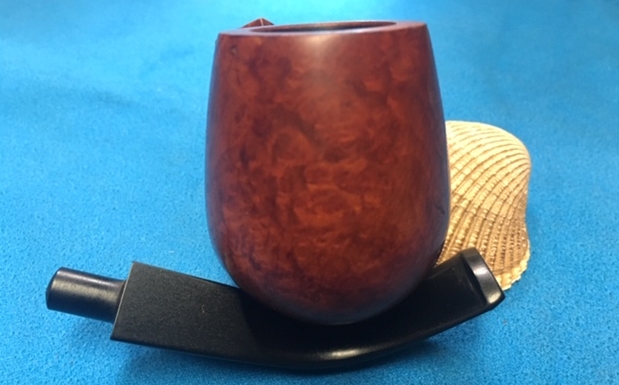
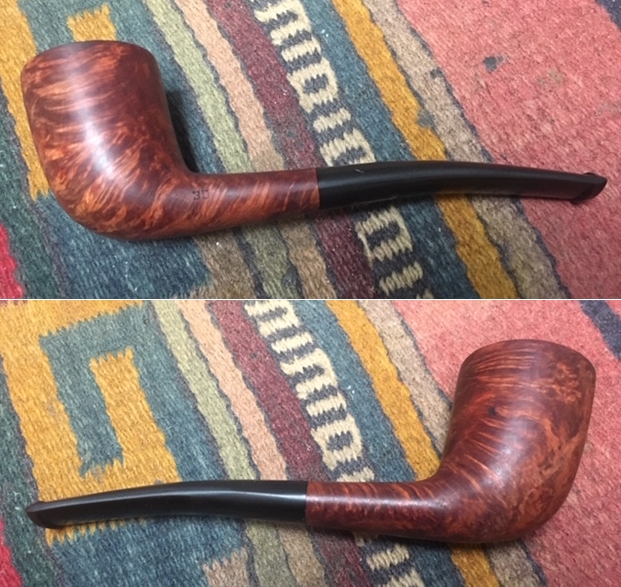
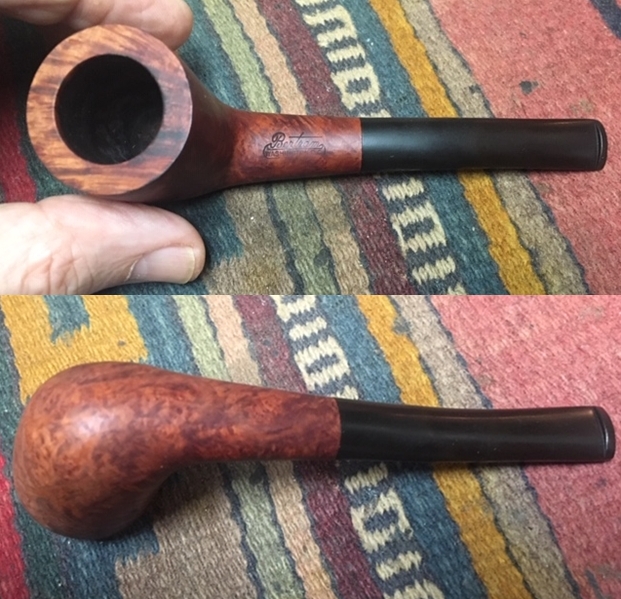
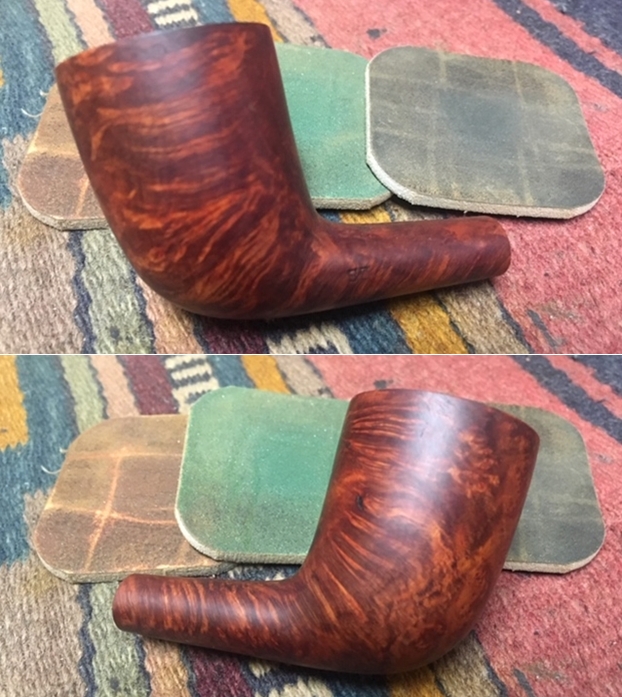
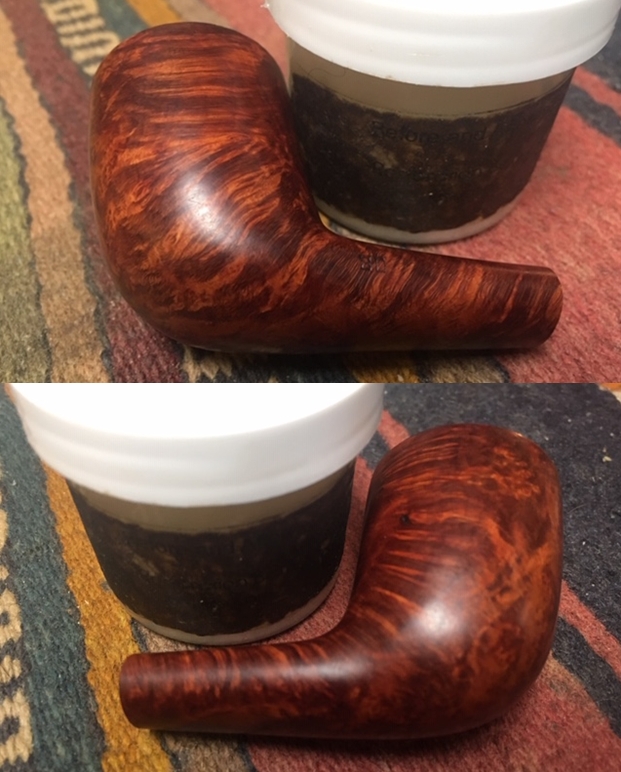
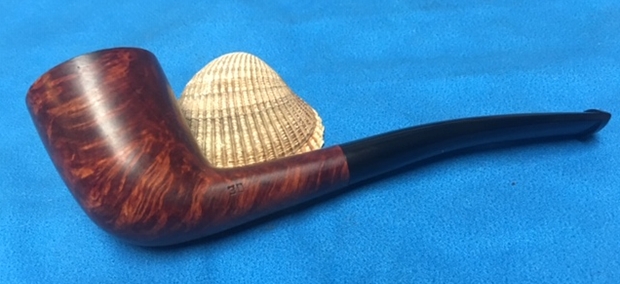
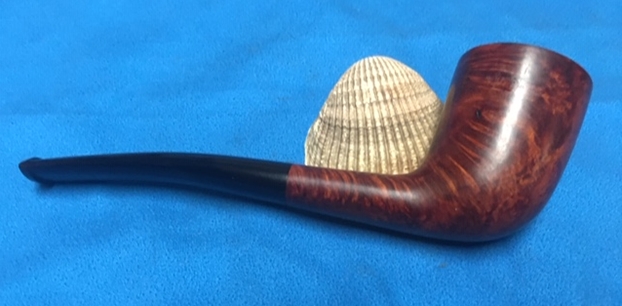
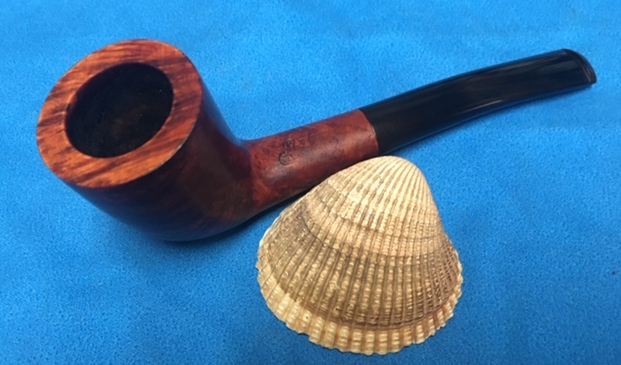
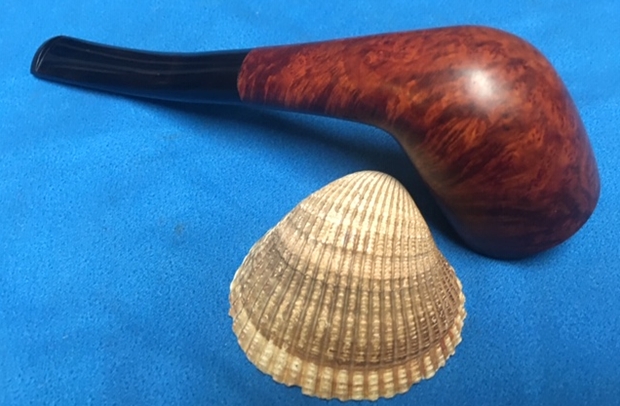
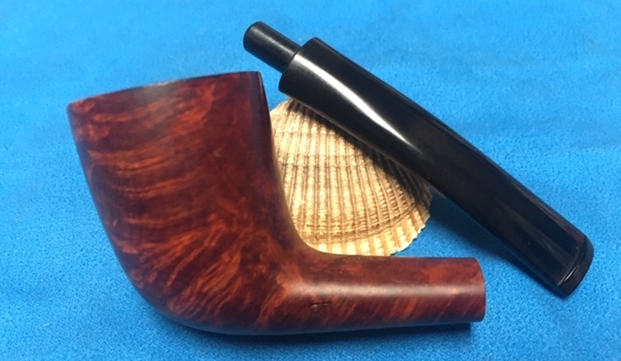
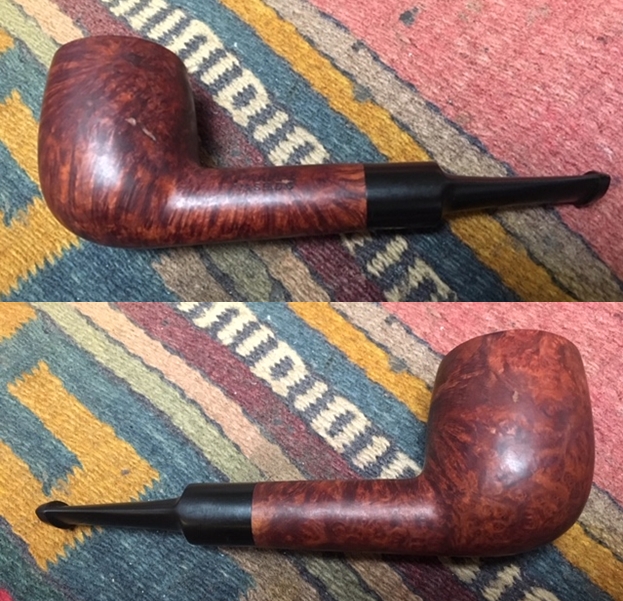
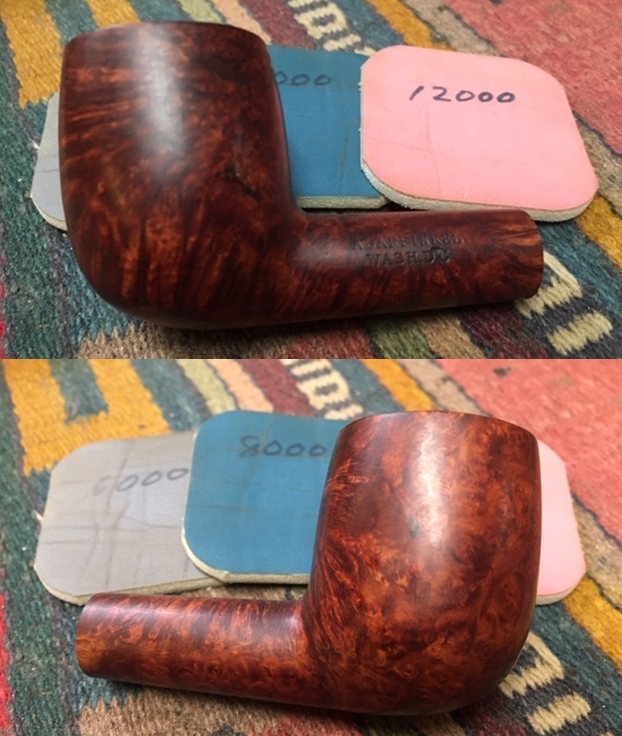
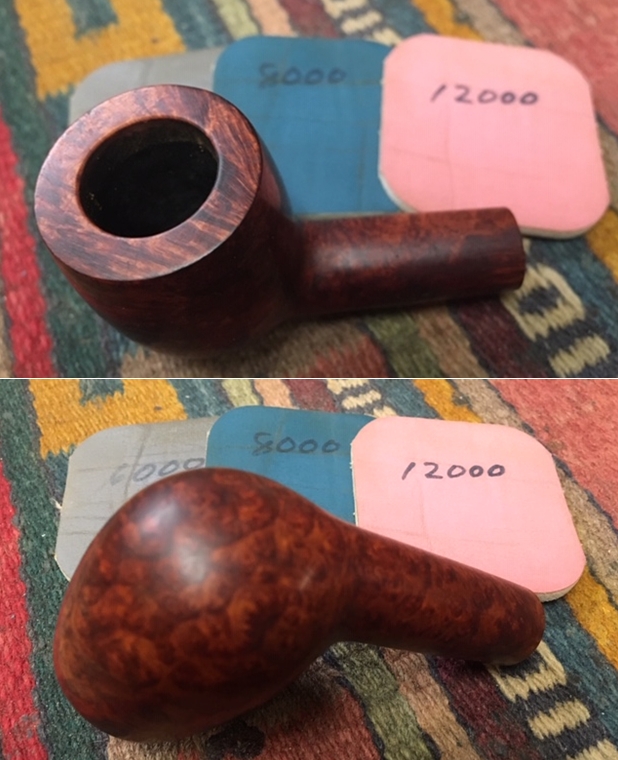
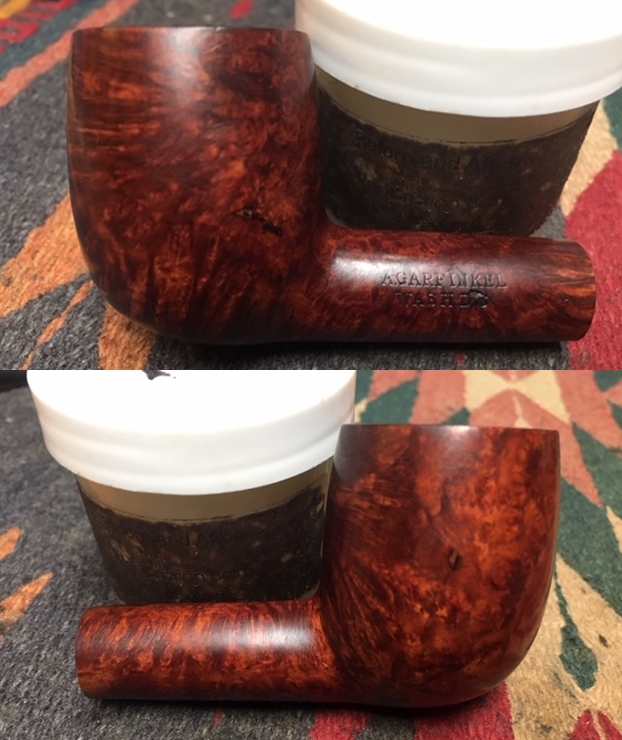
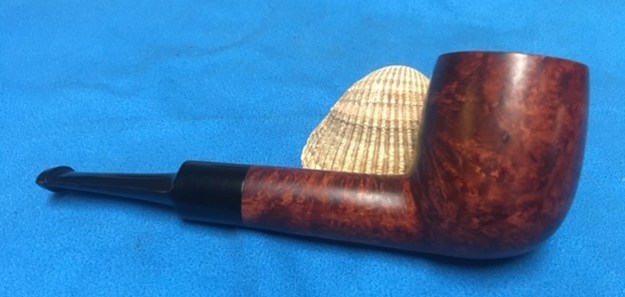
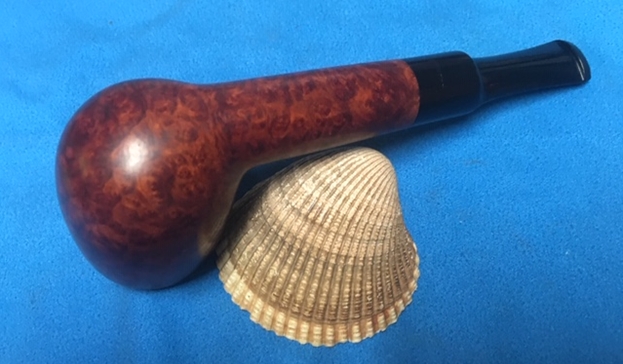
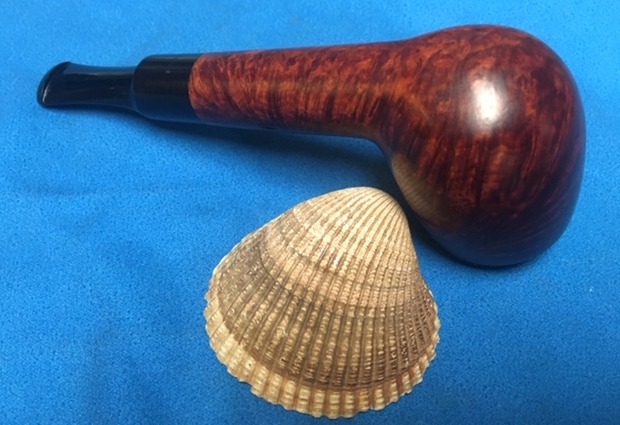
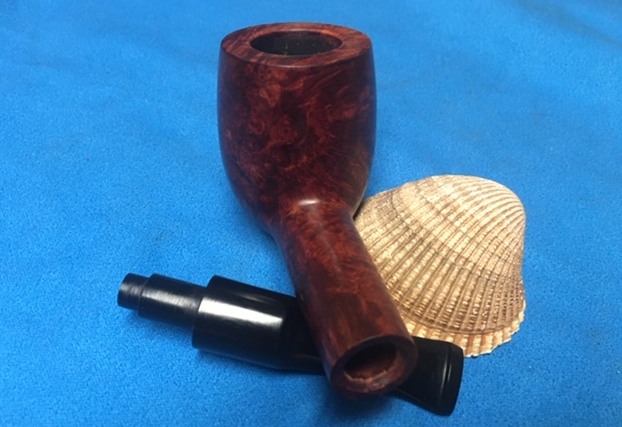
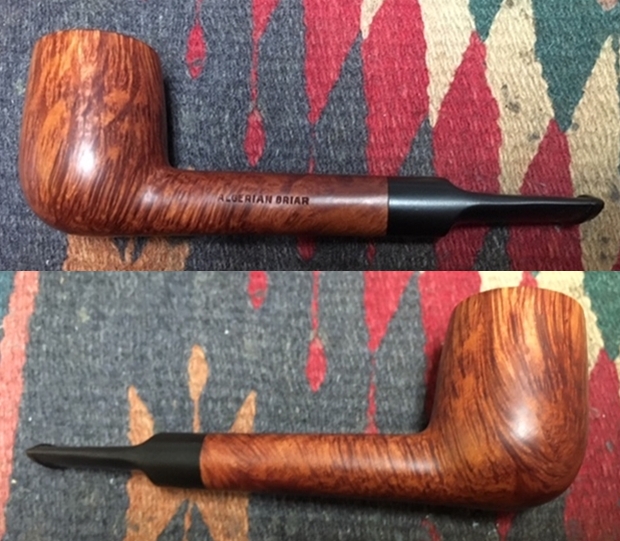
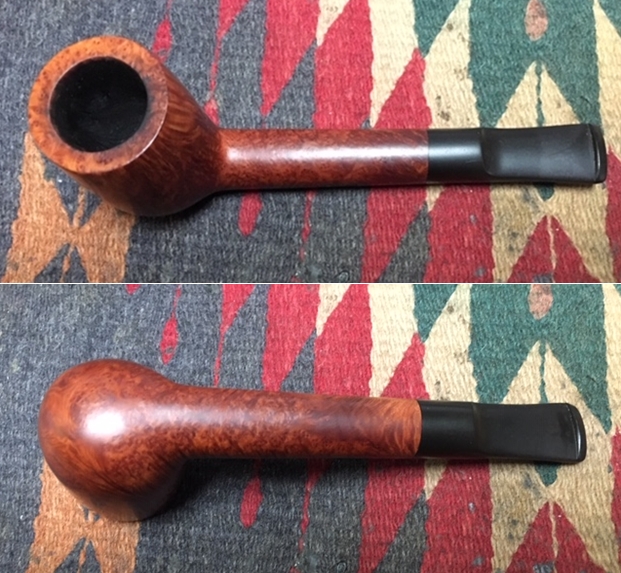
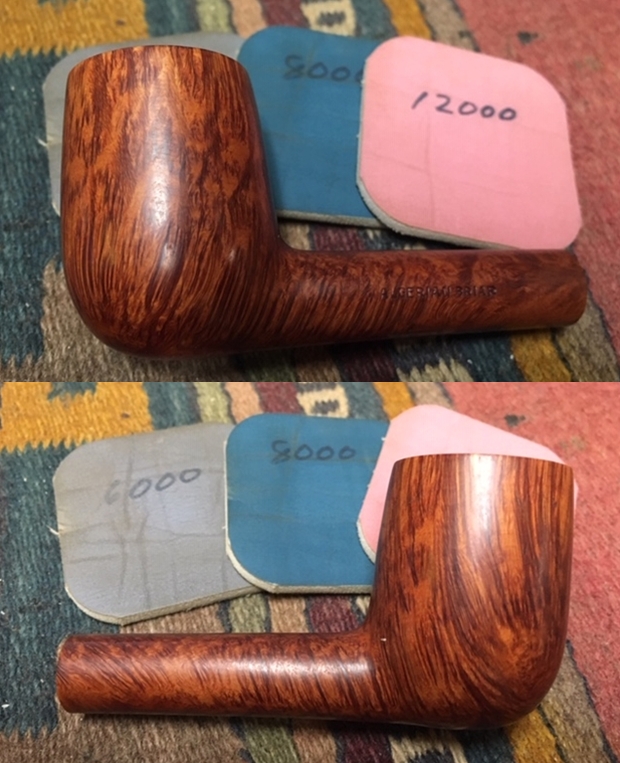
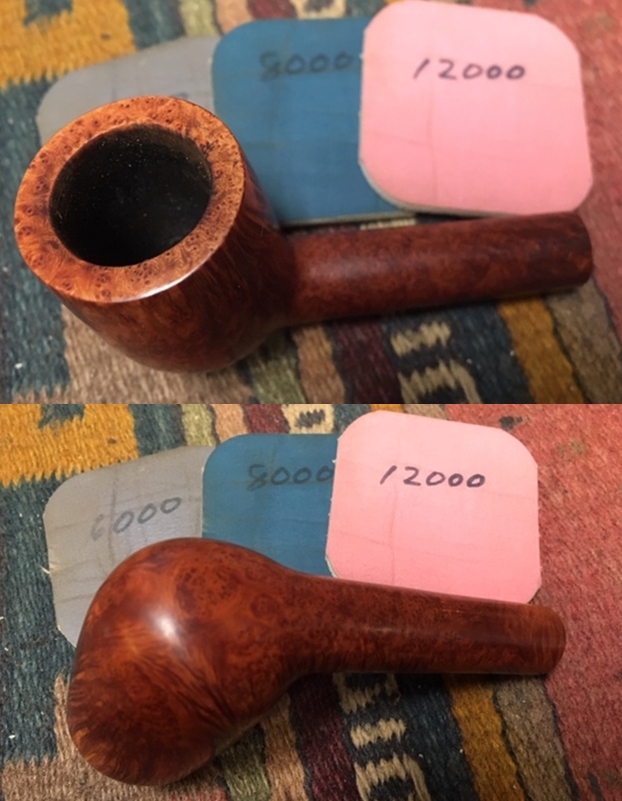
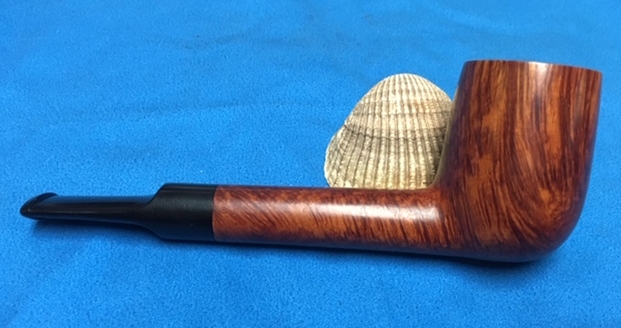
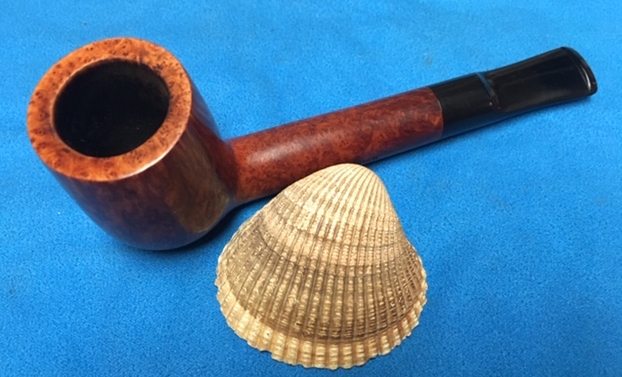
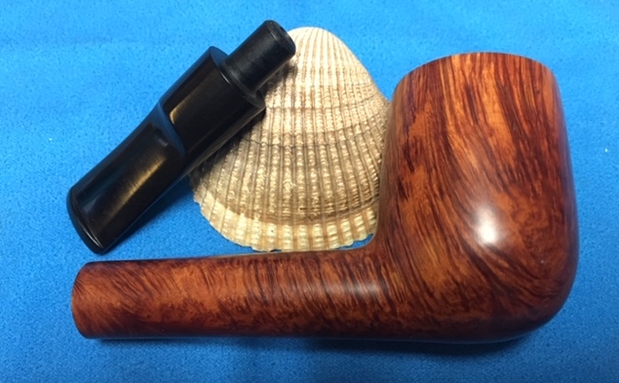
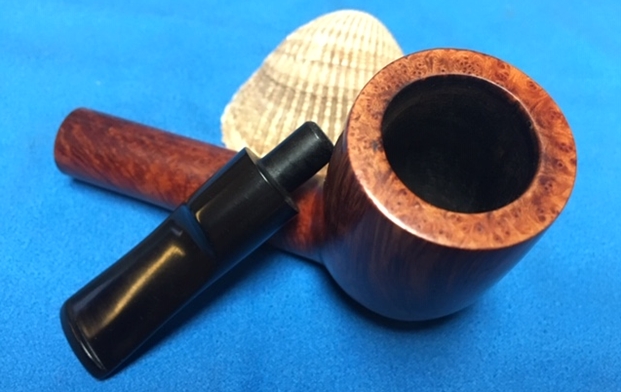
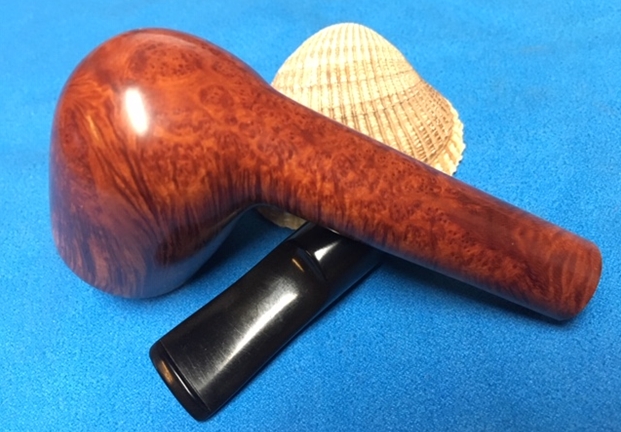
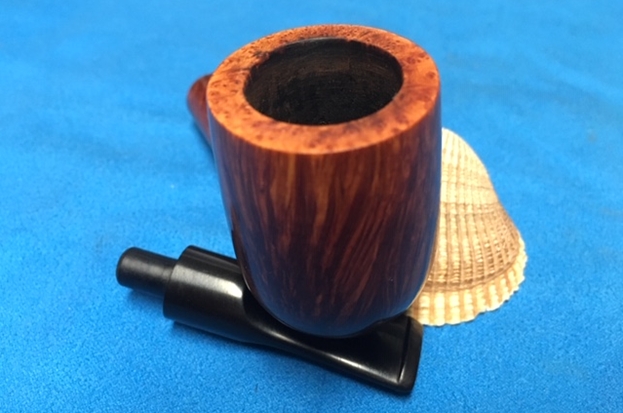
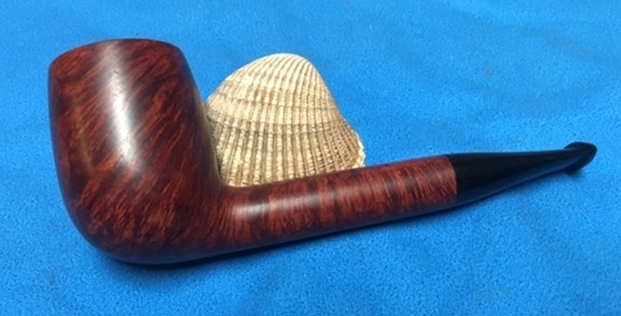
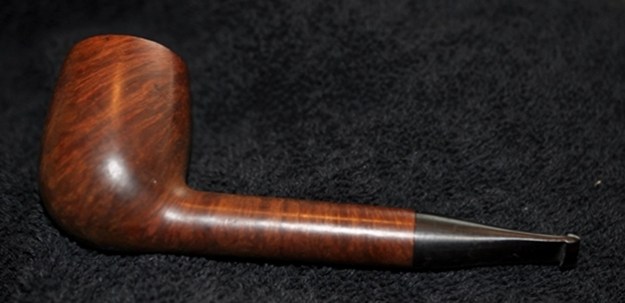
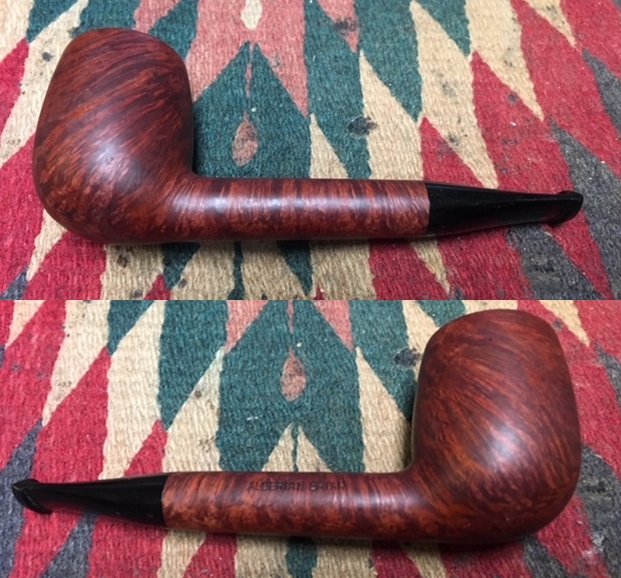
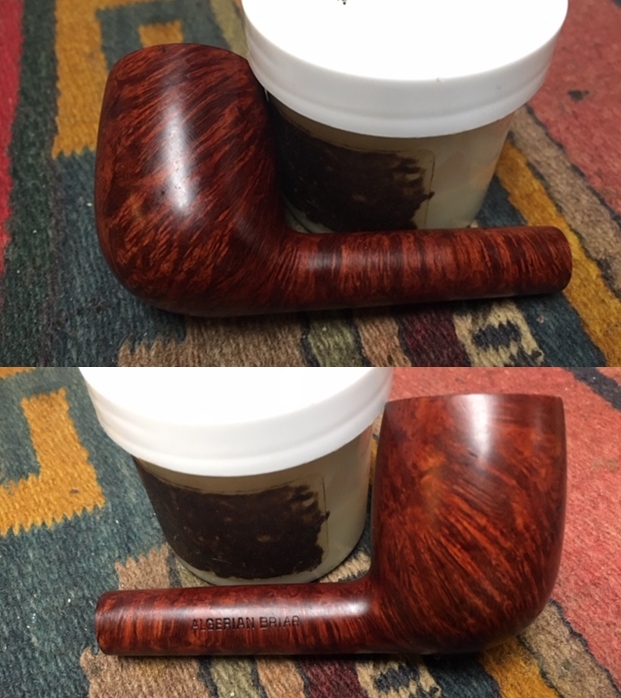
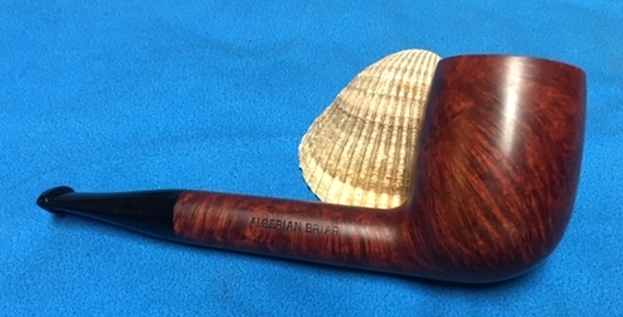
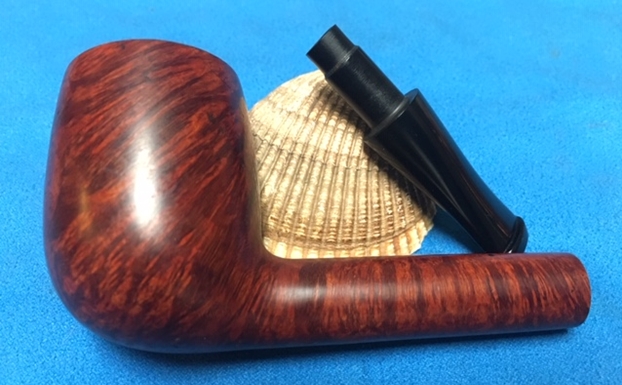
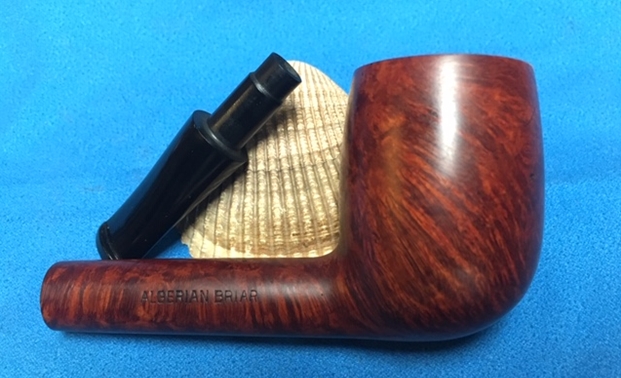
 We finished this project with a vigorous hand buffing with a microfiber cloth and worked it to a nice, rich and deep shine. It was a wonderful experience to work with these gurus of pipe restoration. Their knowledge about all things pipes and tobacco is just amazing. Their precise, measured movements and speed while working on a pipe, is a treat to watch and emulate. Here are pictures of the finished pipe…cheers.