Blog by Steve Laug
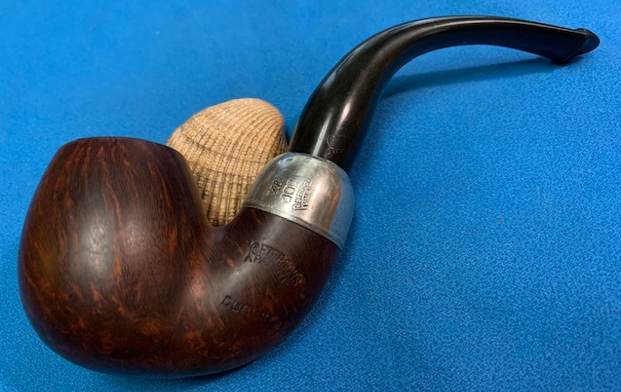
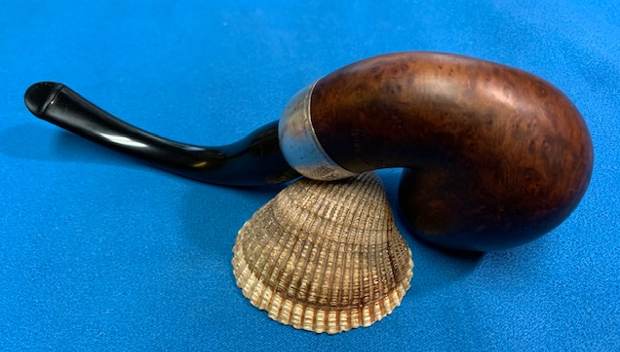
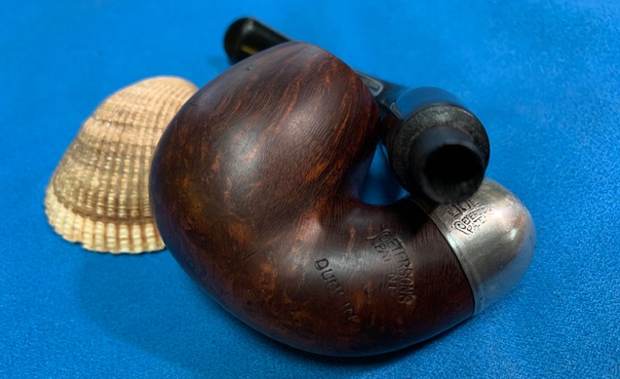
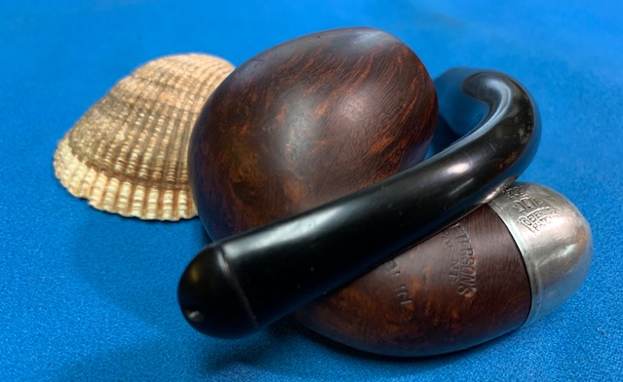
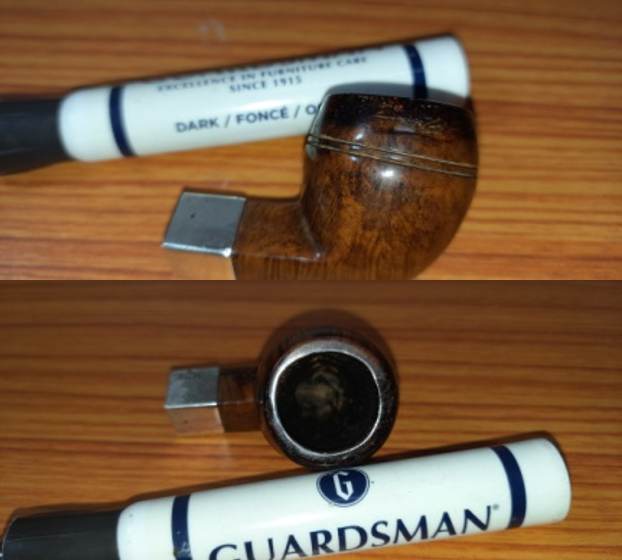
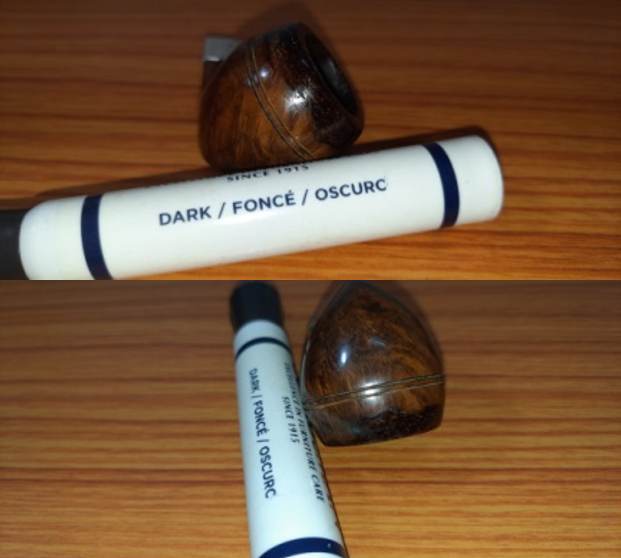
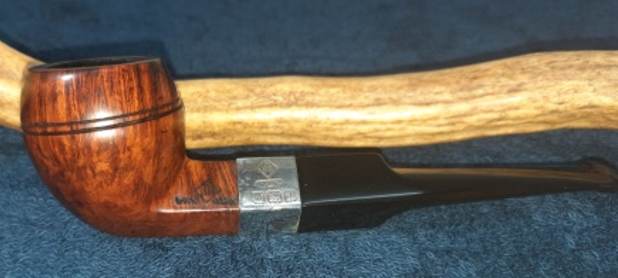
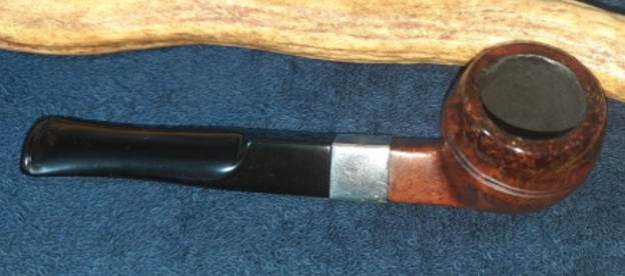
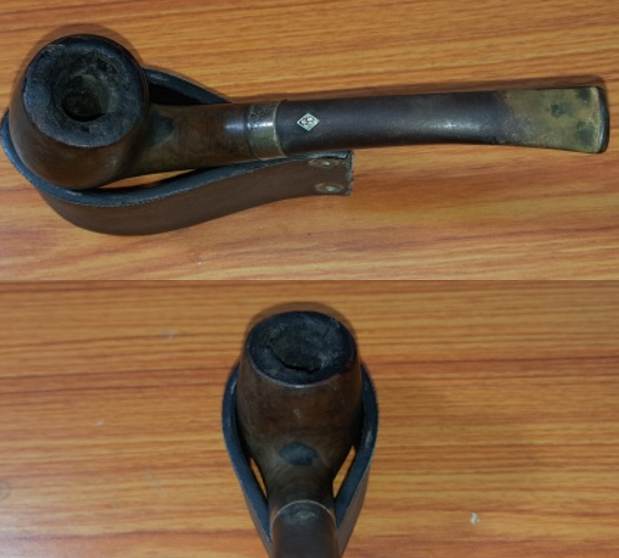
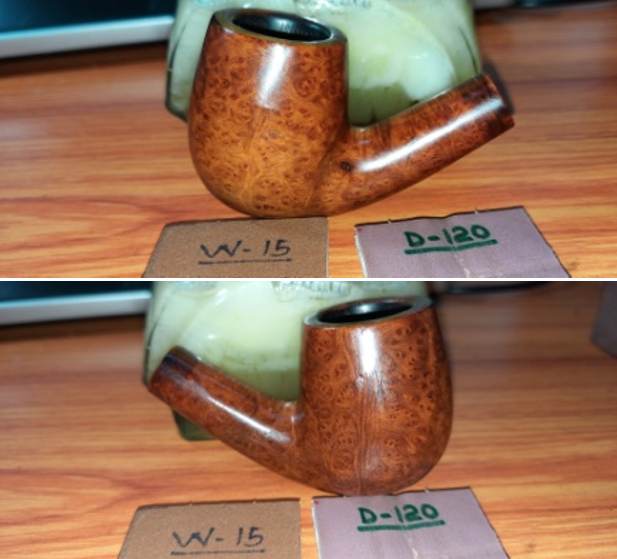
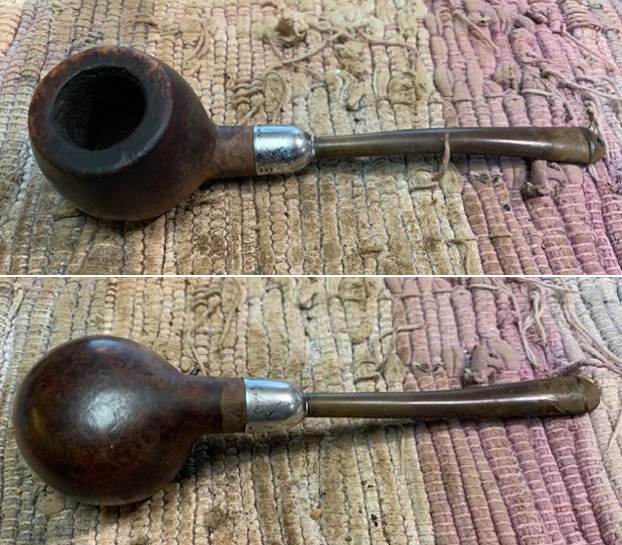
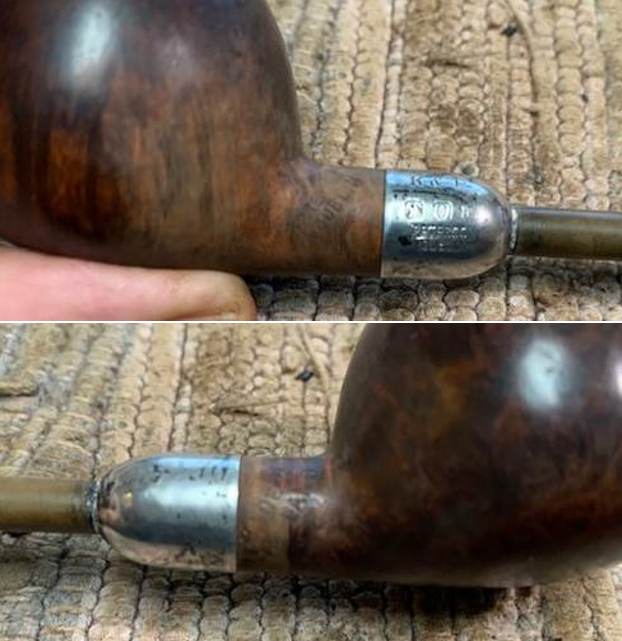
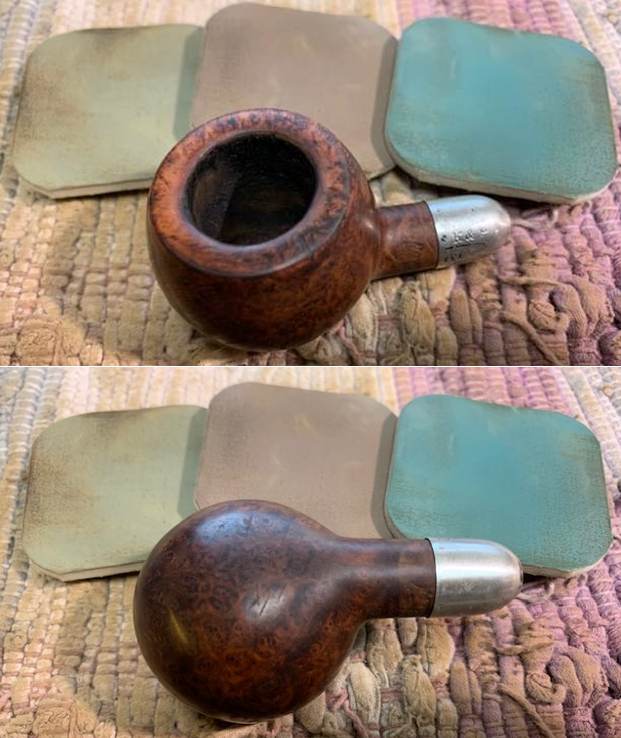
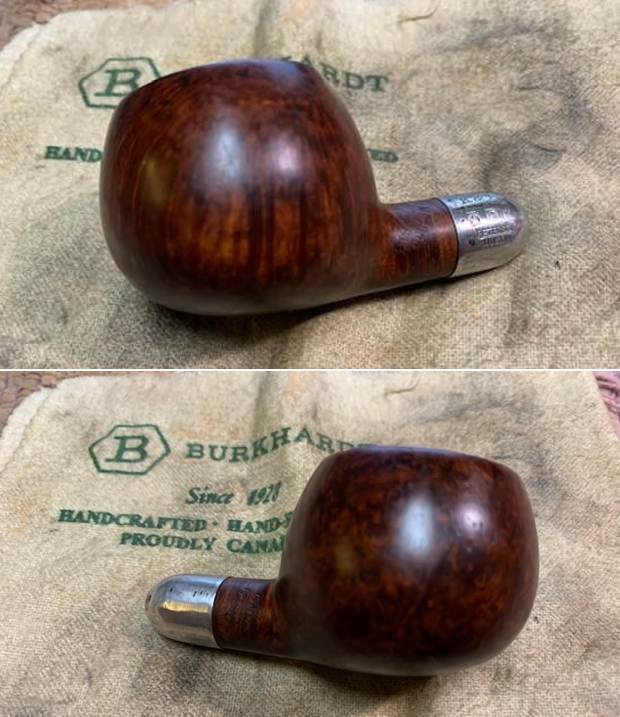
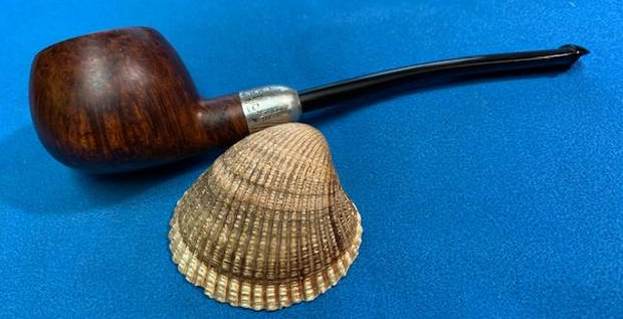
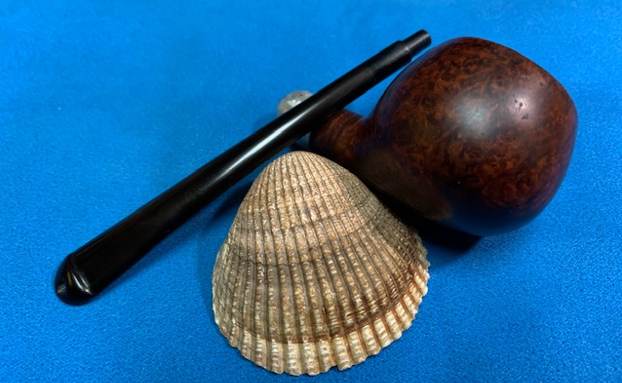
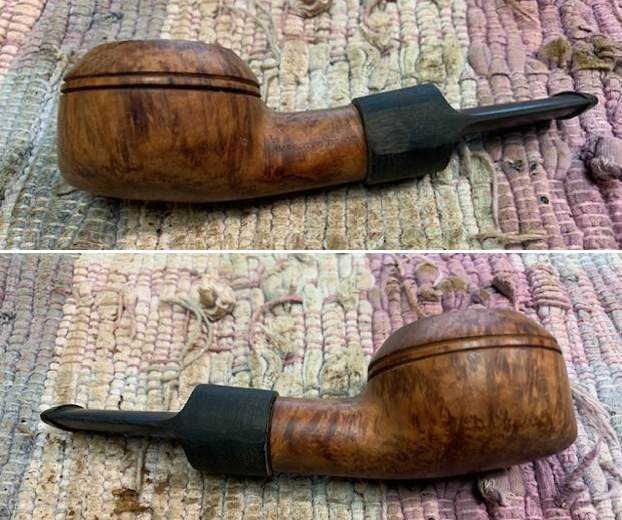
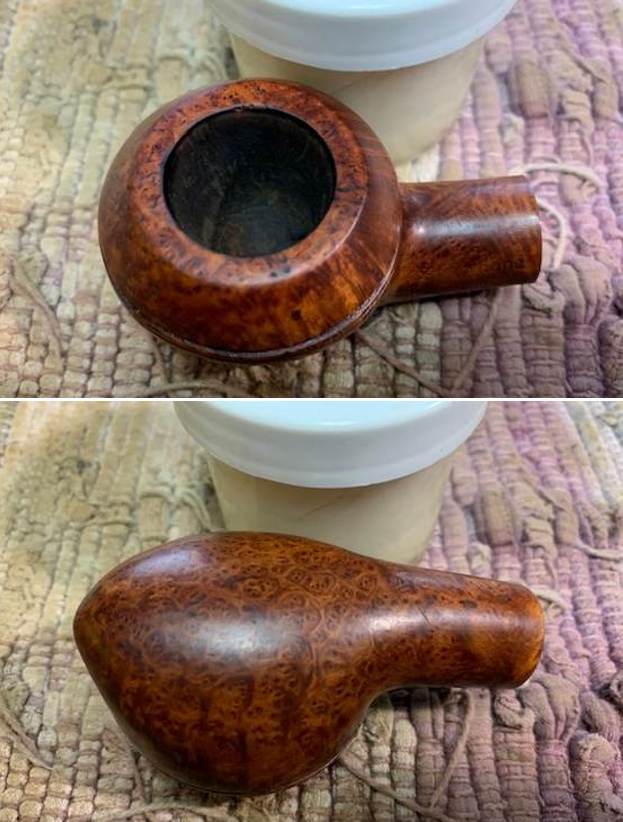
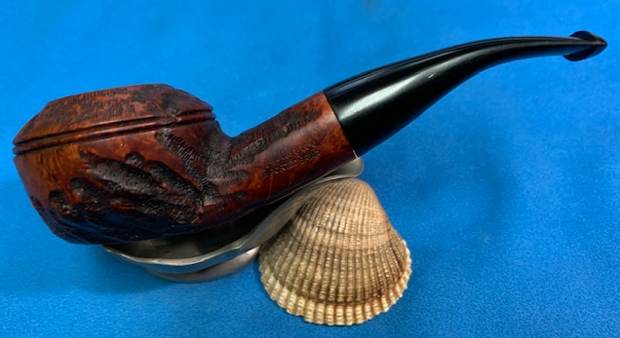
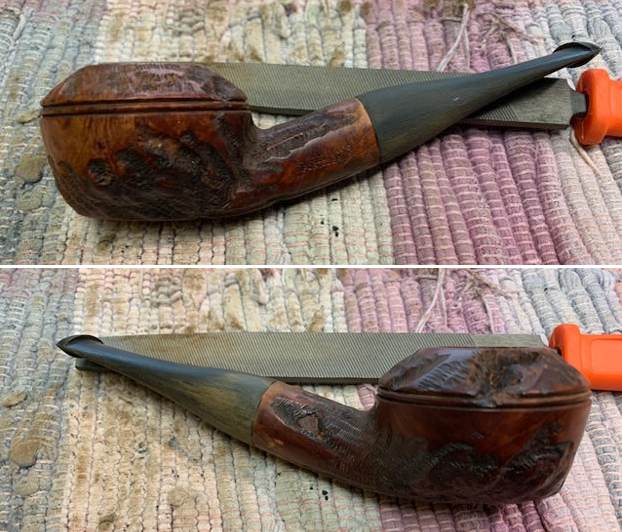
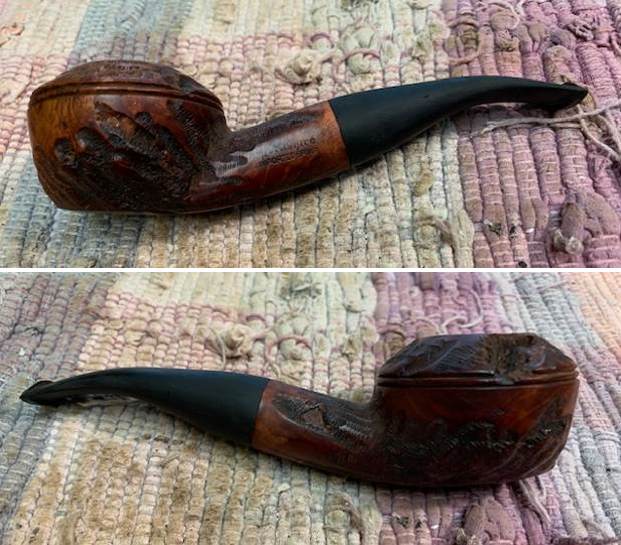
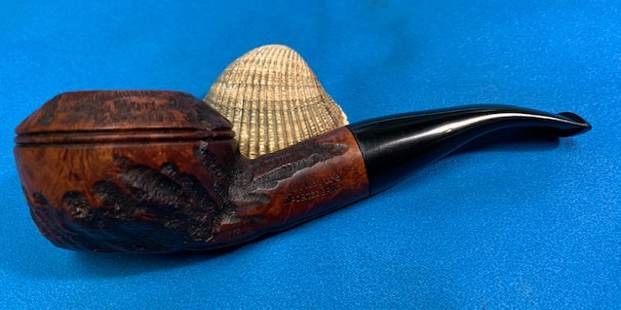
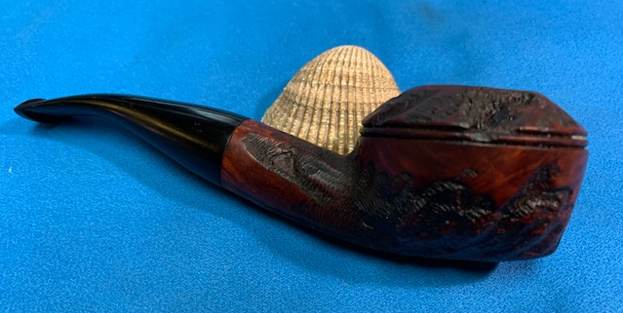
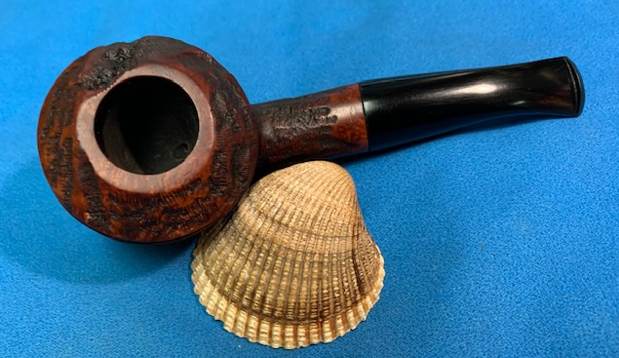
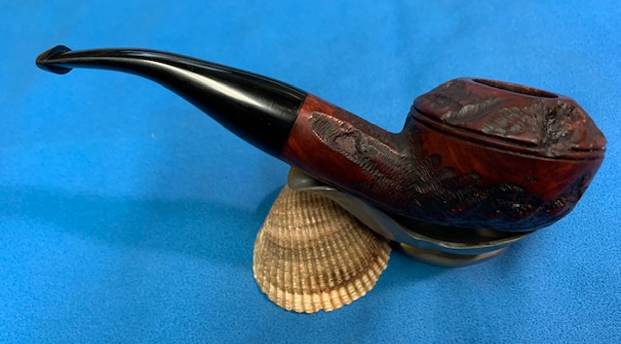
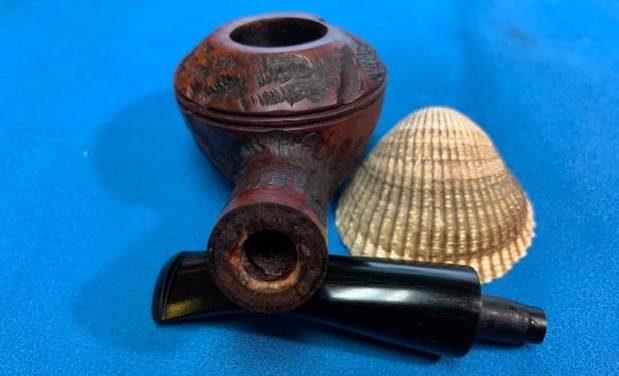
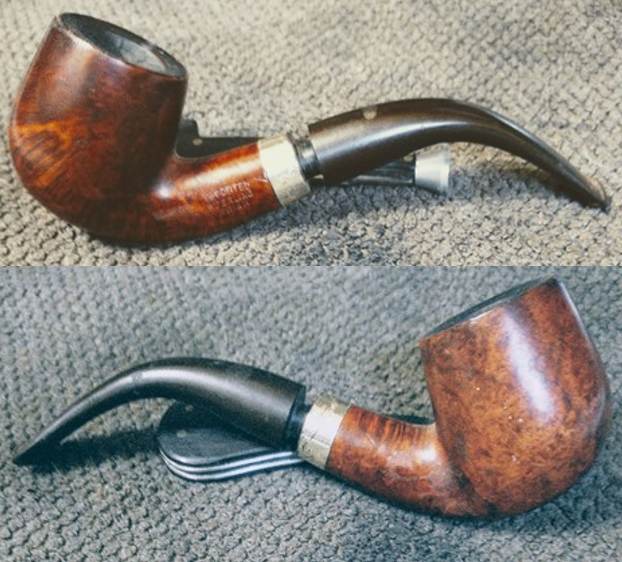
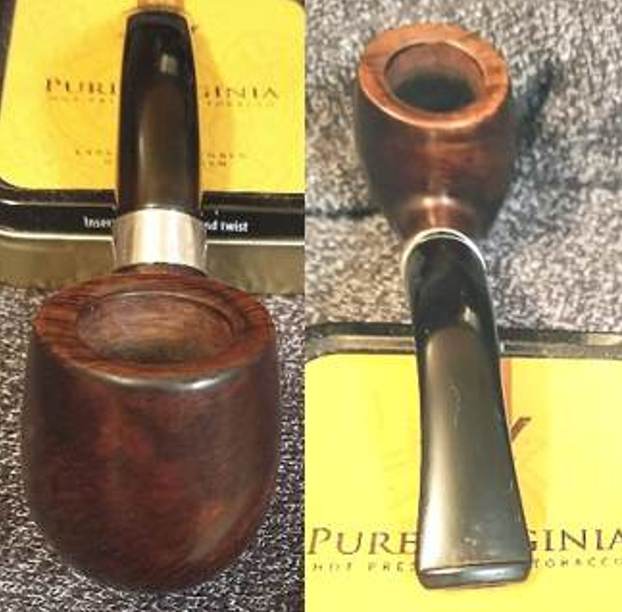
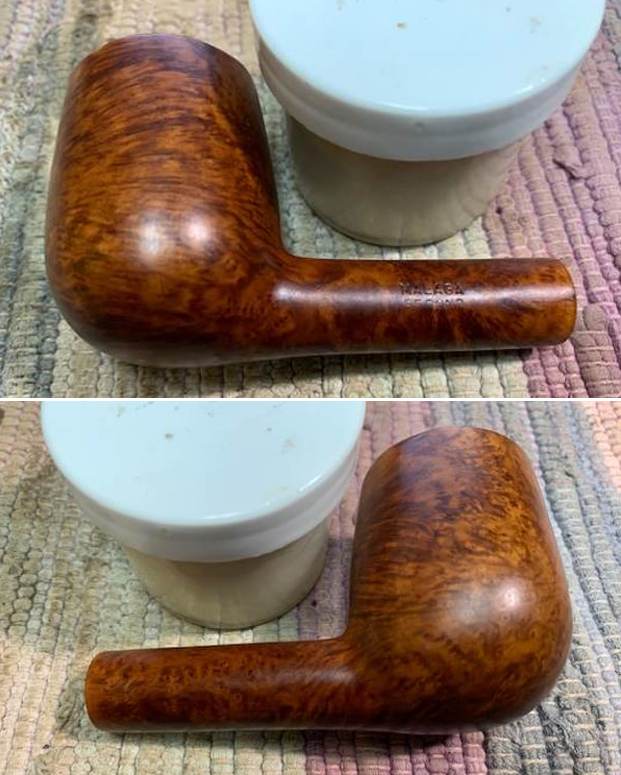
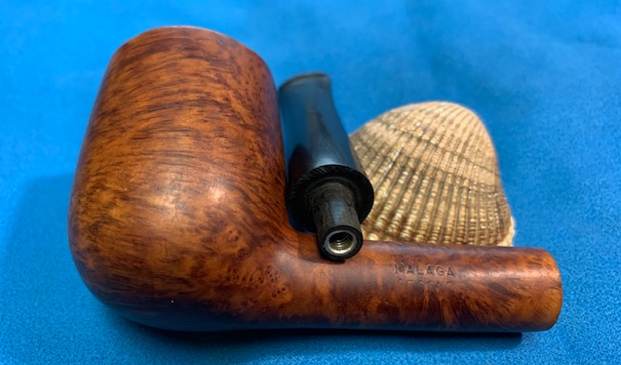
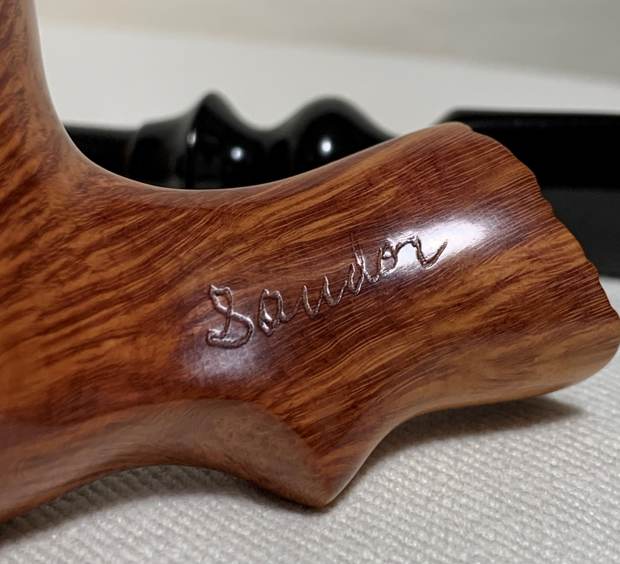
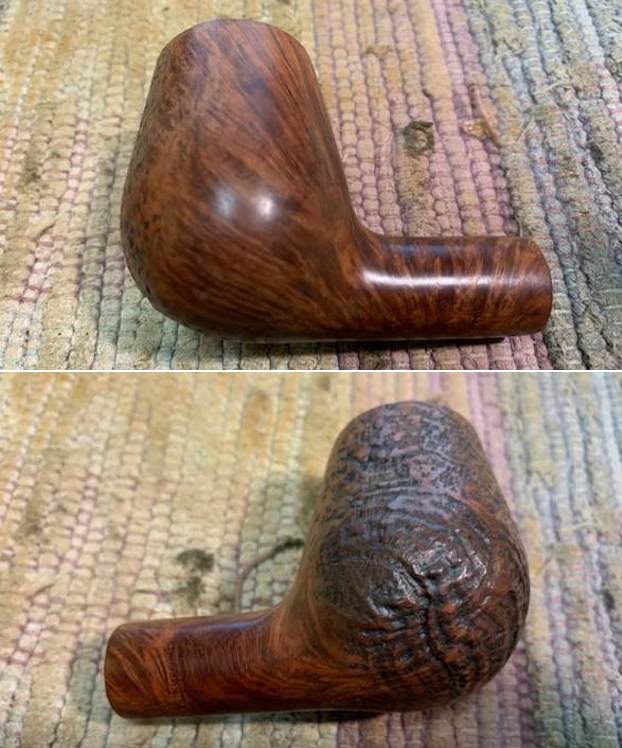
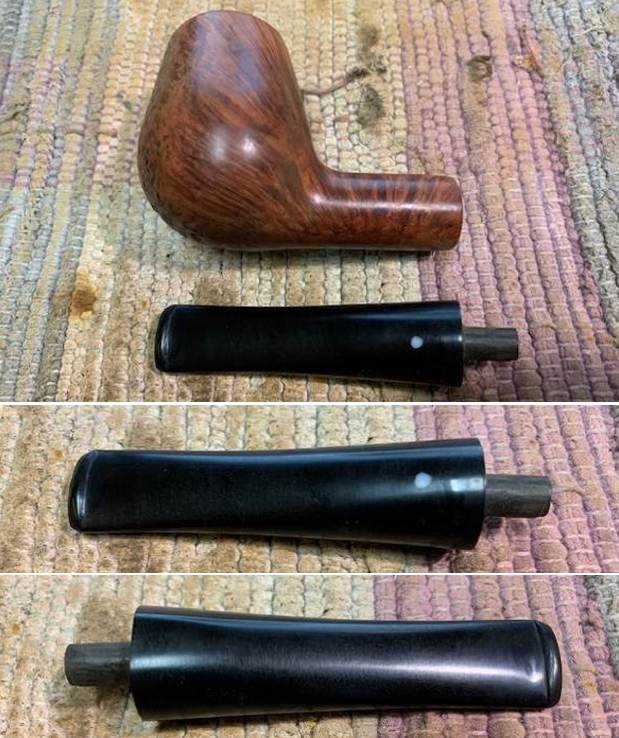
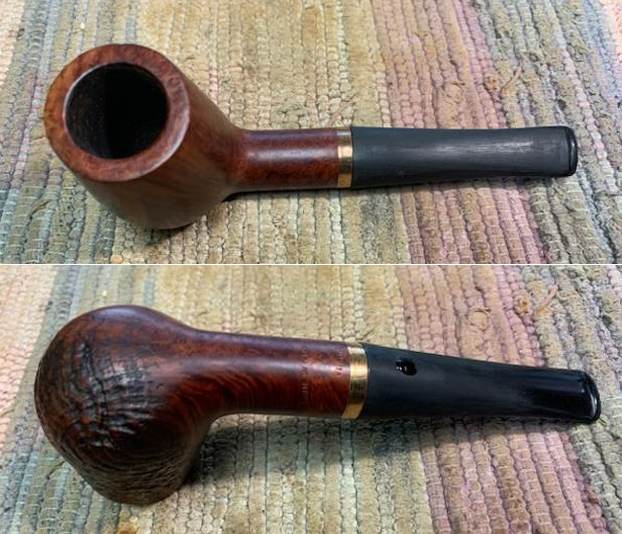
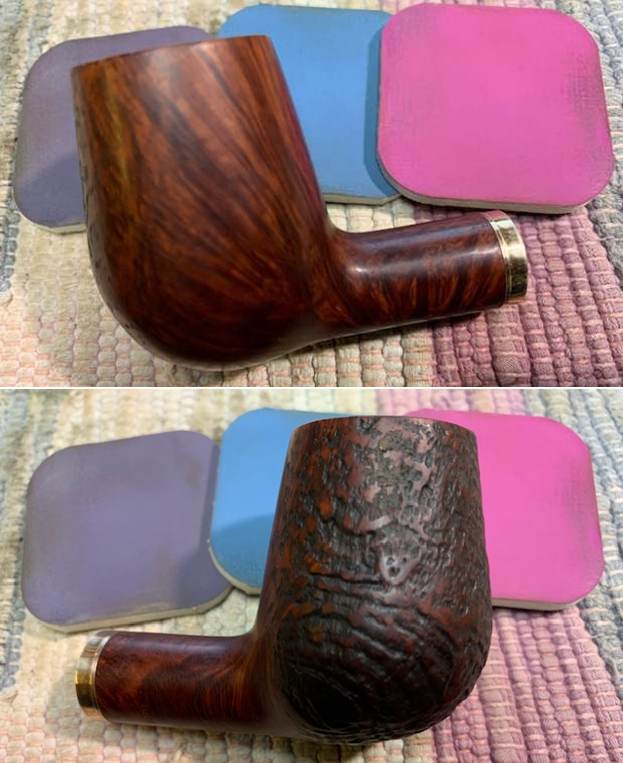
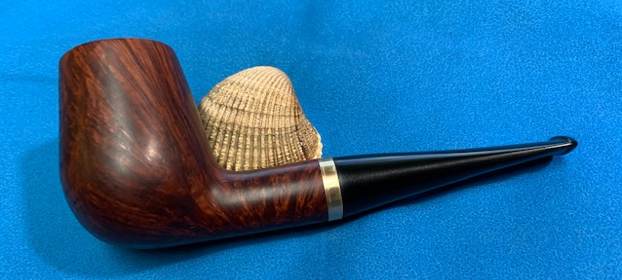
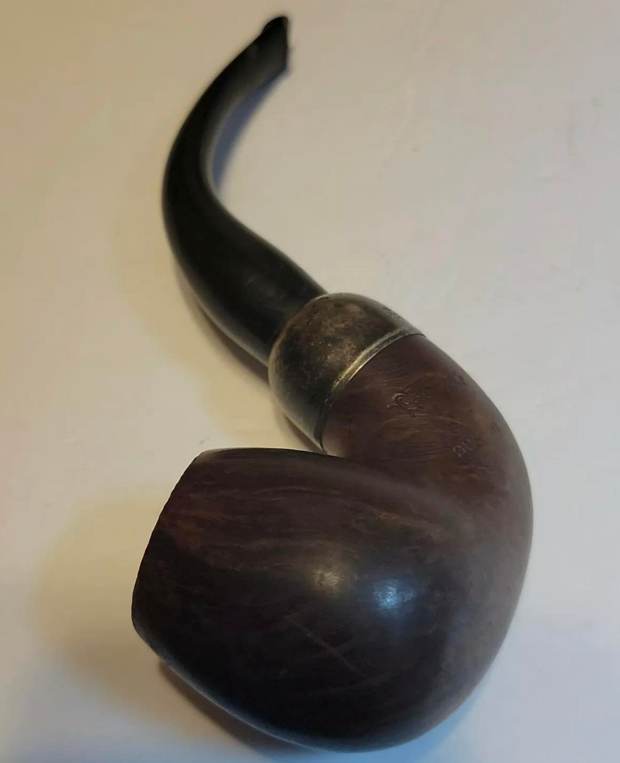
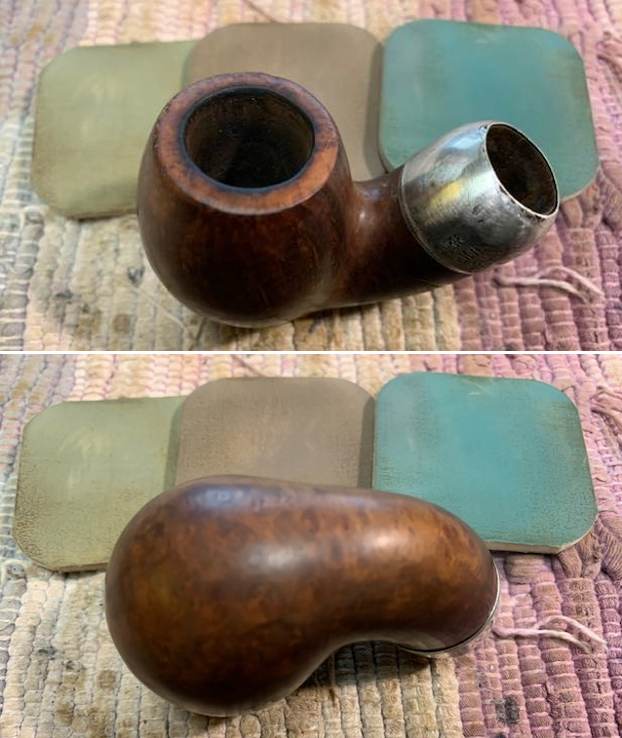
The next pipe is the second of four Peterson’s that came to me for work from a friend of mine. It is another older, nice looking Peterson’s System Pipe that was quite a mess. The finish was worn and dirty. The rim top was lightly damaged, darkened and had a lava build up. The inner edges of the rim were worn but looked okay. The silver ferrule was tarnished but the stamping was readable. The stamping on the shank sides was readable with a lens. It is stamped across the shank horizontally on the left side and reads Peterson’s [over] Patent [over] Dublin. There is no stamping on the right side of the shank. The silver ferrule is stamped K&P [over] three hallmarks -1. Hibernia seated on a throne (represents Ireland) 2. Crowned harp (signifying the quality of the silver) 3. The letter “L” (giving the year of manufacture). All are in square shaped cartouches. Under these it is stamped Peterson’s [arched over] Dublin. I will need to confirm the date stamps and the stamping to confirm the dating of the pipe. There appears to be a split in the silver ferrule under the tarnish on the right top side. The stem is also stamped and reads Peterson’s arched over Patent. I have included the pictures of the pipe that my friend sent to me early on in our conversation.
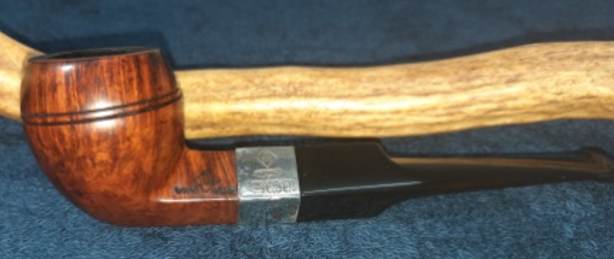
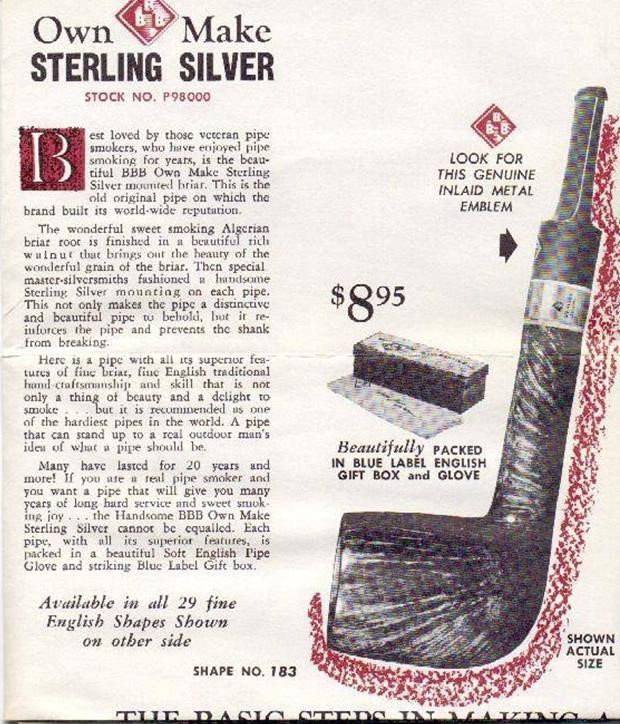
 My friend also sent along a page out of the 1906 Peterson catalog that one of his friends has a copy of. I have included the photo below. His pipe is the second one down in the photo below. It is a shape 14.
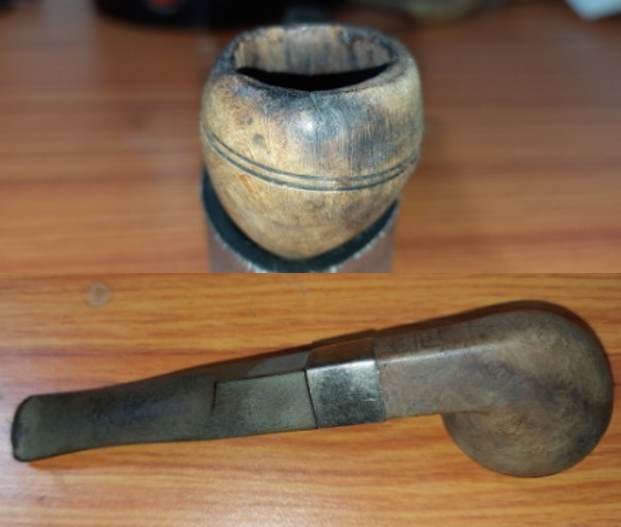
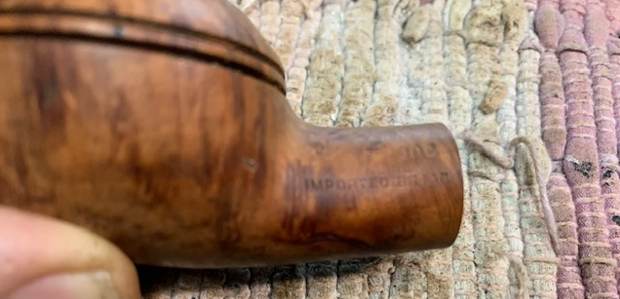
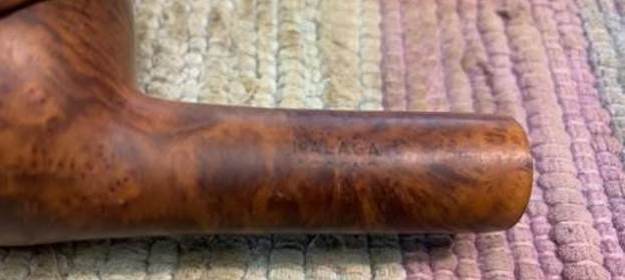
  He also included a photo of the stamping on the shank and the silver ferrule. It reads as noted above. The ferrule has turned downward over time.
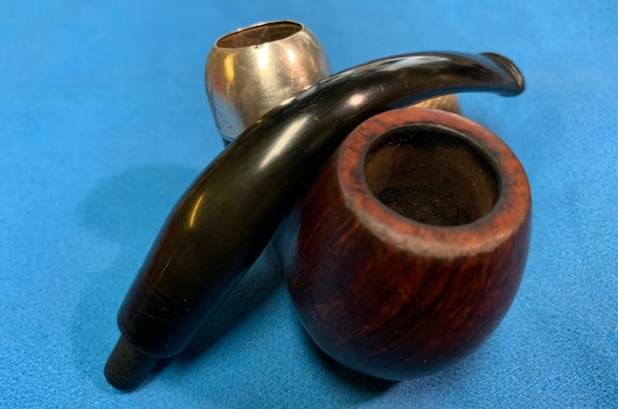
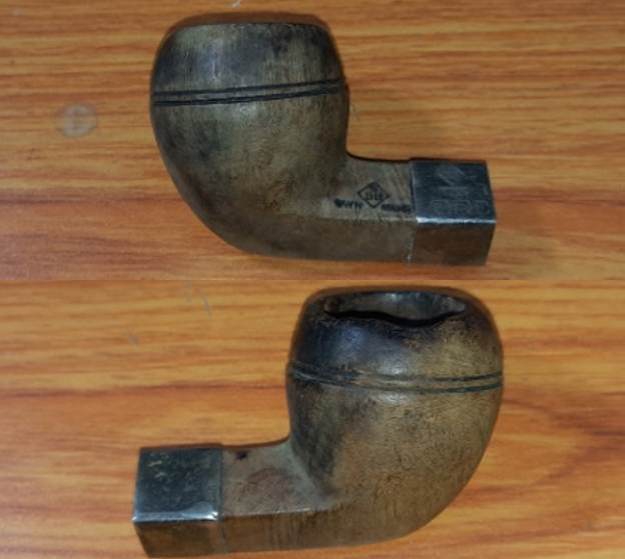
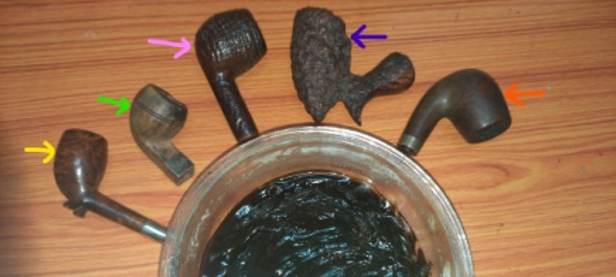
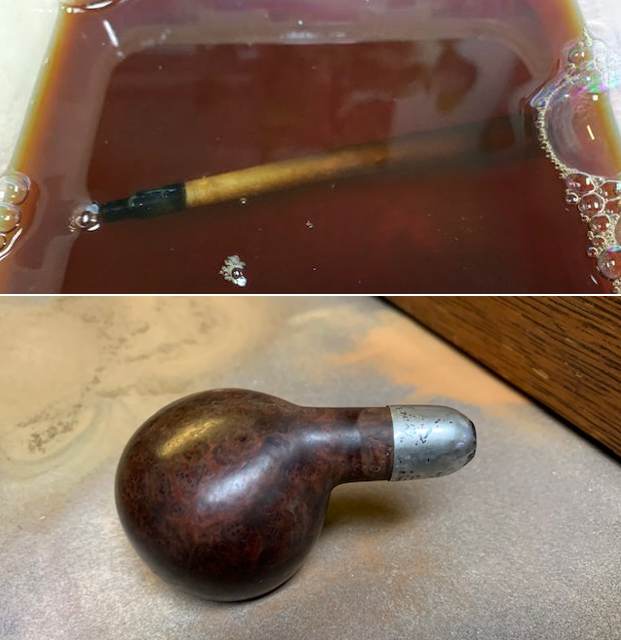
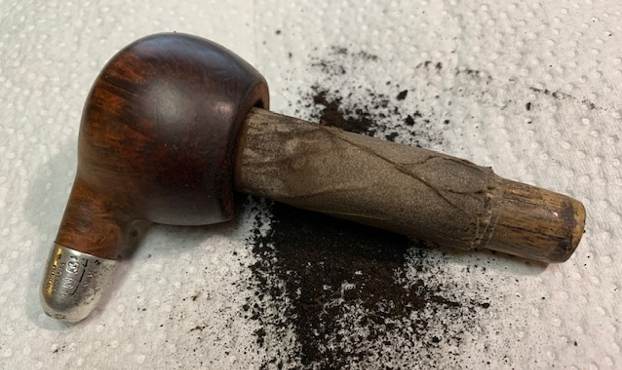
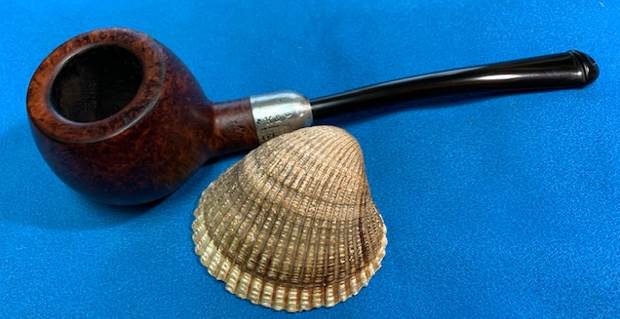
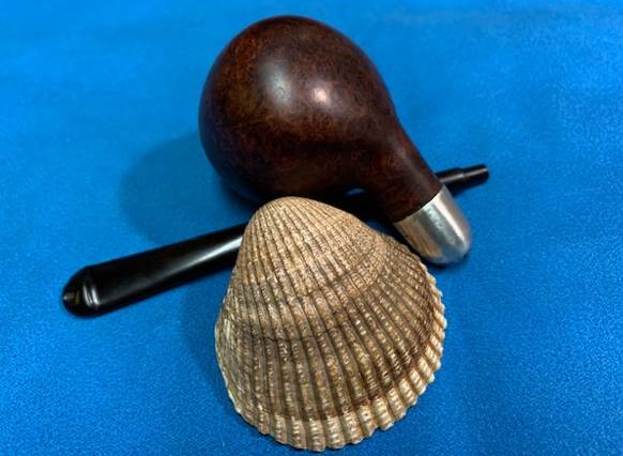
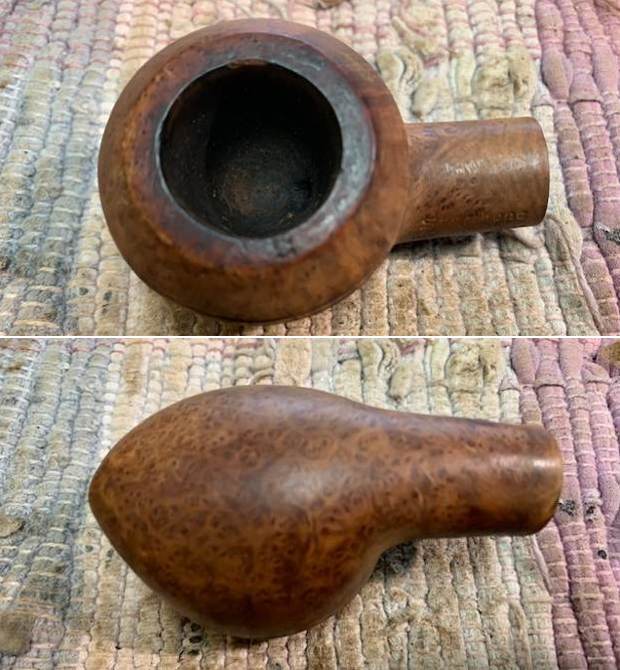
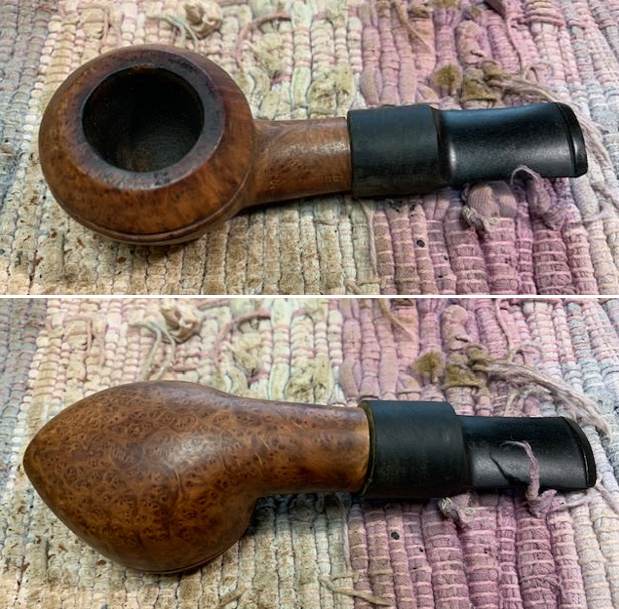
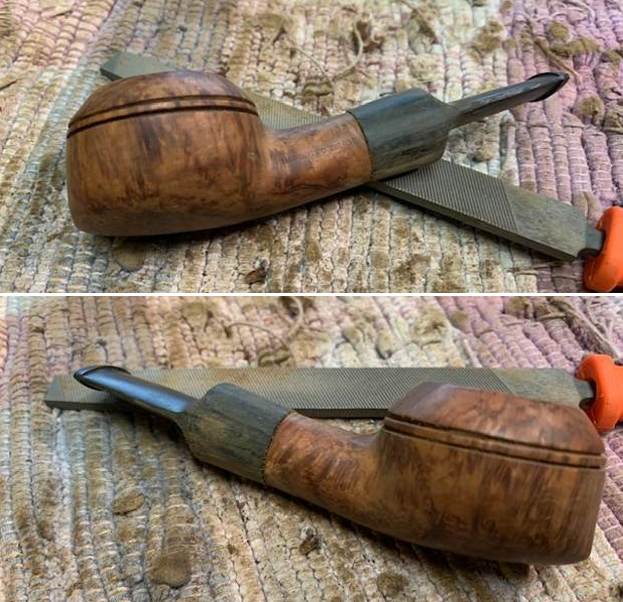
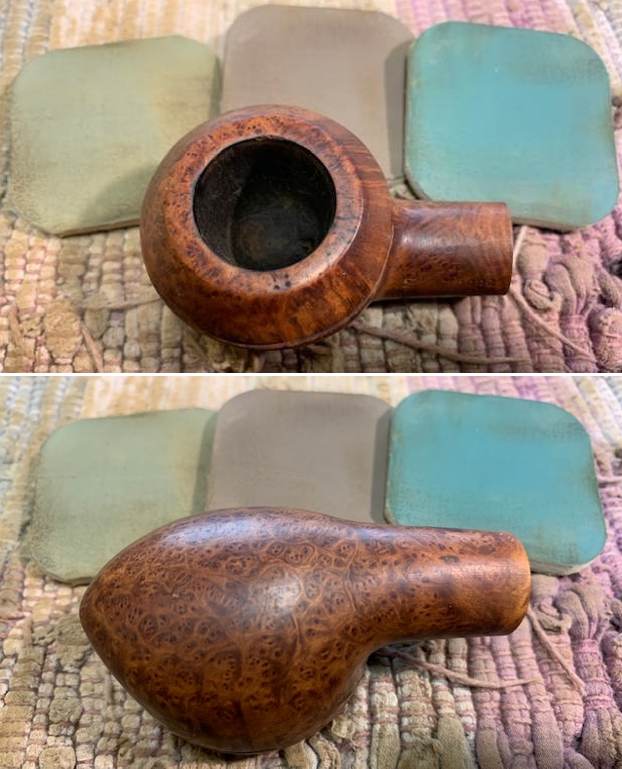
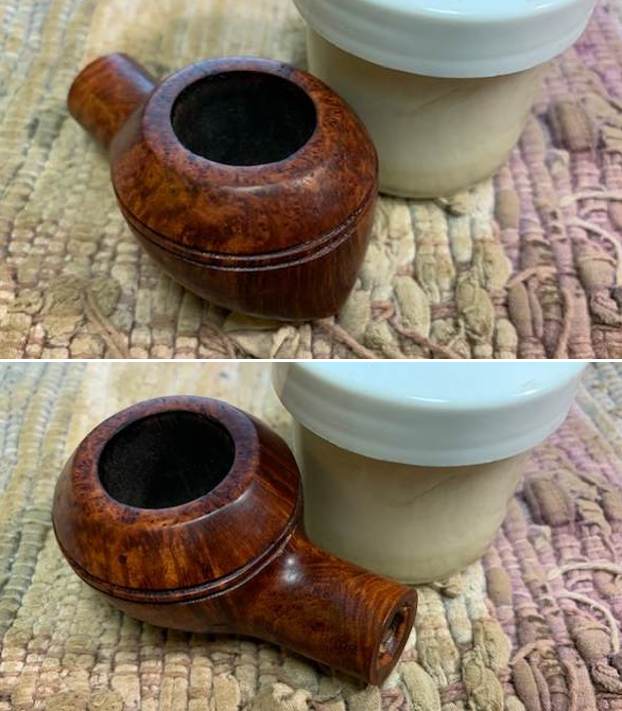
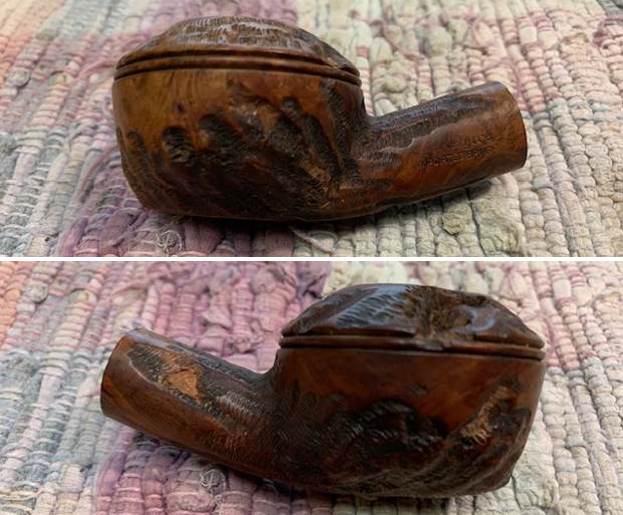
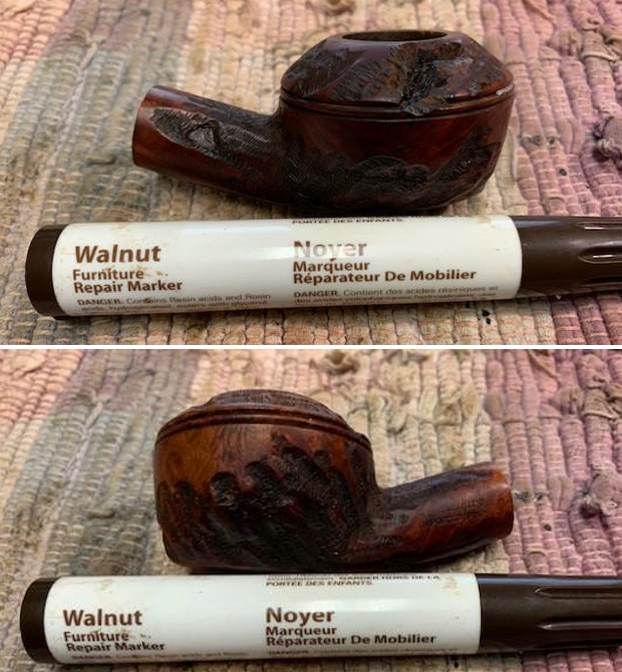
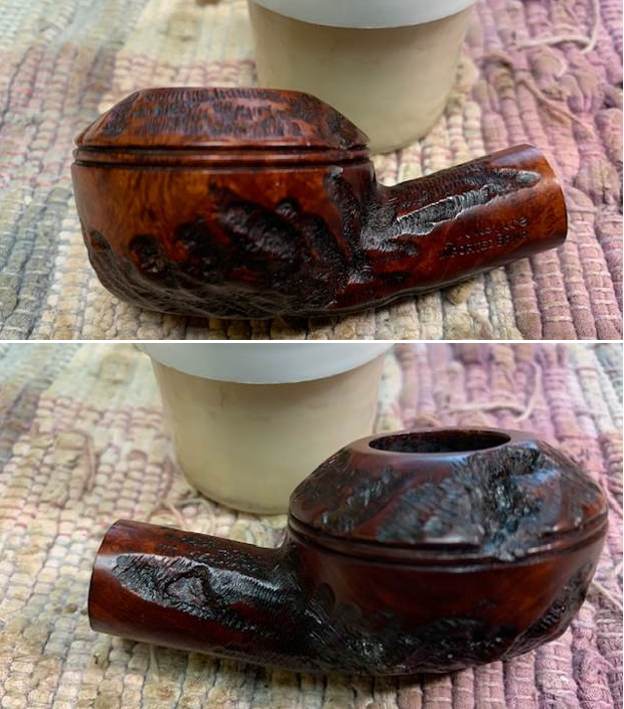
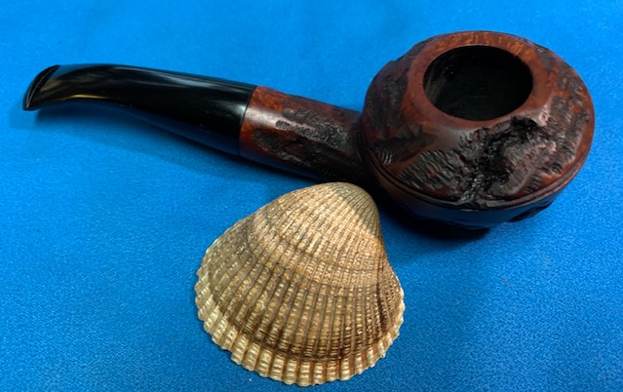
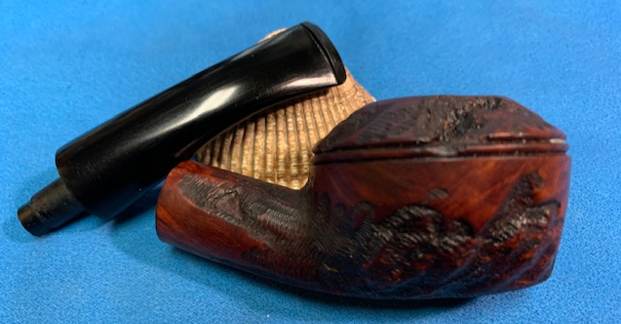
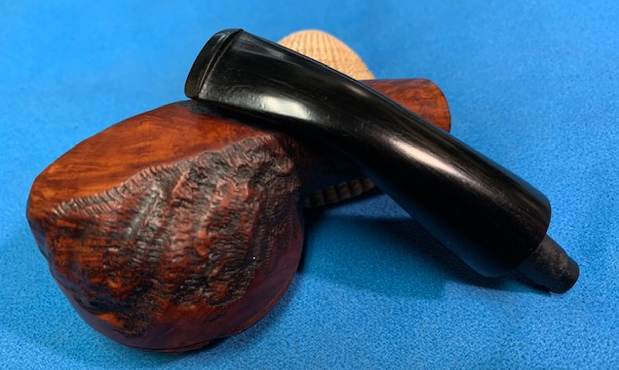
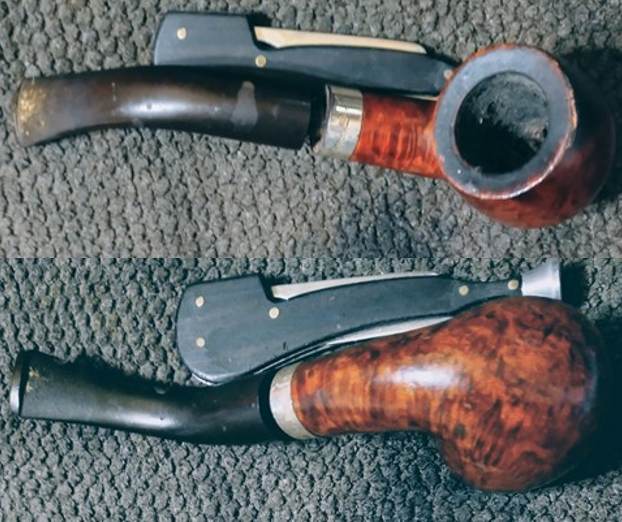
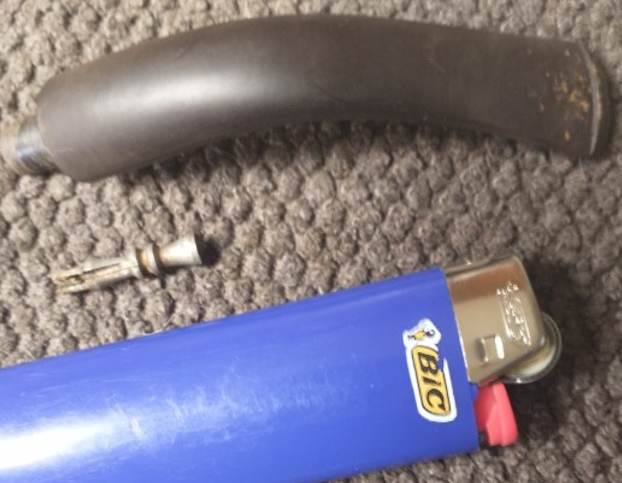
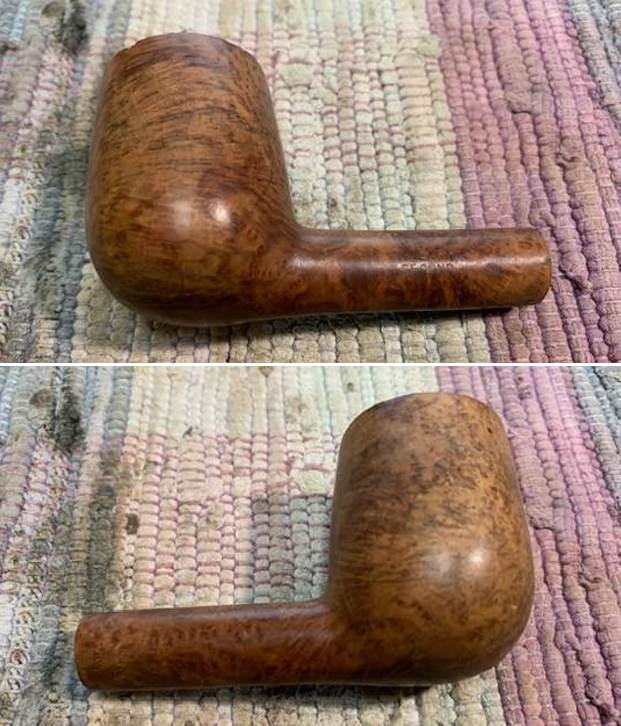
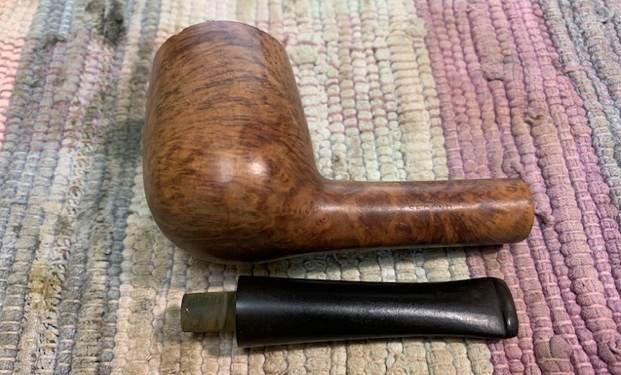
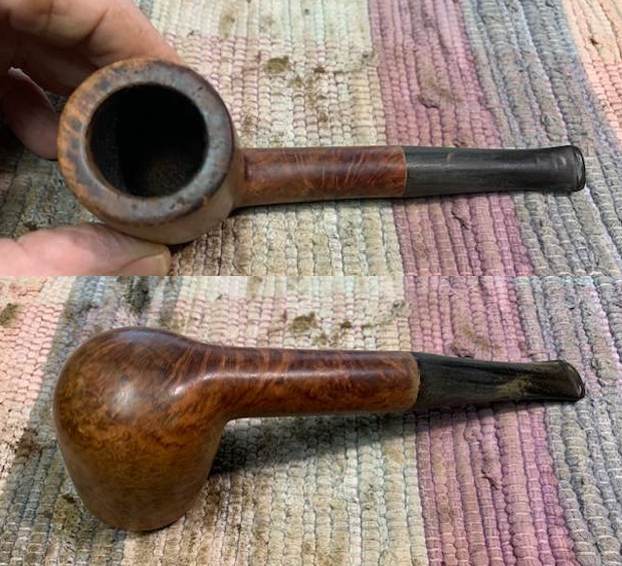
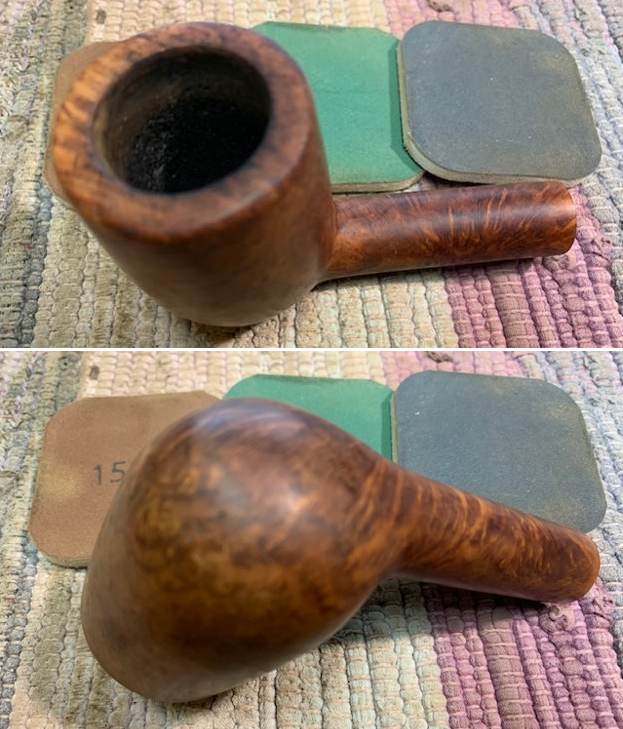
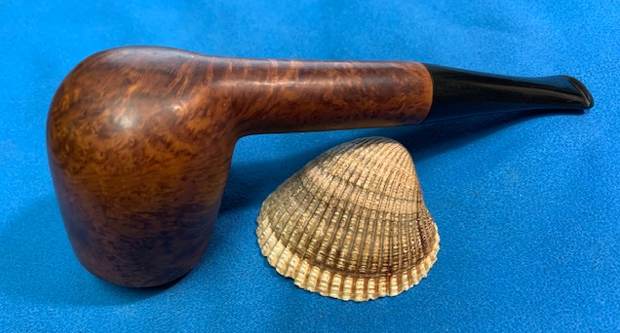
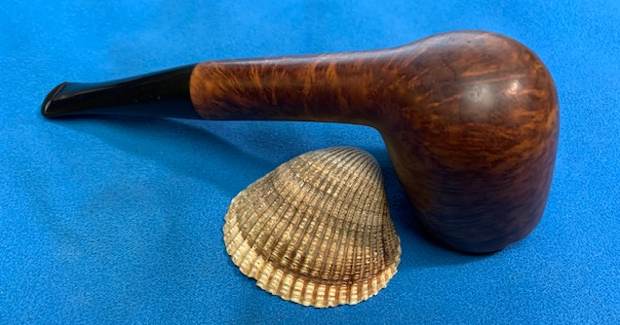
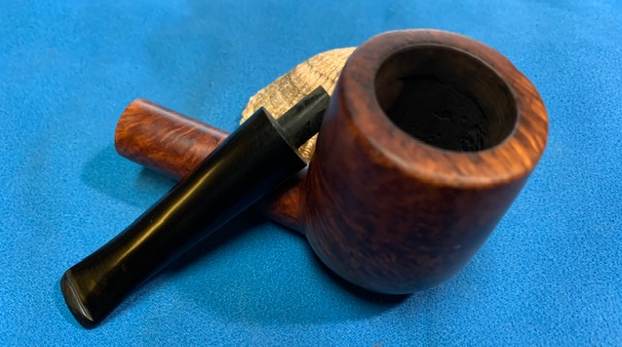
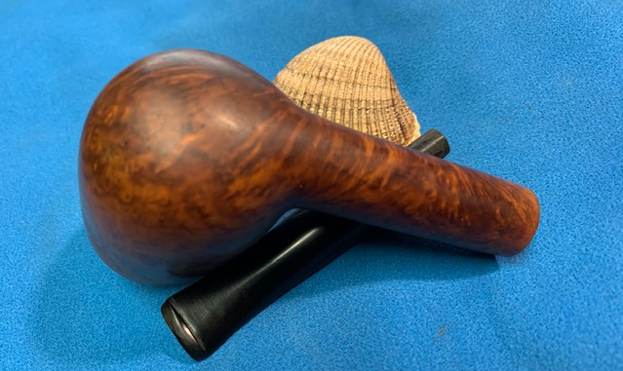
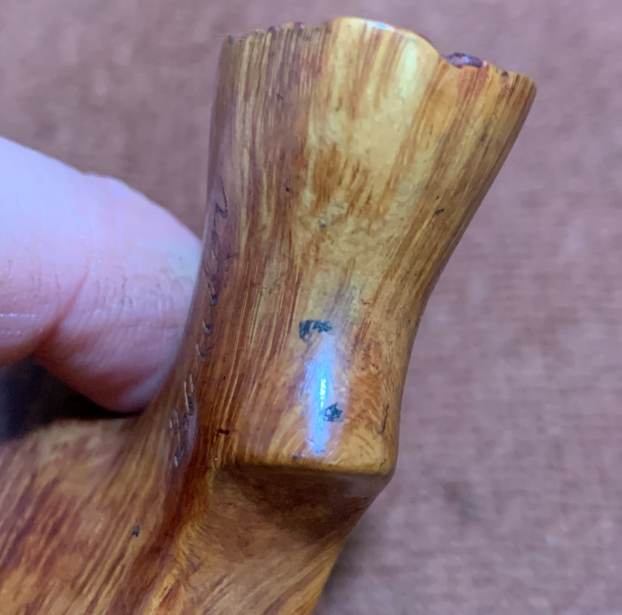
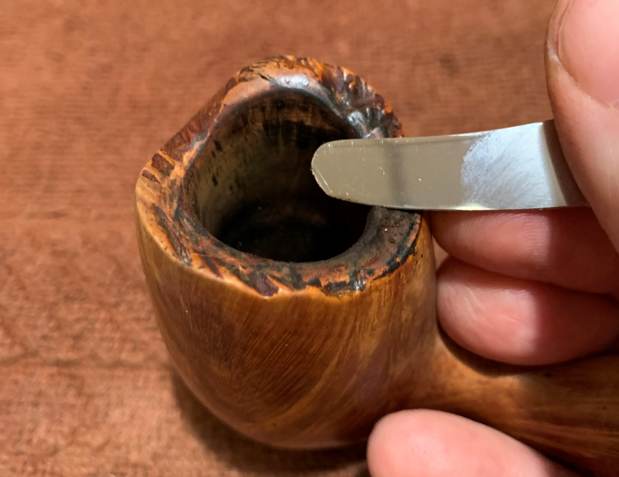
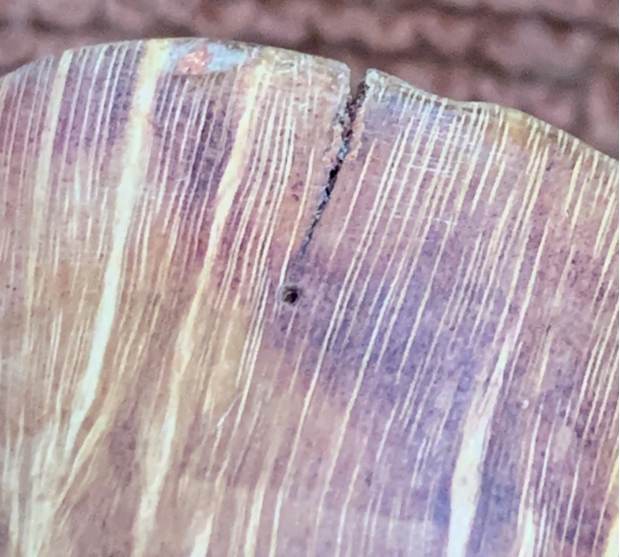
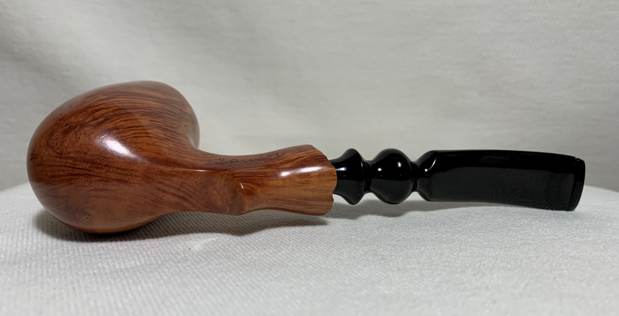
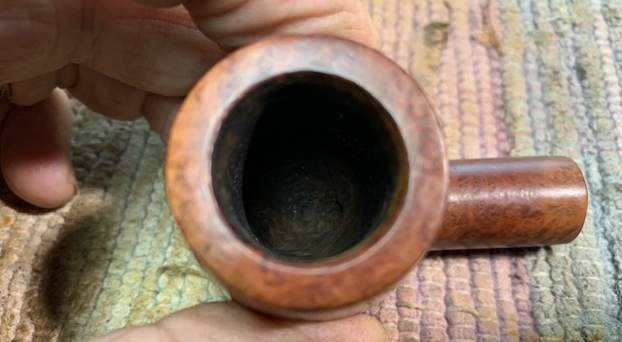
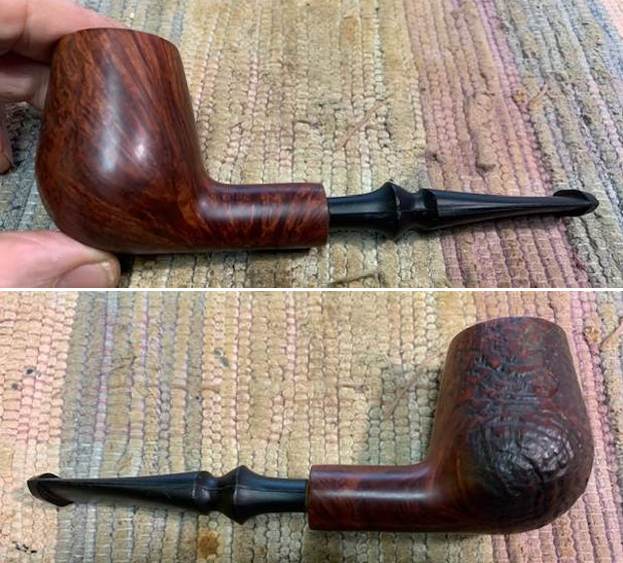
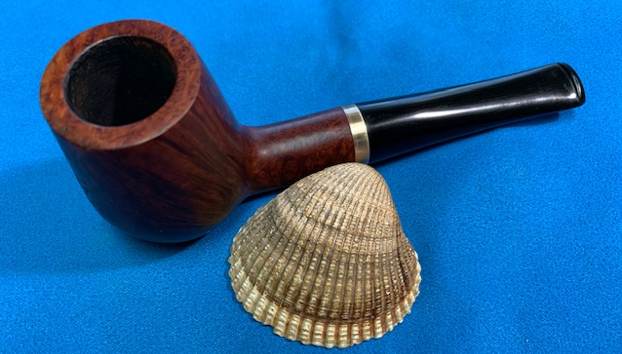
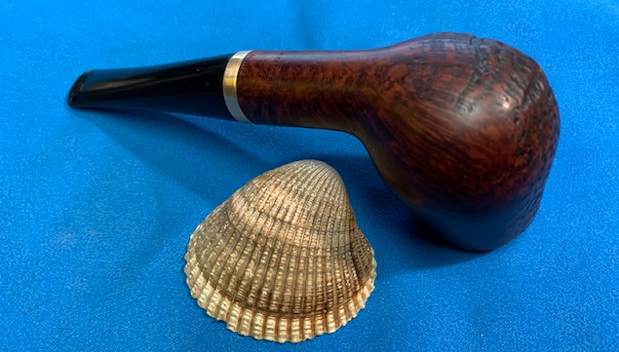
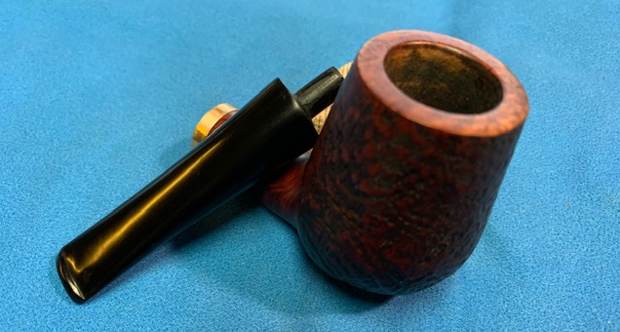
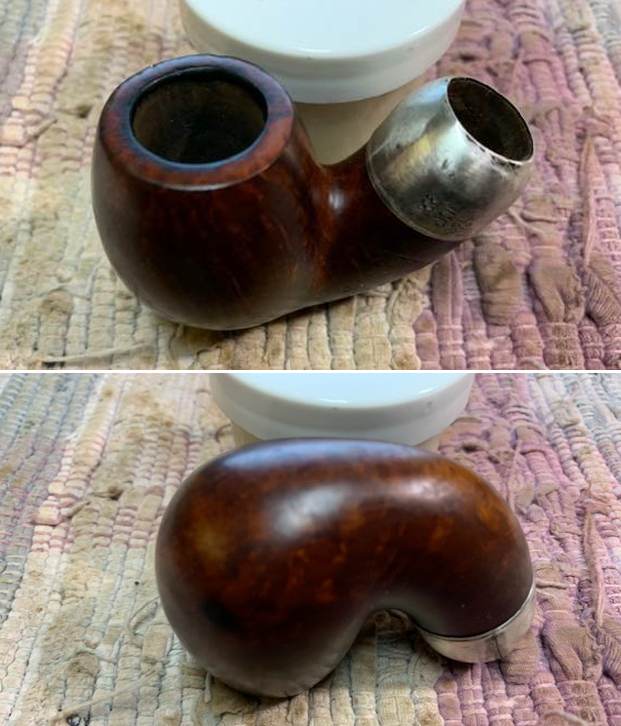
 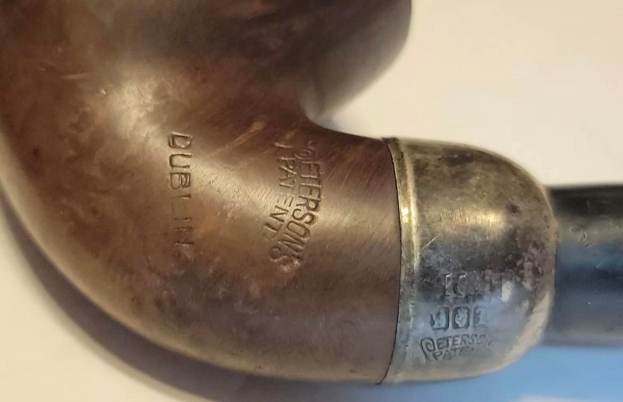 It took nearly a month for the pipes to arrive in Canada for me to work on. I took photos of them to have an idea of what I was dealing with. You can see from the photos what I saw. The finish is really worn and dirty almost obscuring the amazing grain that is on the bowl sides. Rim top showed darkening as noted above and there were cuts or marks on the top of the rim. The inner edge and outer edge of the bowl was in surprising good shape. There was a build up of lava on the rim top and a thick cake in the bowl. The airway in mortise is very constricted and clogged and will need to be opened once again. The silver ferrule had a split on the top right side but it did not go from top to bottom It was very tarnished but readable. The original style patent stem is present and in remarkable good condition. There were light tooth marks and a lite calcification at ahead of the button on both sides.
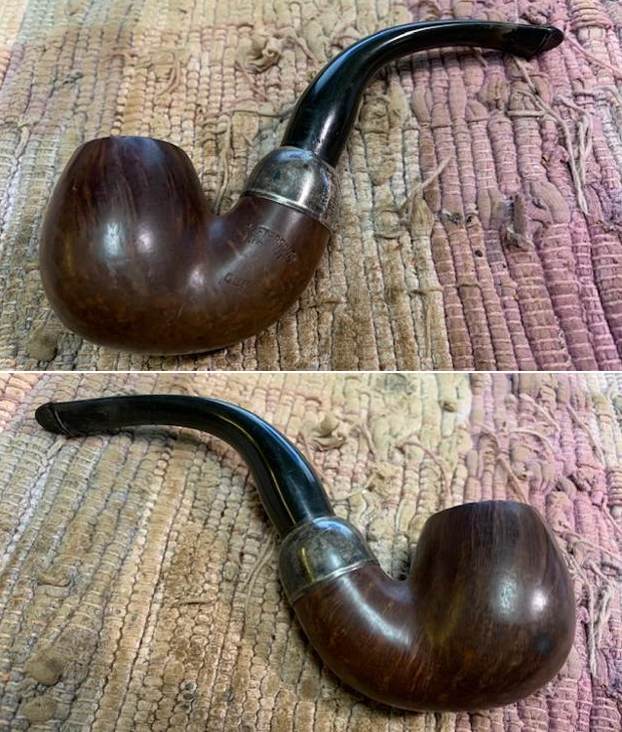
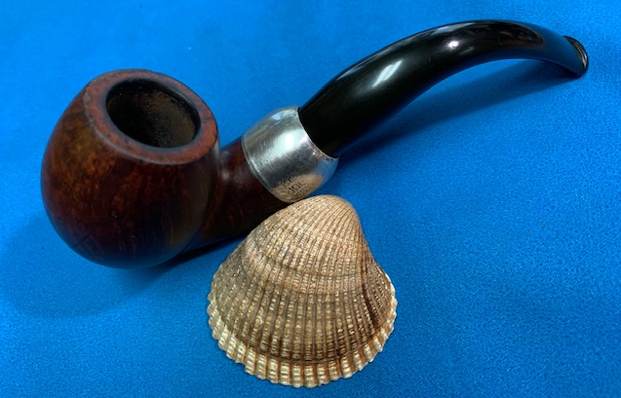
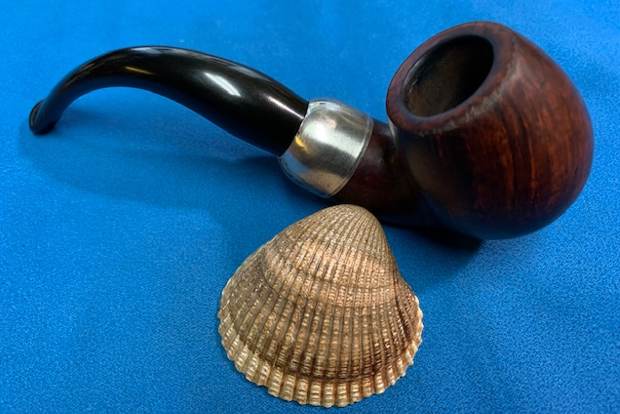
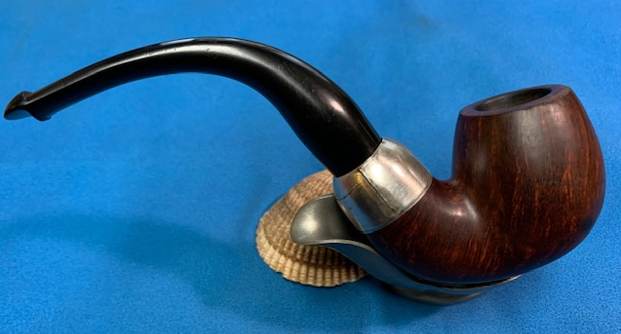
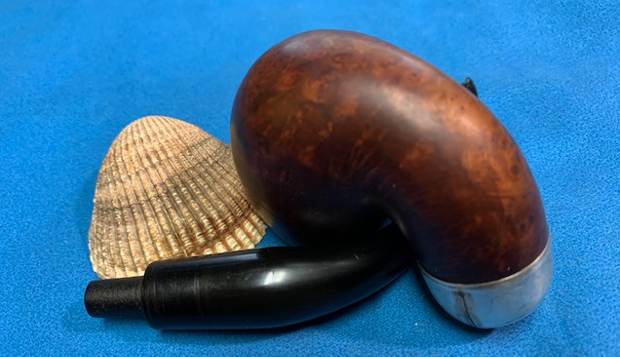
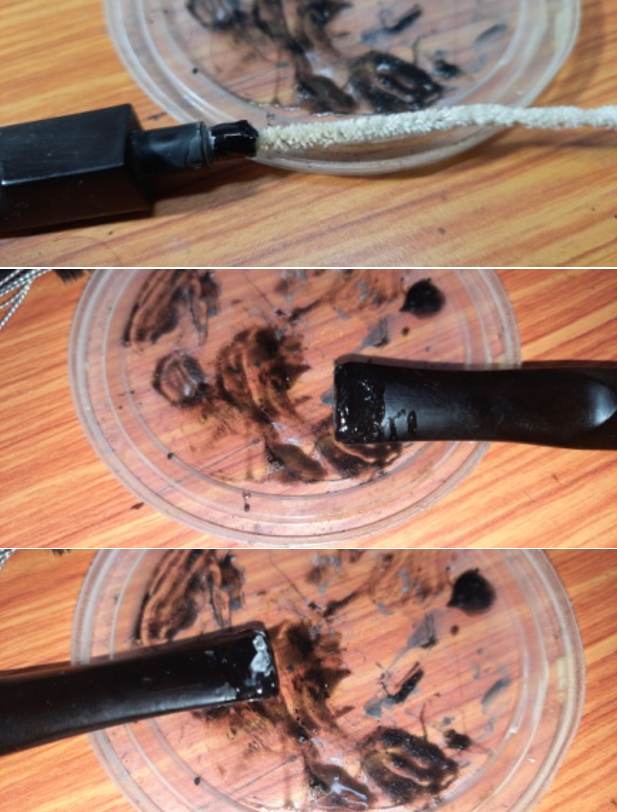
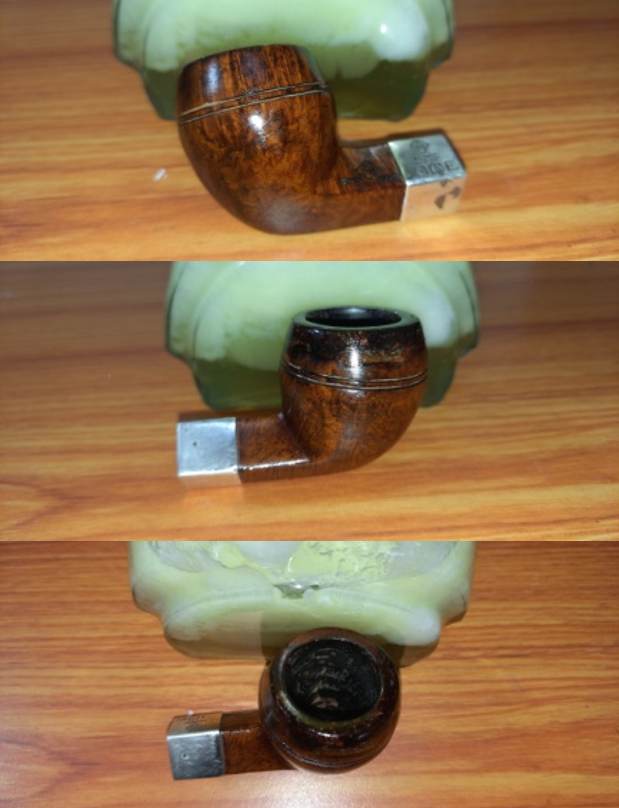
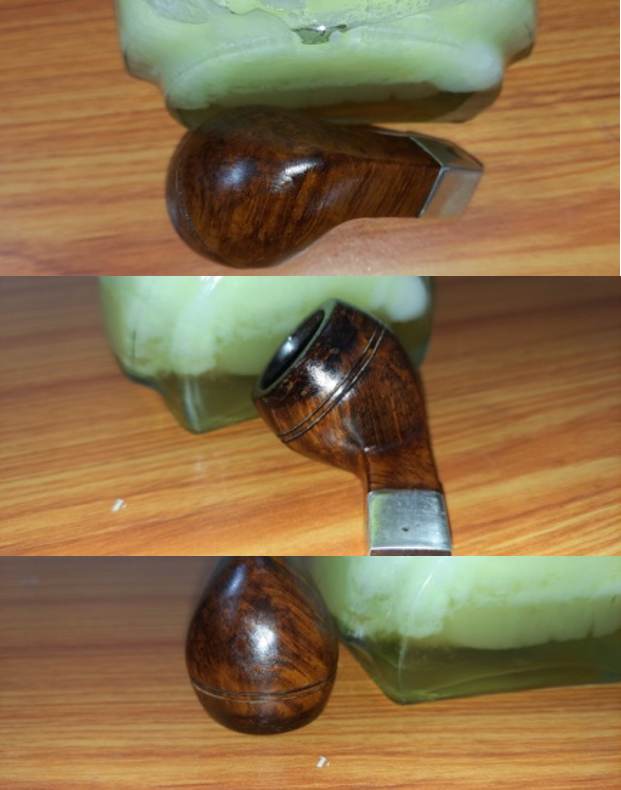
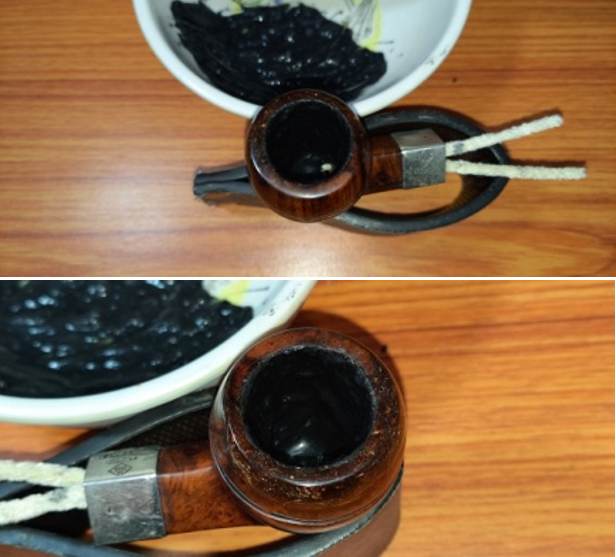
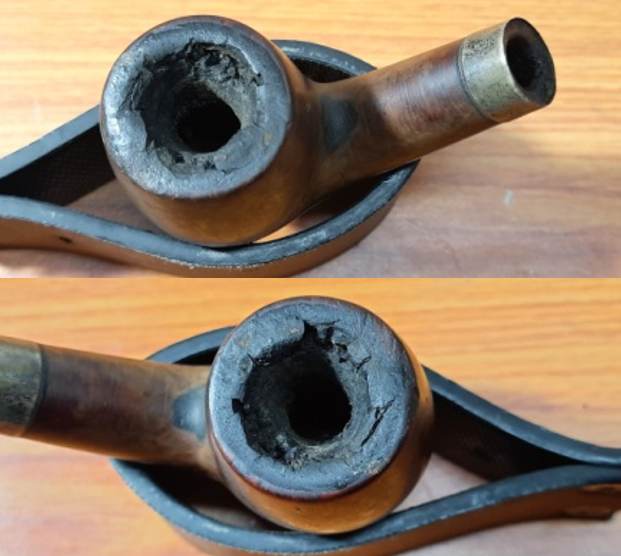
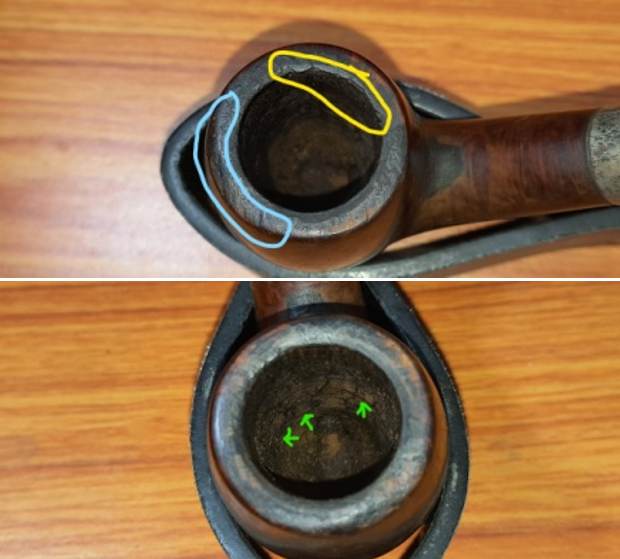
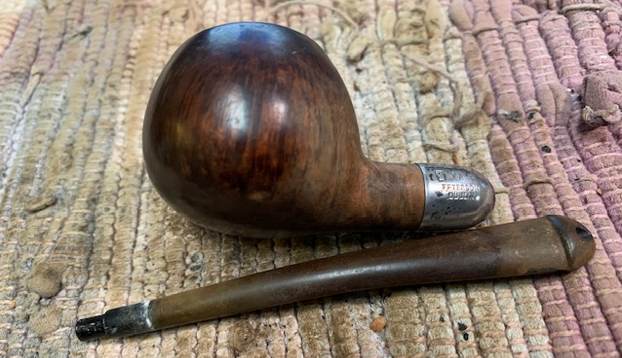
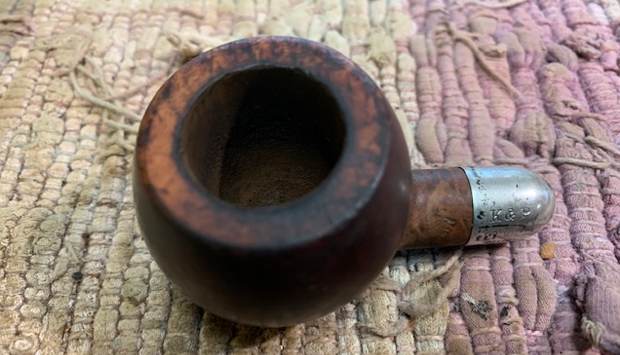
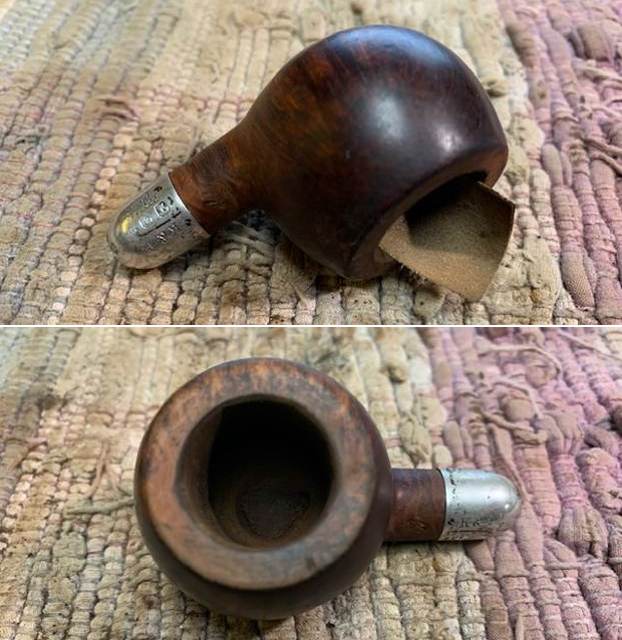
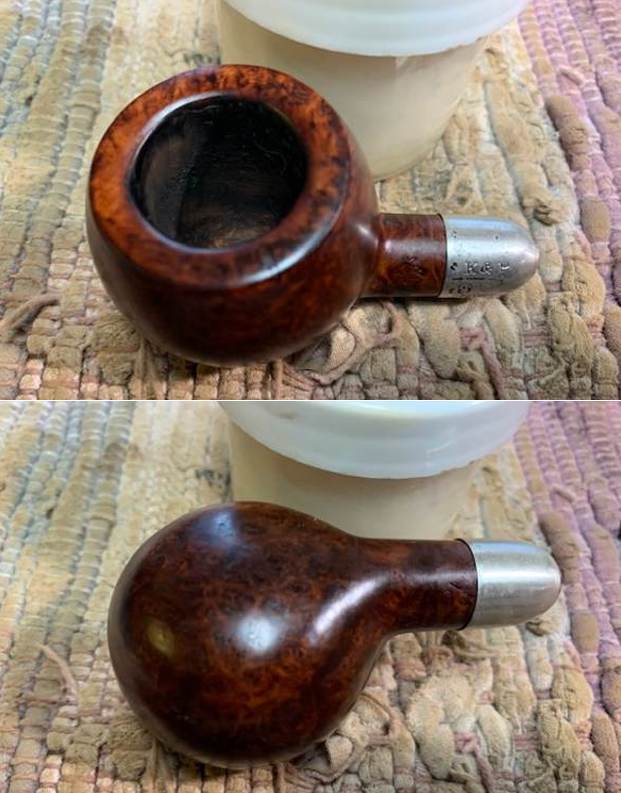
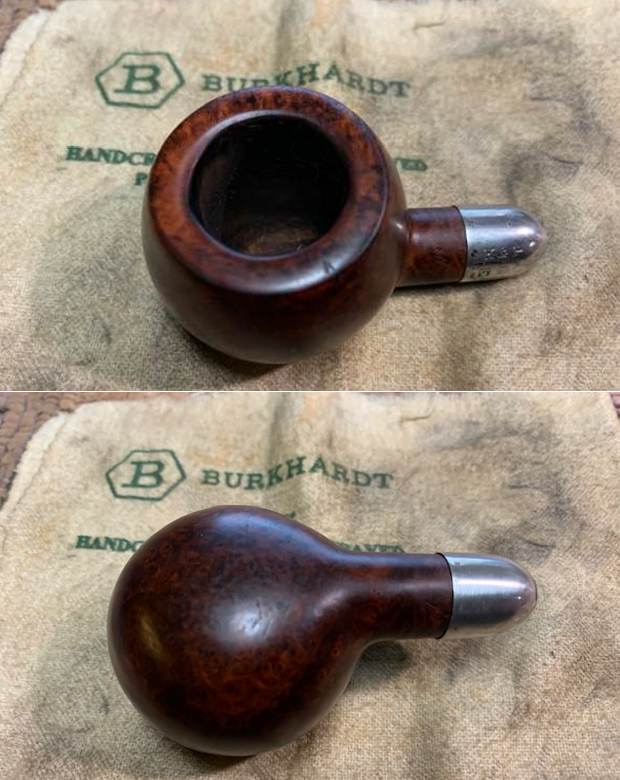
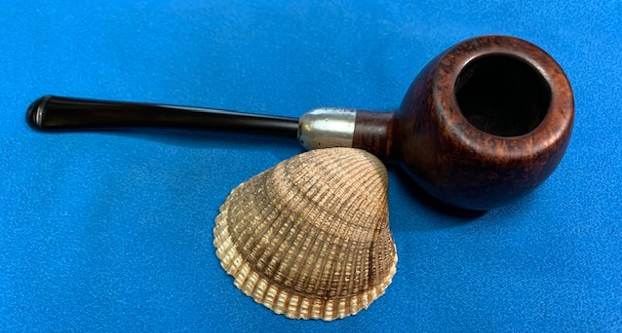
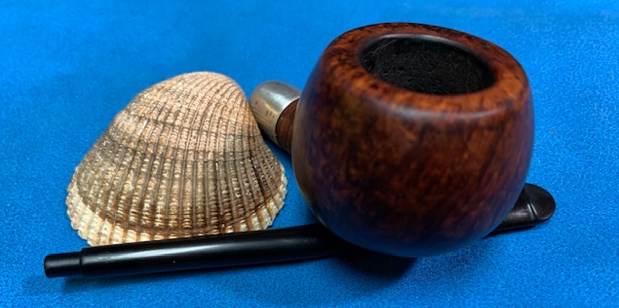
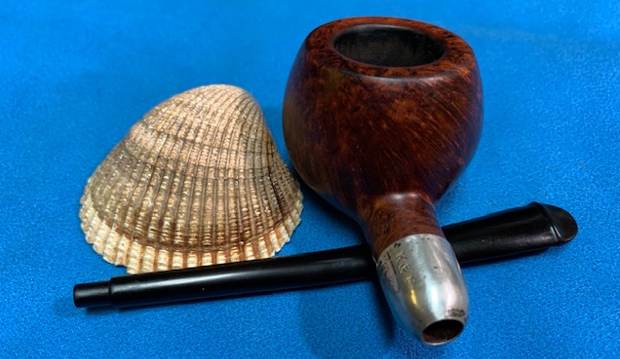
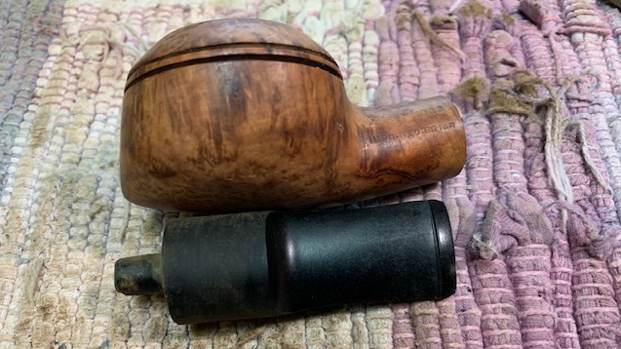
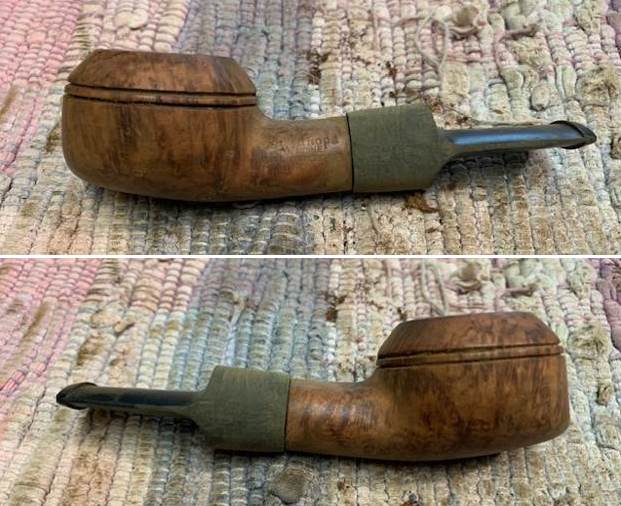
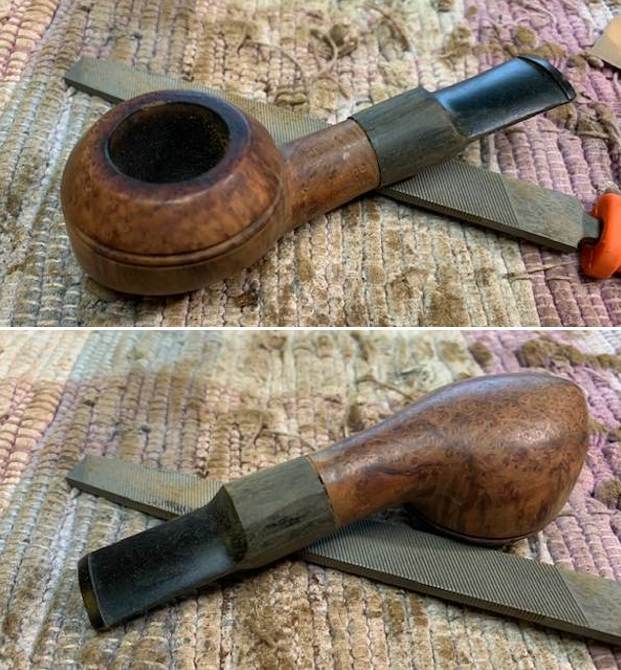
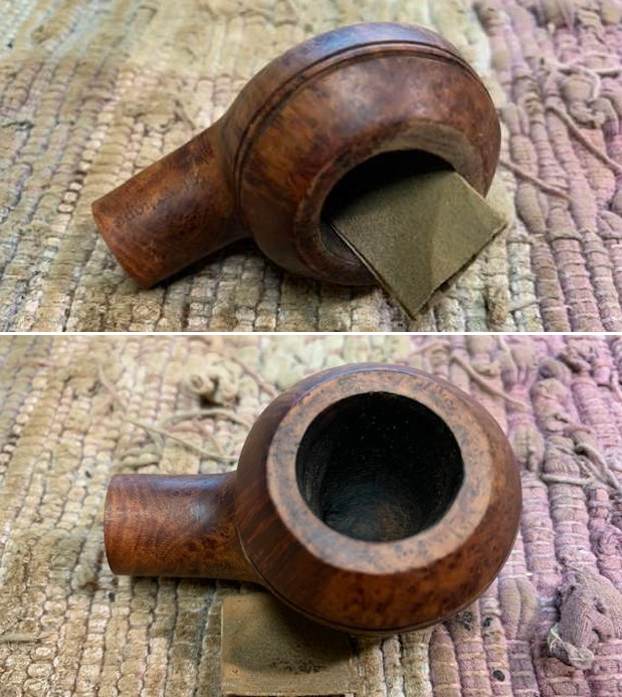
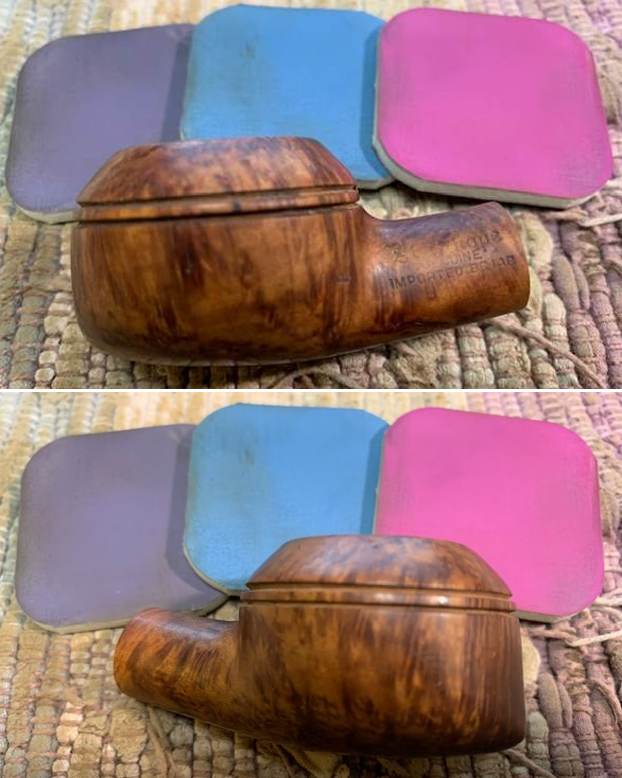
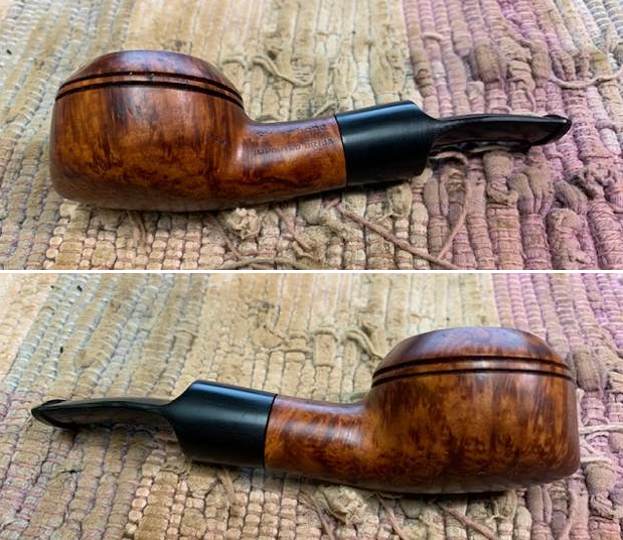
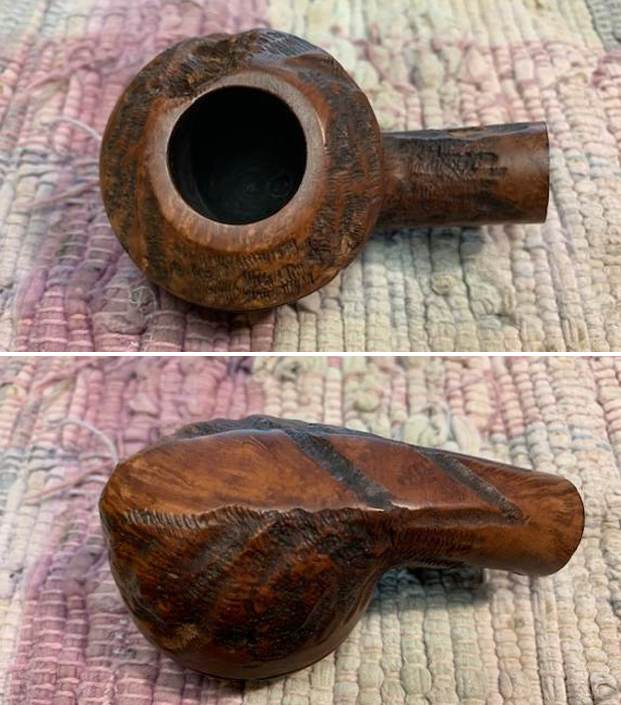
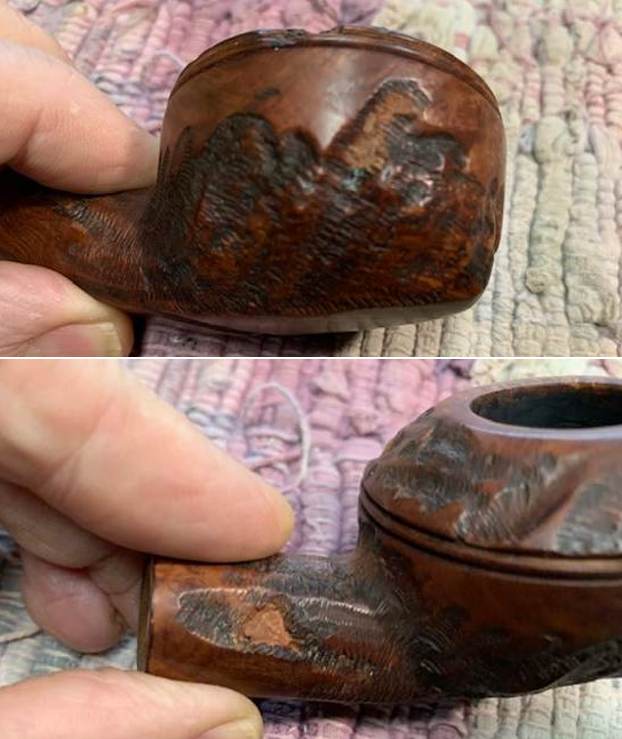
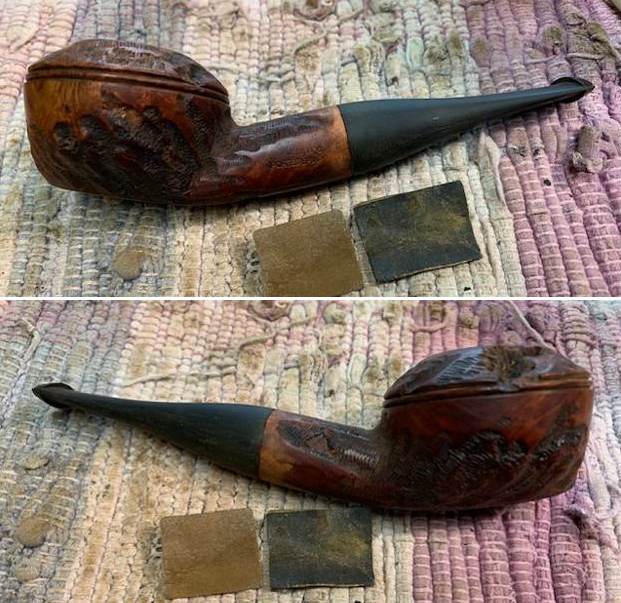
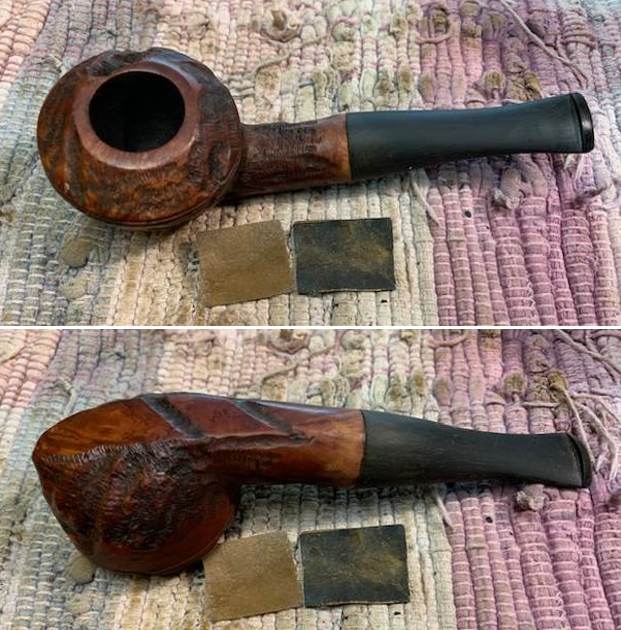
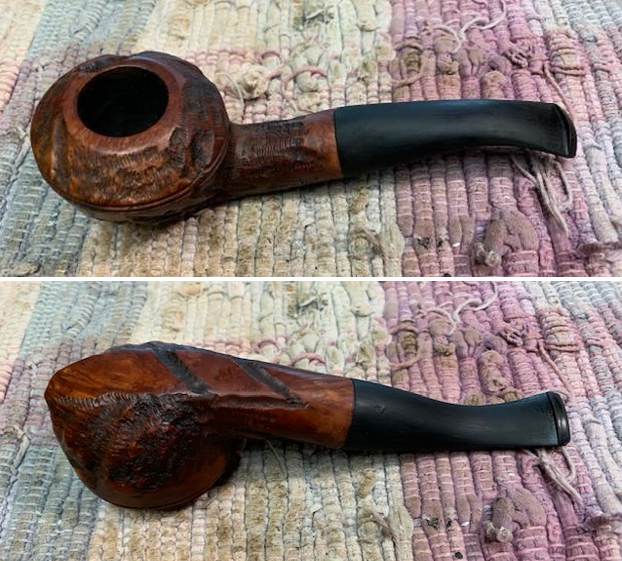
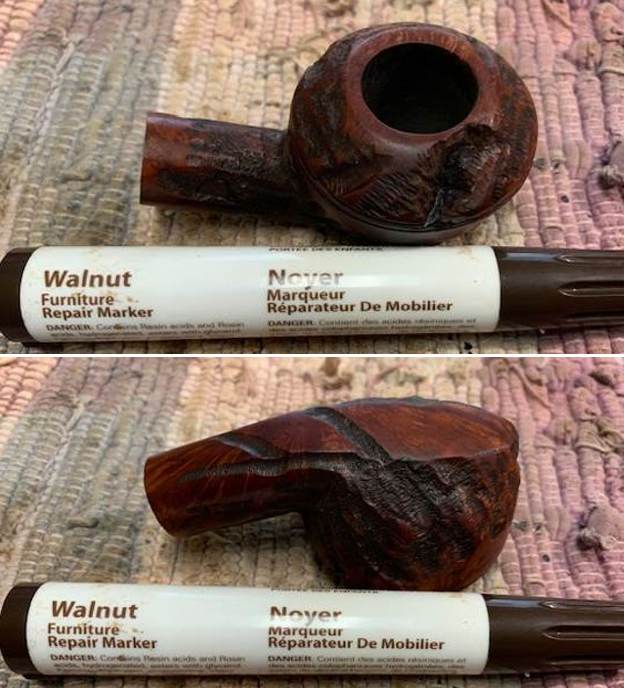
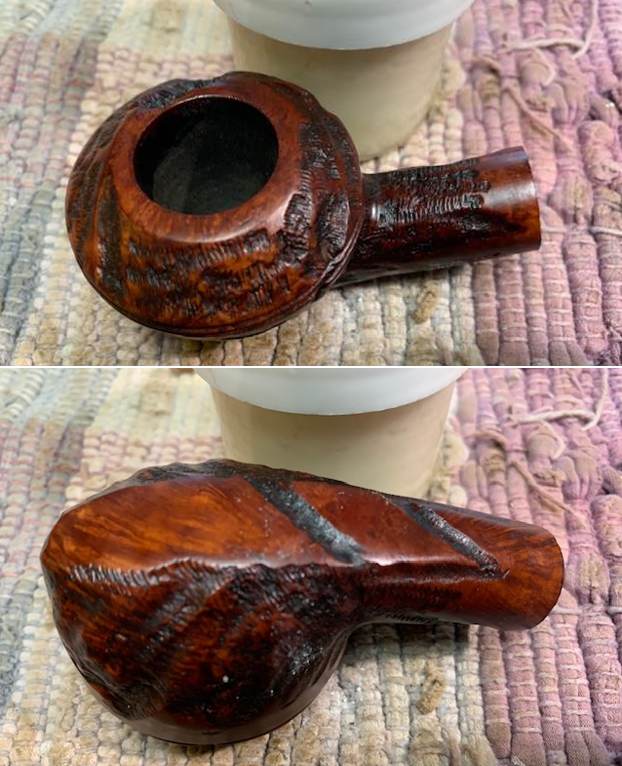
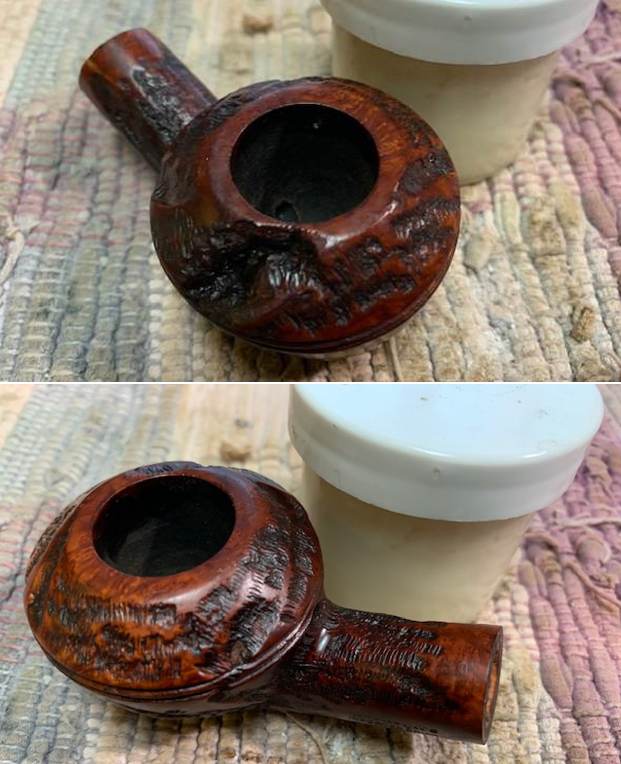
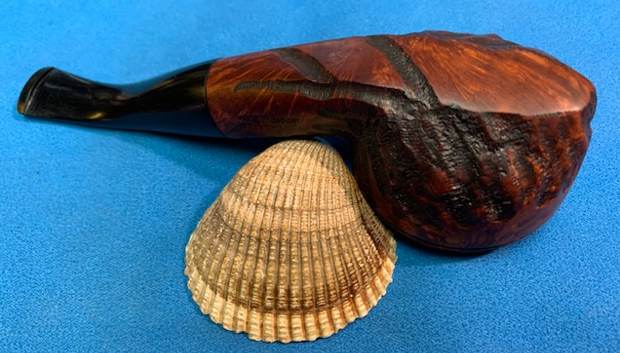
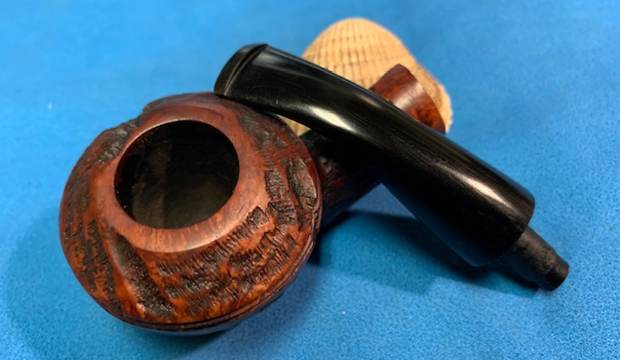
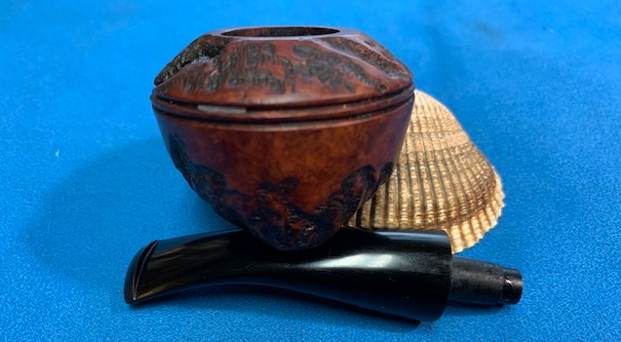
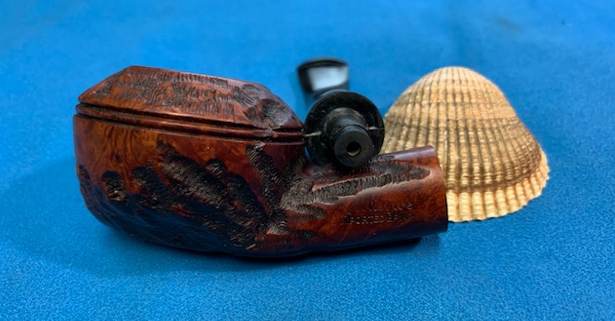
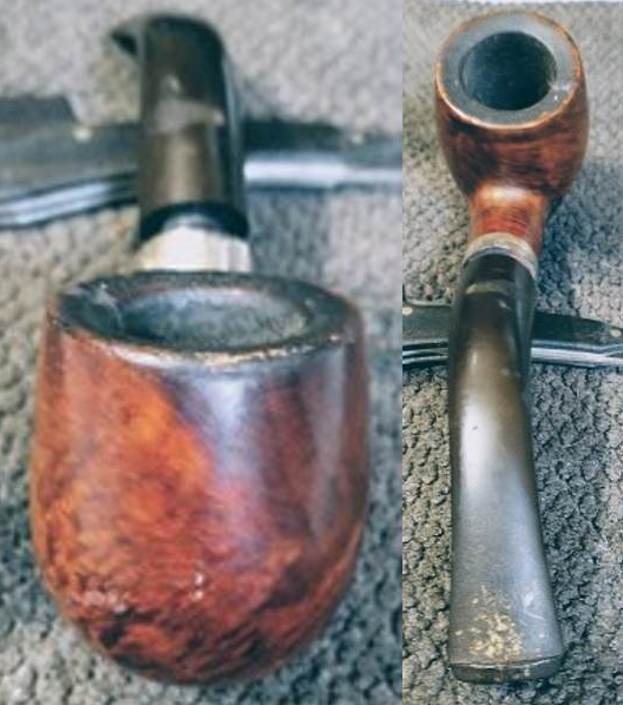
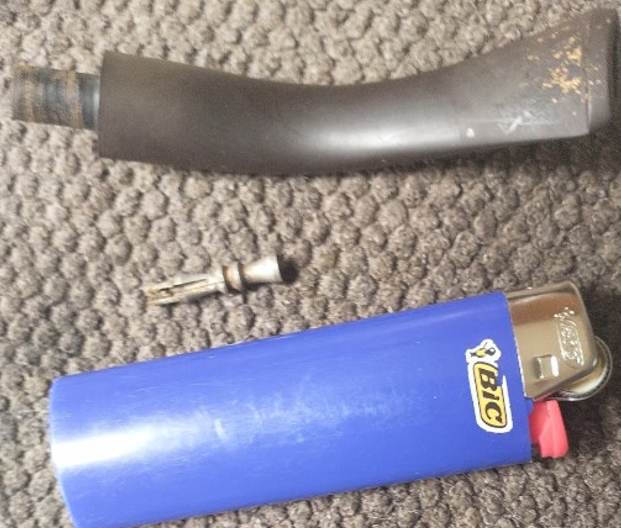
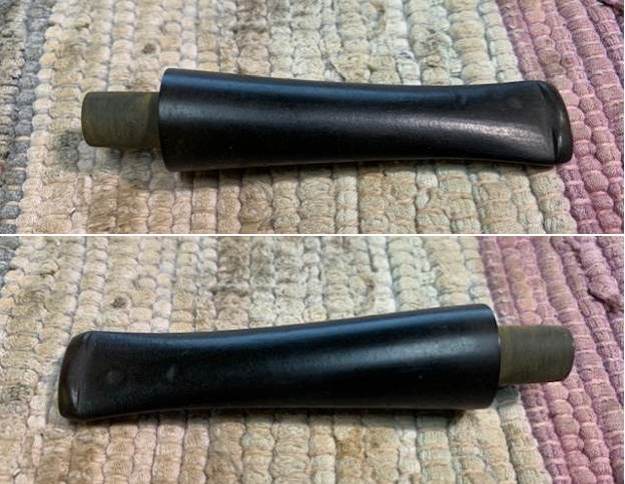
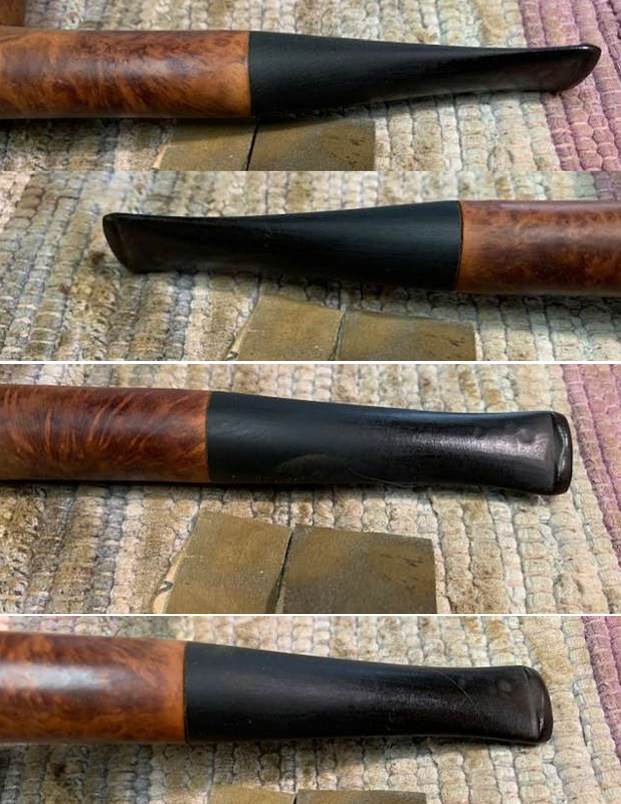
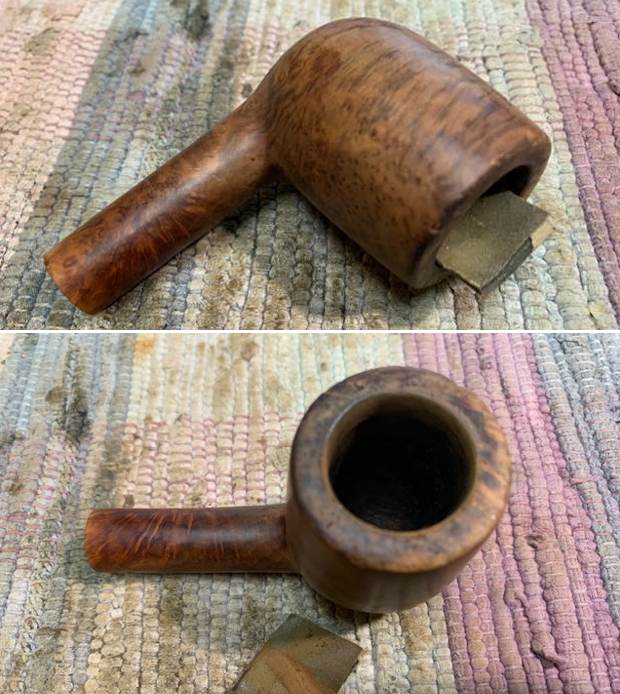
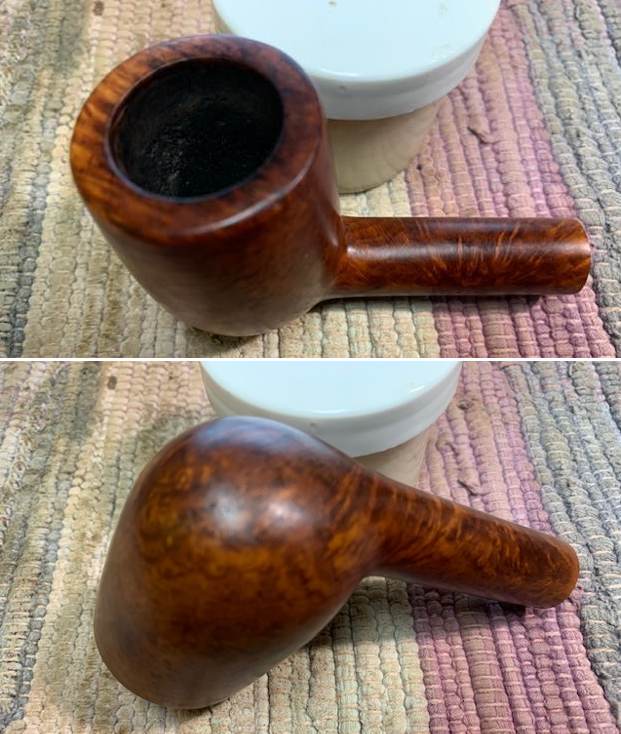
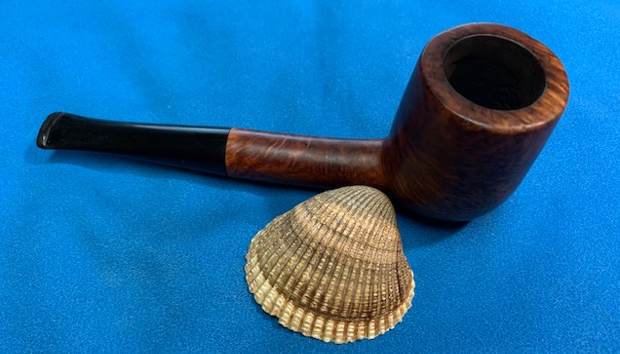
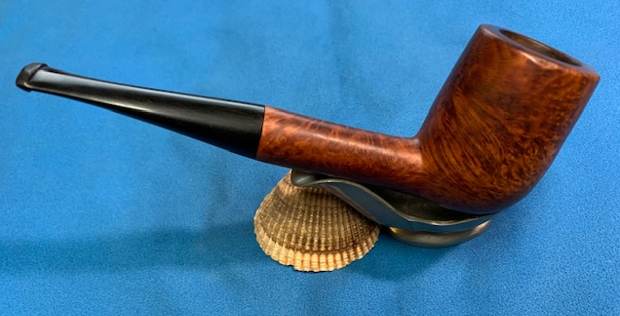
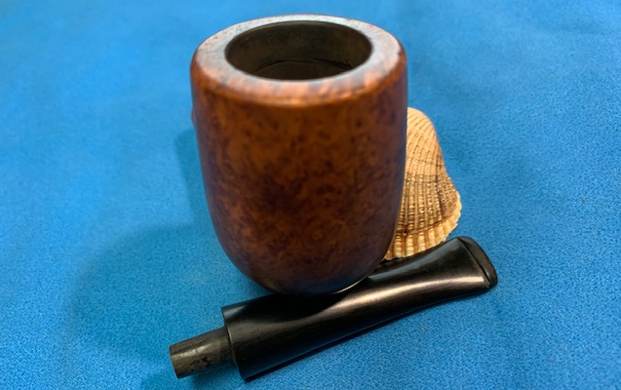
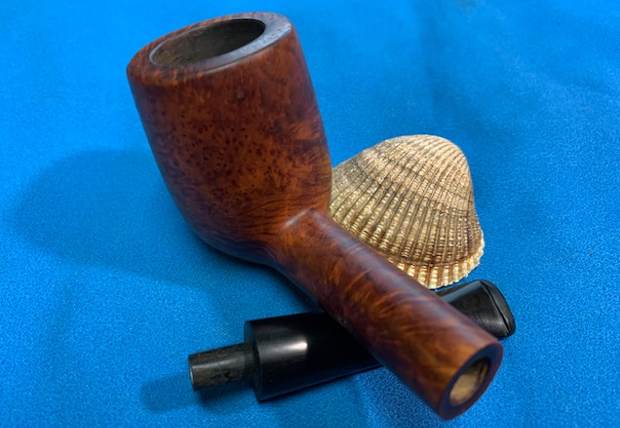
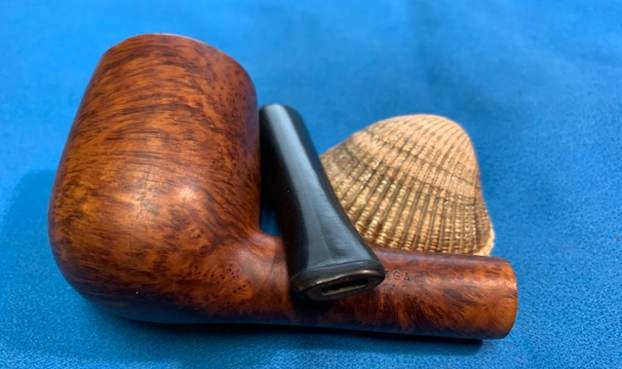
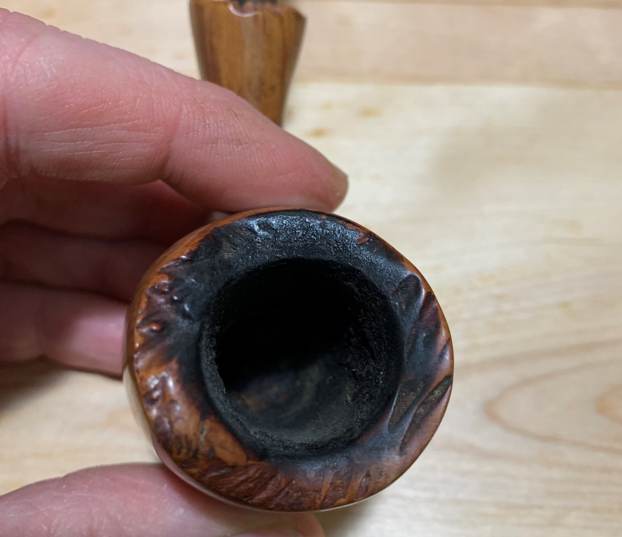
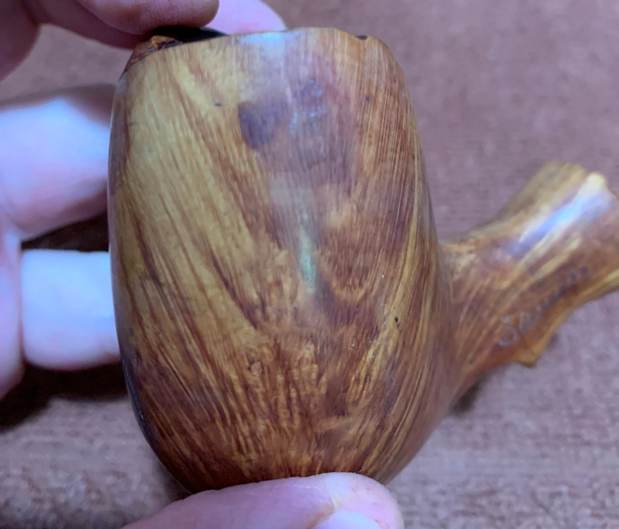
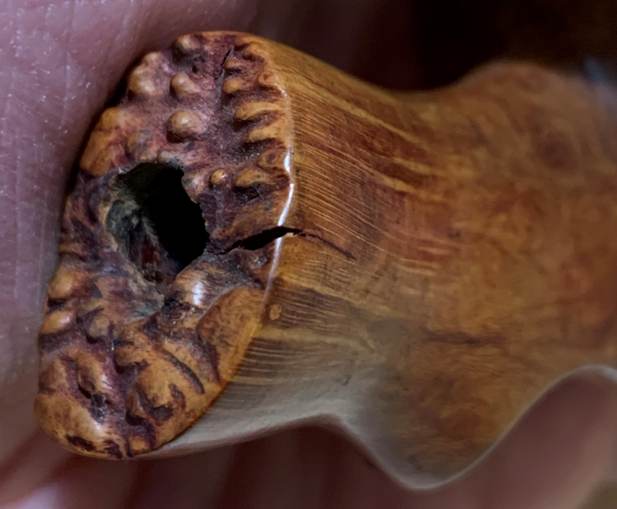
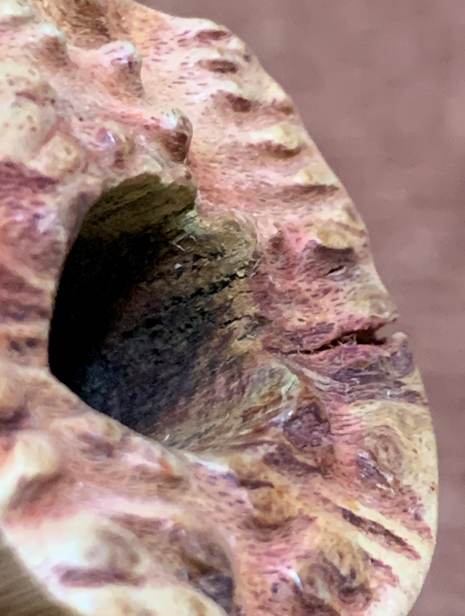
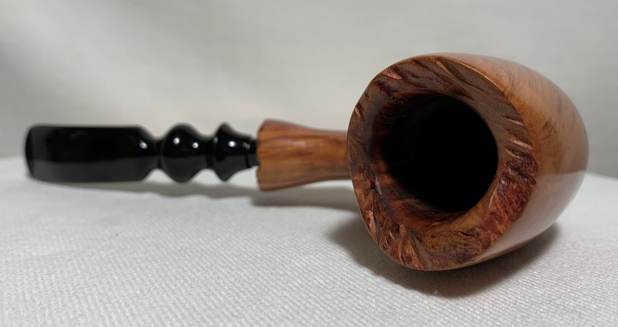
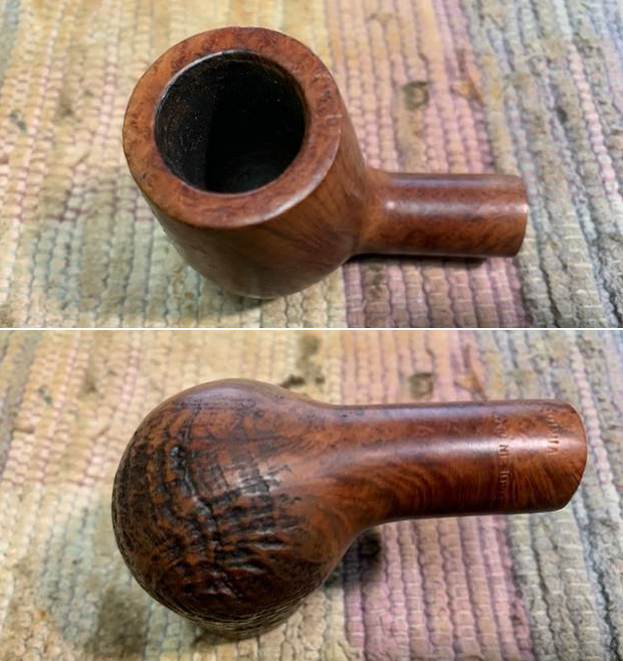
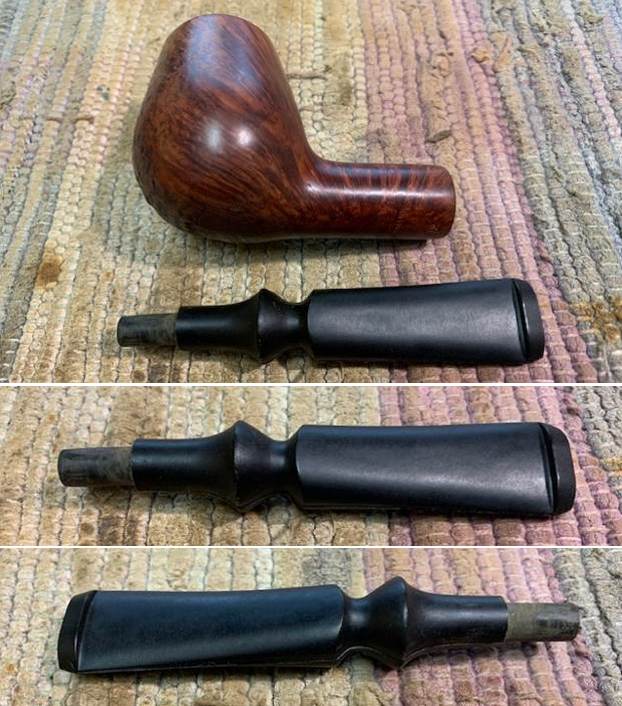
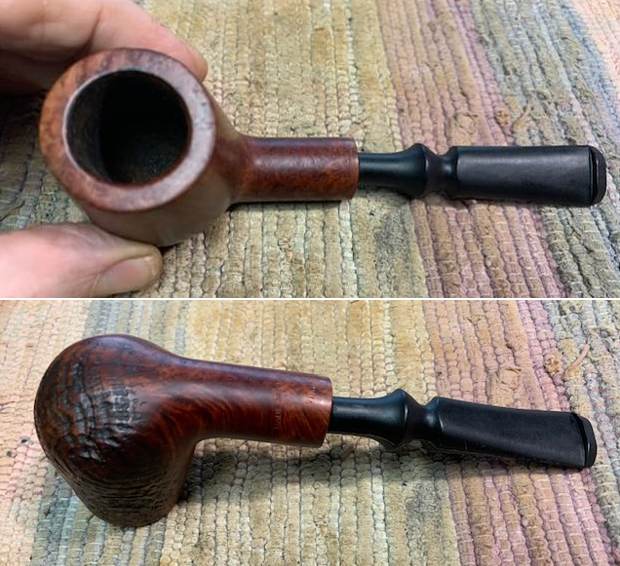
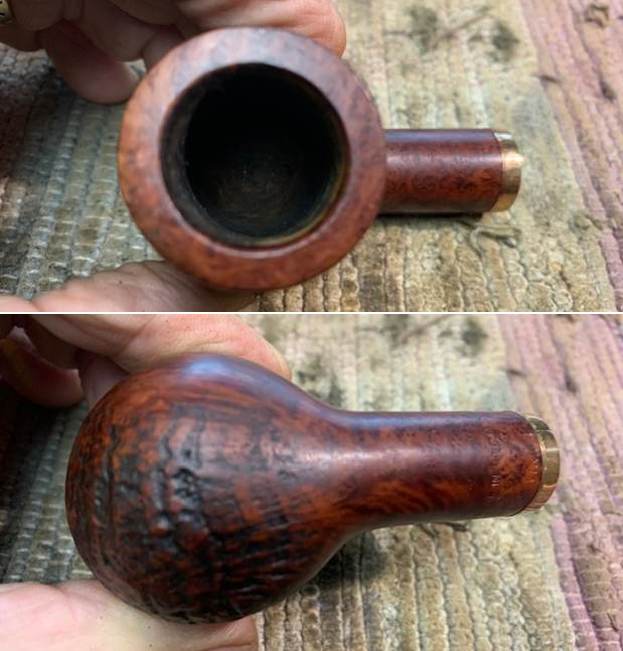
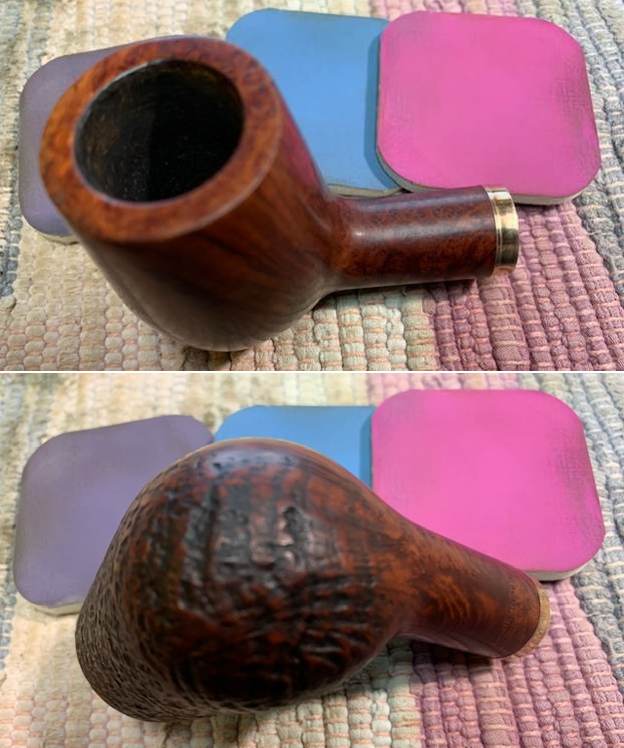
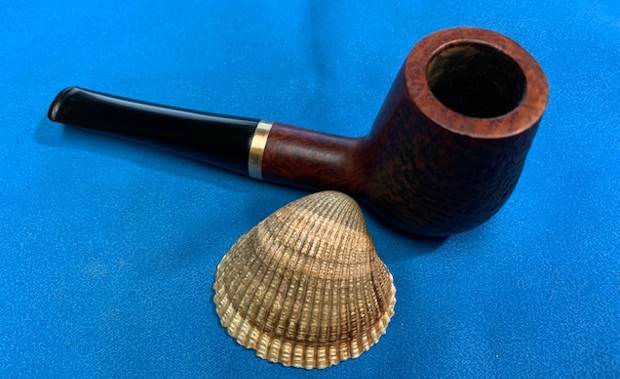
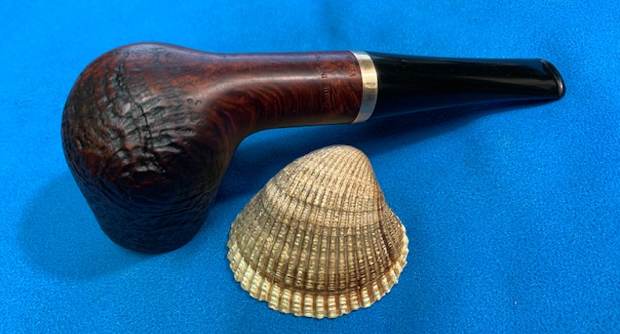
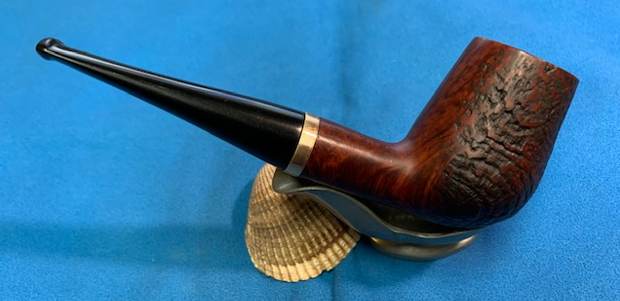
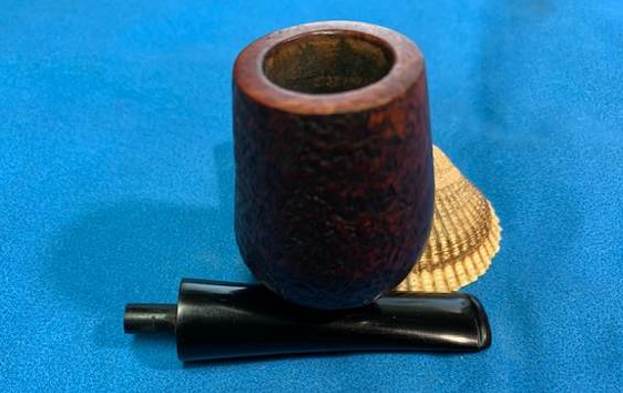
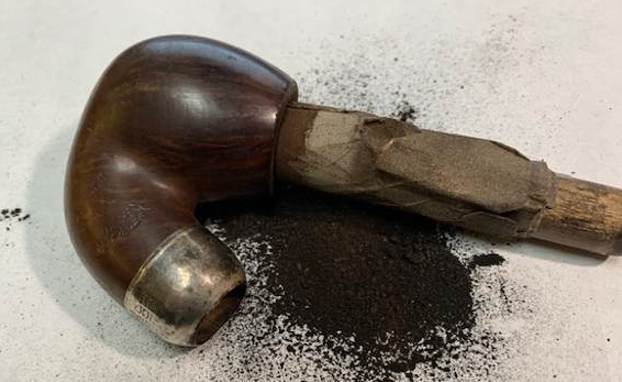
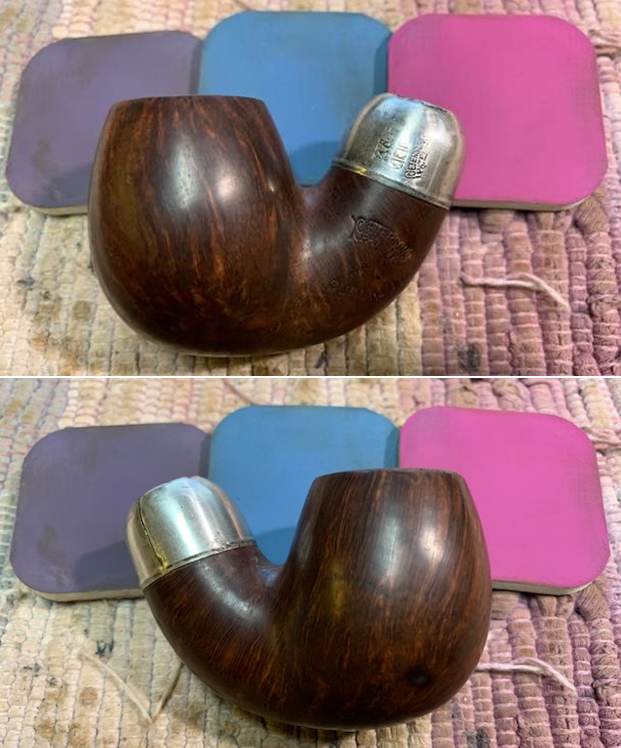
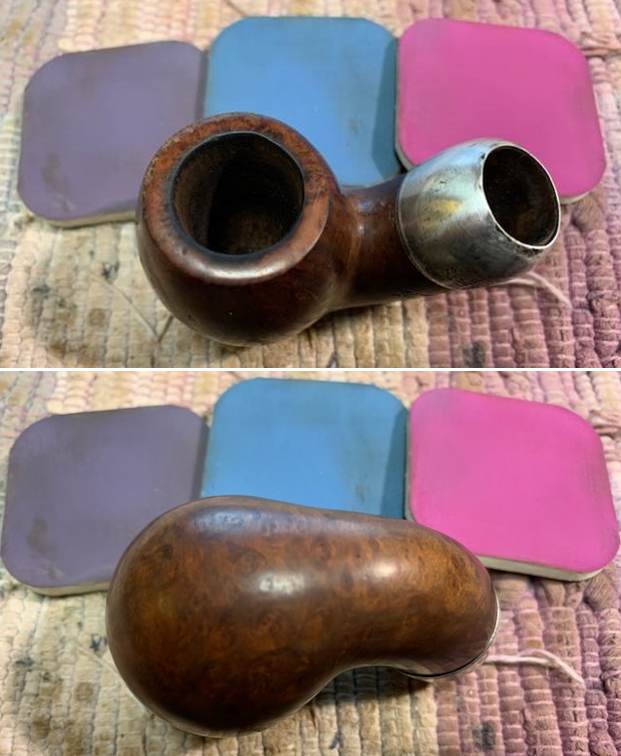
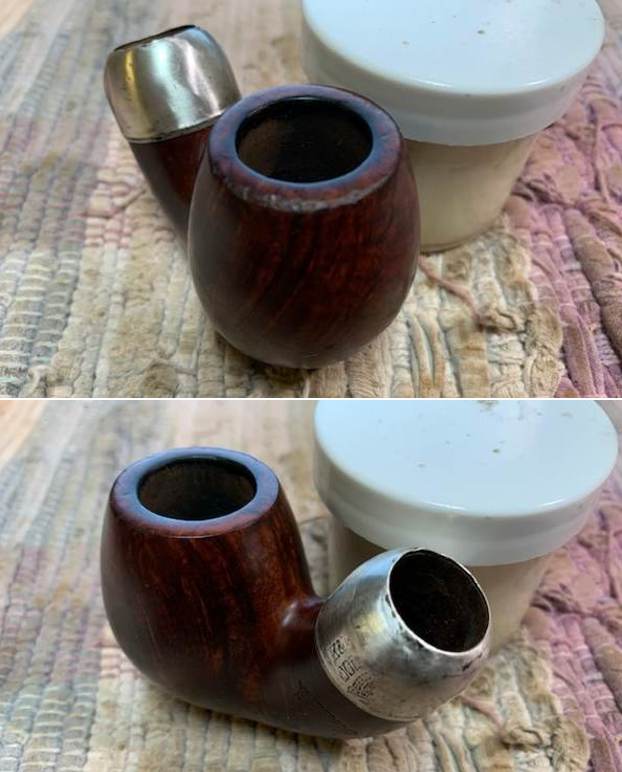
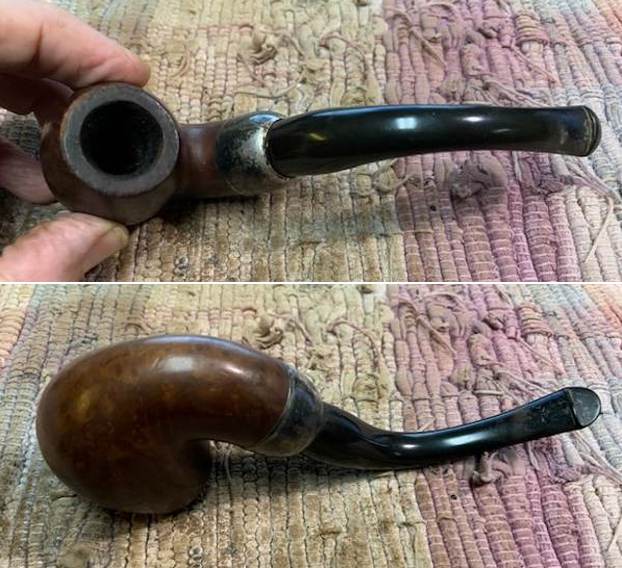 I took some photos of the rim top and bowl to capture the condition of the pipe. You can see the cake in the bowl. There is a light lava coat and some darkening. There was damage all around the outer edge of the bowl that was heavy on the right front edge. You can see the marks of a crack in the ferrule on the right side in the first photo. The older style P-lip system stem is in good condition with some calcification on the top and underside of the stem near the button. There were light tooth marks and chatter on both sides.
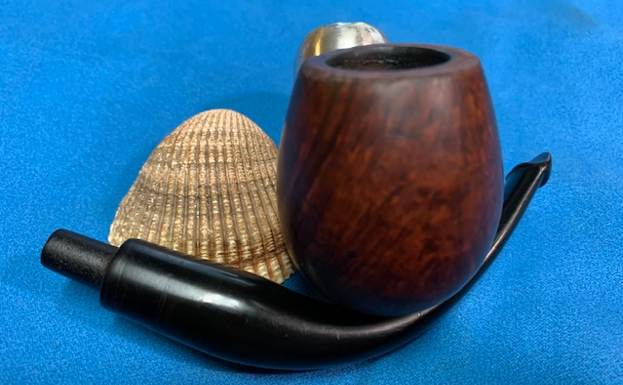
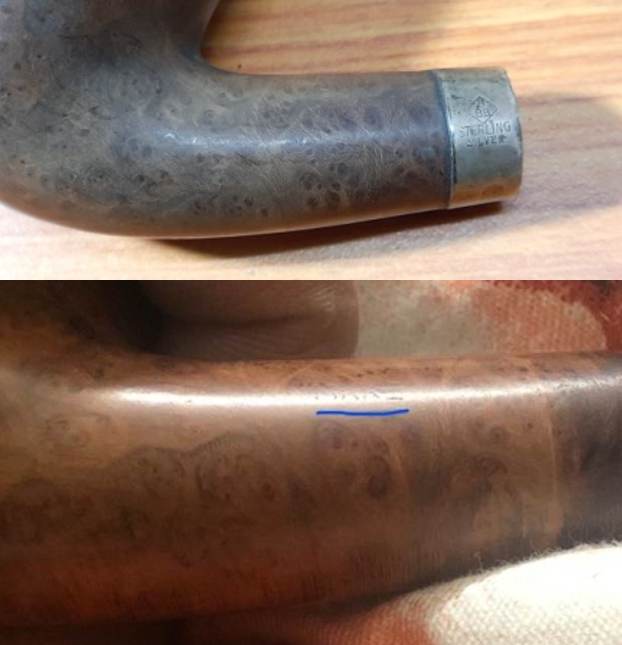
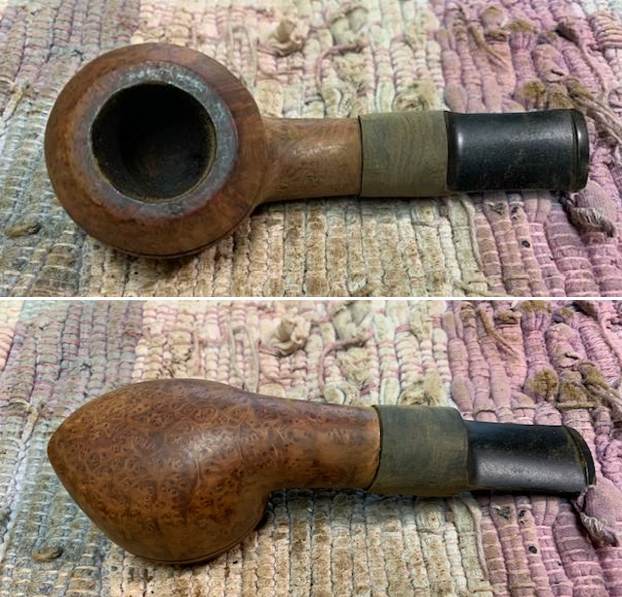
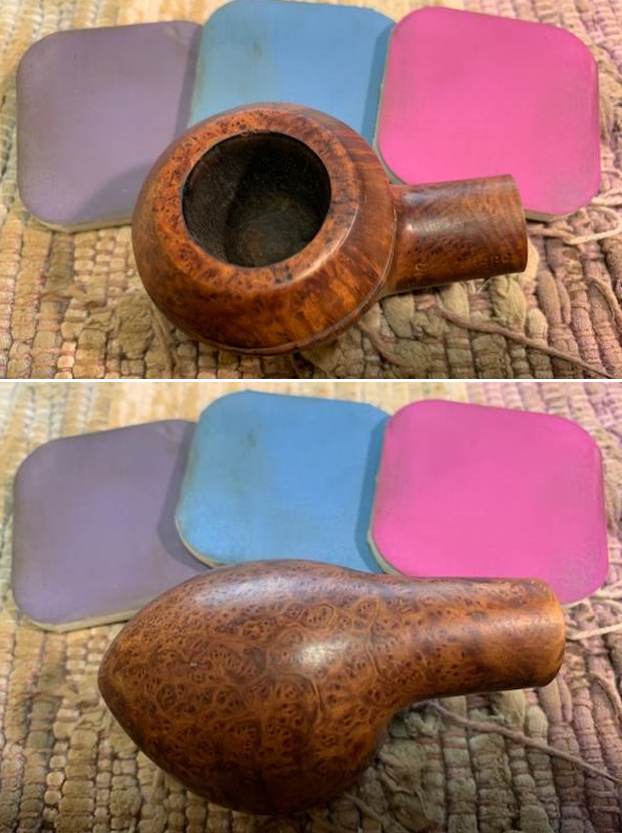
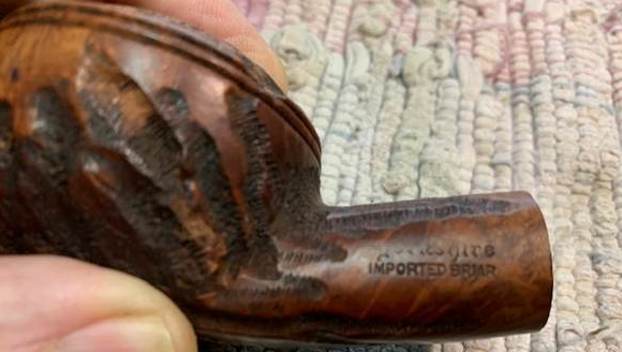
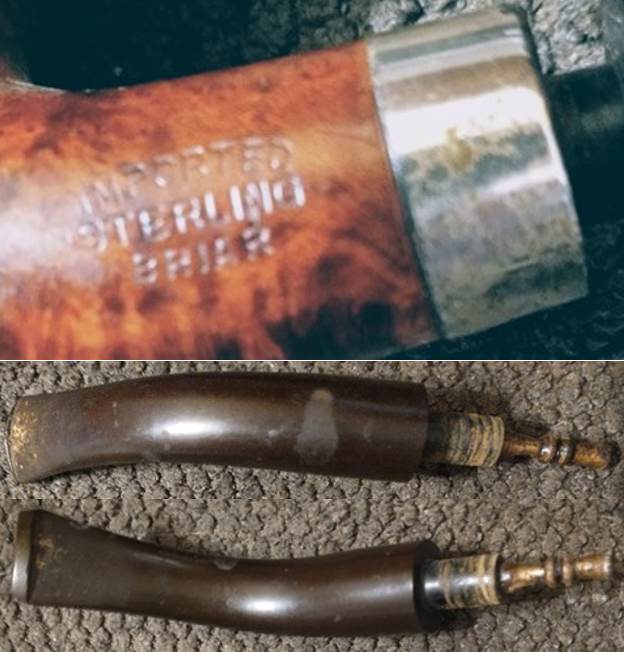
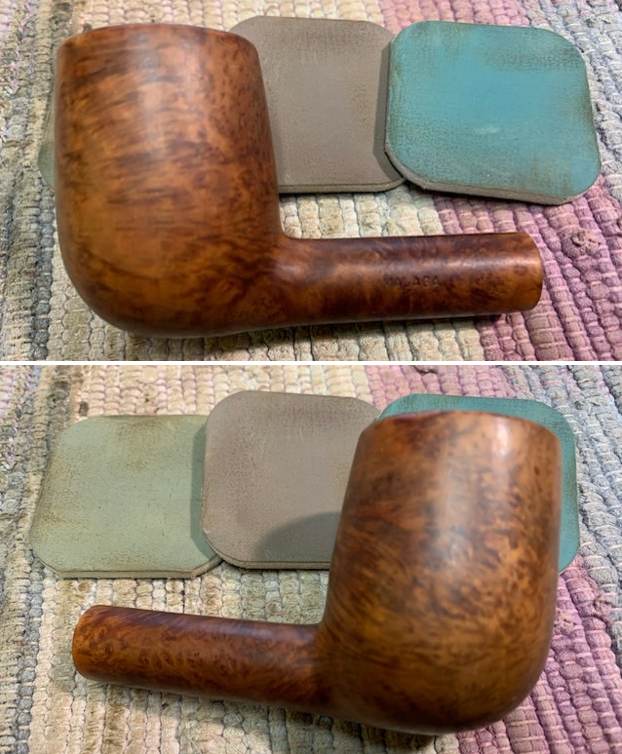
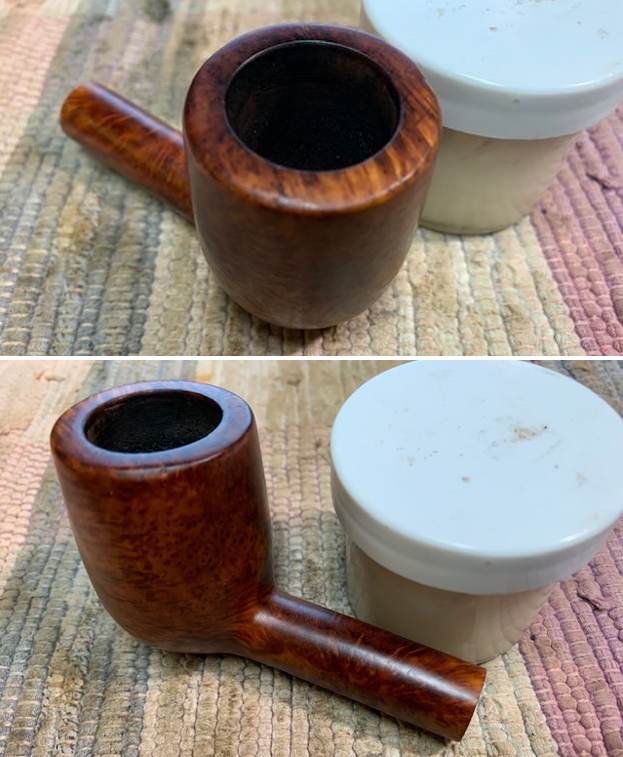
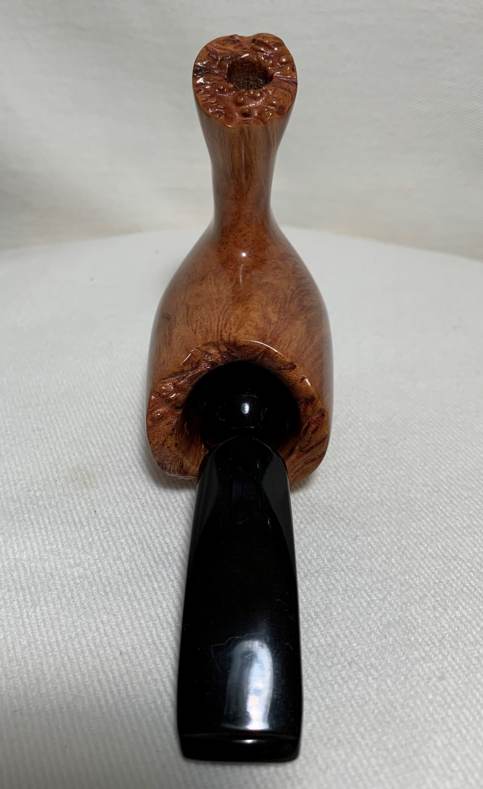
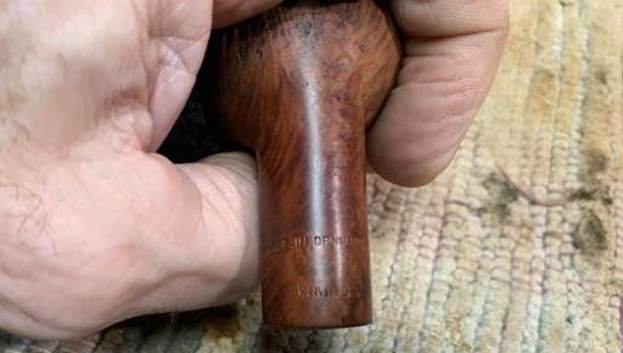
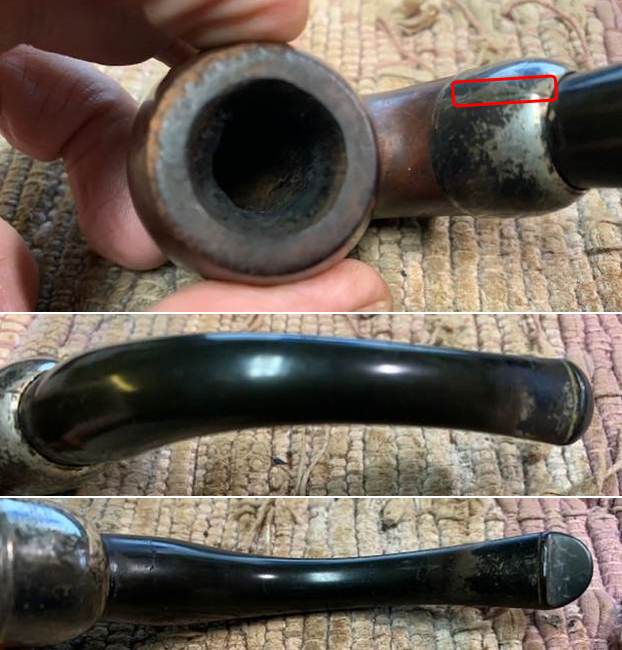 I took photos of the stamping on the shank sides and the silver ferrule to try and capture them as best as I could. They were weak but they are readable with a lens. They read as noted above.
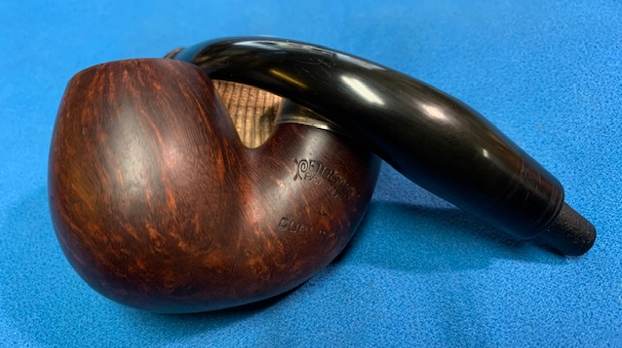
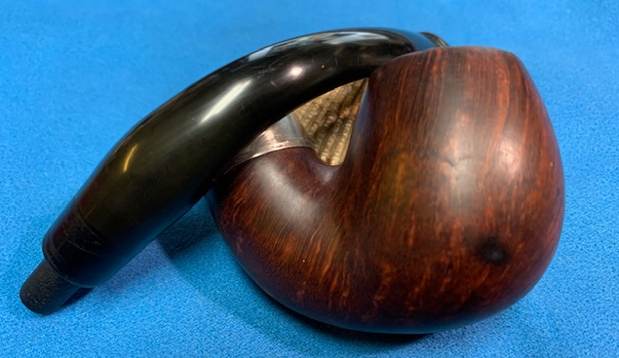
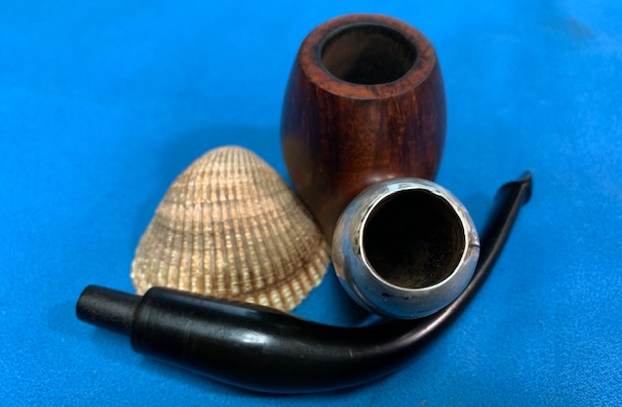
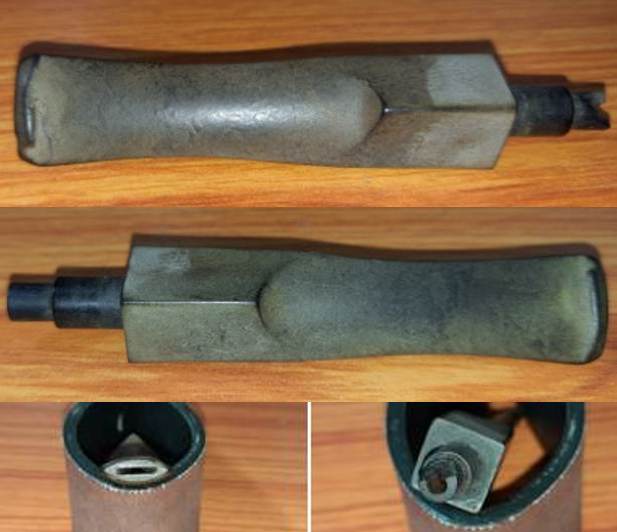
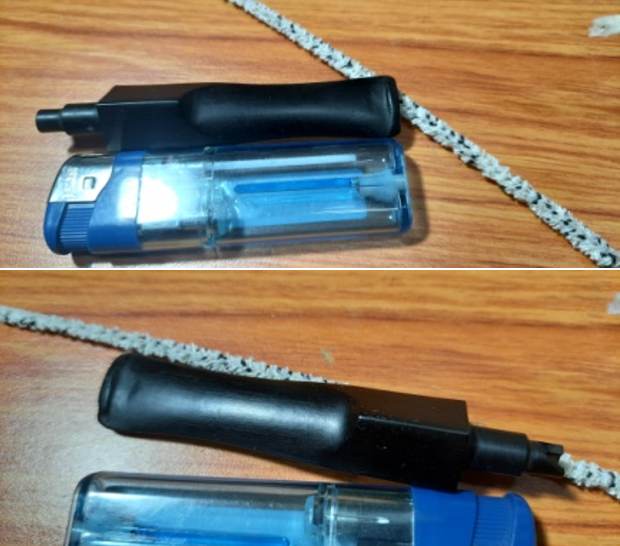
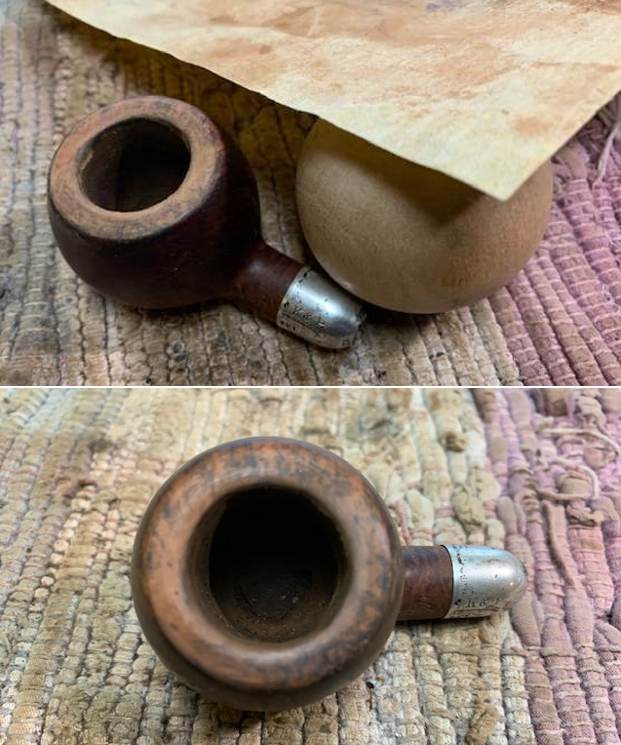
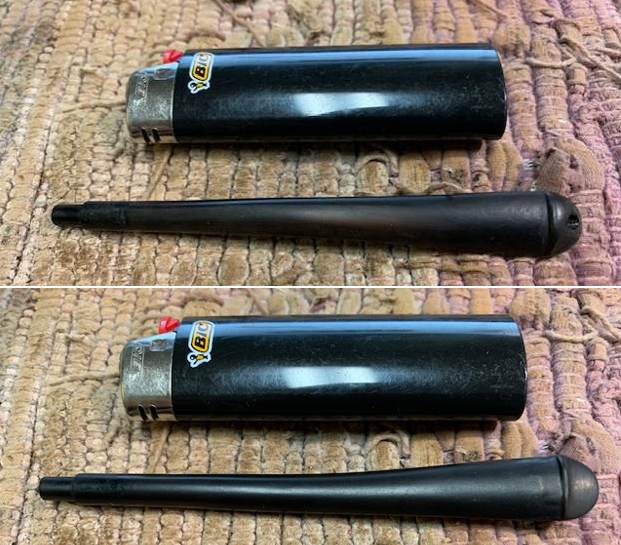
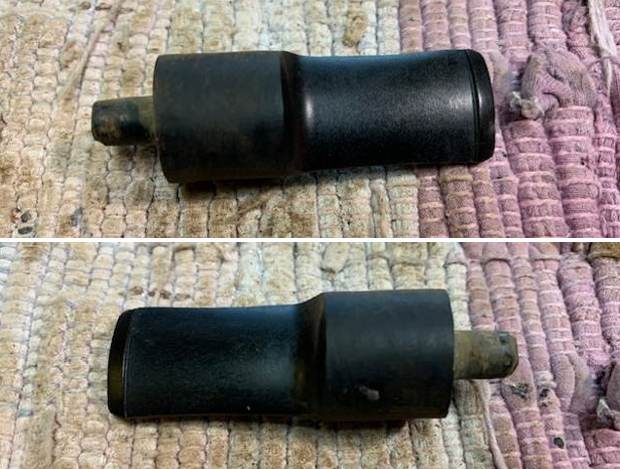
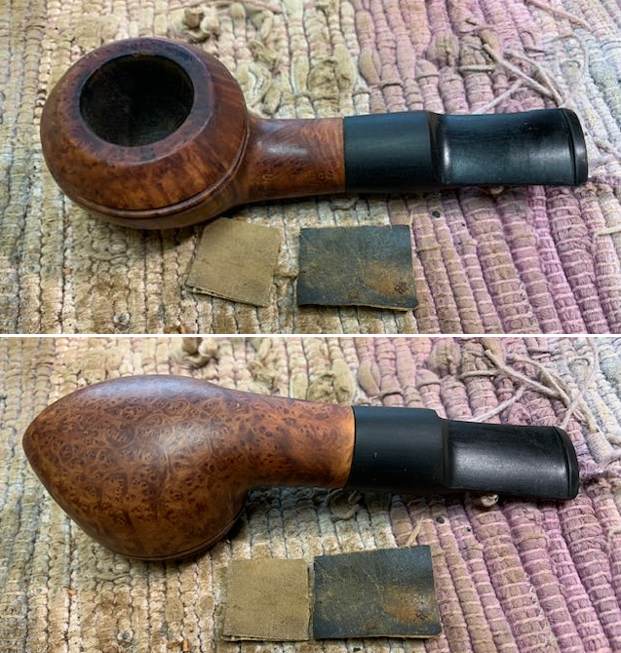
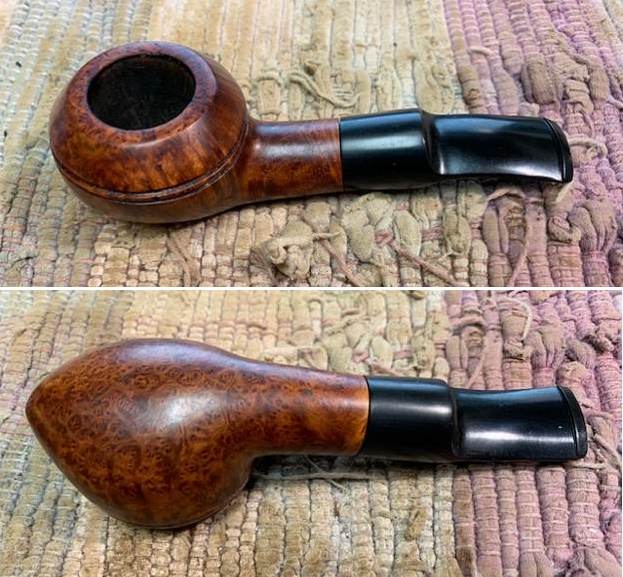
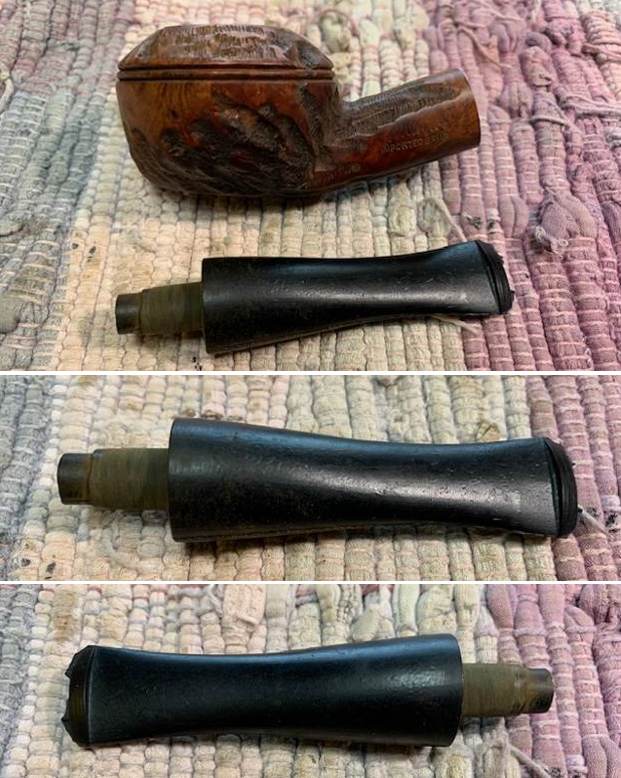
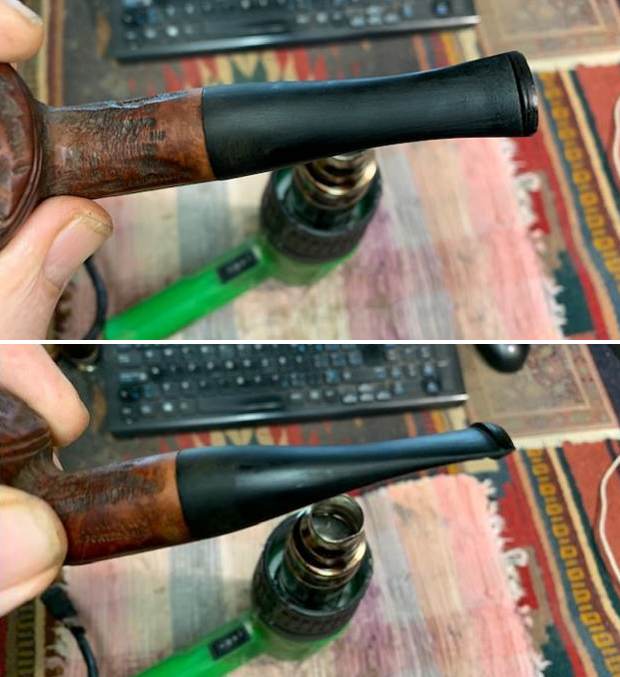
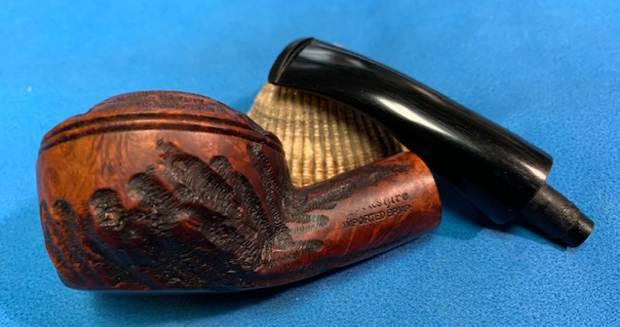
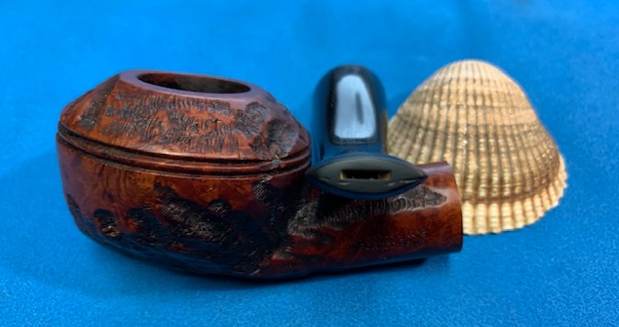
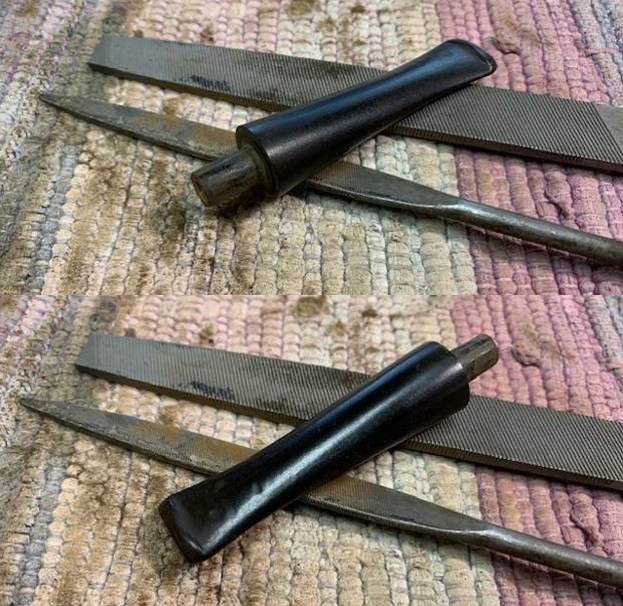
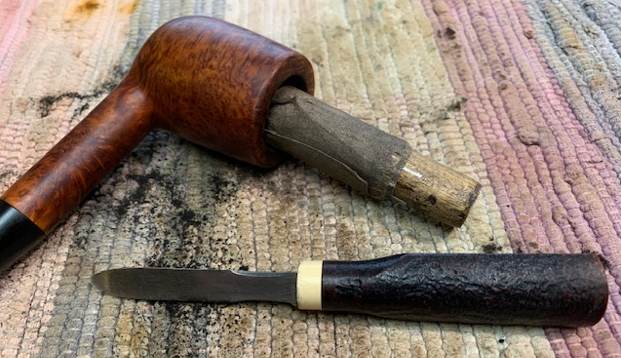
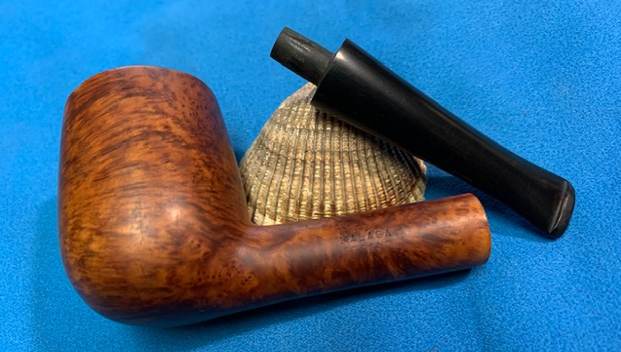
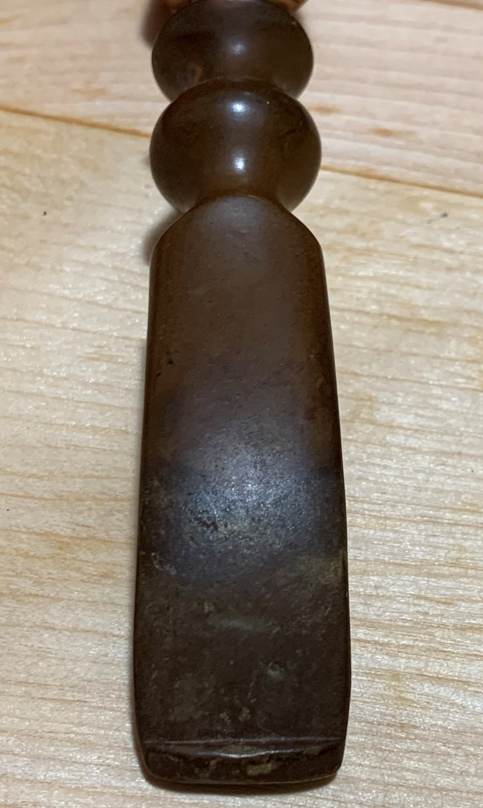
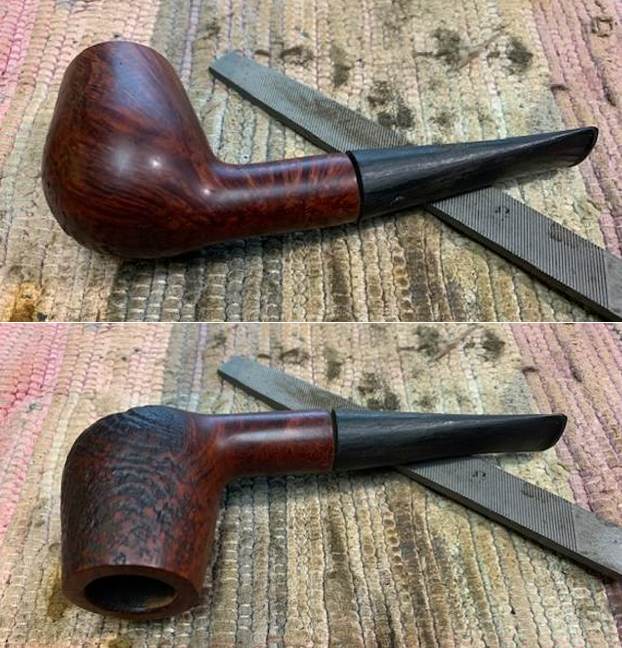
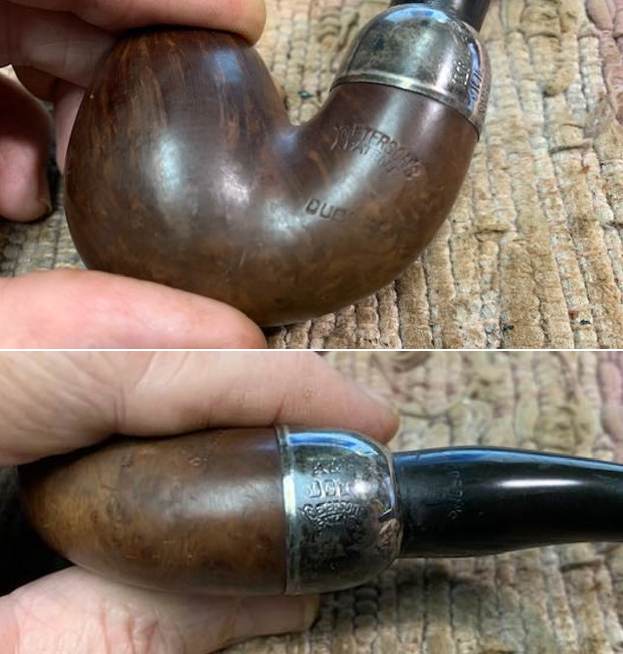 I removed the stem from the bowl and took a photo of it to show its appearance. The tenon end of the stem has some calcification (or possibly some dried silver polish) where it sat against the silver.
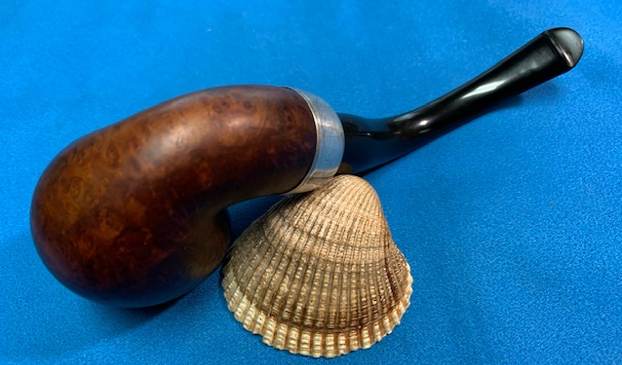
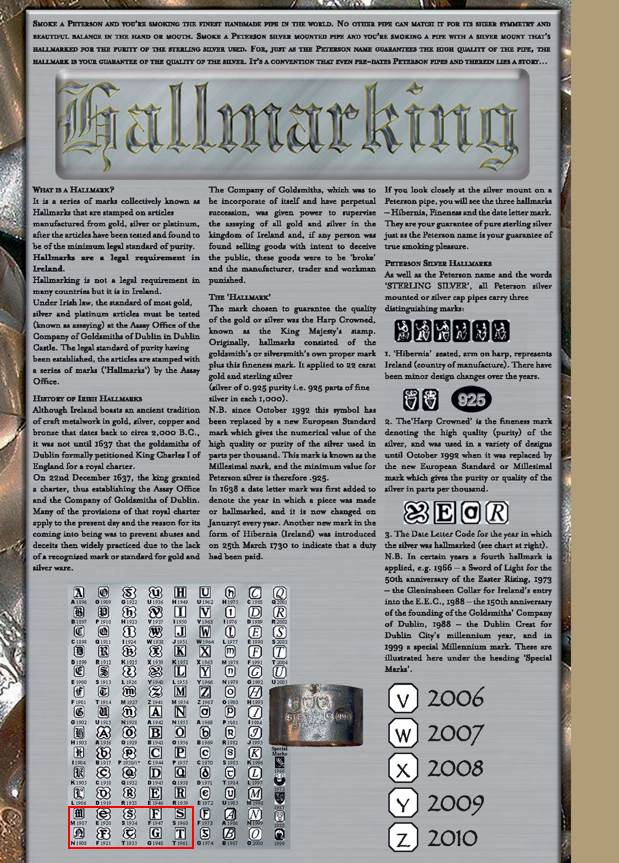
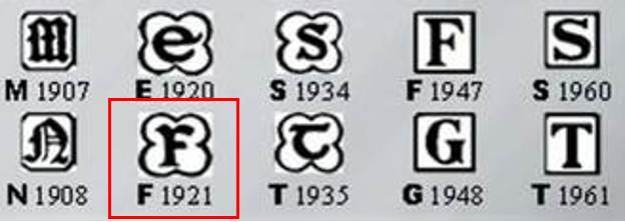
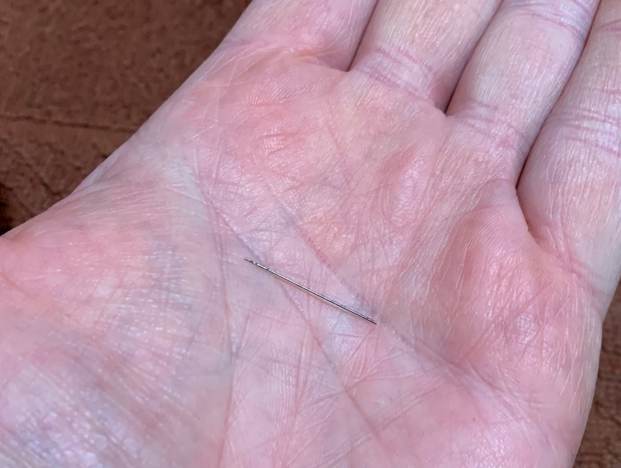
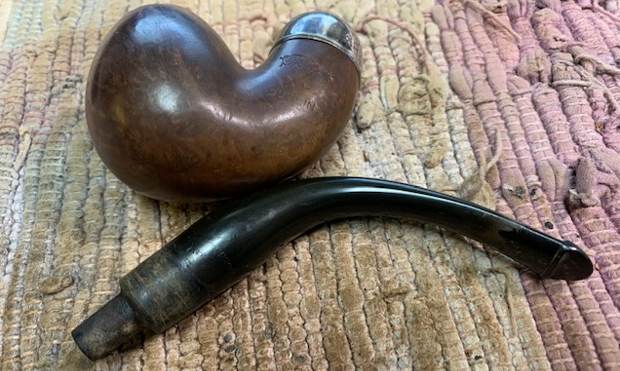 Before I started the restoration process on the pipe I wanted to confirm the date that my friend had sent to me for this pipe. I turned to Peterson’s Hallmark Chart that I have on rebornpipes to pin down the date (https://rebornpipes.com/tag/peterson-hallmark-chart/). I have include a copy of that chart below. I drew a red box around the date stamp that matches the one on the pipe. It is a 1906 Peterson Patent System Pipe Shape 14.
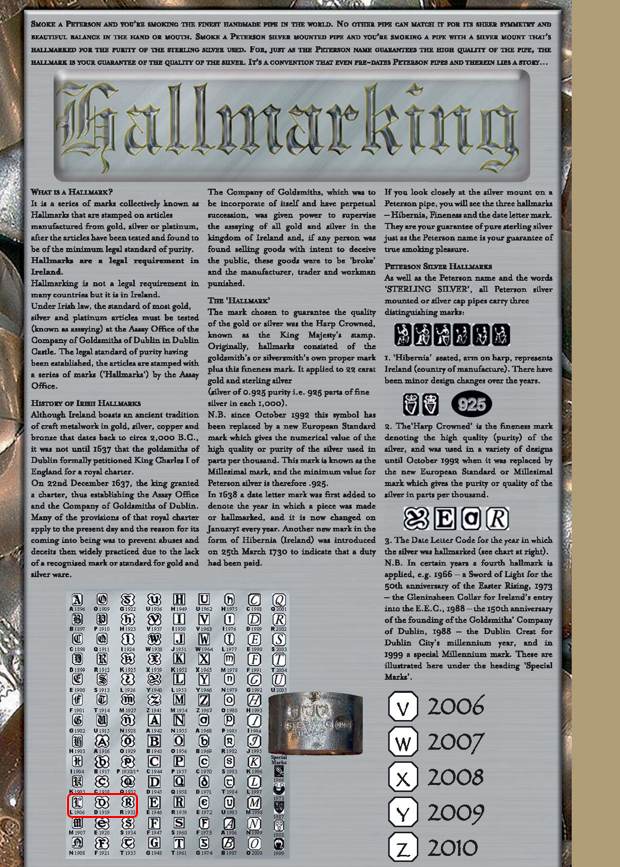 I expanded the chart above and captured the section that included the section from 1906-1933 below. It confirms that the date is indeed 1906.
 Now I knew that I was working on a Peterson’s Patent System pipe made in 1906 and the Dublin stamp tells me it was made in Dublin.
I turned to Peterson’s Dublin in the book, The Peterson Pipe by Mark Irwin & Gary Malmberg. I quote from that section below:
Dublin (1906-2003) Although DUBLIN appears under PETERSON’S on many pipes over the decades, it has served mostly as part of the brand name. The word first appeared on pipes hallmarked 1906-11, stamped PETERSON’S over PATENT OVER DUBLIN. The simpler PETERSON’S over DUBLIN first appeared on pipes hallmarked 1912 after the expiration of the patent. Illustrations of pipes in the ’37 catalogue show a random dispersion of the stamp PETERSON’S over OF DUBLIN together with the ordinary PETERSON’S over DUBLIN on every model offered. Specimen of the former will bear either an Irish COM or LONDON MADE over ENGLAND COM and almost certainly date from 1945-62. It was first mentioned in print as part of a model name in the ’68 price list, as K&P DUBLIN, in ’92 for a Danish market line…
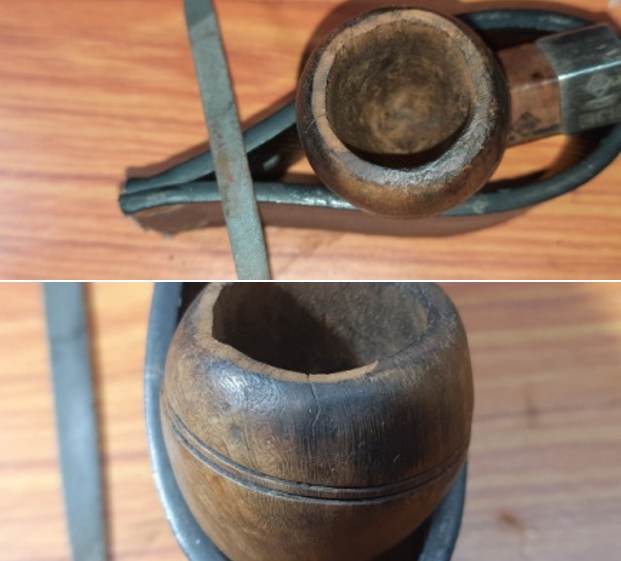
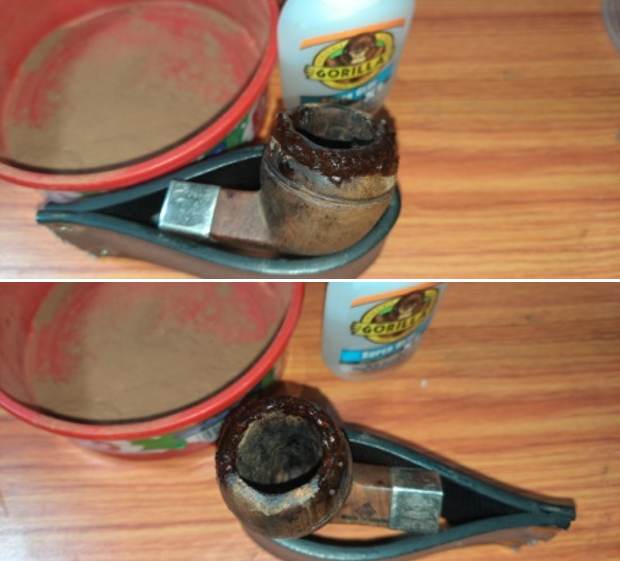
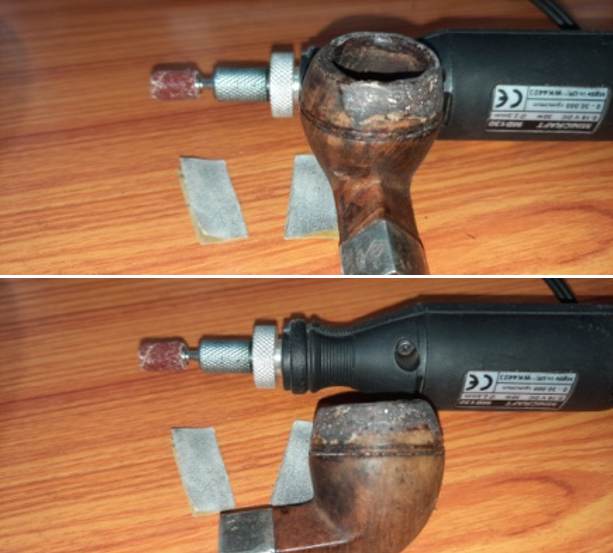
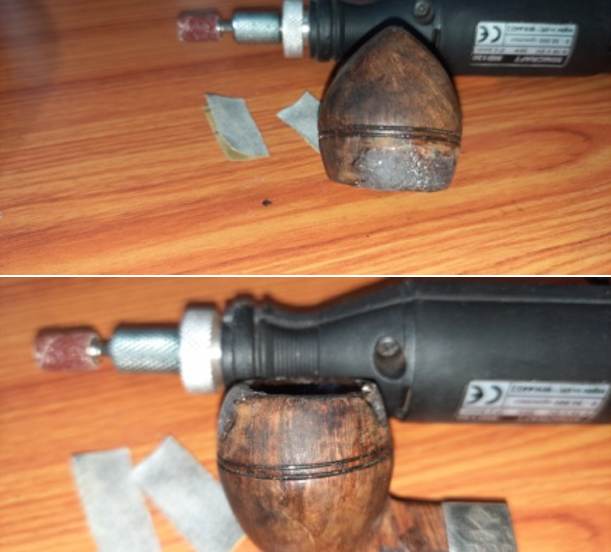
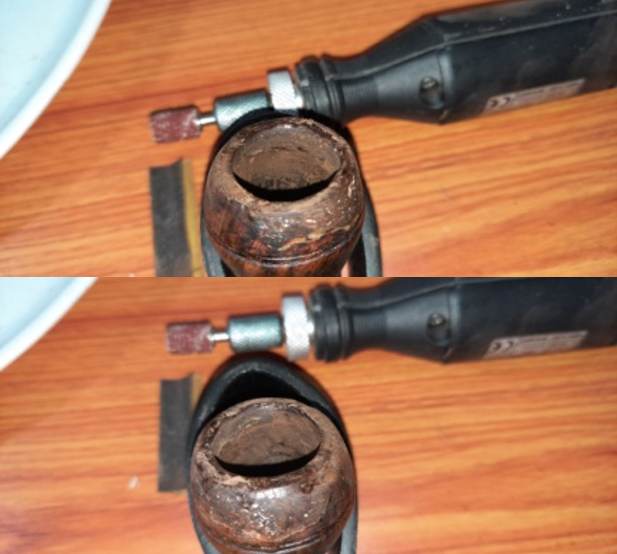
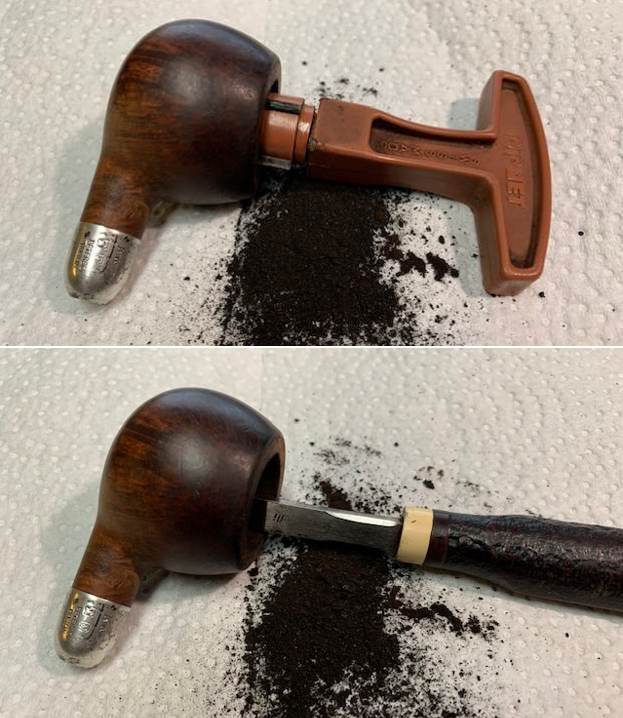
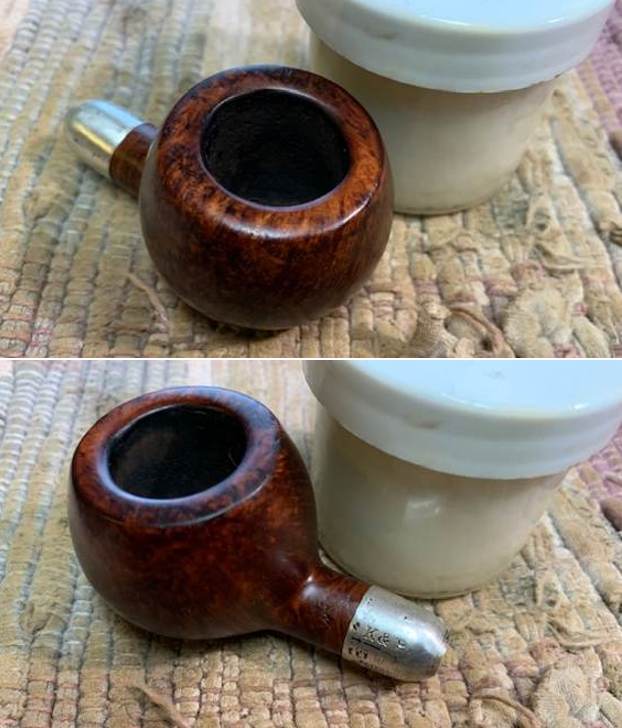
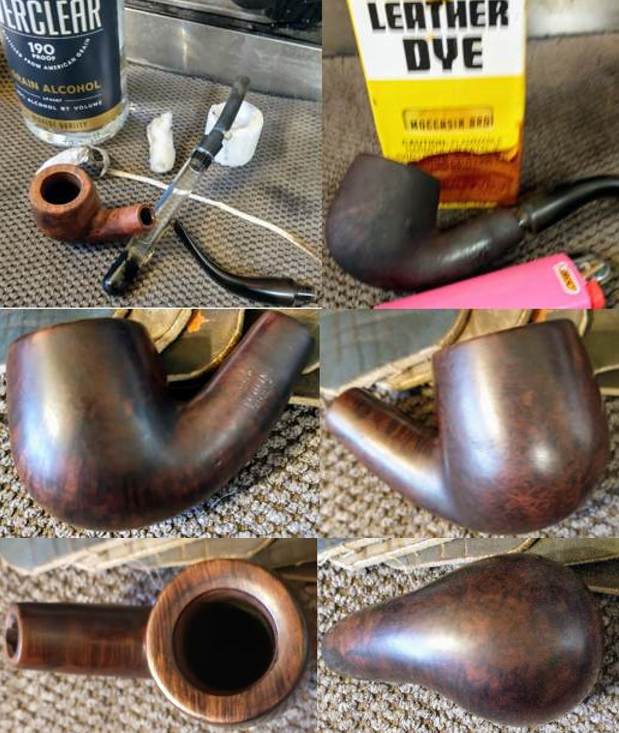
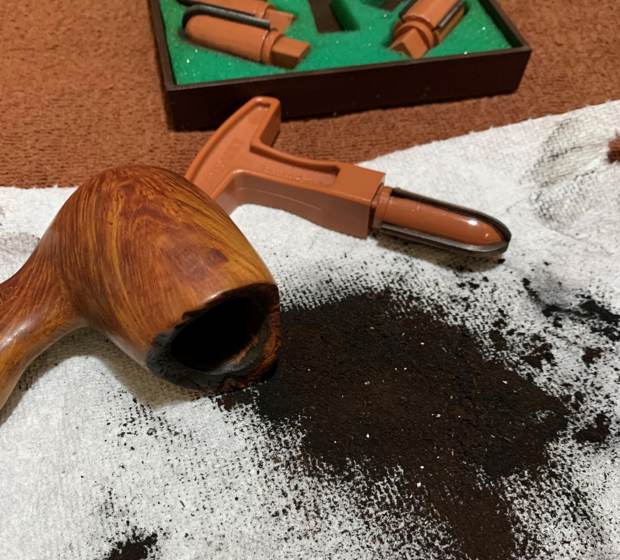
Armed with this information I started working on the pipe. I reamed the bowl with a PipNet pipe reamer to remove the cake from the bowl. I cleaned up the remaining cake with a Savinelli Fistall Pipe Knife. I sanded the bowl with 220 grit sandpaper wrapped around a piece of dowel to smooth out the inside of the bowl. The walls looked very good with no checking or heat damage.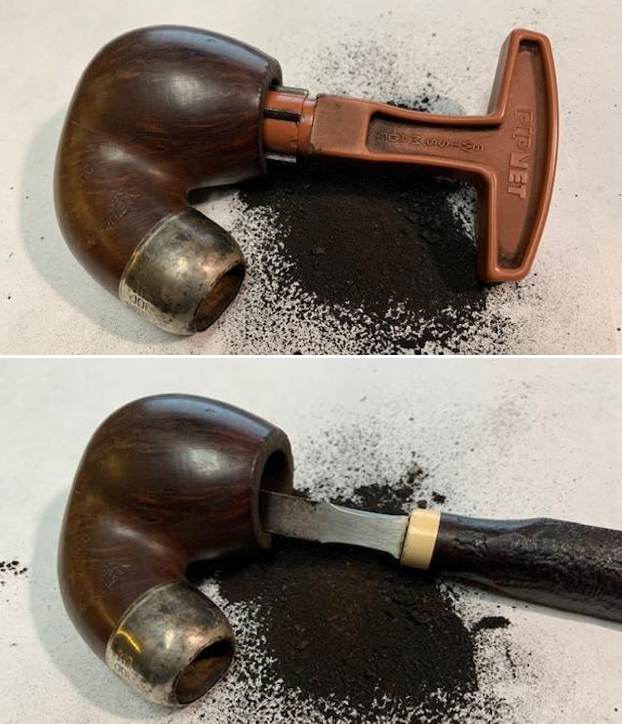
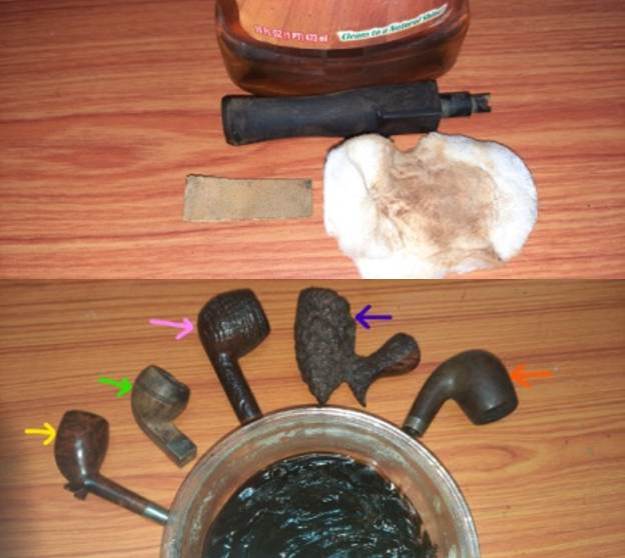
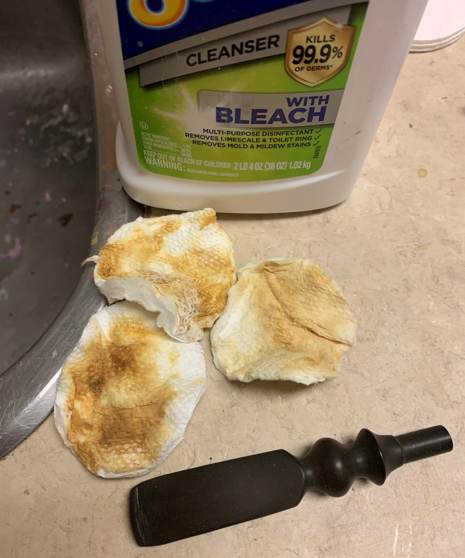
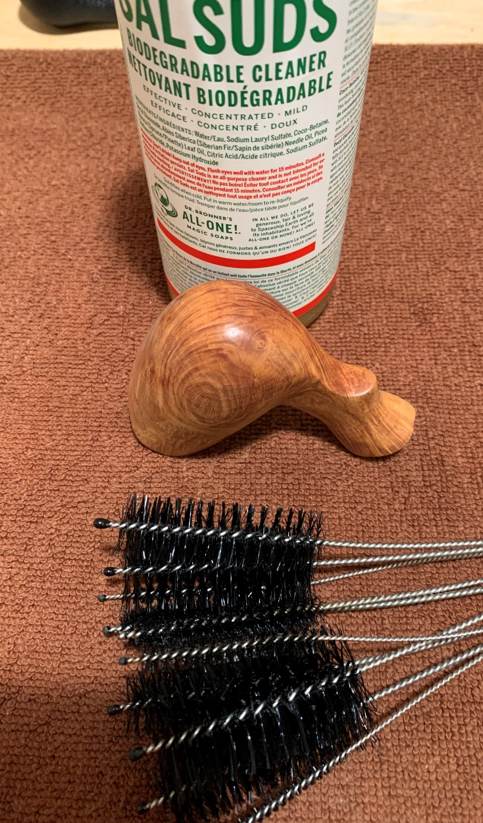
 I cleaned out the shank with pipe cleaners, cotton swabs and 99% alcohol to remove the oils from the walls. It was filthy and when I was finished it smelled clean and fresh. I cleaned out the inside of the stem with alcohol and pipe cleaners.
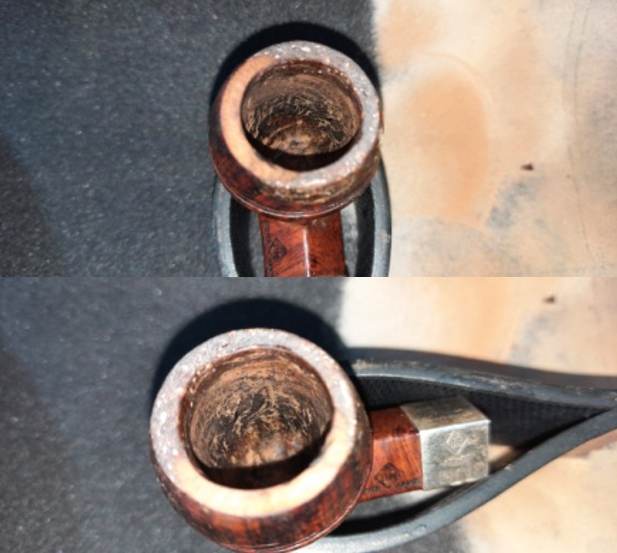
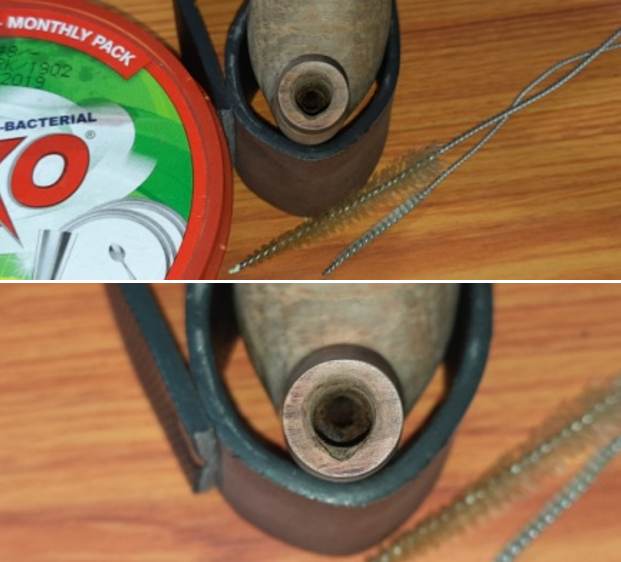
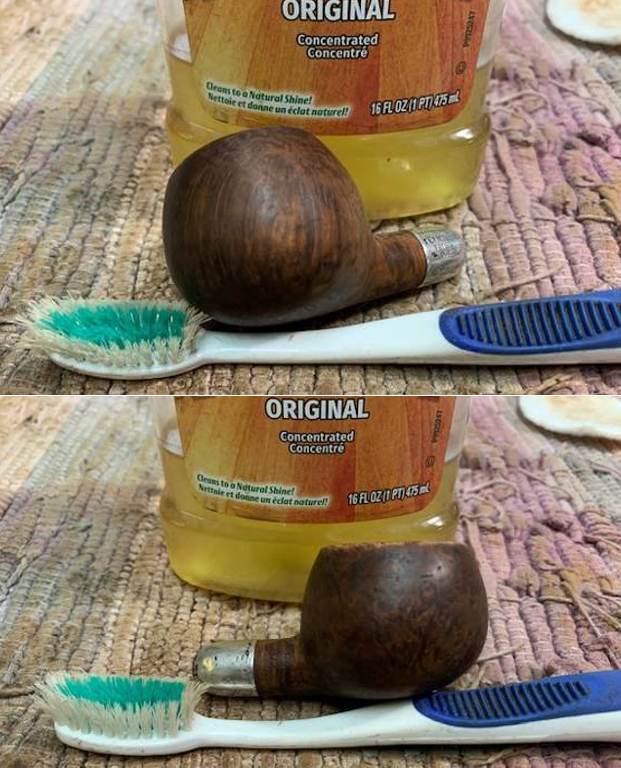
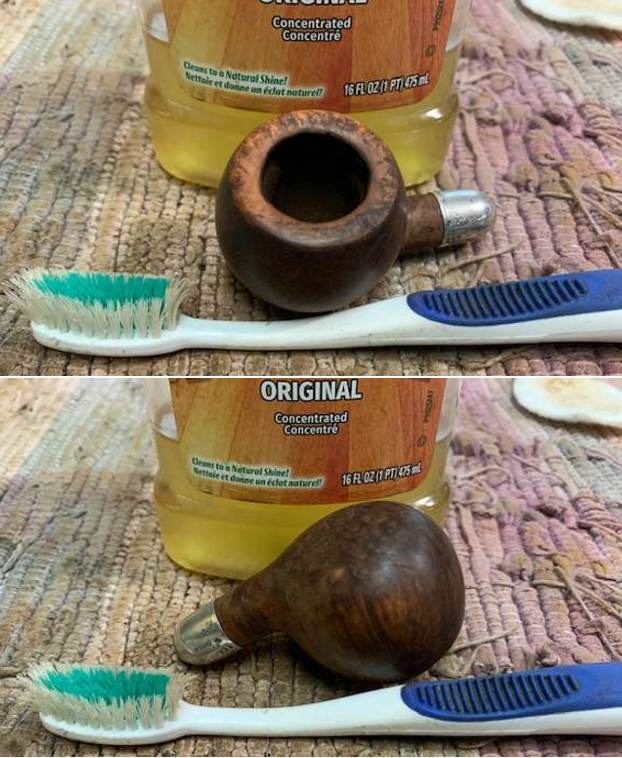
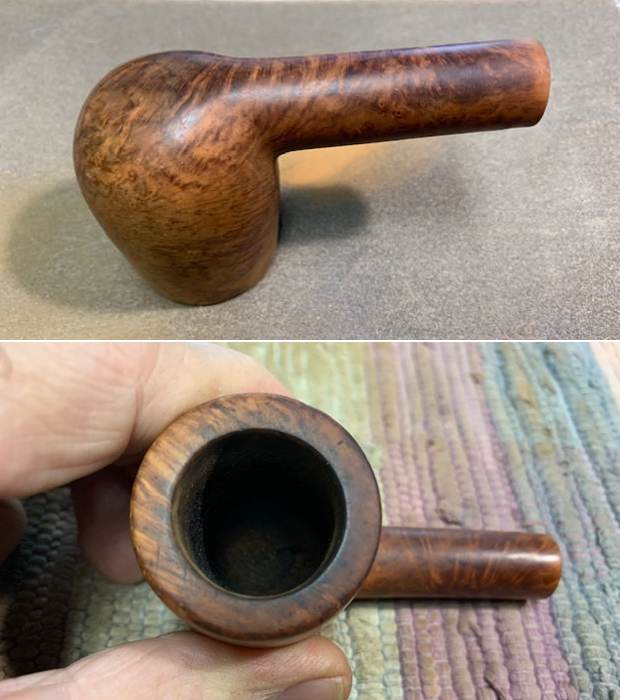
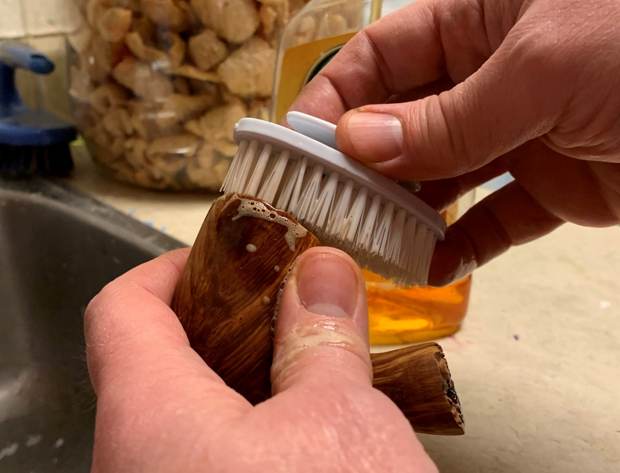
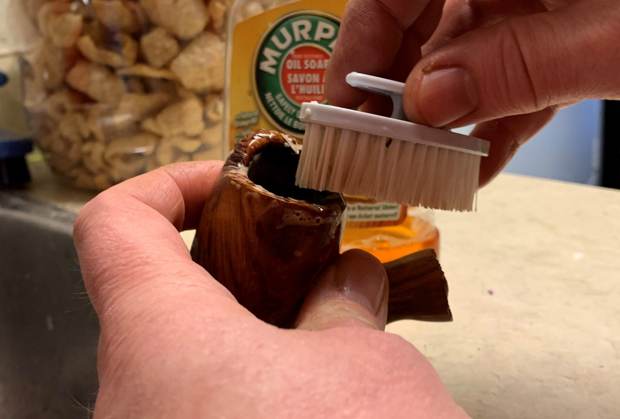
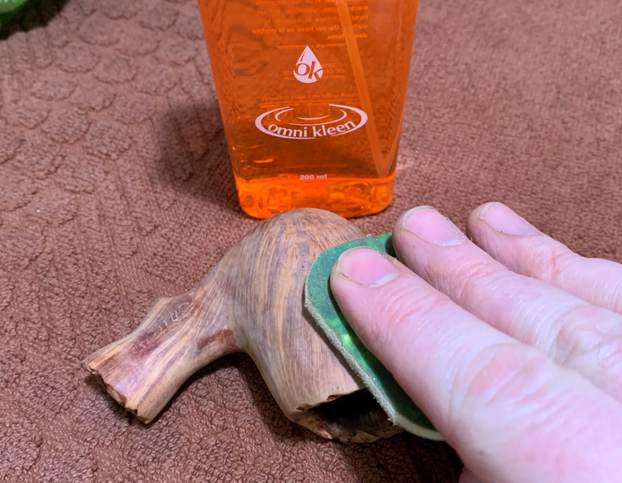
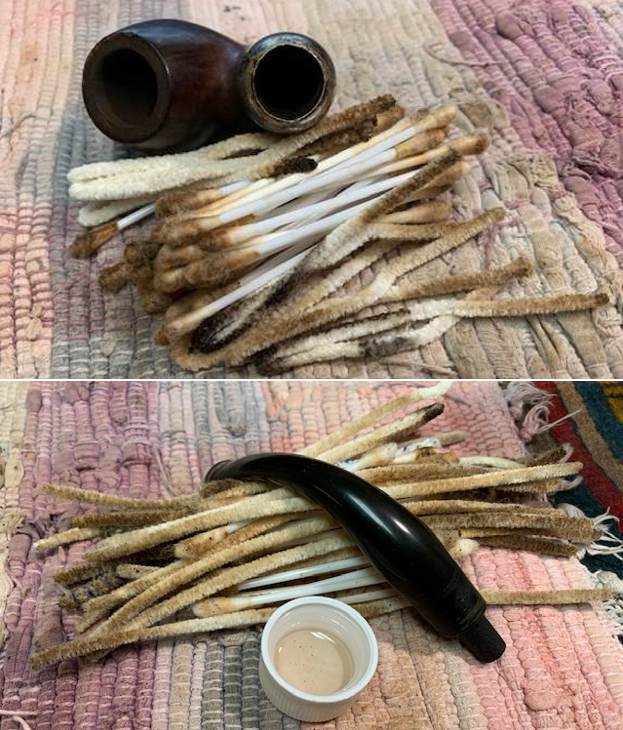 I scrubbed the bowl with Murphy’s Oil Soap to clean off the thick oils and grime ground into the surface of the briar. When the warm water hit the ferrule it slipped off into my hands. (Great news as it had turned and needed to be reset correctly). I scrubbed it on undiluted and rinsed it off with warm water to remove the soap and the grime. The bowl looked much better and the grain really began to stand out clearly. I also used some small shank brushes to try to open the airway into the bowl. With a little bit of work the draught is perfect.
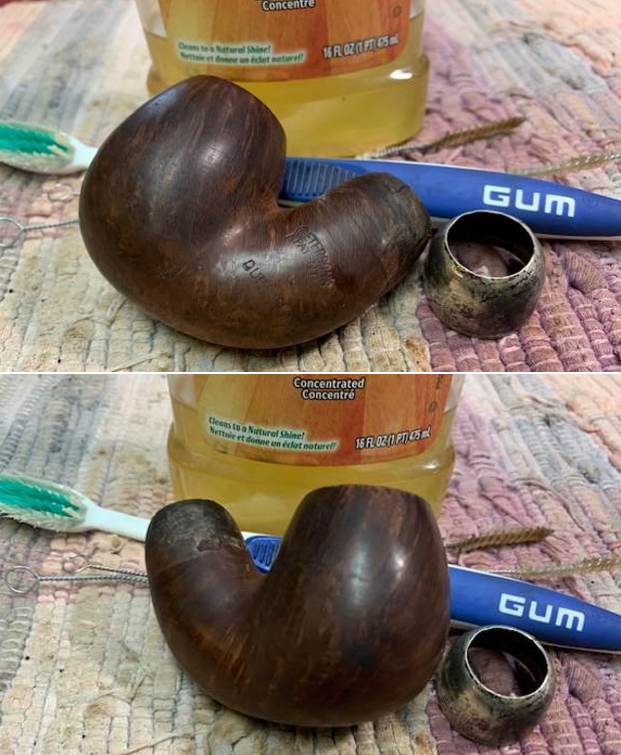
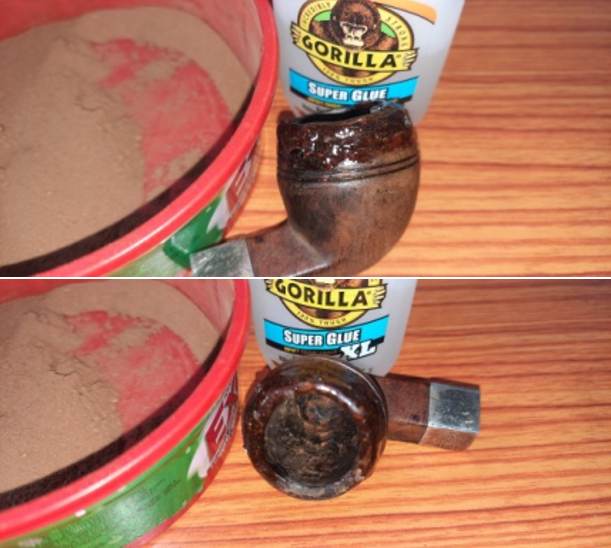
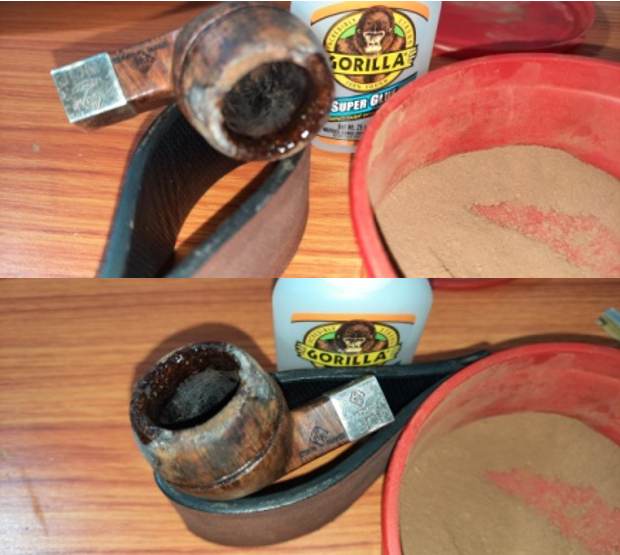
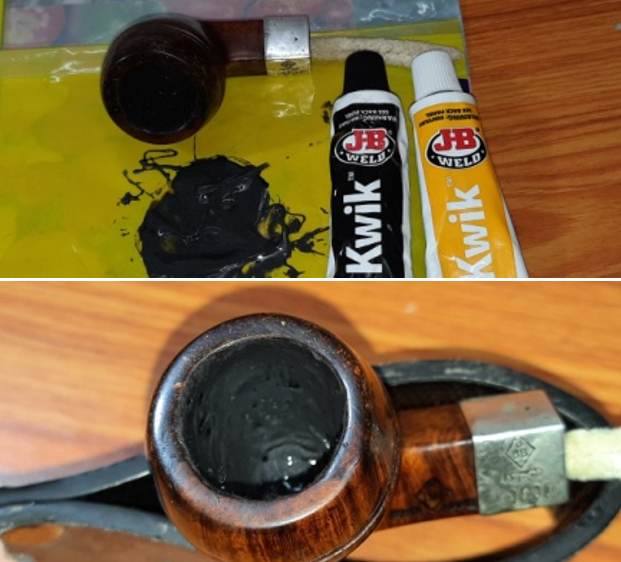
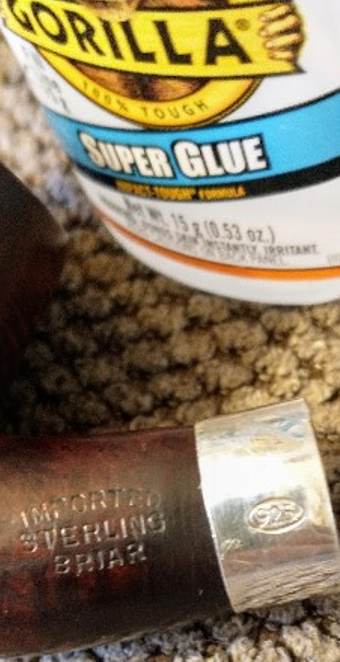
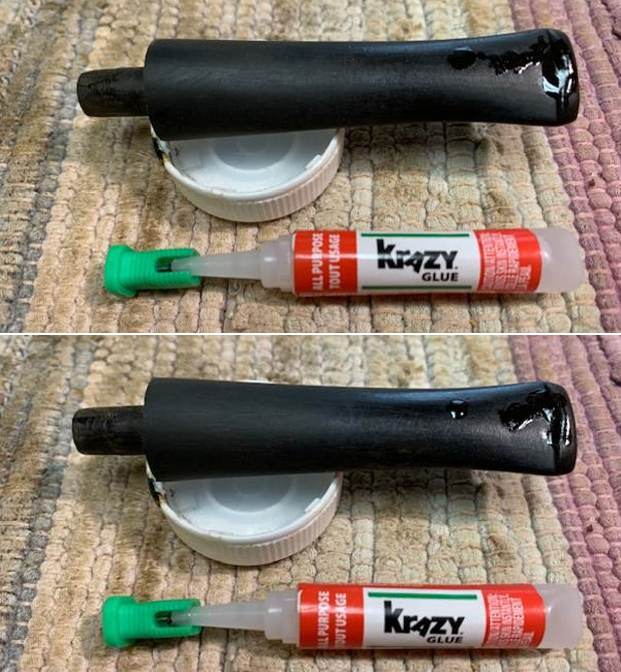
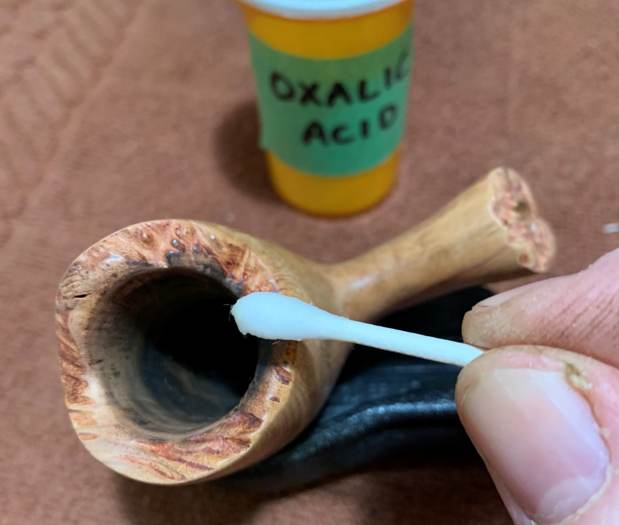
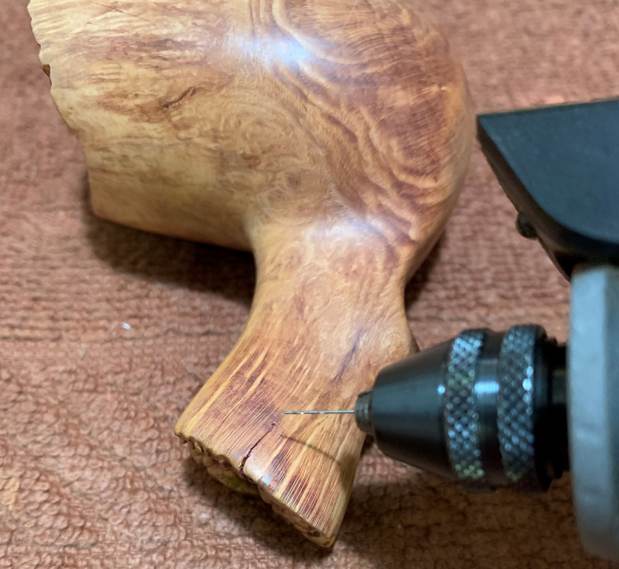
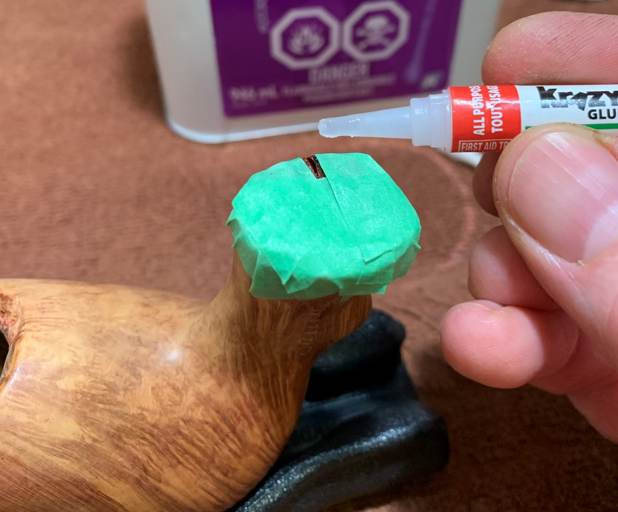
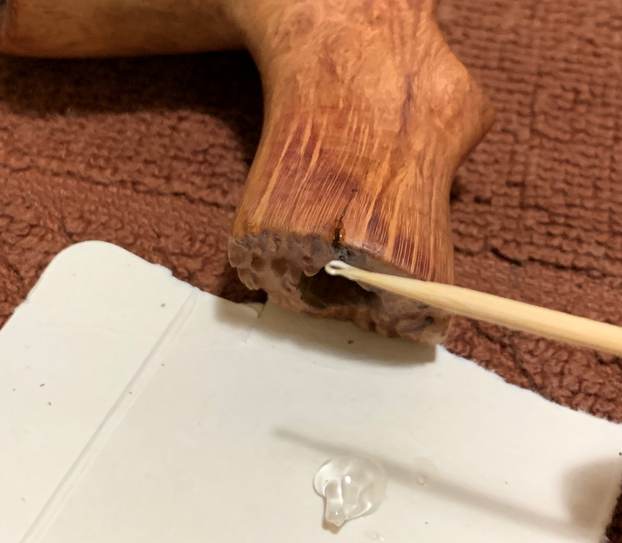
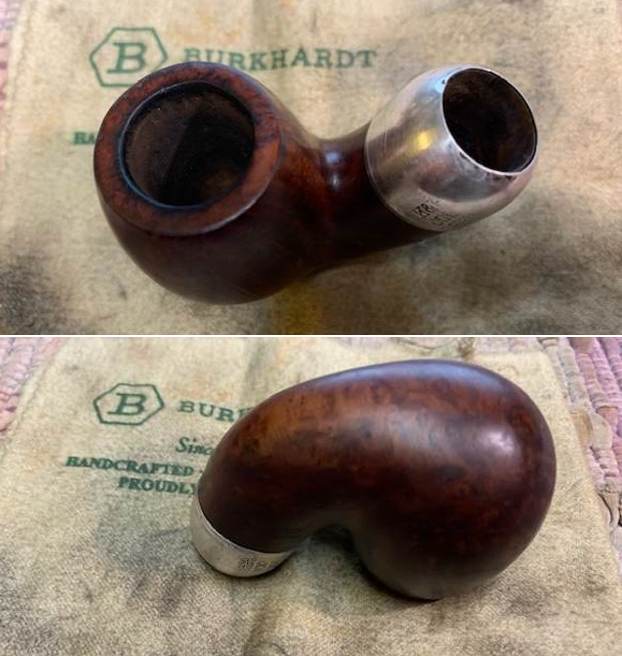
 I ran some more pipe cleaners and cotton swabs through the shank and airway to remove the tars that had loosened by scrubbing. Once finished I aligned the stamping on the ferrule and carefully slid it in place on the shank. I also ran a light bead of CA glue along the split in the ferrule to stop it from going further. My friend would need to take it to a jeweler to have it soldered with silver for a proper restore.
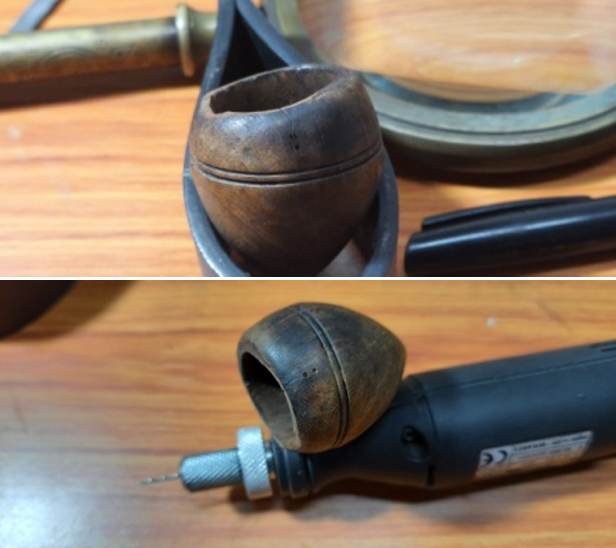
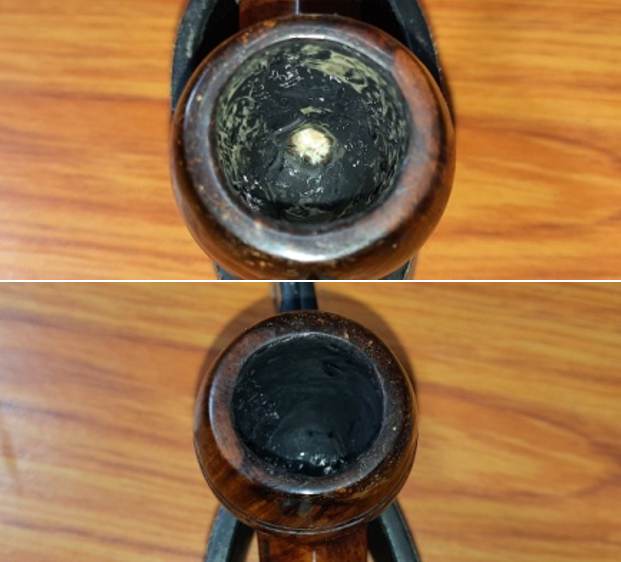
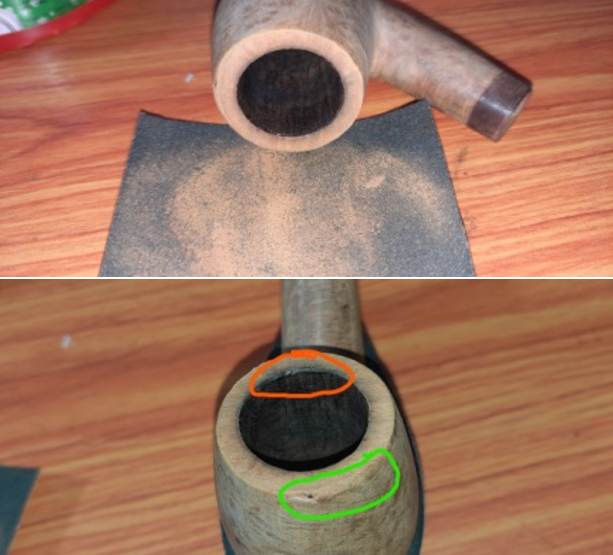
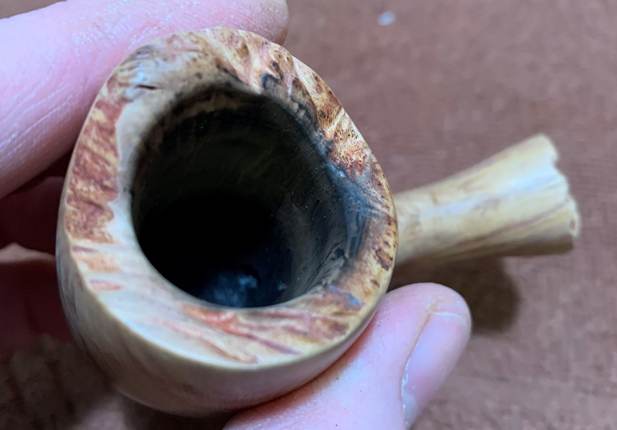
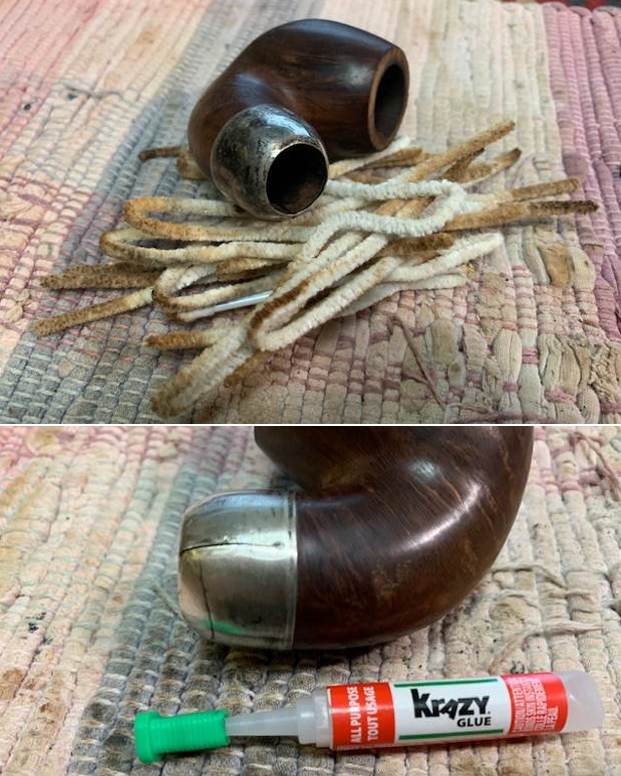 I worked over the top and the inner edge of the bowl with 220 grit sandpaper to smooth out the burned edge and the rim top. I also worked a bit on the outer edge damage on the front o the bowl at the same time. It definitely came out looking much better. The trick on these old pipes is not to go overboard on the repairs but to leave a bit of the story behind as it changes the shape and feel of the pipe.
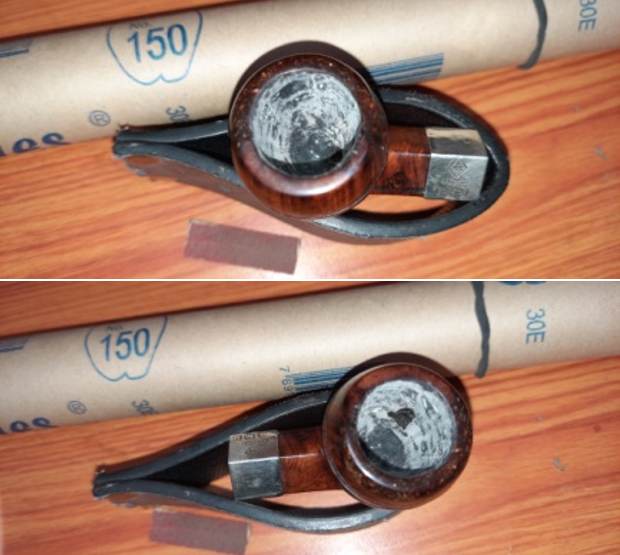
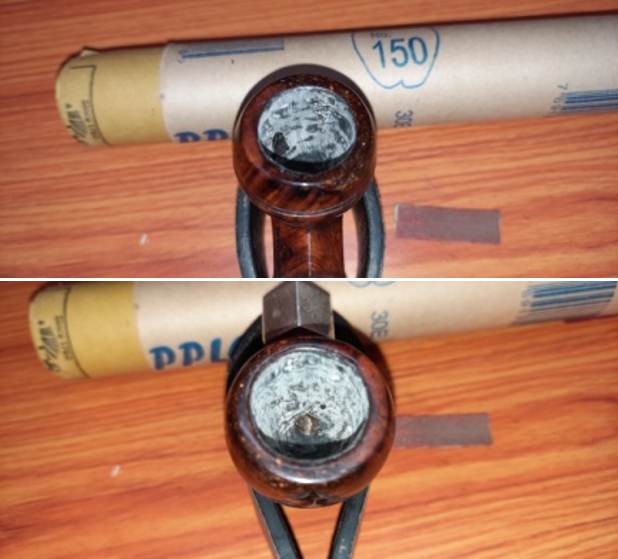
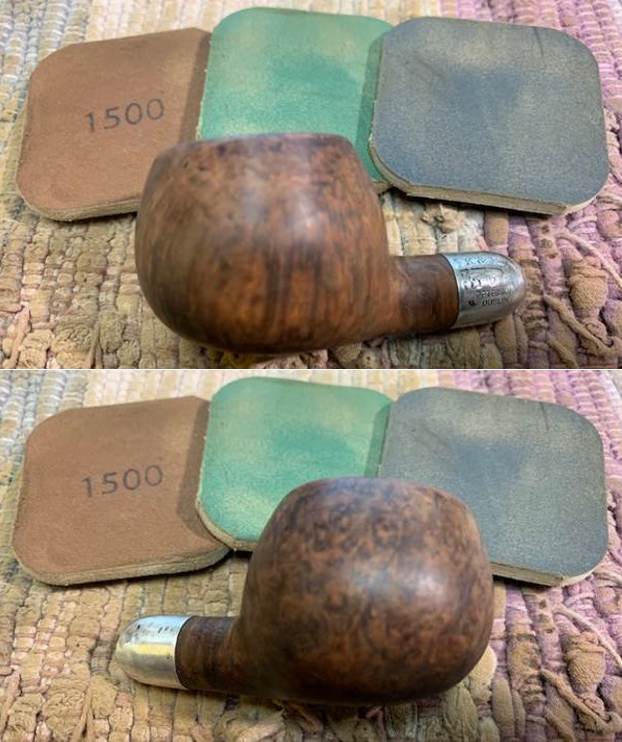
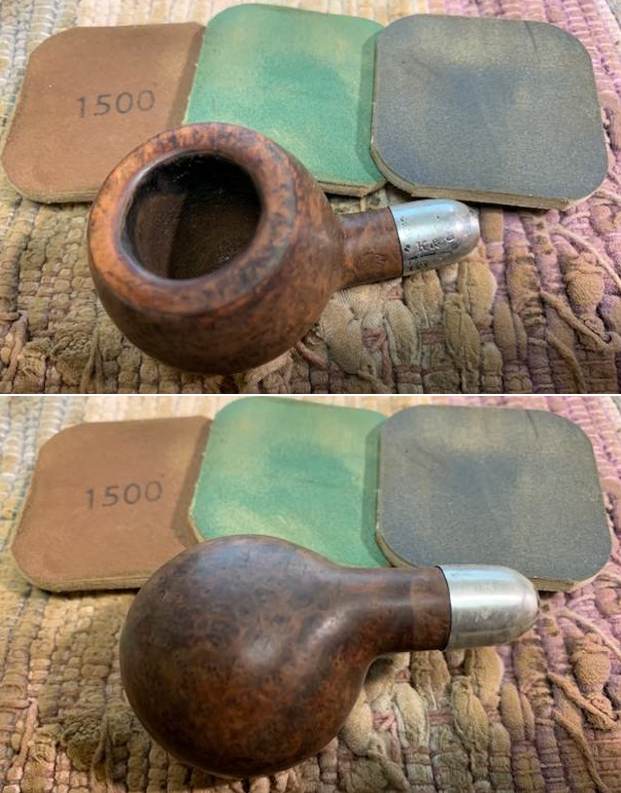
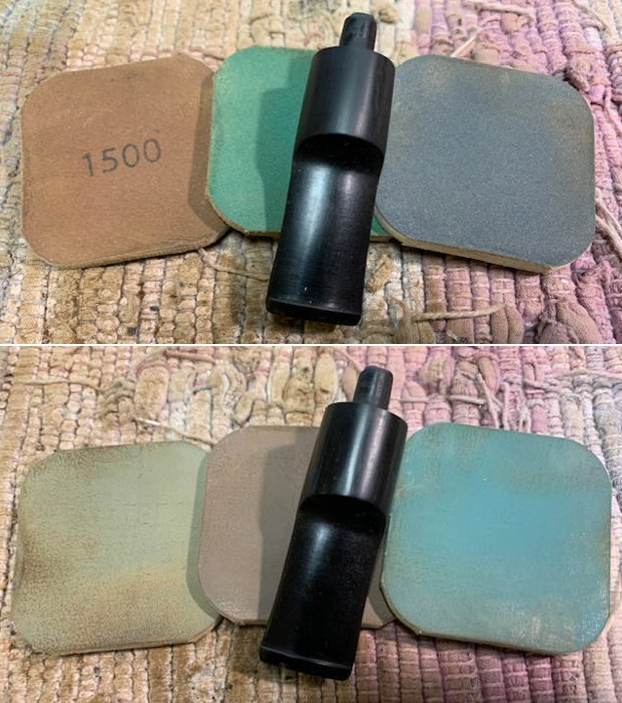
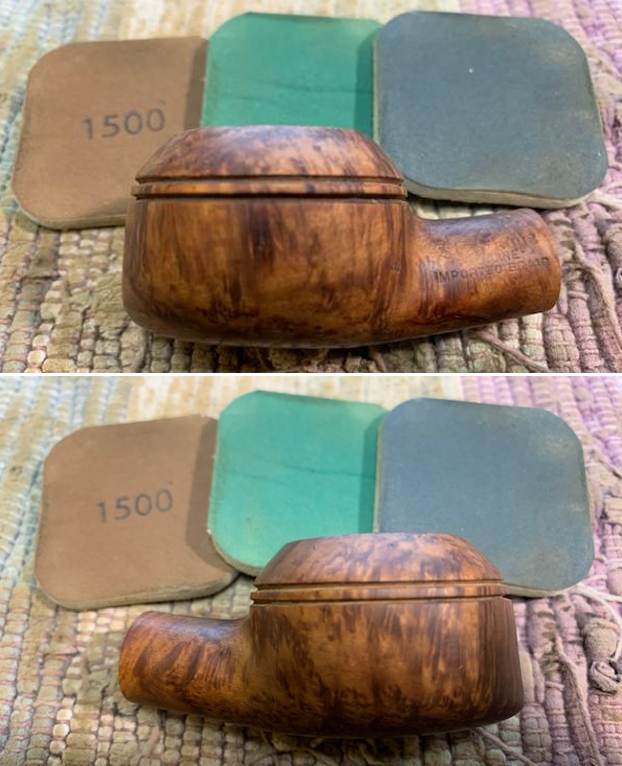
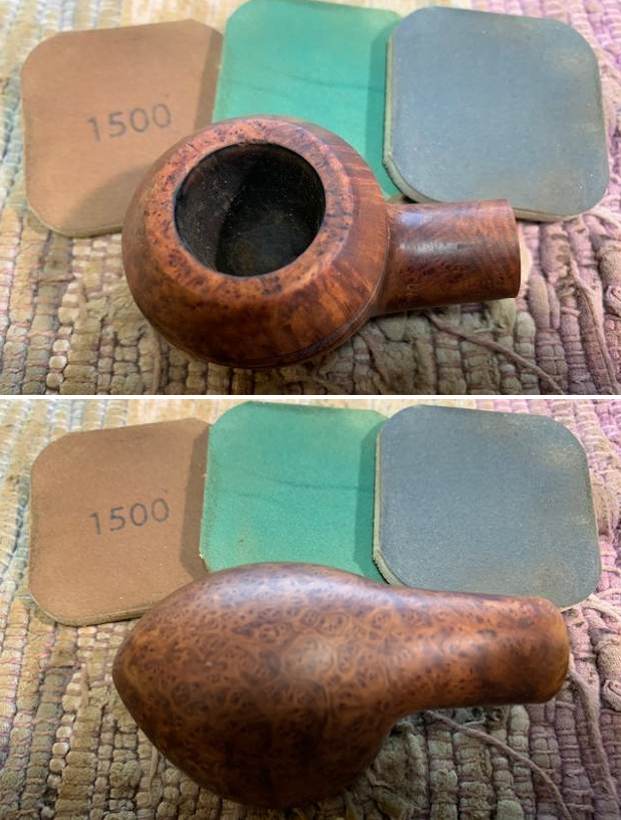
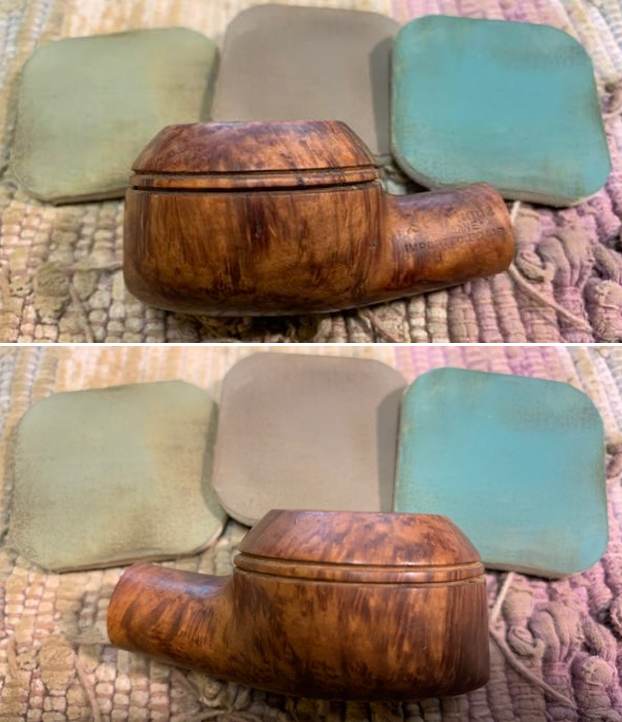
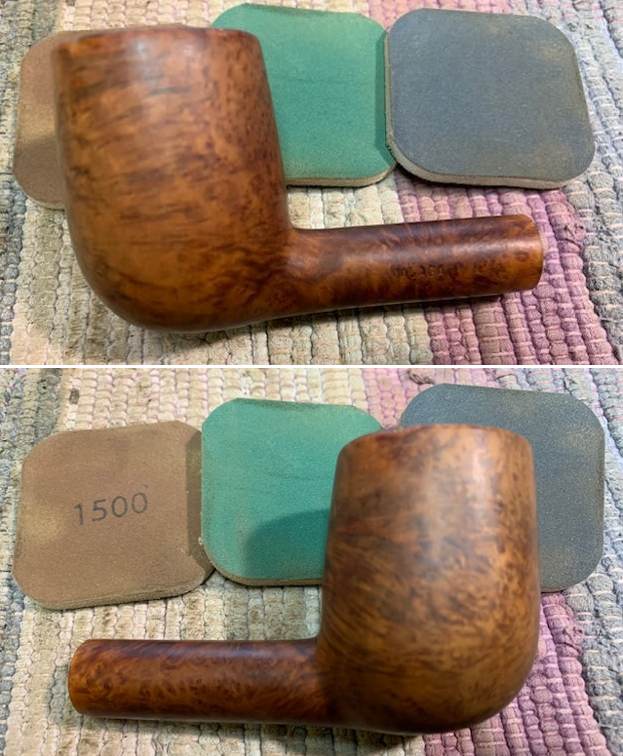
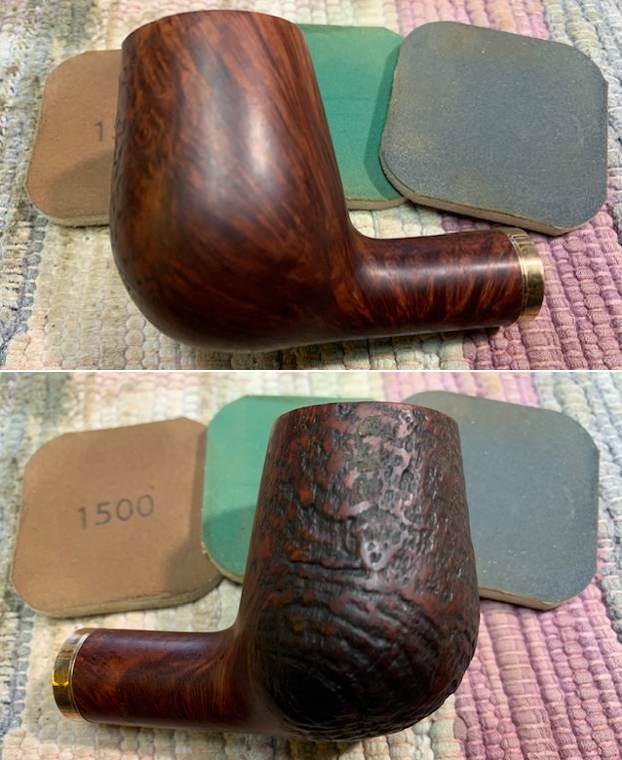
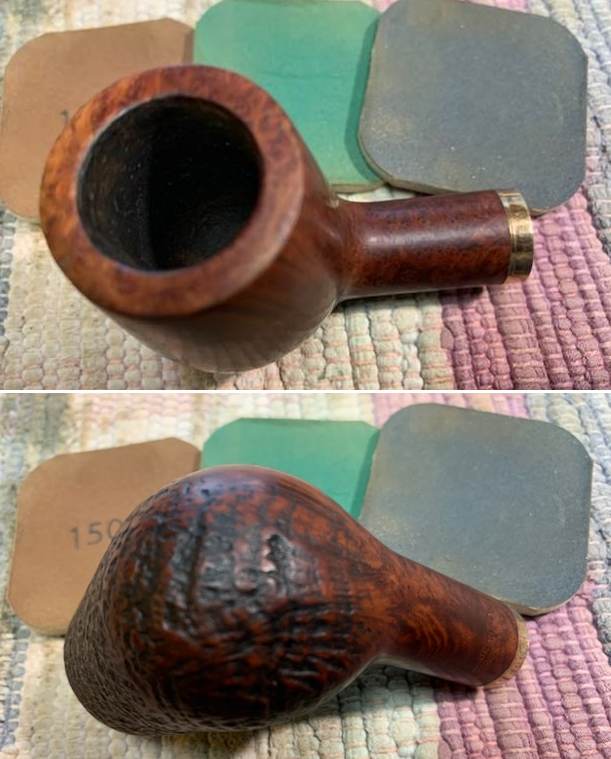
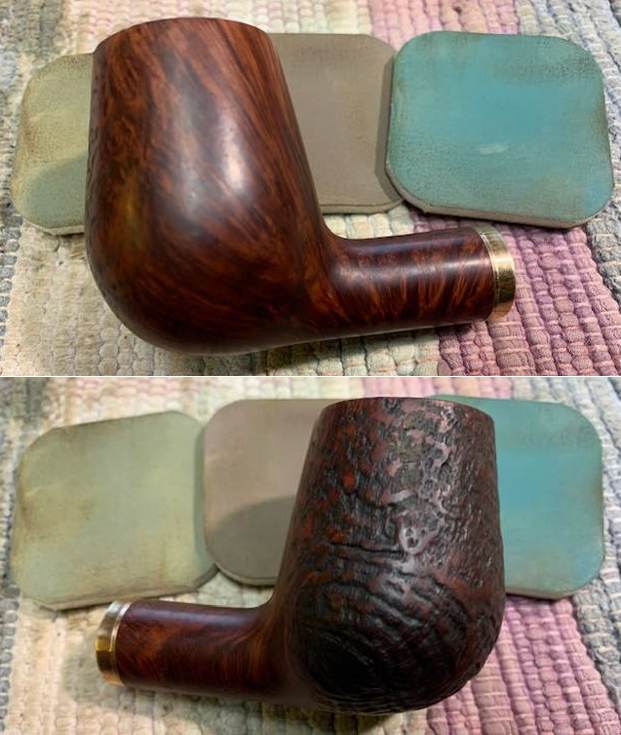
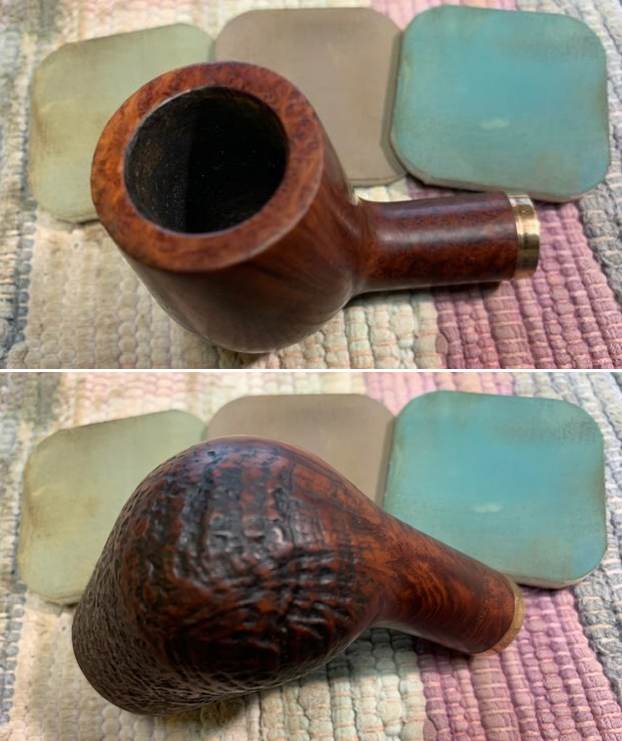
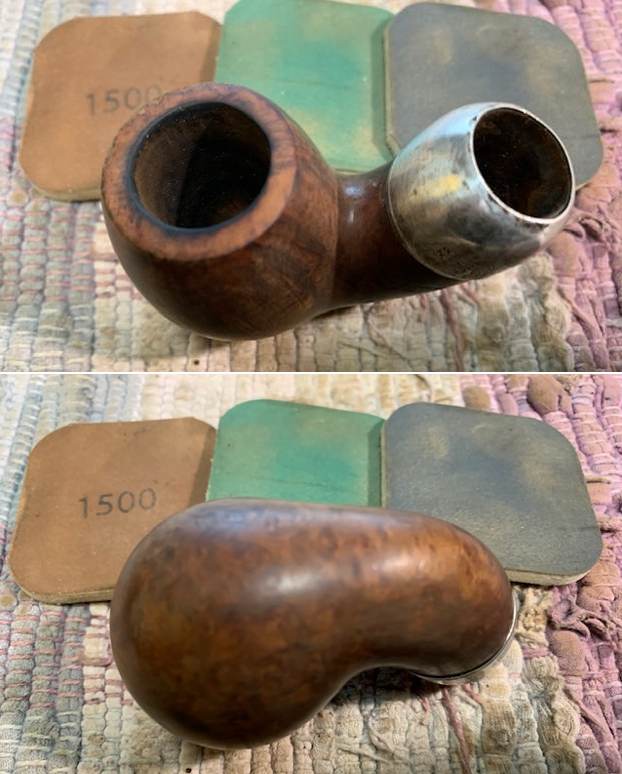
 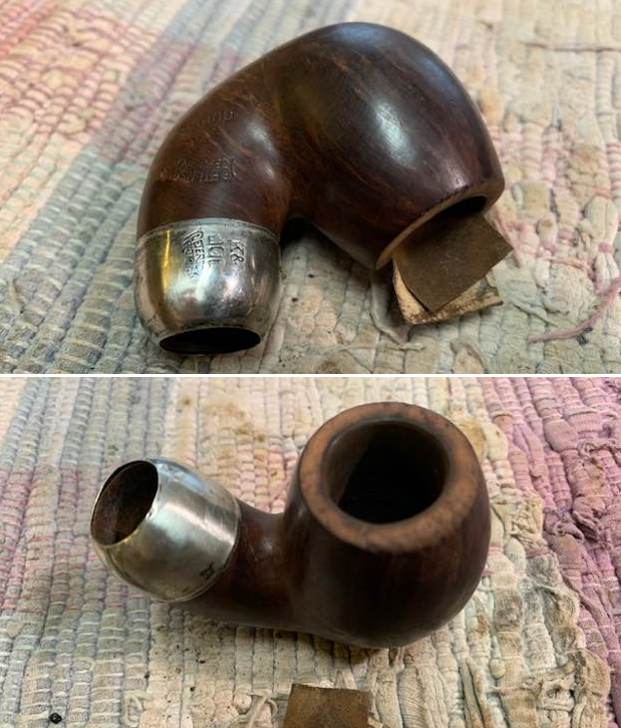 I polished the briar (carefully avoiding the areas where the pipe is stamped on the shank sides) with micromesh sanding pads. I dry sanded it with 1500-12000 grit sanding pads. I wiped it down after each pad with a damp cloth to remove the sanding debris.
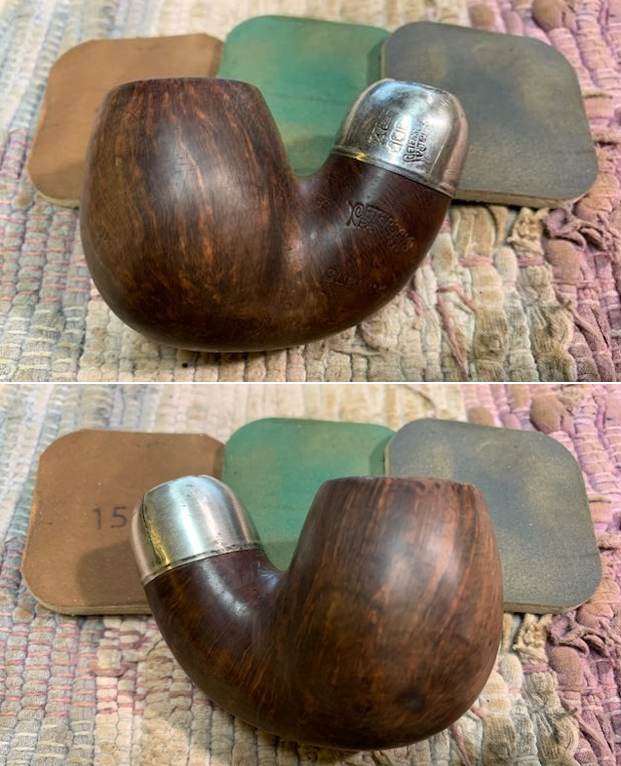
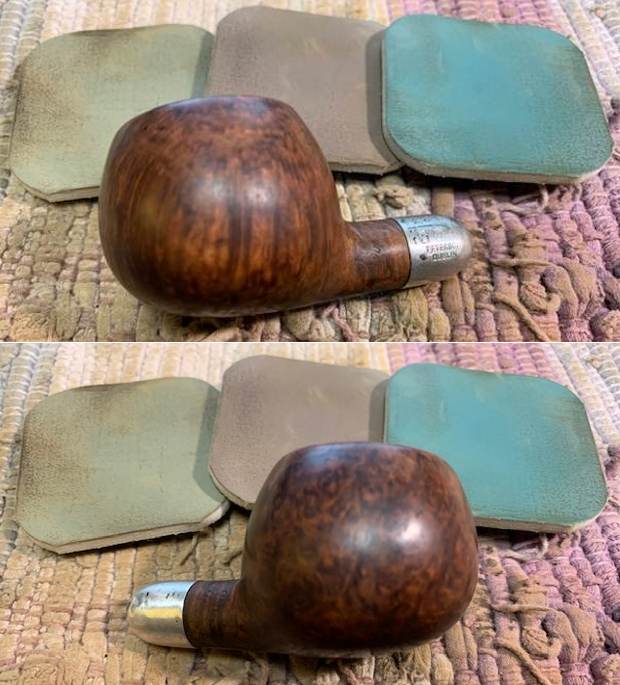
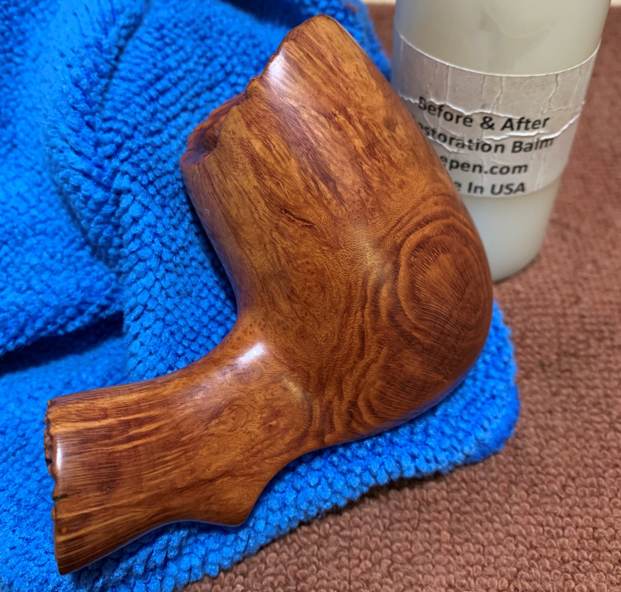
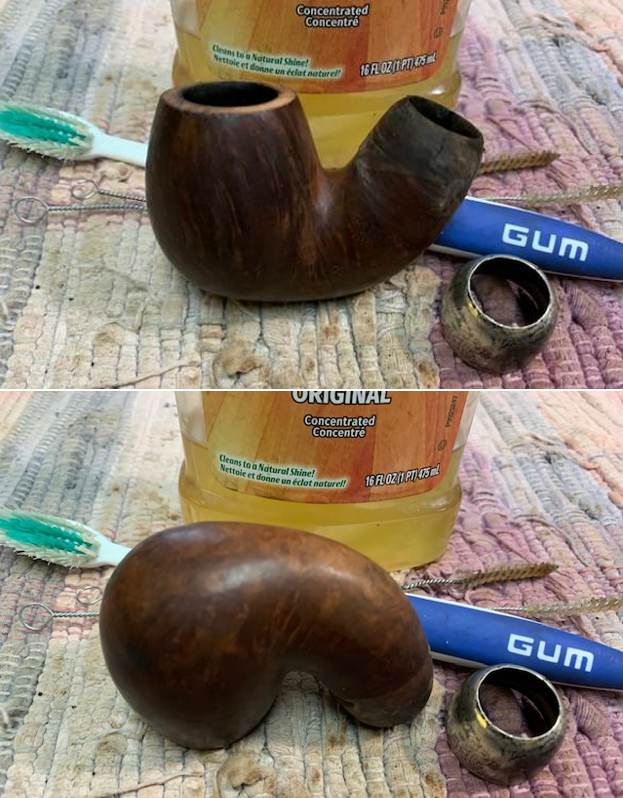
 I worked some Before & After Restoration Balm into the surface of the smooth briar with my finger tips. The product is amazing and works to clean, enliven and protect the briar. I let it sit on the briar for 10 or more minutes and then buff it off with a soft cloth. It really makes the grain sing.
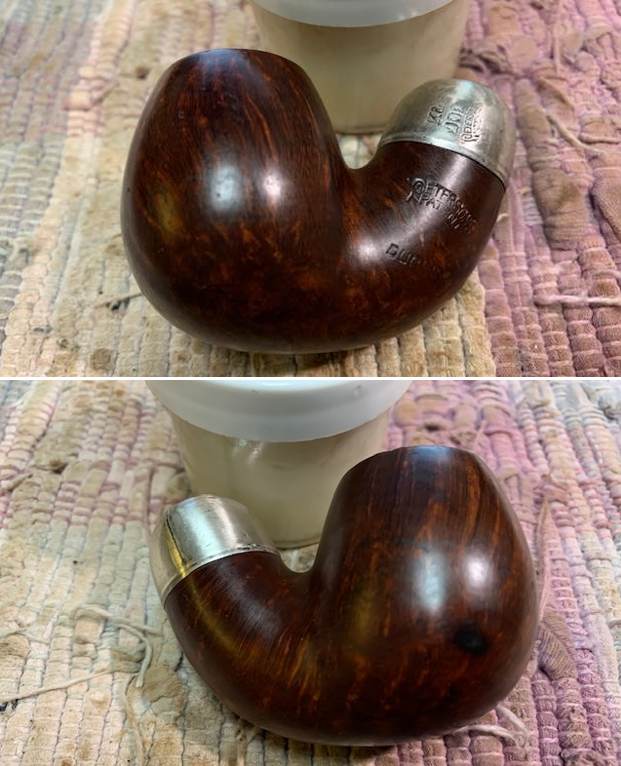
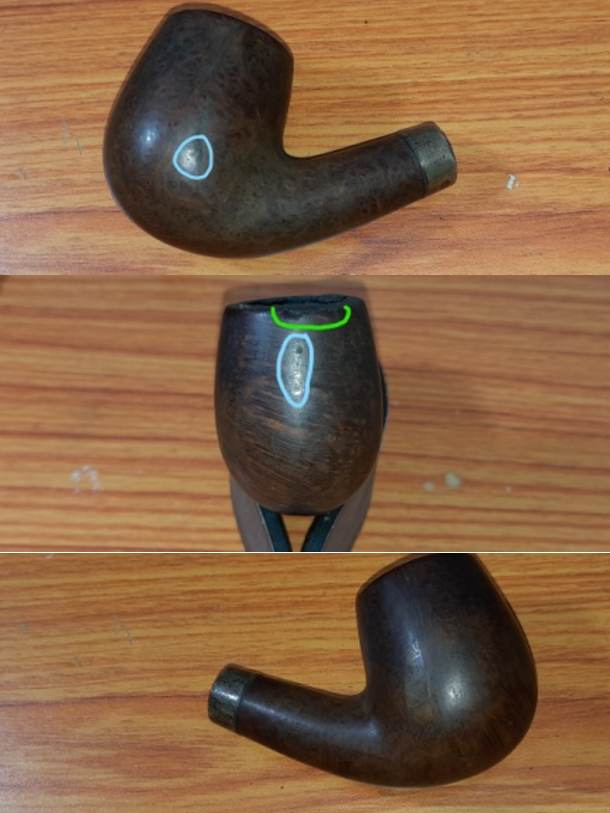
 I polished the silver ferrule with a jewelers cloth to remove the remaining tarnish/oxidation and protect it against further tarnishing. There are a few dings in the silver but I chose to leave them as part of the story of the pipe.
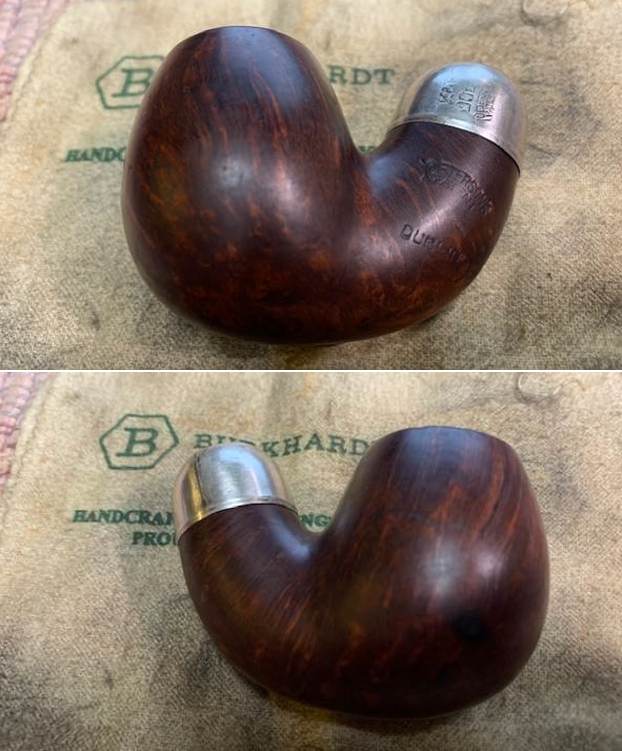
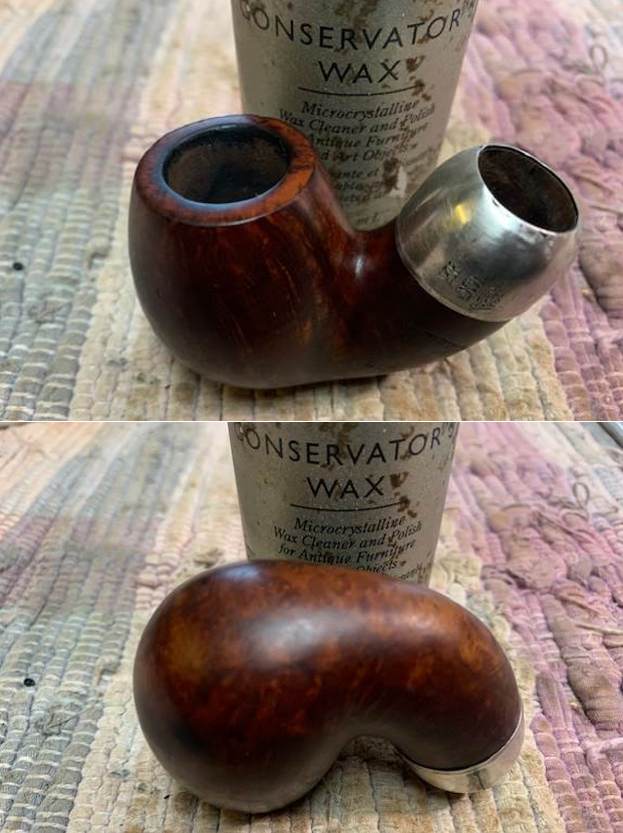
 I carefully buffed the briar and avoided the silver. I did not want to further damage it or cause it to loosen so I chose to wax it by hand with Conservator’s Wax and buffed it with a soft cloth.
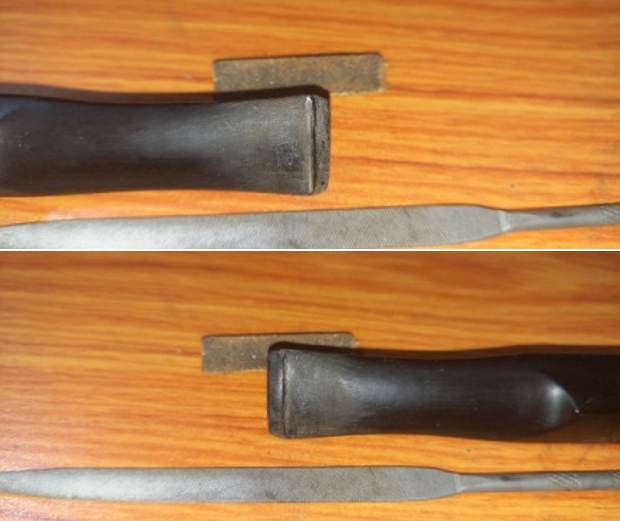
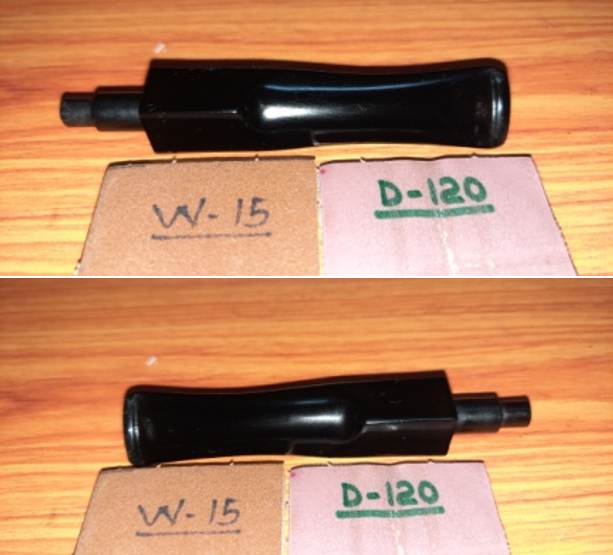
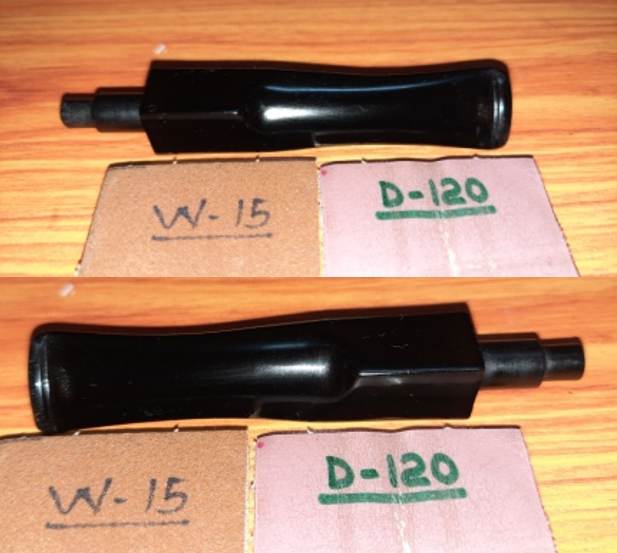
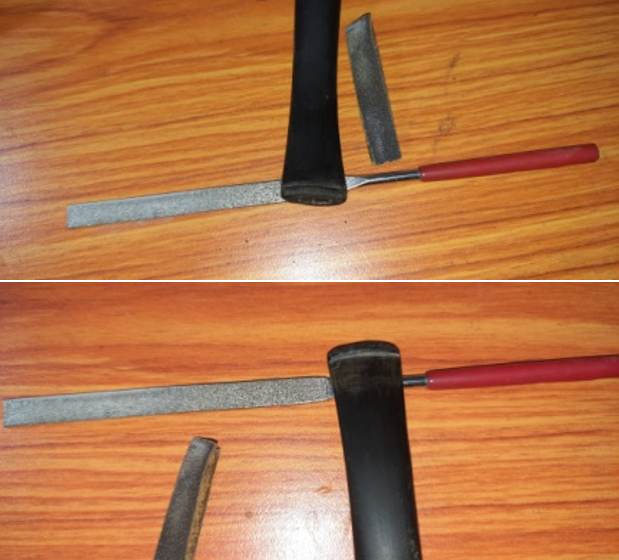
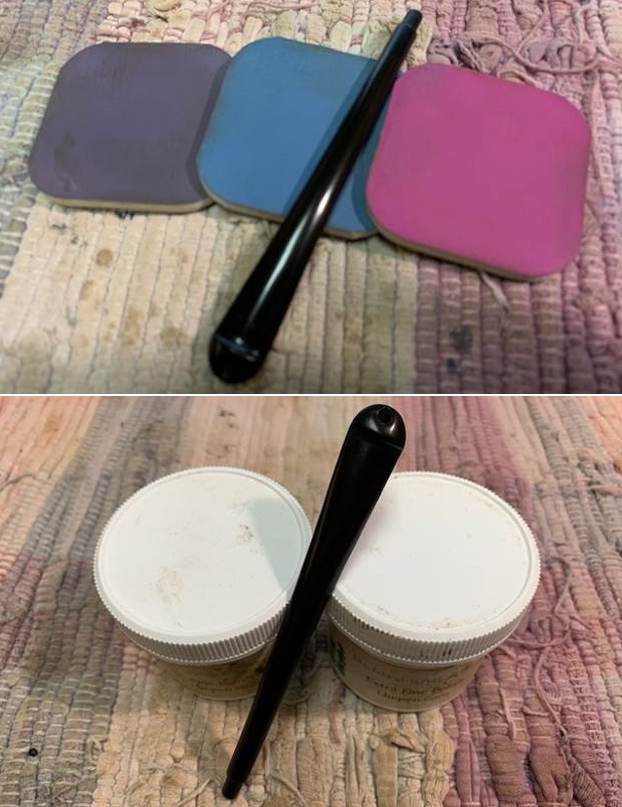
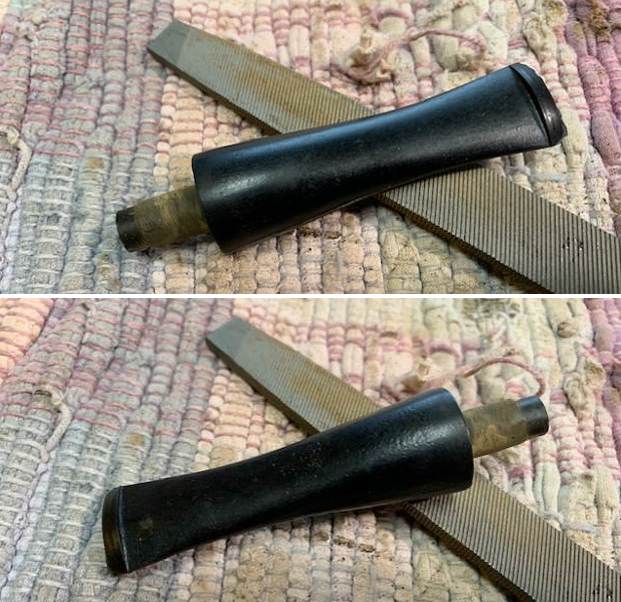
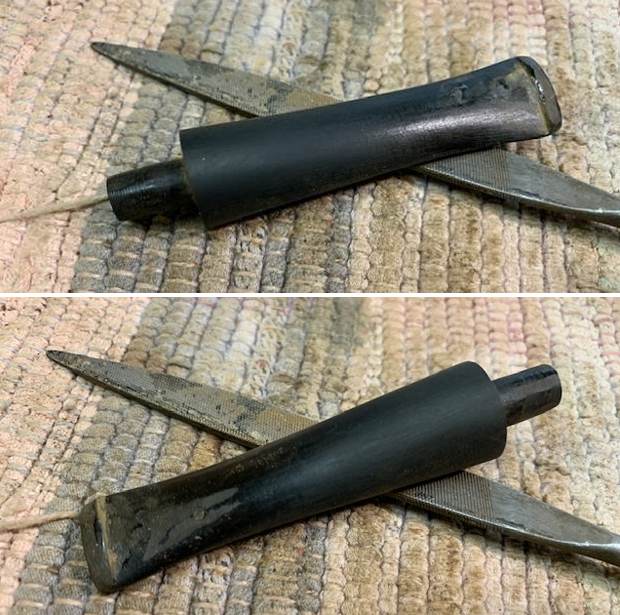
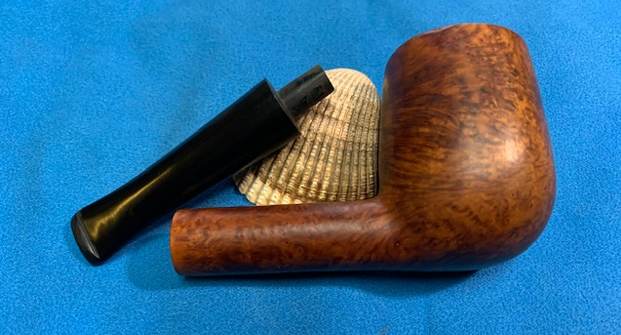
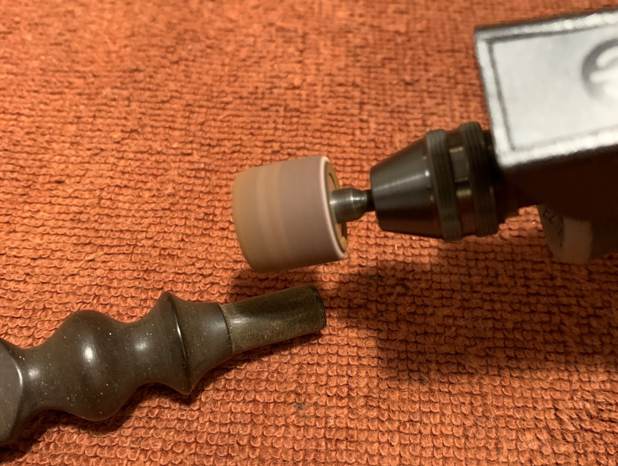
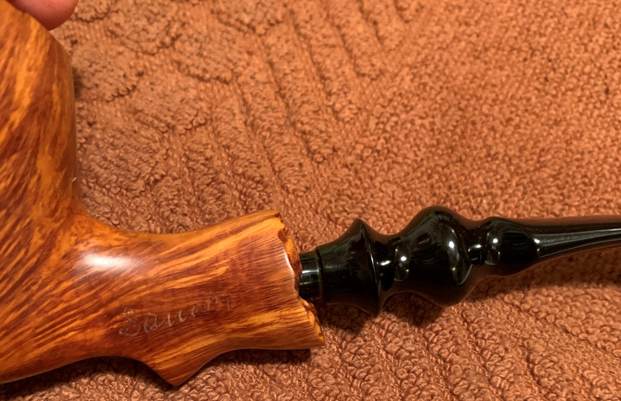
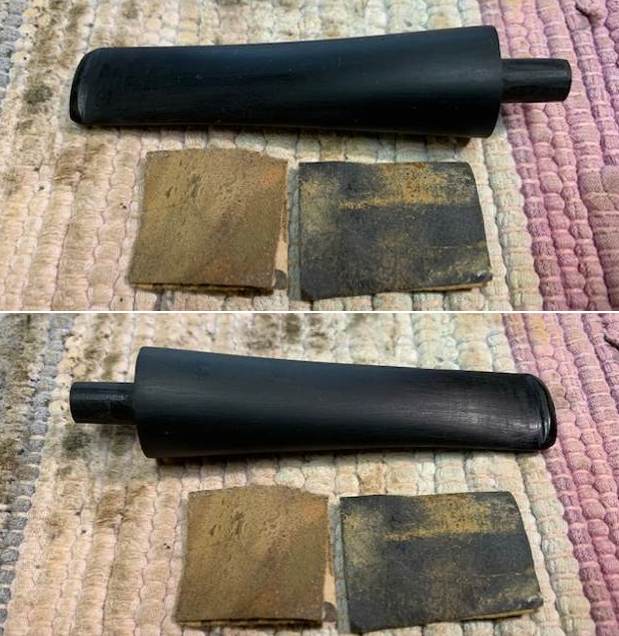
 I set the bowl aside and turned my attention to the stem. I examined it closely and saw the Peterson’s Patent stamp on the stem. The frustrating thing is that it was intermixed with the deep scratches on the shank end of the stem. I carefully sanded the scratched areas, avoiding the stamping on the stem. I used a small piece of 220 grit sandpaper and polished it with 400 grit wet dry sandpaper.
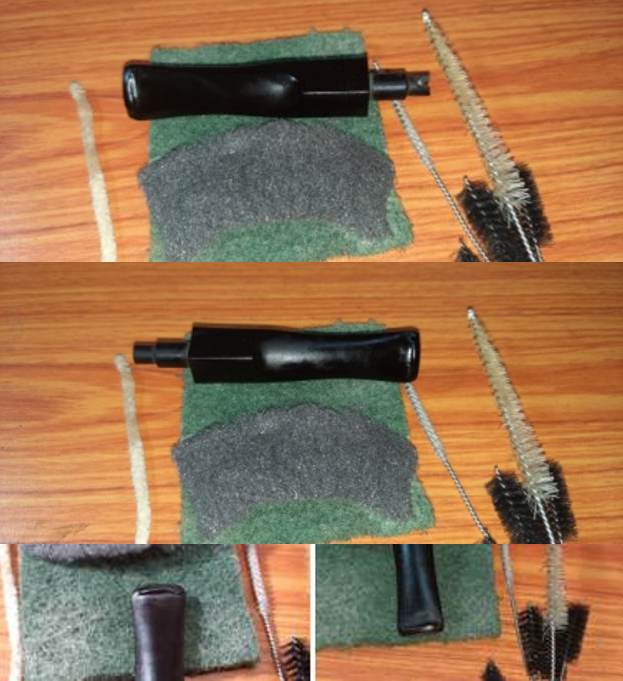
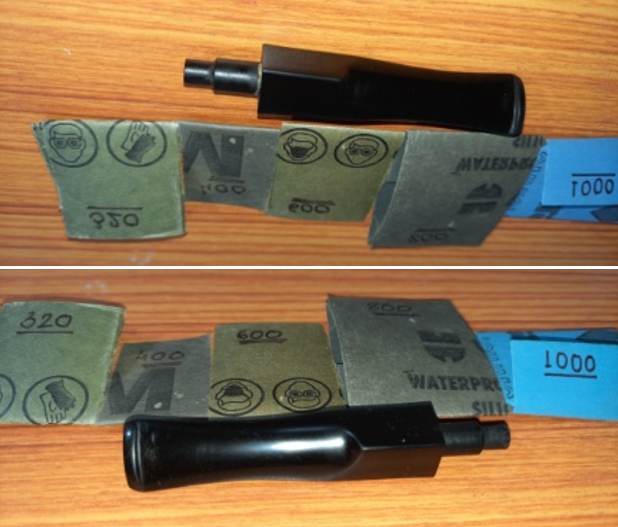
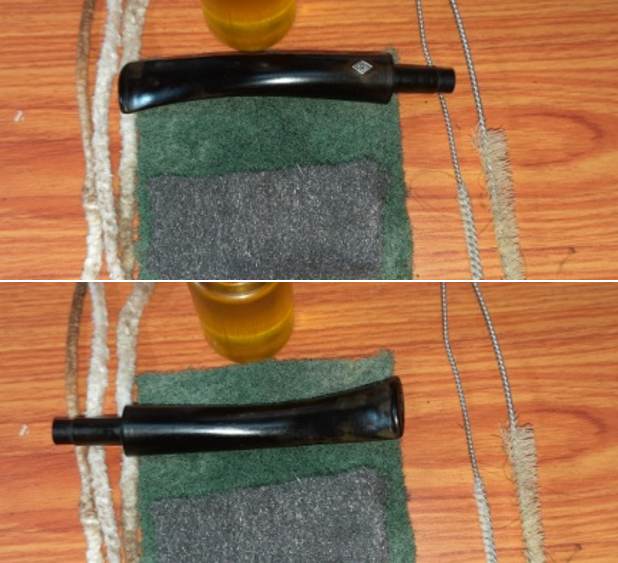
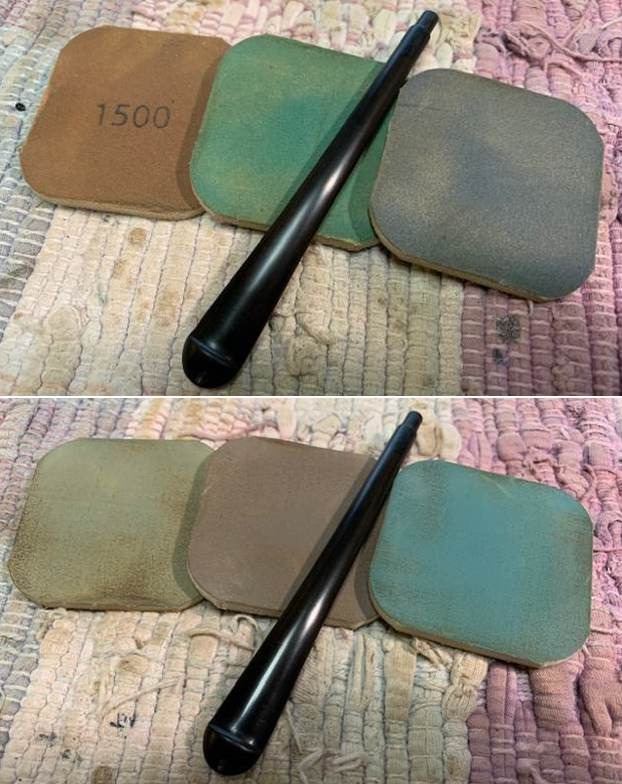
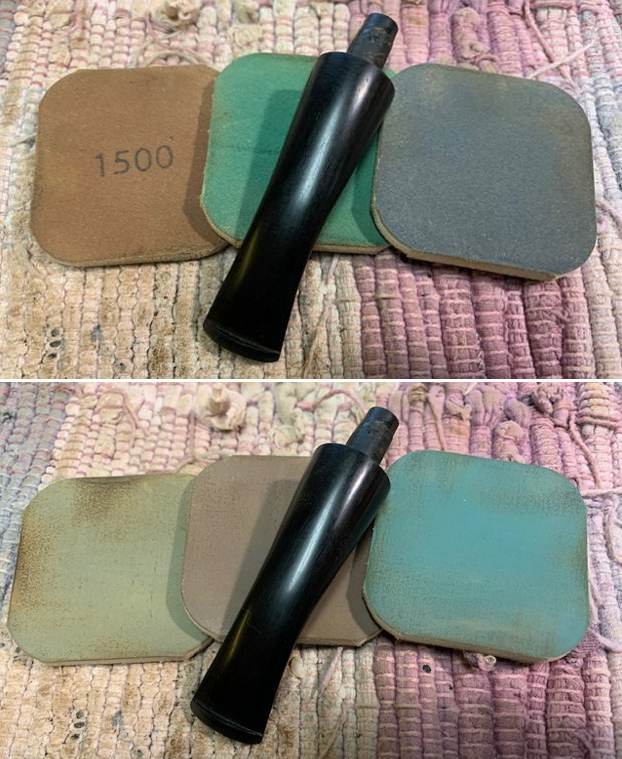
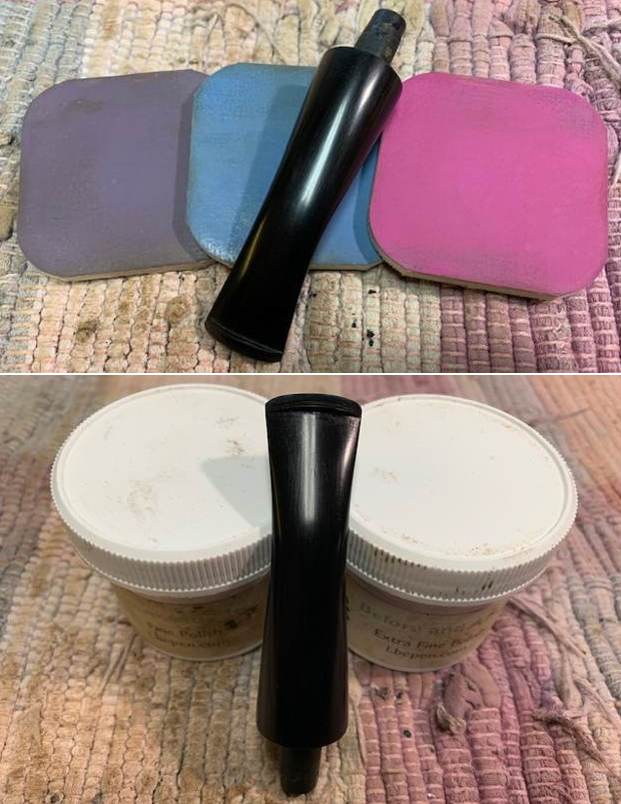
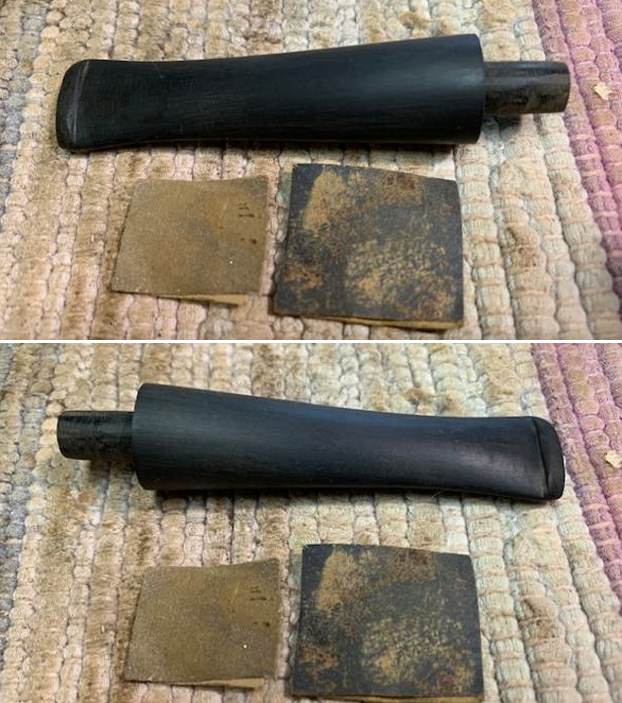
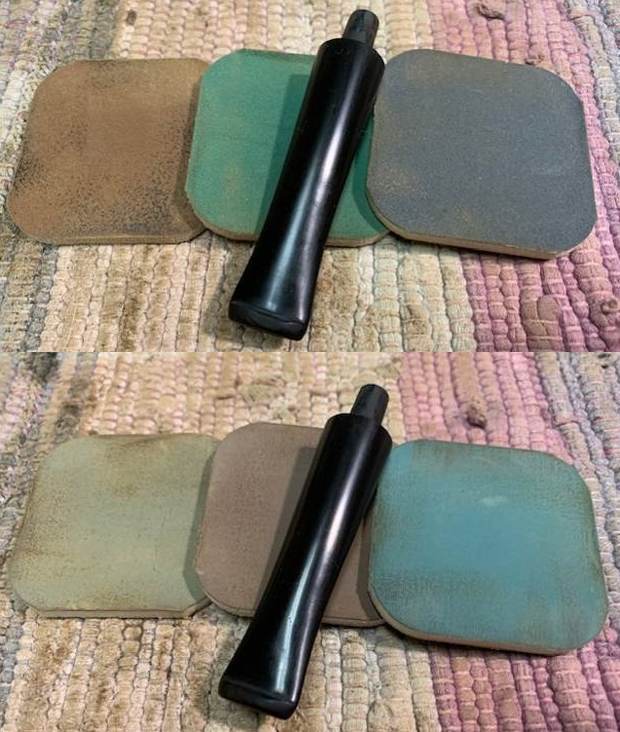
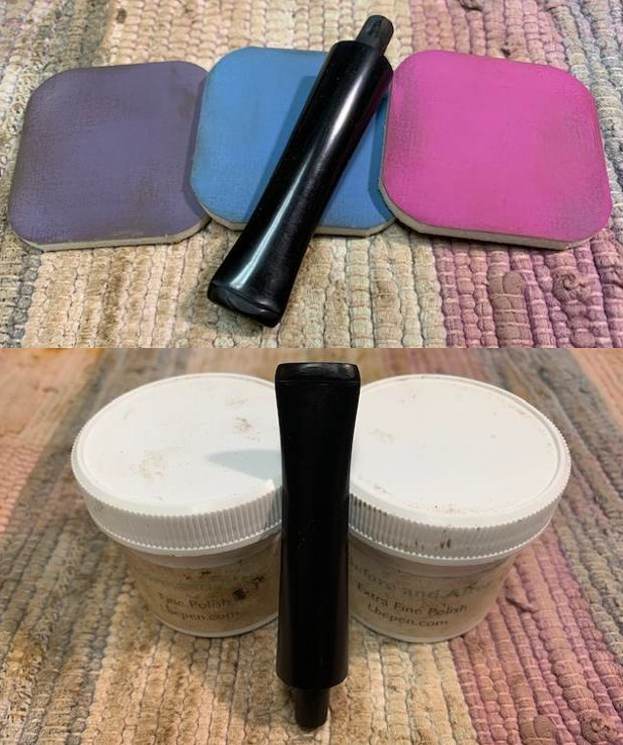
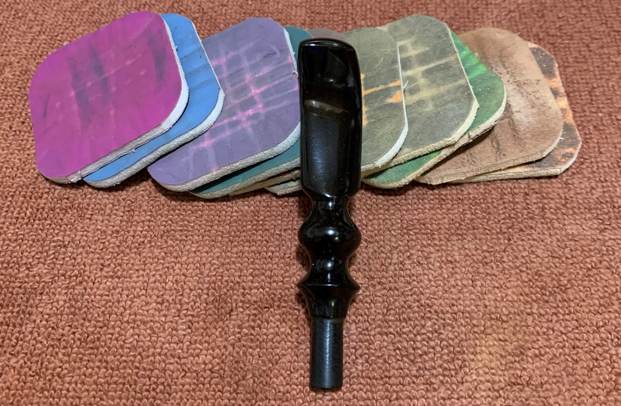
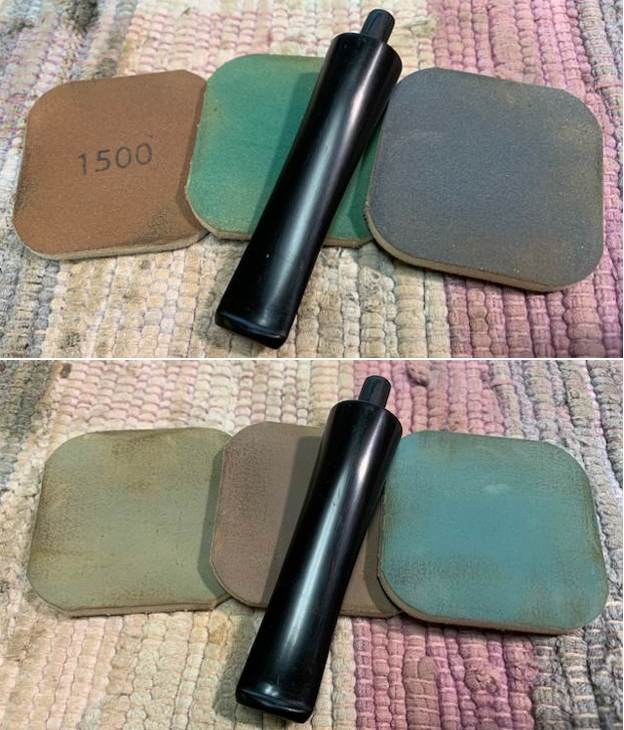
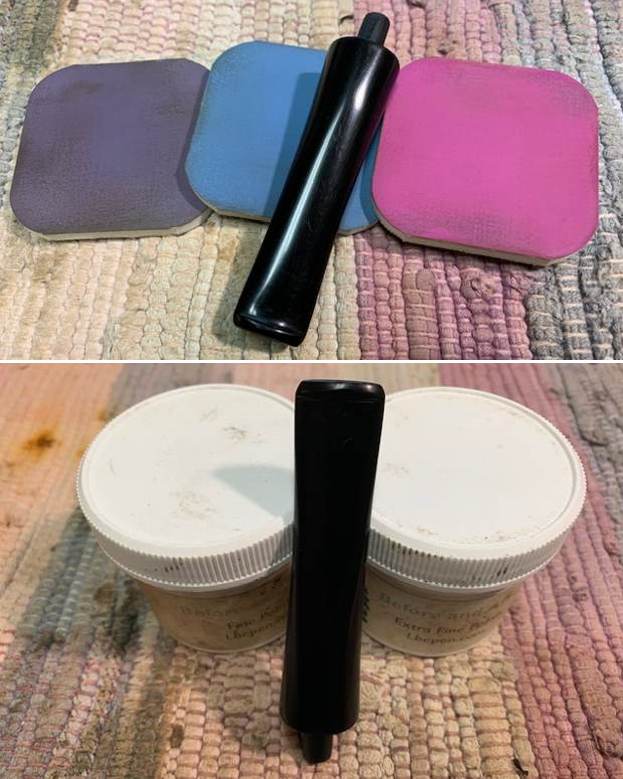
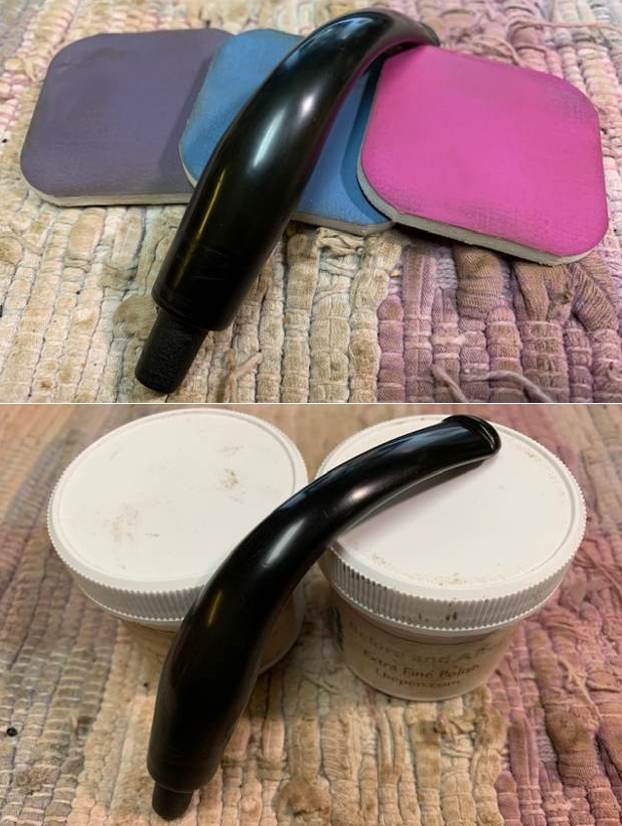
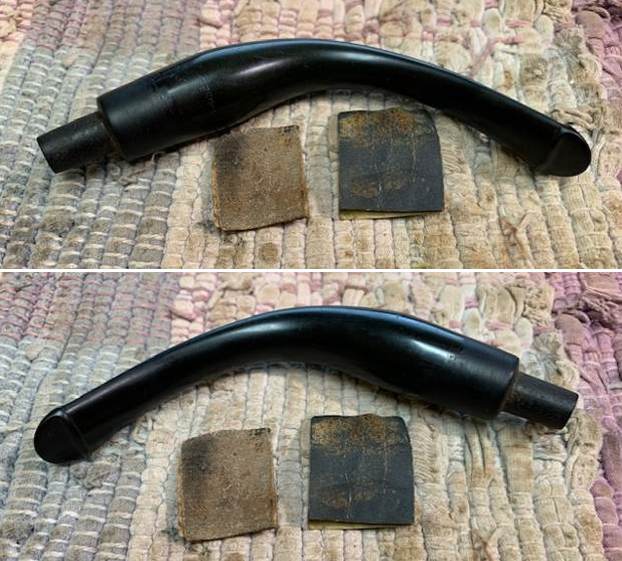 I polished the vulcanite with micromesh sanding pads – dry sanding with 1500-12000 grit pads. I wiped down the stem with Obsidian Oil after each sanding pad. I have an oil impregnated piece of cloth that I use after each pad. I polished it further with Before & After Stem Polish both Fine and Extra Fine polishes. I gave it a further coat of Obsidian Oil and set it aside to dry.
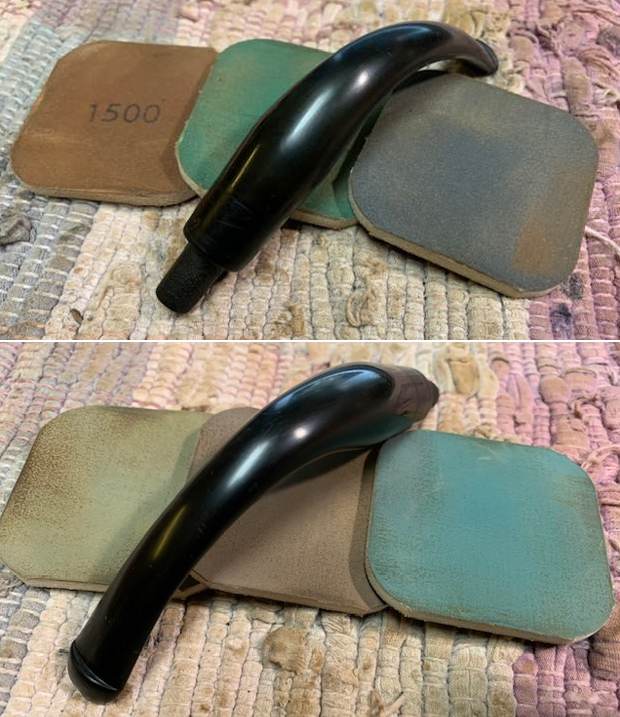
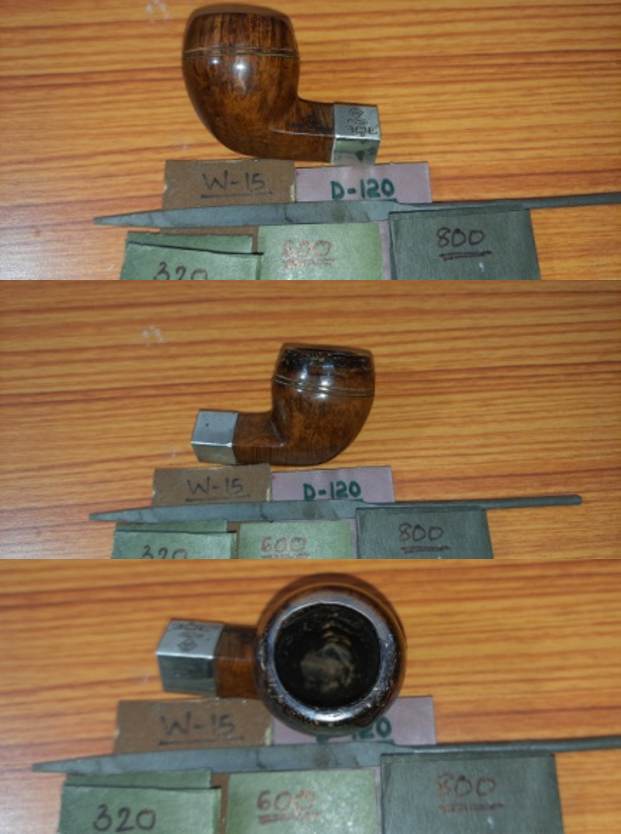
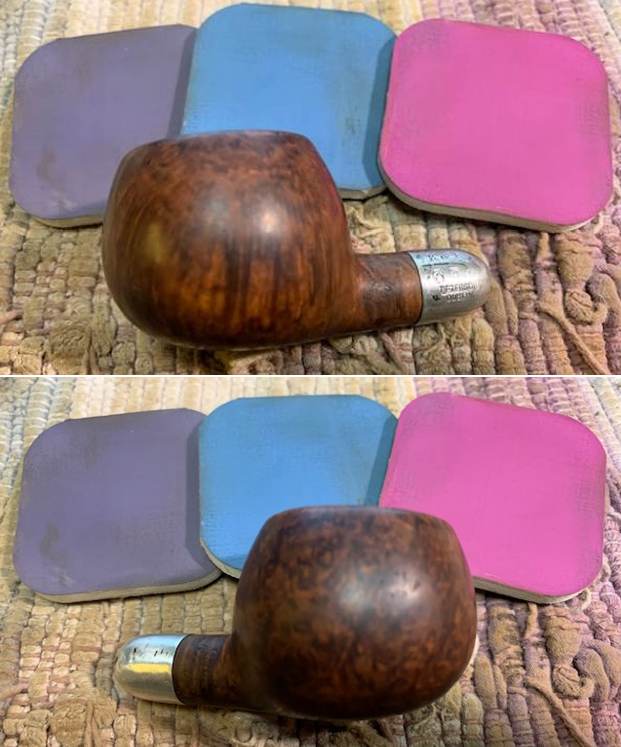
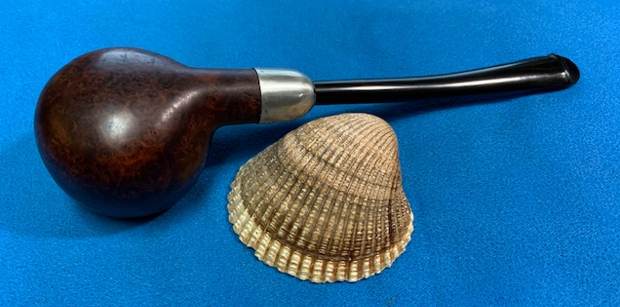
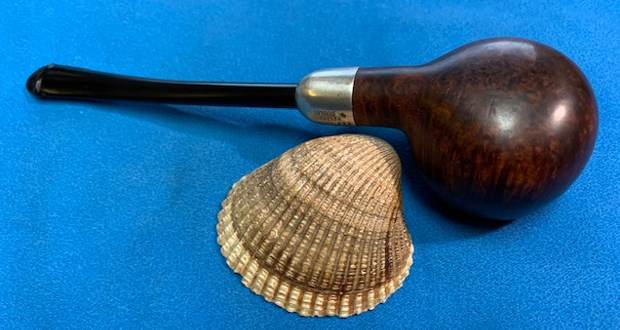
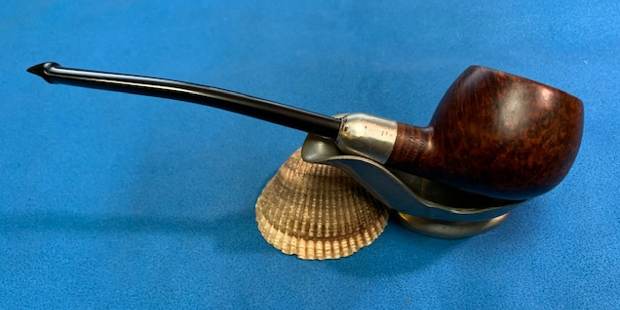
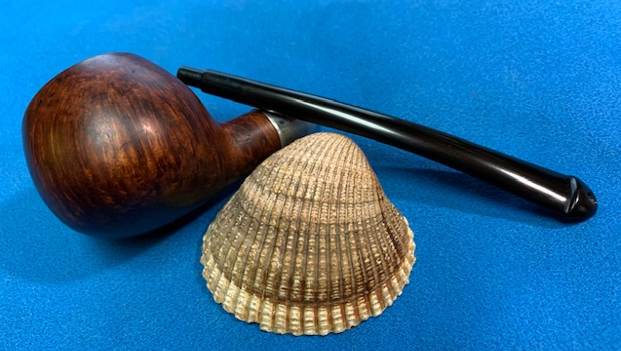
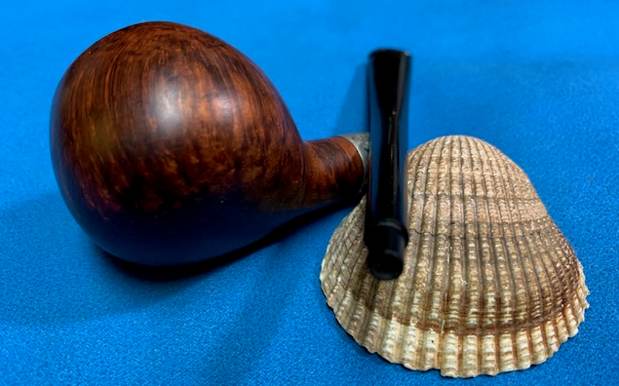
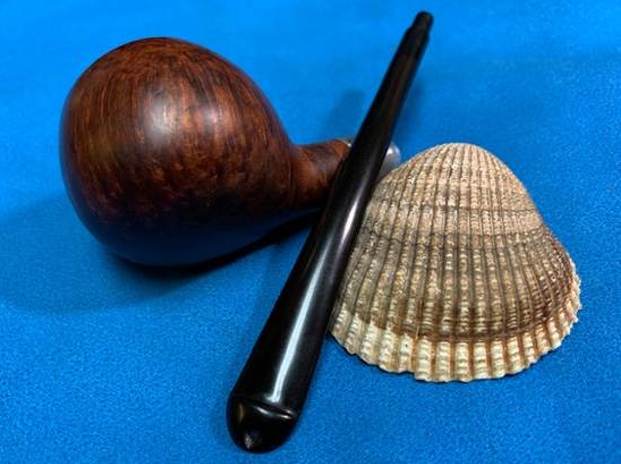
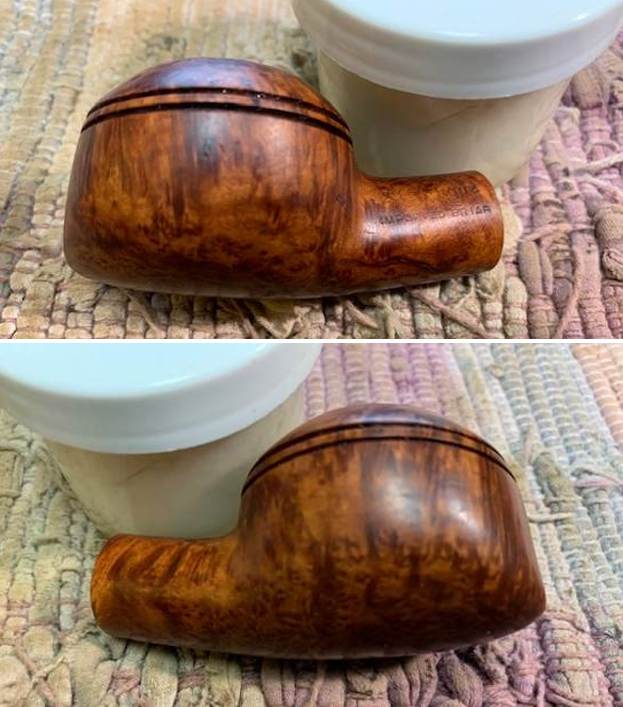
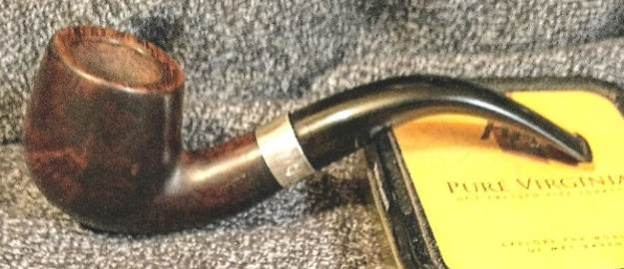
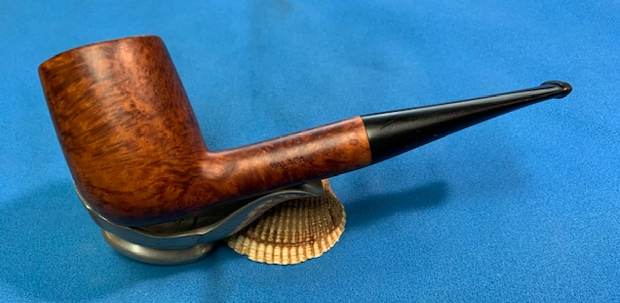
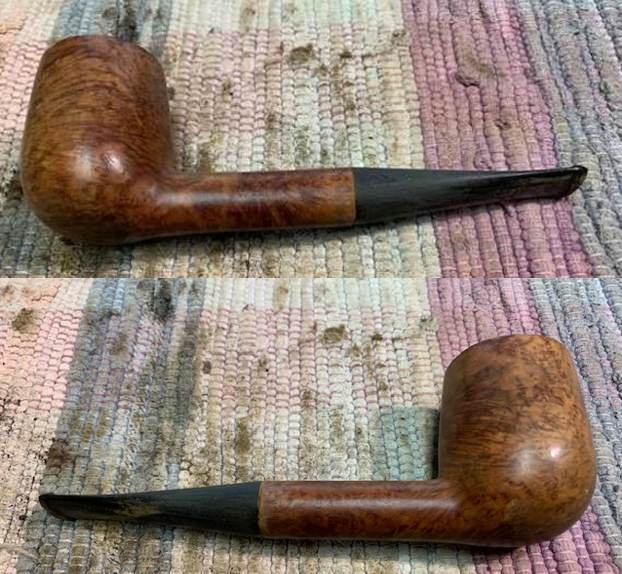
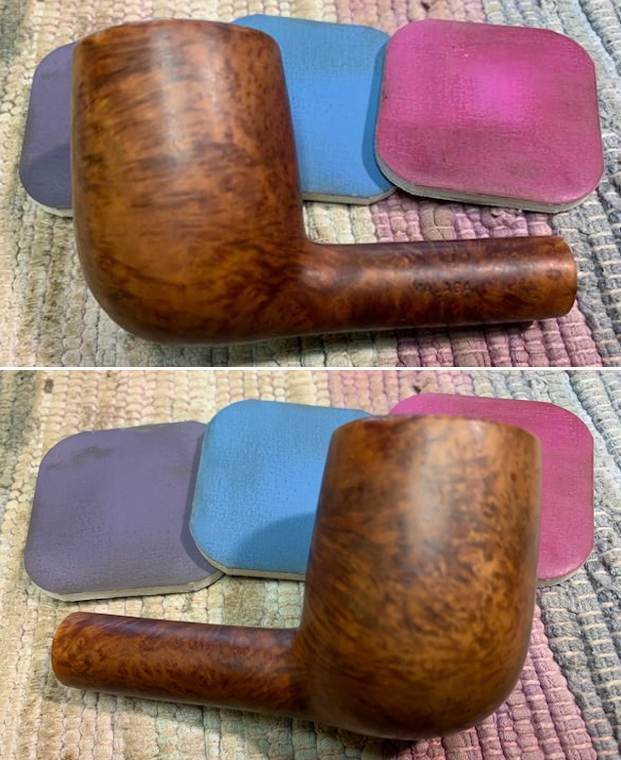
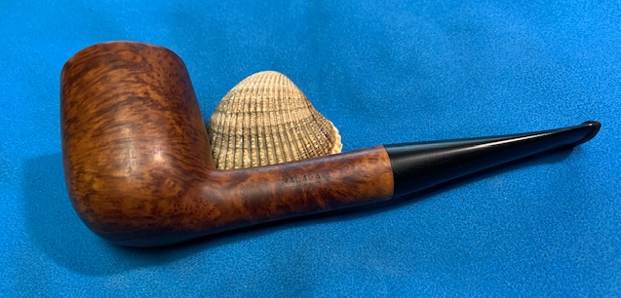
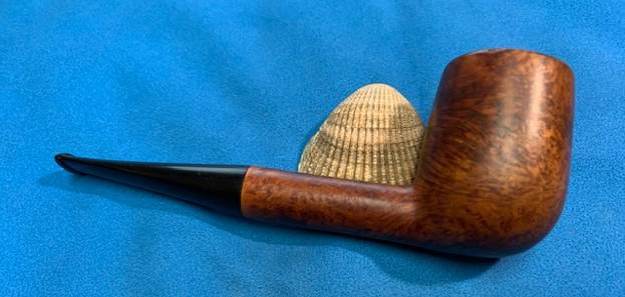
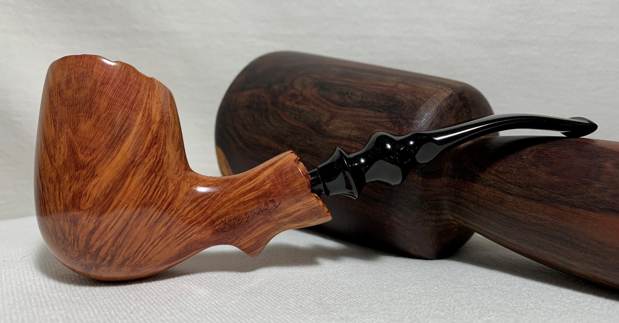
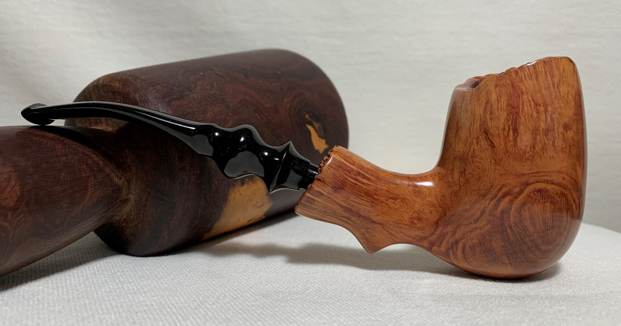
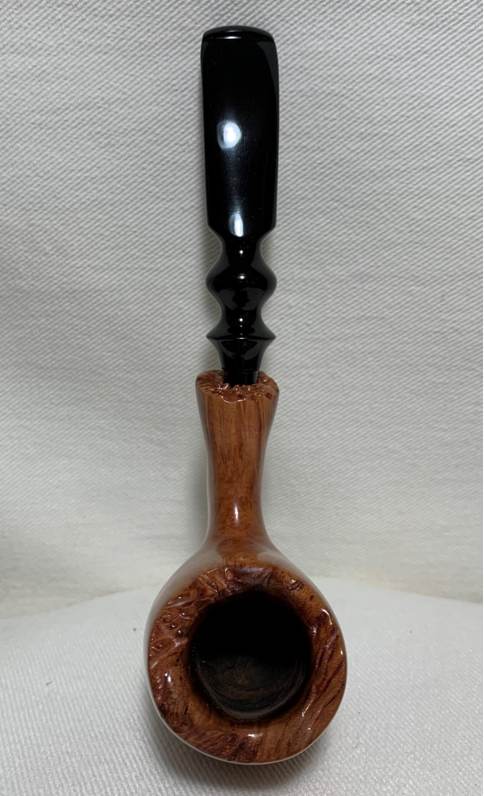
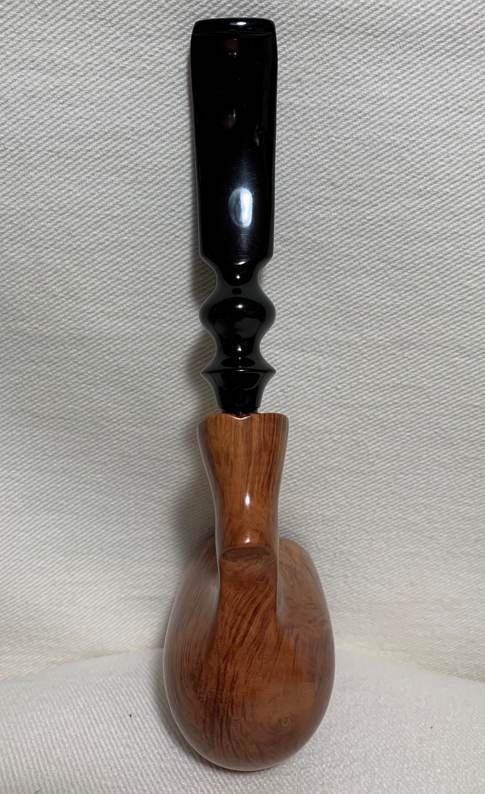
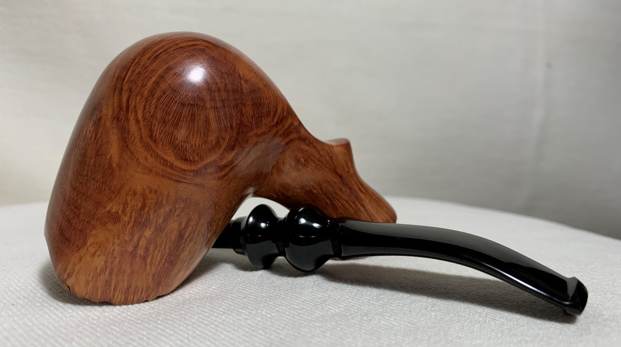
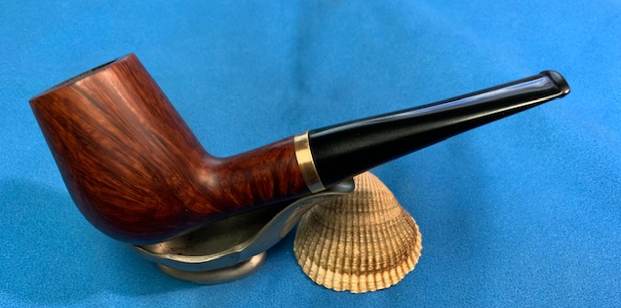
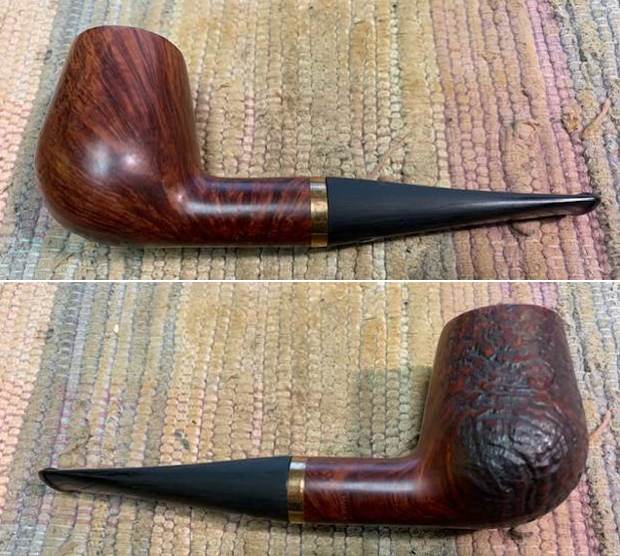
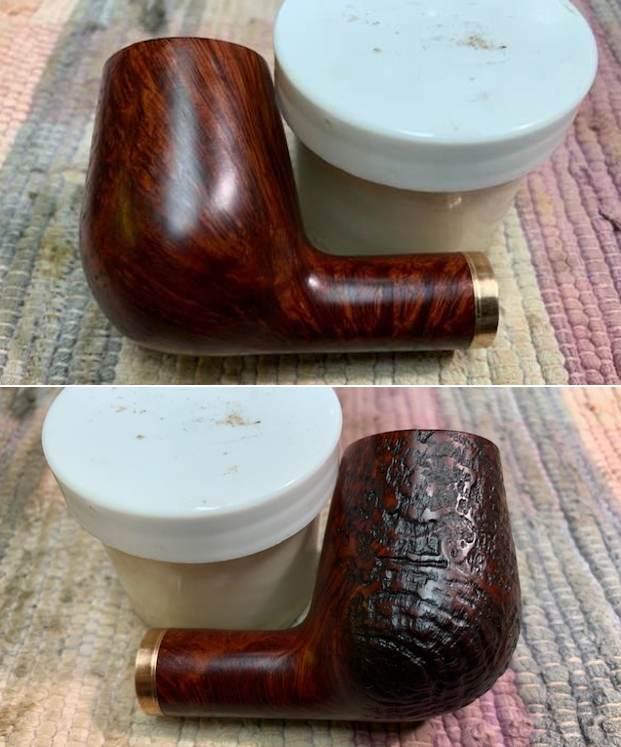
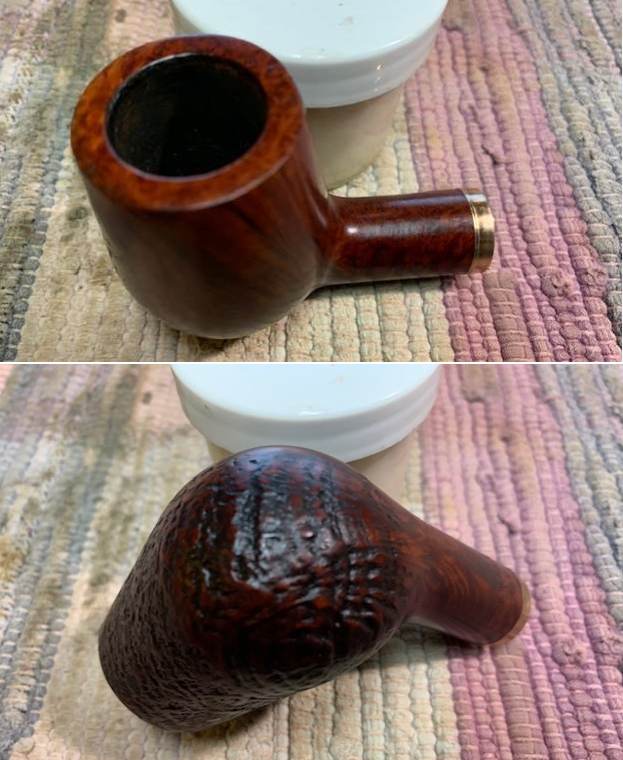
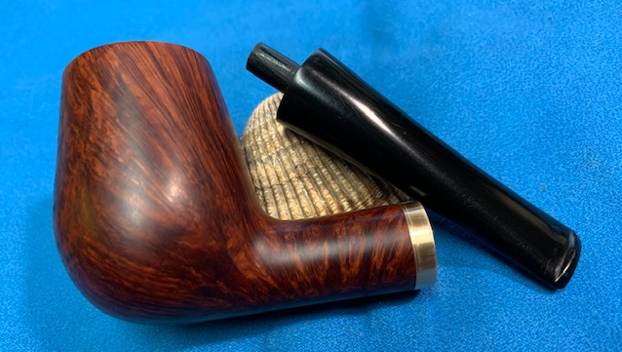
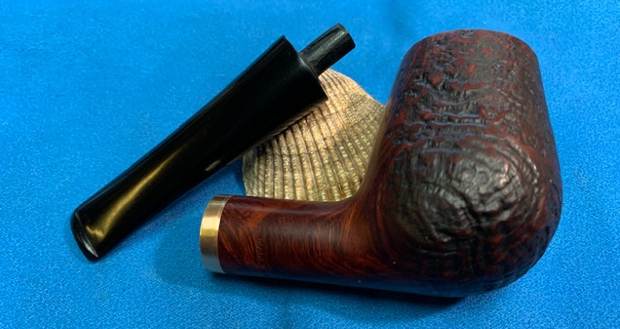
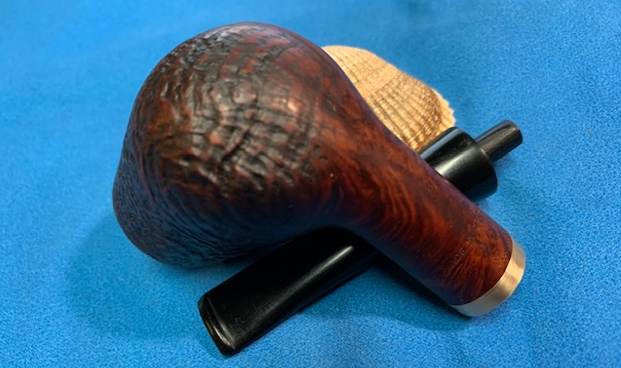
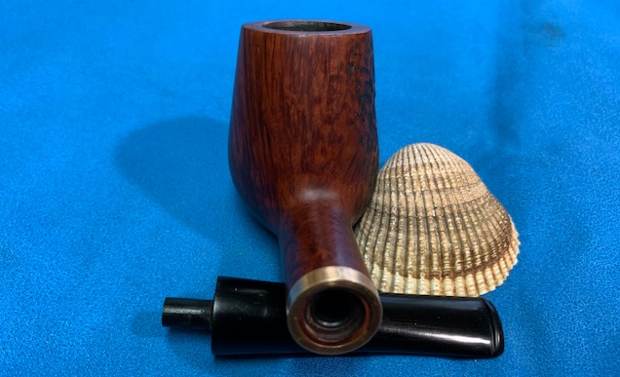
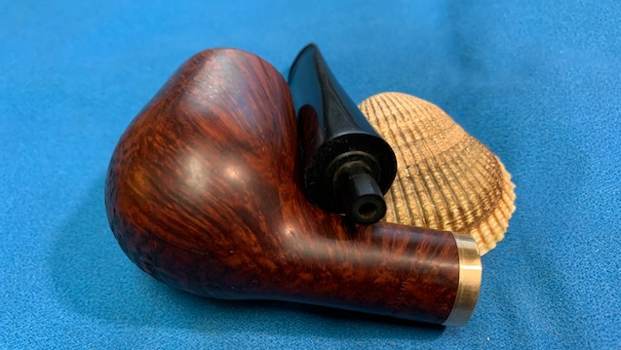
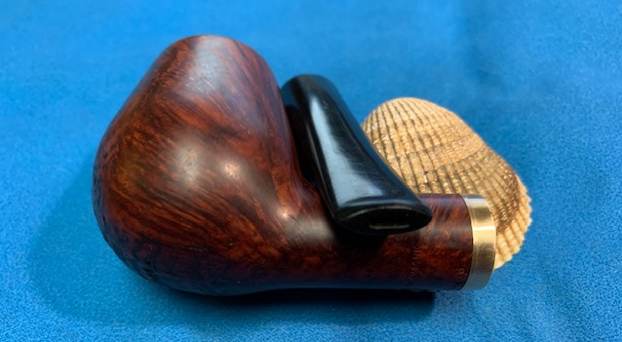
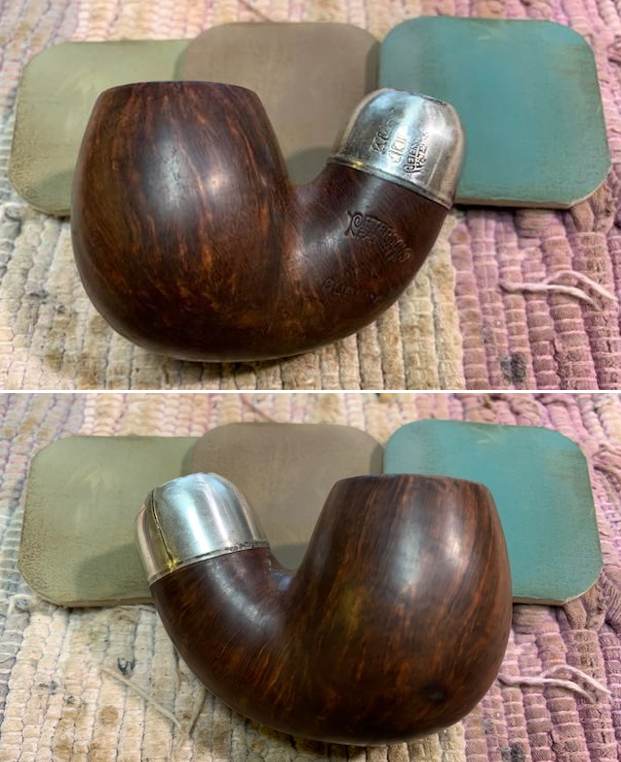
 I put the pipe back together – the bowl with its new stem. This smooth finished 1906 Peterson’s Patent System Pipe Shape 14 is a real beauty with great grain around the bowl. The thin P-lip style vulcanite stem works very well with silver ferrule and the medium brown briar. This Irish made System pipe is a very collectible part of Peterson’s history. The grain on the bowl is quite beautiful and came alive with the buffing. I used Blue Diamond on the buffing wheel on both the bowl and stem. I gave both multiple coats of carnauba wax on the wheel then buffed it with a clean buffing pad to raise the shine. I hand buffed it with a microfibre cloth to deepen the shine. The Peterson’s Patent System feels great in the hand. It is lightweight and the contrast in the browns of the briar, the sterling silver ferrule and the polished vulcanite stem is quite amazing. The dimensions of the pipe are Length: 6 inches, Height: 2 inches, Outer diameter of the bowl: 1 1/8 inches, Chamber diameter: ¾ of an inch. The weight of the pipe is 2.19 ounces/62 grams. It really is a beauty. I have two more pipes left to work on from my friends collection and then I will send them all back to him. Thanks for walking through the restemming and the restoration with me. Cheers.