Blog by Steve Laug
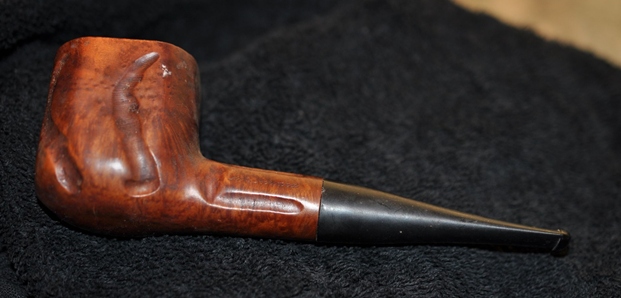
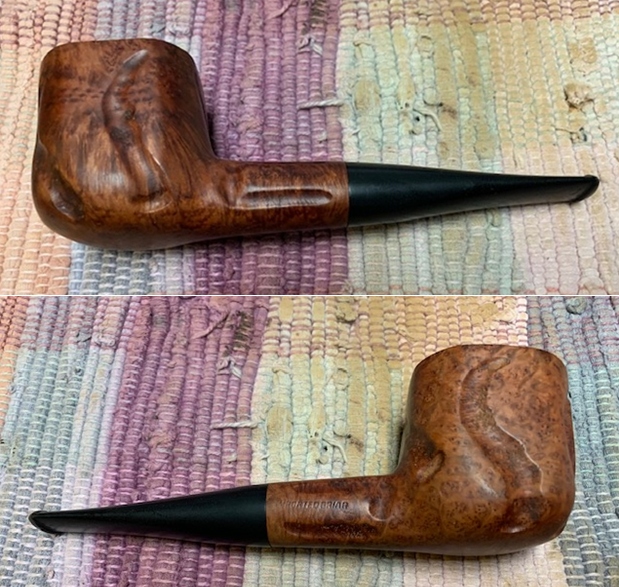
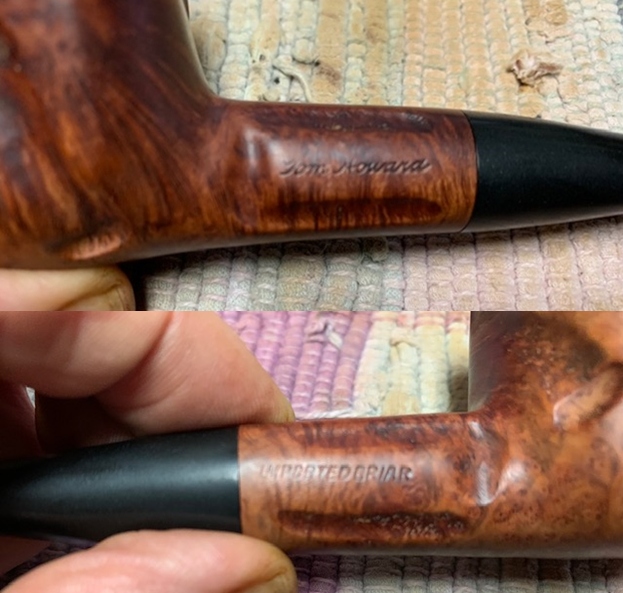
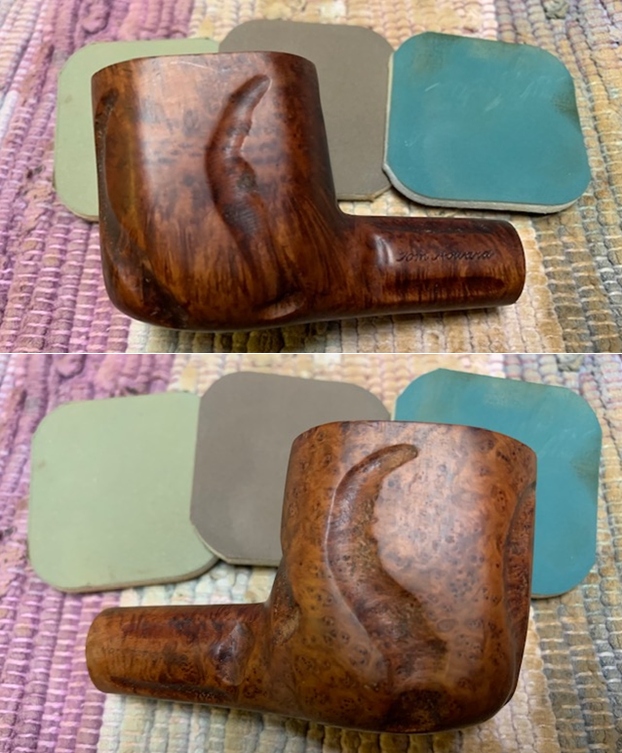
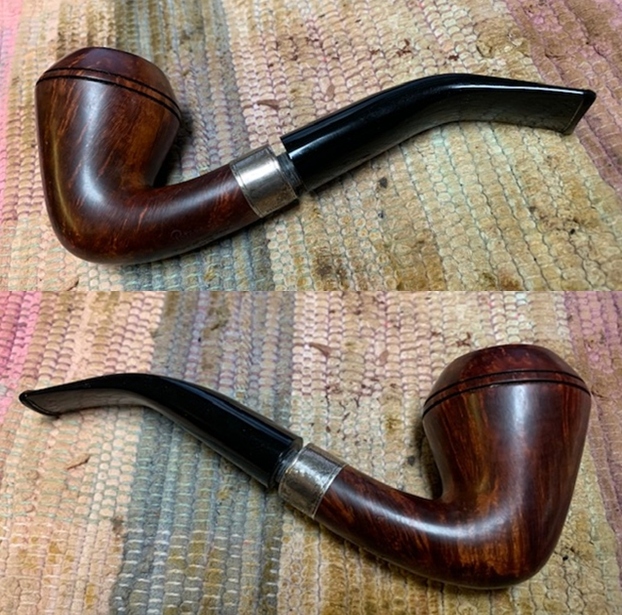
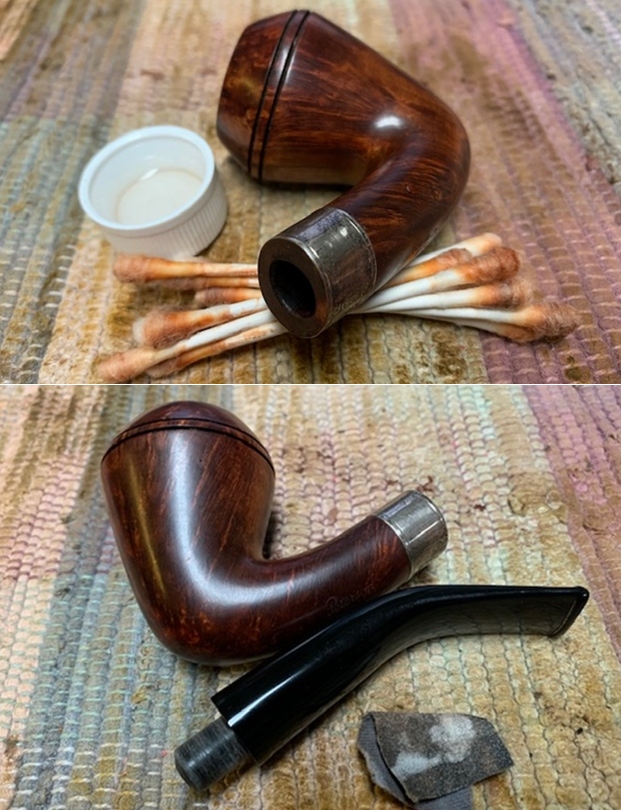
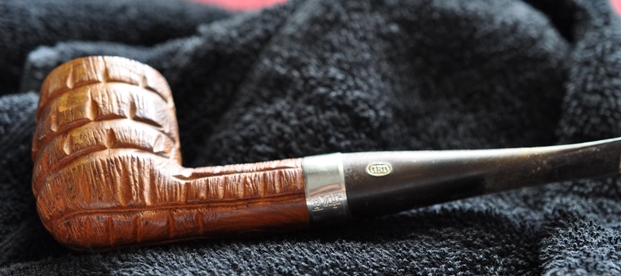
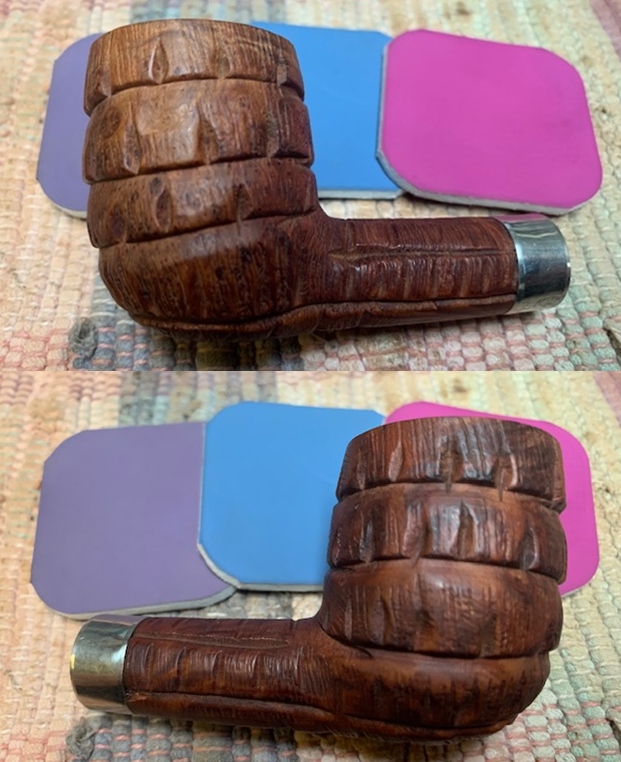
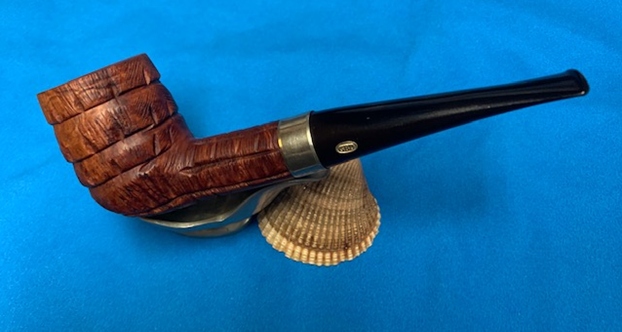
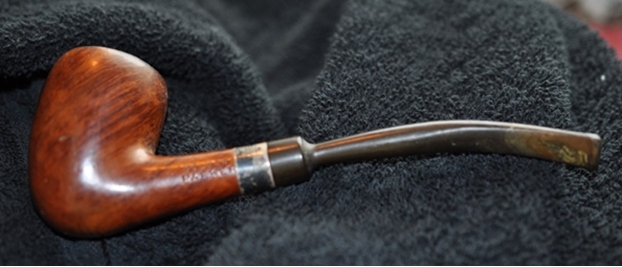
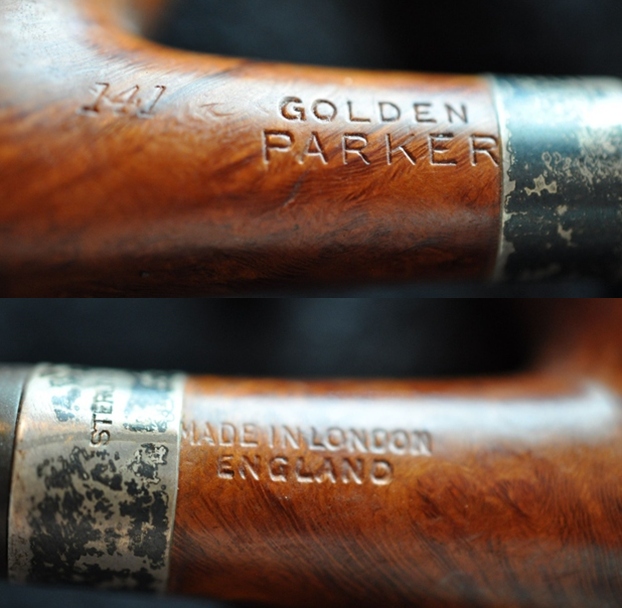
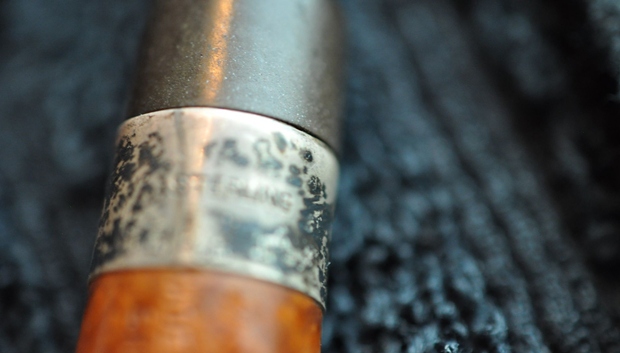
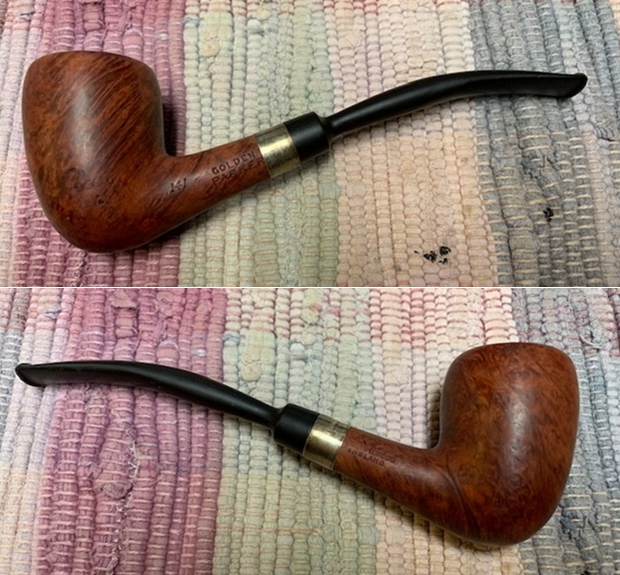
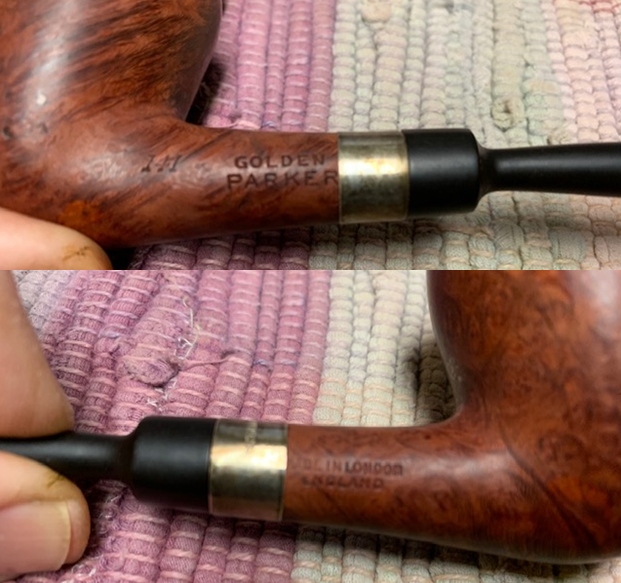
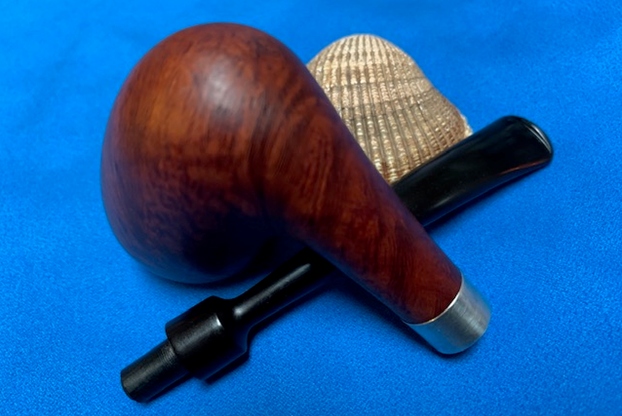
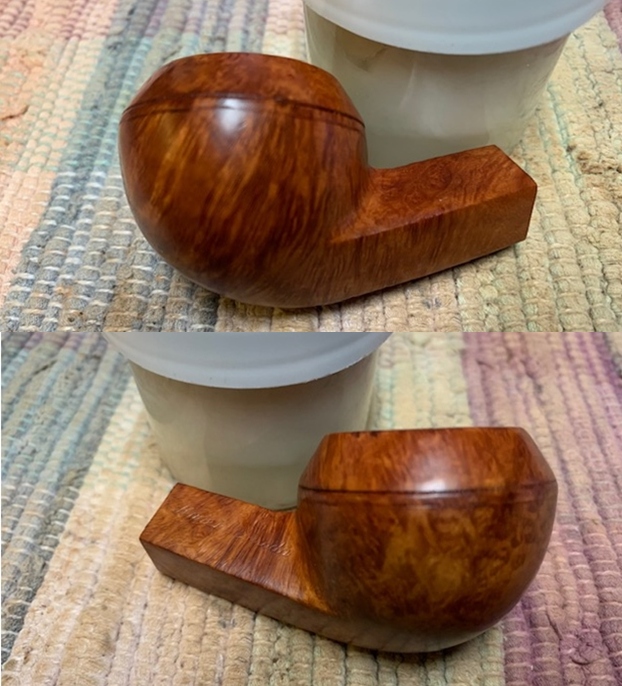
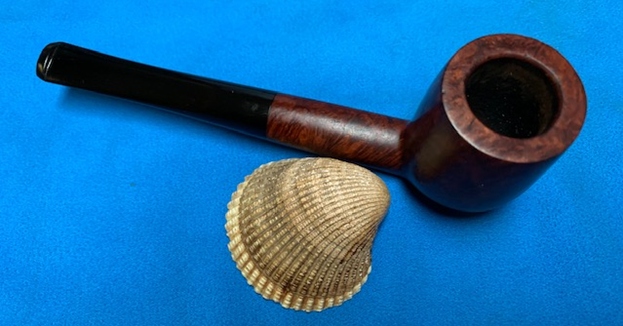
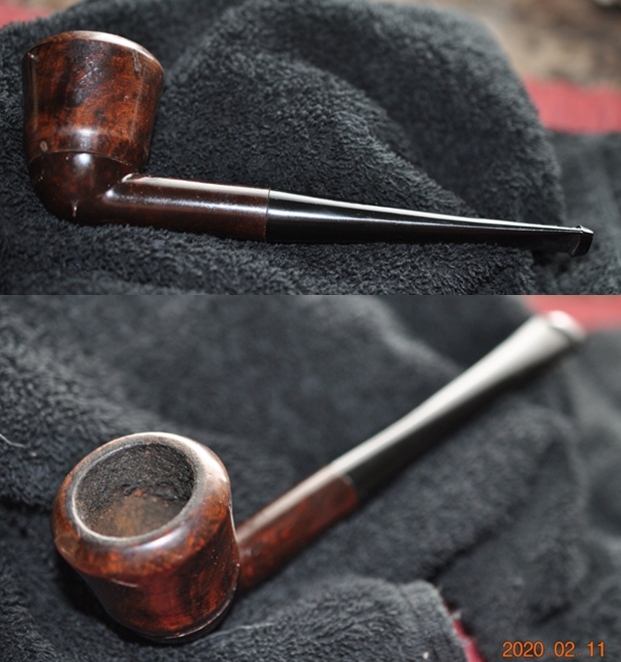
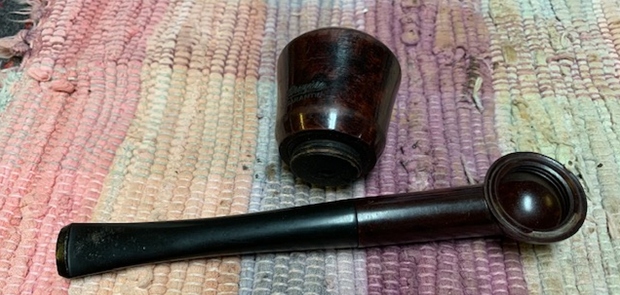
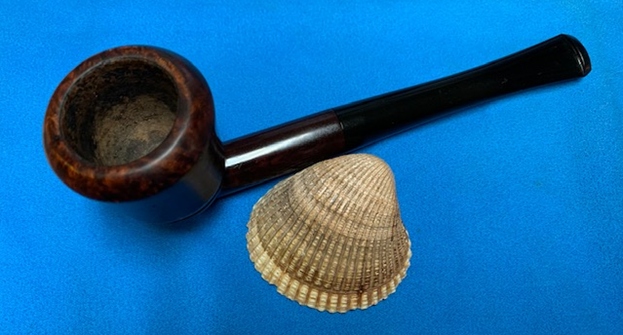
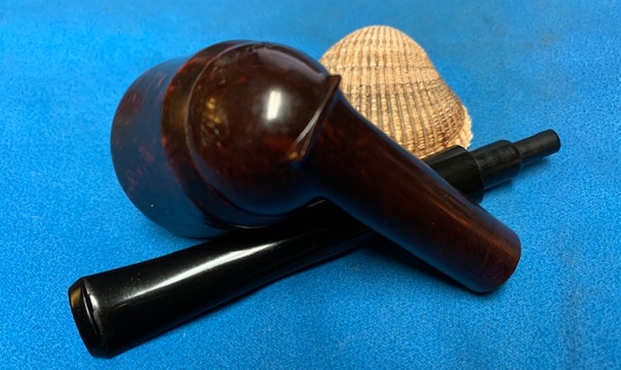
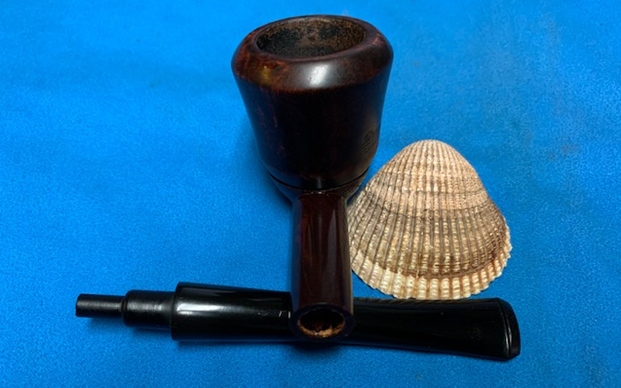
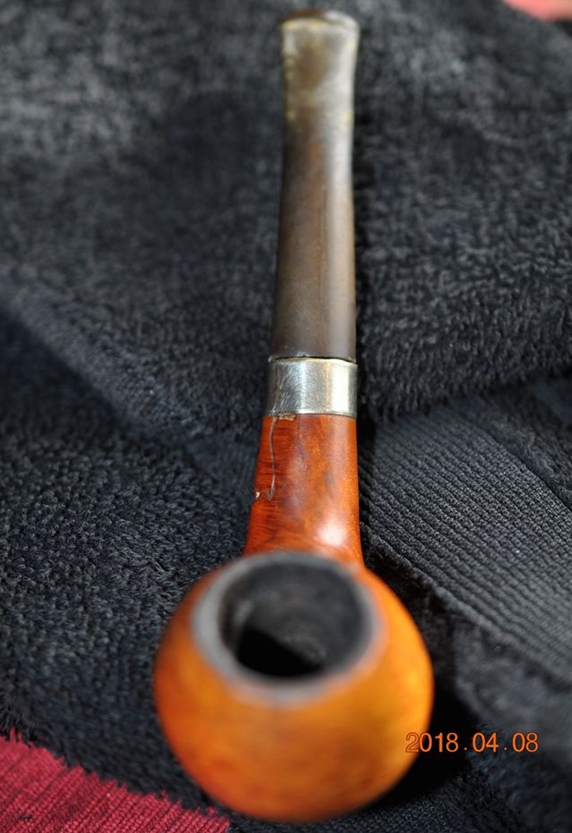
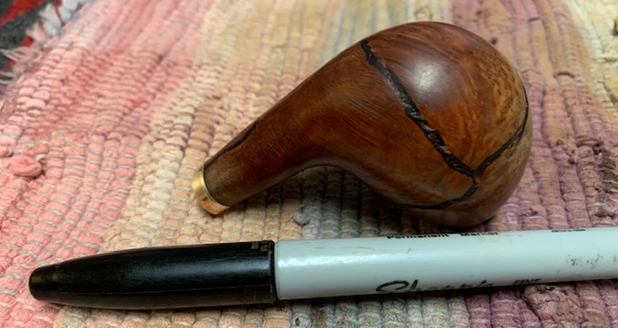
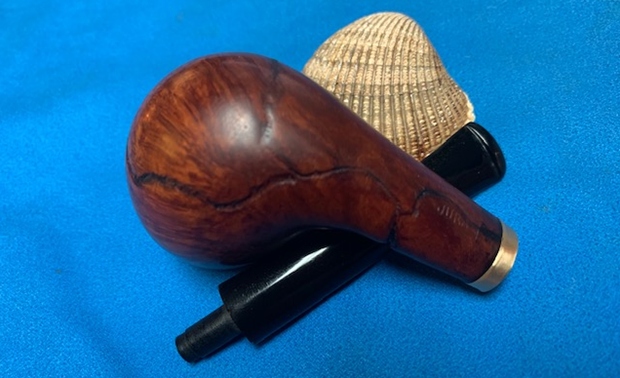
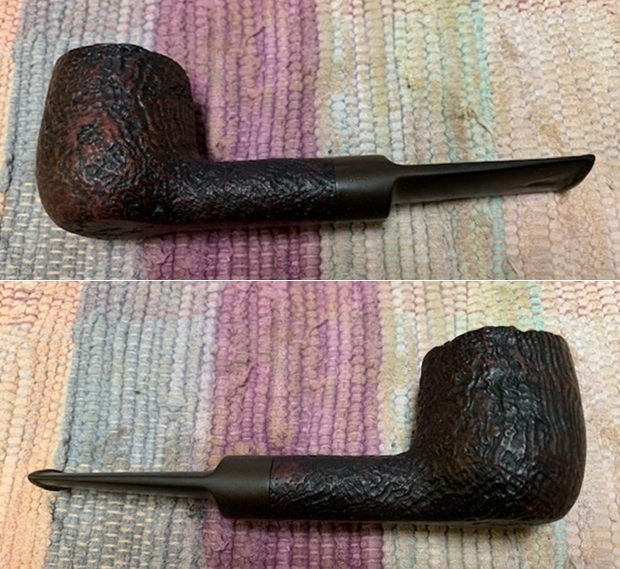
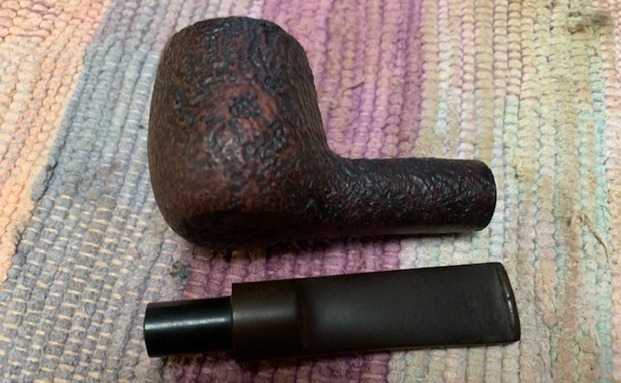
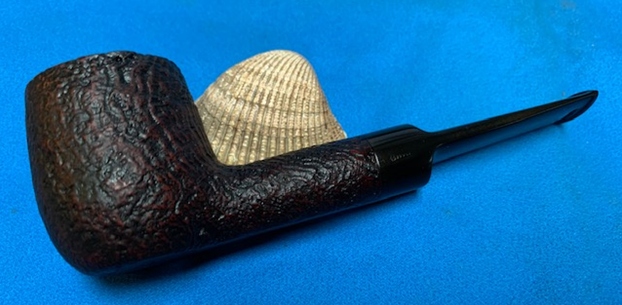
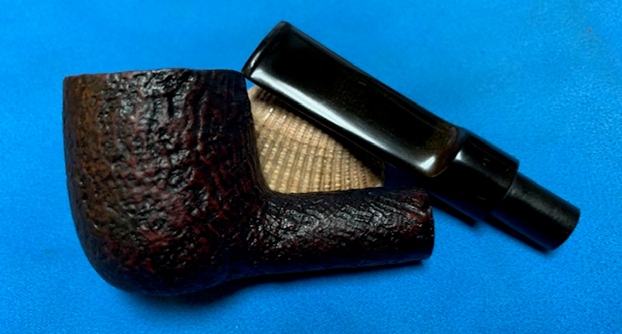
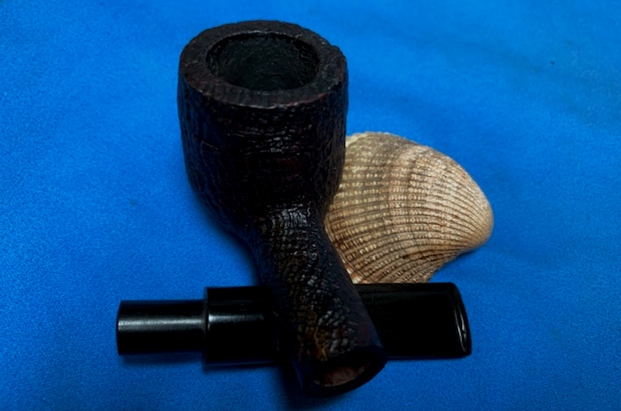
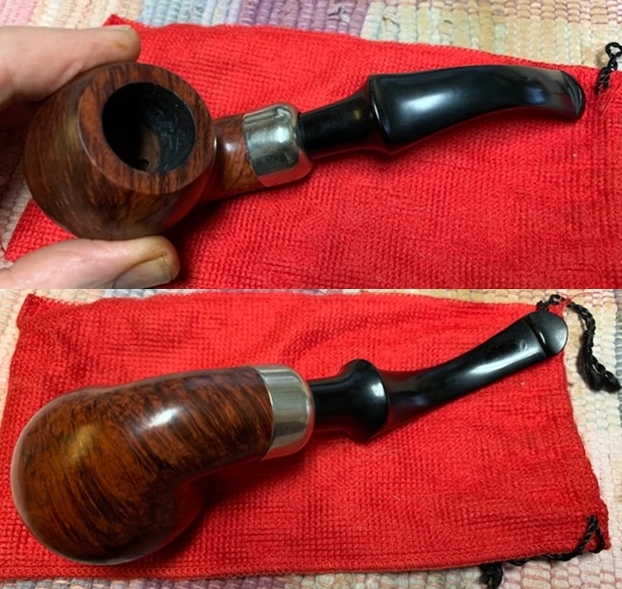
The next pipe on the work table came to us from an online auction from auction in 2018 from Wilkes Barre, Pennsylvania, USA. It is a smooth Peterson’s Apple shaped System pipe with a tapered vulcanite stem. The pipe is stamped on the left side of the shank and reads Peterson’s [over] System [over] Cara. On the right side of the shank it is stamped Made in the Republic of Ireland [over] the shape number 302. This is a nice piece of briar with interesting grain all the way around the bowl. The finish had a lot of grime ground into it. The bowl was moderately caked and there was a lava coat on the top and the inner edge of the rim. The edges looked okay but we would know more after the cleanup. The stem was oxidized, calcified and had tooth chatter and marks on the top and underside near the button. The nickel ferrule is stamped K&P [over] Peterson. The pipe showed promise but it was very dirty. Jeff took photos of the pipe before he started his cleanup work. 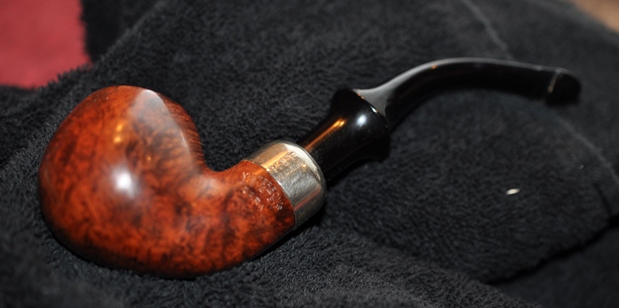
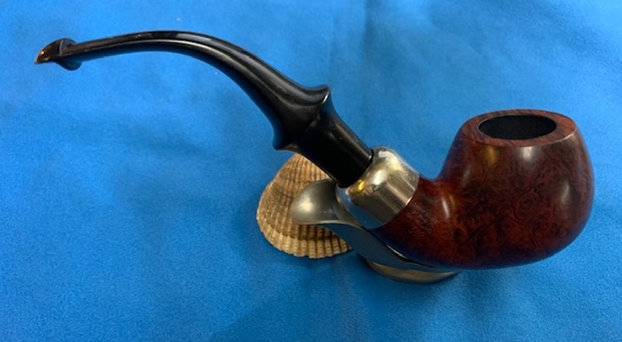
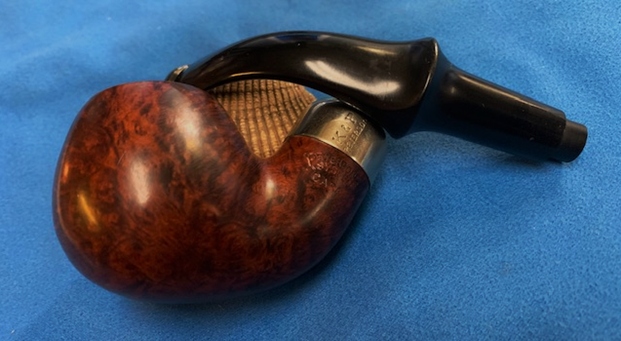
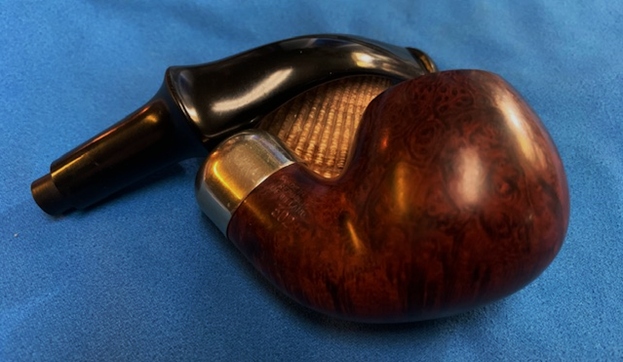
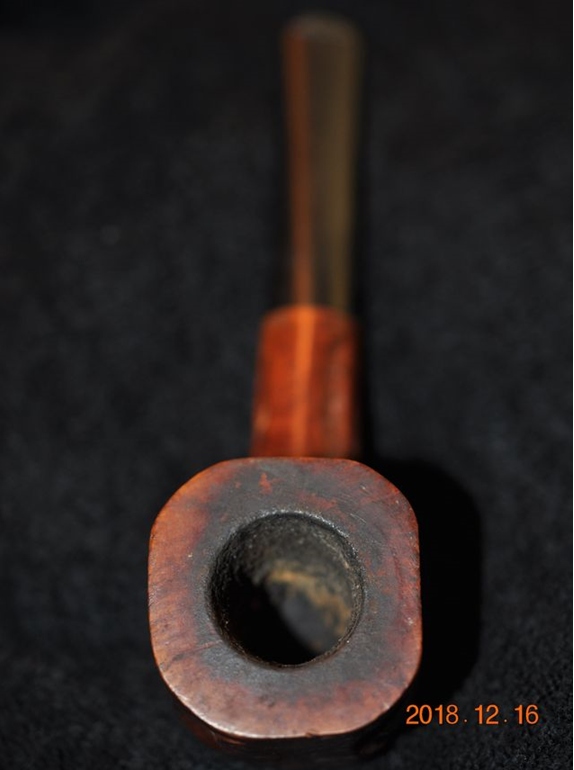
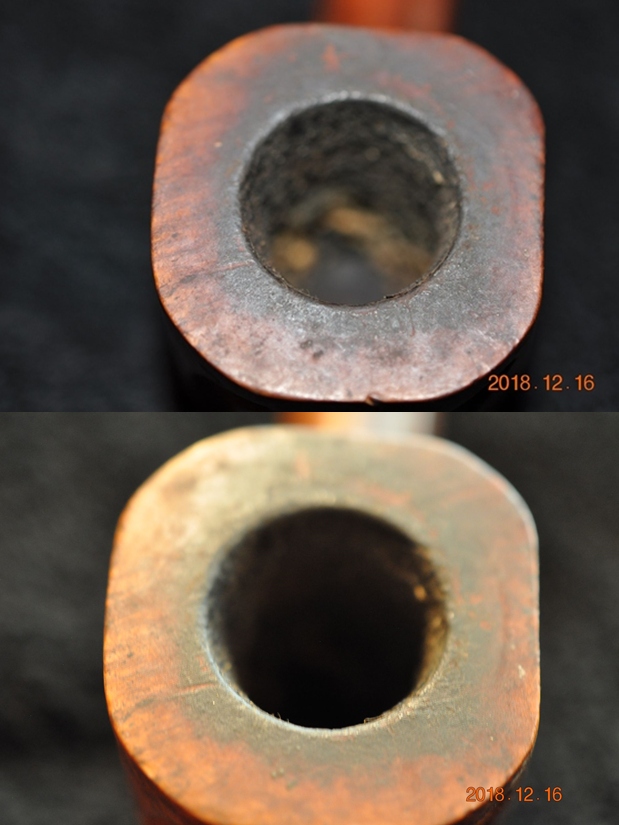
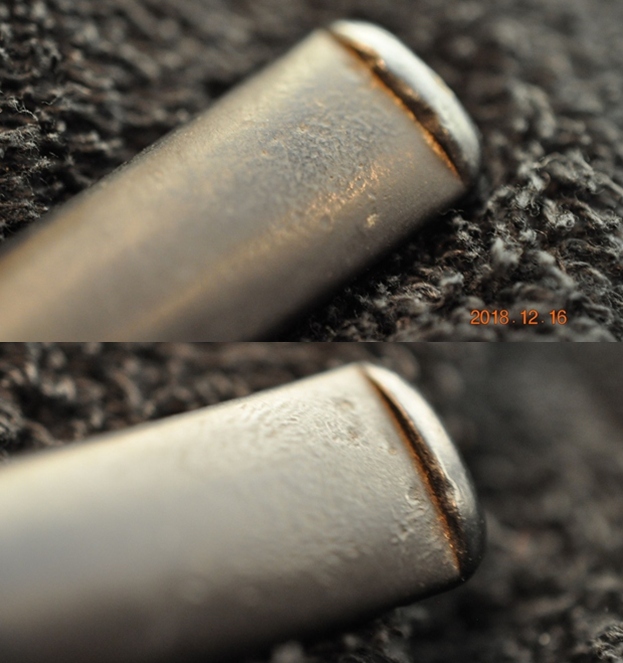
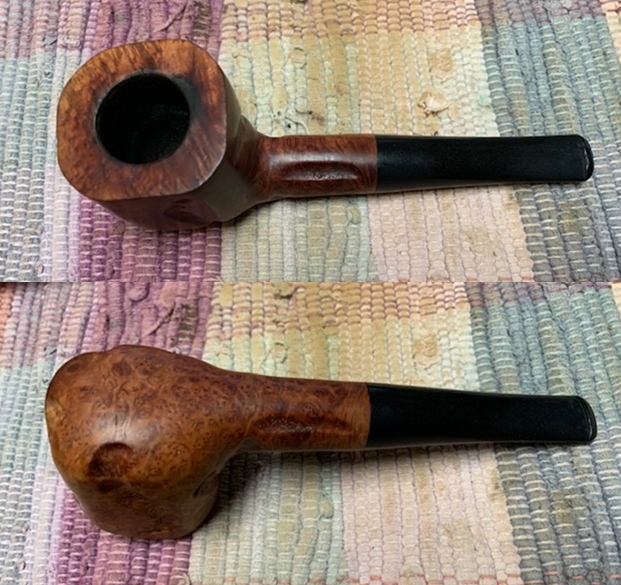
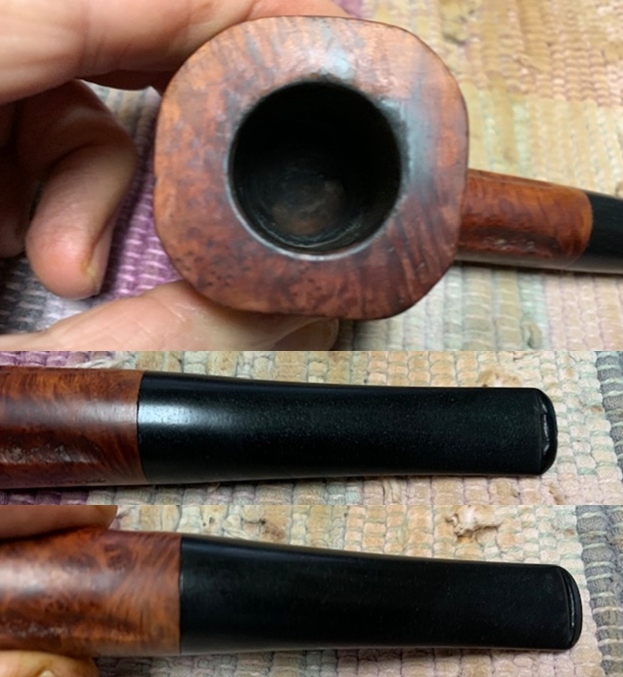
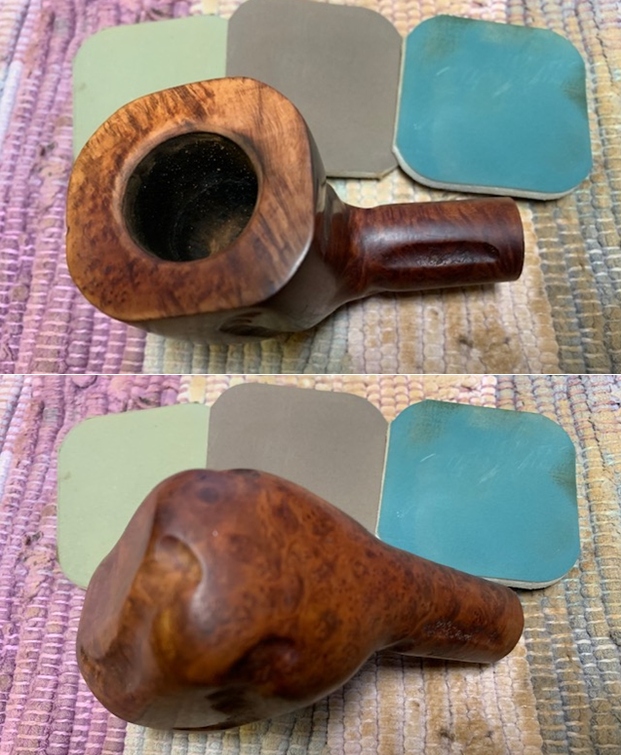
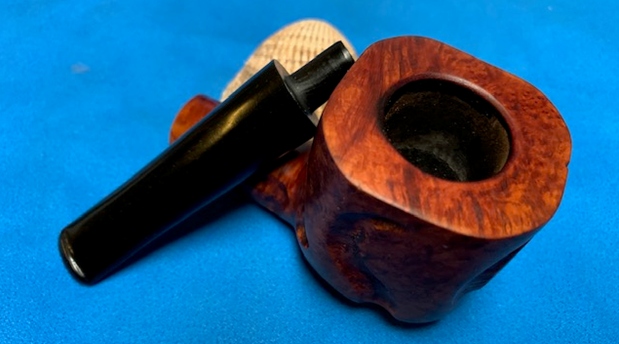
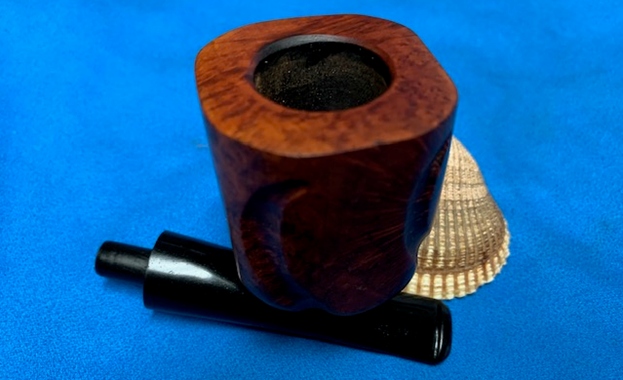
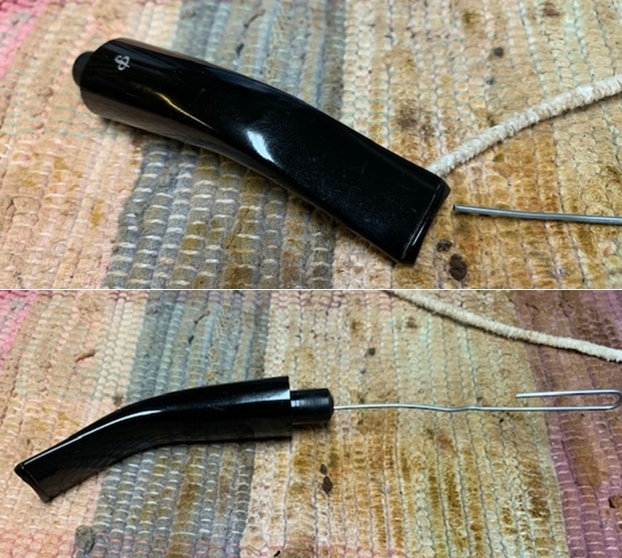
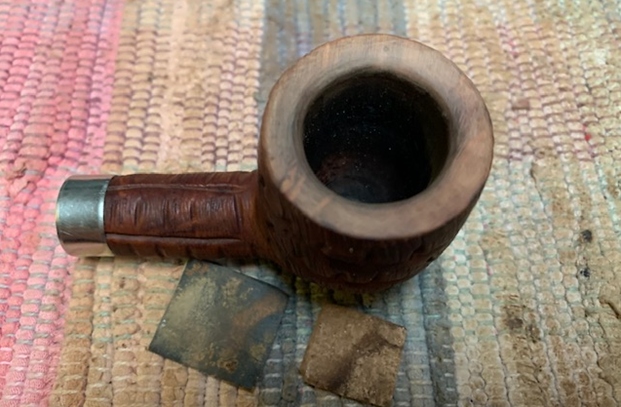
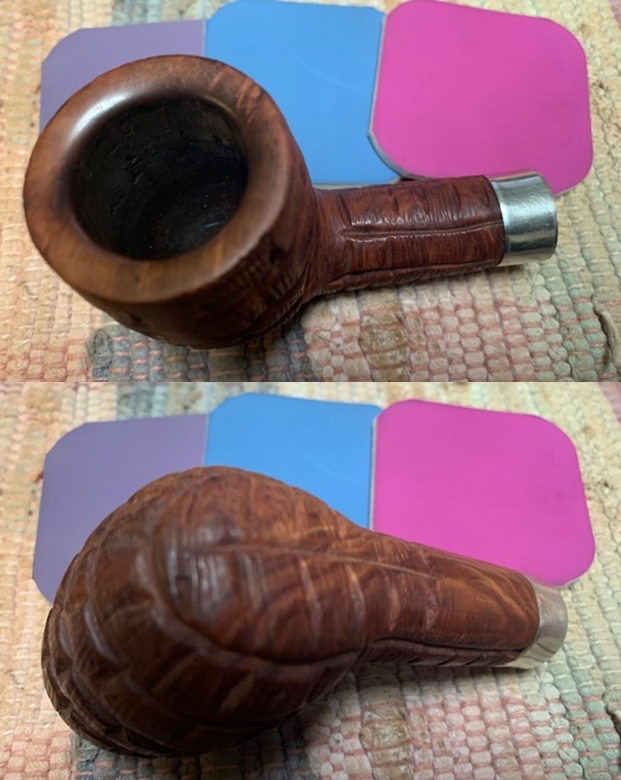
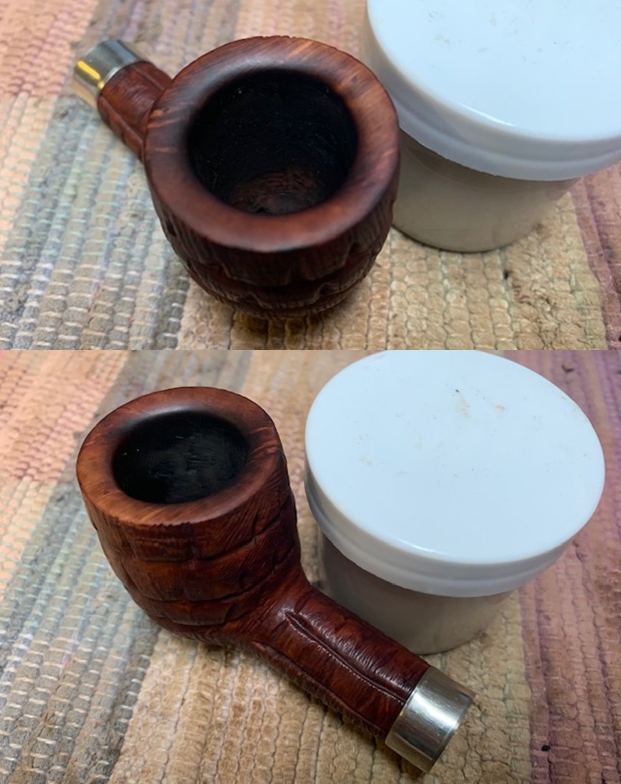
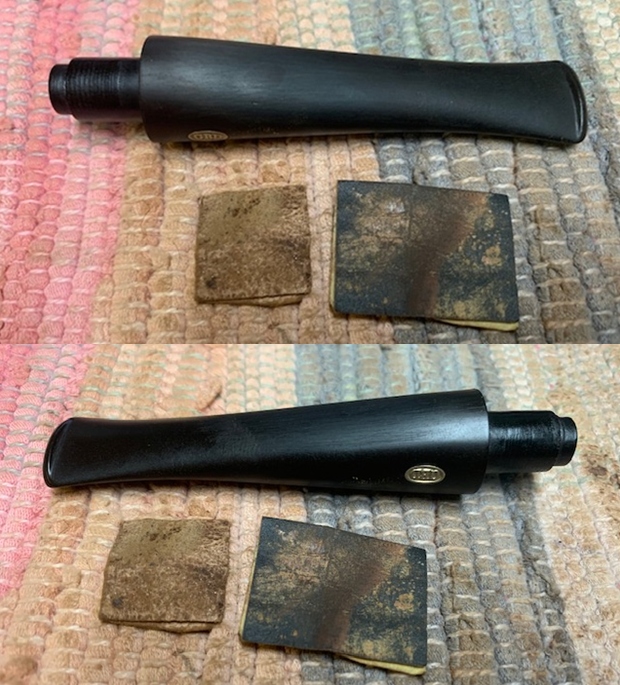
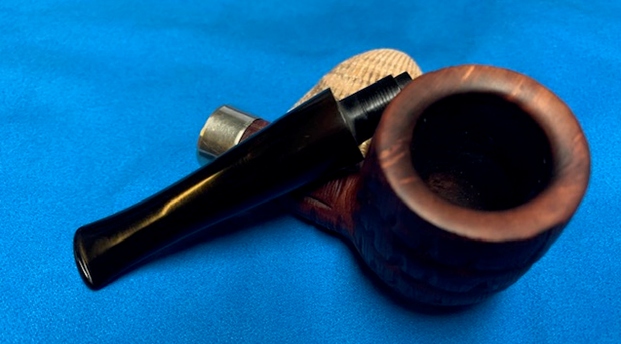
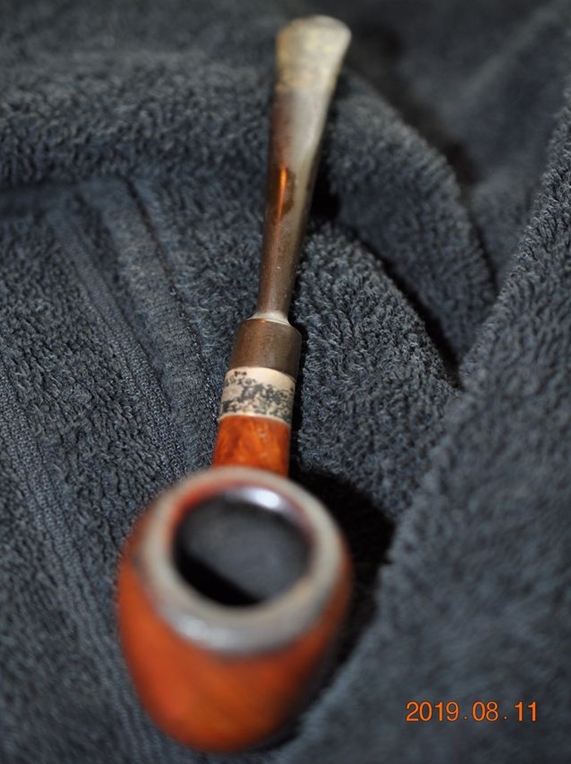
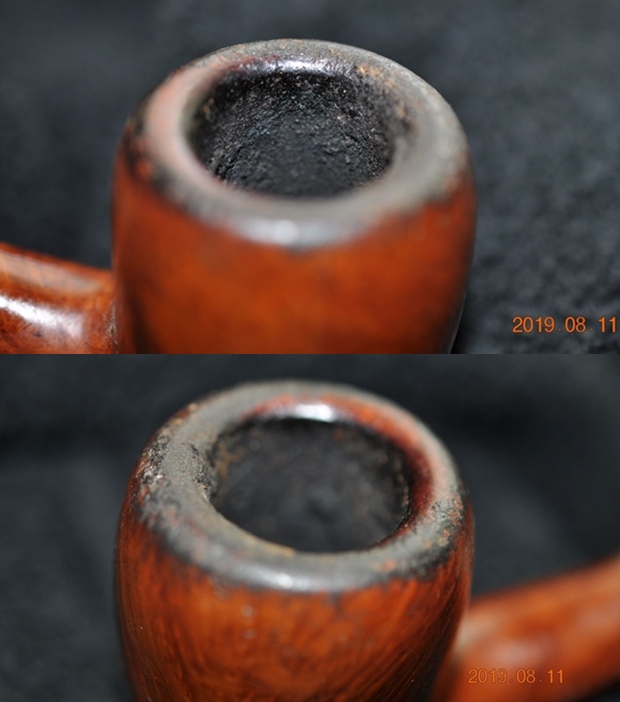
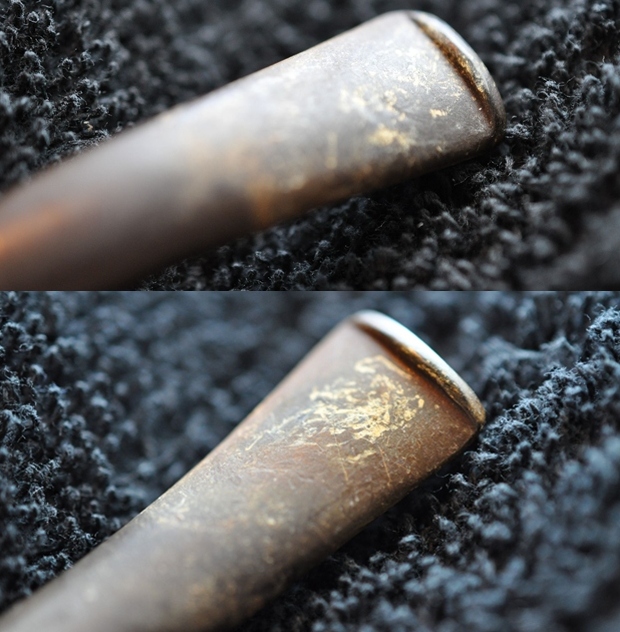
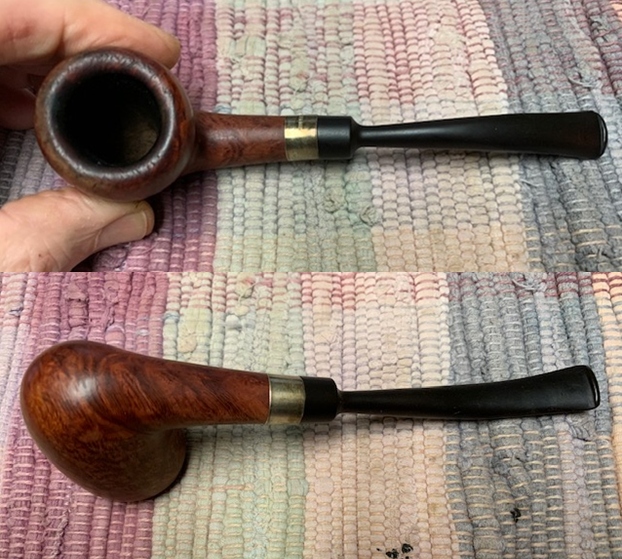
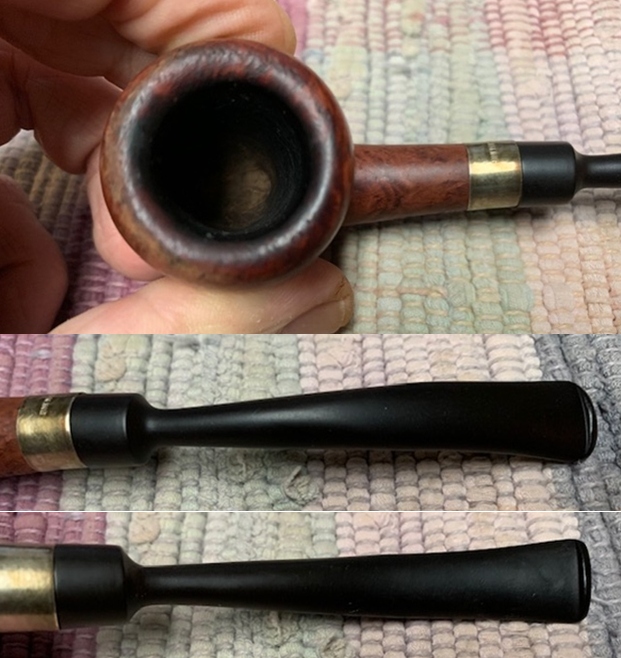
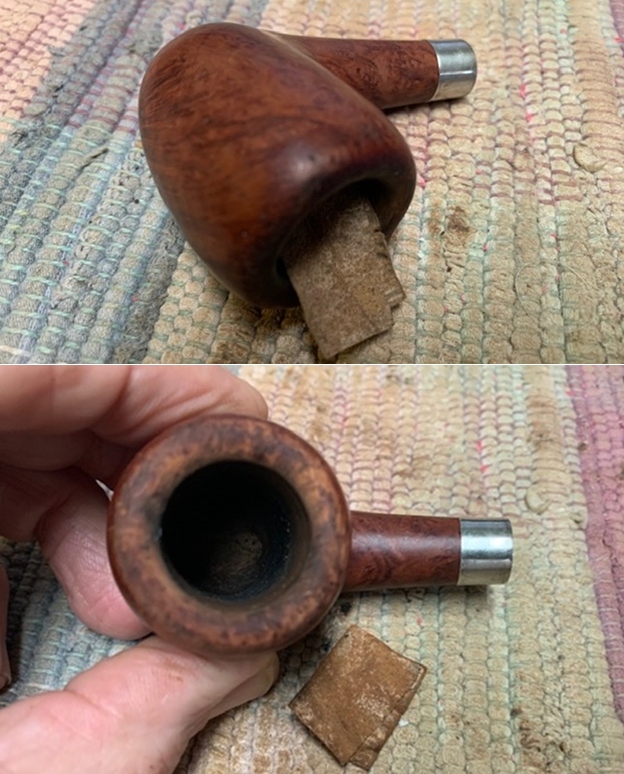
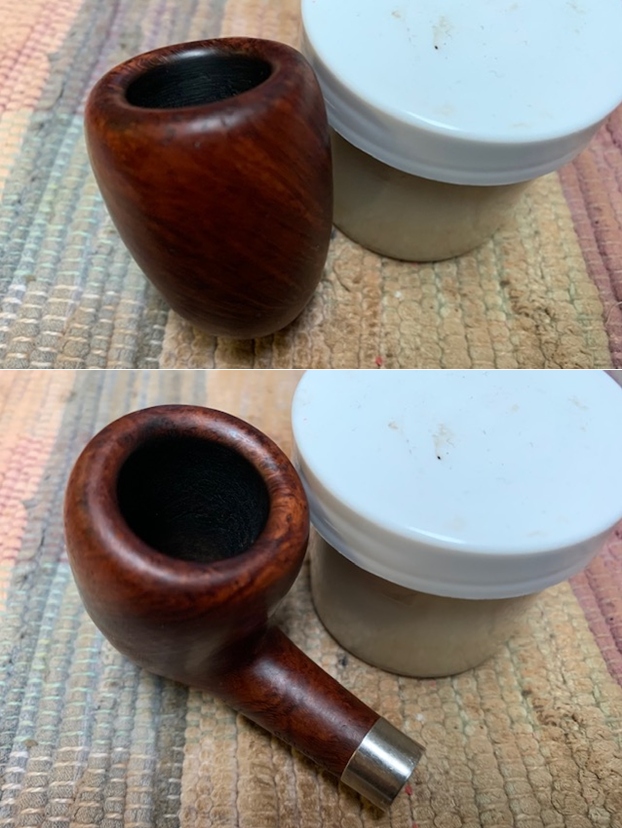
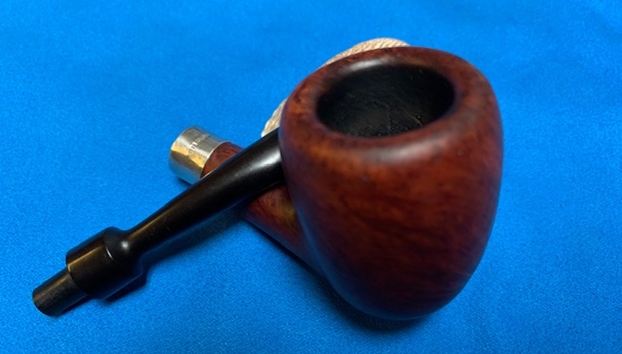
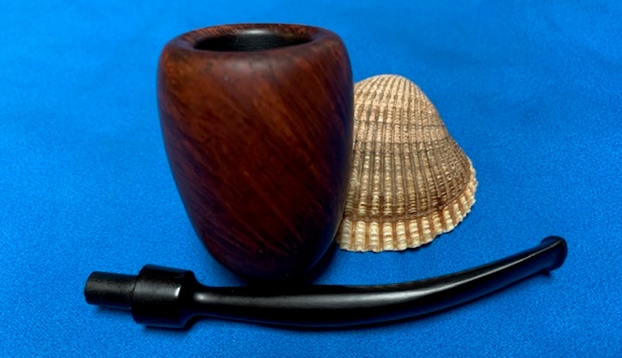
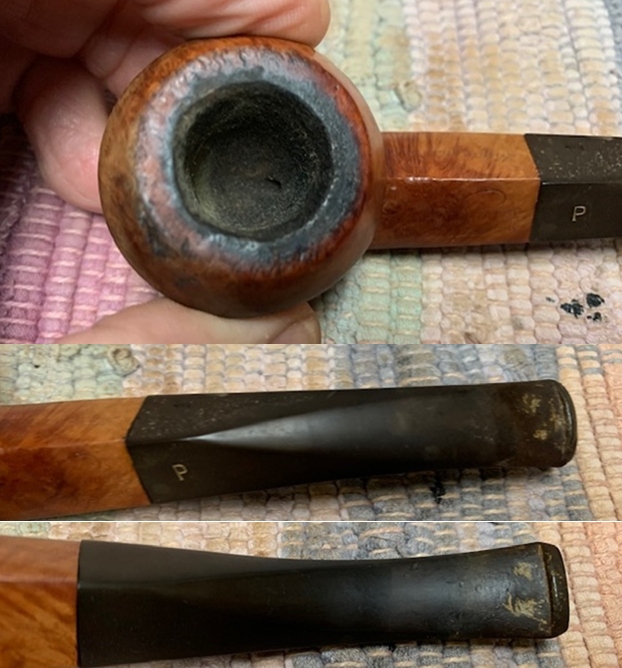
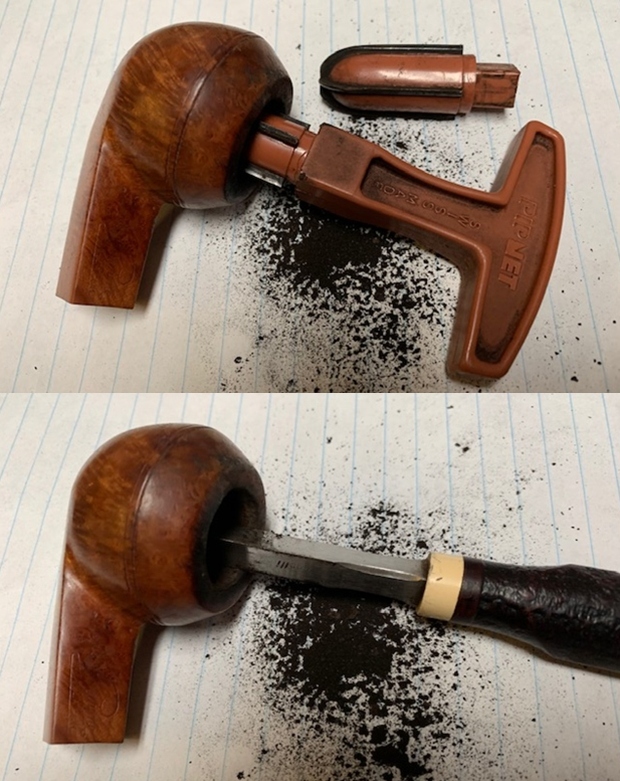
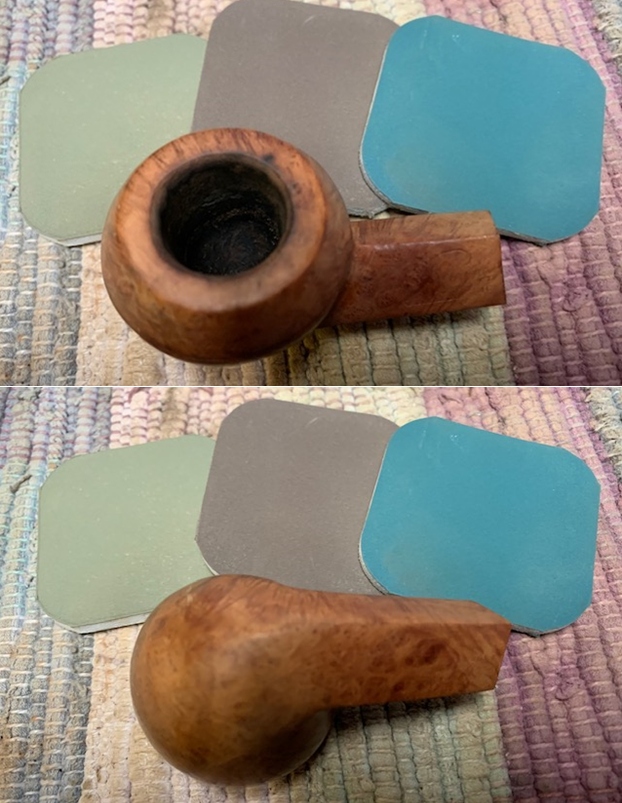
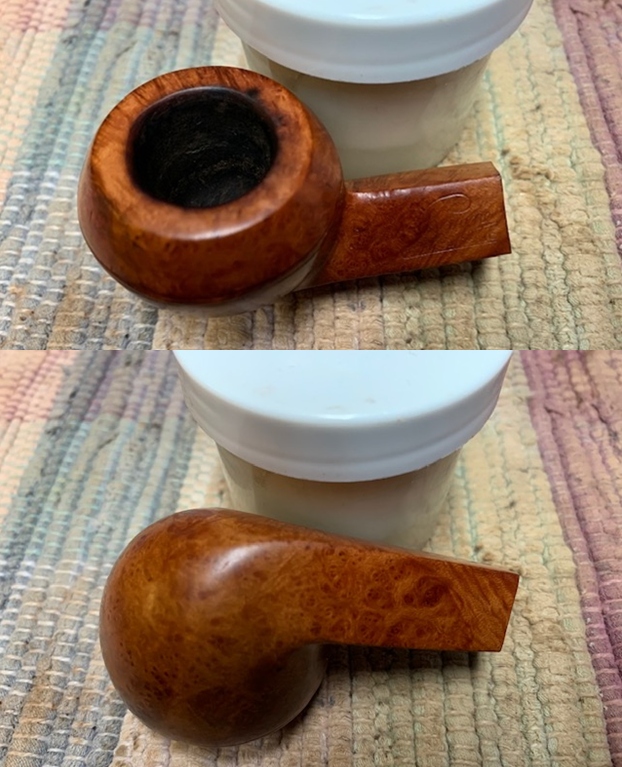
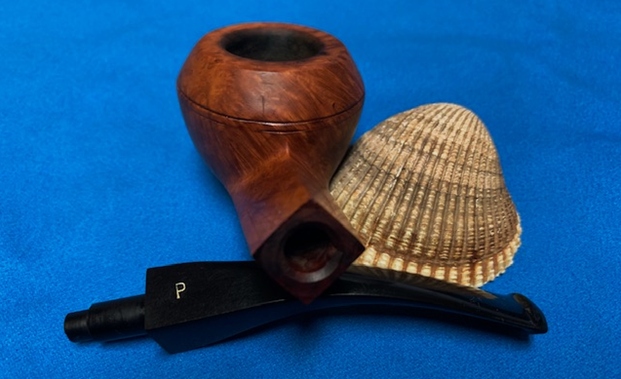
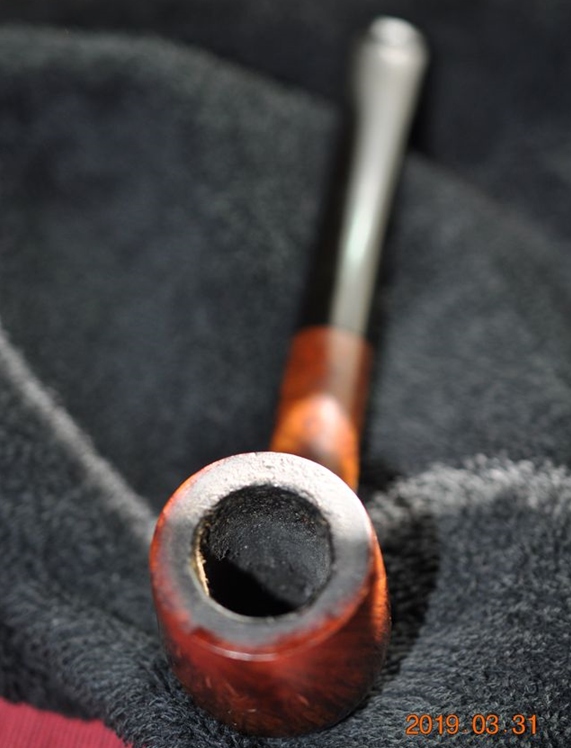
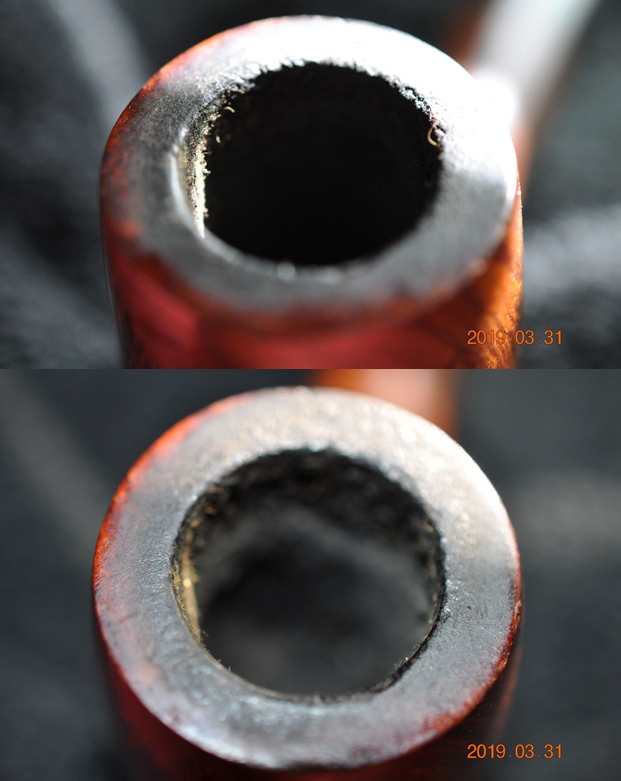
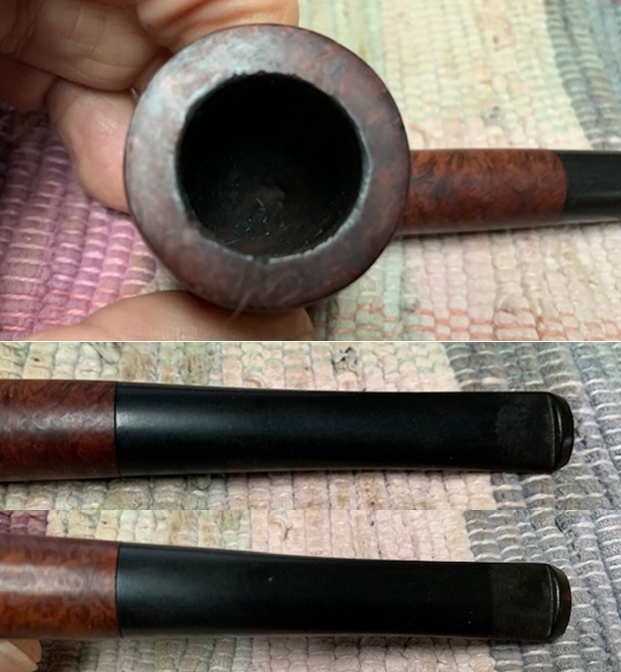
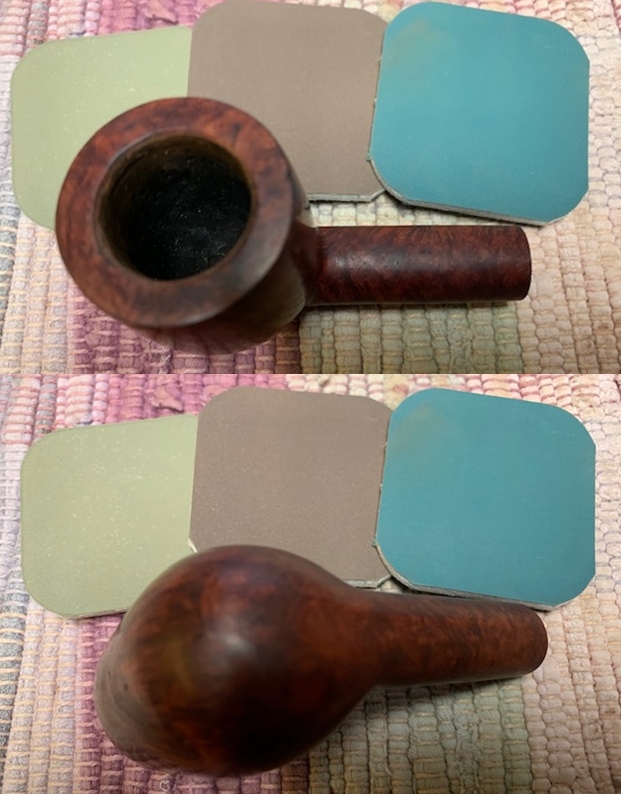
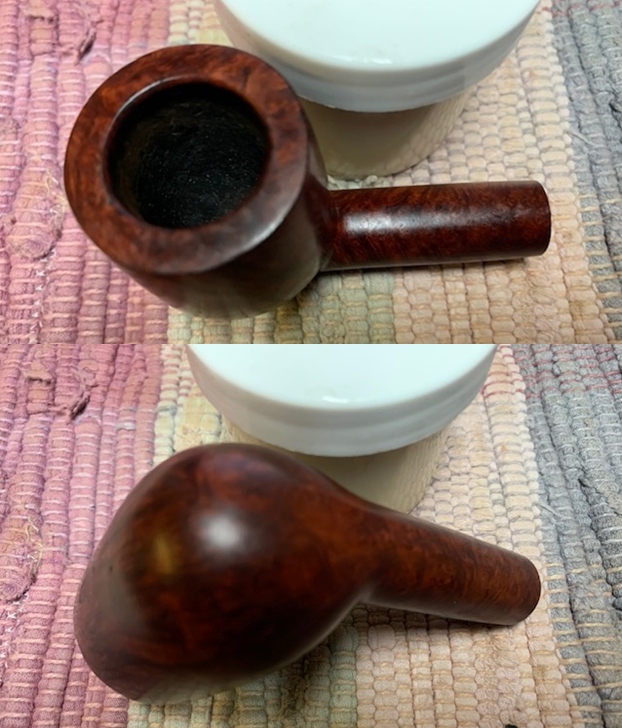
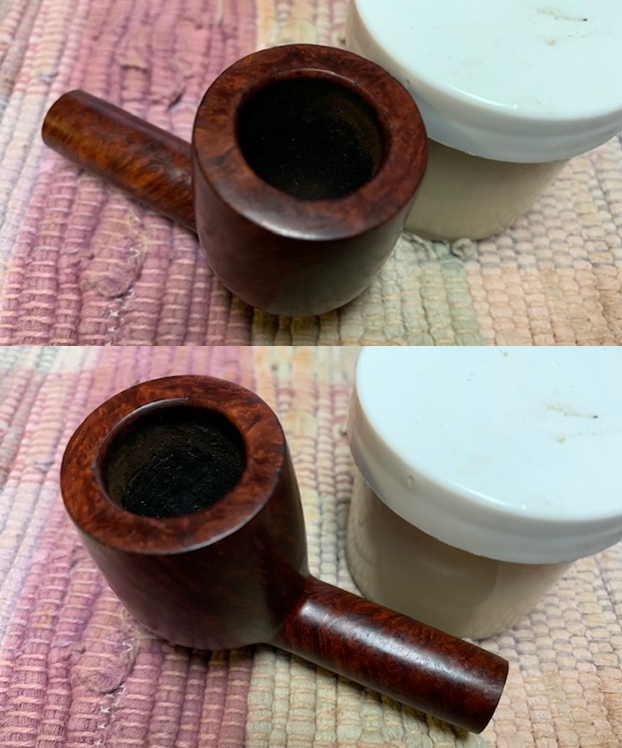
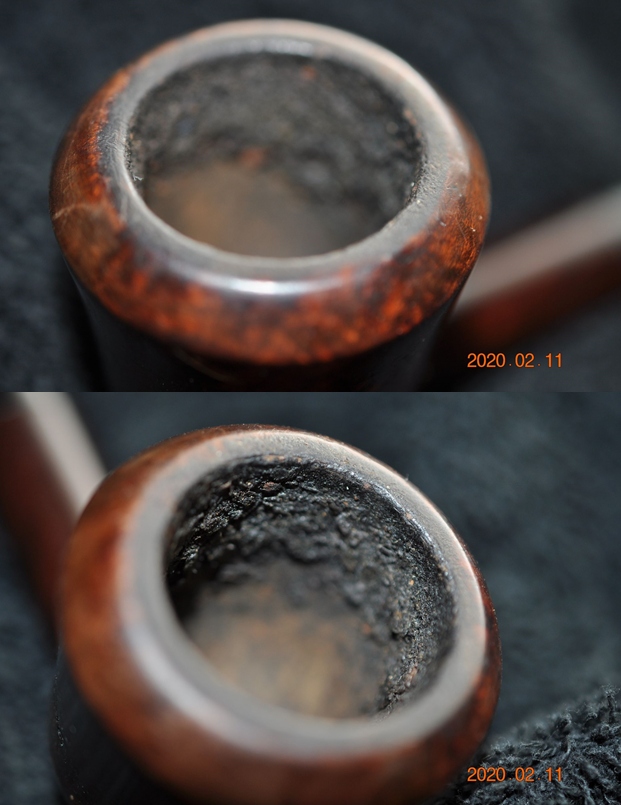
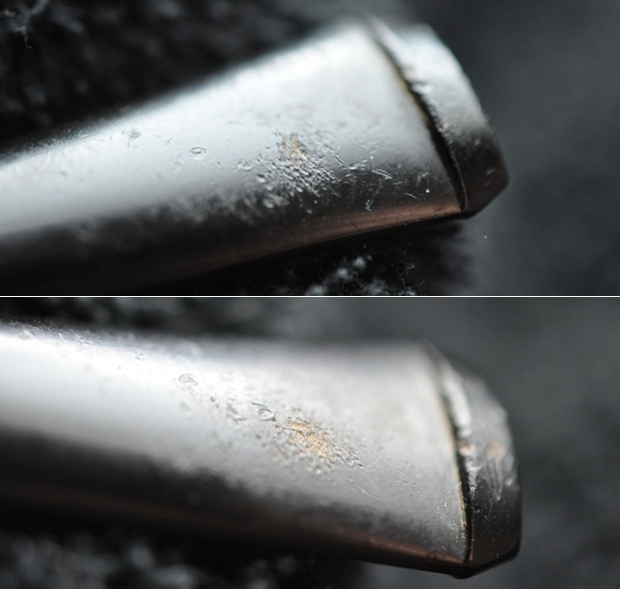
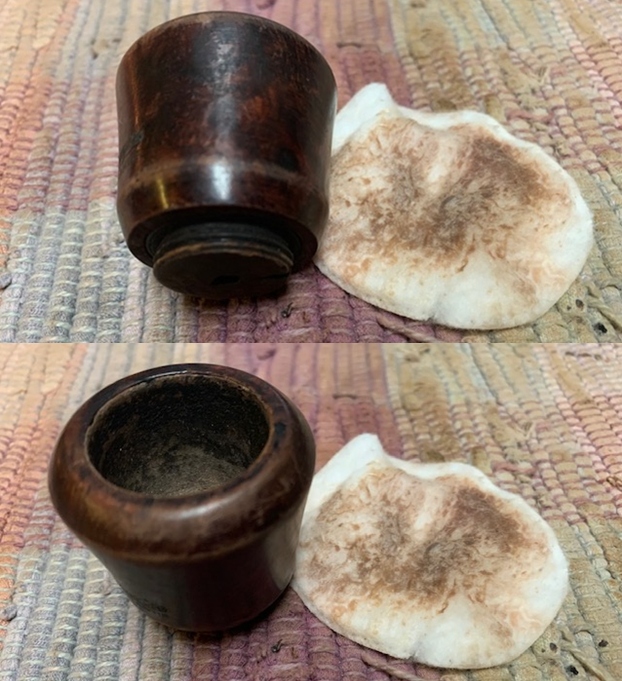
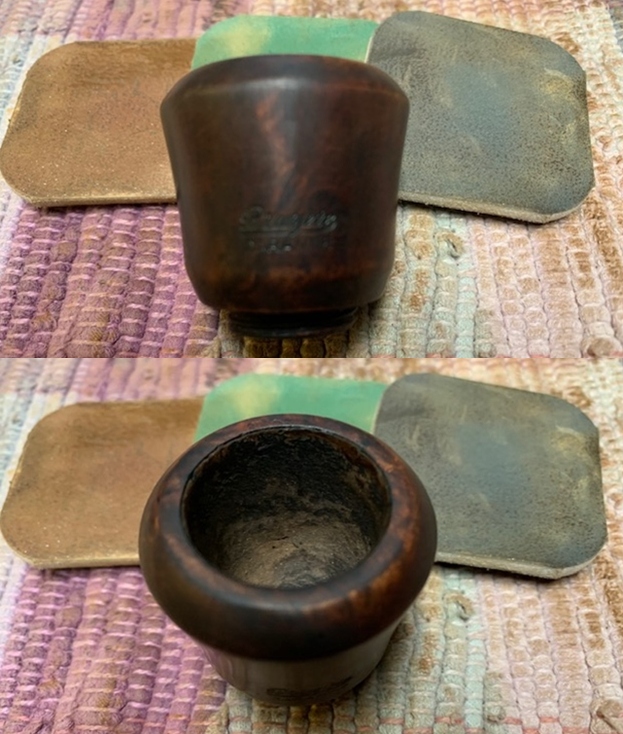
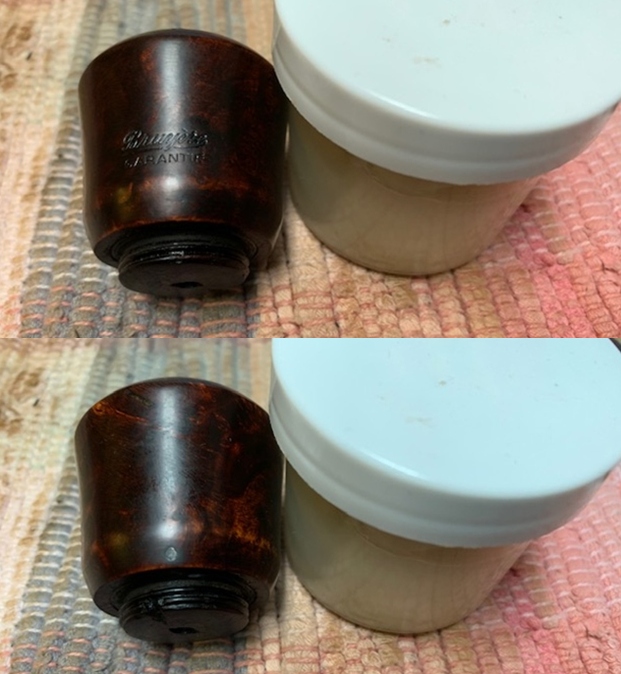
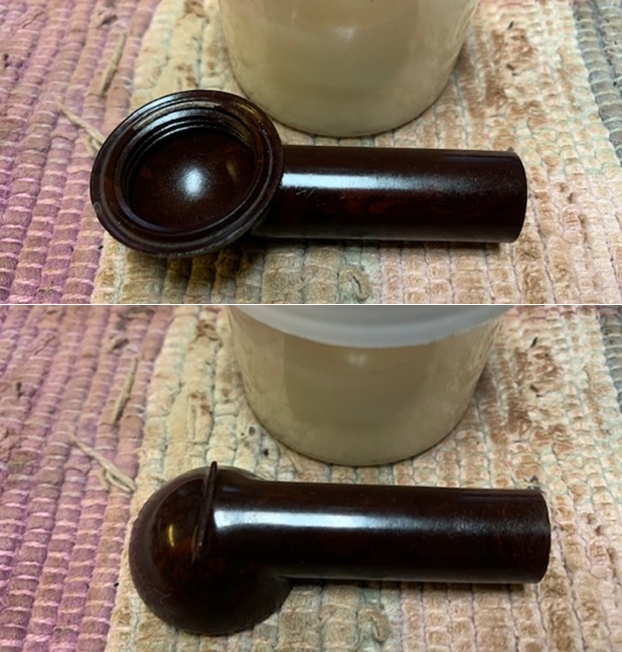
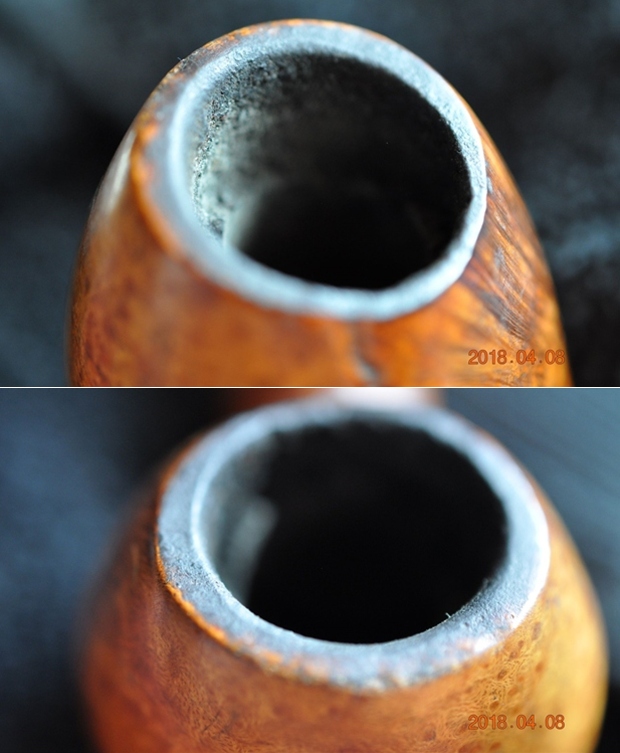
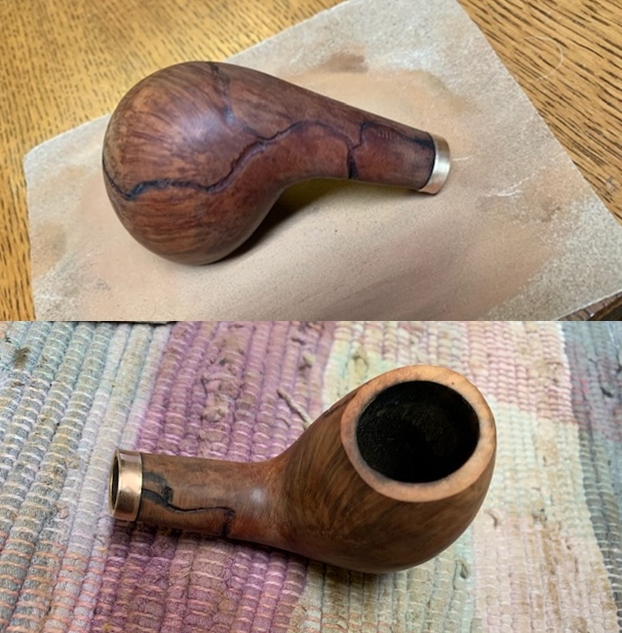
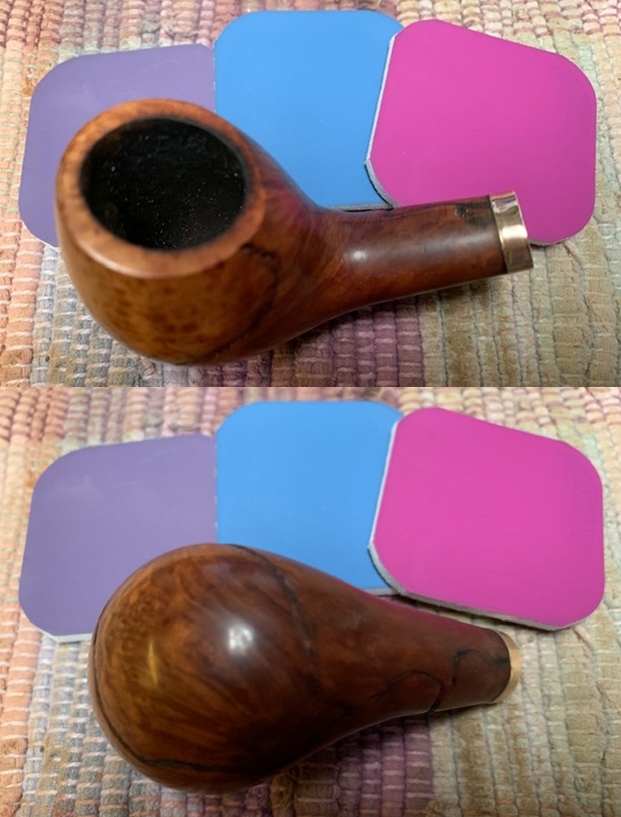
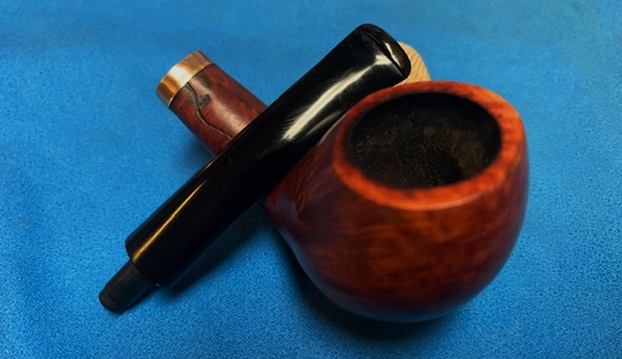
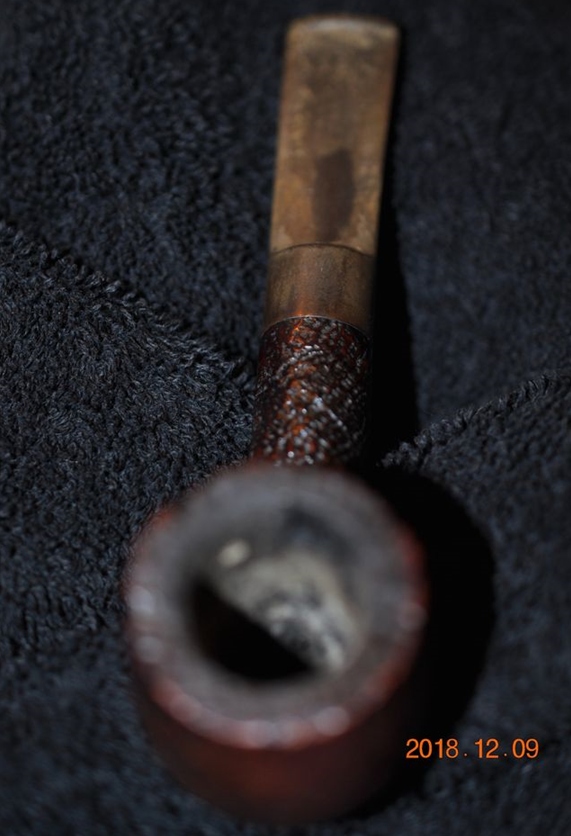
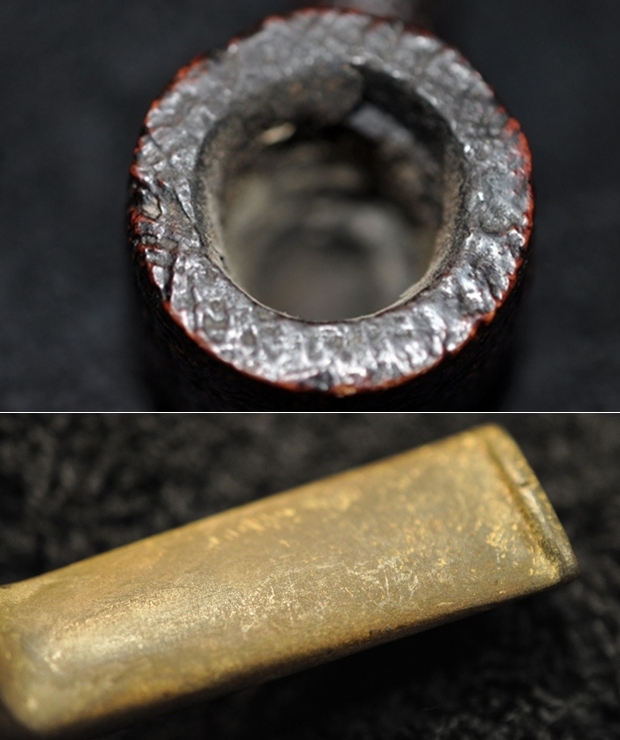
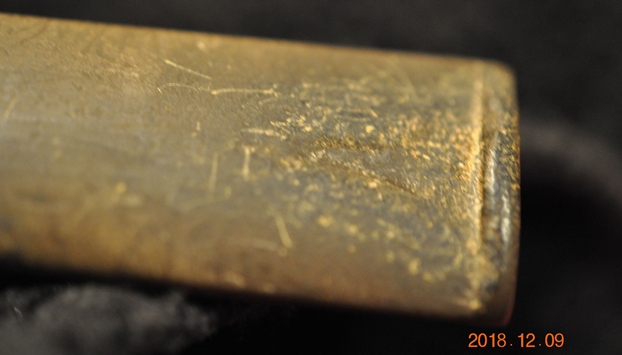
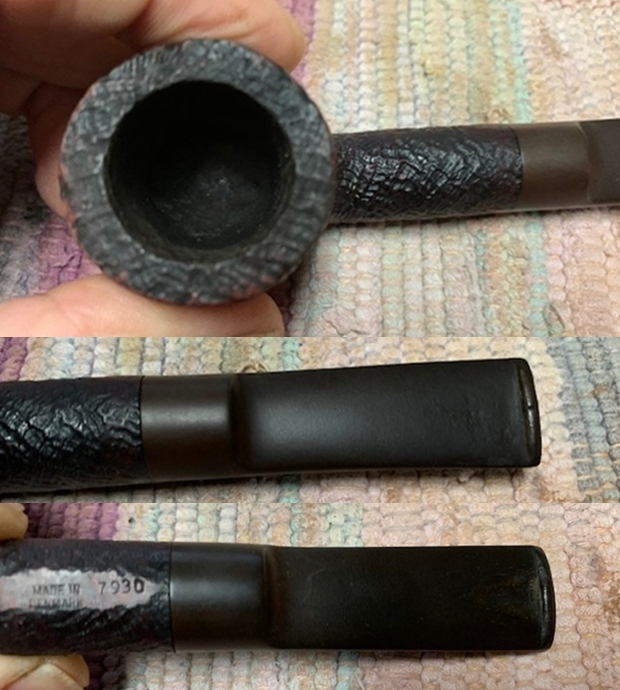
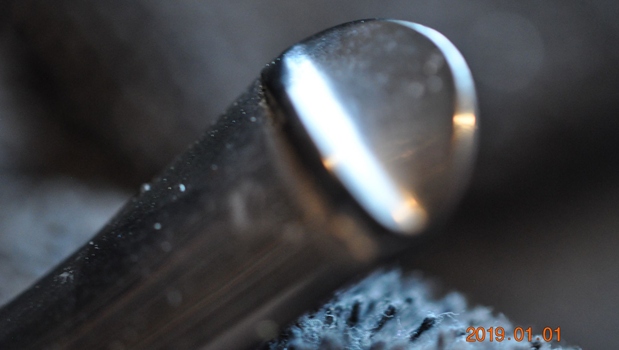
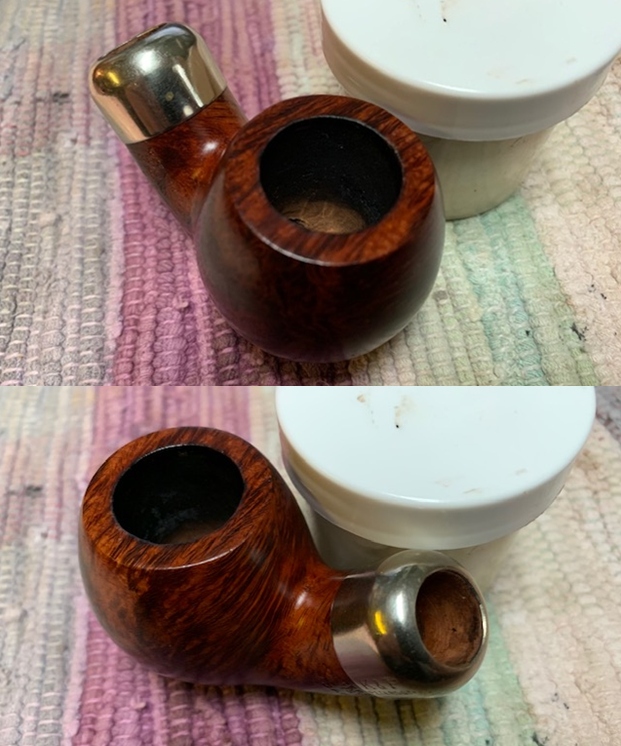
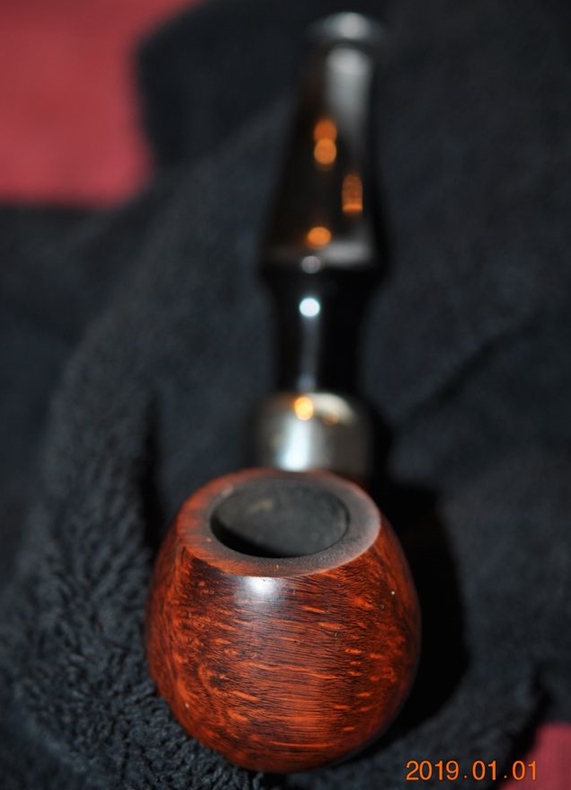 He took photos of the rim top and bowl to give a clear picture of the thickness of the cake and the condition of the rim top and edges. He also took photos of the top and underside of the stem to show the oxidation, calcification and chatter and tooth marks.
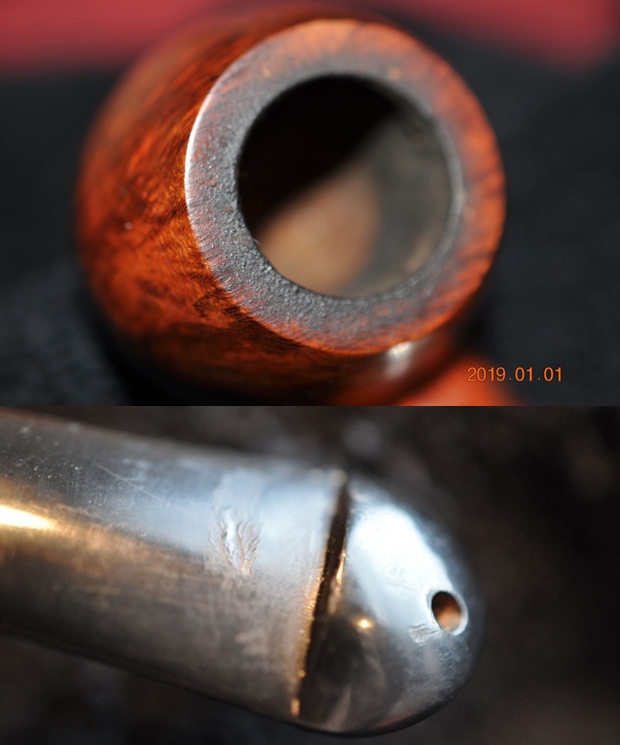
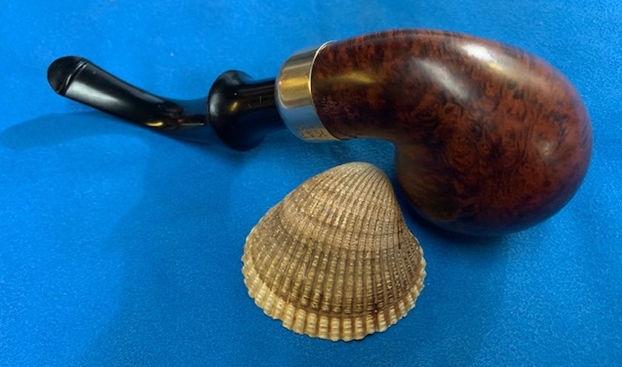
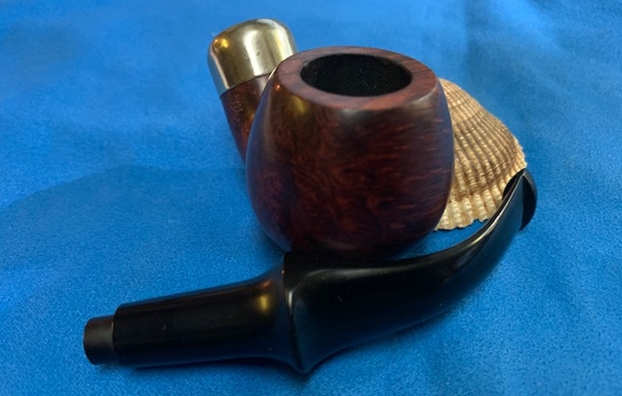
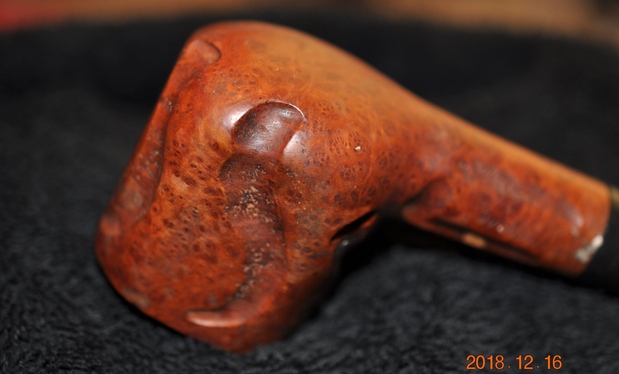
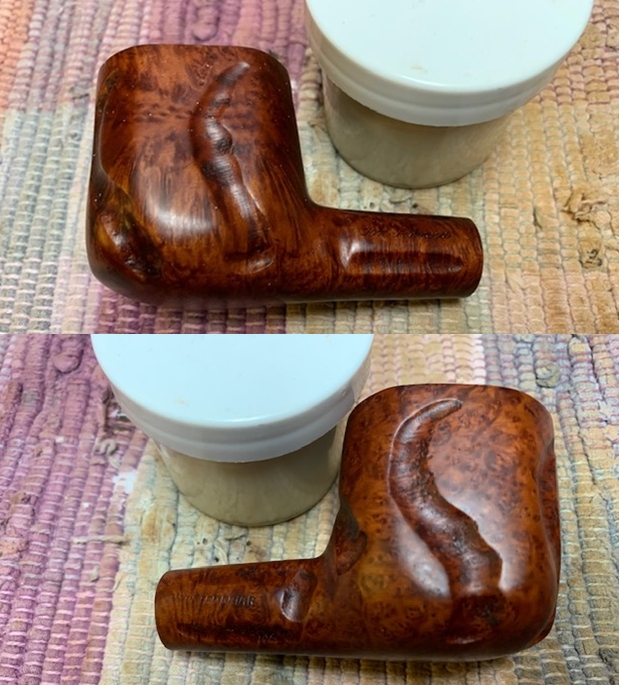
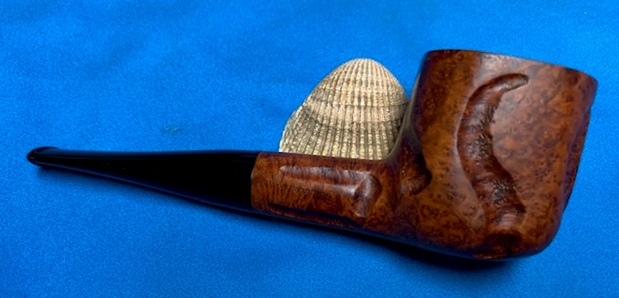
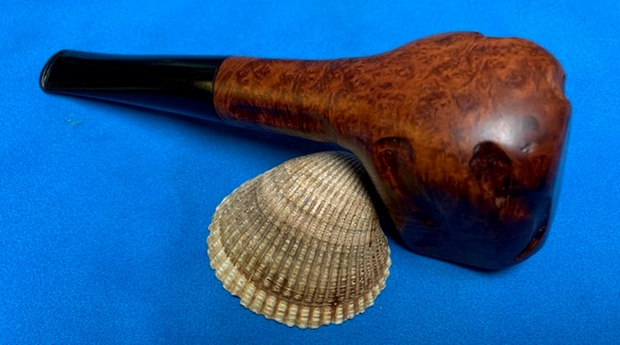
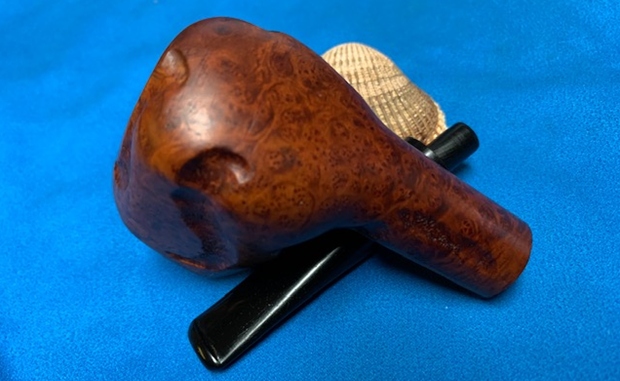
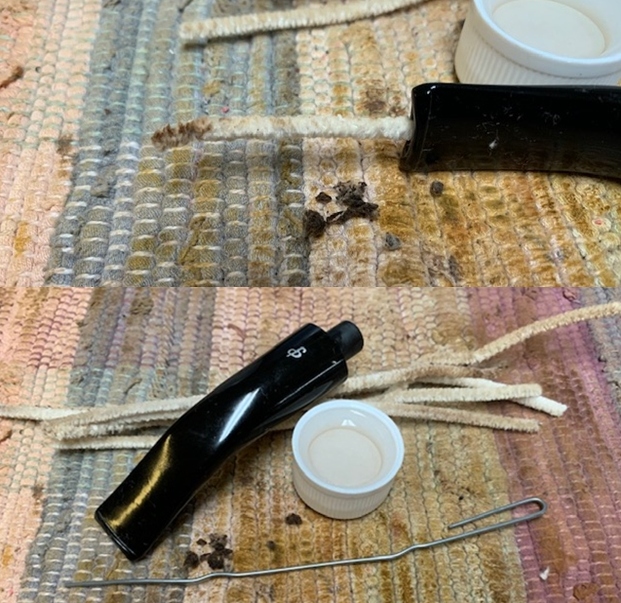
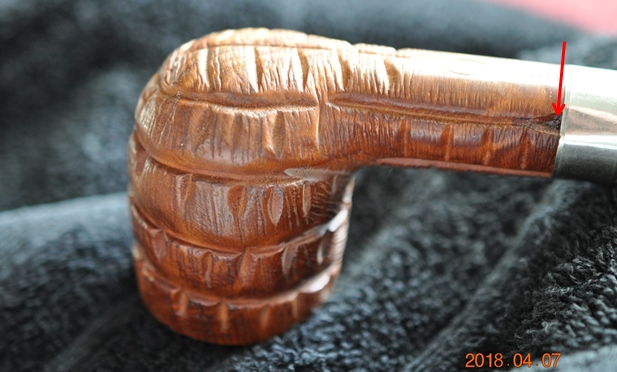
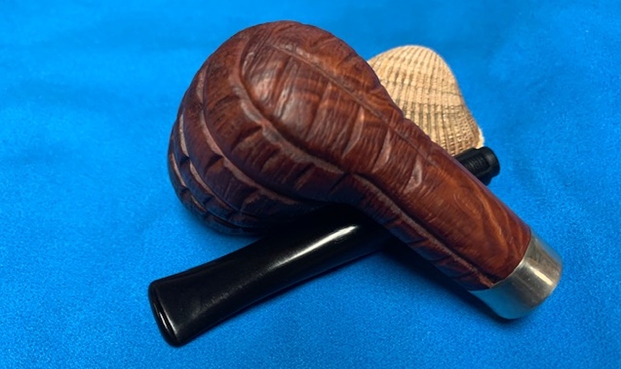
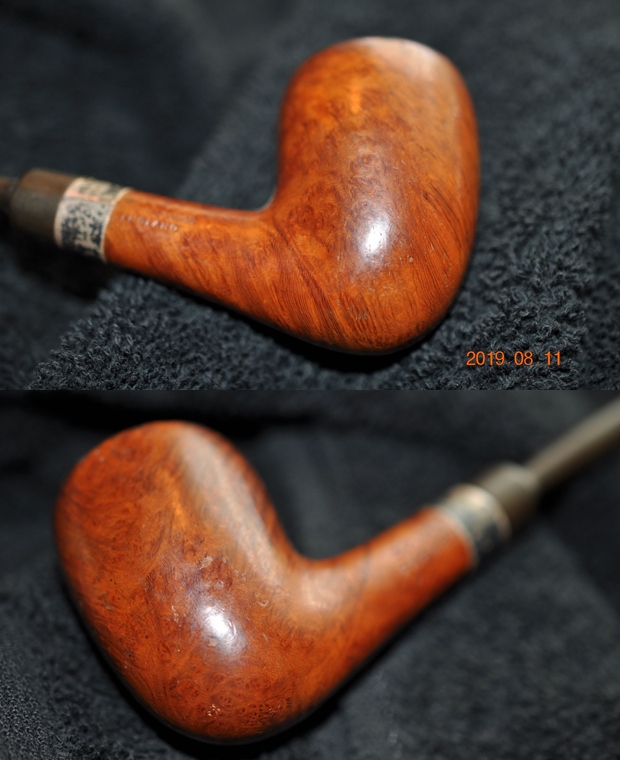
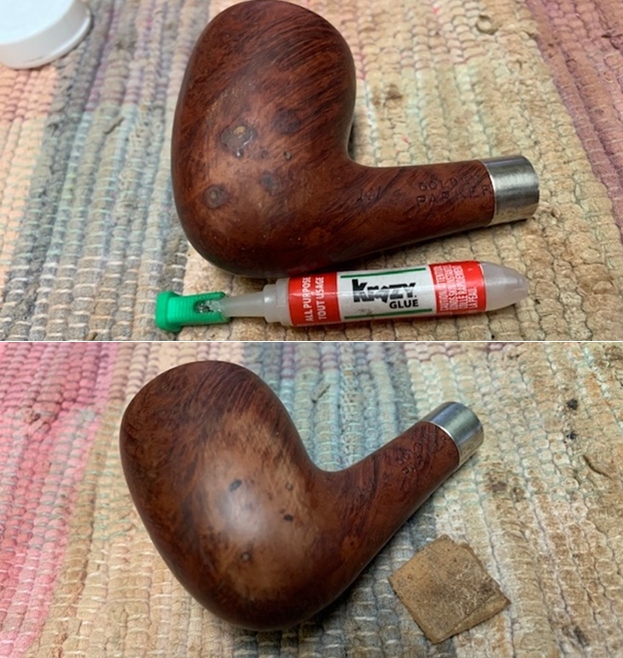
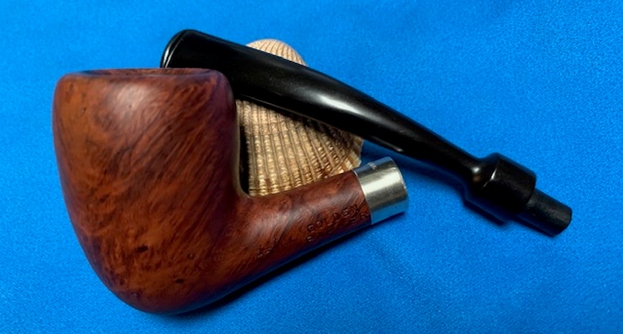
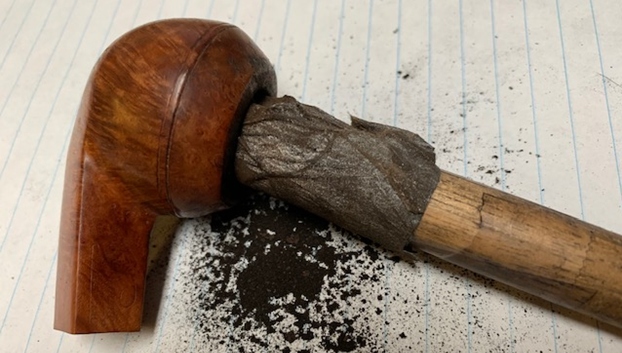
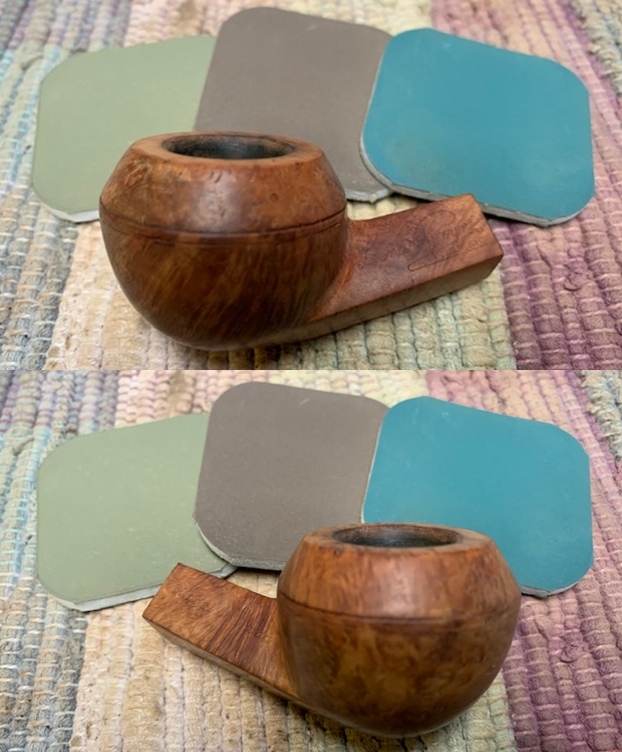
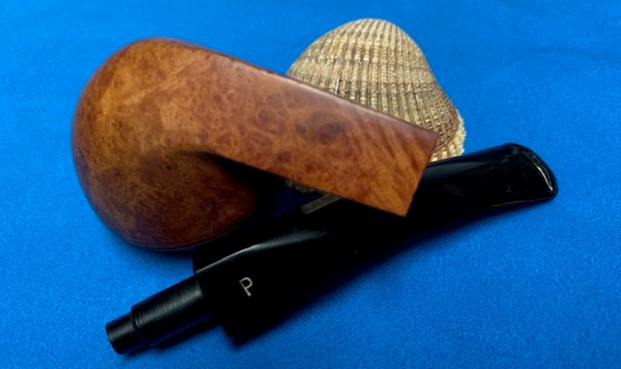
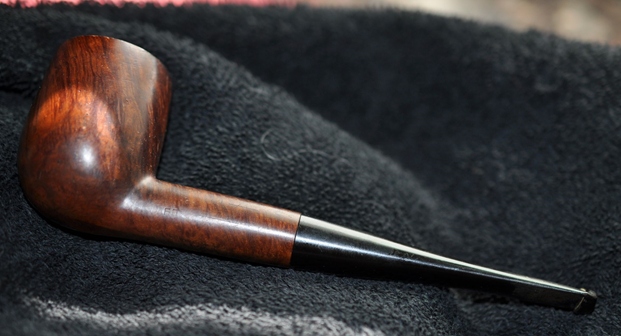
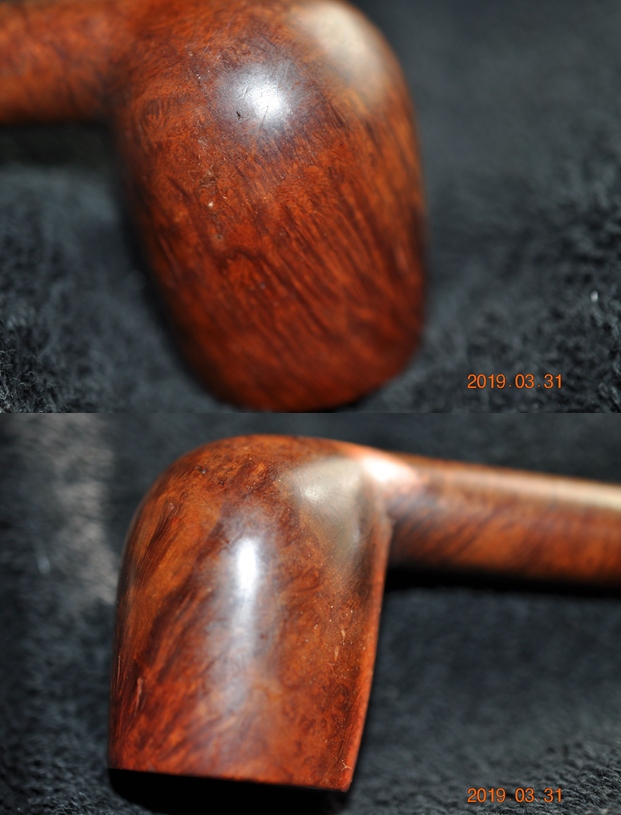
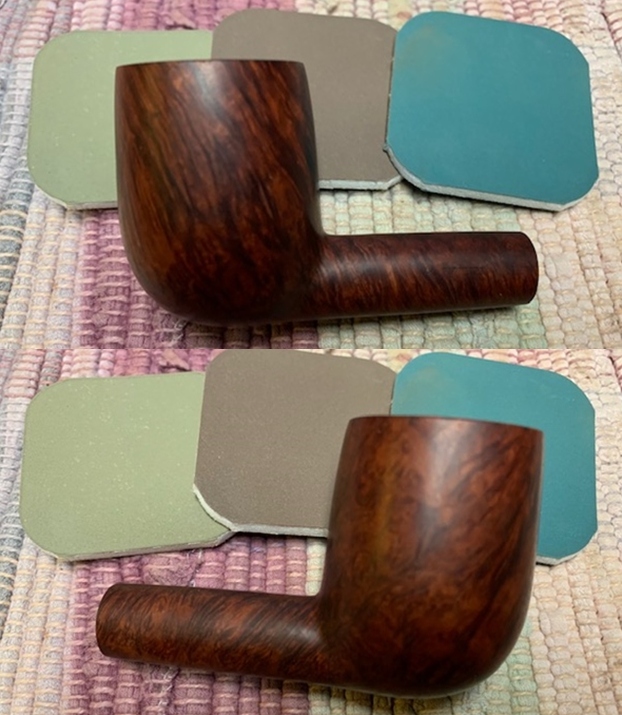
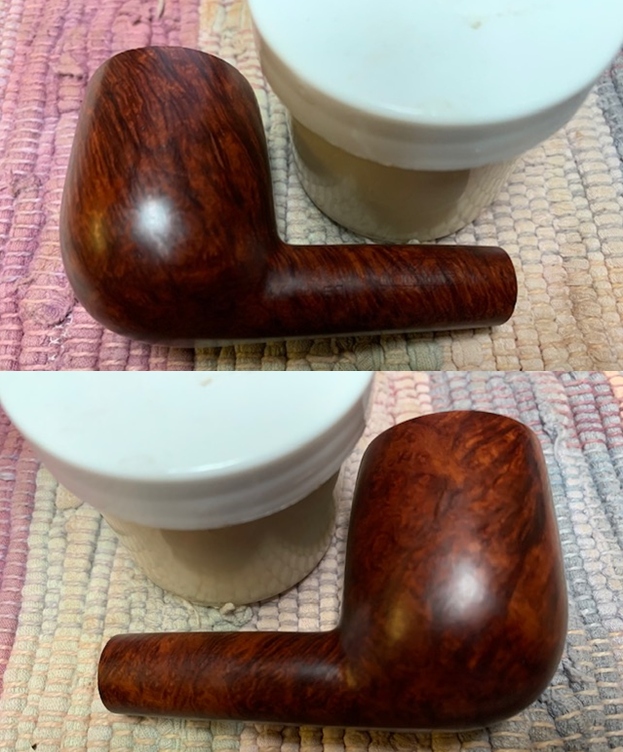
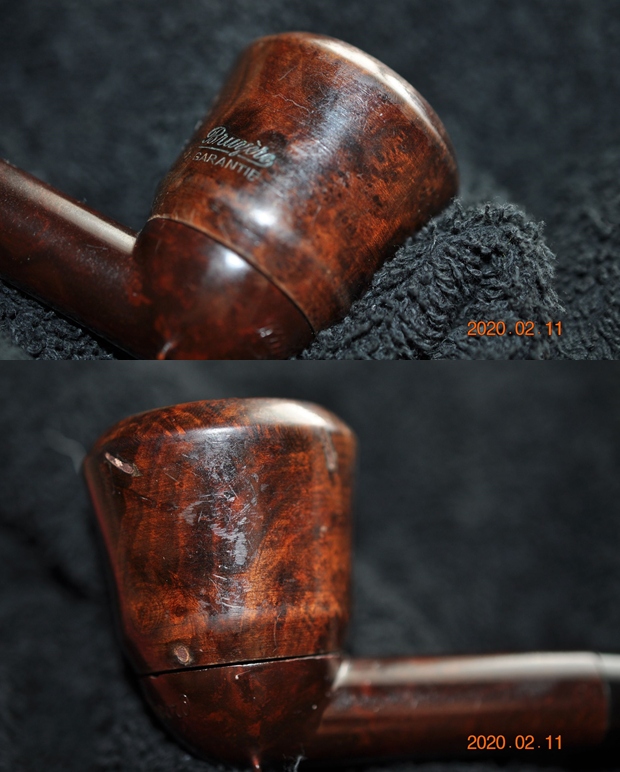
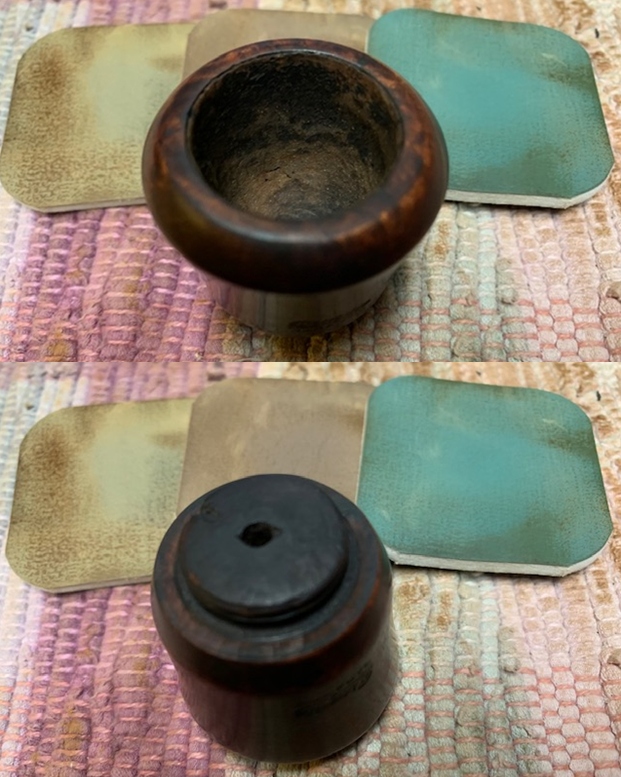
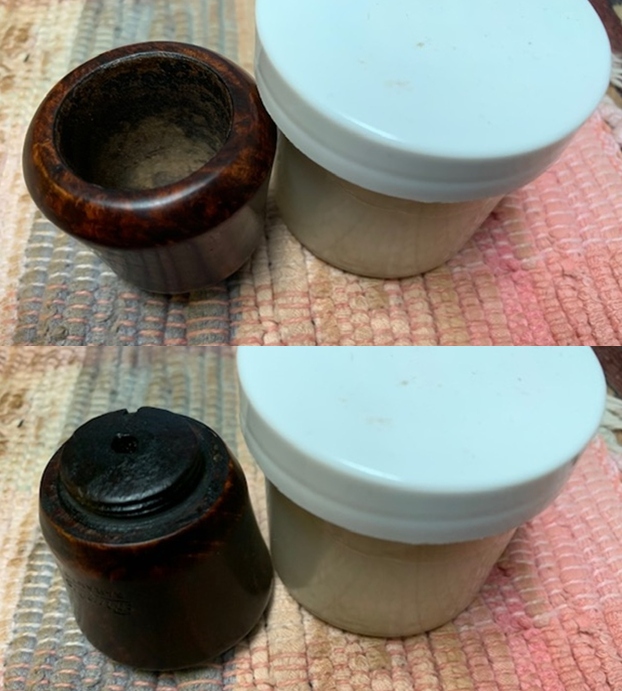
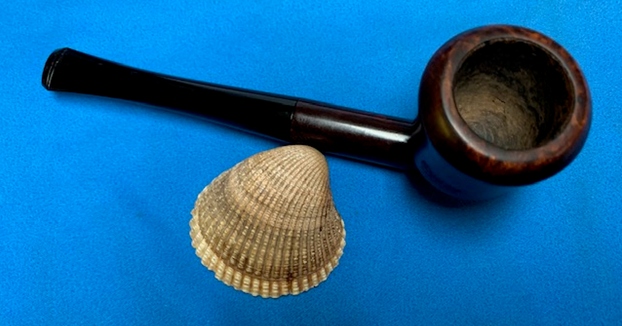
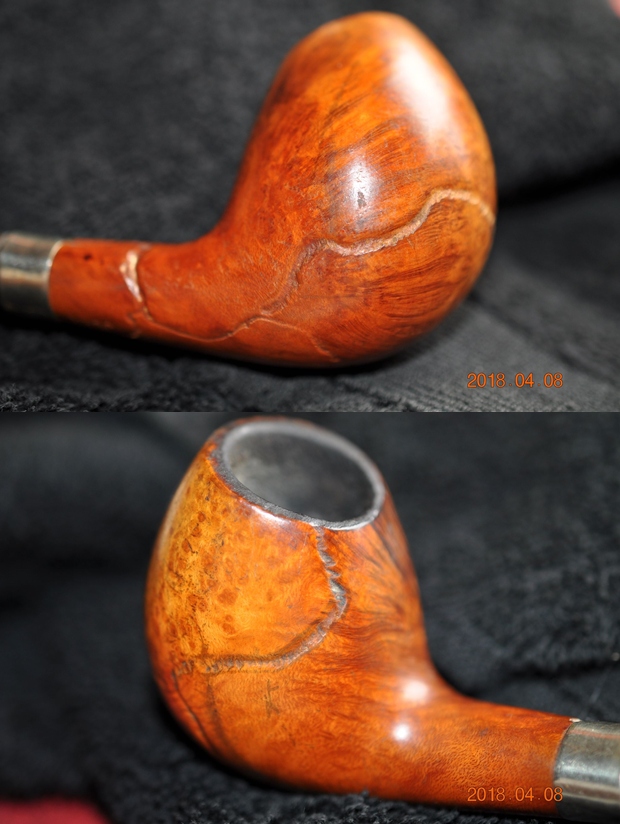
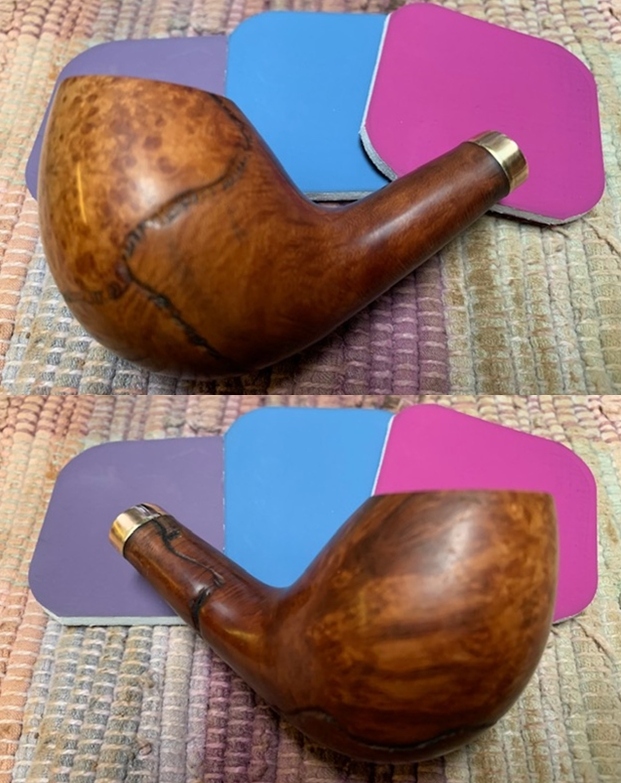
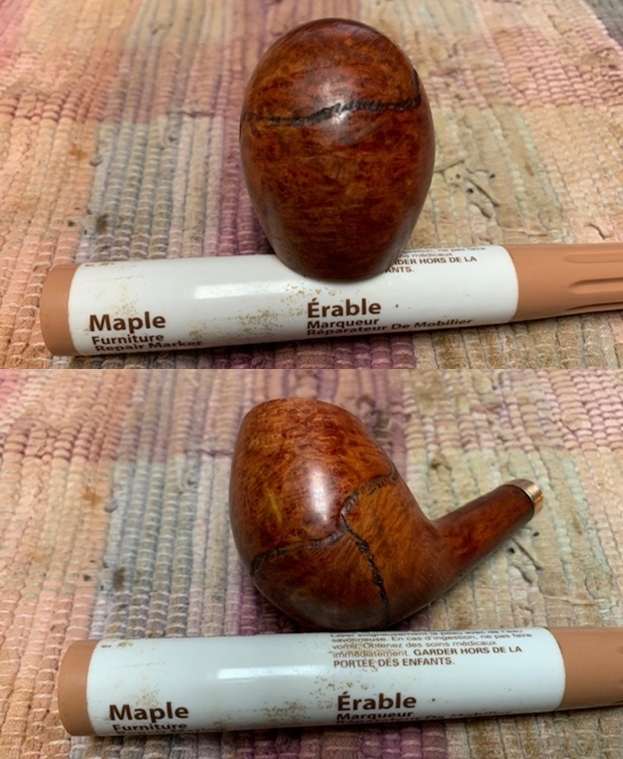
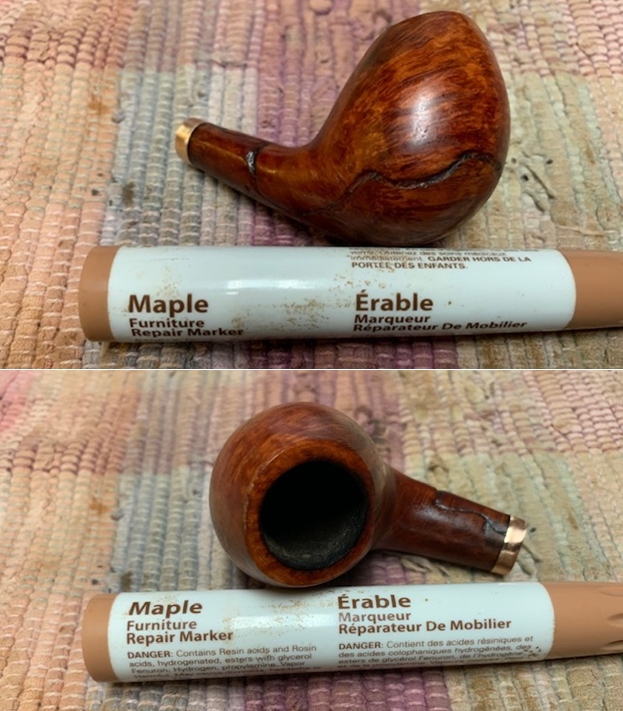
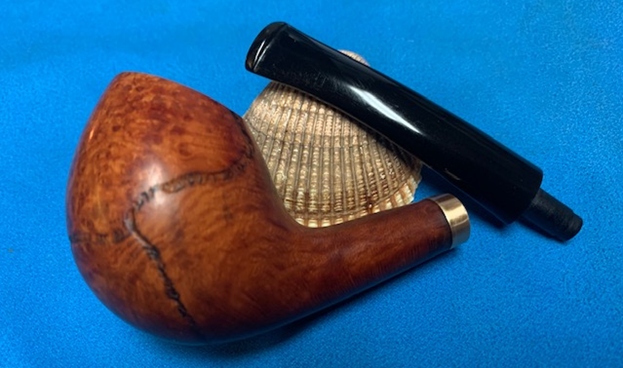
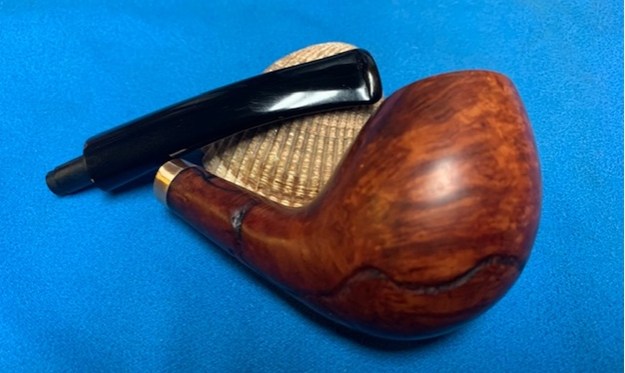
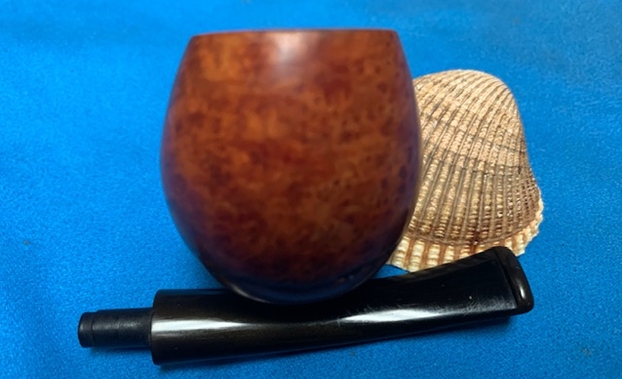
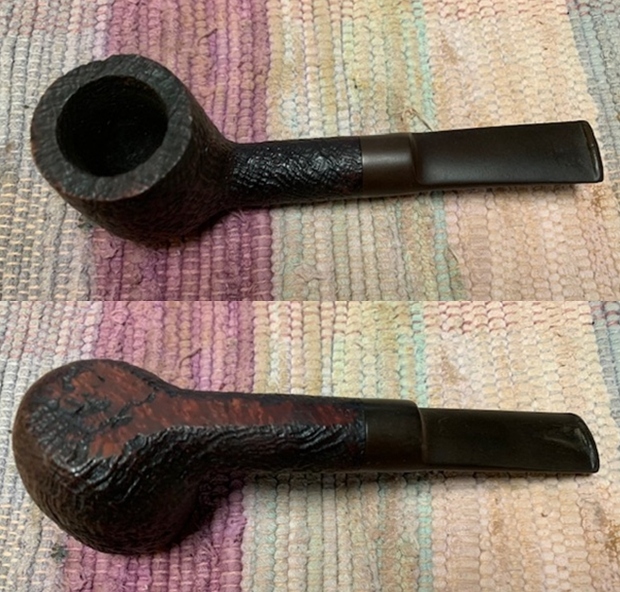
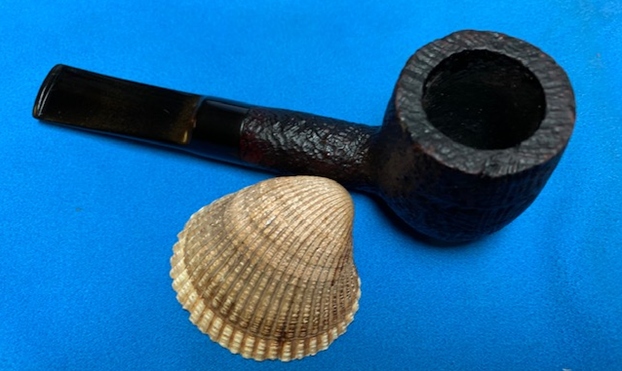
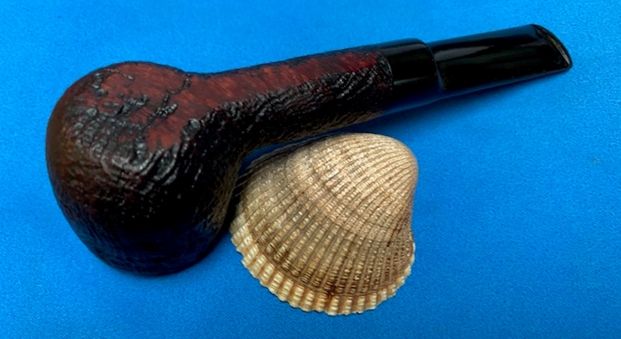
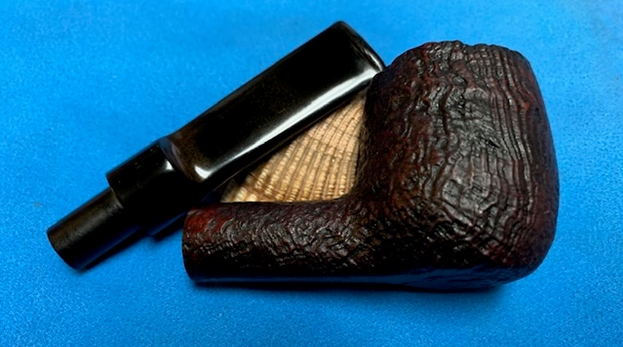
 Jeff took a photo of the side and heel of the bowl to give a picture of what the briar around the pipe looked like.
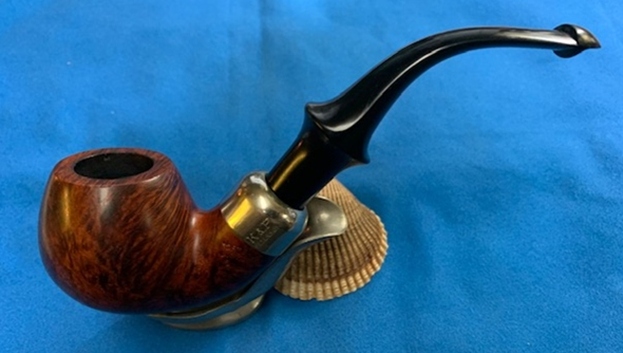
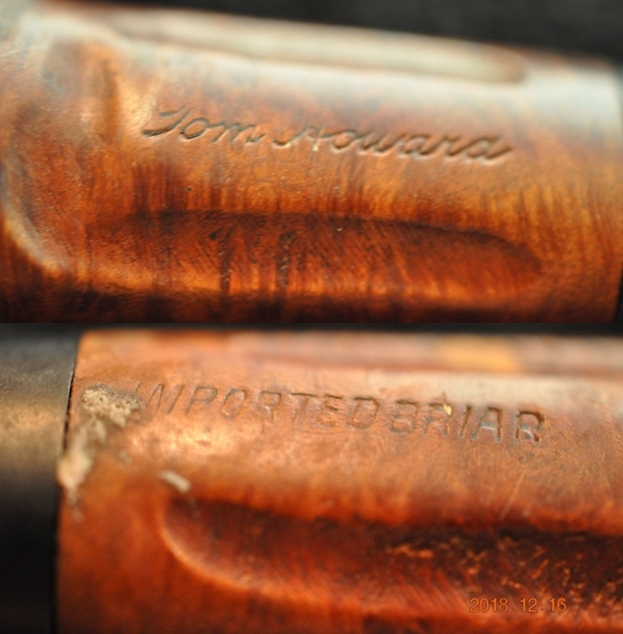
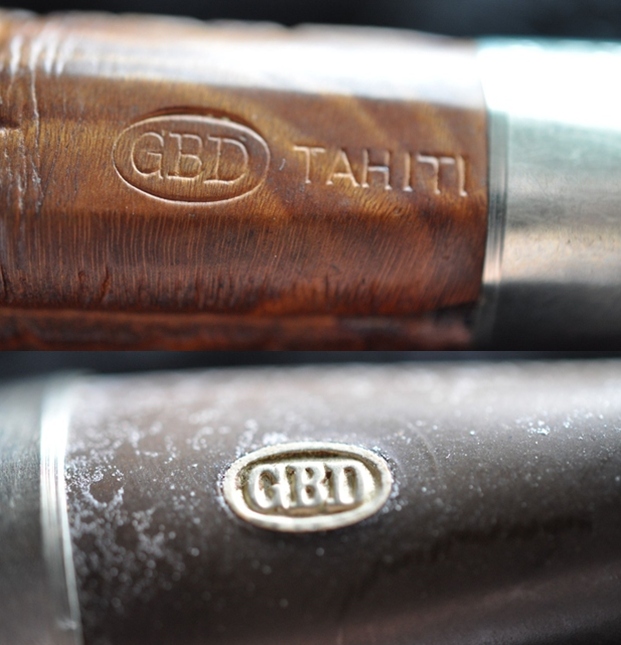
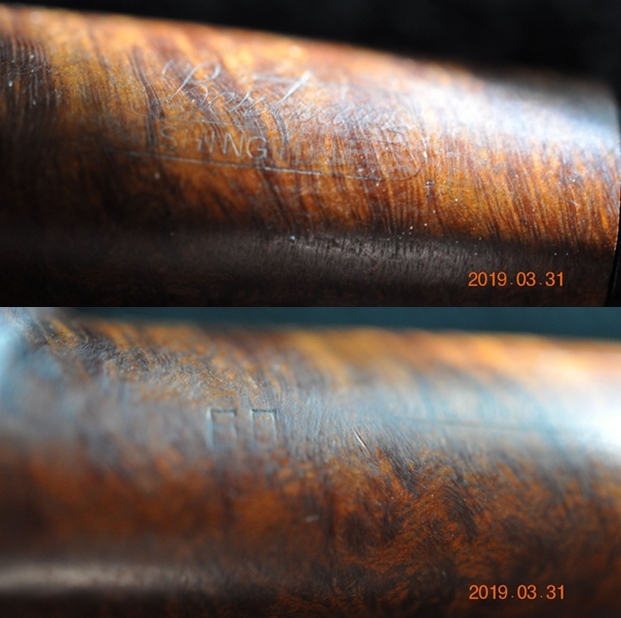
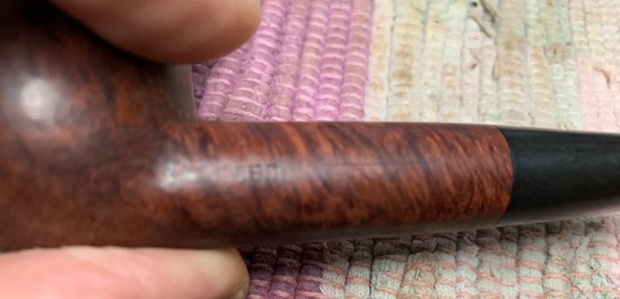
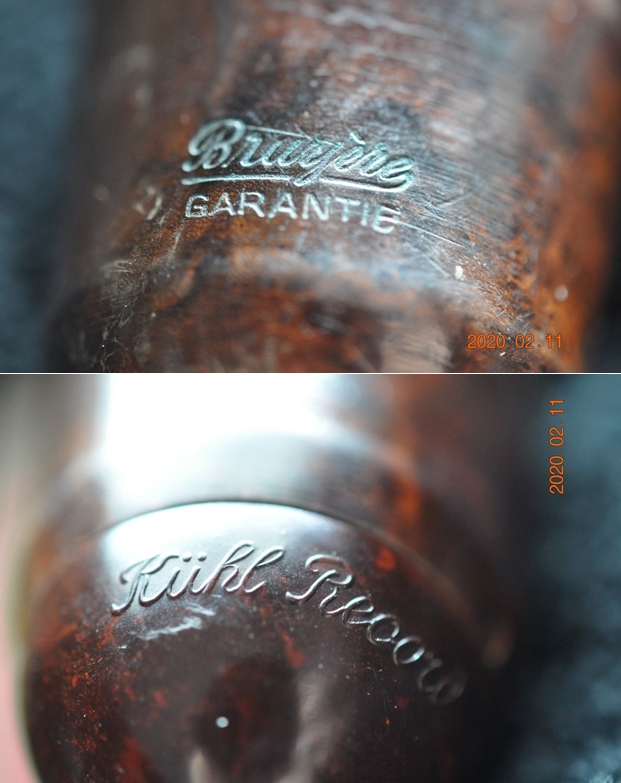
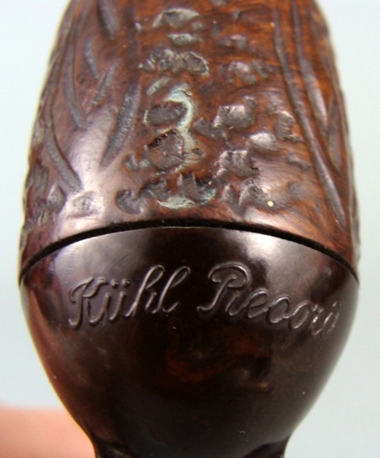
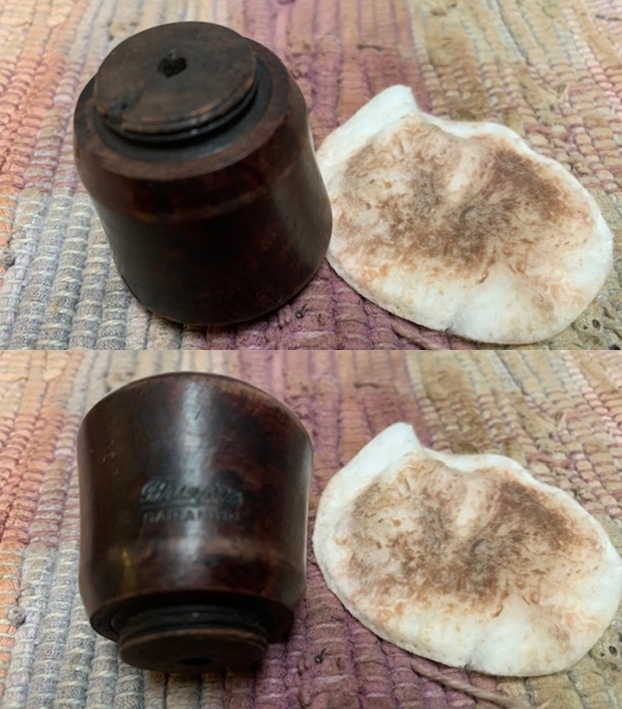
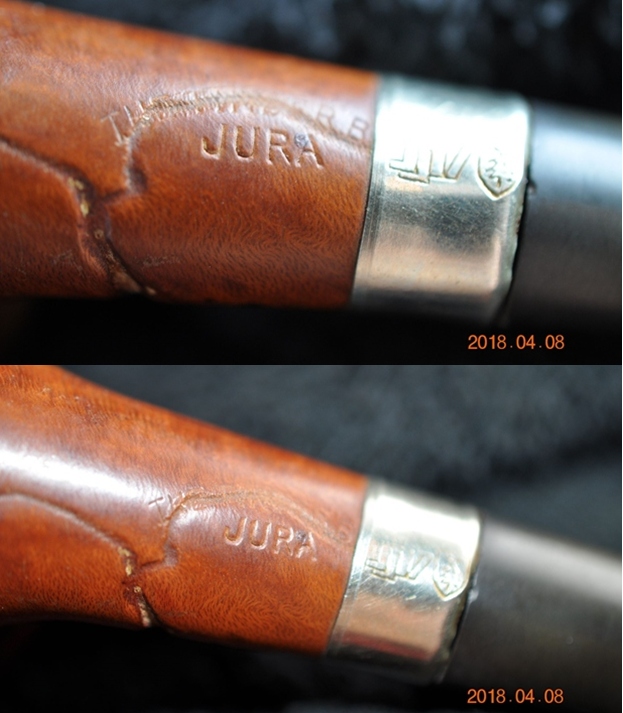
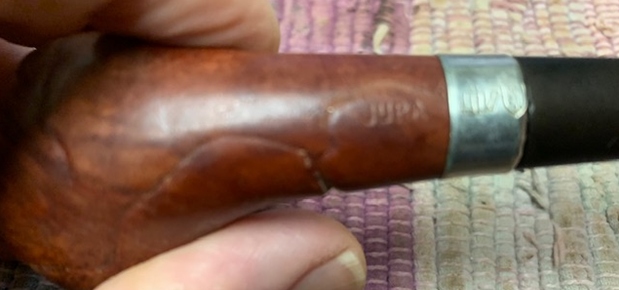
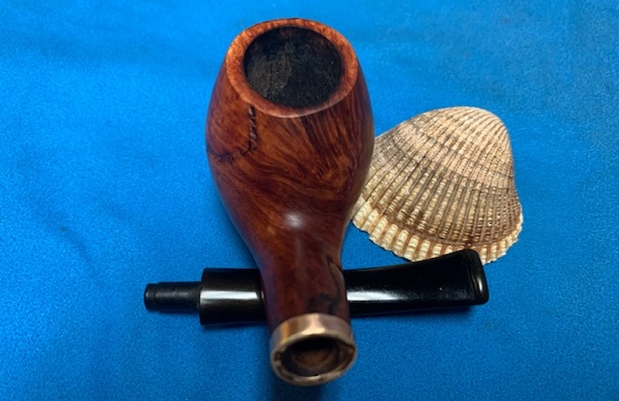
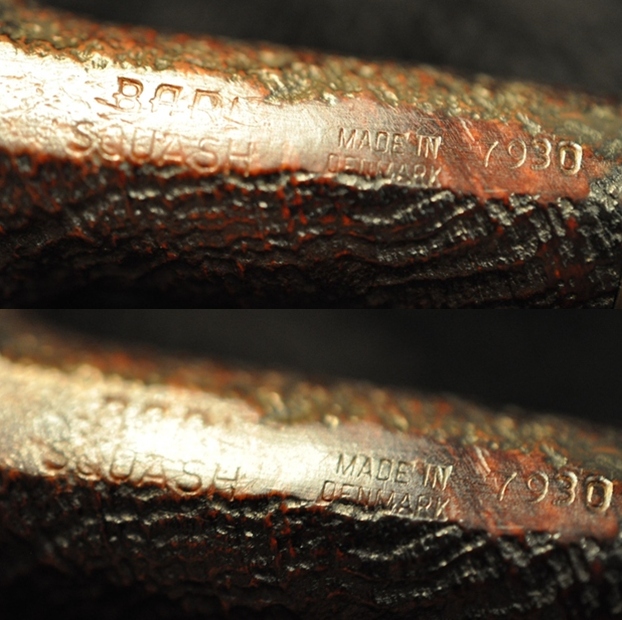
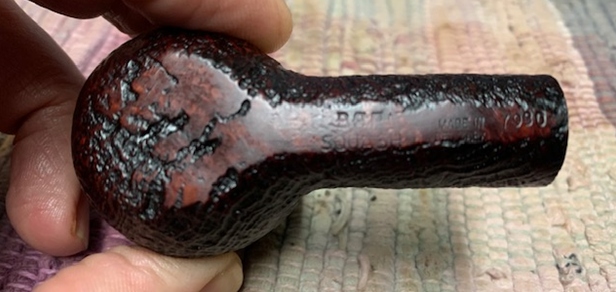
 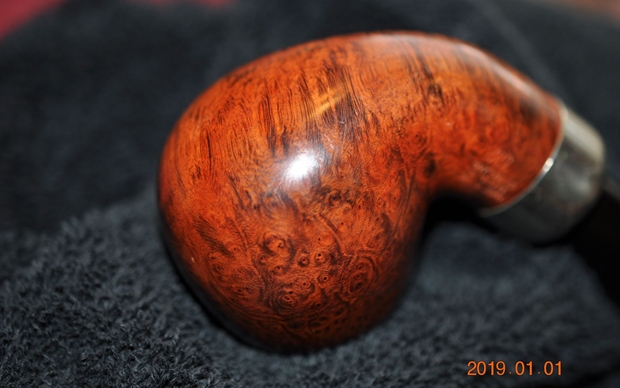 He took photos of the stamping on the shank and the nickel ferrule. It reads as noted above and is clear and readable.
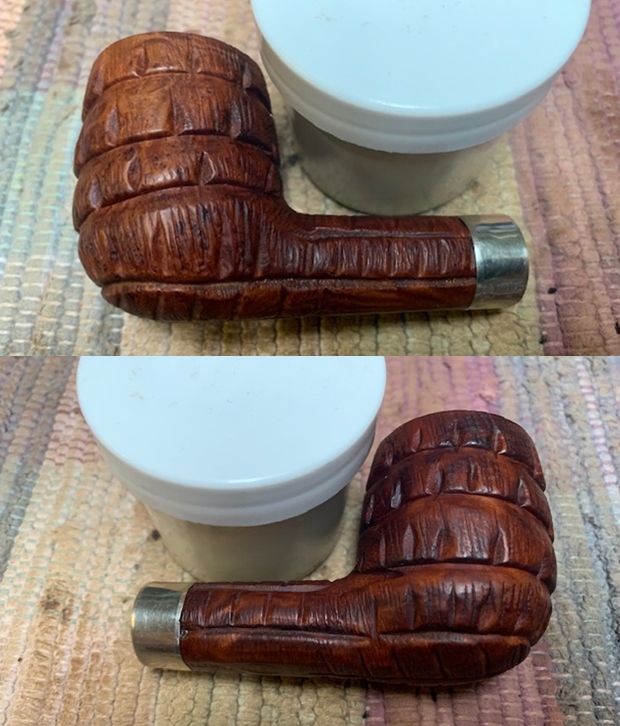
  I am including the information from Pipedia’s article on Peterson pipes. It is a great read in terms of the history of the brand (https://pipedia.org/wiki/Peterson). I have included a bit of the pertinent history here.
1950 – 1989 The Republic Era – From 1950 to the present time, the stamp for this era is “Made in the Republic of Ireland” in a block format generally in three lines but two lines have been used with or without Republic being abbreviated.
I turned to Pipedia to see if I could find some specific information on the Cara line of System pipes (https://pipedia.org/wiki/Peterson#Peterson_Pipe_Collections). There was nothing specific on the Cara so I was left with little information on the line.
I knew that I was dealing with a Republic Era pipe made between 1950-and the present – a Late Republic pipe. It was a classic line 302 shaped apple with the System style drilling. Now it was time to work on the pipe.
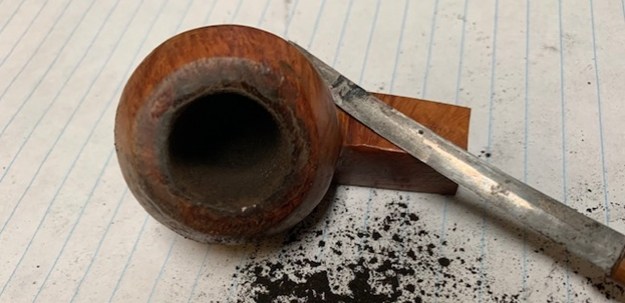
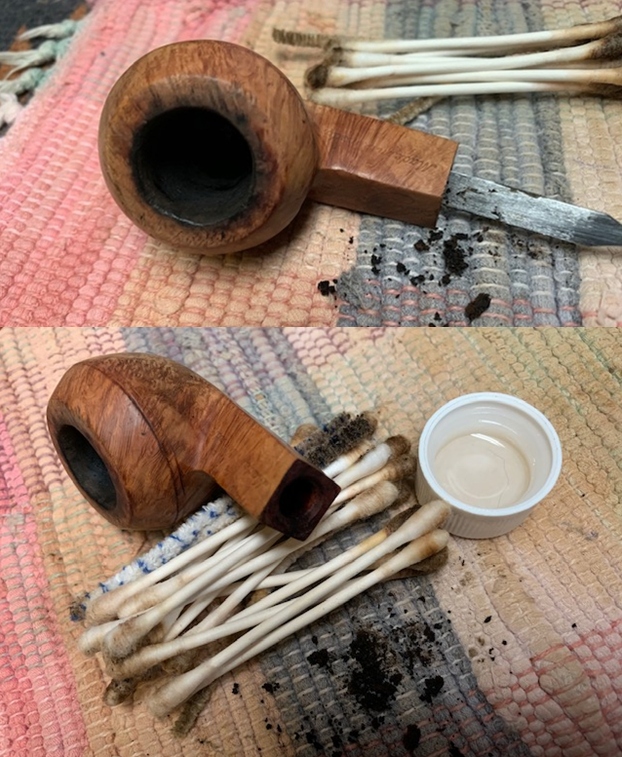
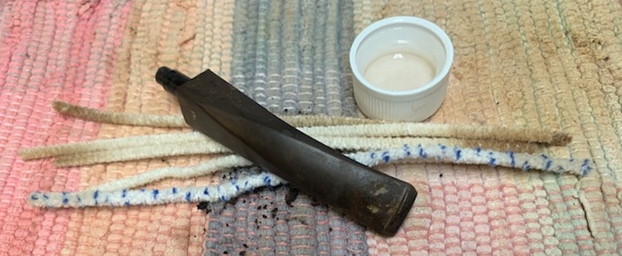
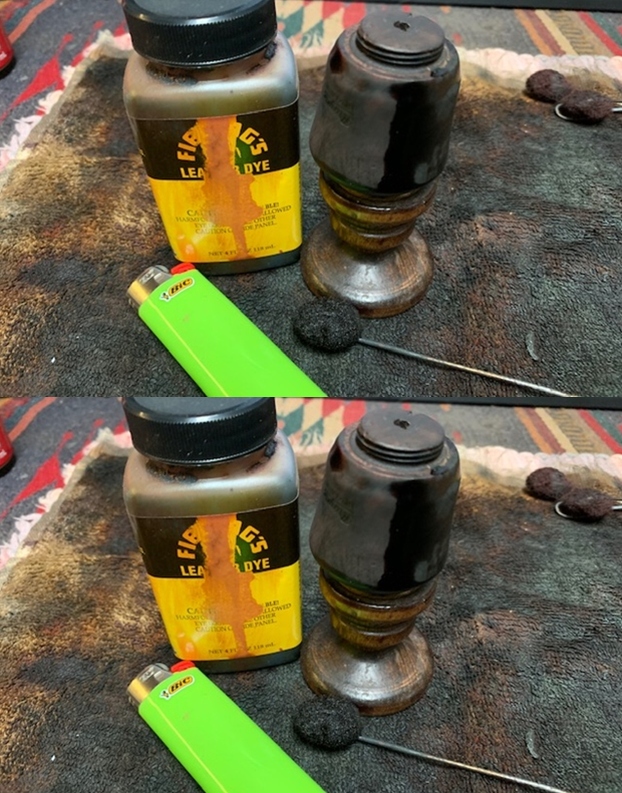
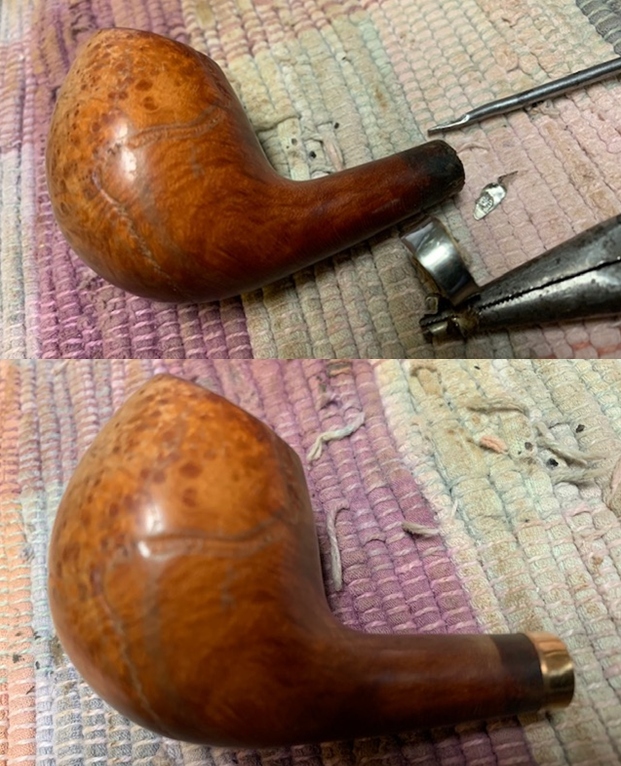
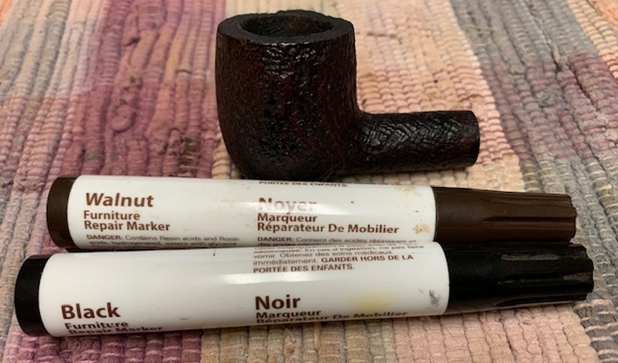
Jeff had cleaned up the pipe with his usual penchant for thoroughness. He reamed the pipe with a PipNet Pipe Reamer and cleaned up the remnants with a Savinelli Fitsall Pipe Knife. He scrubbed the bowl with undiluted Murphy’s Oil Soap with a tooth brush. He rinsed it under running warm water to remove the soap and grime. He cleaned out the inside of the shank and the airway in the stem with alcohol, cotton swabs and pipe cleaners. He soaked the stem in Before & After Deoxidizer and rinsed it off with warm water. I took photos of the pipe once I received it. 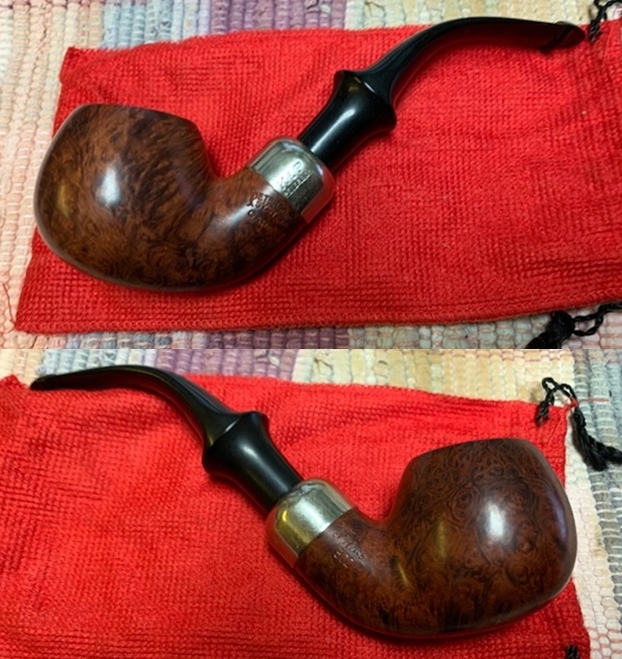
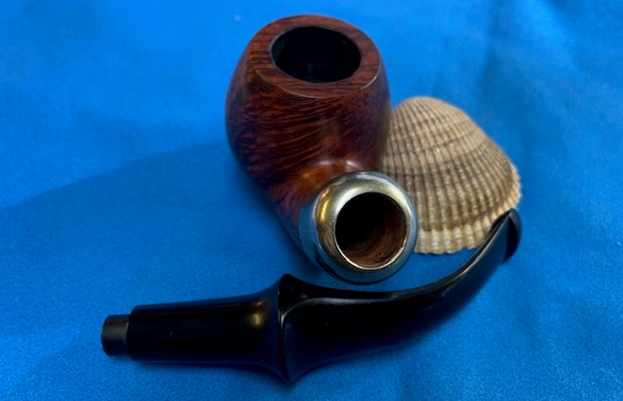
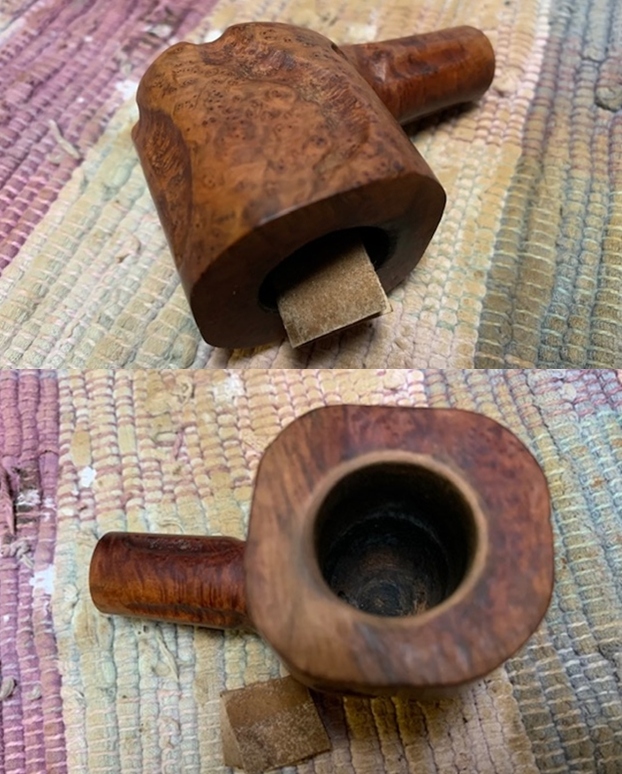
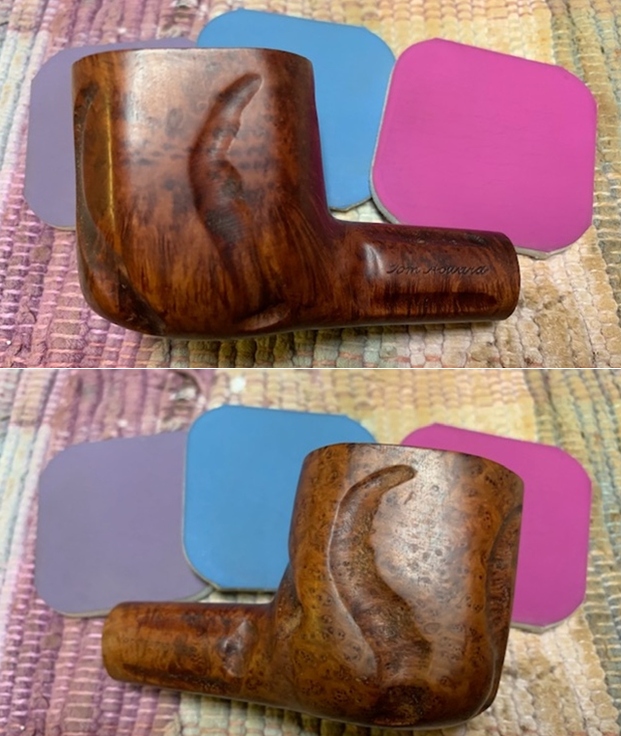
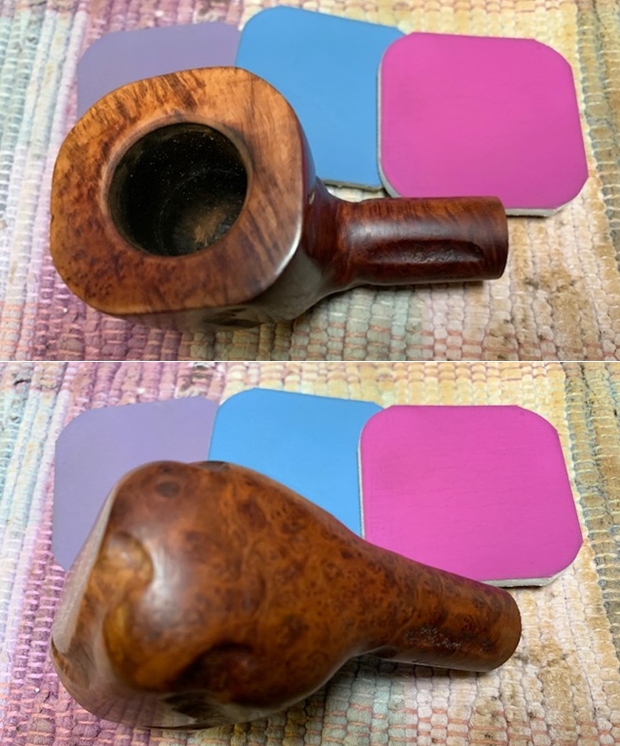
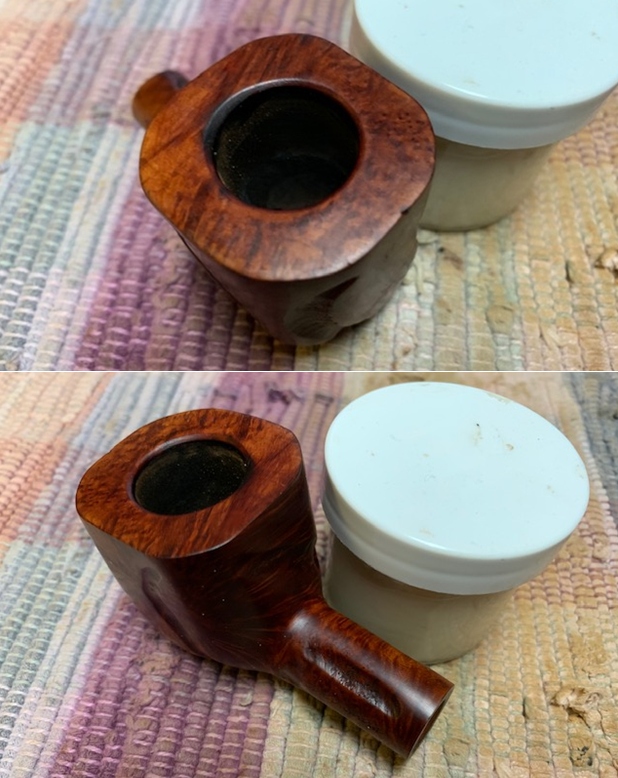
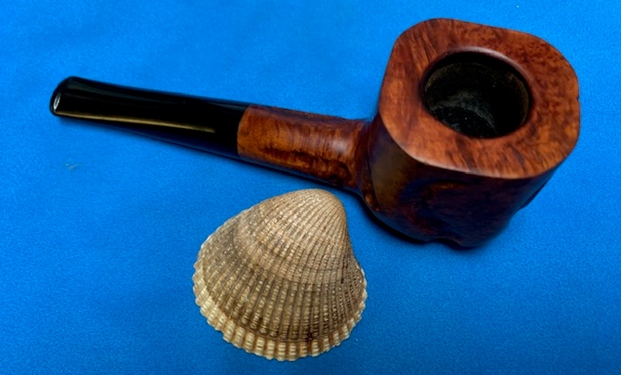
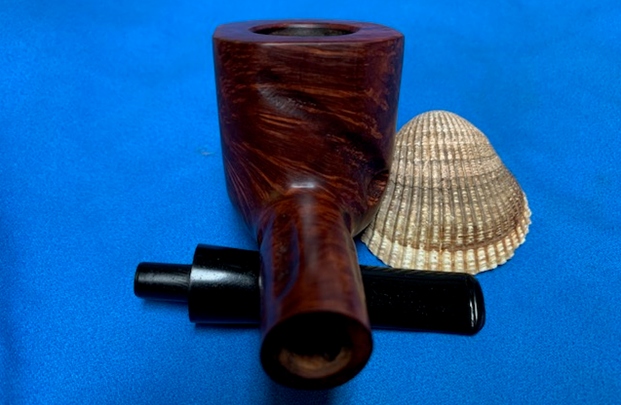
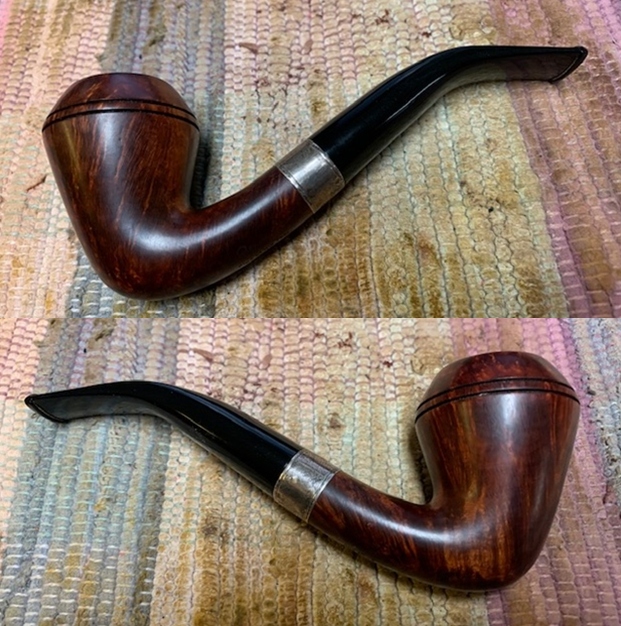
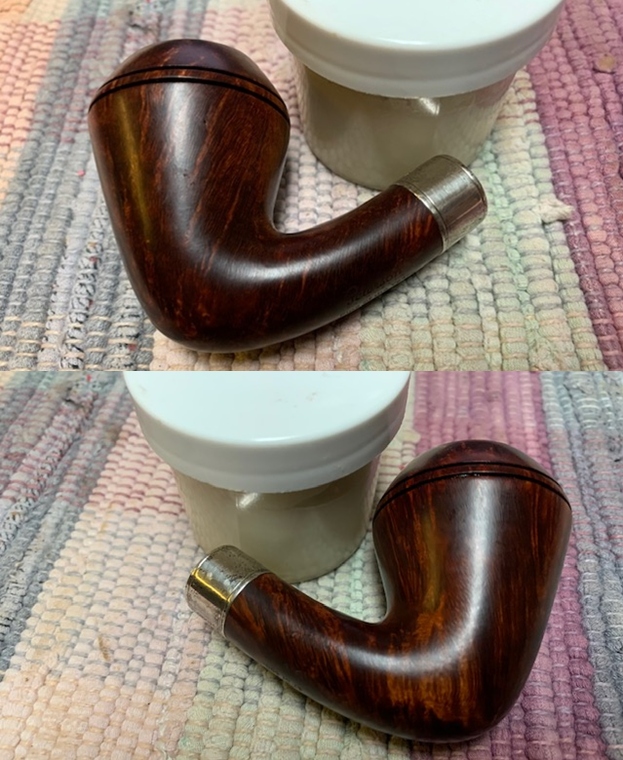
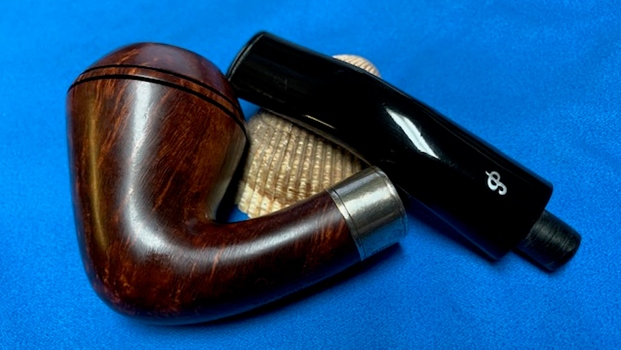
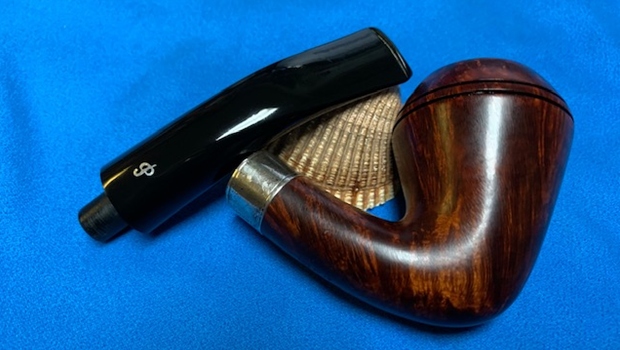
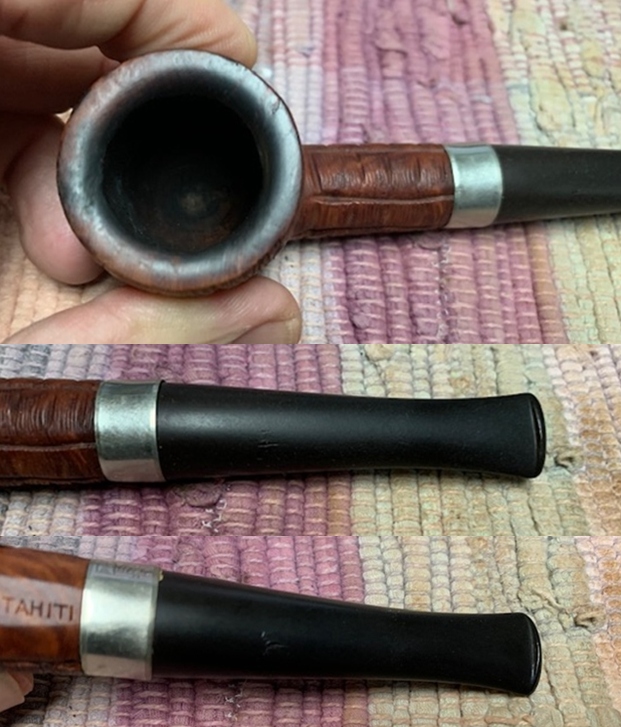
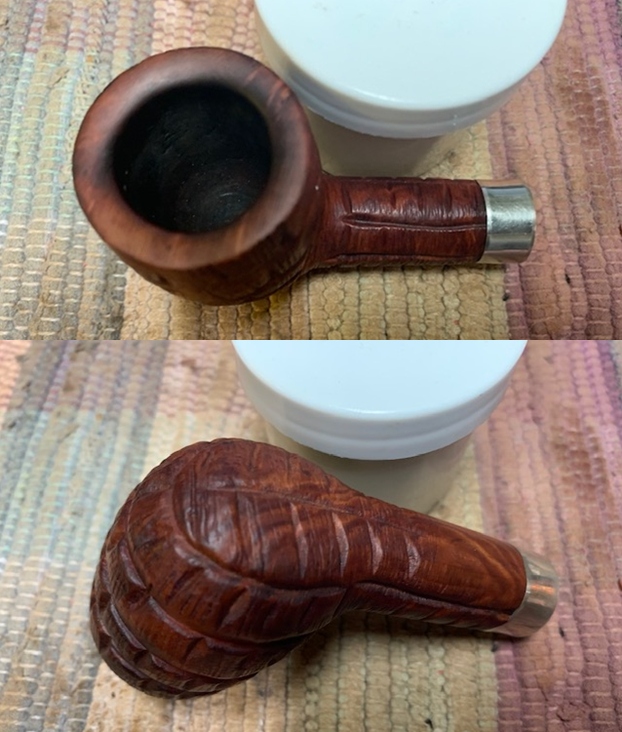
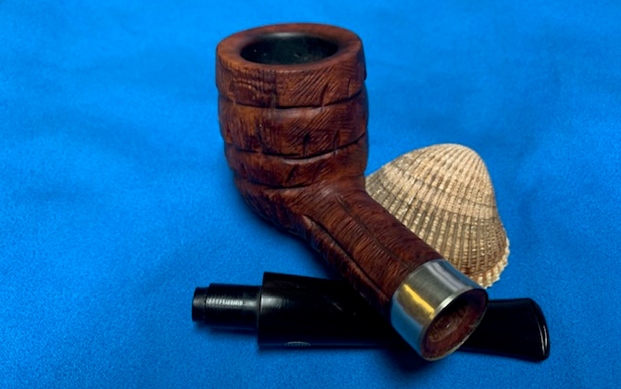
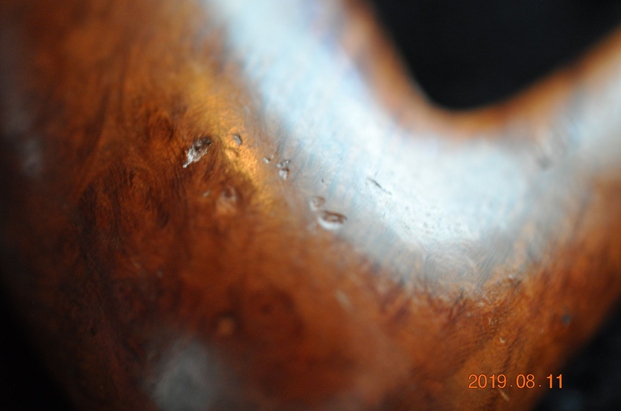
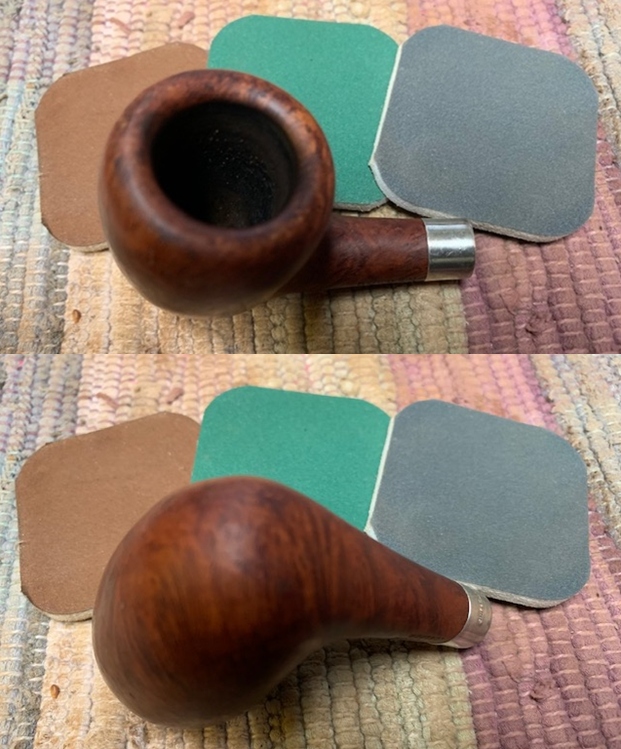
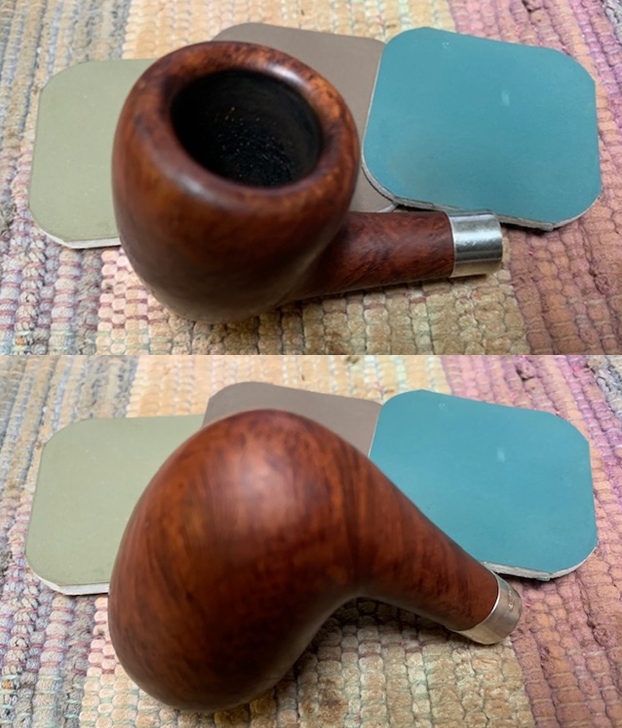
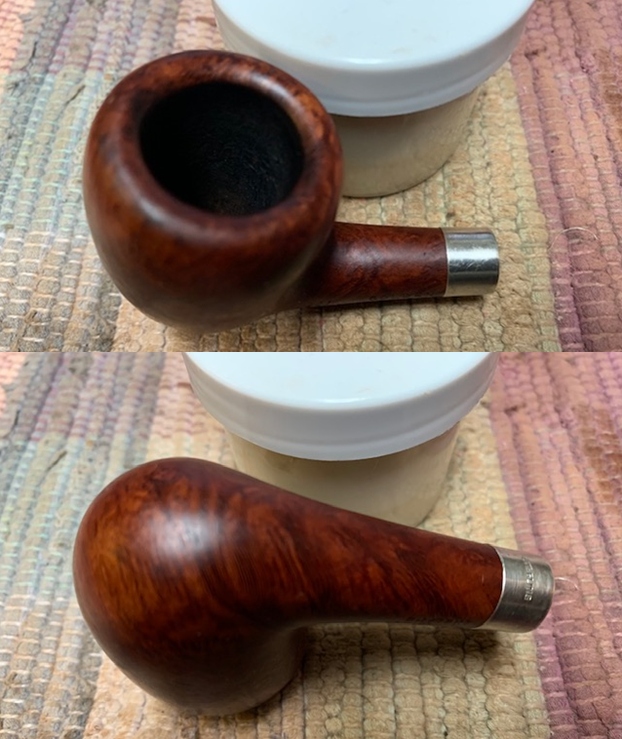
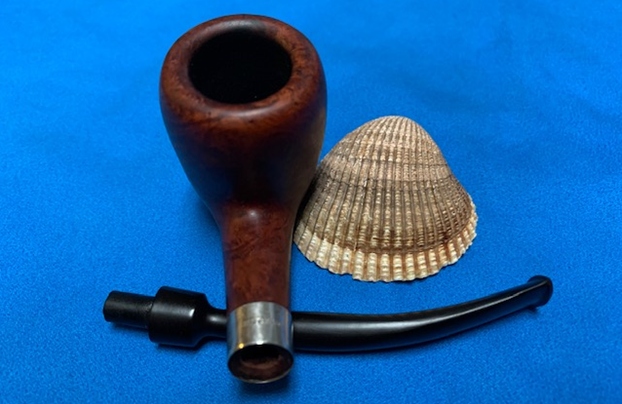
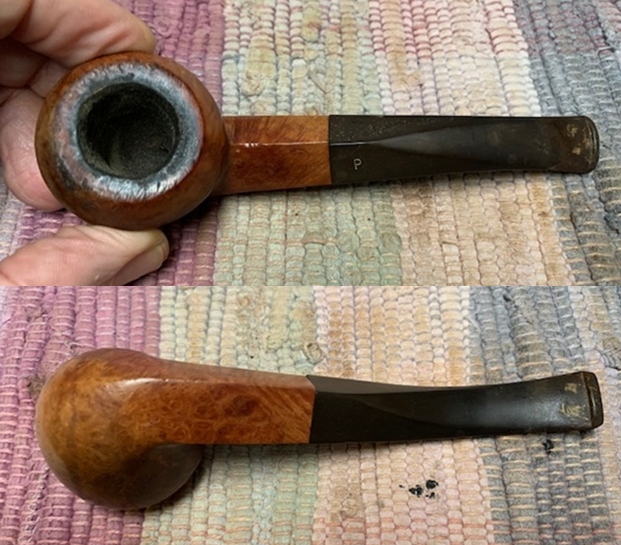
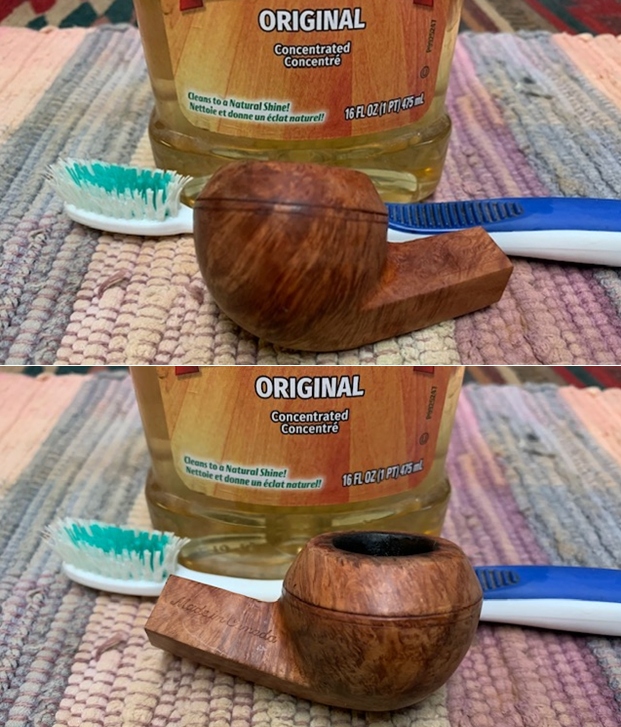
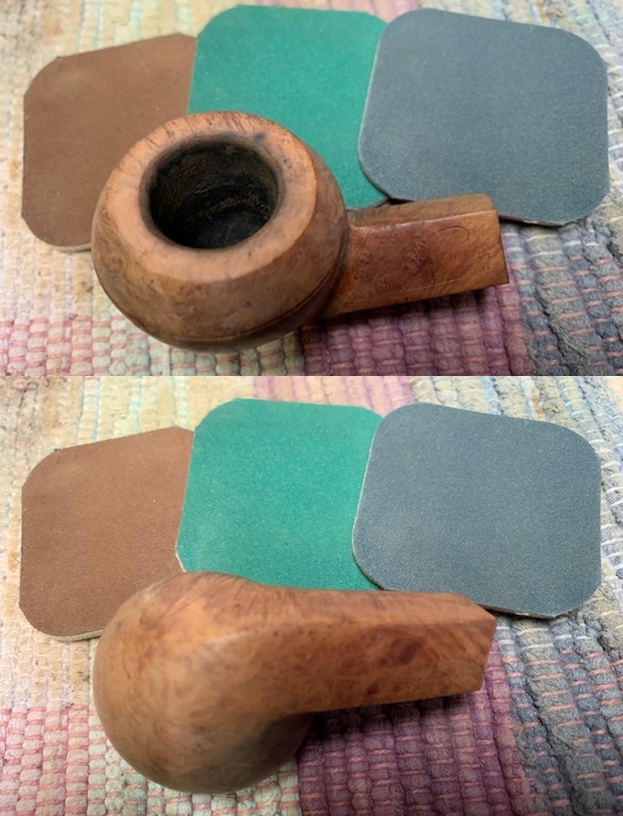
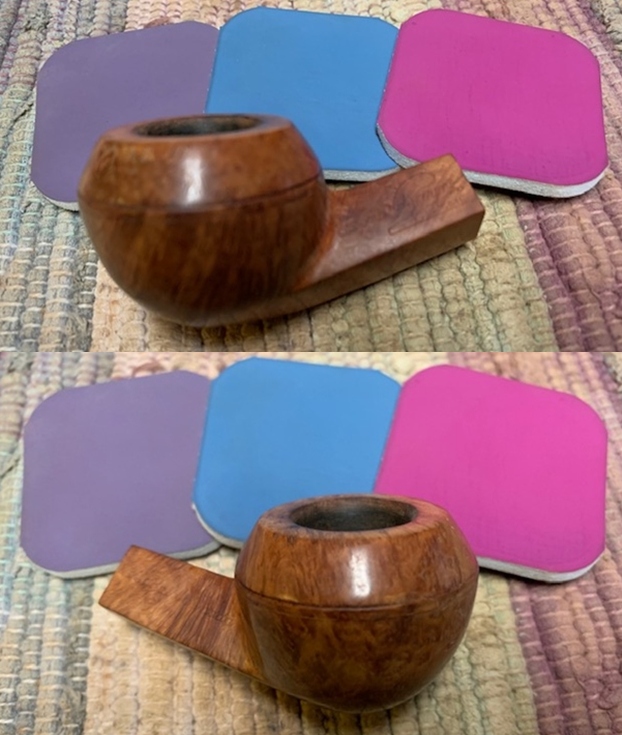
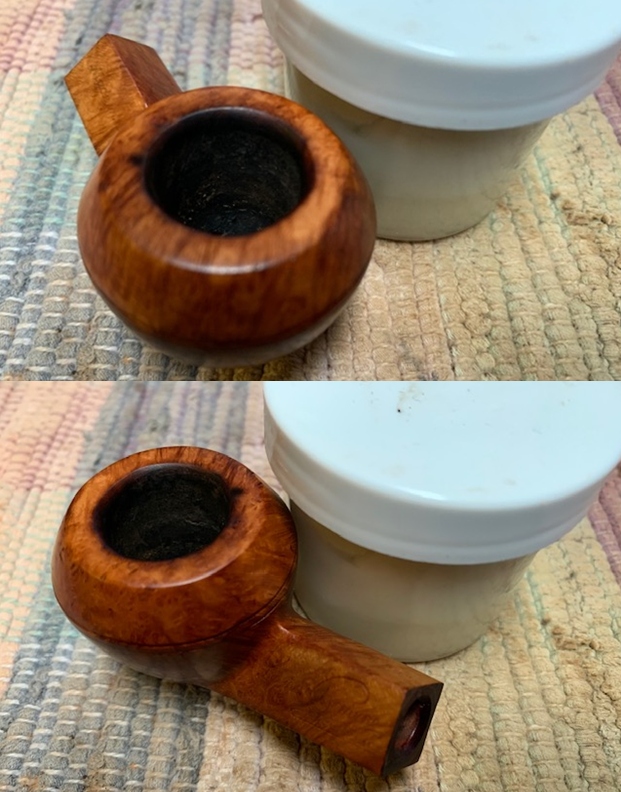
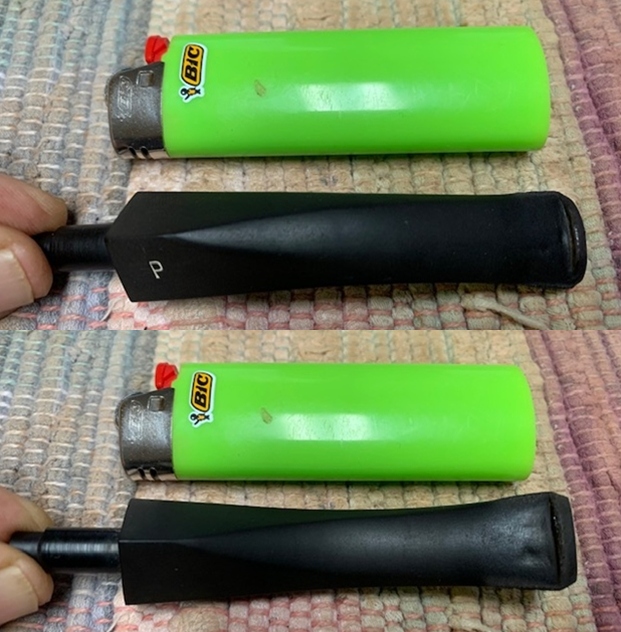
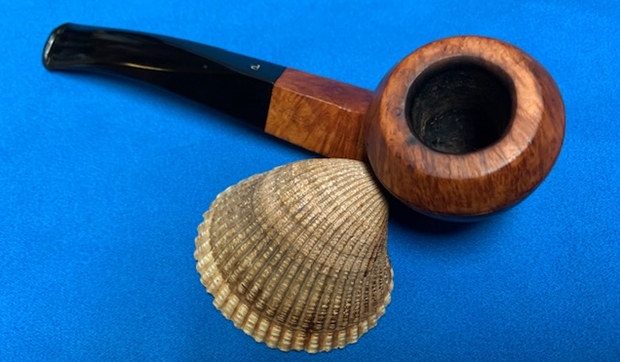
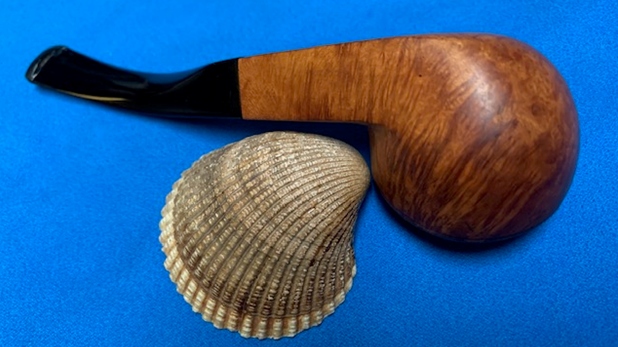
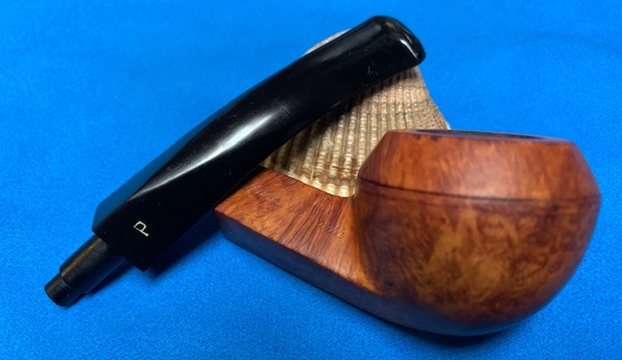
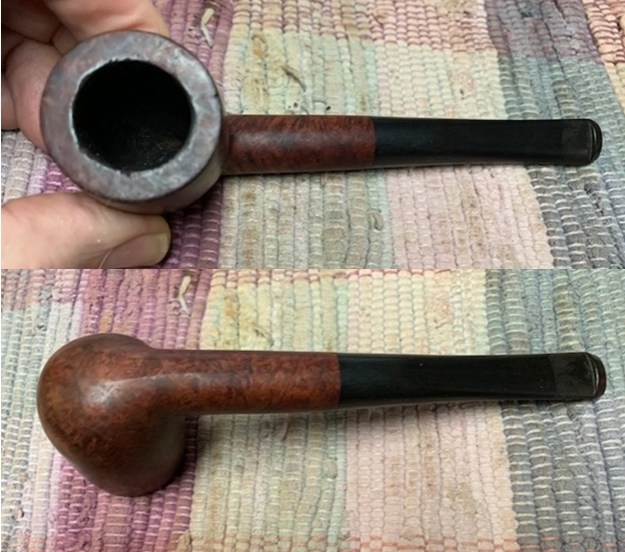
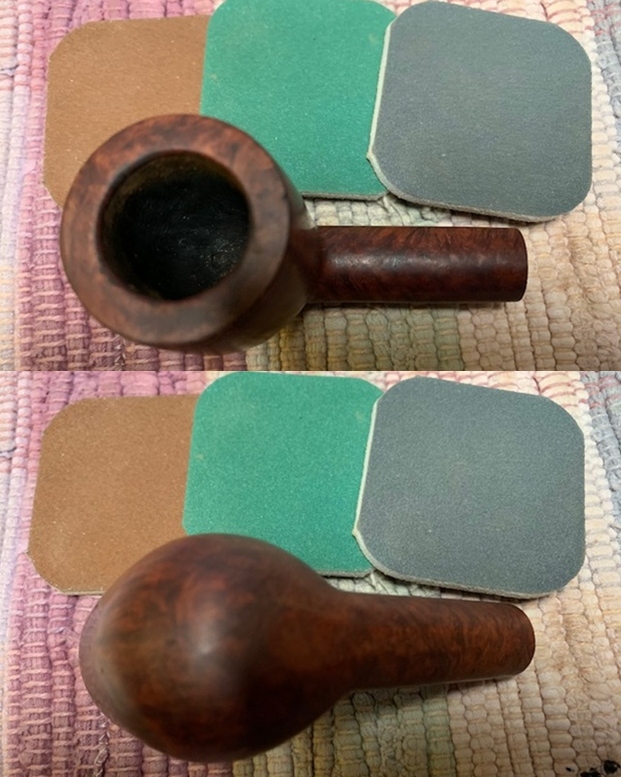
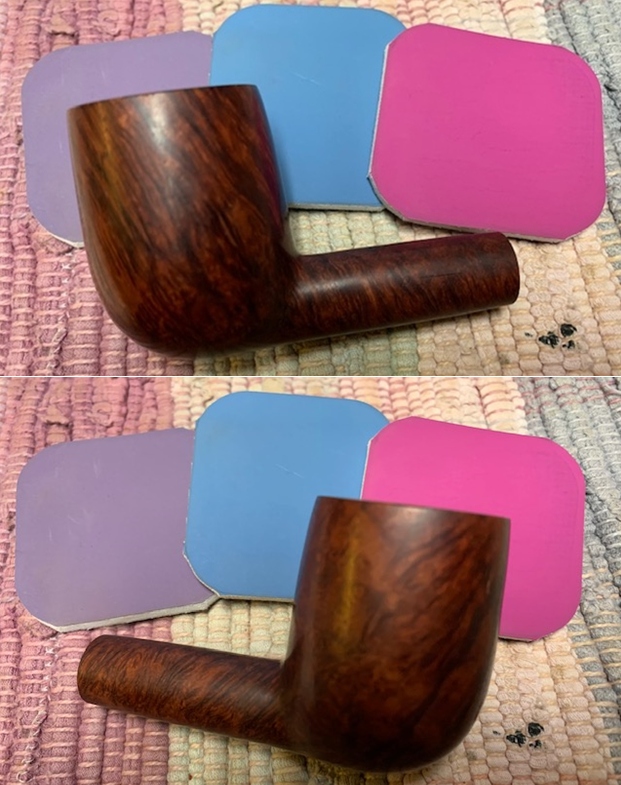
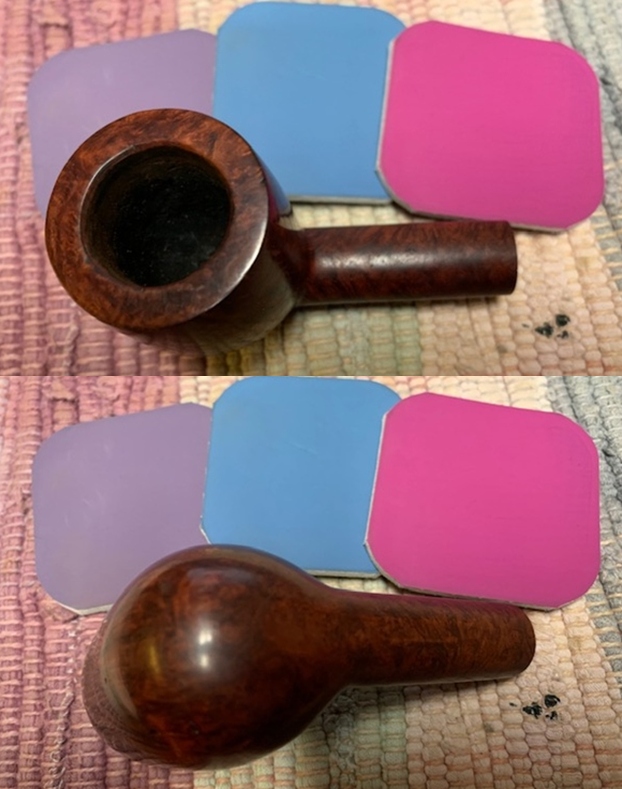
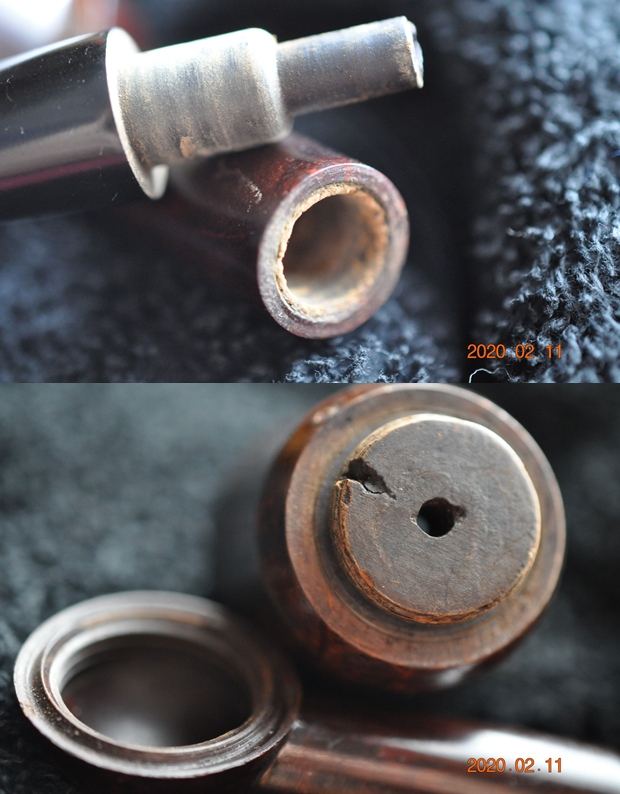
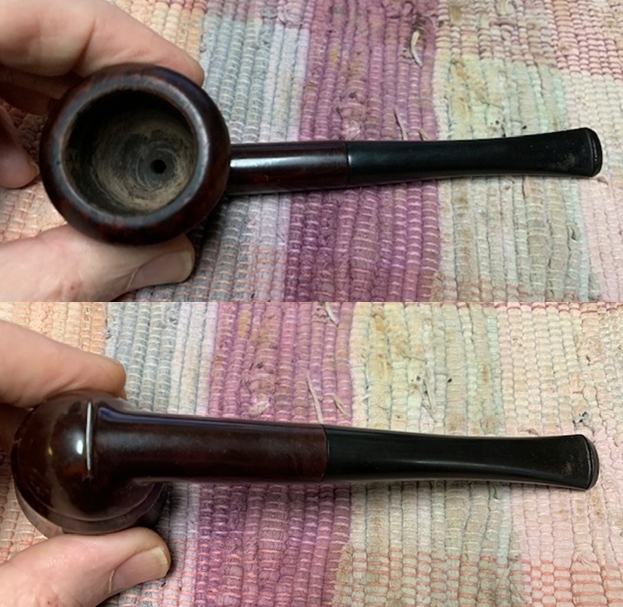
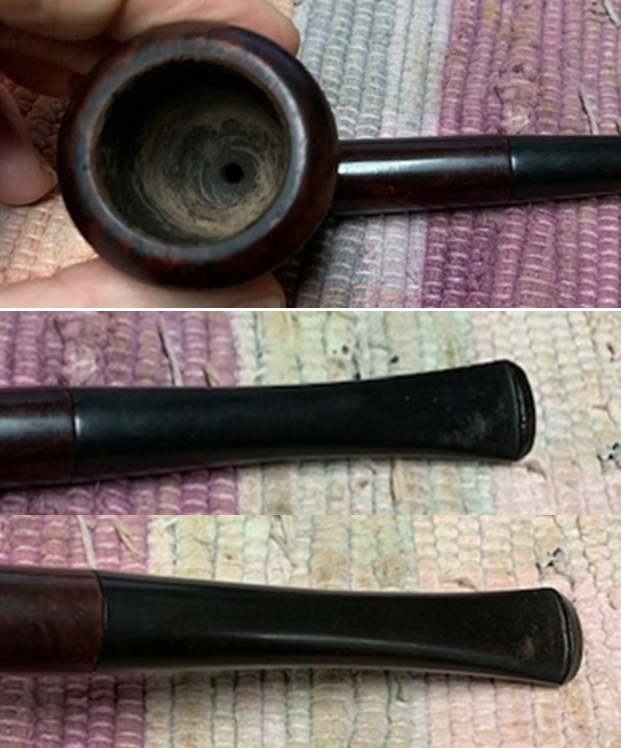
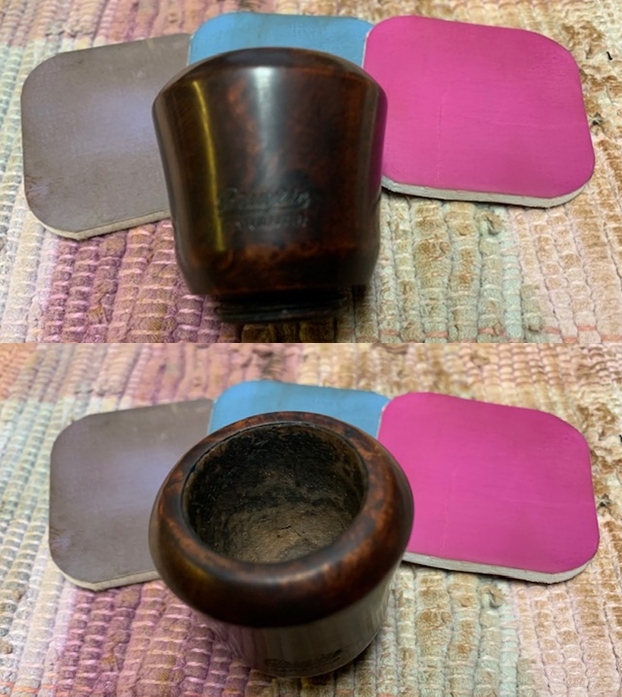
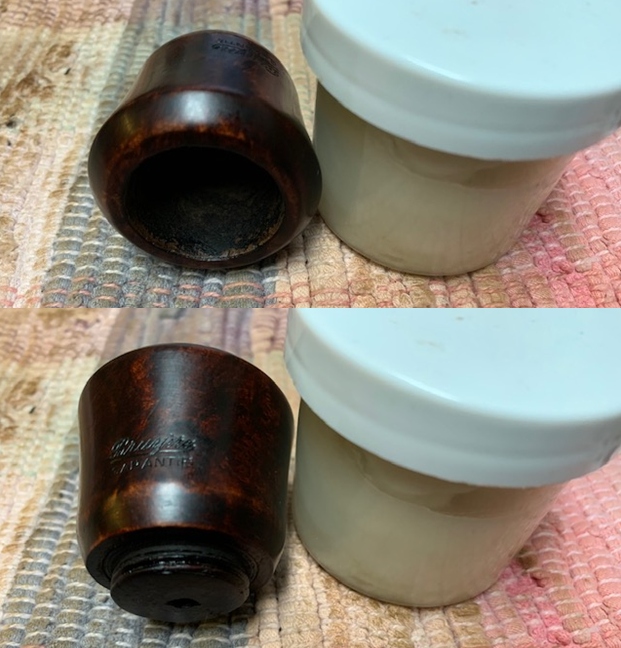
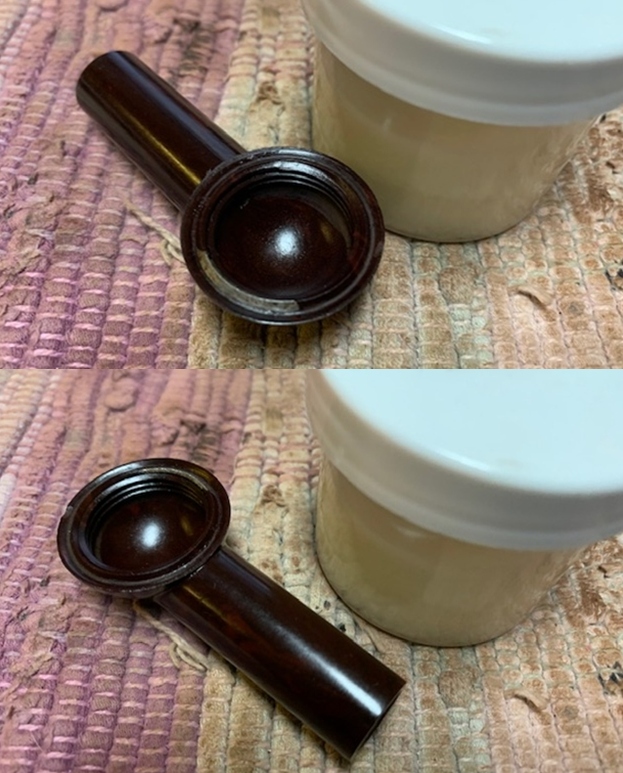
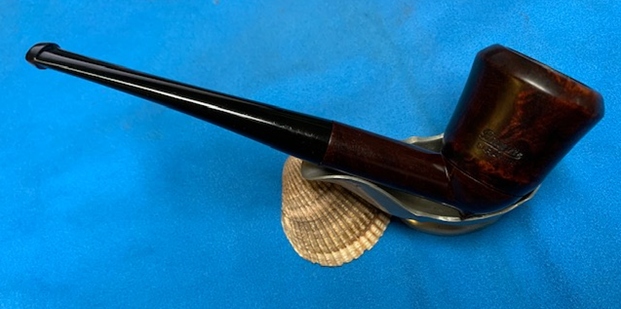
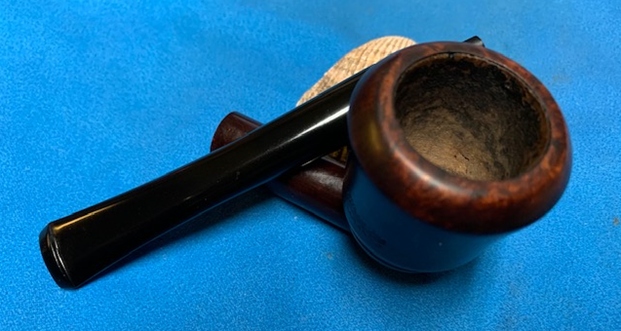
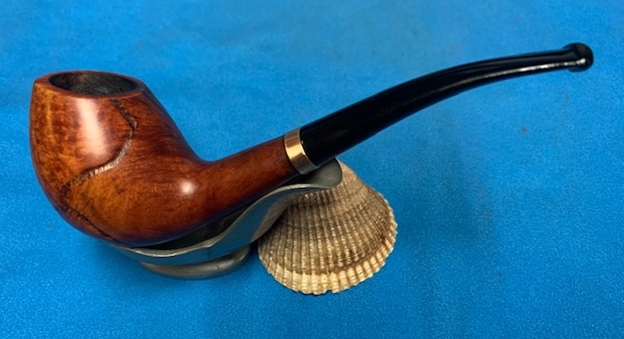
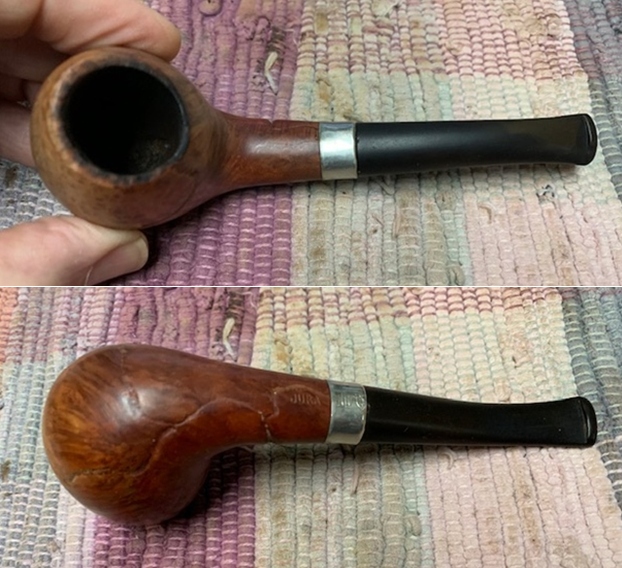
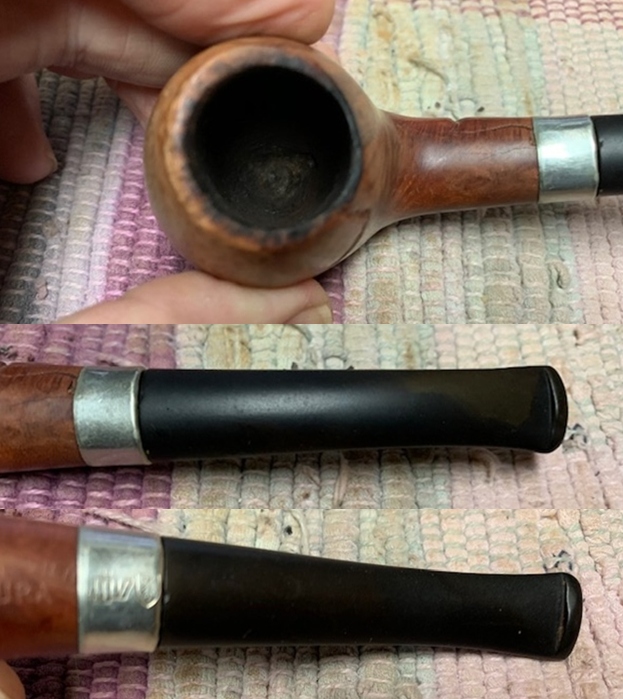
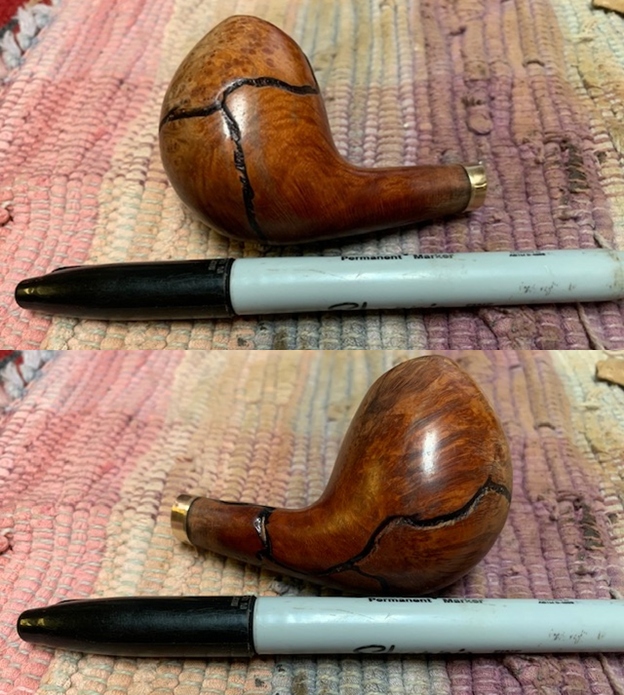
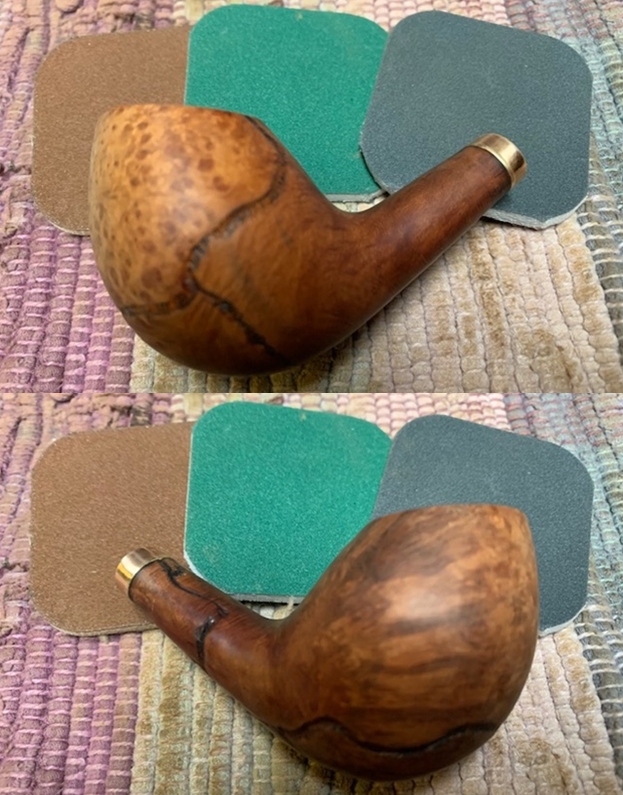
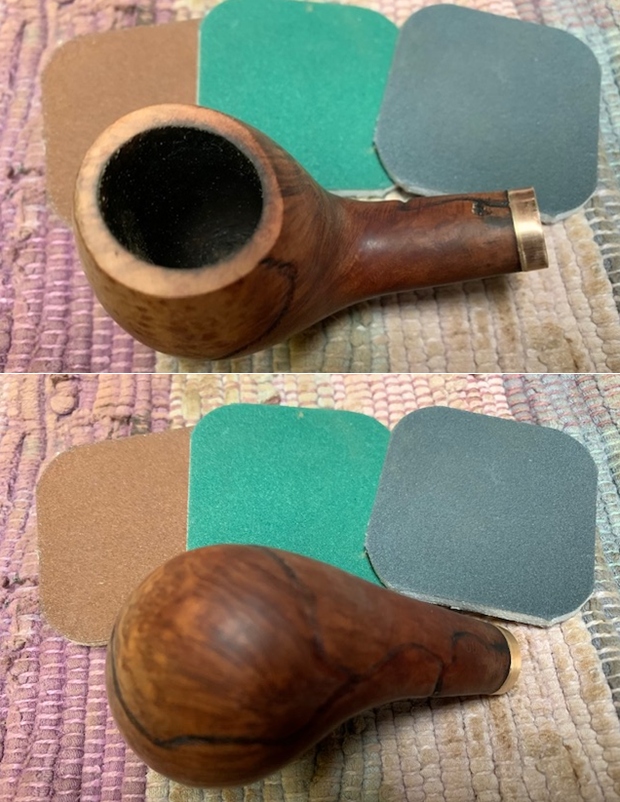
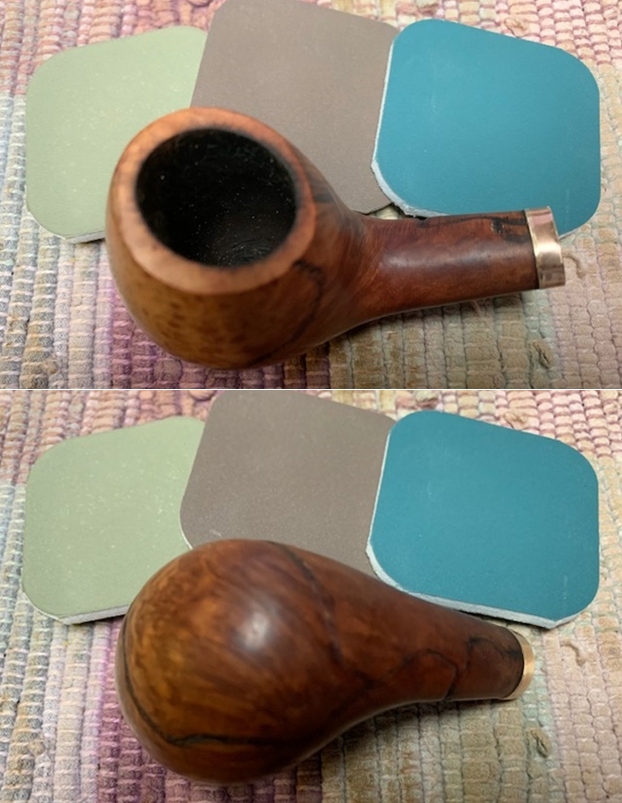
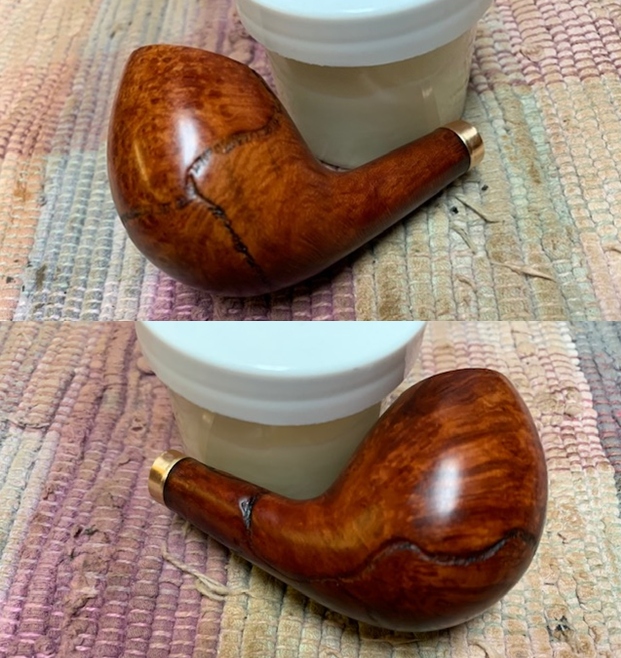
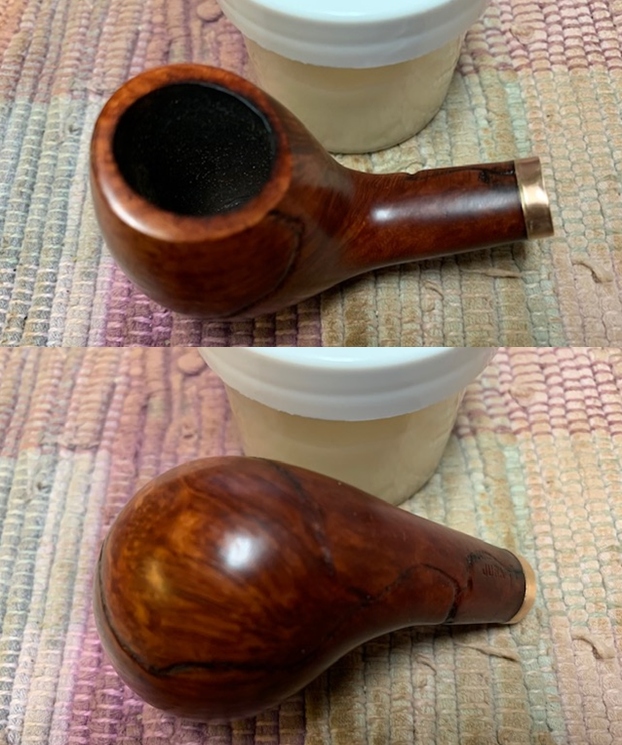
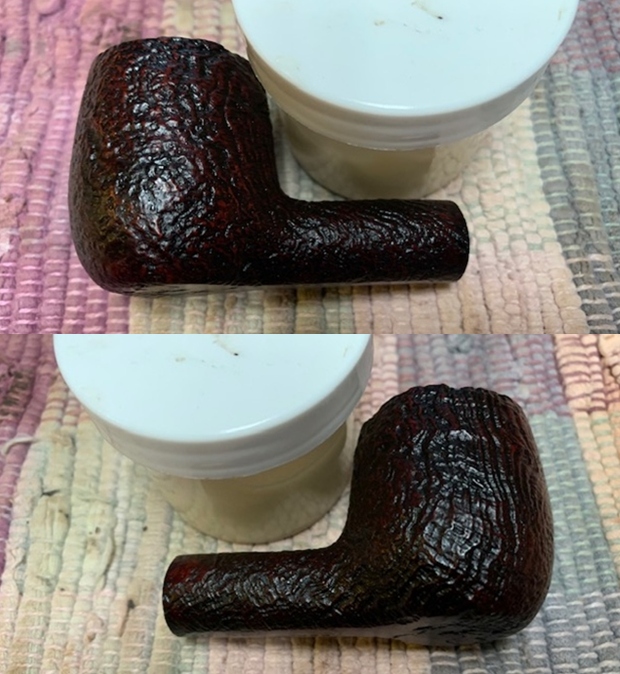
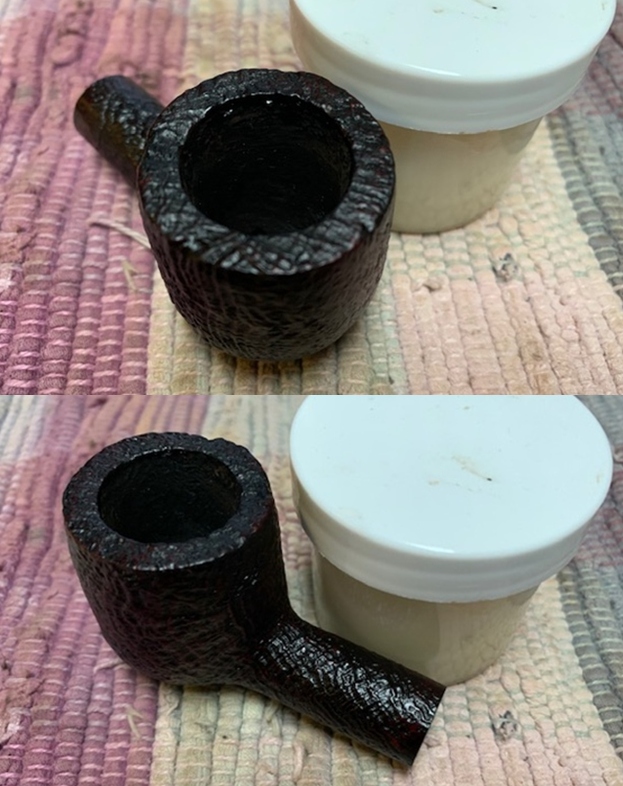
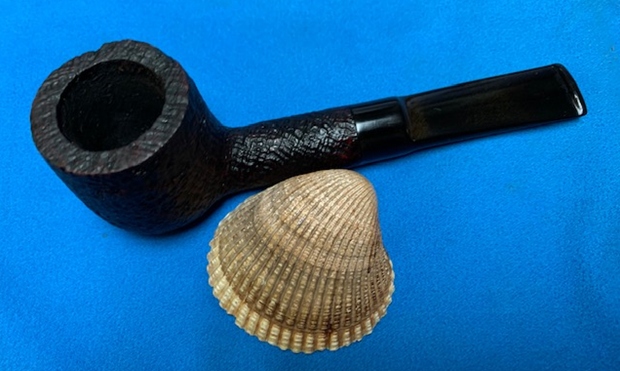
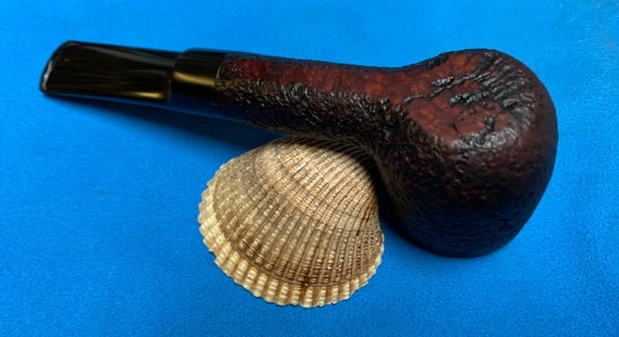
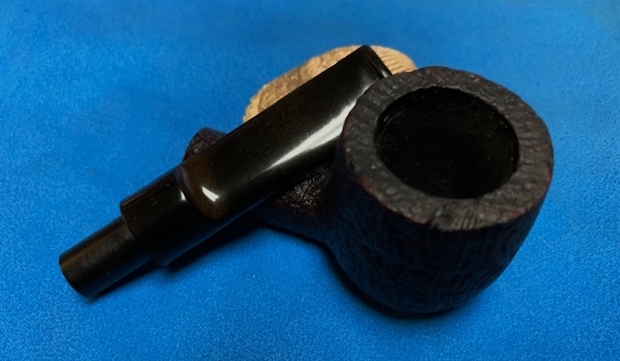
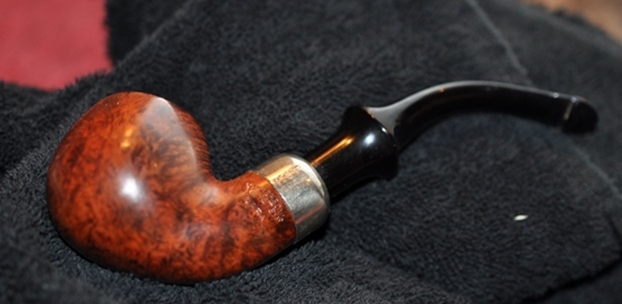
 The rim top and inner edge of the rim looked very good with a bit of damage on the inner bevel of the rim surface. The stem surface looked very good with some tooth marks and chatter on both sides near the button.
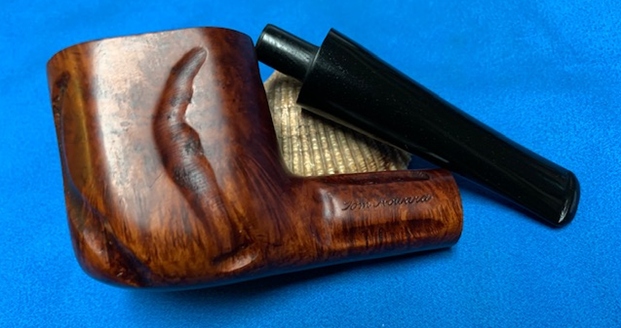
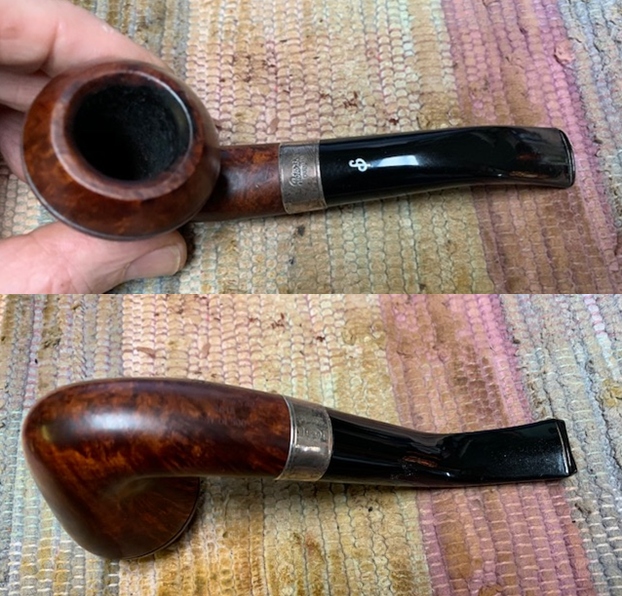
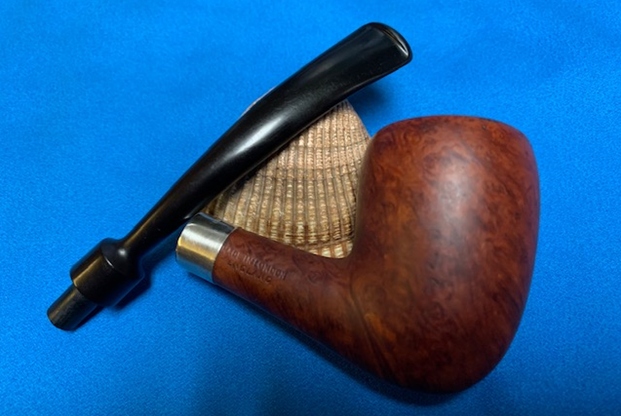
 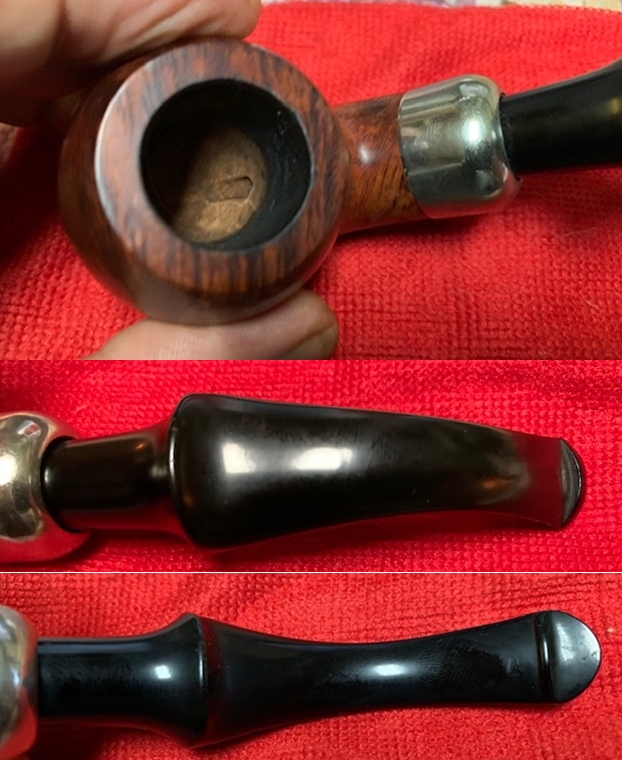 I took a photo of the stamping on the shank. It is clear and readable as noted above.
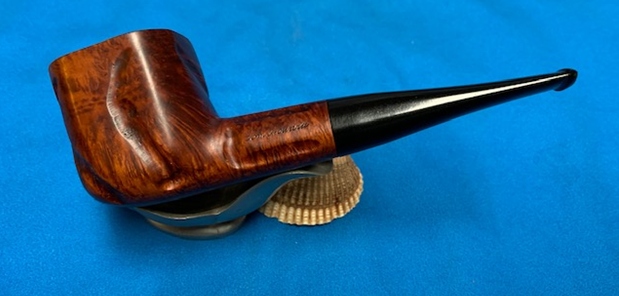
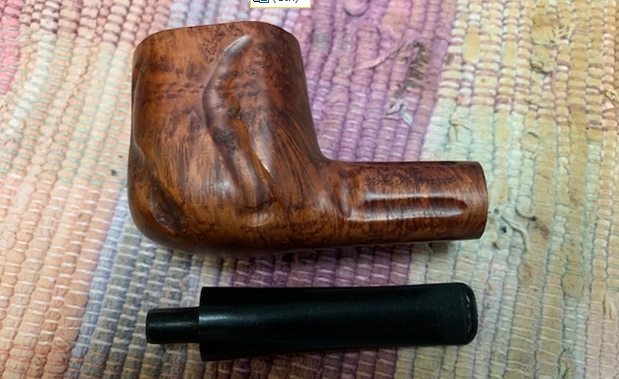
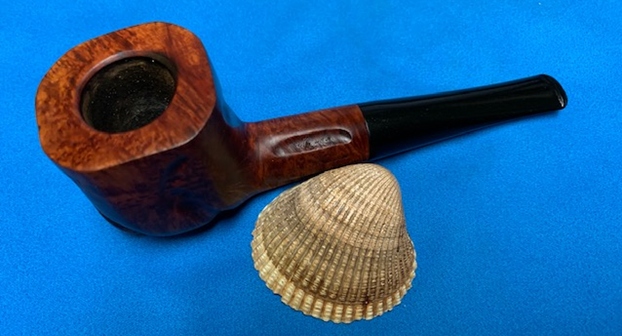
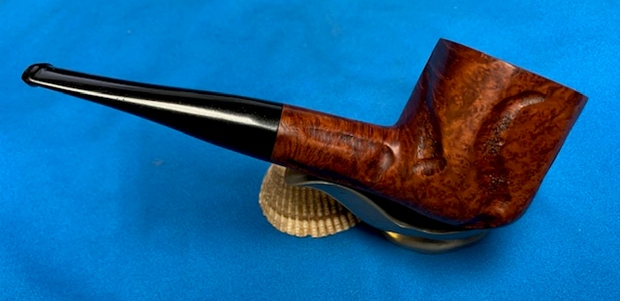
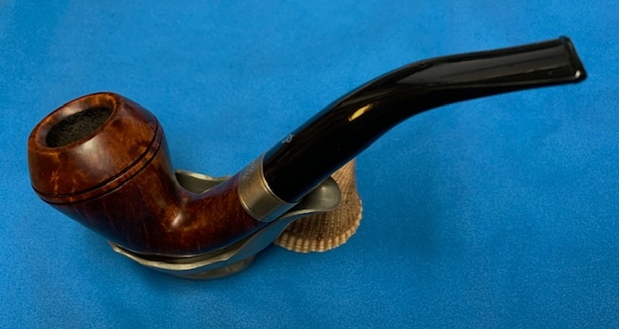
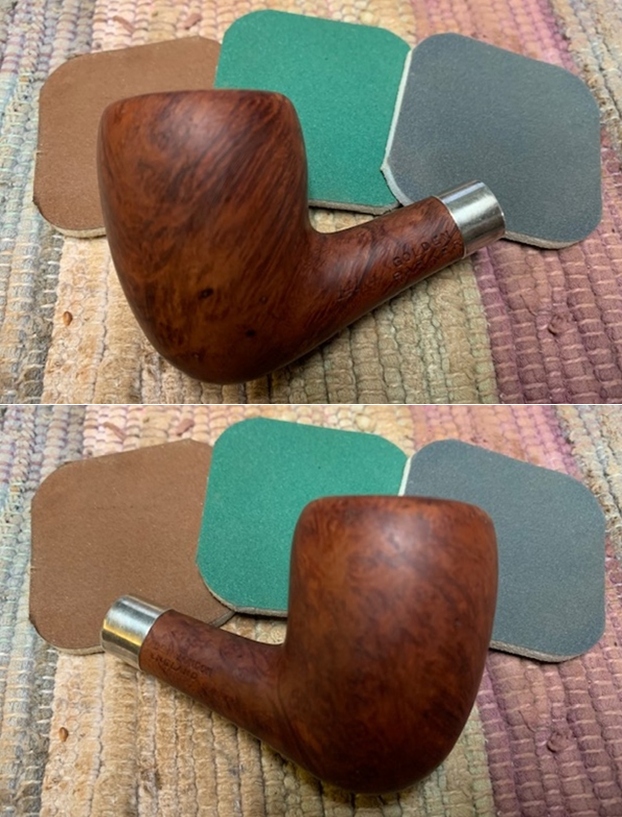
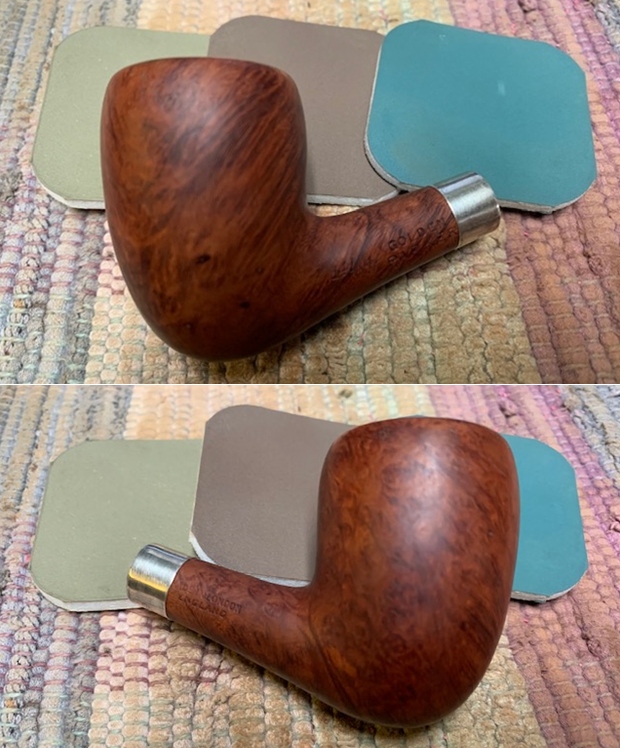
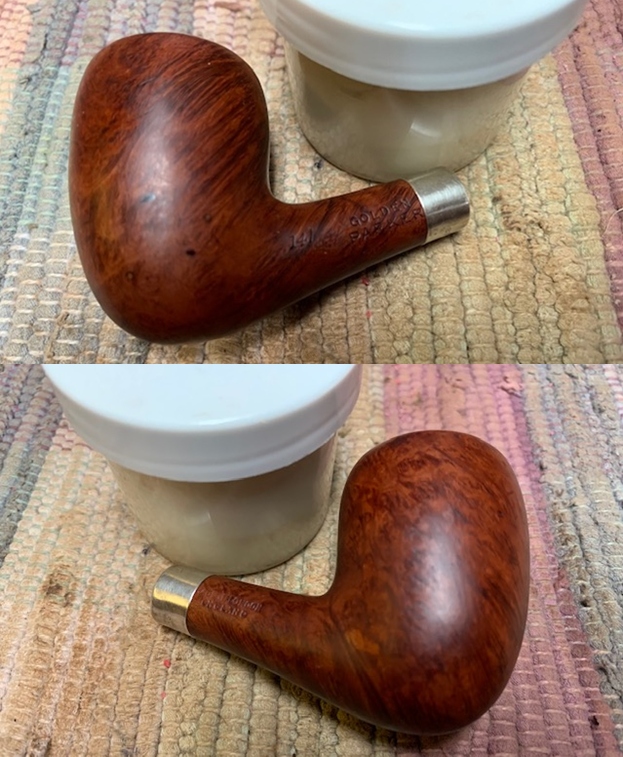
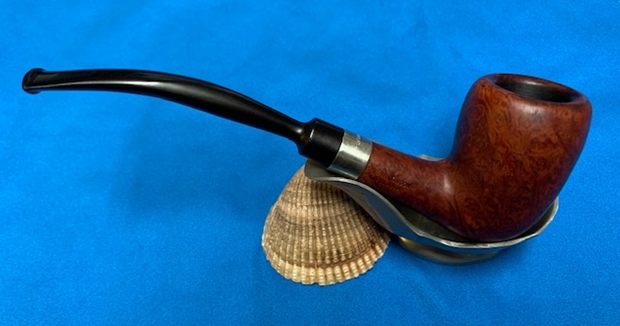
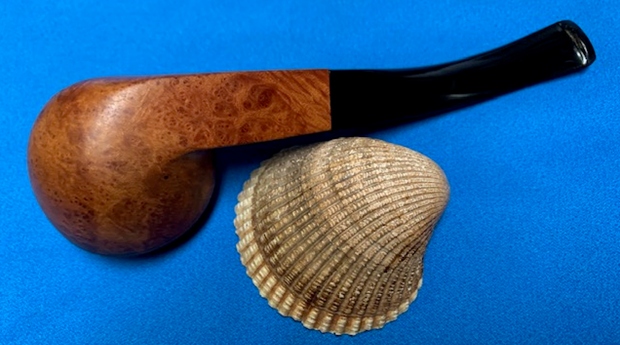
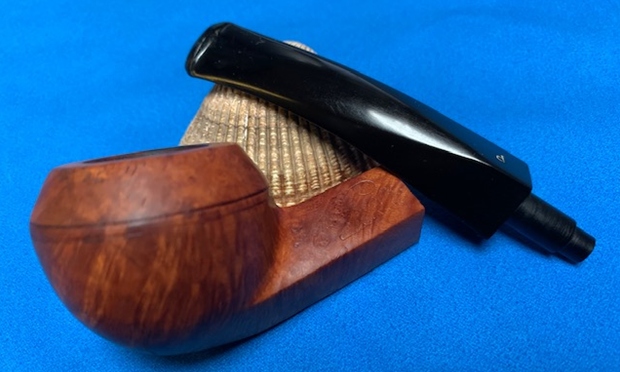
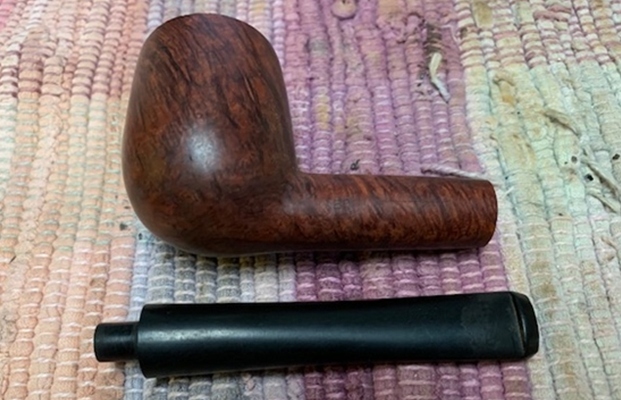
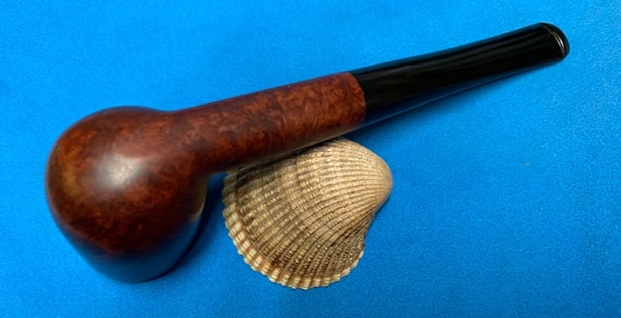
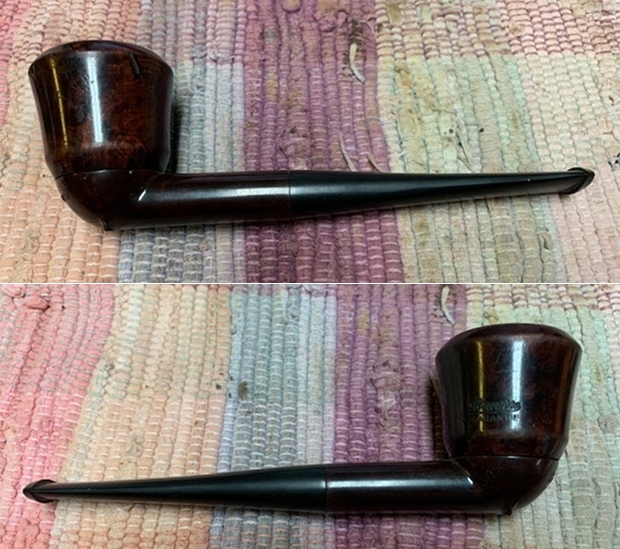
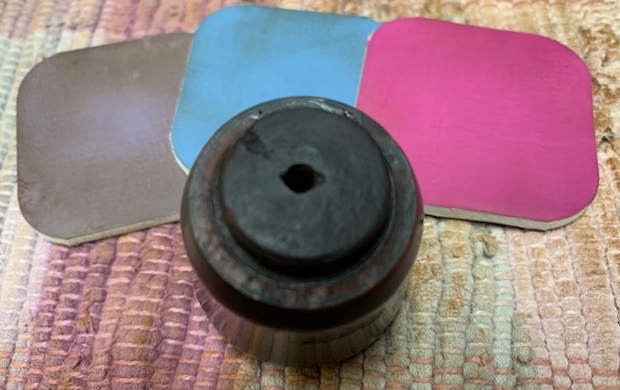
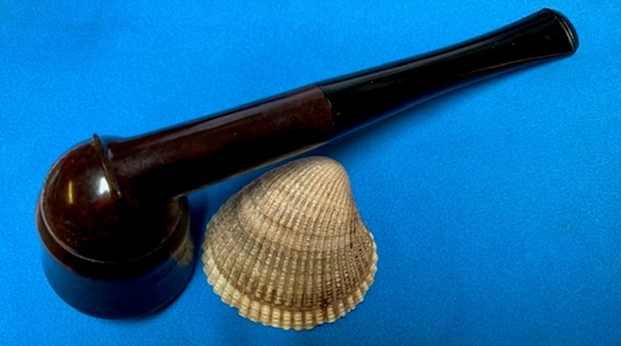
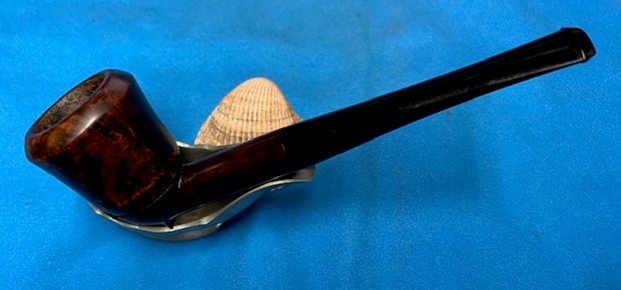
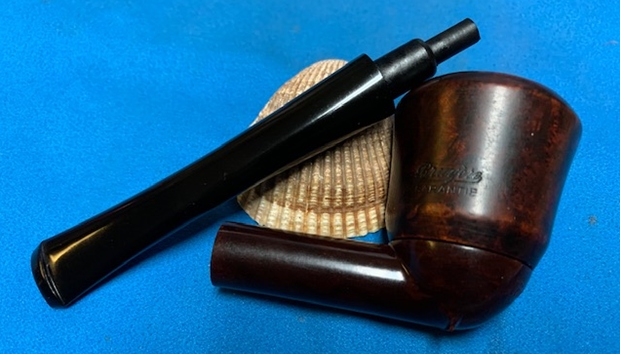
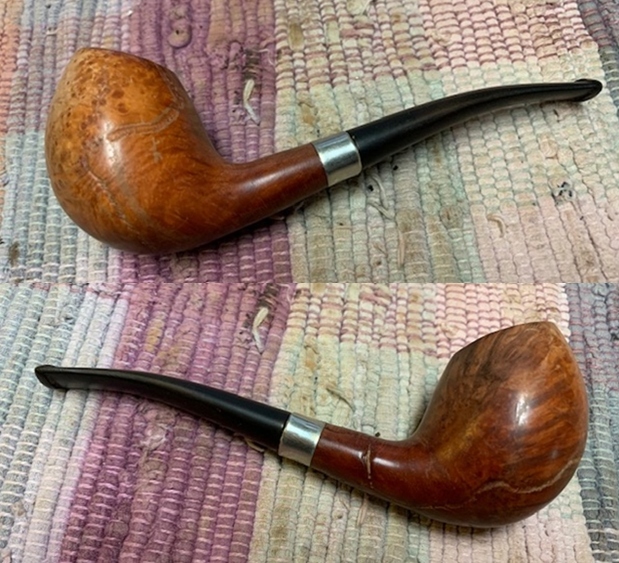
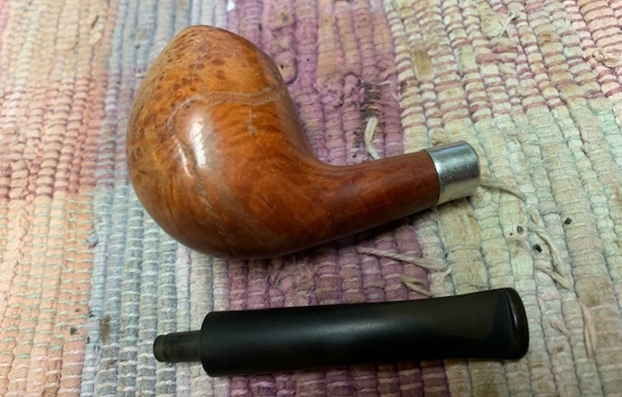
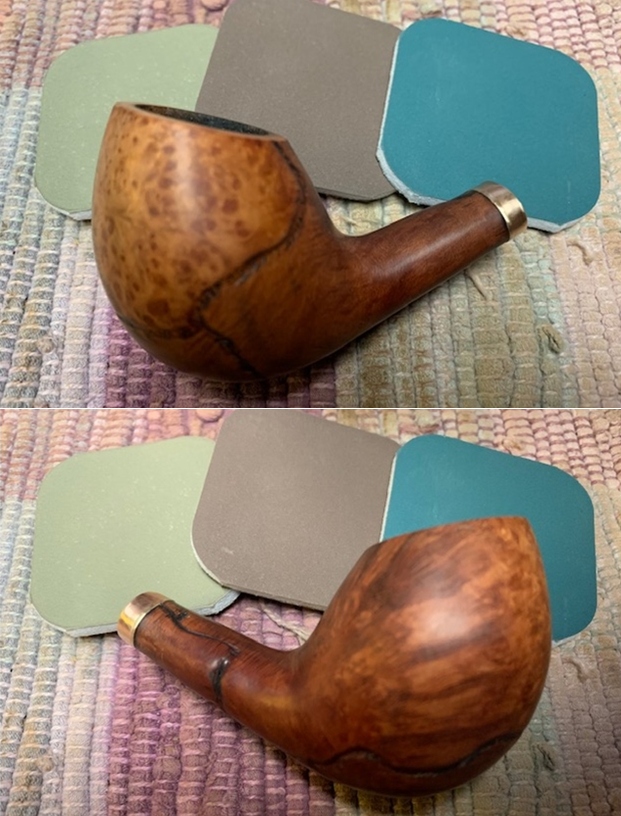
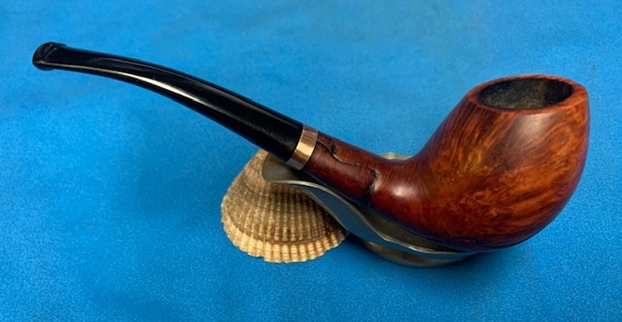
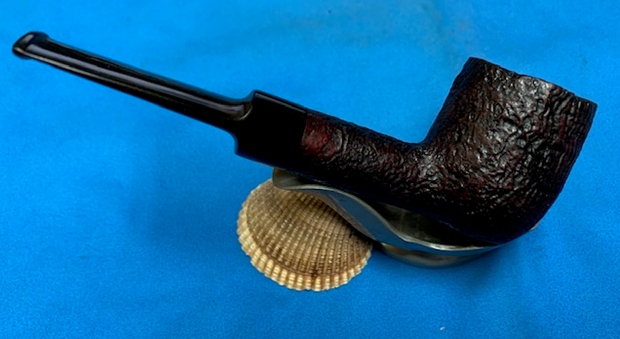
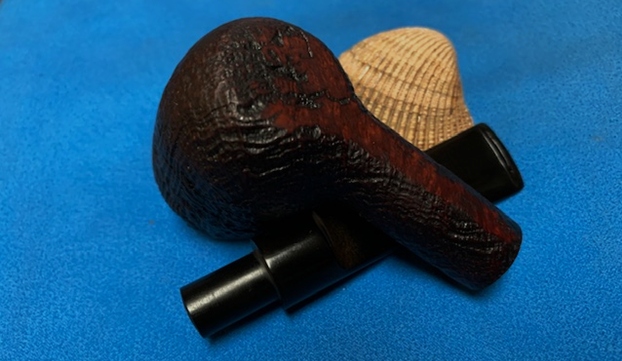
 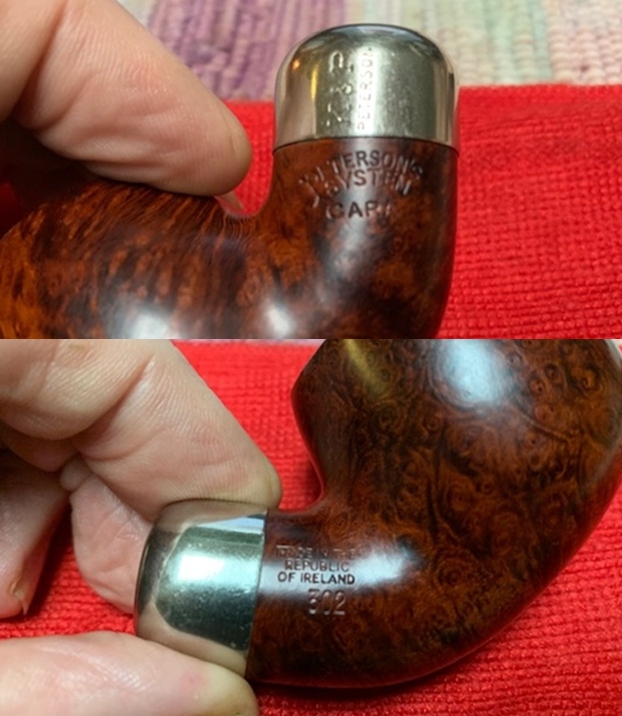 I removed the stem and took a photo of the pipe to give a sense of the whole. The stem is a fancy saddle version.
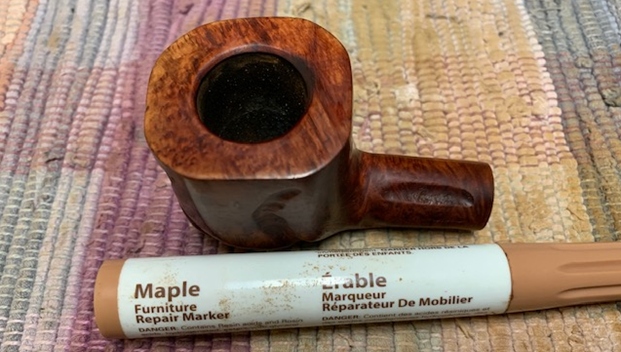
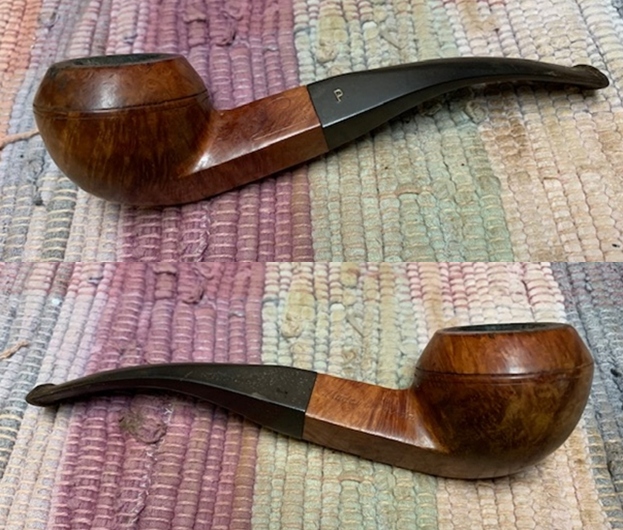
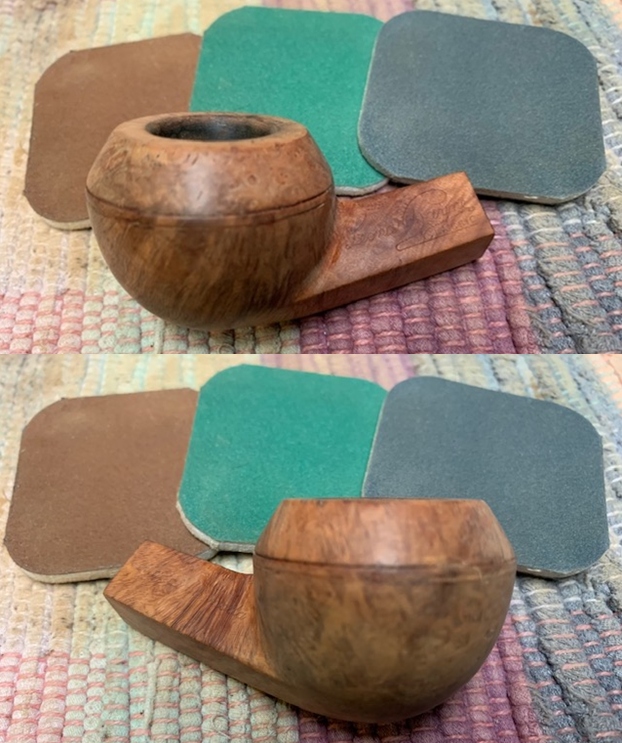
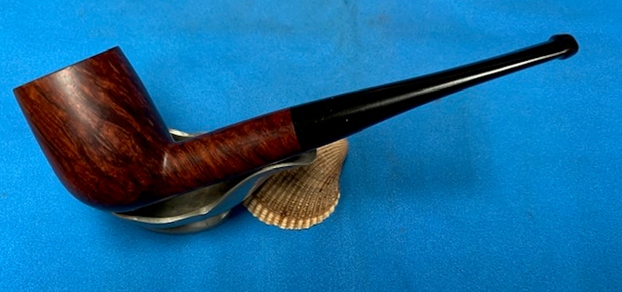
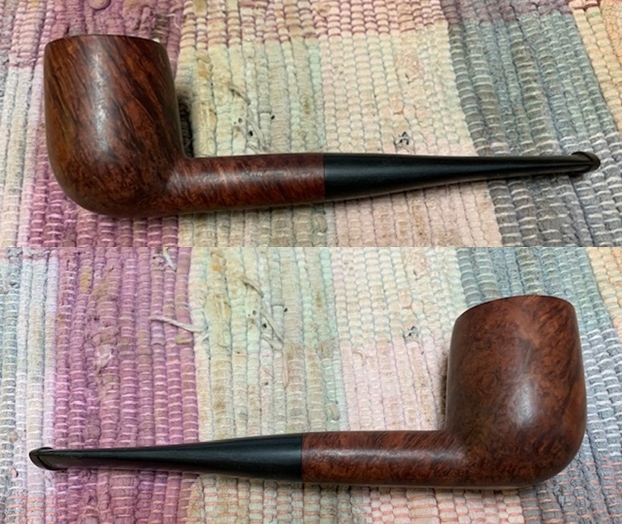
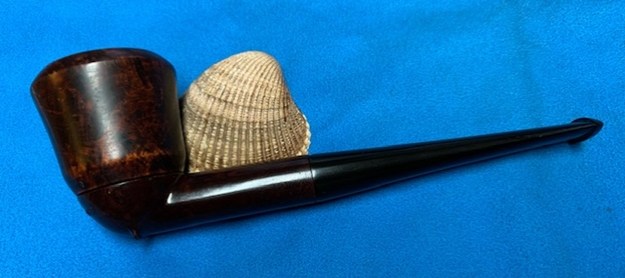
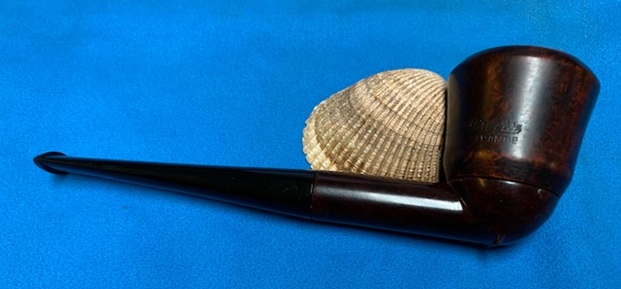
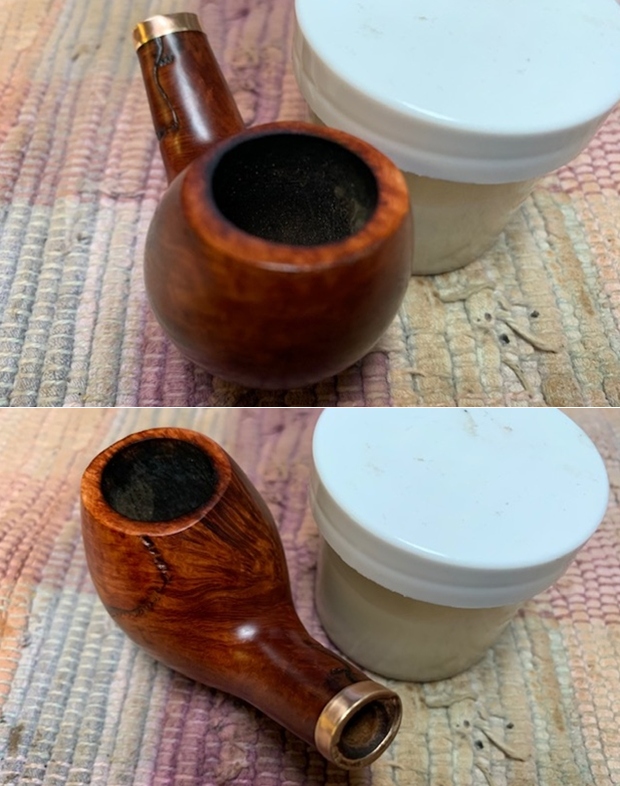
 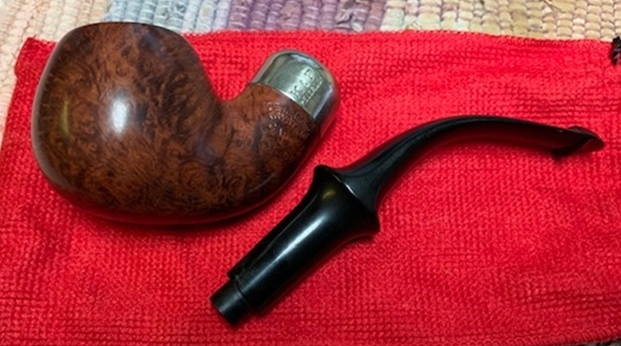 The pipe was in such good condition that started by rubbing it down with Before & After Restoration Balm. I worked it into the surface of the bowl sides and shank with my fingertips. The product works to clean, enliven and protect the briar. I let the balm sit for a little while and then buffed with a cotton cloth to raise the shine.
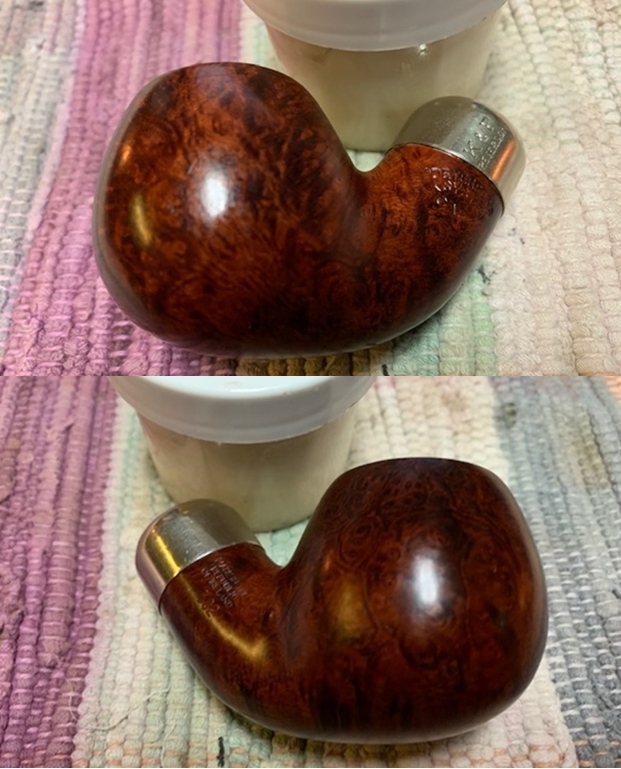

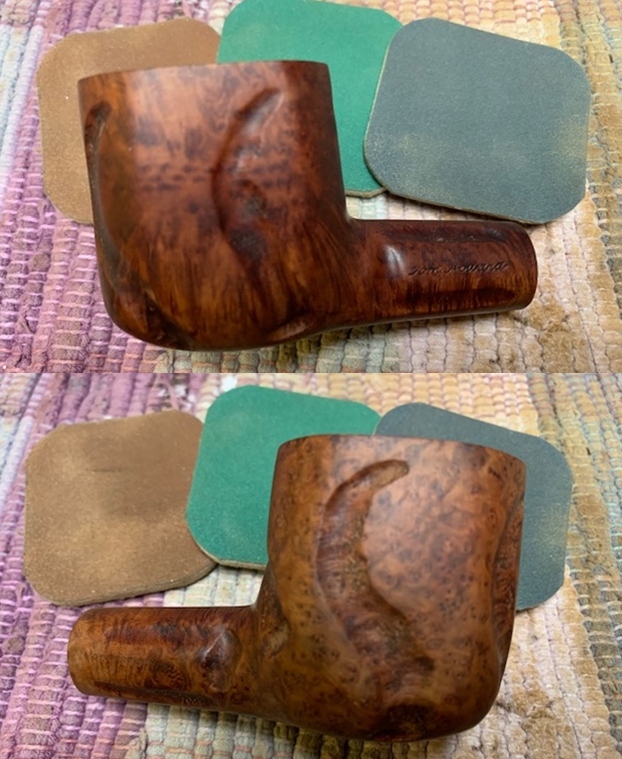
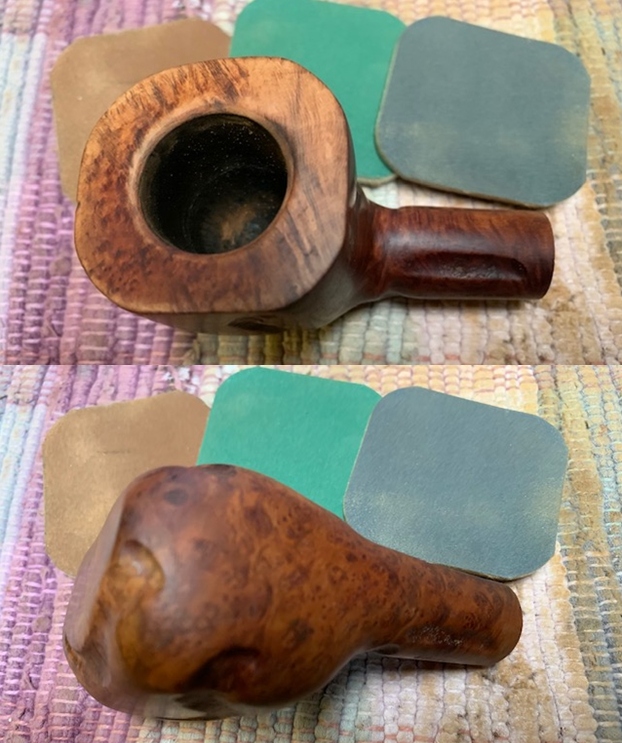
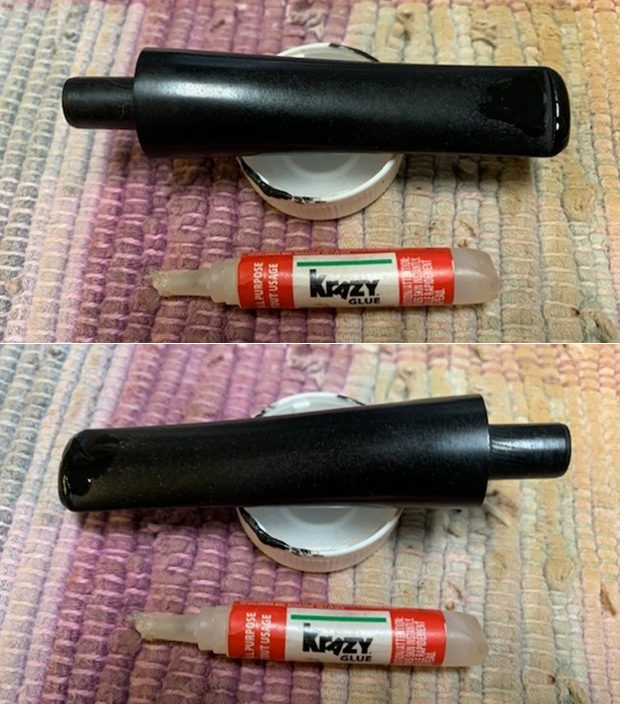
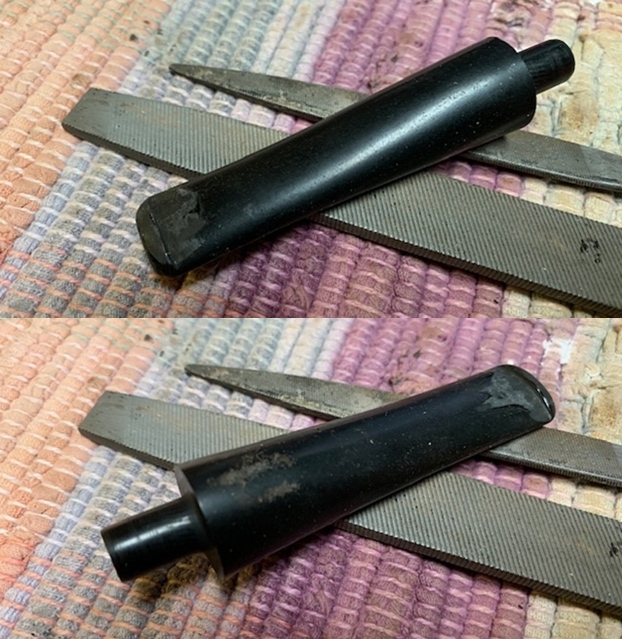
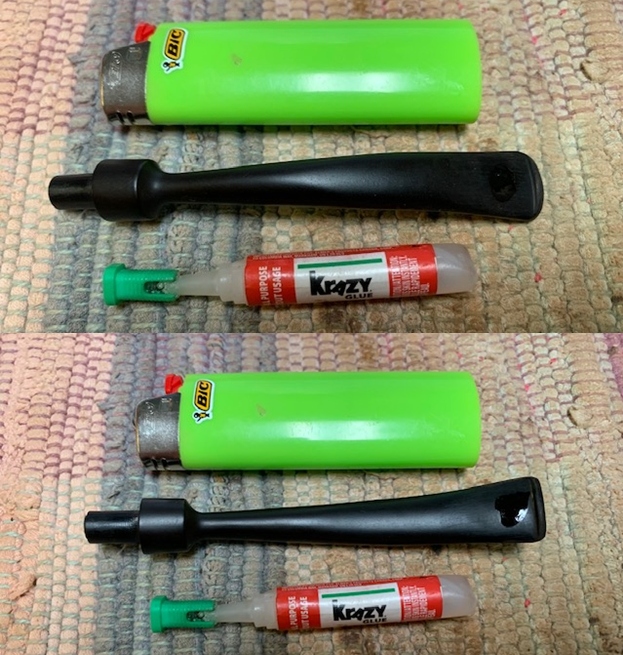
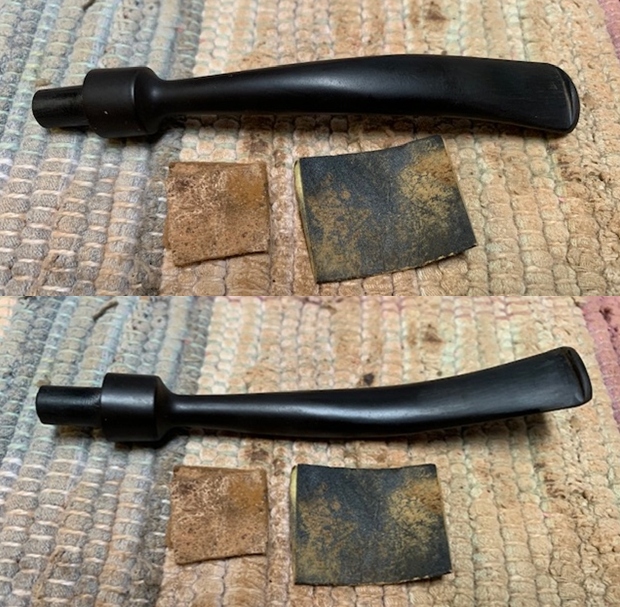
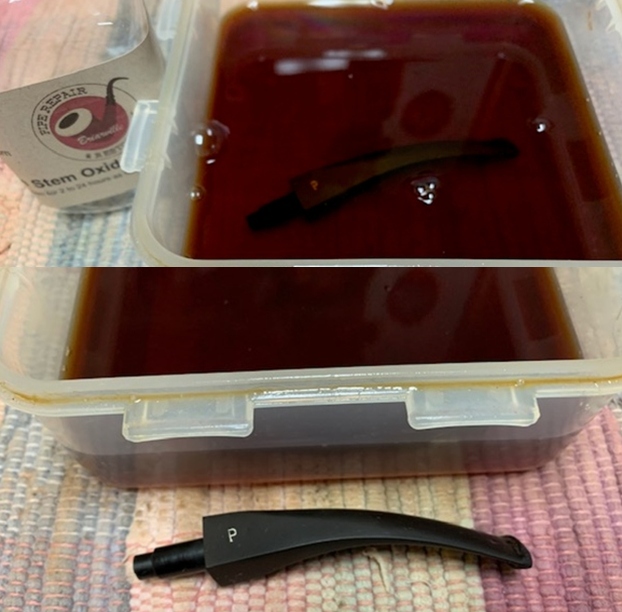
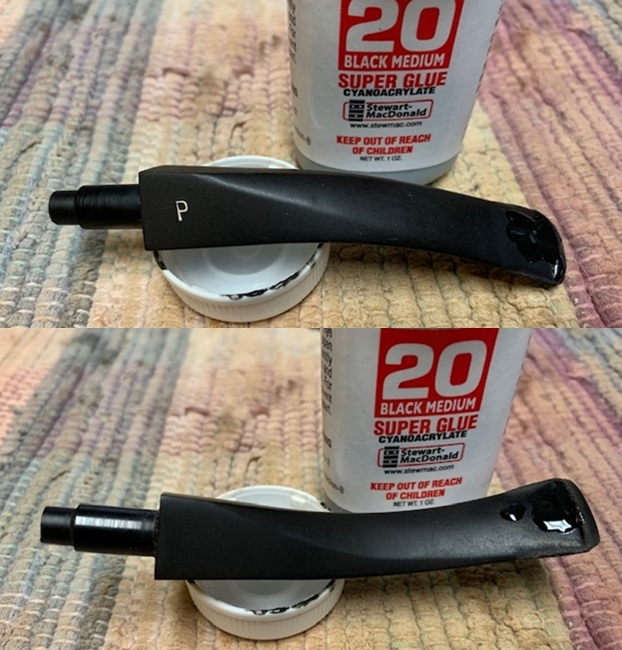
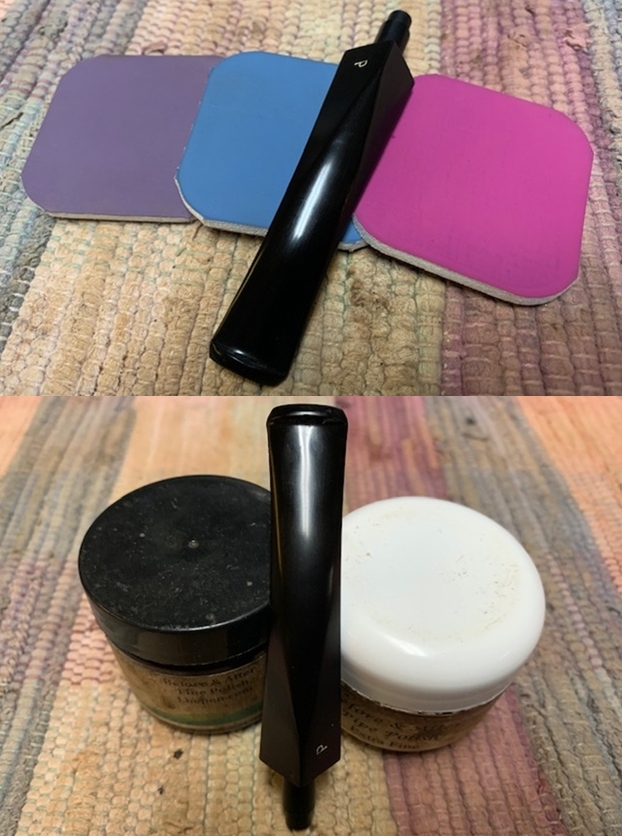
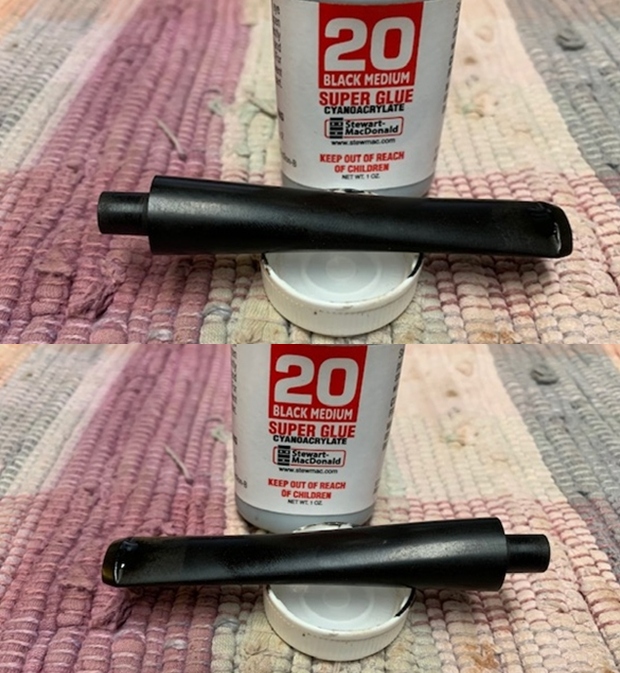
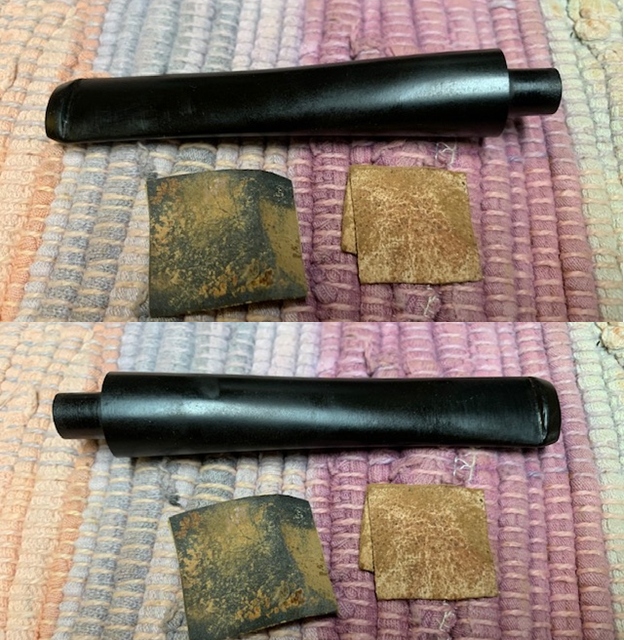
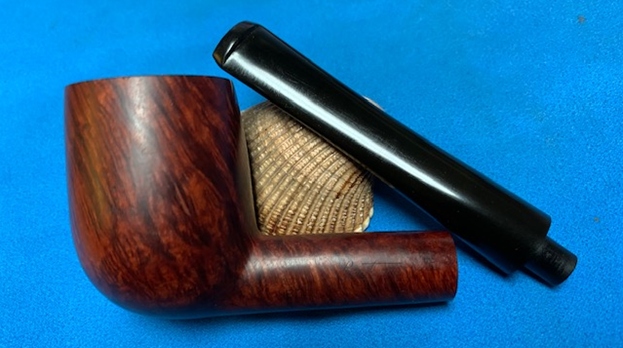
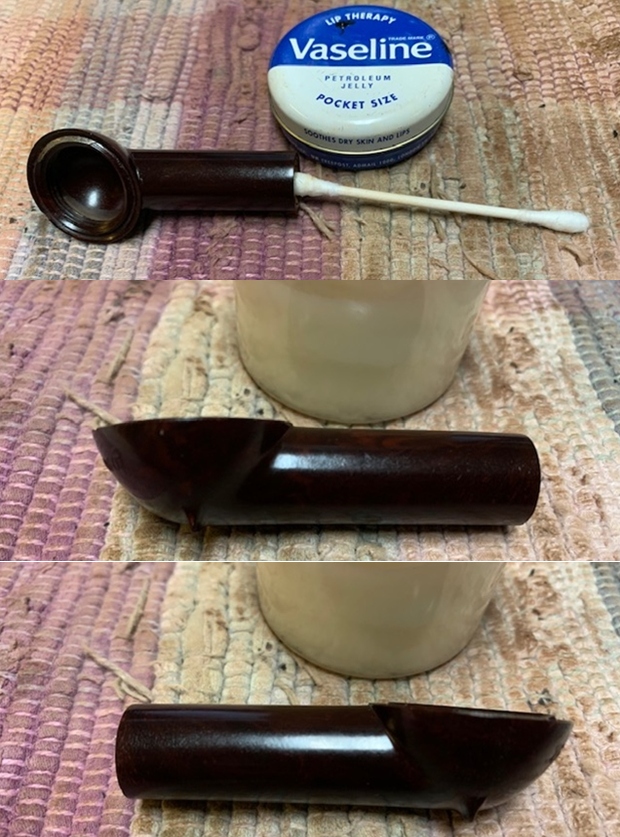
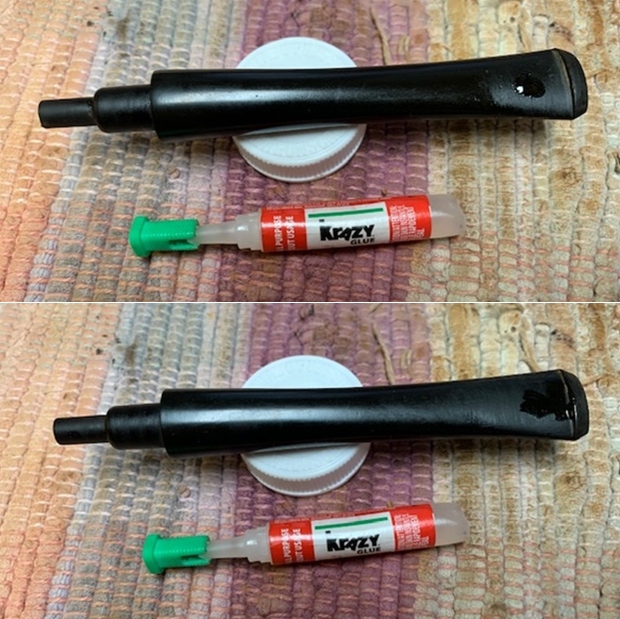
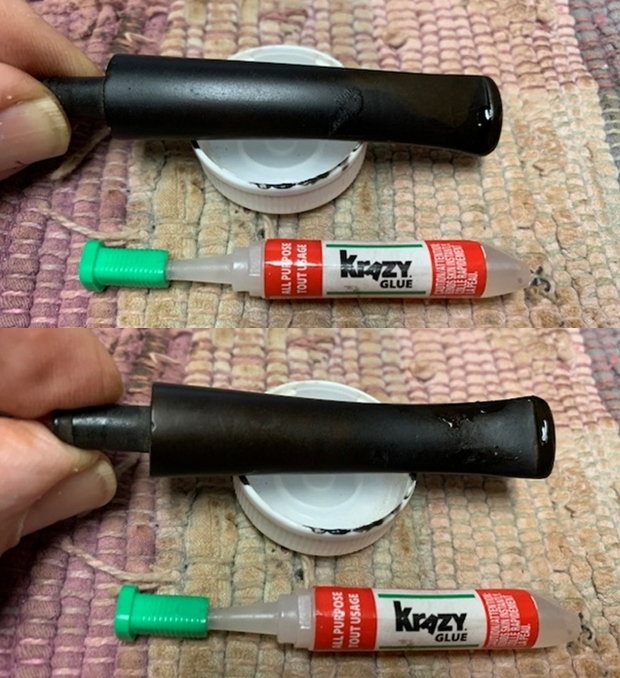
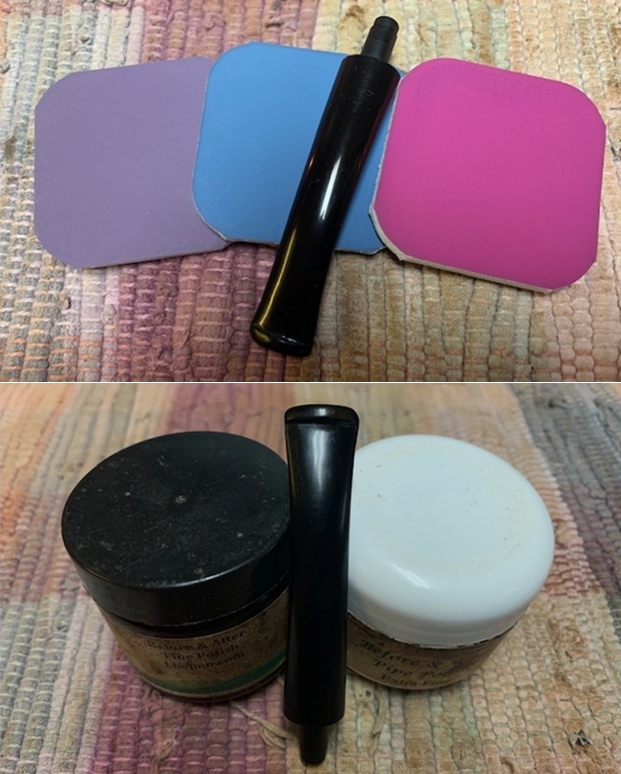
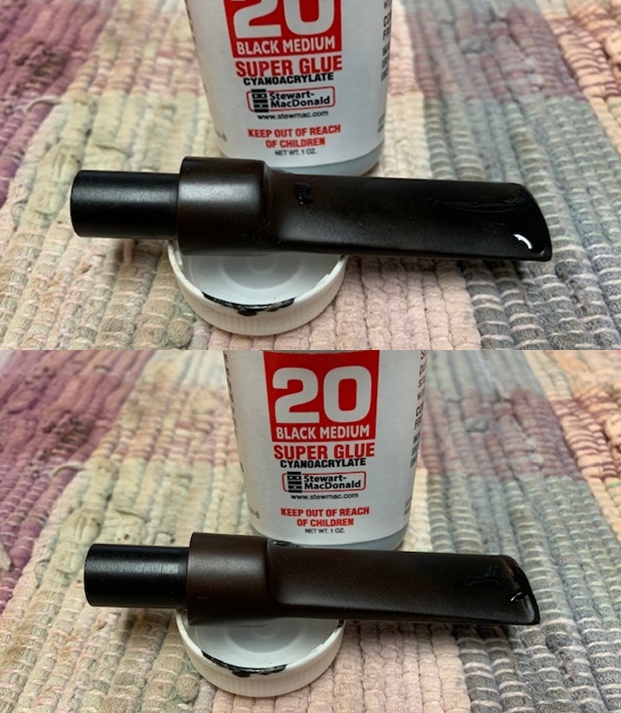
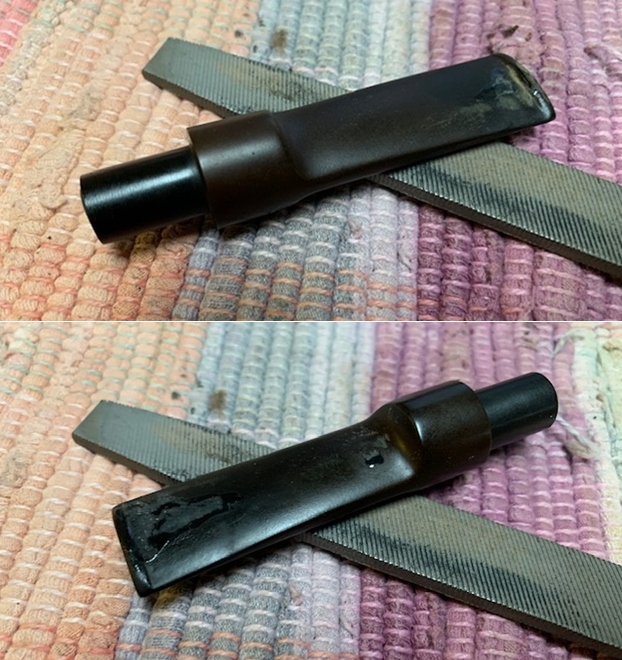
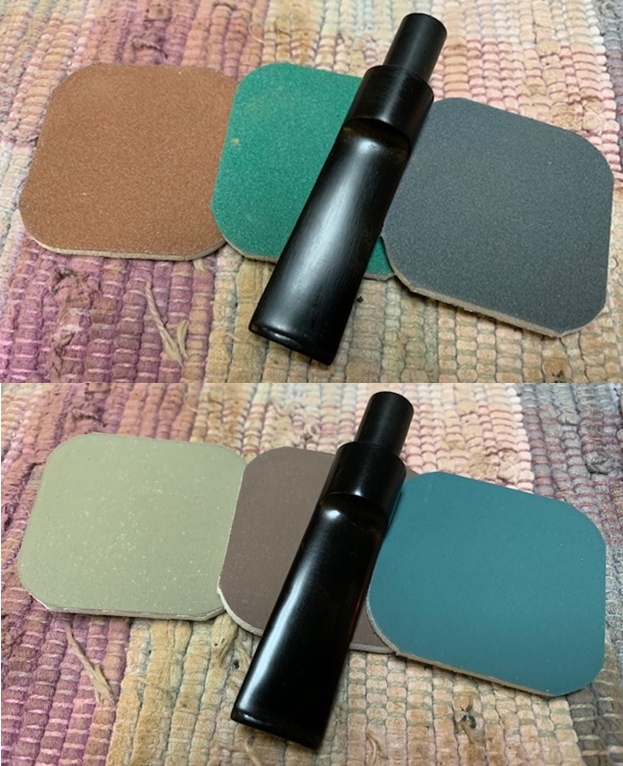
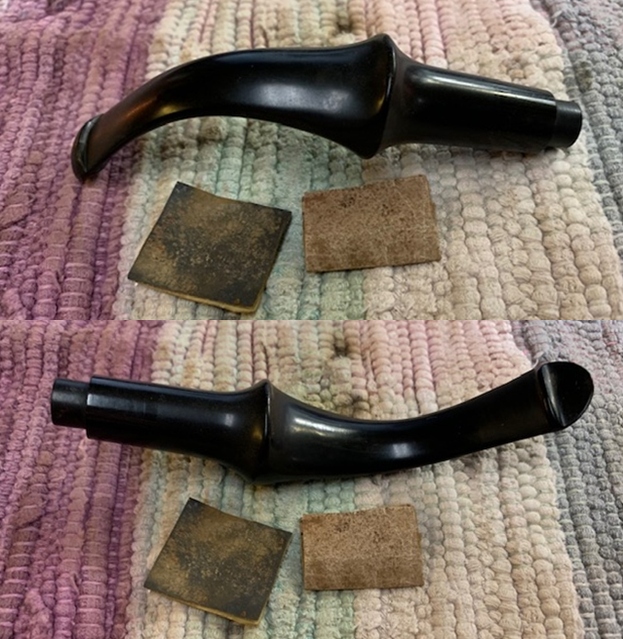
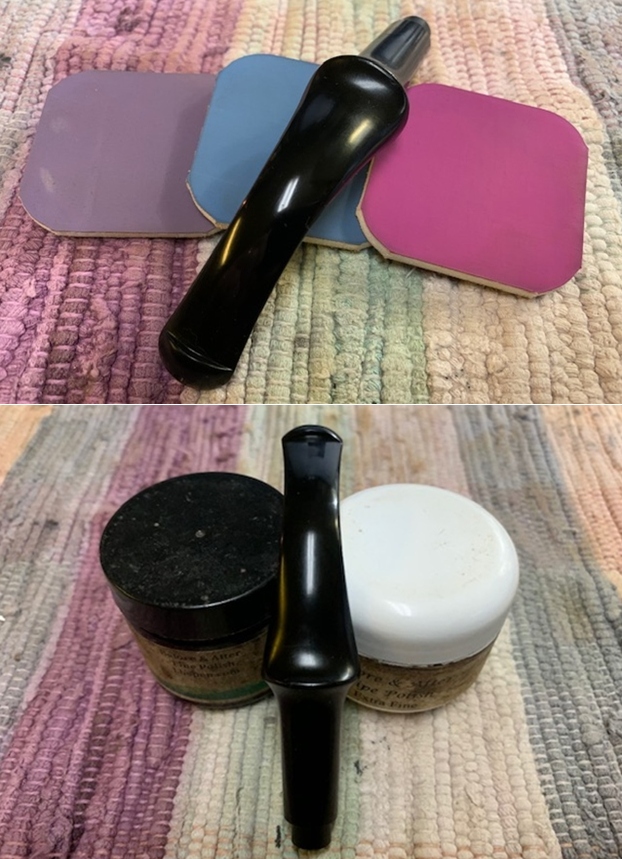
 I set the bowl aside and turned to work on the stem. I filled in the tooth marks on both sides of the stem just ahead of the button with clear super glue. Once the repairs had cured I sanded them smooth with 220 grit sandpaper to smooth them out and blend them into the surface. I started polishing the stem with 400 grit wet dry sandpaper.
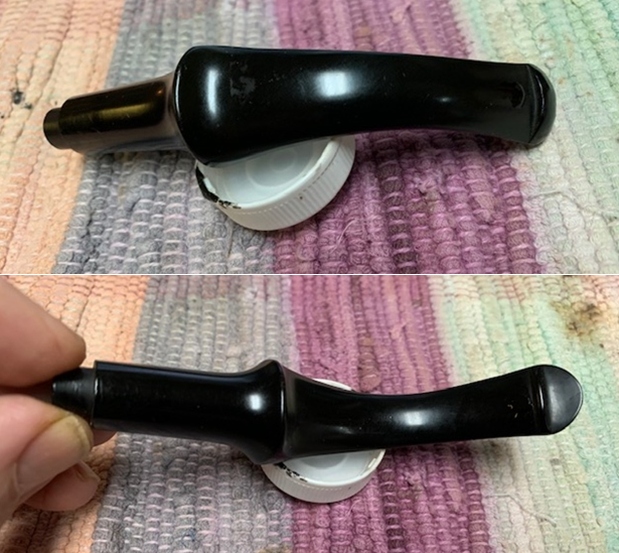
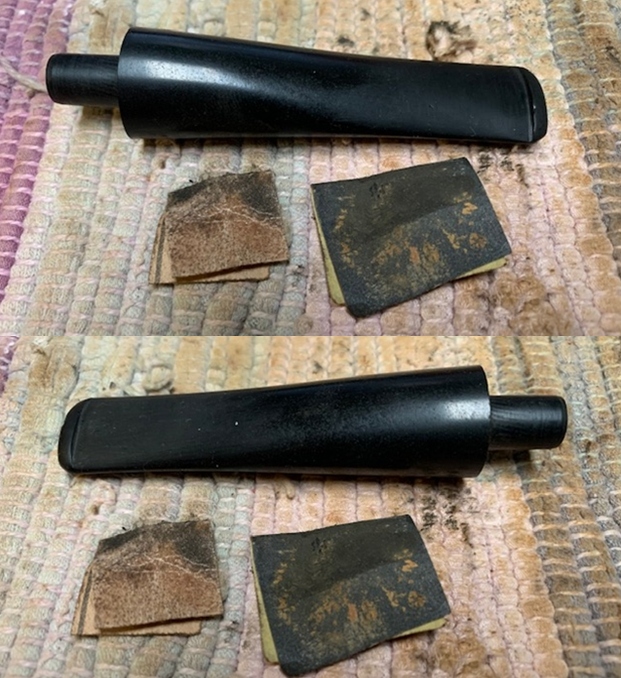
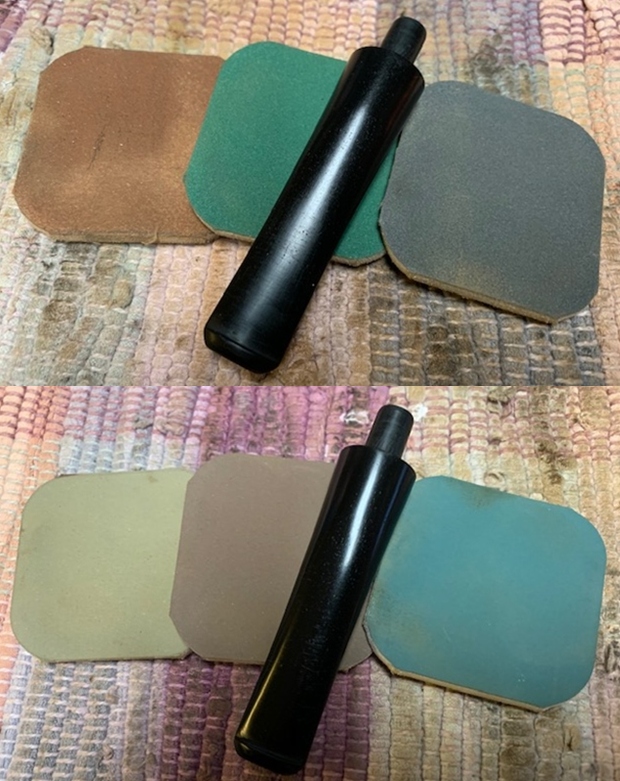
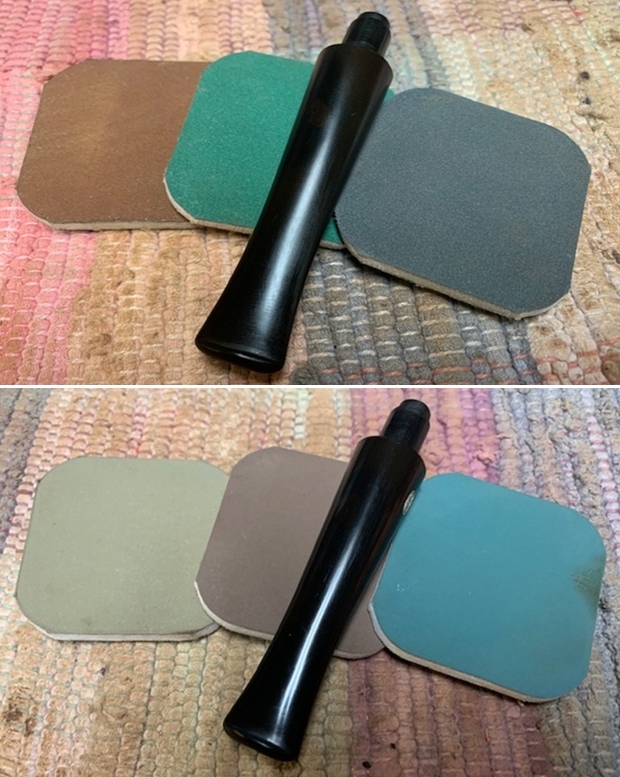
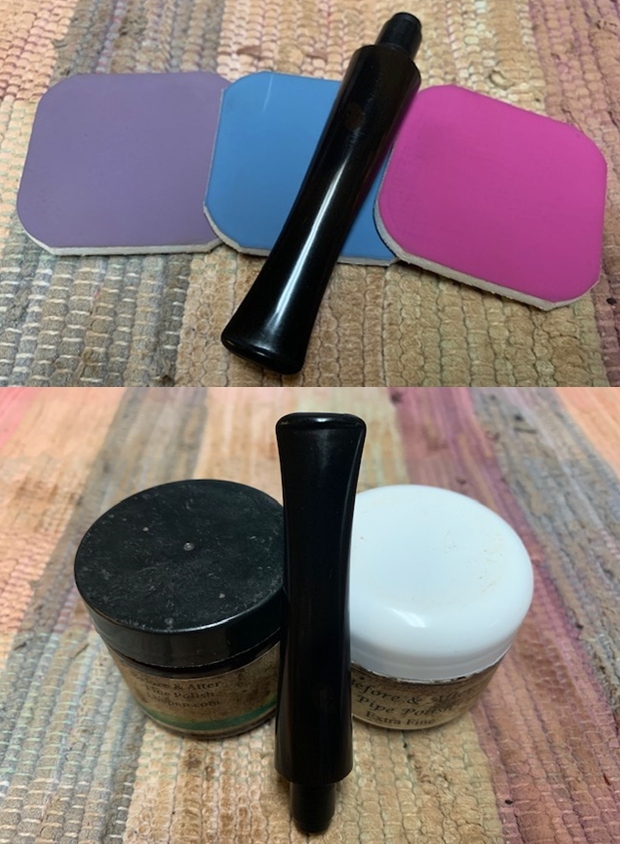
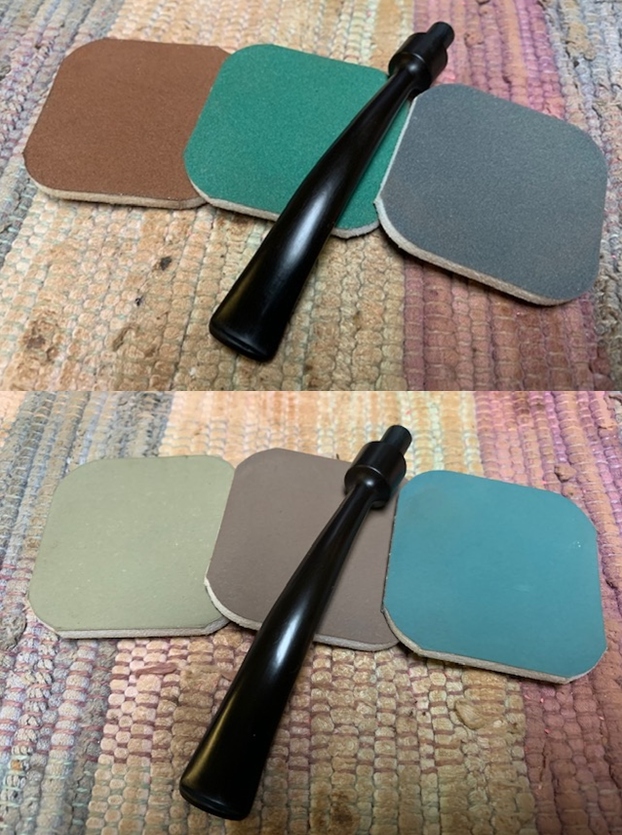
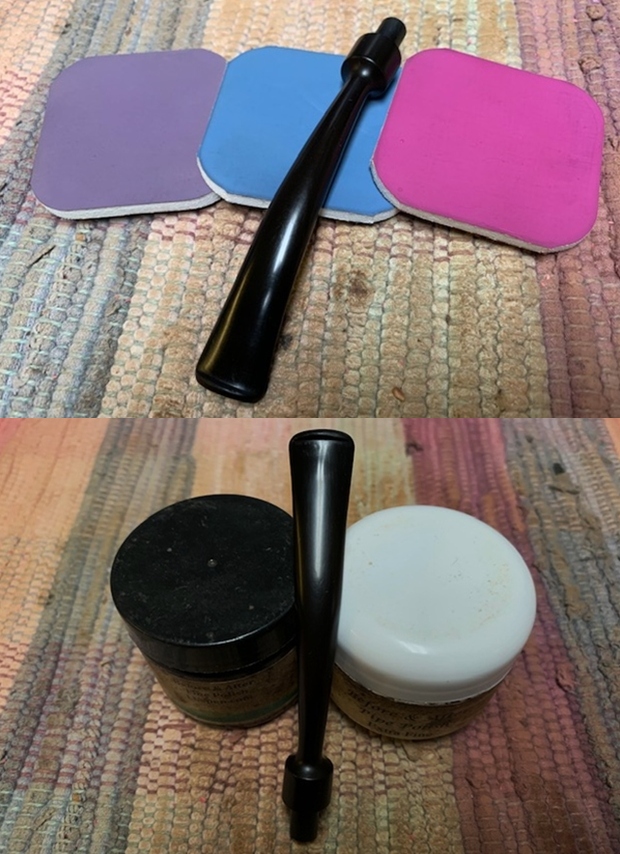
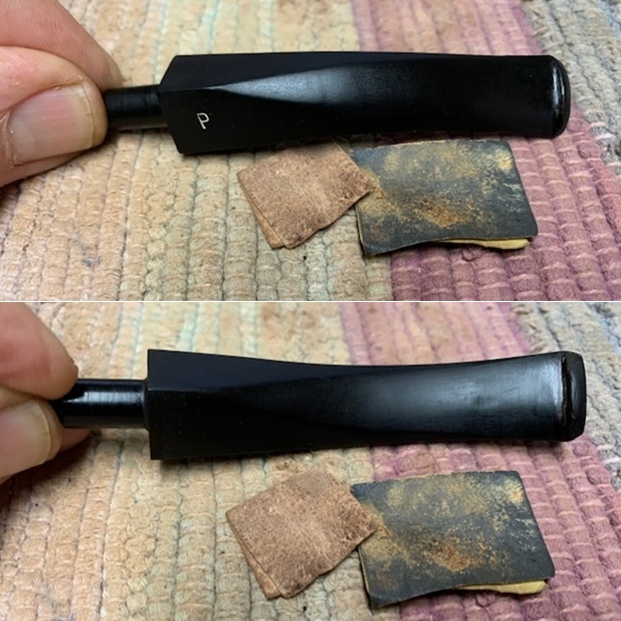
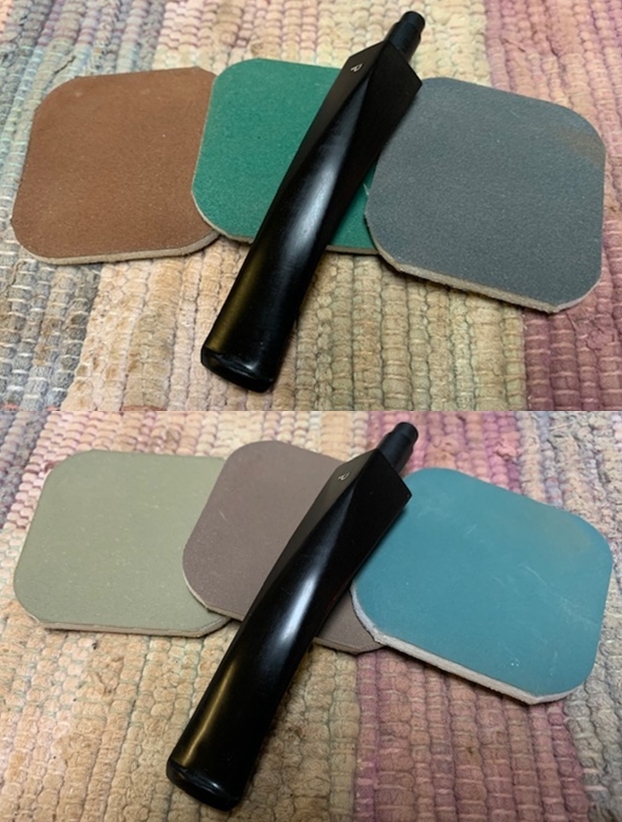
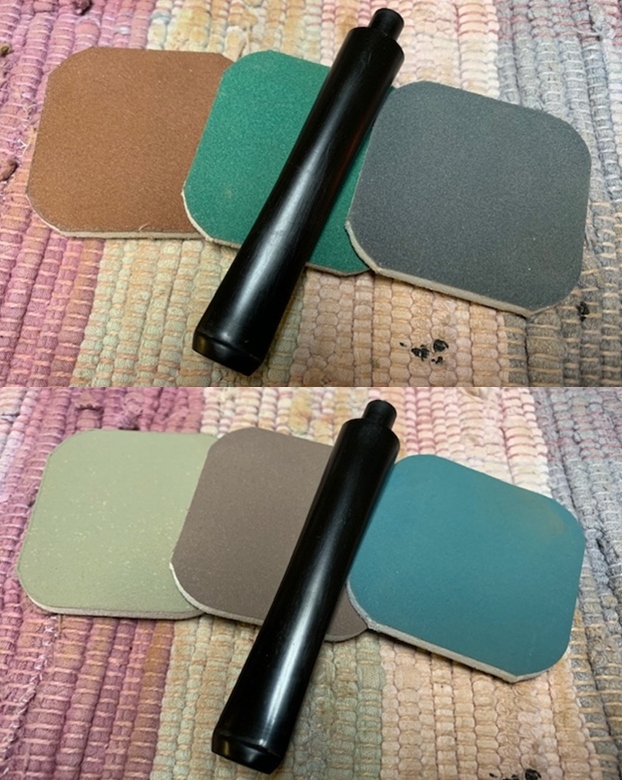
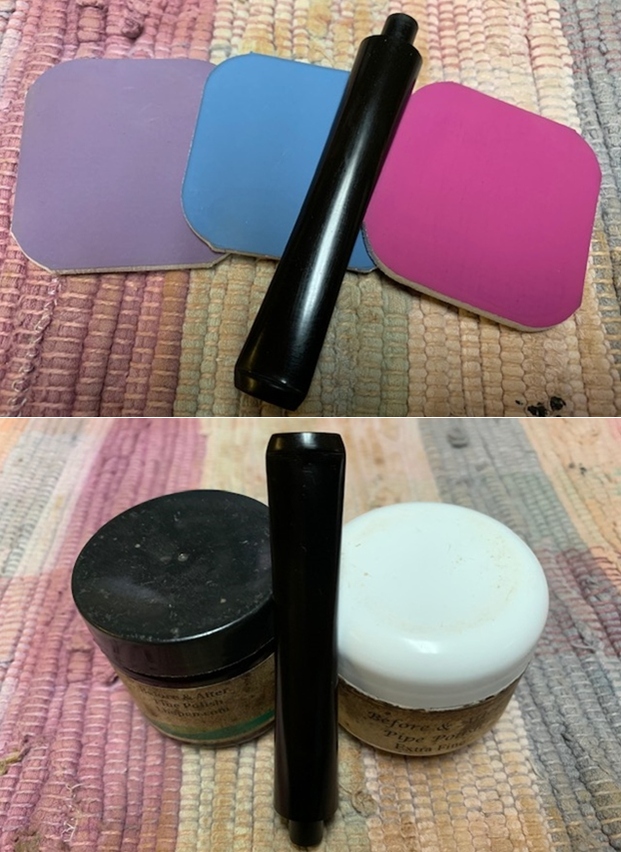
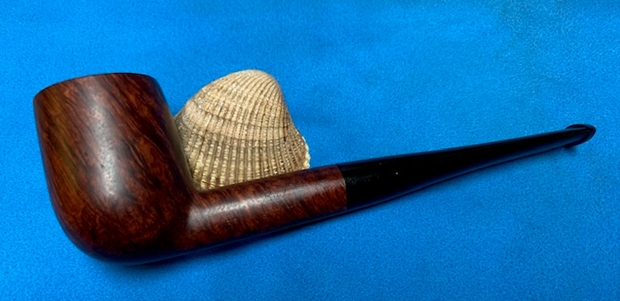
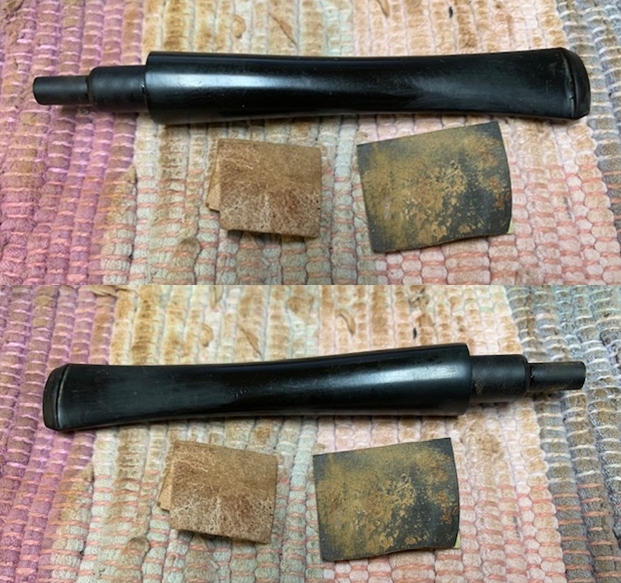
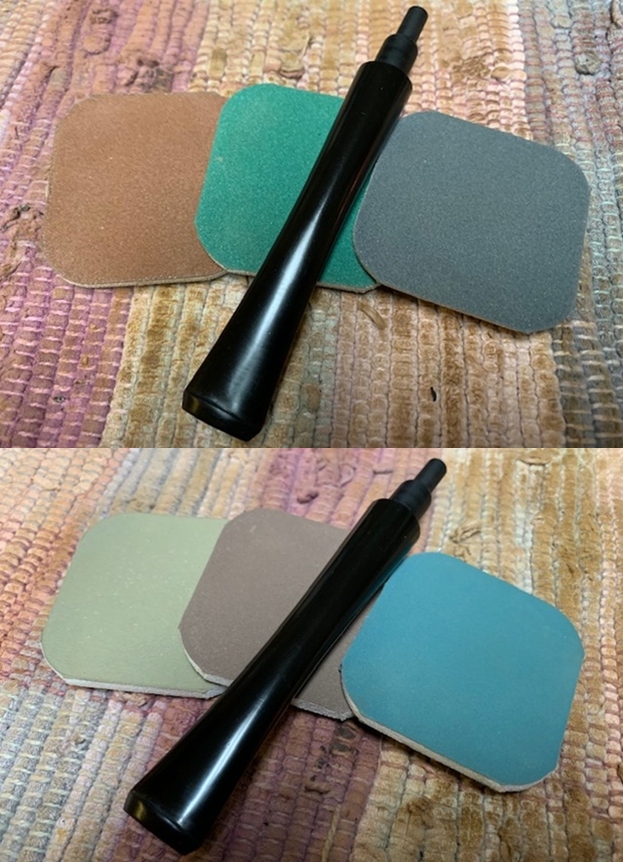
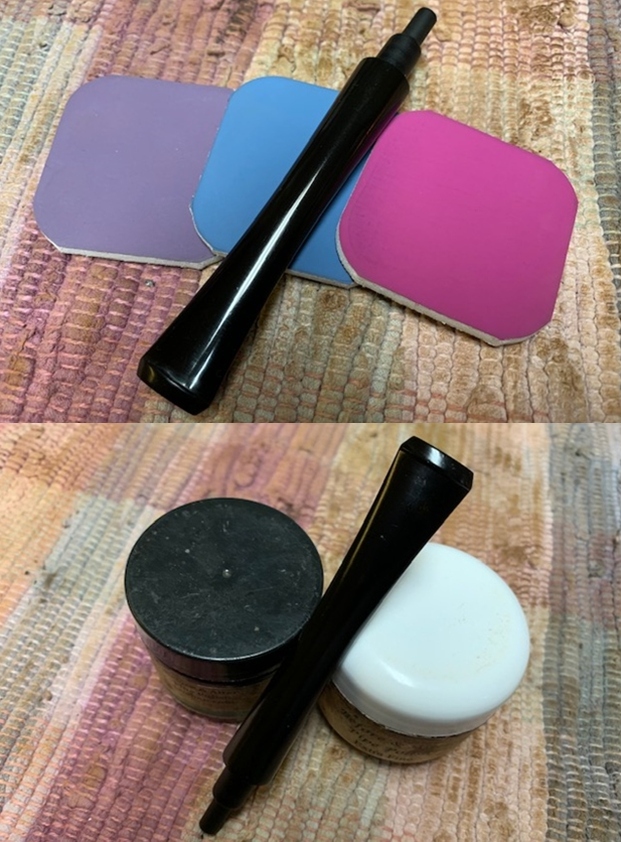
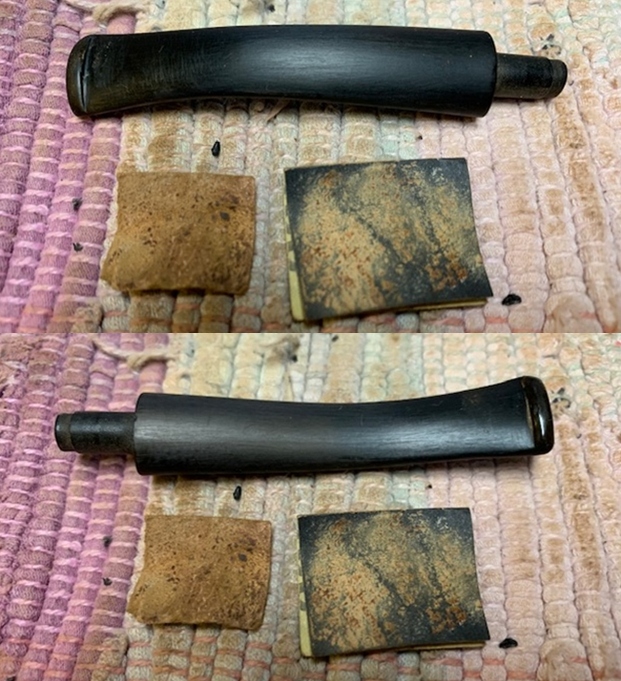
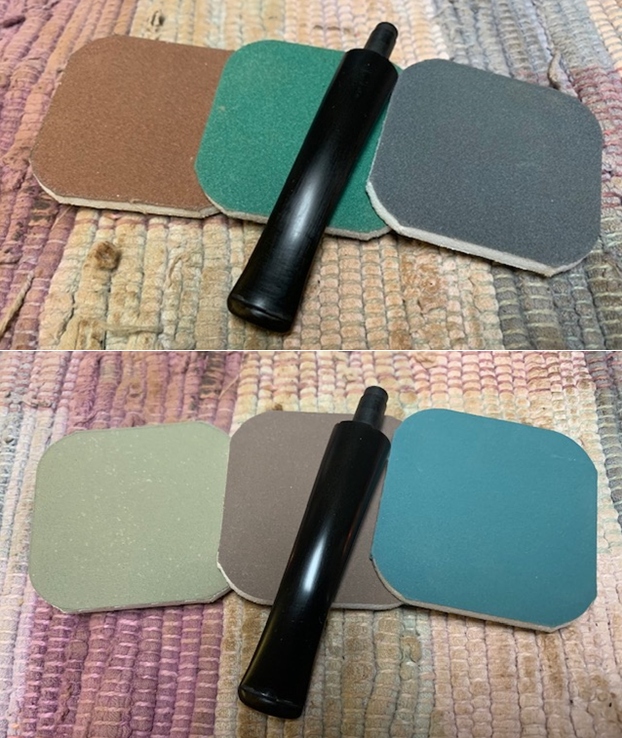
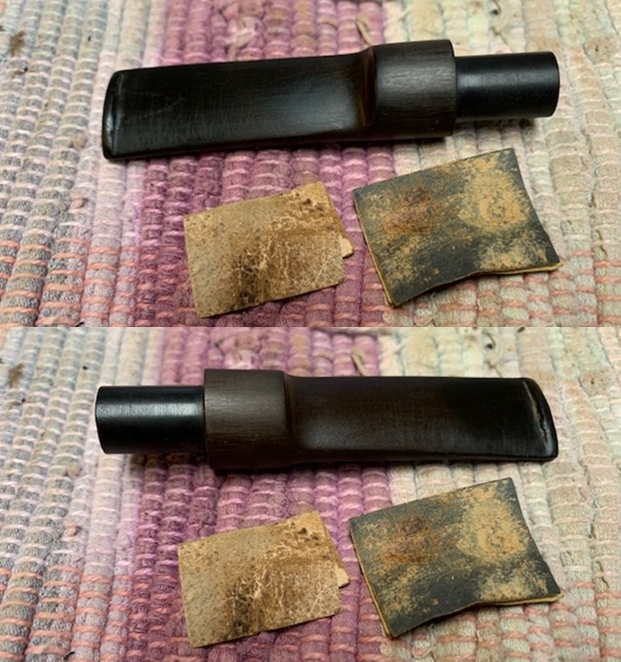
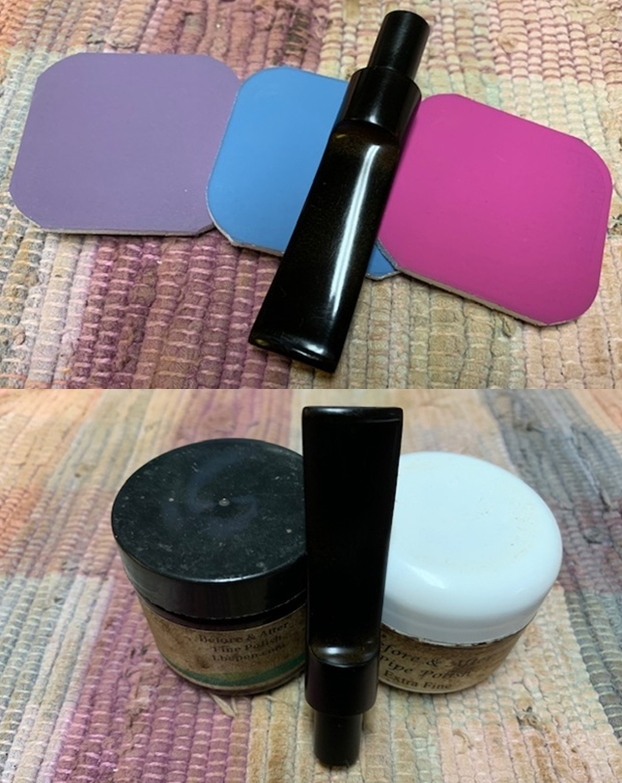
 I polished the vulcanite stem with micromesh sanding pads – 1500-12000 grit pads. I wiped it down with a damp cloth after each sanding pad. I used Before & After Pipe Polish – both Fine and Extra Fine to further polish the stem.
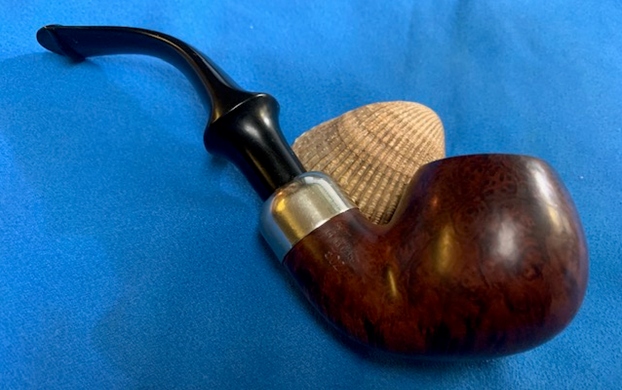
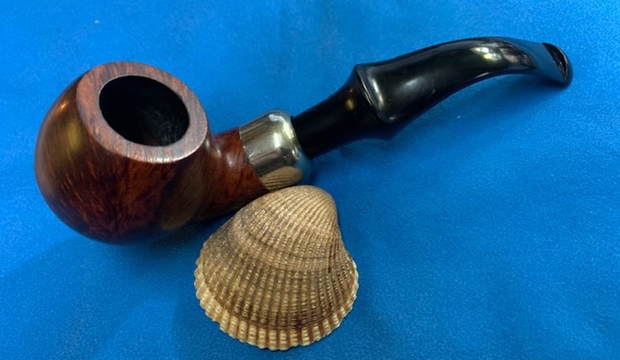
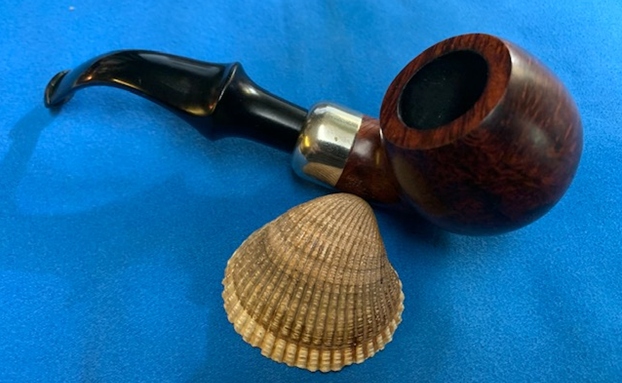
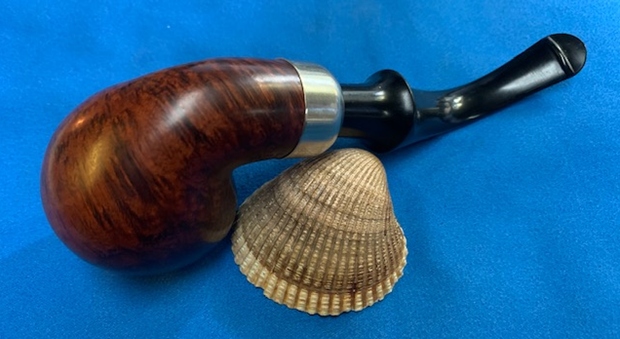
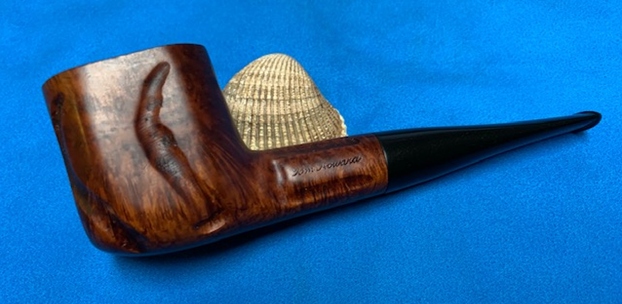
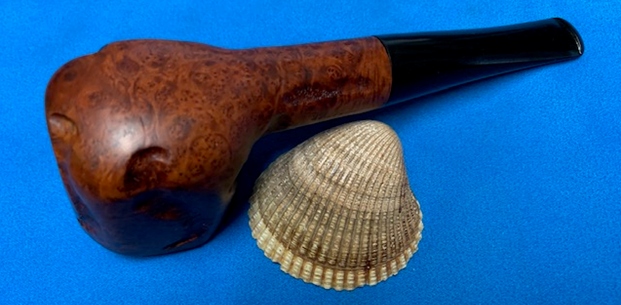
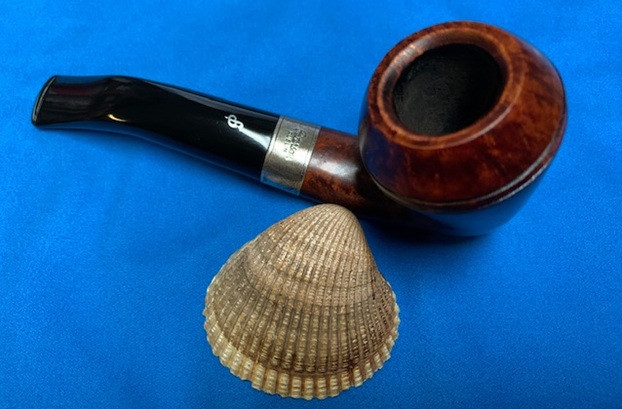
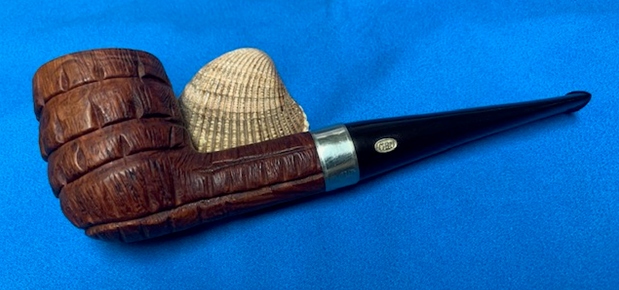
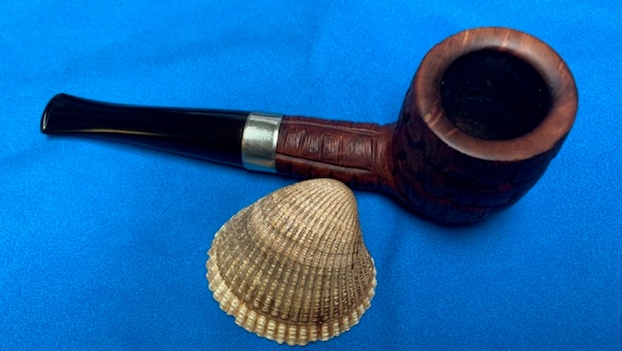
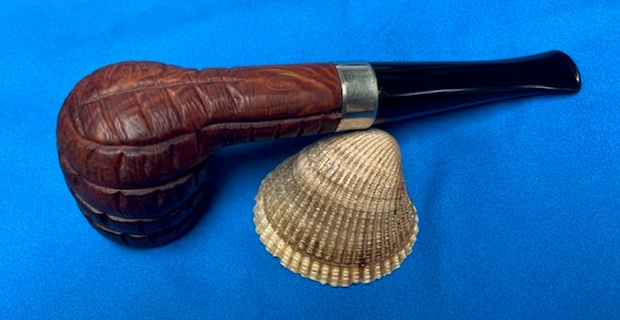
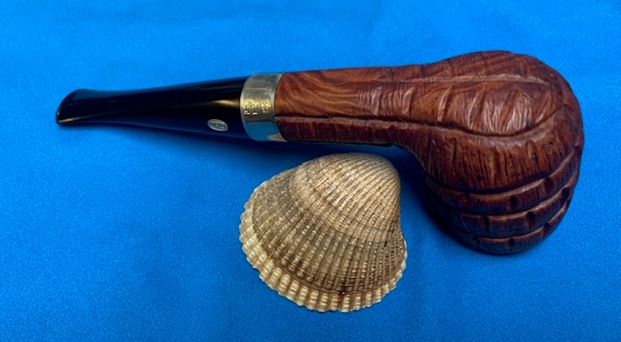
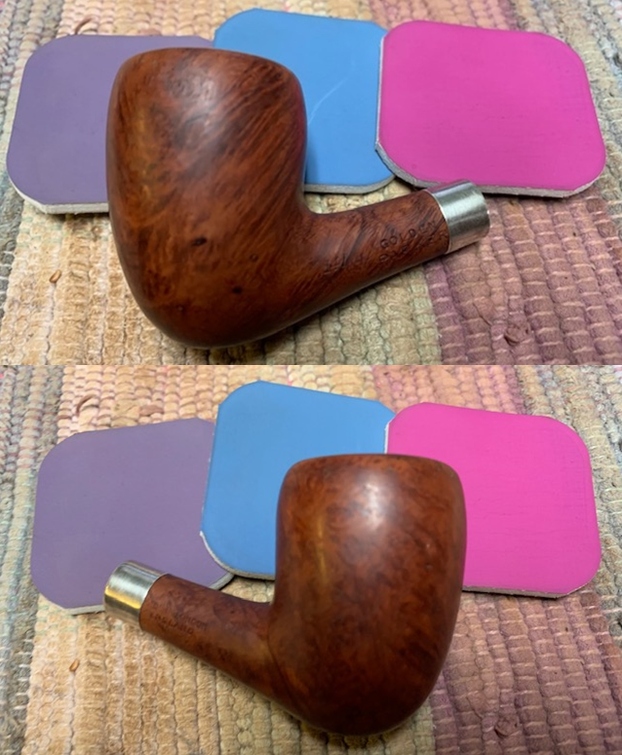
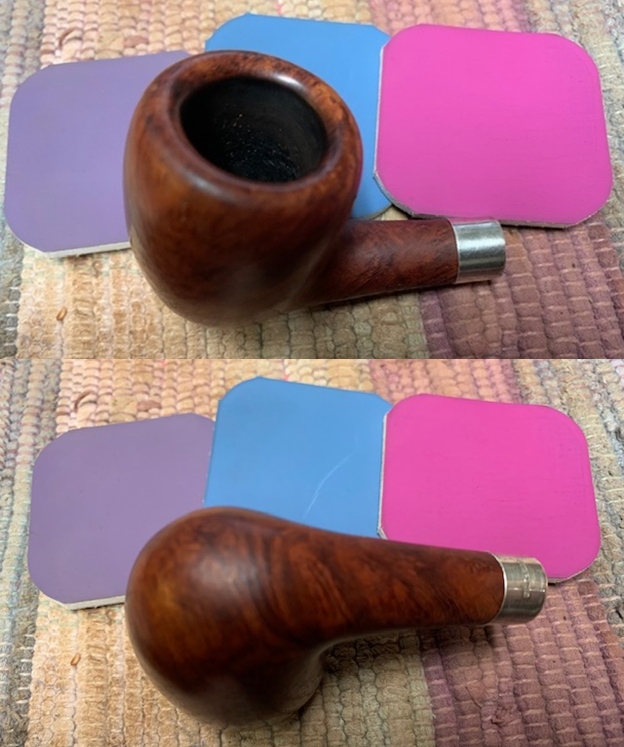
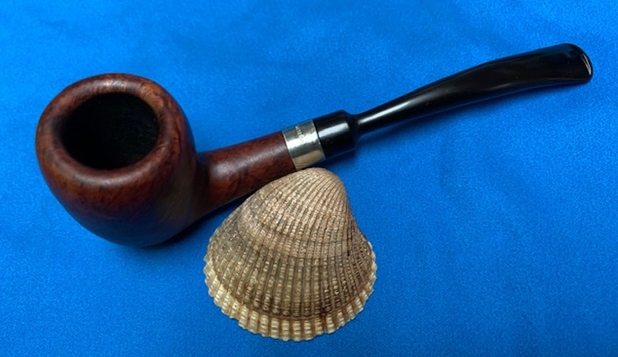
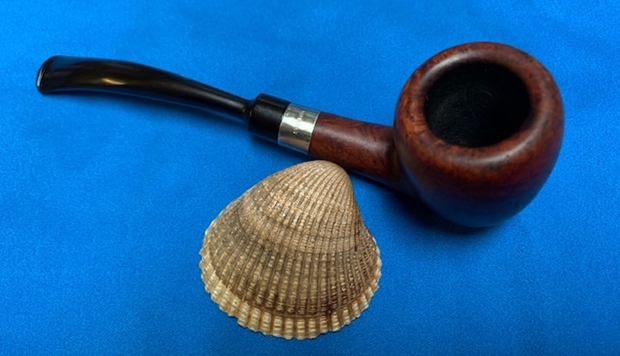
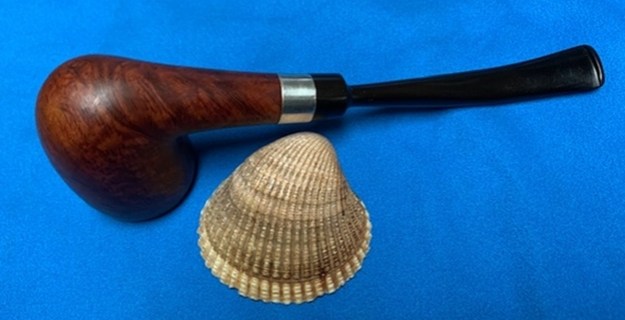
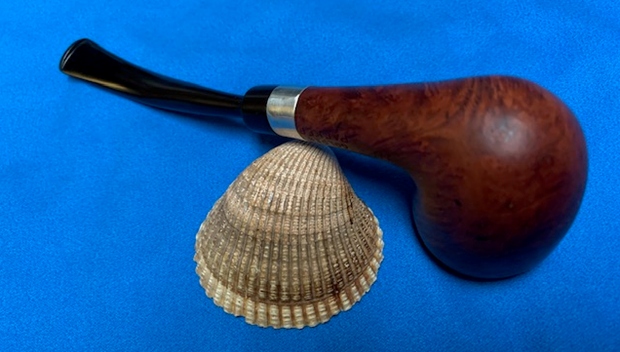
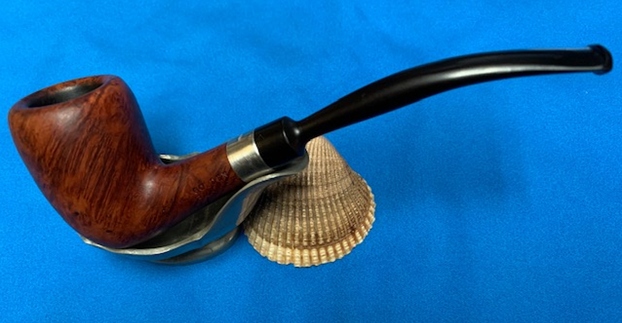
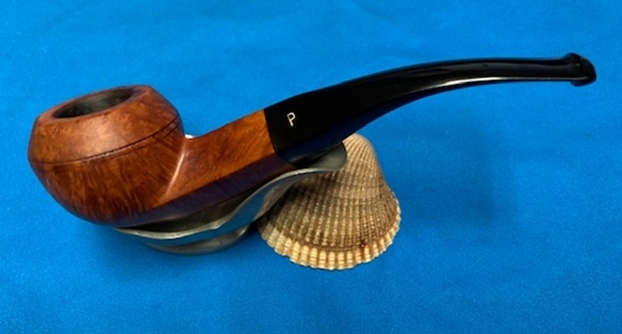
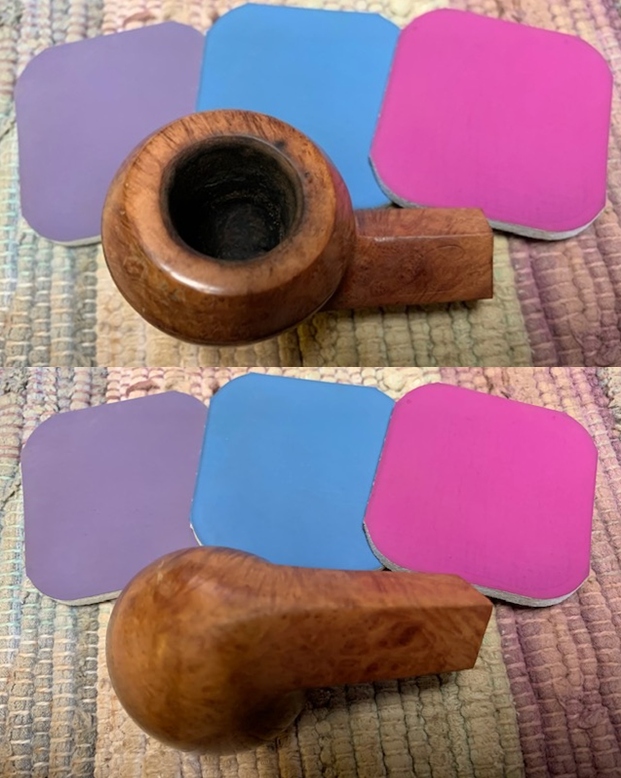
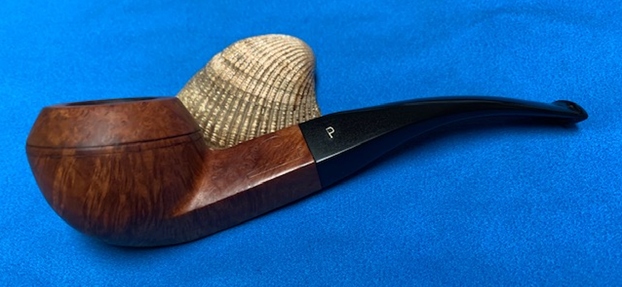
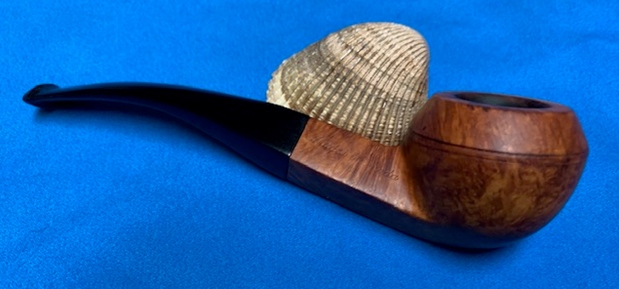
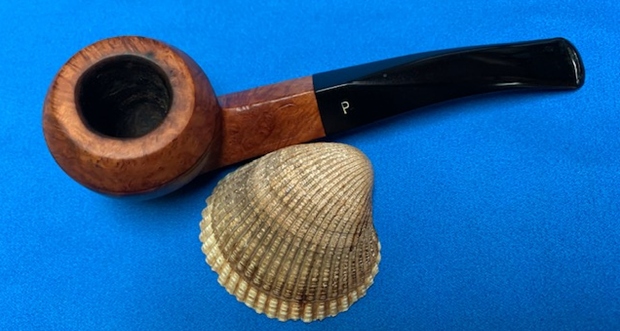
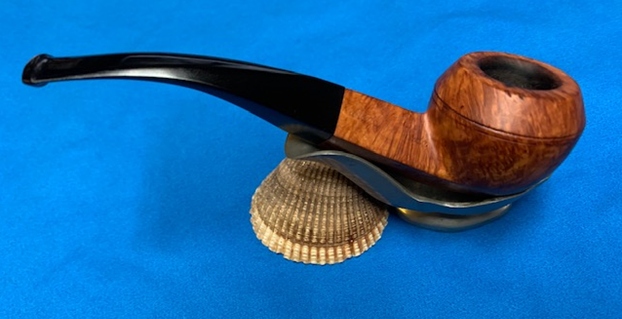
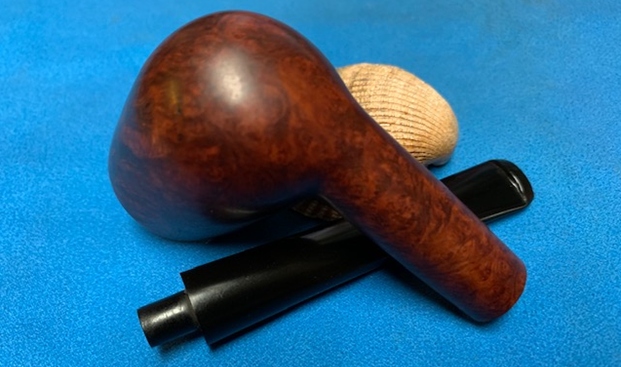
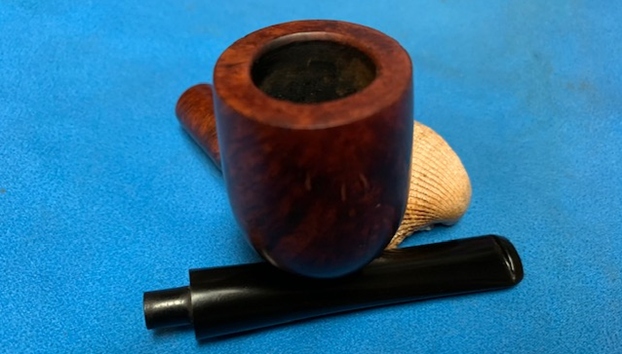
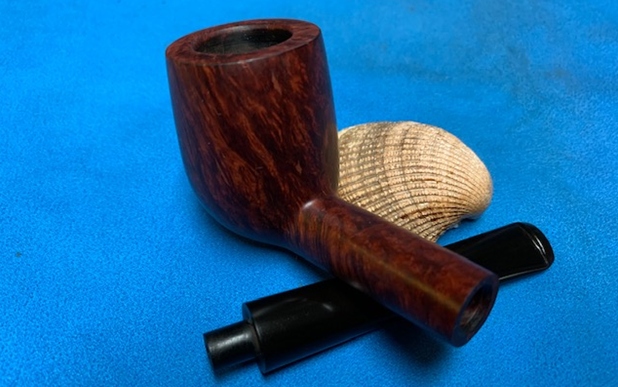
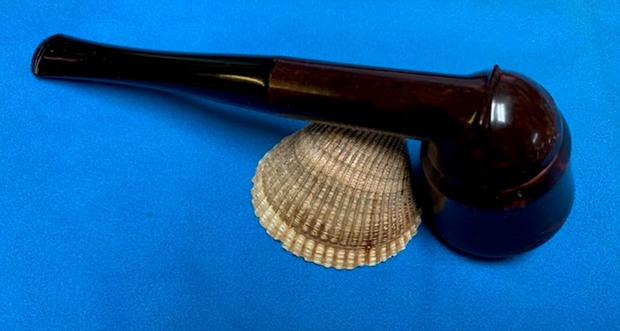
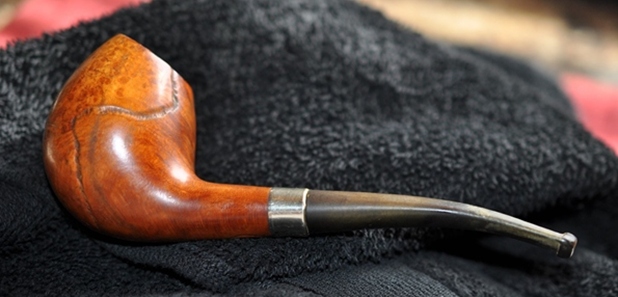
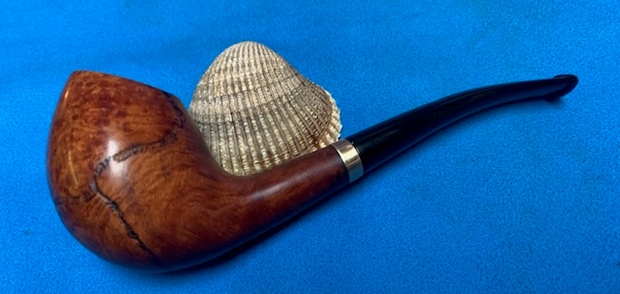
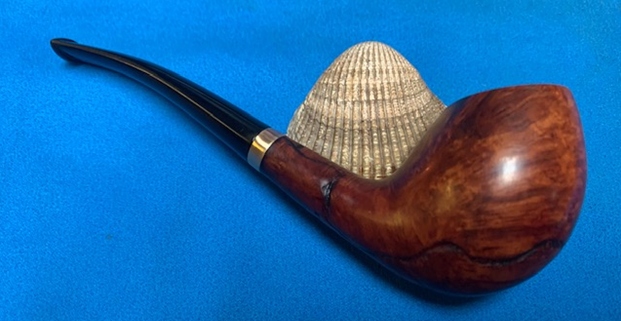
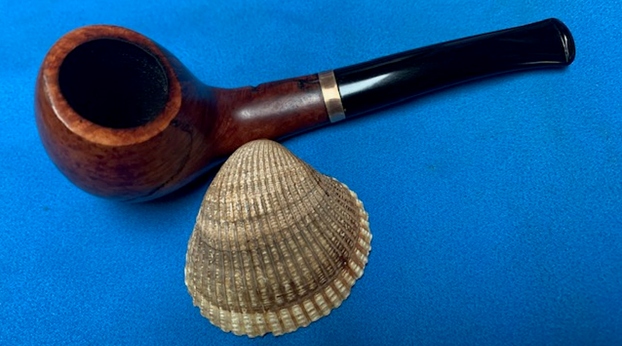
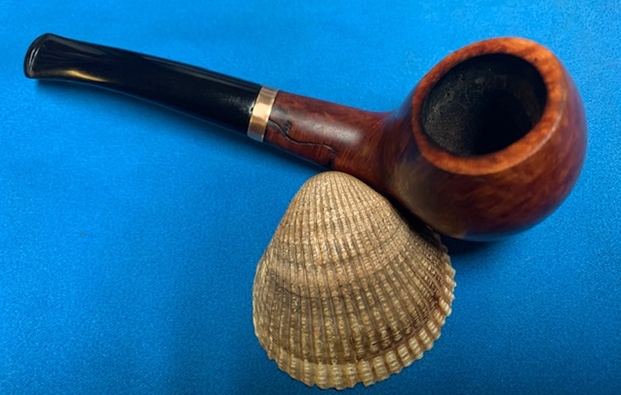
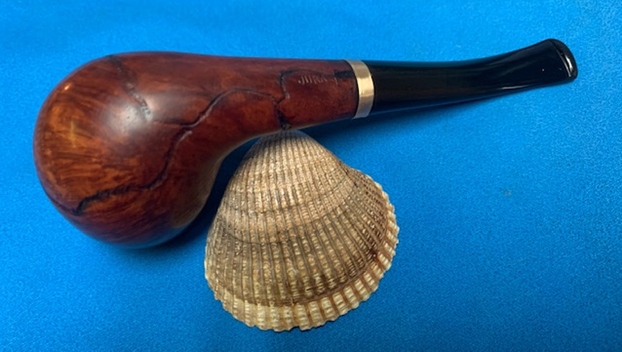
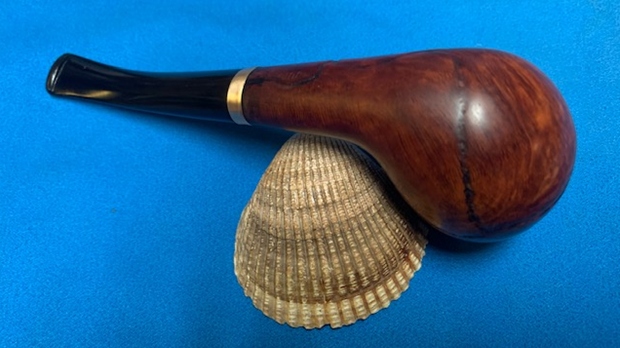
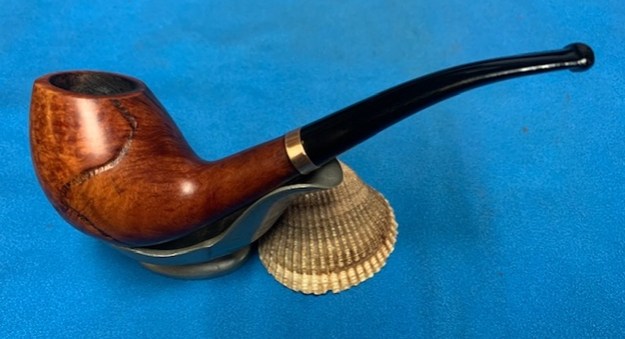
 This Peterson’s Republic Era Cara System 302 Bent Apple with a vulcanite saddle stem is a great looking pipe now that it has been restored. The beautiful grain that shines through the polished finish is stunning. As the pipe is smoked the patina should develop and look even better. I put the stem back on the bowl and carefully buffed the pipe with Blue Diamond on the buffing wheel. I gave the bowl and the stem multiple coats of carnauba wax on the buffing wheel and followed that by buffing the entire pipe with a clean buffing pad. I hand buffed the pipe with a microfiber cloth to deepen the shine. The finished Peterson’s Cara System 302 fits nicely in the hand and feels great. Give the finished pipe a look in the photos below. The dimensions of the pipe are Length: 6 inches, Height: 1 ¾ inches, Outside diameter of the bowl: 1 ½ inches, Chamber diameter: ¾ of an inch. The weight of the pipe is 70gr/2.47oz. If you are interested in adding this pipe to your collection send me a message or an email. Thanks for reading this blog and my reflections on the pipe while I worked on it. There are many more to come!