Blog by Steve Laug
On Tuesday this week I received the following email from a fellow here in Vancouver regarding repairing a couple of pipes for him. He wrote as follows:
Hi Steve… You were recommended to me by our good friends at City Cigar (Vancouver). I have 2 pipes I’d love to have rescued – if possible! Please let me know if you could be of service. I’ve attached a few photos.
One is a Peterson 2018 Pipe of the Year, Smooth Fishtail. Pipe is great – except there is an unsolvable (for myself) blockage in the stem. I think the filter is damaged.
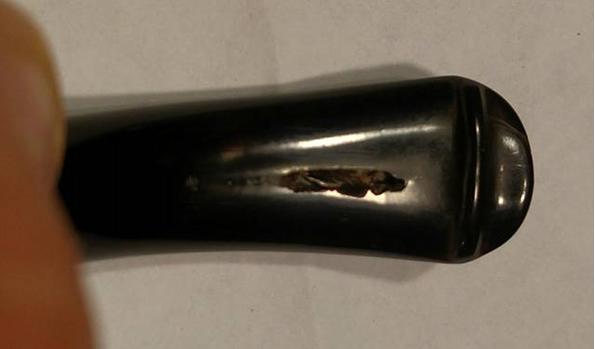
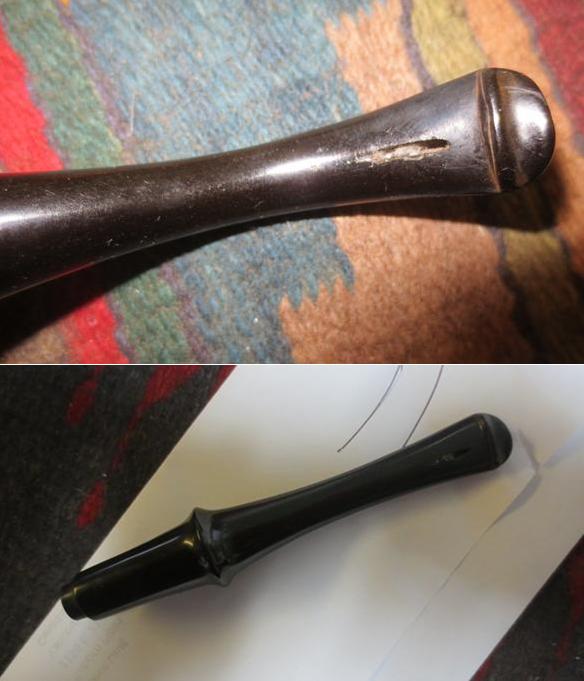
The other is an unfortunate Savinelli; the actual wood is broken, right at the connection between pipe body and stem.
Let me know your thoughts! I’d love to regain these to a workable state if possible; they are lovely pipes.
Thanks kindly and best regards, Zak
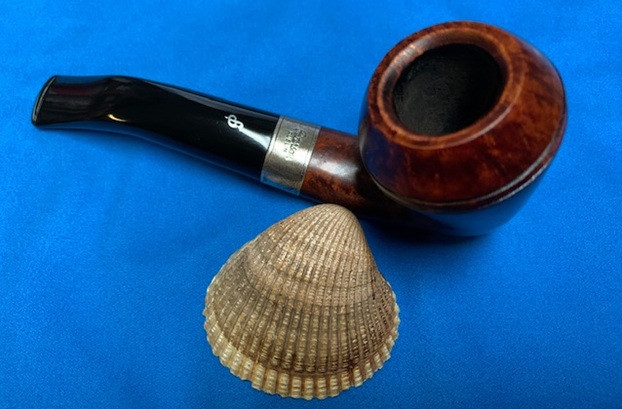
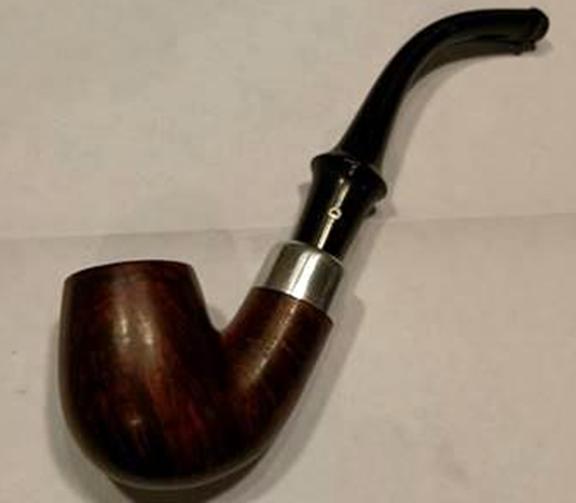
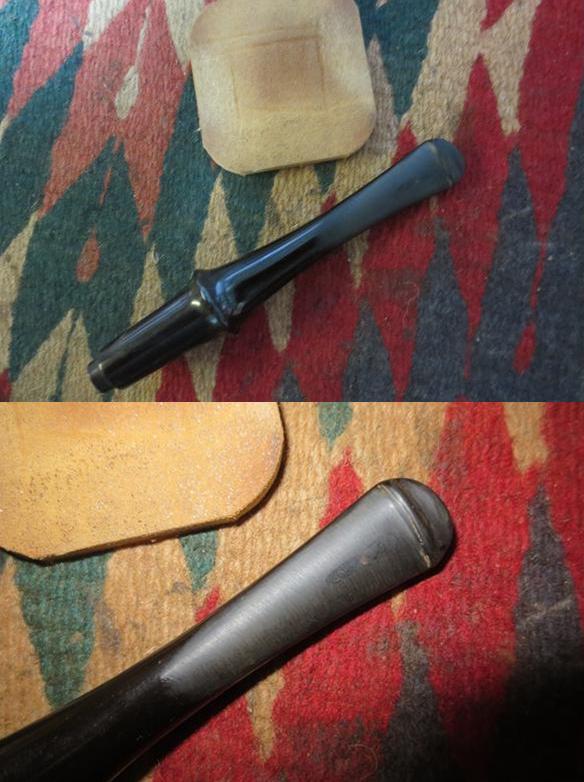
He included pictures of both pipe for me. It was time to work on the plugged stem in the Peterson 2018 POY. Here is the photo that Zak included with his email. Once I saw the pipe I confirmed that the stem was not sitting correctly in the shank and the finish on the bowl was dirty and needed a little attention. Once I had the stem cleared out I would clean up the exterior of the bowl. I did a Google search for the Peterson 2018 Pipe of the Year to double check the fit of the stem to the shank. It is not fit against the shank in the above photo but in the ones that I found on two different sites (same pipe) the stem was a snug fit against the shank. I have included the links and photos that I found below.
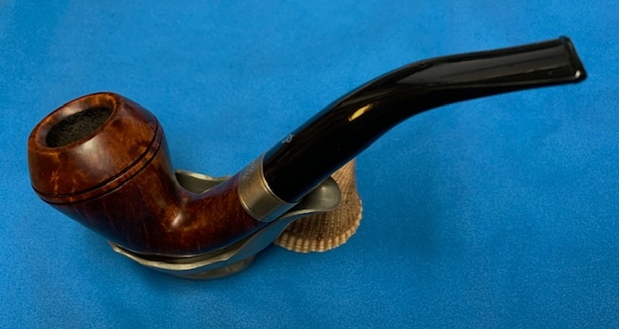
The first photo is from Petersonpipenotes site. The write up there by Mark Irwin is a great read (http://petersonpipenotes.org/2018/01/16/77-first-look-the-2018-peterson-pipe-of-the-year/). The second photo is from and advertising page on the GQTobaccos.com site for the Peterson’s 2018 Pipe of the Year (https://www.gqtobaccos.com/tobacco-pipes/peterson-pipe-of-the-year-2018-smooth/).
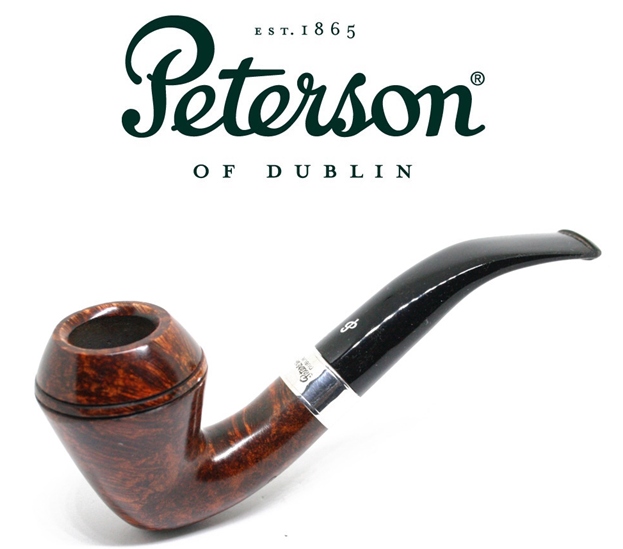 The pipe I am working on is stamped on the underside of the shank and reads Peterson [over] Of Dublin [over] Pipe of the Year [over] 2018 [over] 47 of 500. The Sterling Silver Band on the shank is stamped on top and reads Peterson [over] Dublin. On the underside it reads Peterson [over] three hallmarks. I have included the Hallmark chart from Peterson below. I have also done a screen capture of the section entitled Peterson Silver Hallmarks. I am not sure what to make of the information on the band as it does not match the 2018 year on the POY.
 The photo to the left explains the hallmarks on this Peterson 2018 Pipe of the Year.
The first hallmark on this pipe is what is noted as Hibernia – a seated woman with her arm on a harp. This represents the country of manufacture – Ireland.
The second hallmark is 925 in an oval. It is the standard European Mark or Millesimal Mark which gives the purity or quality of the silver in parts per 1000.
The third hallmark is the Date Letter Code for the year in which the silver was hallmarked. The Date Letter on this pipe band is an italic upper case “G” which according to the chart dates the band to 1992. It is interesting that the band is on a pipe that is a Pipe of the Year for 2018. I am not sure what to make of that conflicting information. Was the band old stock made previously? I am not sure I will ever know that for sure.
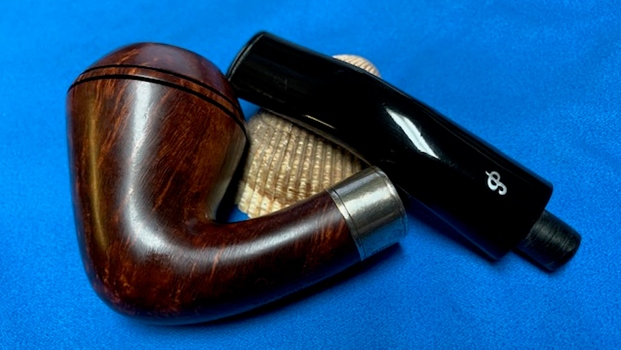
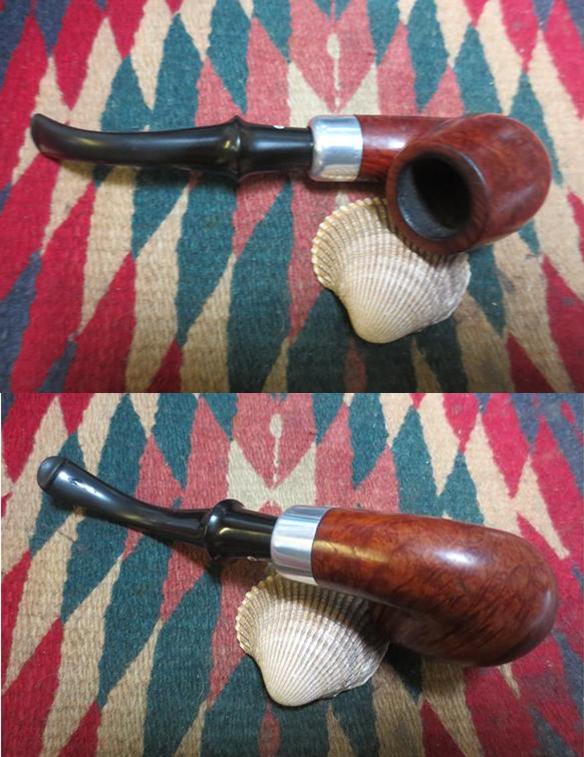
I decided that the first thing I would work on was the fit of the stem to the shank. The shank itself was dirty and there was a thick coat of stain on the inside that had tar and oils built up on it that kept the tenon from seating properly in the shank. I took photos of the pipe as it looked when I received it. Compare the fit of the stem in these photos with the fit in the photos of the same pipe above.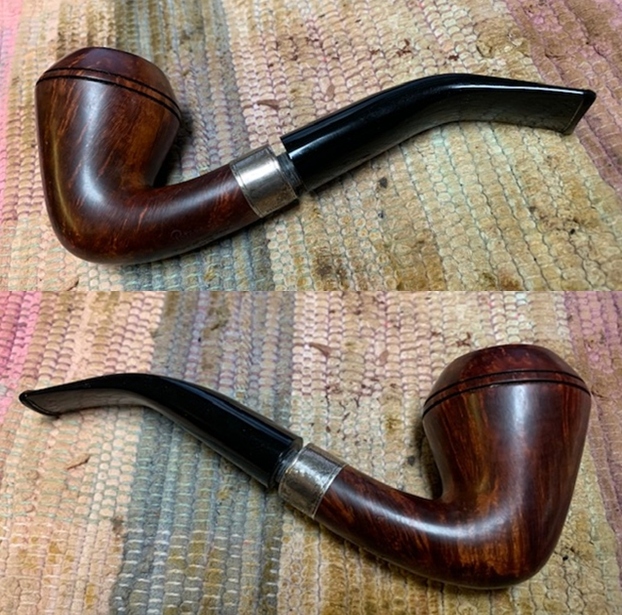
 I cleaned out the shank with pipe cleaners, cotton swabs and alcohol to remove the build up from the walls of the shank that prevented the stem from seating properly. There was also a lot of stain on the inside of the shank that must have influenced the taste of the smoke. I smoothed out the ridges on the tenon with 220 grit sandpaper and made it smooth to allow an easy push into the shank.
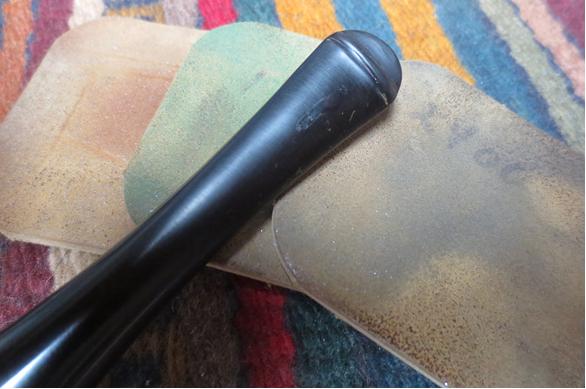
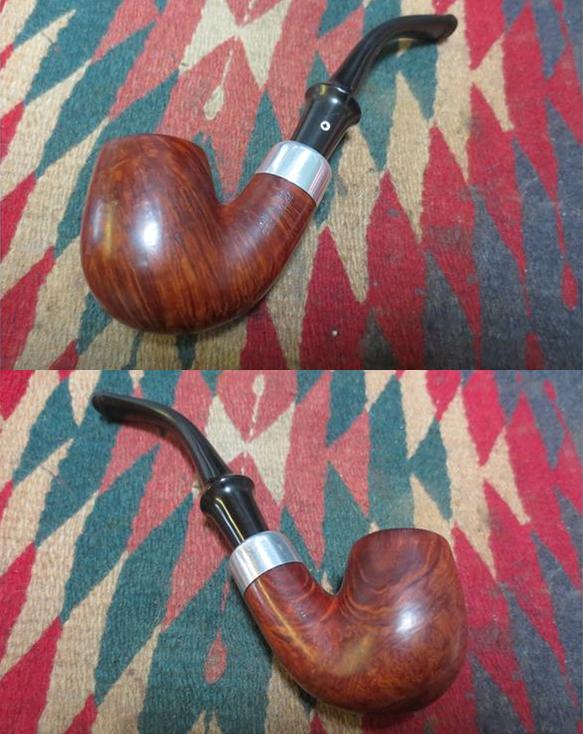
 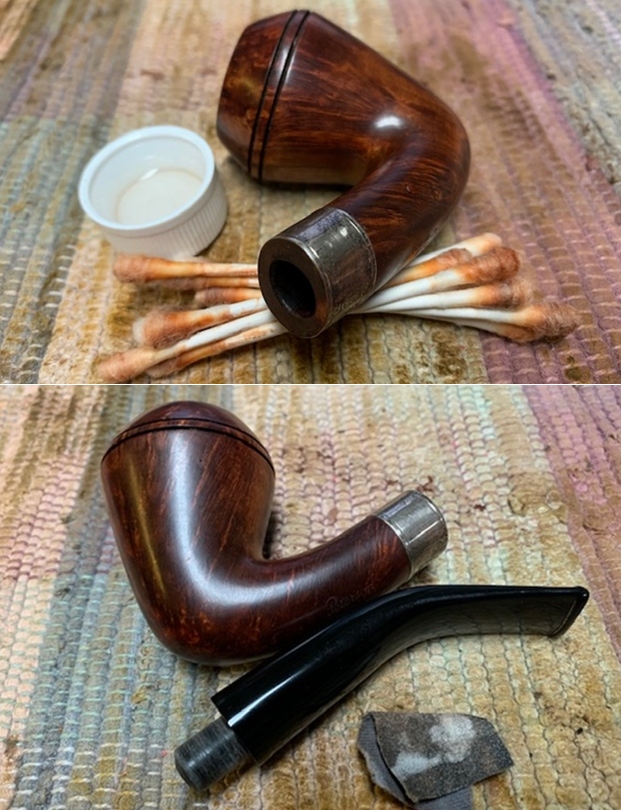 I put the stem on the shank and took photos of the proper looking 2018 Pipe of the Year.
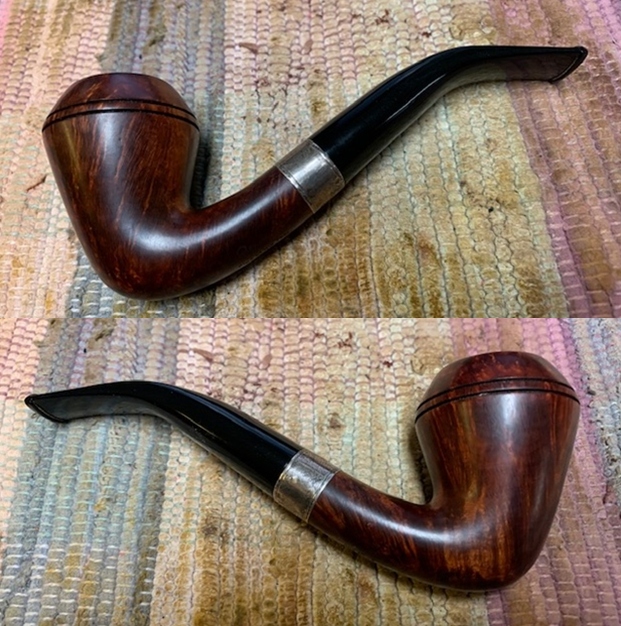
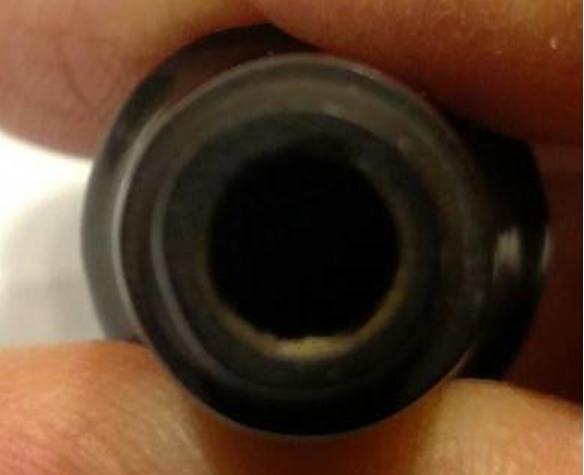
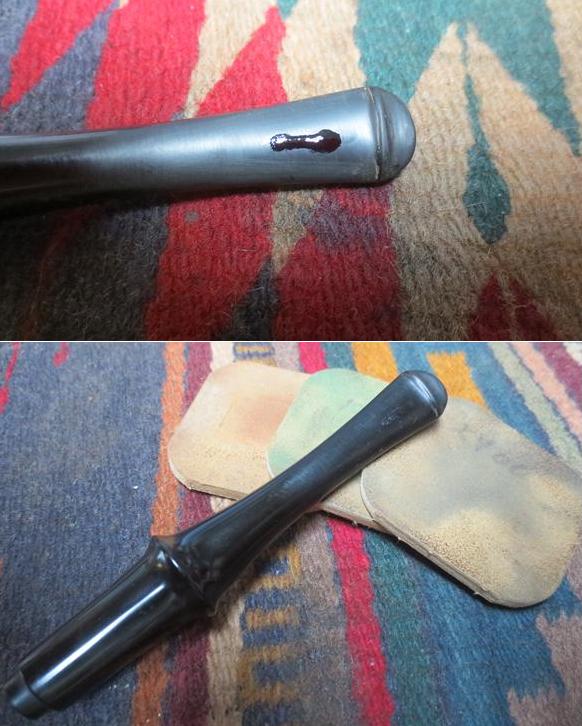
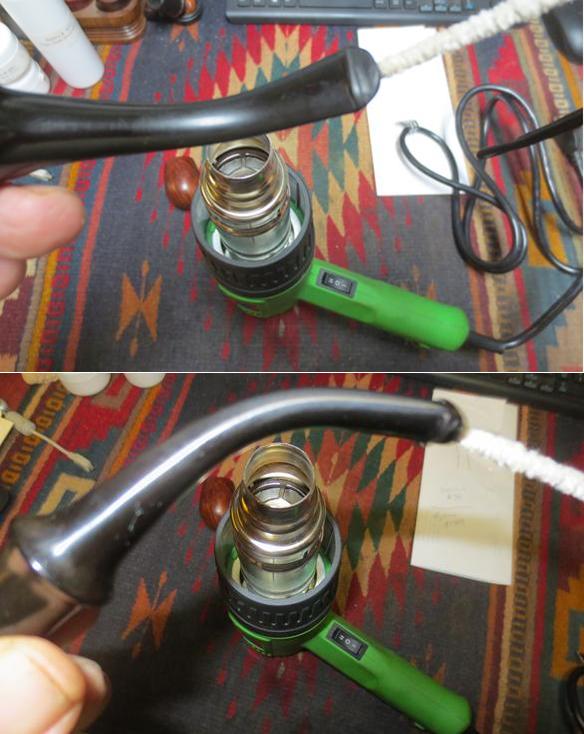
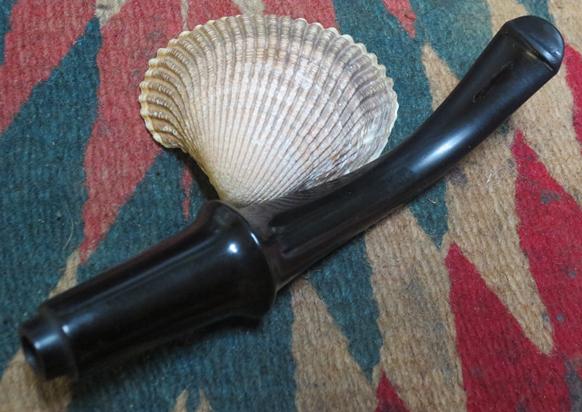
 With the fit of the stem to the shank corrected it was now time to deal with the plugged stem. Zak thought that there was a filter jammed up the airway. My guess, judging on the size of the airway in the tenon and stem was that it was a broken pipe cleaner or even just pipe cleaner debris compacted and blocking the airway. I tried to push a cleaner in from both directions to try and locate the blockage. I was able to assess that it was equal distance from the tenon end and the button end – dead center in the stem, just before the bend.
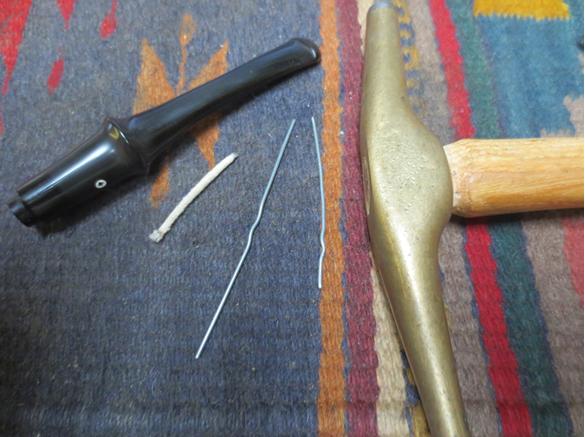
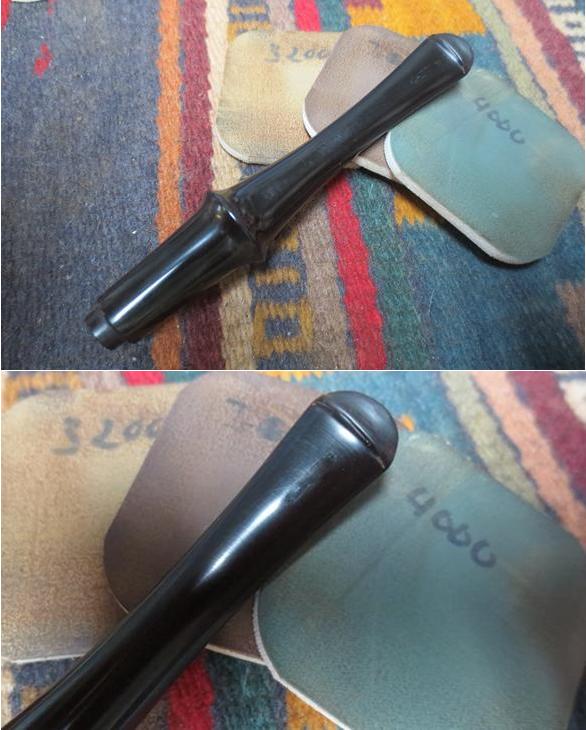
I began my work on the obstruction by using a small drill bit and turning it into the clog without pushing the clog further up the stem. I was able to pull out some of the debris using that method but I did not push it as I did not want to move it up the stem. Once I had it drill I used a pipe cleaner to drip some acetone on the blockage. I repeated that from both ends of the stem and let the acetone sit and work on the blockage. I was hoping that it would dissolve any tar or oils that held the plug tightly in place in the stem. I was hoping to unplug it without heating and straightening and rebending the stem with my heat gun. After the acetone had soaked on the plug for a while I used an unfolded paper clip to push and pick at the plug. I inserted it from both ends and worked on the blockage.
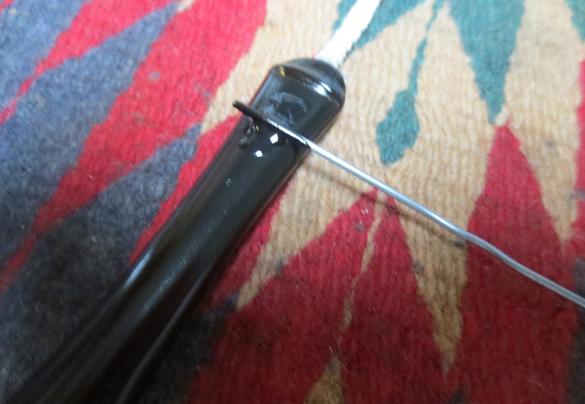
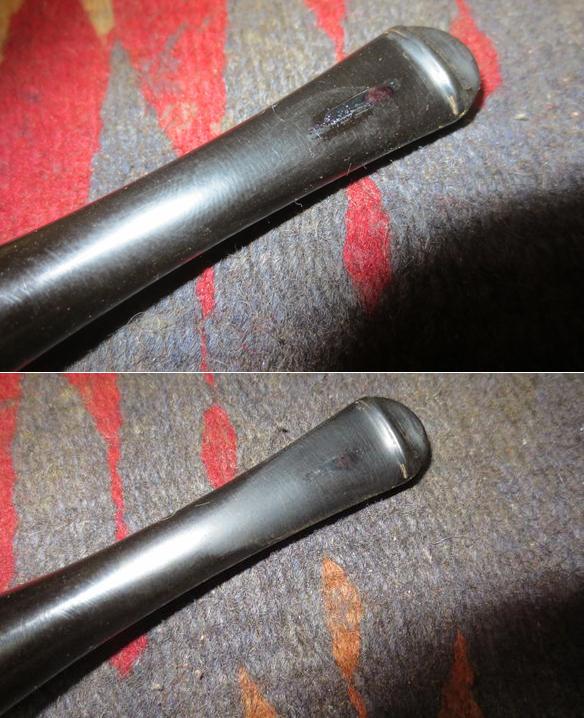
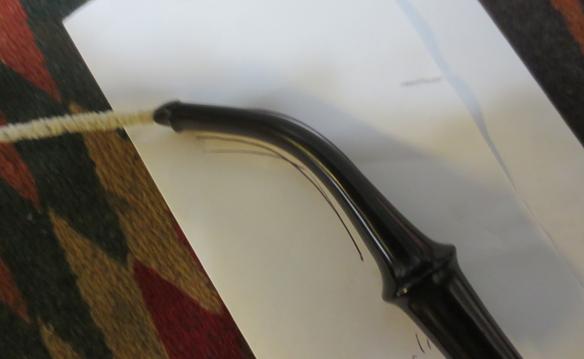
 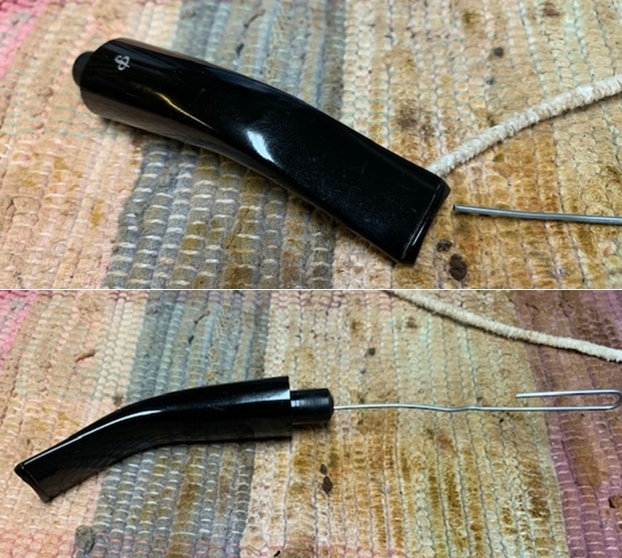 After working the block over with the wire I was able to break through the blockage. The airflow was very constricted but at least there was some air. I cleaned the airway with a pipe cleaner and alcohol, working on the clog from both directions. I used the wire to pick away at the edges of the plug and loosen it. The pipe cleaners push out what the wire had loosened. In the next photos you can see the pile of darkened pipe cleaner debris that I was able to work out of the airway. I worked on the stem with pipe cleaners and alcohol until the airway was clean and the airflow was no longer hampered.
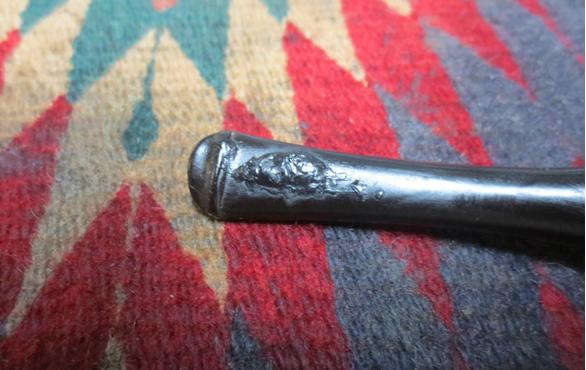
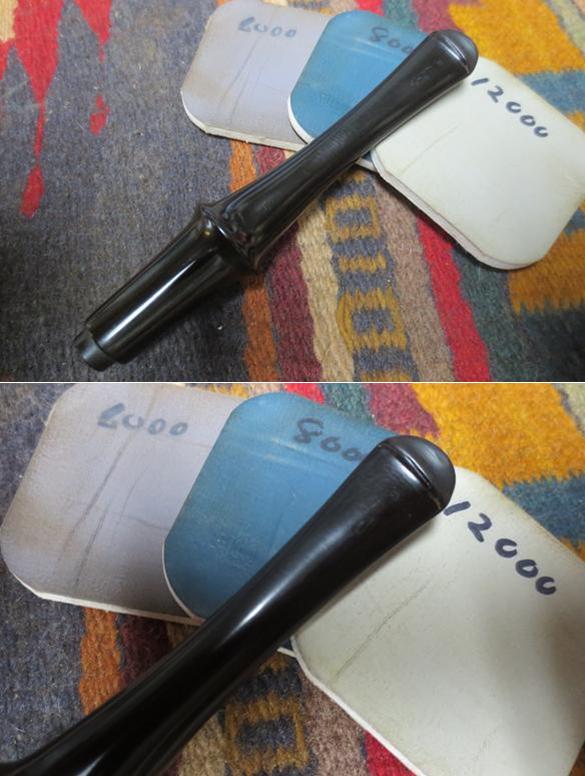
 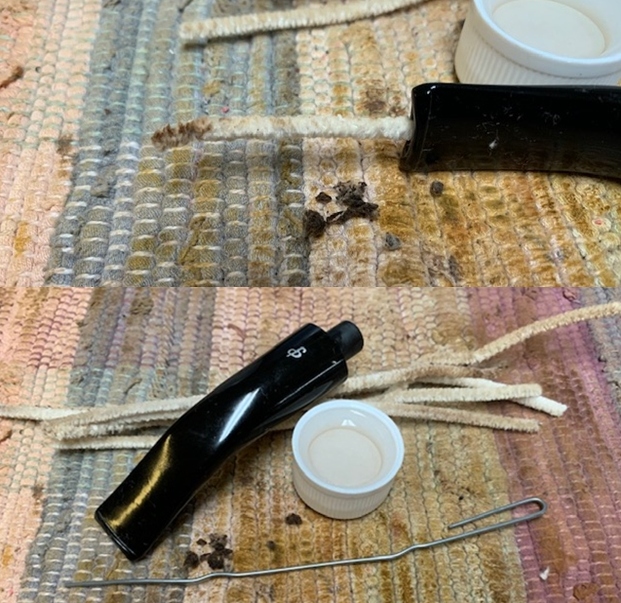 With the stem finish I cleaned up rim top and beveled rim edge and then I rubbed the bowl and shank down with Before & After Restoration Balm. I worked it into the surface of the bowl sides and shank with my fingertips to clean, enliven and protect the briar. I let the balm sit for a little while and then buffed with a cotton cloth to raise the shine. The Balm did its magic and the grain stood out. I buffed the Sterling Silver band with a jeweler’s cloth and removed the tarnish coat.
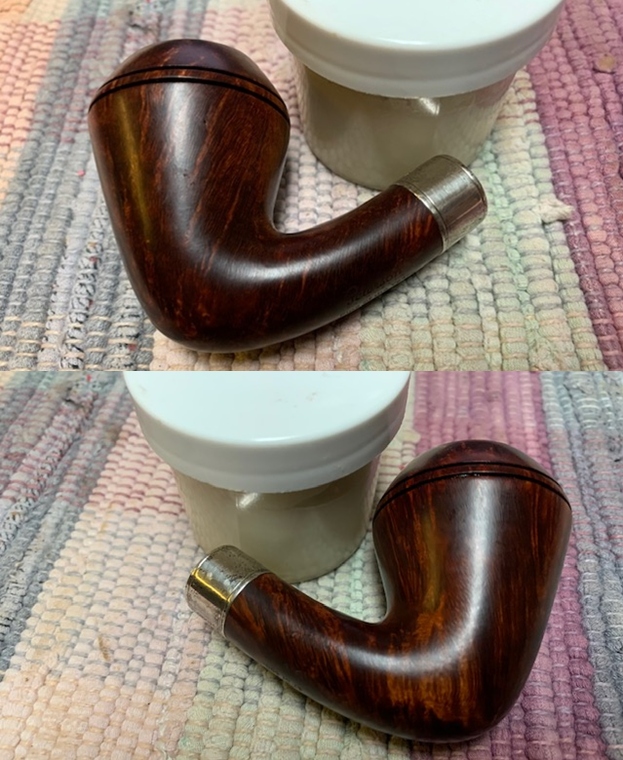

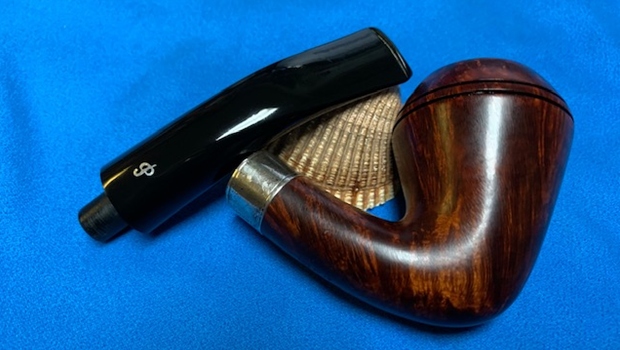
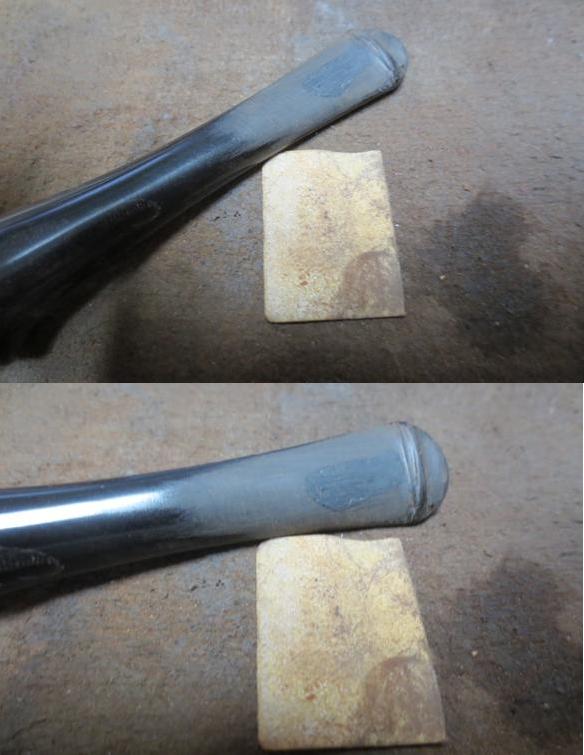
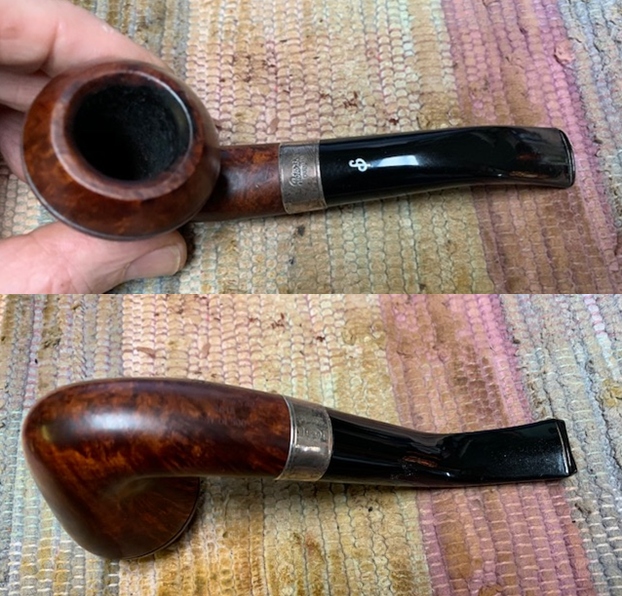
 This nicely grained Peterson 2018 Pipe of the Year with a Sterling Silver band and an acrylic taper stem with an inlaid silver P is a great looking pipe. The briar around the bowl is clean and really came alive. The rich brown stains gave the grain a sense of depth with the polishing and waxing. The grain really popped. I put the acrylic stem back on the bowl and carefully buffed the pipe with Blue Diamond on the buffing wheel using a light touch on the briar. I gave the bowl and the stem multiple coats of carnauba wax on the buffing wheel. I buffed the pipe with a clean buffing pad to raise the shine. I hand buffed the pipe with a microfiber cloth to deepen the shine. The finished Peterson is a beauty and feels great in the hand and looks very good. Give the finished pipe a look in the photos below. The dimensions of the pipe are Length: 6 inches, Height: 2 ¼ inches, Outside diameter of the bowl: 1 ¼ inch, Chamber diameter: ¾ of an inch. The weight of the pipe is 54grams/1.90oz. The pipe will be going back to Zak along with the Savinelli I finished earlier. He will see them in person soon, so he can enjoy them both again. Thanks for reading this blog and my reflections on the pipe while I worked on it.