Blog by Steve Laug
The next interesting looking large Billiard was picked up 2018 from a fellow in Pocatello, Idaho, USA. It was a bit of an oddity for me in that it is a GBD pipe with a very different rustication on the bowl and shank than even the alligator finish I have seen. The finish was dirty but otherwise in good condition on the bowl and shank. There was a repair band on the shank that generally signals a repair on a cracked shank. The pipe is stamped on a smooth panel on the underside of the shank and reads GBD in the oval logo [over] TAHITI. I wonder if the shape number is not under the repair band. The line does not show up on any of the GBD materials that I have accessed. There was a thick cake in the shank and thick overflow of lava on the rim top that obscured potential damage on either. The stem was an original tapered vulcanite with the GBD Brass roundel on the left side. It was oxidized, calcified and had light tooth marks and chatter on both sides. There was also a gouge on both the top and underside of the stem mid-stem. It had a lot of potential. Jeff took photos of the pipe before he started his cleanup work.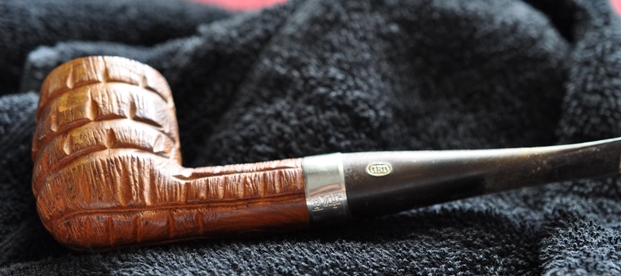
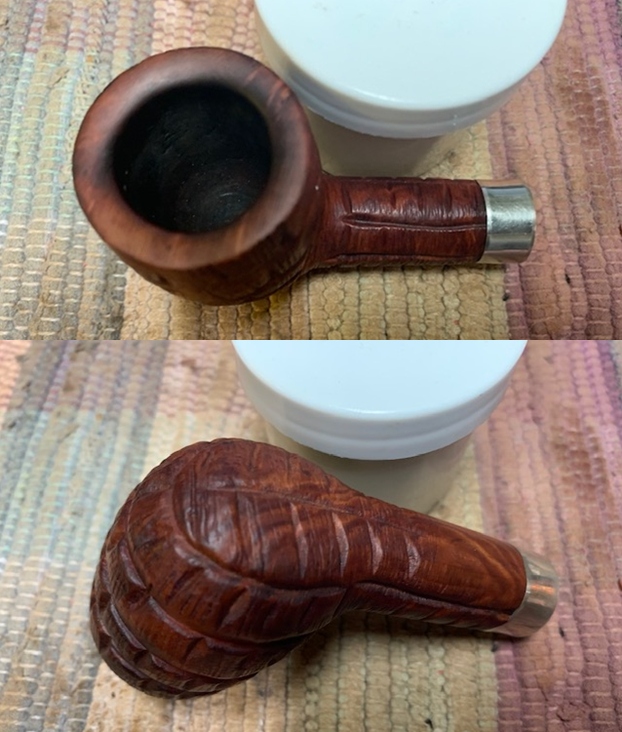
 He took a photo of the rim top to show condition of the bowl. It is hard to tell what the inner edge of the bowl looks like under the lava coat. It is a very dirty pipe. He also captured the condition of the stem. It is oxidized, calcified and has tooth marks and chatter on the top and underside of the stem near the button.
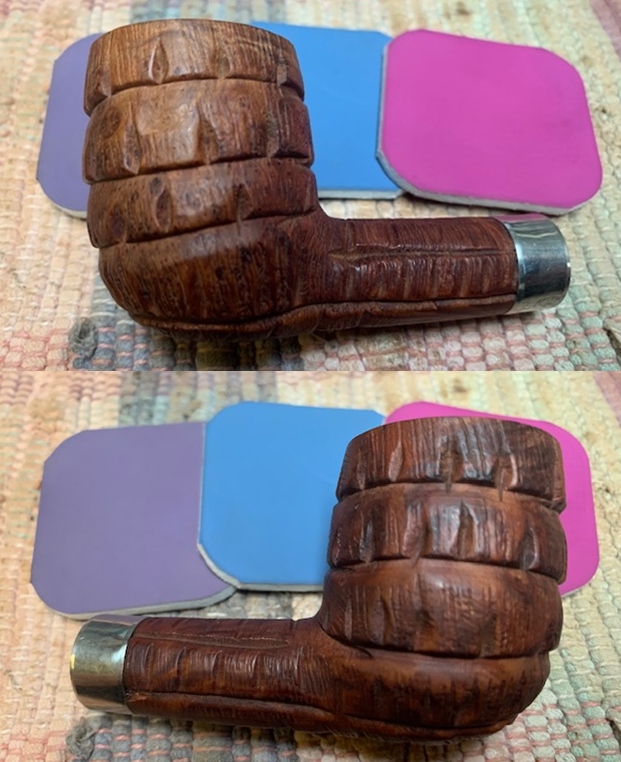
 He took a photo of the sides and heel of the bowl to show the rustication pattern around the bowl and the condition of the pipe. You can see the repair in the photo below next to the shank. I have used a red arrow to highlight the repaired area under the band.
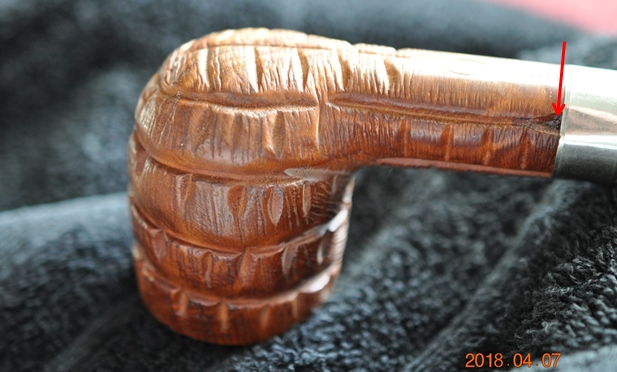 The pipe is stamped GBD in an oval followed by TAHITI on the underside of the shank there is no London England stamp and no shape number.
 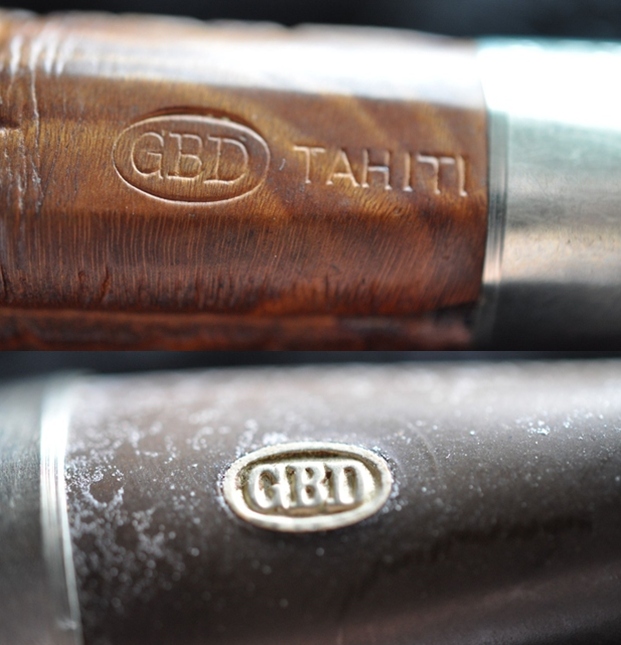 I looked on Pipedia and Pipephil’s site for information on the Tahiti line and came up empty handed. There was no information on the line. I did a Google search on the brand and came upon a link on smokingpipes.com to a very similar looking pipe and a description (https://www.smokingpipes.com/pipes/estate/england/moreinfo.cfm?product_id=35108). On the site Bear Graves writes this description of the pipe:
One thing I love about the older GBD pipes is that they were never timid when it came to staying within shape charts, and they would often play with different carved finishes. “Tahiti” is a wonderfully appropriate name for this pipe. I can almost hear the ocean now.–Bear Graves
It was time to work on the pipe. As usual Jeff had done a thorough cleanup on the pipe. He reamed the bowl with a PipNet pipe reamer and followed up with a Savinelli Fitsall pipe knife to remove the cake. He scrubbed out the mortise and the airway in the shank and the stem with alcohol, cotton swabs and pipe cleaners. He scrubbed the exterior of the bowl, rim, shank and stem with a tooth brush and Murphy’s Oil Soap to remove the oils and tars on the rim and the grime on the finish of the bowl. He rinsed it under running water. One of the benefits of this scrub is that it also tends to lift some of the scratches and nicks in the surface of the briar. He dried it off with a soft cloth. He cleaned the internals and externals of the stem with alcohol, pipe cleaners and cotton swabs. He soaked the stem in Before & After Deoxidizer and rinsed it off with warm water and cleaned out the airway in the stem with alcohol. 
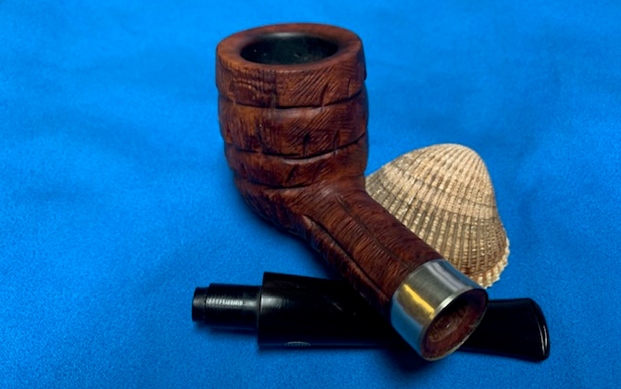
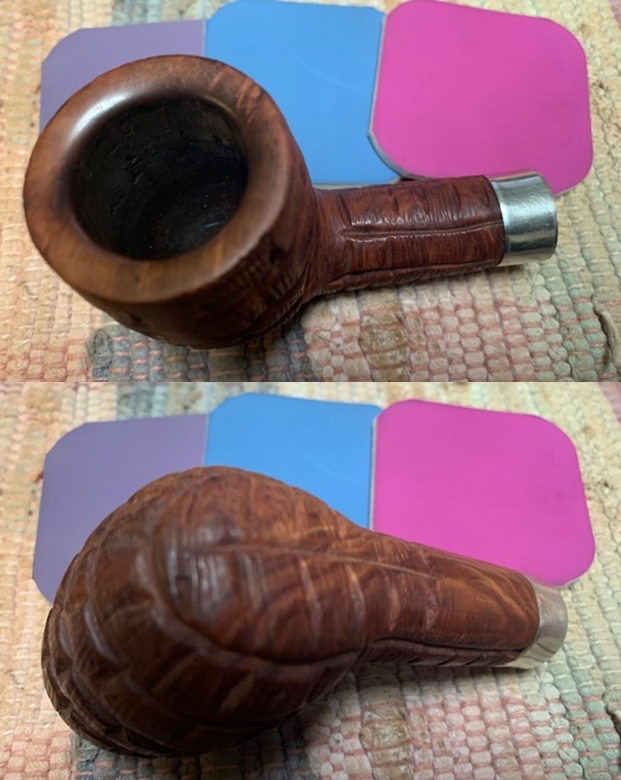
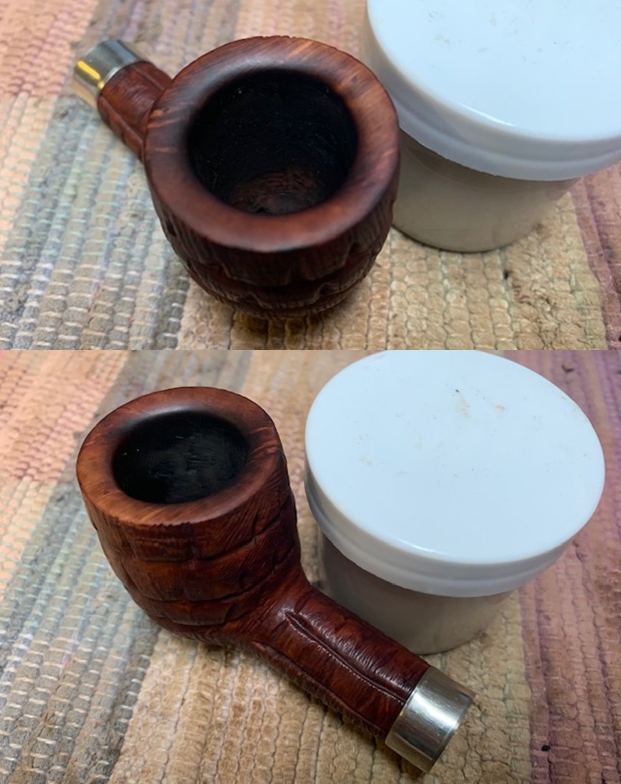
 I took photos of the rim top and bowl to give a clear picture of the darkening and damage to the rim top and edges of the bowl. There appeared to be some burn damage on the surface and inner edge of the rim. I took photos of the top and underside of the stem to show cut marks on the top and underside of the stem.
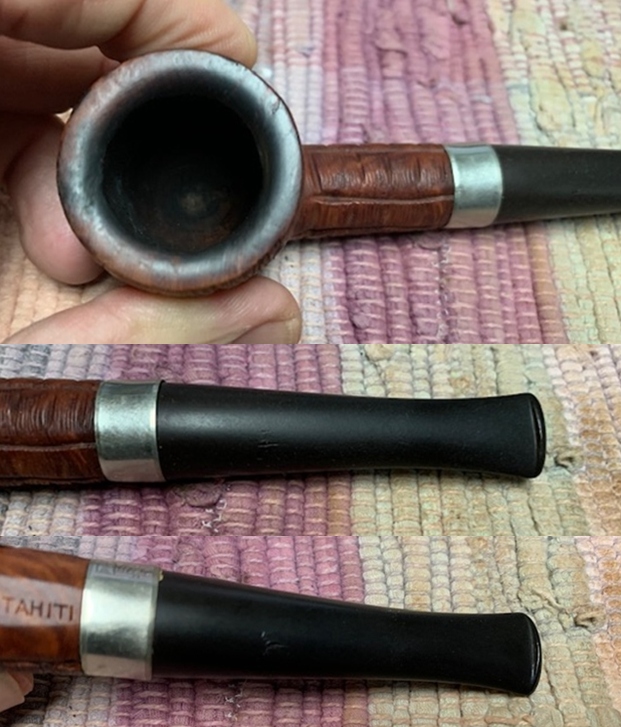 The stamping on the underside of the shank was readable. It read as noted above.
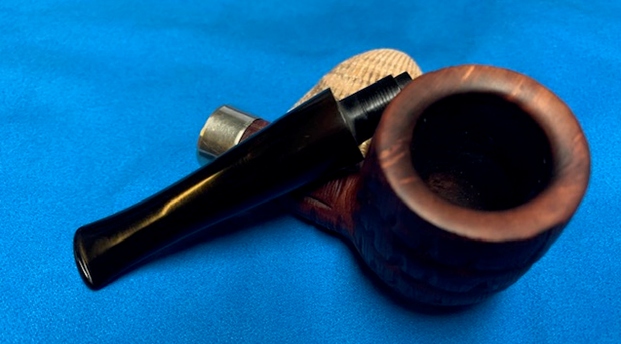
 I removed the stem from the shank and took a photo of the pipe.
 I started my work on the rim top by cleaning the top and edges with 220 grit sandpaper to remove the damage on the top of the rim. The rim had a very nice inward bevel that when cleaned up was attractive. The grain on the top of the rim was very nice. I started the polishing process with 400 grit wet dry sandpaper.
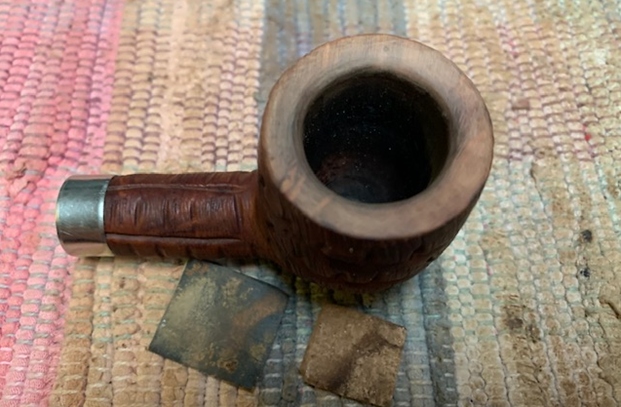 I polished the briar with micromesh sanding pads – dry sanding with 1500-12000. I wiped the bowl down with a damp cloth after each pad. Note the rim top and you can see the change to the look of the bevel that I worked on above.


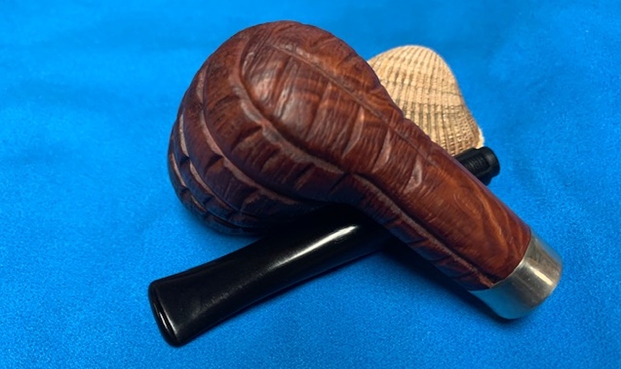
 I rubbed the bowl and shank down with Before & After Restoration Balm. I worked it into the surface of the bowl sides and shank with my fingertips to clean, enliven and protect the briar. I let the balm sit for ten minutes and then buffed it with a cotton cloth to raise the shine. The grain came alive and the finish looked rich.
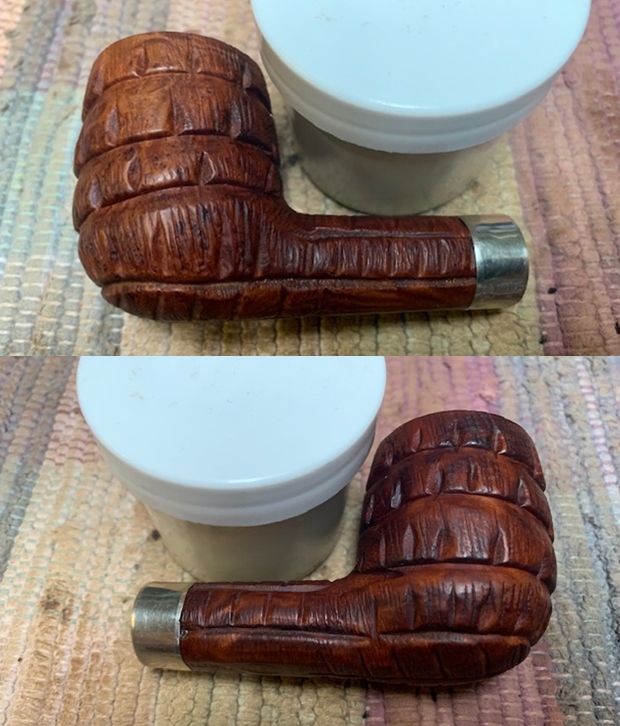
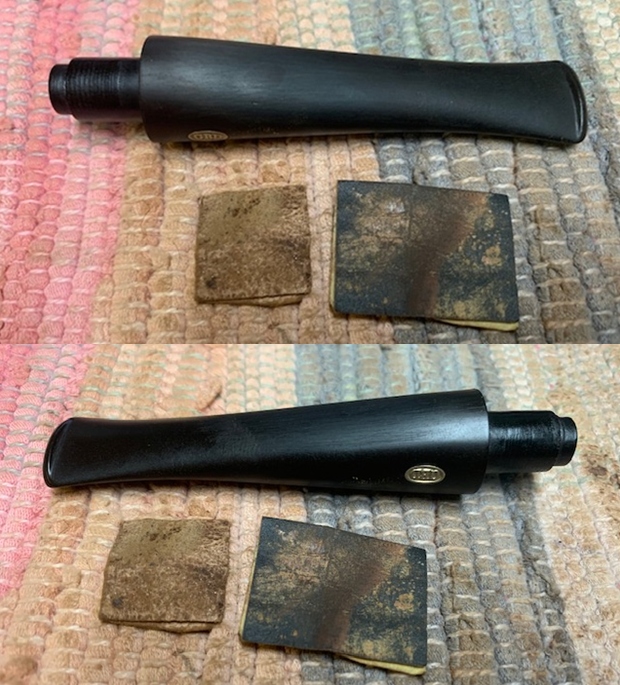
 I set the bowl aside and turned my attention to the stem. I filled in the damaged areas with clear super glue. Once the repairs cured I sanded them smooth with 220 grit sandpaper to blend them into the surface. I started polishing them with 400 grit wet dry sandpaper.
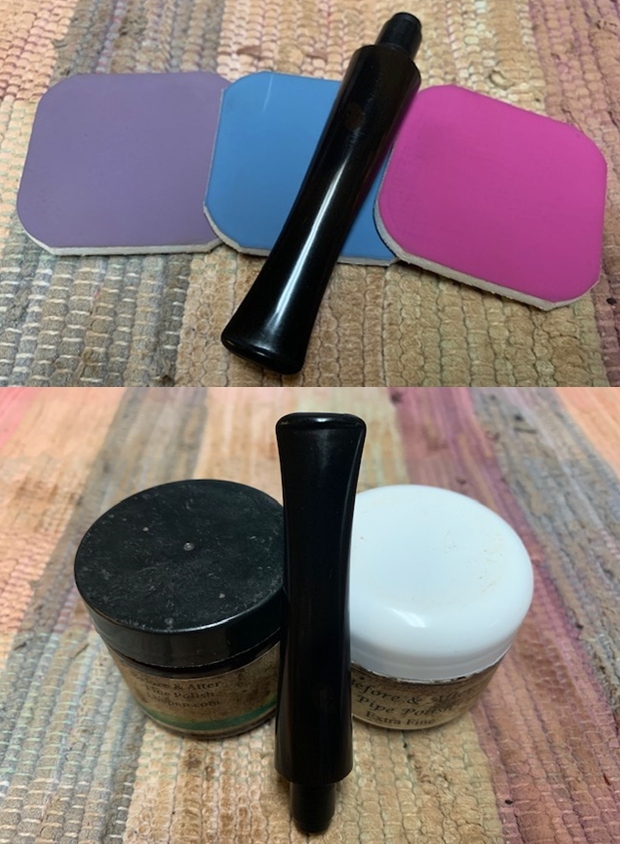
 I polished the vulcanite stem with micromesh sanding pads – 1500-12000 grit pads. I wiped it down with Obsidian Oil after each sanding pad. I used Before & After Pipe Polish – both Fine and Extra Fine to further the stem. The photos below show the polished stem.
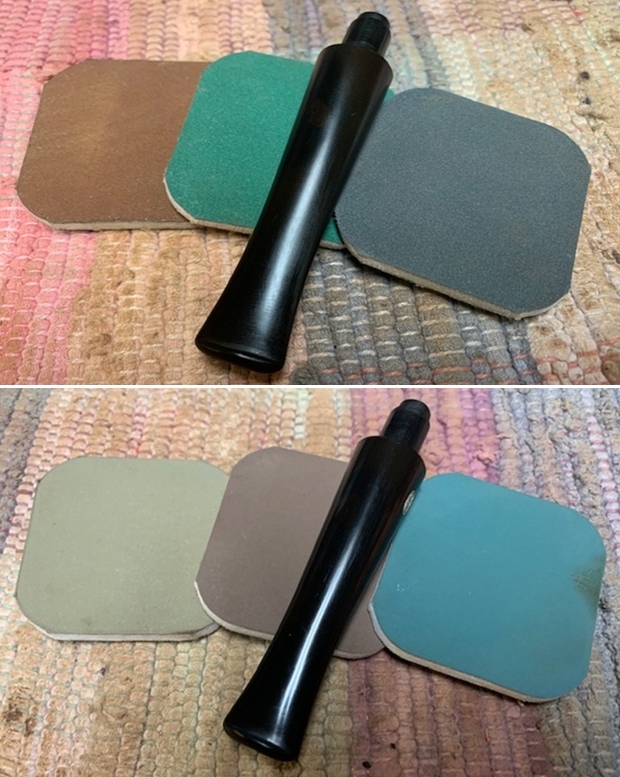
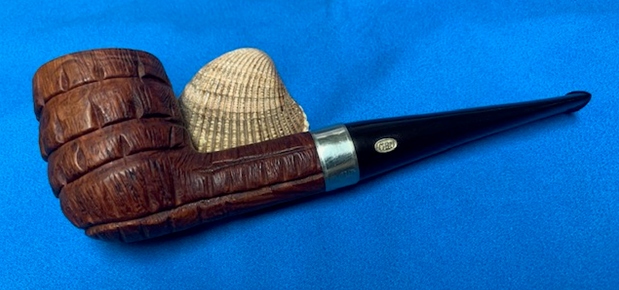
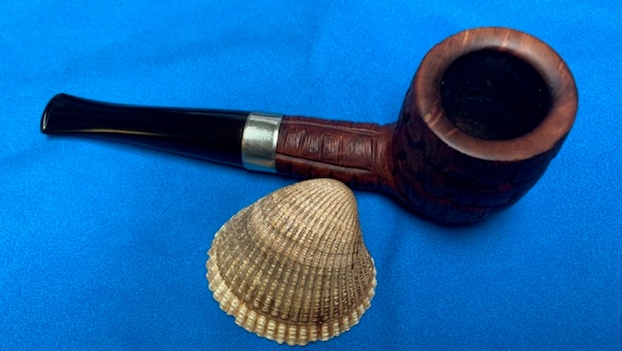
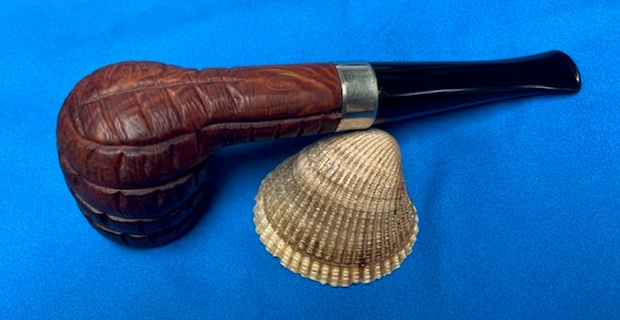
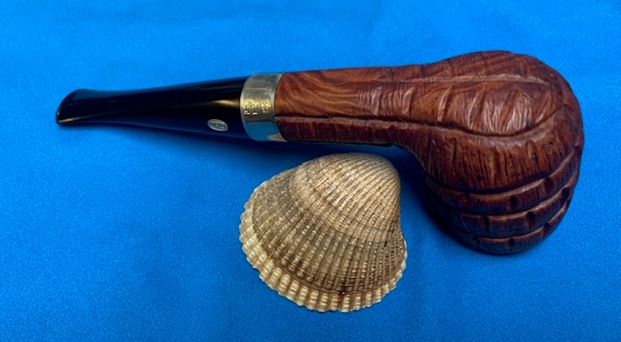
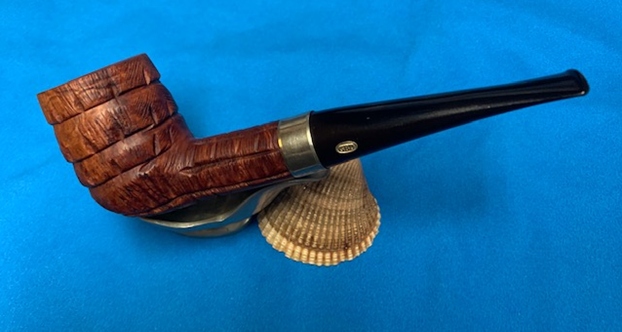
 I am pretty happy with the restoration of this GBD New Tahiti Billiard. The rim top looks far better and the finish is now and reveals the grain really well. There is a matte finish to the bowl that is rugged and rich looking. The stem is clean and smooth with no remaining damages. I put the stem back on the bowl and carefully buffed the pipe with Blue Diamond on the buffing wheel using a light touch on the briar. I gave the bowl multiple coats of Conservator’s Wax and the stem multiple coats of carnauba wax on the buffing wheel and followed that by buffing the entire pipe with a clean buffing pad. I hand buffed the pipe with a microfiber cloth to deepen the shine. The finished large GBD Billiard fits nicely in the hand and feels great. Give the finished pipe a look in the photos below. The dimensions of the pipe are Length: 6 inches, Height: 2 inches, Outside diameter of the bowl: 1 ½ inches, Chamber diameter: 7/8 of an inch. The weight of the pipe was 49g/1.73oz. I will be putting it on the rebornpipes store shortly. Thanks for reading this blog and my reflections on the pipe while I worked on it. There are many more to come!