Blog by Steve Laug
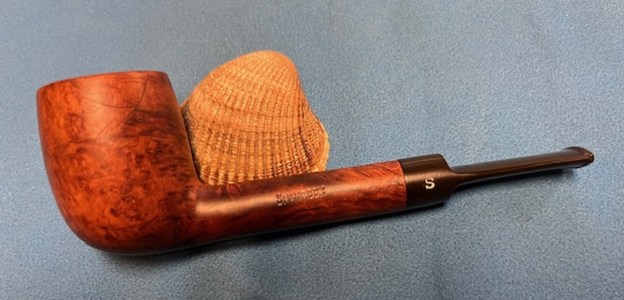
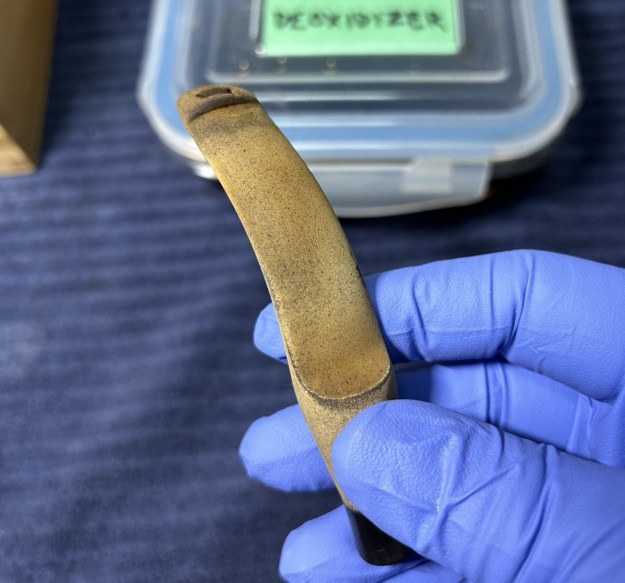
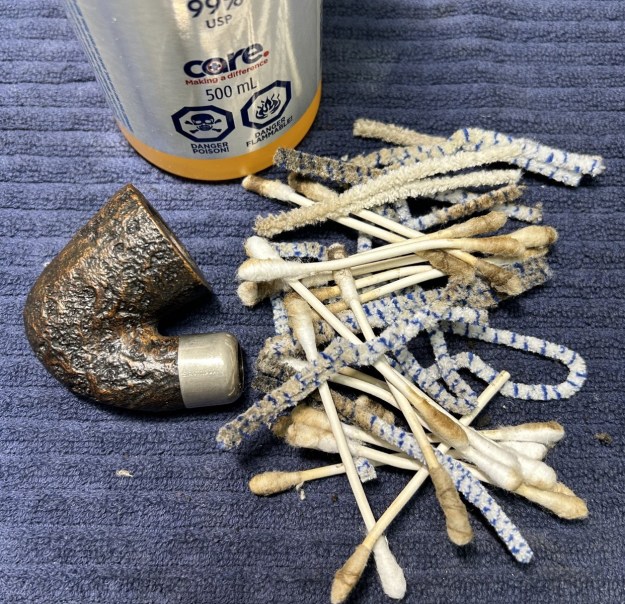
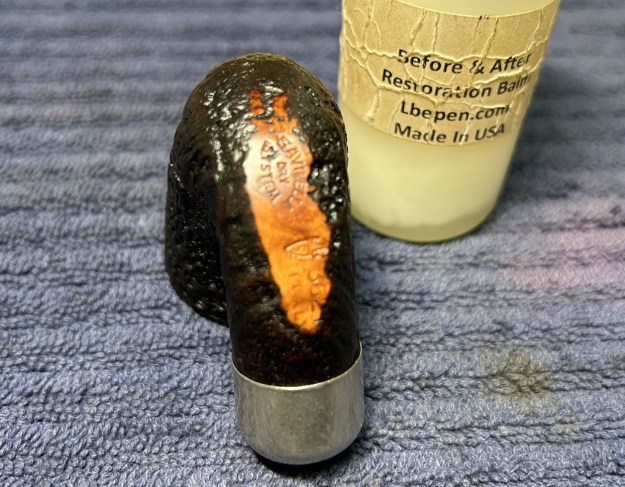
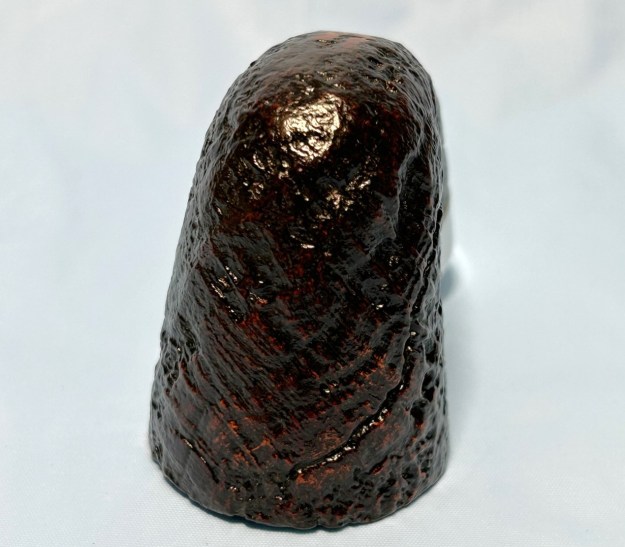
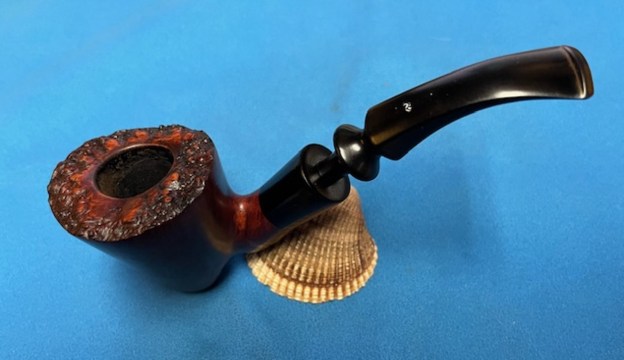
The next pipe I have chosen is smooth finished Peterson’s “Kildare” Apple shaped pipe that had a very dirty/grimy finish but had some good-looking grain around the bowl sides and shank. Both Jeff and I have no memory of where we picked up this pipe. Was it a trade or a pipe hunt find? Could easily have been either one. This Lightweight Apple was stamped on the left side of the shank and read Peterson’s [over] “Kildare”. It was stamped on the right side and read Made in the Republic of Ireland (three lines) followed by the number 87S (faint but present) near the shank/bowl junction. I believe the “S” is for the saddle stem designation. The pipe was filthy when I brought it to the table. There was grime ground into the briar sides and rim. There was a minimal cake in the bowl but there was still a coat of lava on the rim top but the edges of the bowl. The inner edge of the bowl was thickly coated in lava and it was hard to know how the rim top and edges looked underneath. The stem was dirty with oxidation and calcification on it. There were light tooth marks and chatter on the top and underside on and near the button. There was a light “P” stamp logo on left side of the saddle stem. I took photos of the pipe before my cleanup work. They tell the story and give a glimpse of the promise that we see in this pipe.
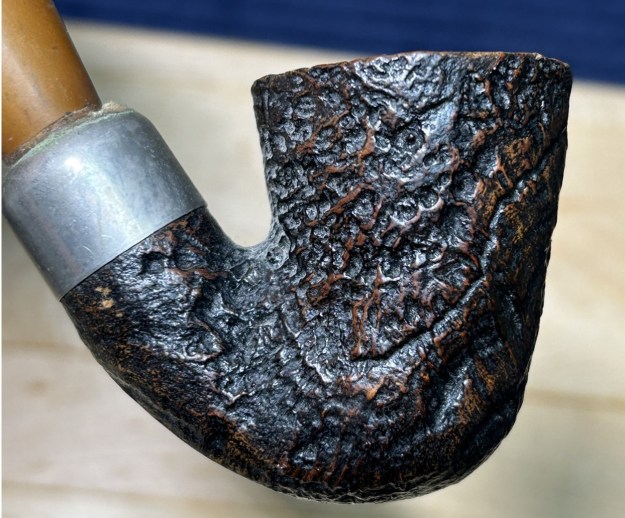
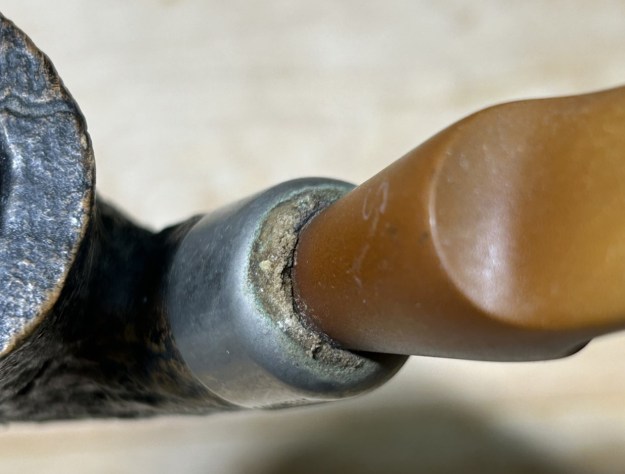
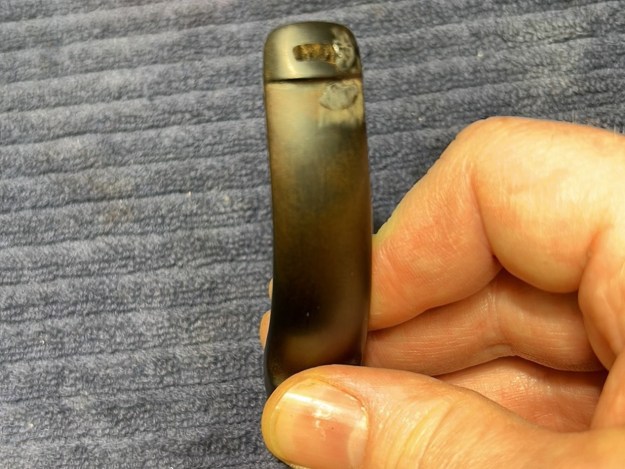
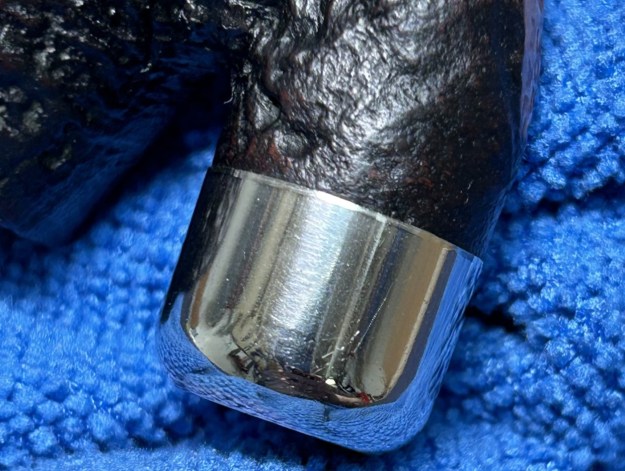
 I took photos of the rim top and stem to show the general condition of the pipe. The bowl has been but the rim top has a lava coat flowing down the outside of the bowl and the inner edge. The finish on the bowl is rough around the outer edge but I will know more once it is cleaned up. The photos of the stem show the oxidation, calcification and light tooth marks and chatter on both sides near the button. The P-Lip button and edges look good.
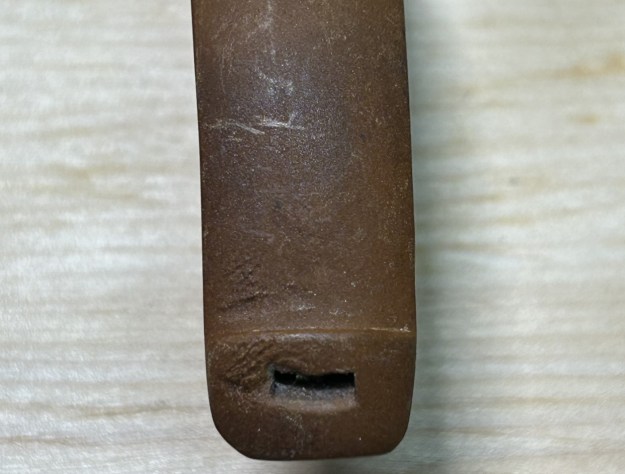
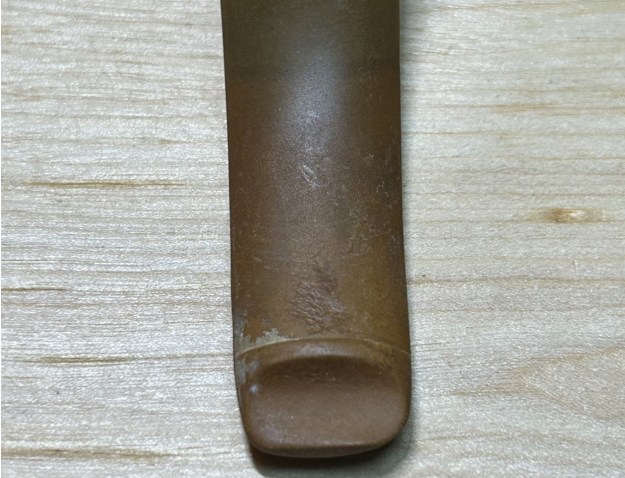
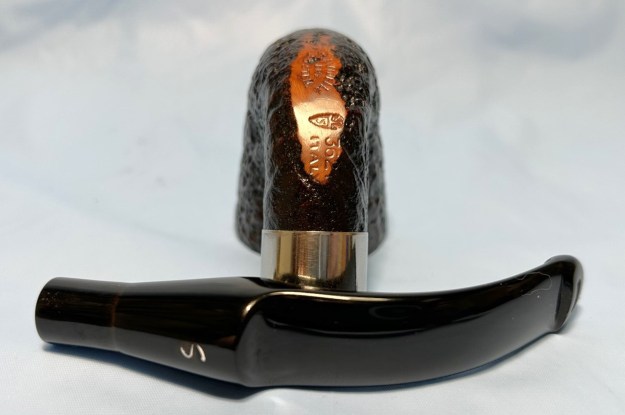
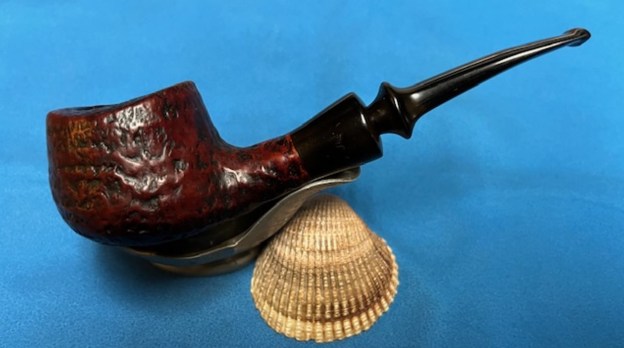
 I took photos of the sides of the shank to show the stamping. The stamping is faint but readable in the photos below and is as noted above. There is a “P” logo stamp on the left side of the saddle stem. It is faint but I am hoping that I can bring it back with white acrylic. I also removed the stem from the shank and took a photo of the parts of the pipe to give a clear picture of what I see here.
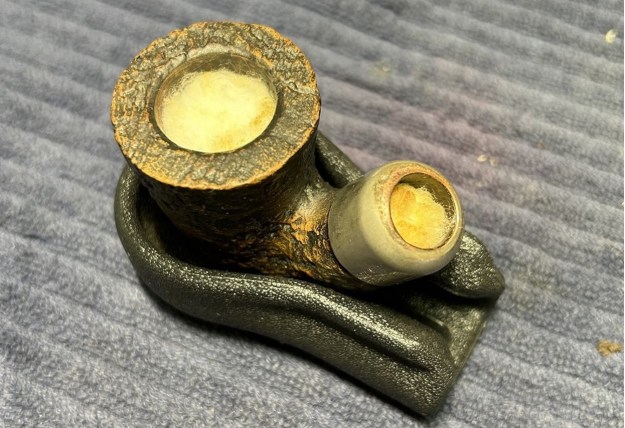
 I am including the information from Pipedia’s article on Peterson pipes. It is a great read in terms of the history of the brand (https://pipedia.org/wiki/Peterson). I have included a bit of the pertinent history here.
1950 – 1989 The Republic Era – From 1950 to the present time, the stamp for this era is “Made in the Republic of Ireland” in a block format generally in three lines but two lines have been used with or without Republic being abbreviated.
During the 1950’s and 60’s the Kapp & Peterson Company was still in the ownership of the Kapp family. However, 1964 saw the retiral of the company Managing Director Frederick Henry (Harry) Kapp.
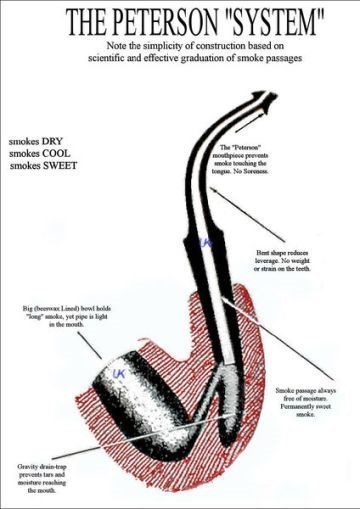
I turned to “The Peterson Pipe” by Mark Irwin and Gary Malmberg to get some background on the Peterson’s System Line. On page 314 it had the following information.
Kildare (1965-) First issue of line with matte-finish in Classic Range shapes, P-Lip and fishtail mouthpiece. Second issue C.1979 as Kildare Patch, with rusticated patches on pipe surface. Third issue 2010, matte-brown, P-Lip or fishtail mouthpiece, no band. Fourth issue 2011-, burgundy sandblast finish, nickel army mount, fishtail mouthpiece, exclusive to smokingpipes.com.
Judging from the description above I believe that I am working on a First Issue of the line in the time period of 1965-1979. It is a late Republic Era Classic Shaped pipe with a matte-finish and a P-Lip stem. Now it was time to work on the pipe.
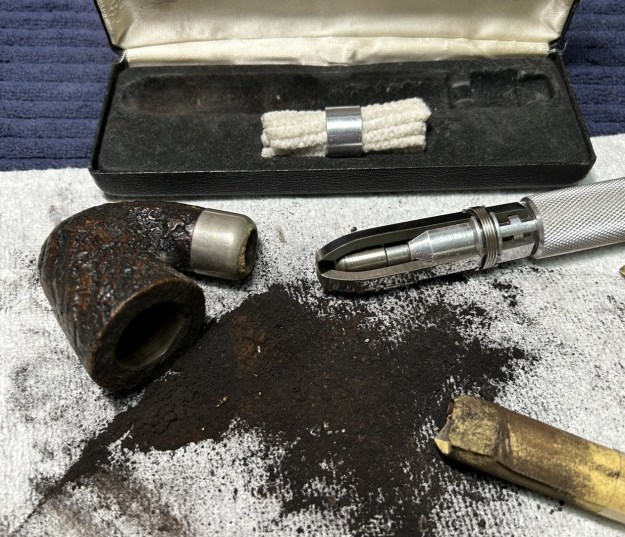
With that information at hand I turned to work on the pipe itself. Jeff had thoroughly cleaned up the pipe. He reamed the pipe with a PipNet Pipe Reamer and cleaned up the remnants with a Savinelli Fitsall Pipe Knife.
 I scrubbed the bowl with undiluted Murphy’s Oil Soap and a tooth brush. I rinsed it under running warm water to remove the soap and grime. The bowl was much cleaner though there were many small nicks and divots in the surface of the briar – but it was clean!
 I used a half wooden ball and a piece of 220 grit sandpaper to bevel and clean up the rim top. I also used a folded piece of 220 grit sandpaper to smooth out the outer edge as well and give a slight curved or crown rim top look.
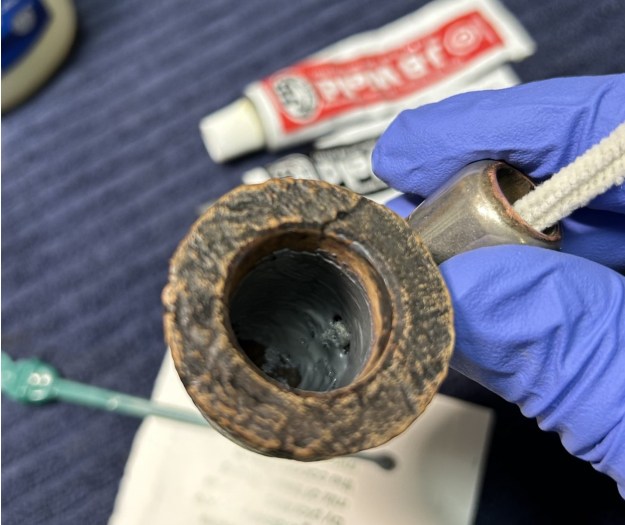
 I filled in the many nicks and divots in the bowl surface with clear CA glue. Once it cured I smoothed them out with a medium and a fine sanding sponge. Once finished it looked much better.


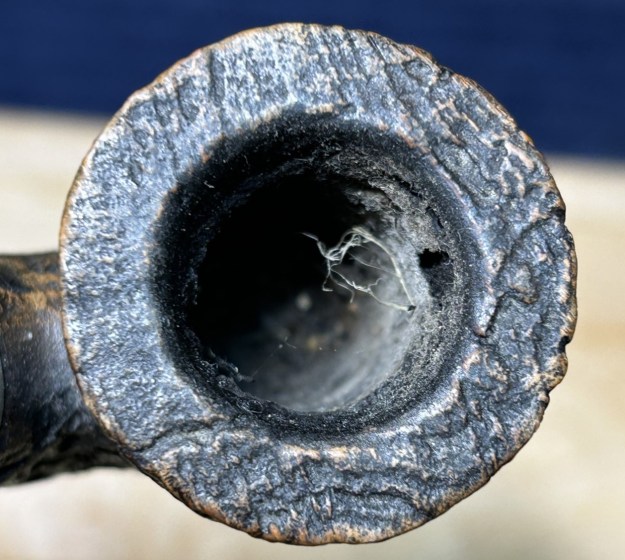
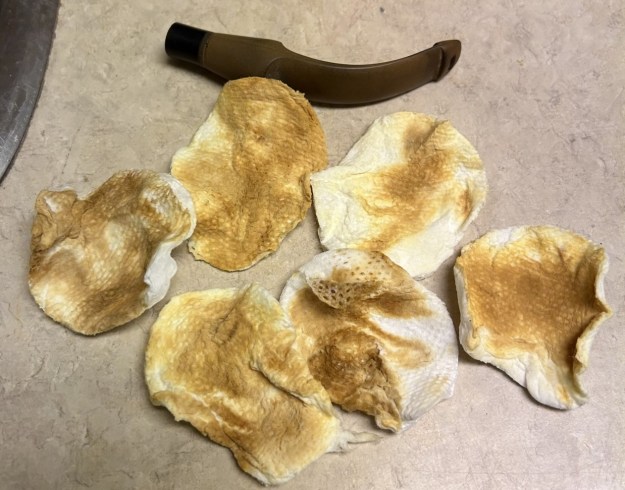
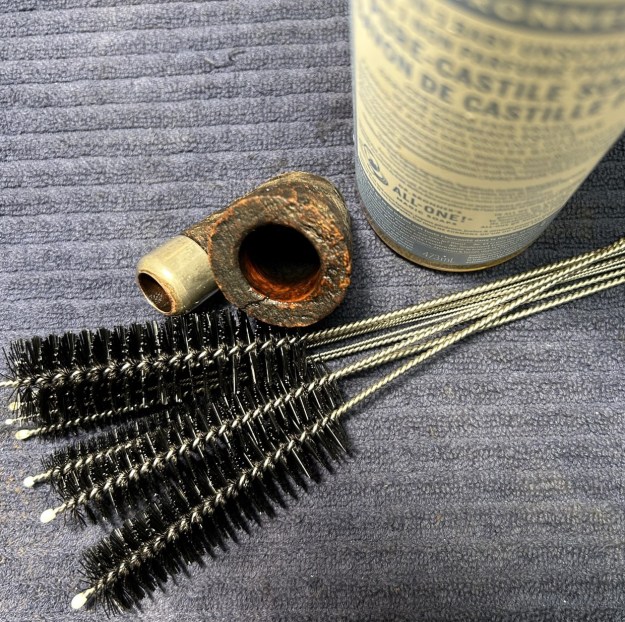
 I cleaned out the inside of the shank and the airway in the stem with alcohol, cotton swabs and pipe cleaners. Many pipe cleaners later the airways were clear and the smell much better.
 I polished it with micromesh sanding pads – dry sanding with 1500-12000 grit sanding pads. I wiped it down with a damp cloth to remove the dust on the surface.


 I did not need to restain the rim top and edge because with polishing the match is very good. I rubbed the bowl down with Before & After Restoration Balm. I worked it into the surface of the bowl sides and shank with my fingertips. The product works to clean, enliven and protect the briar. I let the balm sit for a little while and then buffed with a cotton cloth to raise the shine.

 I set the bowl aside and turned my attention to the stem. I scrubbed the exterior of the stem with Soft Scrub to remove as much of the oxidation and calcification as possible. It certainly is improved!
 In the photos above you can see roughening on the top of the stem surface. I cleaned up the surface and there was some pitting in the surface on both sides. I filled in the pitted surface with clear CA glue. Once it cured I flattened it out with a small file and sanded it smooth with 220 grit sandpaper. I started polishing it with 600 grit wet dry sandpaper.

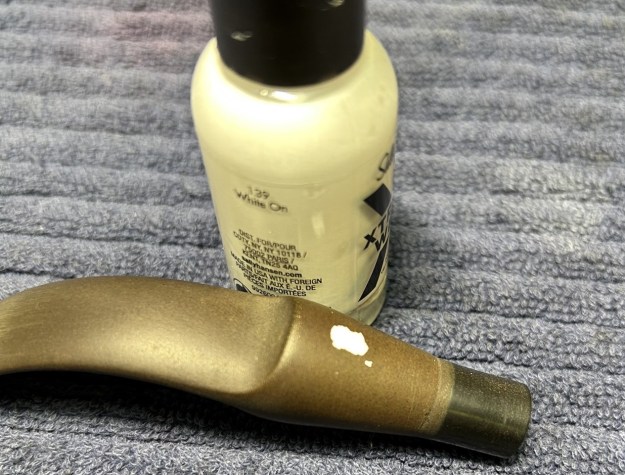
 I touched up the “P” stamp on the left side of the saddle with some white acrylic fingernail polish. Once it cured I used a worn 1500 grit micromesh pad to polish off the excess material. The stamp is faint in the vulcanite so it is quite hard to see clearly.
 I polished the stem with micromesh sanding pads – wet sanding with 1500-12000 grit pads. I wiped the stem down after each sanding pad with Obsidian Oil.
 I polished it with Before & After Pipe Stem Polish – both Fine and Extra Fine. I gave it a coat of Obsidian Pipe Stem Oil. It works to protect the stem from oxidizing. I set it aside to dry.
  NOTE: When I was buffing the pipe I notice a scratch on the left side the shank above the stamping that looked like a crack in the shank… I was a bit frustrated so I stopped buffing and checked it out and was relieved to see under bright light that it was a scratch and not a crack. I also removed the stem and checked the mortise end and there was no crack! I tried steaming the scratch out and was able to improve it but it is still present. There is also a small on the underside of the stem… irritating but part of the pipe’s story.
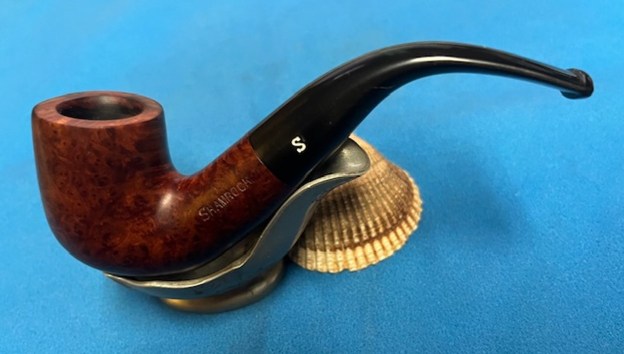
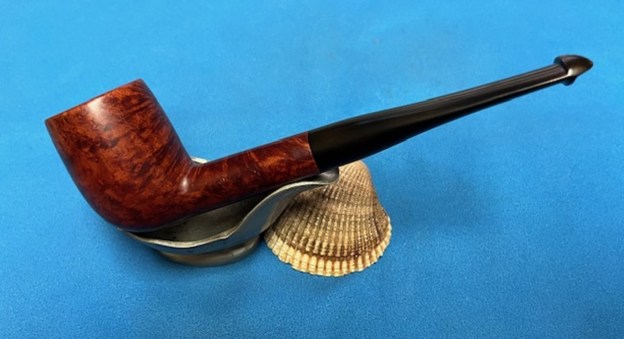
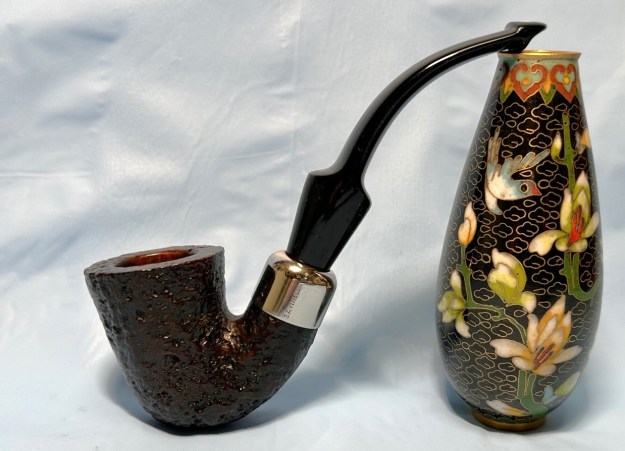
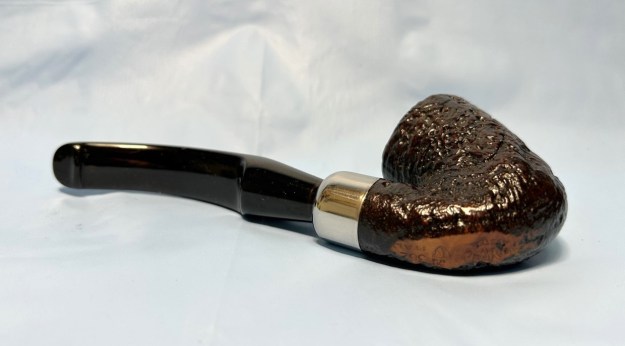
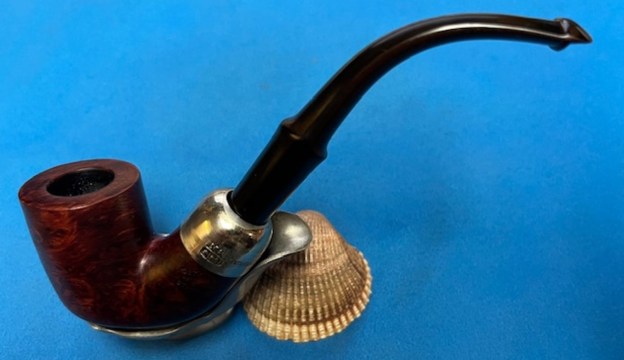
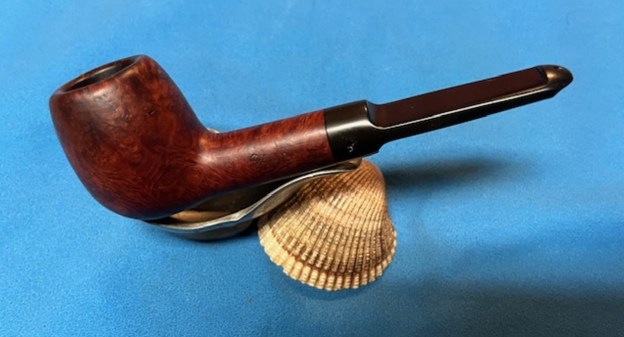
I am excited to be on the homestretch. I look forward to the final look when the Republic Era Peterson’s “Kildare” 87S Apple with a saddle stem is put back together, polished and waxed. I put the bowl and stem back together. I lightly polished the bowl and stem with Blue Diamond to polish out the scratches in the briar and the vulcanite. I gave the bowl and the stem multiple coats of carnauba wax. I buffed the pipe with a clean buffing pad to raise the shine. I hand buffed it with a microfiber cloth to deepen the shine. The pipe polished up pretty nicely. The grain really pops with the wax and polish. The shiny black vulcanite stem is a beautiful contrast to the browns of the bowl and thick shank. This Republic Era Peterson’s “Kildare” 87S Apple was another challenging pipe to work on. It is a nice piece of briar that cleaned up really well. The pipe feels great in the hand will be better when warmed up while smoking. The finished pipe is shown in the photos below. The dimensions of the pipe are Length: 5 ½ inches, Height: 1 ¾ inches, Outside diameter of the bowl: 1 inch, Chamber diameter: ¾ of an inch. The weight of the pipe is 1.13 ounces/32 grams. I will be putting it on the rebornpipes store in the Irish Pipemakers Section if you would like to add it to your rack and carry on the previous pipeman’s legacy. This is an interesting estate to bring back to life.
As always, I encourage your questions and comments as you read the blog. Thanks to each of you who are reading this blog. Remember we are not pipe owners; we are pipe men and women who hold our pipes in trust until they pass on into the trust of those who follow us.