Blog by Steve Laug
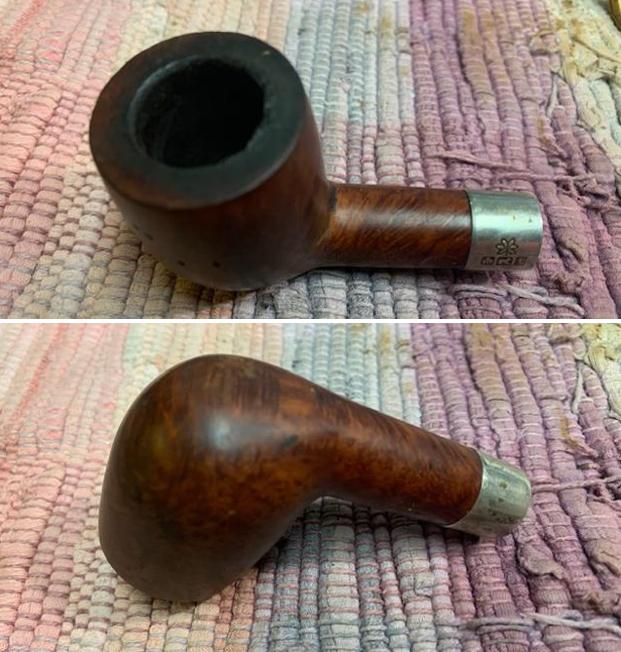
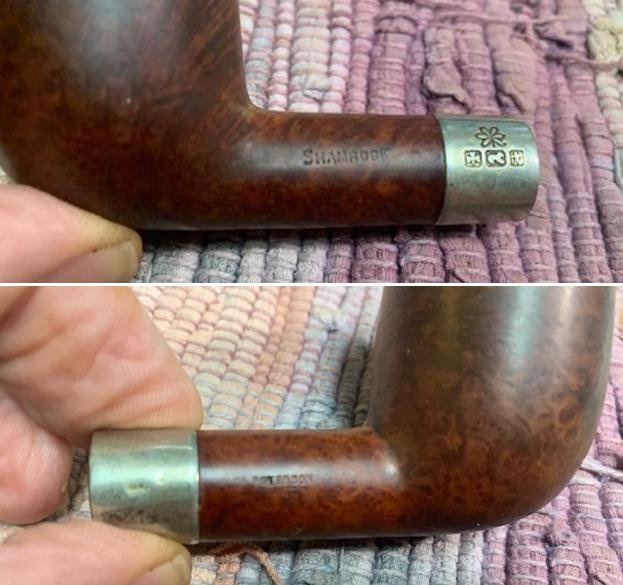
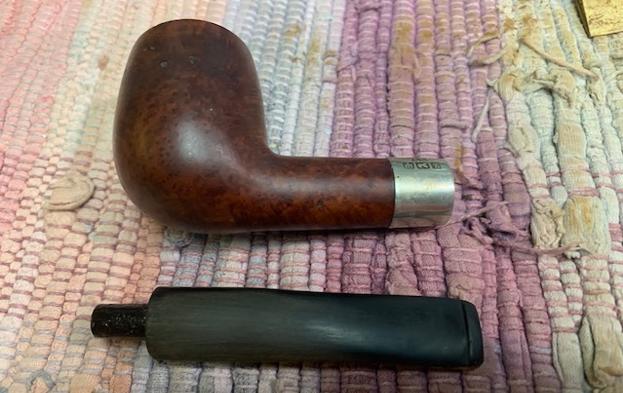
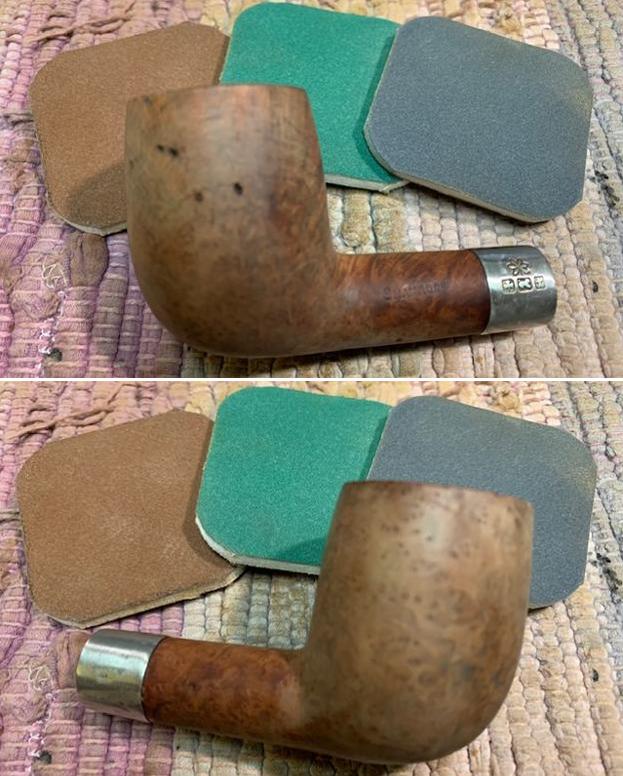
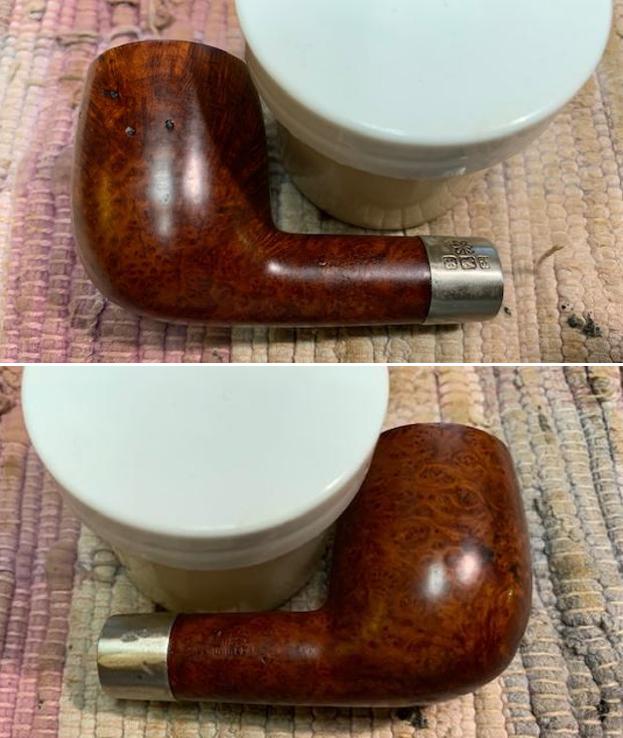
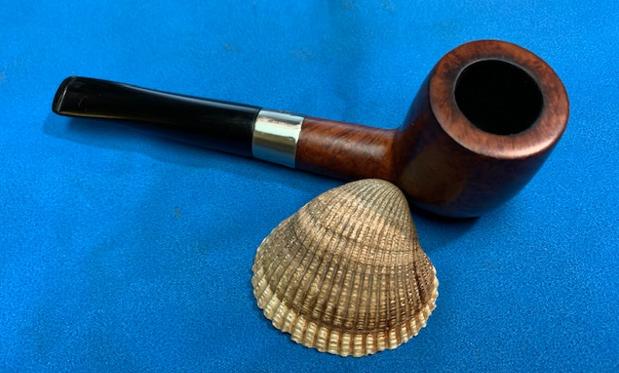
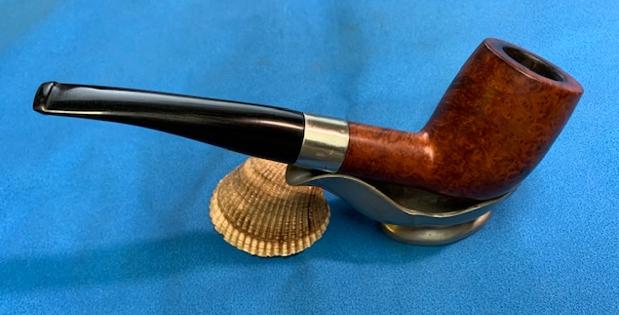
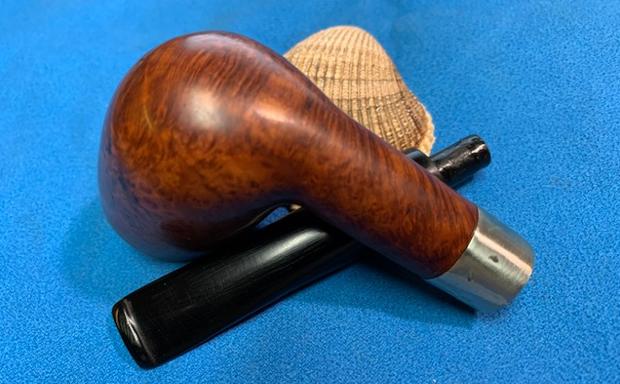
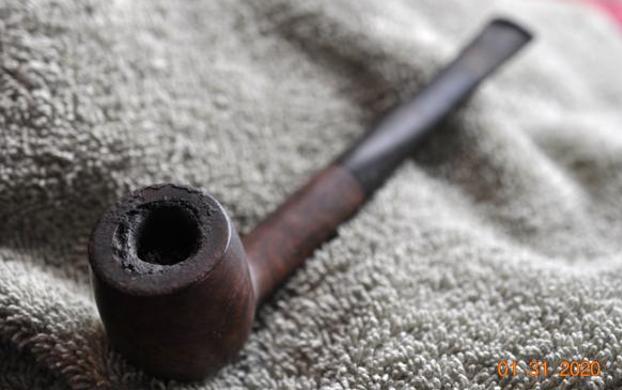
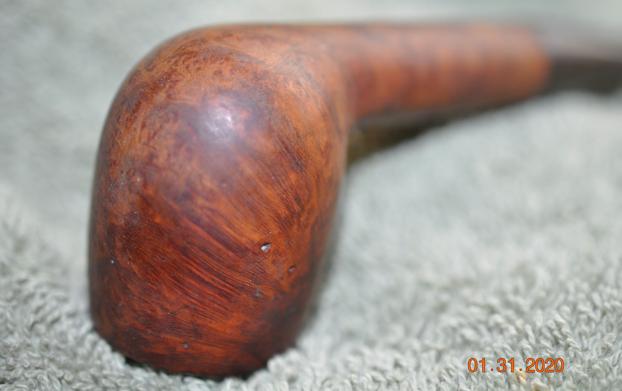
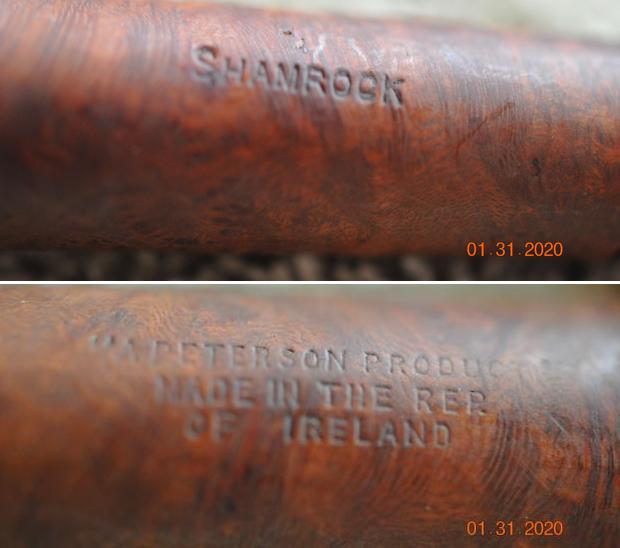
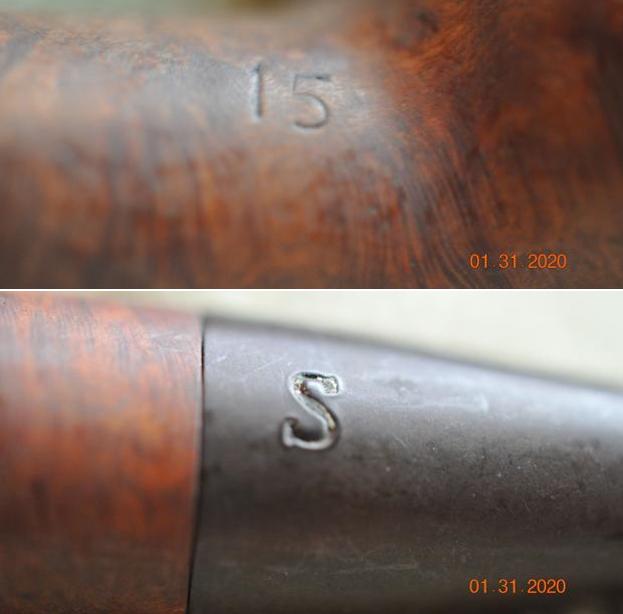
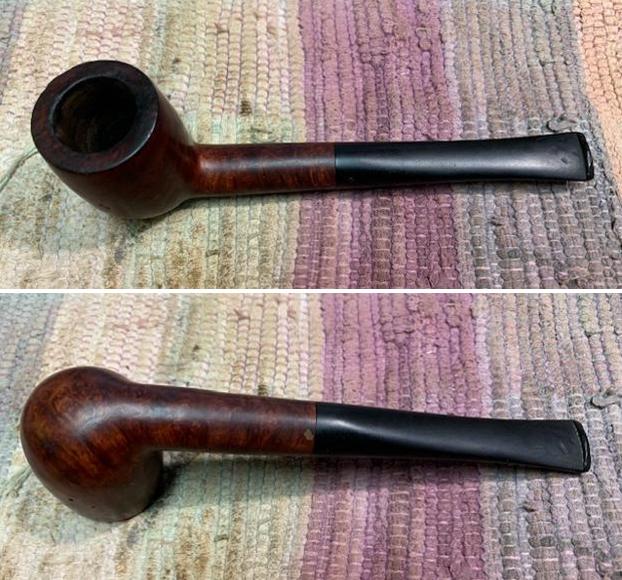
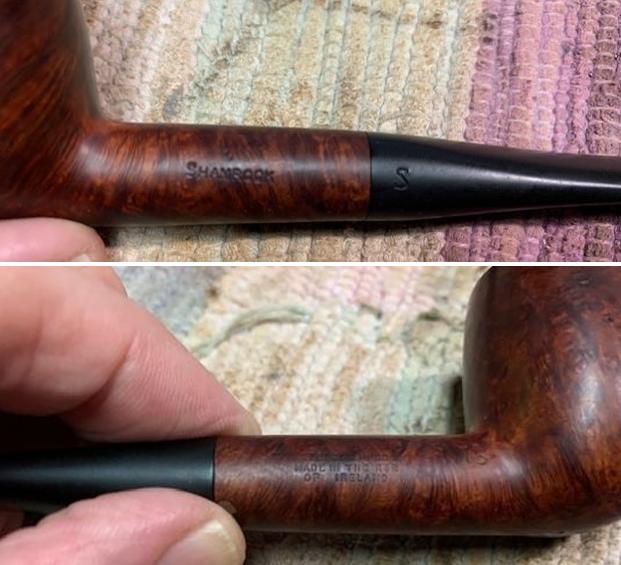
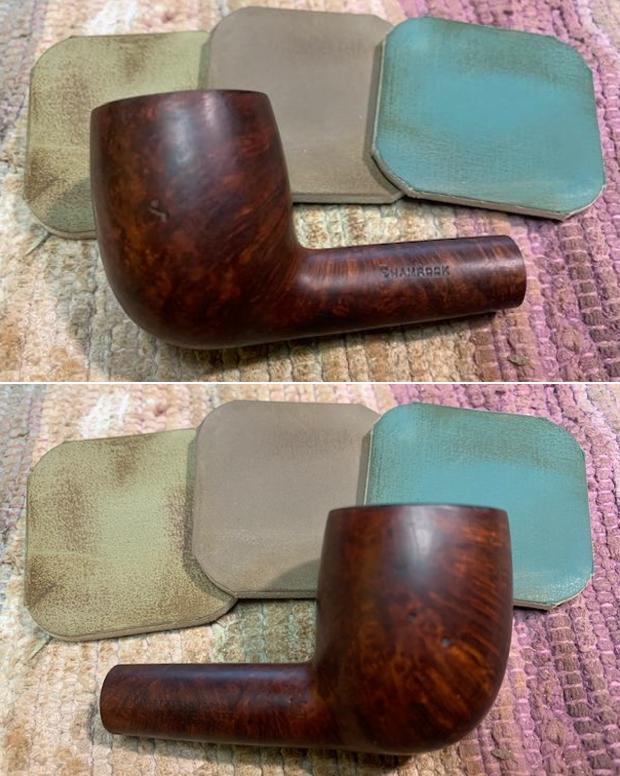
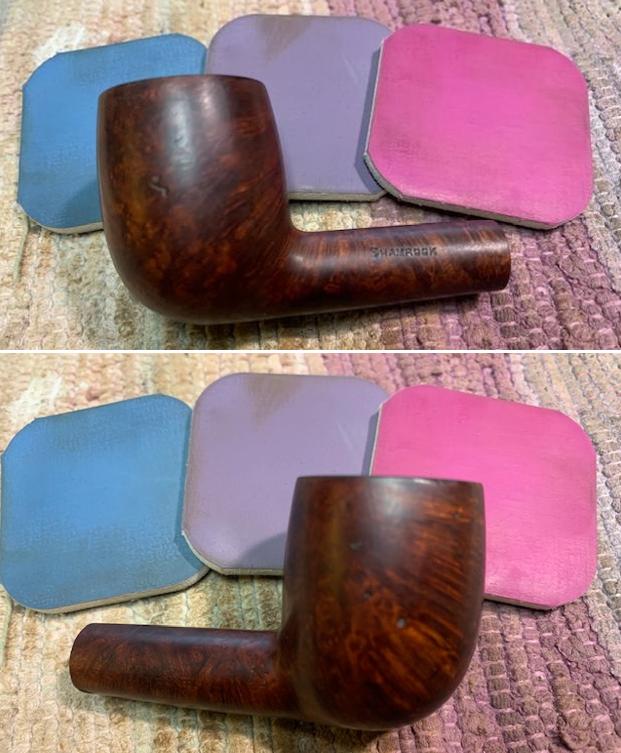
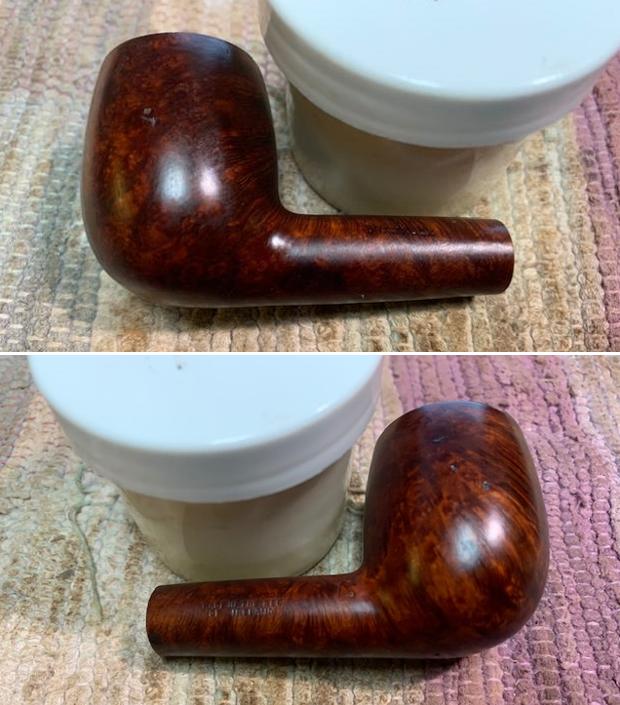
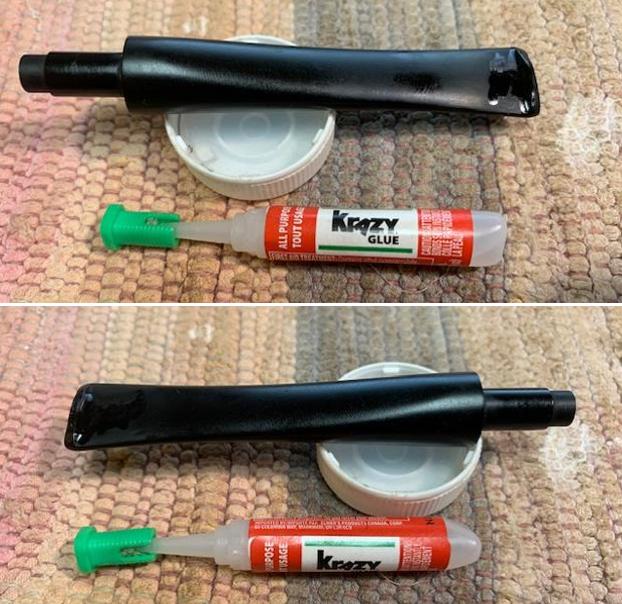
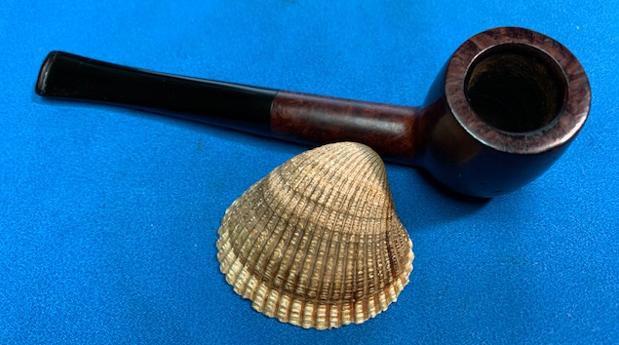
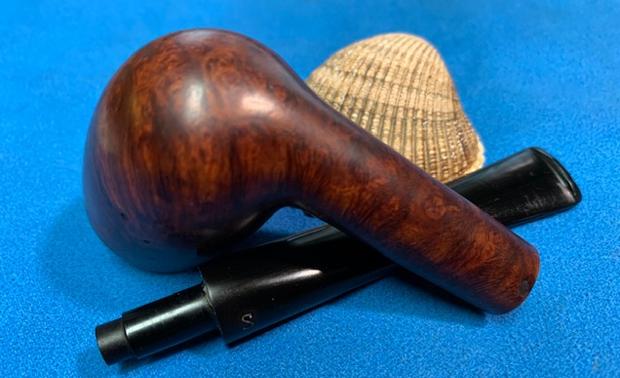
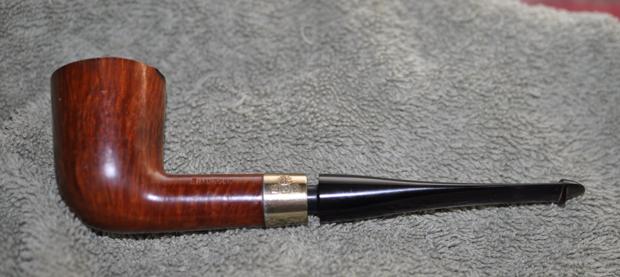
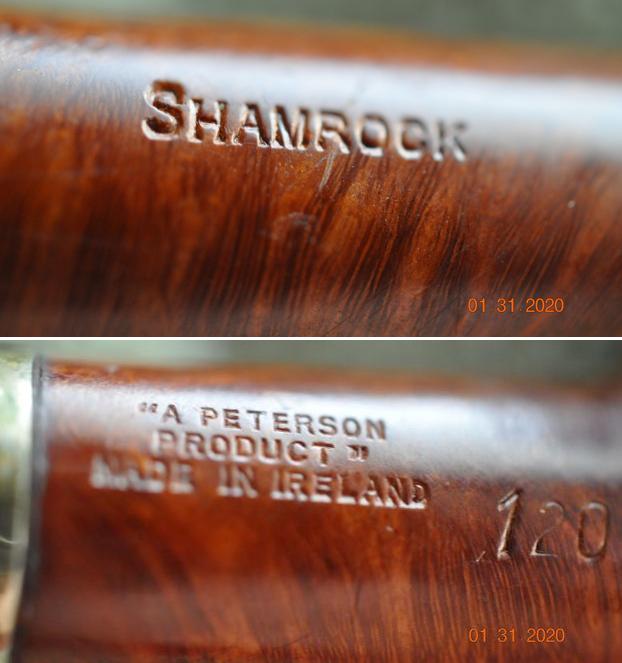
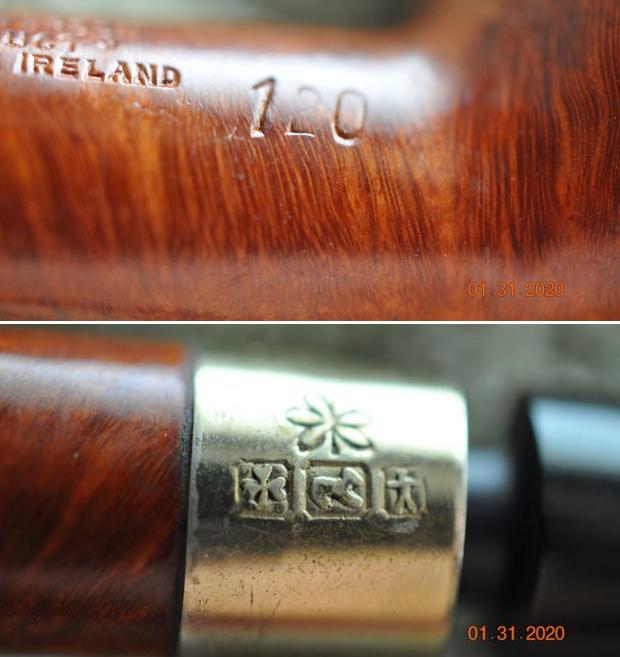
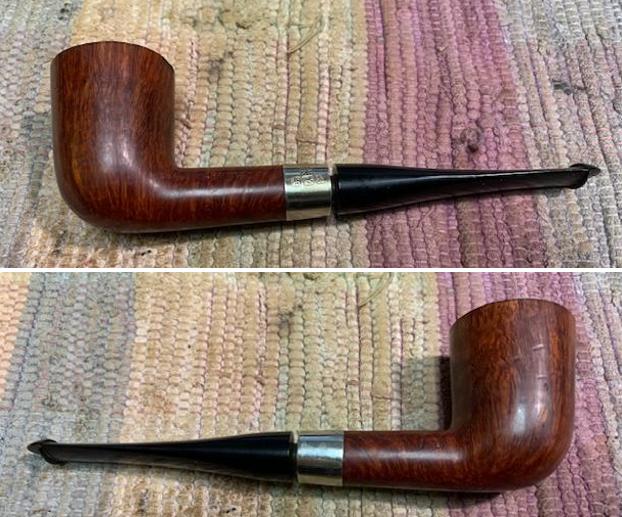
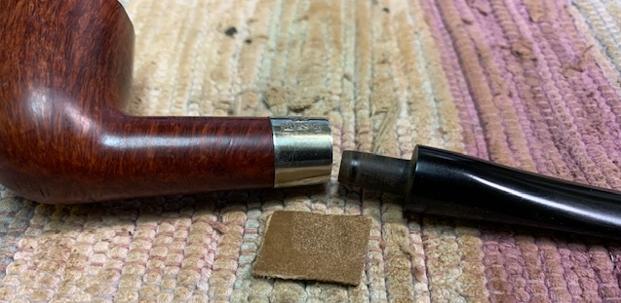
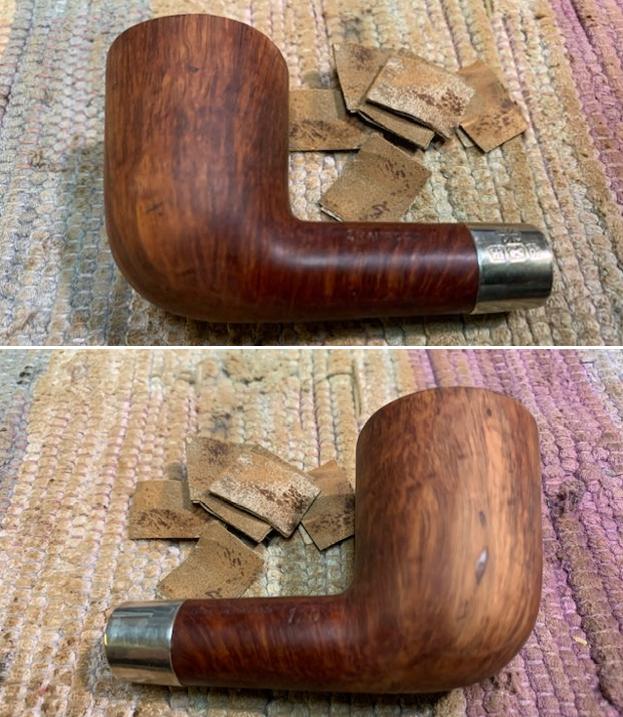
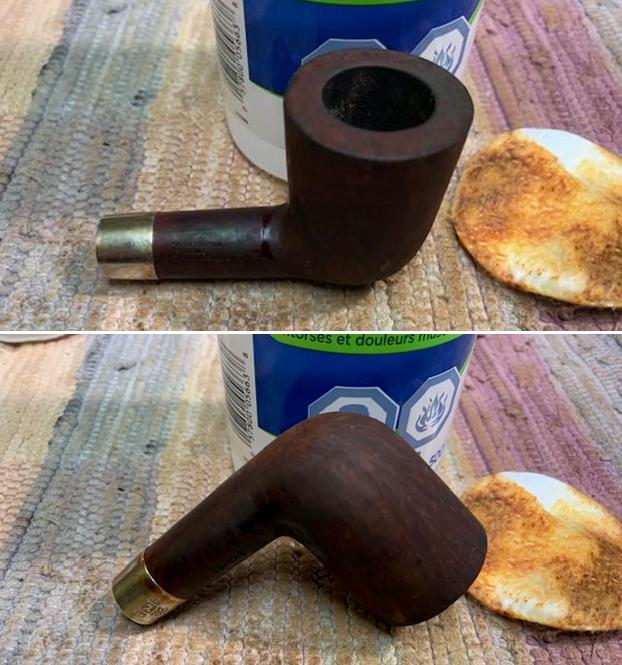
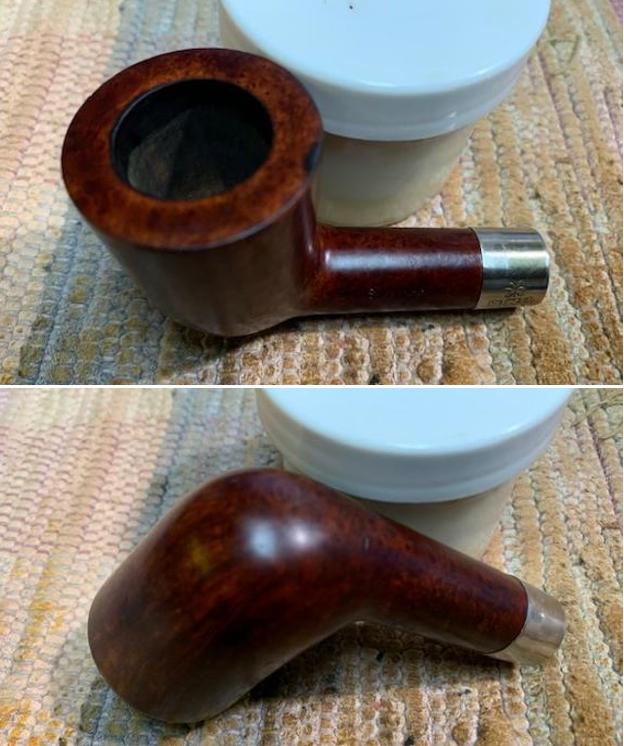
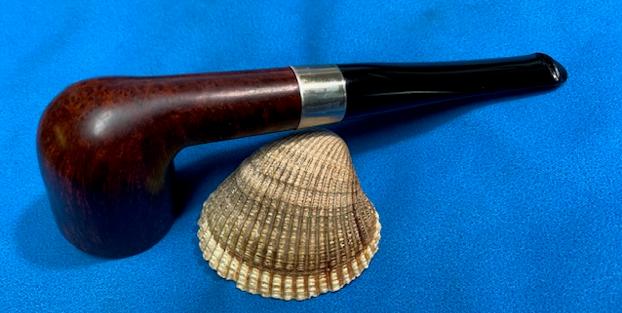
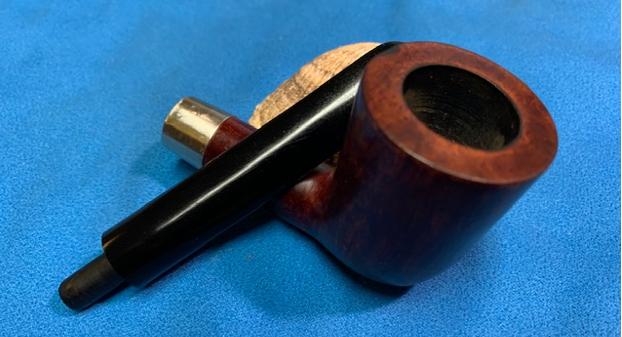
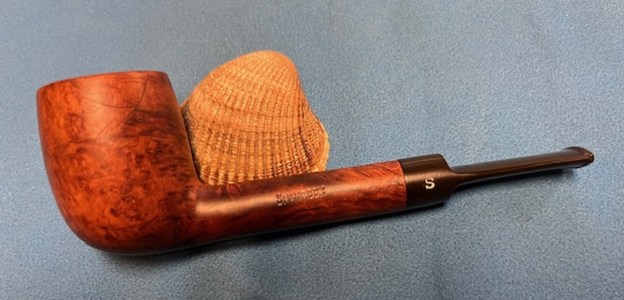
I am working through the remaining Peterson’s Pipes I have in my bins of pipes to work on. All that remain are pipes that neither Jeff or I remember where we obtained them. I chose to work on this nice looking Lovat with a fishtail style taper stem from that group of pipes. It is stamped on the left side of the shank and read SHAMROCK. It was also stamped on the right side and reads “A PETERSON’S [over] PRODUCT” over MADE IN THE REP. OF IRELAND (3 lines) with the shape number 53 next to the bowl. There was also the Shamrock logo “S” on the left side of the saddle stem. The bowl had been reamed and cleaned as obviously Jeff had done his magic on it before I got it. He had scrubbed the exterior with Murphy’s Oil Soap and a tooth brush. The rim top showed darkening and some damage on the inner and outer edges. He had rinsed it with warm water. He cleaned out the inside of the shank and stem with alcohol, cotton swabs and pipe cleaners. The vulcanite stem is lightly oxidized from sitting around here for years and has some light tooth marks and chatter on both sides ahead of the button. There is also a stamped Shamrock “S” logo on the left side of the stem. I took photos of the pipe before I started my work on it.
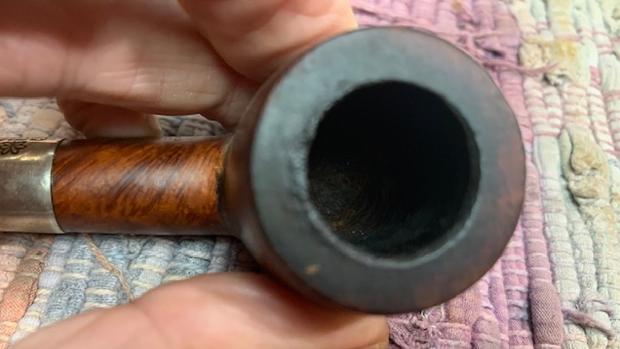
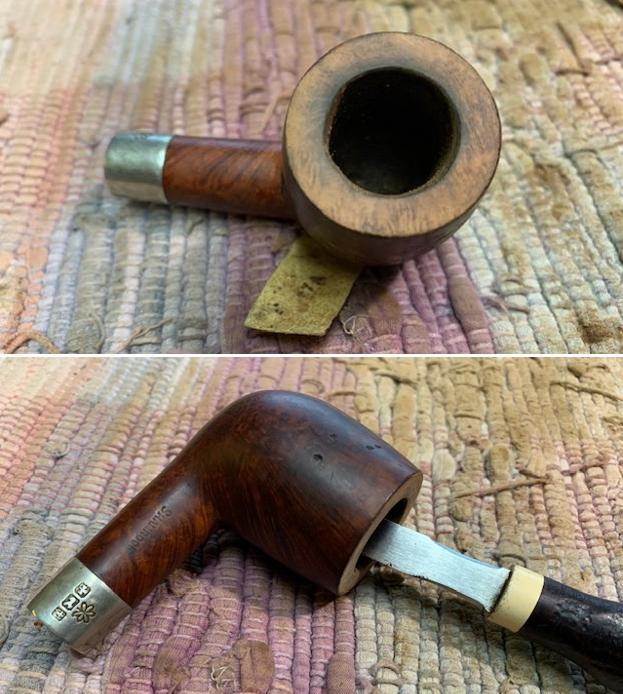
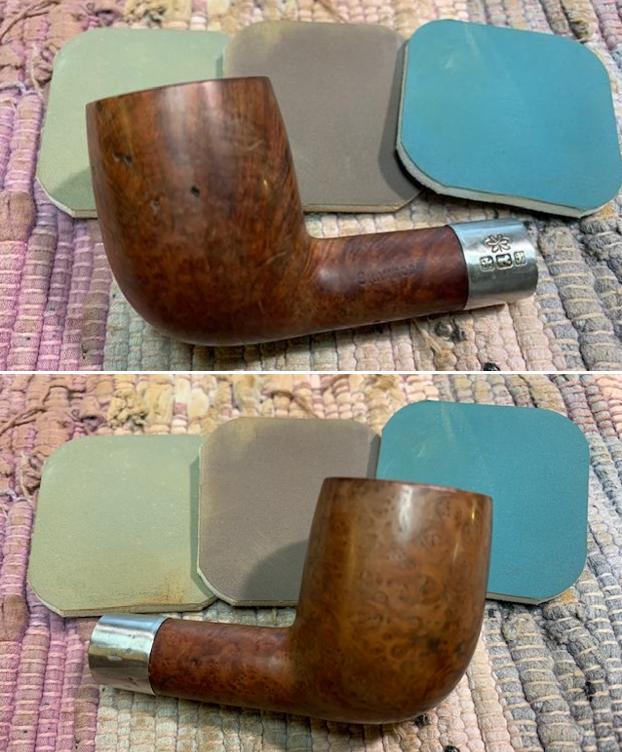
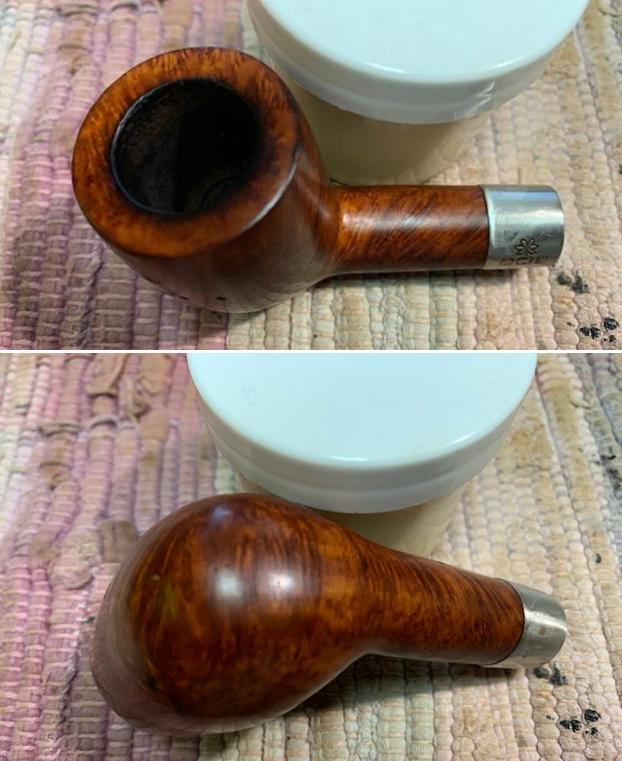
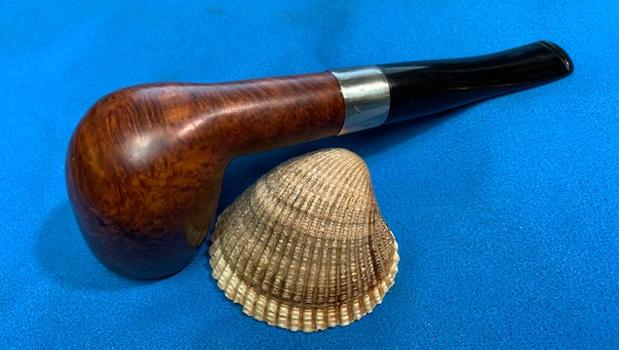
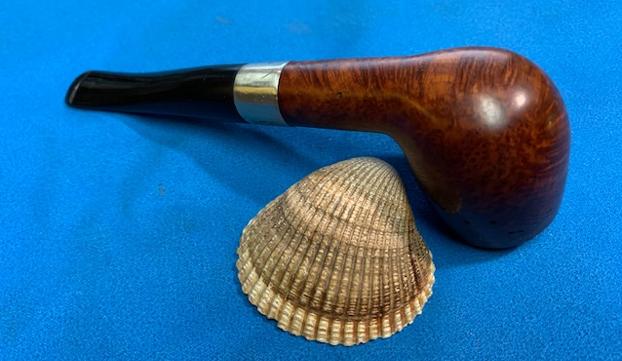
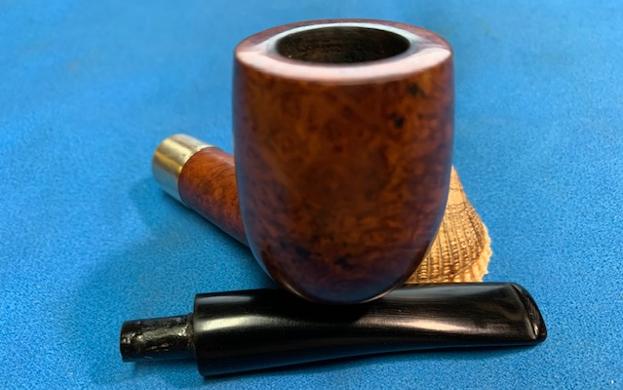
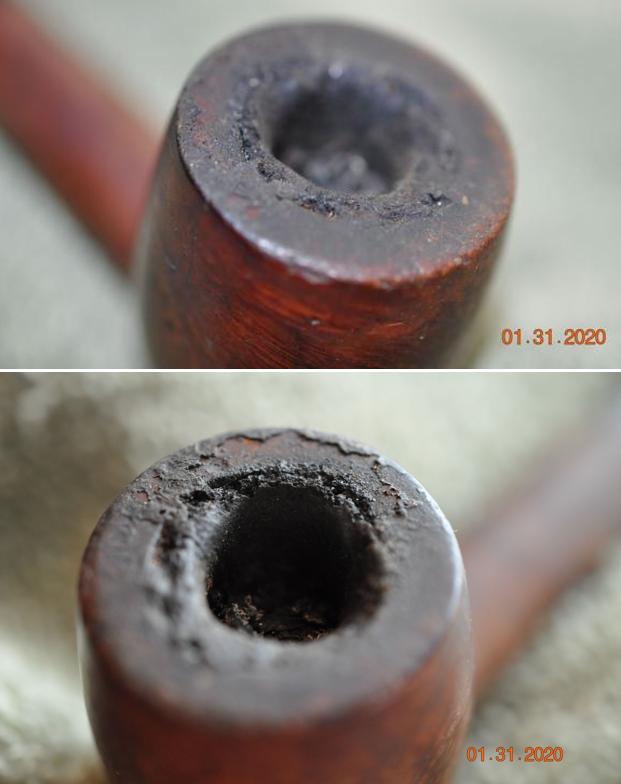
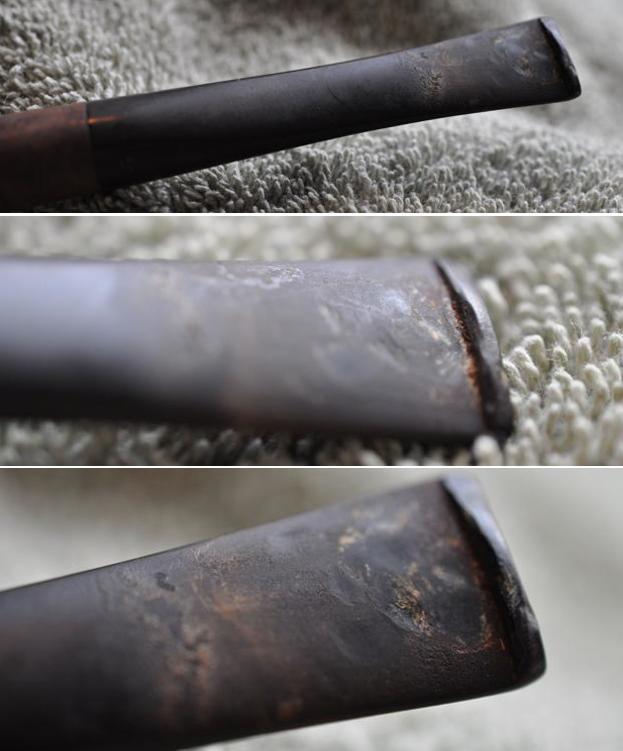
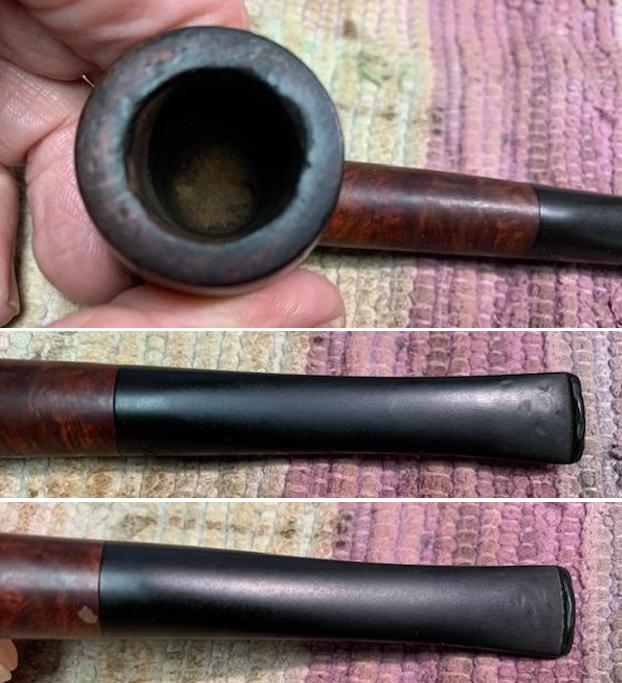
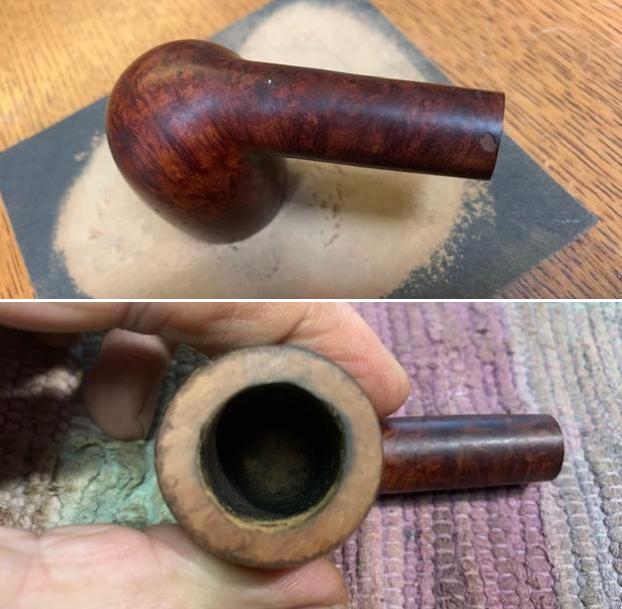
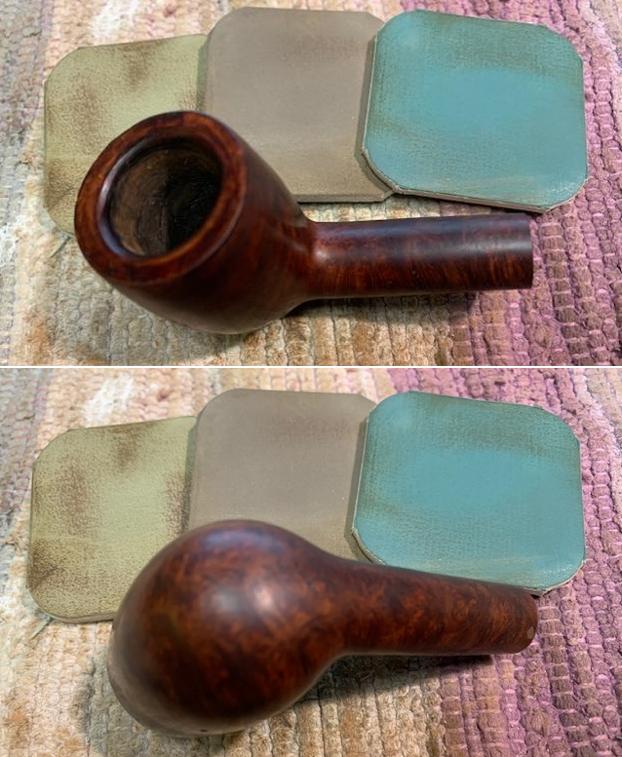
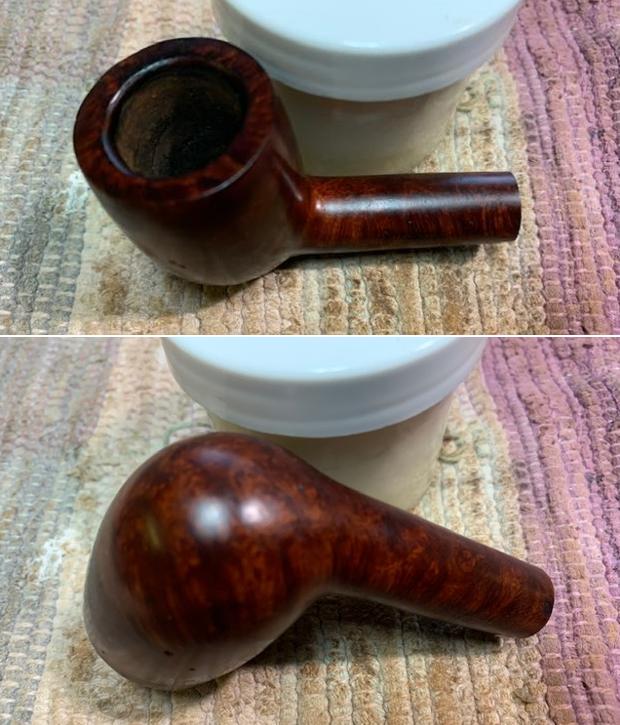
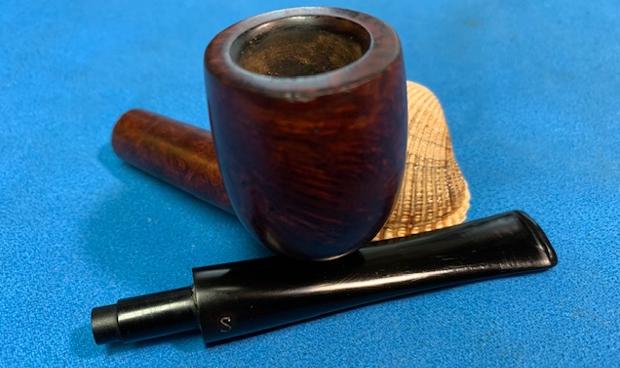
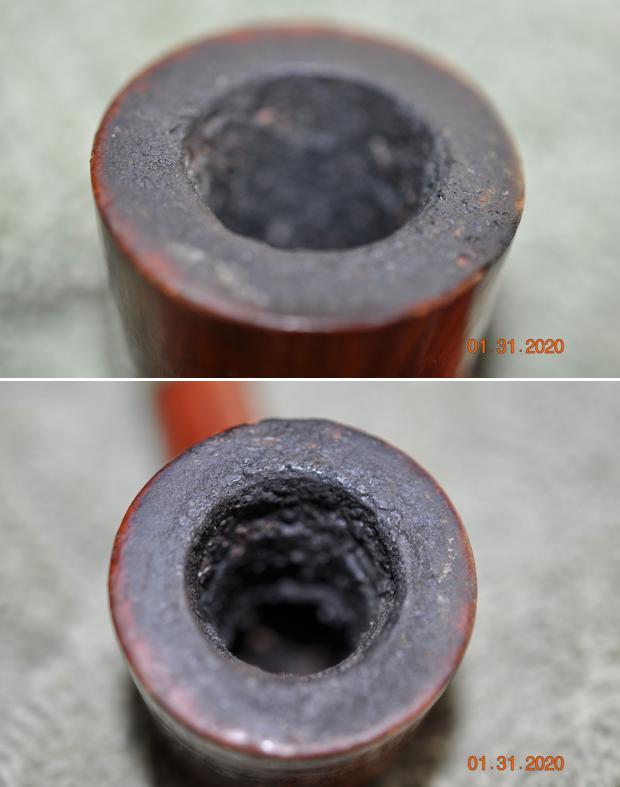
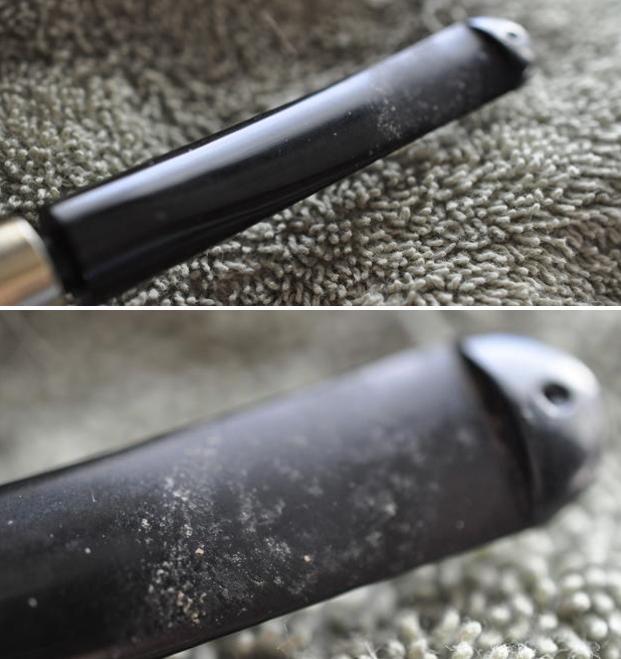
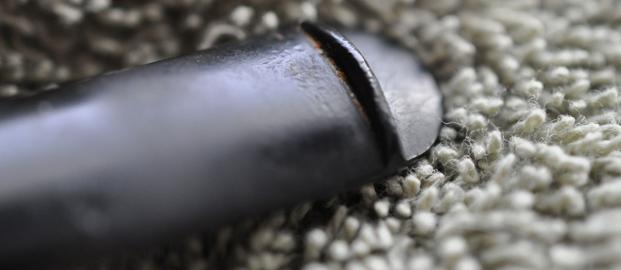
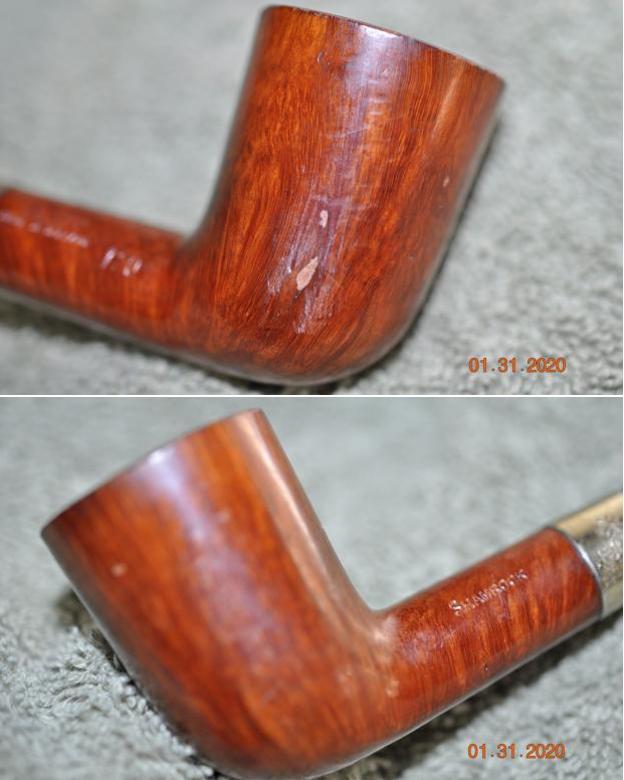
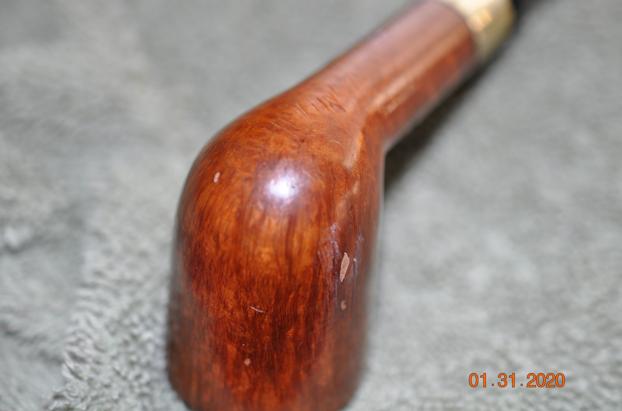
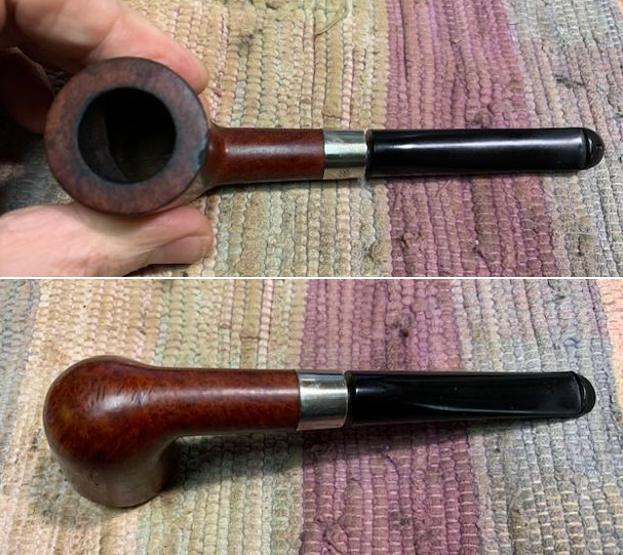
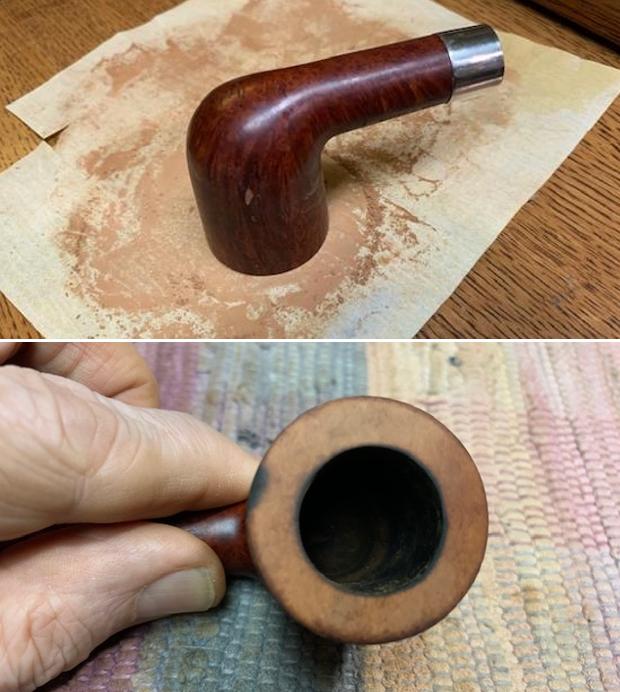
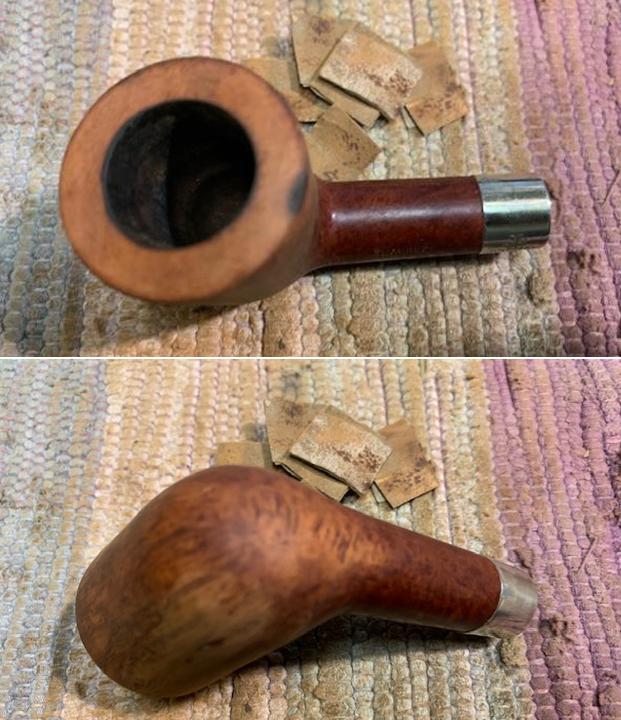
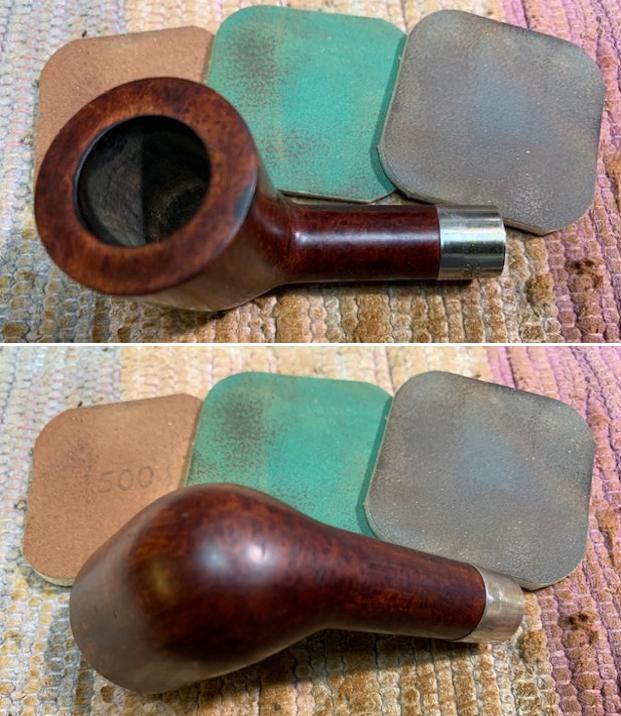
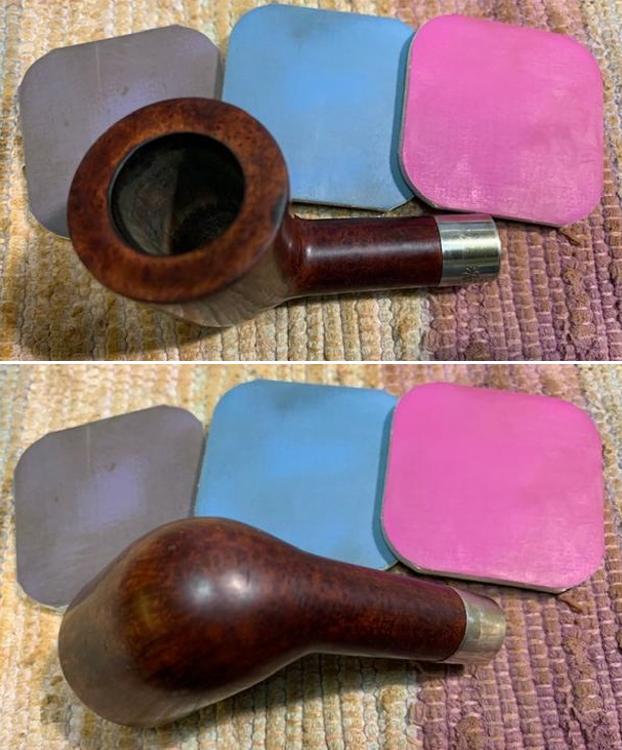
 I took photos of the rim top and the bowl to show the condition. The rim top had some nicks on it and some damage on the inner edge of the rim making it slightly out of round. There was also darkening on the bowl top. I also took photos of both sides of the stem to show the light oxidation and tooth chatter. Over all the pipe was in good condition.
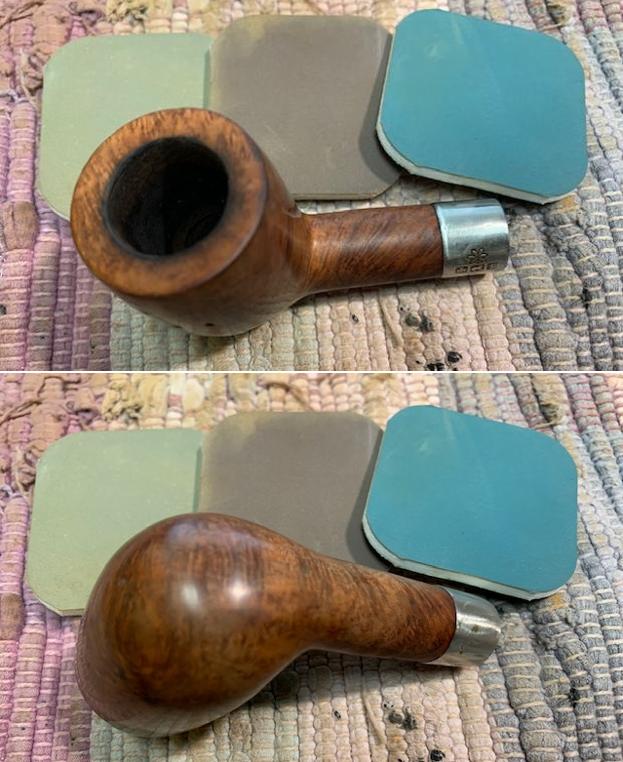
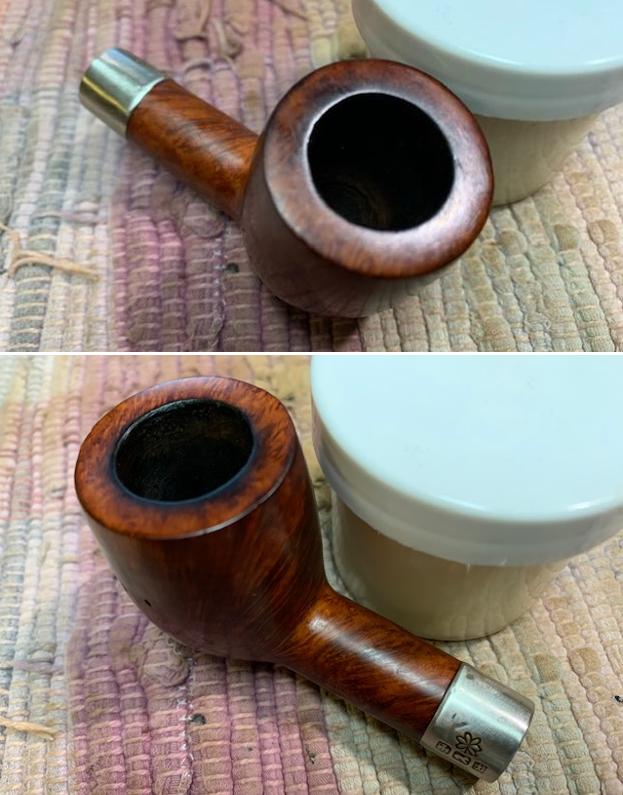
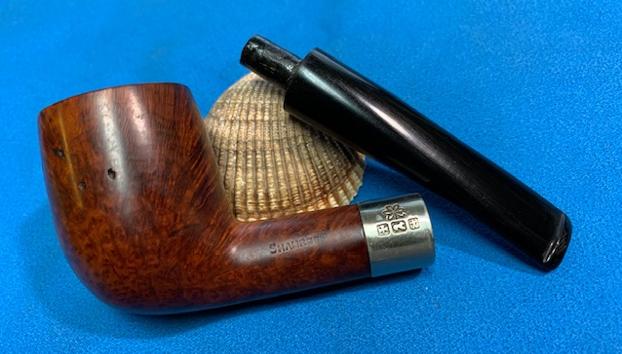
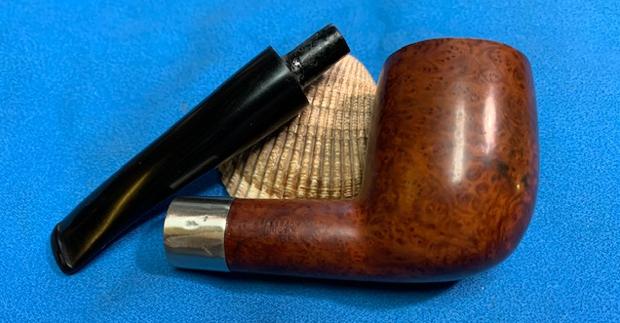
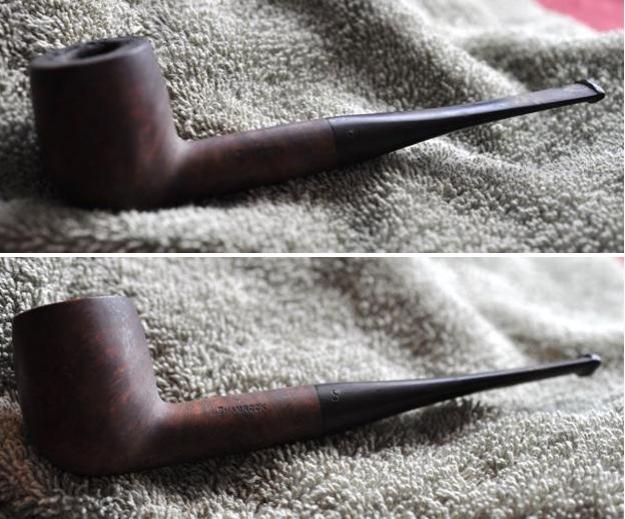
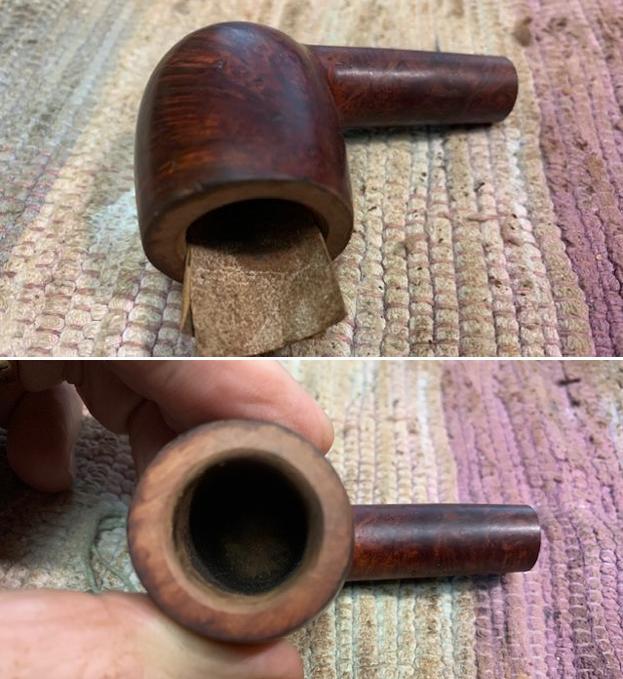
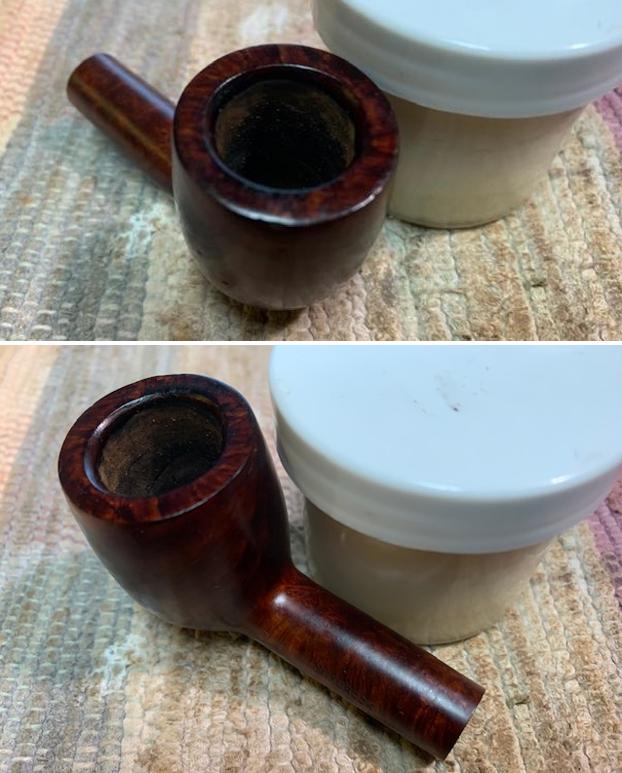
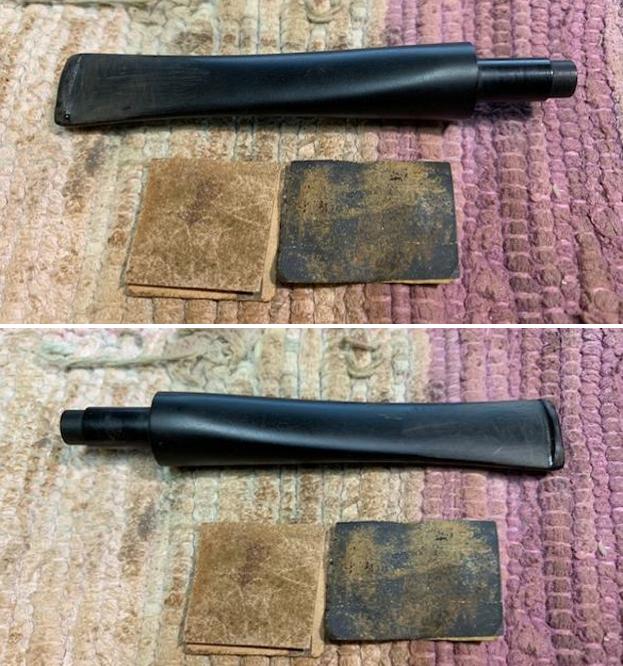
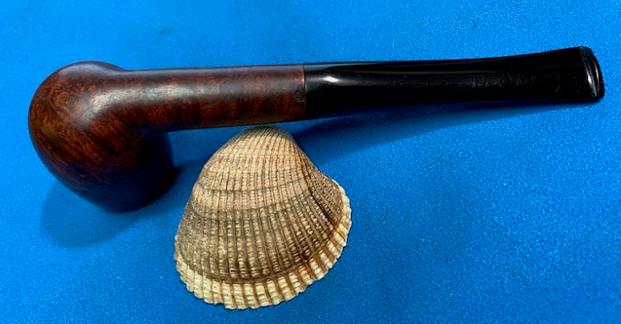
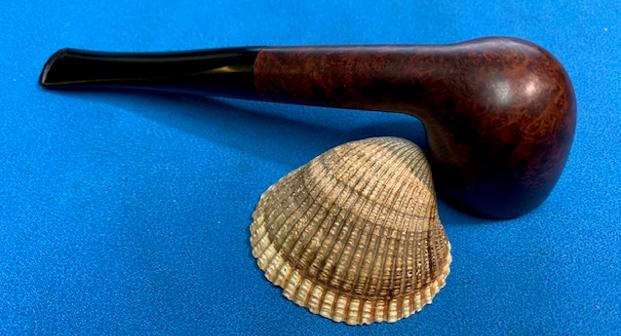
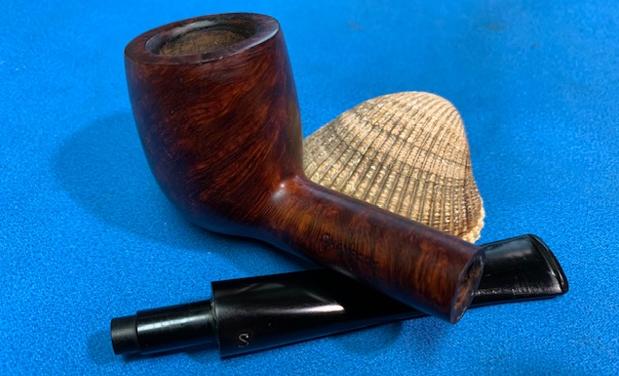
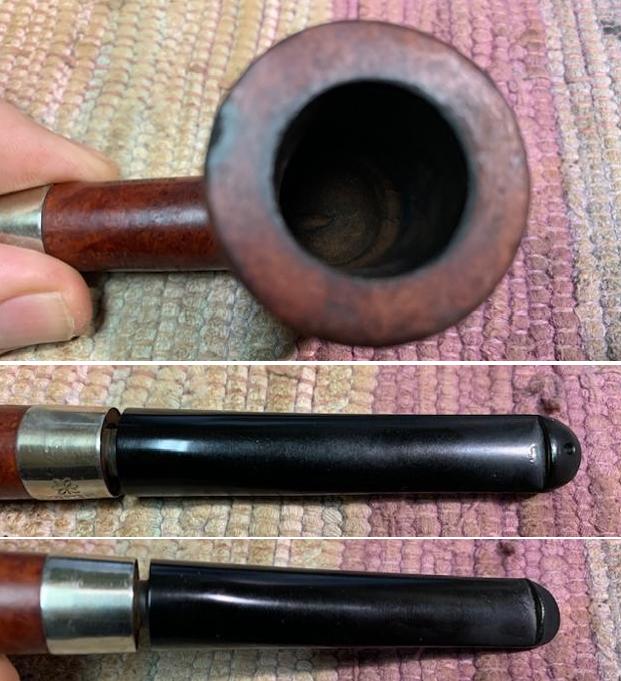
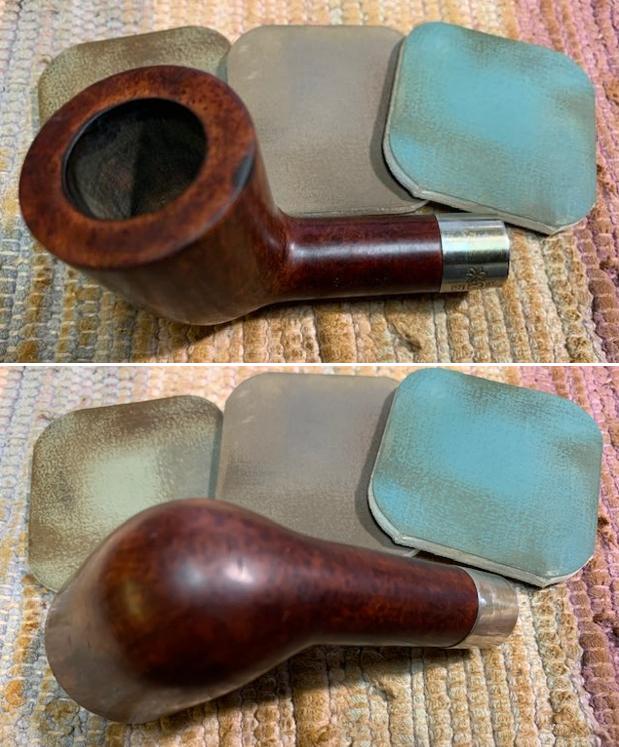
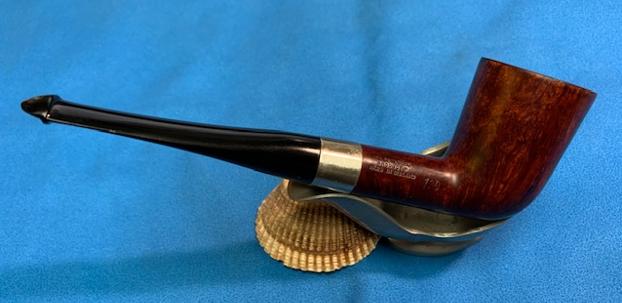
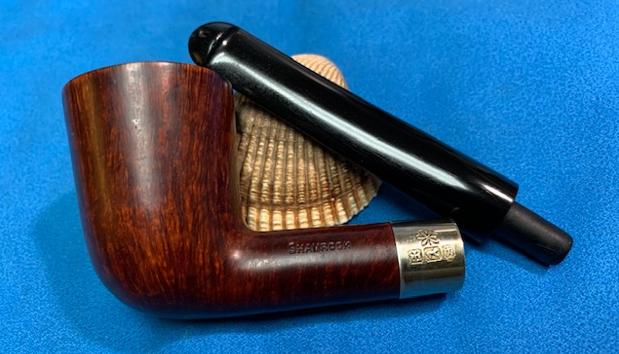
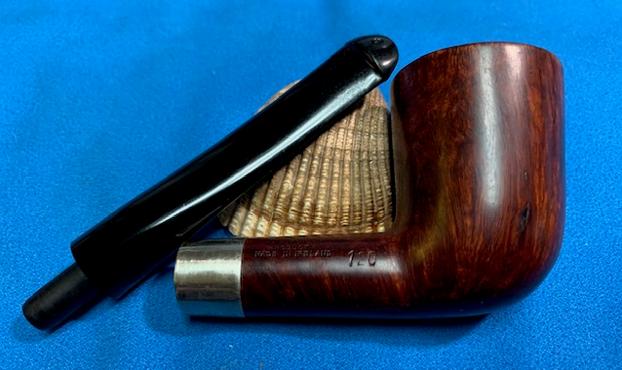
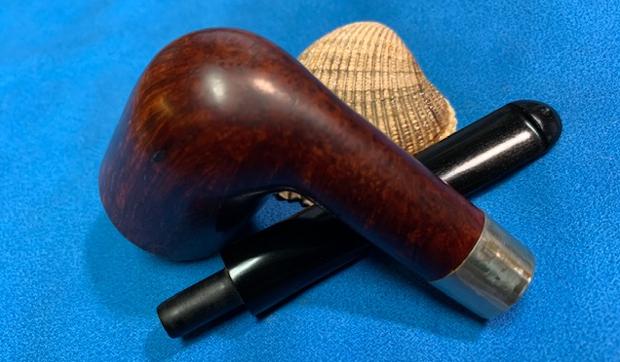
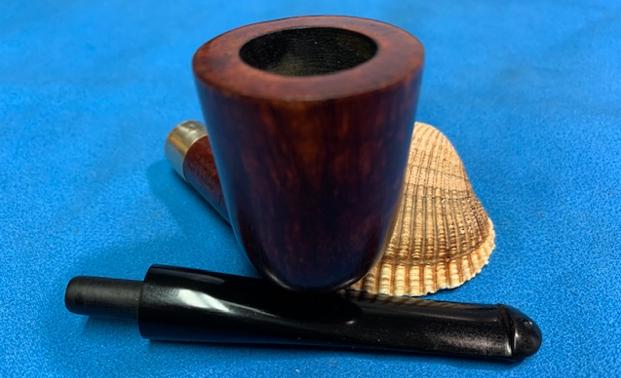
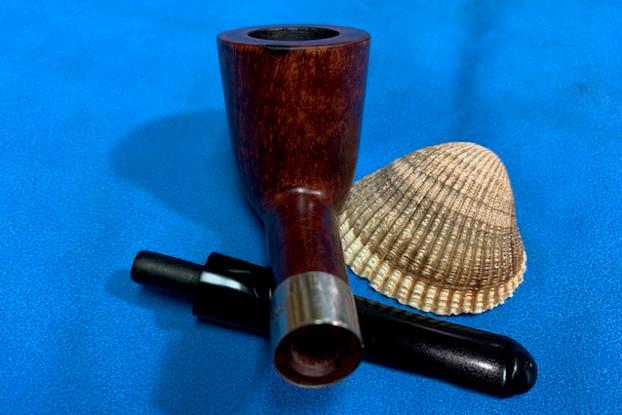
 I took photos of the sides of the shank to show the stamping. The stamping is readable in the photos below and is as noted above. I took the stem off the pipe and took a photo of the parts to give a sense of proportion.
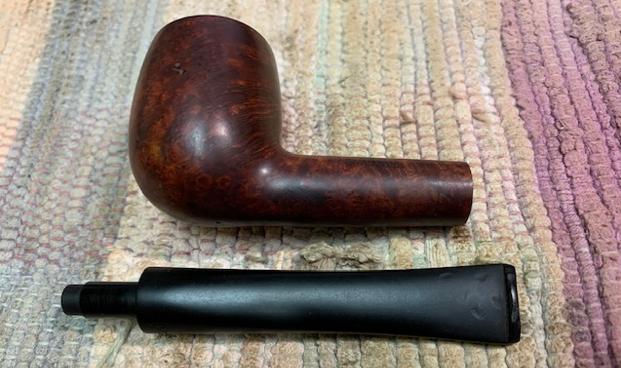
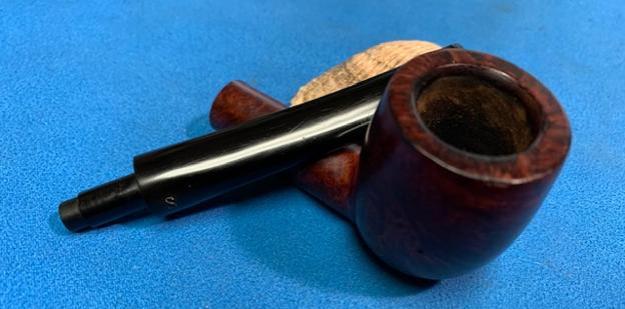
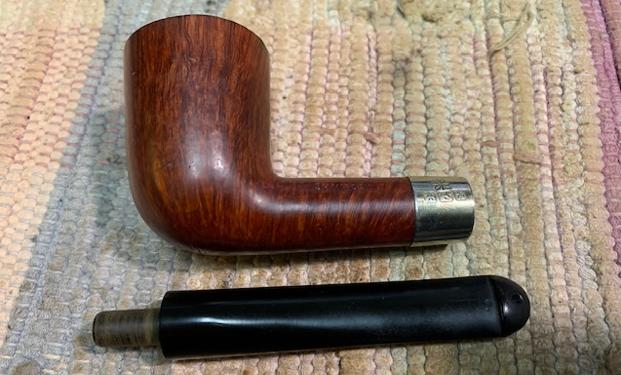
 I am including the link to the Pipedia’s article on Peterson pipes. It is a great read in terms of the history of the brand (https://pipedia.org/wiki/Peterson).
I turned to “The Peterson Pipe” by Mark Irwin and Gary Malmberg to get some background on the Peterson’s Shamrock Pipe. On page 312 it had the following information.
Shamrock (c1941-2009) Originally stamped SHAMROCK with no brand name, an inexpensive line first described in George Yale (New York) mail order booklet in 1941, imported by Rogers Import. The line was actively promoted beginning in ’45, aggressively promoted in US by Rogers from early ‘50s when they registered the Shamrock logo with US Patent Office, claiming propriety since ’38. Over the years offered with P-lip or fishtail mouthpiece, with or without nickel band, with or without shamrock logo on the band, with or without S stamped in white or later in gold on mouthpiece. Appearing in 2008 as unstained smooth and rustic, fishtail mouthpiece with gold impressed P on the stem. COMS of MADE IN over IRELAND (C1945-1965), MADE IN IRELAND forming a circle (c1945-1965), “A PETERSON’S PRODUCT” over MADE IN IRELAND (c1945-1965), MADE IN THE over REPUBLIC over OF IRELAND c1948-1998). Model is always difficult or impossible to date.
Judging from the description above, the pipe I am working on is stamped with the stamp noted in red above. It reads “A Peterson’s Product” over Made in the Rep. Of Ireland which narrows the date to between approximately 1948-1998. It is just stamped SHAMROCK on the shank side and has an “S” logo on the left side of the taper stem.
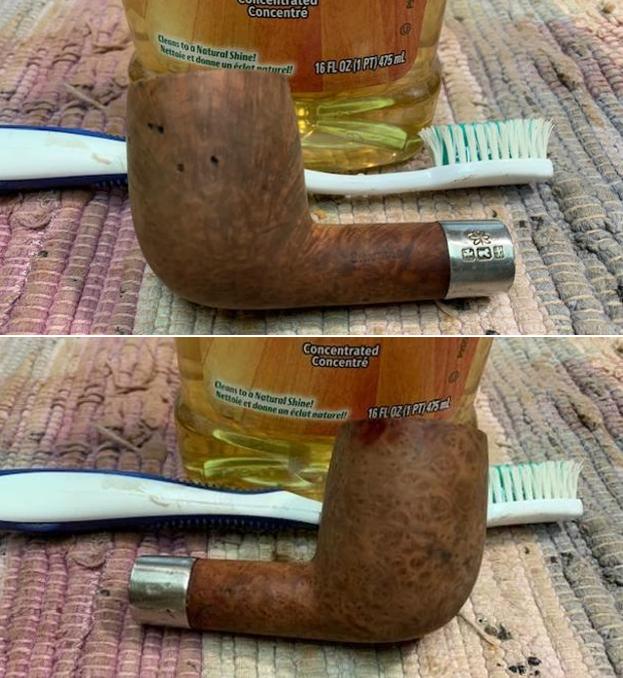
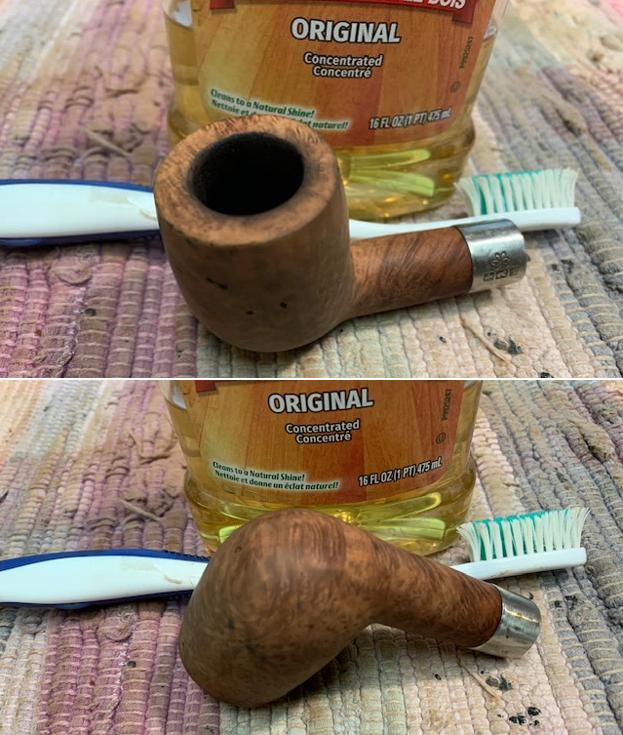
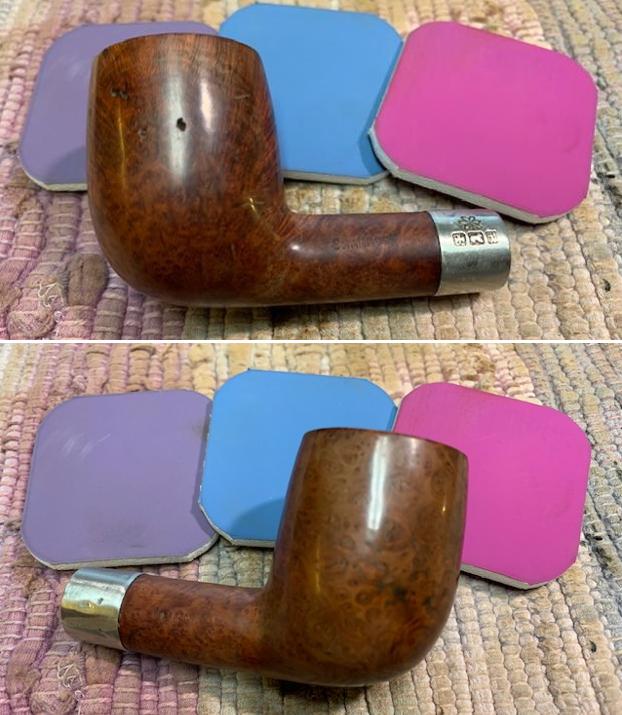
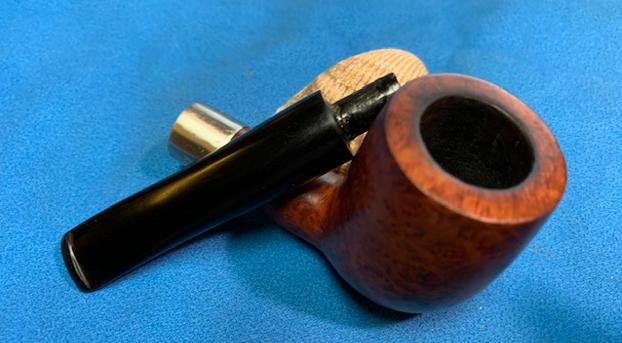
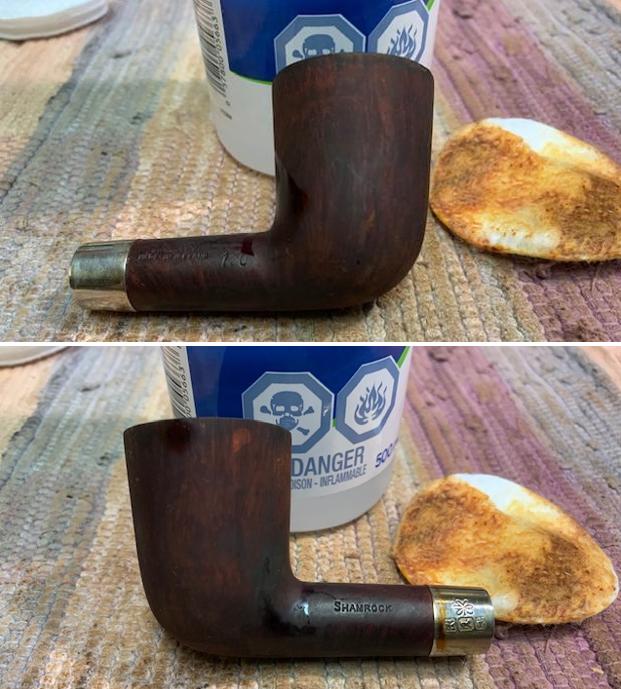
I decided to start my work on the pipe by addressing the darkening and damage on the inner and outer edge of the rim. I used a folded piece of 220 grit sandpaper to smooth out and clean up the edge. I also used a wooden ball and a piece of sand paper to give the inner edge a light bevel. It looked much better!
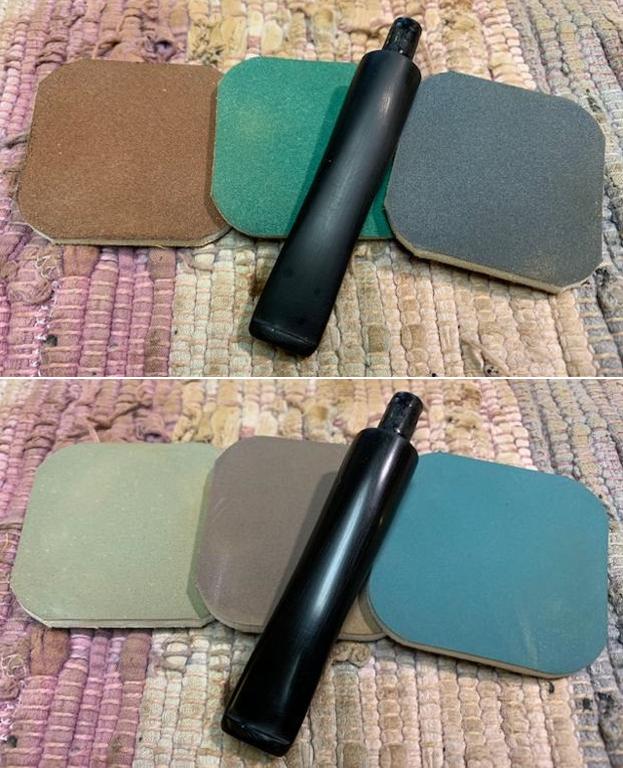
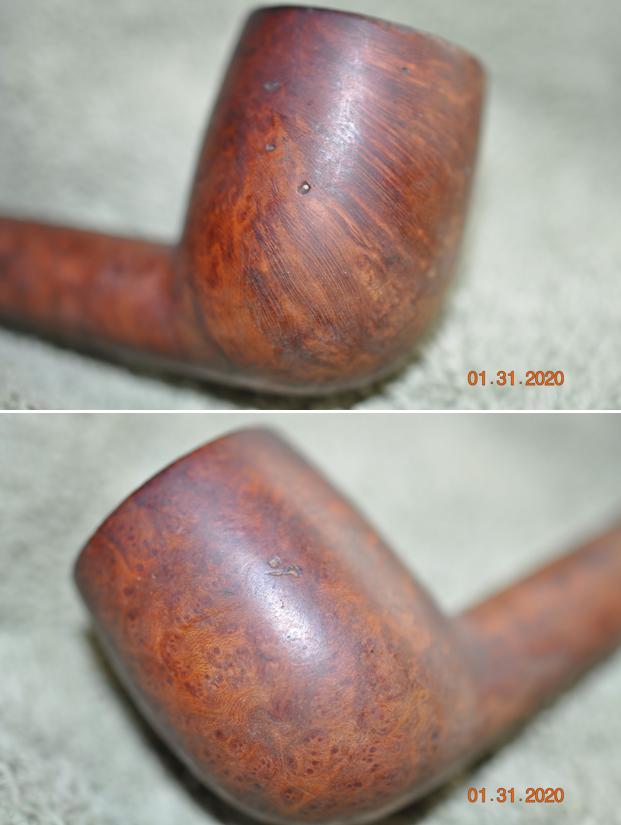
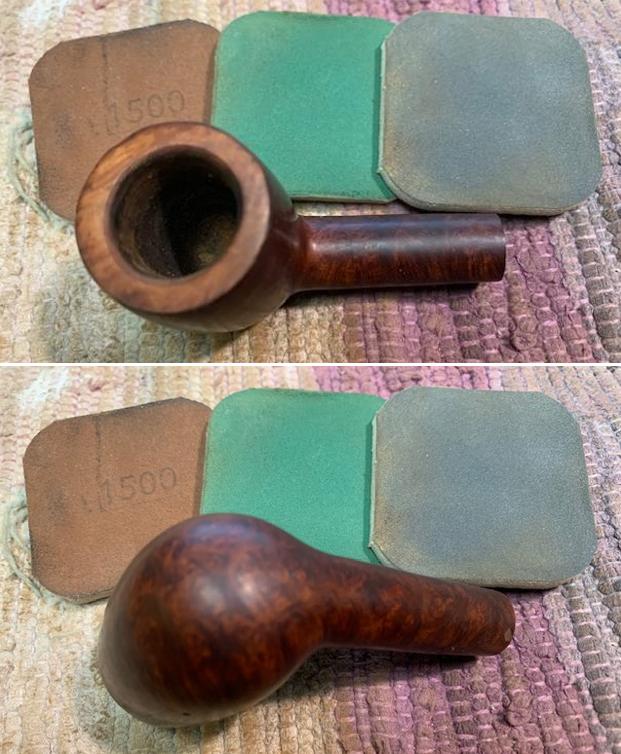
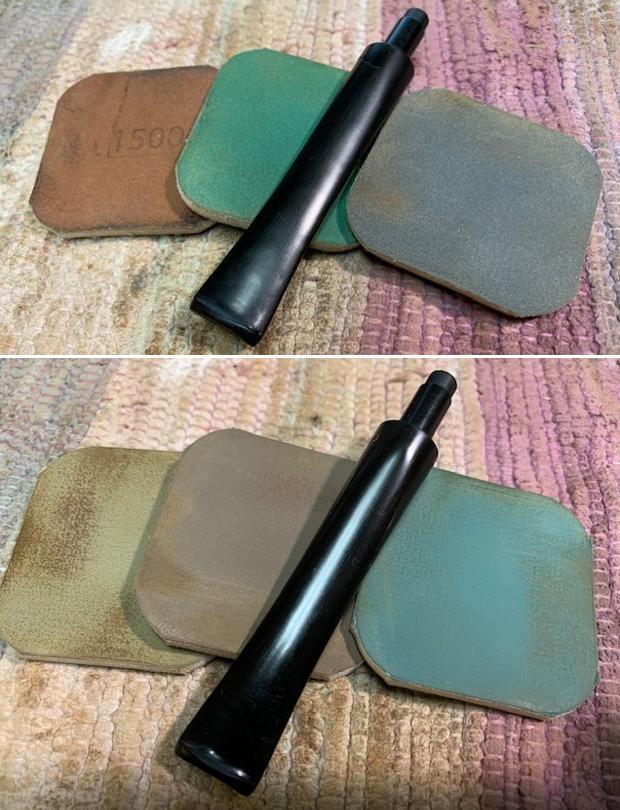
 I decided to leave the sandpits on the bowl side and filling them seemed unnecessary to me. I polished the briar with micromesh sanding pads – dry sanding with 1500-12000 grit sanding pads. I wiped the bowl down with a damp cloth after each sanding pad. (Note the sandpit on the left side of the shank near the bowl.)


 I worked some Before & After Restoration Balm into the surface of the briar with my fingertips to clean, enliven and protect the briar. I let the balm sit for 15 minutes and then buffed with a cotton cloth to raise the shine. The photos show the bowl at this point in the restoration process.

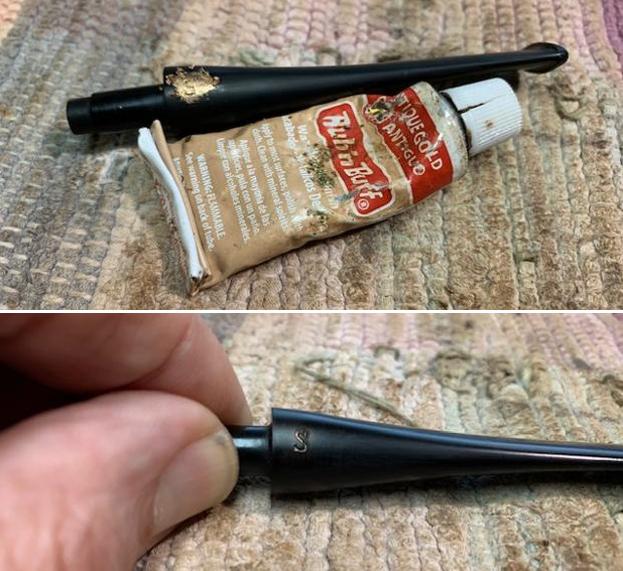
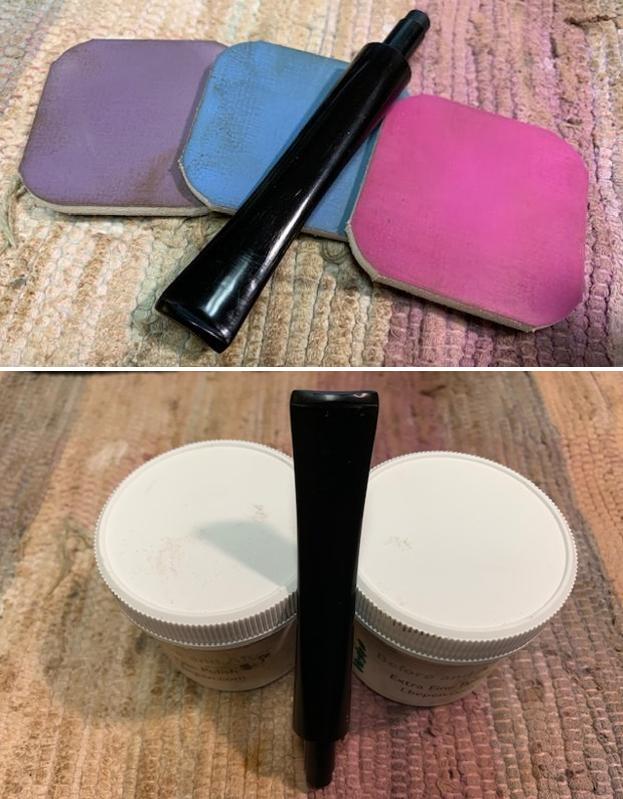
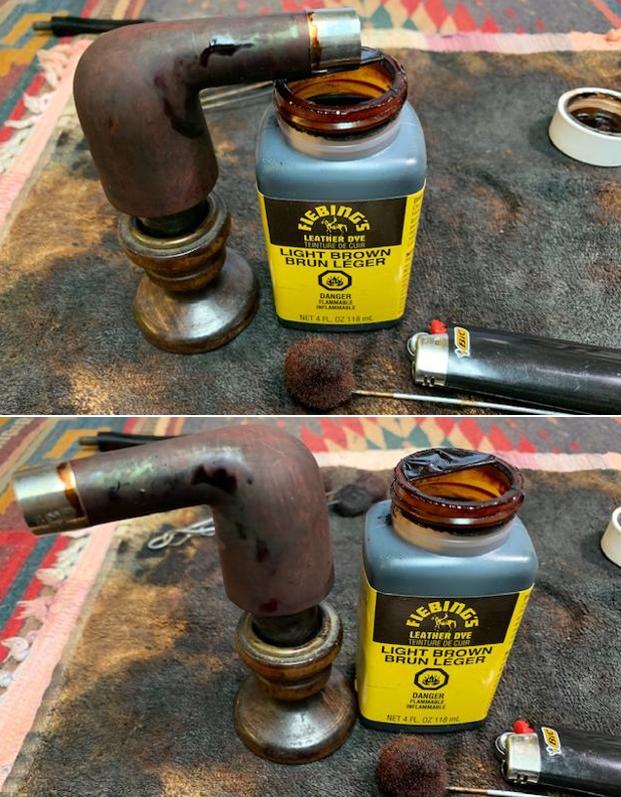
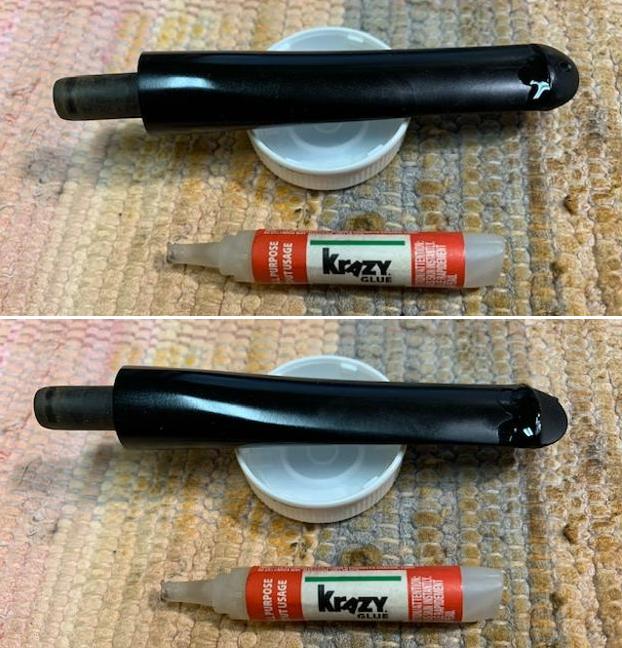
 I set the bowl aside and started working on the stem. I touched up the Shamrock “S” logo on the right side of the stem with white acrylic nail polish. Once it dried, I scraped off the excess wand sanded it clean with a worn 1500 girt micromesh sanding pad.
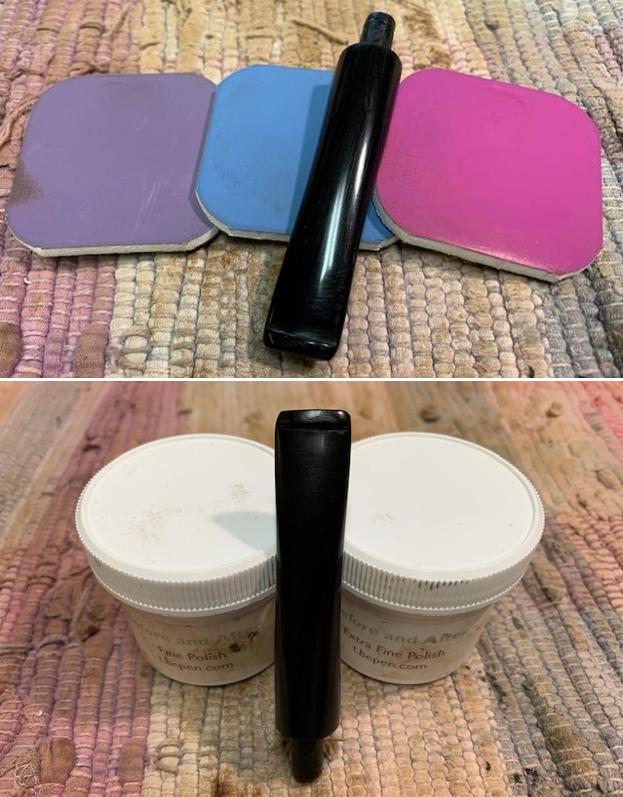
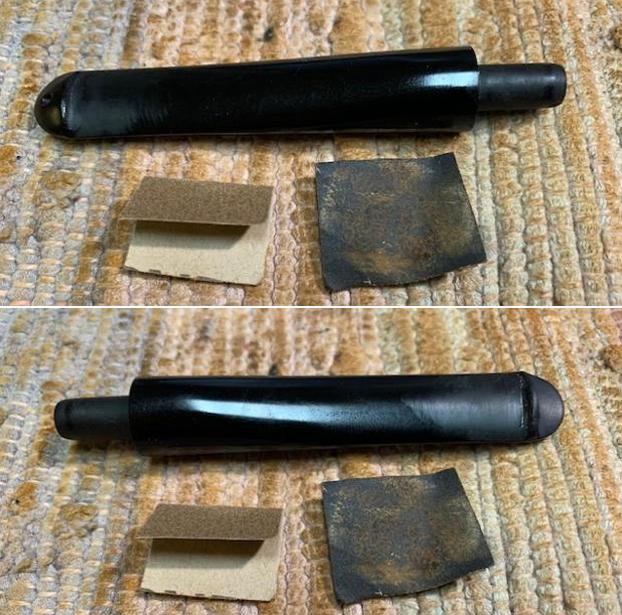
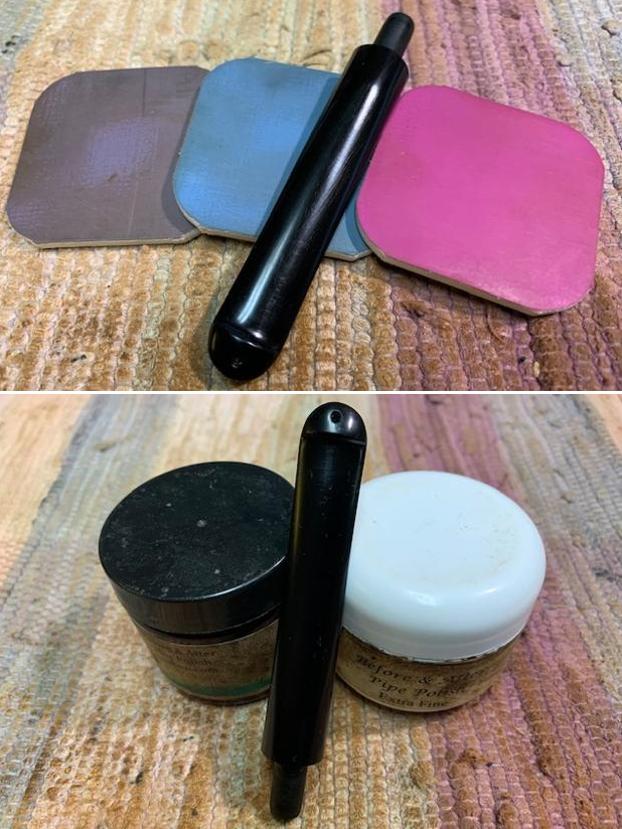
 I polished the stem with micromesh sanding pads – dry sanding with 1500-12000 grit sanding pads. I wiped it down after each sanding pad with Obsidian Oil.
 I finished hand polishing the stem with Before & After Pipe Stem Polish – both Fine and Extra Fine. I wiped it on with my fingers and buffed it off with a soft cloth. The stem really began to have a deep glow. I gave it a final wipe down with Obsidian Oil and set it aside to dry.
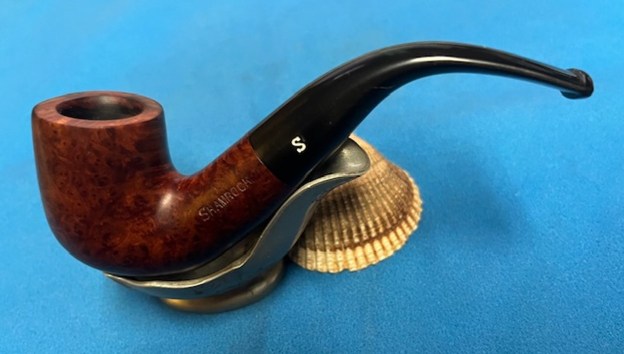
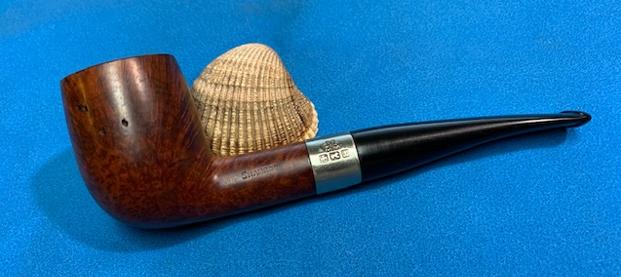
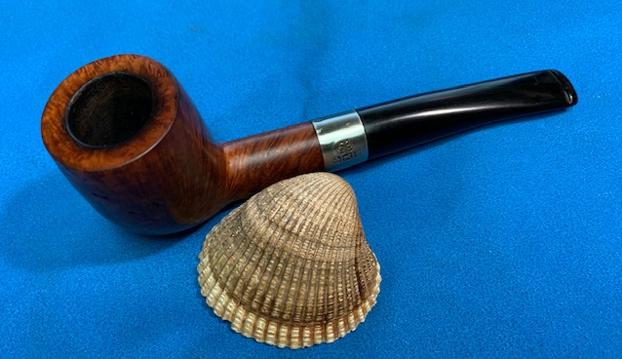
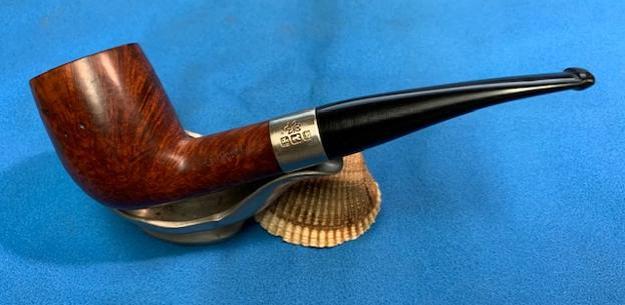
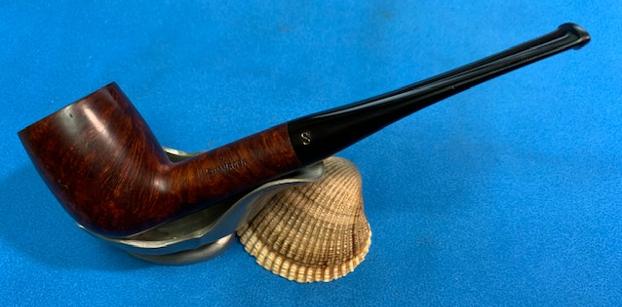
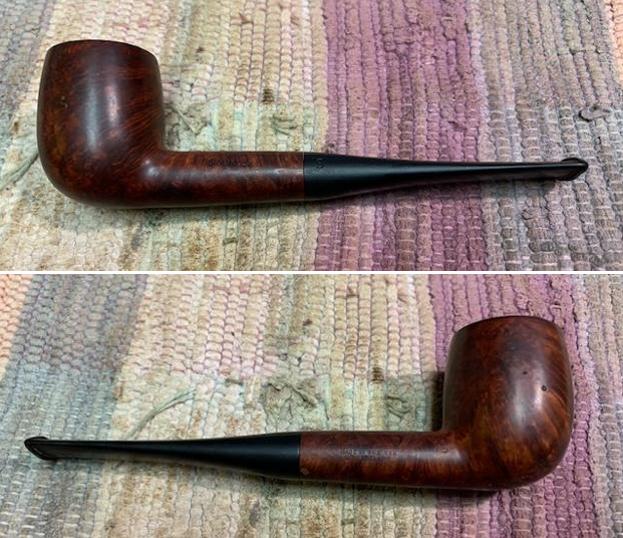
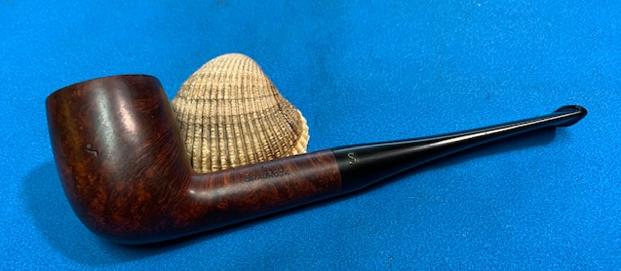
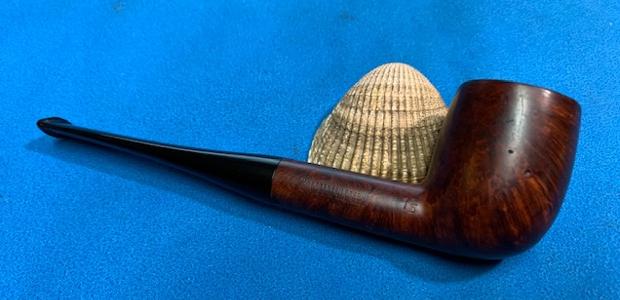
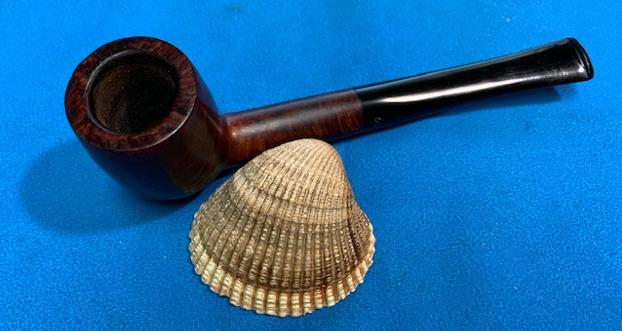
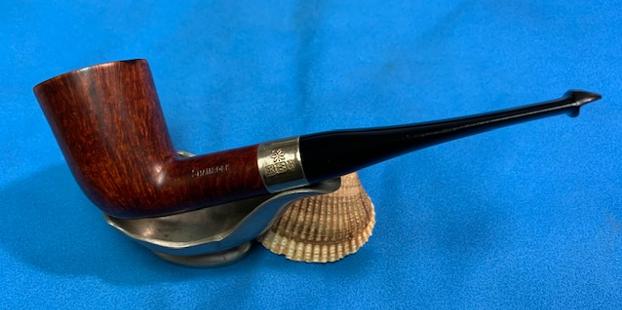
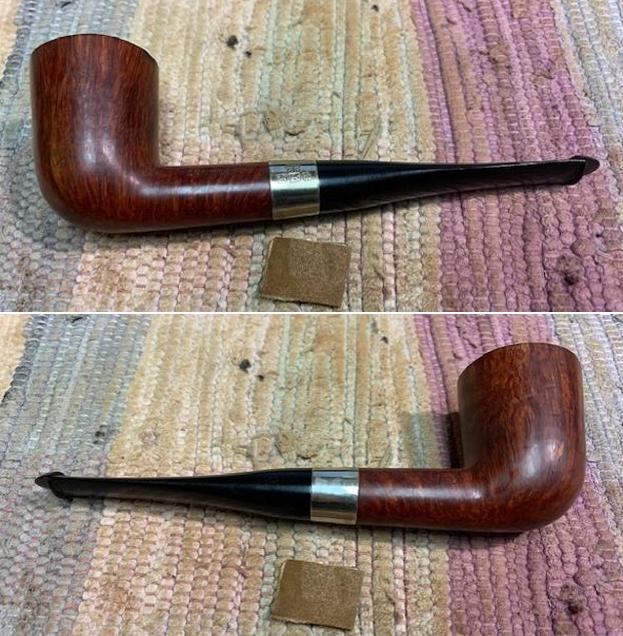
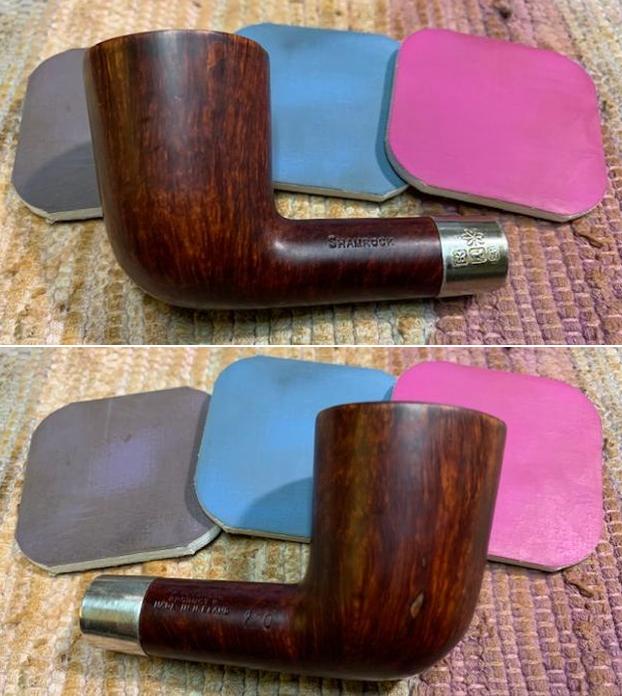
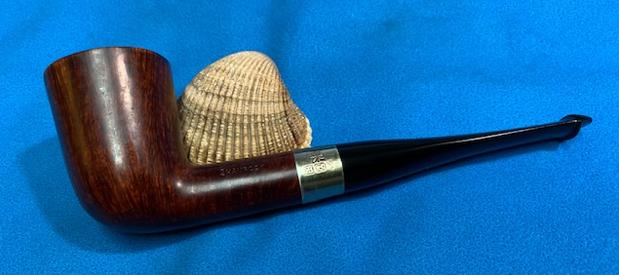
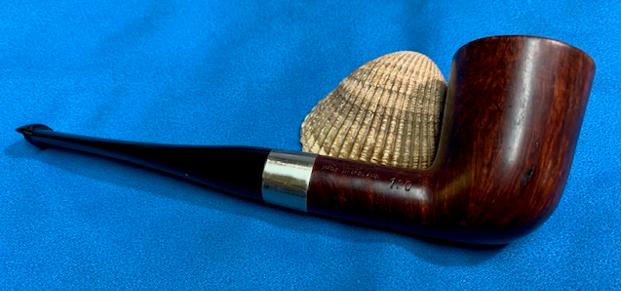
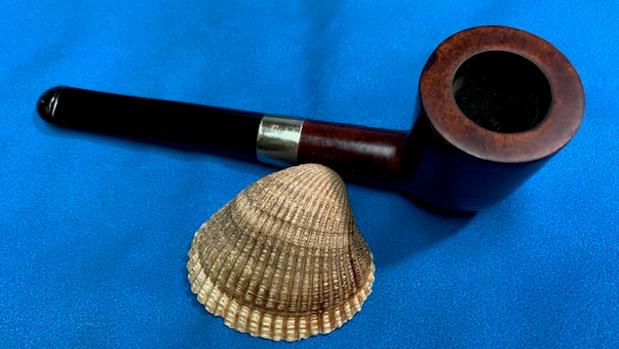
 I am excited to finish this Republic Era a “Peterson’s Product” Shamrock 53 Lovat. I put the pipe back together and buffed it with Blue Diamond on the buffing wheel. I gave the bowl and the stem multiple coats of carnauba wax. I hand buffed the pipe with a clean buffing pad to raise the shine. It is fun to see what the polished bowl looks like with beautiful flame grain all around it. Added to that the polished Sterling Silver band and the black vulcanite stem was beautiful. This smooth Classic Shamrock 53 Lovat is great looking and the pipe feels great in my hand. It is light and well balanced. Have a look at it with the photos below. The dimensions are Length: 5 inches, Height: 1 ¾ inches, Outside diameter of the bowl: 1 ¼ inches, Chamber diameter: ¾ of an inch. The weight of the pipe is 41grams/1.45 ounces. It turned out to be a beautiful pipe. I will be putting it on the rebornpipes store in the Irish Pipe Makers section. If you are interested in adding it to your rack let me know by message or by email to slaug@uniserve.com. Thanks for your time and as Paresh says each time he writes – Stay Safe.