Blog by Steve Laug
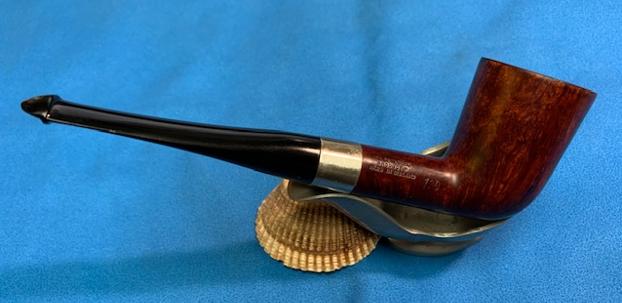
The next pipe I have chosen is another smooth finished Peterson’s Bulldog Dublin. This one is a smooth straight Bulldog that has a rich coloured finish around the bowl sides and shank. It came to us from an auction in Norway, Maine, USA. The finish is dark and dirty but there is some great grain around the bowl sides and shank. There are fills on the right side of the bowl and nicks around the other sides. It was stamped on the left side of the shank and read SHAMROCK. It was stamped to the right of the shank and read “A PETERSON” [over] “PRODUCT” [over] MADE IN IRELAND (three lines) with the shape number 120 next to the bowl. It was filthy when Jeff brought it to the table. There was a thick cake in the bowl and a thick overflow of lava on the rim top and the inner edge of the bowl. It was hard to know what the condition of the rim top and bowl were under that thick lava coat. The nickel band is tarnished. The unstamped stem was lightly oxidized and had tooth marks and chatter on the top and underside on and near the button. The stem does not fit in the shank and will need work to cause it to sit correctly into the shank. Jeff took photos of the pipe before his cleanup work. 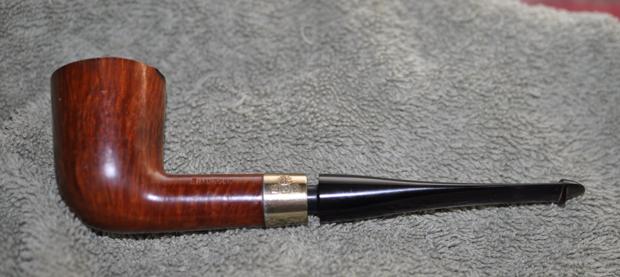
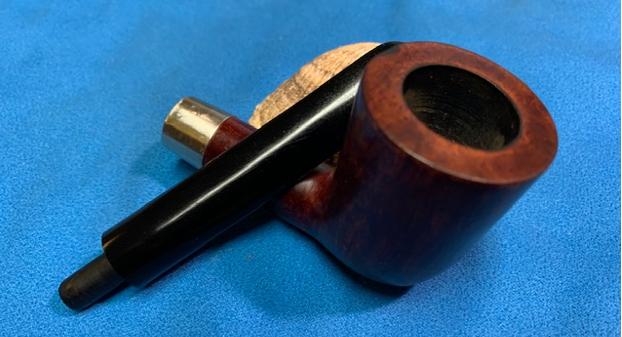
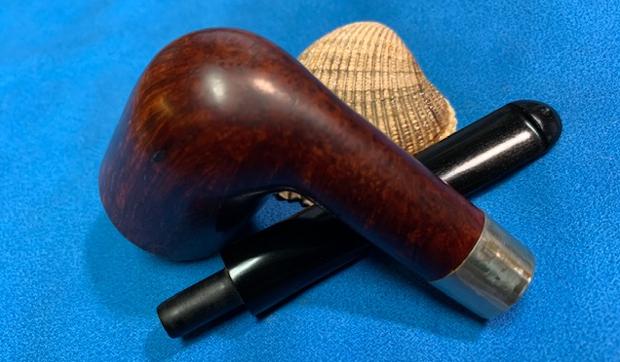
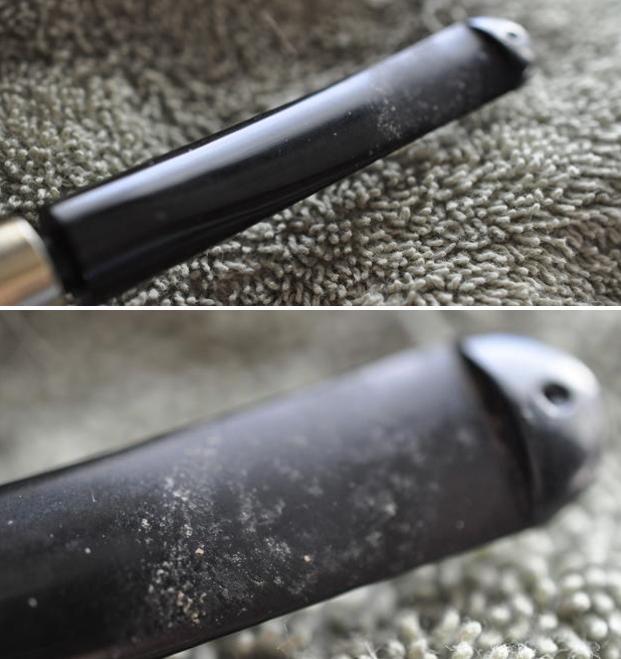
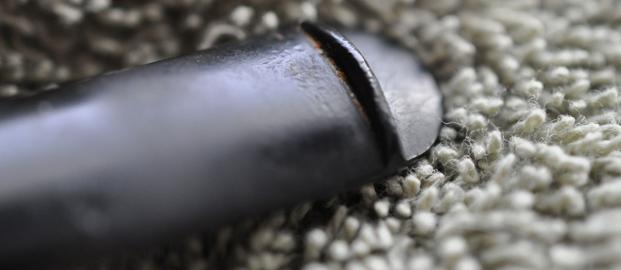
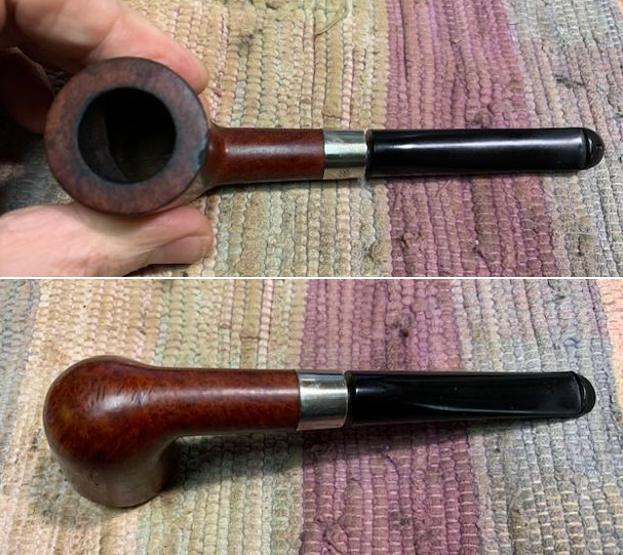
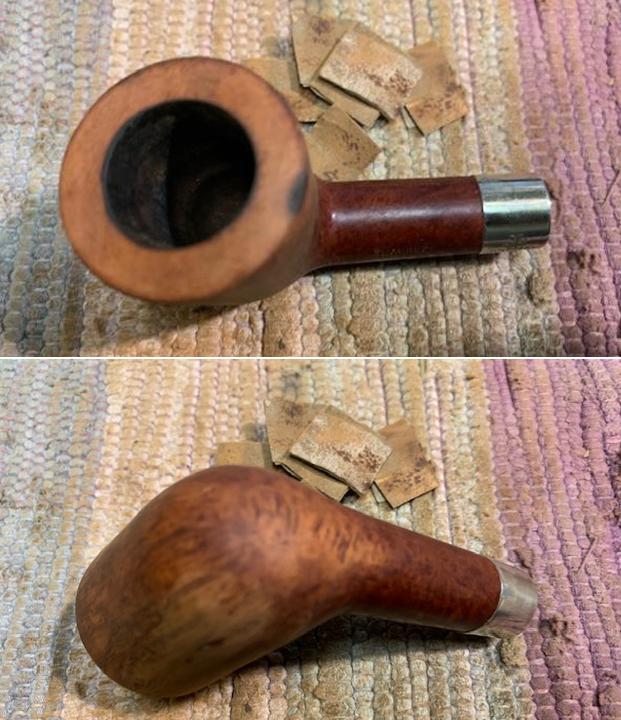
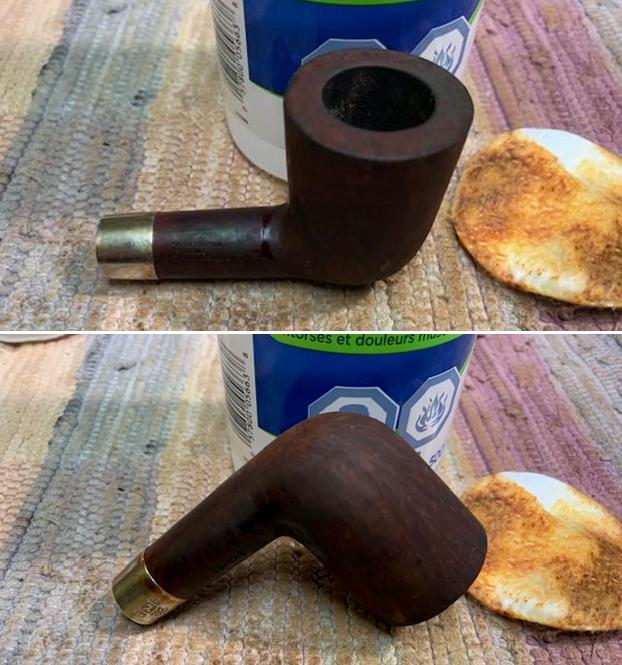
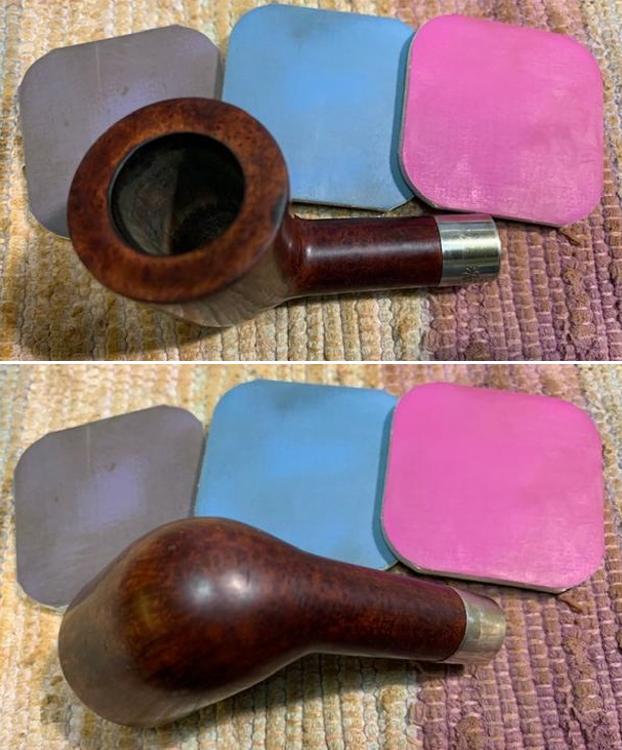
 Jeff took photos of the rim top and stem to show the general condition of the pipe. The bowl is heavily caked and the rim top and edges have some lava overflow. The stem is lightly oxidized and has tooth marks on the top and underside near the button.
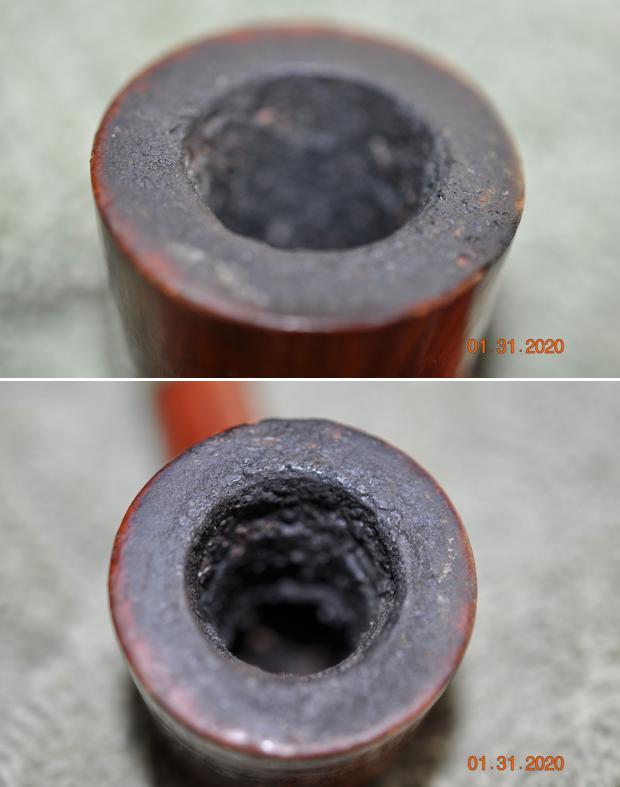
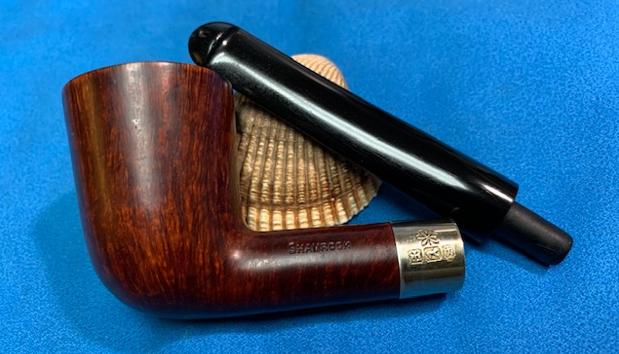
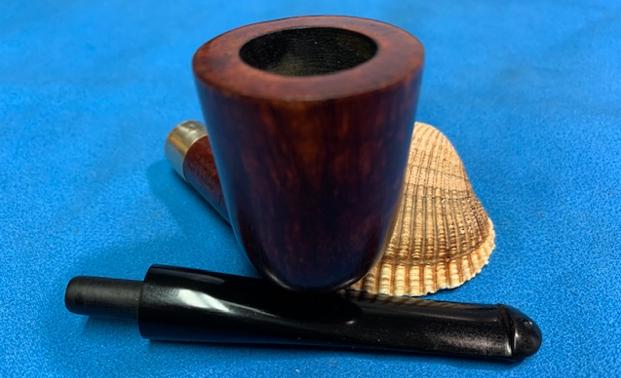
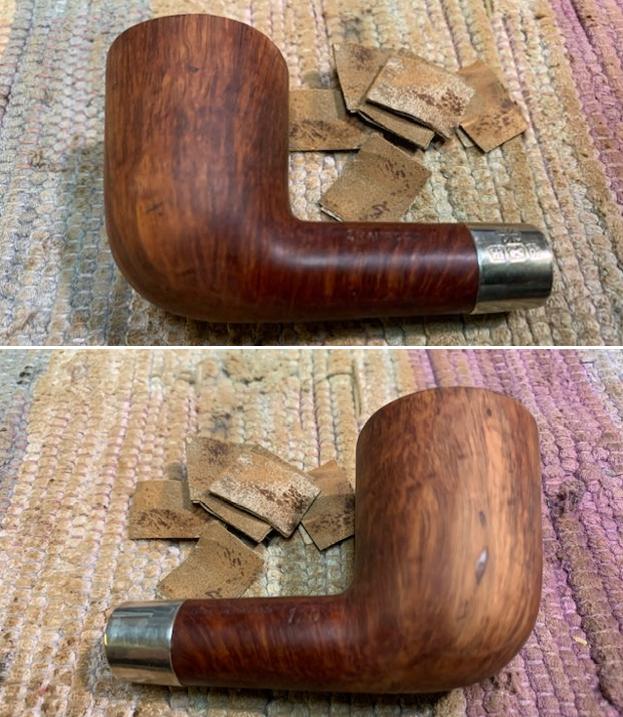
 Jeff took photos of the bowl sides and heel to show the grain that was around this bowl. It is a nice looking pipe. The fills on the right side are shrunken and obvious.
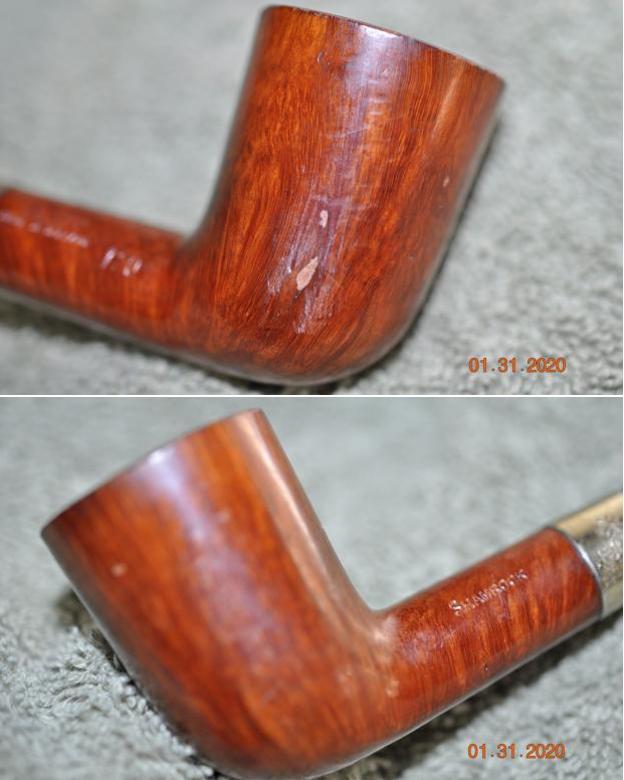
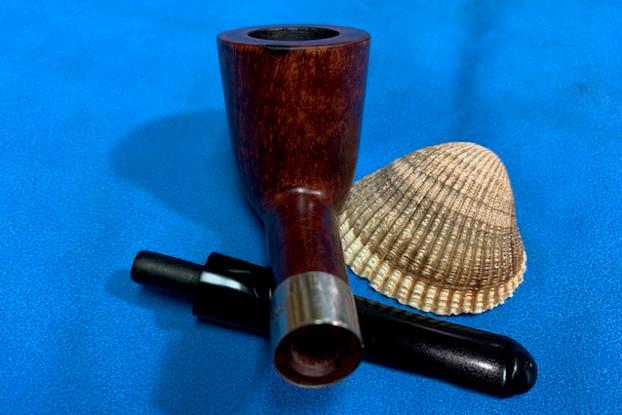
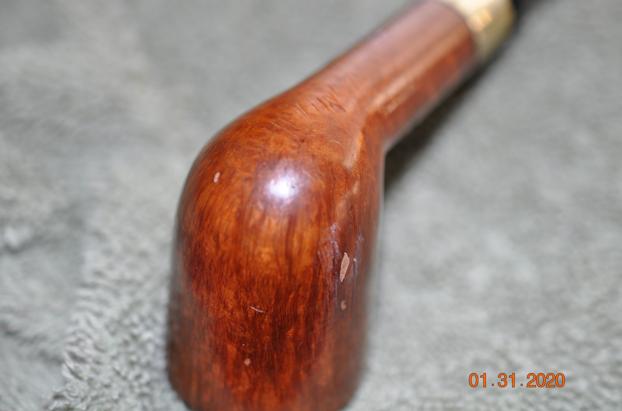 Jeff took a the heel and underside of the shank to capture the deep scratching and gouging in the briar.
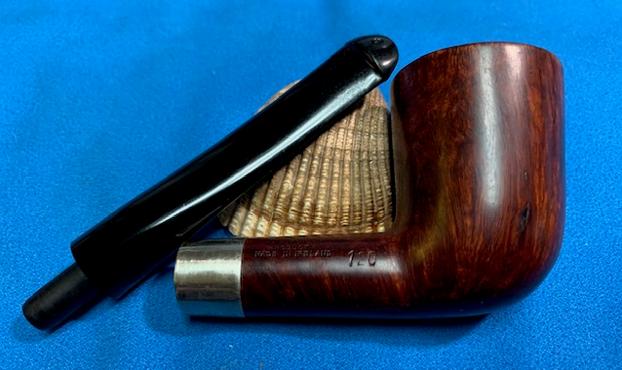
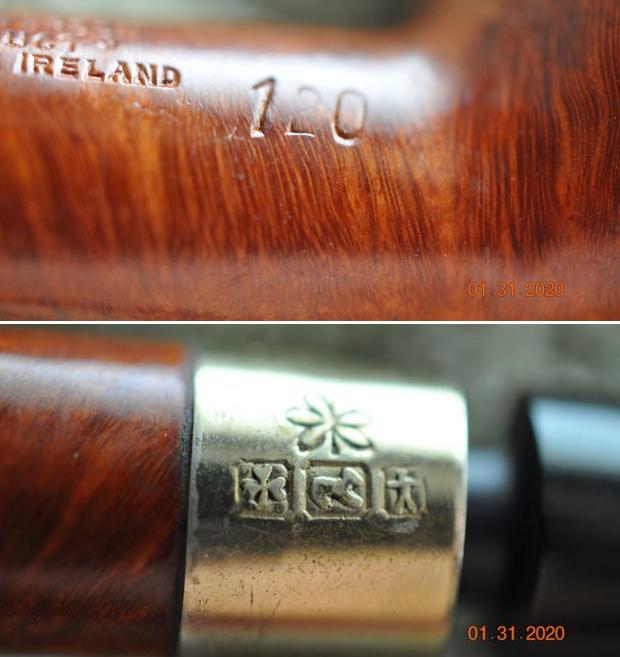
  He took photos of the sides of the shank to show the stamping. The stamping is readable in the photos below and is as noted above.
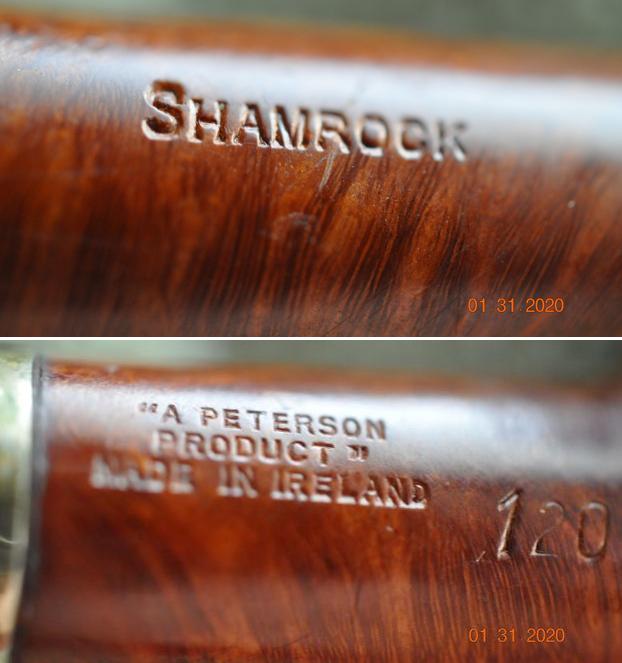
 I am including the link to the Pipedia’s article on Peterson pipes. It is a great read in terms of the history of the brand (https://pipedia.org/wiki/Peterson).
I turned to “The Peterson Pipe” by Mark Irwin and Gary Malmberg to get some background on the Peterson’s Shamrock Pipe. On page 312 it had the following information.
Shamrock (c1941-2009) Originally stamped SHAMROCK with no brand name, an inexpensive line first described in George Yale (New York) mail order booklet in 1941, imported by Rogers Import. The line was actively promoted beginning in ’45, aggressively promoted in US by Rogers from early ‘50s when they registered the Shamrock logo with US Patent Office, claiming propriety since ’38. Over the years offered with P-lip or fishtail mouthpiece, with or without nickel band, with or without shamrock logo on the band, with or without S stamped in white or later in gold on mouthpiece. Appearing in 2008 as unstained smooth and rustic, fishtail mouthpiece with gold impressed P on the stem. COMS of MADE IN over IRELAND (C1945-1965), MADE IN IRELAND forming a circle (c1945-1965), “A PETERSON’S PRODUCT” over MADE IN IRELAND (c1945-1965), MADE IN THE over REPUBLIC over OF IRELAND9c1948-1998). Model is always difficult or impossible to date.
Judging from the description above, the pipe I am working on is stamped with the stamp noted in red above. It reads “A PETERSON’S PRODUCT” over MADE IN IRELAND which narrows the date to between approximately 1945-1965. It is just stamped SHAMROCK with no brand name. It has an unmarked/unstamped P-Lip stem. Now it was time to work on the pipe.
Jeff had done a great job cleaning up the pipe as usual. He reamed the pipe with a PipNet reamer and cut back the cake back to the bare briar. He cleaned up the walls with a Savinelli Fitsall Pipe Knife. He scrubbed the interior of the bowl and shank with pipe cleaners, cotton swabs and alcohol to remove the tars and oils. He scrubbed the exterior of the pipe with Murphy’s Oil Soap and a tooth brush to remove the grime from the finish. He worked on the rim top lava and darkening with the soap and tooth brush. He scrubbed the inside of the stem with alcohol and pipe cleaners. He scrubbed the exterior with Soft Scrub and then soaked it in Briarville’s Pipe Stem Deoxidizer. He washed it off with warm water to remove the deoxidizer. The pipe looked far better when it arrived. 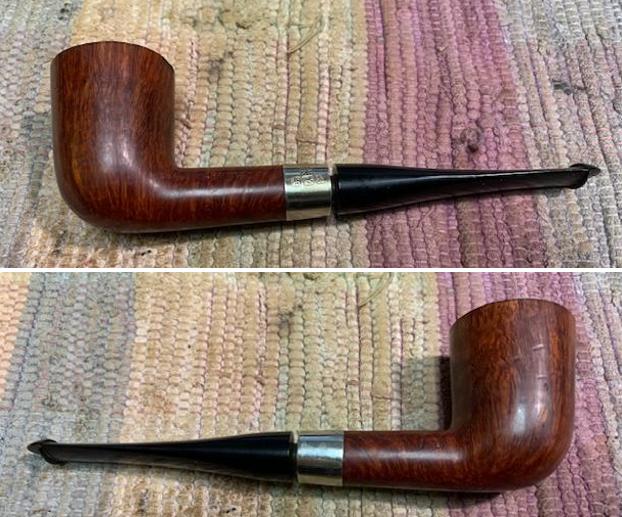
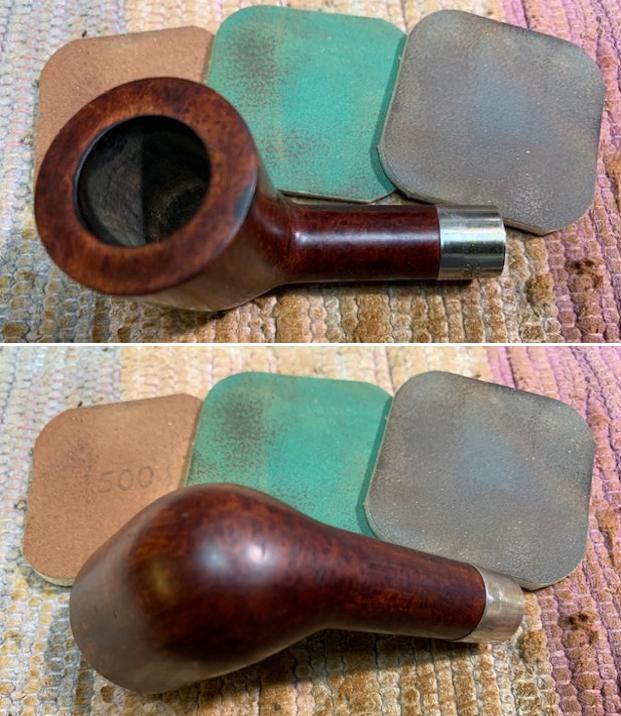
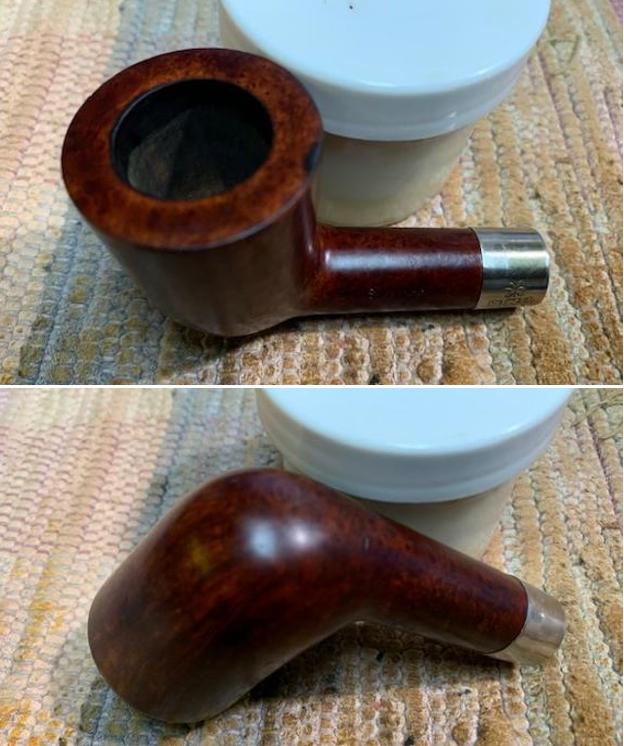
 I took some close up photos of the rim top and also of the stem surface. I wanted to show how well it had cleaned up. The rim top showed some darkening on the top and inner edges around the bowl. There was also a significant burn mark on the back right outer edge of the bowl. I also took close up photos of the stem to show the tooth marks on the surface near the button. The stem also did not fit easily into the shank.
 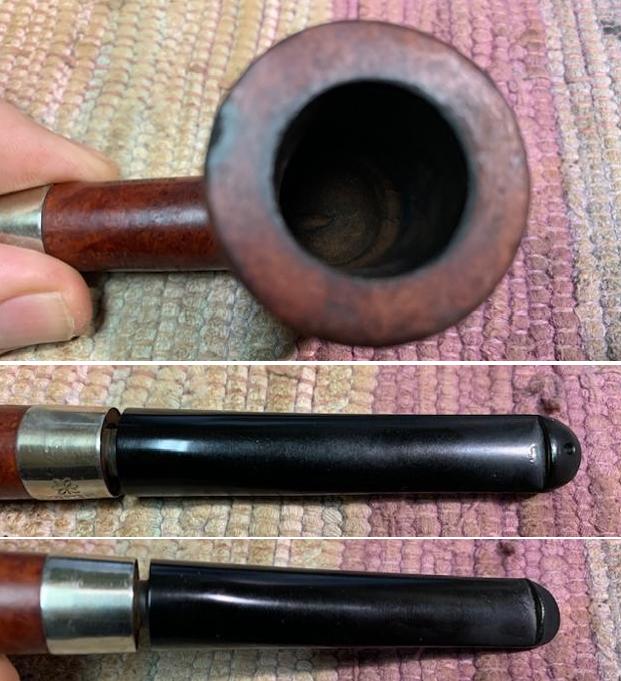 I took photos of the stamping on the sides of the shank. It reads as noted above.
  I removed the stem and took a photo of the pipe to have a look at the parts and overall look.
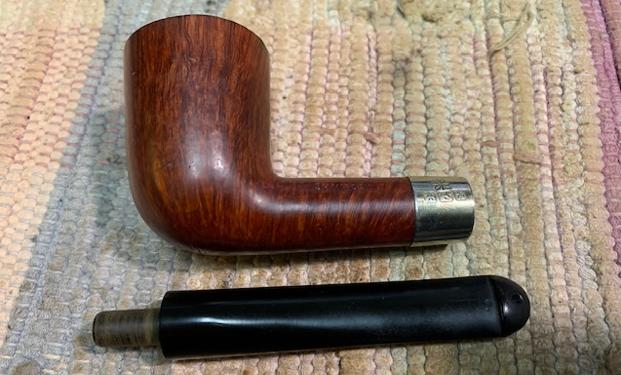 I decided to address the poorly fitting stem first. I used a folded piece of 220 grit sandpaper to reduce the diameter of the tenon – particularly to the front. It seemed that the front of the tenon was actually larger than the middle and centre. I needed to work at evening up the diameter of the tenon from the front to the back. It took work but I was able to make it work.
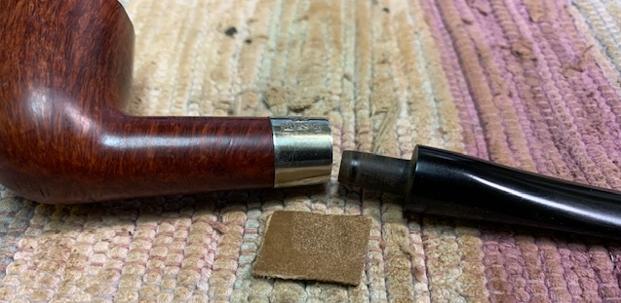
 I decided to work on the damage to the top of the bowl first. I topped the bowl on a topping board with 220 grit sandpaper to smooth out the rim top. I wanted to flatten out the rim top and try to remove some of the burn damage on the back outer edge. I then used a folded piece of 220 grit sandpaper to clean up the inner edge of the bowl.
 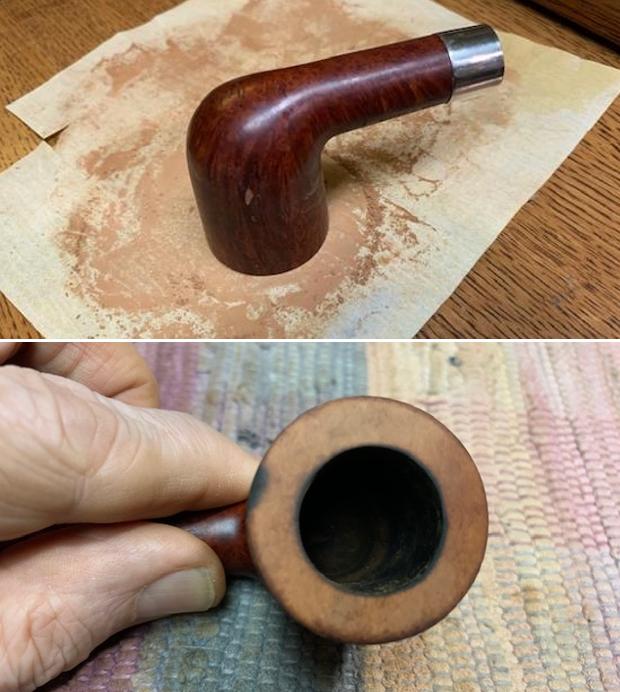 Next I turned to address the shrunken fills on the right side of the shank. I also worked on the deep nicks on the left side and the front of the bowl. I filled them in with clear super glue. I steamed out the dents on the heel of the bowl with a hot knife and a damp cloth. Once the glue cured I sanded the repairs smooth with 220 grit sandpaper to blend them into the surrounding briar. I sanded the burn mark on the outer edge of the rim top and top with the sandpaper and was able to minimize it to some degree.
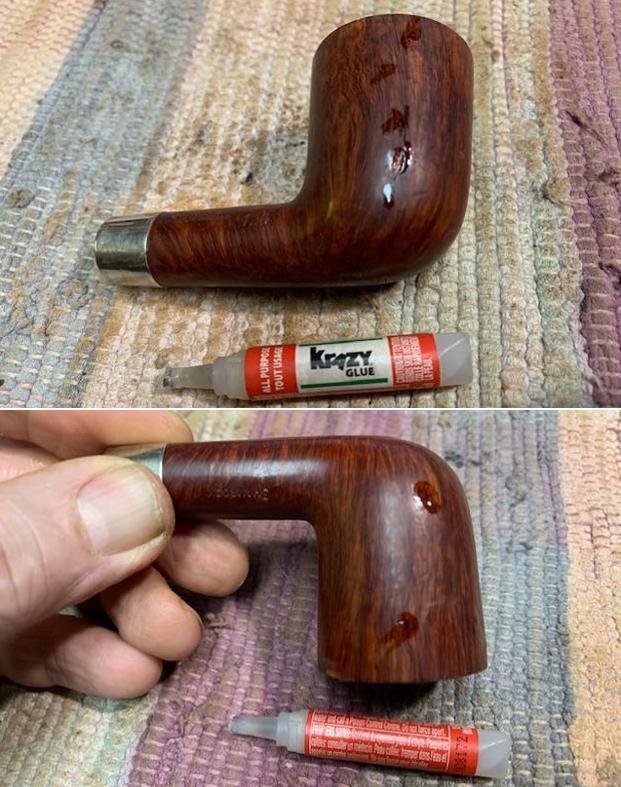
 I sanded the bowl with a medium and fine grit sanding sponges to smooth out the sanded bowl. I forgot to take photos of it. Once it was smooth I stained the bowl with a Light Brown aniline stain. I applied it, flamed it and repeated the process until the coverage was even.
 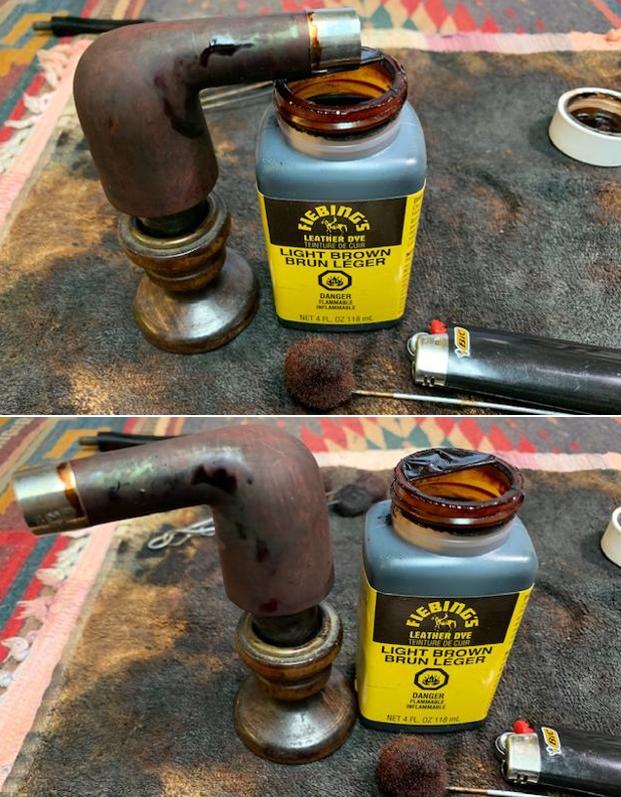 I wiped the bowl down with alcohol on cotton pads to make it more transparent. I was able to blend the stain coat around the bowl and the coverage looked much better.
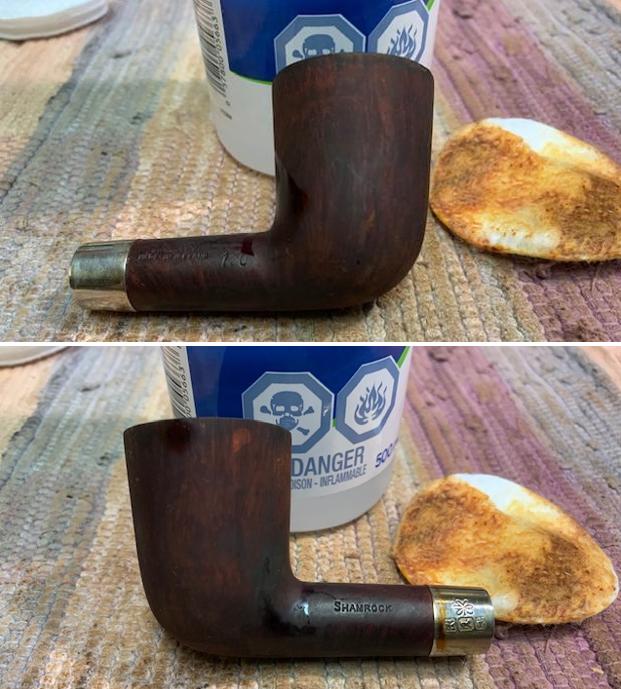
 I sanded the bowl with micromesh sanding pads – dry sanding with 1500-12000 grit sanding pads to further make the stain more transparent and make the grain stand out. I wiped the bowl down with a damp cloth after each sanding pad.

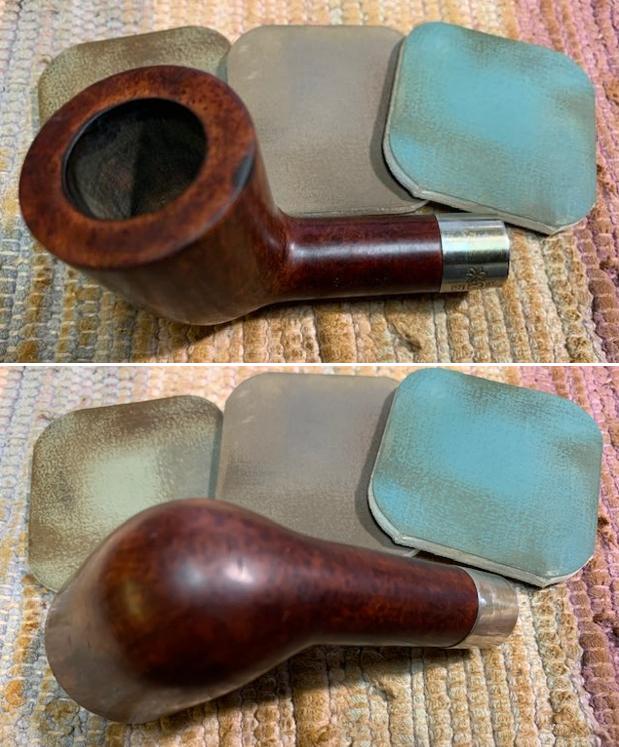
 I used a black Sharpie pen to mark the fills that stood out. Once the stain dried I worked some Before & After Restoration Balm into the surface of the briar with my fingertips to clean, enliven and protect the briar. I let the balm sit for 15 minutes and then buffed with a cotton cloth to raise the shine. The photos show the bowl at this point in the restoration process.
 I filled in the deep tooth marks on the top and underside of the stem next to the button edge with clear CA glue. Once the repairs cured I sanded them smooth with 220 grit sandpaper and started polishing it with 400 grit wet dry sandpaper. It was starting to look good.
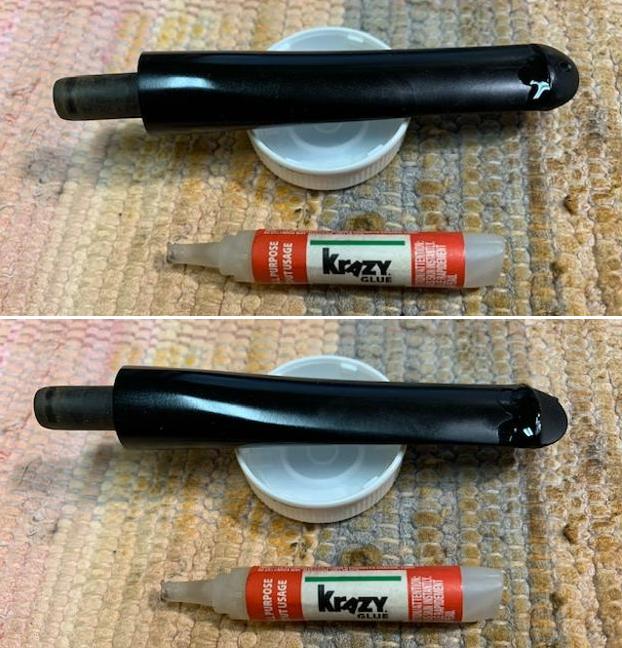
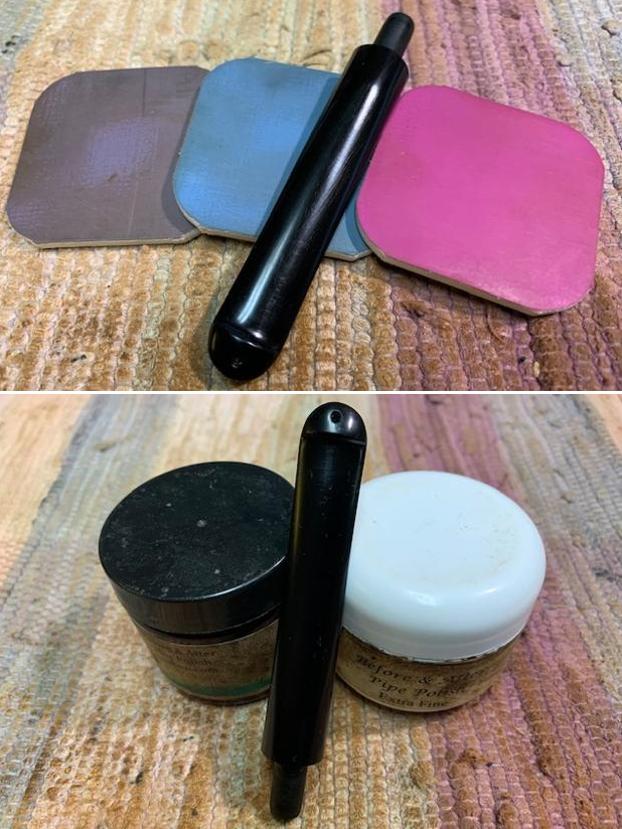
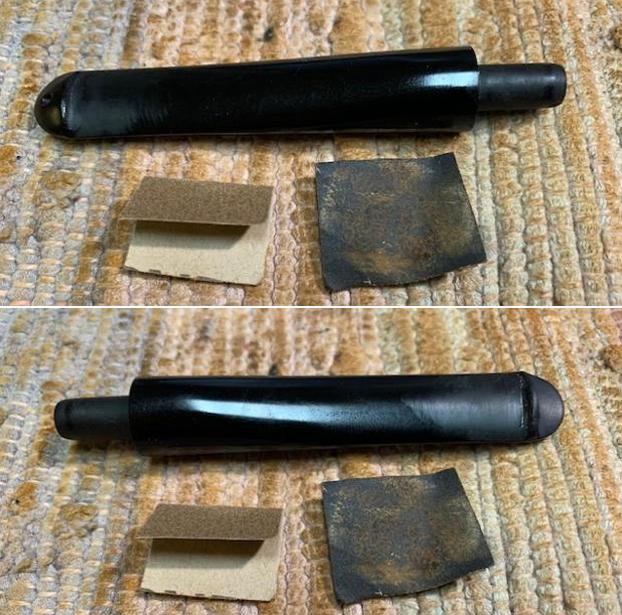 I set the bowl aside and polished the stem with micromesh sanding pads – wet sanding with 1500-12000 grit sanding pads. I wiped it down after each sanding pad with Obsidian Oil. I polished it with Before & After Pipe Stem Polish – both Fine and Extra Fine.
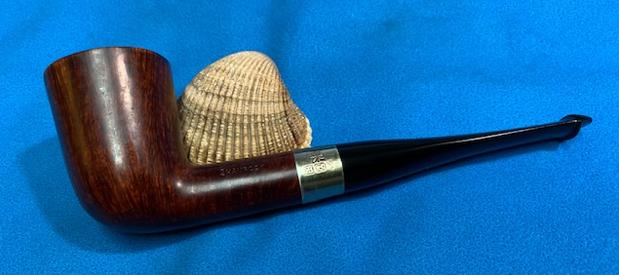
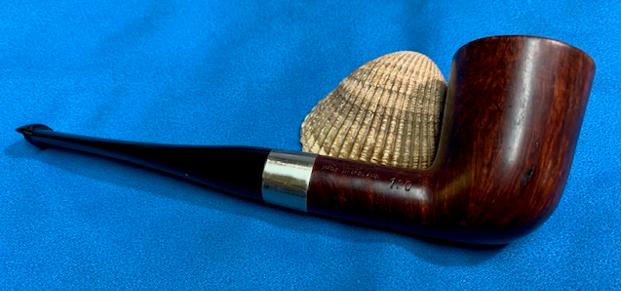
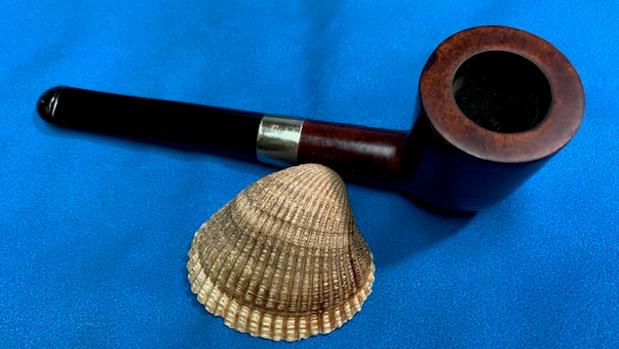
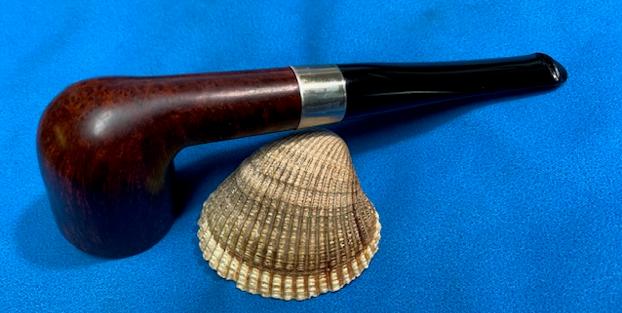
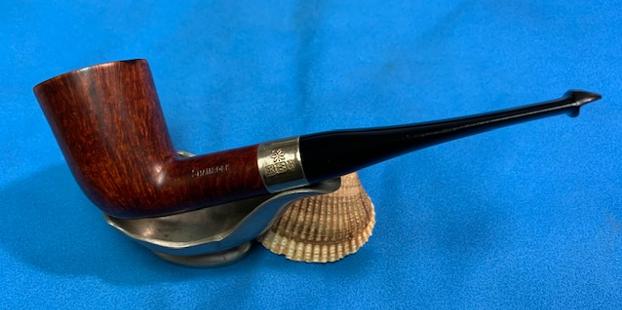
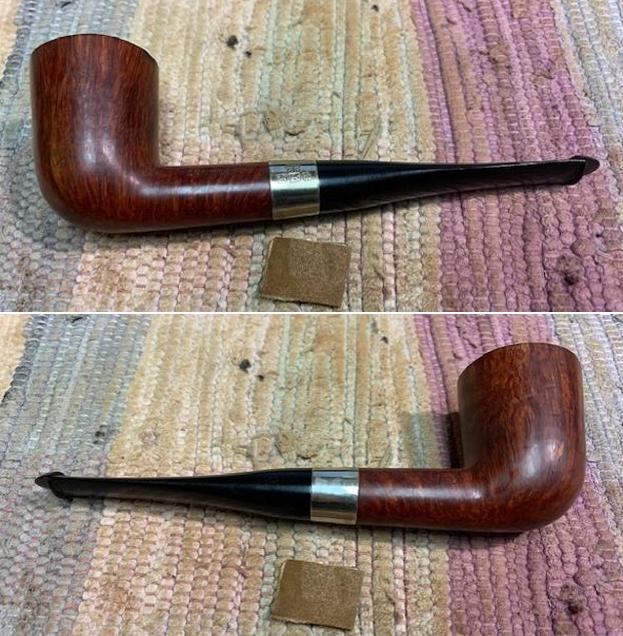
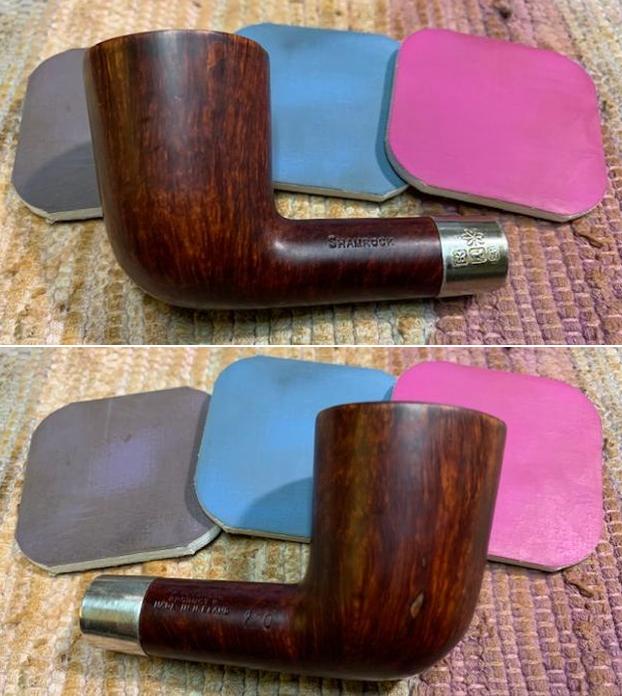
 I am excited to finish this Older Peterson’s Shamrock 120 Straight Dublin. I put the pipe back together and buffed it with Blue Diamond on the buffing wheel. I gave the bowl and the stem multiple coats of carnauba wax. I hand buffed the pipe with a clean buffing pad to raise the shine. It is fun to see what the polished bowl looks like with beautiful straight and flame grain all around it. Added to that the polished black vulcanite stem was beautiful. This smooth Classic Shamrock 120 Dublin is great looking and the pipe feels great in my hand. It is light and well balanced. Have a look at it with the photos below. The dimensions are Length: 6 inches, Height: 2 inches, Outside diameter of the bowl: 1 ¼ inches, Chamber diameter: ¾ of an inch. The weight of the pipe is 33grams/1.23oz. It is a beautiful pipe and one that will soon be on the rebornpipes store in the Irish Pipe Makers Section of the store. If you want to add it to your collection let me know. Thanks for walking through the restoration with me as I worked over this pipe. Thanks to each of you who are reading this blog.