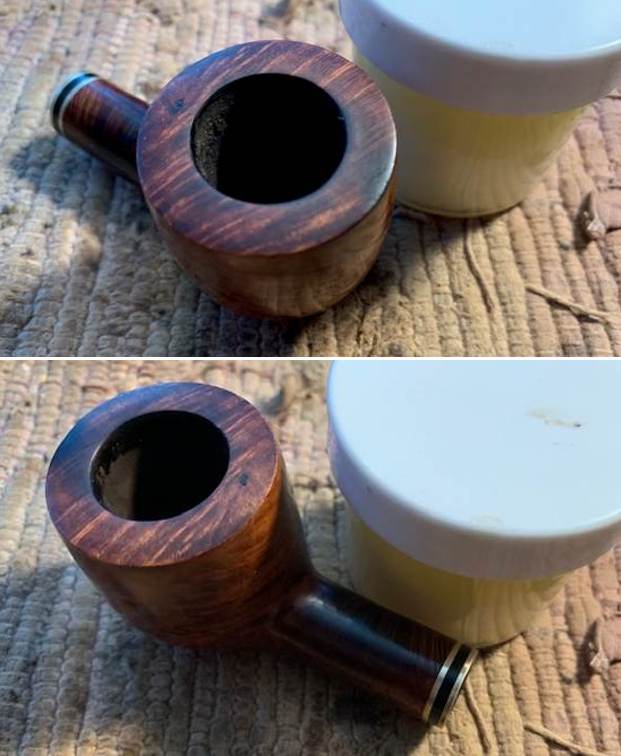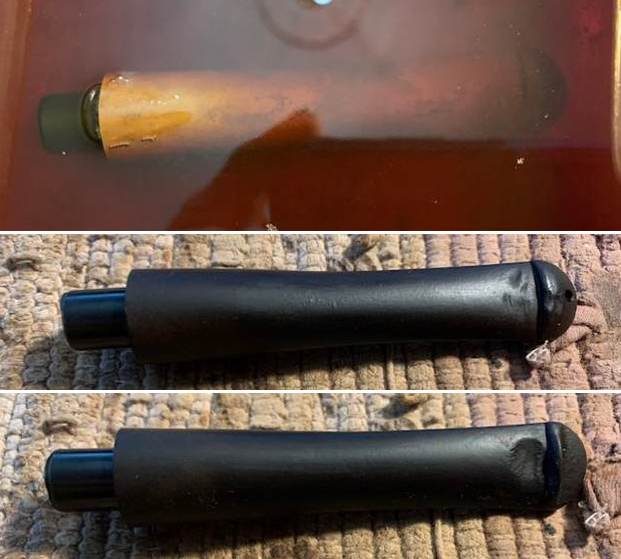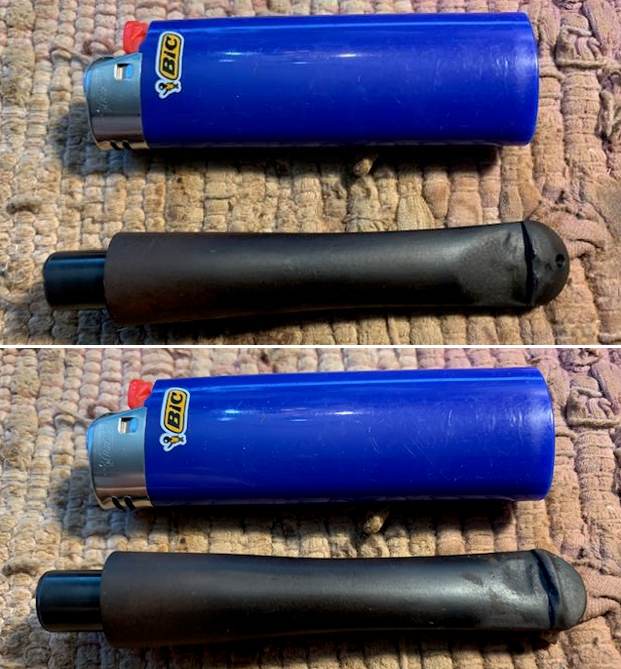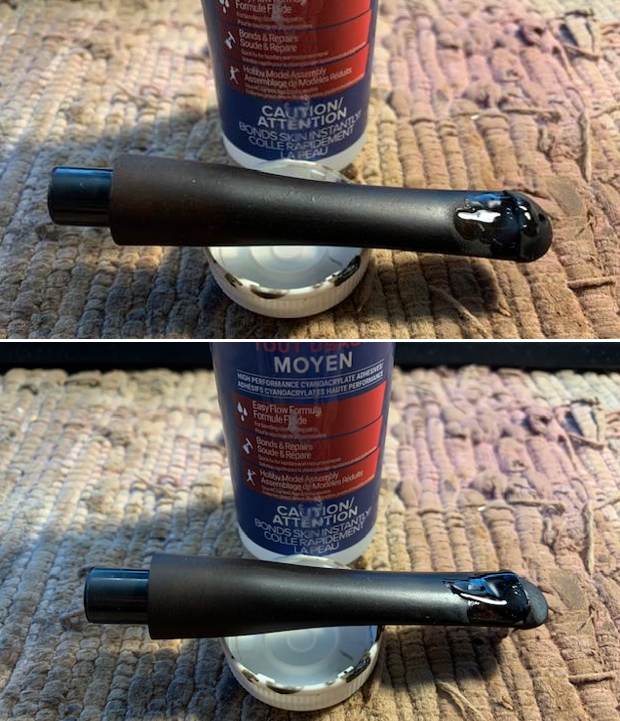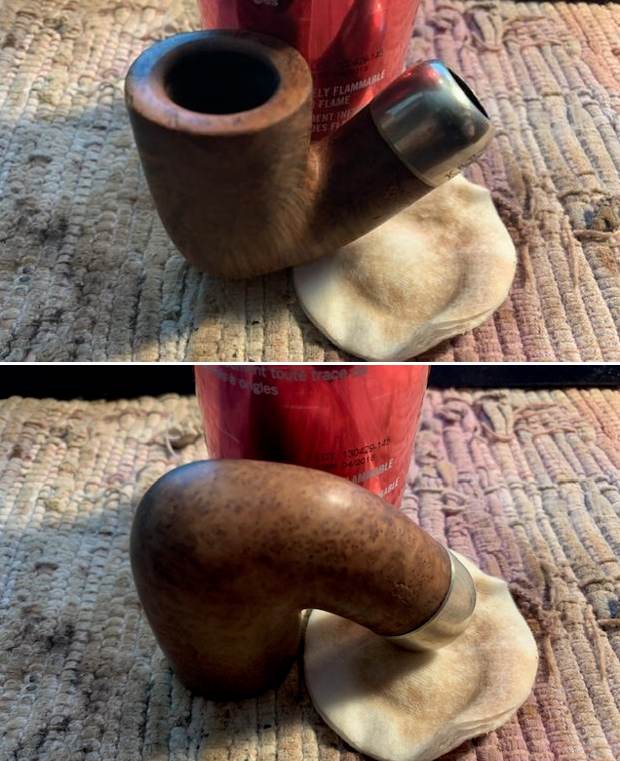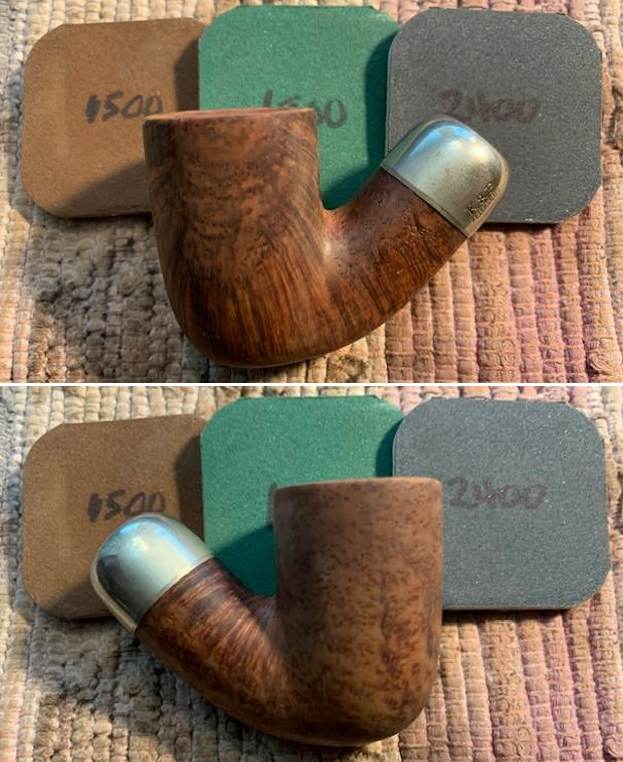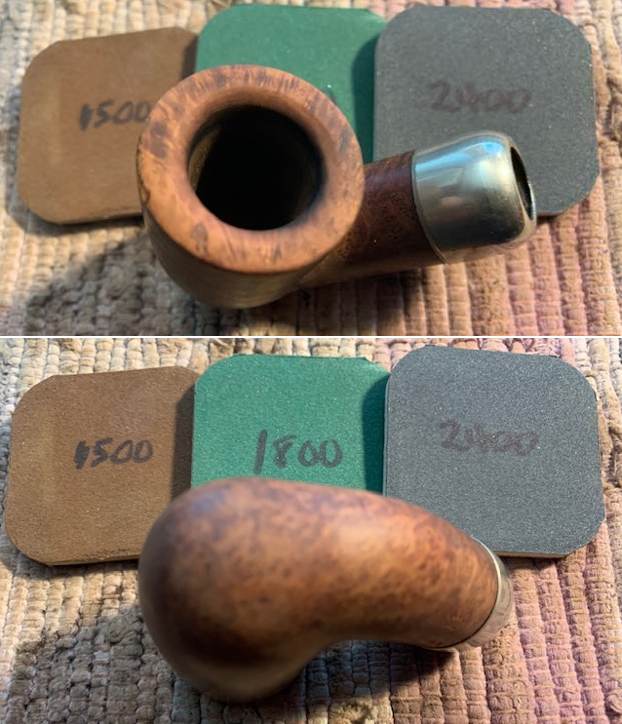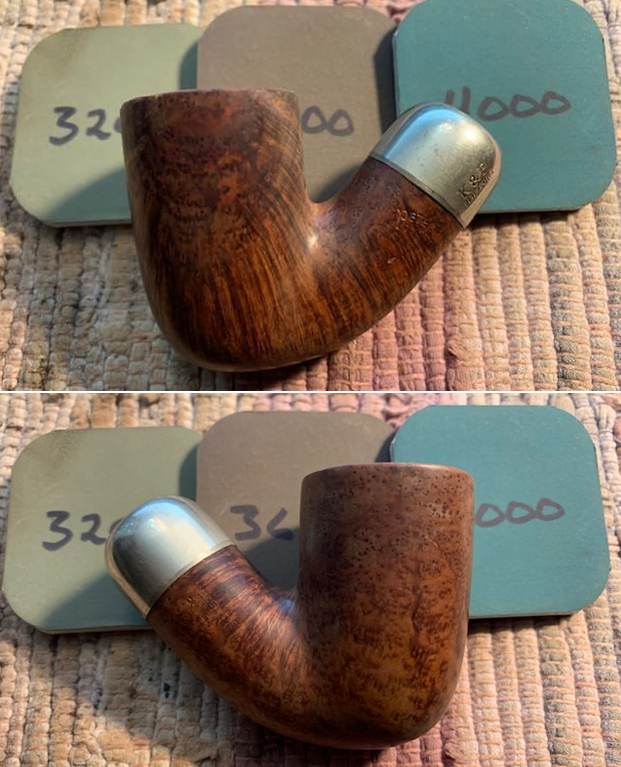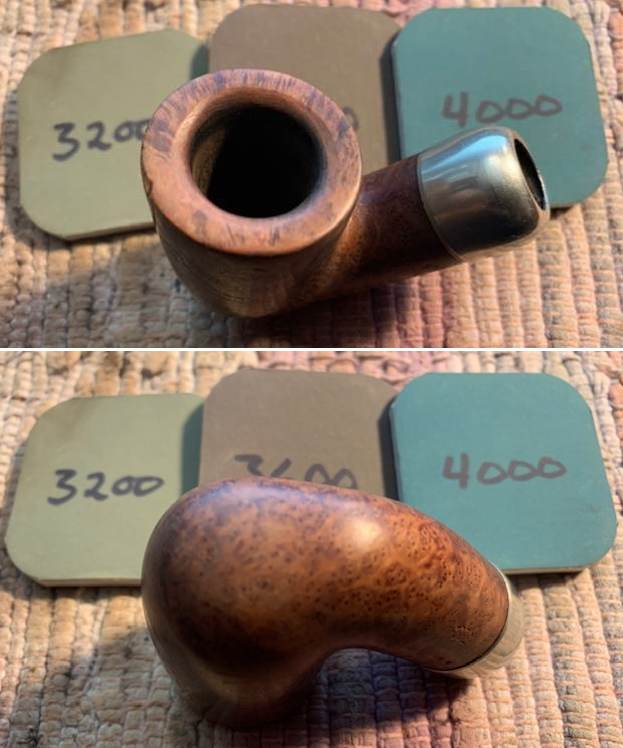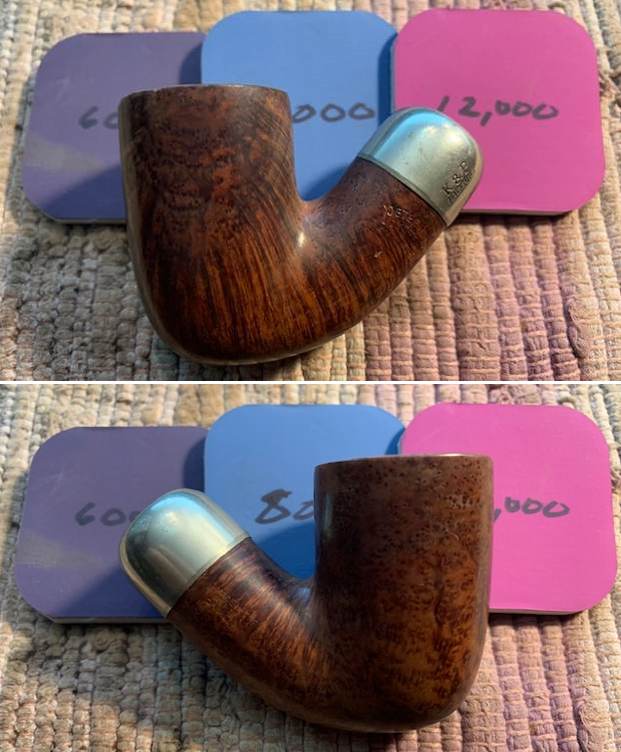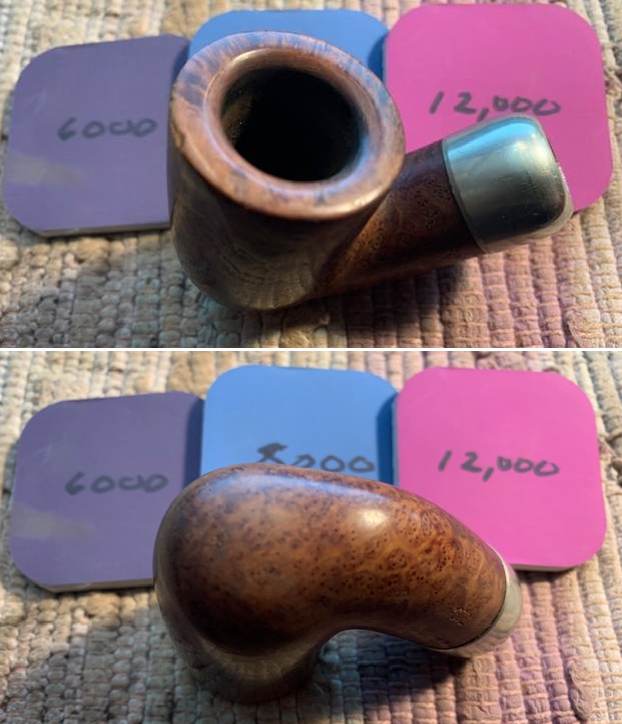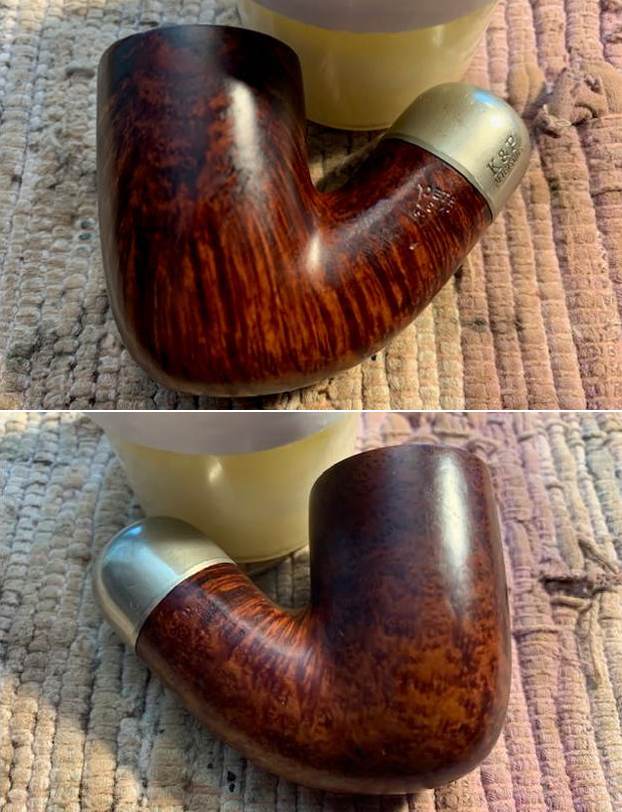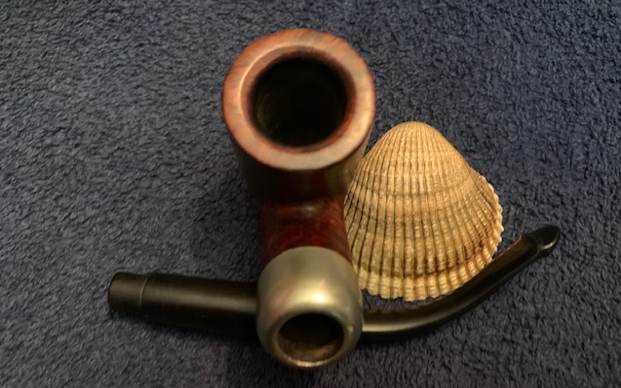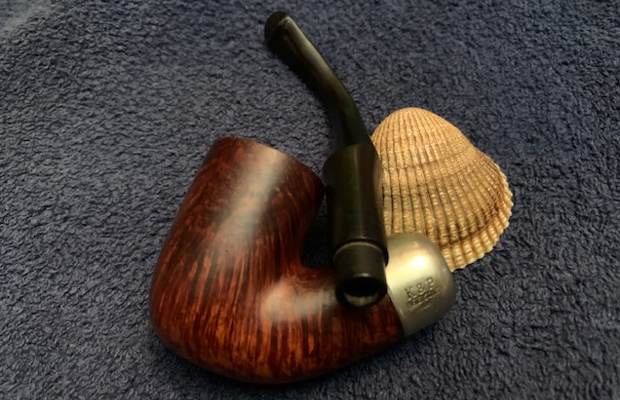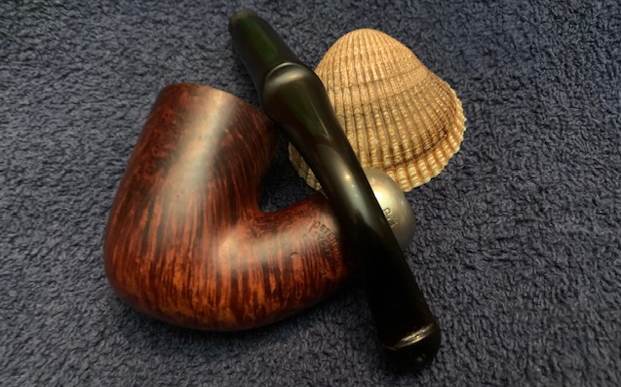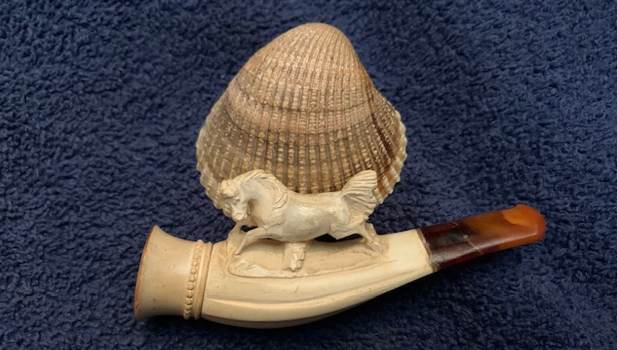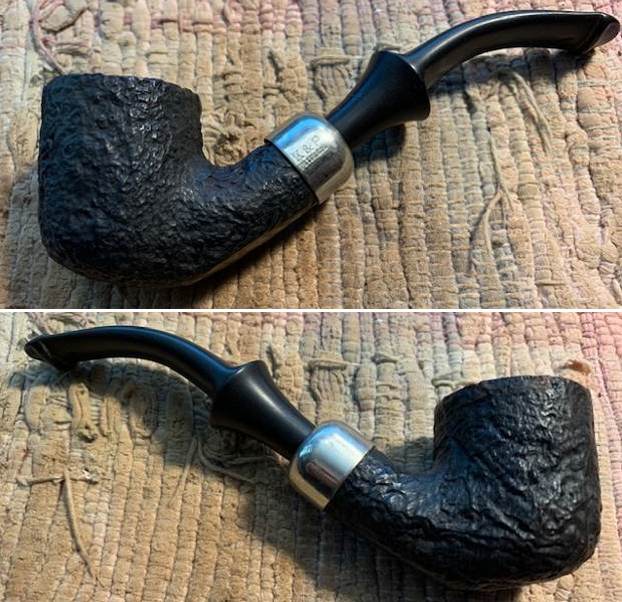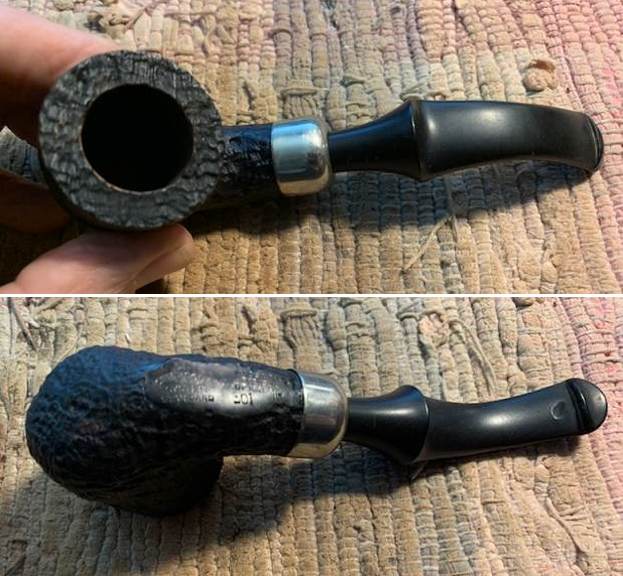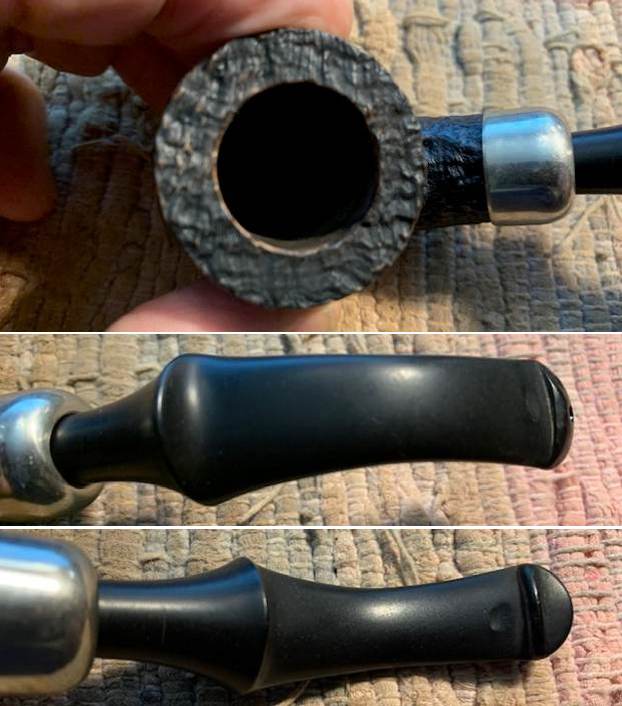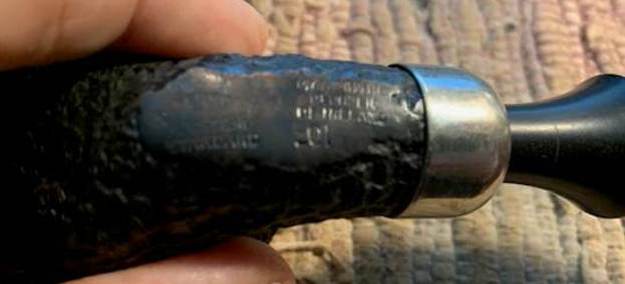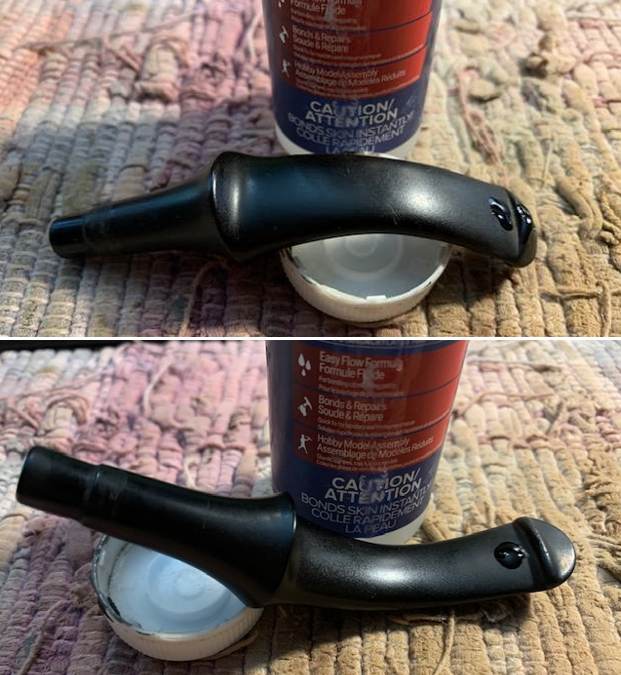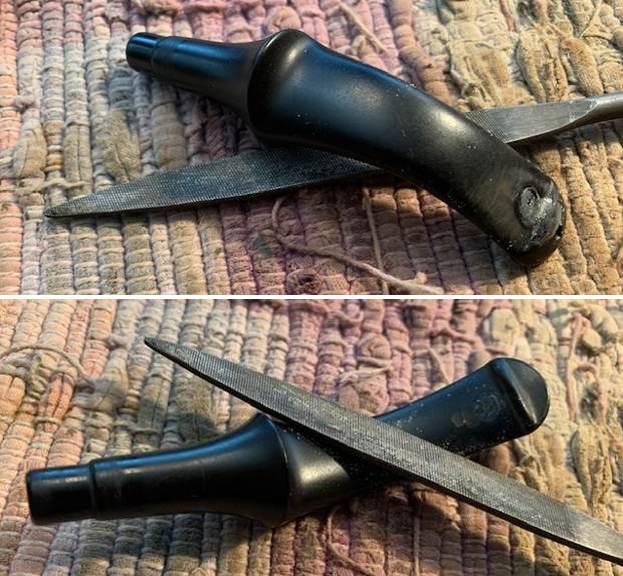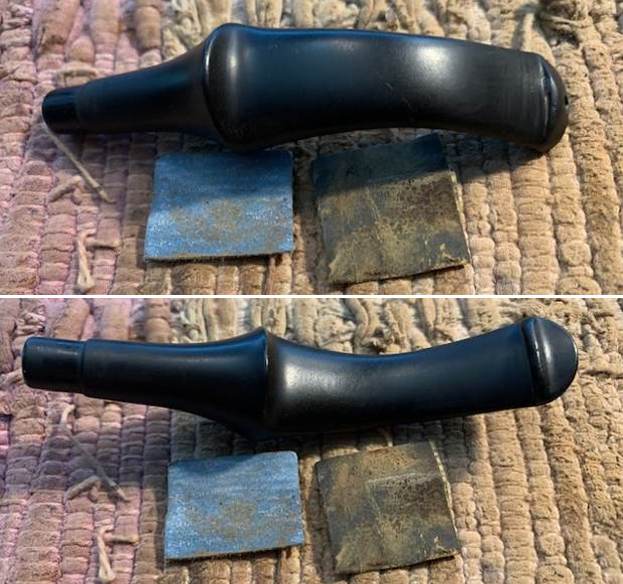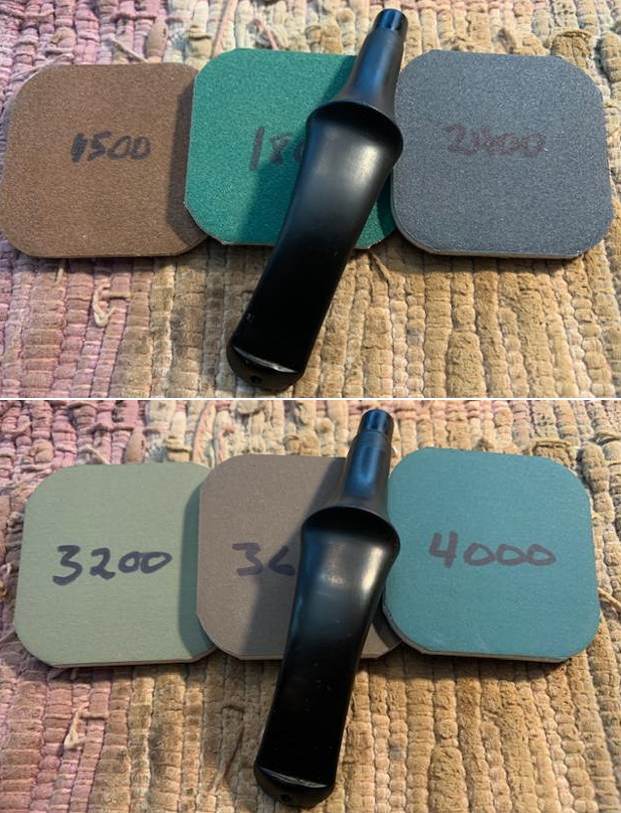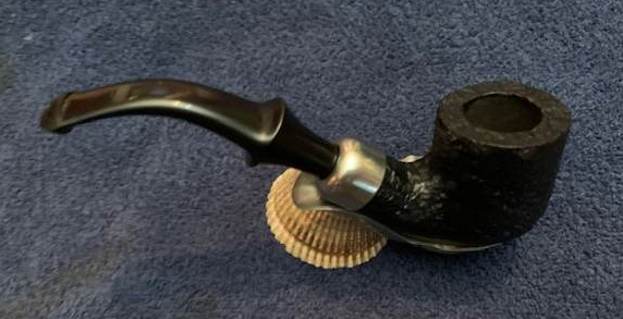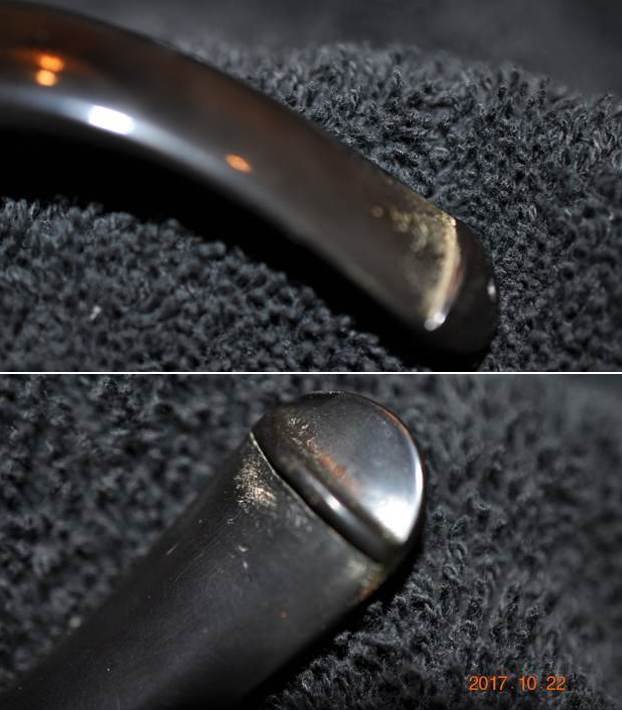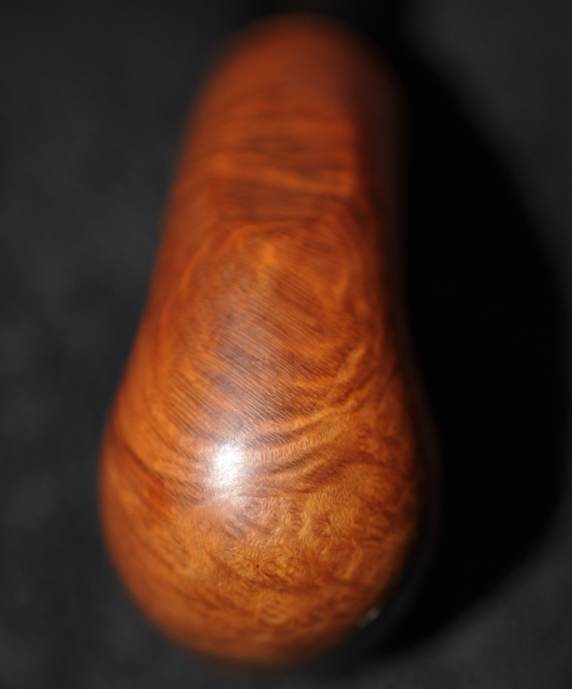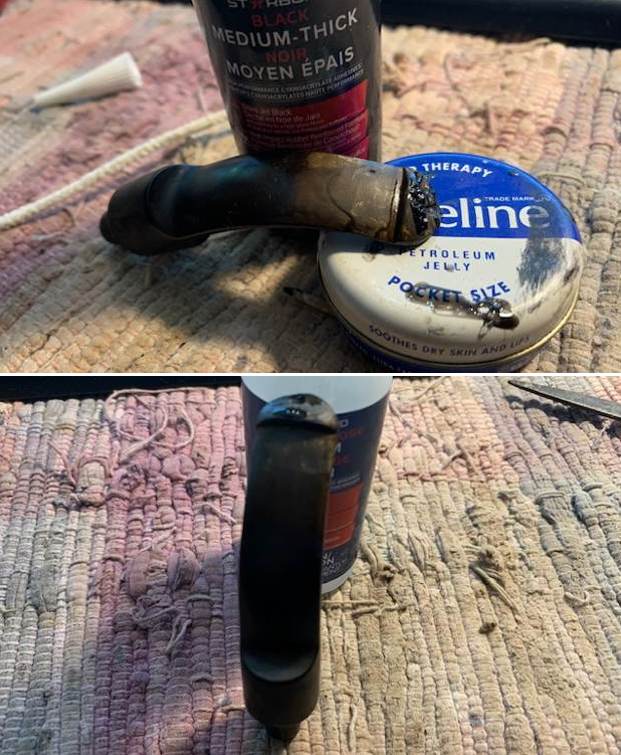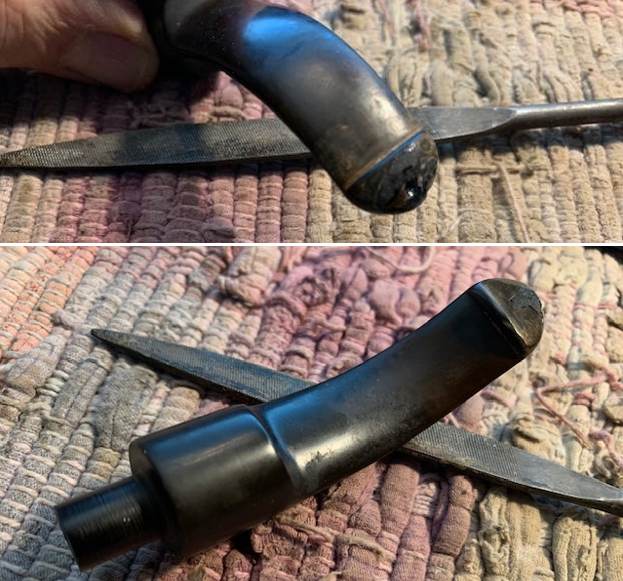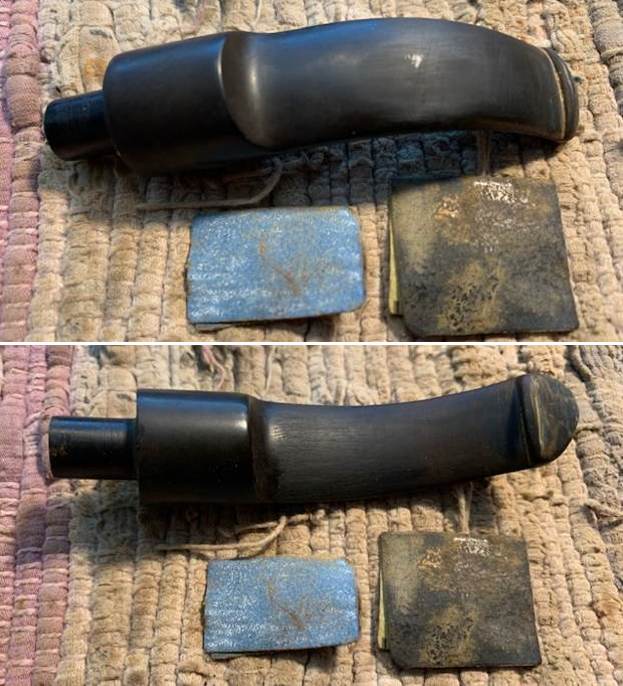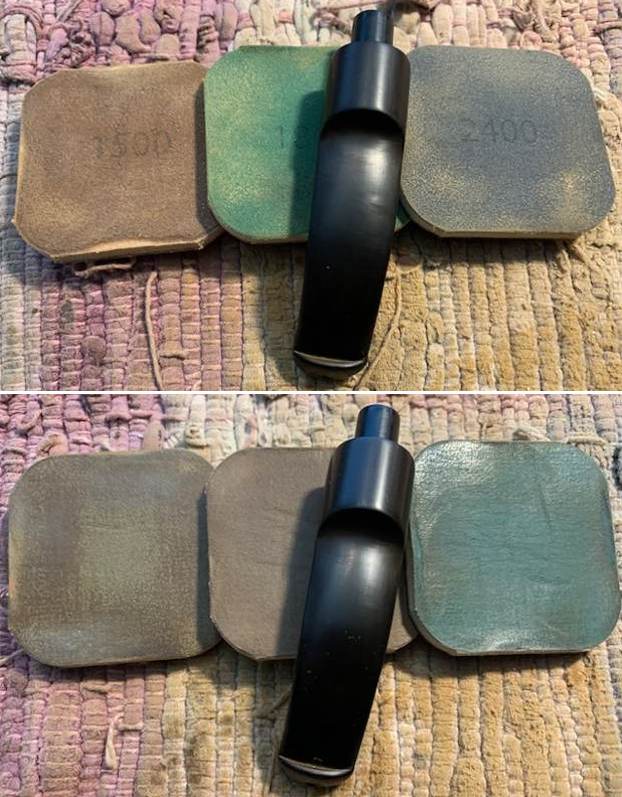
Tag Archives: shaping a stem

Restoring a Republic Era Peterson’s System 120 Dublin


Blog by Steve Laug

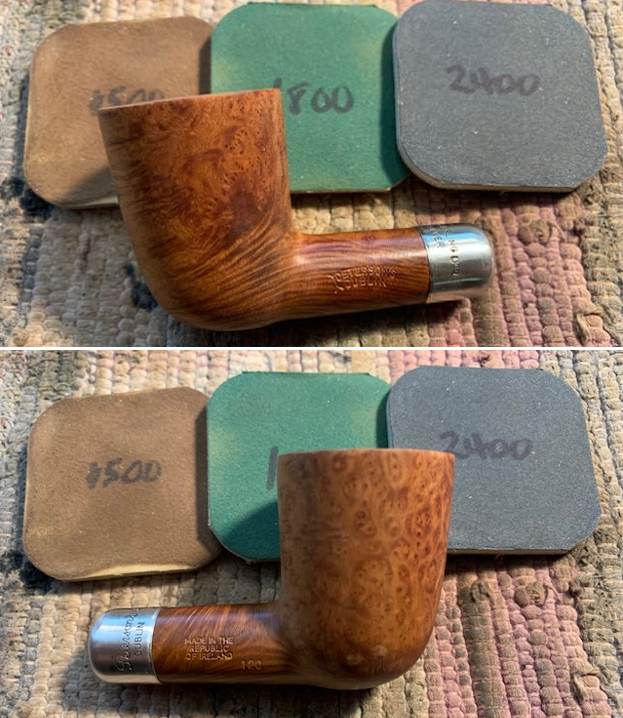
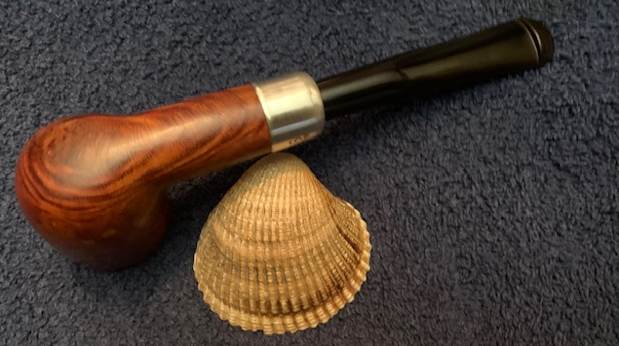
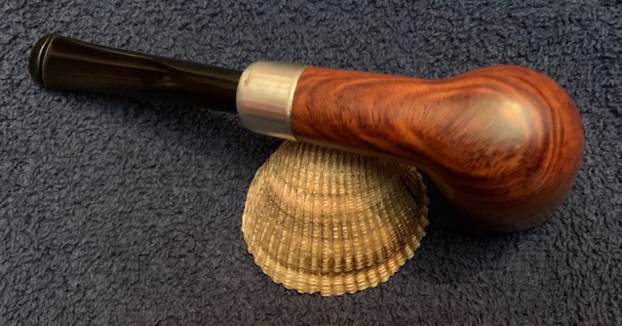
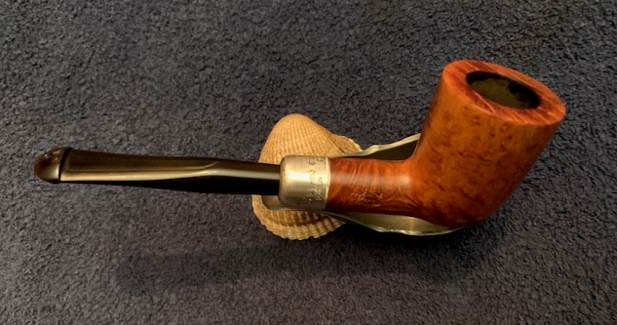
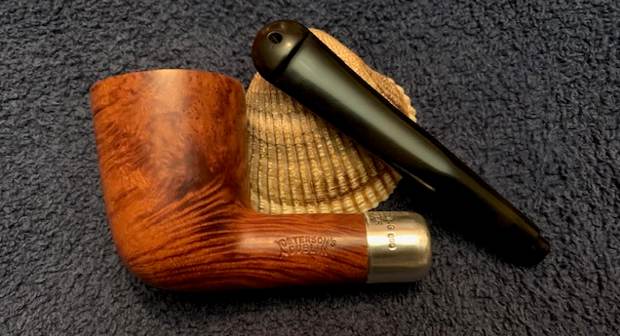
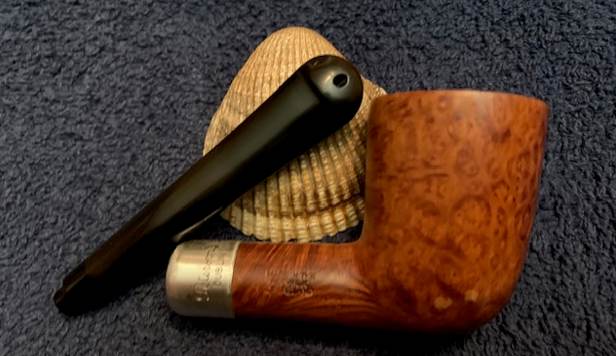
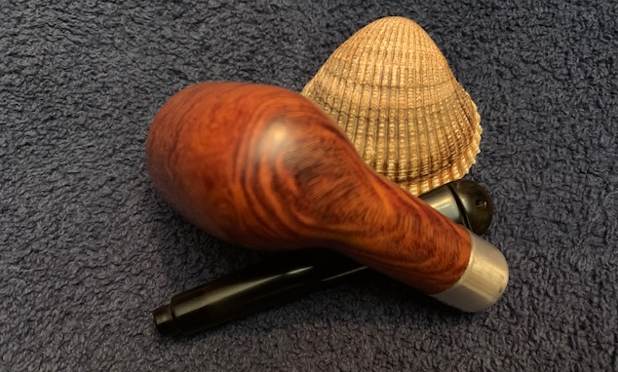
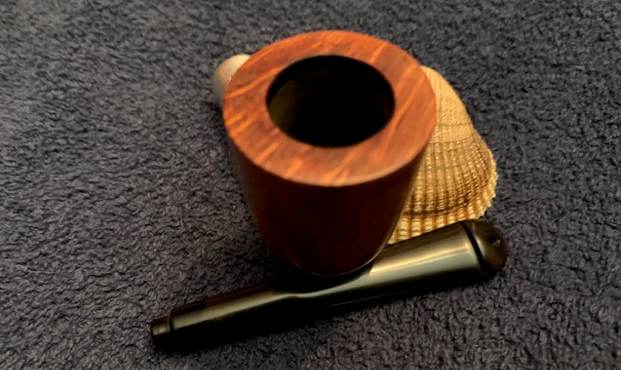
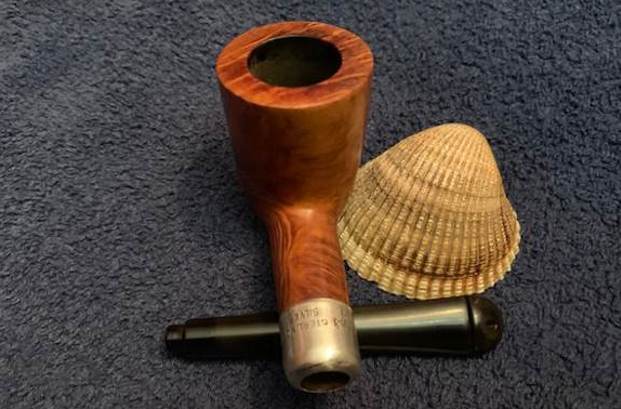
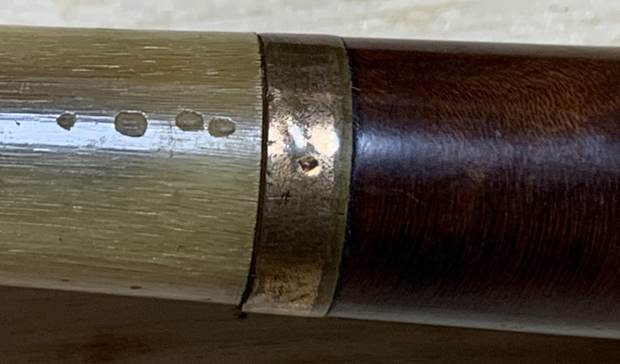
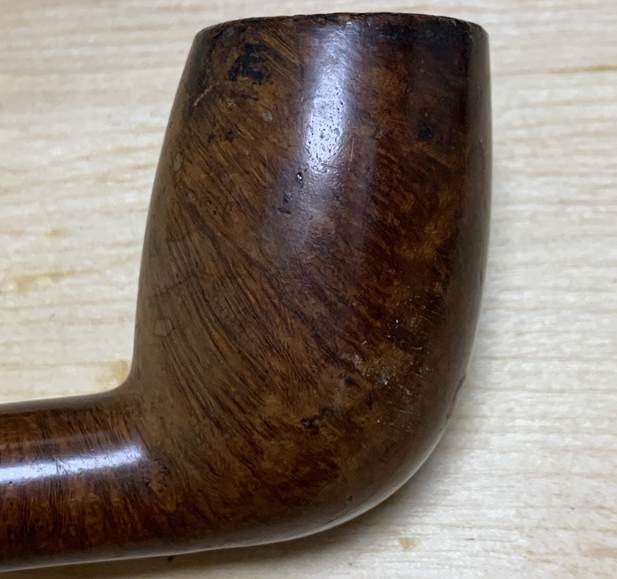
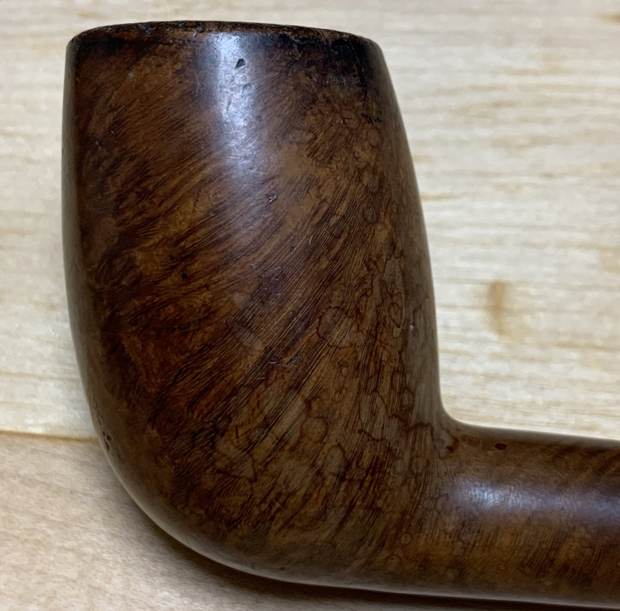
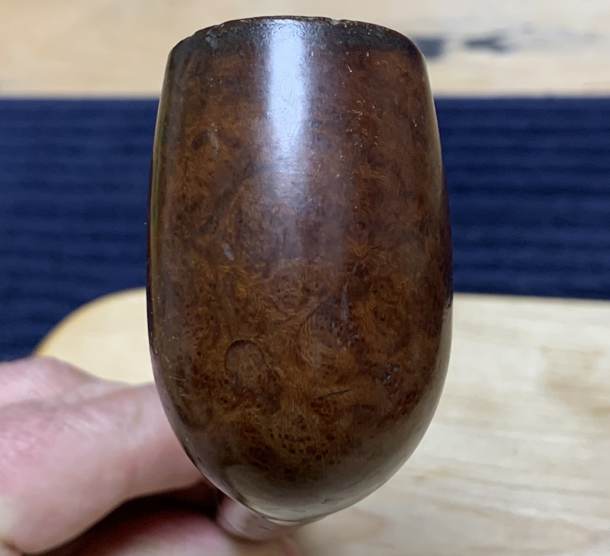
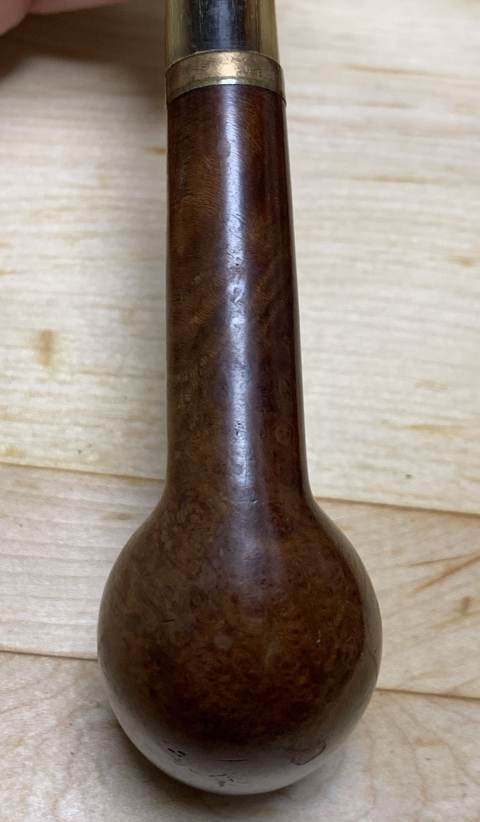
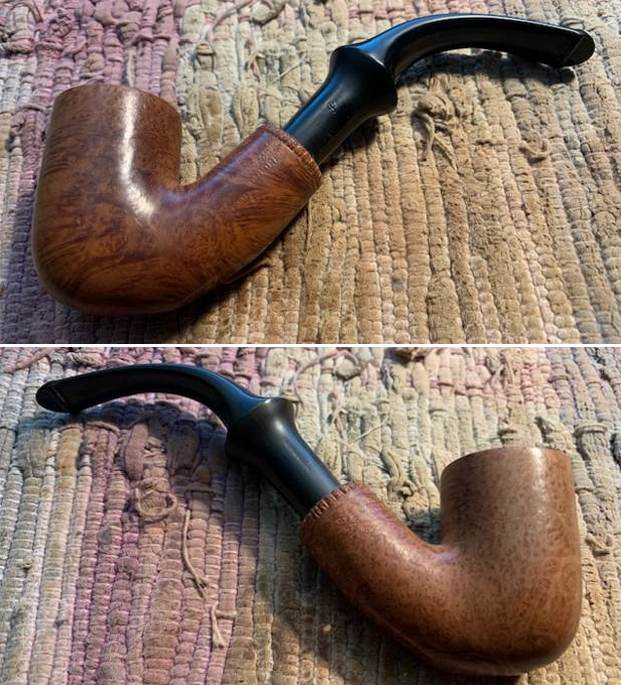
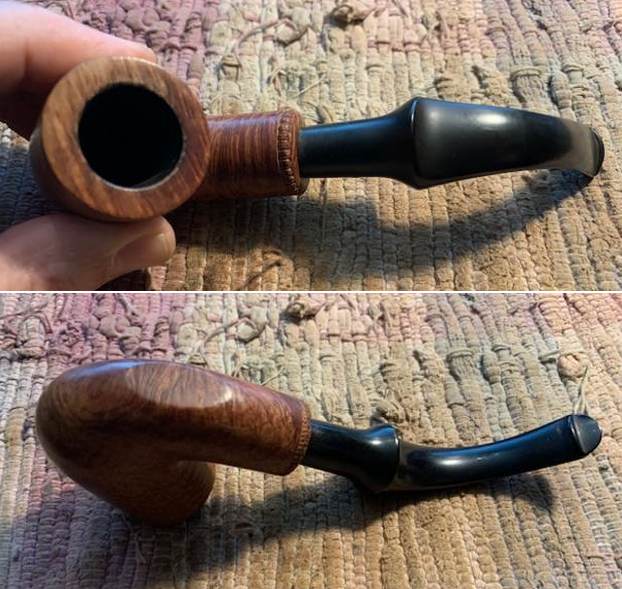
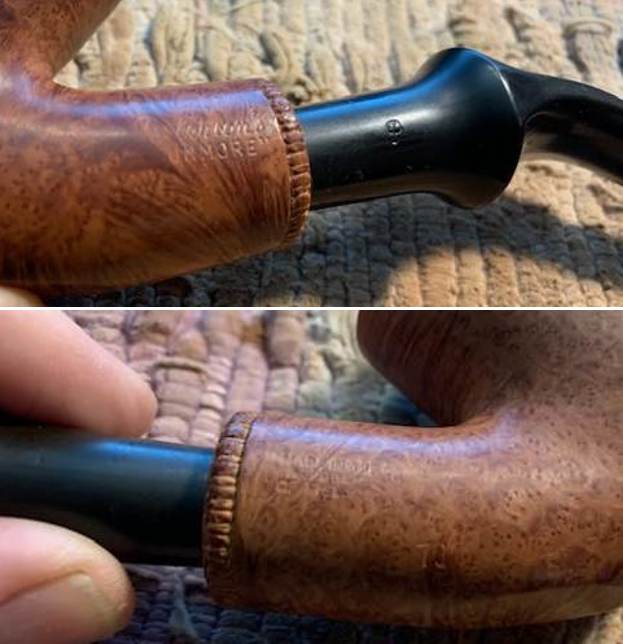
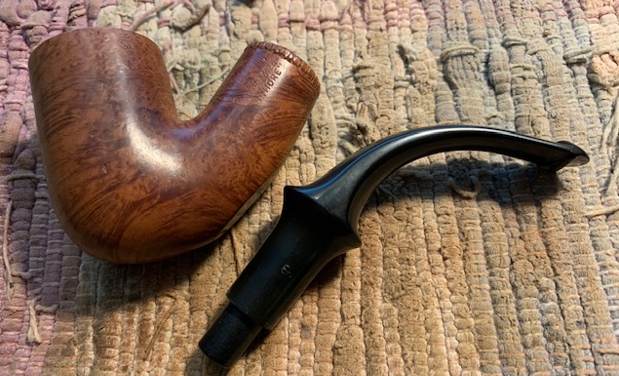
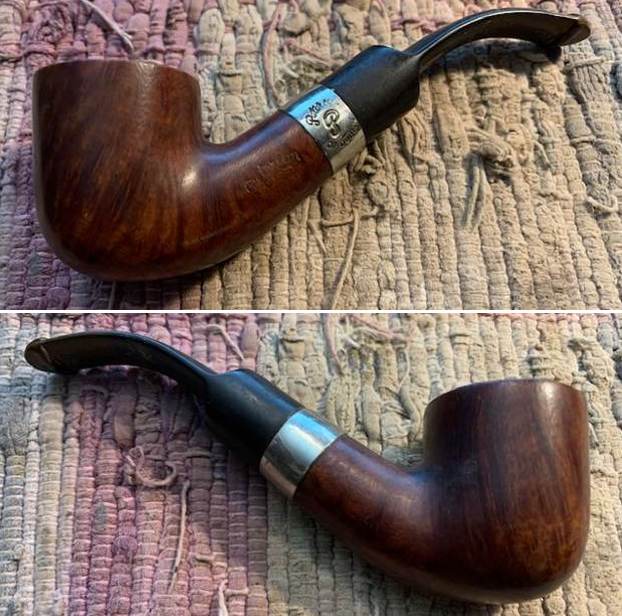
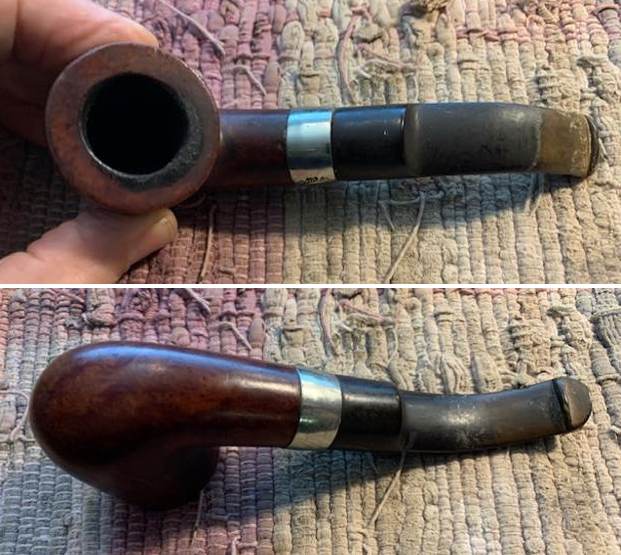
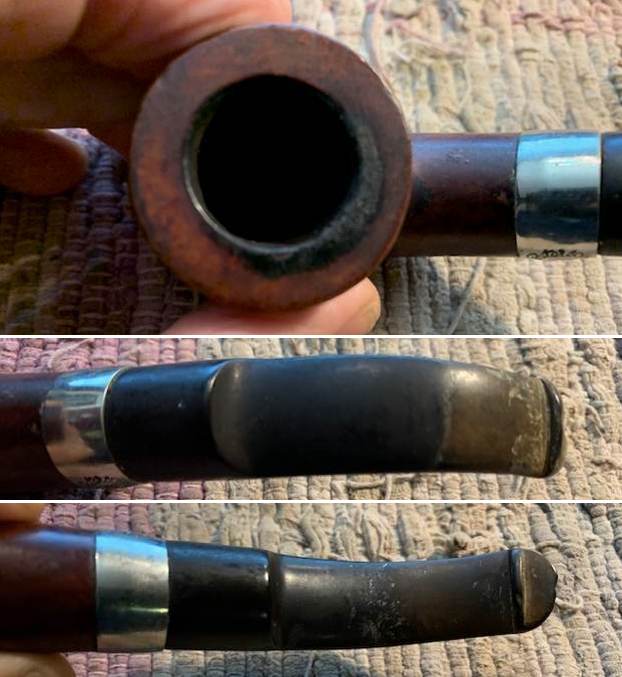
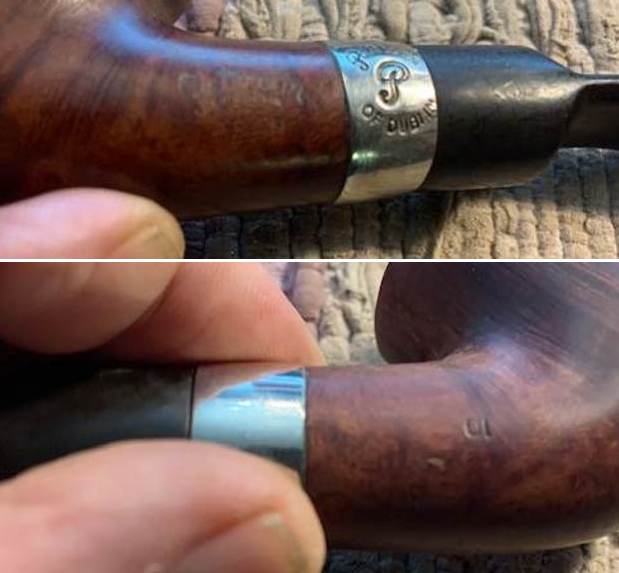
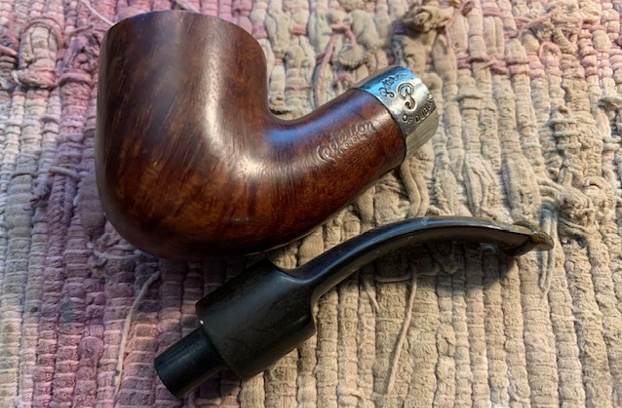
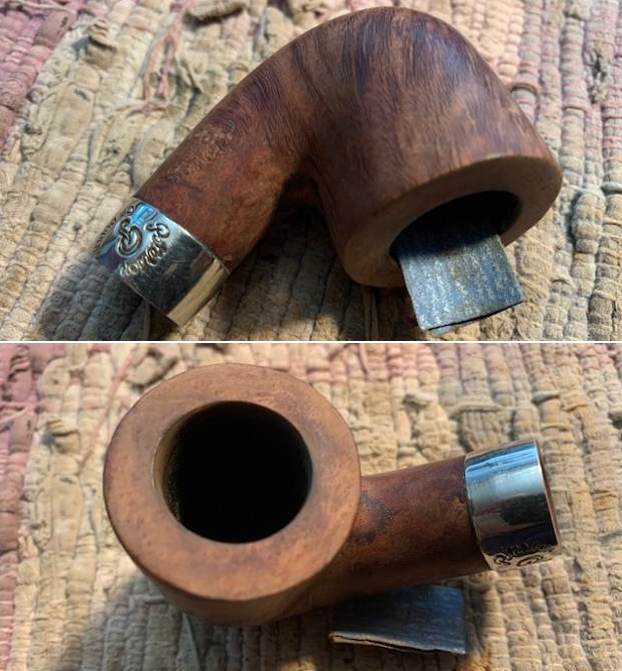
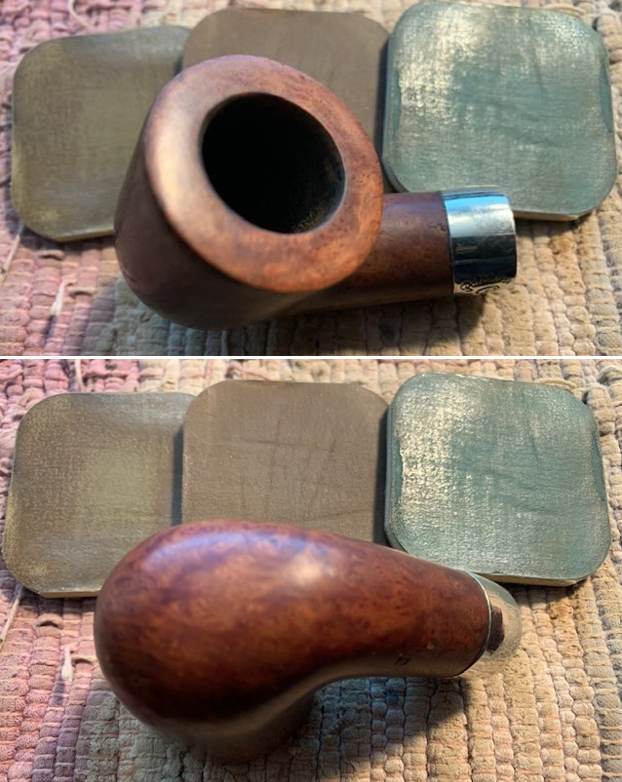
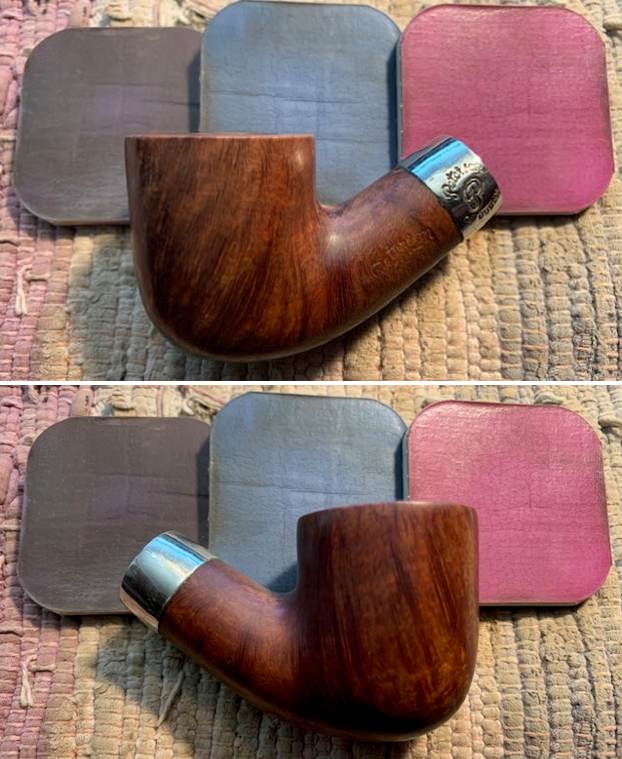
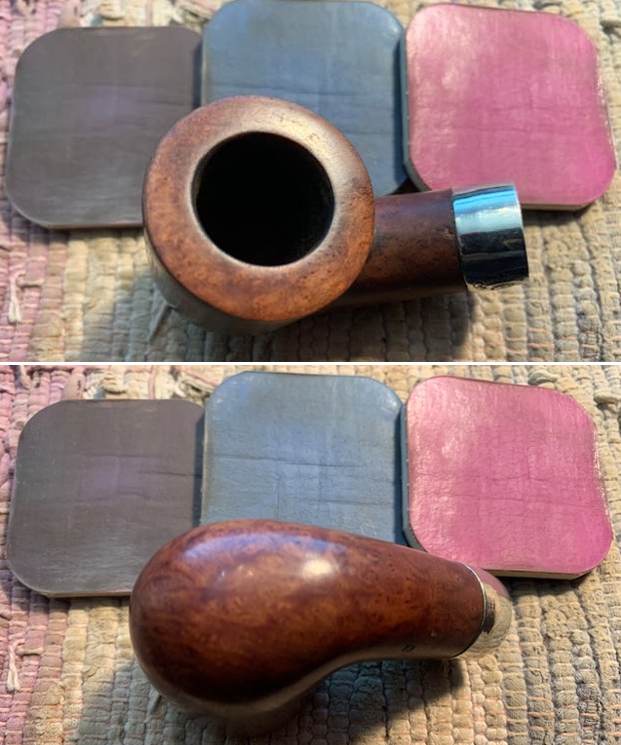
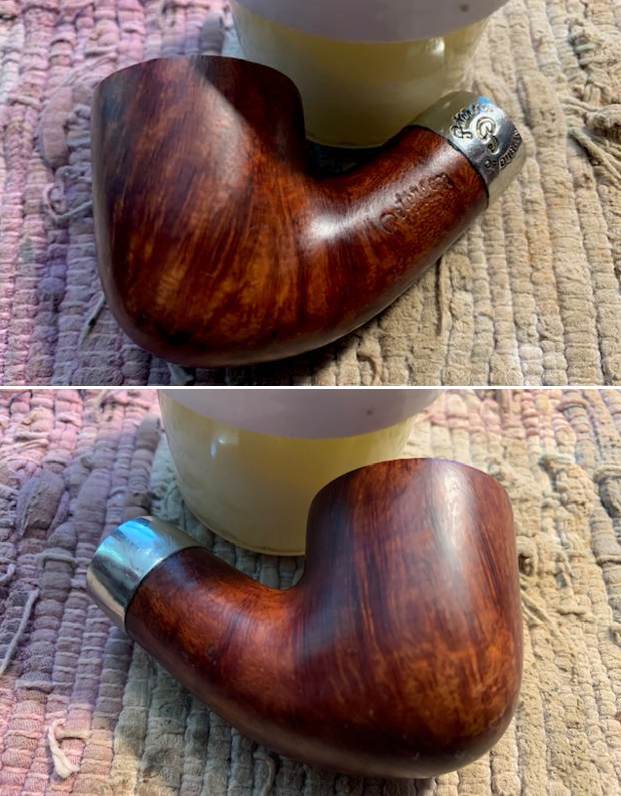
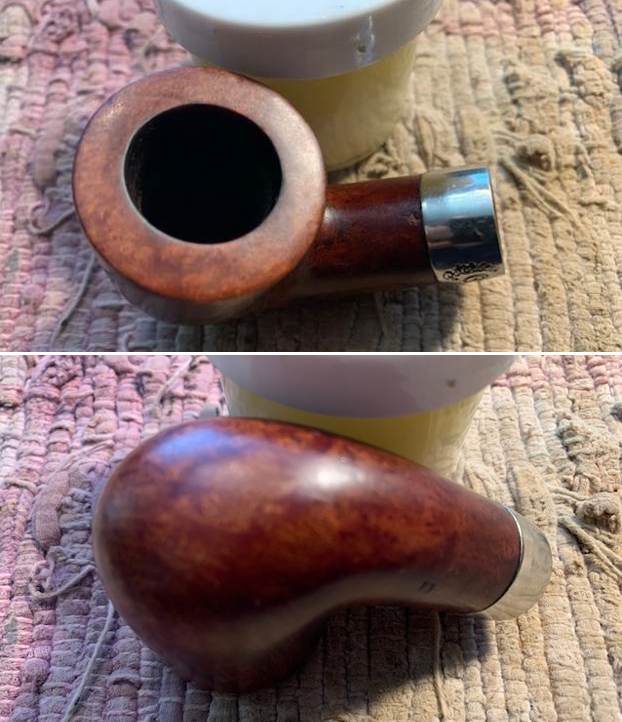
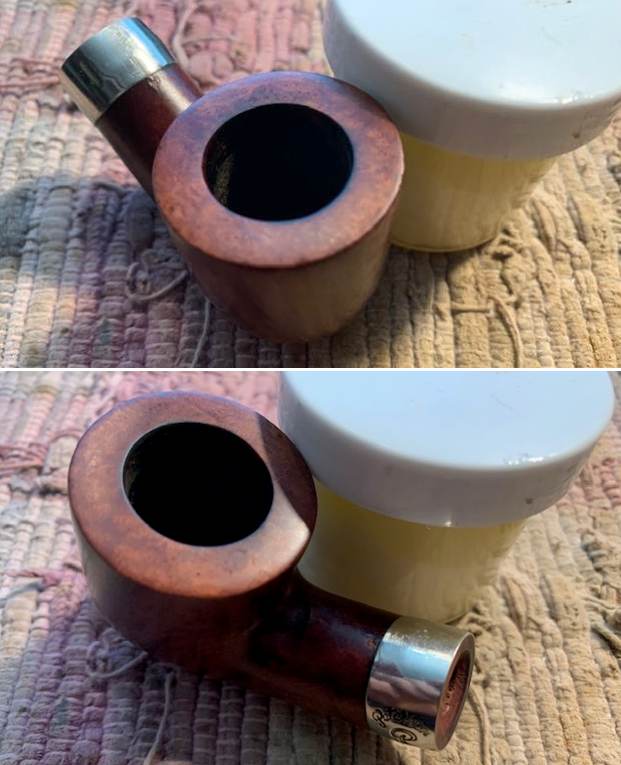
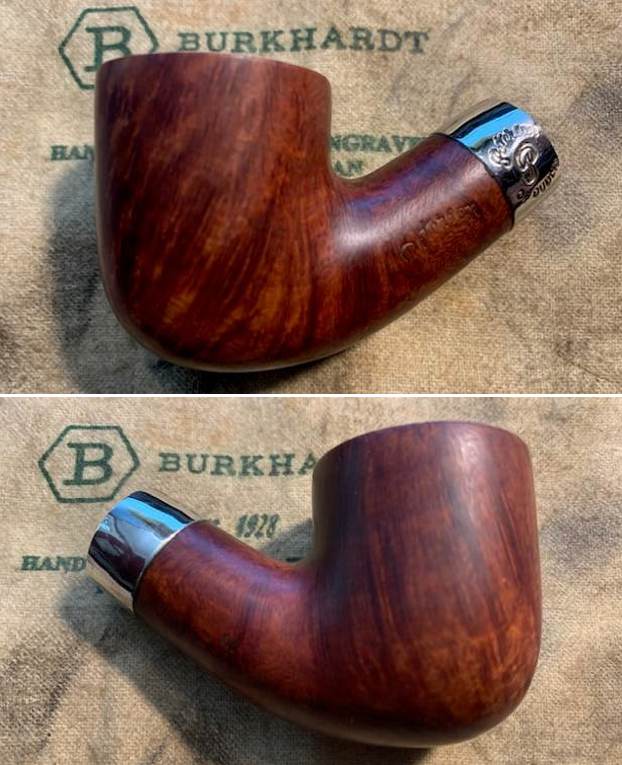
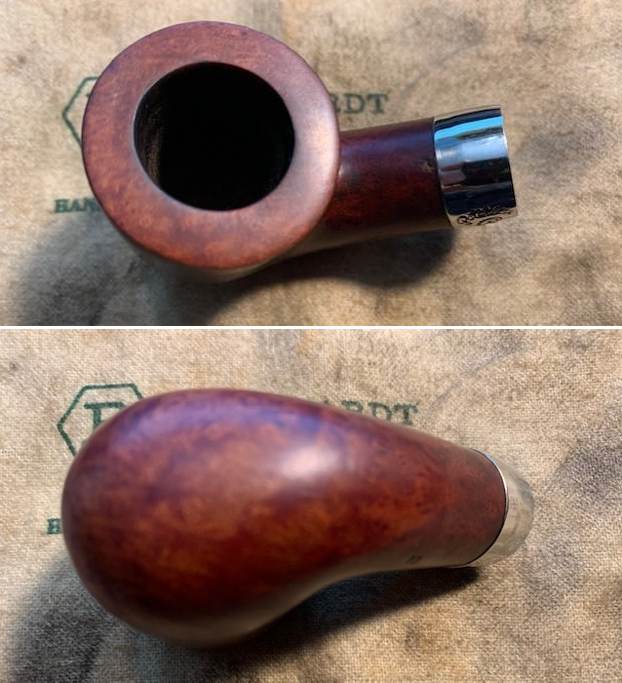
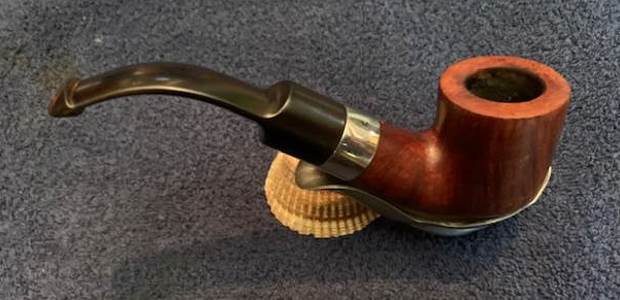
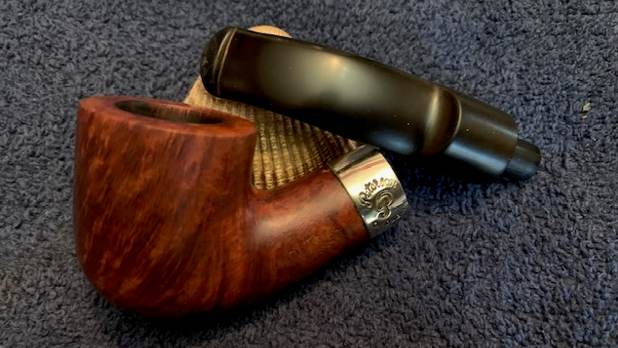
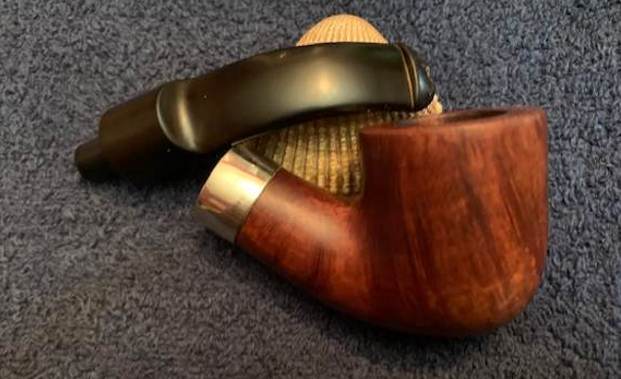
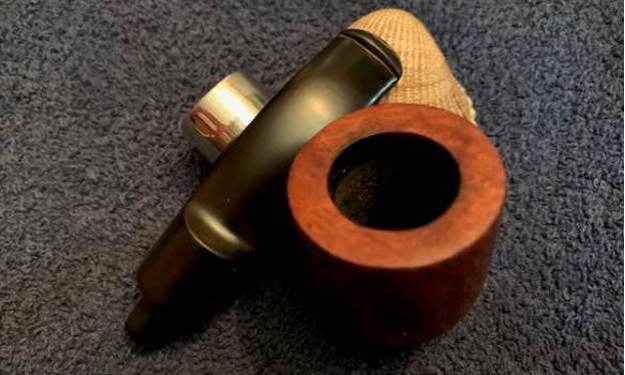
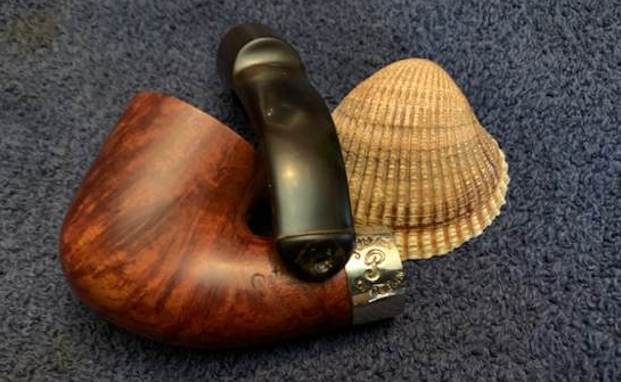
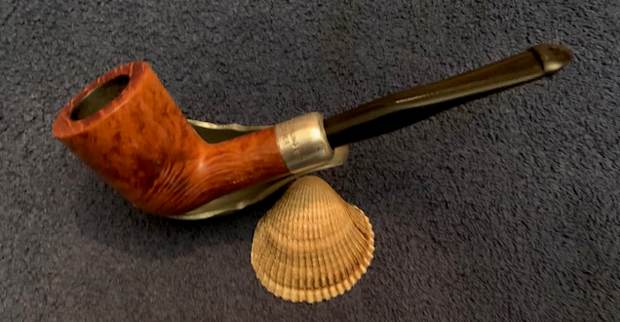
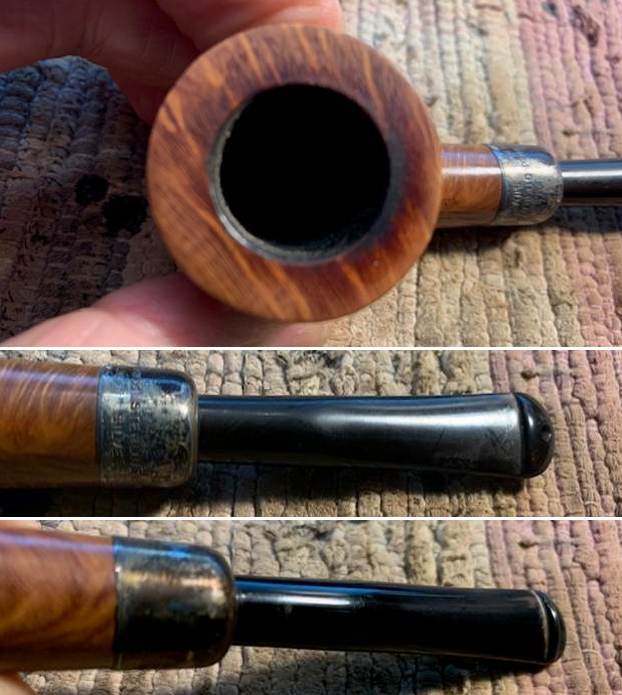
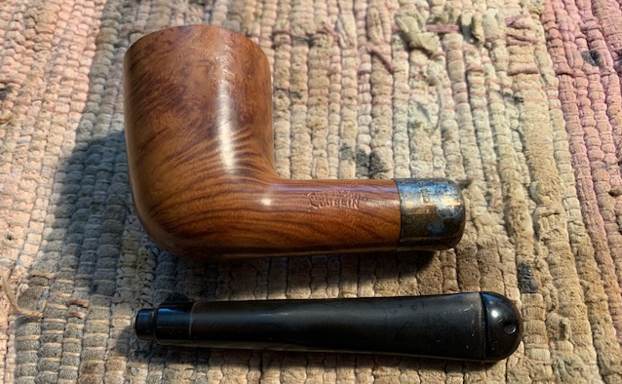
This is a pipe that I have taken out of my personal collection as I just do not use it too much. It is a nice looking Dublin shaped pipe with some nice grain around the bowl and a Sterling Silver ferrule. I smoked solely Virginia tobaccos in it so it is very clean. The inside of the shank, the system sump and the shank was quite clean. The smooth rim top had some darkening on the back top and inner edge. The smooth finish was very clean but dull and quite lifeless. The grain runs horizontal on the left side of the bowl and shank. The stamping on the shank is clear and readable. The left side is stamped Peterson’s [arched over] Dublin. On the right side it was stamped Made in the Republic of Ireland (3 lines). To the right of that stamp is the shape number 120. The Sterling Silver ferrule is oxidized and dull but it has the Peterson’s [over] Dublin. Next to that it was stamped Sterling [over] Silver followed by three hallmarks – a Seated Woman (Hibernia), Harp and the cursive letter J. The stem was quite clean, with minimal oxidation near the button. It is free of tooth marks and chatter on both sides. I took some photos of the pipe before I started my work on it. I took close up photos of the bowl and the stem. You can see the reamed bowl and the darkening and damage on the rim top. The stem surface was clean and free of tooth marks or chatter on both sides. I took a photo of the stamping on the sides of the bowl and shank. It is clear and readable as noted above. I removed the stem from the shank and took a photo to give a sense of the proportions of the pipe. It is really quite nice looking.I am including the information from Pipedia’s article on Peterson pipes. It is a great read in terms of the history of the brand (https://pipedia.org/wiki/Peterson). I have included a bit of the pertinent history here.
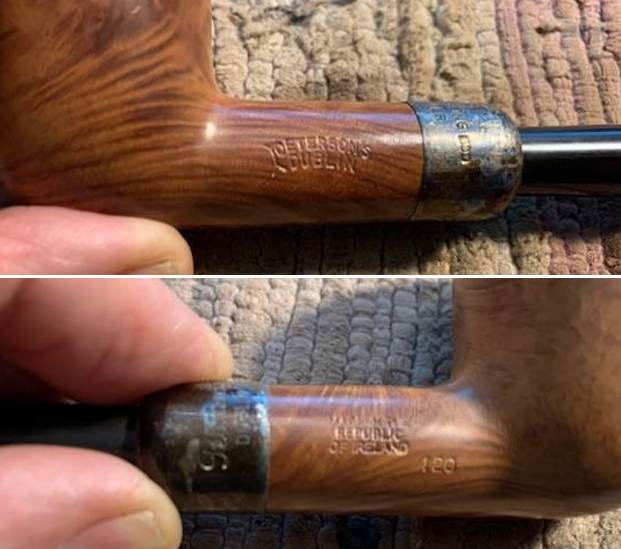
1950 – 1989 The Republic Era  – From 1950 to the present time, the stamp for this era is “Made in the Republic of Ireland” in a block format generally in three lines but two lines have been used with or without Republic being abbreviated.

During the 1950’s and 60’s the Kapp & Peterson Company was still in the ownership of the Kapp family. However 1964 saw the retiral of the company Managing Director Frederick Henry(Harry) Kapp.

I turned to Mark Irwin’s Peterson Pipenotes site for information on the shape 120 Dublin. I quote the information below (https://petersonpipenotes.org/tag/peterson-120/).

Shape 120 Patent Lip Straight Dublin.

Years of production: 1906 – present.
Average Measurements:
Length: 6.16 in./156.46 mm.
Weight: 1.40 oz./39.69 g.
Bowl Height: 1.94 in./49.28 mm.
Chamber Depth: 1.63 in./41.40 mm.
Chamber Diameter: 0.83 in./21.08 mm.
Outside Diameter: 1.38 in./35.05 mm.
P-Lip: Yes

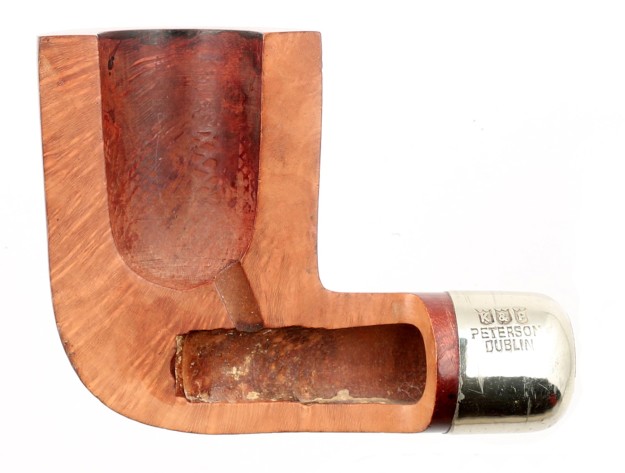
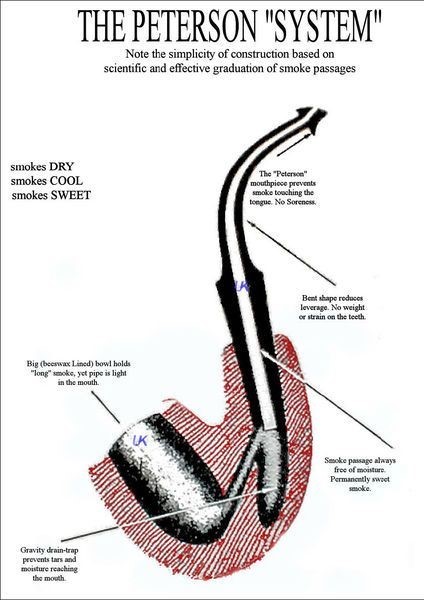
There was also this great cutaway of the 120 System pipe to show the system details.

A late 1950s 120 Demonstrator – This demonstrator from the 1950s shows how the pipes were drilled. What it doesn’t show, since it is missing the stem, is the extended bone tenon that would have screwed into the vulcanite P-Lip and extended to just below the airway into the chamber.The IFS-Era added two new straight Dublins to the 120, 121, and 122: the 120F (“Flat” or oval shank) and slender 417. The System straights seem to have disappeared by this time. The 120 “Flat” is a natural thought in Peterson’s design language, which always comes back to comfort and practicality, and I can imagine someone in bowl-turning or even a customer thinking how great it would be to set his straight Dublin down in order to emphasize a point over a pint or a cuppa.

I always like to date the year a pipe was made while I am working on it. In the process of working on a pipe if I can pin down a date that it was made that it adds another dimension to the restoration process. Once I have identified the hallmarks on the pipe then I use a Hallmark chart to pin the date down. In the case of Peterson’s pipe with a silver band I use a hallmarking chart that Peterson included in their catalogs and on their website

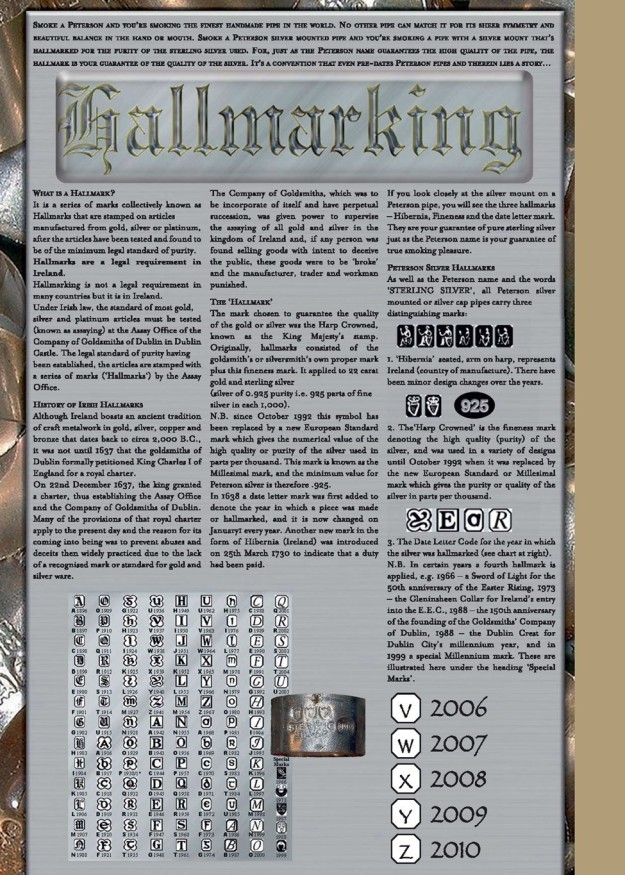
I have a copy of the hallmark charts in one of the Peterson catalogs that I have uploaded to the blog on rebornpipes. I turned to that chart to lock down the date letter for the Sterling Silver System Dublin that I am working on. Here is the link to the blog on the silver ferrule (https://rebornpipes.com/tag/identifying-hallmarks-on-a-sterling-silver-ferrule/).

To the left there is a great description of the stamping on the silver ferrule. The one I am working on has the same three stamps as those to the left. It has the seated woman (Hibernia) representing the country of manufacture – Ireland. The Harp crowned is a stamp of the purity of the silver. The third mark is a cursive J that identifies the age of the pipe.

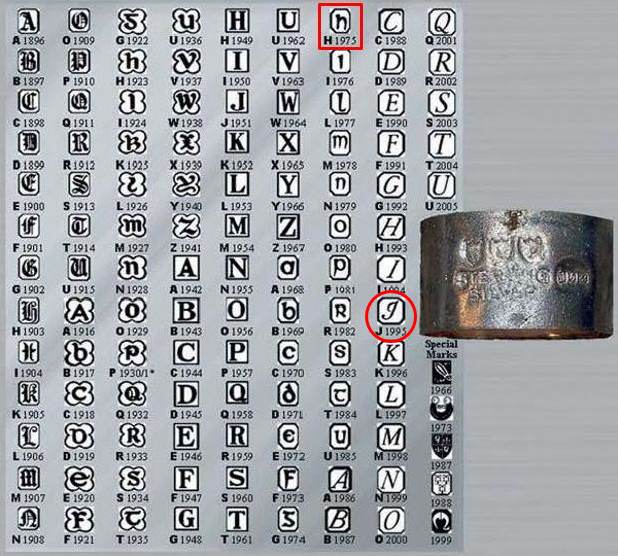
I am including a chart below that helps to identify the date with the J stamp. That stamp dates the pipe as being made in 1995.I have drawn a circle around the date letter below. It identifies the date of this Peterson’s pipe to 1995. I turned to “The Peterson Pipe” by Mark Irwin and Gary Malmberg to get some background on the Peterson’s Dublin. On page 298 it had the following information.

Dublin (1906-2003) Although DUBLIN appears under PETERSON’S  on many pipe over the decades, it has served mostly as part of the brand name. The word first appeared on pipes hallmarked 1906-11, stamped PETERSON’S over PATENT over DUBLIN. The simpler PETERSON’S over DUBLIN first appeared on pipes hallmarked 1912 after the expiration of the patent. Illustrations of pipes in the ’37 catalog show a random dispersion of the stamp PETERSON’S over OF DUBLIN together with the ordinary PETERSON’S over DUBLIN on every model offered. Specimens of the former will bear either and Irish COM or LONDON MADE over ENGLAND COM and almost certainly date from 1945-62. It was first mentioned as part of a model name in the ’68 price list, as K&P DUBLIN, in ’92 for a Danish market line and in 2017 (see below).

“Dublin” (1992-2003) An orange-brown smooth line with a brass-nickel-brass sandwich band, vulcanite fishtail mouthpiece, consisting mostly of D shapes released for the Danish market. Stamped PETERSON’S in script over “DUBLIN”. A tenth anniversary pipe for the line was produced with a sterling band stamped 2001. Market demand fell shortly thereafter and several pipes stamped “DUBLIN” were released in ’03 for the Fourth of July commemorative for the US market.

Now I knew that I was dealing with a Republic Era pipe made between 1950 and the present. The Peterson’s Sterling Silver ferrule has three hallmarks with a J date stamp that identifies it as being made in 1995.  It was a smooth Straight Dublin with a unique shape and chamber beneath the bottom of the bowl. The finish was stained with a combination of rich lighter brown stains. Now it was time to work on the pipe.

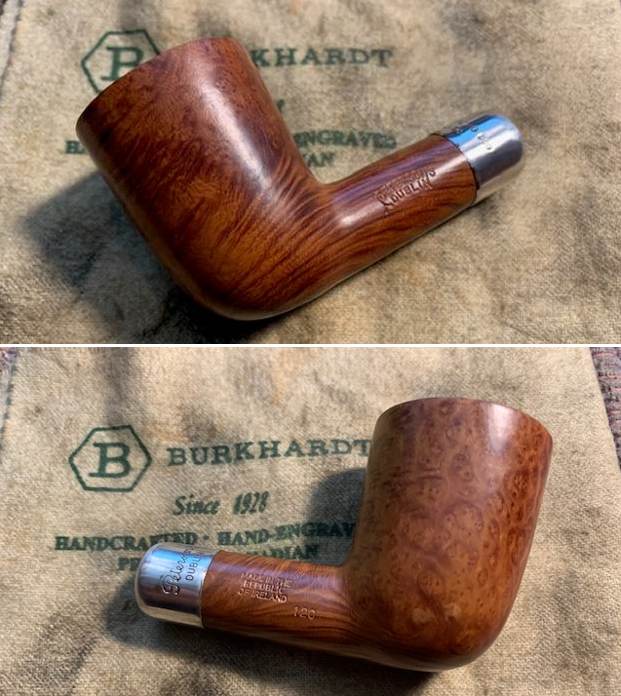
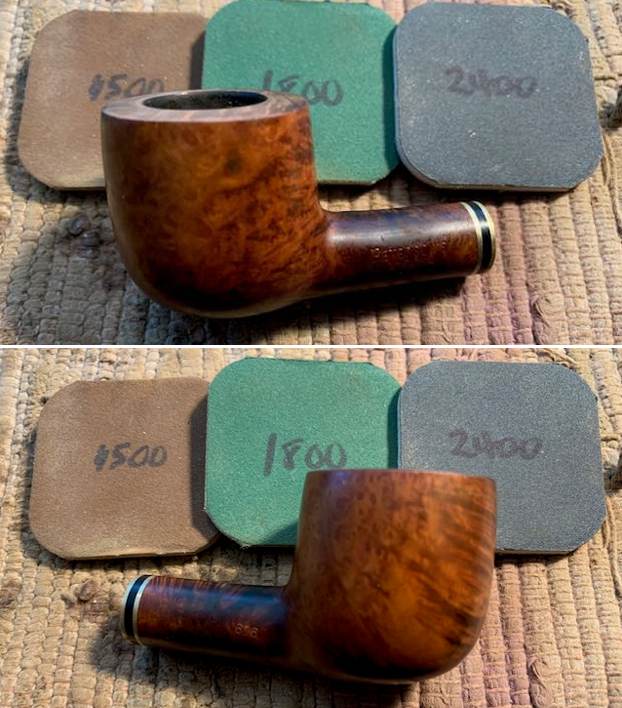
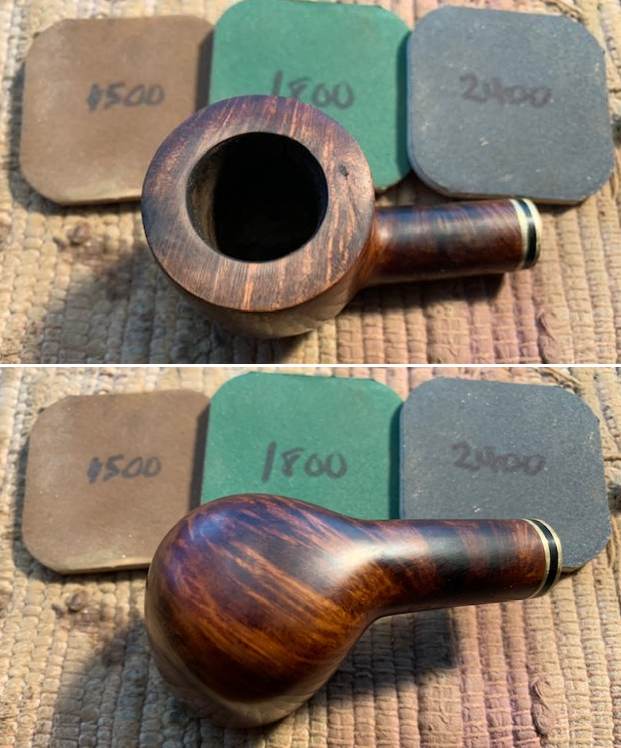
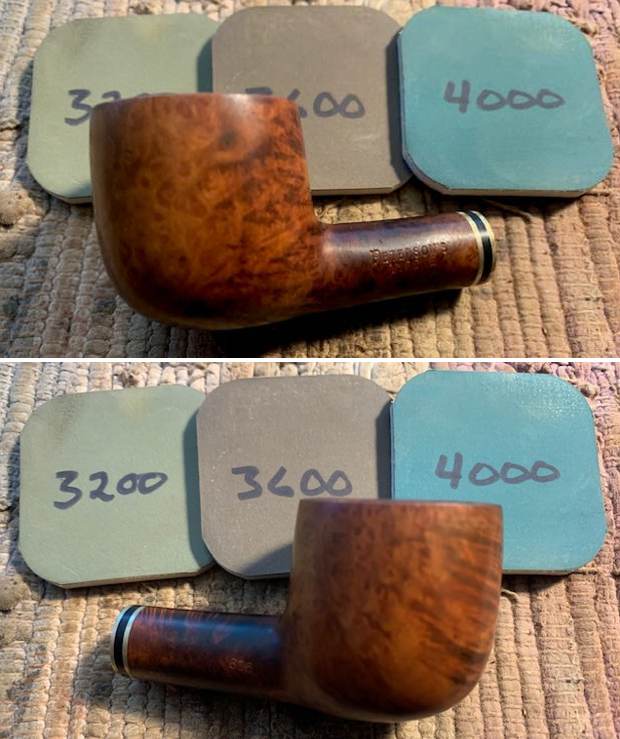
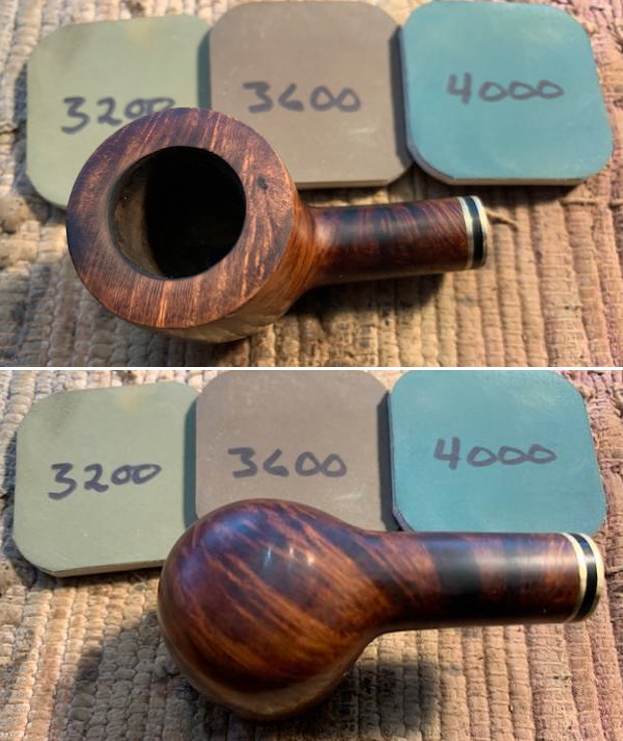
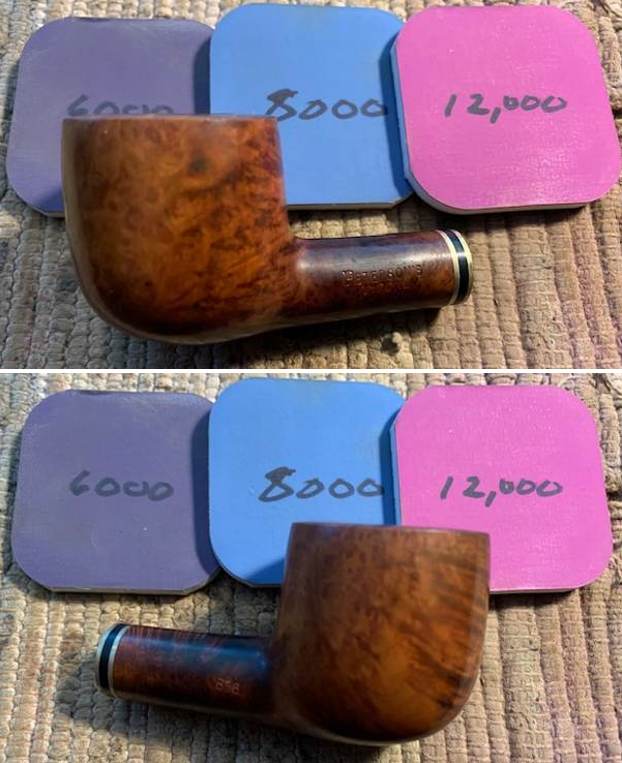
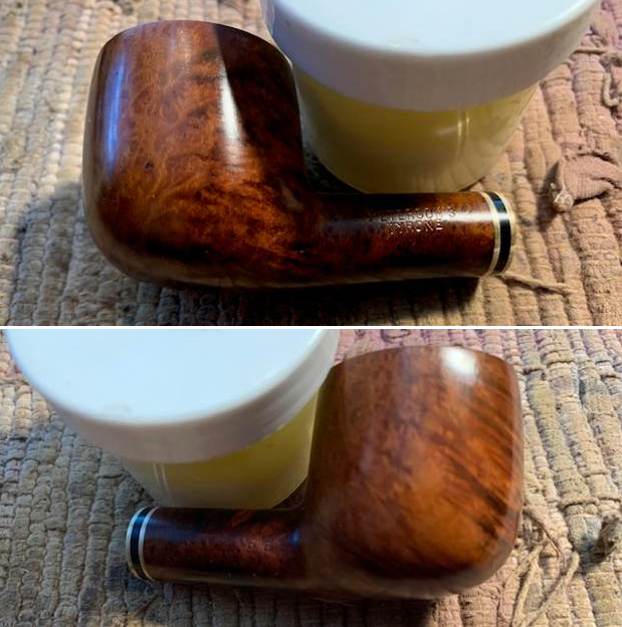
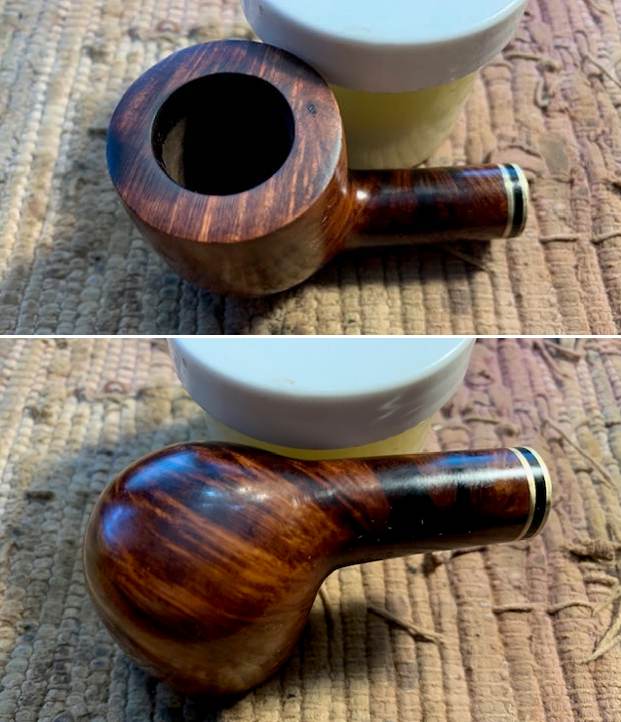
I reamed the bowl with a Savinelli Fitsall Pipe Knife. I sanded the walls on the bowl with a piece of 220 grit sandpaper wrapped around a piece of dowel to take the walls back to smooth once again. I worked on the pipe with a folded piece of 220 grit sandpaper to remove the damage on the rim top and edges of the bowl. It looked better but would need a bit more work.I polished the rim top and edges with micromesh sanding pads – dry sanding with 1500-12000 grit pads to raise a shine. I wiped it down with a damp cotton pad to wipe off the debris after each sanding pad.   I polished the silver ferrule with a  jeweler’s cloth. The cloth is impregnated with polish that not only raises a shine but protects the metal. I cleaned out the shank and sump below the bowl and the airway in the shank and stem with pipe cleaners, cotton swabs and isopropyl. It was clean and smelled better.I worked some Before & After Restoration Balm into the surface of the briar with my fingertips. It works to clean, enliven and protect the briar. I let it sit for 15 minutes then buffed it off with a soft cloth and raised the shine. The bowl looks great at this point.   I set the bowl aside and turned my attention to the stem. I sanded out the oxidation and tooth marks next to the button with 220 grit sandpaper. Once the surface was smooth I started polishing it with 400 grit wet dry sandpaper.I polished the stem with micromesh sanding pads – dry sanding it with 1500-12000 grit pads. I wiped the stem down with Obsidian Oil after each pad. I polished it with Before & After Pipe Polish – both Fine and Extra Fine and gave it a final coat and set it aside to dry.  I put the stem back on the Peterson’s System 120 Straight Dublin and buffed the pipe with Blue Diamond on the buffing wheel. I polished the briar and the vulcanite of the stem until there was a rich shine. This classic Peterson’s shape and finish really highlights a proportionally well carved pipe. Once I buffed the pipe the briar came alive and popped with polishing. The black vulcanite stem has a rich glow. This Peterson’s System Straight Dublin fits well in the hand and sits right in the mouth. Have a look at it with the photos below. The dimensions are Length: 5 ½ inches, Height: 1 ¾ inches, Outside diameter of the bowl: 1 ¼ inches, Chamber diameter: ¾ of and inch. The weight of the pipe is 1.20 ounces/34 grams. It was one I chose for my own collection and enjoyed, but I am happy to pass it on to the next pipe man or woman. This beauty will be going on the rebornpipes online store in the Irish Pipemakers Section. If you are interested let me know. Thanks for walking through the restoration with me as it was a pleasure to work on.

The French Collection


Blog by Kenneth Lieblich

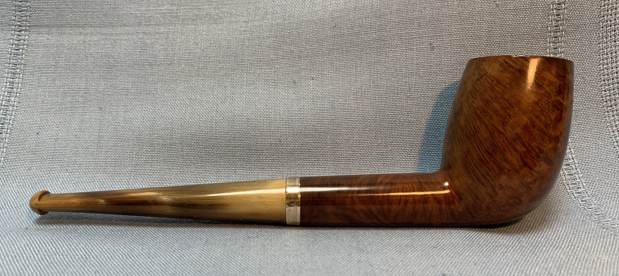
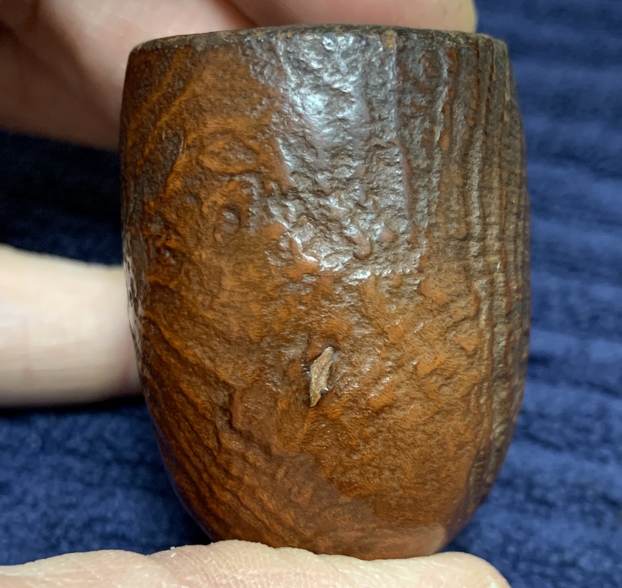
No, not the French Connection – but French Collection! I have long had an interest in French pipes and pipemaking. In recent decades, French pipes have received a fair amount of derision – and deservedly so. However, early French pipes are very often beautiful, well-made, and – best of all – good smokers. In my own small way, I am aiming to resurrect the reputation of early French pipes. There are superb pipes to be had from France. This blog post is about the restoration of the first pipe that is going into my “French Collection”.

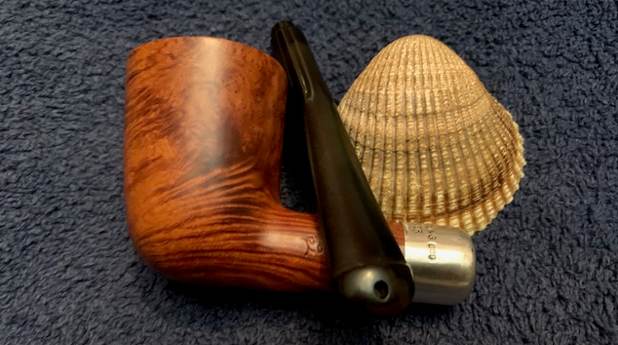
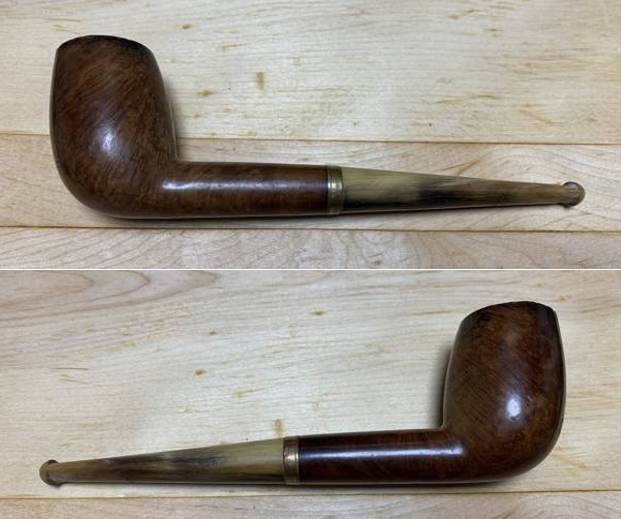
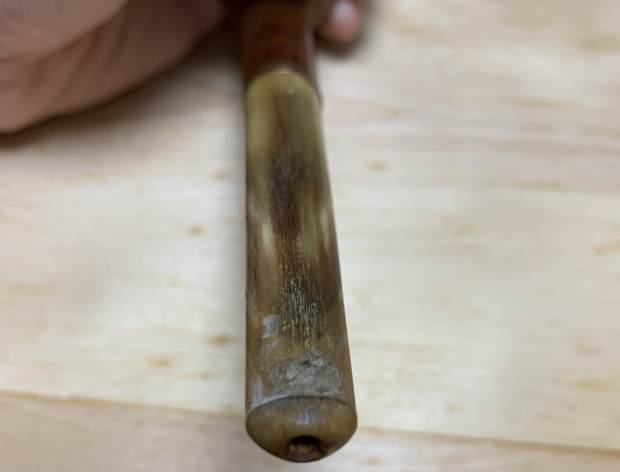
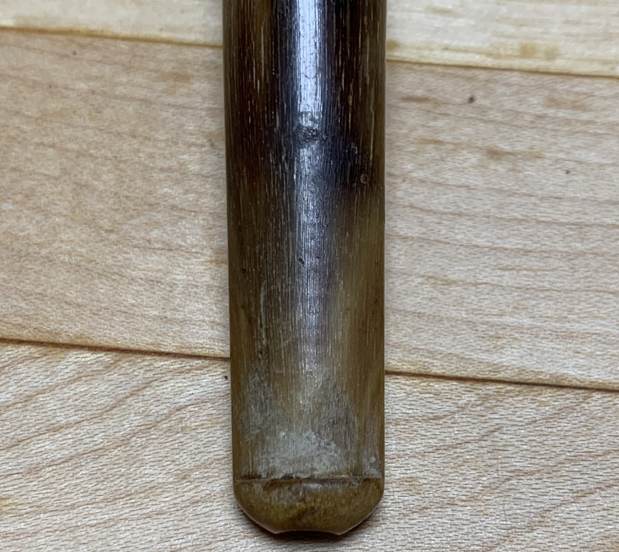
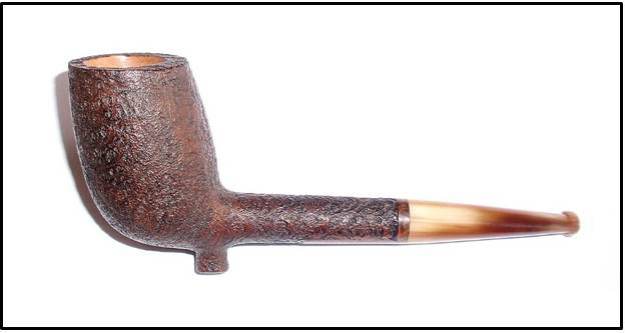
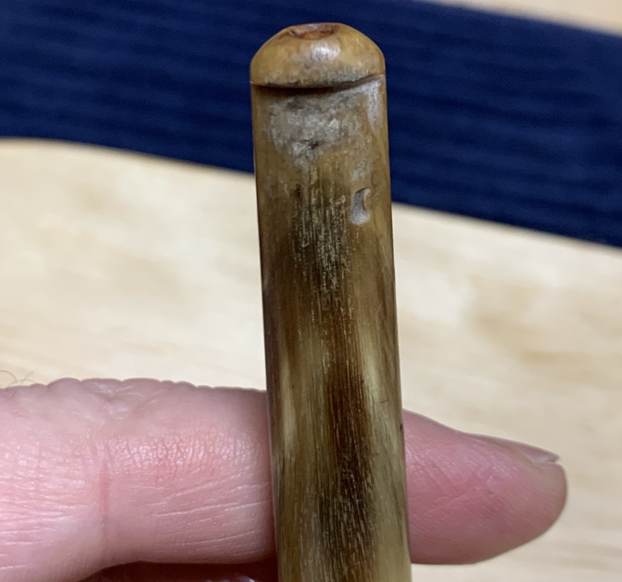
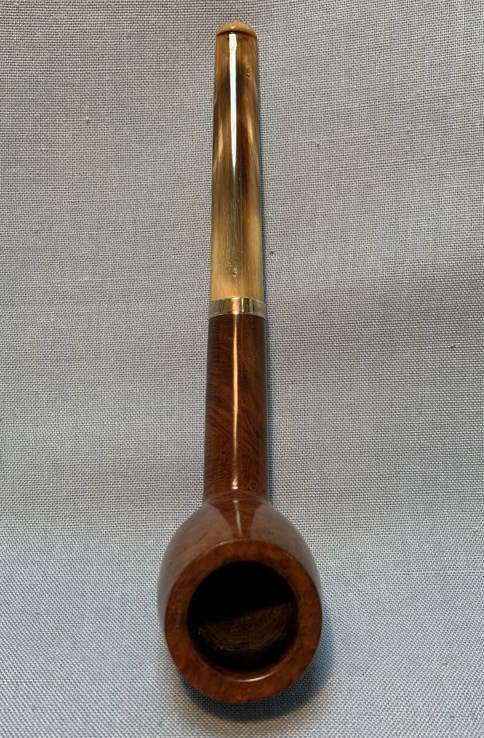
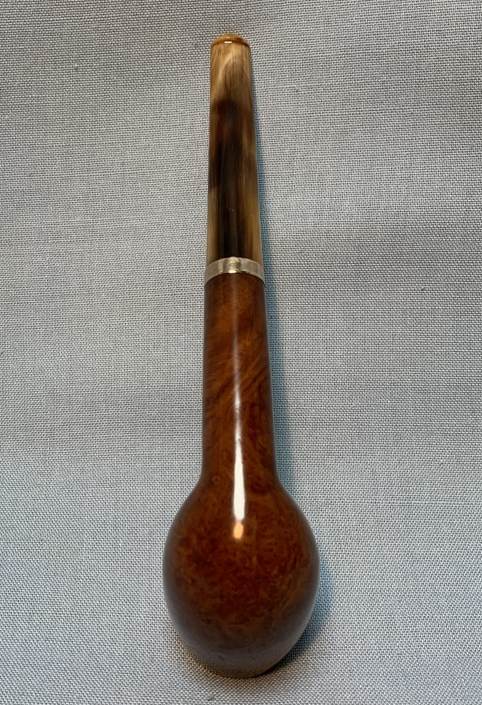
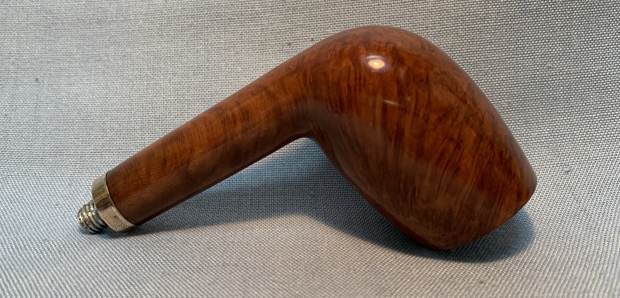
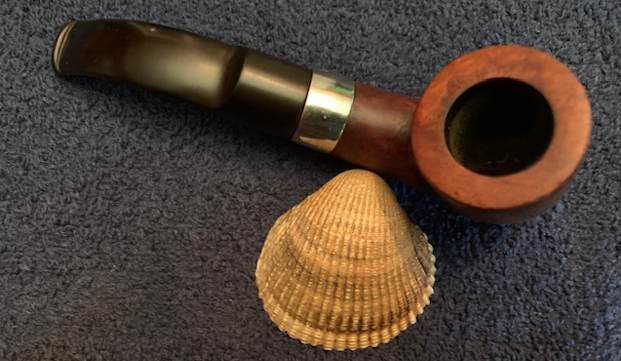
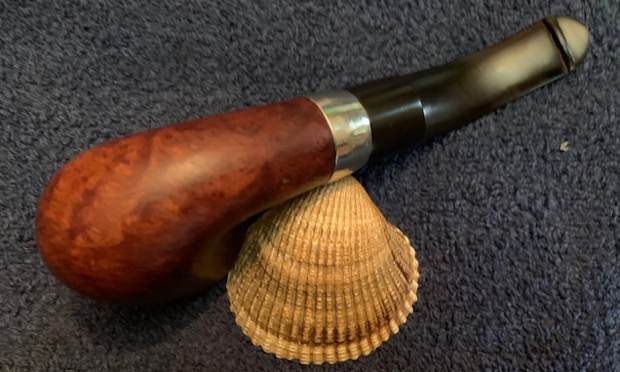
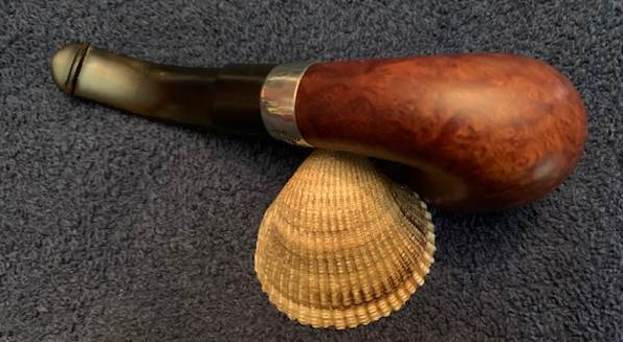
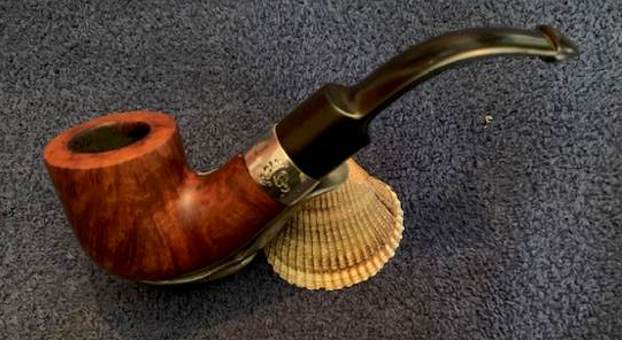
The pipe in question has no markings whatsoever. So how do I know it’s French? Well, I don’t have absolute proof, but I’ve got good circumstantial evidence: the pipe has a very French look to it, it smells like old French tobacco, it came in a lot of exclusively French pipes from France, and – most definitively – Steve thinks it’s French too.  As the photos show, this is a cutty-shaped pipe, albeit without the spur. However, it shows the distinctive, canted bowl of the cutty. It is a handsome pipe with a jaunty look to it, and I liked the pipe straight away. As I mentioned, this pipe has no marks of any kind. This obviously makes identification trickier. I know that Georges Vincent-Genod company used to make pipes similar to this once upon a time, but I cannot, in good conscience, definitely ascribe this pipe to the GVG company. Having said that, the following pipe from Genod certainly has its similarities…The age of this pipe is quite interesting. As you can see, the stem of the pipe is made of horn and has an orific button at the end. For more information on the orifice button, take the time to read Steve’s interesting article on the subject. This type of button is a feature that apparently disappeared by the 1930s, so the pipe must be around a hundred years old, right? Not so fast. The stummel has a threaded tenon made of metal – not bone (as one might expect from a century ago). Steve, my walking encyclopedia, informed me that the fact the tenon is in metal (instead of bone) suggests a date closer to World War II. He figures that the stem itself could be significantly older, but that it was left over in the factory and married to a ”newer” stummel. Therefore, we can surmise that the pipe is about 80 years old.

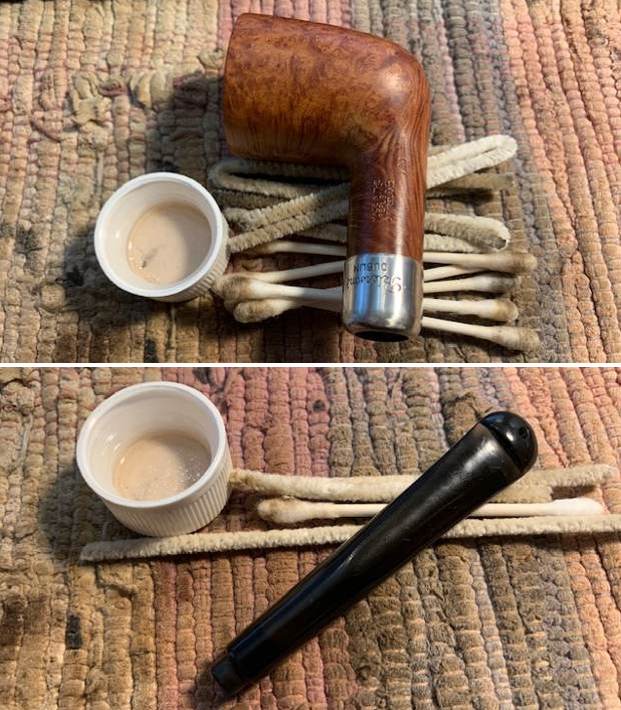
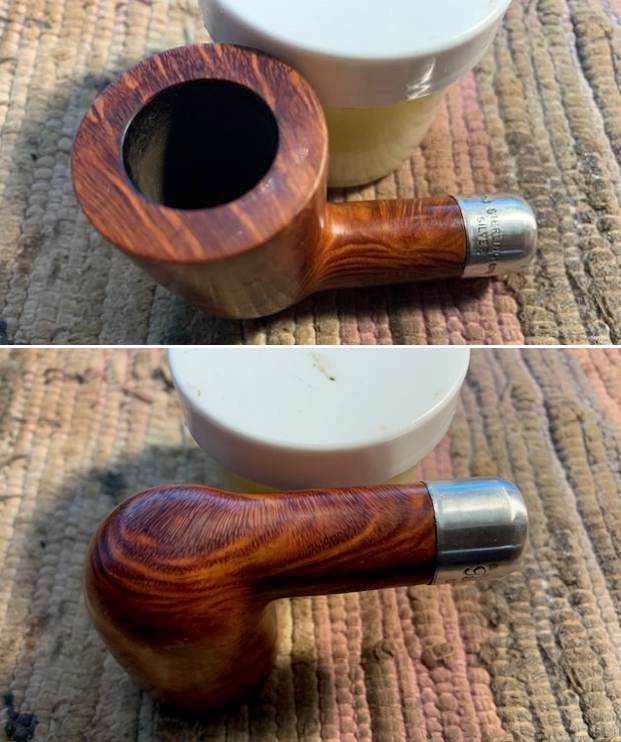
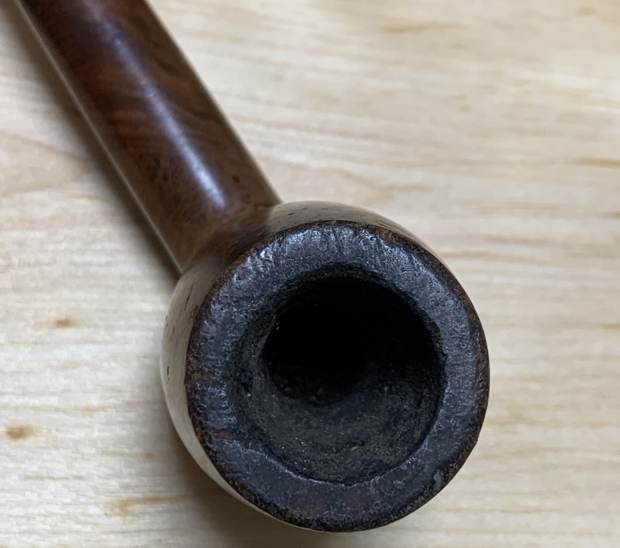
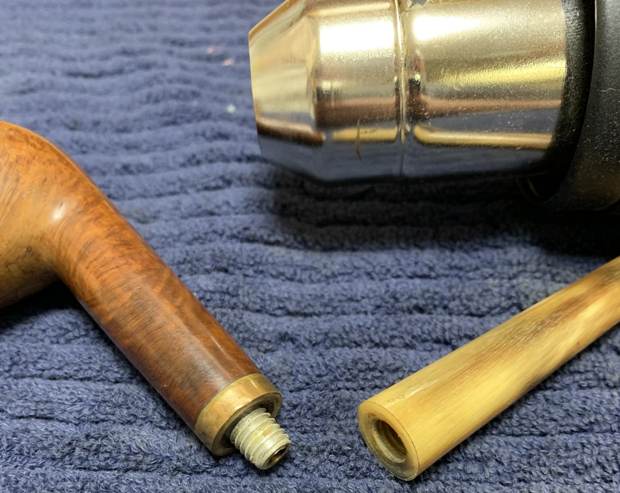
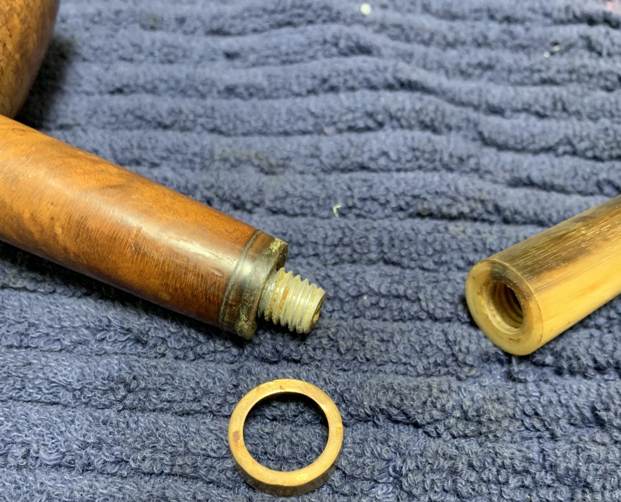
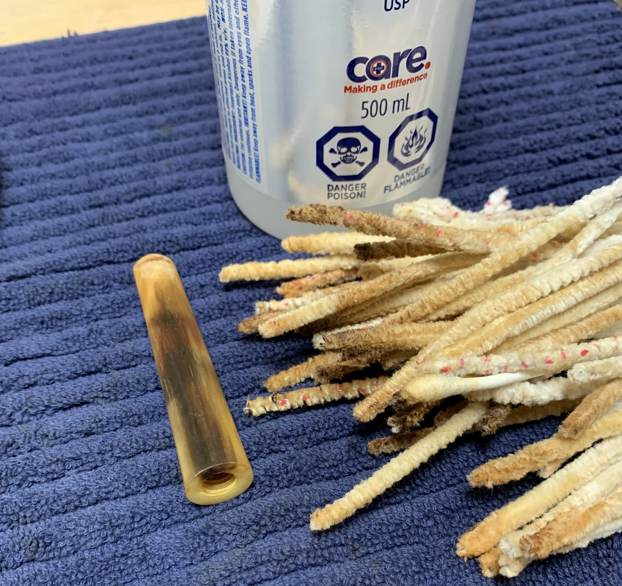
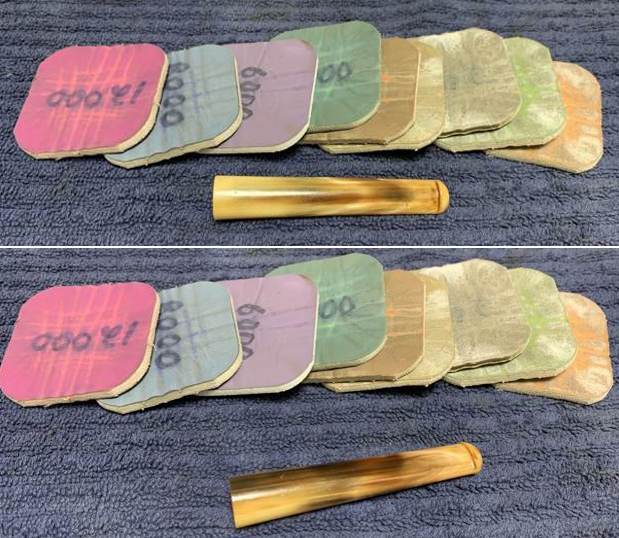
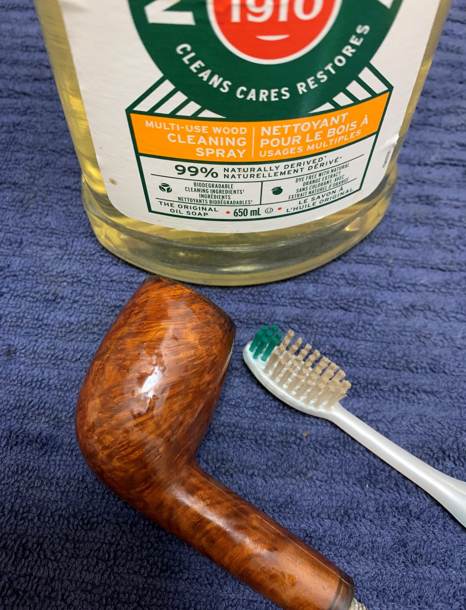
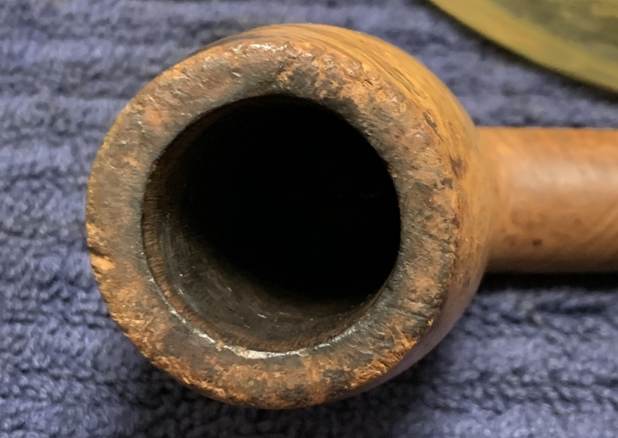
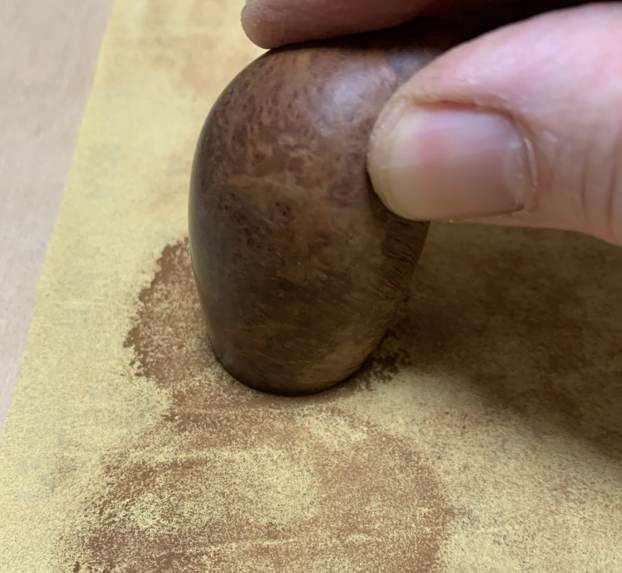
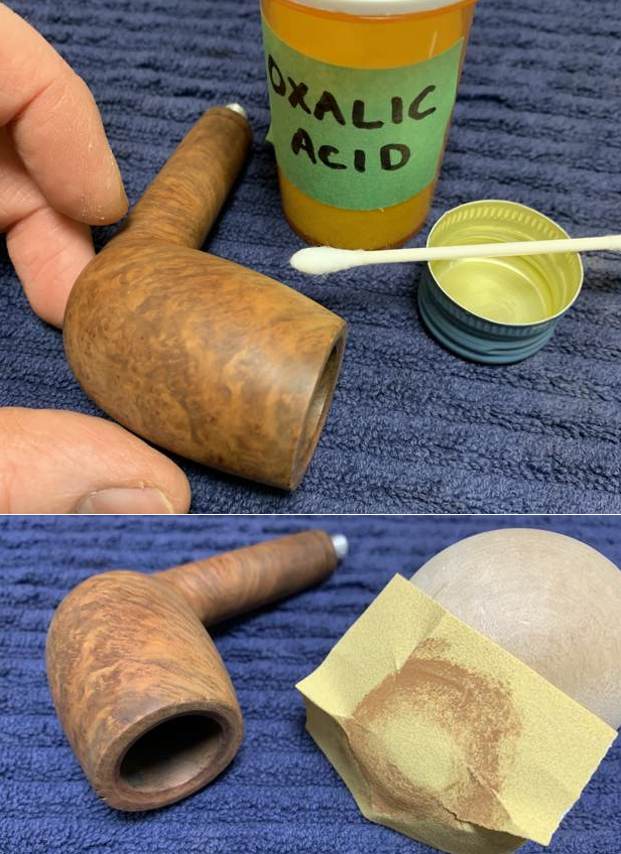
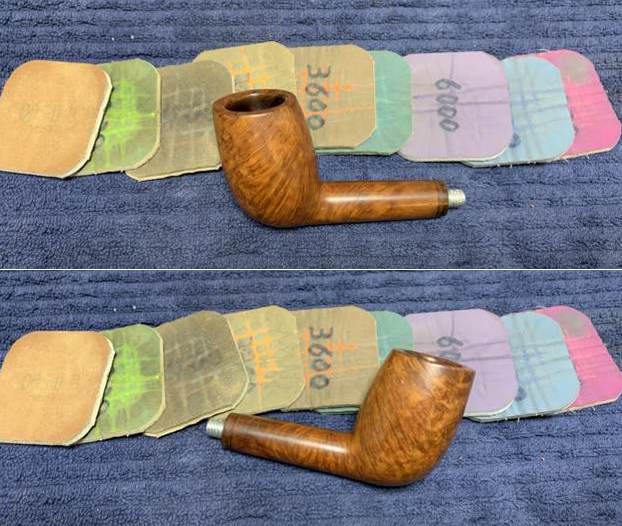
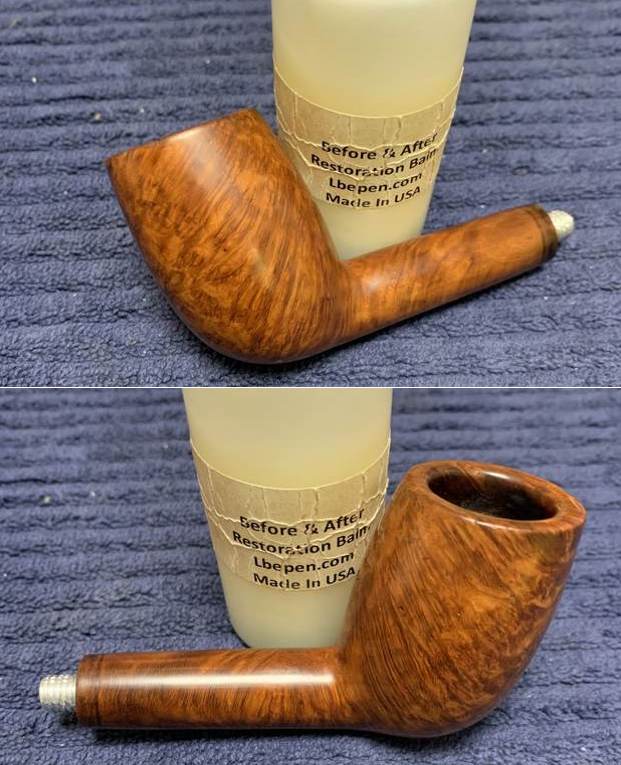
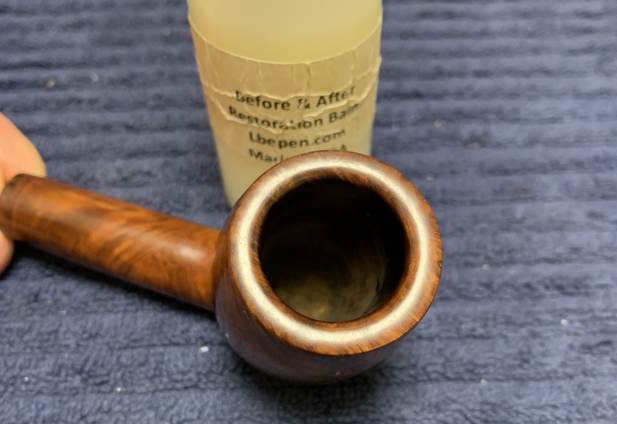
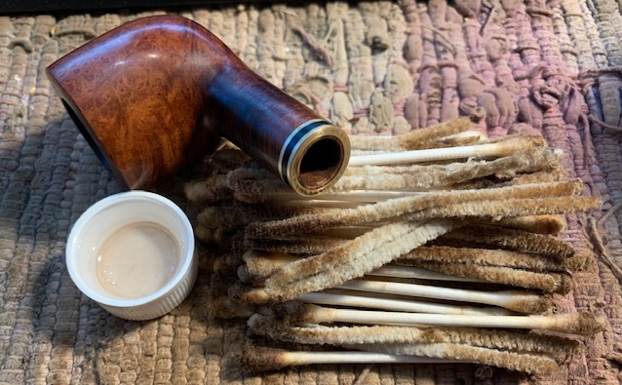
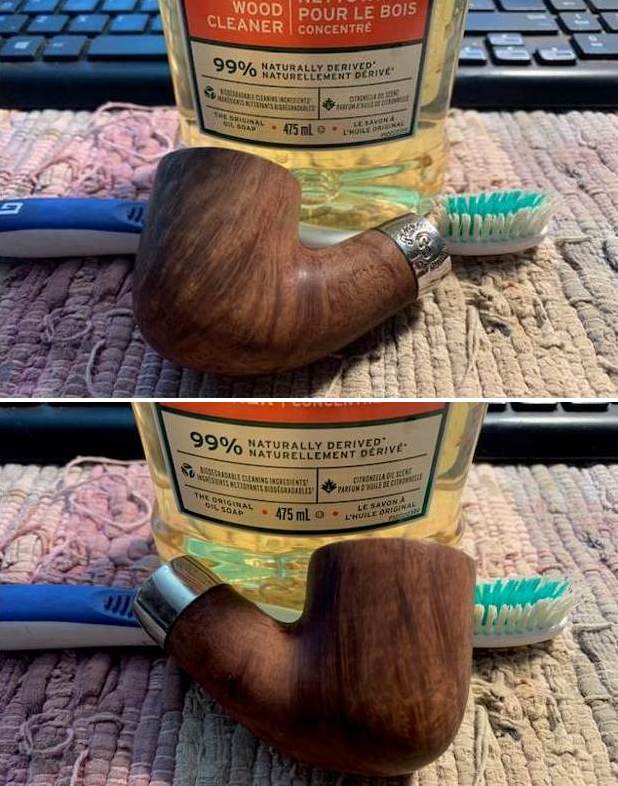
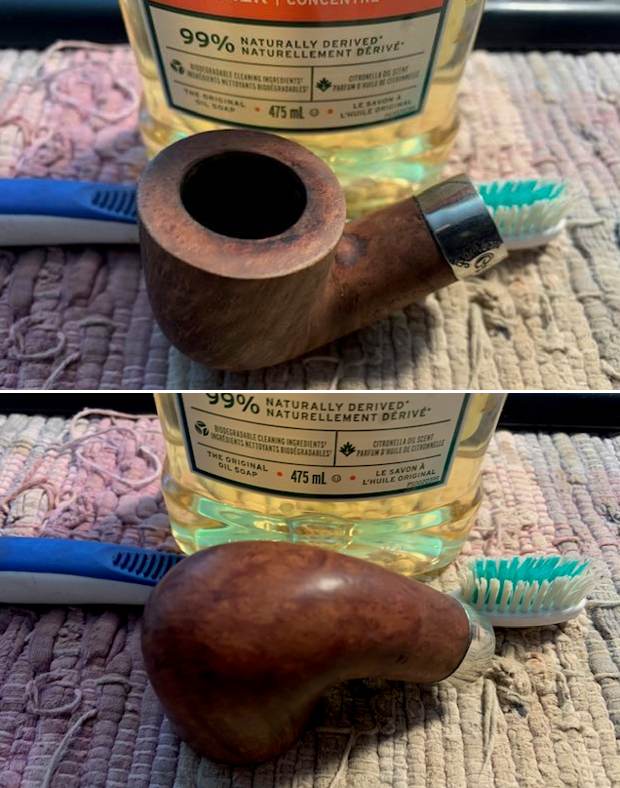
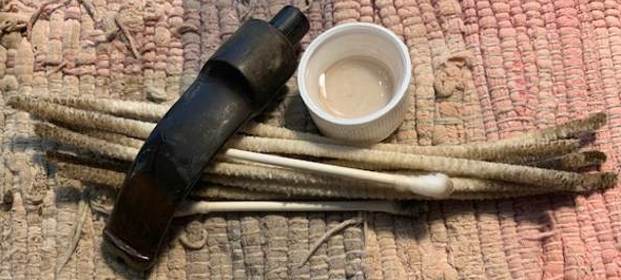
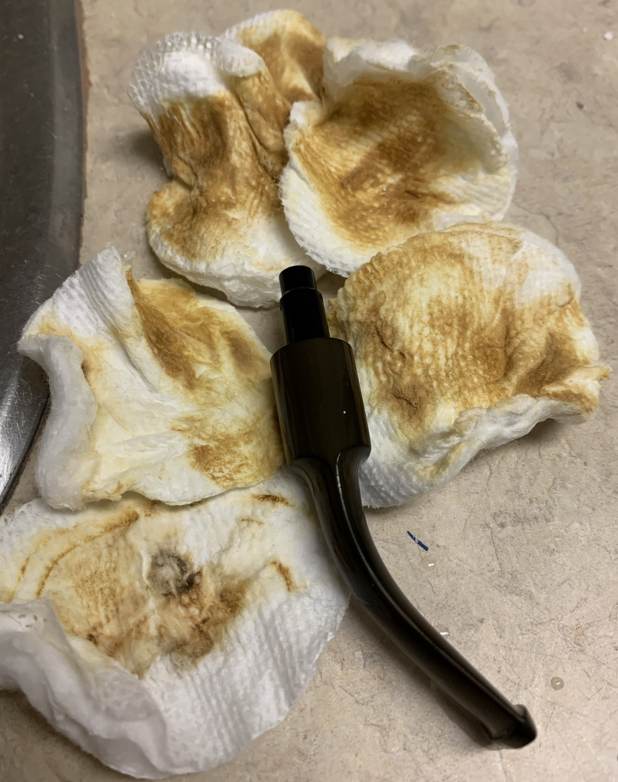
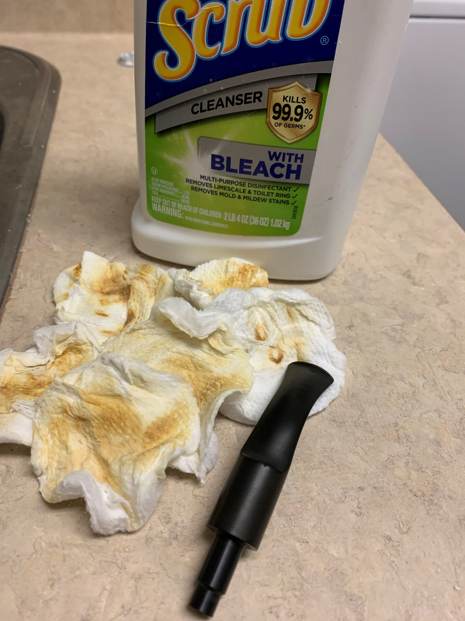
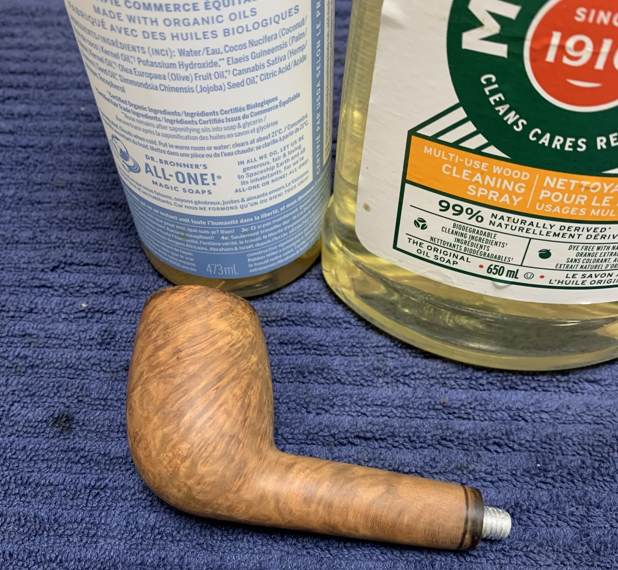
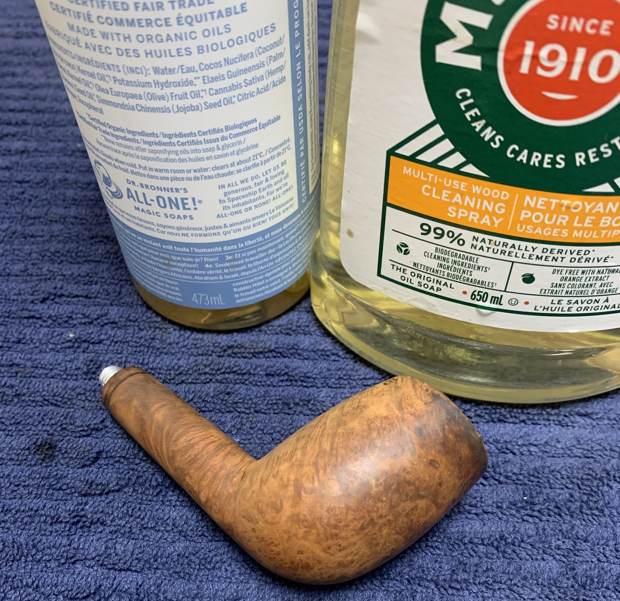
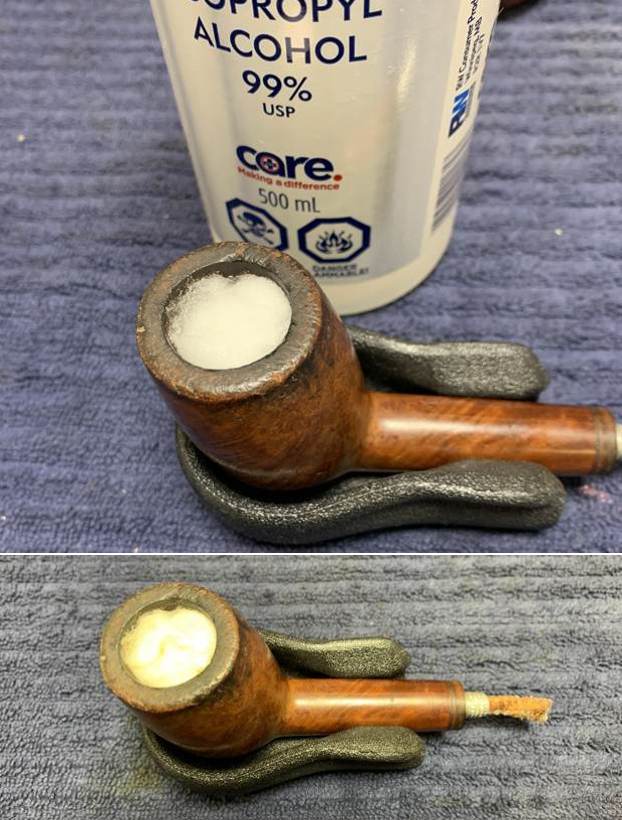
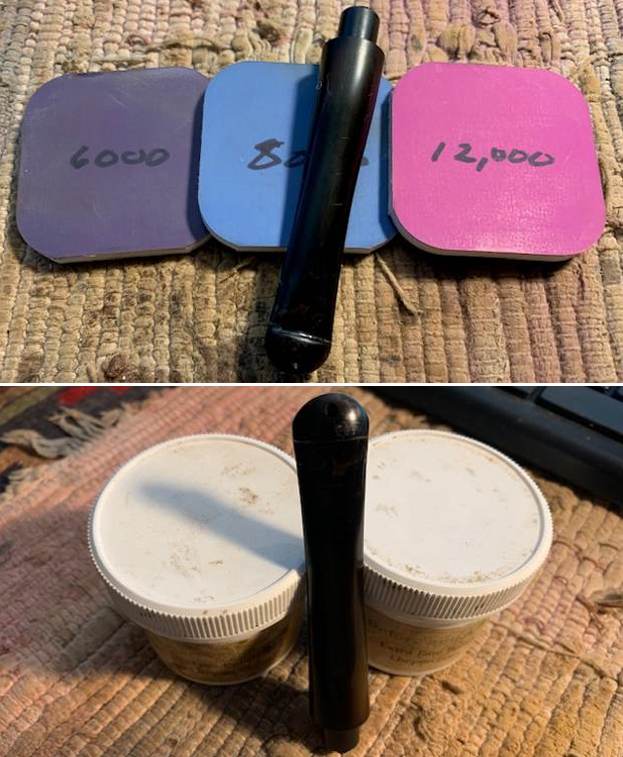
Let’s have a closer look at the condition of the pipe. The stem was dirty and worn, with plenty of evidence of tooth marks and dents. The insides were dirty too, but nothing too unusual. Meanwhile, the stummel was incredibly dirty.The bowl was so full of cake and the rim so overwhelmed with lava, that I couldn’t really tell what the condition of the wood inside was. Certainly, there was some lovely patina on the old wood on the outside of the bowl.I wanted to work on the stem first, but needed some help to unscrew it! I brought out the heat gun and gave a quick blast to loosen the goo holding the pipe together. That loosened the stem sufficiently to unscrew it. I wiped the stem with Murphy’s Oil Soap on some cotton pads. There was some filth there and I needed to remove it. I attacked the inside of the stem with pipe cleaners, cotton swabs, and isopropyl alcohol. It required a good amount of cotton to come clean. Now work on repairing the tooth marks, etc. on the outside of the stem. I built up the bite marks on the stem with cyanoacrylate adhesive and let it fully cure. There were a couple of small worm holes (or something similar) on the stem and I filled them the same way. Upon closer inspection, the button on the stem was a bit mangled. Simply doing the normal sanding wouldn’t do. I opted to use a small file and rework the horn to ensure a proper shape.Following that, I sanded the adhesive down with 220- and 400-grit sandpapers to meld seamlessly into the stem. I then used all nine Micromesh pads (1,500 through 12,000 grit) to bring out the beautiful designs in the horn, with some Obsidian Pipe Stem Oil in between each pad scrubbing. Now for the stummel. The brass ferrule came off very easily. I set it aside for now and would return to clean it later. First, I decided to ream out the bowl. I used the KleenReem and the PipNet to remove the built-up cake and followed that with 220-grit sandpaper taped to a dowel to eliminate as much as I could. Wow, there was a lot of debris! I took the chamber down to bare briar to ensure there were no hidden flaws in the wall. Fortunately (and surprisingly), there were none.Following this, I cleaned the insides with the requisite pipe cleaners, Q-tips and isopropyl alcohol. As the stack of cleaning materials show, it was a mess!I also took this opportunity to wash the stummel with Murphy’s Oil Soap and remove as much grime as I could. The pipe’s rim was so caked with filth that I opted to soak it in a jar-lid of Murphy’s to soften it. Then I used a brush to work out all the gunk on the rim. As the pictures show, the rim was badly worn. There were gouges and burn marks. Additional work would need to be done. Before that, however, I decided the pipe needed some additional TLC and I chose to de-ghost it. I thrust cotton balls in the bowl (and plugged up the shank) and saturated it with isopropyl alcohol. I left it overnight and let all the evil spirits in the pipe leech into the cotton. Once complete, the pipe looked great and smelled even better.I was, at first, very reluctant to “top” the pipe – that is to say, gently and evenly sanding down the rim on a piece of 220-grit sandpaper. I was reluctant because I loved the height of the bowl and didn’t want to change it. However, I did decide to do it – it just didn’t look right without it. I was especially careful this time, so as to remove the bare minimum from the rim.As I mentioned earlier, there were some burns on the inside of the rim that also needed to be addressed. I took some oxalic acid on a cotton swab and rubbed and rubbed. The burn improved but not sufficiently, in my opinion. So, I took a solid wooden sphere, wrapped sandpaper around it, and sanded until such time as the burns were removed. I proceeded very carefully, as I had to ensure that I was not removing too much. I think I got it just right and the rim looked much improved. After this, I used all nine Micromesh pads (1,500 through 12,000 grit) to sand the stummel smooth.I then applied some Before & After Restoration Balm which I massaged into the wood and let sit for 15-20 minutes. After that, I rubbed it with a microfiber cloth. The balm brings out the best in the beautiful wood. It makes things shine and really shows the lustre. I came back to the brass ferrule. It was pretty dirty too. I used some SoftScrub on a cotton pad and scrubbed it clean. Then I buffed it with a microfibre cloth and made it shine. I reattached it to the stummel with some glue and let it set.Finally, it was off for a trip to the buffer. The more I look at this pipe, the more I really like the elegant lines and the old-time feel of the wood. At the buffer, a dose of White Diamond and a few coats of carnauba wax were just what this pipe needed to shine properly. All finished! This is a wonderfully crafted pipe and has a very sporty feel to it. It took some work, but I am proud of it and the final product suits me to a T. It retains some wounds from battle, but, as Steve would say, they are part of this pipe’s story. This is one pipe that I am keeping for myself and adding to my newly-founded French Collection. I am sure that I will be enjoying this one for many years to come. The approximate dimensions of the pipe are as follows: length 6½ in. (165 mm); height 2 in. (51 mm); bowl diameter 1¼ in. (30 mm); chamber diameter ¾ in. (19 mm). The weight of the pipe is ⅞ oz. (25 g). I hope you enjoyed reading the story of this restoration as much as I enjoyed restoring it. If you are interested in more of my work, please follow me here on Steve’s website or send me an email. Thank you very much for reading and, as always, I welcome and encourage your comments. I hope you enjoyed reading the story of this pipe as much I as I did restoring it. If you are interested in more of my work, please follow me here on Steve’s website or email me directly at kenneth@knightsofthepipe.com. Thank you very much for reading and, as always, I welcome and encourage your comments.

Restoring a Worn and Tired Peterson’s Tyrone 606 Pot


Blog by Steve Laug

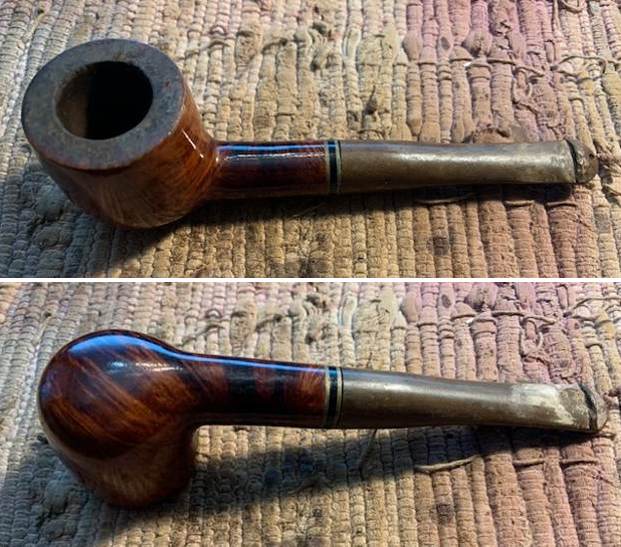
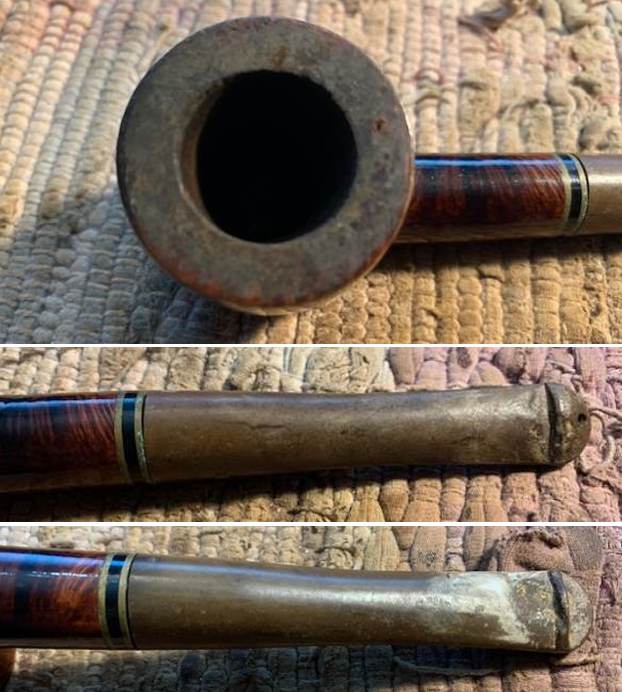
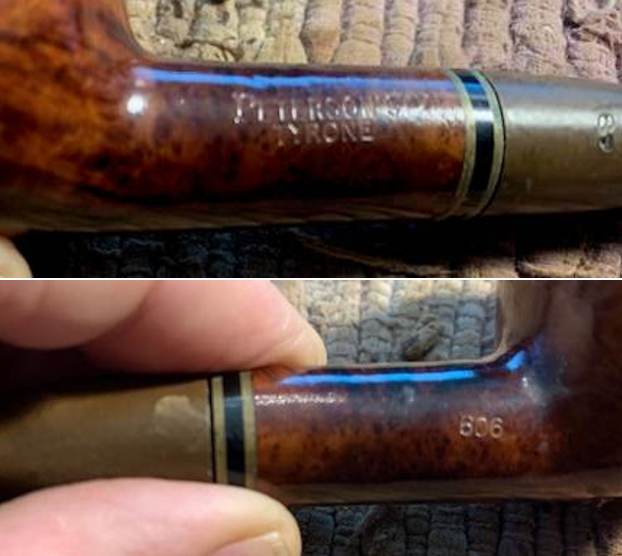
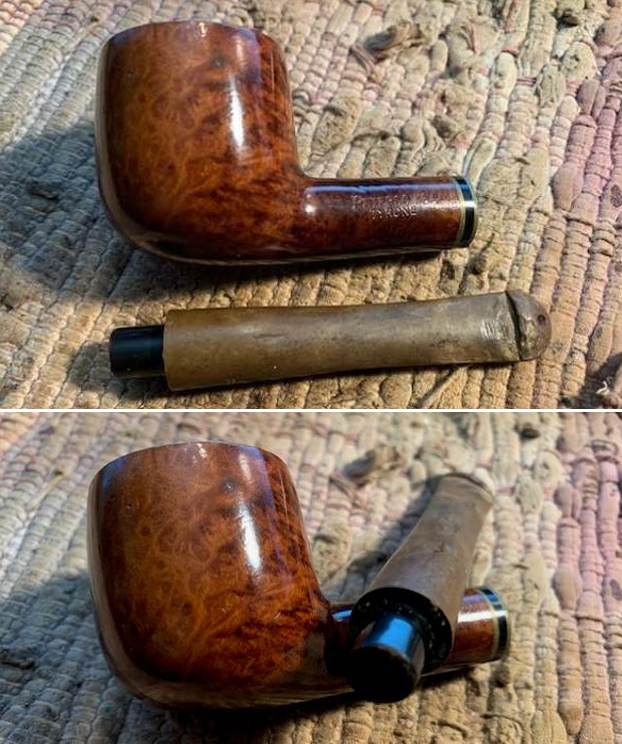
When ever either Jeff or I are pipe hunting we tend to pick up pipes that we like and want to restore. These have included a lot of different pipes of different brands. If you have followed us for long you know that some of these have included Peterson’s, Dunhill’s, and a wide range of Danish and English pipes. The next pipe I chose to work on is another Peterson’s Pipe – a nicely grained Pot shaped pipe. It is stamped on the left side of the shank and reads Peterson’s [over] Tyrone. On the right side of the shank it is a stamped with the shape number 606. There is a triple band shank extension – two brass bands separated by a black acrylic spacer. The bowl was heavily coated with varnish that was shiny under the dirt and grime. There was a heavy lava coat on the rim top and a moderate cake in the bowl. The stem was heavily oxidized and calcified with heavy tooth marks and chatter on both side of the stem and button. It was a nice looking pipe with some great grain around the bowl. I think that once it was cleaned up the grain would really stand out. I took photos of the pipe before I started my clean up work. I took some close up photos of the rim top and also of the stem surface. The rim top had a thick coat of lava protecting the rim top and the cake in the bowl covered the inner edges of the bowl. The outer edges of the bowl appear to be good condition. I would guess that there was some darkening and damage under the lava on the top. It should clean up really well. I also took close up photos of the stem to show oxidation, calcification and tooth marks and chatter on both sides of the stem and button. I took photos of the stamping on the sides of the shank and on the “P” logo on the left side of the stem. It is readable as noted above. I removed the stem and took a photo of the pipe to have a look at the parts and overall look. The tenon on the stem was made for a 9mm filter and actually looked quite good.I am including the link to the Pipedia’s article on Peterson pipes. It is a great read in terms of the history of the brand (https://pipedia.org/wiki/Peterson).

I turned to “The Peterson Pipe” by Mark Irwin and Gary Malmberg to get some background on the Peterson’s System Line. On page 315 it had the following information.

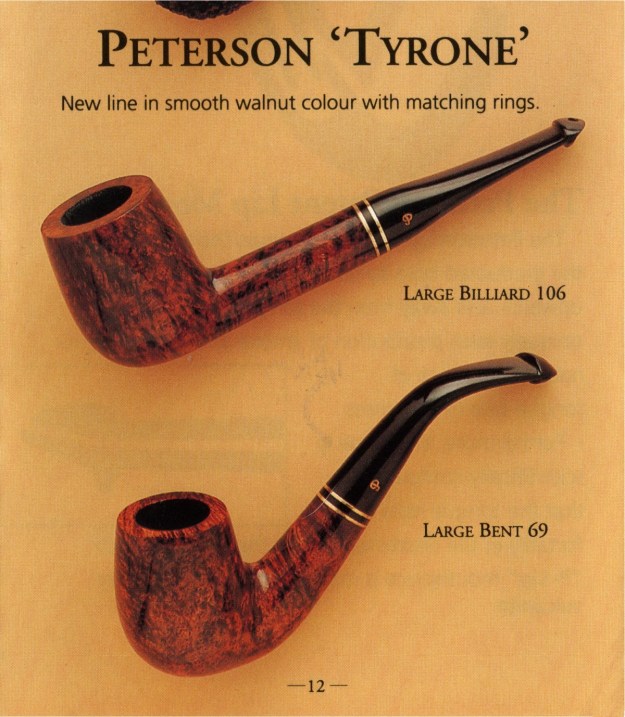
Tyrone (c.1991)- Smooth finish, walnut stain line with brass band with black acrylic inlay, gold hot-foil P stamped on P-lip or fishtail mouthpiece.

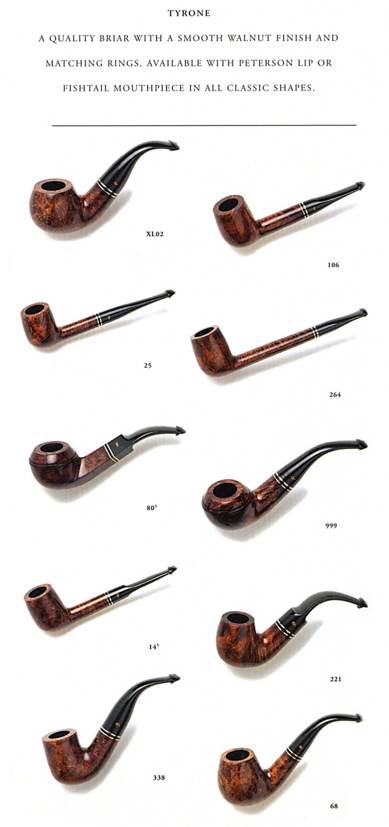
I followed some links to Mark Irwin’s Peterson Pipenotes where Mark had written something on the line (https://petersonpipenotes.org/2021/07/10/236-the-new-tyrone-line/). I quote from the article below and have included to pictures that Mark used. The first a brochure and the second a shape guide.

The original iteration of the Tyrone line debuted c. 1991 and was first seen in the early Dublin era’s1992 “Hand Made” brochure.As you can see, the walnut finish has a satin finish revealing quite a bit of grain beneath. The Black Catalog of 1997 gives a better glimpse of the stain, finish and original alternate mounting styles. The last appearance of this version of the Tyrone in the ephemera was in the 2010 Burgundy Catalog, although it was doubtless in production for a few years afterwards.For the Identification Guide:

Tyrone  (c. 1991–c. 2012; 2021–) smooth finish, walnut stain line with shank decoration of black acrylic between 2 brass rings, gold hot foil P stamped on mouthpiece, P-Lip or F/T. Relaunched July 2021 in Heritage finish (smooth dark brown) with original shank decoration and gold hot foil P on elongated F/T acrylic mouthpiece.

That information helps me date the pipe on hand as one of the original pipes from the line introduced between (c.1991-c.2012) rather than the later iteration of the line that came out in July of 2021 in the Heritage Finish. The first Tyrone came out with a smooth walnut stained finish the same as this one. It is a pretty looking pipe in a Pot shape.

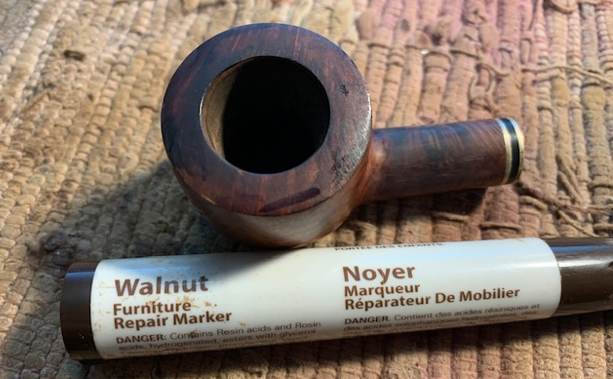
Now it was time to work on the pipe. I started working on it by stripping off the thick varnish coat with acetone and a cotton pad. I reamed the pipe with a Savinelli Fitsall Pipe Knife and cut back the cake back to the bare briar. I sanded the walls of the bowl with a piece of dowel wrapped with 220 grit sandpaper to smooth them out and clean them further. The bowl walls were in excellent condition.I topped the bowl with 220 grit sandpaper on a topping board to remove the marks and damage on the rim top. I carefully cleaned up some of the darkening and burn marks on the front rim top and edges. I used a folded piece of 220 grit sandpaper to give the inner edge of the bowl a slight bevel to minimize the darkening and damage and blend it into the surrounding briar. I restained the sanded rim top with a Walnut stain pen to match the bowl sides and shank.I cleaned out the mortise and airway in the shank with cotton swabs, pipe cleaners and isopropyl alcohol until they came out clean. (I would work on the airway in the stem when I removed it from the soak.)I polished the briar with micromesh sanding pads – dry sanding with 1500-12000 grit sanding pads. I wiped the bowl down with a damp cloth after each sanding pad. The polishing of the rim top and inner edge brought the rim top colour to match the rest of the bowl. I did not need to stain the rim at all. I worked some Before & After Restoration Balm into the surface of the briar with my fingertips to clean, enliven and protect the briar. I let the balm sit for 15 minutes and then buffed with a cotton cloth to raise the shine. The photos show the bowl at this point in the restoration process. I set the bowl aside and put the stem in the Briarville Pipe Stem Deoxidizer overnight and took a break to enjoy a movie. When I took it out of the bath the next morning the dip had removed the  oxidation and calcification. I rinsed it off with warm water and dried the stem with a coarse cloth to remove the surface oxidation. It looked very good and the tooth marks were very visible.I “painted” the surface of the stem with the flame of a lighter to lift the tooth marks on both sides. It lifted them considerably. I filled in what remained with clear CA glue. Once the glue cured I used a small flat file to flatten the repairs and recut the button edges. I sanded the stem with 220 grit sandpaper to blend them into the surface. I started polishing the stem with 400 grit wet dry sandpaper. I cleaned out the filter tenon and the airway in the stem with pipe cleaners, cotton swabs and isopropyl alcohol. I touched up the P stamp on the left side of the taper stem with Antique Gold Rub’n Buff. I applied it and worked it into the stamp with a tooth pick. Once it cured I scraped off the excess. It is definitely better though the stamp is faint in some spots. Strangely the stamping has a white tinge to it.I polished the stem with micromesh sanding pads – wet sanding with 1500-12000 grit sanding pads. I wiped it down after each sanding pad with Obsidian Oil. I polished it with Before & After Pipe Stem Polish – both Fine and Extra Fine. I am excited to put the final touches on this Peterson’s Tyrone 606 Pot with a 9mm Filter stem. I put the pipe back together and buffed it with Blue Diamond on the buffing wheel. I gave the bowl and the stem multiple coats of carnauba wax. I hand buffed the pipe with a clean buffing pad to raise the shine. It is fun to see what the polished bowl looks like with beautiful mixed grain all around it. Added to that the polished black vulcanite stem combined with the bowl and made a stunning pipe. This smooth Classic Peterson’s Tyrone 606 Pot is great looking and the pipe feels great in my hand. It is light and well balanced. Have a look at it with the photos below. The dimensions are Length: 6 inches, Height: 1 ½ inches, Outside diameter of the bowl: 1 ½ inches, Chamber diameter: 7/8 of an inch. The weight of the pipe is 43 grams/1.55 ounces. It is a beautiful pipe that I will soon be putting on the rebornpipes store in the Irish Pipe Makers Section. If you are interested in adding it to your collection send me an email or a message. Thanks for walking through the restoration with me as I worked over this pipe. Thanks to each of you who are reading this blog.

Breathing New Life into a Late Republic Era Peterson’s System Standard 309


Blog by Steve Laug

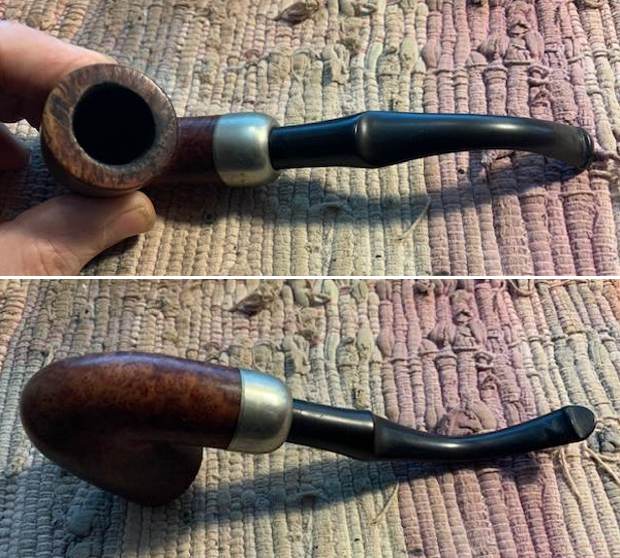
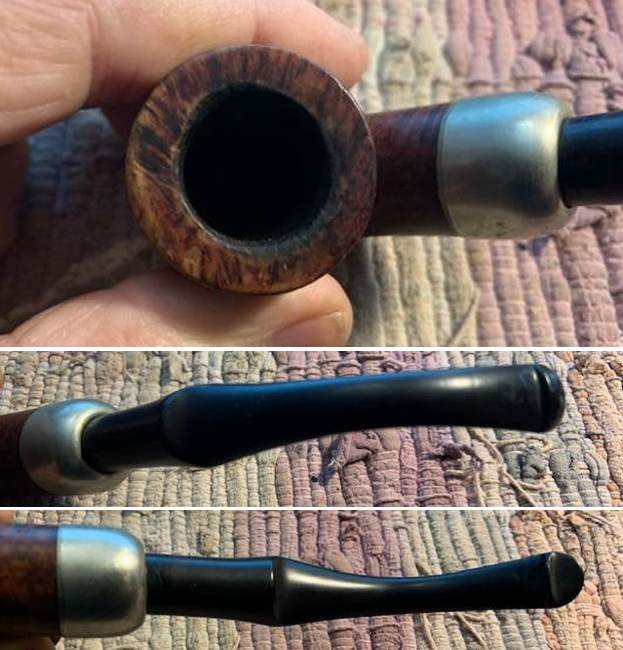
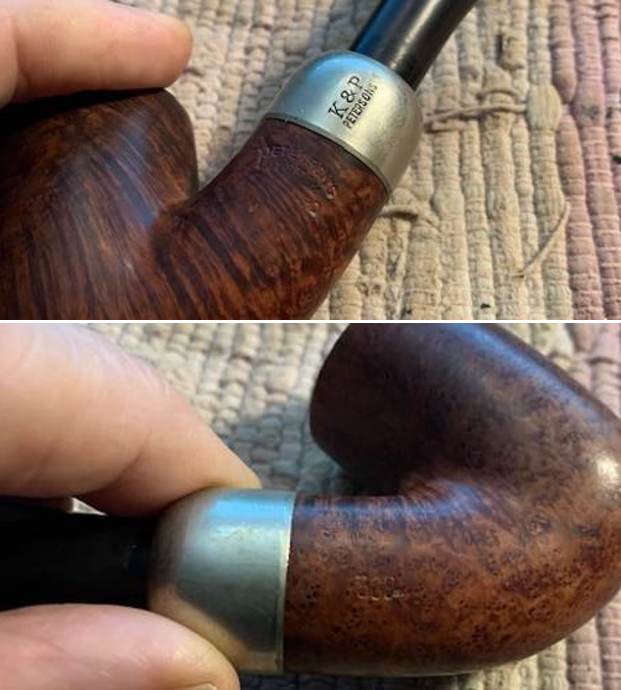
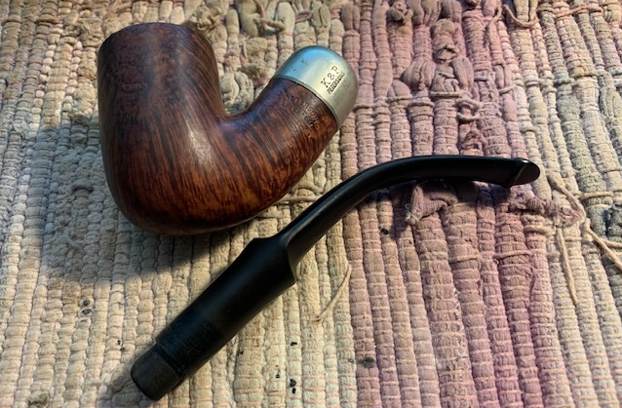
The next pipe I removed from box of Peterson’s Pipes that I have to work on was a Peterson’s System Standard pipe. Once again we are getting into pipes that have been here for a long time and pipes that neither Jeff or I have any memory of where it came or when we found it. It was stamped on both sides of the shank. On the left side it read Peterson’s [over] System [over] Standard. On the right side it was stamped Made in the Republic of Ireland (3 lines) and under that was the shape number 309. The shape is one of the most familiar of Peterson’s shapes, taking the Irish maker’s signature shank stoutness to an extreme: the shank here is nearly as wide across as the bowl itself. The nickel ferrule was in great condition and was stamped K&P [over] Petersons. Judging from the look of the rim top and inner edge I would guess that it had a thick cake when we bought it and the top was heavily coated in lava. The rim was out of round a bit. The vulcanite stem had been oxidized and had tooth marks and chatter near the button on both sides. Obviously we did not have pictures of the pipe before Jeff’s clean up so I took these photos of the pipe when I brought it to my work table. I took close up photos of the bowl, rim and the new stem. You can see the reamed bowl and the darkening, remaining lava and damage on the rim top and the inner edge. The new stem is in perfect condition and will only need to be polished.I took photos of the stamping on the sides of the shank and the nickel ferrule. All are clear and readable as noted above. I removed the stem from the shank and took a photo to give a sense of the proportions of the pipe. It is really quite nice looking.I am including the information from Pipedia’s article on Peterson pipes. It is a great read in terms of the history of the brand (https://pipedia.org/wiki/Peterson). I have included a bit of the pertinent history here.

1950 – 1989 The Republic Era – From 1950 to the present time, the stamp for this era is “Made in the Republic of Ireland” in a block format generally in three lines but two lines have been used with or without Republic being abbreviated.

During the 1950’s and 60’s the Kapp & Peterson company was still in the ownership of the Kapp family. However 1964 saw the retiral of the company Managing Director Frederick Henry(Harry) Kapp.

Pipedia also included a section of information on the System pipes including a diagram of the sytems look (https://pipedia.org/wiki/Peterson#Republic_Era_Pipes). I quote a section of the article in part and include a link to another article on Pipedia on the System pipe.

The Peterson System pipes are the standard bearers of the Peterson pipe family, famous for the excellent smoking pleasure they provide. Often imitated but never equaled, the Peterson System smokes dry, cool and sweet, thanks to the scientific effectiveness of the original design. The heart of the System is the unique graduated bore in the mouthpiece. This makes the suction applied by the smoker 15 times weaker by the time it reaches the tobacco chamber. The result is that all the moisture flows into the reservoir and, thus cannot reach the smoker’s mouth. The Peterson Lip further enhances the effectiveness of the graduated bore by directing the flow of smoke upwards and away from the tongue. This achieves a uniquely even distribution of smoke and virtually eliminates any chance of tonguebite or bitterness. Furthermore, the shape is contoured so that the tongue rests comfortably in the depression under the opening. Each “PLip” mouthpiece is made from Vulcanite. For the Peterson System pipes to work properly, the stem/tenon has to have an extension, the tip of which will pass by the draft hole from the bowl and into the sump. Upon the smoker drawing in smoke, this extension then directs the smoke down and around the sump to dispense a lot of the moisture before the smoke enters the extension and stem. On the System Standards and other less expensive systems, this extension with be made of Vulcanite turned integrally with the stem. On the more expensive System pipes this extension will be made of metal which screws into the Vulcanite stem. This extension on the earlier pipes will be of brass and the newer pipes will be of aluminium. Most smokers not knowing this function of the metal extension, assumes that it is a condenser/stinger and will remove it as they do with the metal condensers of Kaywoodie, etc. Should you have a System pipe with this metal extension, do not remove it for it will make the System function properly and give you a dryer smoke (https://pipedia.org/wiki/A_closer_look_at_the_famous_Peterson_Standard_System_Pipe).

With that information in hand I knew what I was dealing with in terms of the stamping and the age of this pipe. I knew from the information that the pipe was made during the Late Republic Era between 1950 and the present day. Personally I think this is probably a 60s-70s pipe. Now it was time to work on the pipe.

Jeff had thoroughly cleaned up the pipe. He reamed the pipe with a PipNet Pipe Reamer and cleaned up the remnants with a Savinelli Fitsall Pipe Knife.  He scrubbed the bowl with undiluted Murphy’s Oil Soap with a tooth brush. He rinsed it under running warm water to remove the soap and grime. He cleaned out the inside of the sump in the shank and the airway in the stem with alcohol, cotton swabs and pipe cleaners. He scrubbed the exterior of the stem with Soft Scrub to remove as much of the oxidation and calcification as possible. He soaked the stem in Before & After Deoxidizer and rinsed it off with warm water.

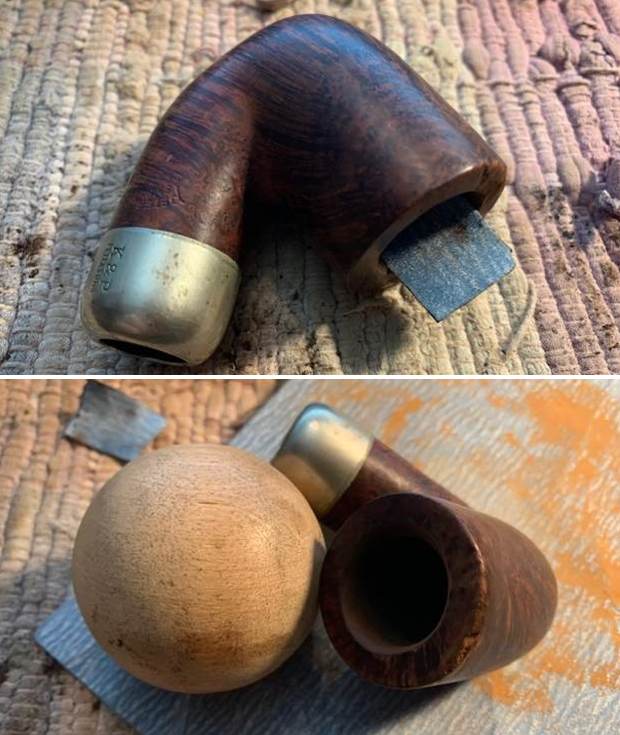
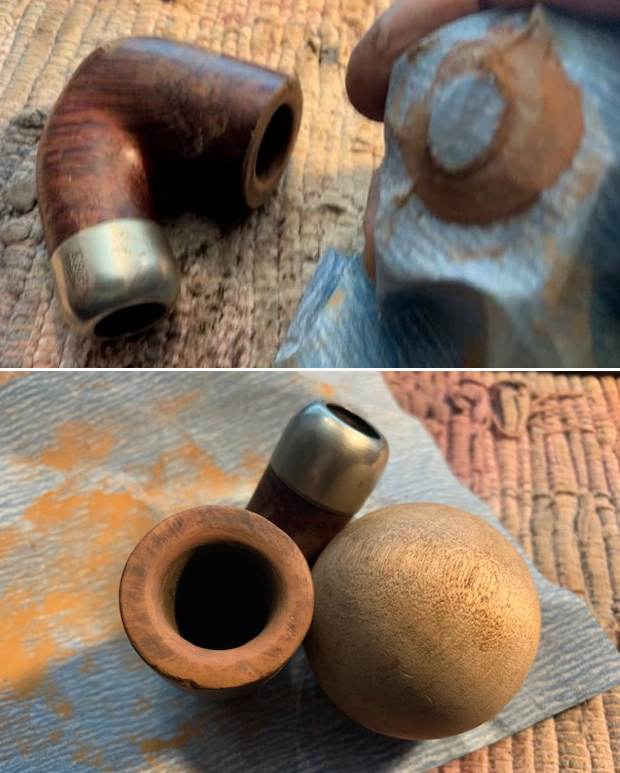
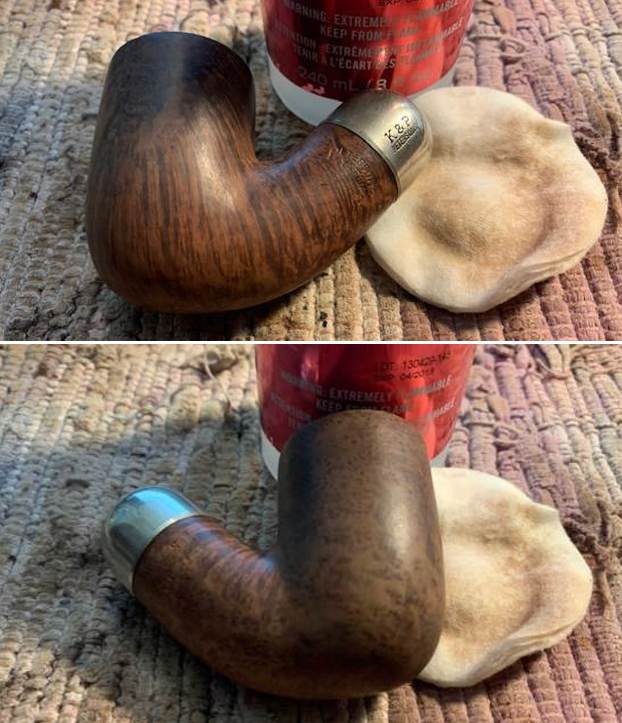
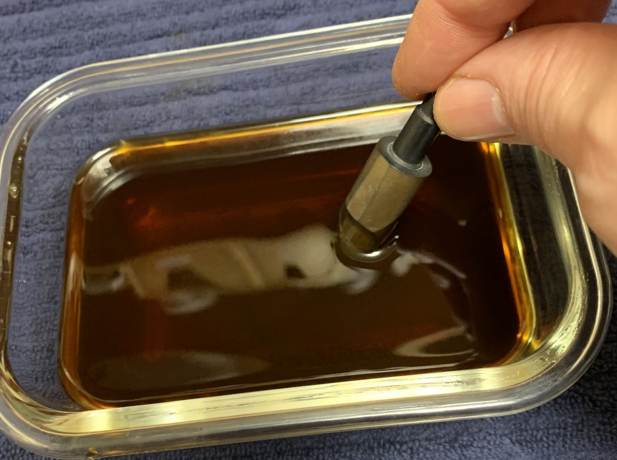
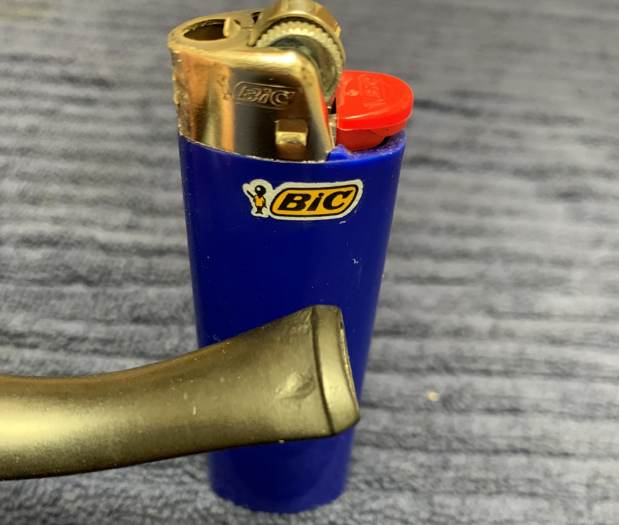
I decided to work on the damage on the top and the inner edge of the bowl first. I started the work with a folded piece of 220 grit sandpaper to clean up the inner bevel of the rim. Then moved on to using a wooden ball and a piece of 220 grit sandpaper to give the edge a uniform bevel and smooth out the rim top. Once I had finished I think that it looked much better. I wiped off the varnish coat with acetone and a cotton pad to remove the spotty finish and to also blend in the sanded rim top. I polished the briar with micromesh sanding pads – dry sanding with 1500-12000 grit pads. I wiped the bowl down after each  pad to remove the grit. The bowl began to take on a rich shine. It is going to be a beauty. I rubbed the bowl down with Before & After Restoration Balm. I worked it into the briar with my finger tips. I let it sit for 10 minutes and the Balm did its magic. It enlivens, cleans and preserves the briar. It certainly brought this bowl back to life. I buffed it off with a clean cloth and took the following photos.  I set the bowl aside and turned to work on the stem. I “painted” the tooth marks on the stem with the flame of a Bic Lighter to lift them. I was able to lift them all to some degree. I filled in those that remained with clear CA glue. I used a small file to flatten the repairs. I sanded them smooth with 220 grit sandpaper. I started polishing the stem with 400 grit wet dry sandpaper. I polished the vulcanite stem with micromesh sanding pads – 1500-12000 grit pads. I wiped it down with a damp cloth after each sanding pad. I used Before & After Pipe Polish – both Fine and Extra Fine to further polish the stem. This Republic Era Ireland Peterson’s System Standard Bent 309 with a Nickel Ferrule and a vulcanite P-lip stem is a great looking pipe now that it has been restored. The beautiful grain that shines through the polished finish is stunning. As the pipe is smoked the patina should develop and look even better. I put the stem back on the bowl and carefully buffed the pipe with Blue Diamond on the buffing wheel. I gave the bowl and the stem multiple coats of carnauba wax on the buffing wheel and followed that by buffing the entire pipe with a clean buffing pad. I hand buffed the pipe with a microfiber cloth to deepen the shine. The finished Peterson’s System Standard 309 Bent fits nicely in the hand and feels great. Give the finished pipe a look in the photos below. The dimensions of the pipe are Length: 6 inches, Height: 2 inches, Outside diameter of the bowl: 1 ¼ inches, Chamber diameter: ¾ of an inch. The weight of the pipe is 53 grams/1.83 ounces. I will be adding the pipe to the Irish Pipe Makers Section of the rebornpipes store. If you are interested in purchasing this pipe send me a message or an email. Thanks for reading this blog and my reflections on the pipe while I worked on it.

Repairing a Damaged and Non-functional Prancing Horse Cheroot Holder


Blog by Steve Laug

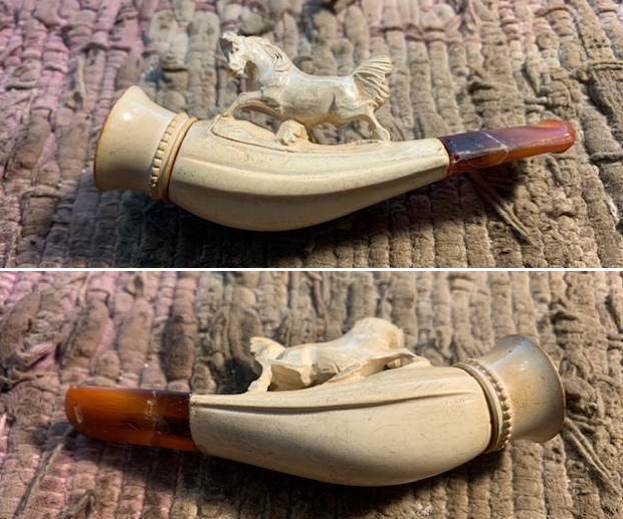
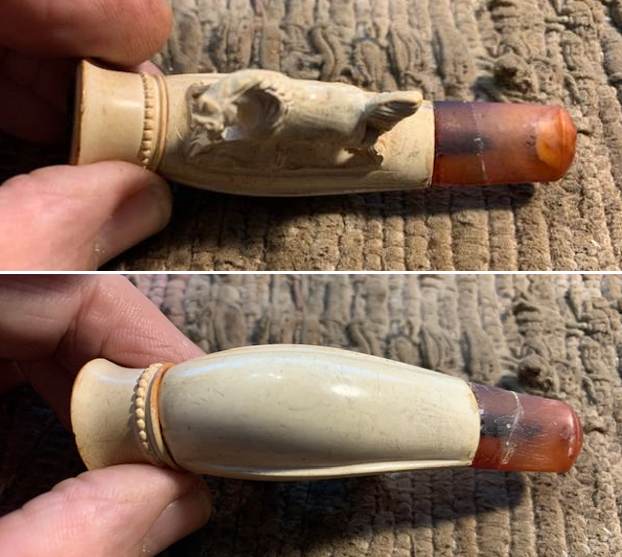
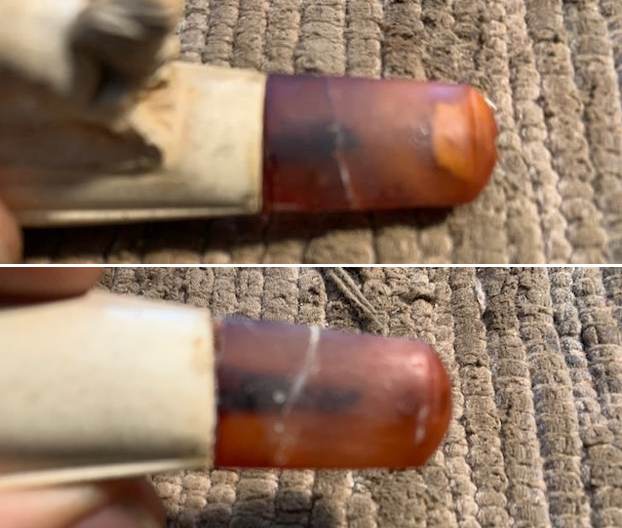
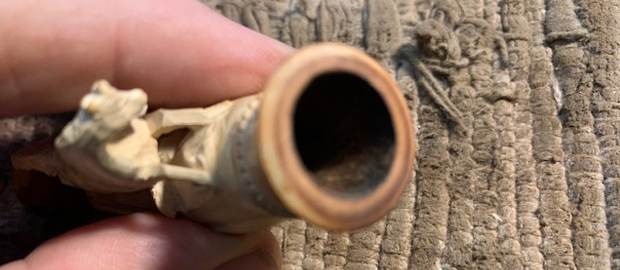
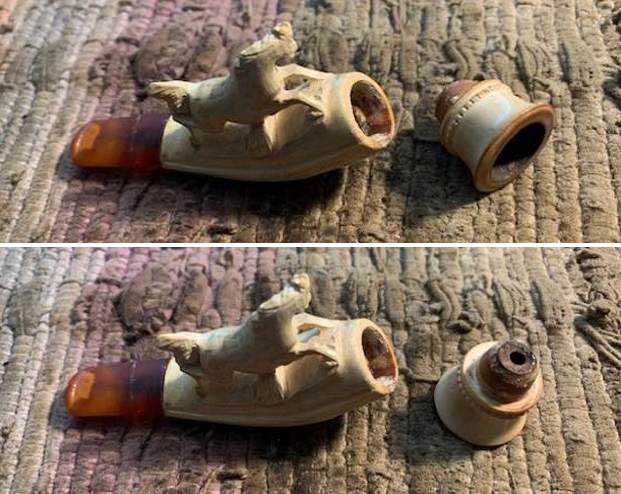
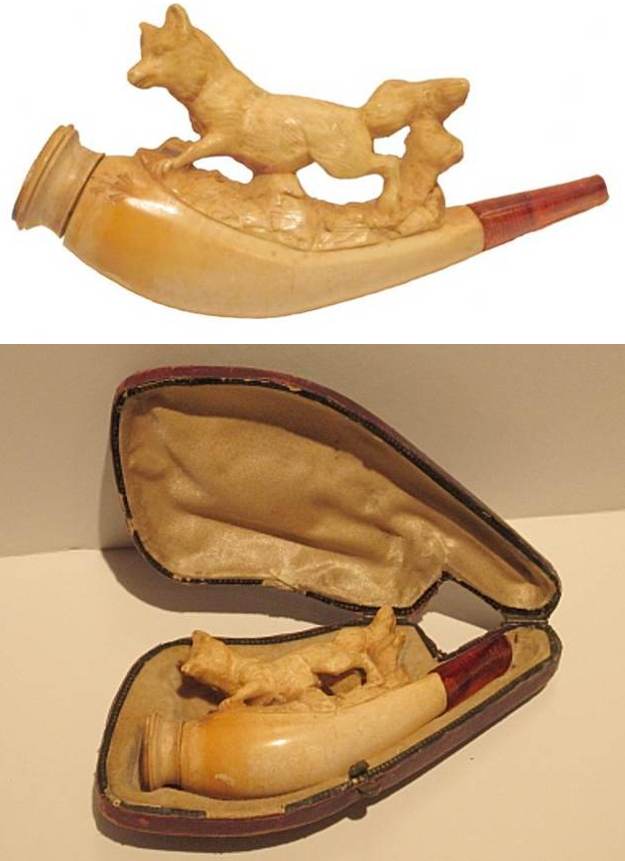
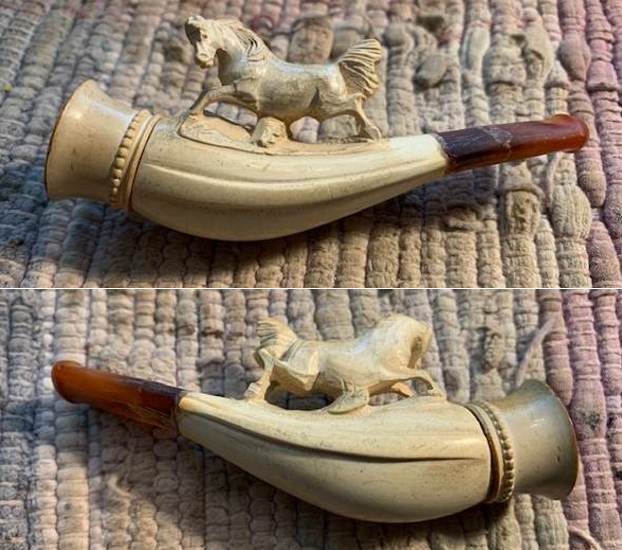
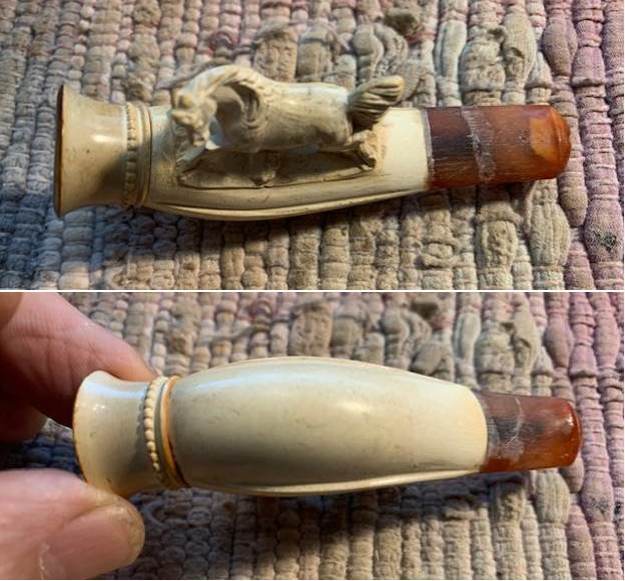
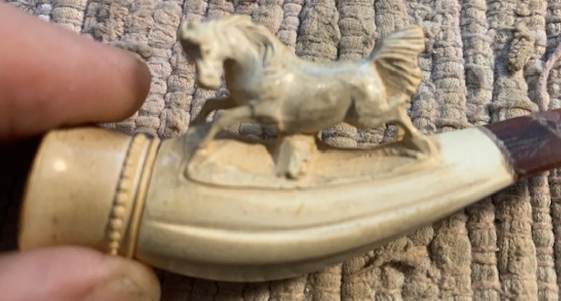
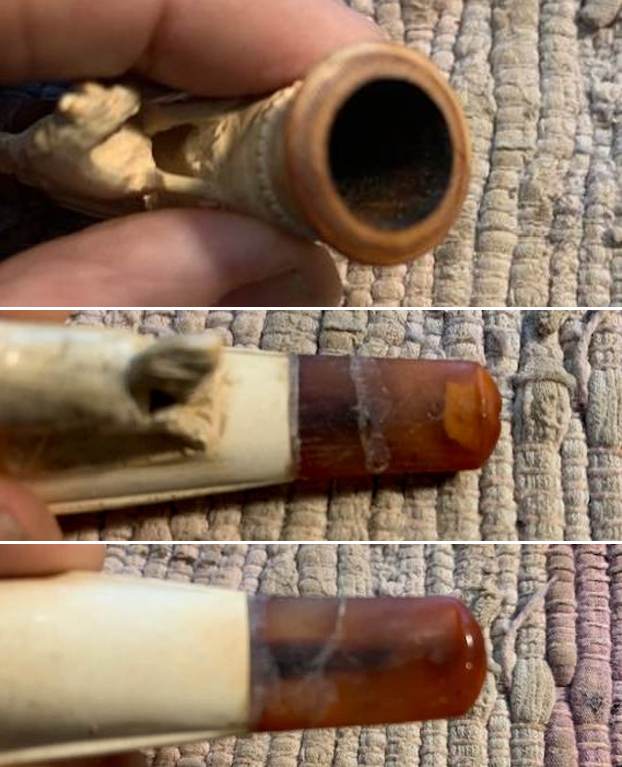
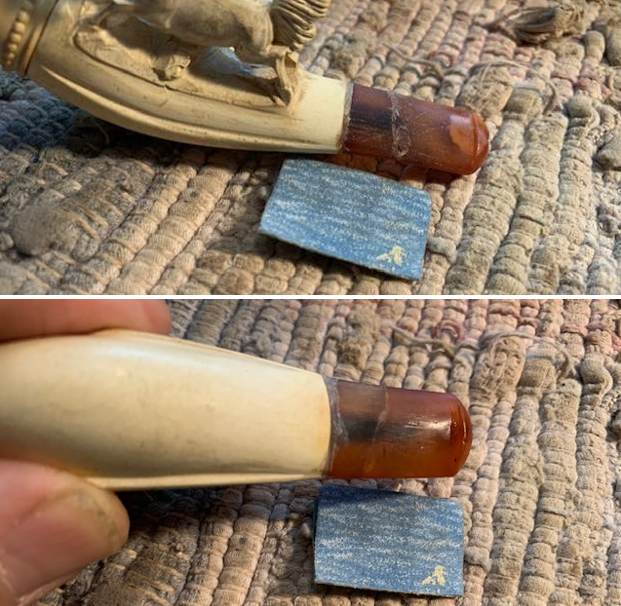
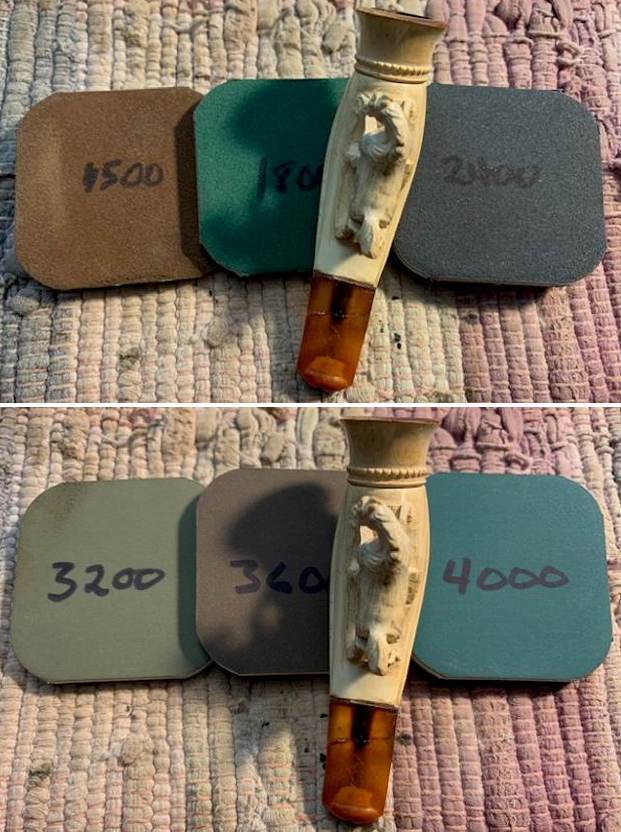
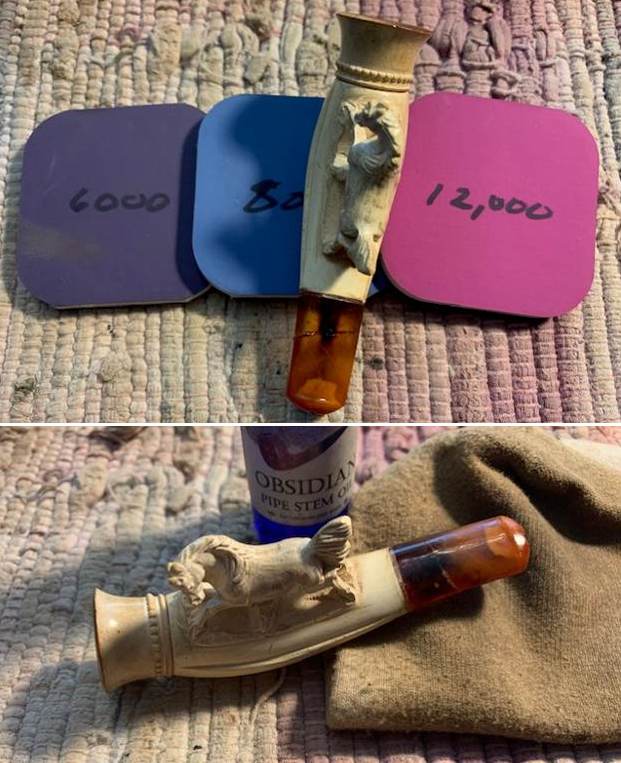
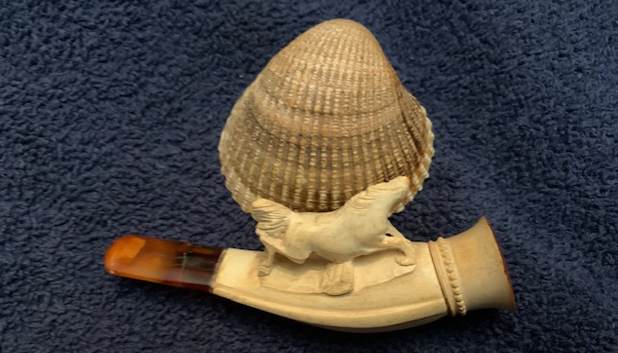
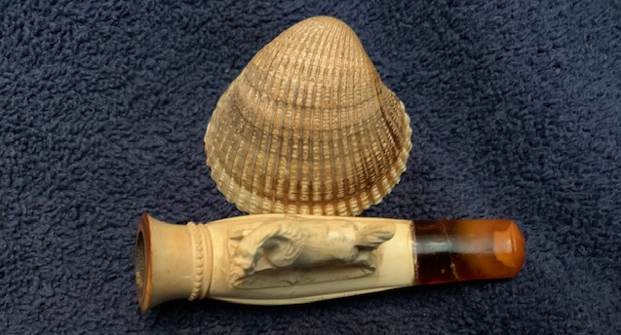
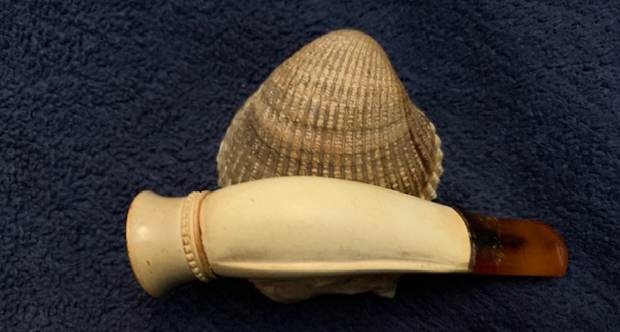
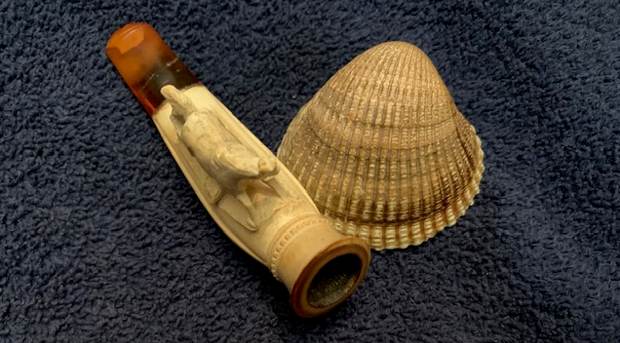
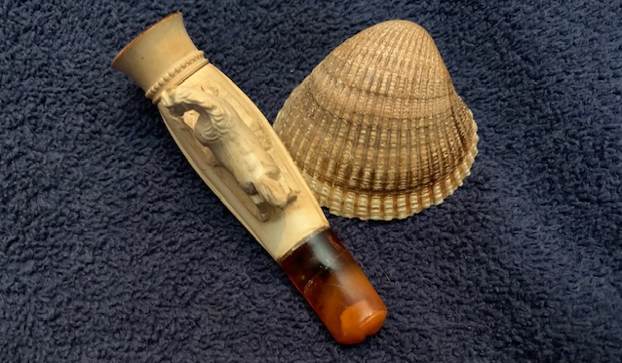
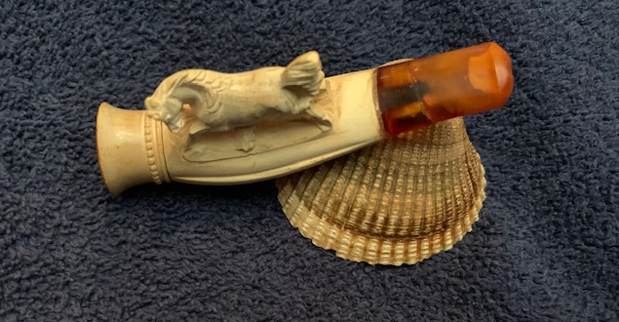
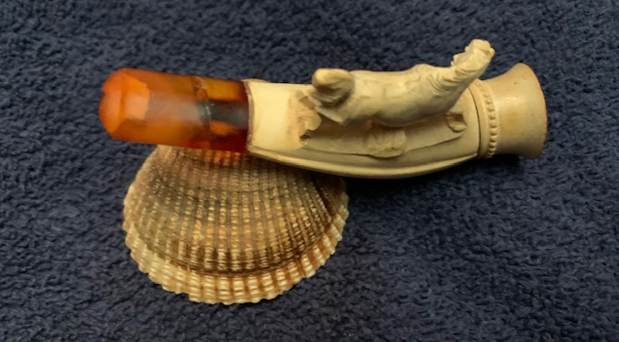
I was gifted this damaged Meerschaum Cheroot holder by a fellow we have purchased a lot of pipes from. We have a good rapport with each other and have exchanged a lot of emails. He wrote that he had a small Cheroot holder he wanted to gift to me that was quite unique. It had a carved horse on the top of the shank. The horse was in great condition but the amber stem was crookedly glued to the shank and had broken in half. I gave the end of each piece of the stem a thin coat of glue to hold the pieces together. I put a greased pipe cleaner in and glued the parts and let it cure. I removed the pipe cleaner and took the following photos of the Cheroot holder. It was an interesting looking piece that had some great history if it could only speak to us. The airway in the stem was clear and but the bowl was clogged with tars and the rim top had a tar coat build up on the rim top. The airway was clogged with no draught. I took a photo of the glued stem to show the fit of the parts and also the fit of the stem to the shank. The pieces fit very well together but the fit of the stem to the shank was way off. You can see the gap at the top of the second photo below. The stem was crooked on the shank. I used a folded piece of 220 grit sandpaper to remove the tar build up on the rim top. It looked much cleaner. There was some colour to the rim top. It looked much better.I used a tooth pick and a pipe cleaner to clean out the airway in the inside of the bowl. When I removed the pipe cleaner the bowl came off without damage and I was able to further clean it on the inside of the bowl and the shank of the Cheroot holder. Whatever was clogging it was rock hard. Once cleaned the bowl fit tightly into the shank. It was now clean to the shank end from both directions.I did a quick Google search for small carved animal Cheroot holder with amber stems and possibly a case. I looked through the various carved holders and found a carved Fox with the same bowl insert as the one I was working on and the same style amber stem as the one I was working on and also was broken at the end (http://www.keilsantiques.com/antiques/objets-dart/antique-carved-meerschaum-fox-cheroot-holder). I saved photos of the pipe from the site both outside and inside the case. You can see the similarities between the two carvings.  Unfortunately there was no real information on the carver or age of the piece.While I was cleaning the stem the glue came loose at the stem/shank joint. Nothing broke in the amber which I was happy for but the glue let loose. I was actually very glad because I could adjust the fit of the stem to the shank. The problem was that the shank had been filled in with the super glue and was rock hard. The shank was so thin that I would not be able to drill it out so I was now faced with the facts that the pipe was not going to be usable. I flattened out the end of the stem and the shank with a topping board to make a clean junction. I reglued it with clear CA glue and held the surfaces flat against each other until the glue hardened. You can see the look and fit of the newly refit stem in the photos below. I took a photo of the carved prancing horse on the top of the cheroot holder. It is actually well carved and in good condition.I took photos of the bowl and rim top and stem. You can see the clean bowl and rim top. It looks very good. The fit of the stem is very good. The repair is visible but should lessen with polishing. It is an interesting piece and a shame that it is not usable or fixable.I sanded the repairs with a folded piece of 220 grit sandpaper to further smooth them out and blend them into the surrounding amber. It is looking better.I polished the bowl and stem with micromesh sanding pads – wet sanding with 1500-12000 grit pads and wiping down the stem after each pad with a cloth impregnated with Obsidian Oil. It is starting to look very good. I gave the bowl and stem a coat of Clapham’s Beeswax. I carefully put it on the bowl and the stem to protect and preserve it. I carefully polished it with a soft cloth. The last thing I wanted to do was break it again. The dimensions of the cheroot holder are Length: 3 ½ inches, Height: 1 inch,  Bowl diameter: ¾ of an inch, Chamber diameter: ½ of an inch. The weight of the piece is .49 ounces/14 grams. It is a great piece of tobacciana history and one that I will enjoy having in my collection for display. Once I have my office back in shape it will sit on top of a pipe cabinet on my desk top. Thanks for giving the blog a read. I appreciate all of you follow rebornpipes. Thank you.

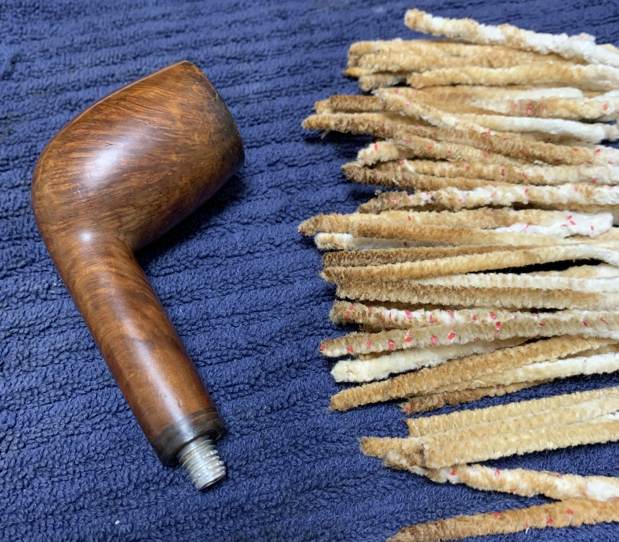
Fitting a new stem on a Savinelli Made Stone Age K11 603 Dublin


Blog by Steve Laug

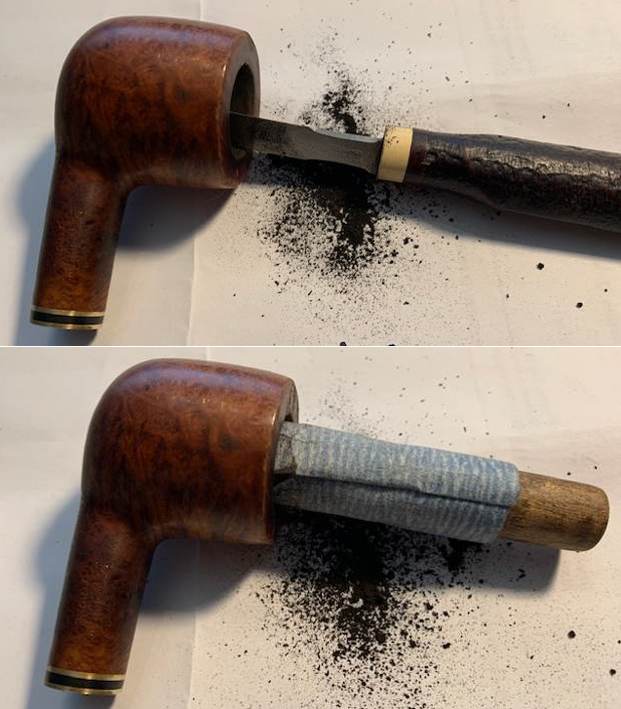
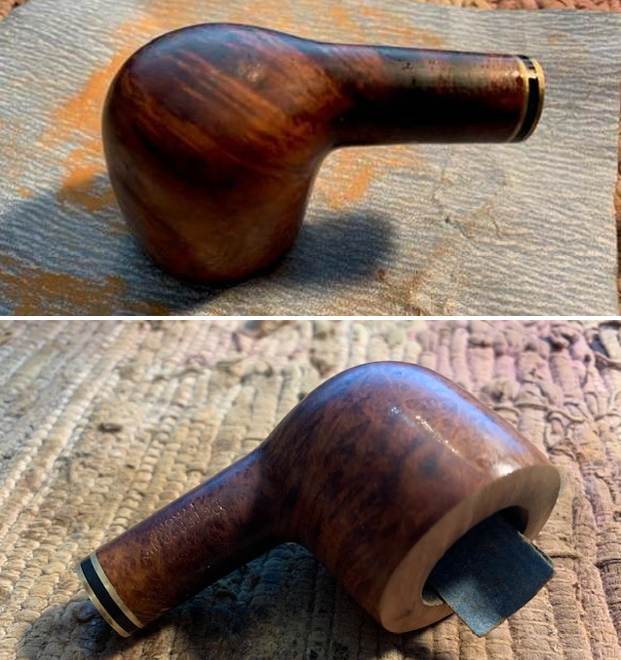
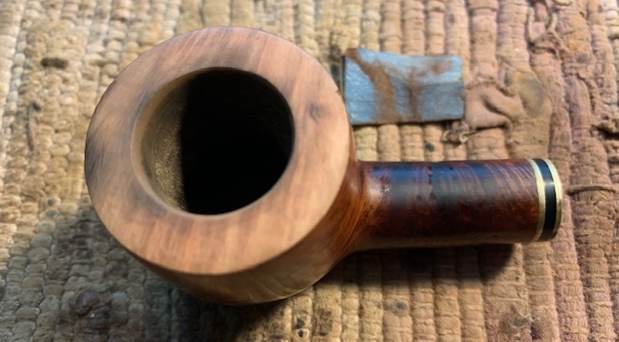
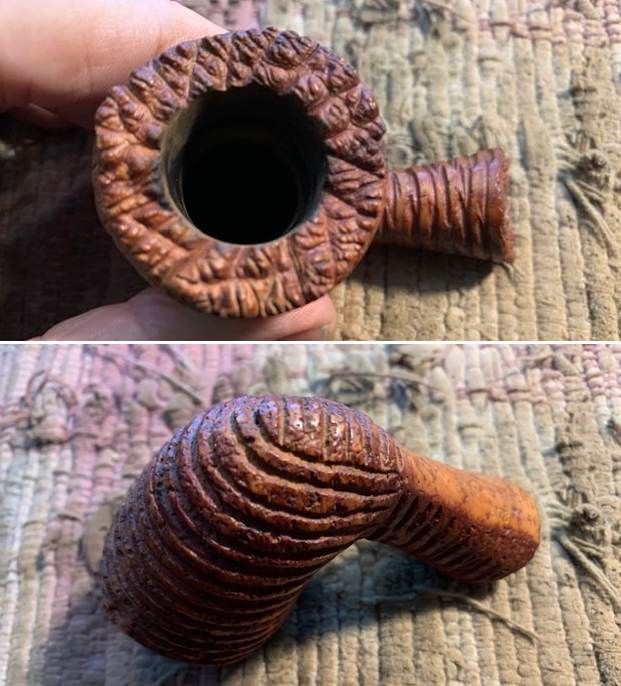
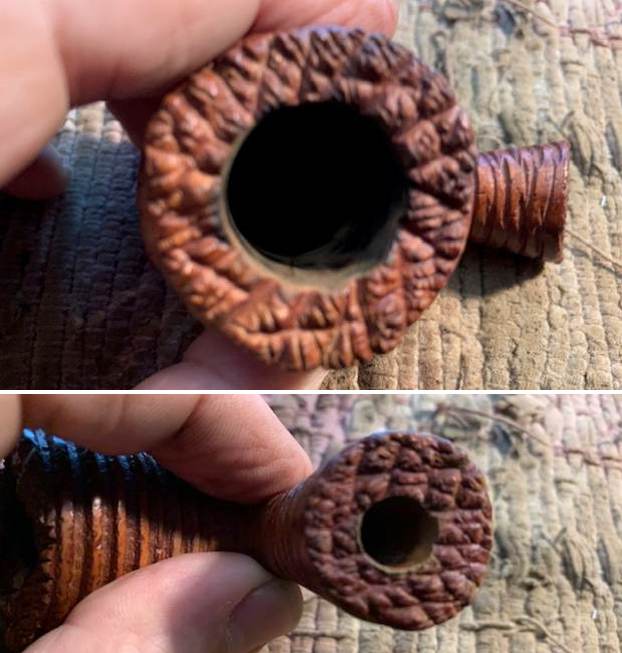
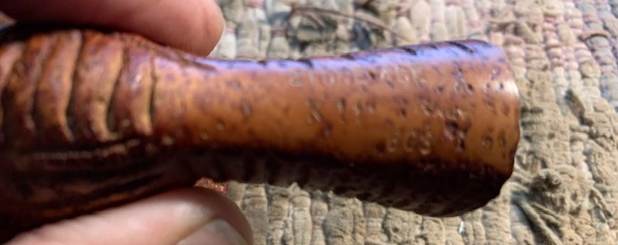
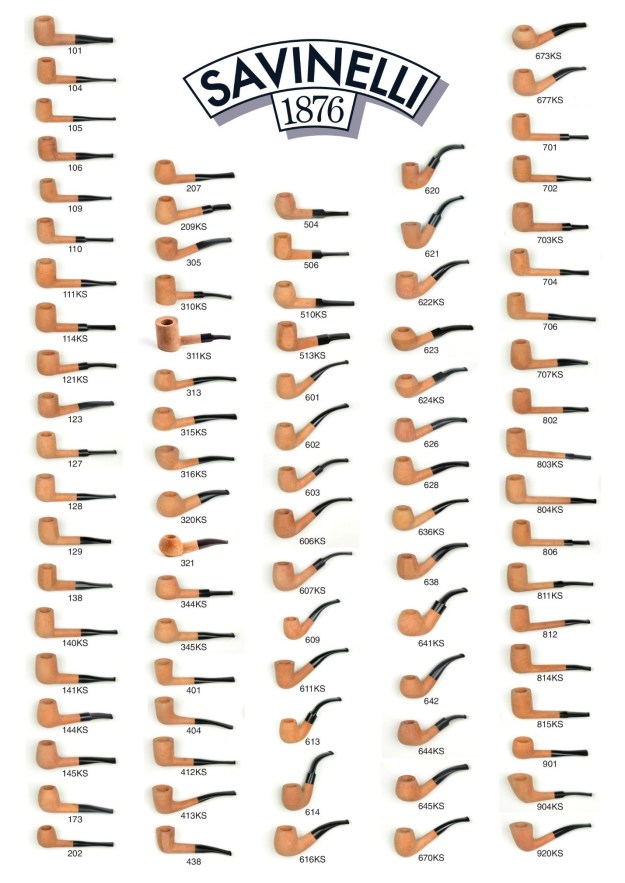
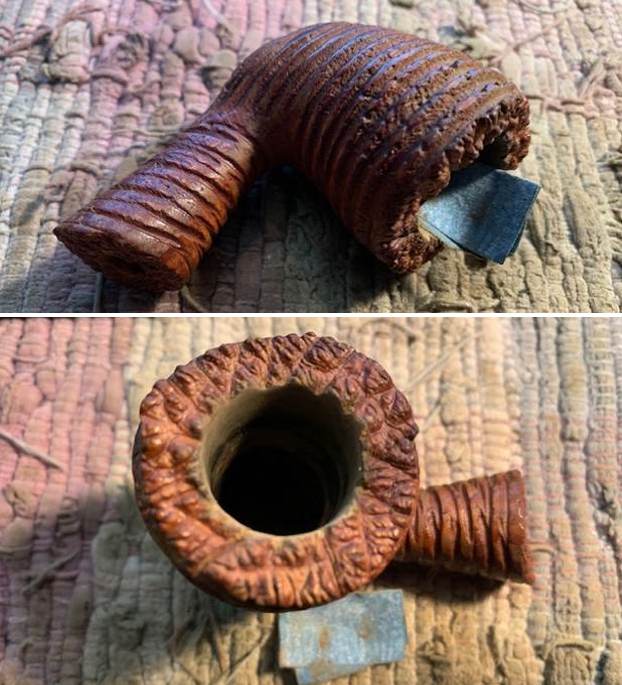
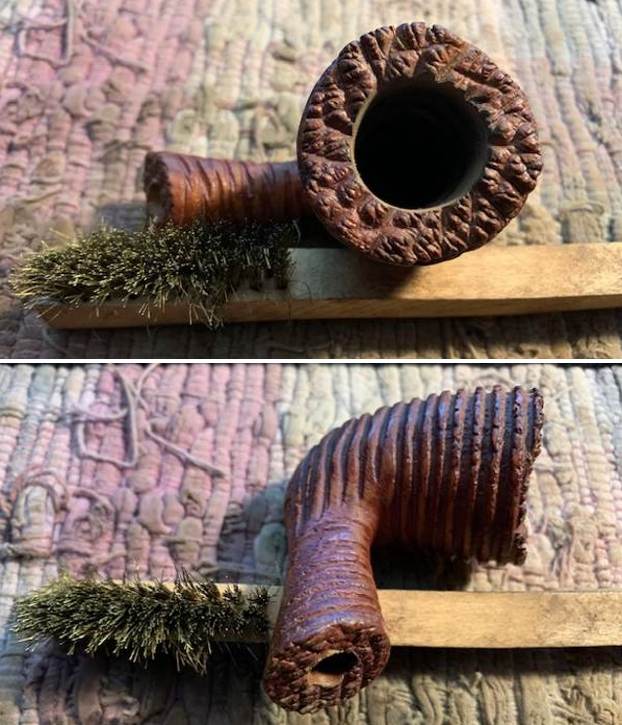
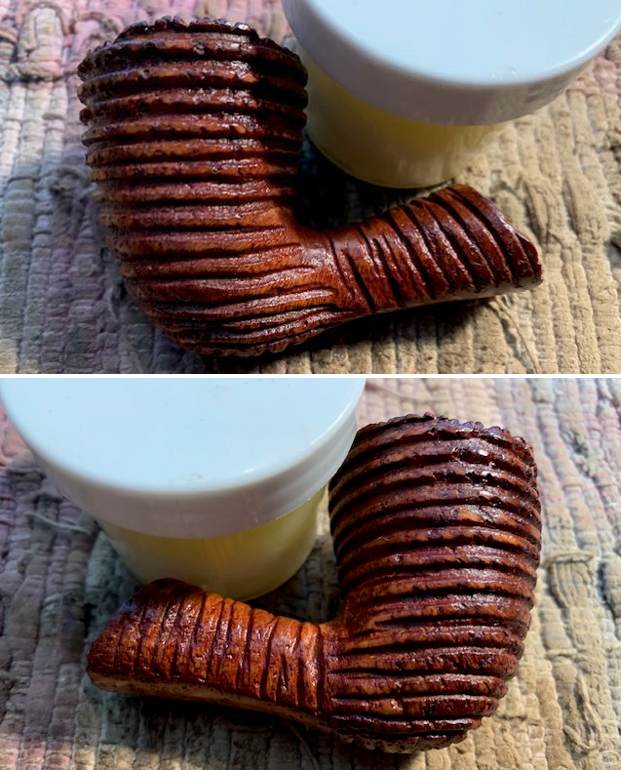
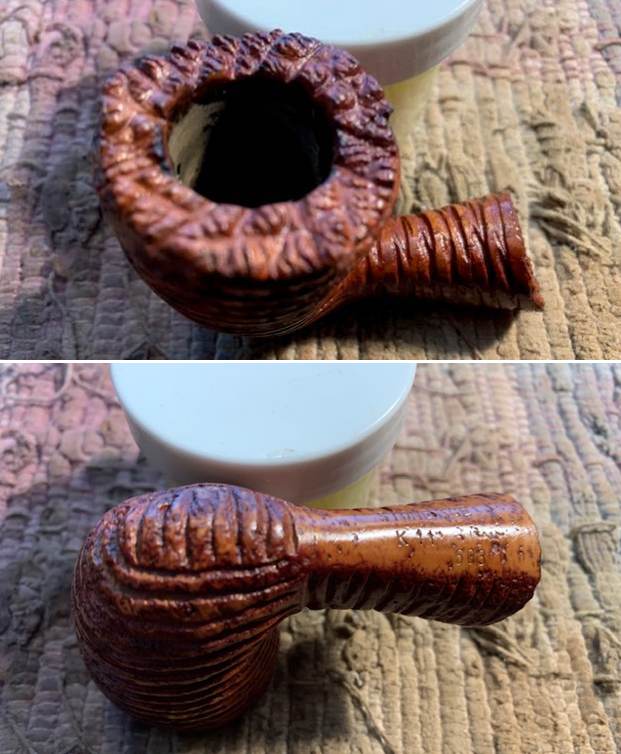
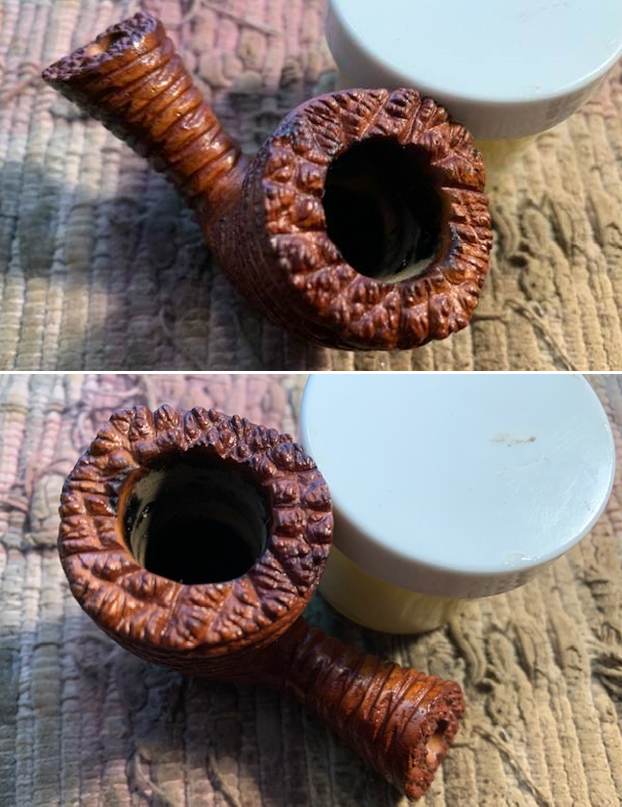
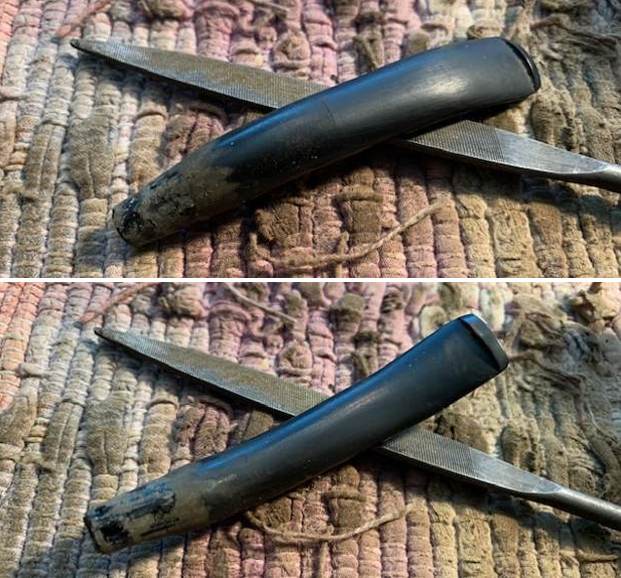
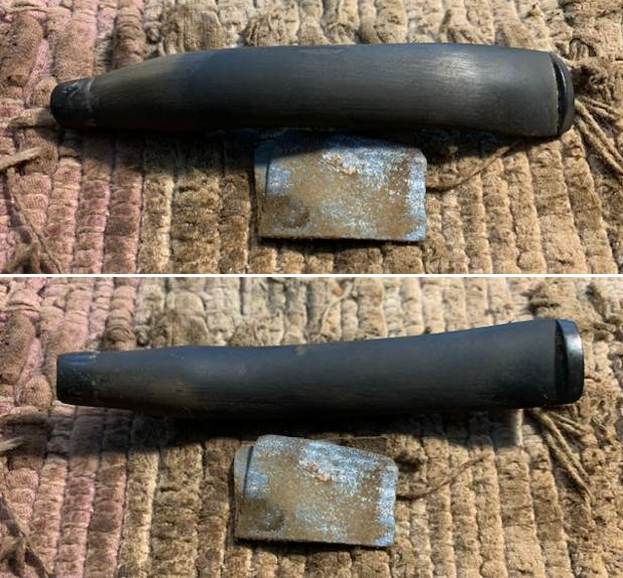
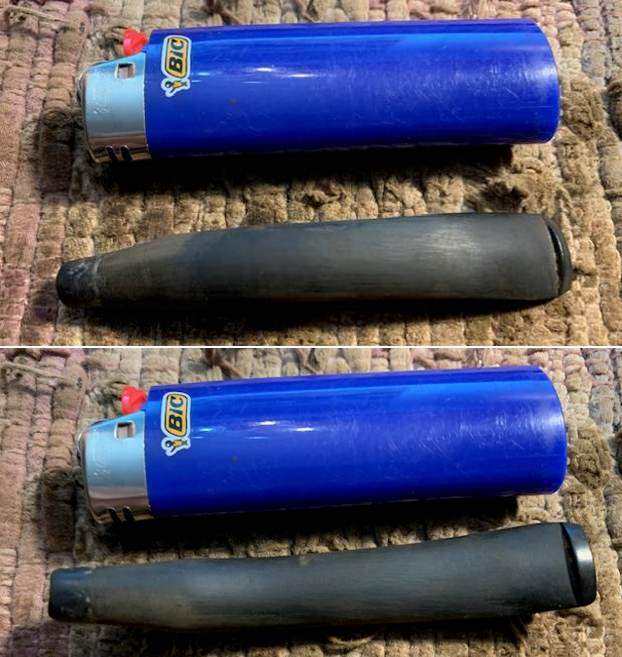
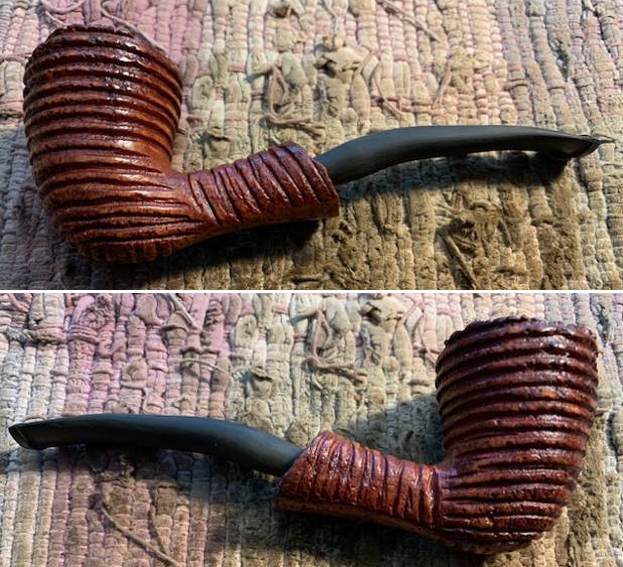
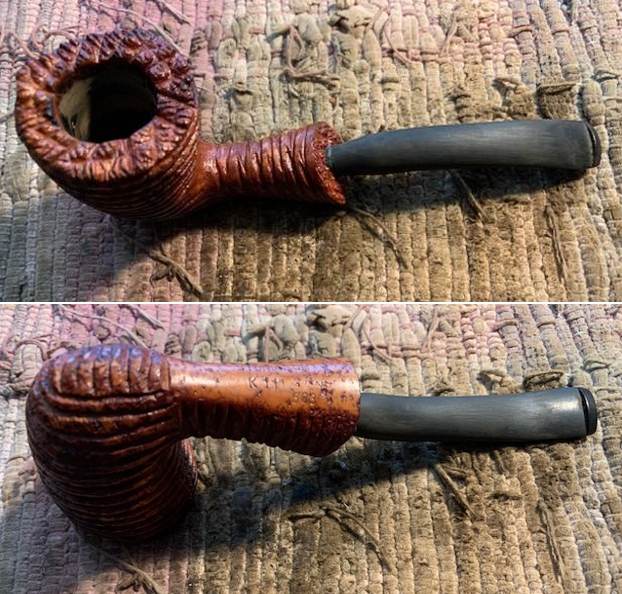
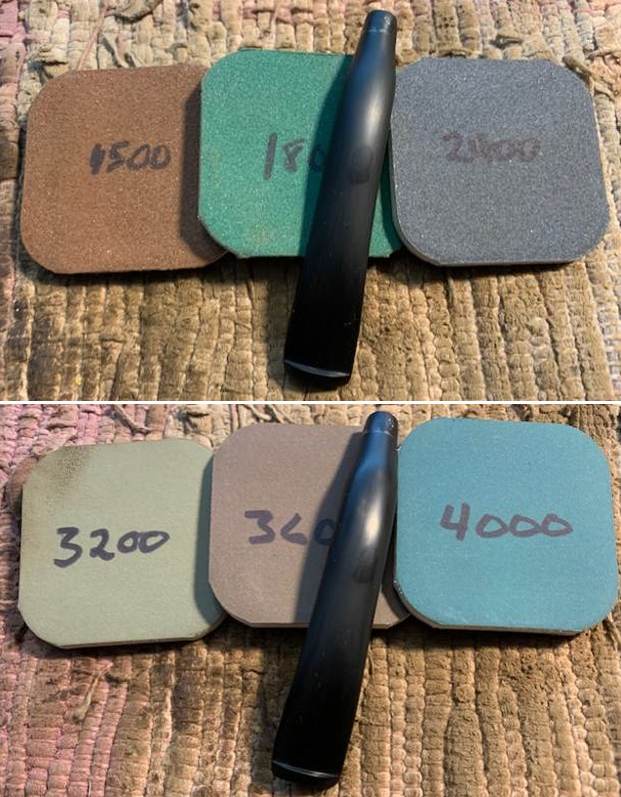
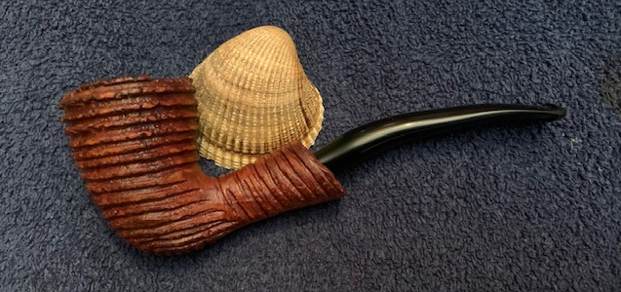
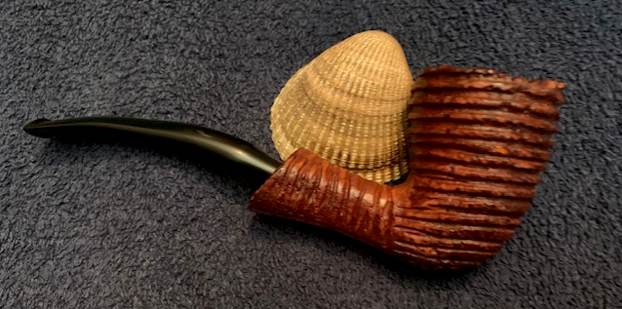
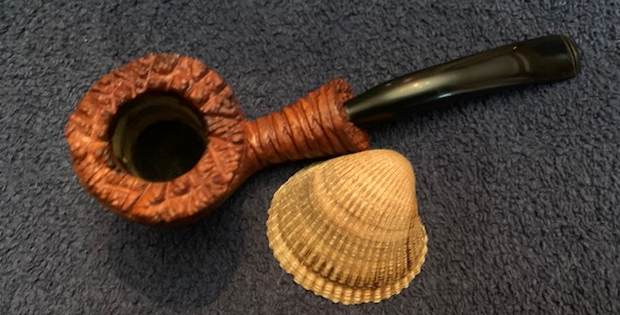
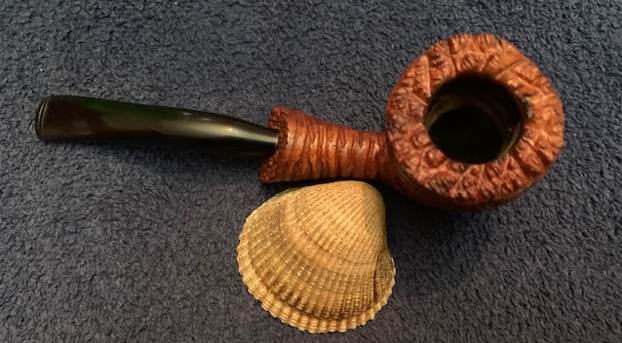
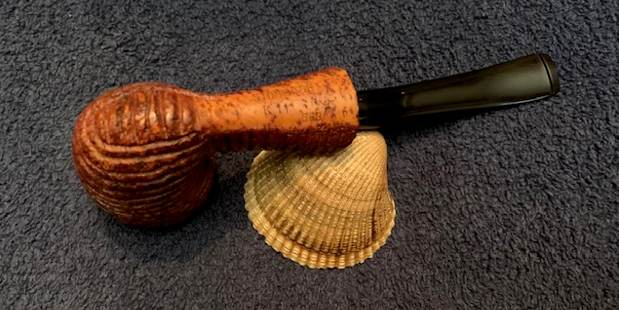
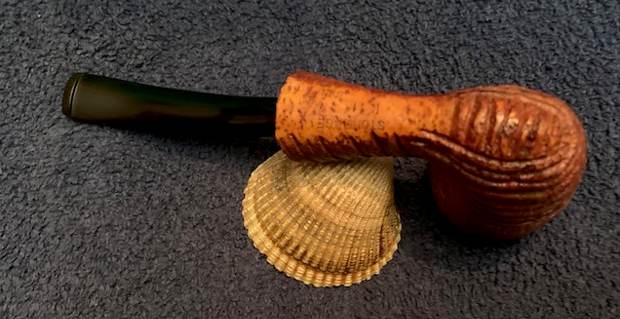
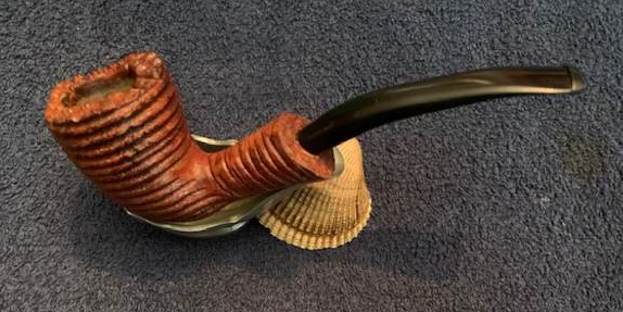
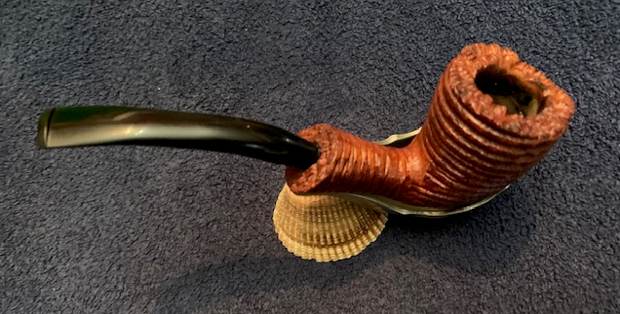
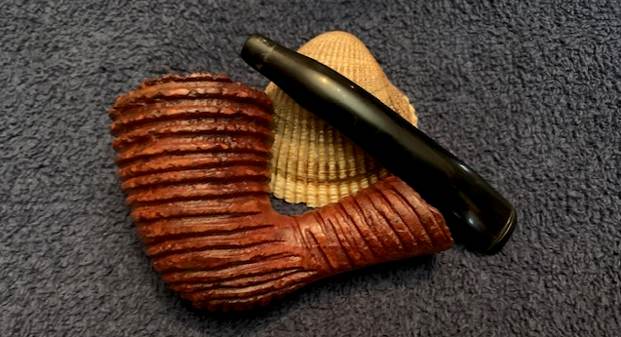
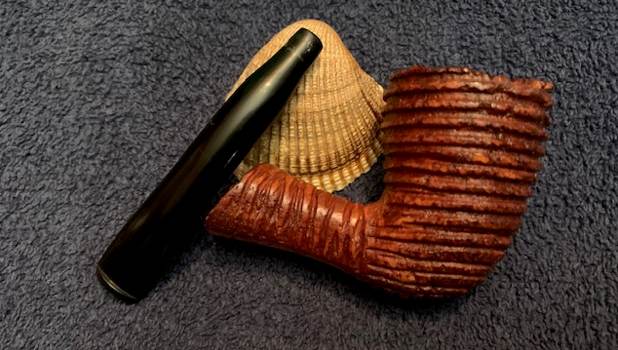
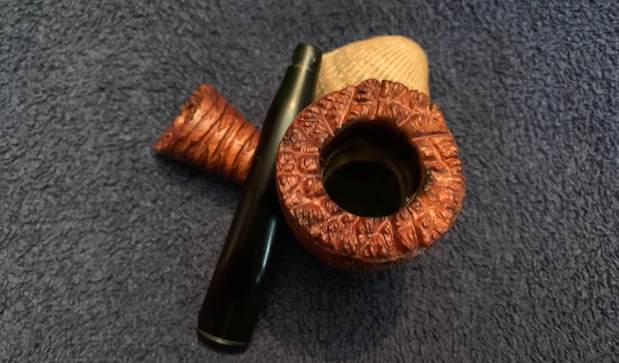
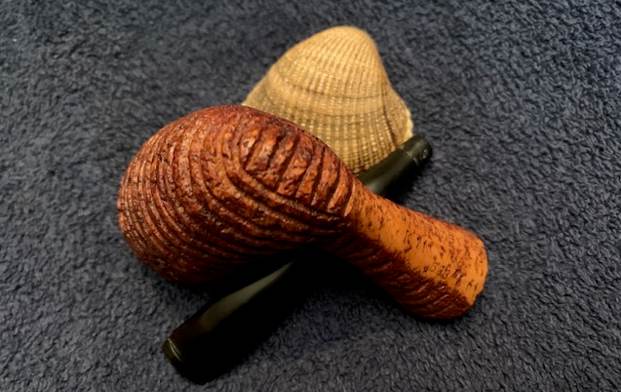
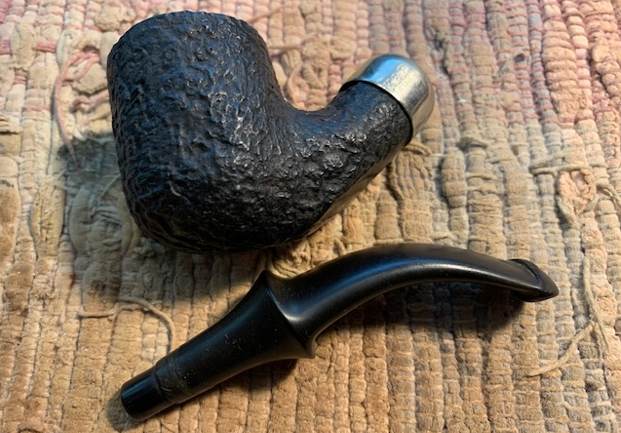
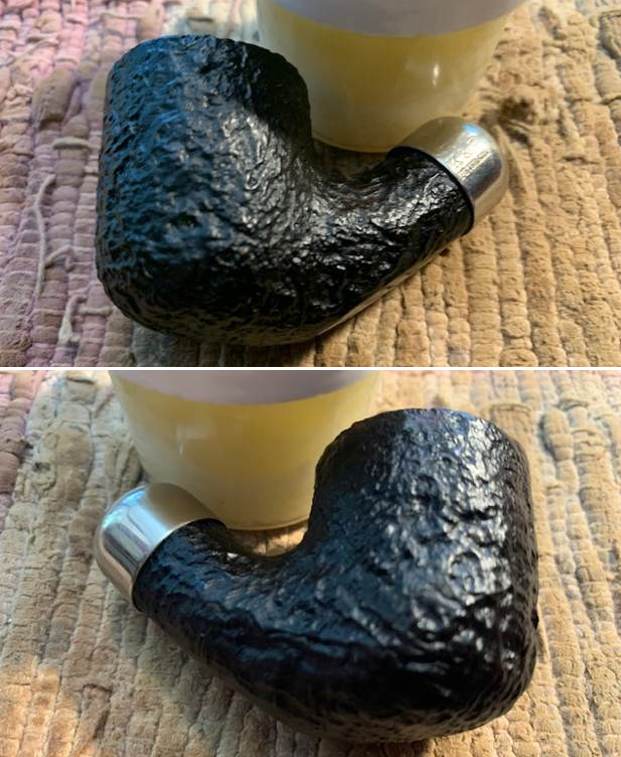
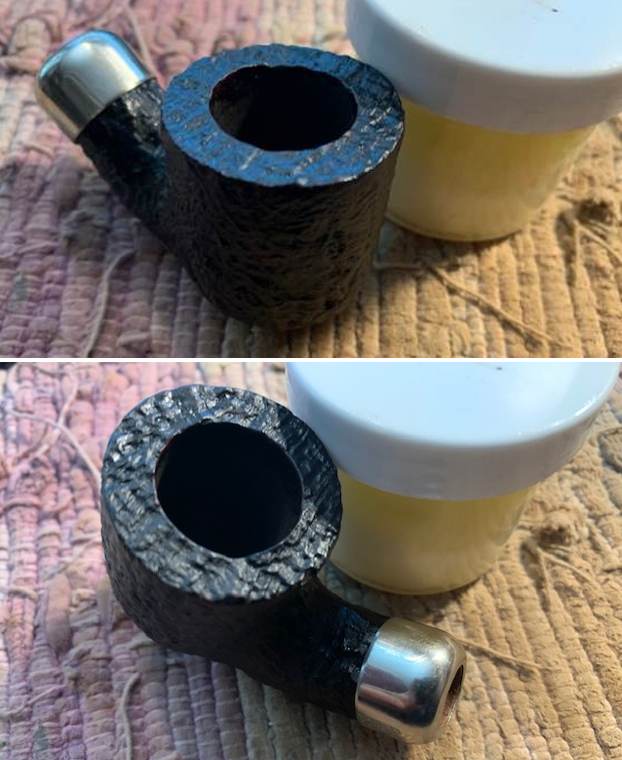
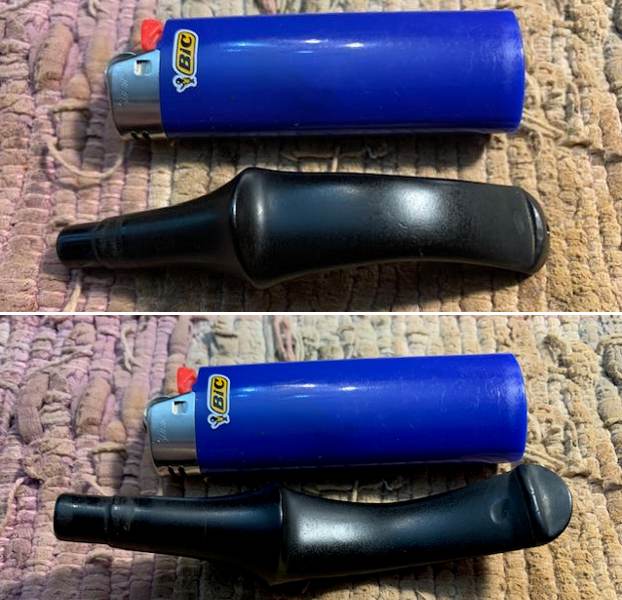
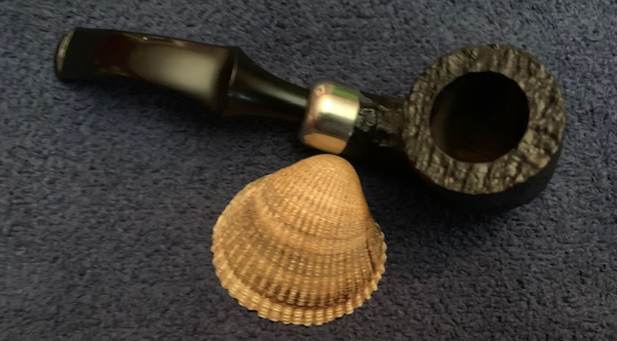
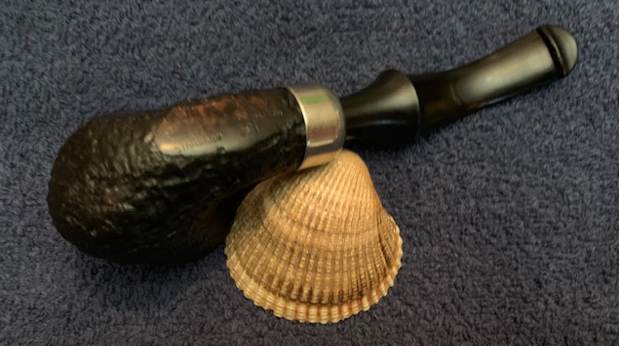
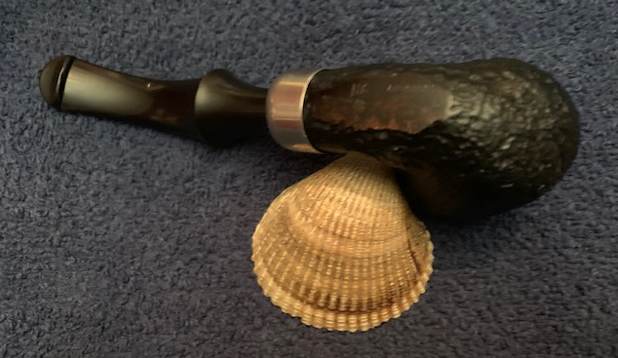
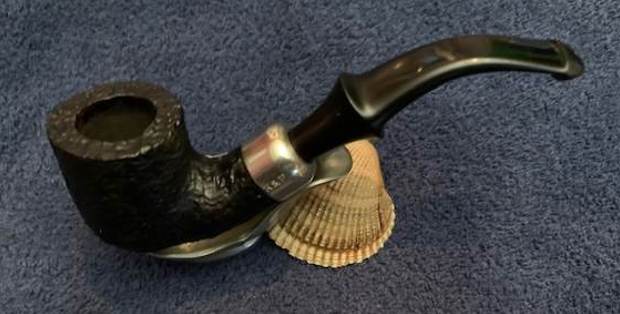
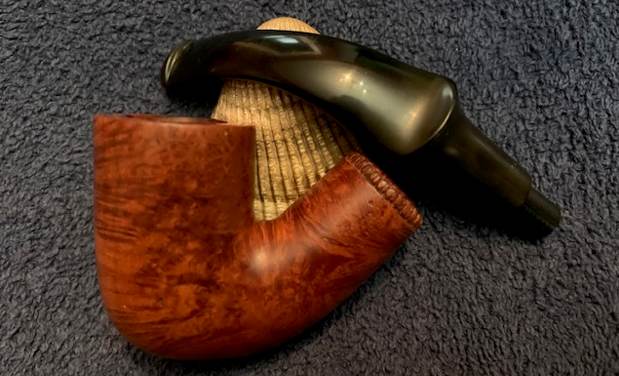
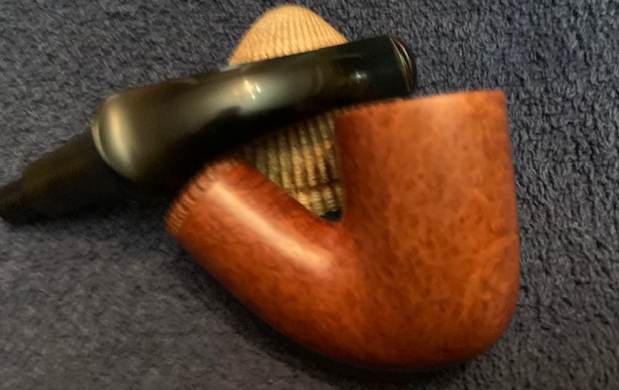
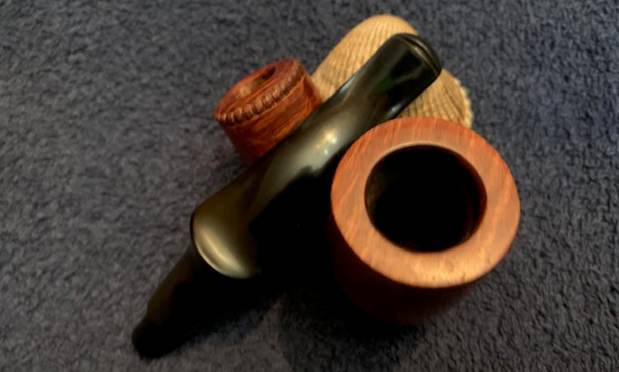
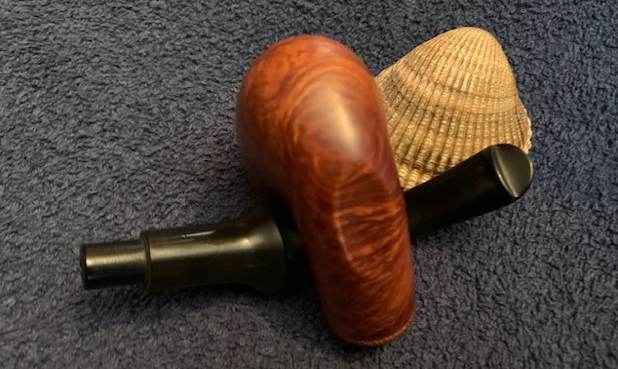
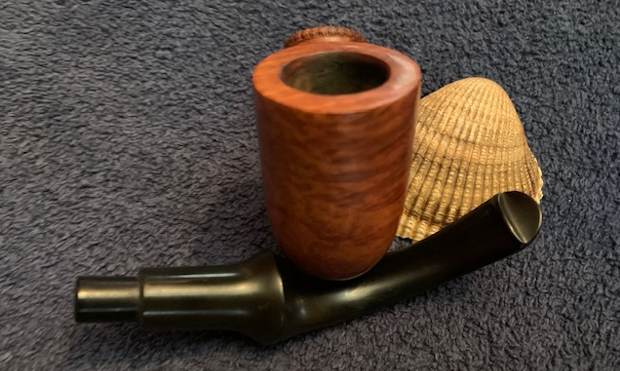
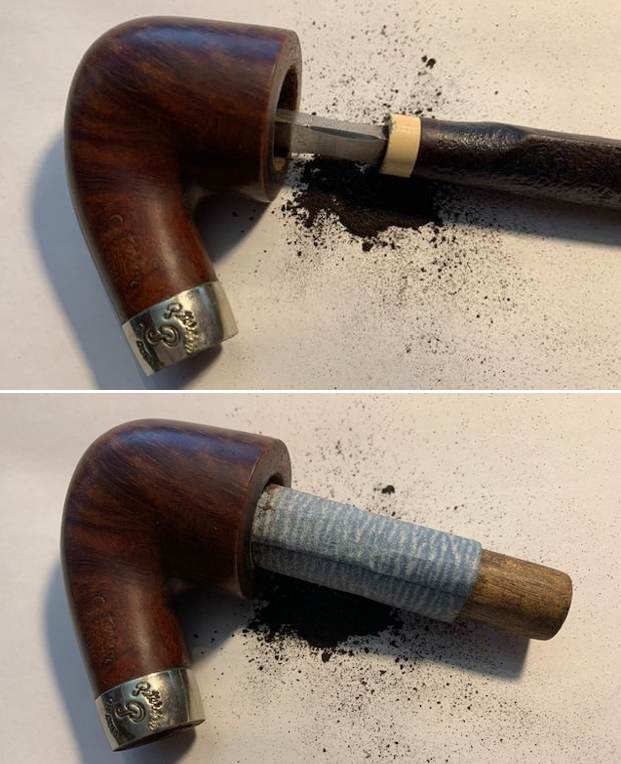
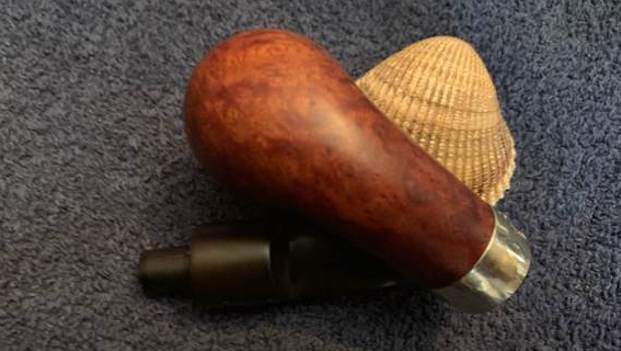
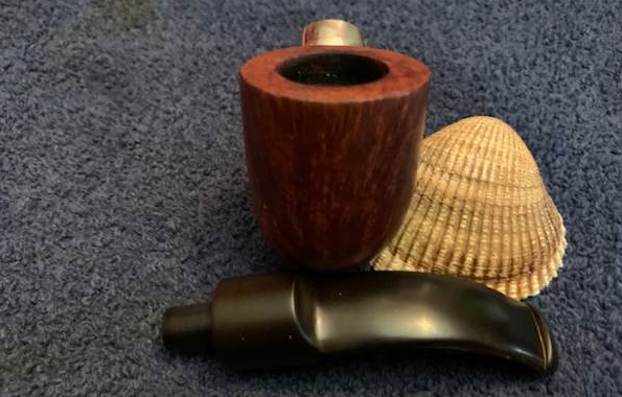
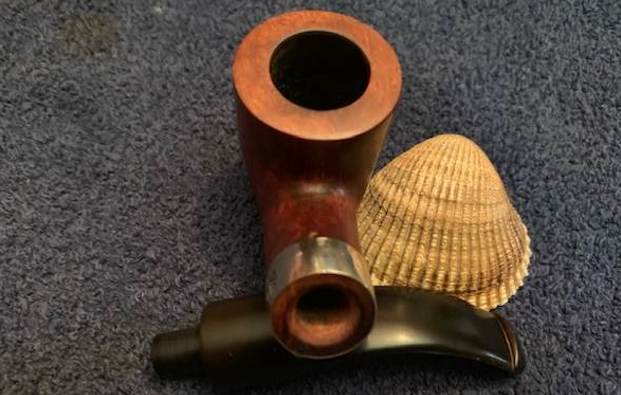
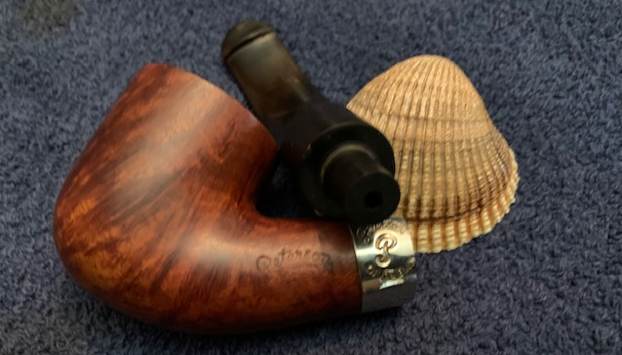
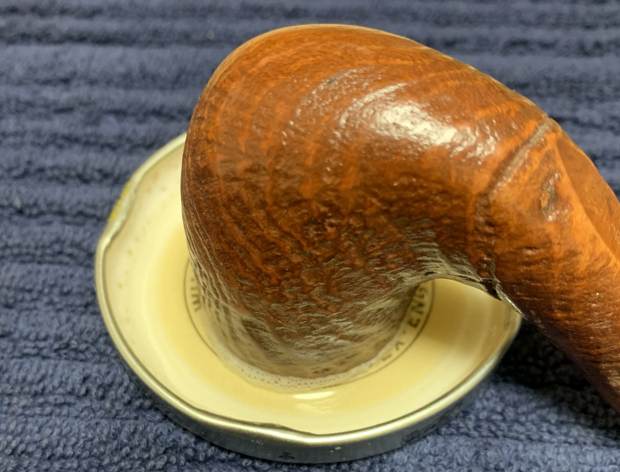
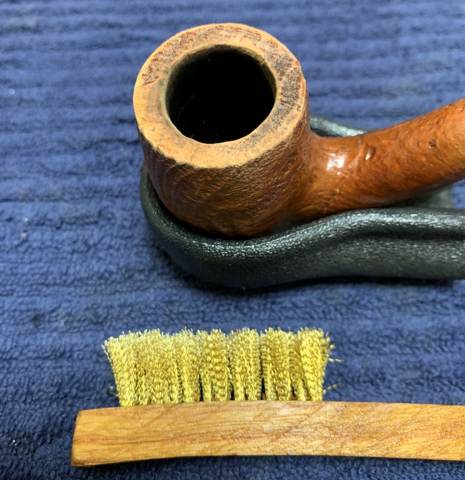
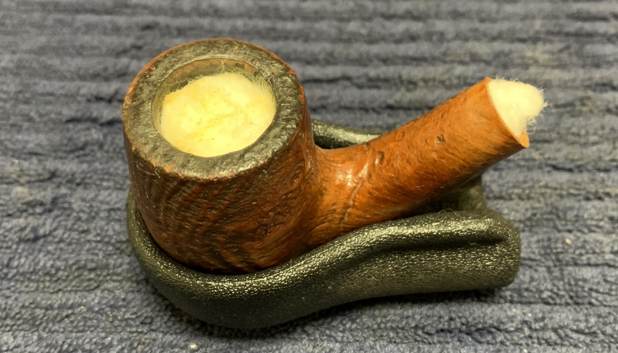
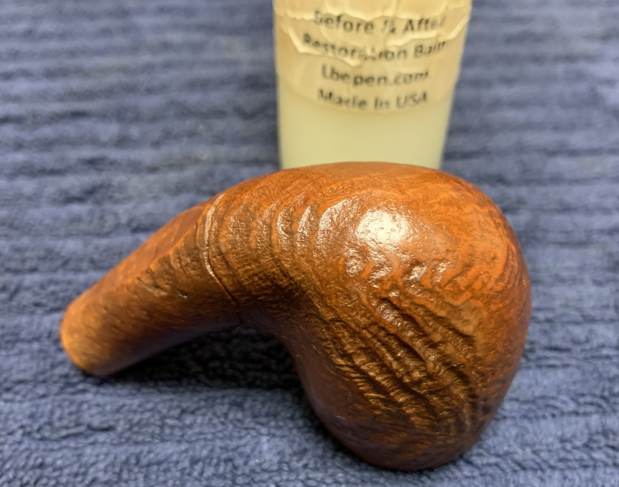
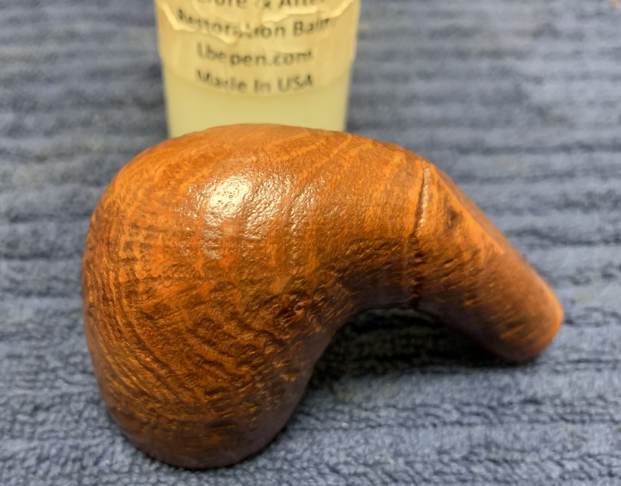
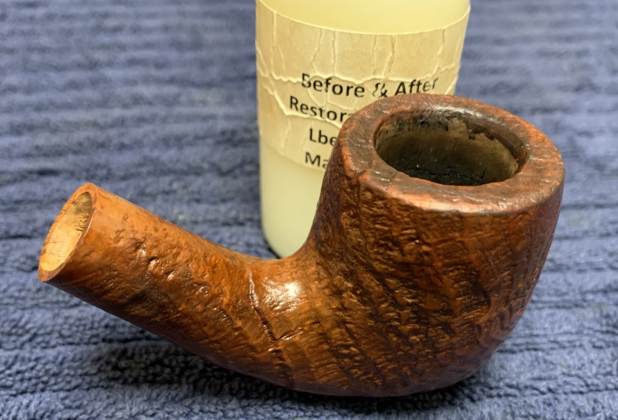
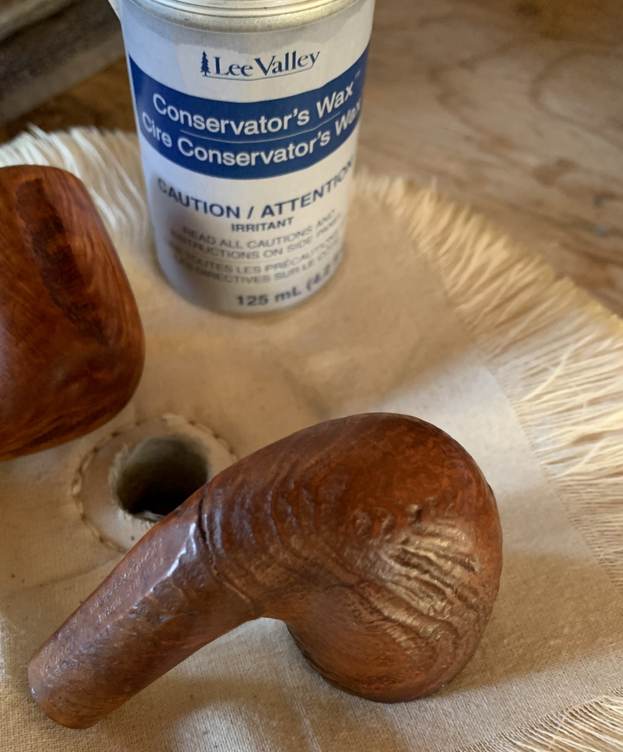
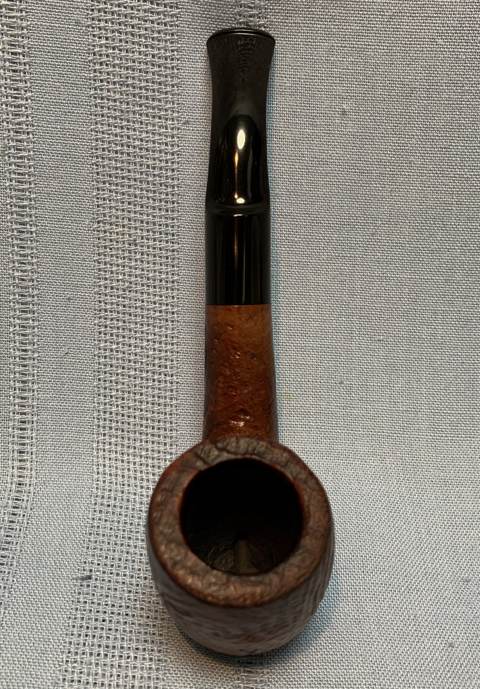
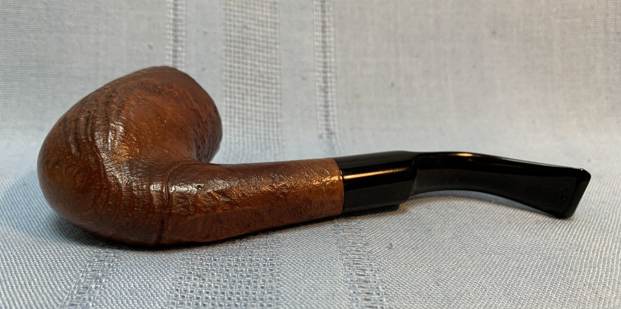
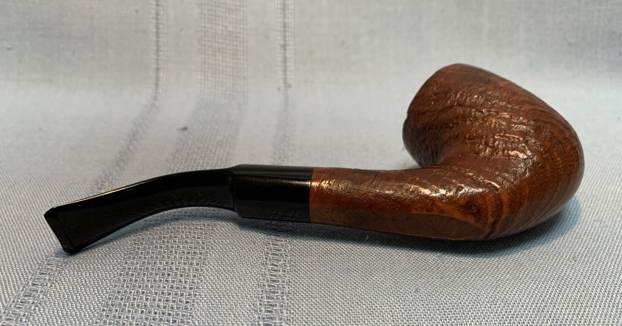
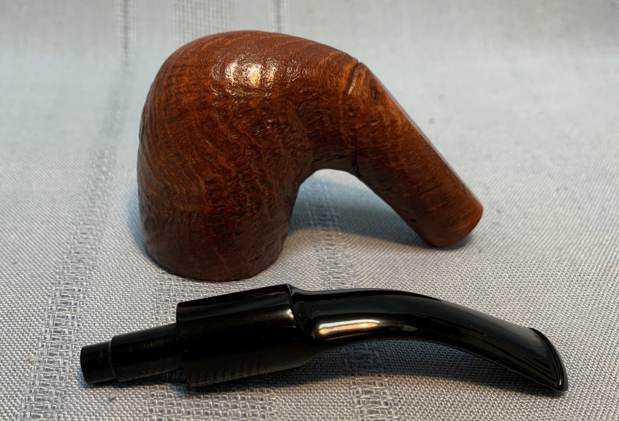
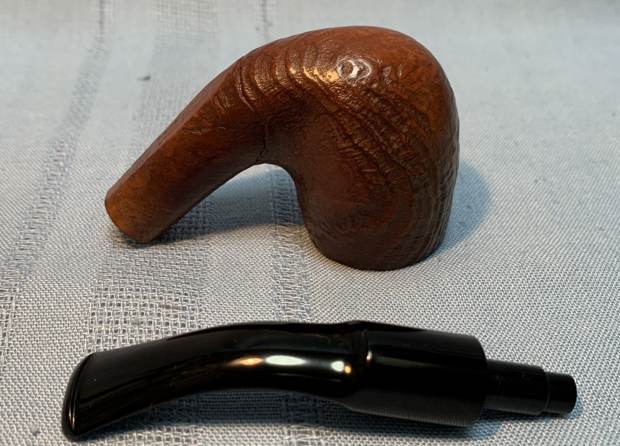
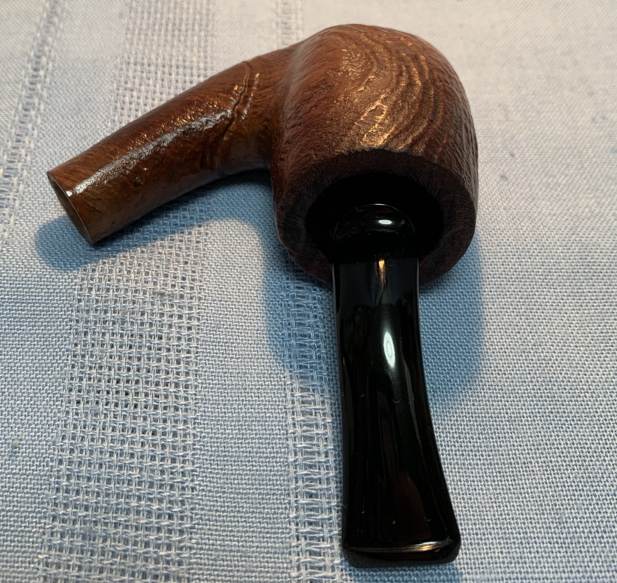
The next pipe on the table was a bowl sans stem that a reader sent to me after reading my blog on a similar pipe – a Stone Age K11 [over] shape number 609 followed by Italy. His pipe is stamped on the underside of the shank and reads Stone Age K11 [over] shape number 603. From my previous work on one of these I knew that I was dealing with a Savinelli product. The pipe had been reamed and cleaned by the sender and looked good. The rim top had some light darkening around the inner edge but otherwise was clean. The finish had been scrubbed and cleaned so it looked good just a bit lifeless. Last evening while going through my collection of stems I found one that would work on the pipe. It would need some shaping and tapering but the size and shape were perfect to start with. It has a very unique rustication that is quite different – both rugged and spun that reminds me of a honey swizzle stick. The flared shank and rim top both look like rusticated plateau – faux or real, I am unsure. Overall it is a pretty pipe. I took some photos of the bowl before I worked on it and the new stem. The next two close up photos show the condition of the bowl, rim top and shank end. You can see the darkening on the front and back inner edge of the bowl and in the rustication of the rim top and shank end.The stamping is readable but faint on the underside of the shank. It reads as noted above. I turned to Pipedia (https://pipedia.org/images/4/41/Sav_Shape_Chart_2017.jpg) and found a shape chart and the listing for the 603 shape. It shows up as a saddle stem bent billiard. The shape of this pipe is more of a Dublin shape so I do not know how to explain the shape chart. I have included the chart below.I decided to start my work on restoring the pipe by addressing the debris and darkening on the rim top. I used a brass bristle brush and scrubbed the surface of the rim top and shank end working on removing debris and darkening from the grooves of the plateau and rustication.I used a folded piece of 220 grit sandpaper to address the darkening on the inner edge of the bowl. I carefully sanded out the darkening to give it a cleaner look. It looked much better than when I started.    I rubbed the briar down with Before & After Restoration Balm. I worked it into the briar and the grooves around the bowl and shank with my fingertips and a horsehair shoe brush. The product works to clean, enliven and preserve the briar. I let it sit for 15 minutes while I worked on the stem. After the time passed I buffed it with a cotton cloth to deepen the shine. The briar really comes alive with the balm.   The stem had a broken tenon that I removed with a Dremel and sanding drum. I flattened the stem end. I used the Dremel to shape the stem end into a tapered cone. It was rough but the shape was getting there. I cleaned up the roughened stem end with a small flat file to further shape it. I sanded it with a folded piece of 220 grit sandpaper to shape it more. It is starting to take shape at this point. There was a gouge on the top side of the stem mid stem that almost looked like a crack but was not one. I sanded the area smooth with the 220 grit sandpaper at the same time.Now it was time to straighten the bend I the stem to match the flow of the pipe. Instead of using my heat gun I painted the stem surface with the flame of a Bic lighter until the vulcanite became flexible. I straightened it out to the angles I wanted for the pipe. I put the stem in the bowl and took photos of it at this point in the process to get a sense of the overall look of the pipe. It is looking pretty good to me at this point! I polished the vulcanite with micromesh sanding pads – 1500-12000 grit pads. I wiped it down with Obsidian Oil after each sanding pad. I used Before & After Pipe Polish – both Fine and Extra Fine to further polish the stem. This restemmed, rusticated Savinelli Made Stone Age K11 603 Italian Freehand is a beautiful looking pipe that combines a rusticated finish with a unique shaped. The brown stains on the bowl work well to highlight the finish. I put the newly finished stem on the bowl and buffed it with Blue Diamond on the buffing wheel being careful to not buff the stamping. I gave the bowl multiple coats of Conservator’s Wax and the stem multiple coats of carnauba wax on the buffing wheel and followed that by buffing it with a clean buffing pad. I hand buffed the pipe with a microfiber cloth to deepen the shine. The finished pipe is quite nice and feels great in the hand. Give the finished pipe a look in the photos below. I can only tell you that like the other pipes I am working that it is much prettier in person than the photos capture. The dimensions of the pipe are Length: 6 inches, Height: 2 inches, Outside diameter of the bowl: 1 ½ inches, Chamber diameter: ¾ of an inch. The weight of the pipe is 54grams/1.90ounces. It will soon heading back to the pipeman who sent it to me. Thanks for walking through the restoration with me as I worked over another beautiful pipe. Remember we are not pipe owners; we are pipemen and women who hold our pipes in trust until they pass on into the trust of the next generation.

Restoring a Sandblast Republic Era Peterson’s System Standard 301


Blog by Steve Laug

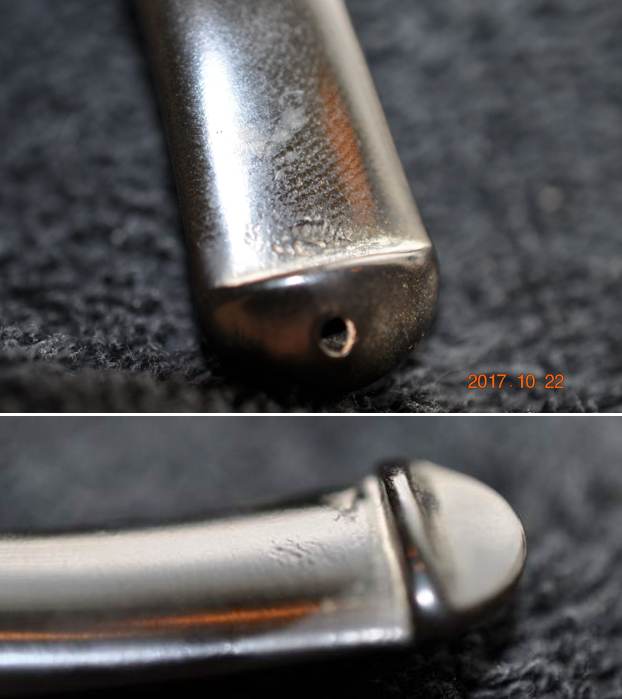
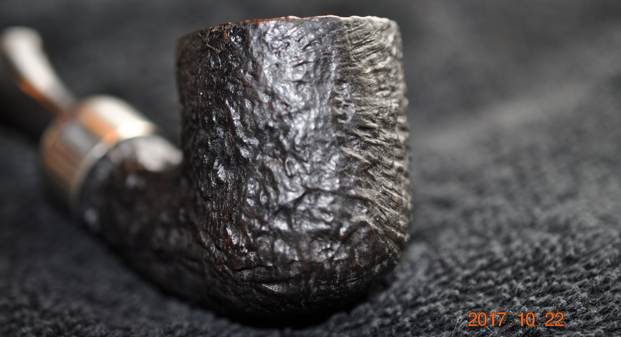
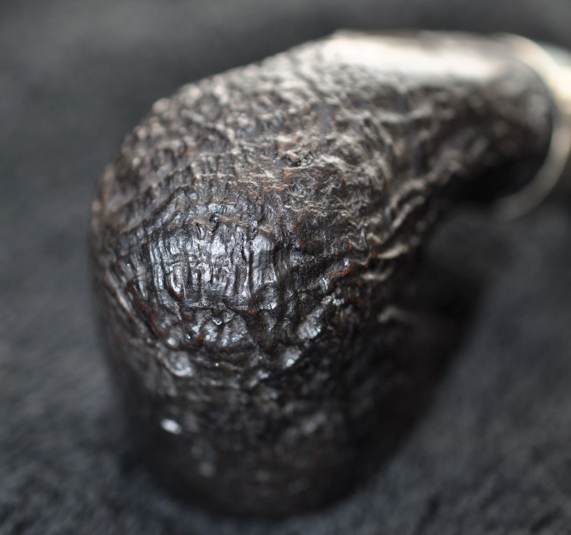
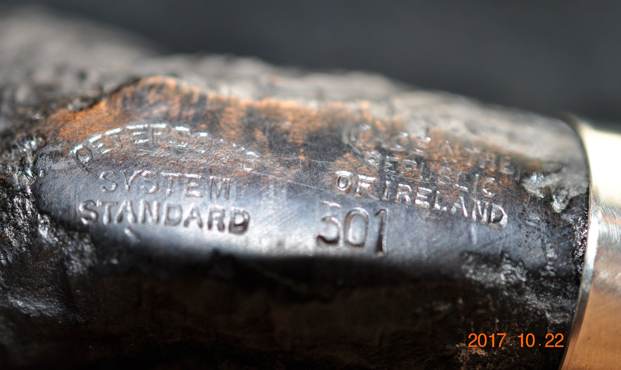
The next pipe on the table was purchased from an antique store on 09/09/2017 in Salt Lake City, Utah, USA. It is stamped on the underside of the shank and reads Peterson’s [over] System [over] Standard. That is followed by Made in the Republic of Ireland (3 lines) over the shape number 301. It was someone’s favourite pipe as could be seen from the thick cake in the bowl and the lava build up on the rim top. The sandblast finish looked good underneath all of the grime and debris that was ground into the bowl sides and heel. The polished nickel ferrule was in excellent condition. The stem was in excellent condition with some deep tooth marks and chatter on both sides ahead of the p-lip. Jeff took photos of the pipe before he started his clean up work on it. It is a pretty pipe! The next photos show the bowl and rim top as well as the stem condition. The bowl was lightly caked and there was lava build up in the blast on the rim top. The edges of the bowl looked very good. The stem had some tooth marks and tooth chatter on both sides ahead of the button. Jeff took photos of the side and the heel of the bowl to show the swirling patterns of the grain in the briar. It is unique and quite beautiful. I can’t wait to see it once it is cleaned and polished. The stamping on the underside of the shank was very readable and read as noted above. It had been buffed but was not overly damaged. I am including the link to the Pipedia’s article on Peterson pipes. It is a great read in terms of the history of the brand (https://pipedia.org/wiki/Peterson).

I turned to “The Peterson Pipe” by Mark Irwin and Gary Malmberg to get some background on the Peterson’s System Line. On page 314 it had the following information.

Peterson’s over System – Pipes stamped Peterson’s System have been documented as early as 1920. A ’20 brochure is the earliest printed reference to the Peterson System. The pipe came in three quality grades (no mark, 2, or 3) until 1959, thereafter as De Luxe (no mark), Premier (the old 2) and Standard (the old 3).

Peterson’s over System over Standard (c1945-)

I learned previously that the shape 301 was not introduced until 1975. Considering the Republic stamp, this one would likely date between 1975 and 2000. My guess is that the pipe was made somewhere between 1975 and mid-80s. Now it was time to work on the pipe.

With that information at hand I turned to work on the pipe itself. Jeff had thoroughly cleaned up the pipe. He reamed the pipe with a PipNet Pipe Reamer and cleaned up the remnants with a Savinelli Fitsall Pipe Knife.  He scrubbed the bowl with undiluted Murphy’s Oil Soap with a tooth brush. He rinsed it under running warm water to remove the soap and grime. He cleaned out the inside of the shank and the airway in the stem with alcohol, cotton swabs and pipe cleaners. He scrubbed the exterior of the stem with Soft Scrub to remove as much of the oxidation and calcification as possible. He soaked the stem in Before & After Deoxidizer and rinsed it off with warm water. I took photos of the pipe once I started to work on it.  I took close up photos of the bowl and the stem. You can see the reamed bowl and the darkening and damage on the rim top and the edges. The stem surface was clean but there are light tooth marks and chatter on both sides on and ahead of the button. I took a photo of the stamping on the underside of the shank. It is clear and readable as noted above. I removed the stem from the shank and took a photo to give a sense of the proportions of the pipe. It is really quite nice looking. The briar was in such good condition that I rubbed the bowl and shank down with Before & After Restoration Balm. I worked it into the surface of the bowl sides and shank with my fingertips to clean, enliven and protect the briar. I let the balm sit for a little while and then buffed with a cotton cloth to raise the shine.  I “painted” the tooth marks on the stem with the flame of a Bic lighter to lift them. I was able to lift them a lot. I filled in what remained with clear CA glue. Once the repairs cured I used a small file to flatten them and sanded them smooth with 220 grit sandpaper. I started polishing the stem with 400 grit wet dry sandpaper.  I polished the vulcanite stem with micromesh sanding pads – 1500-12000 grit pads. I wiped it down with a damp cloth after each sanding pad. I used Before & After Pipe Polish – both Fine and Extra Fine to further polish the stem.  This nice looking Peterson’s System Standard 301 Sandblast Bent Pot with a classic Peterson’s P-lip vulcanite stem looks much better now that it has been restored. The rim top and edges cleaned up very well. The dark brown stains on the bowl came alive with the polishing and waxing. I put the stem back on the bowl and carefully buffed the pipe with Blue Diamond on the buffing wheel using a light touch on the briar. I gave the bowl multiple coats of Conservator’s Wax and the stem multiple coats of carnauba wax on the buffing wheel and followed that by buffing the entire pipe with a clean buffing pad. I hand buffed the pipe with a microfiber cloth to deepen the shine. The finished Peterson’s System Standard is a beauty and fits nicely in the hand and looks very good. Give the finished pipe a look in the photos below. The dimensions of the pipe are Length: 5 ½ inches, Height: 1 ¾ inches, Outside diameter of the bowl: 1 ½ inch, Chamber diameter: ¾ of an inch. The weight of the pipe is 50 grams/1.76 ounces. If you are interested in adding this pipe to your collection send me a message or an email. Thanks for reading this blog and my reflections on the pipe while I worked on it. There are many more to come!
Restoring a Republic Era Peterson’s “Dunmore” 79 Bent Billiard


Blog by Steve Laug

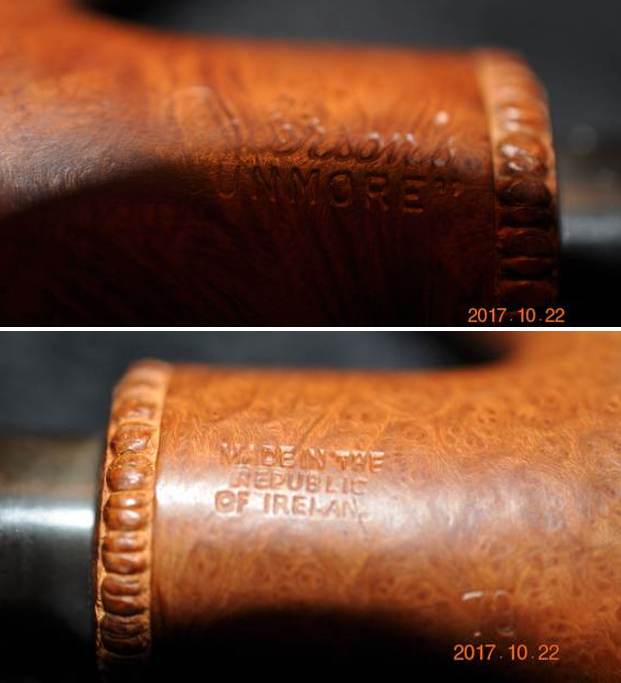
The next pipe on the table was purchased from an antique store on 10/20/2017 in Pocatello, Idaho, USA. It is stamped on the left side of the shank and reads Peterson’s [over] “Dunmore”. On the right side it is stamped Made in the Republic of Ireland followed by the shape number 79. It was someone’s favourite pipe as could be seen from the thick cake in the bowl and the lava build up on the rim top. The finish looked good underneath all of the grime that was ground into the bowl sides and heel. The beaded decoration on the shank end is in excellent condition. Like other Dunmore’s I have worked on it had a flattened shank and the pipe functioned as a sitter. The stem was in excellent condition with some very light tooth marks and chatter on both sides ahead of the p-lip. The “P” stamp on the left side of the stem was clear and just needed to be touched up otherwise it looked good. Jeff took photos of the pipe before he started his clean up work on it. It is a pretty pipe! The next photos show the bowl and rim top as well as the stem condition. The bowl was clean and ready to fire up. The rim edge was out of round and showed some damage and darkening. The rim top also had some darkening. The stem looked very good with some light tooth chatter and scratches. Jeff took a photo of the heel of the bowl and shank to show the swirling patterns of the grain in the briar. It is unique and quite beautiful. I can’t wait to see it once it is cleaned and polished.The stamping on the shank sides was very readable and read as noted above. It had been buffed but was not overly damaged. I turned to a previous blog on the Dunmore I had worked on and reread it before starting my work (https://rebornpipes.com/2019/08/18/restoring-a-petersons-dunmore-70-bent-apple-sitter-from-bob-kerrs-estate/). I quote from the blog on the Dunmore line below.
I then turned to the book I should have consulted first, The Peterson Pipe, by Mark Irwin and Gary Malmberg. On page 298 there is an entry for Dunmore pipes. It reads as follows:

Dunmore (1971-c.1984 2006-10). Appeared first as Iwan Ries & Co. exclusive line “Dunmoor,” a Premier-grade in light-brown smooth or rustic red in all System shapes, with beading at the shank. Documented in the Associated Imports Catalog from 1973. Classic Range Dunmore shapes from ’78. A third Dunmore line (’06-10) featured standard and some B shapes, with beading around bowl instead of at shank-face, produced for European market.

On page 165 there were also photos of pages from a catalogue with the  description: The unmounted Dunmore Premier debuted in both System and Classic Range shapes circa 1973 with a final appearance in the 1981 catalogue.

The information blurb on each page read: “Dunmore Briars.” Beautifully grained best quality briar in light-brown, matt or rustic finish. Often described as “Petersons Unmounted System” has all the advantages of the system range. Ten models each fitted with the Peterson Lip mouthpiece.

With that information in hand I knew what I was dealing with in terms of the stamping on the pipe. It is a Late Republic era pipe. It showed up in Peterson Catalogue in 1973. Now it was time to work on the pipe.

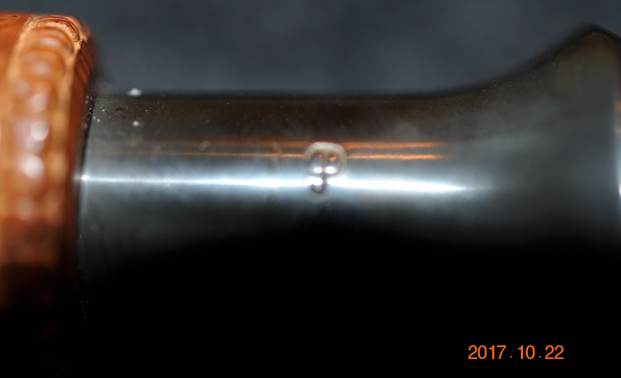
With that information at hand I turned to work on the pipe itself. Jeff had thoroughly cleaned up the pipe. He reamed the pipe with a PipNet Pipe Reamer and cleaned up the remnants with a Savinelli Fitsall Pipe Knife.  He scrubbed the bowl with undiluted Murphy’s Oil Soap with a tooth brush. He rinsed it under running warm water to remove the soap and grime. He cleaned out the inside of the shank and the airway in the stem with alcohol, cotton swabs and pipe cleaners. He scrubbed the exterior of the stem with Soft Scrub to remove as much of the oxidation and calcification as possible. He soaked the stem in Before & After Deoxidizer and rinsed it off with warm water. I took photos of the pipe once I started to work on it.  I took close up photos of the bowl and the stem. You can see the reamed bowl and the darkening and damage on the rim top and the edges. The stem surface was clean but there are light tooth marks and chatter on both sides on and ahead of the button. I took a photo of the stamping on the sides of the shank. It is clear and readable as noted above. There is also a “P” stamp on the right side of the stem.I removed the stem from the shank and took a photo to give a sense of the proportions of the pipe. It is really quite nice looking. I decided to start my work on this one by reworking the inner edge of the rim with a folded piece of 220 grit sandpaper. I wanted to try and bring it back into round and smooth out the jagged condition.I polished the briar and the rim top with micromesh sanding pads – 1500-12000 grit pads. I wiped the bowl down after each pad with a damp cloth. You can see a few of the flaws in the sides of the bowl and shank in the photos below. The bowl looks great though. I rubbed the bowl and shank down with Before & After Restoration Balm. I worked it into the surface of the bowl sides and shank with my fingertips to clean, enliven and protect the briar. I let the balm sit for a little while and then buffed with a cotton cloth to raise the shine. I touched up the “P” stamp on the left side of the flared saddle stem with white acrylic fingernail polish. I applied it and worked it into the stamp with a tooth pick. Once it cured I scraped off the excess. It is definitely better though the stamp is faint in some spots.  I “painted” the tooth marks on the stem with the flame of a Bic lighter to lift them. I was able to lift them a lot. I filled in what remained with clear CA glue. Once the repairs cured I used a small file to flatten them and sanded them smooth with 220 grit sandpaper. I started polishing the stem with 400 grit wet dry sandpaper. I polished the vulcanite stem with micromesh sanding pads – 1500-12000 grit pads. I wiped it down with a damp cloth after each sanding pad. I used Before & After Pipe Polish – both Fine and Extra Fine to further polish the stem. This nice looking Peterson’s Dunmore 79 Bent Billiard and a classic Peterson’s P-lip vulcanite stem looks much better now that it has been restored. The rim top and edges cleaned up very well. The rich brown stains on the bowl came alive with the polishing and waxing. I put the stem back on the bowl and carefully buffed the pipe with Blue Diamond on the buffing wheel using a light touch on the briar. I gave the bowl and the stem multiple coats of carnauba wax on the buffing wheel and followed that by buffing the entire pipe with a clean buffing pad. I hand buffed the pipe with a microfiber cloth to deepen the shine. The finished Peterson’s Dunmore is a beauty and fits nicely in the hand and looks very good. Give the finished pipe a look in the photos below. The dimensions of the pipe are Length: 6 inches, Height: 2 inches, Outside diameter of the bowl: 1 ¼ inch, Chamber diameter: ¾ of an inch. The weight of the pipe is 59 grams/2.08 ounces. If you are interested in adding this pipe to your collection send me a message or an email. Thanks for reading this blog and my reflections on the pipe while I worked on it. There are many more to come!
Restoring a Peterson of Dublin Aran 01 Bent Pot


Blog by Steve Laug

The next pipe I have chosen is a smooth Peterson’s Bent Pot. I am not sure where it came from or when we might have picked it up. This Bent Pot came with a nice nickel band on the shank end that was factory fitted to the stamping on the shank. The grime was ground into the finish on the bowl sides. The contrast of the brown stains gave the grain a sense of depth. It was stamped on the left side of the shank and read Peterson [over] of Dublin [over] Aran. The right side had the shape number 01 stamped toward the bowl. The nickel band was stamped Peterson [over] a stylized P [over] Of Dublin. There was a moderate cake in the bowl and a light overflow of lava on the rim top. The stem was oxidized, calcified and had tooth marks, chatter on the top and underside on and near the button. I took photos of the pipe before I started my cleanup work. They tell the story and give a glimpse of the promise that we see in this pipe. I took photos of the rim top and stem to show the general condition of the pipe. The bowl is moderately caked and the rim top and back edges have a thick lava overflow. The photos of the stem show that it was oxidized, calcified and has light tooth marks on the top and underside near the button. I took a photo of the stamping on the left side of the shank and the band. It is faint but readable and reads as noted above. The right side stamping is also faint but readable. The photo of the band shows how it was stamped on the nickel – centered and clean. There was some oxidation and sticky substance on the underside of the band next to the shank. I took the stem off the shank and took a photo of the look of the pipe to show the relation of the size of the parts. It is a nice looking pipe.I turned to “The Peterson Pipe” by Mark Irwin and Gary Malmberg to get some background on the Aran line. On page 294 it had the following information.
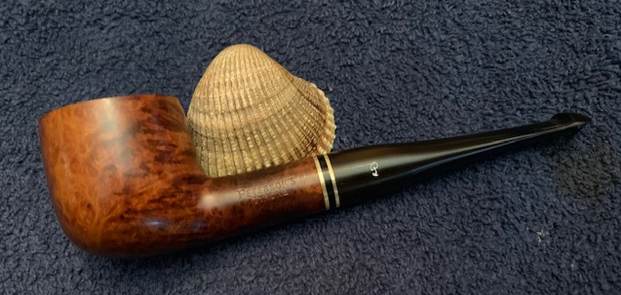
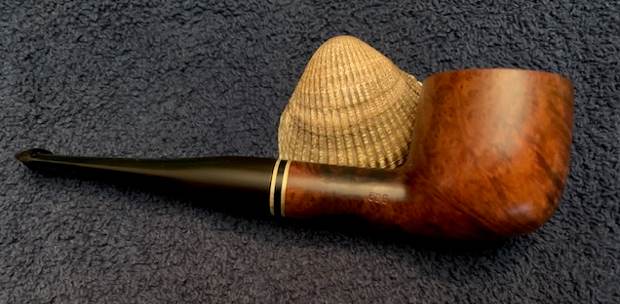
Aran (1965-) First issue of line described as “handhewn” (rusticated) with black semi-matte finish, in P-lip and fishtail mouthpiece. Second issue 1975, red sandblast, XL shapes. Third issue circa ’97, gold hot-foil P stamped on the mouthpiece, brown semi-matte smooth finish, no band. Fourth issue after 2010, with nickel band, no P stamped on the mouthpiece. Mounted and unmounted versions are available concurrently.

I knew that I was dealing with an Aran from the Fourth Issue of the Aran line that came out after 2010 because of the nickel band and unstamped stem. As such it was a newer pipe. Now it was time to work on the pipe. (Applicable information noted in red above.)

I started my work on the pipe by reaming it with a PipNet reamer and cut back the cake back to the bare briar. I cleaned up the walls with a Savinelli Fitsall Pipe Knife. I sanded the bowl walls with 220 grit sandpaper wrapped around a piece of dowel.I scrubbed the exterior of the pipe with Murphy’s Oil Soap and a tooth brush to remove the grime from the finish. I worked on the rim top lava and darkening with the soap and tooth brush. I used a shank brush to clean out the inside. I rinsed the pipe with warm water and dried it off. I scraped out the inside of the shank with a dental spatula to remove the thick build up of tars and oils. Once I had removed that I scrubbed the inside of  the shank with alcohol, cotton swabs and pipe cleaners. I cleaned the airway in the stem at the same time. I cleaned up the darkening on the rim top and the inner edge with a folded piece of 220 grit sandpaper until it was clean and undamaged. I polished the briar bowl and shank with micromesh sanding pads. I dry sanded it with 1500-12000 grit pads and wiped it down with a damp cloth after each pad. I worked some Before & After Restoration Balm into the surface of the briar with my fingertips to clean, enliven and protect the briar. I let the balm sit for 15 minutes and then buffed with a cotton cloth to raise the shine. The photos show the bowl at this point in the restoration process. I polished the nickel band with a jeweler’s cloth to remove the tarnish and oxidation as well as add some protection to the band. I set the bowl aside and turned my attention to the stem. I rebuilt the button with black super glue. I flattened and reshaped it with a small flat file. I finished reshaping the button surface and end and sanded out some tooth marks on the stem surface with 220 grit sandpaper. I started the polishing the stem with 400 grit wet dry sandpaper. I wiped it down with some Obsidian Oil.  I polished the stem with micromesh sanding pads – wet sanding with 1500-12000 grit sanding pads. I wiped it down after each sanding pad with Obsidian Oil. I polished it with Before & After Pipe Stem Polish – both Fine and Extra Fine. I am excited to finish this Peterson of Dublin Aran 01 Bent Pot. I put the pipe back together and buffed it with Blue Diamond on the buffing wheel. I gave the bowl and stem multiple coats of carnauba wax. I hand buffed the pipe with a clean buffing pad to raise the shine and hand buffed it with a microfibre cloth to deepen the shine. It is fun to see what the polished bowl looks like with the polished nickel band and the black vulcanite stem. This Classic looking Peterson’s Aran Bent Pot is one of my favourite shapes and it feels great in my hand. It is light and well balanced. Have a look at it with the photos below. The dimensions are Length: 5 ½ inches, Height: 1 ¾ inches, Outside diameter of the bowl: 1 ½ inches, Chamber diameter: ¾ of an inch. The weight of the pipe is 52 grams/1.83 ounces. It is a beautiful pipe and one that will be on the Irish Pipe Makers Section of the rebornpipes store soon. If you are interested in adding it to your collection let me know. Thanks for walking through the restoration with me as I worked over this pipe. Thanks to each of you who are reading this blog.

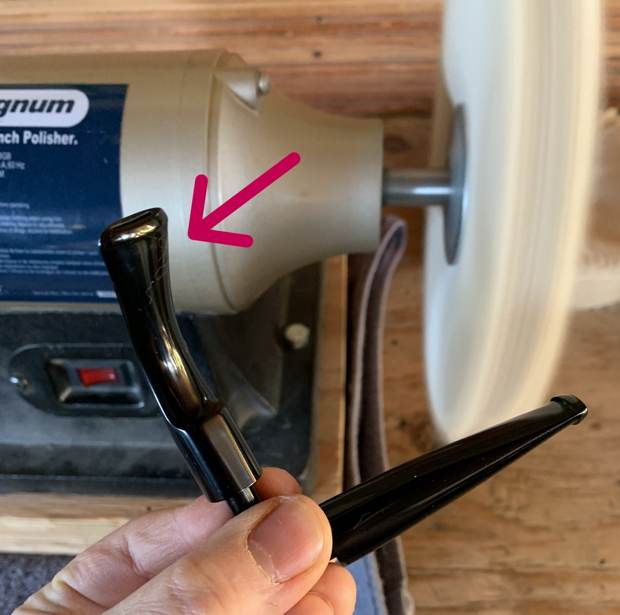
Restoring an Amphora Sandblasted Bent Billiard


Blog by Kenneth Lieblich

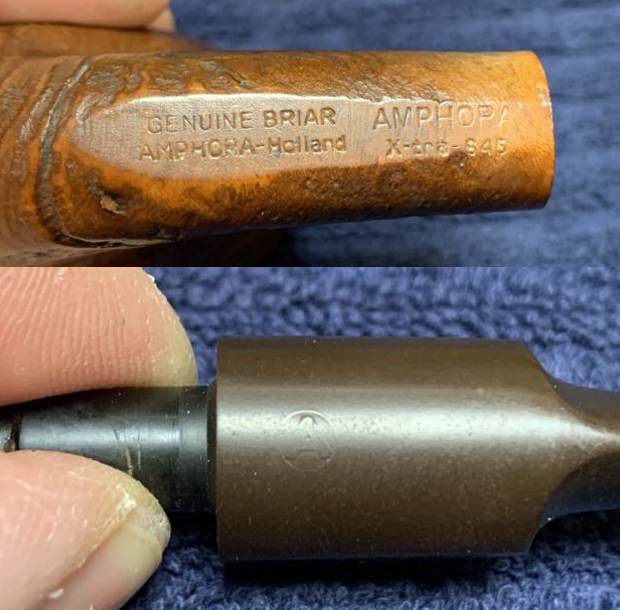
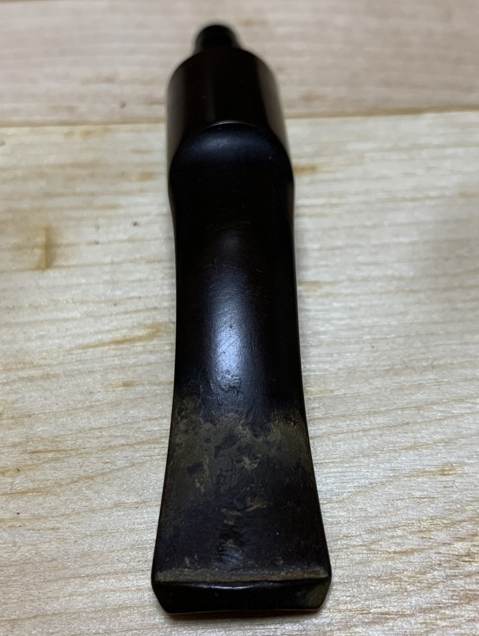
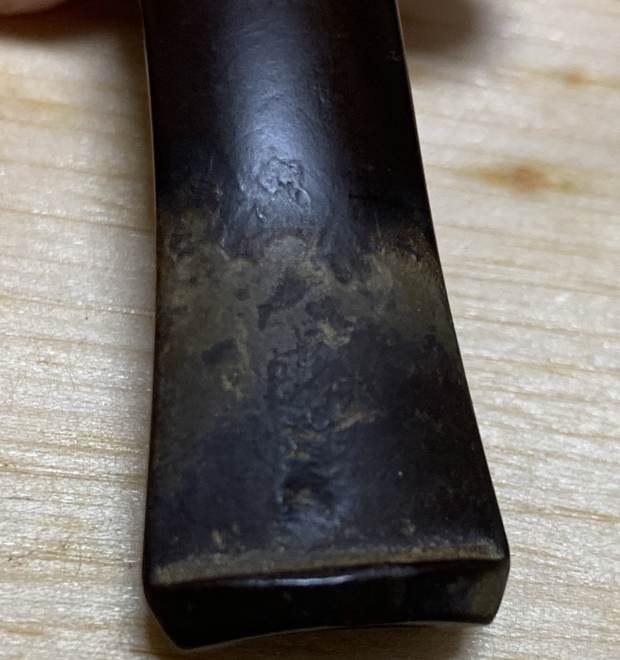
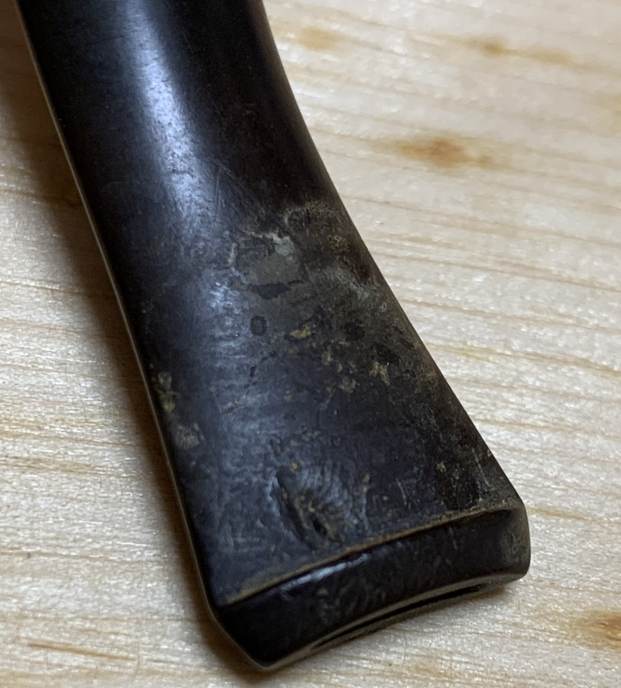
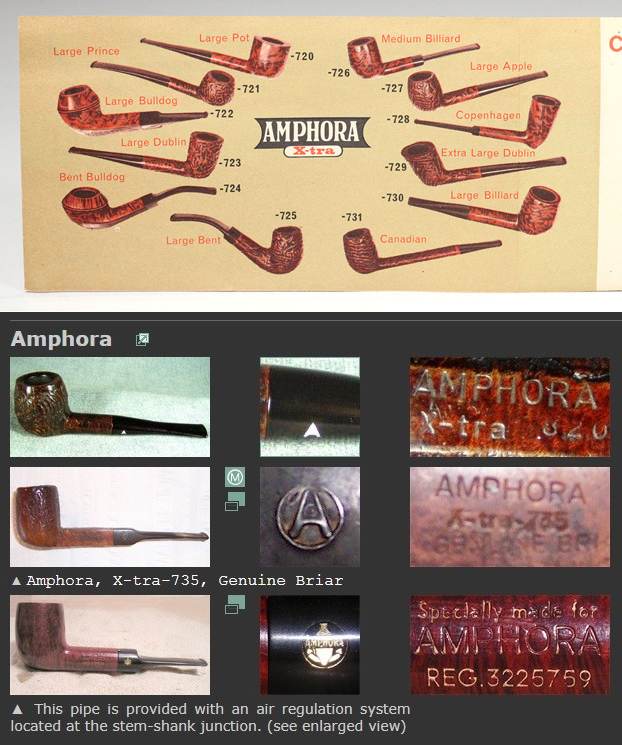
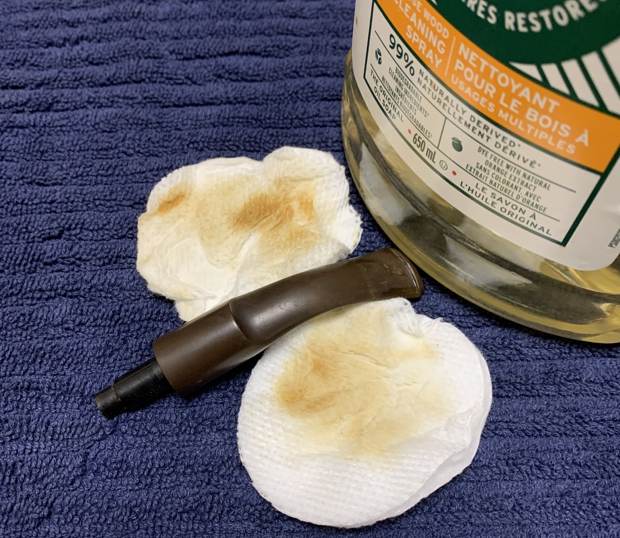
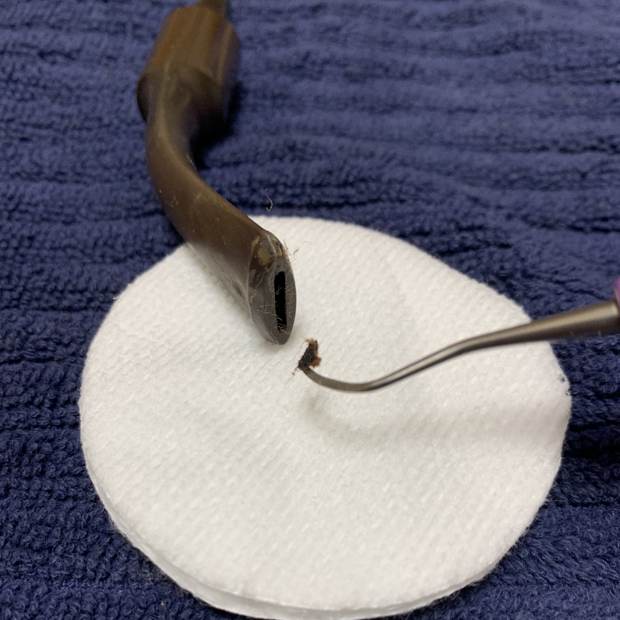
Next on the chopping block is a pipe which was selected by a customer of mine in the prime of his youth. Understandably, this very young fellow wanted a handsome and inexpensive pipe and chose this Amphora sandblasted bent billiard. I acquired it in a lot of pipes from a gentleman living on Vancouver Island. It was quite an assortment of pipes, as they ranged from horrible to beautiful. The selected pipe looked like a handsome, solid pipe that would smoke well and my young customer took a liking to it immediately. So did I – the sandblast is really quite attractive and I felt that he had made a good choice. The underside of the shank had the pipe’s markings. They read as follows: Genuine Briar [over] Amphora-Holland. Next to that was Amphora [over] X-tra-845. Secondarily, the Amphora logo (and encircled ‘A’) was on the left side of the stem. This logo was quite worn and I was unsure if I could restore it. Clearly, this pipe had been well-loved, as it arrived with some marks and general wear, and the stem was pretty nasty. There were also a couple of fills, but I was confident that those would be easy to handle. Amphora is a Dutch pipe brand of long-standing and they are perhaps best known because of their pipe tobacco. I must admit that whenever I heard the word “amphora”, I immediately think of this:I have cobbled together the brief bits of information from Pipedia, Pipephil, and the forums of PipesMagazine. Amphora was a brand of the Royal Dutch Pipe Factory, owned by Elbert Gubbels & Sons B.V. They produced several other brands, such as Douwe Egberts and Royal Dutch. Dr Grabow also produced bowls for them for some time and I have reason to believe that this particular pipe was from the Grabow factory. The Royal Dutch Pipe Factory went bankrupt in 2012. For some further speculative information about Amphora, please read Robert M. Boughton’s article here. Off to work! First, I wiped the filthy stem with Murphy’s Oil Soap on some cotton pads. There was oxidation and calcification there and I needed to remove it.The bore in the mouthpiece was clogged with debris (yuck!) and I used a dental pick to remove it. I feared that this might hint at the filthy horrors awaiting me in the stem. Fortunately, although the stem was pretty dirty, it was not as bad as I had feared. I had no problem cleaning out the inside with pipe cleaners and isopropyl alcohol. Before the stem went for an overnight soak in the Pipe Stem Oxidation Remover, I used some SoftScrub to remove the first layer of filth and give the soak the best chance of working. It then went into the bath overnight. The following day, I cleaned all of the de-oxidizing mess off with alcohol, pipe cleaners, et cetera. The oxidation had migrated to the surface and would be fairly straightforward to remove. I scrubbed with SoftScrub on some cotton pads to remove the leftover oxidation. Once clean, I took a BIC lighter and ‘painted’ the stem with its flame to lift the bite marks. This did very little, but I built up the bite marks on the stem with black cyanoacrylate adhesive and let them fully cure. Following that, I sanded the adhesive down with 220- and 400-grit sandpapers to meld seamlessly into the stem. I then used all nine Micromesh pads (1,500 through 12,000 grit) to bring out the lovely black lustre on the stem, with some Obsidian Pipe Stem Oil in between each pad scrubbing. Now for the stummel. Firstly, I decided to ream out the bowl. I used the KleenReem to remove the built-up cake and followed that with 220-grit sandpaper taped to a dowel to eliminate as much as I could. I took the chamber down to bare briar to ensure there were no hidden flaws in the wall. Following this, I cleaned the insides with the requisite pipe cleaners, Q-tips and isopropyl alcohol. As the stack of cleaning materials show, it was a mess! I also took this opportunity to wash the stummel with Murphy’s Oil Soap and remove as much grime as I could. The pipe’s rim was so caked with filth that I opted to soak it in a jar-lid of Murphy’s to soften it. Then I used a wire brush to dig out all the gunk. As the pictures show, the rim was badly worn and had lost a fair amount of colour. So, I took one of my furniture pens and touched it up. A bit later, you’ll see how much the rim improved. I decided the pipe needed some additional TLC and I chose to de-ghost it. I thrust cotton balls in the bowl (and plugged up the shank) and saturated it with isopropyl alcohol. I left it overnight and let all the evil spirits in the pipe leech into the cotton. Once complete, the pipe looked great and smelled even better.   I really liked the colour of the pipe and felt that it didn’t need any stain, so I applied some Before & After Restoration Balm which I massaged into the wood and let sit for 15-20 minutes. After that, I rubbed it with a microfiber cloth. The balm brings out the best in the beautiful wood. It makes things shine and really shows the lustre. Finally, it was off for a trip to the buffer. I used neither White Diamond nor carnauba wax because I didn’t want to lose any of the beautiful sandblast. Also, carnauba wax gets gummed up in the grooves. Instead, I used Conservator’s Wax and my bench buffer. One of the pictures below shows me holding two stems, but the stem in question is the one on the left (with the arrow). All finished! This is a handsome pipe with a beautiful sandblast and a classic look. I know the new owner will enjoy smoking it for many years to come and he’s already told me that he’s thoroughly enjoyed several bowls with it. I hope you enjoyed reading the story of this pipe as much as I did restoring it. If you are interested in more of my work, please follow me here on Steve’s website or email me directly at kenneth@knightsofthepipe.com. Thank you very much for reading and, as always, I welcome and encourage your comments.