Blog by Paresh Deshpande
Les Wood pipes are on every collector’s either wish list or in personal collection and I am no exception, though I was in the former category up until now. These pipes are as rare as hen’s teeth and very rarely make an appearance on the estate pipe market and whenever they do, the stratospheric prices made them beyond my reach. After waiting for years on end, I came across a gentleman desirous of parting with his Les Wood pipes collection. We discussed the price and I discussed with Abha, my wife, discussed some more with the gentleman, again discussed a lot more with my wife and thereafter again discussed some with the gentleman and after all these discussions, three Les Wood pipes made their way from the European Union to India.
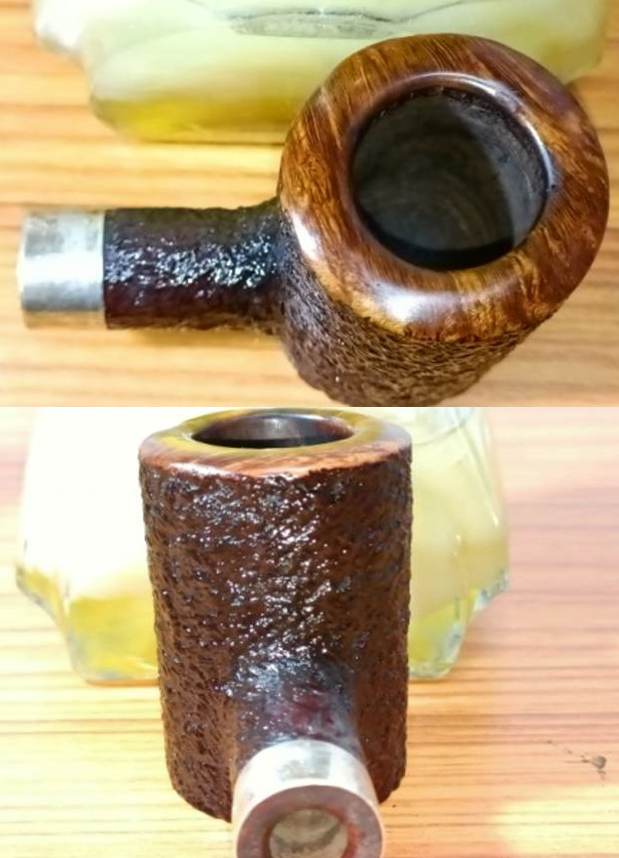
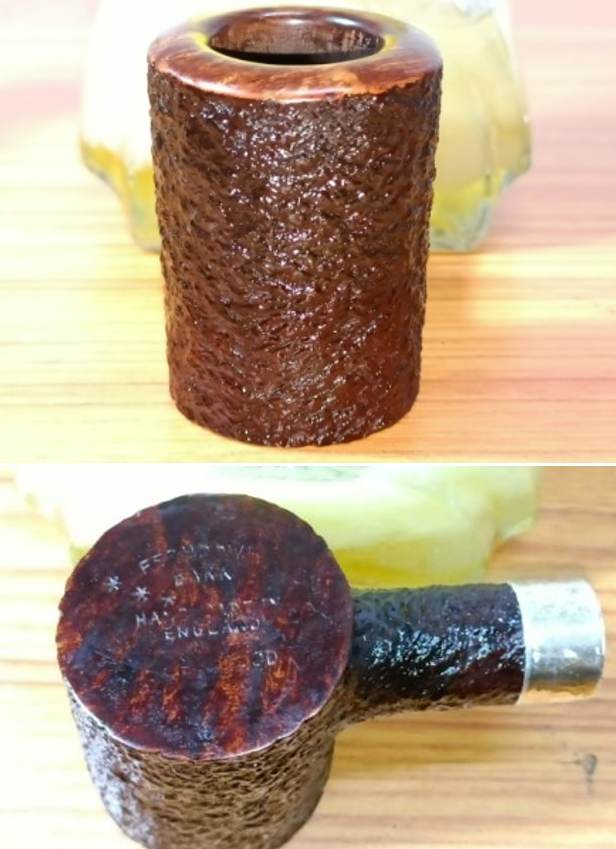
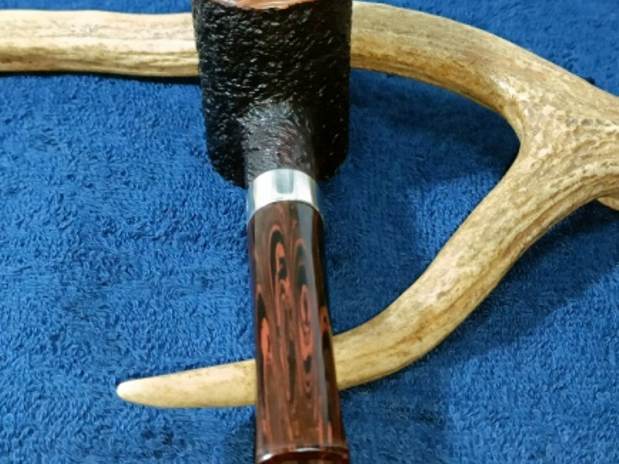
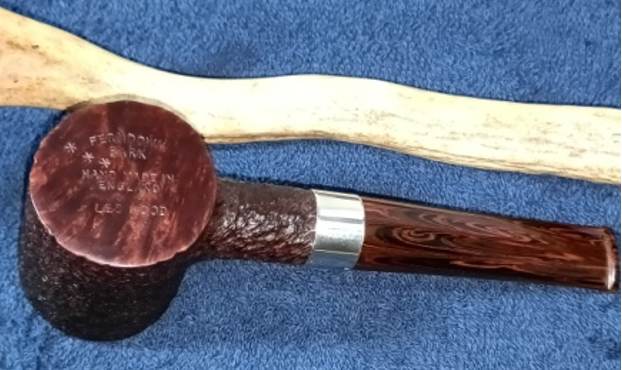
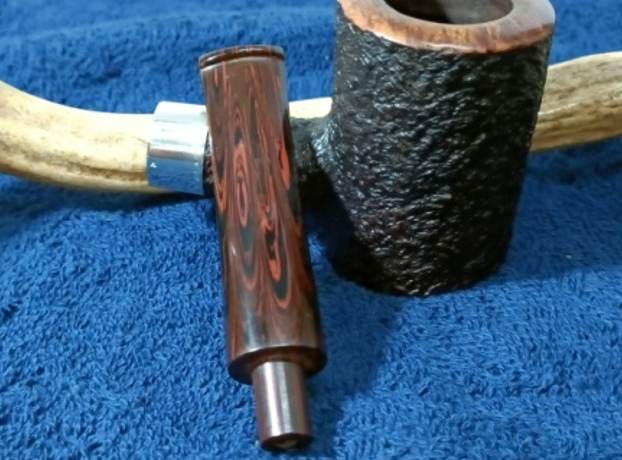
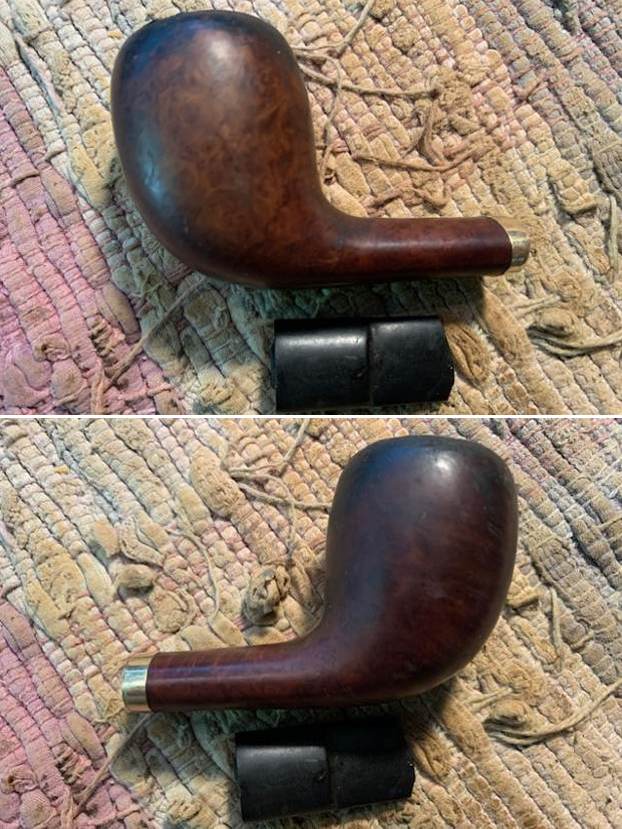
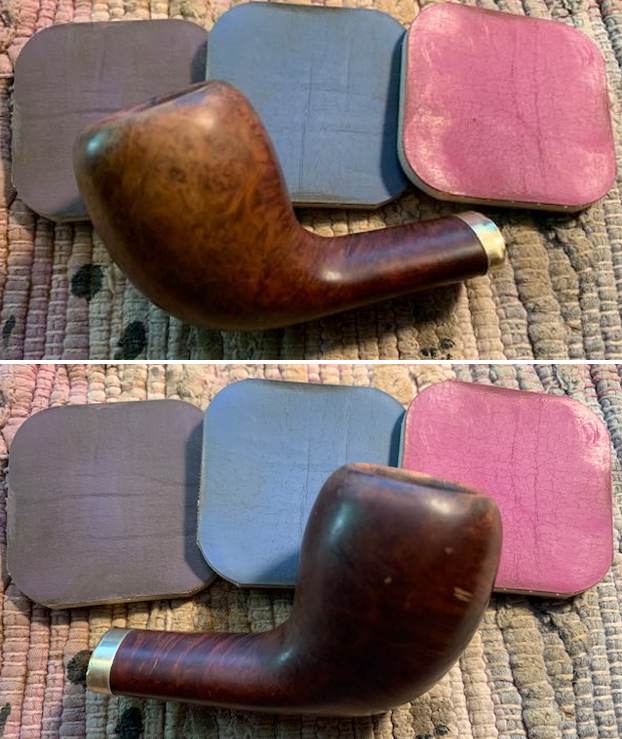
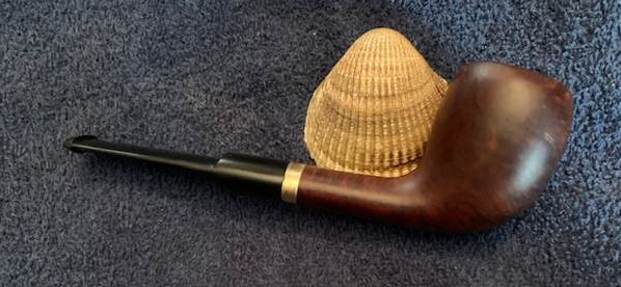
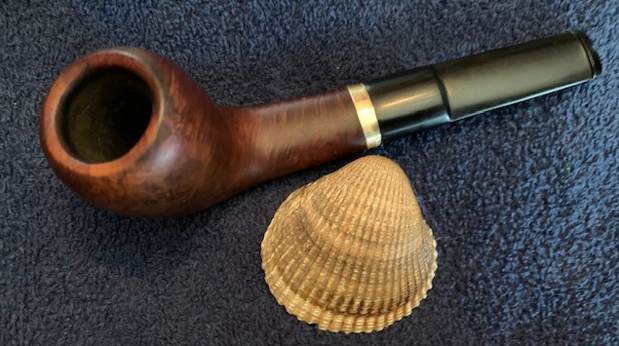
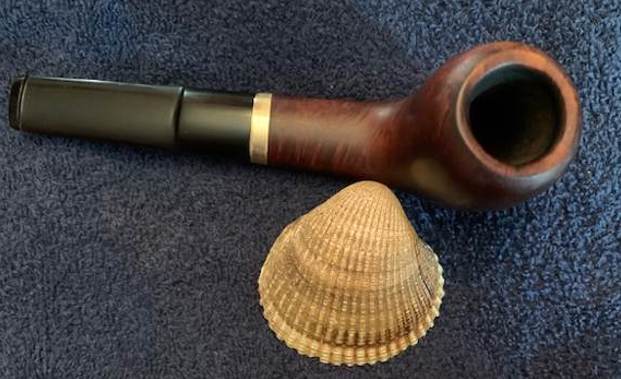
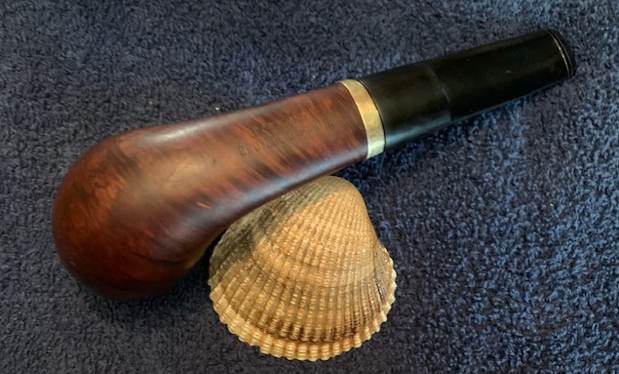
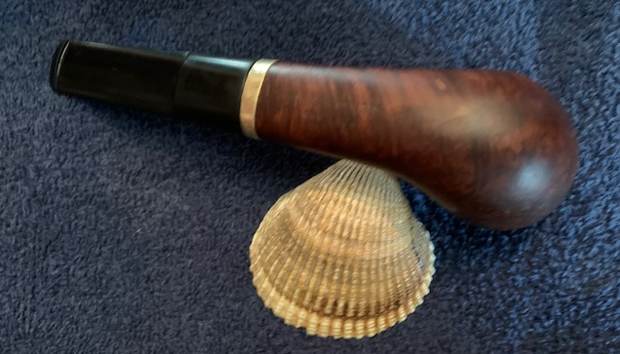
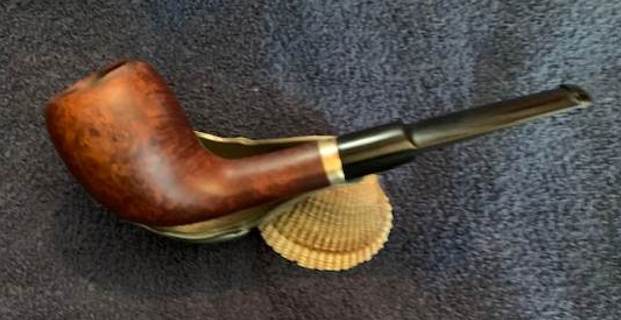
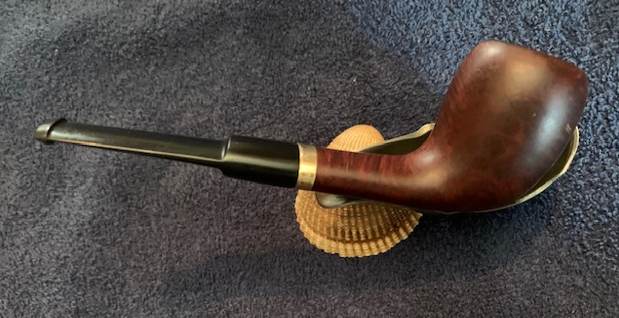
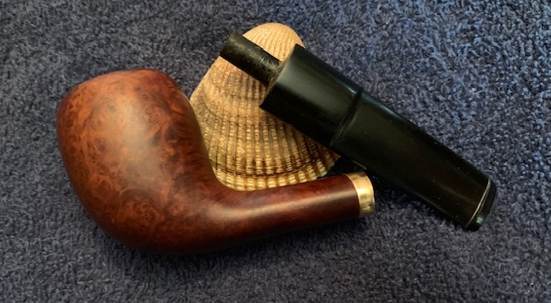
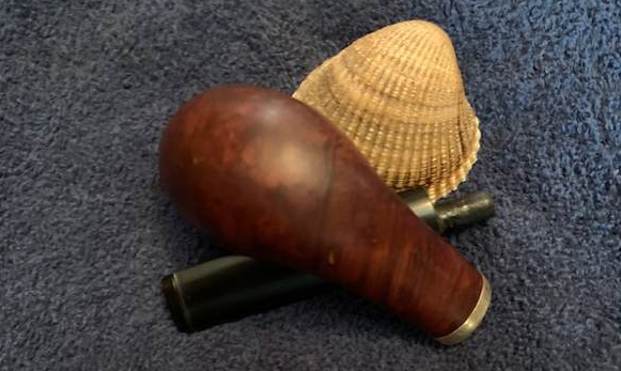
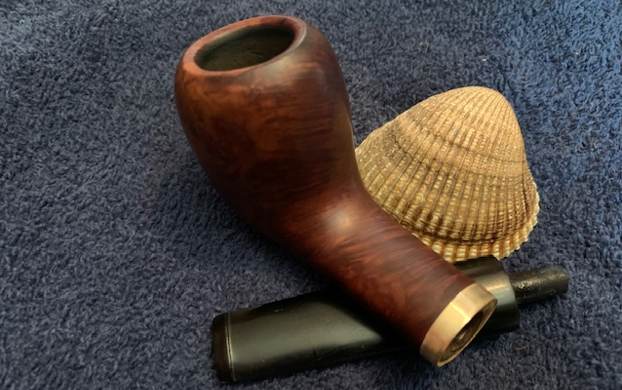
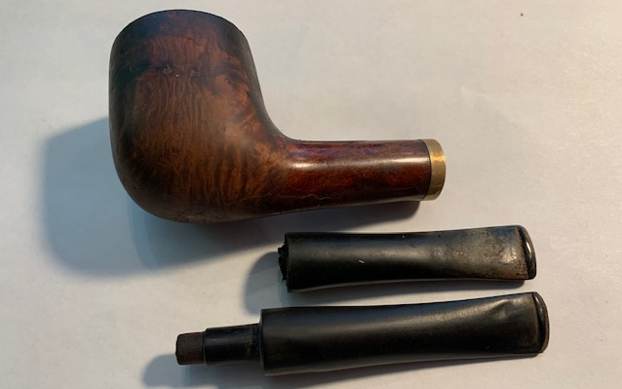
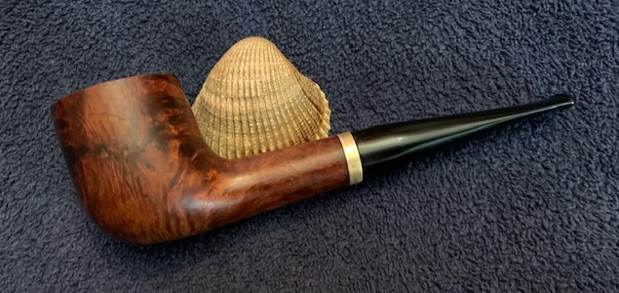
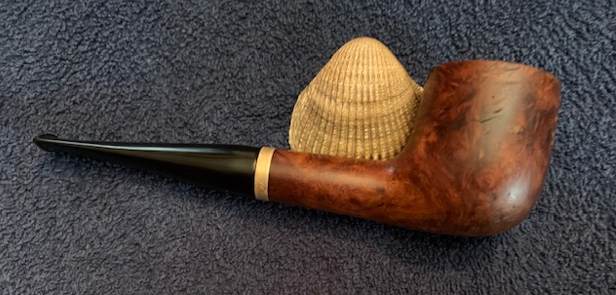
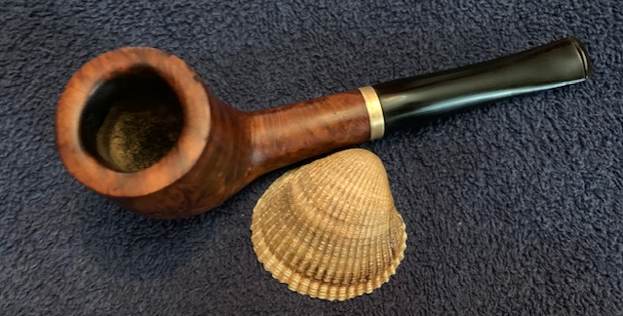
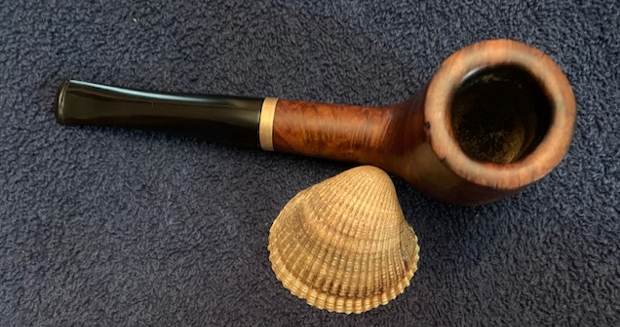
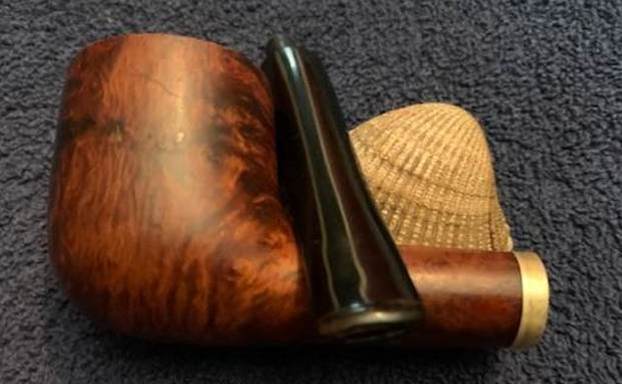
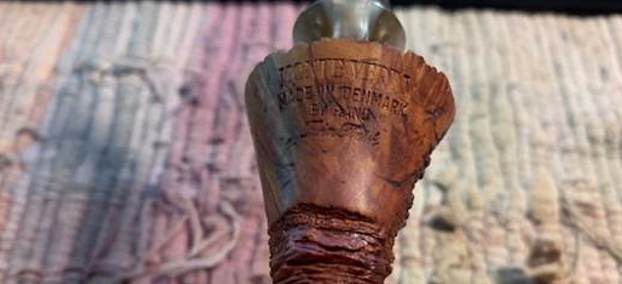
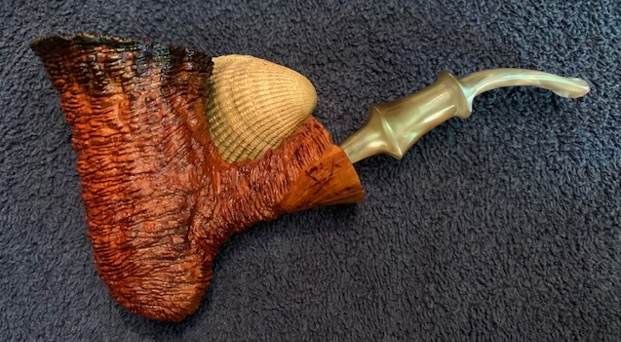
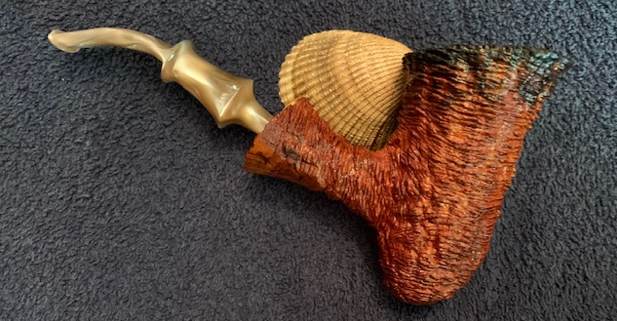
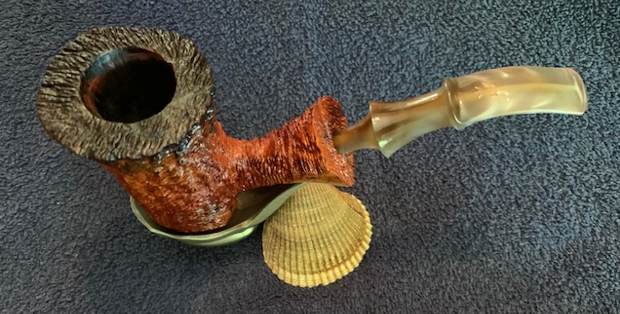
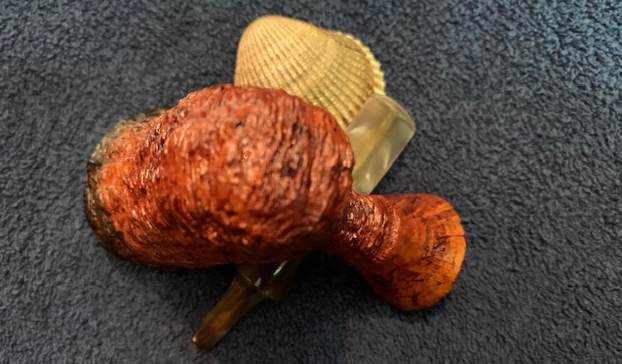
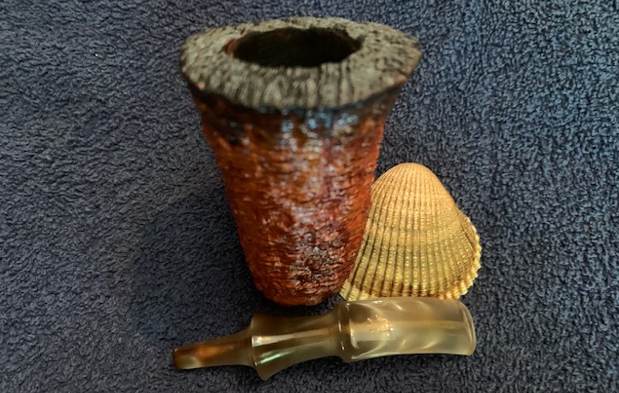
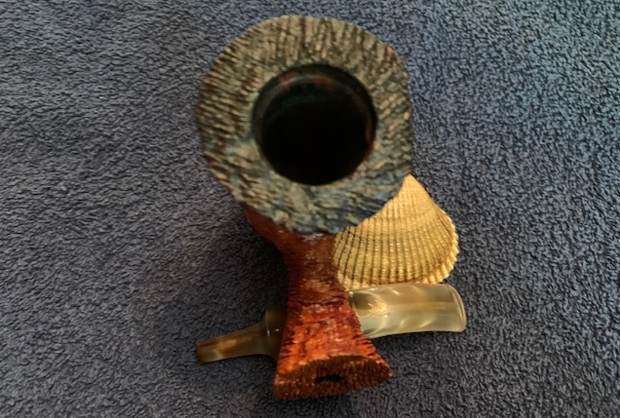
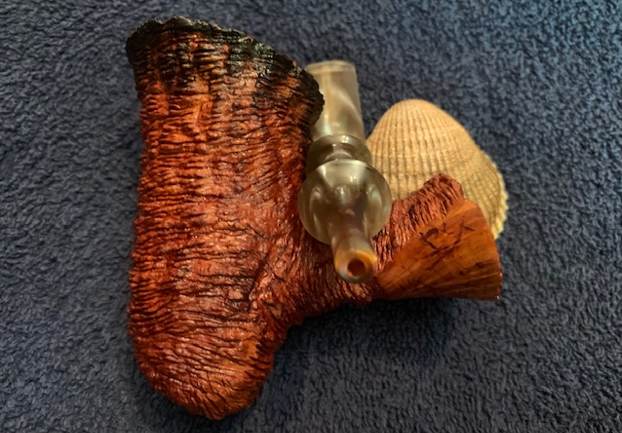
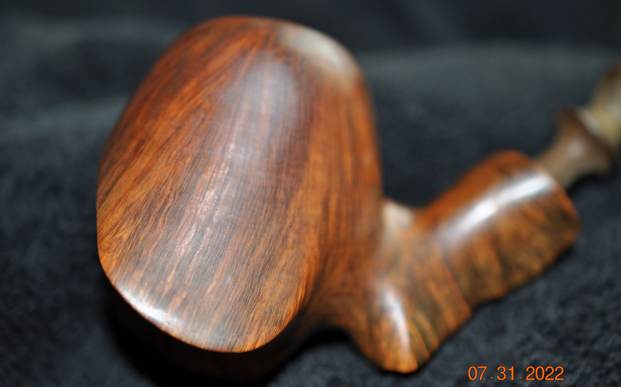
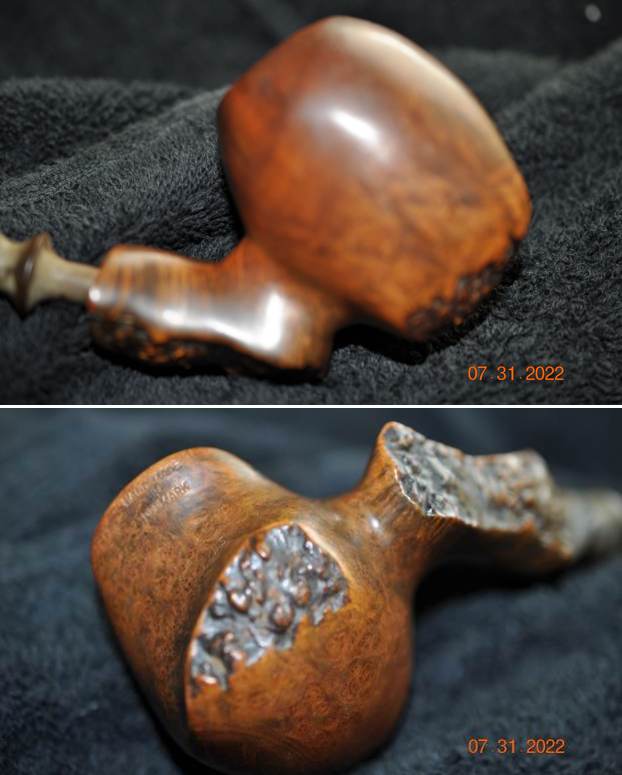
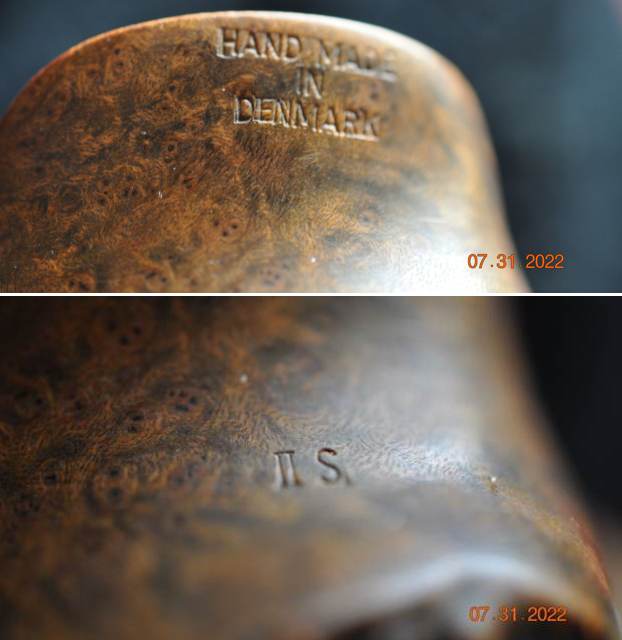
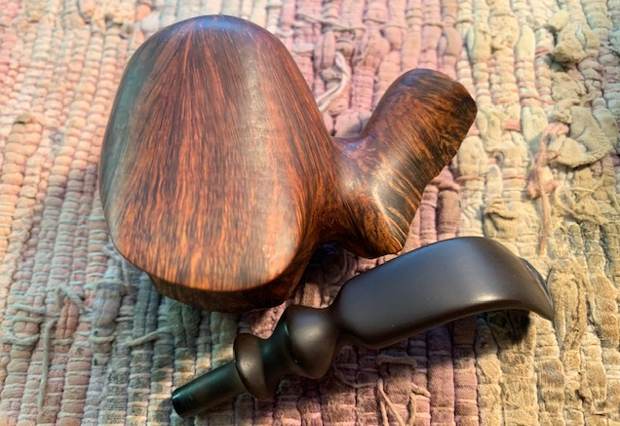
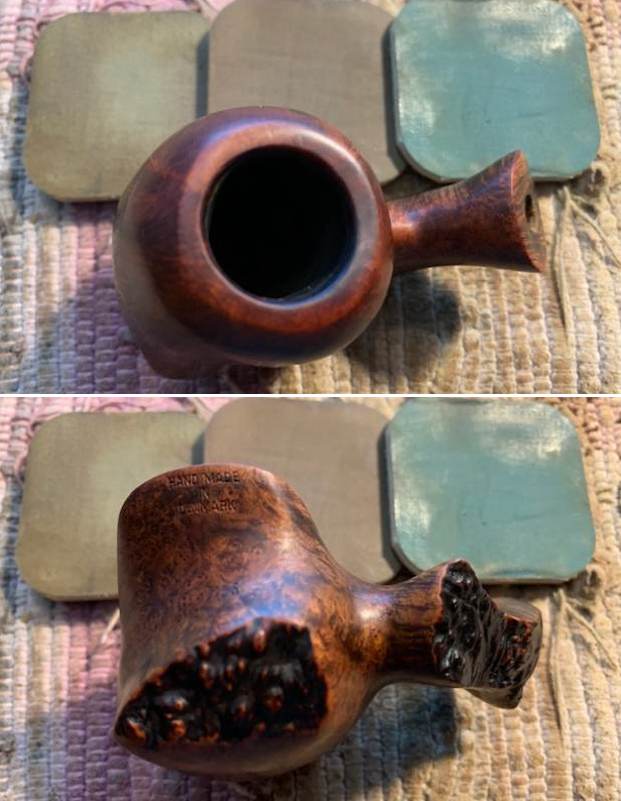
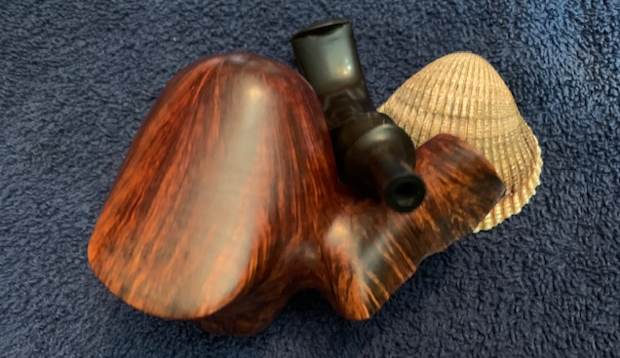
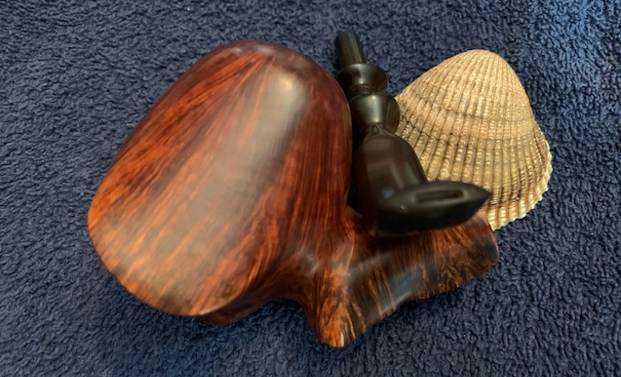
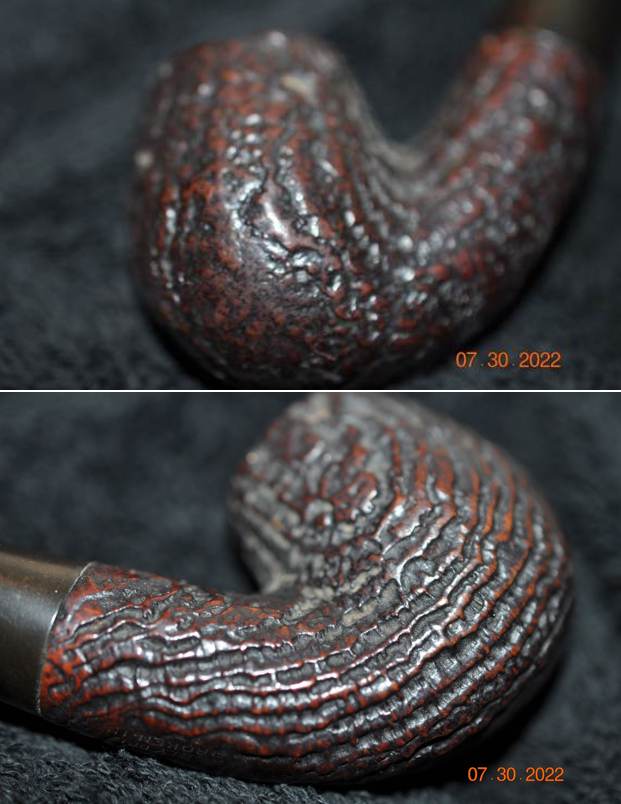
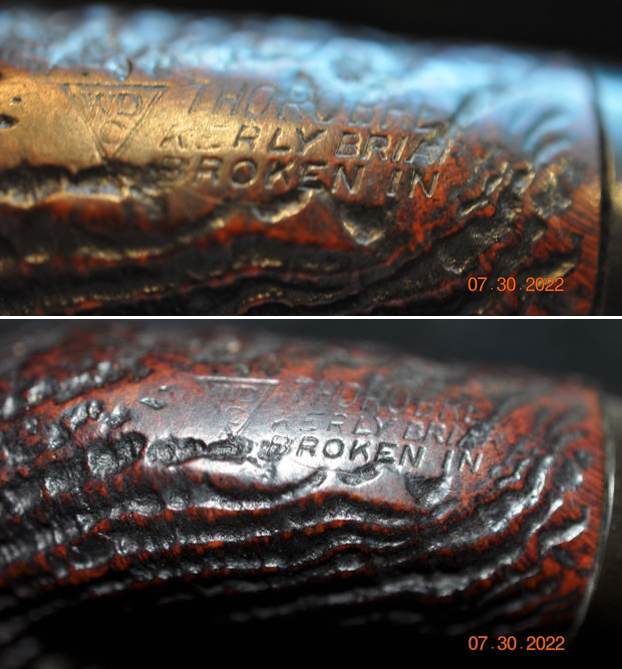
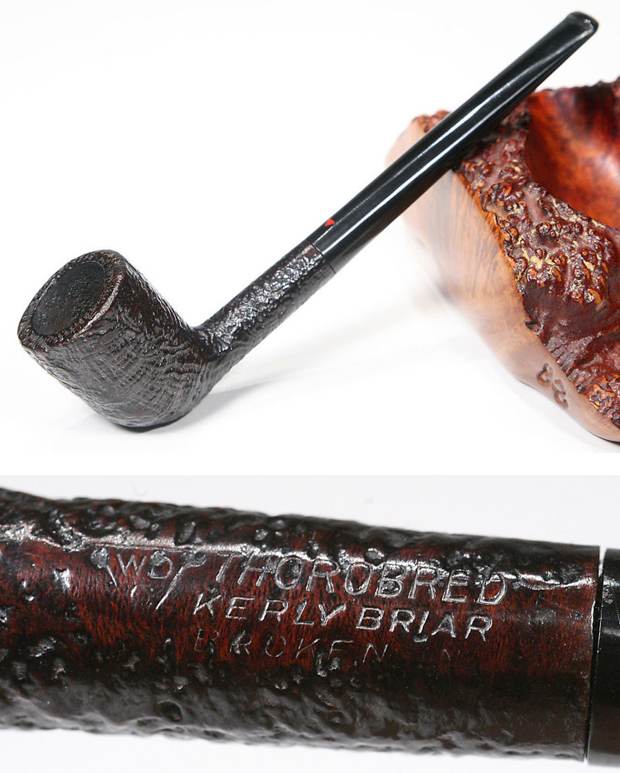
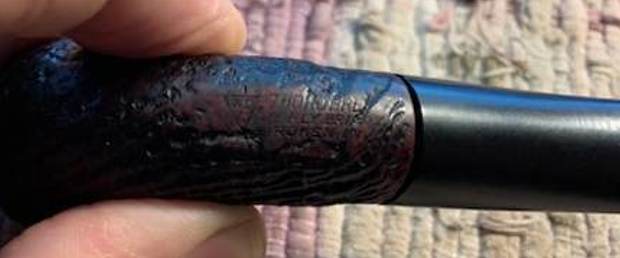
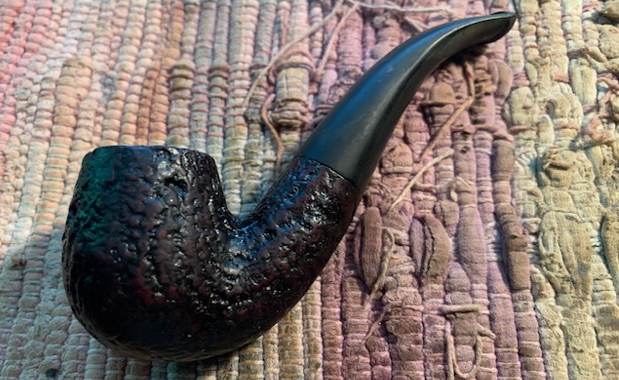
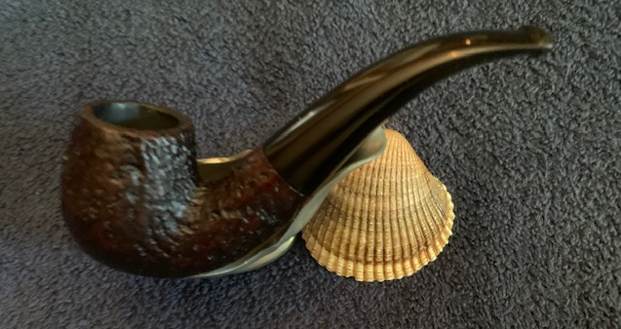
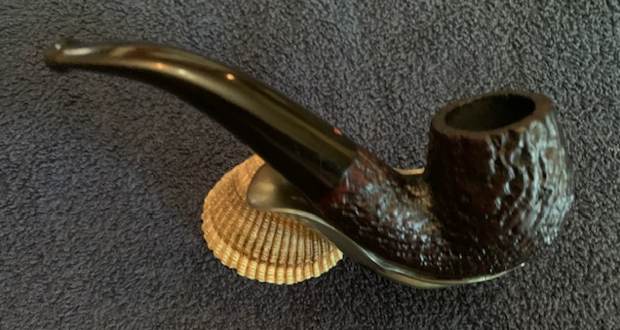
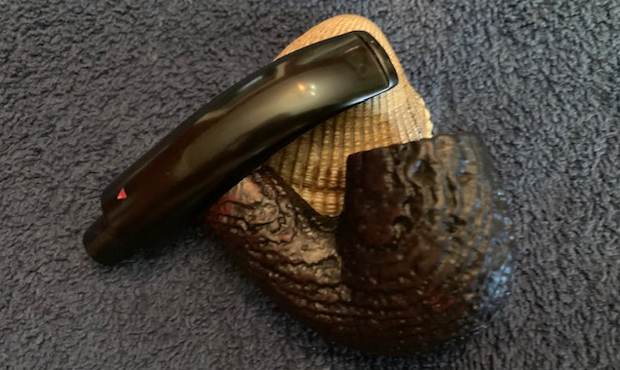
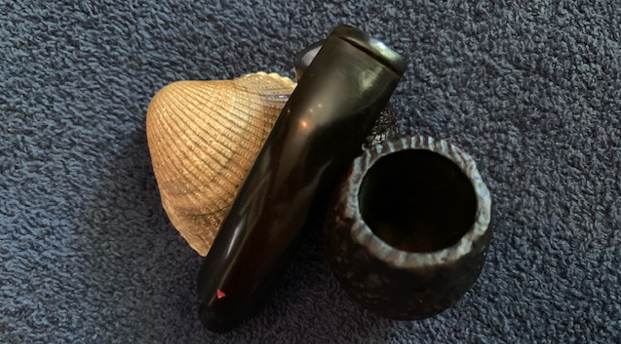
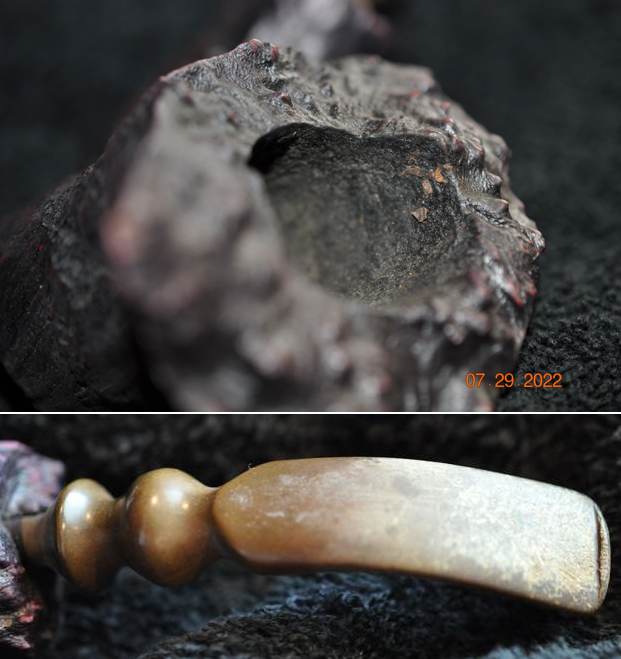
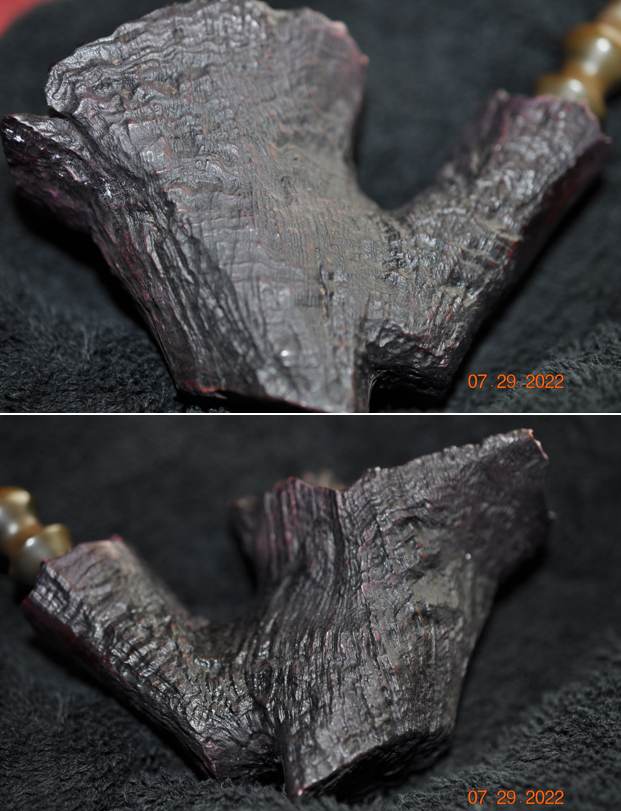
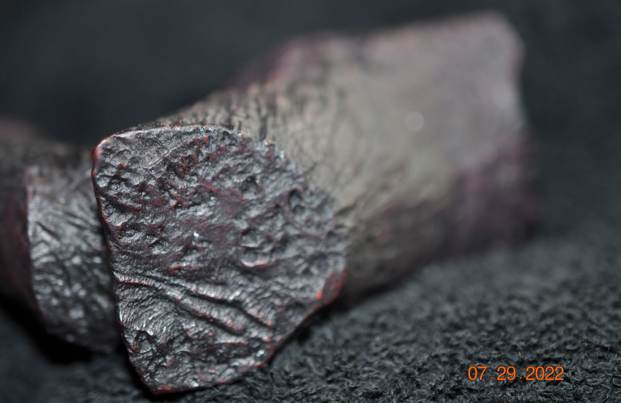
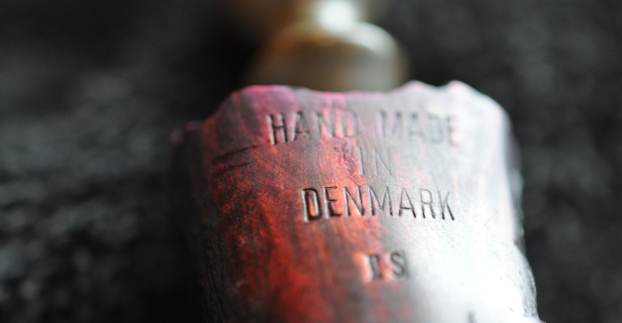
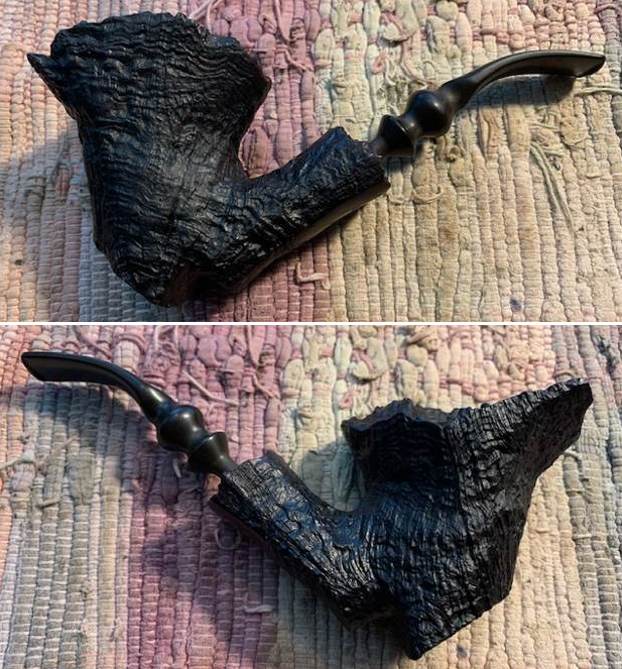
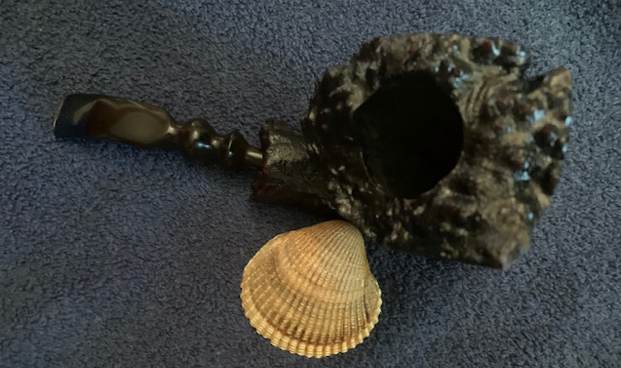
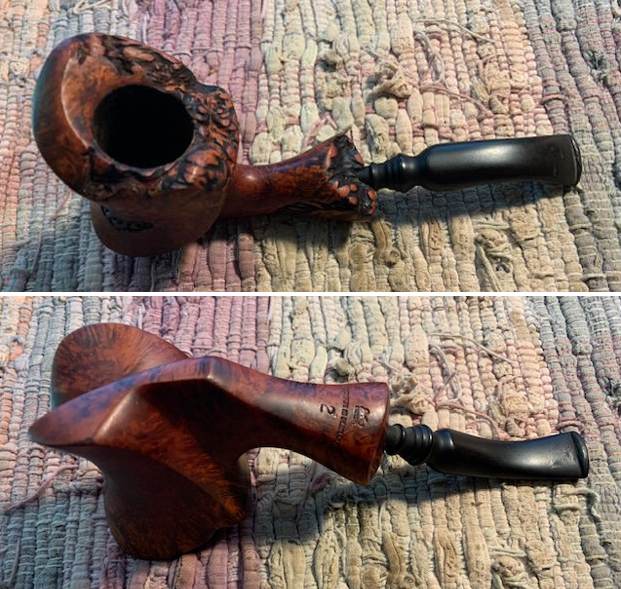
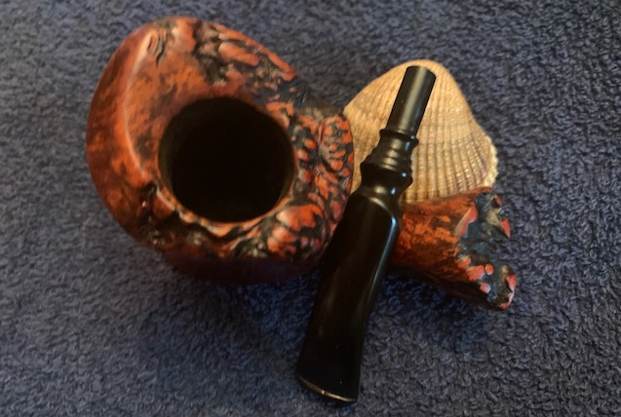
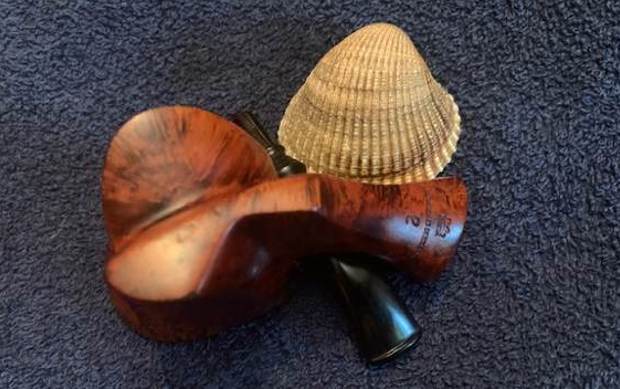
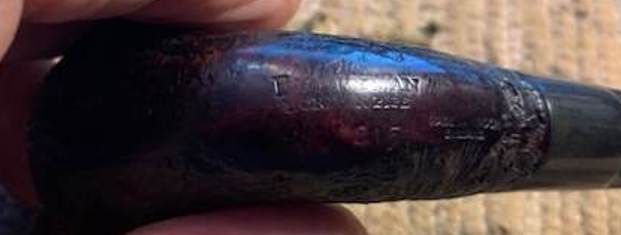
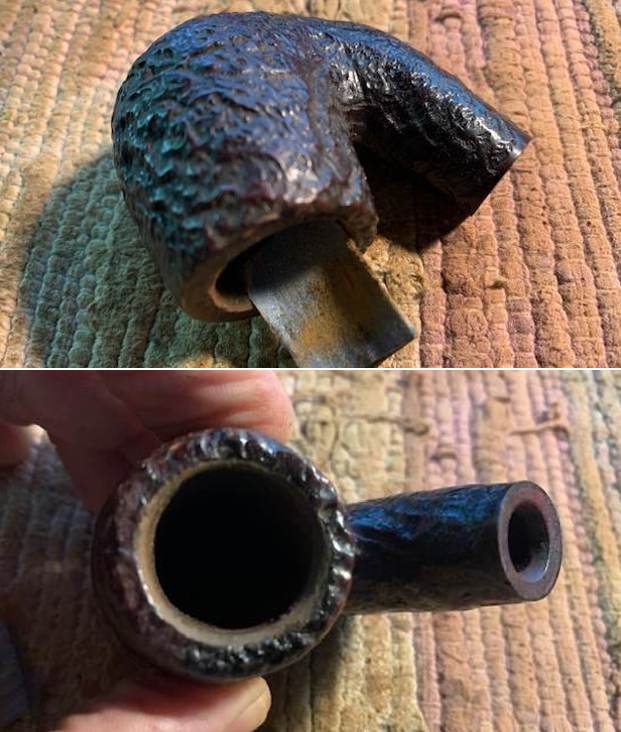
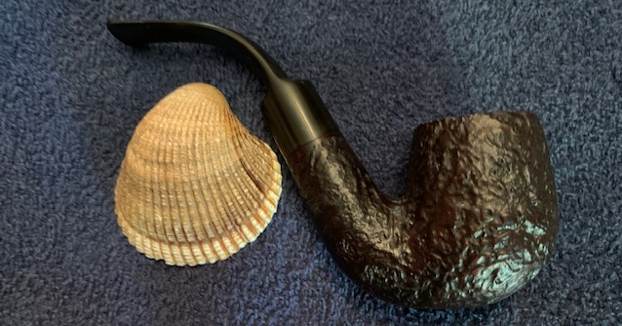
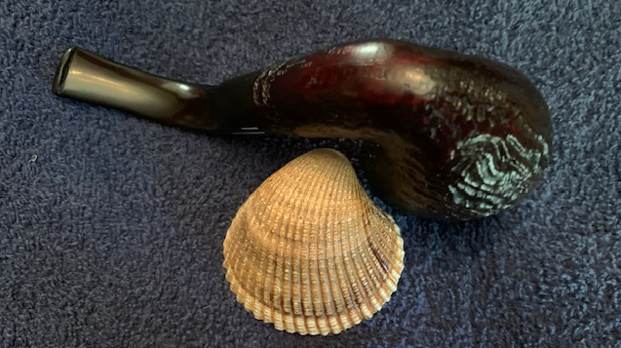
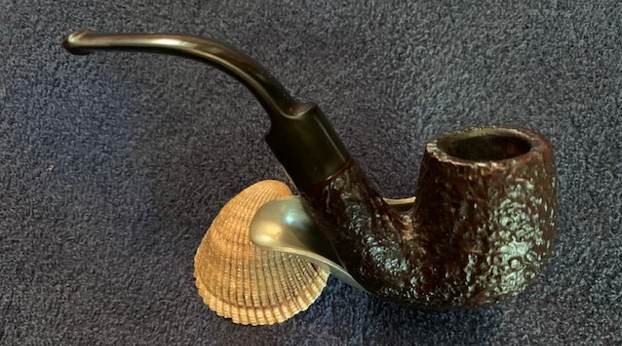
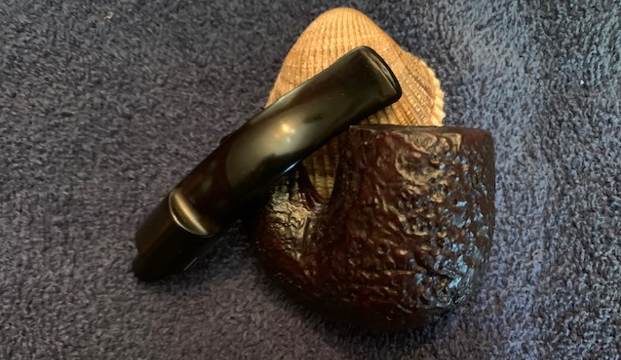
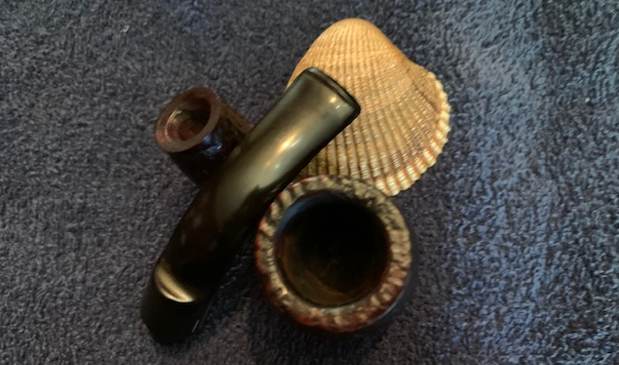
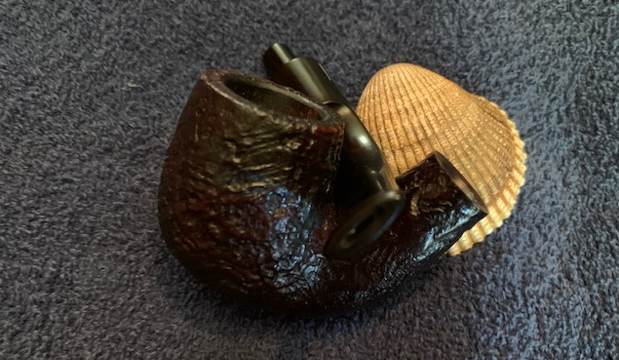
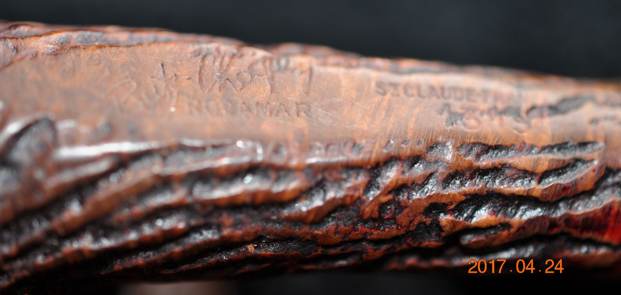
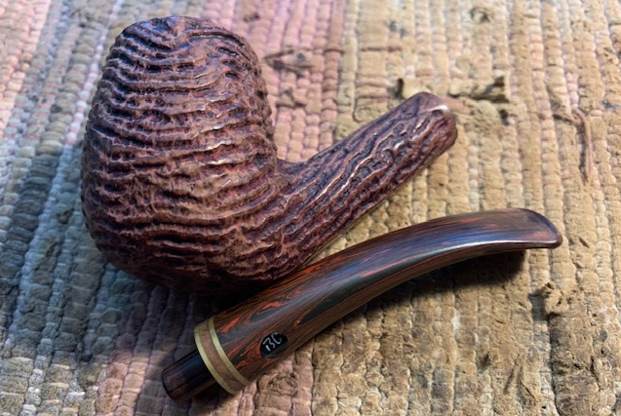
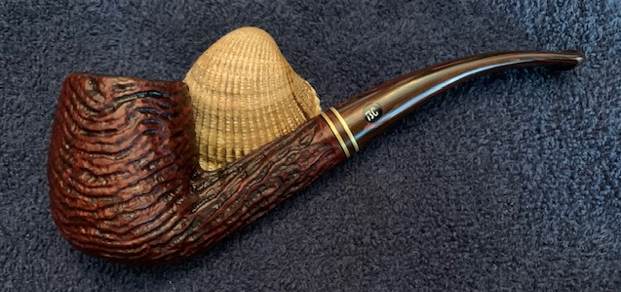
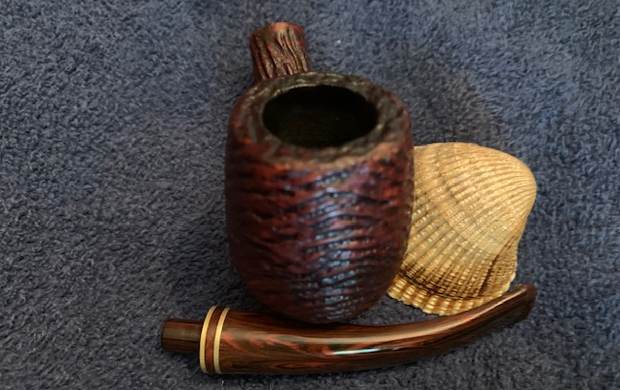
The first of the three Les Wood pipes that I decided to work on is a rusticated large, stout classic poker with a beautiful Cumberland stem. The large rusticated chunky stummel feels great in the hand and given its size, it is definitely not a light weight. The pipe is stamped on the smooth surface of the foot of the stummel as “FERNDOWN” in a slight arc over “BARK” over “HAND MADE IN” over “ENGLAND” over “LES WOOD”. Running oblique to the FERNDOWN BARK on the left side are three stars one below the other. The Sterling silver band bears the stamp “L & JS” in a rectangular cartouche over “.925”. The Cumberland stem is stamped on the left side as “L J S”.  I had read about Leslie John Wood sometime back when I read an article on English pipes and pipe carvers. I remembered that he worked for Dunhill’s as a silversmith. Just to refresh my memory, I visited Reborn Pipes and sure enough, Steve had indeed worked on and researched Les Wood. It’s very comprehensive and is recommended as a read. Here is the link to the write up.
https://rebornpipes.com/2021/05/20/this-restoration-is-a-bit-of-a-resurrection-of-a-beautiful-ferndown-root-3-dublin/
From the article, I know I am working on a ‘BARK’ grade pipe (ca. 90%, rusticated, dark brown and black) in size 3 from Les Wood.
Initial Visual Inspection
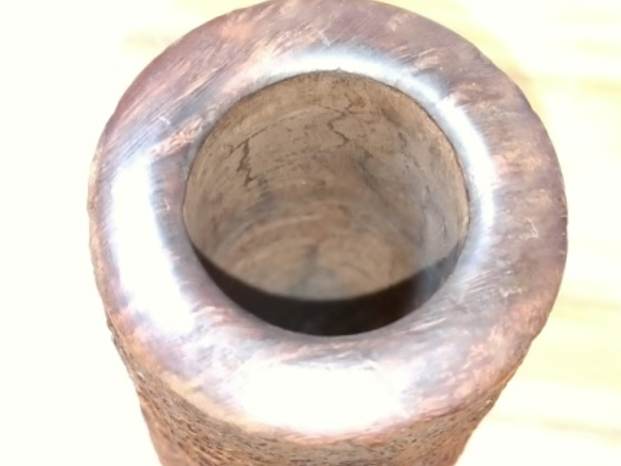
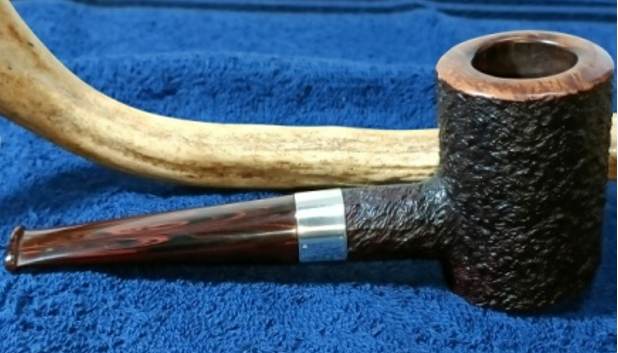
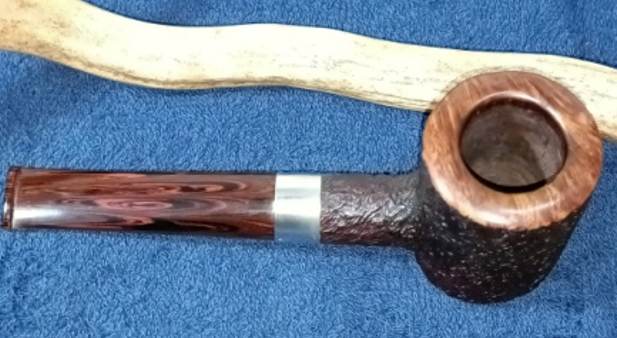
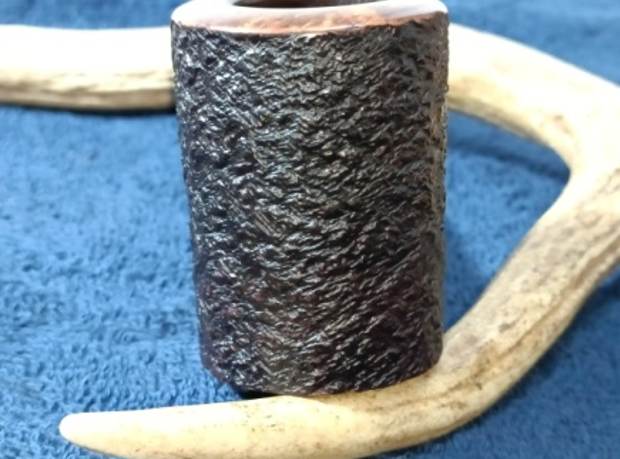
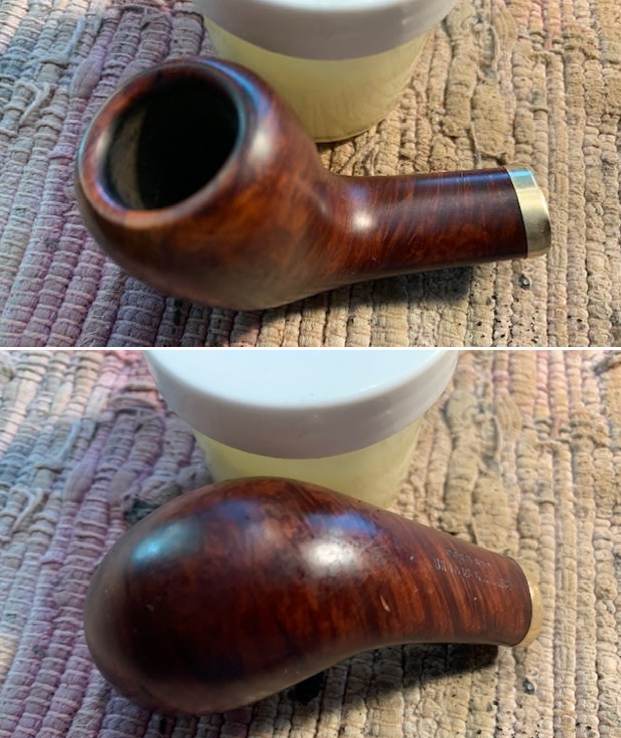
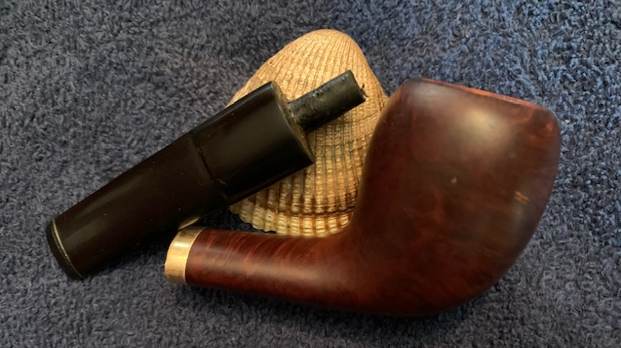
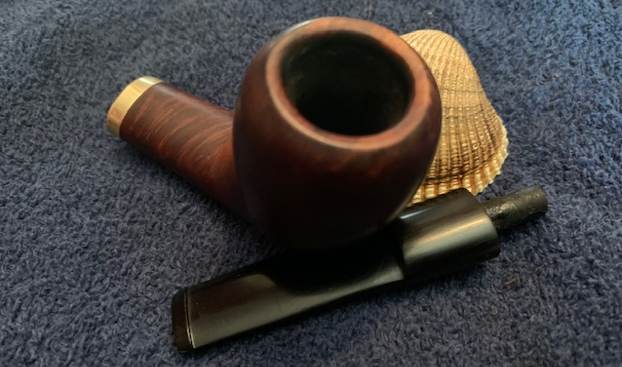
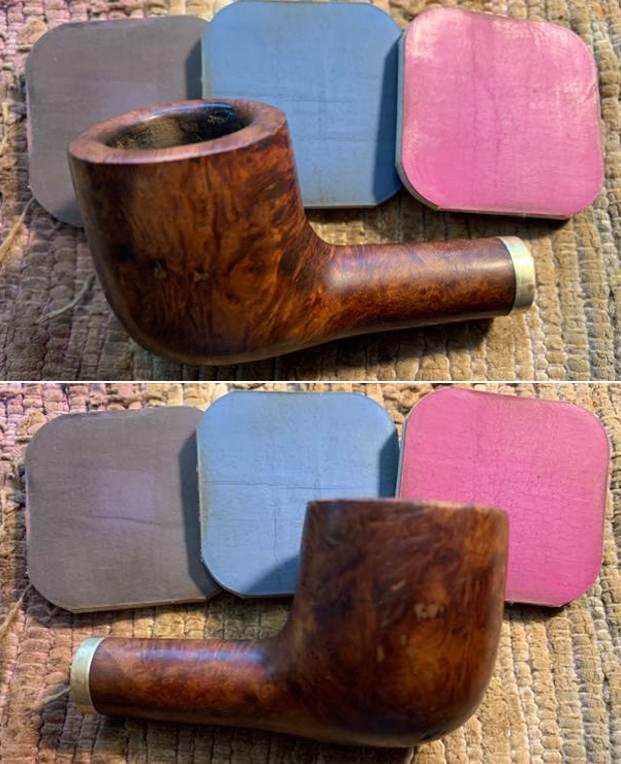
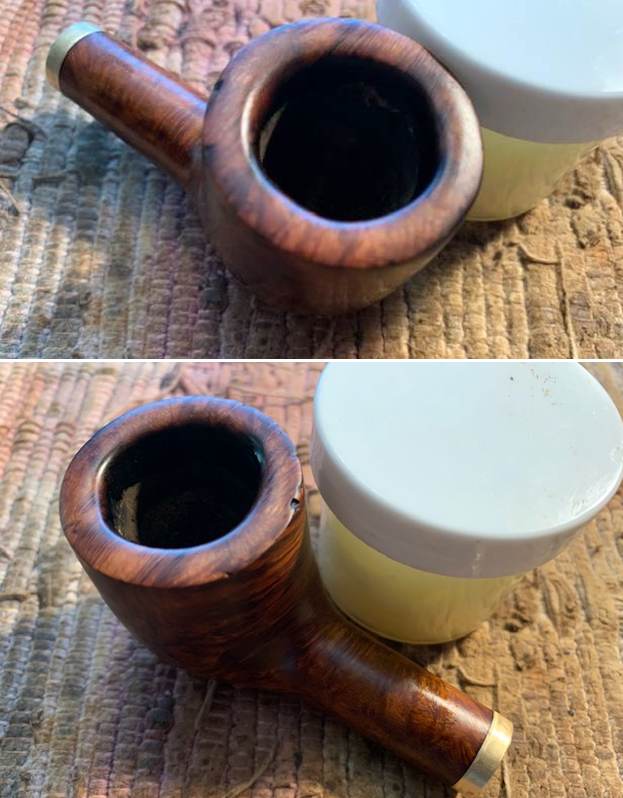
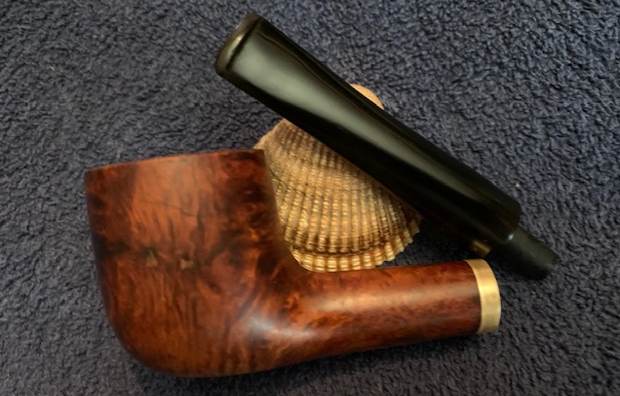
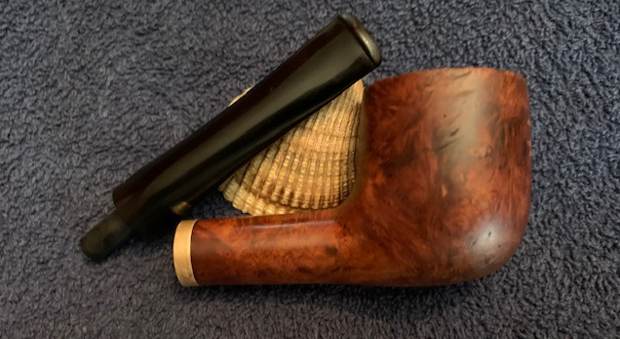
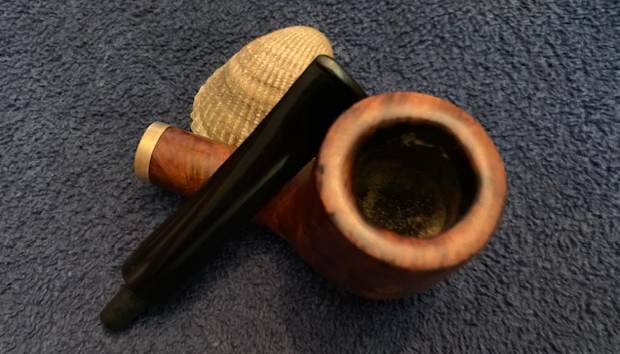
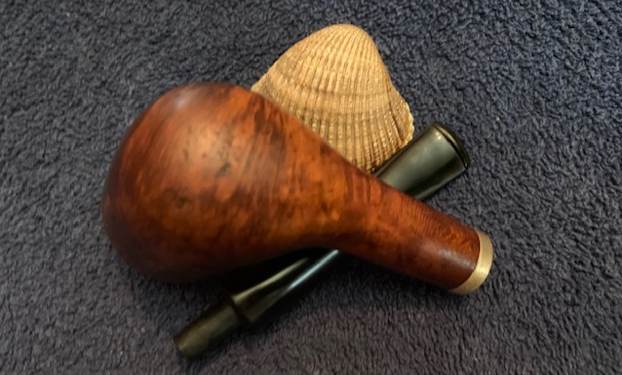
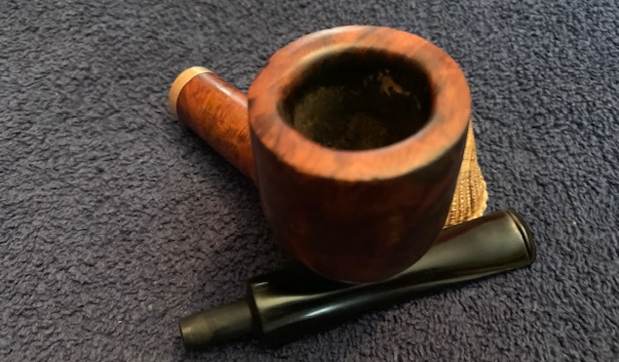
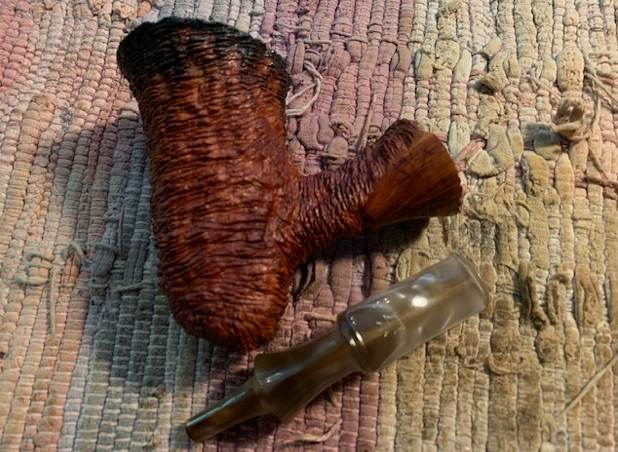
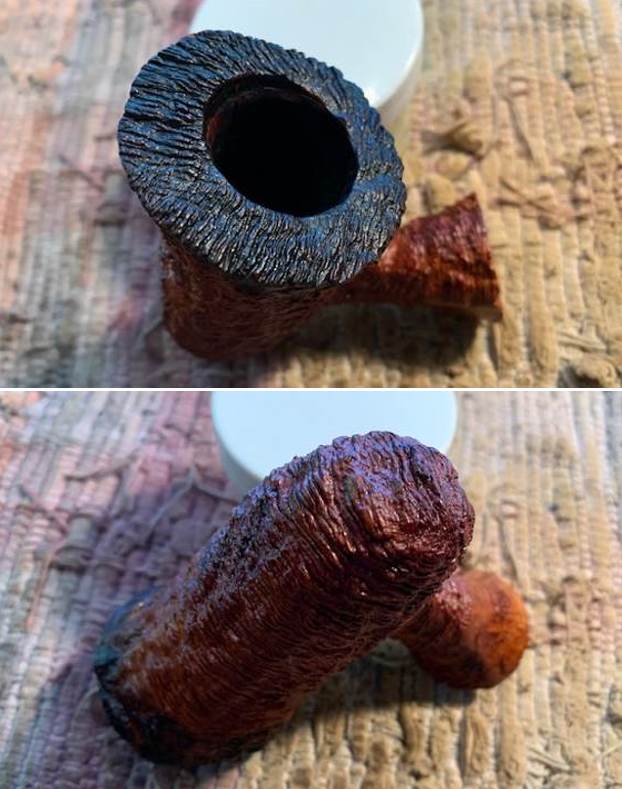
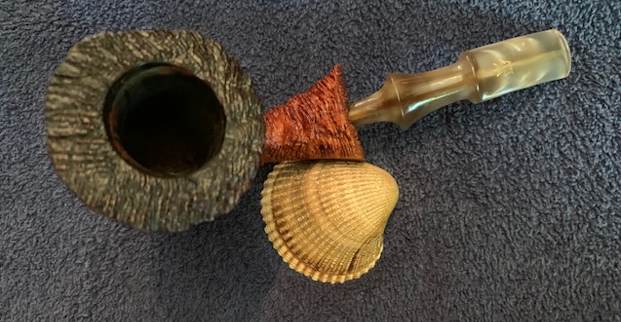
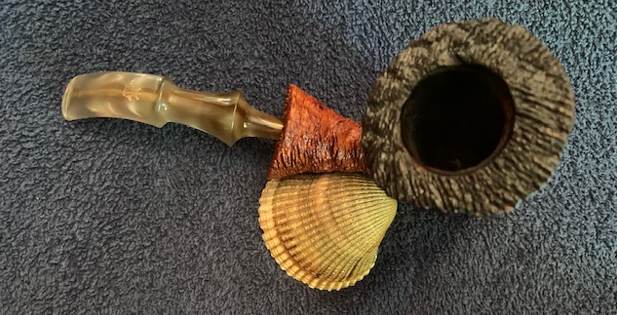
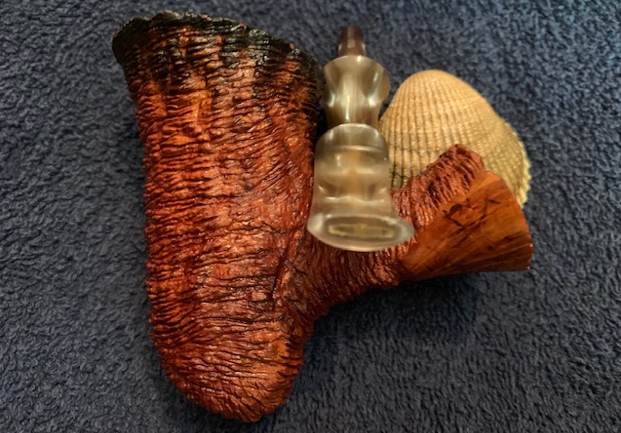
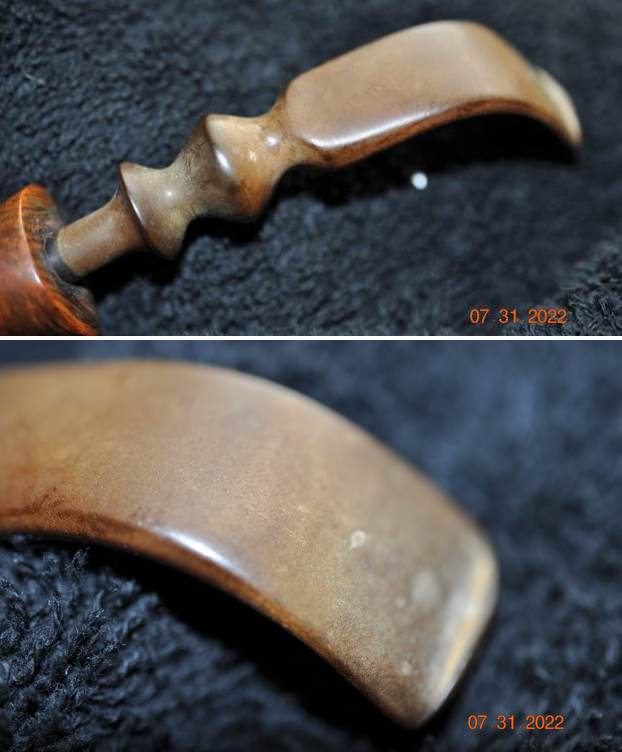
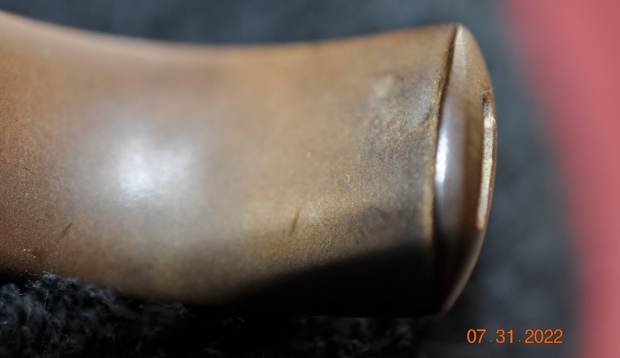
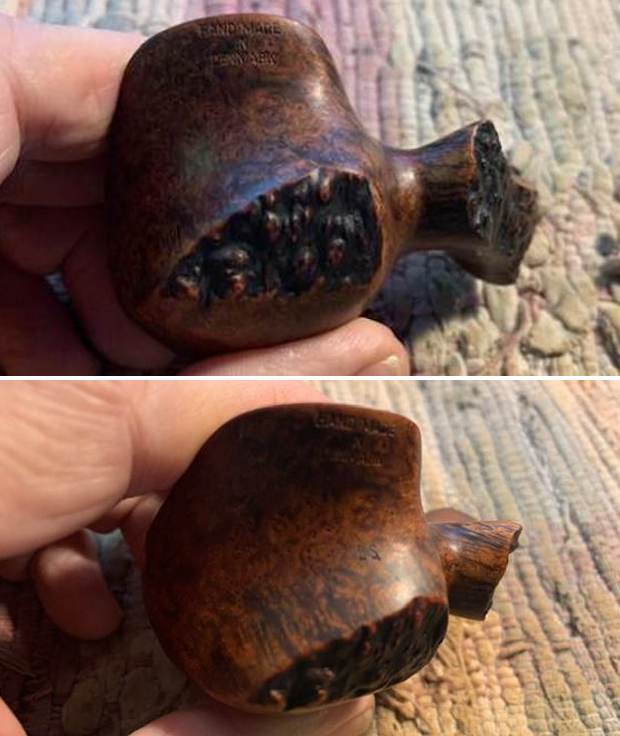
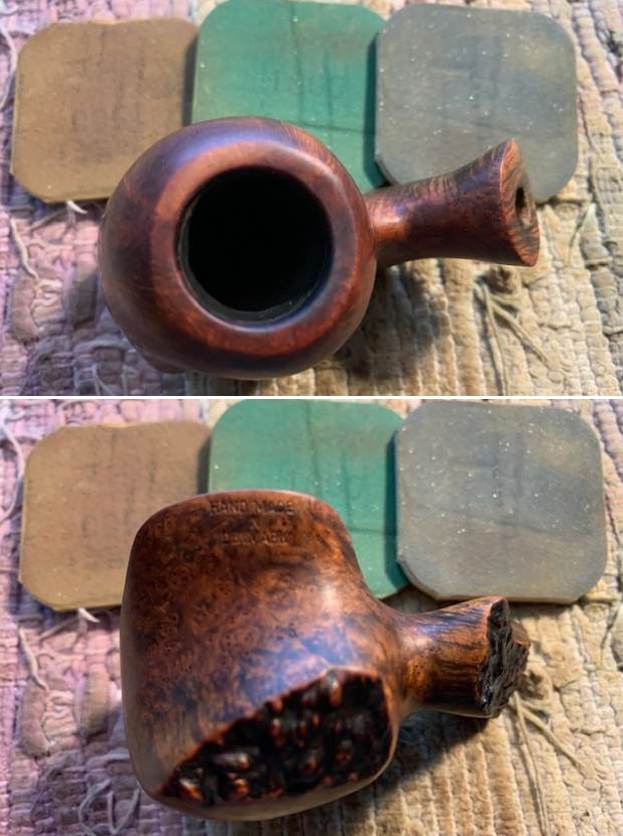
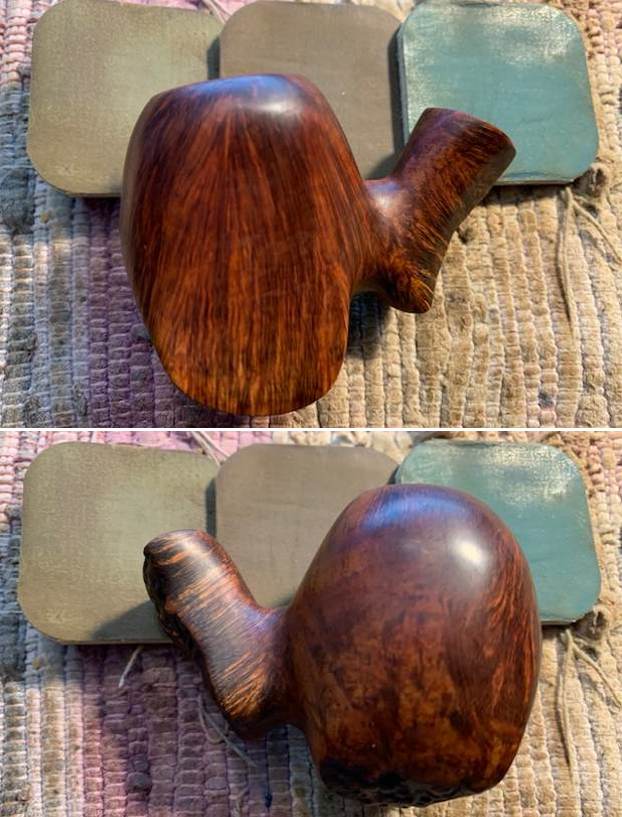
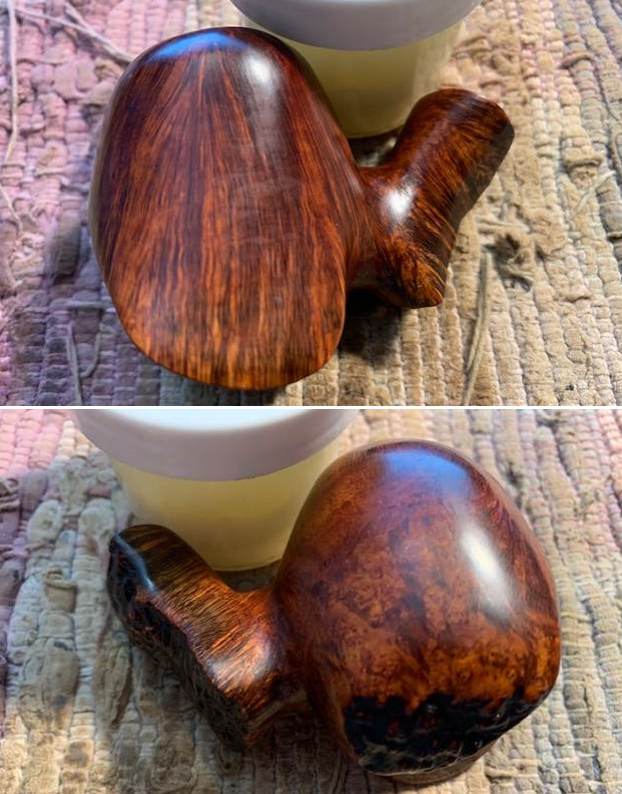
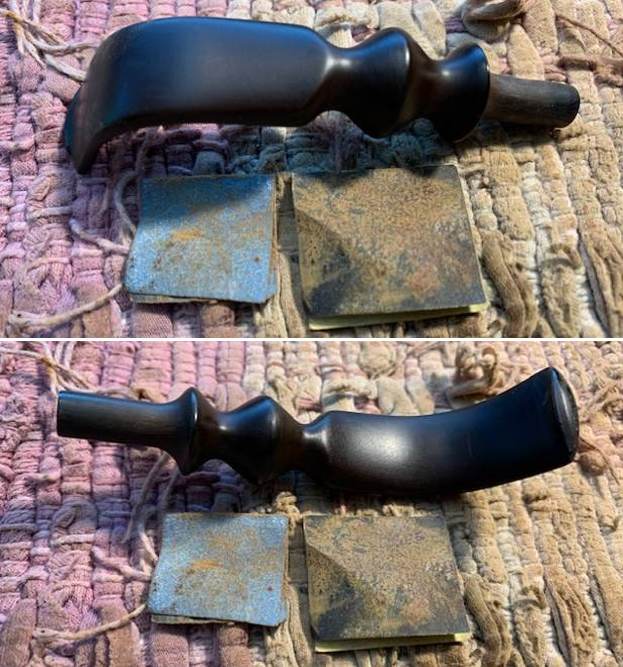
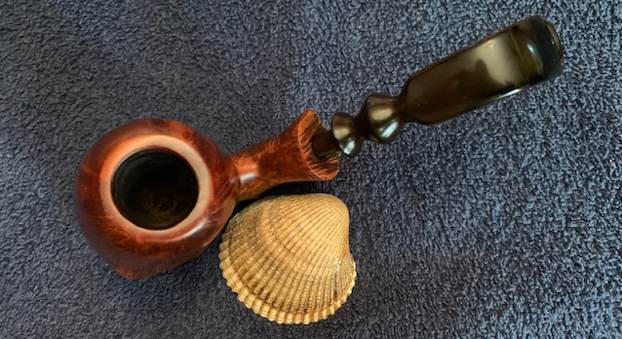
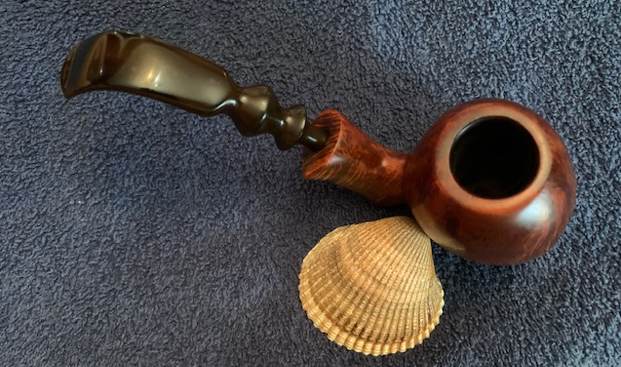
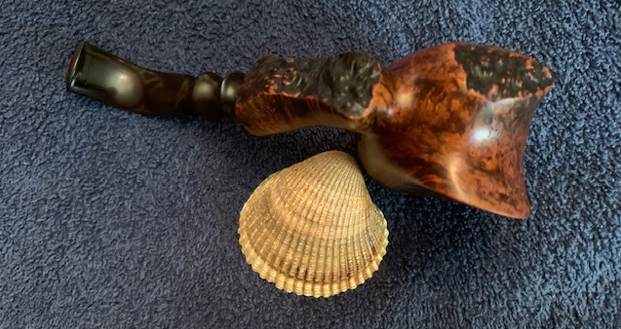
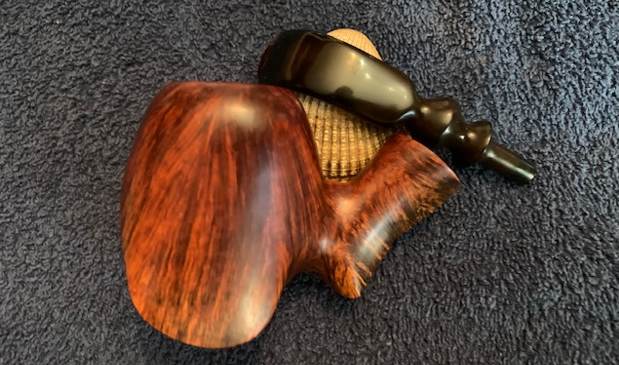
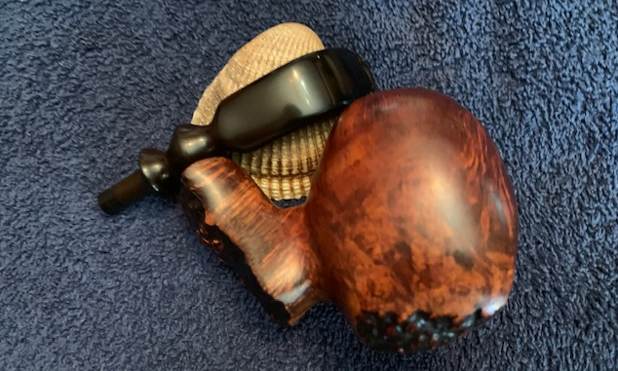
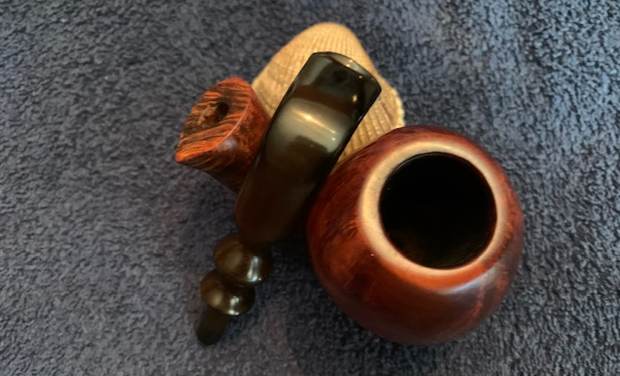
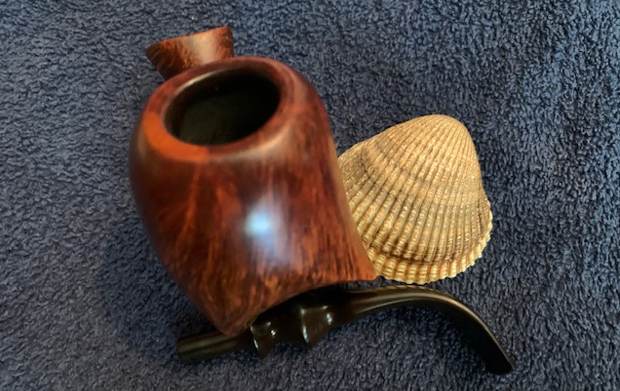
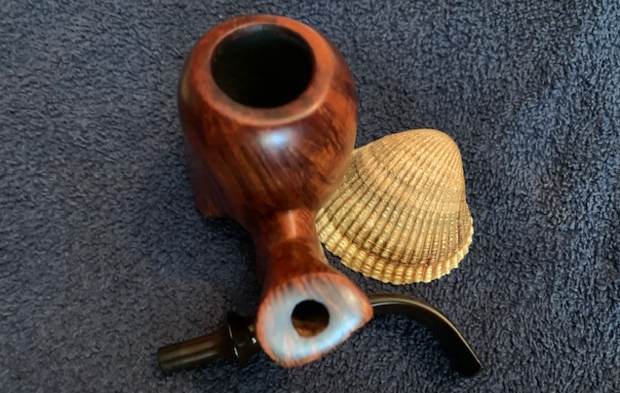
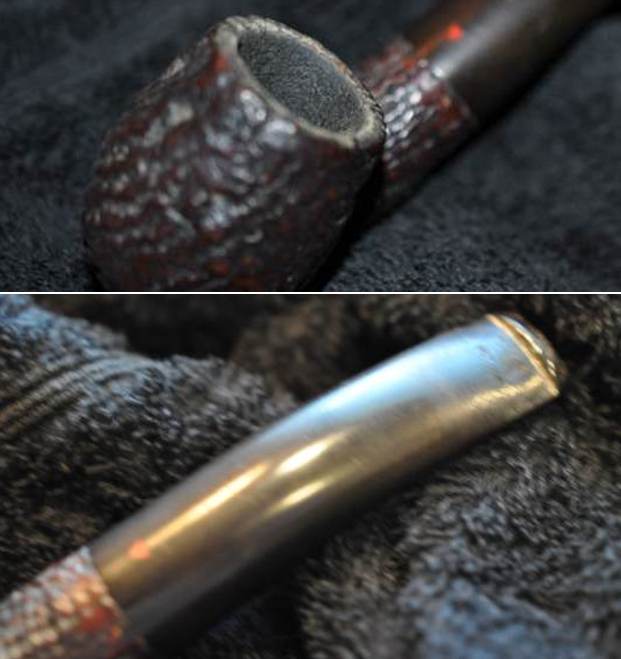
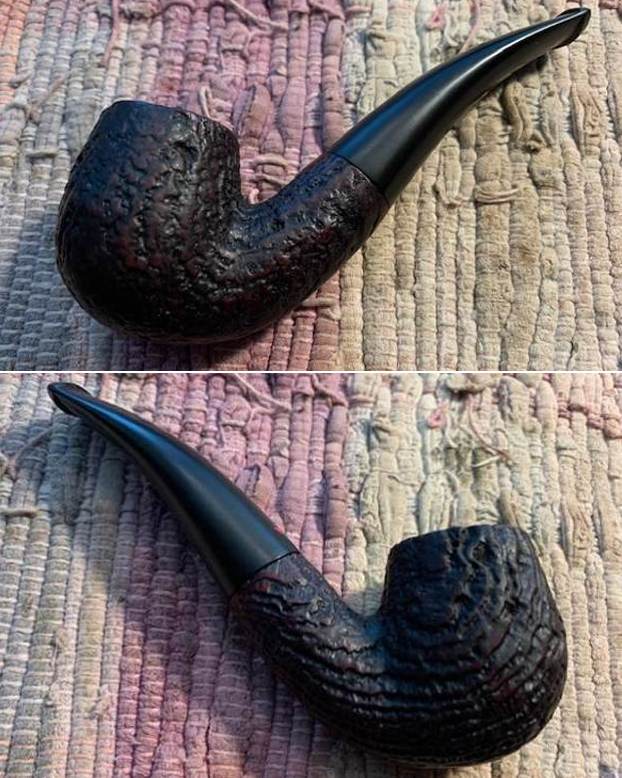
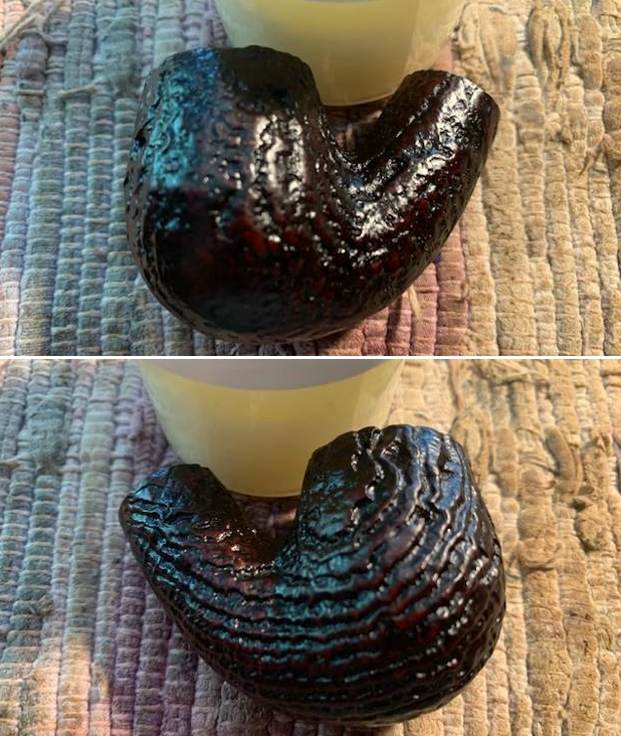
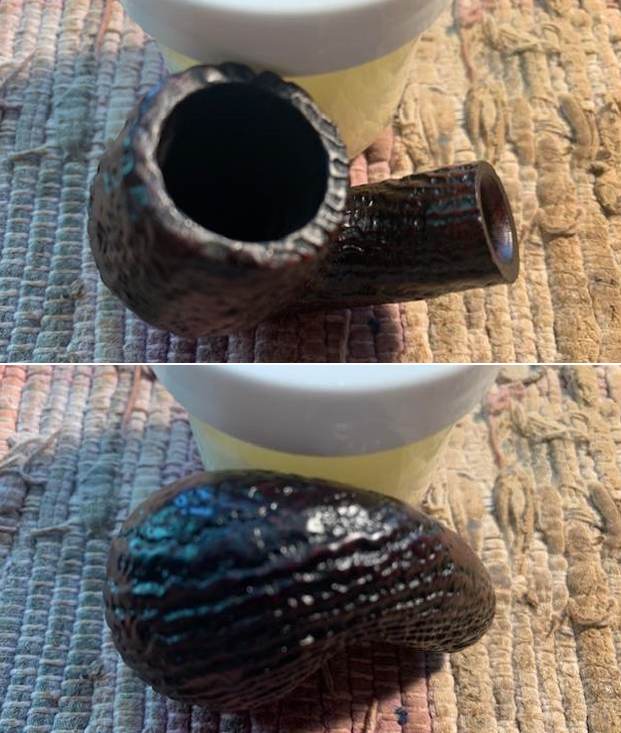
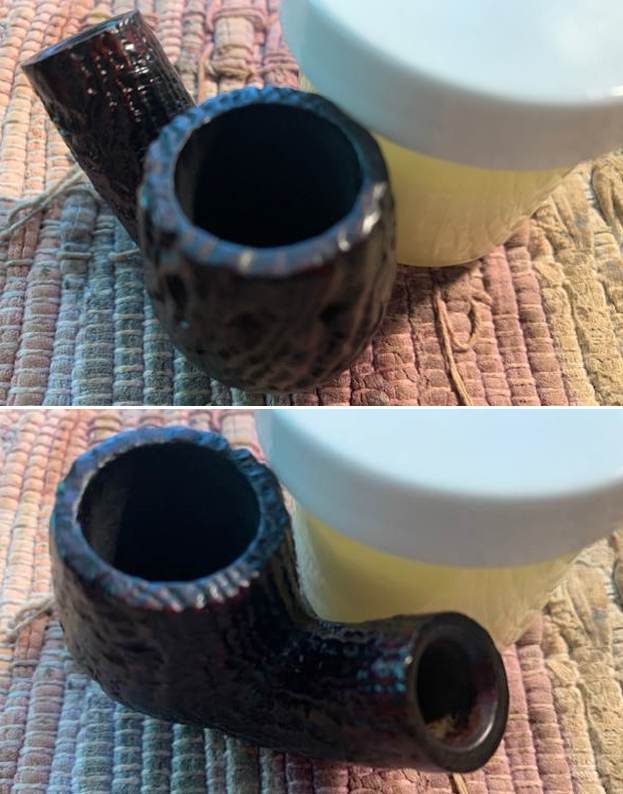
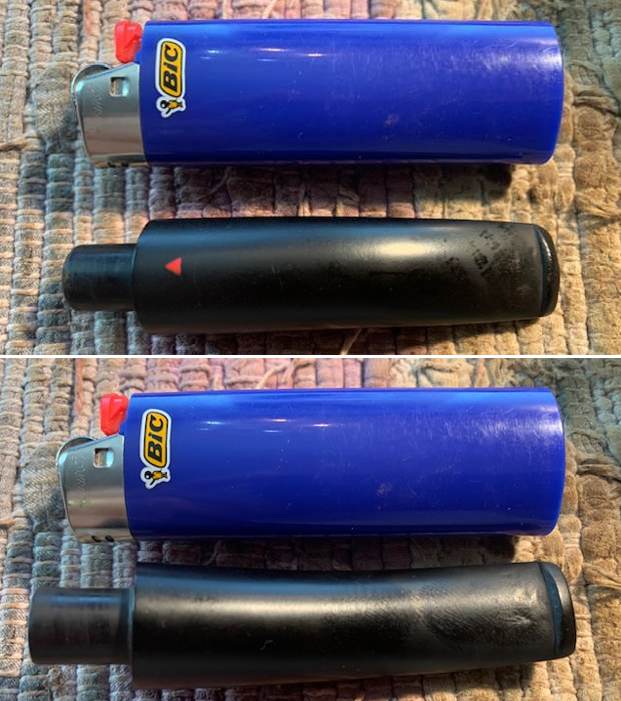
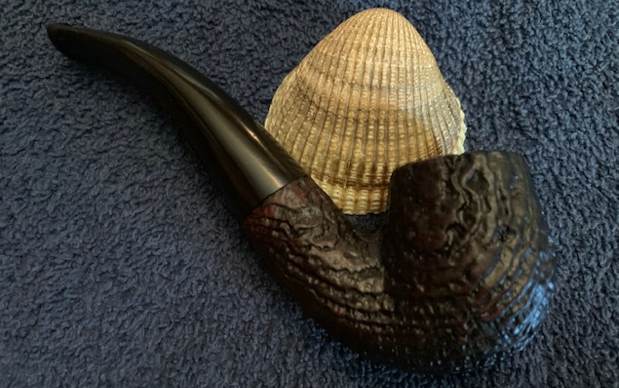
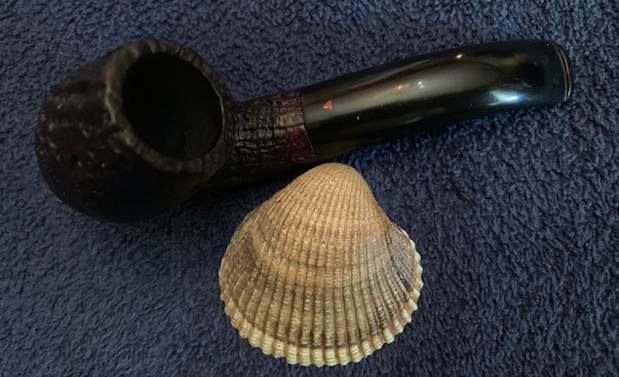
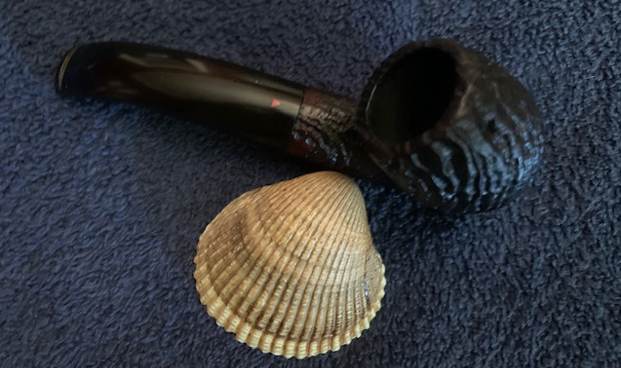
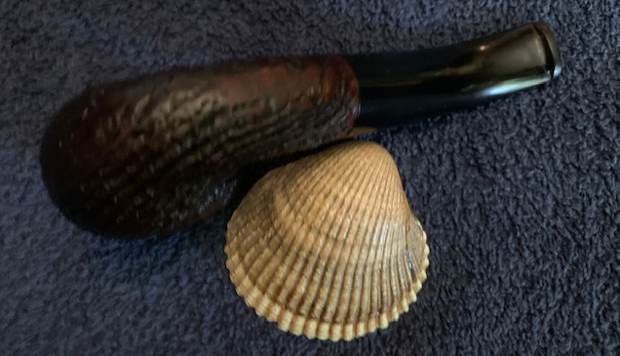
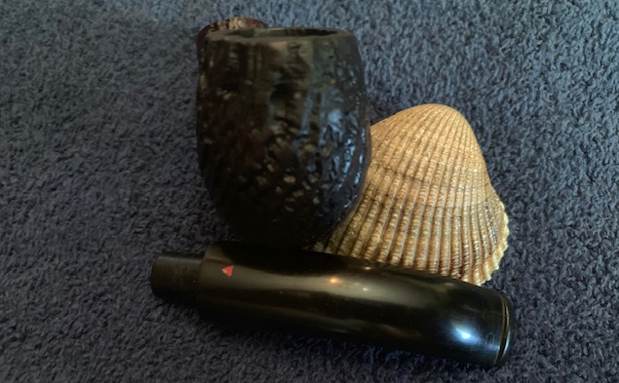
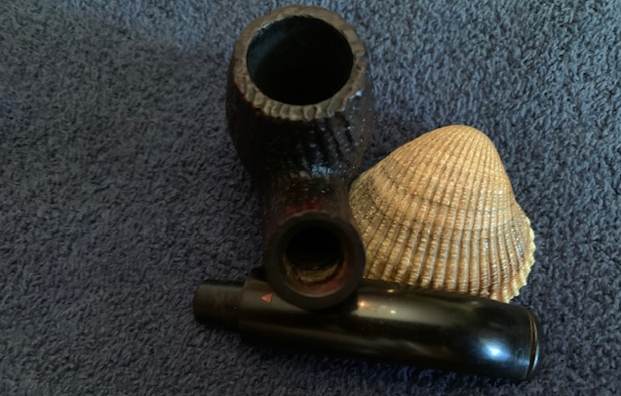
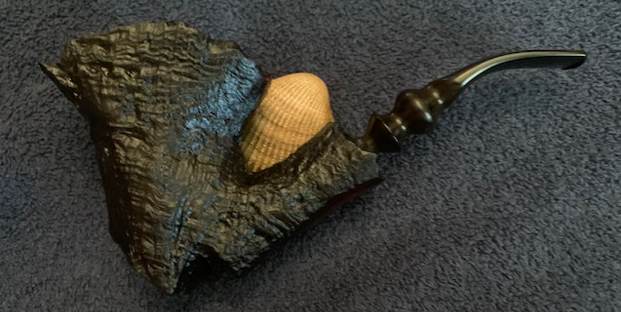
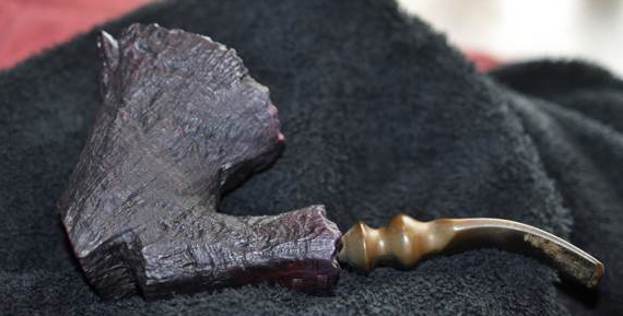
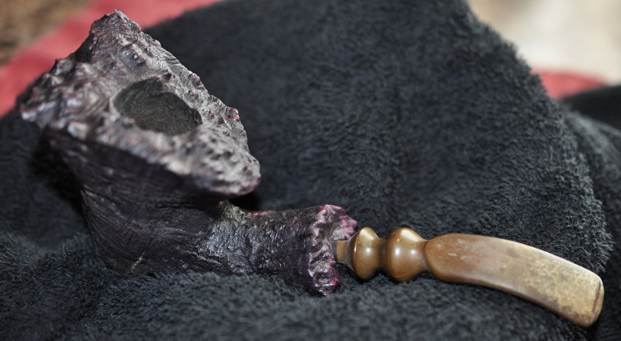
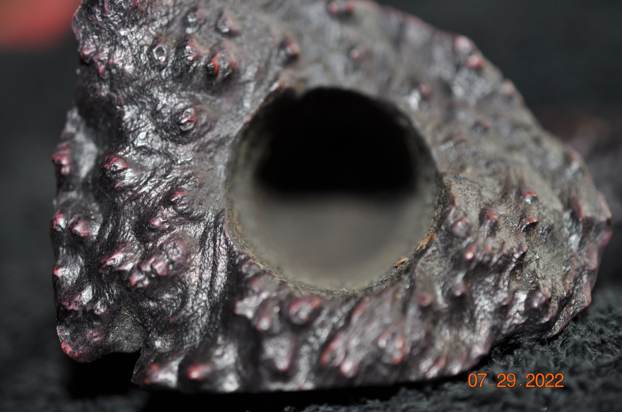
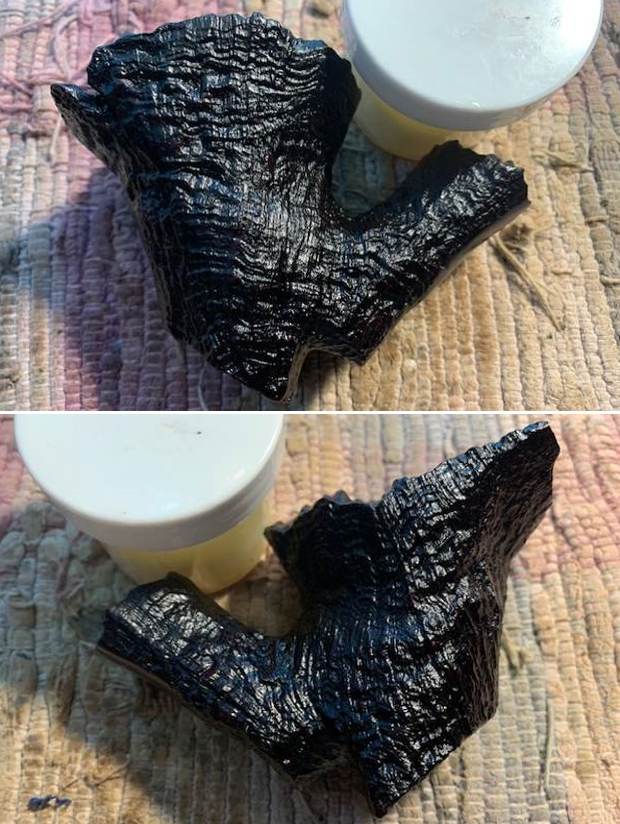
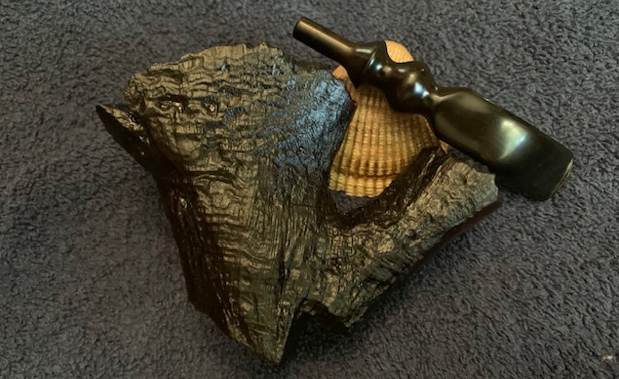
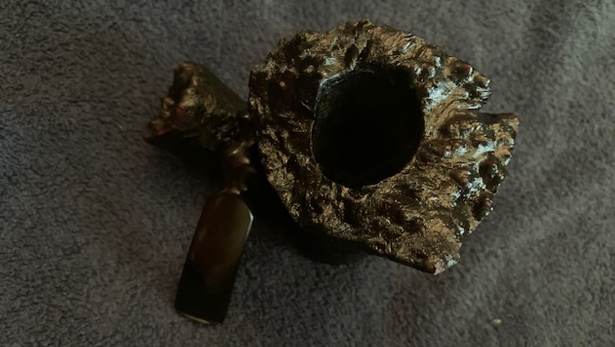
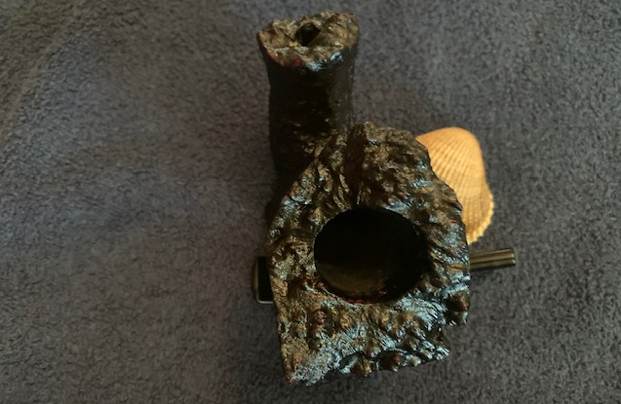
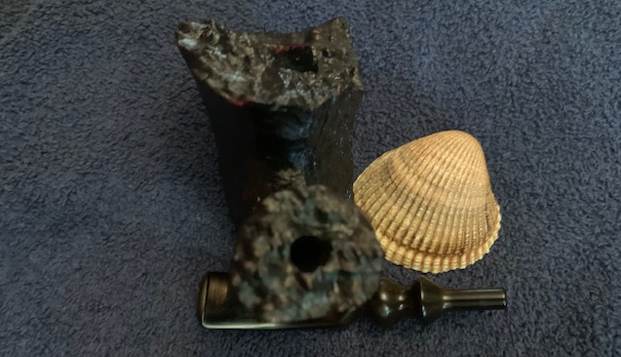
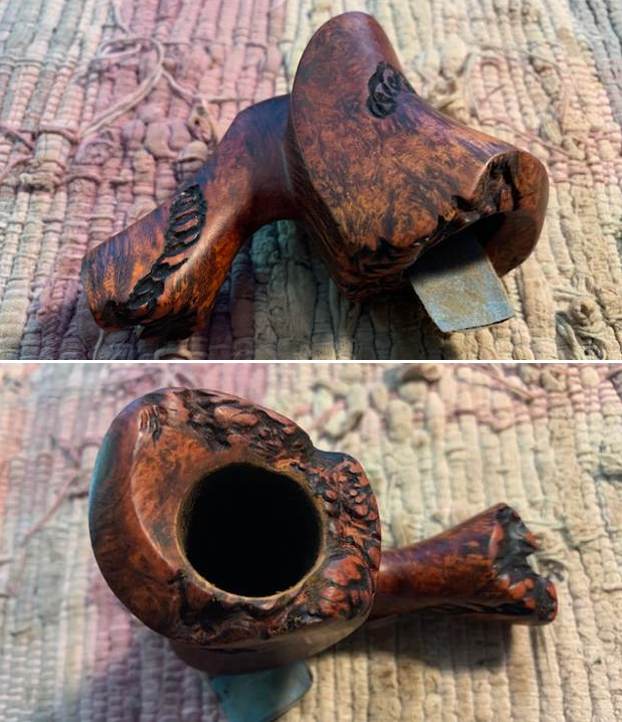
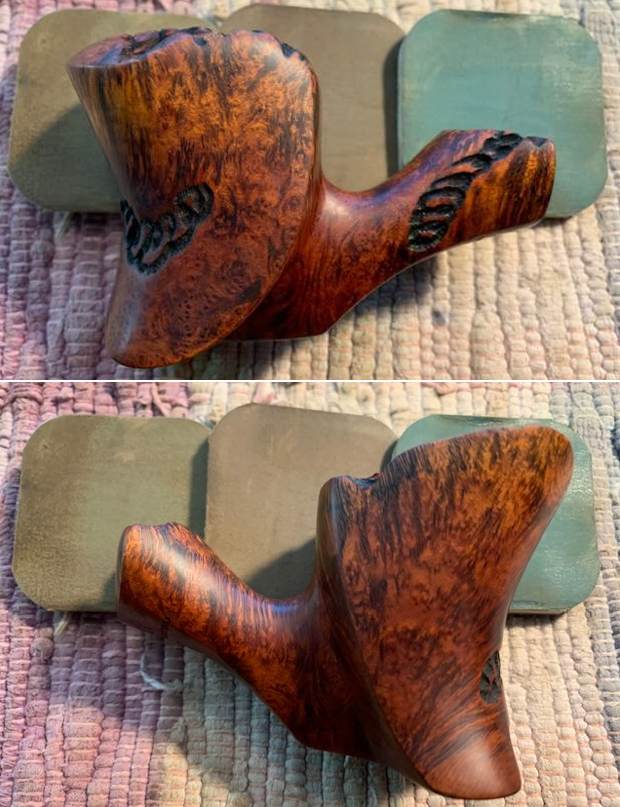
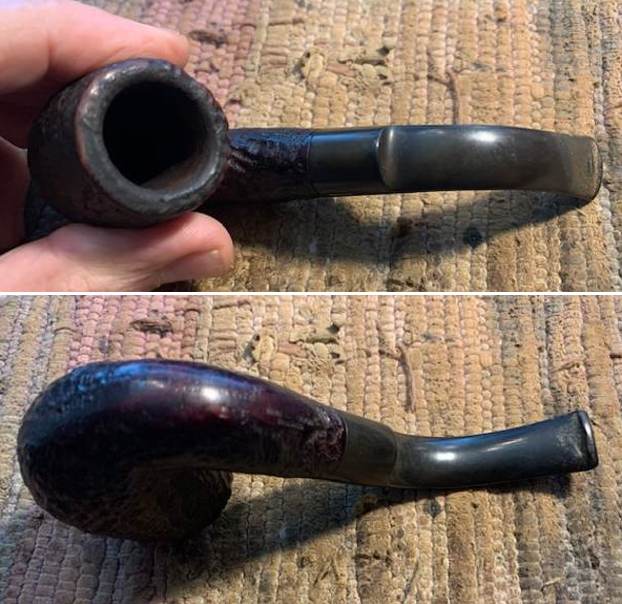
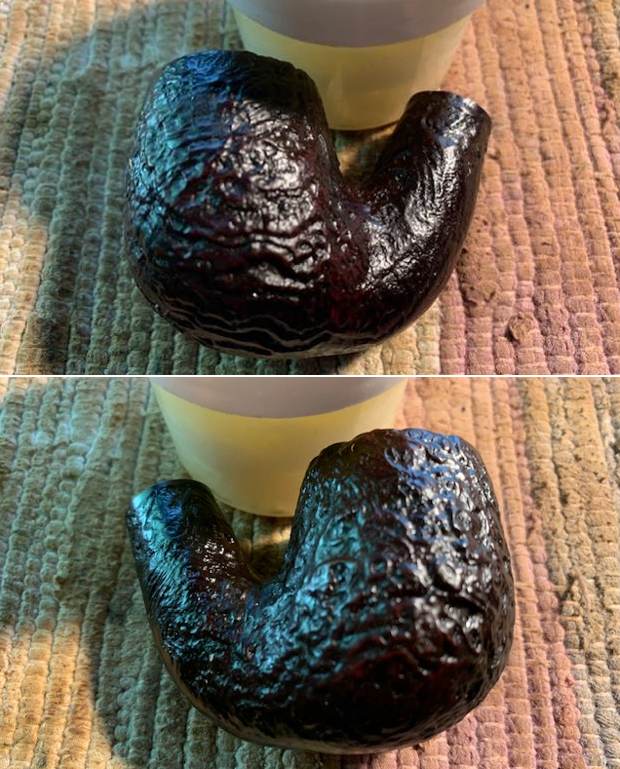
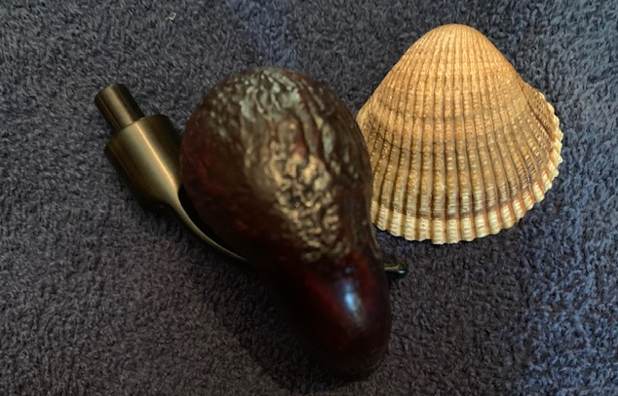
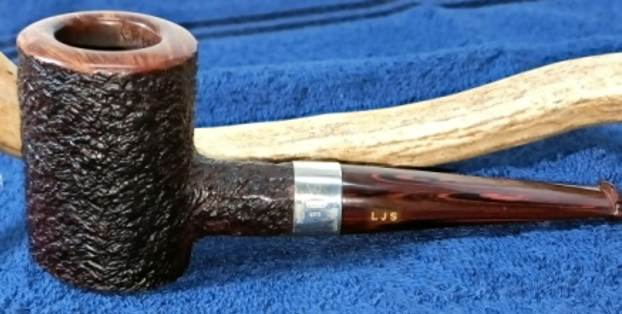
The pipe is actually in quite a good condition. The chamber has a very thin layer of cake that is even all around and is rock hard. The stummel surface feels solid to the touch and thus, I don’t anticipate any serious issues with the chamber walls. The rim top surface is smooth and devoid of any cake build up or darkening over the surface. The rim edges are in pretty good condition too. The stummel finish has faded more towards the foot of the stummel and has a lot of dirt and grime ground into the rusticated finish. This makes the stummel appear dull, lifeless and lackluster. The silver band at the shank end is deeply oxidized and appears blackened. The Cumberland stem is deeply oxidized with a couple of minor tooth indentations in the bite zone. Here are a few pictures of the pipe as it sits on my worktable.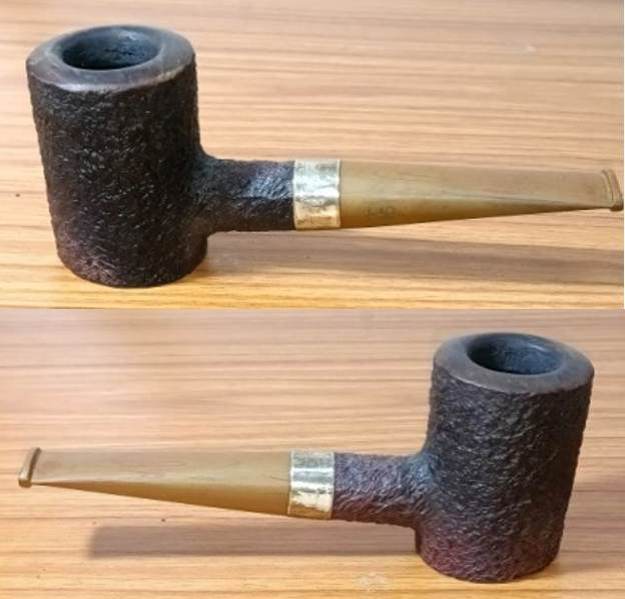

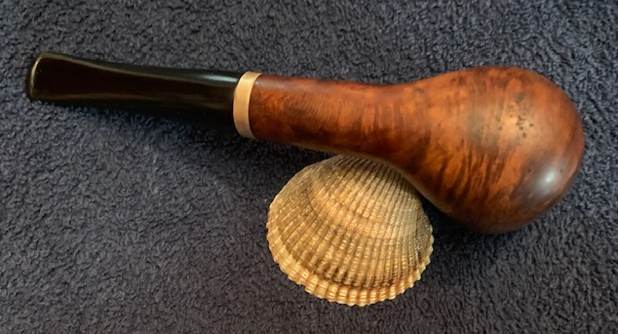
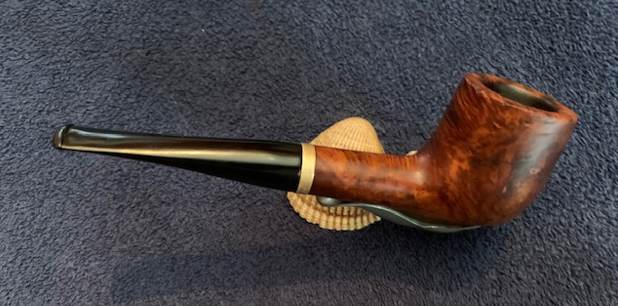
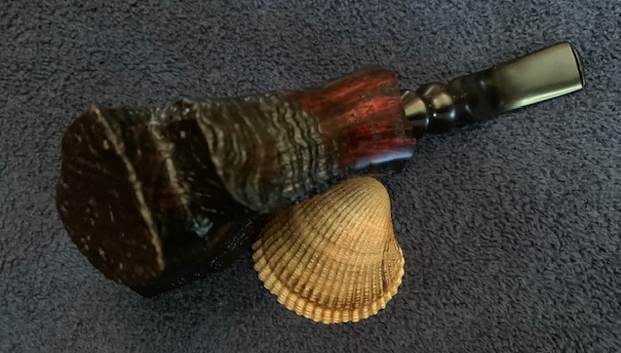
 It’s a nice solid pipe with a robust construction yet elegant in its huge size and shape. This one will take your breath away once it is restored, I think.
Detailed Inspection
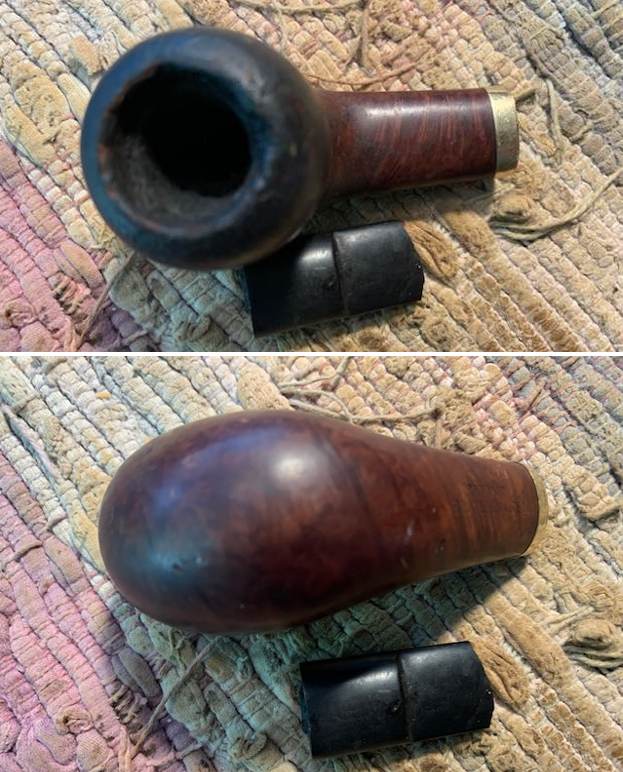
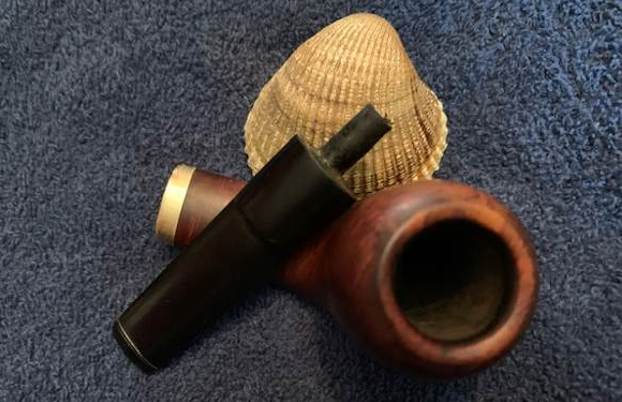
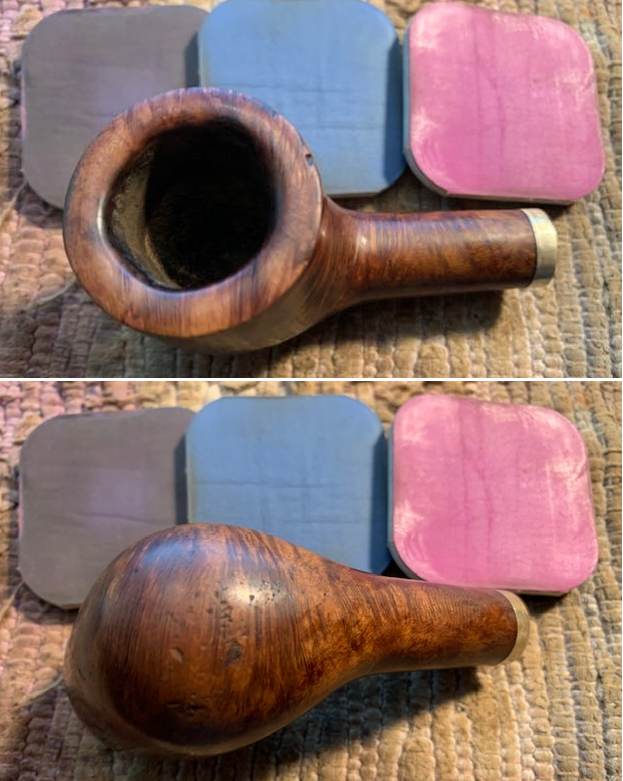
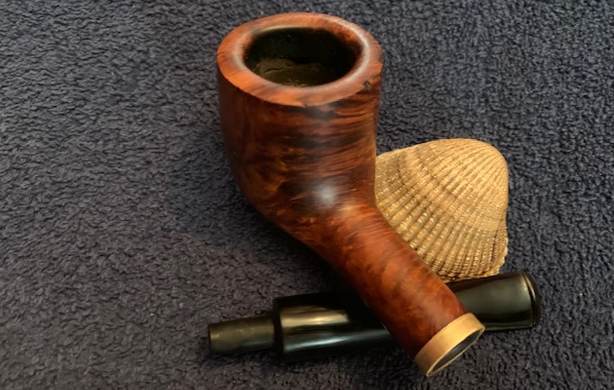
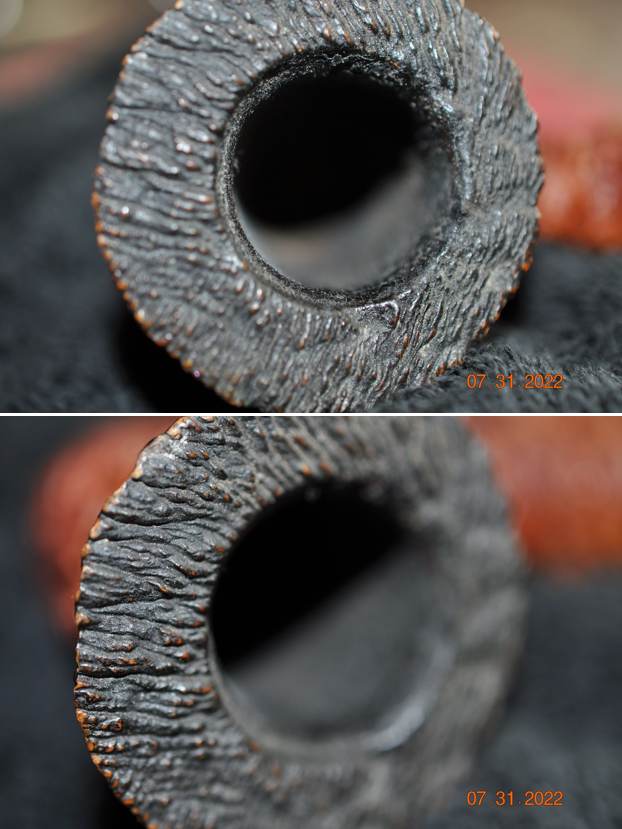
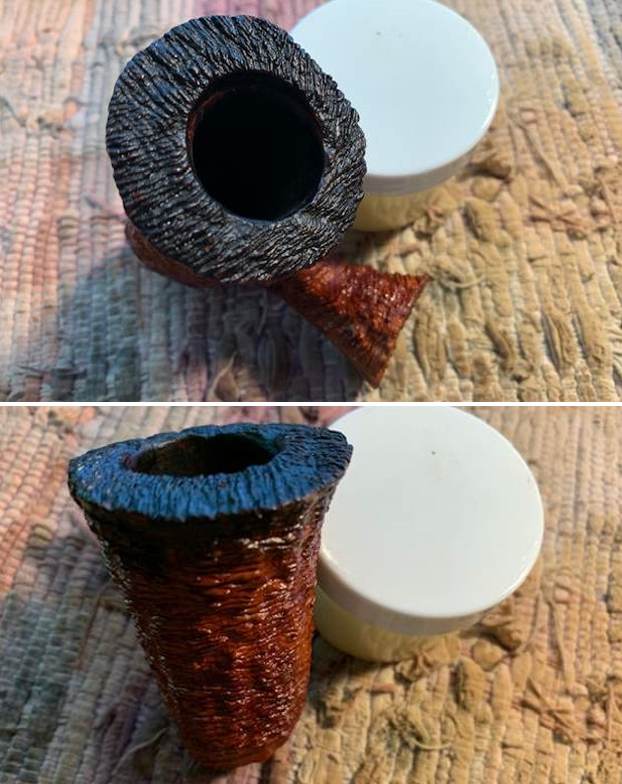
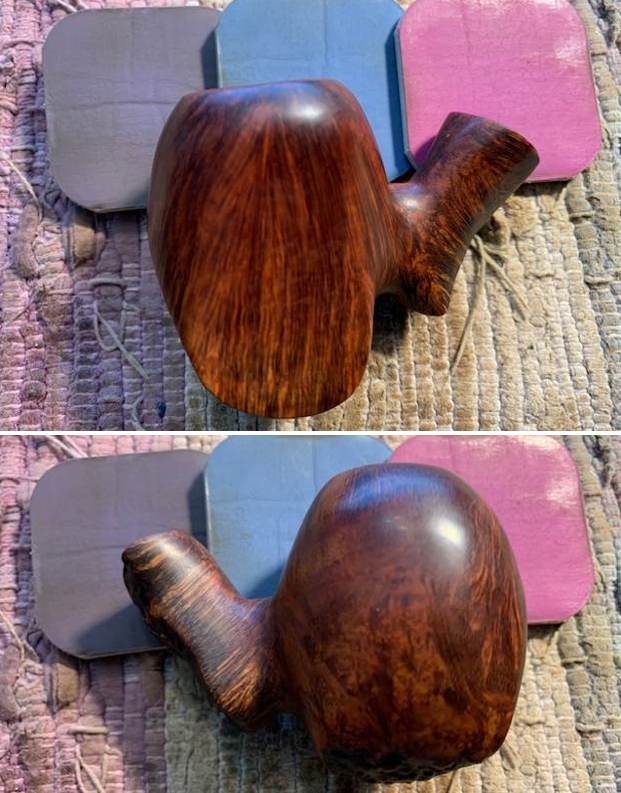
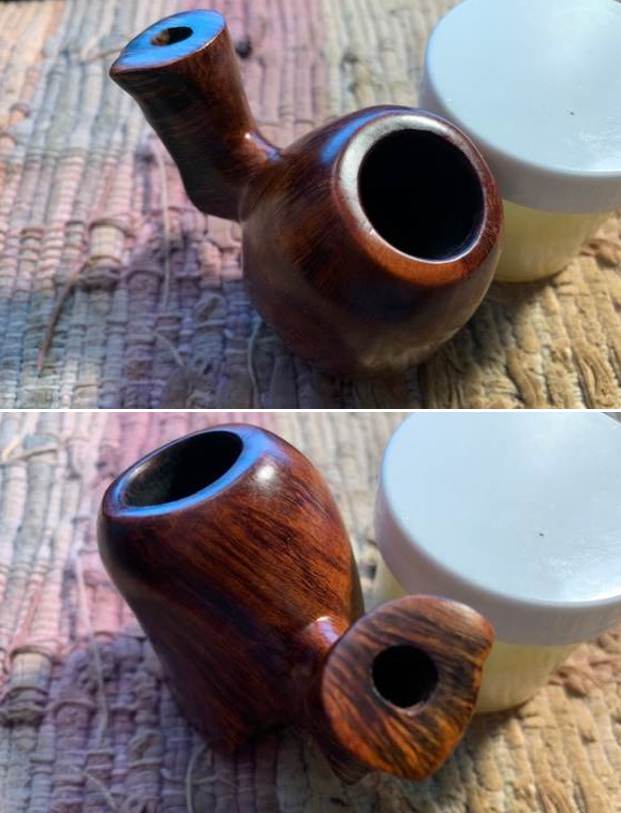
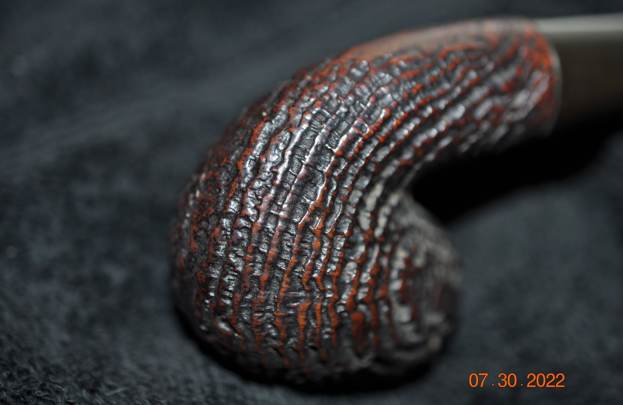
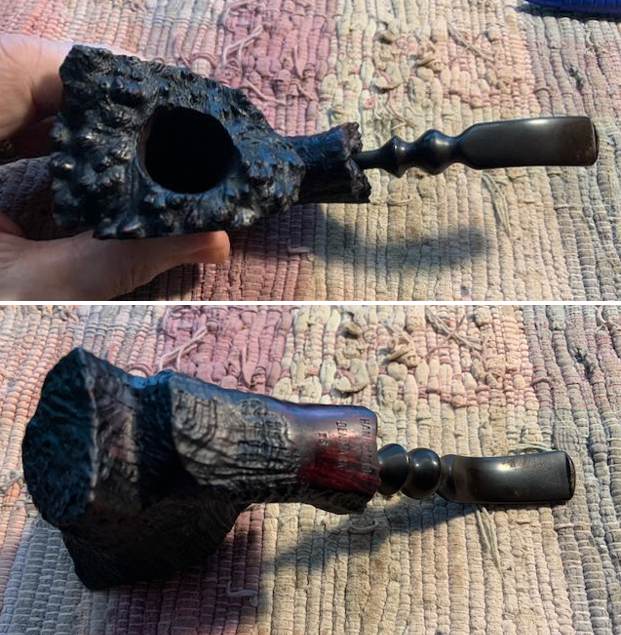
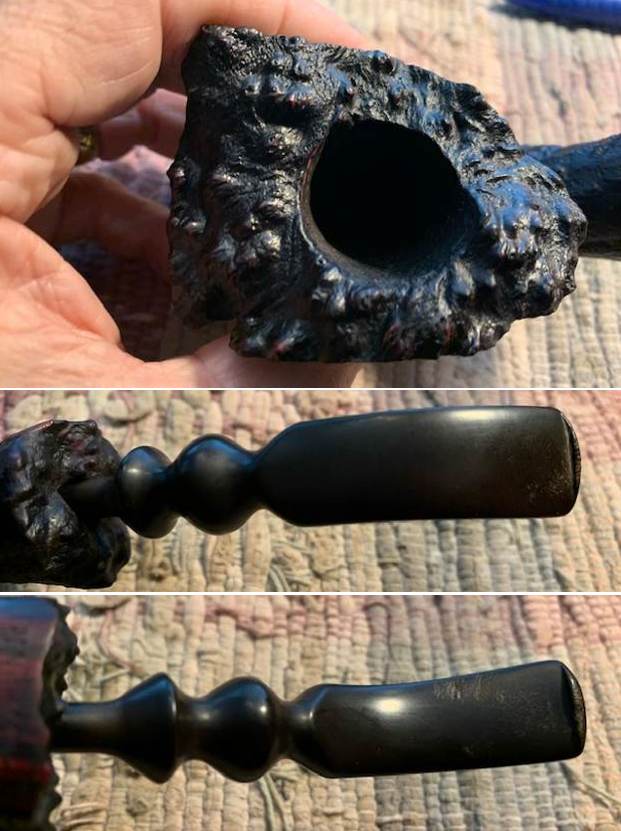
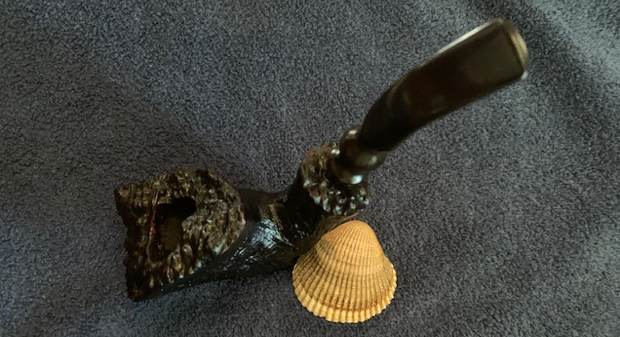
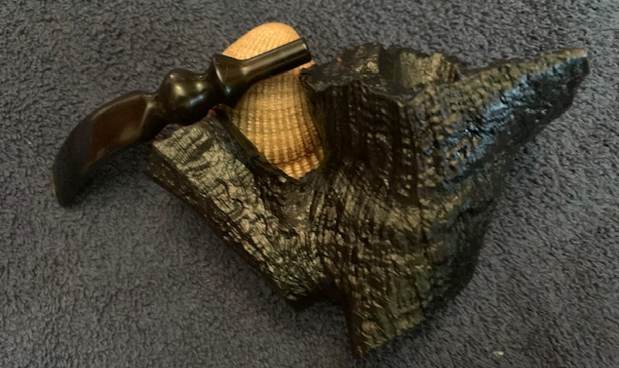
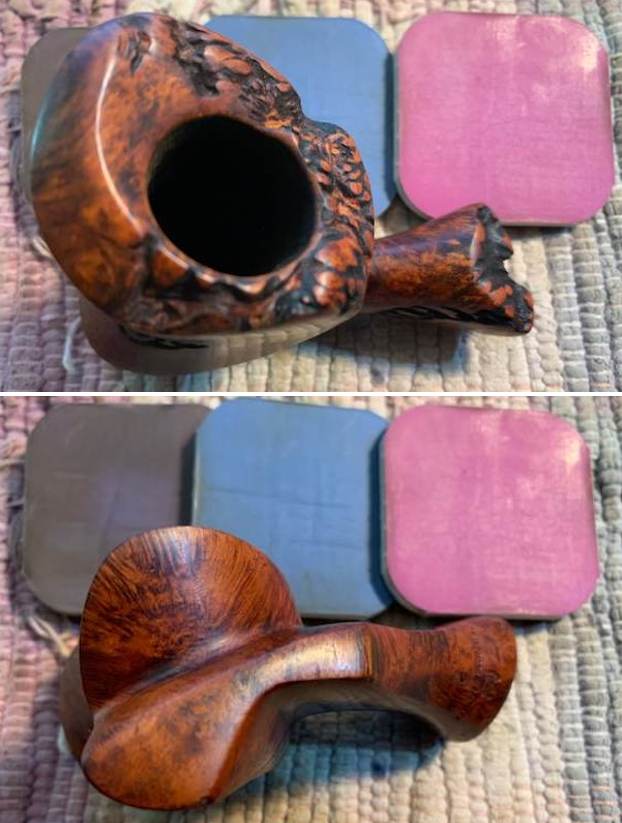
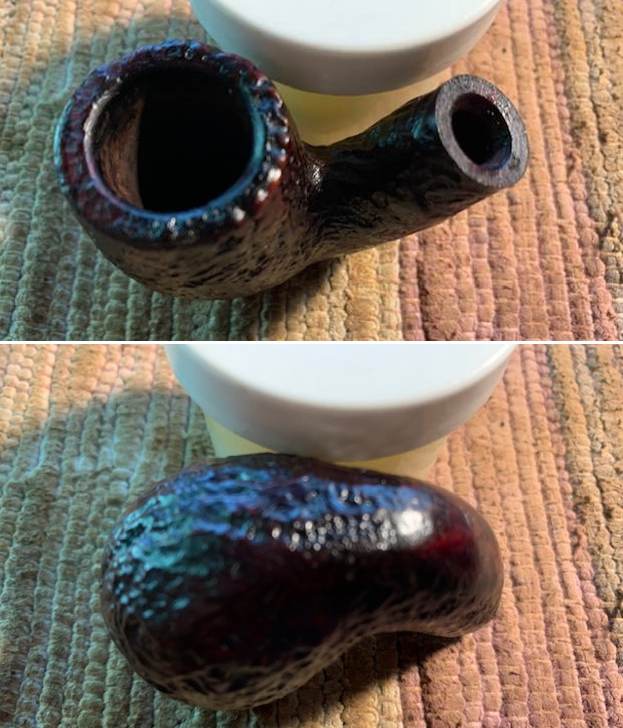
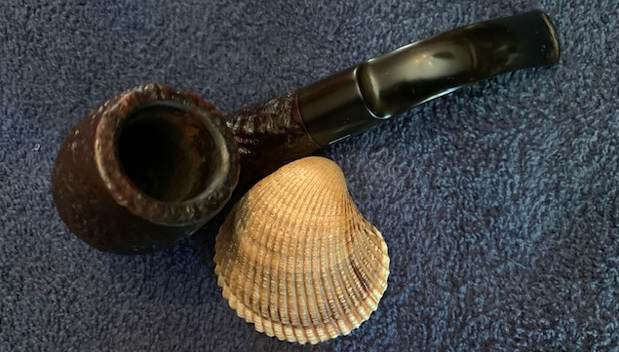
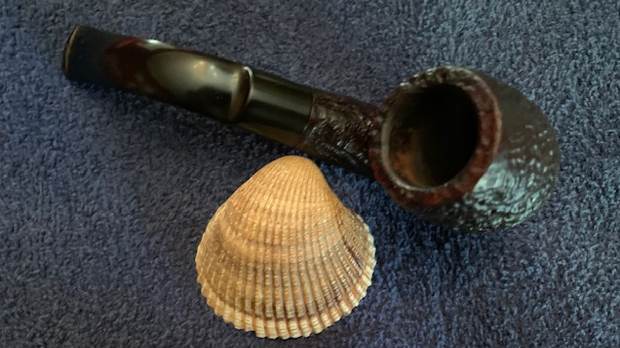
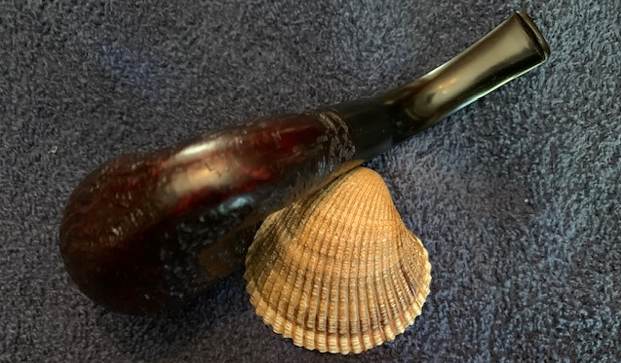
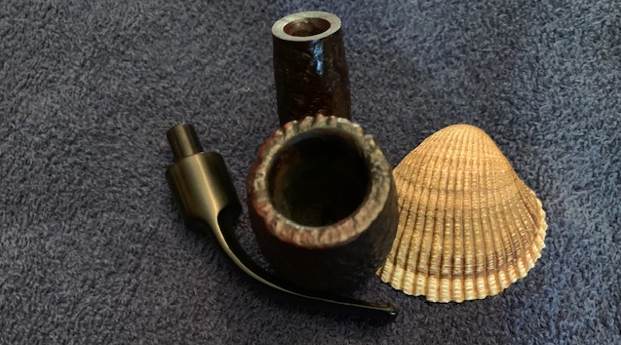
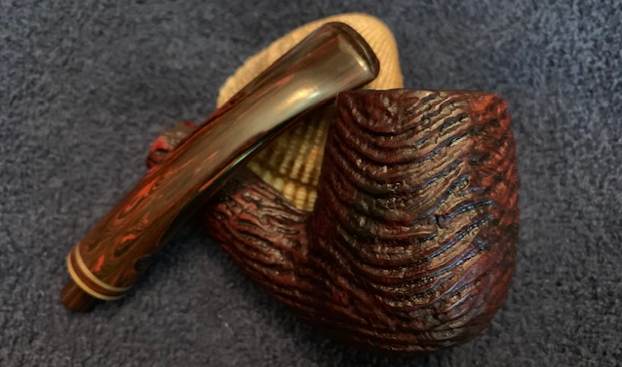
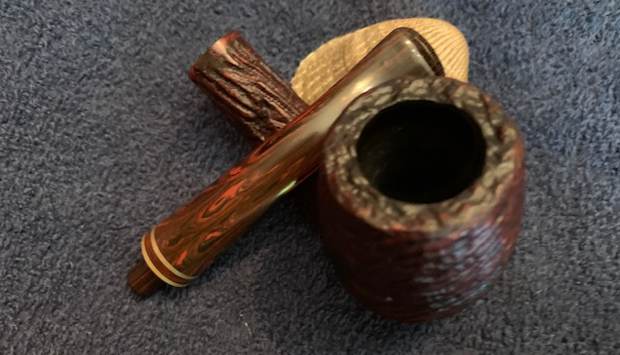
There is a thin layer of cake in the chamber that is even all around. The cake is hard and compact and this makes me believe that it has been regularly reamed to maintain the correct cake thickness in the chamber. The condition of the chamber walls can be ascertained only once the cake has been taken down to the bare briar; however, I do not foresee any major issues with the chamber walls. The smooth rim top has no dents and dings and overflowing lava. The condition of the inner rim edge will be known once the complete cake has been removed and the surface thoroughly cleaned. The chamber does have smells of old tobaccos and would need to be addressed. The rustication on the stummel surface are very fine and shallow. It is a very uniquely rusticated stummel for sure. The stain has faded from the lower half of the bowl and lower surface of the shank. The surface looks tired and lifeless and would benefit from a nice thorough TLC routine. The shank is quite clean and has no signs of accumulated old oils and gunk. The draw is nice and smooth.
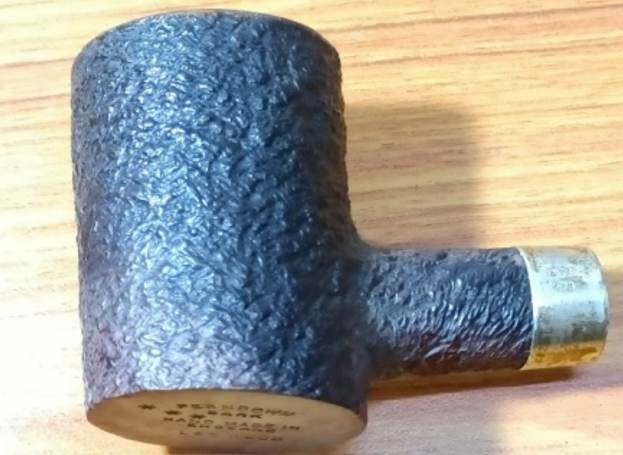

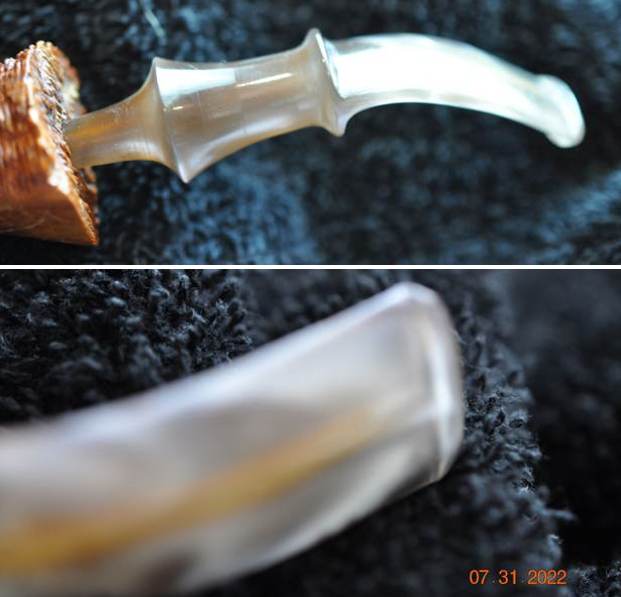
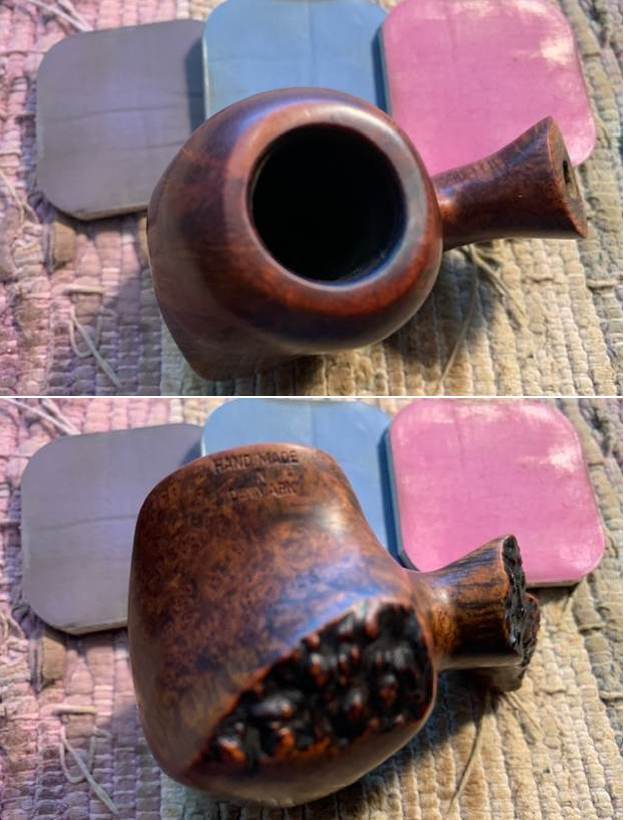
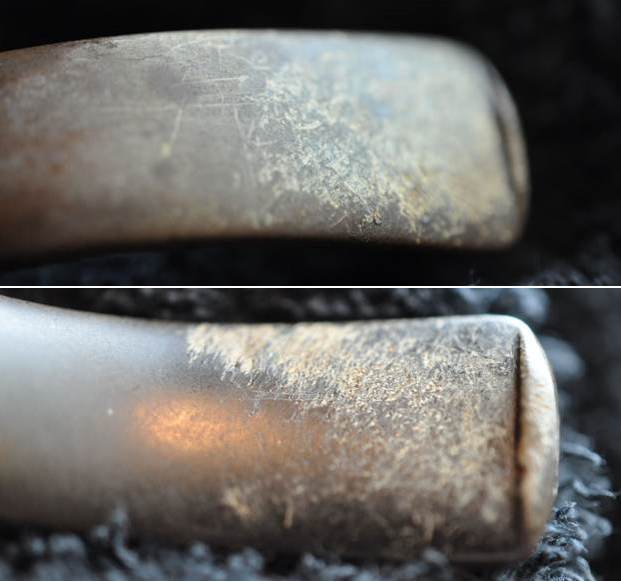
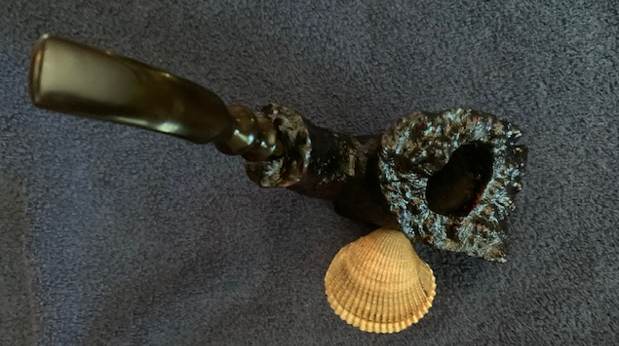
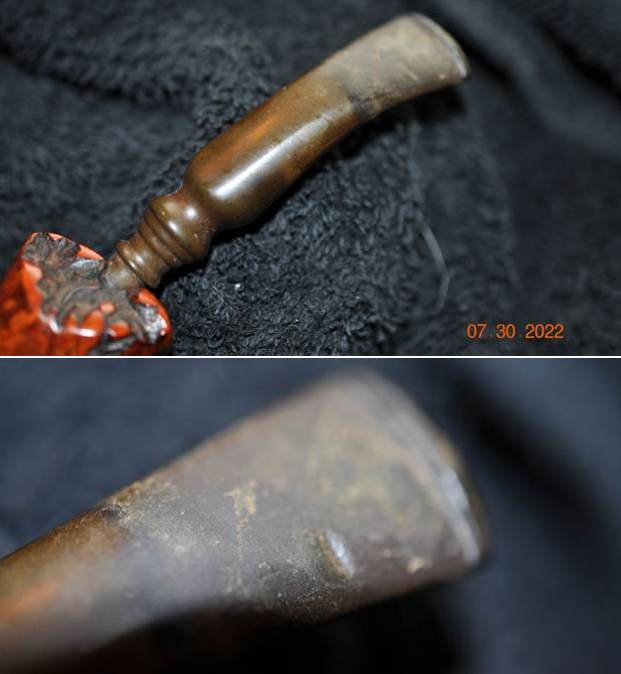
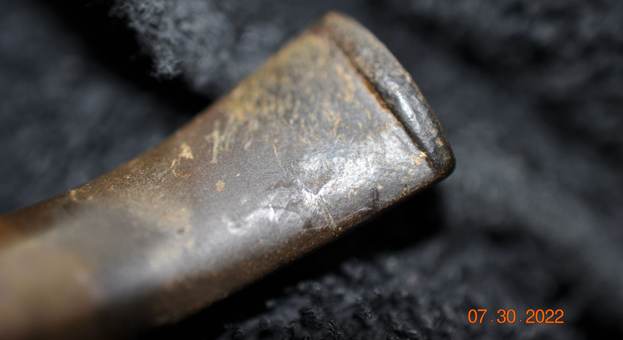
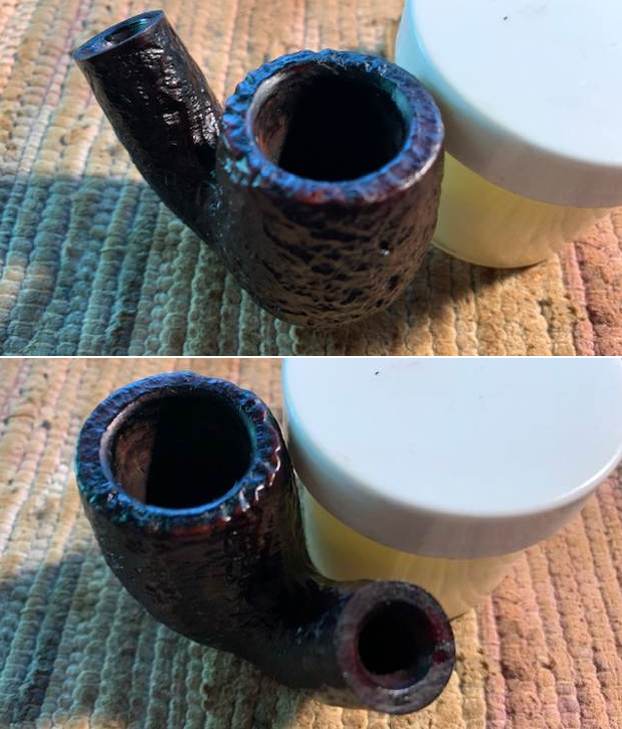
 The Cumberland stem is deeply oxidized with minor tooth chatter in the bite zone on either surface. The horizontal slot opening is clean and the tenon shows accumulation of old dried oils and gunk. The airflow through the stem is smooth and easy.
 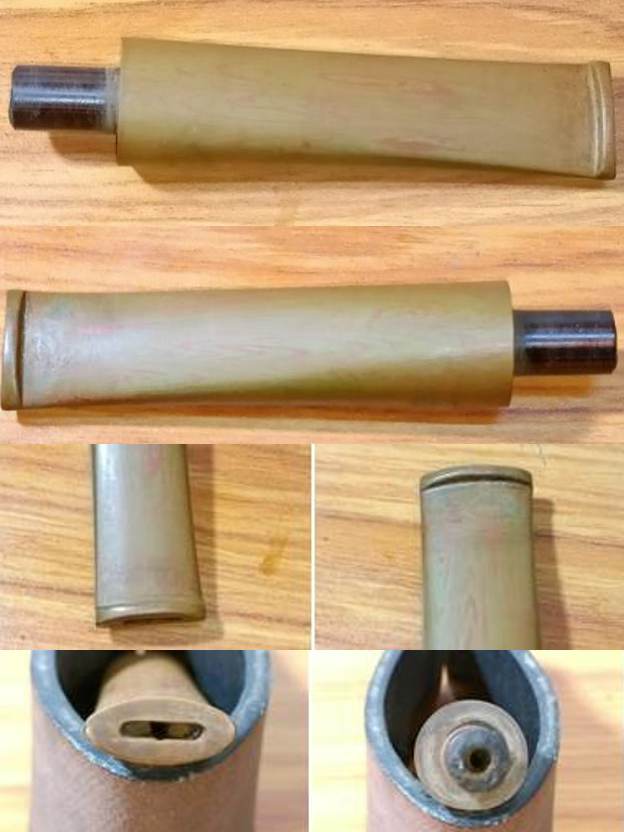 That my detailed appreciation of the condition of this pipe was completely off the mark became amply evident as I went through the process of refurbishing this pipe.
The Process
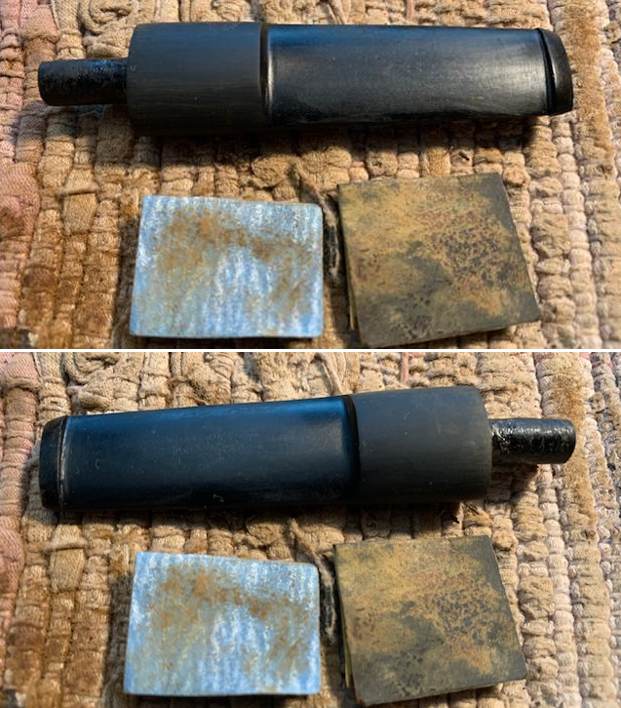
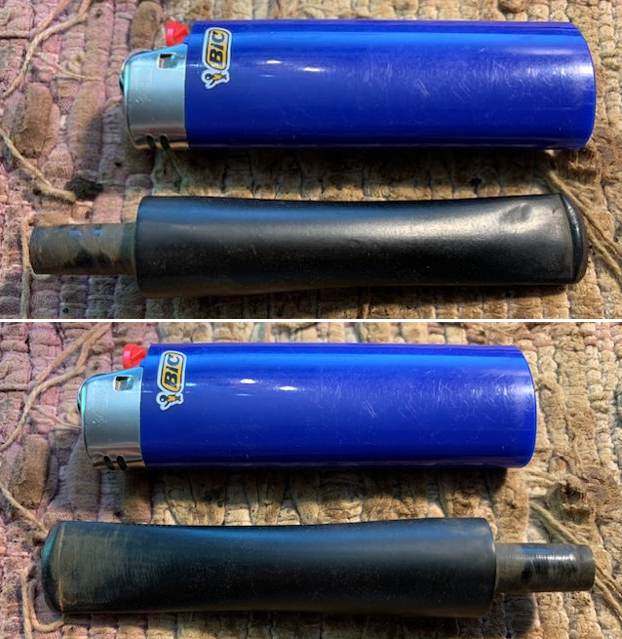
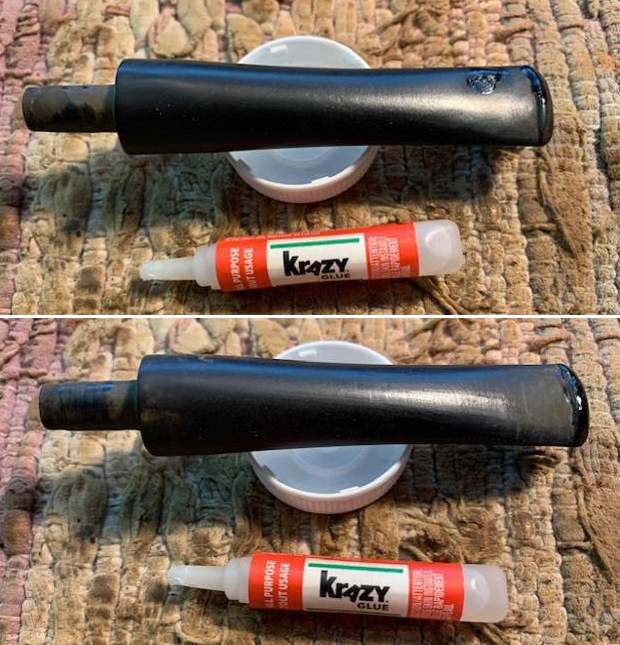
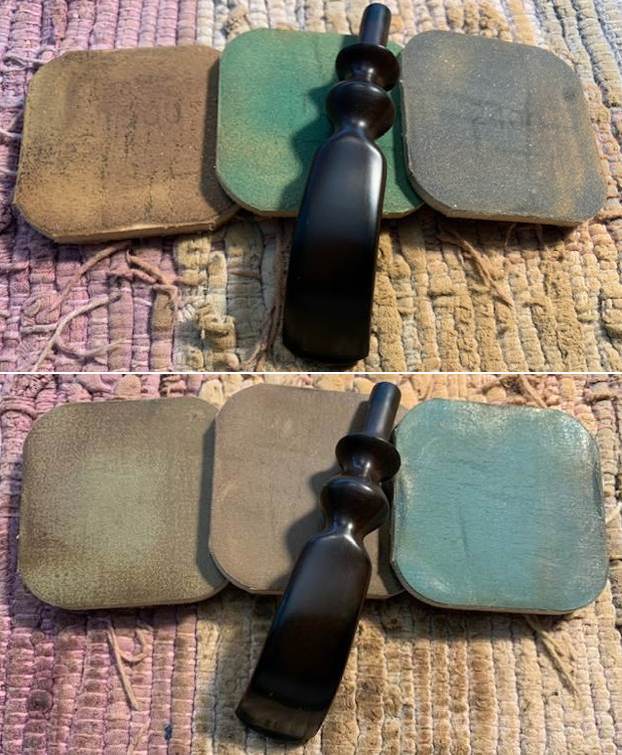
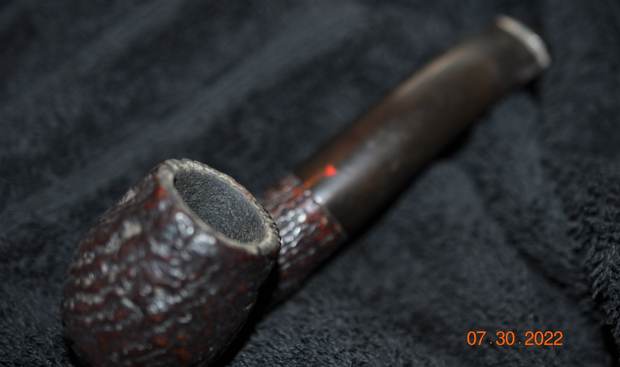
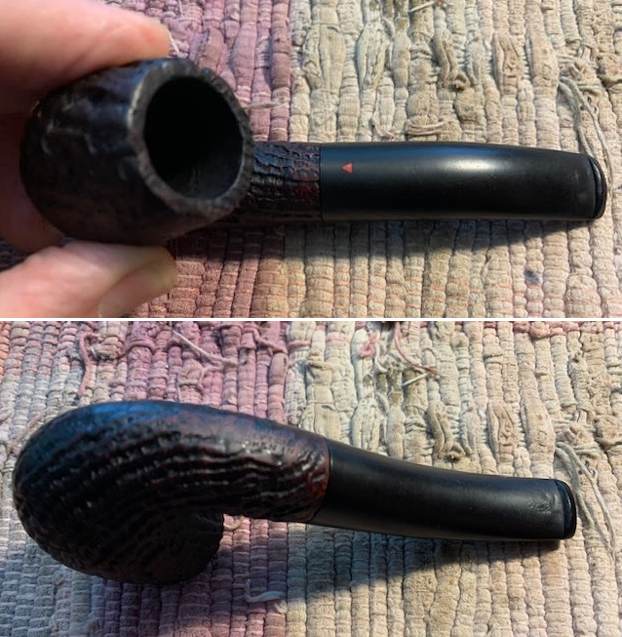
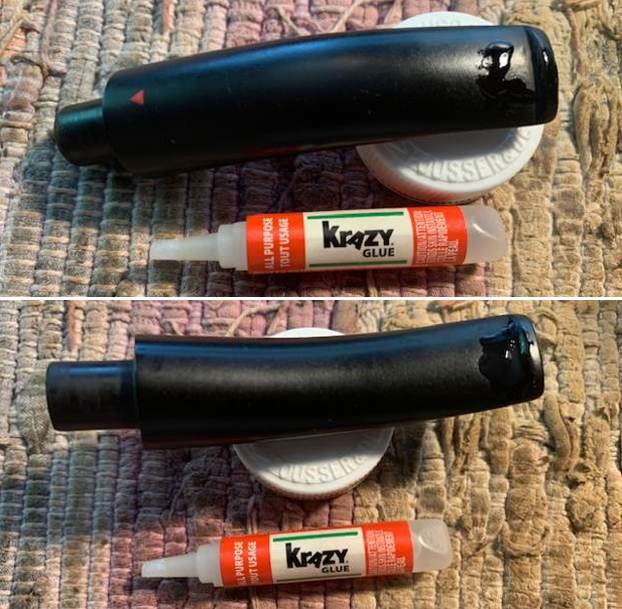
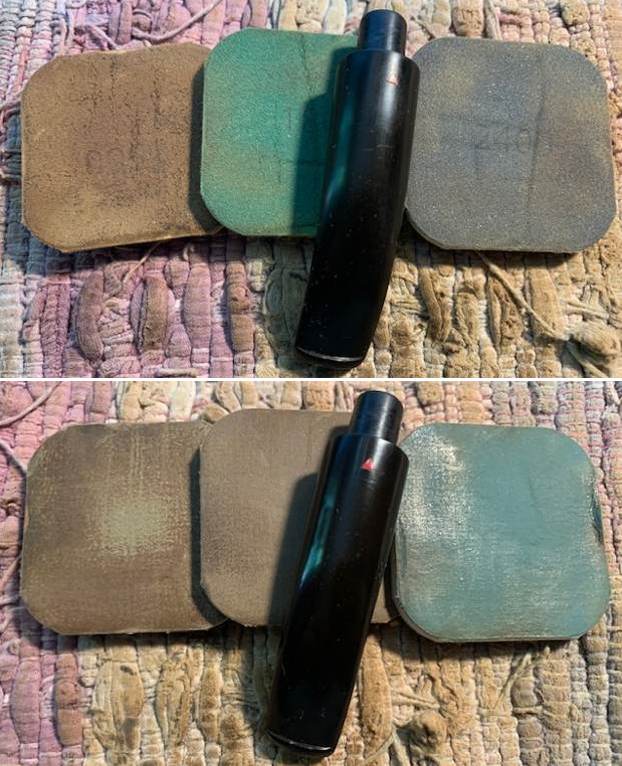
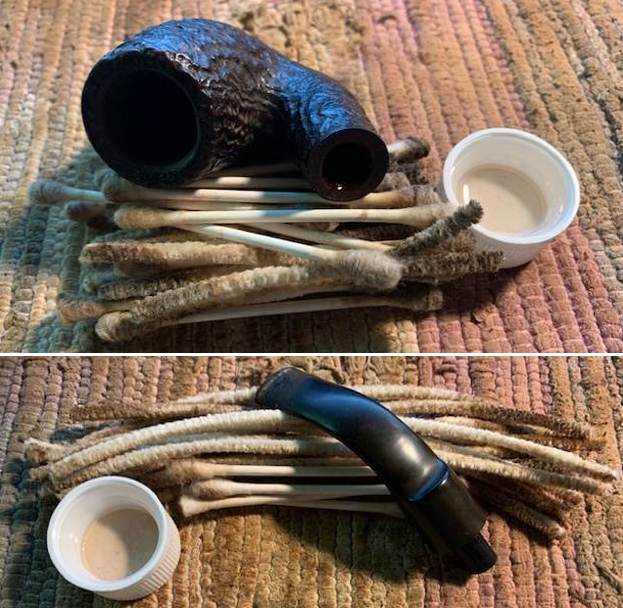
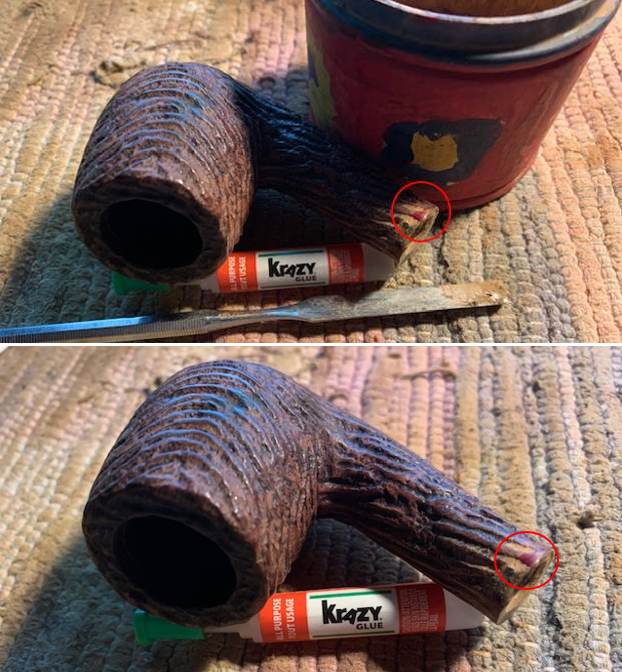
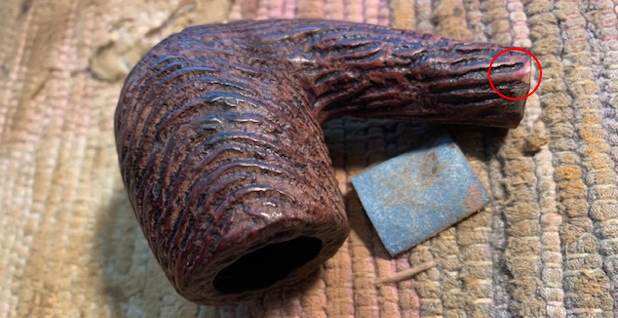
I started the process of refurbishing this pipe with internal cleaning of the stem and this is where my initial appreciation of the stem condition faulted. Using thin shank brushes and anti-oil dish washing soap, I cleaned the stem airway. I have modified this process of cleaning the stem airway by doing away with pipe cleaners and alcohol as it saves me a ton of pipe cleaners, which is a precious commodity for me here in India. To say that the airway was filthy, would be an understatement as is evidenced by the following pictures. The dark smelly and sticky goo that was being dislodged with each passing of the shank brush was never-ending. However, I persevered with my efforts till only white clean foam came out of the stem airway, indicating that the airway was nice and clean. I ran a couple of pipe cleaners dipped in alcohol through the airway to dry it out and make sure that there are no traces of soap and gunk hidden in the airway. With the stem internals now clean, I moved to external cleaning of the stem surface by dunking the stem into “Before and After Deoxidizer” solution developed by my friend Mark Hoover. The solution helps to draw out heavy oxidation to the surface making it’s further removal a breeze, while the minor oxidation is eliminated to a very great extent. I usually dunk stems of 5-7 pipes that are in-line for restoration and the FERNDOWN BARK is marked in red arrow. I generally allow the stems to soak in this solution overnight for the solution to do its work.
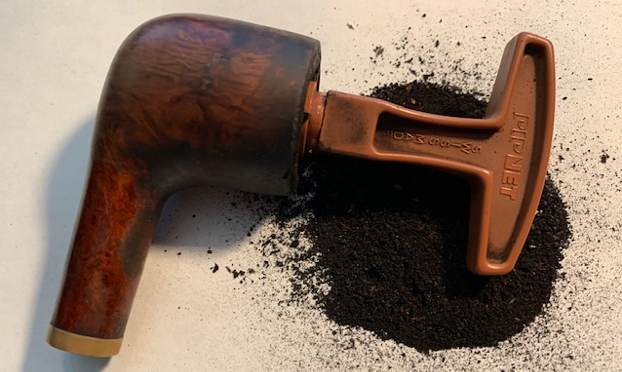
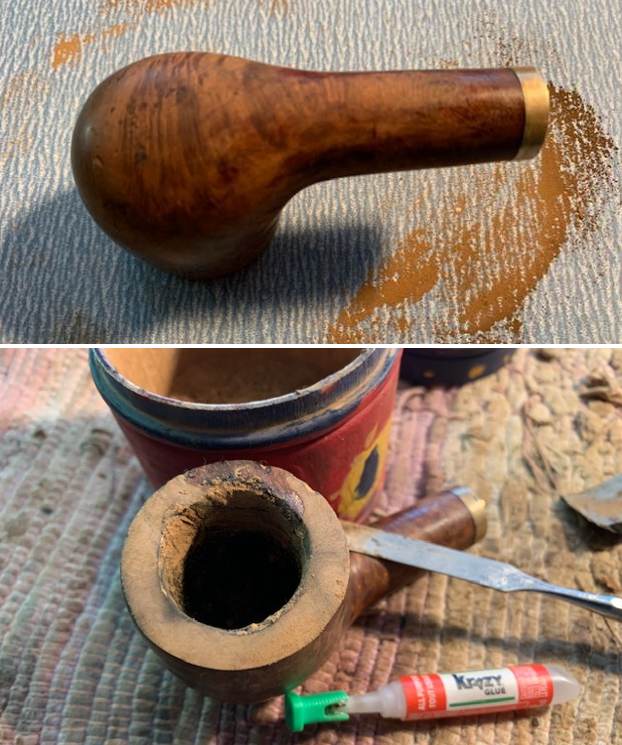
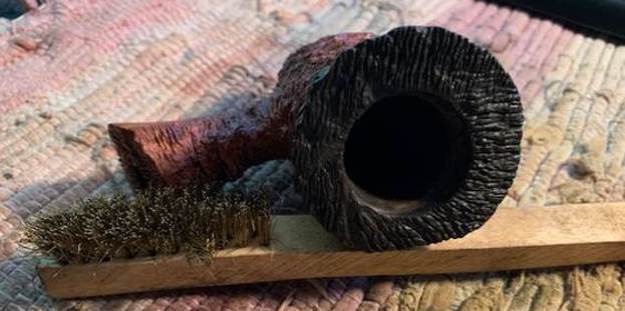
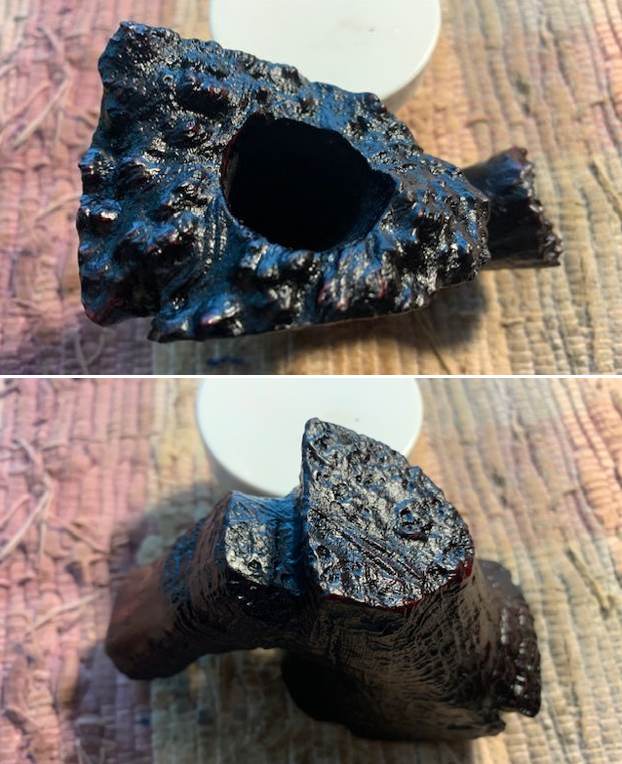
 While the stem was set aside to soak in the deoxidizer solution, I moved on to removing the thin (????) layer of cake from the chamber walls. Boy was I wrong in my assessment of thin layer and how! I started the reaming process with head size 2 of the PipNet reamer blade and progressed through head sizes 3 and 4. The blades kept cutting through the layers of cake and there seemed no end to it. Finally, I resorted to using my Kleen Reem pipe tool extended to its max width to divest the chamber walls of its entire carbon layer. The chamber is huge ! I used my fabricated knife to remove cake from areas inaccessible to the reamer blades and completed the process of removing the cake by sanding the walls smooth with a folded piece of 180 grit sandpaper. I wiped the chamber with a cotton swab wetted with alcohol to clean the residual carbon dust. The chamber walls are solid and the minor thin veins that are visible over the walls are not heat fissures but an ultra thin layer of carbon which will be addressed once the cake is loosened up after a salt and alcohol bath, or at least that is what I hope for.

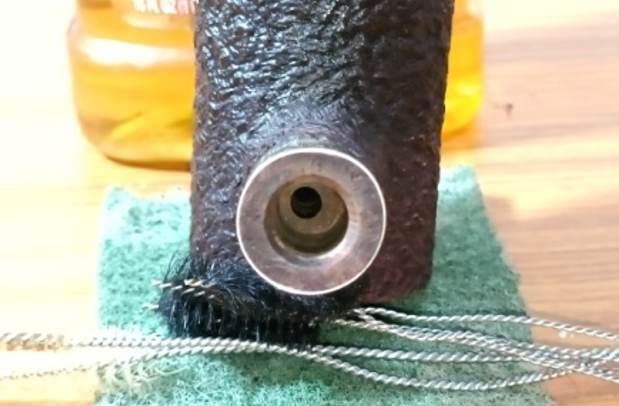
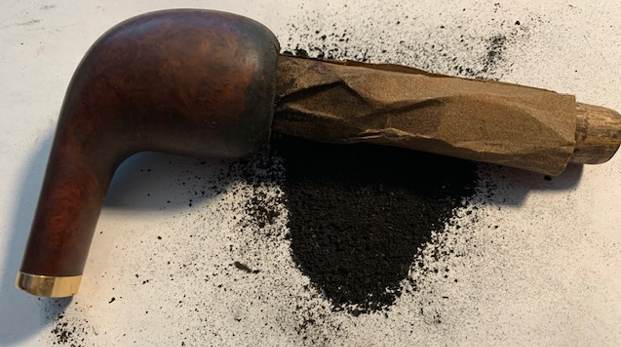
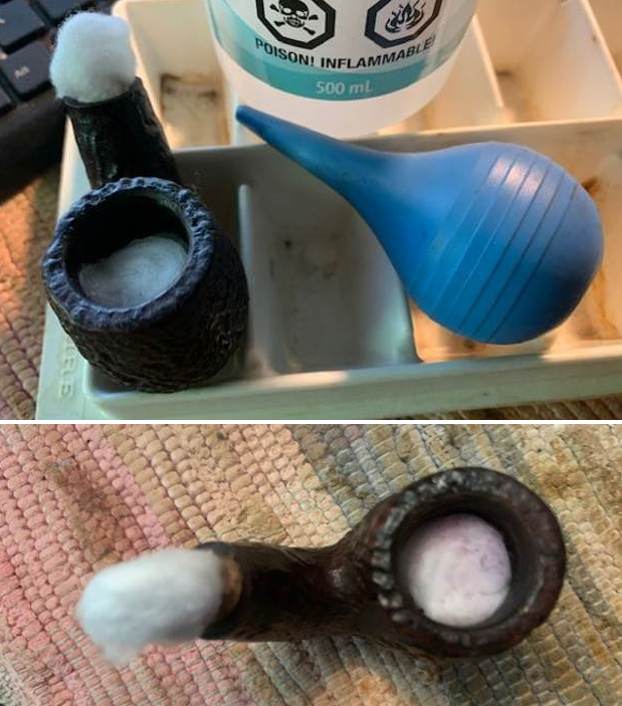
 Next, I cleaned the mortise by scraping out all the dried oils and tars from the walls. My assessment of the mortise being clean was proved wrong by the amount of crud that was scraped out. The icing on the cake was when I tried to clean the airway with a folded pipe cleaner dipped in alcohol and it just wouldn’t pass through. I realized that the airway was clogged to some extent. Using the drill bit attachment from the Kleen Reem pipe tool, I cleaned out the accumulated oils and tars from the airway and ran a folded bristled pipe cleaner dipped in alcohol through the airway. I checked the draw and if earlier I felt the draw was smooth and open, after the cleaning, it was surreal! The draw was something I had not experienced earlier. The air literally gushed through the airway. This one is a sure fire excellent smoker.
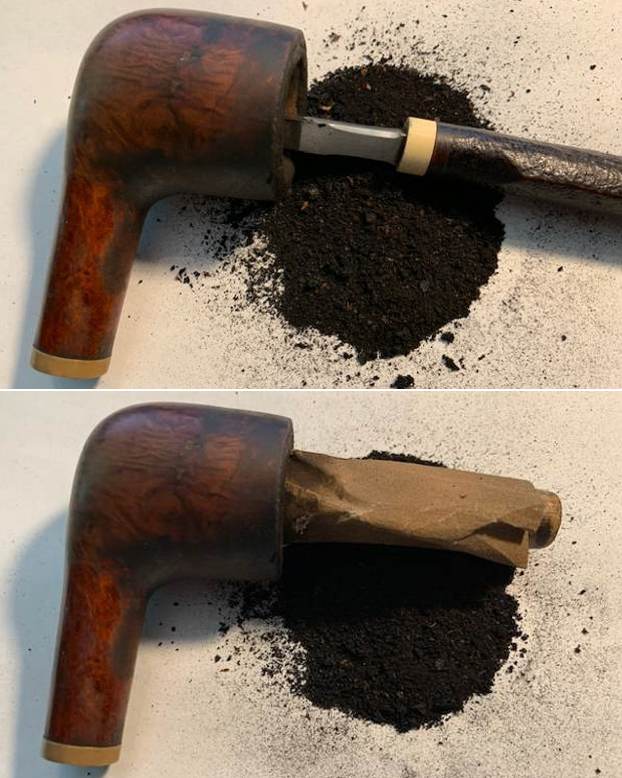
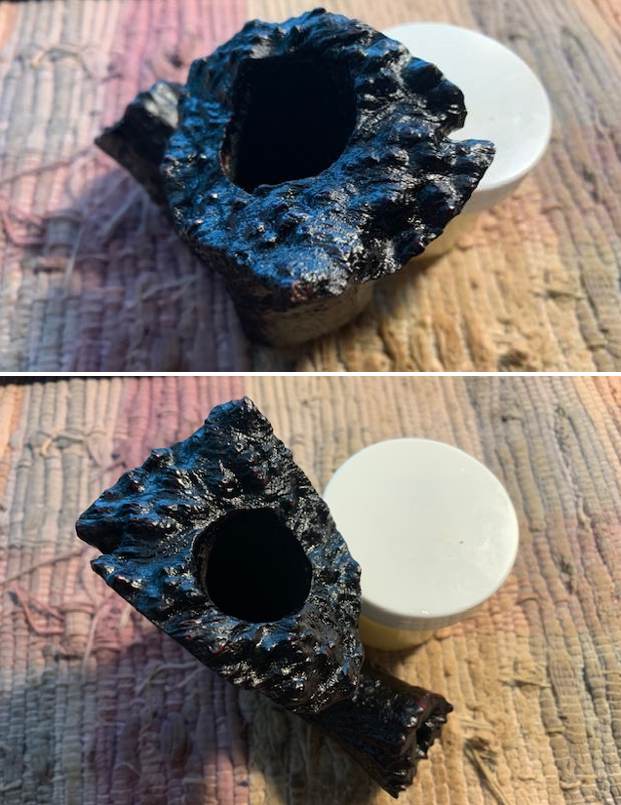
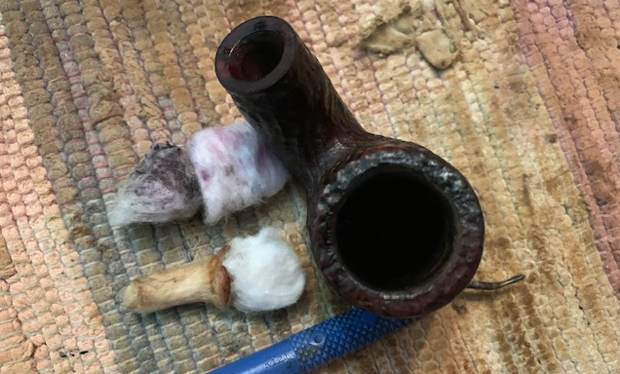
 Continuing with the internal cleaning of the chamber and shank, I subjected it to a salt and alcohol bath. I used cotton balls which is an at par substitute as I have realized over the years. I drew out a wick from the cotton and along with a folded regular pipe cleaner; inserted it into the mortise and through the draught hole and further into the chamber. Thereafter, I packed the chamber with cotton balls to about quarter of an inch below the rim inner edge and soaked the cotton balls with isopropyl alcohol up to the brim. About half an hour later, the level of alcohol had gone down, having being absorbed by the cotton. I topped it up once again and set it aside overnight. By next afternoon, the cotton and alcohol had drawn out all the remaining oils/ tars from the chamber and mortise and loosened out any residual cake and tar build up, fulfilling its intended task. I removed the cotton balls and ran pipe cleaners through the mortise to clean out all the loosened tars and gunk. Using my fabricated tool, I scraped out the entire loosed gunk from the mortise and further cleaned it with alcohol and q-tips. I also scraped the moist cake from the chamber using my knife and sanding it smooth with 180 grit sandpaper. The chamber now smelled clean and fresh and the tiny veins observed in the chamber were eliminated. I set the stummel to dry out naturally.
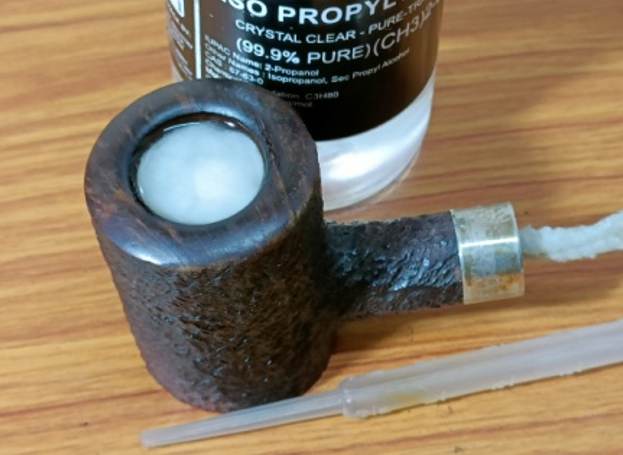

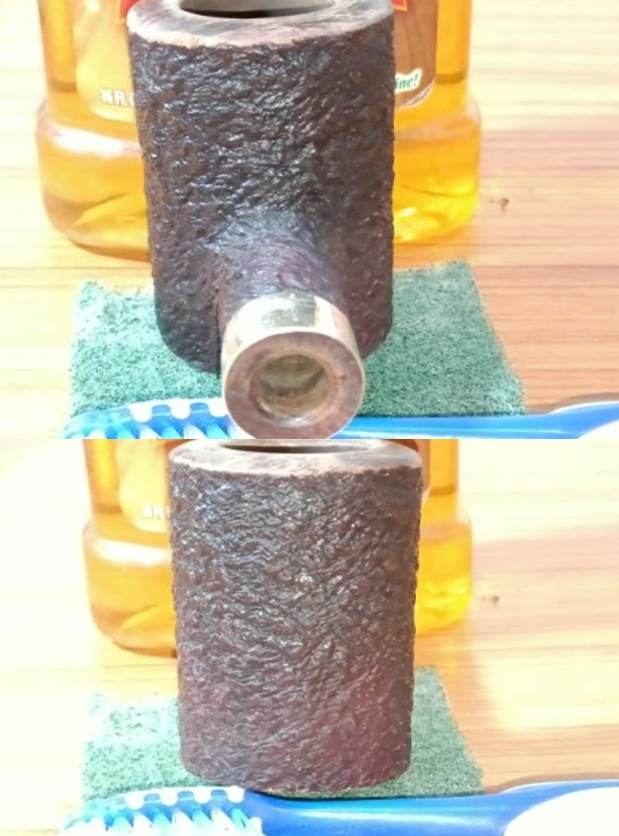
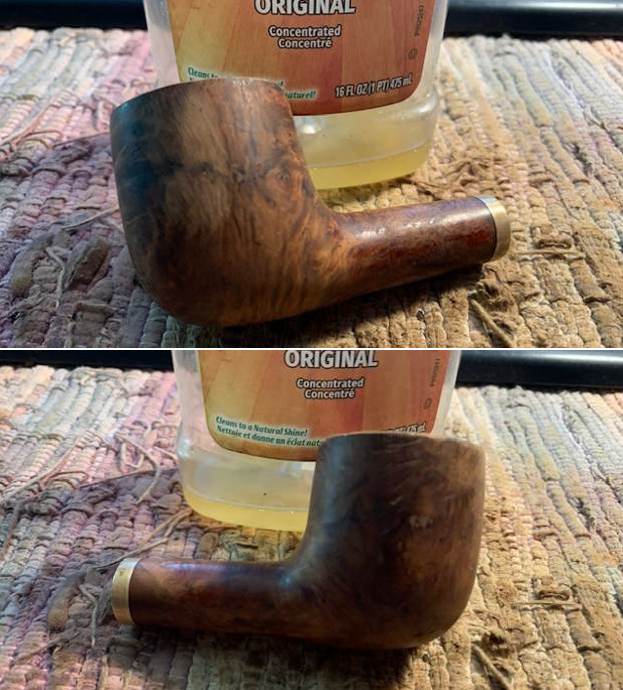
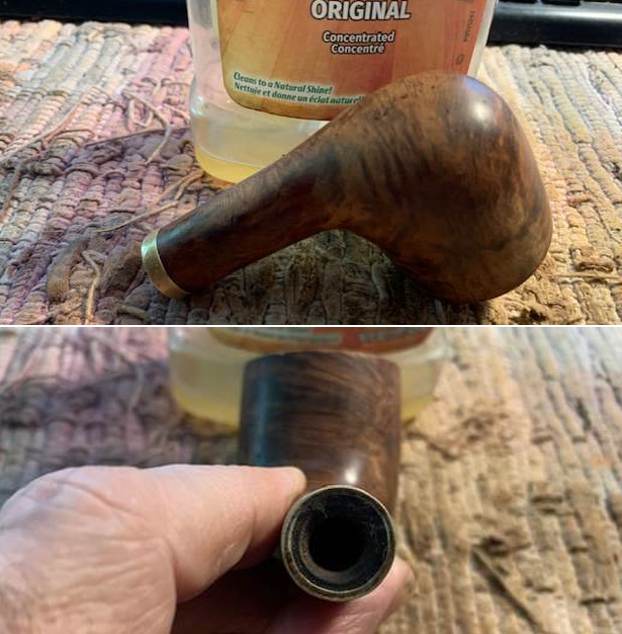
 I cleaned the external surface of the stummel with undiluted Murphy’s Oil Soap and a hard bristled toothbrush. I cleaned the smooth rim top surface with the soap and Scotch Brite pad. I thoroughly cleaned the mortise with shank brush and anti-oil dish washing soap.
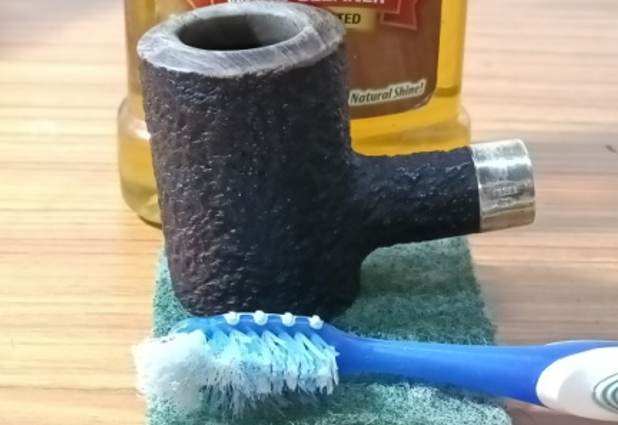
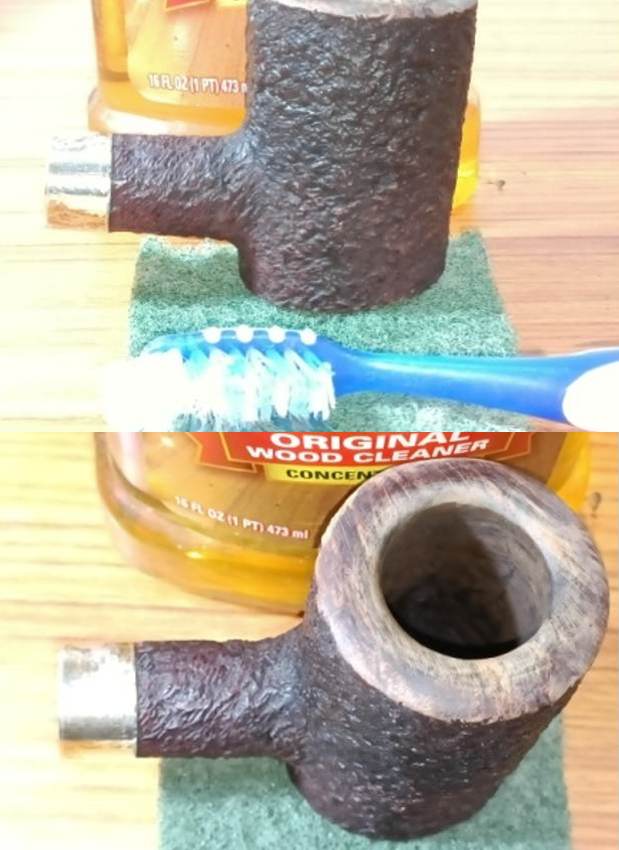
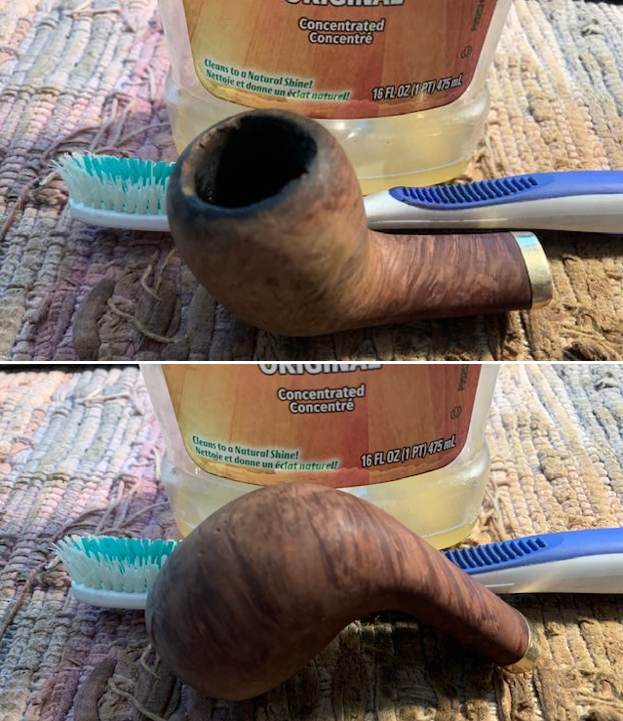
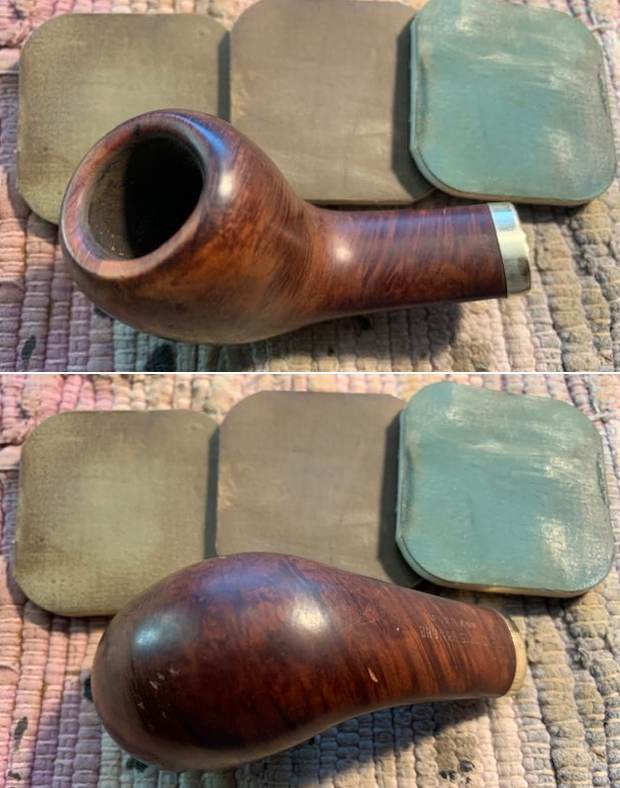
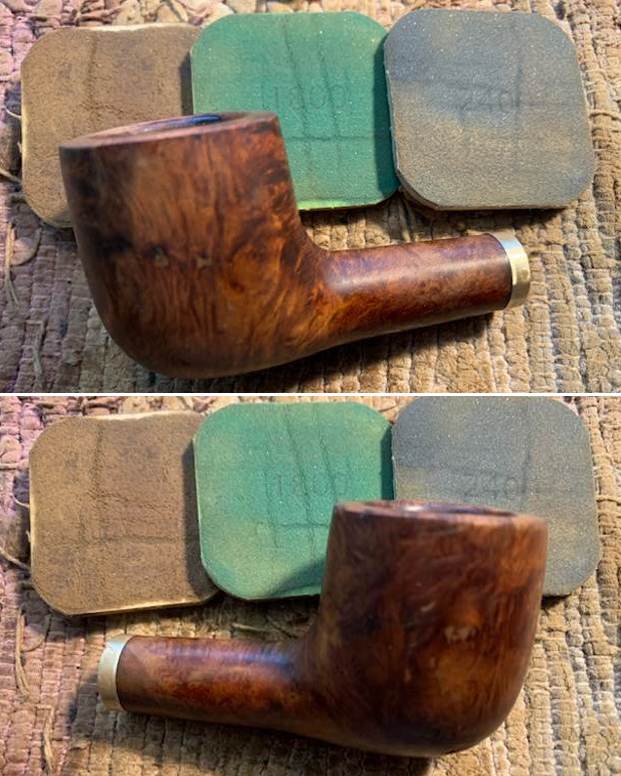
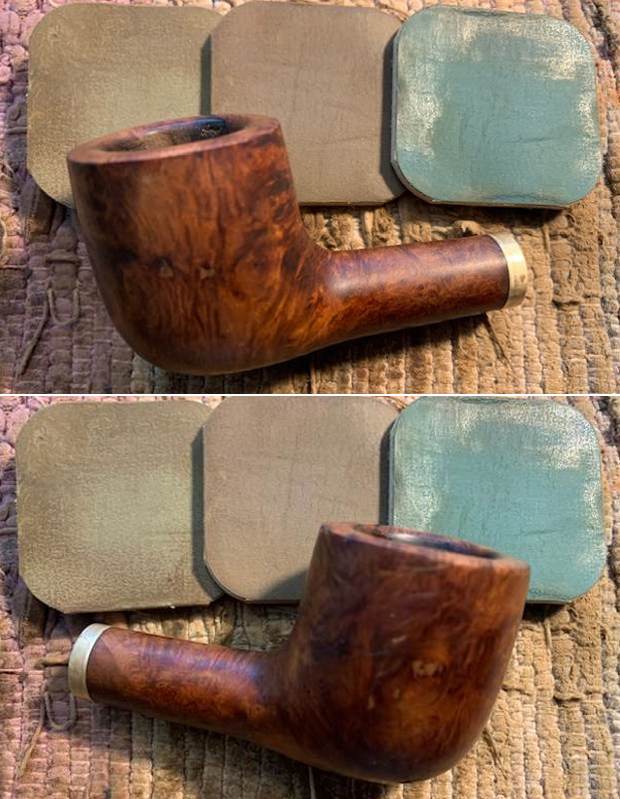
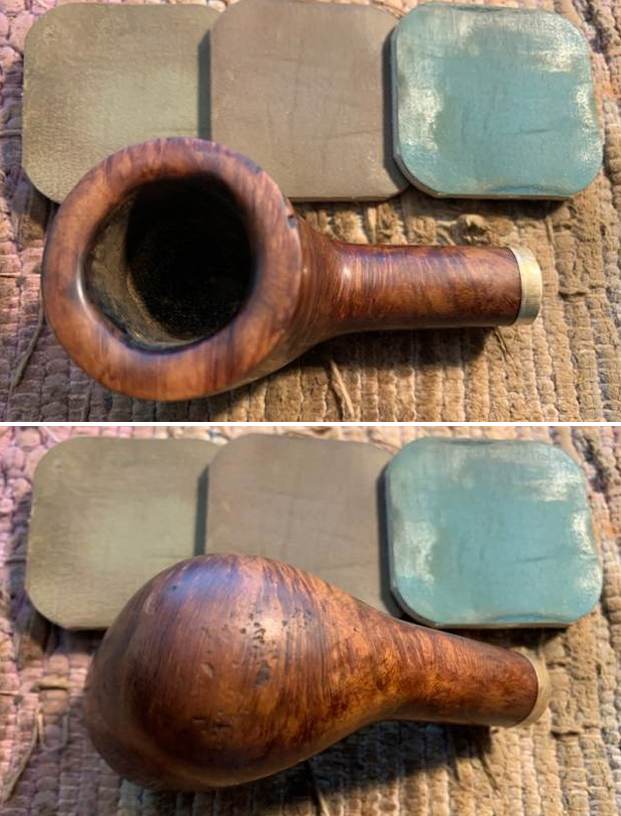
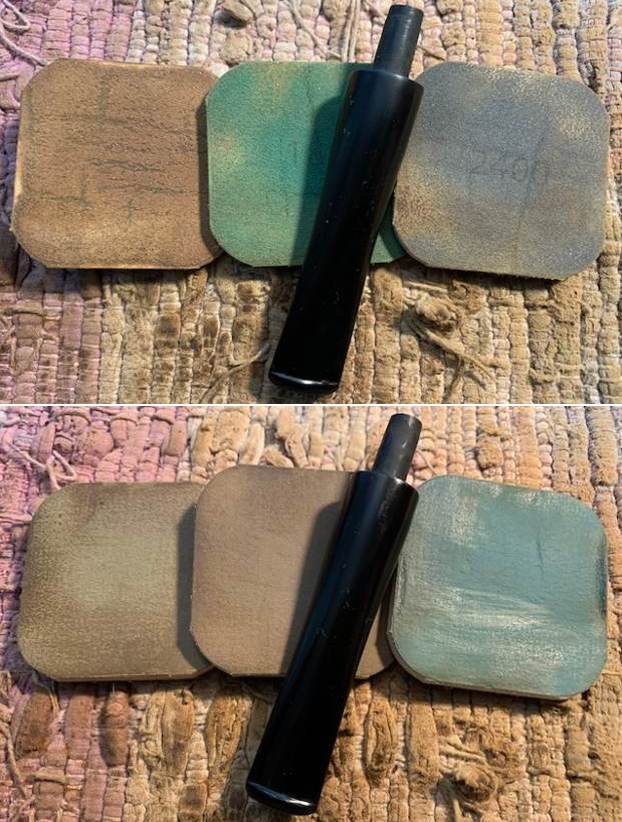
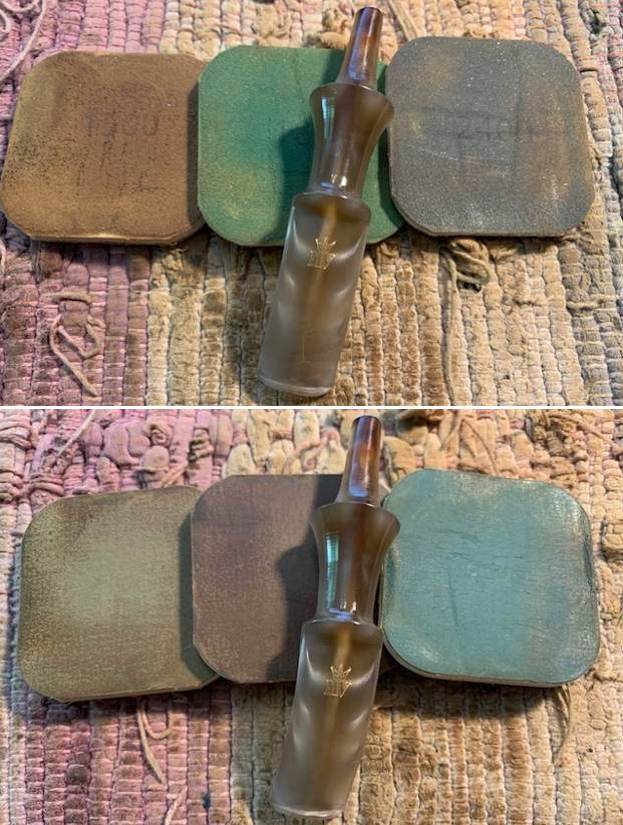
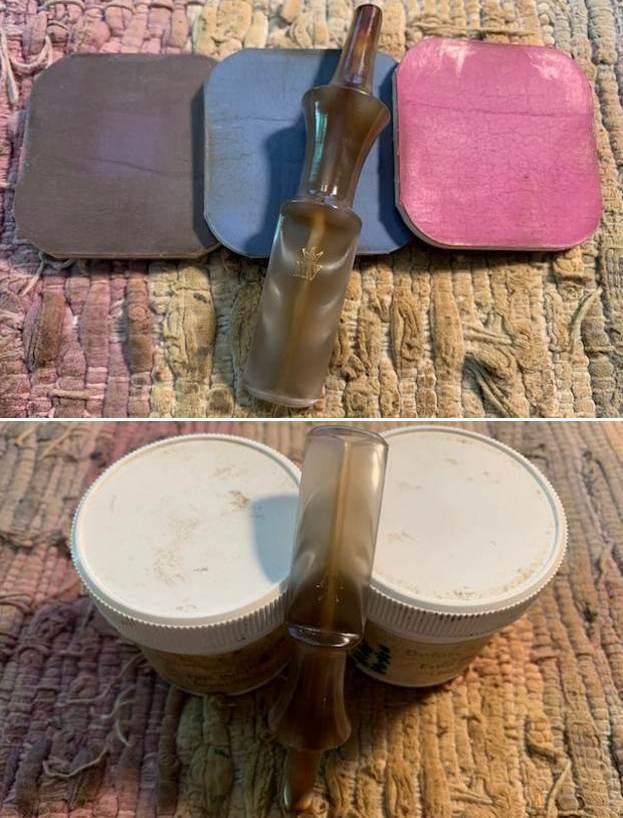
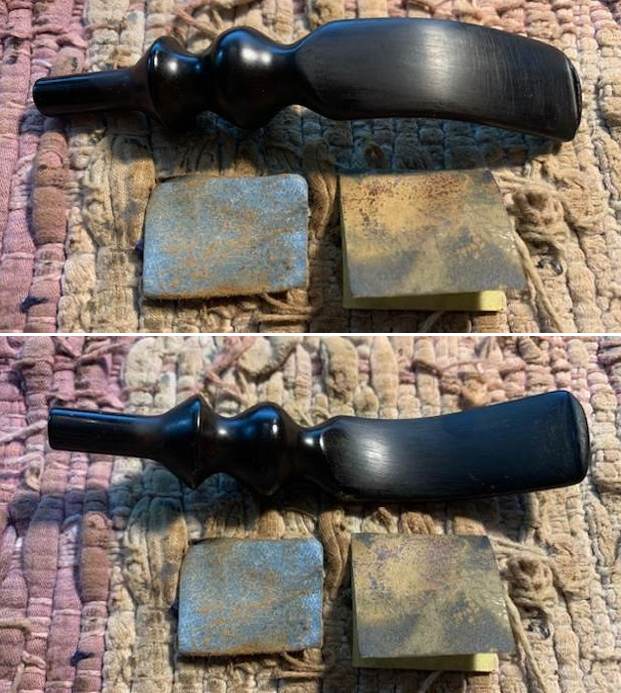
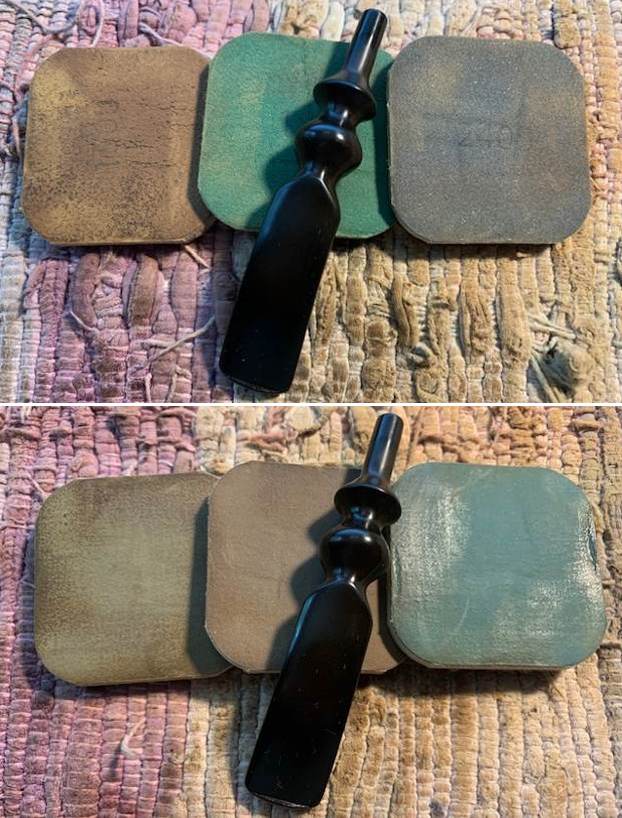
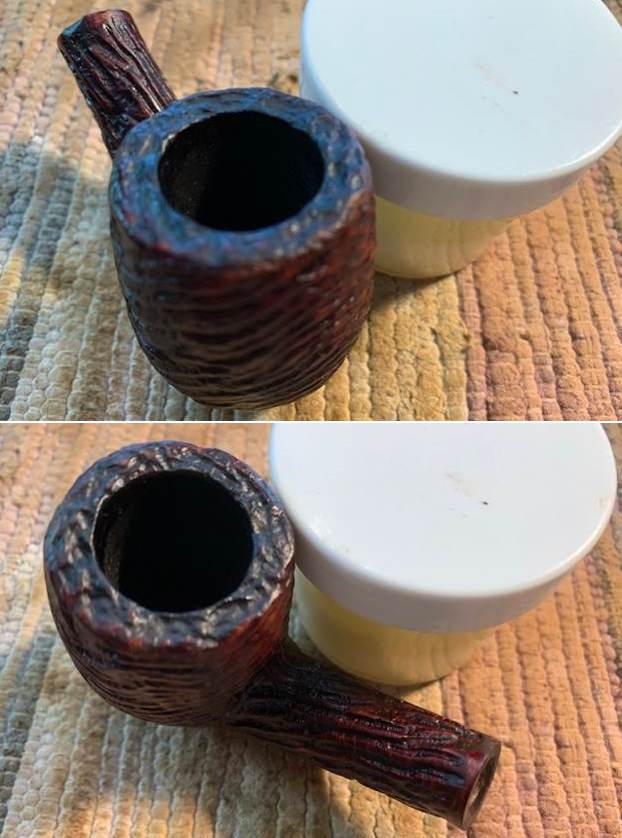
 I polished the smooth rim top surface by dry sanding with 1500 to 12000 grit micromesh pads.
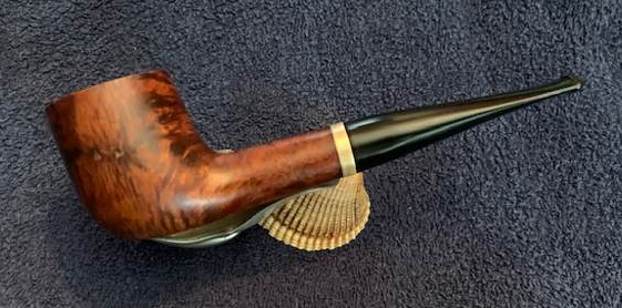
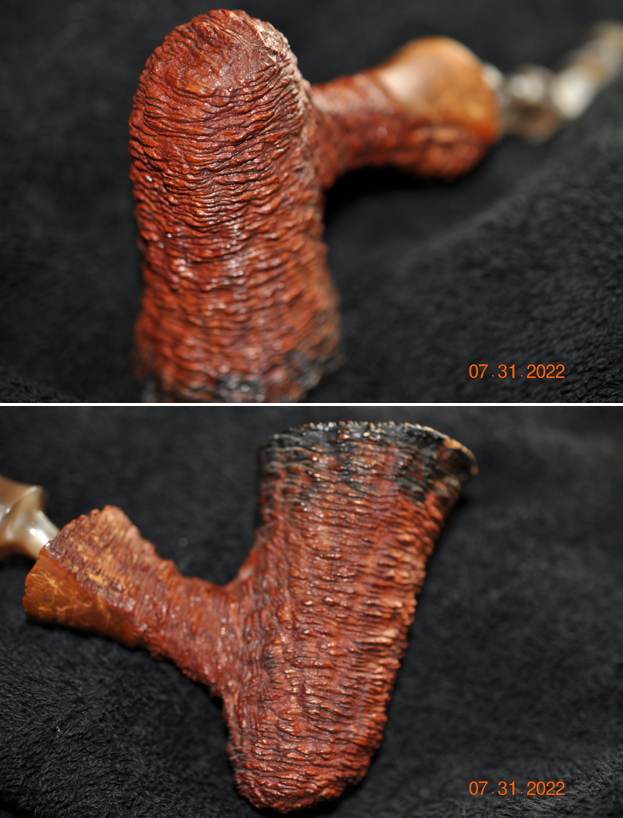
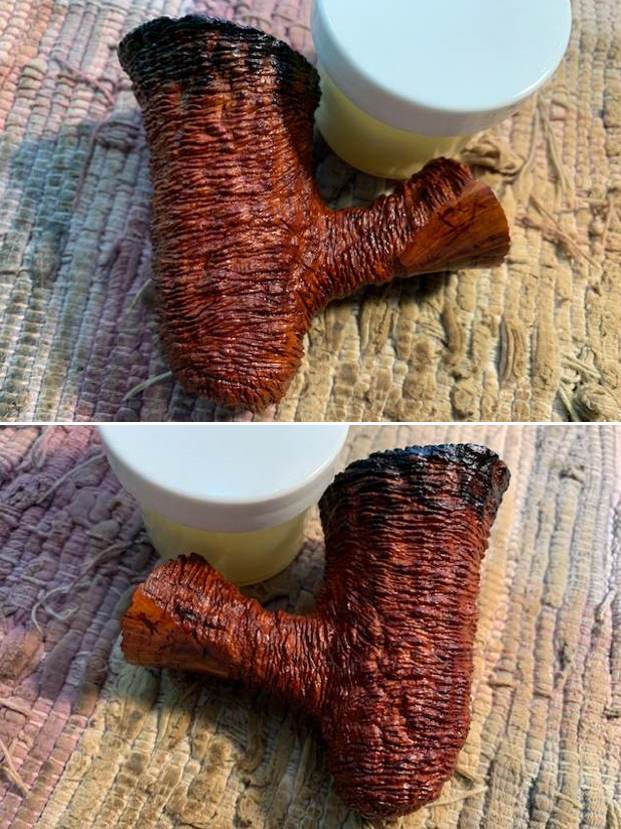
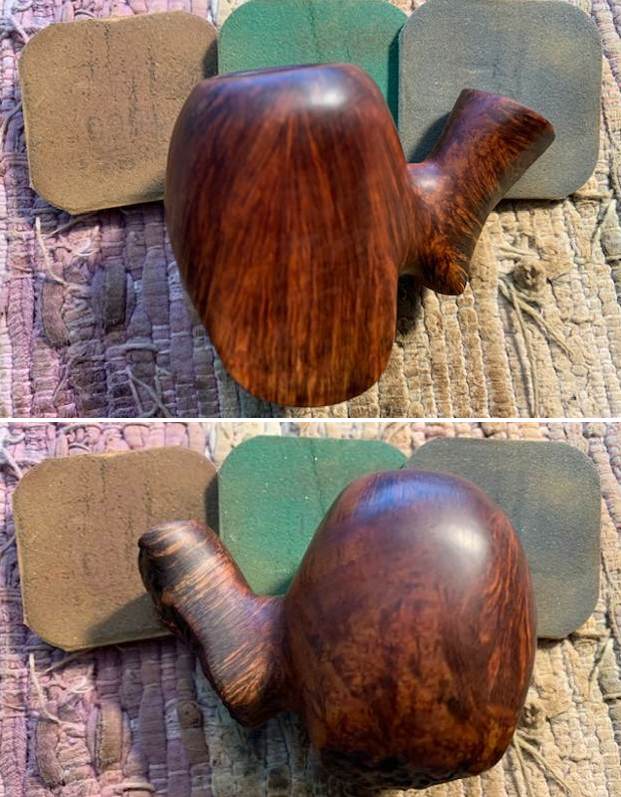
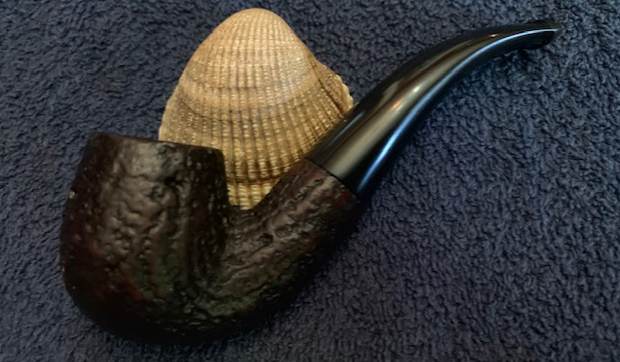
 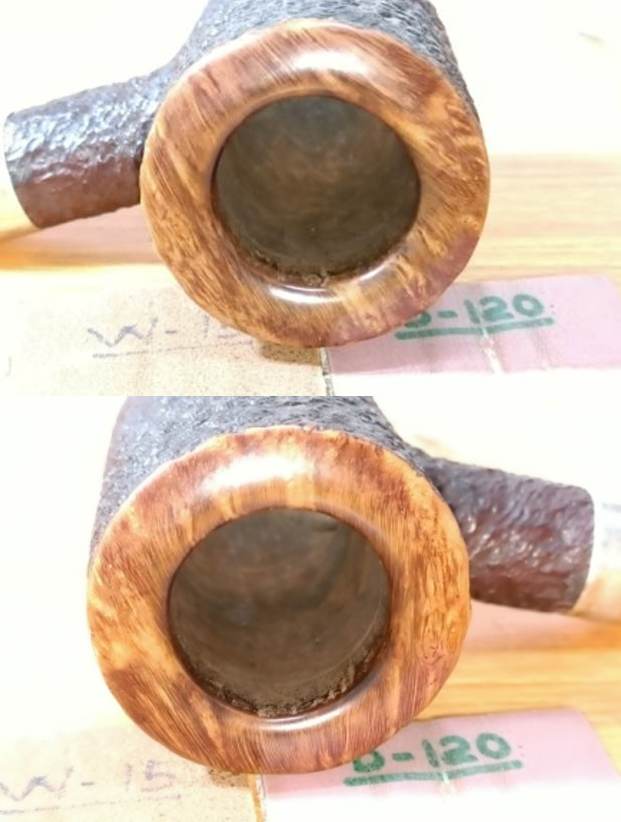 Next, I rubbed a small quantity of “Before and After Restoration Balm” into the briar with my finger tips and let it rest for a few minutes. The balm almost immediately works it’s magic and the briar now had a nice vibrant appearance with the beautiful rustication patterns on full display. I have been using this balm ever since I embarked on this journey and it is this part of restoration that I always look forward to. I further buffed it with a horse hair shoe brush. This pipe really oozes of a very high quality, in fact one of the best that I have come across.
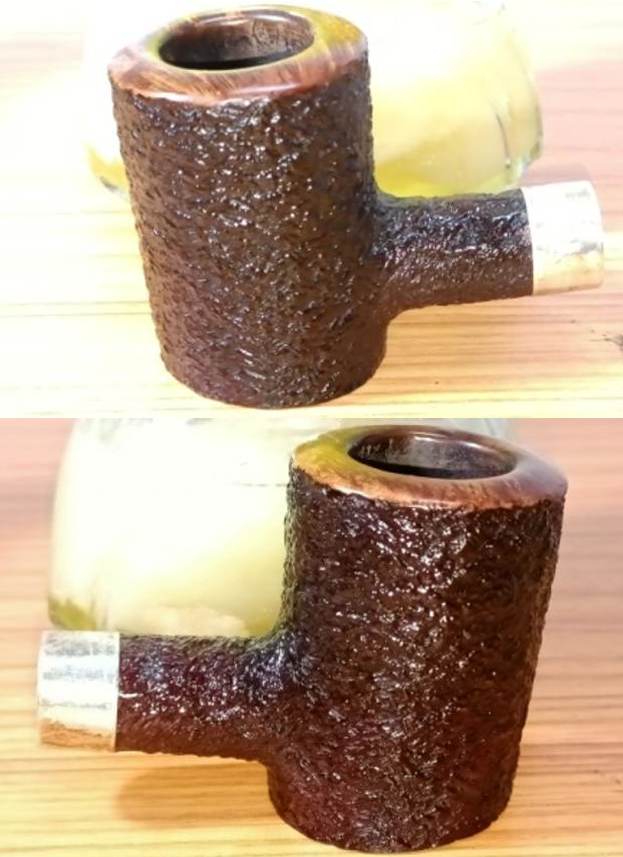
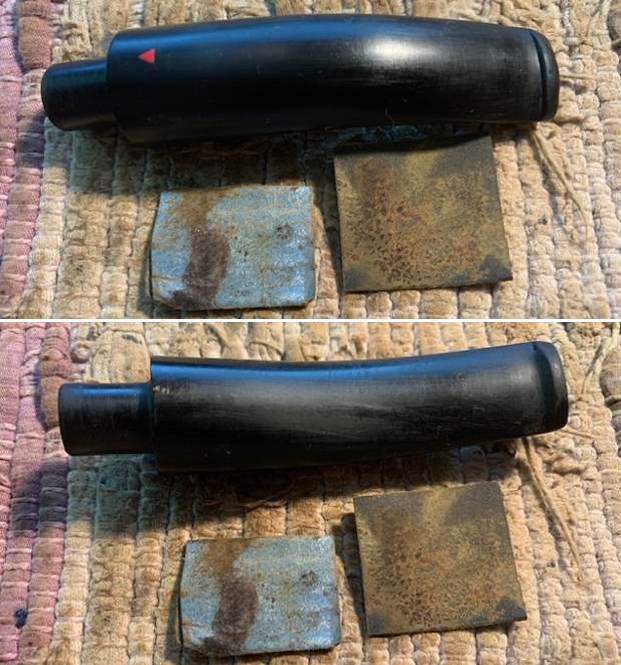
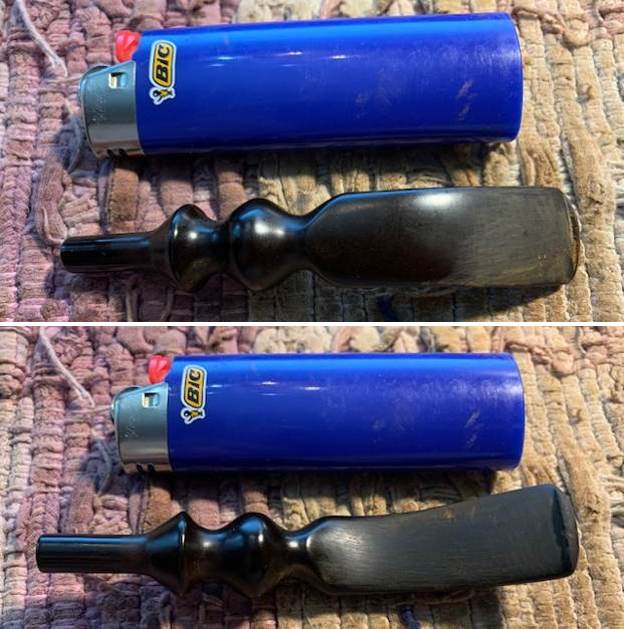
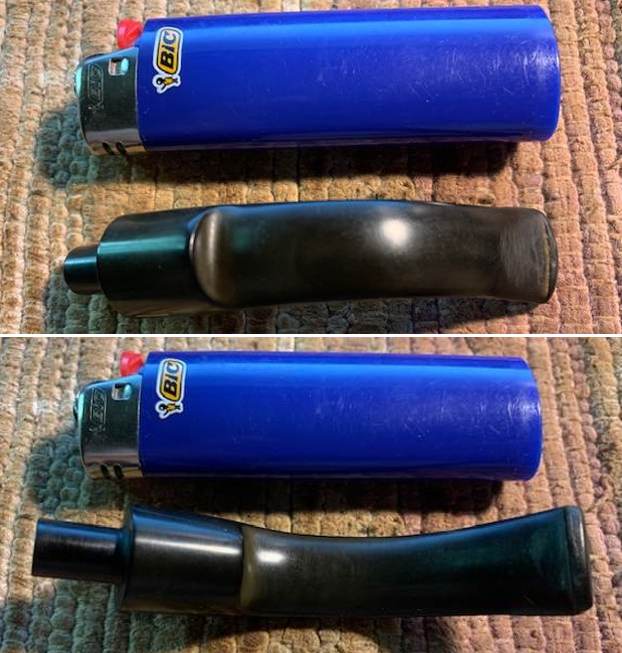
 Now that the stummel refurbishing was nearly done and also the stem had now been soaking for more than 24 hours, I removed the stem from the solution. I first scrubbed the stem surface with a Scotch Brite pad, always being mindful of the stem logo on the left side. I followed this scrubbing with a nice cleaning of the surface using a 0000 grade steel wool. I rinsed the stem under running water to rid the stem of the thick solution. I ran a couple of pipe cleaners to remove the deoxidizer solution from the airway. The beauty of a Cumberland stem with swirls of red and black can now be appreciated once the heavy oxidation has been eliminated.
 The above cleaning also gave a clearer picture of the tooth chatter on either surface in the bite zone. This tooth chatter was very minor and would be easily addressed during the sanding process using various grit sandpapers followed by micromesh pads. I dry sanded the entire stem with 320, 400, 600 and 800 grit sand papers followed by wet sanding using 1000, 1500 and 2000 grit sand papers. This progressive use of higher grit sandpapers helps to, firstly, reduce the sanding marks left behind by the more abrasive ones, secondly, completely eliminate the oxidation and imparting a clean shine to the stem surface. Thirdly, this also helped to even out the minor tooth chatter from the bite zone. I applied a little EVO and set the stem aside for a few minutes. This stem, as the rest of the pipe, is a real beauty.
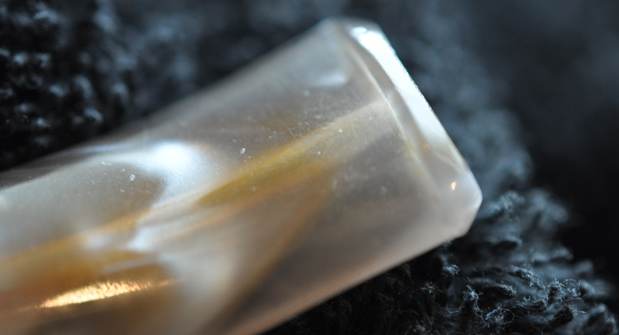
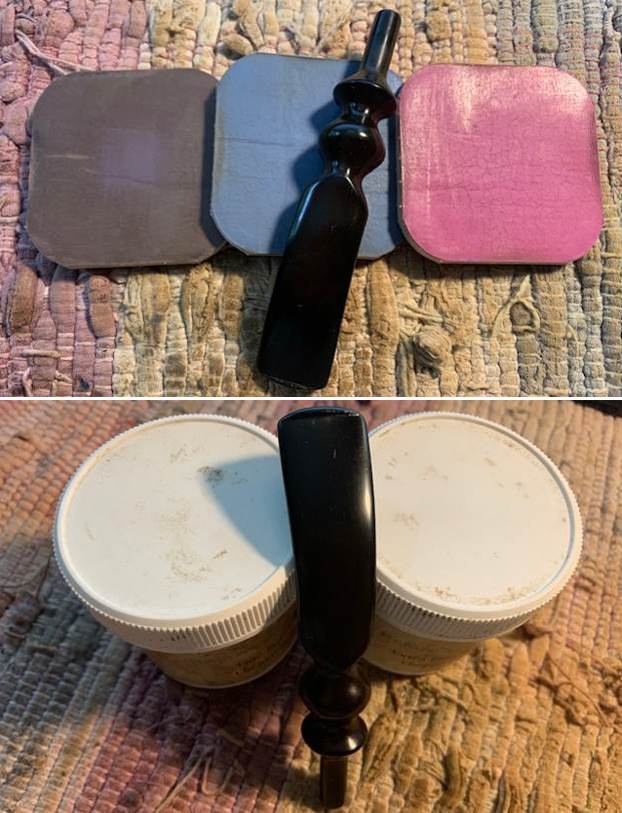
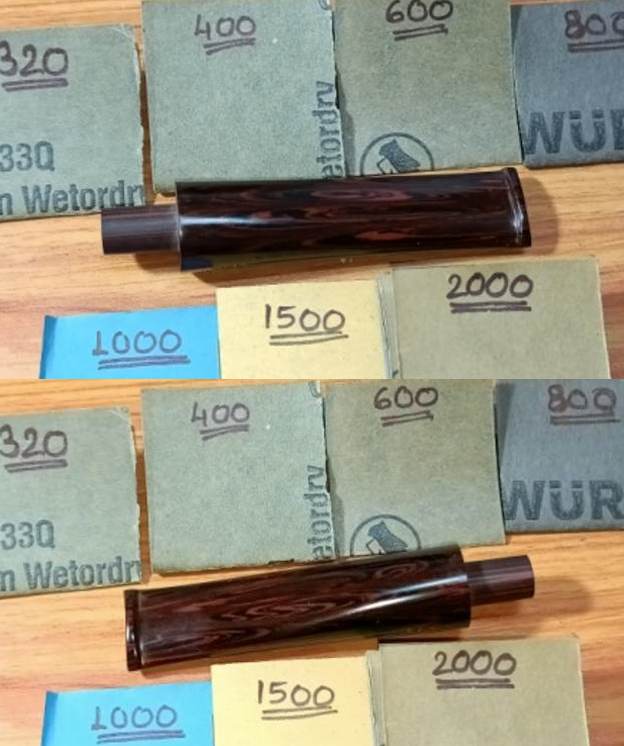 I went through the 3200 to 12000 grit micromesh pads to dry sand the stem. The stem now has a nice deep shine with the swirls coming to life as they dance around the entire stem surface. I rubbed a small quantity of EVO and set the stem aside for the oil to hydrate the stem surface. This is a beautiful stem and I cannot refrain from constant admiration of it. Have a look for yourself….
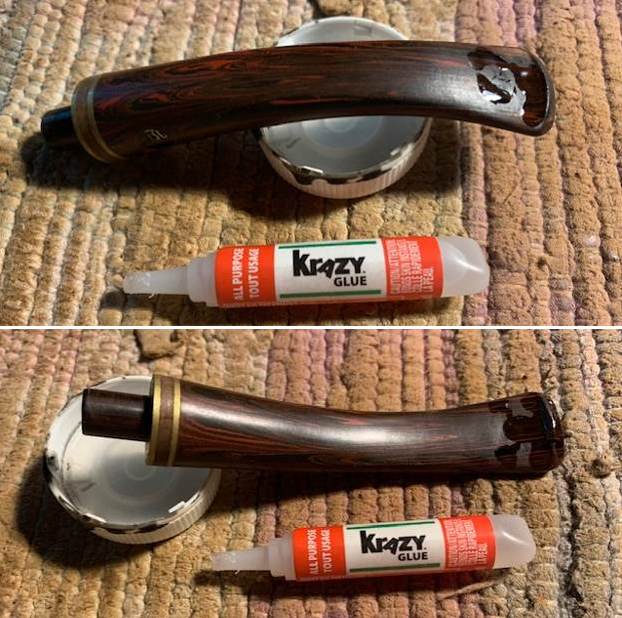
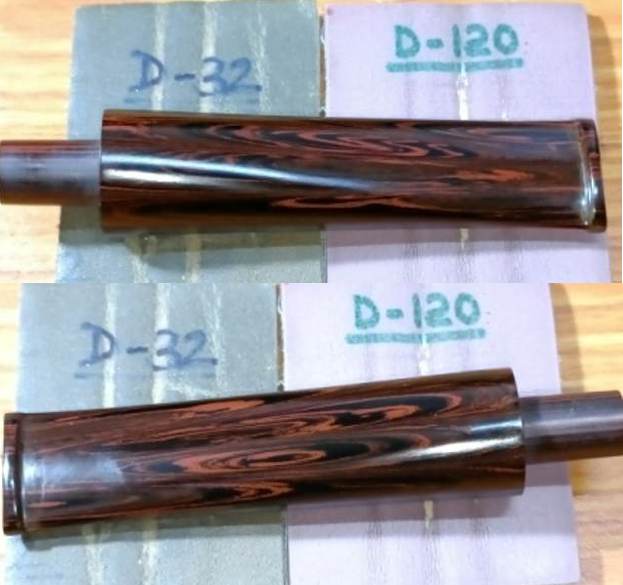 I painted the stem logo L J S using a Gold paint glitter pen and wiped off the excess paint. The stem logo is now nice and prominently visible.
 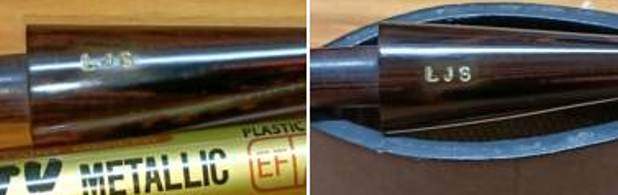 I completed this project by hand polishing the stummel with Halcyon II wax. I rubbed this polish deep into the rustication and after a couple of minutes, vigorously hand buffed the stummel with a microfiber cloth to a deep shine. I polished the stem with Blue Diamond compound and subsequently with carnauba wax using my hand held rotary tool. This is a gorgeous looking pipe and will be an integral part of my collection of contemporary Pipe Carvers. I wish to thank each one for sparing their valuable time to read through this write up and praying for the health and safety of you and your loved ones.
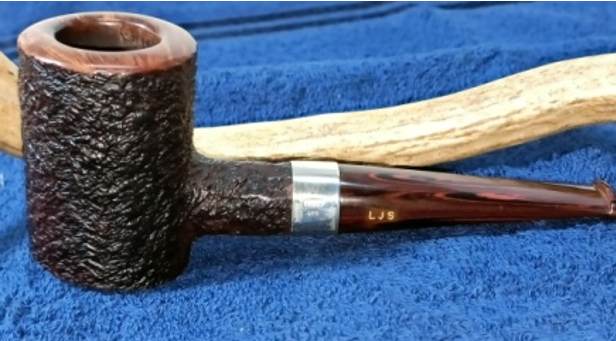


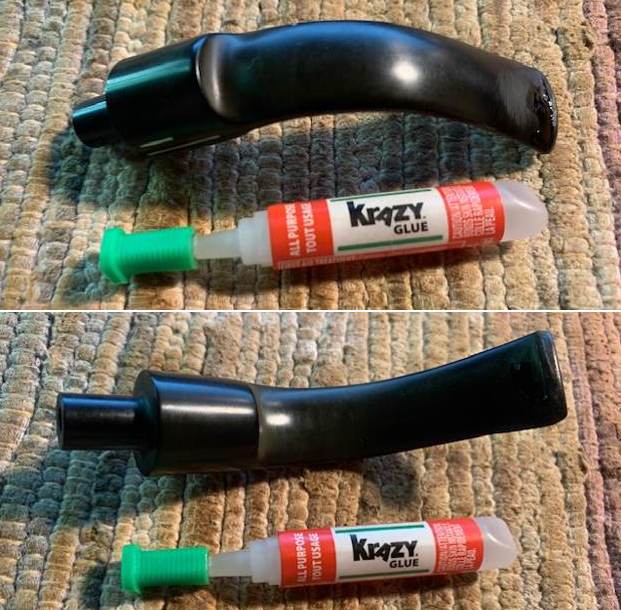
 I tried to pull the broken tenon and was not surprised that it was stuck in the shank. I put the bowl in the freezer and let it sit for 30 minutes. Once I removed it I used a screw turned into the airway to wiggle the tenon out of the shank. It actually came out quite easily.
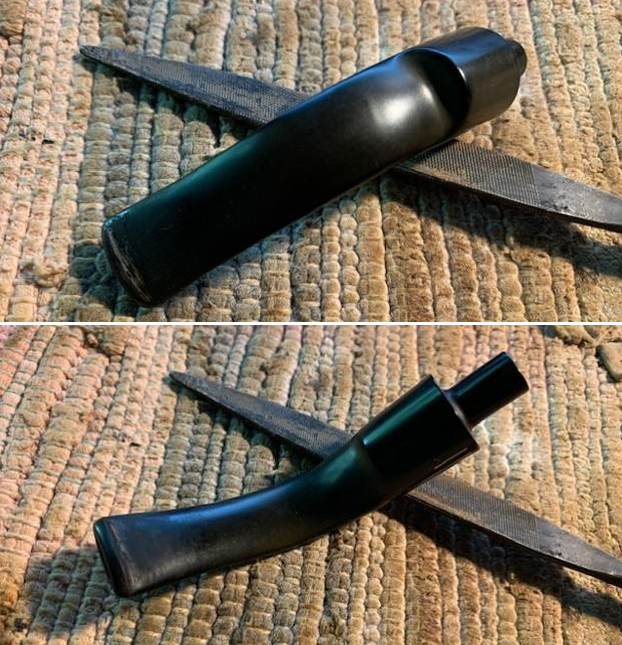
 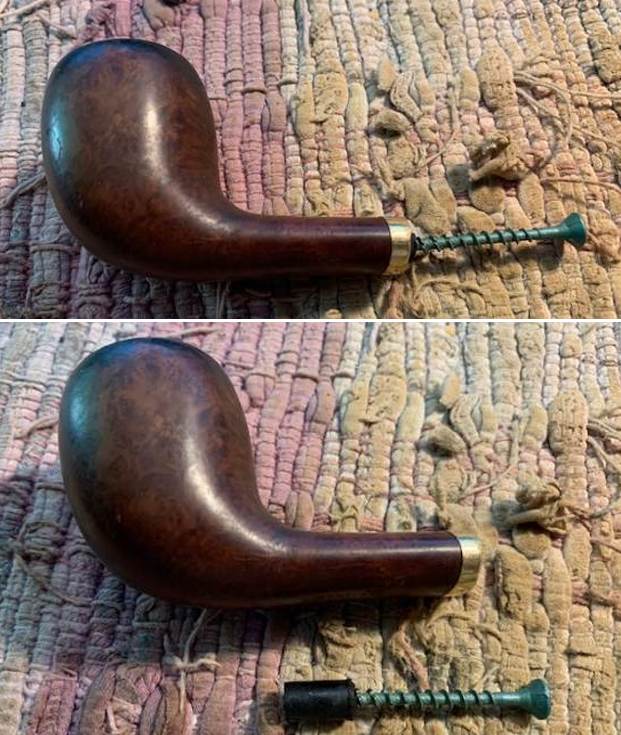 I went through my stems and found a new one that matched the broken piece of the previous stem. I took a photo. I would need to turn the cast tenon and remove the casting marks on the sides and the button on the pipe to get a fit. Here is a photo of the bowl with the new stem.
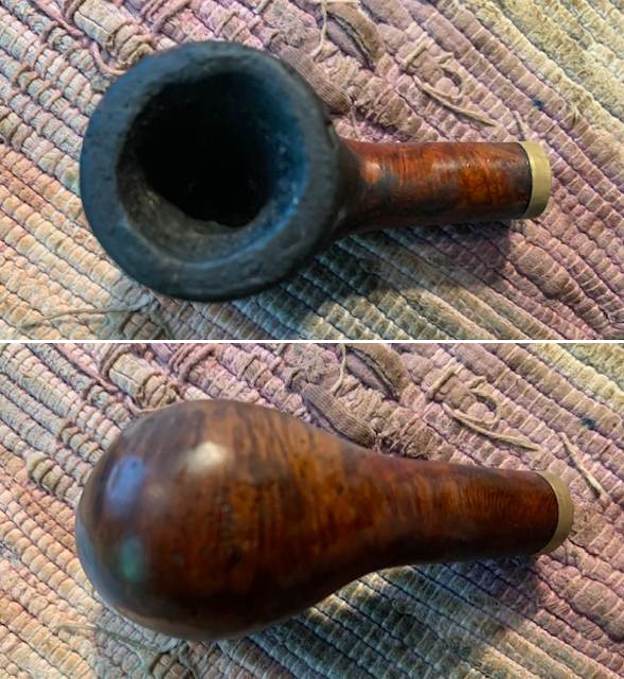
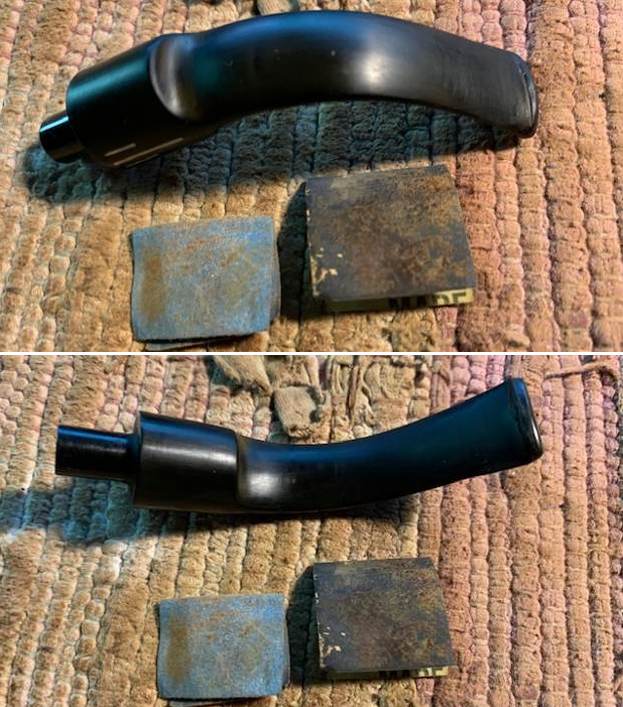
 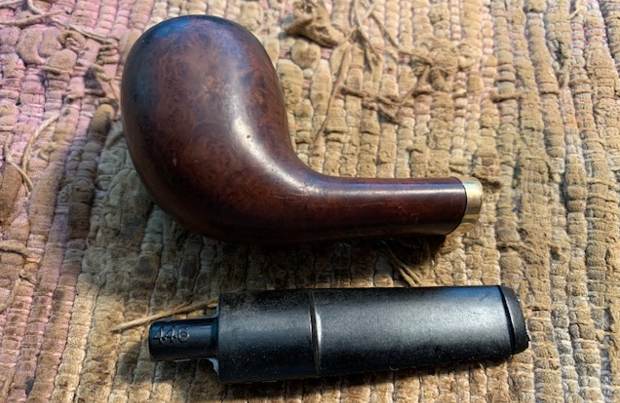 Now it was time to clean it up so I could work on it. I like restoring clean pipes so that was going to be a lot of work but worth it to me to get rid of the grime. I reamed the bowl with a PipNet reamer using the largest cutting head. I cleaned up the reamer with a Savinelli Fitsall PipeKnife. I sanded the walls of the bowl with 220 grit sandpaper wrapped around a piece of dowel. There was a small mountain of carbon.
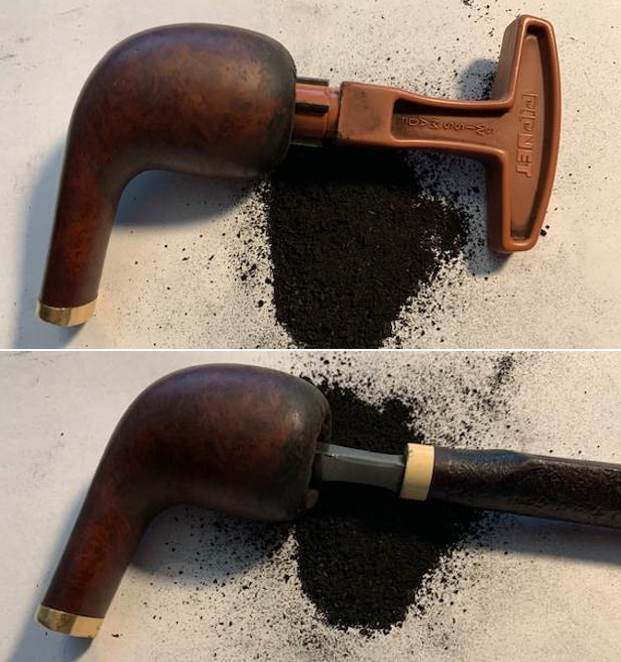
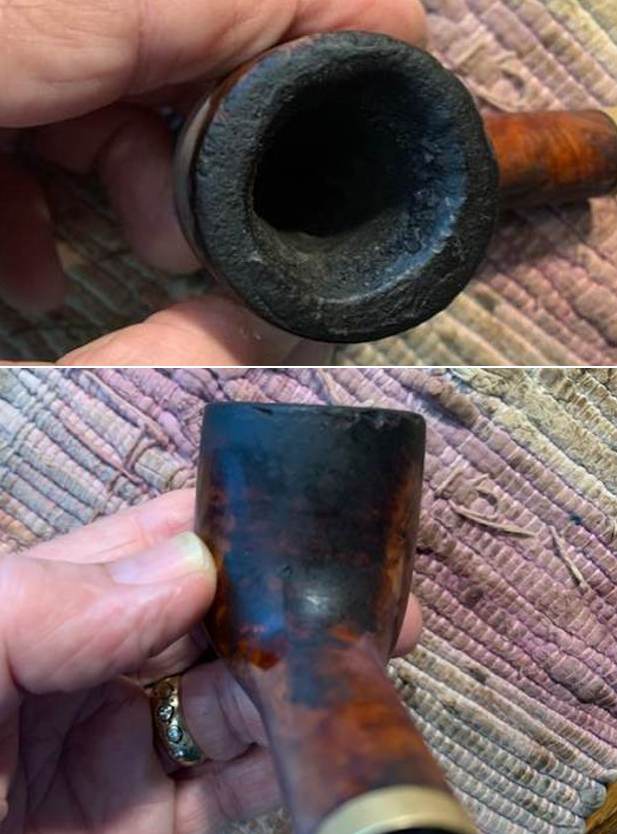
 I scrubbed the externals of the pipe to remove the heavy oils and tar build up on the bowl. It took a lot of elbow grease using a tooth brush and Murphy’s Oil Soap. I worked on it until the grime washed away with running water. It looks much better at this point.
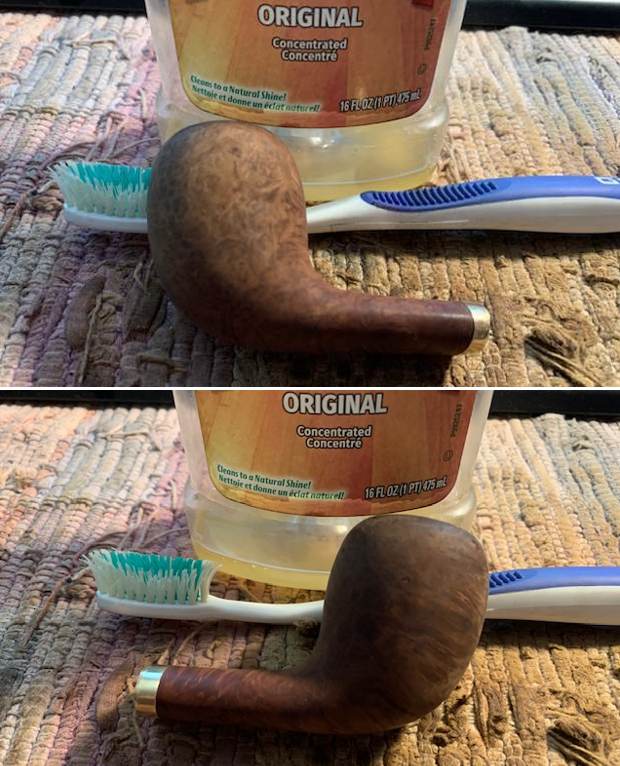
 With the externals cleaned I turned my attention to the internals. I scrubbed the shank and the airway in the bowl with pipe cleaners, cotton swabs and isopropyl alcohol until it was clean. It was a mess. The stem was brand new and was very clean.
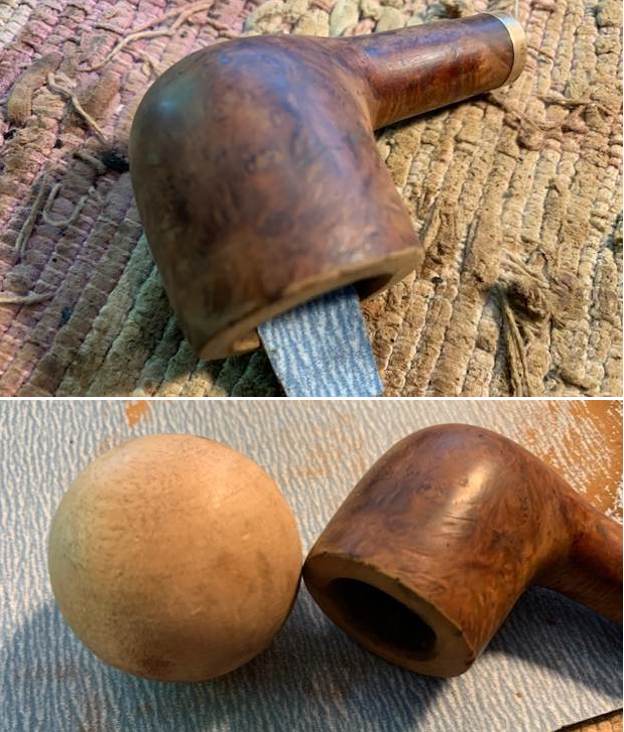
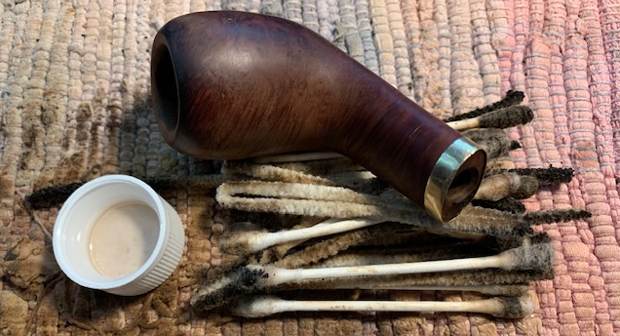 I topped the bowl to prepare it for reworking the damage to the inner edge of the bowl. I wanted to smooth it out before working on the inner bevel of the bowl. I used a wooden ball and 220 grit sandpaper to give the bowl a bevel. The final photo of the four below shows the repaired and reshaped rim edge.

 I set the bowl aside and worked on the fit of the stem. I drilled out the airway with a bit the same size as the guide pin on the tenon turning tool. I then used the tenon turning tool to remove and reduce the diameter of the tenon. I smoothed out the tenon with a sanding drum on my Dremel. I used a flat file and a smaller file to remove the casting marks on the sides of the stem and the end of the button. Once finished with the file it was looking much better.
 I put the stem on the shank and took photos of the look of the fit of the stem to the shank. I will need to do some shaping around the shank end but the fit in the shank is perfect. It is a snug fit.
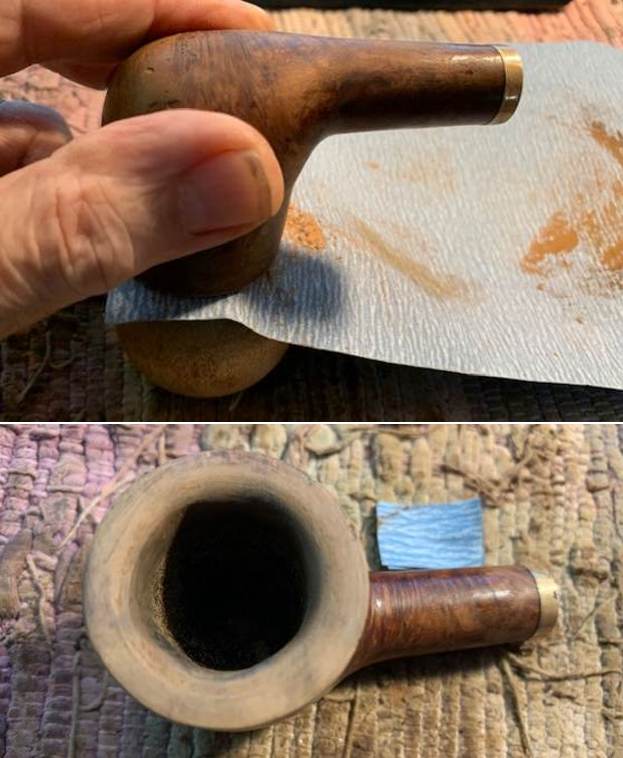
 I went back to the bowl to finish the cleanup and restoration of it. I polished the it with micromesh sanding pads – dry sanding with 1500-12000 grit pads and wiping it down after each pad with a damp cloth. It looks far better than it did before even with the many fills in the briar around the bowl.


 I worked some Before & After Restoration Balm into the surface of the briar with my fingertips. The balm works to clean, enliven and preserve the briar. I let it sit for 10 minutes then buffed it off with a soft cloth. It is a beautiful pipe.
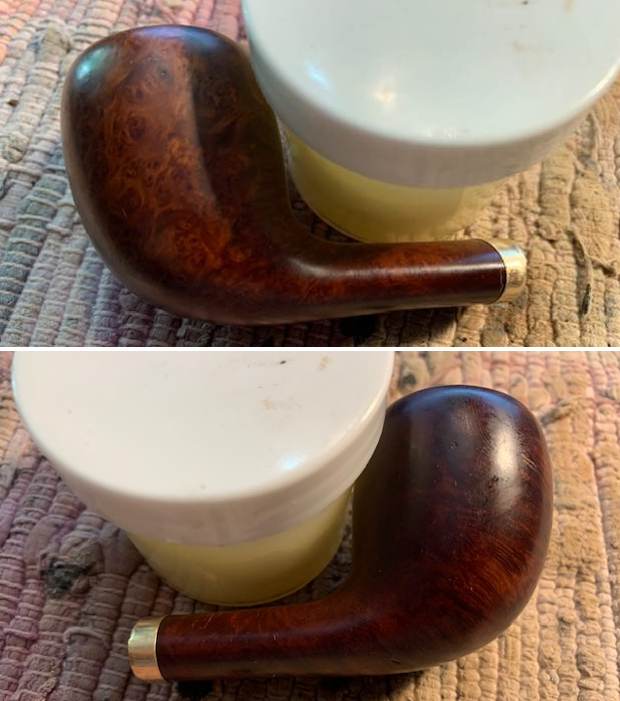
 I turned back to the stem. I shaped the stem and adjusted the saddle portion of the stem with 220 grit sandpaper. I removed excess vulcanite all around the top, bottom and underside to shape and get the fit next to the shank and brass band. I started polishing the stem with 400 grit wet dry sandpaper. The fit looked very good.
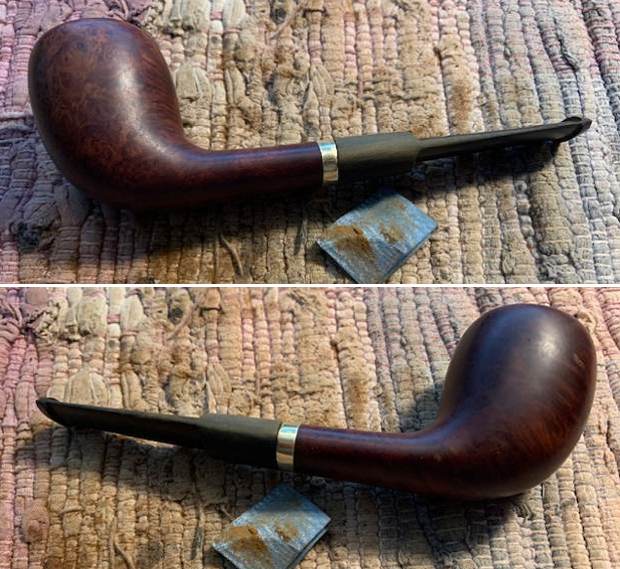

 I polished the stem with micromesh sanding pads – dry sanding with 1500-12000 grit pads. I wiped the stem down after each pad with some Obsidian Oil. I finished hand polishing it with Before & After Pipe Stem Polish – Fine and Extra Fine. I rubbed it down with another coat of Obsidian Oil and let it dry. The stem really was beginning to look very good.
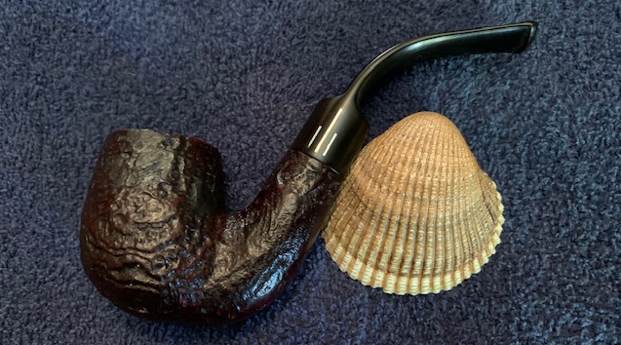
 This was a very beat up Portland Bruyere Garantie Canted Egg and now with its newly fit black vulcanite saddle stem it looks far better than when I started. The reworked rim top works very will with the rest of the bowl. I polished the bowl and the stem with Blue Diamond polish on the buffing wheel. I gave the bowl and the stem multiple coats of carnauba wax. I buffed the pipe with a clean buffing pad to raise the shine. I hand buffed it with a microfiber cloth to deepen the shine. The pipe polished up pretty nicely. The brown stain makes the grain just sing and it works well with the polished vulcanite stem. Have a look at the photos below. The shape, finish and flow of the pipe and stem are very well done. The dimensions are Length: 5 ½ inches, Height: 2 inches, Outside diameter of the bowl: 1 ¼ inches, Chamber diameter: ¾ of an inch. The weight of the pipe is 46 grams/ 1.62 ounces. Once I finish restemming the last of the pipes the three will be going home with the fellow who dropped them off. Thanks for walking through the restoration with me as I worked over this pipe.
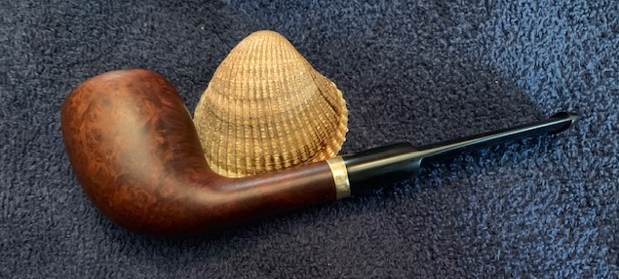


