Tag Archives: Cumberland stems

Can this one be brought back to life? A Butz-Choquin Rocamar 1319 Bent Billiard


Blog by Steve Laug

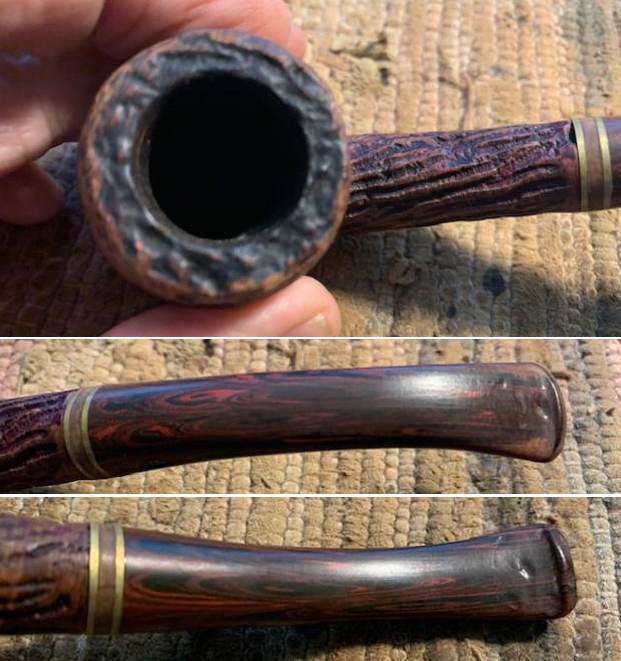
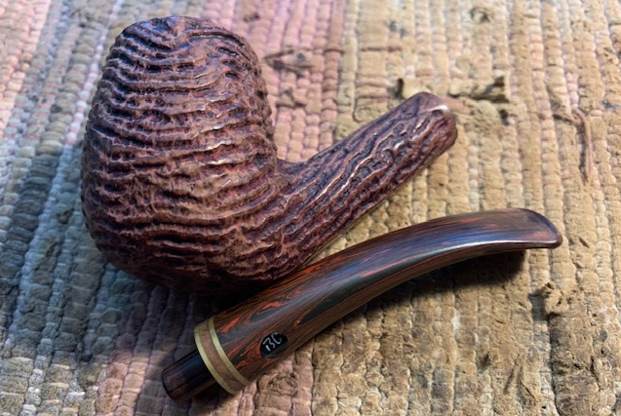
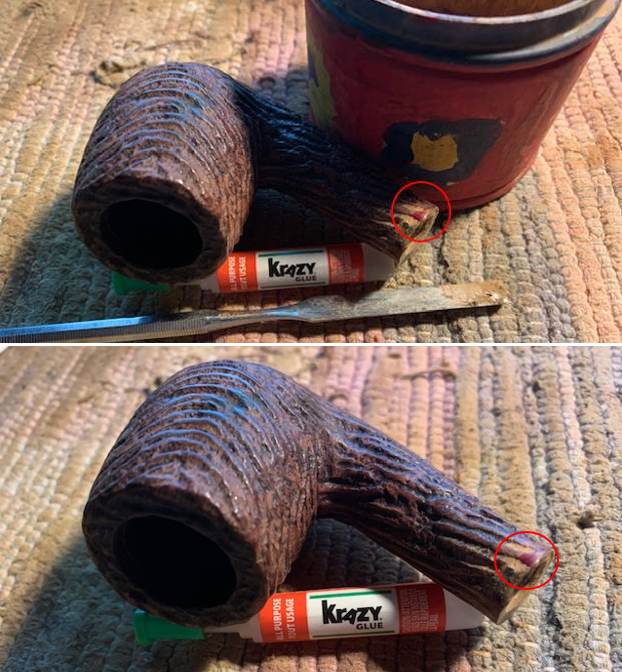
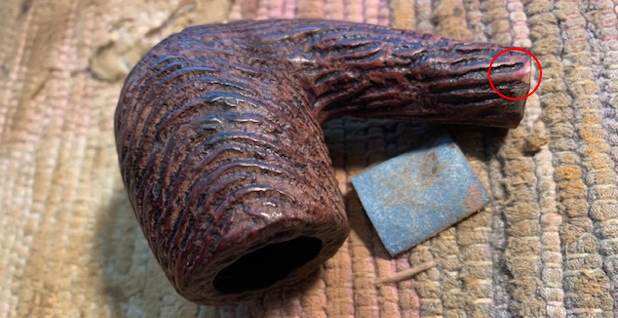
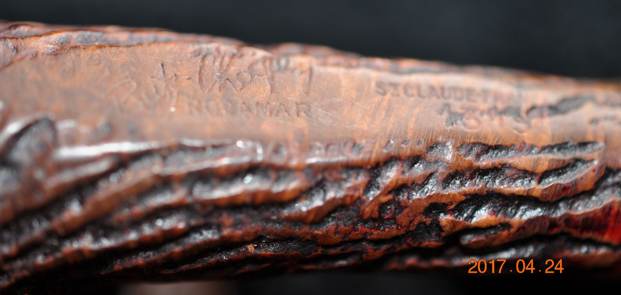
The next pipe on the table is French made Bent Billiard with rugged sandblast that looks like it was helped along by a guided hand. Jeff purchased it on eBay on 04/14/17 from a seller in New Tripoli, Pennsylvania, USA. The shape of it fits well in the hand and has a tactile feel as well. The pipe is stamped on the underside of the shank and reads Butz-Choquin [over] Rocamar. That is followed by St. Claude France [over] the shape number 1319. Rocamar in Spanish means Rocklike and that applies well to the finish on this one. The finish appears to be a rugged sandblast but I am not sure if it is as it appears. The finish is a rich reddish brown colour and it is dirty with grime ground into the grooves of the finish. The bowl had a thick cake in it and a thick overflow of lava spills over the rim top. It is thick enough to make assessing the edges hard to do. The bent taper Cumberland stem was oxidized, calcified and had deep tooth marks and chatter on both sides ahead of the button and on the button surface itself. There was a BC logo encased in a circular, clear acrylic inlay on the left side of the stem. There was a band on the end of the stem composed of twin brass rings and a wafer of briar between them. Jeff took photos of the pipe before he started his work on the clean up. The exterior of the pipe was very dirty – grime and grit ground into the blasted/carved finish from years of use and sitting. The rim top was covered with a coat of thick lava that overflowed from the thick cake in the bowl. It was hard to know what the rim edges looked like because of the lava. The stem was dirty, calcified and oxidized with tooth chatter and marks on the top and underside of the stem ahead of the button and on the button surface. Jeff took a photo of the side and the heel of the bowl to give a better feel for the condition of the briar around the bowl. It is an interesting finish that has the look of a sandblast but also seems to look like some rustication/carving as well. The next photos show the stamping on the underside of the shank and it is very readable. It reads as noted above.  Jeff also took a photo of the chipped edge of the shank on the right side where it met the stem band. It appeared that someone had tried to pry off the stem from the shank and damaged the shank end in the process.I turned to Pipephil’s site (http://pipephil.eu/logos/en/logo-butzchoquin.html) to see if I could find any information on the Rocamar line. There was nothing there on the line itself to help me understand more about it. There was a good summary of the history of the brand that I have included below.
The origin of the brand reaches back to 1858 when Jean-Baptiste Choquin in collaboration with his son-in-law Gustave Butz created their first pipe in Metz (France). Since 1951 Butz-Choquin Site officiel Butz Choquin, pipes de Saint-Claude jura. BC pipe de bruyere luxe is a brand of the Berrod-Regad group (Saint-Claude, France).

Jean Paul Berrod managed the company from 1969 to 2002 when he retired and sold the corporate to Mr Fabien Gichon. Denis Blanc, already owner of EWA, took over the S.A. Berrod-Regad in 2006.

I then turned to Pipedia (https://pipedia.org/wiki/Butz-Choquin) to see if I could find any info on the Rocamar line. There was nothing there either but there was further information on the brand itself. I have included it below.

The pipe, from Metz to Saint-Claude.

Jean-Baptiste Choquin of Metz started out as a tobacconist. This enterprise was prosperous; he had several employees. Among those, there was a certain Gustave Butz who was its first workman and who became his son-in-law by marrying Choquin’s daughter Marie in 1858.

In 1858 Jean-Baptiste Choquin created, in collaboration with Gustave Butz, the Choquin pipe. This bent pipe with a flat-bottomed bowl was finished with an albatross-bone mouthpiece, fixed with silver rings.

In 1858, still in Metz, Gustave Butz built an establishment for the manufacture of the Choquin pipe which took the name of . In 1951, the Berrod-Regad company bought the trademark, continuing manufacture until 2002. Departing from Metz, the workshop was relocated to Saint-Claude, then also called “the world capital of the briar pipe”, under the Berrod-Regad group. The Berrod-Regad group would go on to completely rebuild the network of representatives until finally entering the export market in 1960 and has since won several prizes, as well as the Gold Cup of French good taste.

In a few years, the brand’s collection increased from ten to seventy series. 135 years after it was founded, the pipe is still well-known not only in France but throughout the world. In 2002, the Berrod family, wishing to preserve manufacture of pipes in Saint-Claude, handed over the company to Fabien Guichon, a native of the area, who will continue to develop the brand during the 21st century.

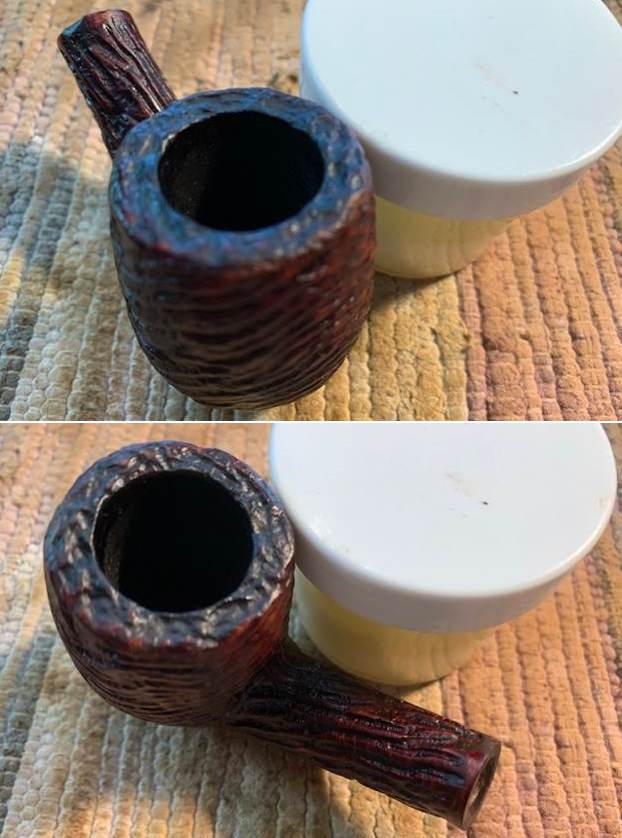
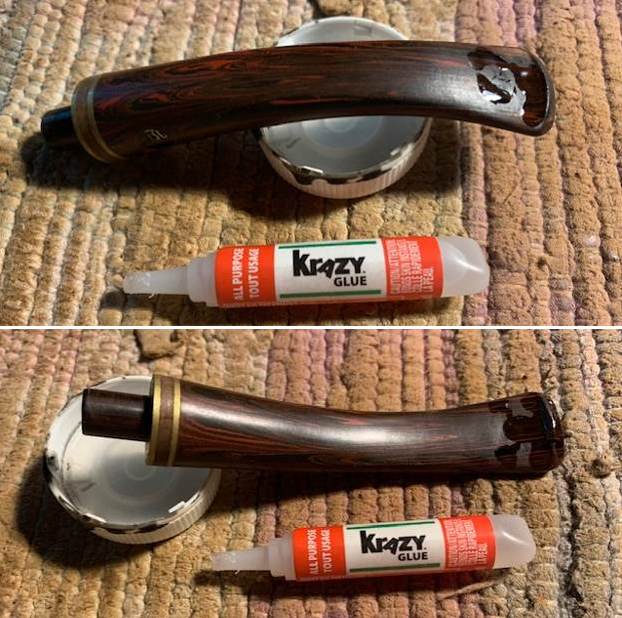
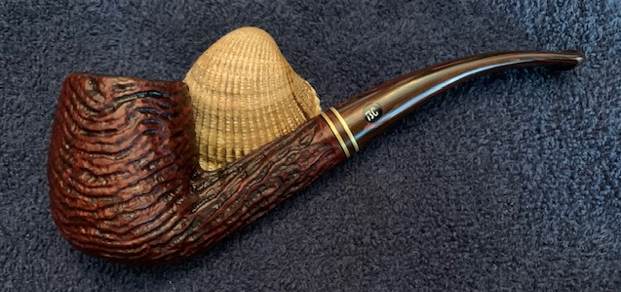
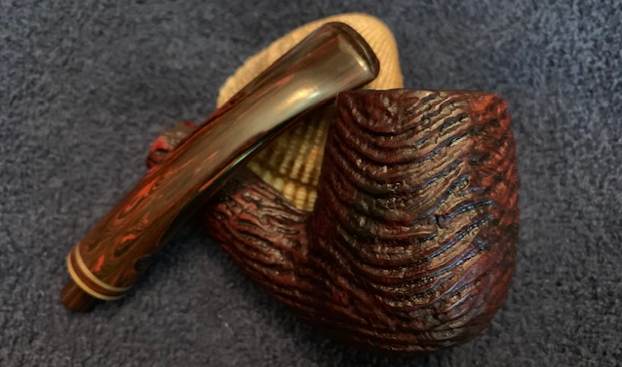
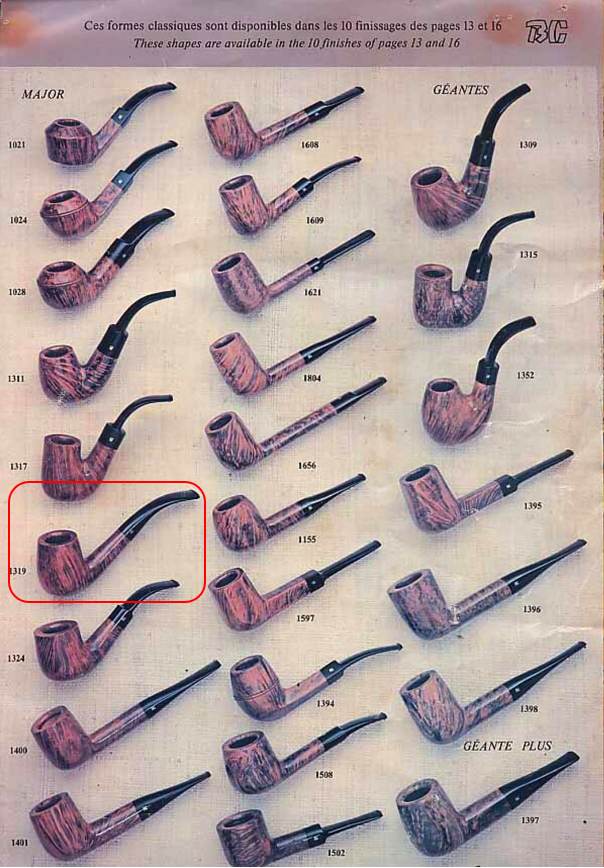
The site also had some catalogue pages showing the various shape numbers thanks to Doug Valitchka (https://pipedia.org/images/0/03/BC_Shape02.jpg). I am including a screen capture of the page that shows the shape 1319 Bent Billiard. I have circled it in red in the chart below.Jeff had reamed the pipe with a PipNet pipe reamer and cleaned up the reaming with a Savinelli Fitsall Pipe Knife. He scrubbed out the internals of the shank and stem with alcohol, pipe cleaners and cotton swabs until the pipe was clean. He scrubbed the exterior of the bowl with Murphy’s Oil Soap and a tooth brush to remove the grime and grit on the briar and the lava on the rim top. The finish looks much better but there is still some darkening on the rim top and edges of the bowl. Jeff scrubbed the stem with Soft Scrub and soaked it in Before & After Deoxidizer to remove the oxidation on the vulcanite. When the pipe arrived here in Vancouver for the second stop of its restoration tour it looked a lot better. It has been sitting here for 5 years so it is about time I worked on it. I took photos this morning before I started my part of the work.  I took some close up photos of the rim top and the stem surface. I wanted to show the cleaned bowl and rim top. The rim top and the inner and outer edges of the bowl were in good condition. The top of the bowl had some darkening in the grooves of the carved surface of the rim top and the inner edge of the bowl. I also took close up photos of the stem to show the tooth marks on the stem surface. I took a photo of the stamping on the underside of the shank and it is faint but readable. It is stamped as noted above.   I removed the stem for the shank and took a photo of the bowl and stem to give a picture of what it looked like. The Rocamar finish is totally unique.I started my work on the pipe by addressing the chip on the right end side of the shank where it met the stem. I used a dental spatula to rebuild the chip with clear CA glue and briar dust. Once it cured I sanded the repair smooth. With the repair finished I turned my attention to the darkening on the rim top and inner edge. I wiped the rim top and edge down with some acetone on a cotton pad. I used a brass bristle wire brush to clean up the grooves in the carving on the rim top. I also used the wire brush on the rest of the bowl as well to clean up the debris of time in the box here. The bowl and the rim top came out looking much better.I rubbed the bowl down with Before & After Restoration Balm. I worked it into the surface of the briar with my fingertips and a horse hair shoe brush to clean, enliven and protect it. I let the balm sit for a little while and then buffed with a cotton cloth and shoe brush to raise the shine.  I set the bowl aside and turned my attention to the stem. I used the flame of a Bic lighter to “paint” the surface of the stem to lift the tooth marks on both sides of the stem. The heat lifted many of the marks. I filled in what remained with clear CA glue and set it aside to harden.  Once the repairs cured on the top and underside of the stem I filed them flat and recut the button edge with a small file. I sanded them with a folded piece of 220 sandpaper. I started polishing the stem with 400 grit wet dry sandpaper.   I polished the vulcanite with micromesh sanding pads – 1500-12000 grit pads. I wiped it down with a damp cloth after each sanding pad. I used Before & After Pipe Polish – both Fine and Extra Fine to further polish the stem.  I left a little oxidation around the stamp so as not to damage it more.   This Butz-Choquin Rocamar 1319 Bent Billiard was a fun one to work on. Did we achieve our goal of bringing it back to life? In the end, you have to decide. To my mind it cleaned up really well and looks very good. The Before & After Restoration Balm brought the colours and grain out in the sandblast/carve finish on the pipe. It works well with the polished Cumberland taper stem. I put the stem back on the bowl and carefully buffed the pipe with Blue Diamond on the buffing wheel using a light touch on the briar. I gave the bowl multiple coats of Conservator’s Wax and the stem multiple coats of carnauba wax on the buffing wheel. I followed that by buffing the entire pipe with a clean buffing pad. I hand buffed the pipe with a microfiber cloth to deepen the shine. The finished Butz-Choquin Rocamar Bent Billiard fits nicely in the hand and I think it will feel great as it heats up with a good tobacco. The tactile finish will add to the experience. Give the finished pipe a look in the photos below. The dimensions of the pipe are Length: 6 inches, Height: 2 inches, Outside diameter of the bowl: 1 ¼ inches, Chamber diameter: ¾ of an inch. The weight of the pipe is 2.15 ounces/61 grams. If you are interested in carrying the previous pipeman’s legacy with this pipe send me a message or an email. I will be adding it to the rebornpipes store in the French Pipe Makers Section. Thanks for reading this blog and my reflections on the pipe while I worked on it.
A Change of Pace – New Life for Moretti 2018 Morta Stack


Blog by Steve Laug

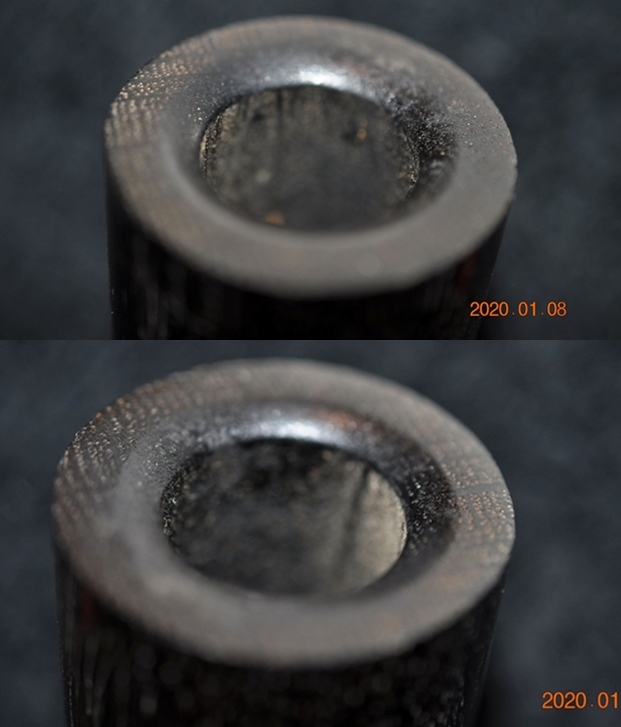
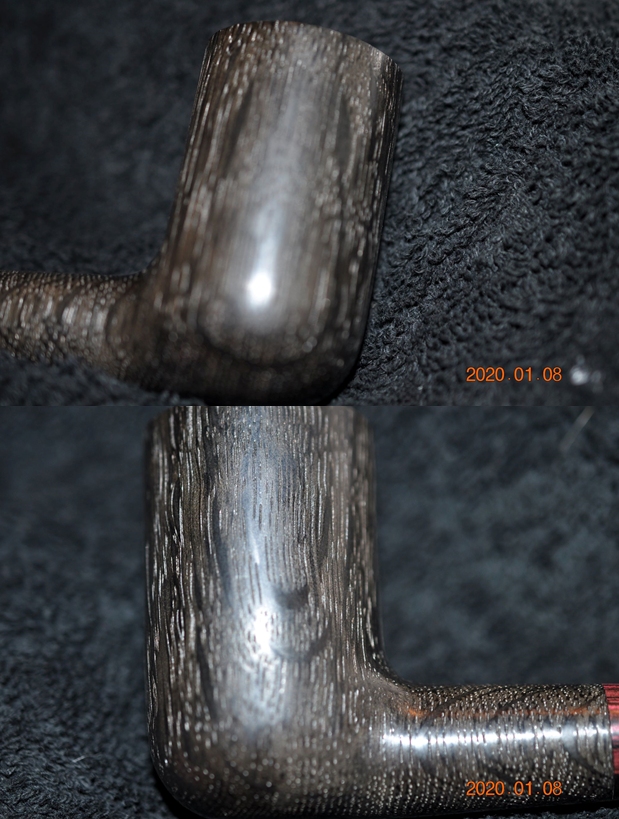
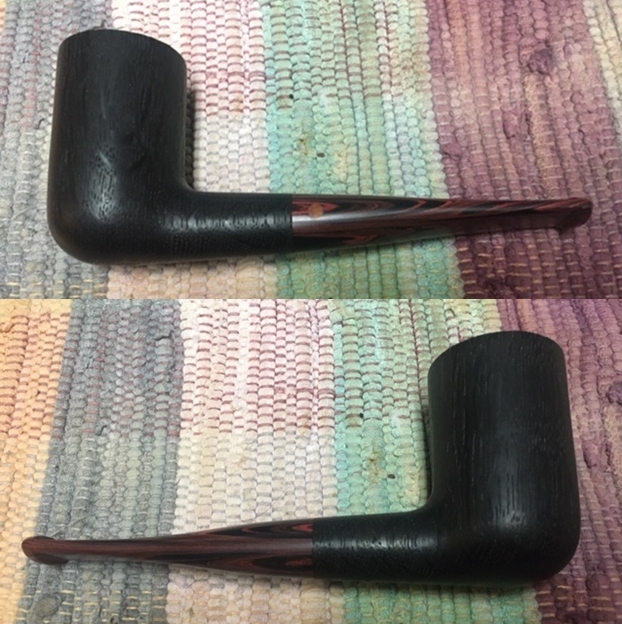
Jeff picked up this tall Morta stack from a group of pipes that we purchased recently. It is a nice looking Morta with interesting grain and well cut. It has a Cumberland stem with an inlaid briar circle on the left side of the taper.  The pipe is stamped on the underside of the shank and read 2018 next to the shank/stem junction. Beneath that it was stamped Moretti. The pipe was dirty with grime and dust in the finish of the sides and rim top. There is a medium cake in the bowl but no lava overflow onto the beveled rim top. The beveled inner edge and the outer edge both looked to be in excellent condition. The Cumberland stem was oxidized and there were light tooth marks and chatter on the surface of the stem on both sides ahead of the button. Otherwise it is a clean looking stem. Jeff took photos of the pipe before he started his cleanup work. Jeff took photos of the rim top from various angles to show the condition of the bowl and rim as I described above. The finish is in good condition under the grime. The beveled inner and outer edges of the rim look very good under the thick cake and light lava overflow. There do not appear to be any nicks of dents in the top of the rim. He took photos of the sides of the bowl showing the grain of the Morta wood. The pipe has some of the interesting grain patterns that Morta wood has on the sides.Jeff took two photos of the stamping on the underside of the shank. It is very readable but trying to capture it on the dark Morta and on the curve of the shank was difficult. It reads 2018 (year of manufacture?) and under that Moretti. He also took a photo of the inlaid briar circle on the left side of the stem which is a trademark of Moretti pipes. He took photos of the stem to show the oxidation and the calcification, tooth marks and chatter on both sides.I turned to Pipephil’s site to see if I could find out information on the Moretti brand and specifically a Morta pipe (http://www.pipephil.eu/logos/en/logo-m7.html#moretti). The listing included the name of the pipe maker, Marco Biagini. The brand is named after his father-in-law, Igino Moretti. This pipe was carved in 2018 and does not bear the Recanati stamping that was on his pipe until 2005. There was no direct information on the Morta pipe on my table.I turned to Pipedia to gain additional information on the brand. (https://pipedia.org/wiki/Moretti). There were some informative articles written by Joseph Hornsby and Fred Hanna. They are worth the read if you want some background and gain appreciation for the carver.

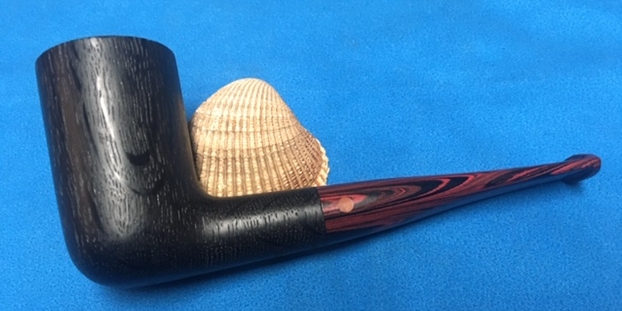
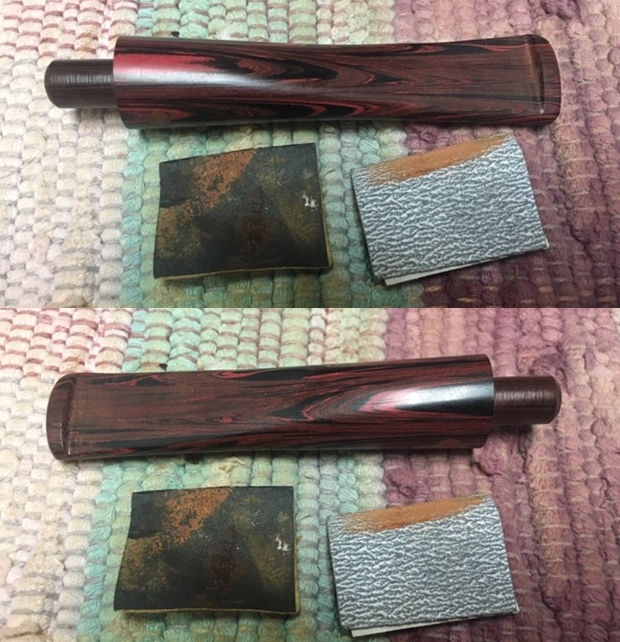
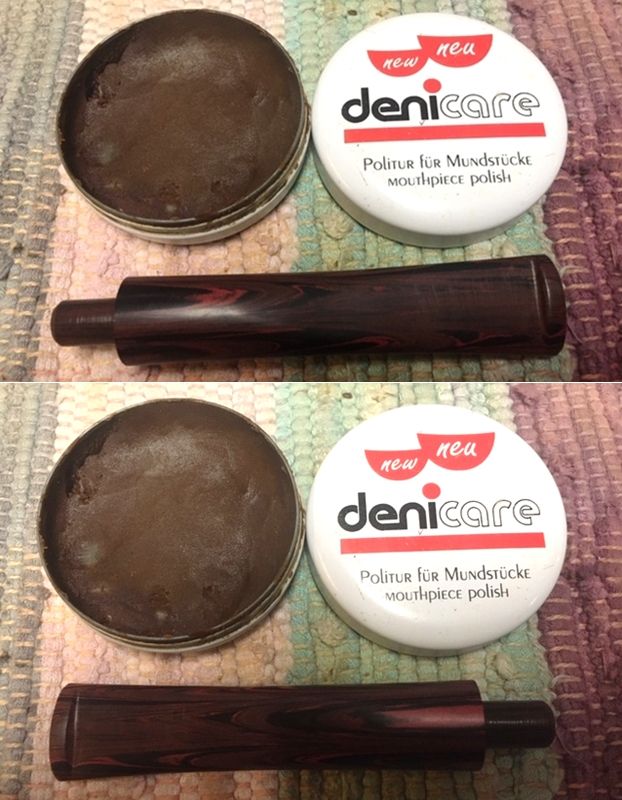
With a clearer picture of the pipe maker in mind I turned to work on this pipe. Jeff had done a great job in cleaning up this pipe. He had reamed the bowl with a PipNet reamer and cleaned up the remnants with a Savinelli Fitsall Pipe Knife. He took back the thick cake to the walls of the bowl. He also scraped off the lava and grime on the rim. He scrubbed the exterior of the bowl with Murphy’s Oil Soap and a tooth brush to remove the grime on the bowl and rim and rinsed it off with warm running water. He cleaned out the interior of the bowl and shank with pipe cleaners, cotton swabs and alcohol until they came out clean. He cleaned the stem with Soft Scrub to remove the grime on the exterior and cleaned out the airway with alcohol, cotton swabs and pipe cleaners. He soaked it in Before & After deoxidizer and rinsed it clean after wards I took some photos of the pipe as I saw it. It was a very different piece of wood than the briar I usually work on. To show how clean the rim top and stem really was I took a close-up photo of the rim and stem. The bowl was clean and cake free. The rim top looked really good and the beveled inner edge of the bowl has all of the lava removed. The Cumberland stem looks very good. The surface and the button edge appear to be in good condition. There were some small tooth marks and chatter on both sides but it looked good.I took a photo of the stamping on the underside of the shank. It looks a lot better. You can see the stamping and it is readable – 2018 over Moretti.I took the stem off the pipe and took a photo to show the shape of the stack – it is a tall pipe and the Cumberland stem works very well with the dark Morta bowl.My part of this restoration was quite simple as the bowl was in great condition after Jeff’s cleanup work. I moved straight to working some Before & After Restoration Balm into the finish of the bowl and the rim top. I worked it into the surface with my fingertips and a horsehair shoe brush to clean, enliven and protect the wood. I let the balm sit for 10 minutes and buffed it off with a soft cotton cloth. I had never used the Balm on Morta but I figured it was worth a try. I took photos of the pipe at this point in the process to show what the bowl looked like at this point. The Balm did its magic here as well. I set the bowl aside and turned my attention to the stem. I also sanded out the light tooth marks and chatter on the surface of the Cumberland stem with a folded piece of 220 grit sandpaper. I followed the 220 grit sandpaper by sanding the stem with 400 grit wet dry sandpaper to begin the polishing of the Cumberland.I polished the stem with Denicare Mouthpiece Polish to take out the some of the scratching at the button edge and on the end of the mouthpiece from my sanding and polishing. I buffed the stem with a microfiber cloth.I polished out the scratches with micromesh sanding pads – wet sanding with 1500-12000 grit pads. I wiped the stem down after each sanding pad with Obsidian Oil. I polished it with Before & After Pipe Stem Polish – both Fine and Extra Fine. Once I had finished the polishing I wiped it down with Briarville’s No Oxy Oil and set it aside to dry. Once more I am happily on the homestretch with this pipe and I really look forward to the final look when it is put back together and polished and waxed. I put the bowl and stem back together. I polished the bowl and stem with Blue Diamond on the buffing wheel. I gave the bowl and the stem multiple coats of carnauba wax. I buffed the pipe with a clean buffing pad to raise the shine. I hand buffed it with a microfiber cloth to deepen the shine. The pipe polished up pretty nicely. The tall Morta bowl really looked good with the polished streaked Cumberland. This 2018 Morretti Stack was a fun pipe to work on. The combination of red and black in the Cumberland stem material goes really well with black of the Morta. It is a comfortable pipe to hold in the hand. The finished pipe is shown in the photos below. The dimensions of the pipe are Length: 5 ½ inches, Height: 2 ¼ inches, Outside diameter of the bowl: 1 3/8 inches, Chamber diameter: ¾ of an inch. This pipe will be going on the rebornpipes store shortly if you are interested in adding it. Let me know if you want me to put it aside for you. Thanks for reading this blog and my reflections on the pipe while I worked on it. This is an interesting estate to bring back to life.

Restoring an Amazing Looking Comoy’s Magnum Supreme


Blog by Steve Laug

I have finished many of the pipes on my desk for refurbishing or repair and decided it was time to do something a little different that was a lot less work. I turned again to the group of 42 pipes that Jeff and I purchased from a pipeman who can no longer smoke because serious illness. It is a pleasure to be able to support this Brother of the Briar in this very hard season of his life. He had some beautiful pipes in his collection and with some work we will get them cleaned up and into the hands of other pipemen and women who can carry on the legacy of the briar.

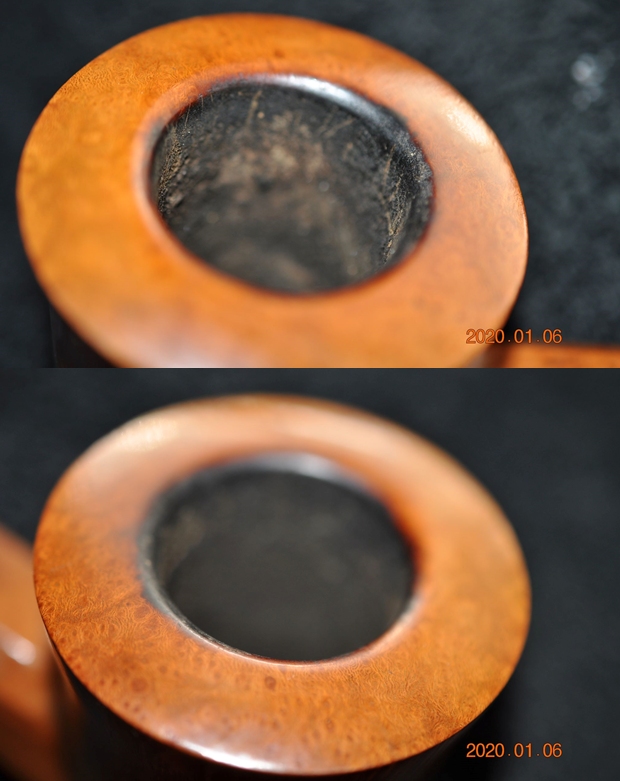
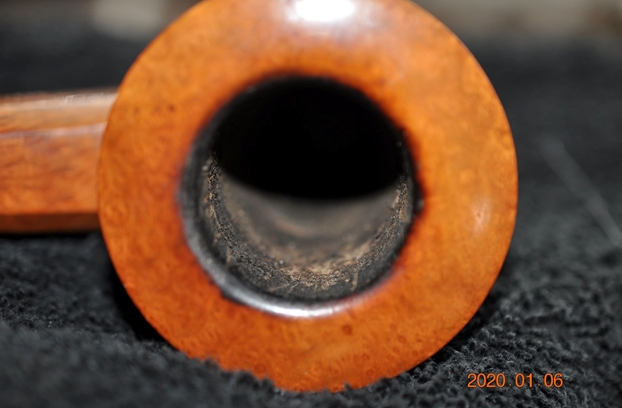
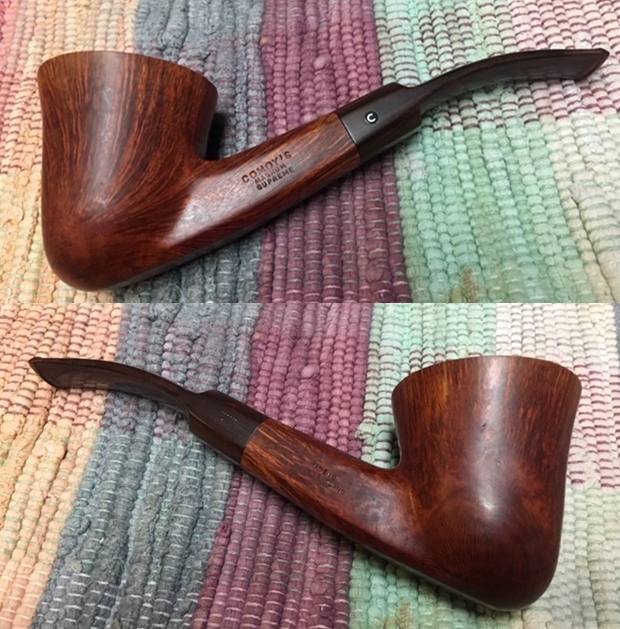
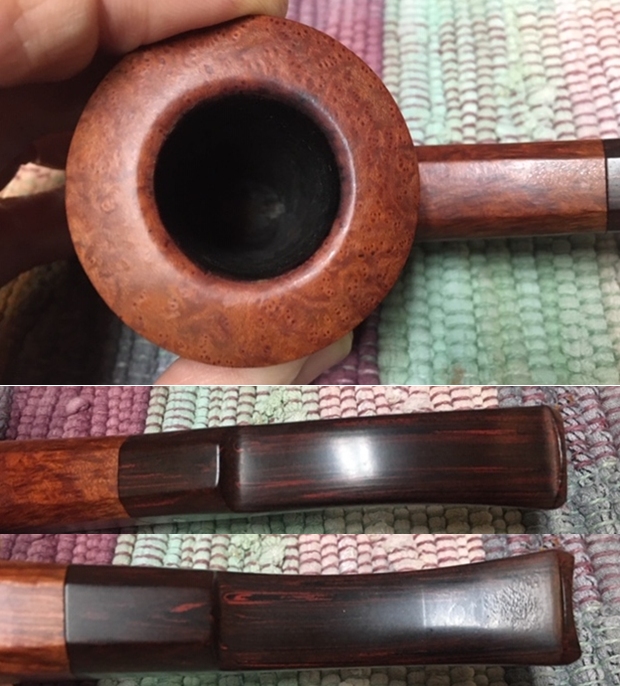
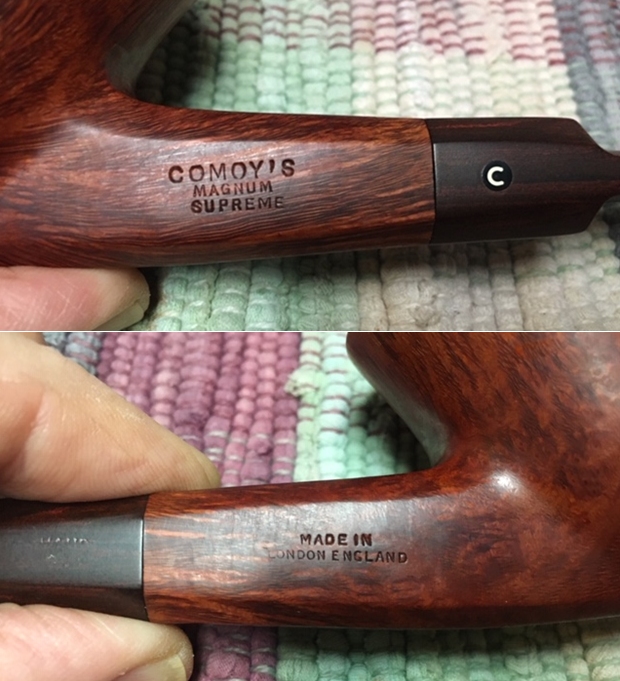
The third of the pipes that I am working on is a large Comoy’s. It has an octagonal shank that is a really nice touch. The bottom of the bowl and shank are flat so the pipe is a sitter. It is stamped on the left side of the shank Comoy’s over Magnum over Supreme. On the right side of the shank it is stamped Made in over London England. It is a stunning piece of briar with beautiful straight, flame and birdseye grain around the bowl. The saddle stem is Cumberland and has a C inset in clear acrylic inlaid in the left side of the saddle. When it arrived at Jeff’s house and he opened the box he could see it was a beautifully grained piece of briar and an interestingly carved pipe. The pipe was dirty but there was no significant damage to the bowl or stem. The rim top had darkening and tars on the bevel of the inner edge. But it did not appear to be burned or charred. There was a thick cake in the bowl. The Cumberland stem was in great condition – just a little dirty and tooth chatter on both sides of the stem near the button. Overall the pipe was a beautiful and a dirty pipe that must have been a favourite smoker. Jeff took photos of the pipe before he started his clean up work. Jeff took photos of the bowl and the rim top to show the condition of the bowl and rim. You can see the light oil and darkening on the inner edge of the beveled rim top. You can also see the cake in the bowl and the tobacco debris stuck to the walls.   Jeff took photos of the sides and heel of the bowl to show the condition of the finish – the grime and grit all over the sides and bottom of the bowl. The overall dullness of the finish looks lifeless. It is a dirty pipe but the grain is absolutely stunning.   He took photos of the stamping on the octagonal shank. It is both artfully and tastefully done. The stamping was very readable as noted above. It is a beauty!  The Cumberland stem has an inset acrylic encased C inlaid on the left side of the saddle and is stamped faintly on the right side of the saddle with the words Hand Cut.  He took some photos of the Cumberland stem surfaces to show their condition. There were not any tooth marks just some calcification and light chatter ahead of the button on both sides.  I turned then to Pipedia to see what I could find out about this particular line of Comoy’s pipes. I read through the main Comoy’s page and looked at the page on dating the pipes by the stamping on both sides and neither one had any reference to the Comoy’s Magnum Supreme. I then turned to the article by Derek Green on Pipedia to see if there was any reference to the line there. Low and behold about half way down the article under the section entitled, The Names or Grades I found some information on the Magnum line. Here is the link to that page on Pipedia (https://pipedia.org/wiki/A_History_Of_Comoy%27s_and_A_Guide_Toward_Dating_the_Pipes#The_Names_or_Grades). I will quote from the section on the line below.

Extraordinaire. This designation was given to any pipe that was out of the ordinary in size or grain. The E/O was introduced in the 1930s, and “Extraordinaires” can be found with no other designation or also stamped, for instance, “Blue Riband” or “London Pride.” The 1936 advertisement lists the “Extraordinaire” at $13 to $23, and the 1965 catalogue also lists a “Specimen Straight Grain Extraordinaire” at $60, though I cannot imagine many of these were made! There seem to be two distinct-sized pipes that were called “Extraordinaire.” The very large or Magnum-sized variety are unique and were given shape numbers in the 800 series. My 1939 panel example is 803 and is 9 inches long, with a bowl 2 3/8” high and 1 ¾” wide. I understand that BBB, Comoy and Dunhill made these Magnum-sized pipes in the 1920s and 30s and that Dunhill purchased the bowls for their Magnums from BBB when they started producing them in 1921. Other Extraordinaires are somewhat larger than a Dunhill LBS, for instance 6 ½” long with a bowl height of 2” and 1 ½” wide. These are given normal shape numbers and are illustrated in the 1965 catalogue.

The Extraordinaire was reintroduced in 1979 as the “Extraordinaire 1,” which was priced at $100 in the 1979 catalogue in a light natural finish, and the “Extraordinaire 11,” a light two-tone walnut finish. Neither of these was as large as the 800 series.

Magnum. As mentioned above, the 800 series are “Magnum” sized, but I also have one pipe that is stamped “Magnum,” with the shape number 802 and is the same shape and size as my Extraordinaire 802. It dates from the 1960s, and Comoy’s may have used this name as a marketing exercise to supersede the 800 series. The name Magnum was re-introduced by Cadogan in the 1990s, but these were not really magnum sized.

From the site I determined that the pipe in my hand was most like made during the Cadogan time frame as it does not bear any shape number. It is large but I do not know that I would call it a Magnum sized pipe. That would make it a pipe from the 1990s which also goes along with the interesting acrylic encased C that is inlaid in the Cumberland stem.

Now I had the information I wanted to know on the brand it was time to begin to work with it and clean it up. It really is a beautiful pipe.

I am getting more and more used to Jeff cleaning up the pipes before I work on them. So much so that when I have to clean them it is a real chore! This pipe was dirty just like the other ones in the collection. I did not know what to expect when I unwrapped it from his box. He reamed it with a PipNet pipe reamer and cleaned up the reaming with a Savinelli Fitsall Pipe Knife. He scrubbed out the internals with alcohol, pipe cleaners and cotton swabs until the pipe was clean. He scrubbed the exterior of the bowl with Murphy’s Oil Soap and a tooth brush to remove the grime and grit on the briar and the lava on the rim top. The finish looked really good once it was clean. There was no damage and the grain just popped around the bowl. The rim top was bursting with birdseye grain and was beautiful. He cleaned the stem internals and scrubbed the exterior and the result looked very good. When the pipe arrived here in Vancouver for the second stop of its restoration tour it was impressive. I took photos before I started my part of the work. I took some close up photos of the rim top and also of the stem surface. I wanted to show what an amazing job Jeff did in the cleanup of the rim top. It was a real beauty. The layout of the pipe absolutely captured the birdseye grain on the pipe. I also took close up photos of the stem to show condition it was in. It would not take a lot of work – just sanding out the light tooth chatter and polishing with micromesh sanding pads.I took photos of the stamping on the left, right and underside of the shank. The stamping reads as noted above.   I polished the bowl and rim with worn micromesh sanding pads. I sanded it with 1500-12000 grit pads and wiped it down between pads with a soft cotton cloth. You can see the progress in the shine as you go through the photos.  I worked some Before & After Restoration Balm into the finish of the bowl, the rim top and shank with my fingertips to clean, enliven and protect it. I find that the balm really makes the briar come alive again. The contrasts in the layers of stain really made the grain stand out. I let the balm sit for a little while and then buffed with a cotton cloth to raise the shine. The pipe really looks good at this point. I am very happy with the way the pipe is looking at this point in the process.  I set the bowl aside and turned my attention to the stem. I sanded the light tooth chatter on both sides of the stem with micromesh sanding pads – wet sanding it with 1500-12000 grit pads. I polished it further with Before & After Pipe Stem Polish – both fine and extra fine. I finished by wiping it down with Briarville’s No Oxy Oil and set it aside to dry. This was another fun pipe to work on since Jeff had done the heavy work in cleaning it. Once I was finished I put the Hand Cut Cumberland stem with a Delrin tenon back on the bowl and polished the bowl and stem with Blue Diamond polish on the buffing wheel. I gave the bowl and the stem multiple coats of carnauba wax. I buffed the pipe with a clean buffing pad to raise the shine. I hand buffed it with a microfiber cloth to deepen the shine. The grain just pops and is almost multidimensional it is so deep. The pipe polished up really well. The polished Cumberland stem seemed to truly come alive with the buffing. This is a big pipe and it feels great in my hand and I am sure that it will feel even better radiating the heat of a good smoke. It must have been a fine smoking pipe judging from the condition it was when we received it from the pipeman who we bought it from. Have a look at it with the photos below. The dimensions are Length: 6 ½ inches, Height: 2 ½ inches, Outside diameter of the bowl: 2 inches, Chamber diameter: 1 inch. This is one beauty that is eye catching. I will be putting it on the rebornpipes store shortly. If you are interested in adding it to your collection email or message me. Thanks to each of you who are reading this blog. Remember we are not pipe owners; we are pipemen and women who hold our pipes in trust until they pass on into the trust of the next pipeman or woman.
Giving a Yorkshire Natural Billiard a new look – Restain & Cumberland Stem


Blog by Steve Laug

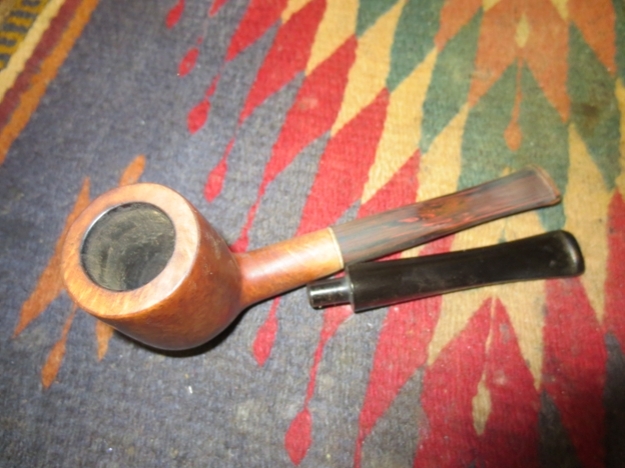
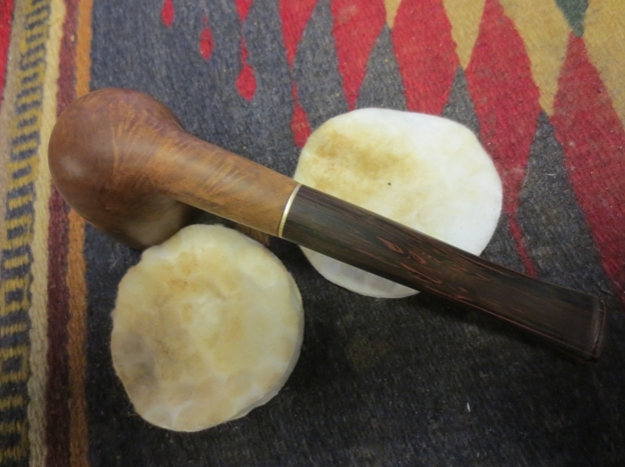
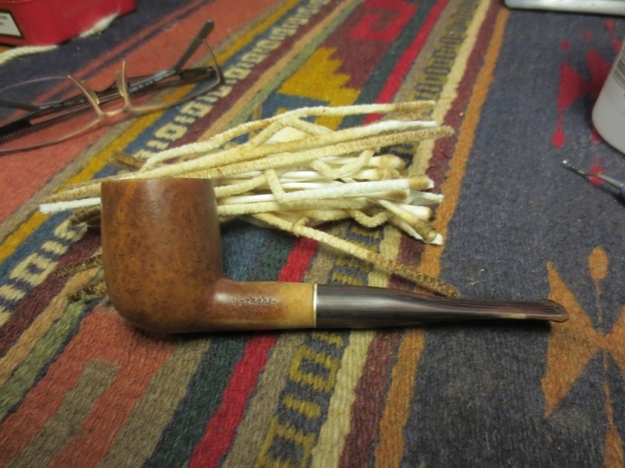
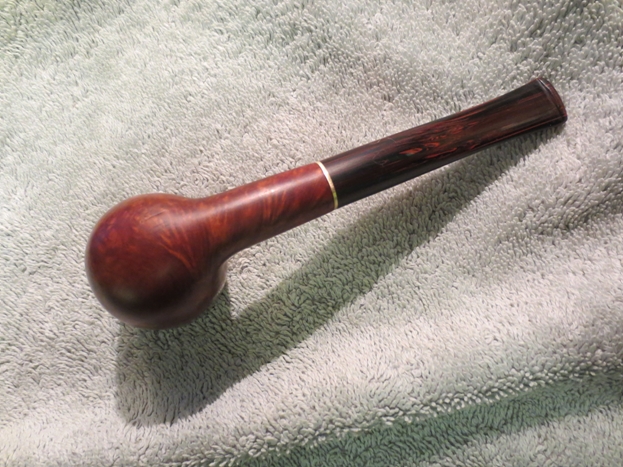
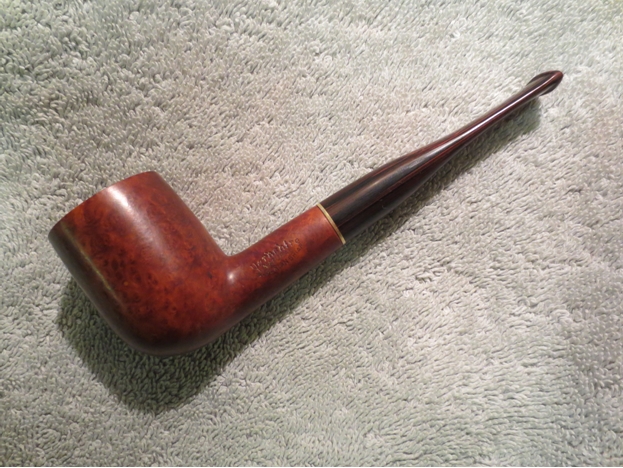
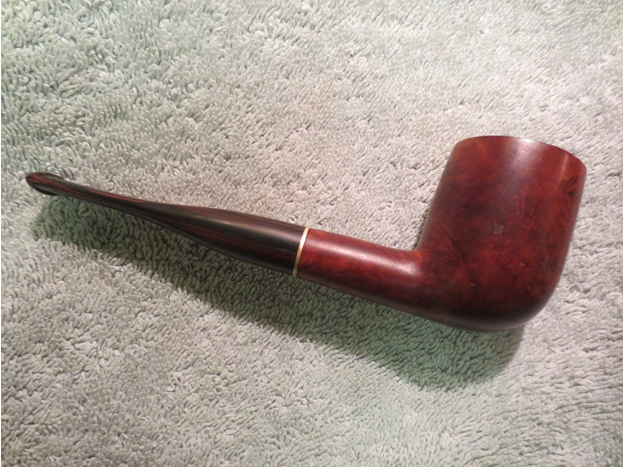
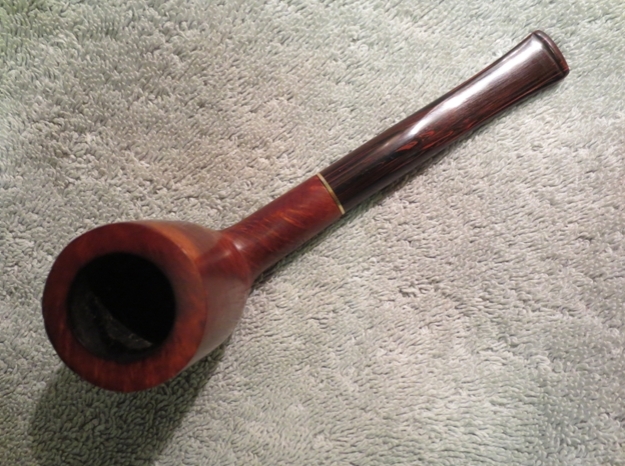
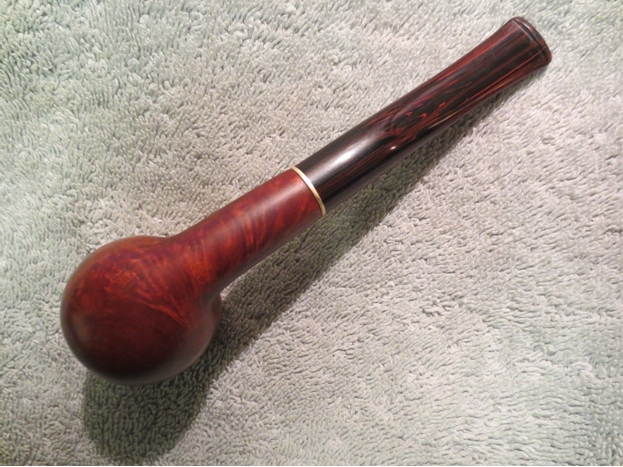
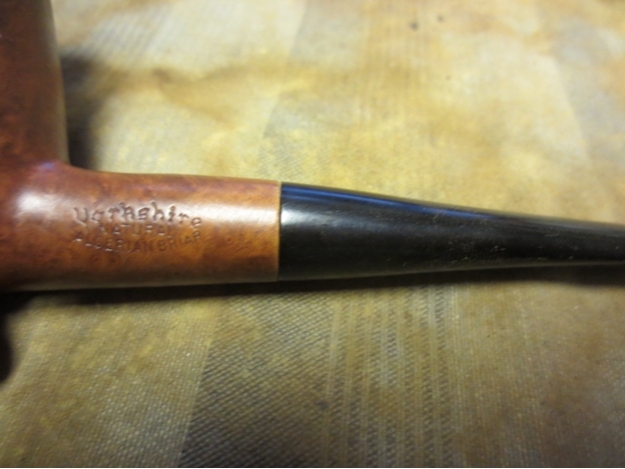
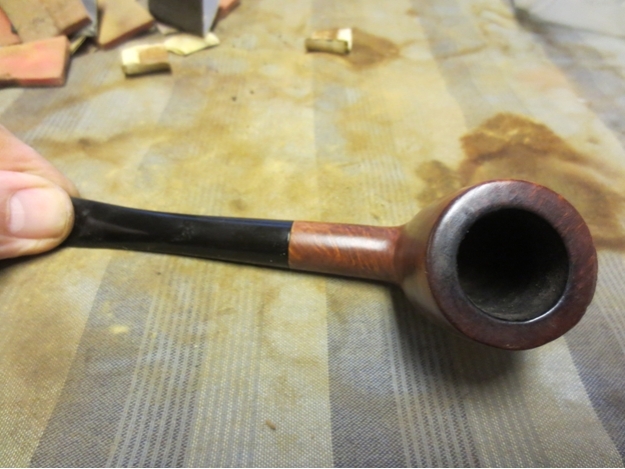
I am slowly but surely working my way through the gift box of pipes I received. The next one that I chose to work on was a billiard. It is stamped Yorkshire in an arch over Natural and another reverse arch with the words Algerian Briar.York1 The stem on it was a replacement and did not fit well on the shank. It was slightly smaller in diameter and also had rounded shoulders. The angles and flow of the stem did not work well with the pipe in my opinion as the taper on the top of the stem was different from the one on the bottom side. The bowl itself was clean but and the finish dirty. The rim had been damaged around the outer edge on the front of the bowl rounding it slightly. The stamping was clear and distinct. From what I can find on the internet the Yorkshire brand is a US Made pipe that came from Barnaby Briars (smoking pipe retailer) that was located at 28 Powell St. in Brooklyn (NY). They also made pipes stamped Barnaby. The Germanic Script differentiates it from the other Yorkshire Brand that was made in Italy by Gasparini for Sears and Roebuck.York2 The right side of the bowl had the only fills present on the pipe – and there were about five of them visible. The largest is almost in the middle toward the back. These fills were hard, smooth and tan in colour.York3
York4

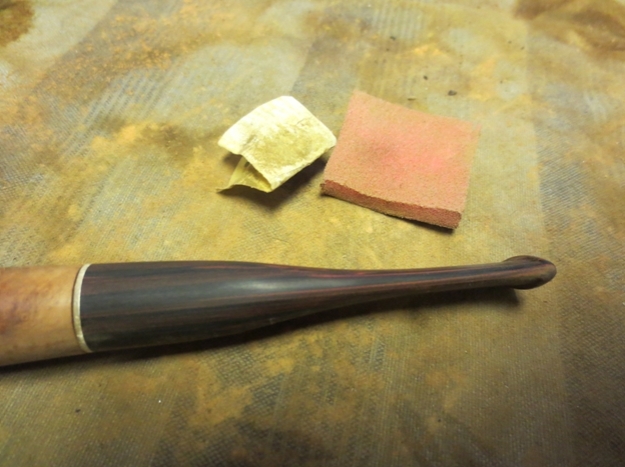
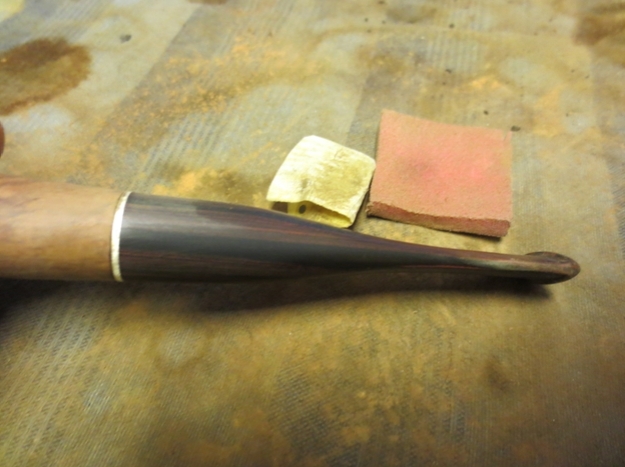
York5 The close-up photo of the rim below shows the rounding of the edges on both the front and the back sides of the rim.York6 I absolutely hated the look of the stem on this pipe so I went through my can of stems until I found one that would work well. It was a well broken in stem that had a lot of oxidation and calcification on the top and bottom of the stem. There were no tooth marks which were a bonus and the stem was Cumberland! Once I had cleaned up the bowl and the stem the combination would look really good.

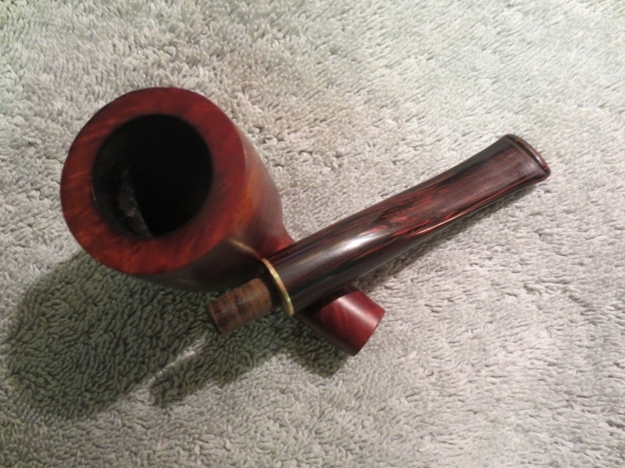
The tenon was slightly larger than the mortise so I used a Dremel with a sanding drum and took some of the Cumberland material off the tenon. I worked on it until it was close to fitting. Then I took it back to the work table and use a folded piece of sandpaper to get a good snug fit in the mortise. I had no idea that there was a brass band that was a part of the stem until I began to clean it up.York7

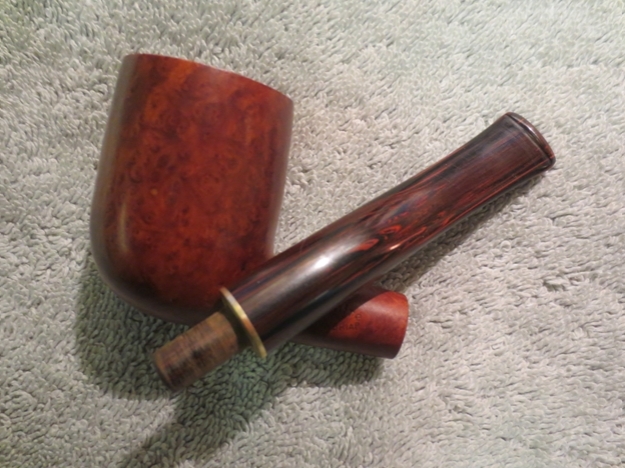
York8 When the stem was in place I sanded the stem and the junction of the shank and stem to make sure that the fit was smooth and the transition was as seamless as I could make it. I sanded with 220 grit sandpaper to even things out. As I did it I found that there was a brass coloured band that was a part of the stem. I removed the stem and cleaned off the face of the stem and found the band extended across the face of the stem like a washer around the tenon. I really liked the way the stem tapered quickly to from the shank to the button.York9
York10

York11

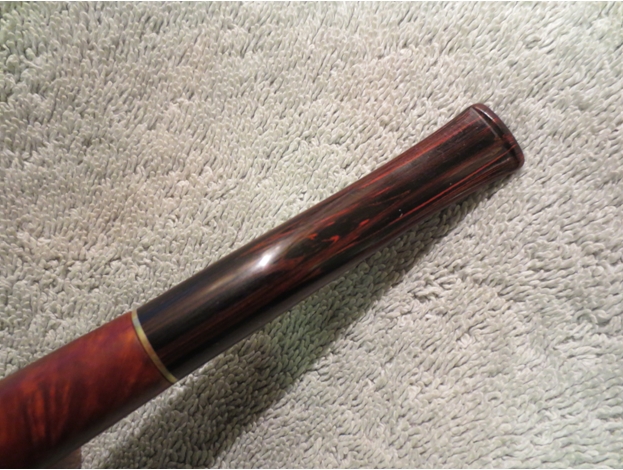
York12 I topped the bowl on a topping board to remove the damage on the rim and clean up the outer edges. I wanted to remove the damaged, rounded edges. I also sanded the scratches on the underside of the bowl.York13 I sanded the stem and shank with a medium and a fine grit sanding sponge. I also sanded the brass shank adornment to remove the scratches and polish it. I wiped it down with a wet cloth to remove the sanding dust. The Cumberland is coming to life the more I sand it and remove the oxidation and buildup. The lines of red and burgundy flow through the stem horizontally along the taper and the sides.York14
York15

York16

York17 I took a picture of the pipe and stem with the old stem beside it for comparison sake. The stem is about ¼ inch longer than the old one and the taper more radical. The Cumberland looked better with the briar than the old as well.York18 I wiped down the bowl and shank with acetone on cotton pads to remove the oils and grime that was on the surface of the briar. I wanted to bring the rest of the briar as close to the colour of the sanded rim and shank.York19

York20

York21

York22 I cleaned out the shank and the stem with cotton swabs, pipe cleaners and isopropyl alcohol to remove the tars and oils.York23

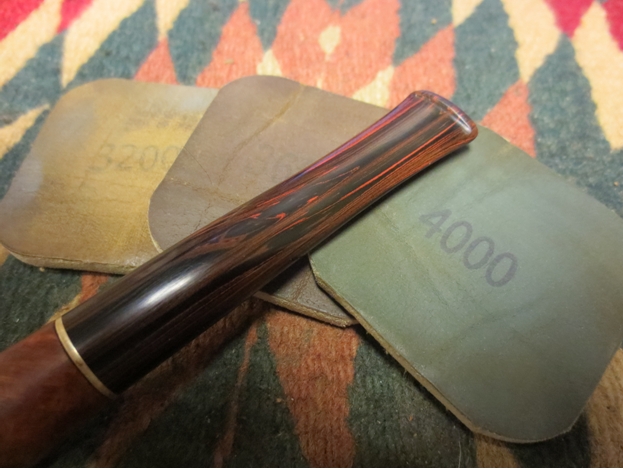
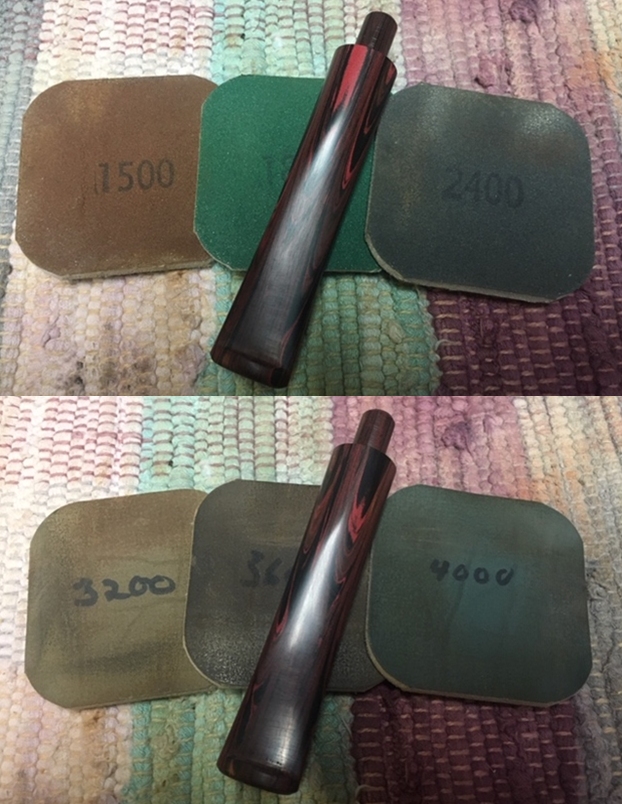
York24 I sanded the stem and shank with micromesh sanding pads – wet sanding with 1500-2400 grit pads and dry sanding with 3200-12,000 grit pads. I rubbed the stem down with Obsidian Oil between each set of three pads. I did not let the oil dry between rub downs as I find that the oil gives the micromesh some cut on the surface of the stem. The translucence of the Cumberland really shows through the shine.York25

York26

York27 I rubbed the bowl and down with olive oil and let it soak into the briar. The oil brought out the reddish brown tones of the briar and made the grain stand out. Sadly it also made the fills on the right side of the bowl stand out as well.York28

York29

York30

York31 While the brown tones stood out well I wanted to bring out some of the red tones in the briar. To highlight the reds I stained the bowl with a coat of oxblood stain. Before I stained the briar I used a permanent black marker to darken the fills on the side of the bowl. When it had dried so that it would not rub off when I put the stain coat on the bowl. I applied the stain with a cotton pad and then flamed it. Once it dried I polished the bowl with White Diamond on the buffing wheel. The finished pipe is shown below.York32

York33

York34

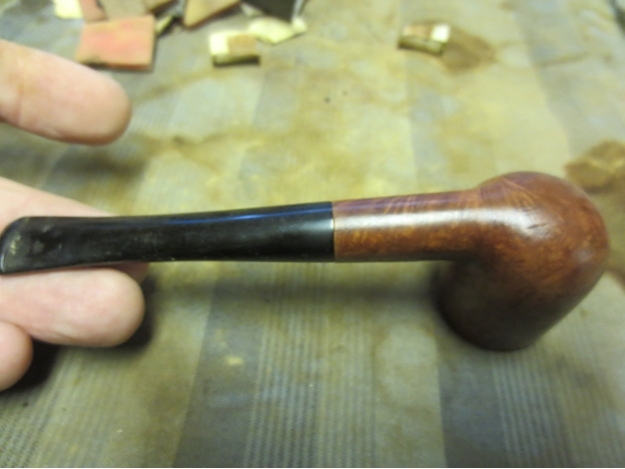
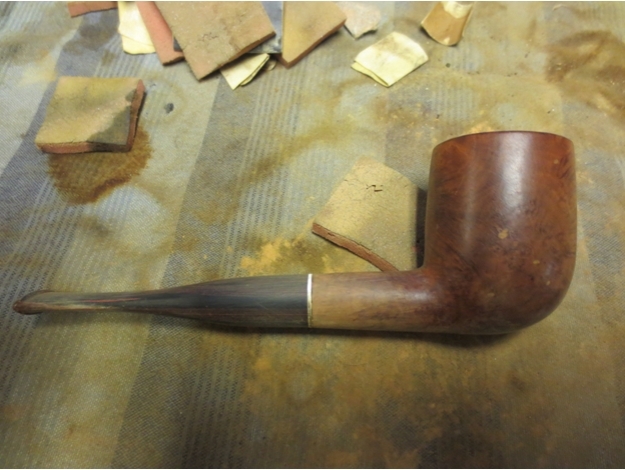
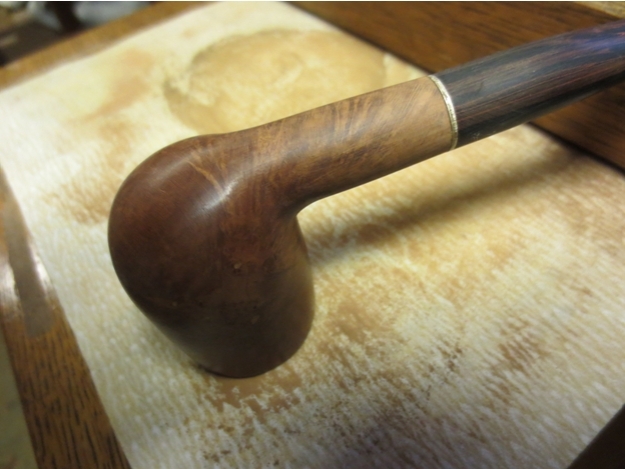
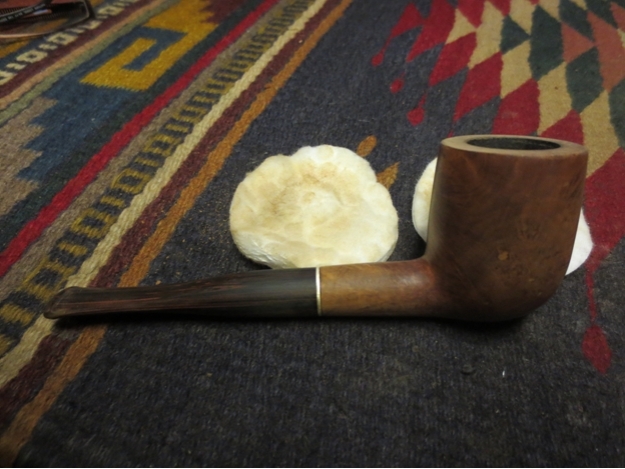
York35 The rich colours of the briar work really well with the reds of the Cumberland stem. The light brass band that separates the stem and the shank adds a light brass coloured horizontal line that breaks up the vertical Cumberland and the horizontal grain of the briar.York36

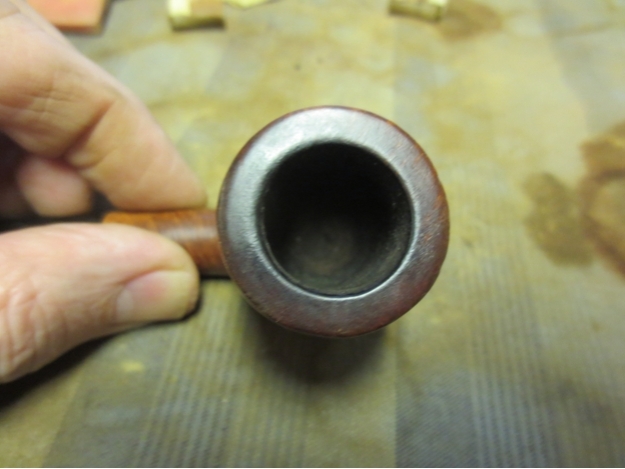
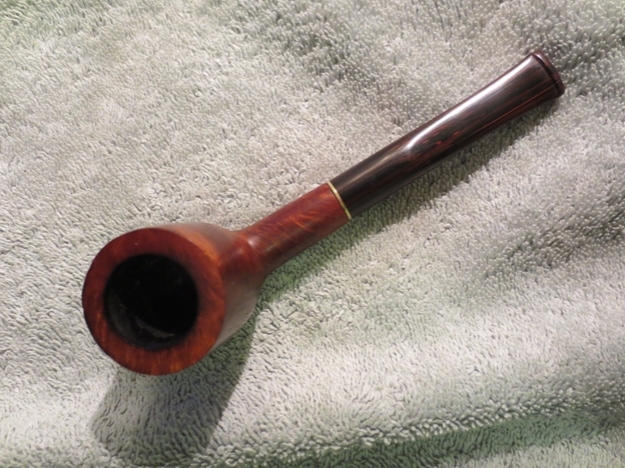
York37 The sharp edges of the rim and the grain on the surface look far better than the round outer edge of the bowl.York38

York39

York40