Blog by Dal Stanton
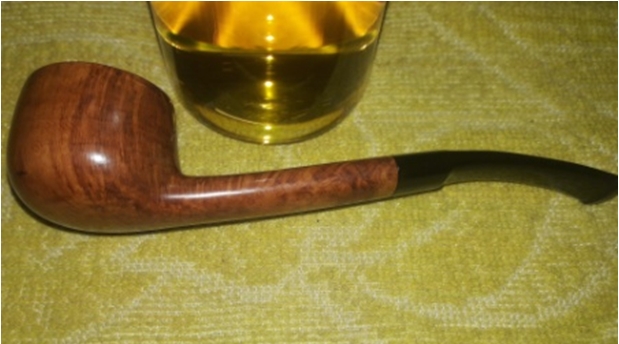
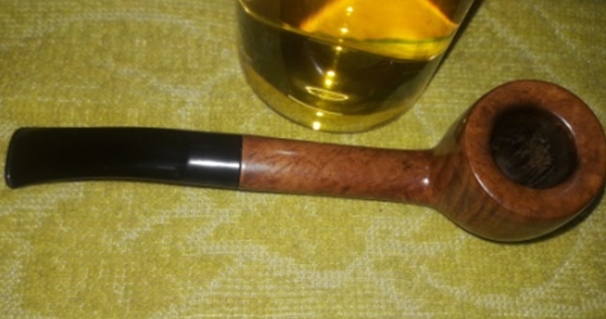
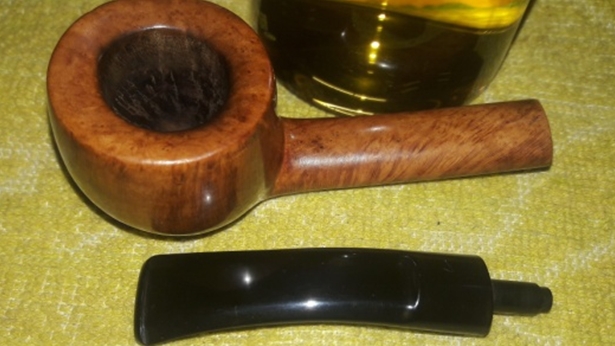
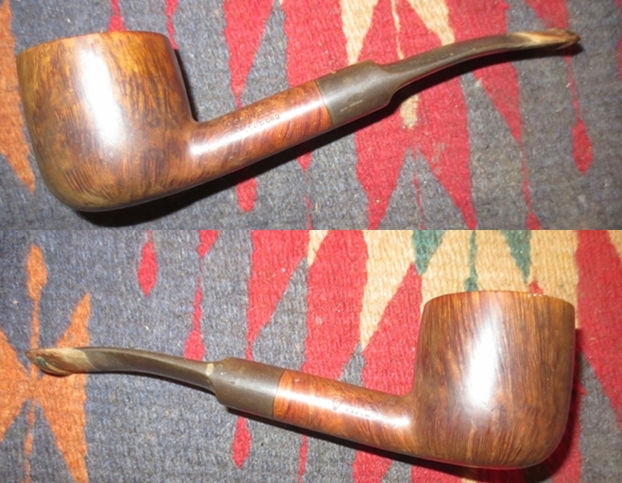
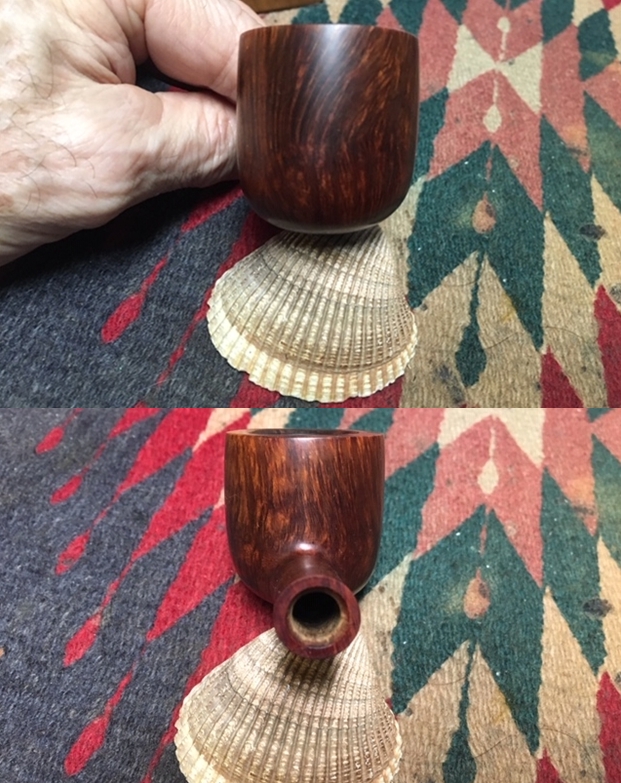
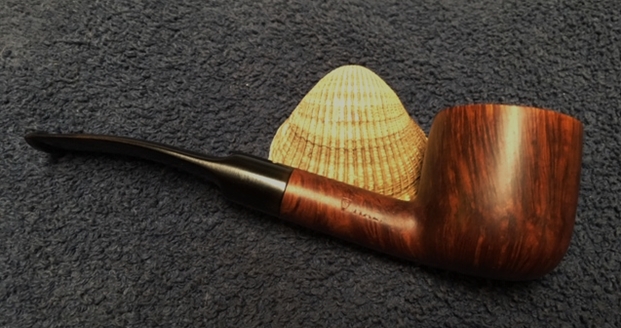
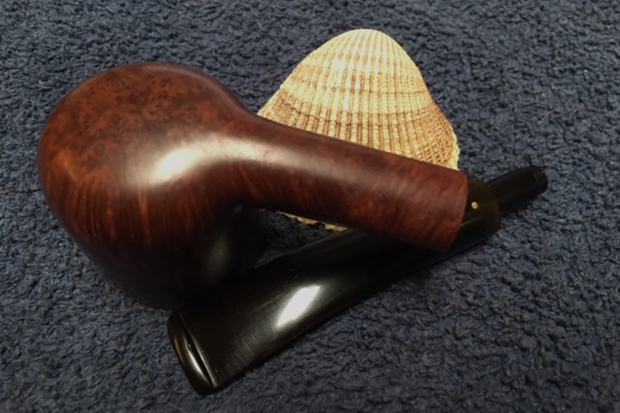
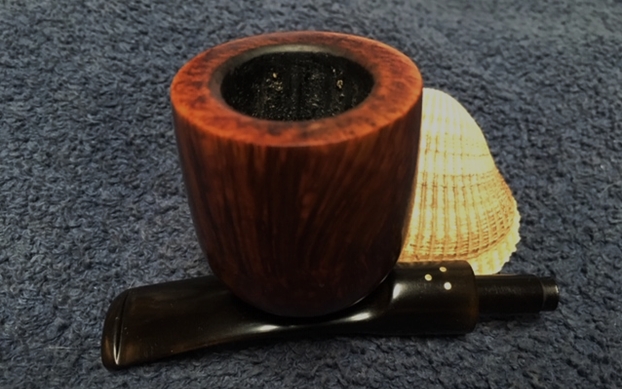
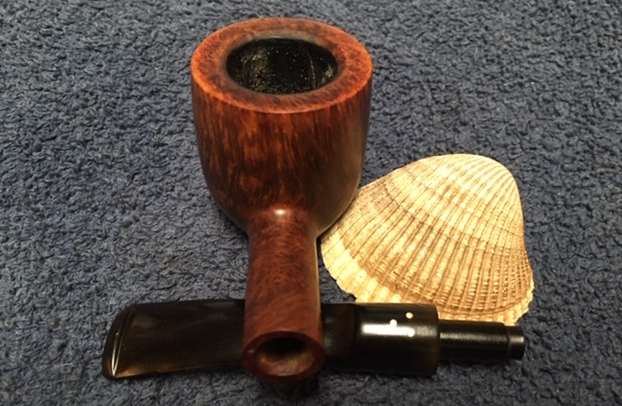
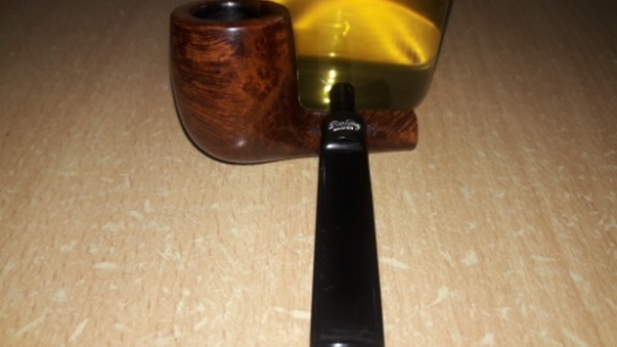
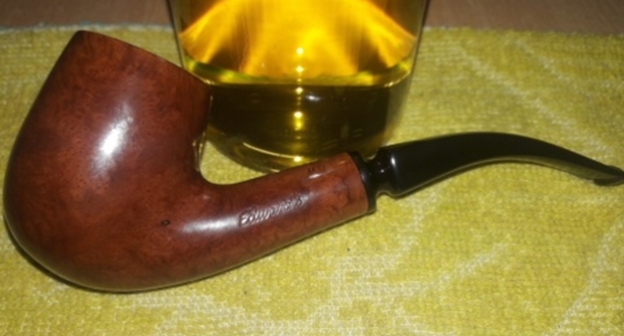
This exquisite line of Savinelli Punto Oro Corallo di mare came to me in a single Lot of 66 that I acquired off the eBay auction block. As I’ve referenced several times before, the Lot of 66 has been very good to me and this pipe confirms this again. I included a picture of the Lot of 66 below with an arrow marking the Savinelli. Looking at this picture reminds me of many pipes that have found new stewards and some that have made it to my own personal collection! Only one regret – the two clay pipes immediately below the Savinelli Punto Oro Bulldog did not make it in the transit from the seller. Overall, I am very pleased! This Savinelli Punto Oro got the attention of a Texan named Charles in my online collection called For ‘Pipe Dreamers’ Only!. He contacted me about commissioning the pipe and was hoping to get it by his 50th birthday on December 2. My first thought was, what a great present for yourself! Sweet! Secondly, I thought about the other commissioned pipes in the queue for which other pipe men and women were patiently waiting. Regretfully, I explained this to Charles and he insisted that I not bump anyone out of the line – I appreciated that! As I’ve worked the queue down, I have communicated to Charles letting him know the progress and I told him that I knew I wouldn’t have it to him by his birthday, December 2, but I felt very confident that he could celebrate the New Year with this Savinelli. Well, tomorrow is December 2, and the Savinelli is now on my worktable. Here are pictures that drew Charles’ interest and why he was willing to wait – by the way, Happy Birthday Charles!


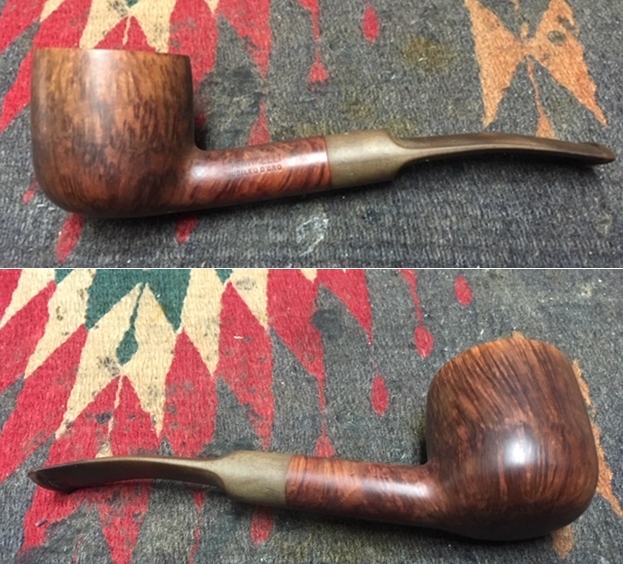
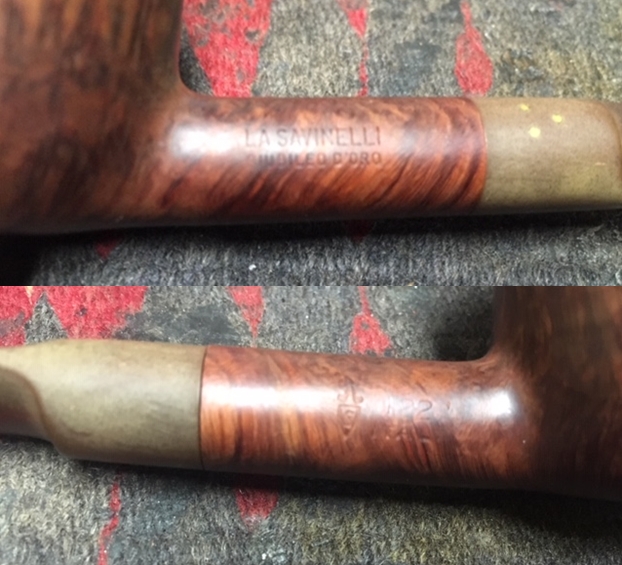
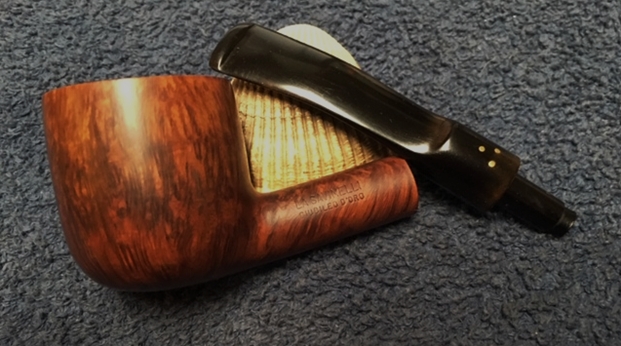
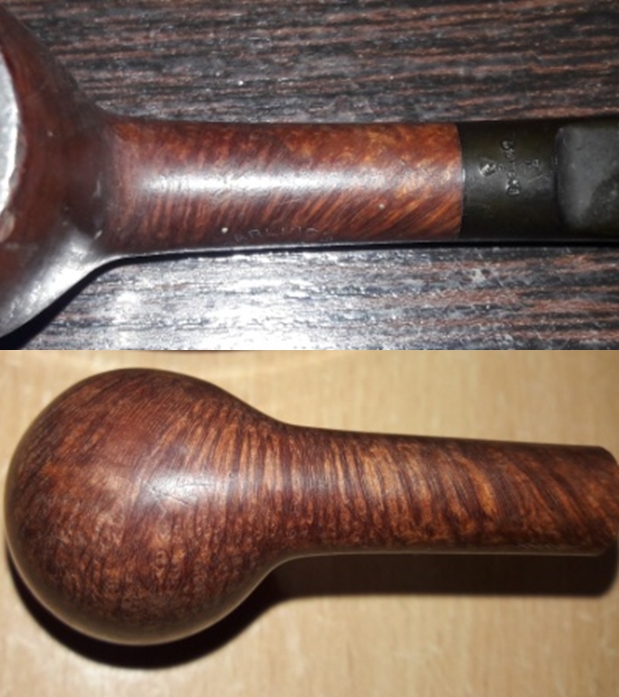
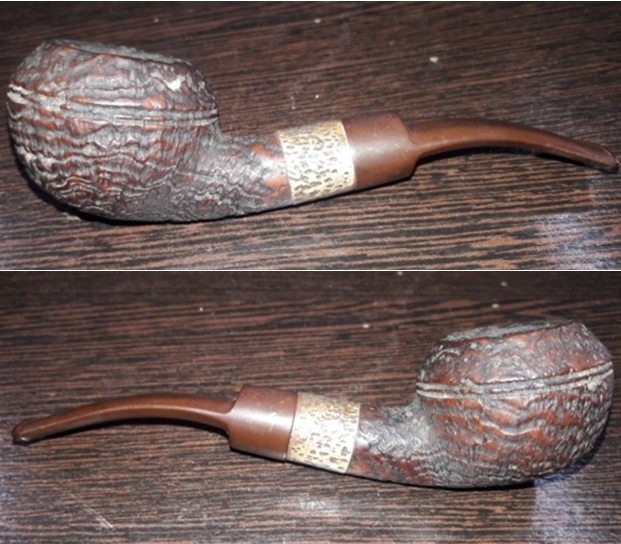
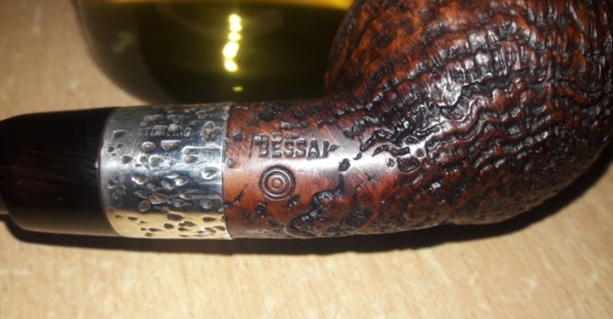
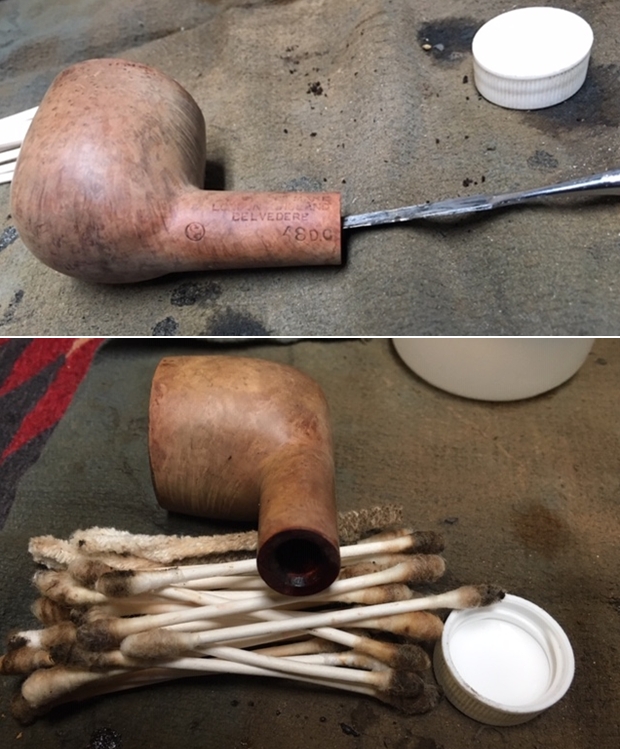
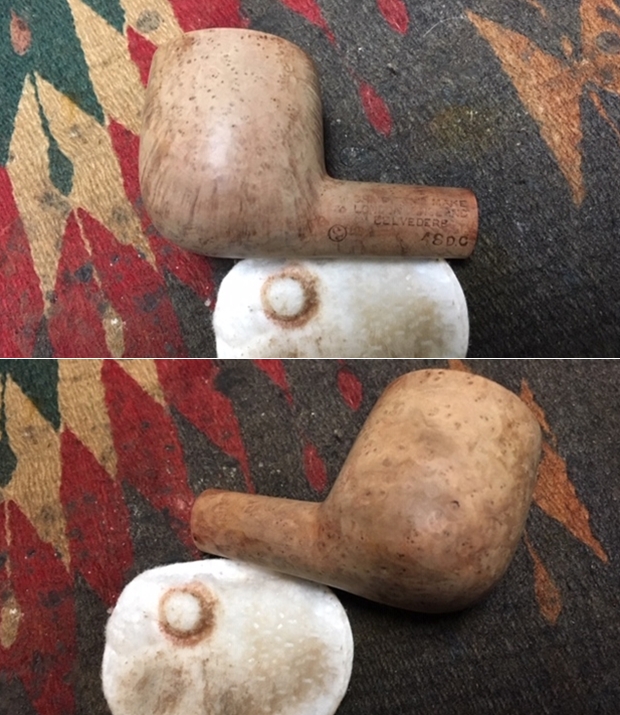
 The nomenclature is stamped on a smooth briar panel on the lower left of the diamond shank. It reads, ‘SAVINELLI’ [over] PUNTO ORO [over] 510ks [over] ITALY. To the left of the COM is the Savinelli stamp. The stem has a single dot on the upper left panel of the diamond saddle stem.
  Ever since I started restoring pipes and came into contact with my first Savinelli restoration, a Tortuga, I have appreciated this Italian pipe name. Before and after WW II, when Italian pipe production was known more for volume than for quality, and not considered by many in the same league with other European pipe makers, Achille Savinelli Jr.’s gravitas took shape to make Savinelli one of the premier names in pipe making today. This clip from the Pipedia Savinelli article summarizes this well:
 Savinelli Pipes began production in 1948 and, although the pipes were of a superior quality and unique in their aesthetic, the brand wasn’t an immediate success. Few new brands are. It takes time for the public to catch on. Retailers were skeptical of placing Italian pipes alongside their best sellers from England or France, and customers, in turn, were hesitant to purchase a Savinelli over pipes by already established, foreign brands. Achille Jr. stood by his product, however; he knew it was only a matter of time before the world realized that these pipes were of a far superior quality, capable of competing with even the most well-established pipe manufacturers in the world. As it turns out, he was right. In less than a year, Savinelli pipes gained prestige in markets all across the world—heralded for their delicate balance of innovation and tradition, of form and function. Savinelli pipes were placed alongside the likes of Dunhill and Comoy’s in tobacconists from the United States to Europe, and, in time, this exposure modified Italy’s reputation; it was not only the premier exporter of briar, but now a premium source of fine briar pipes. (Picture courtesy of Doug Vliatchka)
 The shape number listed as a 510ks is an interesting version of the well-known and loved Bulldog shape. I’ve taken a clip of the 2017 Savinelli Shape chart from the middle of the chart. This section conveniently shows the 510ks in the center, 3rd pipe down. Comparing this style of Bulldog to the other two Savinelli Bulldog styles (623 & 624ks) pictured below, the right lower two pipes, the differences are interesting. The 623 and 624ks are more what I would call traditional or classic Bulldog shapes. Whereas the 510ks, is taller with a more distinct volcano shaped cone. It’s an interesting variation and I like it.
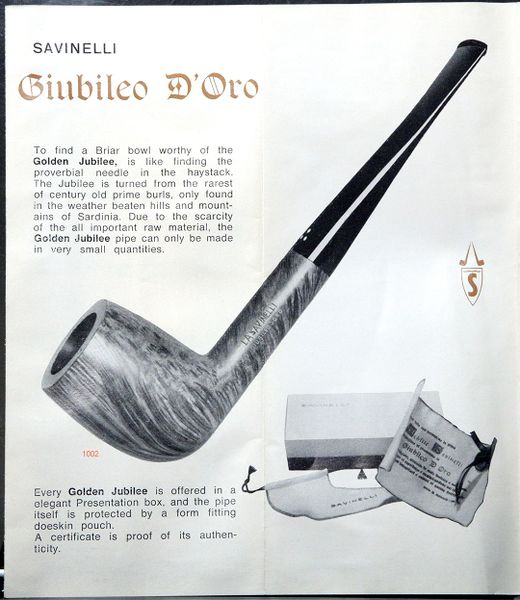
The Punto Oro (Gold Point) name is a higher quality line produced by Savinelli. From the same Pipedia article above, the discussion was the quality of briar used in the manufacturing of Savinelli pipes. This helpful anecdotal information about the Punto Oro line was made in the article:
This focus on quality begins with sorting, which is conducted in two distinct steps. In the first stage, an artisan sorts through a massive pile of briar blocks, the quality of which can range from complete scrap to pristine gems destined to become Punto Oros or Giubileos.
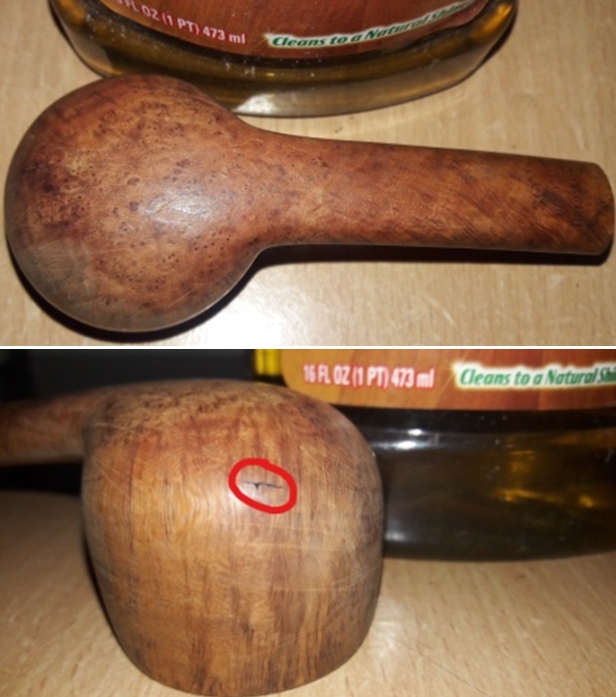
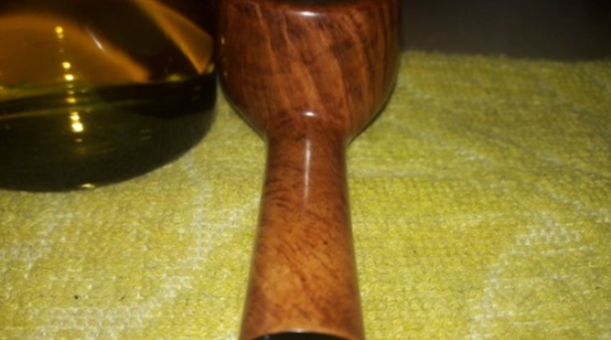
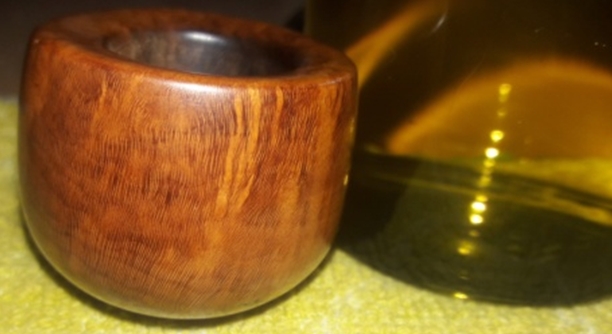
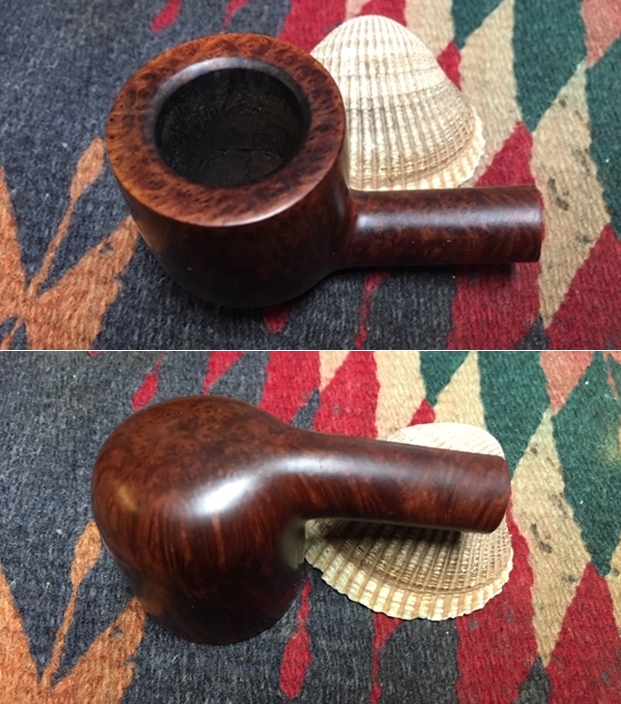
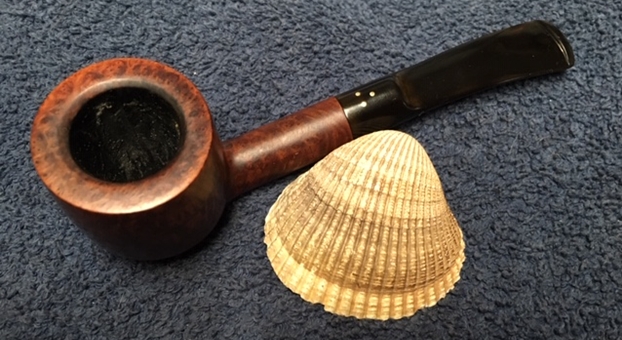
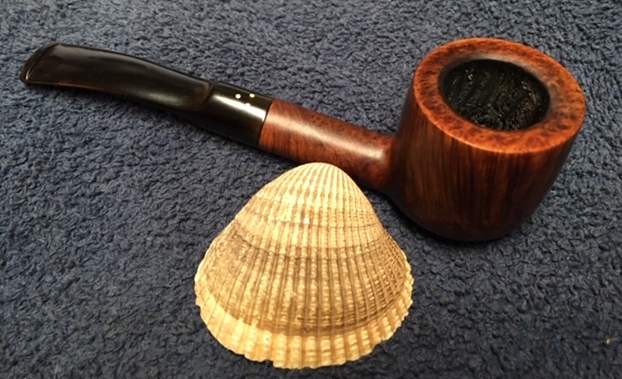
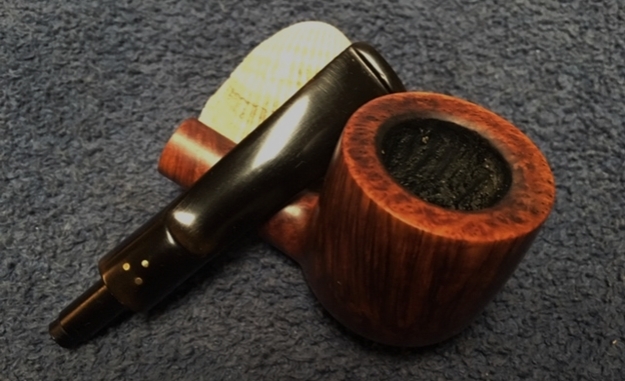
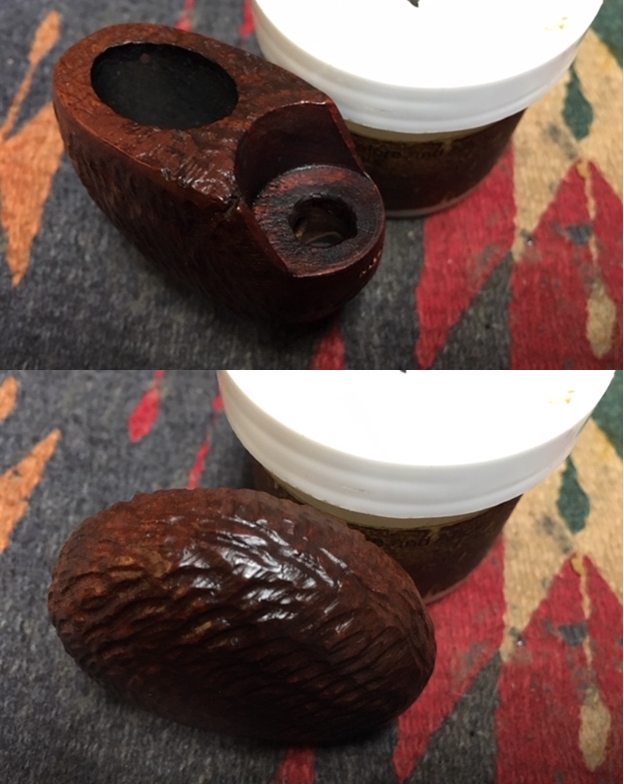
Perhaps the most interesting information I found on Pipedia was the special Punto Oro edition that Lot of 66 had provided me – the Corallo di mare, or ‘Coral of the Sea’ line. Of course, the most striking and unique characteristic of this pipe is the amazingly pronounced and expressive rusticated light hued briar. Pipedia provided an undated page of a catalog of the Savinelli Punto Oro Corallo di mare line. I include the entire page here: The information block on the bottom is a gold mine of information about the characteristics of this unique briar. It is described as porous like Block Meerschaum – which is interesting because when I first saw this pipe, I mistook it for Meerschaum until I got a closer look. As with Meerschaum, the claim is that this briar does not need to be broken in. Yet, most interesting to me was the description of the pigmentation also being like Meerschaum – the more one smokes it the more the pipe will darken into the honey yellow patina. Fascinating! This bit of information gave me a new perspective and appreciation for the vintage of the Savinelli Punto Oro Corallo di mare that Charles had commissioned. The patina on the pipe was a sign of its aging and vintage, as with a Meerschaum pipe. I take another picture of the briar to show this patina. Wow!
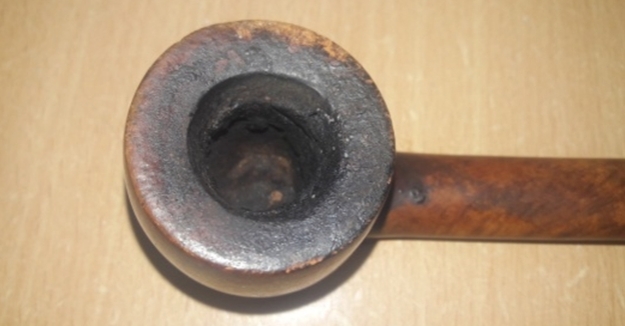
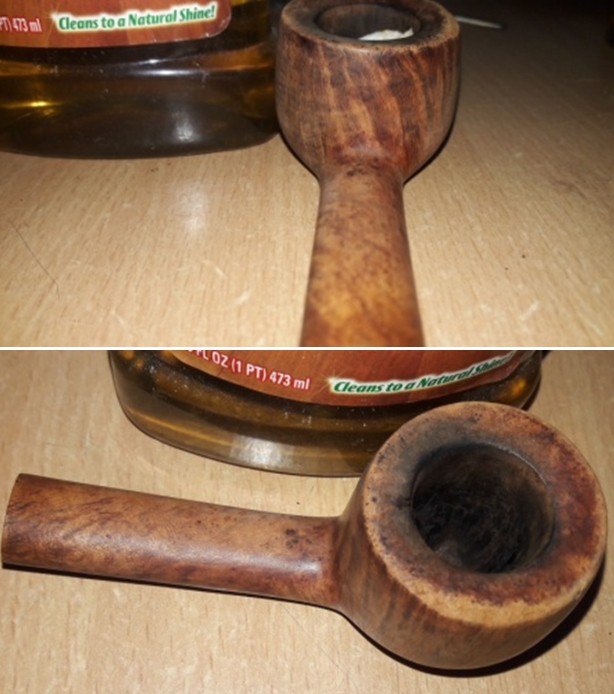
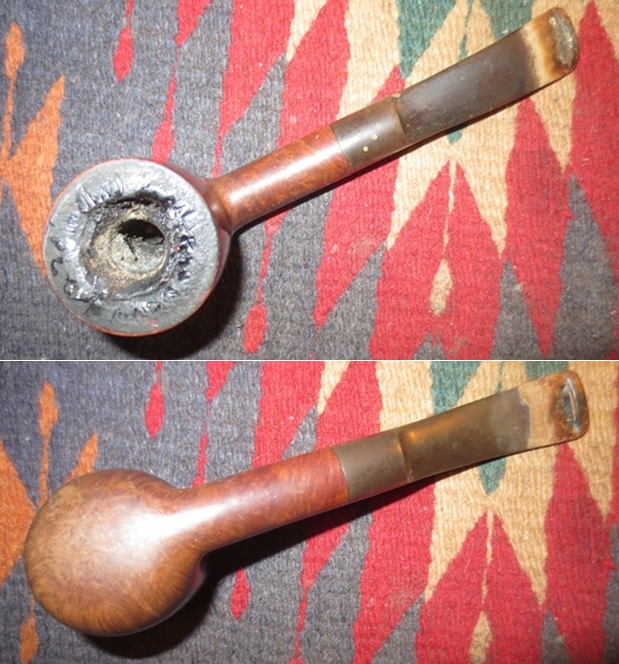
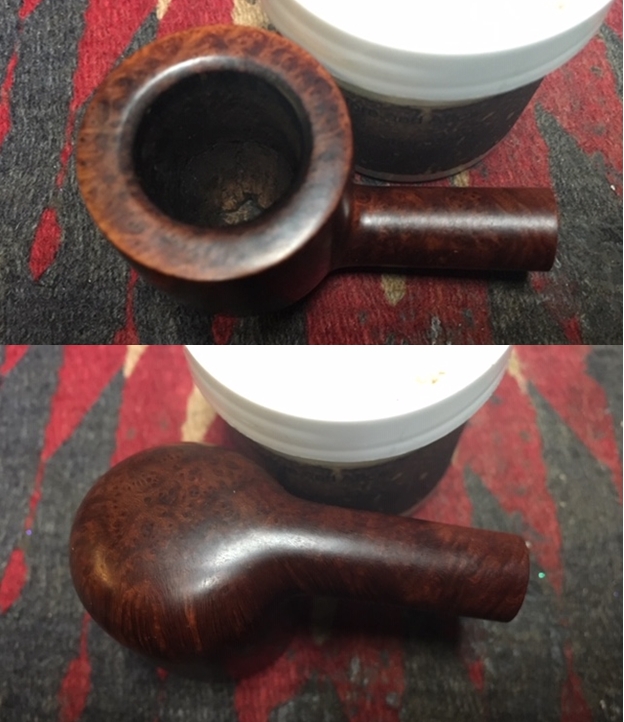
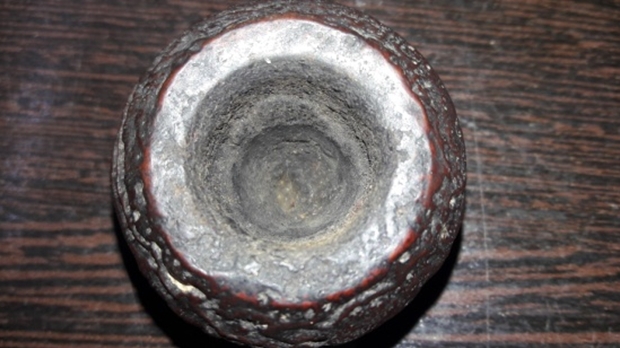
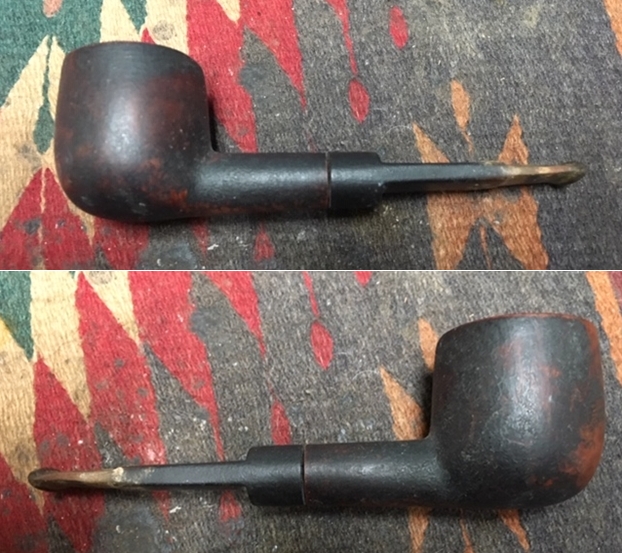
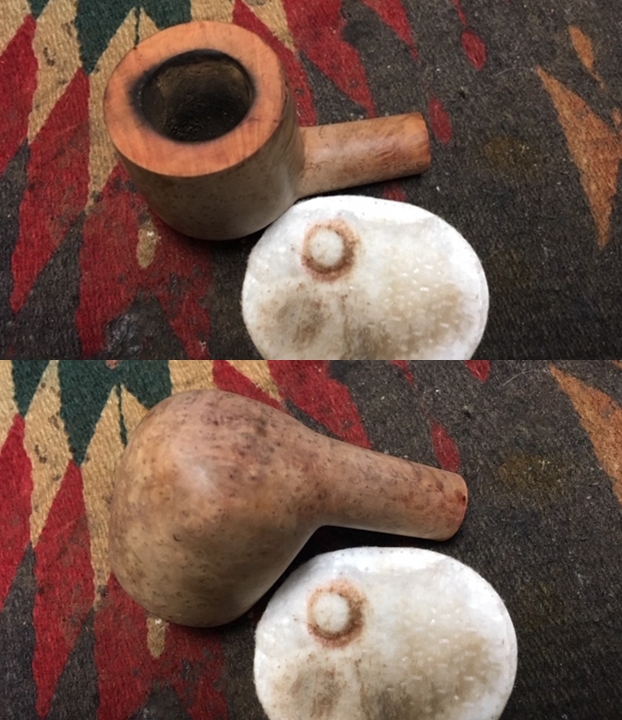
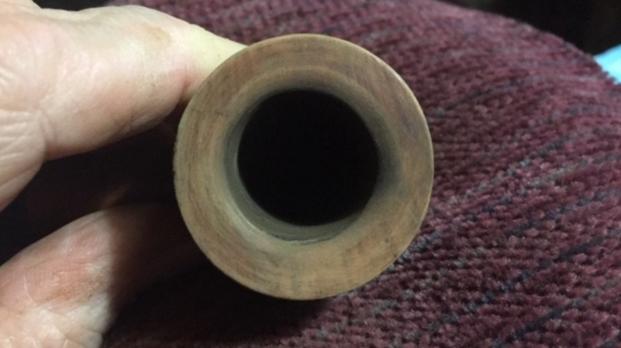
 The pipe is generally in good condition but needs extensive cleaning. The chamber has very light cake buildup, but the rim is darkened some by what I believe to be from the lighting practices of the former steward. The backside of the rim has some scorching. There is additional darkening from oils and grime. The stummel is darkened from the patina development from the information related above, but it should lighten some when cleaned in the extreme ridges and peaks of the rusticated briar surface. The stem doesn’t appear to have much oxidation and the bit has very little tooth chatter. I’m hopeful that this restoration will be more of a refresher!
With a much better understanding of the quality and characteristics of the Savinelli Punto Oro Corallo di mare Bulldog before me, I begin the restoration by adding the stem to a soak of Before & After Deoxidizer along with other pipes and their stems, that have already completed the restoration process. I let the Savinelli’s stem soak for several hours.
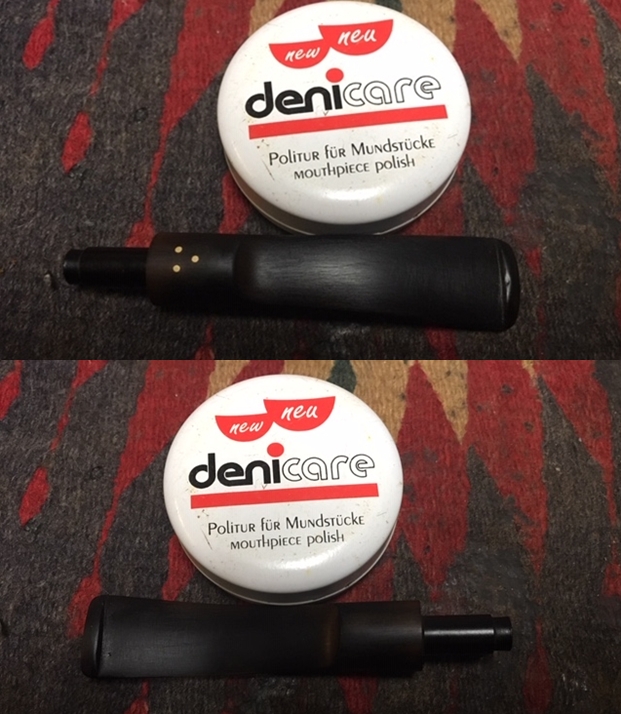
 After several hours, I remove the Savinelli stem from the soak allowing the Deoxidizer to drain and again pushing a pipe cleaner through the airway to remove the fluid. I then wipe of the raised oxidation with a cotton pad wetted with isopropyl 95%. I follow this by wiping the stem with light paraffin oil which cleans it further and revitalizes the vulcanite.
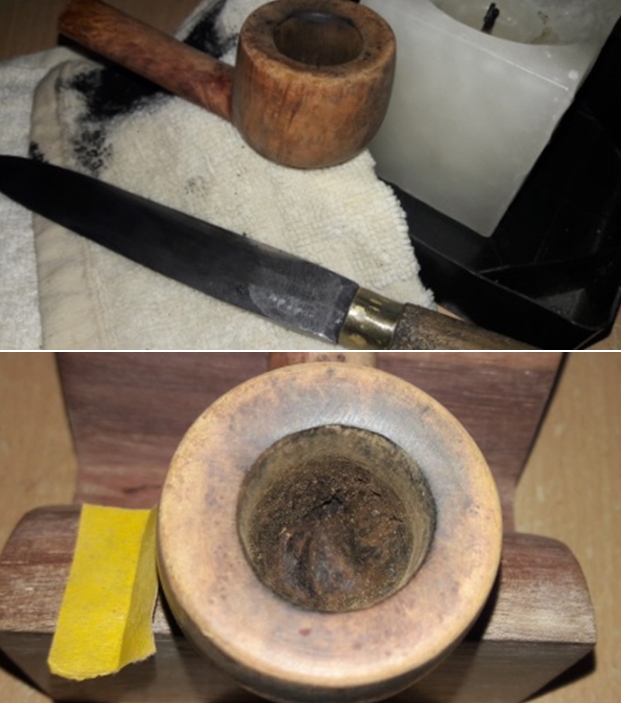
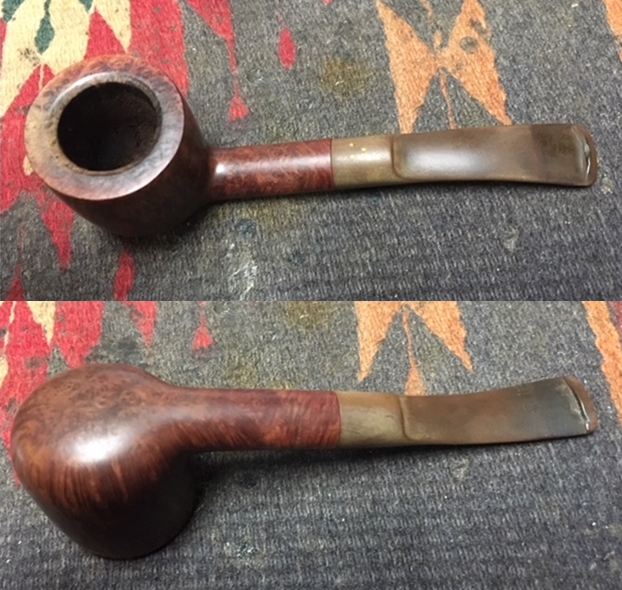
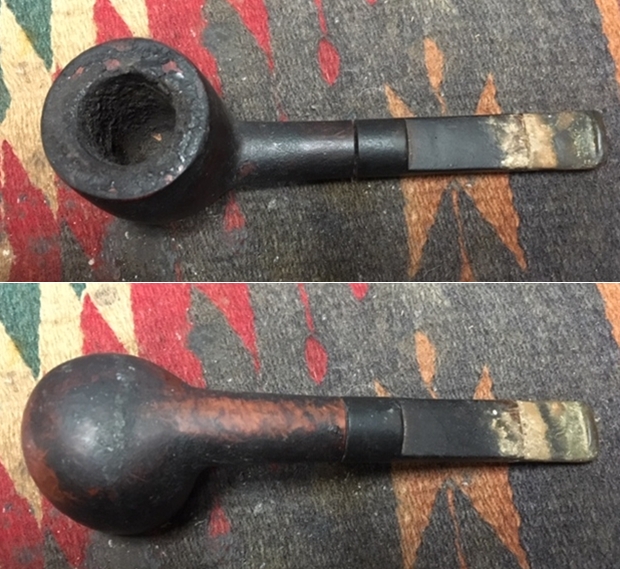
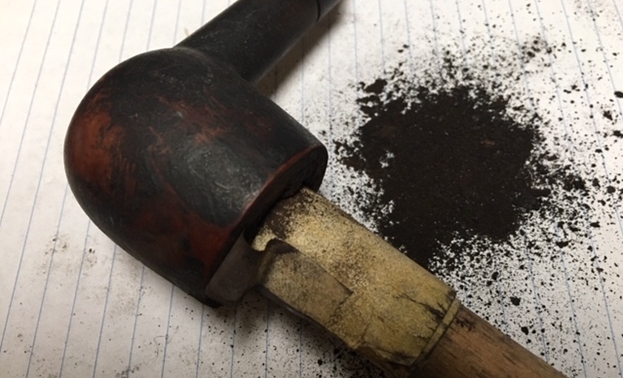
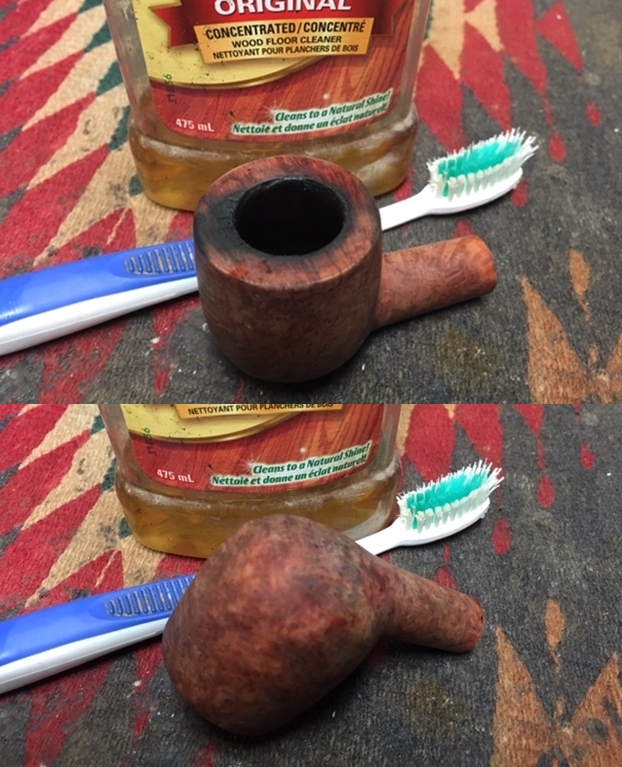
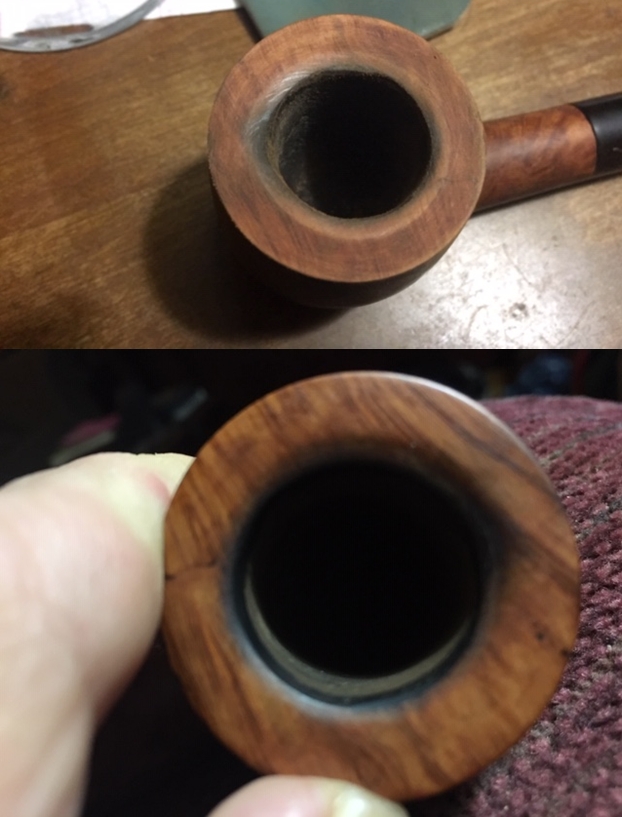
 Now turning to the stummel, I use undiluted Murphy’s Oil Soap and a bristled tooth brush to clean the rusticated surface with its myriads of nooks and crannies! I also use cotton pads on the smooth panel and rim. For the rim, a brass wire brush helps to remove the lava flow. I find that the tight crevices on the shank are the most uncooperative and I use a sharp dental probe to break up the compacted dirt. The first picture below shows the compacted crud – the whitesh hue on the shank in the grain is dirt. After a lot of scraping and brushing, finally, I rinse the stummel with cool tap water and it looks great. The first 4 pictures are before, and then after.


 Now, after cleaning.

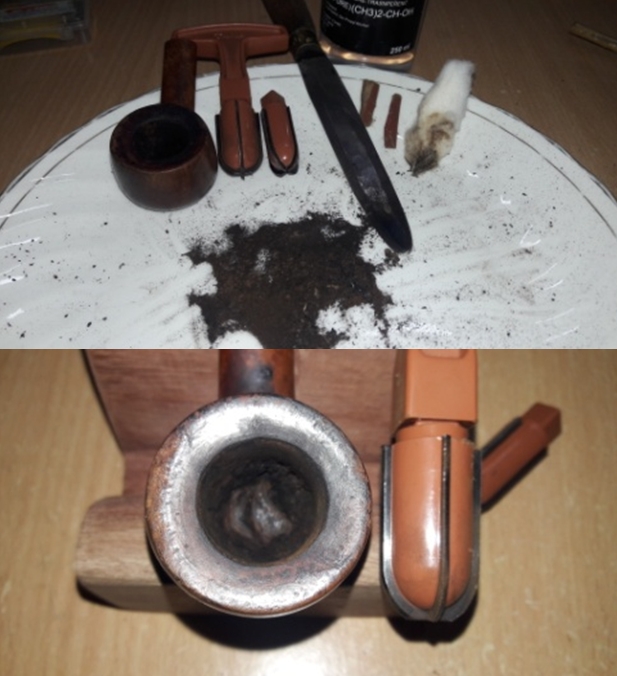
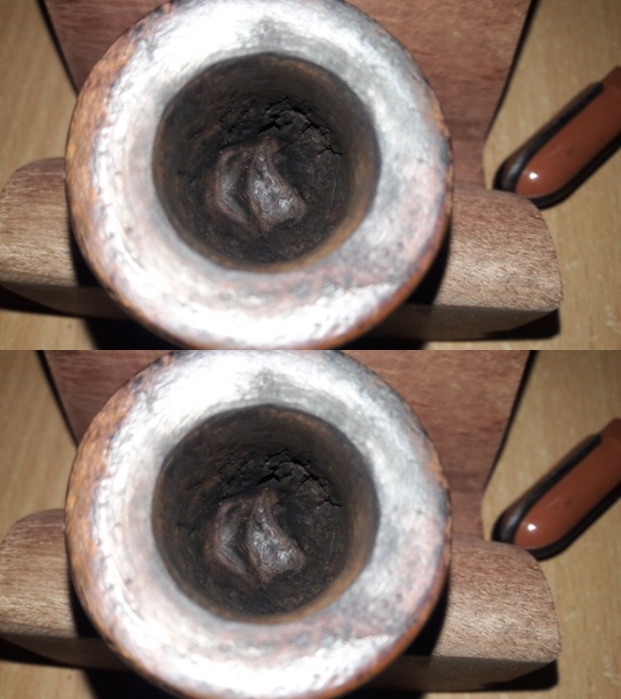
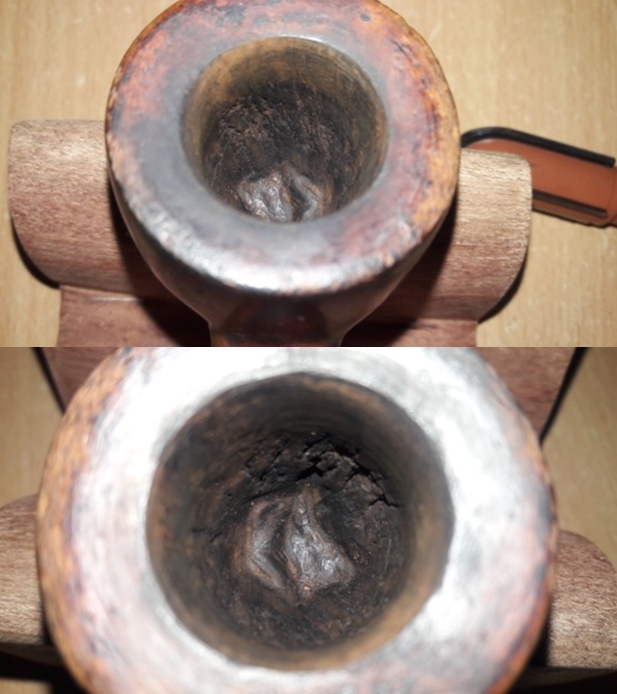
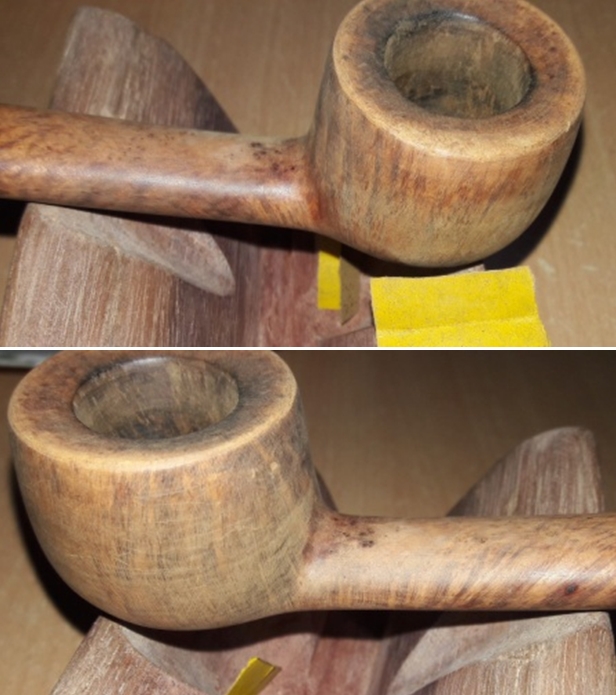
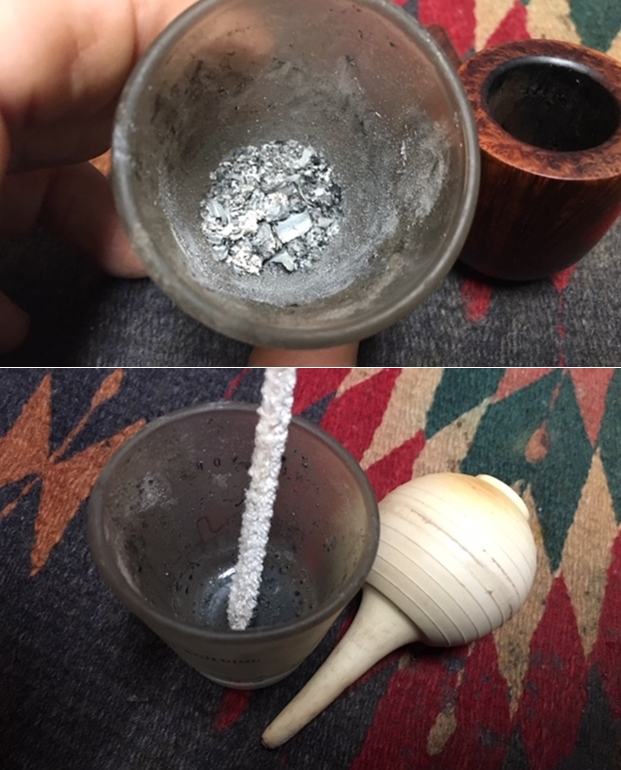
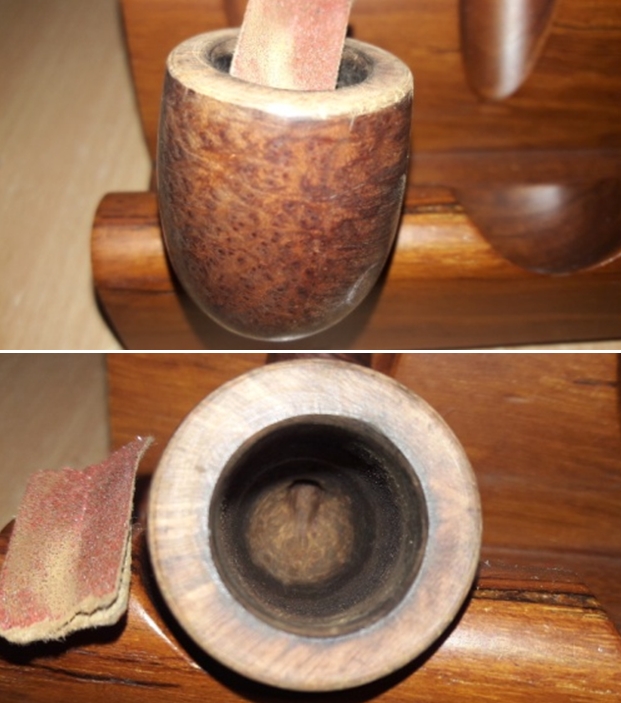
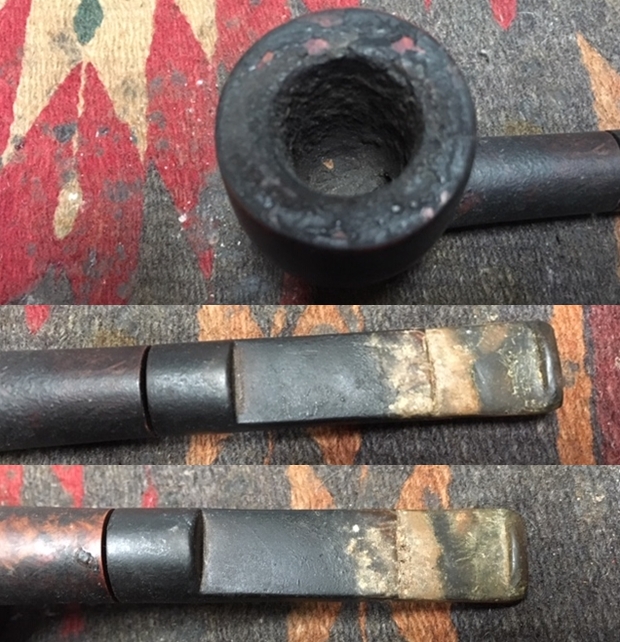
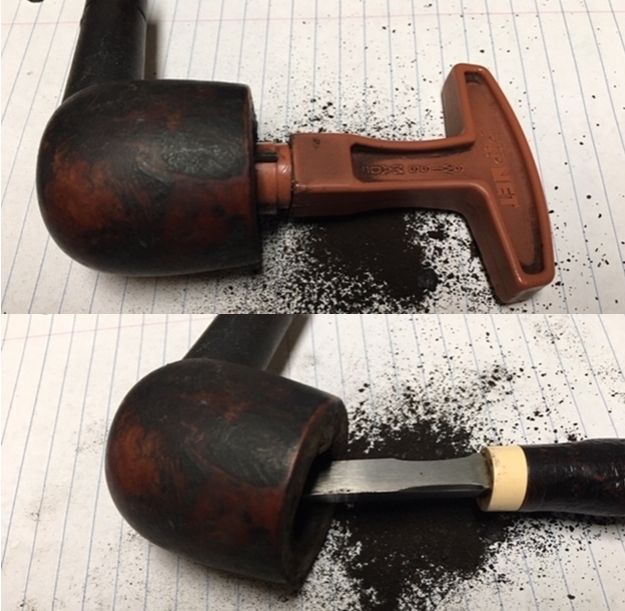
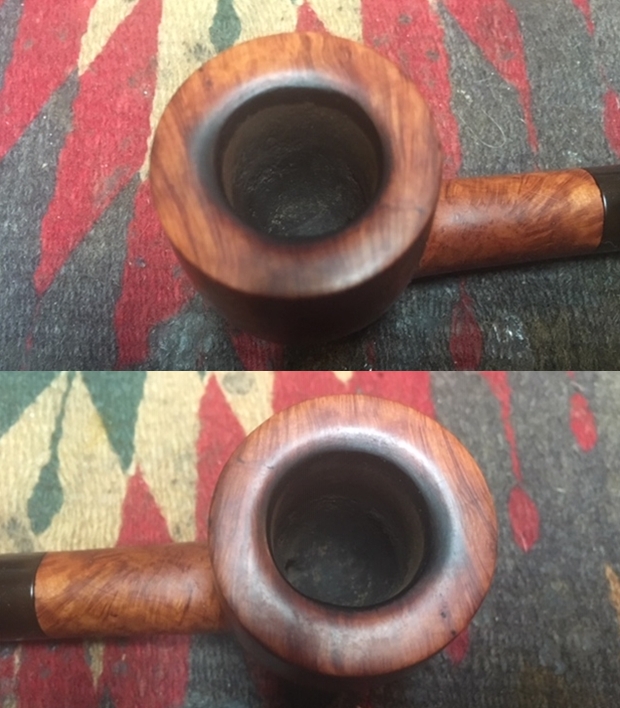
 Well, I don’t normally do what I just did. I was so taken with the rusticated finish that I forgot my usual practice of reaming the chamber before cleaning the externals. Well, back tracking, I use the Pipnet Reaming Kit to clean up the very light cake in the chamber. I quickly discover that there is no cake really to ream with the blade heads, so I graduate quickly to scraping the walls and reaching down to the floor of the chamber with the Savinelli Fitsall Pipe Tool. I follow by sanding the chamber with 240 grade paper wrapped around a Sharpie Pen and finish by wiping the carbon dust from the chamber with a cotton pad wetted with alcohol. That was a quick chamber clean up and the pictures show the progress. After clean, I inspect the chamber walls and it looks great – no heating problems are evident.

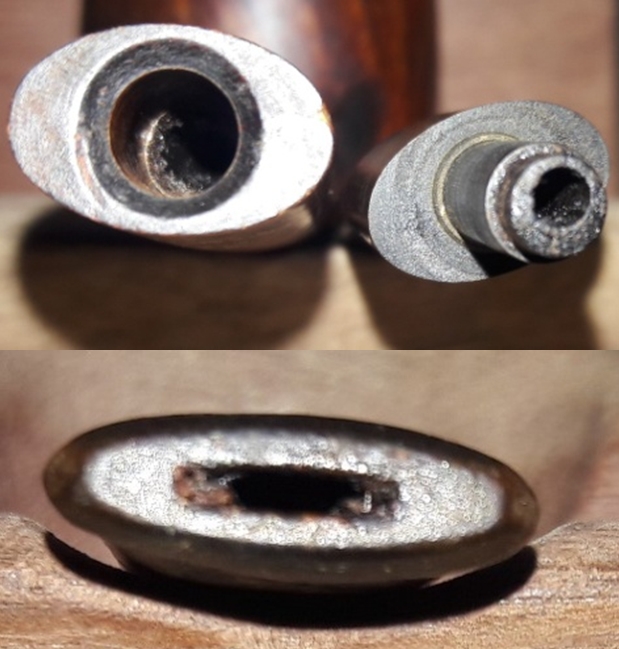
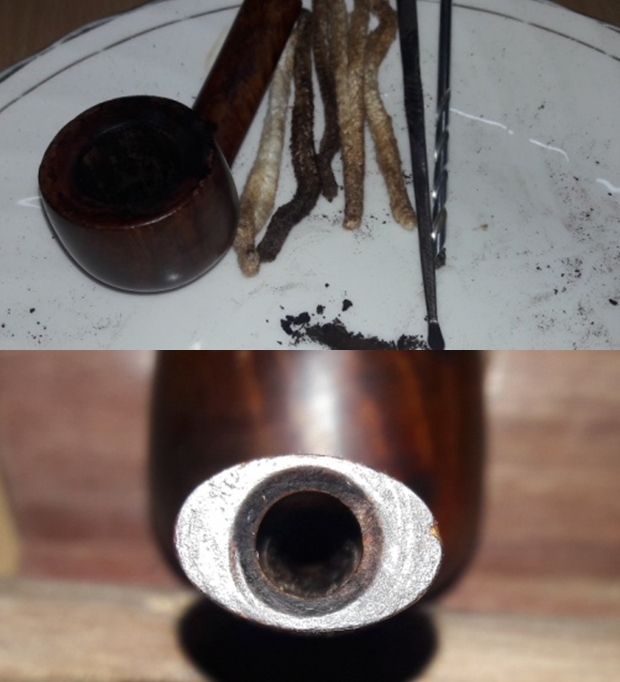
 Next, I turn to the internal cleaning of the mortise and airway. I discover again, that this pipe has been cleaned well. I expend one pipe cleaner and cotton bud and I’m convinced that the internals are clean – this doesn’t happen often, but thank you!
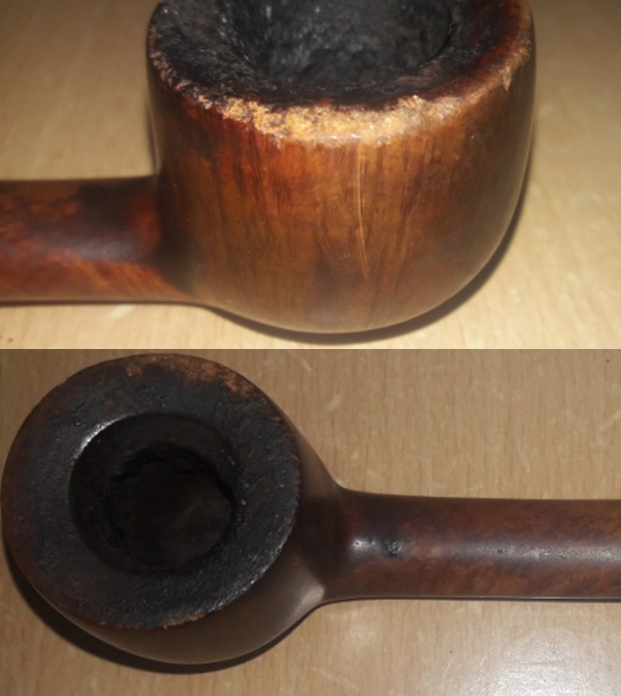
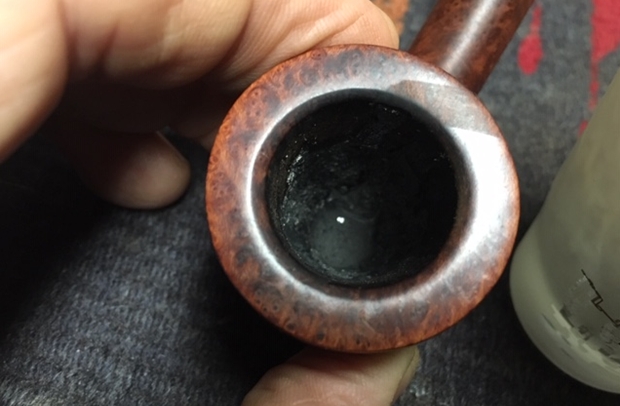
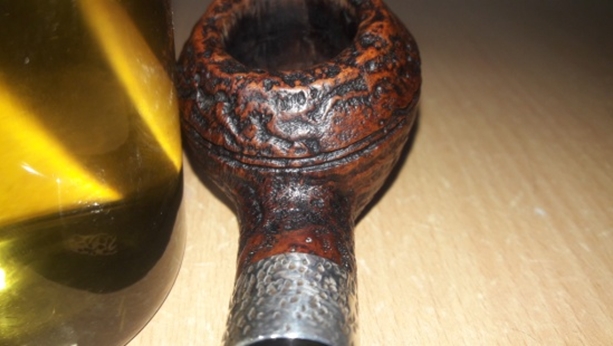
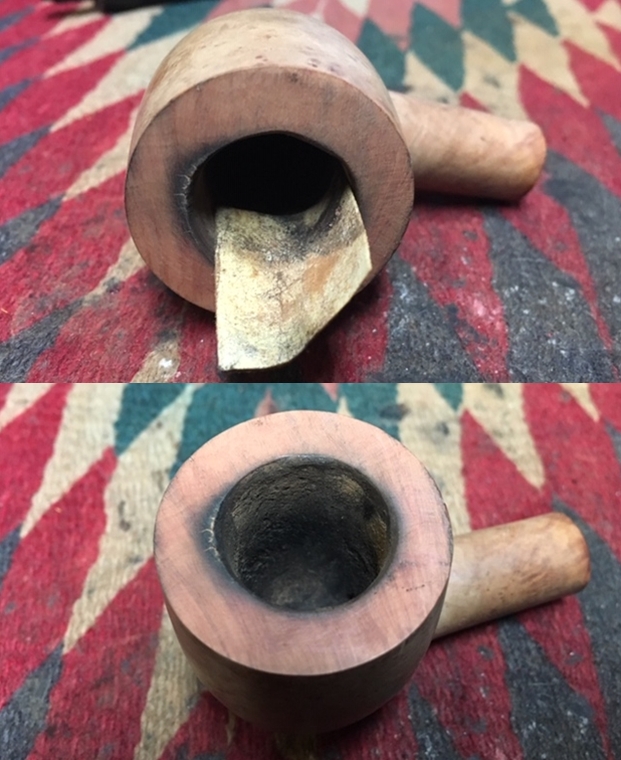
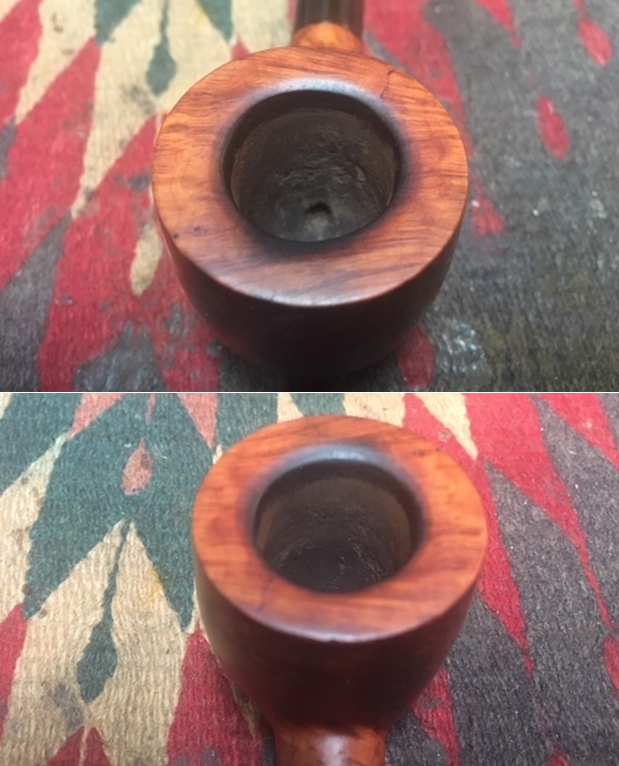
 Before turning to the stem, I decide to push forward with the one noticeable challenge on this stummel – the charred rim. The conundrum is, if I sand it off by introducing a gentle internal rim bevel, I sacrifice a bit of that valuable rusticated rim real estate which I hate to do. I scrubbed it well earlier with a brass wire brush which cleaned the rest of the rim nicely, but the inner rim is charred and there isn’t a remedy for that. The charring is on the front right and the back left – diagonally. I take another close-up picture from the steward perspective to show what I’m seeing. Taking the conservative route, I decide to use the brass wire brush again. I dip the brush in Murphy’s Soap, concentrating on the scorching, I scrub. Amazingly, after some time, the scorched, damage briar starts giving away and I see more healthy briar. You can still see where the most damage was (third pictures – lower right), but it will not draw as much attention to itself after the stummel is completed. I may still need to sand a bit on the inner rim lip, but not a lot. The pictures show the progress. I’m amazed.
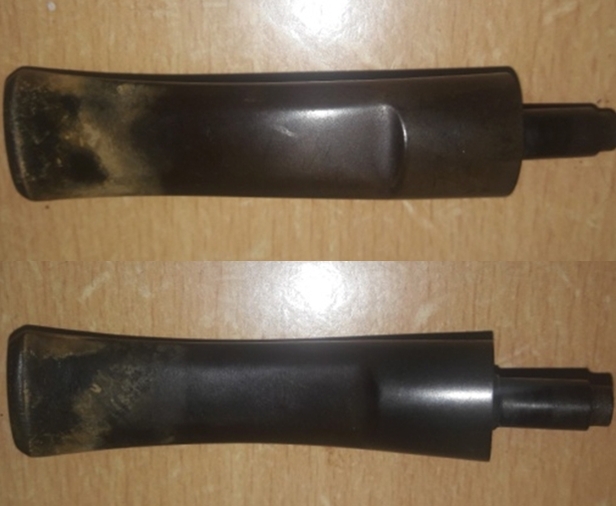
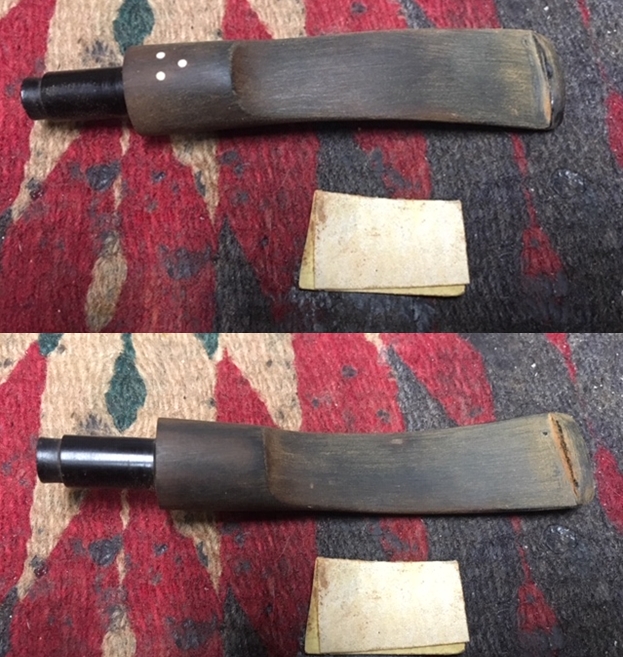
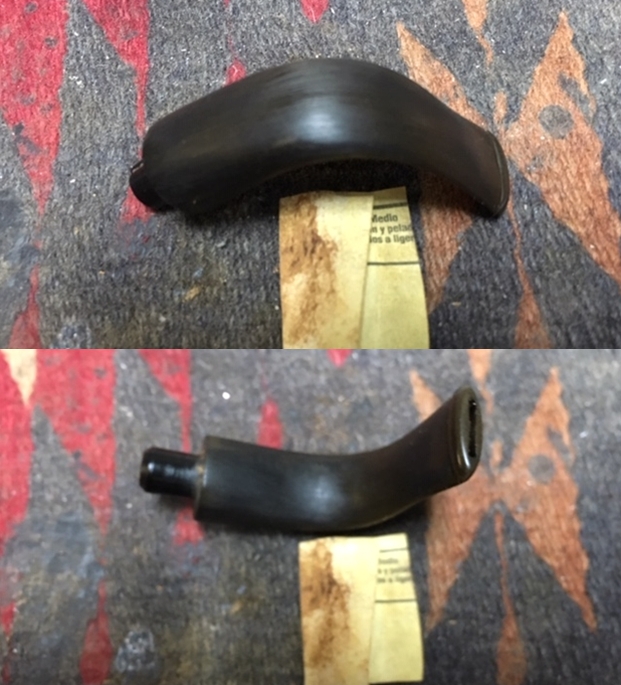
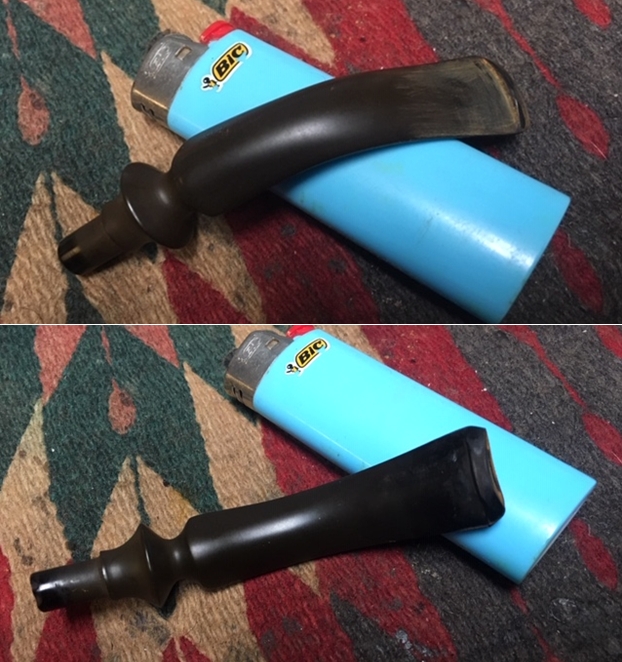
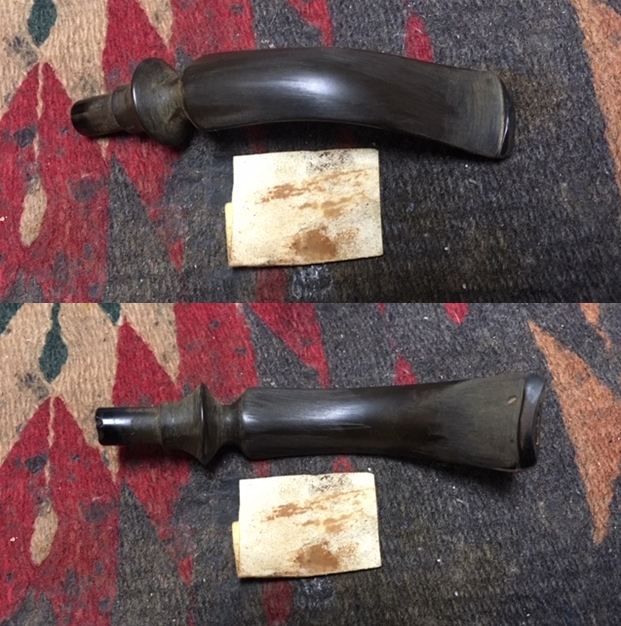
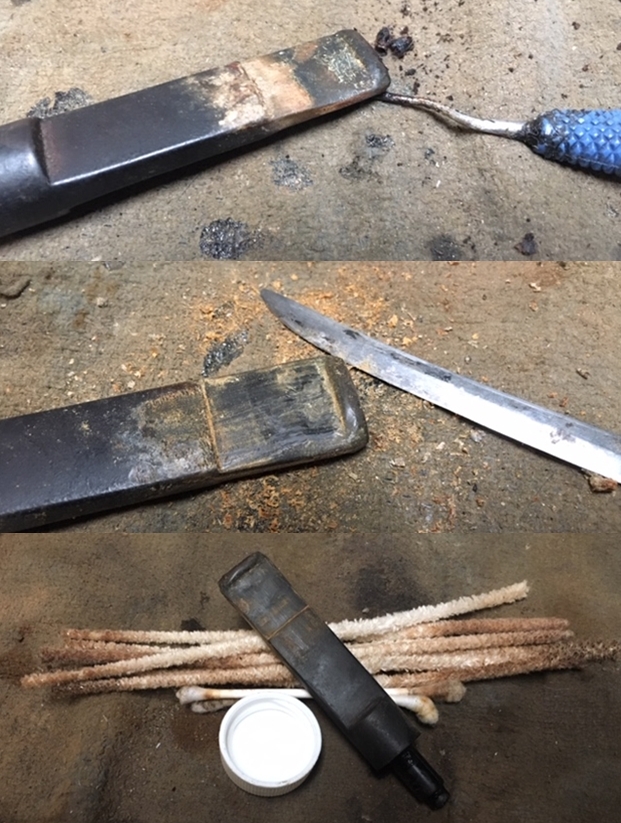
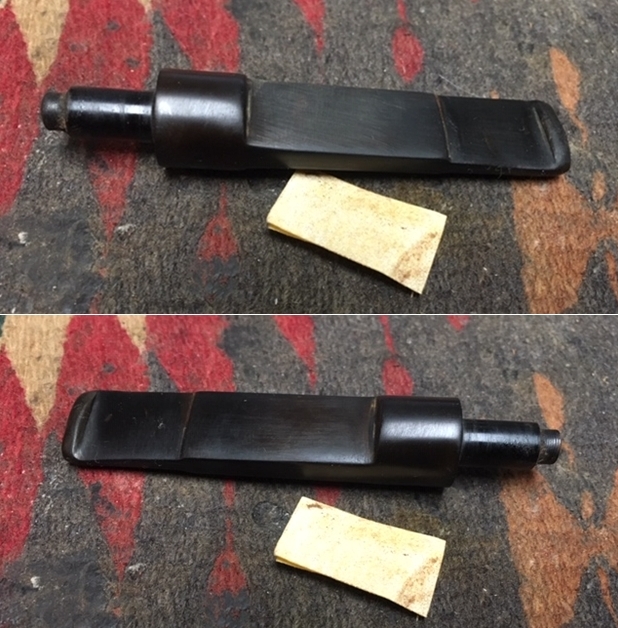
 I turn to the stem and use the heating method to deal with the very light bite dents on the bit. I take a close-up of both the upper and lower bit to show what I see. Using a Bic lighter, I paint the areas with the flame to heat and then expand the vulcanite which hopefully reclaims its lost space or at least, minimizes the compressions. Painting the bit with the open flame of the Bic works like a charm as the compression are greatly minimized allowing me easily to sand out the dents using 240 grit paper. While sanding, I also use a flat needle file to freshen the button lips. In order to erase the scratches of the filing and 240 sanding, I wet sand the entire stem using 600 grade paper and follow this by sanding/buffing with 0000 steel wool.

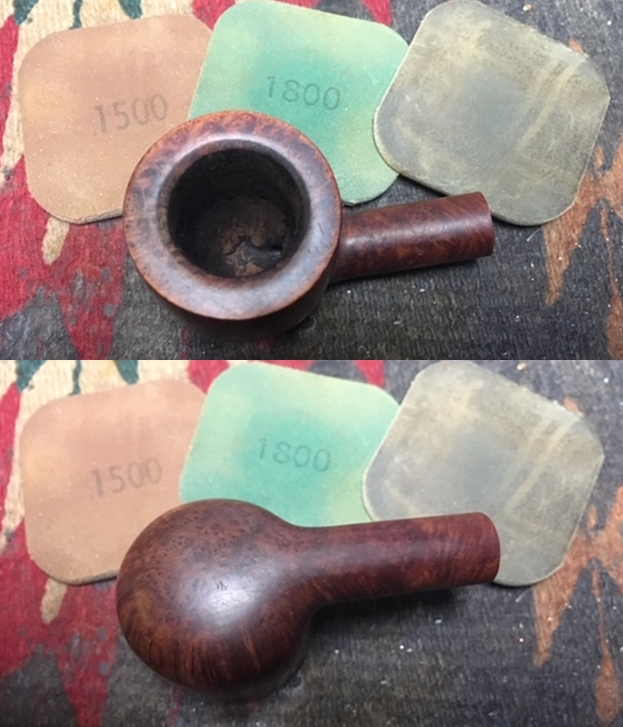
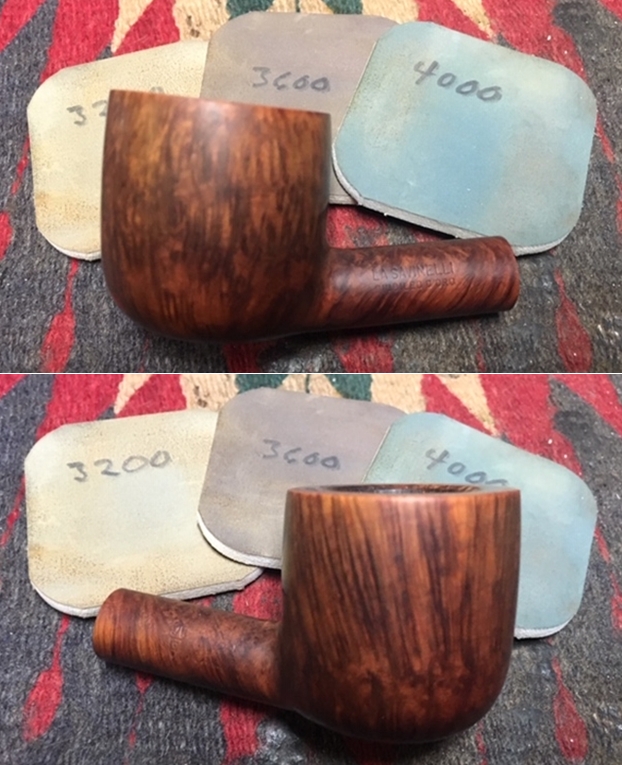
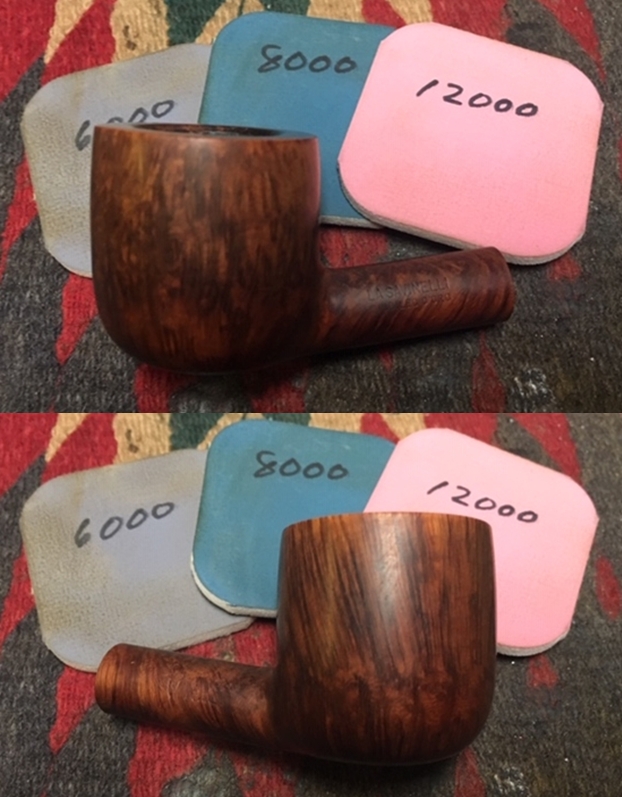
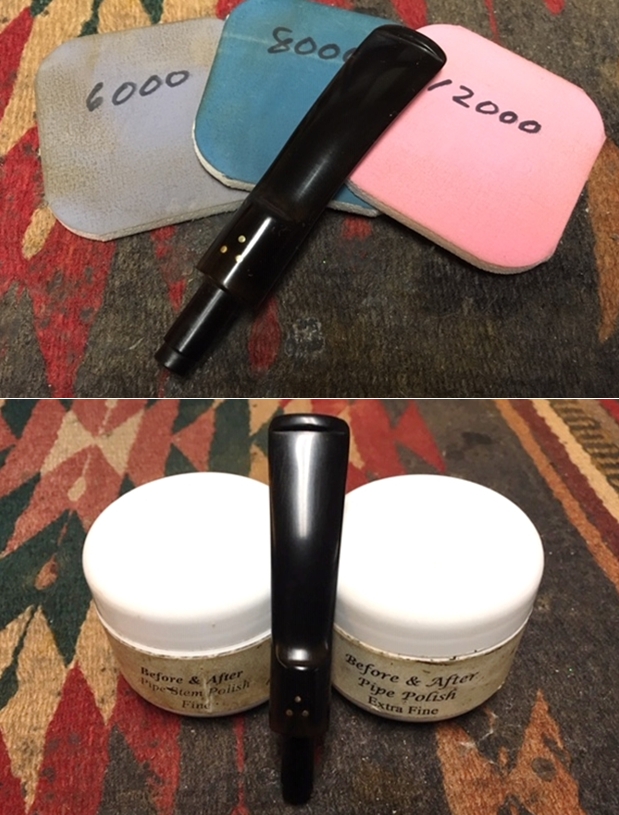
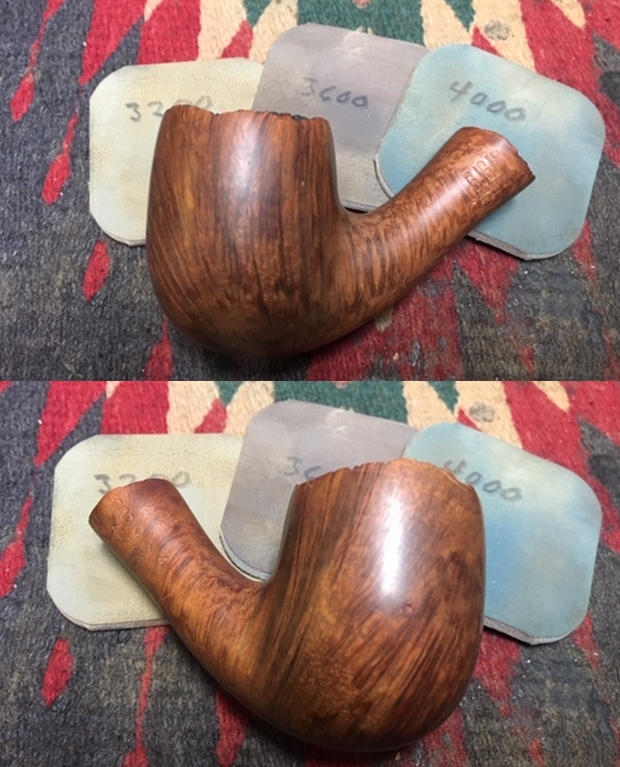
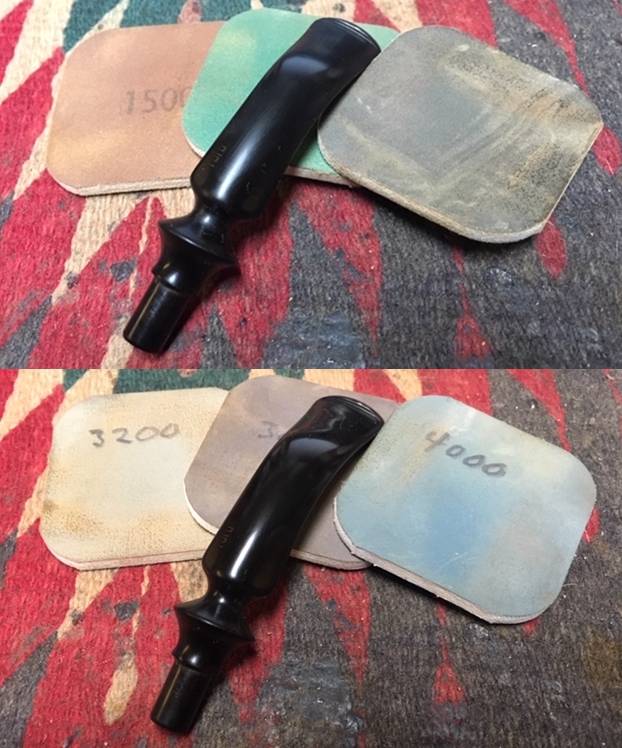
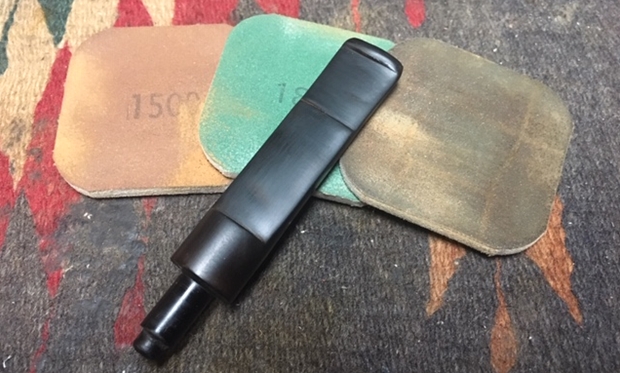
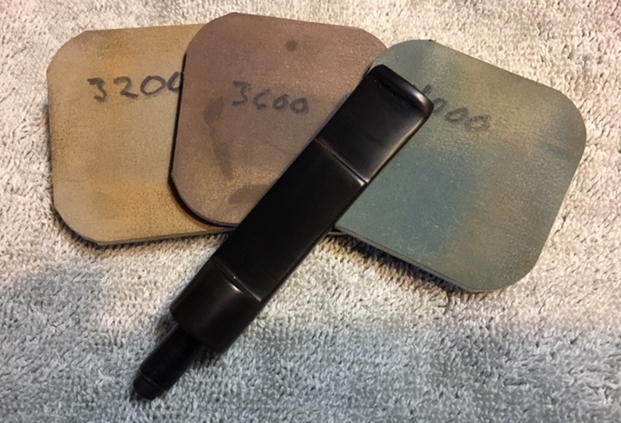
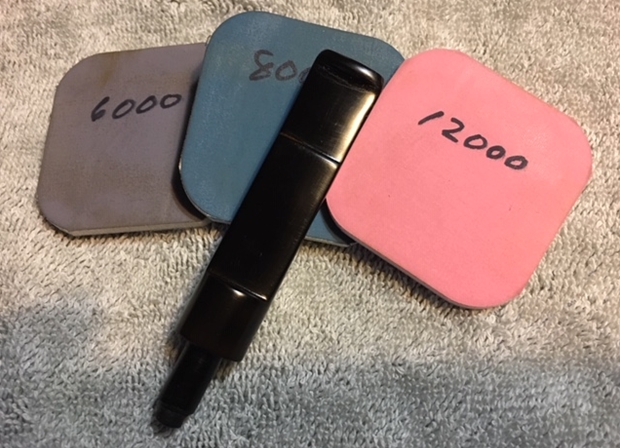
 Pressing forward with the stem restoration, using micromesh pads 1500 to 2400 I wet sand and follow by dry sanding with pads 3200 to 4000 and 6000 to 12000. Between each set of three I apply Obsidian Oil to revitalize the vulcanite. I love the gloss pop of the vulcanite after the micromesh cycles!
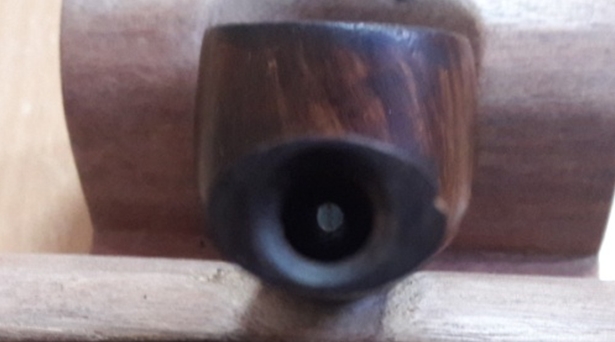
 With the stem drying, I look again at the stummel. There is a light dark ring on the inner lip of the rim persisting. It’s not a lot and I address it simply using 240 grade paper tightly rolled. I do not really introduce a bevel but clean the residue scorching and it cleaned up quickly. There is only minor briar erosion on the inner rim where it was scorched – see second picture below on the left.
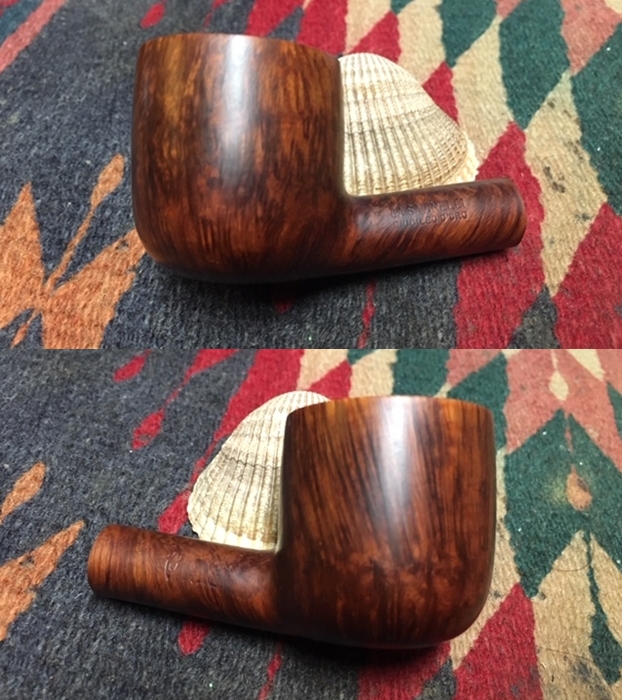
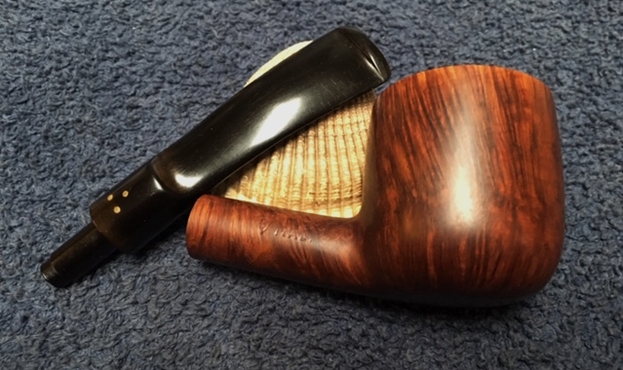
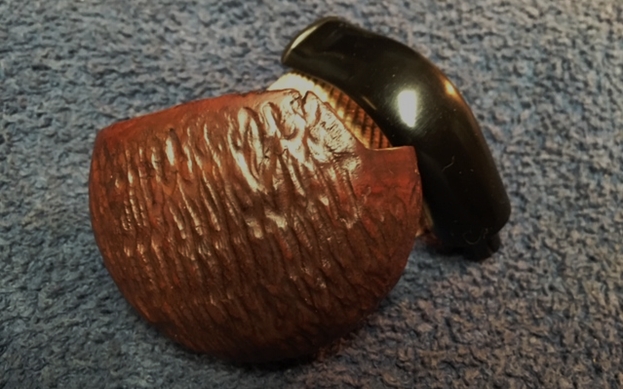
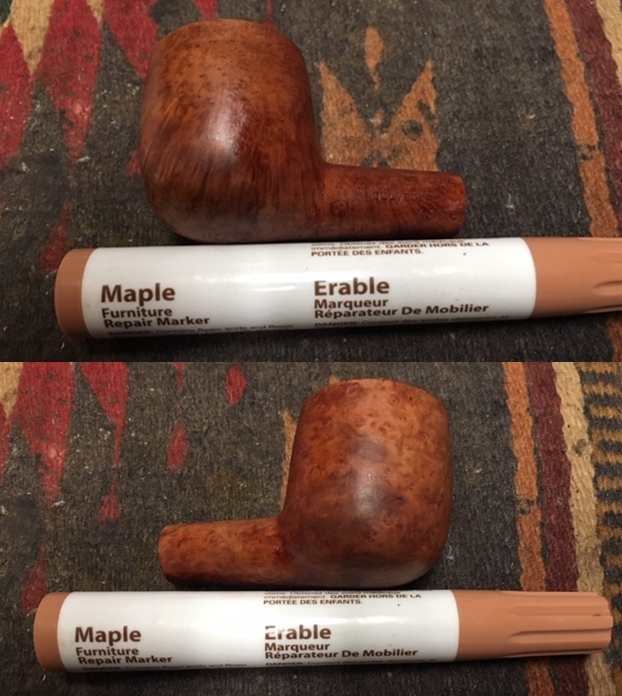
 I’ve been looking forward to this phase of the restoration, refreshing of this Savinelli Punto Oro Corallo di mare – Sea Coral. This unique rusticated finish needs a bit more consideration regarding the approach toward finishing it. The surface does remind me of coral (and maybe a bit of elephant skin!) and the light hue of this Corallo di mare line evident in the Savinelli advertisement I included above confirms this. I take some additional close-ups focusing on the hue and texture.
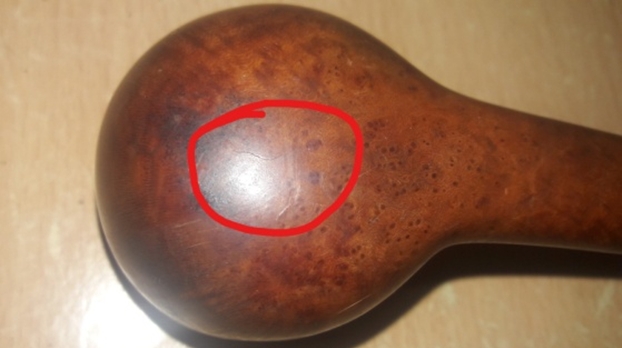
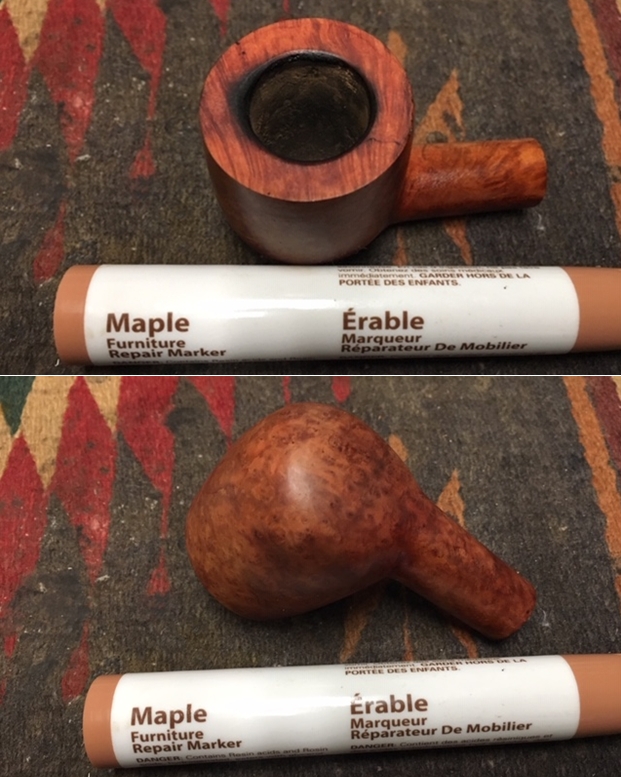
 Here’s the question which reveals a concern. The honey brown hue shows the patina of this briar as the information above described. At this point in the restoration, with other pipes, I might apply Before & After Restoration Balm to enrich the briar. My concern is that this might overly darken the light complexion of this Savinelli’s briar and I don’t want to do this. If the briar is more porous than regular briar, as the Savinelli information indicates, it might ‘drink up’ the Balm and a darkened briar might result. Ok, I’m curious. I decide to test a spot to see what happens. I isolate applying a small amount over the smooth nomenclature panel to the shank edge – the edge has some rustication, but not as pronounced as the forward part of the bowl. Here is the result.
 It does darken the briar but wow! The result is a deep honey hue which to me, enhances the appearance. I decide to apply the Balm to the entire surface, but very sparingly. I put a very small amount on my thumb and rub the Balm into the rusticated surface very briskly and aggressively spreading it across the briar surface. I also use a bristled tooth brush to brush the area thus helping to deliver the Balm into the crevices. After completing the application, I again rub the surface aggressively with my thumb to make sure the Balm was spreading evenly over the surface. I then use a 100% horsehair Kiwi shoe brush to brush the surface to lift the excess Balm and to buff it up. The result to me looks good – I think. It’s time to turn out the light and I let the stummel dry through the night.
 The next morning, I reunite stem and stummel and take a good look – liking what I’m seeing! I mount a cotton cloth buffing wheel to the Dremel, setting the speed at about 40% full power and I apply the abrasive, Blue Diamond compound. As I do this, I know I’ll have to pay the piper later – the compound will gunk up in the rustication and it will take a good bit of effort to remove it. Even though I know this to be the case, I apply the compound because I like the textured highlights and nuanced shading that will result from the fine abrasion. It will also light the hue which I like as well. One additional benefit is that it teases out the grain of the briar in the rustication. The application of Blue Diamond compound on the gnarly surface eventually obliterates the cotton buffing wheel and I switch to a new one.
 In this picture below, you can see the leftover compound residue which I’ll need to remove, but also look closely at the rusticated mountains – the grain is peaking out. Doing this kind of detail work even on a rusticated surface transforms presentation subtly – like moving from a regular TV screen to a high definition display.
 Using a toothpick, sharp dental probe and a bristled brush I painstakingly AND patiently work on cleaning the briar surface of the leftover compound dust. It’s a bear of a job, but to me, the results are worth it, at least in this case! Before waxing, again I use the horsehair brush on the rusticated surface and I give the bowl and stem a buffing with a felt cloth to remove the residual compound dust.
In the interest of full disclosure, as I finished the Blue Diamond process, I became increasingly dissatisfied with how dark the stummel had become after my application of Before & After Restoration Balm. The rusticated surface lost the light hue that I believe characterized the Corallo di mare line. What to do? I failed to take pictures, but what I ended up doing was plopping the entire stummel in a soak of isopropyl 95% for a few hours to remove the applications on the surface. I wasn’t sure that the alcohol soak would do the job and I wasn’t sure if it might damage the patina. After a few hours I removed the stummel and after drying, I simply buffed the surface with a clean cotton buffing wheel on the Dremel. Amazingly, the surface buffed up to a lighter hue that resembled the original. I was thankful and relieved.
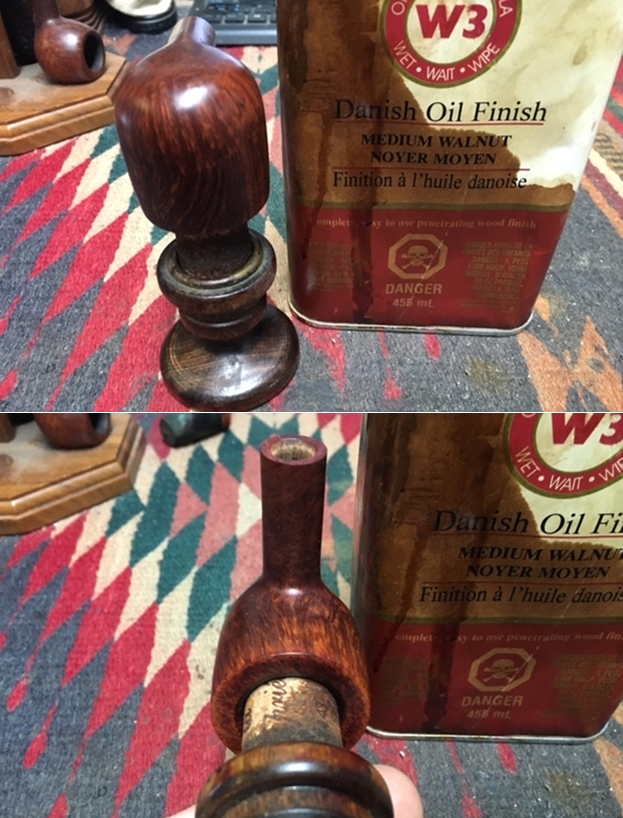
After the grand detour and experiment, I next mount another cotton cloth wheel, increase the speed of the Dremel to about 50% full power and strategically apply carnauba wax to the Savinelli Punto Oro. I increase the speed to provide more RPM and therefore more friction to heat and dissolve the wax, so it is received by the surface more evenly. I avoid wax buildup as I slowly work the wax into the surface, rotating the Dremel’s buffing wheel to agree with the flow of the rusticated pattern I’m working on. This takes a good bit of time methodically to work through and cover the surface. I apply a few coats of wax to both stem and stummel and then buff up the surface using a horsehair brush and then a rigorous hand buffing with a microfiber cloth.
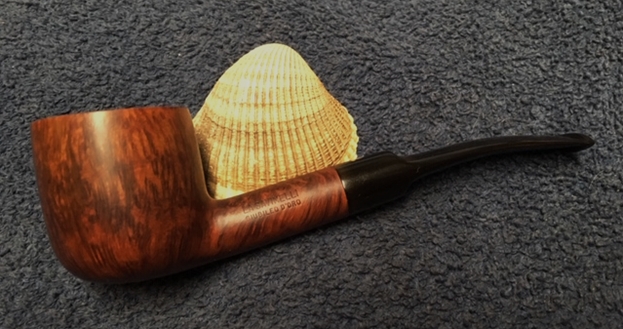
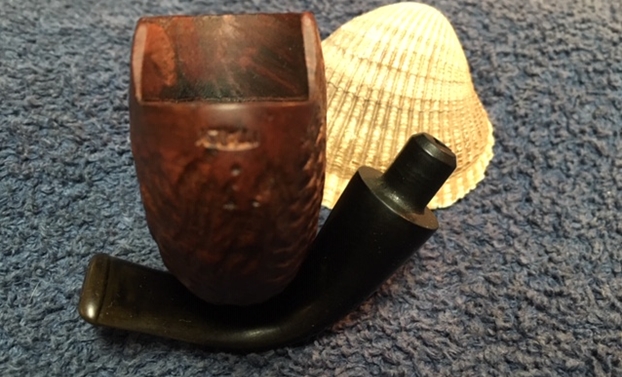
My, oh my. When I complete a project like this, I marvel at what comes from the many processes the restoration brings to bear. The rusticated surface on this Savinelli Punto Oro Corallo di mare emulates a coral landscape. I the intricate design of the rustication process holds my attention as I study the contours. The light hued briar is also eye catching and unique and my decision to soak the stummel in alcohol to clean it I believe was spot on. Charles, from Texas, commissioned this pipe from the collection, For ‘Pipe Dreamers’ Only! and he will have the first opportunity in ThePipeSteward Store to bring this Savinelli home to Texas. This pipe benefits the Daughters of Bulgaria – an effort here in Bulgaria helping women and girls who have been trafficked and sexually exploited. Thanks for joining me!


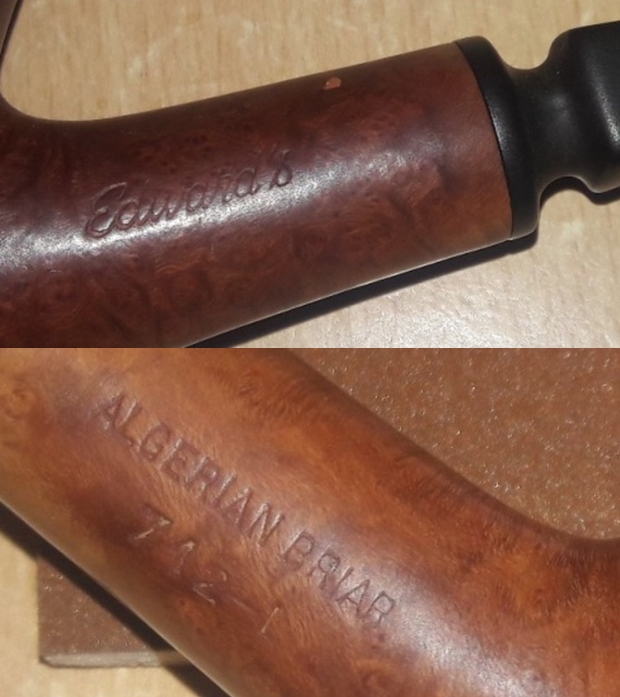 I searched pipedia.org for information and background of this brand and also attempt to date. I did not get the complete details that I was looking for, however the interesting information that I collected from this site was enough to convince me that the pipe I am currently working on is a no-push-over and can hold itself against some of the more known brands commanding a premium!! Here is the link to the information on pipedia.org (https://pipedia.org/wiki/Edward%27s). For those who prefer immediate results without wasting time, here is an important piece of information from the website:-
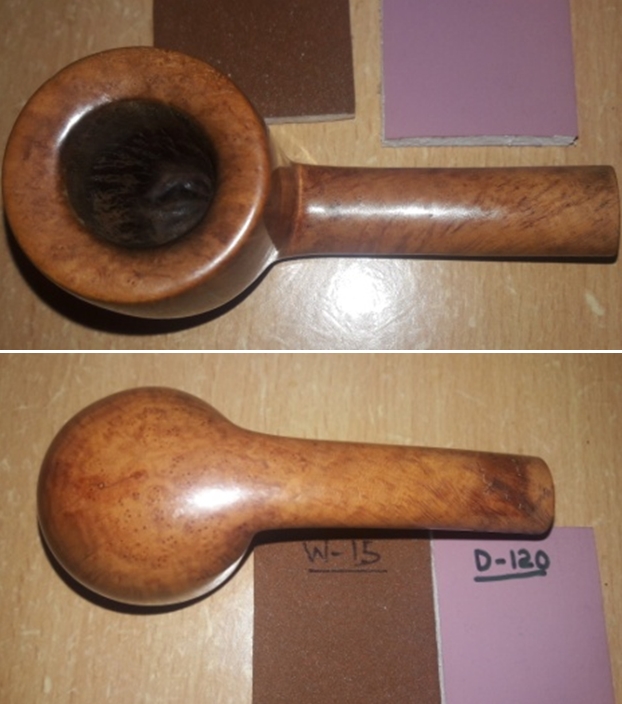
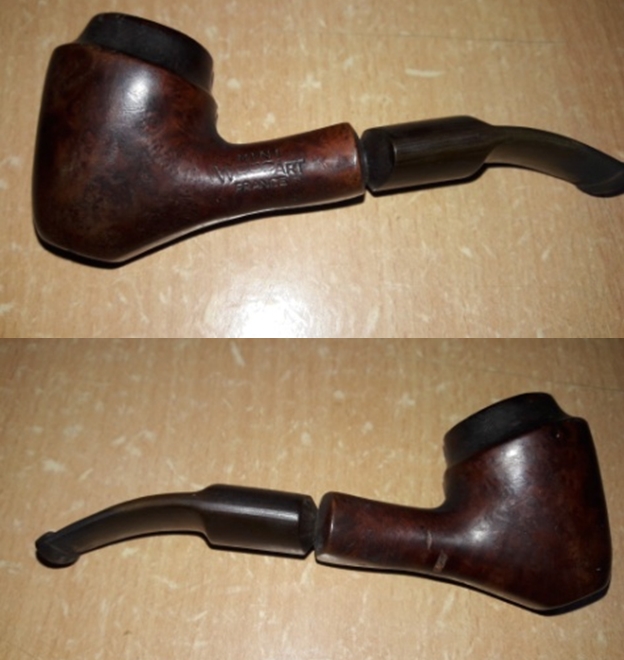
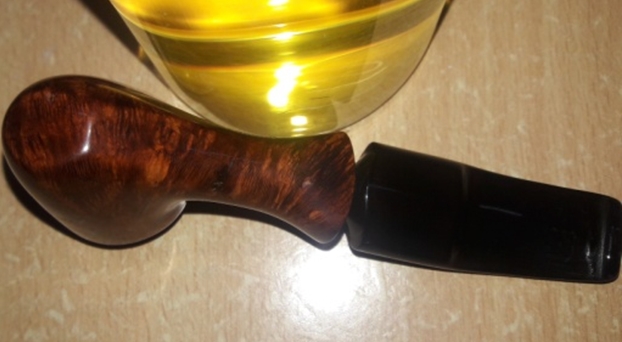
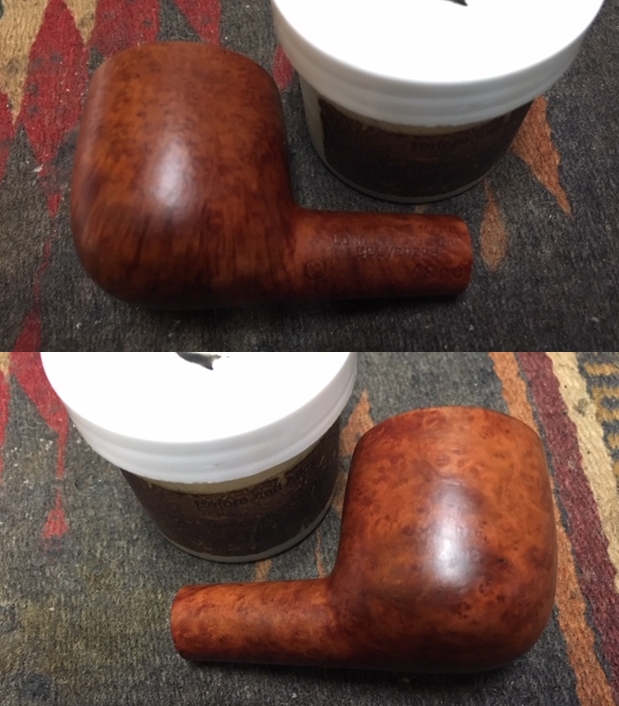
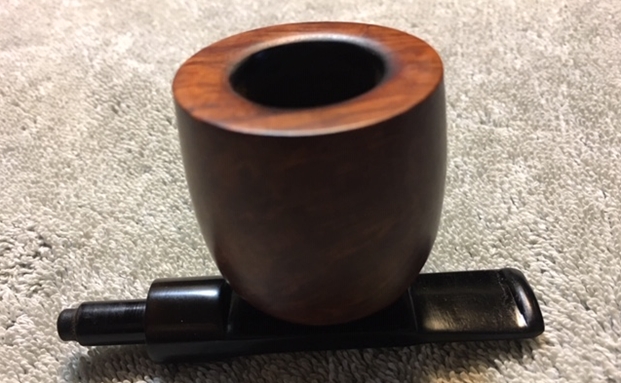
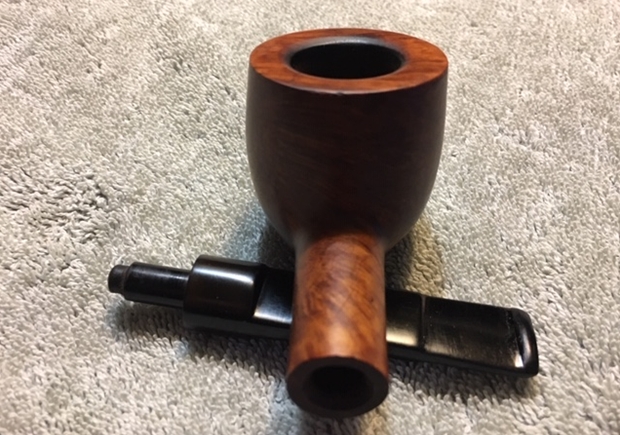
 The pipe appears to have been smoked a few times and there is a very thin layer of cake in the chamber. The chamber walls are nice and thick with no apparent damage. There is a minuscule amount of lava overflow on the rim surface. There are two small dents on the inner rim edge in 3 o’clock direction. The outer rim edge is slightly damaged in 12 o’clock direction, the result of likely being banged against a hard surface. The mortise is as clean as can be and the airflow through it is free and smooth. These issues should be a breeze to address.
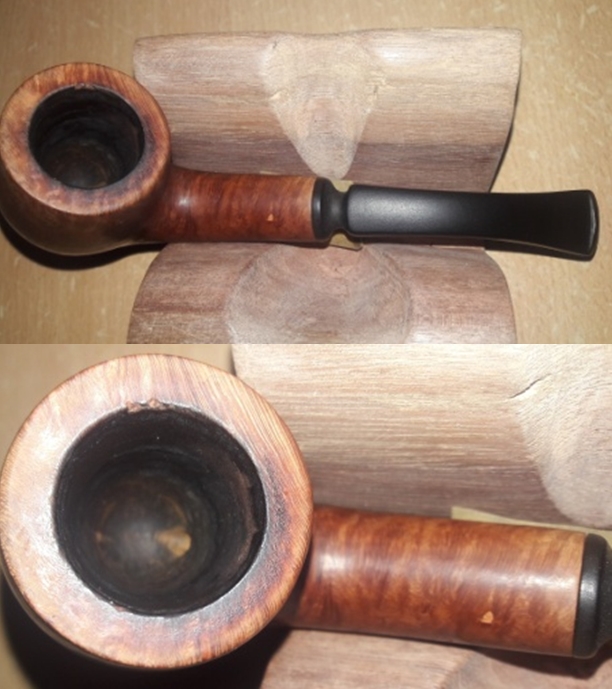
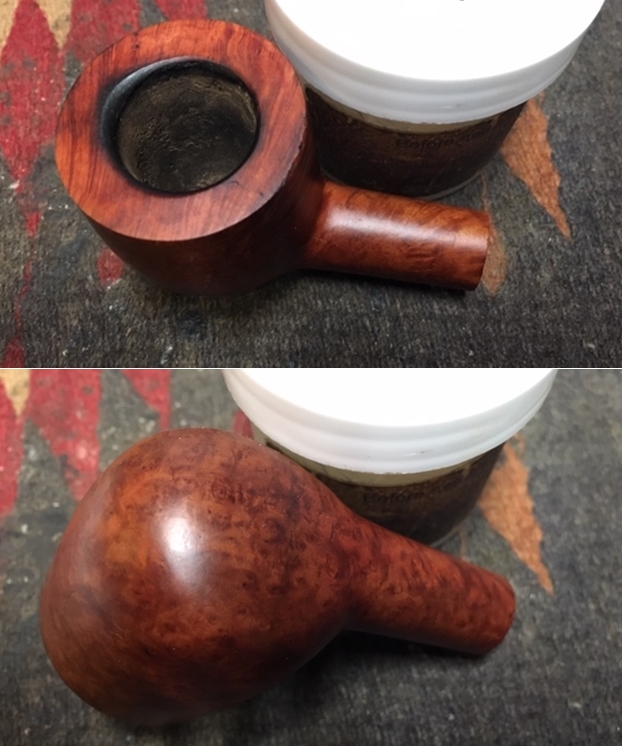
 The vulcanite stem is without any bite marks or tooth chatter. There are small bite marks on the lower and upper lip edges. It is nice and dark, but not smooth. The roughness is due to oxidation of the top surface. These issues should not be a major headache to address. The tenon is clean and flow of air through the airway is full and smooth.
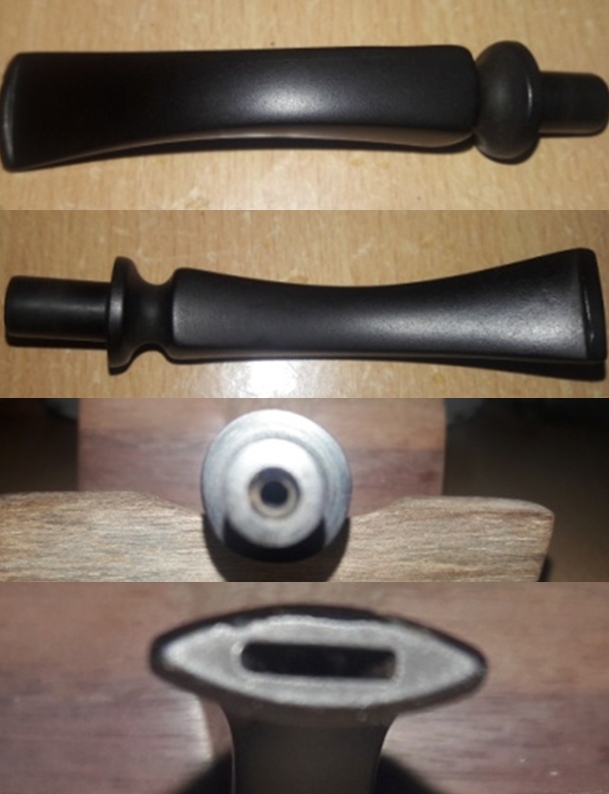 THE PROCESS
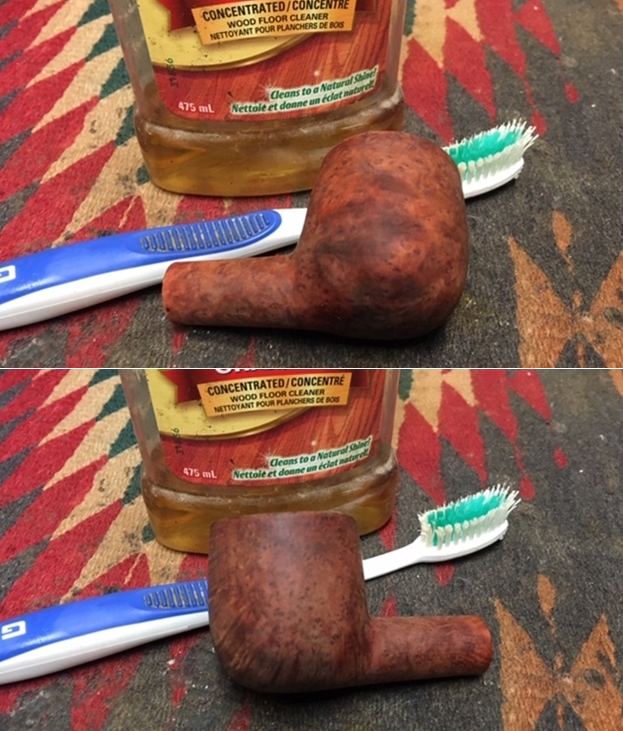
 Now, it was the turn of the stummel to get cleaned up. Using a hard bristled tooth brush dipped in undiluted Murphy’s oil soap, I very deliberately scrubbed the stummel, cleaning the surface thoroughly. I cleaned the rim too. The stummel and rim top was dried using paper napkins and soft cotton cloth.

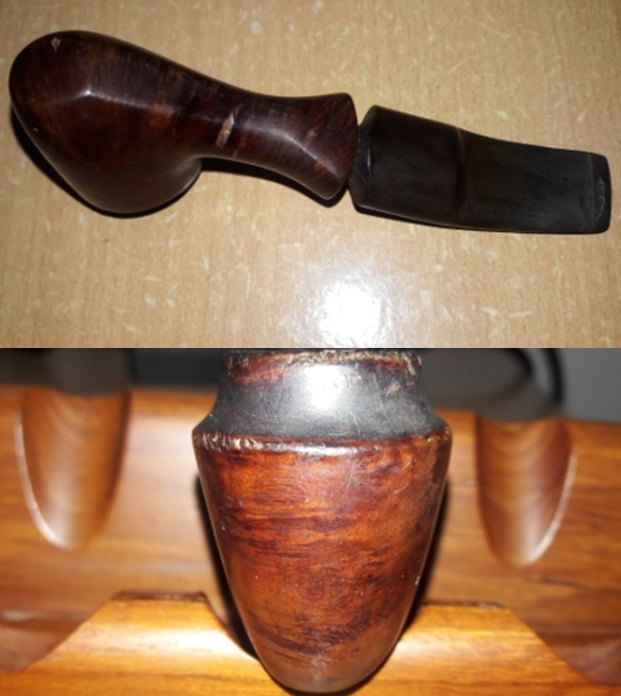
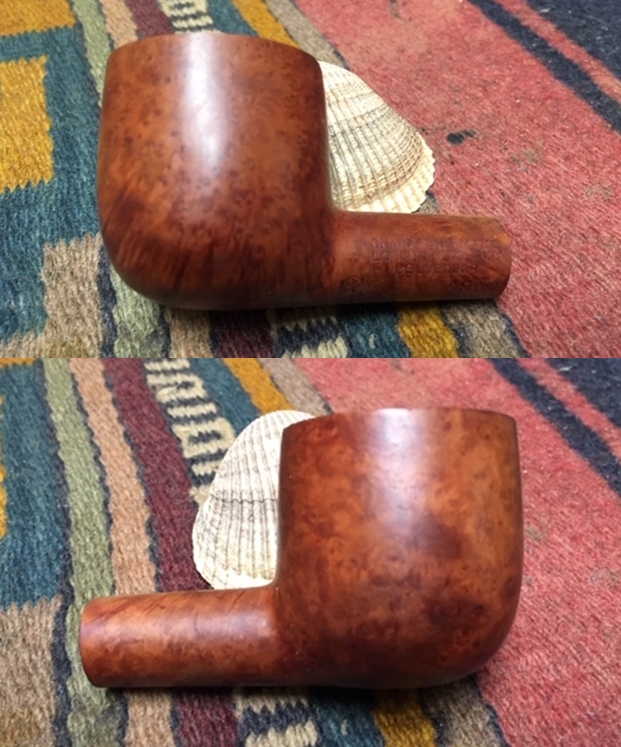
 I gouged out the old fills on the shank and the chipped portion on the front of the bowl with a pointed knife and wiped the area clean with a cotton swab dipped in isopropyl alcohol. I spot filled these with clear CA superglue and set it aside to cure.
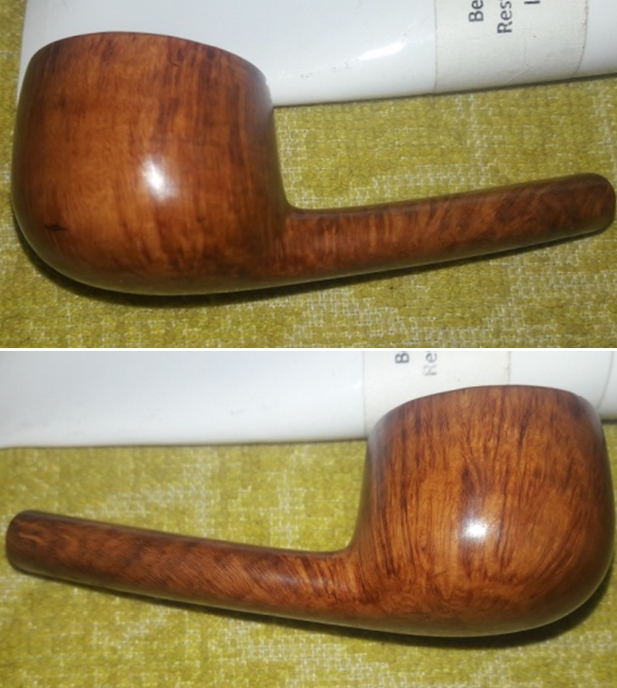
 While the stummel was drying, I worked the stem. I sharpened the lip edges using a needle file. I sand the entire stem with 220 followed by 400 and 800 grit sand paper. This helps to reduce the sanding marks left behind by the more abrasive 220 grit paper. To bring a deep shine to the vulcanite stem, I went through the complete set of micromesh pads, wet sanding with 1500 to 2400 grit pads and dry sanding with 3200 to 12000 grit pads. I wiped the stem with alcohol after each pad and rubbed it down with Extra Virgin Olive oil. The internals of the stem was cleaned out using alcohol and pipe cleaners. The pictures of the process and final results are shown below.
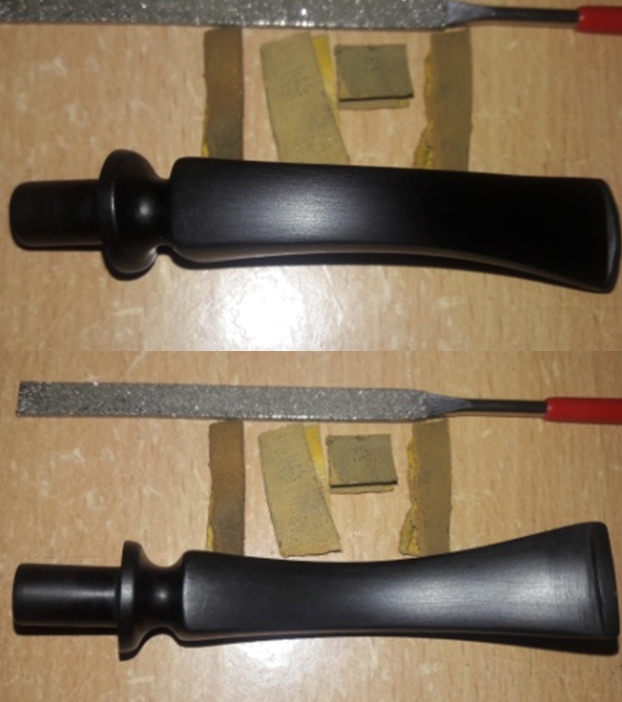
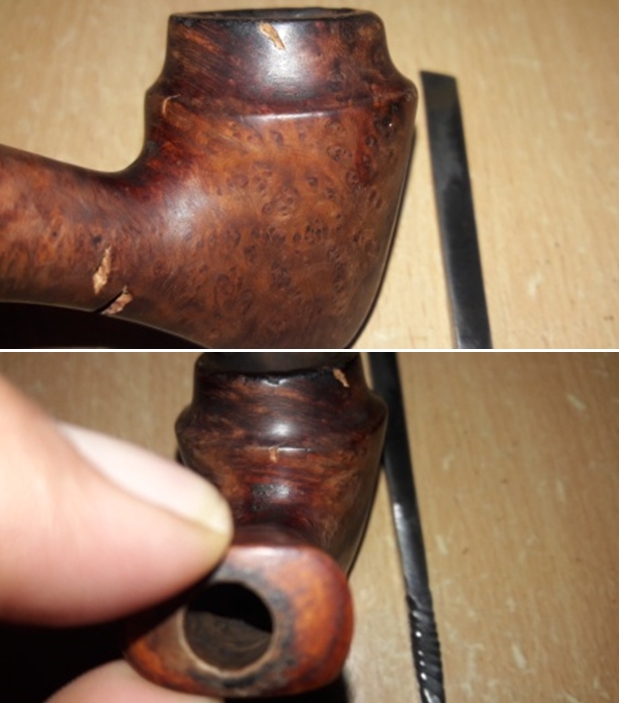
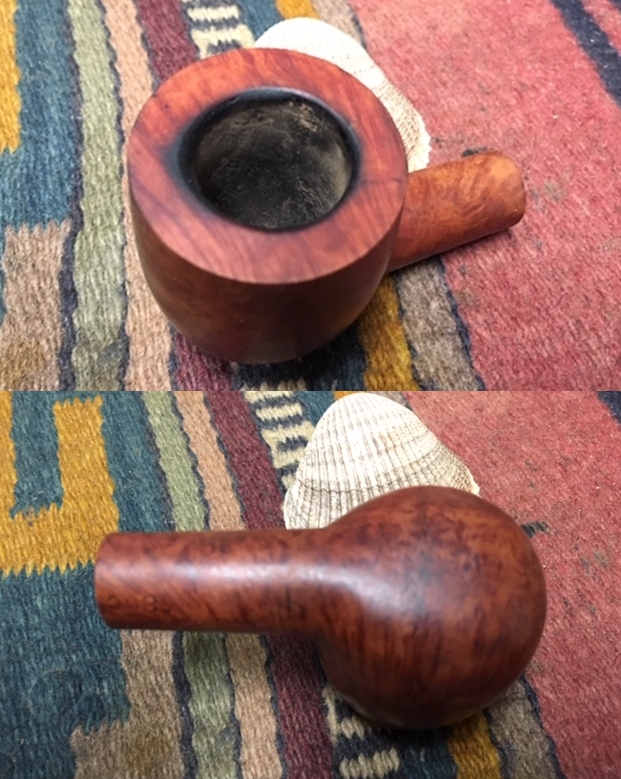
 The fills on the stummel had cured. Using a 220 grit sand paper, pinched between my thumb and forefinger, I sand the fills and the entire stummel to match each other.

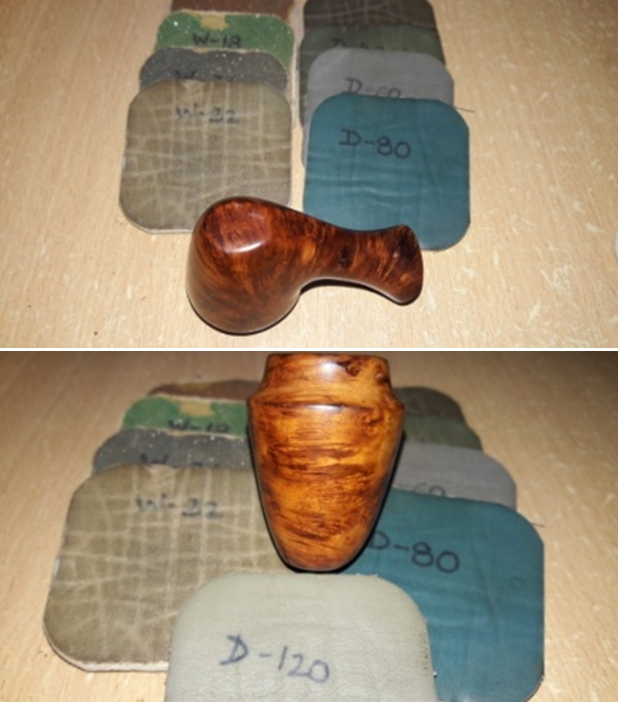
 I wanted to highlight the grains seen and further blend all the repairs carried out to the stummel. To achieve this aim, I sand down the stummel and rim top using micromesh pads, wet sanding with 1500 to 2400 grit pads and dry sanding with 3200 to 12000 grit pads. The stummel now has a deep shine with grains popping out with magnificent contrast.

 I rub a small quantity of “Before and After Restoration Balm” in to briar and let it rest for a few minutes. The balm almost immediately works its magic and the briar now has a nice vibrant appearance. I further buff it with a horse hair shoe brush.
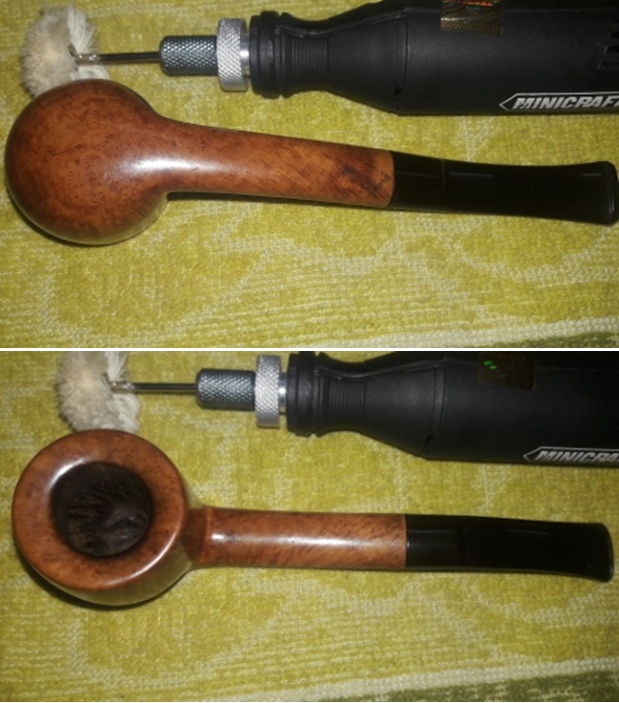
 To finish, I re-attach the stem with the stummel. I mount a cotton cloth buffing wheel on to the Dremel (actually it is not the brand machine, but a local machine which is similar). I set the speed at about half of the full power and applied White Diamond compound to the entire pipe. I wiped/ buffed the pipe with a soft cotton cloth to clear it of any leftover compound dust. I then mounted another cotton cloth wheel on to the polishing machine and applied several coats of carnauba wax. I finished the restoration by giving the entire pipe a rigorous hand buffing using a microfiber cloth to raise the shine further.
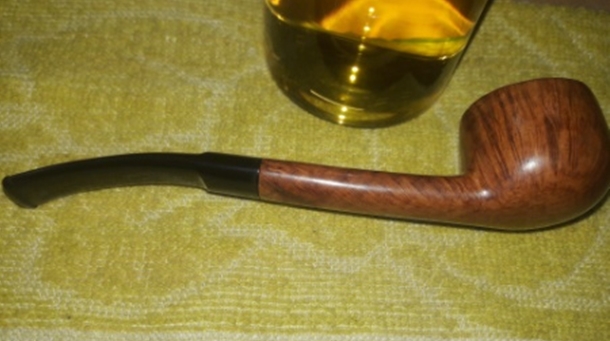
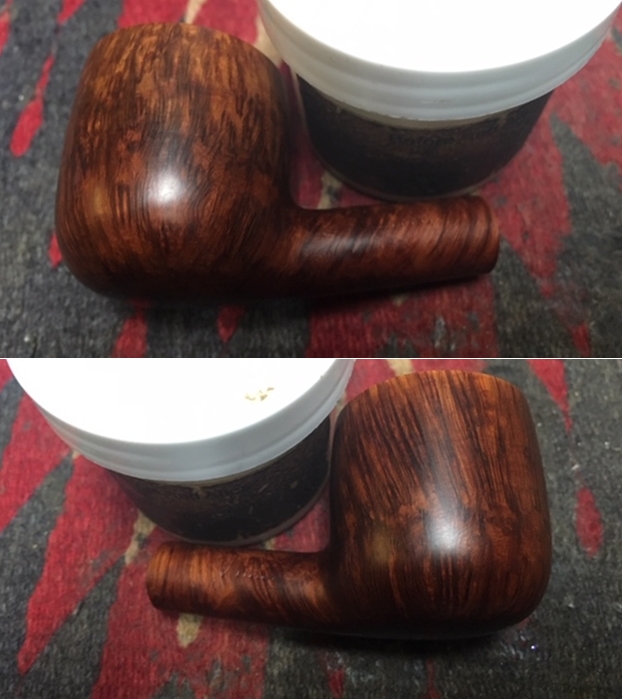
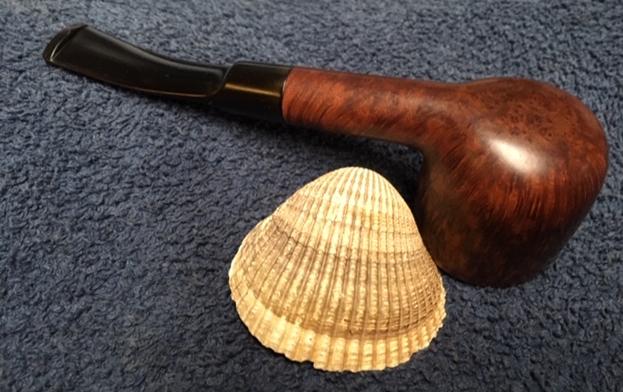
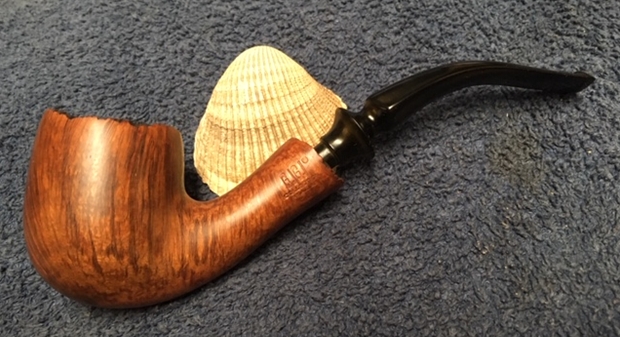
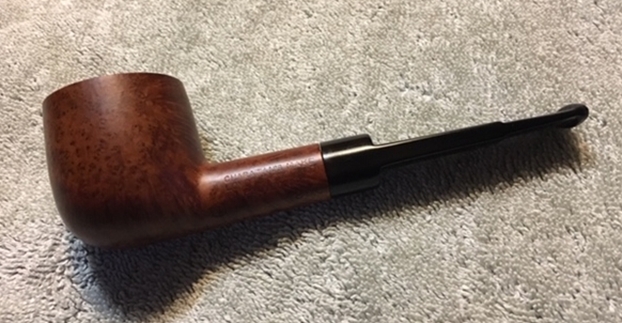
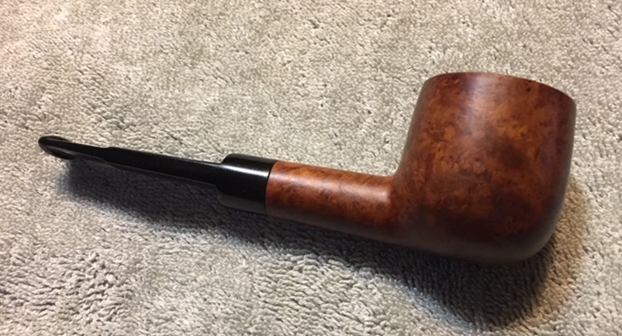
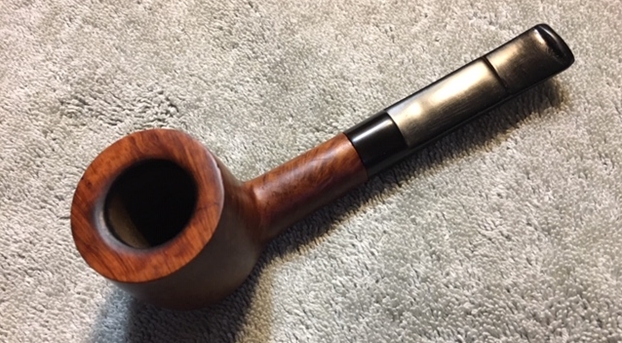
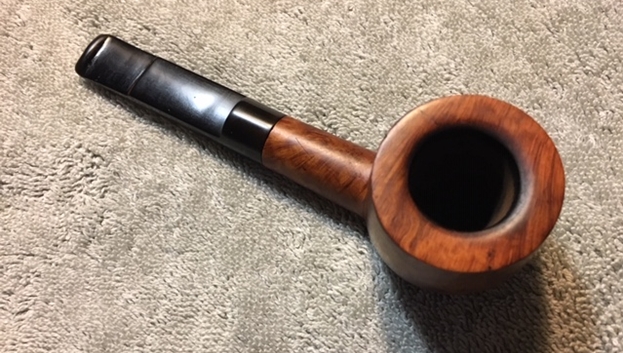
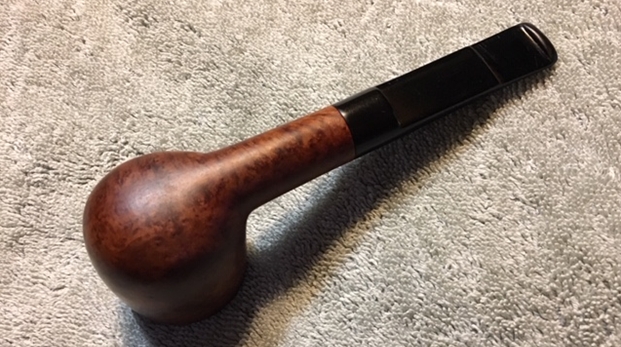
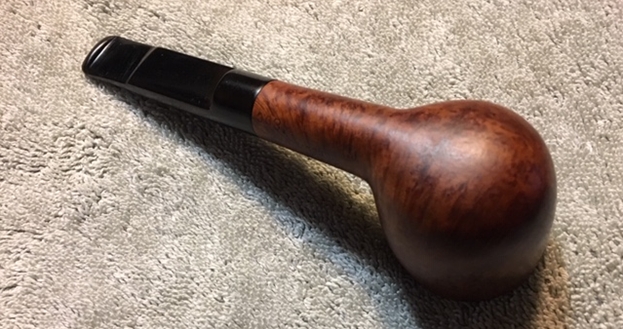
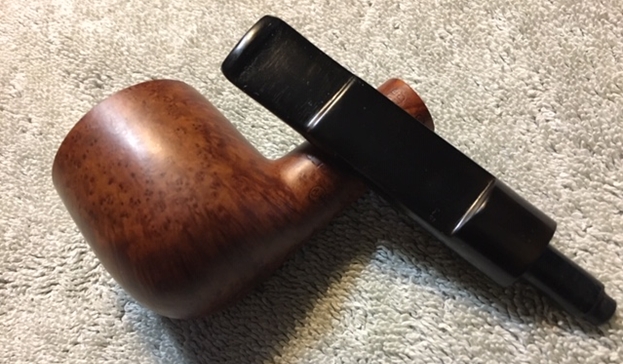
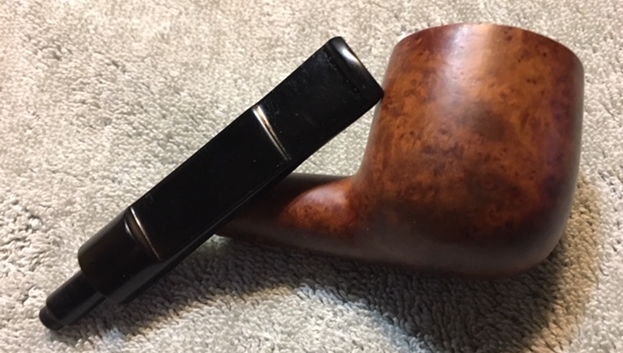
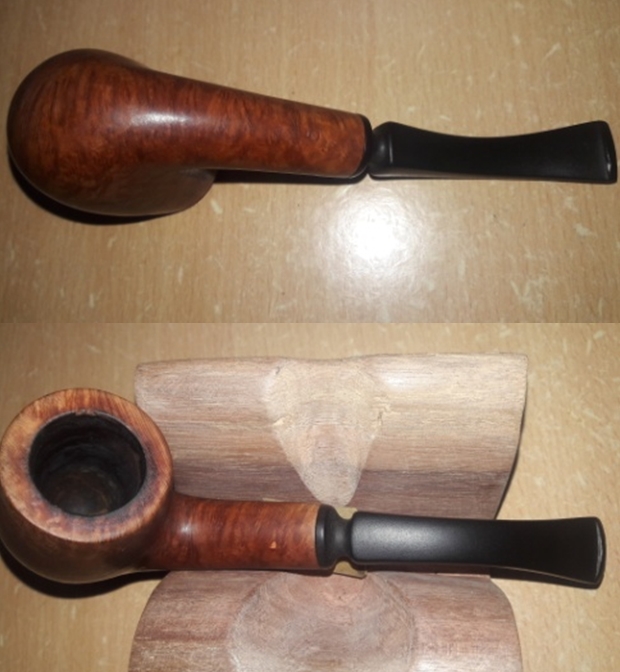
 The completed pipe, with the dark brown hues of the stummel contrasting with the shiny black stem, looks lovely, fresh and vibrant; the photographs speak for themselves. The beauty, size and shape of this pipe compel me to wonder how anyone could let go of such a robust and beautiful looking pipe! If only the pipe could tell the story of its journey till date…………… Cheers!